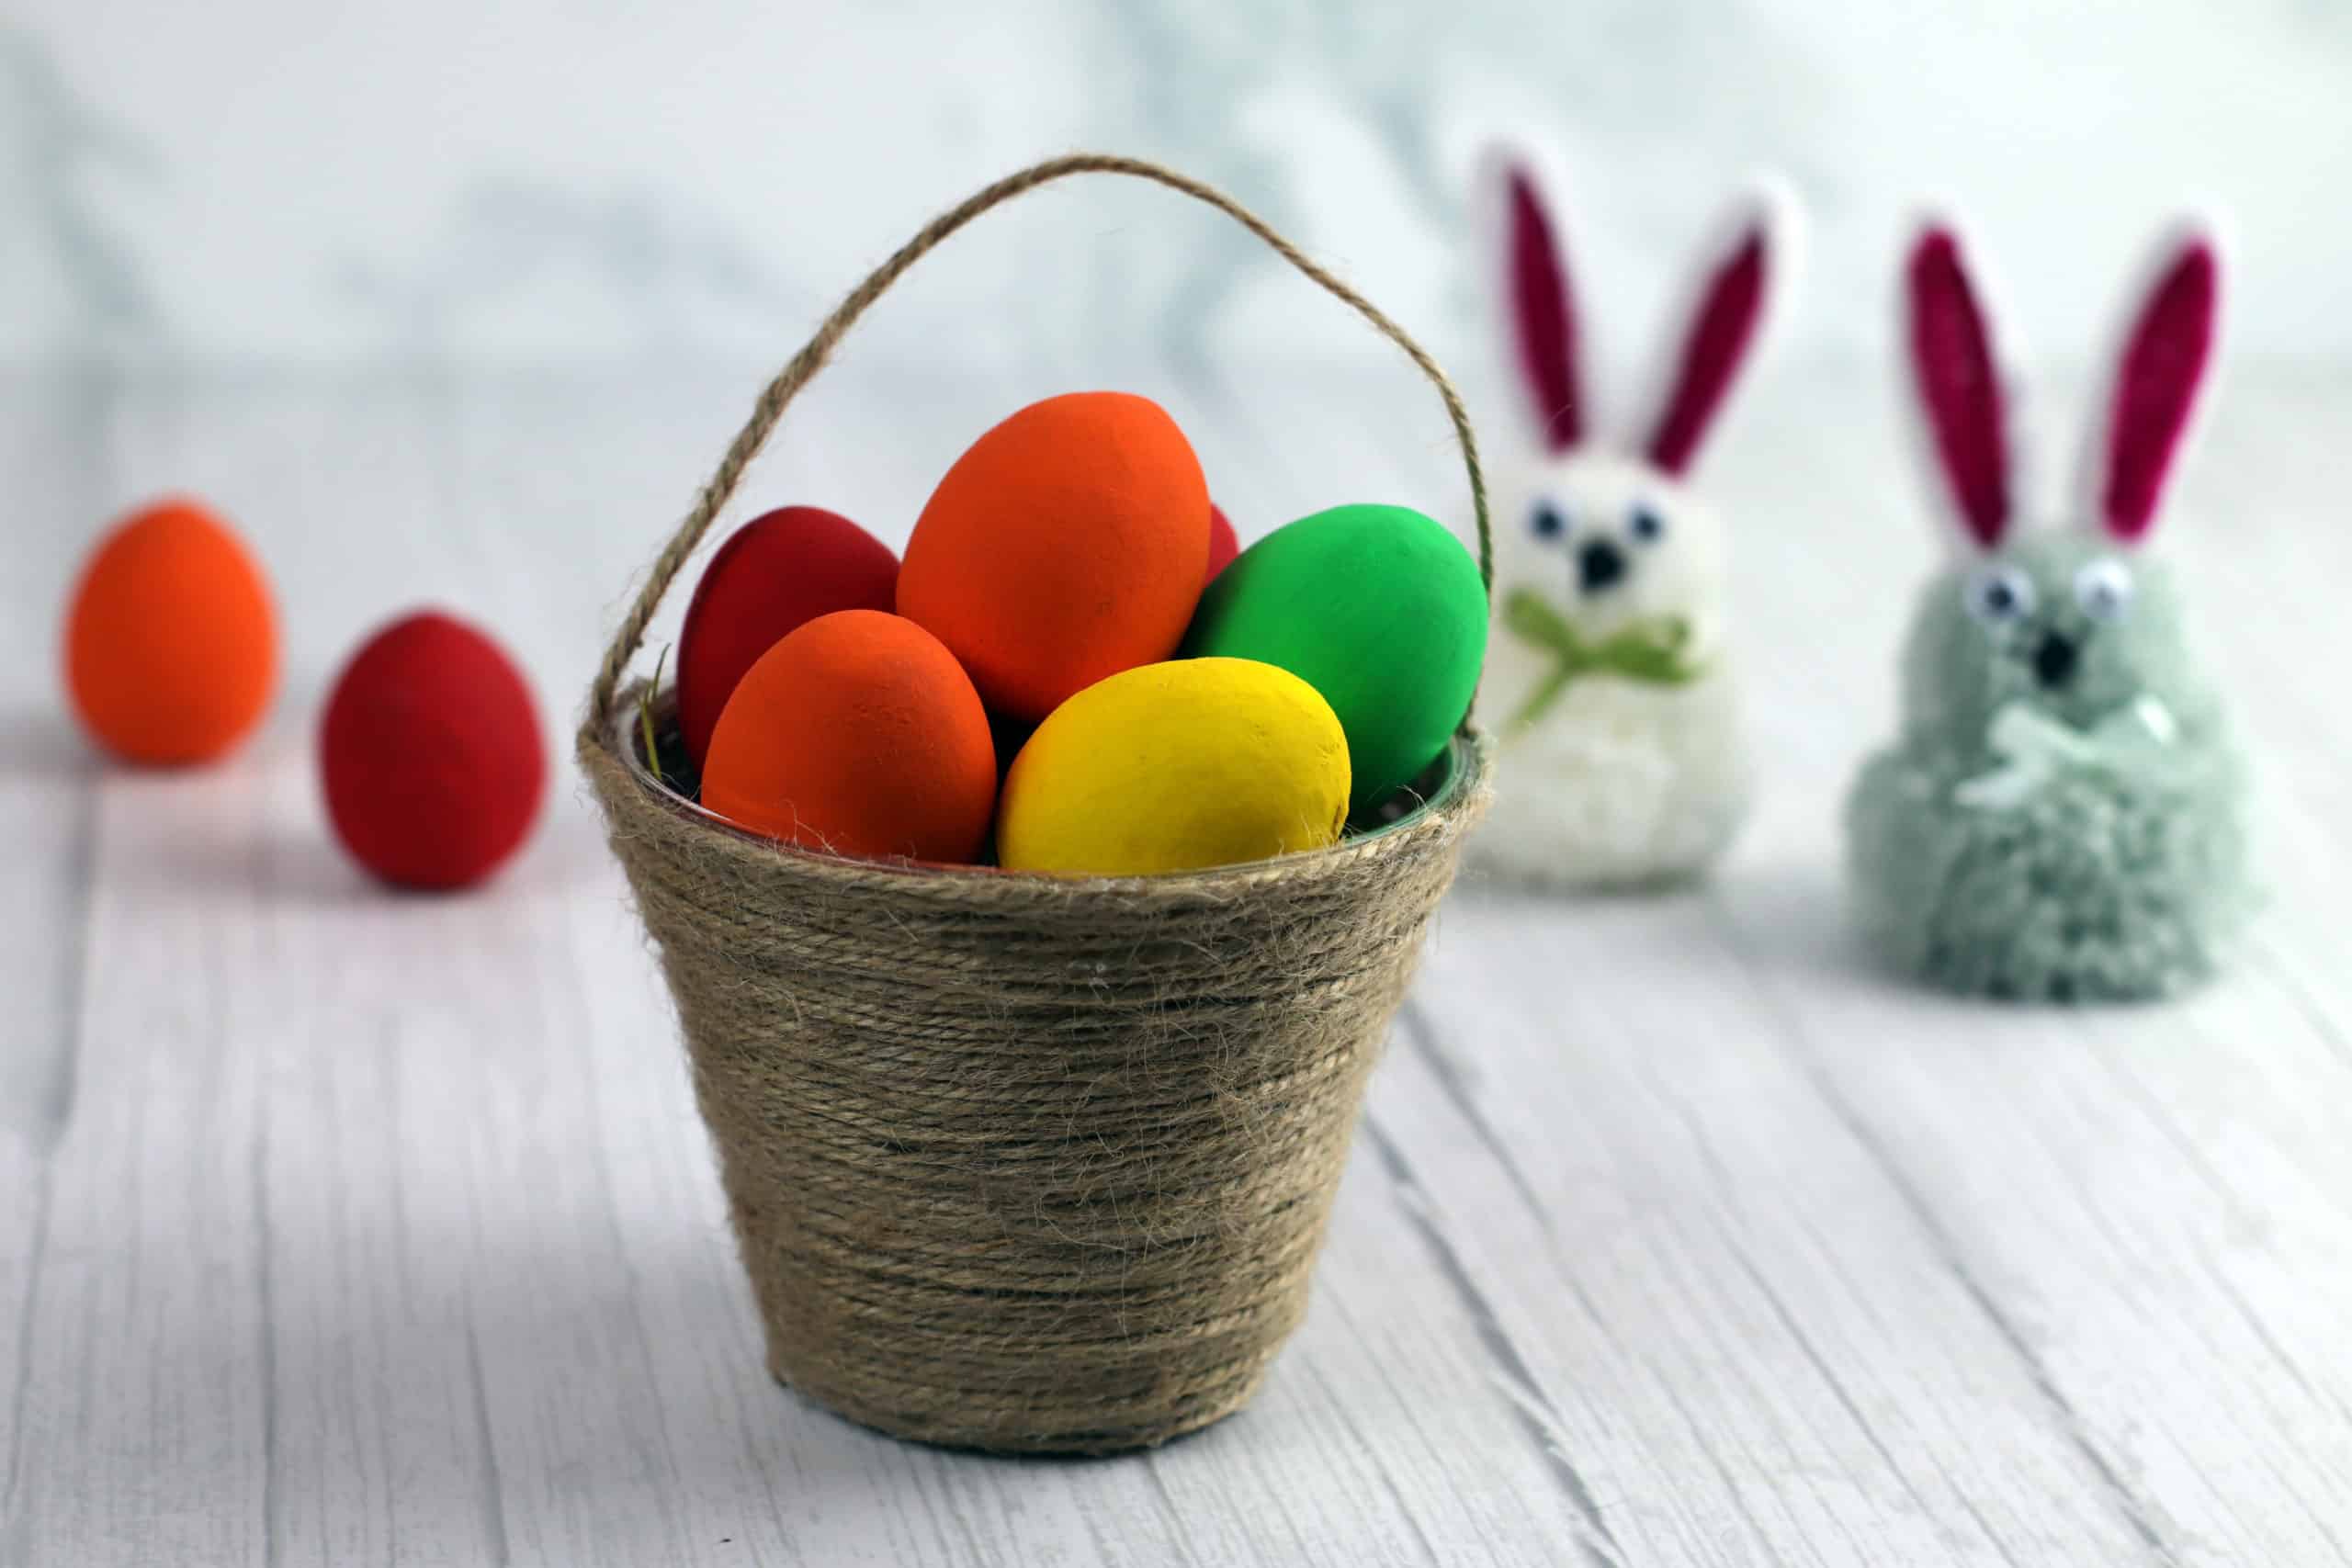
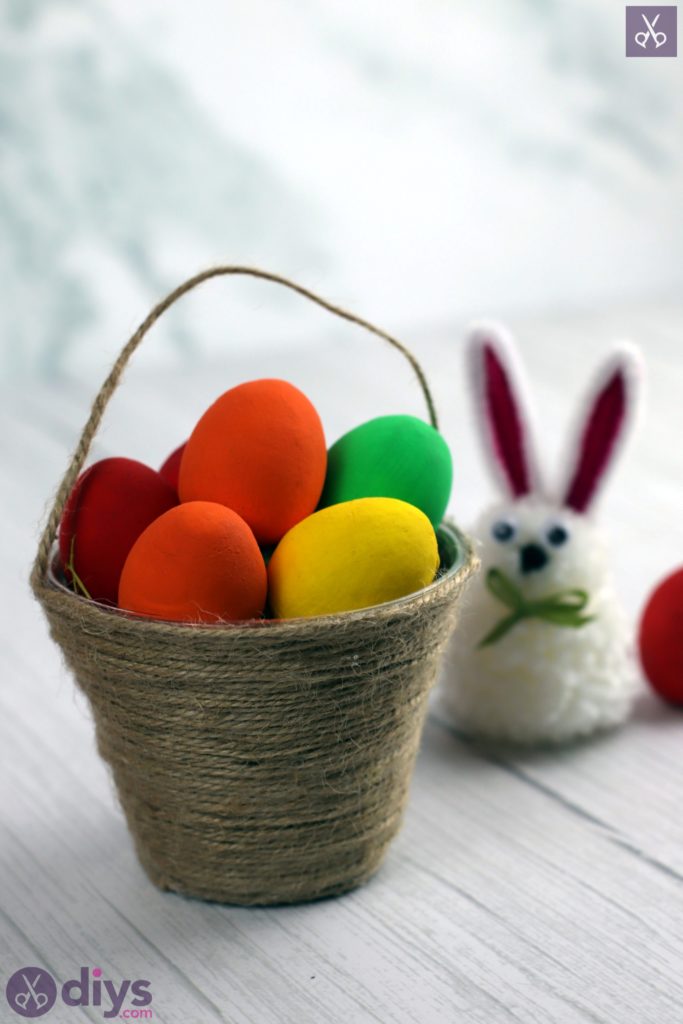
DIY Jute Easter Egg Basket
Updated on November 19, 2025
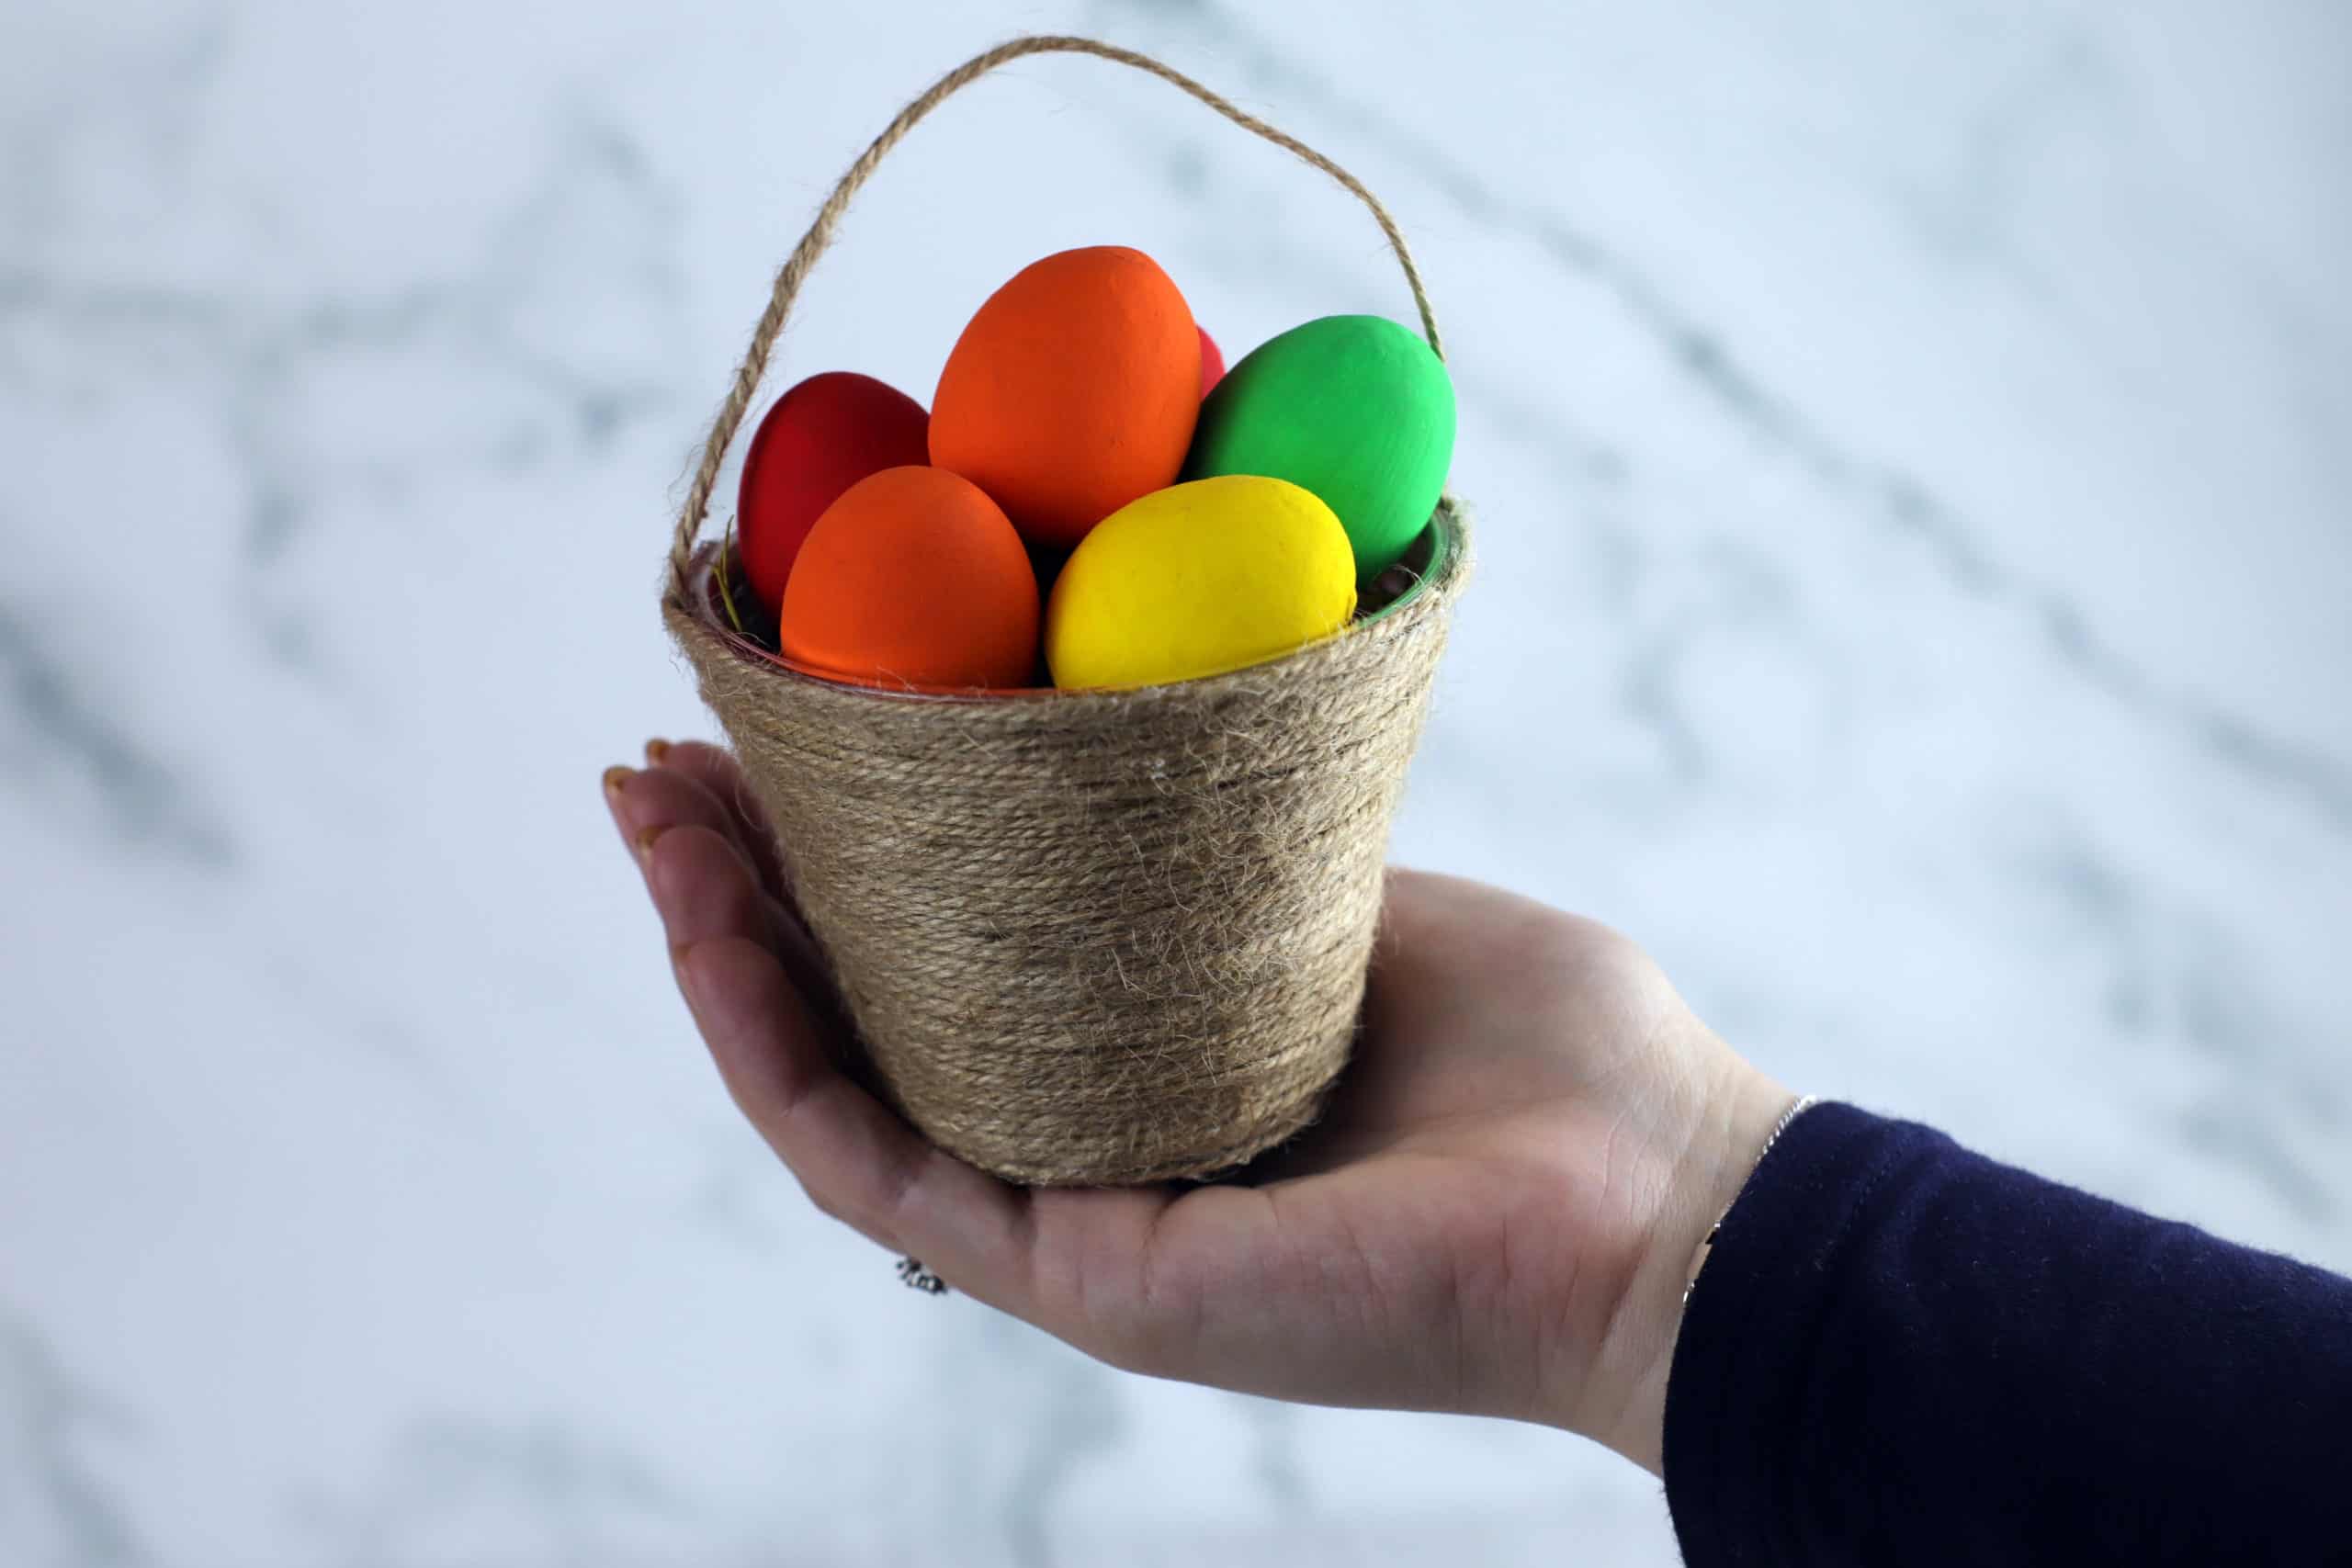


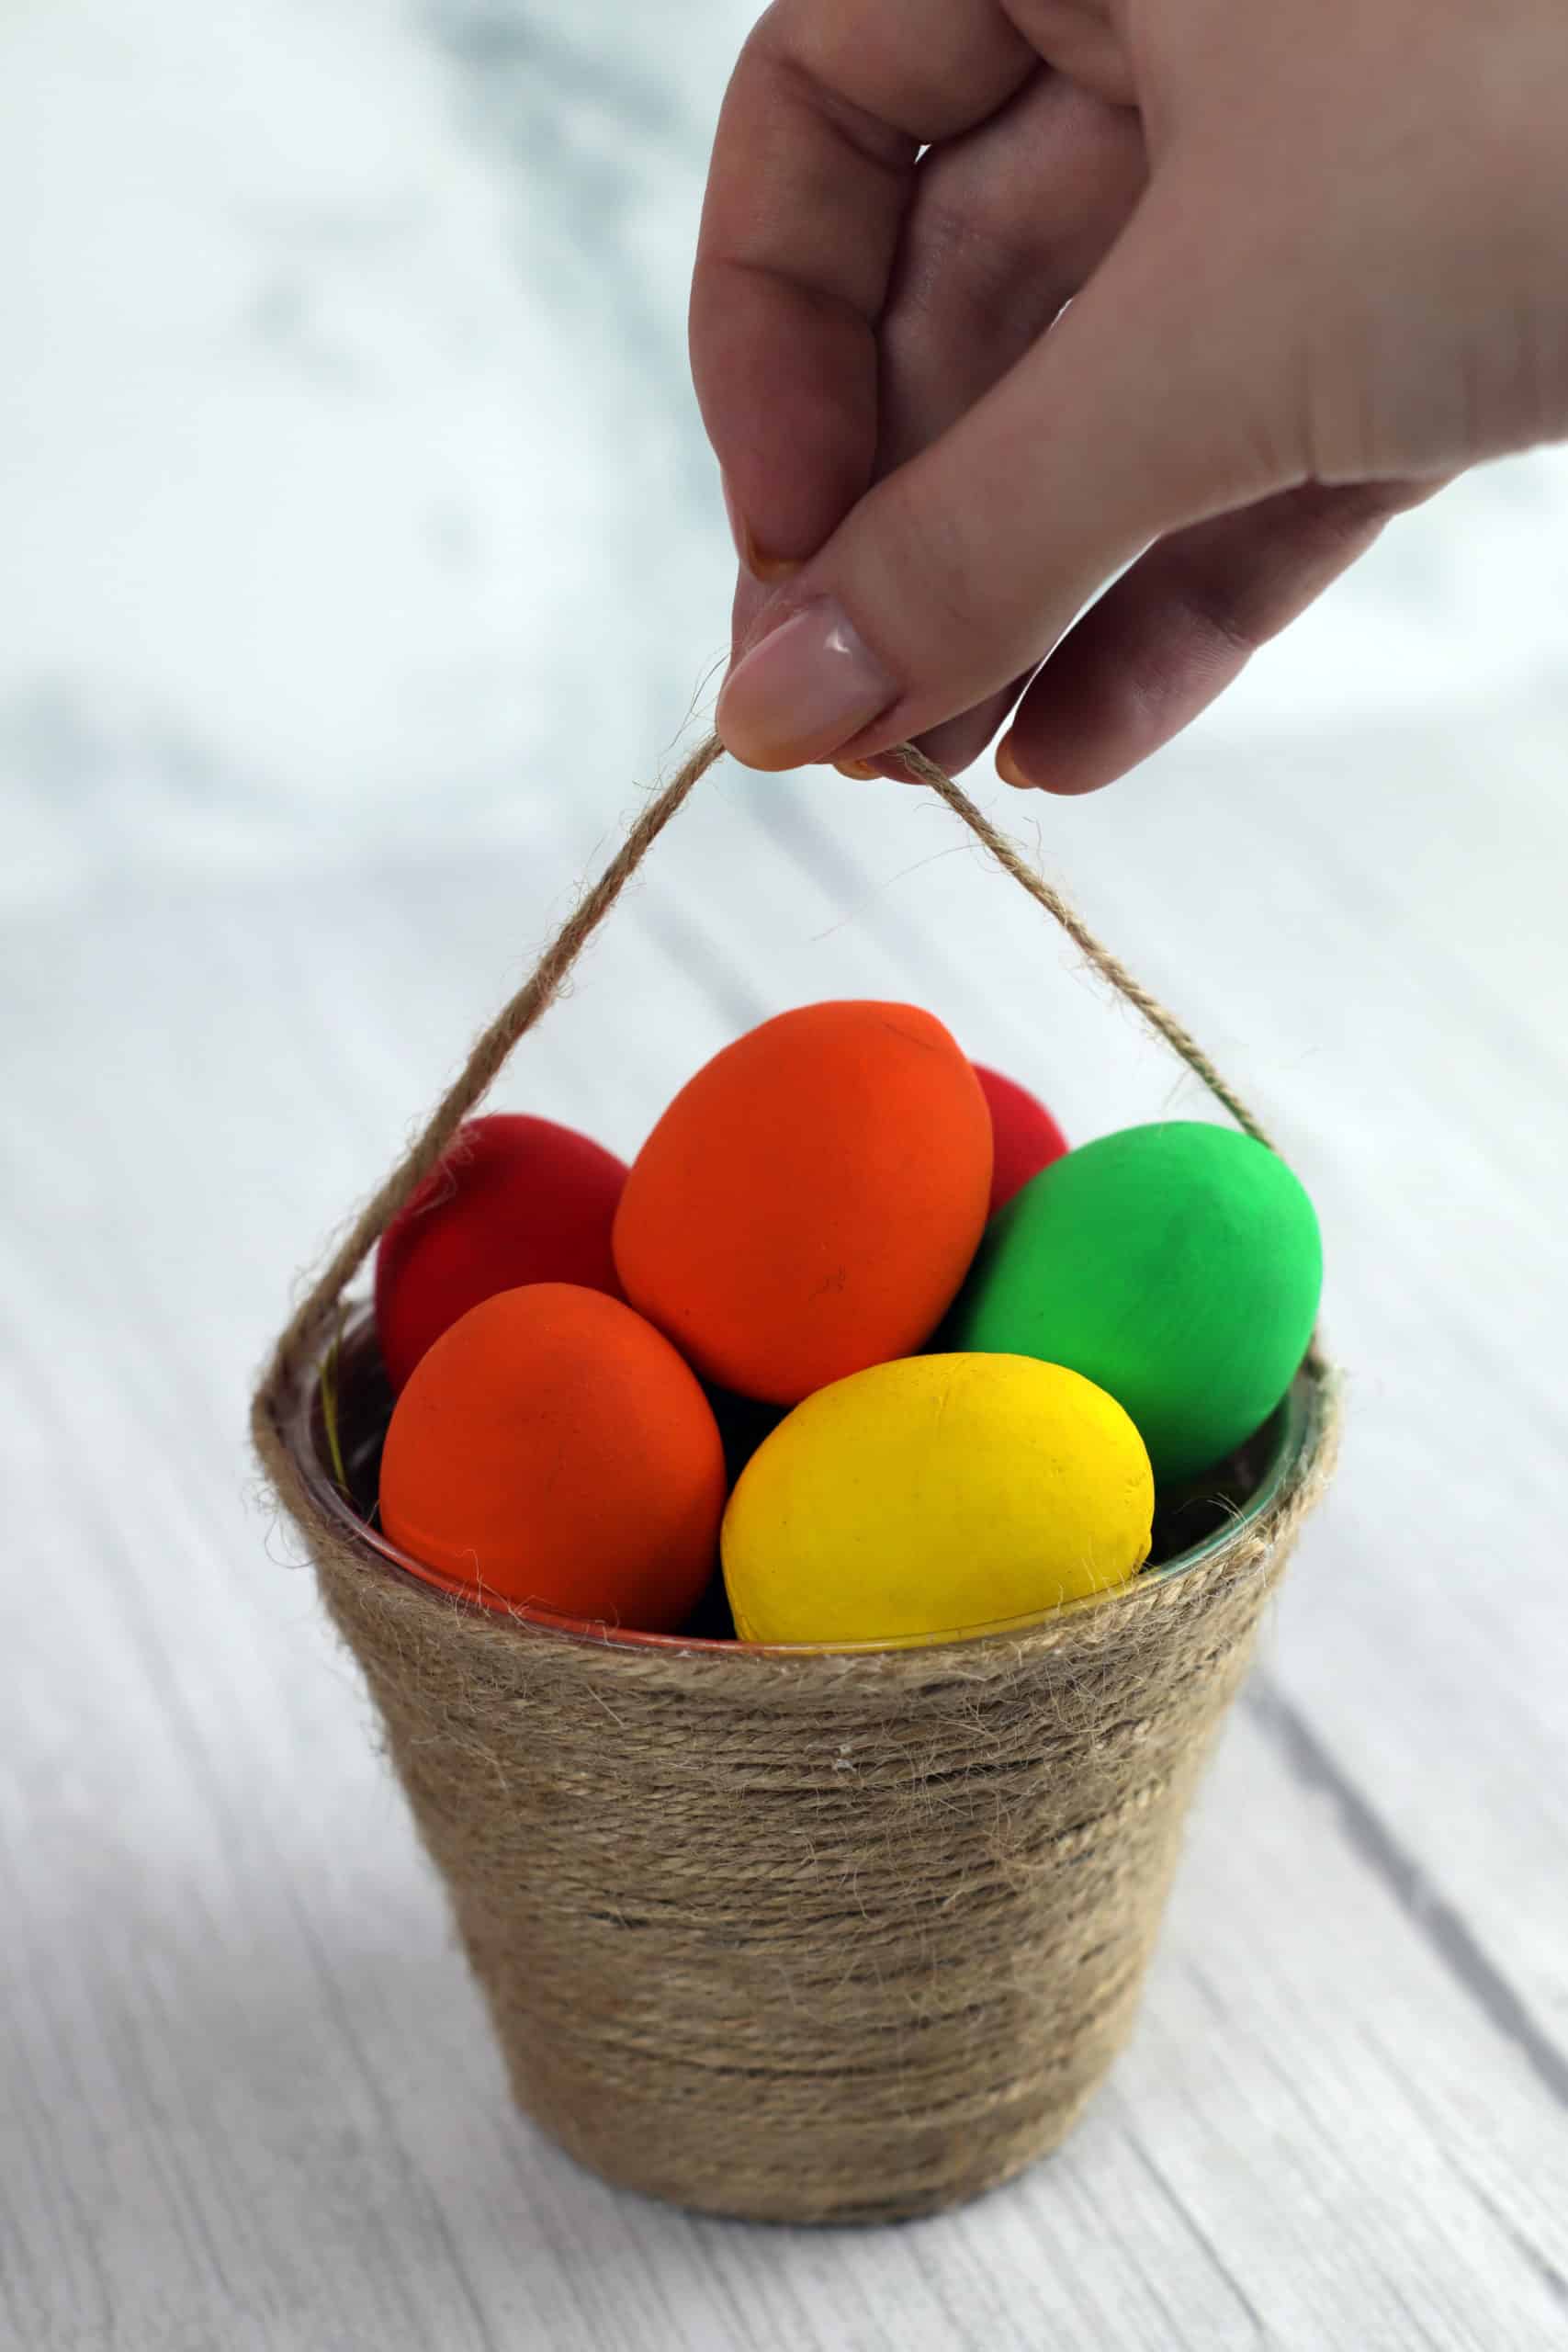


While I was dreaming up crafty ways to celebrate spring last week, I came across a roll of jute string and a package of plastic cups that have been sitting in our crafting room for a while now and should really be used up. That’s how I came up with this cute little jute wrapped Easter basket idea! I organized a small chocolate egg hunt every year for the kids when I host Easter dinner at my house, so my kids and I sat down and made several of these baskets, setting them aside for the spring so each child will have something fun to put the eggs and candies they find into while they search.
Check out these step by step instructions complete with photos. If you’d rather follow along with a video tutorial instead of written words, scroll to the bottom of this post to find just what you’re looking for.
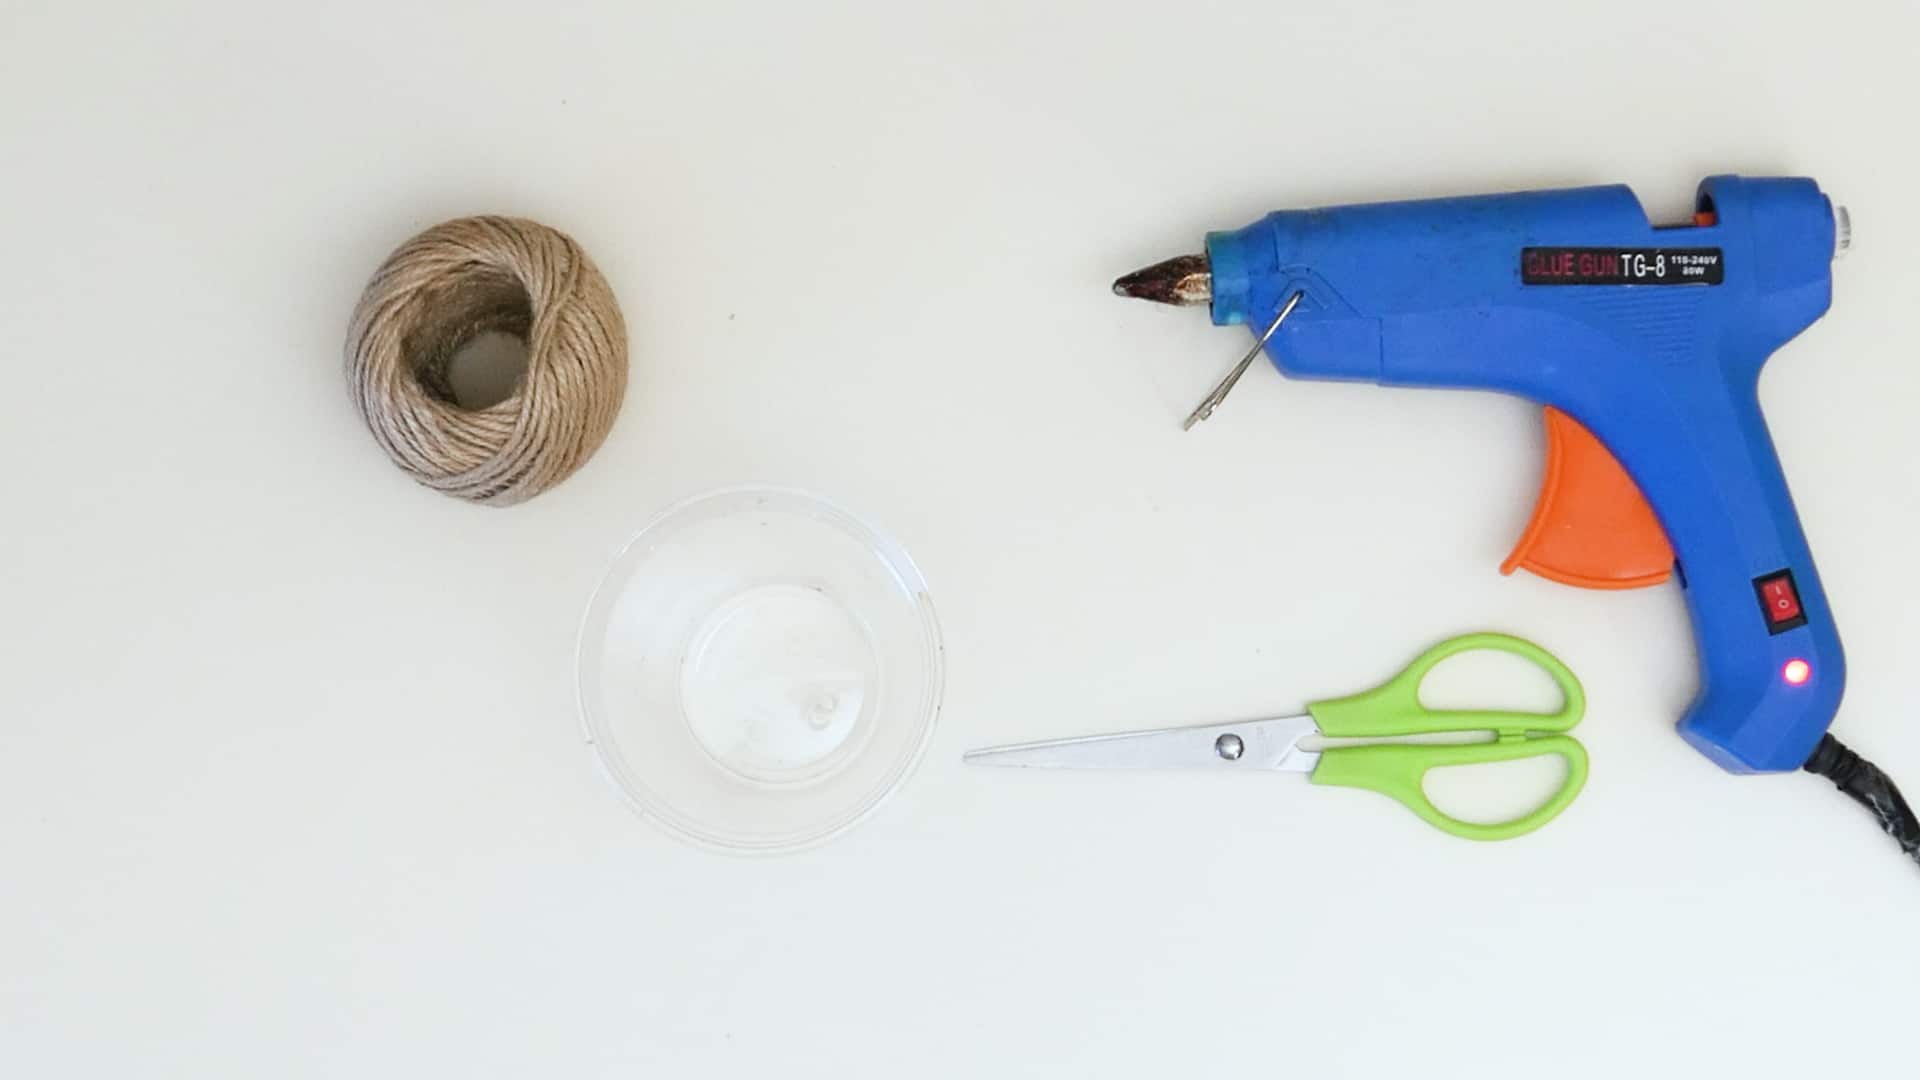
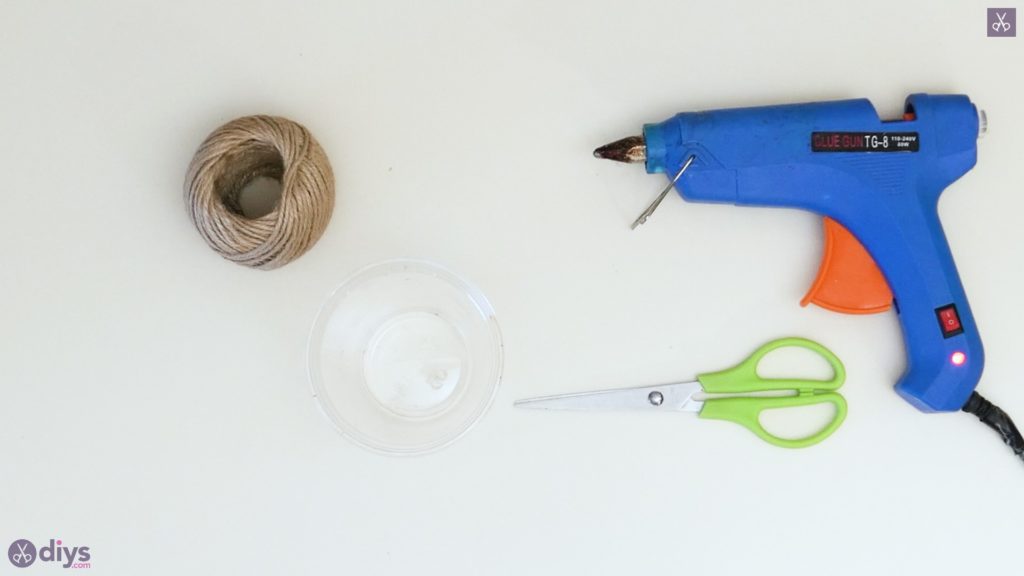
For this project, you’ll need:
- Hot glue
- A plastic cup
- Jute twine or string
- Scissors
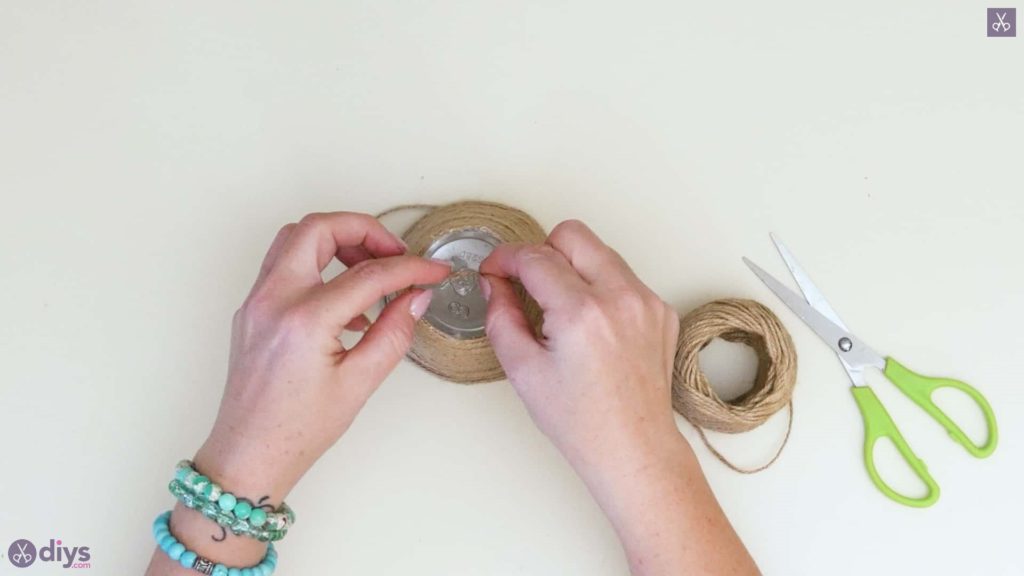
Step 1: Get everything together
Gather the materials!
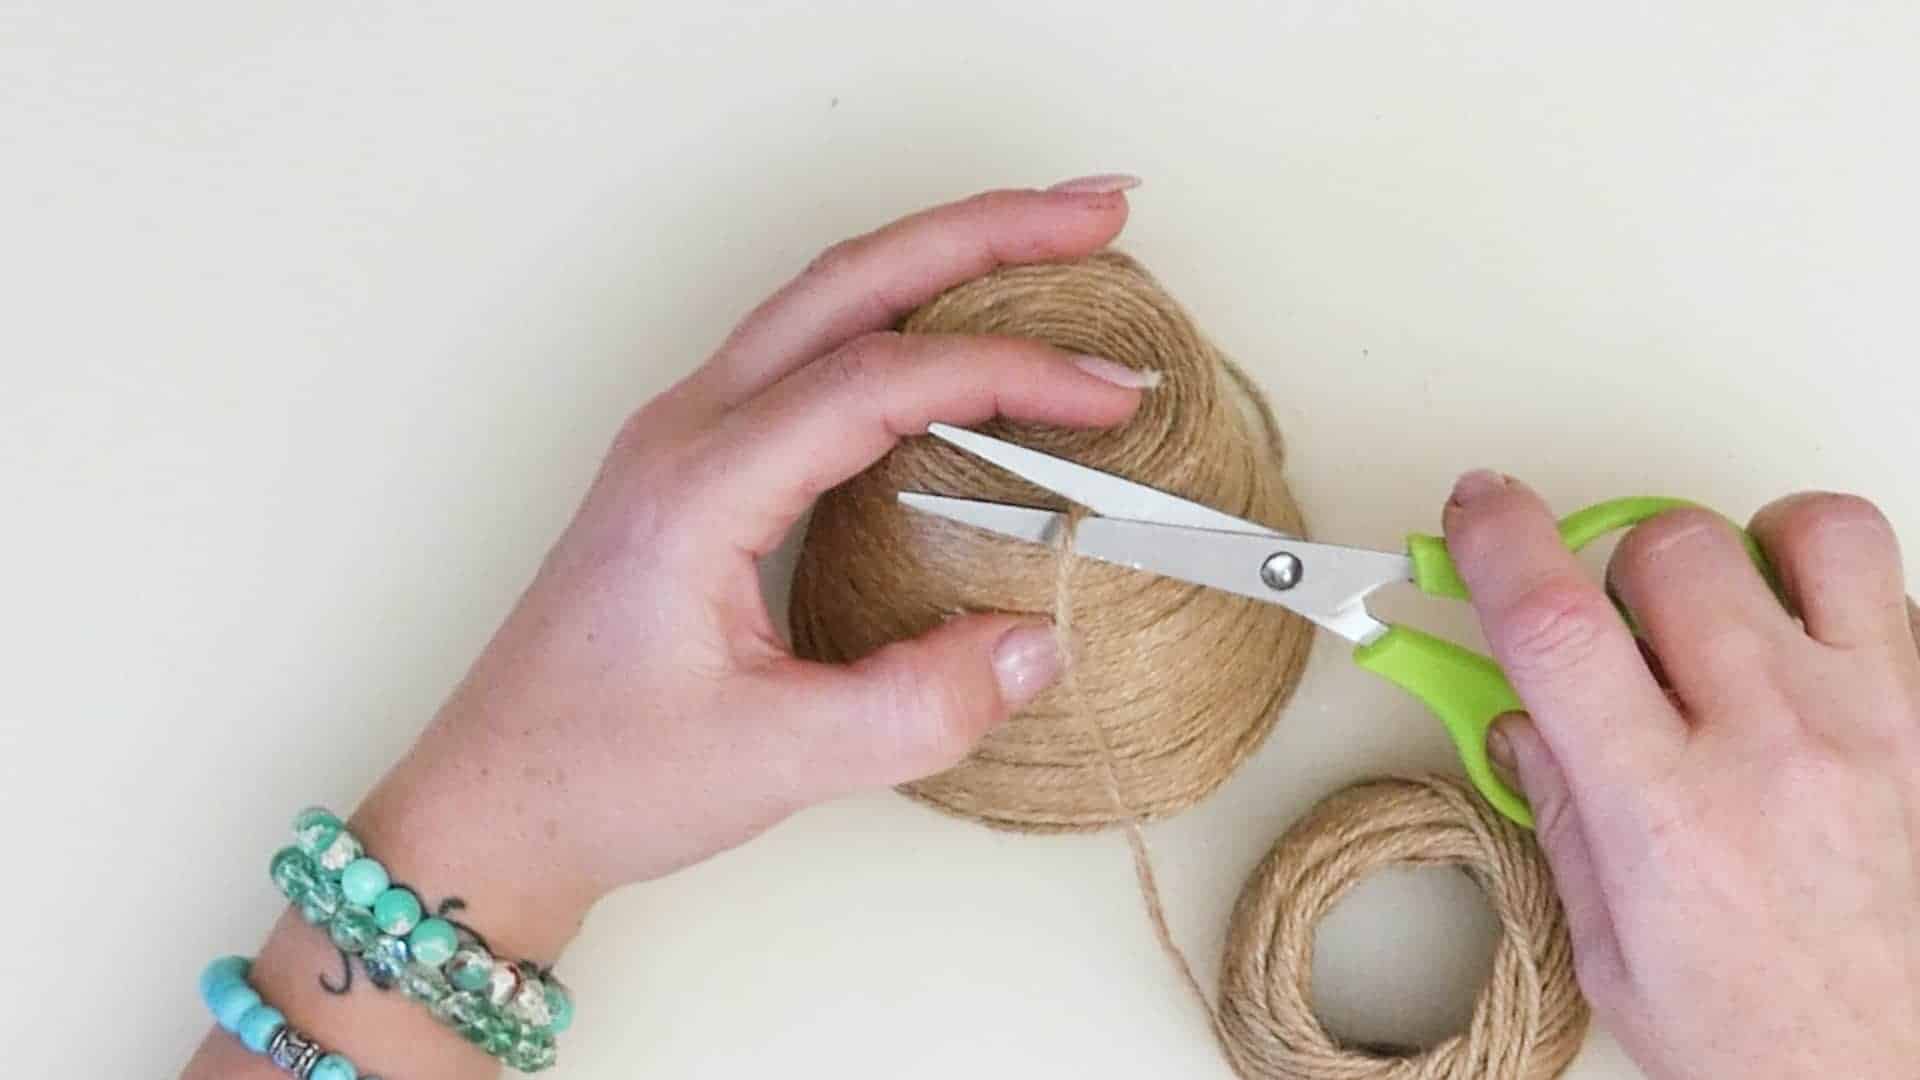
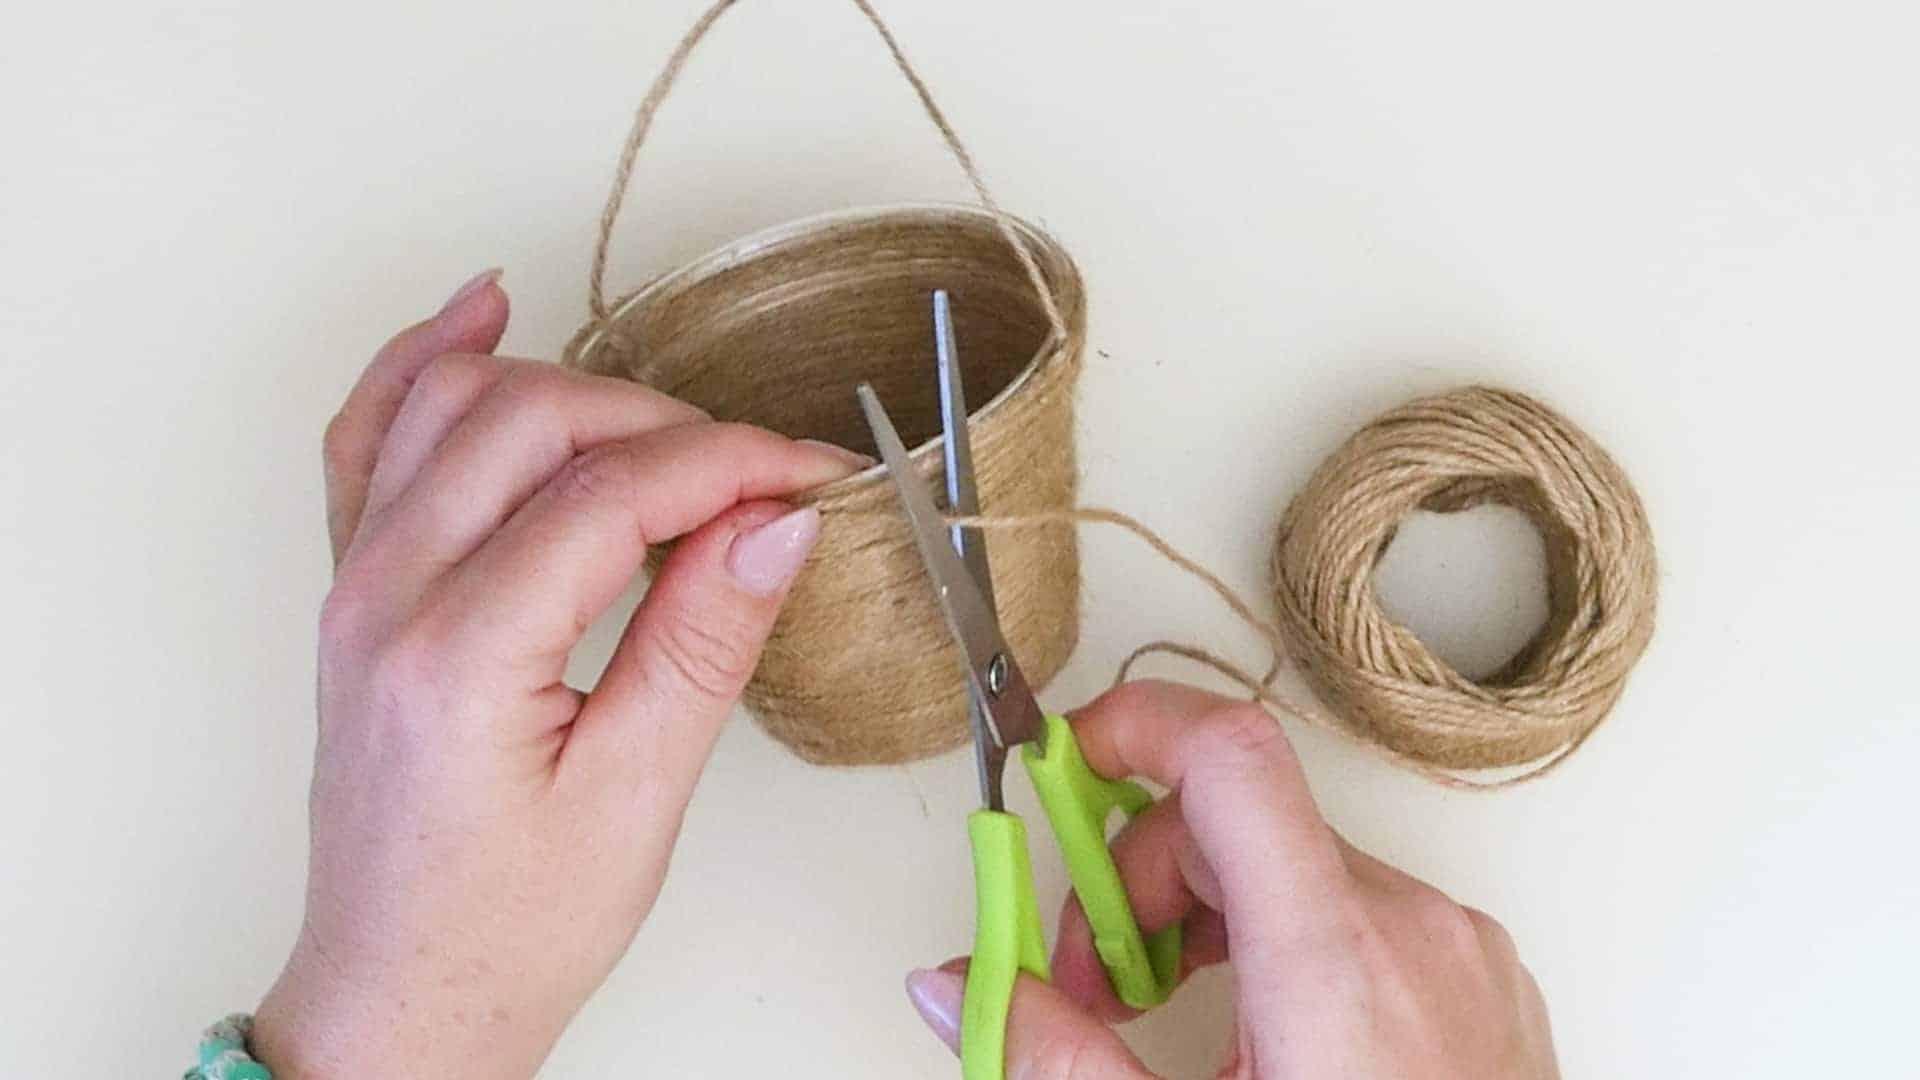
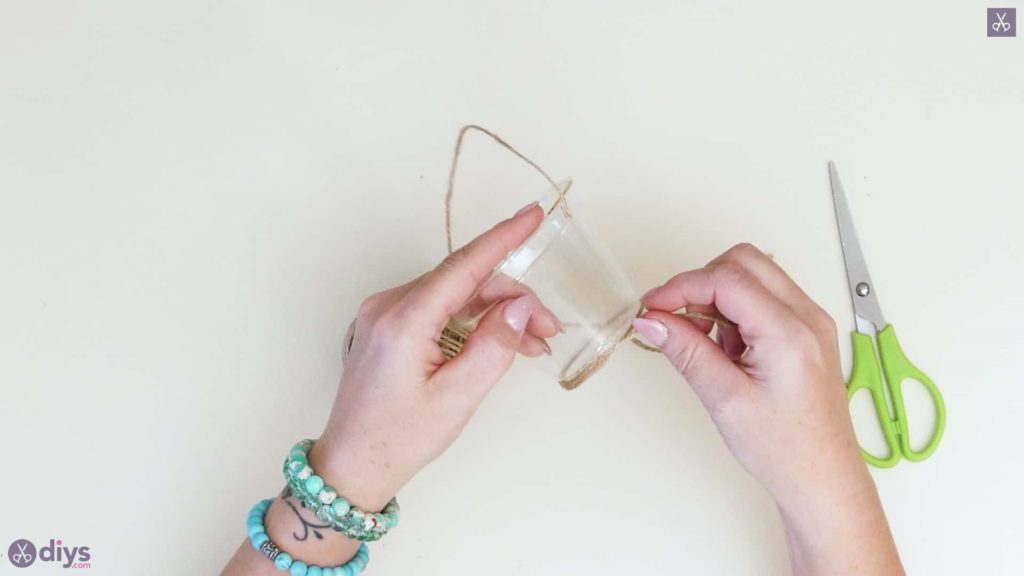
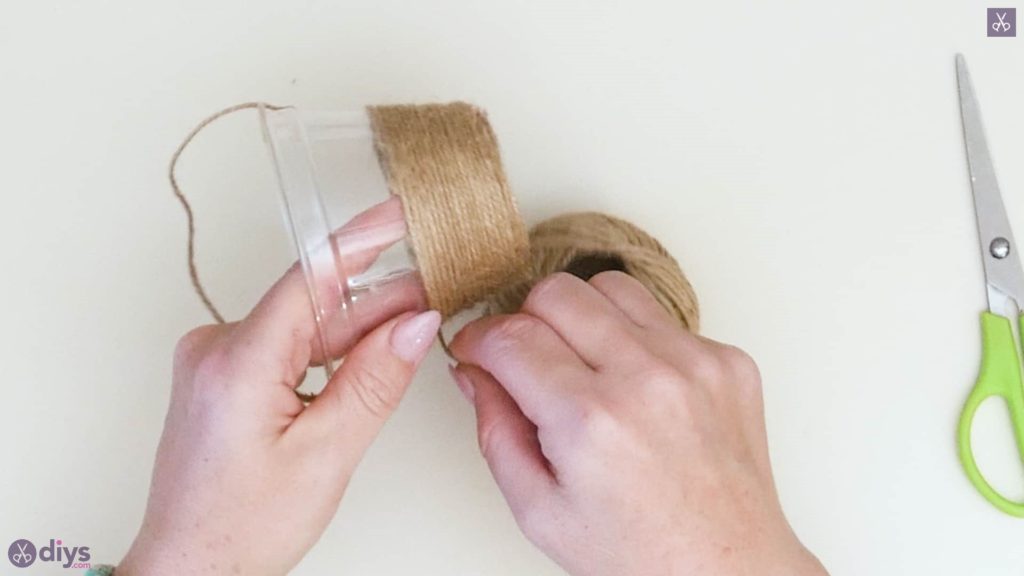
Step 2: cut your jute and add to bucket
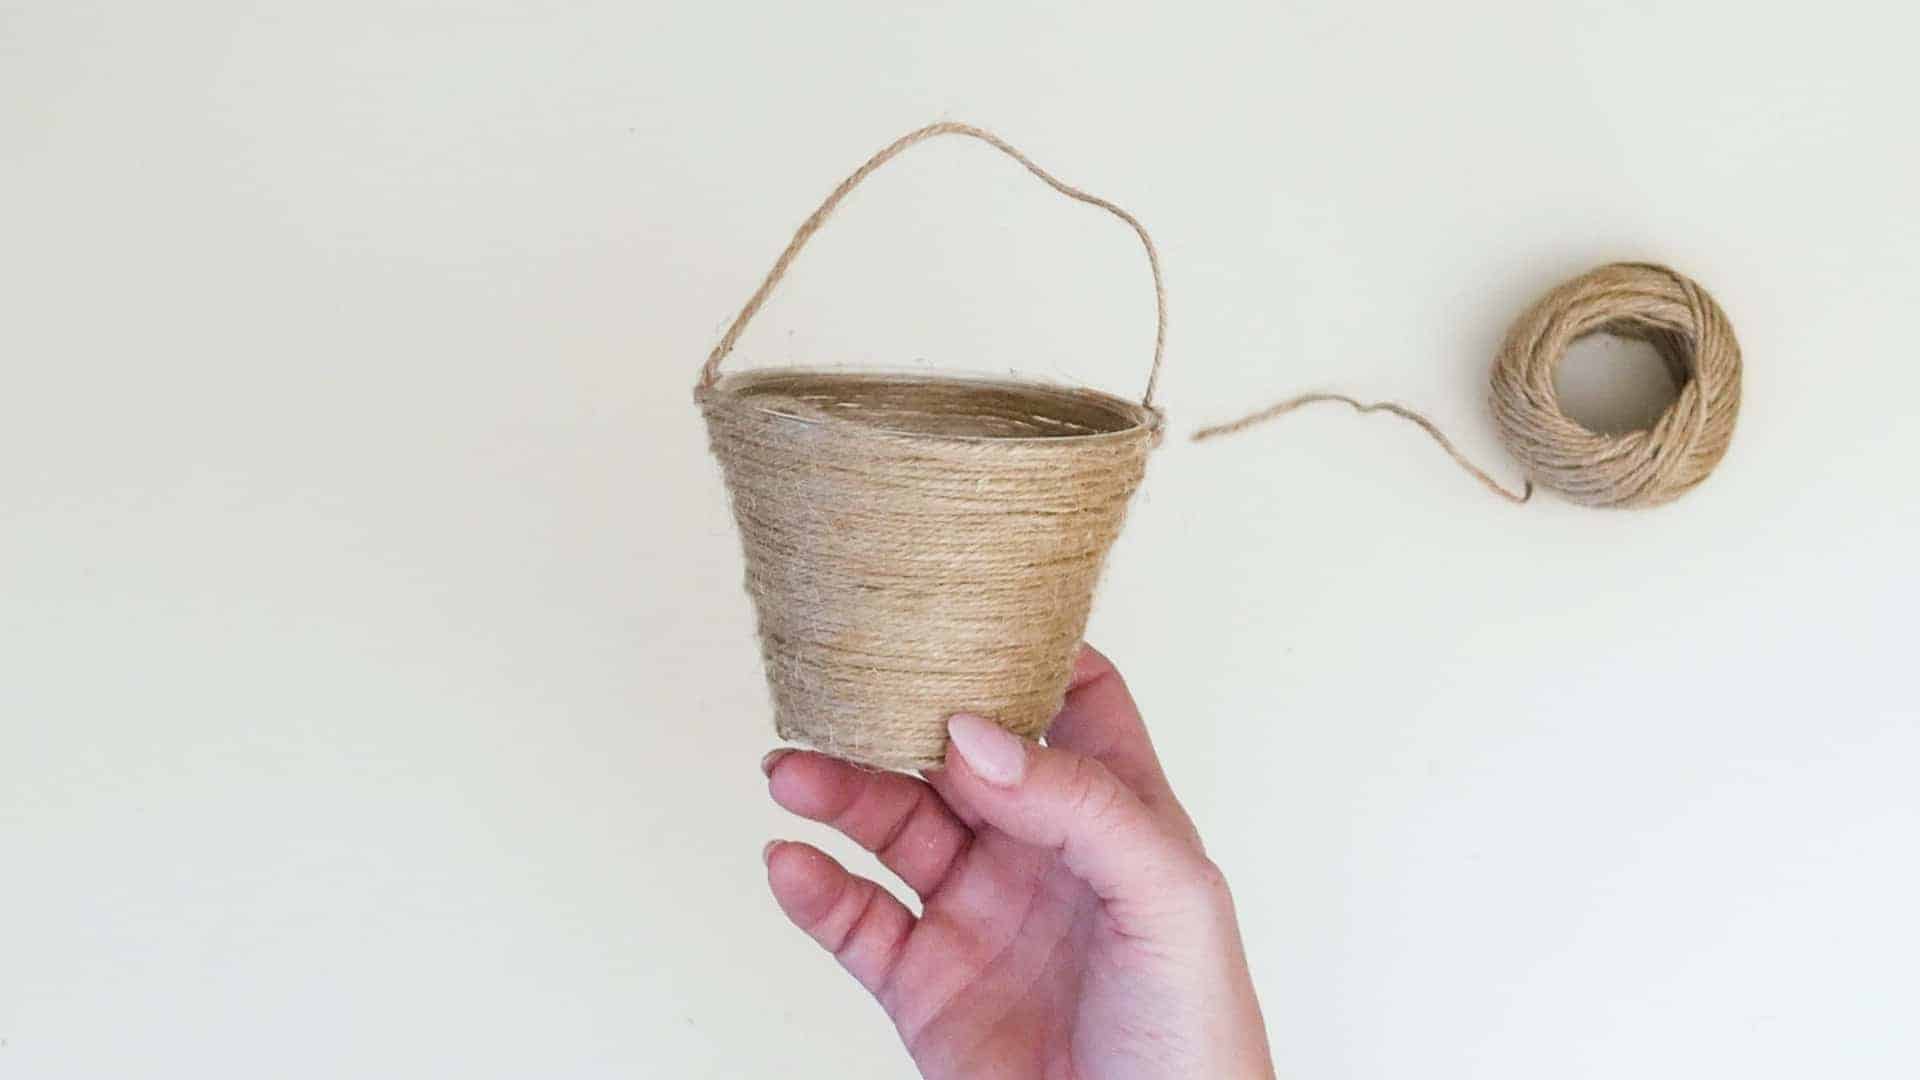
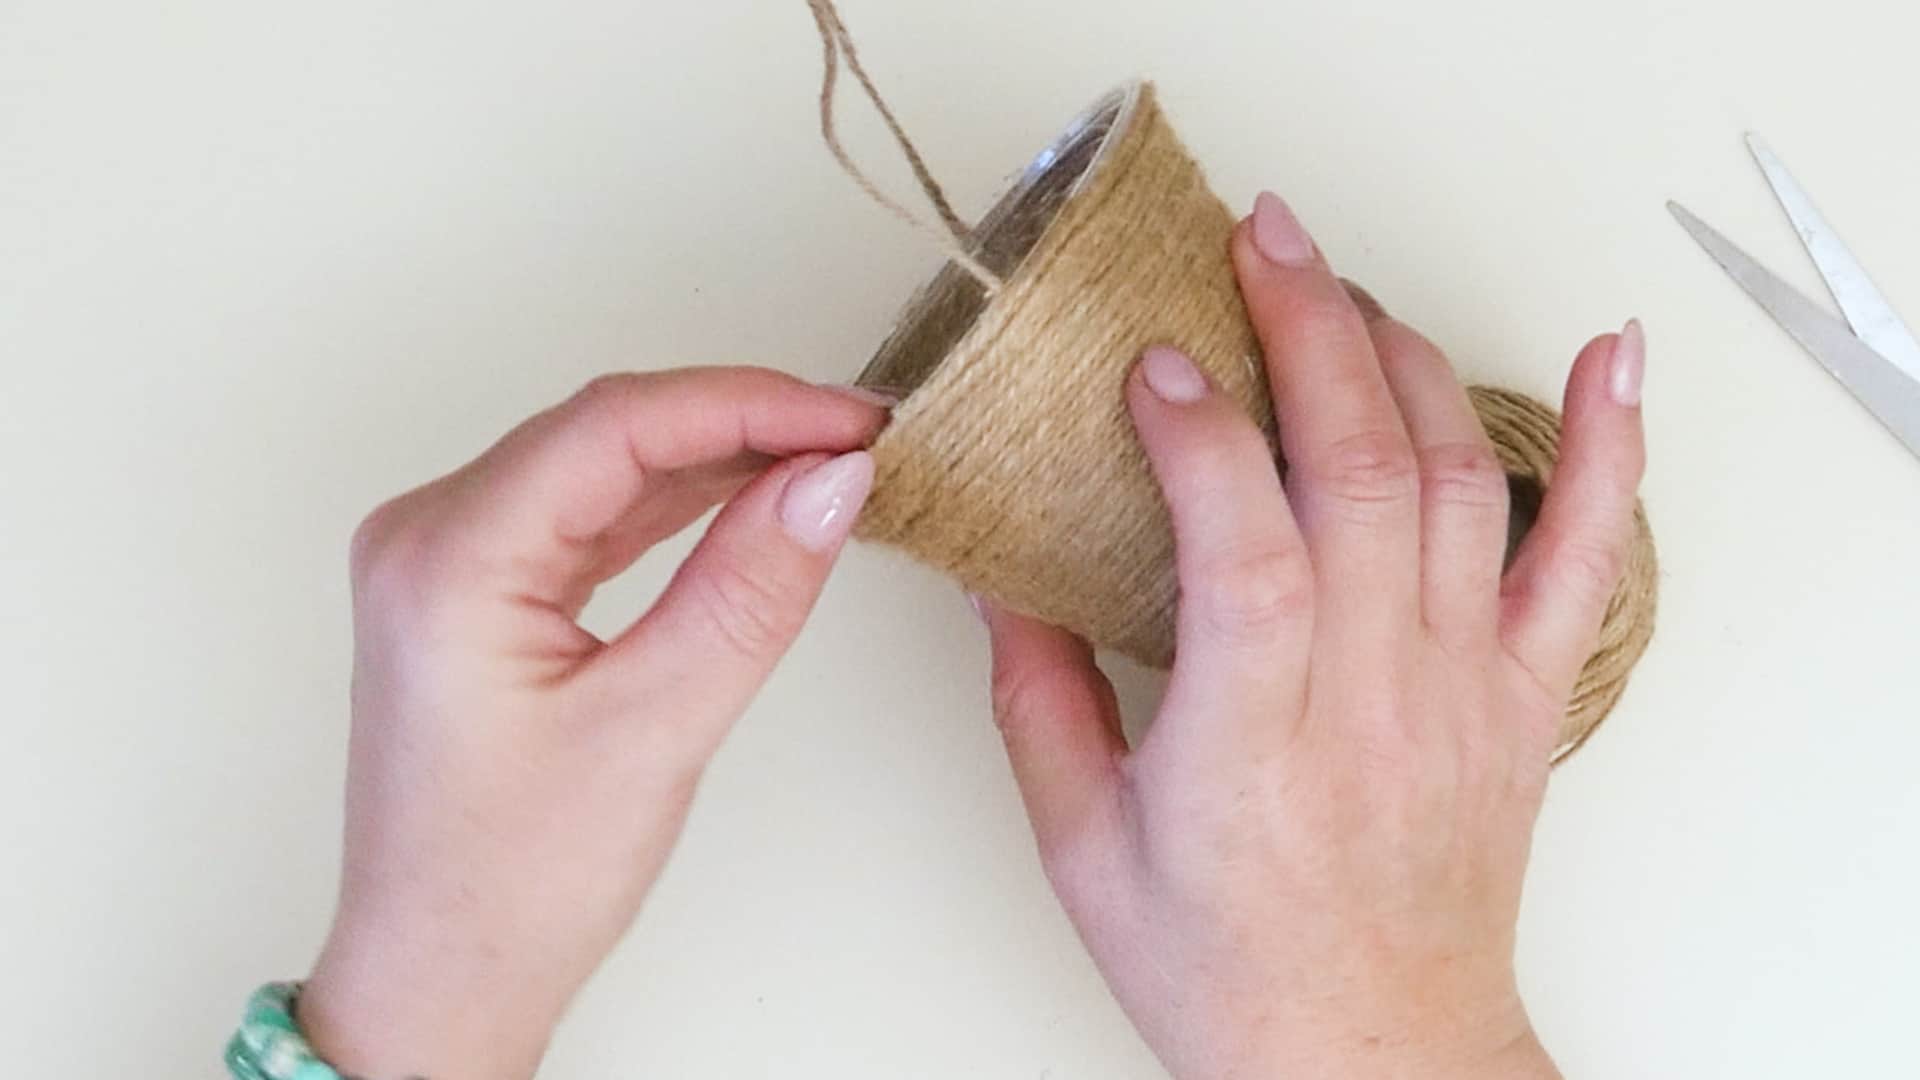
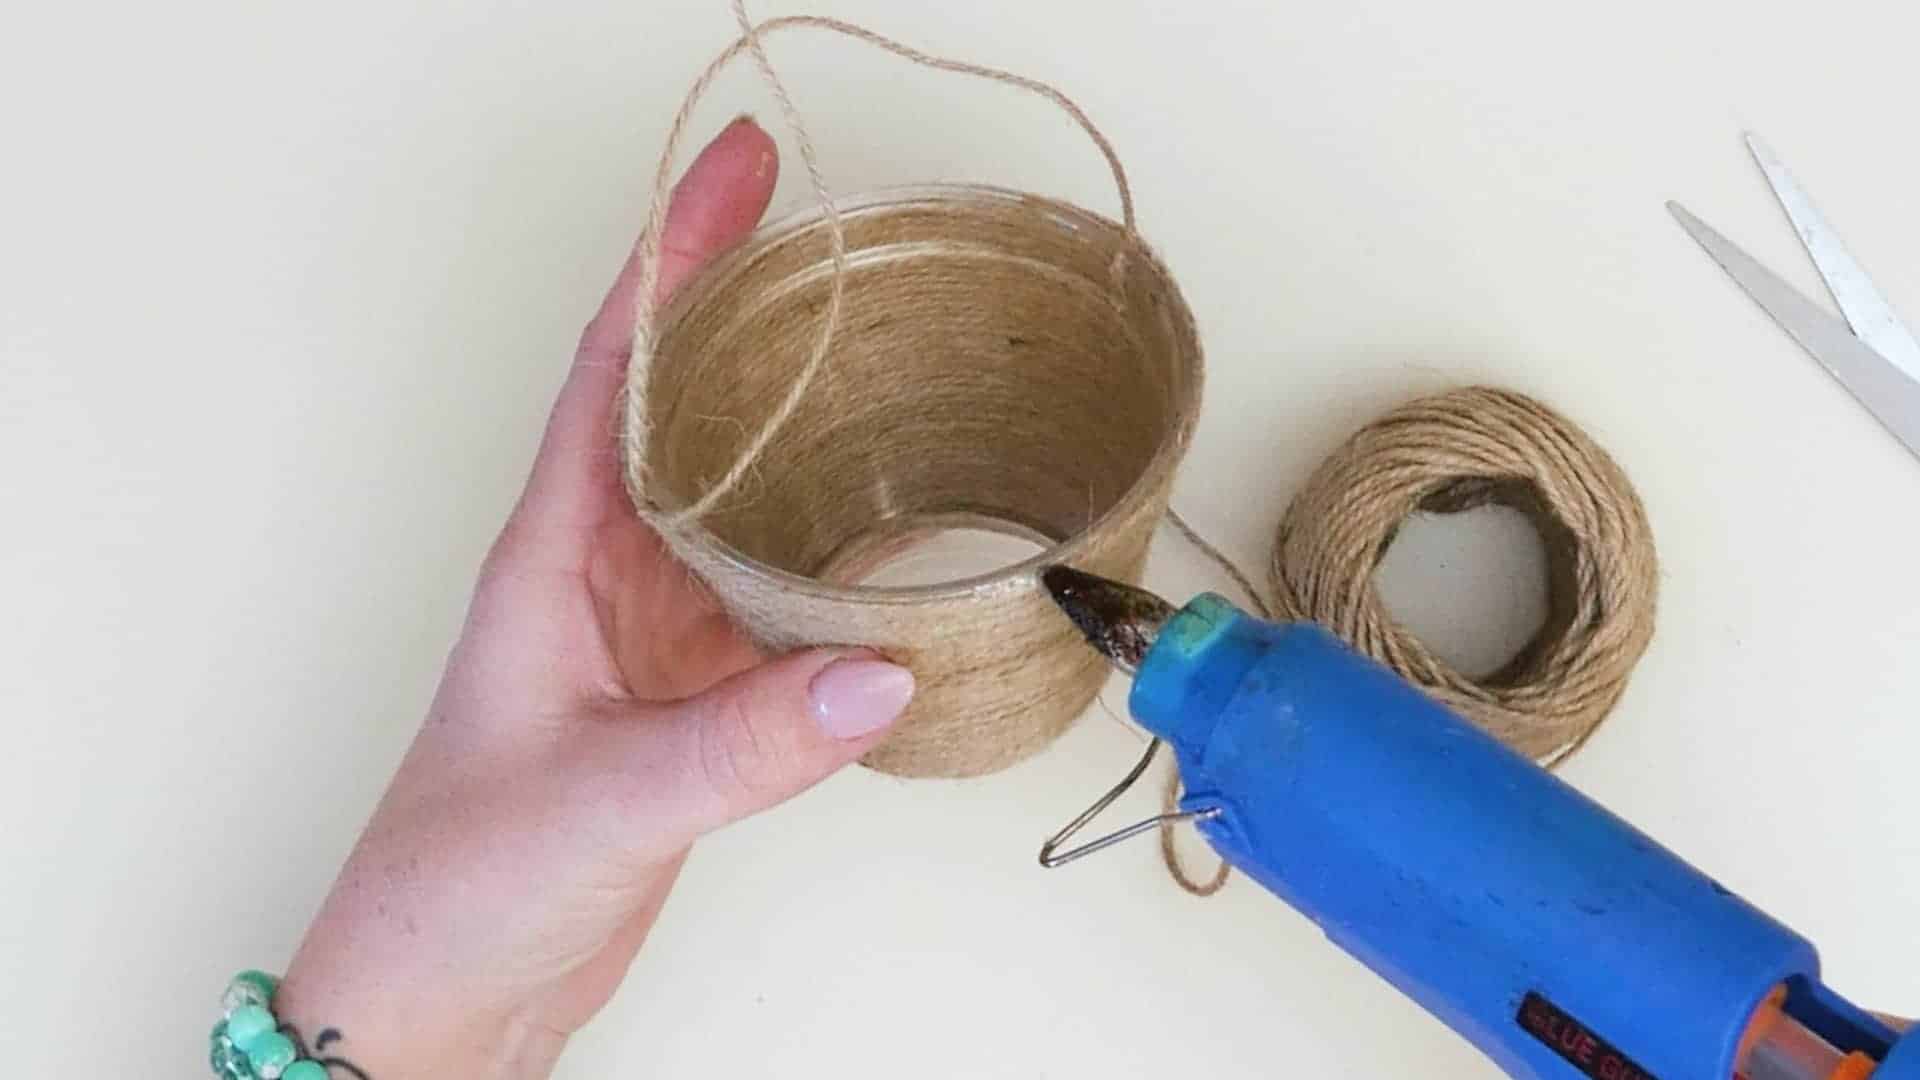
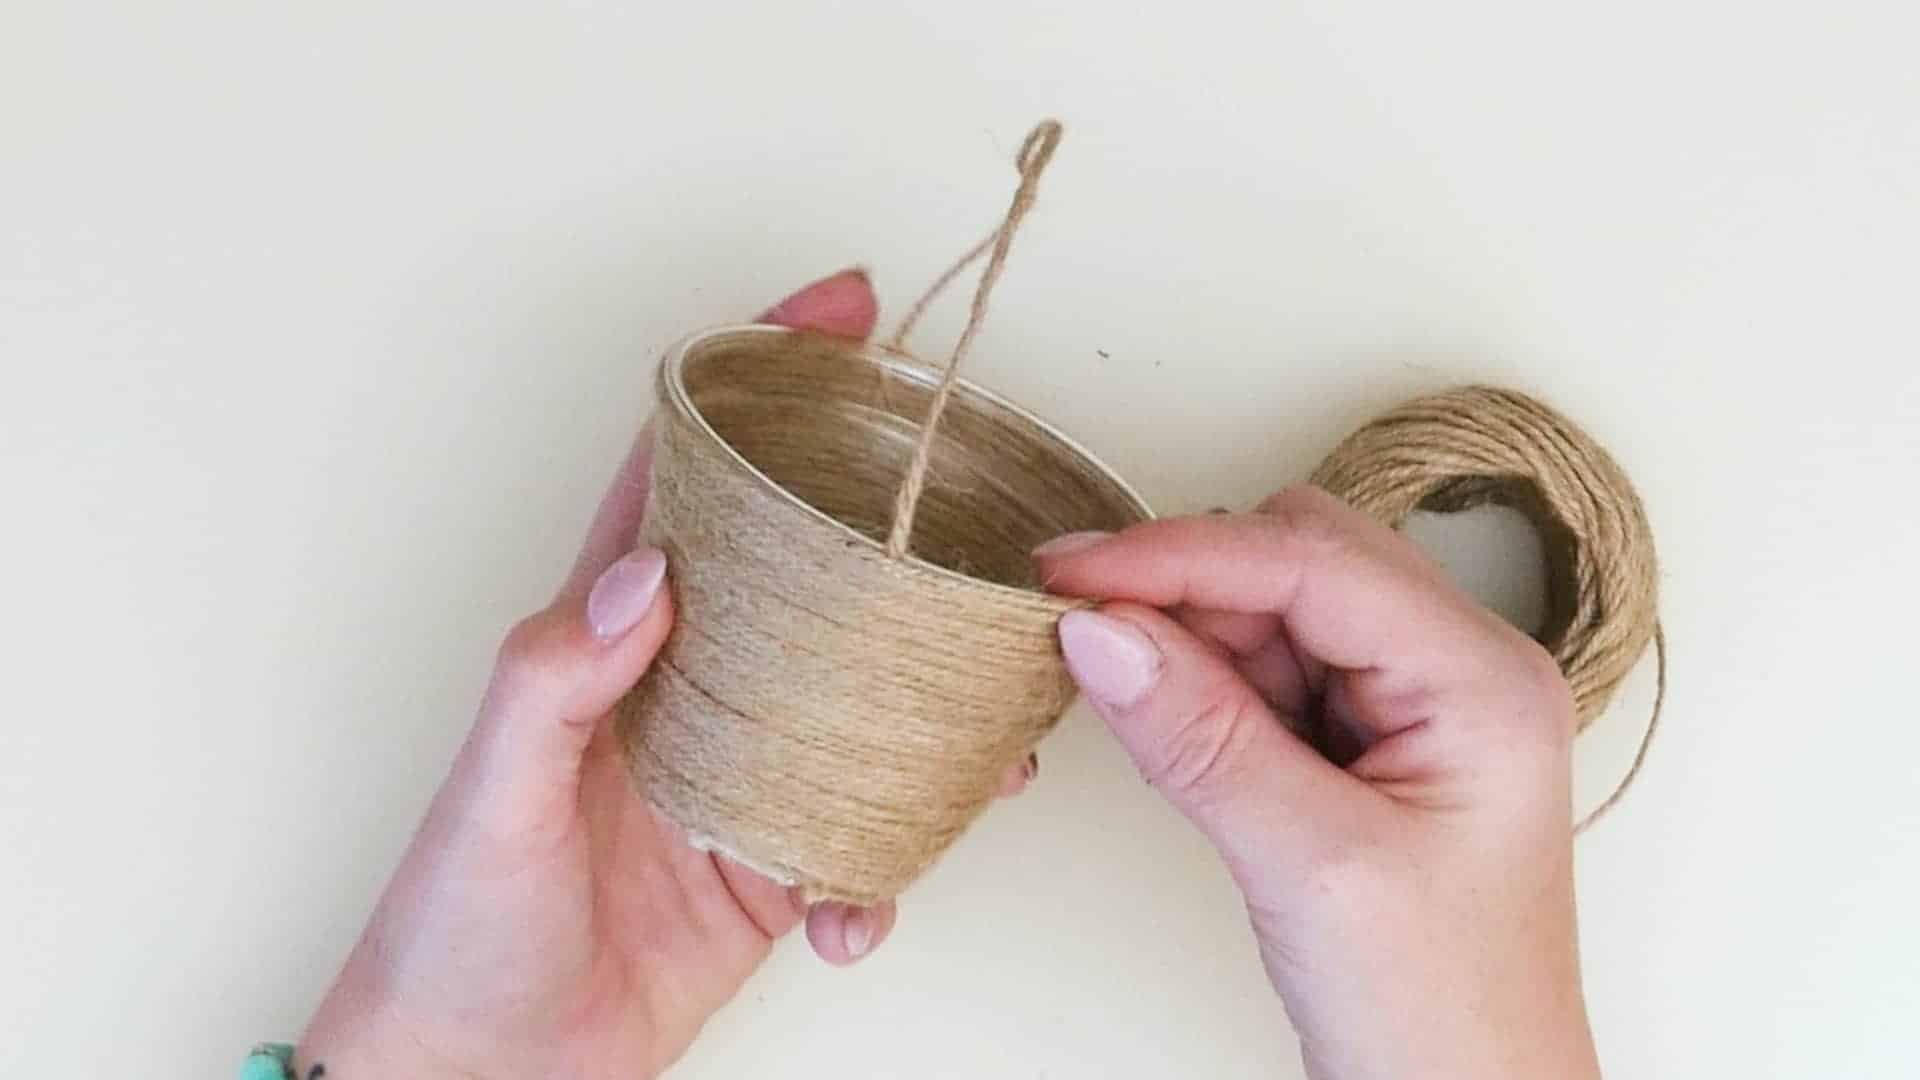
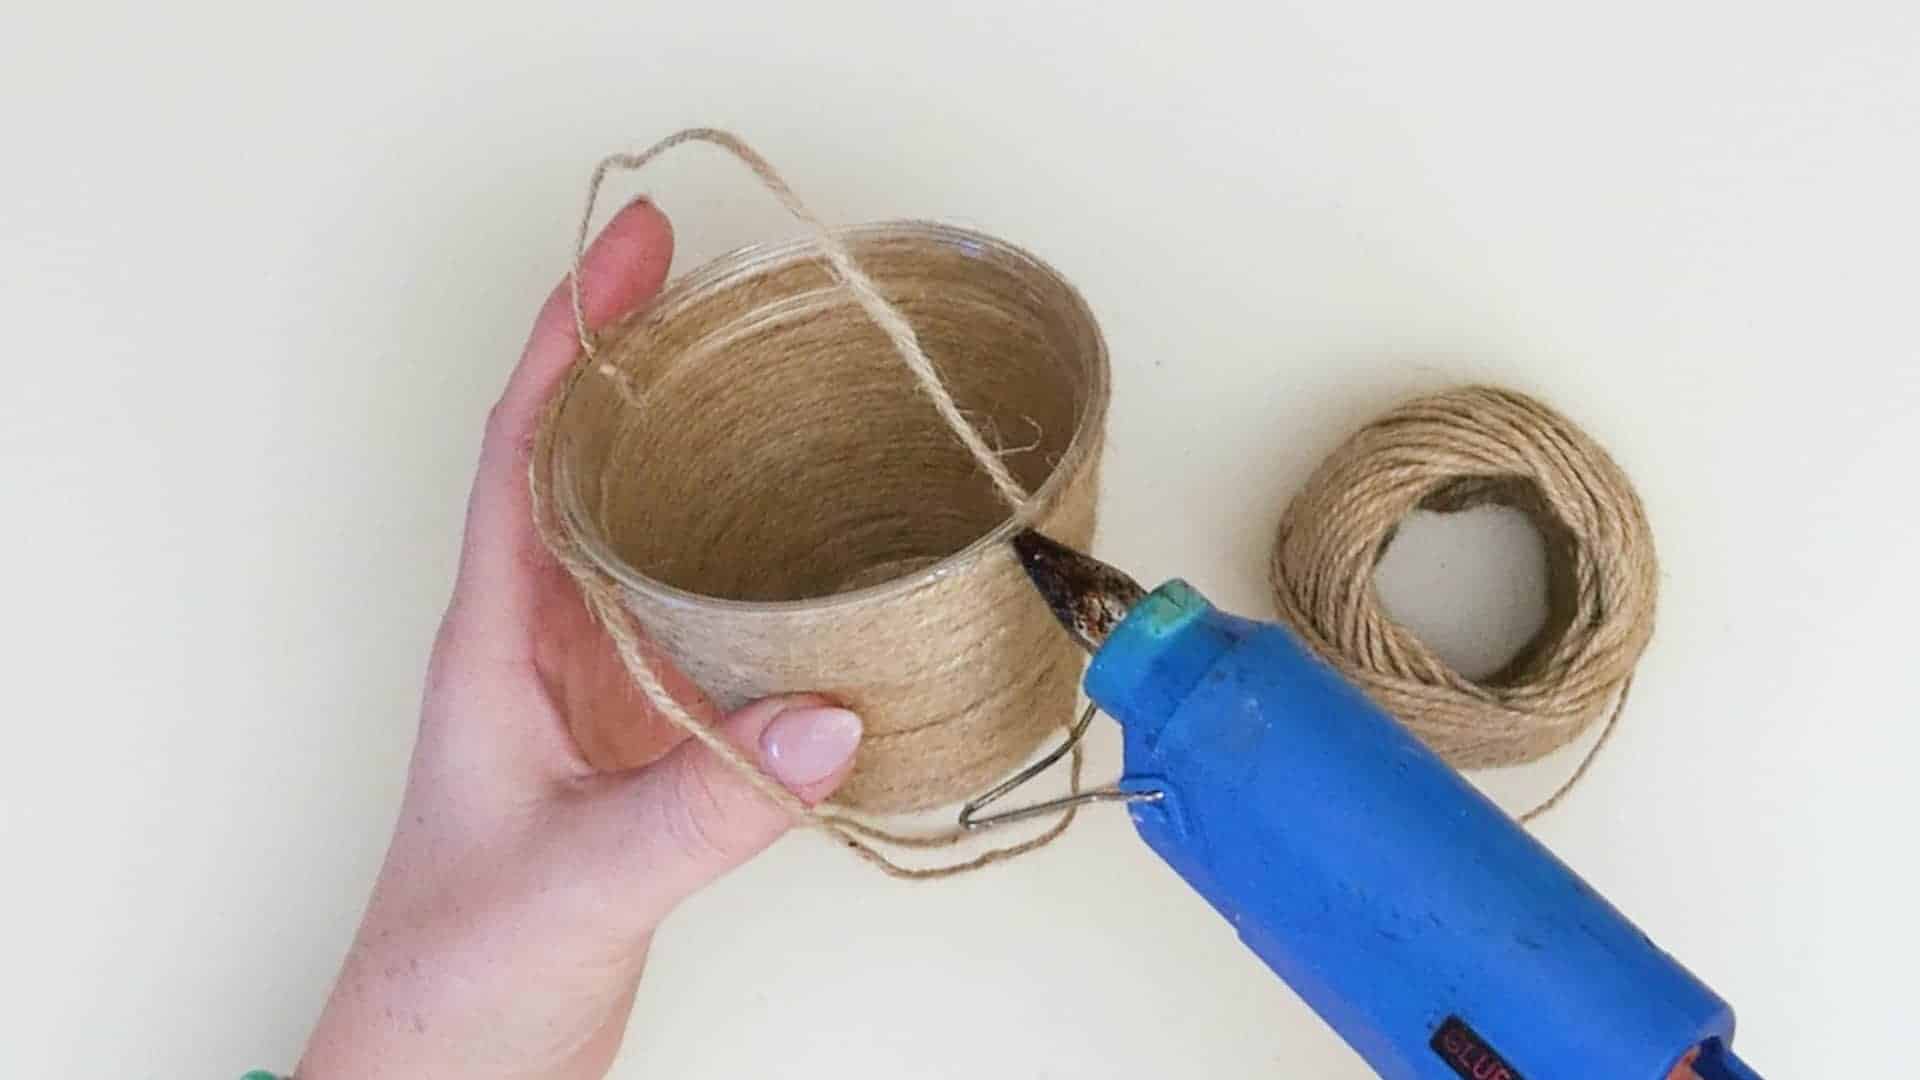
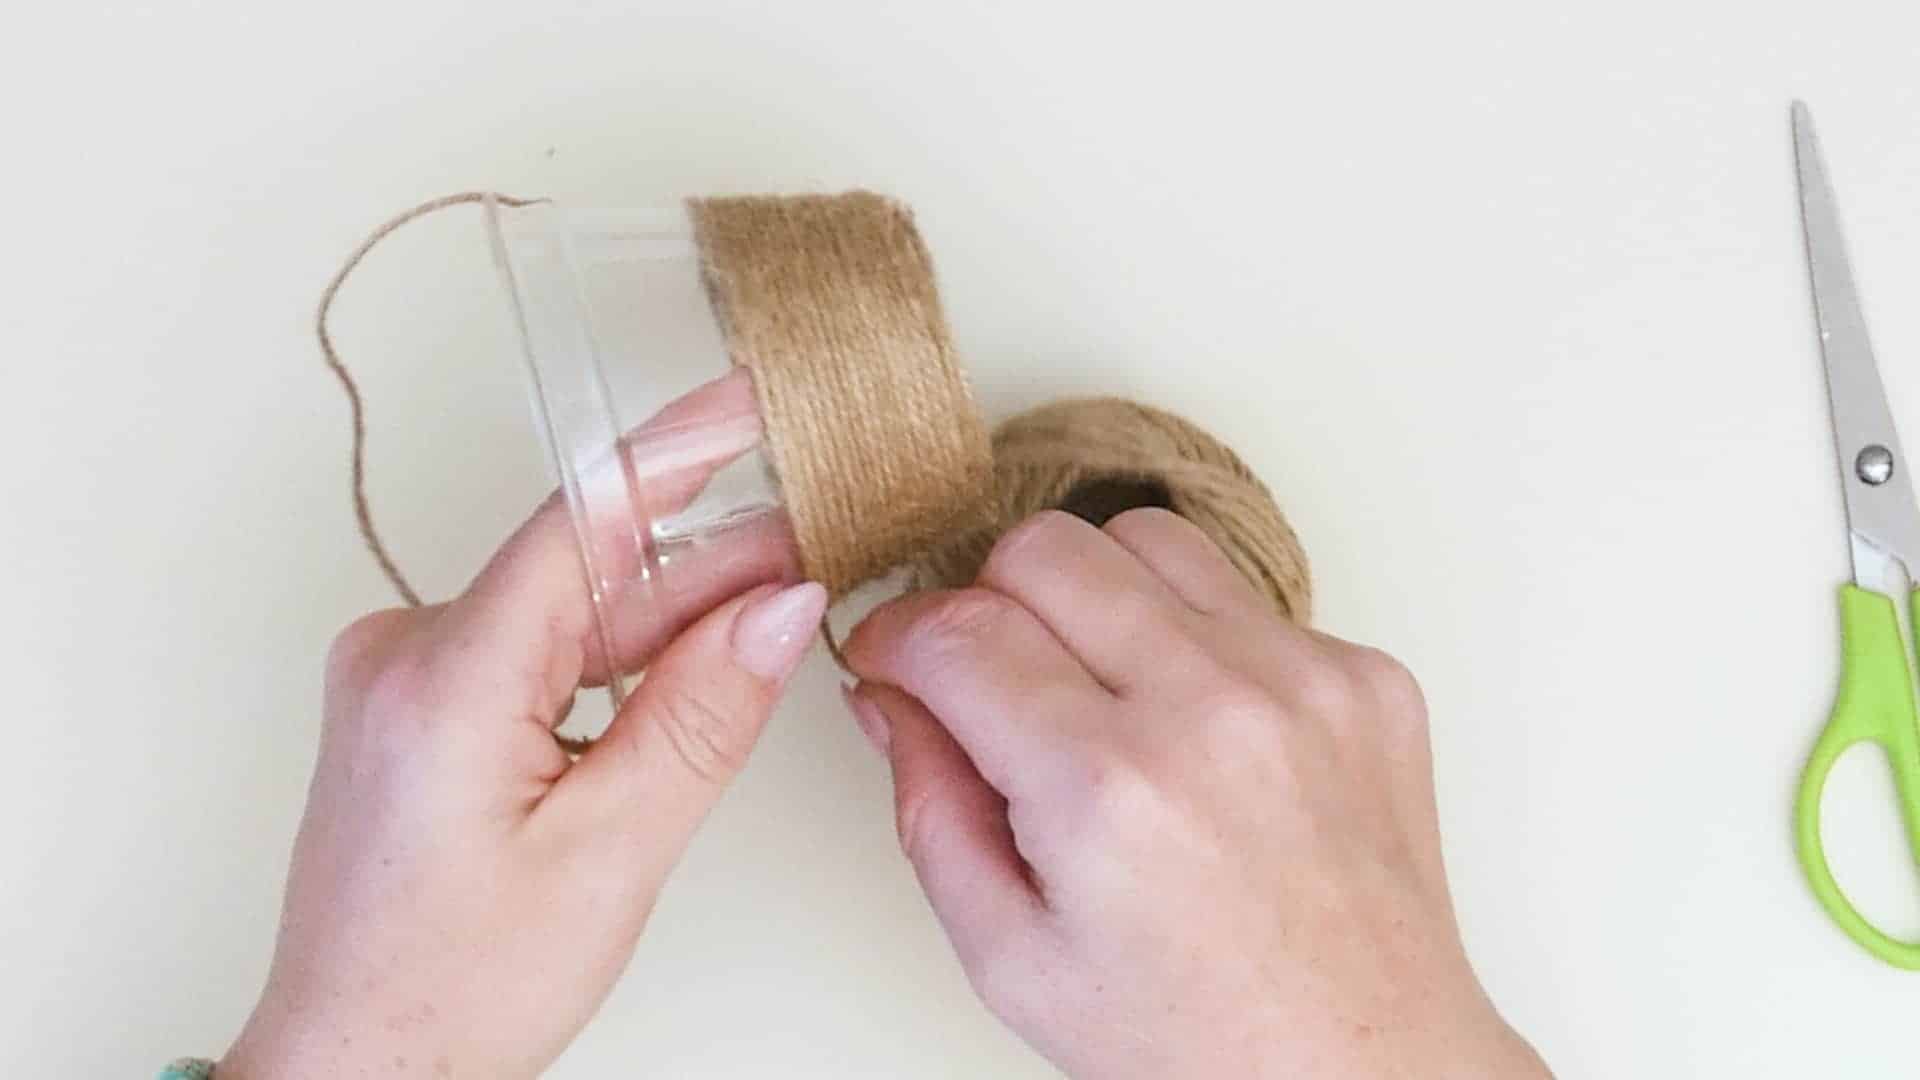
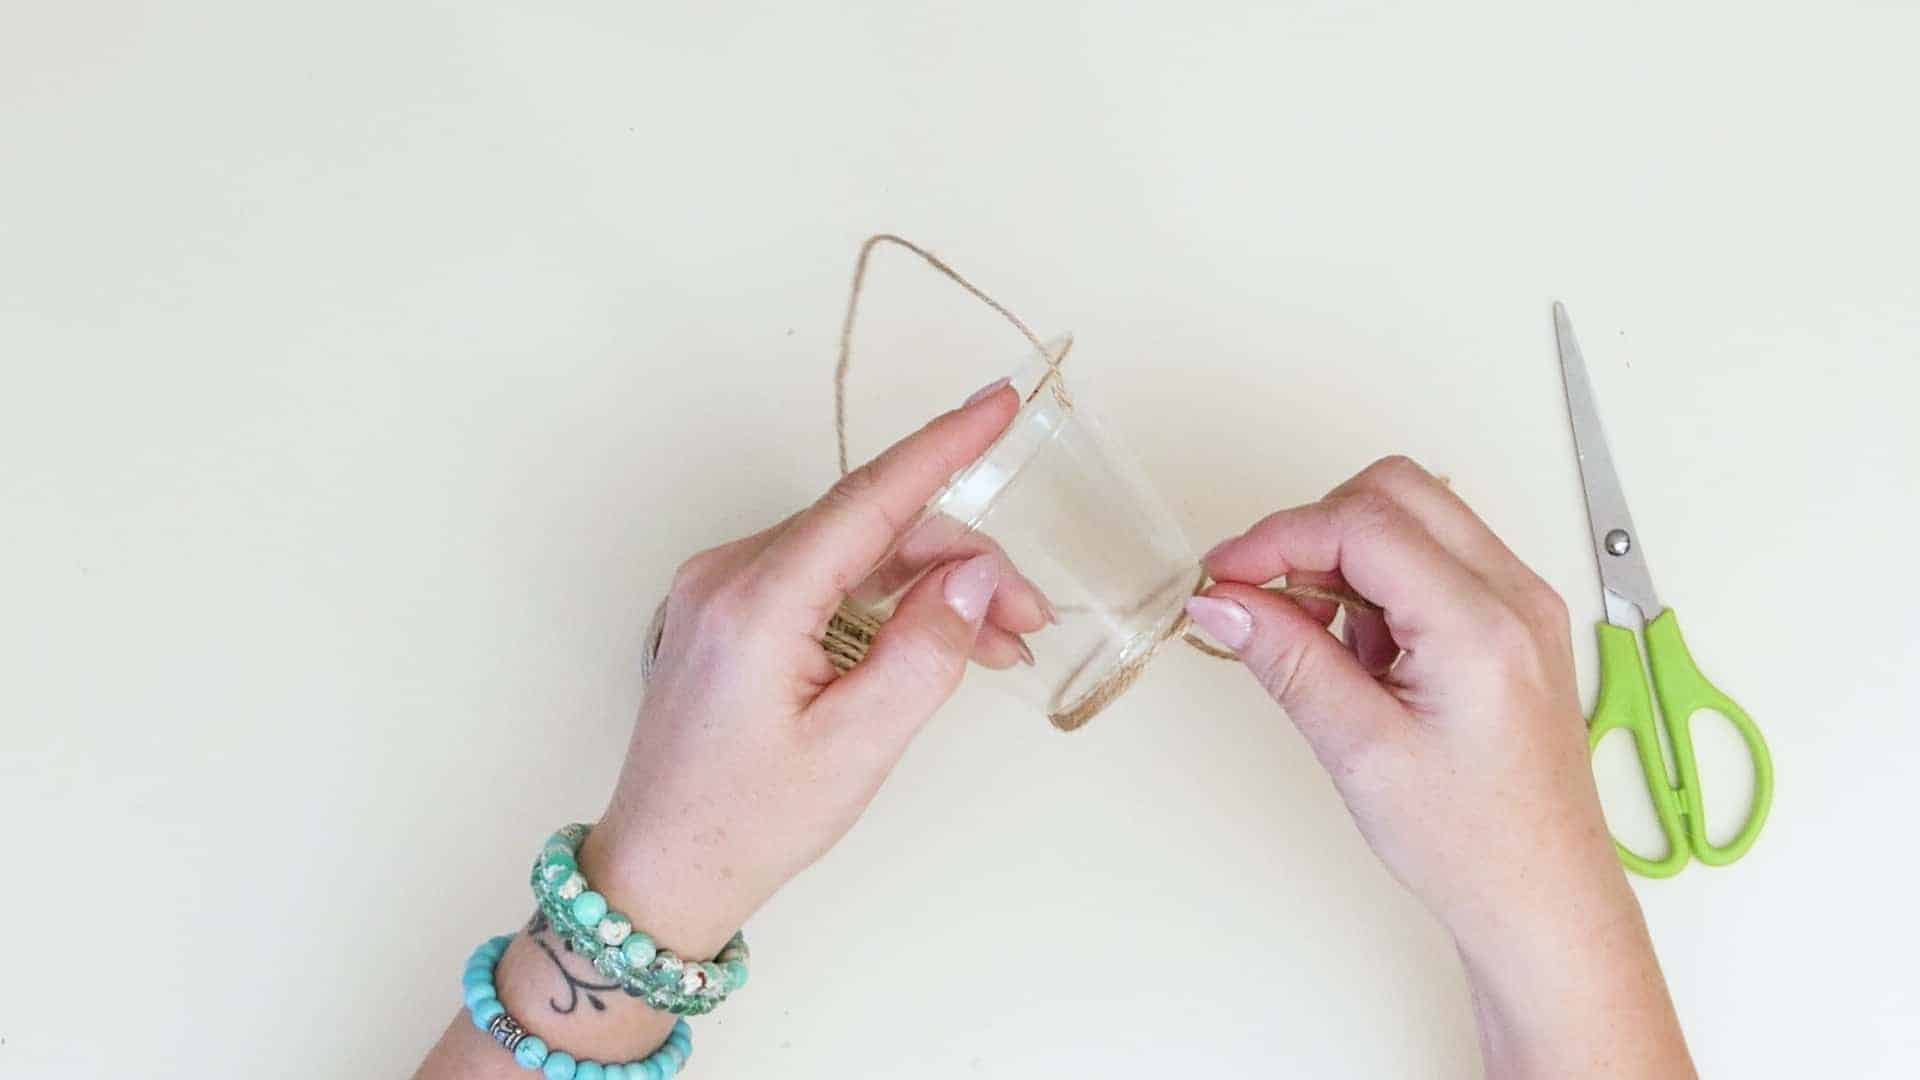
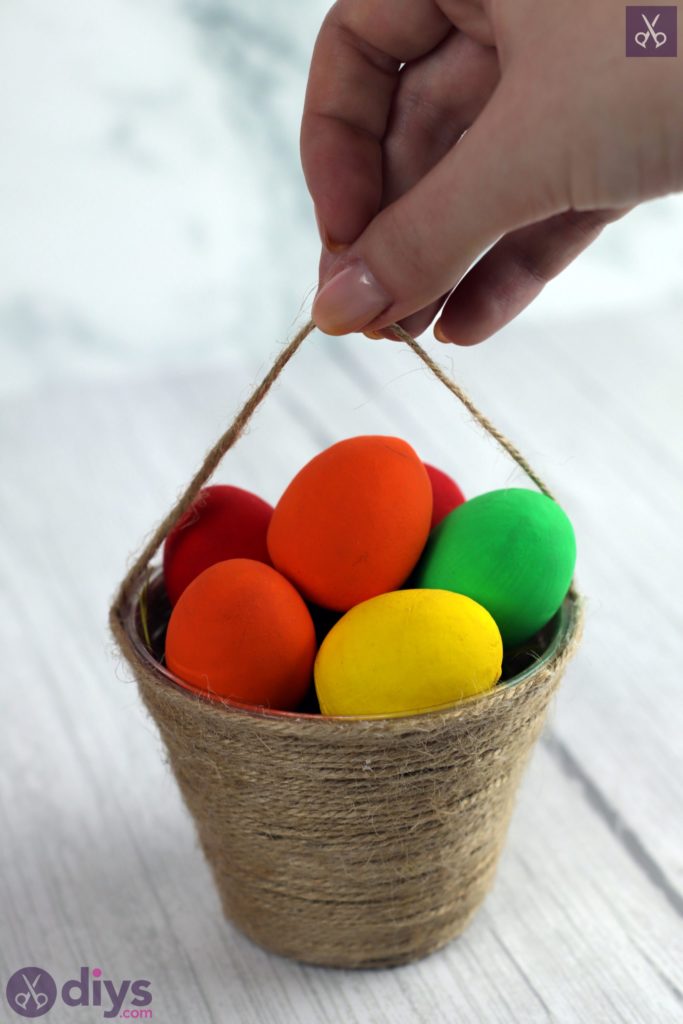
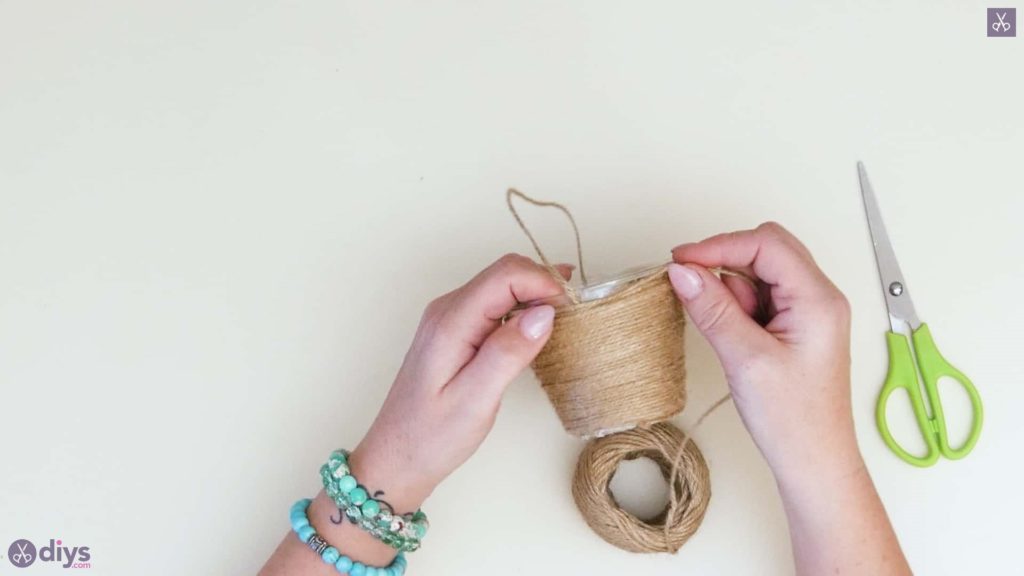
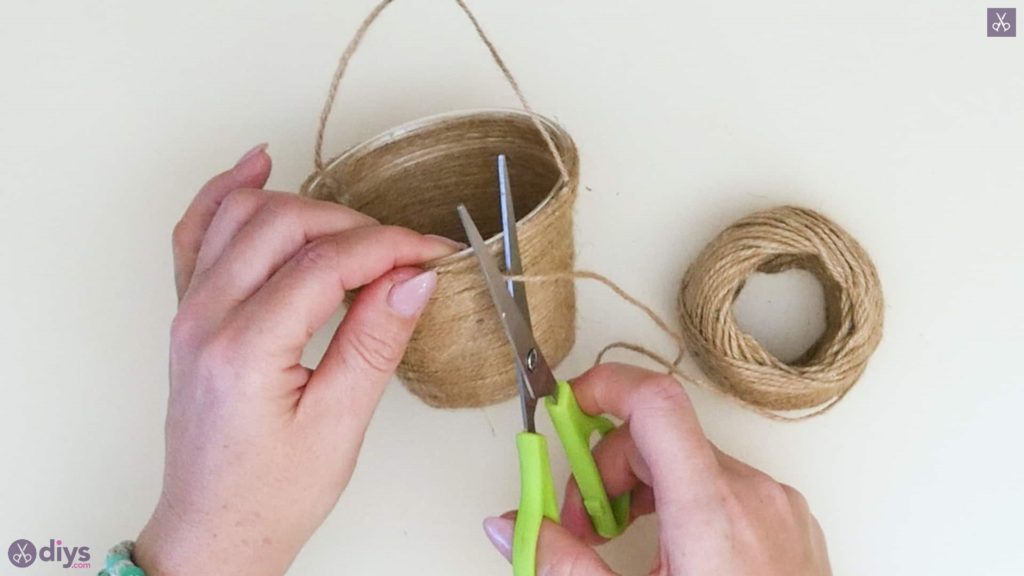
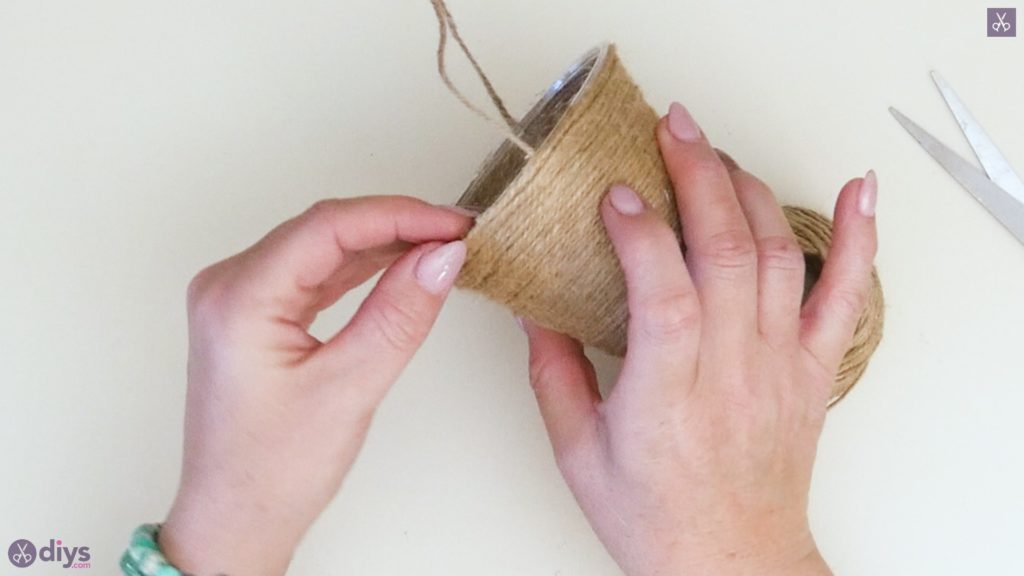
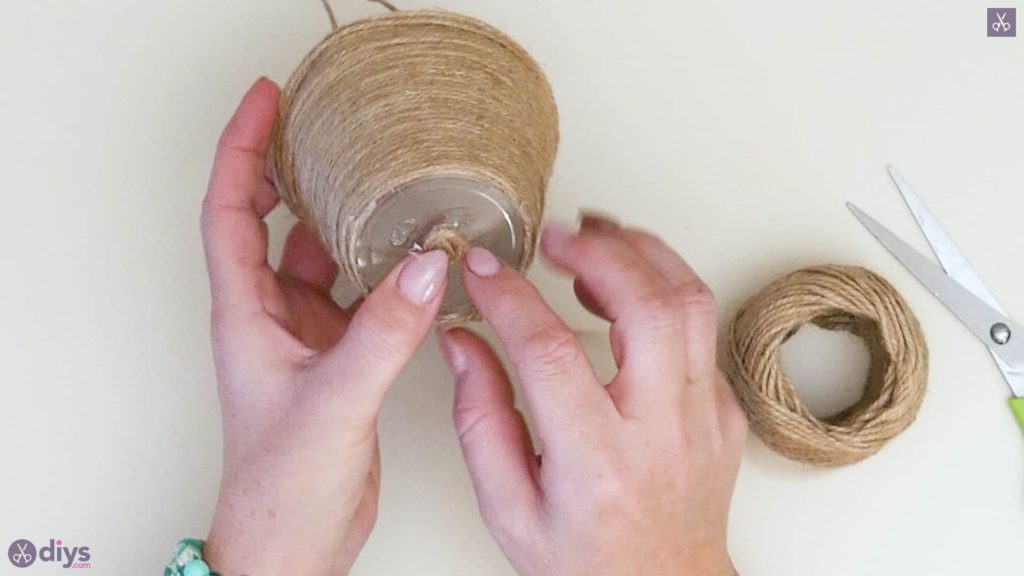
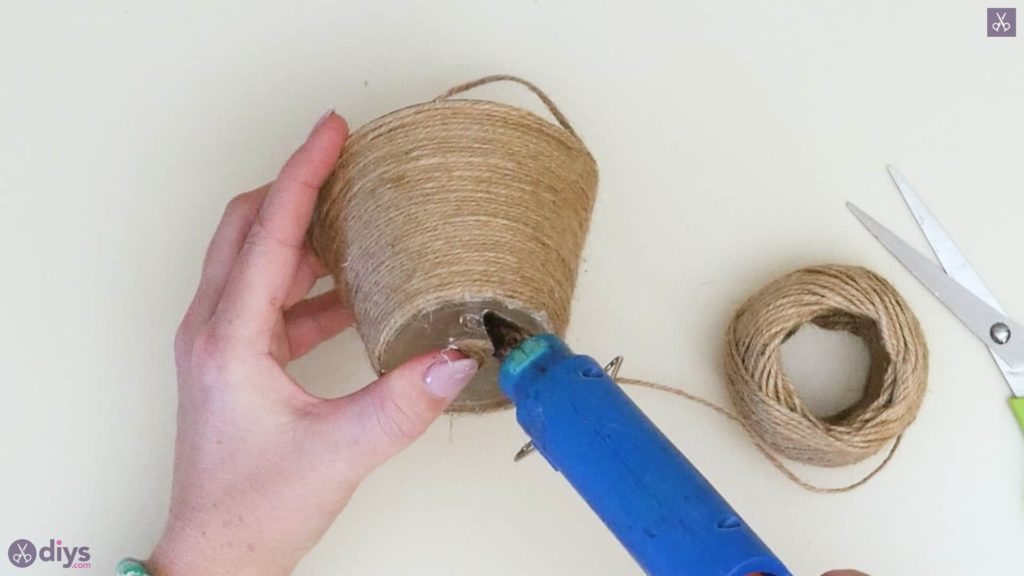
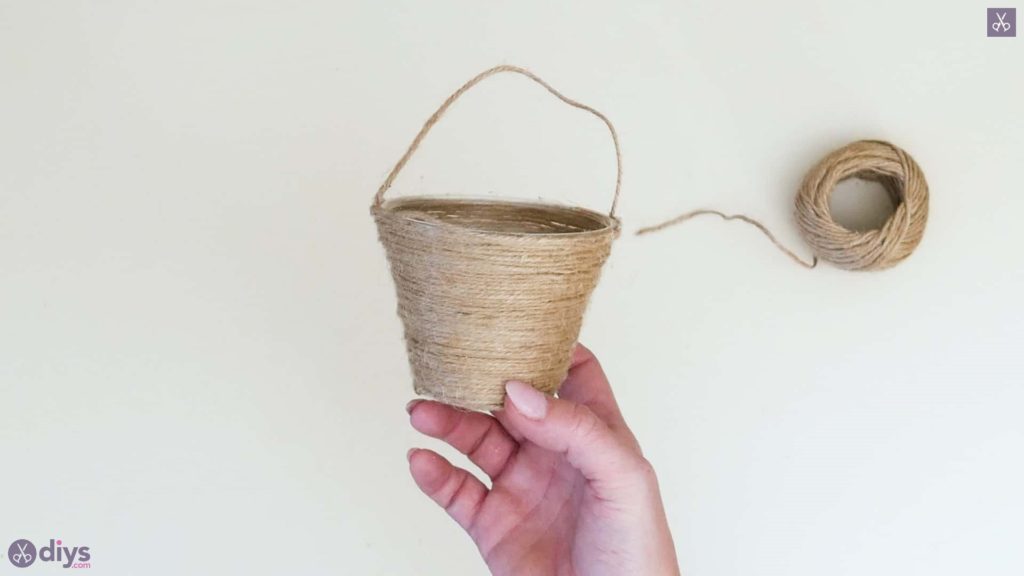
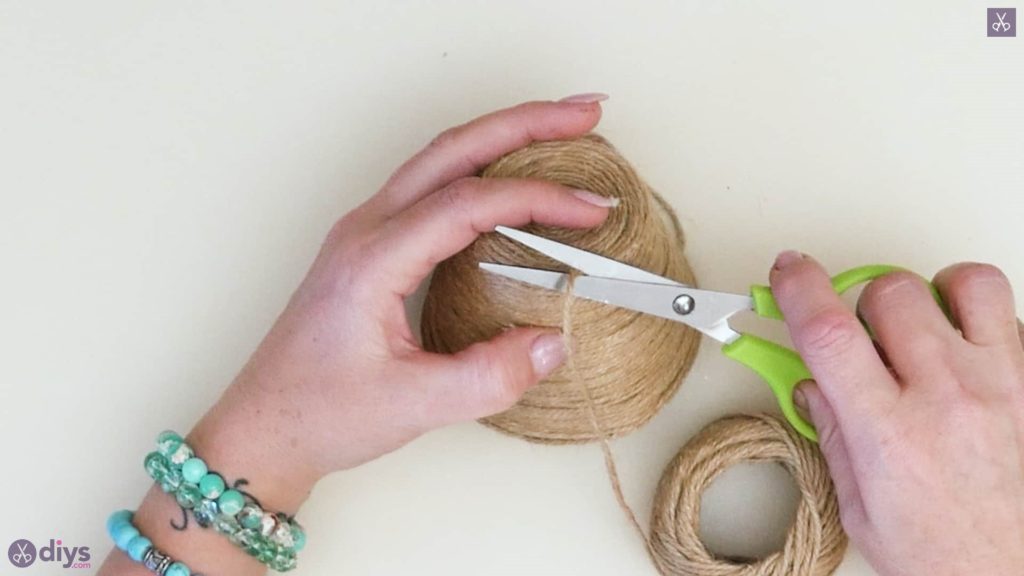
Start by cutting a piece of jute string about four inches long. This will become the handle of your basket and you’ll put it on first to hide the ends and keep things nice and neat looking. Glue the tip of this first piece down just below the cup’s rim on one side. Stretch the string across the cup’s opening and glue it down evenly and symmetrically on the other side. Trim the excess off the ends if necessary. Now move down to the bottom of the cup. Apply a dot of glue along the very bottom edge and stick the tip of your live string end down there, with the string positioned horizontally so it runs along the rest of the bottom edge. Start wrapping the string around the cup this way, keeping it in line and running smoothly against its own length when you get back to the start so it starts spiralling upwards on the cup’s surface. I placed small dots of glue here and there as I wrapped just to keep things anchored evenly in place and sitting right. Keep wrapping all the way up to the top of the cup, passing right over your handle’s ends when you come to them so they’re tucked neatly under the “basket’s” wrapped surface, rather than sticking out. Once you’ve reached the top and there’s nowhere left to wrap, trim the end free, pull it back a touch, and apply glue there right along the edge, then carefully stick that new end down as neatly and smoothly as you can.

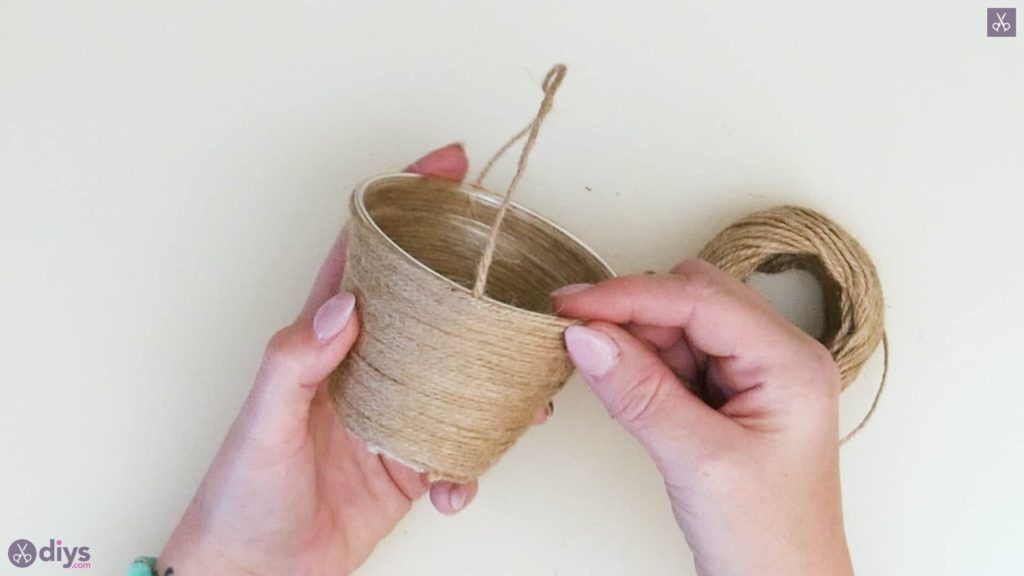
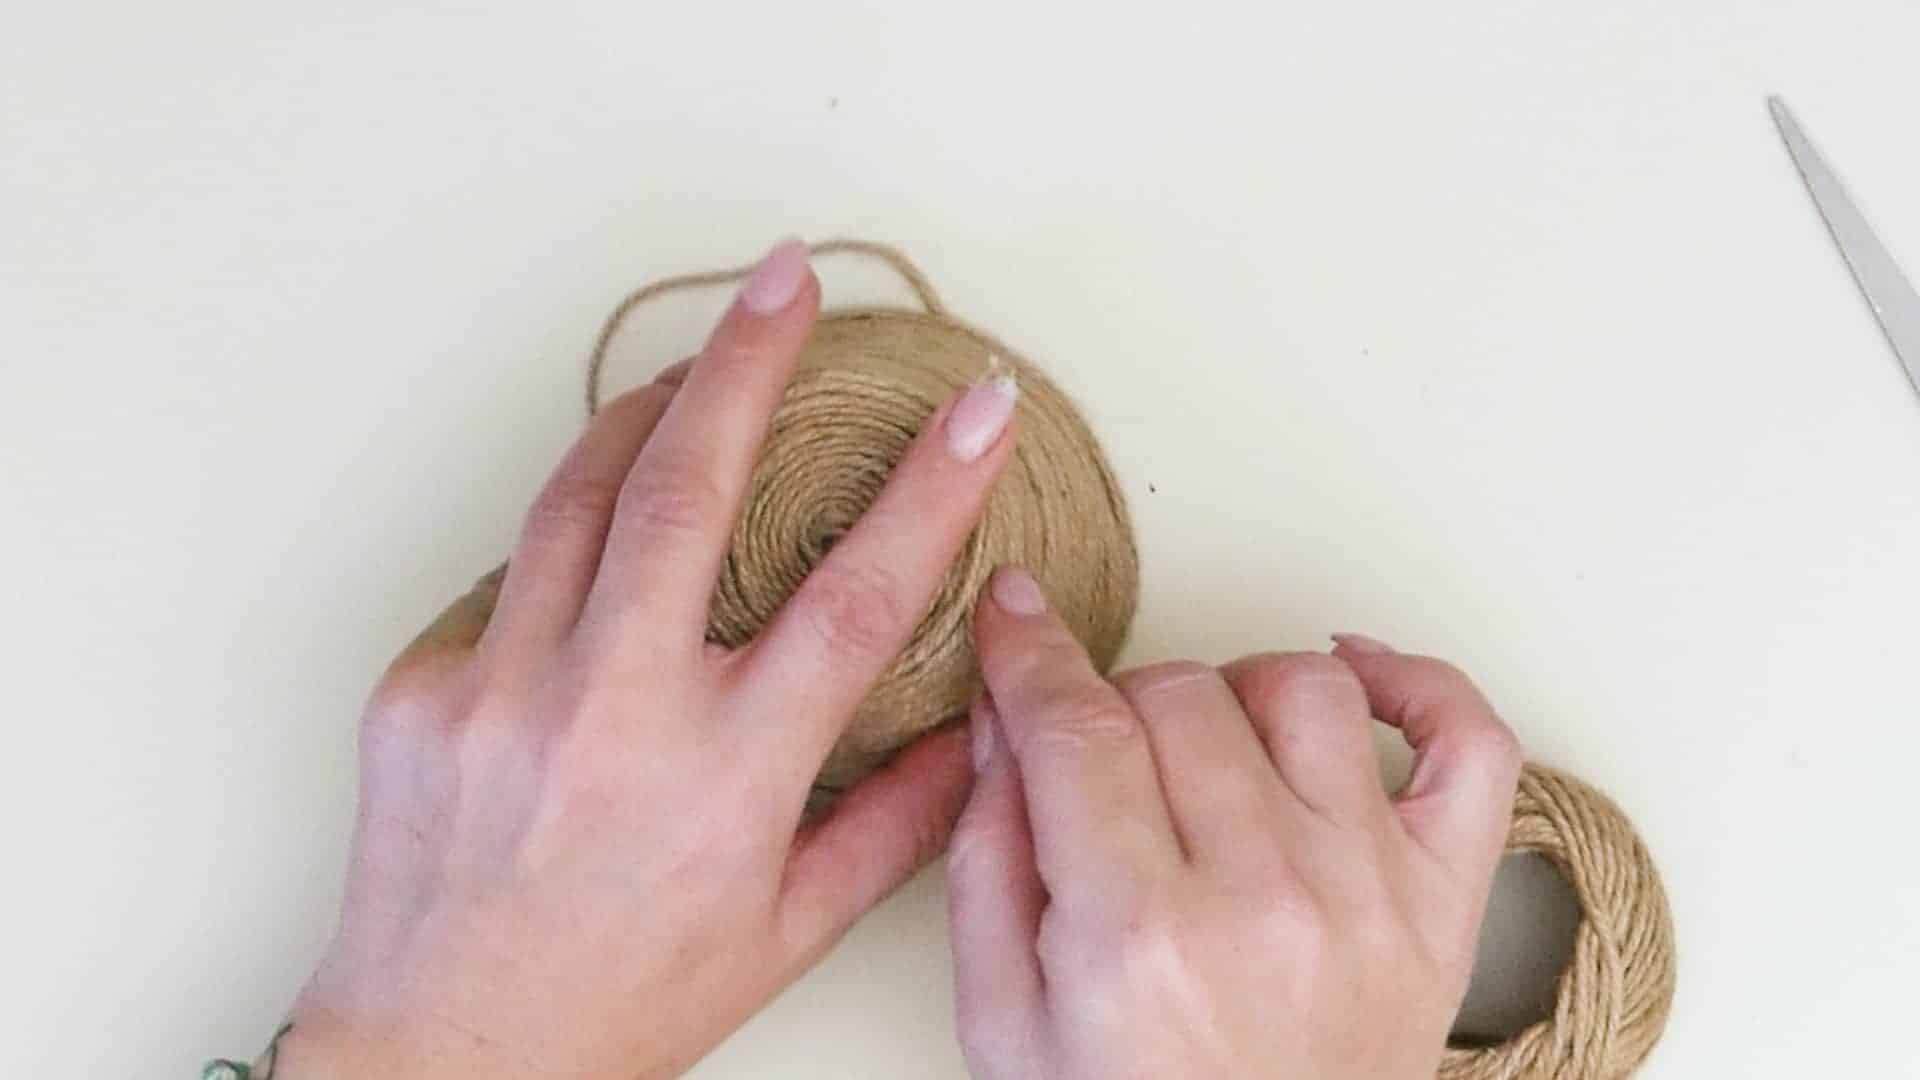
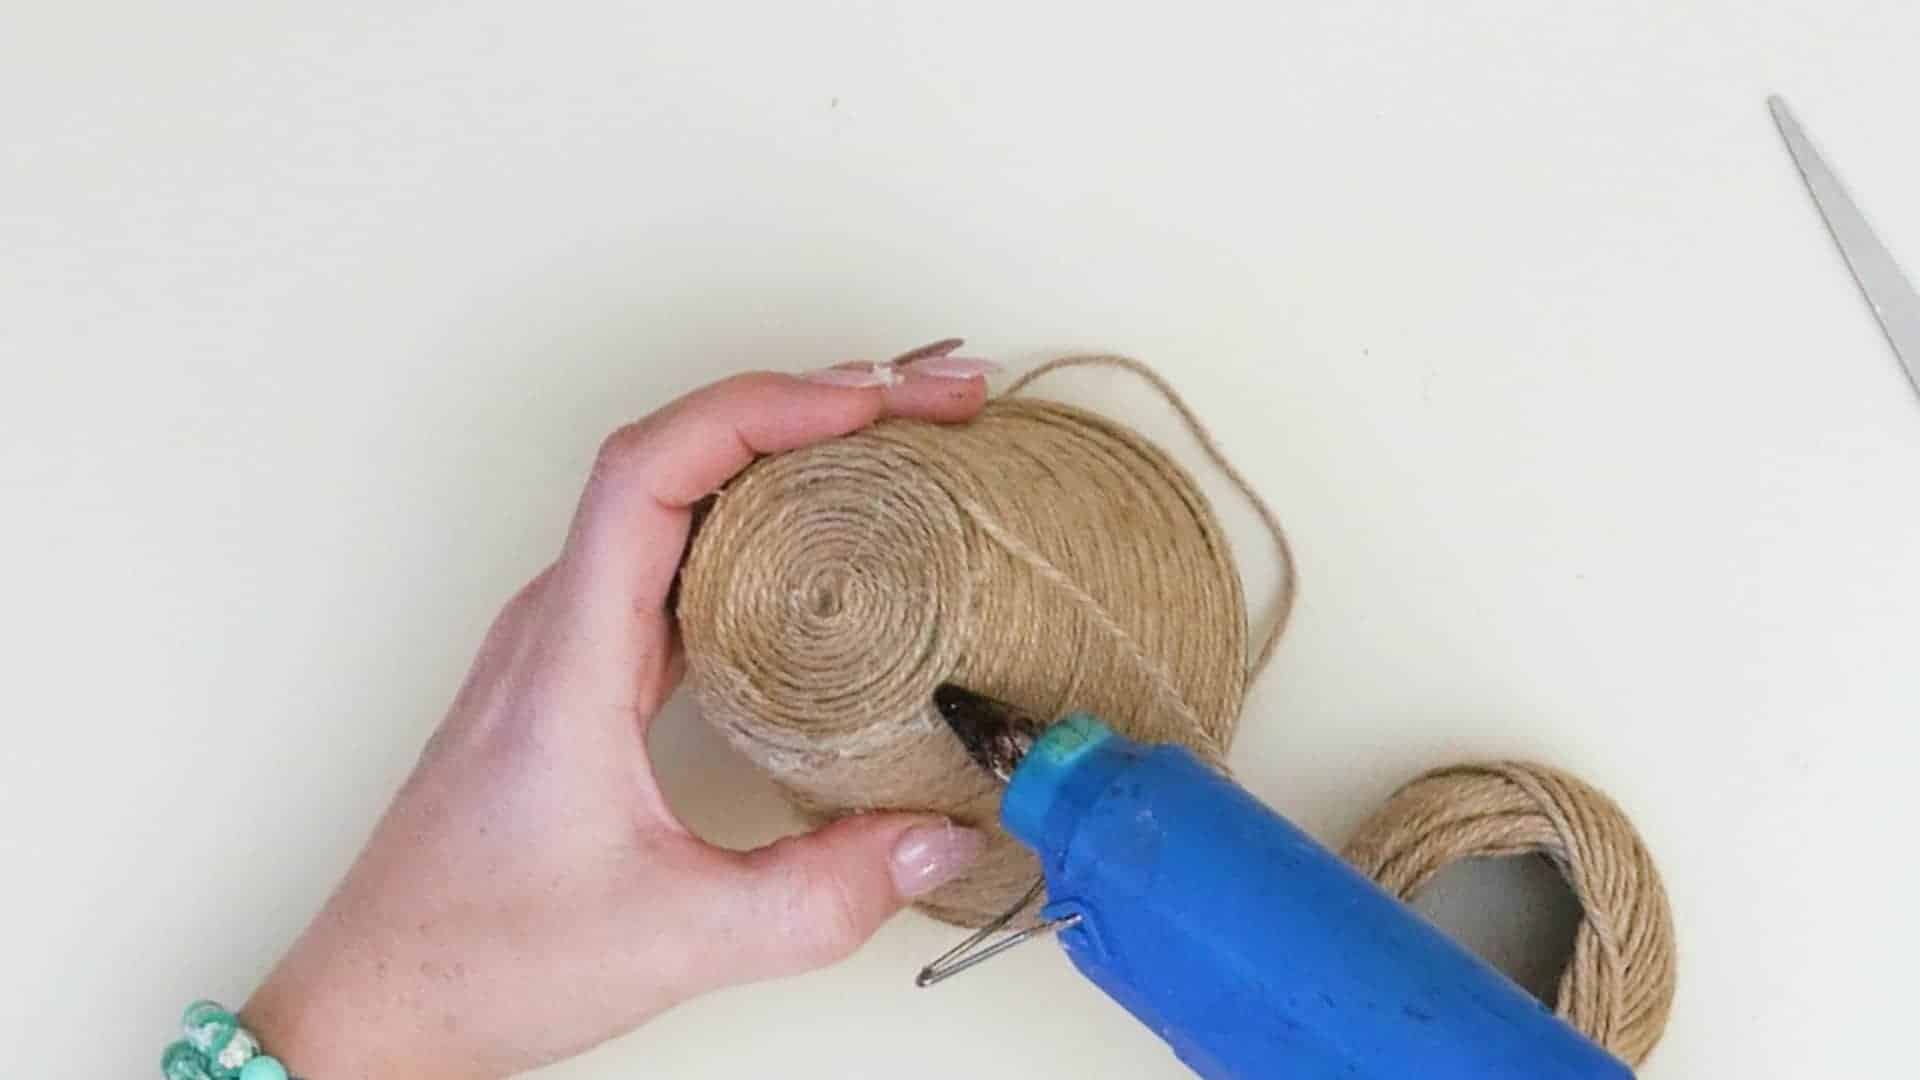
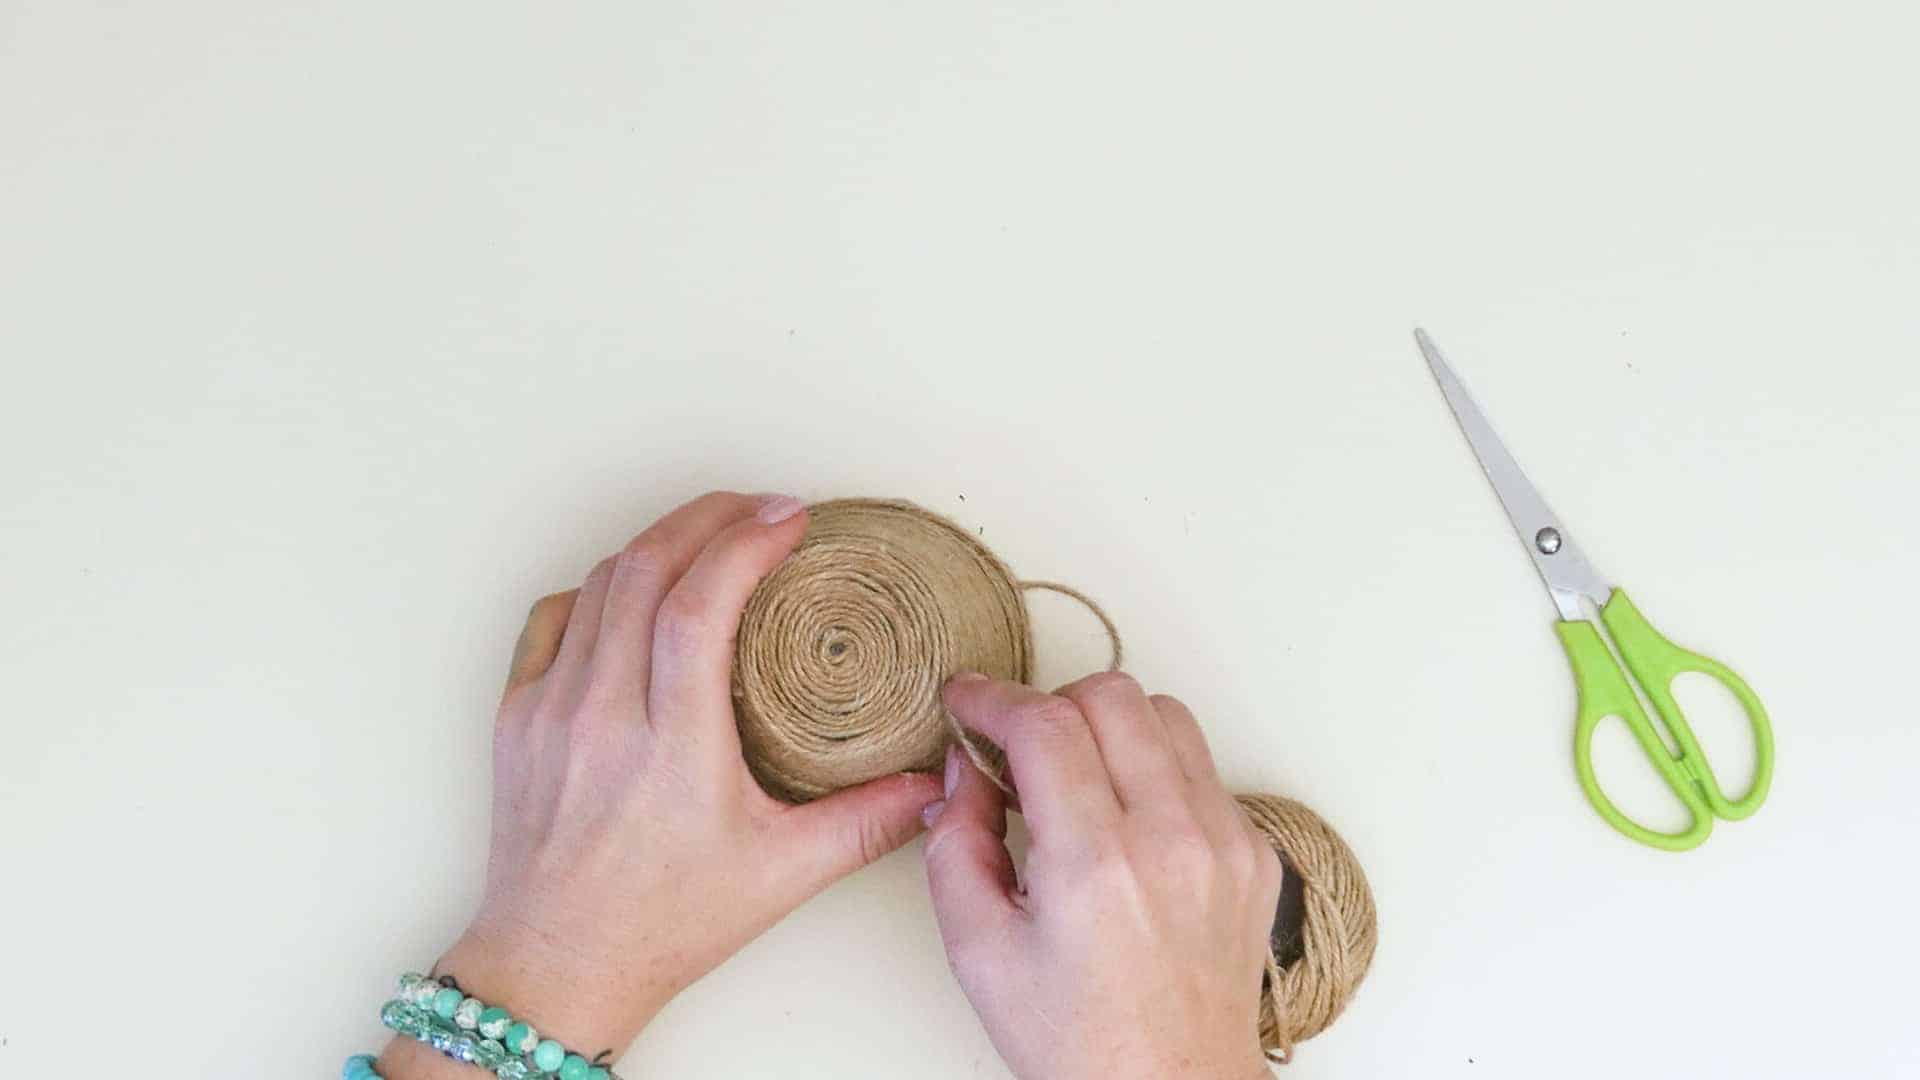
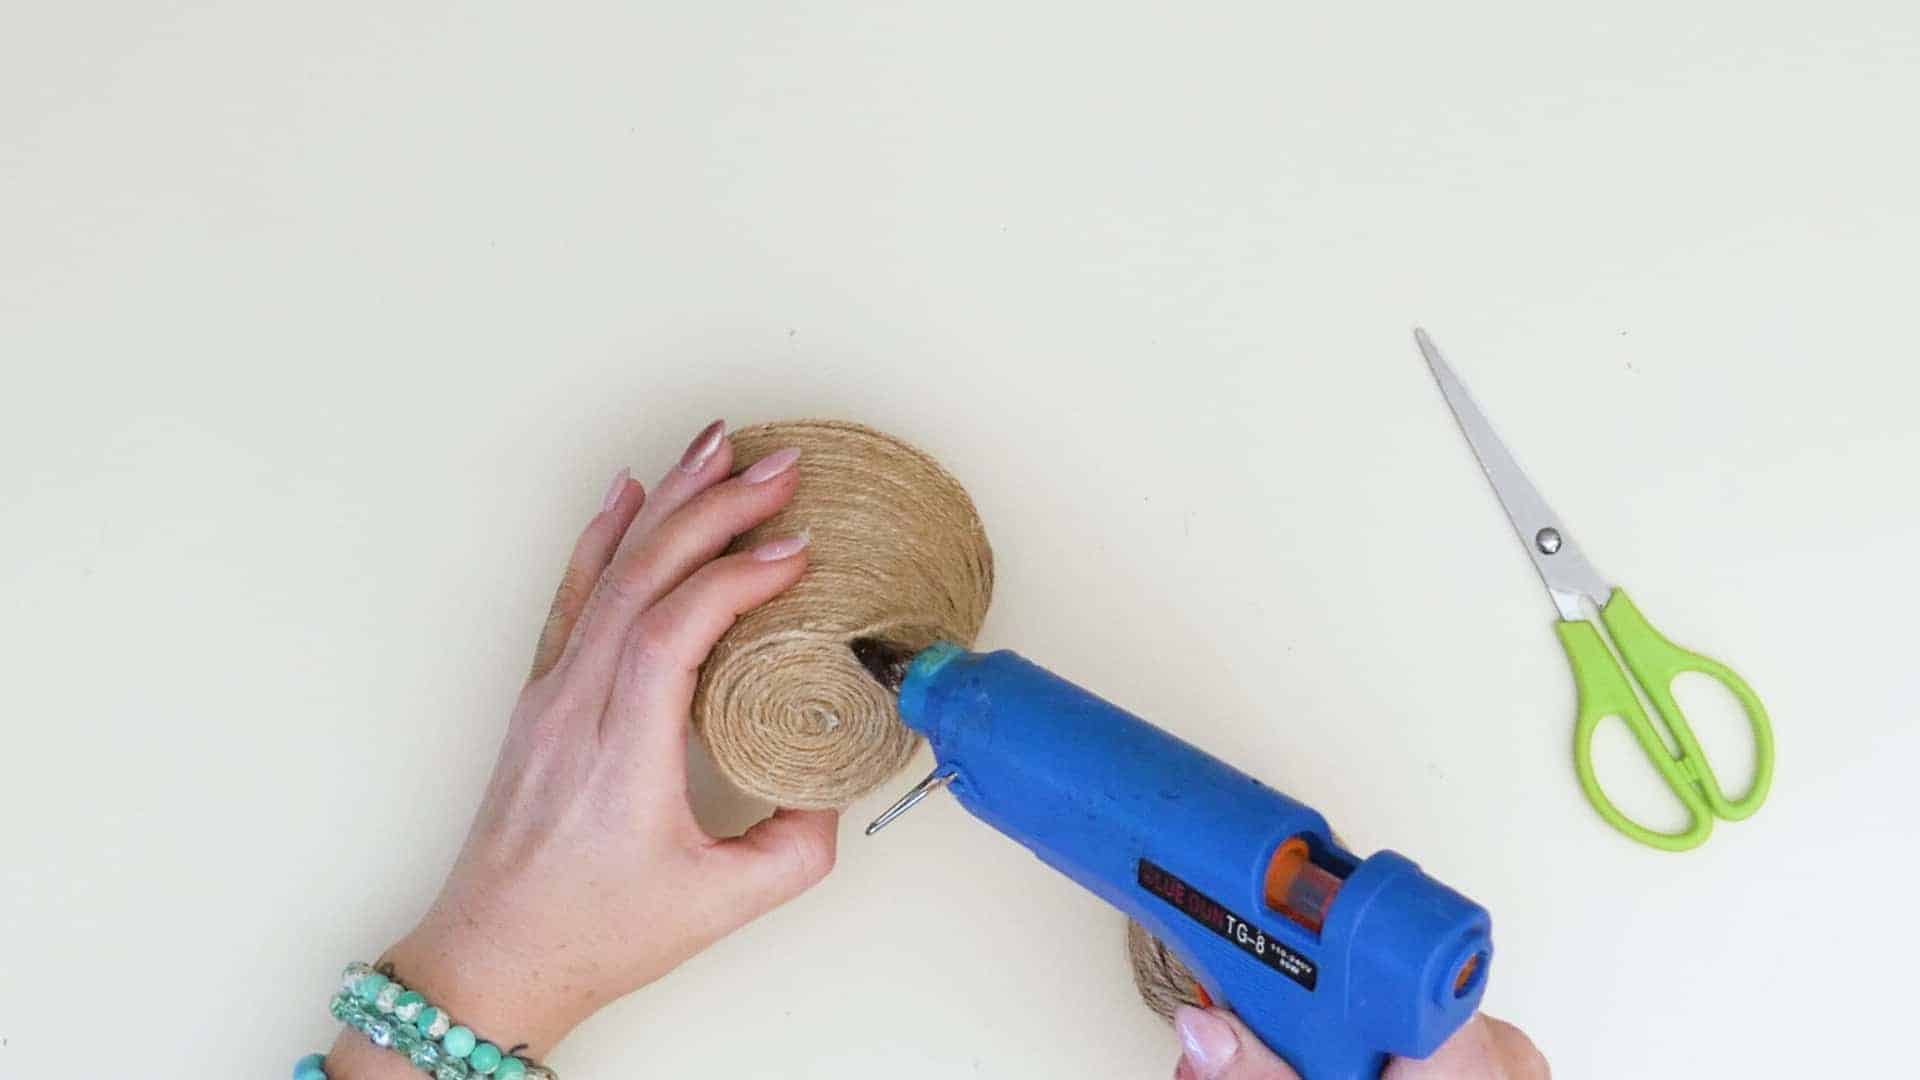
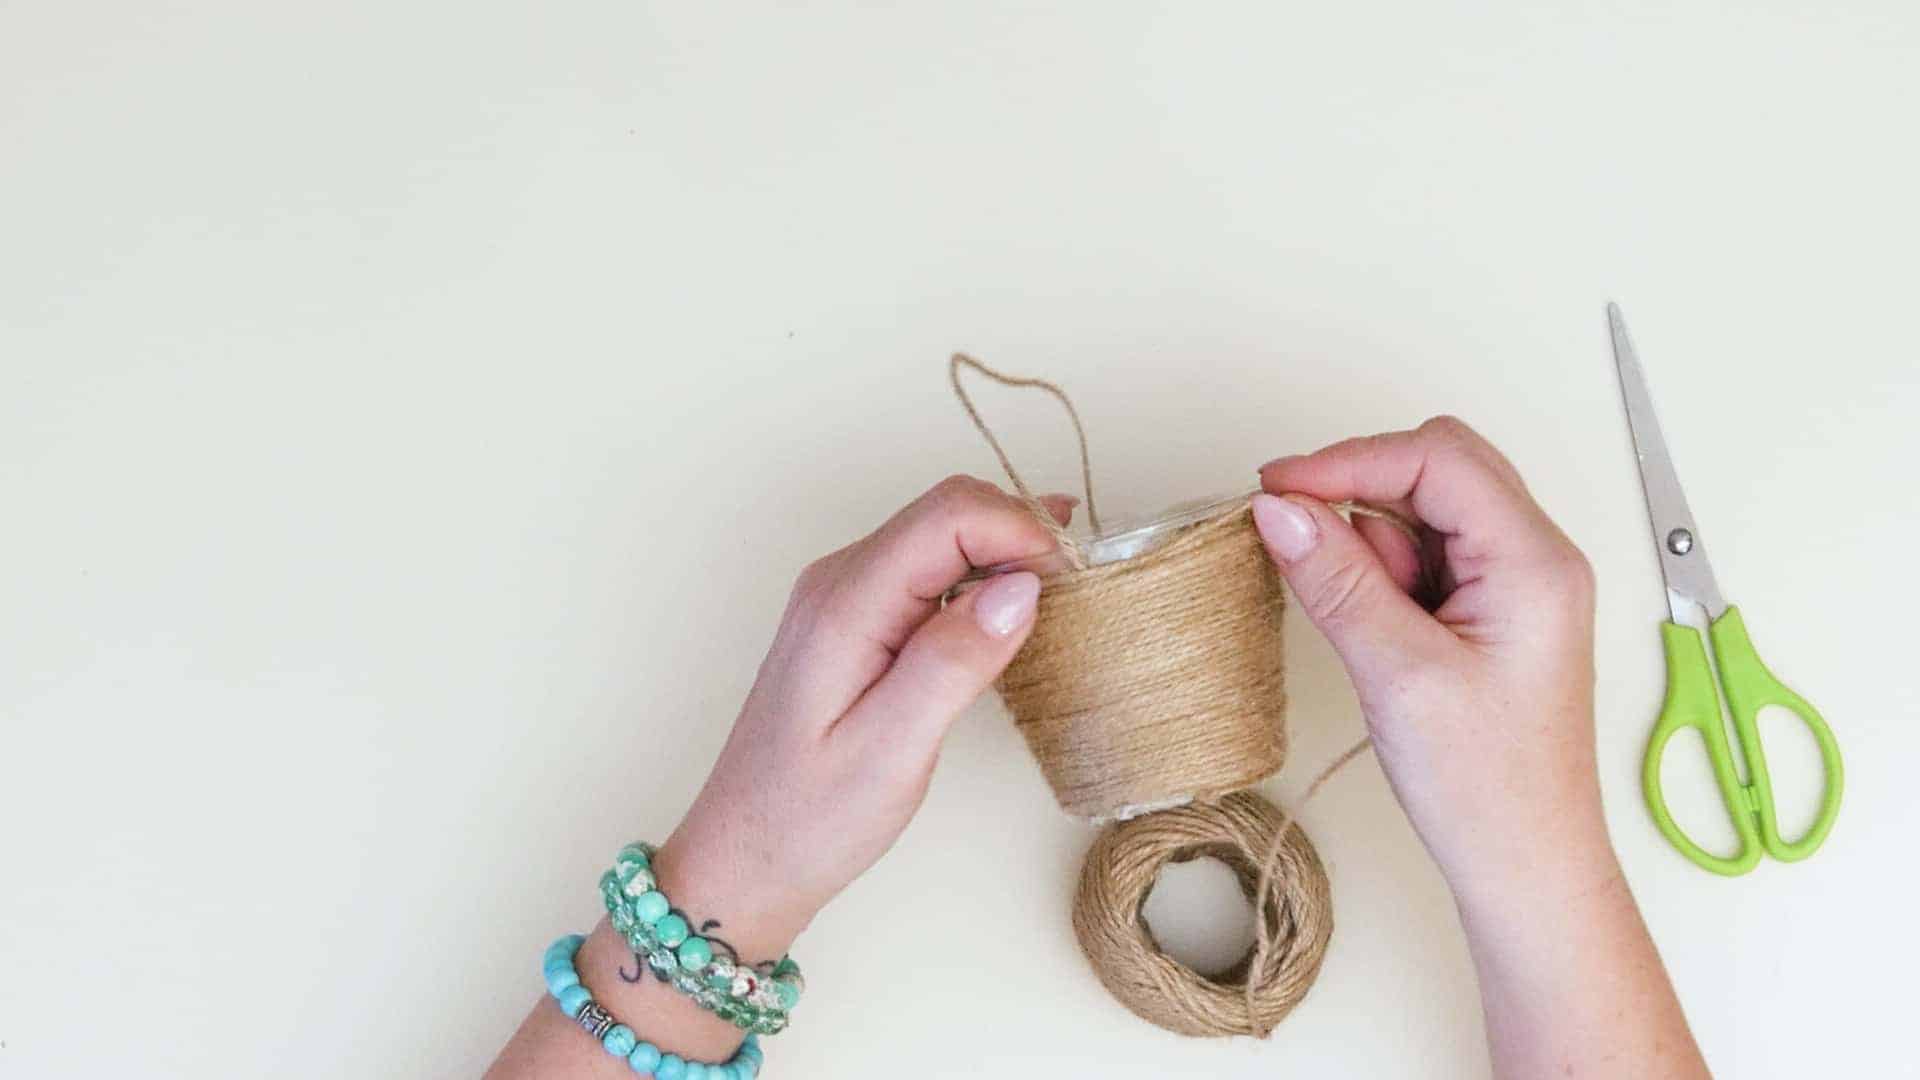
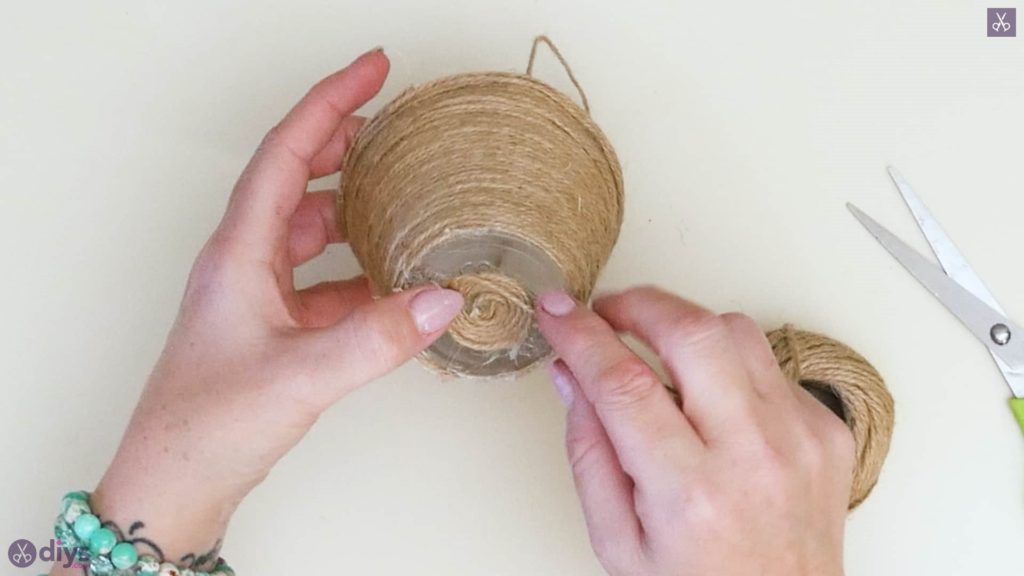
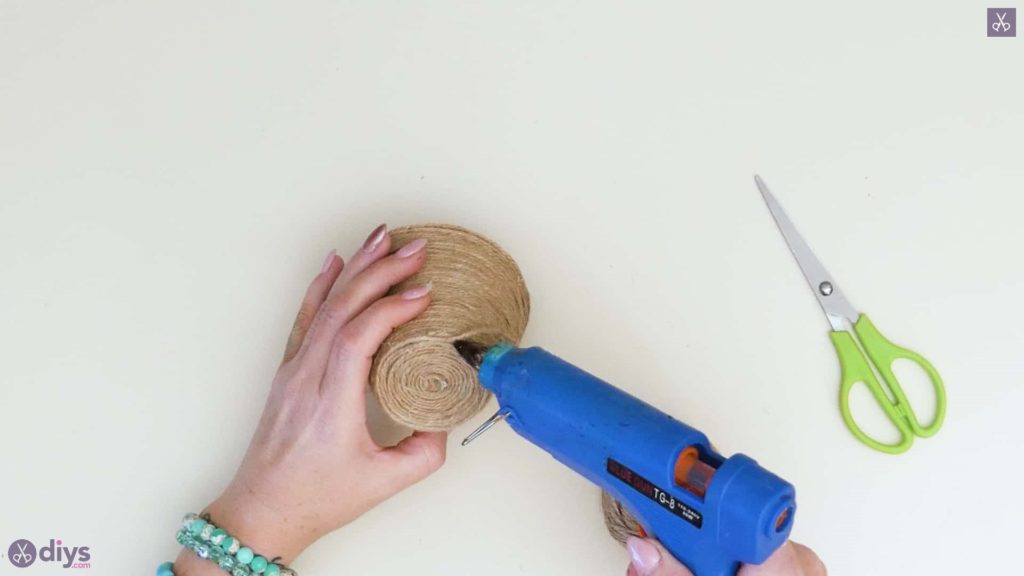
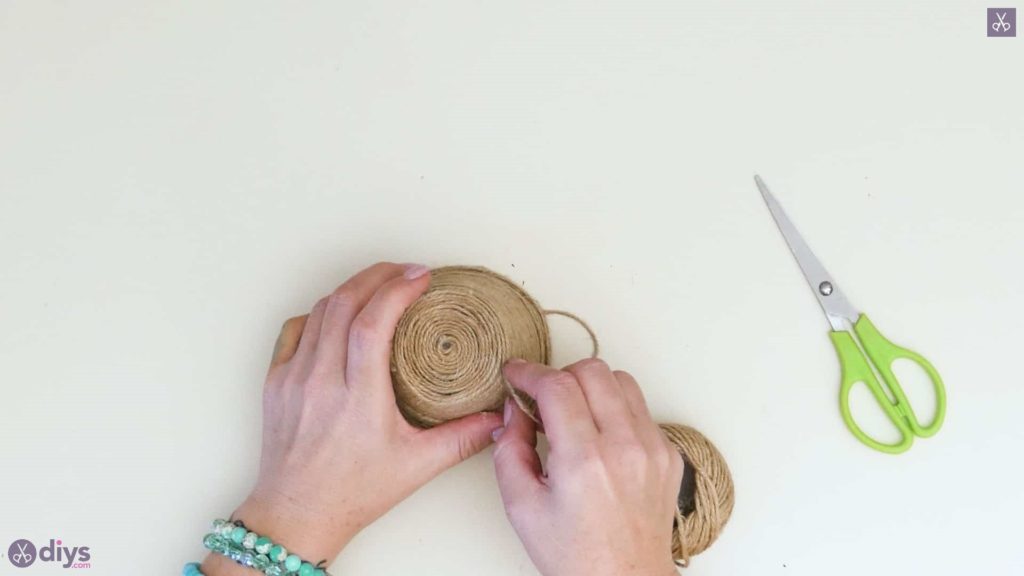
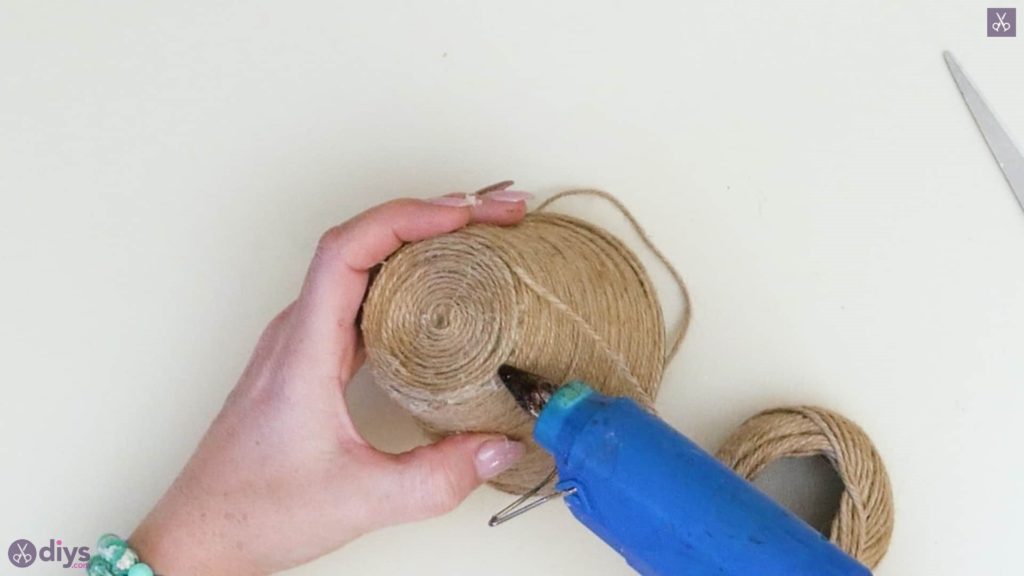
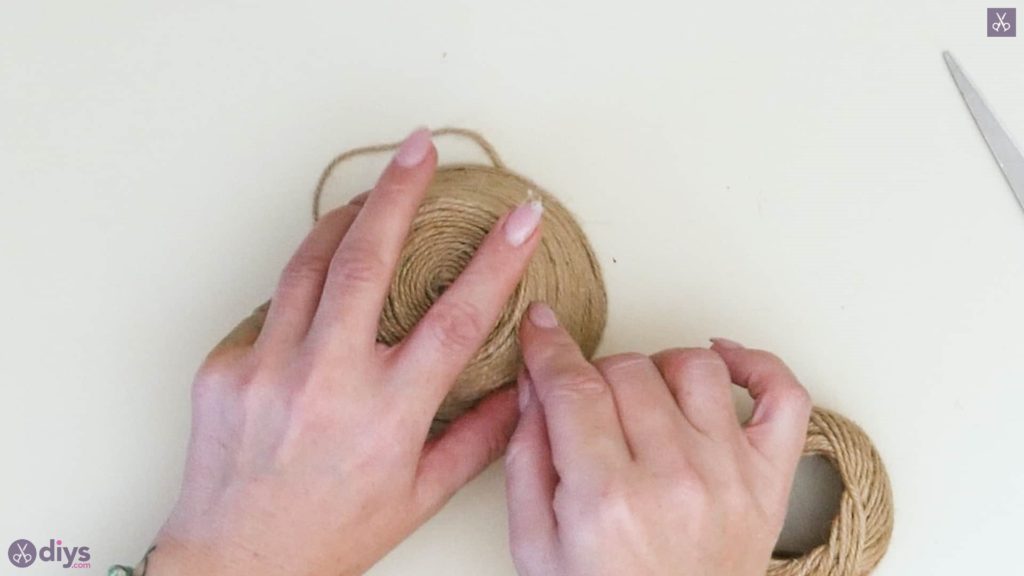
Step 3: add the twine
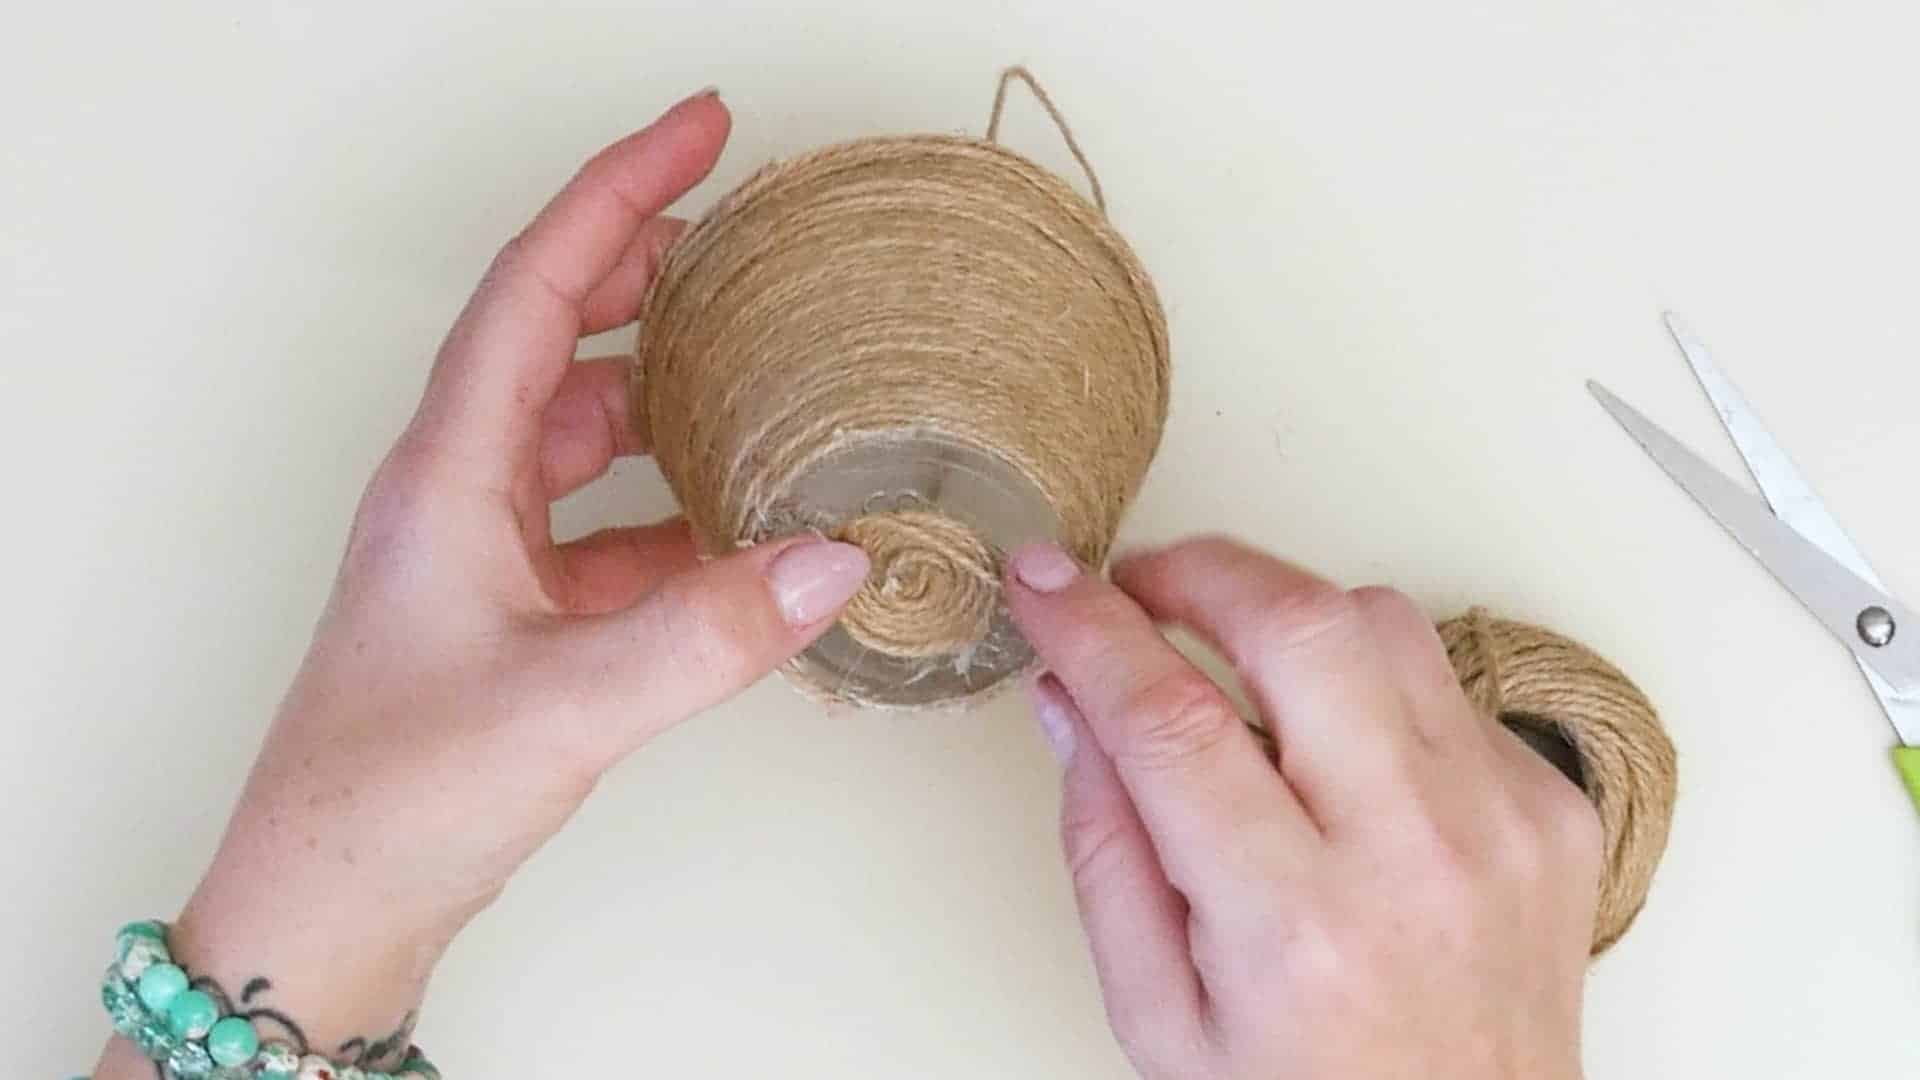
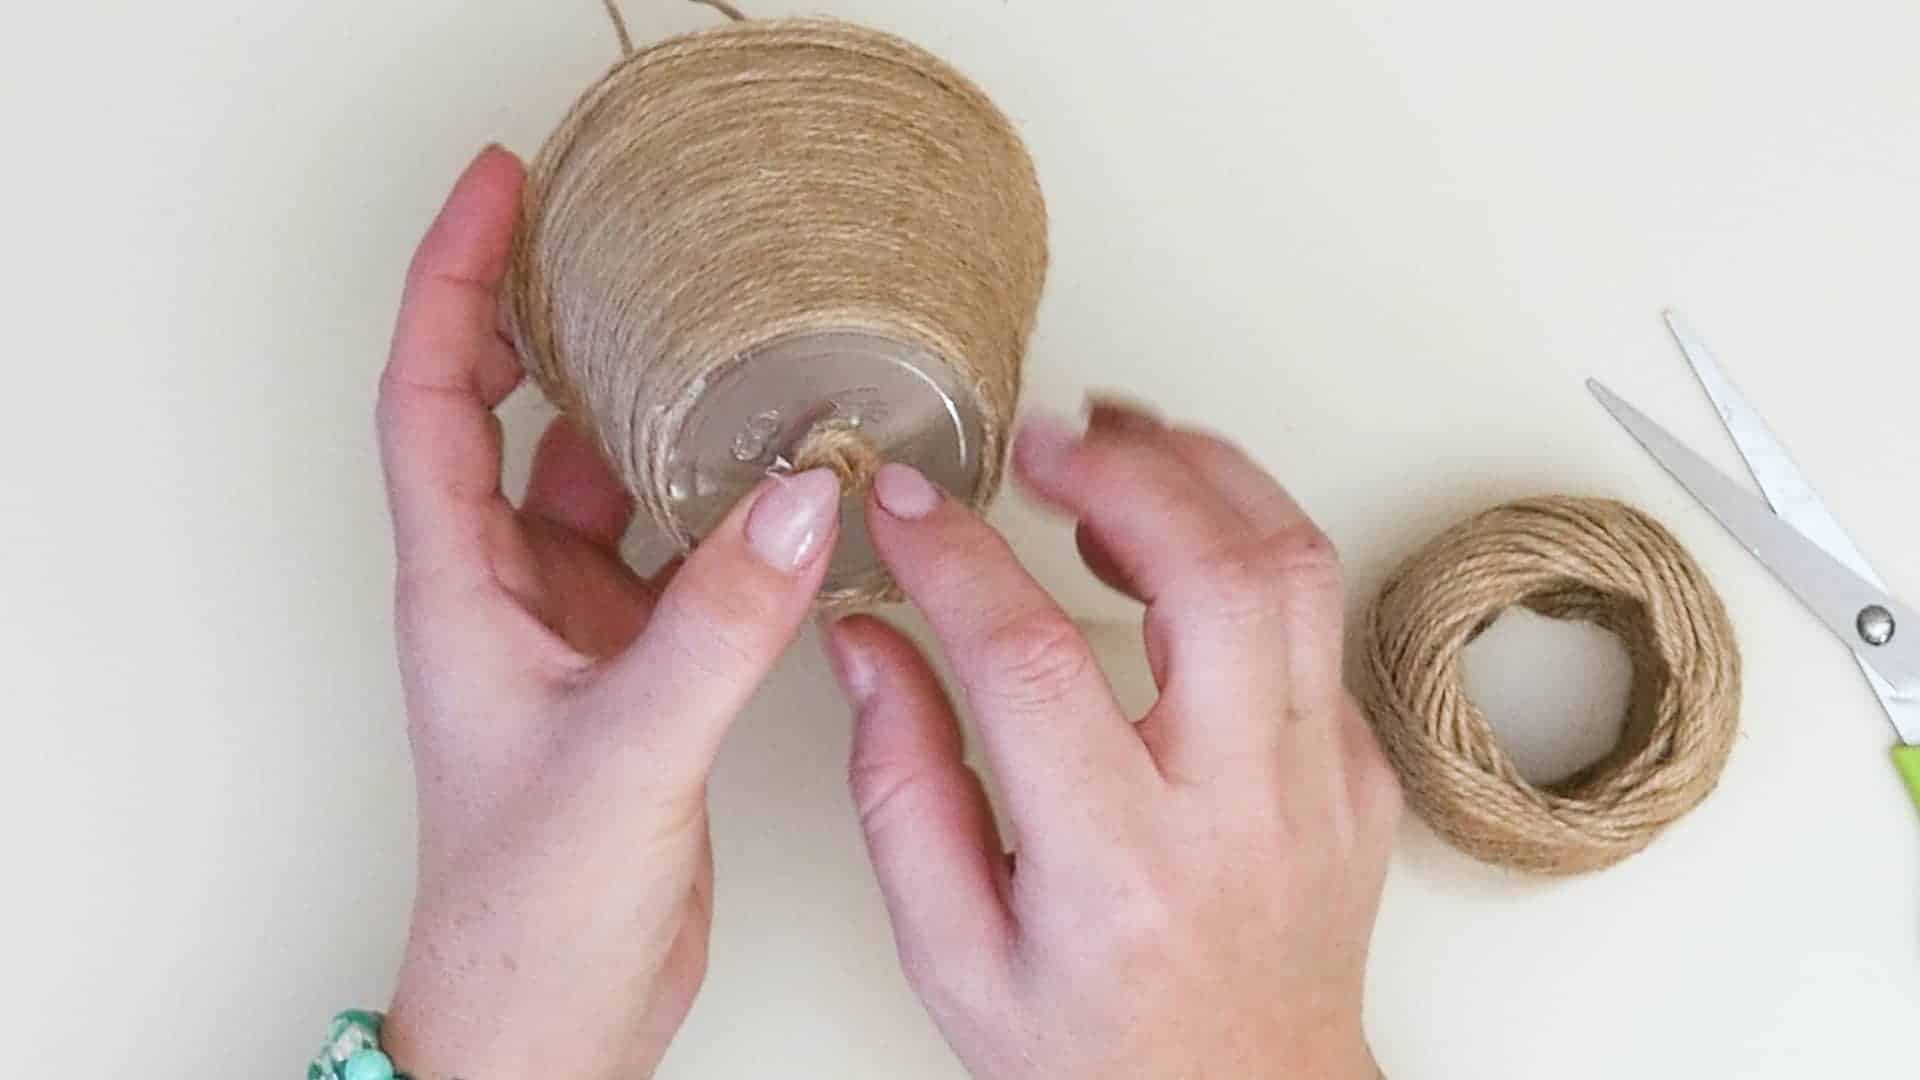
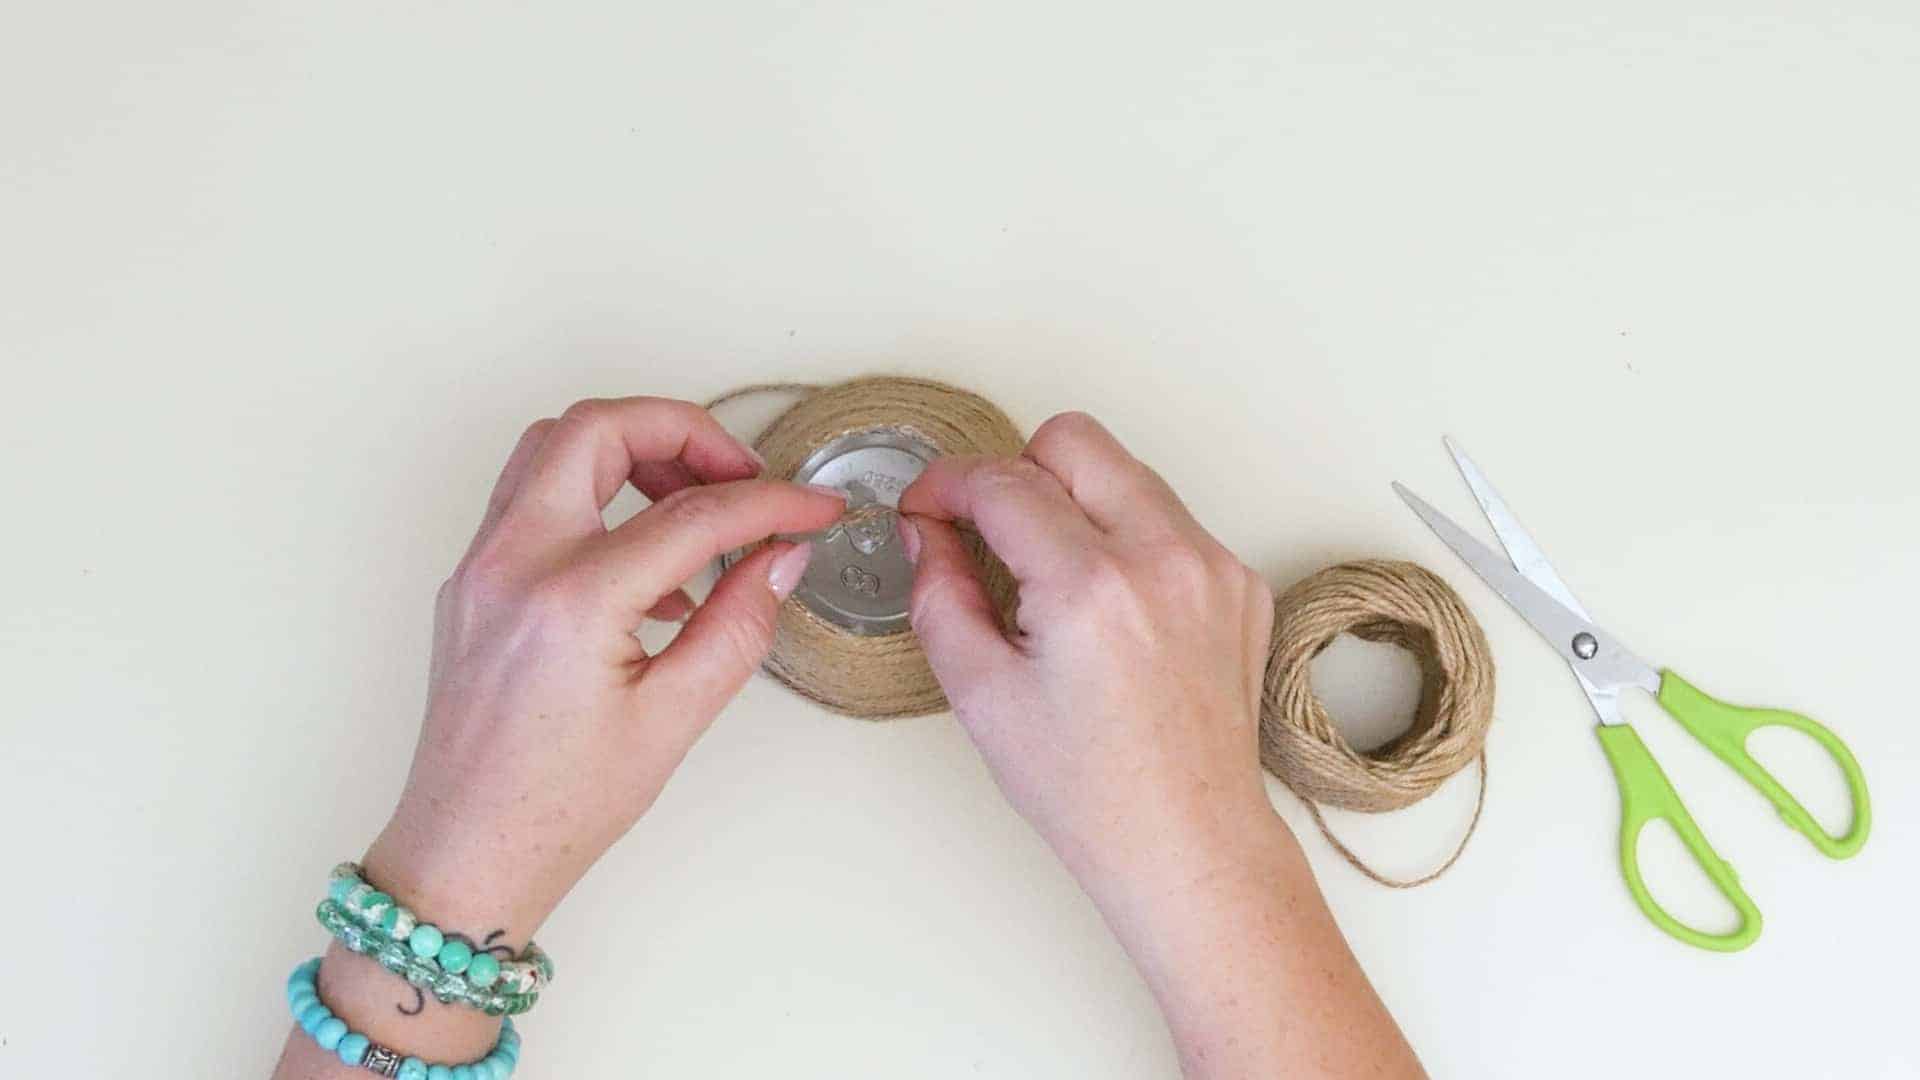
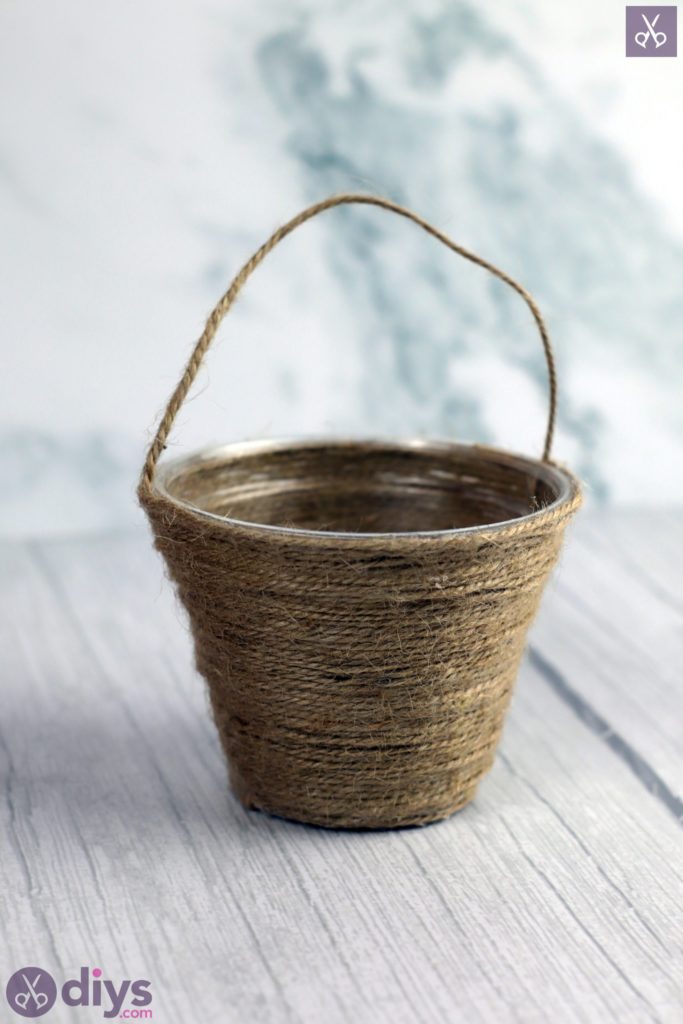
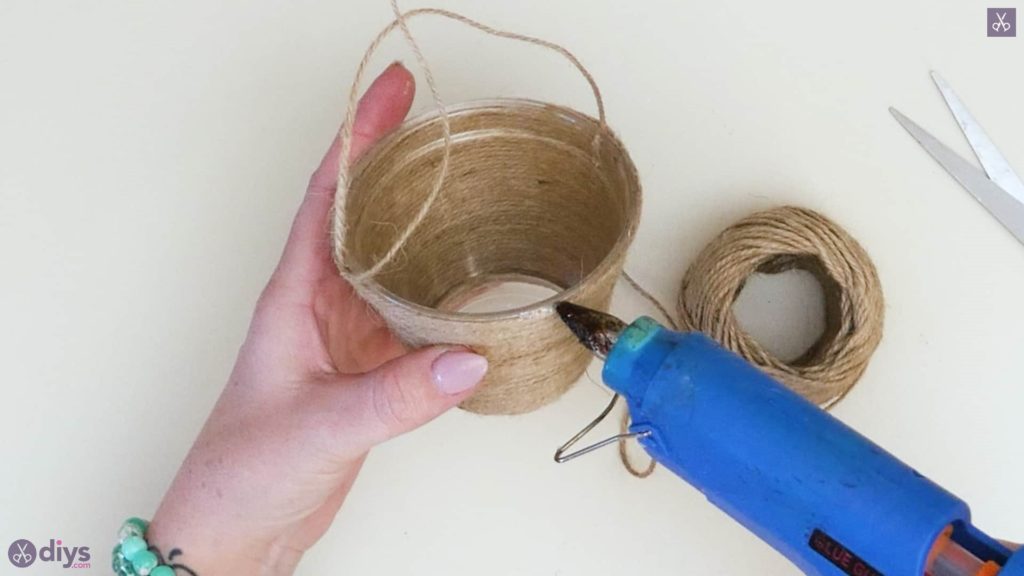
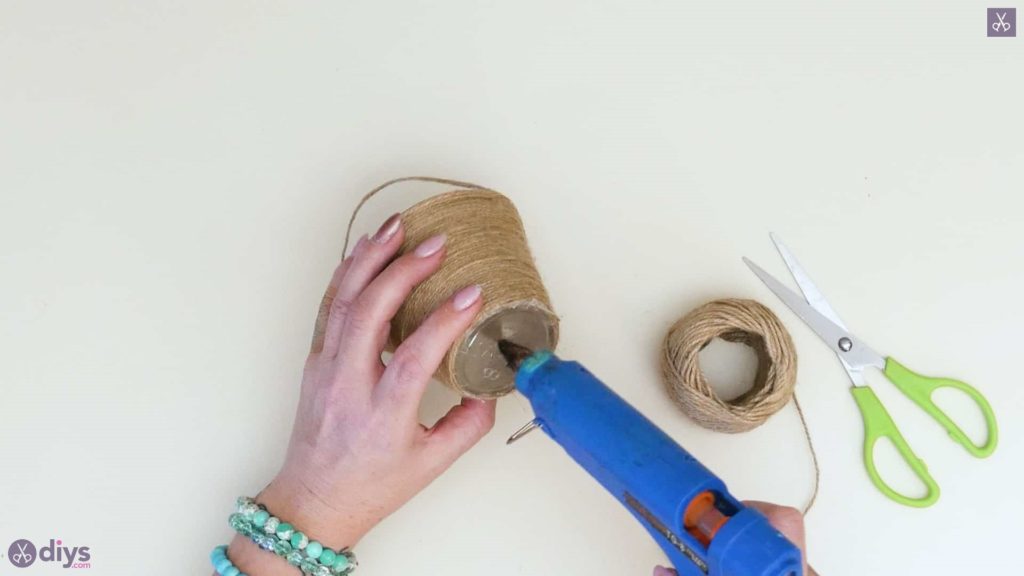
Now you’ll cover the bottom of the basket so that the whole plastic surface has a layer of jute twine and really looks the part! tart by applying a dot of glue in the very centre of the bottom of the cup and sticking your end down there. Curl the twine into a small circle and begin spiralling the yarn around itself outwards from there. The process is much the same as the previous step, but this time you’ll need to apply glue to the bottom of the cup to anchor your yarn into much more often, since there won’t be a wrapped layering underneath to support each new one and keep it in place in the same way because you’re working at a different angle and in a different shape. When you get to the outside edge of the cup’s bottom, cut and smoothly glue down the end just like before.

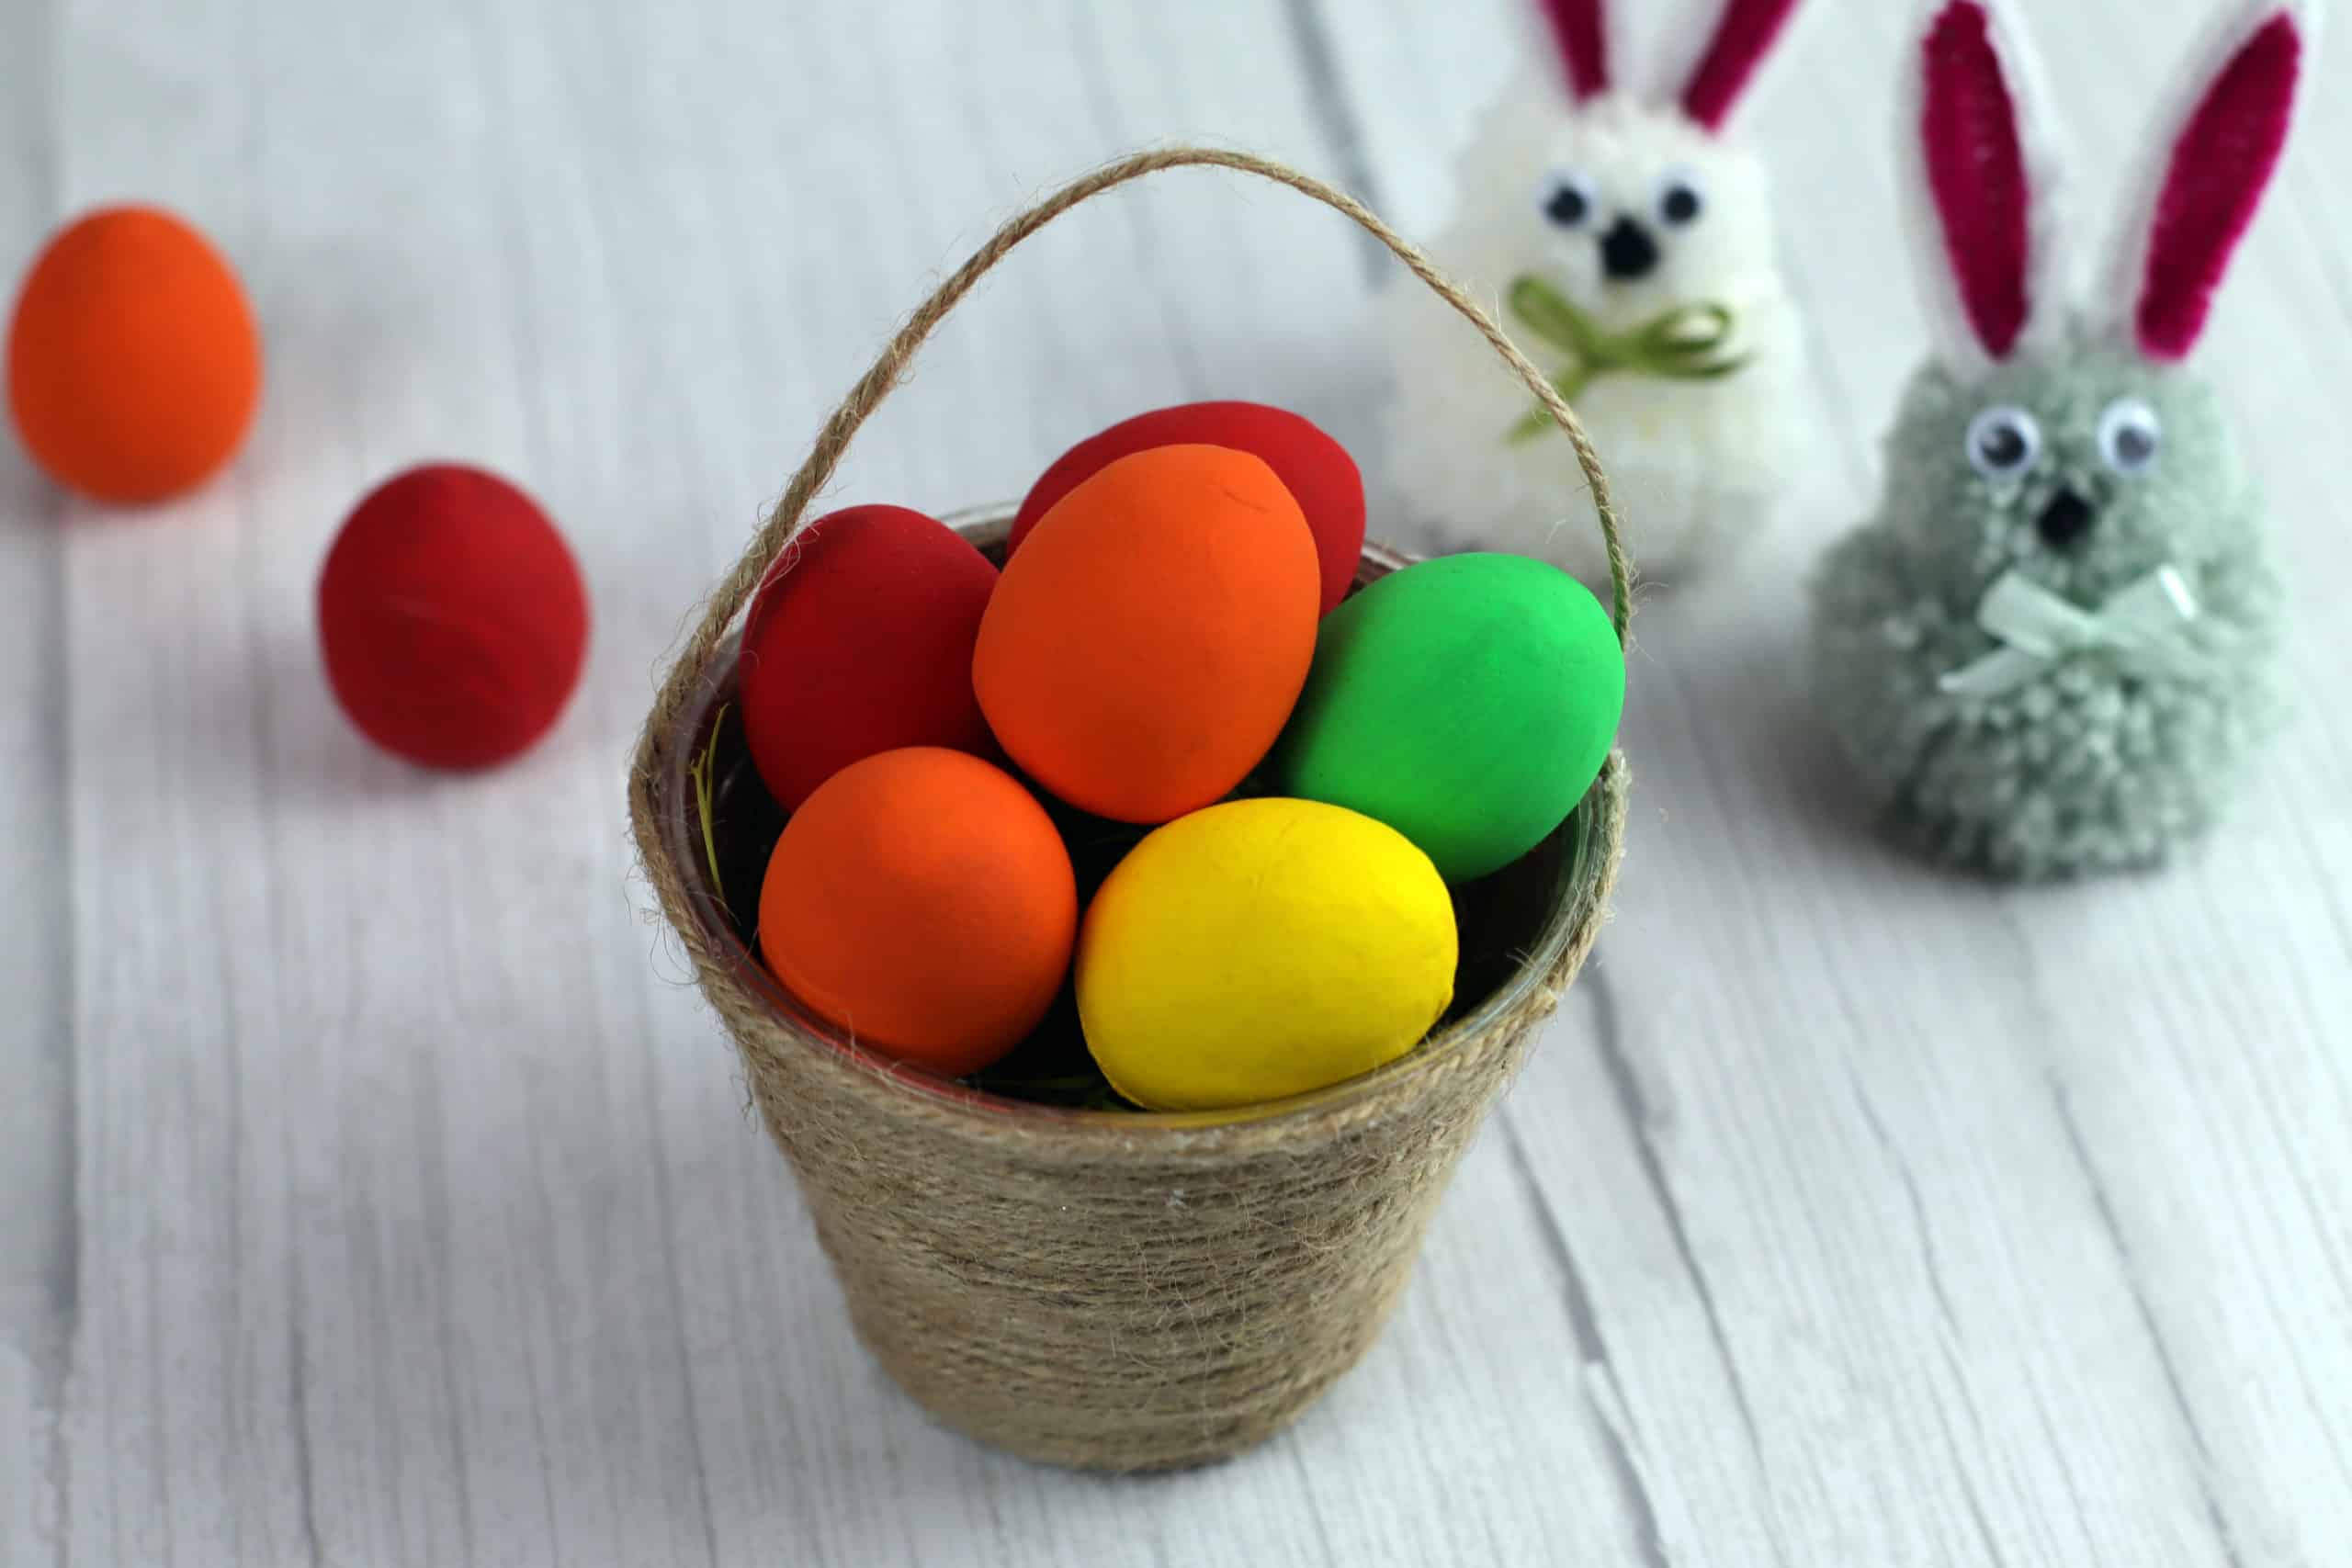
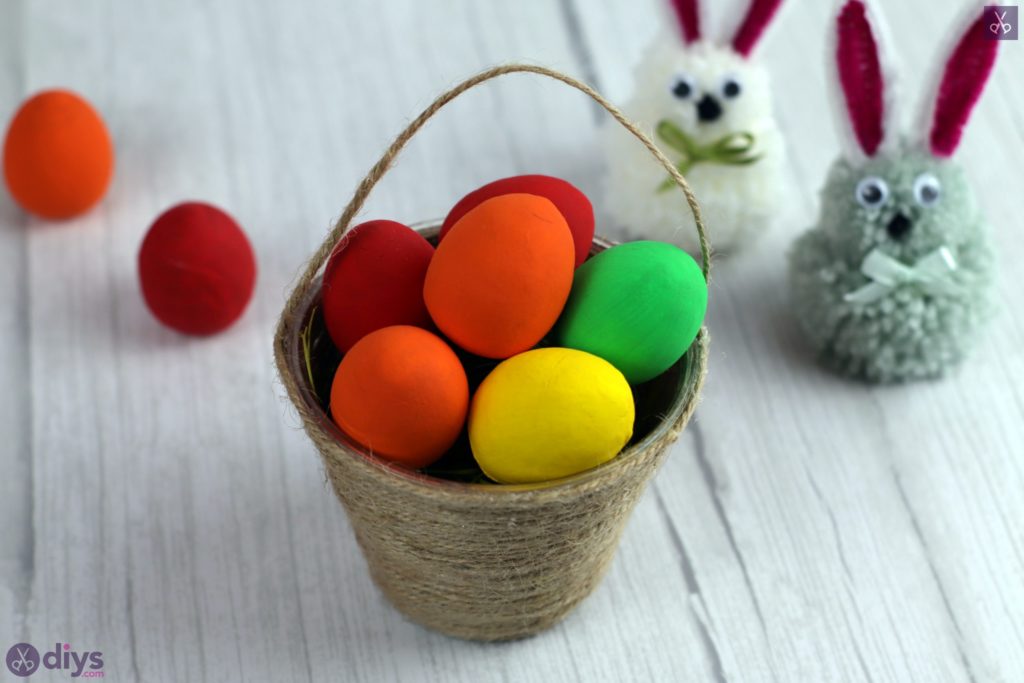
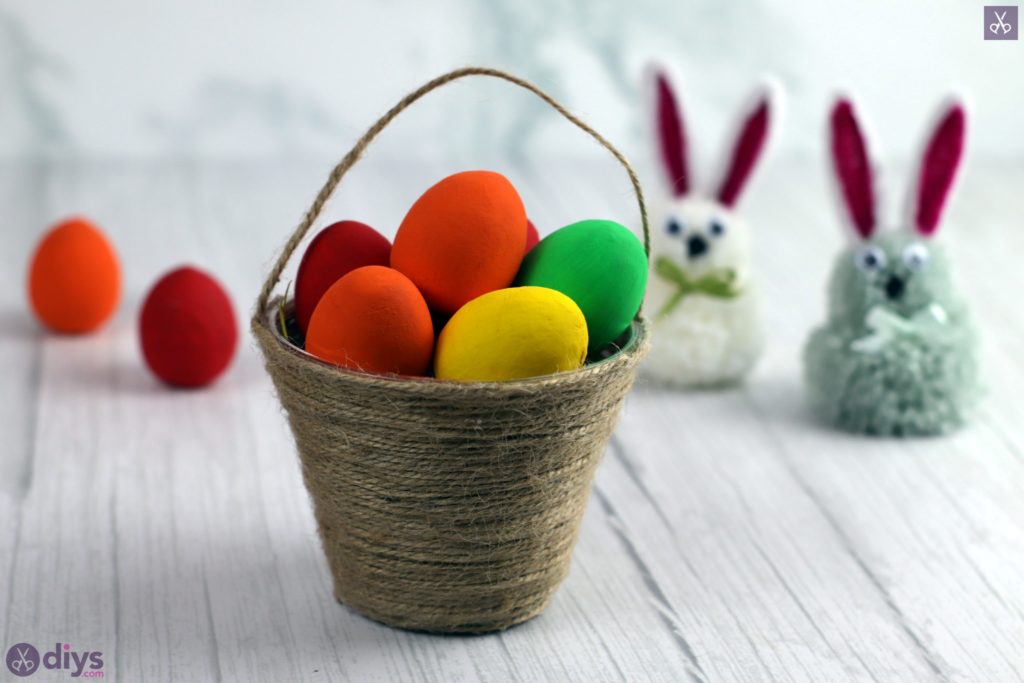
Your basket is officially finished! Feel free to use this same basic concept but with different kinds and colours of string and yarn for all different Easter inspired looks. Just in case you’d like to try this project out for yourself, here’s a fantastic tutorial video to help you!