DIY Juggling Balls For Kids
Updated on June 23, 2021


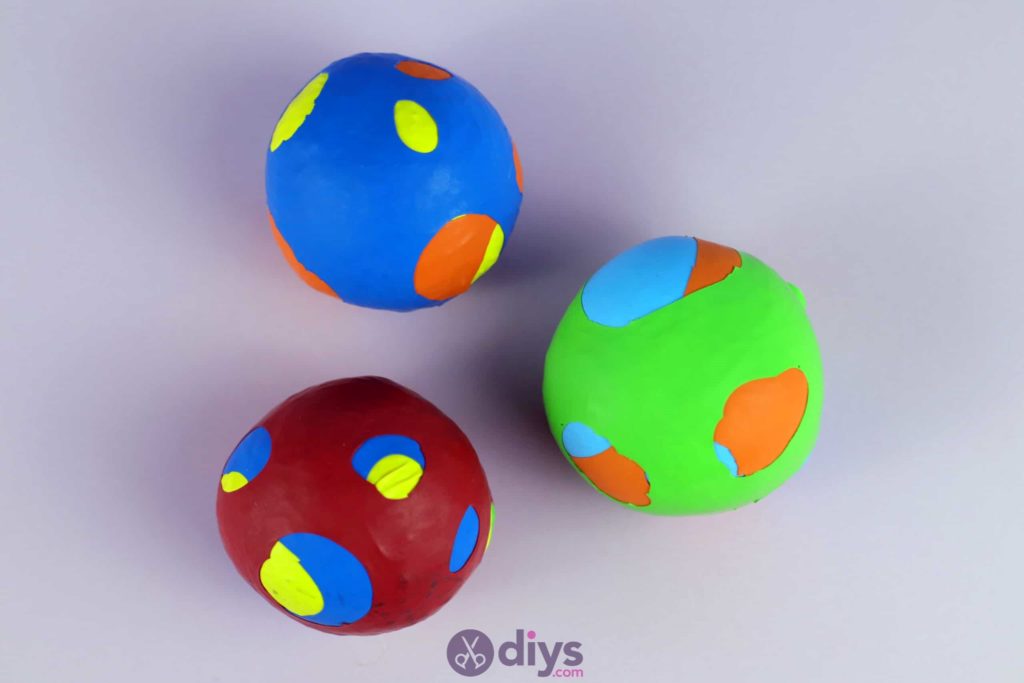
These juggling balls are meant for kids but they’re also great for any age! Fun, colorful, and super easy to make. This tutorial will show you how with step by step instructions. Check it out.
Check out these step by step instructions complete with photos! If you’d rather follow along with a video tutorial instead of written words, scroll to the bottom of this post to find just what you’re looking for.

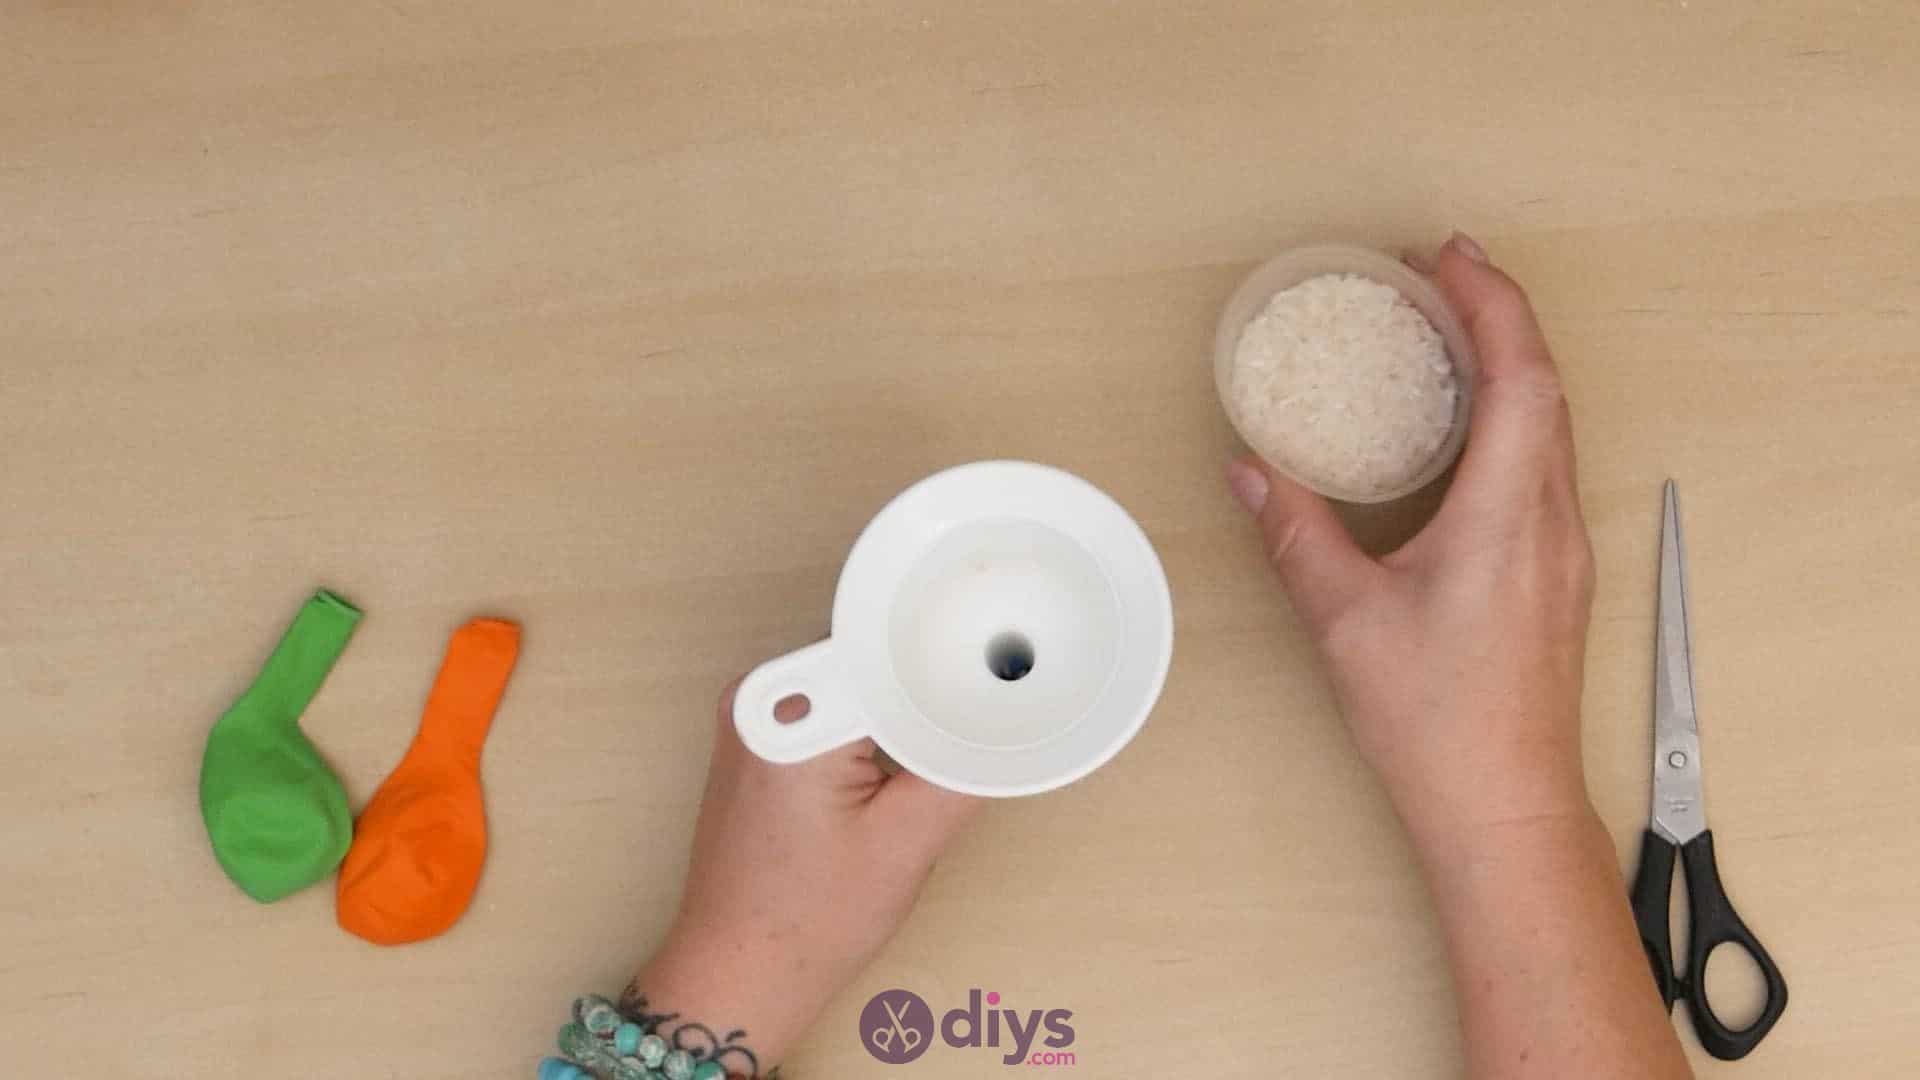
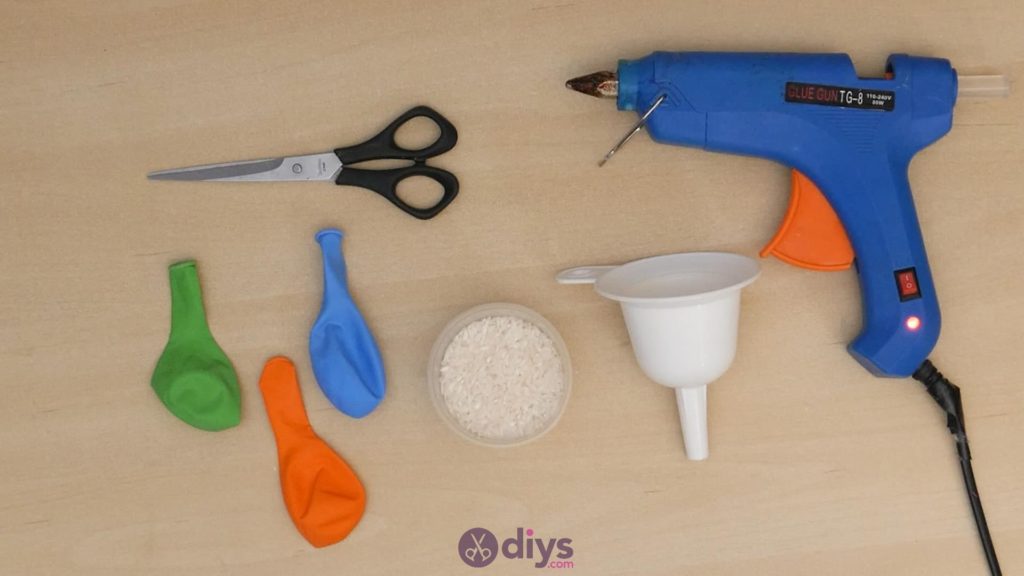
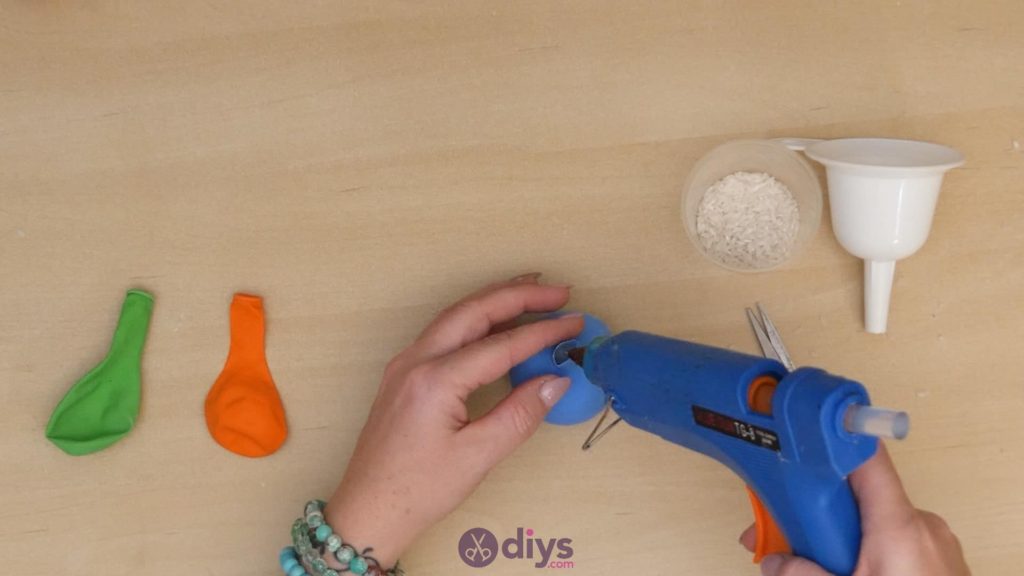
For this project, you’ll need:
- Uncooked rice
- A funnel
- Hot glue
- Scissors
- Balloons (any colour)
Step 1: Gather your materials!
Double check your list and make sure you have everything you need.
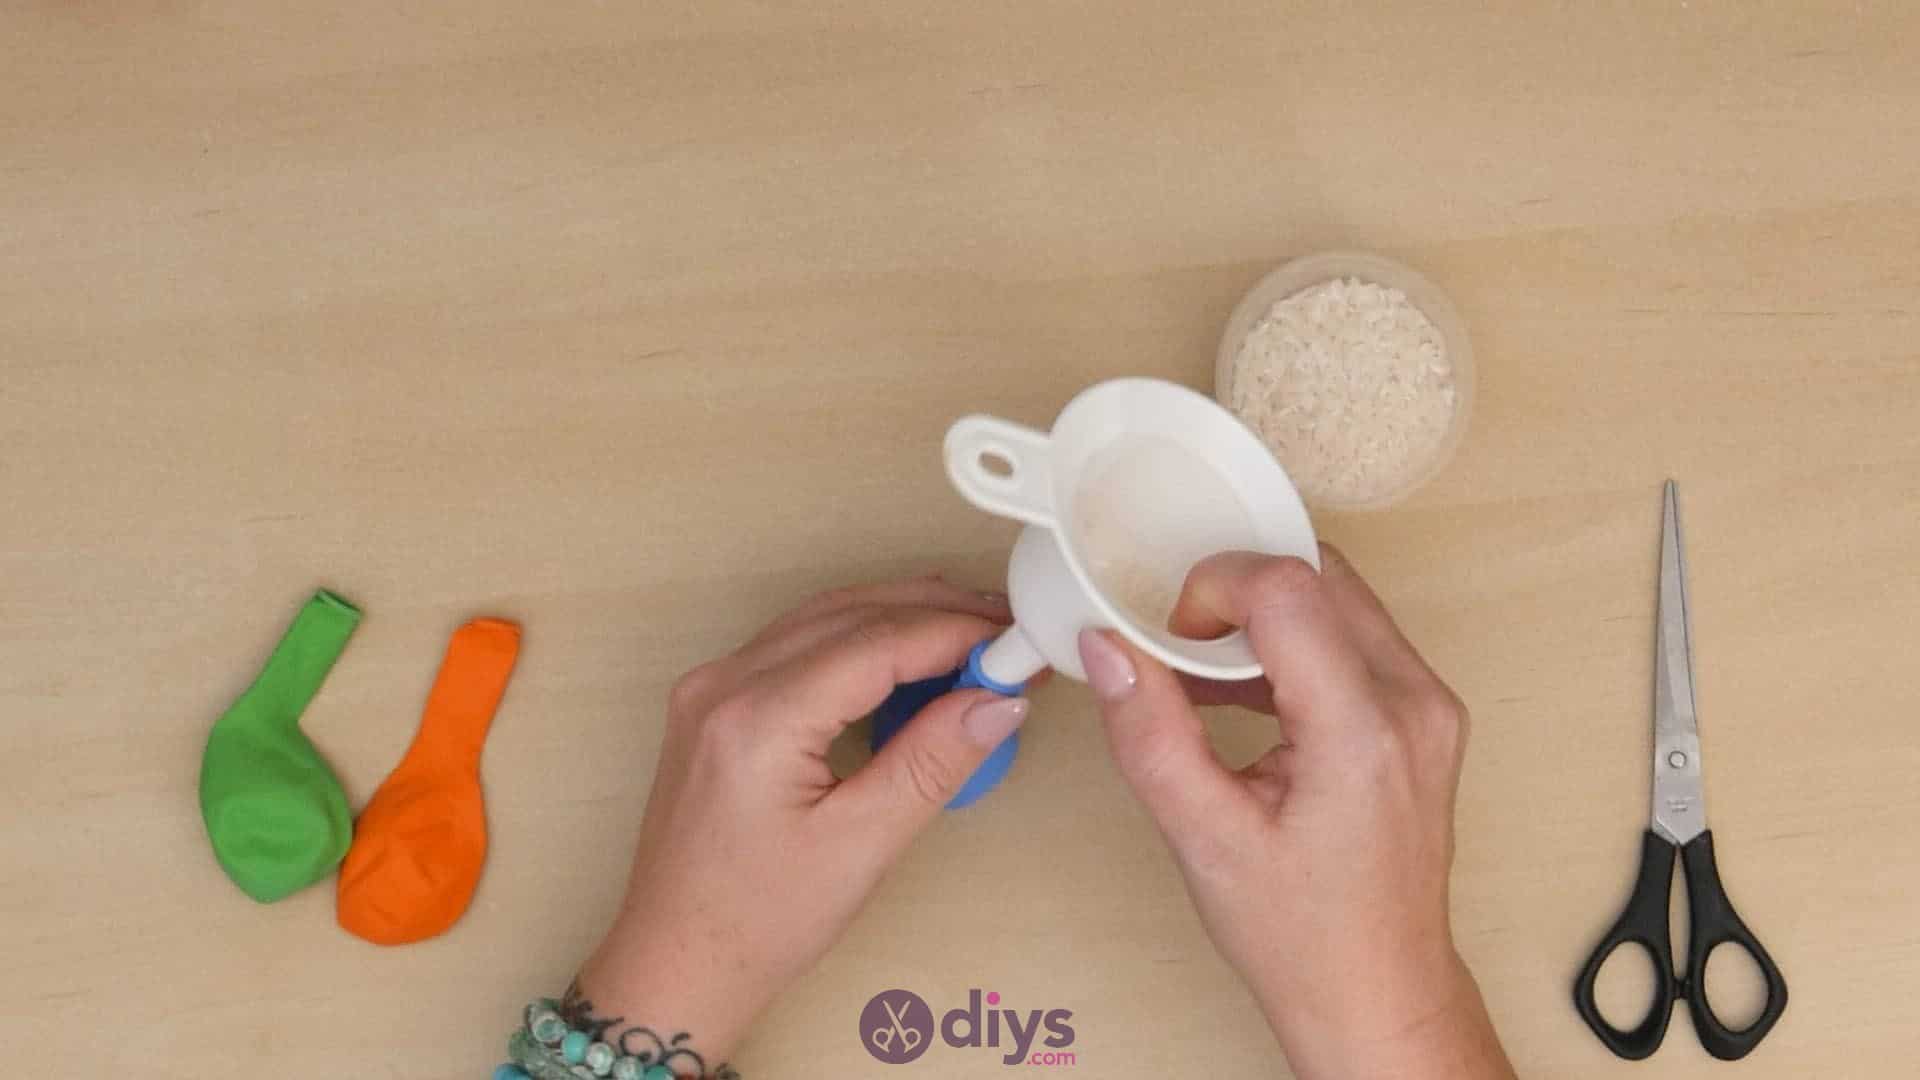
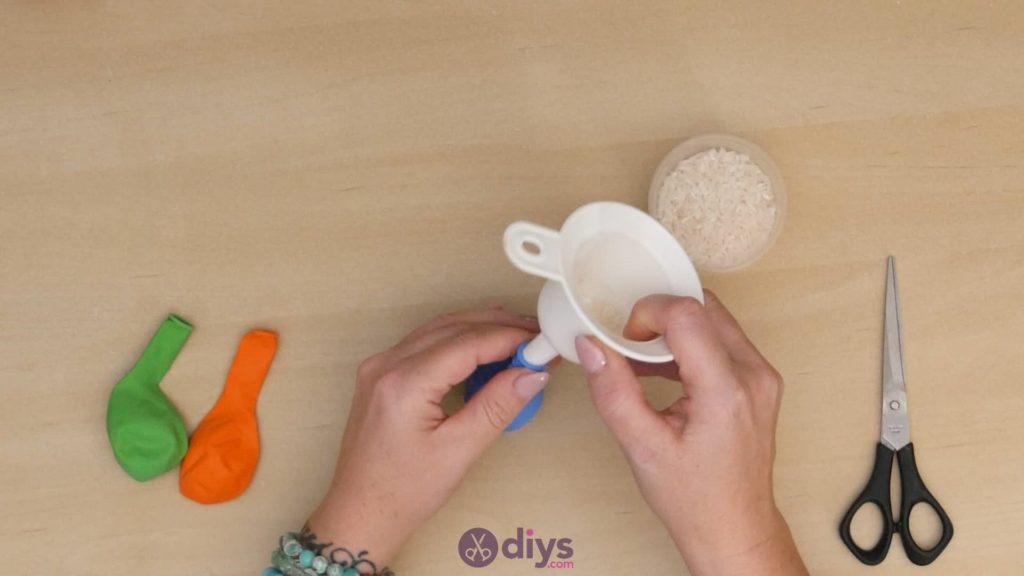
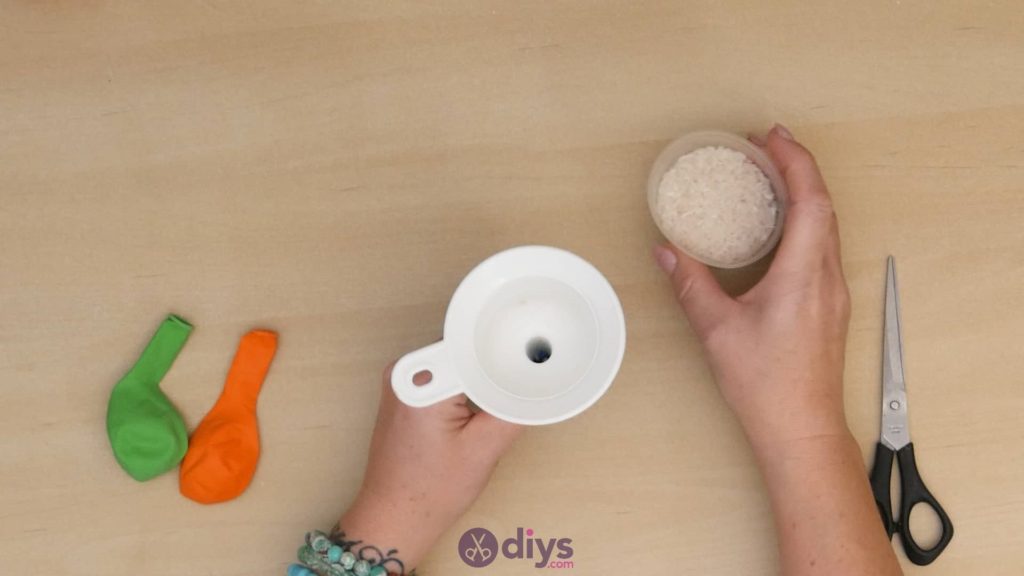
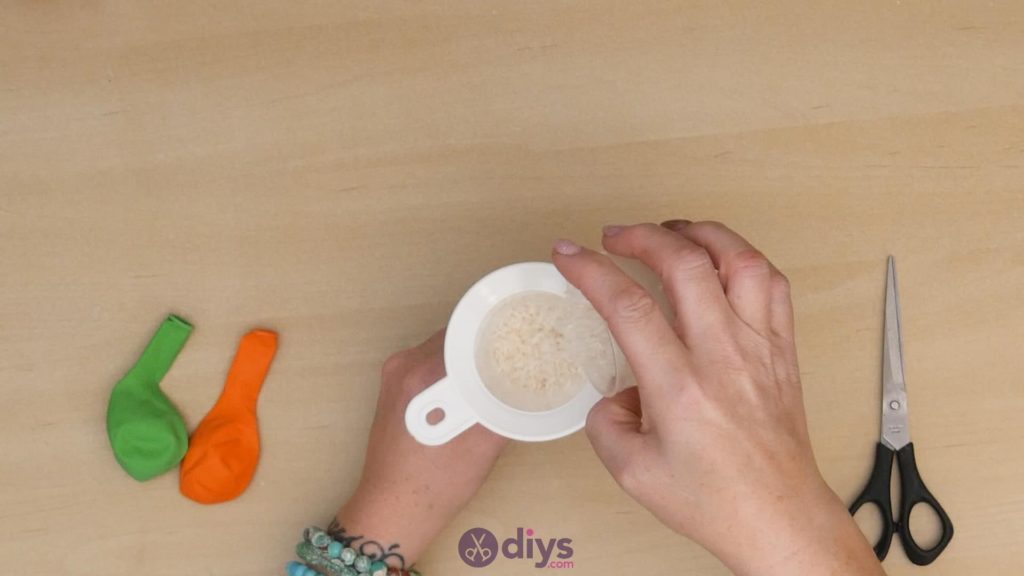
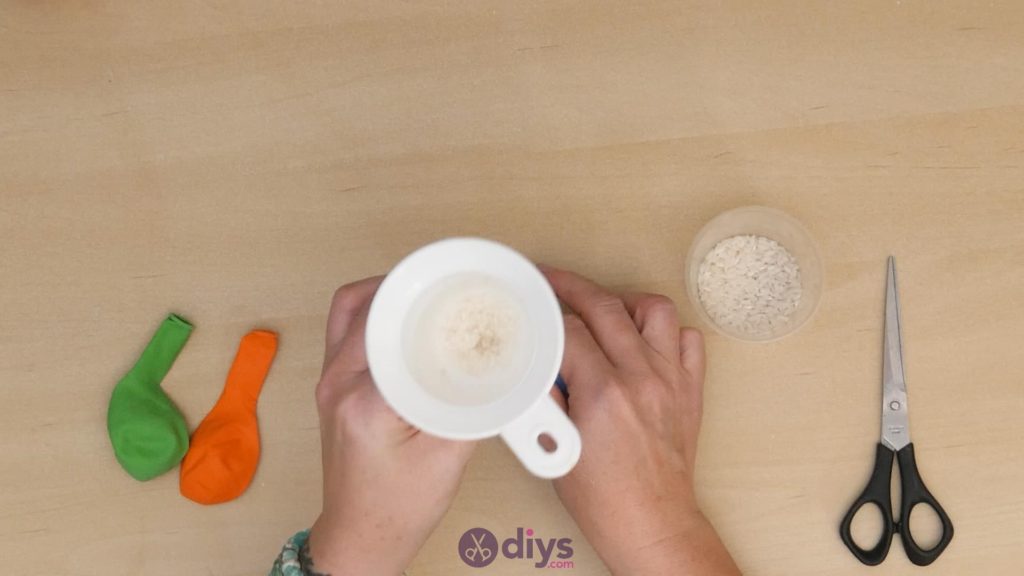
Step 2: fill a balloon
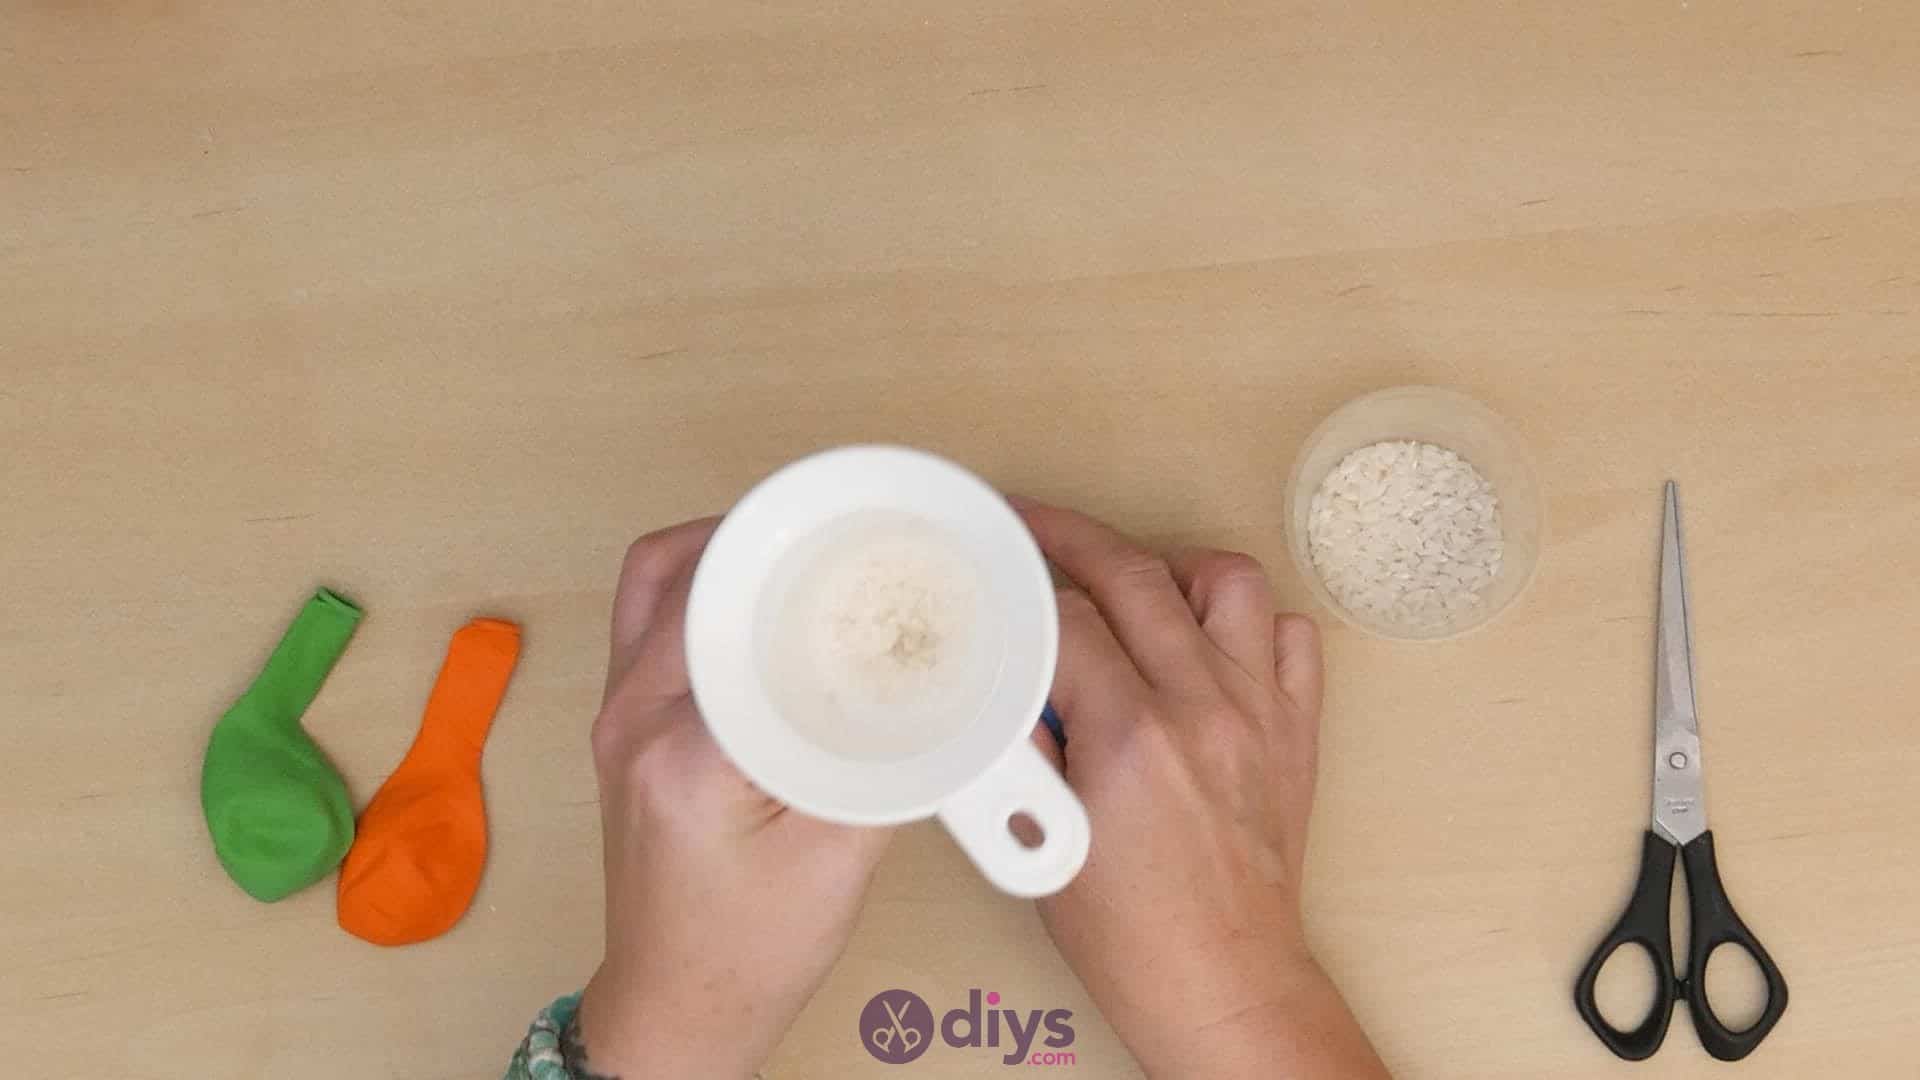
Choose your first balloon and turn it upside down so the rounded sack portion is at the bottom and the hole you’d normally blow the balloon up through is at the top. Insert the bottom tip of your funnel into the balloon’s hole and pinch it in place so it’s air tight. Pour rice into the top of the funnel slowly enough that it slides down through the hole and into the balloon. Keep filling it until the balloon is taught, but not so heavy or full that it spills up the neck to the balloon’s opening; you want to leave a little bit of flexibility there.
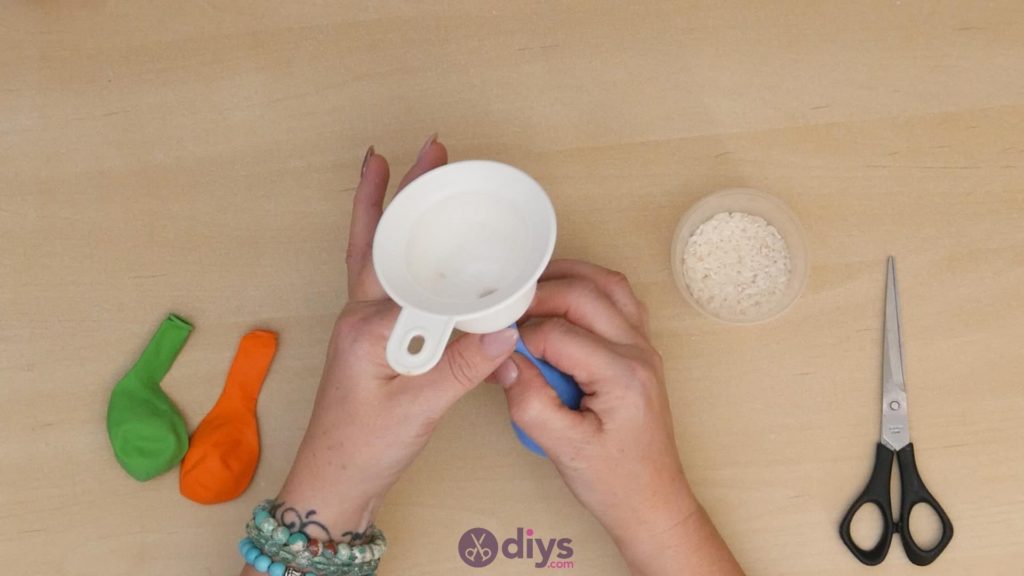
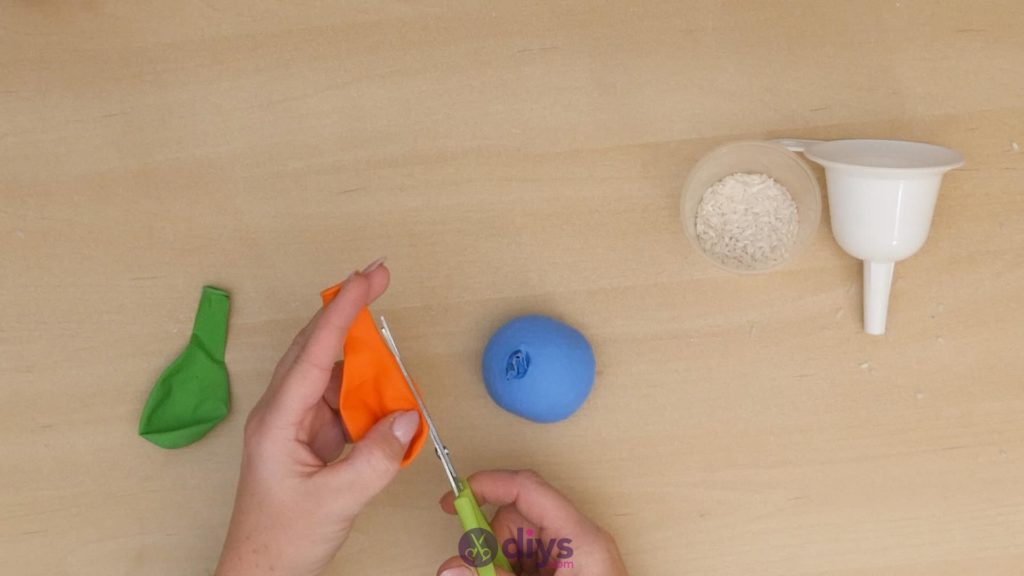
Step 3: pinch and close
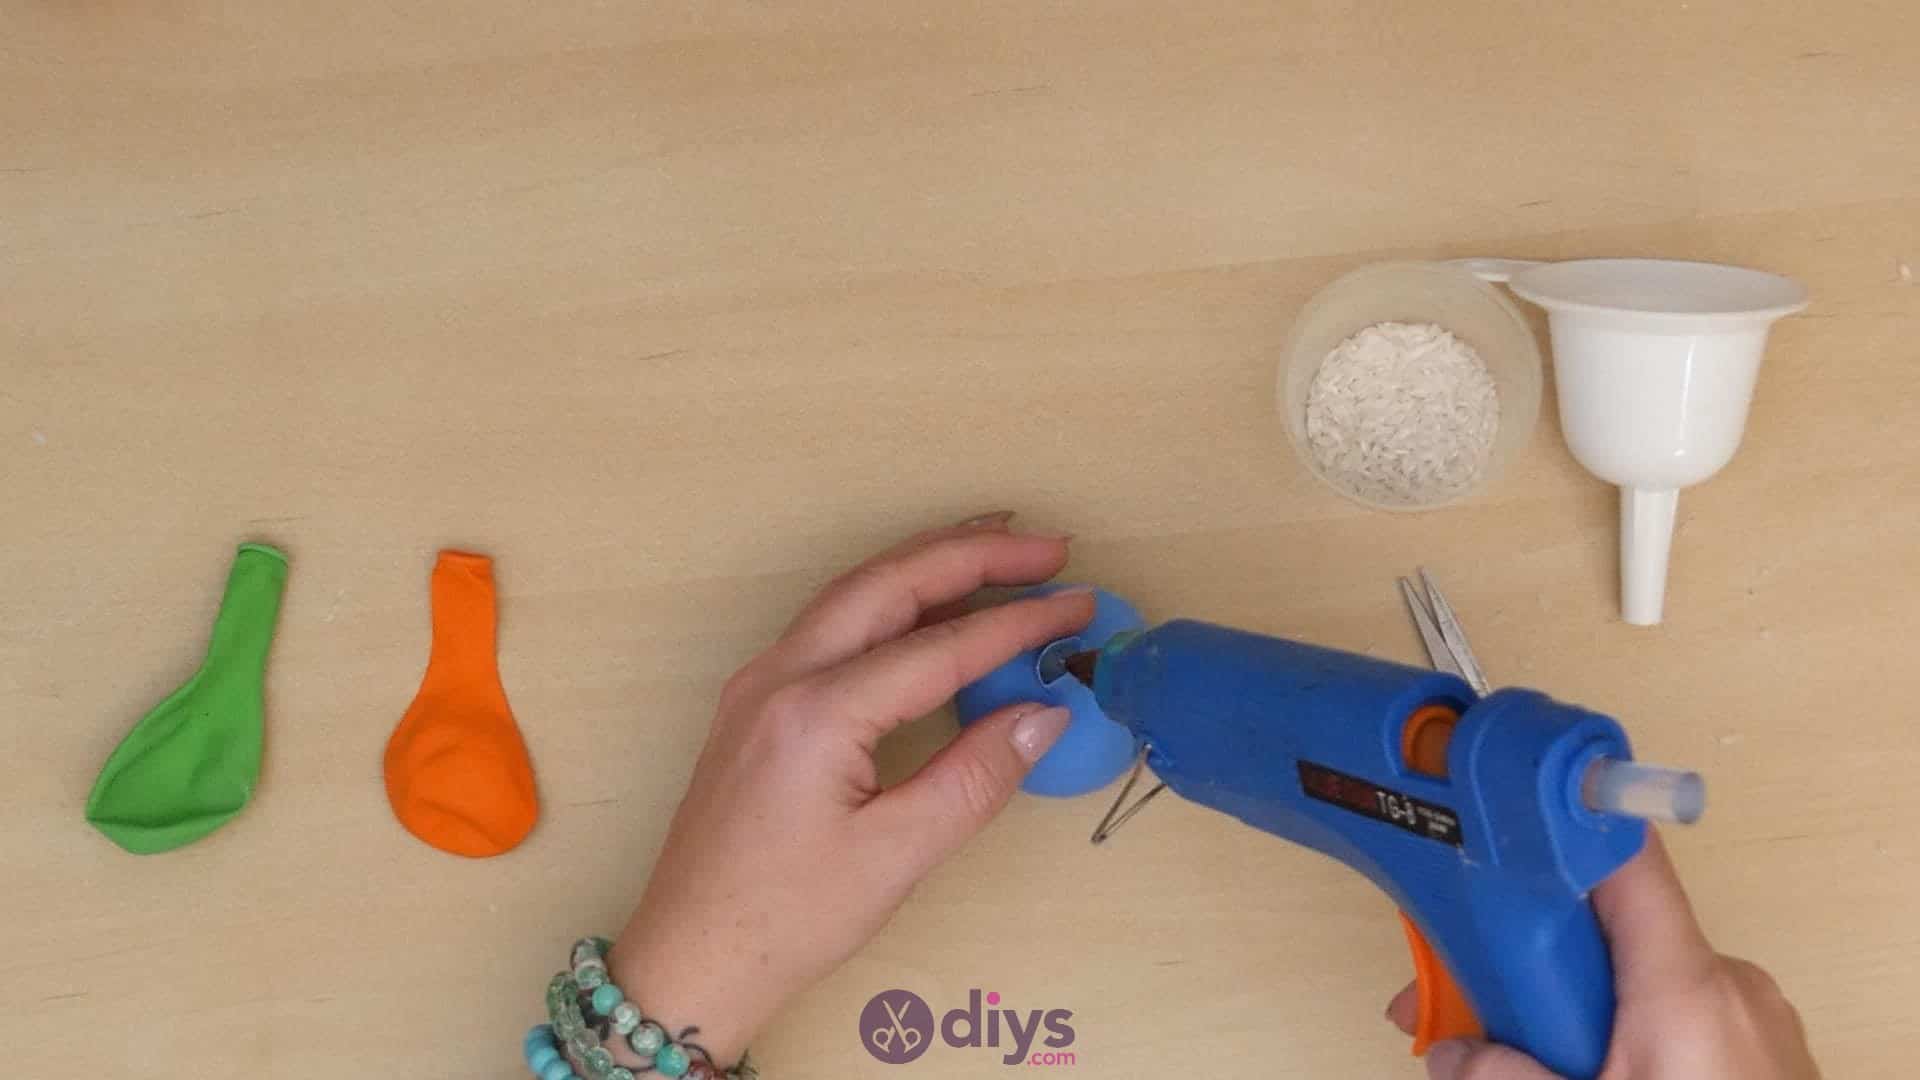
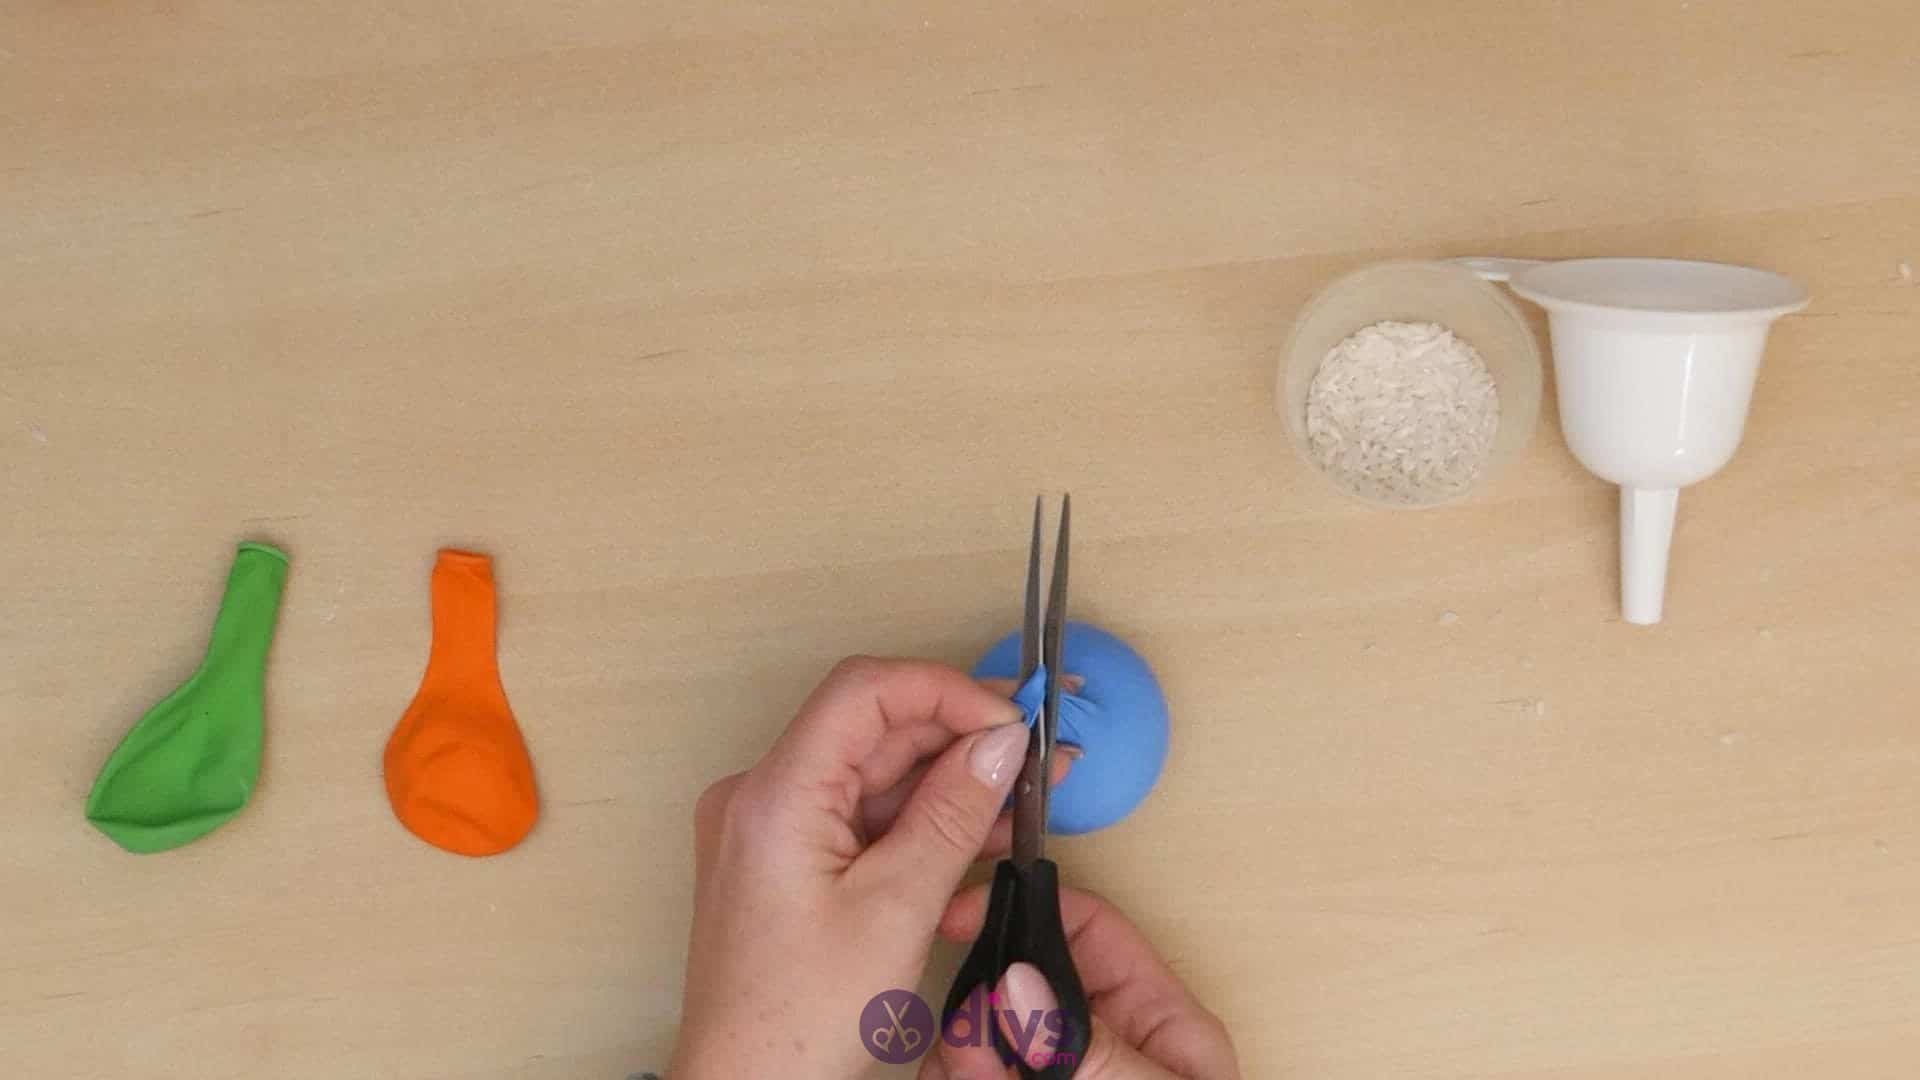
Pinch the balloon’s neck where it covers the funnel’s spout so that you don’t lose any of the rice inside and pull the funnel out, keeping the hole in the balloon pinched closed. Stretch the neck of the balloon a little if you need to and tie it in a knot, closing it to keep the rice in. Try and tie it as close down to the rice and the larger part of the balloon as possible to keep things nice and taught, giving you a more solid ball. Use your scissors to cut the excess of the end off after your knot and then use your hot glue gun to stick the knot and what’s left of the end down to the side of the ball as flat and discreetly as you can.
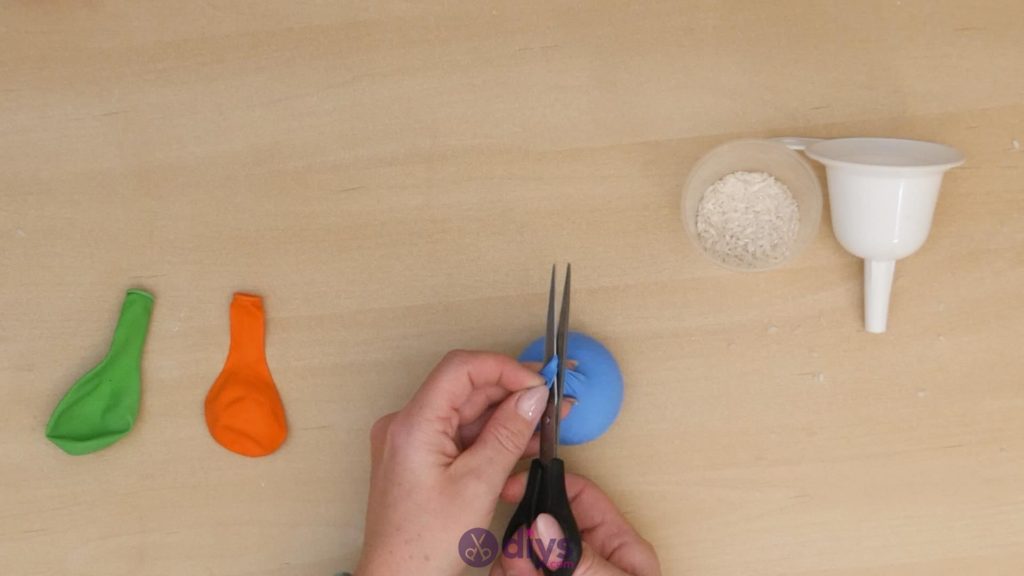
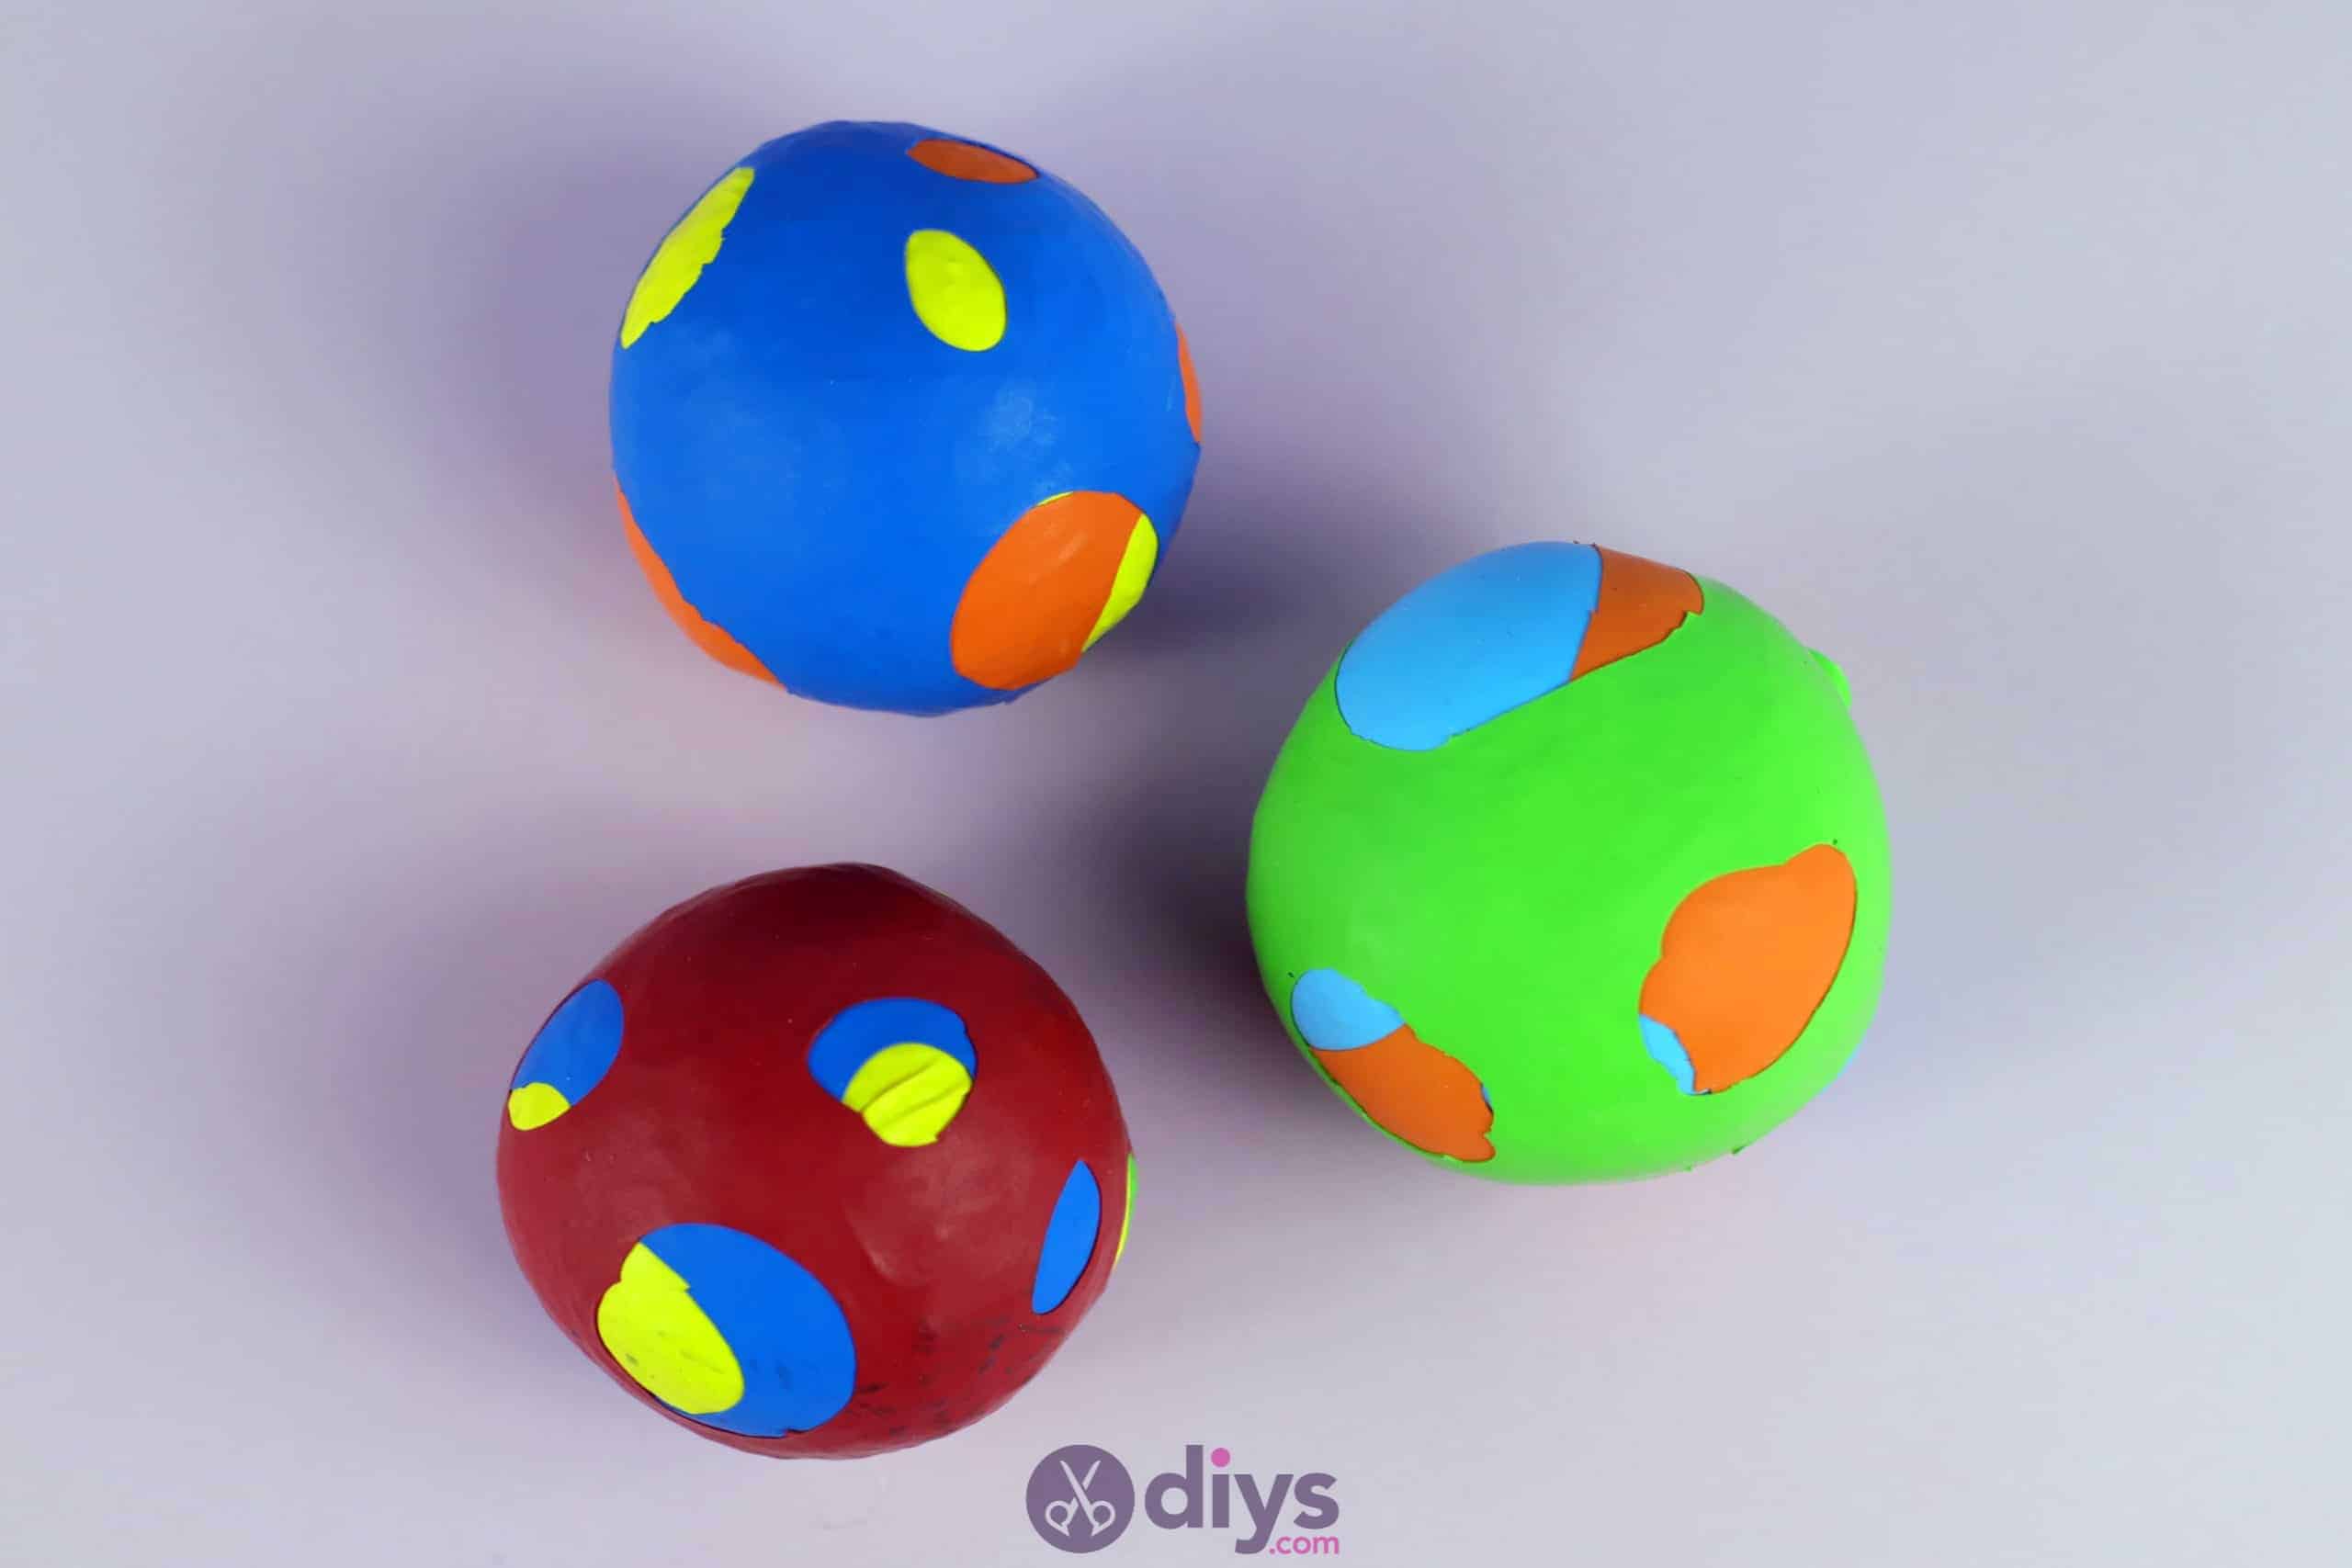
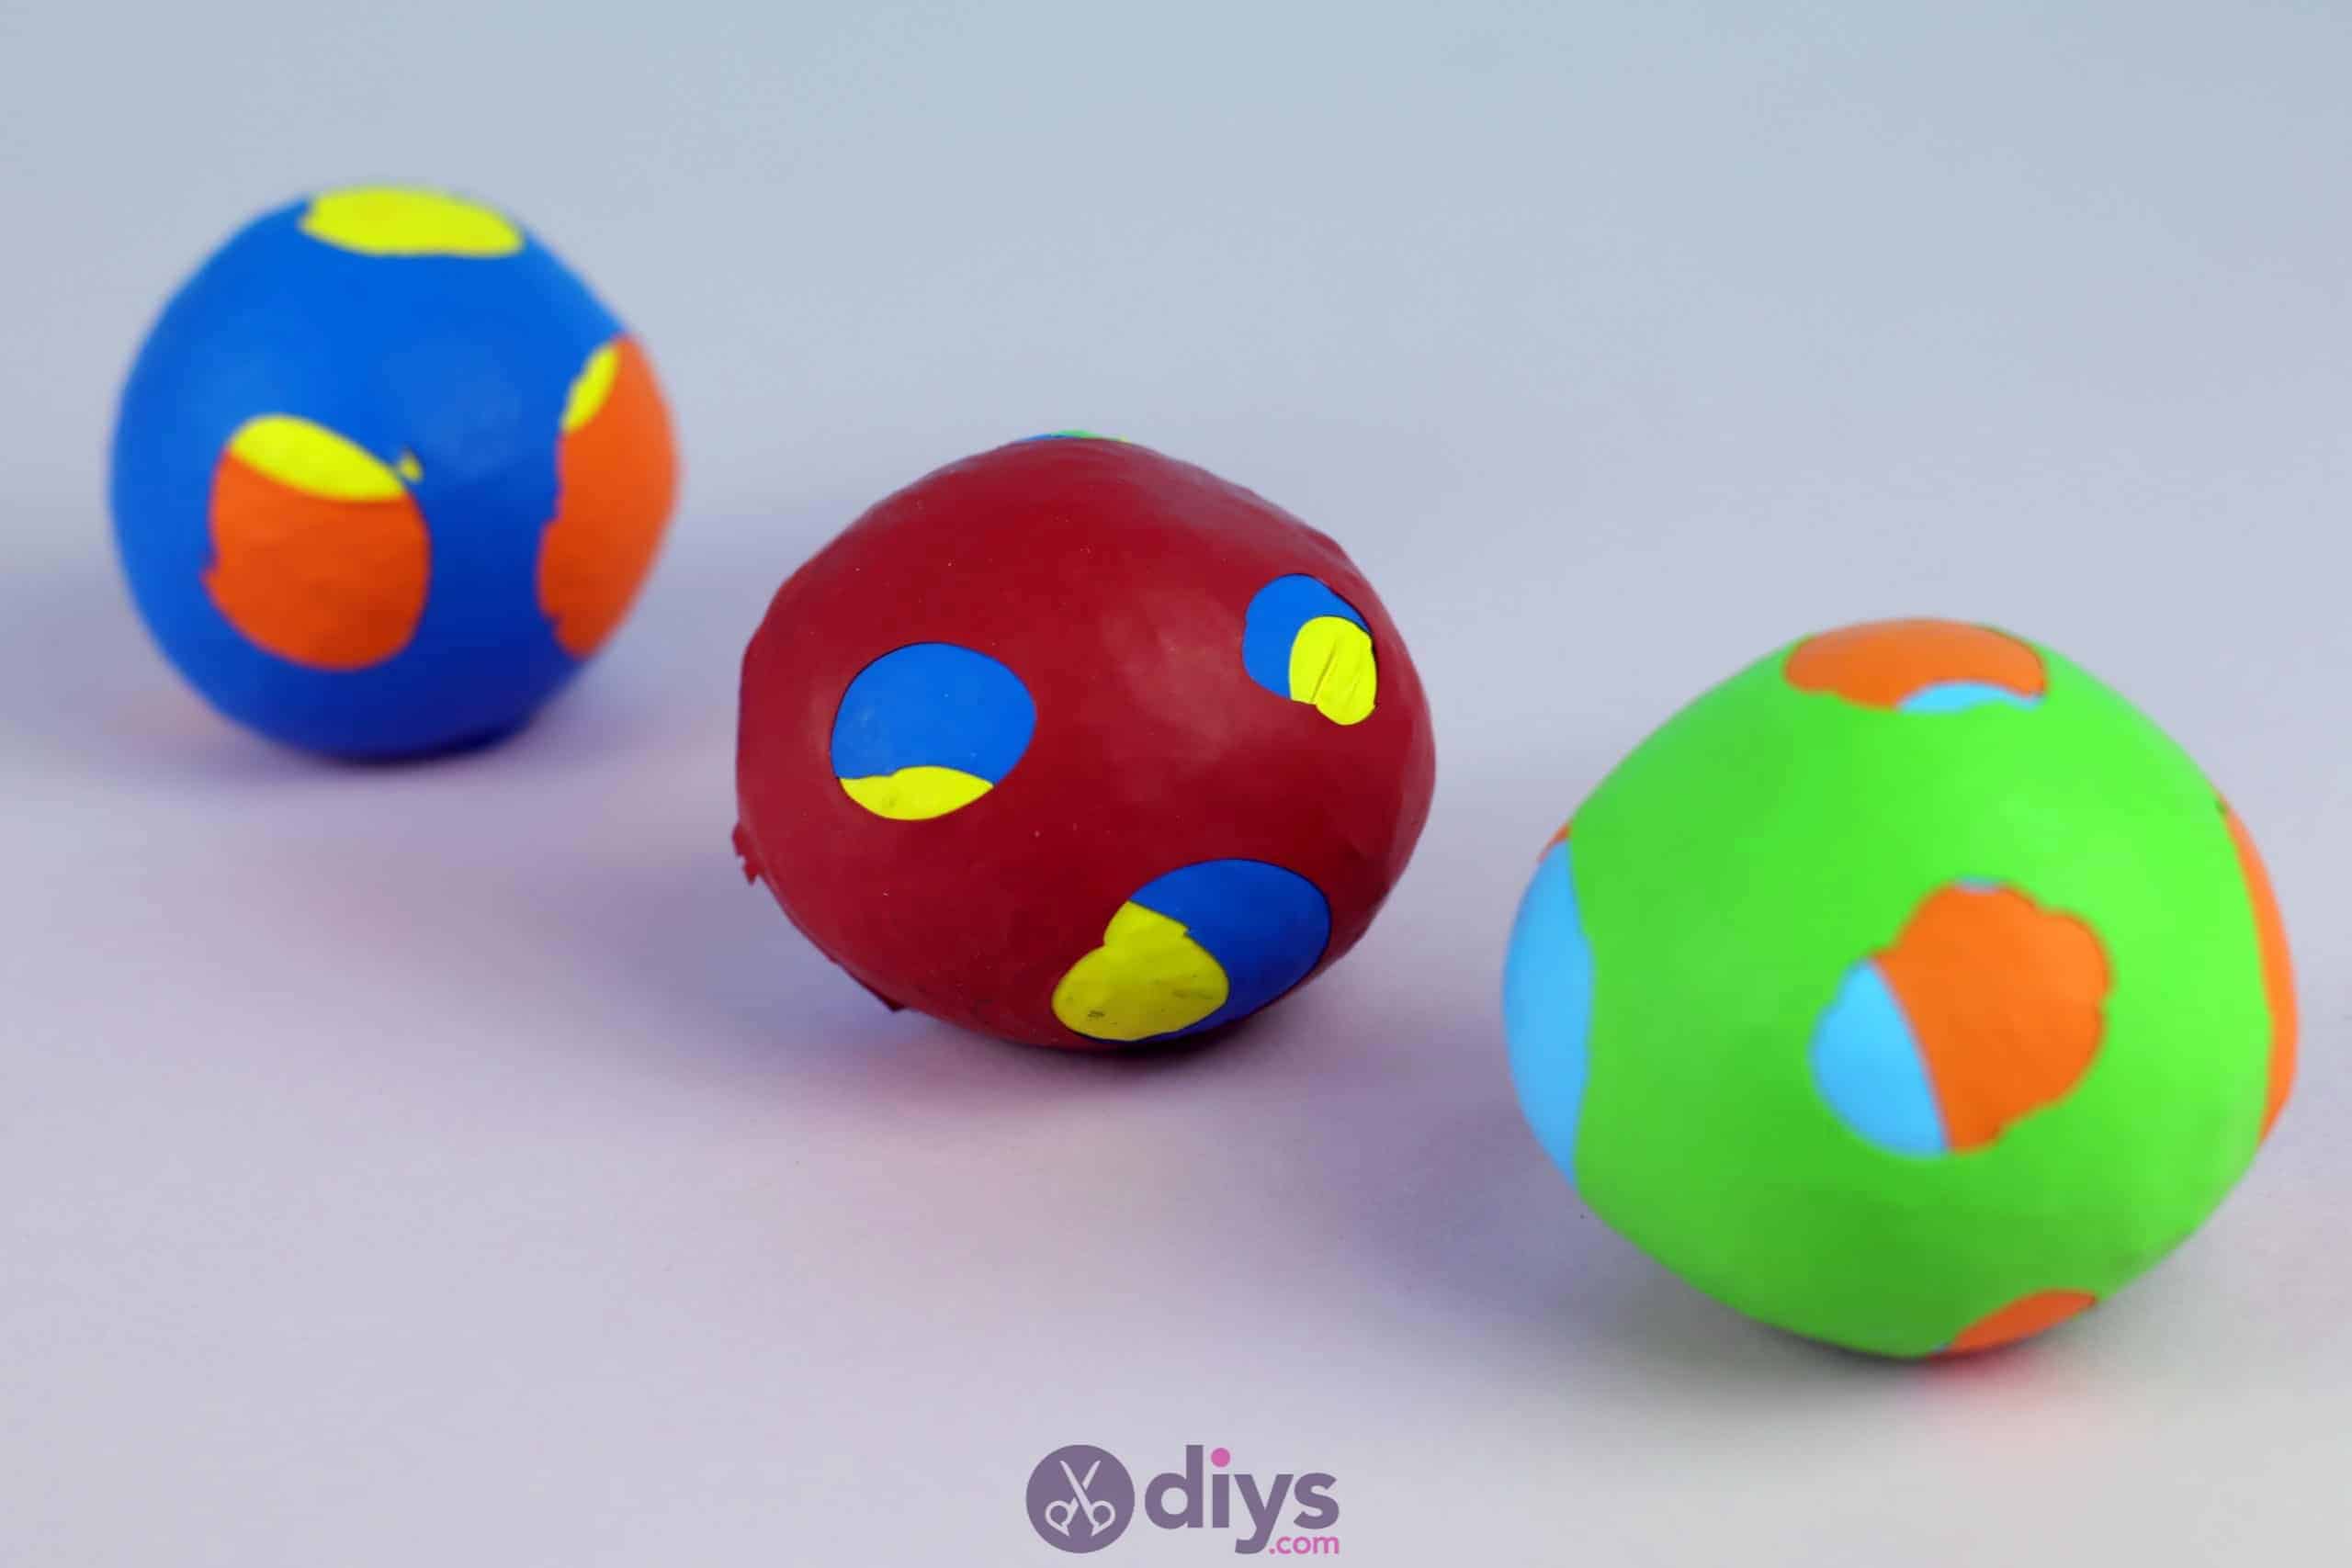
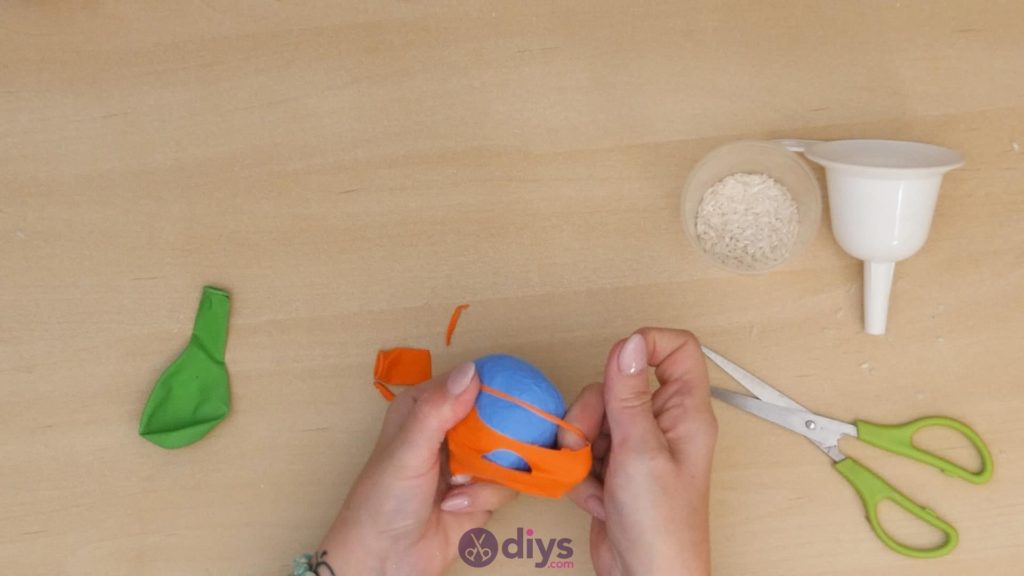
Step 4: second layer
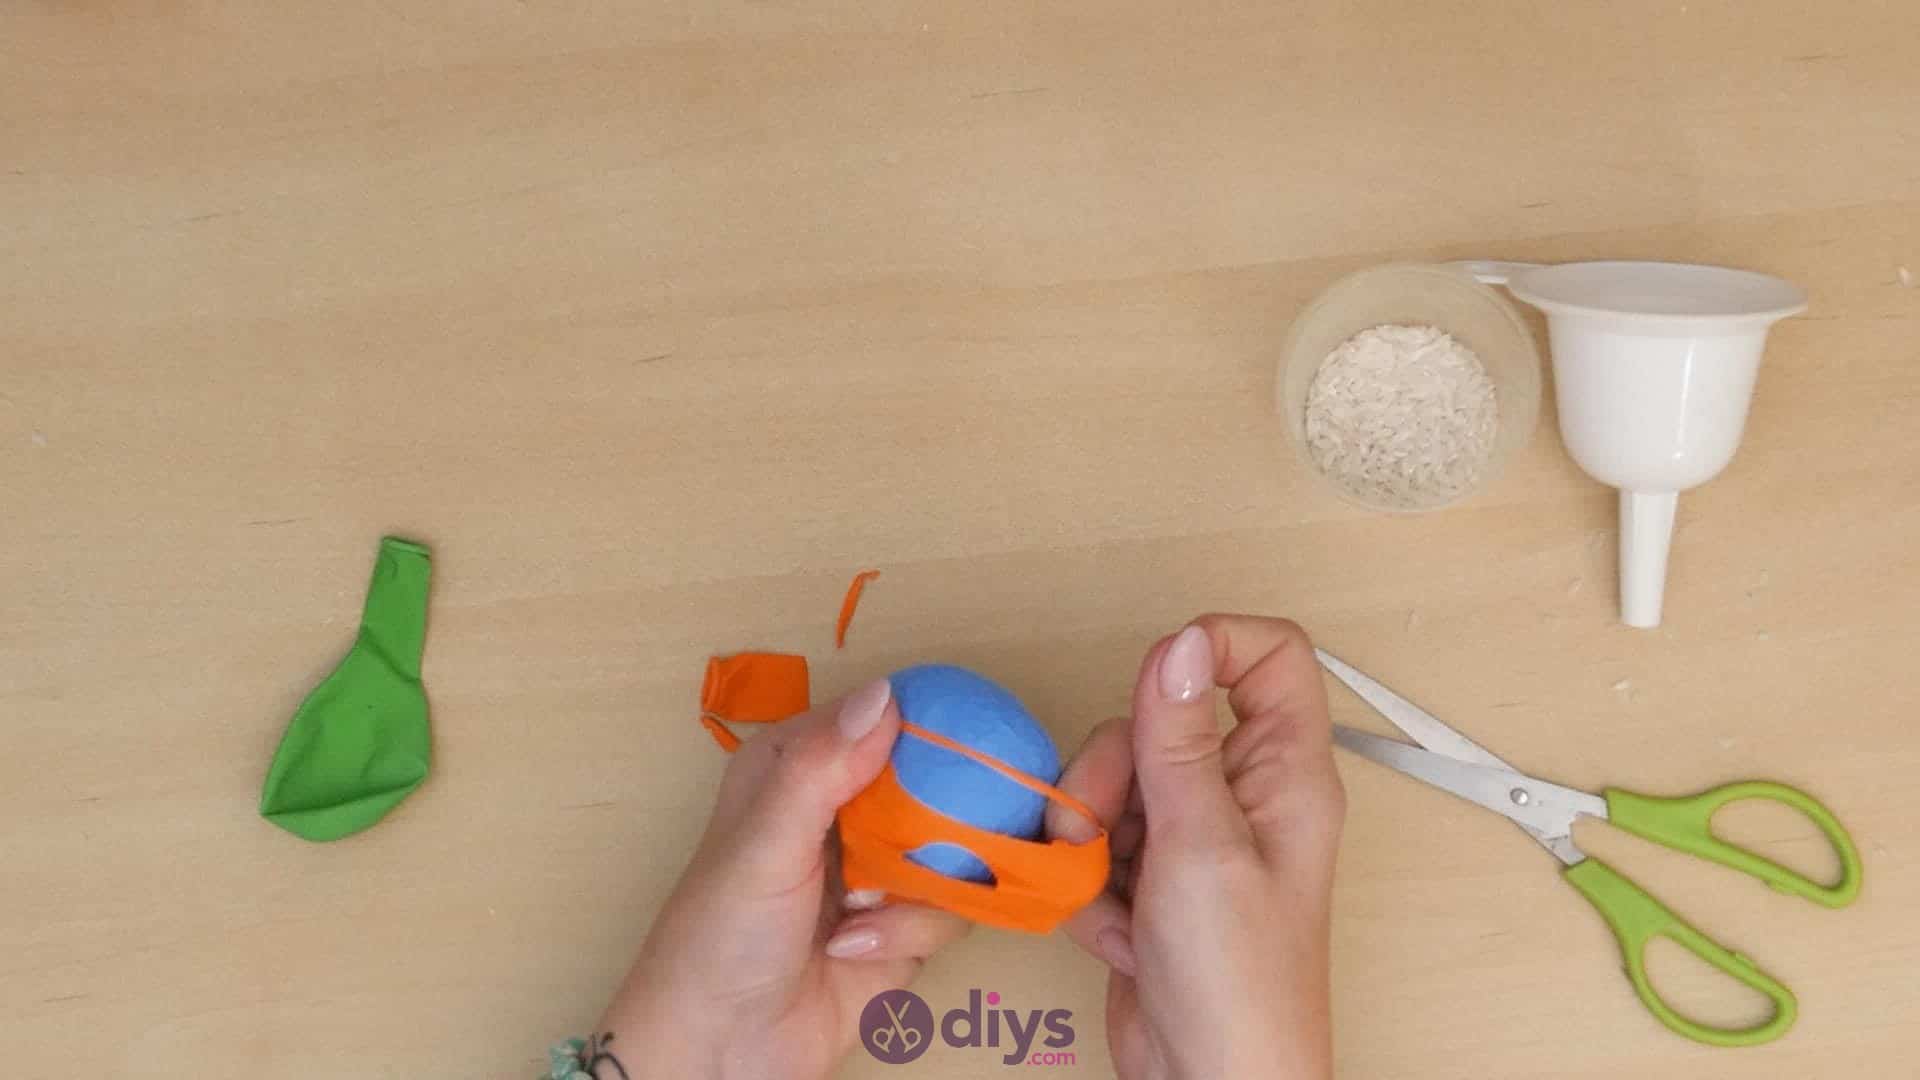
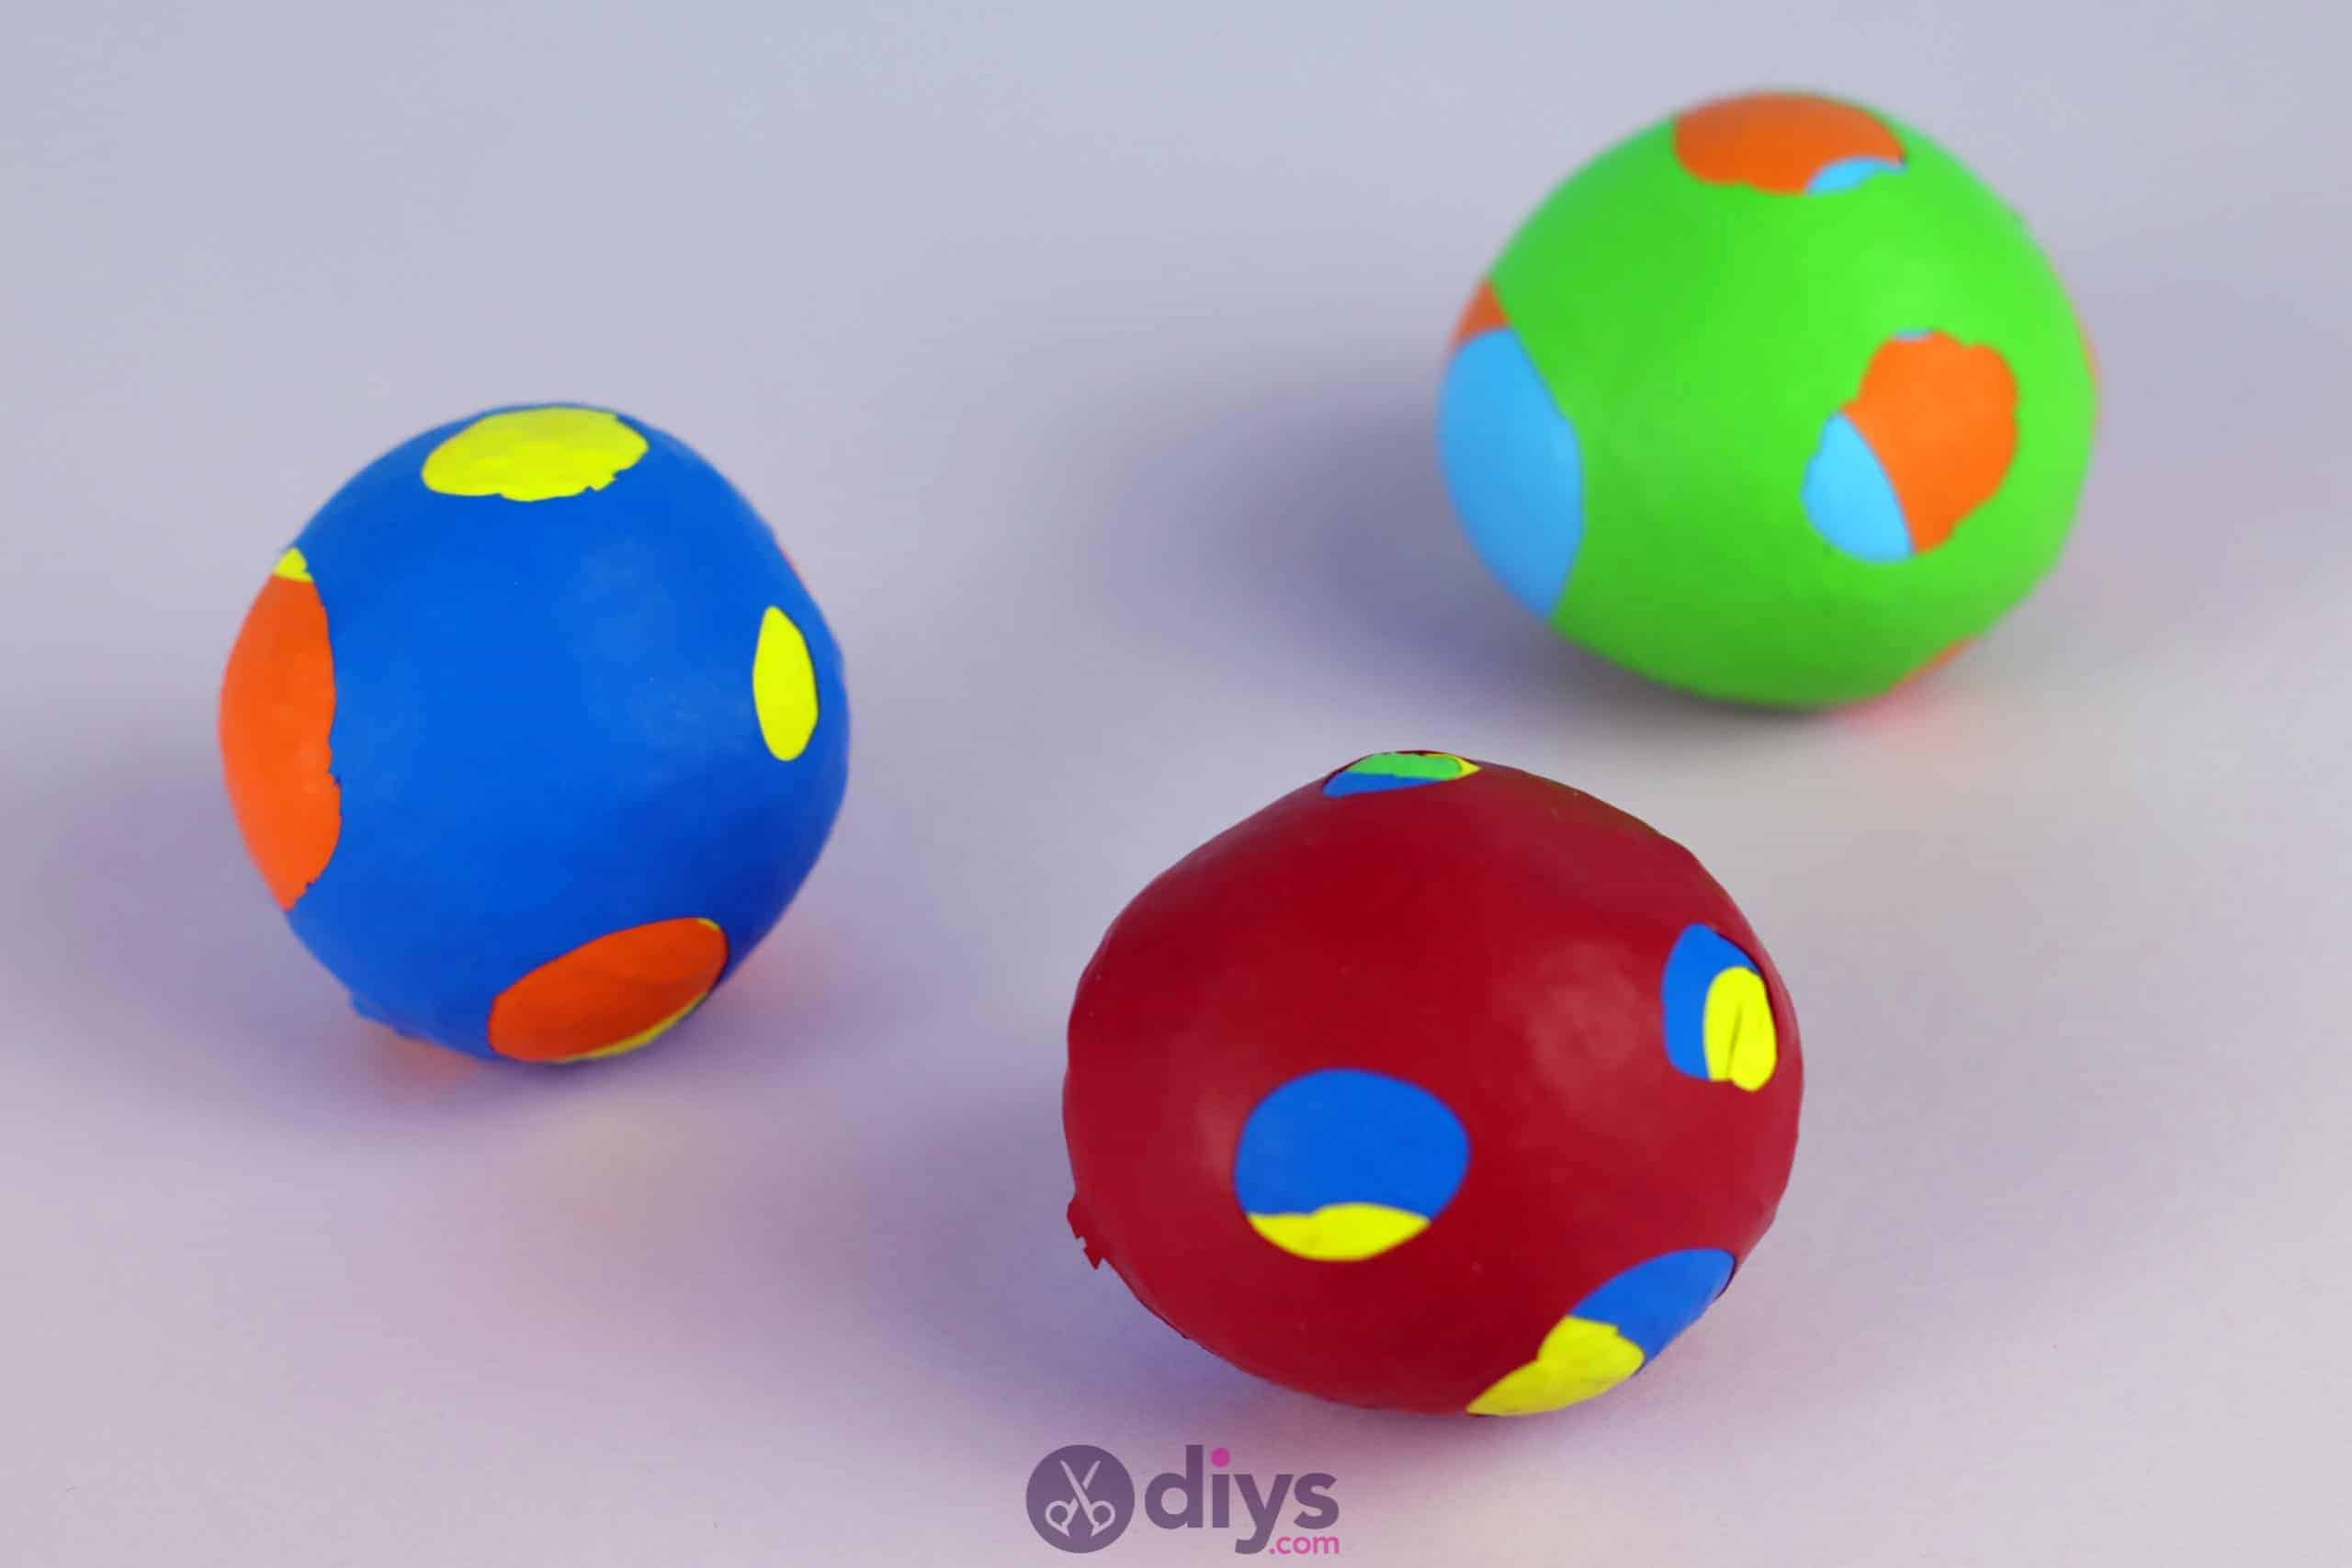
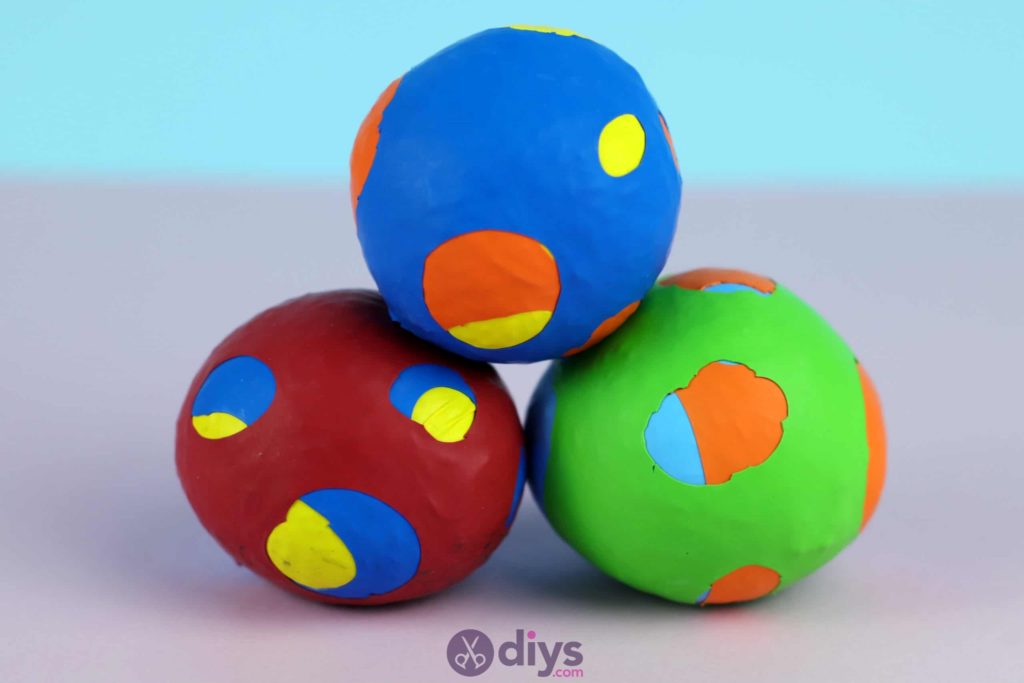
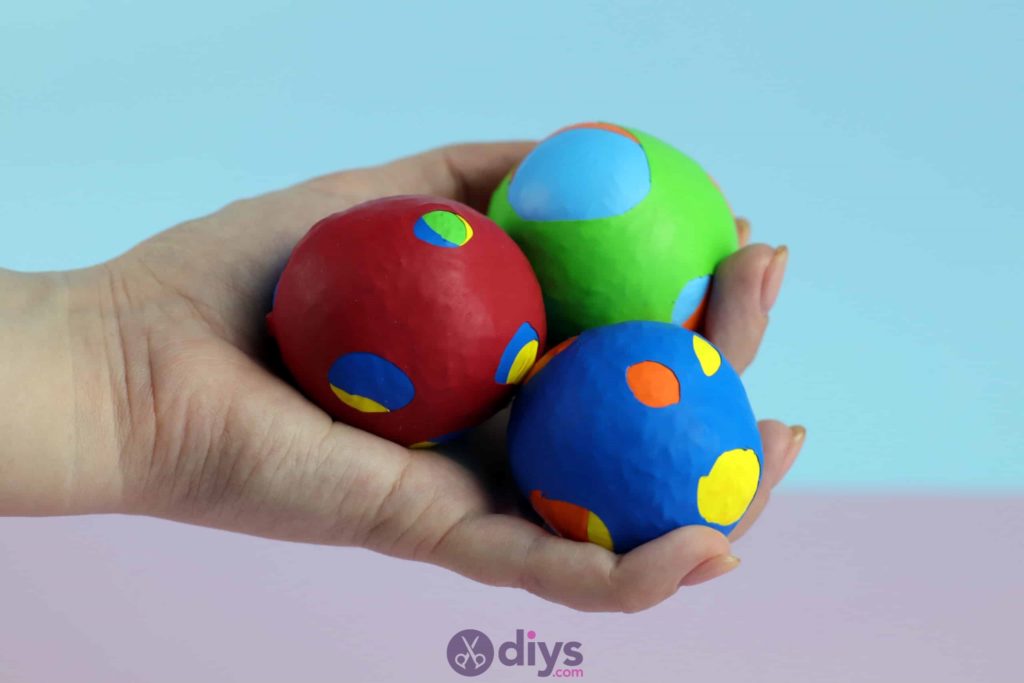
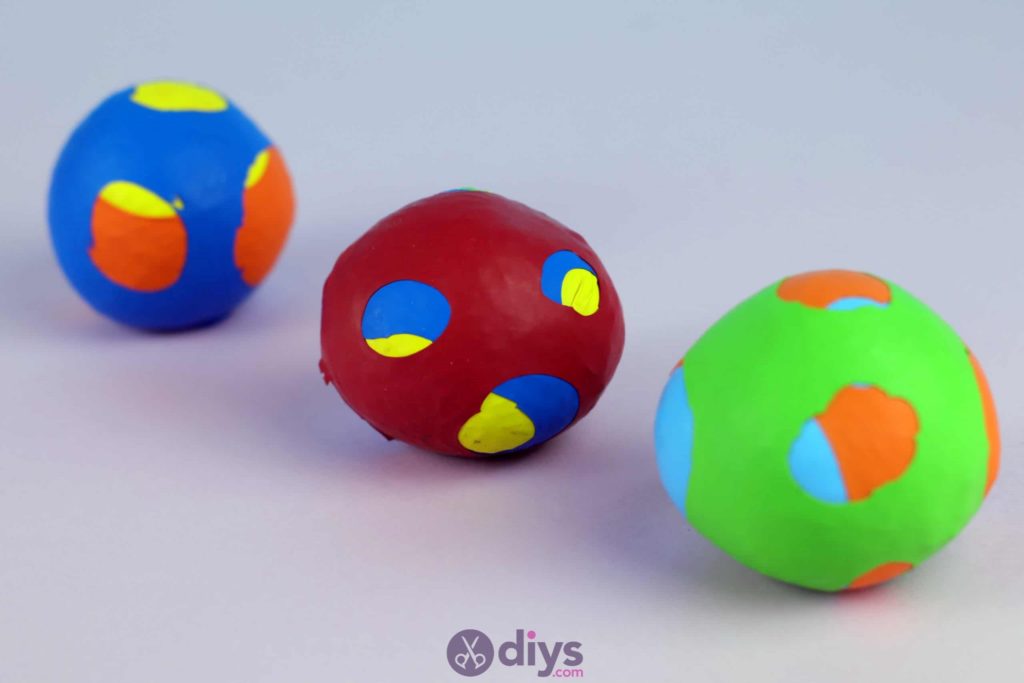
Pick up your second balloon and, instead of filling it with rice, use it to cover your first filled balloon for an extra layer of durability and colour! Start by using your scissors to cut off the neck of the second balloon and then cut a couple extra holes in the sides or top of the balloon’s wider end. Carefully use your fingers to pull one of the holes you just cut open as wide as you can and stretch the whole second balloon over the first one, covering the glued down knot if you can. Straight it out over the rice-filled balloon’s surface so it sits smoothly, with the colour of the first balloon peeking out the holes in the second one.
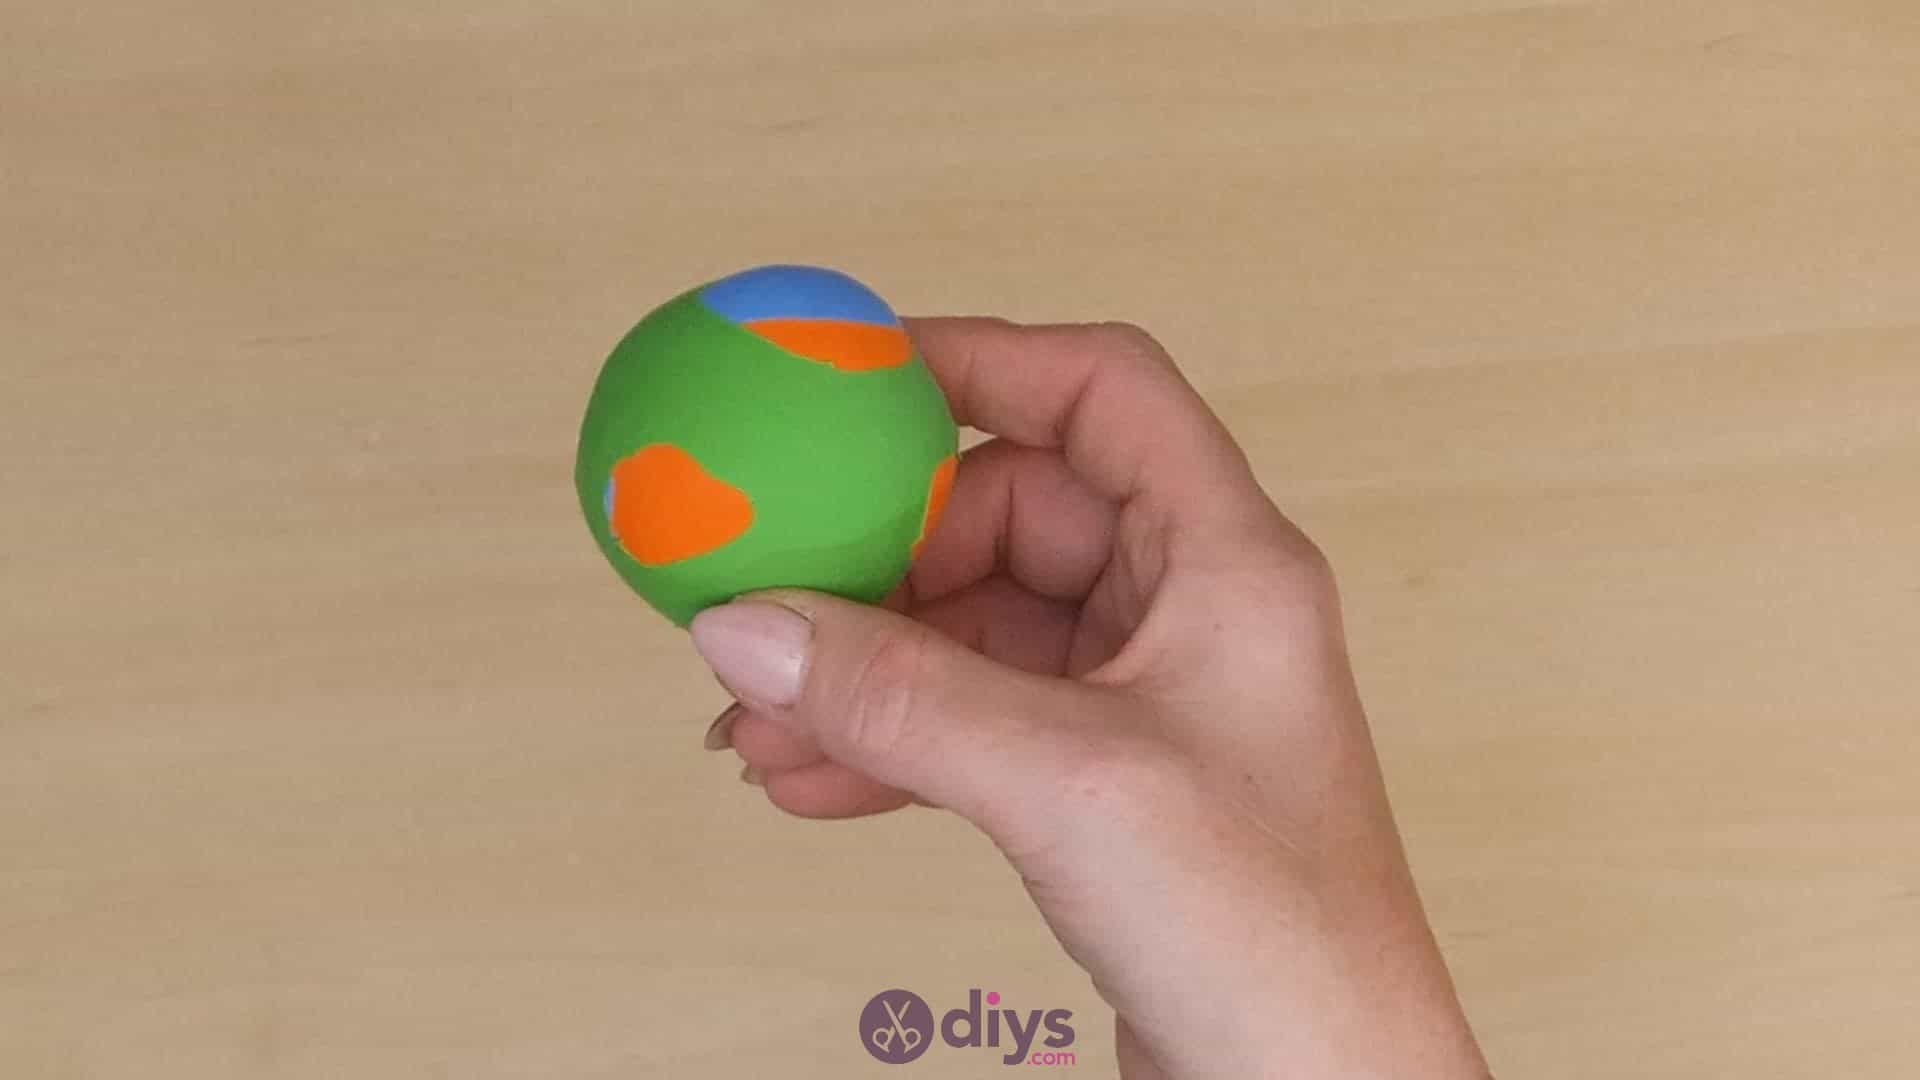
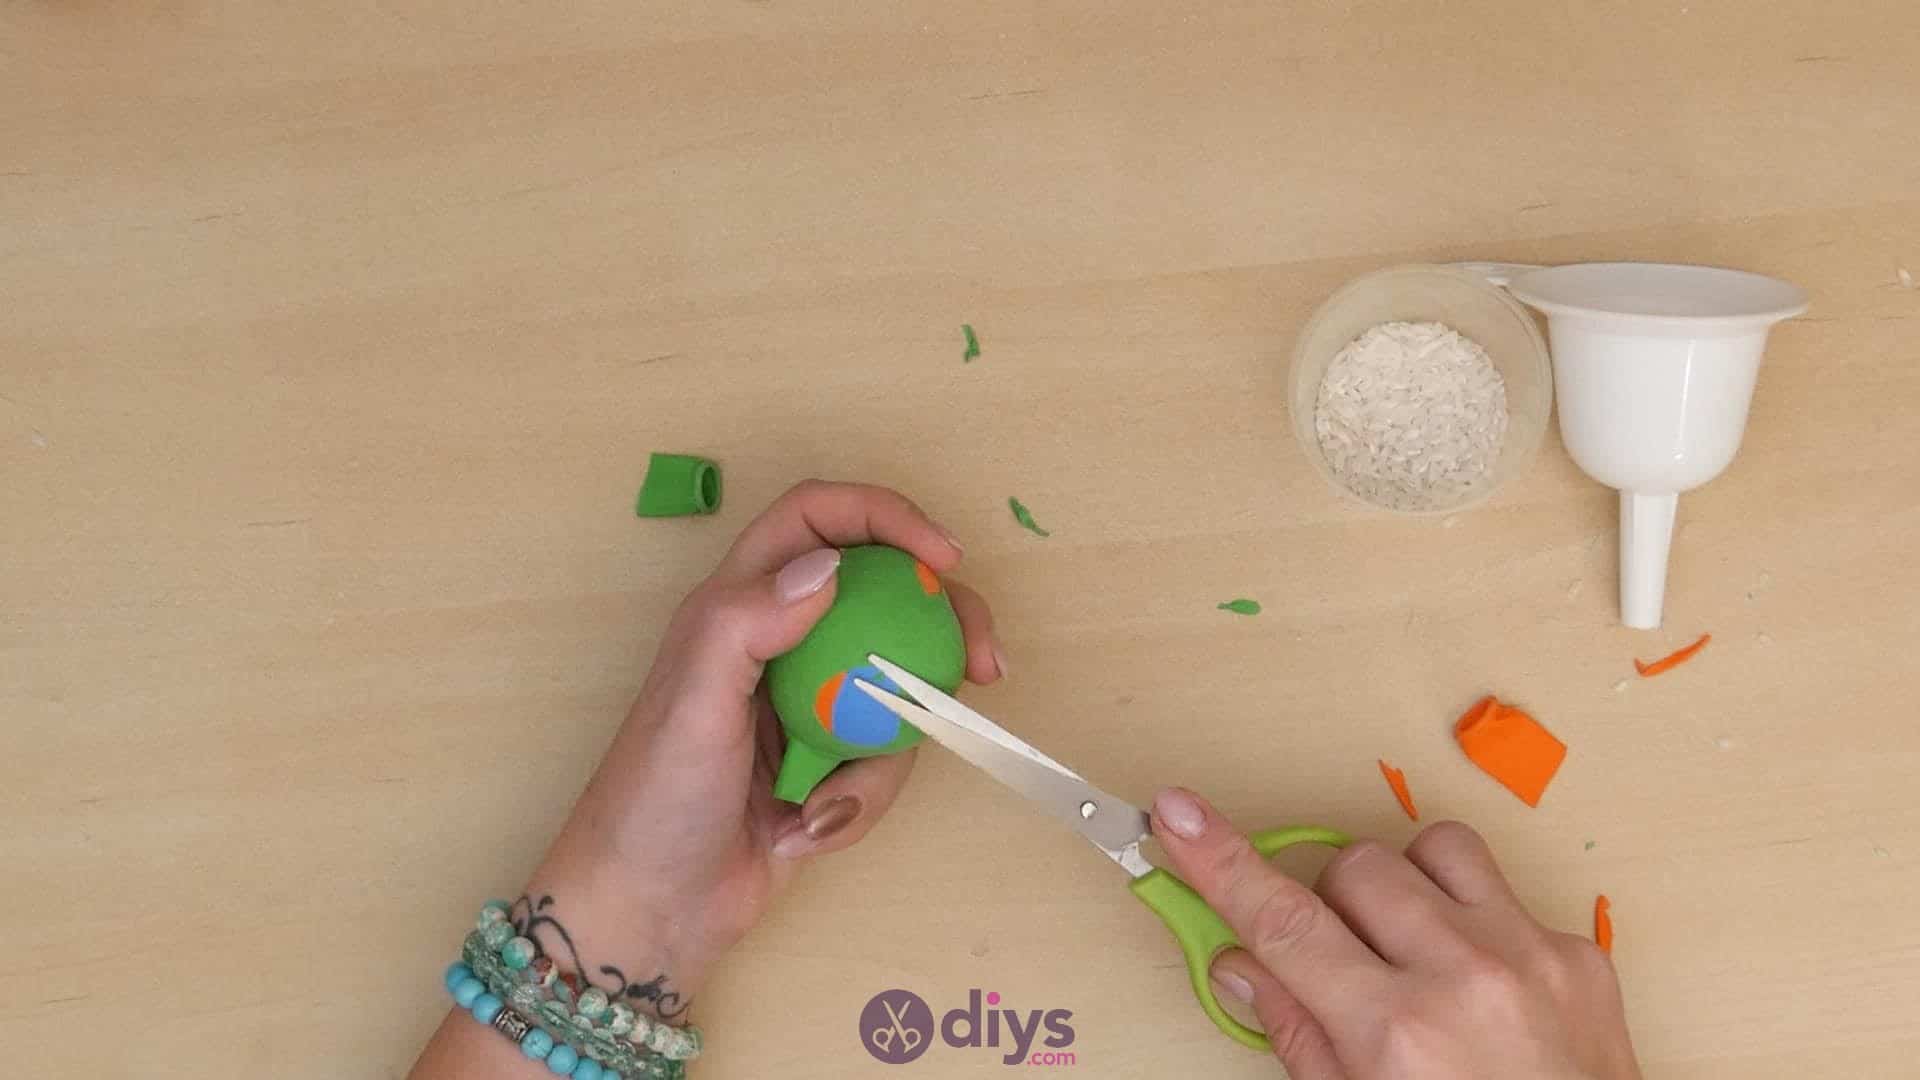
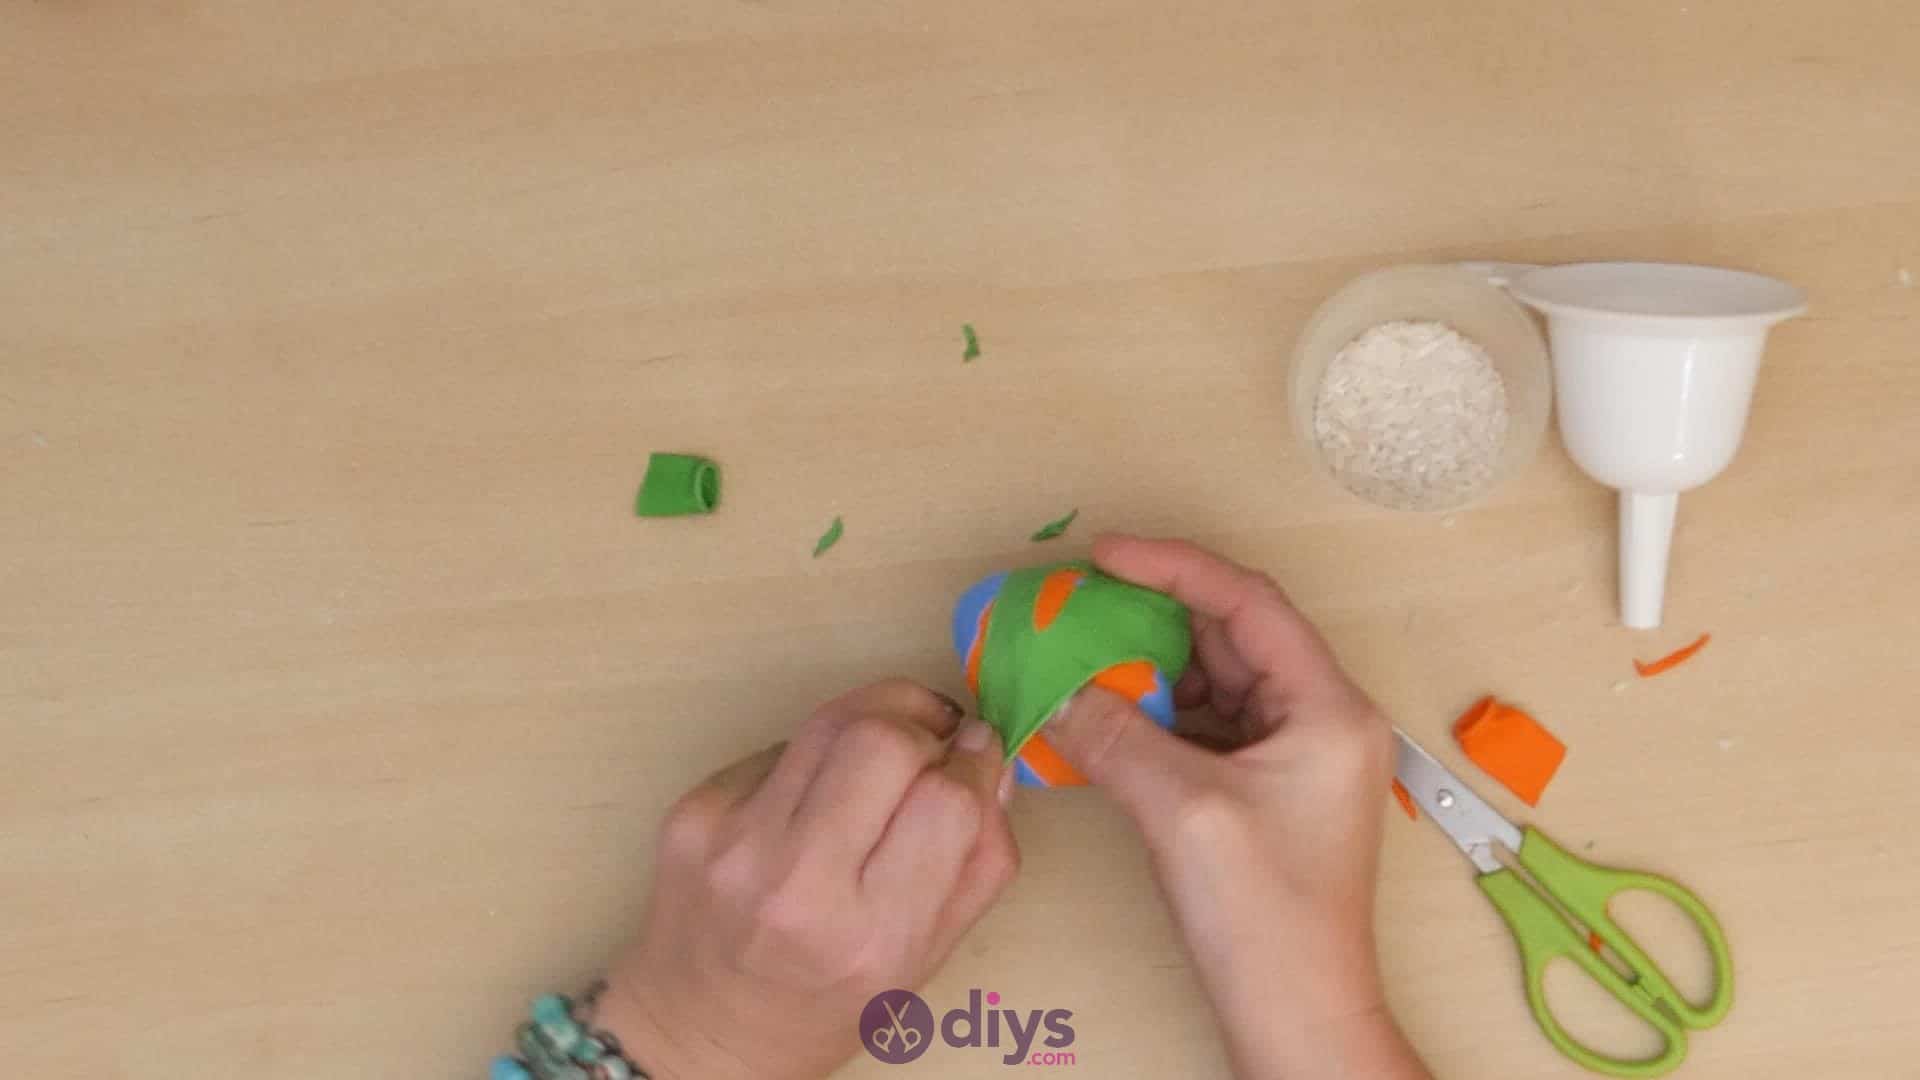
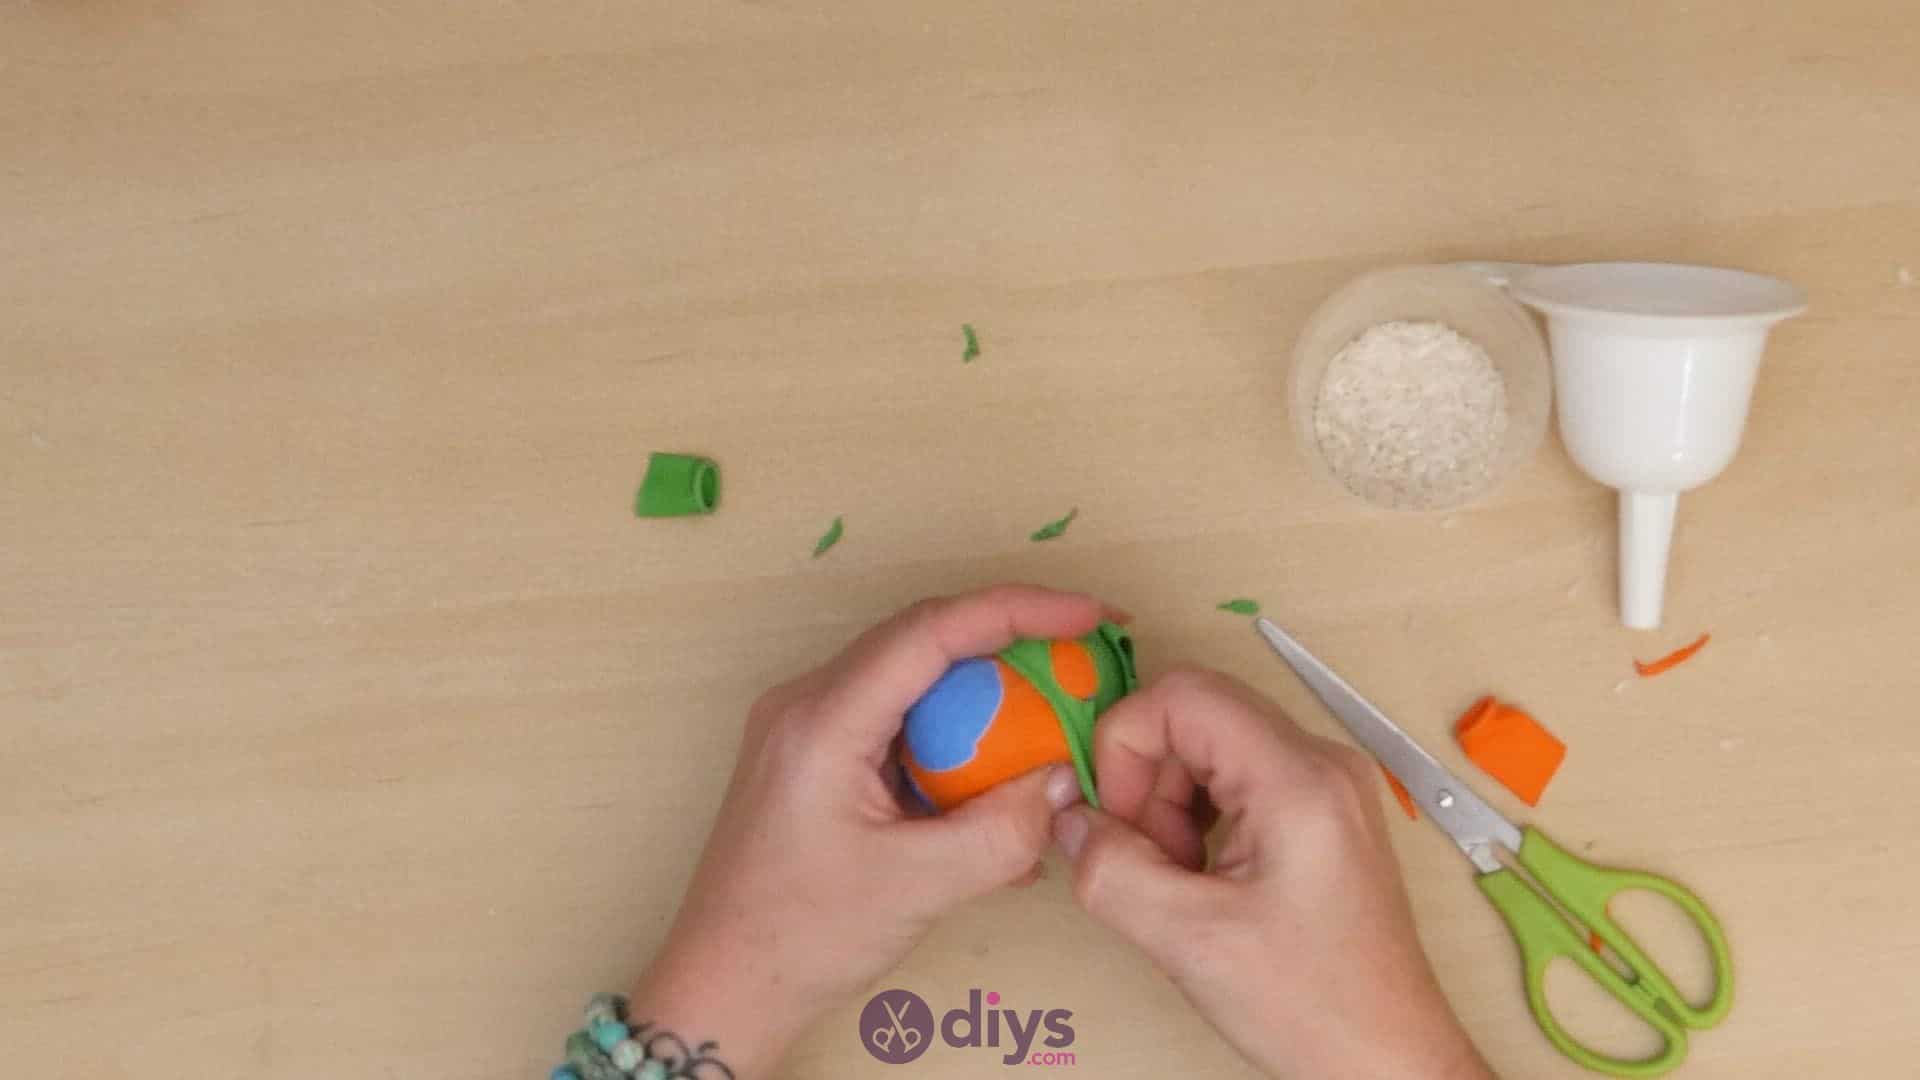
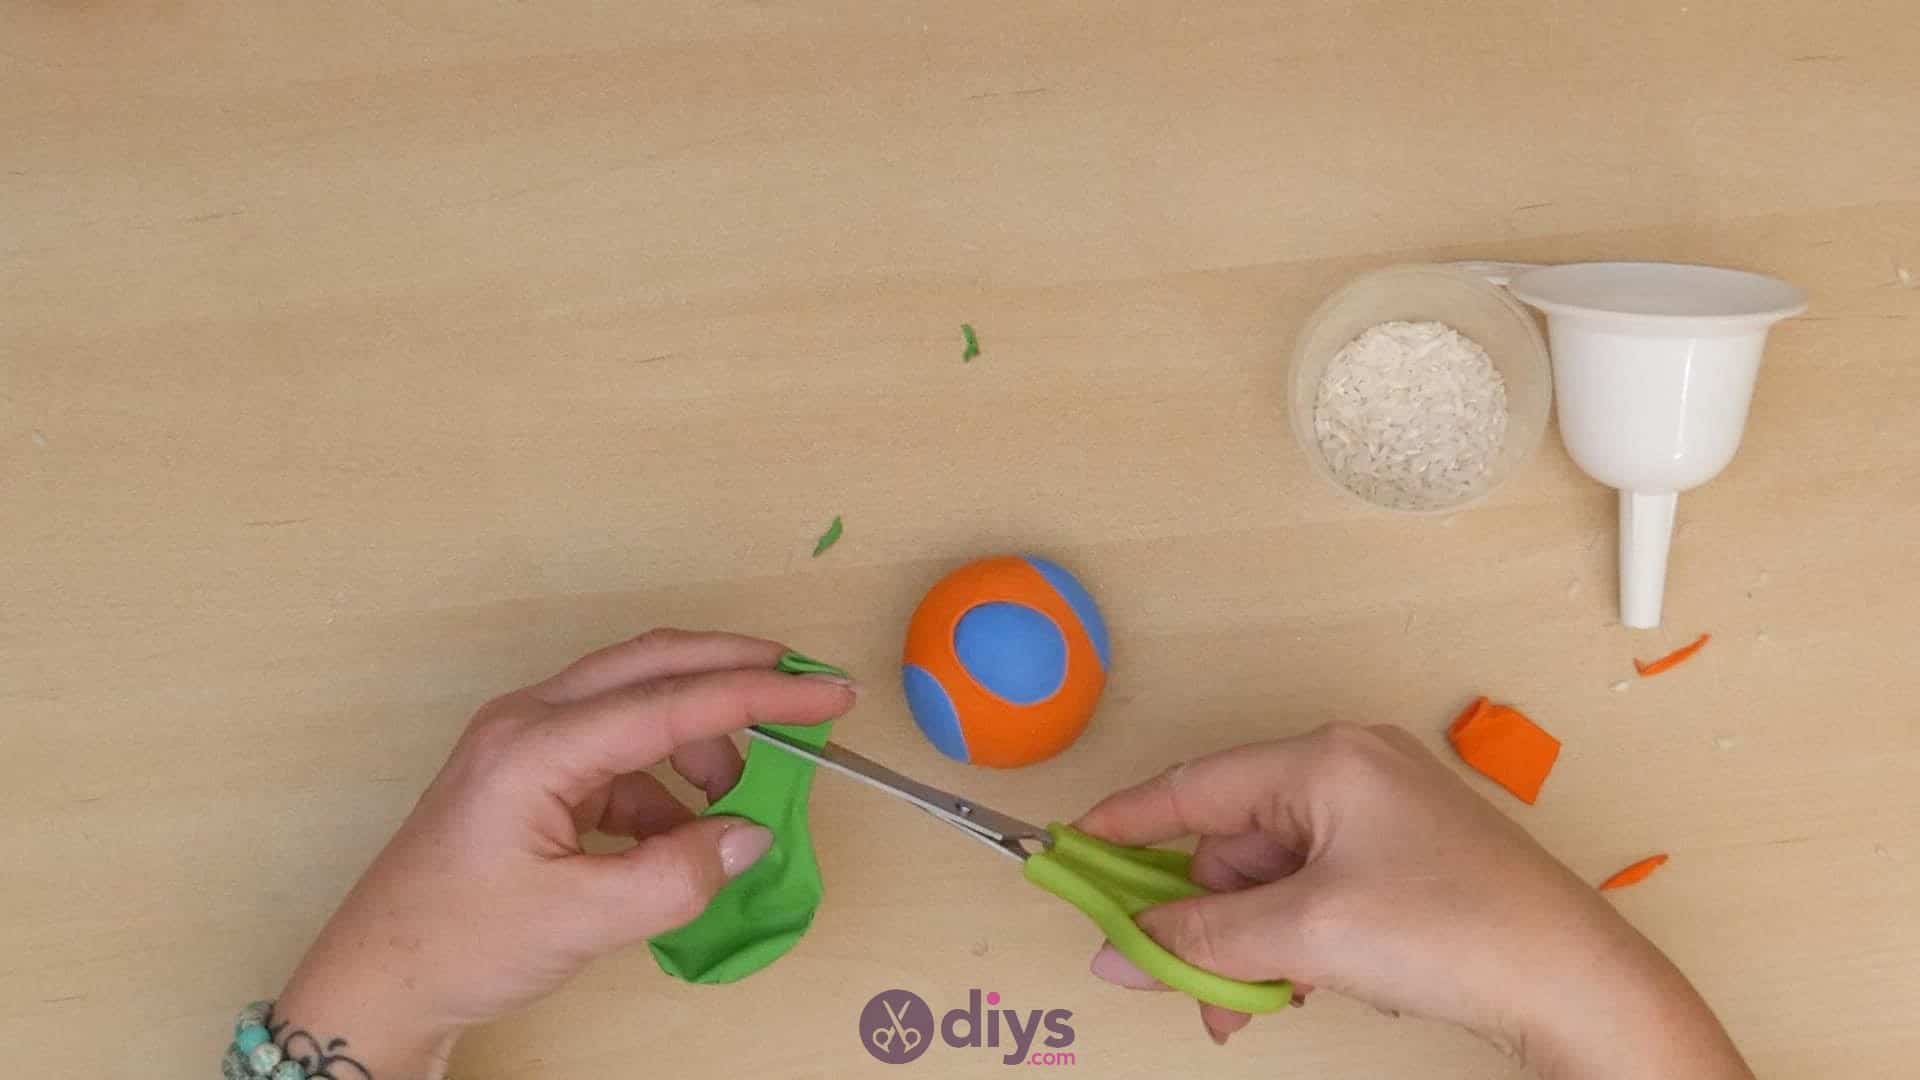
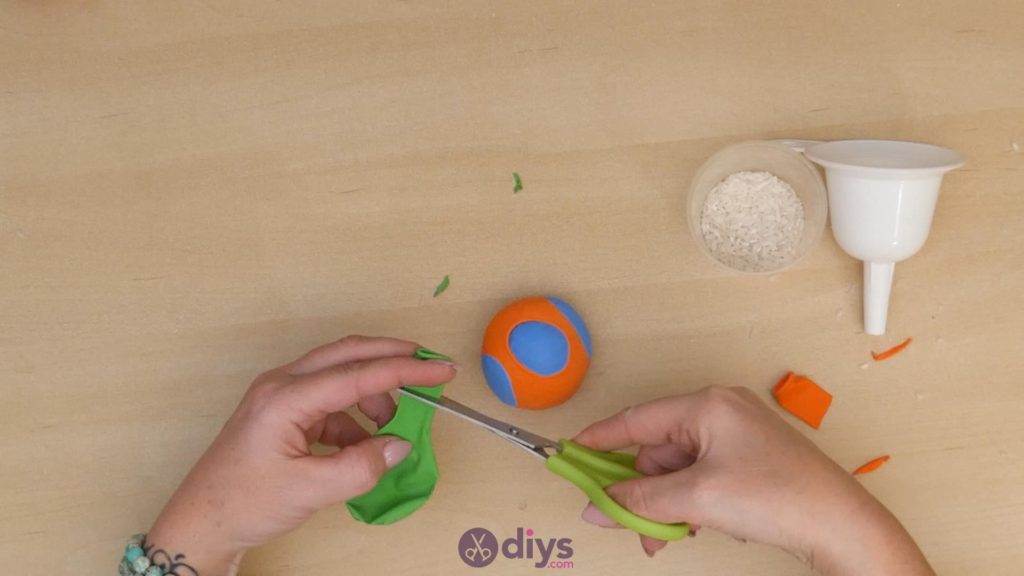
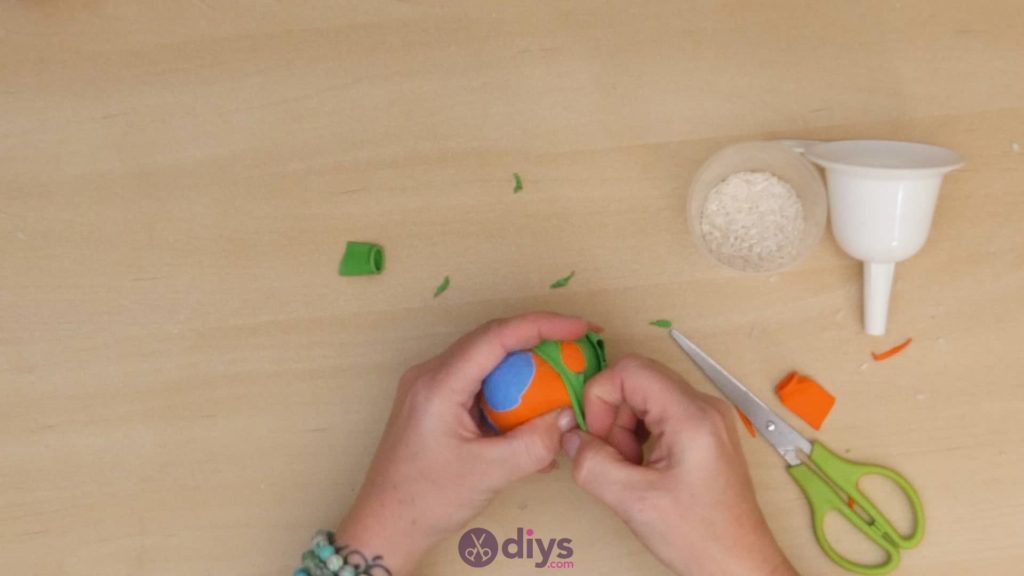
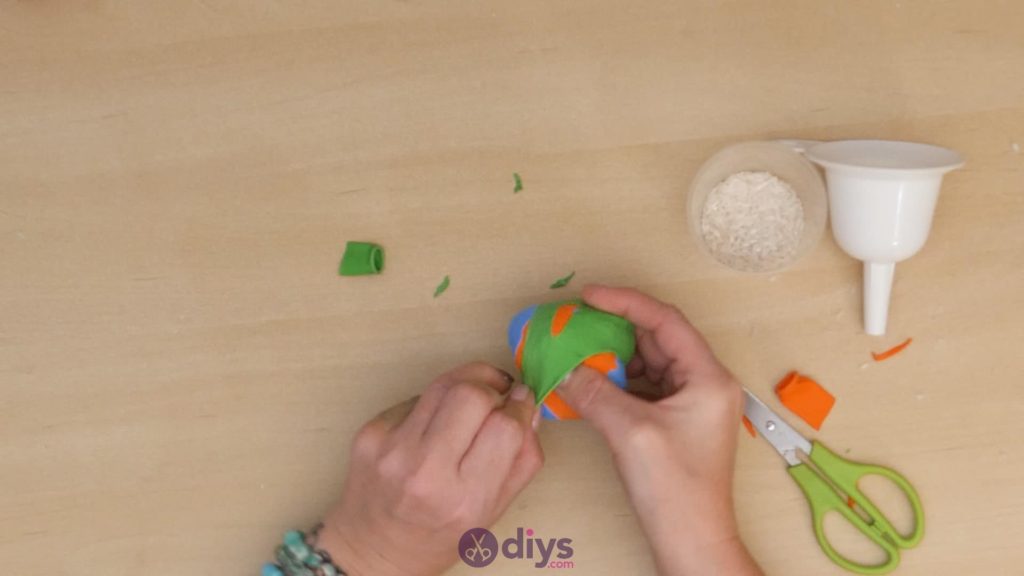
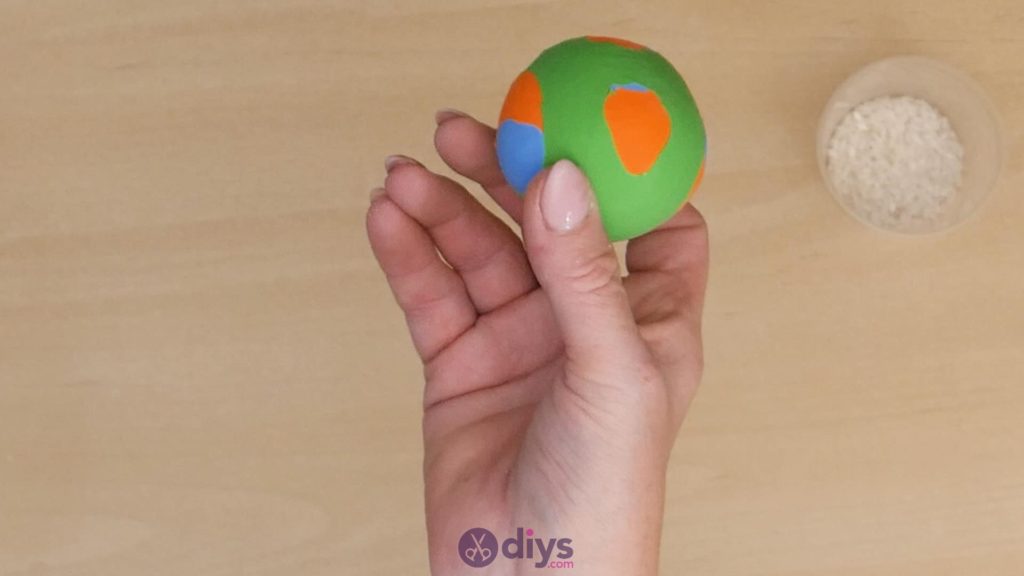
Step 5: third layer
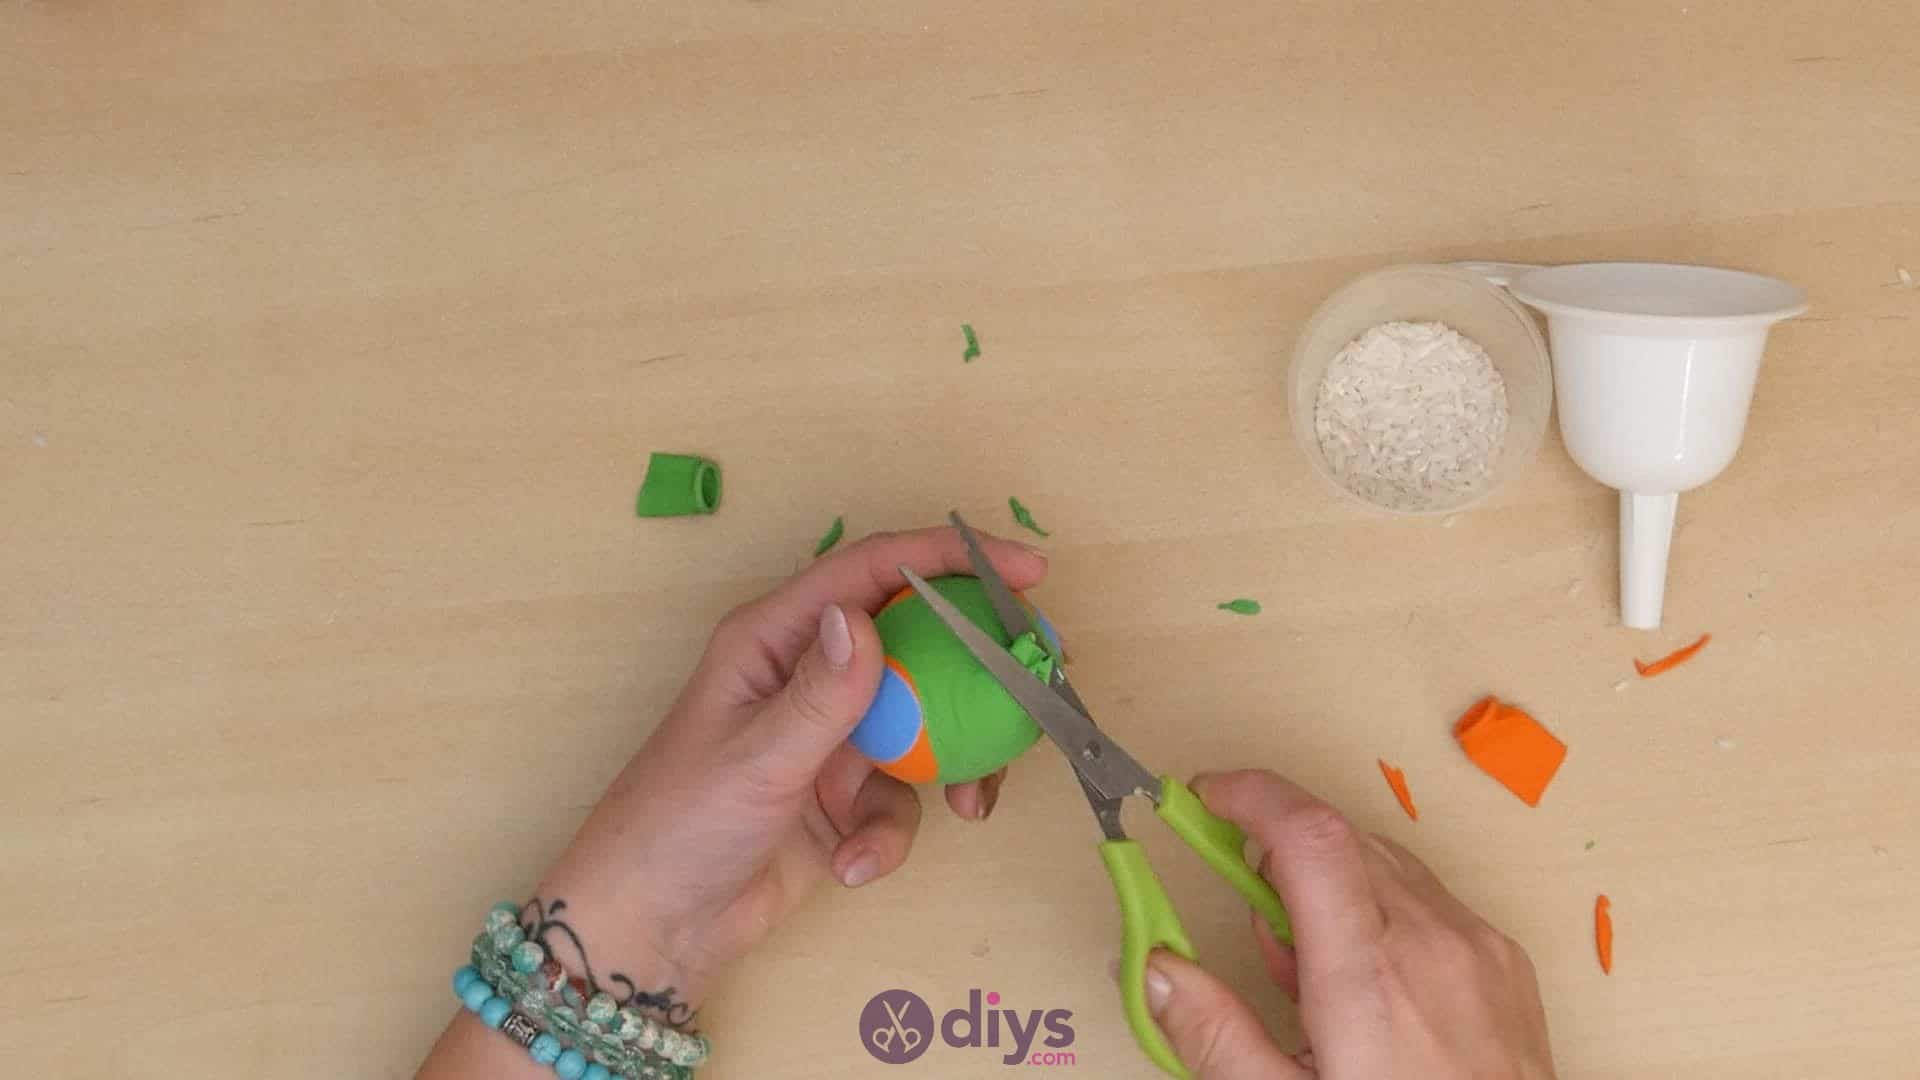
Repeat this cutting and stretching process with a third, differently coloured balloon to add another layer to your juggling ball! Once you’ve got the piece stretched over the ball, you can use your scissors to carefully trim the hole edges or trim the neck of the balloon more closely to the ball if it sticks out a little. Just be careful not to cut through the other layers or your ball will have a hole and the rice filling will escape!

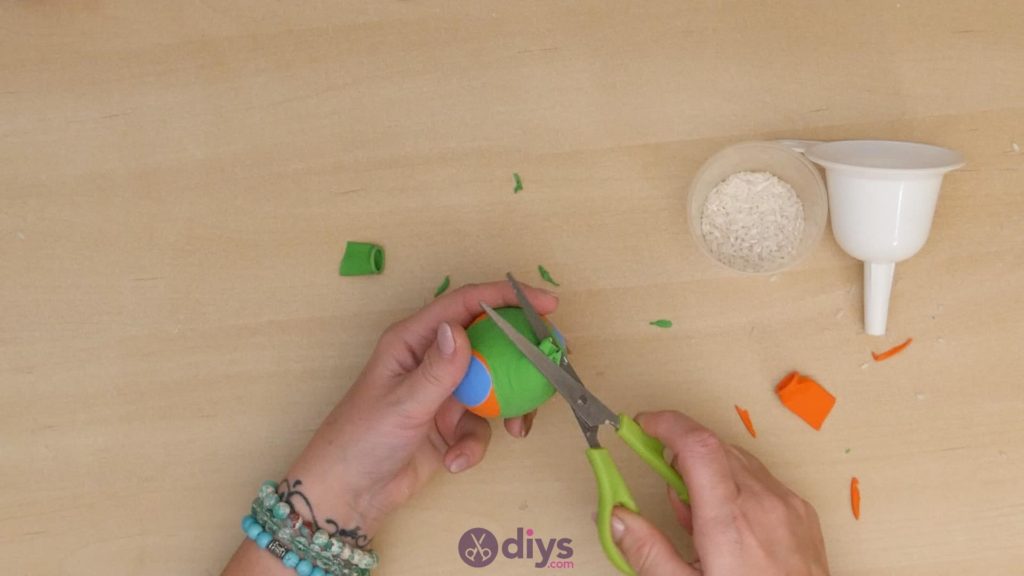
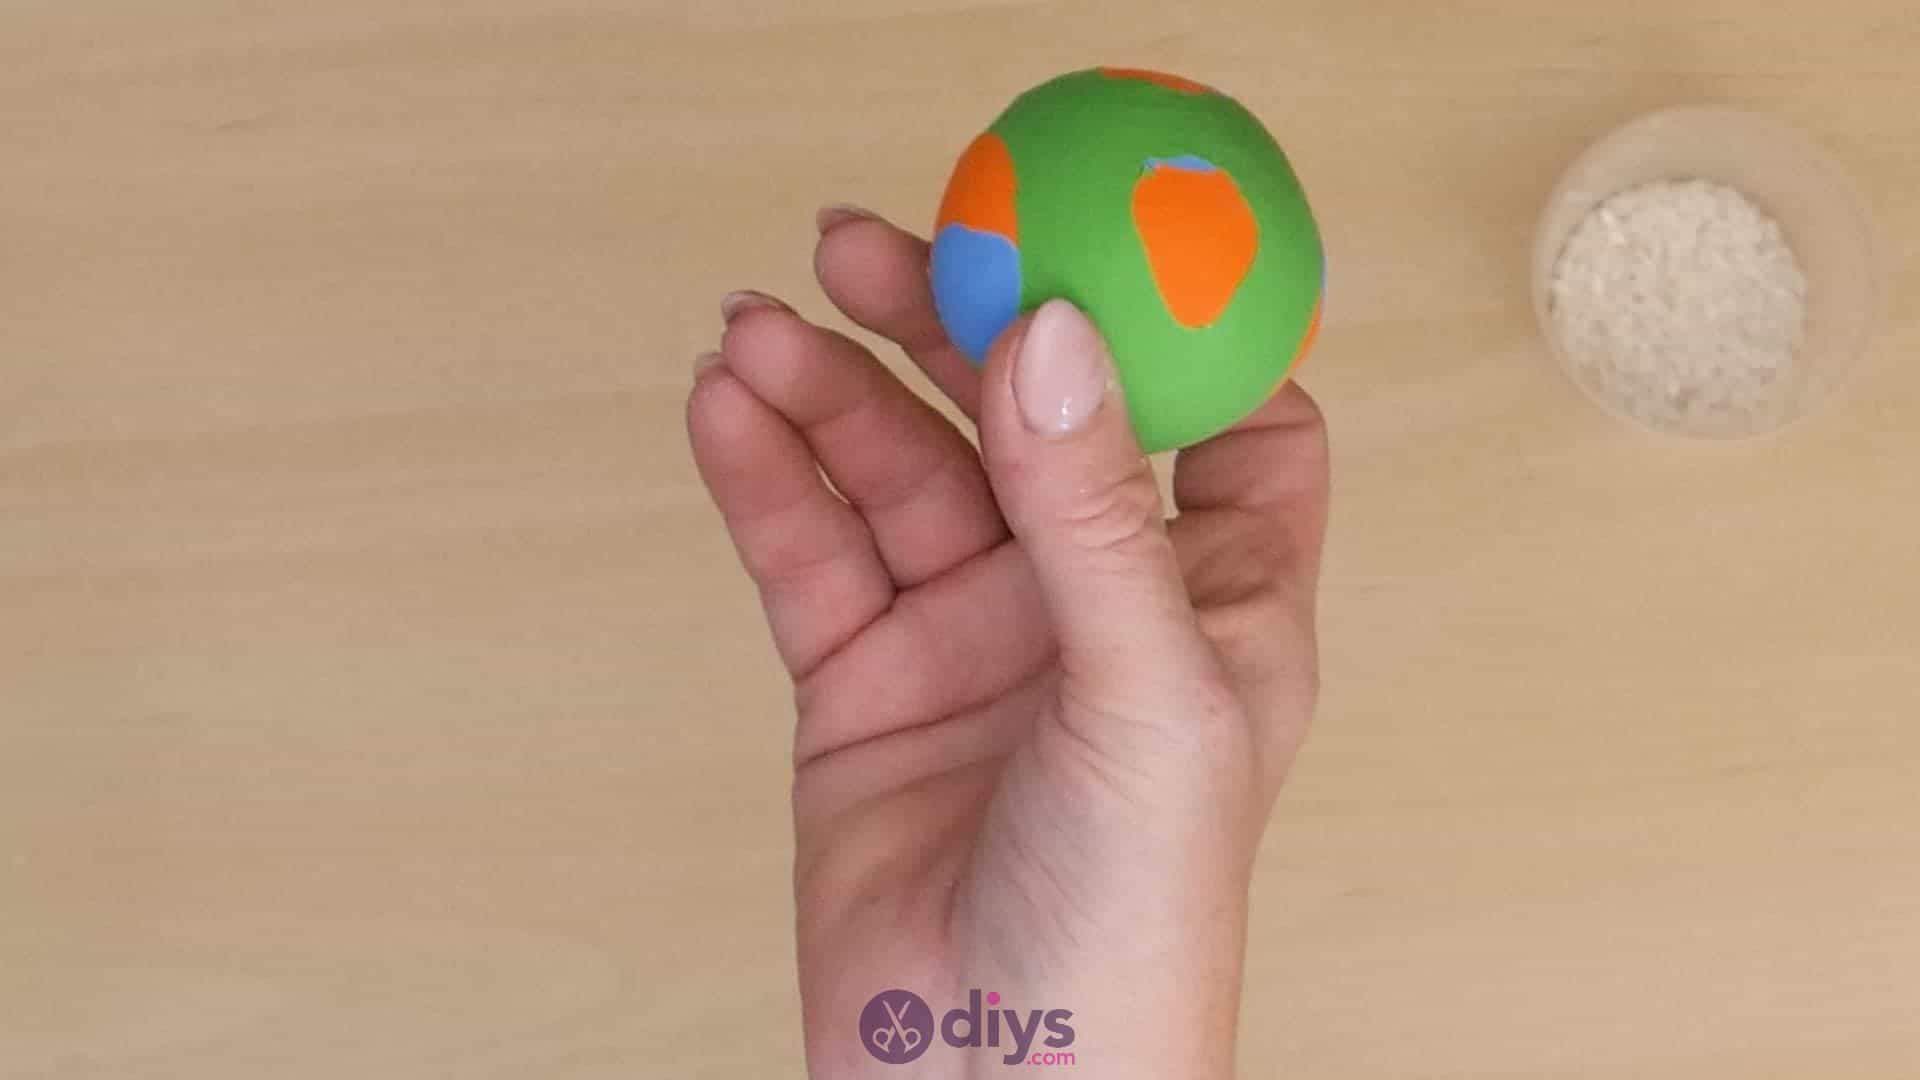
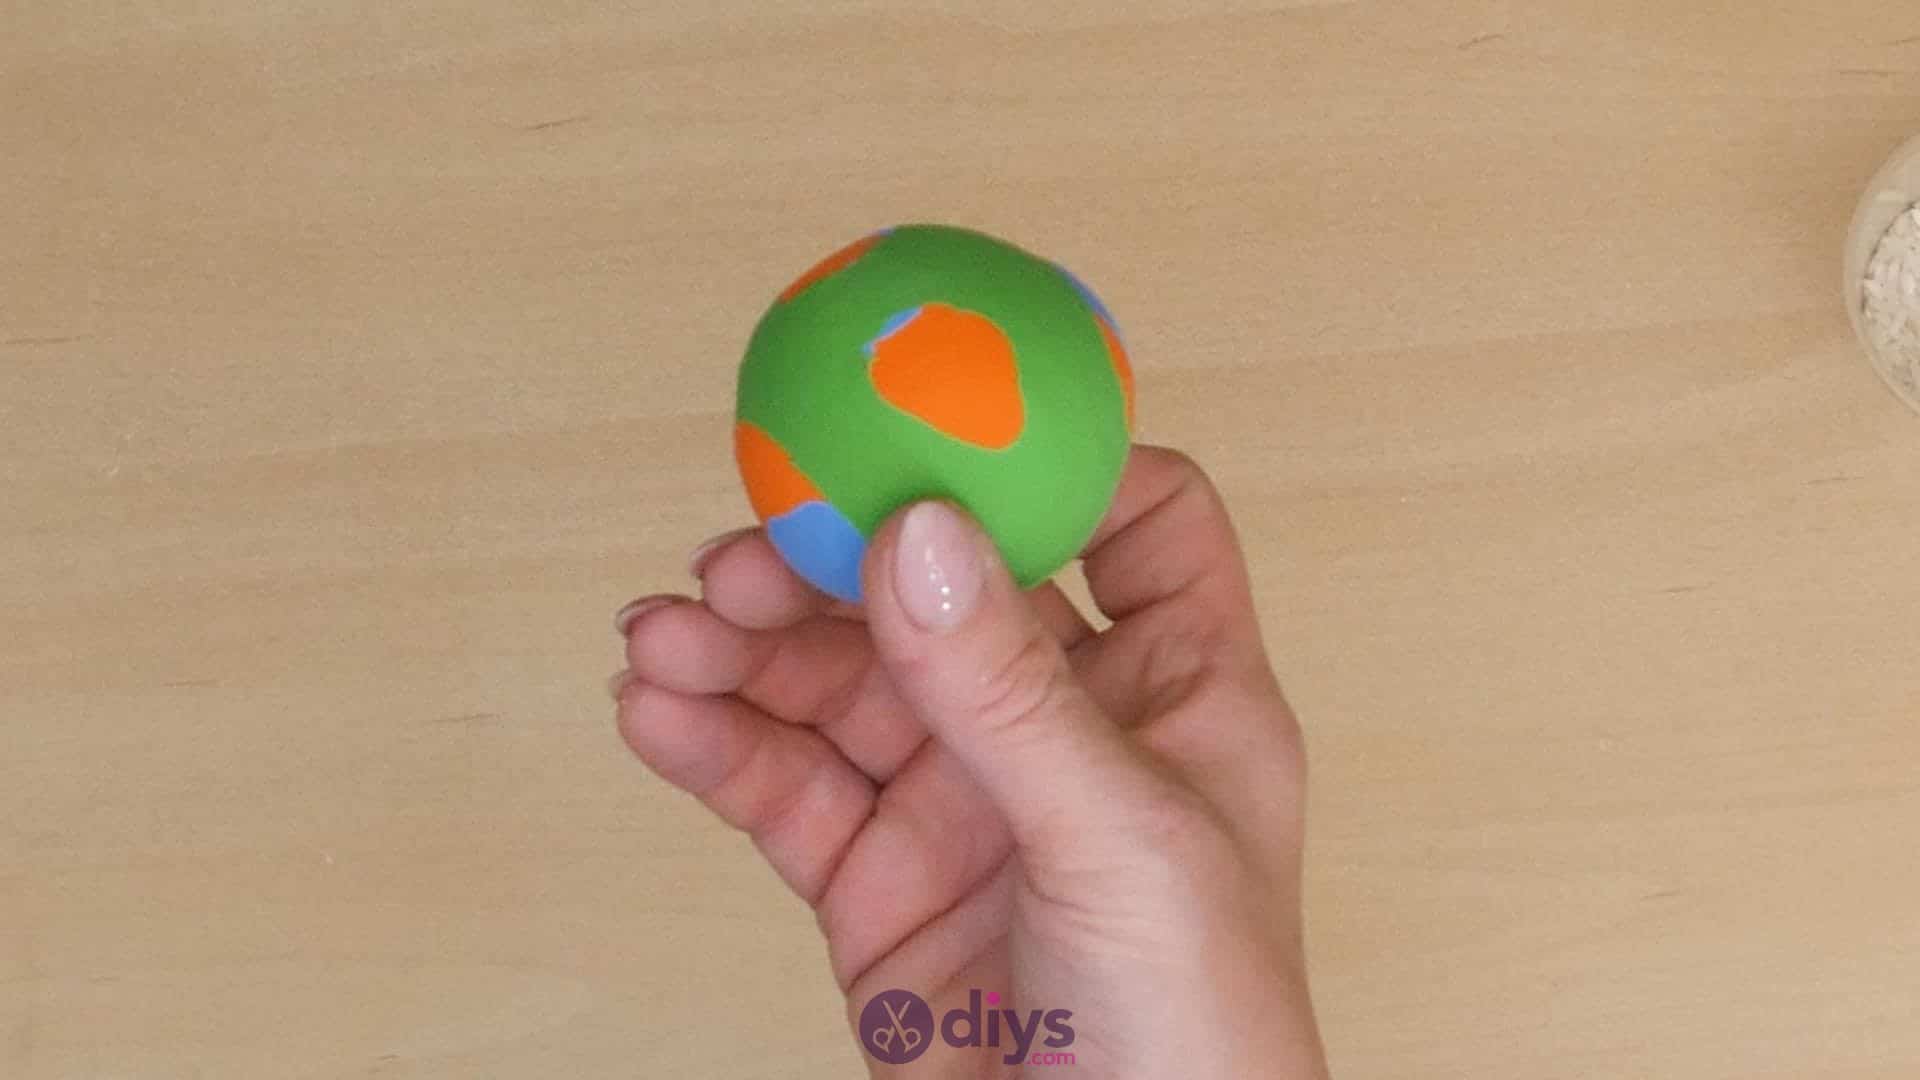
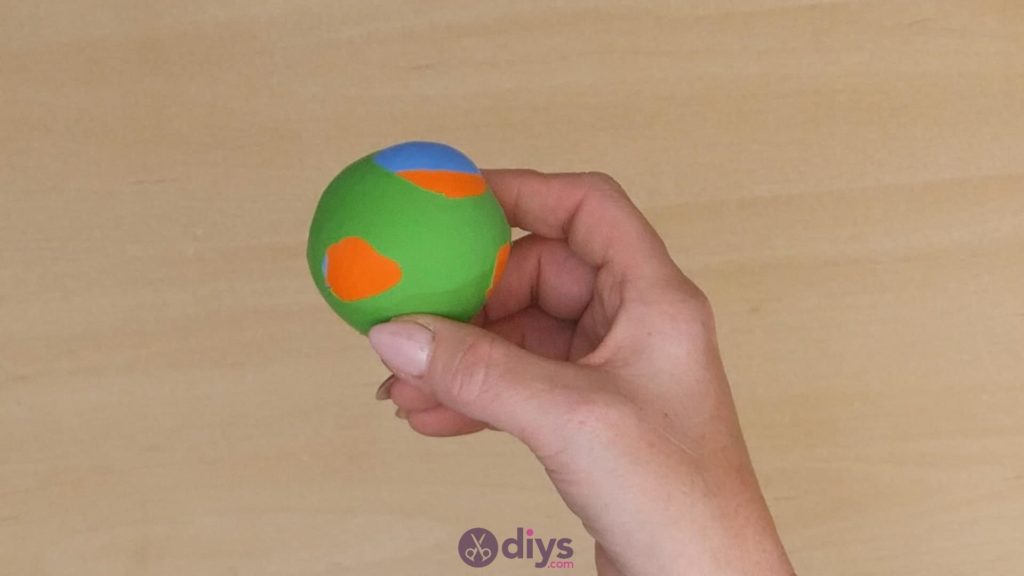
Step 6: shape
Even out the ball’s shape to get a more perfect sphere so that it’s easier to throw and catch accurately! Do this by pushing hard on any lumps and bumps to shift the rice inside until you’re happy with the shape of your ball.
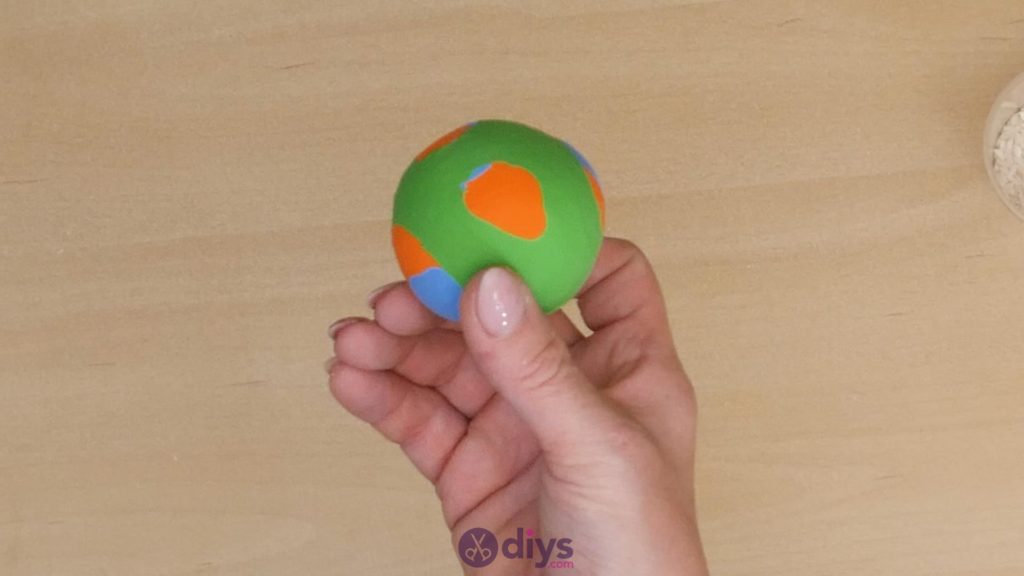
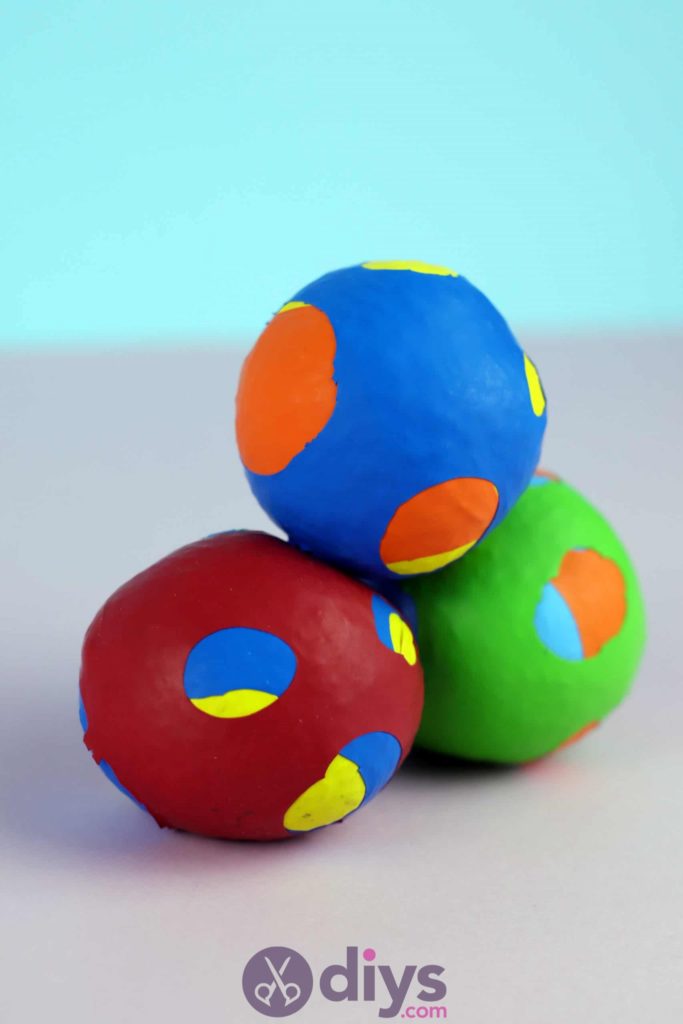
That’s all there is to it! Feel free to add more balloon layers if you want even more colours to peek through the holes. Just in case you’d like to try this project out for yourself, here’s a fantastic tutorial video to help you!