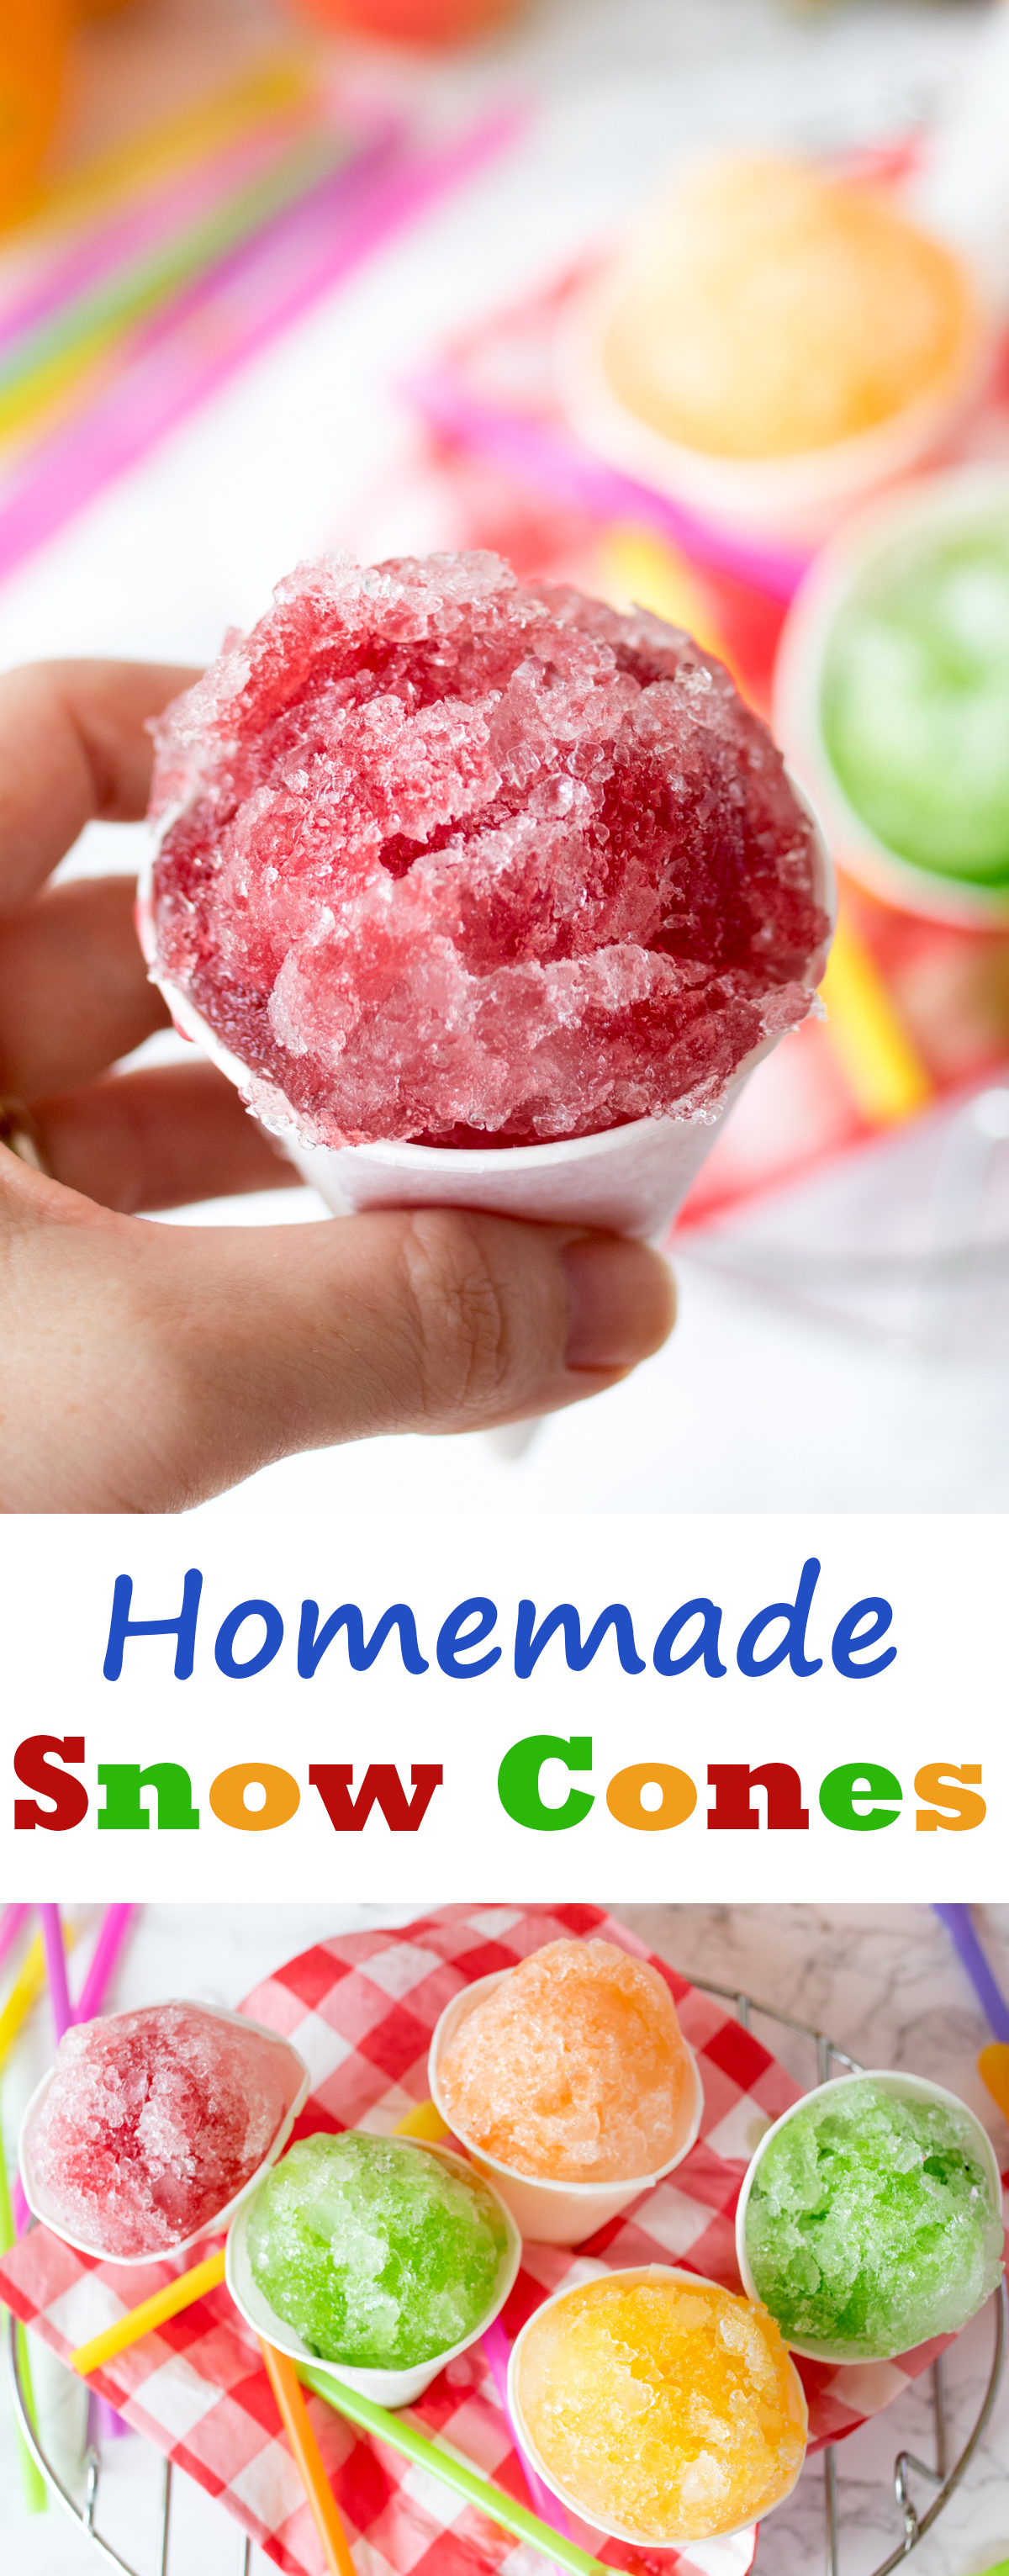
Homemade Snow Cones Recipe With Fruit Syrup
Updated on March 10, 2023
Fruity snow cones syrup – so simple to make at home! There’s still a bit of summer left for an icy treat! We’re lucky enough to have one of those fridge-freezers with a crushed ice dispenser, and my kids are obsessed with it. Summer or winter you’ll find them getting cupfuls of ice and happily scoffing it in front of the tv. A bit strange if you ask me!
I decided to jazz up that crushed ice with some concentrated fruit syrup to turn it into a lovely summer treat for the kids. In truth, I was really thinking about how much I’d enjoy it though :-)

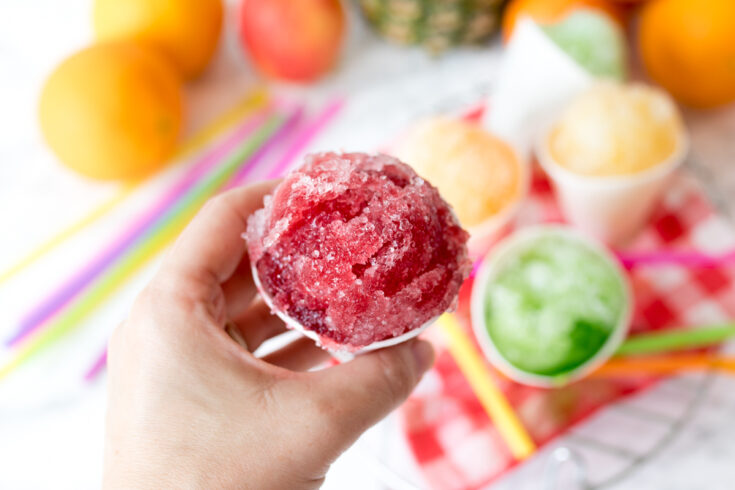
My version is made with fruit juice from the store.I use a few different flavors – Apple, Orange, Pineapple and Cherry.
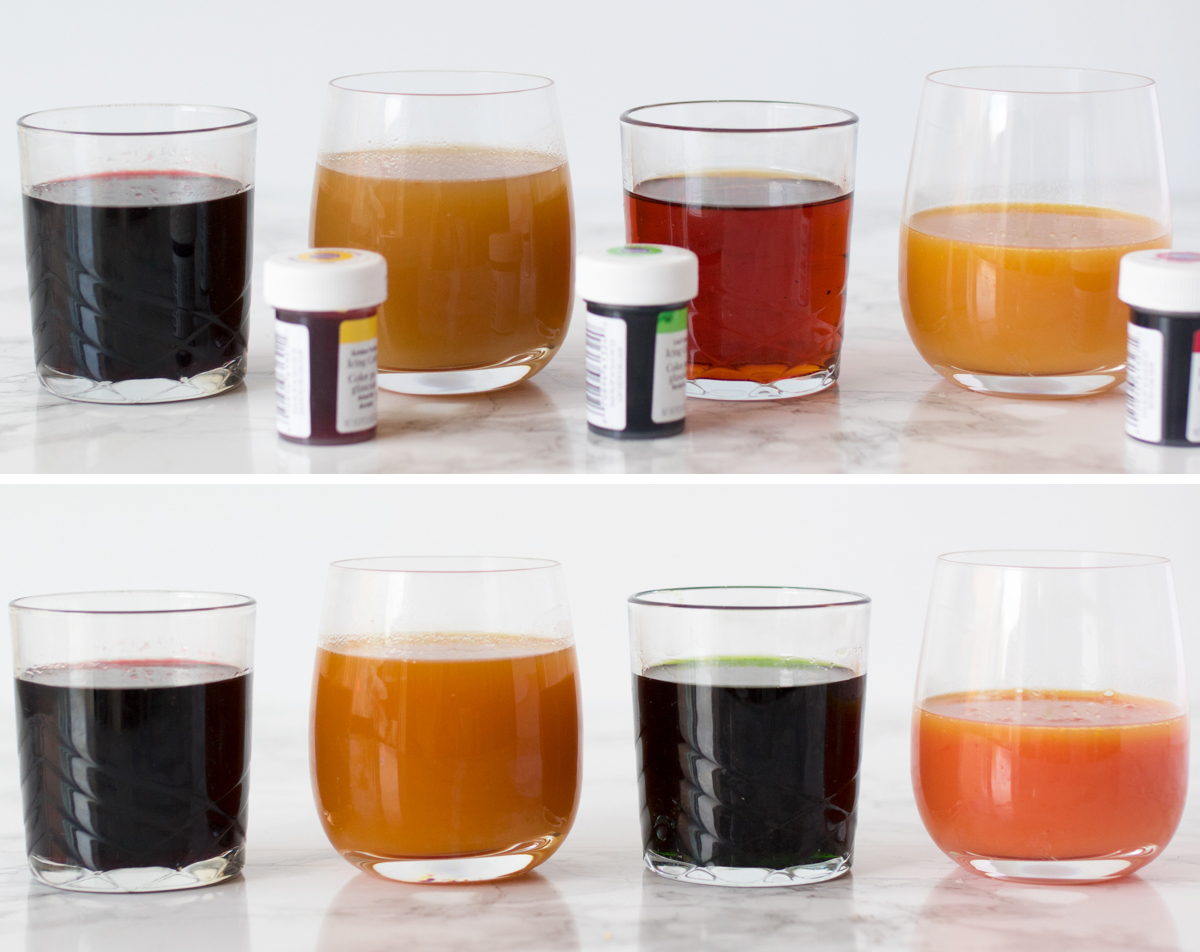
It’sboiled down with a little sugar to make a strong, flavorful syrup. You can just use the syrup as it is, or you could also mix in a little food coloring to make it rainbow-bright like the snow cones you buy at the store. I use gel coloring, as I find it gives the most vibrant color with just a tiny bit of the gel. You don’t really need any for the cherry syrup, but the apple syrup looks great with a dash of green gel in there. The pineapple and orange are fine without, but I just add in a tiny bit to make a slightly stronger color.
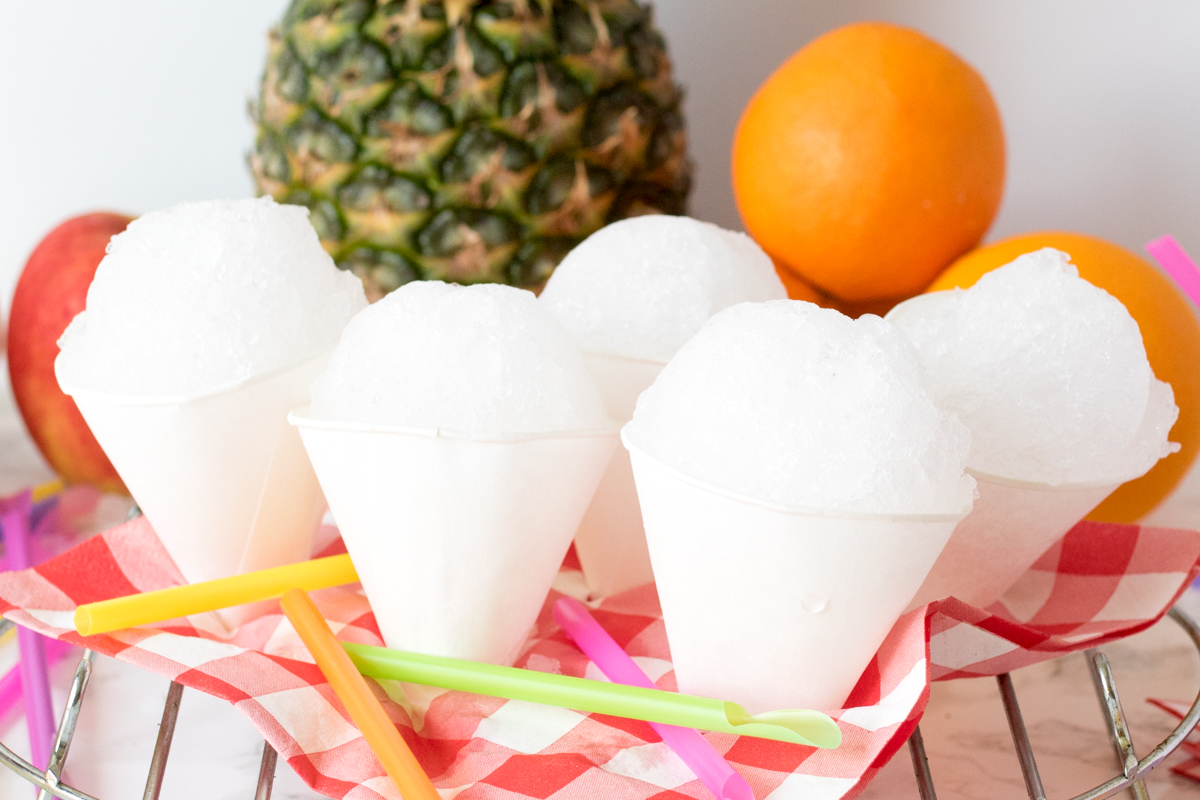
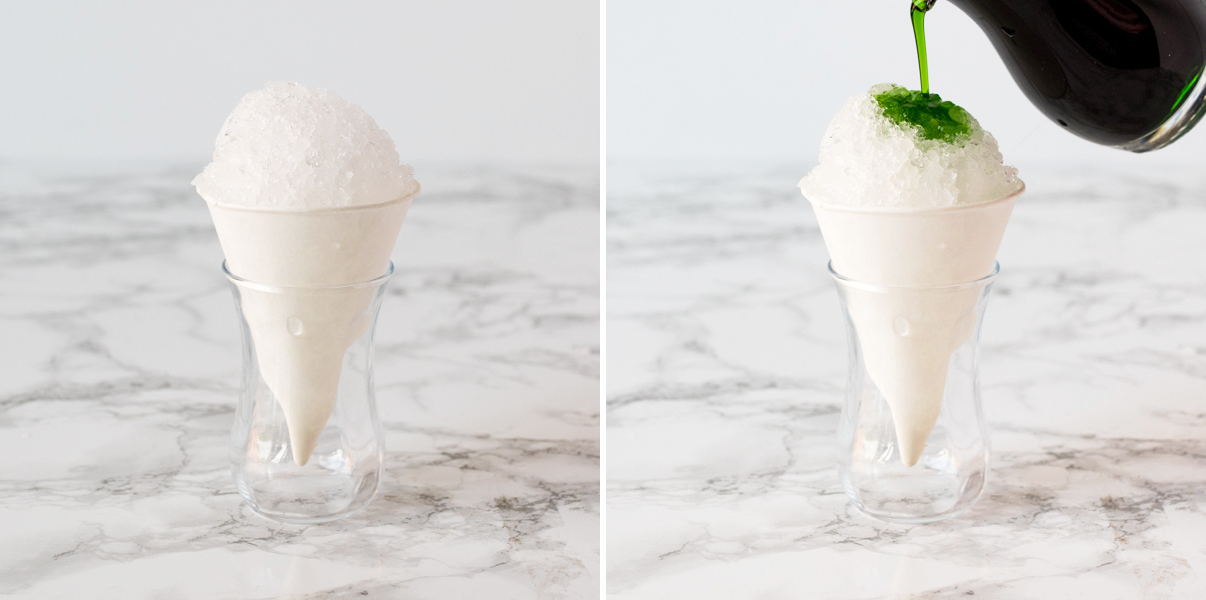
Here are the snow cones pre-syrup:
and post-syrup:

As much as the kid loves these, I’m considering making some grown-up ones. Maybe a gin and tonic flavor? or pina colada!! Yum!
Here’s what you’ll need to make the snow cone syrup at home:
Makes enough syrup for 10-12 snow cones of each flavor
- 3 cups orange juice (fresh or from concentrate)
- 3 cups pineapple juice(fresh or from concentrate)
- 3 cups cherry juice(fresh or from concentrate)
- 3 cups apple juice(fresh or from concentrate)
- 1 cup granulated sugar
- Shaved ice(you can place ice cubes in a food processor and pulse until the ice is finely crushed and ‘fluffy’)
- Food colouring gel – green, red and yellow (optional)

Step by step directions to make these summer desserts
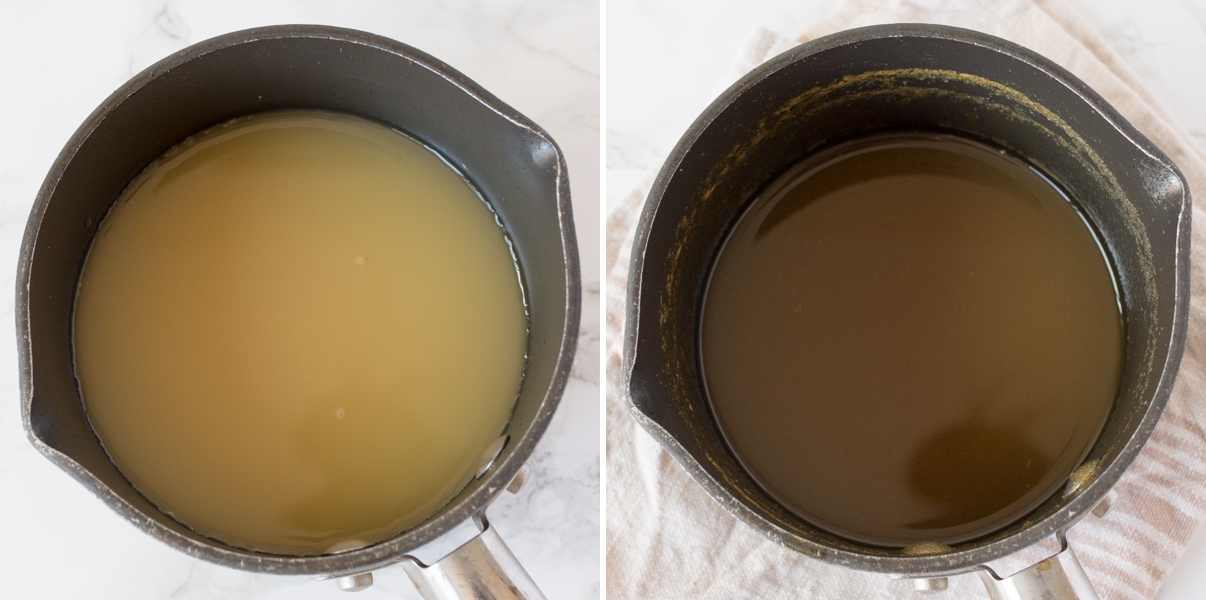
- Pour each of the fruit juices into separate saucepans. Add 1/4 cup of sugar to each. Stir and bring to the boil, then simmer on a medium heat until reduced by approximately two-thirds. I found this took around 30-50 minutes.
- Add a small blob of food coloring gel to the fruit juices if you like. Green for the apple, red for the orange and yellow for the pineapple. Stir in until completely mixed, then leave the syrups to cool. They will thicken slightly when cool. At this point, you can pour the syrups into seal-able containers and refrigerate if you wish. They should keep for at least two weeks.
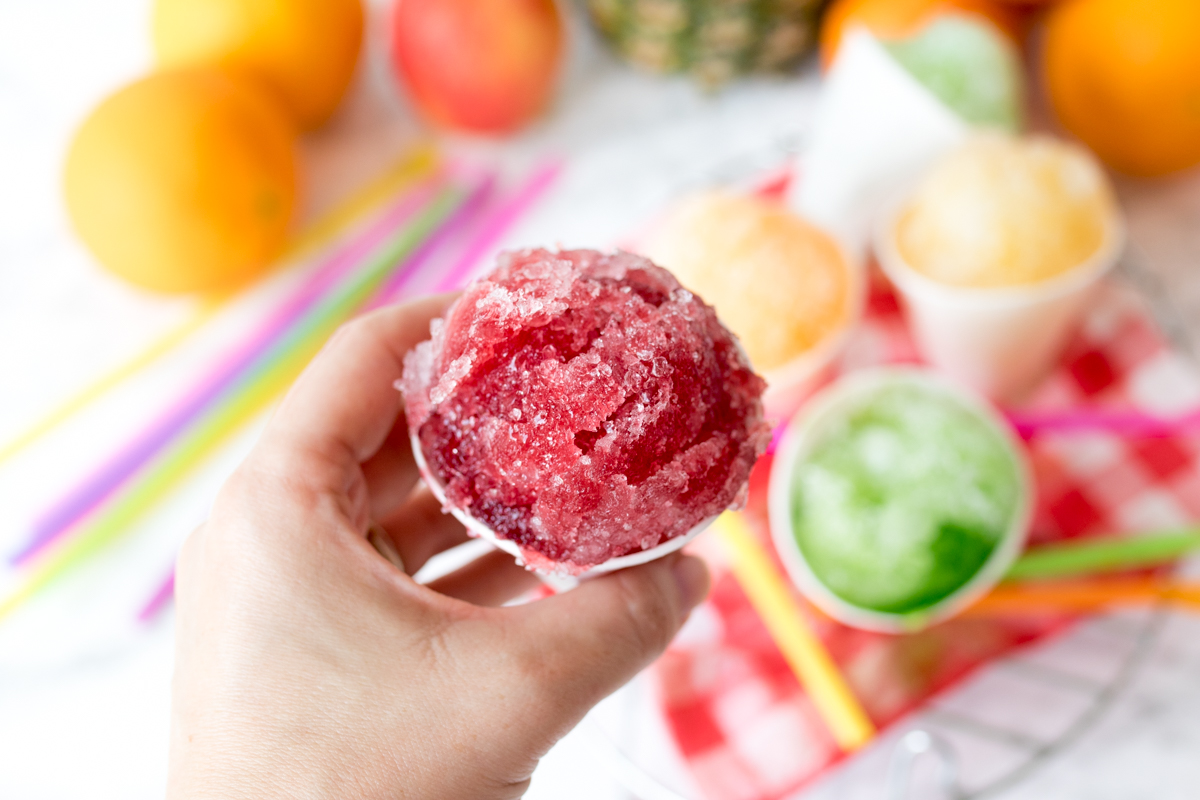
- Spoon the shaved ice into cones, bowls, or cups and pour 1-2 tbsp of the syrup of your choice on top of each cone. Serve immediately.
What flavor would you like to make? We’d love to know! Tweet us @diyscom!
Homemade Snow Cones Recipe With Fruit Syrup
Fruity snow cones syrup – so simple to make at home! There’s still a bit of summer left for an icy treat! We’re lucky enough to have one of those fridge-freezers with a crushed ice dispenser, and my kids are obsessed with it.
Ingredients
- 3 cups orange juice (fresh or from concentrate)
- 3 cups pineapple juice (fresh or from concentrate)
- 3 cups cherry juice (fresh or from concentrate)
- 3 cups apple juice (fresh or from concentrate)
- 1 cup granulated sugar
- Shaved ice (you can place ice cubes in a food processor and pulse until the ice is finely crushed and ‘fluffy’)
- Food colouring gel – green, red and yellow (optional)
Instructions
- Pour each of the fruit juices into separate saucepans. Add 1/4 cup of sugar to each. Stir and bring to the boil, then simmer on a medium heat until reduced by approximately two-thirds. I found this took around 30-50 minutes.
- Add a small blob of food coloring gel to the fruit juices if you like. Green for the apple, red for the orange and yellow for the pineapple. Stir in until completely mixed, then leave the syrups to cool. They will thicken slightly when cool. At this point, you can pour the syrups into seal-able containers and refrigerate if you wish. They should keep for at least two weeks.
- Spoon the shaved ice into cones, bowls, or cups and pour 1-2 tbsp of the syrup of your choice on top of each cone. Serve immediately.
Notes
Syrups can be held in the fridge for up to 2 weeks.
Nutrition Information:
Yield:
12Serving Size:
1Amount Per Serving: Calories: 189Total Fat: 0gSaturated Fat: 0gTrans Fat: 0gUnsaturated Fat: 0gCholesterol: 0mgSodium: 41mgCarbohydrates: 47gFiber: 0gSugar: 42gProtein: 1g