A Fantastic Way To Recycle Clothespin – Turn Them Into Simple Art
Updated on June 23, 2021


Looking for some fun DIY wall art ideas to try this weekend? Then check out this tutorial on how to turn basic clothespins into stunning art to adorn your walls. We’ve laid it all out with this step by step process.

I kept it pretty simple with this one in terms of color but you could customize it to match your own home decor. Follow along with this explanation and step by step photo guide or keep scrolling to the end to find a helpful video tutorial instead!

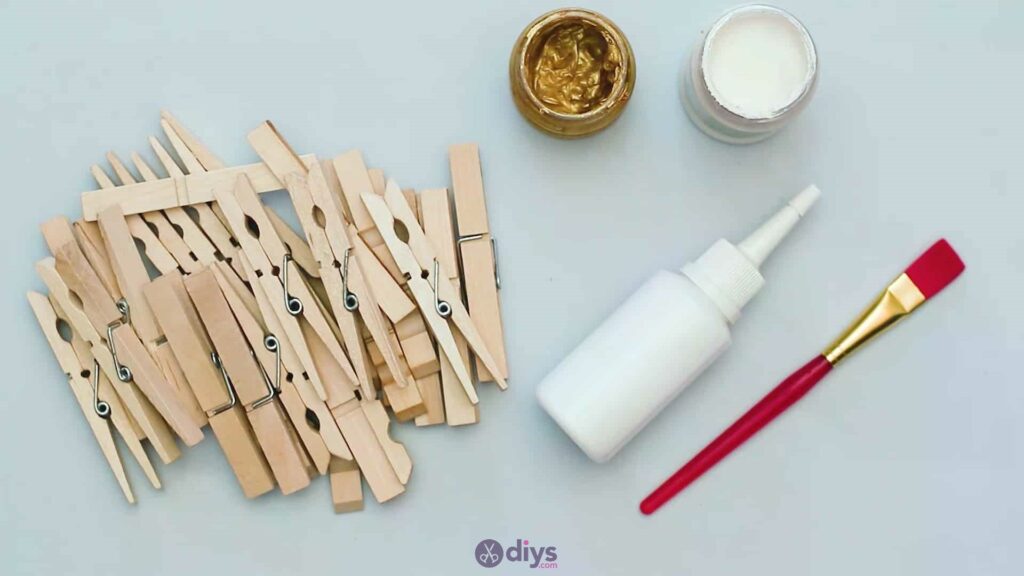
For this project, you’ll need:
- Wooden clothespins
- Acrylic paint (white and gold)
- Paintbrush
- Wood glue
Step 1: Gather your materials!
Get all your materials together and double check your list.
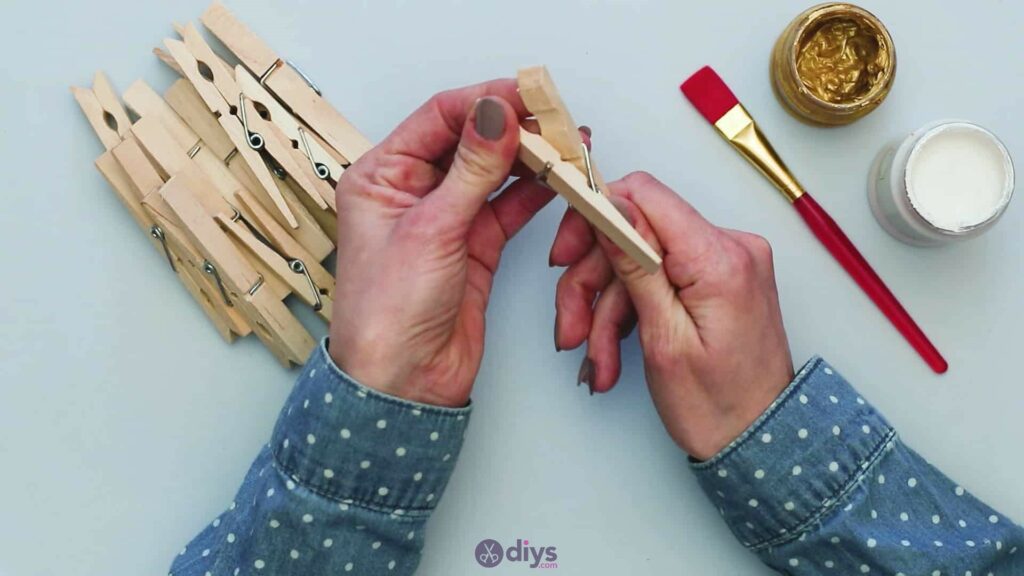
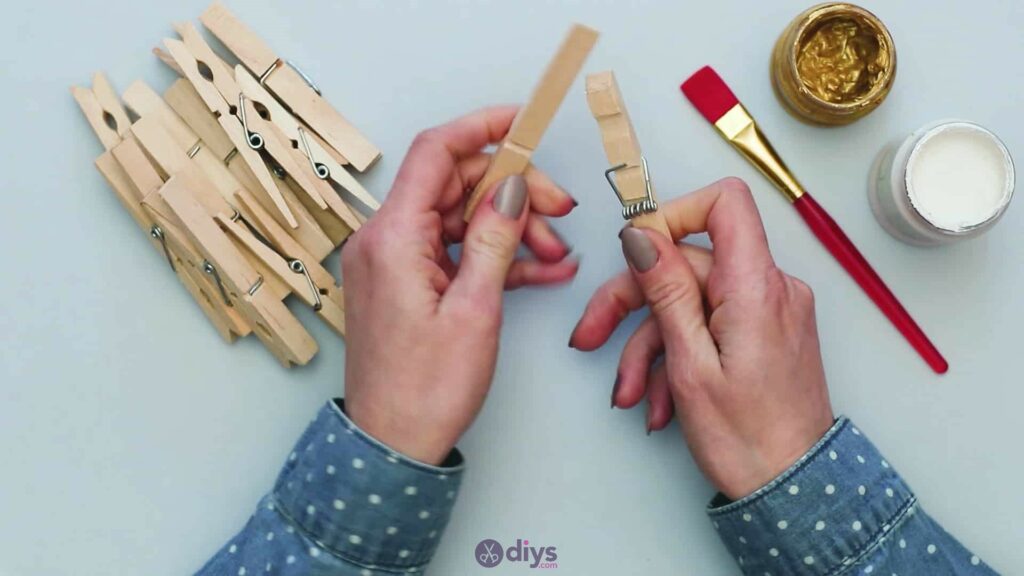
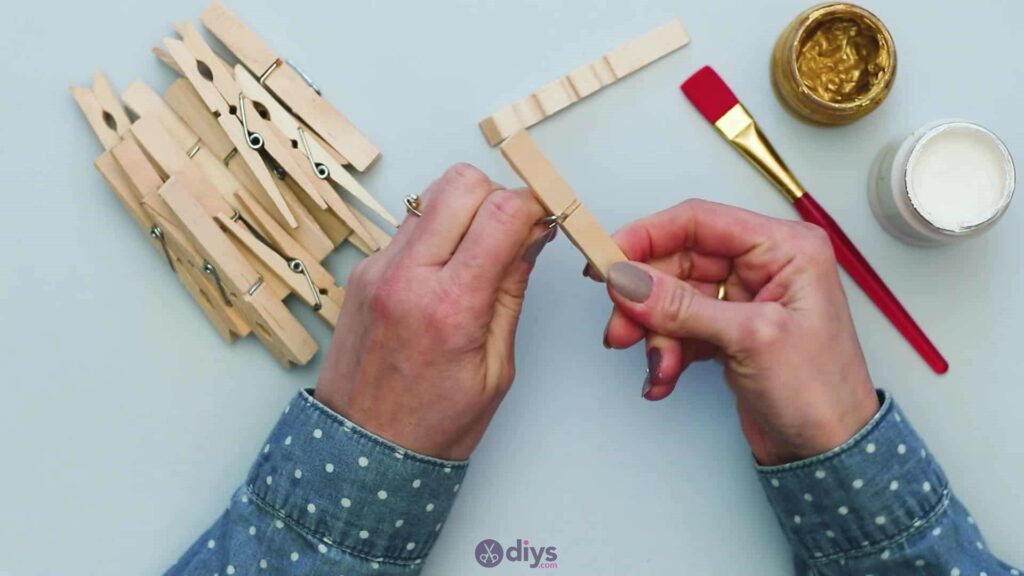
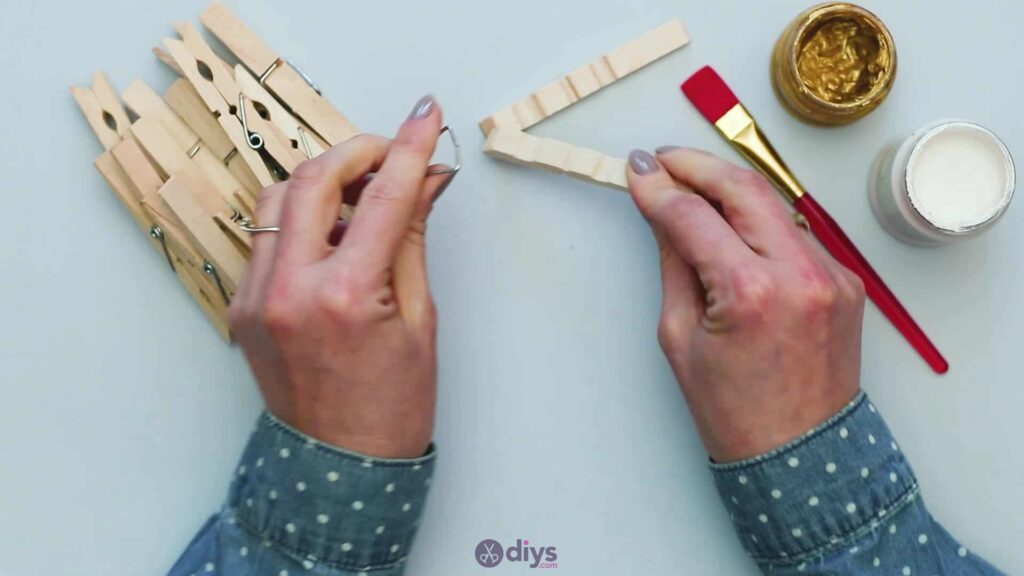
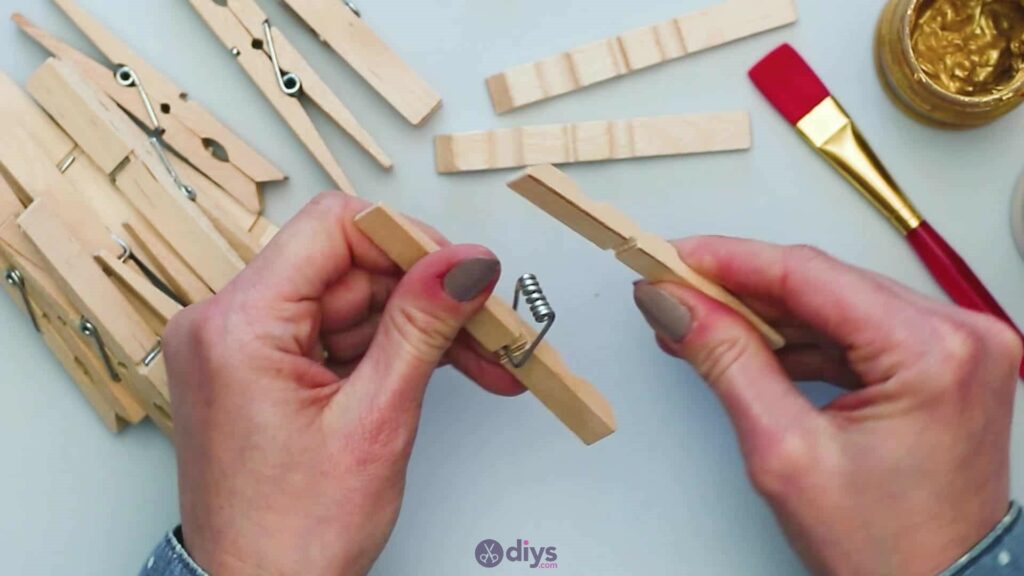
Step 2: disassemble pins
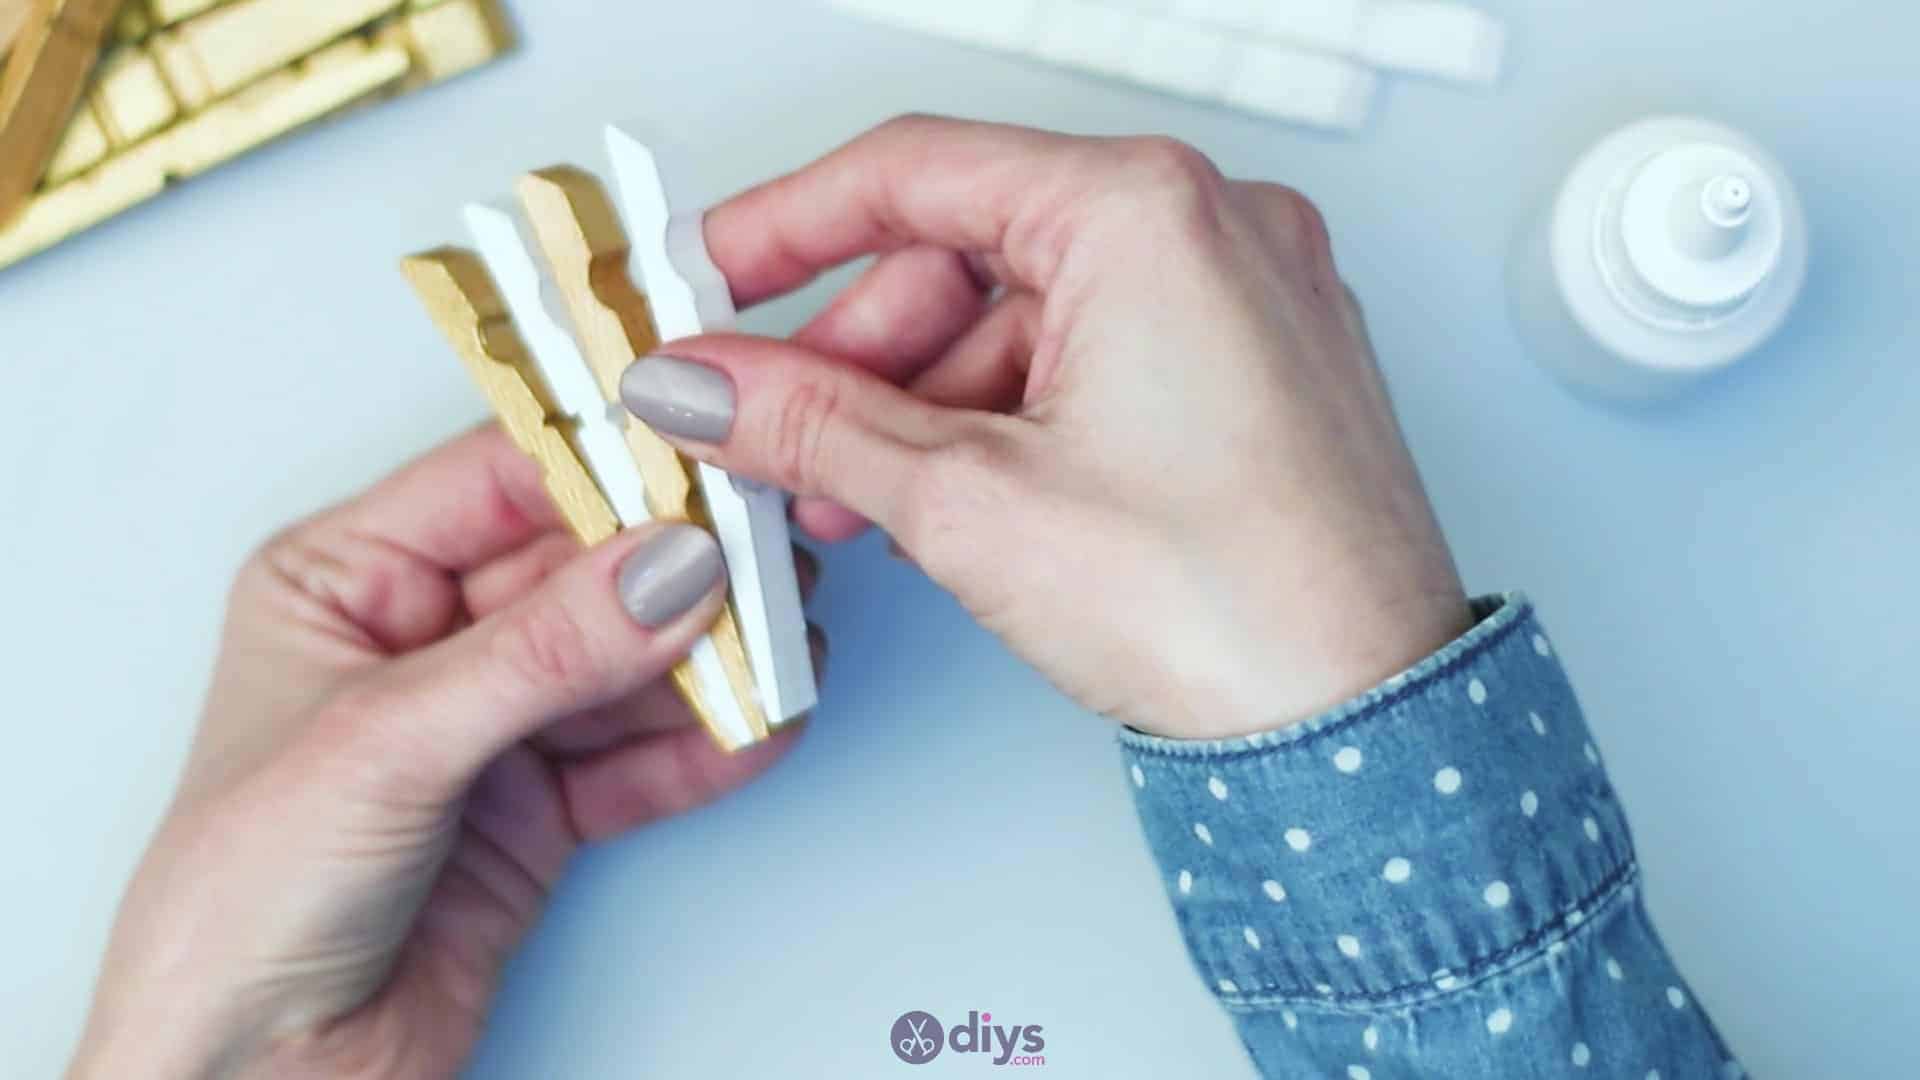
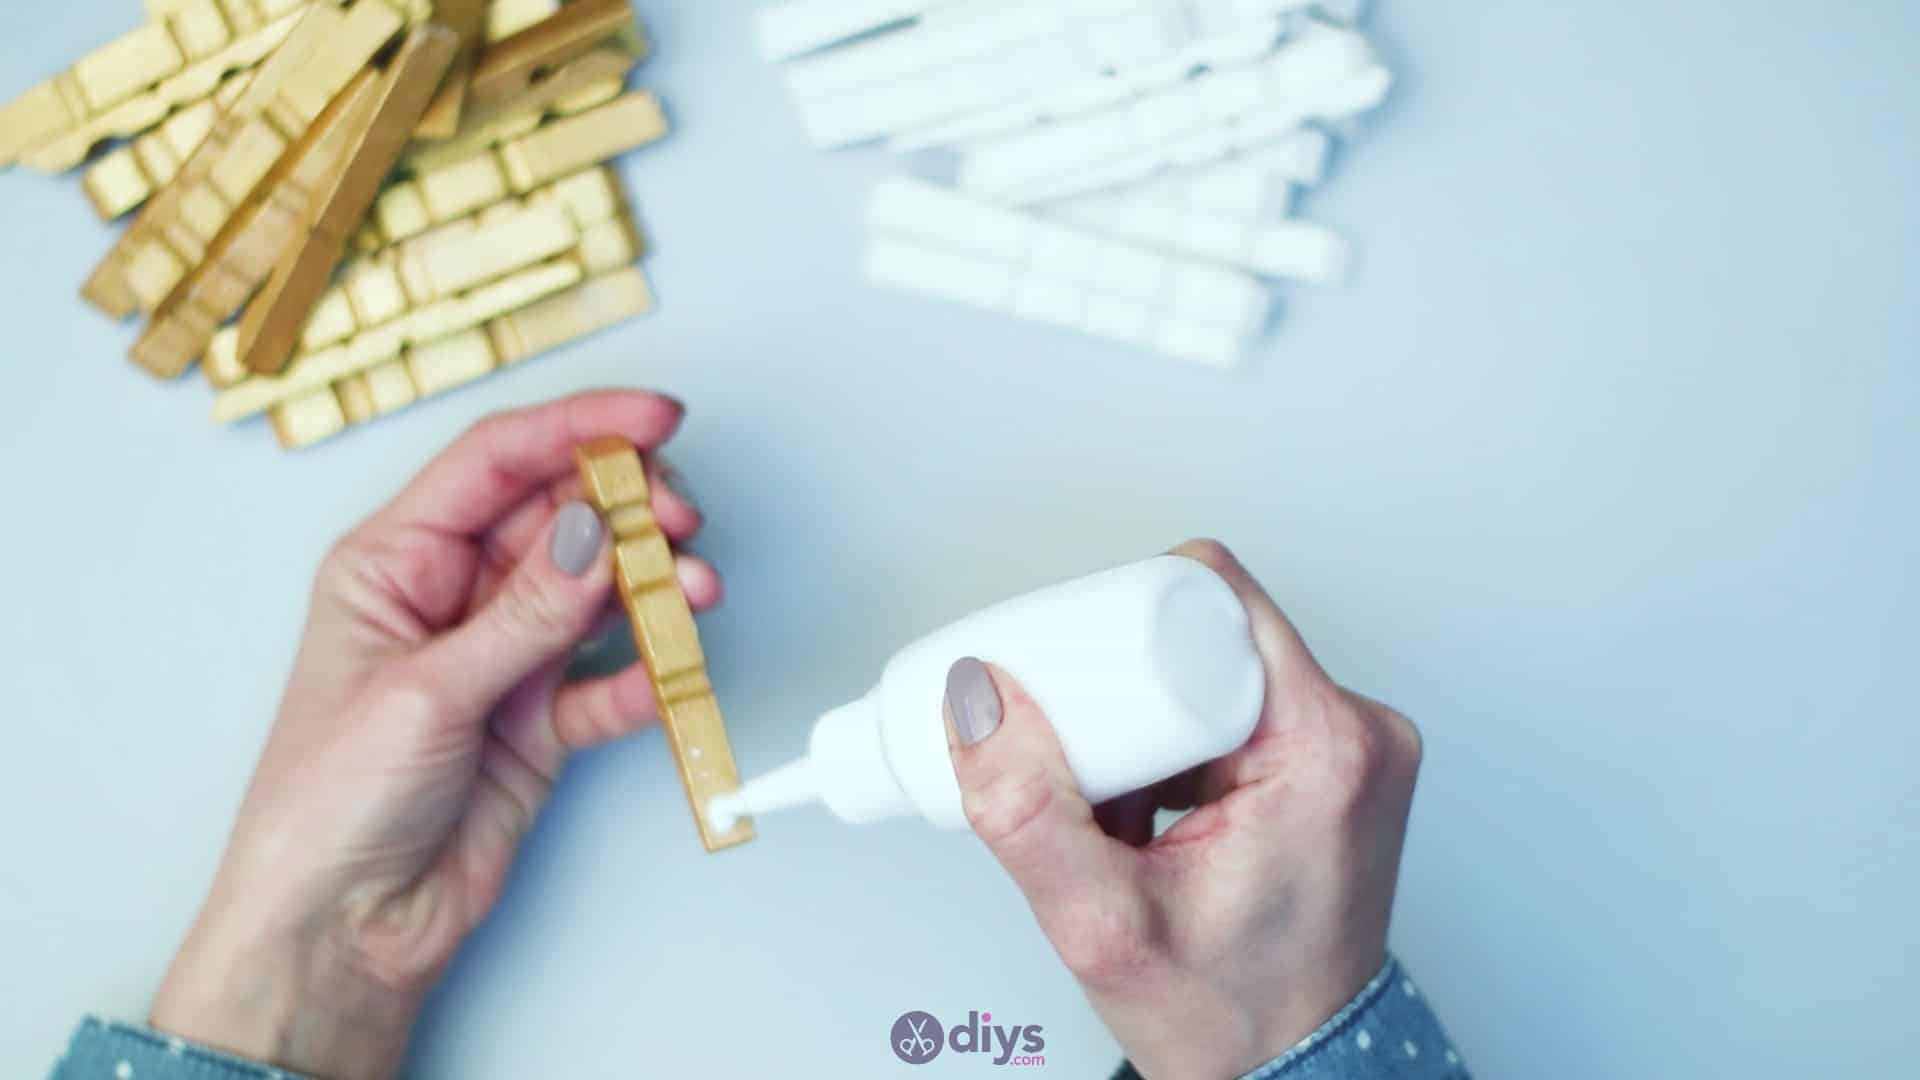
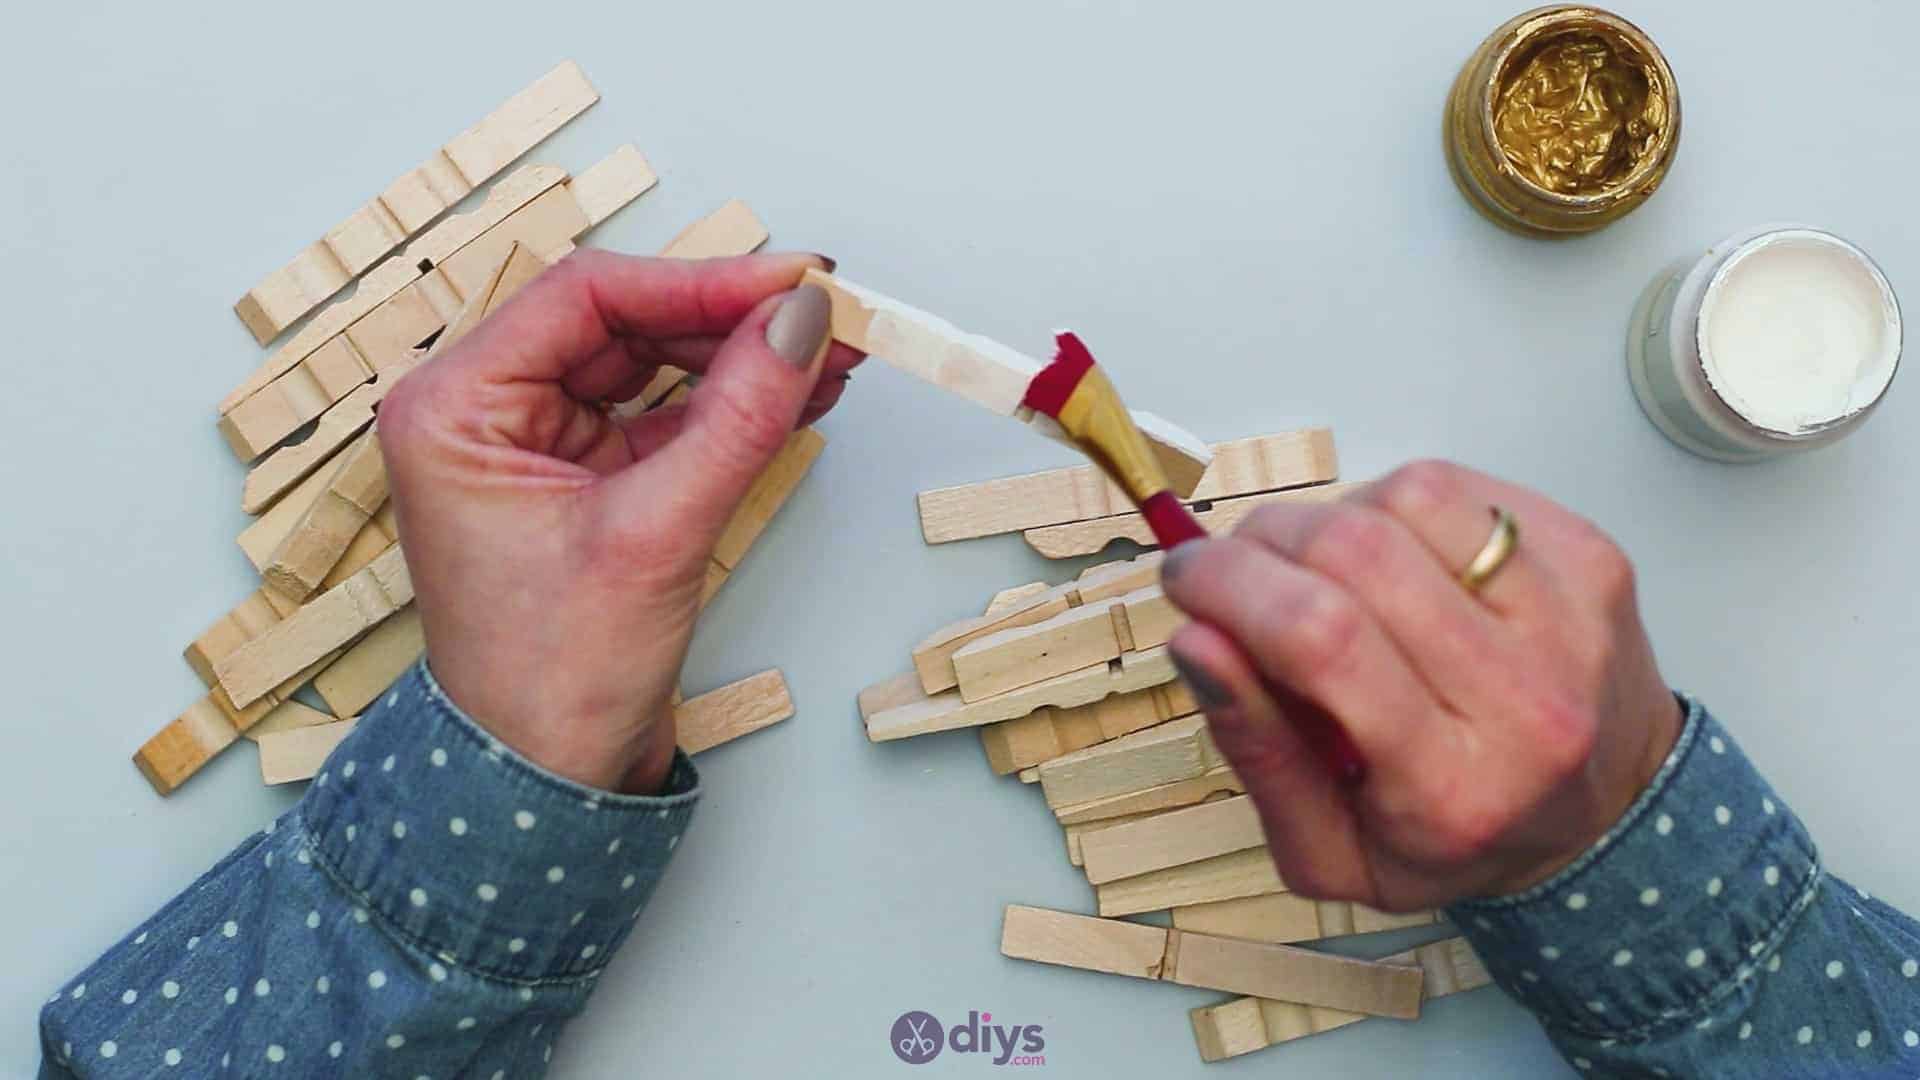
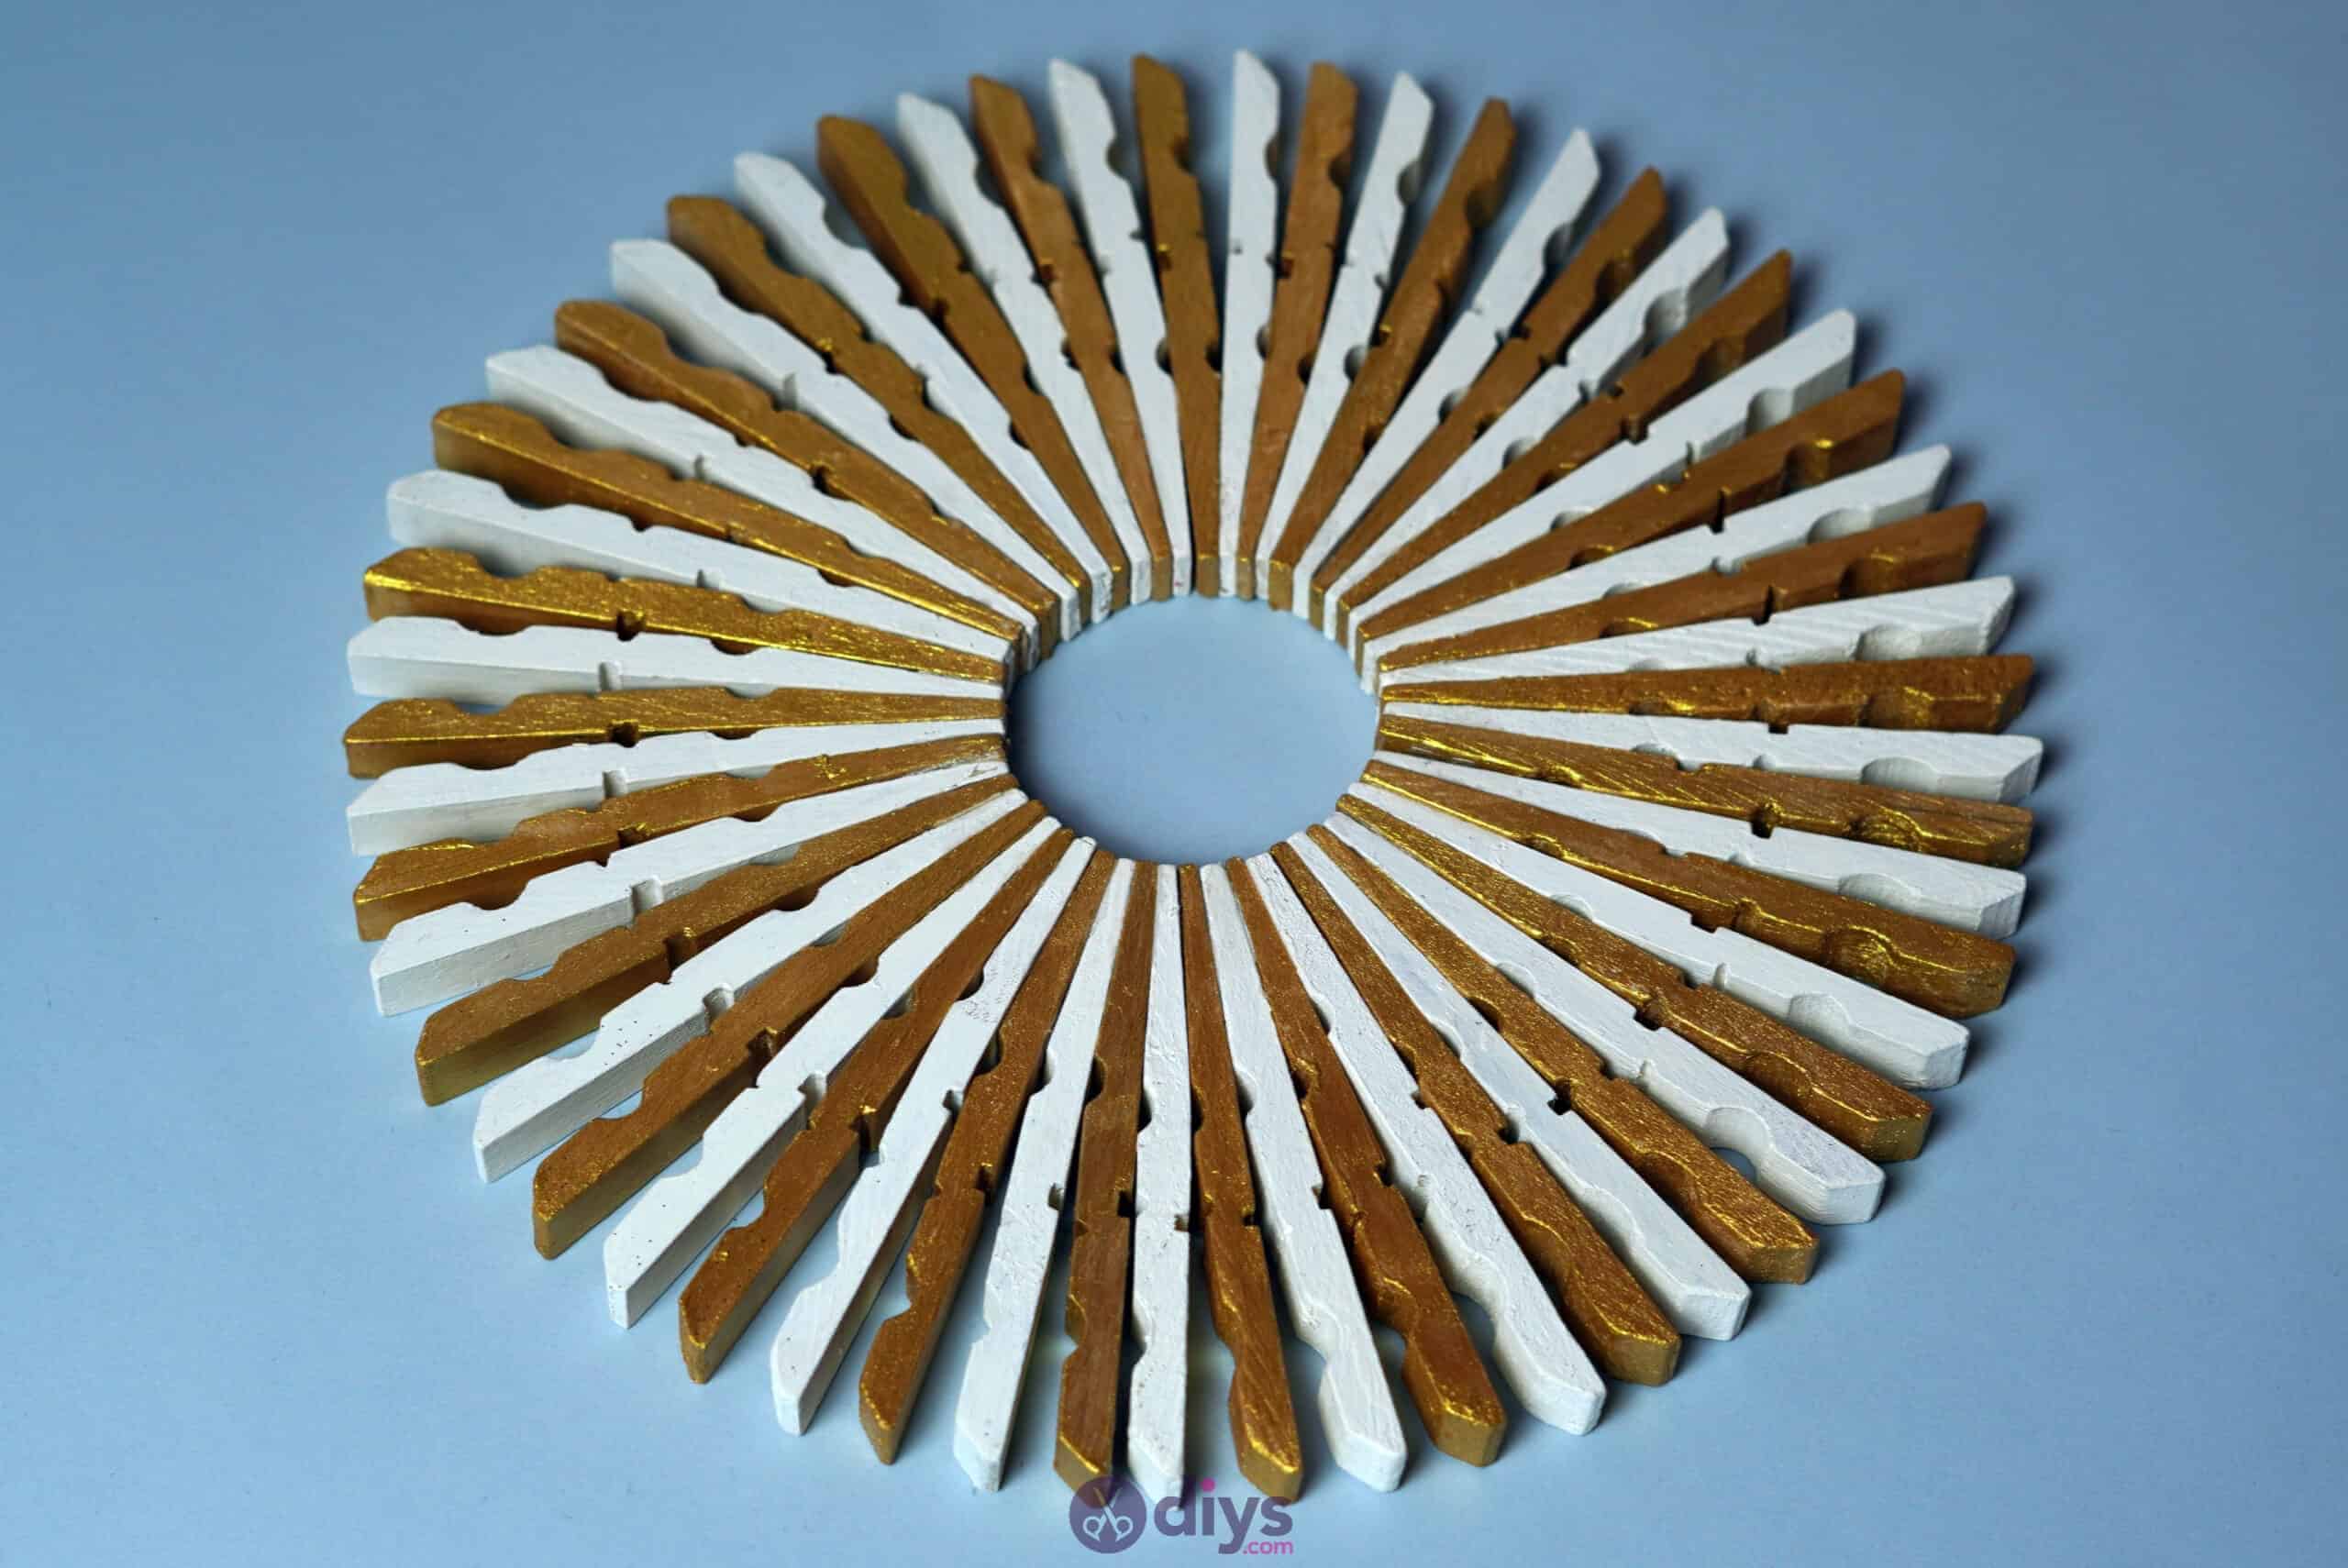
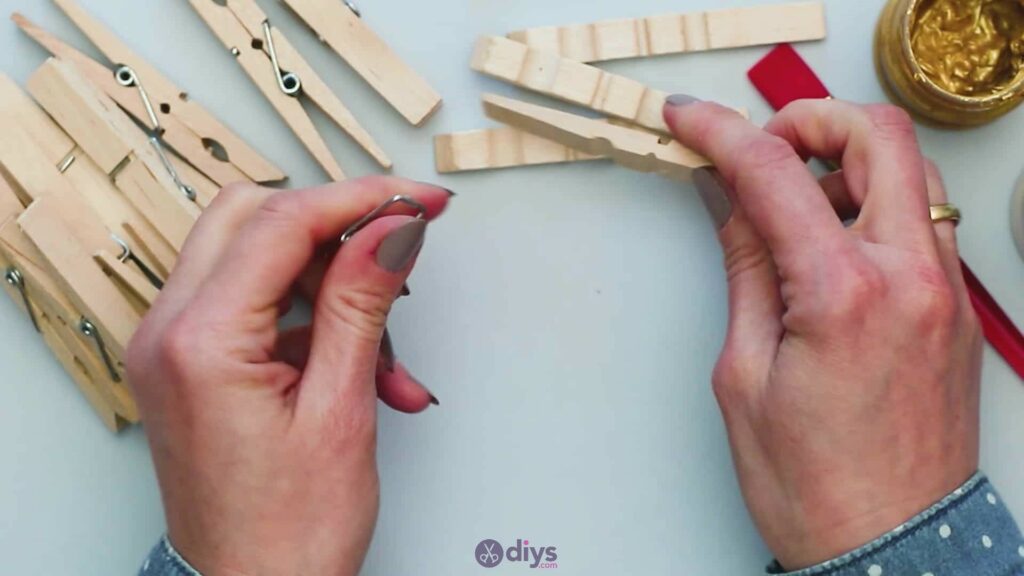
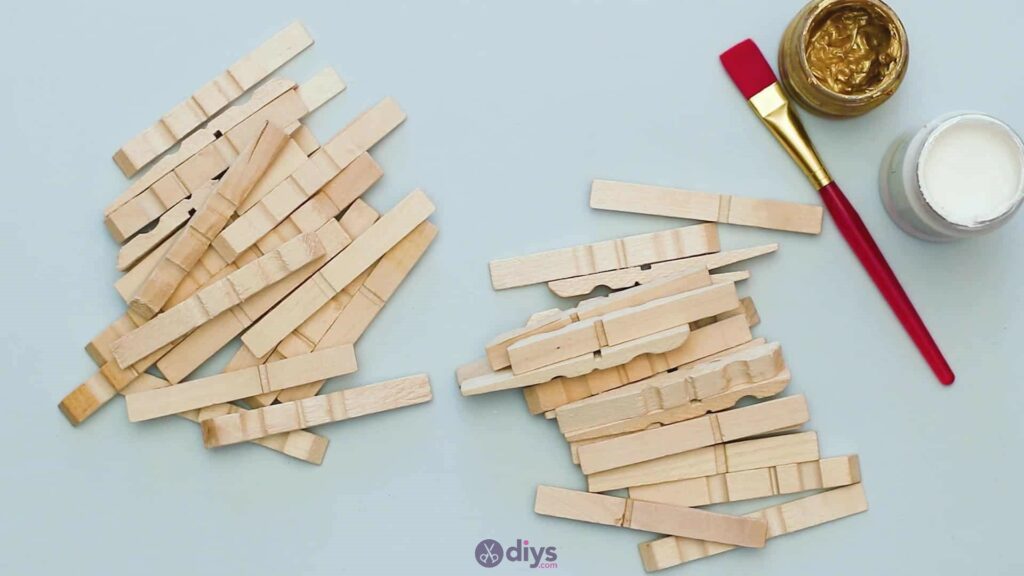
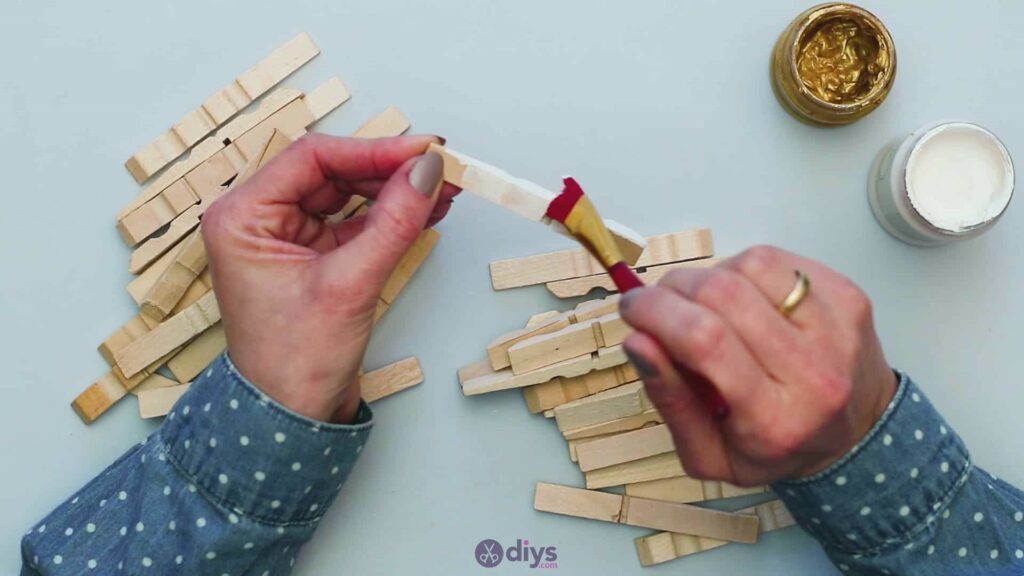
Break apart your clothespins! Rather than using them whole, the way they come in the package, you’ll want to use their individual wooden halves. You won’t need the metal springs, so set those aside (I actually saved mine because I have an idea for a different project to repurpose them in later). You’ll need 56 wooden clothespin halves in the end to make a full circle, so you’ll want to take apart 28 whole clothespins.
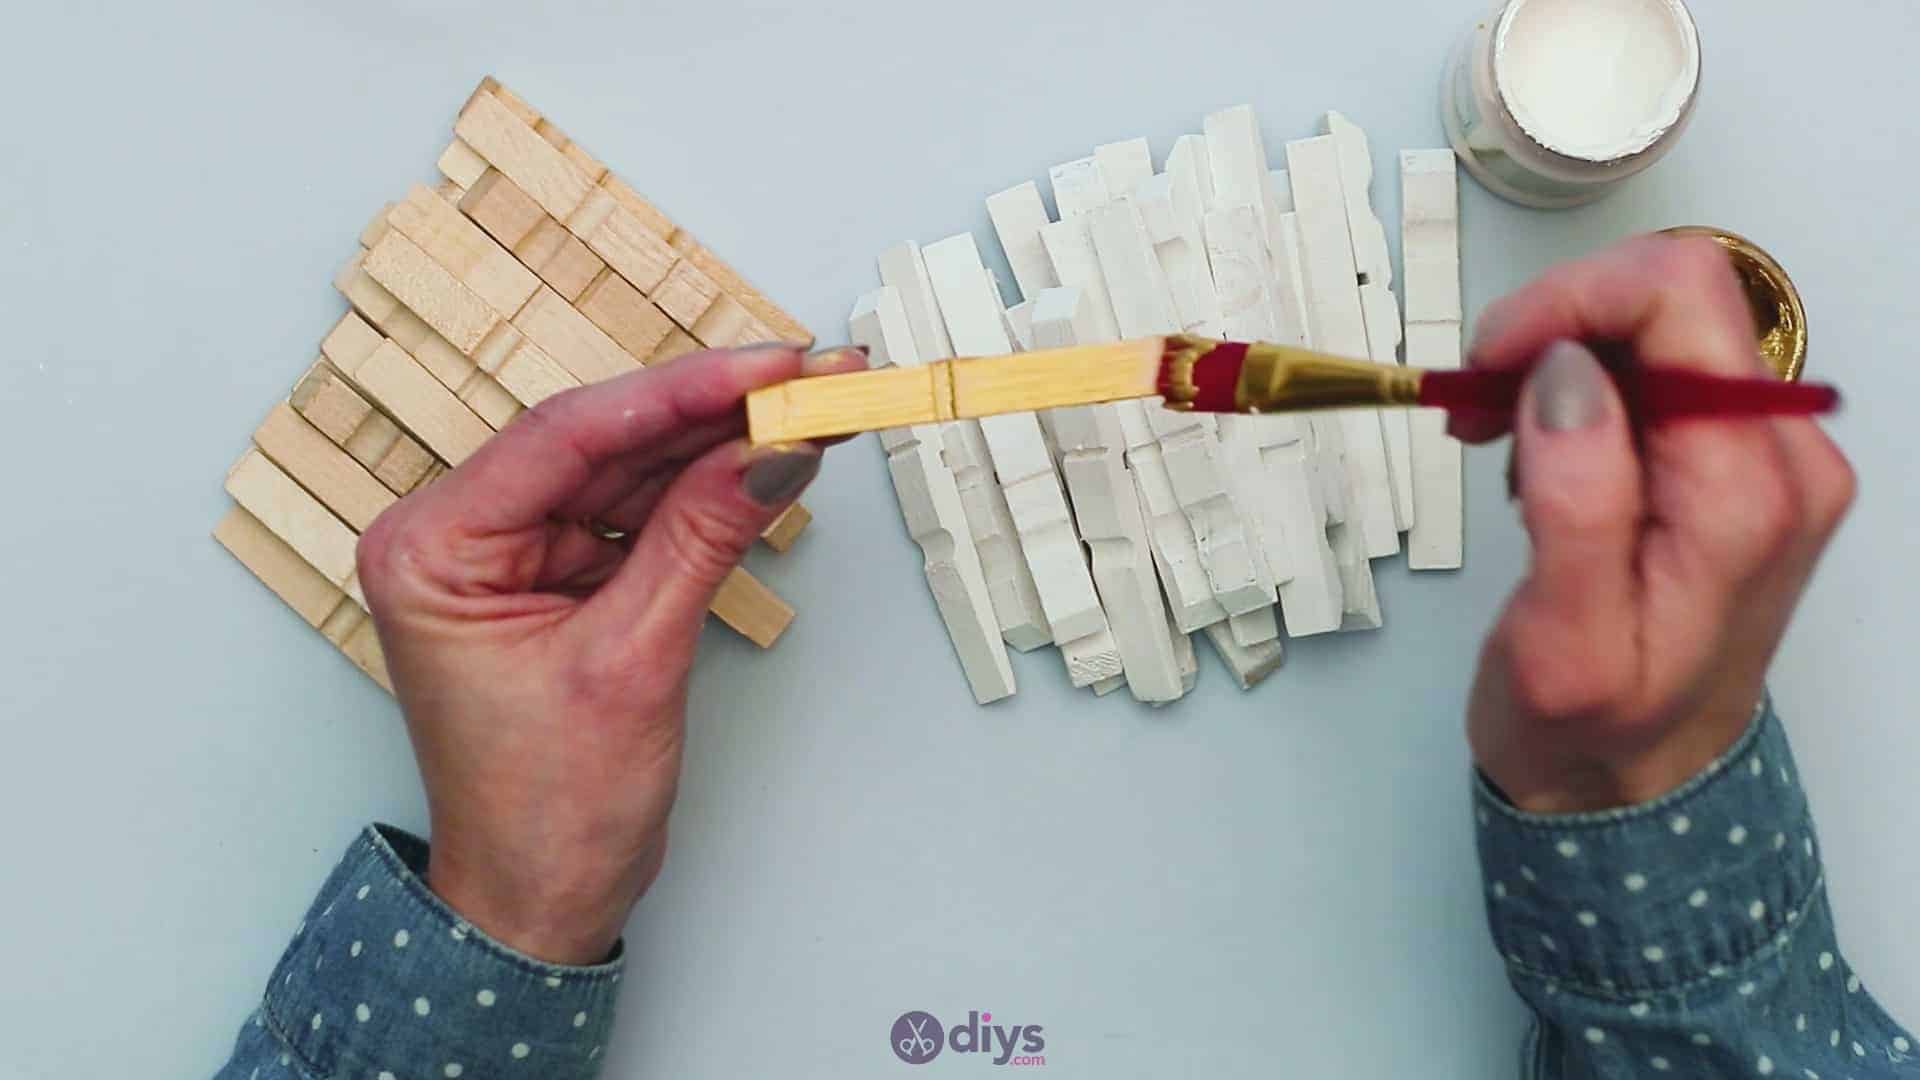
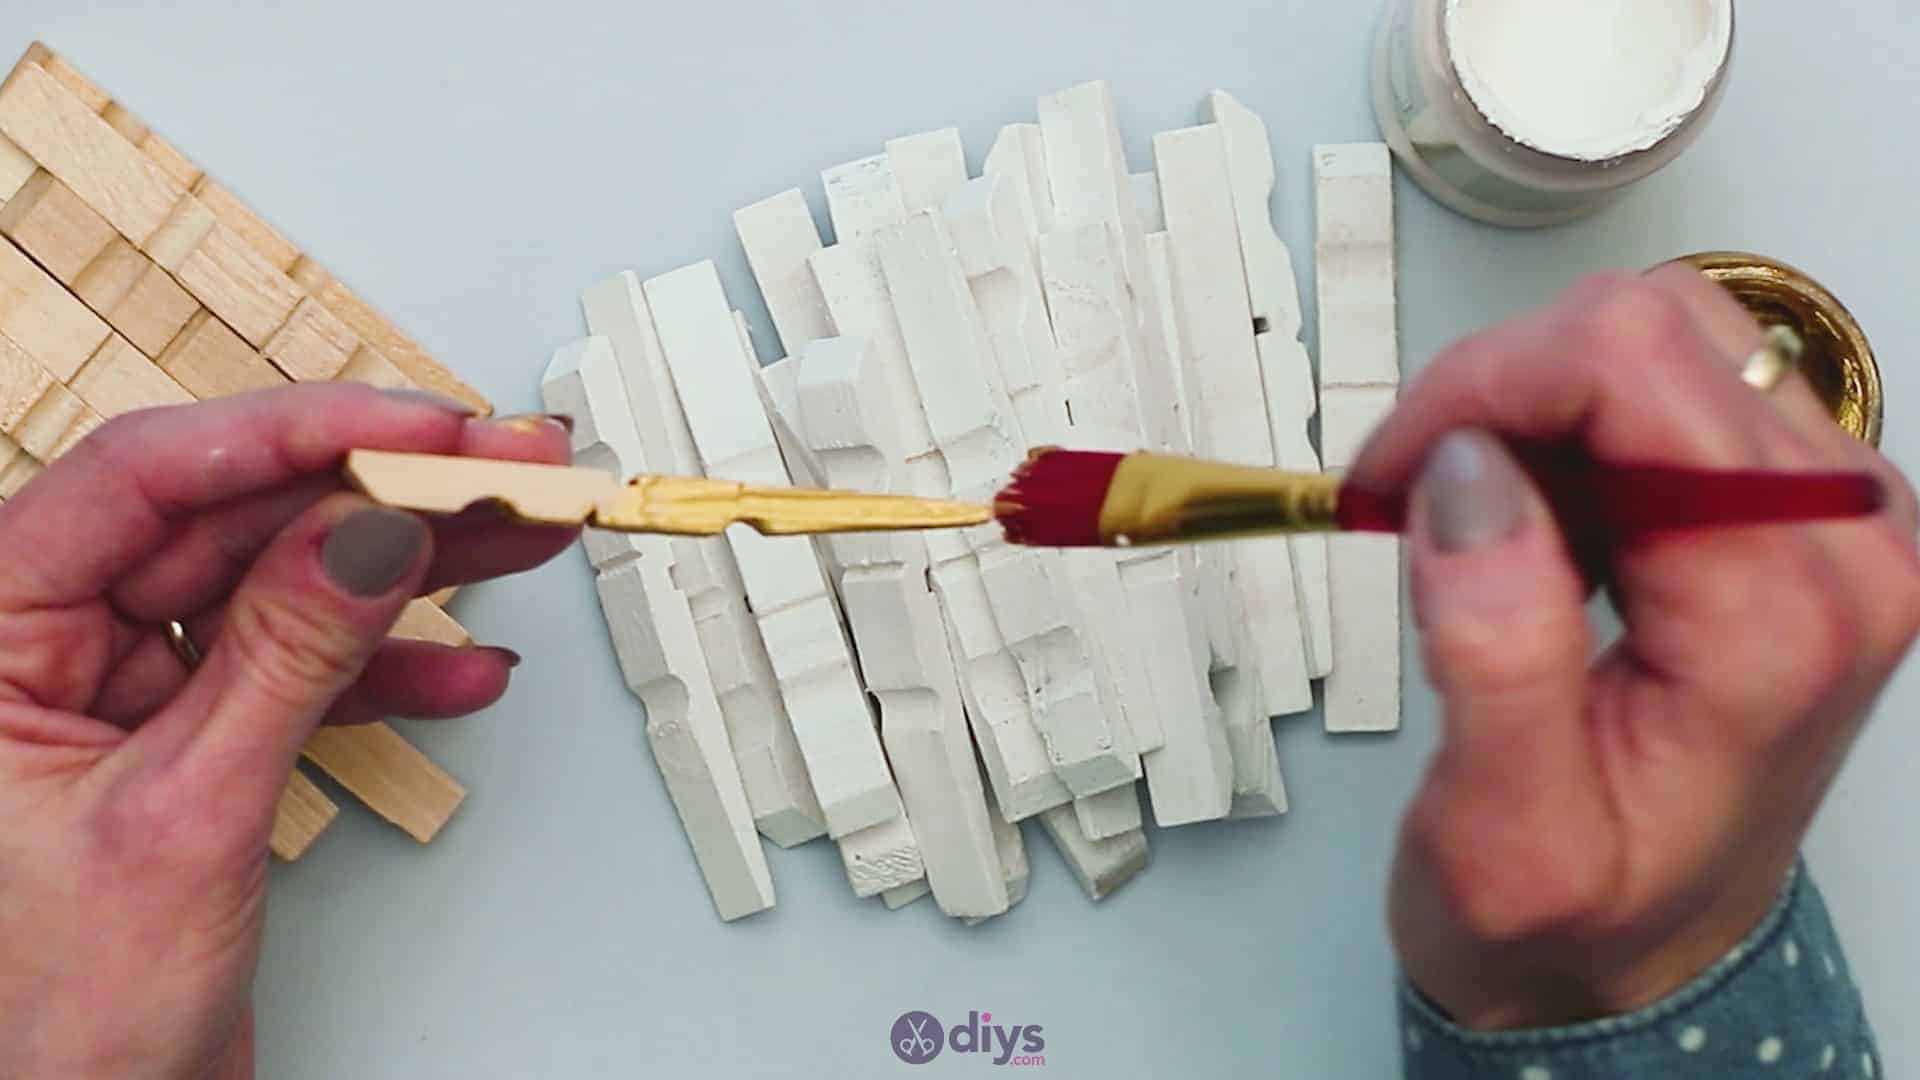
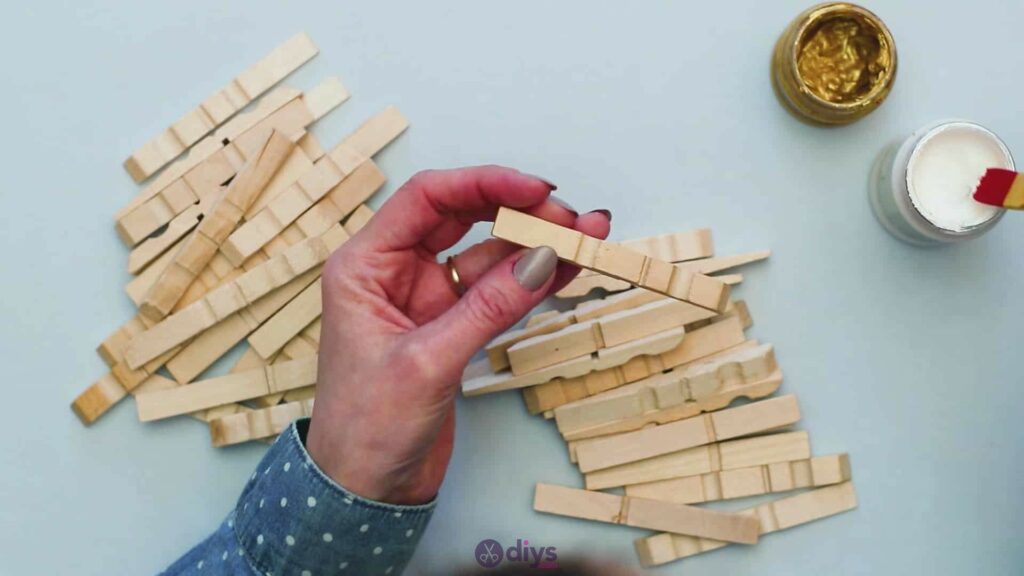
I’d suggest separating the wooden halves into two piles, each with half the number of pieces in it. This will make things easier in a moment because you’re going to paint precisely half of the wooden halves one colour and the other half another colour.
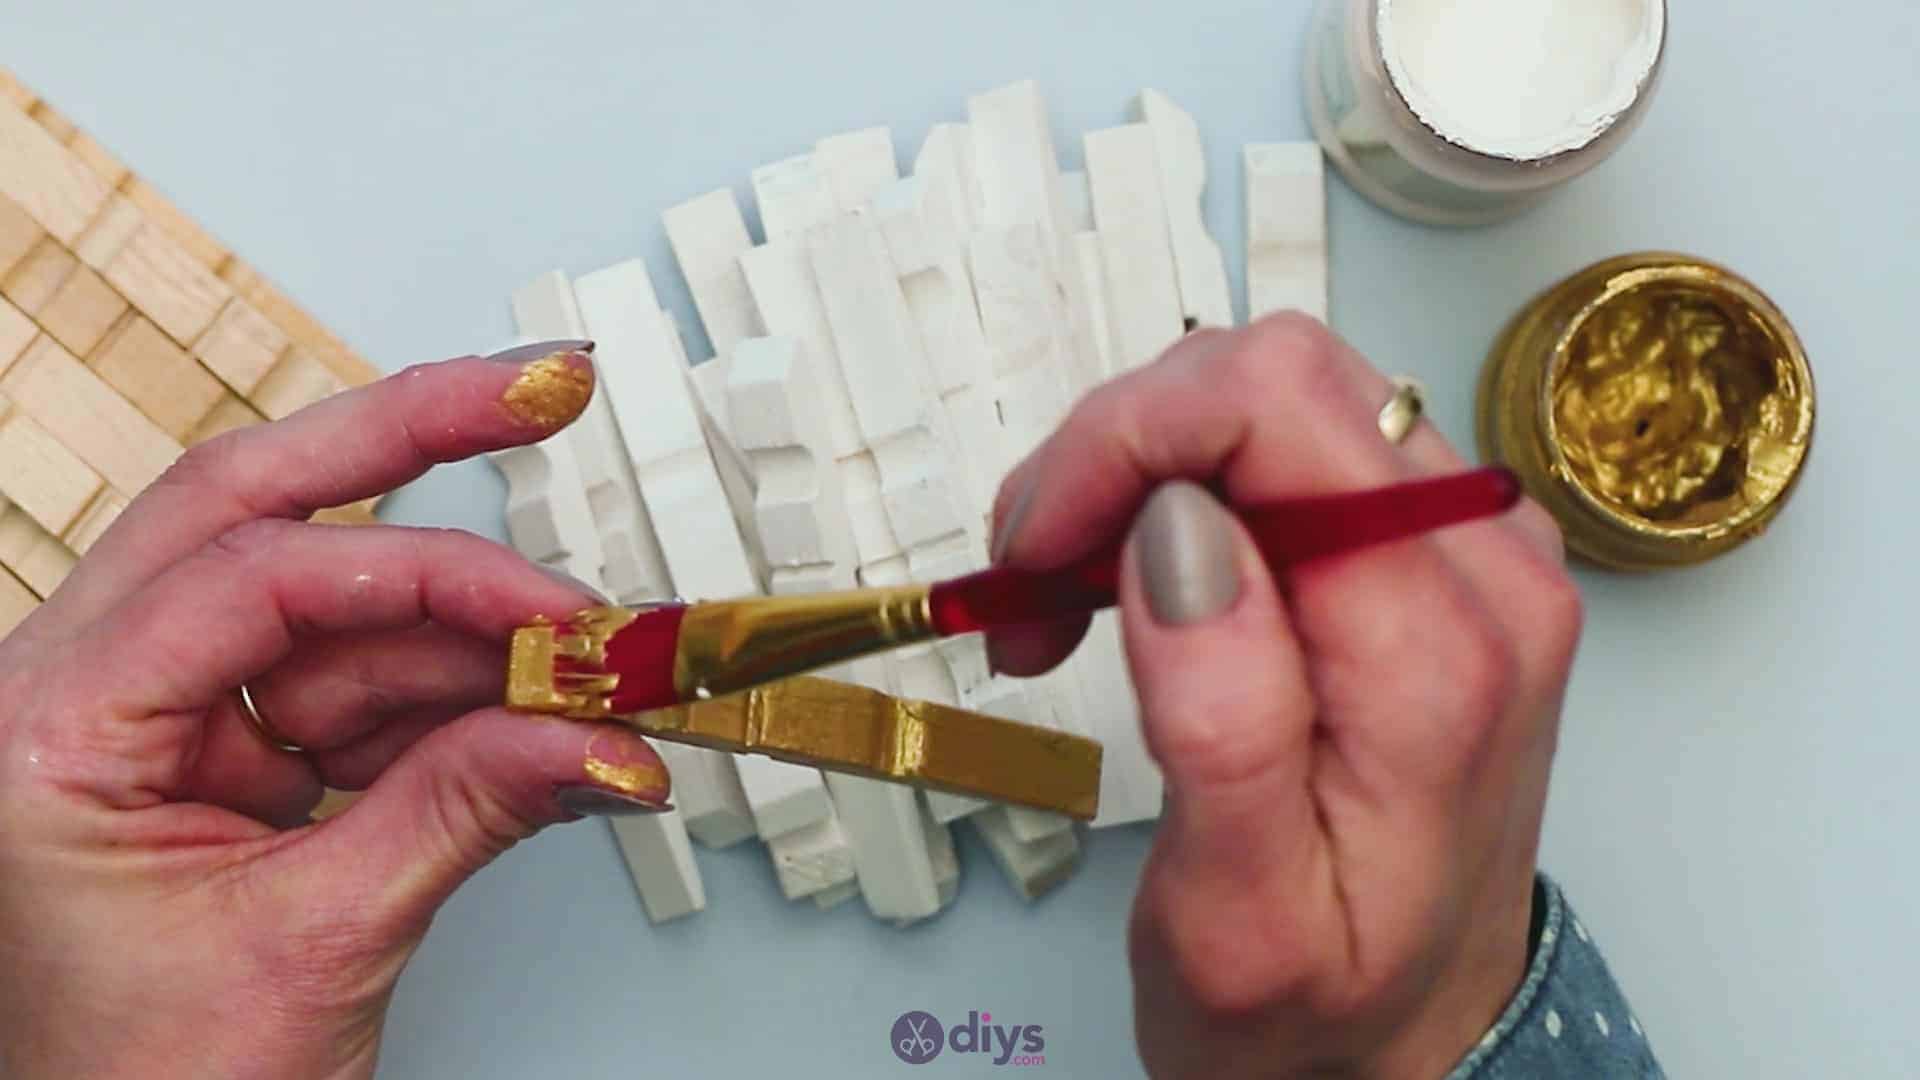
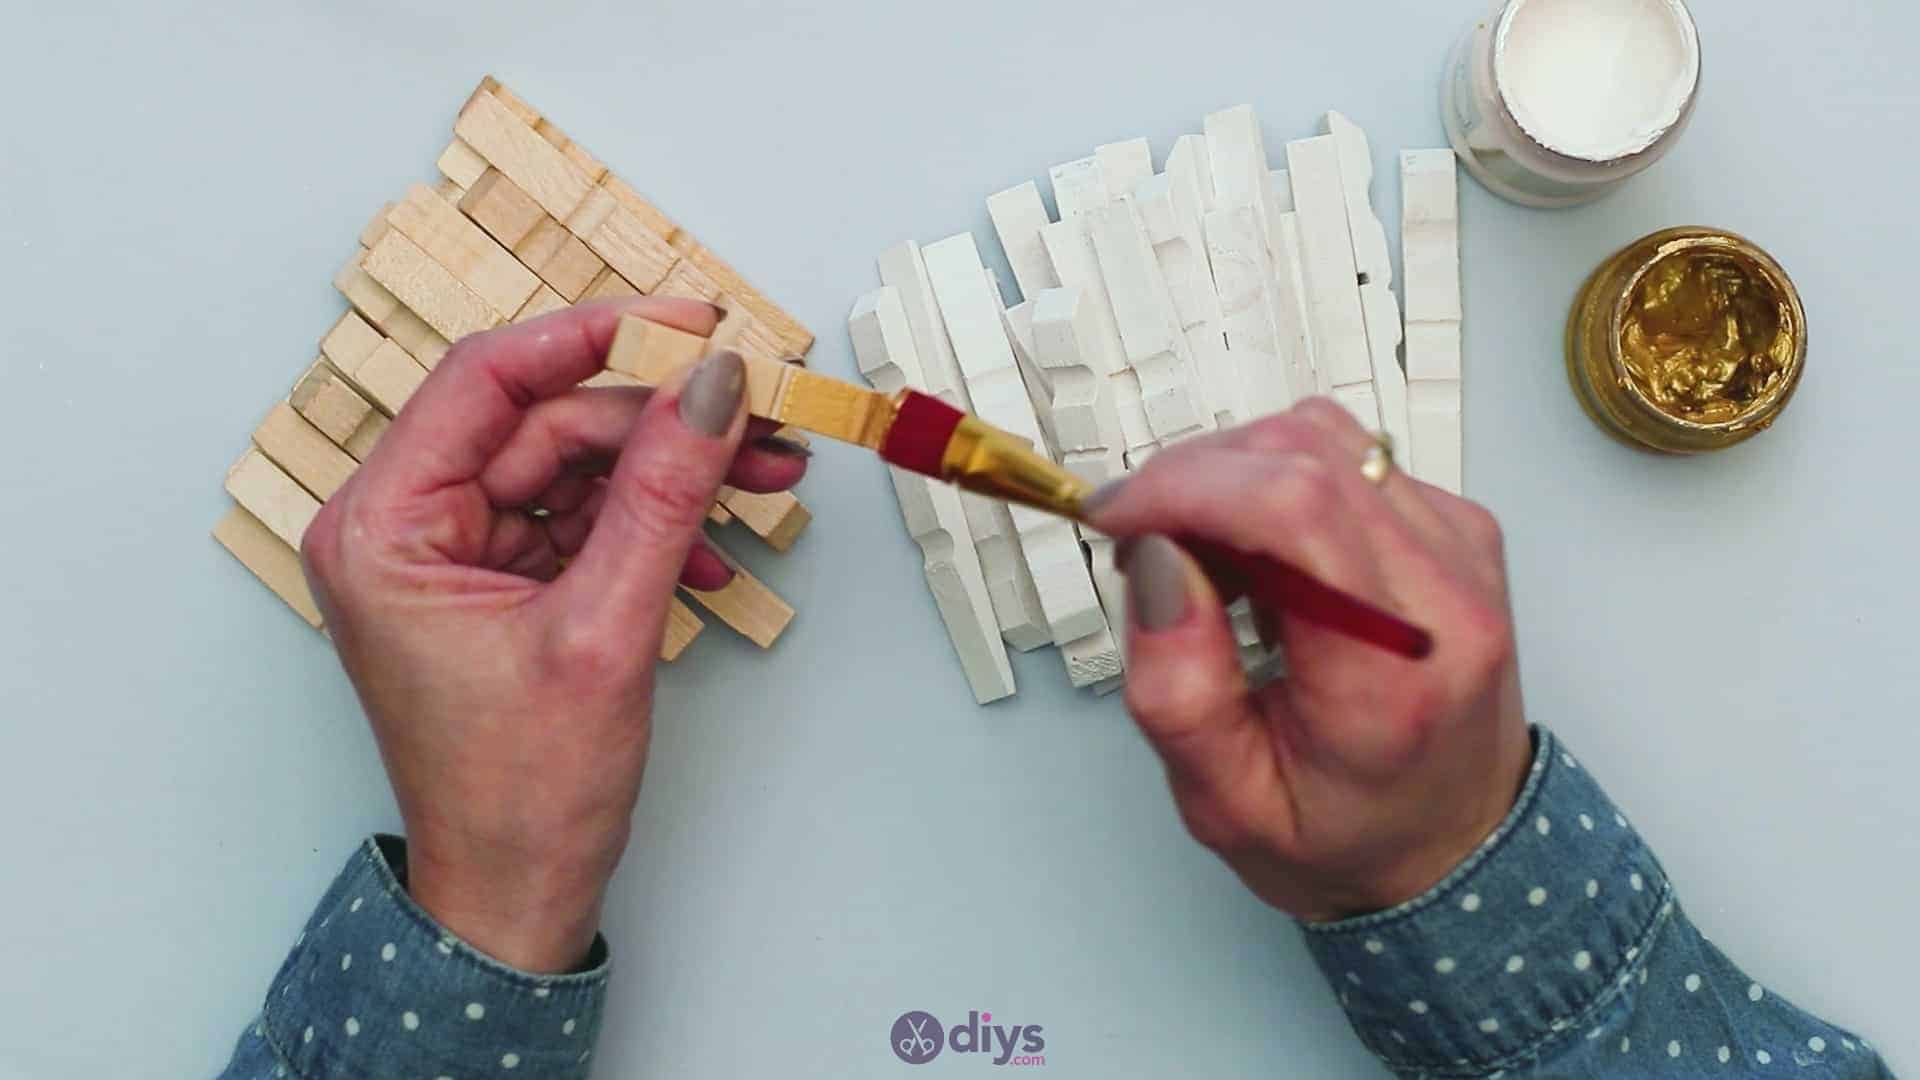
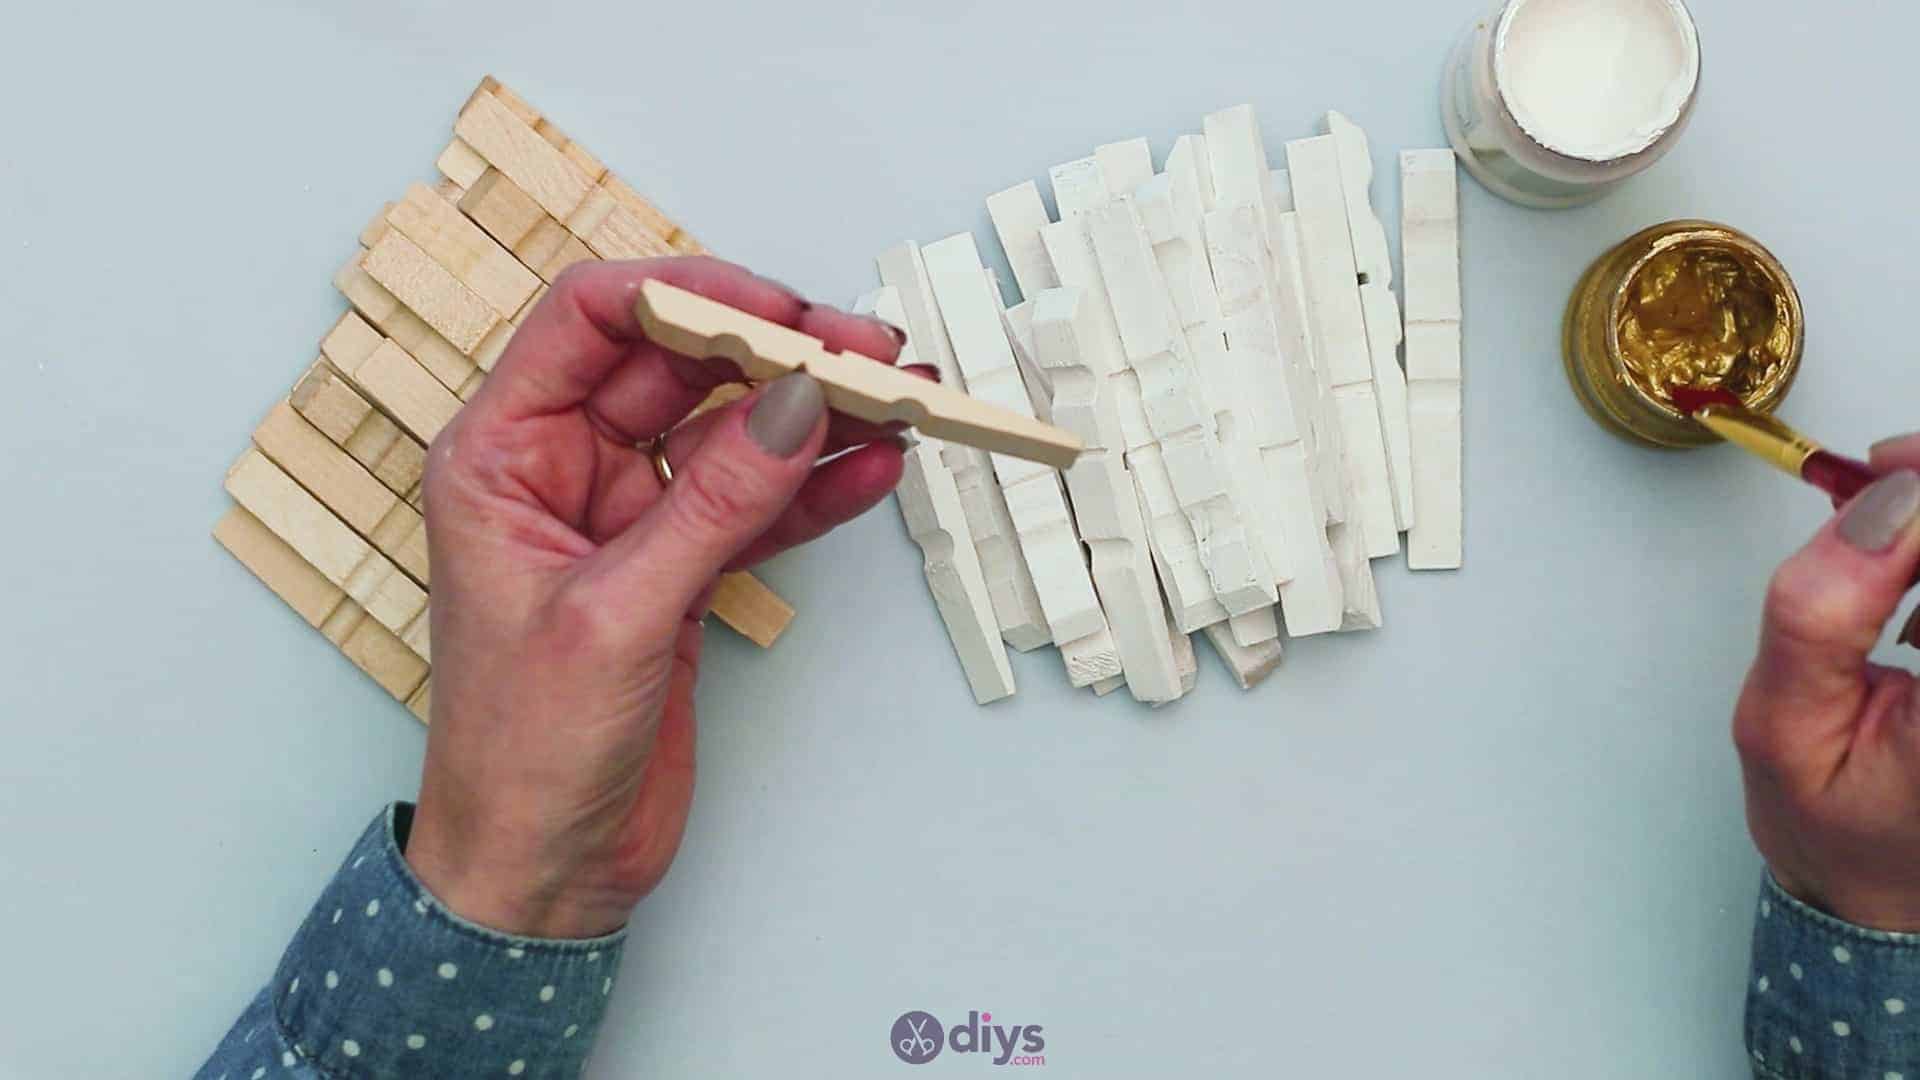
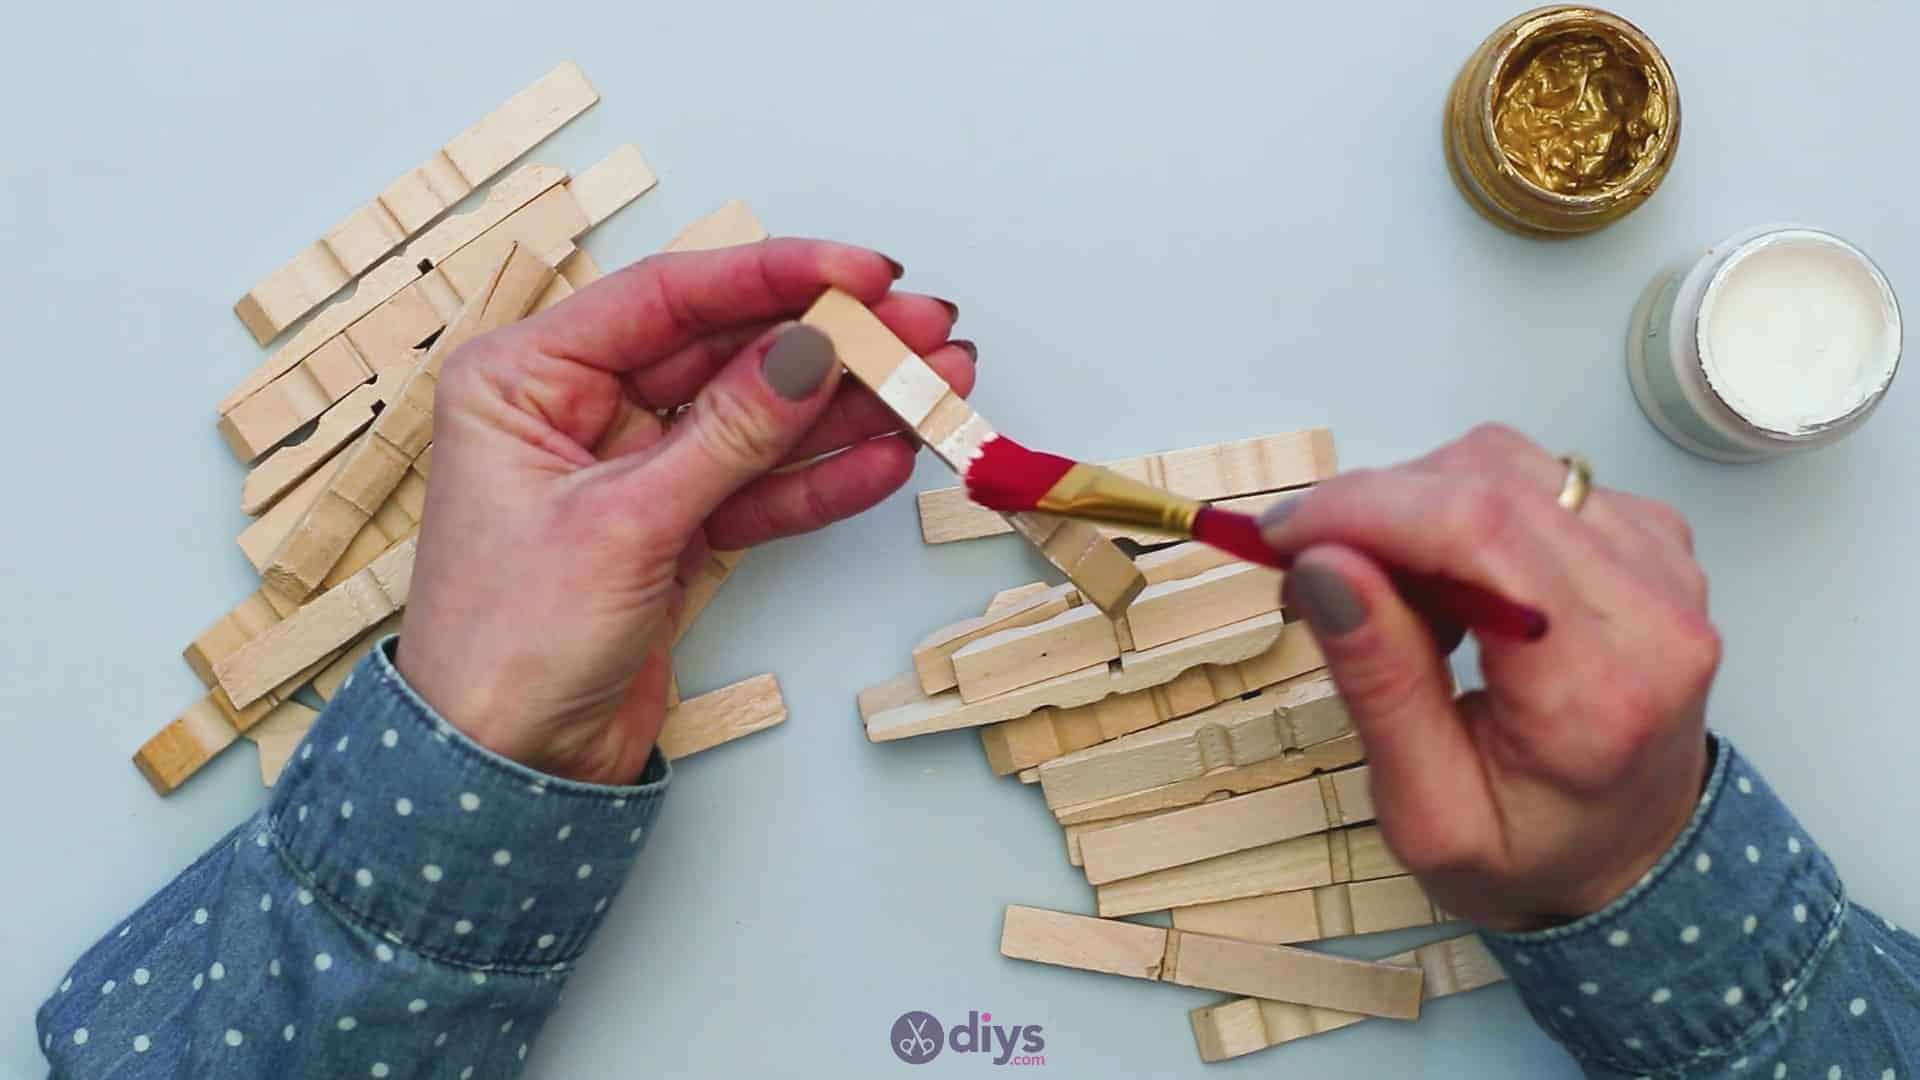
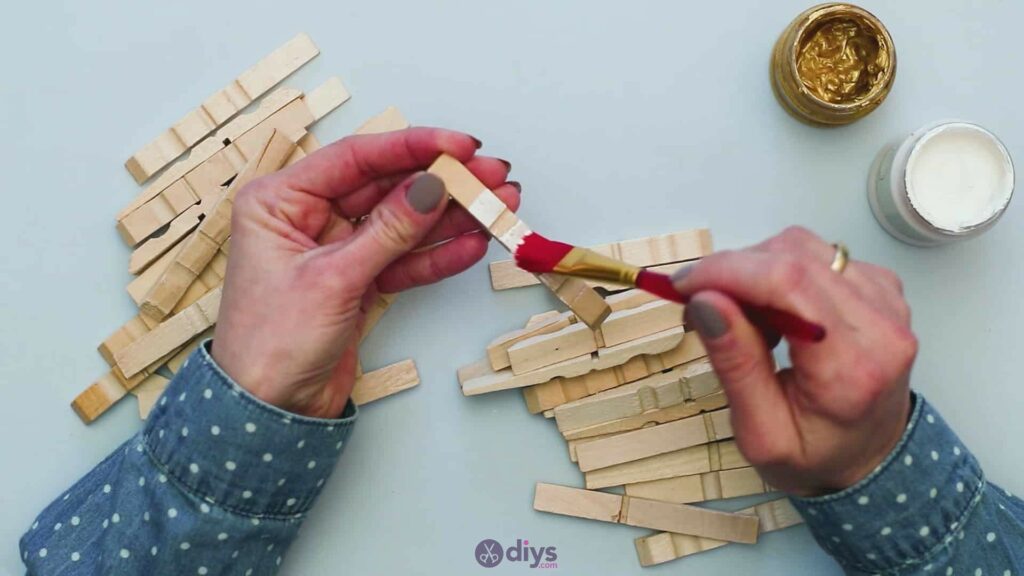
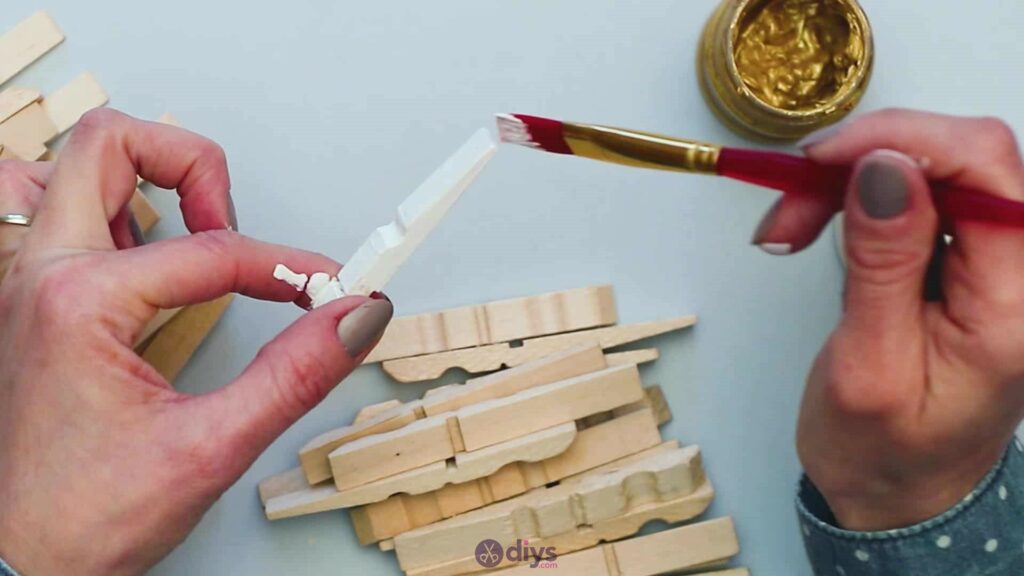
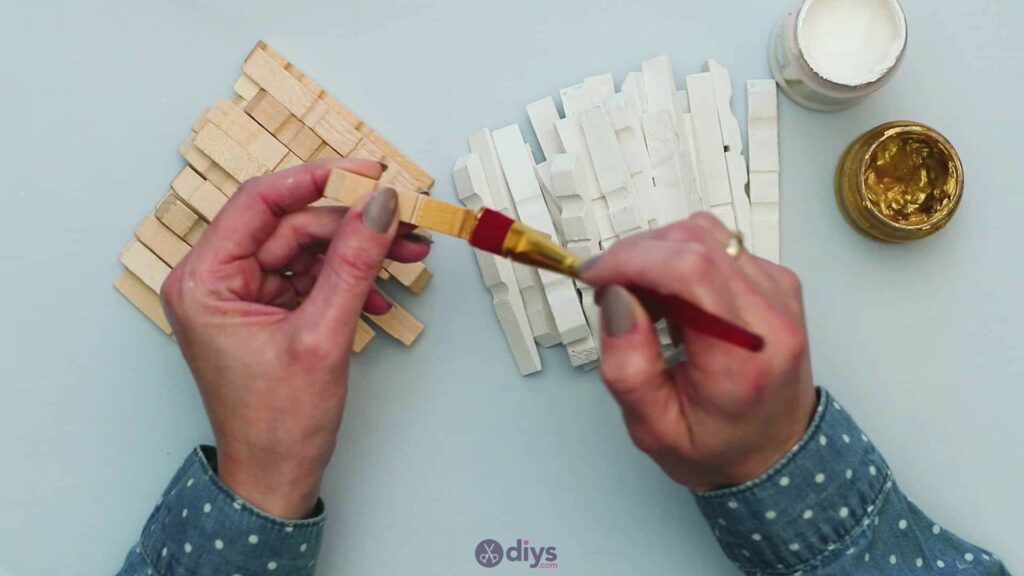
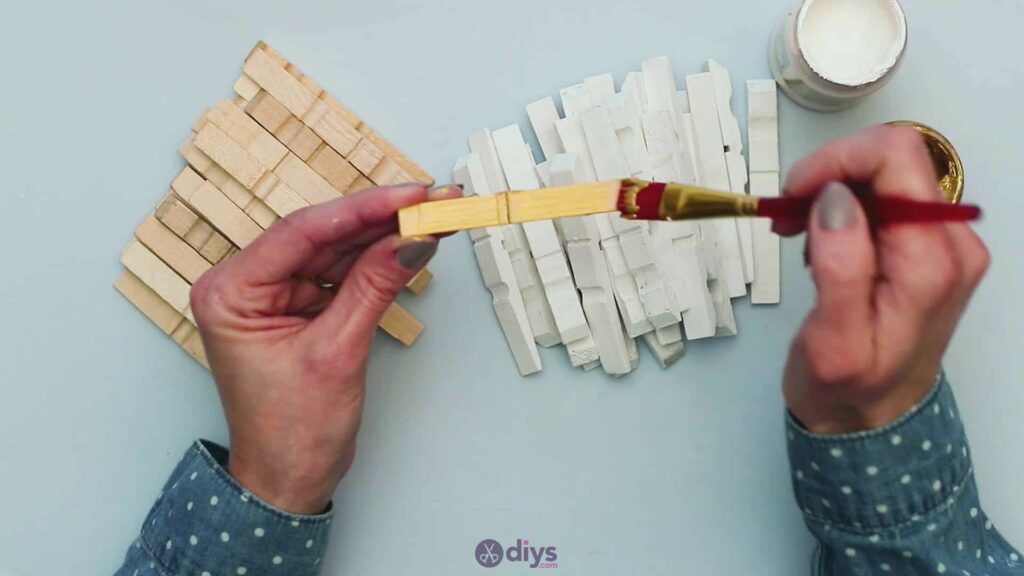
Step 3: paint the pins
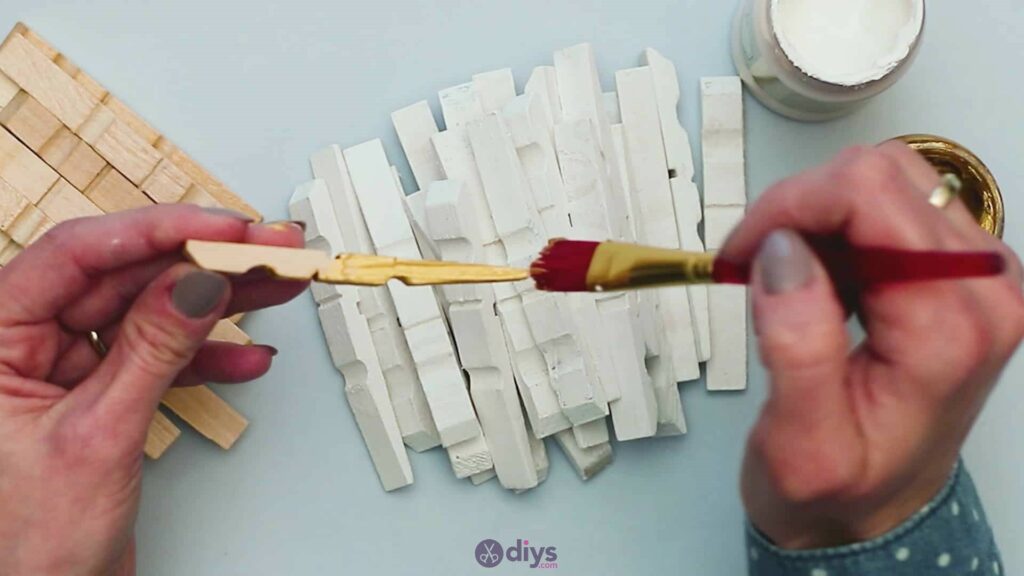
Use your paintbrush to paintall of the wooden clothespin halves in one of your piles entirely white! Make sure you paint the front, back, and both sides fully and evenly. You should have painted 26 white pieces by the time you finish that pile, which is half of your total number. Set them aside to dry.


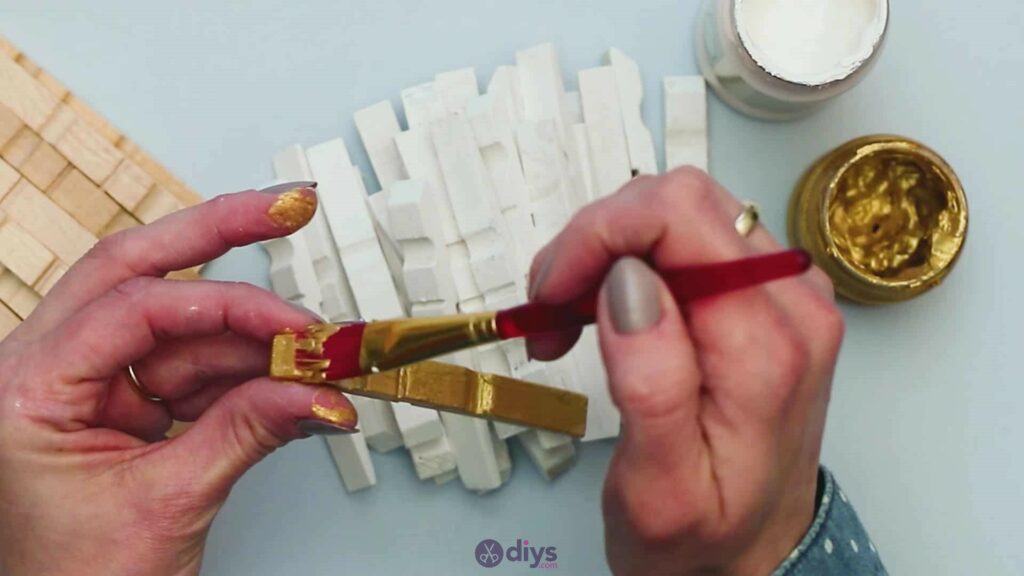
Step 4: switch colors
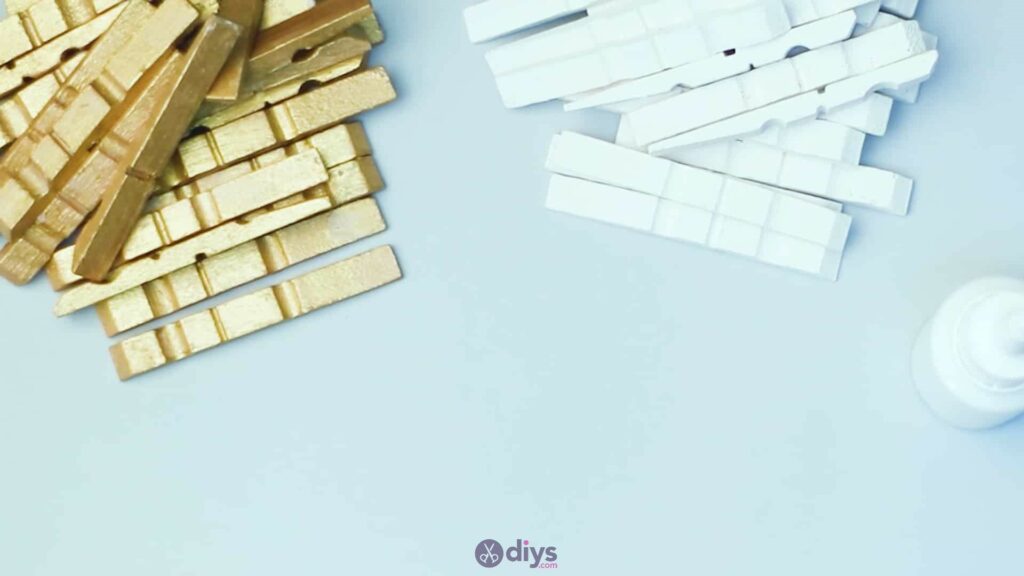
Clean your paintbrush or grab a fresh one and paint the remaining 26 wooden clothespin halves in your other pile entirely gold! Once again, make sure you’re getting a full, even coverage all the way around. Set them aside to dry as well. You can do more than one coat of paint if you need to in order to get the colour opaque.

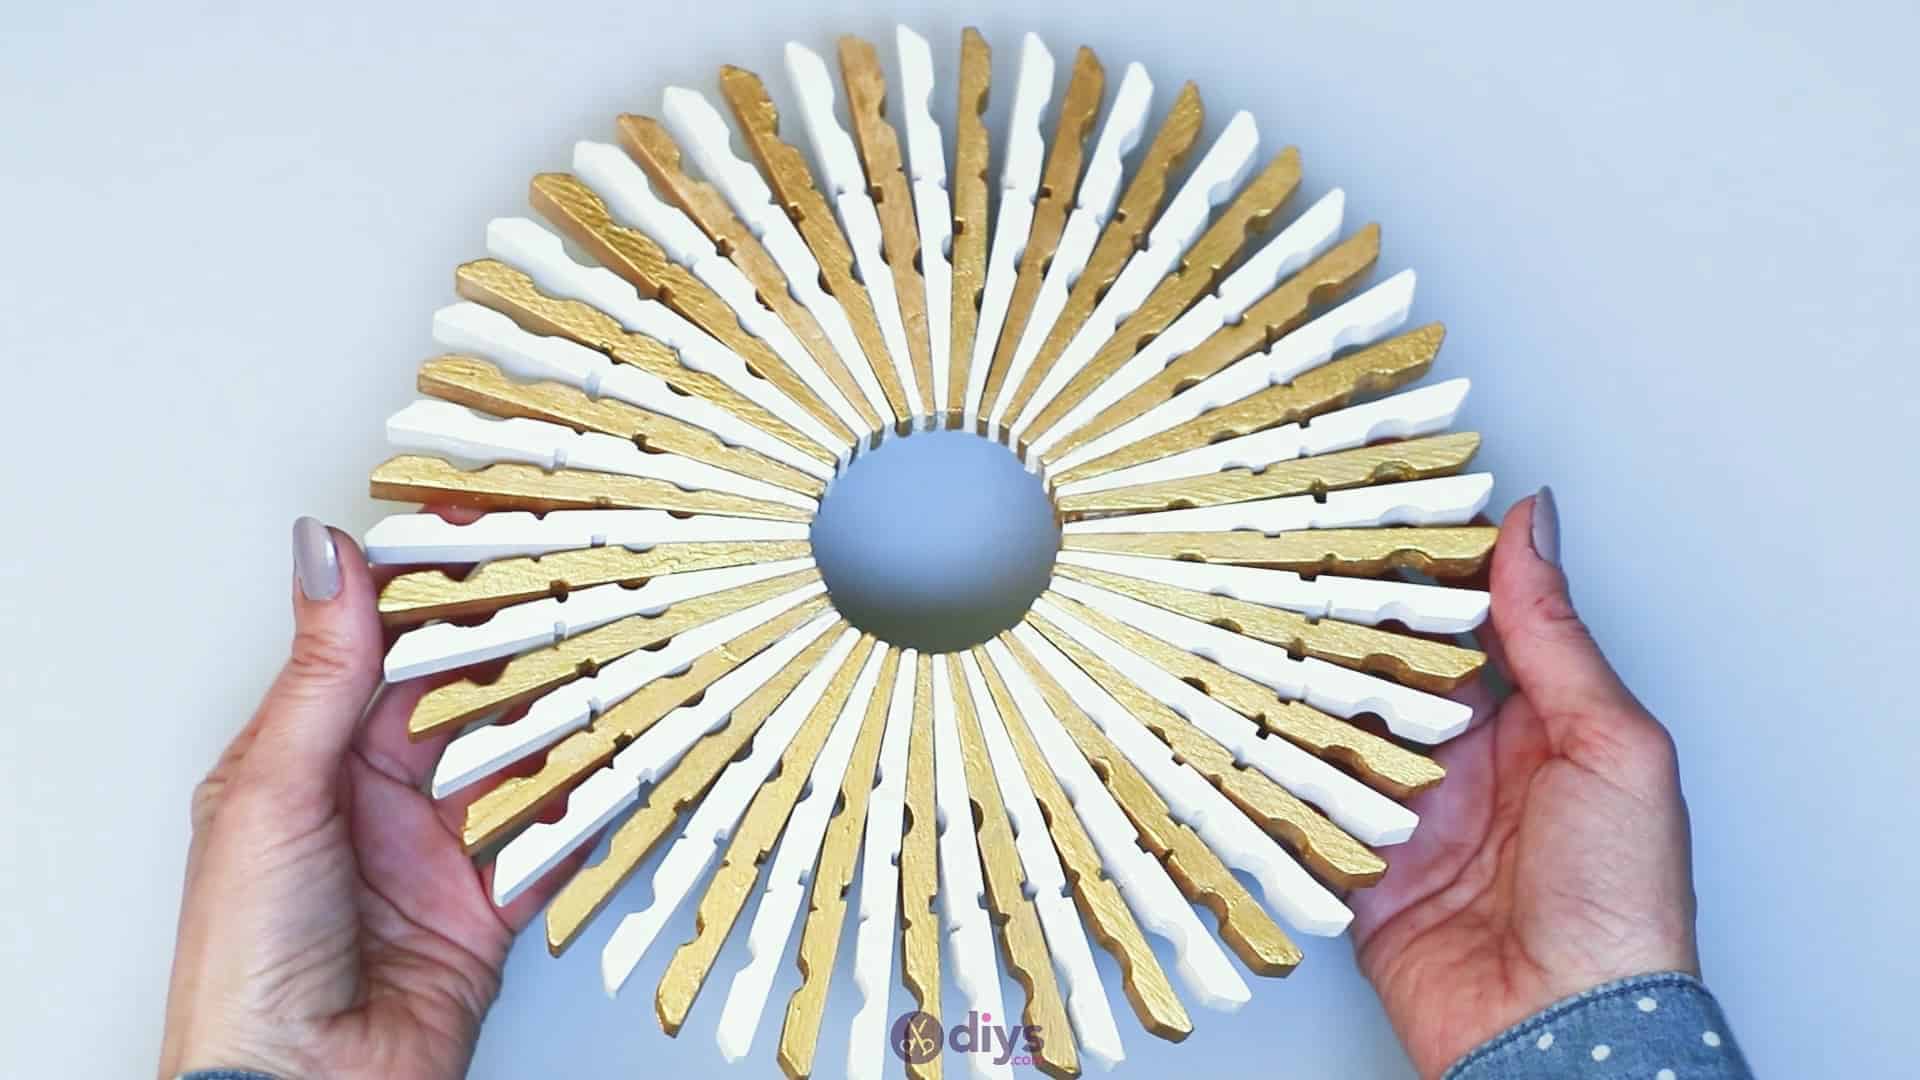
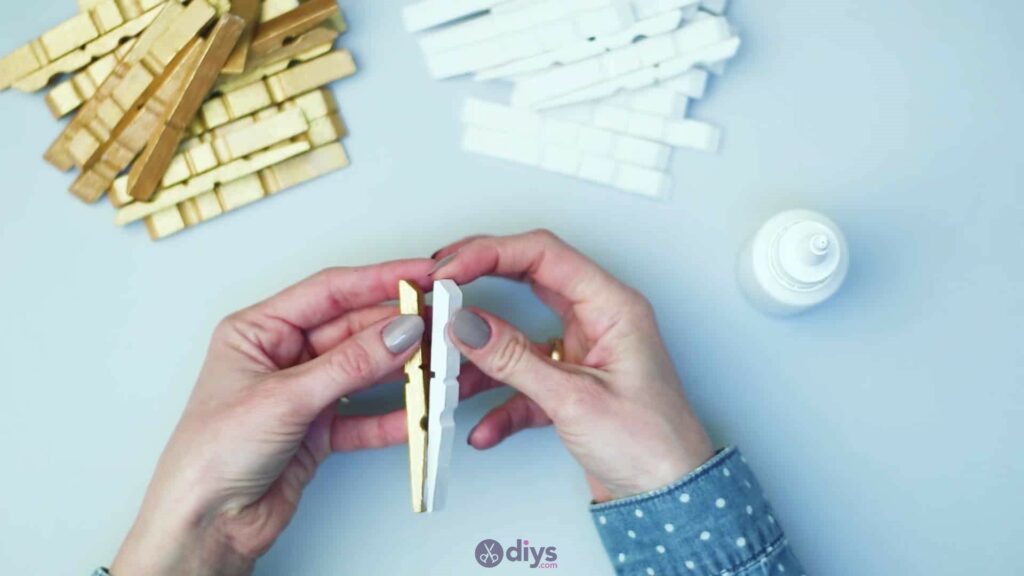
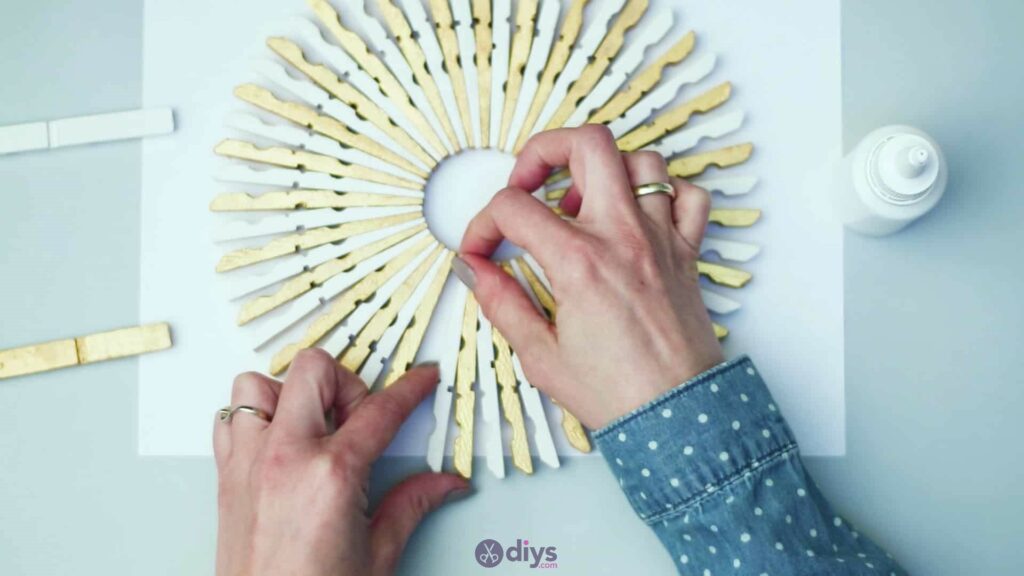
Step 5: form the shape
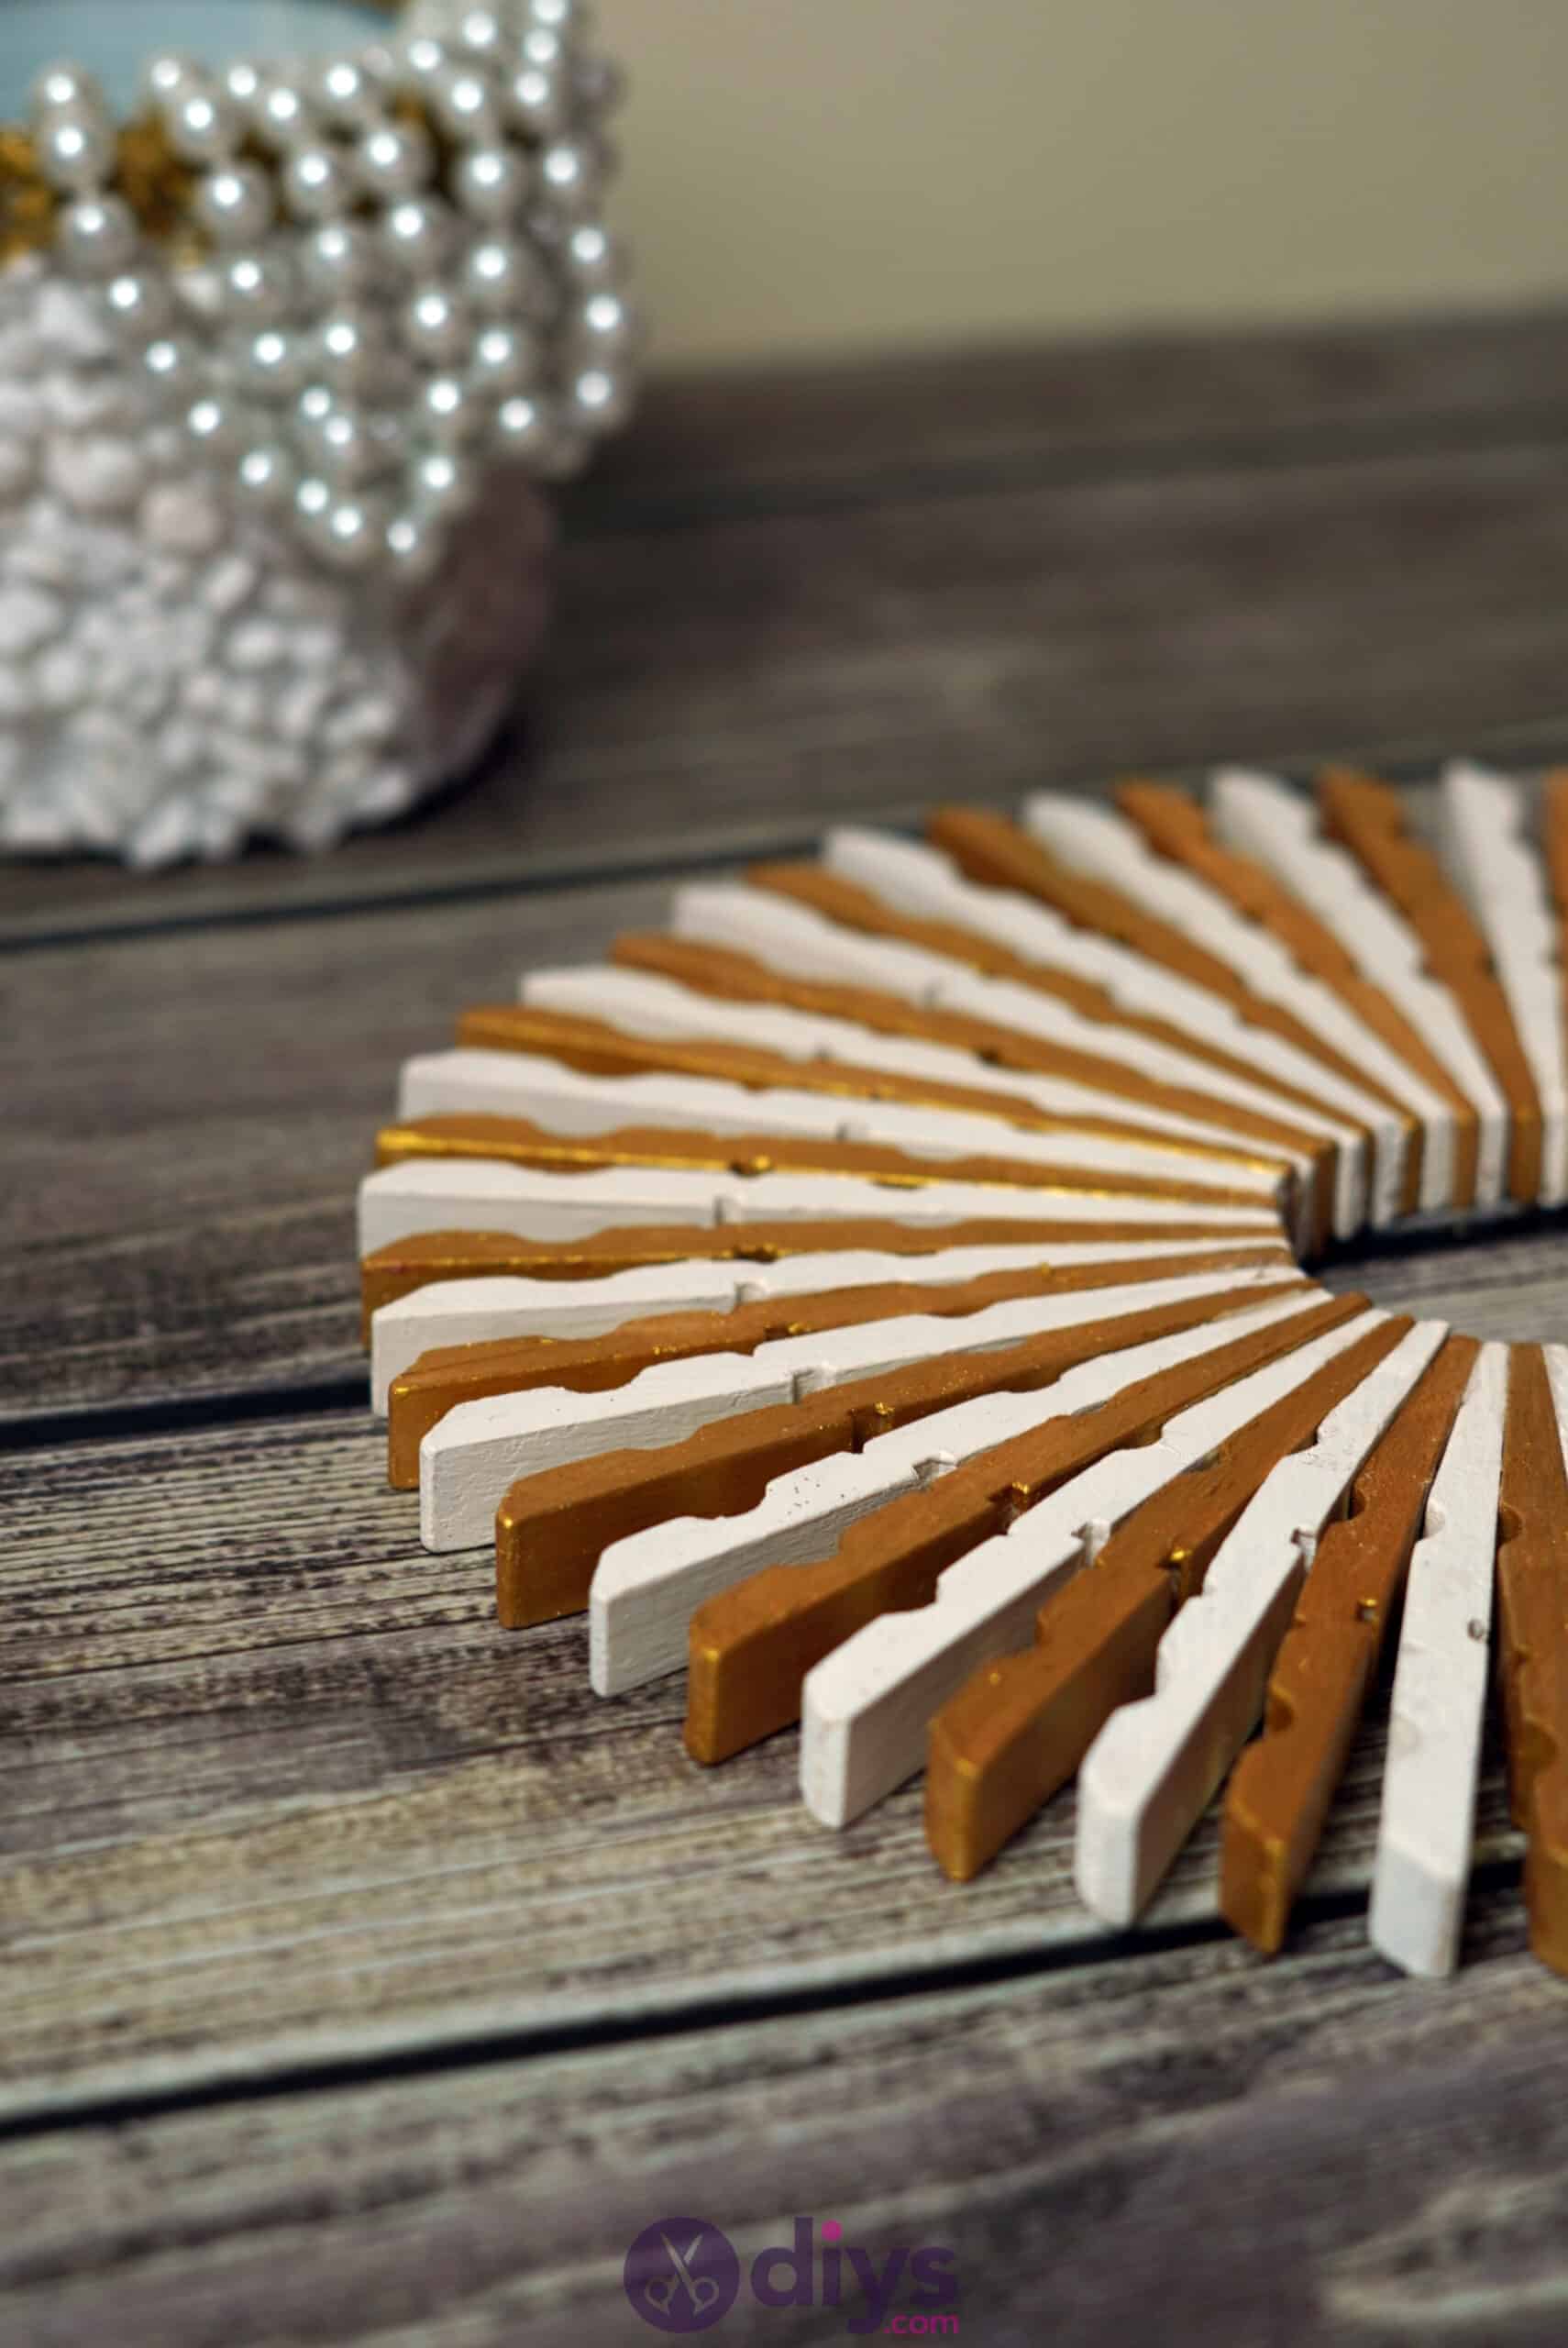
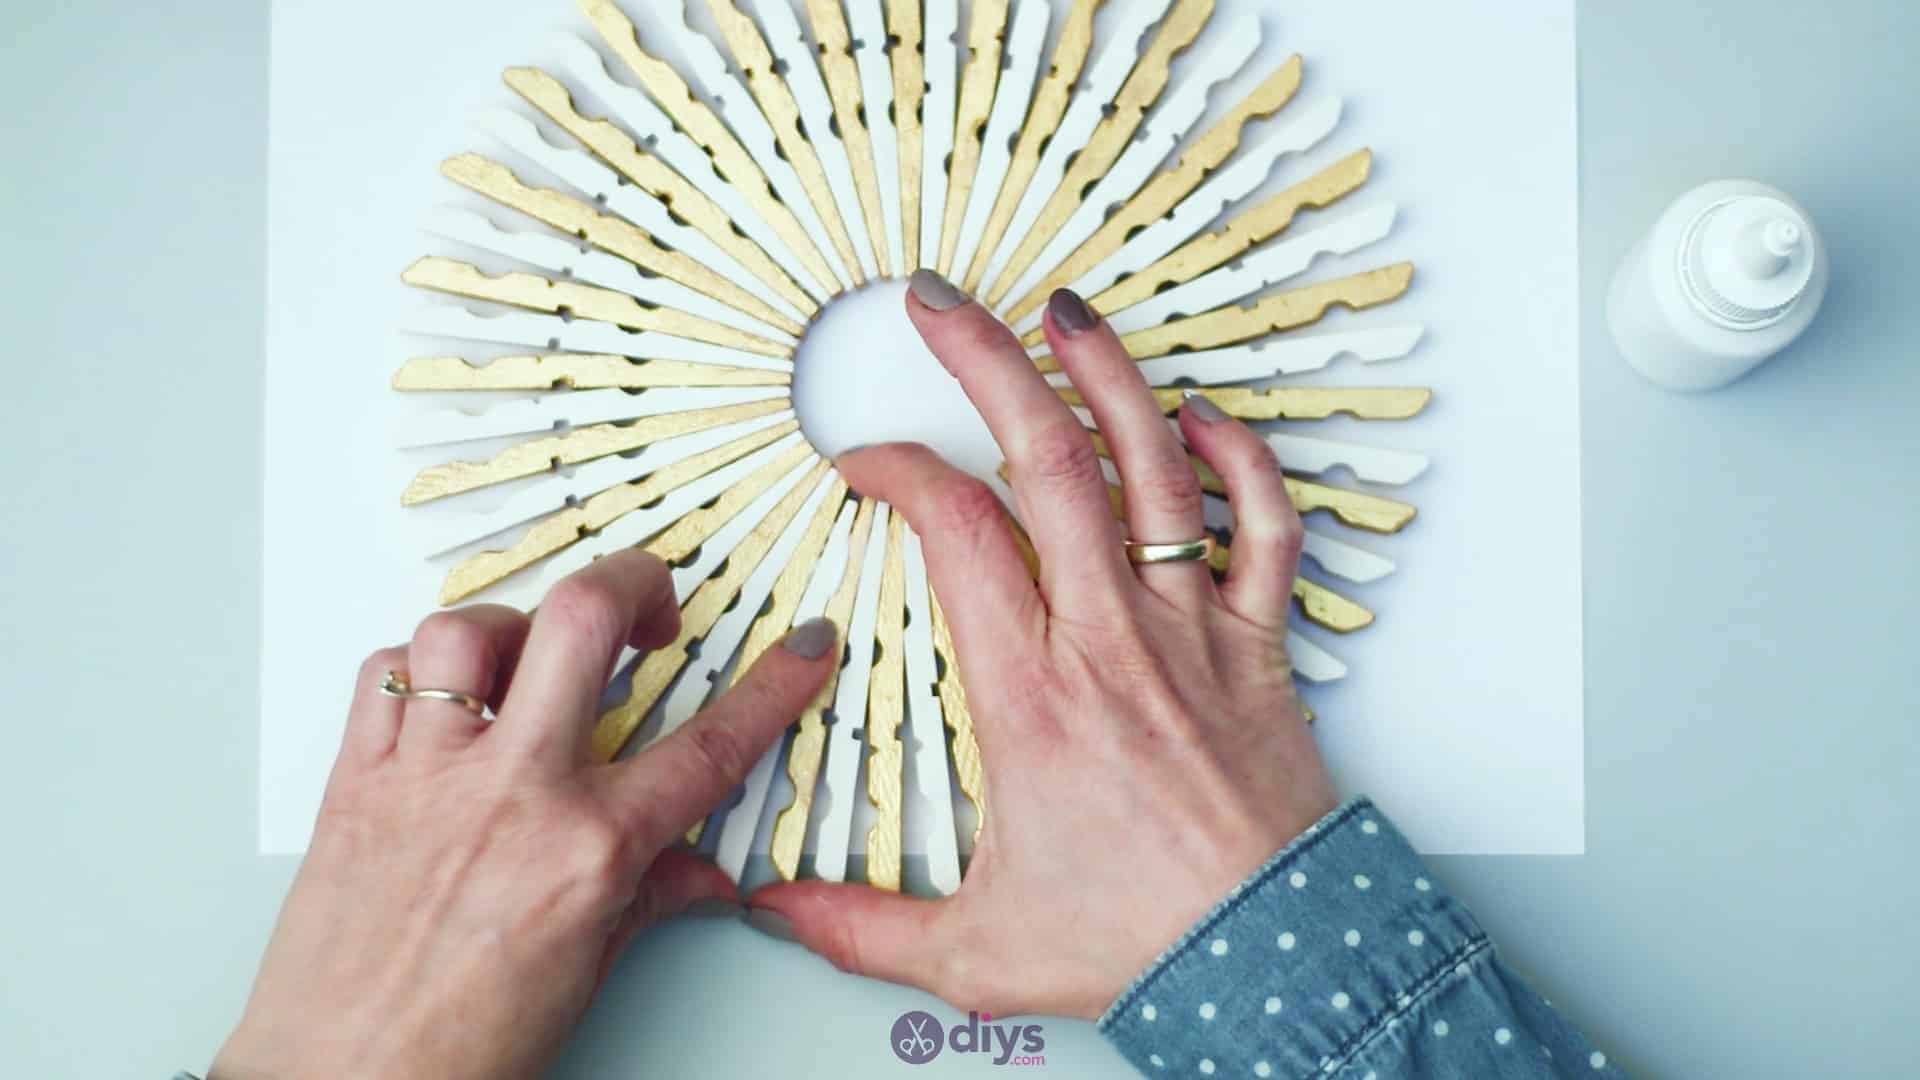
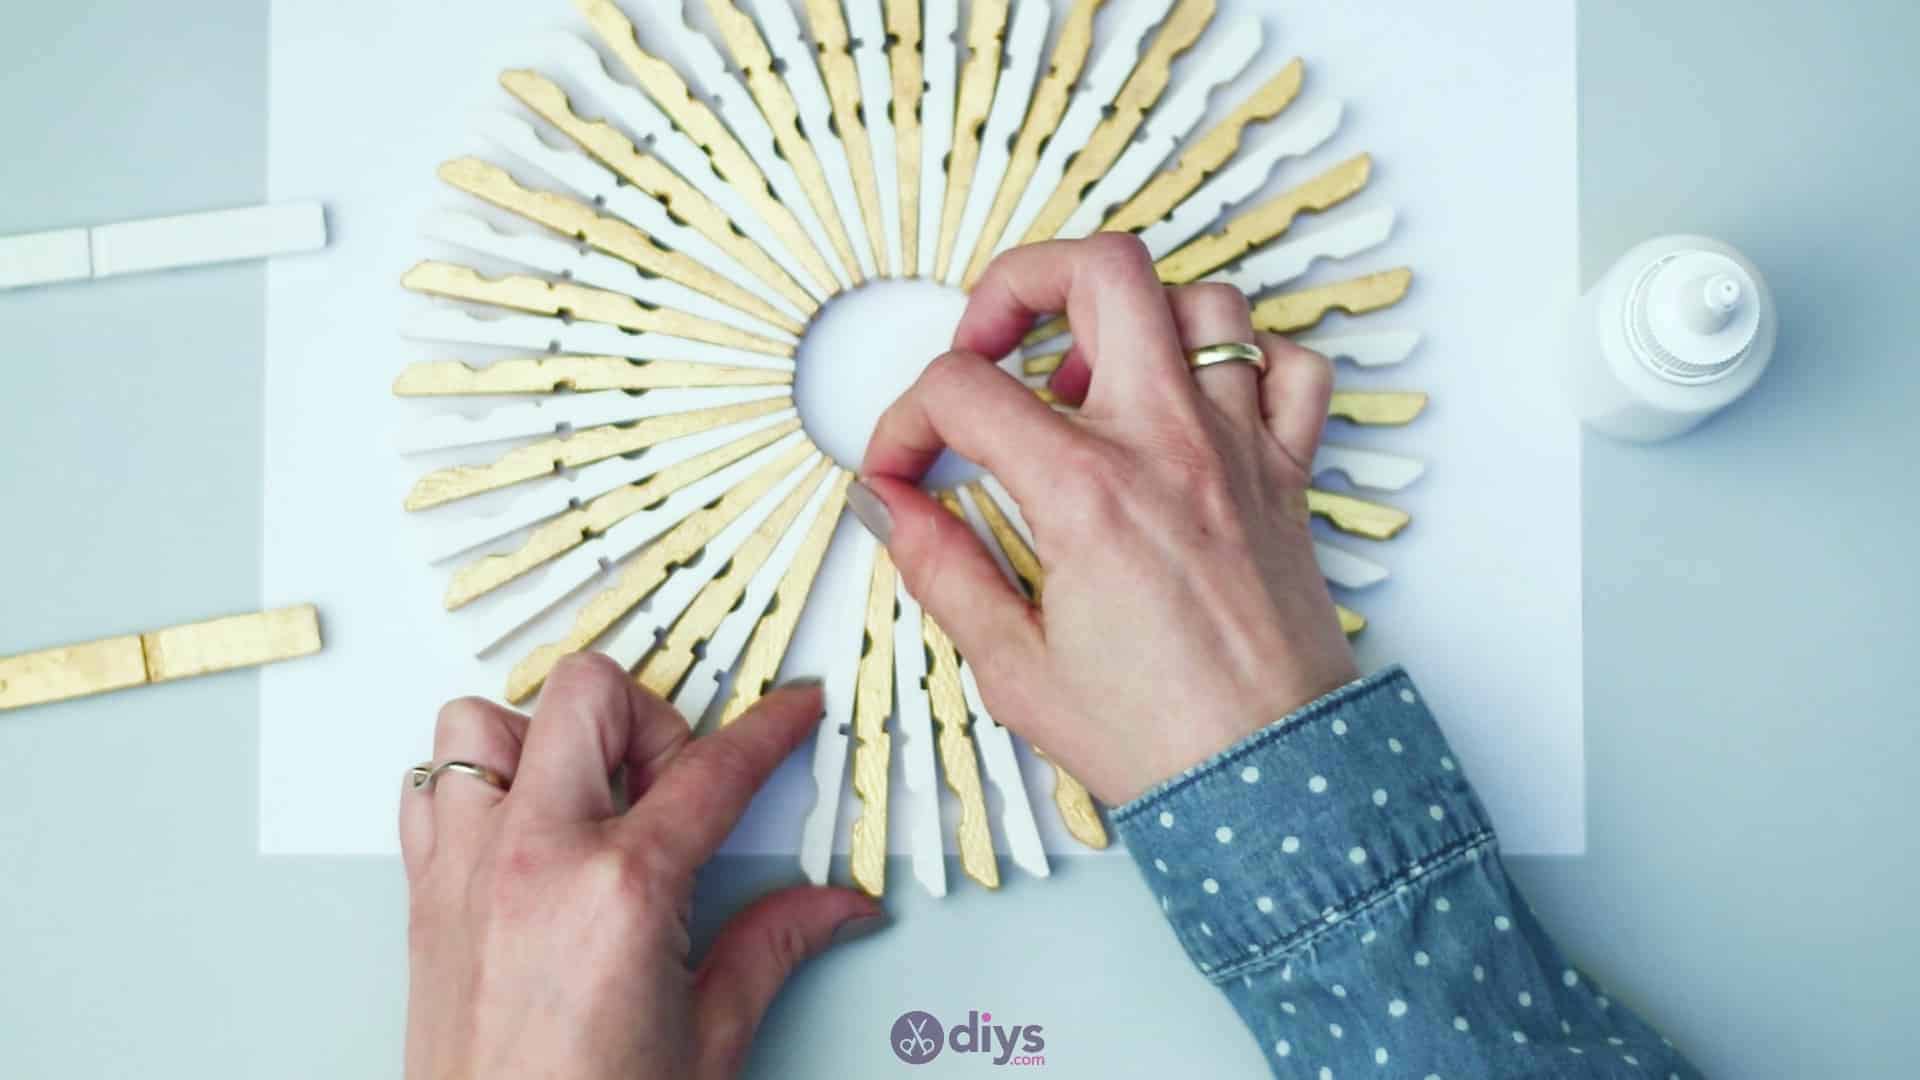
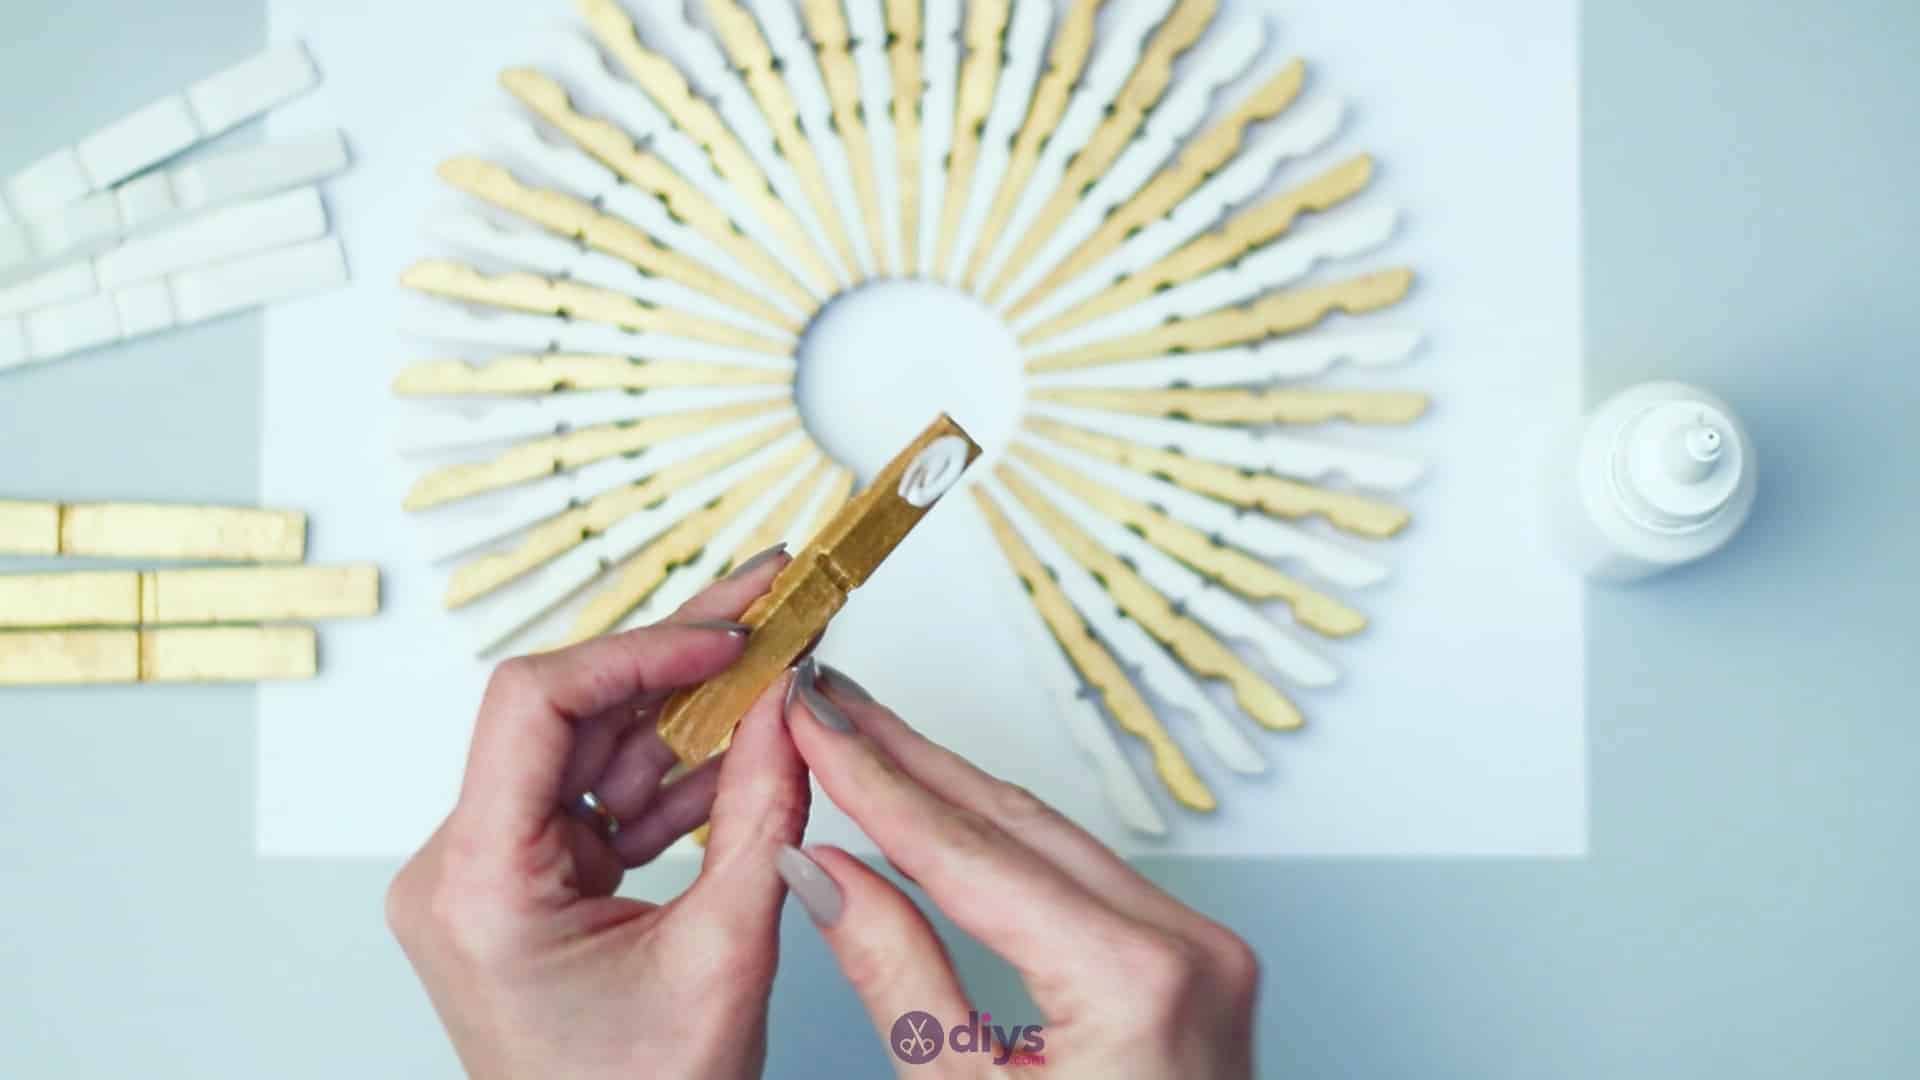
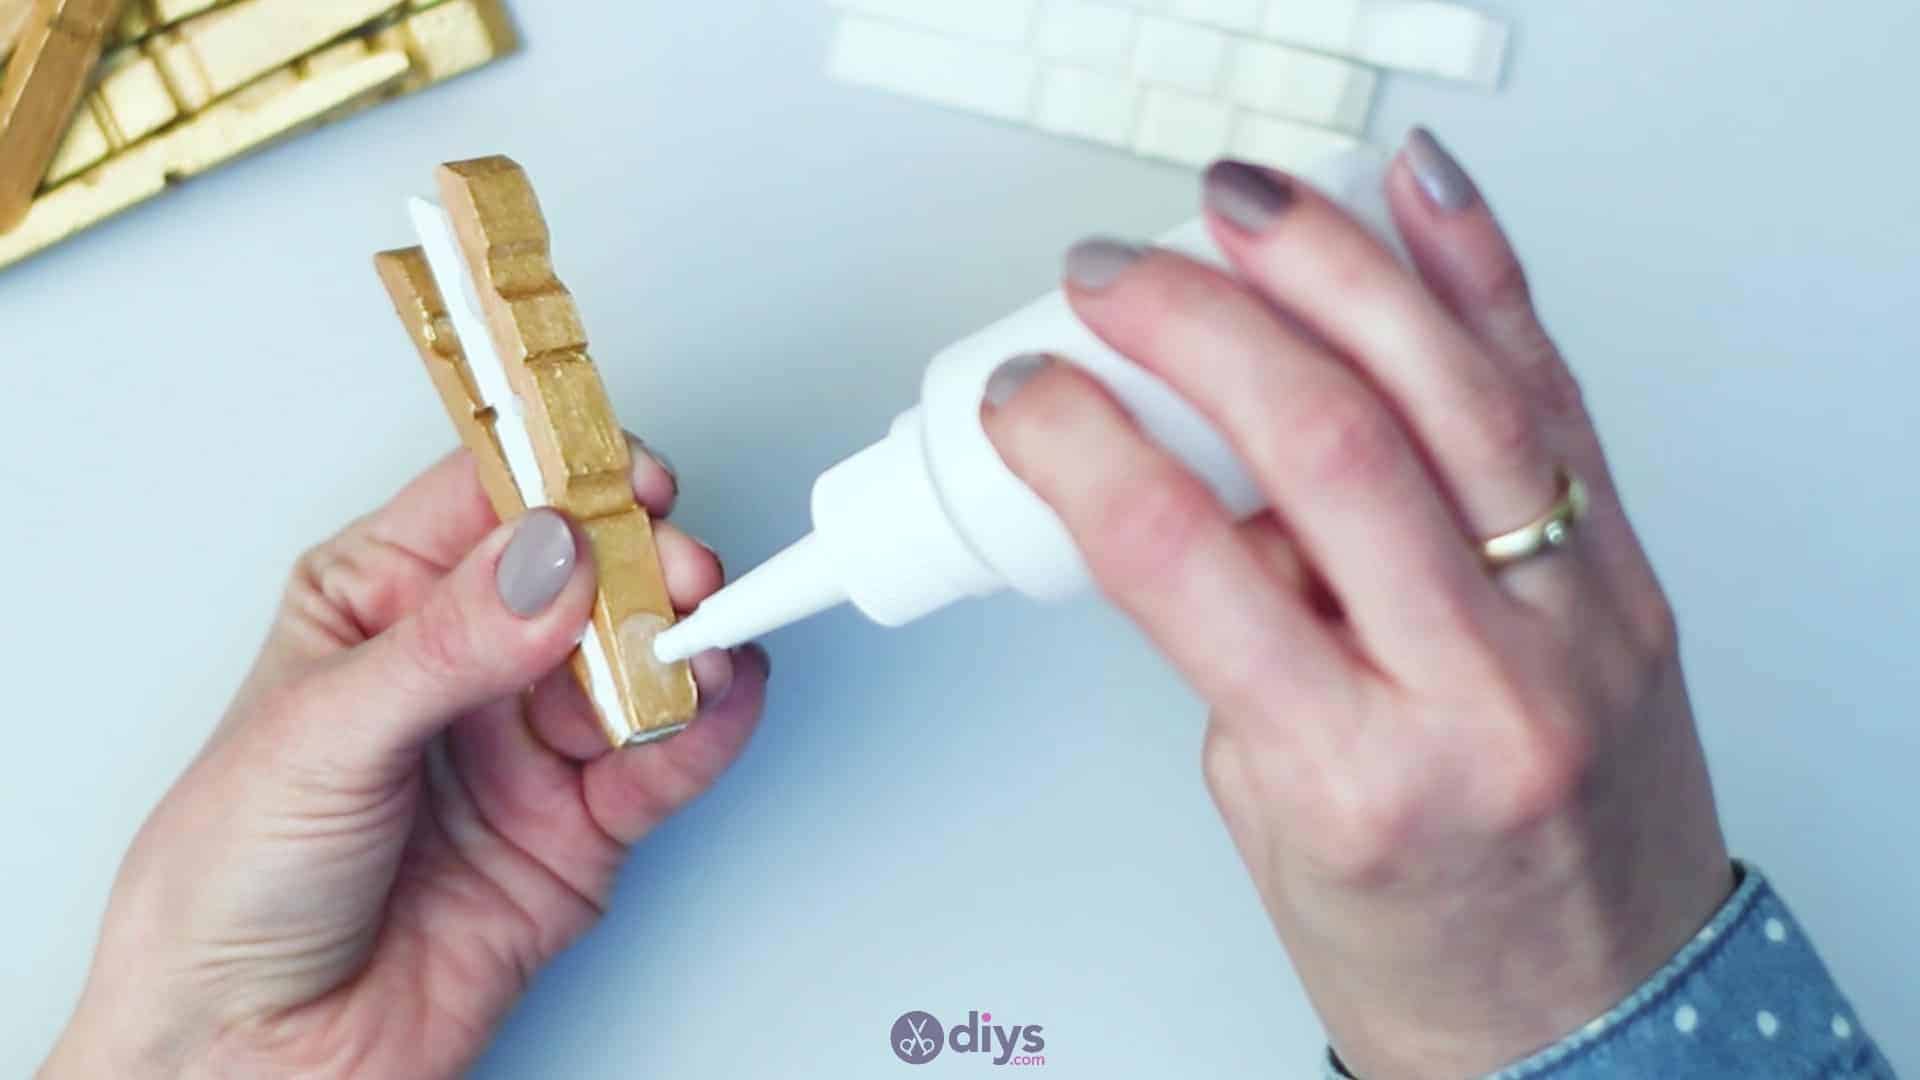
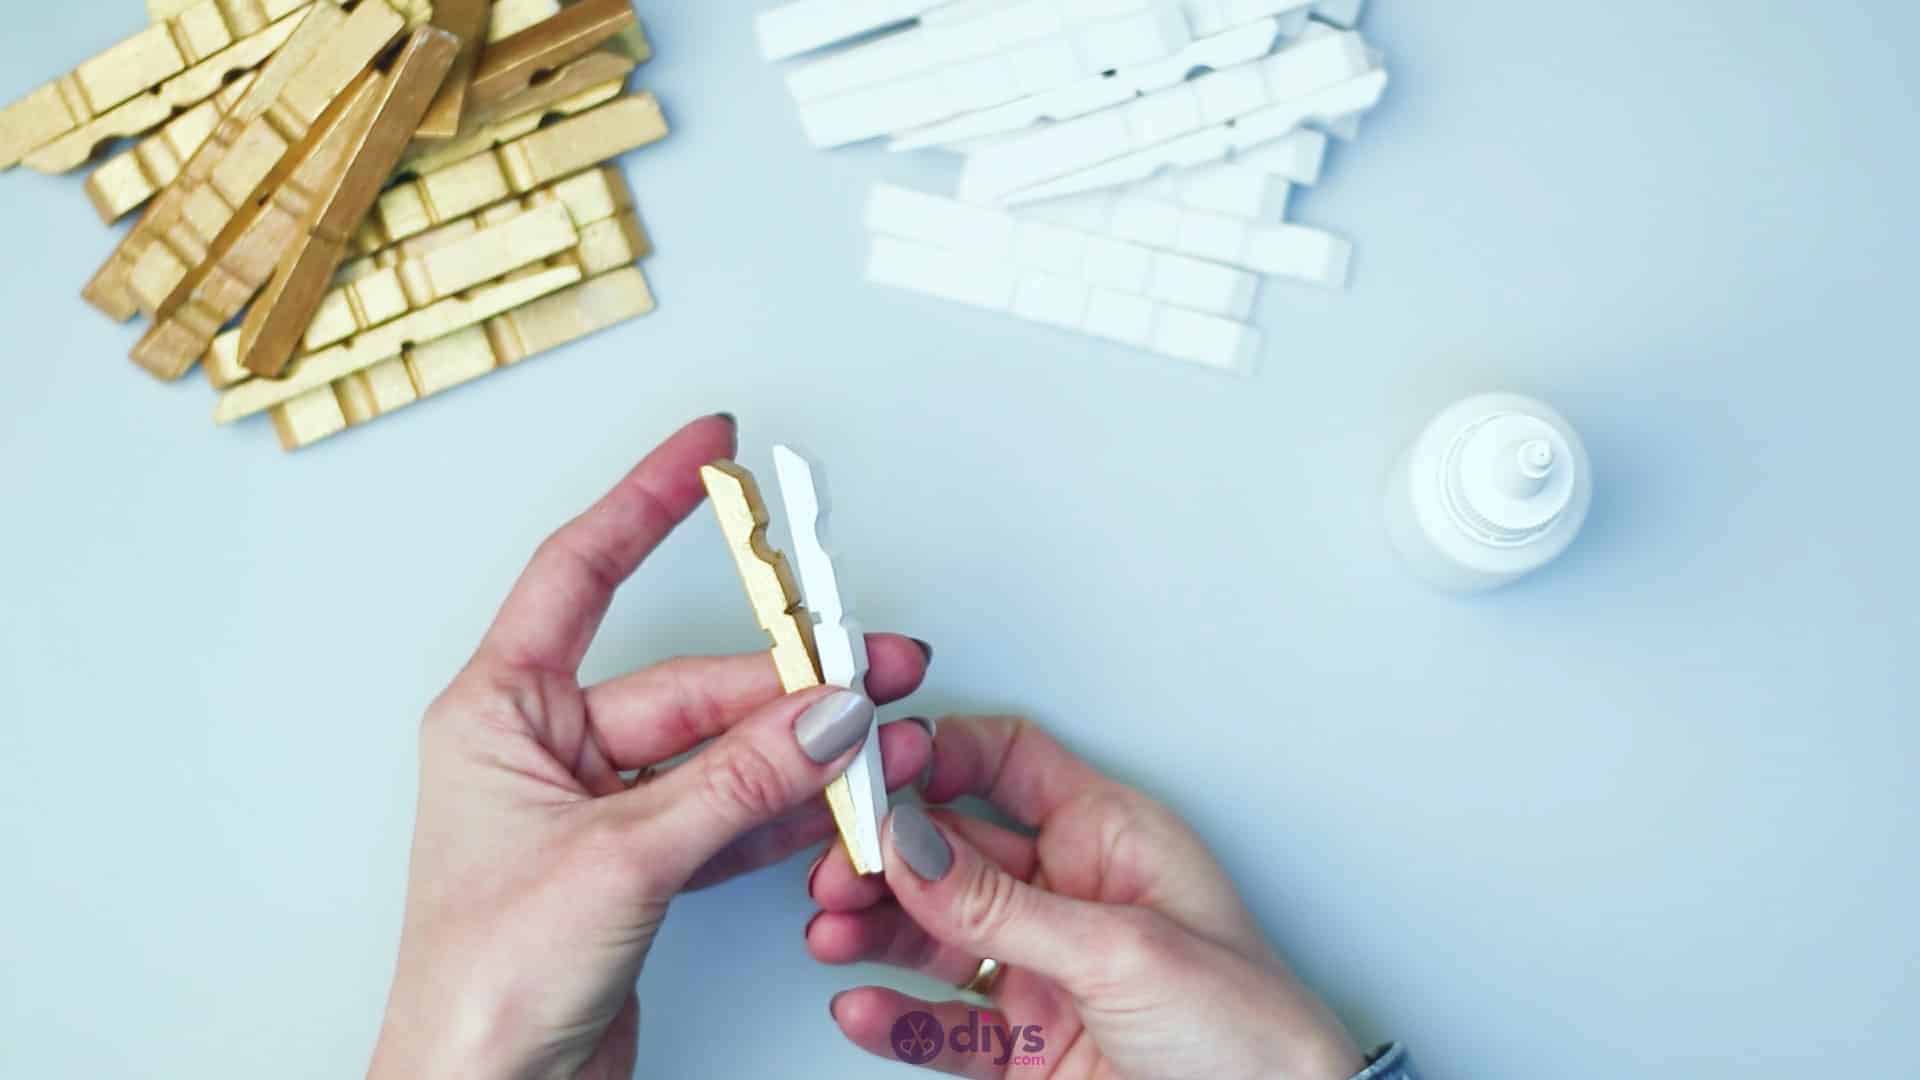
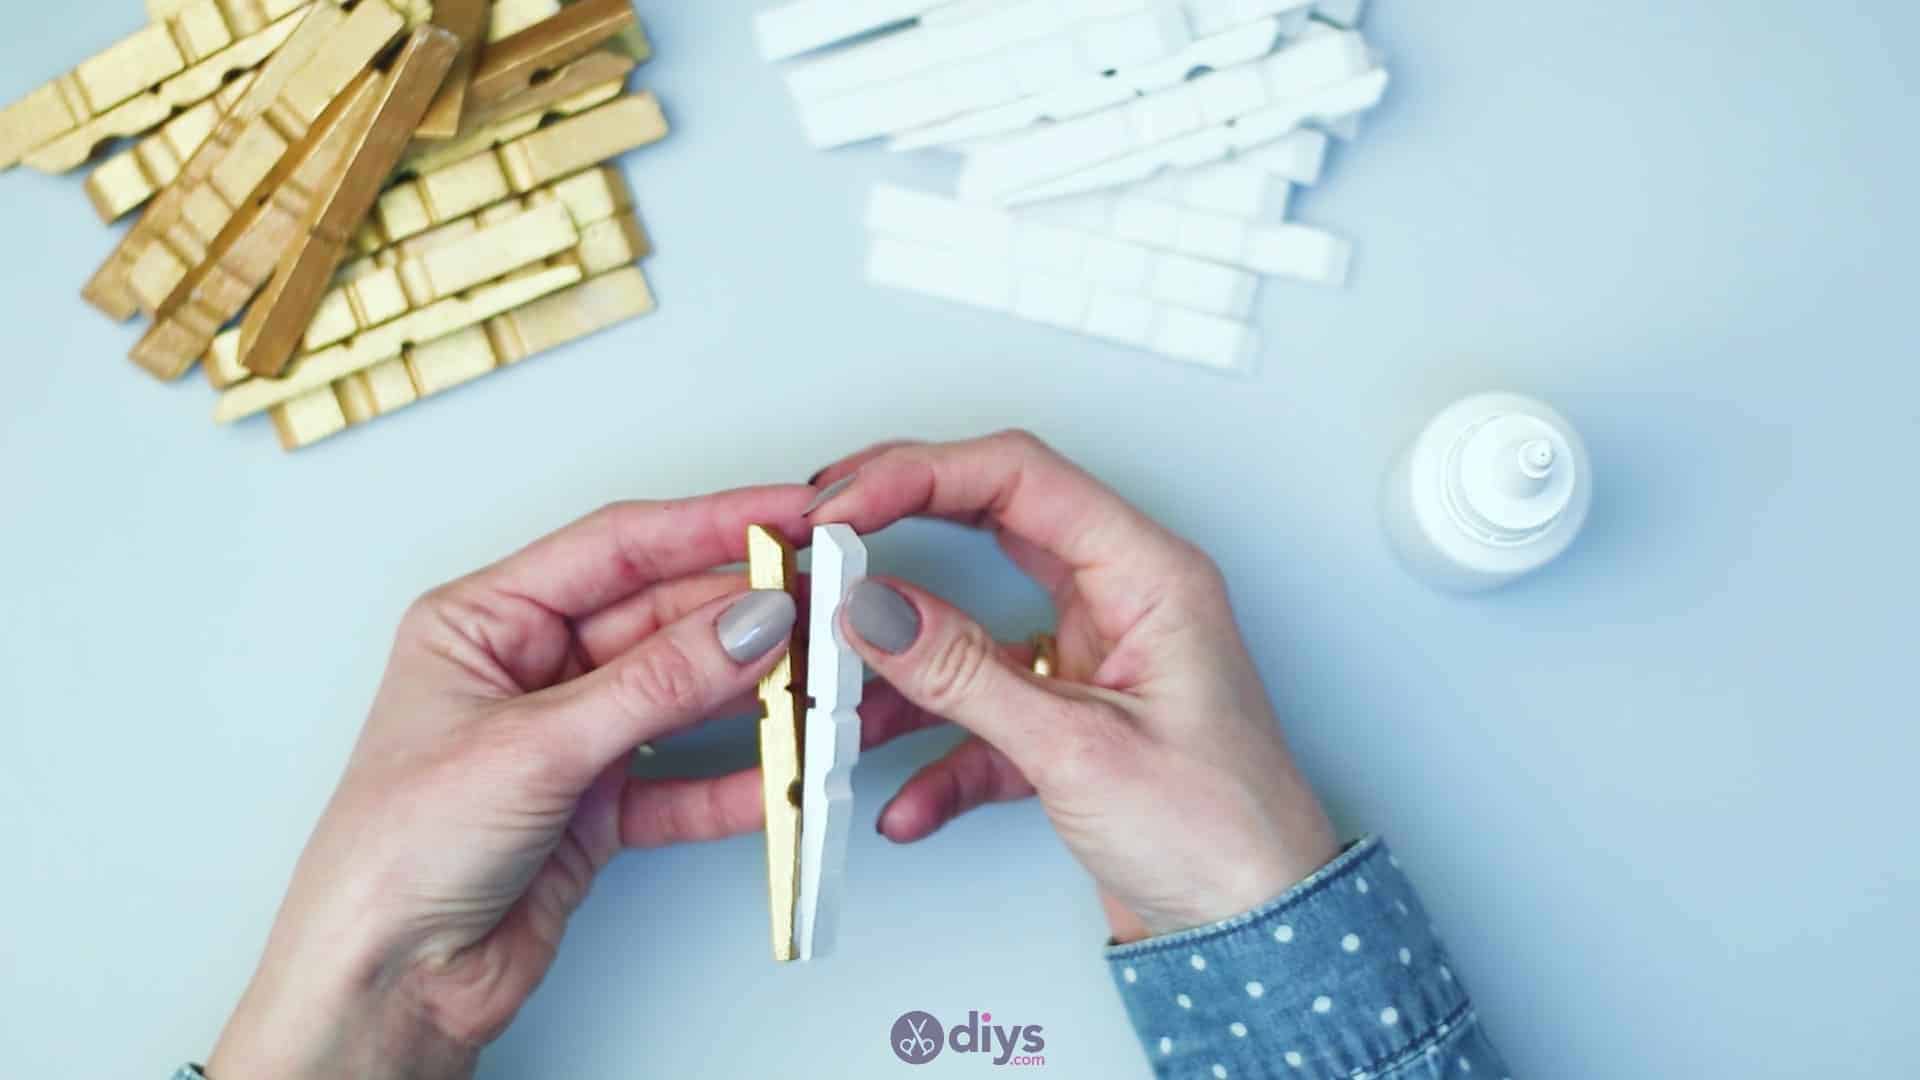
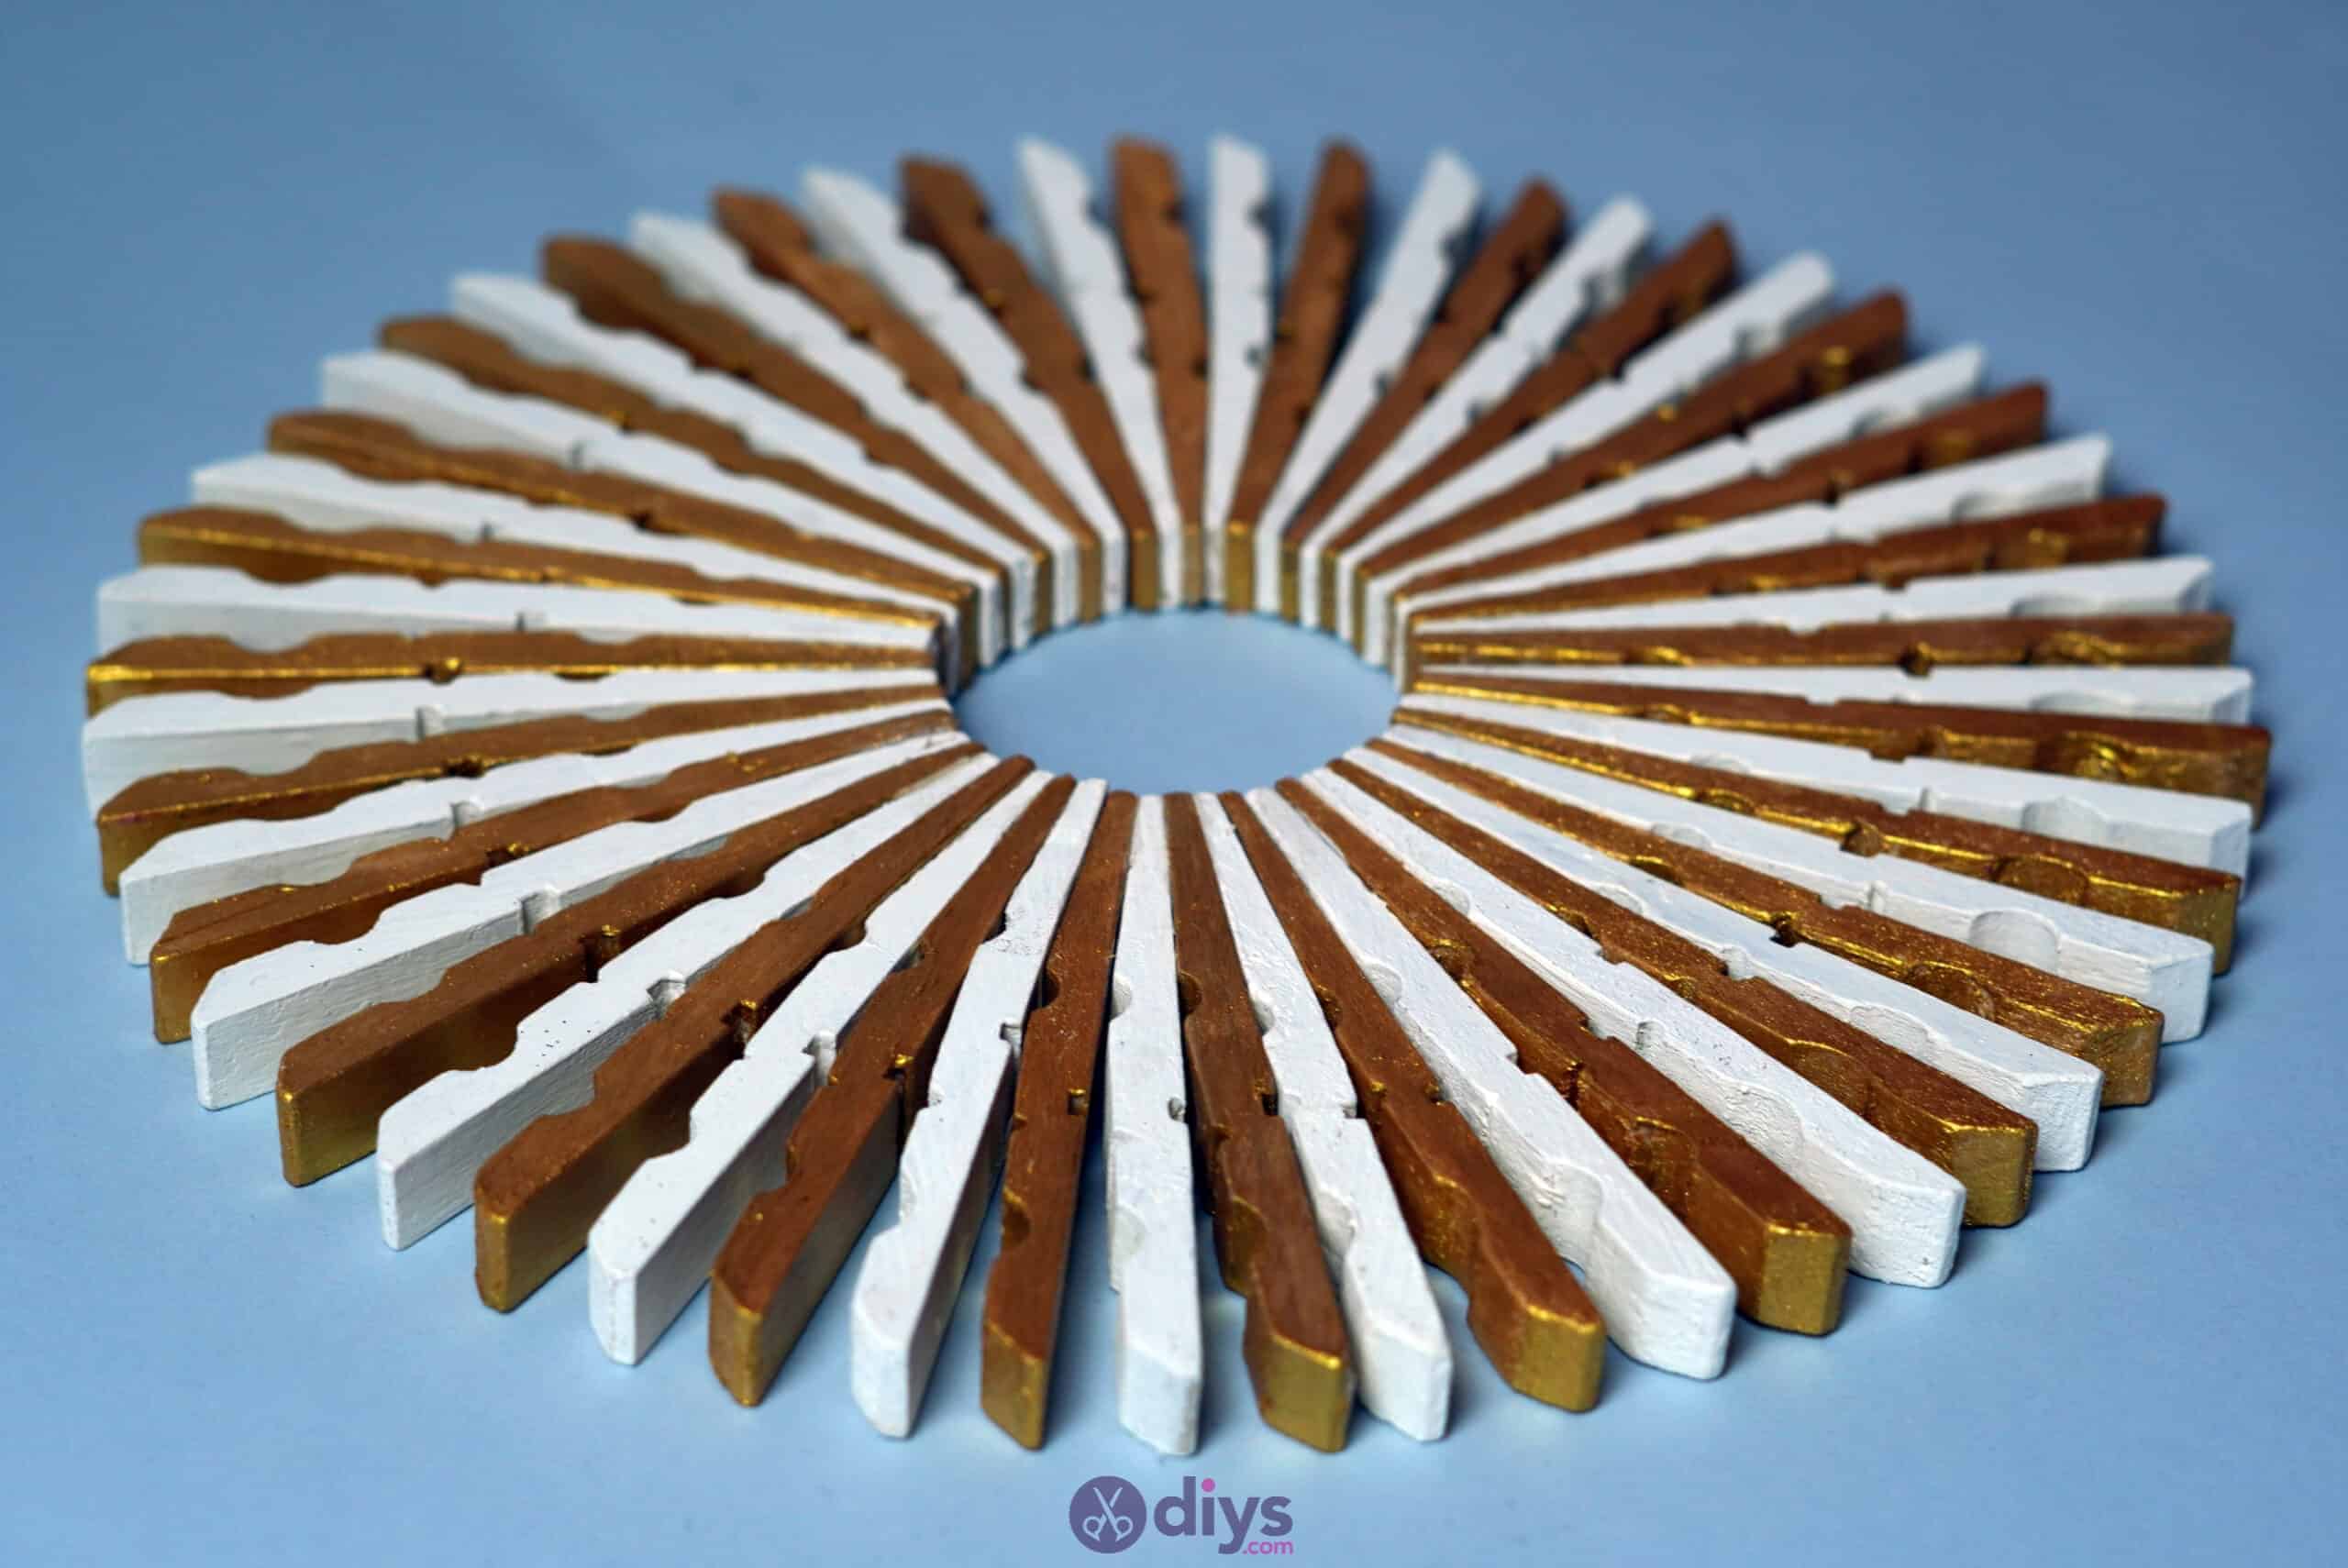
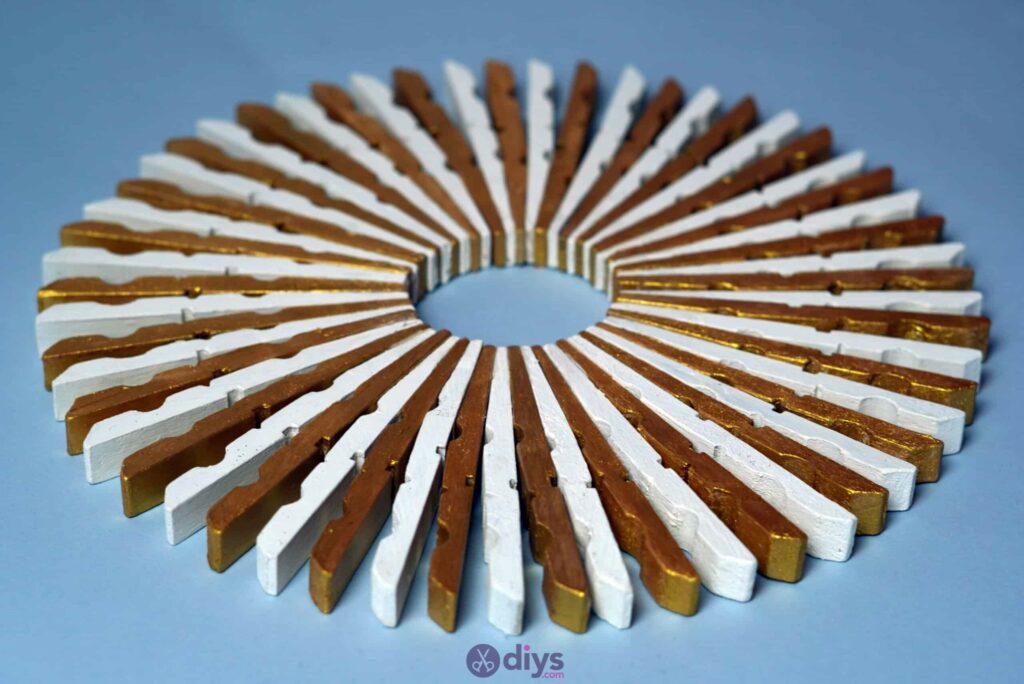
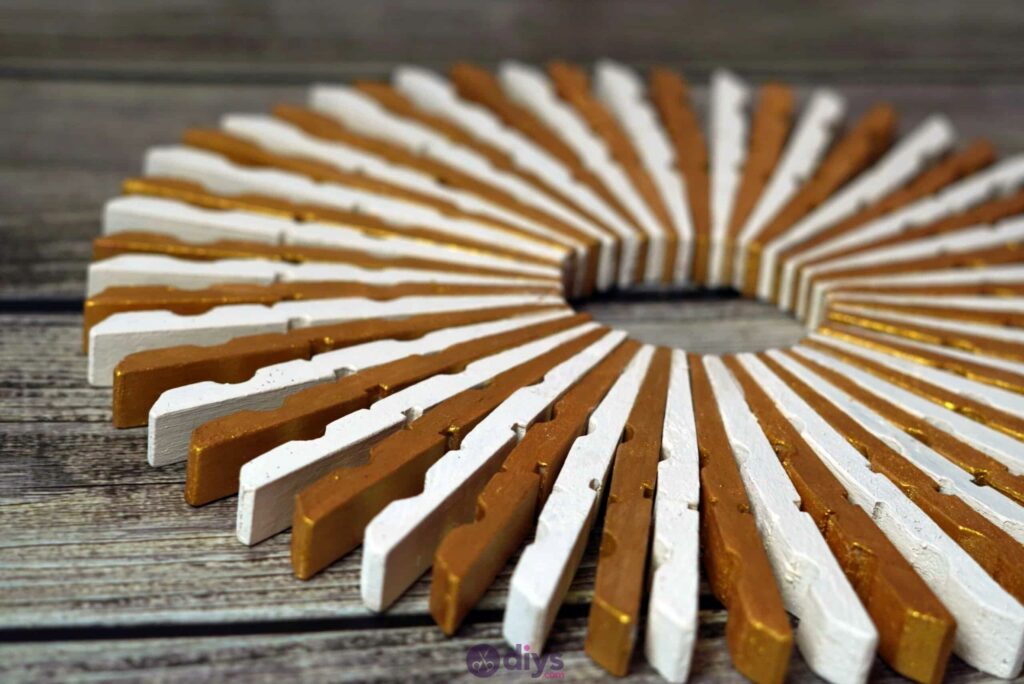
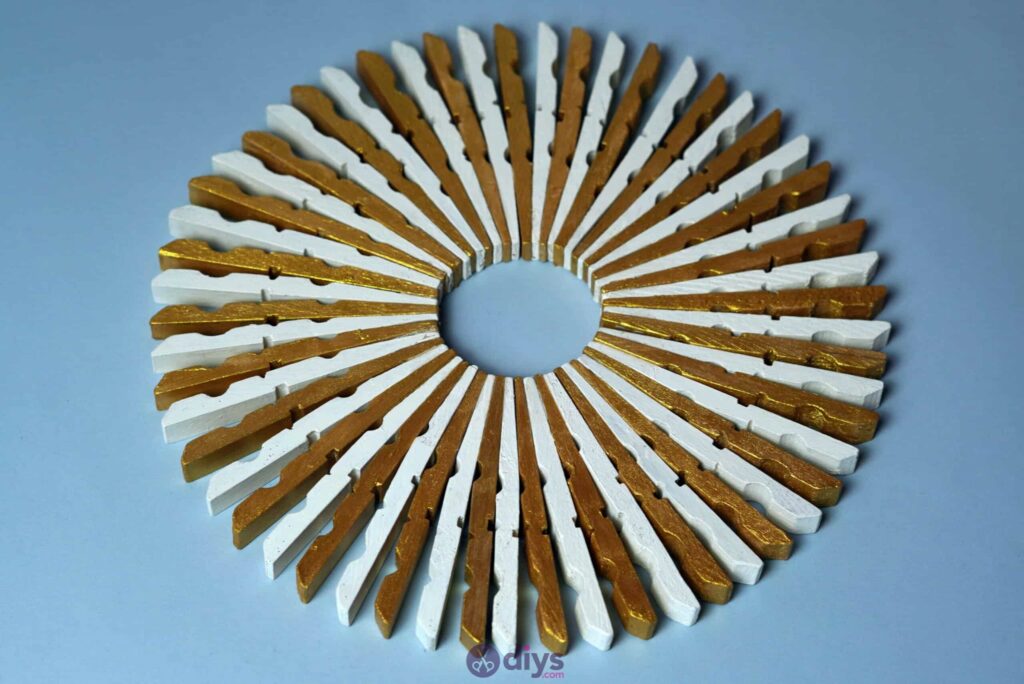
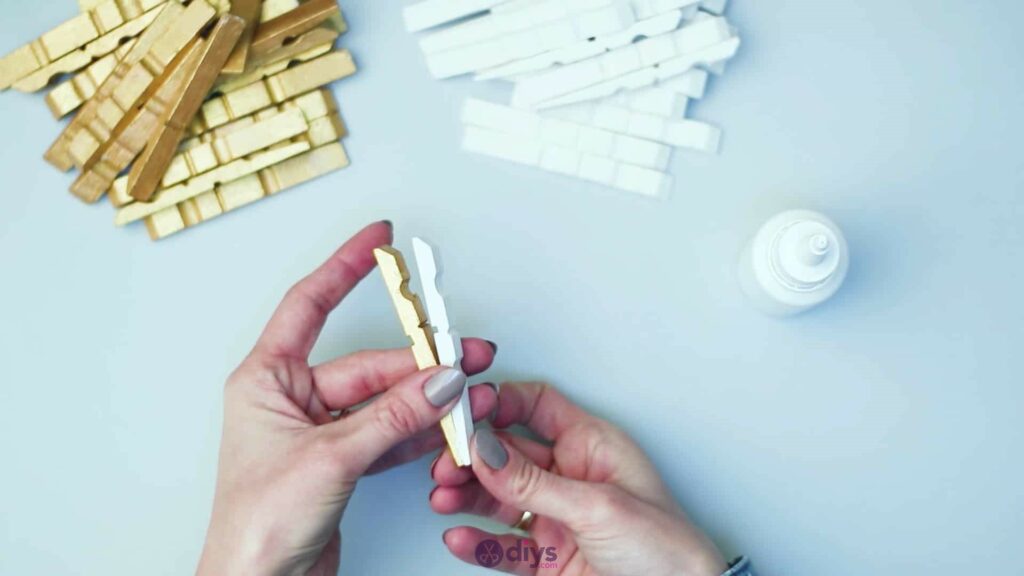
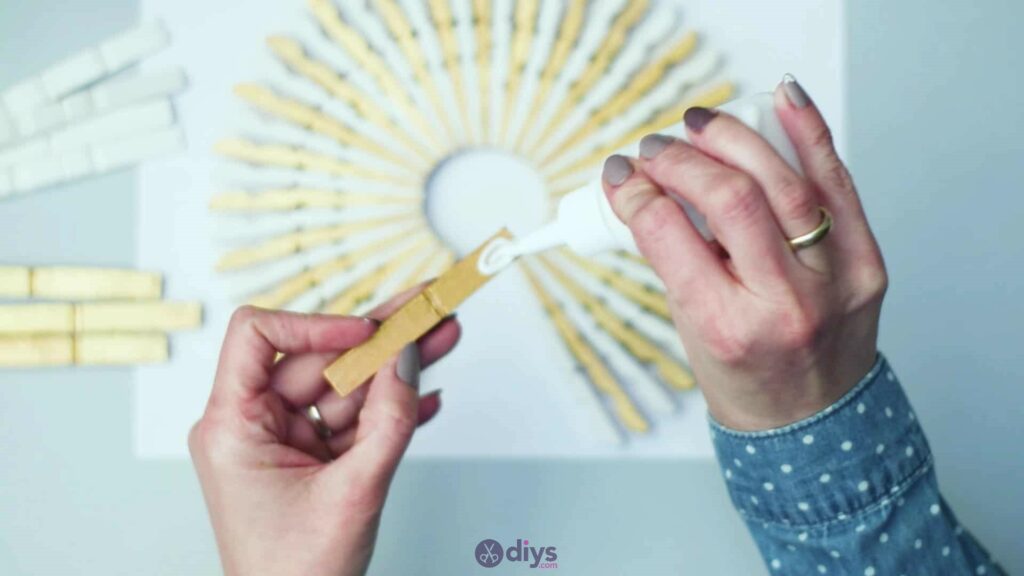
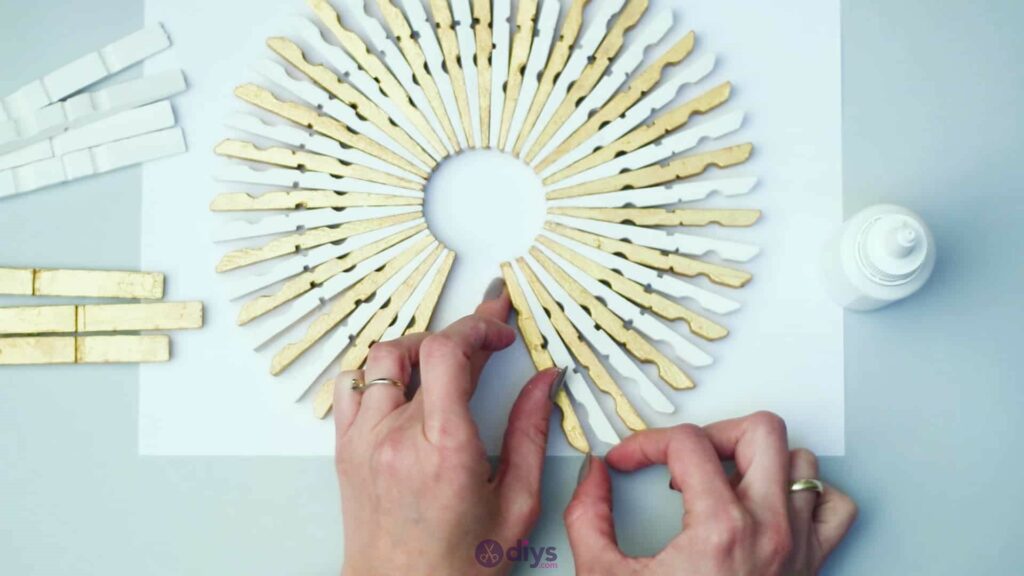
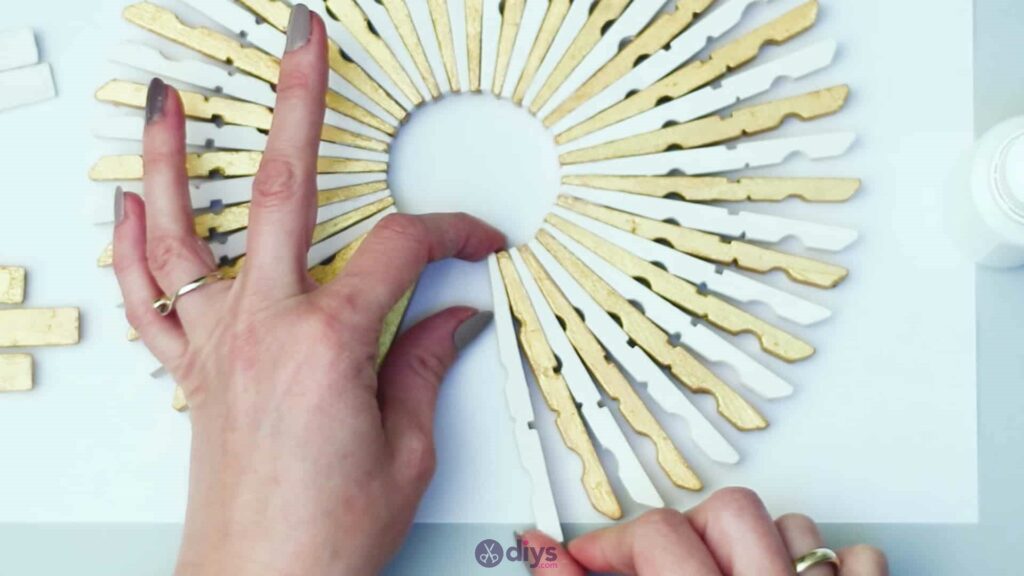
Now you’ll start making your circular shape from your painted clothespin halves. You’ll do this by joining them flush against each other at their tapered (or smaller pointed) ends. The shape of this end and the way each one increases in size towards the other end is what causes the starburst shape, with the thicker ends splaying out and away from the centre but not touching each other.
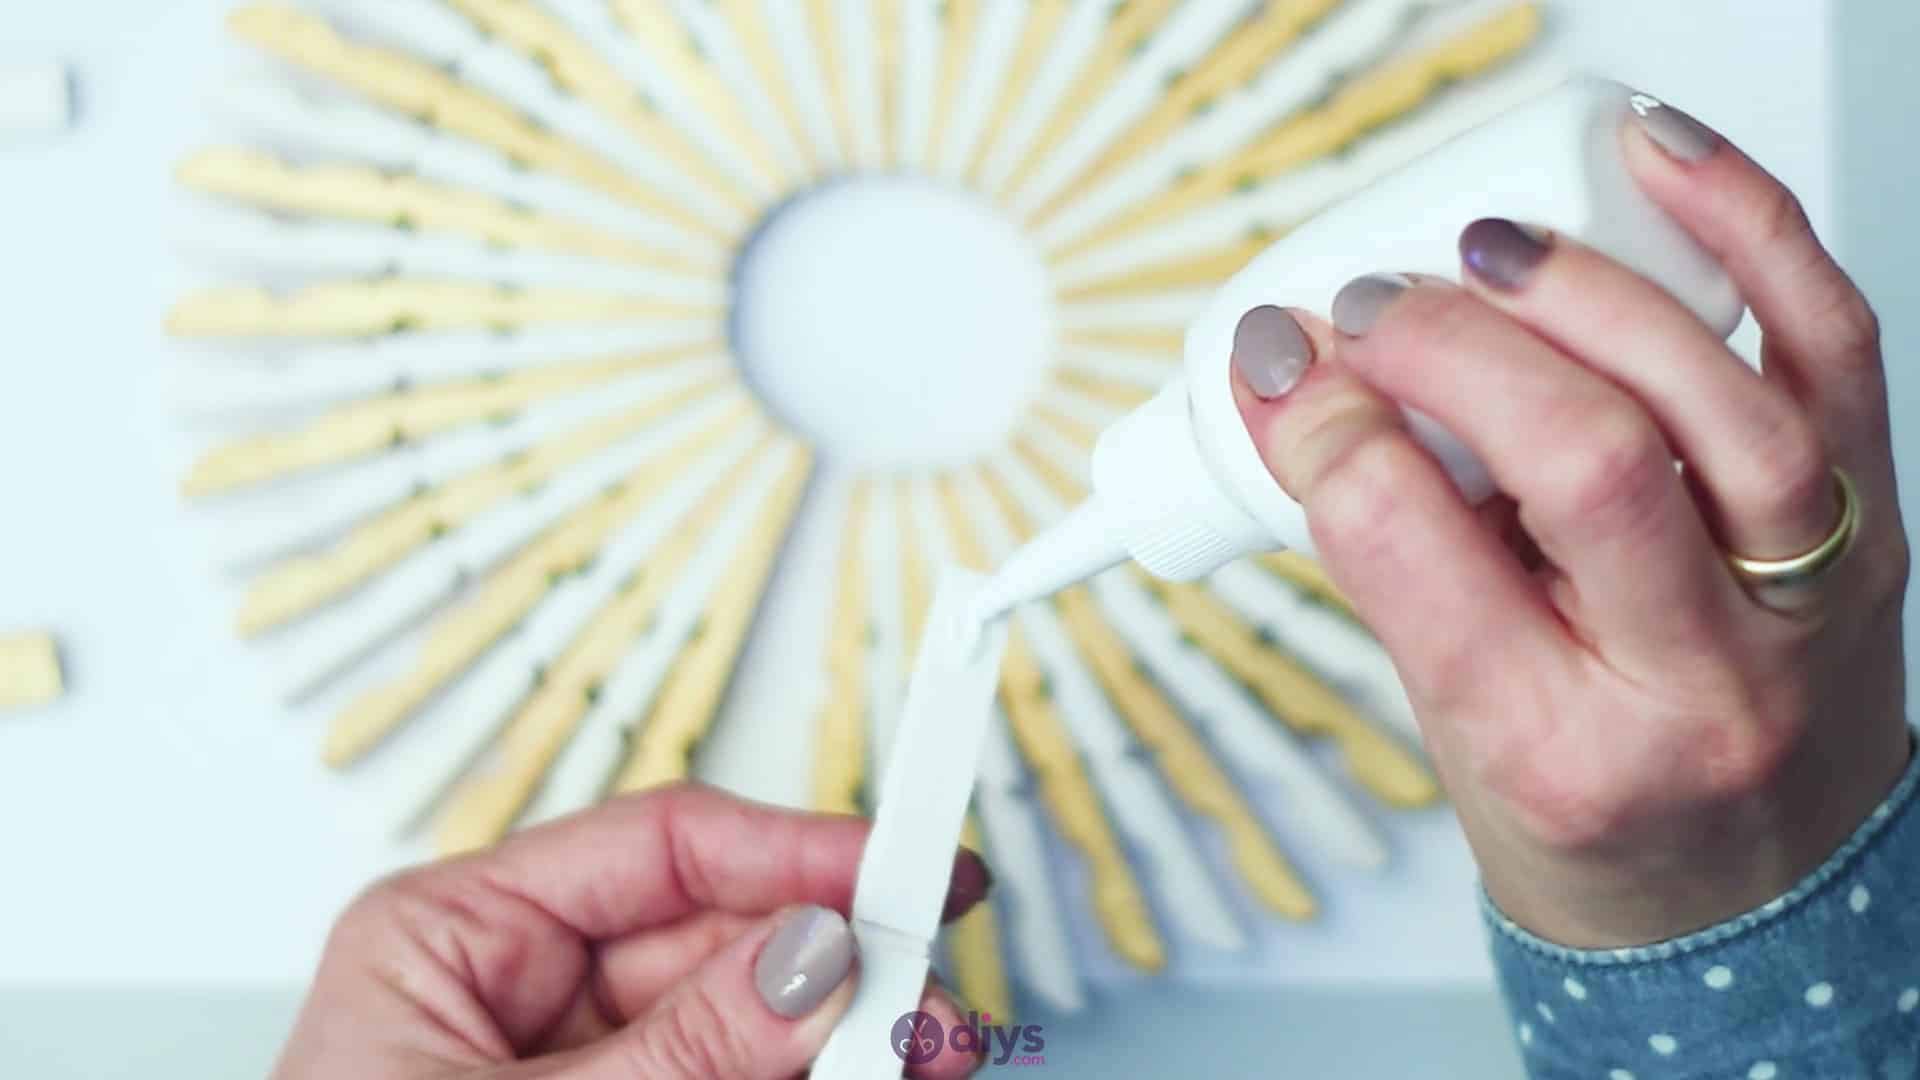
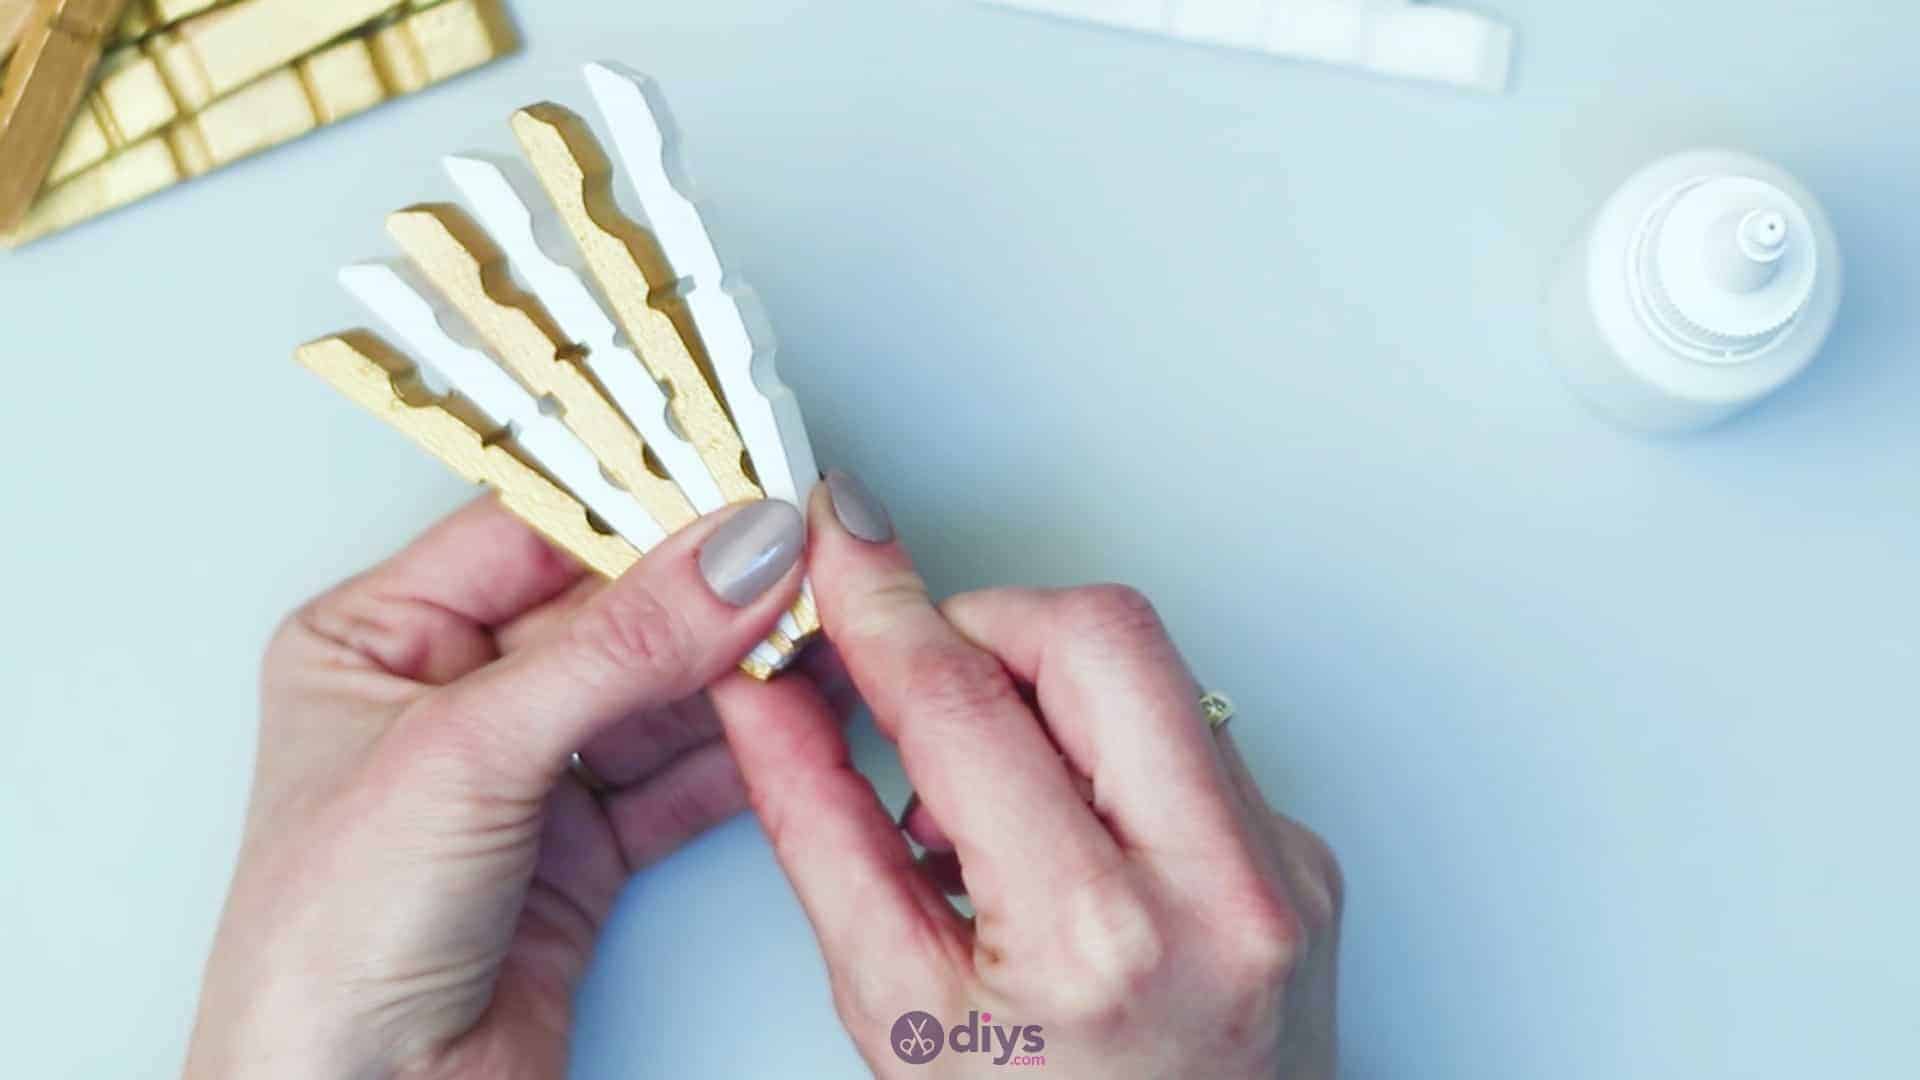
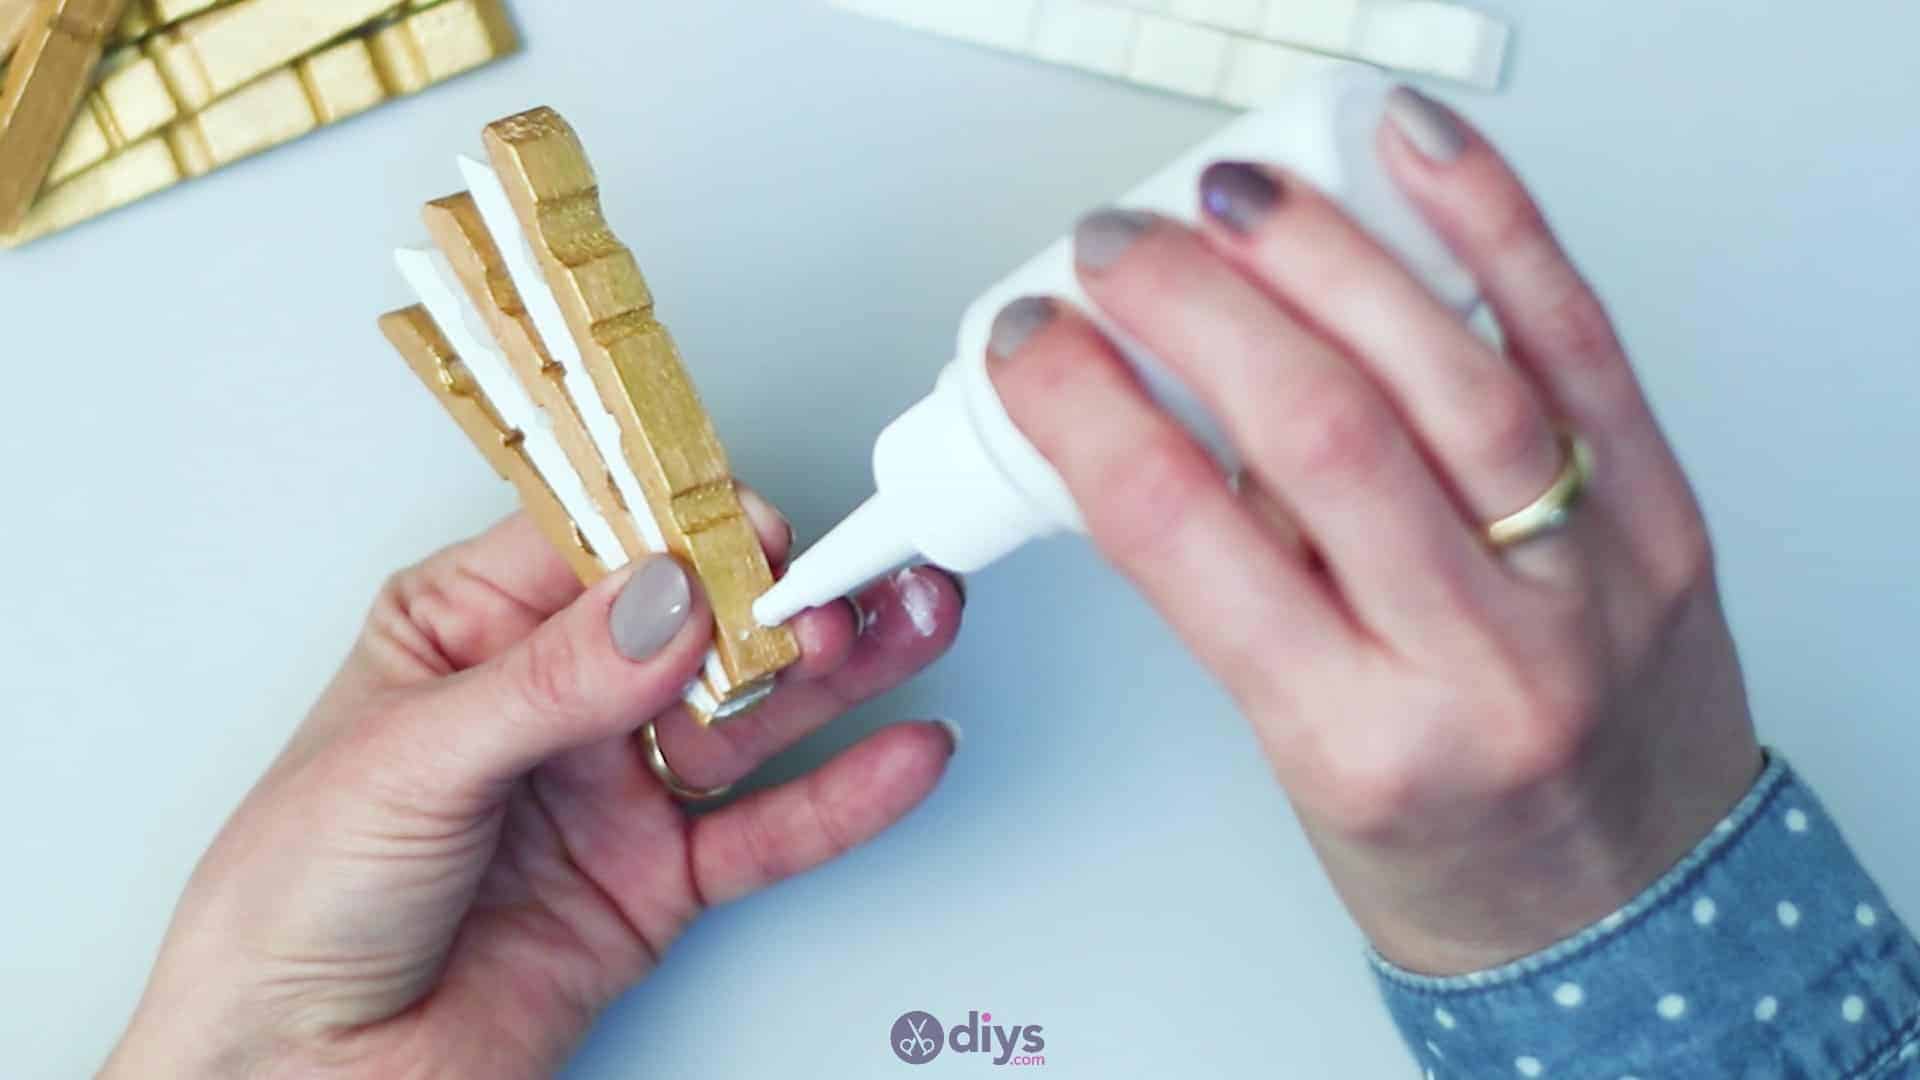
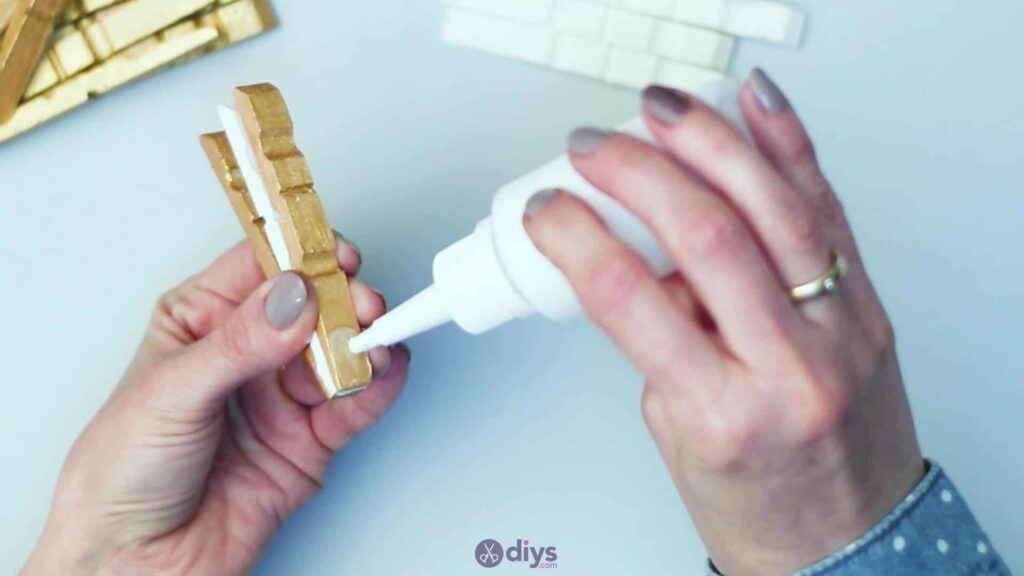
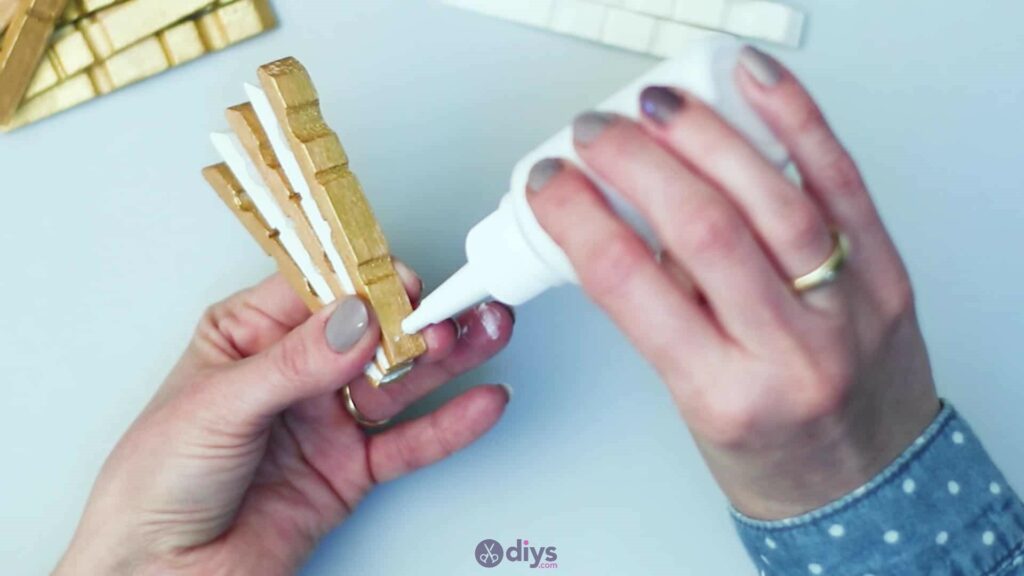
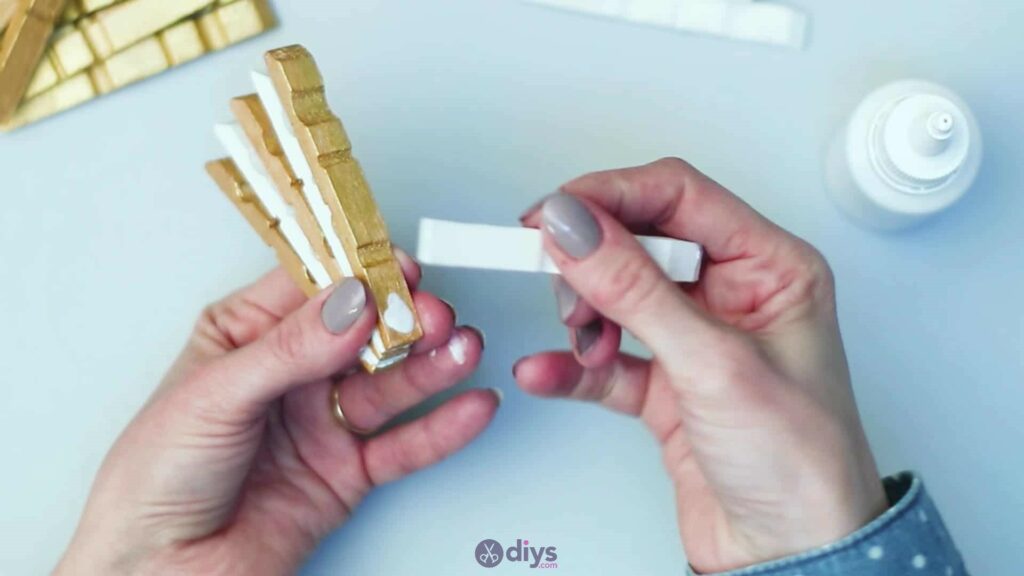
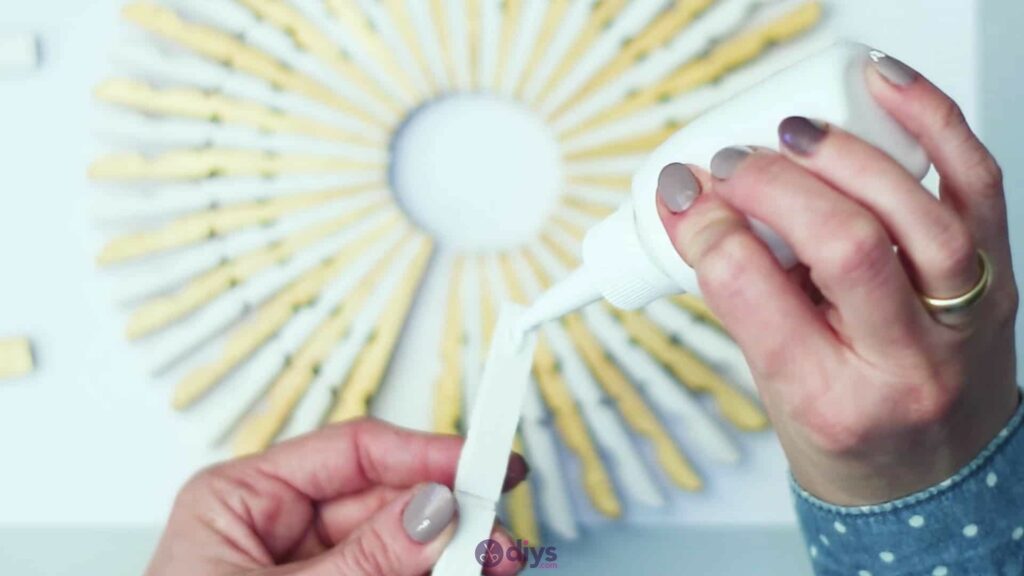
Start by holding your first wooden half in one hand and applying glue to the flat, tapered end of its ridged side (not its flat side) with the other. Then pick up a half from theother coloured pile (not the same colour as your first piece) and stick its tapered end down in that glue, making sure that you’re sticking theflat half into it. You will always alternate colours and you will always stick a flat side to a ridged side, otherwise your starburst shape won’t work out. As your piece grows, you’ll see that it naturally starts to round itself into a circle.
The bigger it gets, the more you might find that it’s easier to keep it flat against the table and work that way instead, rather than lifting the pieces. You’ll slide your last piece in to close the circle entirely and, because you worked wth an even number of pieces and an alternating pattern, you should be finish it off with no repeats.


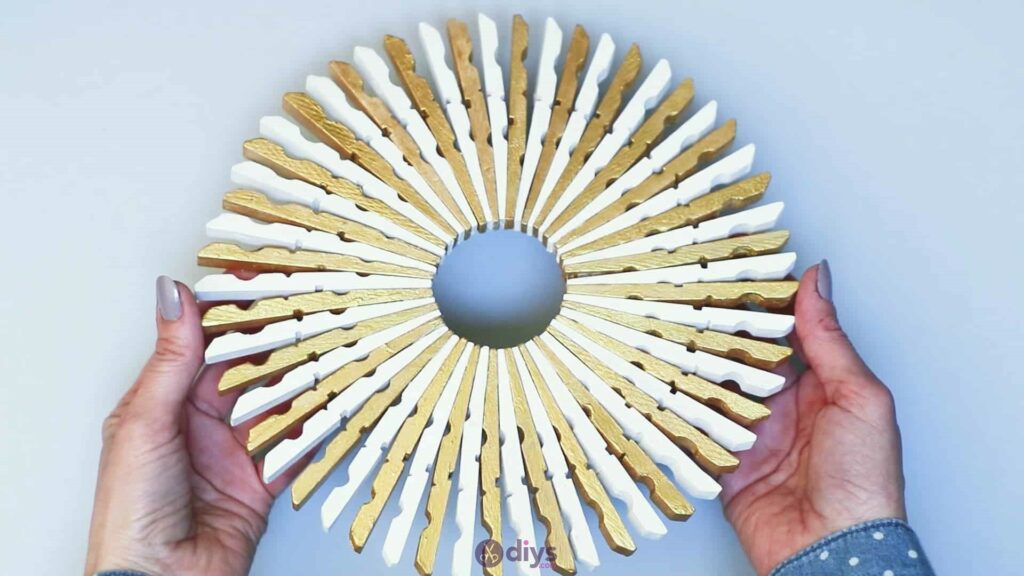
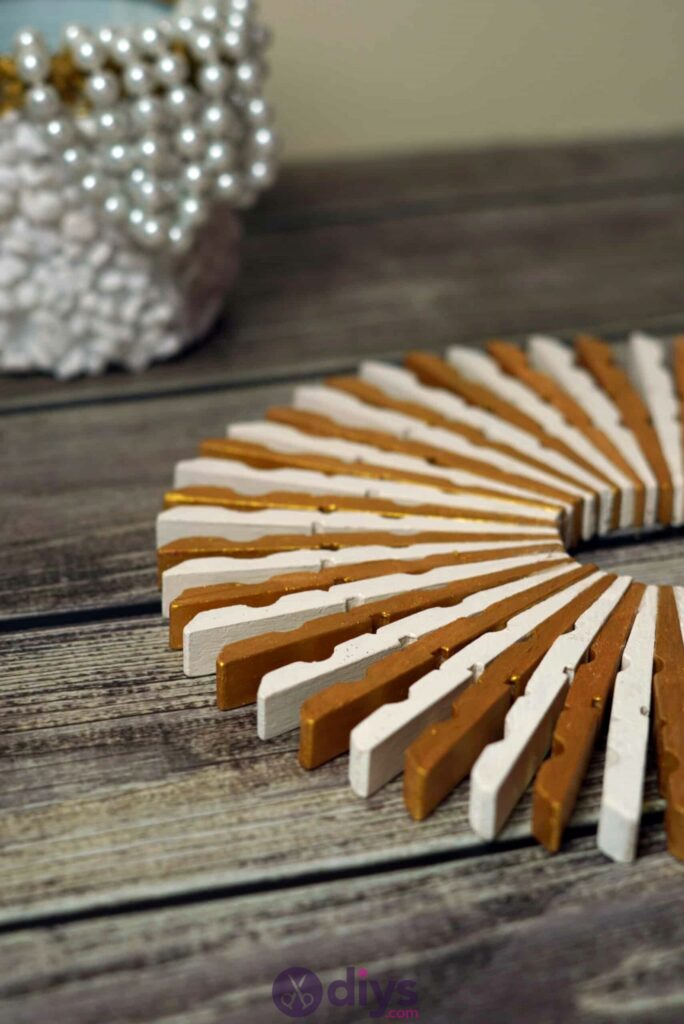
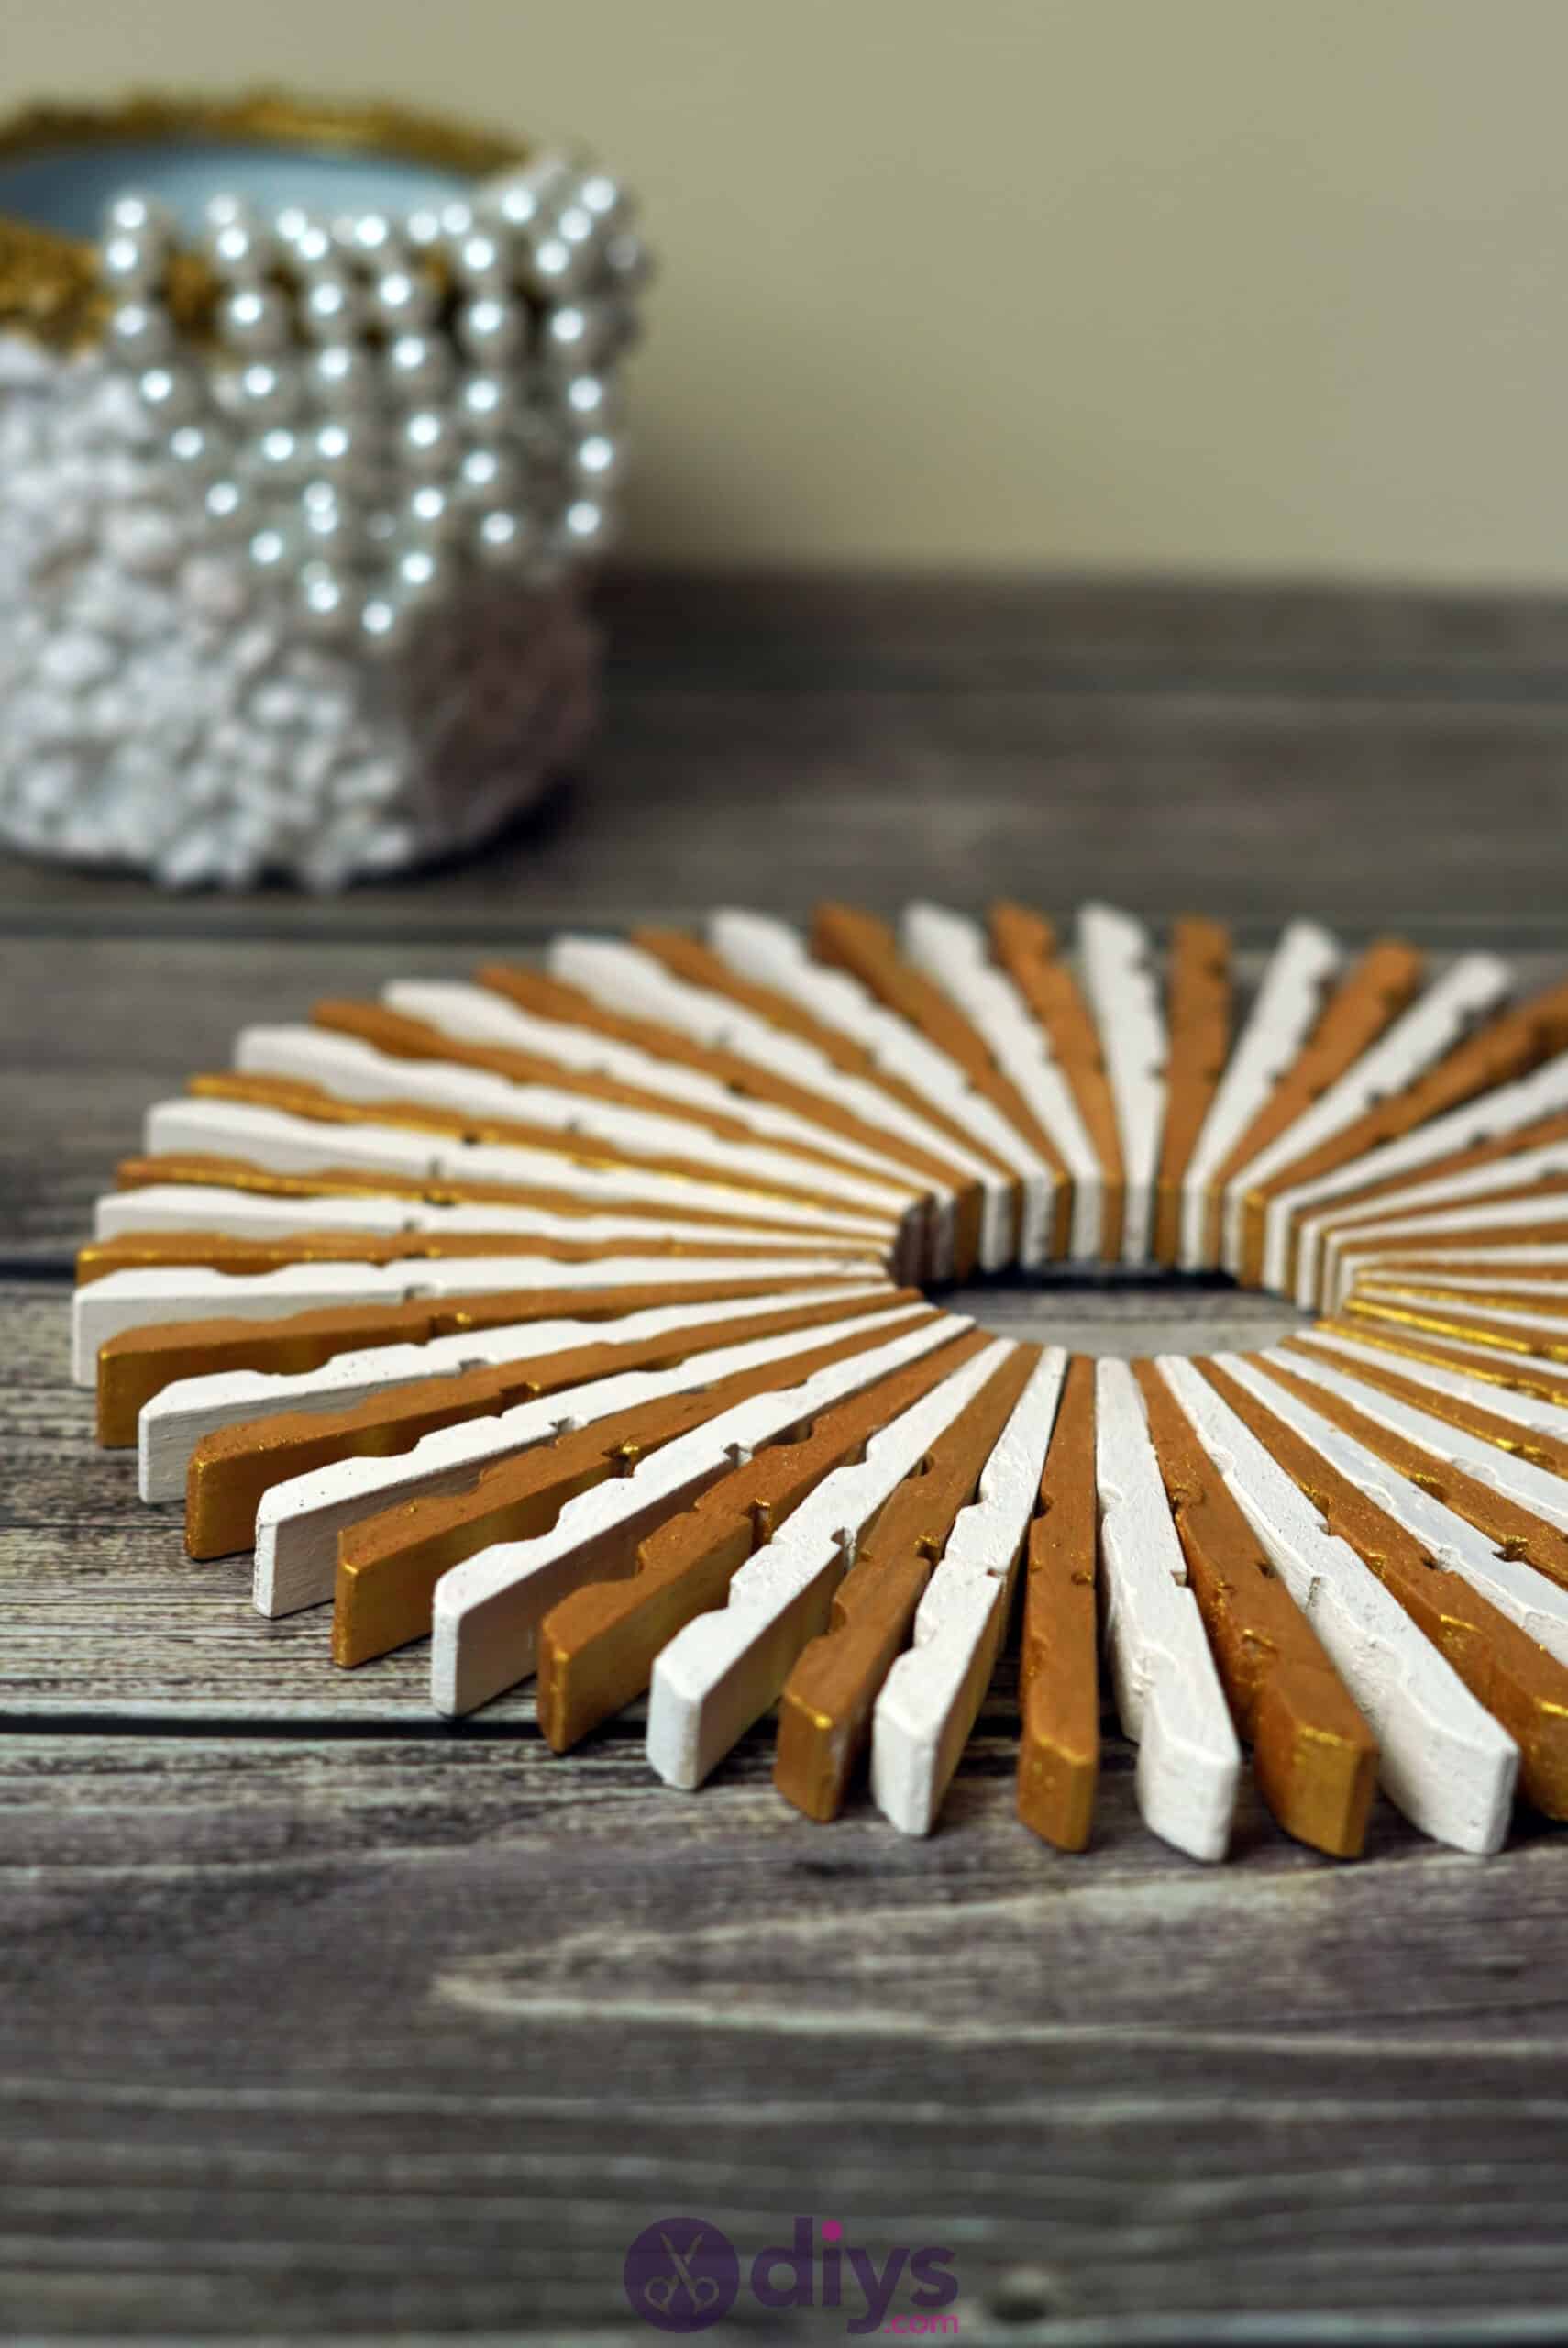
Believe it or not, that’s really all it takes! Of course, you can always feel free to change up the colour scheme or something darker or something brighter and more eclectic. You could even make a version that’s all one colour instead. No matter how you decide to go about it, check out this video tutorial to five you a hand along the way.