DIY Fabric Wall Hanging Art
Updated on June 23, 2021


It never ceases to amaze us what you can achieve with a glue gun and some leftover scraps and fabrics that people often tend to throw away. From repurposing old rags to making use of whatever materials you have left after a sewing project, this particular DIY idea will help you make sure of stuff that you’d normally throw away. We are going to show you how to make a beautiful wall-hanging art in just a bunch of easy steps.

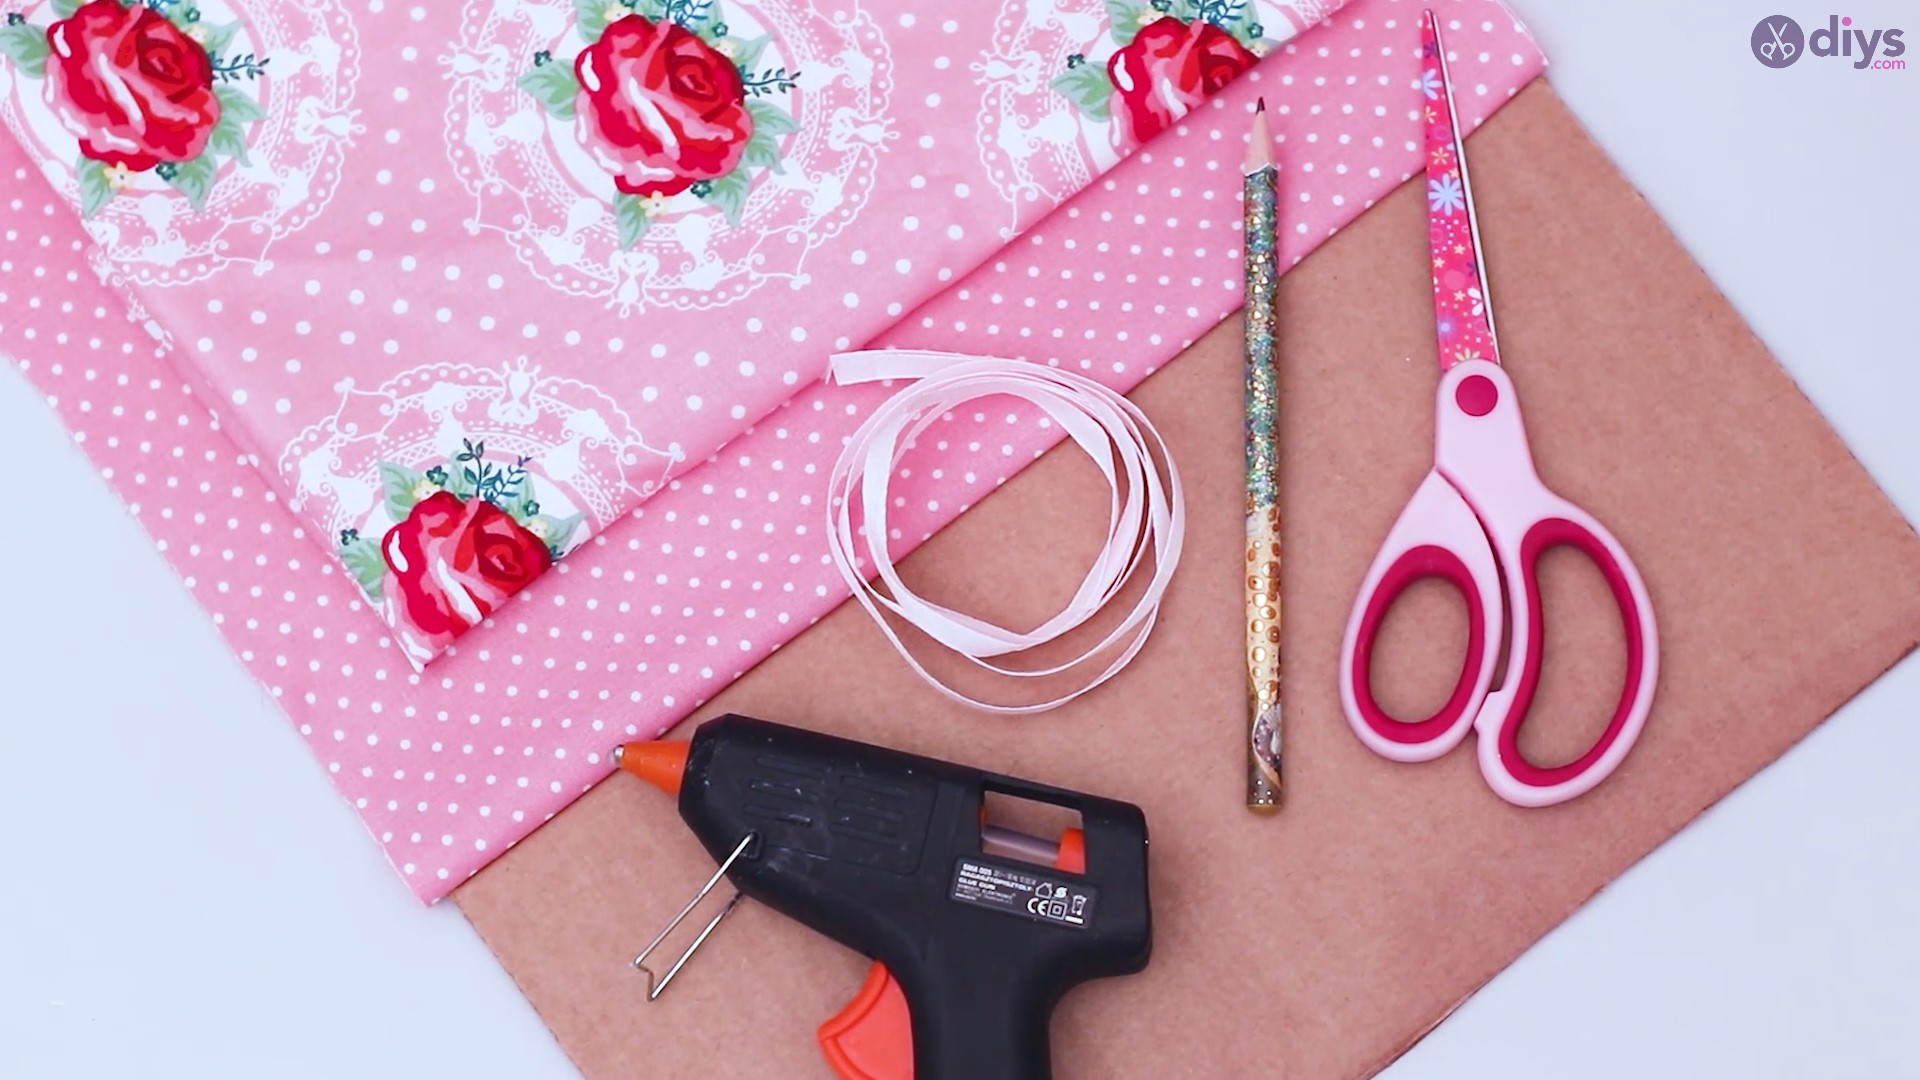
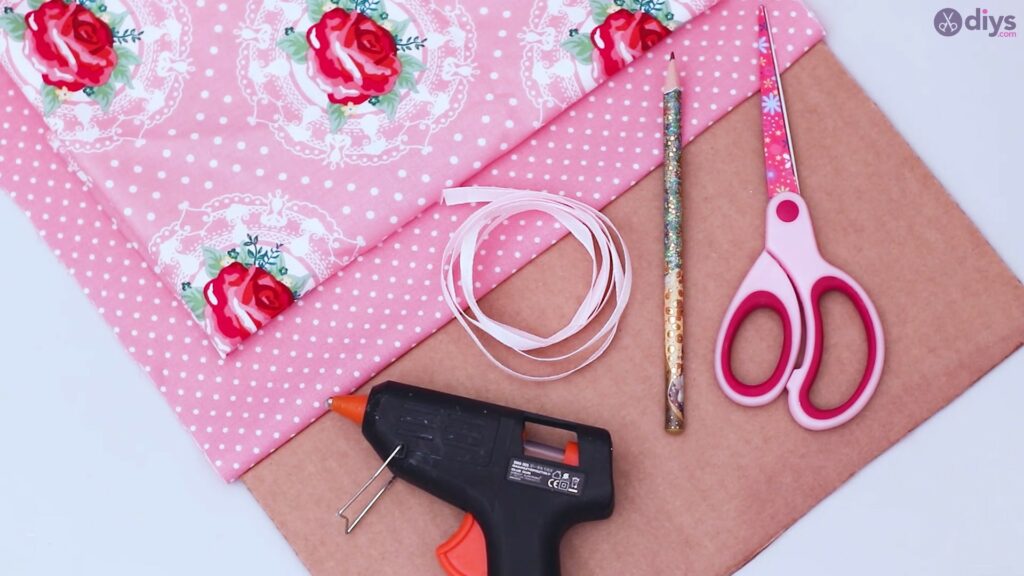
Materials you’ll need for this Fabric Wall Hanging Art:
- 2 kinds of textile
- Cardboard
- Scissors
- Pencil
- Silk ribbon
- Glue gun
How to craft the Fabric Wall Hanging Art:
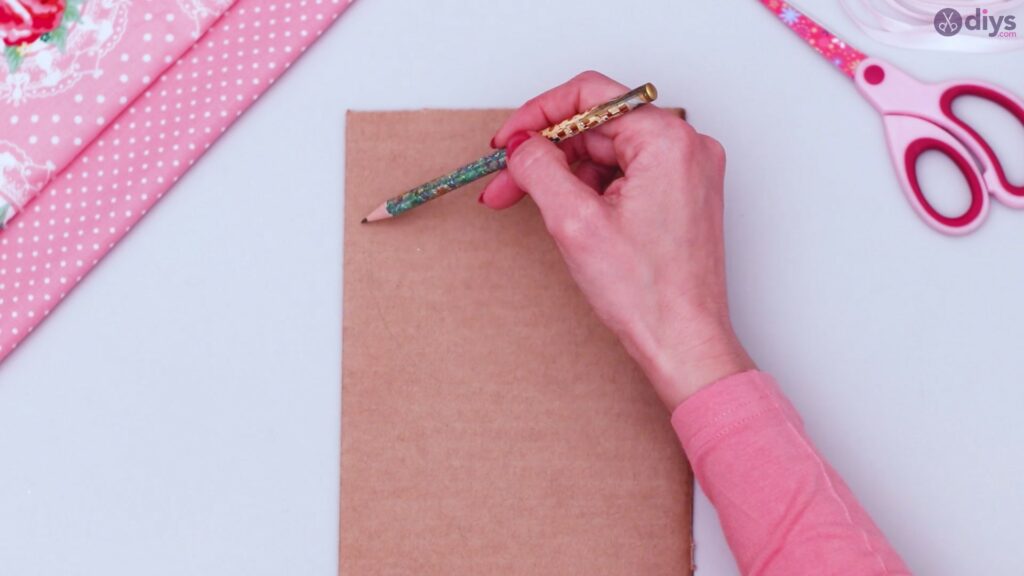
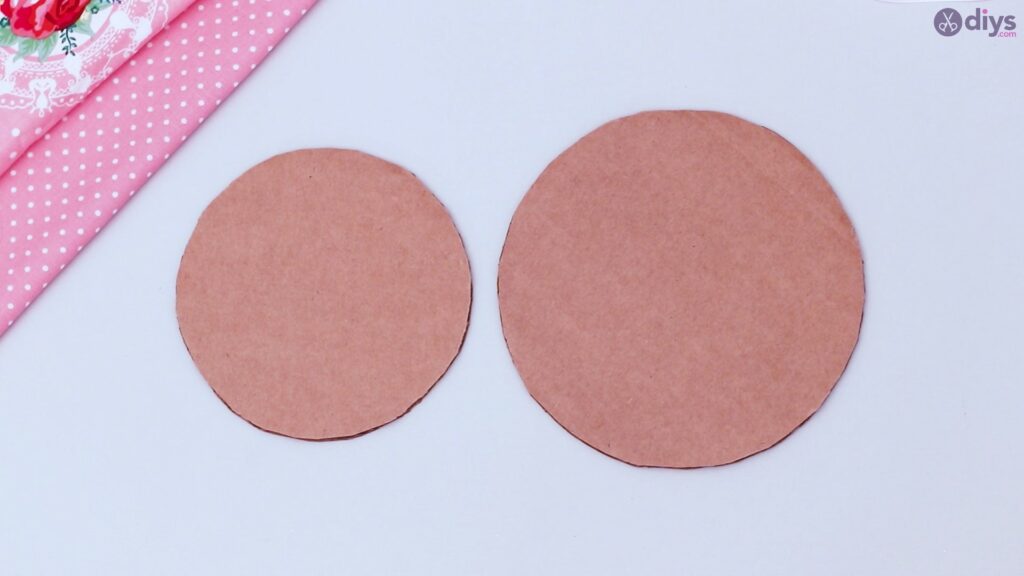
Step 1: Making the Cut-Outs
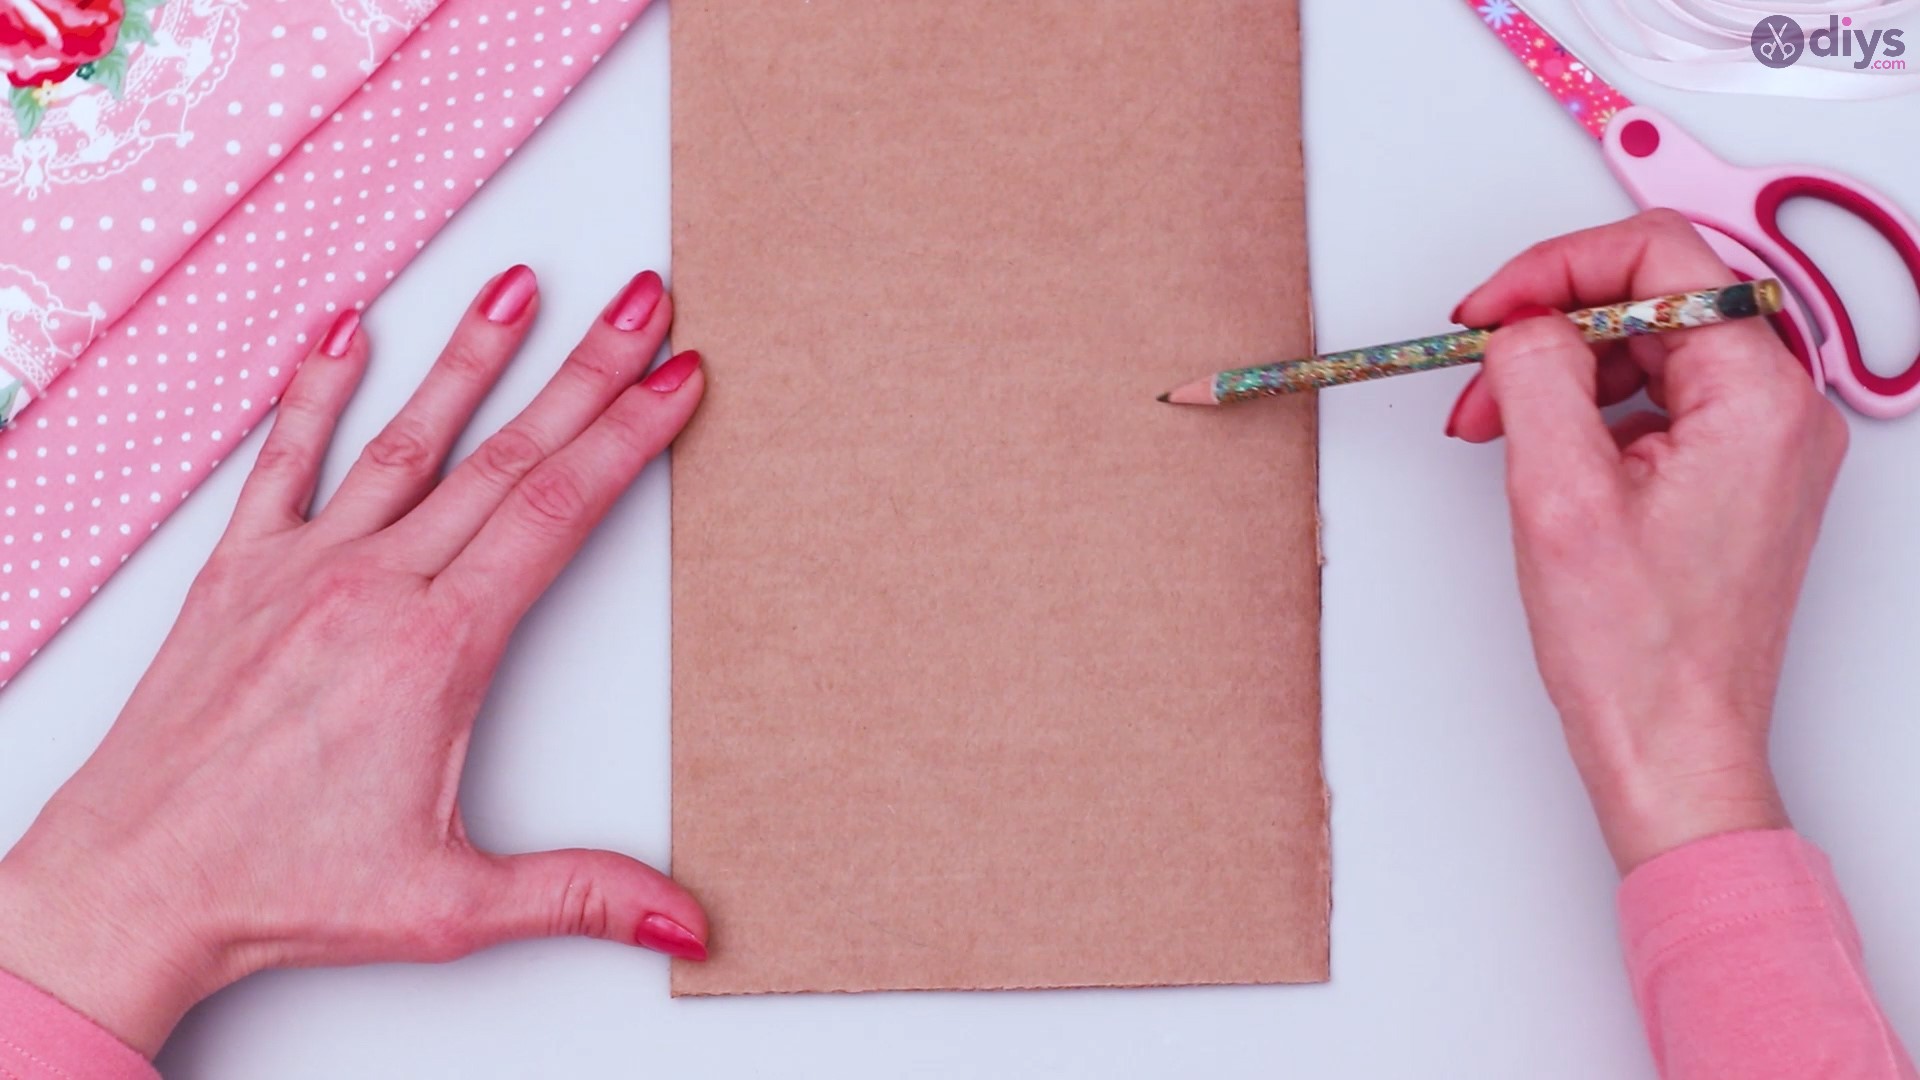
You are going to use your pencil to draw the outlines that you’ll later cut out from your piece of cardboard. Draw a larger and a smaller circle on your piece of cardboard. The size of the shapes is solely up to you, as it depends on how big you want the hanging art to be and how much material you have at your disposal (as you will be using the fabrics to cover the cut-outs).
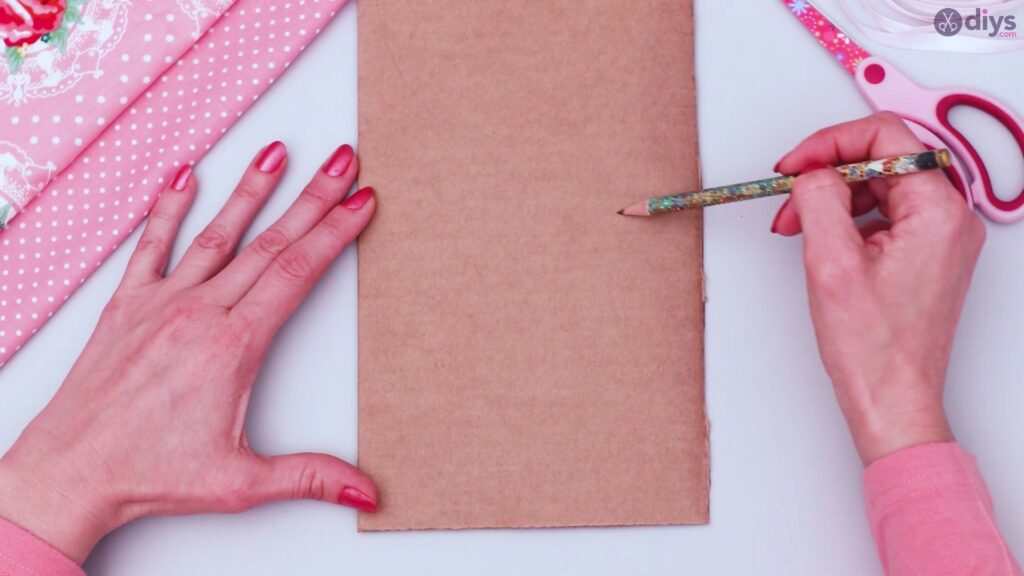
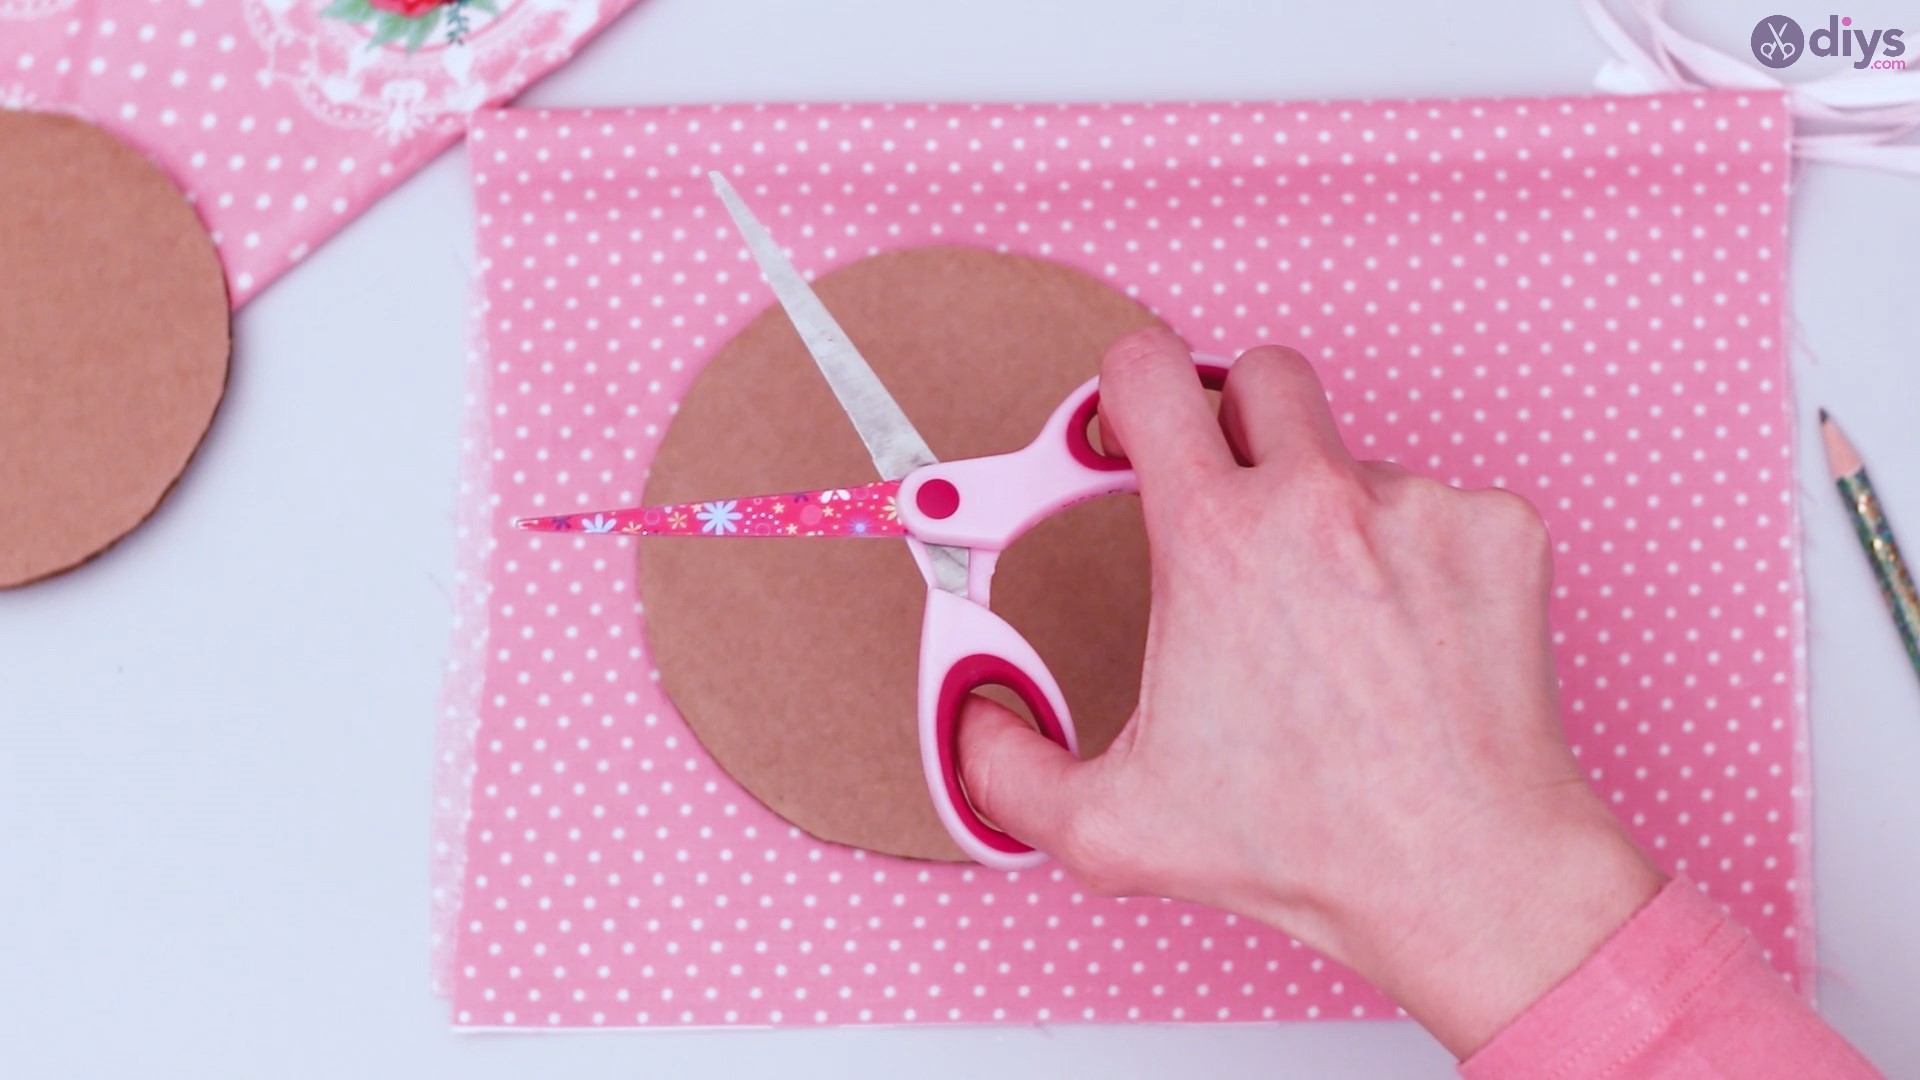
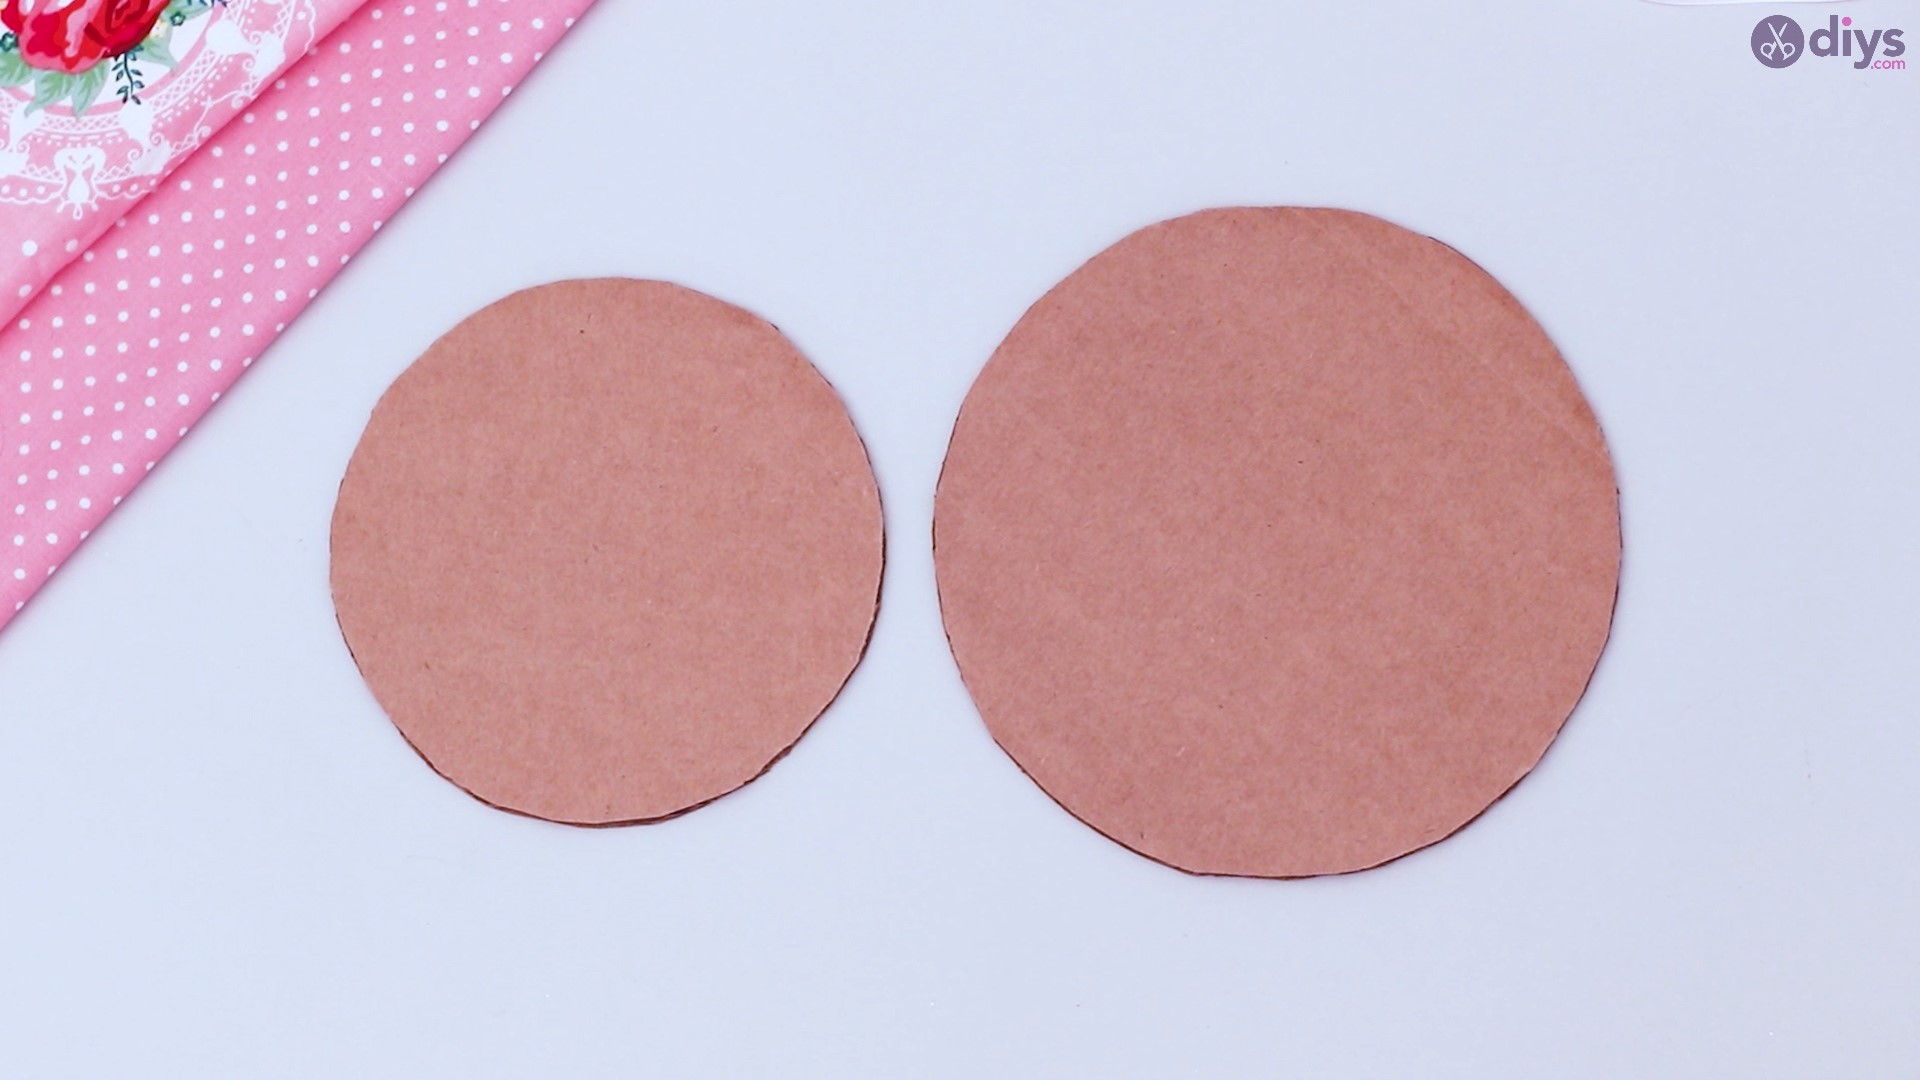
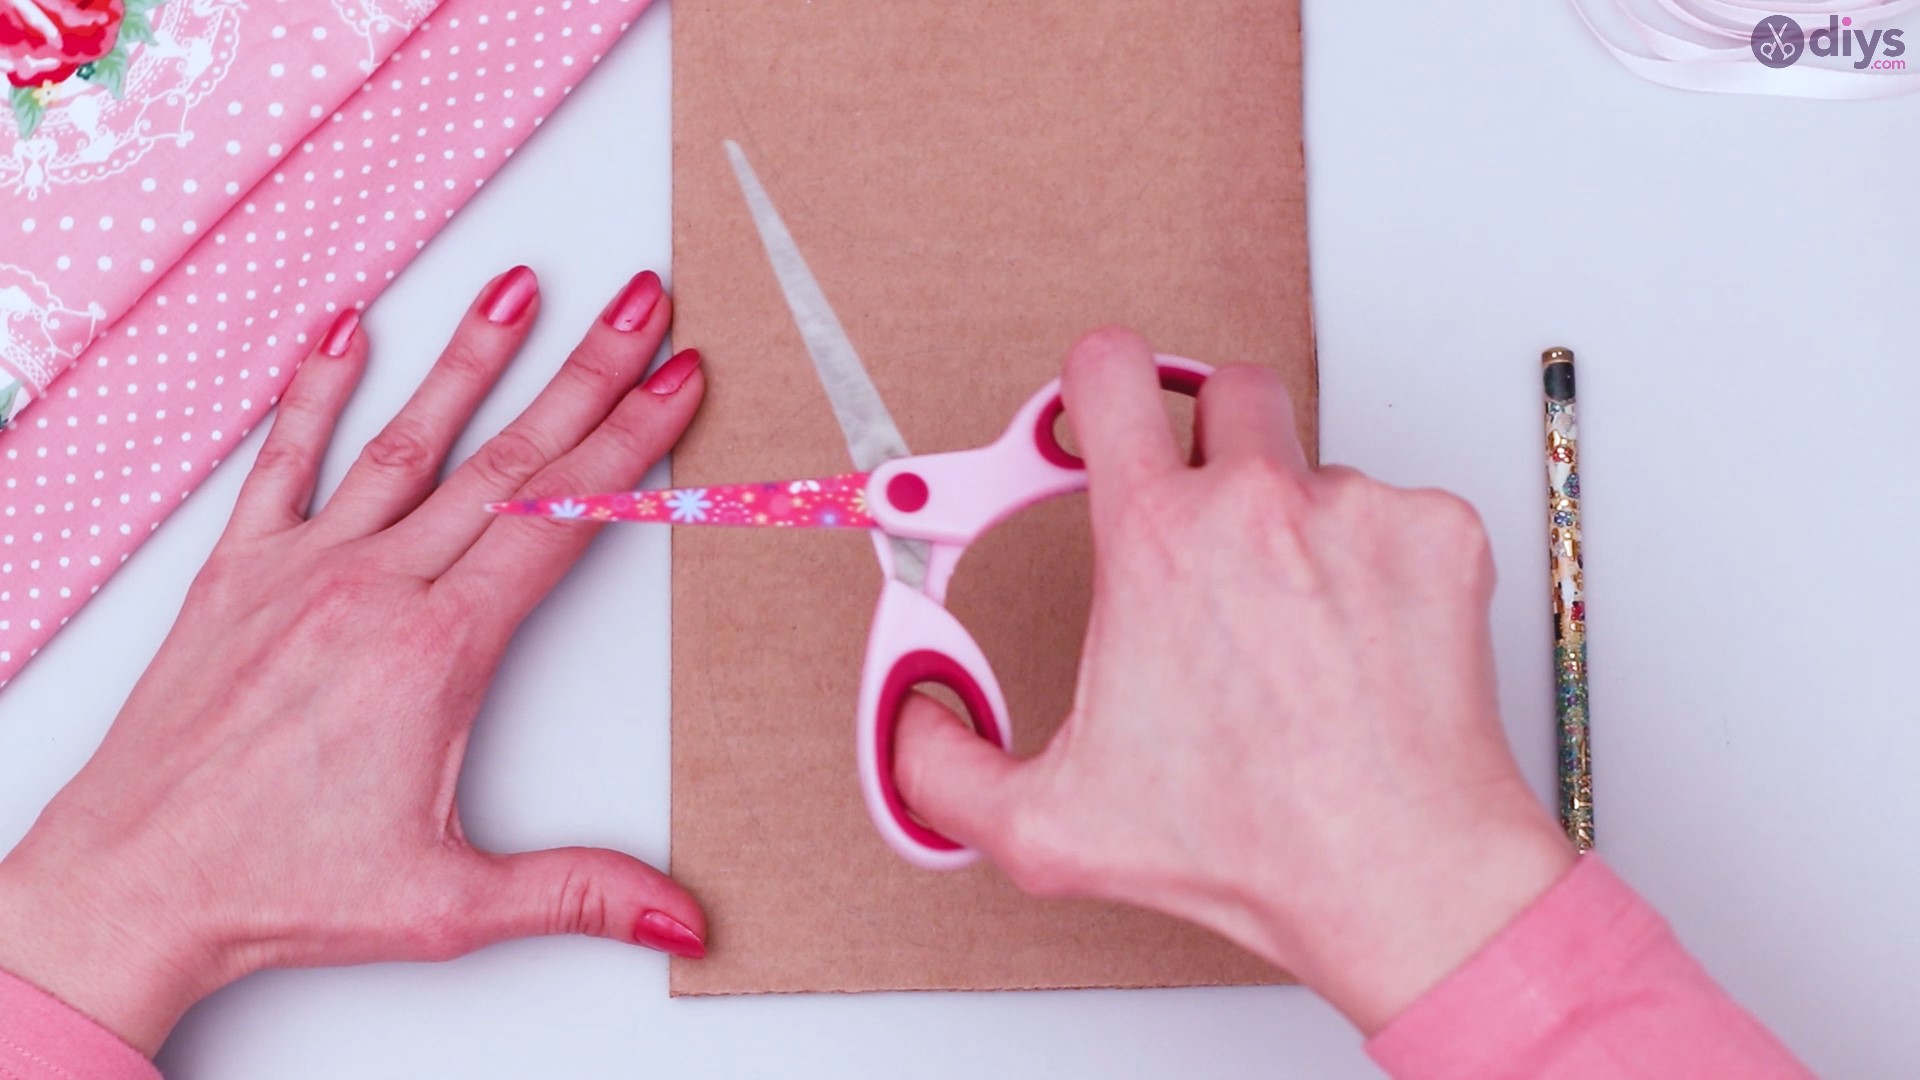
When the outline is done, use your scissors to cut out the two round shapes.

They should look something like this.
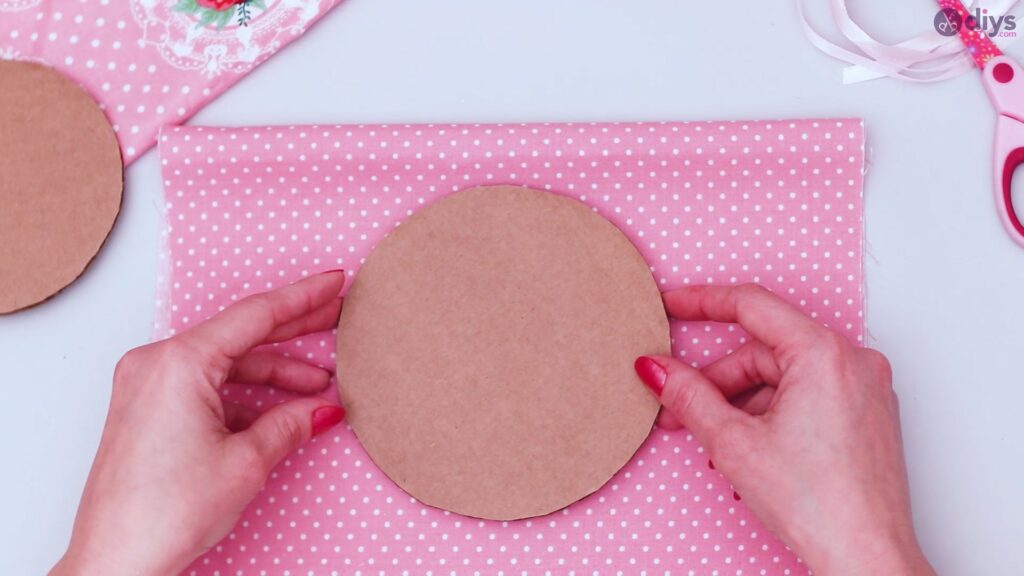
Step 2: Cutting the Fabrics
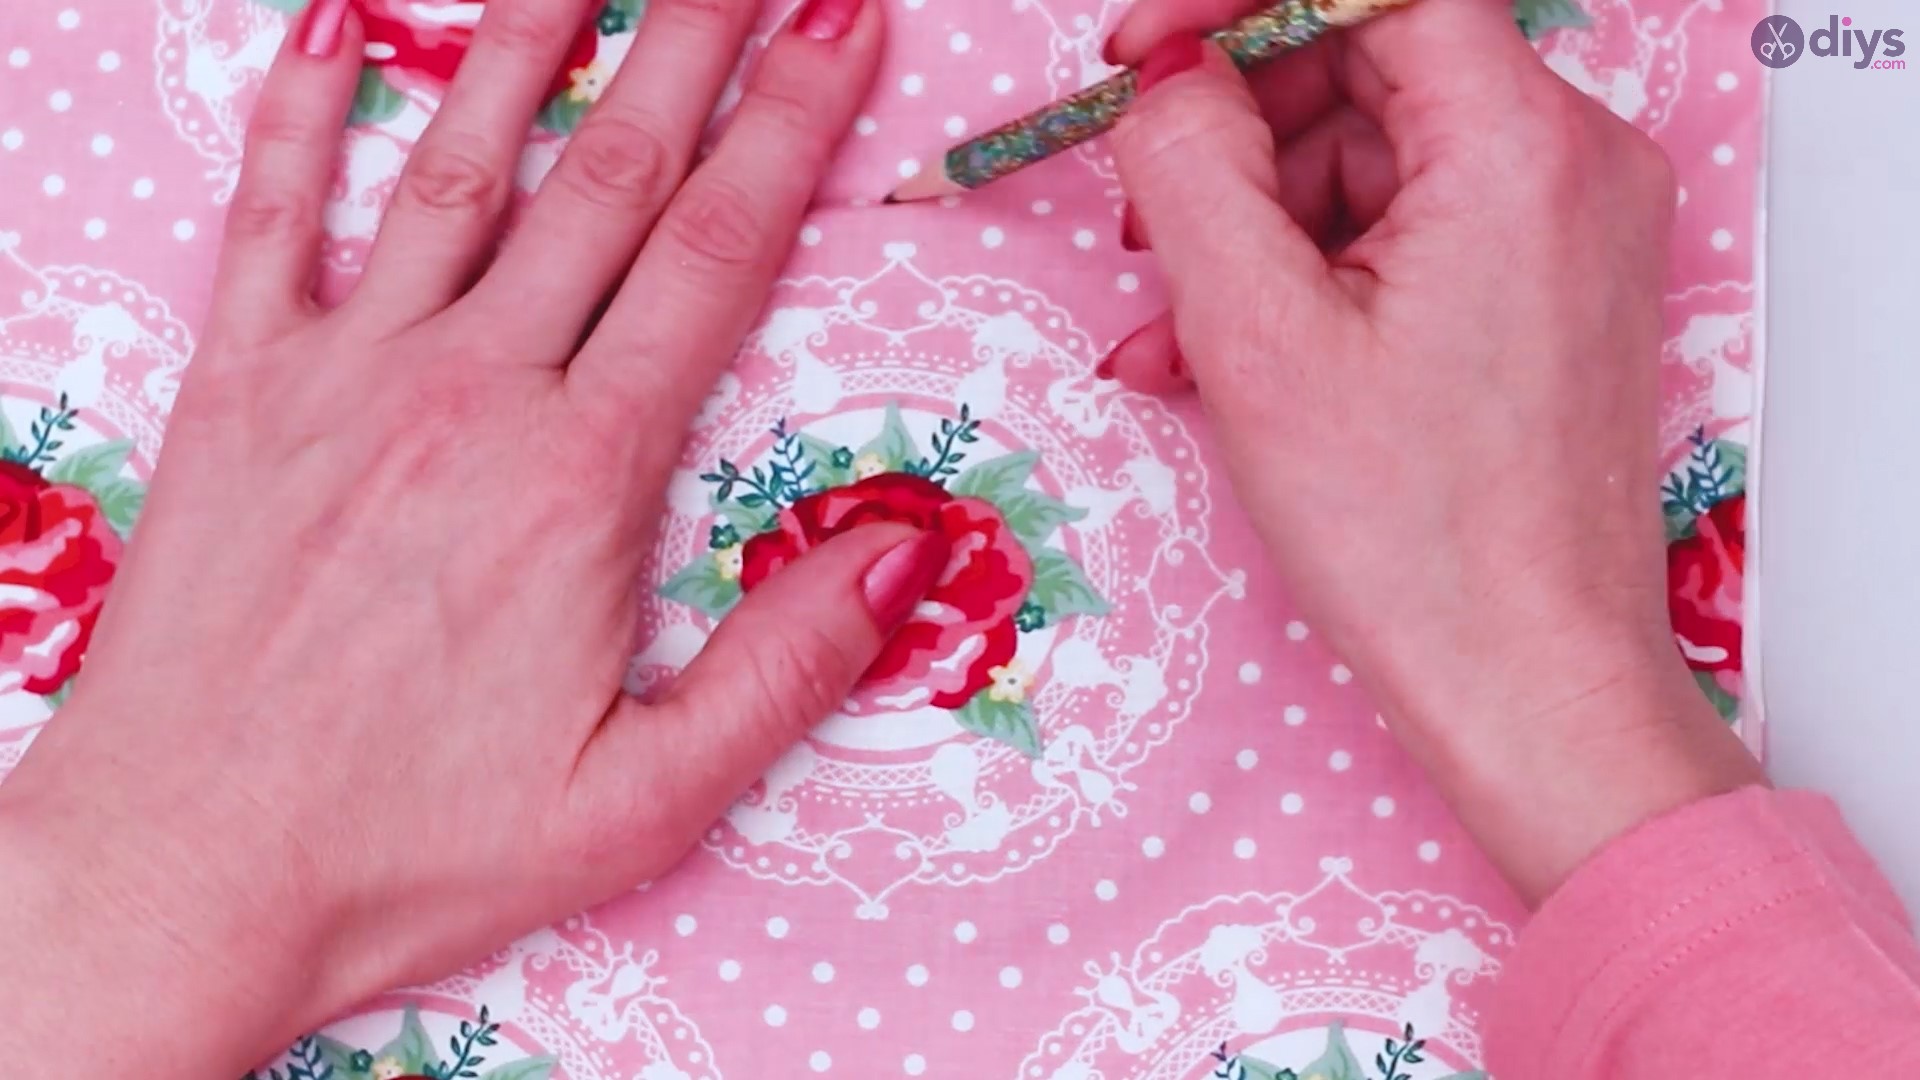
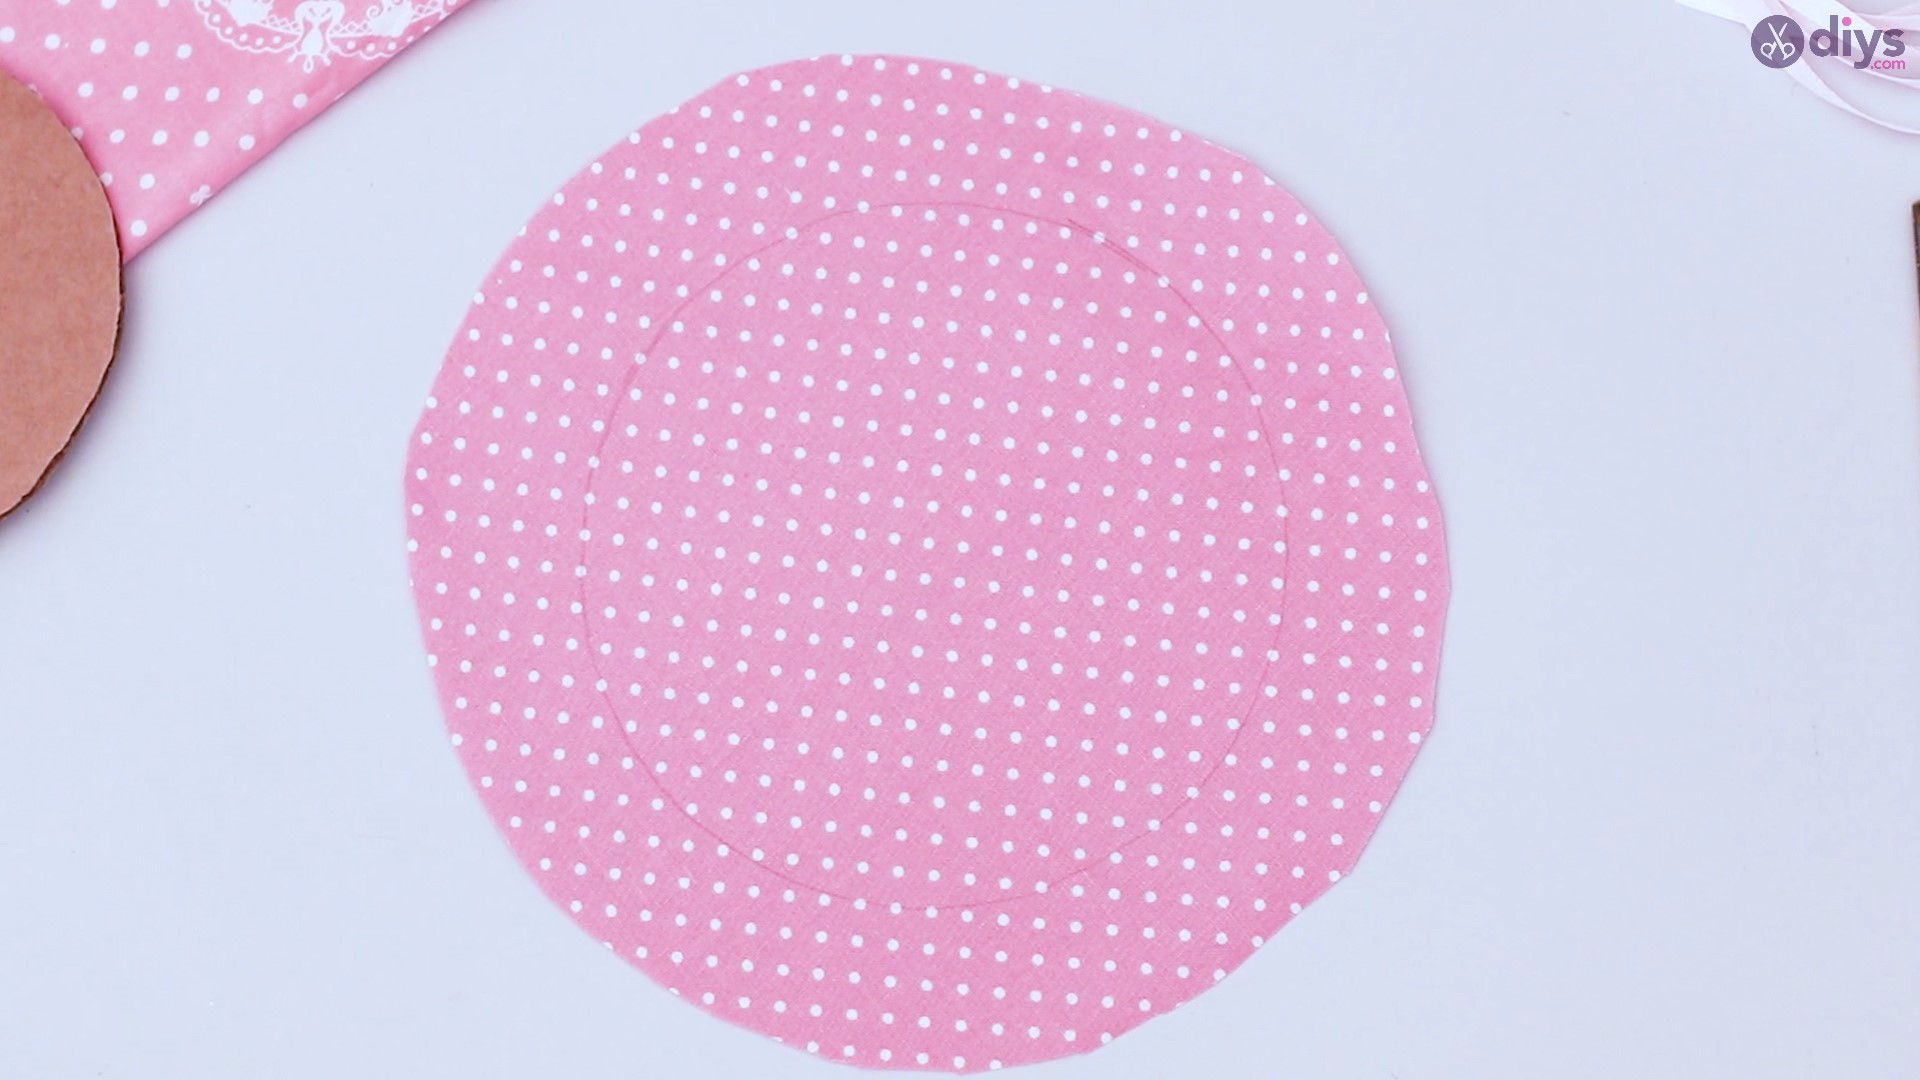
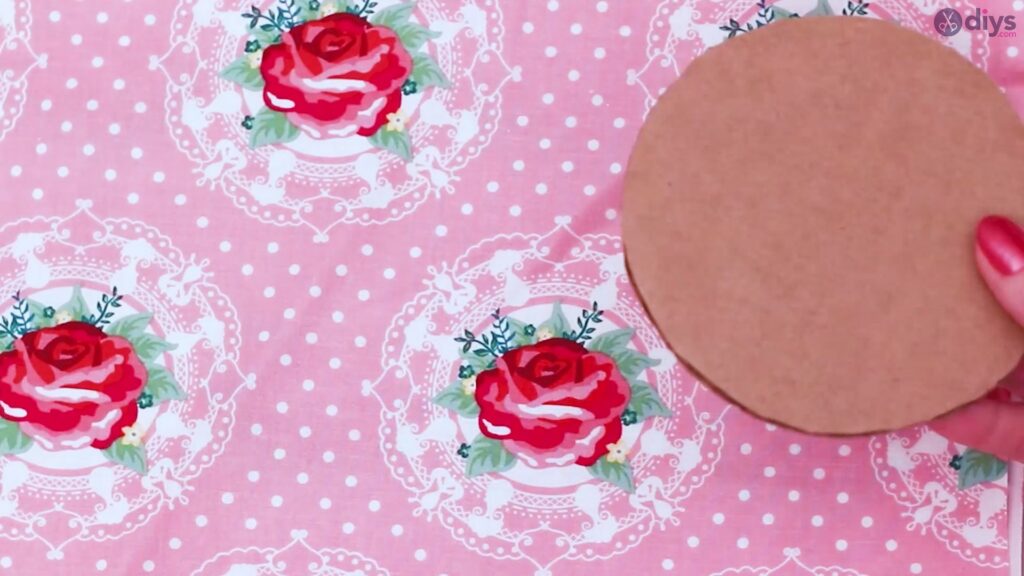
Next, you’re going to use the two cardboard cut-out to cut shapes into the fabrics that you’re using for this project. Take one of the circles and, using the pencil, draw the outline on the first type of fabric.
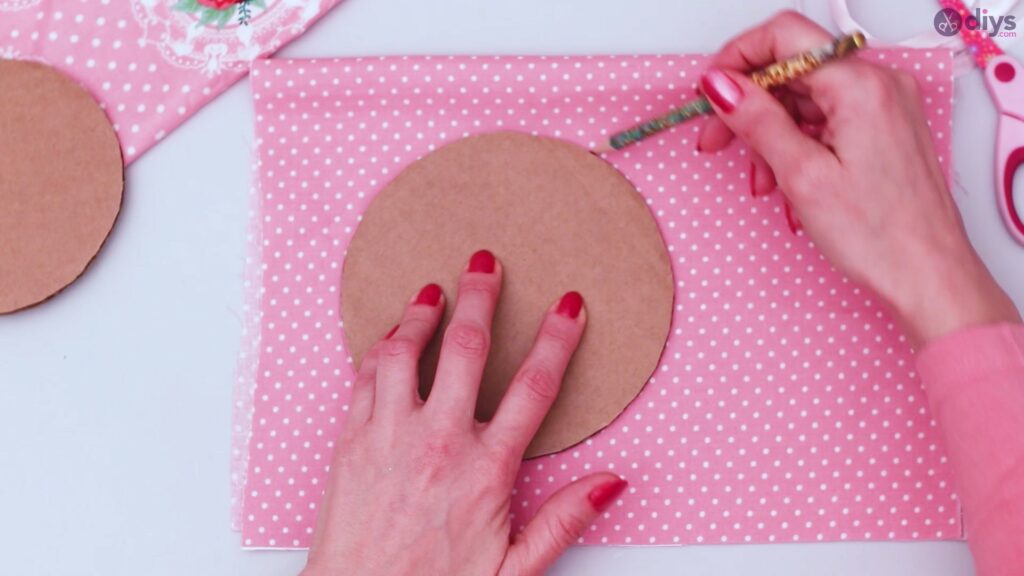
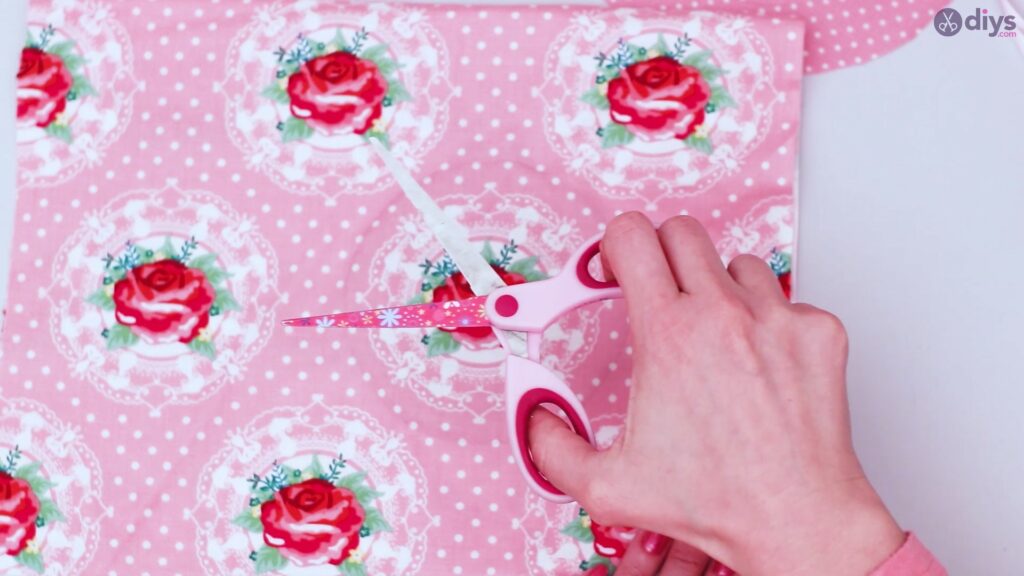
Before you cut the fabric, leave about 1.5 or 2 inches, as this additional fabric will be folded around the edges of the cardboard circle, since you don’t want any cardboard to be exposed.
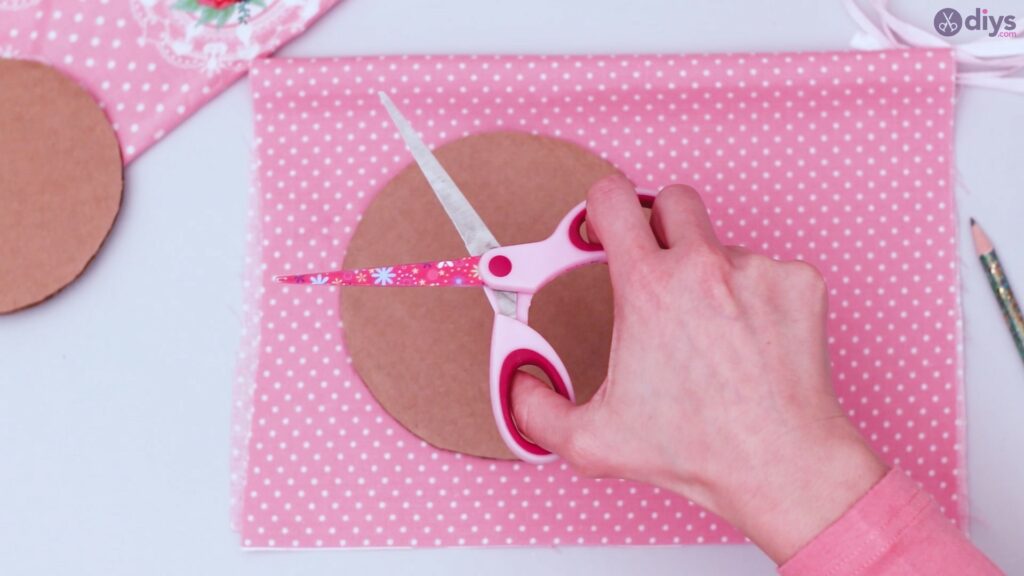

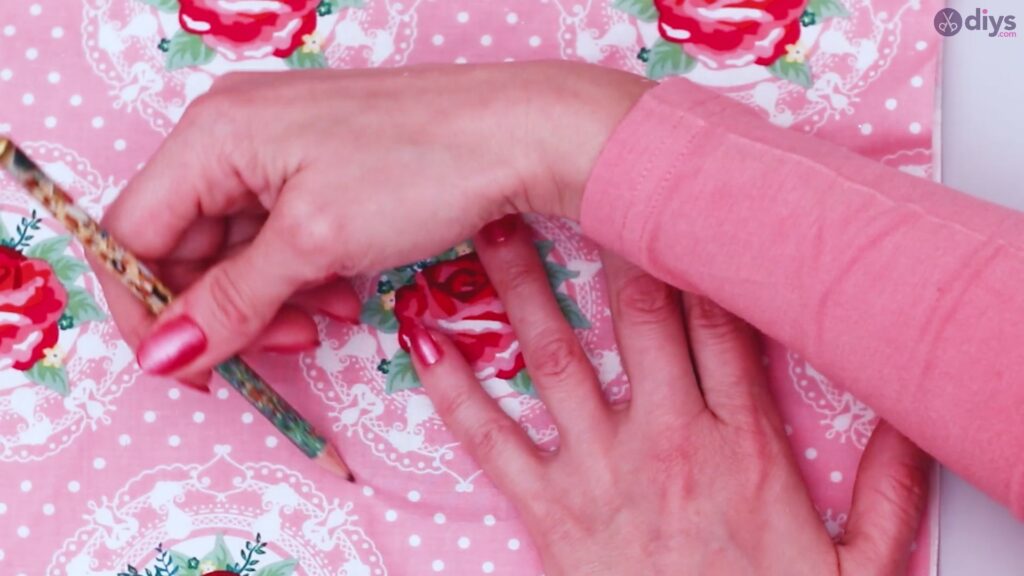
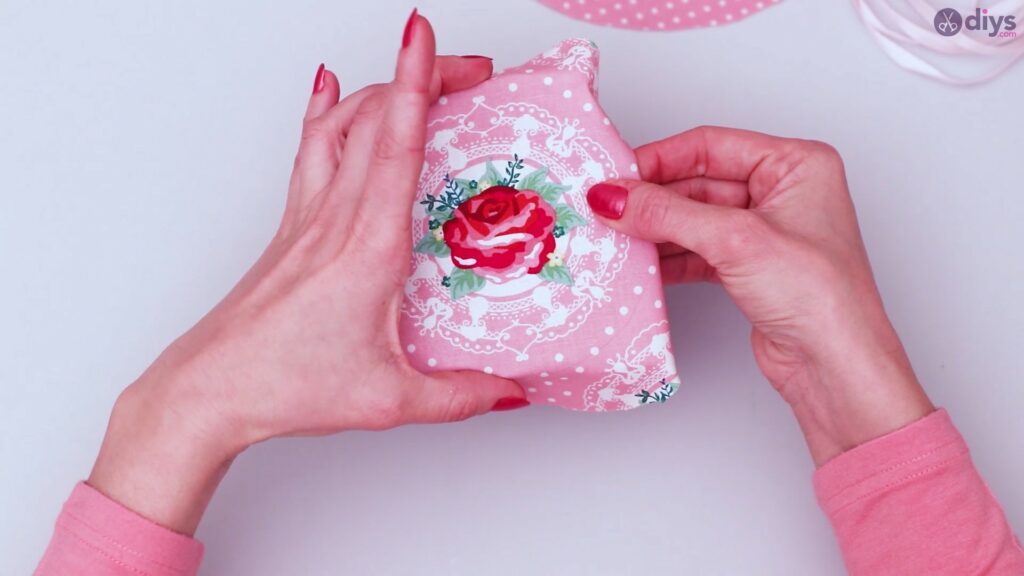
Take the other circles and place it on top of the second piece of fabric that you’re using for the project, which has to be different than the first one. As you can see, we’ve used a rose-printed fabric for our project, so we’re going to make sure that that round pattern to make the cut-out. This will make the wall hanging art more visually appealing, so if you have a piece of fabric with prints, we’d totally recommend using it for this project.

Just like in previous example, make sure that you leave 1.5 or 2 inches of fabric extra, so that you can glue it around the edges of the cardboard cut-out.
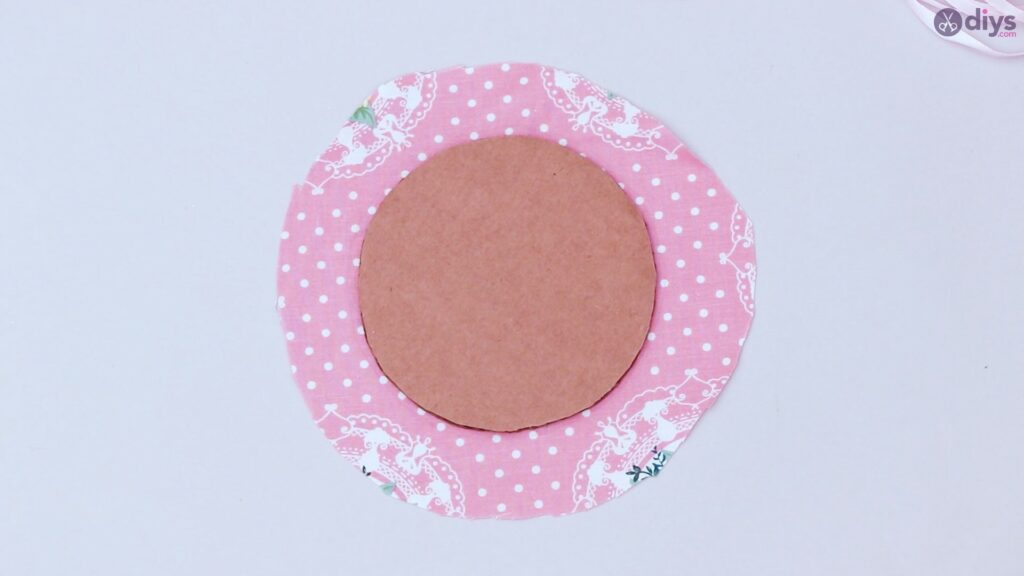
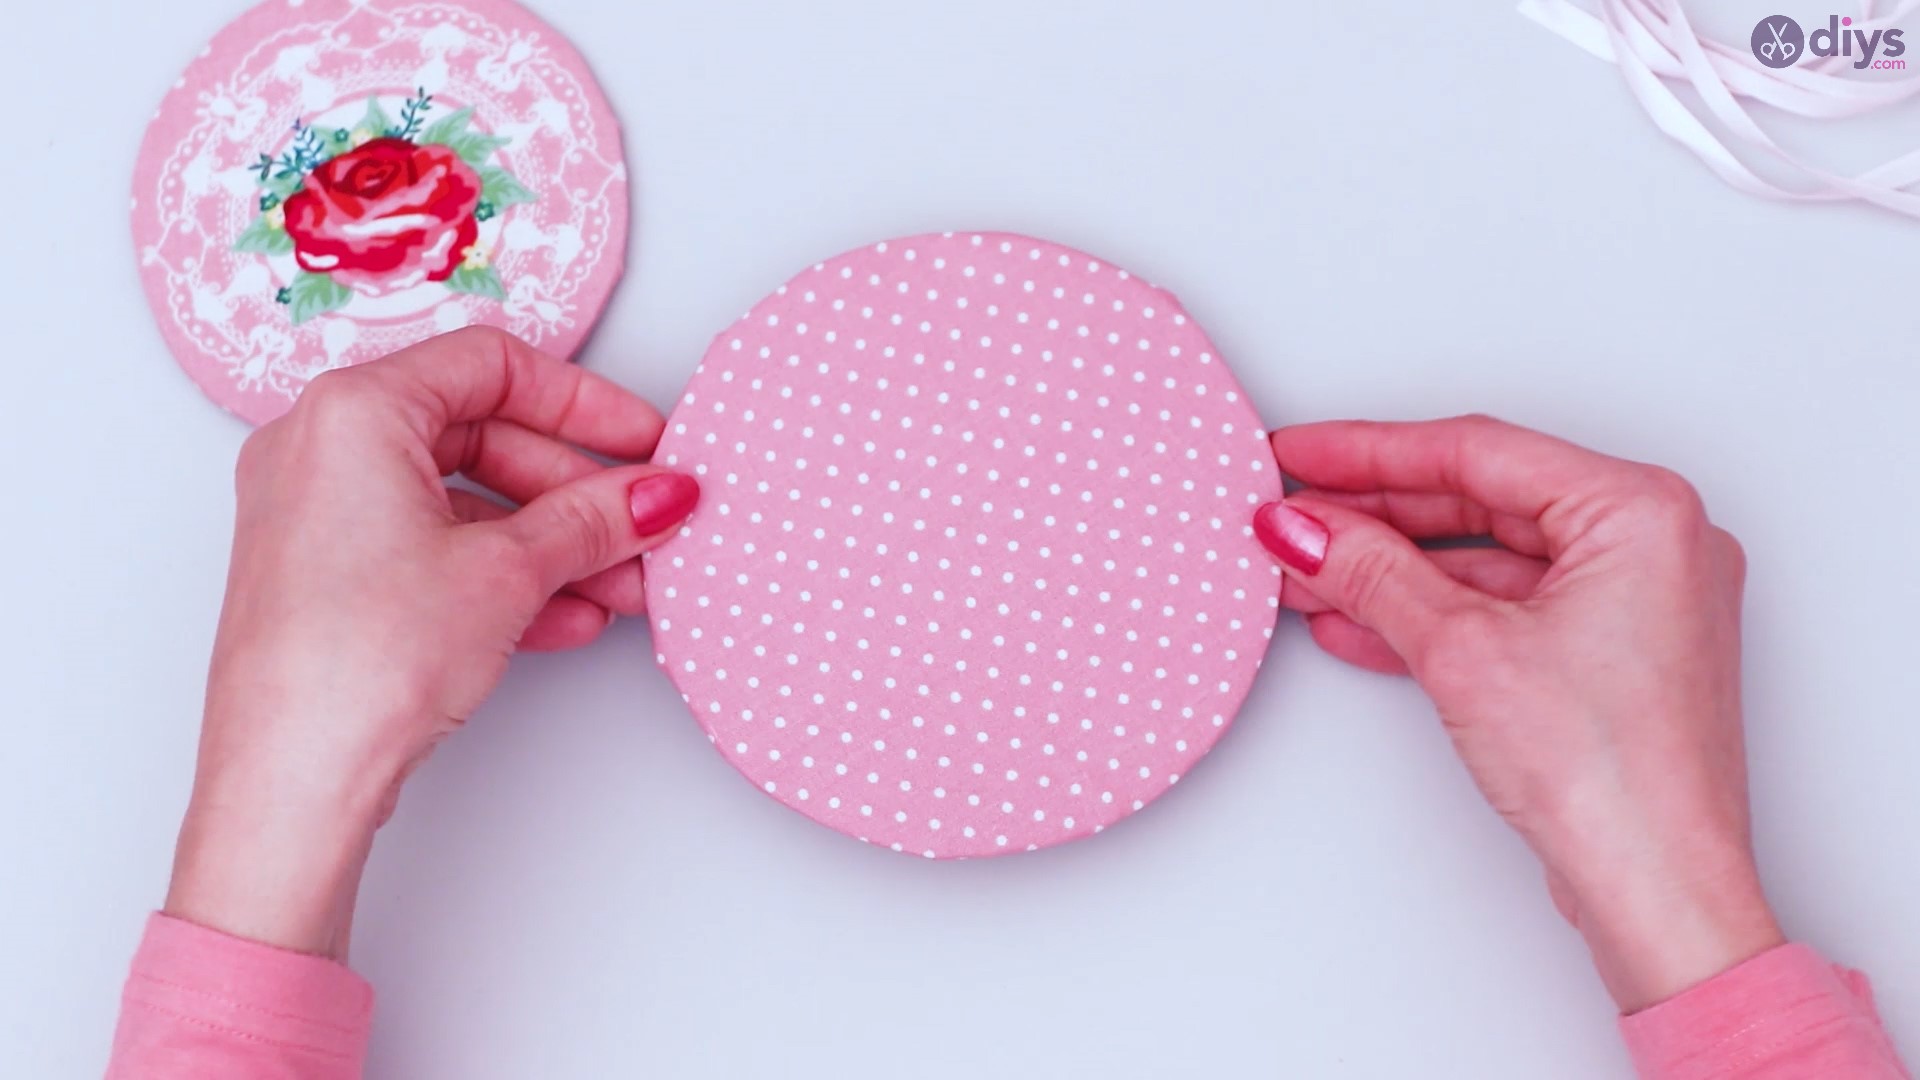
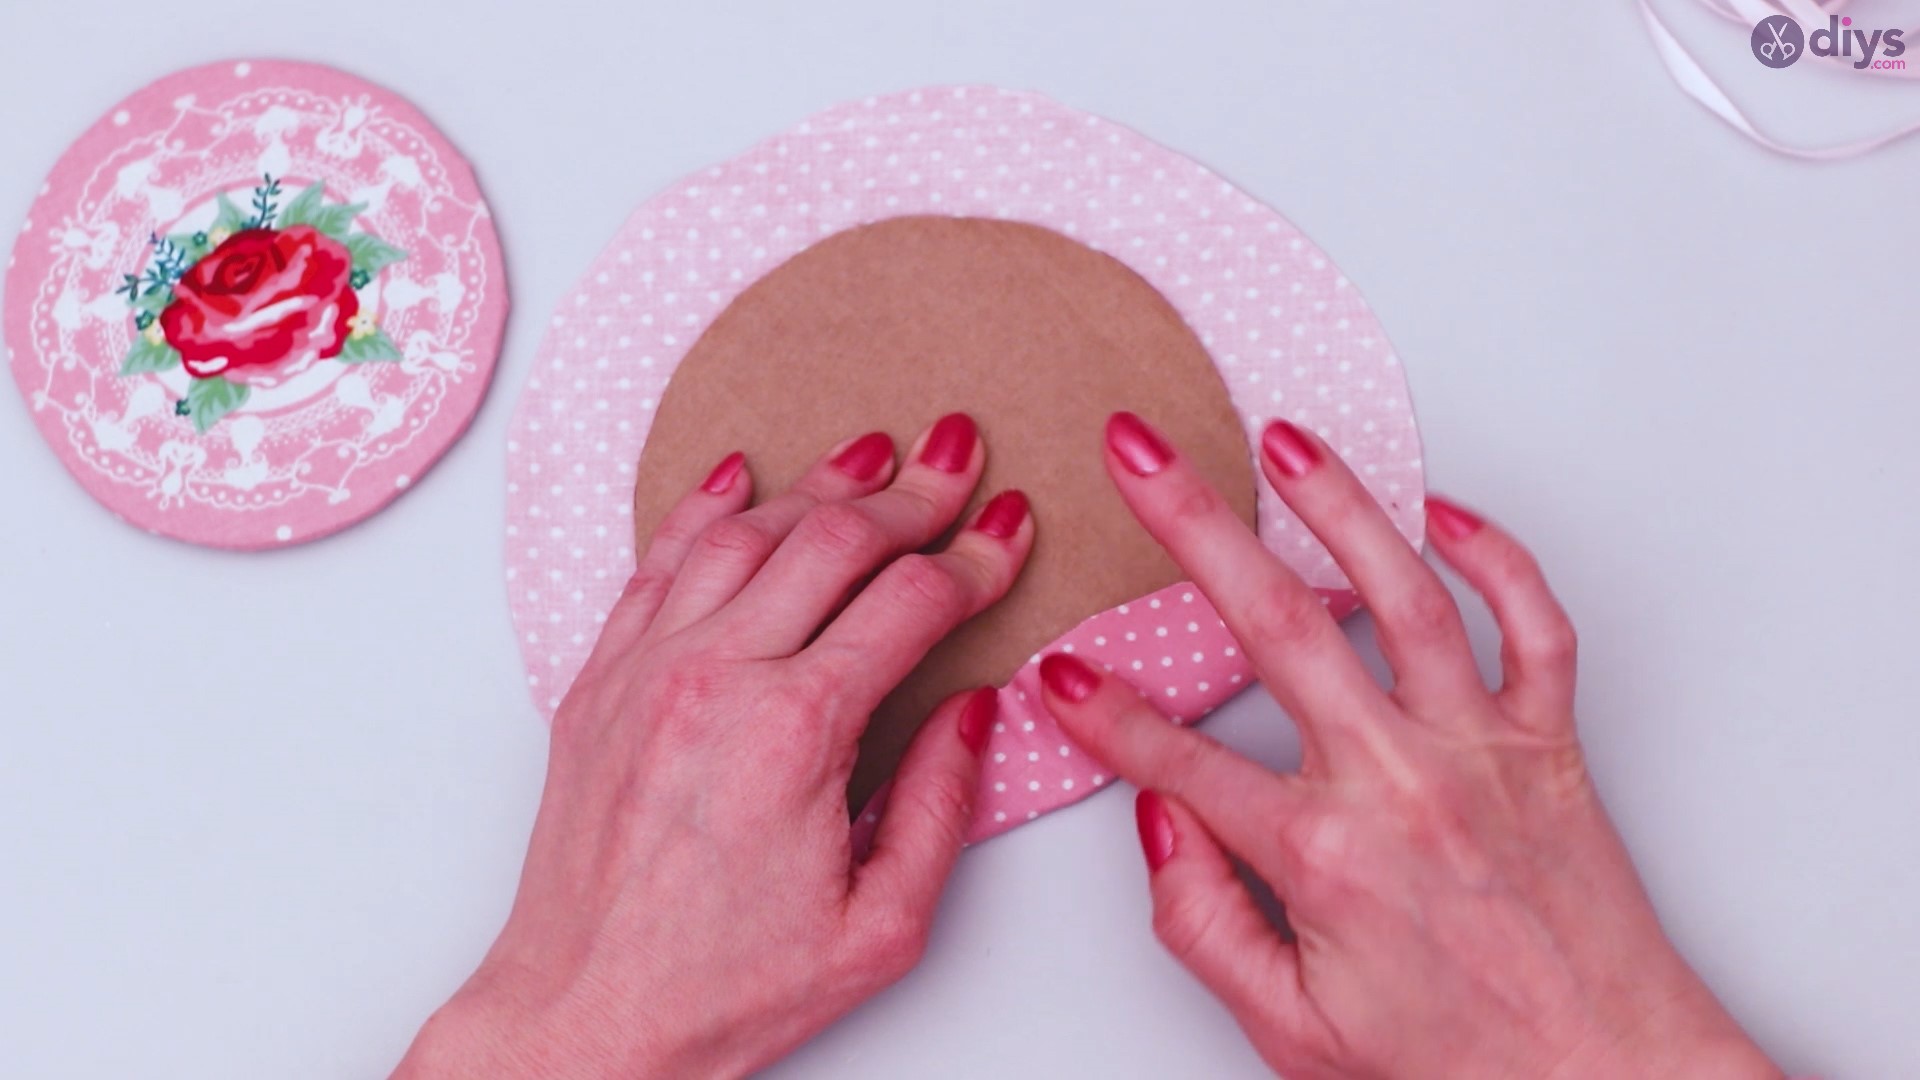
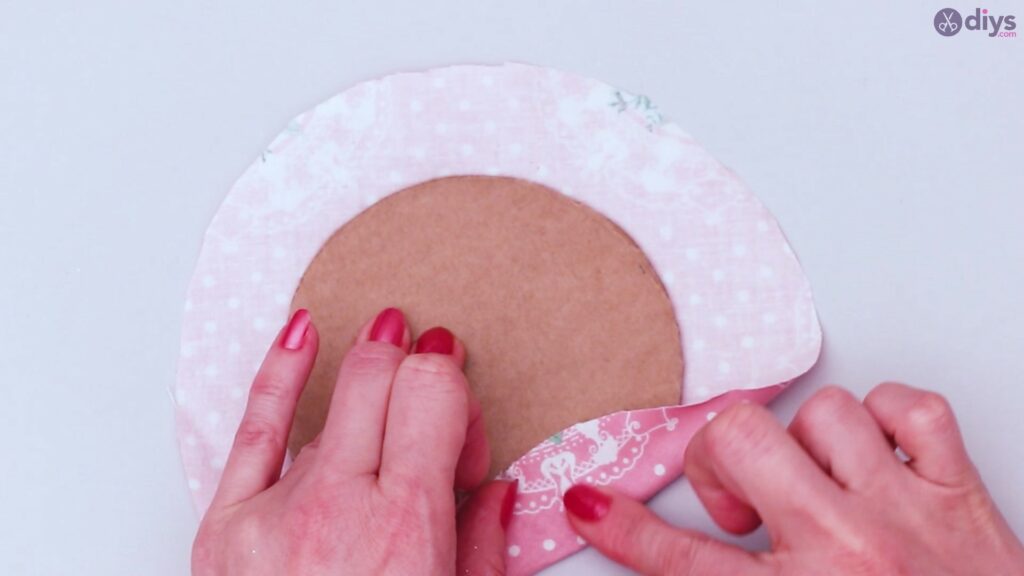
Step 3: Securing the Fabric
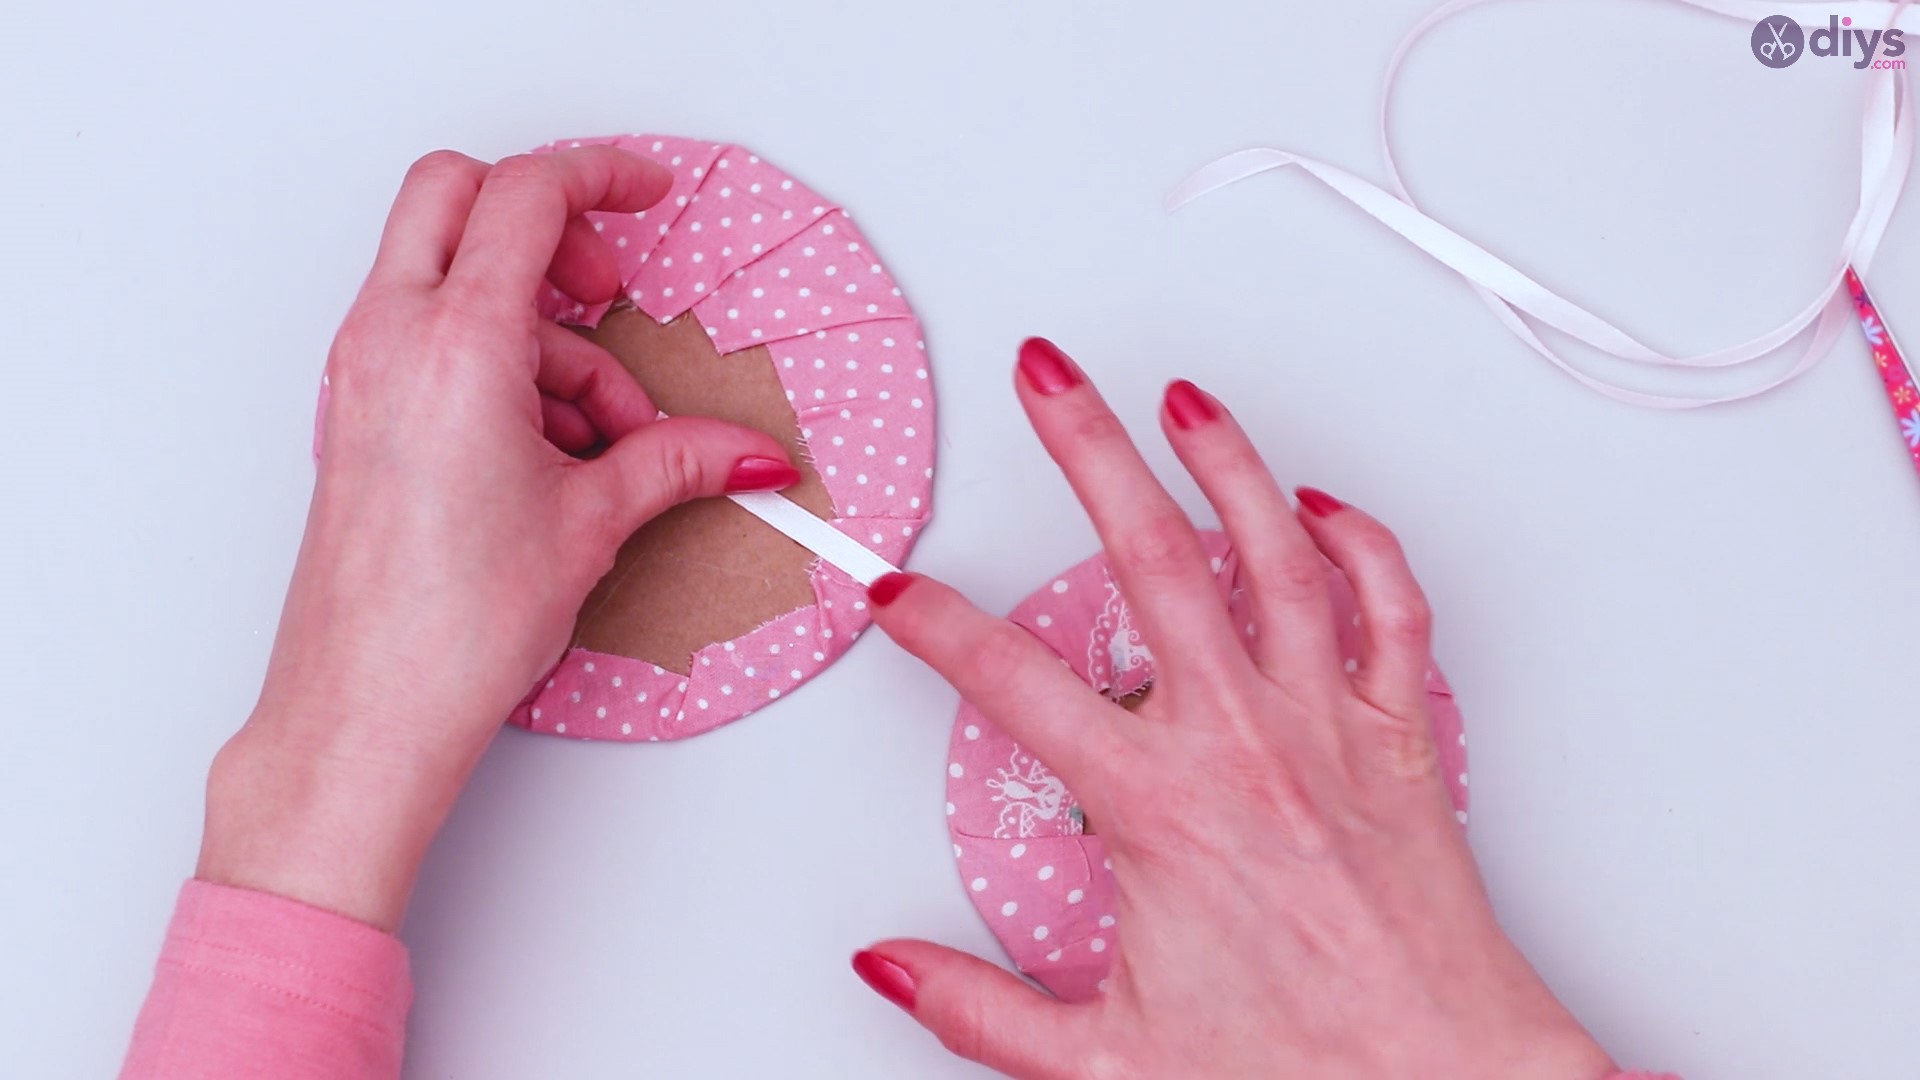
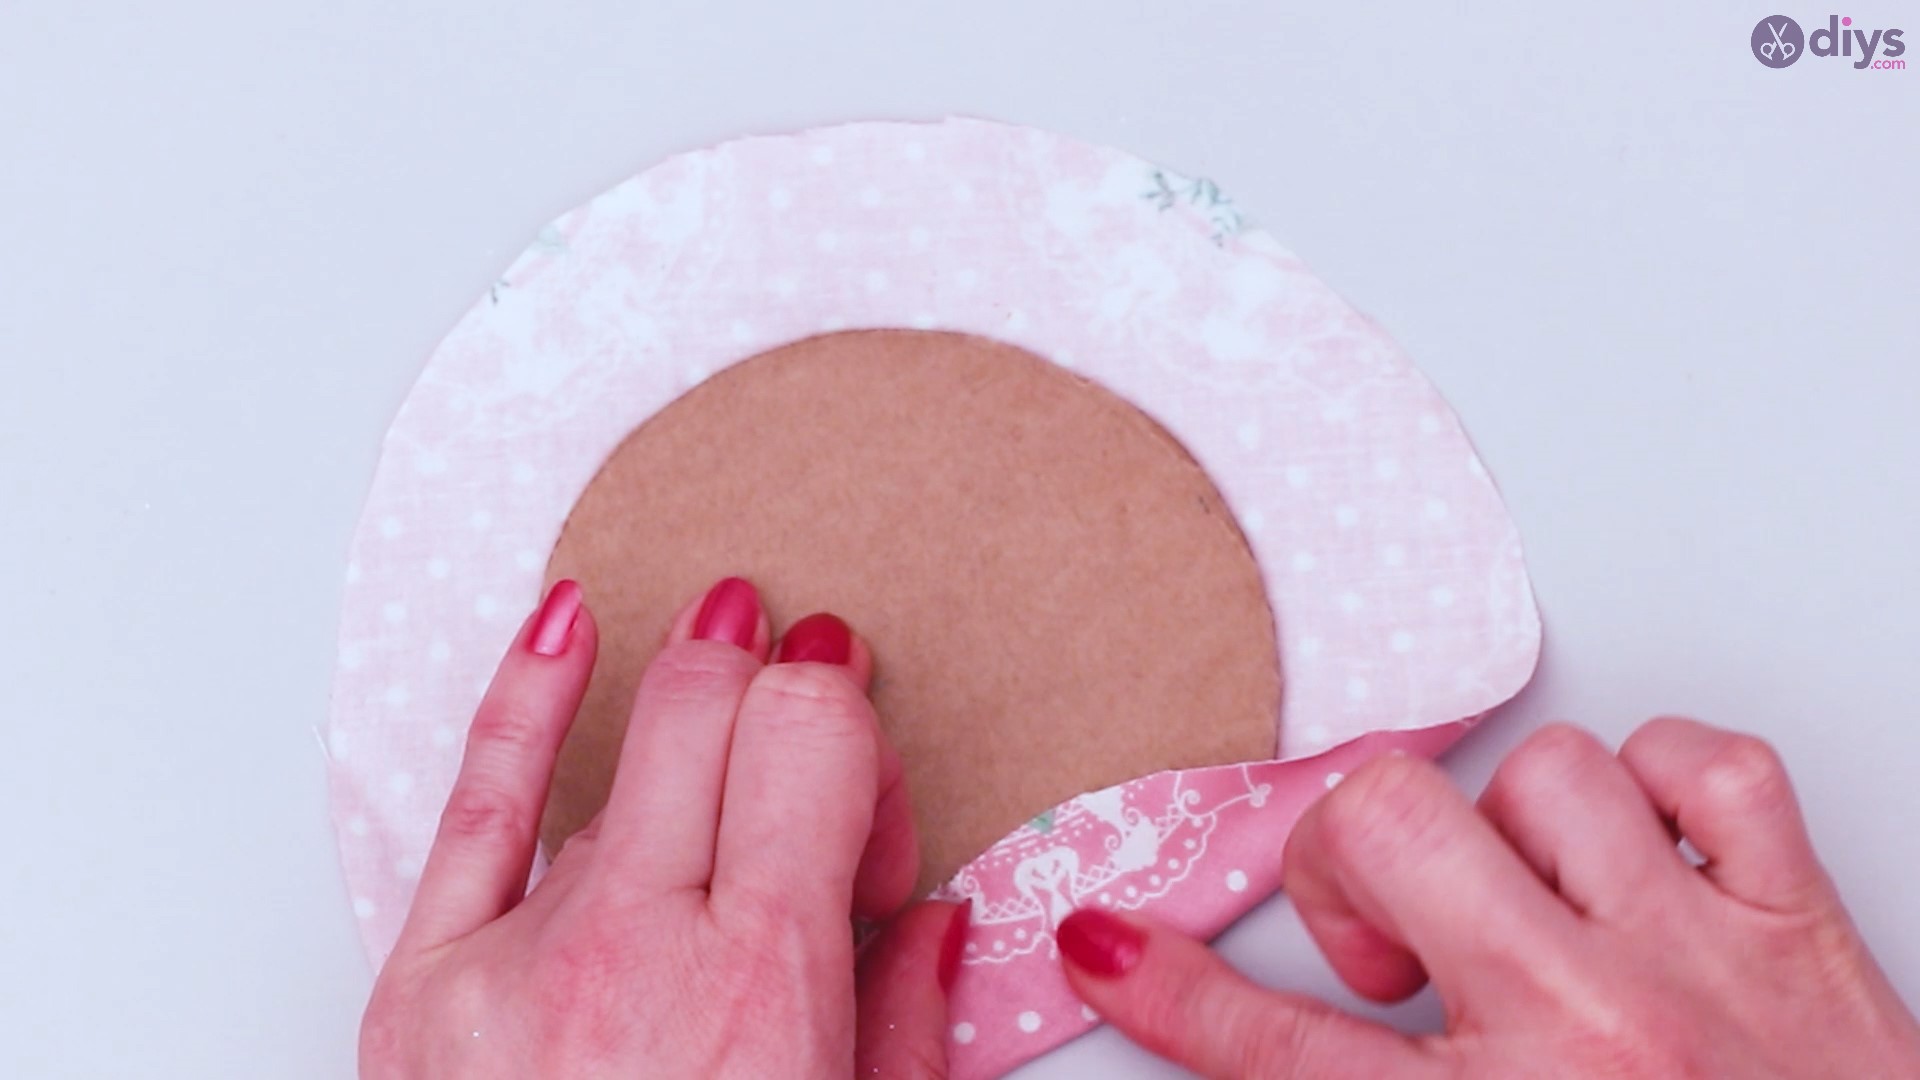
In the following steps, we are going to show you how to secure the fabric pieces to the cardboard cut-out. Fold the edges of the fabric so that they may cover up the piece of cardboard and conceal its edges.
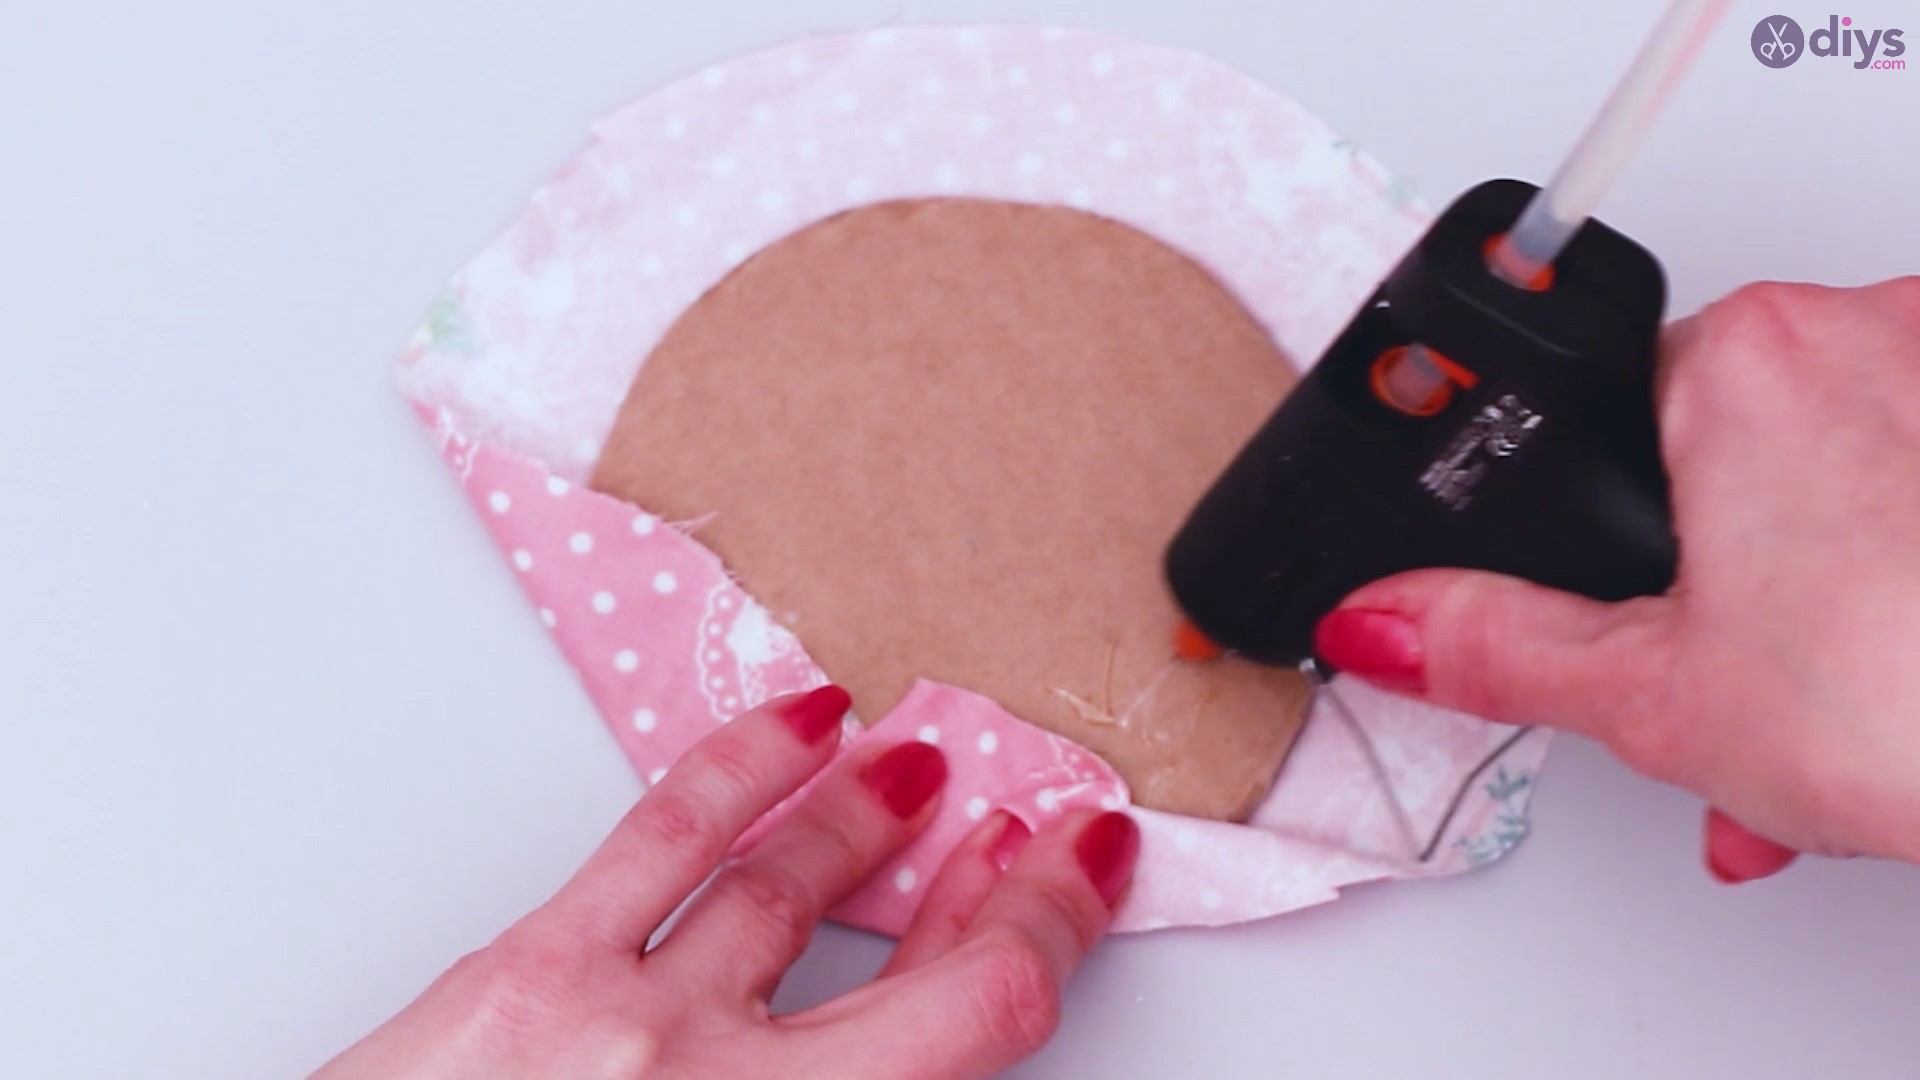
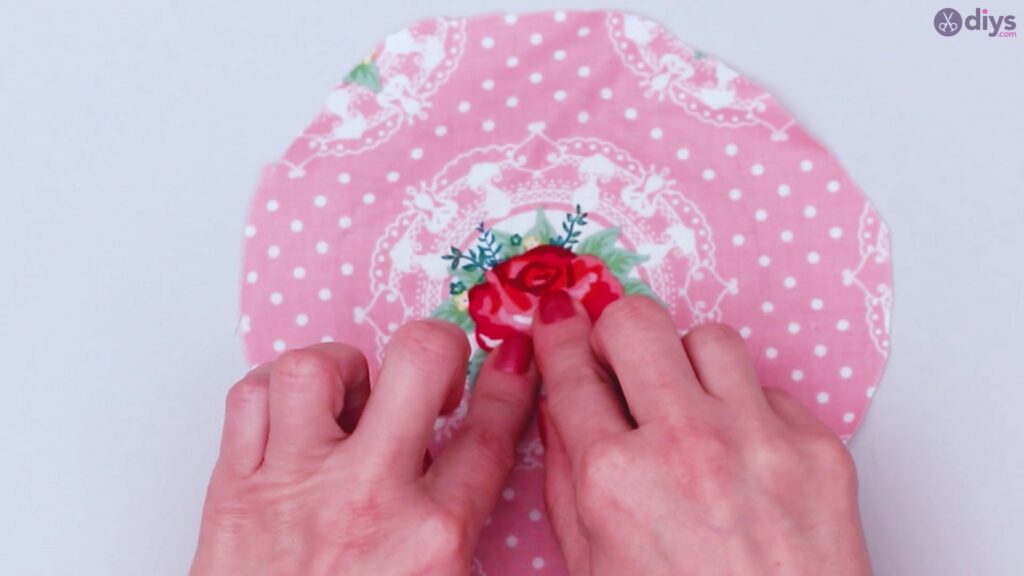
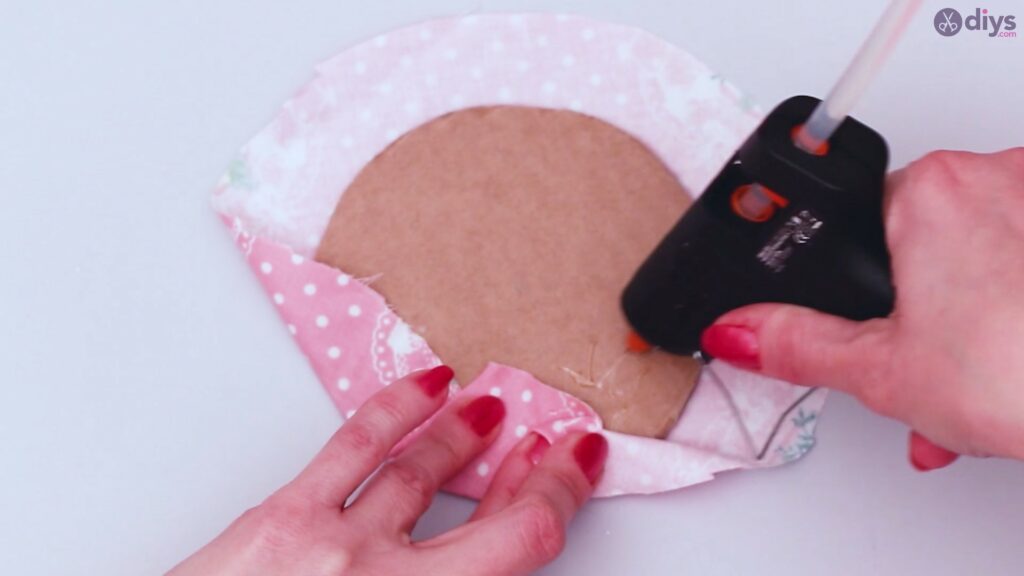
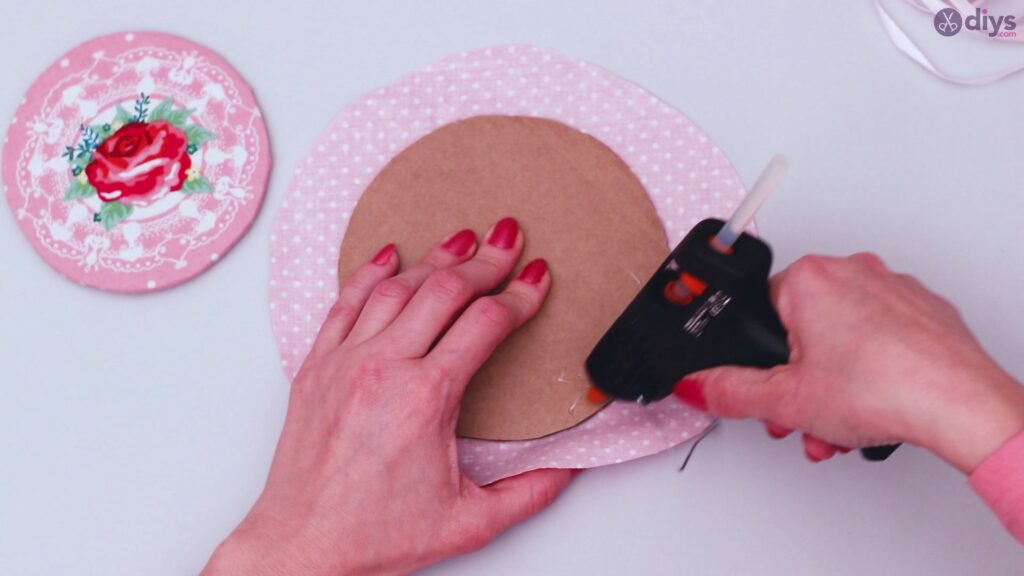
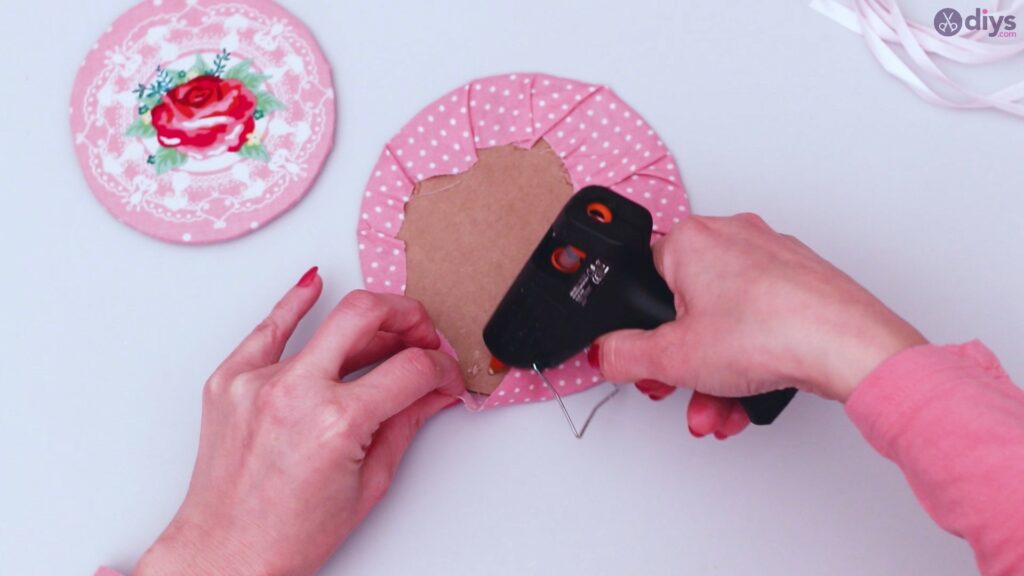
Use your glue gun to secure the center of the fabric piece to the center of the cardboard cut-out.
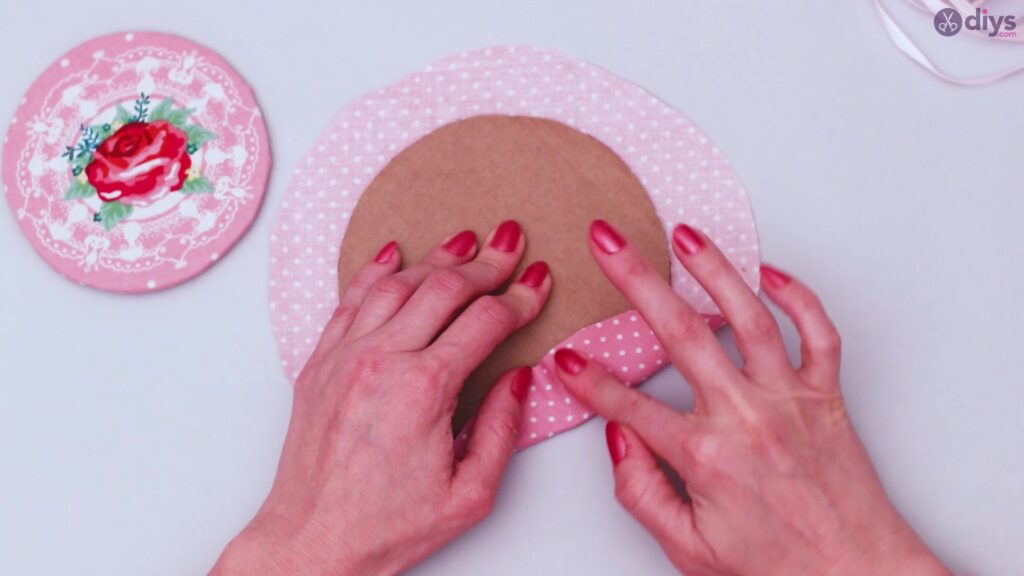
Apply pressure to make sure the textile sticks to the cardboard circle.
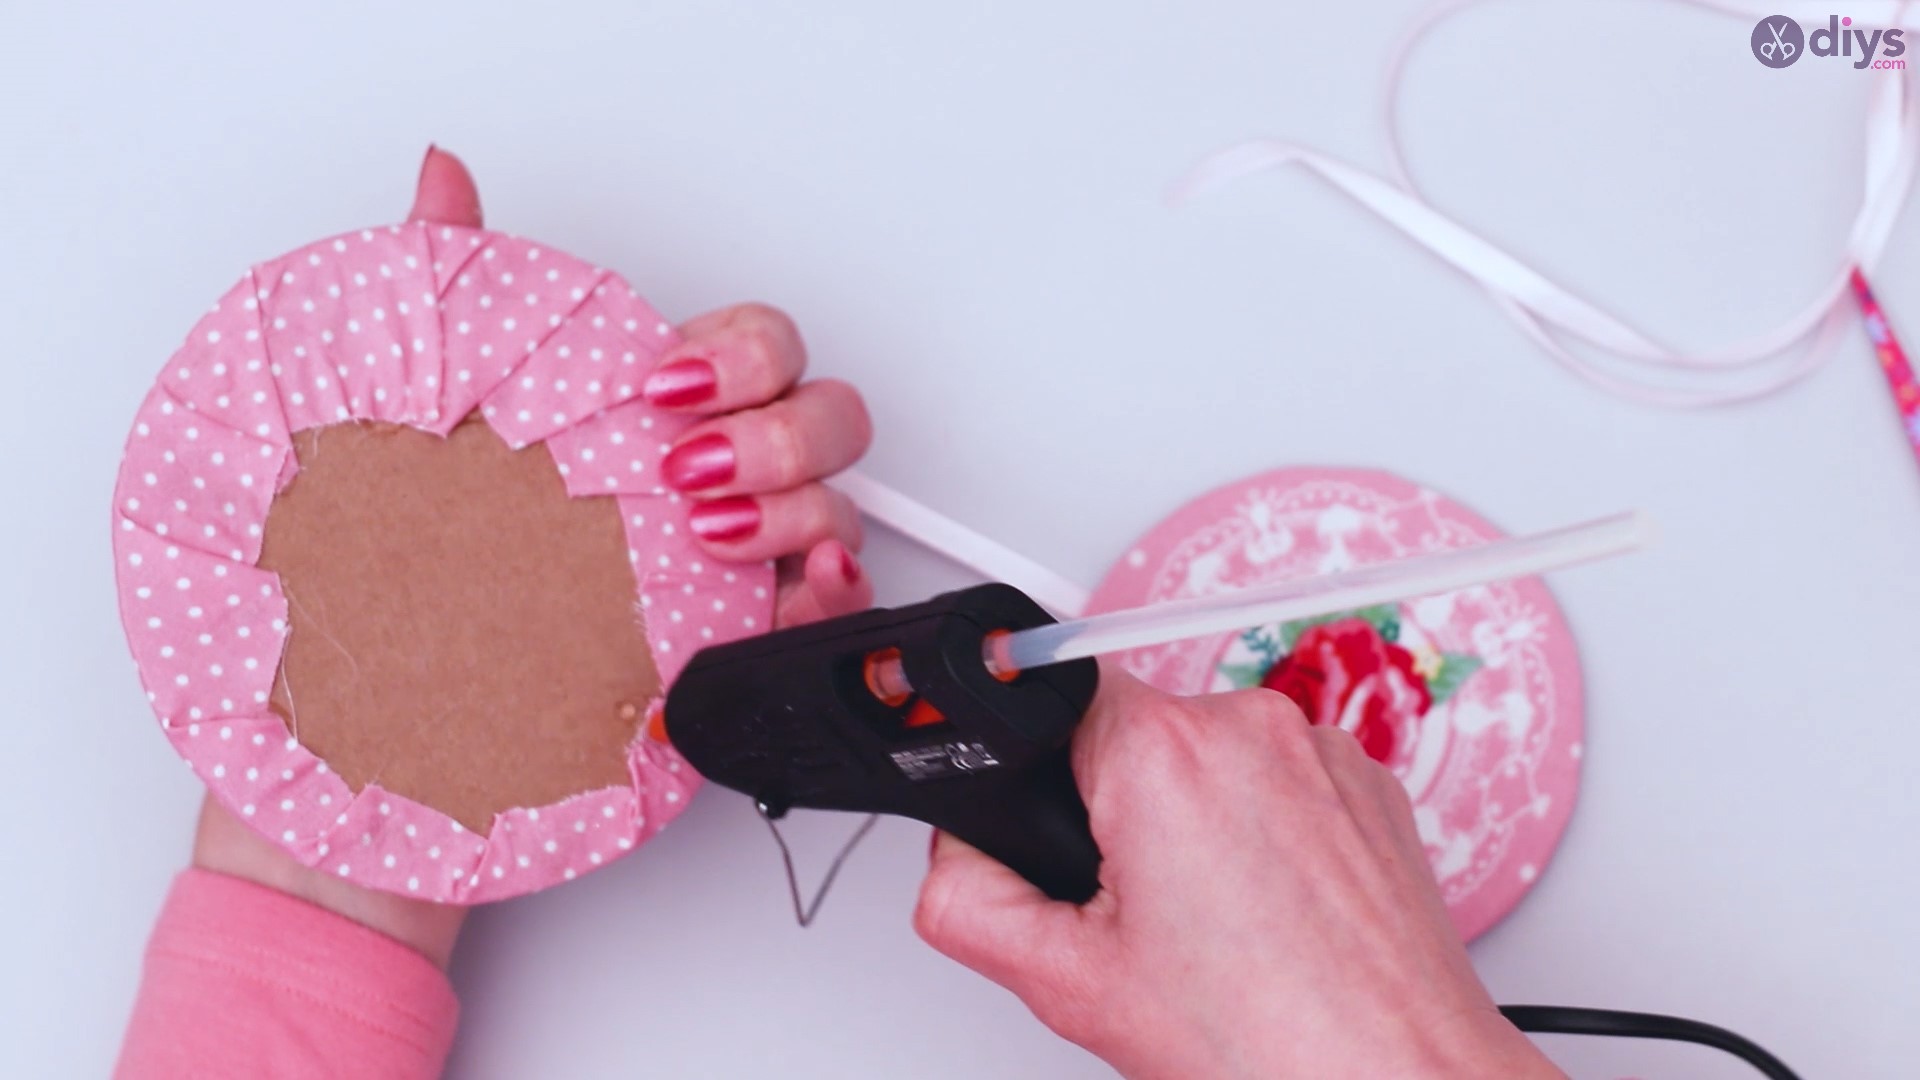
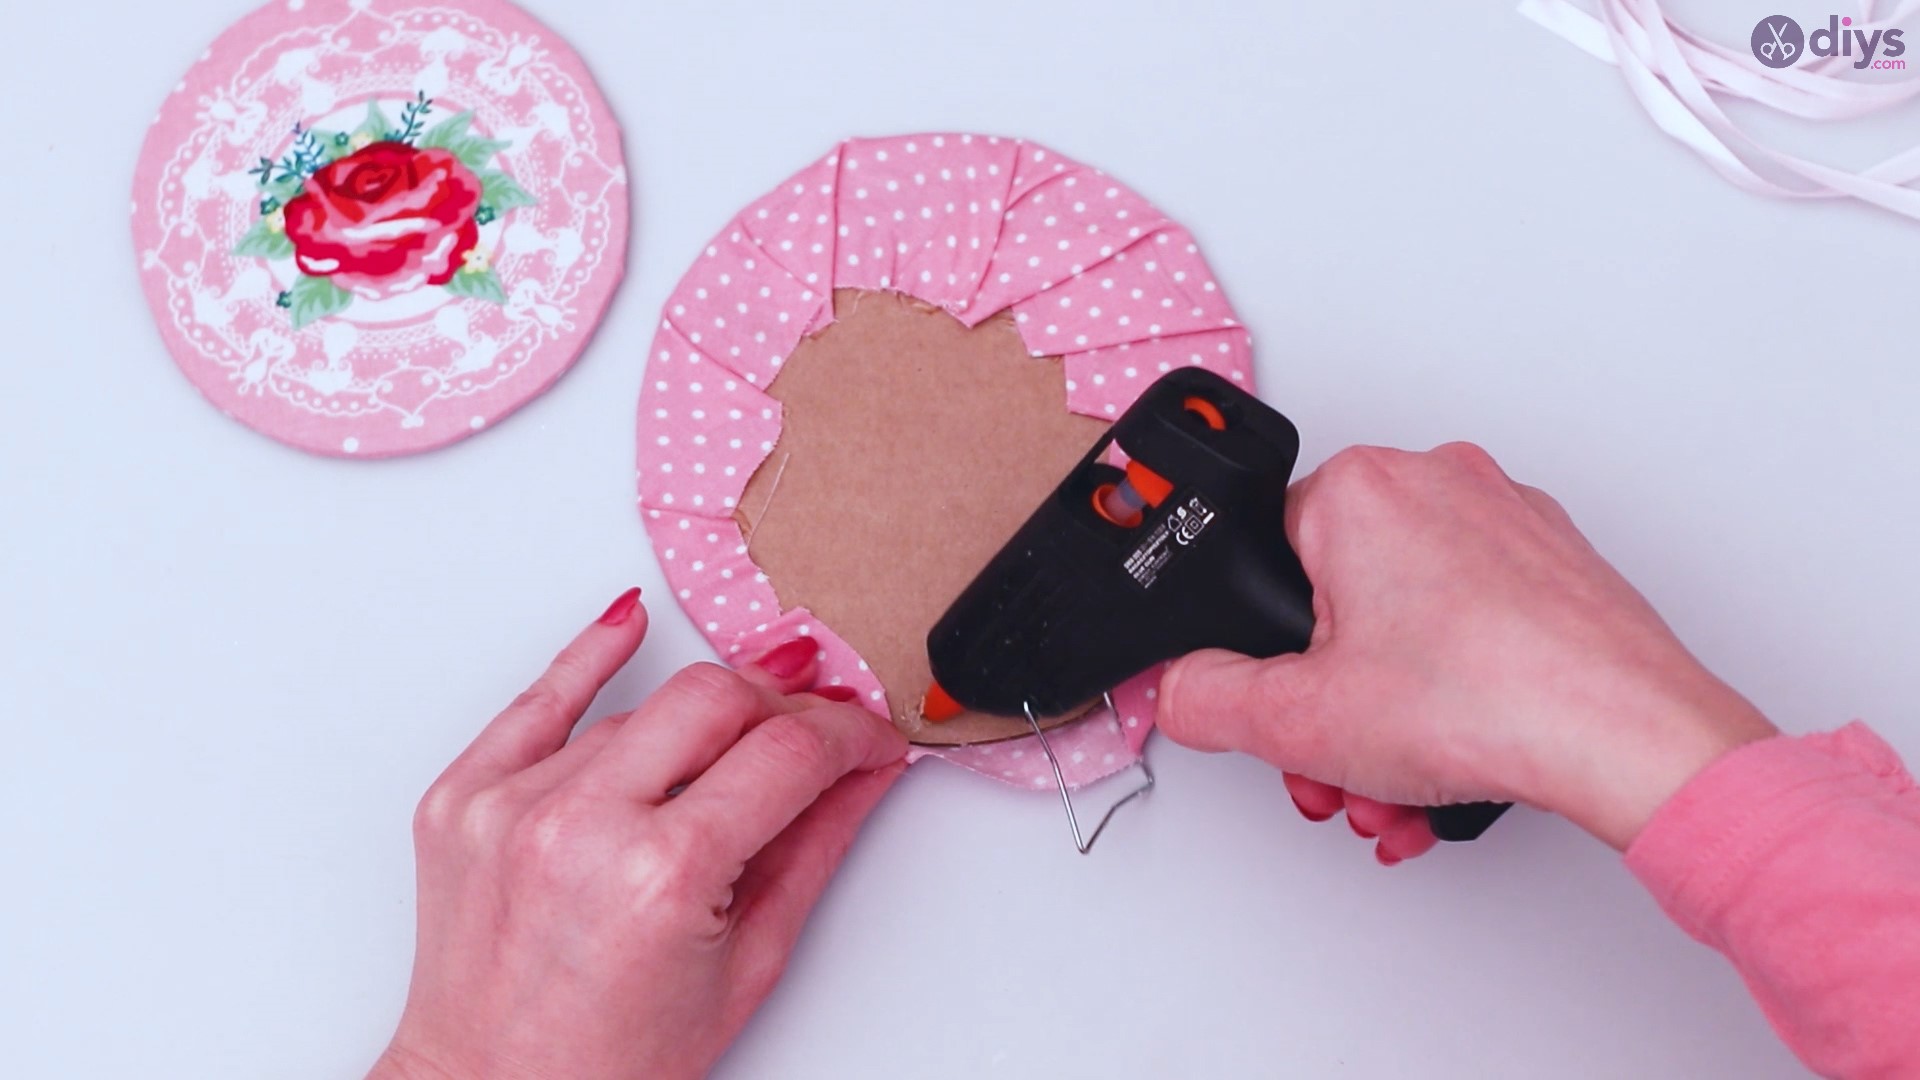
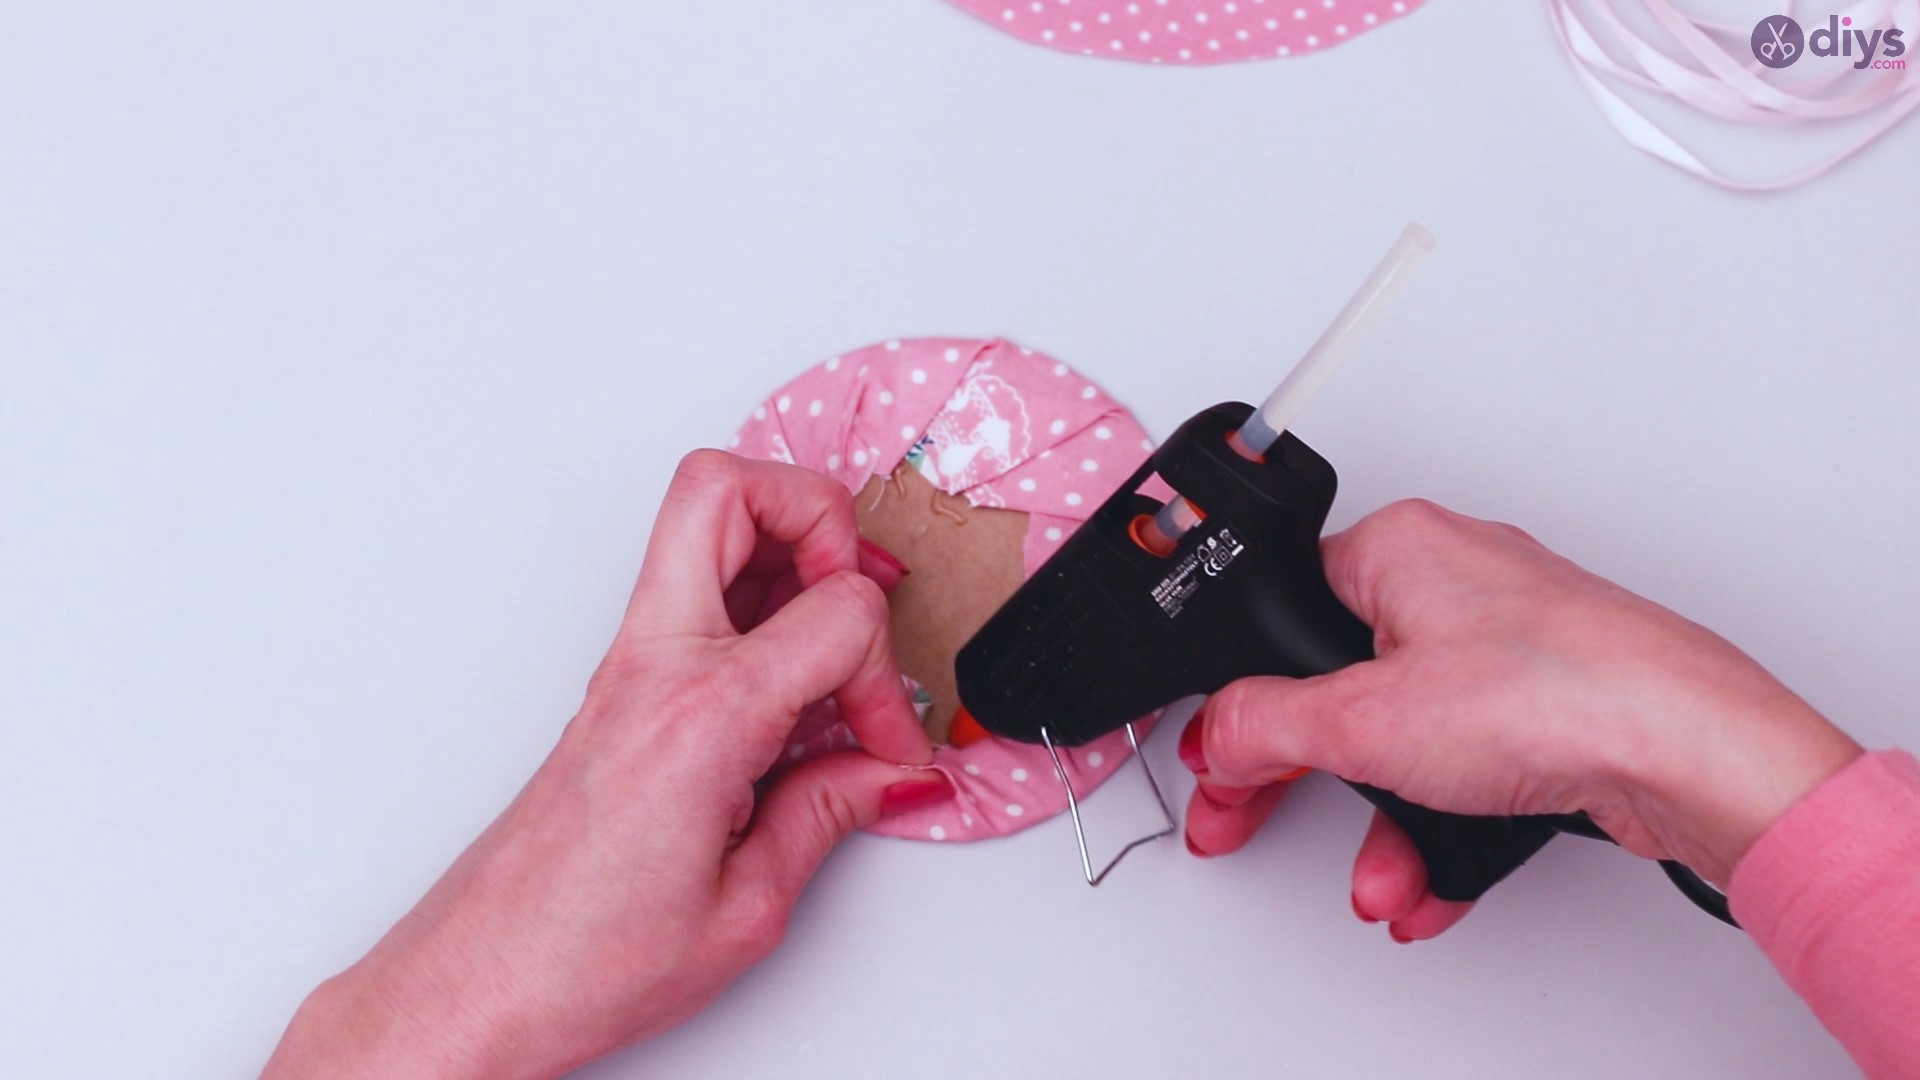
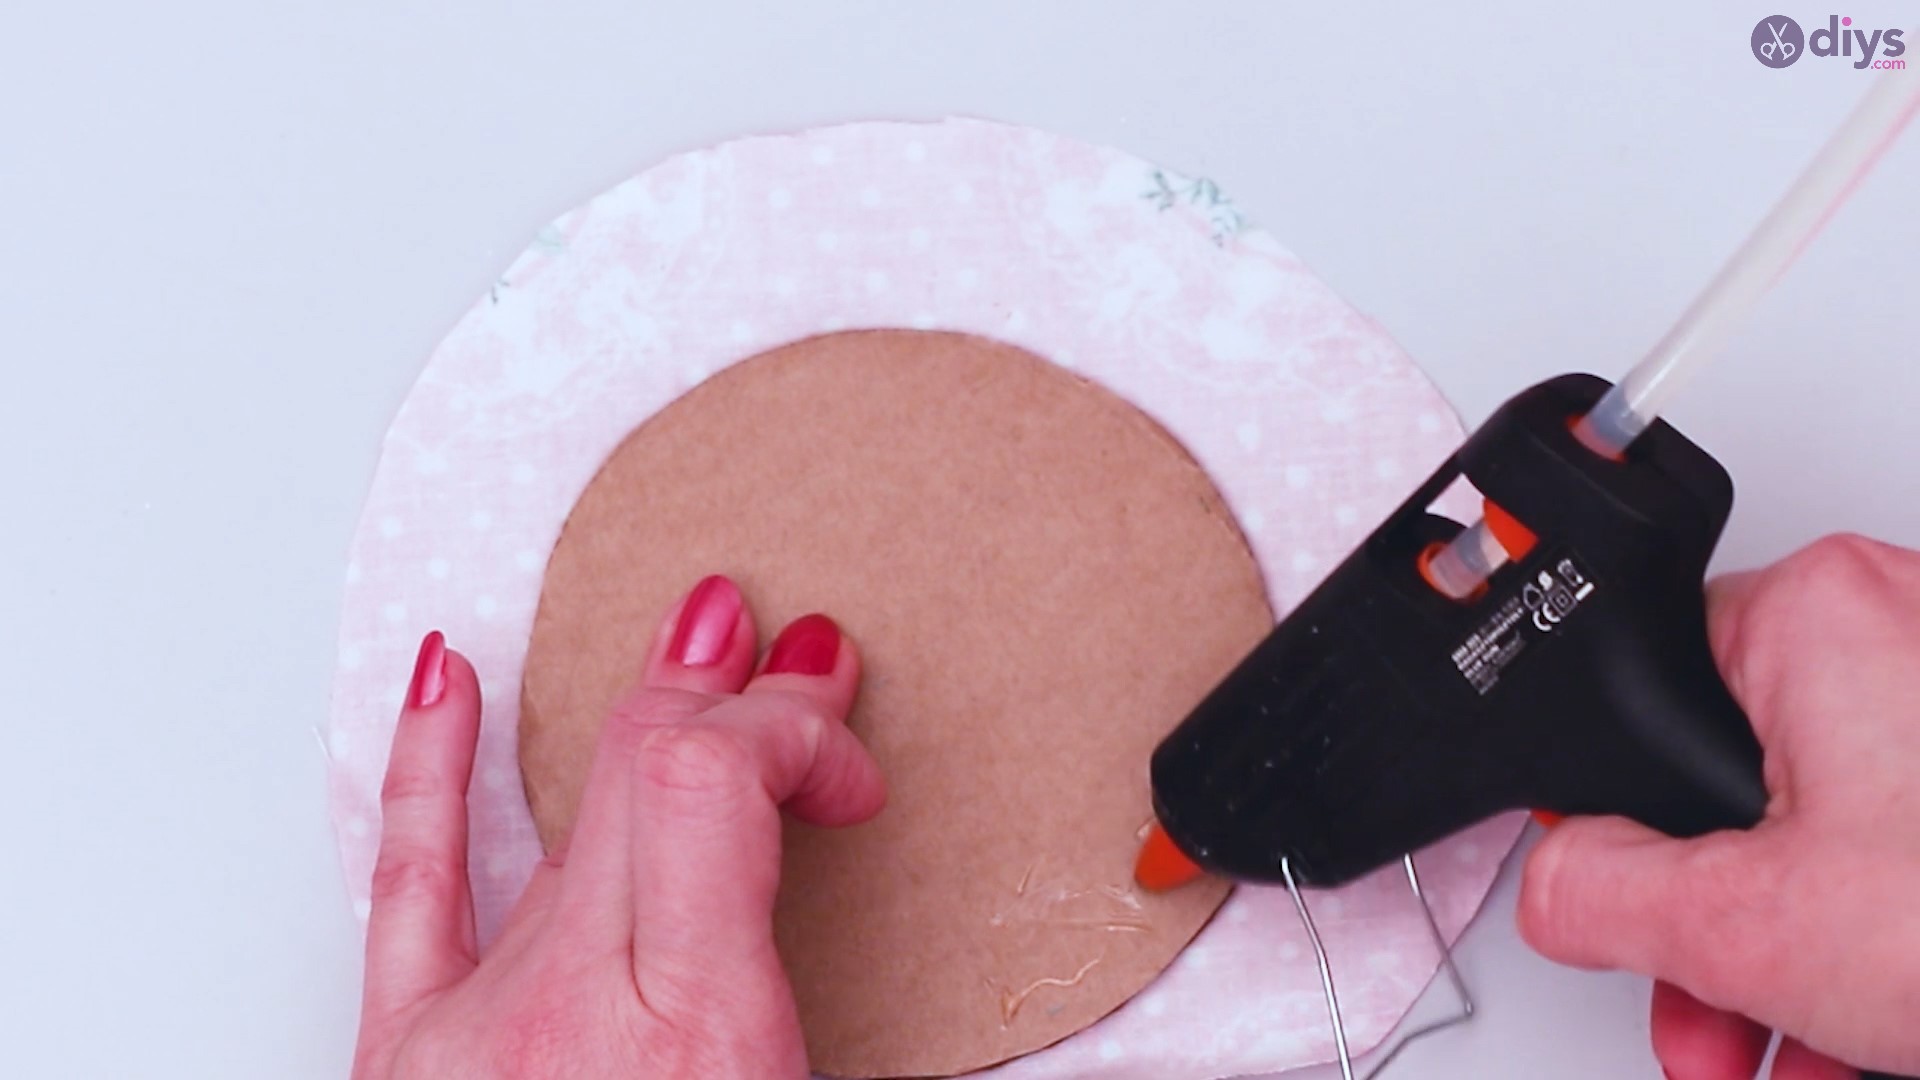
Apply more glue close to the edge of the cardboard circle and apply pressure on the fabric to make sure they stick to one another.
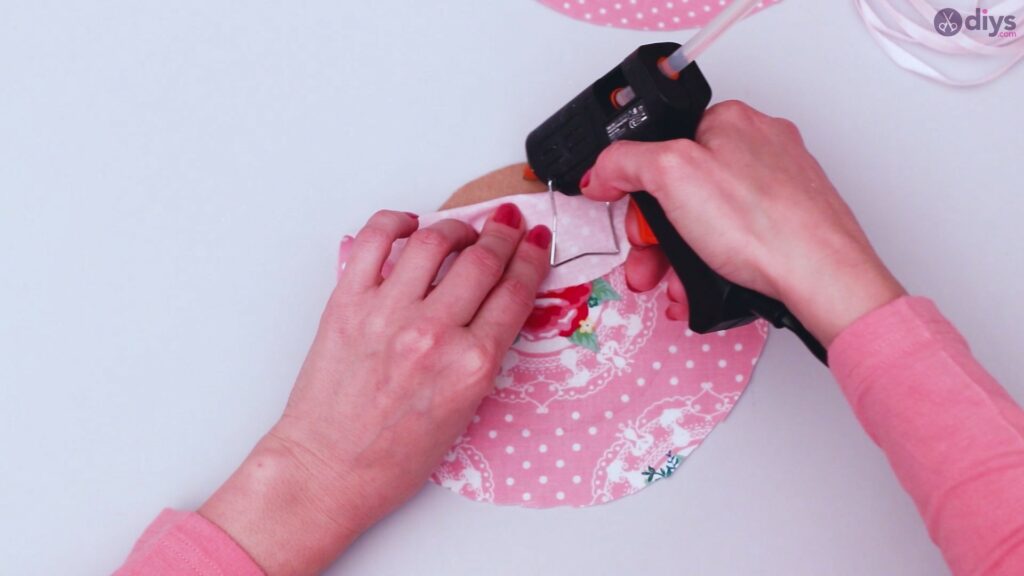

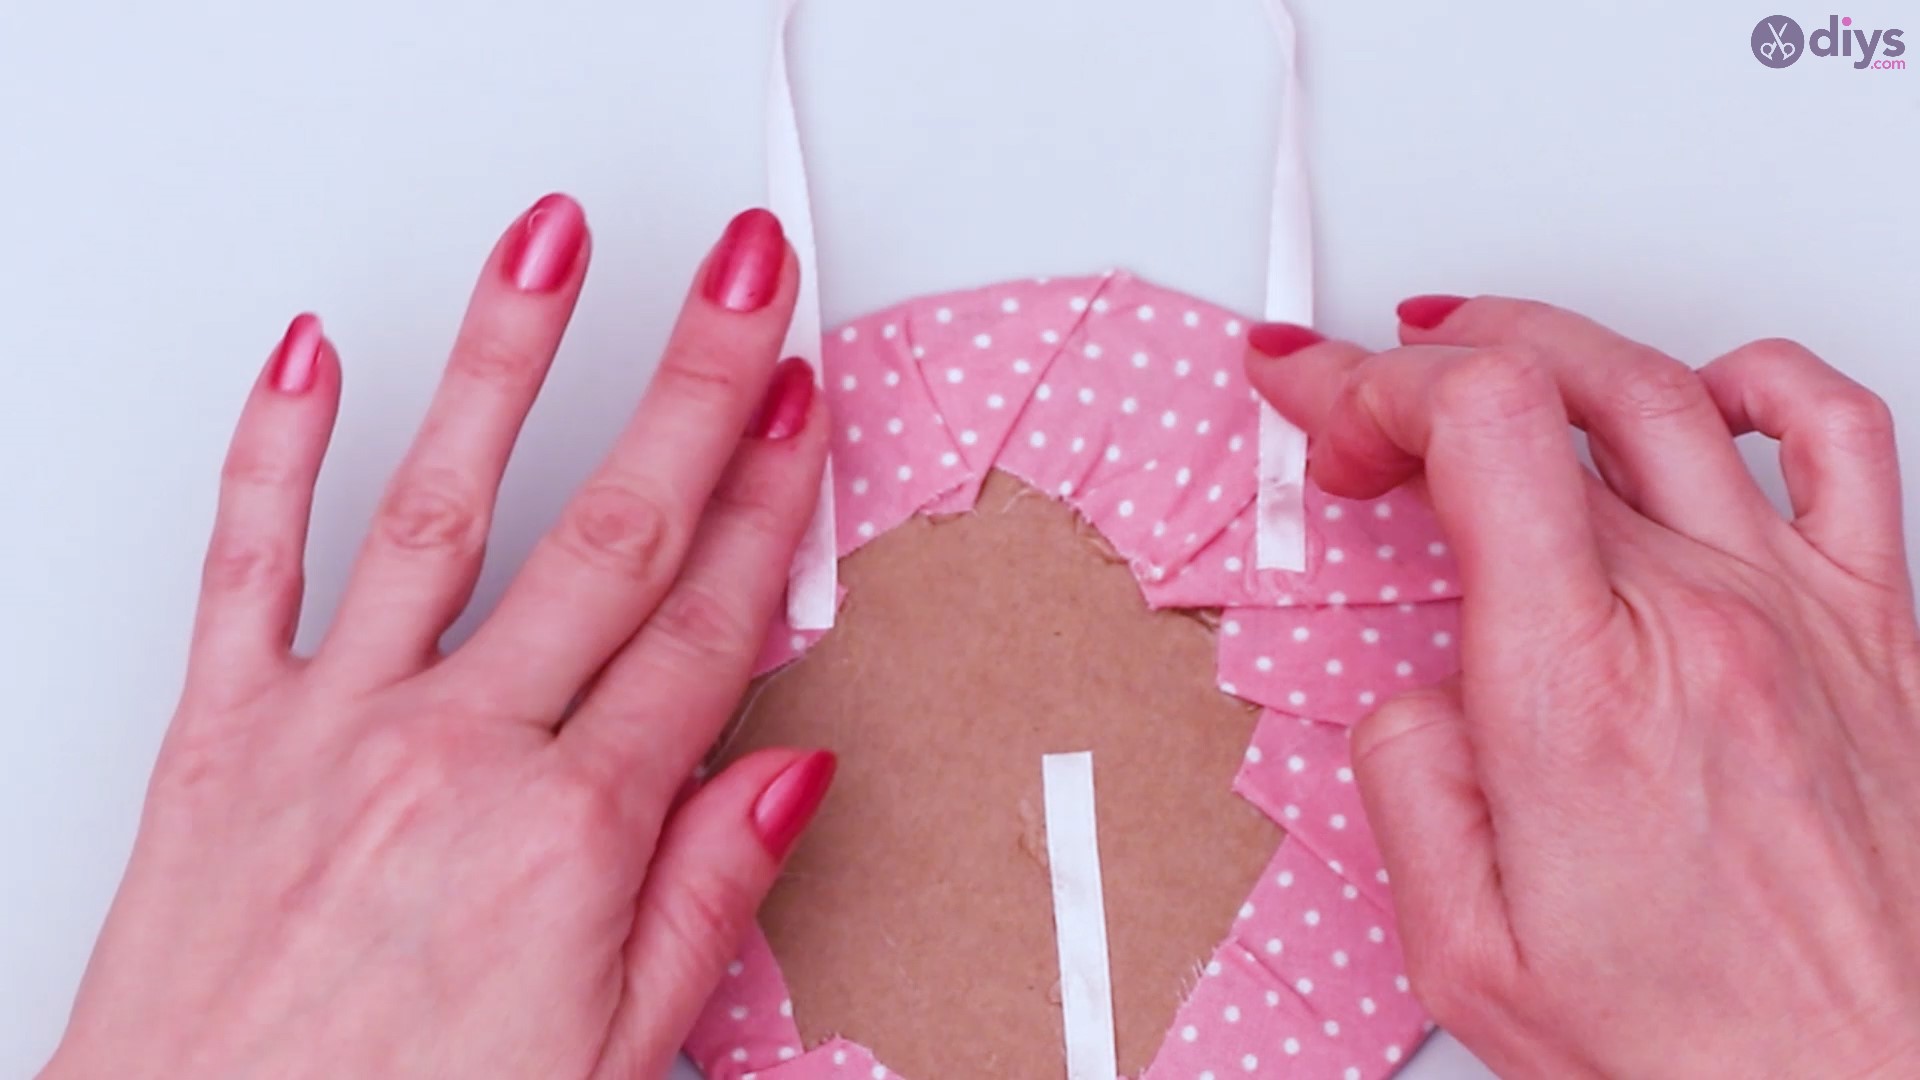
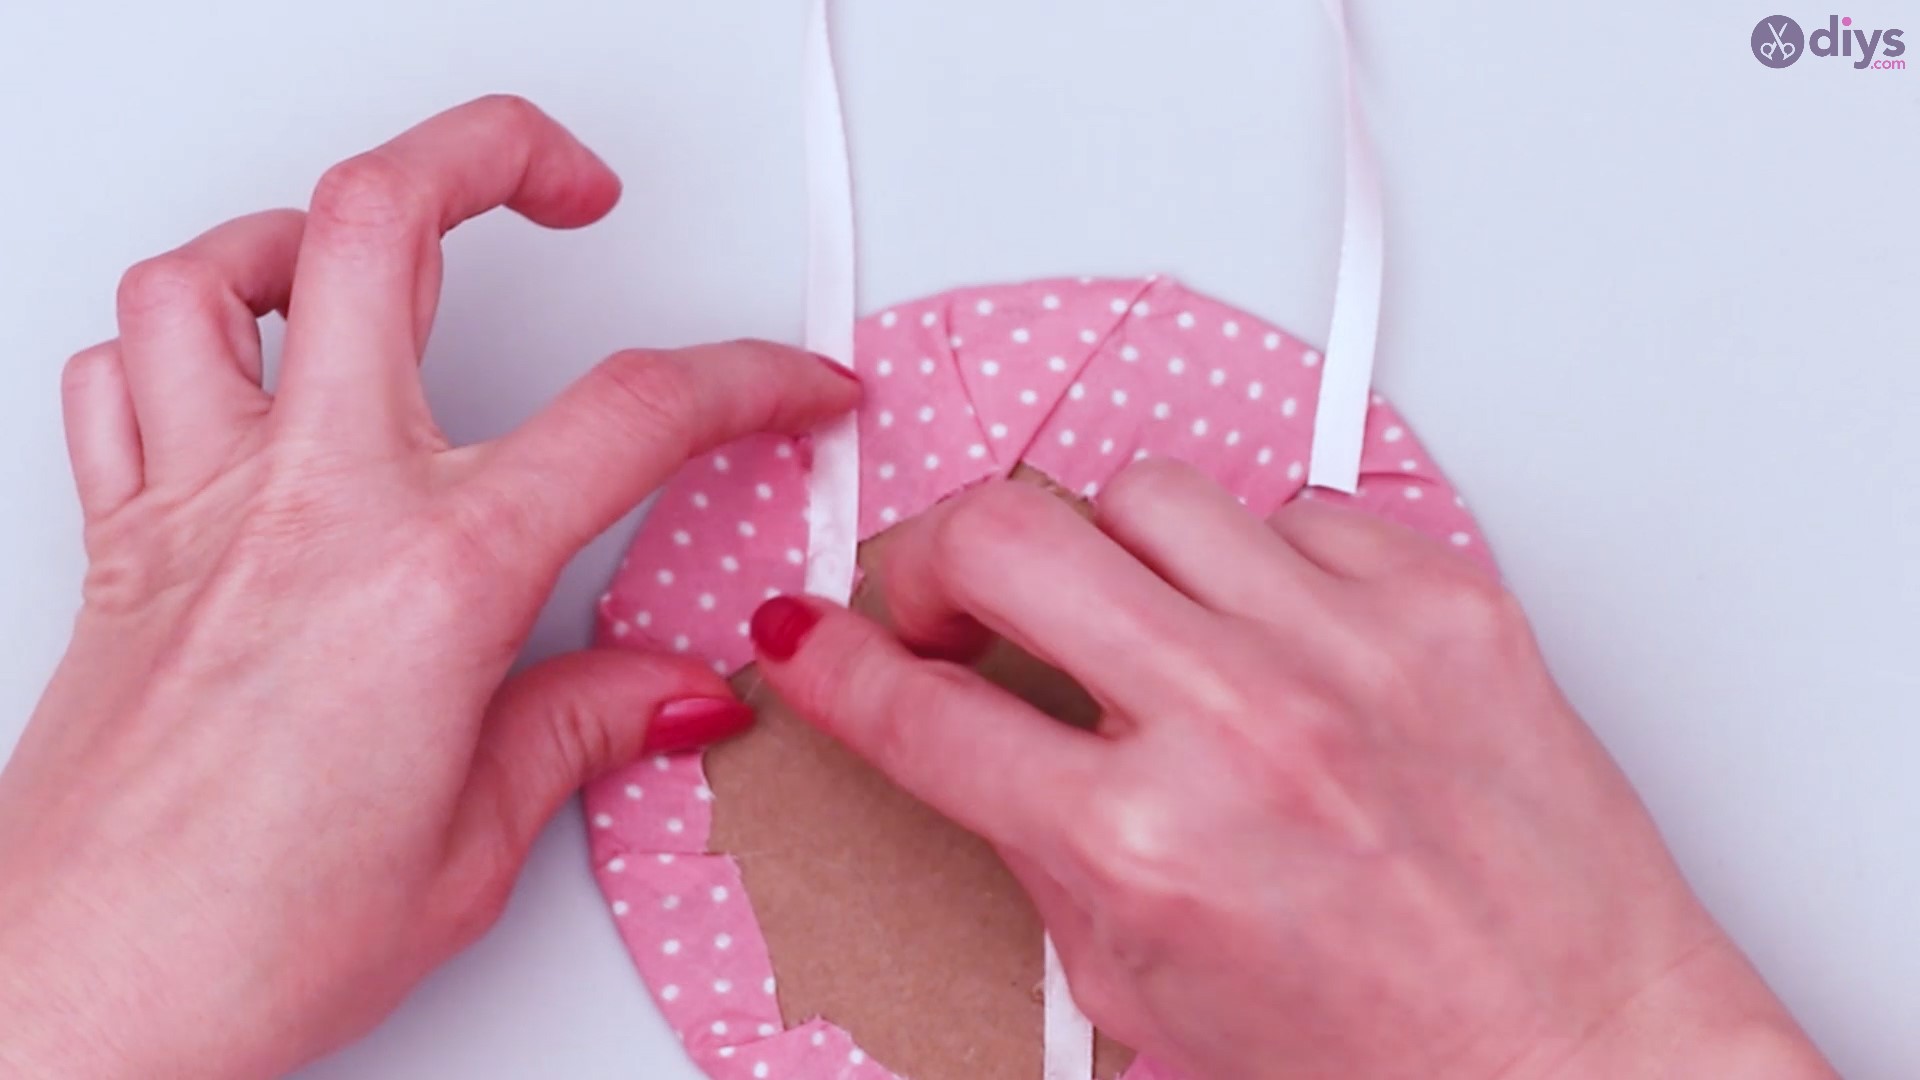
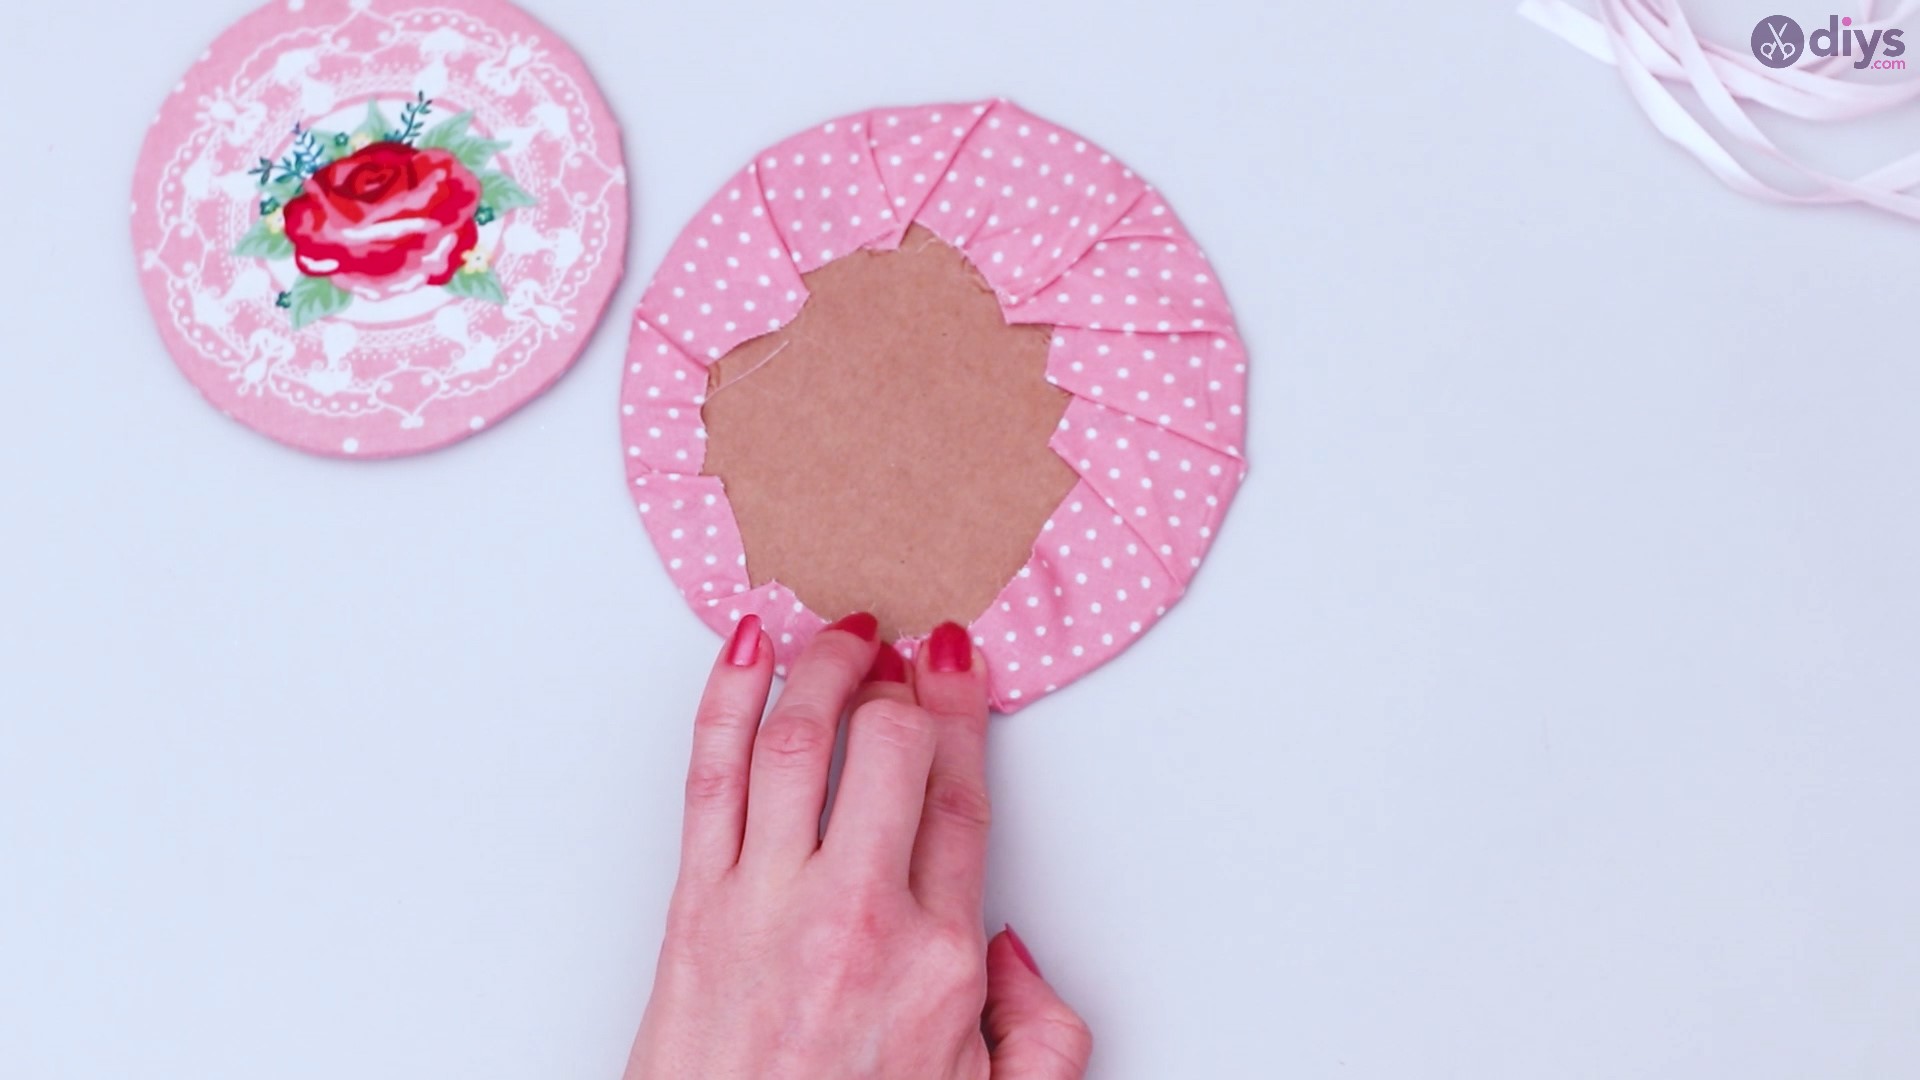
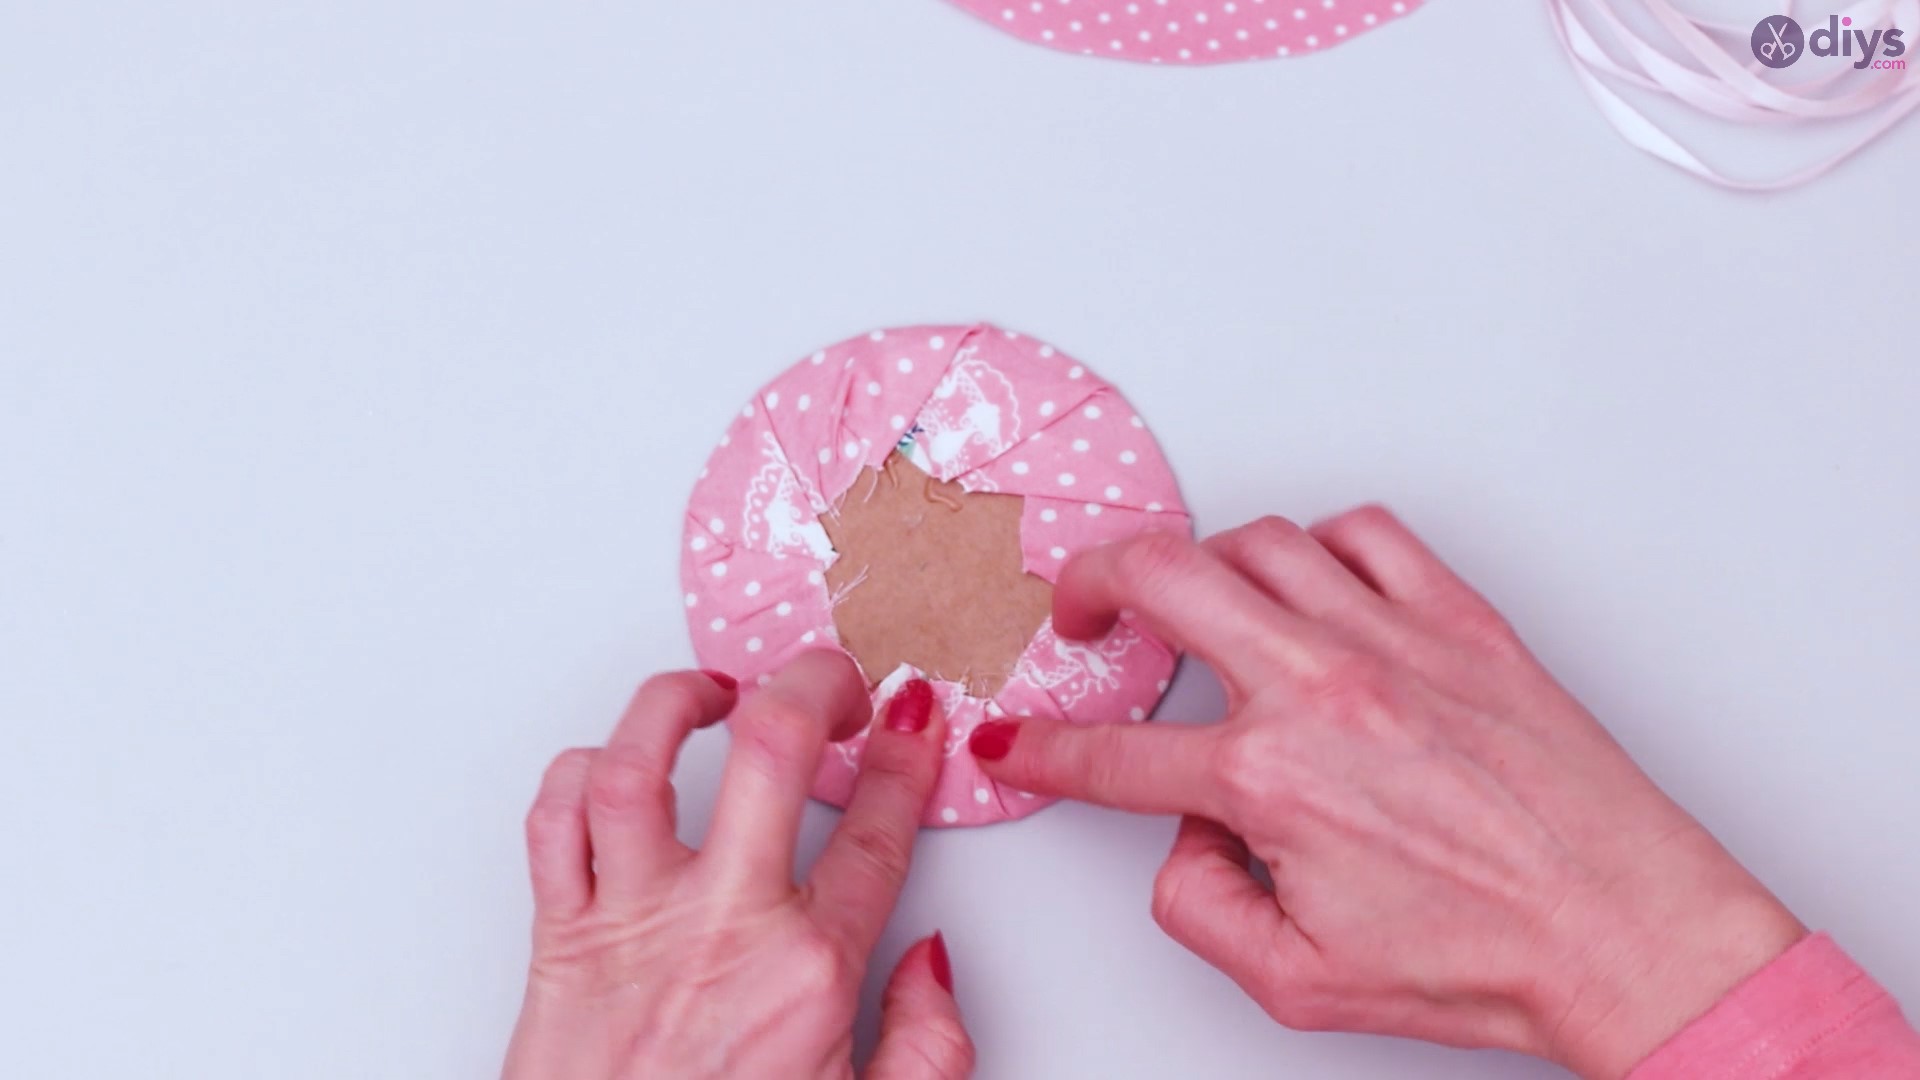
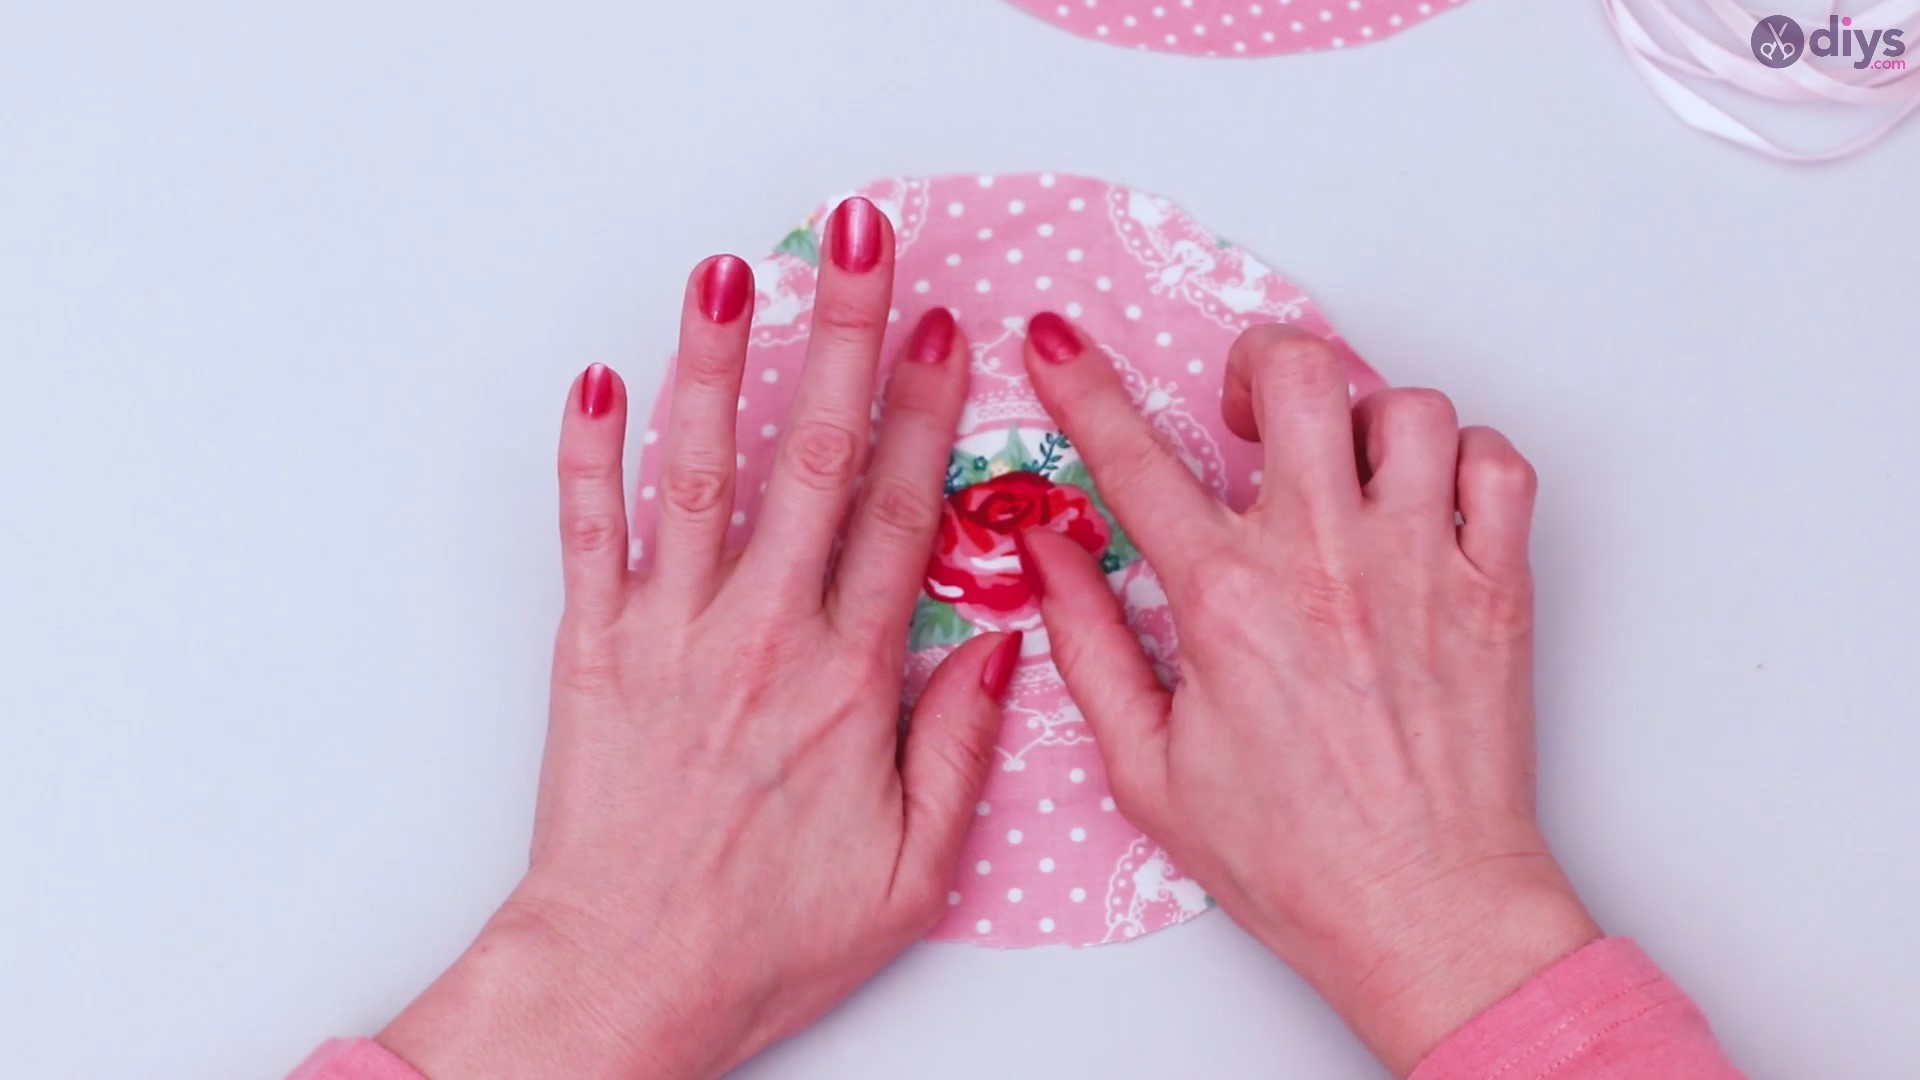
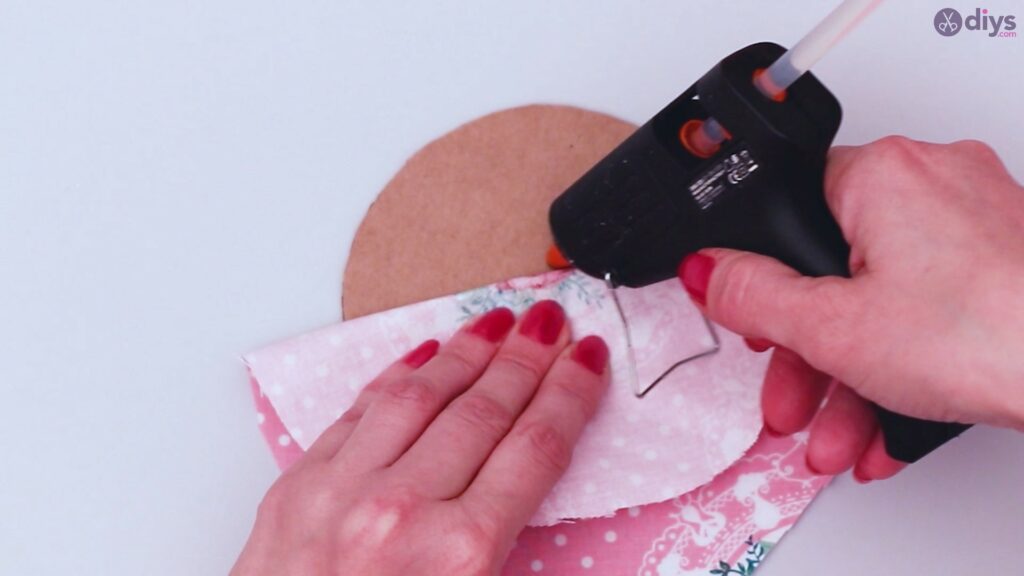
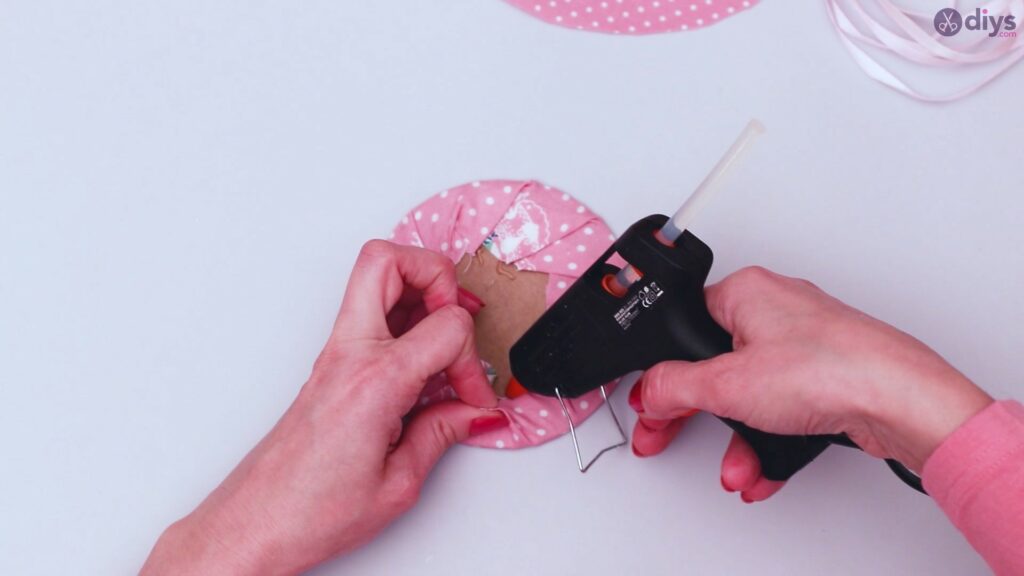
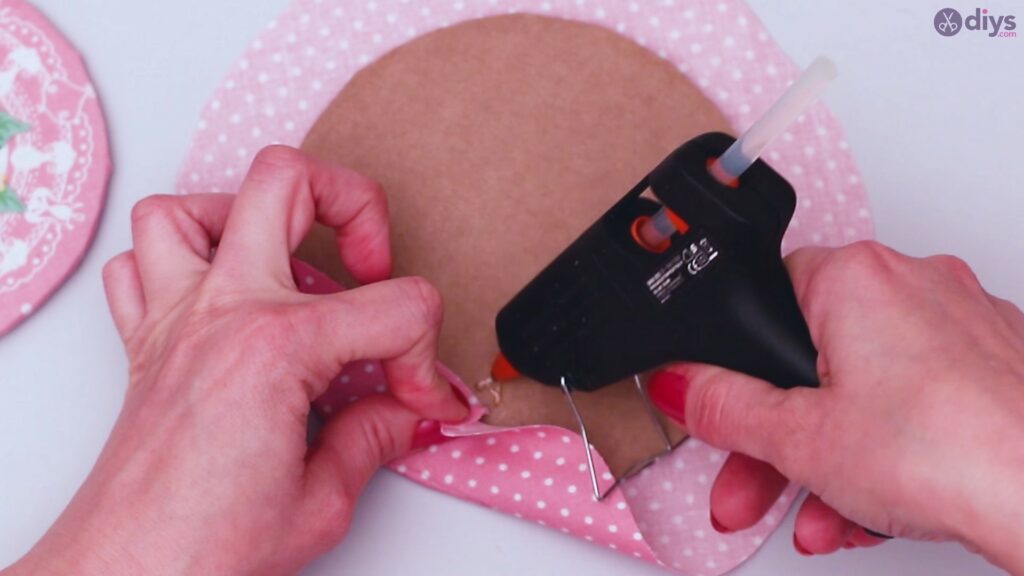
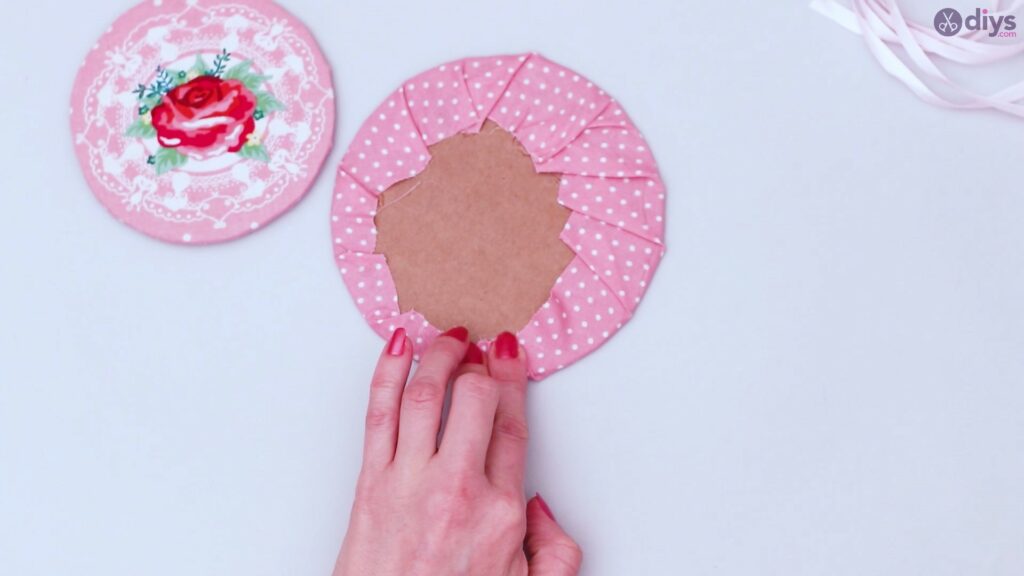
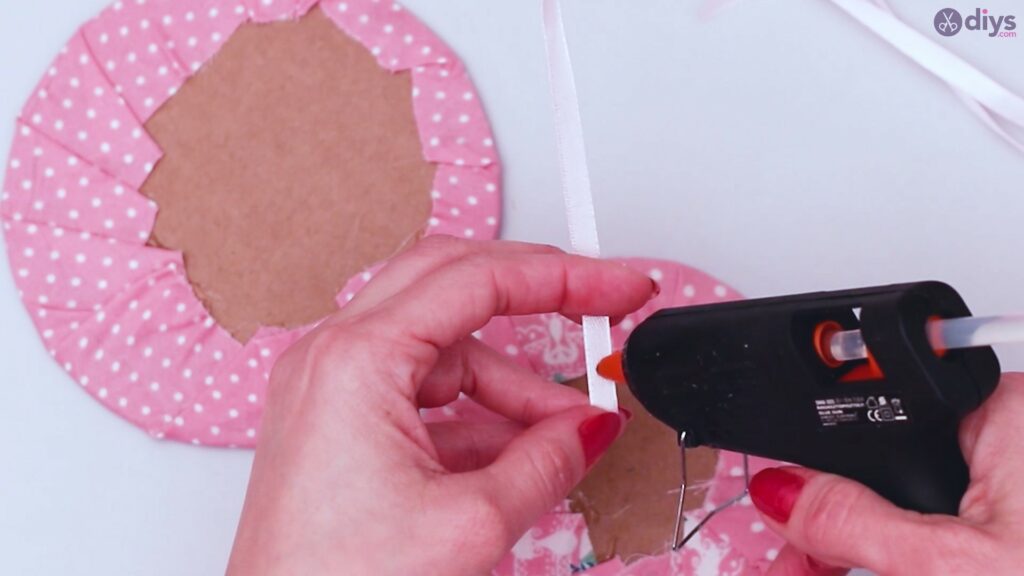
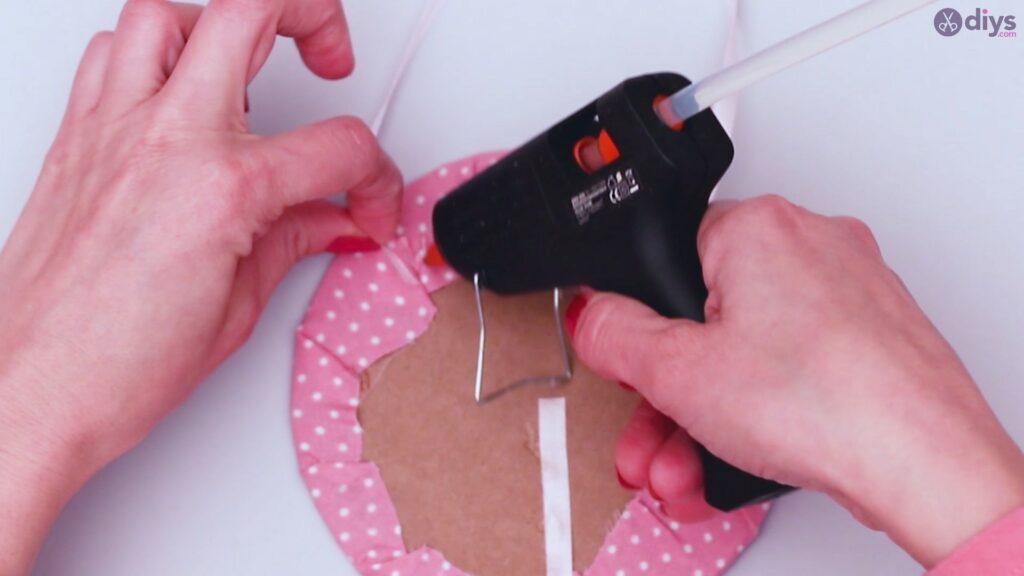
Flip the disc over and start adding glue close to the back edge of the cardboard cut-out.

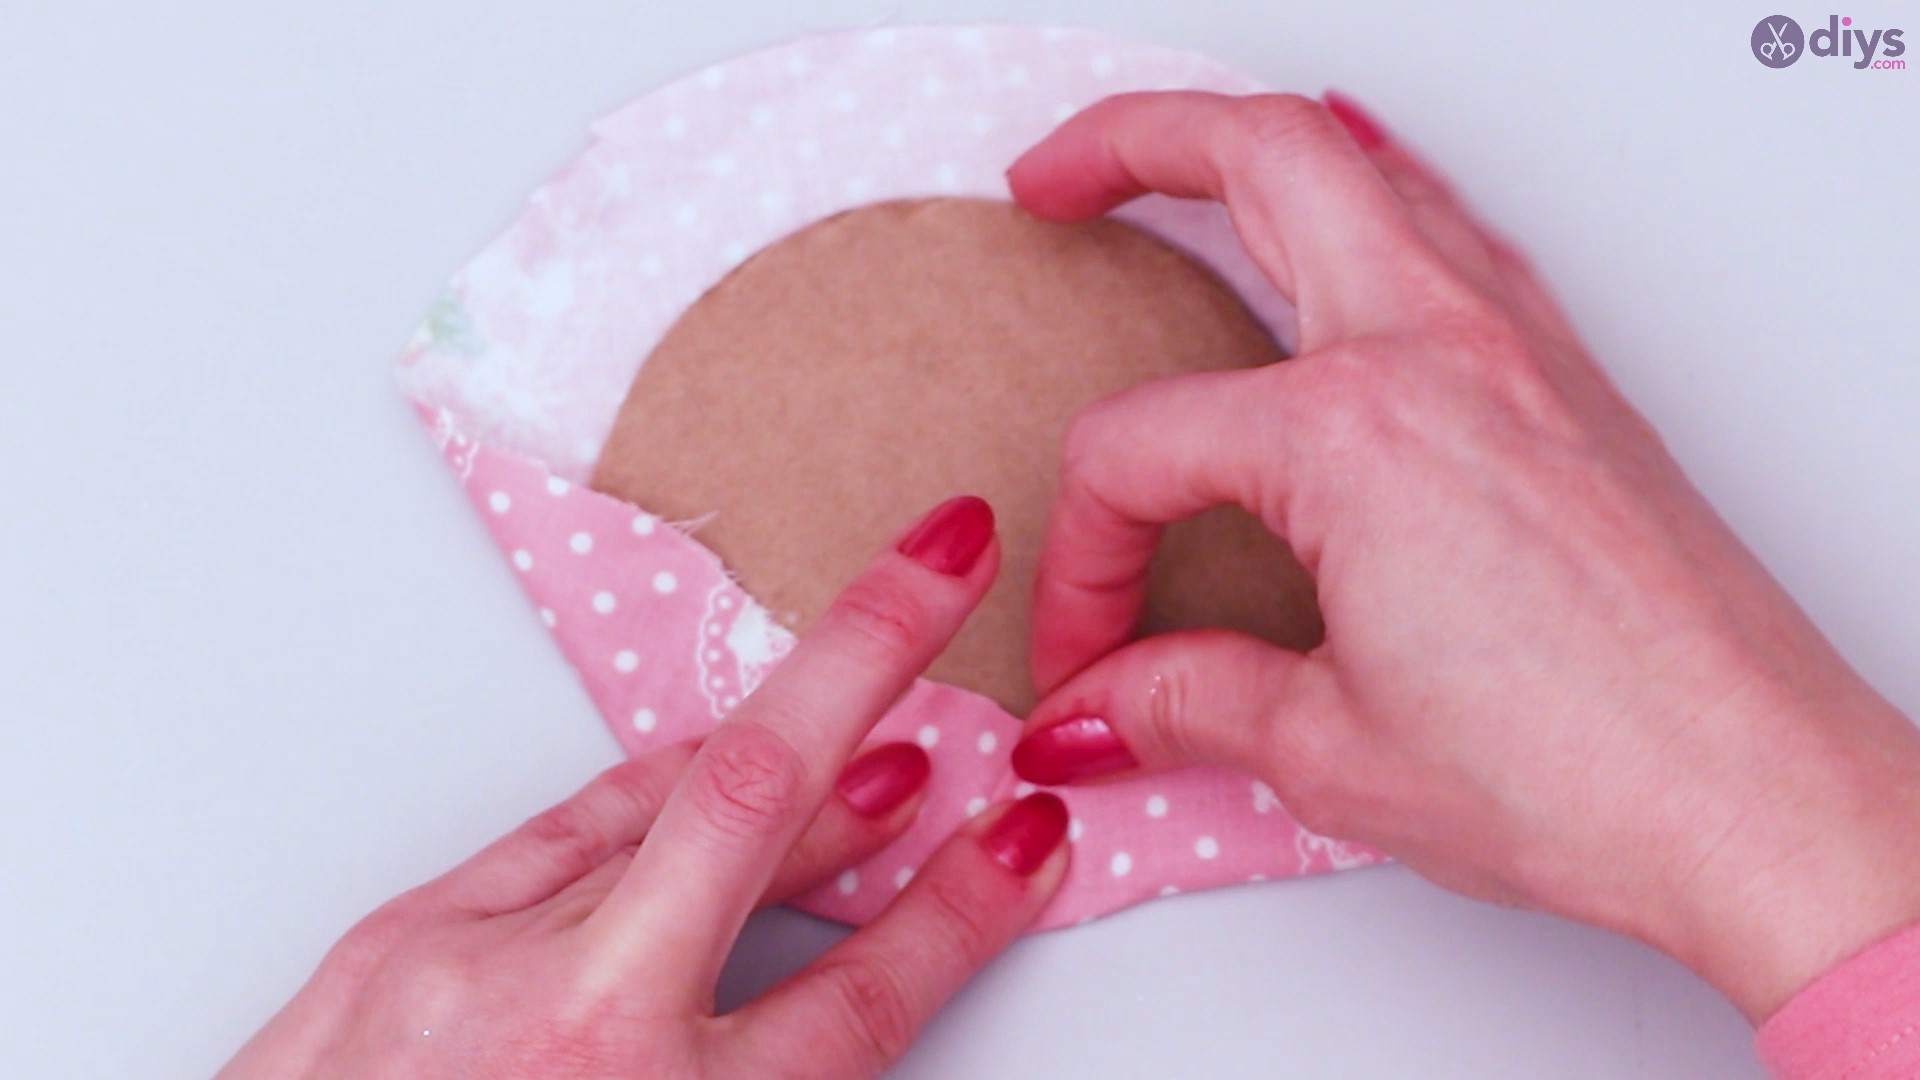
Then, proceed to folding the edges of the fabric so that it sticks to the freshly-applied glue.
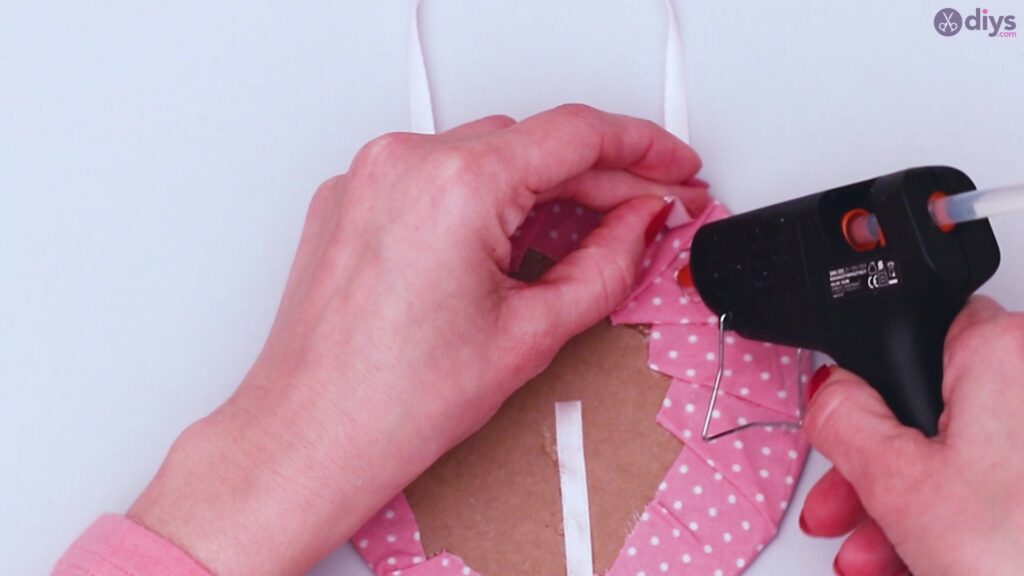
Repeat the process as you go along, adding more glue to the back edges of the cardboard cut-out and then folding the fabric so that it sticks in place.

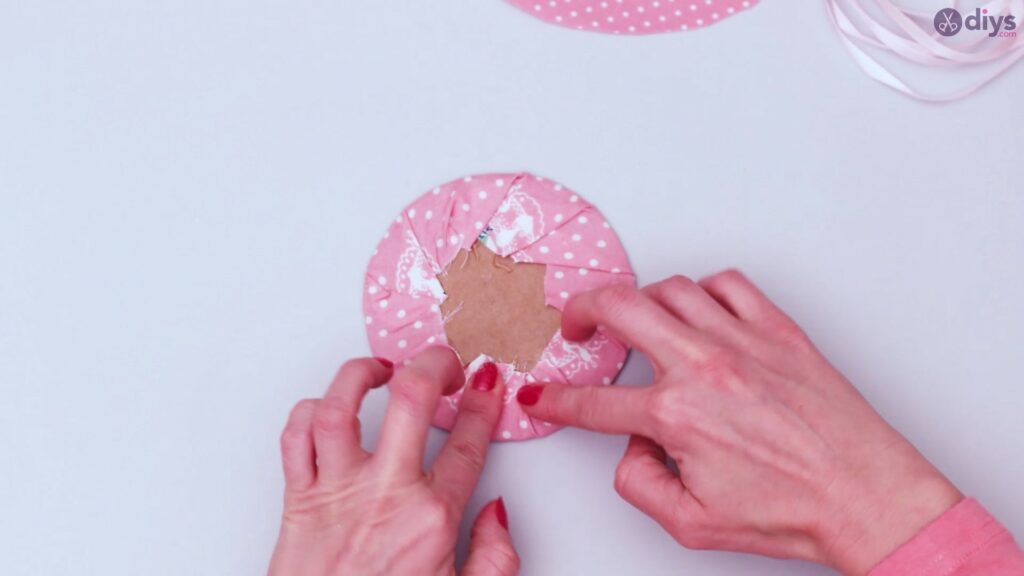
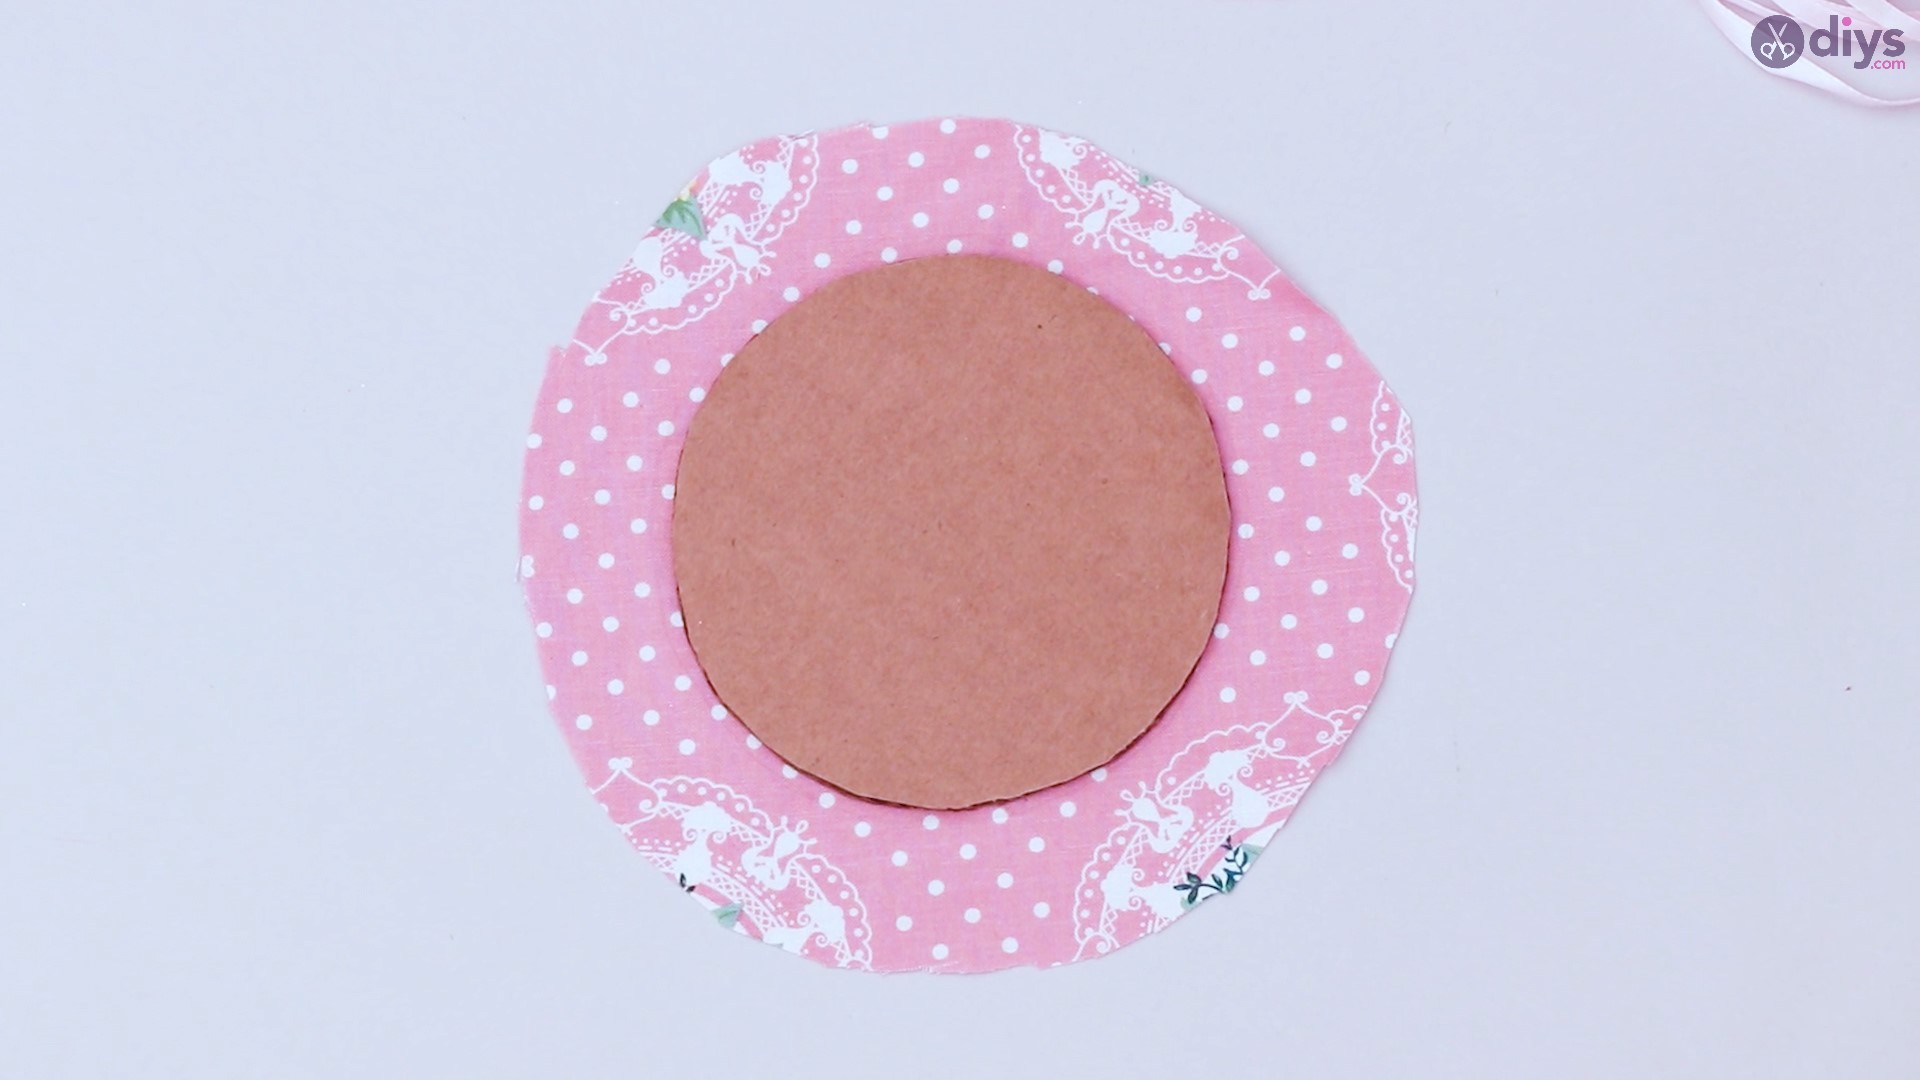
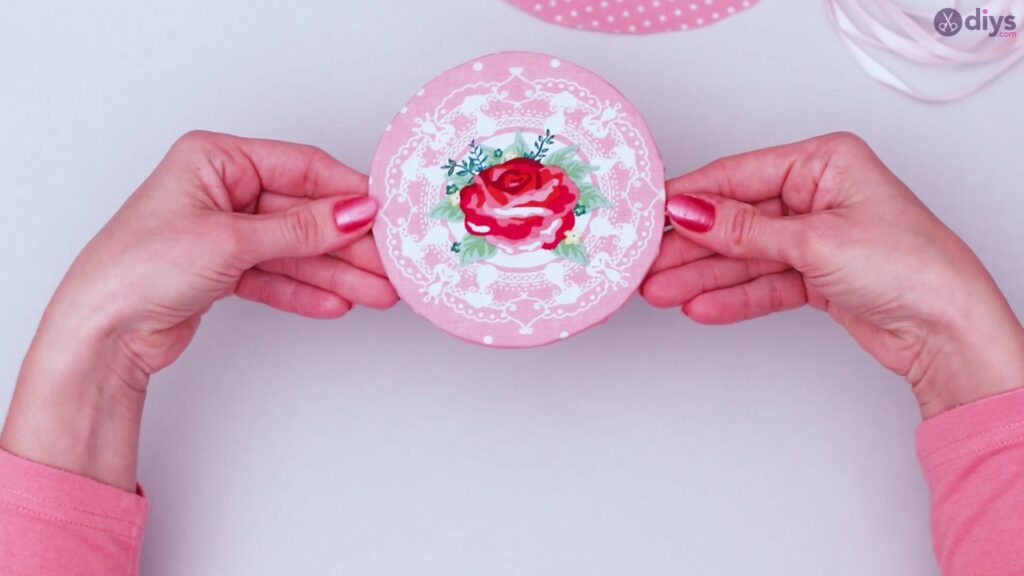
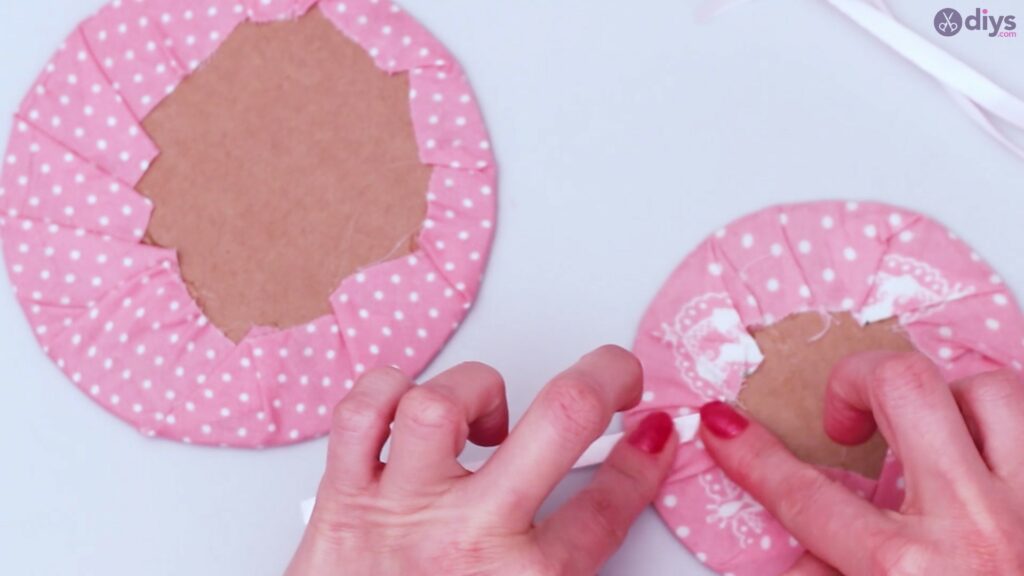
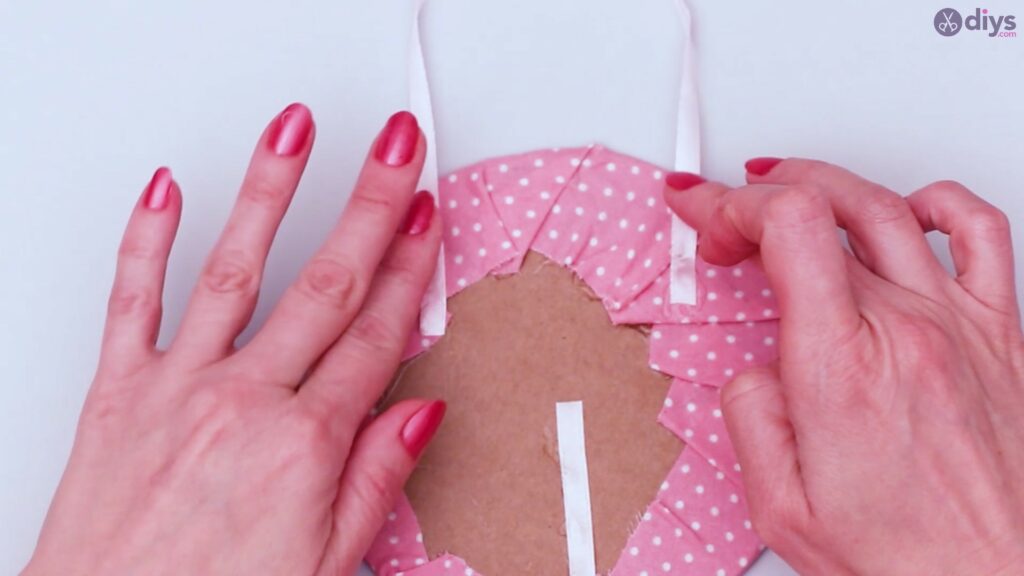
When you’re done, your first half of the wall-handing art should look something like this:
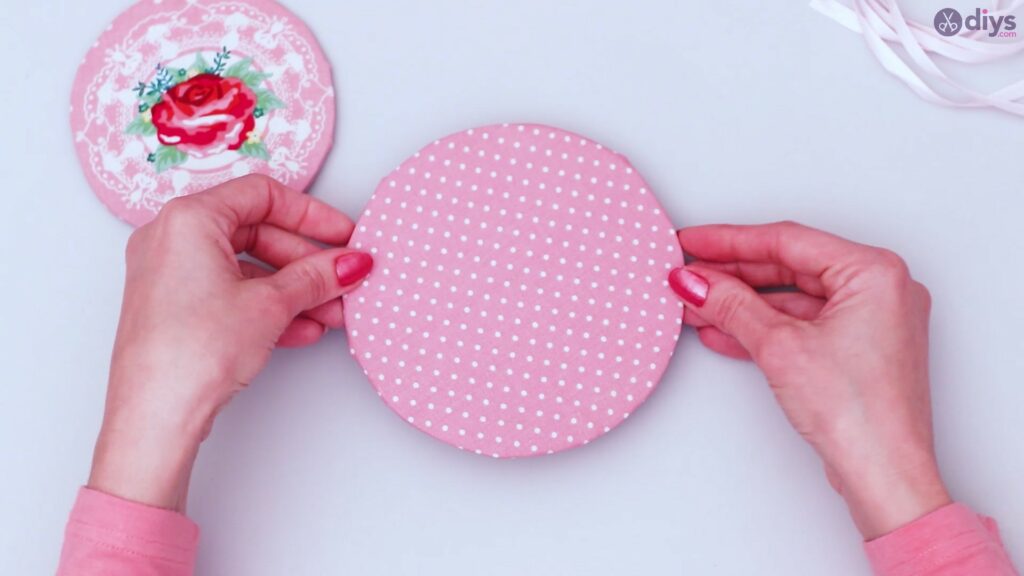
Then, repeat the process for the other piece of fabric and cardboard circle combo. Add glue as you go along to make sure that fabric is secured to the cut-out, folding the edges as you progress.


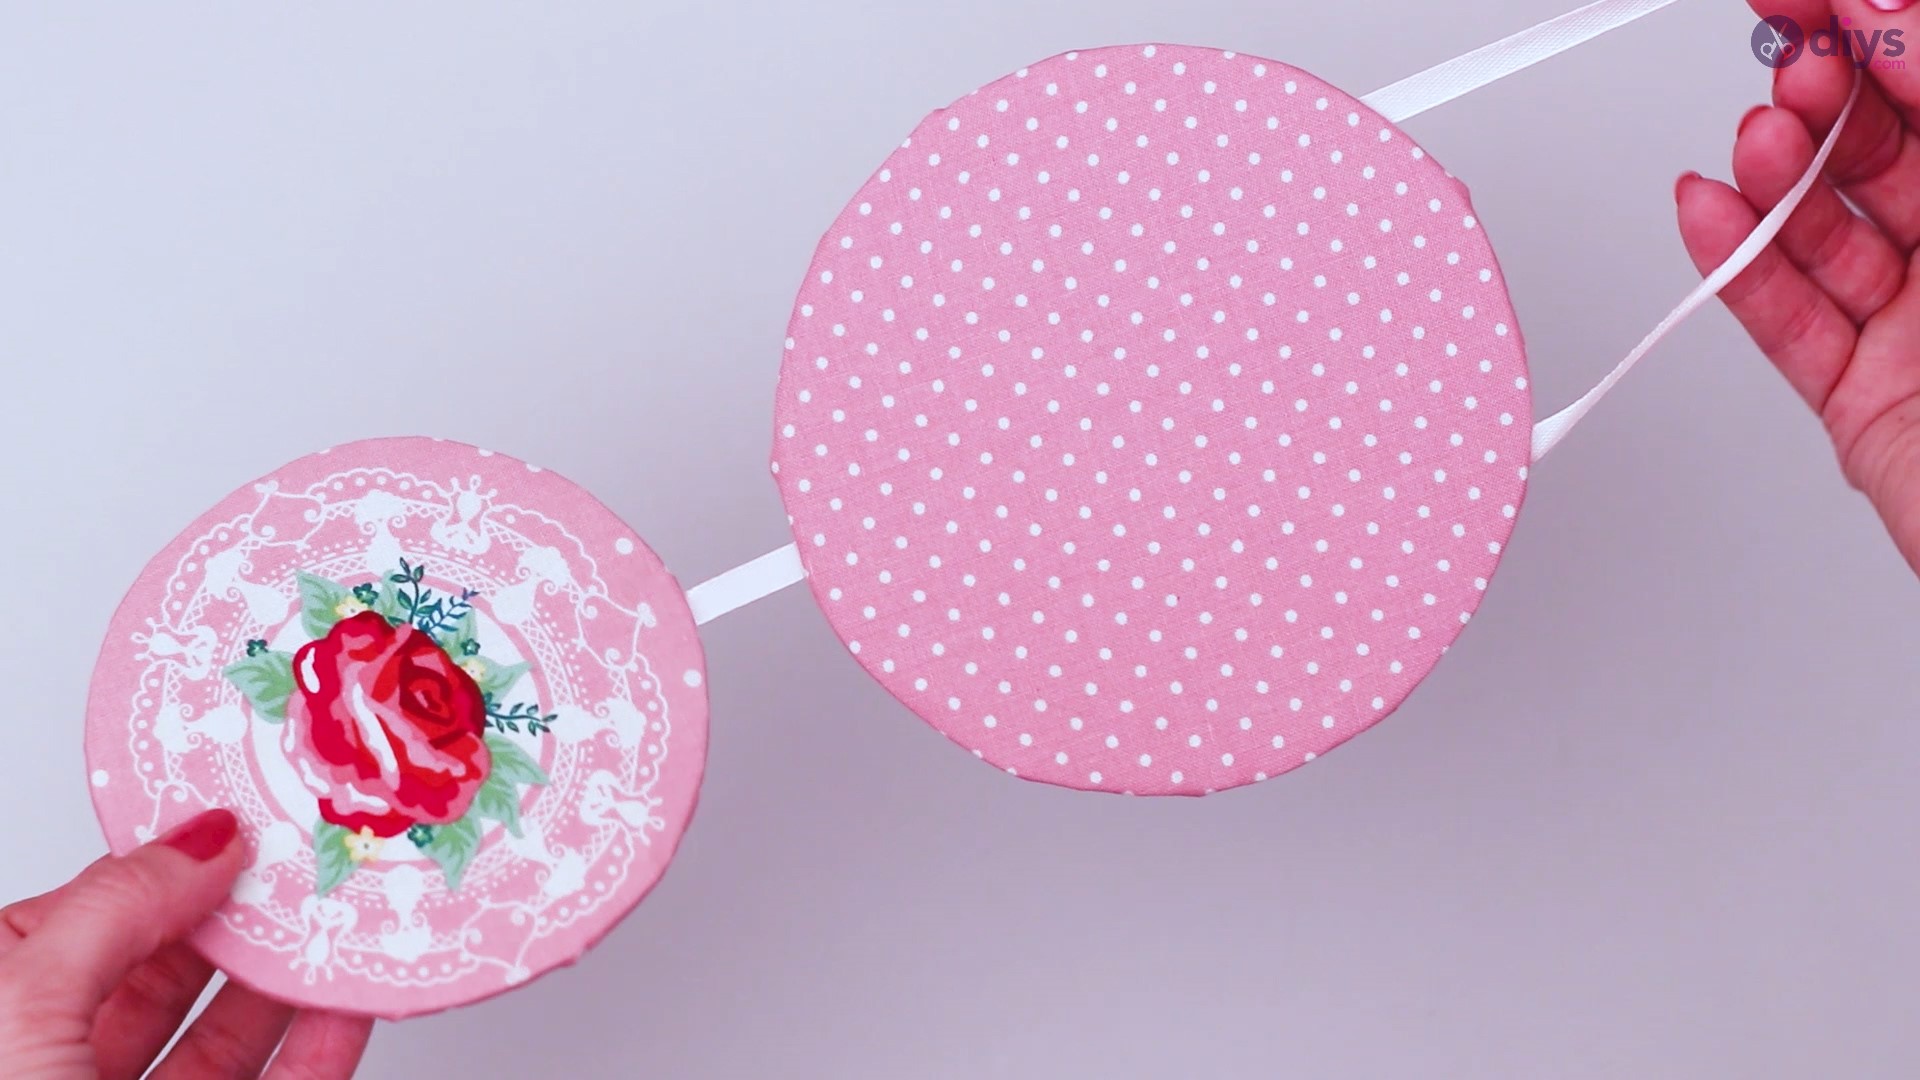
When you’re done, you should have two cardboard circles covered in fabric that look something like this:
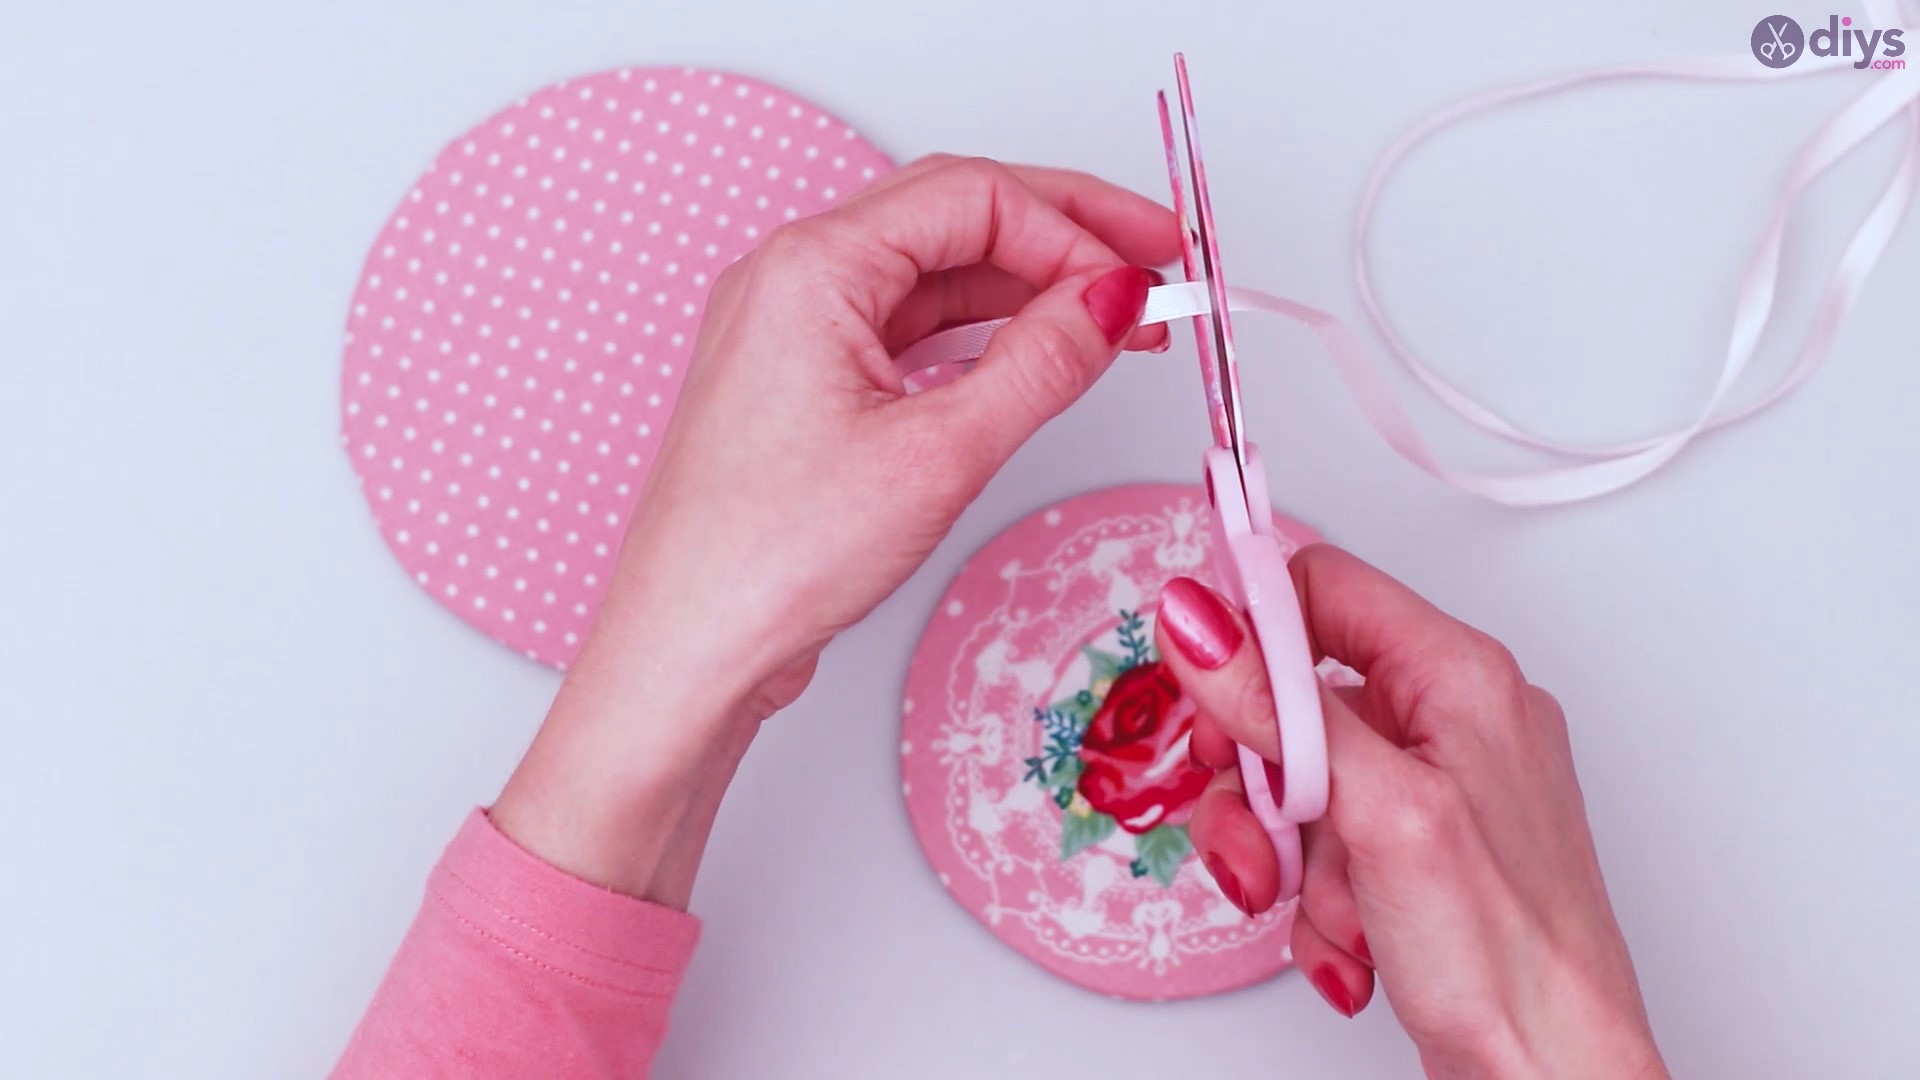
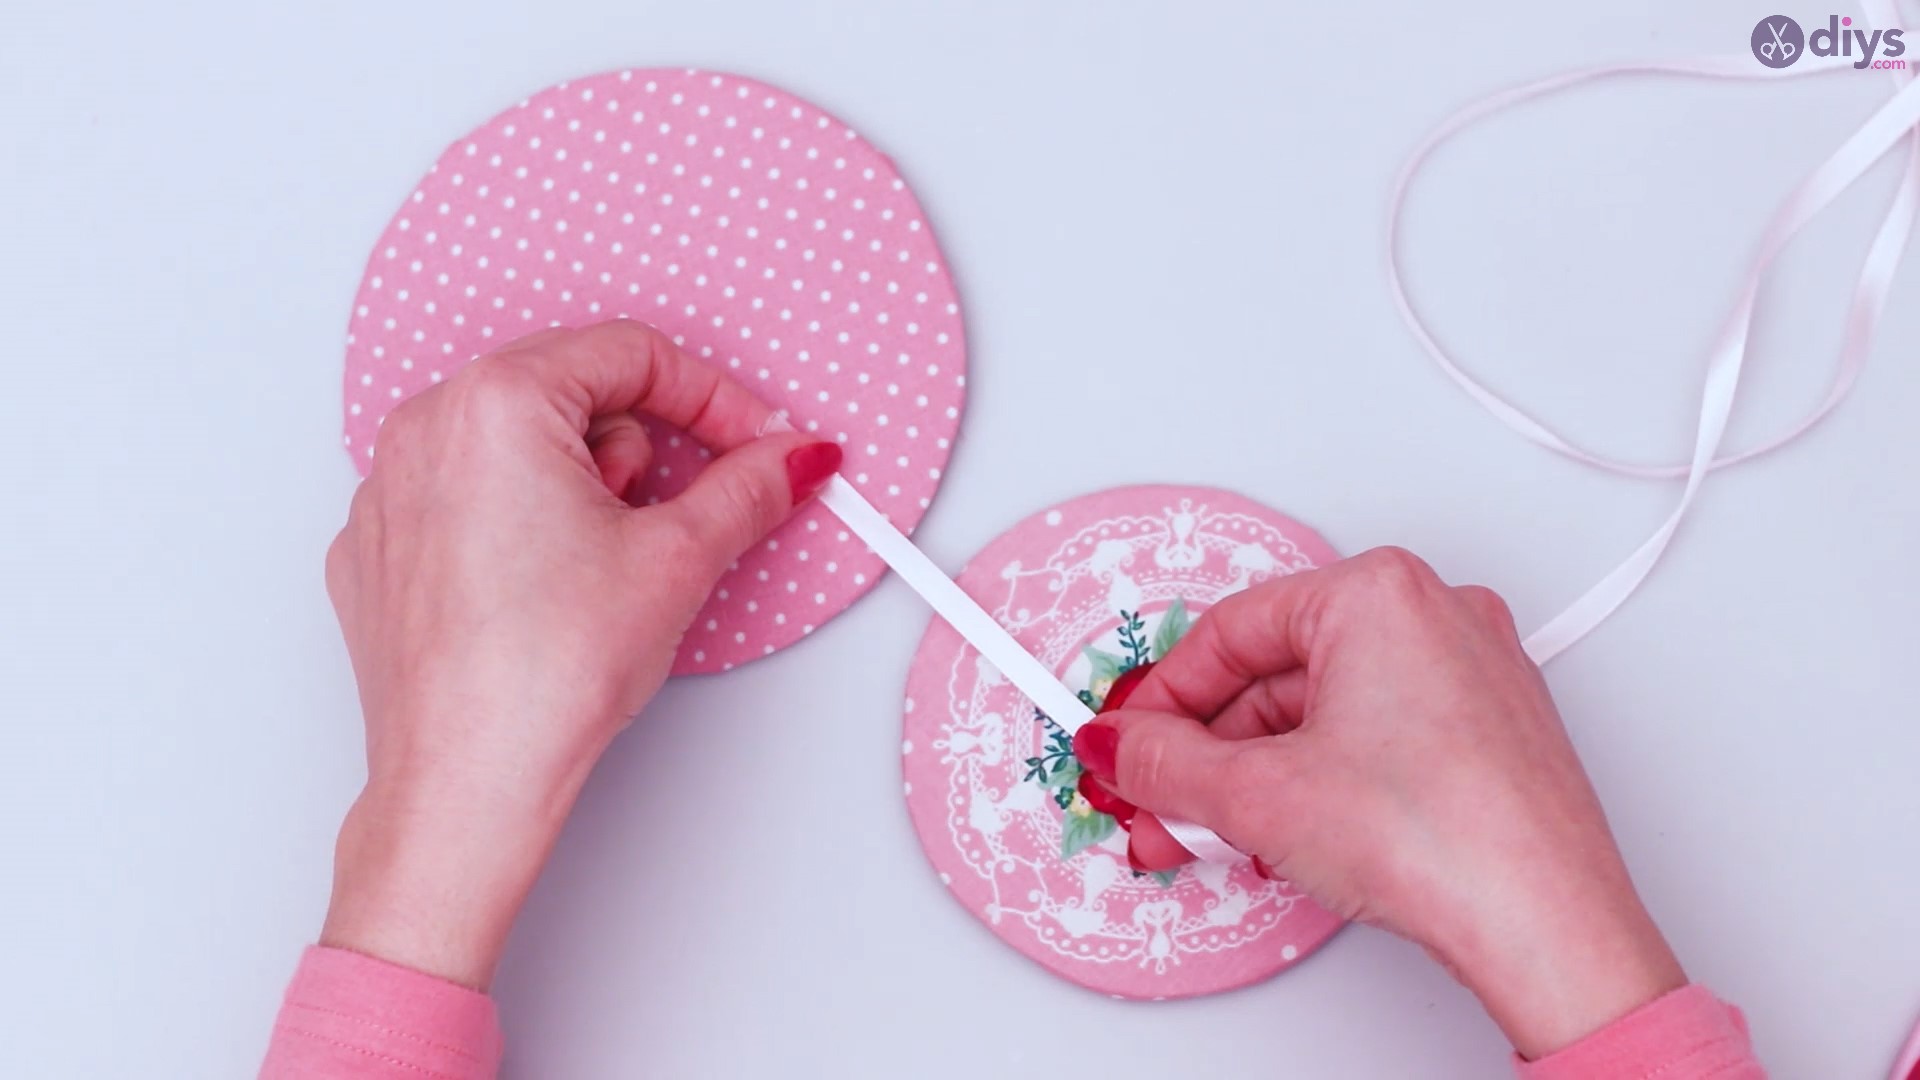
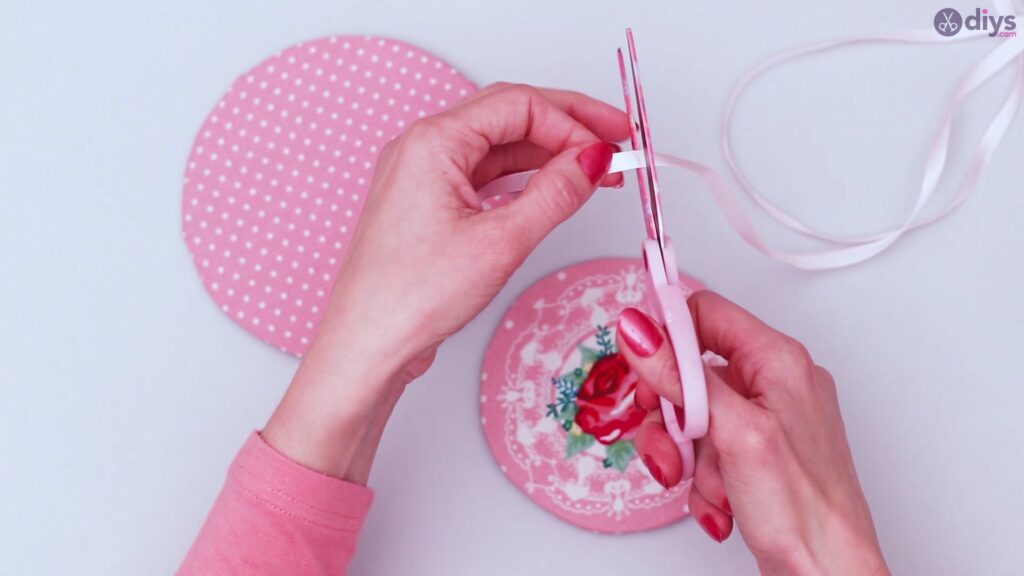
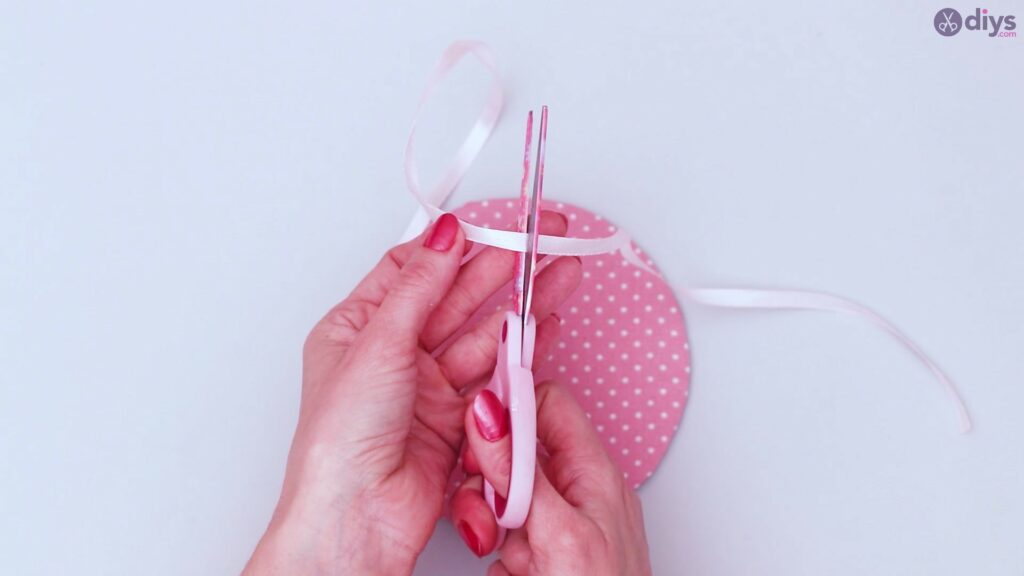
Step 4: Adding the Ribbon
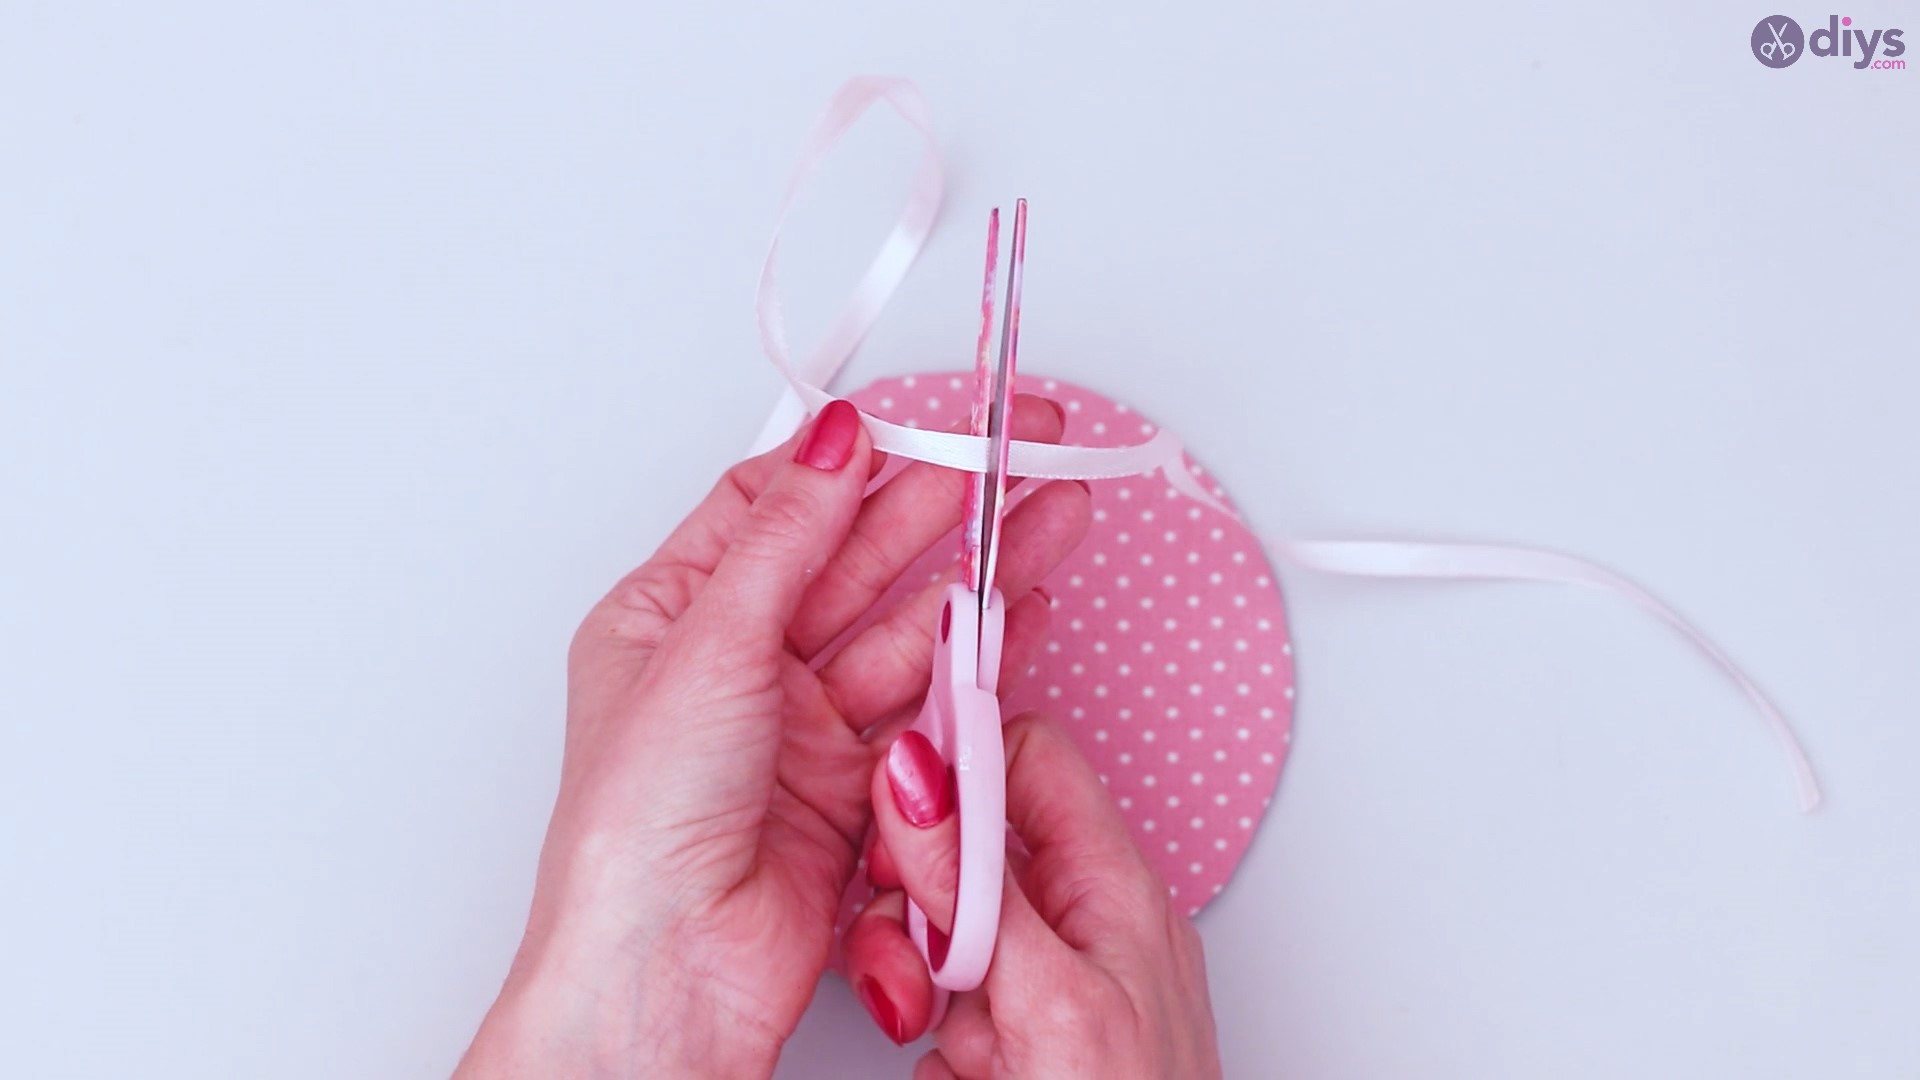
It’s time to make use of that silk ribbon and connect the two circles, as well as make the hanging mechanism. Take one piece of silk ribbon and cut it to connect the two pieces of wall art.
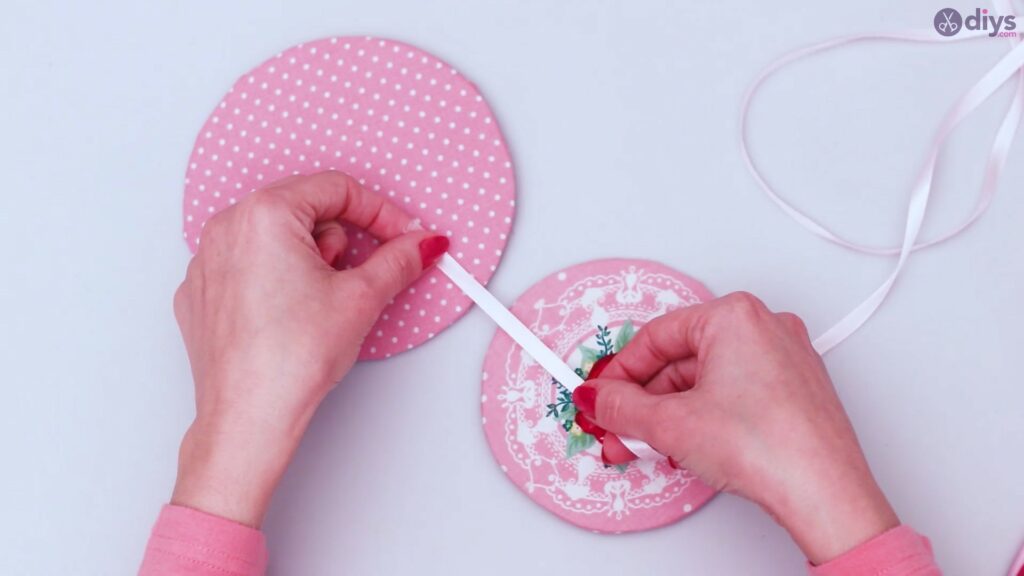
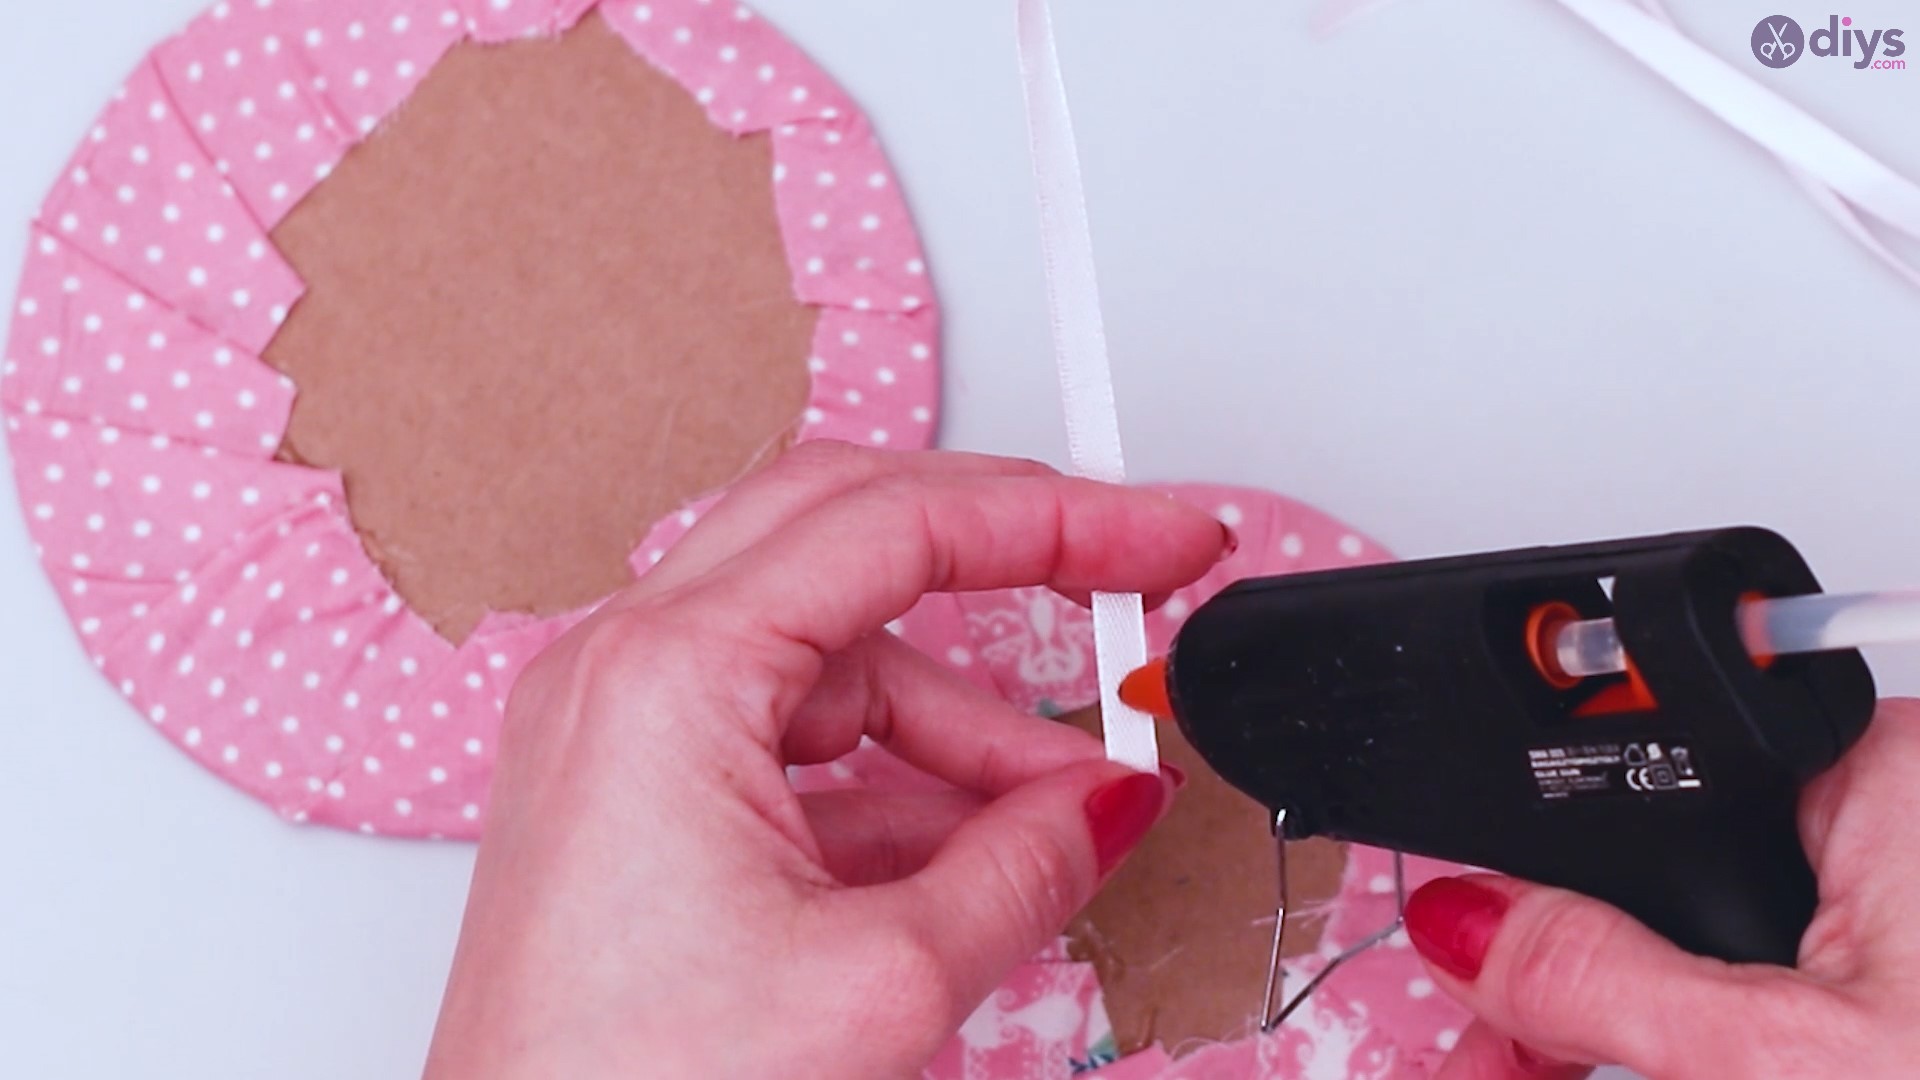
Glue one end of the string to the back of one of pieces, and the other end to the back of the other piece.


Use another piece of silk ribbon to make the hanging mechanism of your decoration. You’re going to need a loop that glue to the back of the circle that will be on the top of your decoration (we’ve made the decoration with the bigger circle placed on top).
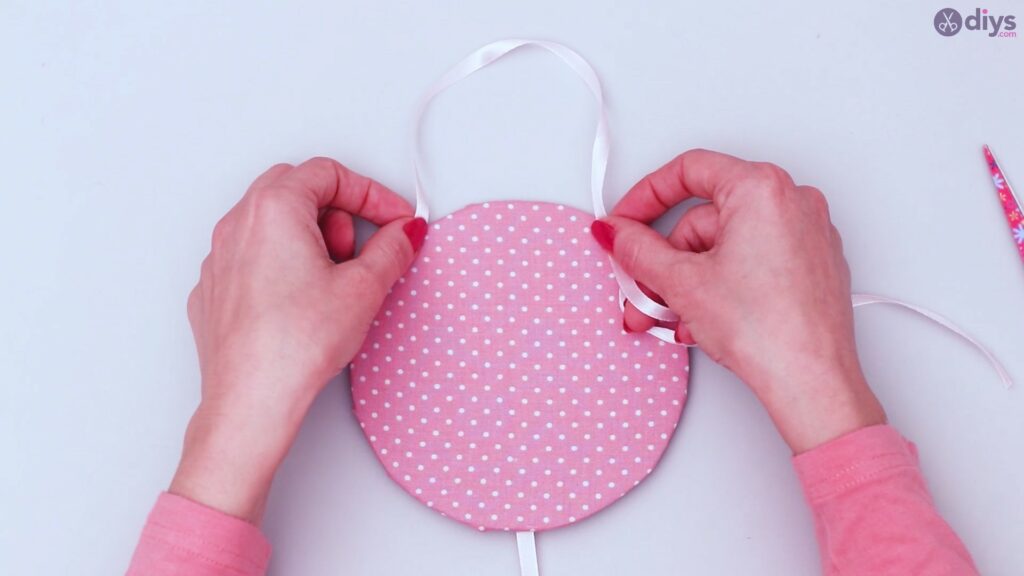
After you’ve cut a piece of silk ribbon to place on the top of your decoration, grab your glue gun and secure both ends of the silk ribbon piece to the back of the top circle, making sure you create a symmetrical loop.

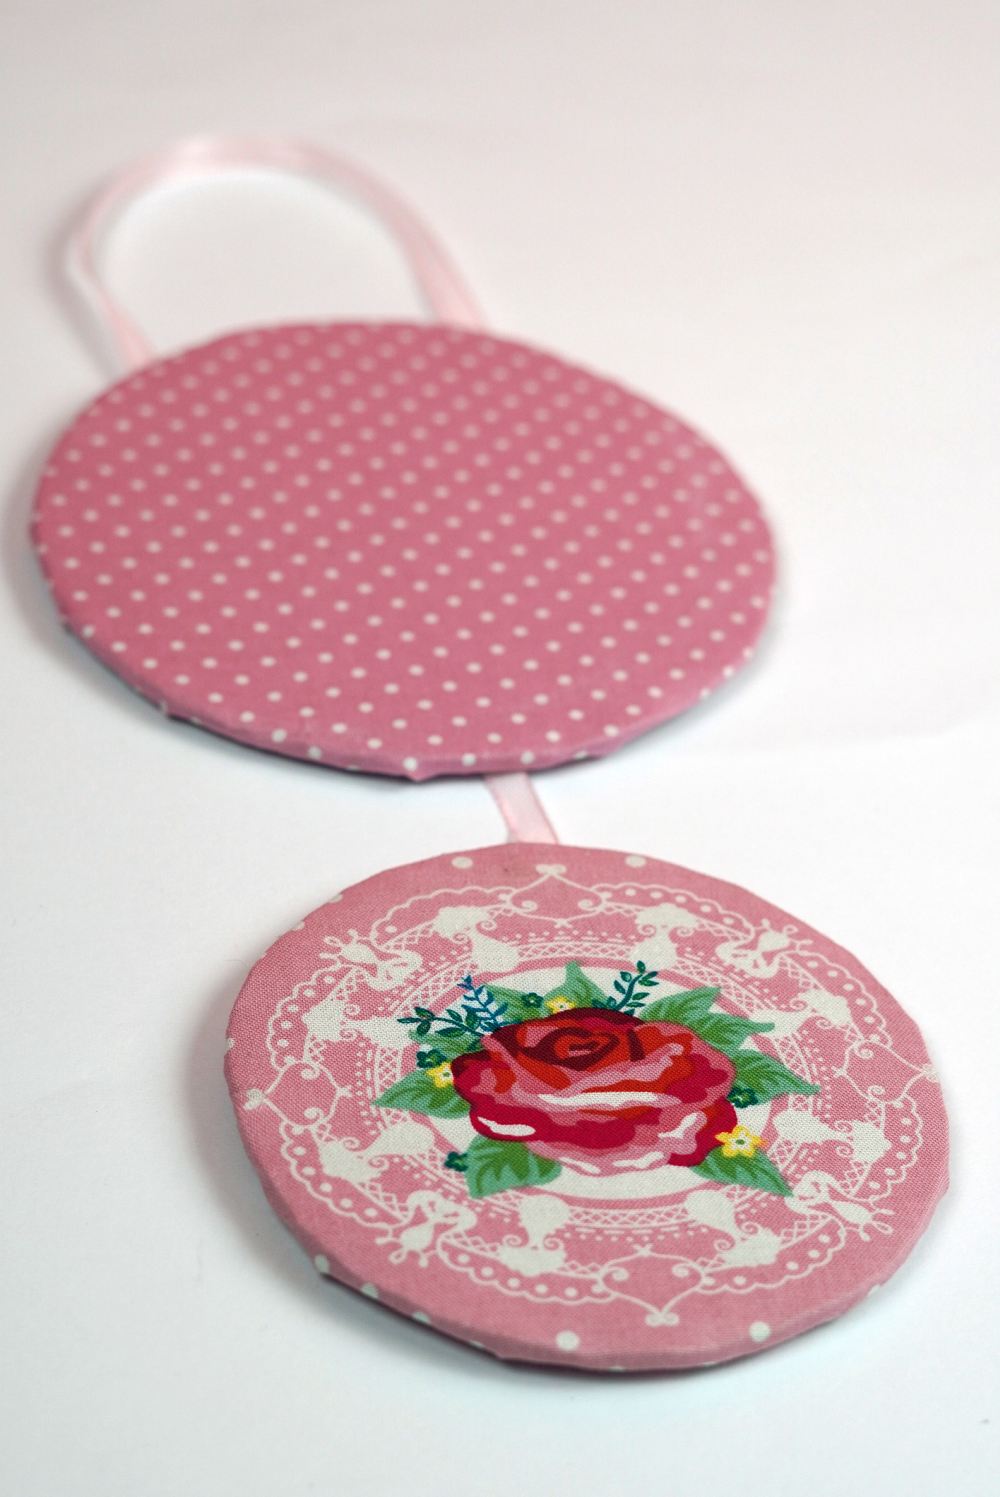
Your completed project will look something like this:

Aside from being a super-easy project to see through, we love the fact that you can experiments with how different textiles can be combined, creating amazing color contrast or unity in composition that you just love to look at. These wall hanging decorations are wonderful weekend afternoon projects and, if you have the time for it, you can add multiple decorations on top for a more visually appealing end result.