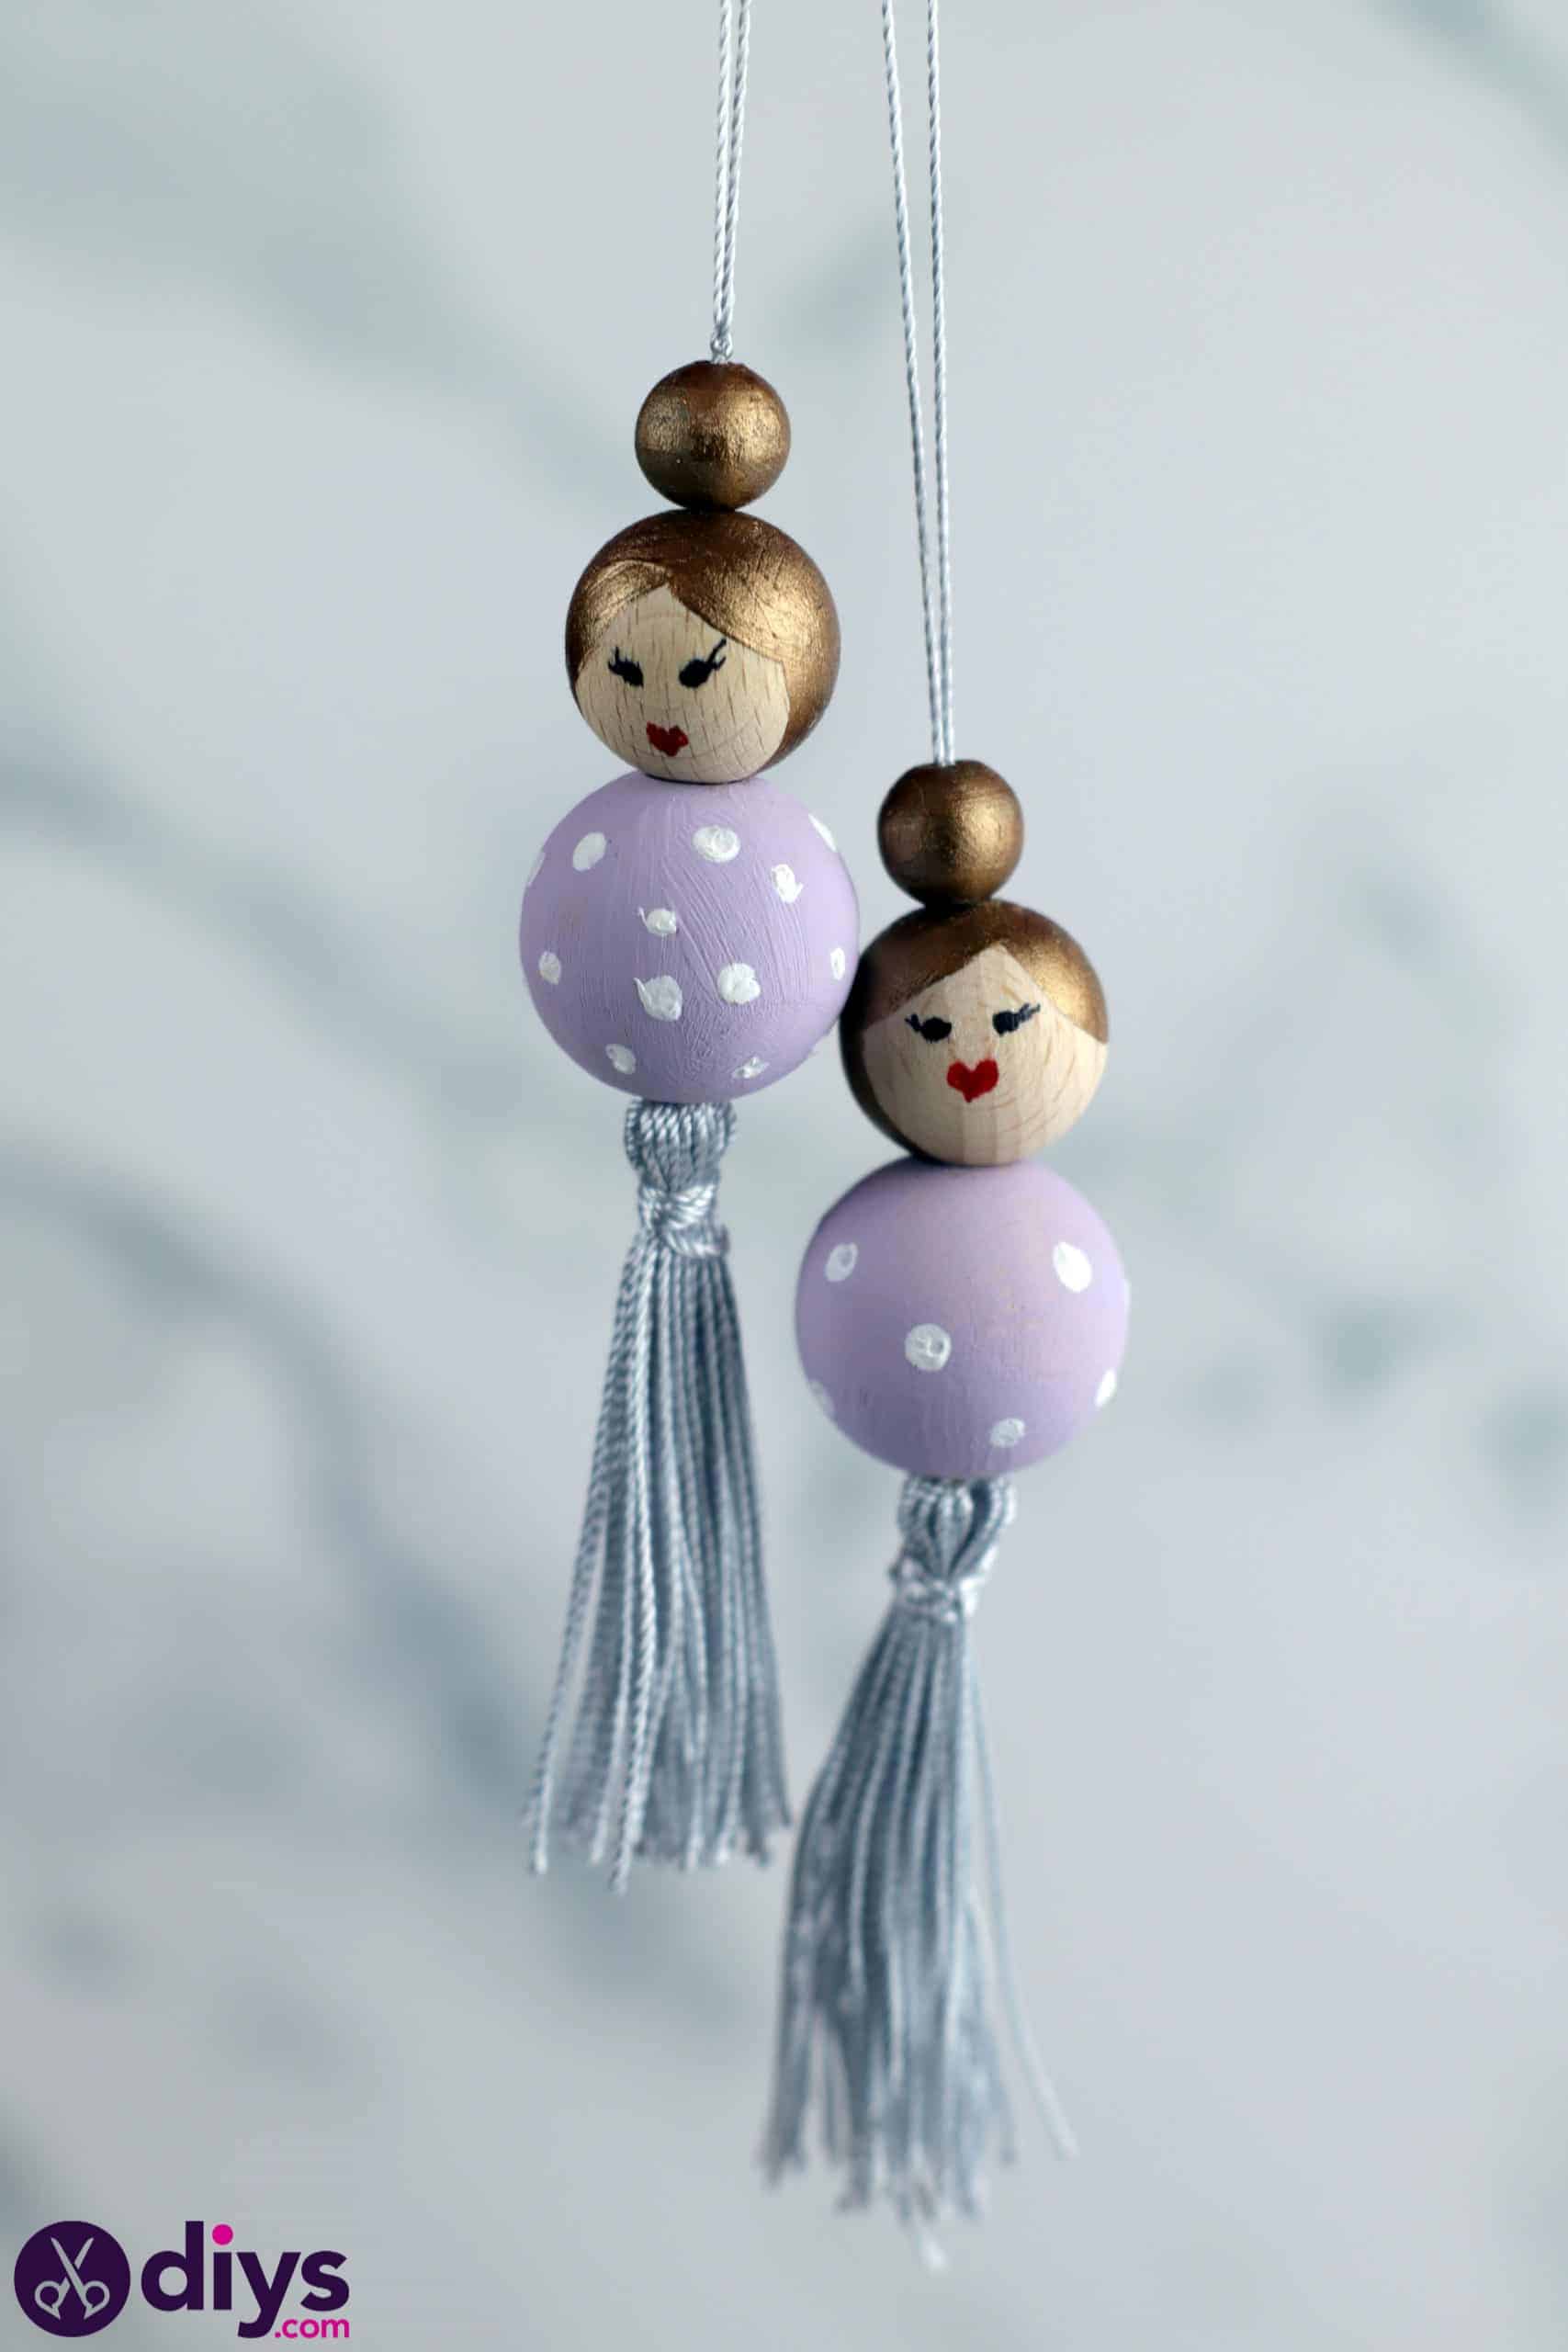
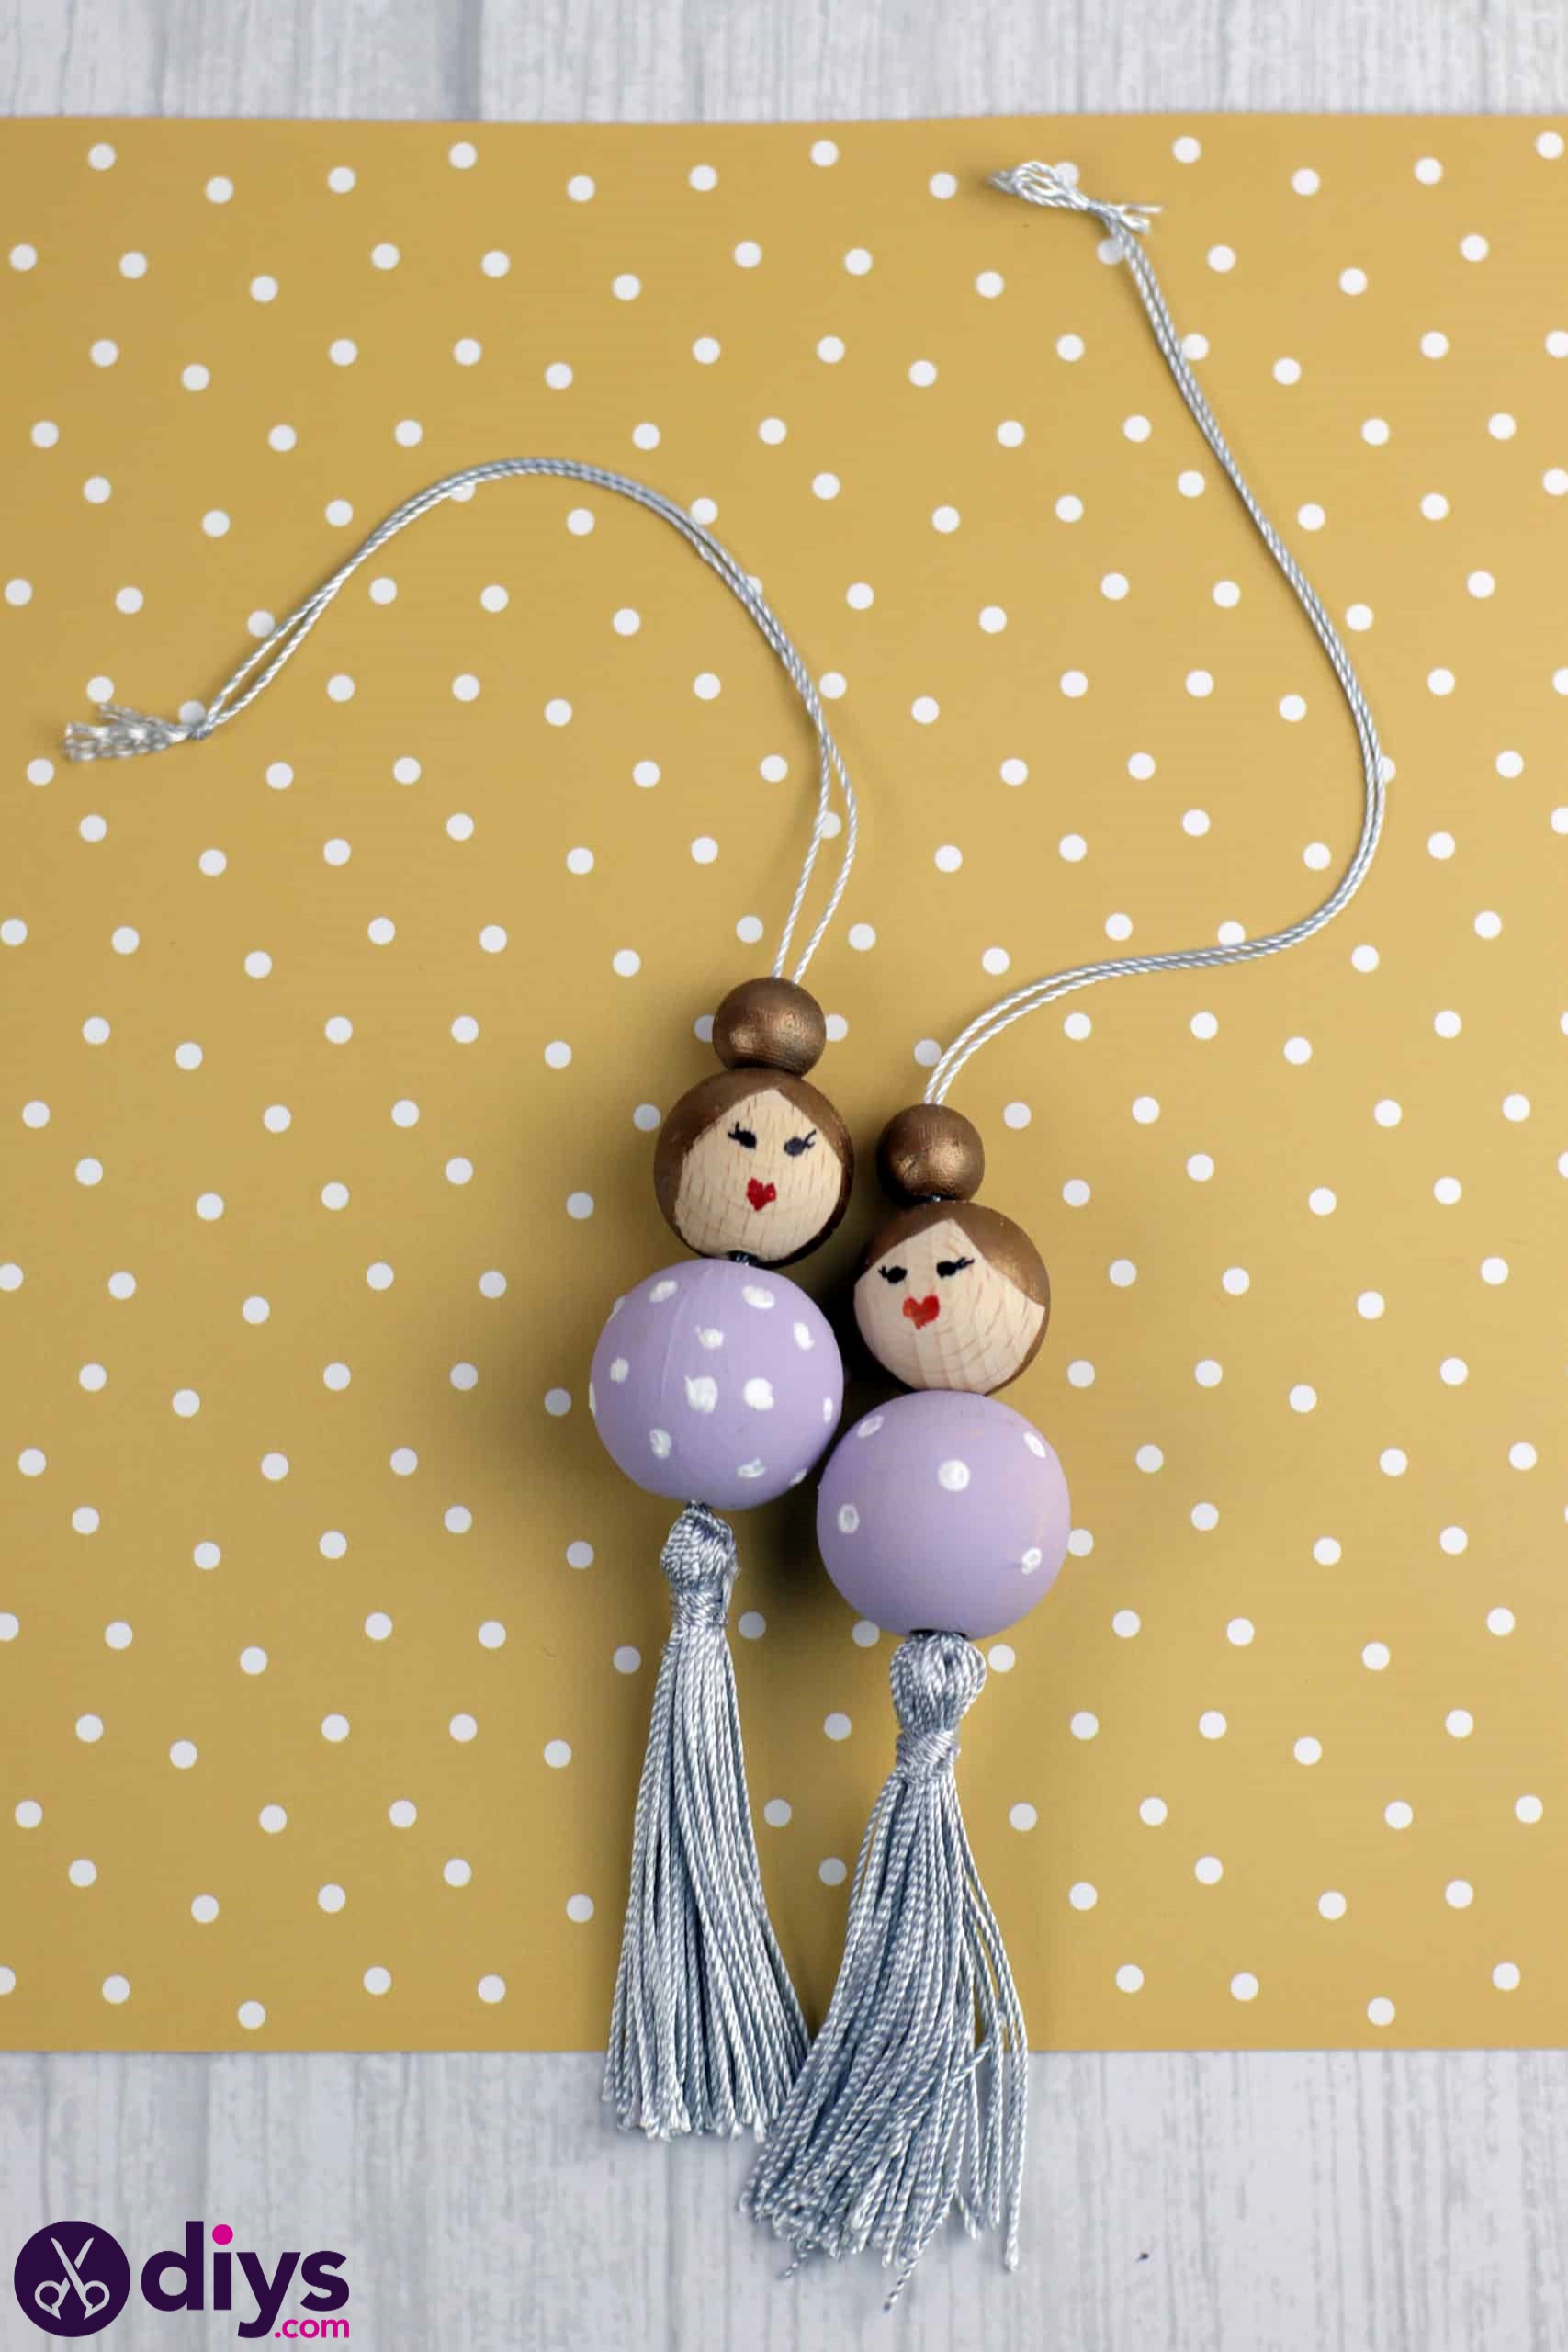
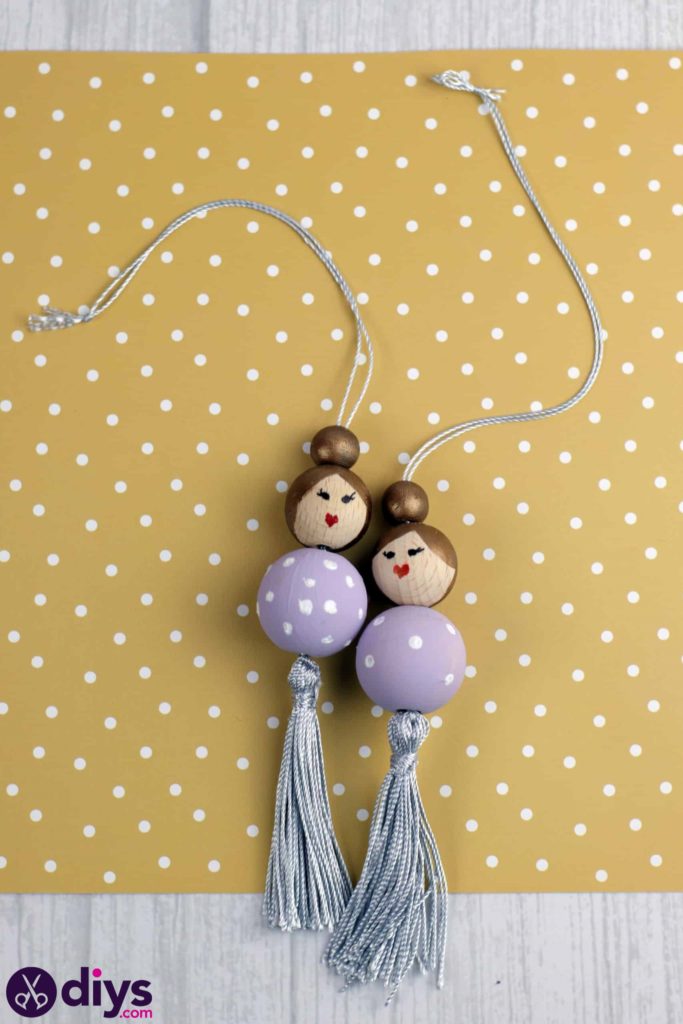
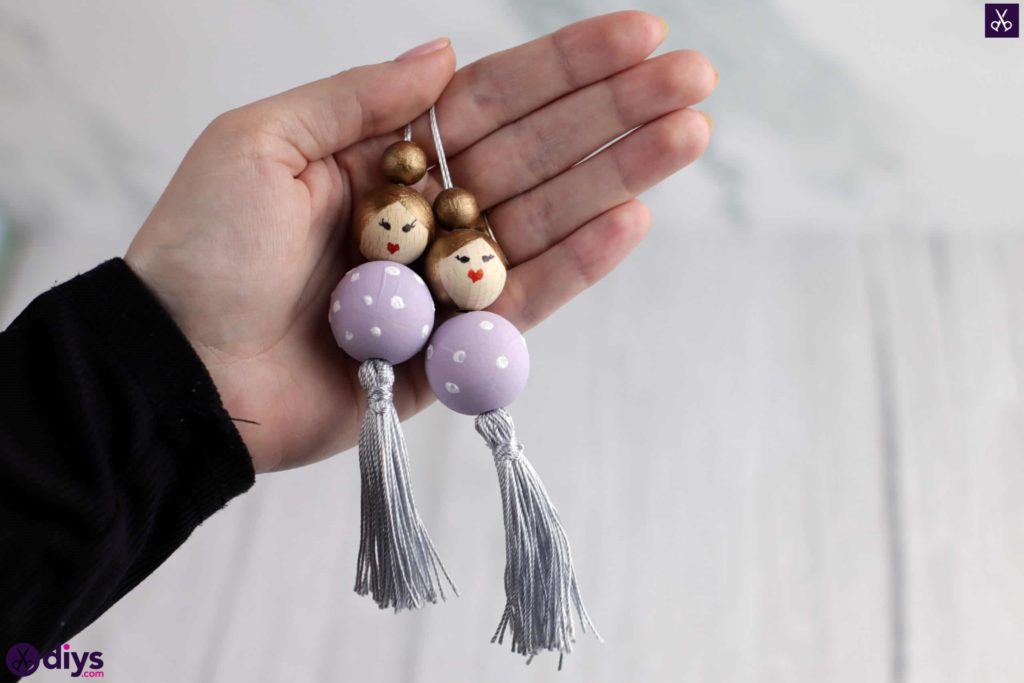
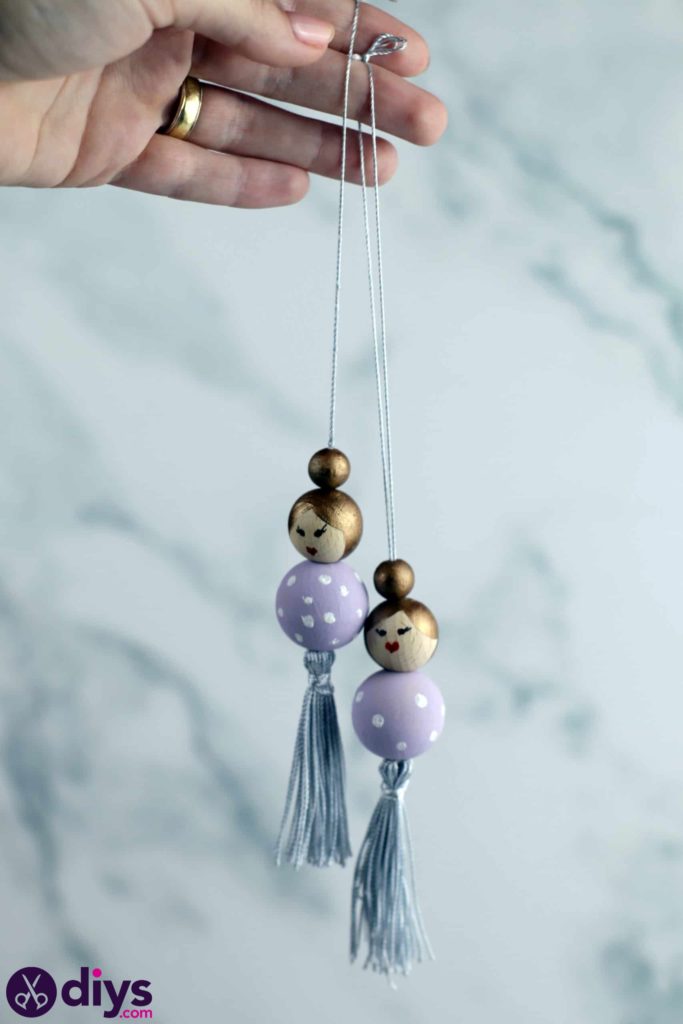
DIY Wooden Beads Doll Ornaments To Hang
Updated on November 19, 2025


This DIY wooden beads doll ornament project is also a great opportunity to practice hand painting, which is something I love to do with my kids because there really are very few crafting techniques they love more than painting. I added the tassel just because that’s something I’m a big fan of, so I decided it was time for them to learn one ofmy favourite techniques too.
Check out these step by step instructions complete with photos! If you’d rather follow along with a video tutorial instead of written words, scroll to the bottom of this post to find just what you’re looking for.
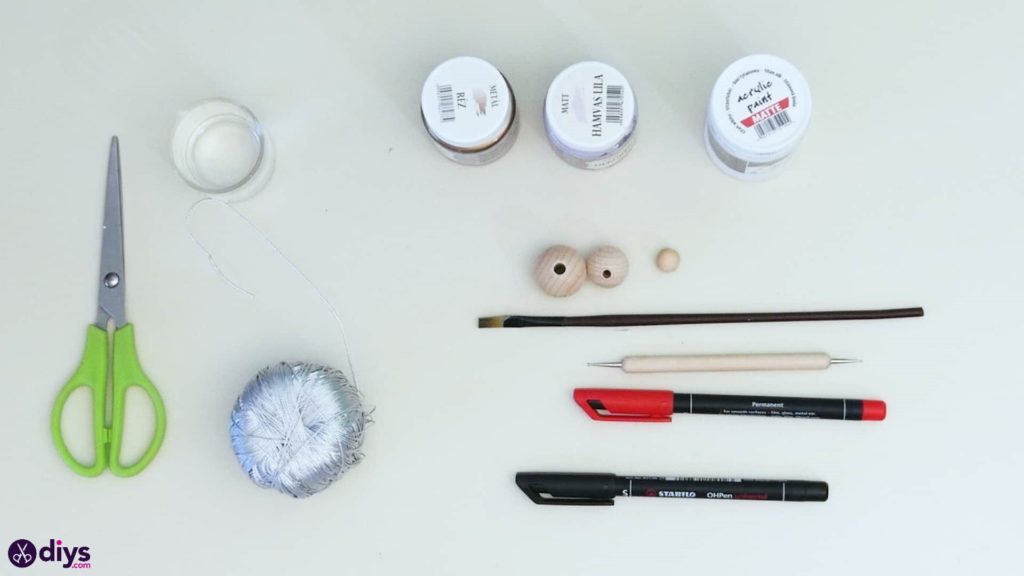
For this project, you’ll need:
- Wooden beads
- Paint (white, bronze, and purple)
- A paintbrush
- Silver yarn or thick thread
- Scissors
- Markers (black, red)
- A dotting tool
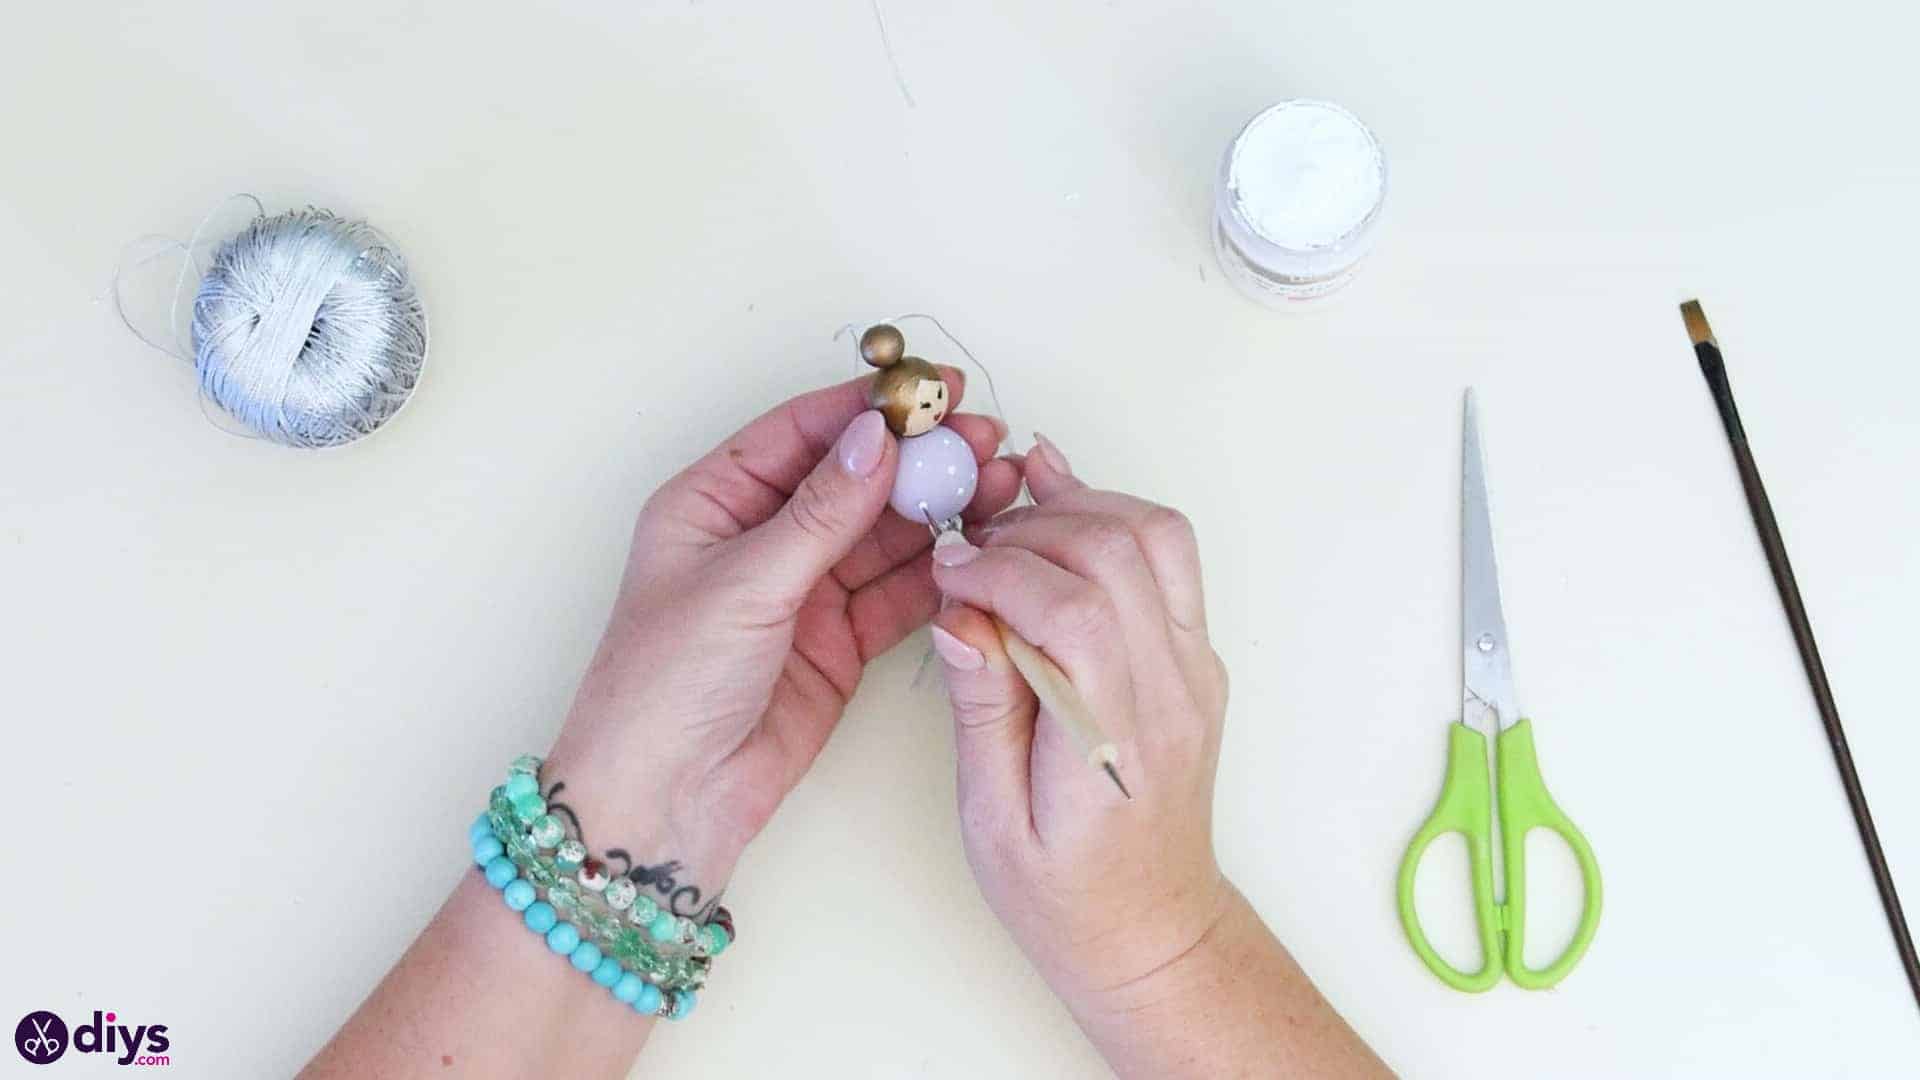
Step 1: be prepared
Gather your materials!
Step 2: make the head
Put your largest wooden bead on the top of your dotting tool to use it as a sort of stand, keeping it still as you paint without you having to touch the sides and make marks in the colour while it’s still wet. Use your paintbrush to paint the entire bead purple and then set it aside to dry. Clean your paintbrush and use it to paint the shape of your doll’s hair in bronze paint on your middle sized bead. I painted swooping edges around from the top to look like a hairline with a swept bang, and then painted solid bronze around the back. The part left unpainted below the hairline will be where you draw your doll’s face later. For now, set this piece aside to dry as well. Now use your dotting tool (or your fingers if you prefer) to paint the entire surface of your smallest bead bronze. Set it to dry with the others.
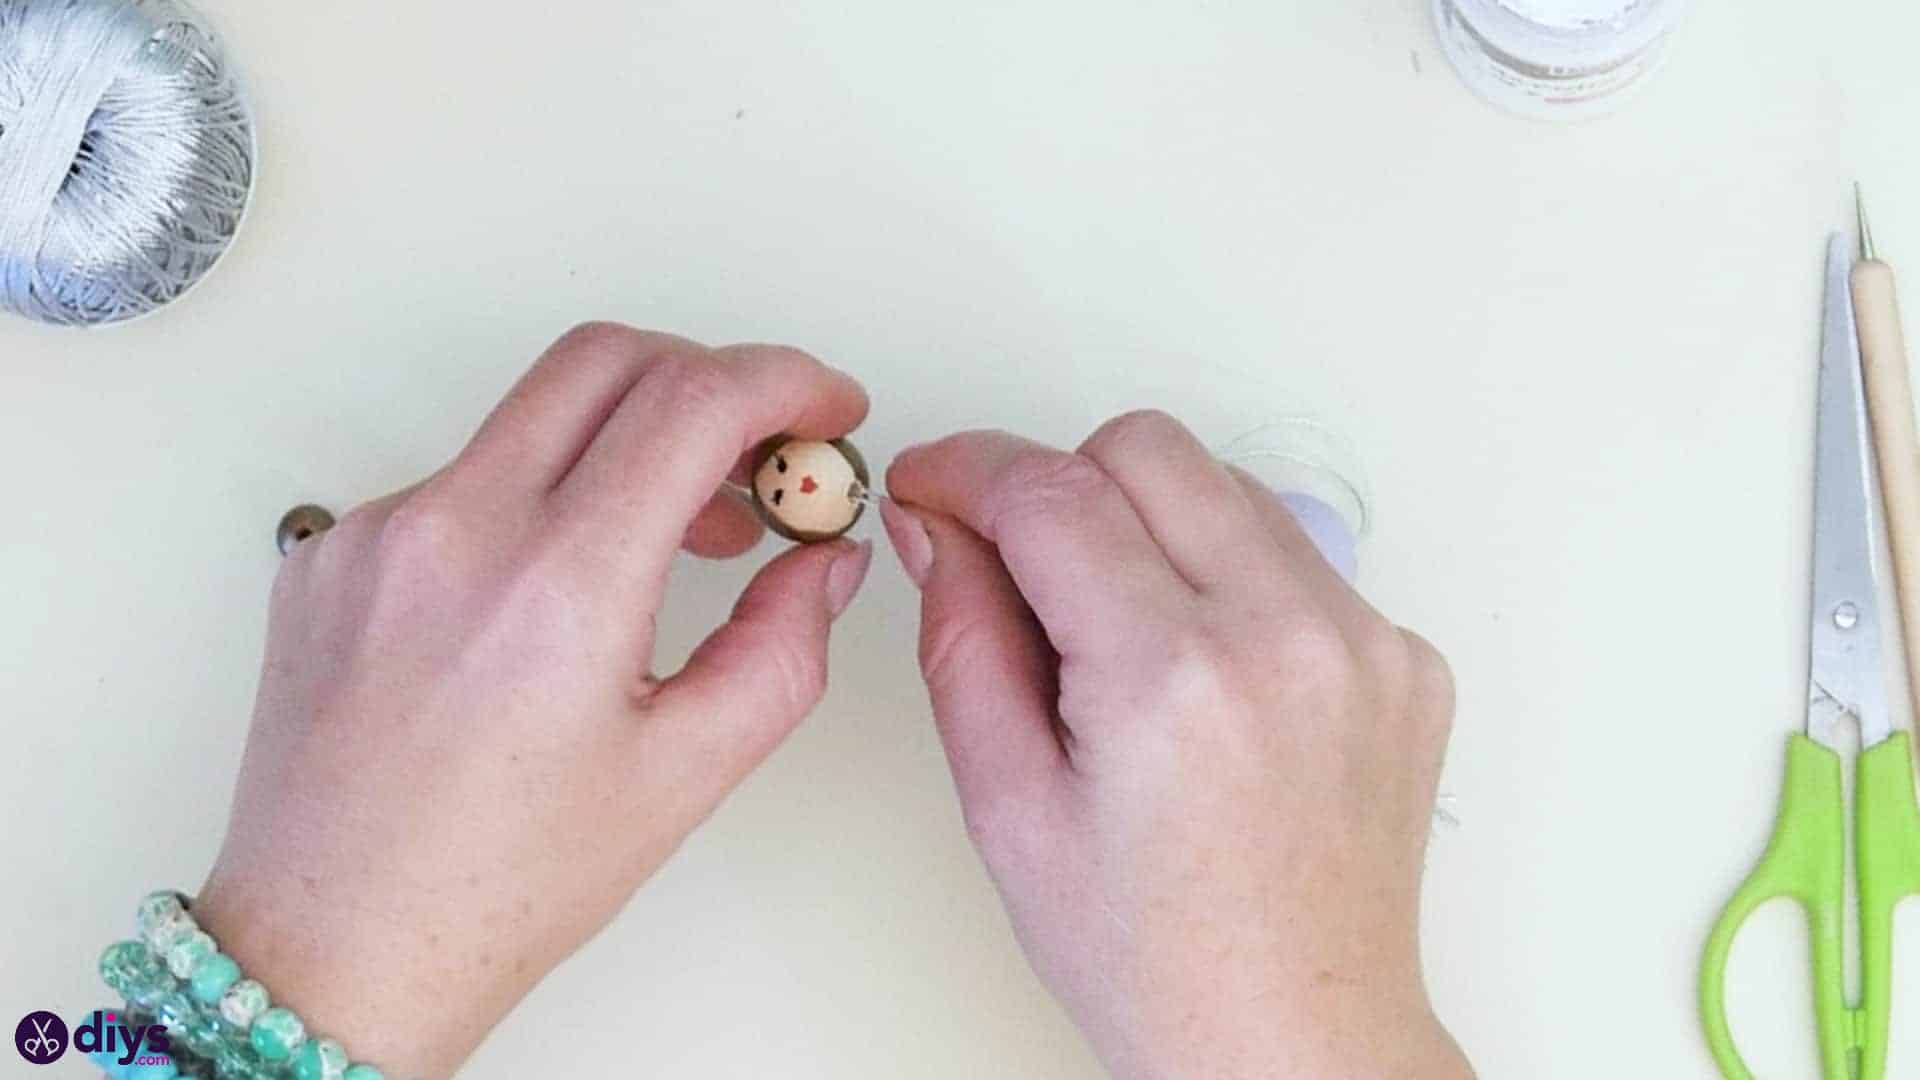
Step 3: draw the eyes
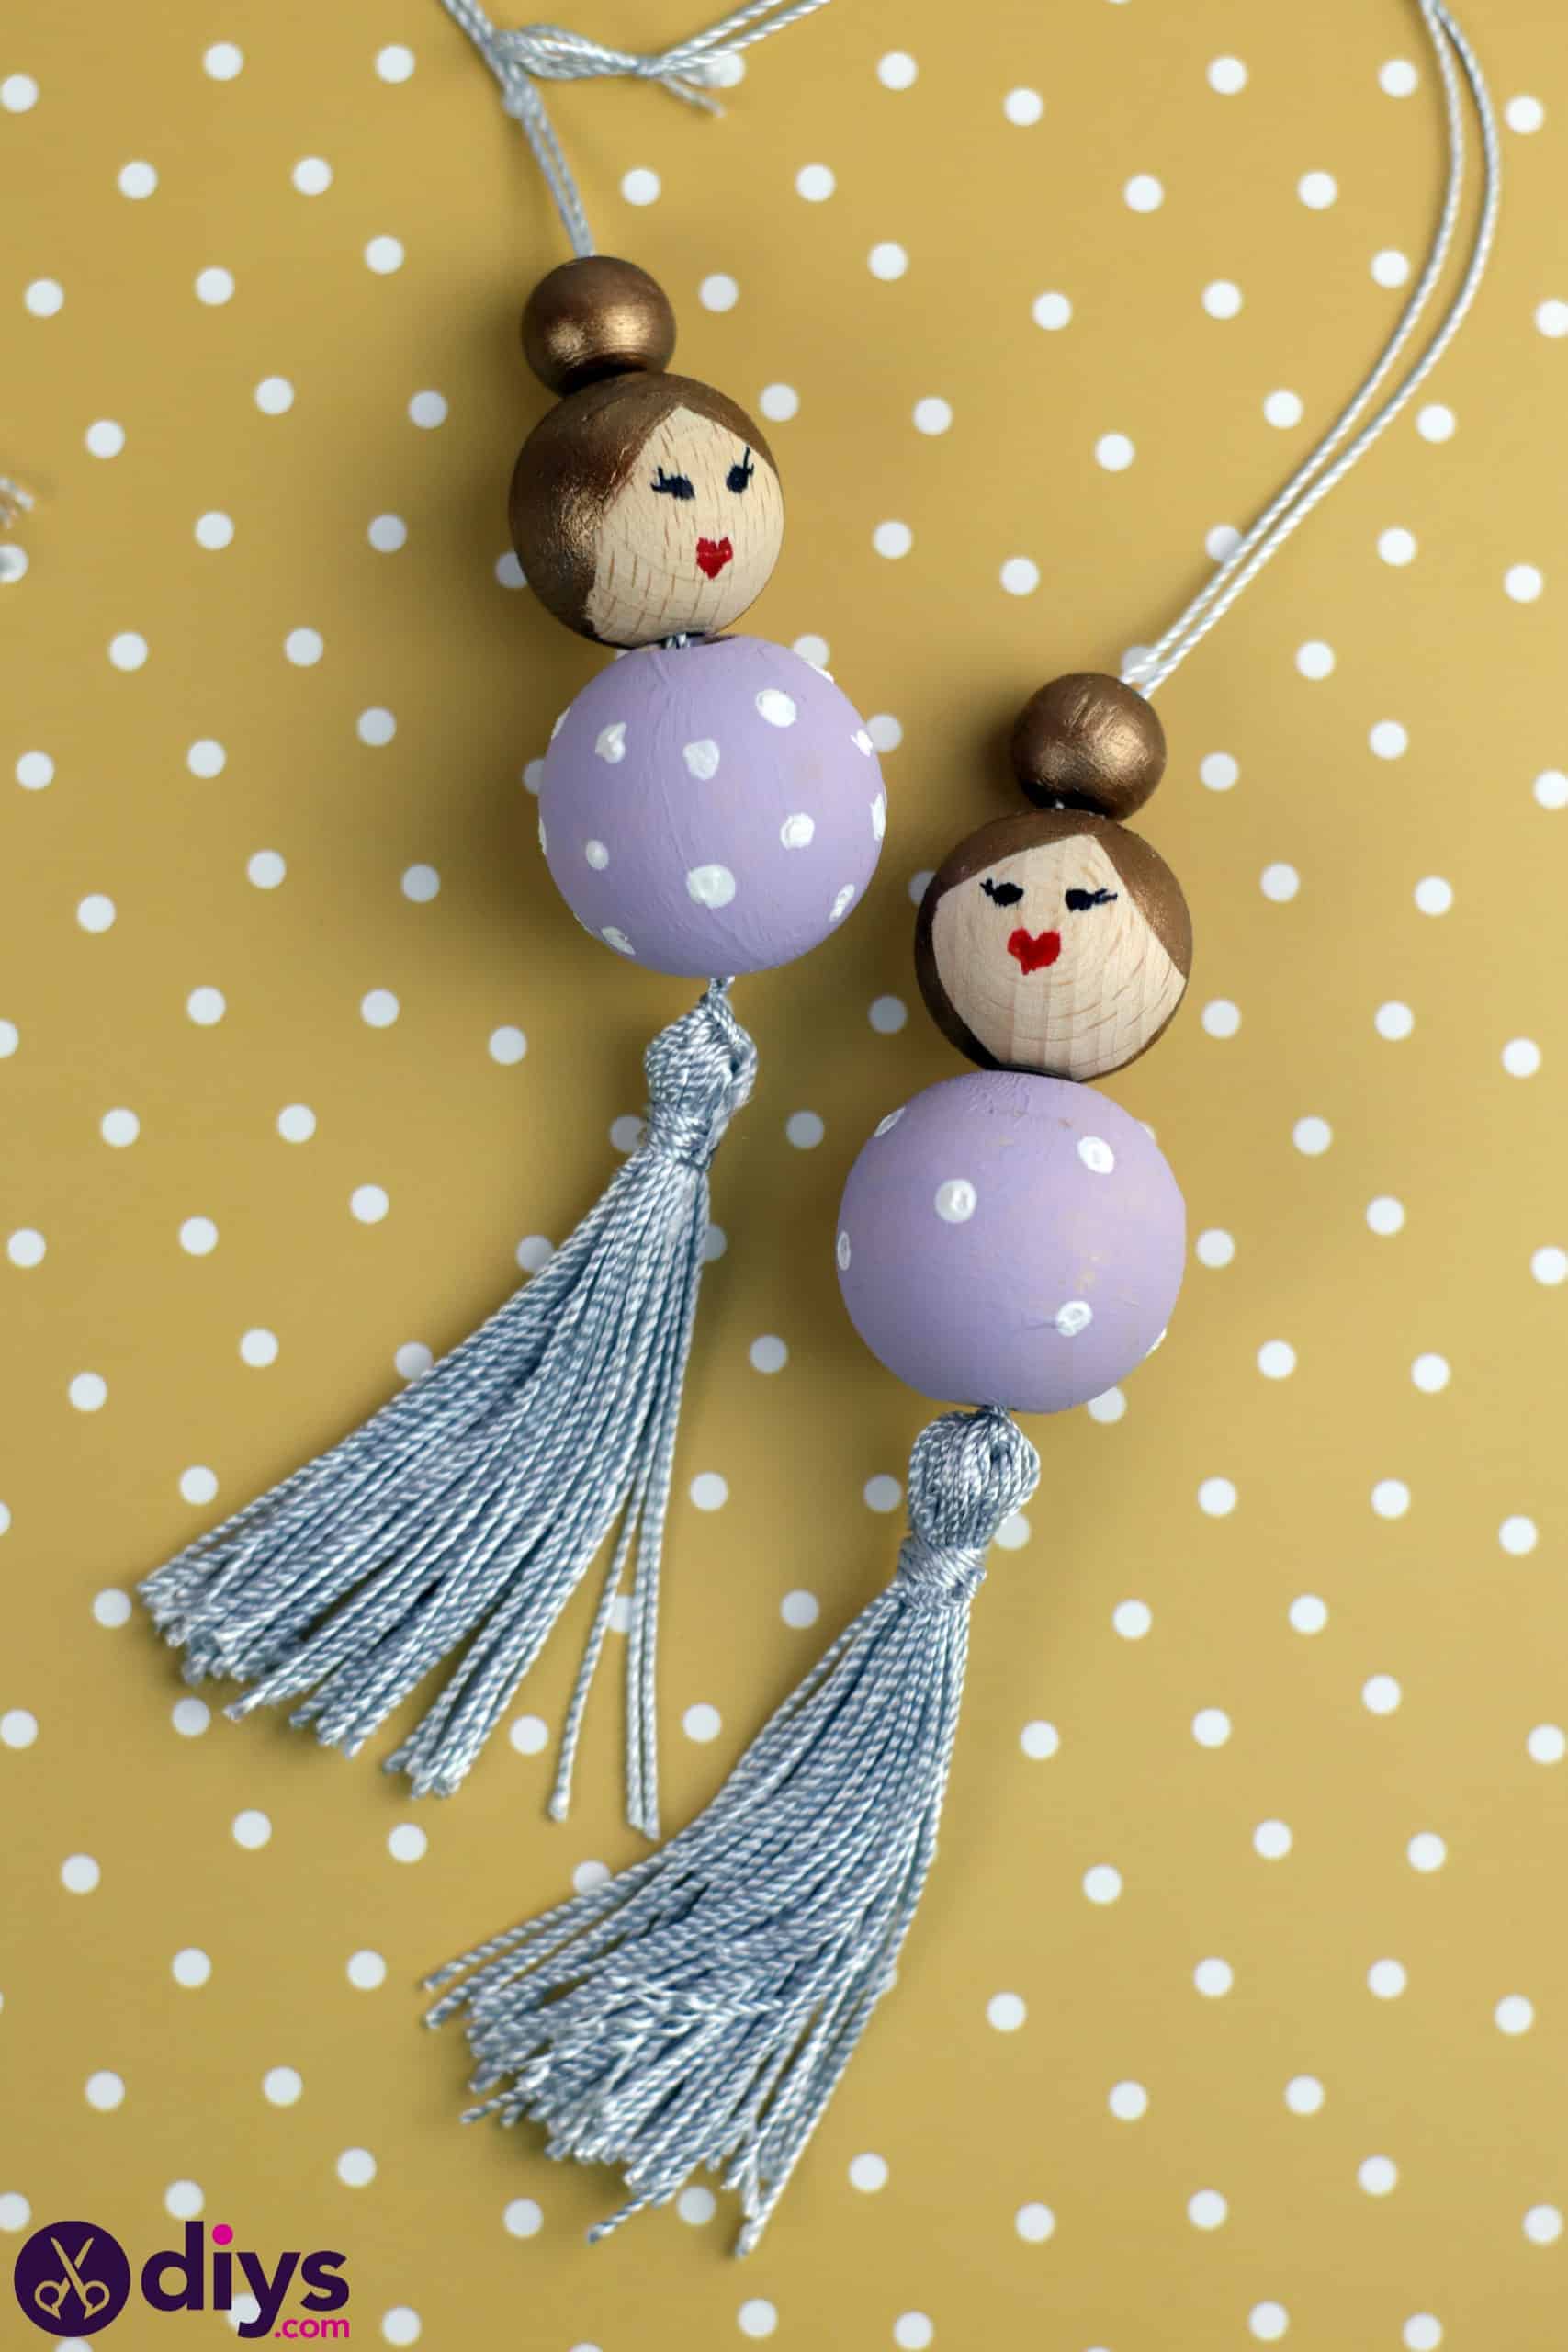
Once your middle sized bead has dried, use your black marker to draw two eyes (I added little lashes for fun) and then use your red marker to add a mouth. I made mine heart-shaped, like the doll is pursing her lips.
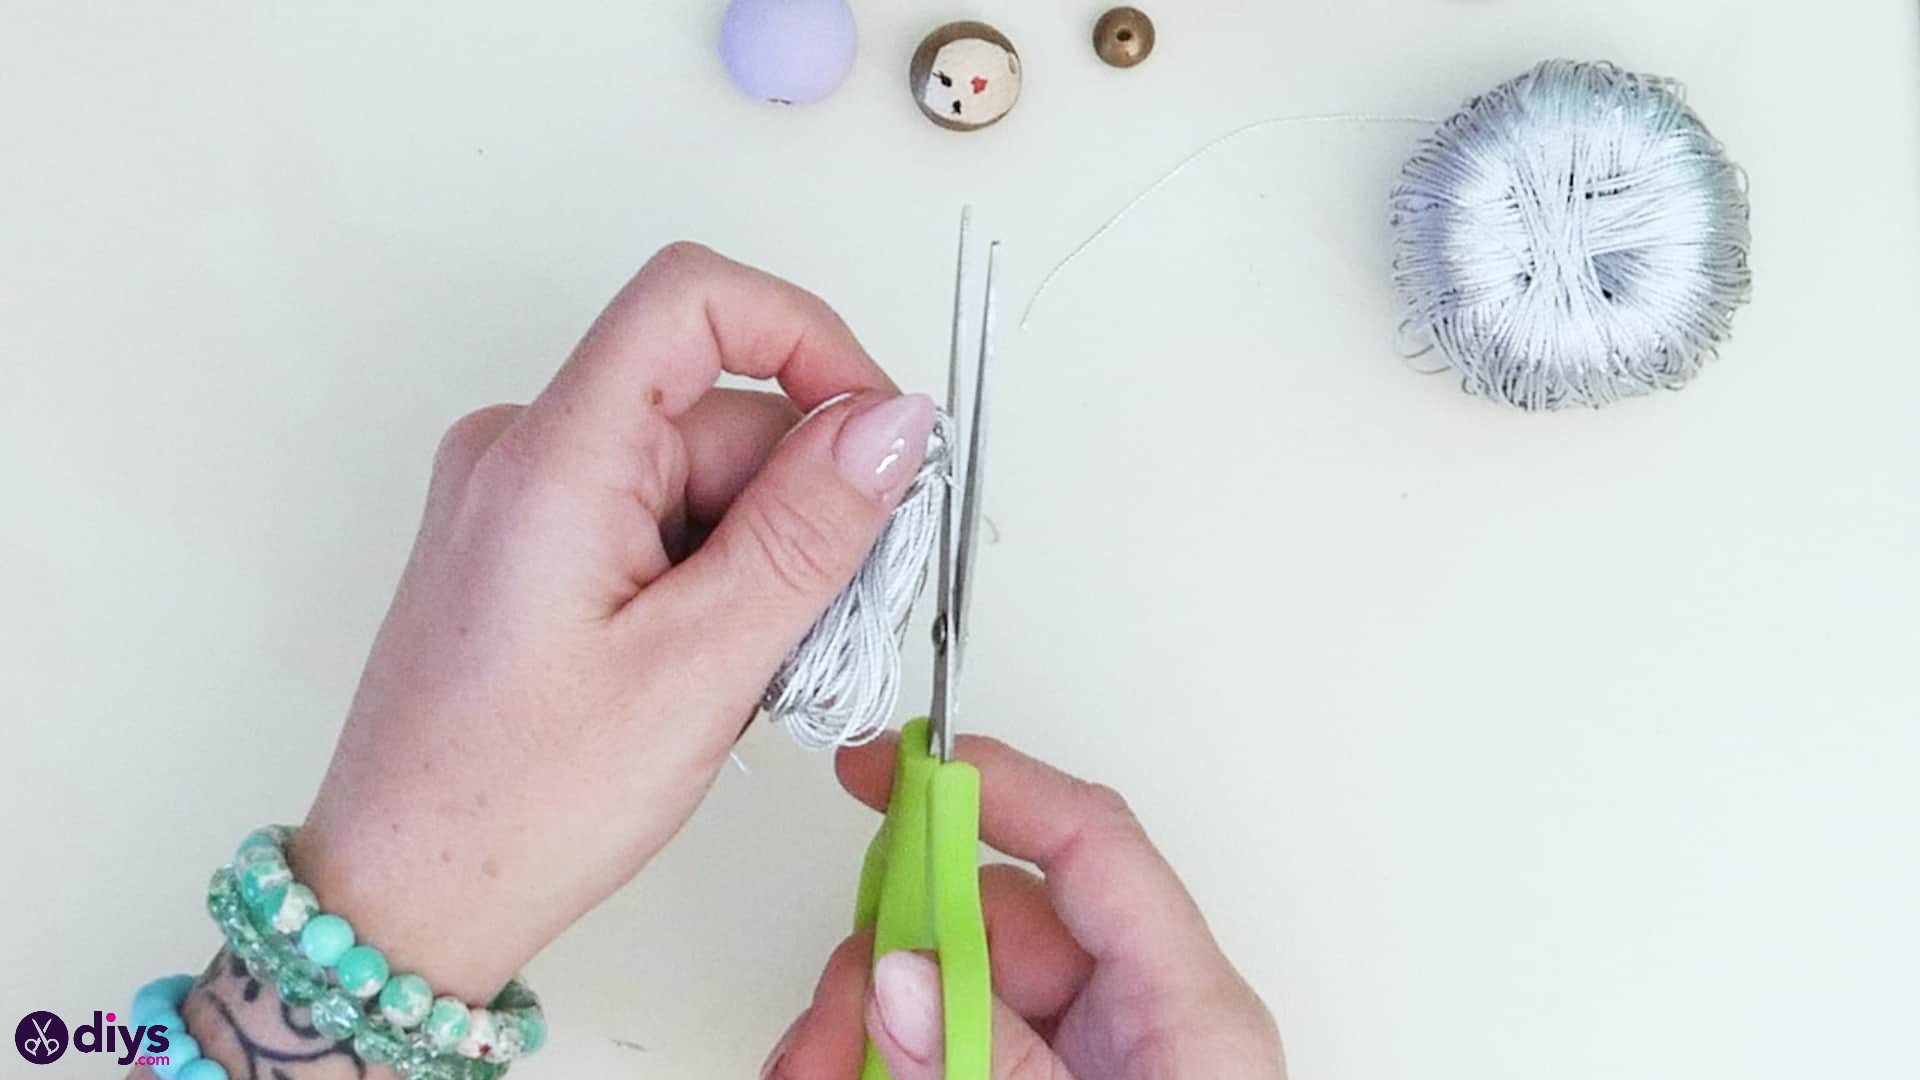
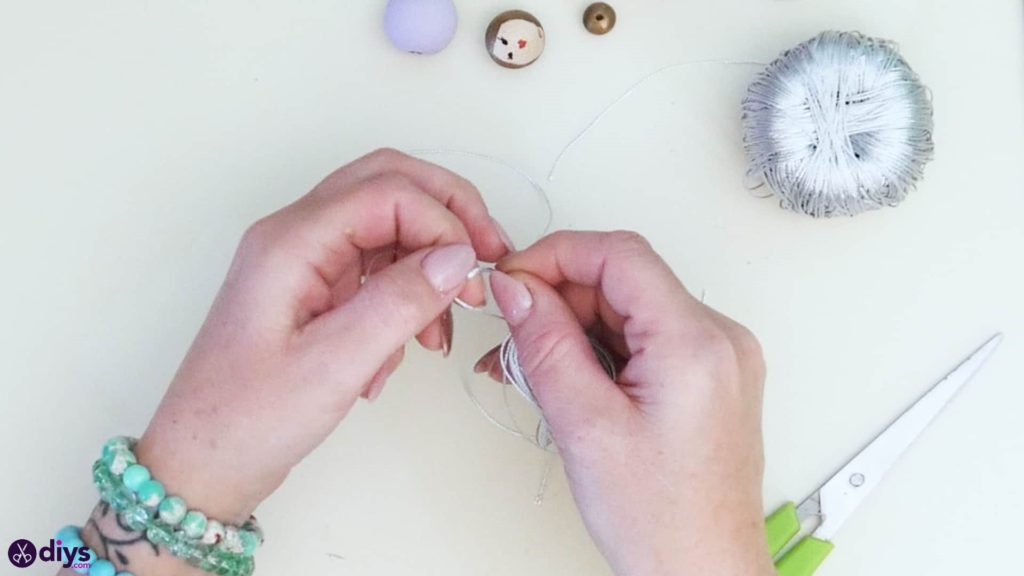
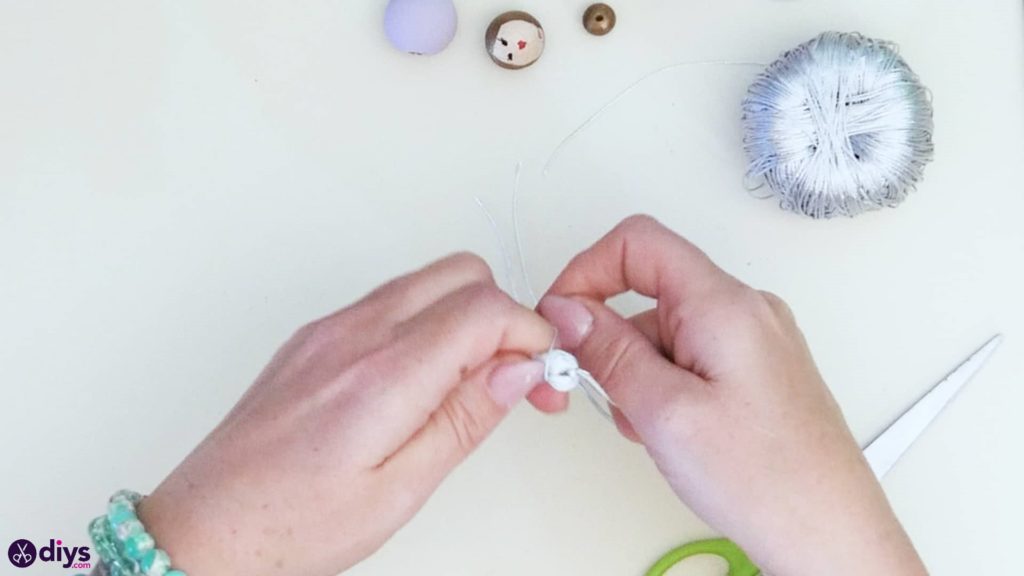
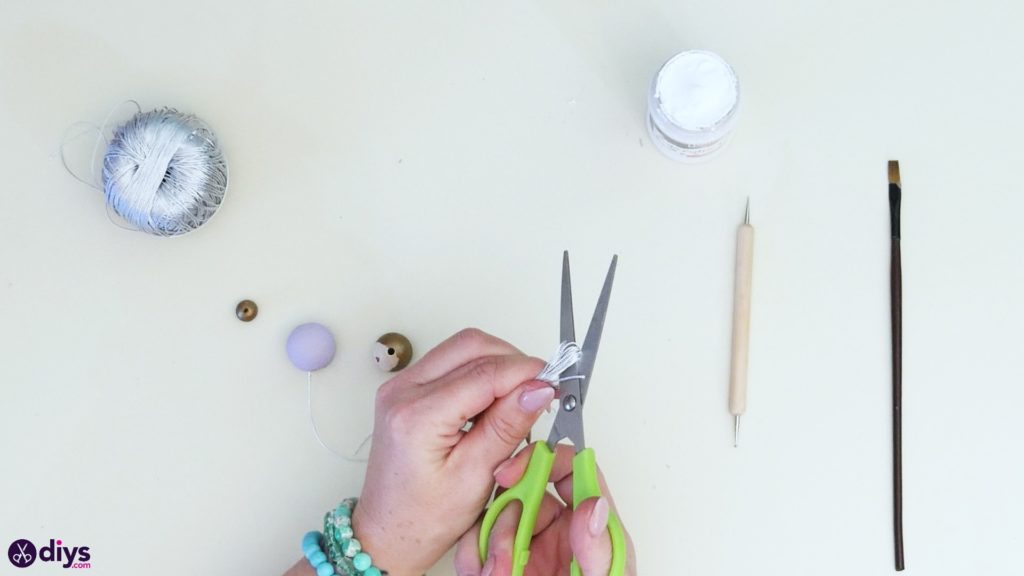
Step 4: make the tassel
Use your silver thread to make your tassel! Start by cutting a six inch piece of thread and folding it in half so you have a looped and at the original string’s halfway point and your two loose ends placed evenly opposite that. Set this aside for the moment. Now, hold your four fingers together, palm up, and pinch the end of your ball of thread against the base of your fingers with your thumb so it lies across all of them. Wrap the thread around and around all of your fingers to make a bundle.
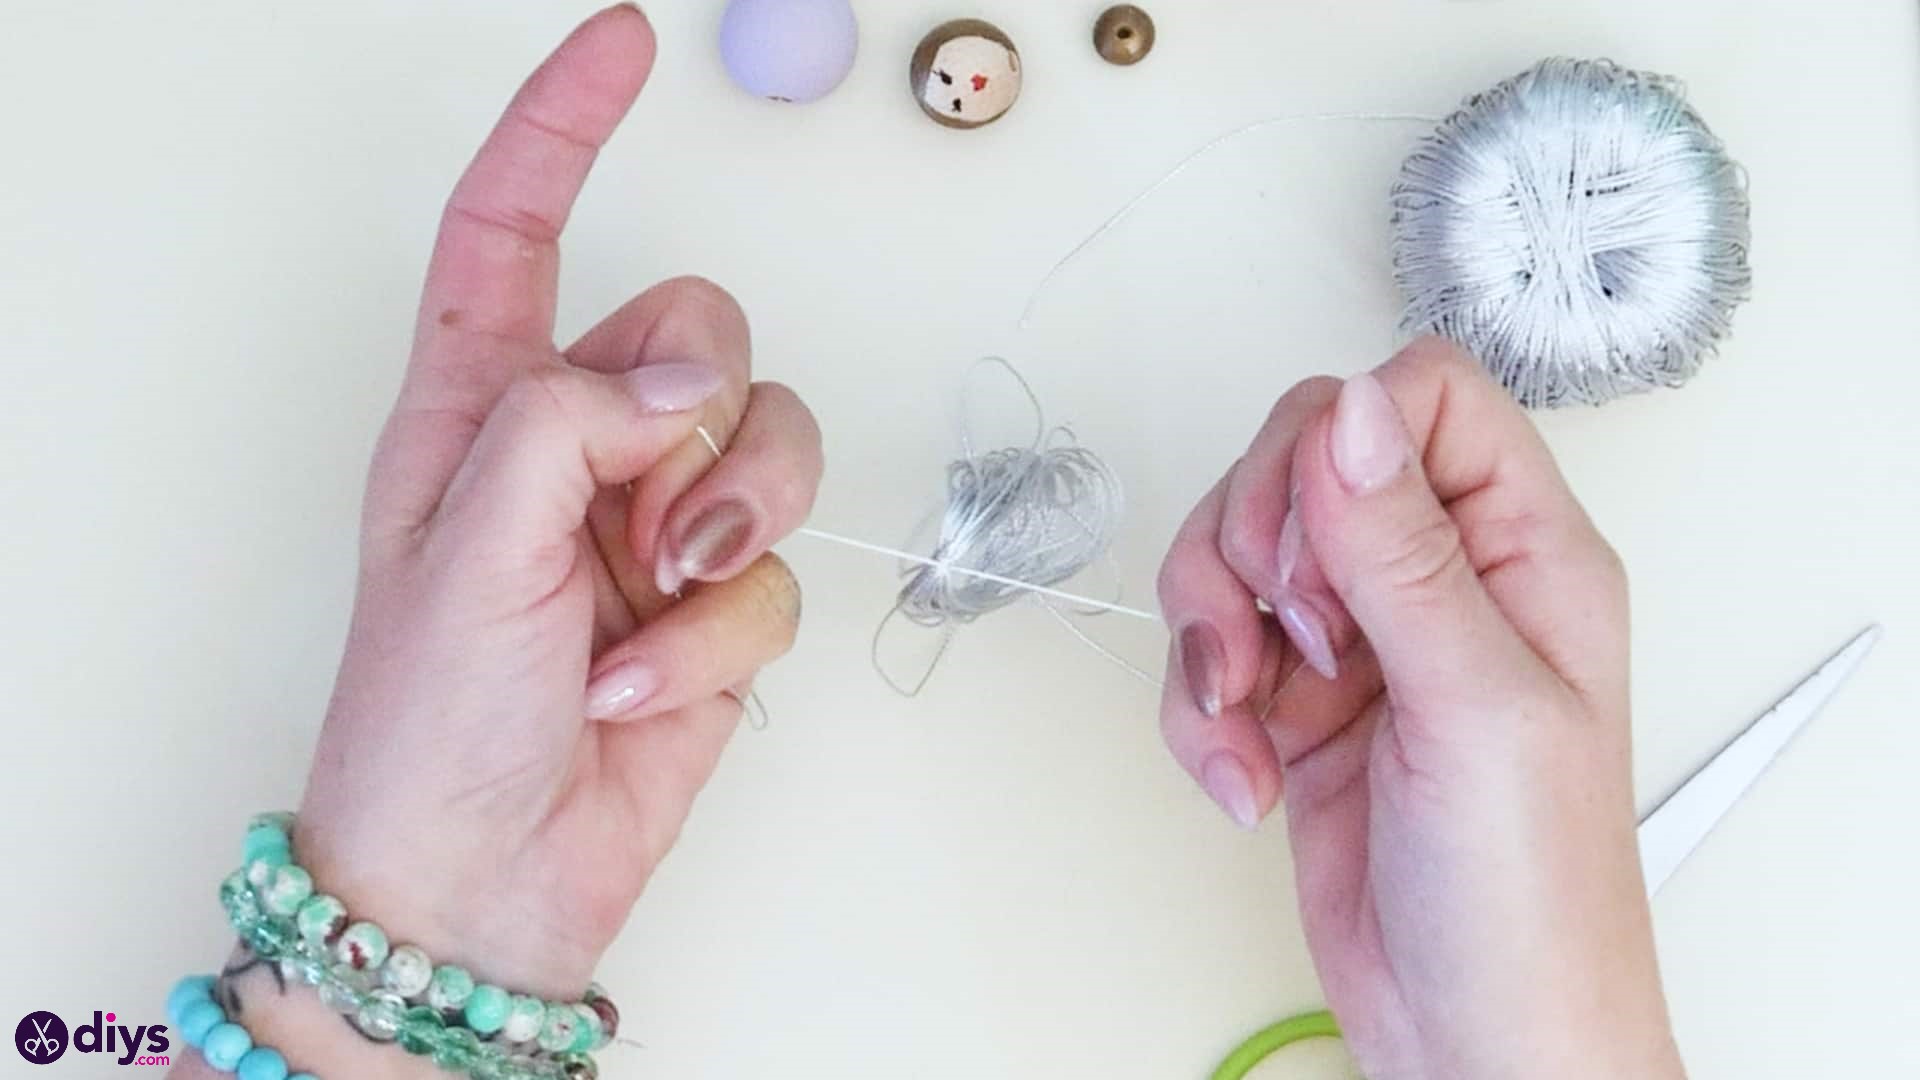
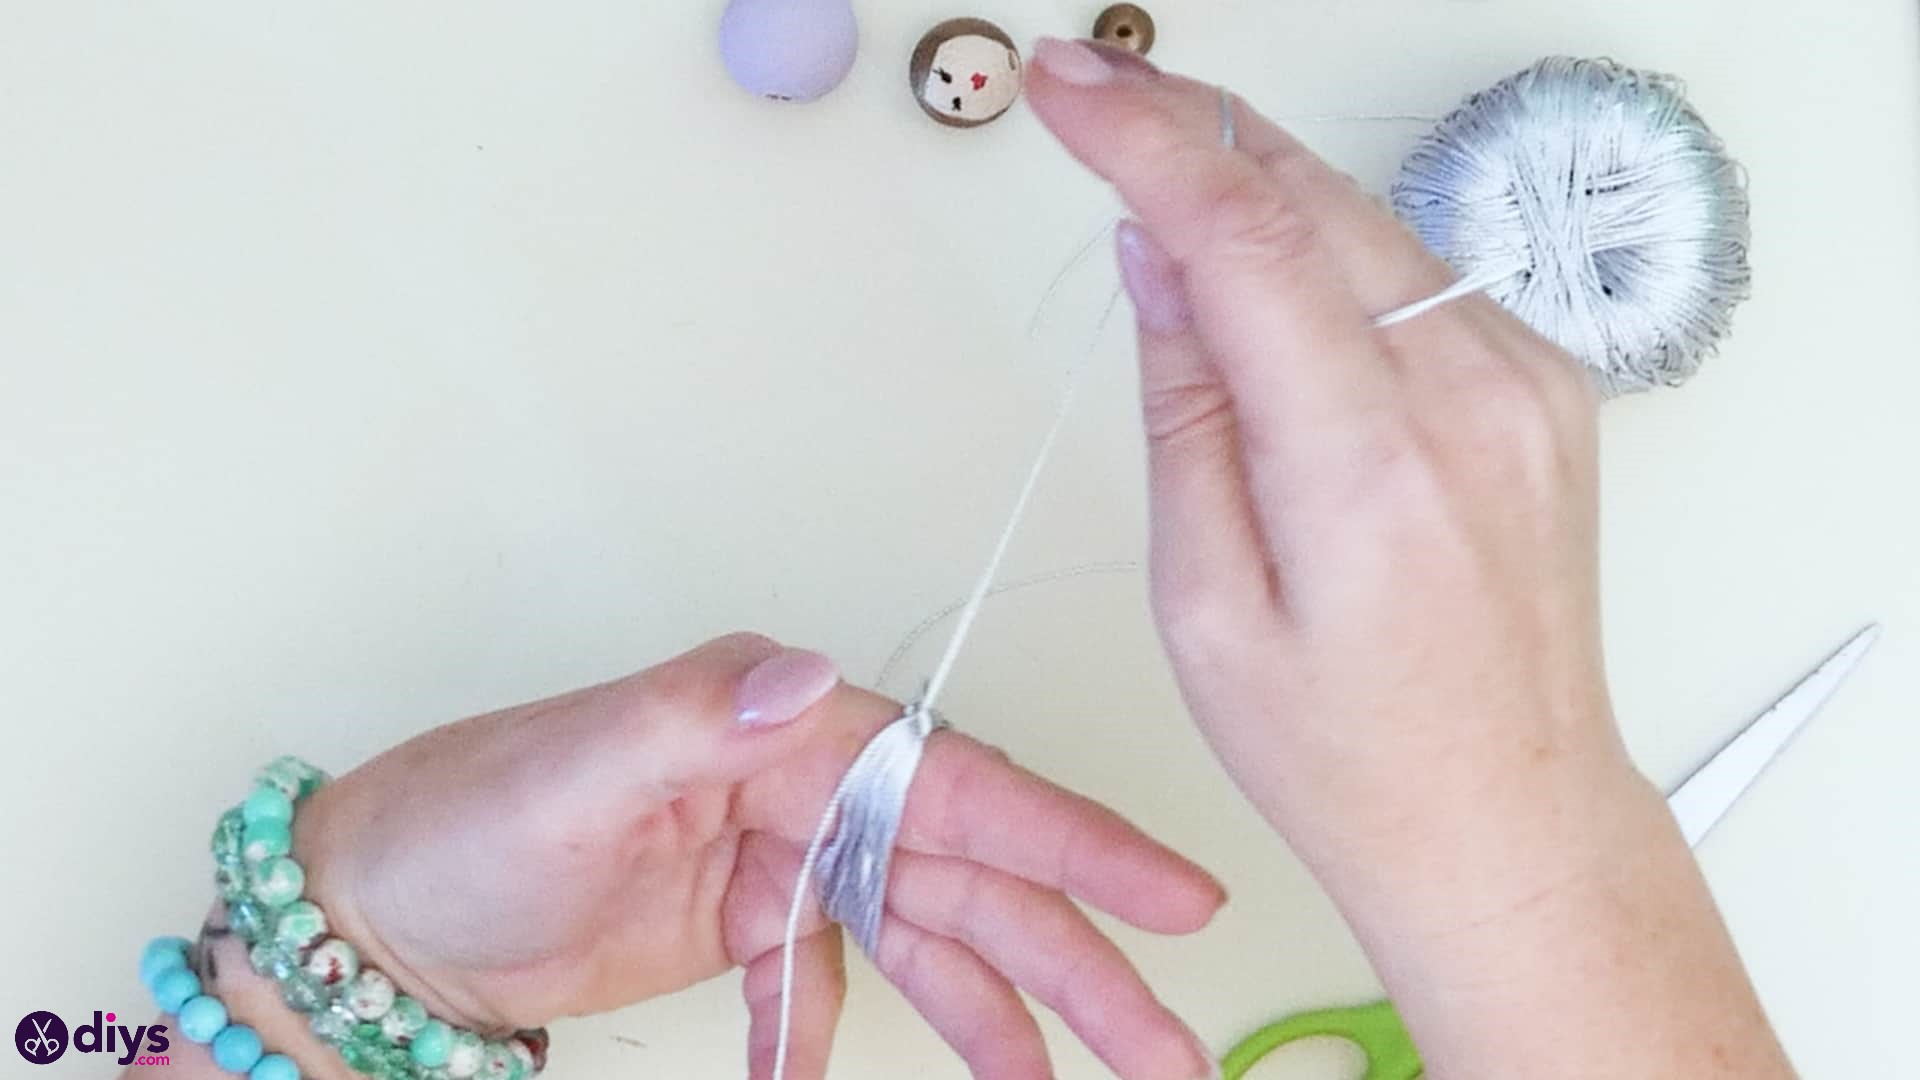
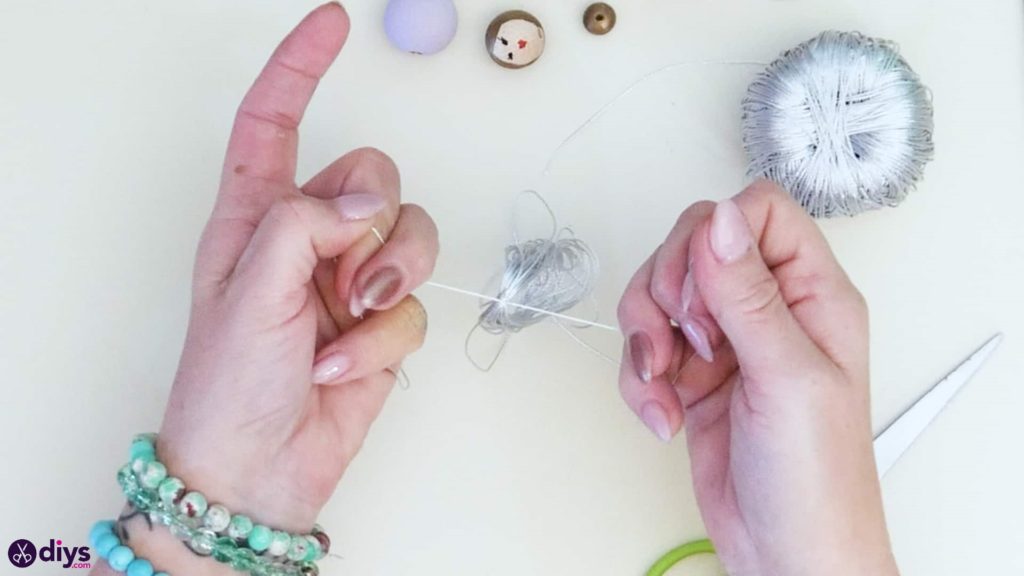
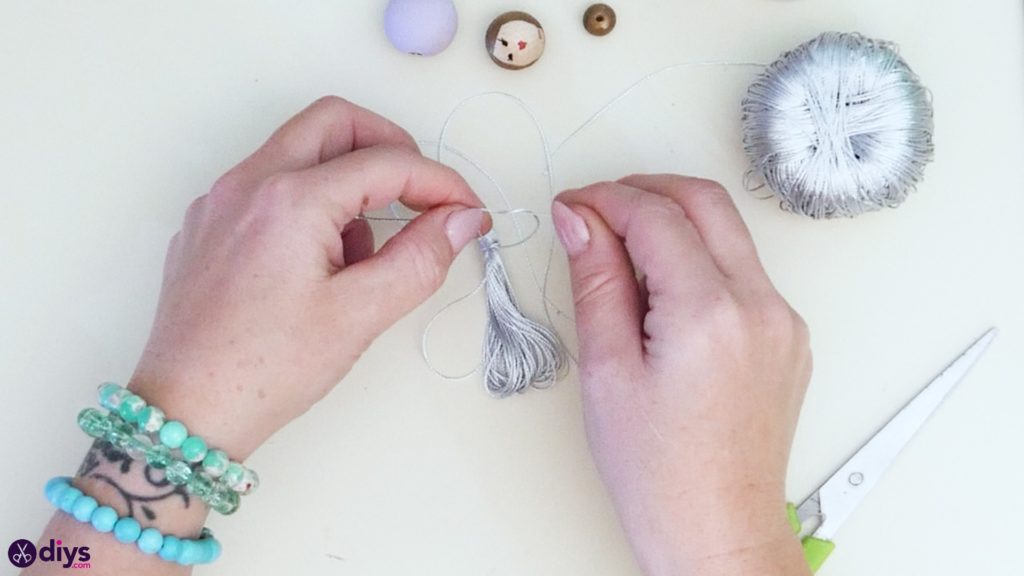
Keep wrapping under your bundle is about half an inch thick; this part of the process is kind of like you’re making a DIY yarn pom pom. Keep your wrapping a little bit loose rather than pulled very tightly round your fingers so that, when you’re finished, you have the space to slide the looped end of the first piece you cut and set aside earlier underneath all of your wrapped strings. Push it through so you have even lengths on either side of what you’ve wrapped and then slide this string upwards so its at the top of your bundle, resting long the length of your index finger. Put one end of that strand through the looped end and pull it tight like a slip knot to cinch the top of the bundle together.
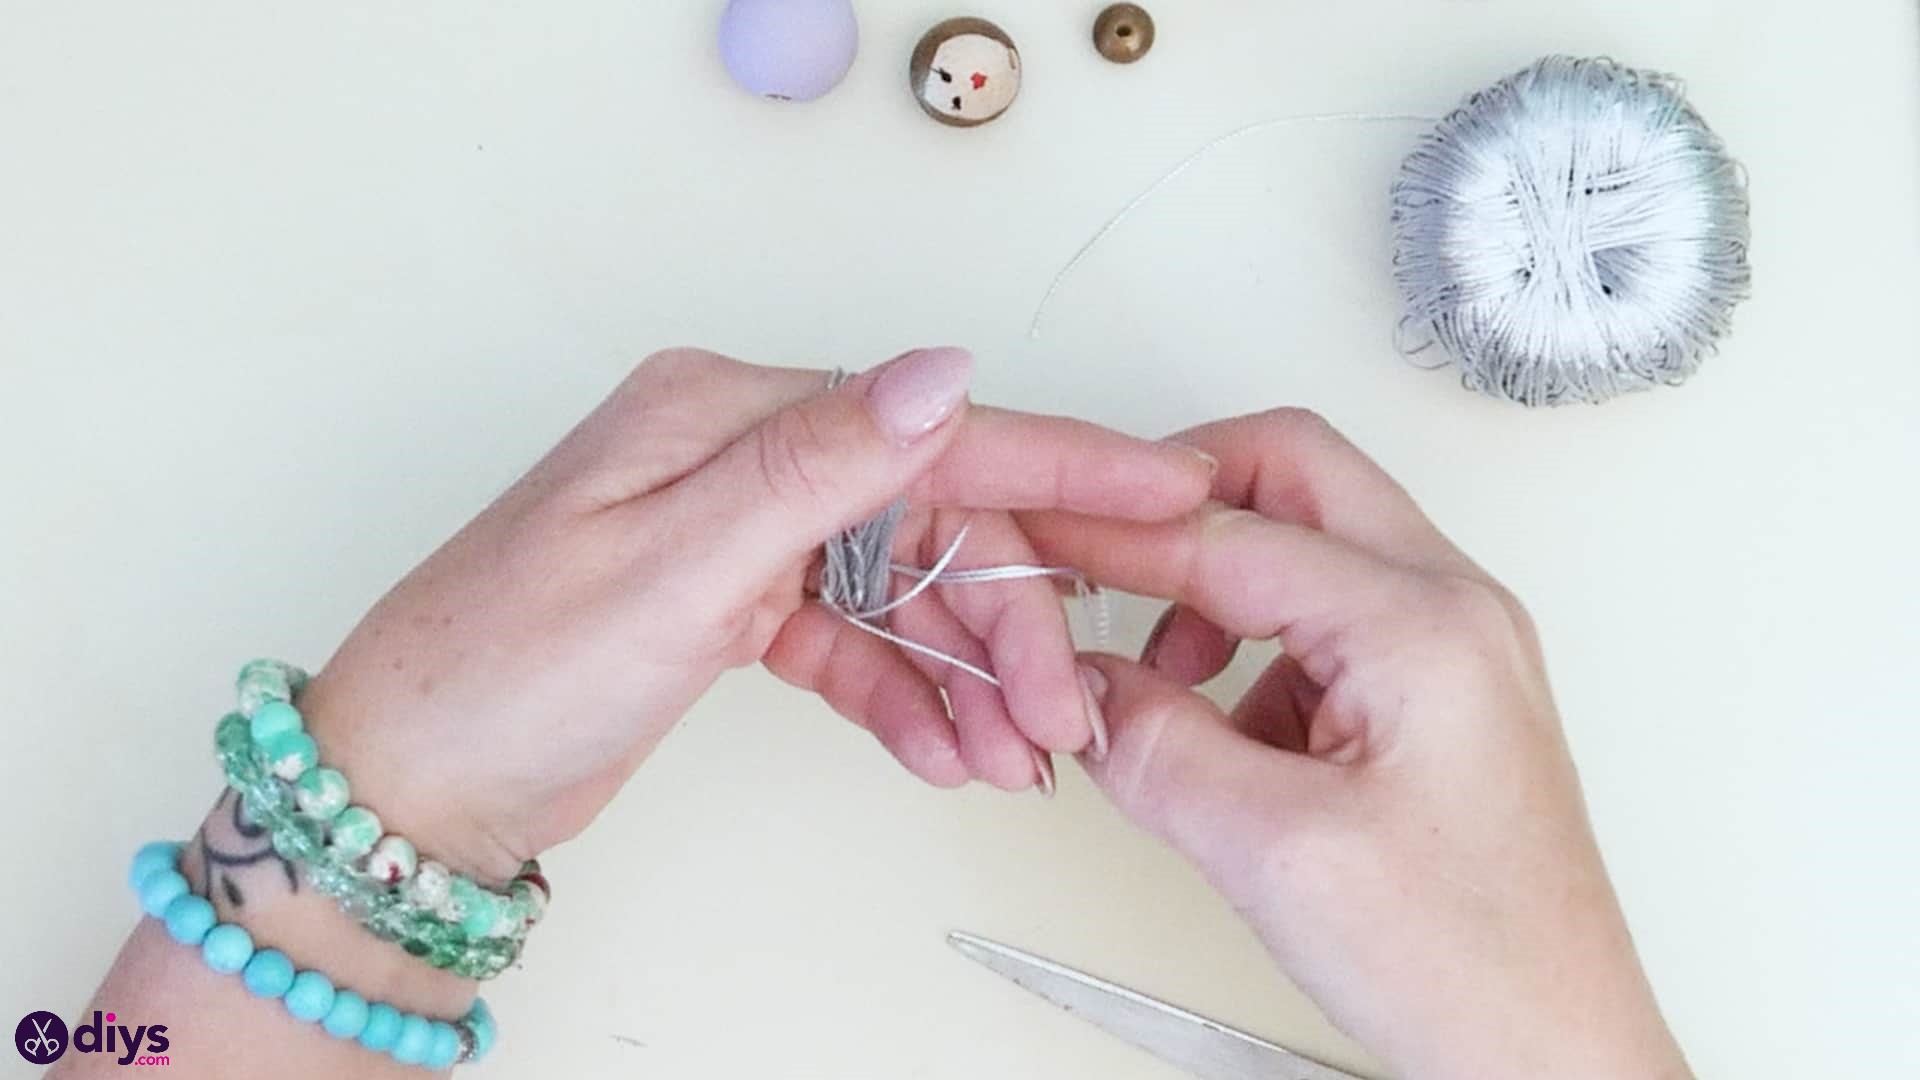
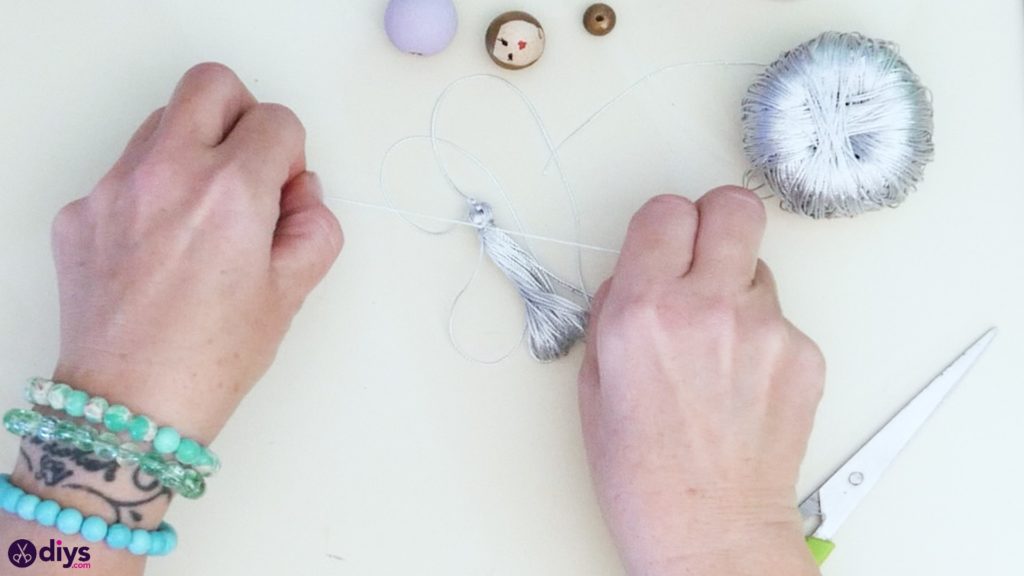
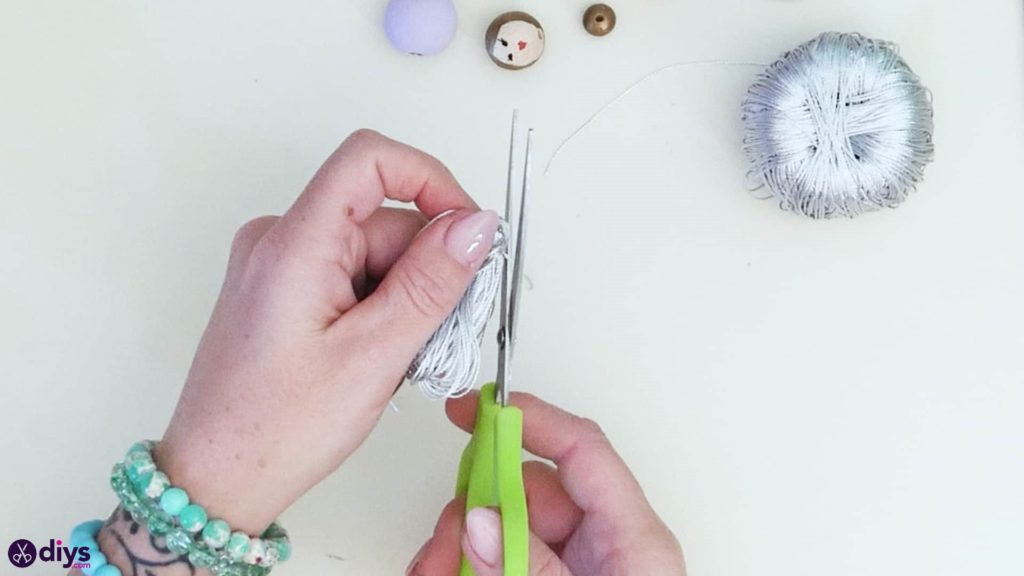
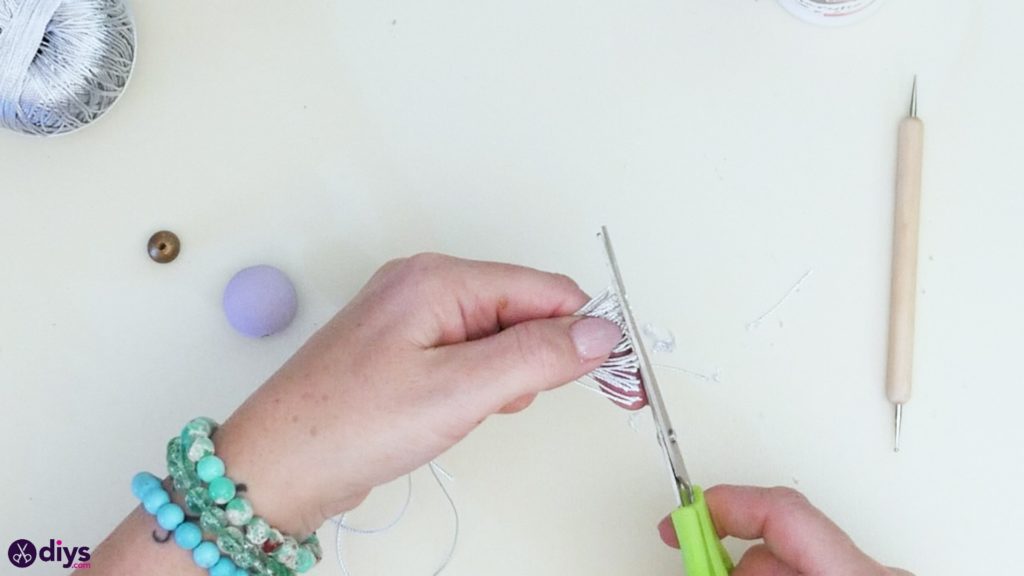
Now, carefully slide the whole wrapped bundle off the end of your fingers. Tie the two ends of that top knotted piece in a tight double knot to really hold things in place and leave them be for the moment; you’ll use these to place your beads and build your doll later. Then use your fingers to smooth the loops below so the top, that your strings are knotted around, sits smoothly. Use your fingers to pinch together about half an inch of the bundle threads near those knots you just made and then cut a spare length of string about four inches long and, resting your pinched part near the middle of it, start wrapping it around the pinched piece to cinch the top in a different way. This will be the real base of your tassel that your fringe will hang down from. Once you feel like you’ve wrapped it quite solidly, tie those ends in a tight double knot again to keep things in place and trim the excess. Now use your scissors to cut the loops at the other end of your tassel to make that classic fringe. Trim them until they’re even.


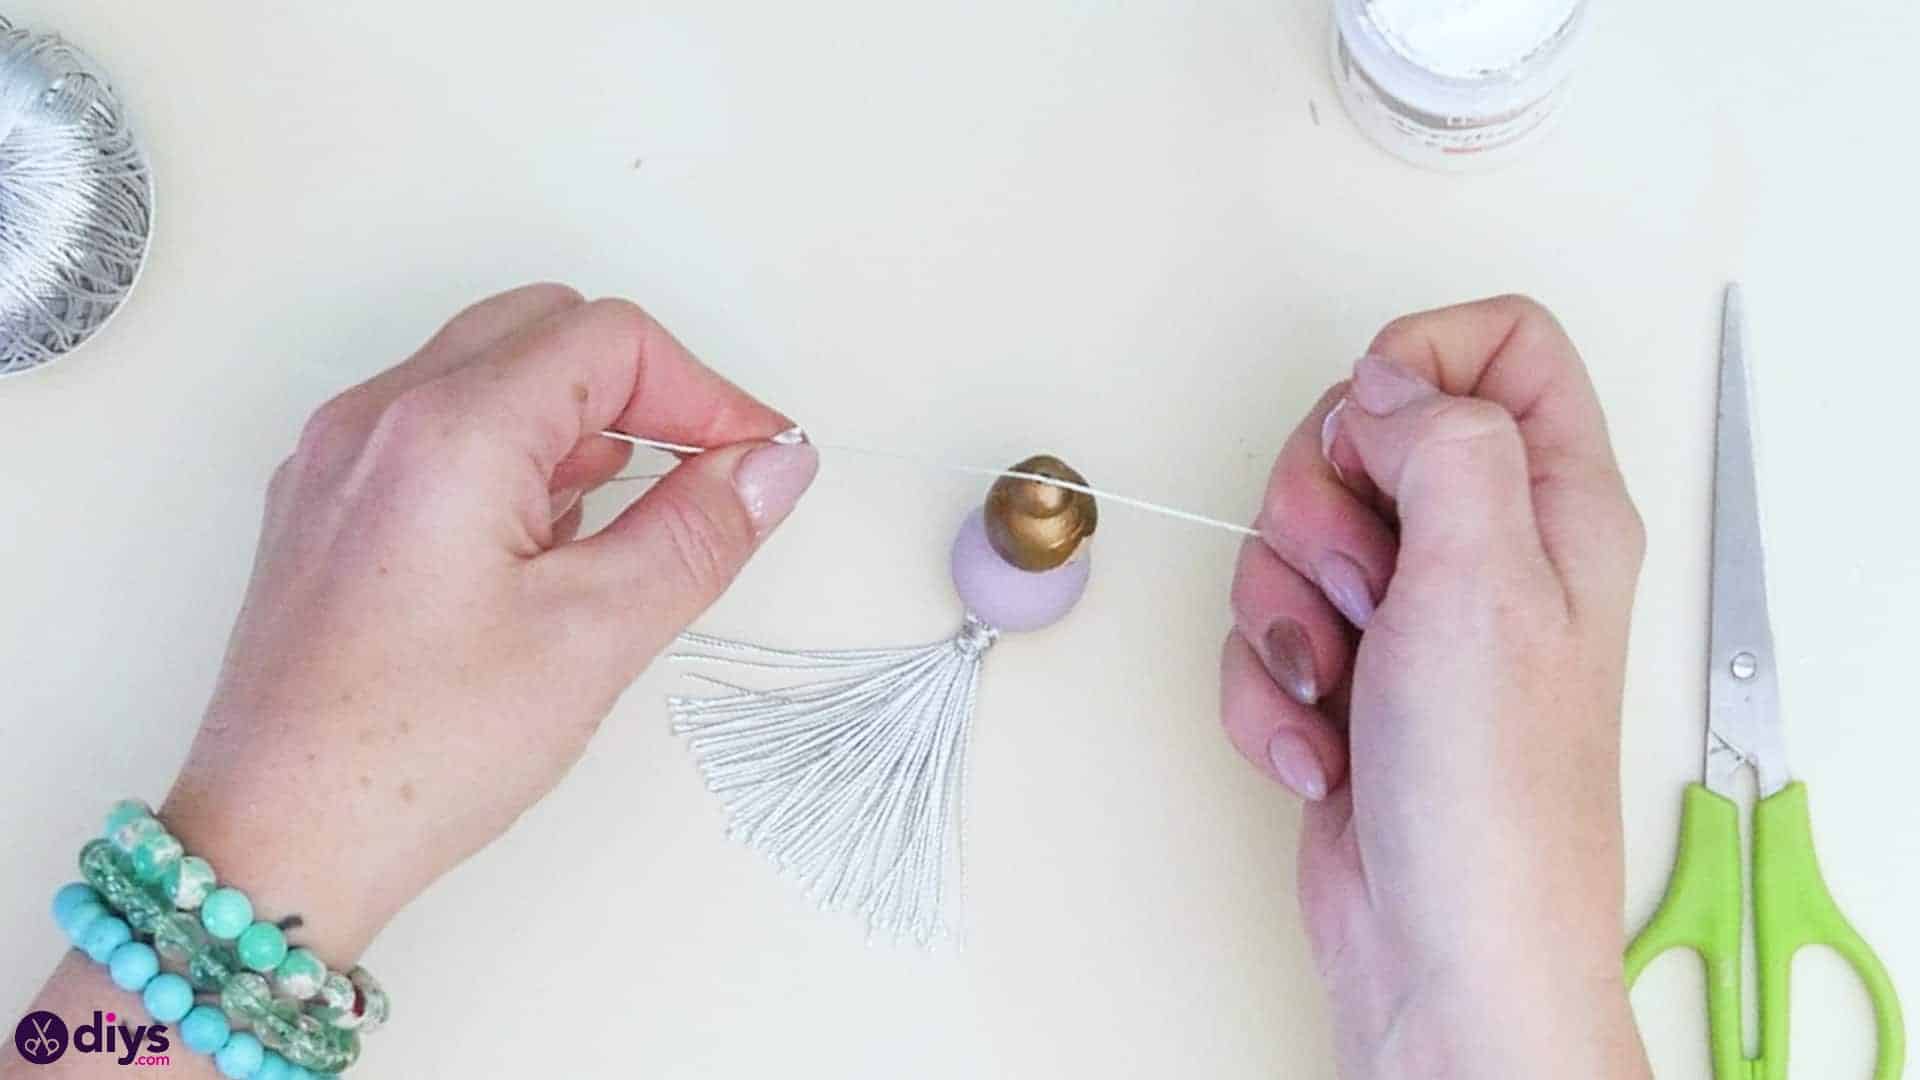
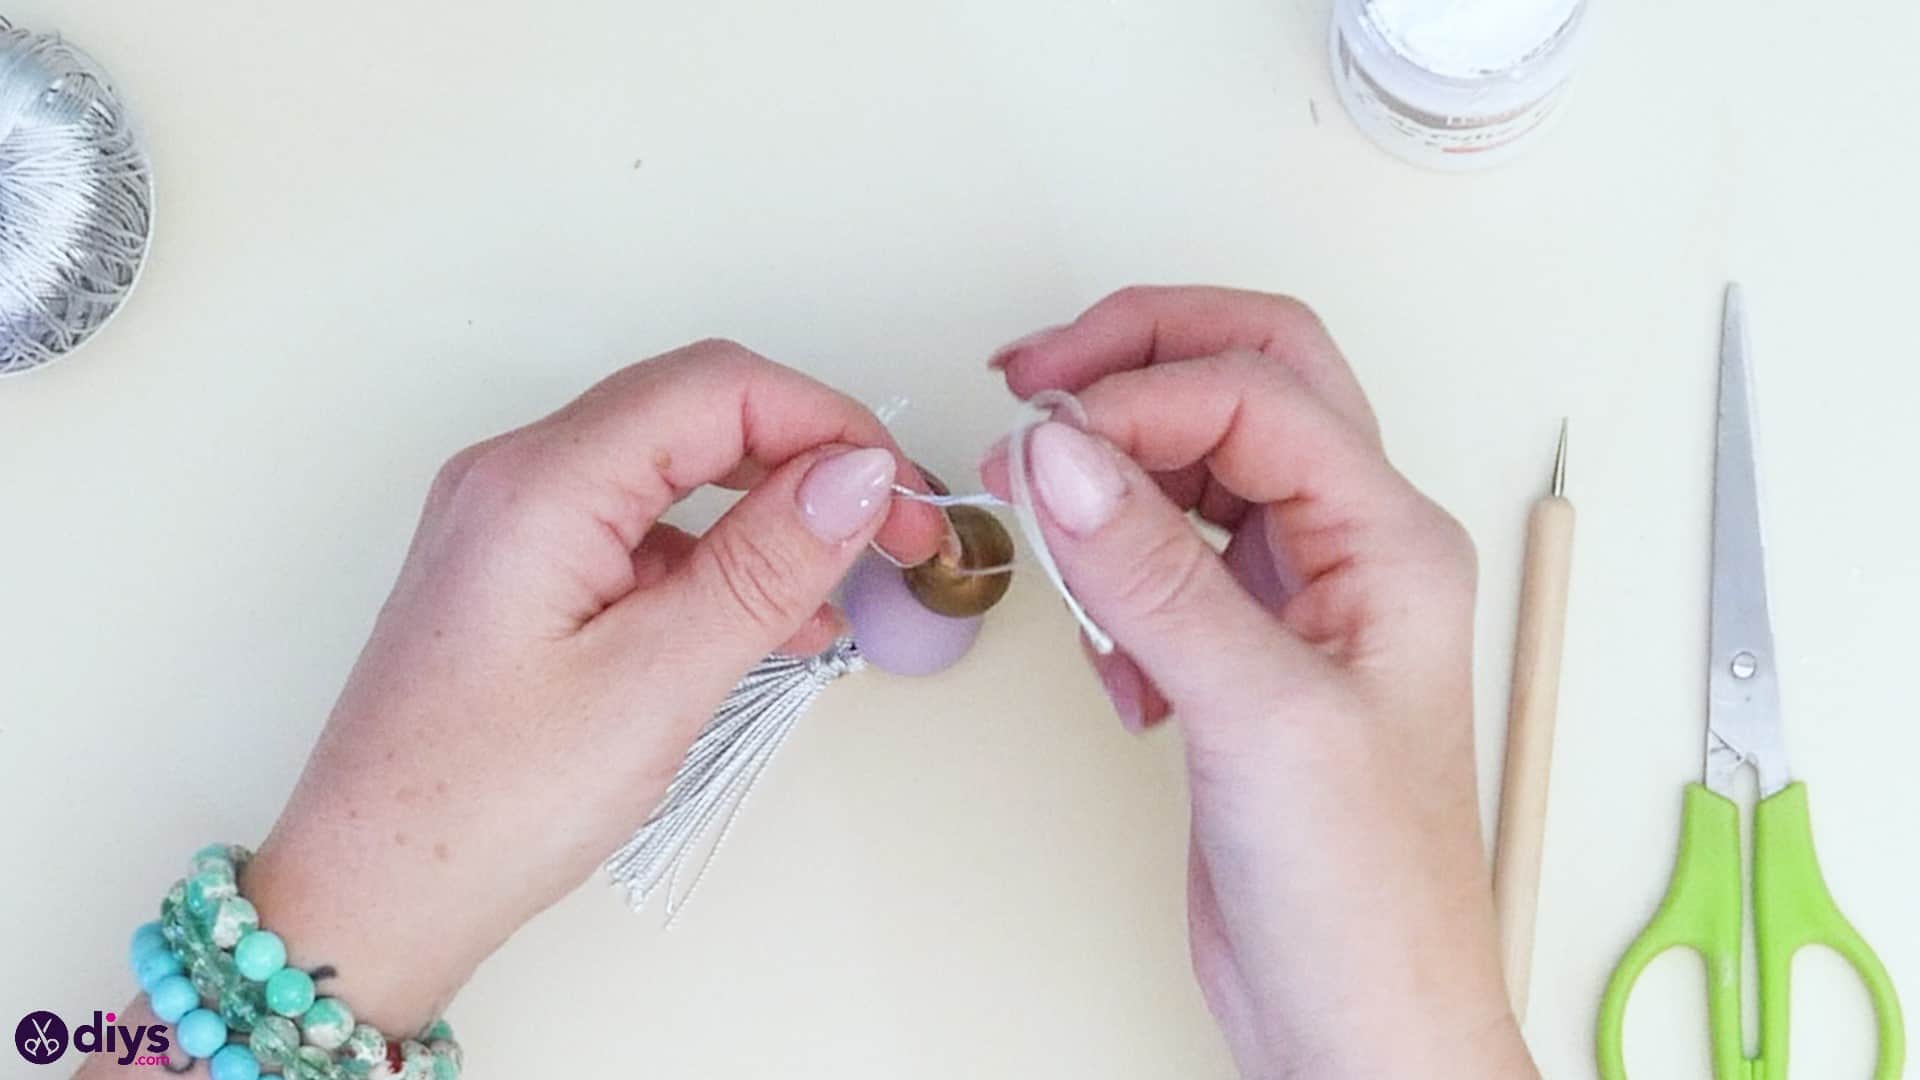
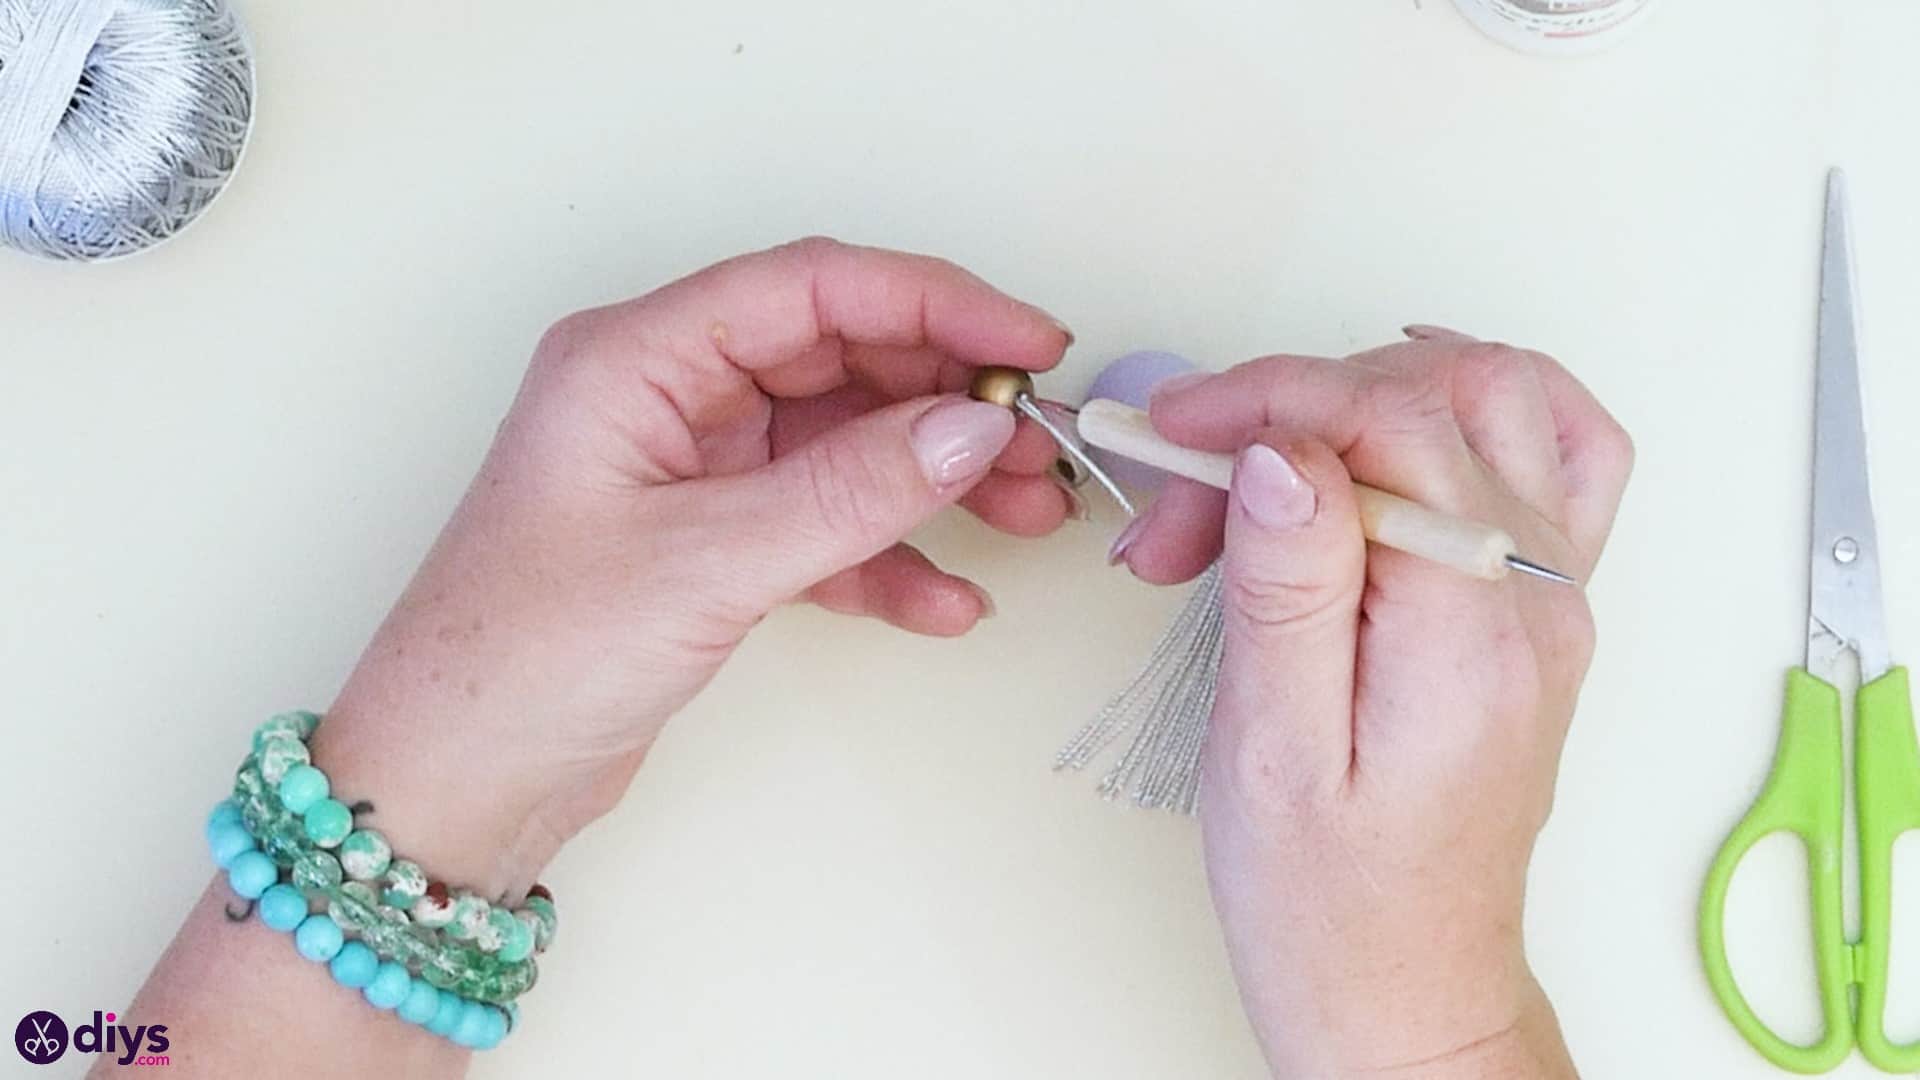
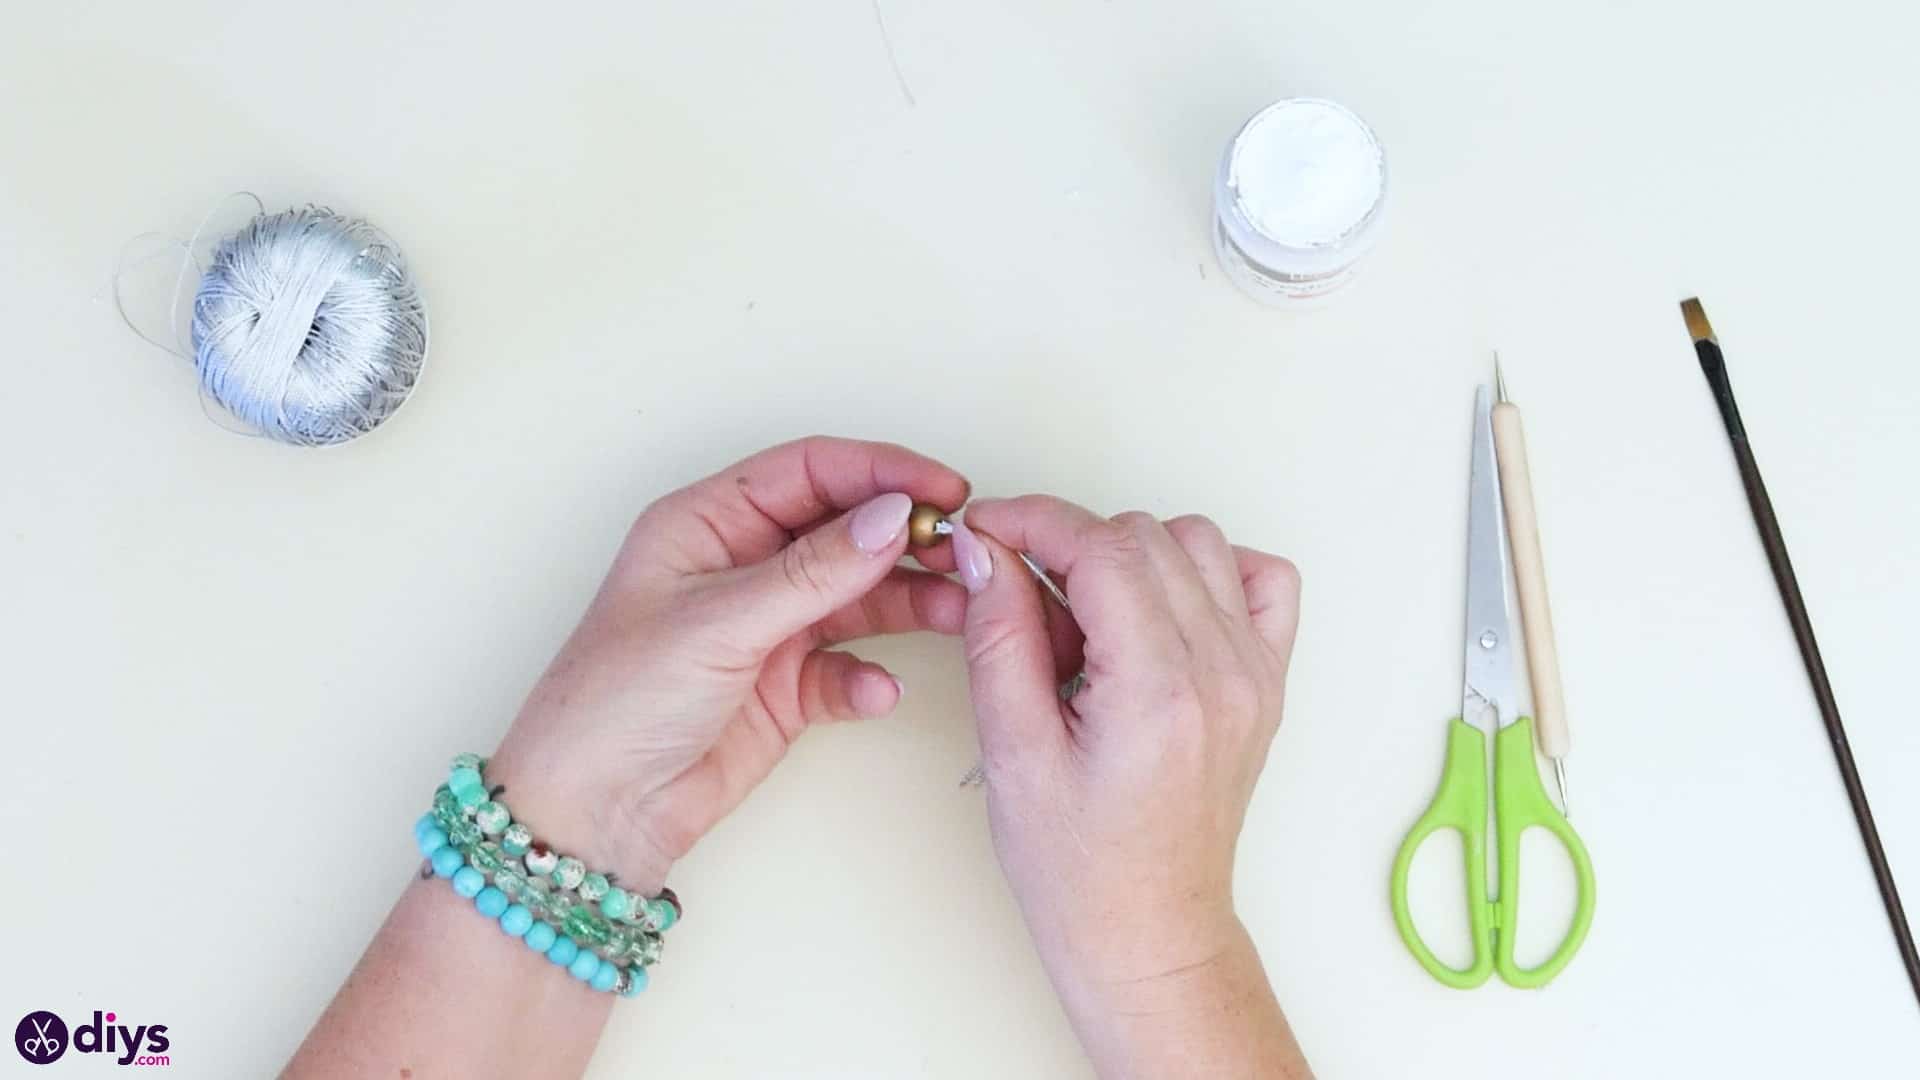
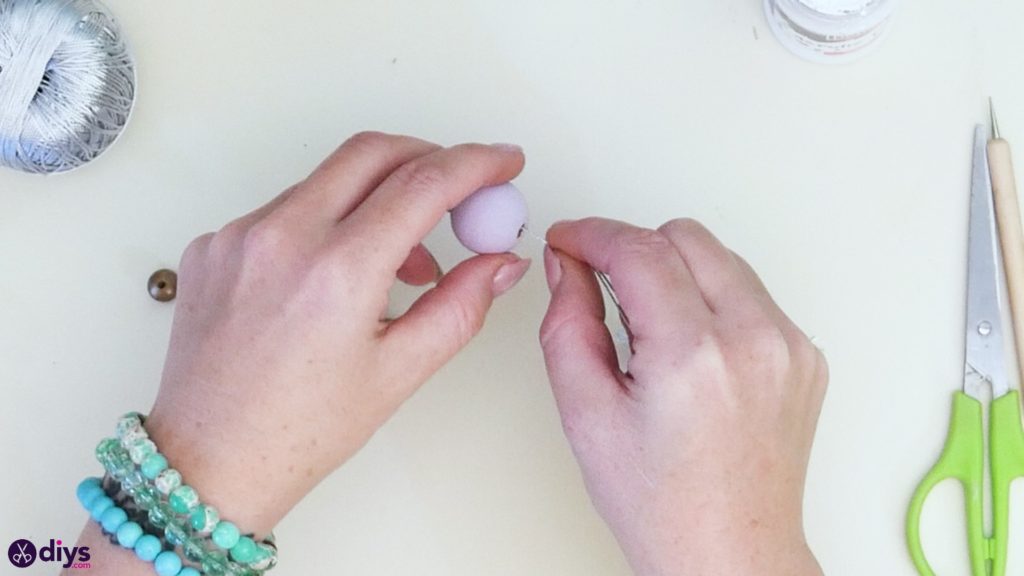
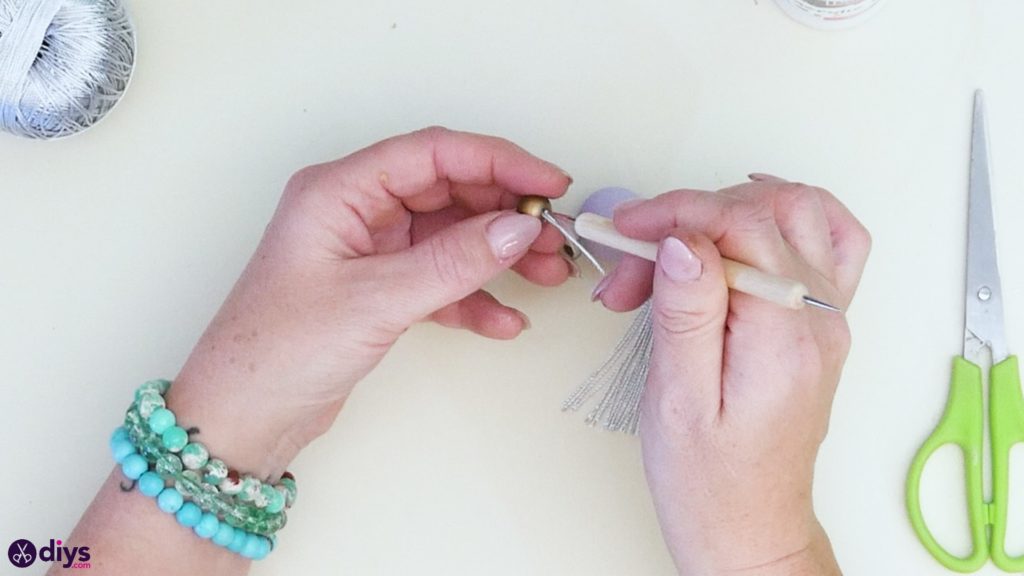
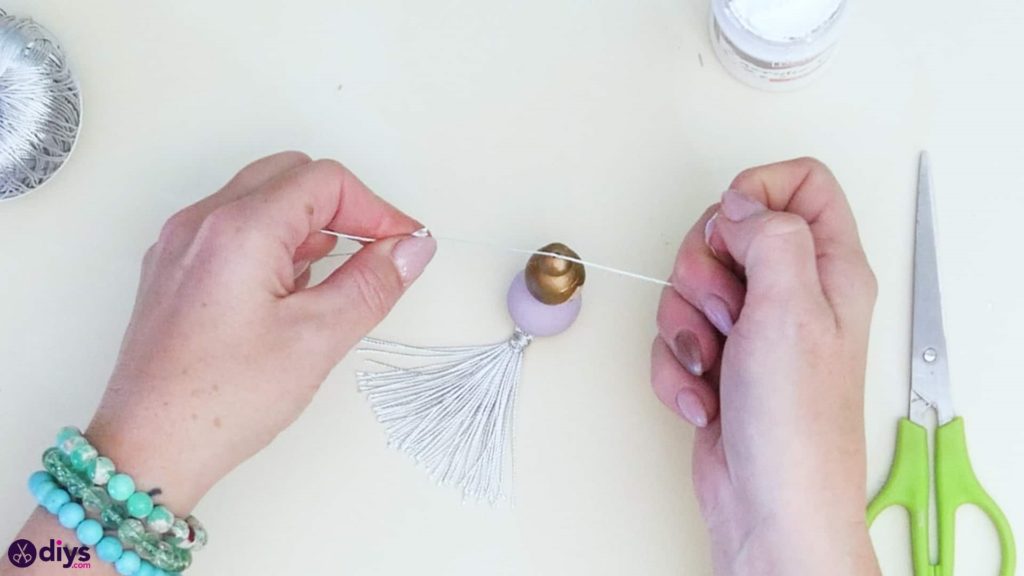
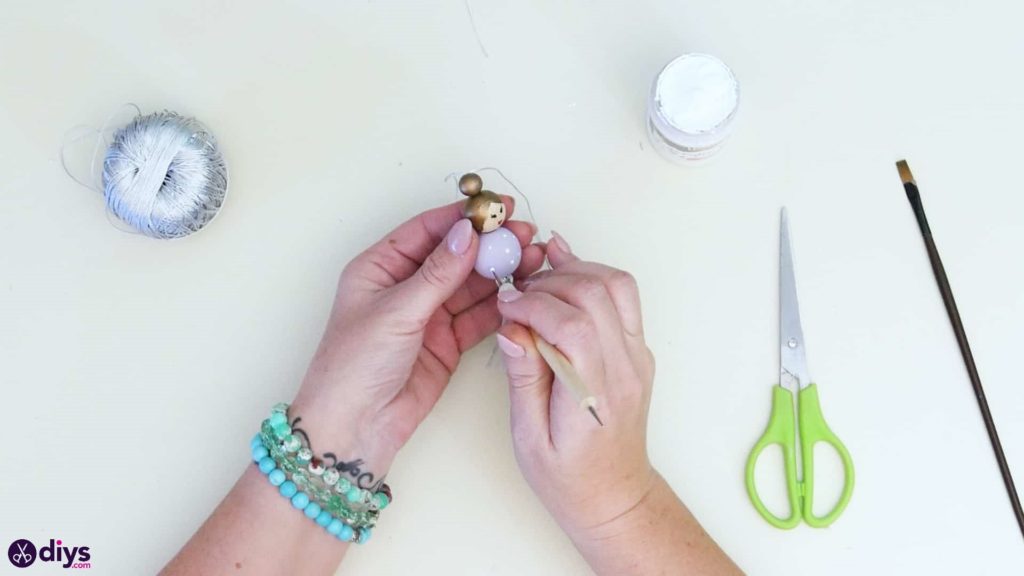
Step 5: assemble
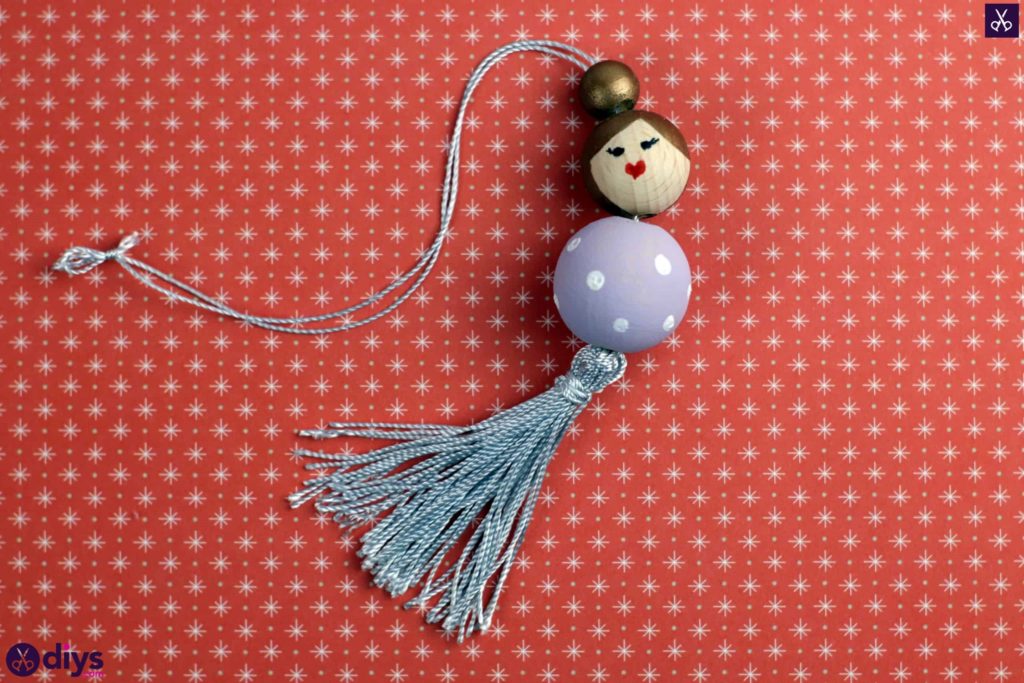
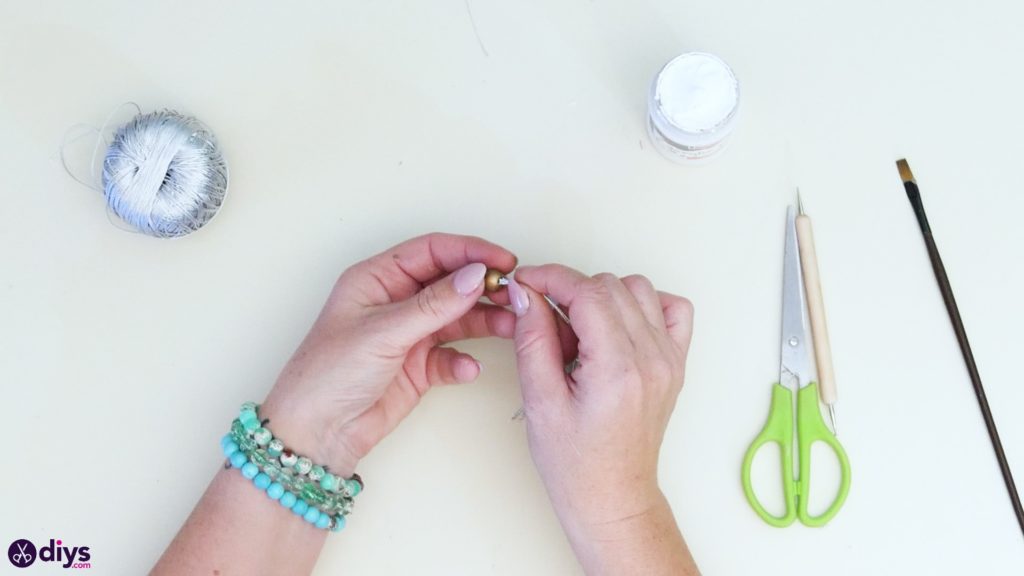
Go back to the ends of the string you knotted around the top of your tassel bundle at the beginning; the ones sticking out of the top. Pinch them together and put both ends through the hole in the middle of your largest purple painted wooden bead, sliding it all the way to the base of the strings to rest against the top of the tassel. Smooth the strings so their ends are even again and put them both through the hole in the middle of the medium sized bead next (the doll’s head and face), sliding it down to rest on top of the purple bead. Repeat the process again for the smallest, bronze painted bead, sliding it down to rest of on top of the doll’s head so it looks like a hair bun. Feel free to use your dotting tool to push the string ends through the hole if you need to. Once all three beads are in place, part your ends and tie them in as many tight knots as it takes to made the thread bigger than the hole so the beads stay in place and don’t slide off the top thread. If you want to turn the piece into a hanging ornament, tie the ends in a knot right near their tip so their length between the top and bottom knots becomes a loop that you can hang the doll on.


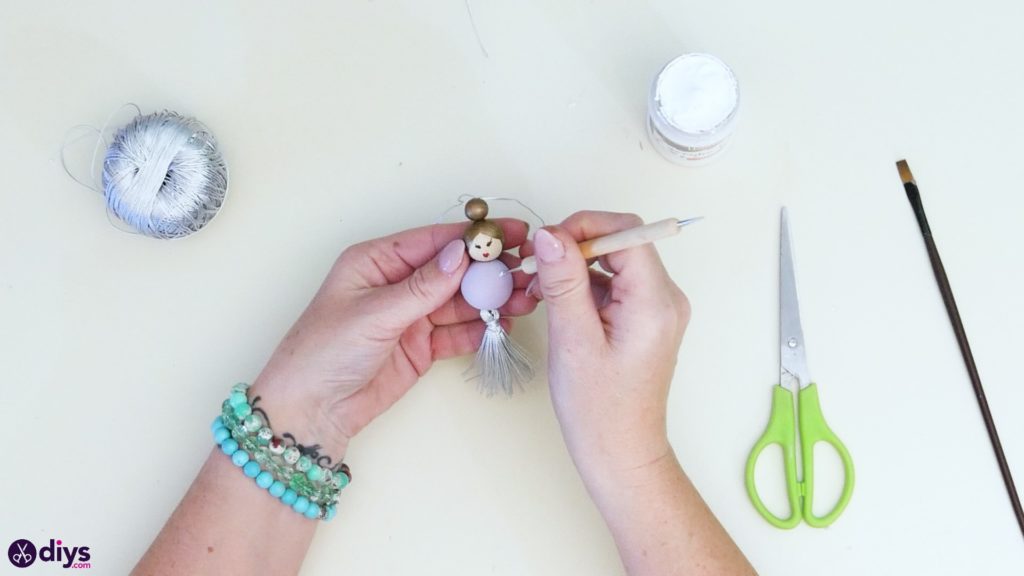
Step 6: details
Dip your dotting tool in white paint and use it to add polka dots all over your purple bead to give the doll’s dress some detail and character. Hang it up from its loop to dry.

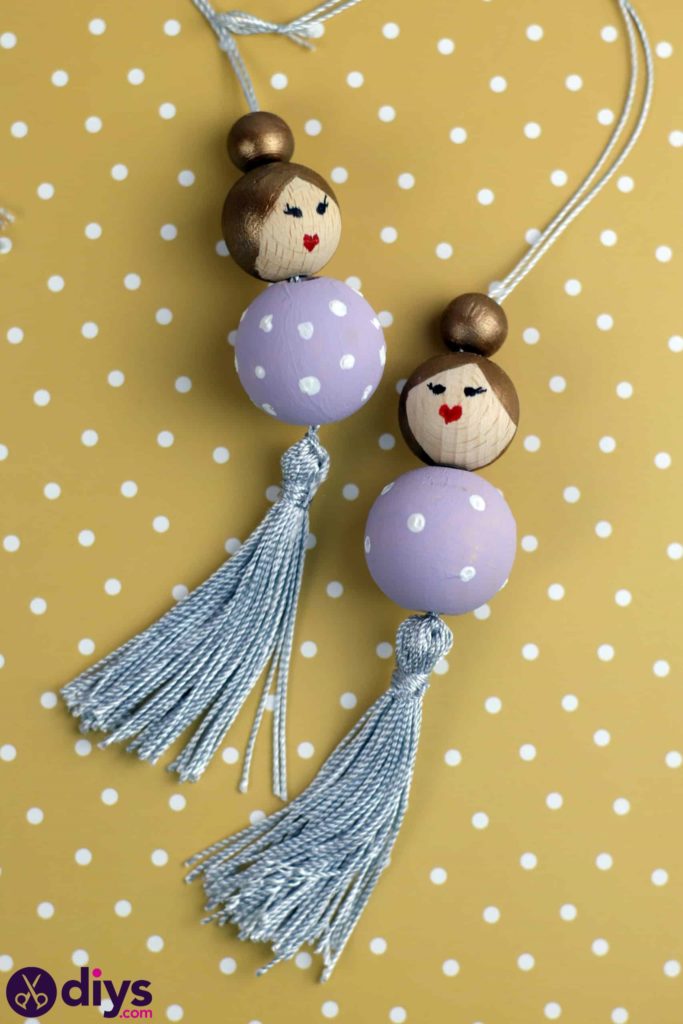
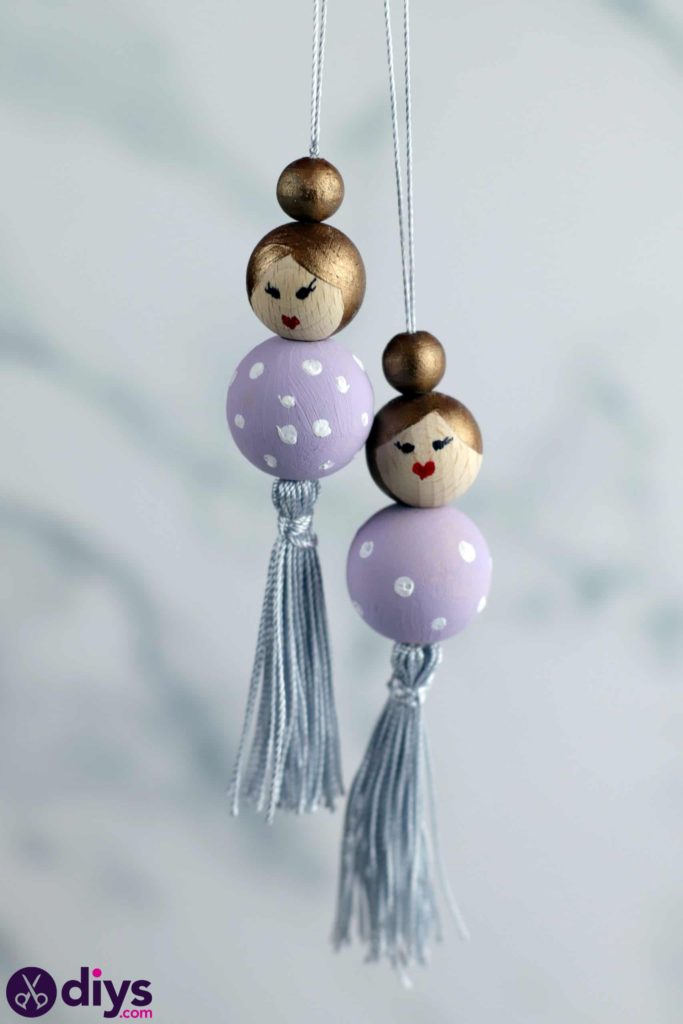
Your doll is officially finished! As always, feel free to get creative with the colours of your doll’s clothing and hair to customize it however you please. Just in case you’d like to try this project out for yourself, here’s a fantastic tutorial video to help you!