Easy DIY Valentine’s Day Candle
Updated on November 19, 2025
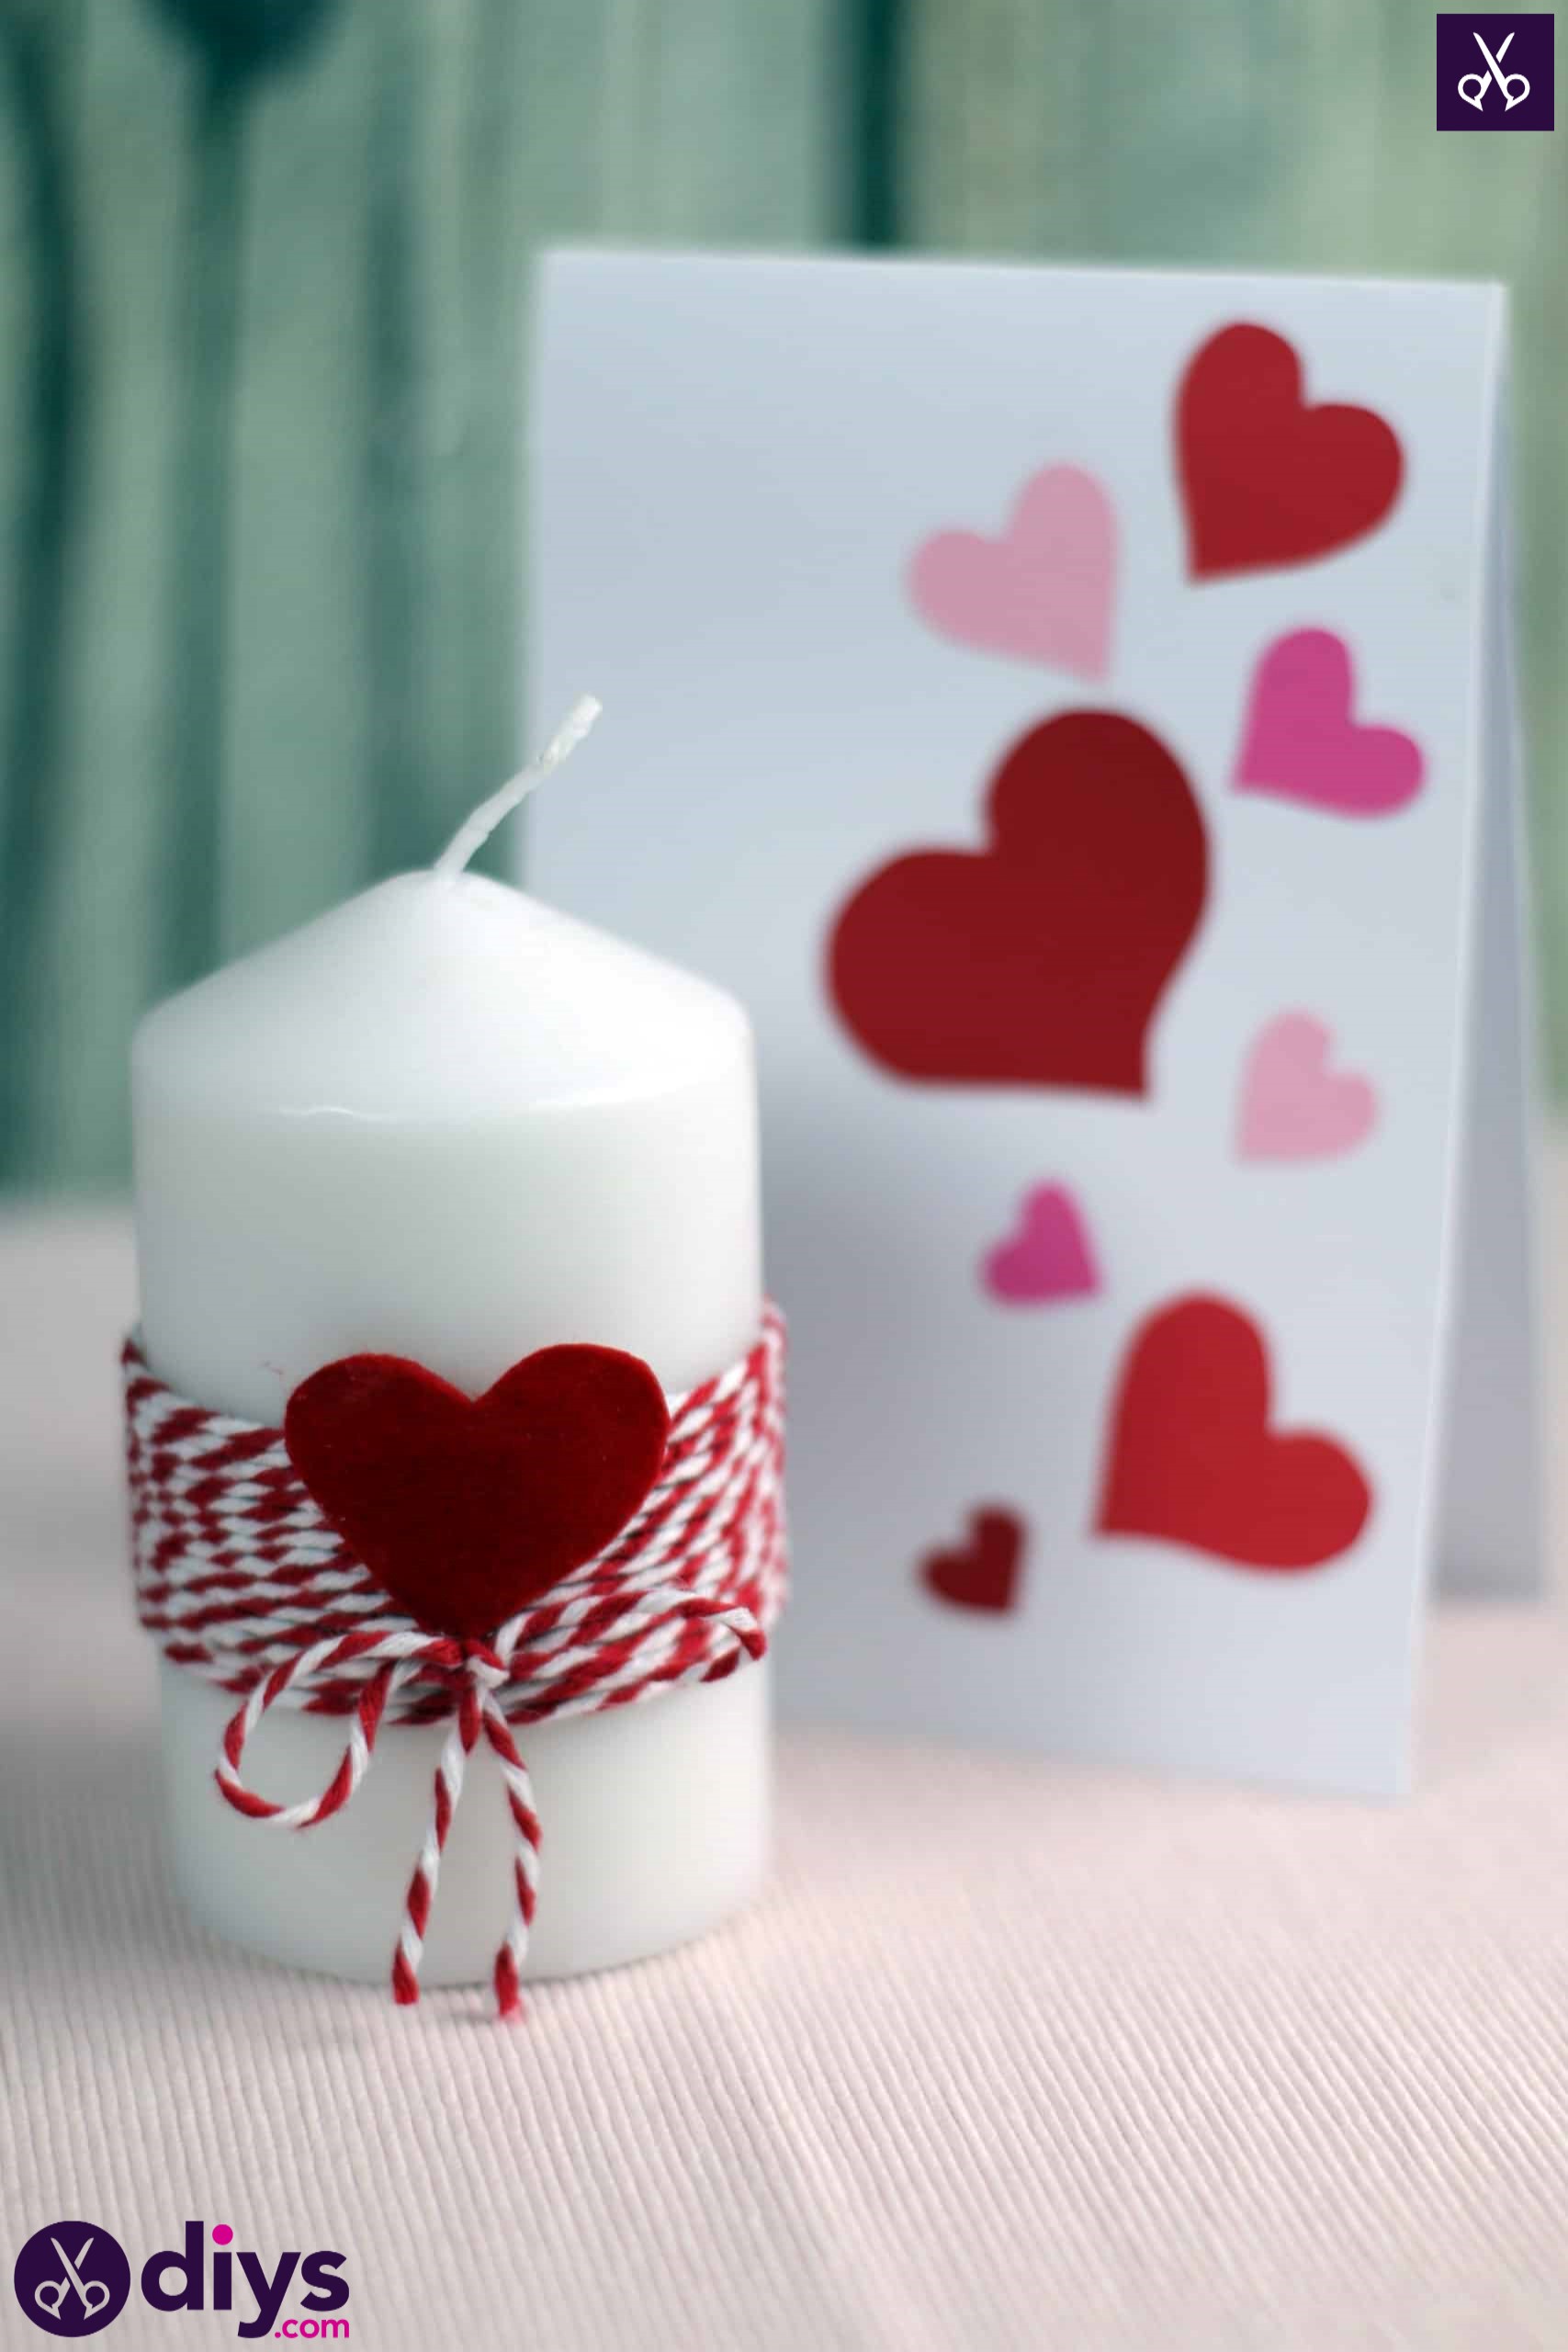


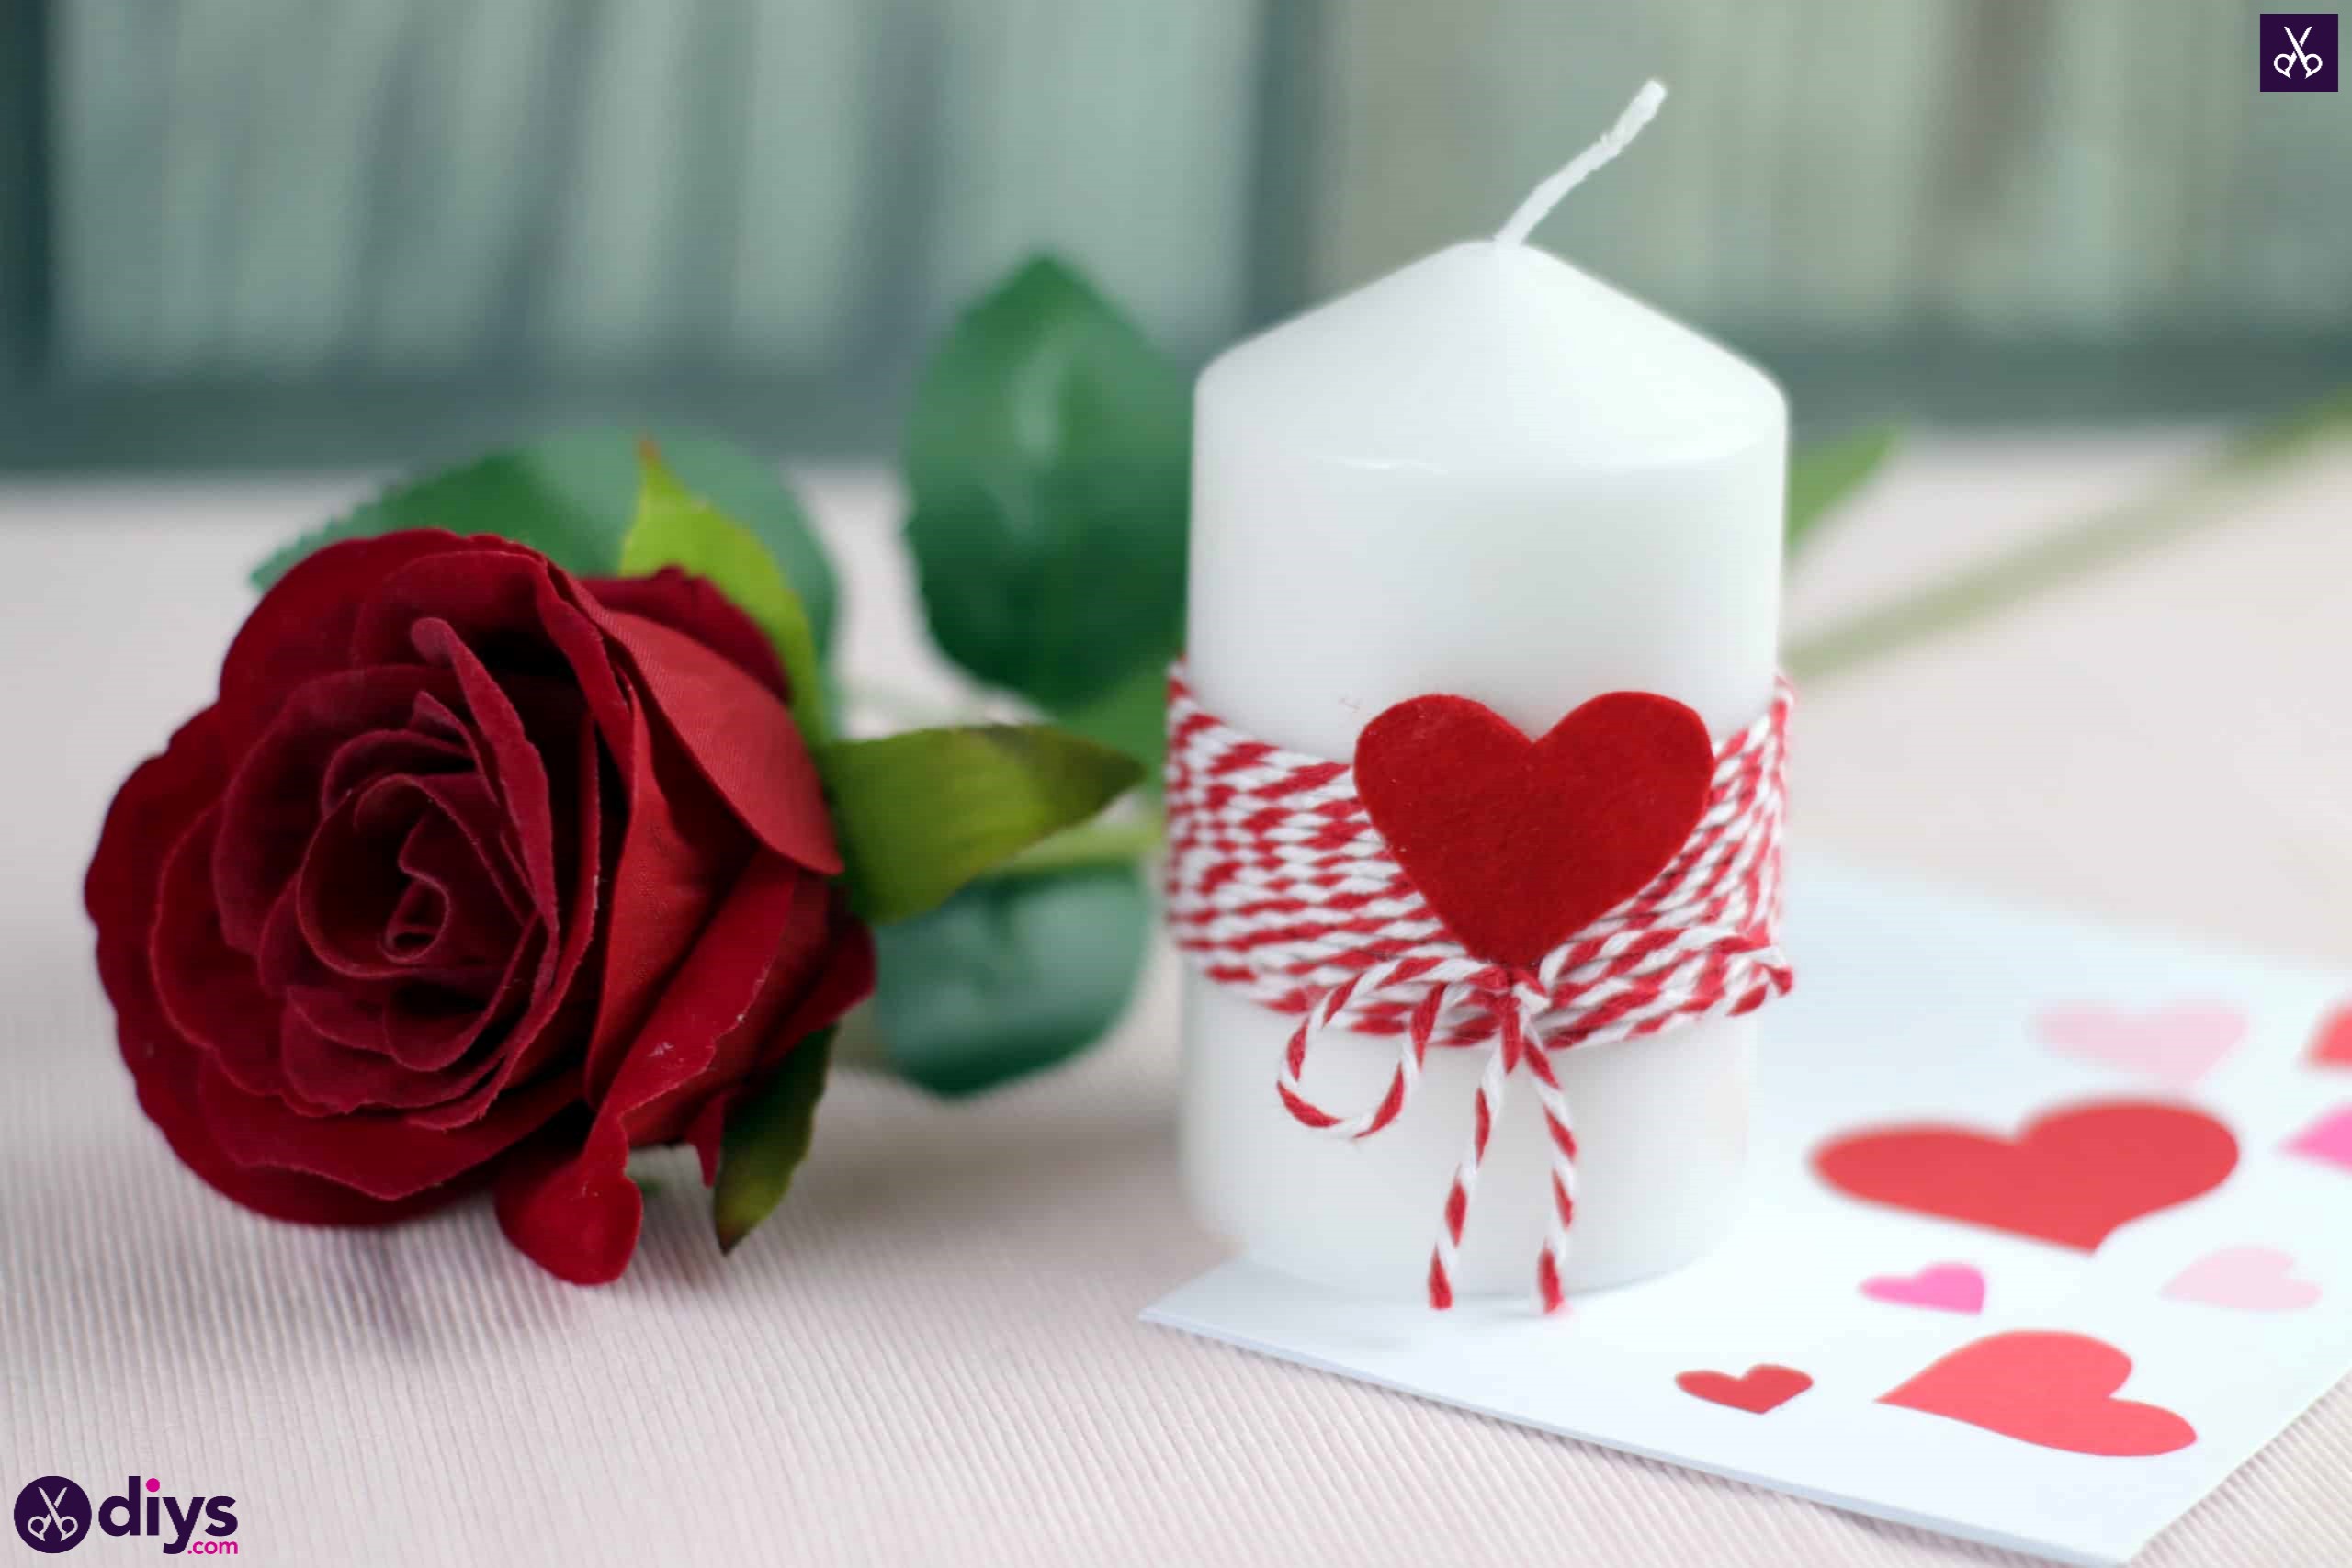
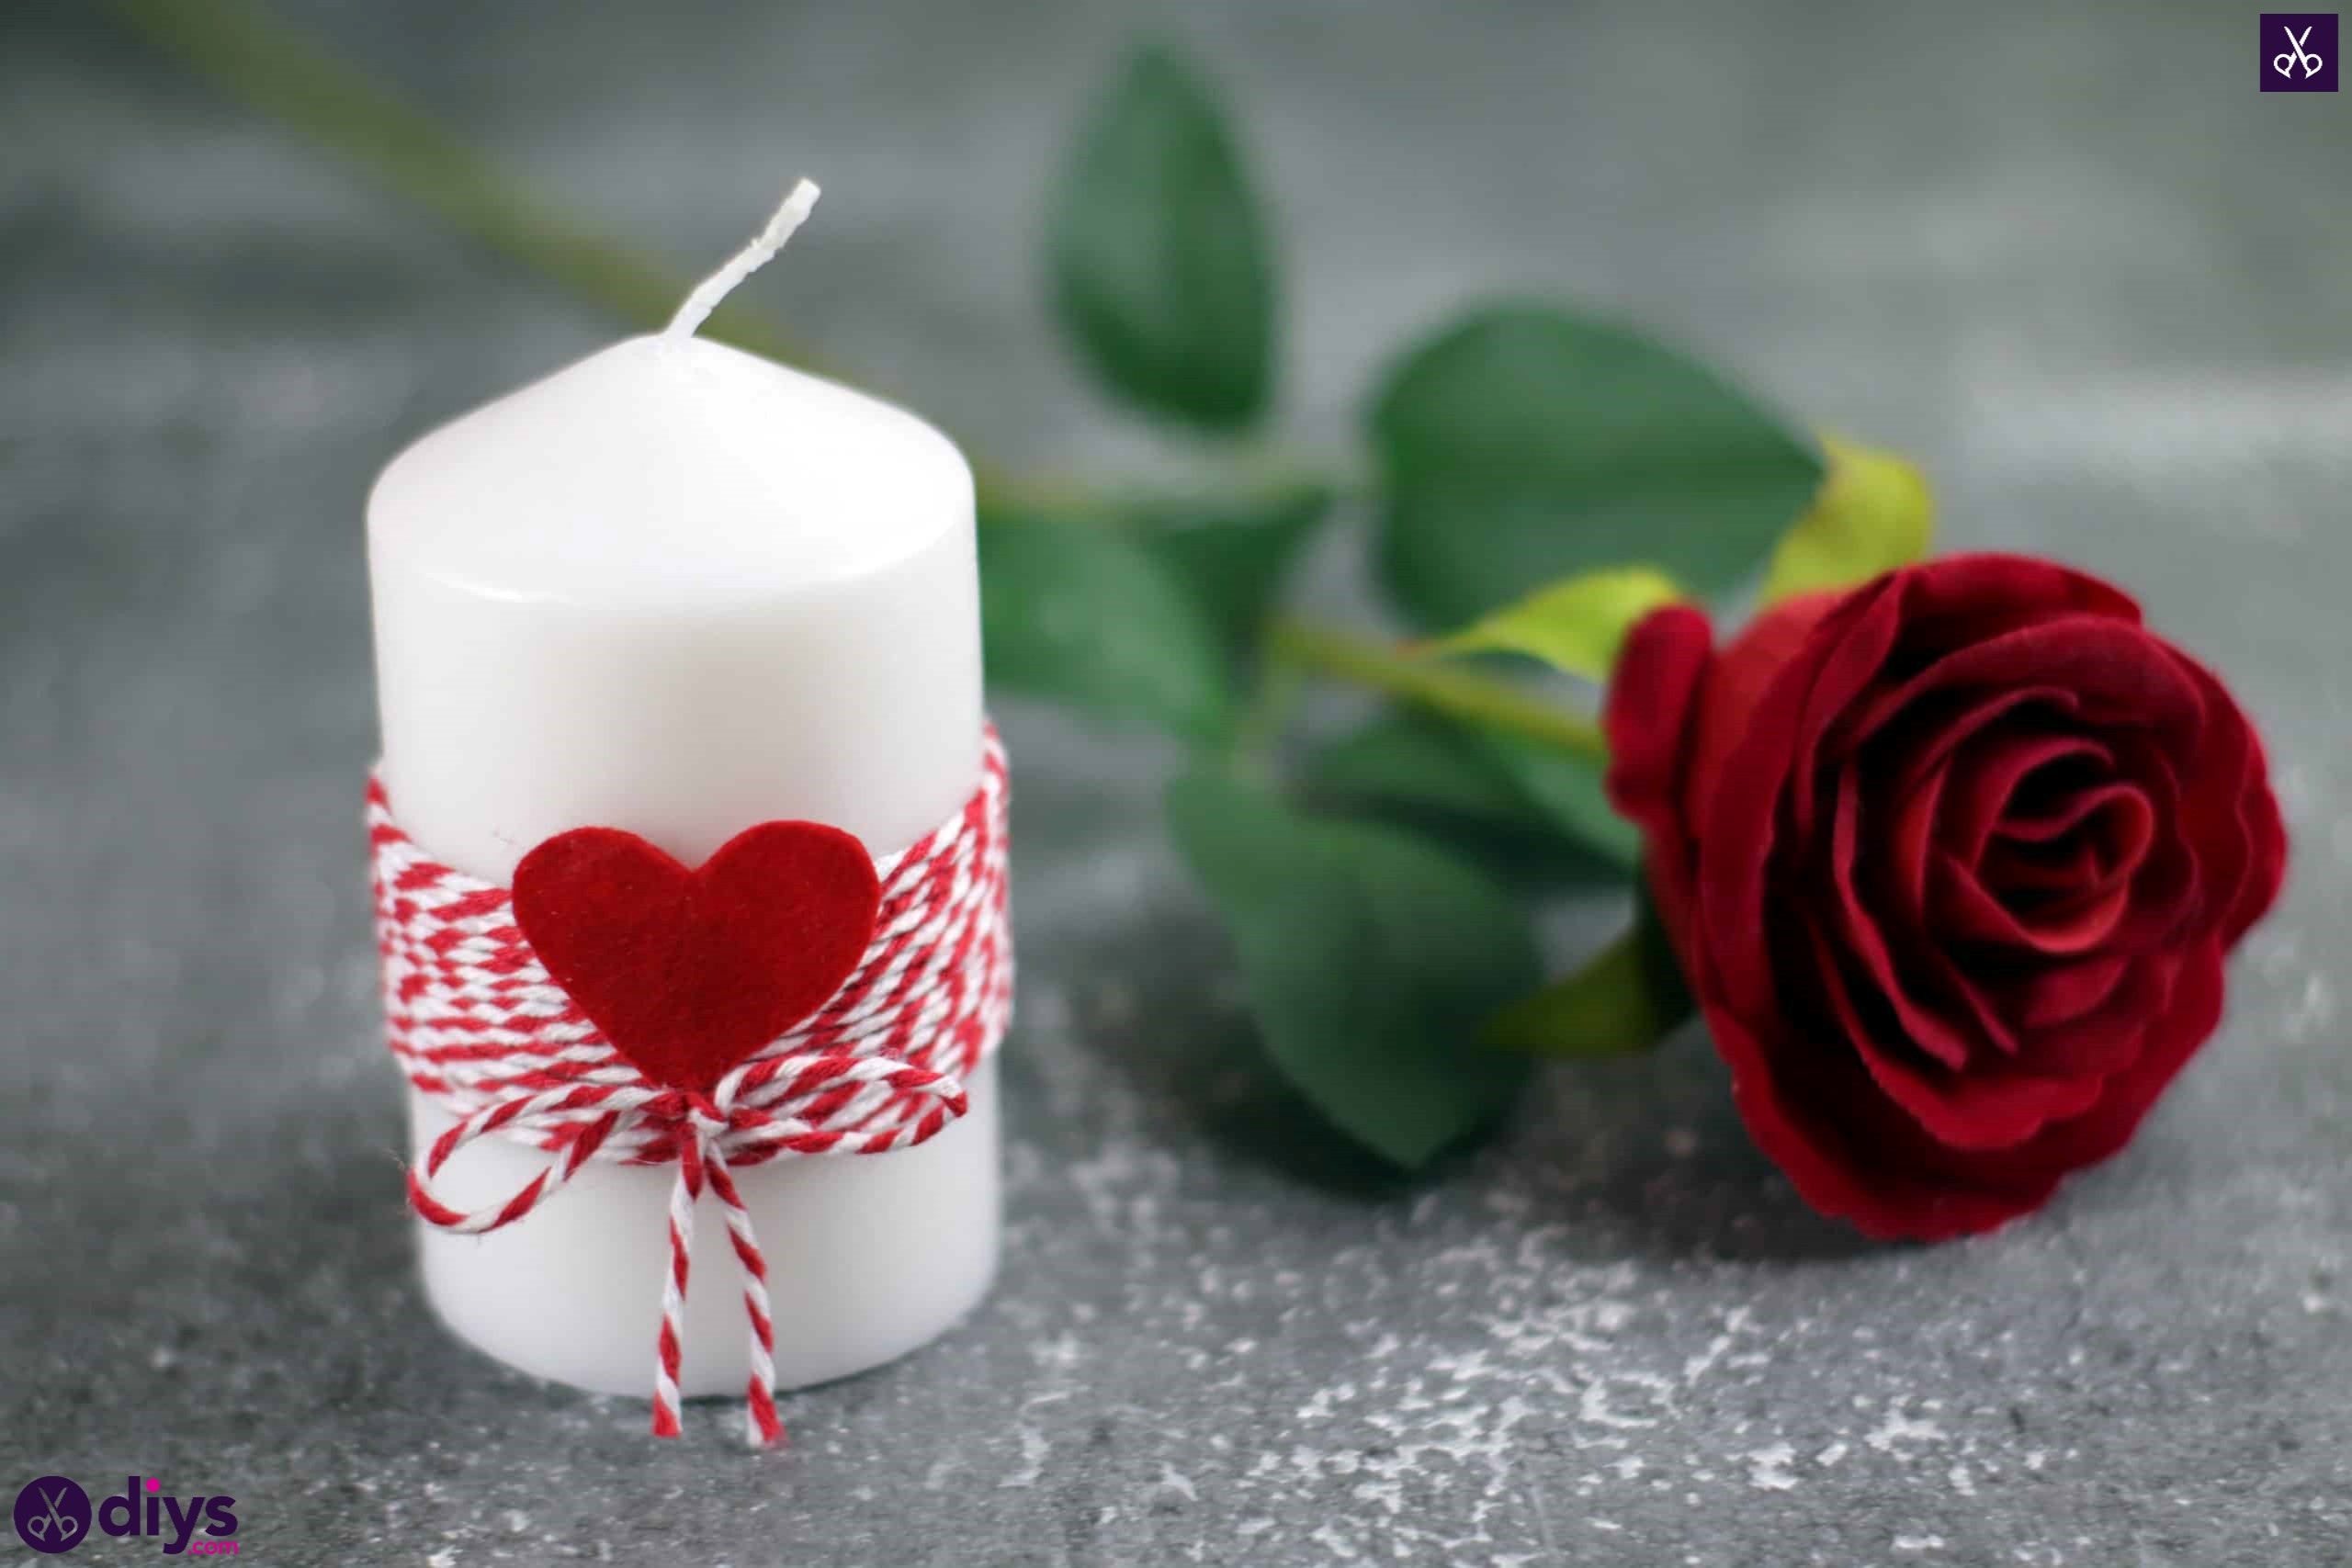
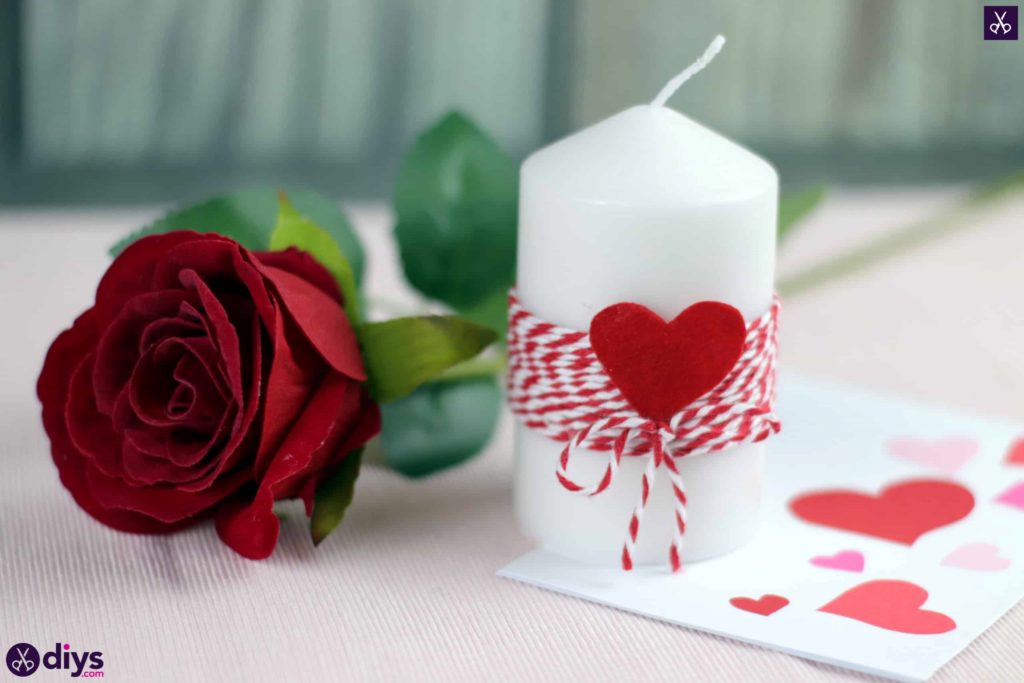
Lately I’ve been rather obsessed with embellishing candles, so I’m sure it’ll come as no surprise to anyone at all that I decided to combine that with my love for Valentine’s Day and make a heart themed candle this week for the occasion! Check out how I made this easy DIY Valentine’s Day Candle right here!

Check out these step by step instructions complete with photos. If you’d rather follow along with a video tutorial instead of written words, scroll to the bottom of this post to find just what you’re looking for.

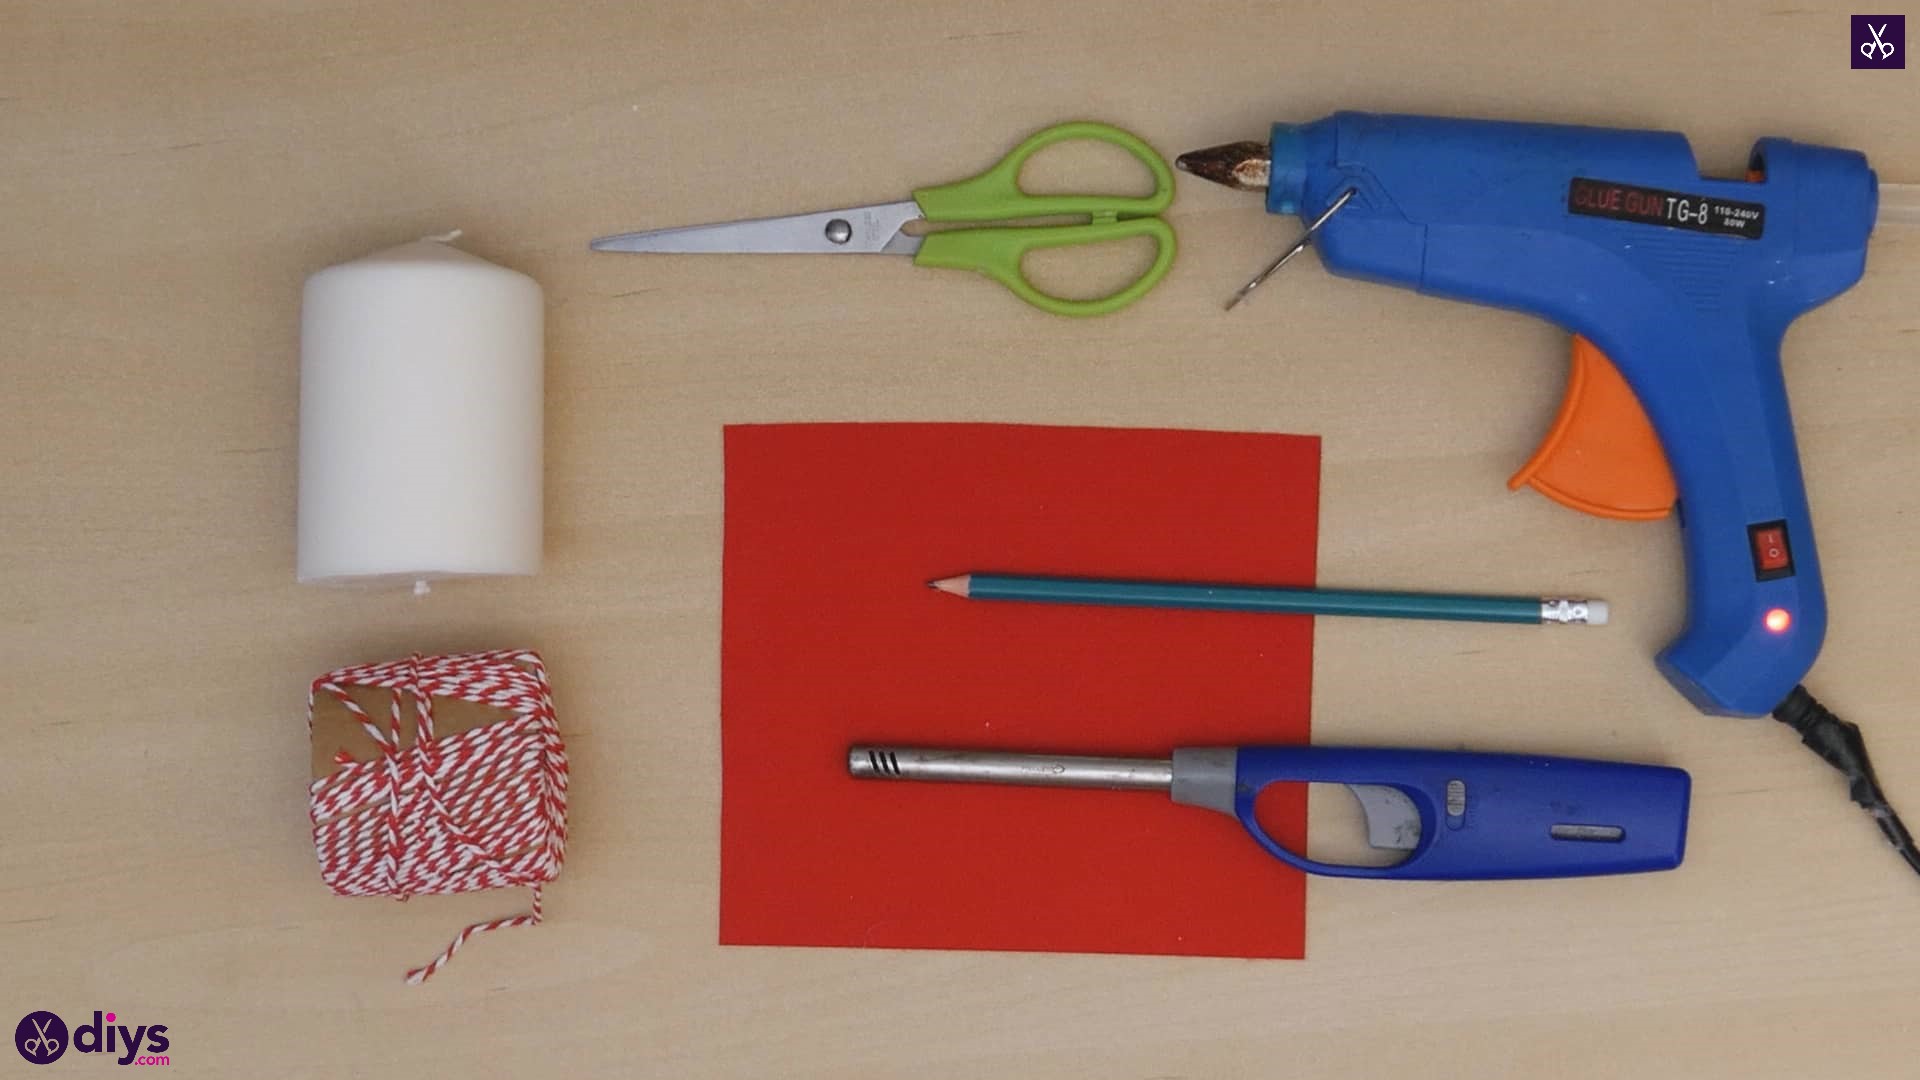
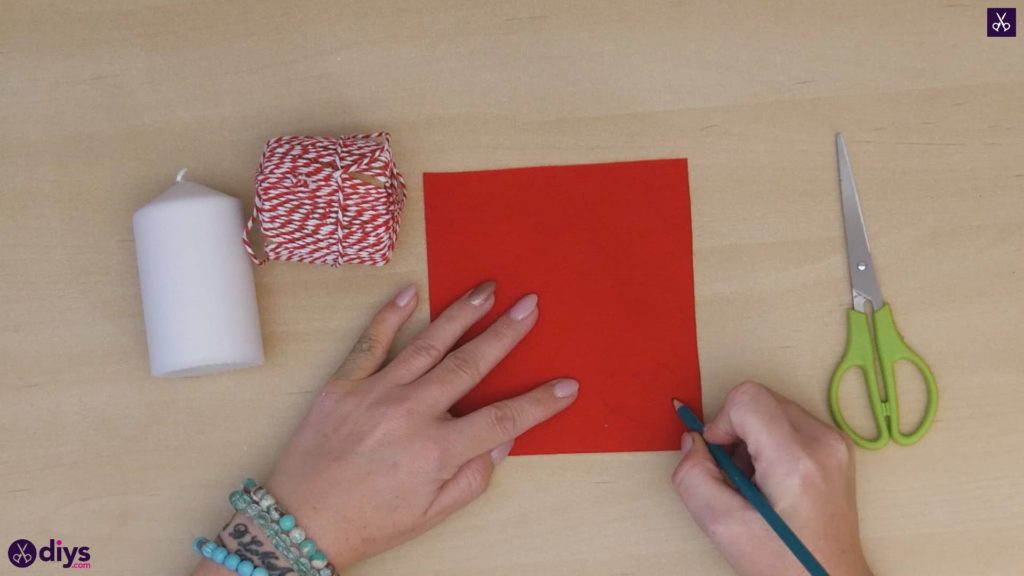
For this project, you’ll need:
- A candle
- Yarn
- Red felt
- Scissors
- Hot glue
- A pencil
- A lighter
Step 1: materials
Gather your materials together and place them all in front of you!

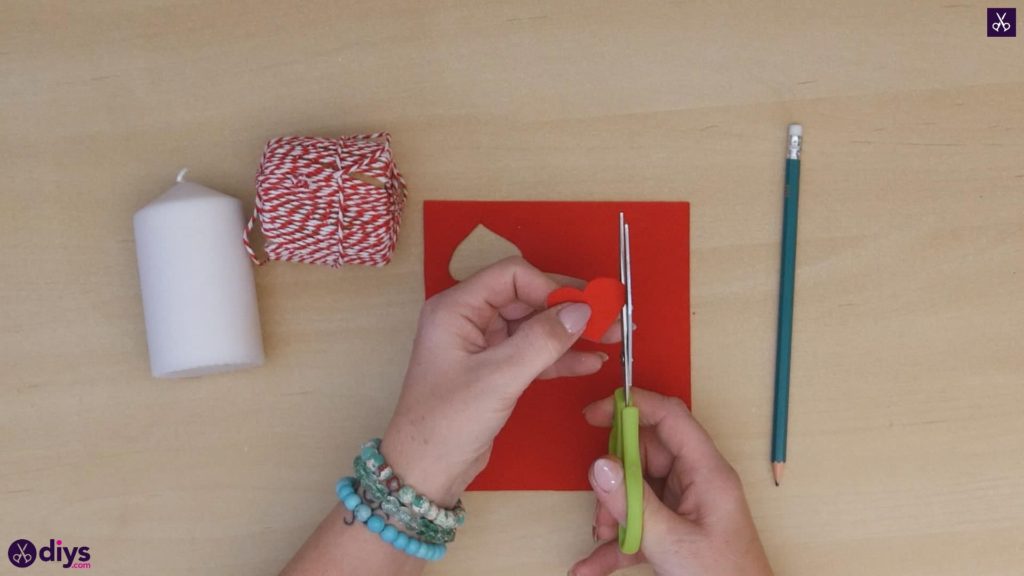
Step 2: draw the heart
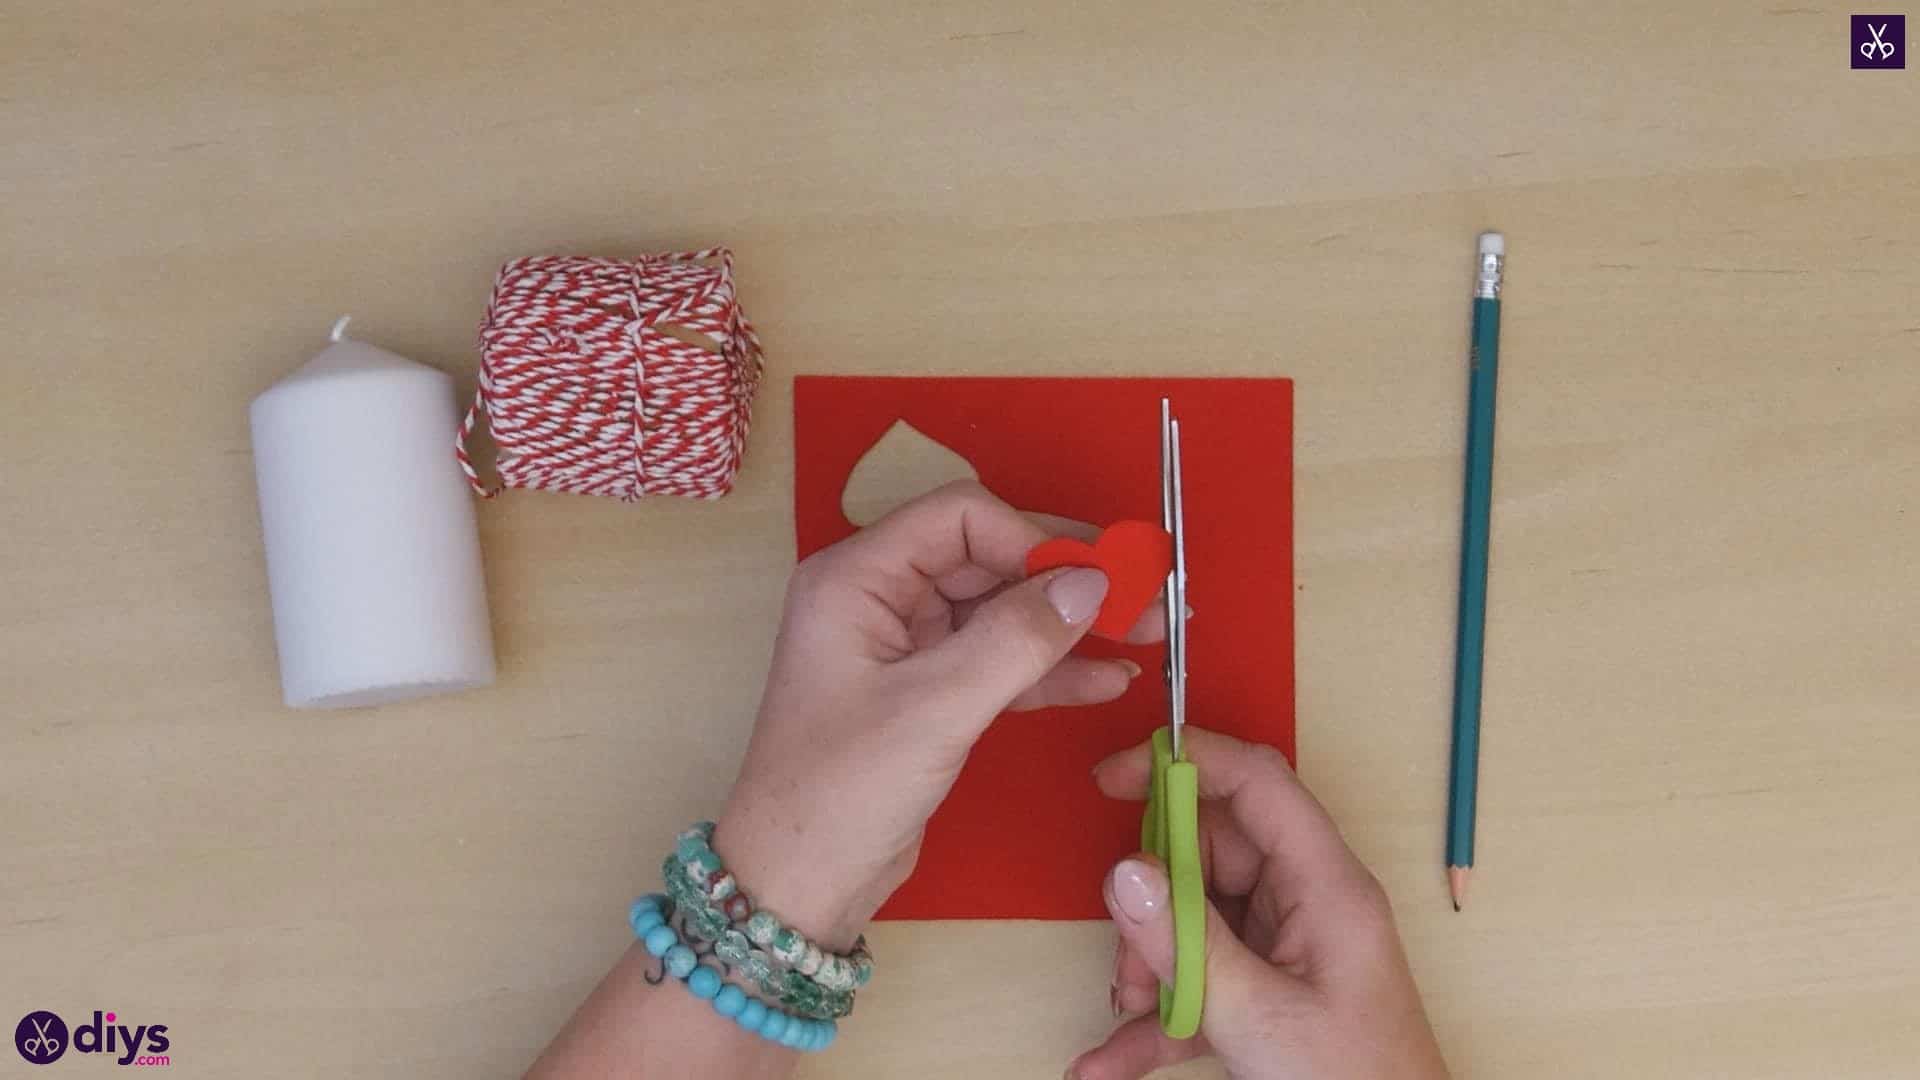
In the bottom right corner of your red felt, draw the shape of a heart! I made mine about an inch tall by an inch wide at its widest point, where the two rounded shapes sit at the top. I did my best to keep the sides even and symmetrical even though I was drawing the shape freehand. Cut your heart out and set it aside for the moment.
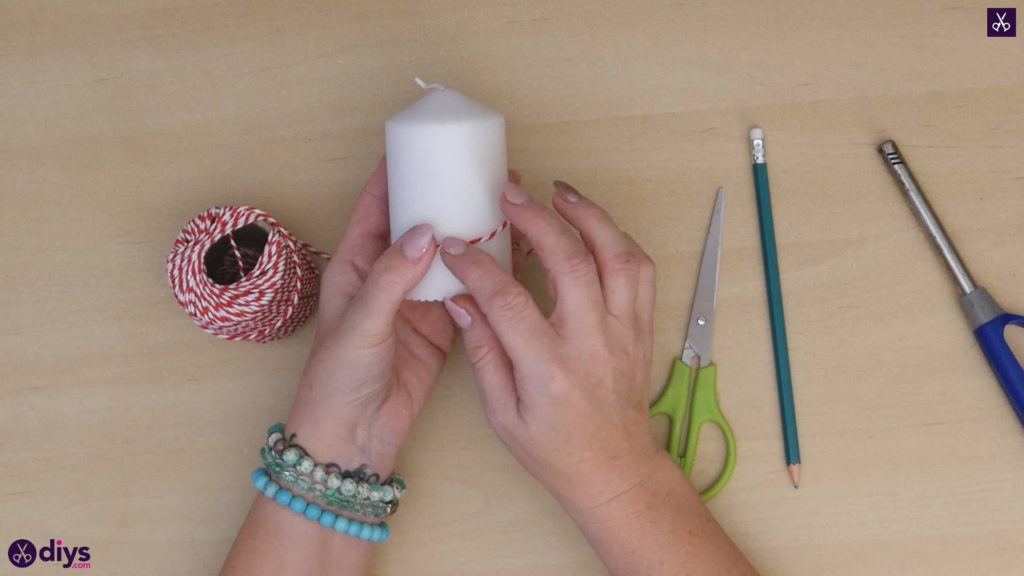
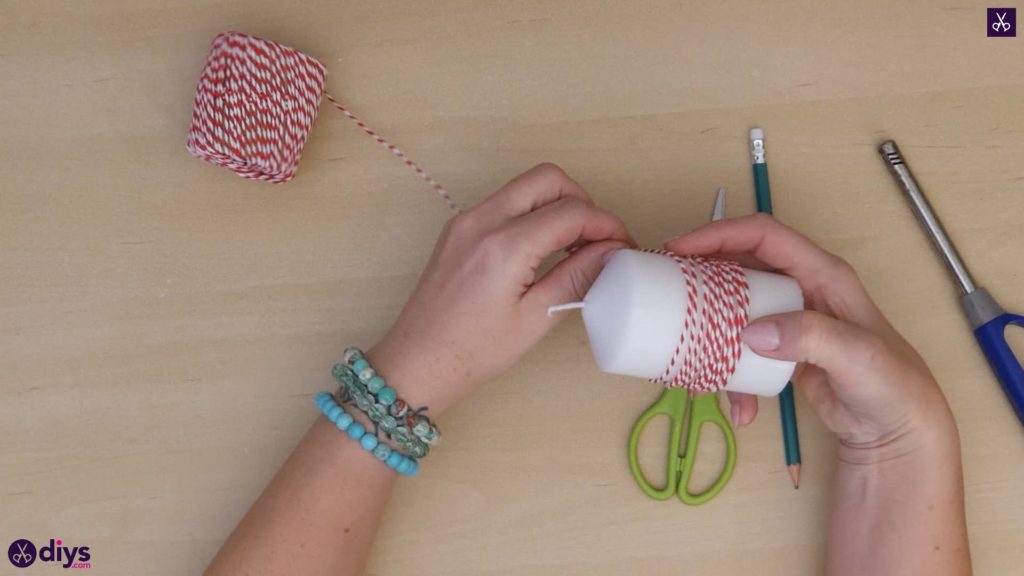
Step 3: wrap the yarn
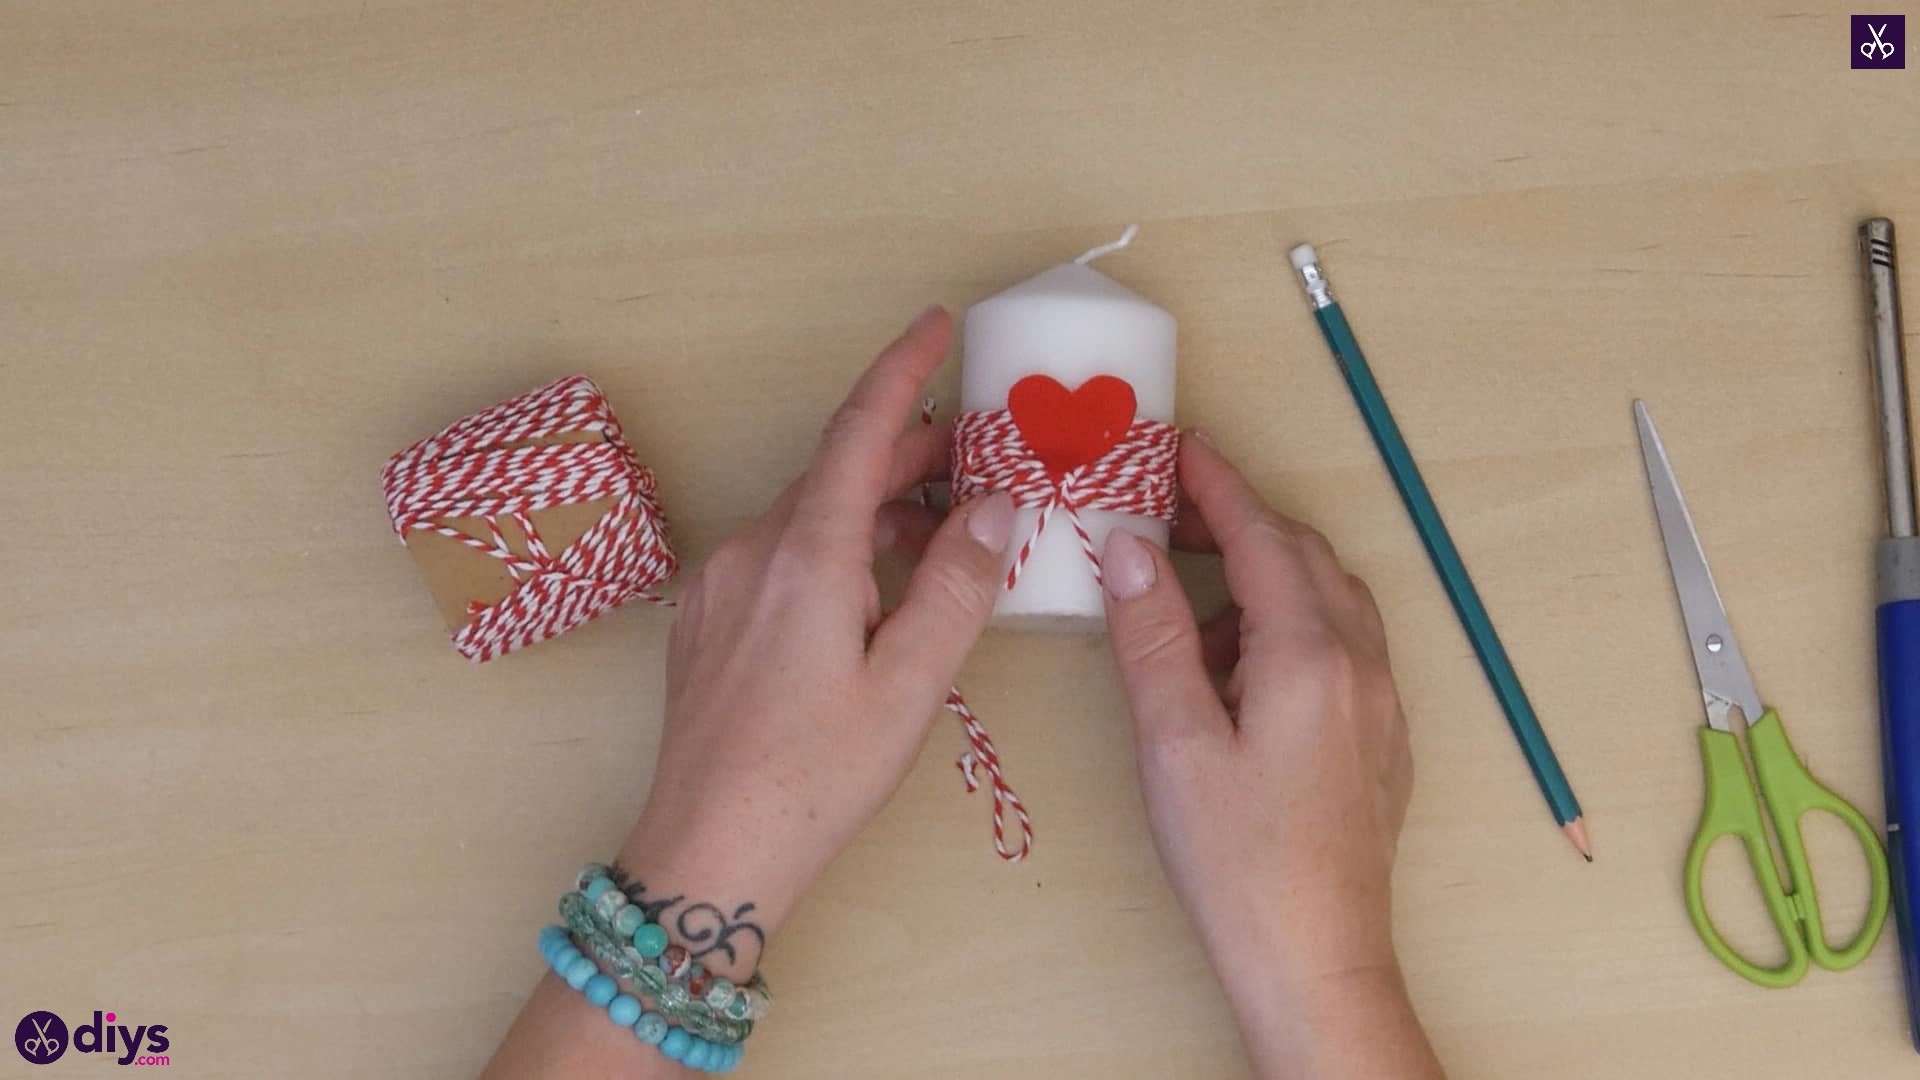
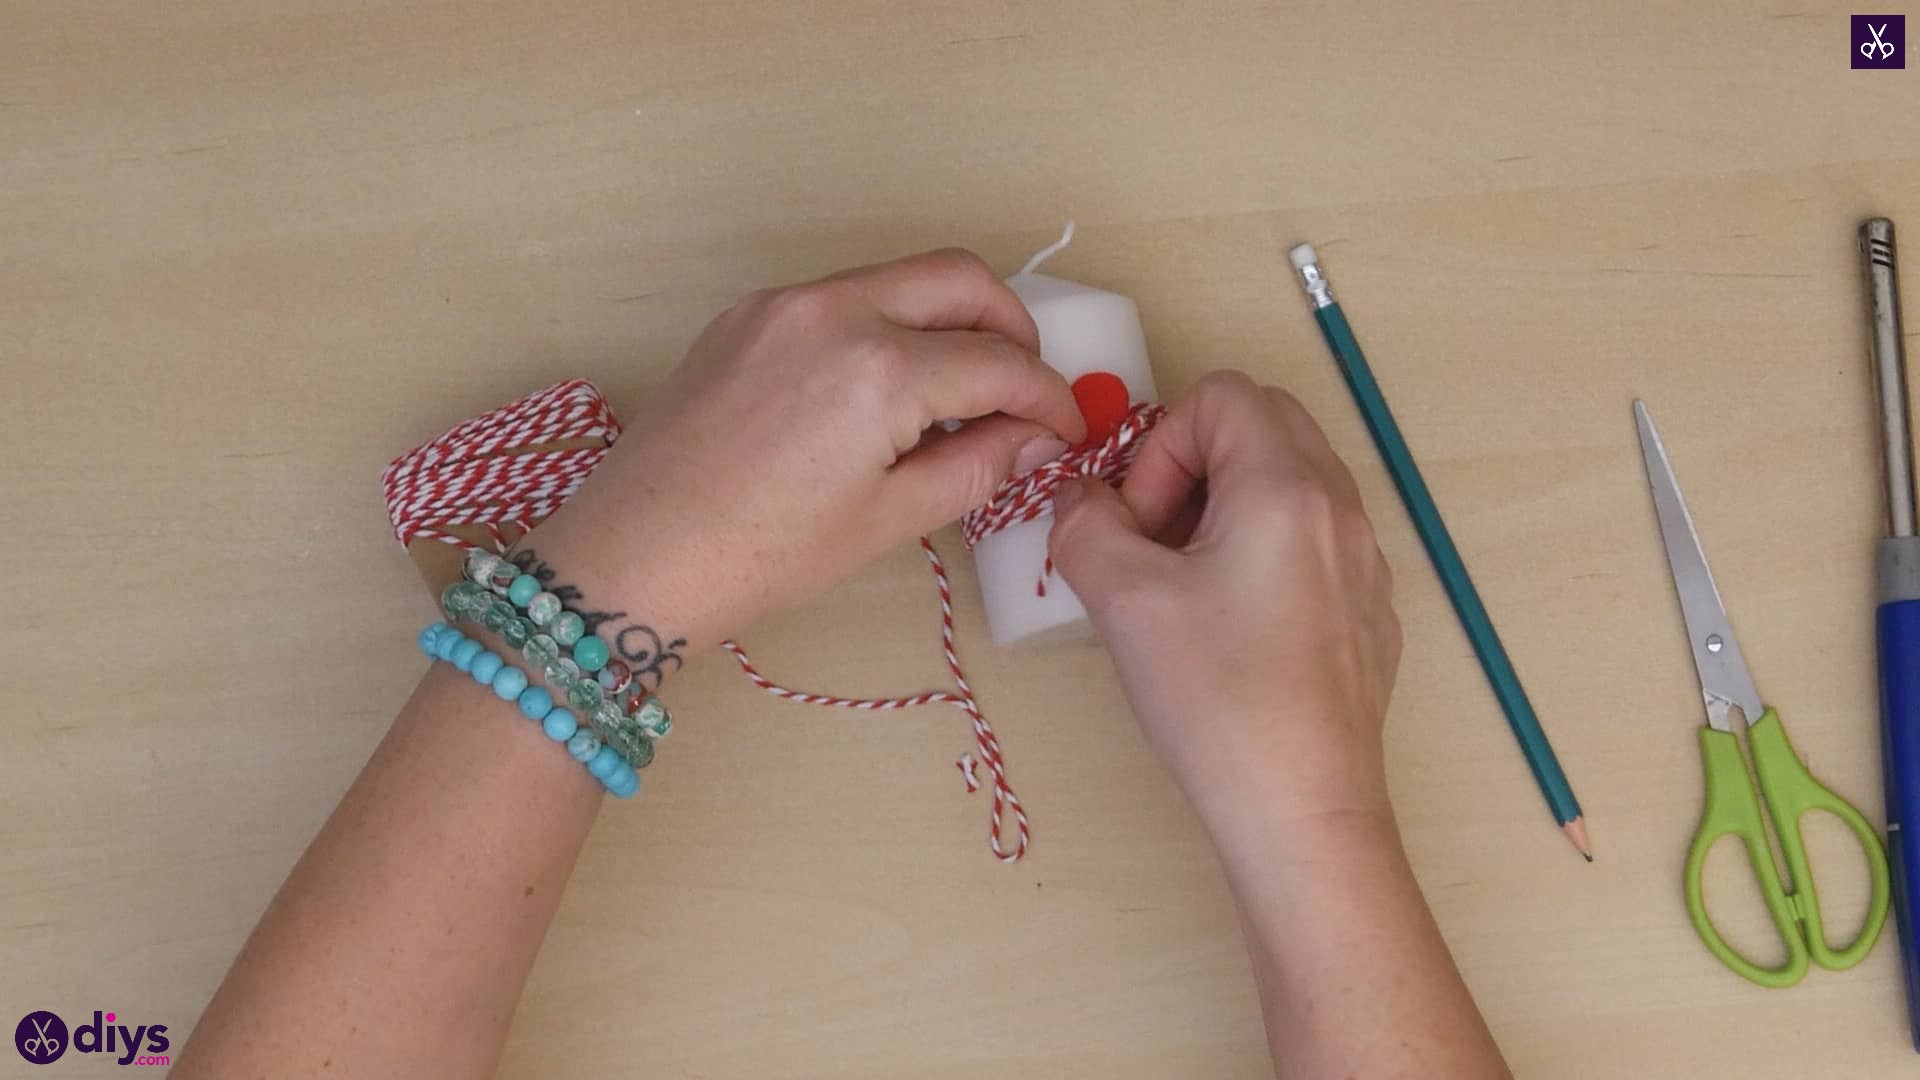
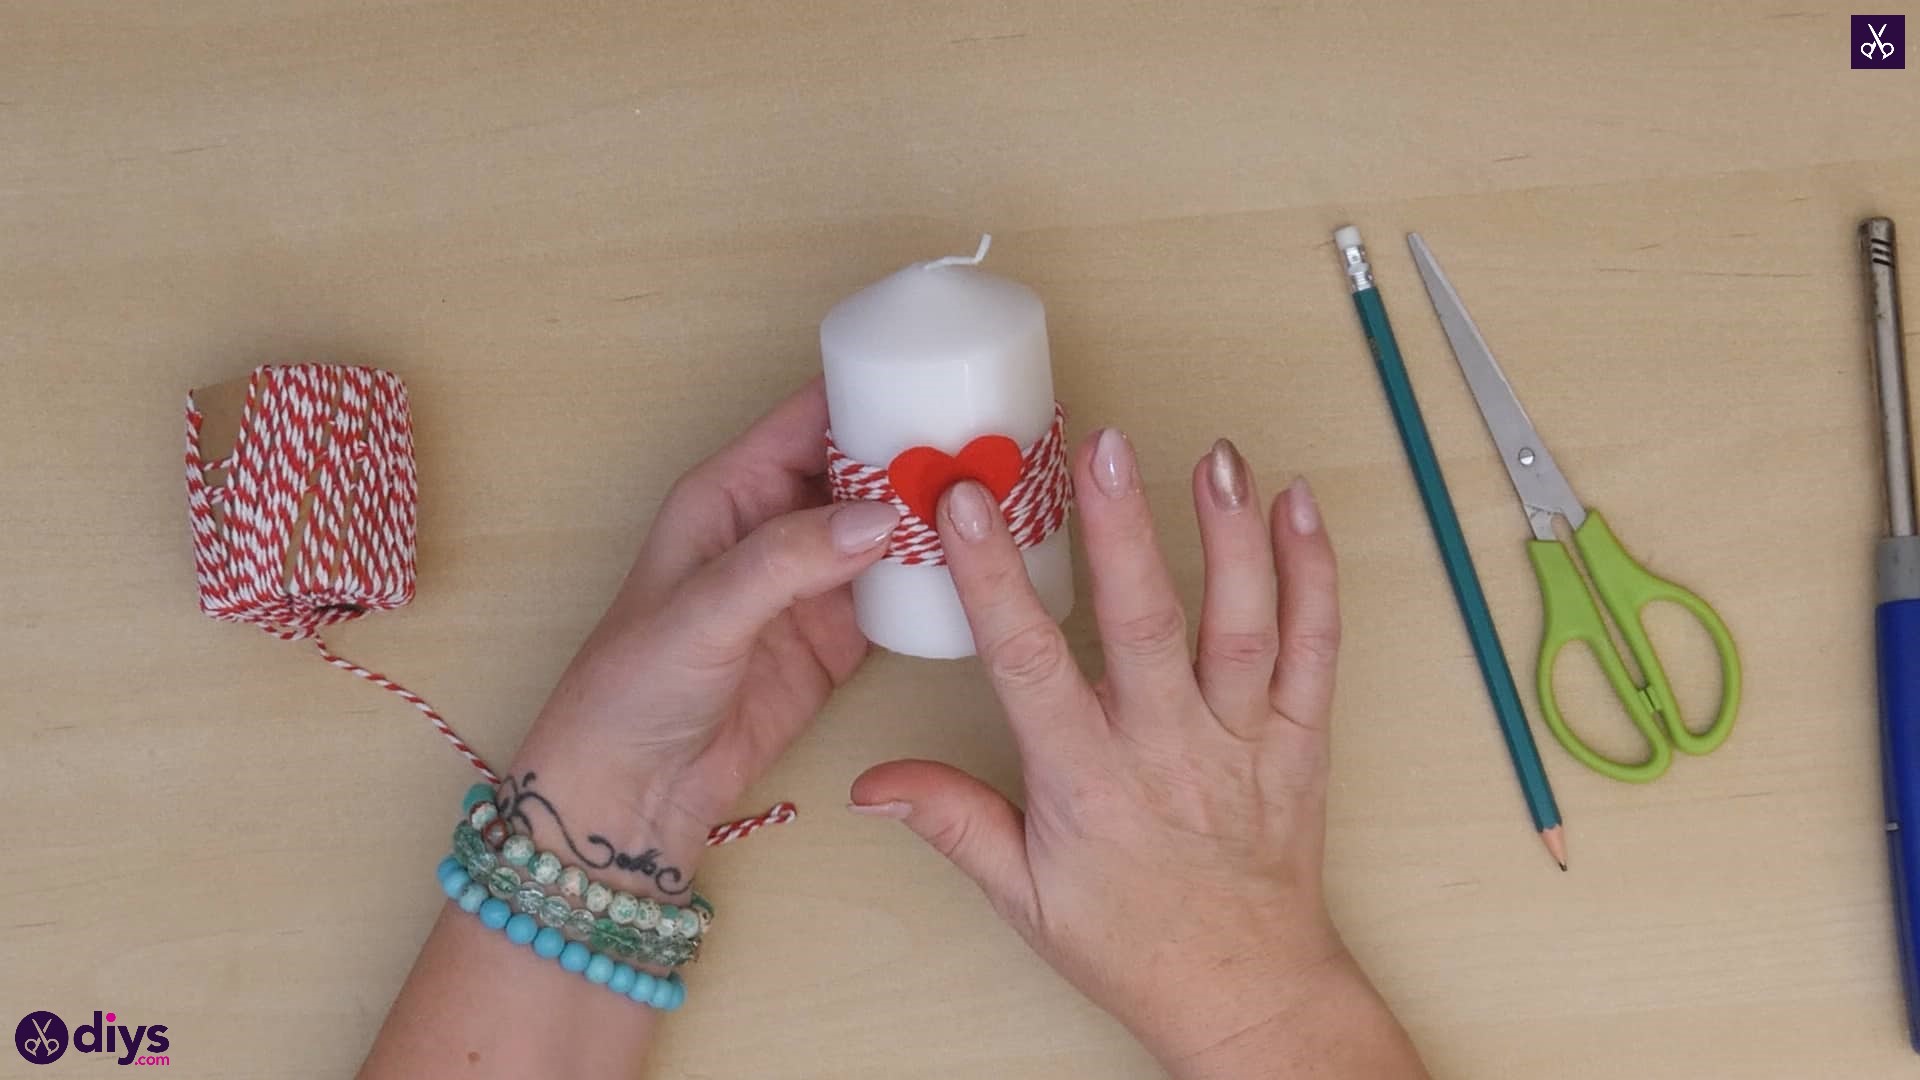
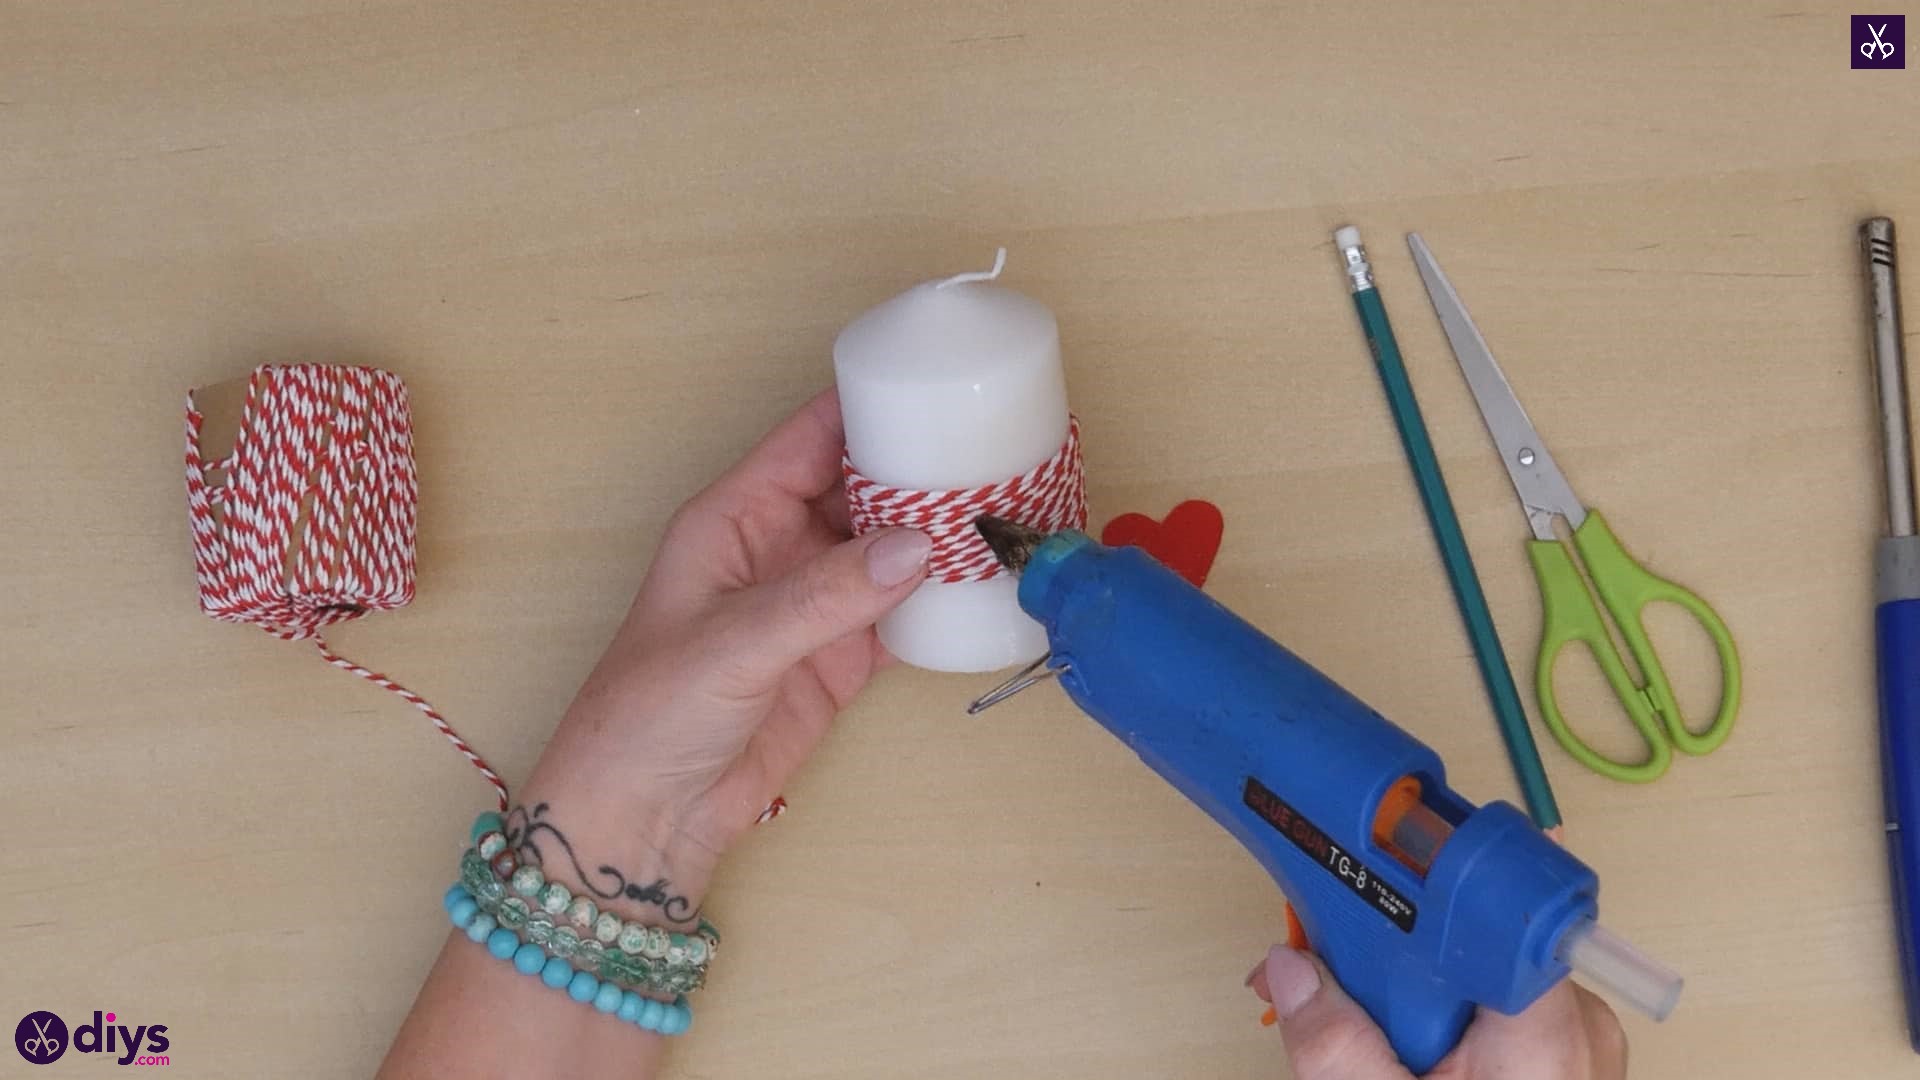
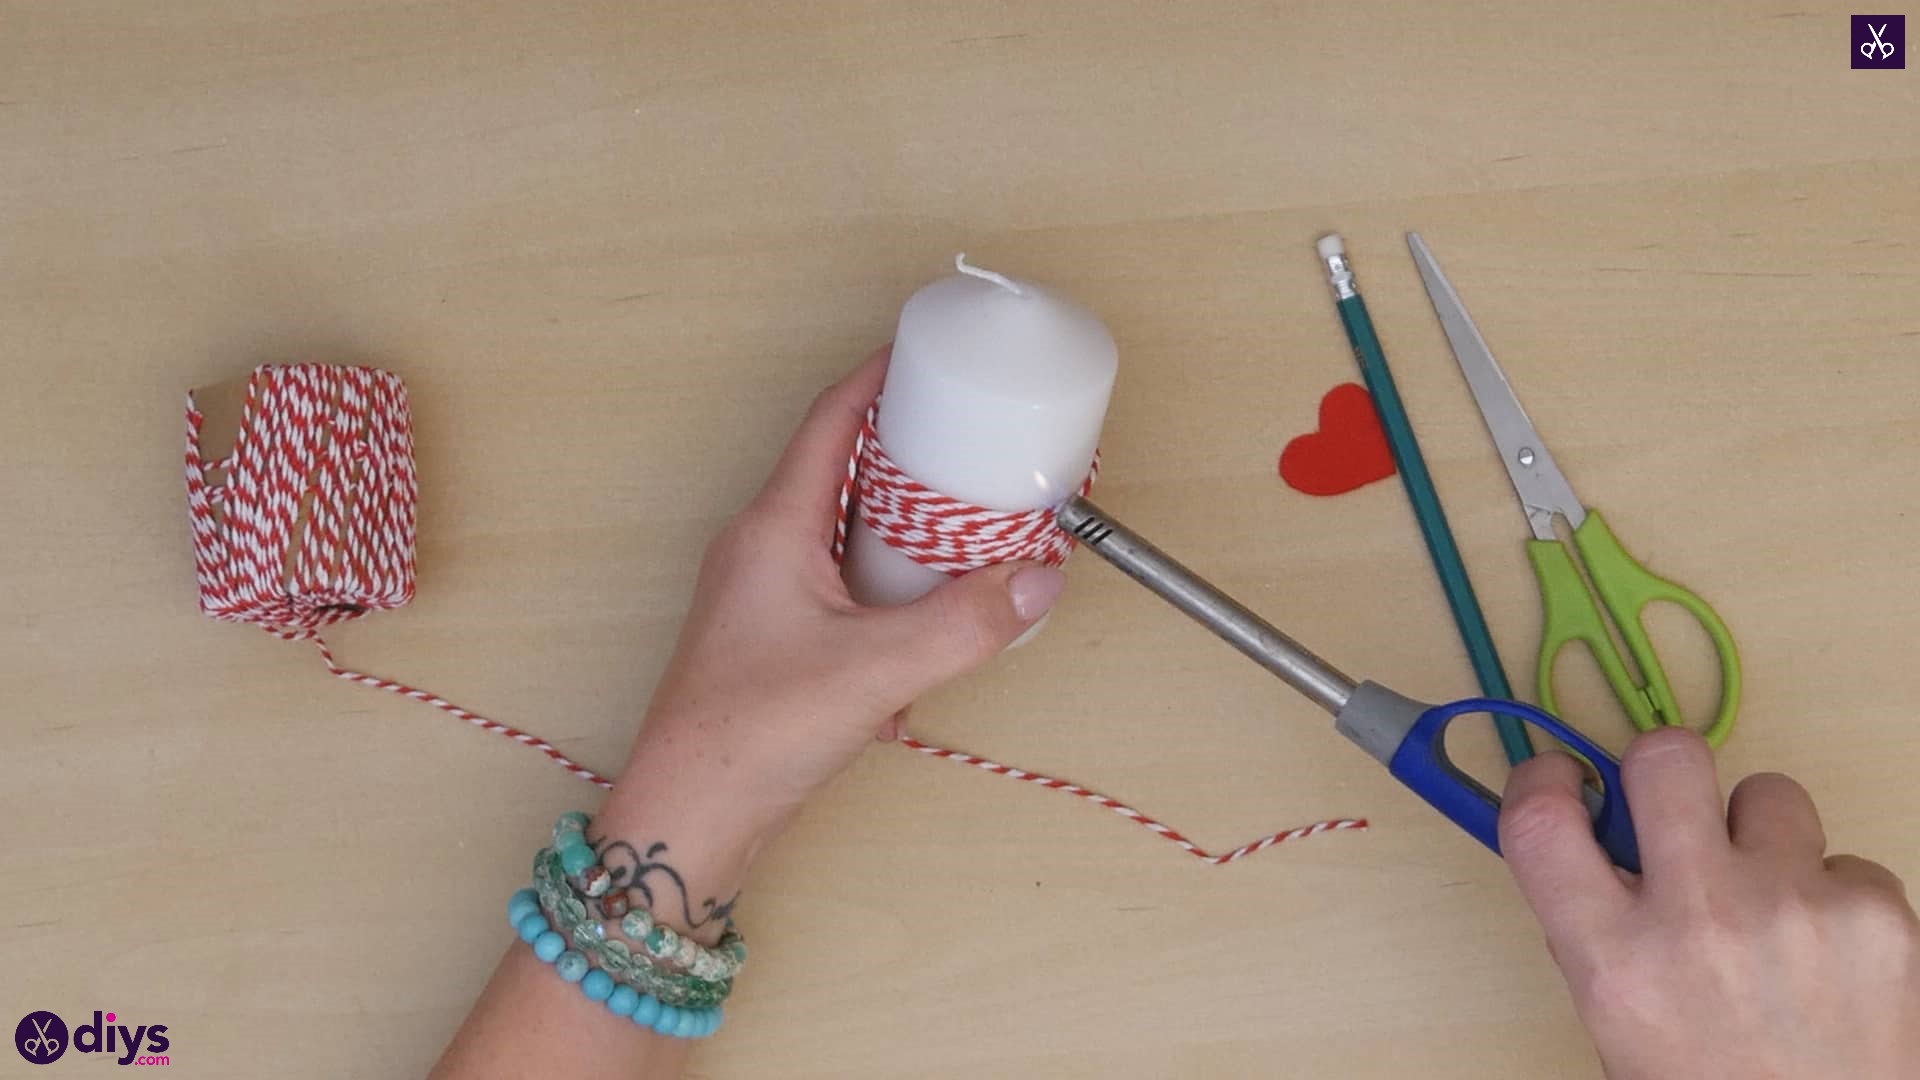
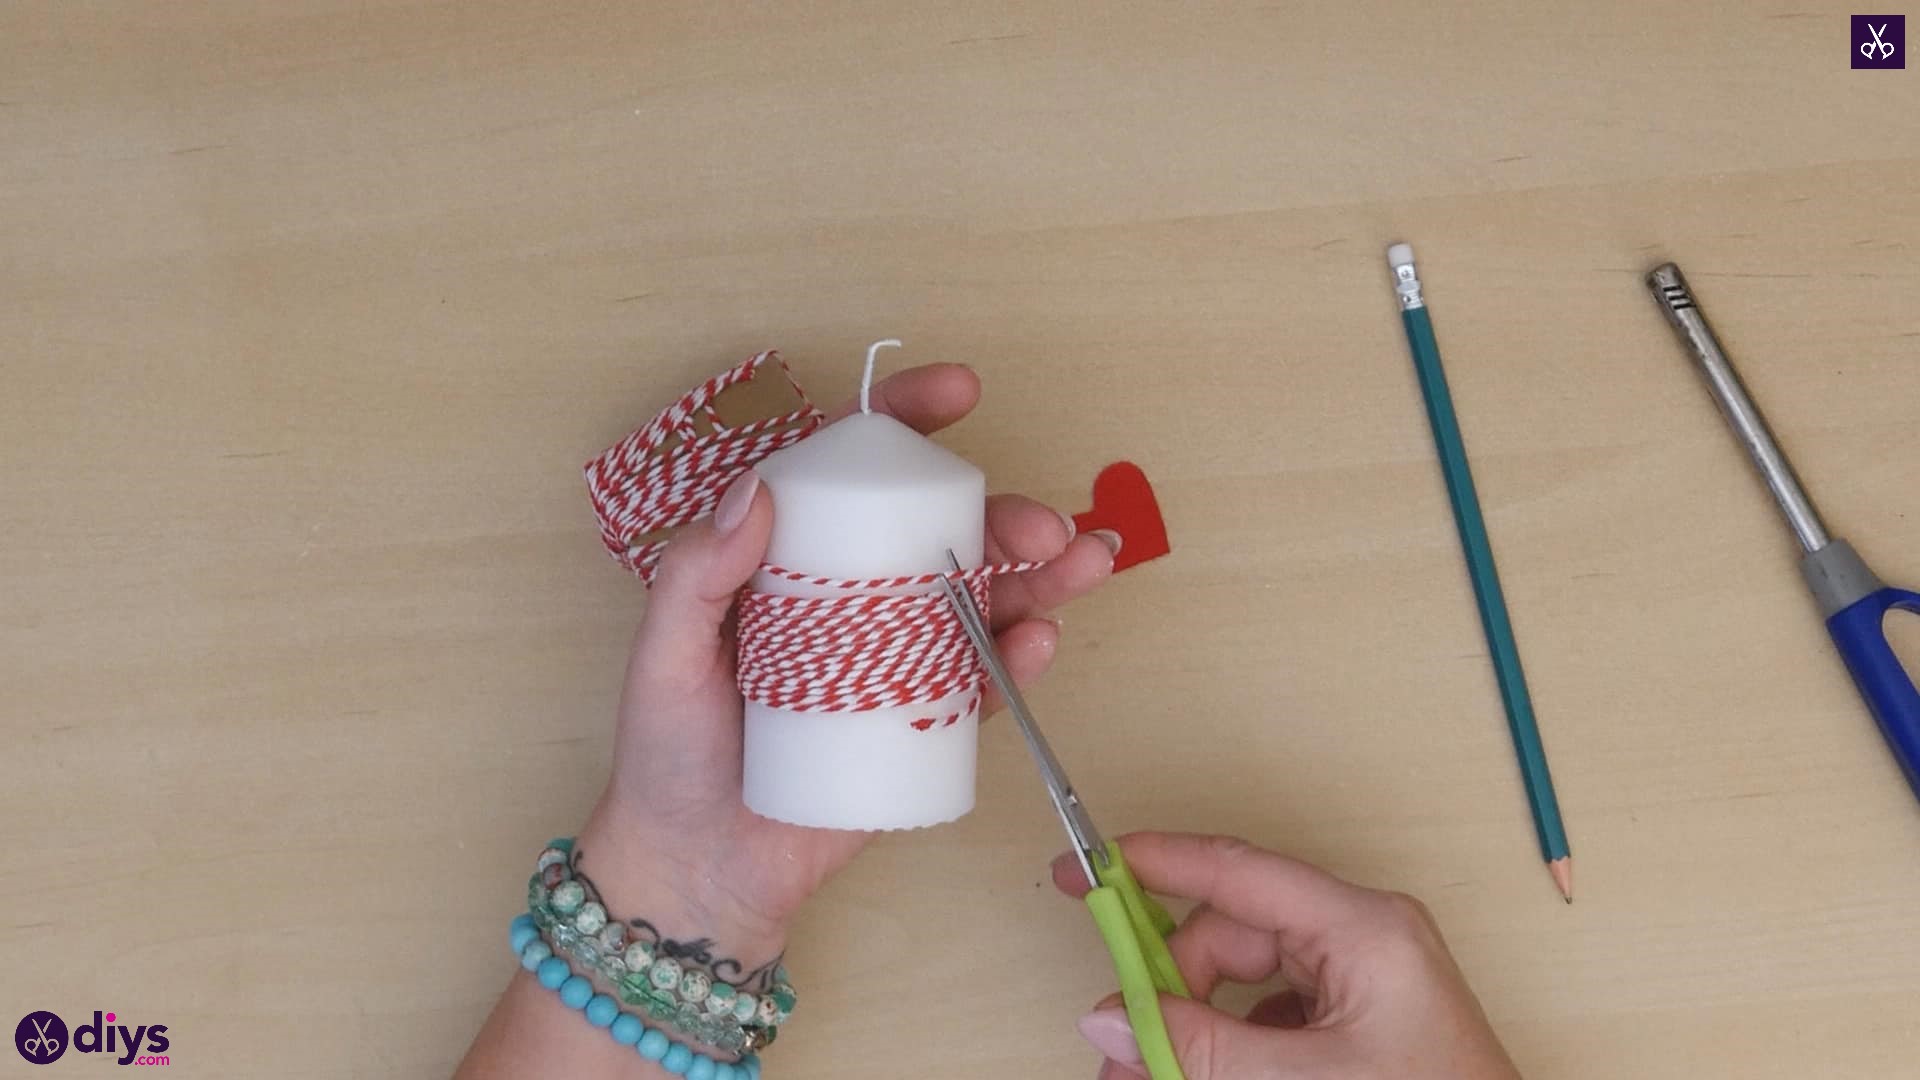
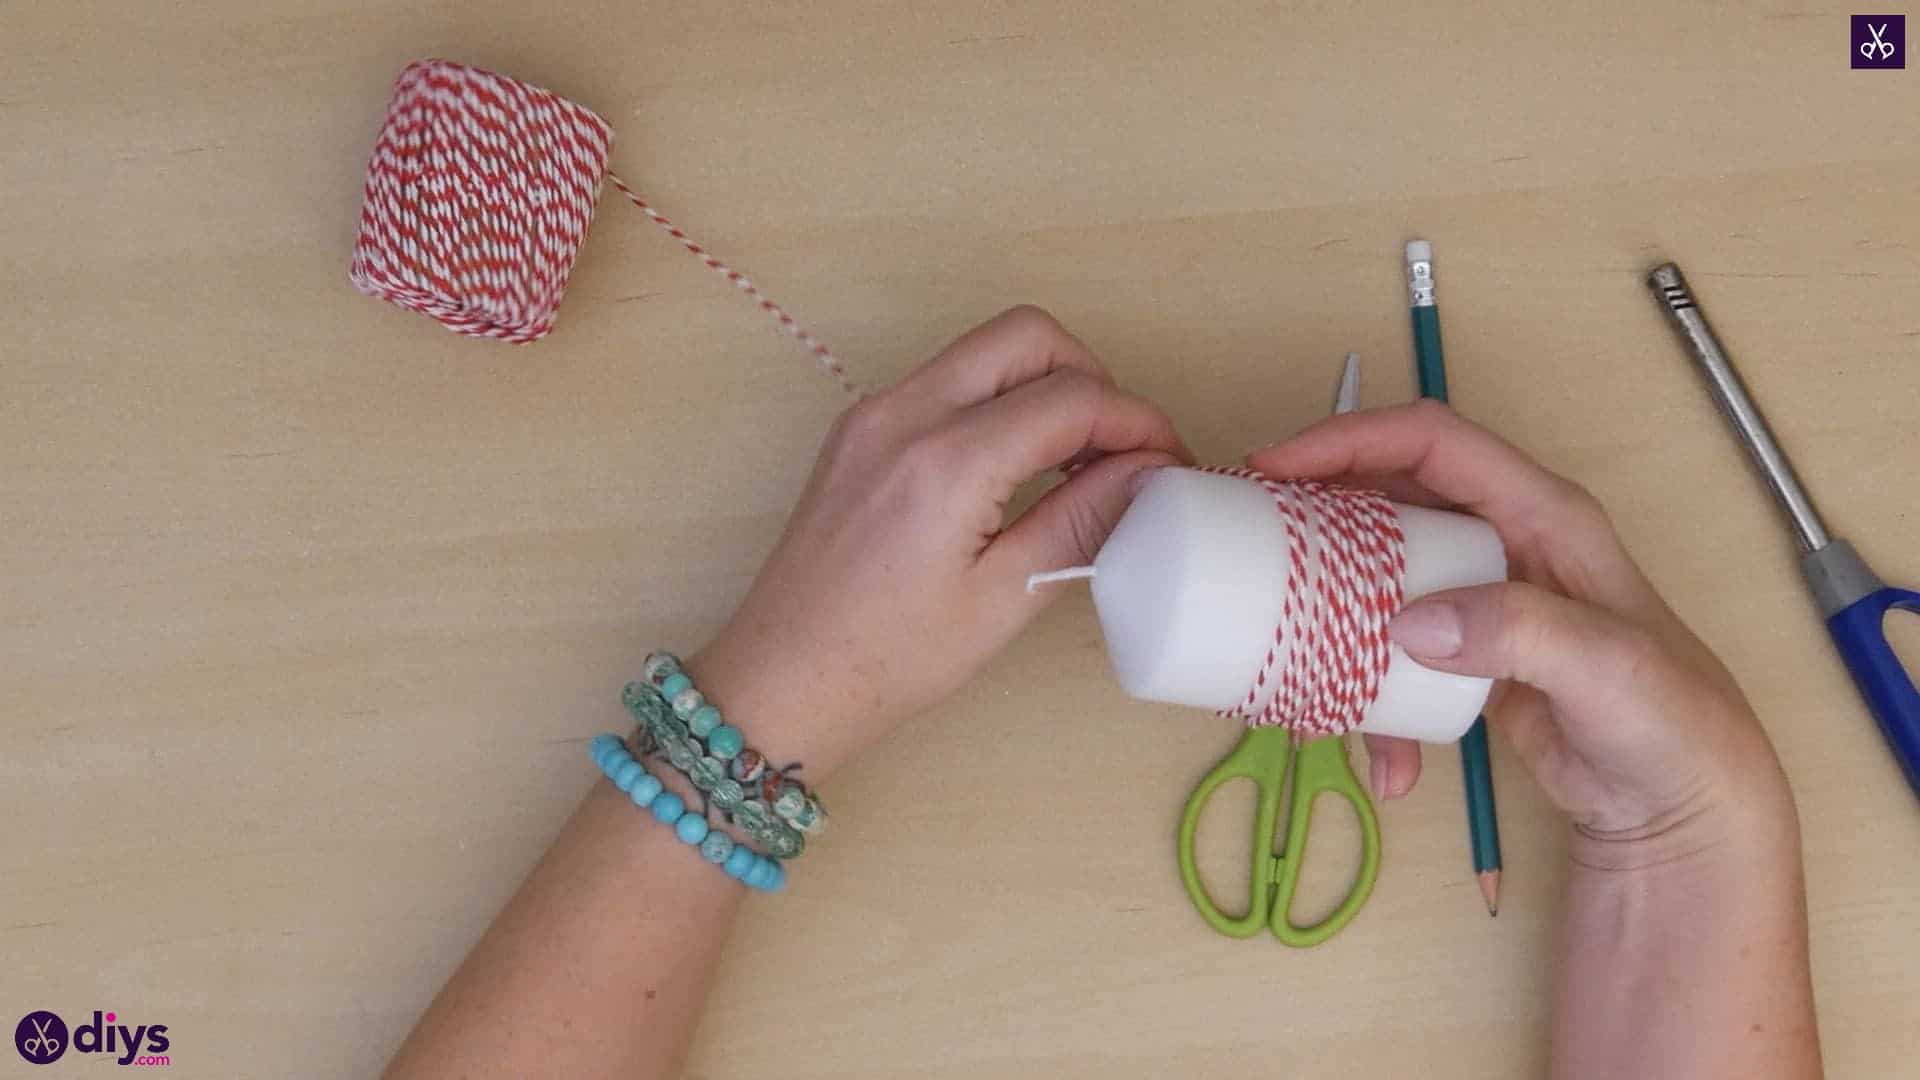
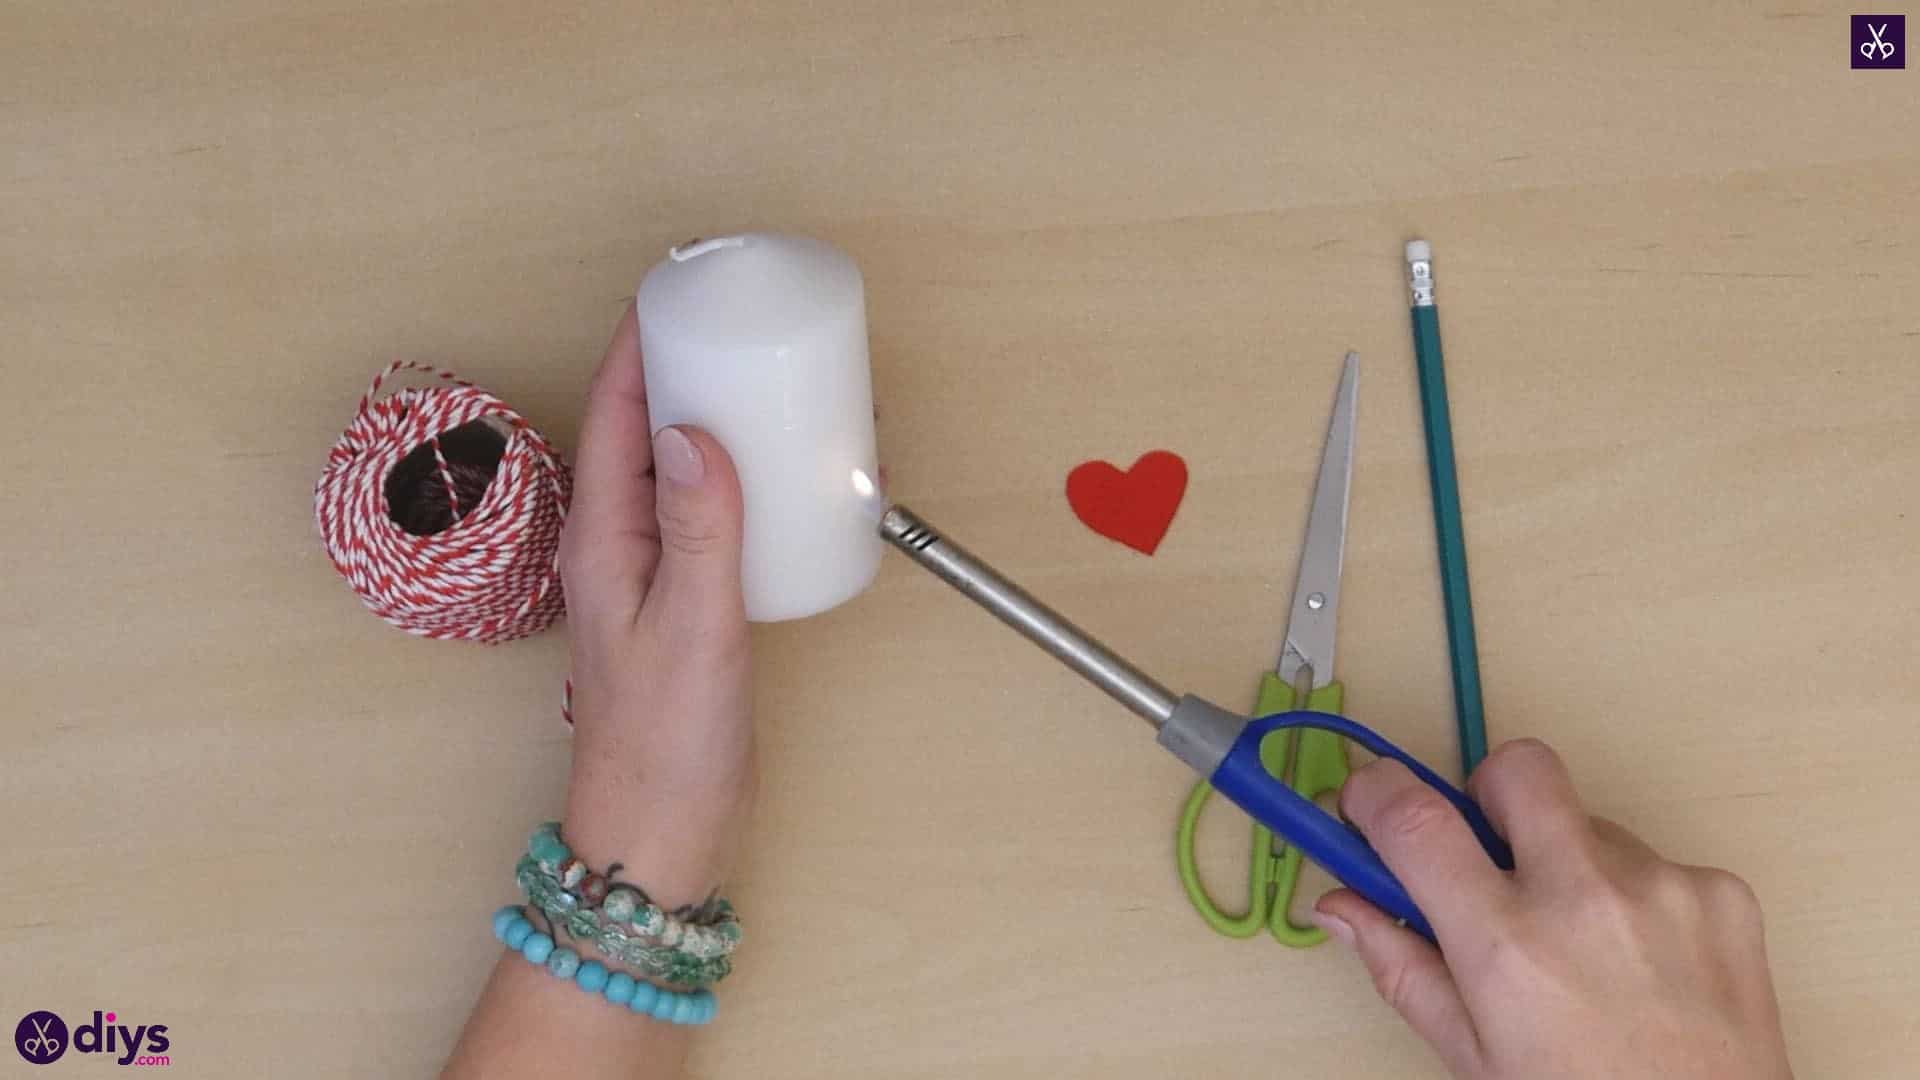
Yarn wrap the middle of your candle! Instead of using the hot glue to anchor the tip of my yarn for wrapping (most kinds of glue won’t stick very well to wax because of its texture), I used my lighter to melt the wax a little in the spot where I wanted to stick the end down. Heat the wax and then carefully press the end of your string into the melted wax and let it dry there; drying in place will probably only take a few seconds. Make sure you orient the end so it follows along the surface of the candle horizontally. Then start wrapping the yarn or string around the candle, lining each new layer of yarn up flush with the wrap before it so it lays flat but also spirals up the candle’s surface. I wrapped about an inch and a half of my candle’s middle. Bring your yarn back around to where you started and trim it so your ends line up on the same side, giving your candle a “back”, which you’ll face away when you put it on display layer. Trim the yarn. Carefully use your lighter to melt a spot in the wax again right above your yarn wrapping, sticking your newly trimmed end down as close to your wrapped spot as possible but without burning it. Let that dry in place too and then turn the candle around so you can work with the opposite side or the front.


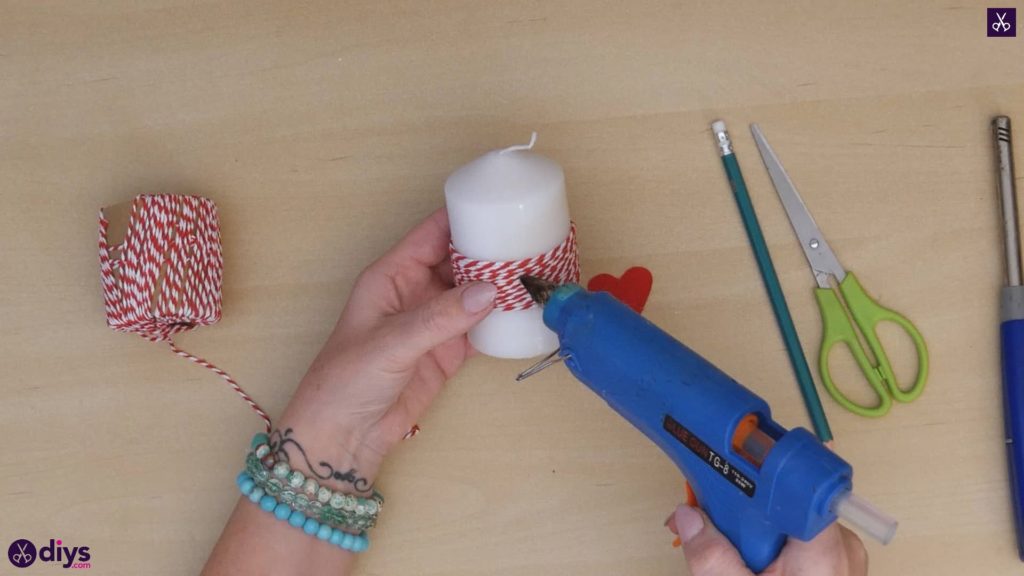
Step 4: glue the heart
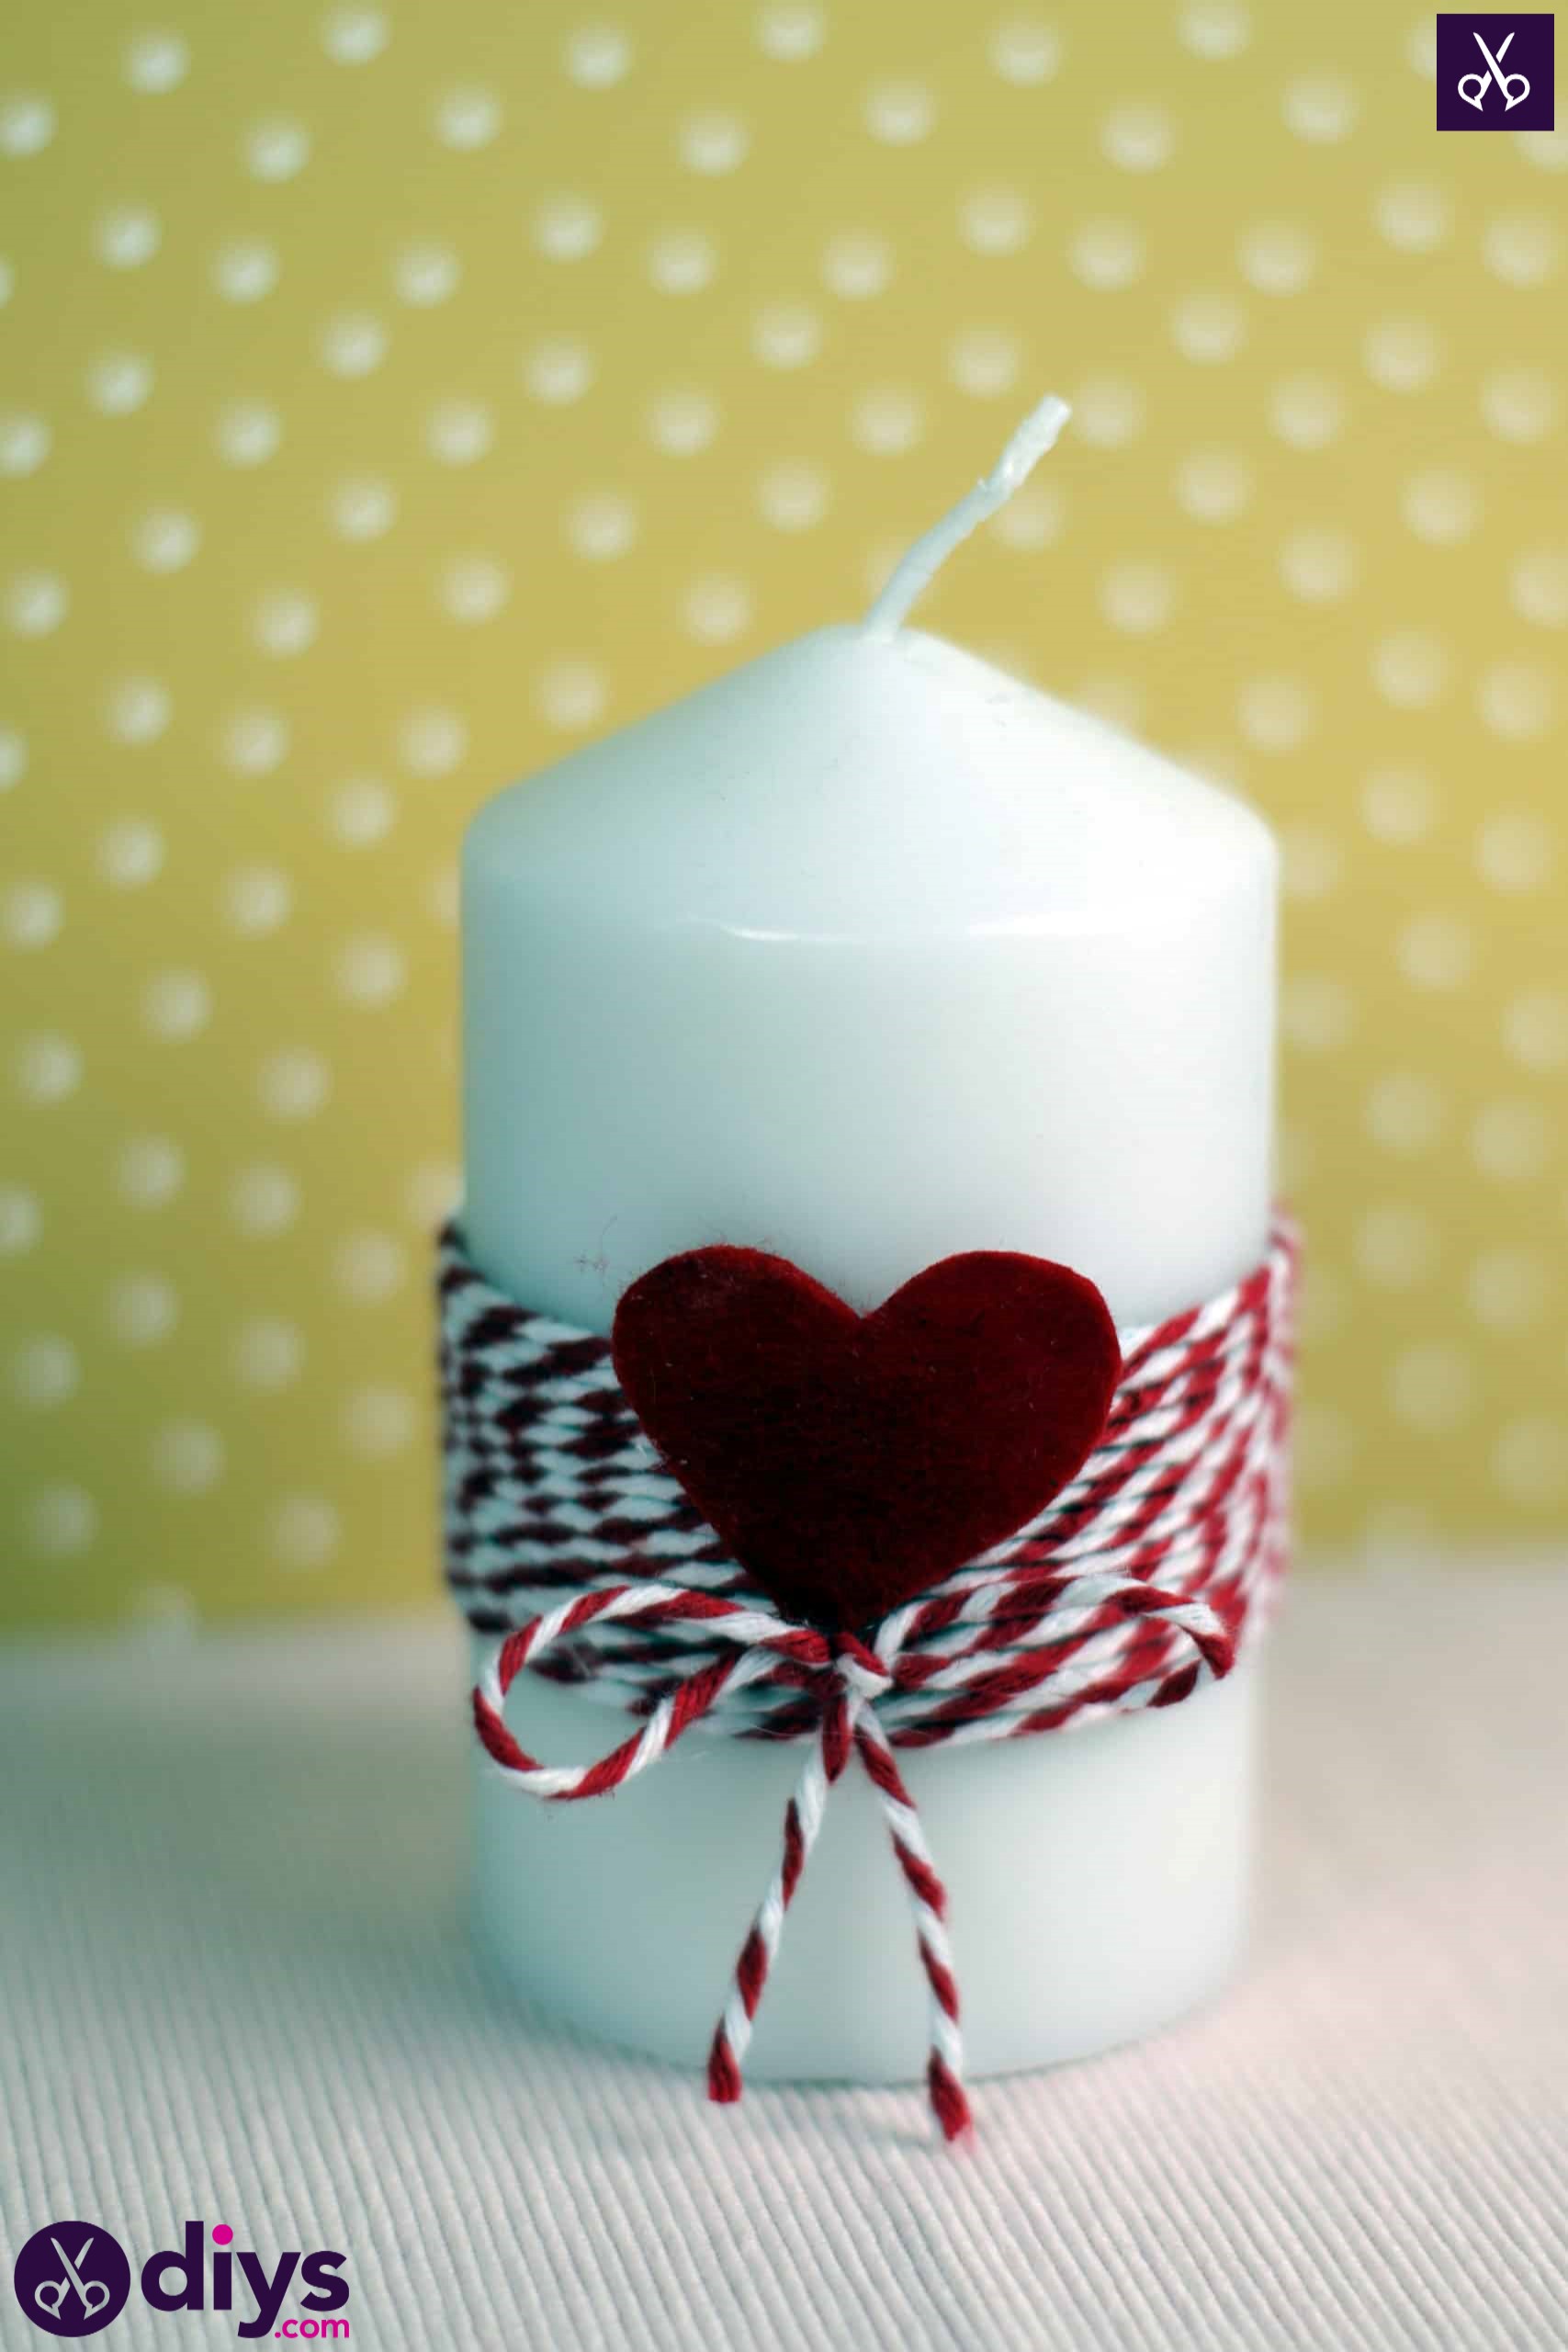
Apply a dot of hot glue in the centre top of your yarn wrapped section around the middle of your candle. Stick your red felt heart down here; I placed mine so that its two top rounded shapes rise above the wrapped yarn a little bit.

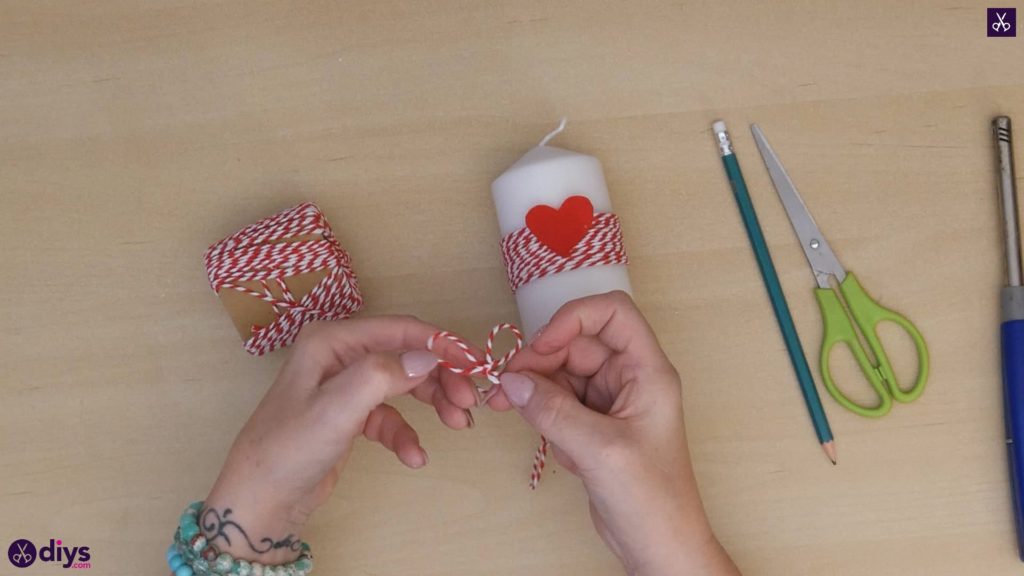
Step 5: make and add the bow
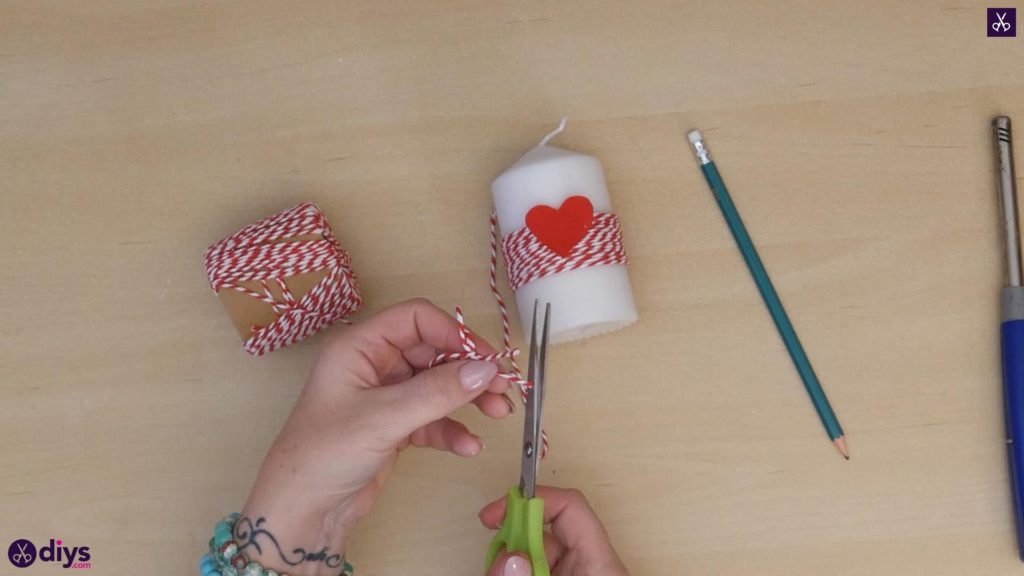
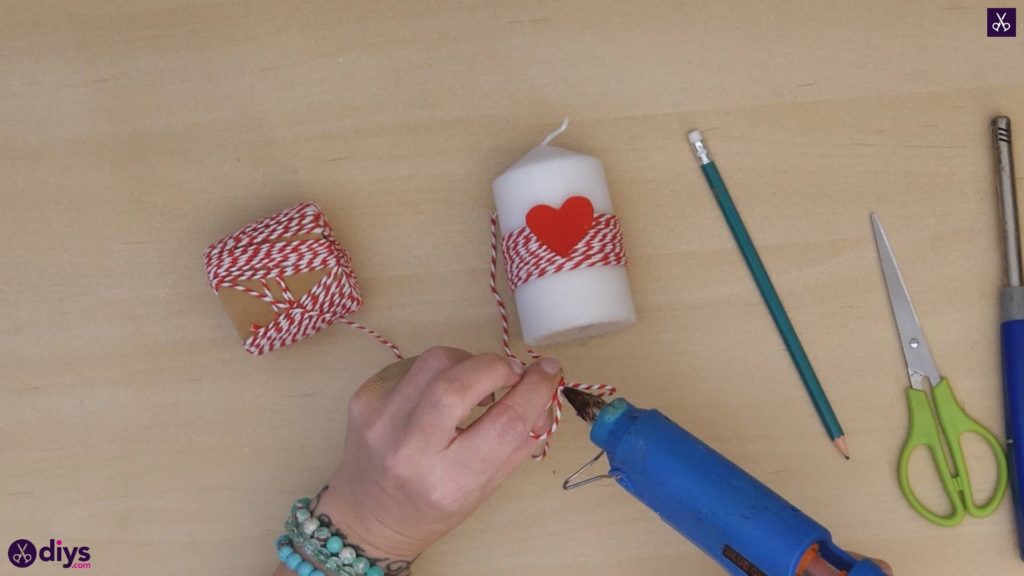
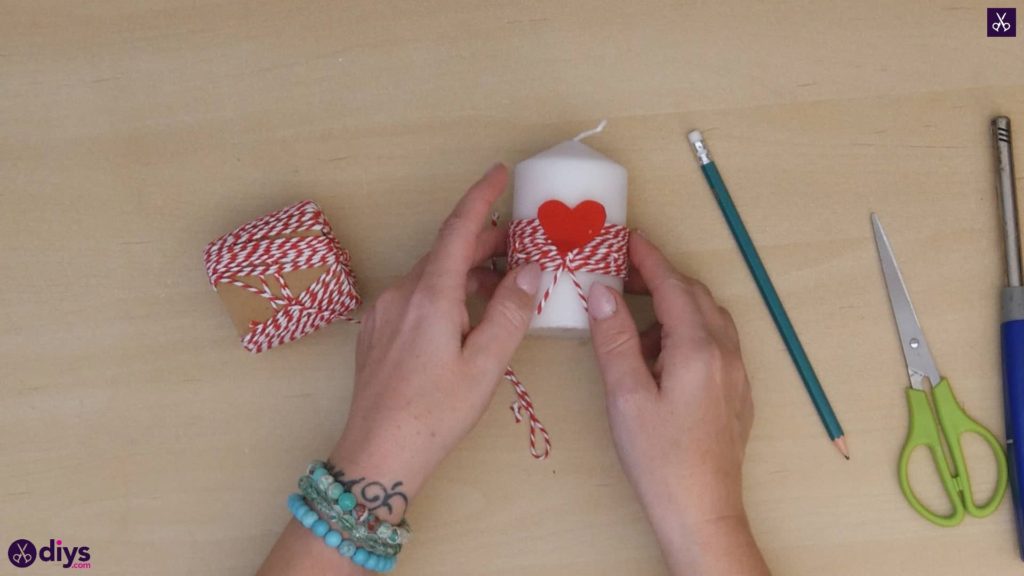
Use your string or yarn to make a little bow! I did this by pulling out a section of string about three inches long, curling the free end inwards into a loop so it crosses over itself with the tip pointing downwards, and then curling the other side in as well in the opposite direction, trimming a new free end that’s even with the first. Knot the two loops around each other to tie the bow shape in place, kind of like you’re using the “bunny ears method” for tying your shoelaces. Next, apply a dot of glue to the back side of the bow you just made and stick it down at the bottom of your heart, right at its pointed tip.

That’s really all there is to it! Feel free to get creative with the kind and colour of yarn or felt that you use. Just in case you’d like to try this project out for yourself, here’s a fantastic tutorial video to help you!
