DIY Reindeer Gift Wrap For Christmas – How To Wrap A Gift
Updated on November 19, 2025


This holiday season, I decided to give certain people chocolate bars as a simple but enjoyable gift but I wanted to customize them to make sure they really looked the seasonal part. That’s how I came up with this adorable reindeer gift wrap idea!
Check out these step by step instructions complete with photos! If you’d rather follow along with a video tutorial instead of written words, scroll to the bottom of this post to find just what you’re looking for.
For this project, you’ll need:
- Chocolate
- Paper (red and brown)
- Brown cardboard
- Red ribbon
- Two googly eyes
- Scissors
- A glue stick
- A pencil
- A bell
- Wire crafting thread
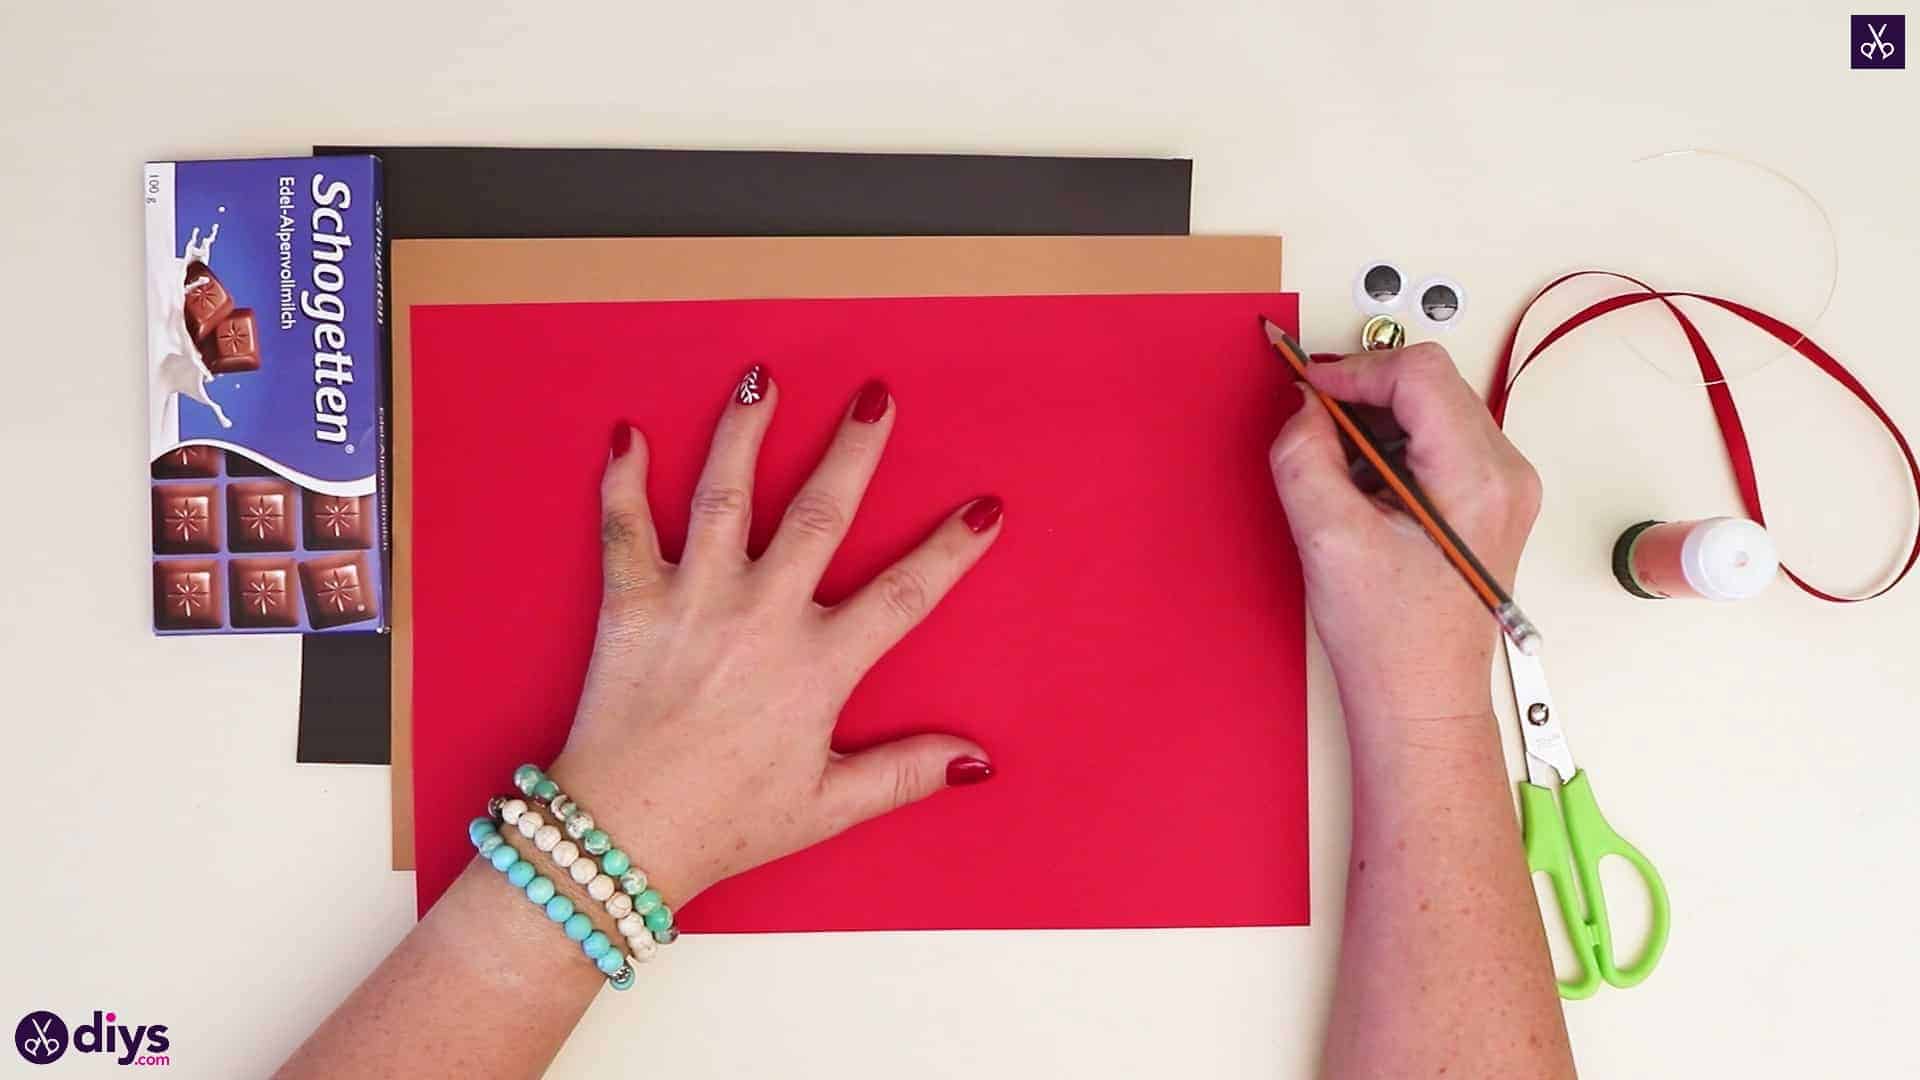
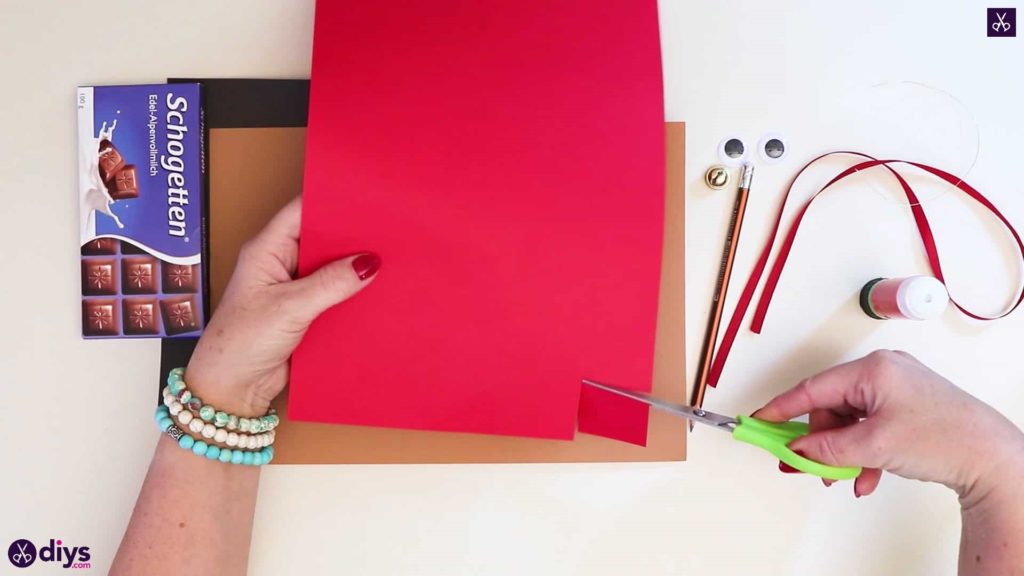
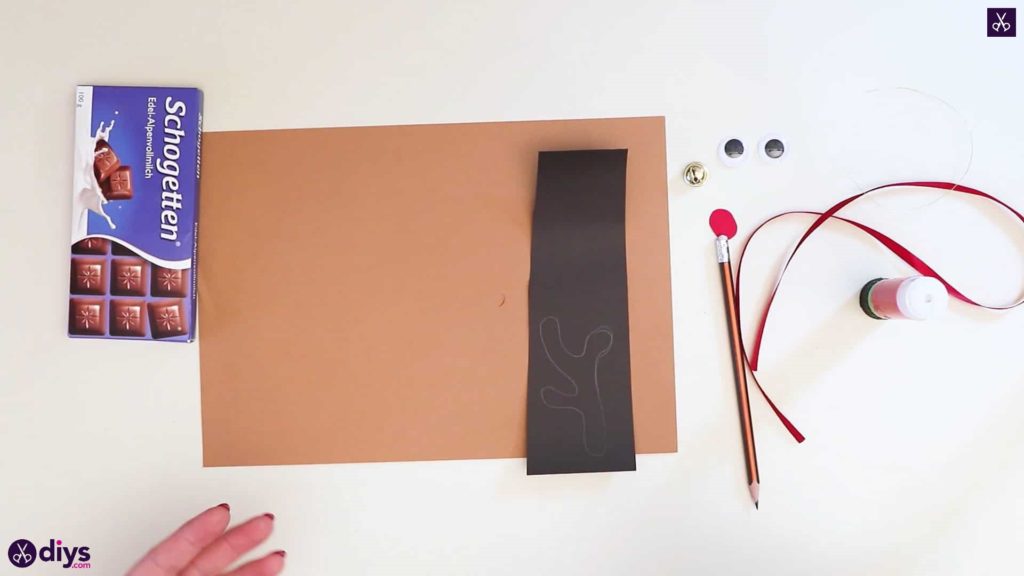
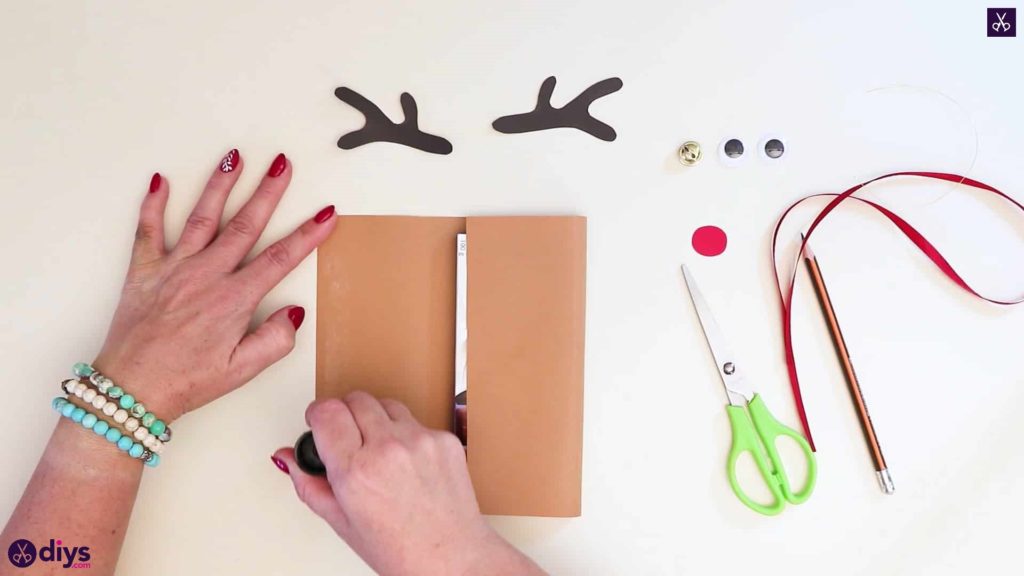
Step 1: Gather your materials!
Get everything you need to start the craft.

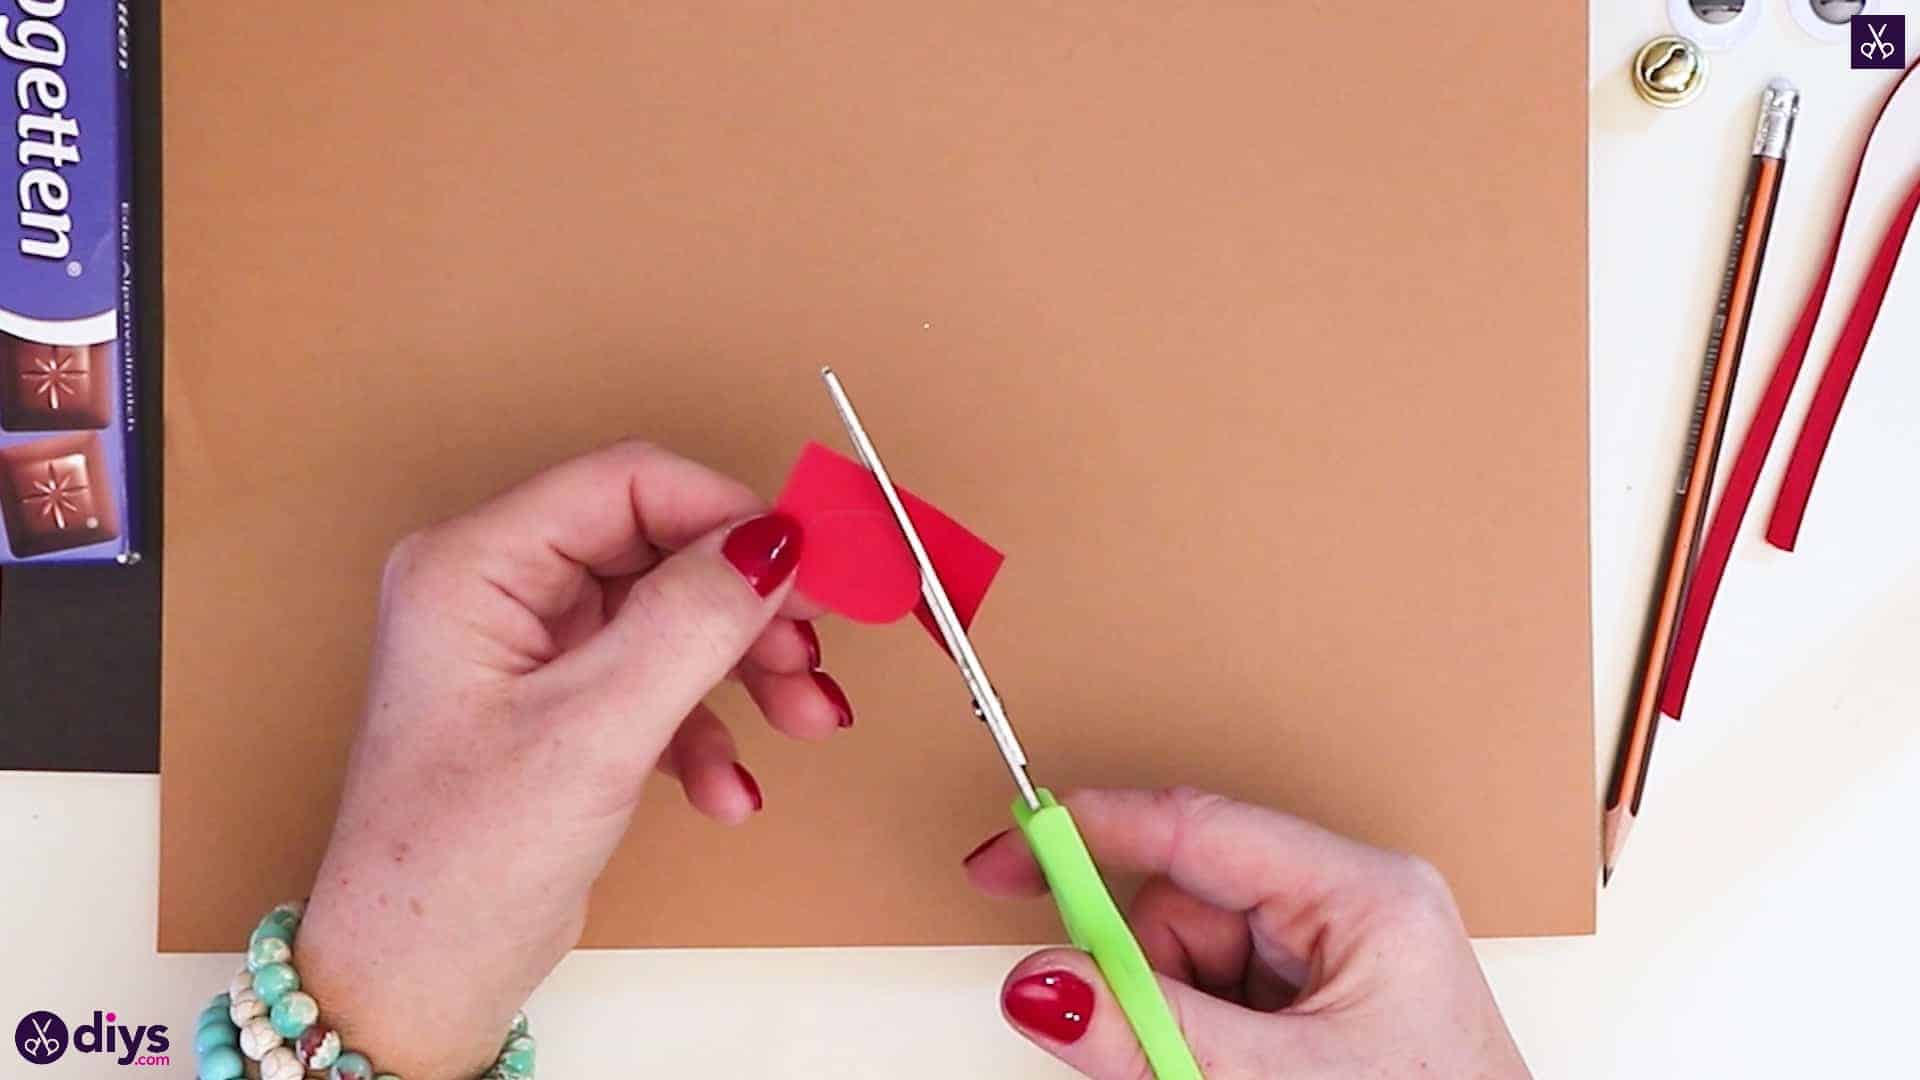
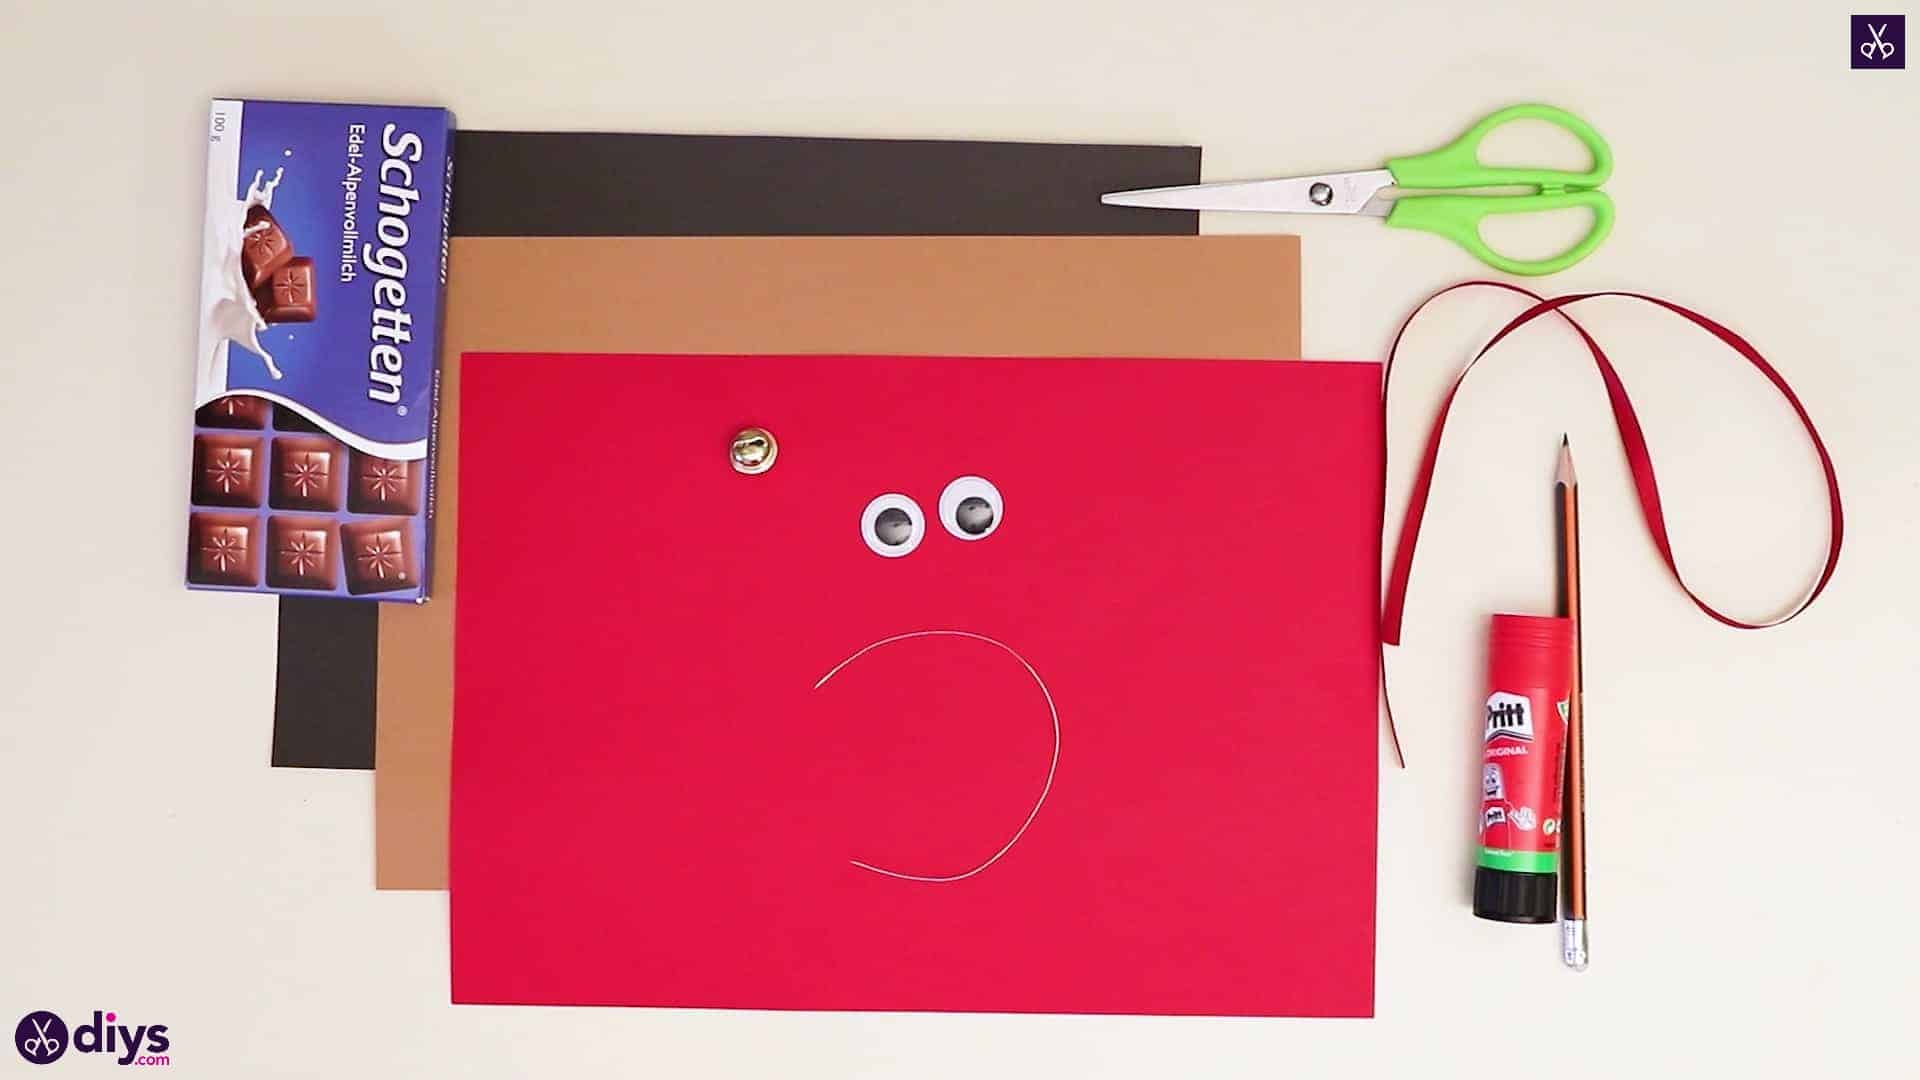
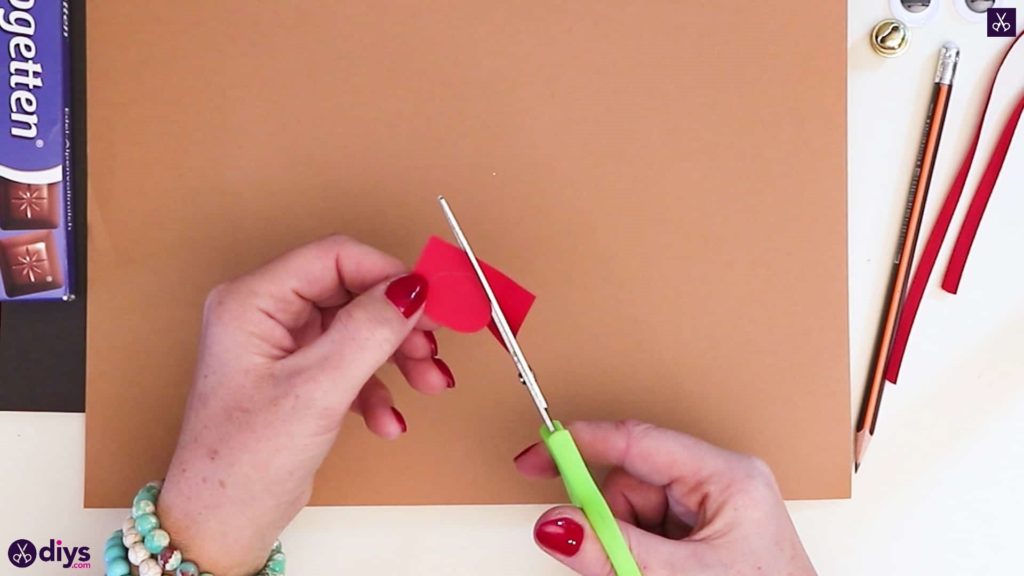
Step 2: make the nose
Use your pencil to draw an oval about half an inch long on your red paper. Cut it out and set it aside. This will be your reindeer’s nose, like Rudolph the red nosed reindeer from the classic Christmas song!

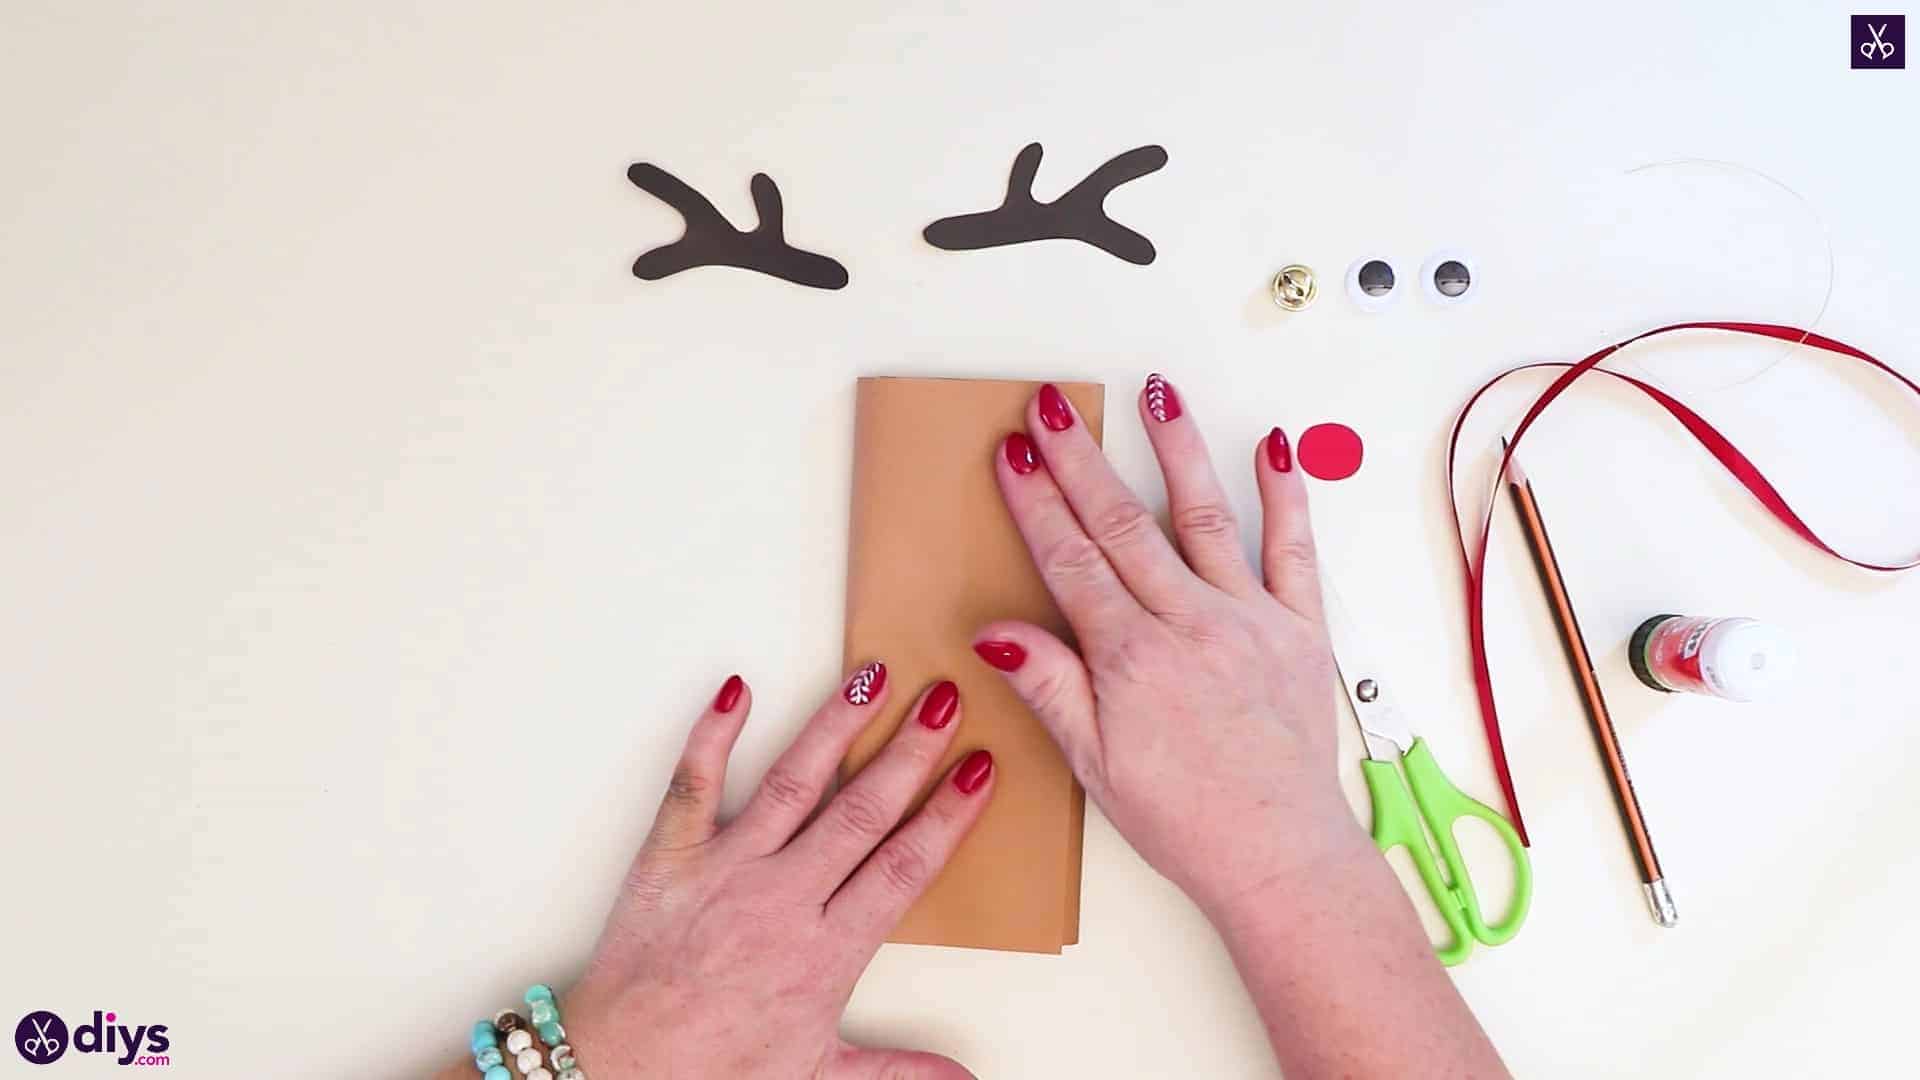
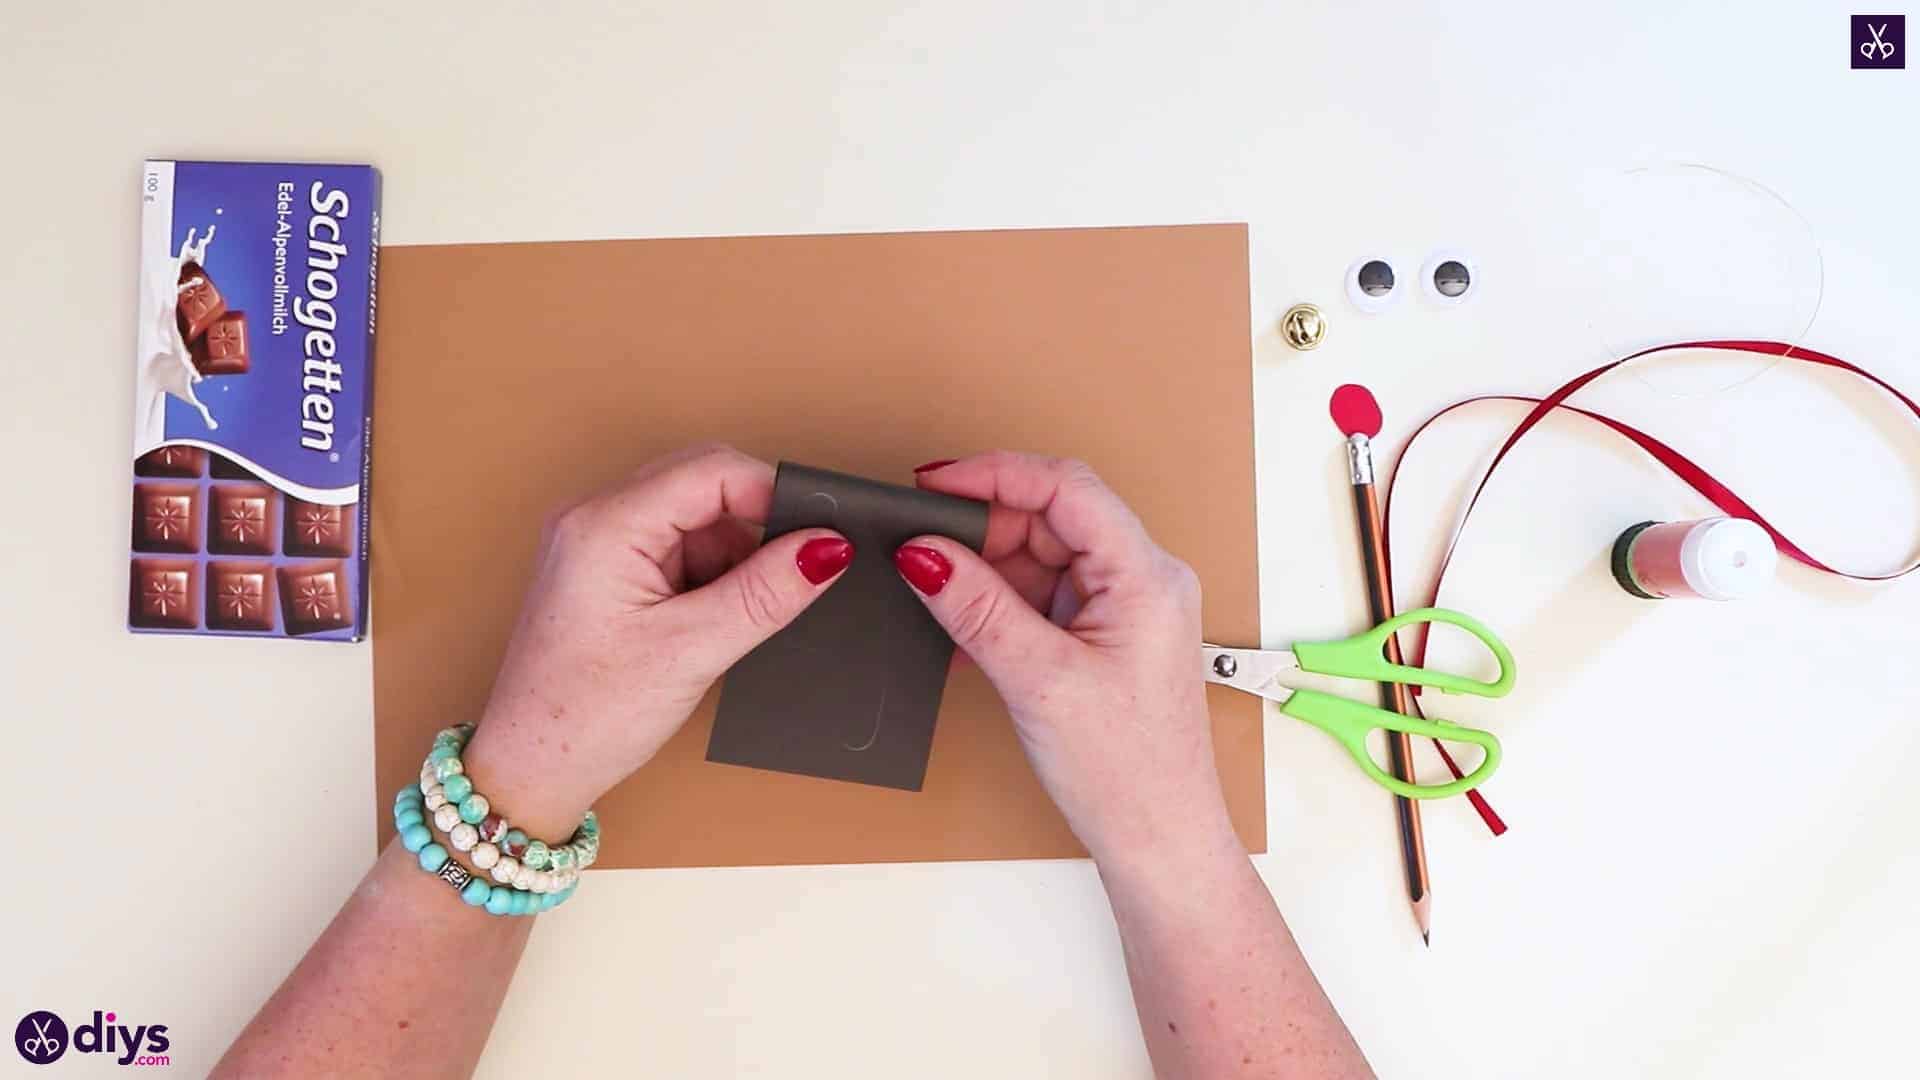
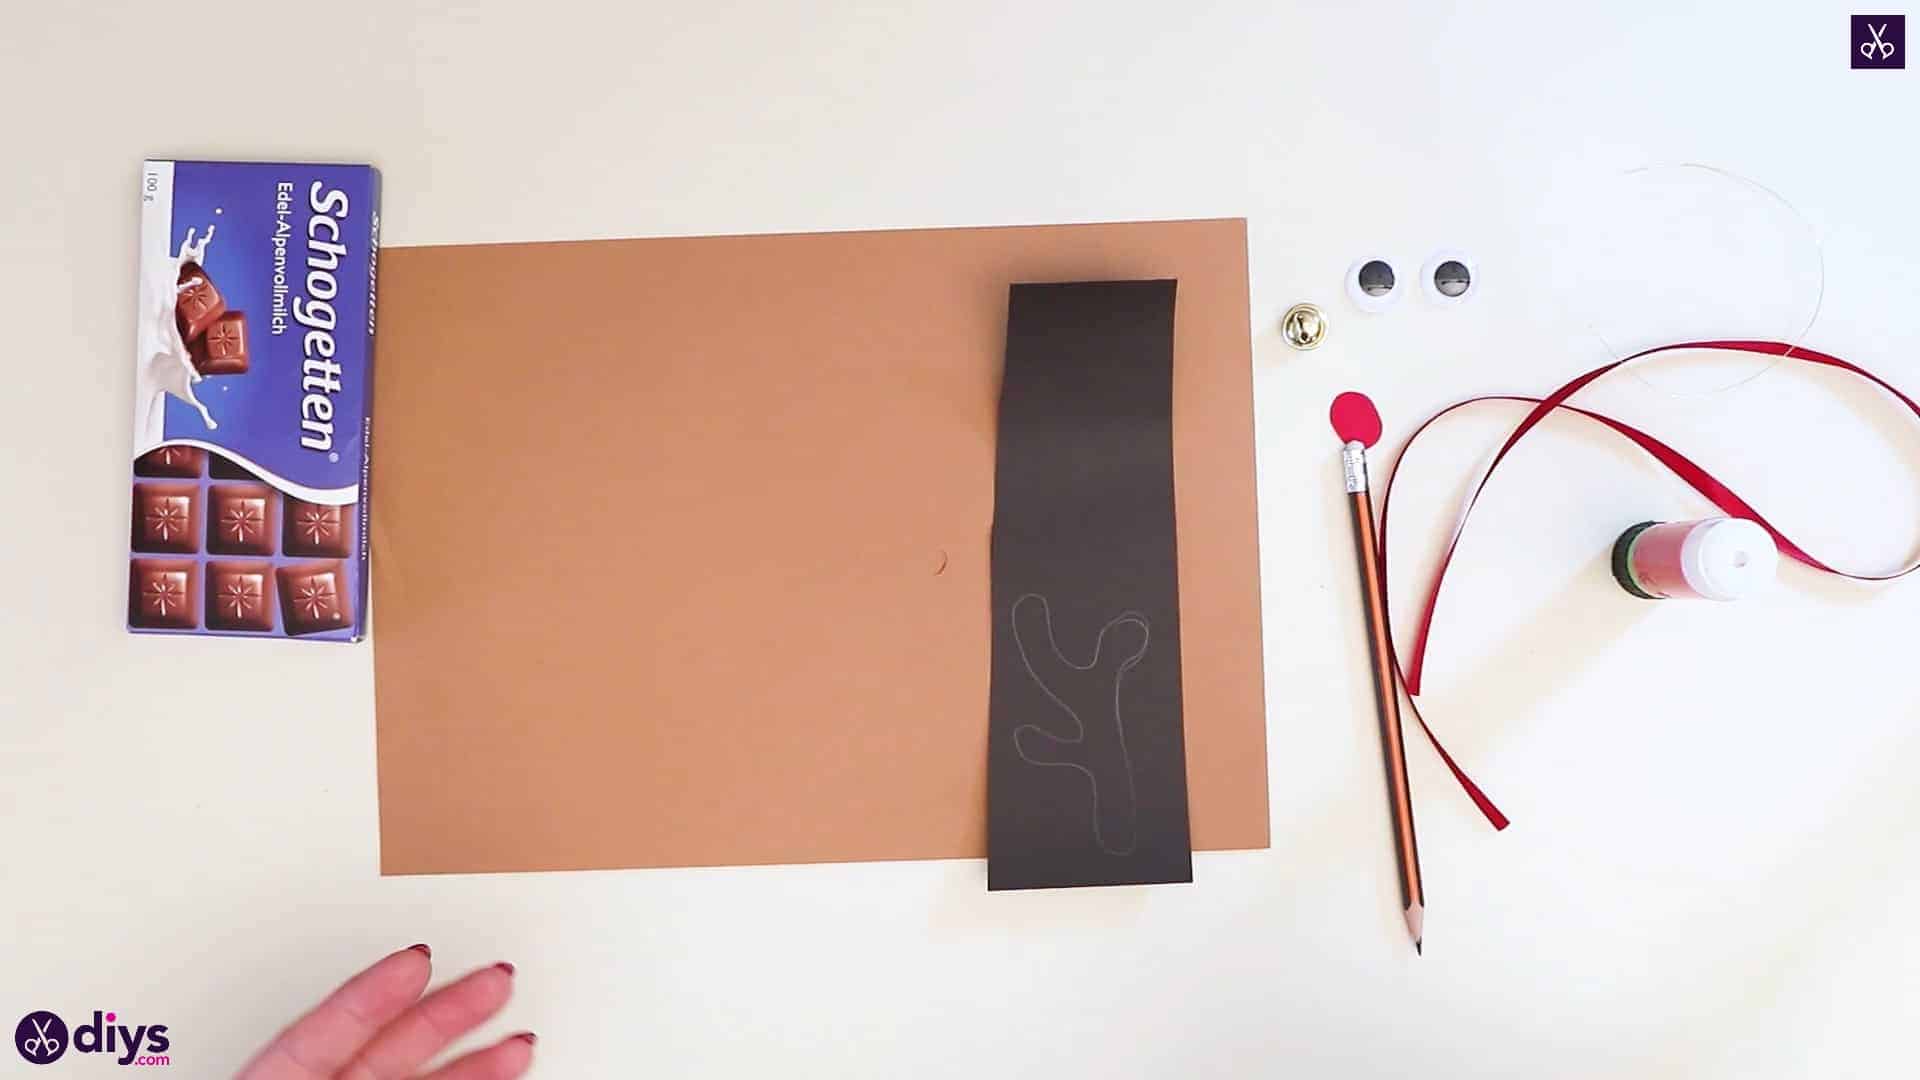
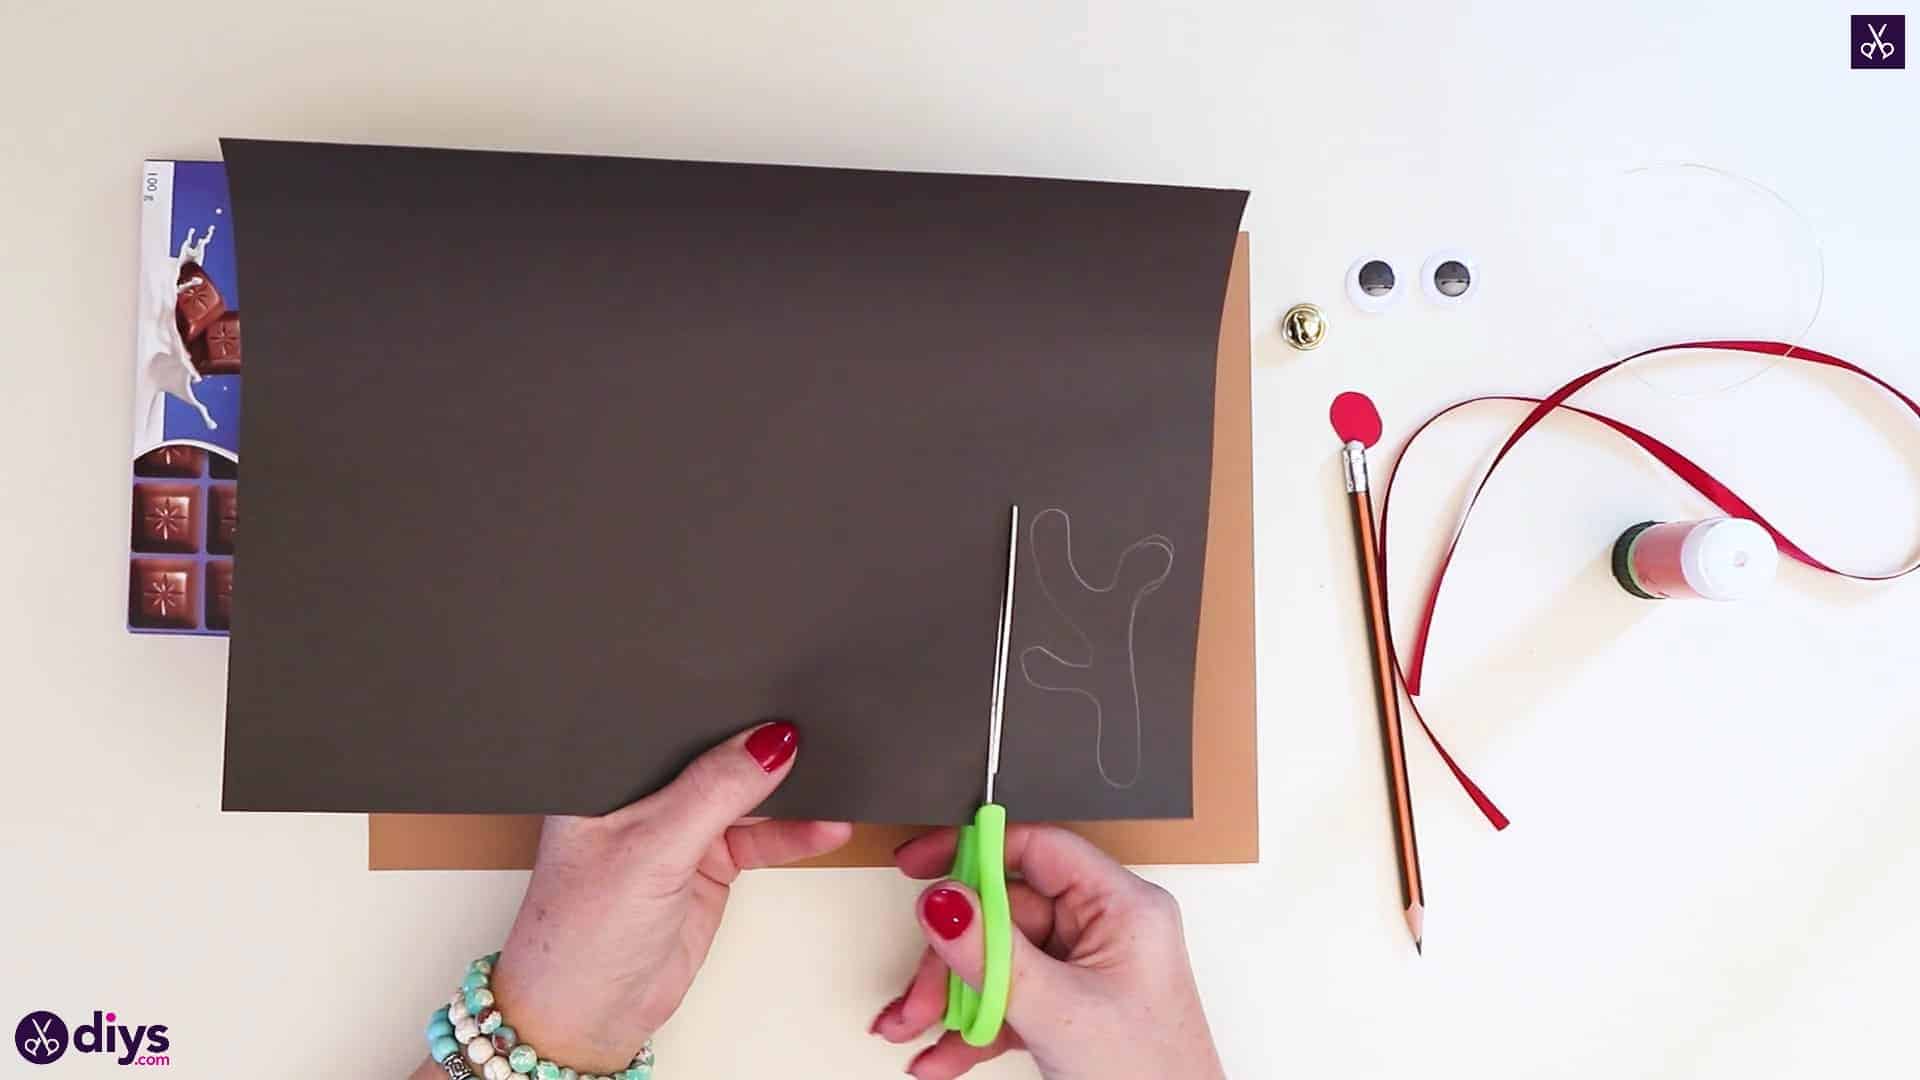
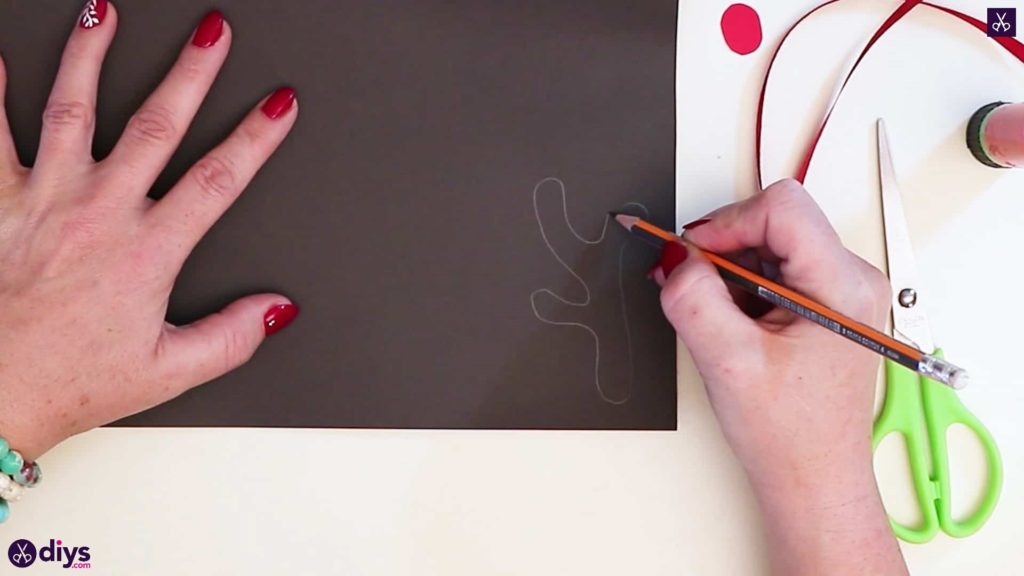
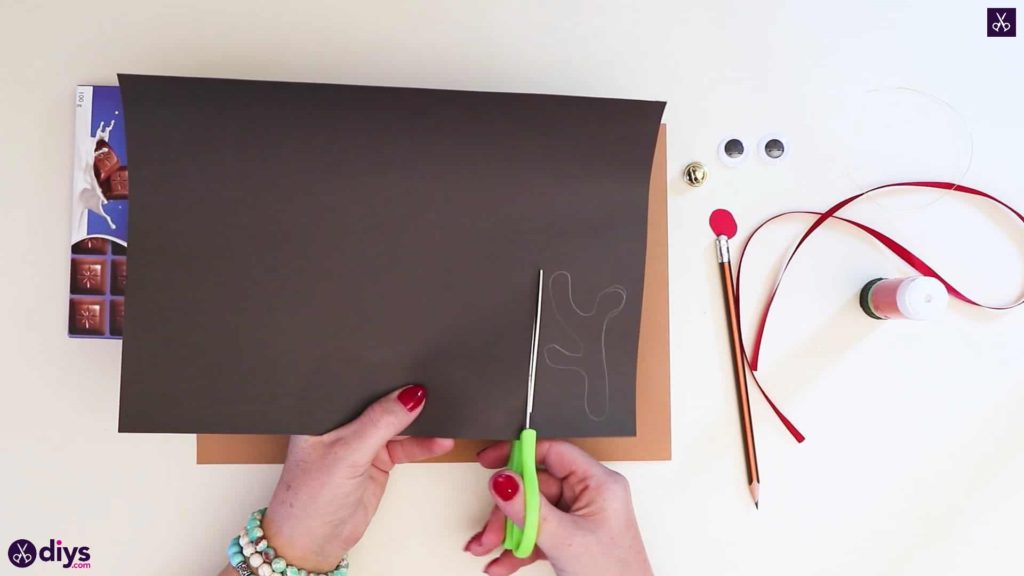
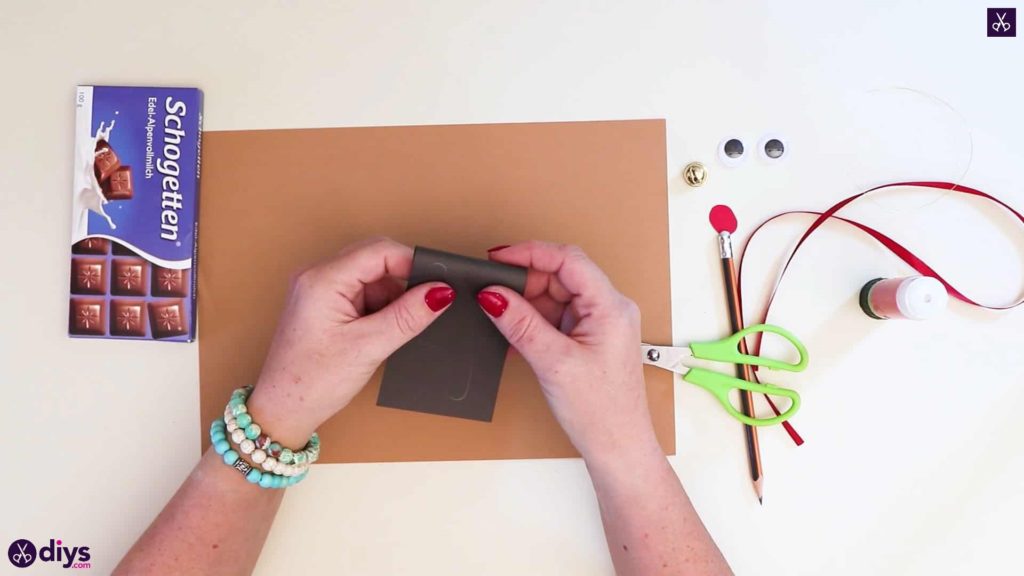
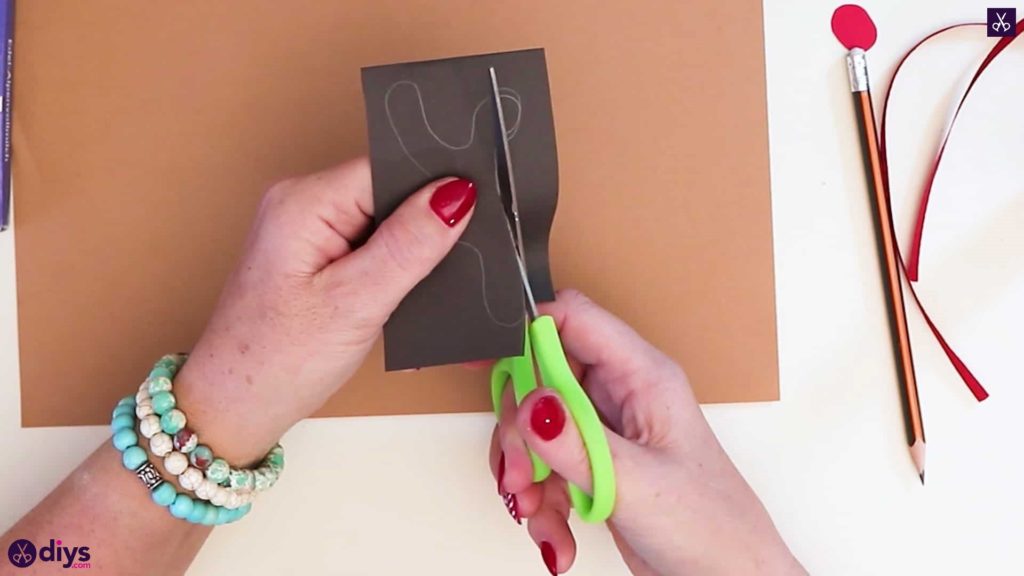
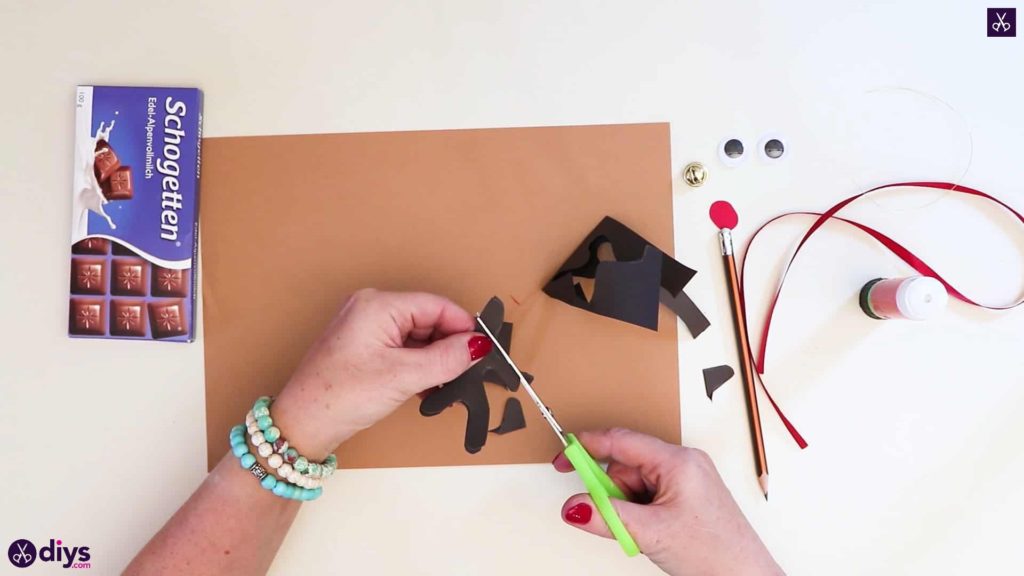
Step 3: make the antlers
In the bottom right hand corner of your black paper, draw the shape of an antler. I gave mine three prongs and made it about two inches long from the bottom end to the tip of the highest prong. Cut out the entire strip where the antler is, giving yourself a rectangular piece that’s the whole length of the page, with your antler positioned at the bottom. Now, fold the black antler strip you just cut in half and cut the antler shape out, making sure your scissors pass throughboth sides of your folded piece. This will ensure that you havetwo black antler shapes when you’re done, rather than just one!
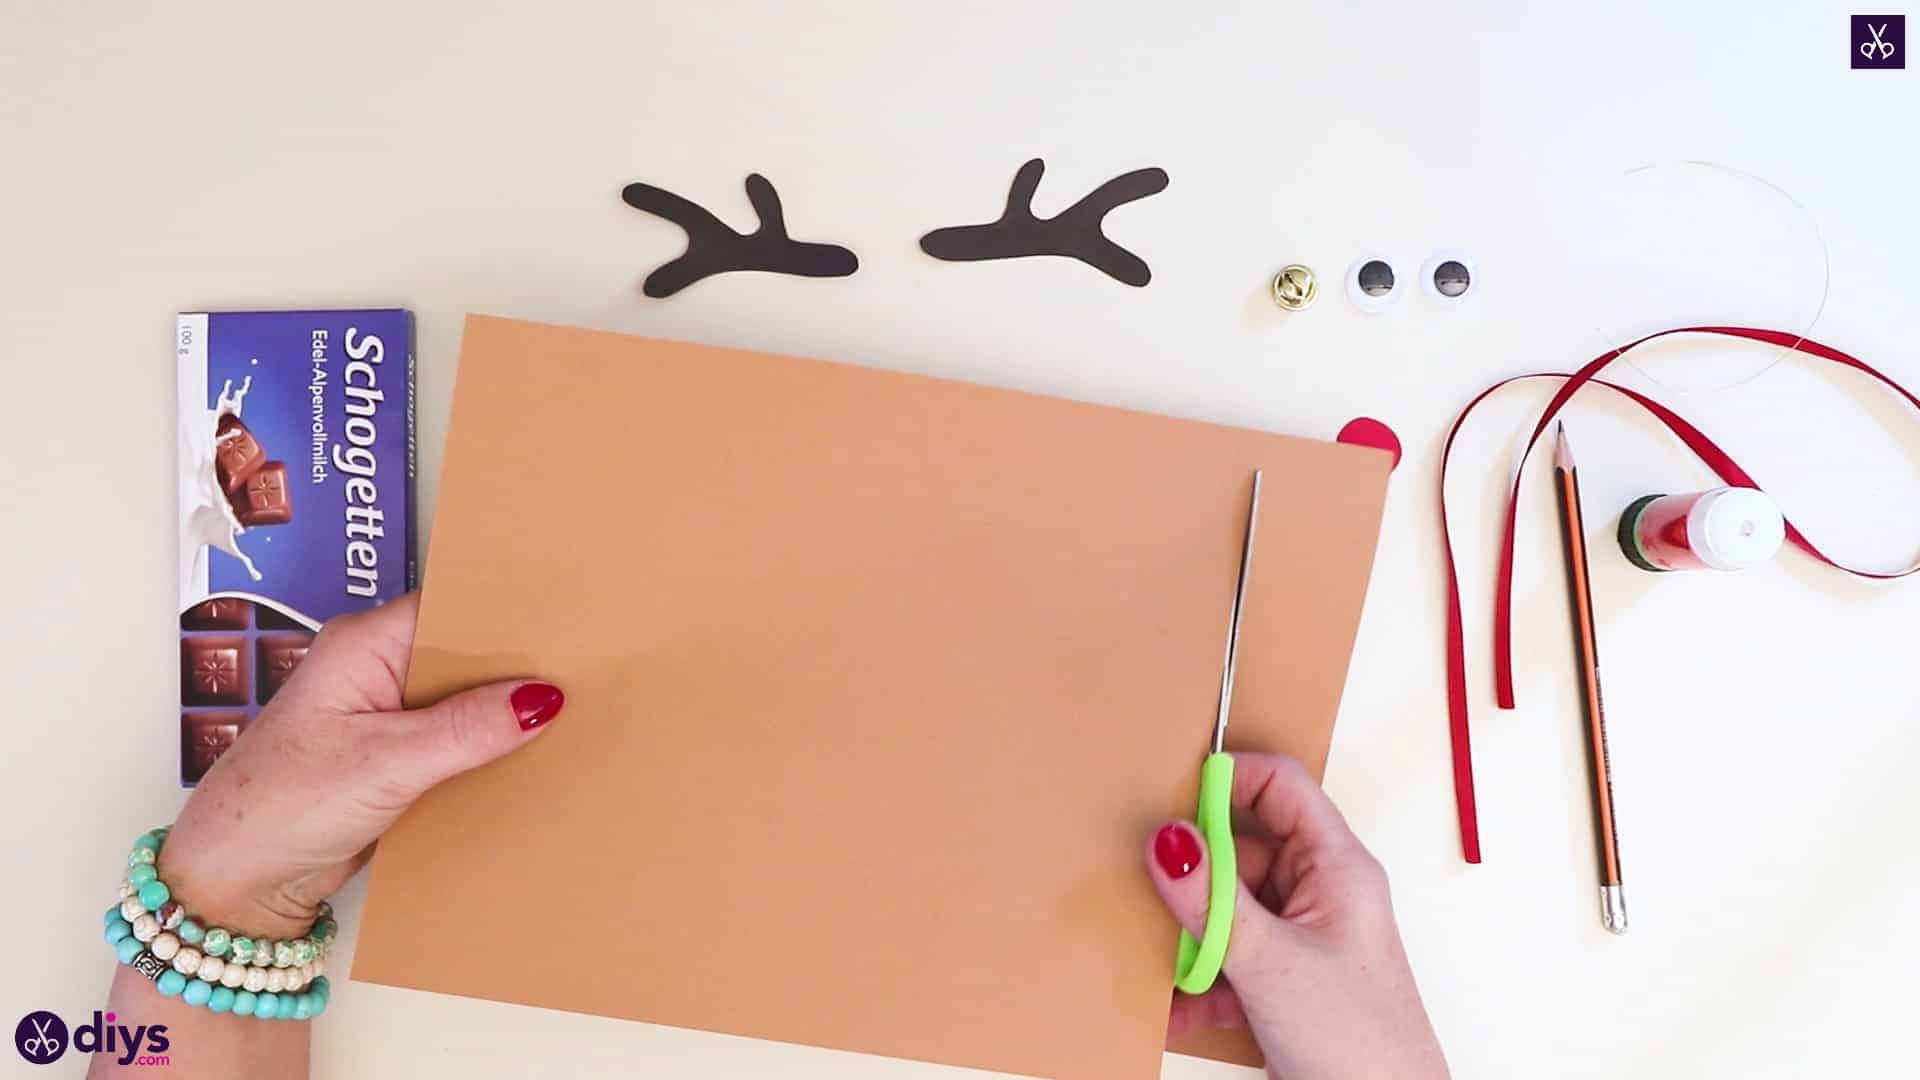
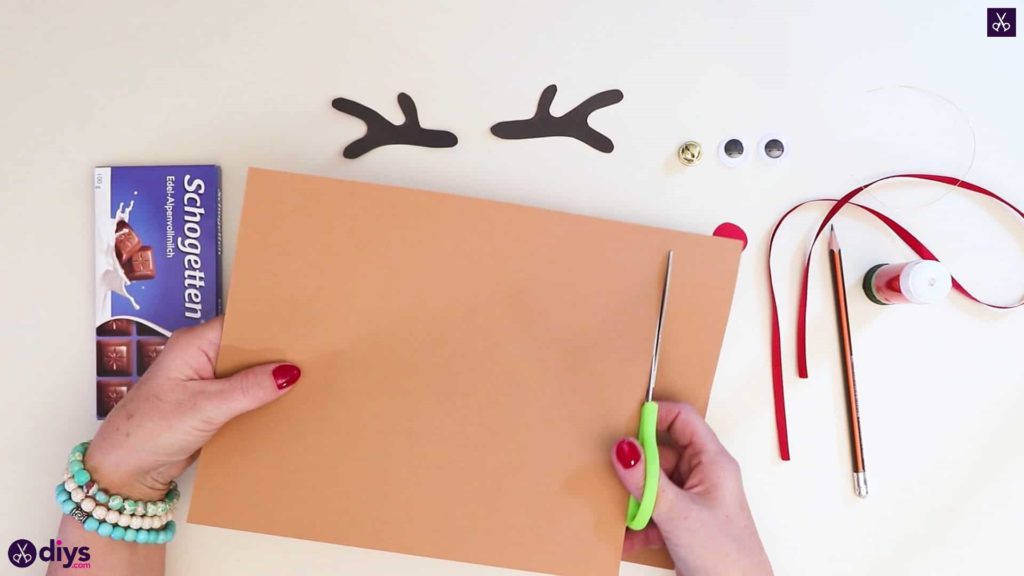
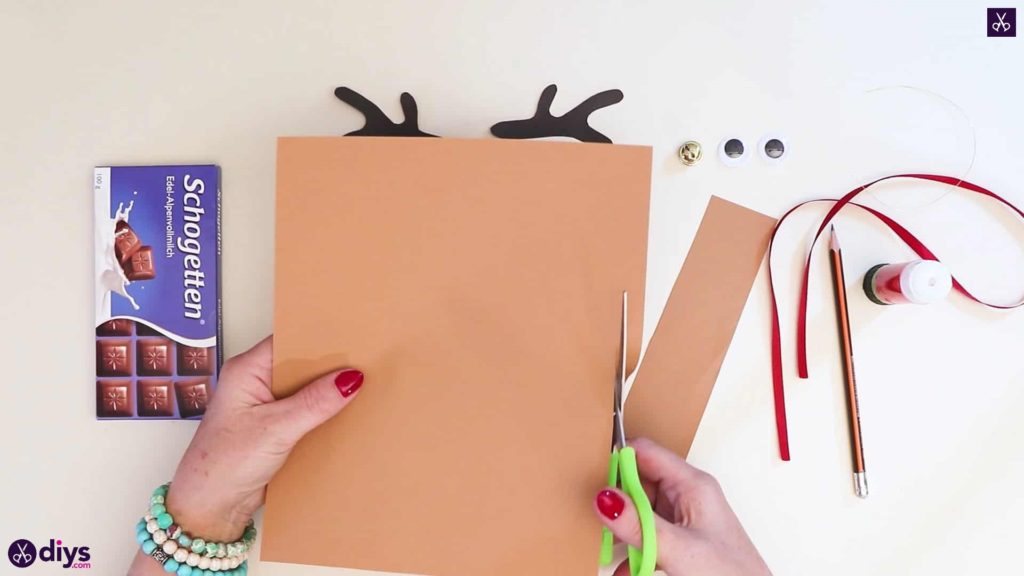
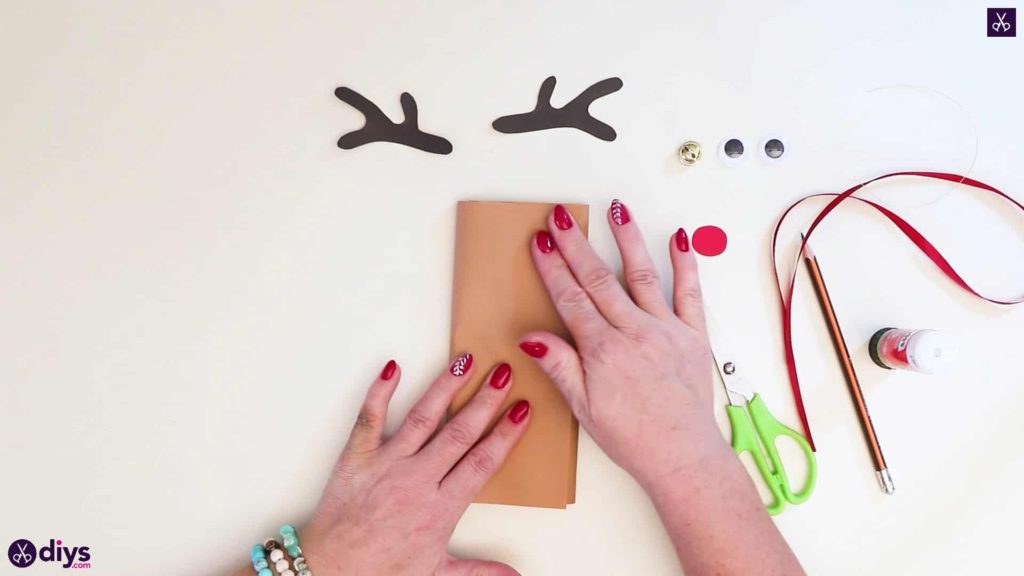
Step 4: cut and measure the wrap
Use your scissors to adjust the size of your brown paper a little so it’s more suited to your chocolate bar and you don’t have lots of excess in your way. I cut an inch wide strip off one of my page’s longer sides and a 2cm strip off one of my short ends to make it more appropriate for the size of my chocolate bar.
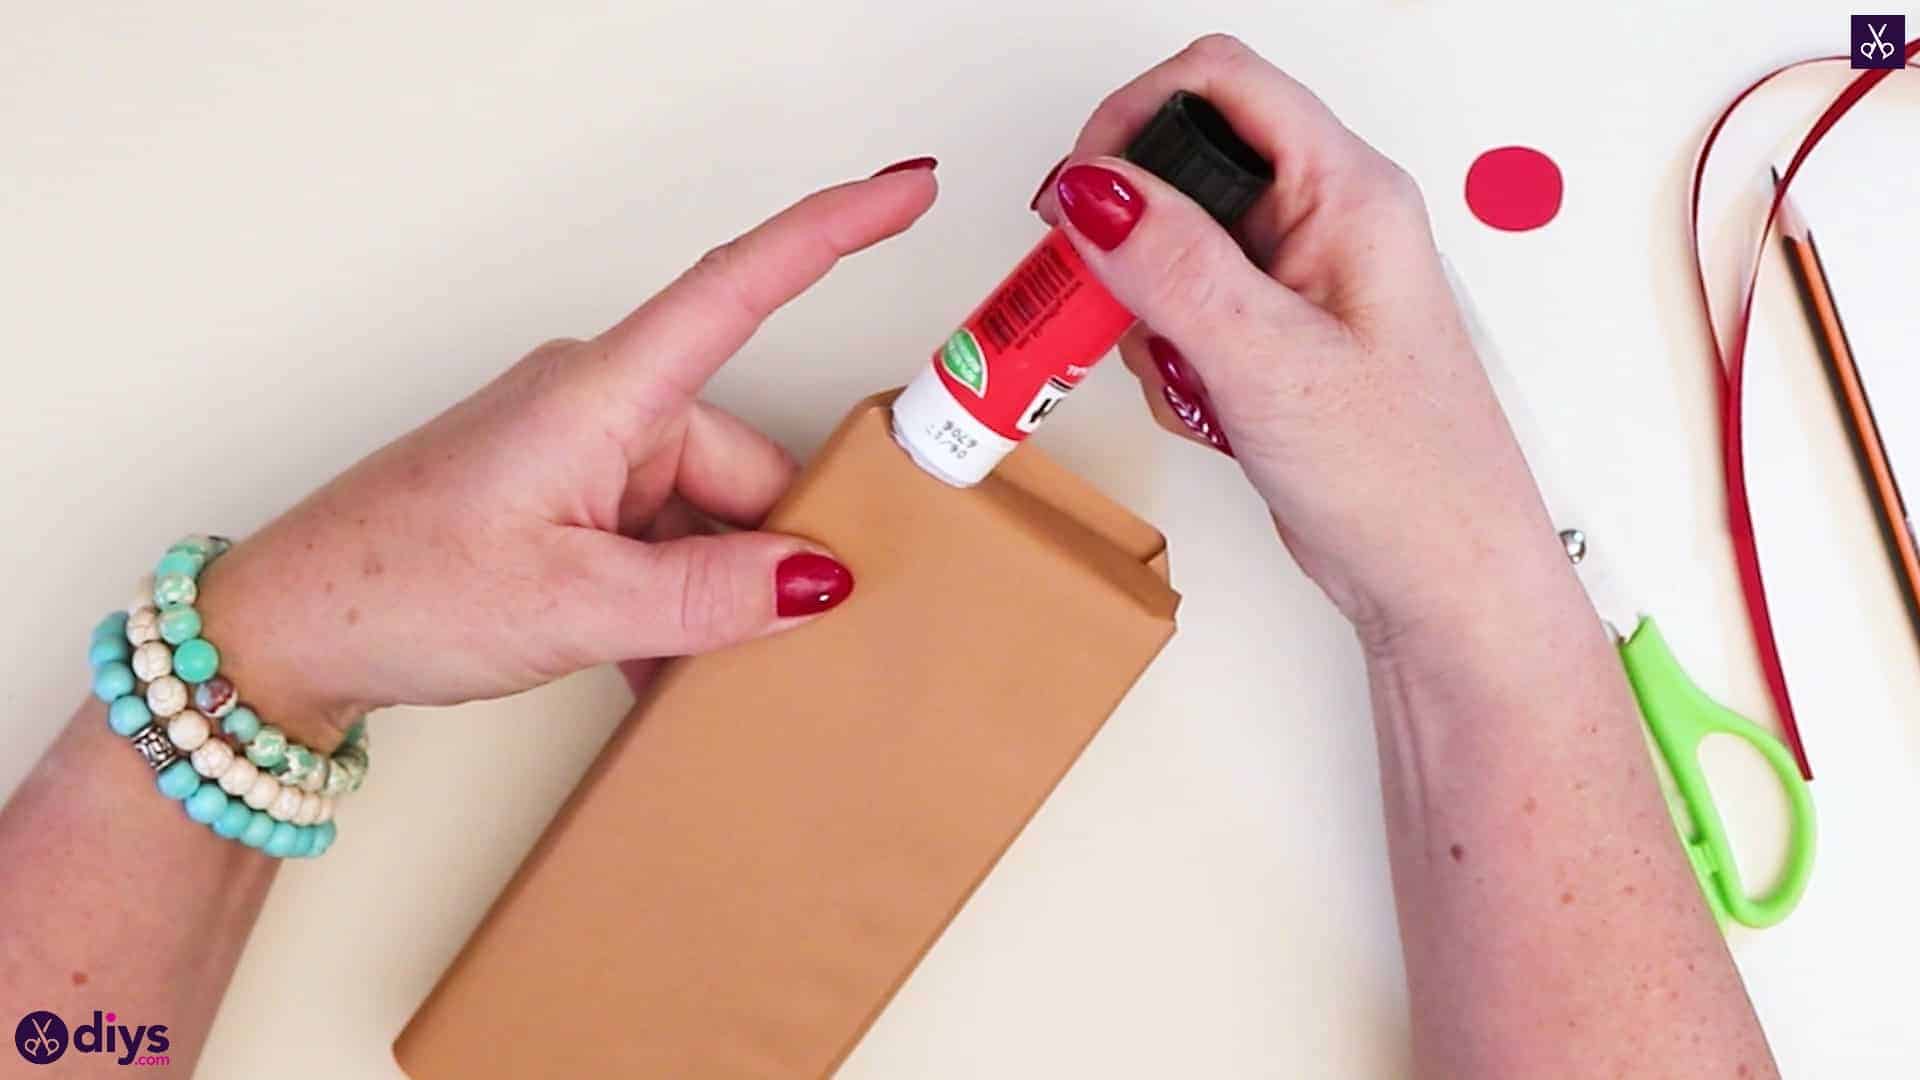
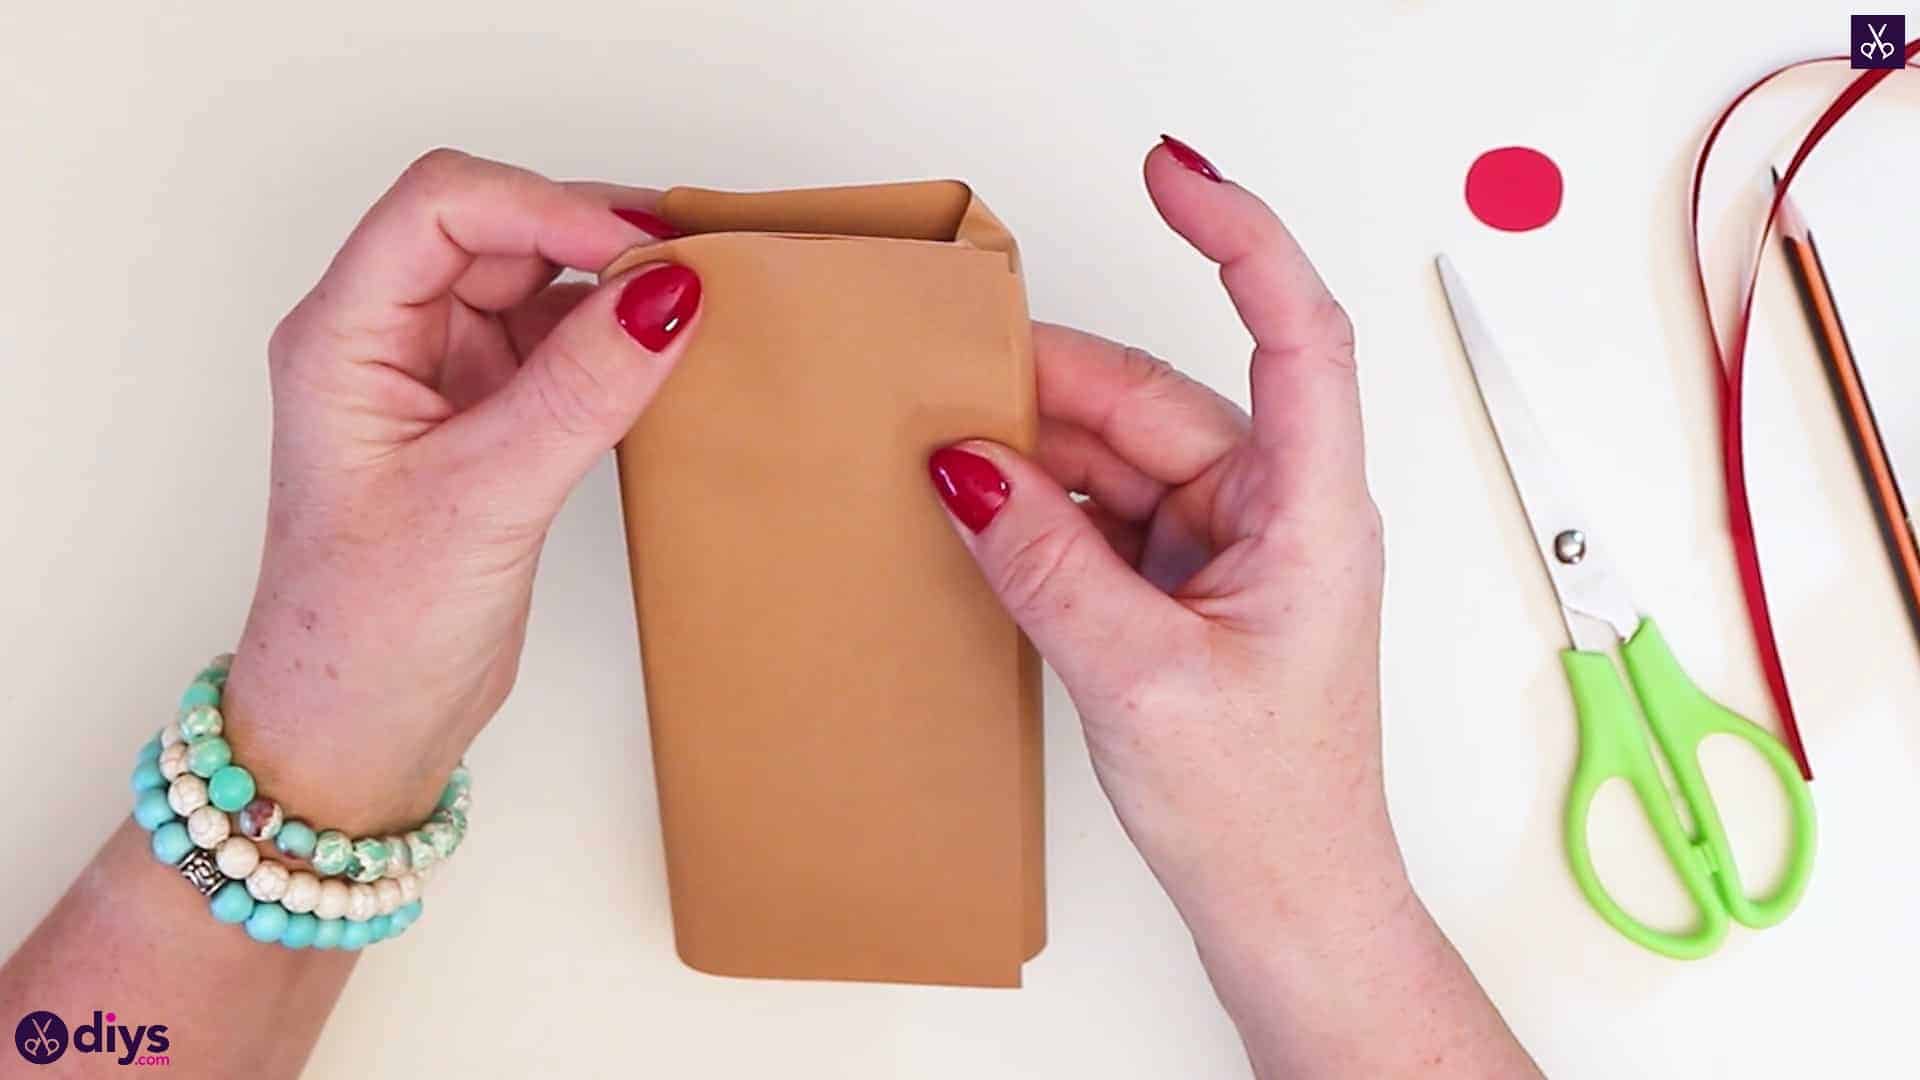
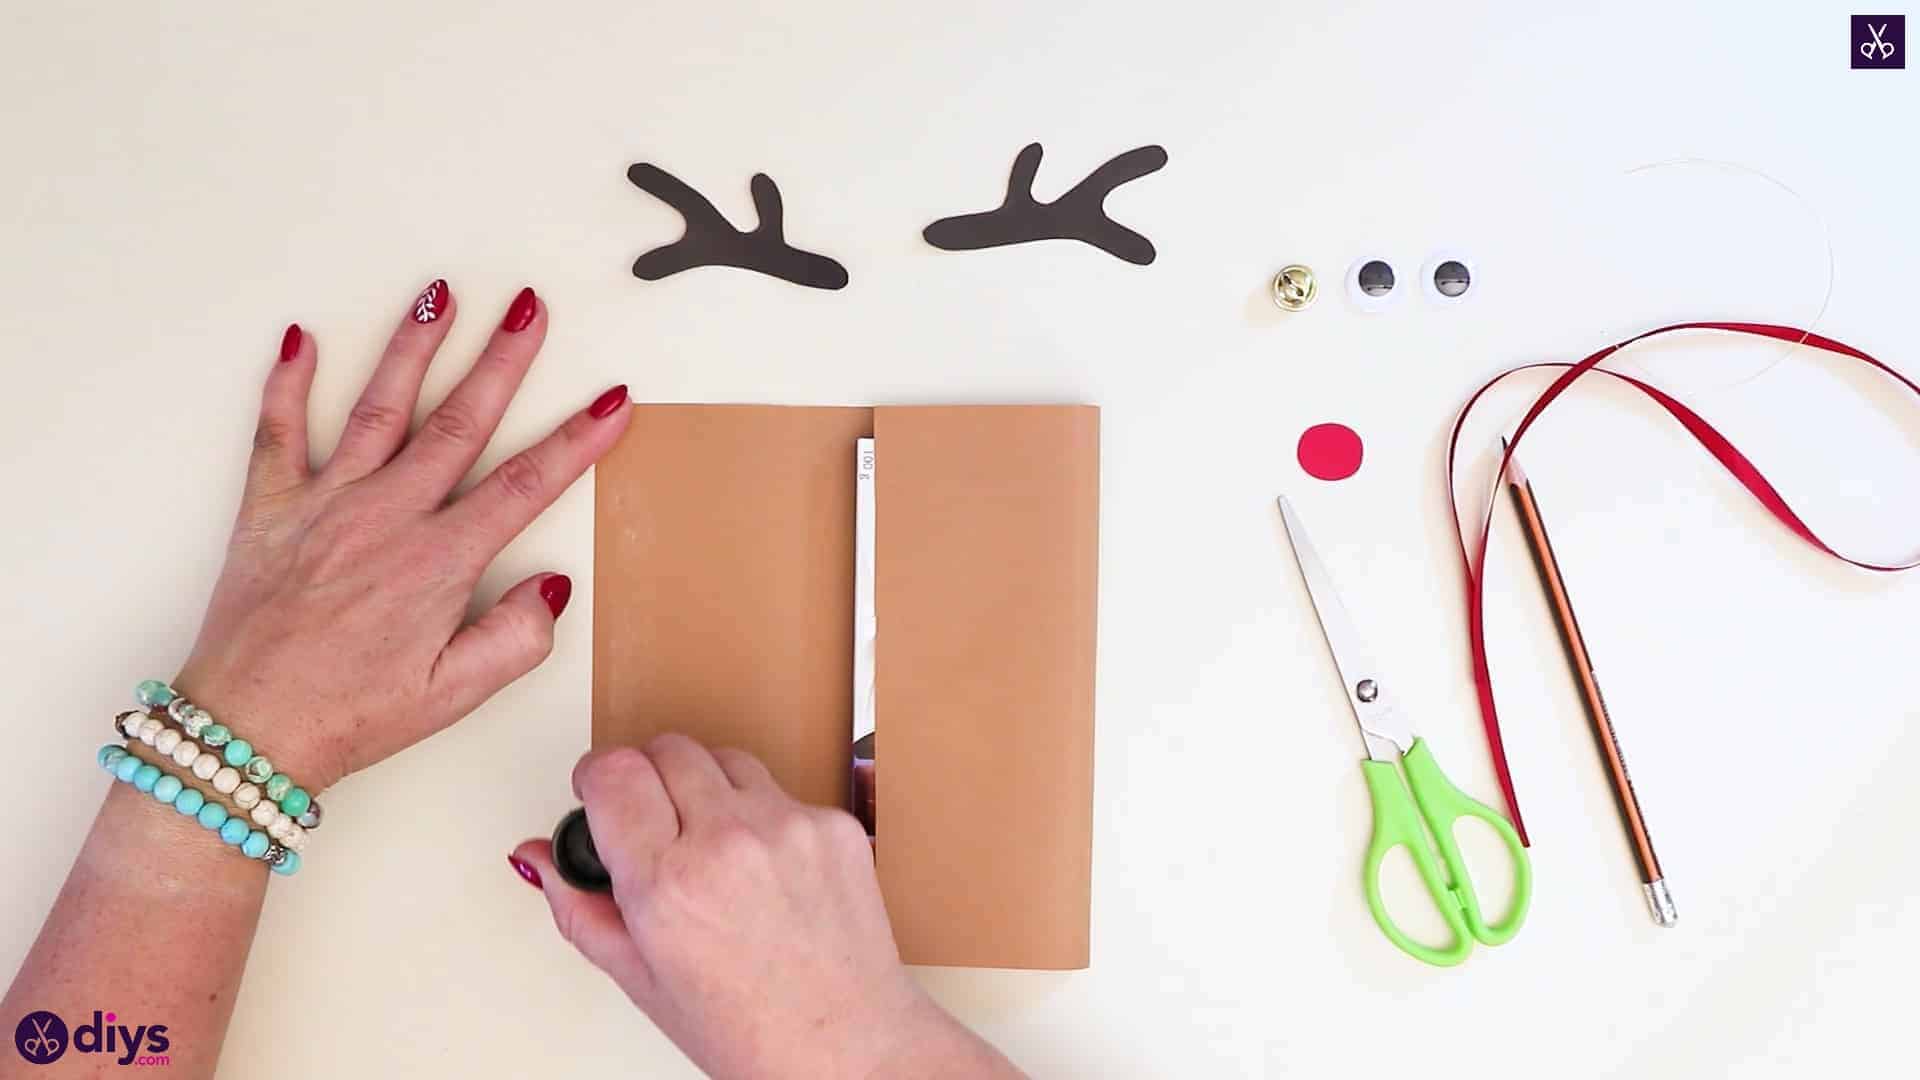
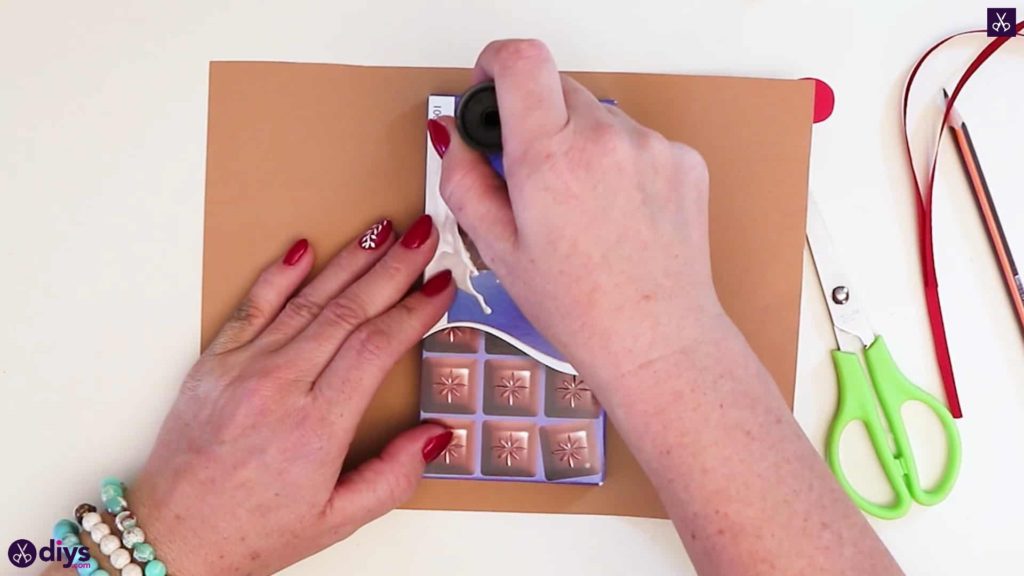
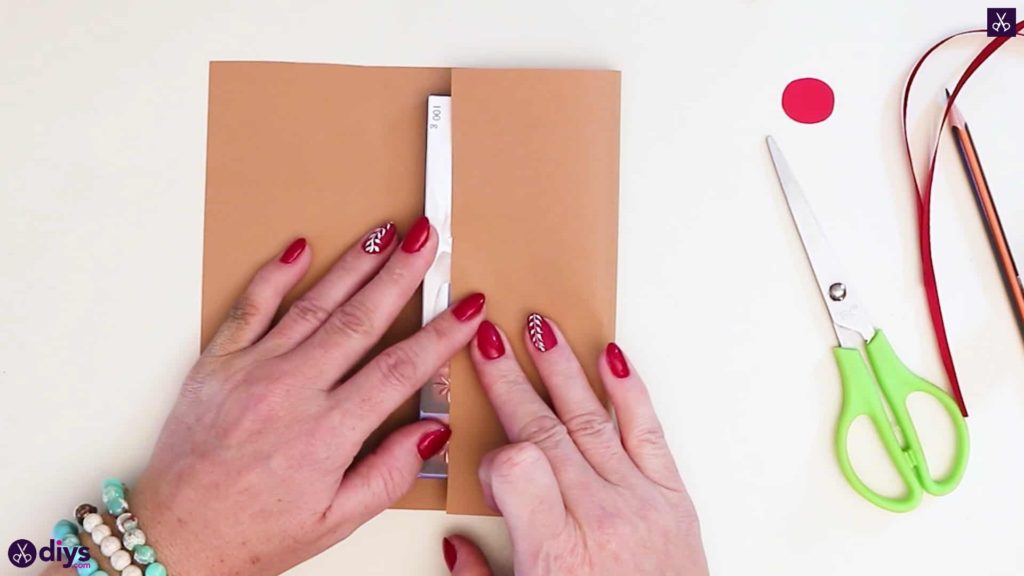
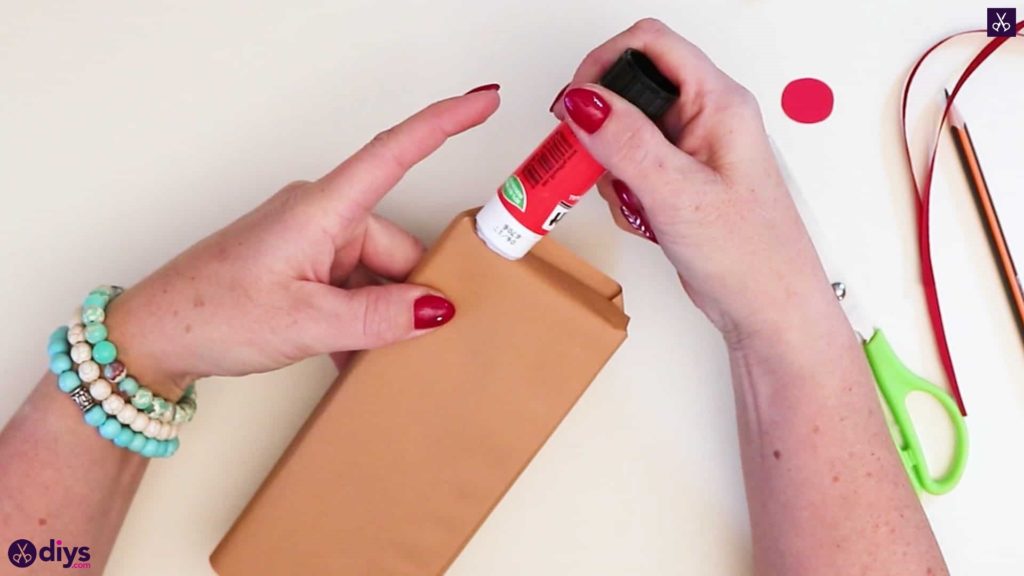
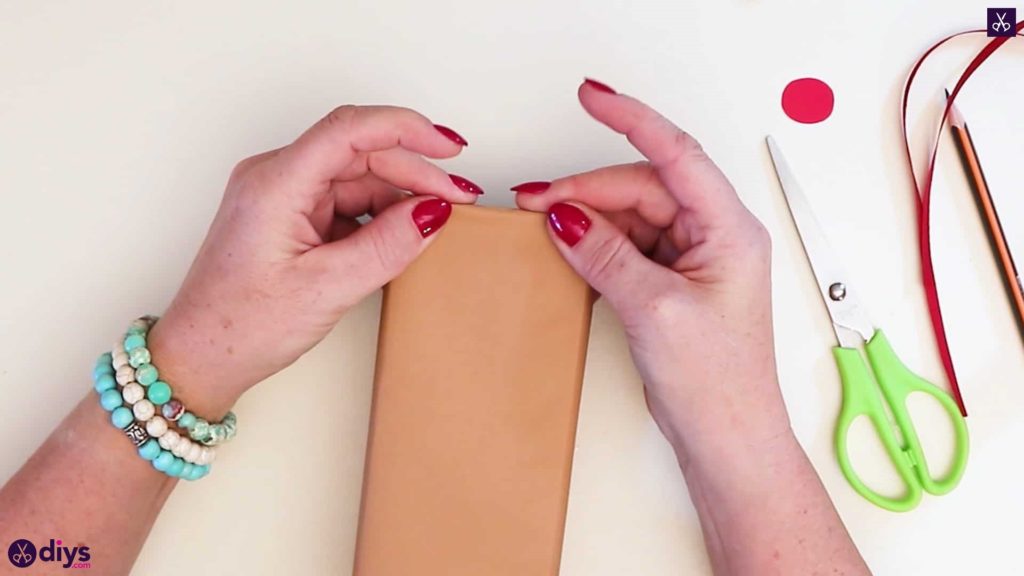
Step 5: wrap the body
Position your paper landscape so its long edges become its width and its short edges become its height. Place your wrapped chocolate bar in the center of the page and apply glue down its entire length on the left side. Take the right side of your brown paper and fold it over the chocolate bar, sticking the end down in the glue you applied to its wrapped. Next, apply glue to the brown paper down the length of the chocolate bar on the right side and repeat the folding process, this time bringing the left edge inward to be glued down overlapping your previous fold. Your chocolate bar is now wrapped completely in brown paper.
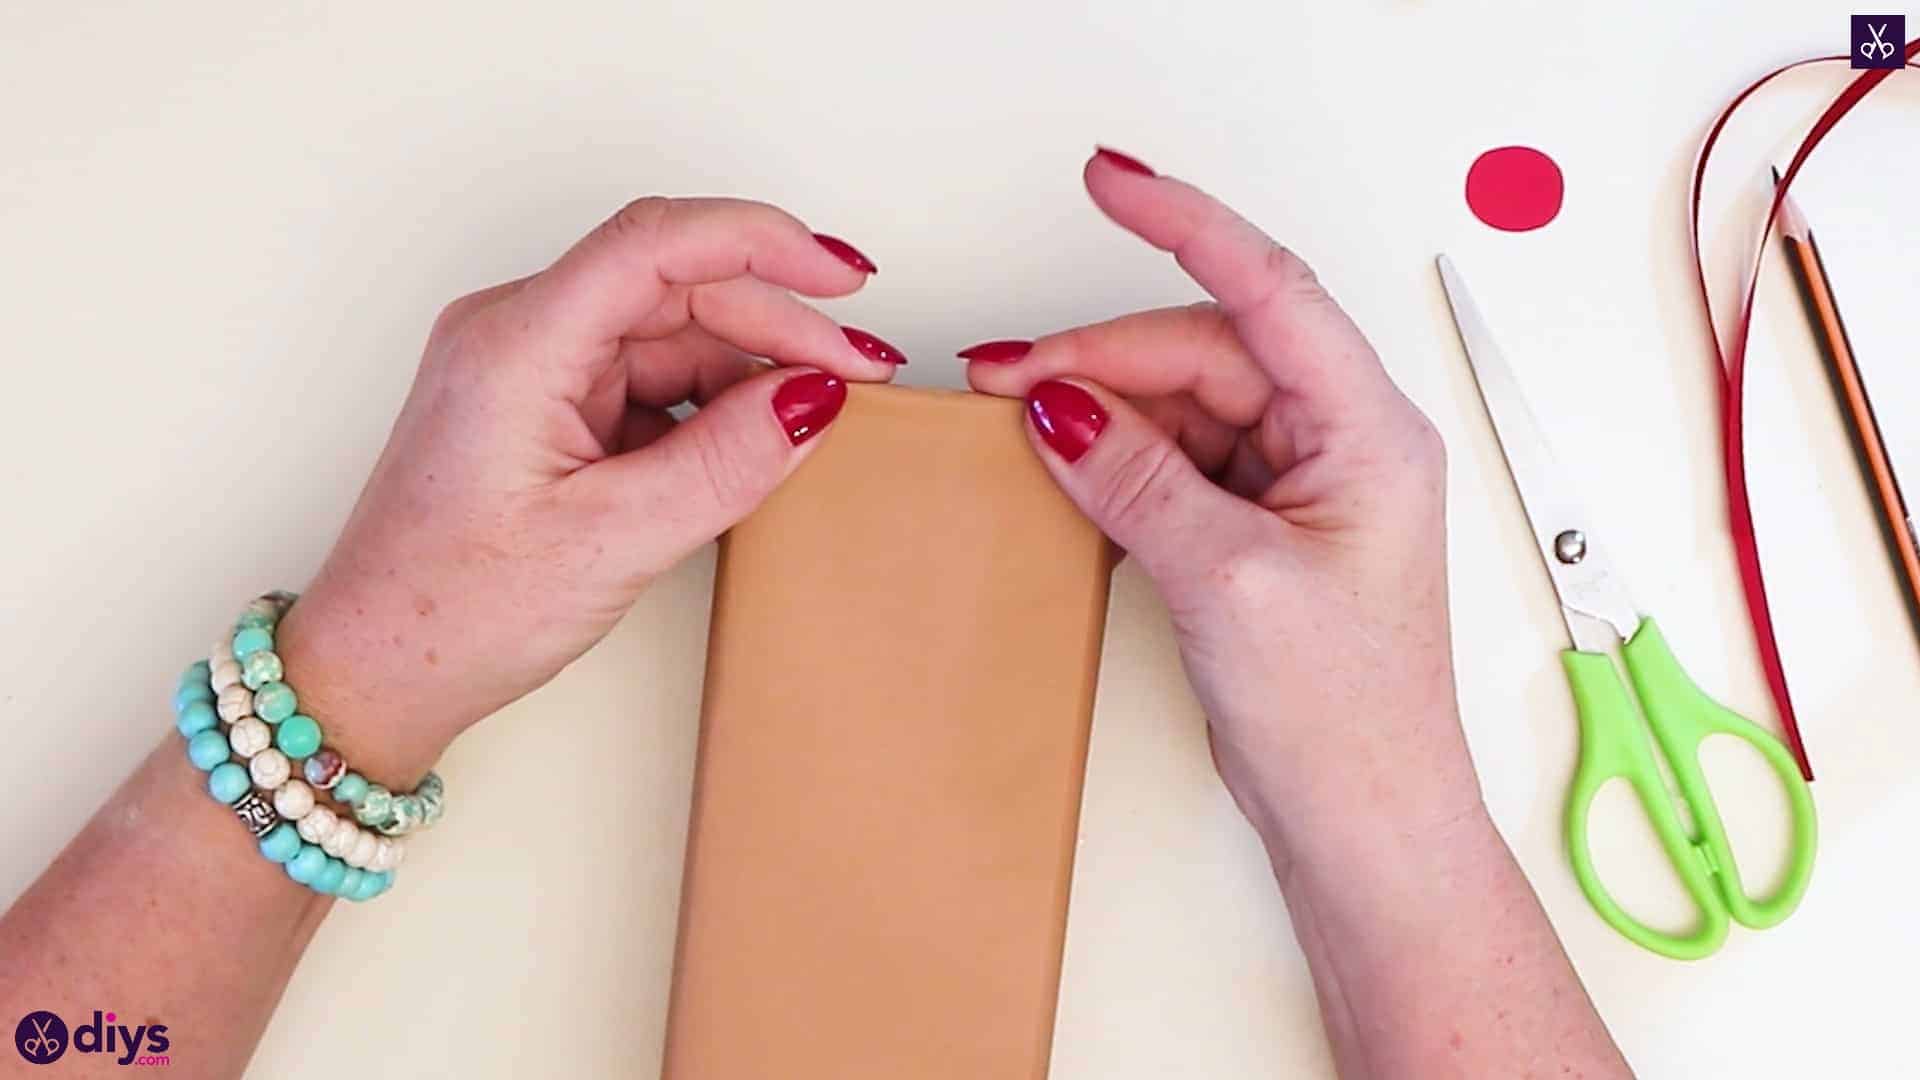
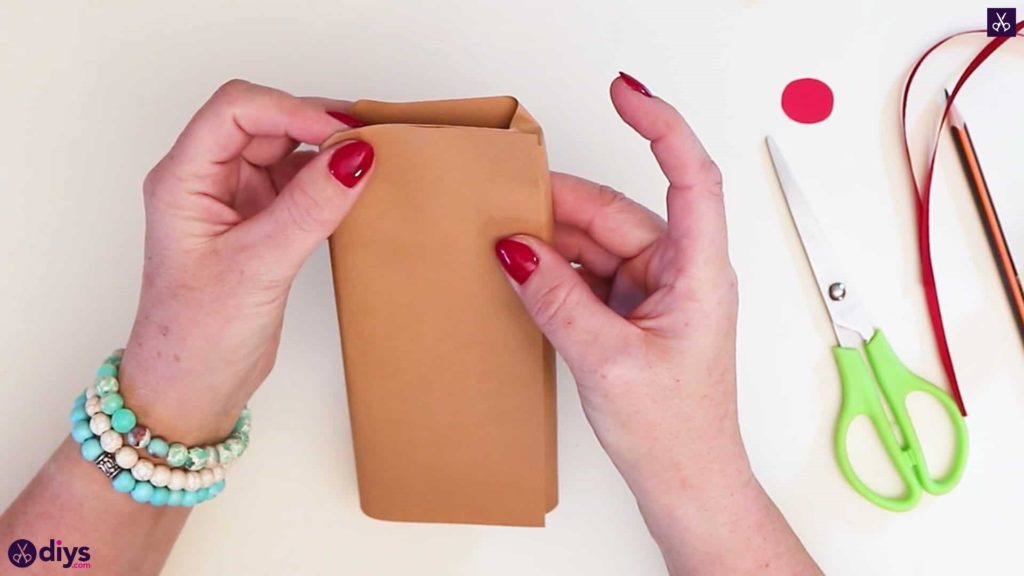
Step 6: tuck the ends
Wrap the ends of your chocolate bar! First, use your finger to pinch the paper inward on each side, folding it down over the chocolate bar’s thing side edges on each end. Then fold the front side of that end inward over the end of the bar. Apply glue to the surface of that piece once you’ve flattened and and fold the remaining back side down over the end, sticking it into place. The process will be the same for both ends of the bar. If your ends here are a little too long to fold without hitting the opposite side, cut the excess off before you fold and stick. To shorten them.
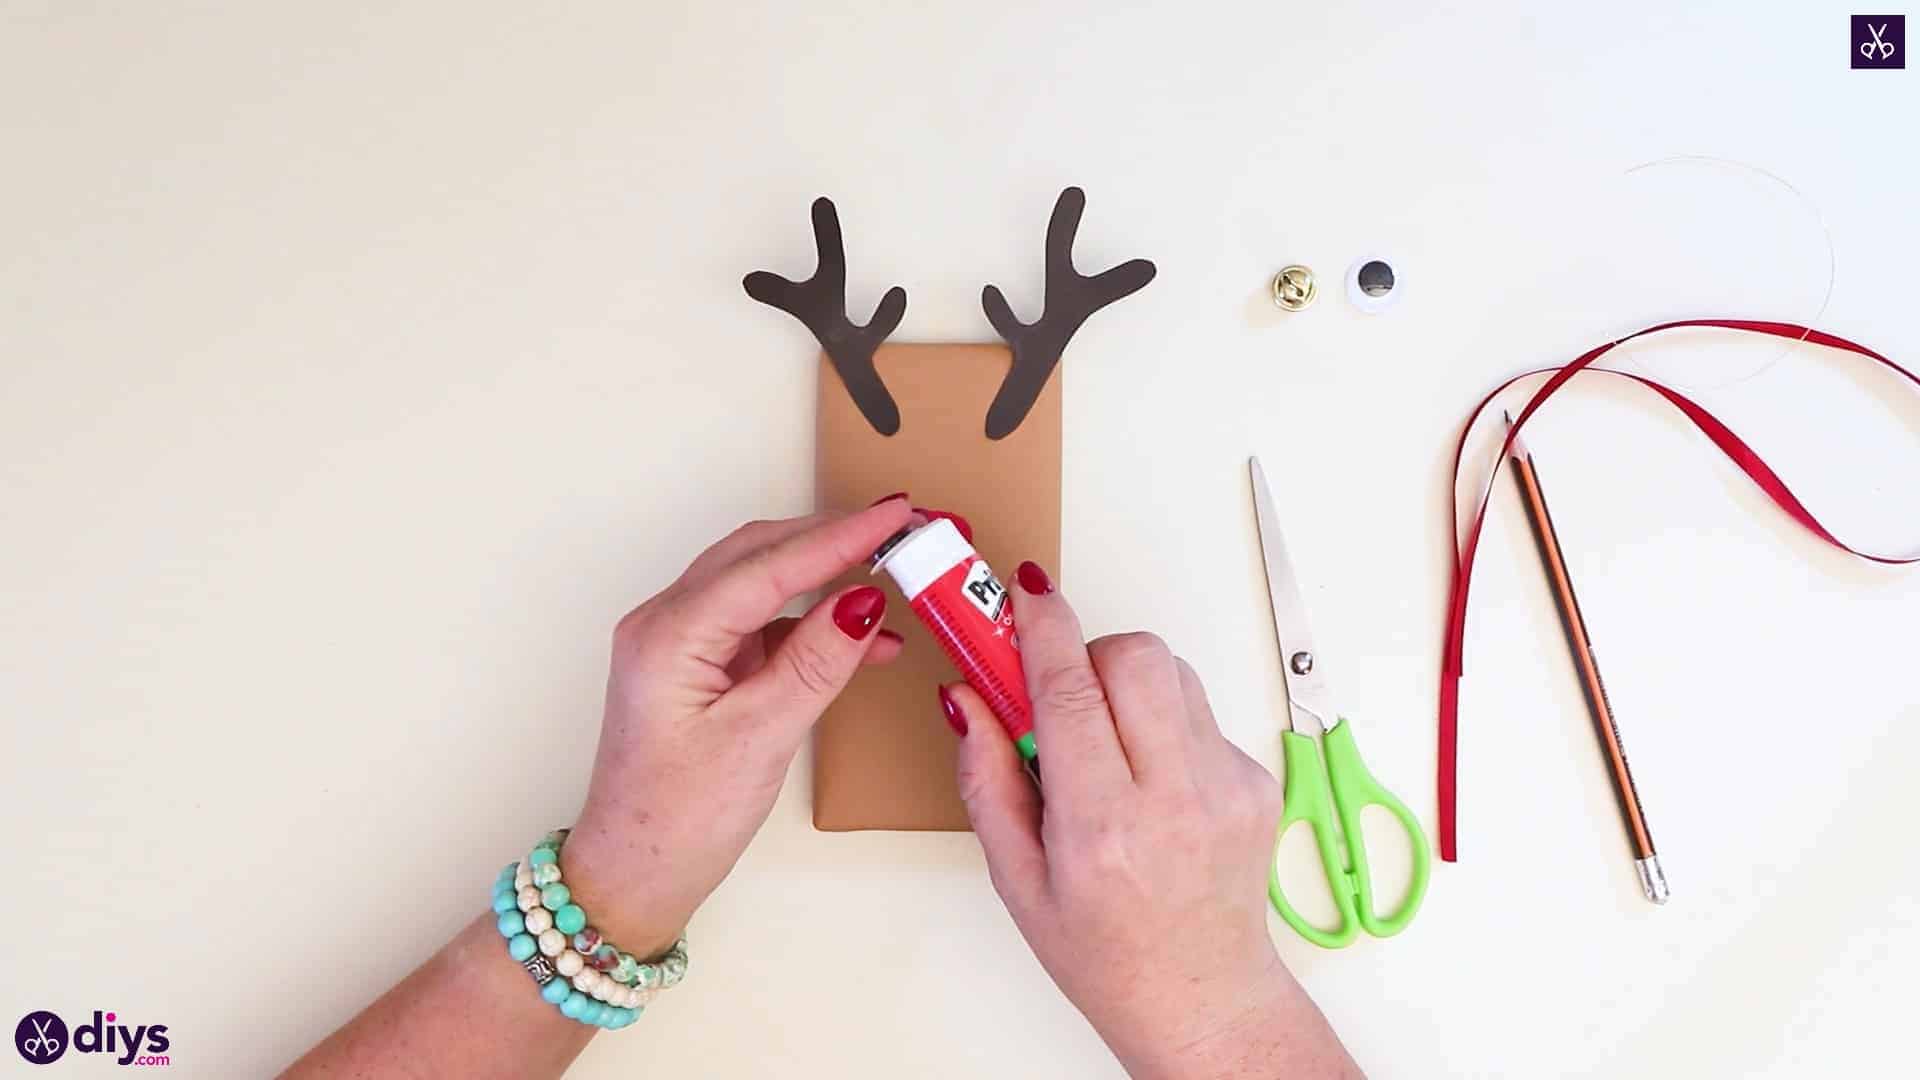
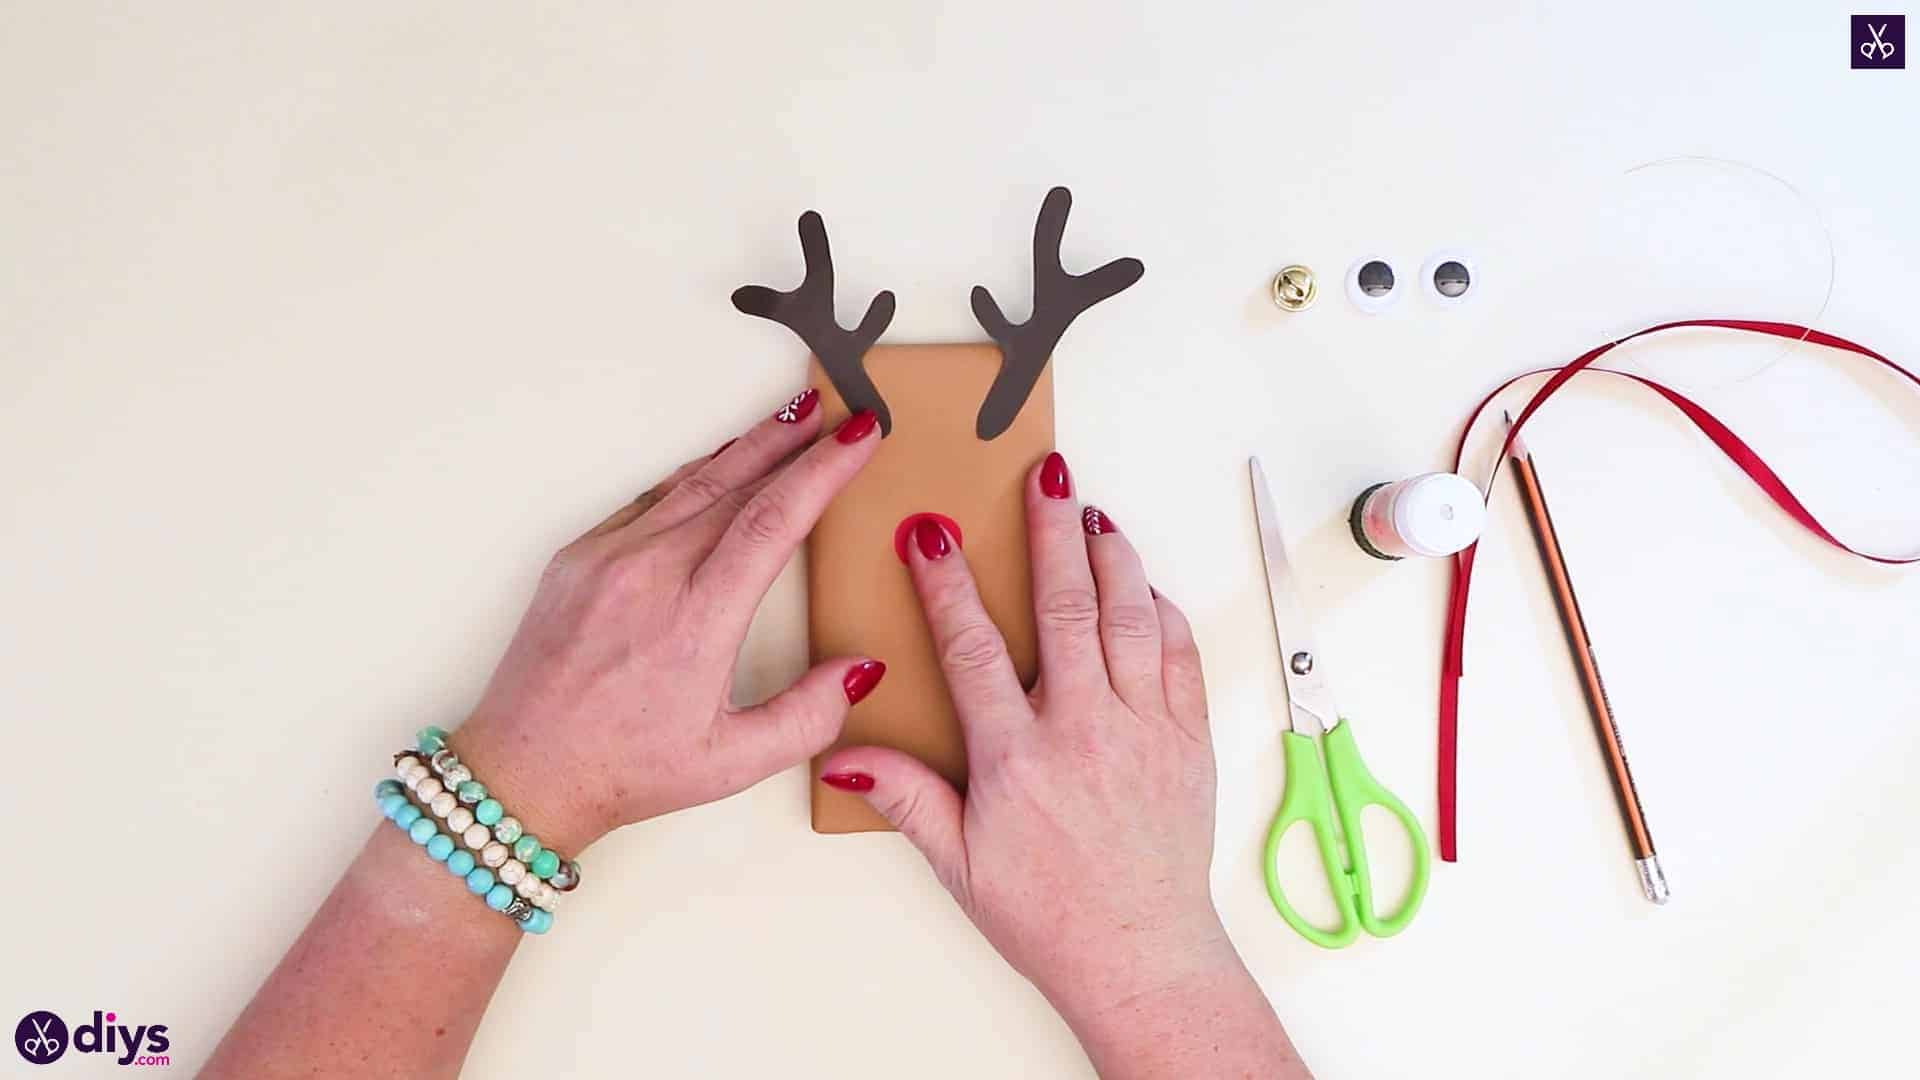
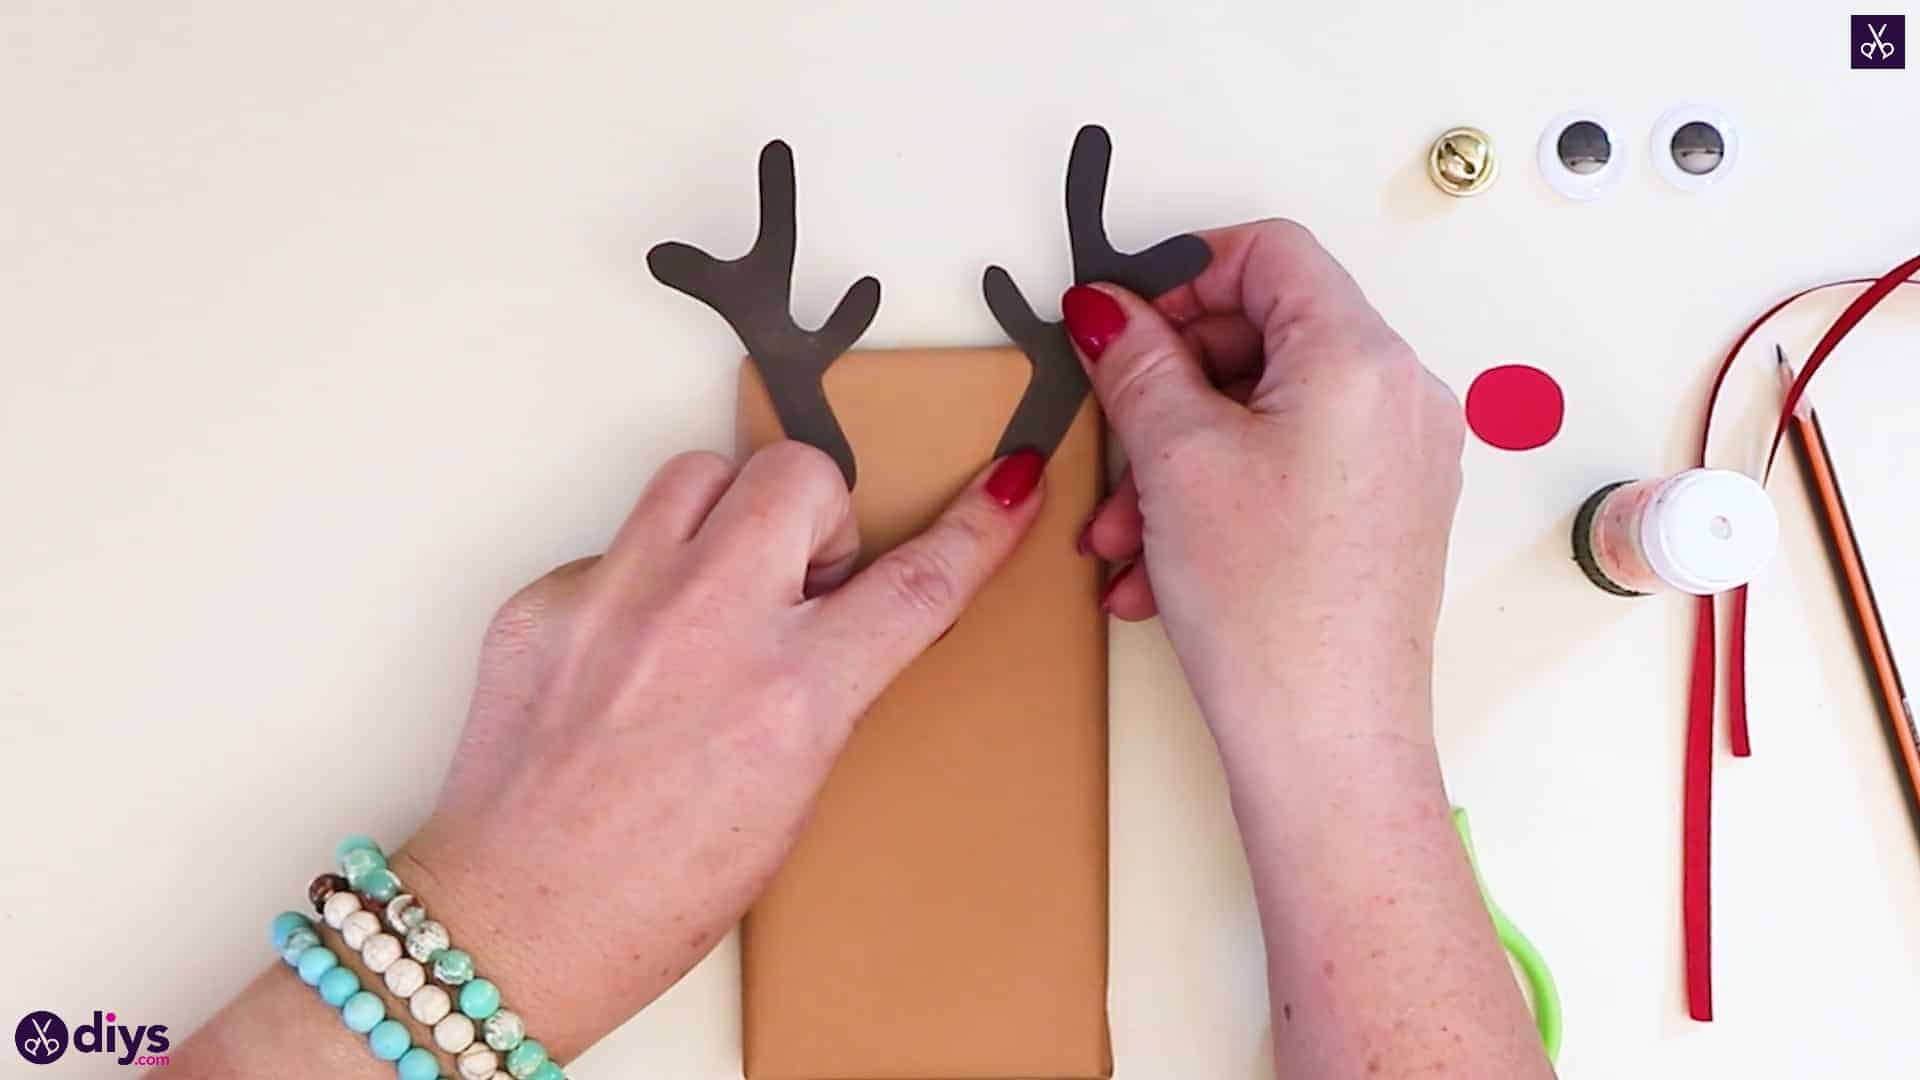
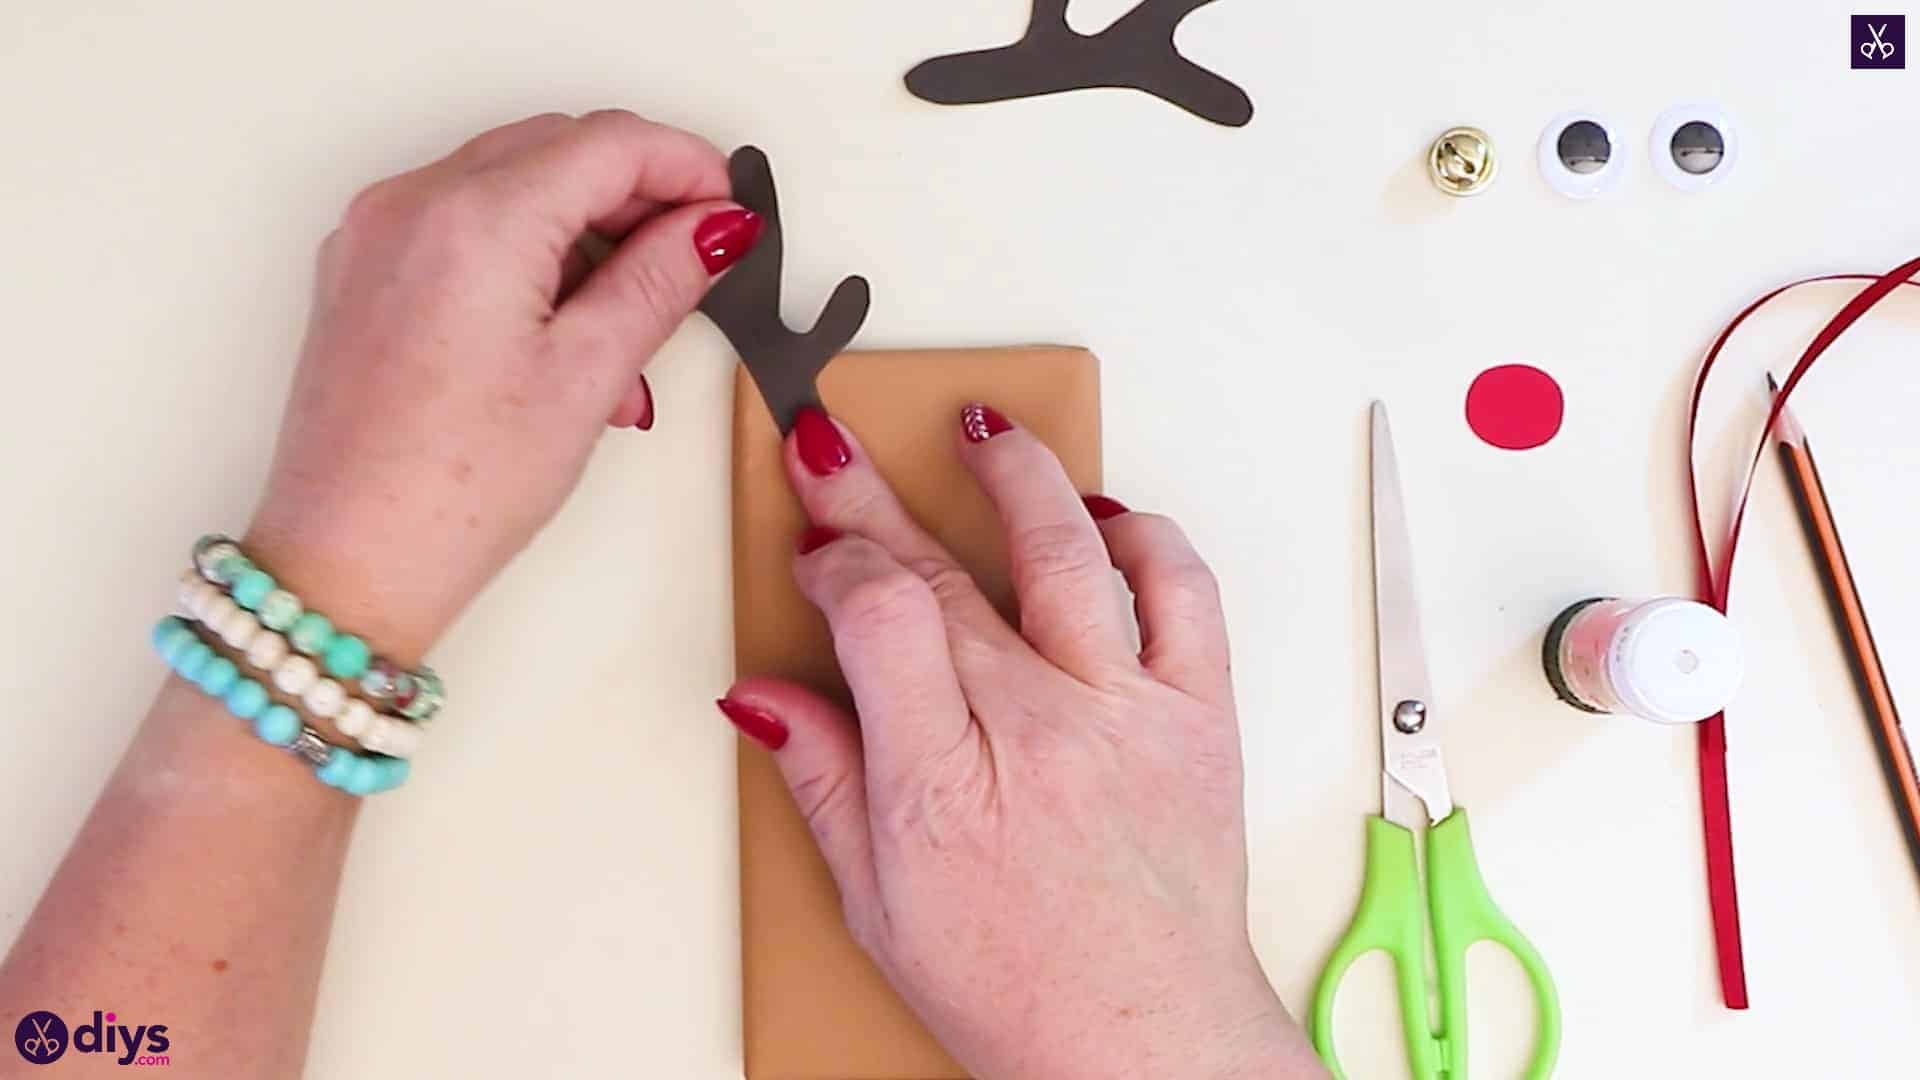
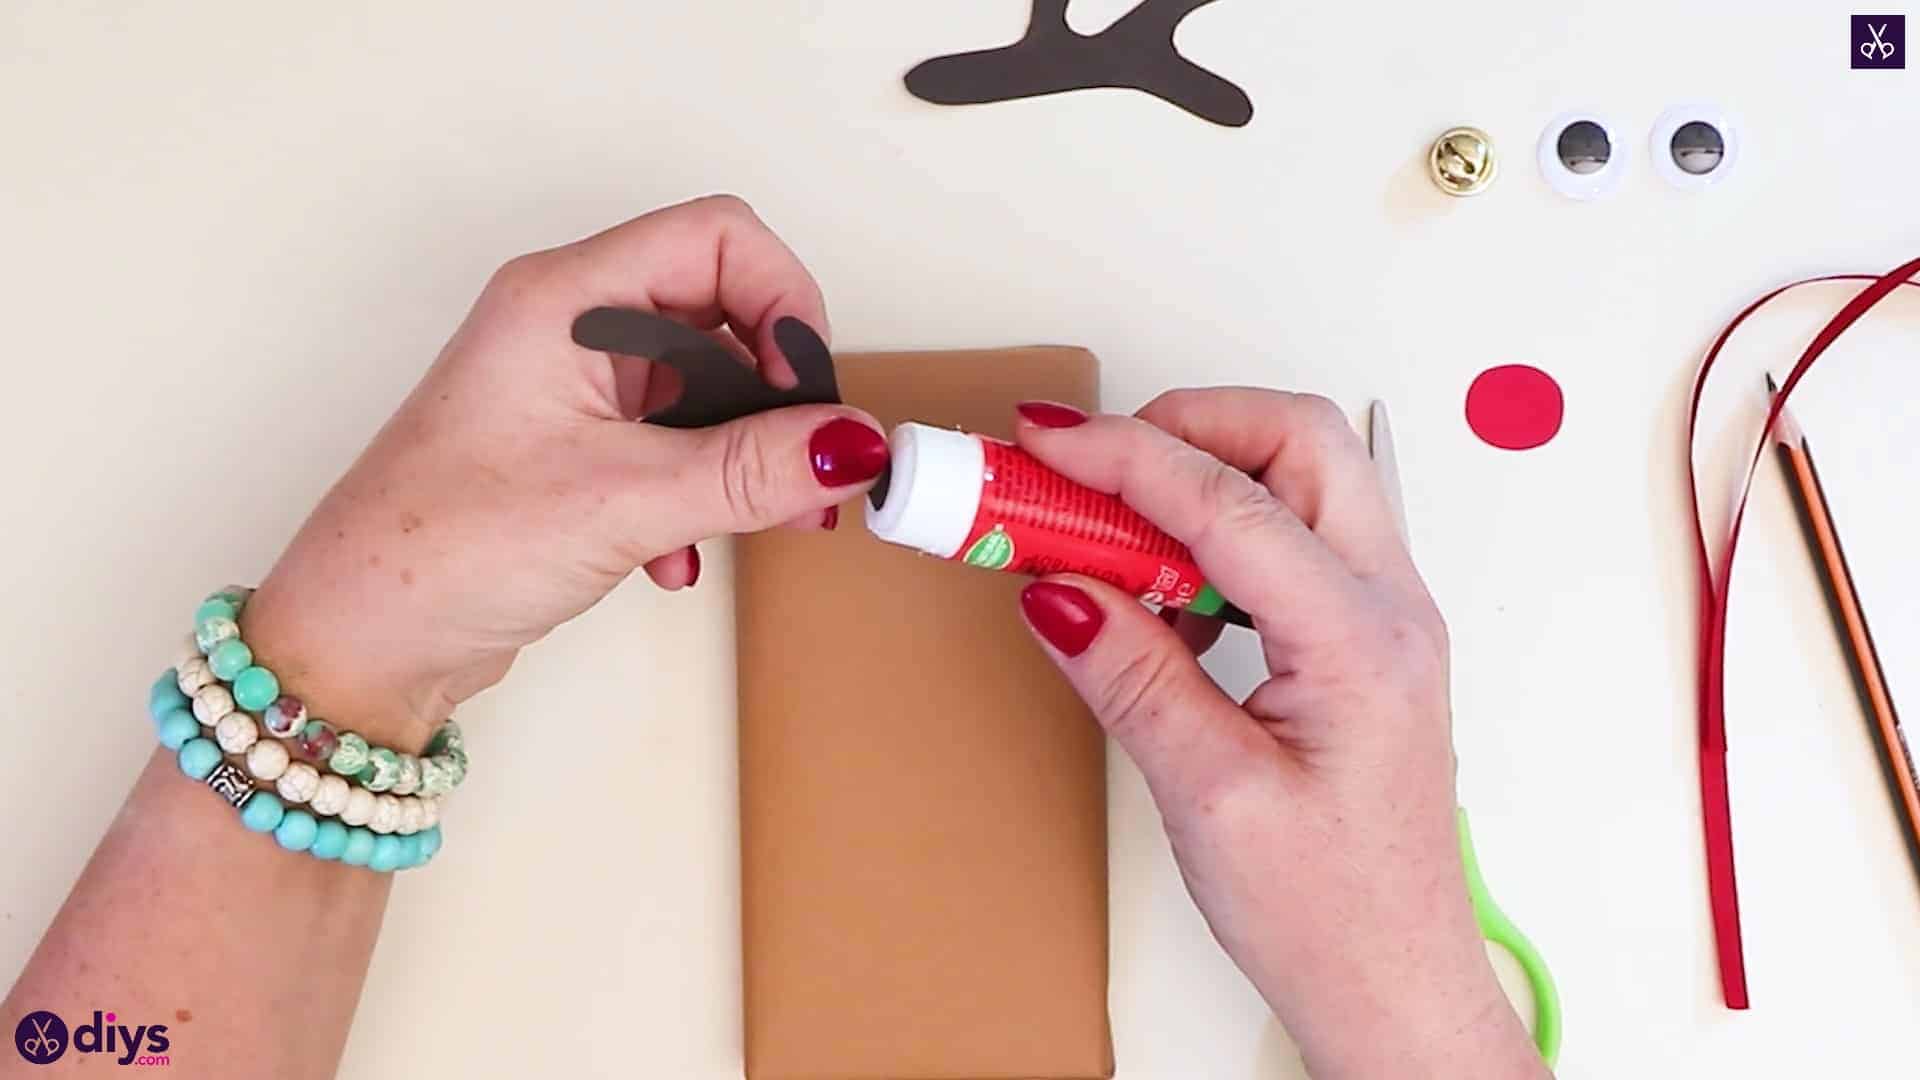
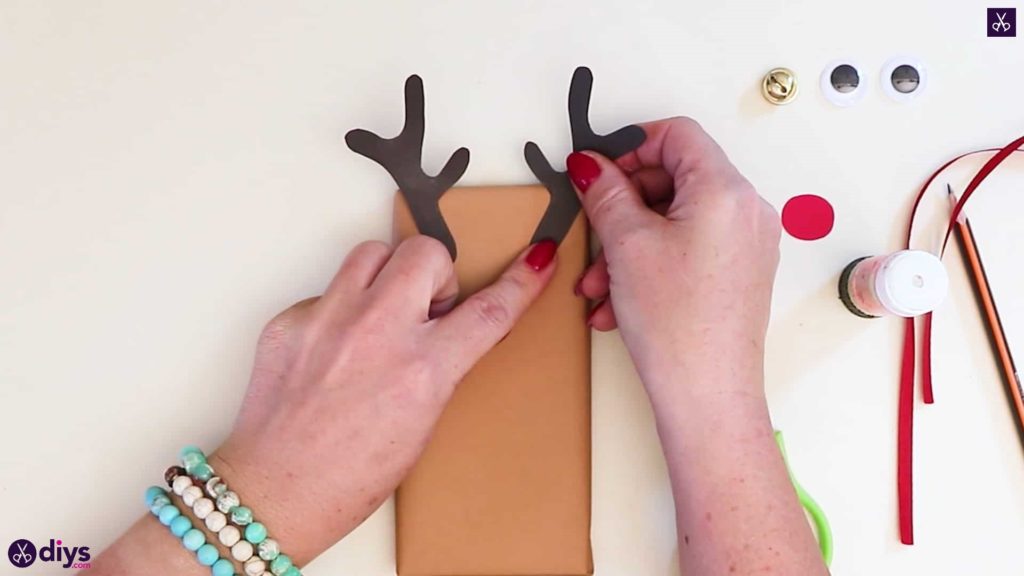
Step 7: attach the antlers
Apply glue to the bottom ends of your antlers and stick them down near the top of the chocolate bar, setting each one halfway between the side you’re working with and the center of the bar’s top edge. Make sure you flip one of the antler pieces over so the prongs you drew on each one both face inward, like mirrors of each other.


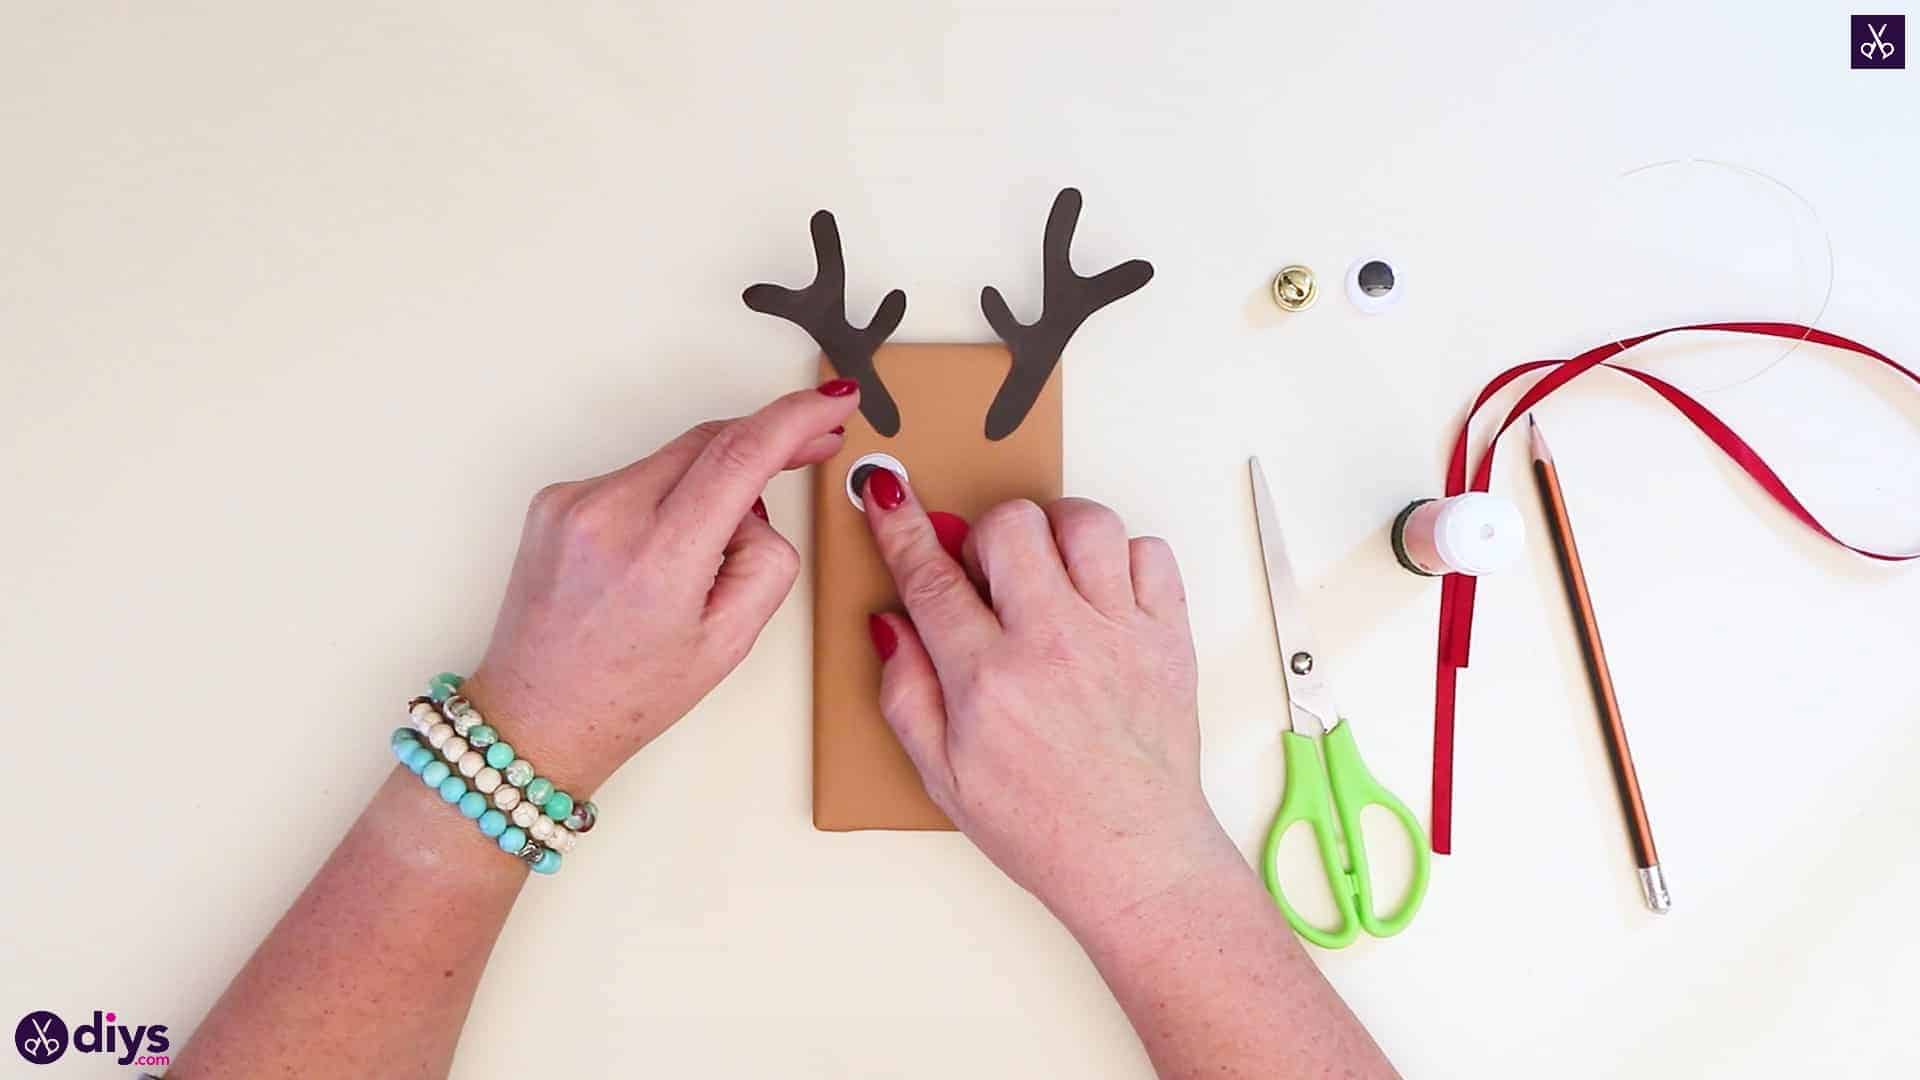
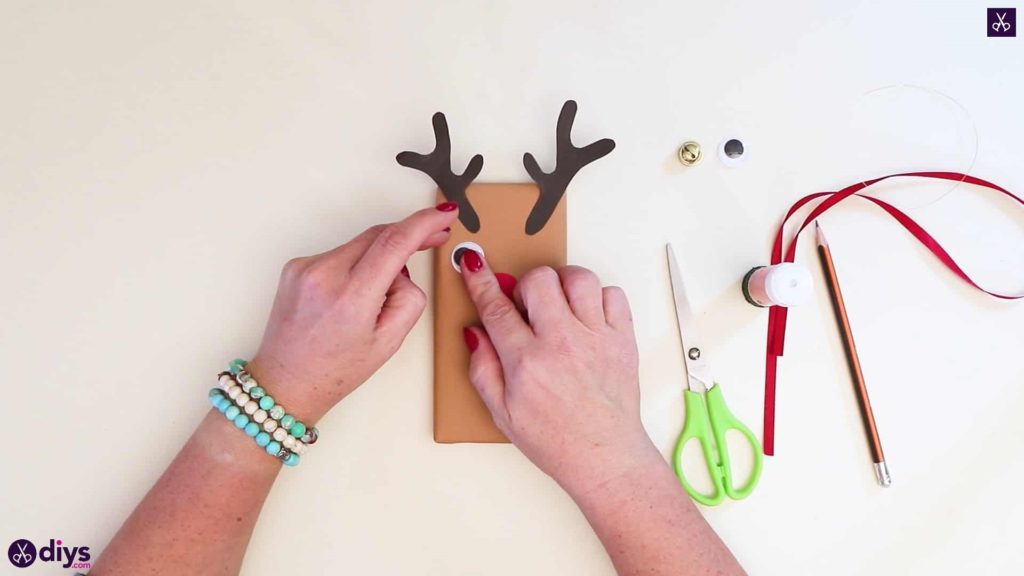
Step 8: apply the face
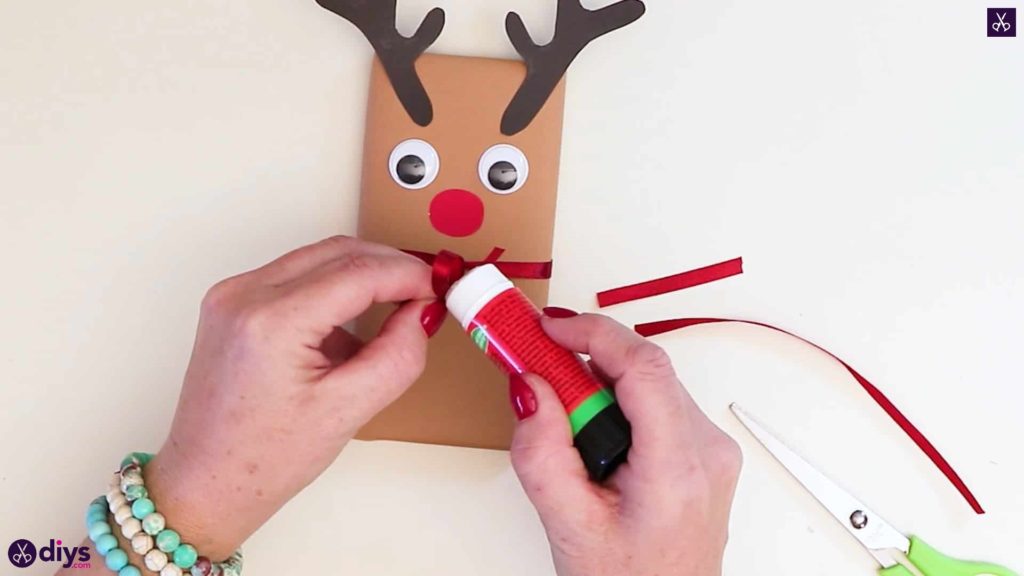
Complete the rest of your reindeer’s face! Apply glue to the back of your red nose and stick it down in the middle of the bar but closer to the top, under the antlers but leaving enough room for the eyes. Then apply glue tot the backs of your two googly eyes and stick them into place on each side of the face, above the nose.


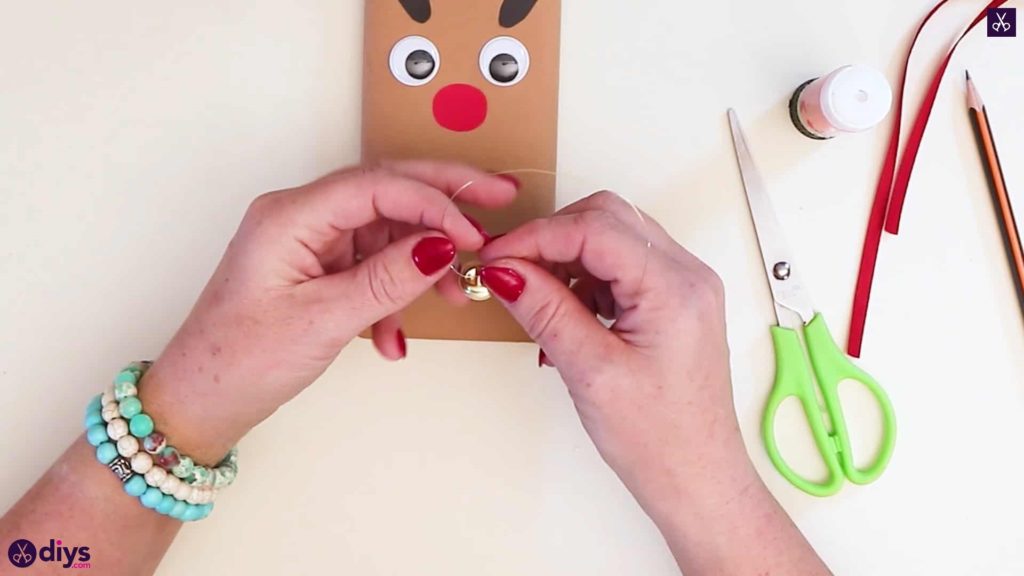
Step 9: add a bell
Thread a piece of your wire crafting thread through the top of your little bell and twist the end around the main piece a few centimetres down to create a loop. Cut off the excess thread.
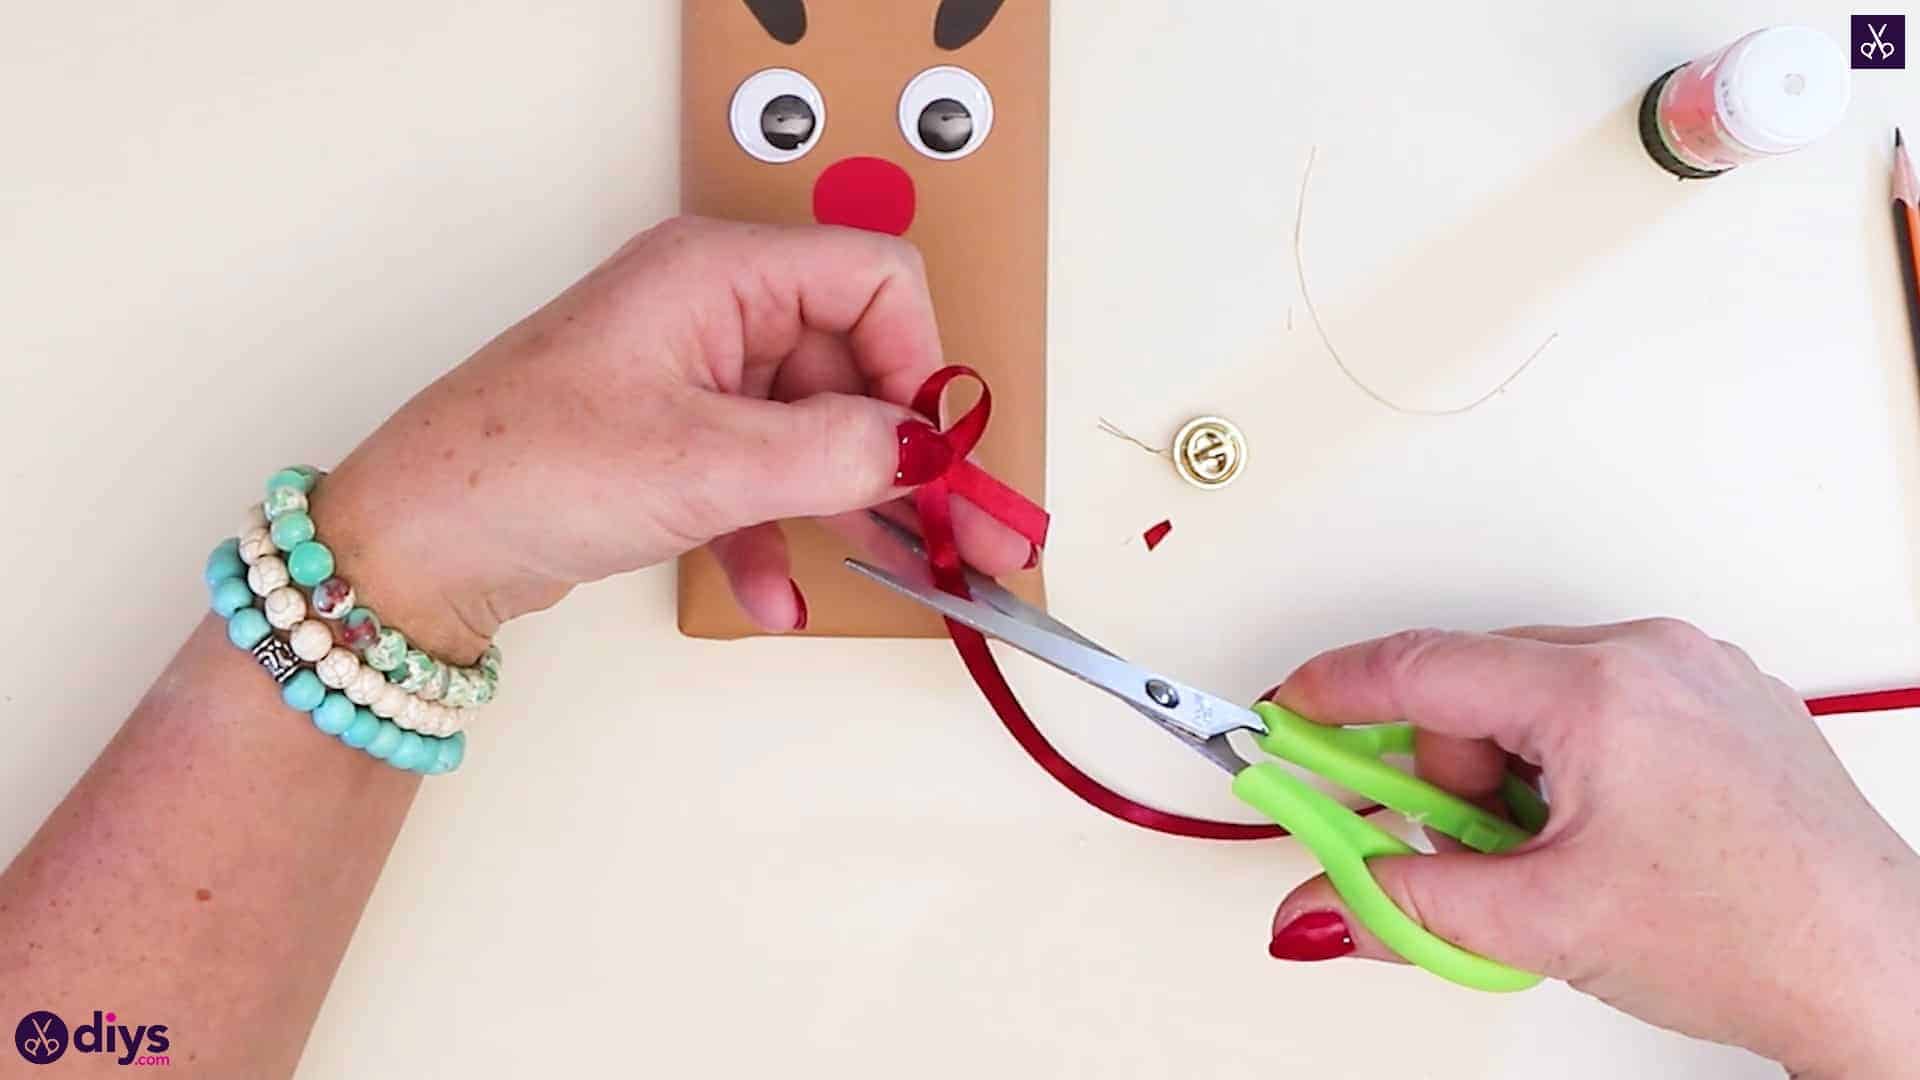
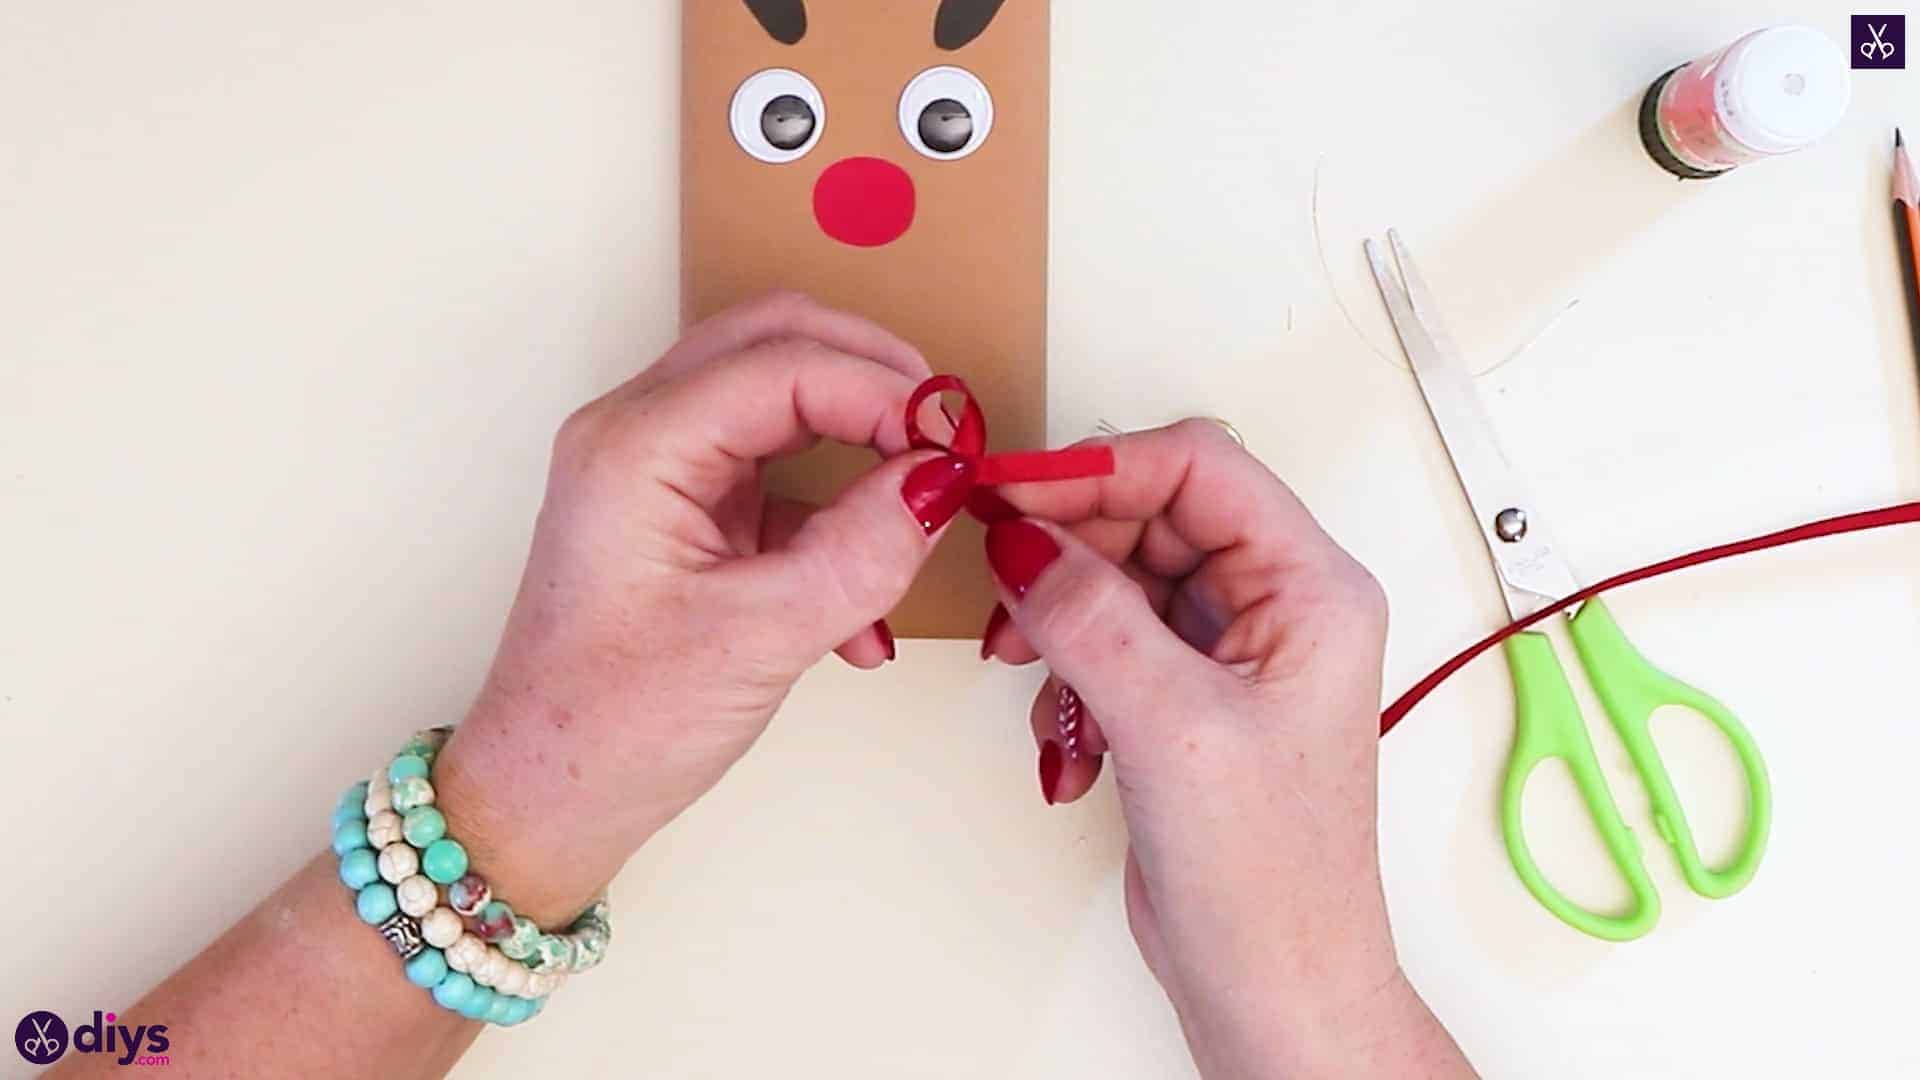
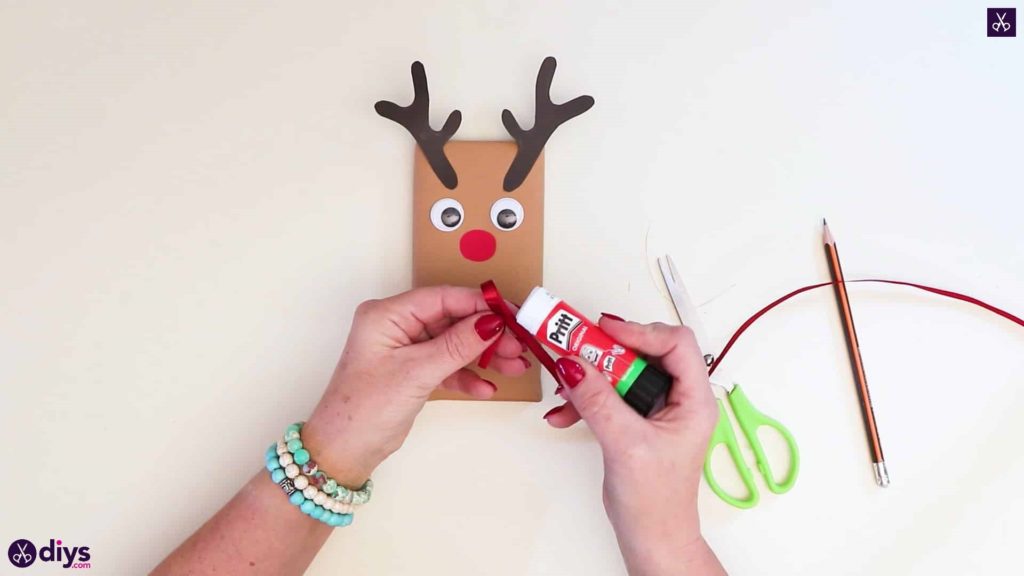
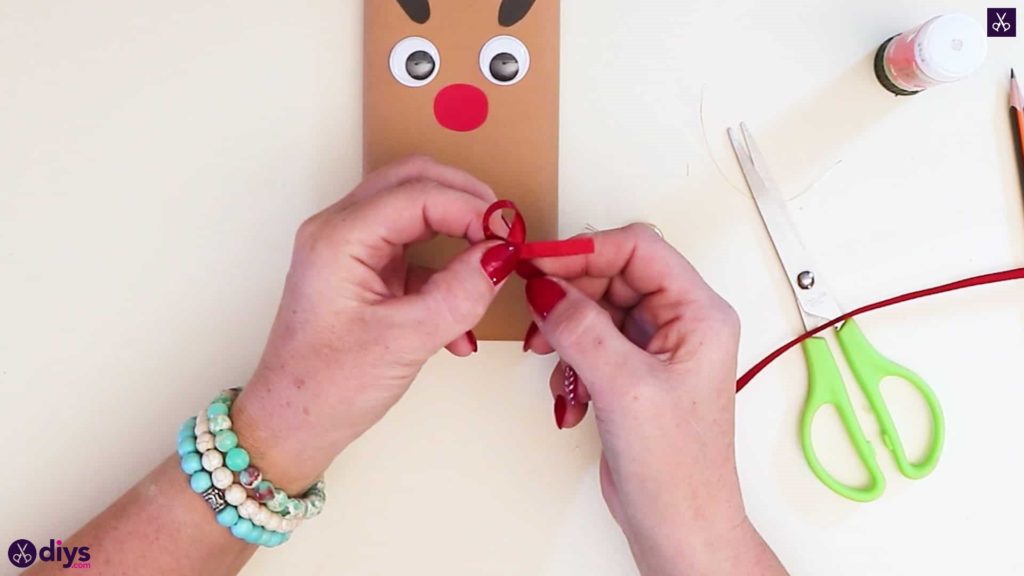
Step 10: add a bow
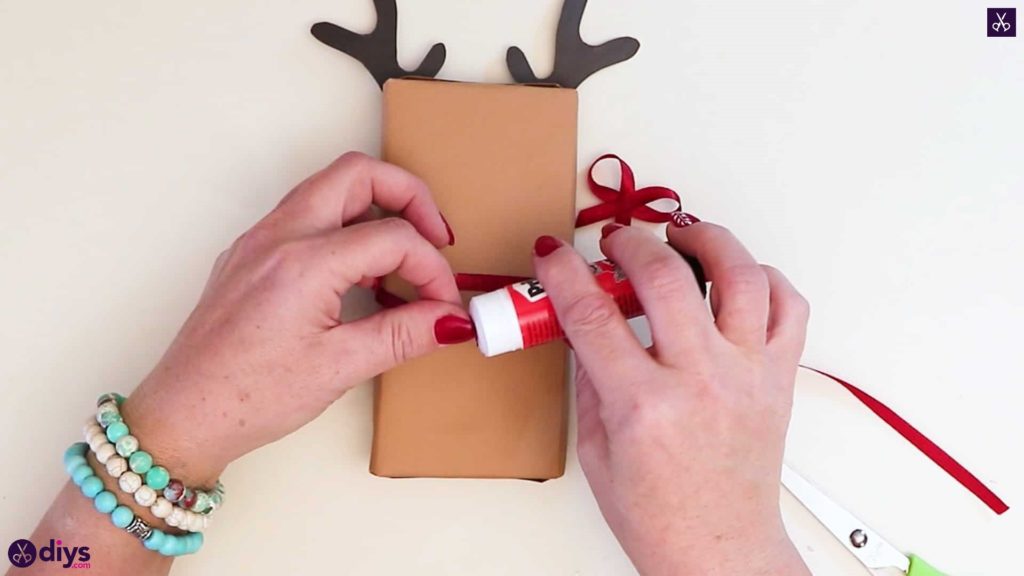
Make a little red bow from your red ribbon! Apply glue an inch from the end and curl the end inward, creating a loop and sticking it down below the curl so a bit of excess from the end is left below. Repeat the curving and looping motion from the other side, using the longer and of the ribbon, and trim it so you have another end that is equal in length to your first ribbon tail.

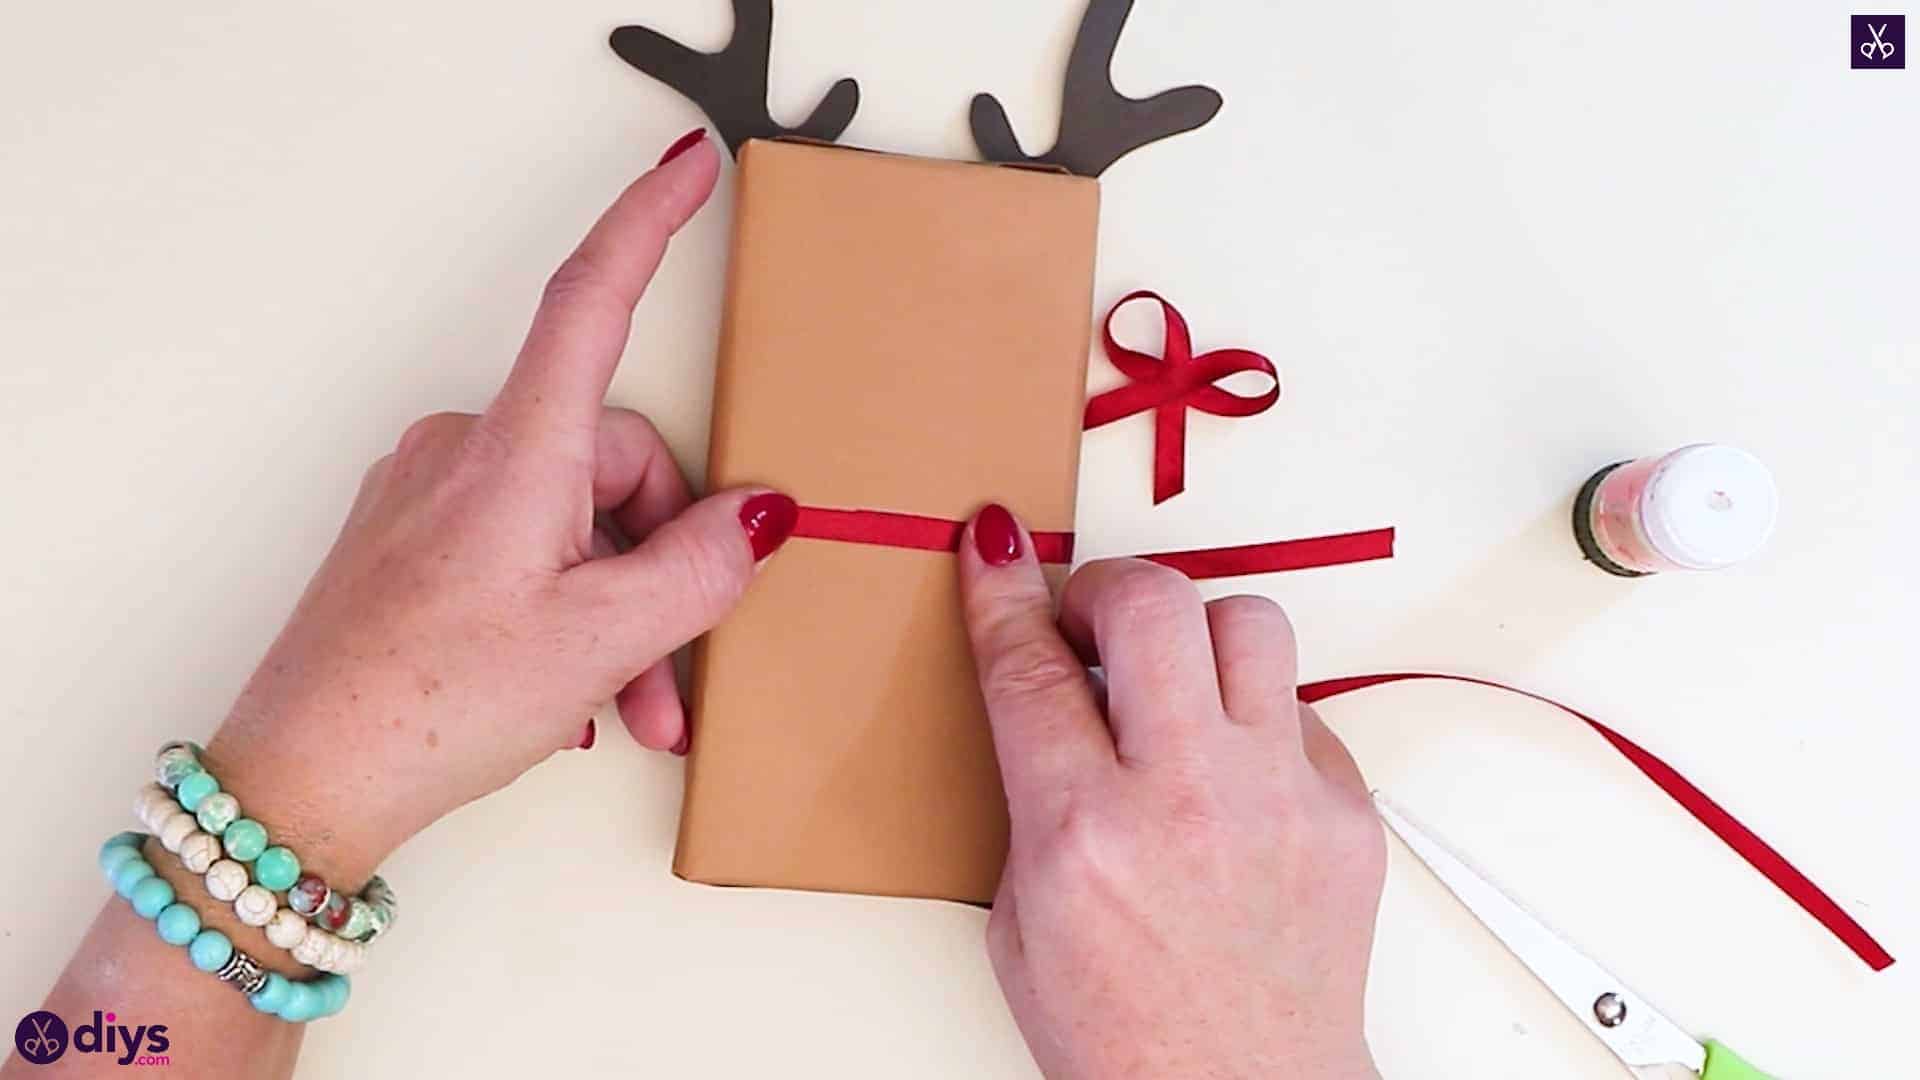
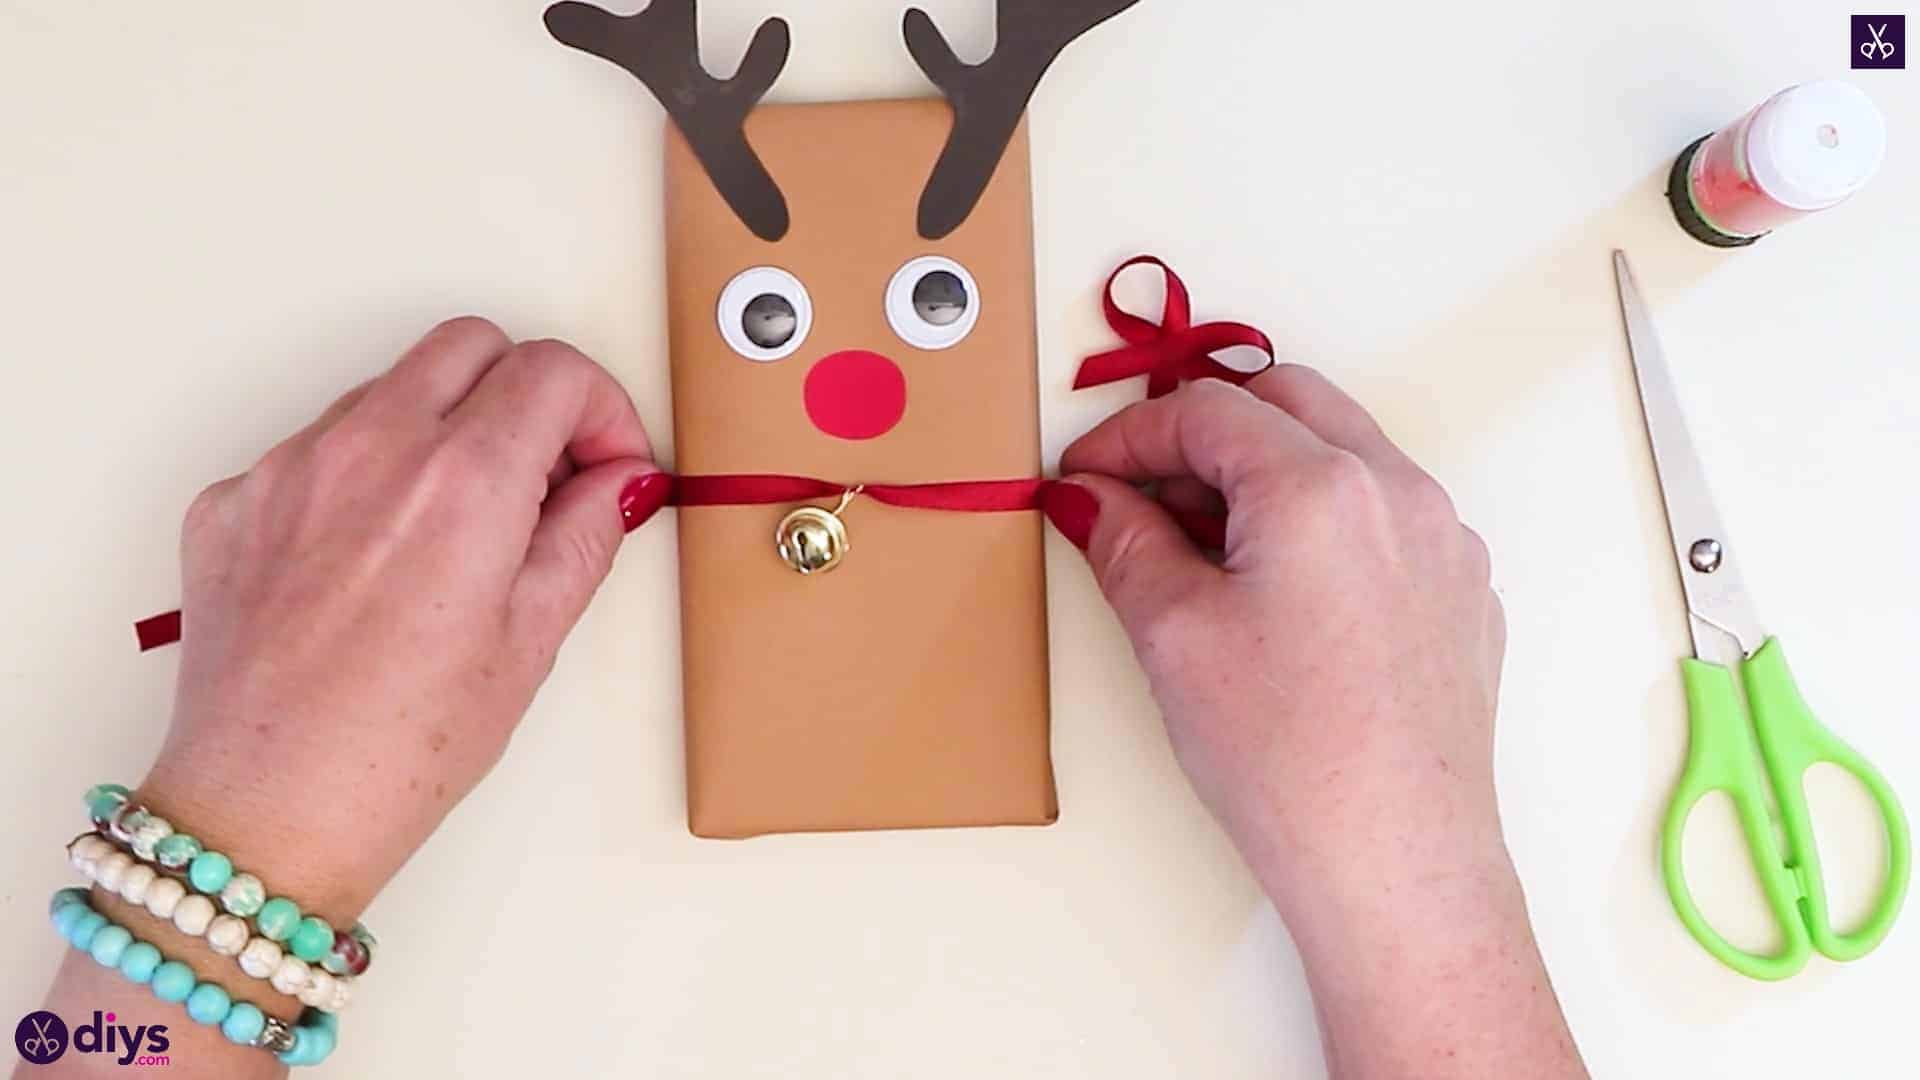
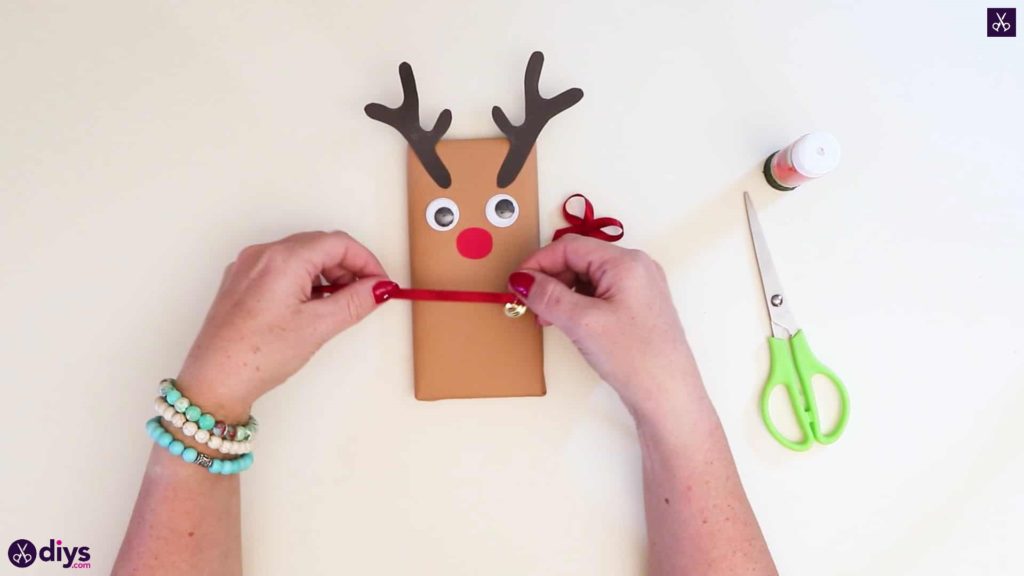
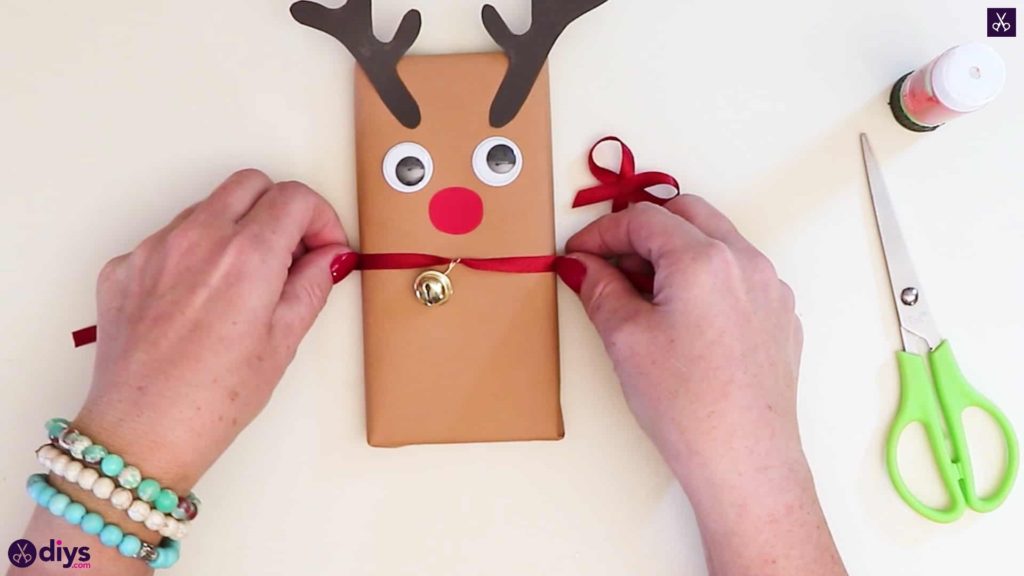
Step 11: finishing touches
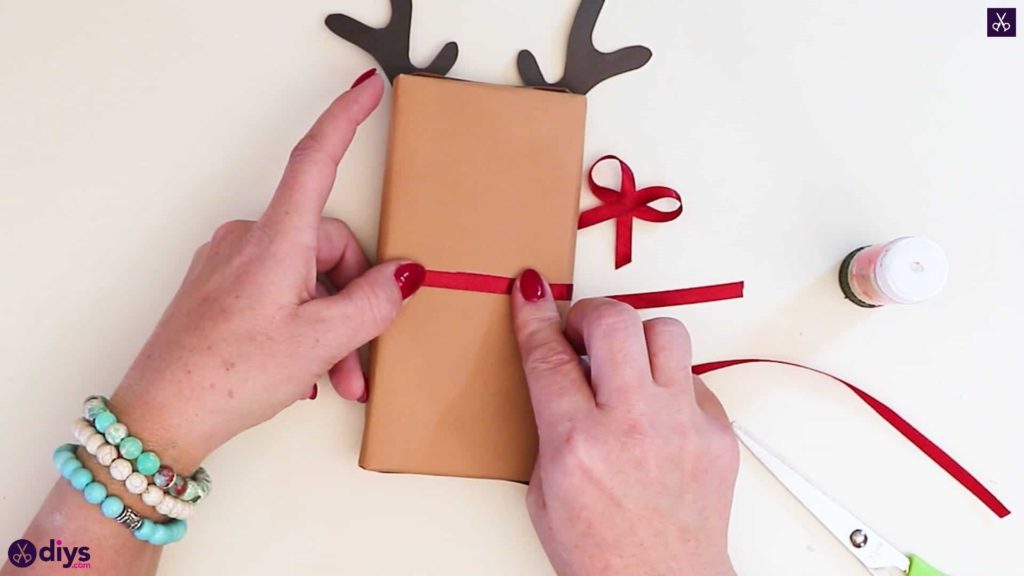
Using the rest of your leftover red ribbon, make your reindeer a bell collar! Thread the ribbon through the loop you added to the top of your bell and place the ribbon down on the brown paper so the bell lies in the centre just below the reindeer’s nose. You can anchor it in place with a little dab of glue if you find that easier. Carefully flip your wrapped chocolate bar over and apply glue on the brown paper on the back. Stick down one end, apply more glue on top, and stick down your second end, trimming the ribbon if necessary.
Step 12: finish in the back
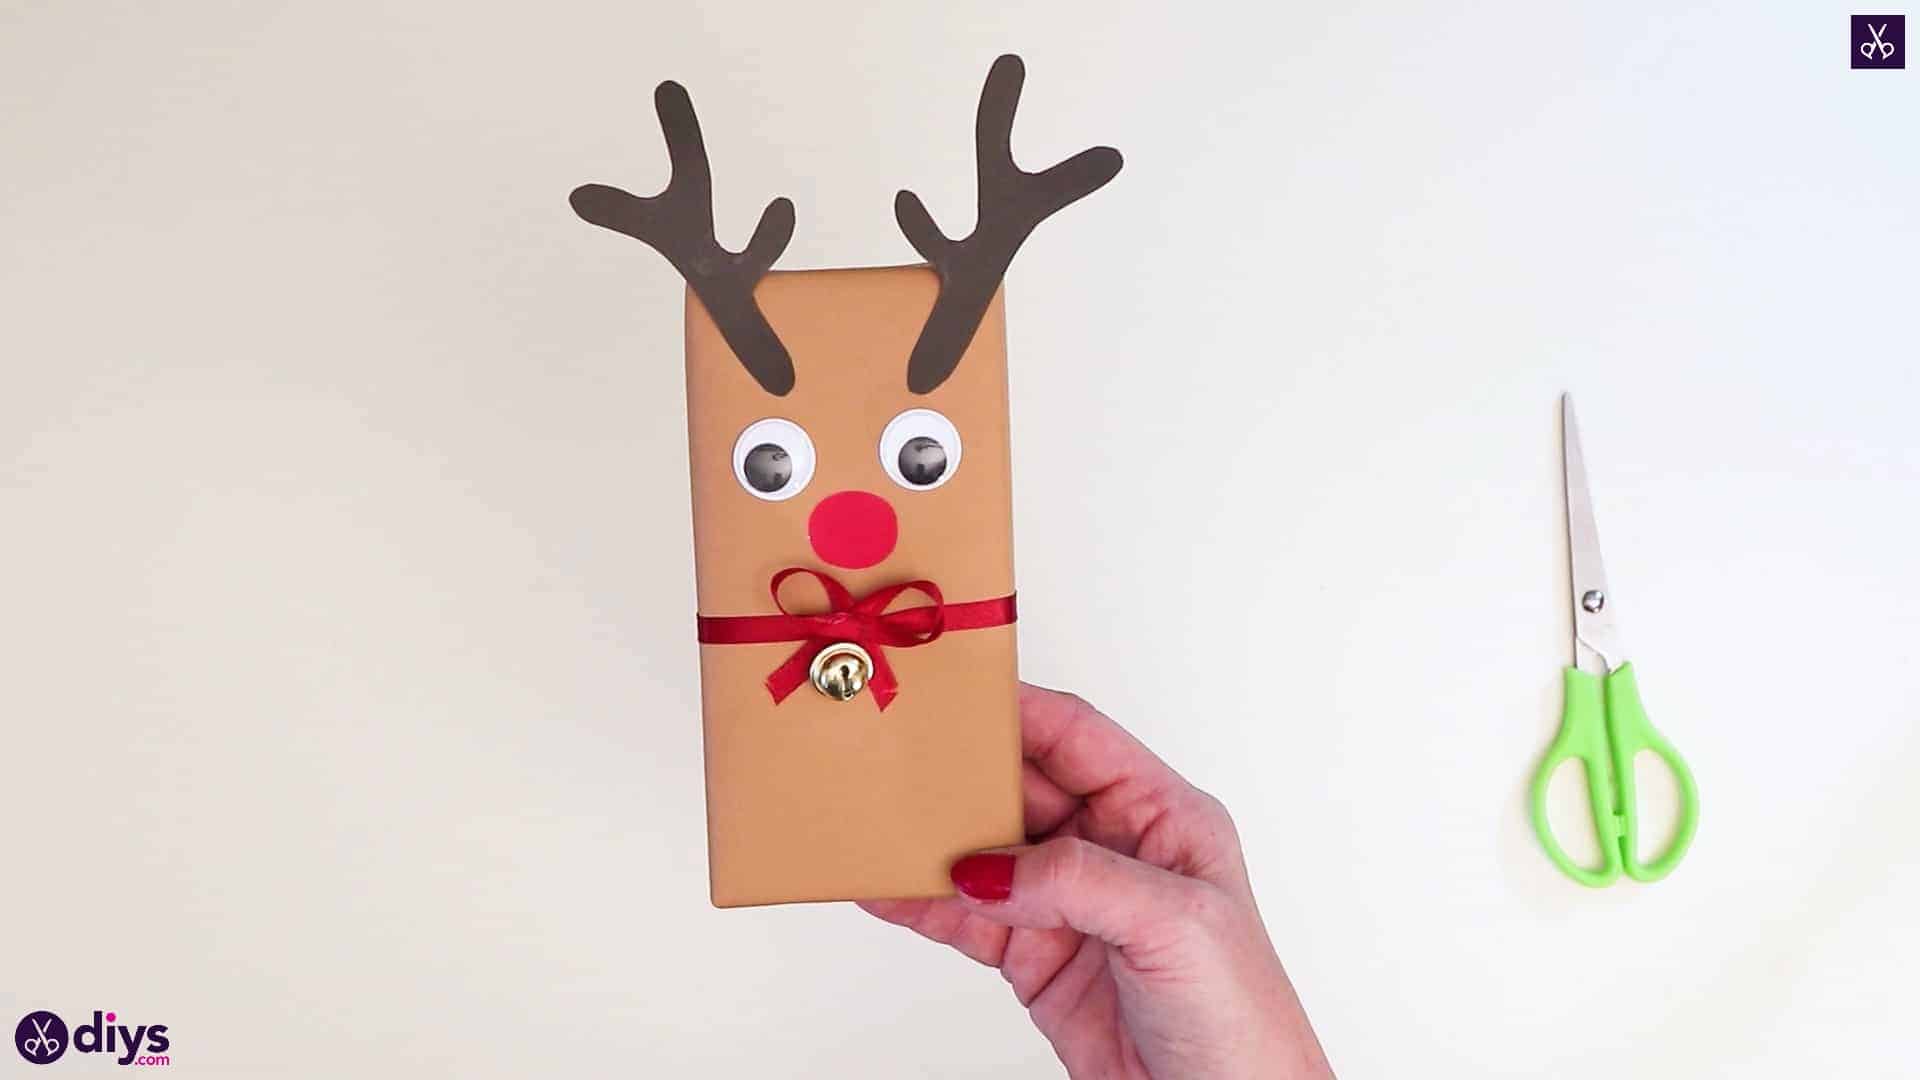
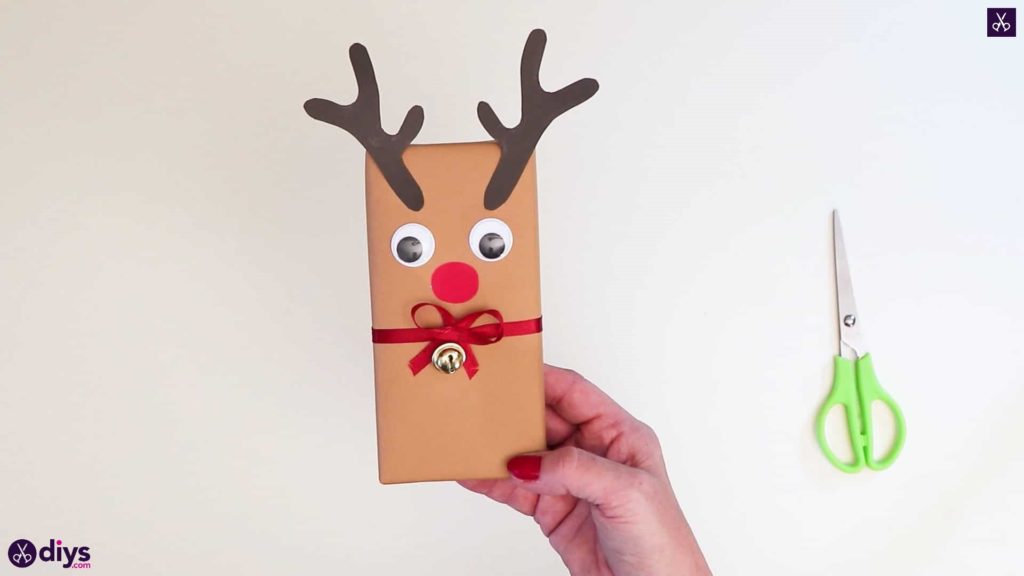
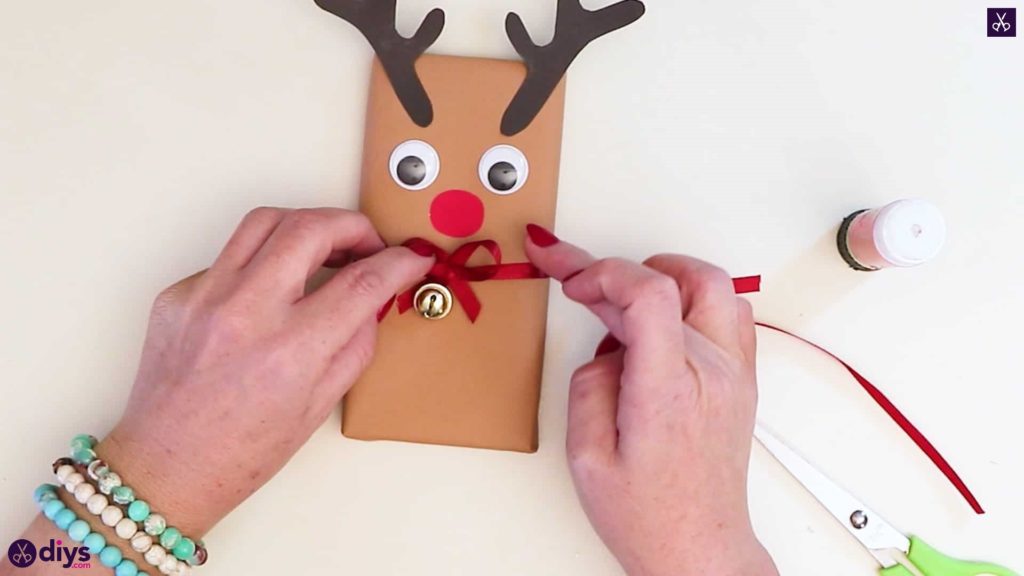
Apply glue to the back of the little red bow you made earlier and stick it down right above the bell on the front of the reindeer, nestling it at the top like it’s tied right behind at the reindeer’s neck.
You’re all finished! Just in case you’d like to try this project out for yourself, here’s a fantastic tutorial video to help you!