DIY Popsicle Stick Jewelry Box
Updated on November 19, 2025


If you ask me, popsicle sticks are one of the most fun crafting supplies you can possibly use, even if they don’t see like it at first! There are just so many neat things you can make out of them that the options basically feel endless. Lately, I’ve been finding them extra useful because my kids have been feeling very enthusiastic indeed about projects that involve actually building something rather than just making, say, a flat 2D painting. That’s how I came up with the idea of teaching them how to make a popsicle stick jewelry box!

Check out these step by step instructions complete with photos. If you’d rather follow along with a video tutorial because you’re more of a visual learner, scroll to the bottom of this post to find what you’re looking for.
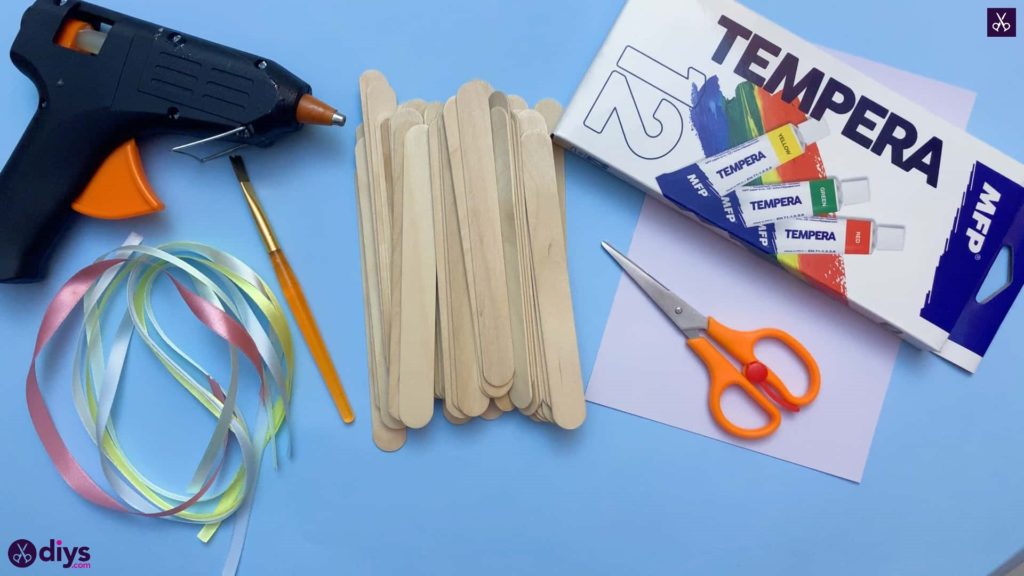
For this project, you’ll need:
- Popsicle sticks
- Paint (white, pink, and blue)
- A paintbrush
- Purple card
- Ribbons (yellow, pink, green, blue, and white)
- Scissors
- Four small rhinestones
- Hot glue

Step 1:
Gather your materials!
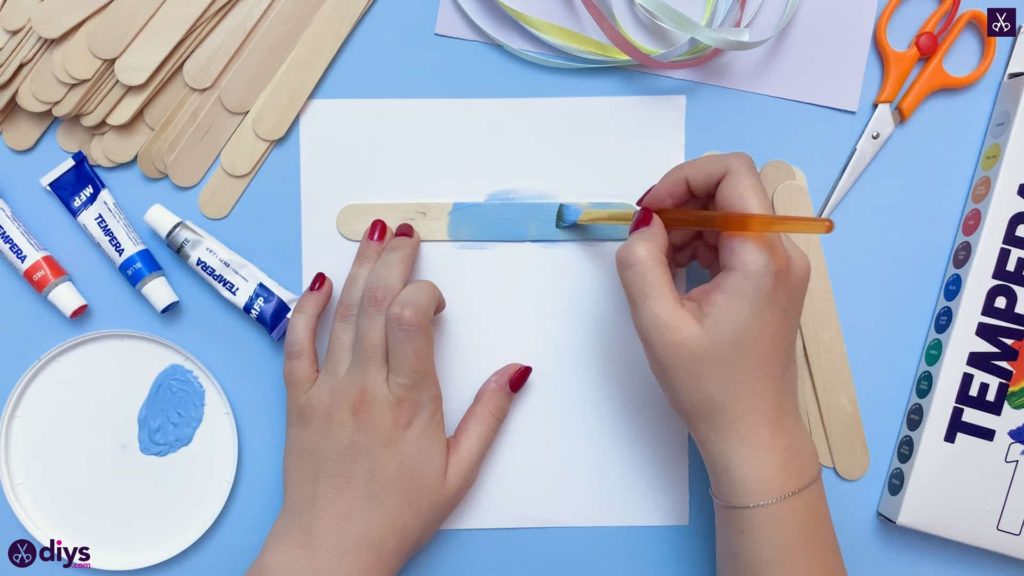
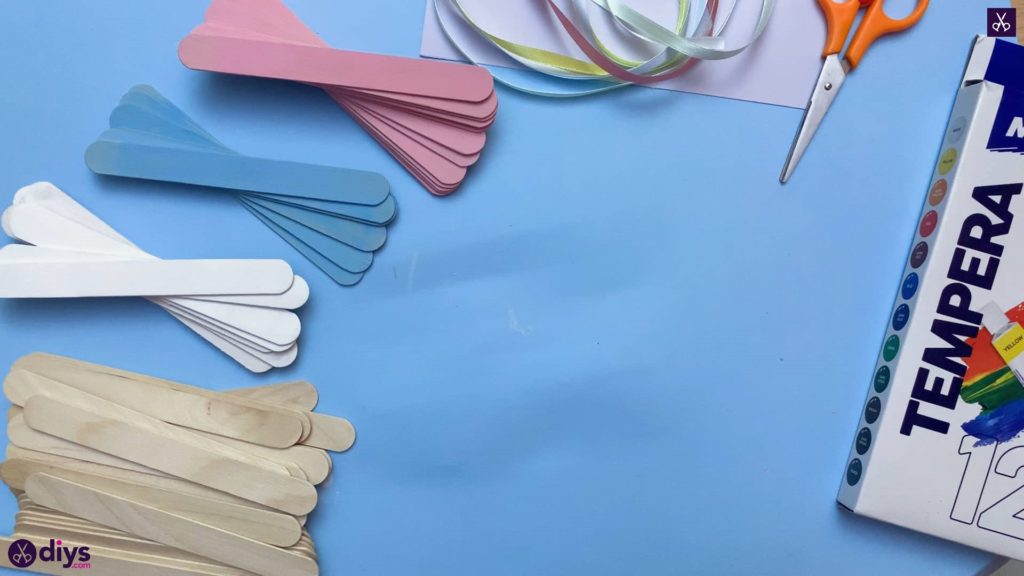
Step 2:
Paint your popsicle sticks! I decided to make my popsicle stick jewelry box from a mixture of natural looking unpainted sticks and sticks painted blue, white, and pink. To start, I painted six blue sticks, eight white sticks, and twelve pink sticks.
Step 3:
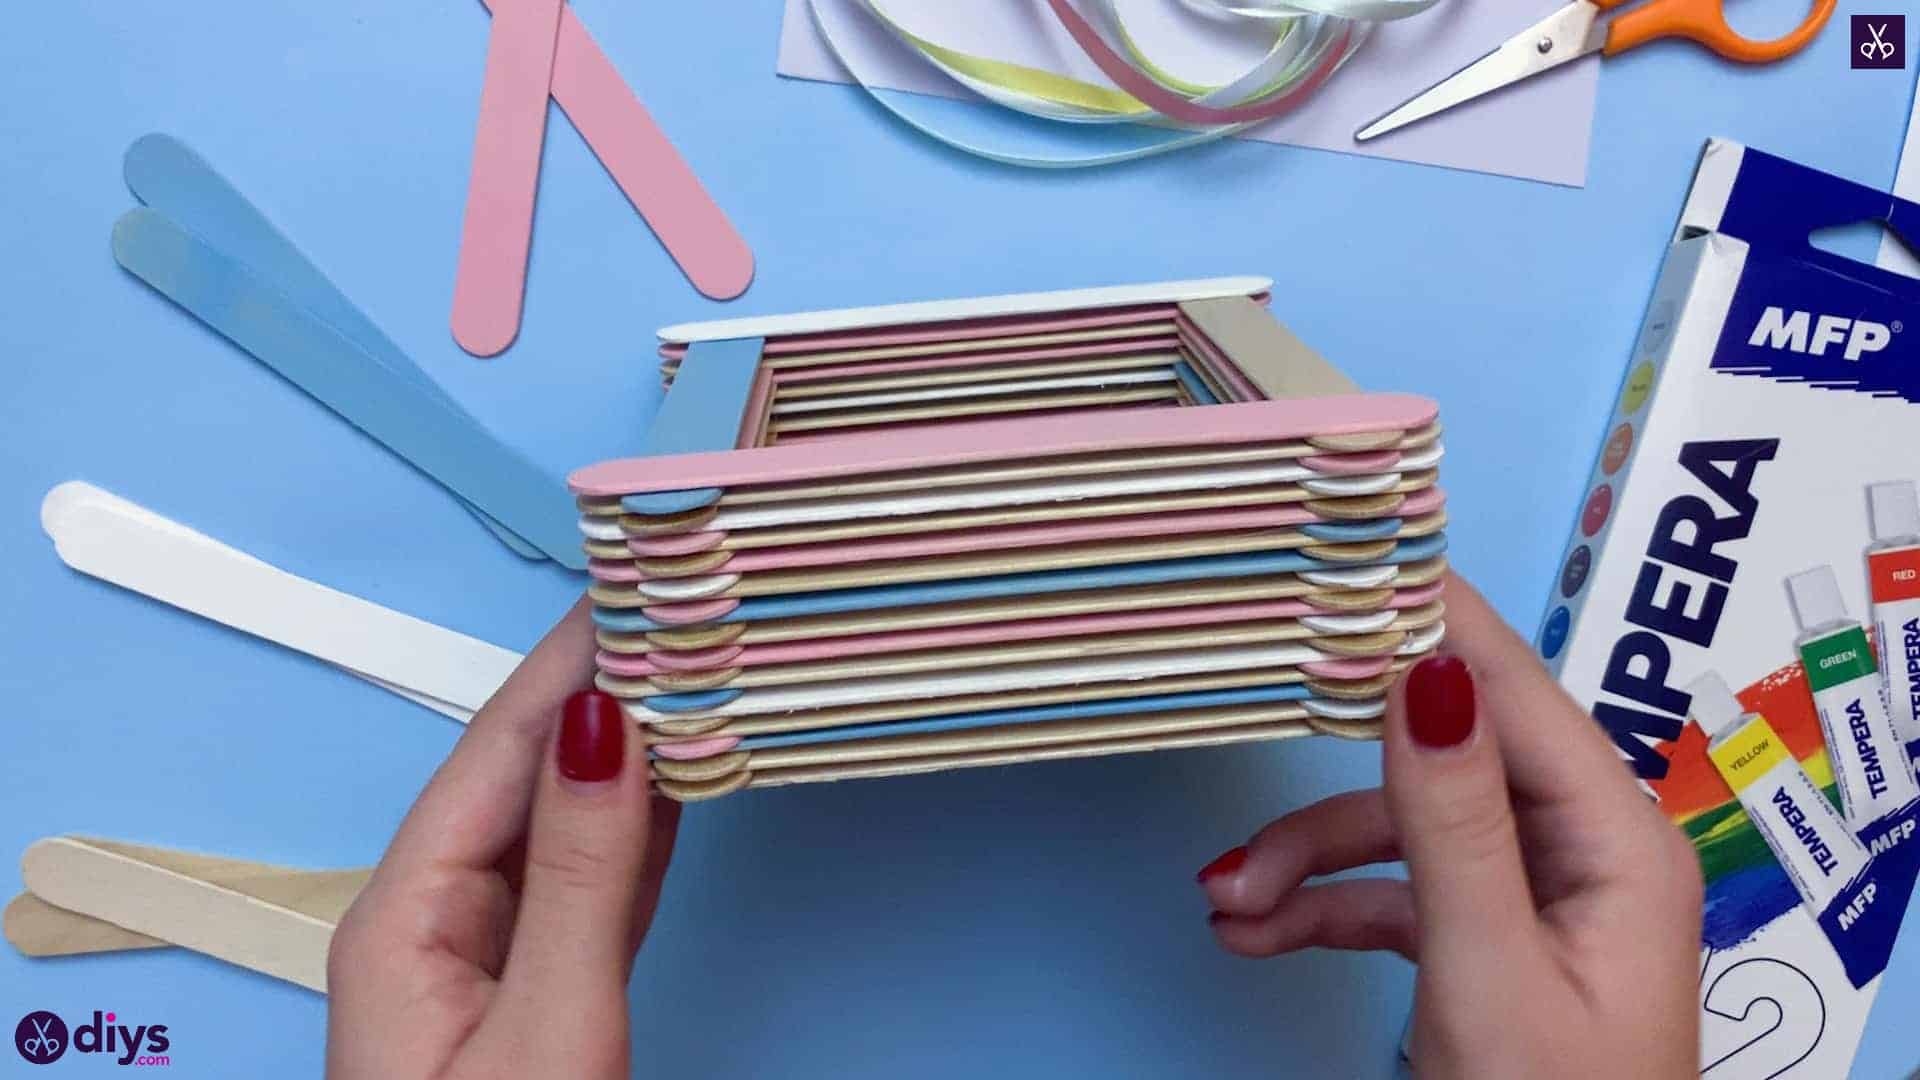
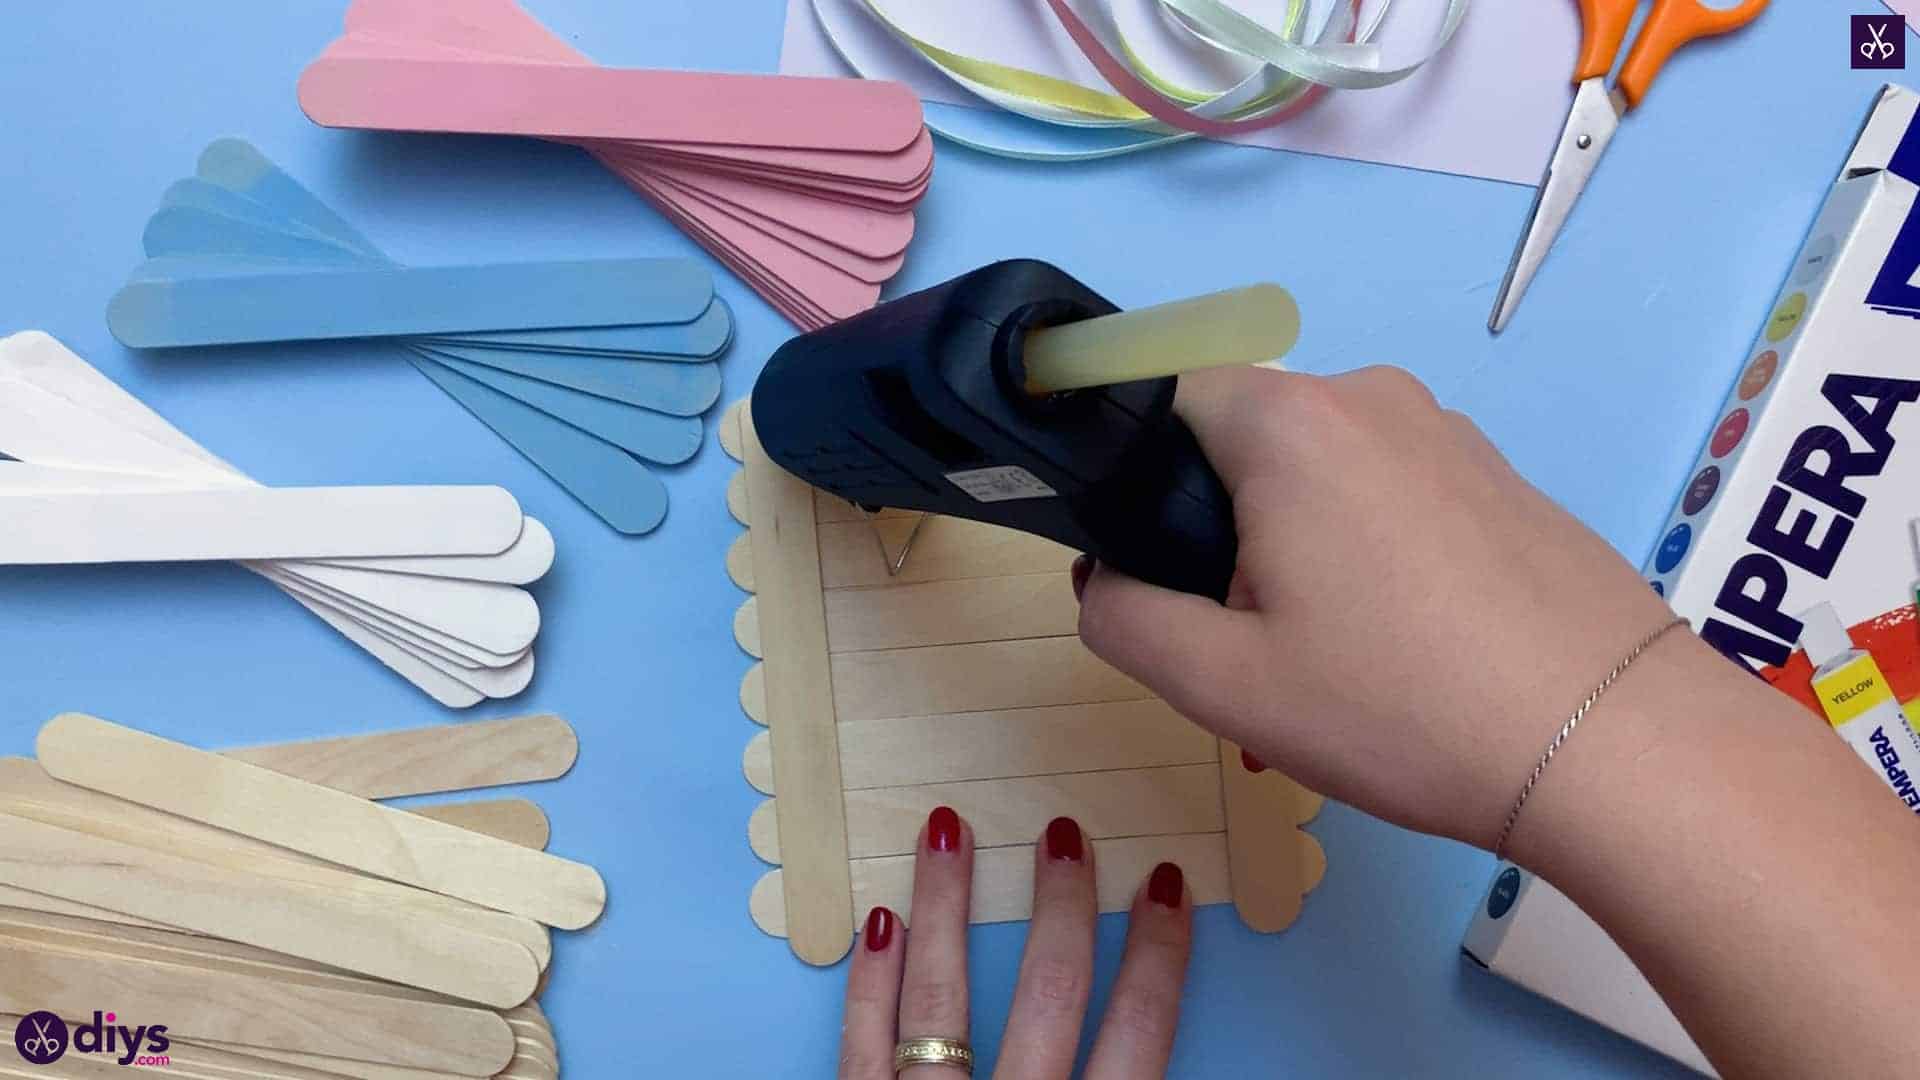
Make the bottom of your jewelry box. Place two natural coloured popsicle sticks down on your work surface just far enough apart that they’re almost the length of another popsicle stick if you were to place it horizontally between them, but with a bit of overlap at their ends. Then take another natural popsicle stick, place glue about two centimetres from the ends, and stick it down on top of the two side sticks so their rounded ends stick out from underneath its edge about the same amount as that horizontal stick’s own ends pass the edges of the two vertical ones on the side. This establishes the size and shape of your box and lid, like a base. Keep gluing more naturally coloured horizontal sticks so they sit across the space between the vertical ones, all the way down until only the same bit of the ends is visible as there is at the top. I glued down eight sticks in total. Make sure that your sticks’ edges sit flush against the ones on either side of it, as well as that their ends line up evenly down each side.
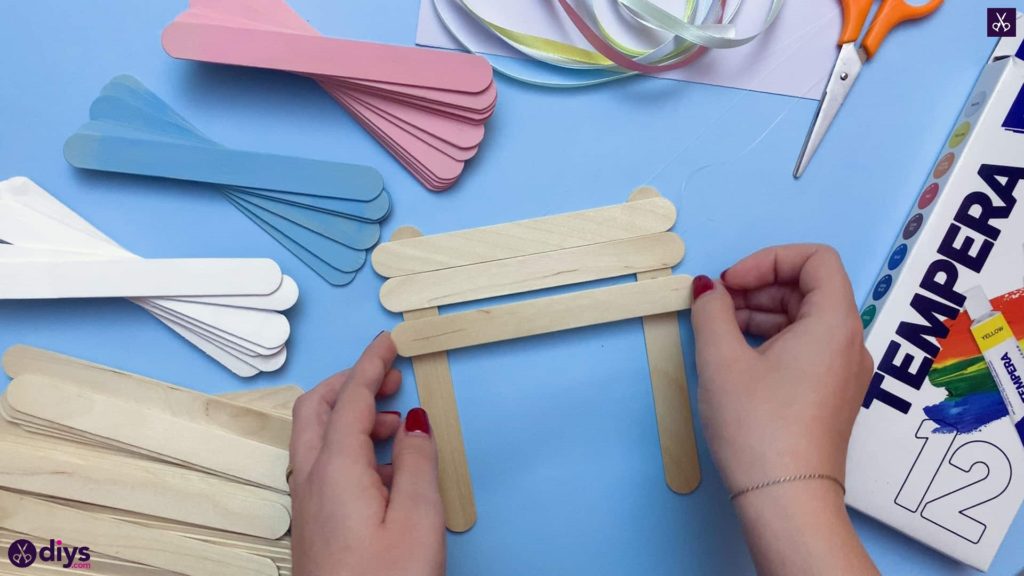
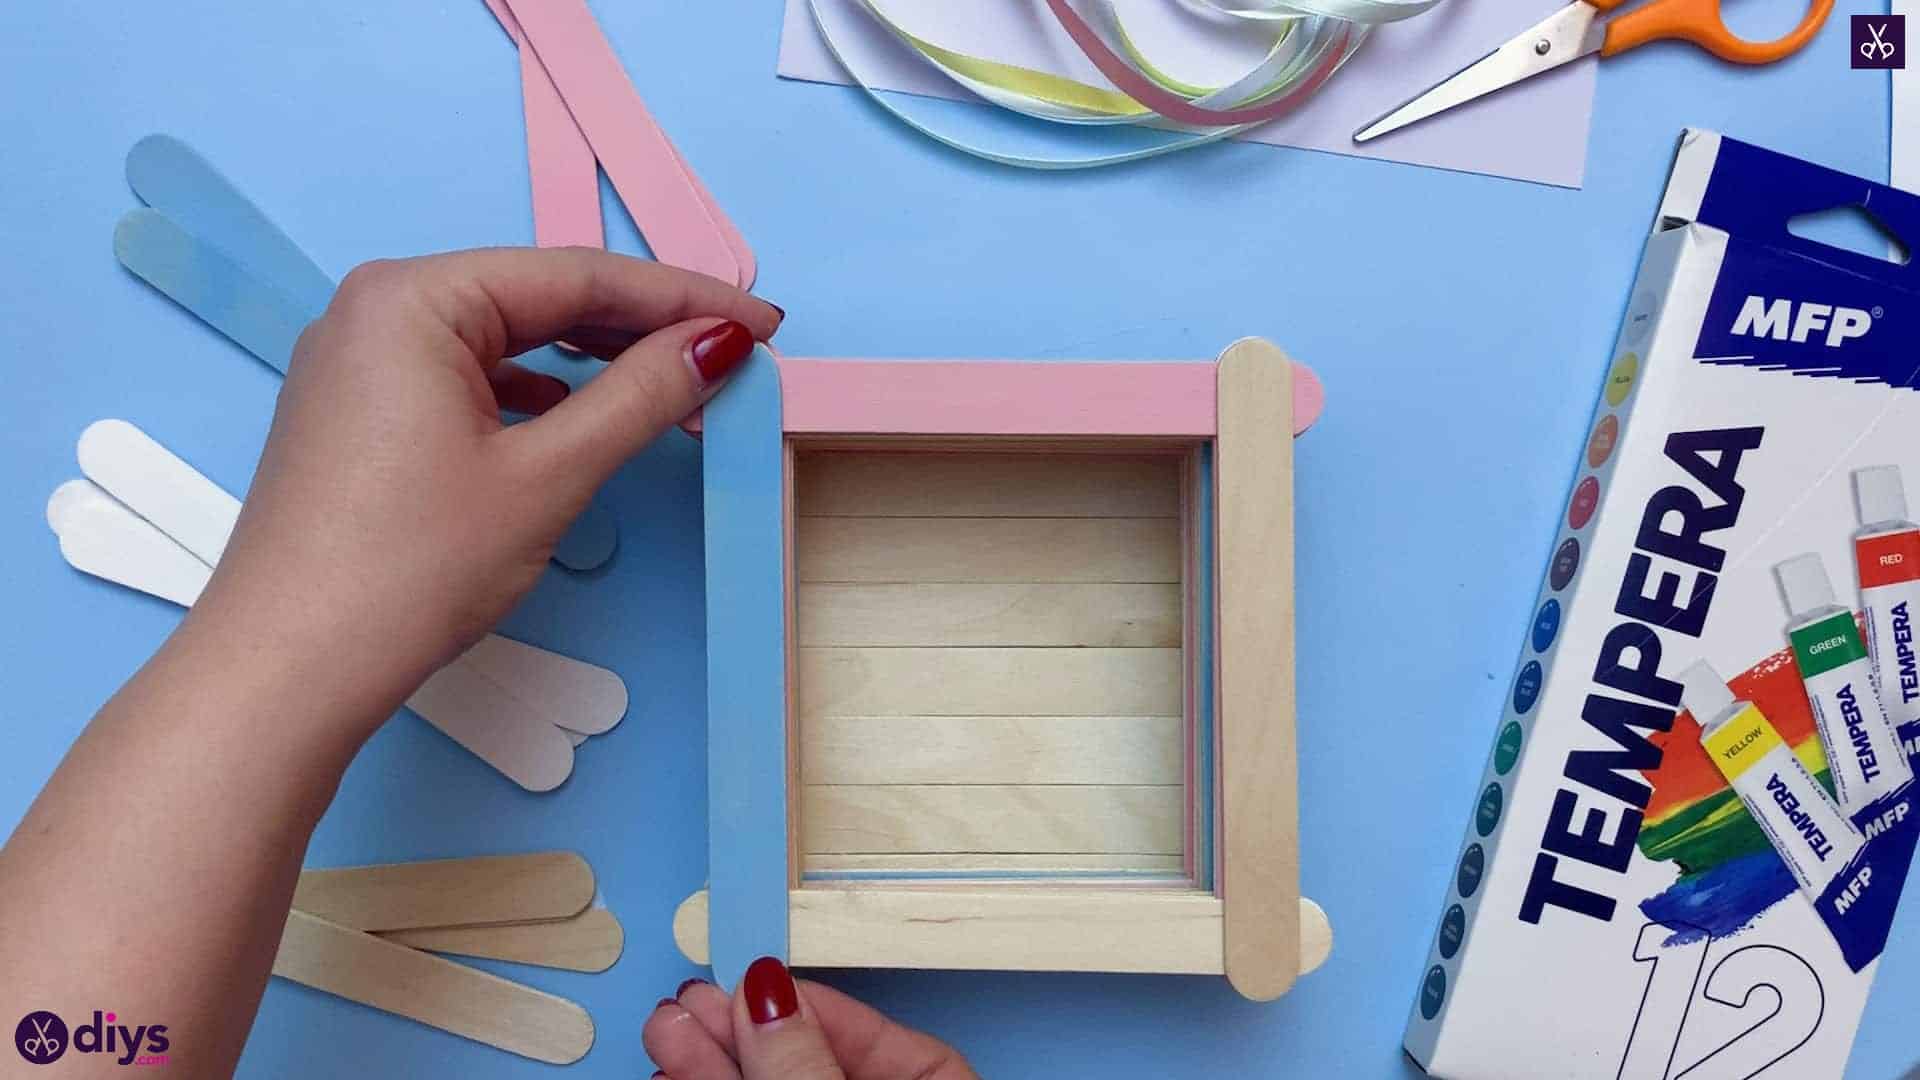
Step 4:
Flip your newly finished box bottom over so the vertical sticks are visible on top now. Glue a stick down horizontally, in the same place and manner like you did before. Repeat the process across the base at the other end; you now have two horizontal sticks that line up perfectly with your top and bottom sticks on the underside. Feel free to use whatever colour you please; I alternated and randomized my colours from here on out to make a cute and prettily scattered multi-coloured effect. Next, glue a vertically placed stick down at each end of that first horizontal one so that each one lines up with those first two vertical sticks you placed down at the very beginning. You’ve officially established the edges of your box!

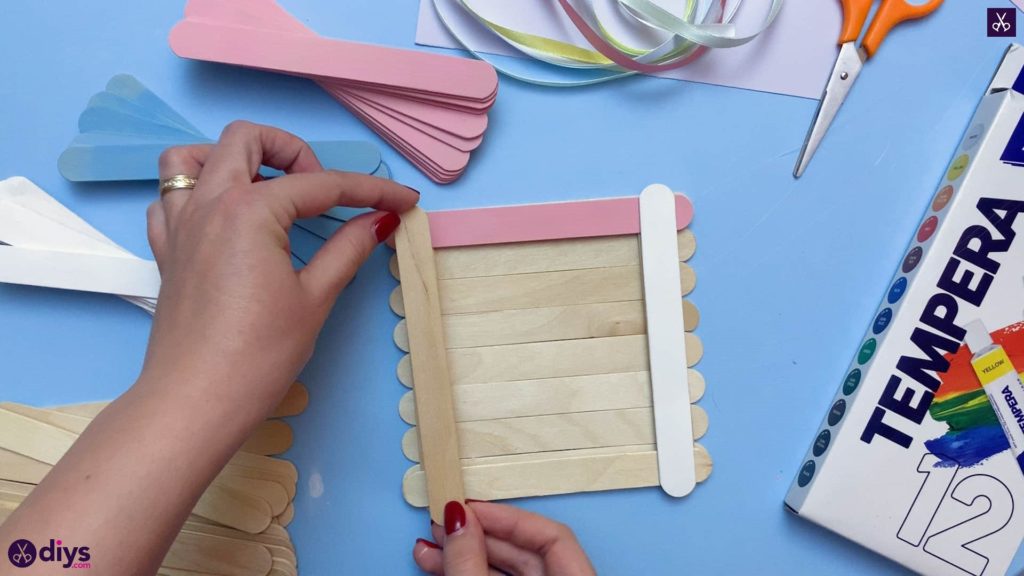
Step 5:
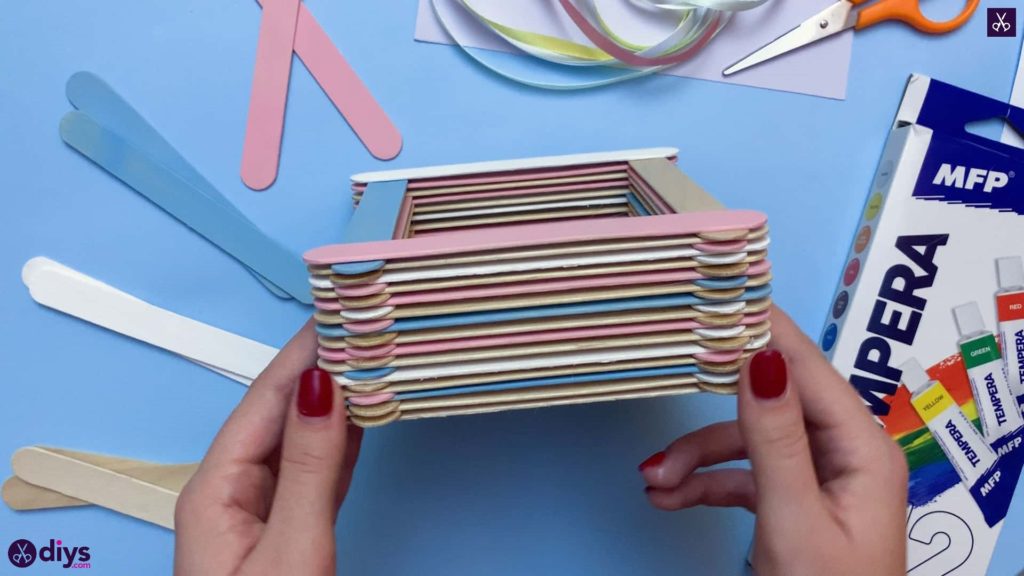
Repeat the new process outlined above, alternating with two horizontal sticks and then two vertical sticks, glued end to end and lined up right on top of the ones below. You can still swap stick colours however you please. Continue until your box edges are as high as you want them to be; my box had 14 additional stacked layers besides the initial bottom layer I built.

Step 6:
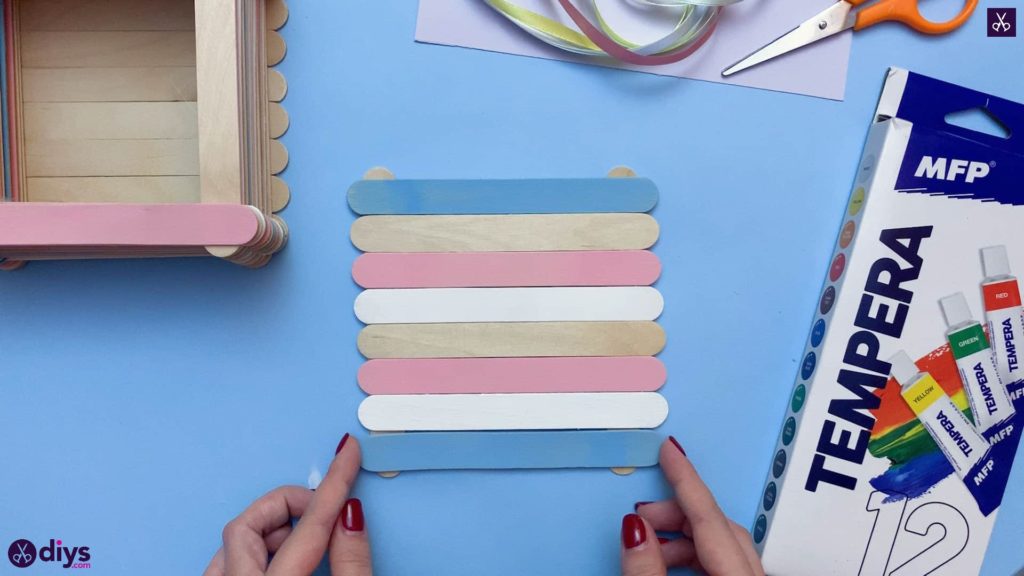
Build your jewelry box’s lid by repeating the same process as you followed initially when you built the bottom of your box. This time, I used coloured sticks as well, rather than just natural, unpainted ones like I did before. My lid was eight horizontal sticks down, just like my base was.
Step 7:
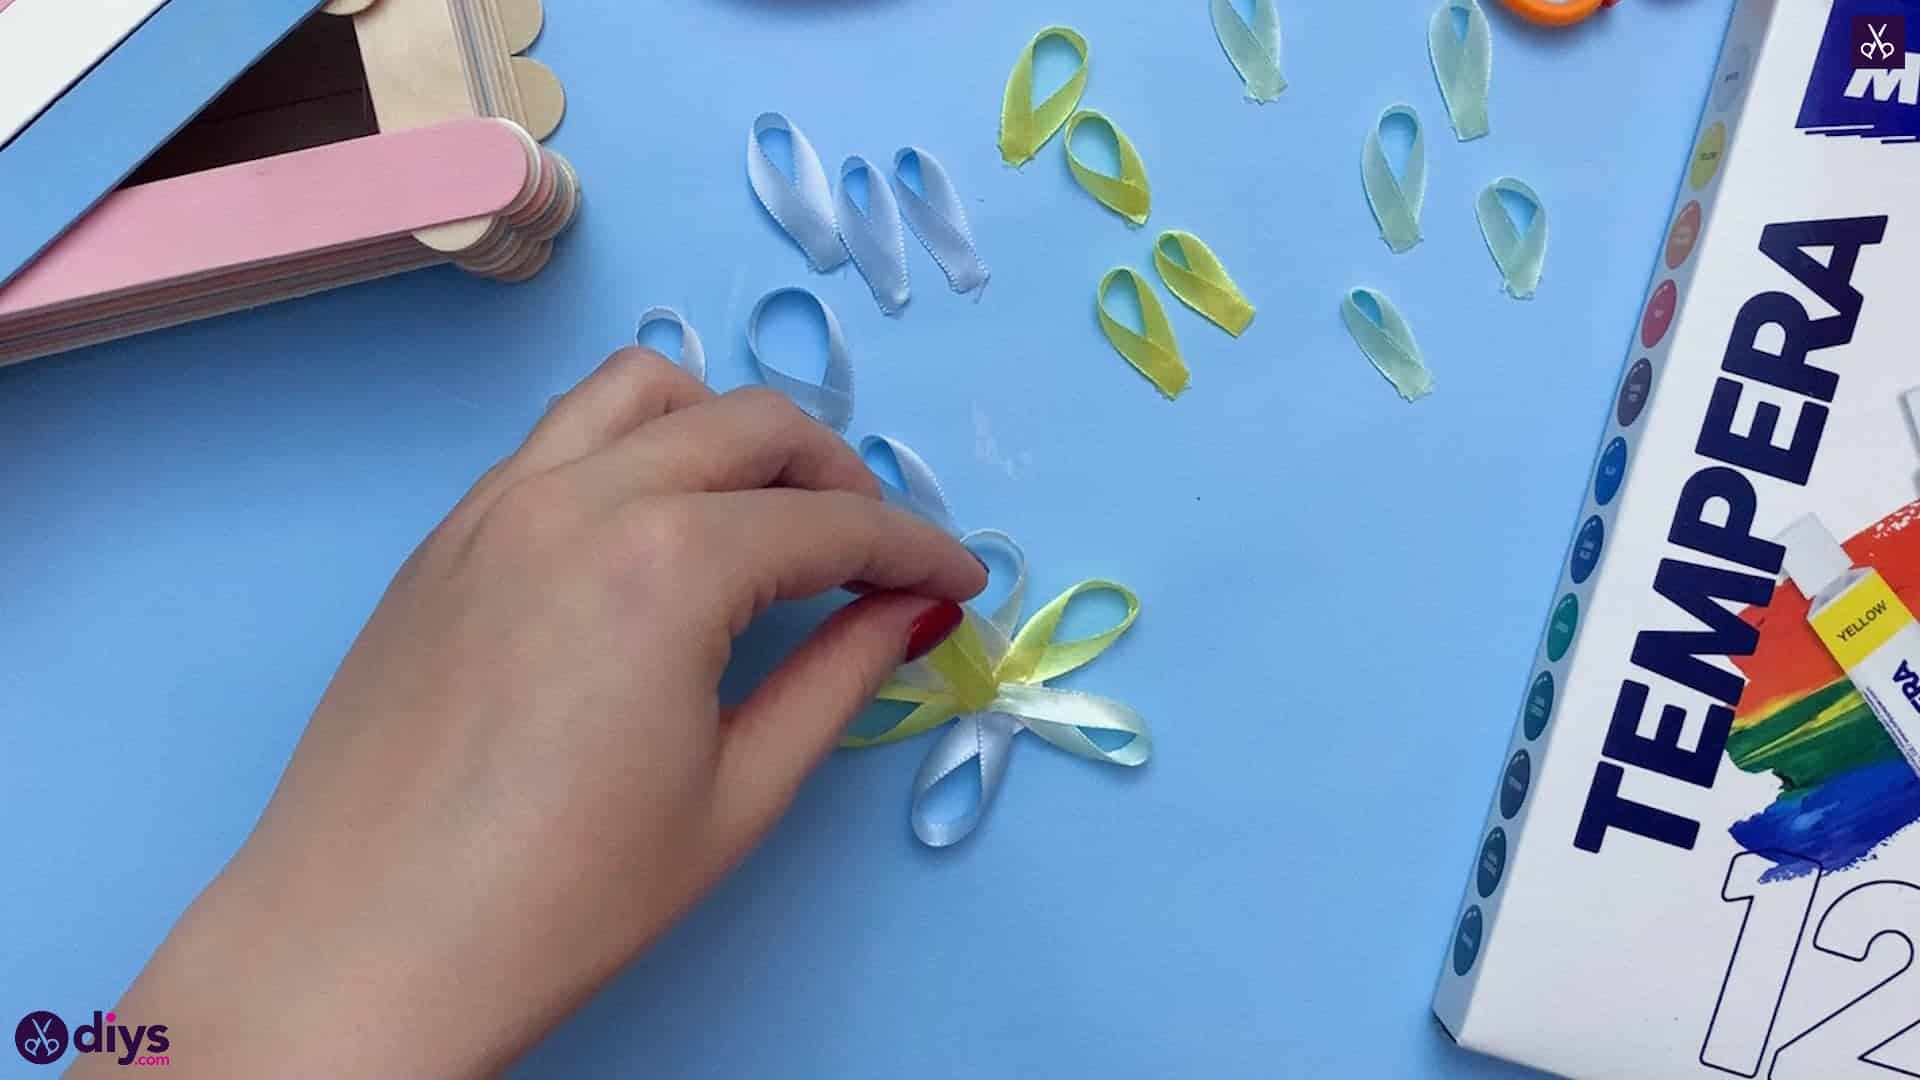
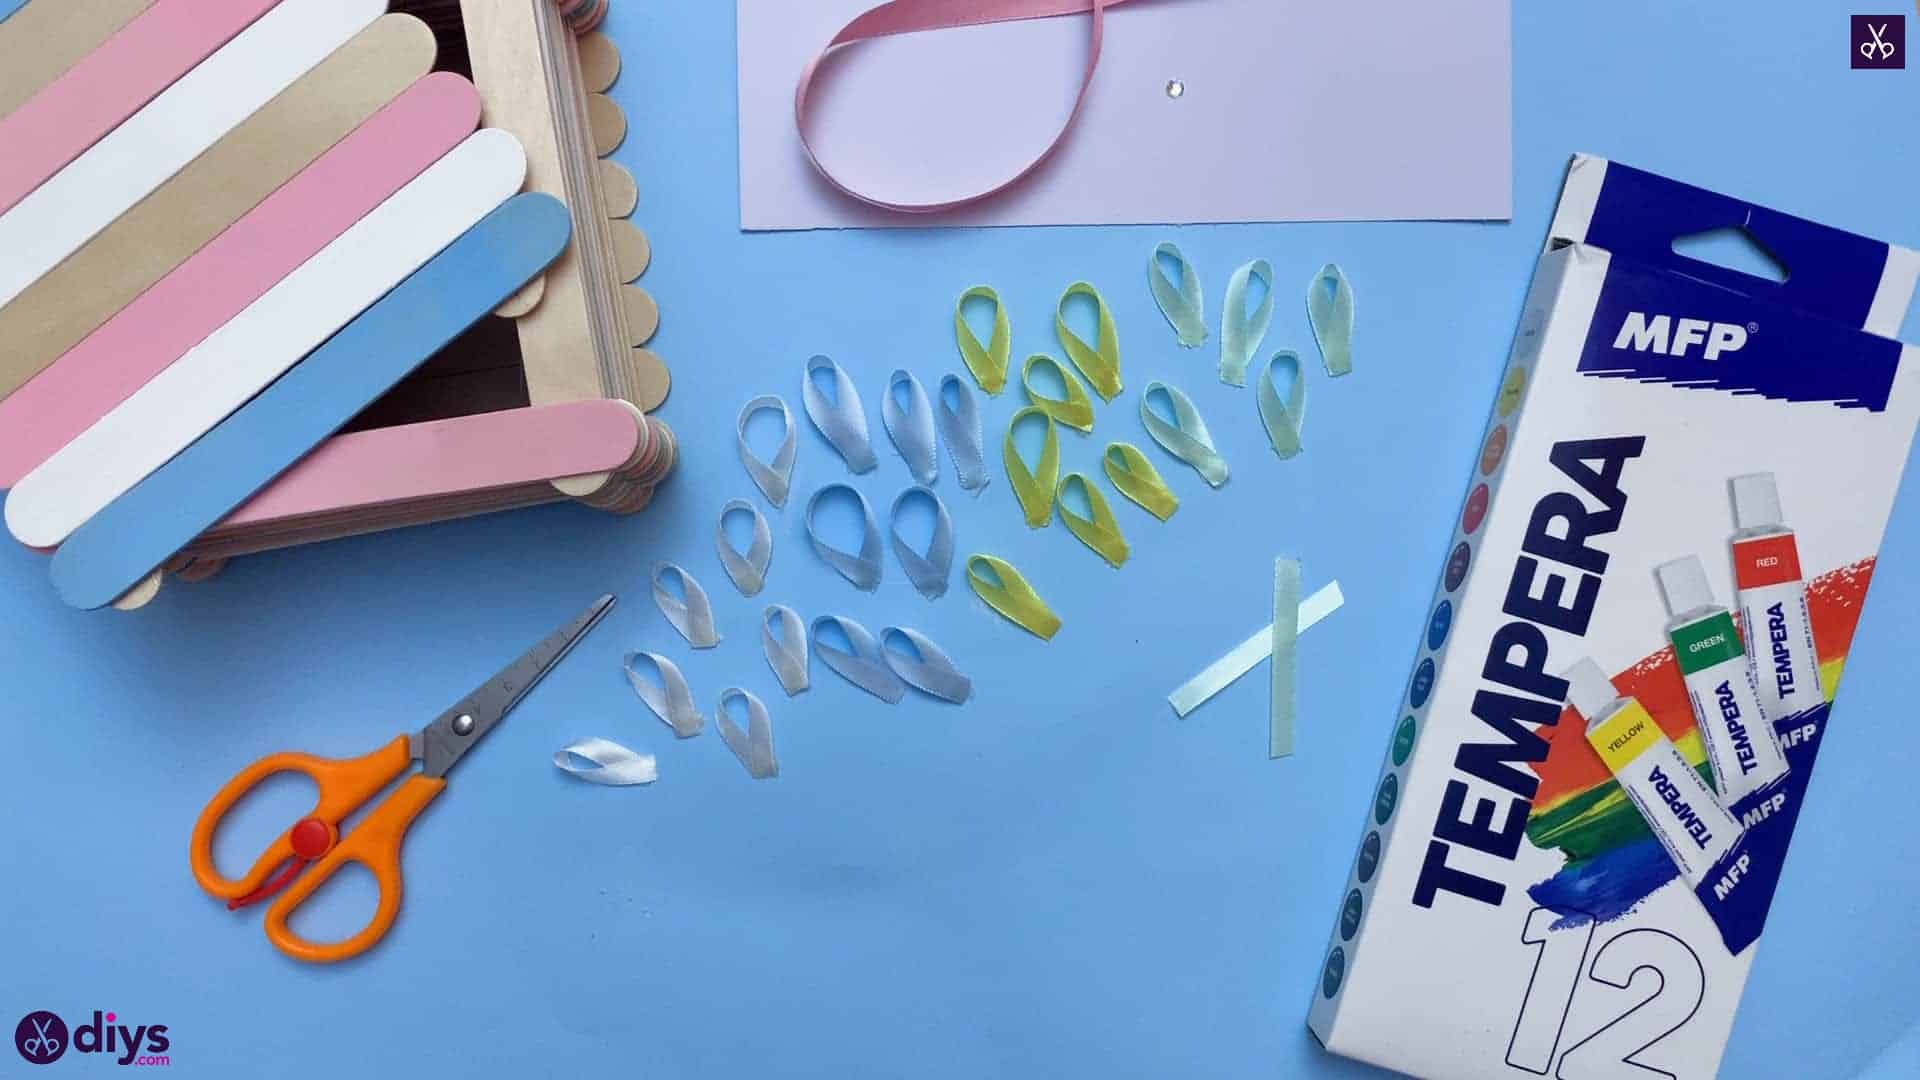
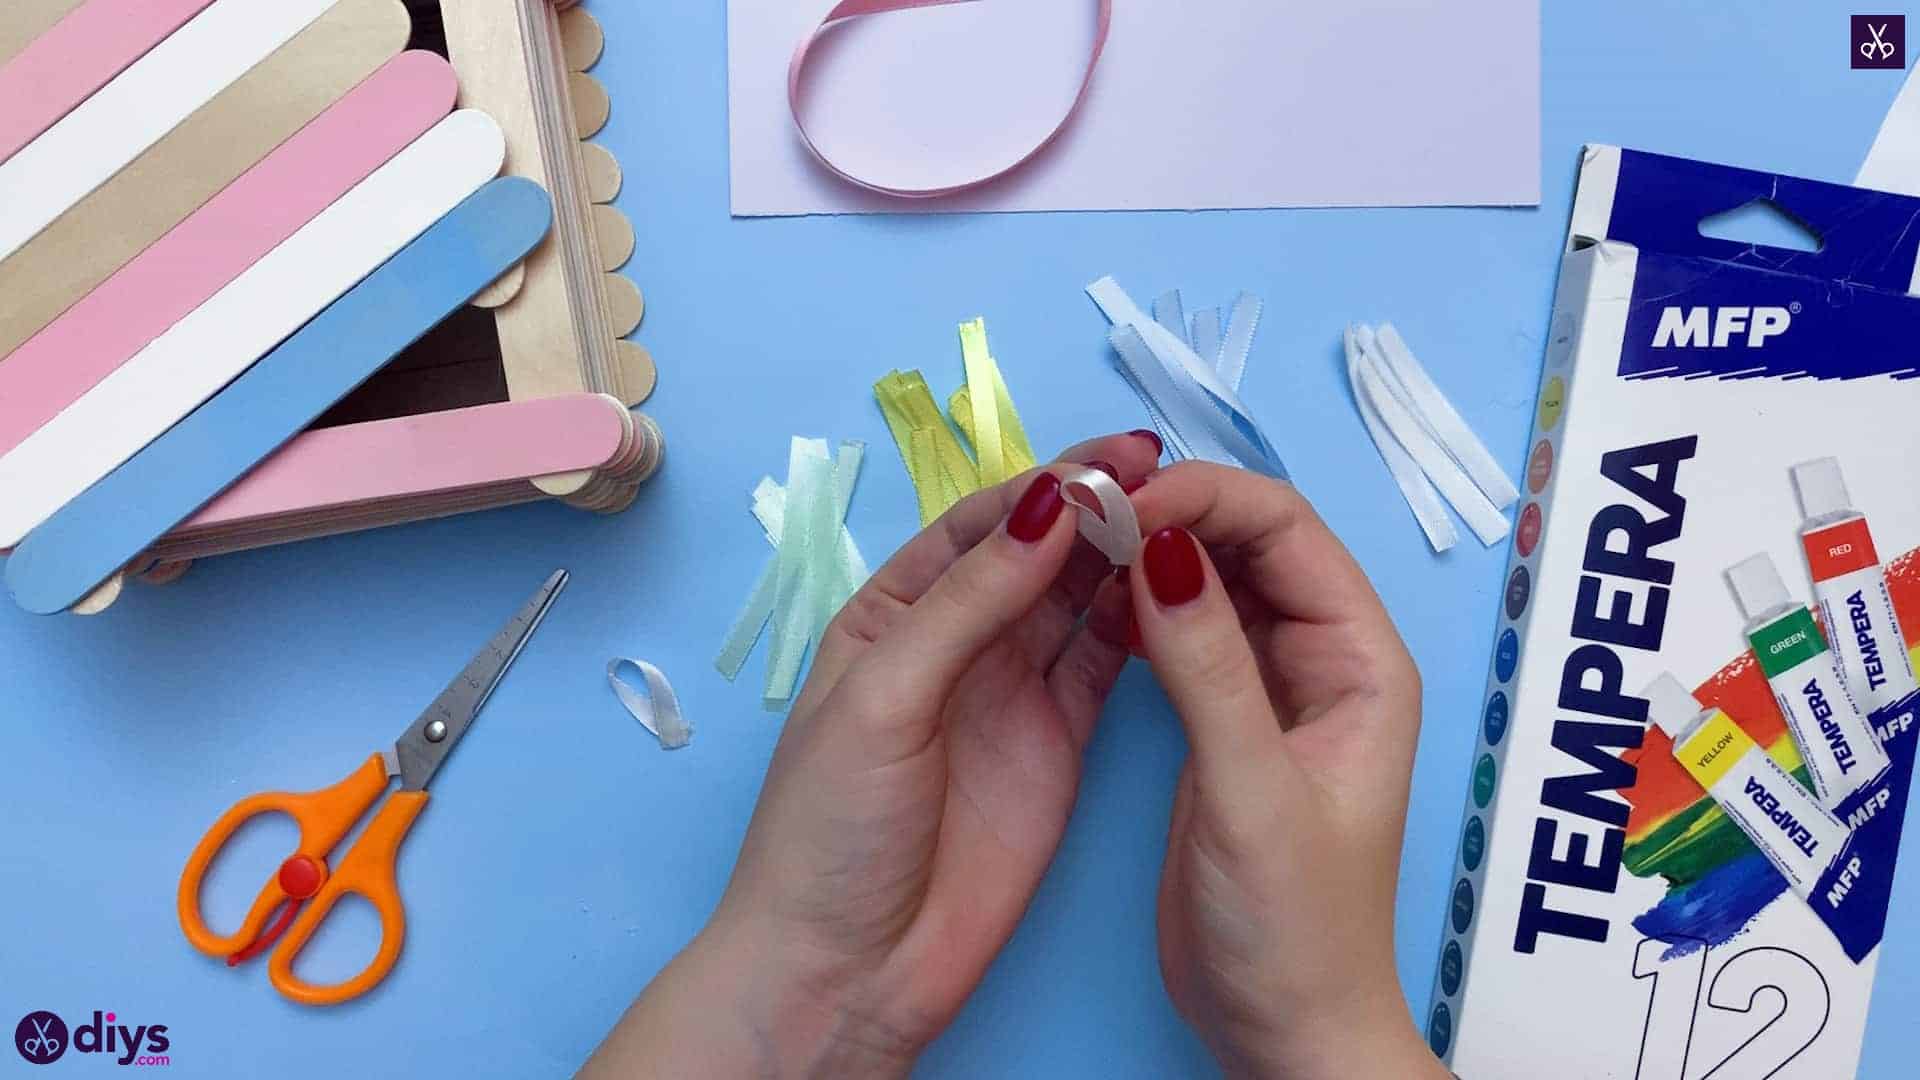
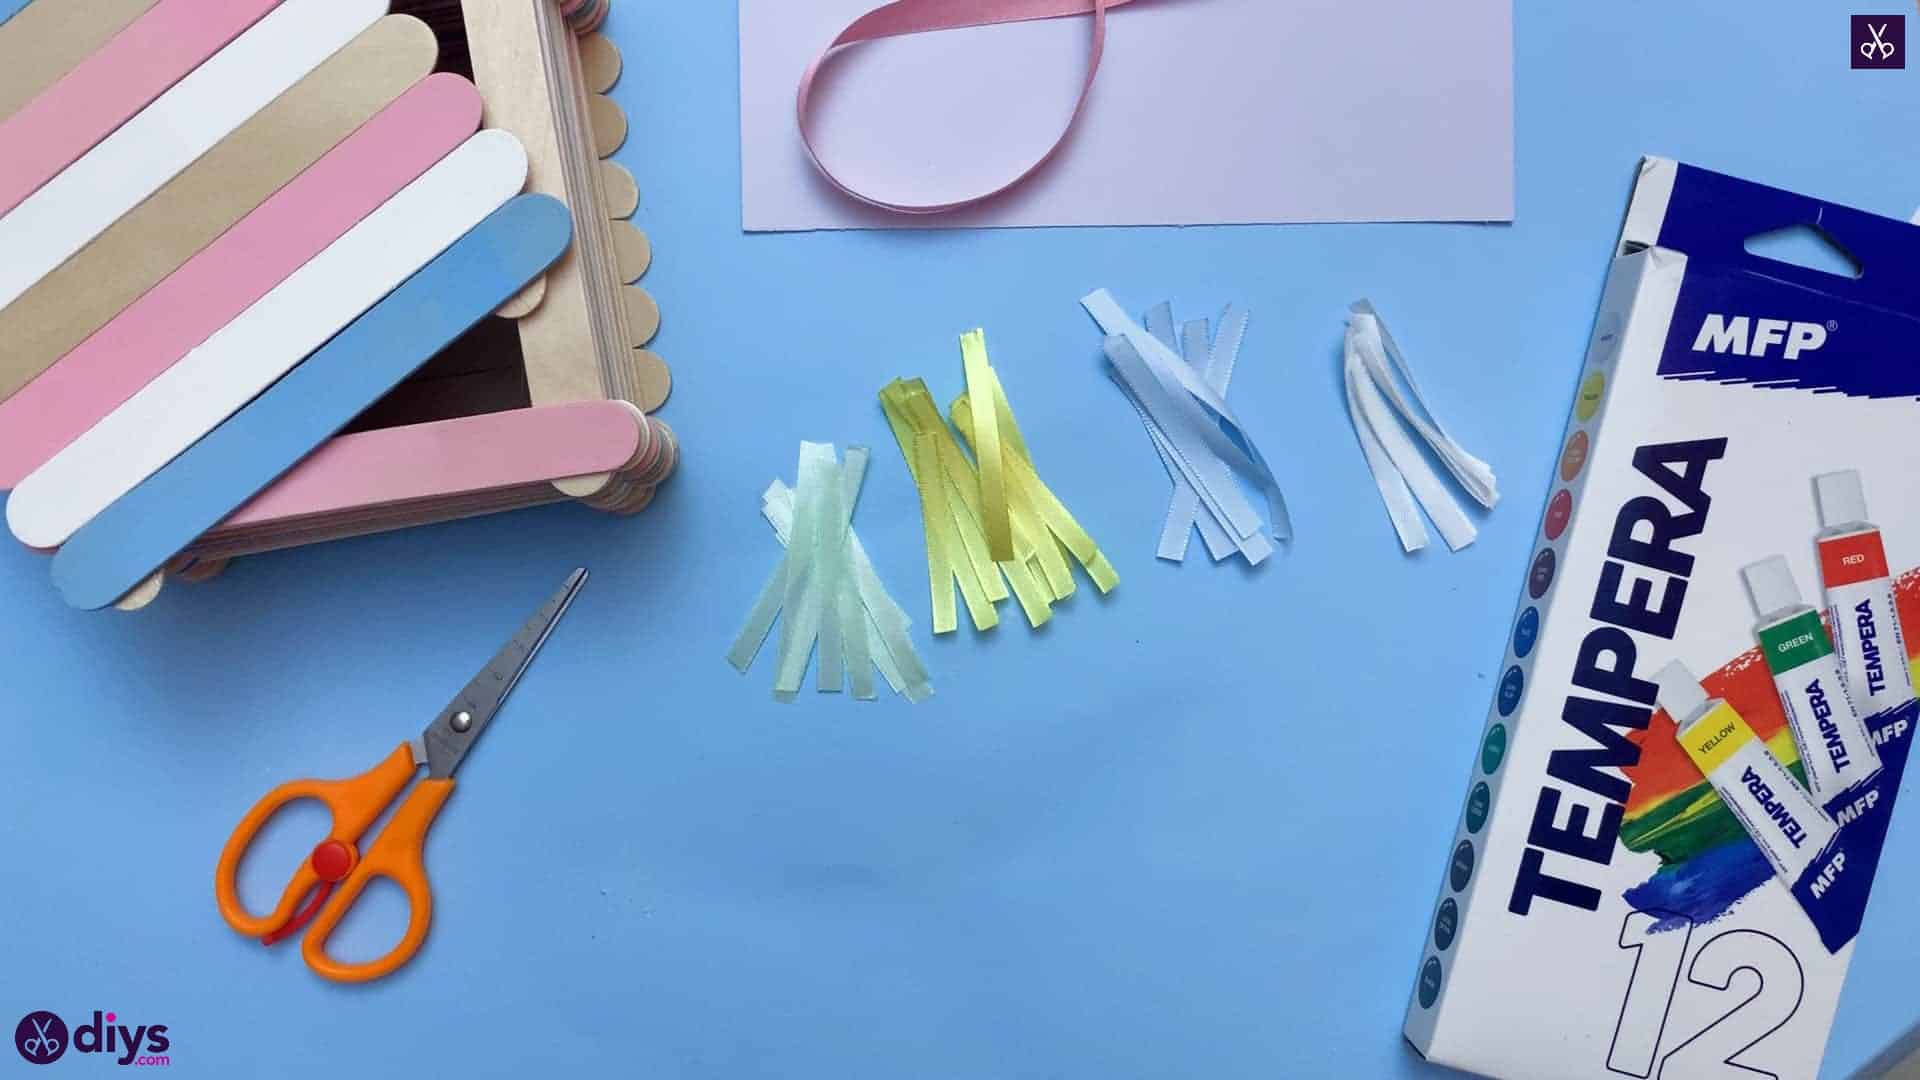
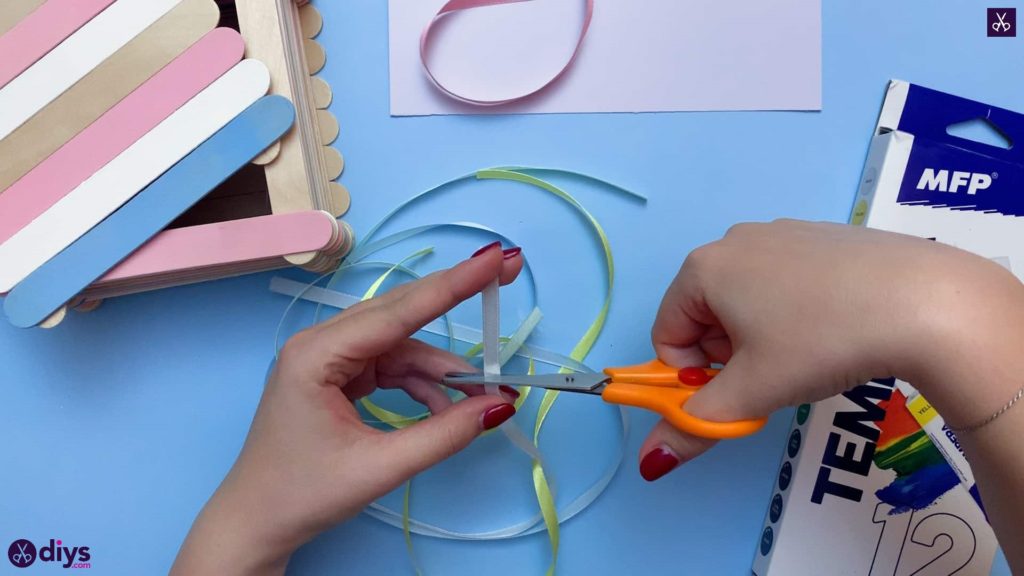
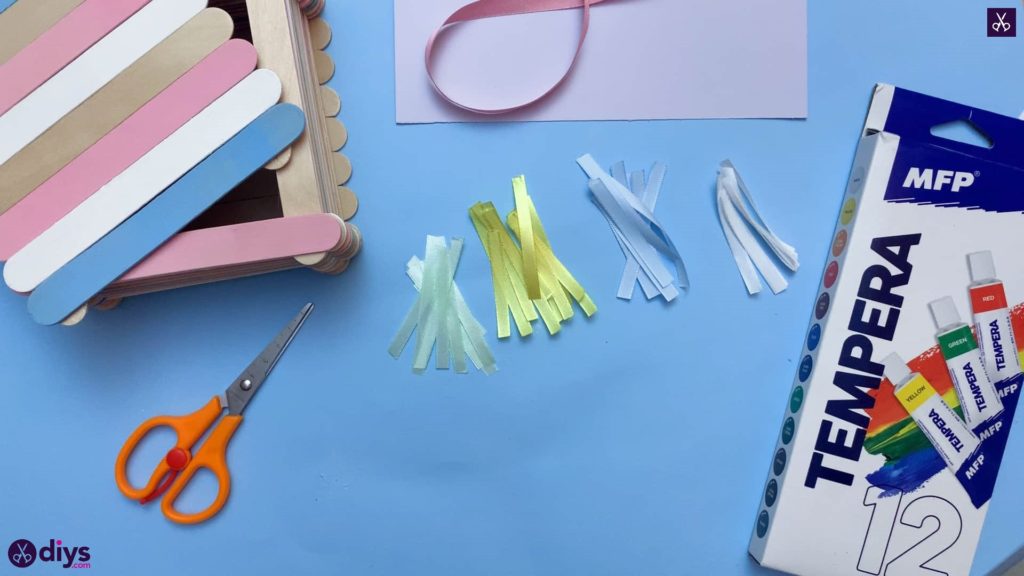
Take all of your ribbons except your pink one (you’ll use that for something else later) and cut them into small pieces. I did this by measuring out and cutting a piece about an inch long from the end of each and then using that as a template to measure each additional piece I cut from that colour of ribbon. Once I’d cut the first one into several inch long pieces, I repeated the process with each of my other colours (green, yellow, blue, and white).
Step 8:
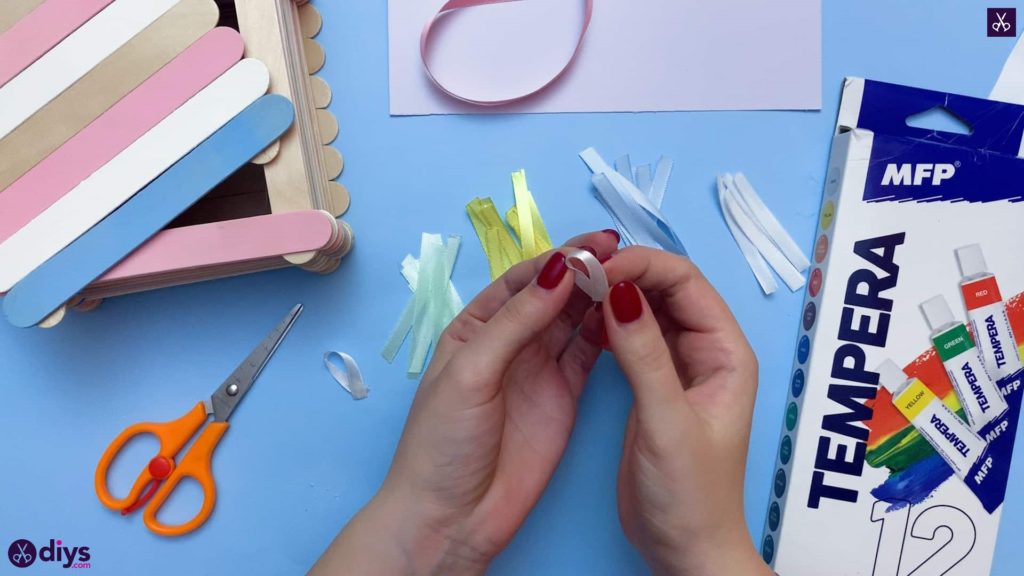
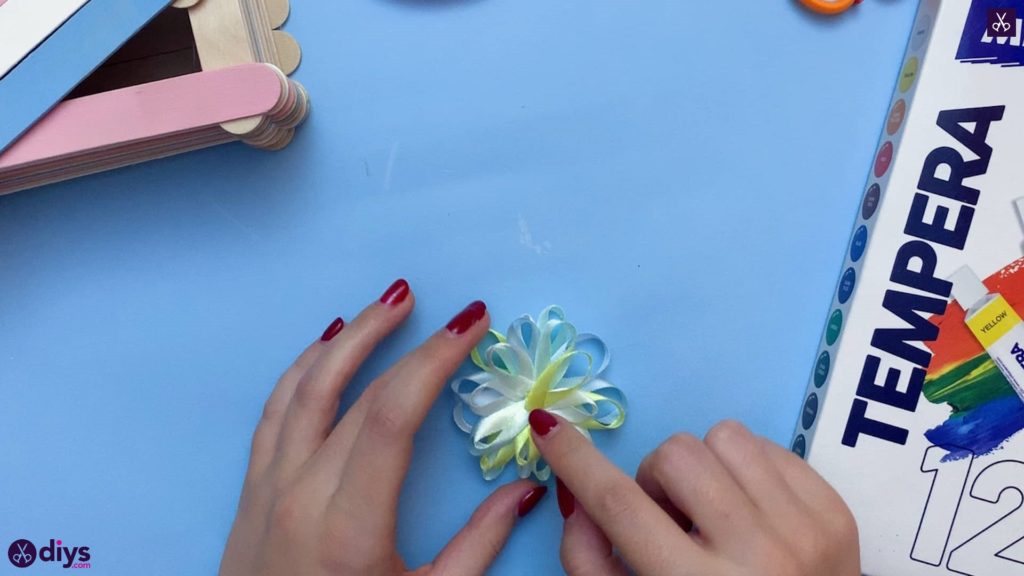
Turn each of your inch long pieces, in all colours, into a little loop. Do this by applying a little dot of glue near one end and, without twisting the piece, bring the other end around and stick it on to, this making a little curved loop. Repeat this process until all of your pieces in each colour of ribbon have turned into loops.

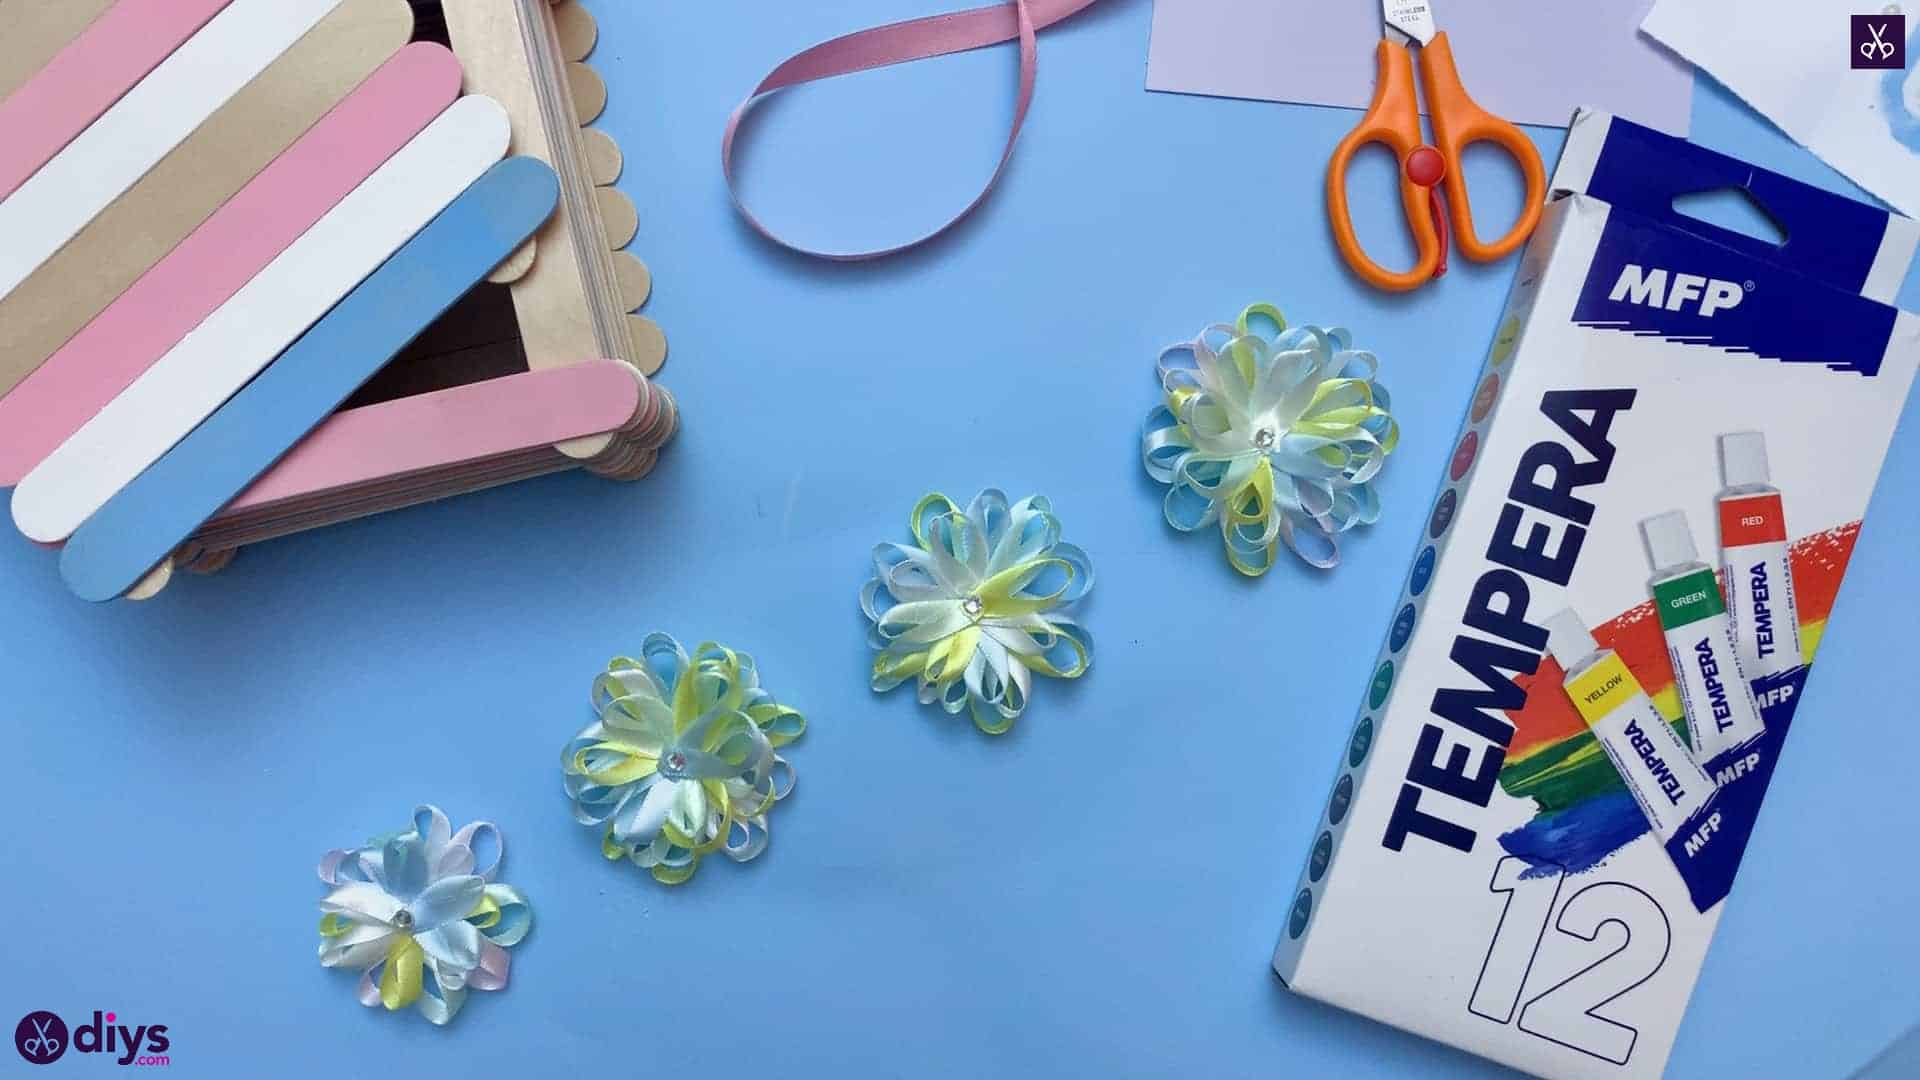
Step 9:
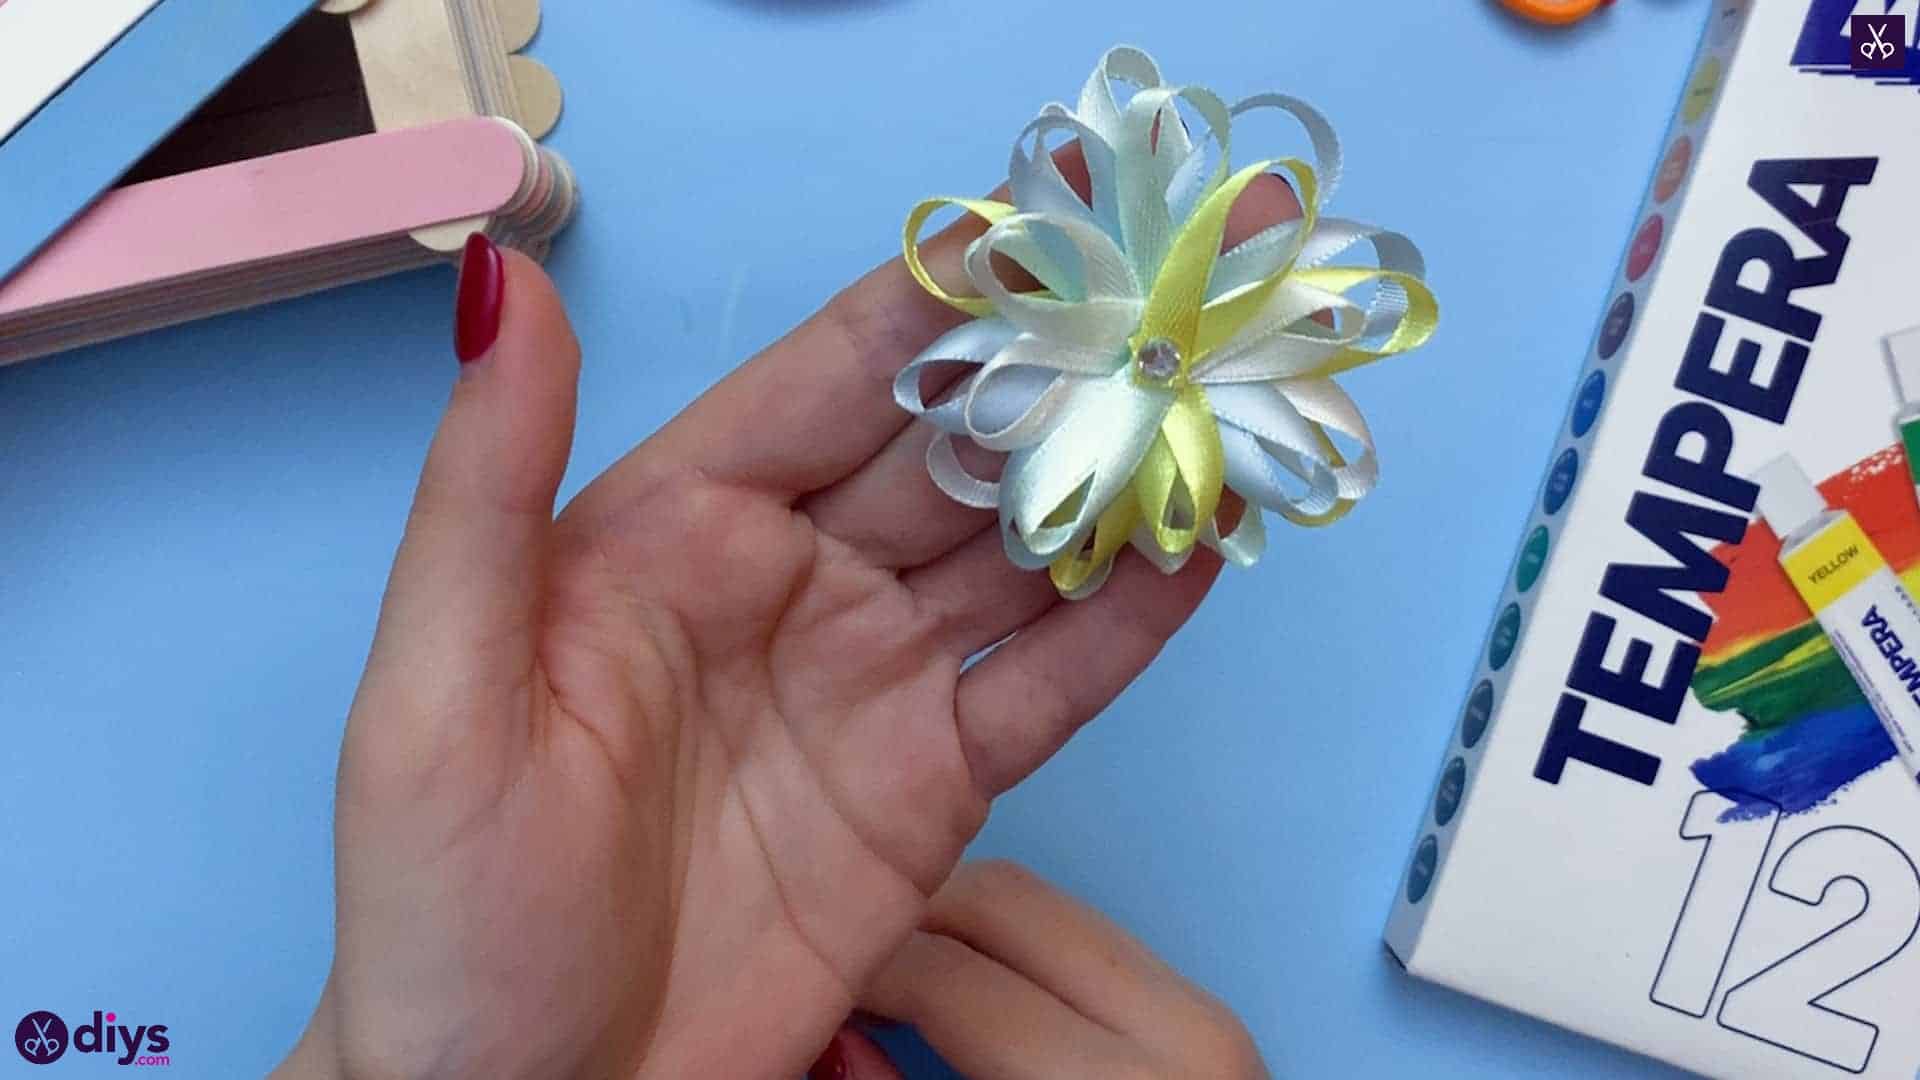
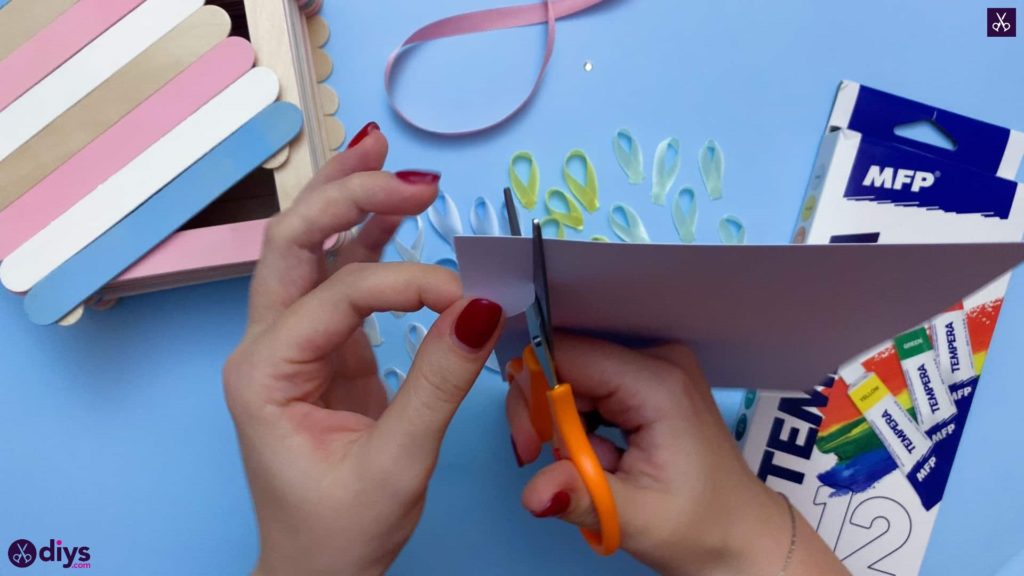
Use your scissors to cut a circle about half an inch wide from your purple card. You’ll use this as the base for making your first looped ribbon flower.
Step 10:
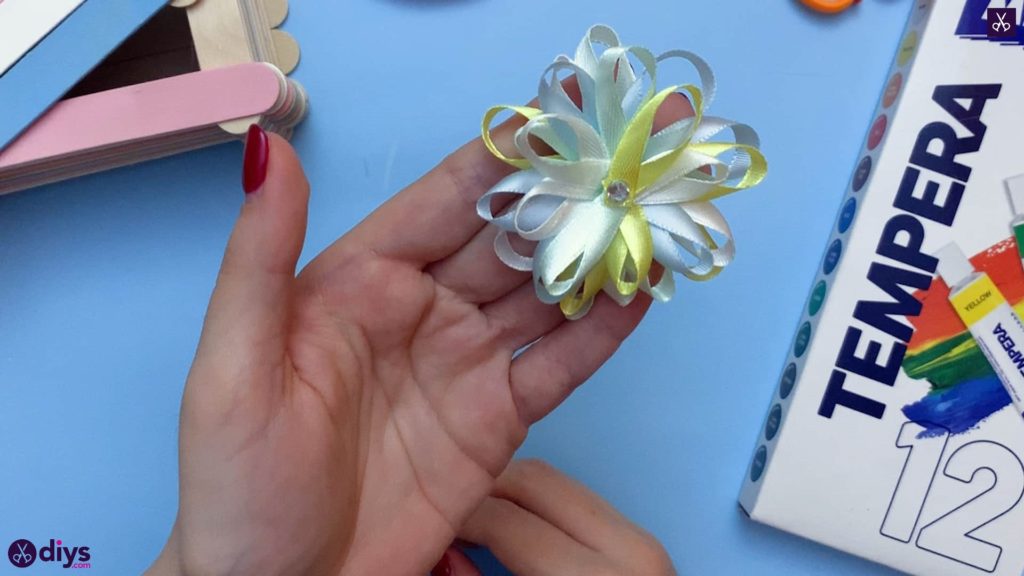
Apply a dot of glue to the back sides of your ribbon loops, one by one, on the end where the edges overlap, then stick each one down all the way around the paper circle. Once you’ve done your first layer, repeat the process to make a second layer on top. I did three layers for each of my flowers to make them nice and voluminous. When you’re done stick a rhinestone down in the centre.

Step 11:
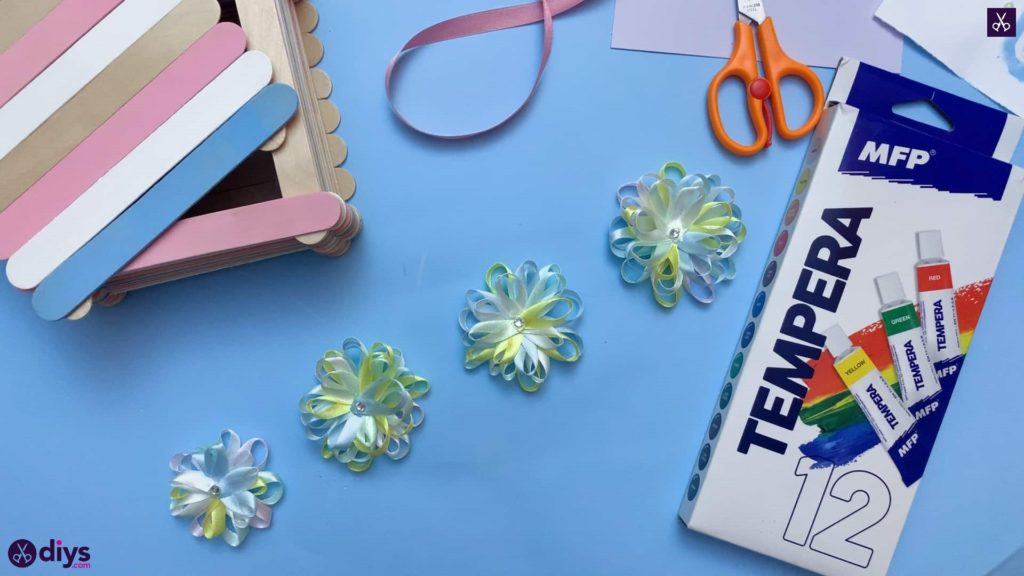
Repeat the whole flower process three more times so that you have a total of four looped ribbon flowers with rhinestone centres.
Step 12:
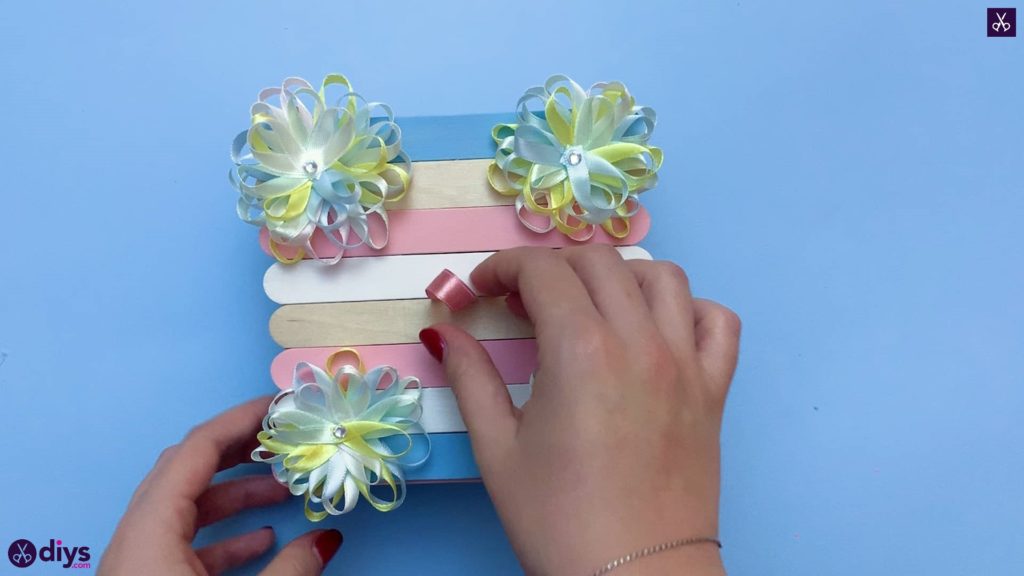
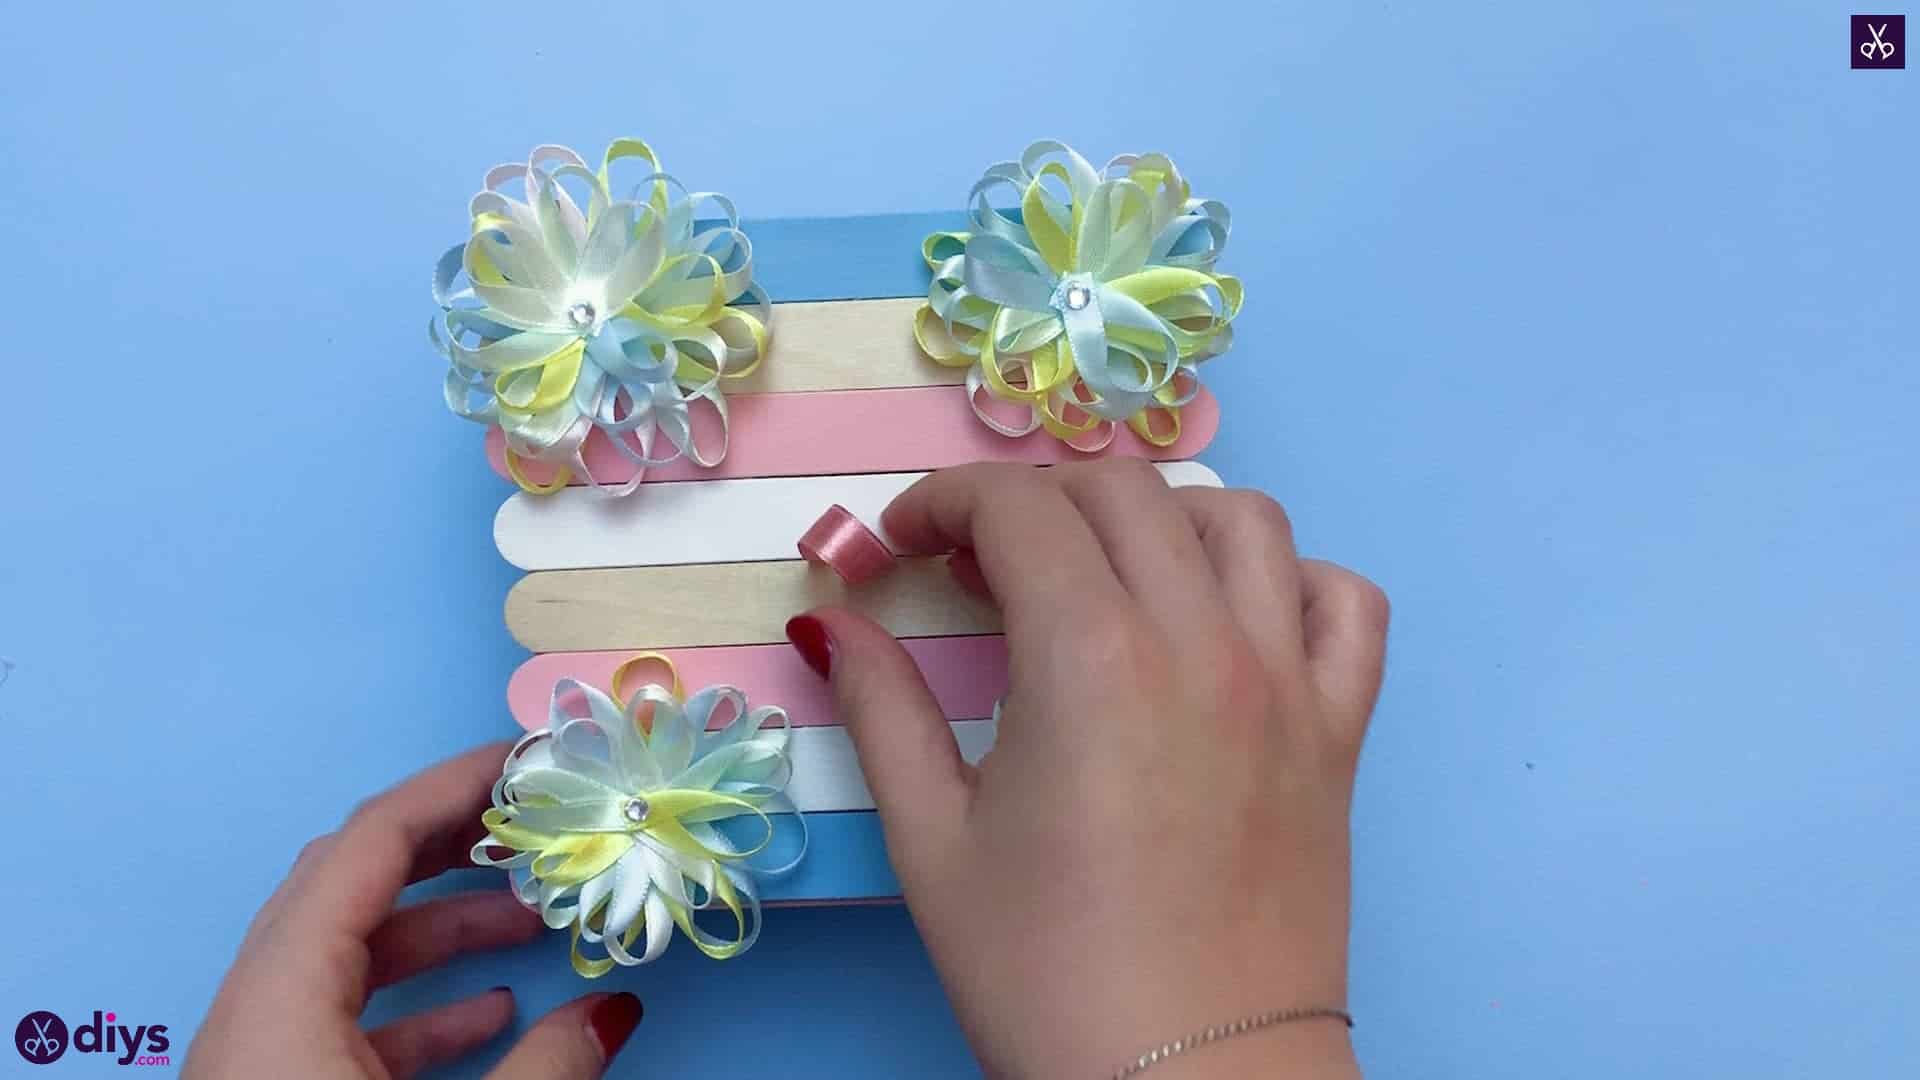
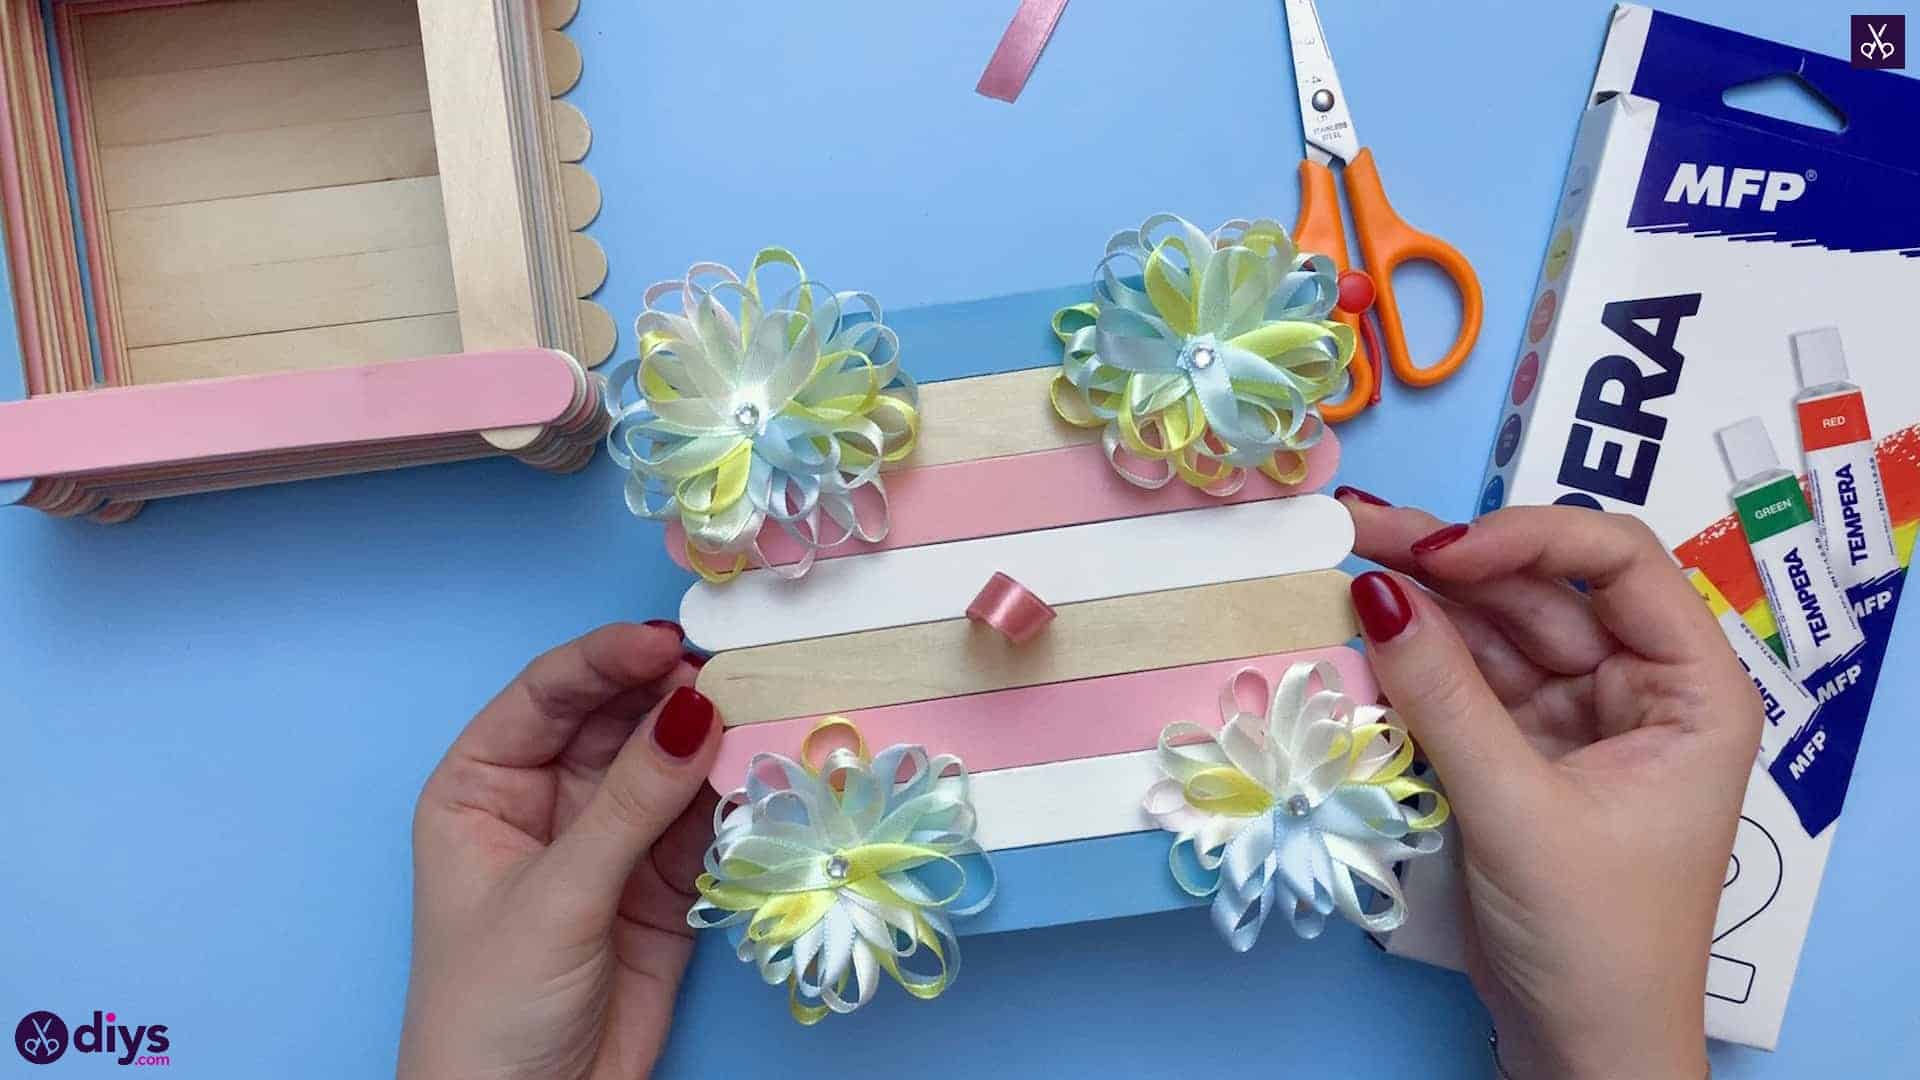
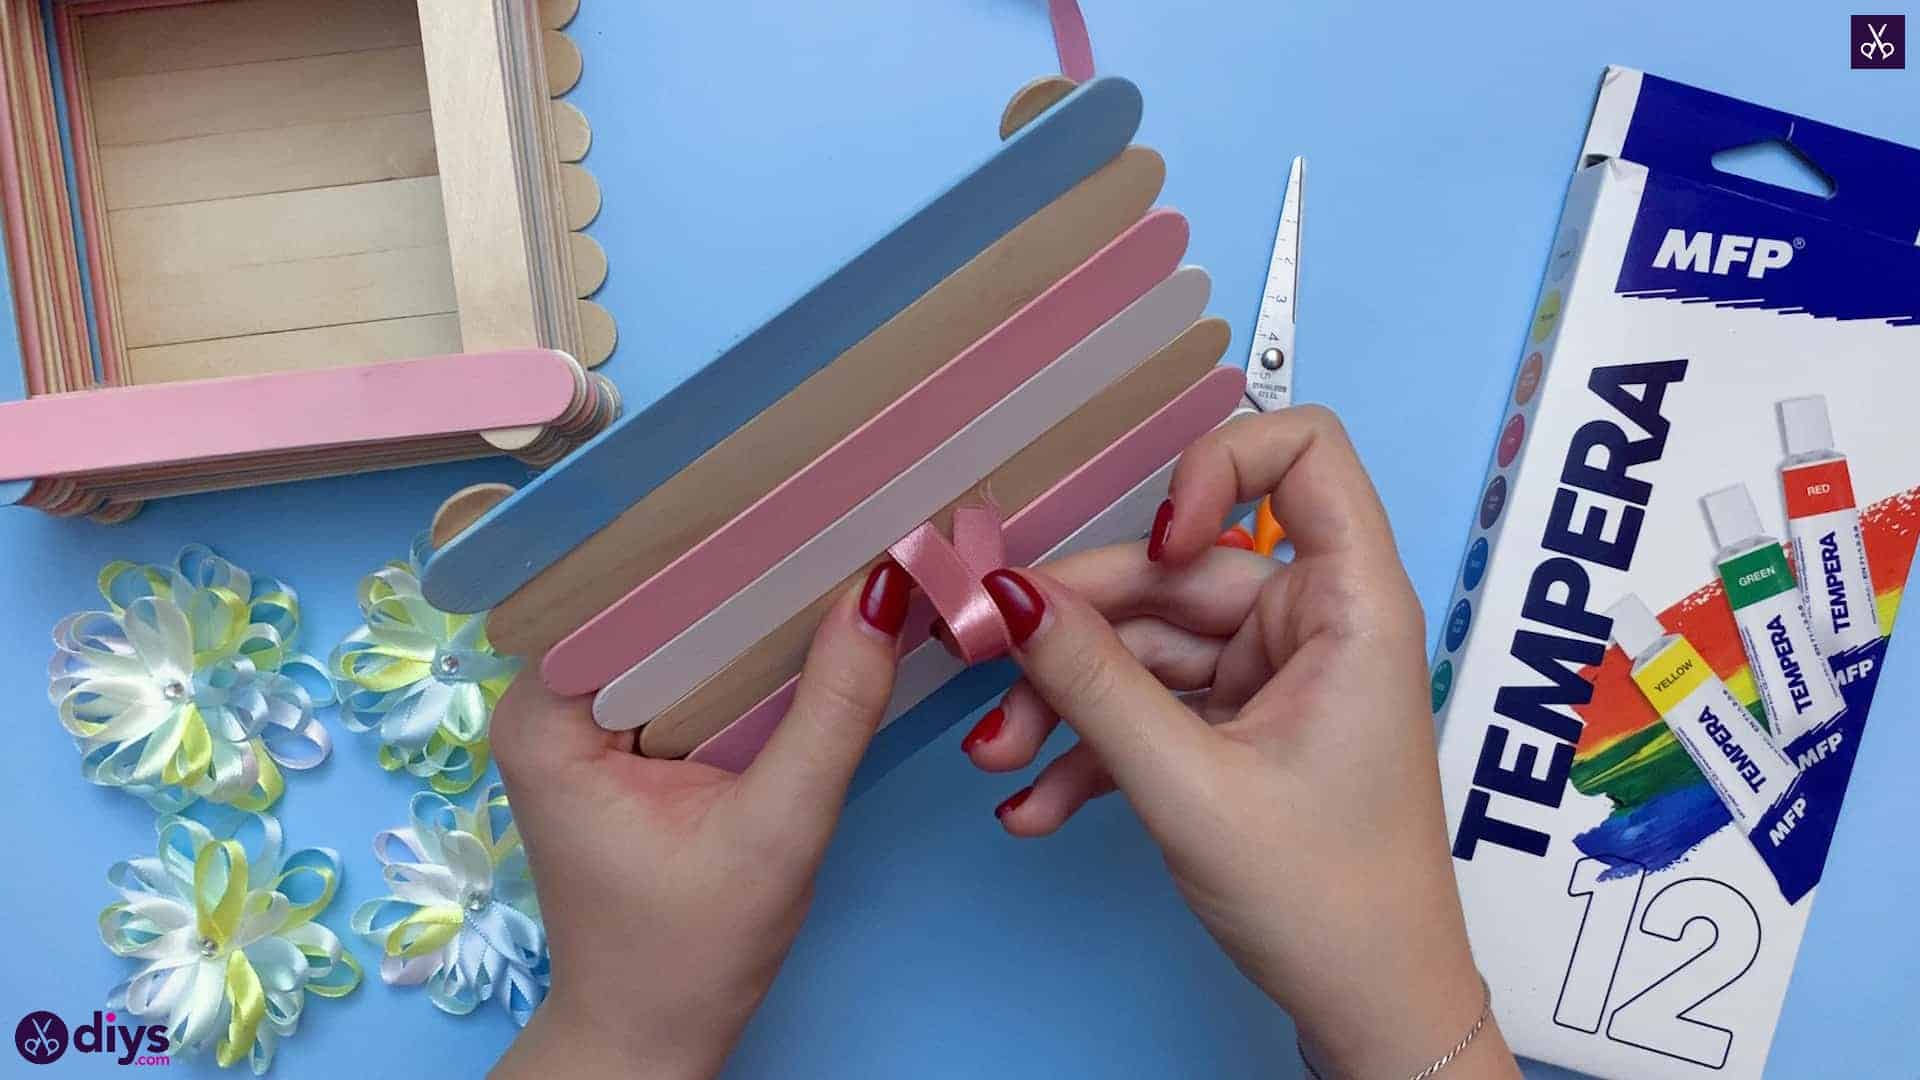
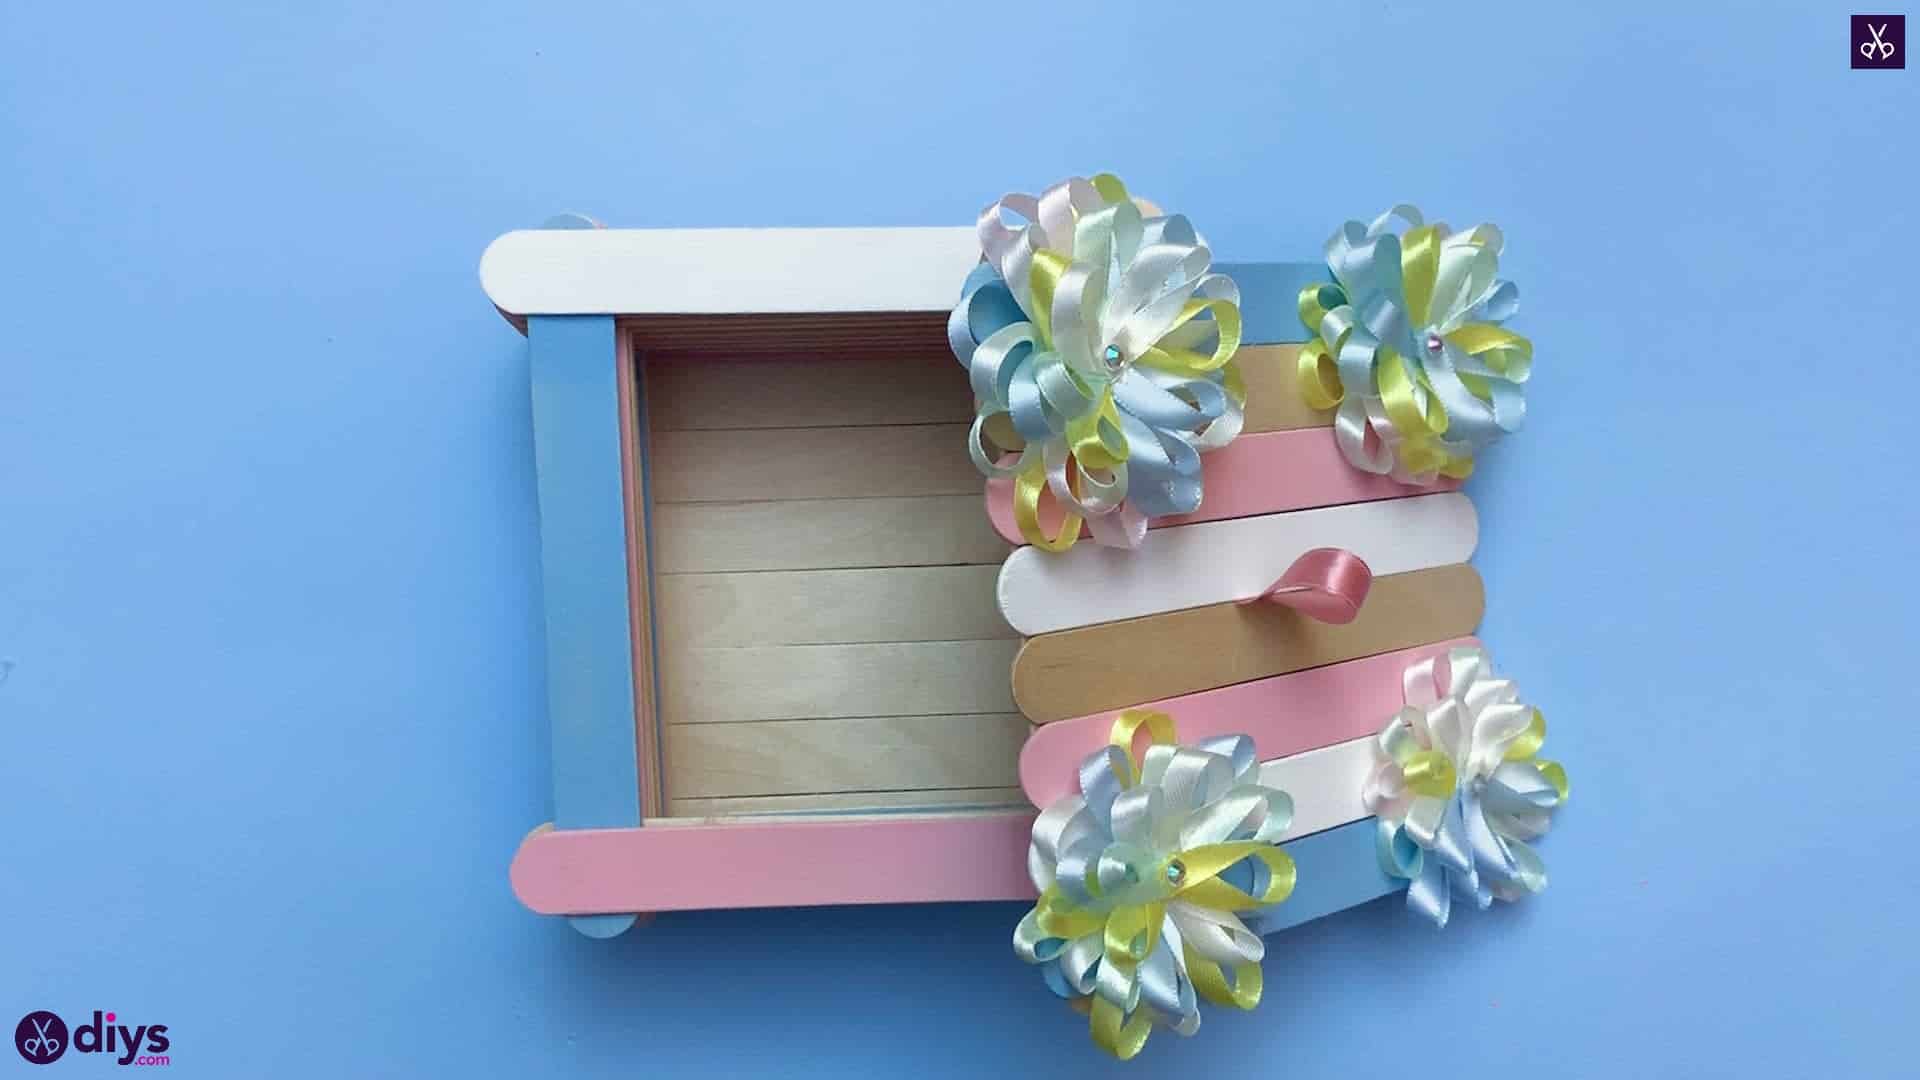
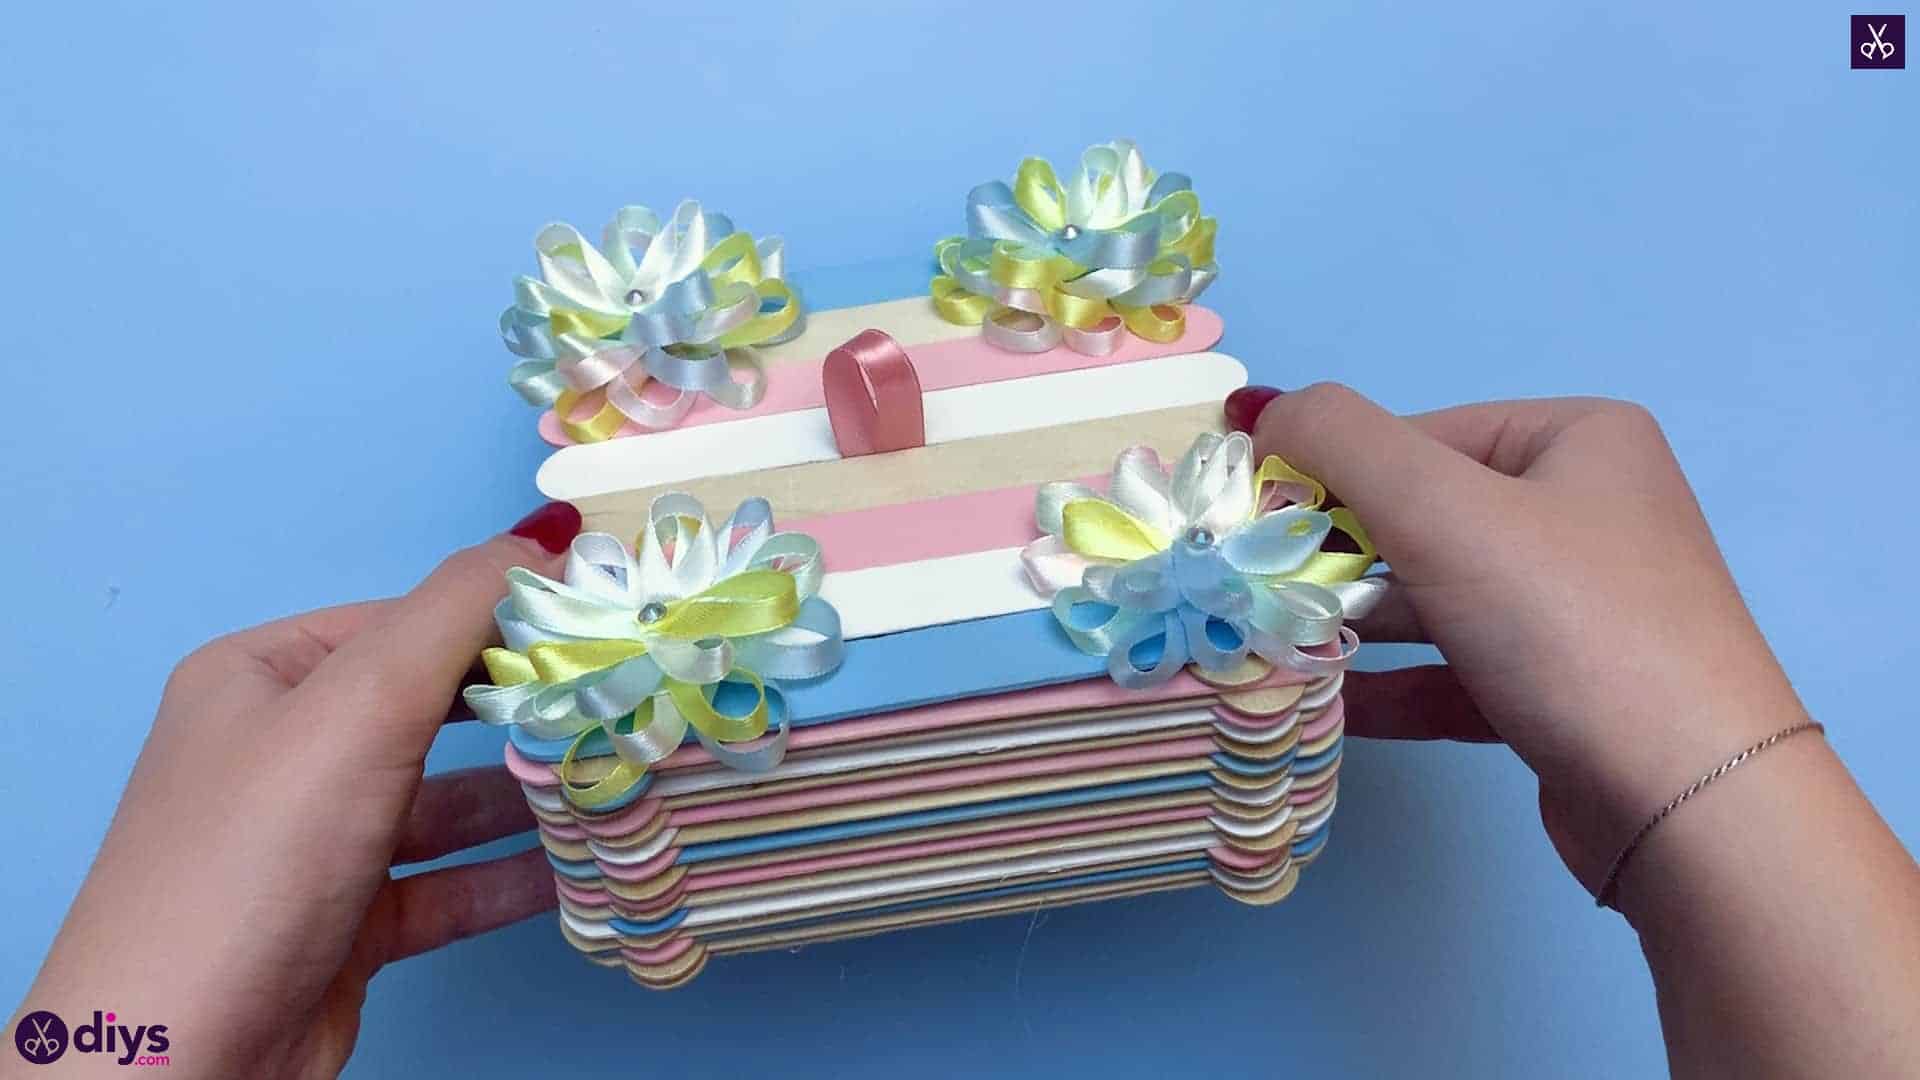
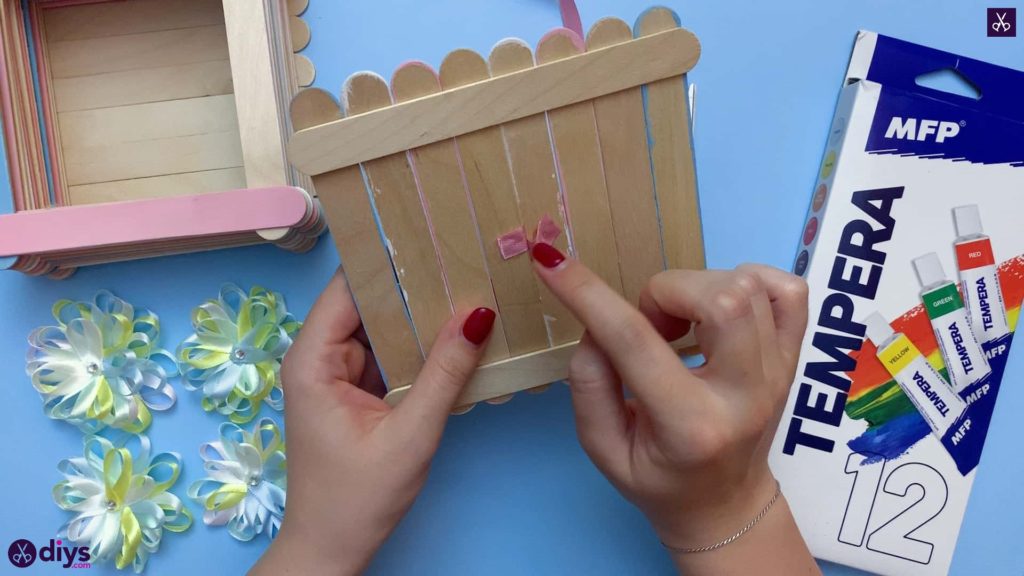
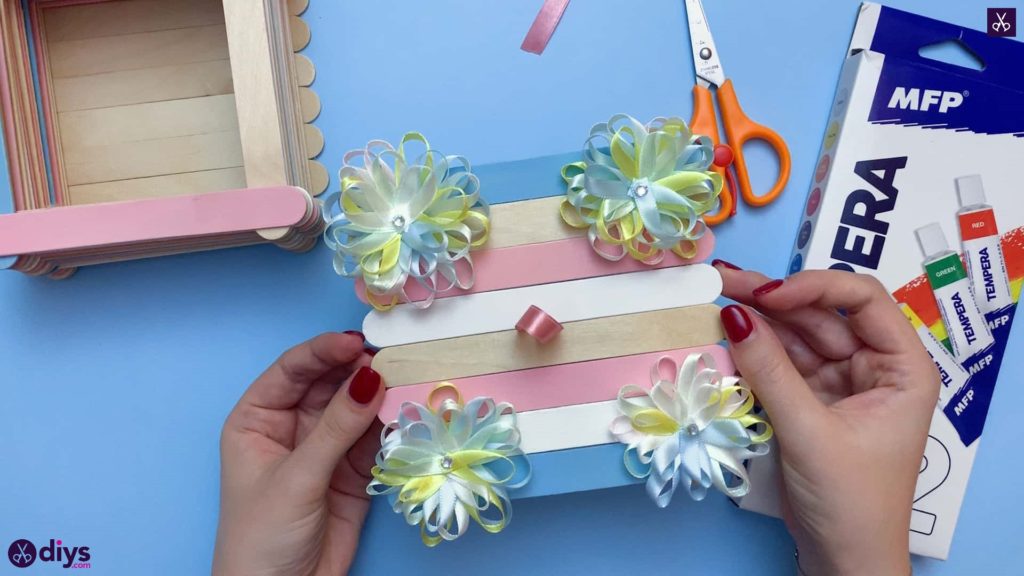
Cut a two inch piece from your pink ribbon and, from the top side of your lid, slide the ends through the space between the two middle sticks near the centre so a loop is created. Turn the lid over and use your hot glue gun to stick the ends down on the other side to keep the loop in place. Your jewelry box now has a lid handle!

Step 13:
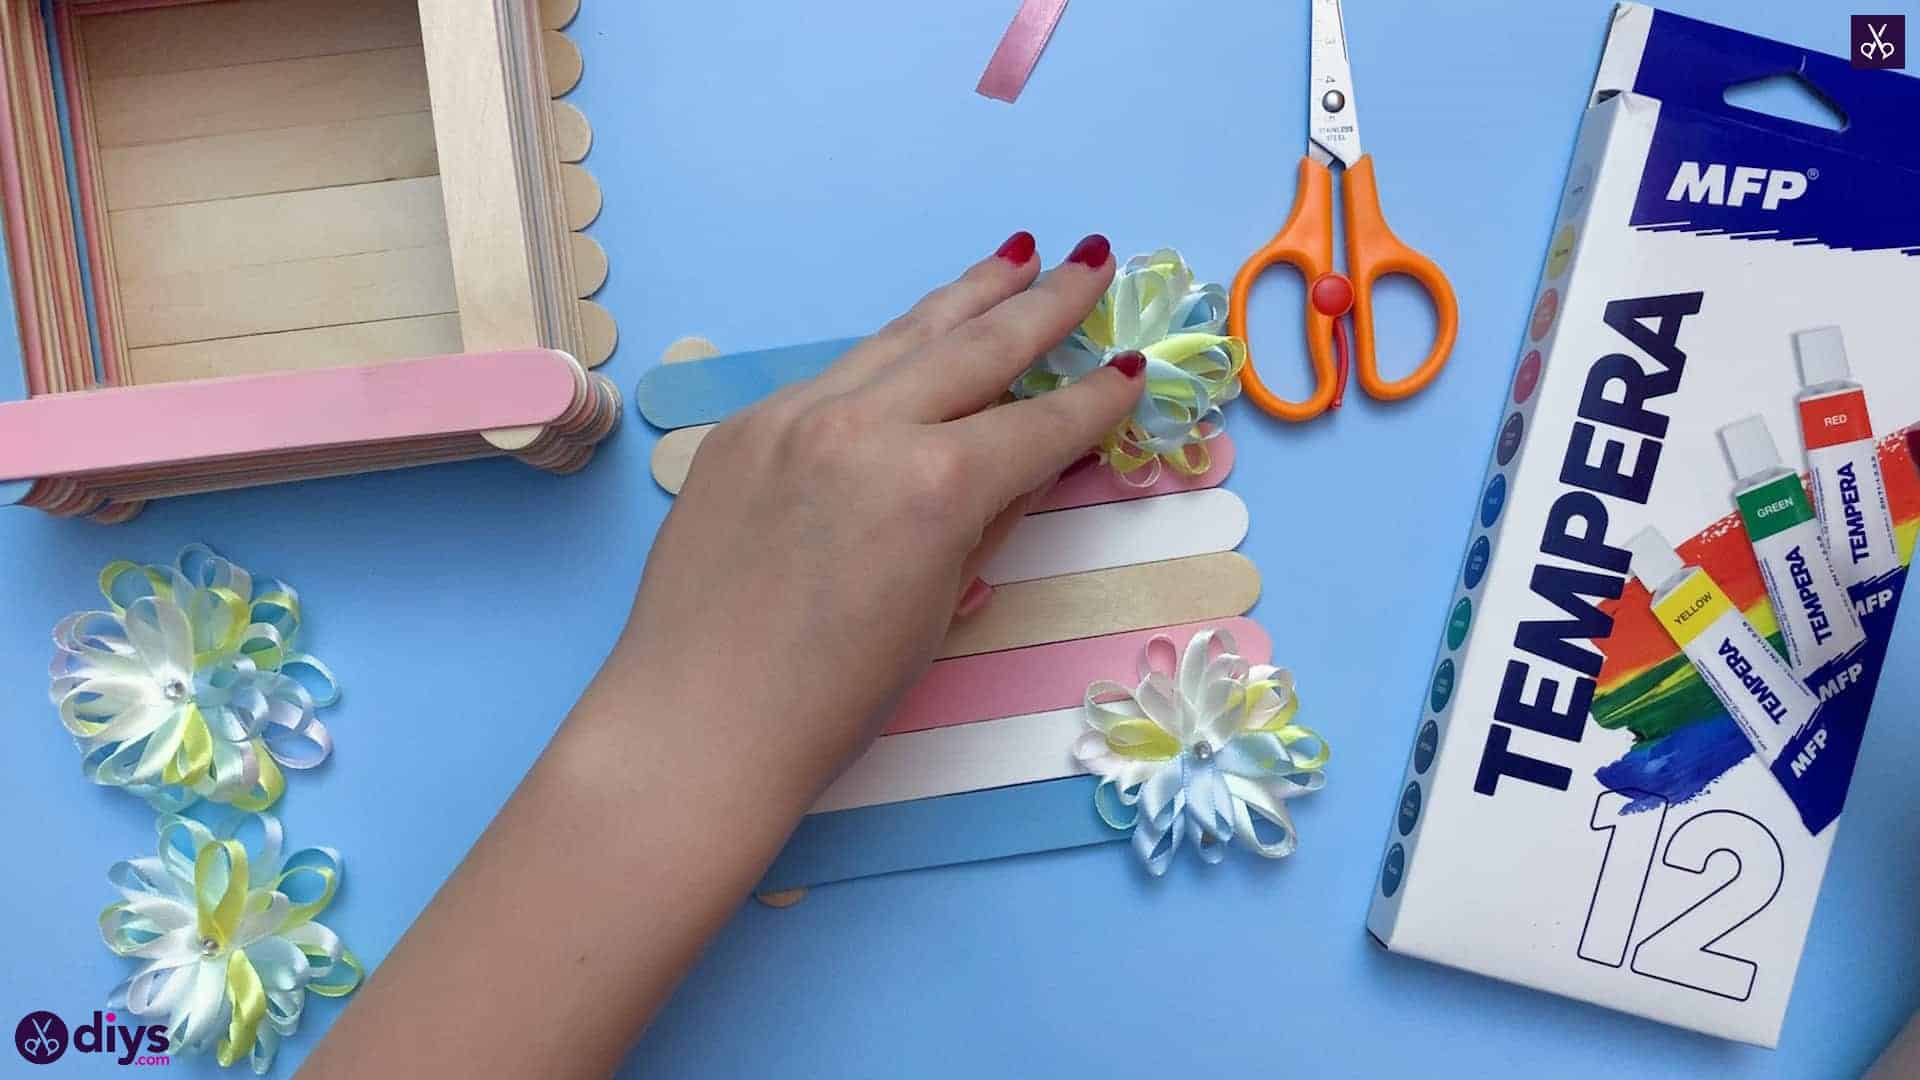
Apply glue to the underside or back of each flower, on the purple card base. Stick each one down in one of the four corners of the lid and then place the lid on the box.

You’re all finished! Feel free to customize this idea by using whatever colours you like best if you’re not feeling my white, pink, and blue scheme. Just in case you’d like to try this project out for yourself, here’s a fantastic tutorial video to help you!