DIY Pencil Puppet
Updated on November 19, 2025


I’m always trying to come up with projects that are simultaneously fun crafts but also toys when they’re all finished! These little pencil puppets we made together are the perfect example of what we mean, and they were a whole lot of fun to both make and outline. Our kids have used them for all kinds of games while they draw and do homework since we finished them!
Check out these full instructions for making them, complete with photos! If you prefer video tutorials to written ones, keep scrolling to the end of this post to find what you’re looking for.
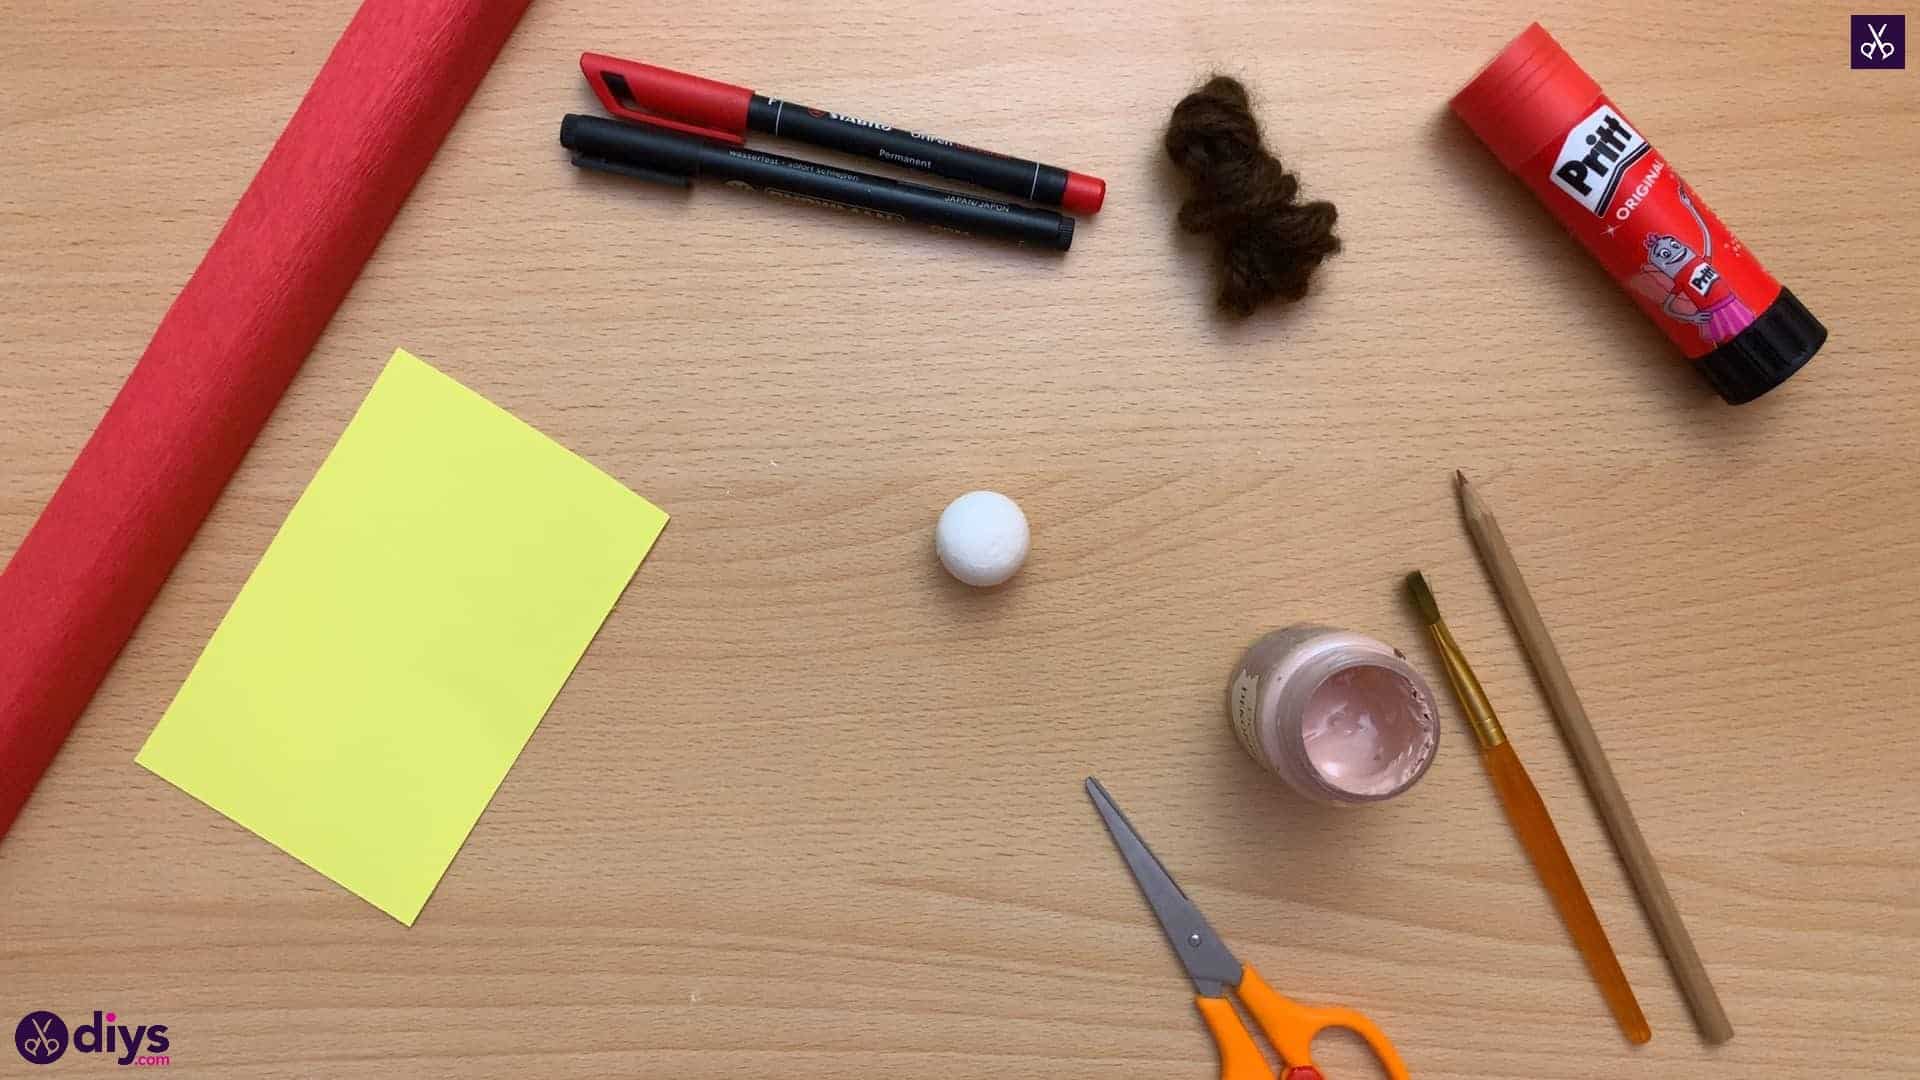
For this project, you’ll need:
- A pencil
- A spun cotton ball
- A cue card
- Brown yarn
- Red crepe paper
- Scissors
- A glue stick
- Light pink paint
- A paintbrush
- Markers (red and black)
Step 1: prep
Gather your materials!

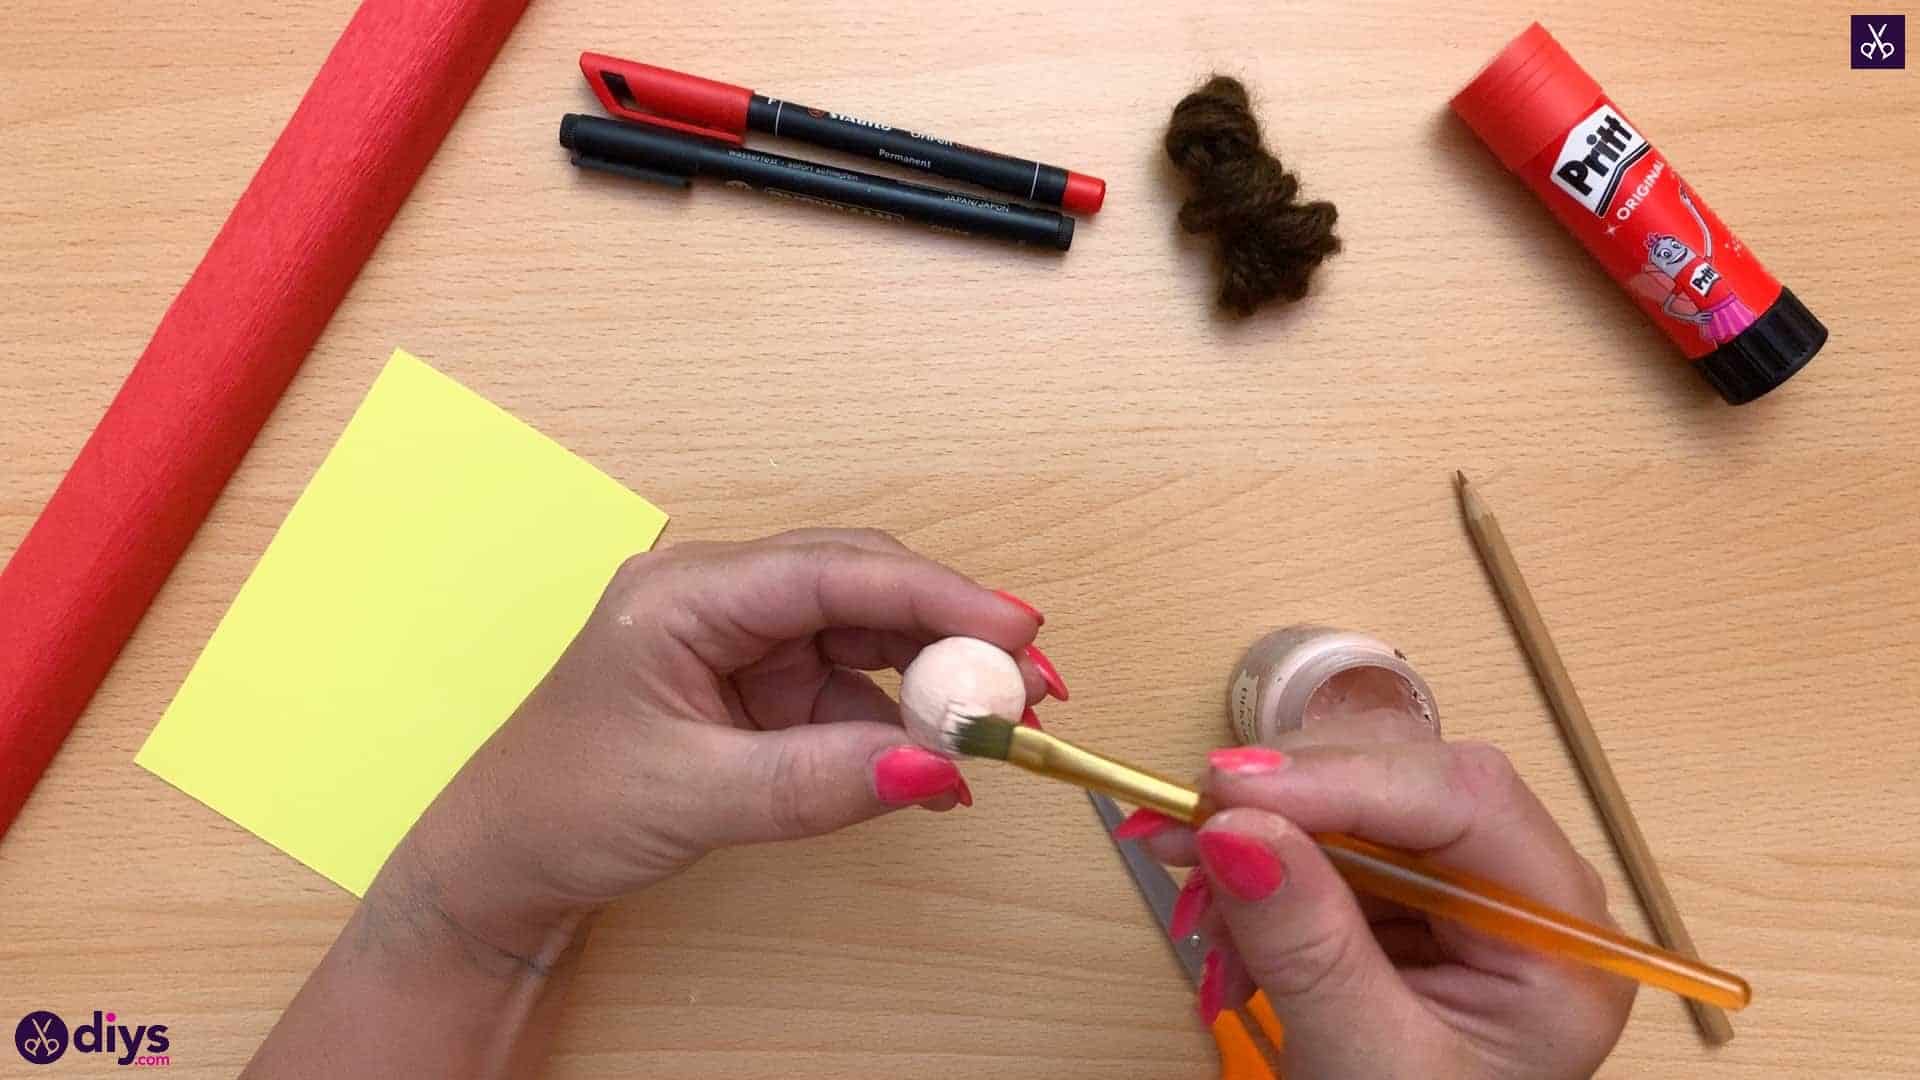
Step 2: paint the ball
Use your paintbrush to paint your spun cotton ball light pink all the way around, covering its entire surface.

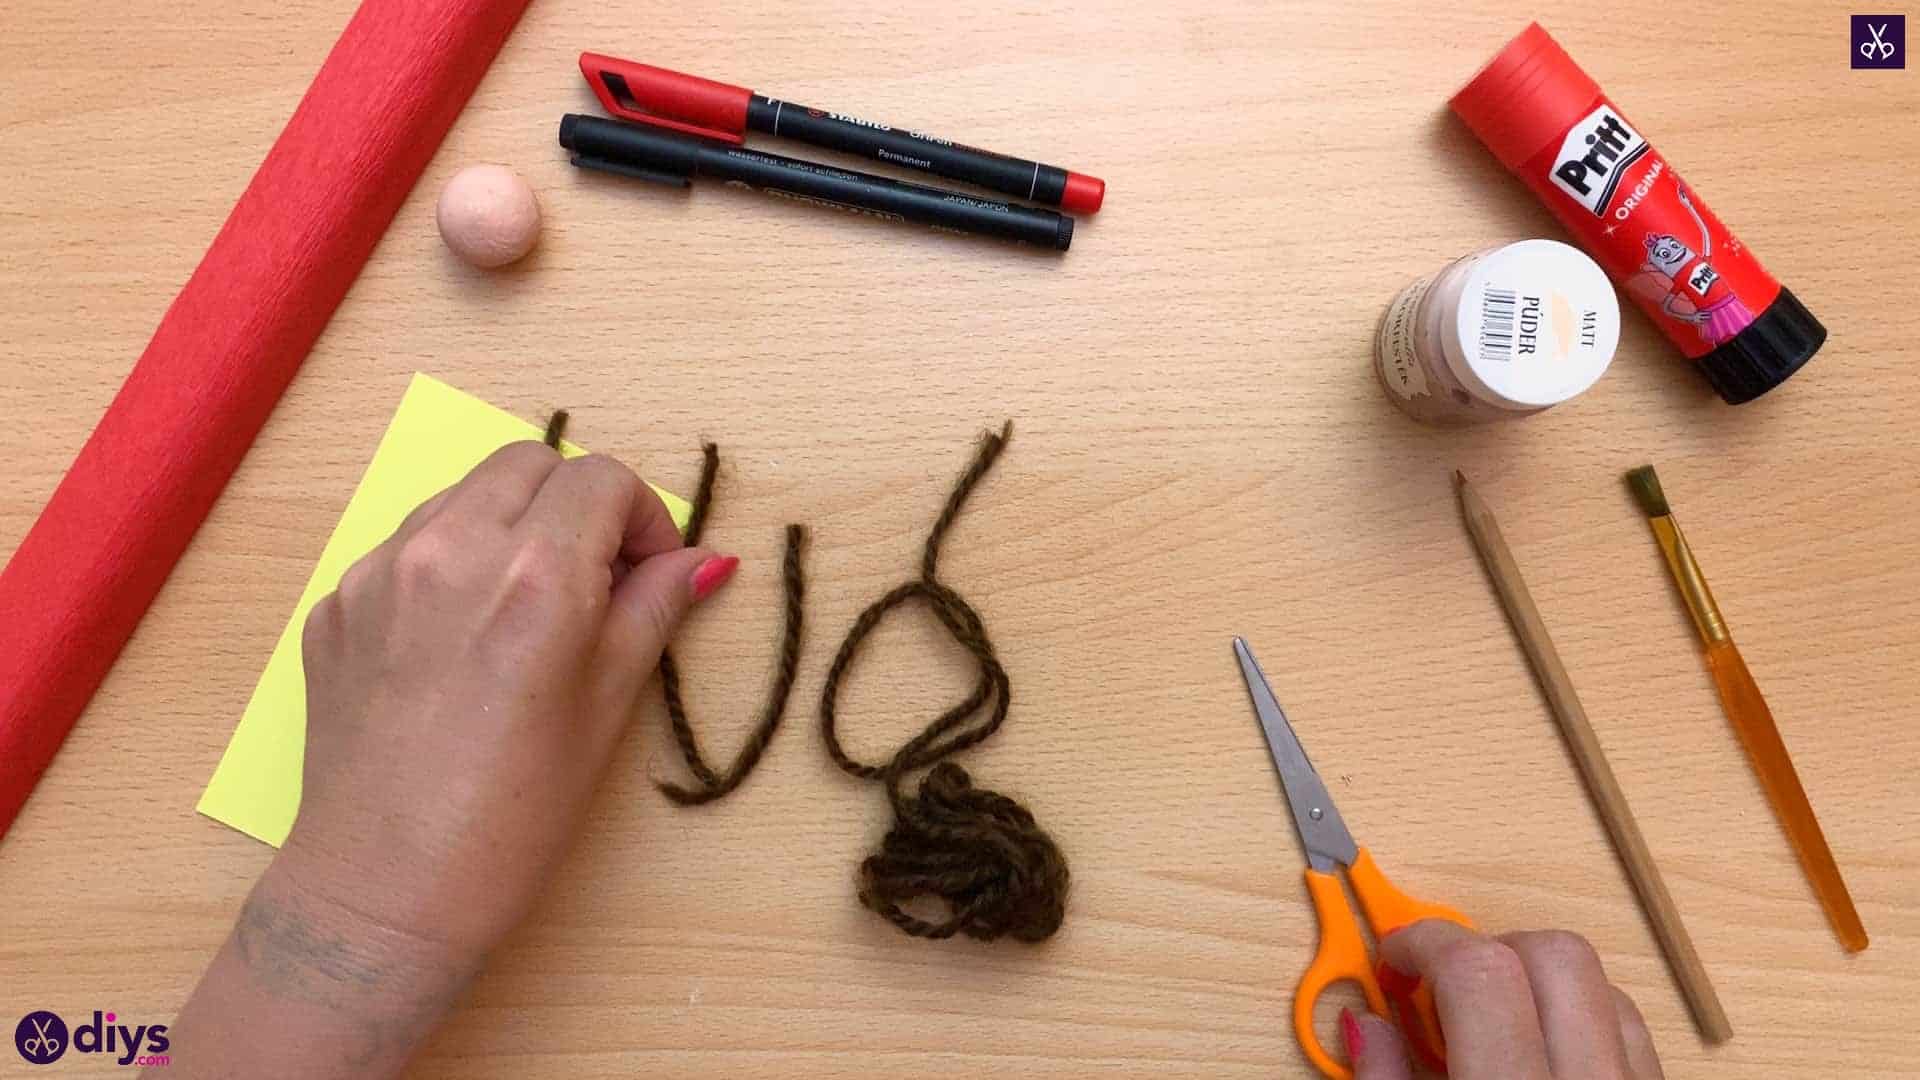
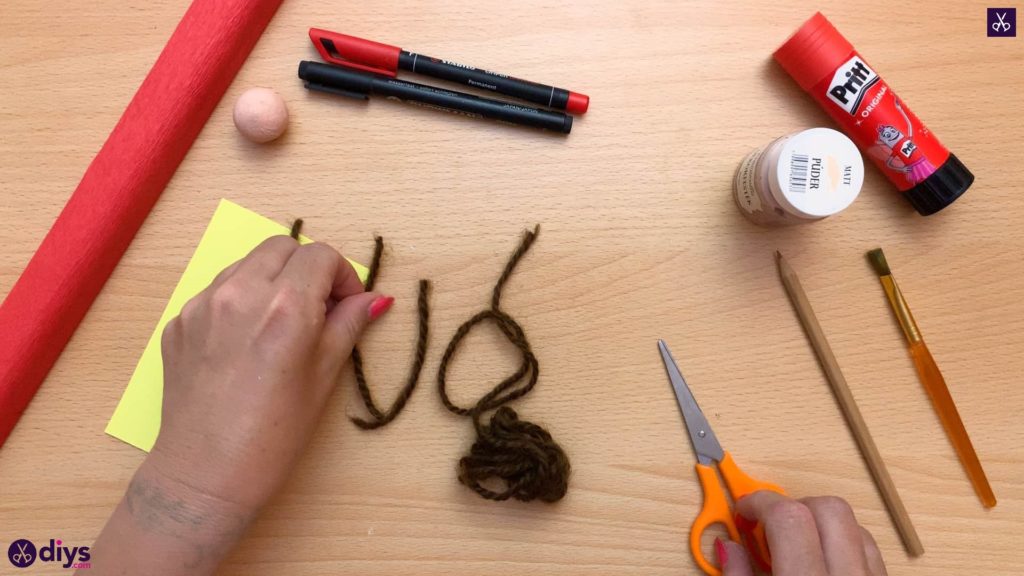
Step 3: cut two strands
Cut three two inch long strands of your brown yarn and set them aside for now.
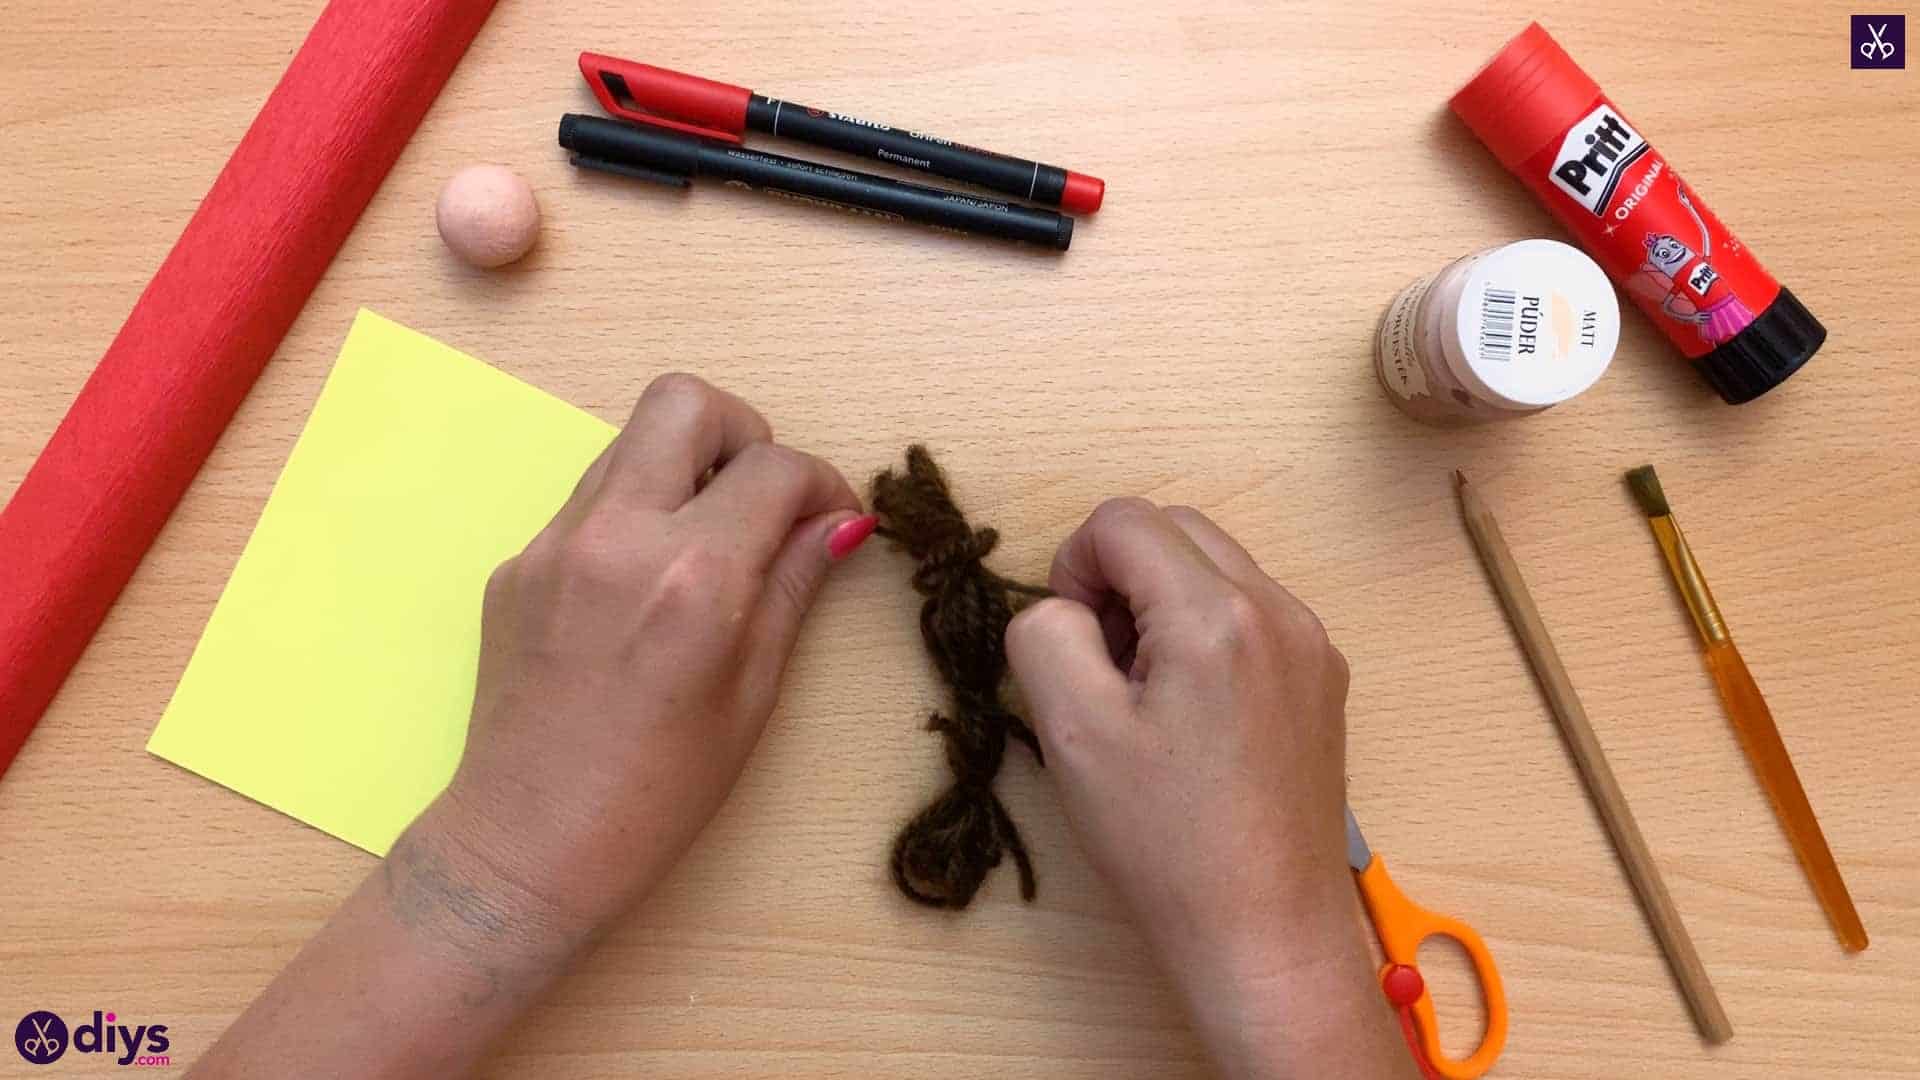
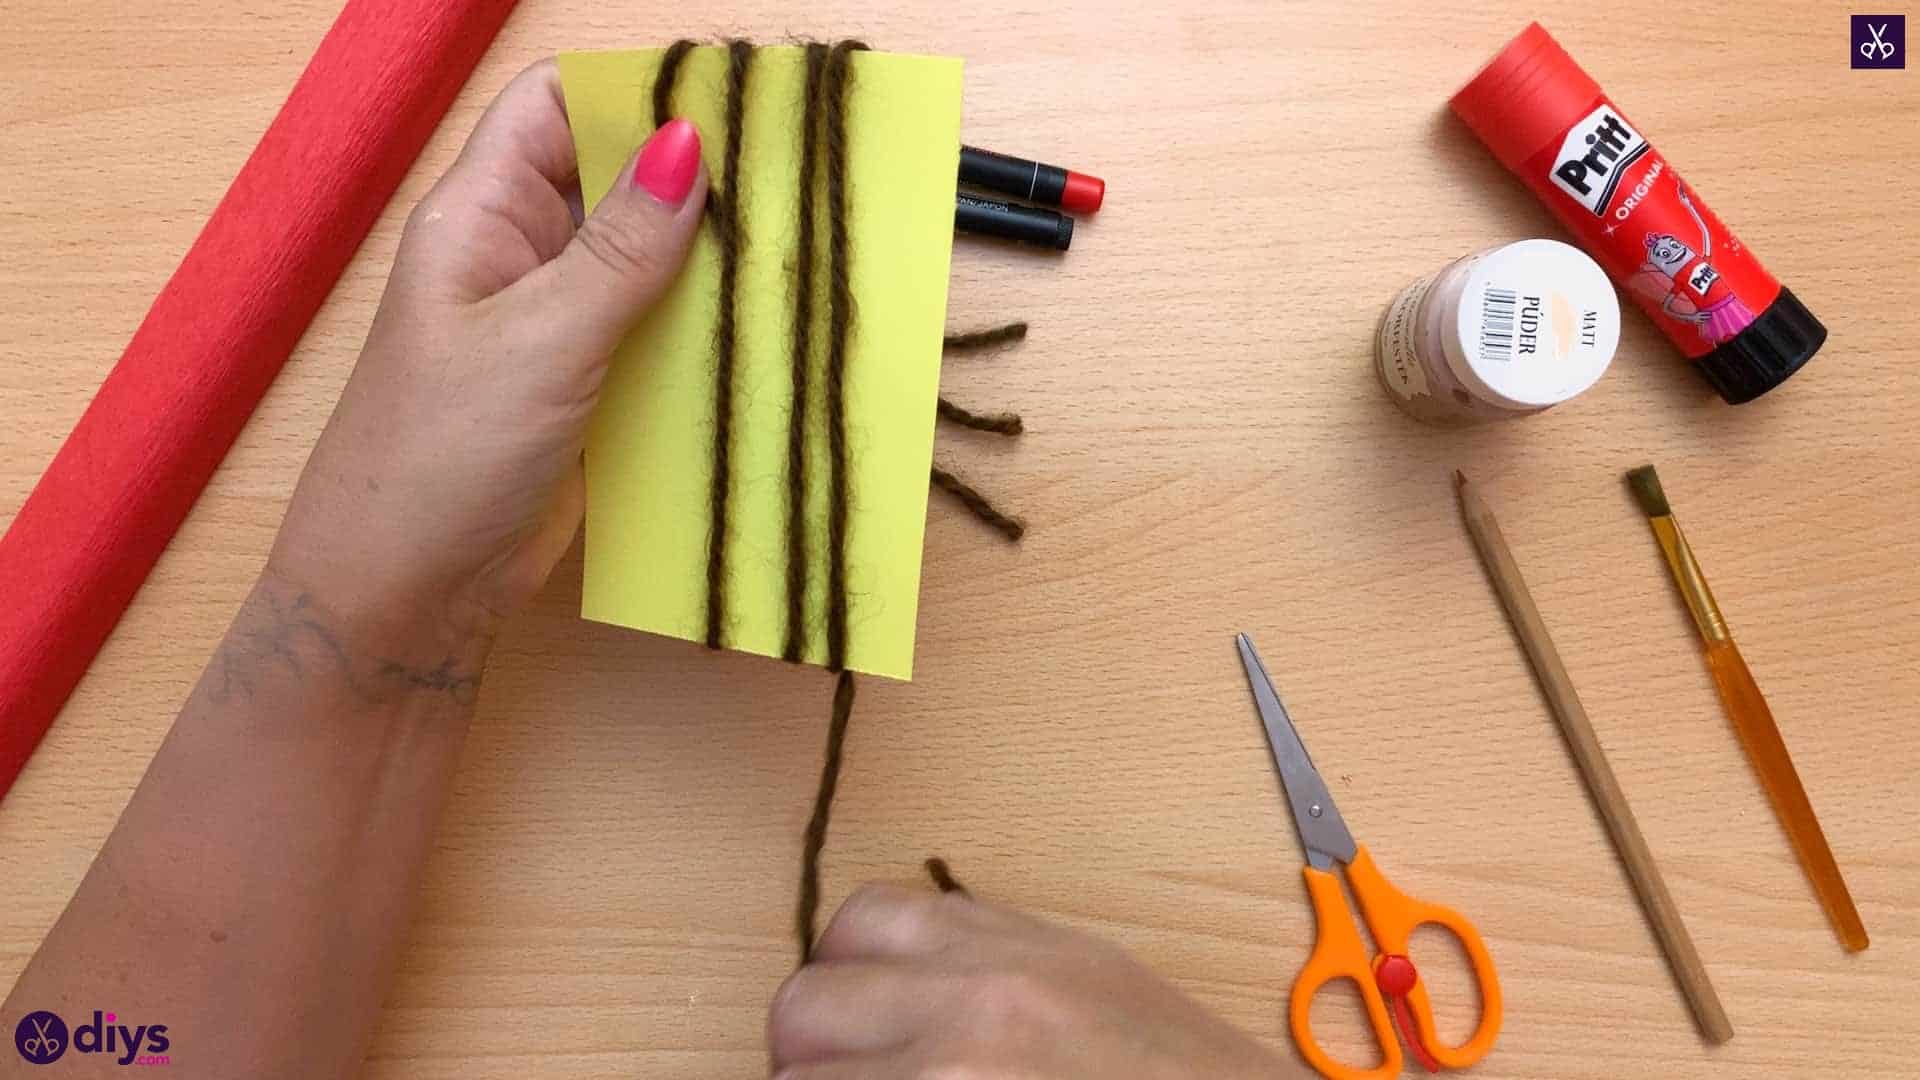
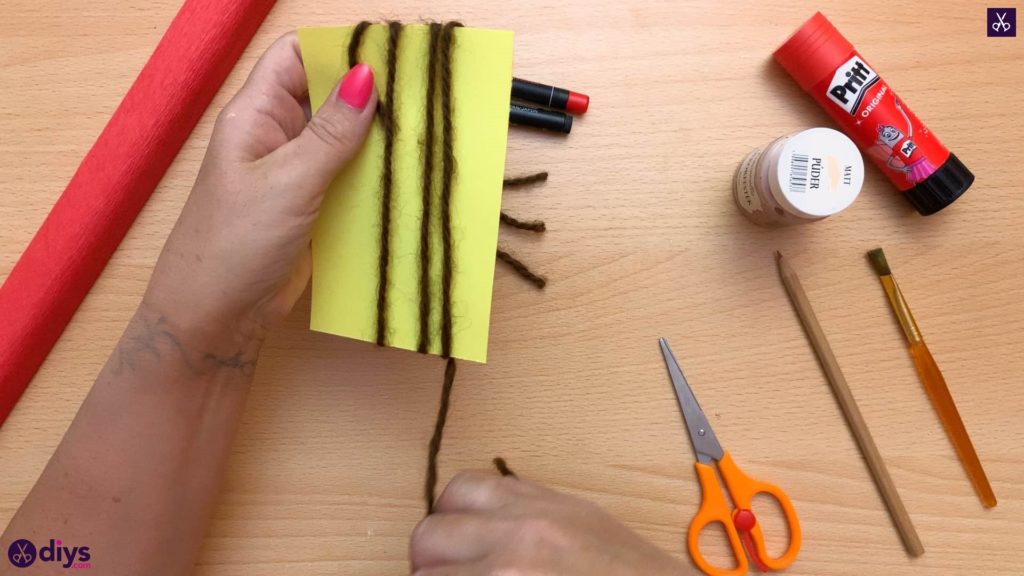
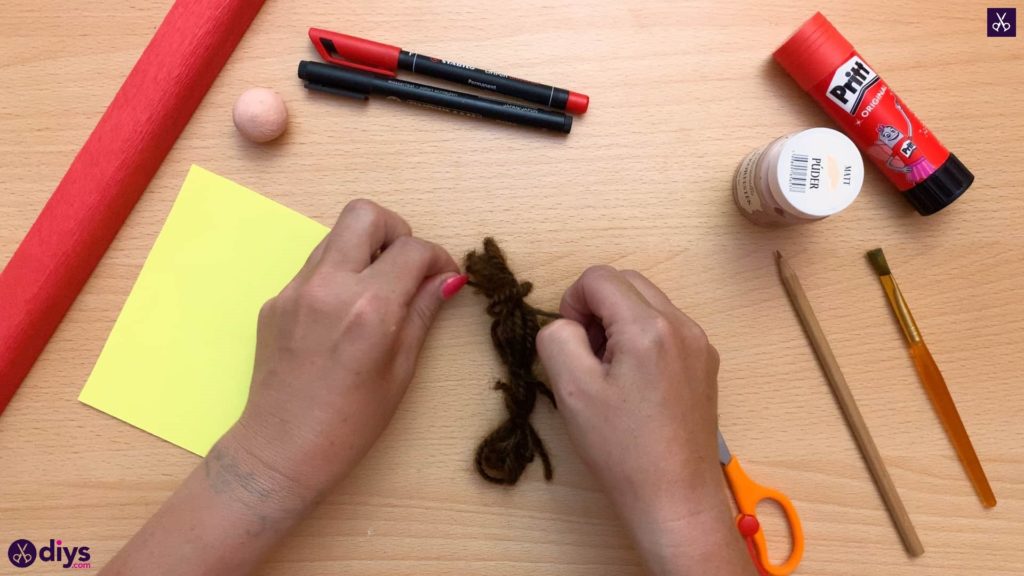
Step 4: start making hair
Use your cue card as a guide for wrapping your brown yarn in order to make your puppet’s hair. Turn the card in a portrait direction and, holding the end against the front of the card with your thumb, wrap it around and around the whole length. I wrapped mine about five or six times. Cut the yarn free from the ball and, holding the whole bundle together so it doesn’t unravel or become tangled, slide it off the side of the cue card.
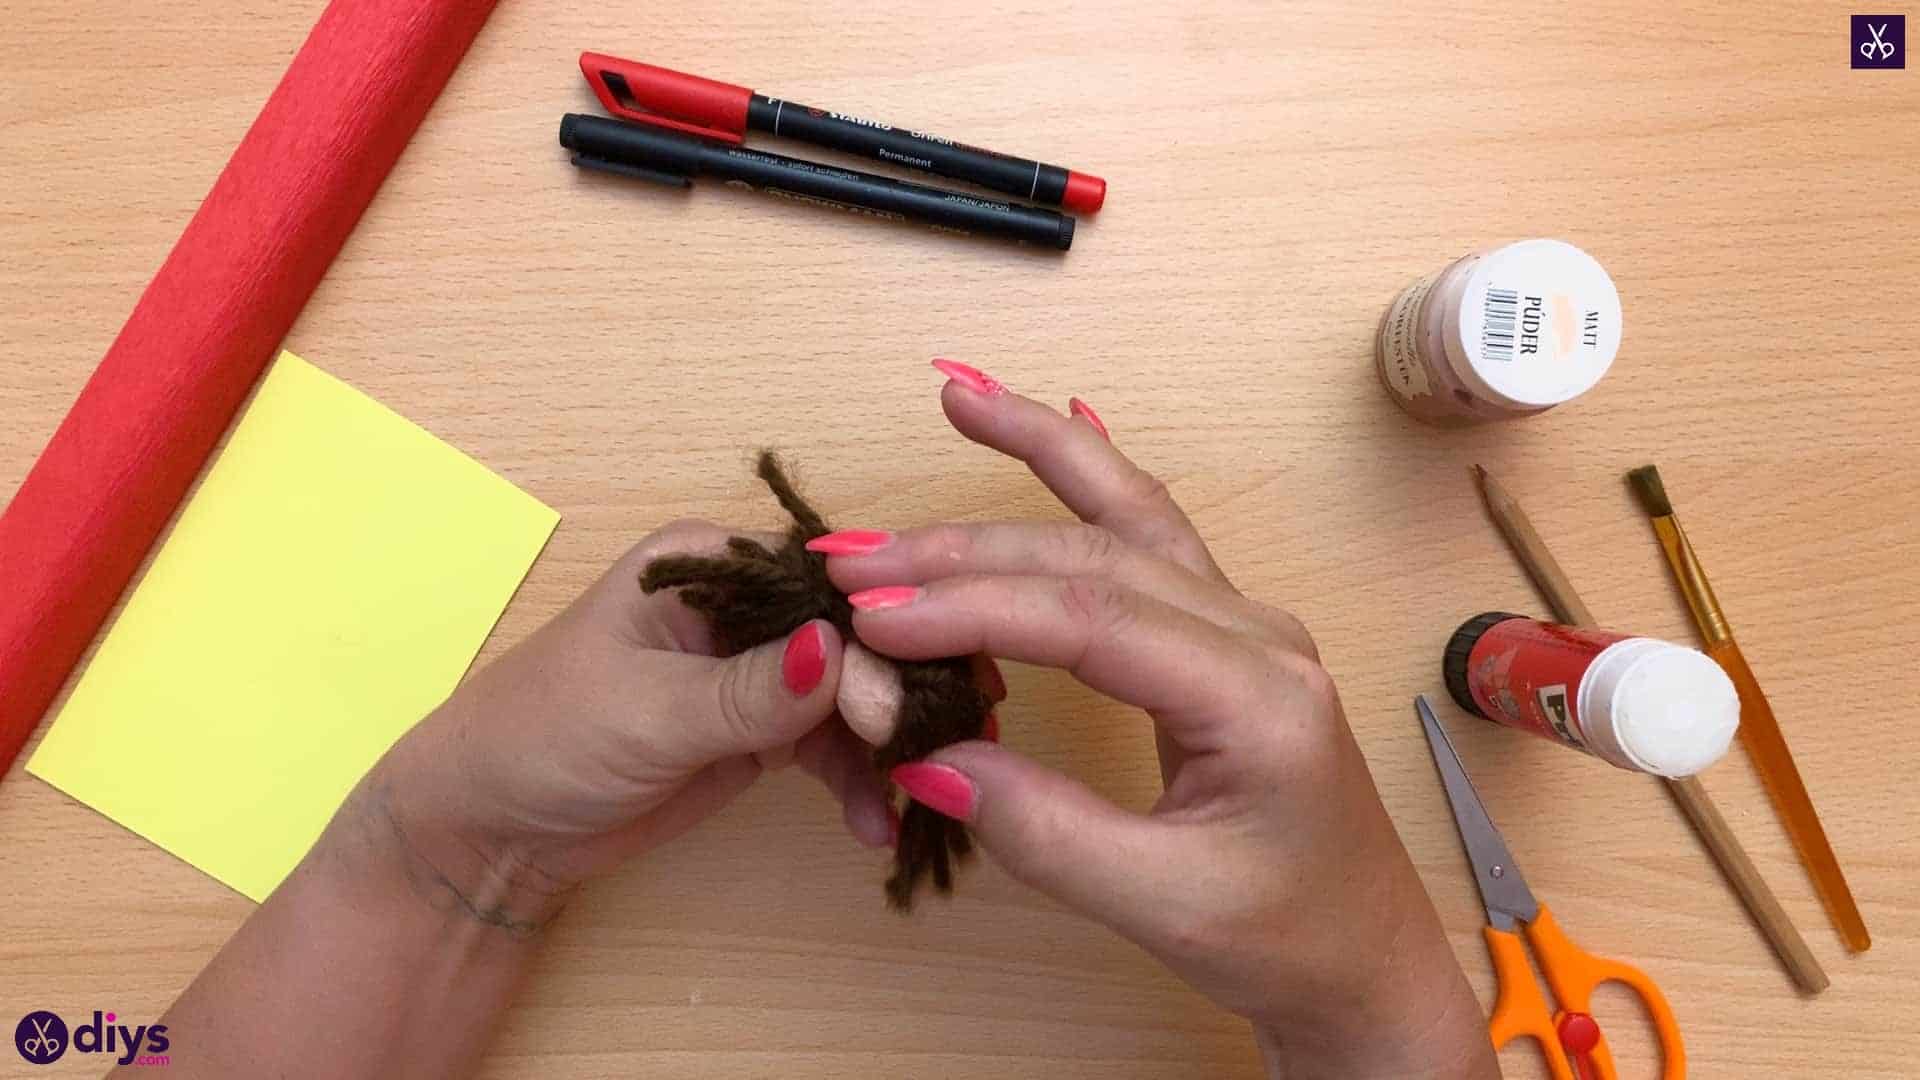
Step 5: cinch ends
Use the first of your three to cinch your hair strands and hold them together by tying it around the middle of the whole bundle and knotting it tightly. Tie the second short cut piece around the hair again halfway between that middle knot you made and the right end of the bundle, then do the same thing with the third piece and the left side. You know have three tied, knotted, and cinched places along your loops of yarn.
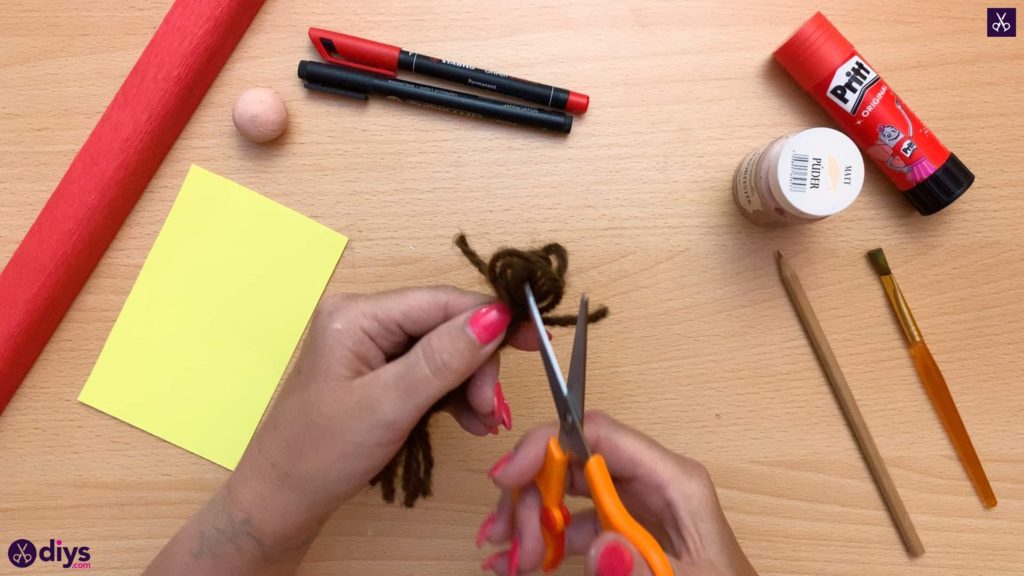
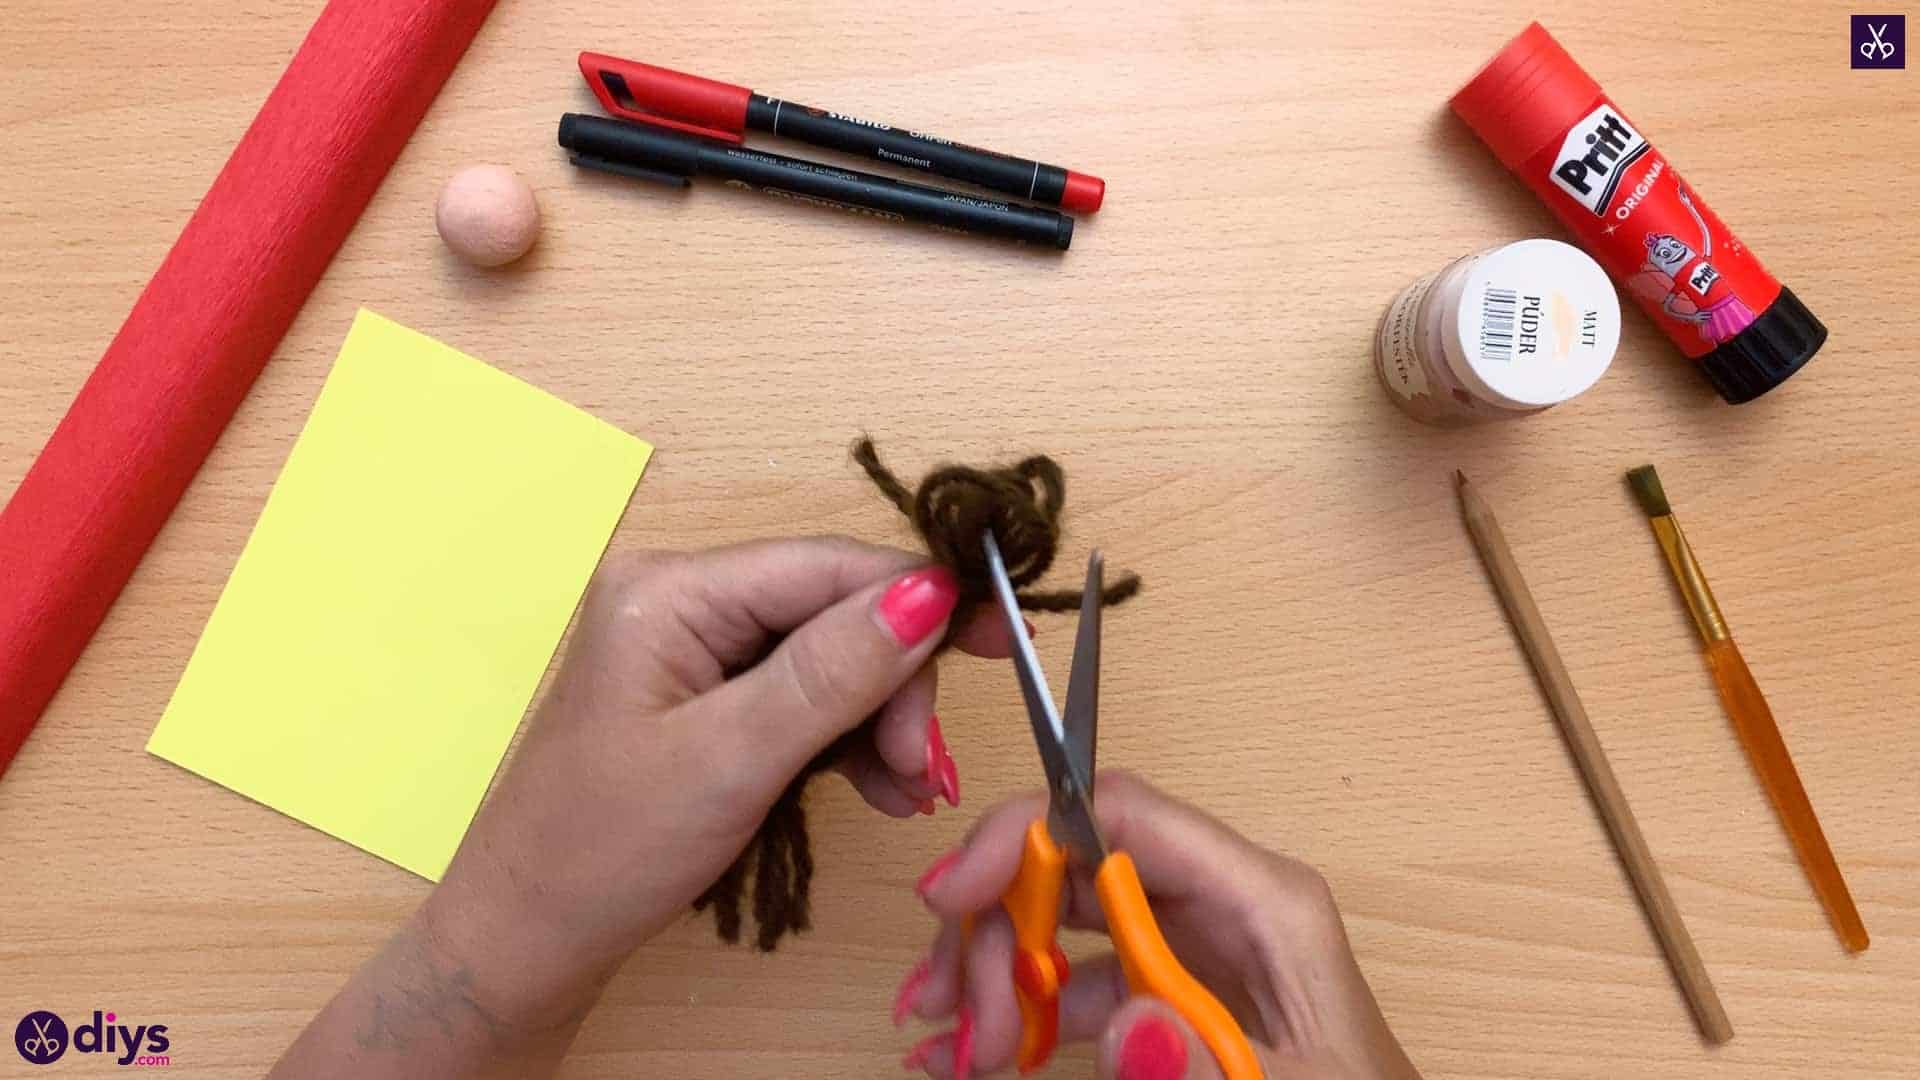
Step 6: add the head
Use your scissors to trim the ends of your knotted pieces. Then cut the loops at each end of your yarn bundle to cut the ends free into individual strands. Your puppet now has pigtails!

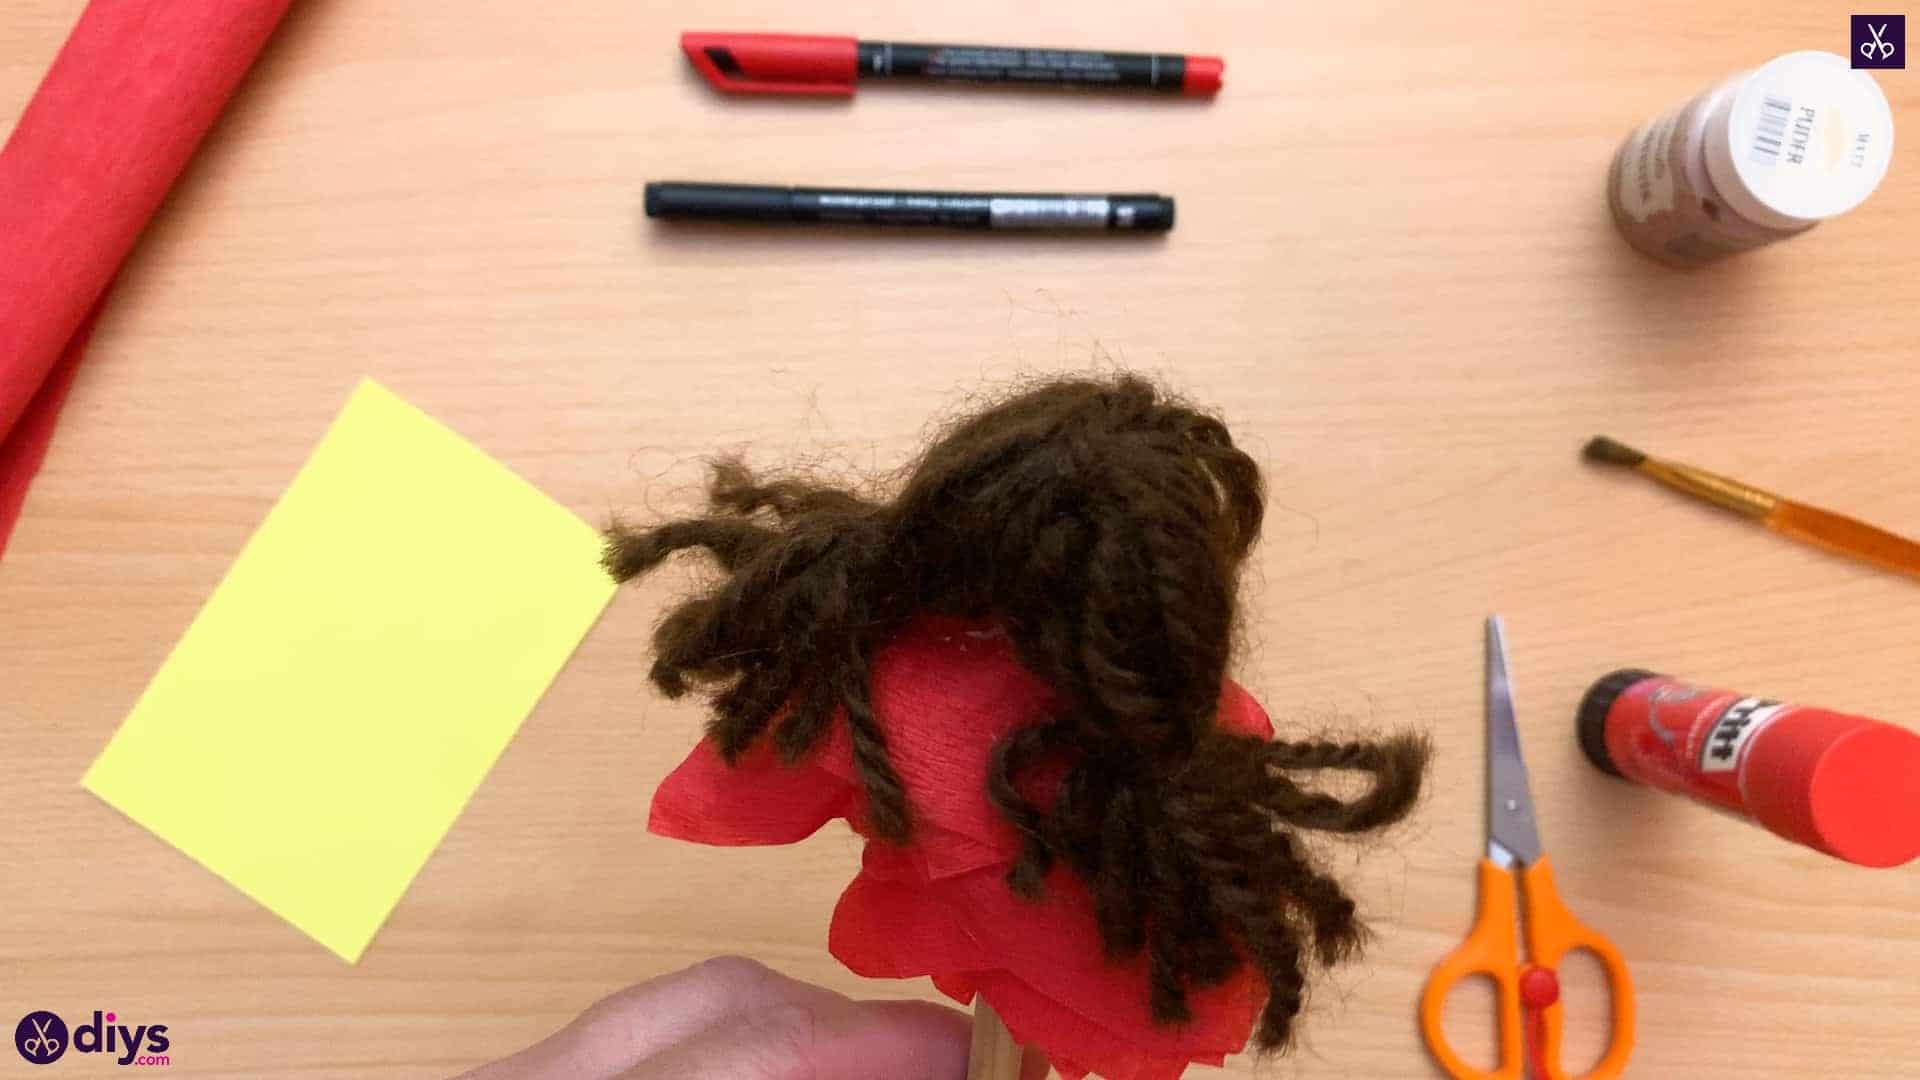
Step 7: glue the hair
Apply glue to one side of your doll’s head, which is the pink ball you painted earlier, and stick your hair down. Make sure to press it down where your middle knot is. This will be the puppet’s hair parting at the top of the head.
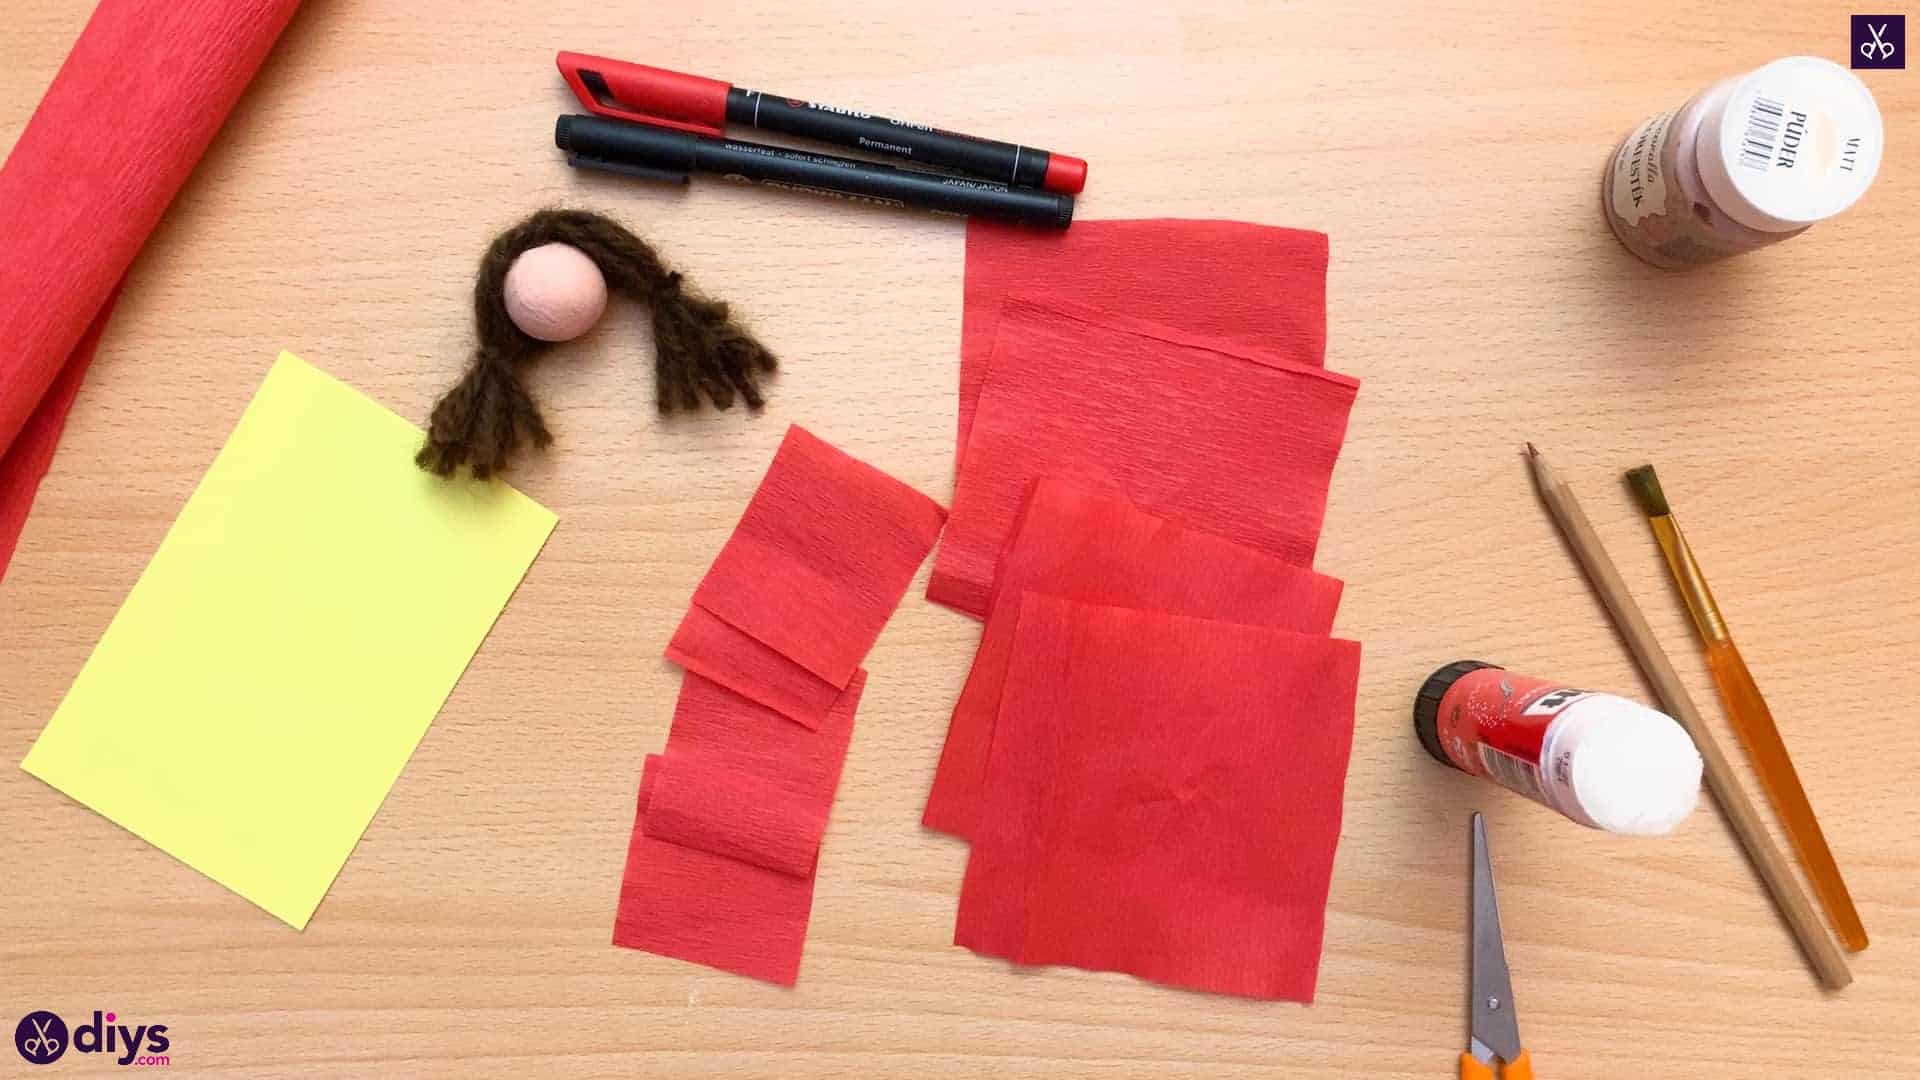
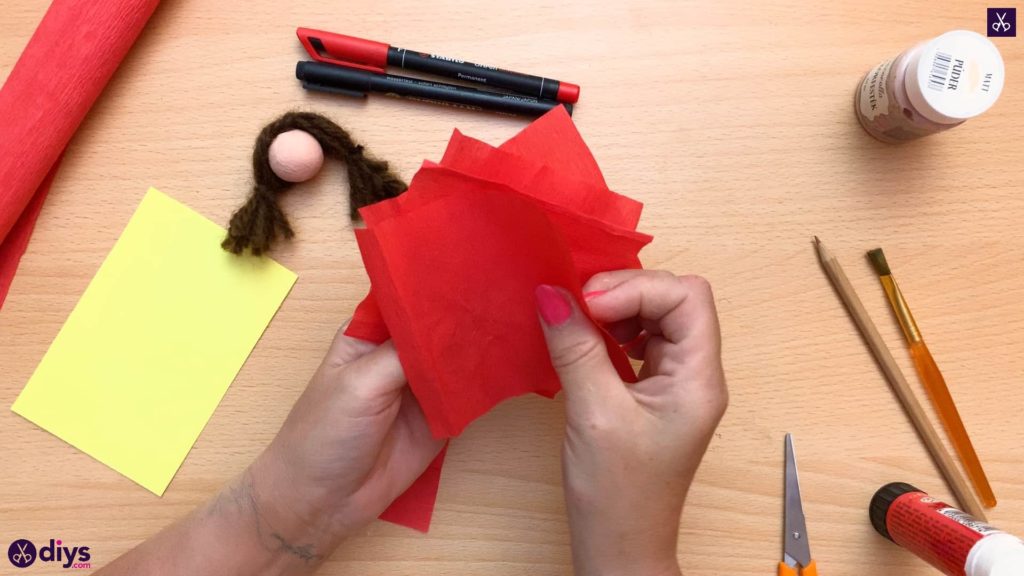
Step 8: cut the crepe paper
Cut a strip from your roll of crepe paper that is the full length of the roll and about two inches wide. Fold the strip upwards and crease it about two inches folded as well, making an even square shape. Turn the paper and fold it by the same dimensions again, then keep repeating this to fold the paper accordion style until you have layered squares. Cut along the creases to make several separate square shapes of the same size. Repeat this whole process again with a thinner strip only about one inch wide, and fold it over inch by inch to get even squares the same way you did before, but smaller this time.

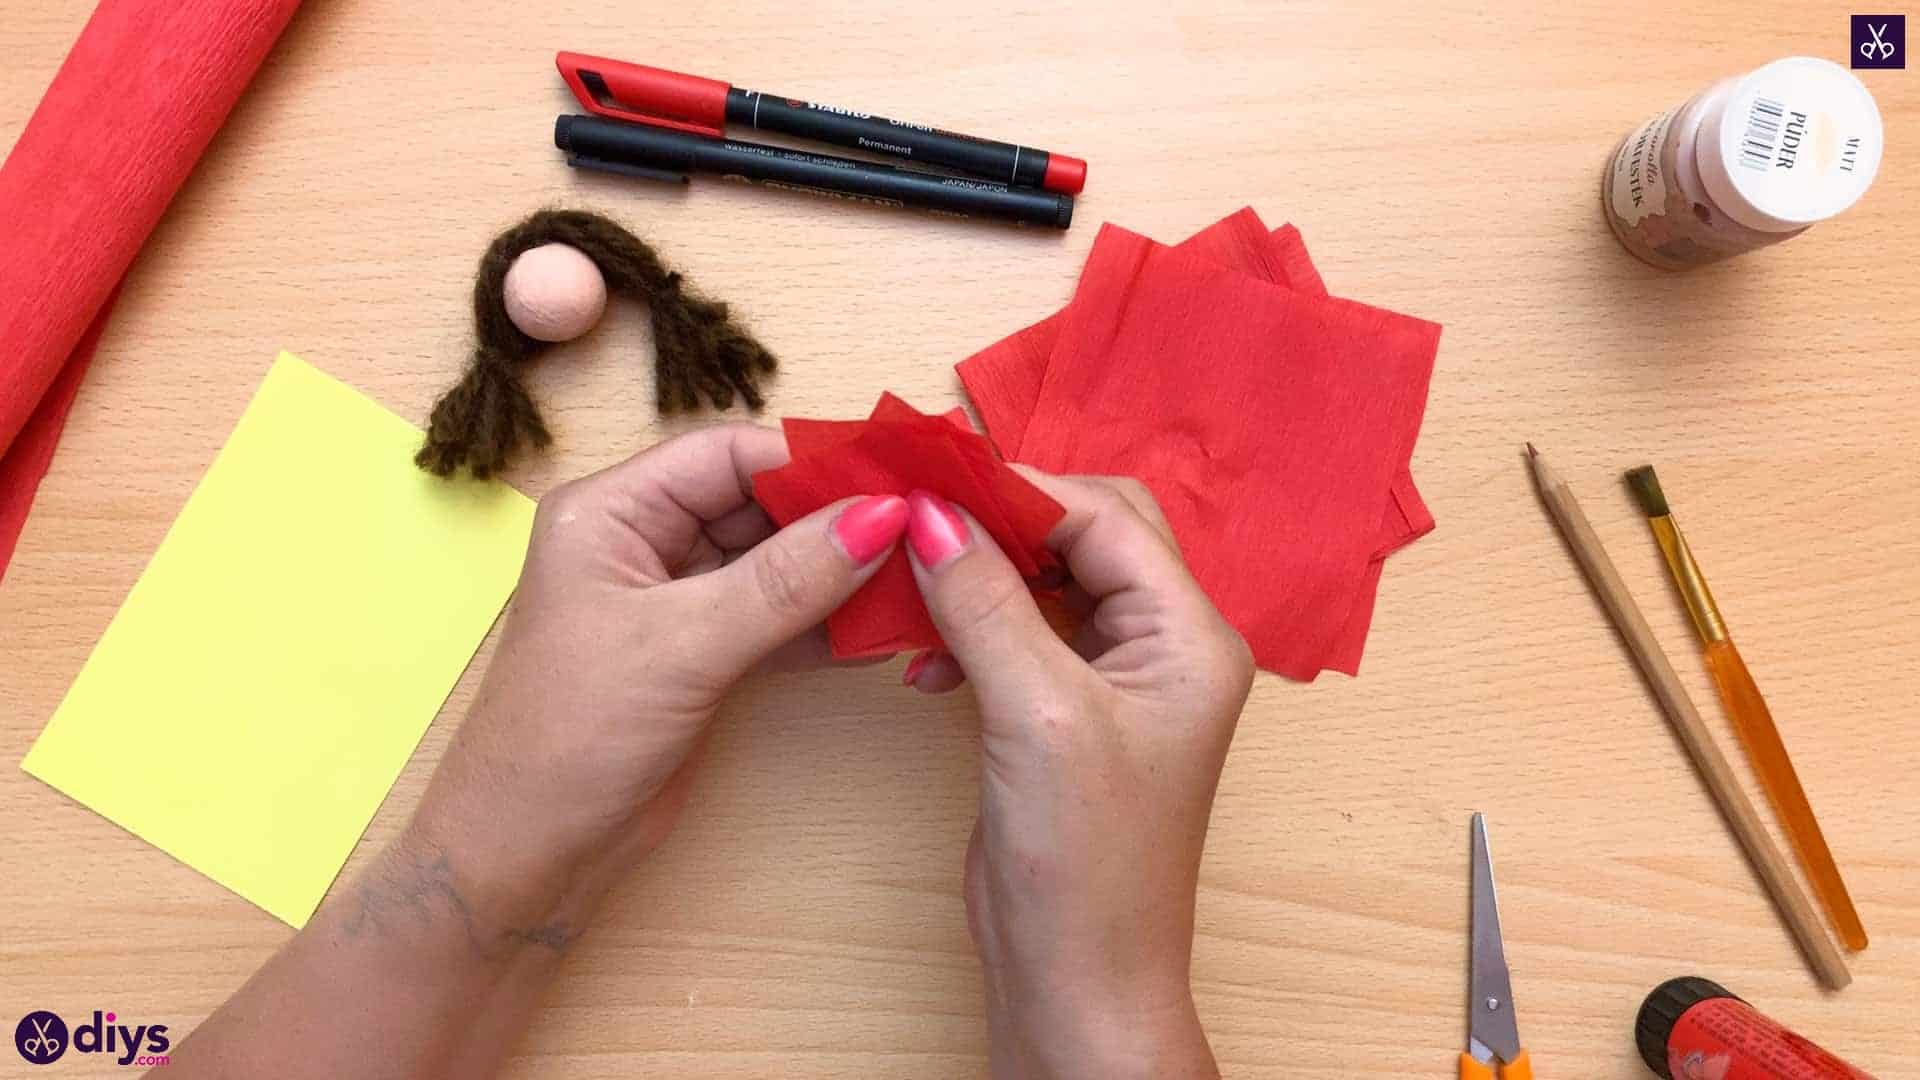
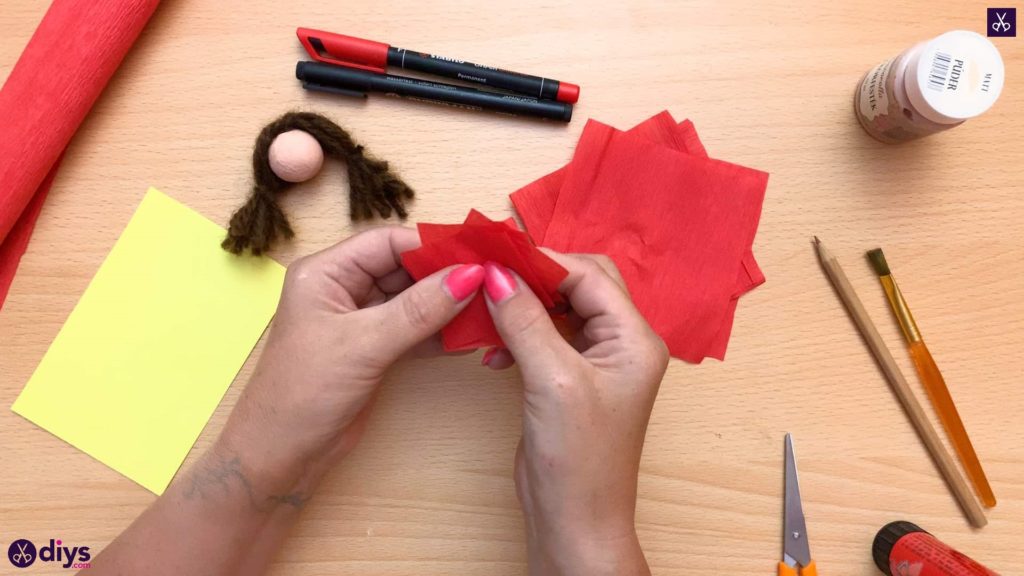
Step 9: stack
Layer your larger squares by applying glue to the center of one and sticking another one down on top, but turned so that its corners overlap where the straight edges of the first square are, rather than meeting the first one’s corners evenly. Repeat this process until you’ve layered all of your big squares, turning the squares slightly each time to fill a space and get a more voluminous effect. This will be your puppet’s skirt.
Step 10: repeat but smaller
Use the same technique to layer your smaller squares. This will be the top of your puppet’s dress!
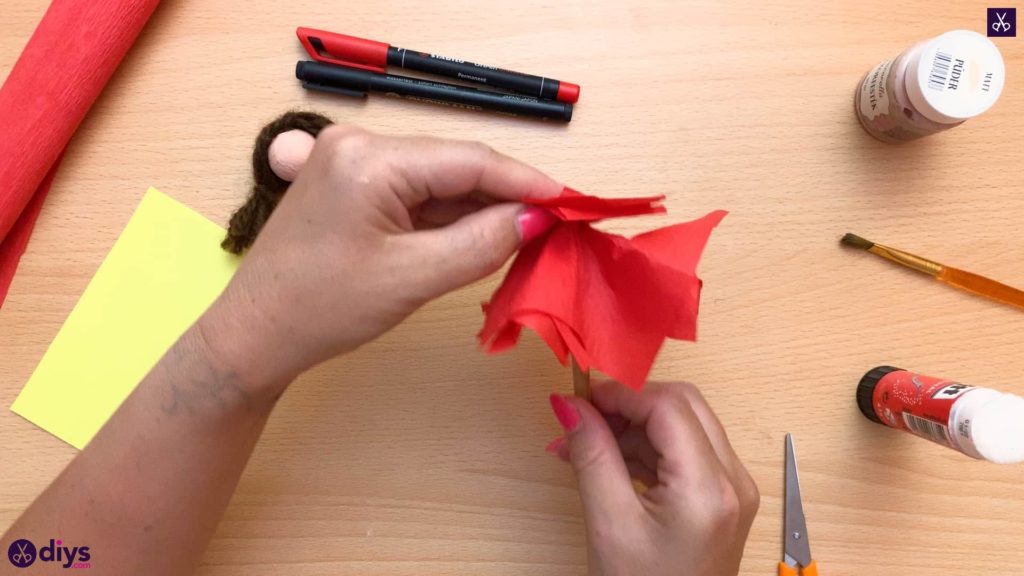
Step 11: glue to pencil
Apply glue around the unsharpened end of your pencil and press it into the middle of your larger layered squares. Smooth the crepe paper downwards, pinching it around the end of the pencil into the glue so it sticks to the end and sides. Then, apply glue to the covered end, over the middle of the large red layered squares, and repeat the process with the smaller squares, layering them over top of the larger ones so they hang down over them.
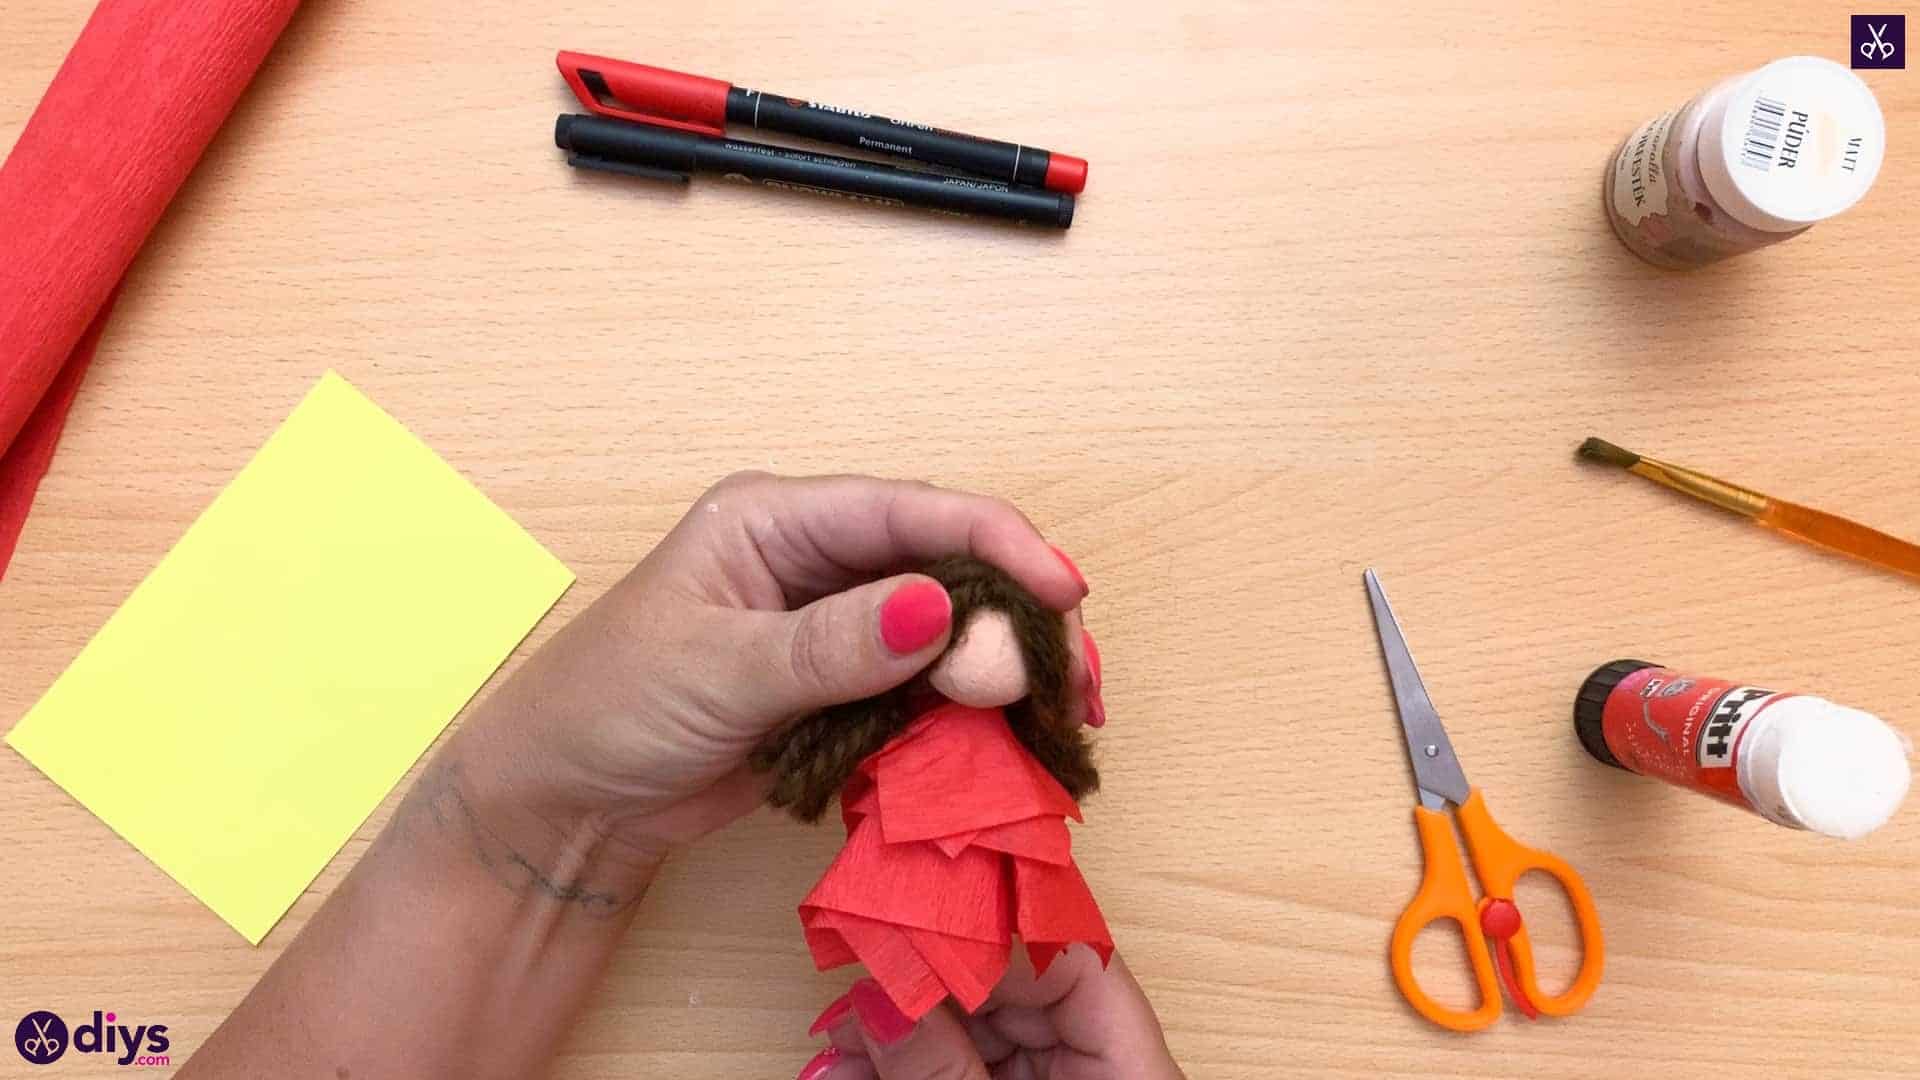
Step 12: attach head
Apply glue to the end of the pencil over the crepe paper again, as well as to the bottom of the puppet’s head (opposite the hair) and press the head into place.

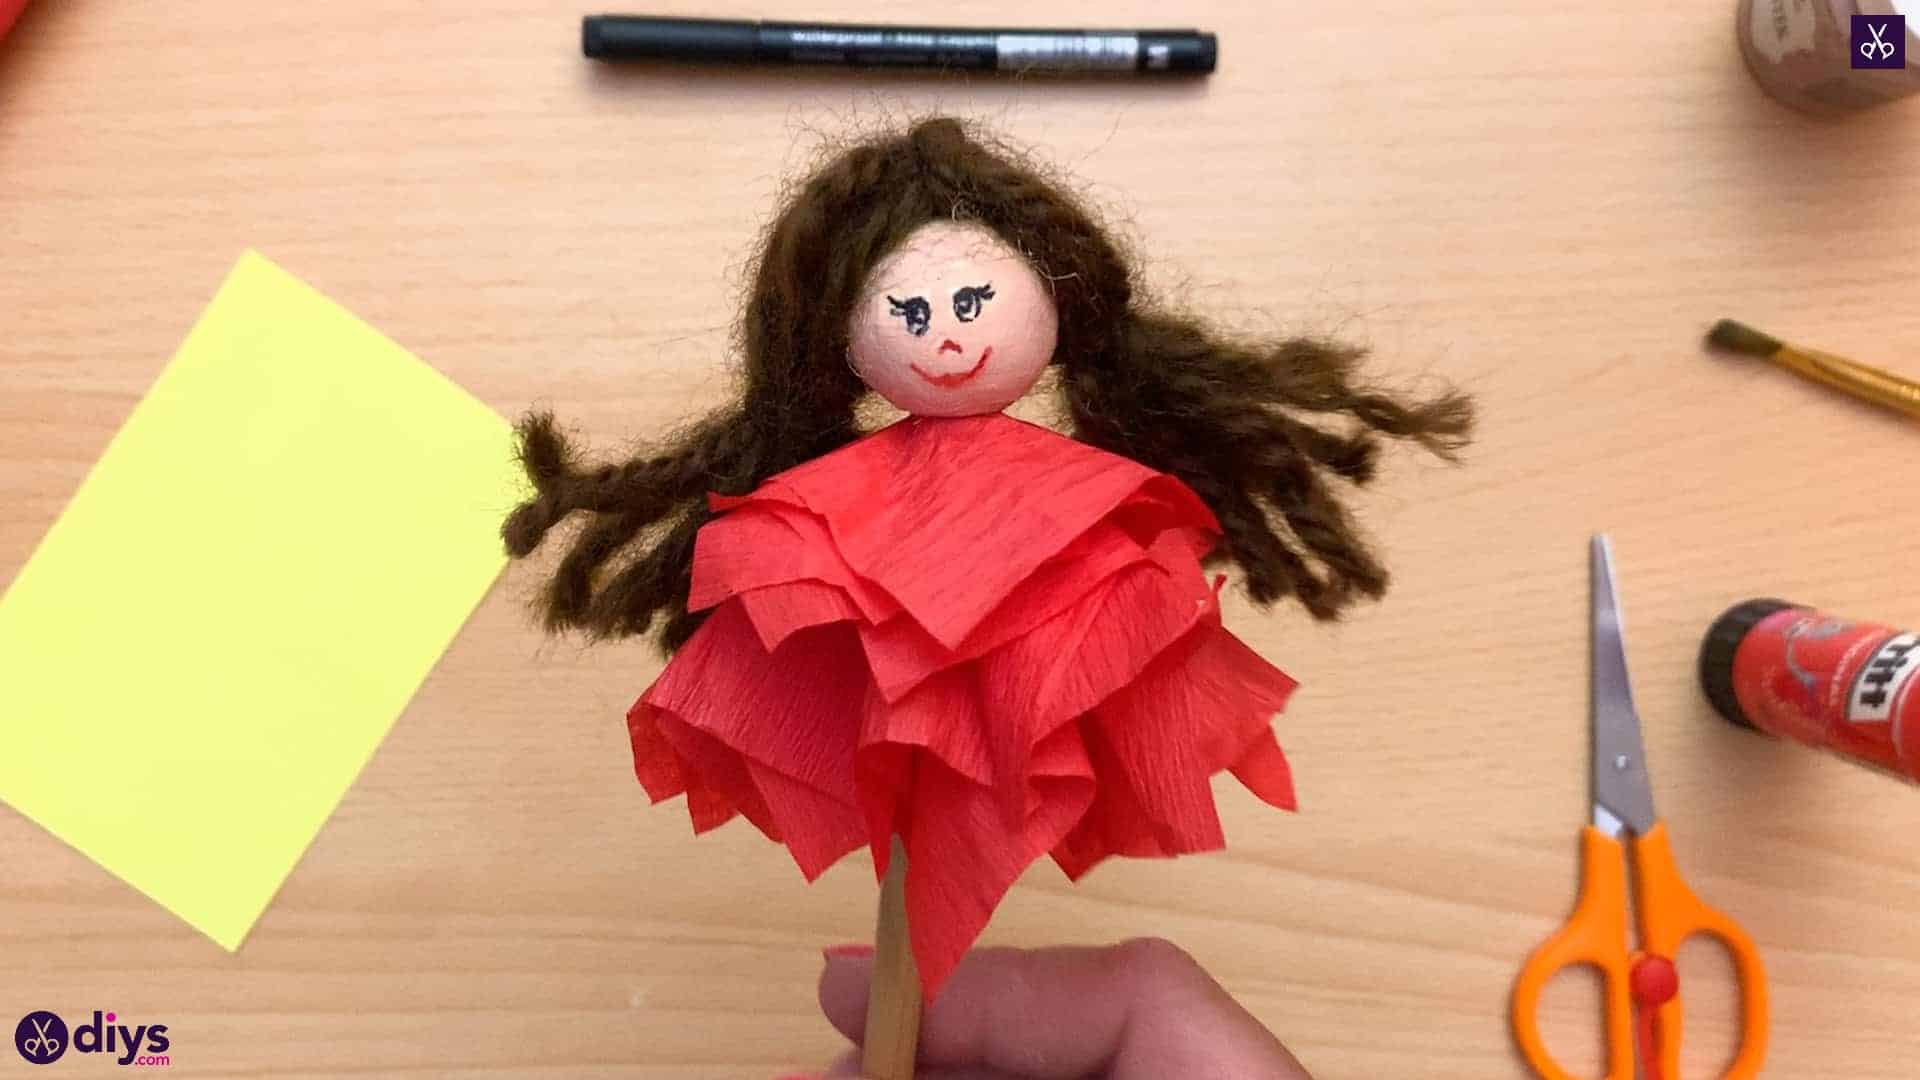
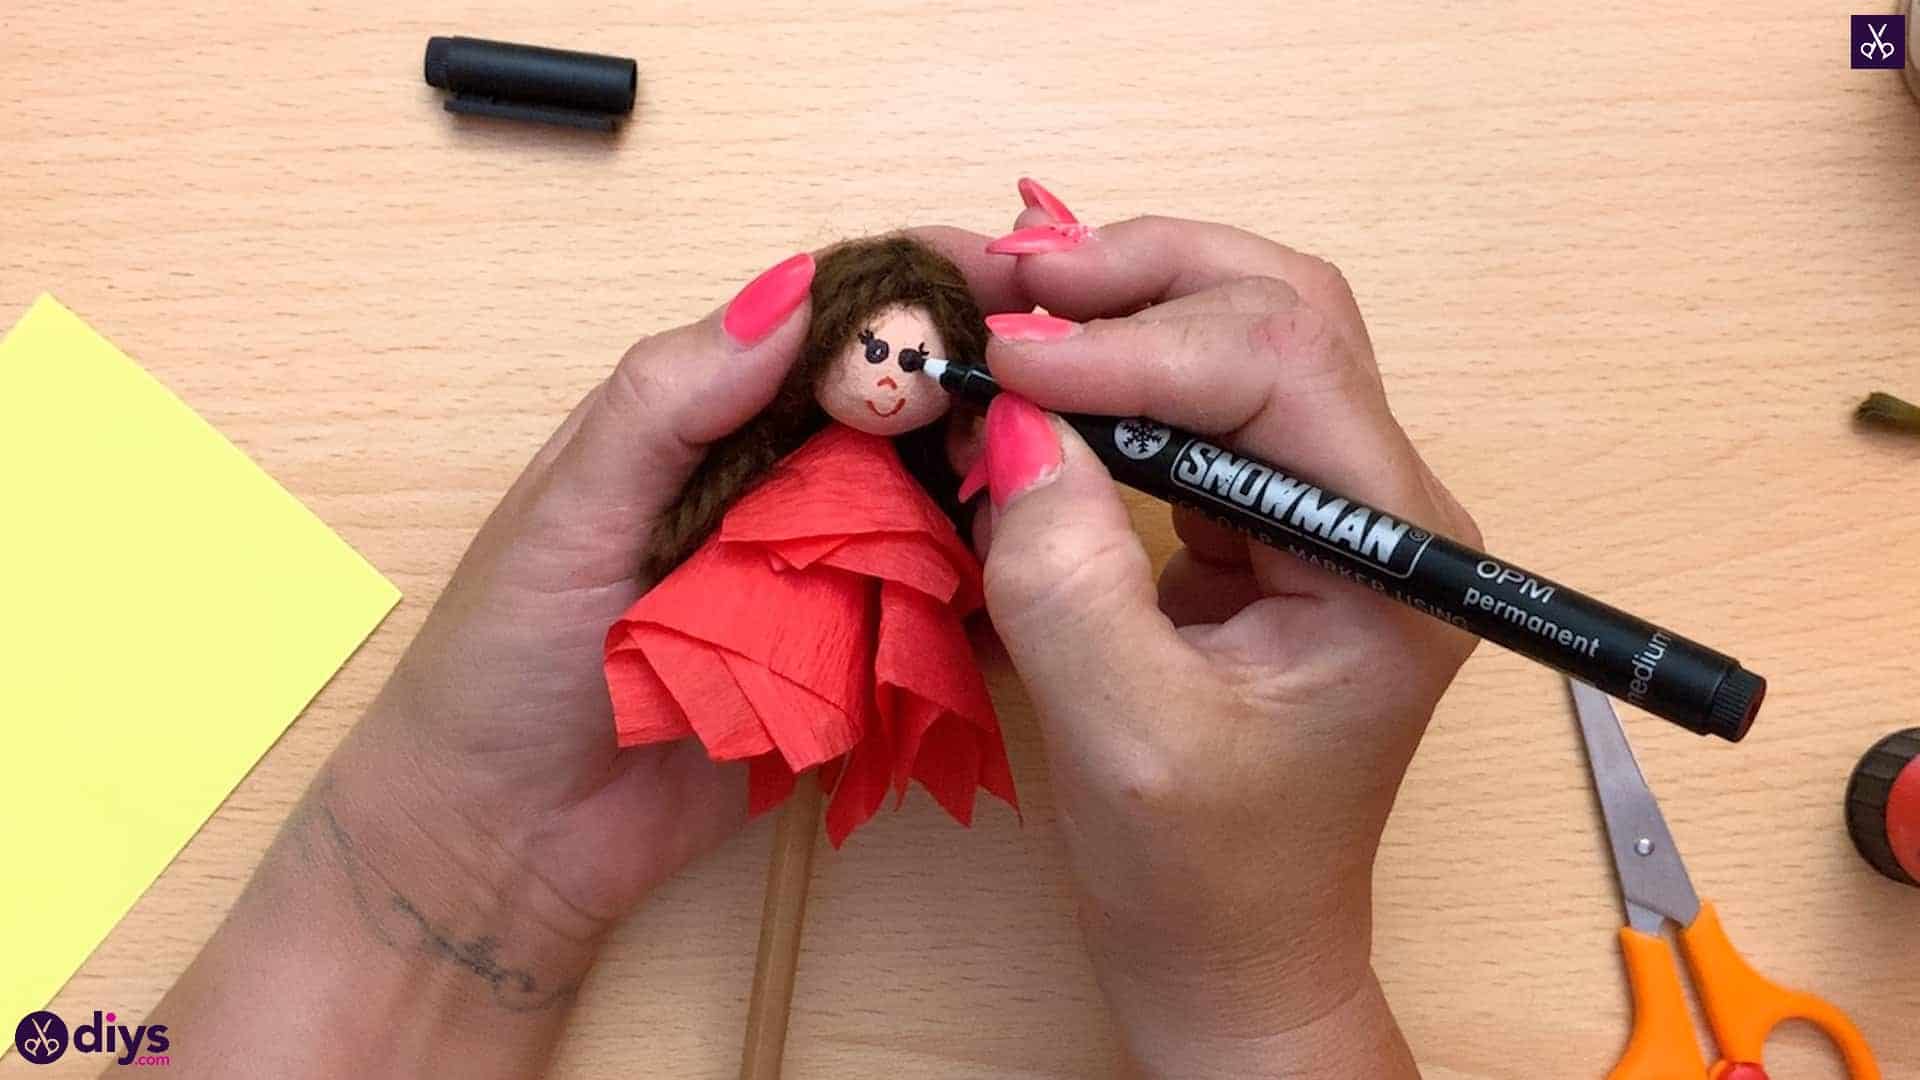
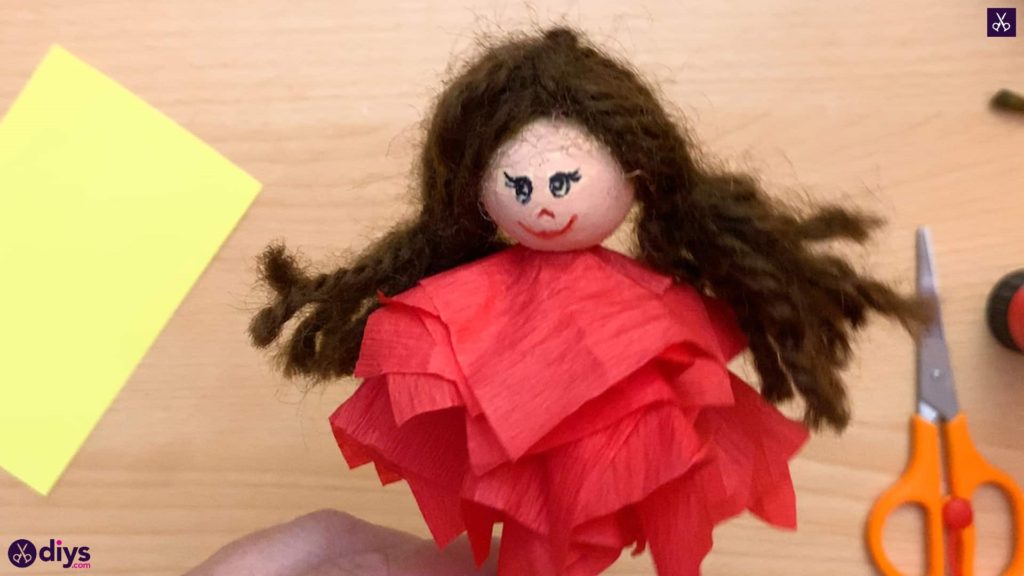
Step 13: draw face
Use your markers or felt tipped pens to draw your puppet’s face! I used red to make a nose and smile and black to make the eyes and lashes.

You’re all finished! Just in case you’d like to try this project out for yourself, here’s a fantastic tutorial video to help you!

