DIY Paper Straw Wreath
Updated on November 19, 2025


Some people who enjoy arts and crafts are more than willing to spend a fortune on their projects, and they have the means to do this. On the flip side, a lot of people are crafty on a budget, whether due to short finances or simply being frugal. What is universally true is that some of the least expensive projects turn out the best and are the most fun to do. For example, a paper straw wreath requires hardly any investment, working with basic supplies like ribbon and cardboard. Yet, it comes out astoundingly pretty, leading to the great enjoyment of the fruits of your labor. Take a look below for the simple step by step process to creating your paper straw wreath.
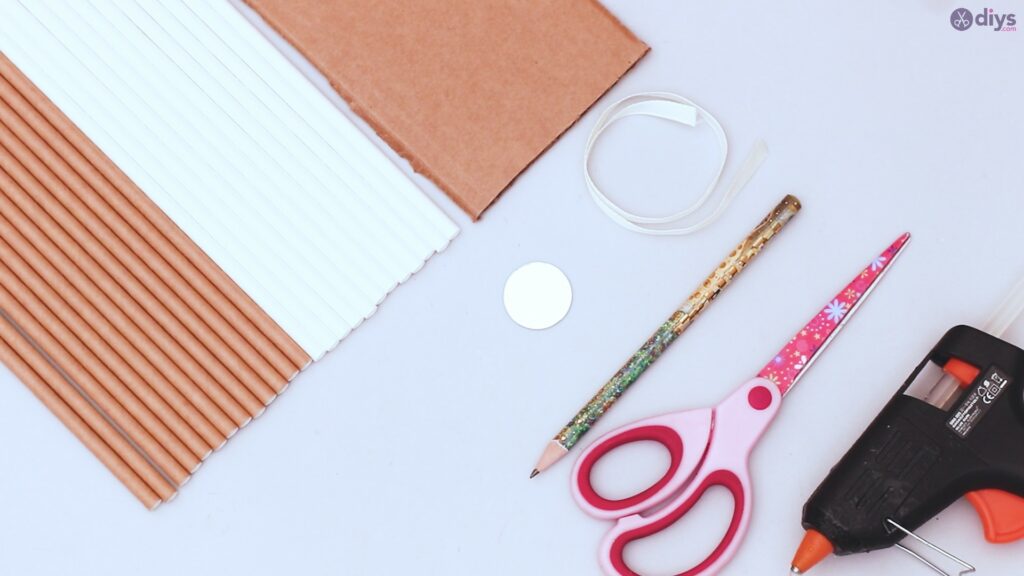
Materials you’ll Paper Straw Wreath:
- paper straws
- cardboard
- glue gun
- pencil
- scissors
- small round mosaic mirror
- silk ribbon
Step 1: The center
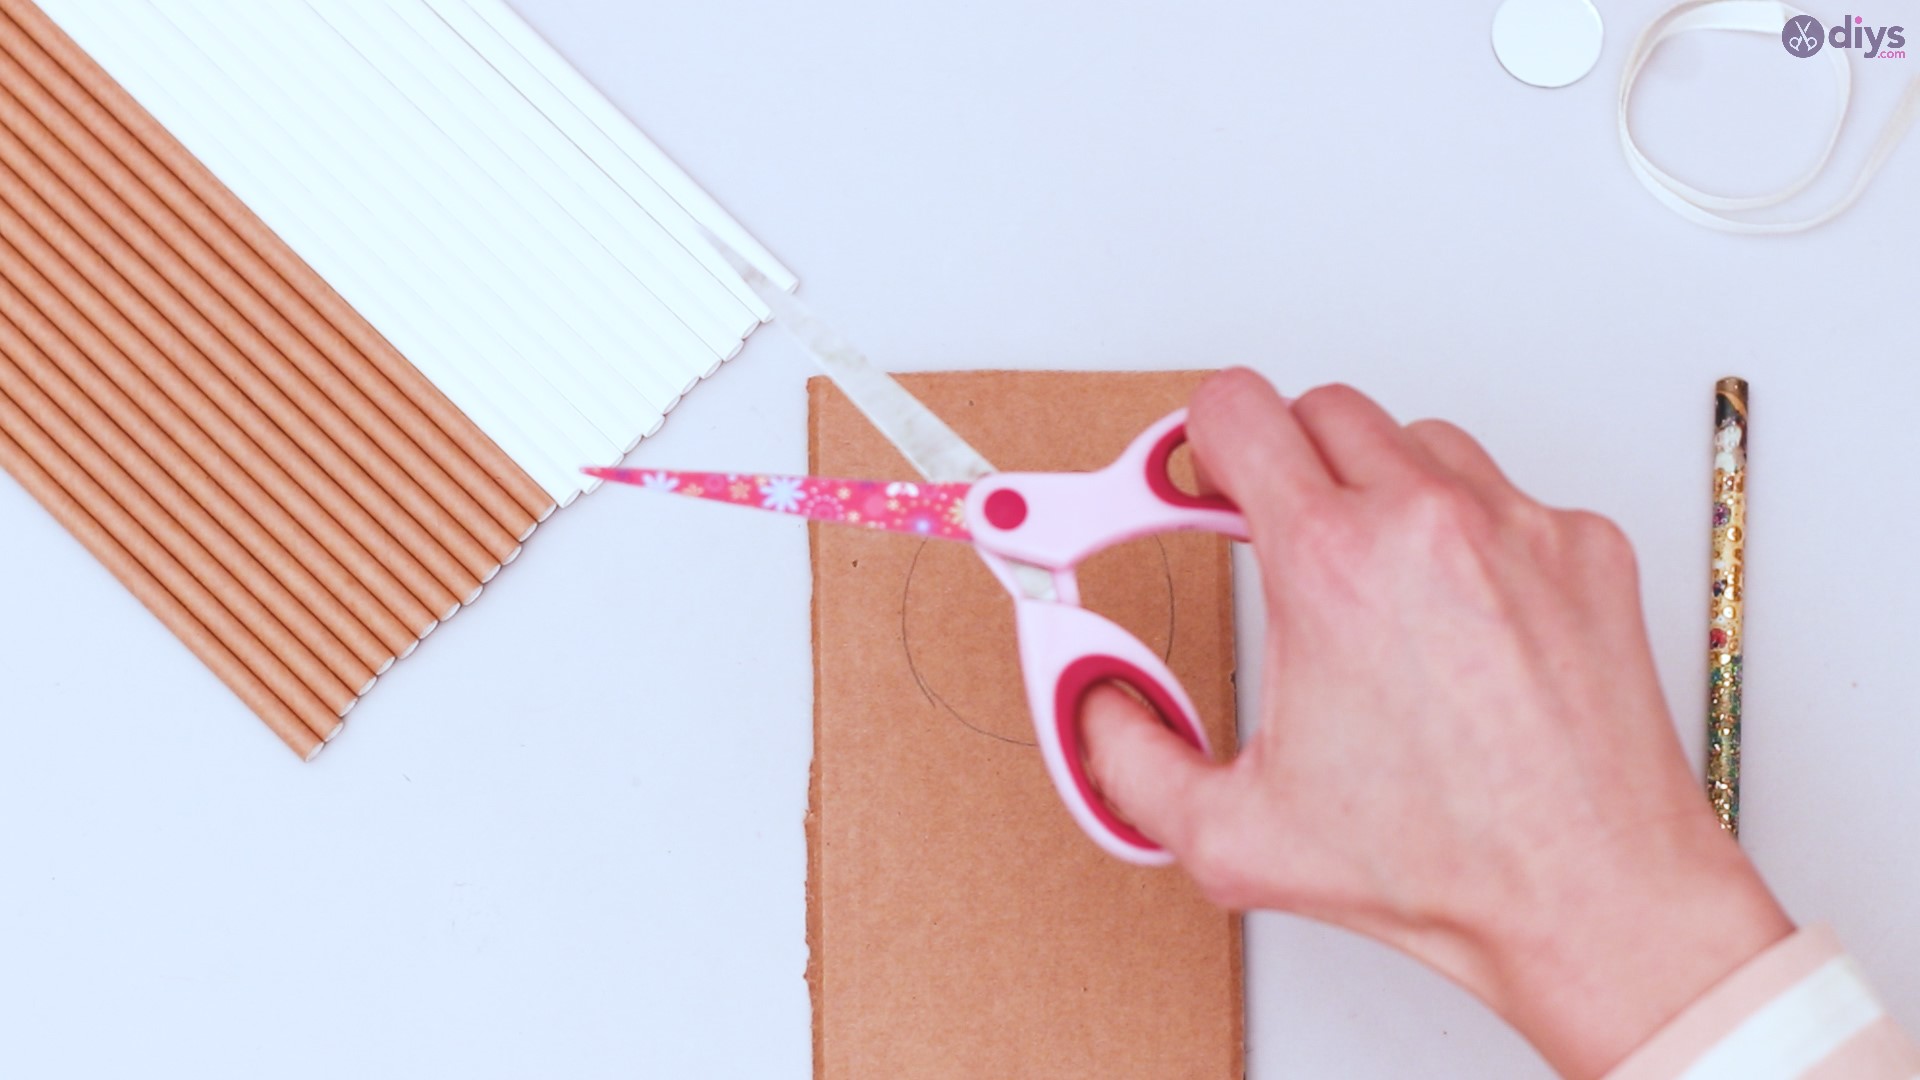
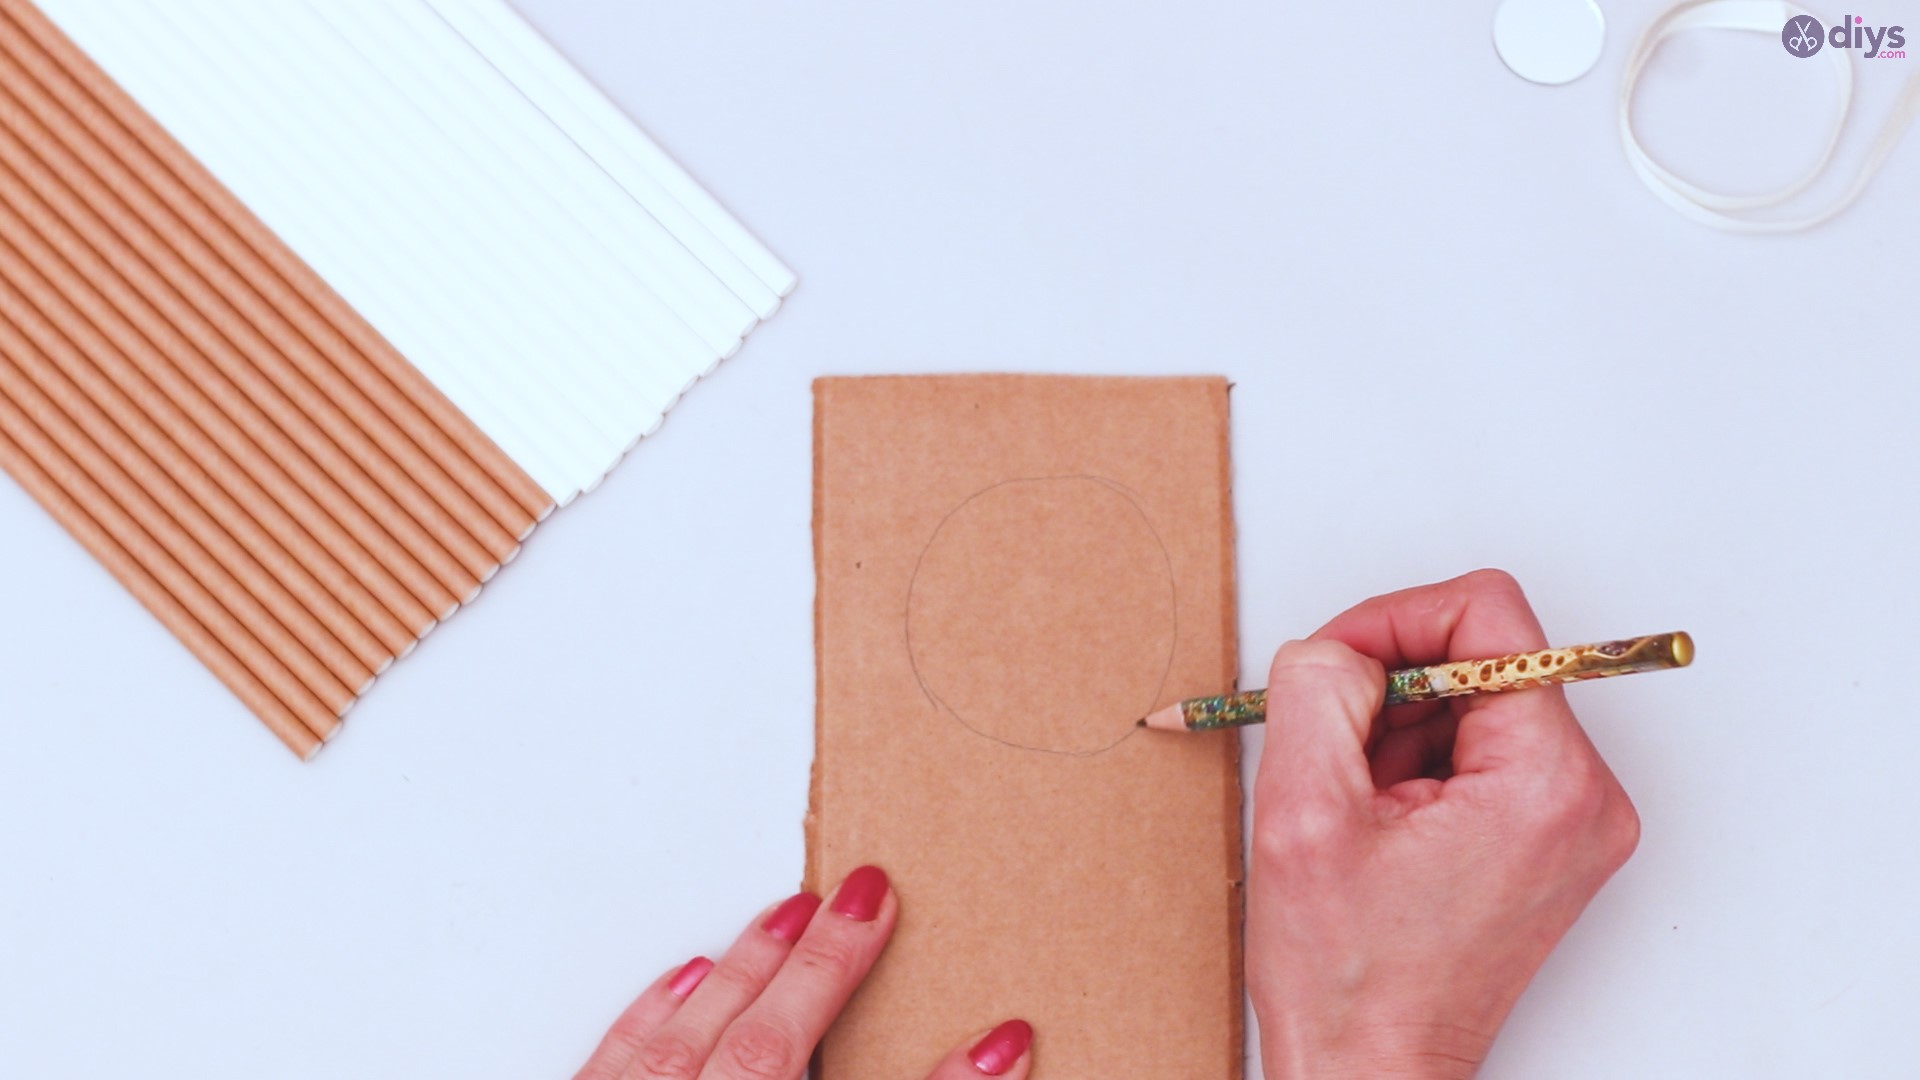
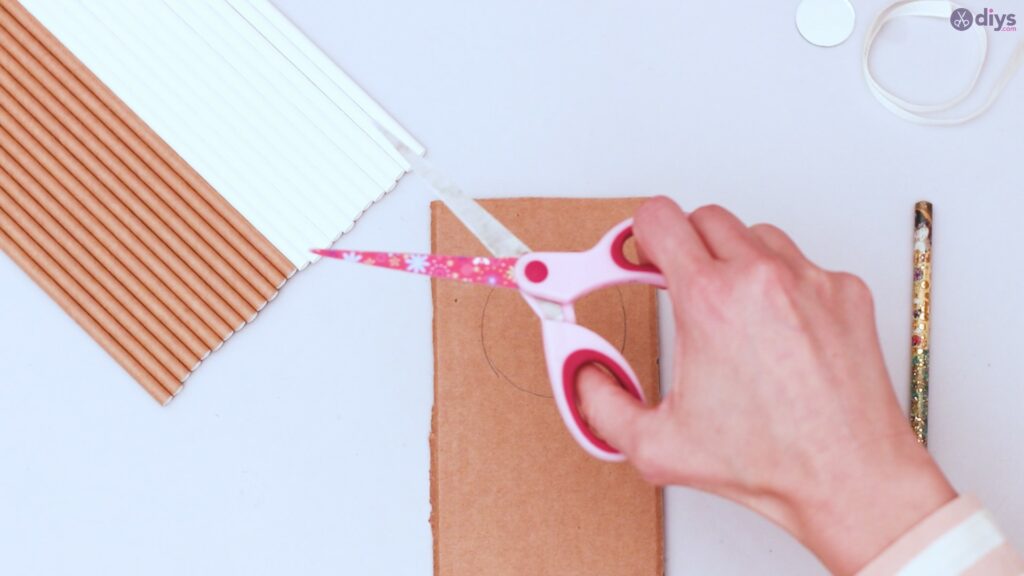
Grab your piece of cardboard. It doesn’t have to be large, as you’re only going to use a small piece of it anyway. With your pencil, trace a circle on it. You can decide what size you want it to be, as this is your project and open to interpretation and preference. However, we suggest a circle with around a 3 inch radius.

Now, take your scissors and cut the circle out. try to keep the edge smooth, something a lot of people find difficult with the round object as opposed to straight lines. However, if you can’t, it’s not a deal breaker. Much of the edge will be covered up.
Step 2: Adding some décor
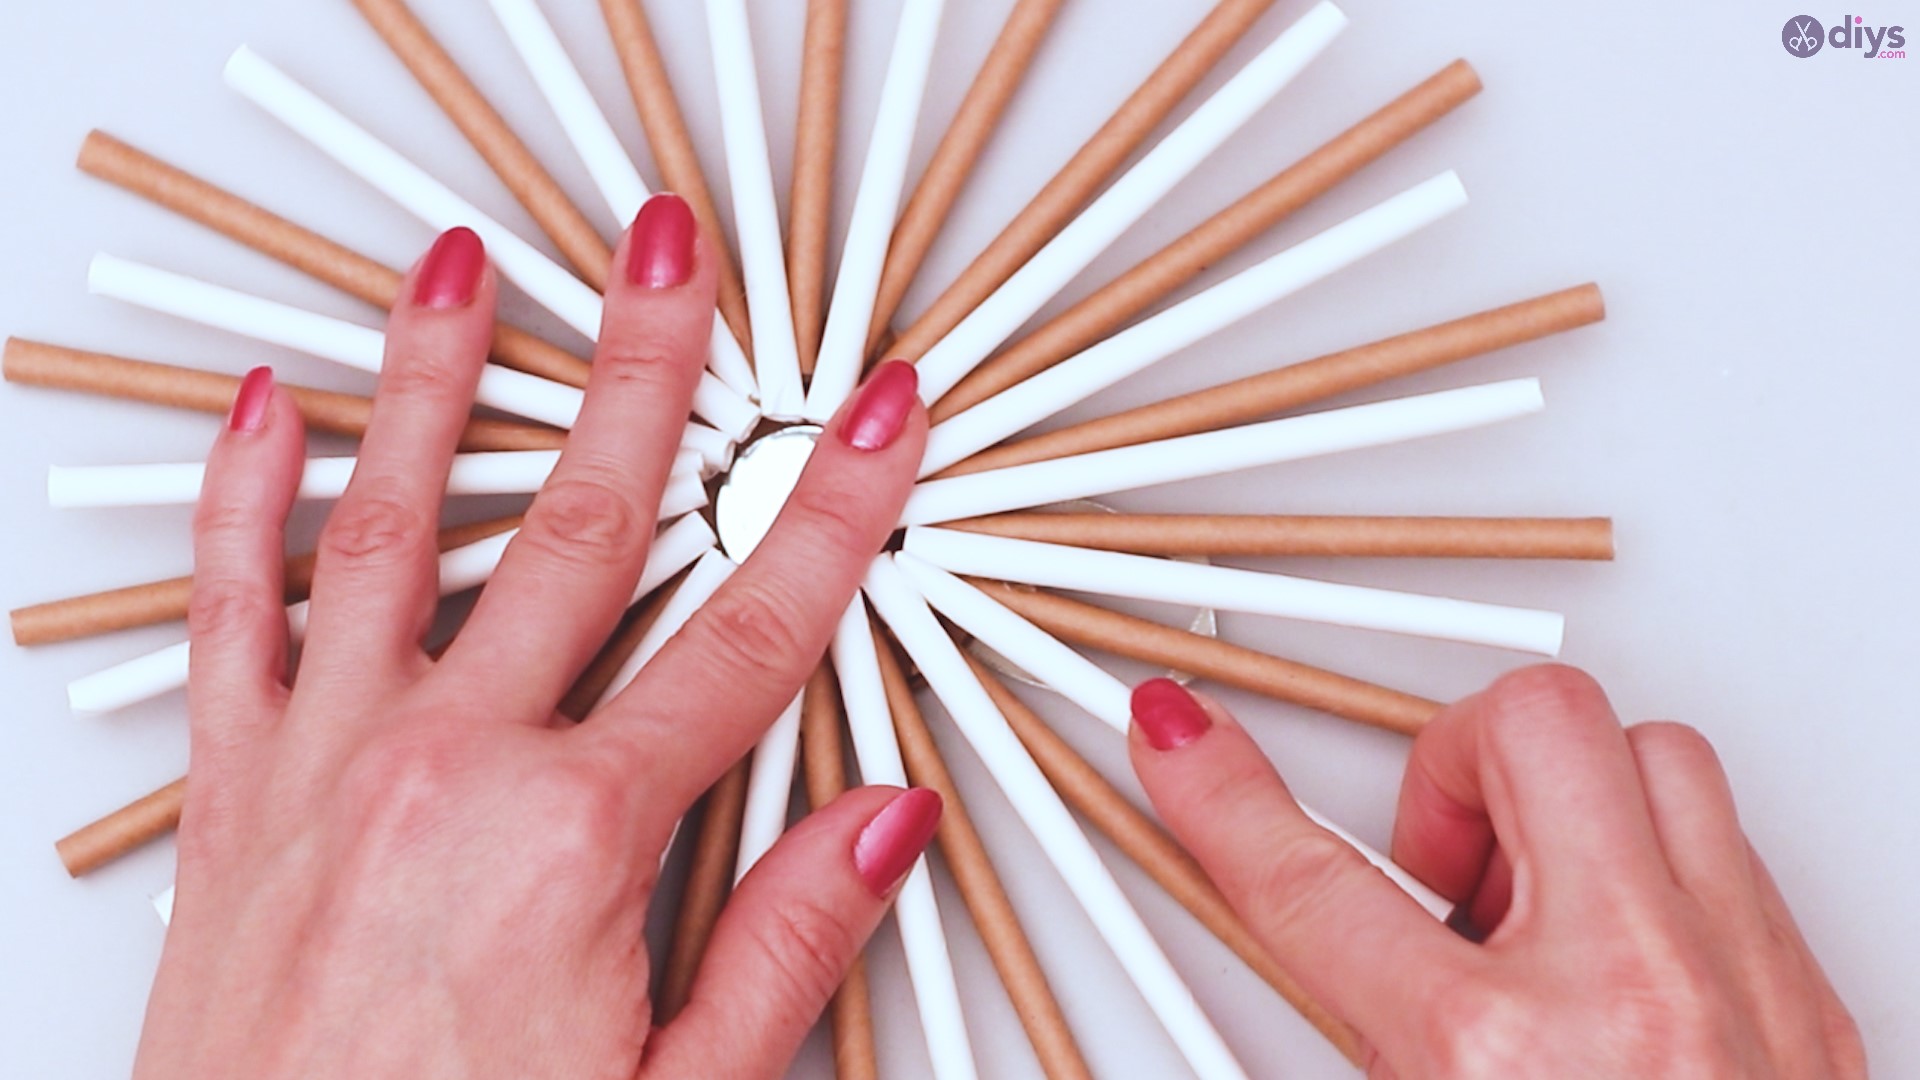
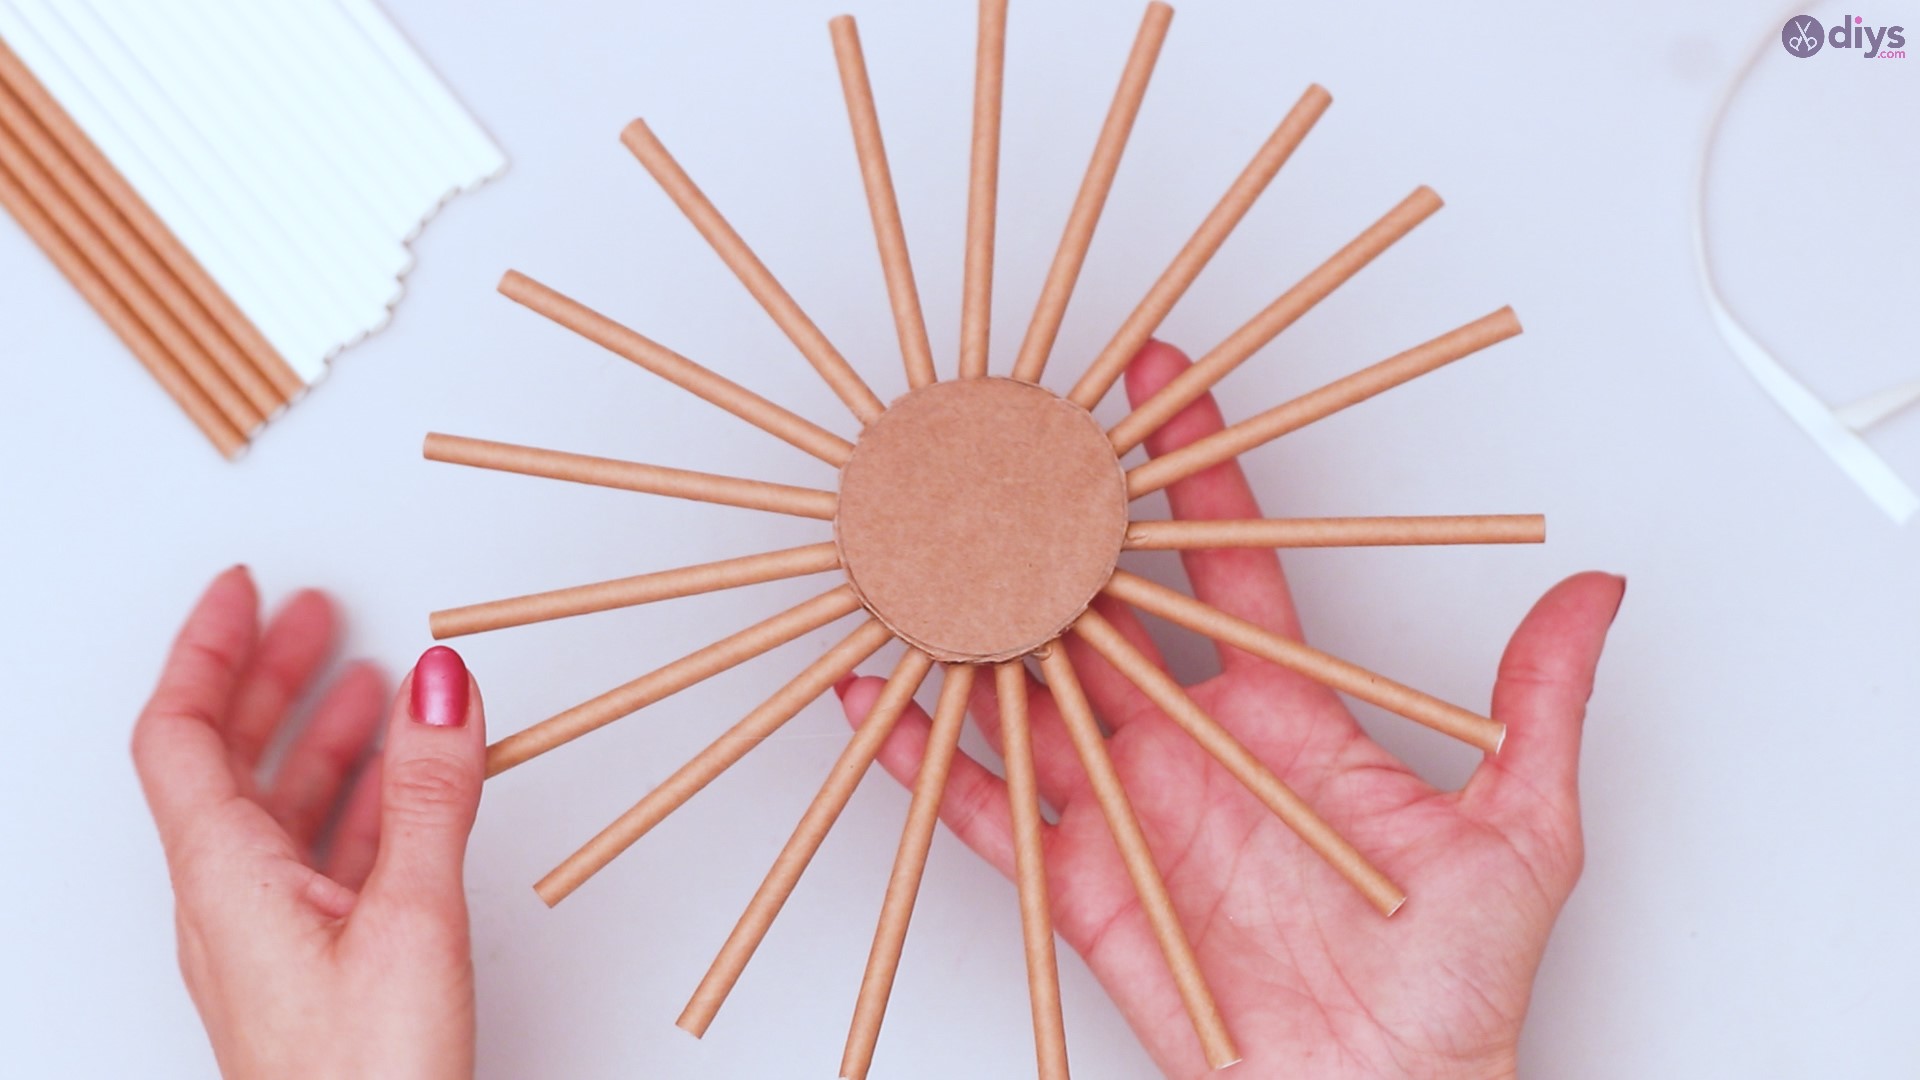
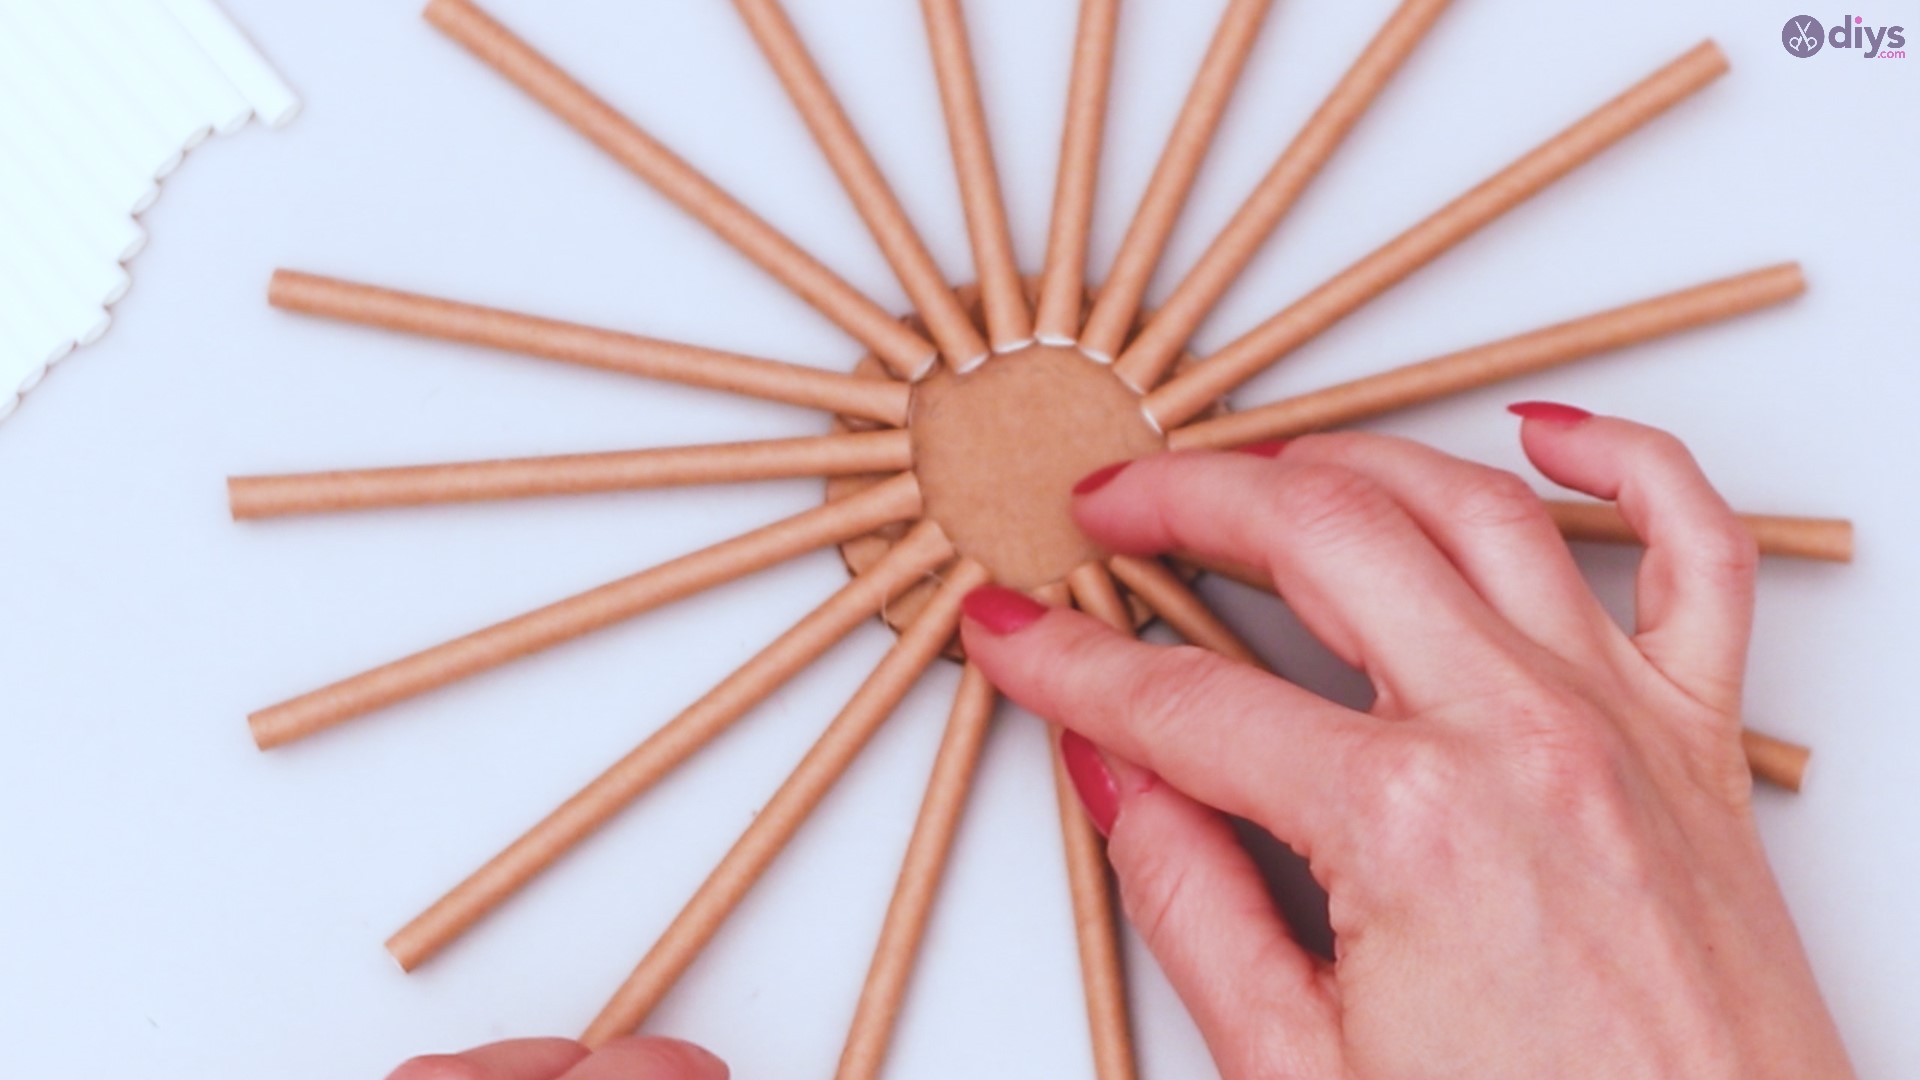
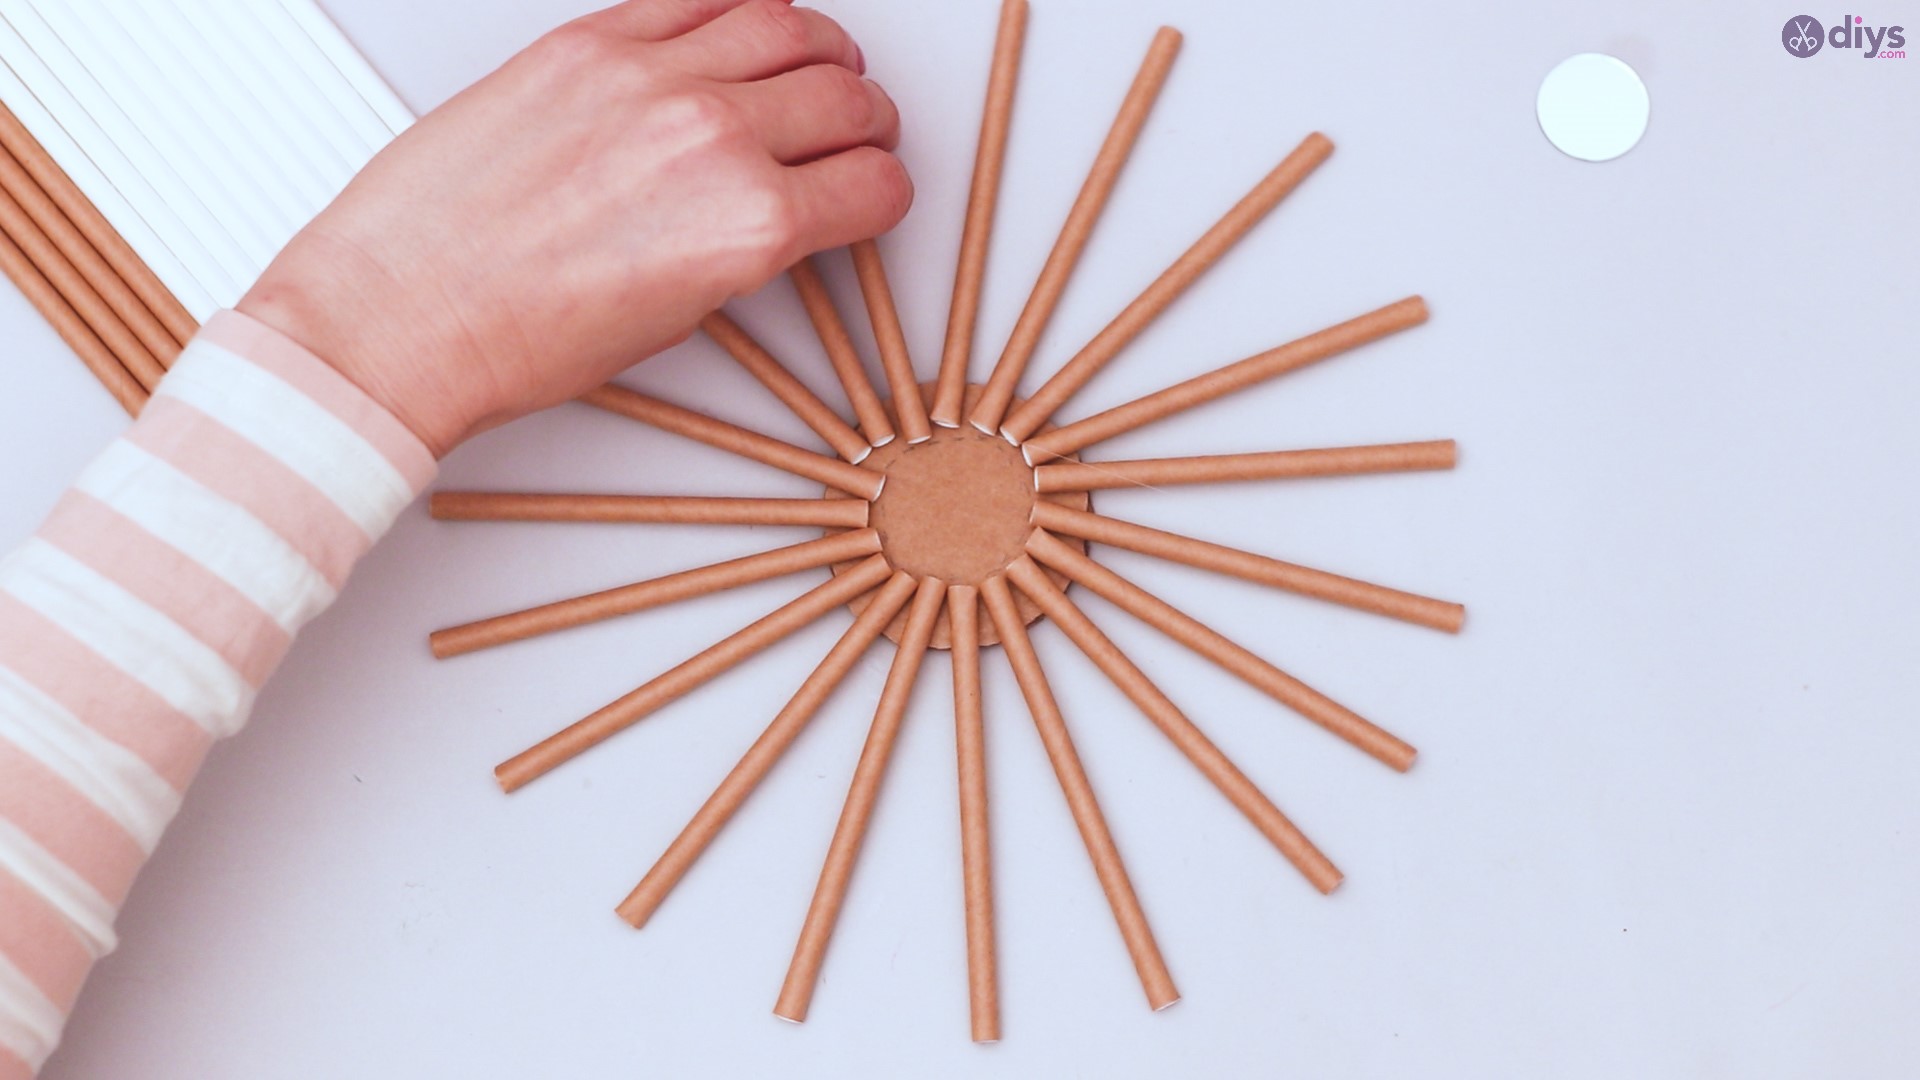
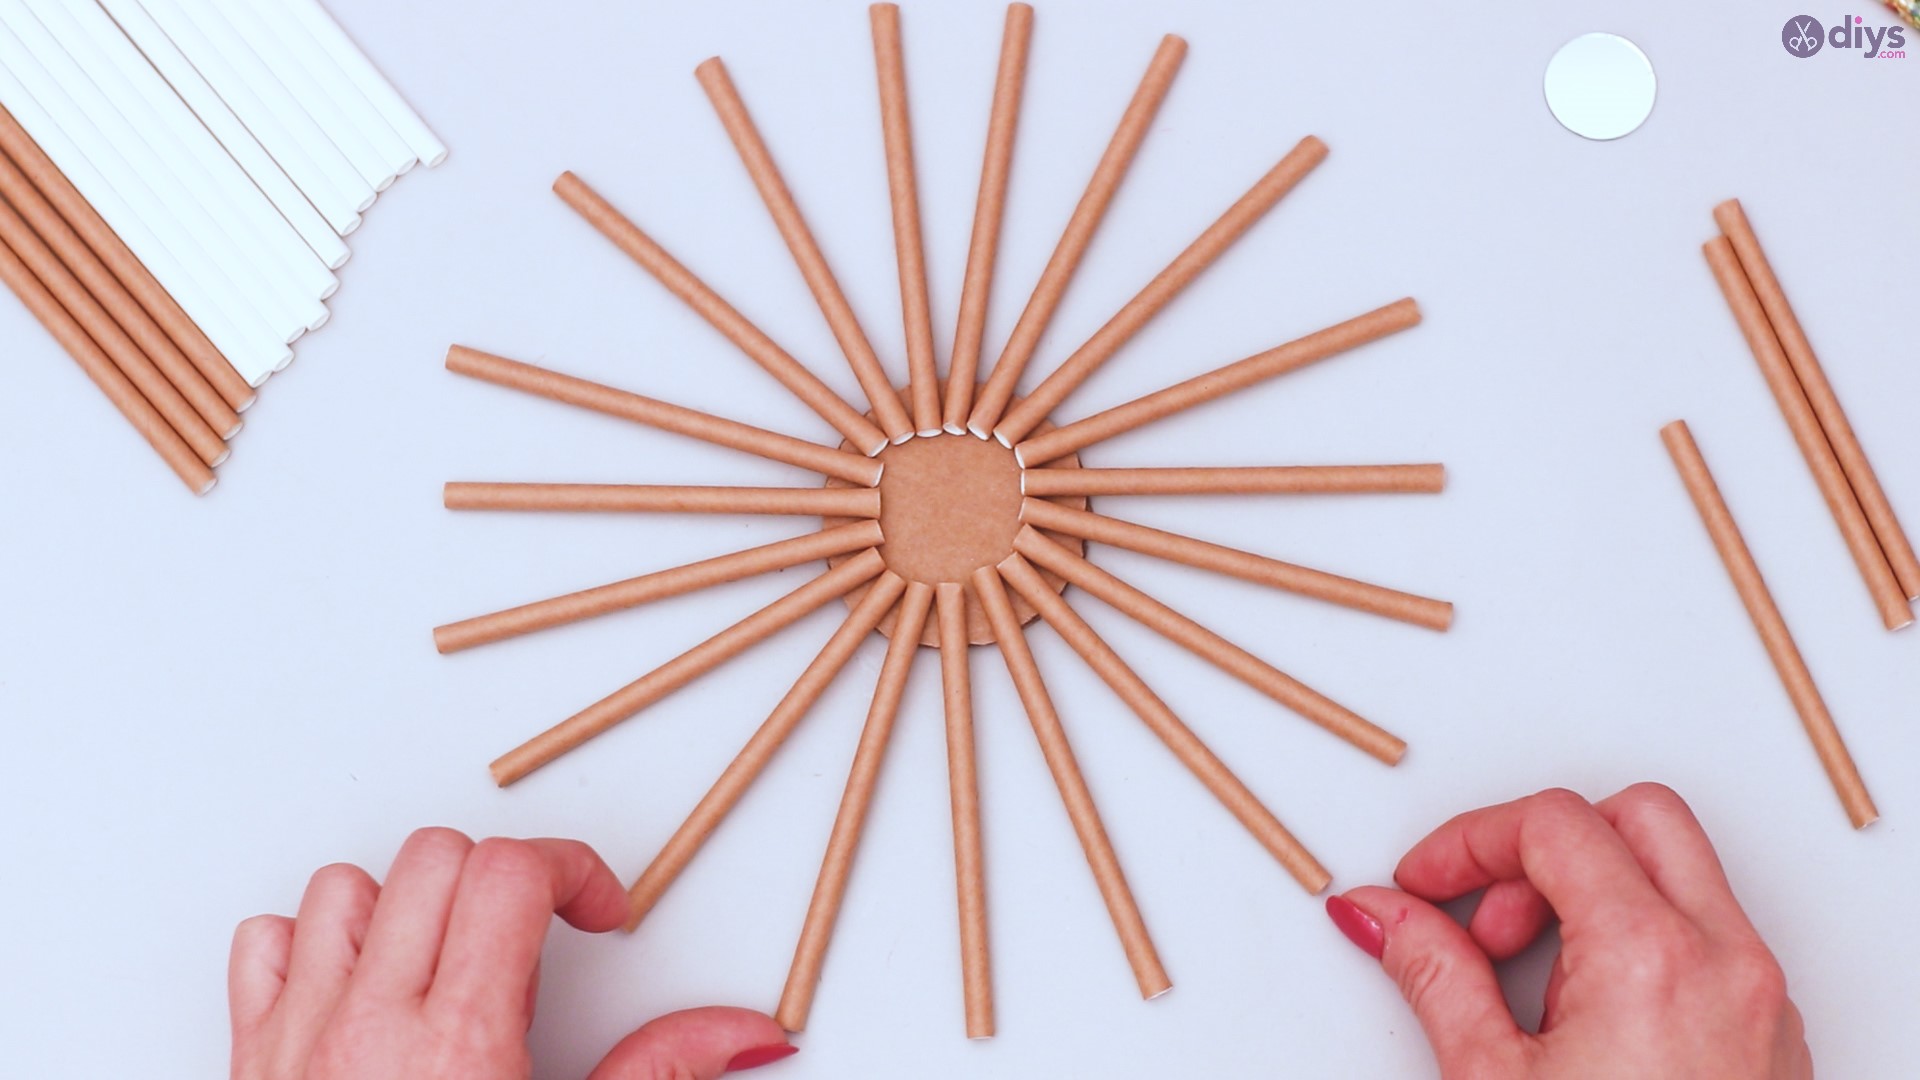
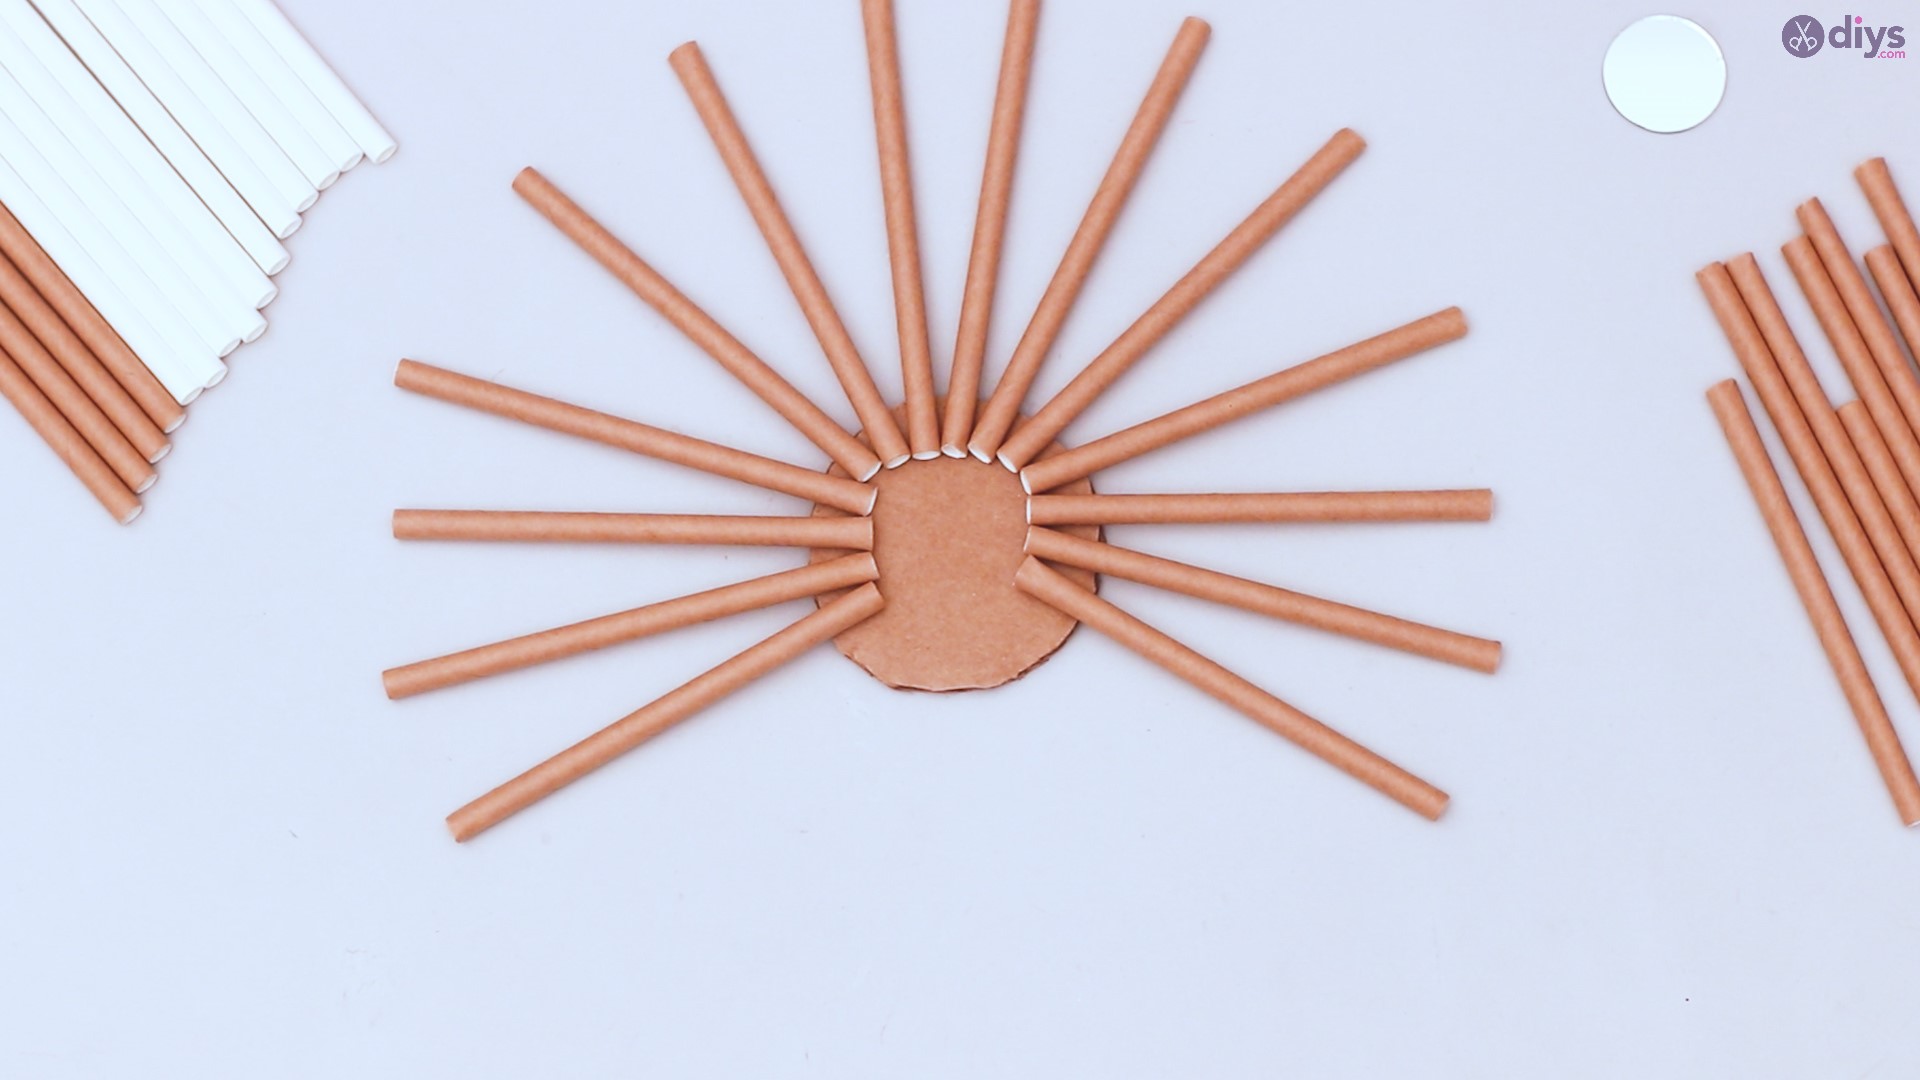
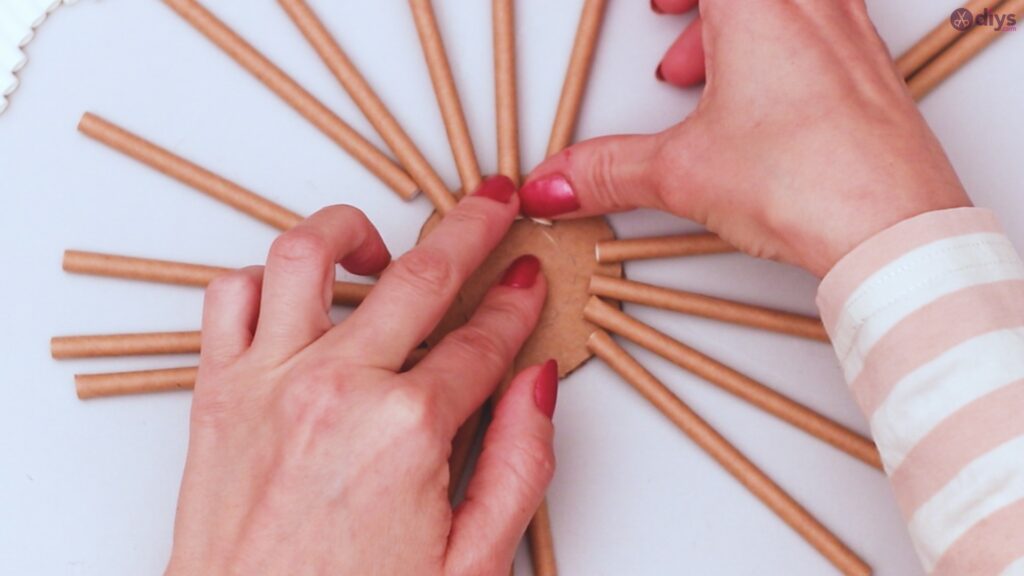
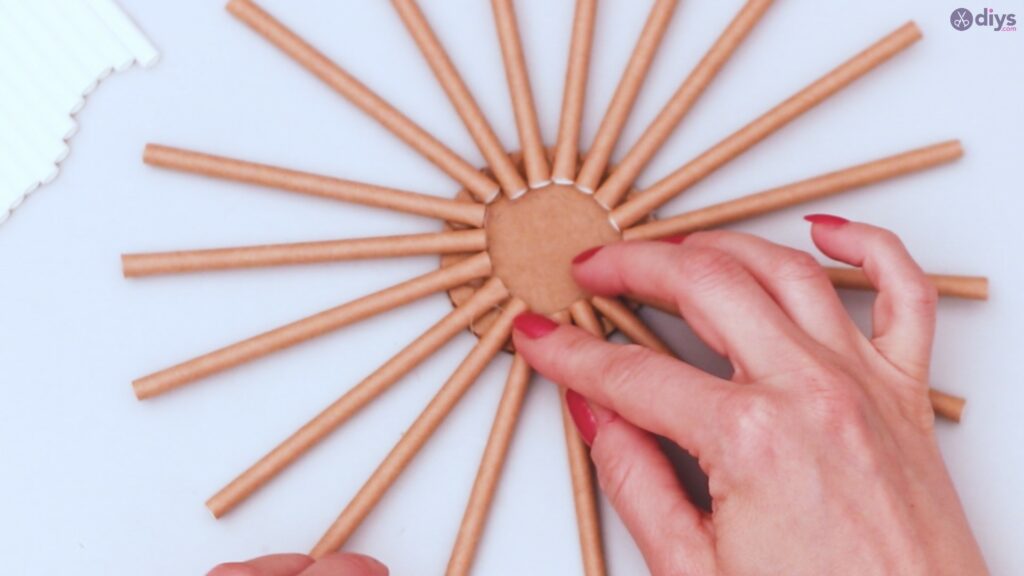
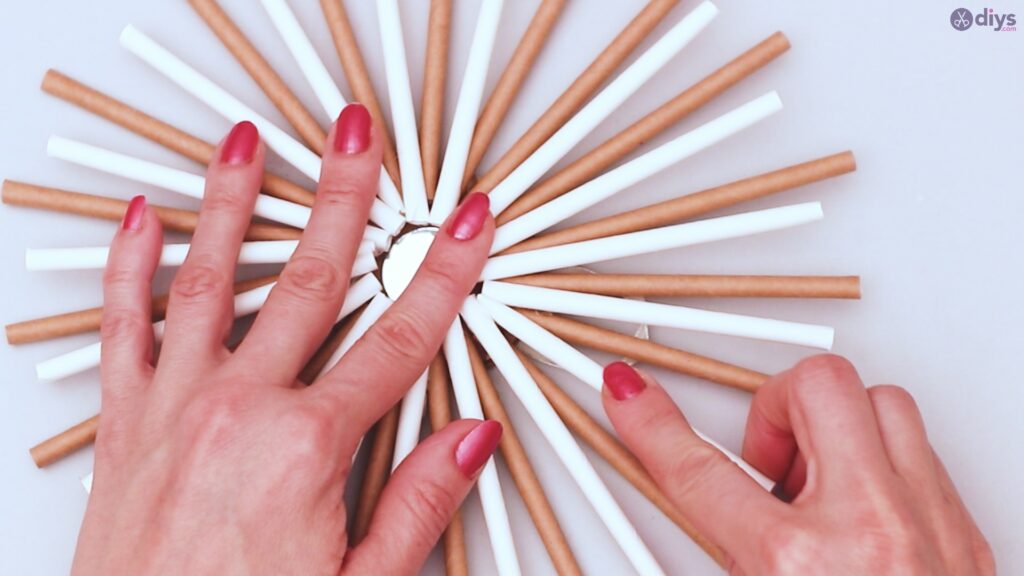
If you can get two different colors of paper straws, that would be great. Here, we want to start with one, preferably brown, and work our way around the circle we just cut out. Line them up like the rays of the sun, as even as possible, all the way around your cardboard cut out. Again, while it’s mostly about preference, make sure you have enough room for your mirror, and overlap the straws on the cardboard with just enough room for it in the middle. This will likely lead to an approximate overlap of ½ or ¾ of an inch.

When you have them all laid out, take a moment to make sure they are distributed evenly around the base. There should be some space between them for another part of the project, but that space shouldn’t be overly wide.
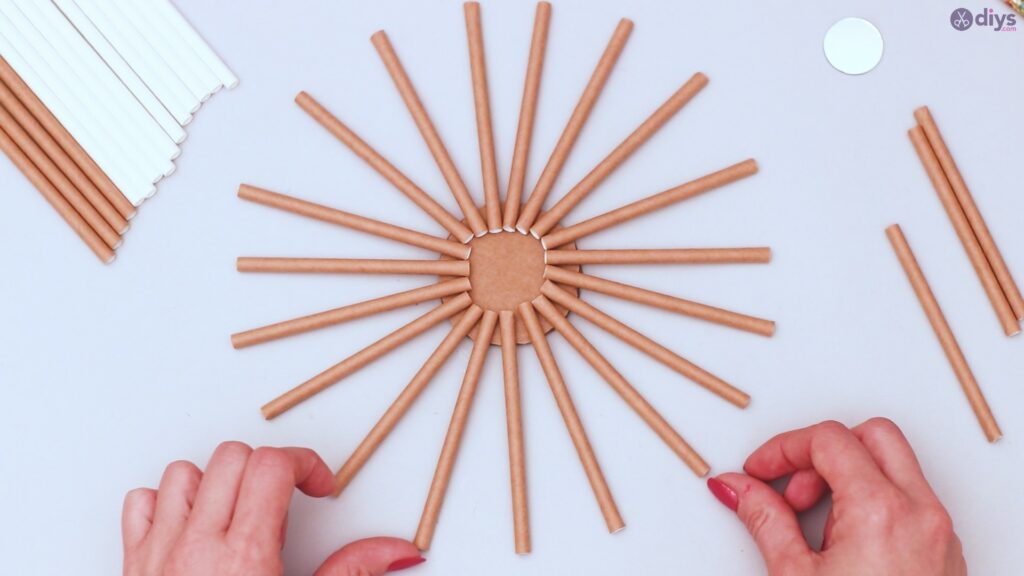
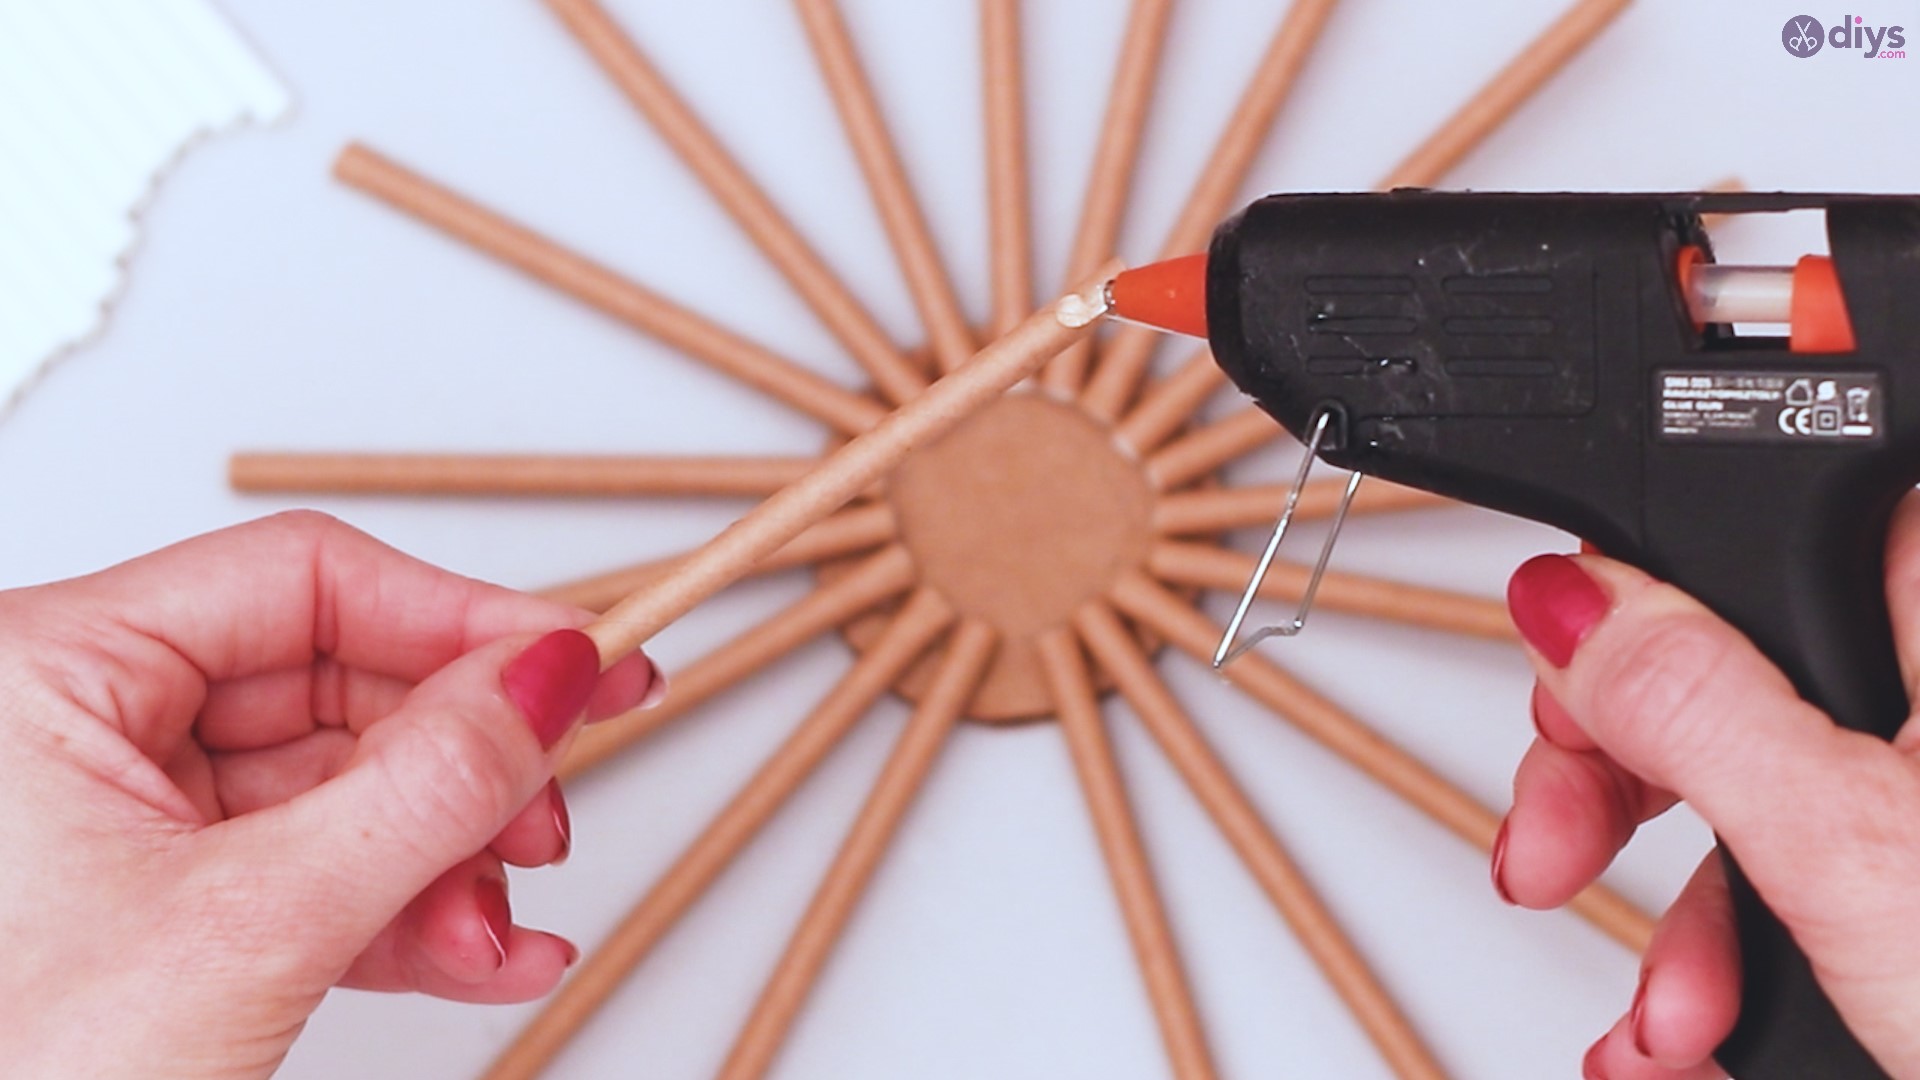
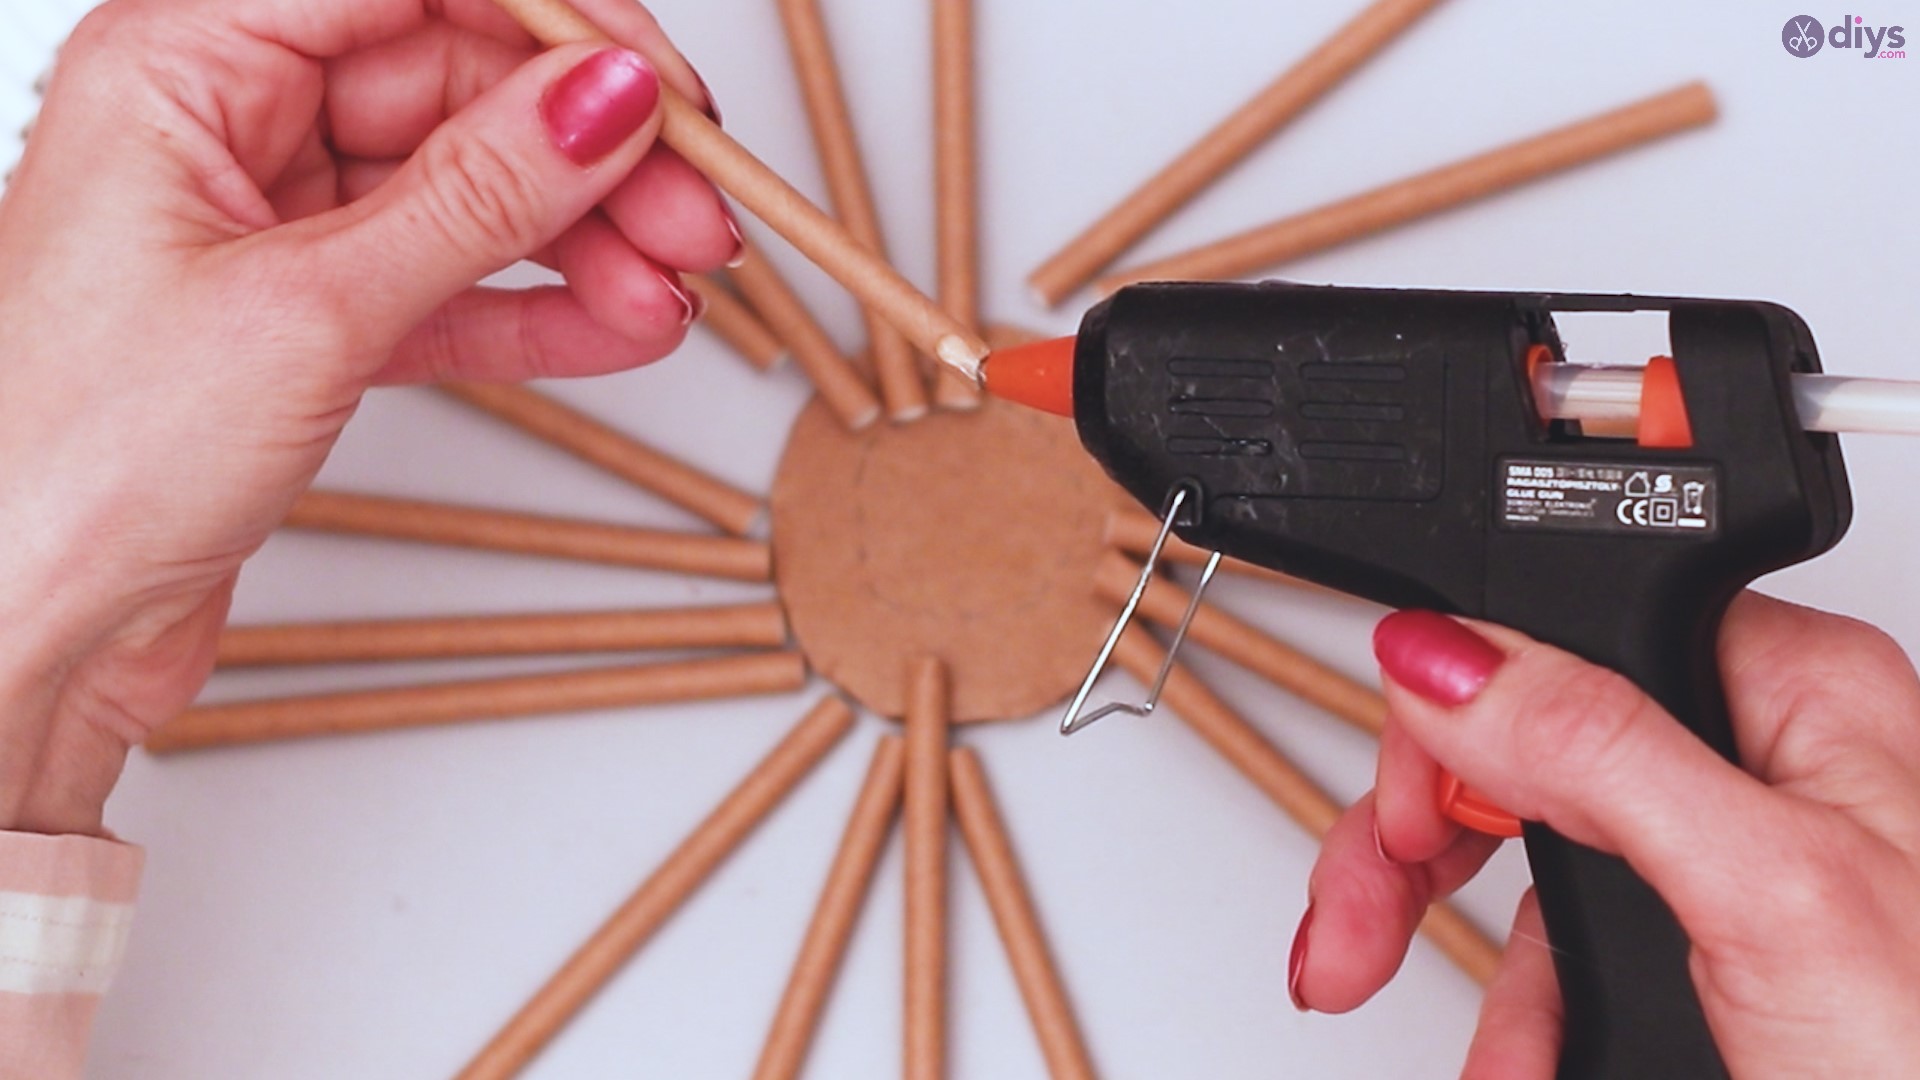
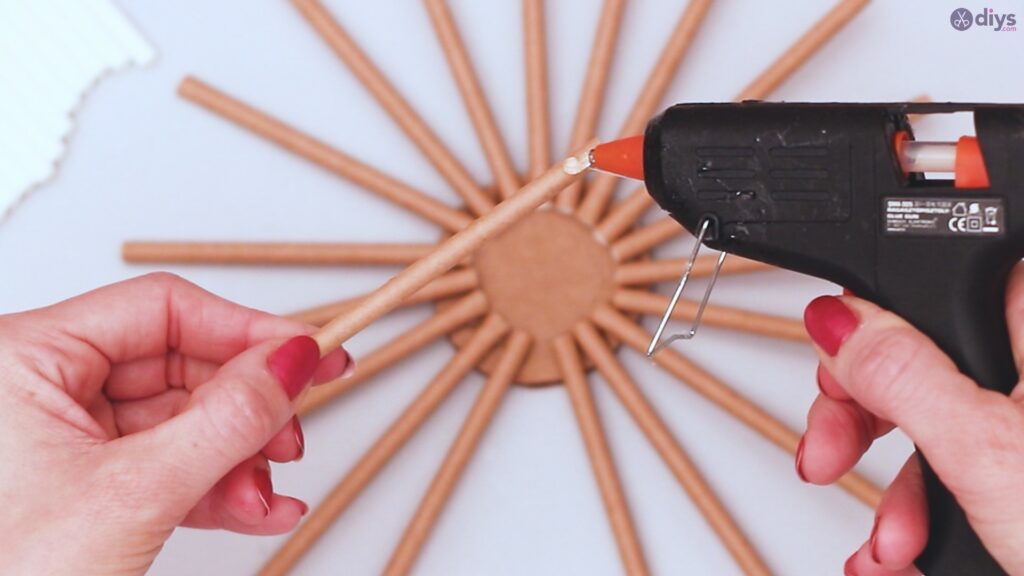
Once all the brown straws are placed, you want to start gluing them with the glue gun, carefully removing one at a time, adding a small string of glue to the part that’s going to overlap the circle, and replacing it.
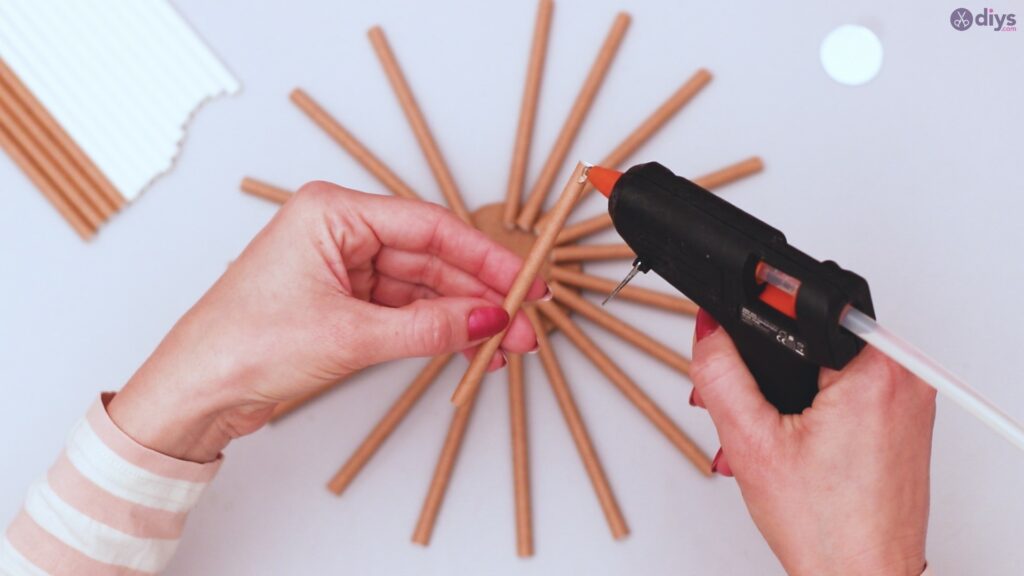

Try to go in order around the circle, whether clockwise or counter clockwise. This will make it easier to track your progress and assure you don’t miss one and end up dropping it when you go to pick up the wreath.
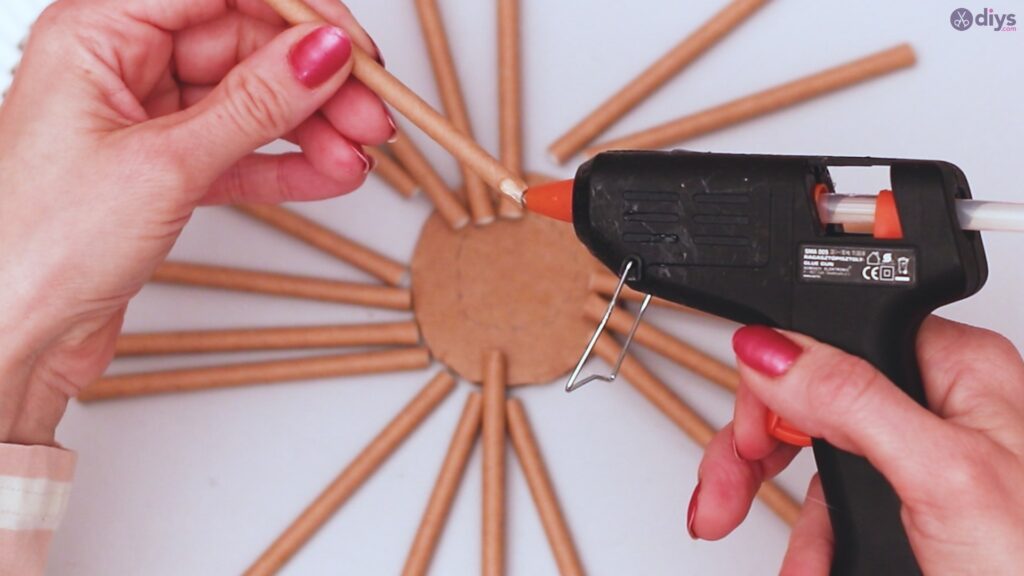
It might also be helpful to mark with a pencil where you started so there is no confusion. You don’t want to accidentally pull off the first straw you glued just because the glue hasn’t quite dried.
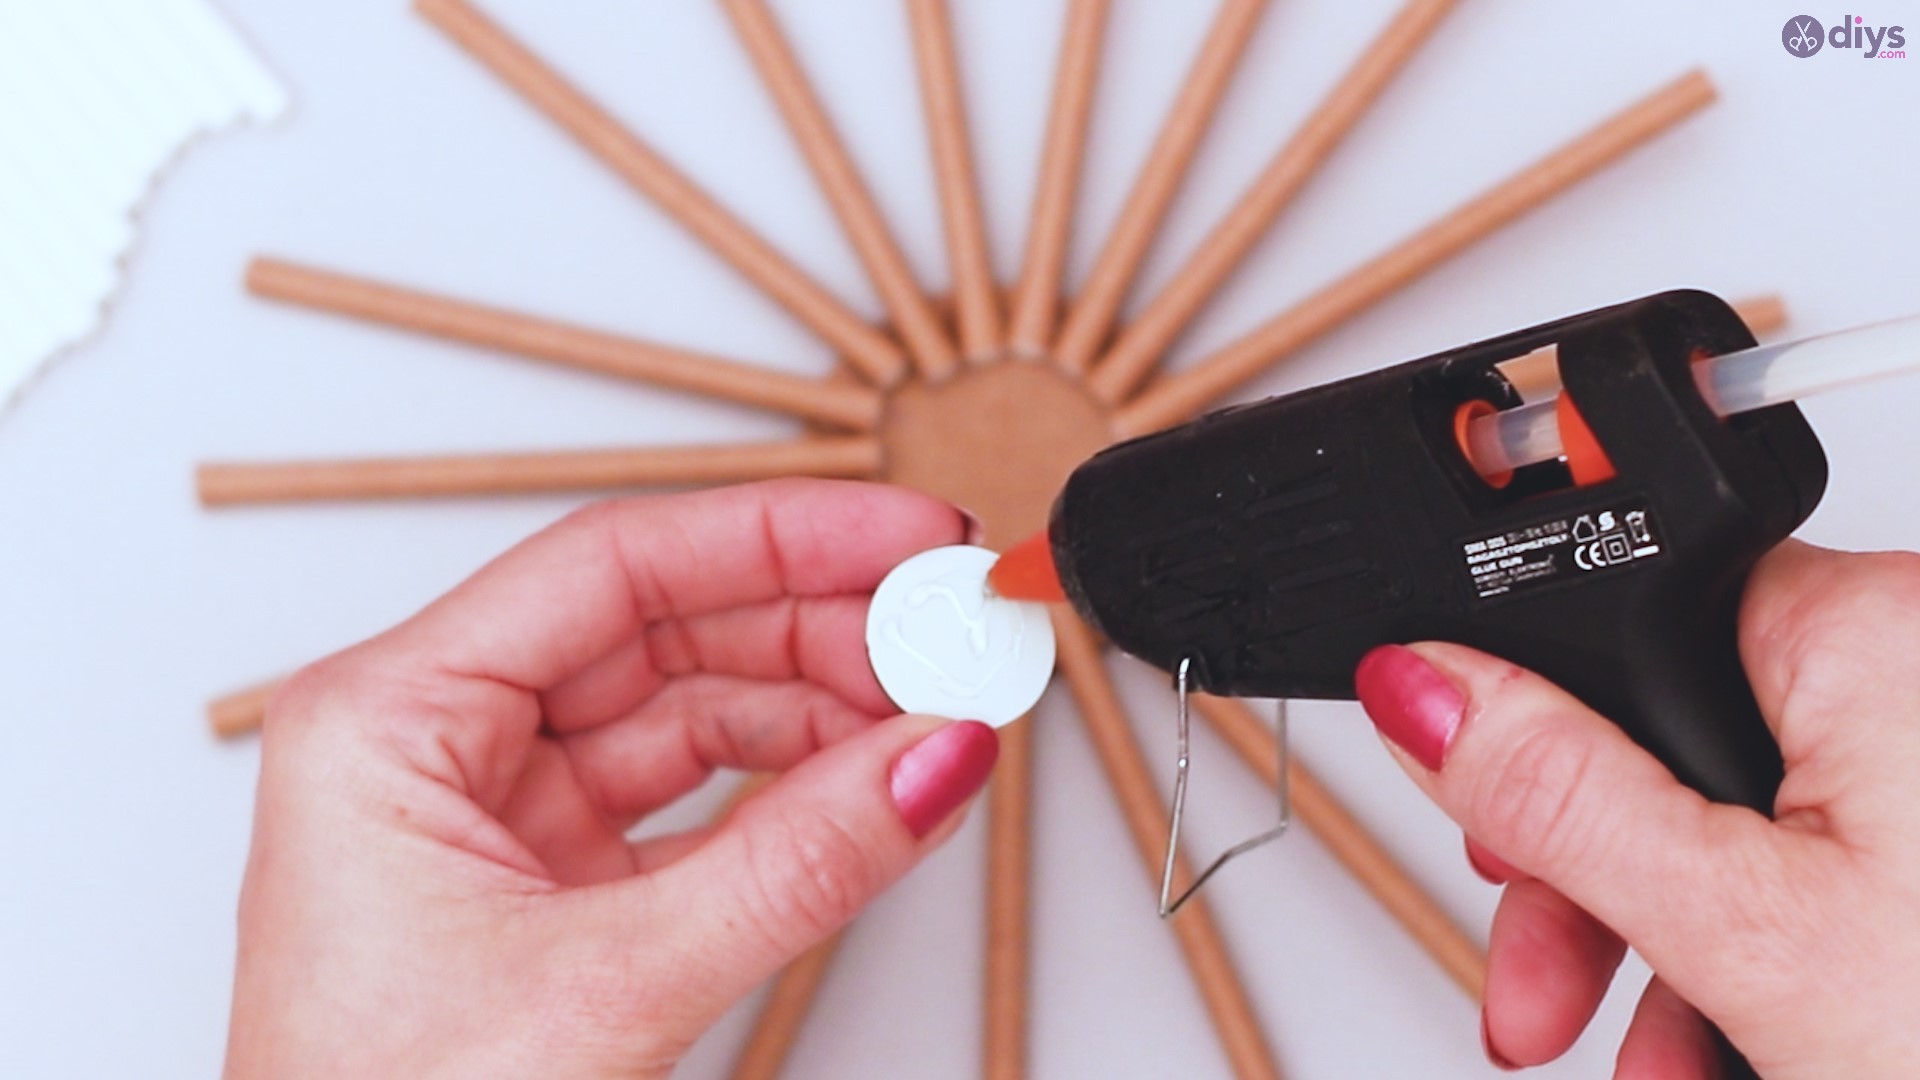
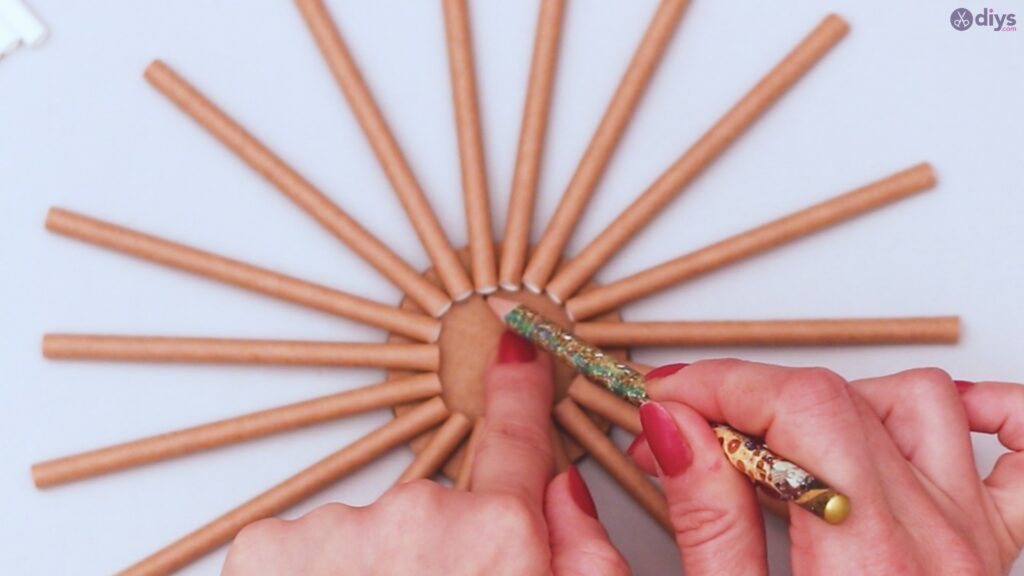
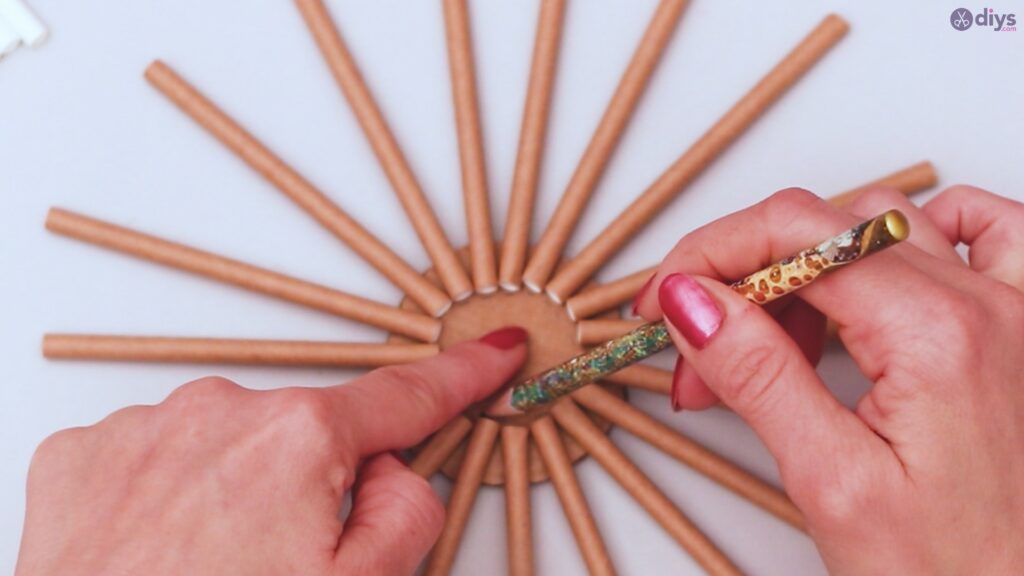
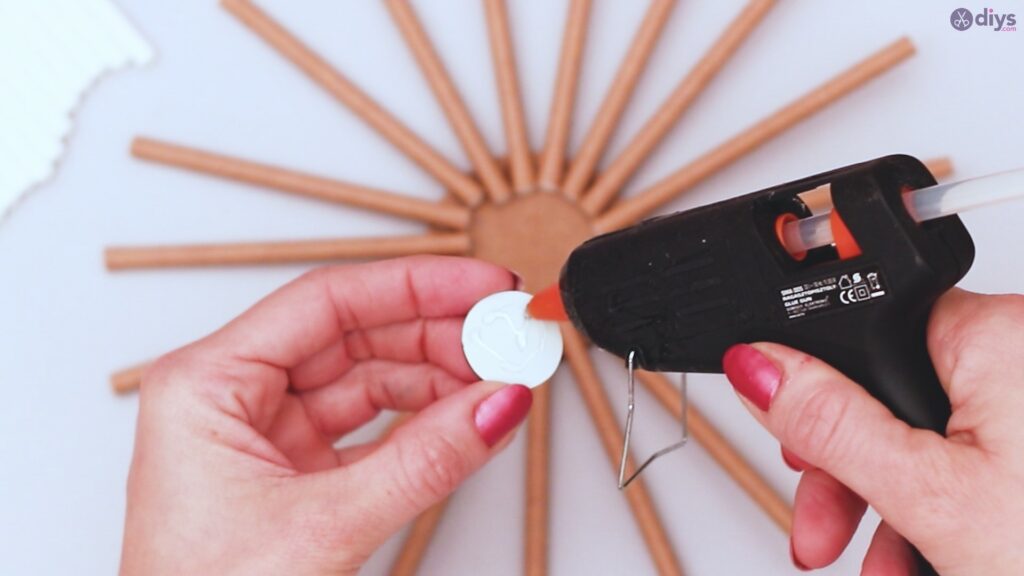
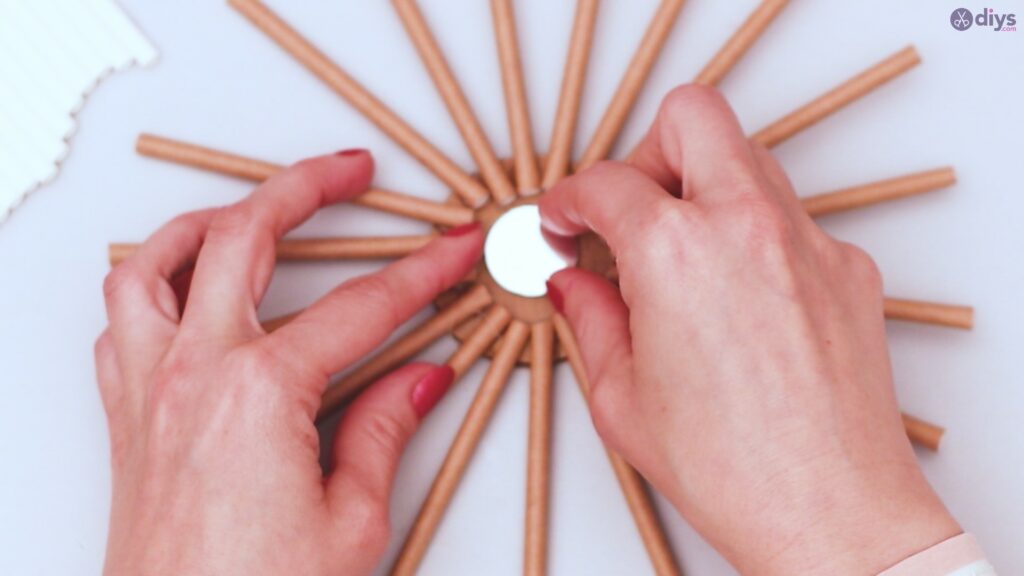
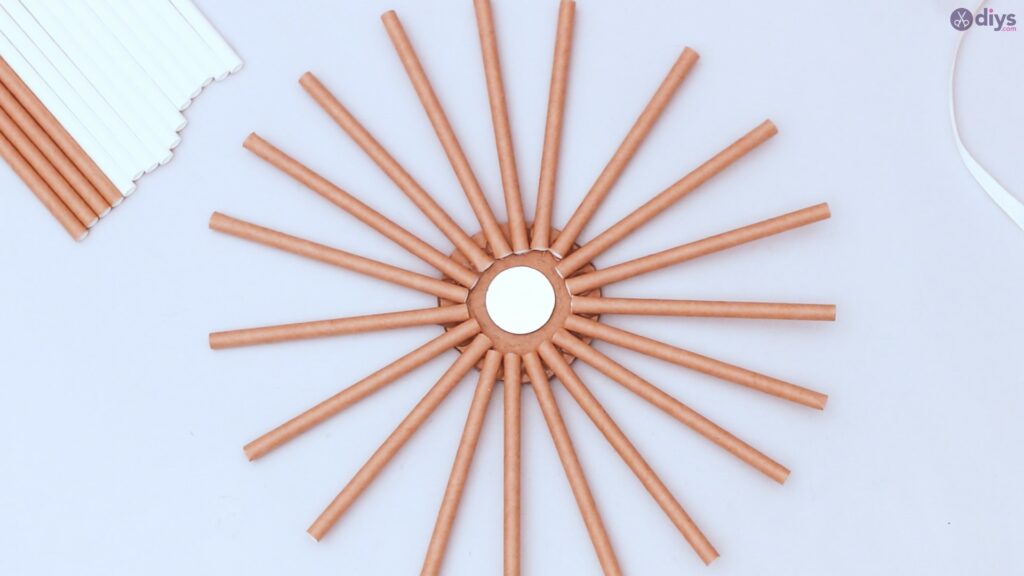
Step 3: Mirror, mirror
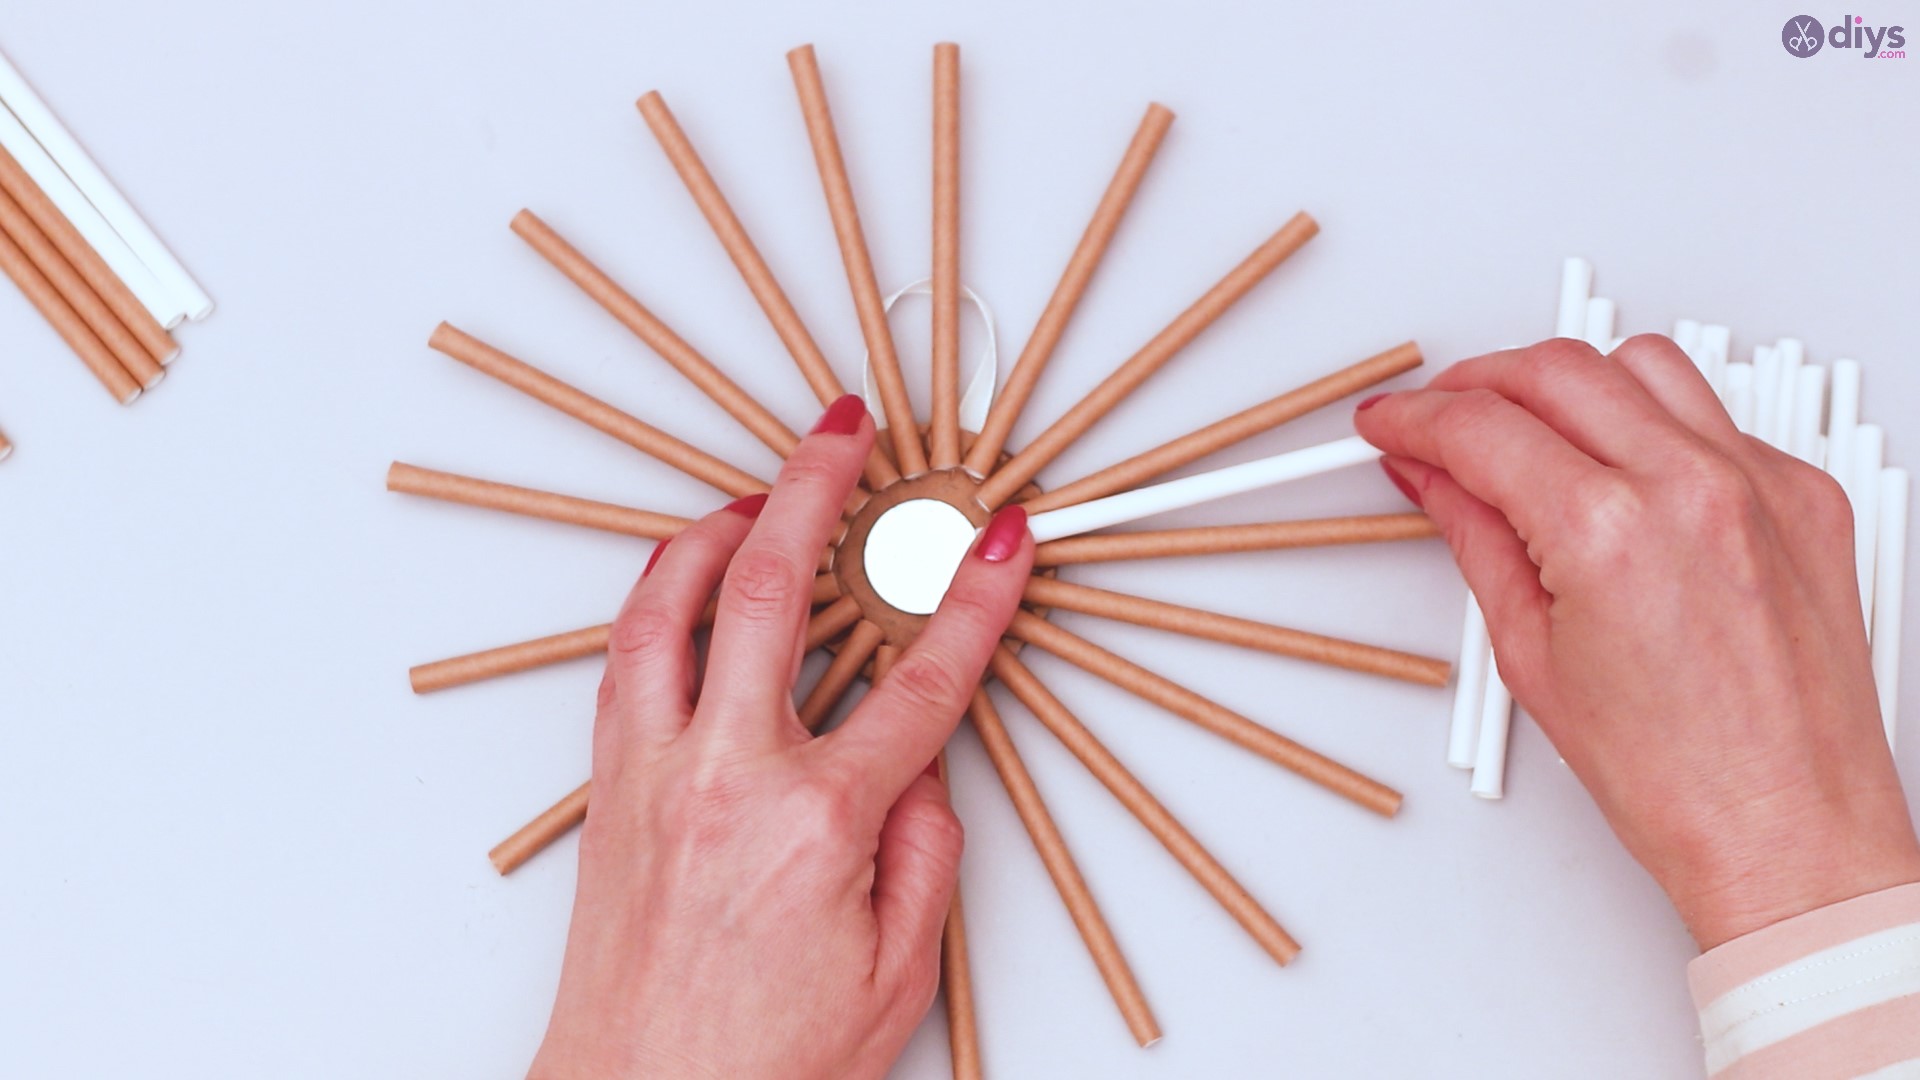
Now that you’ve gotten the bulk of the base prepared, it’s time to finish detail work that makes the entire product shine. Grab your small round mosaic mirror. Once again, you can choose whatever size you like, but we recommend about 2 inches in diameter. Add hot glue to the back, and glue it to the center of your cardboard, as evenly as possible.
At this point, your art looks almost finished, but there’s a few more things to do, even though none of those steps are difficult.
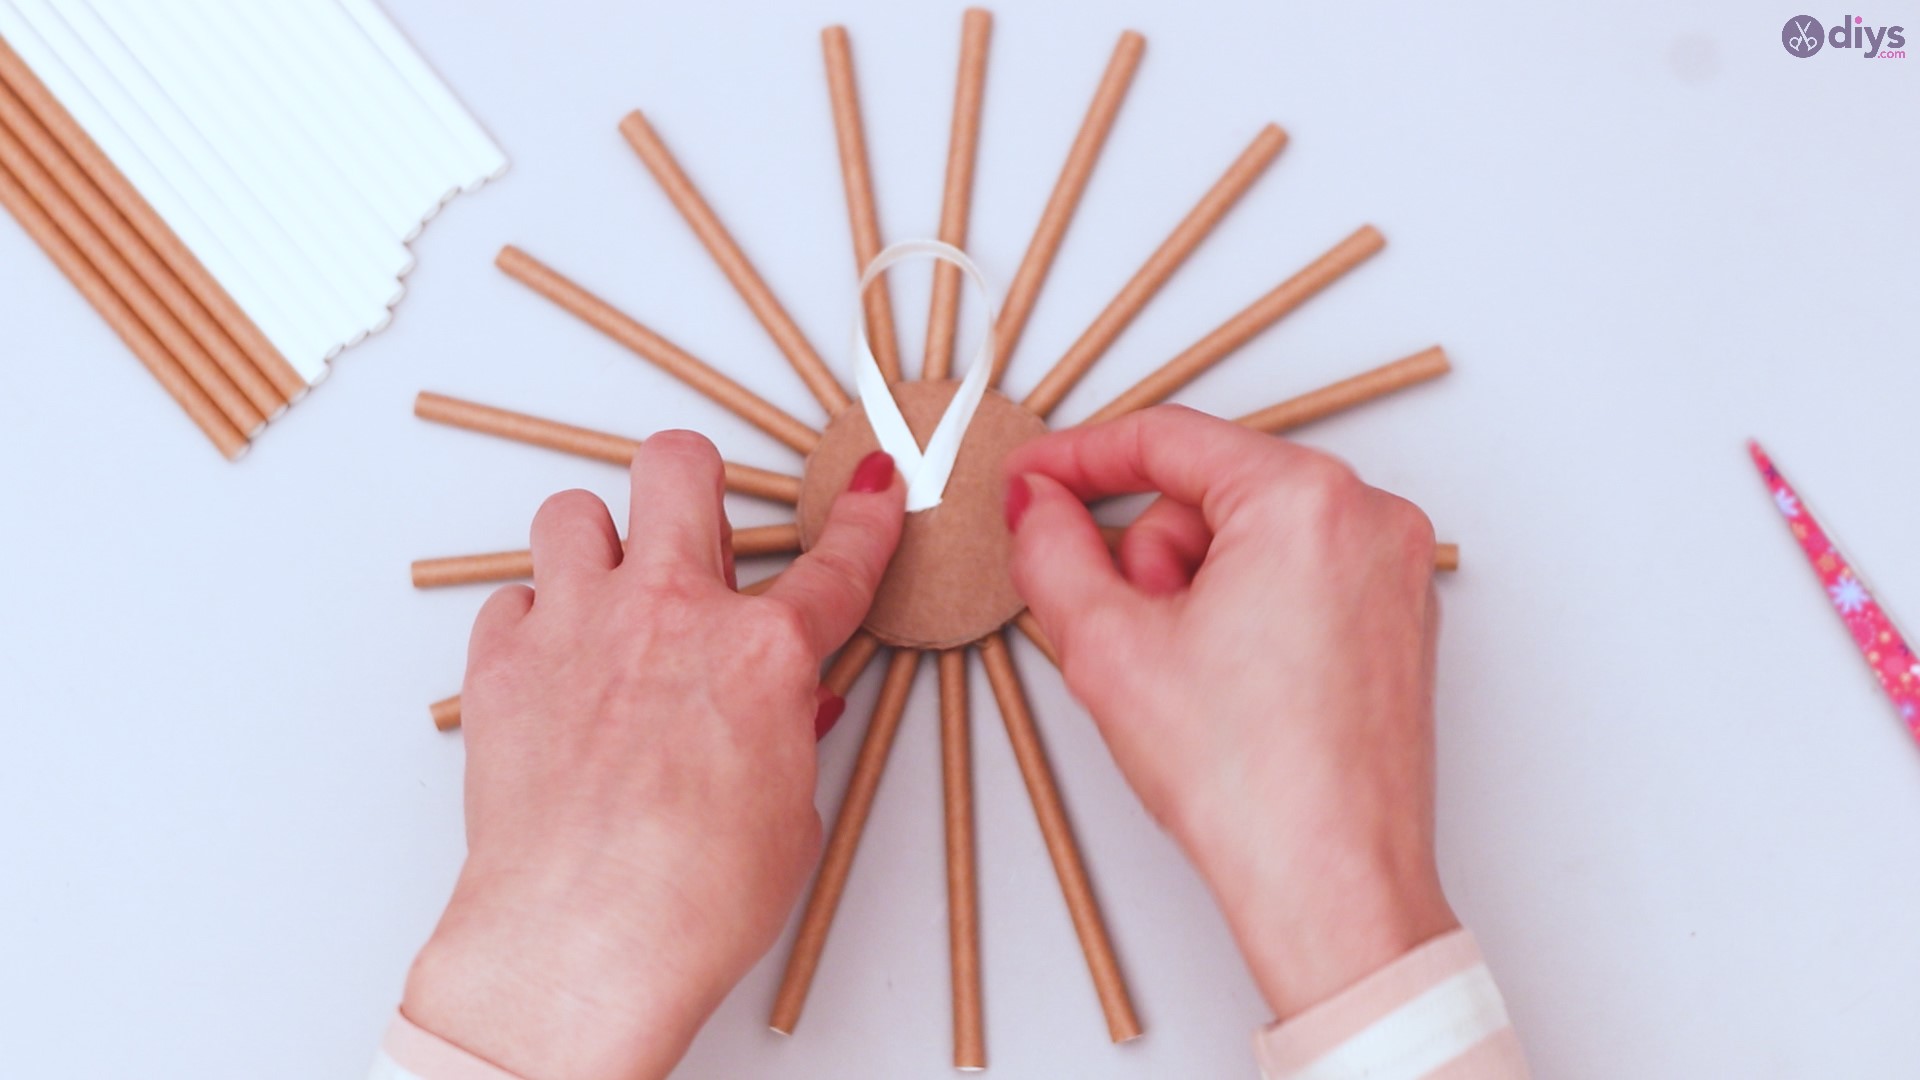
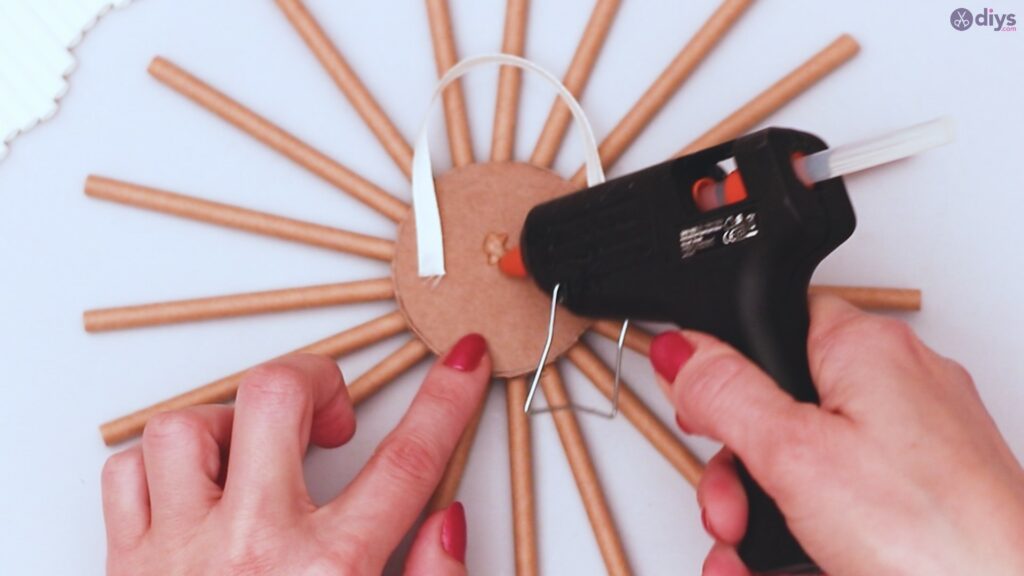
Step 4: Hanging
Take your entire wreath and flip it over so it’s face down.

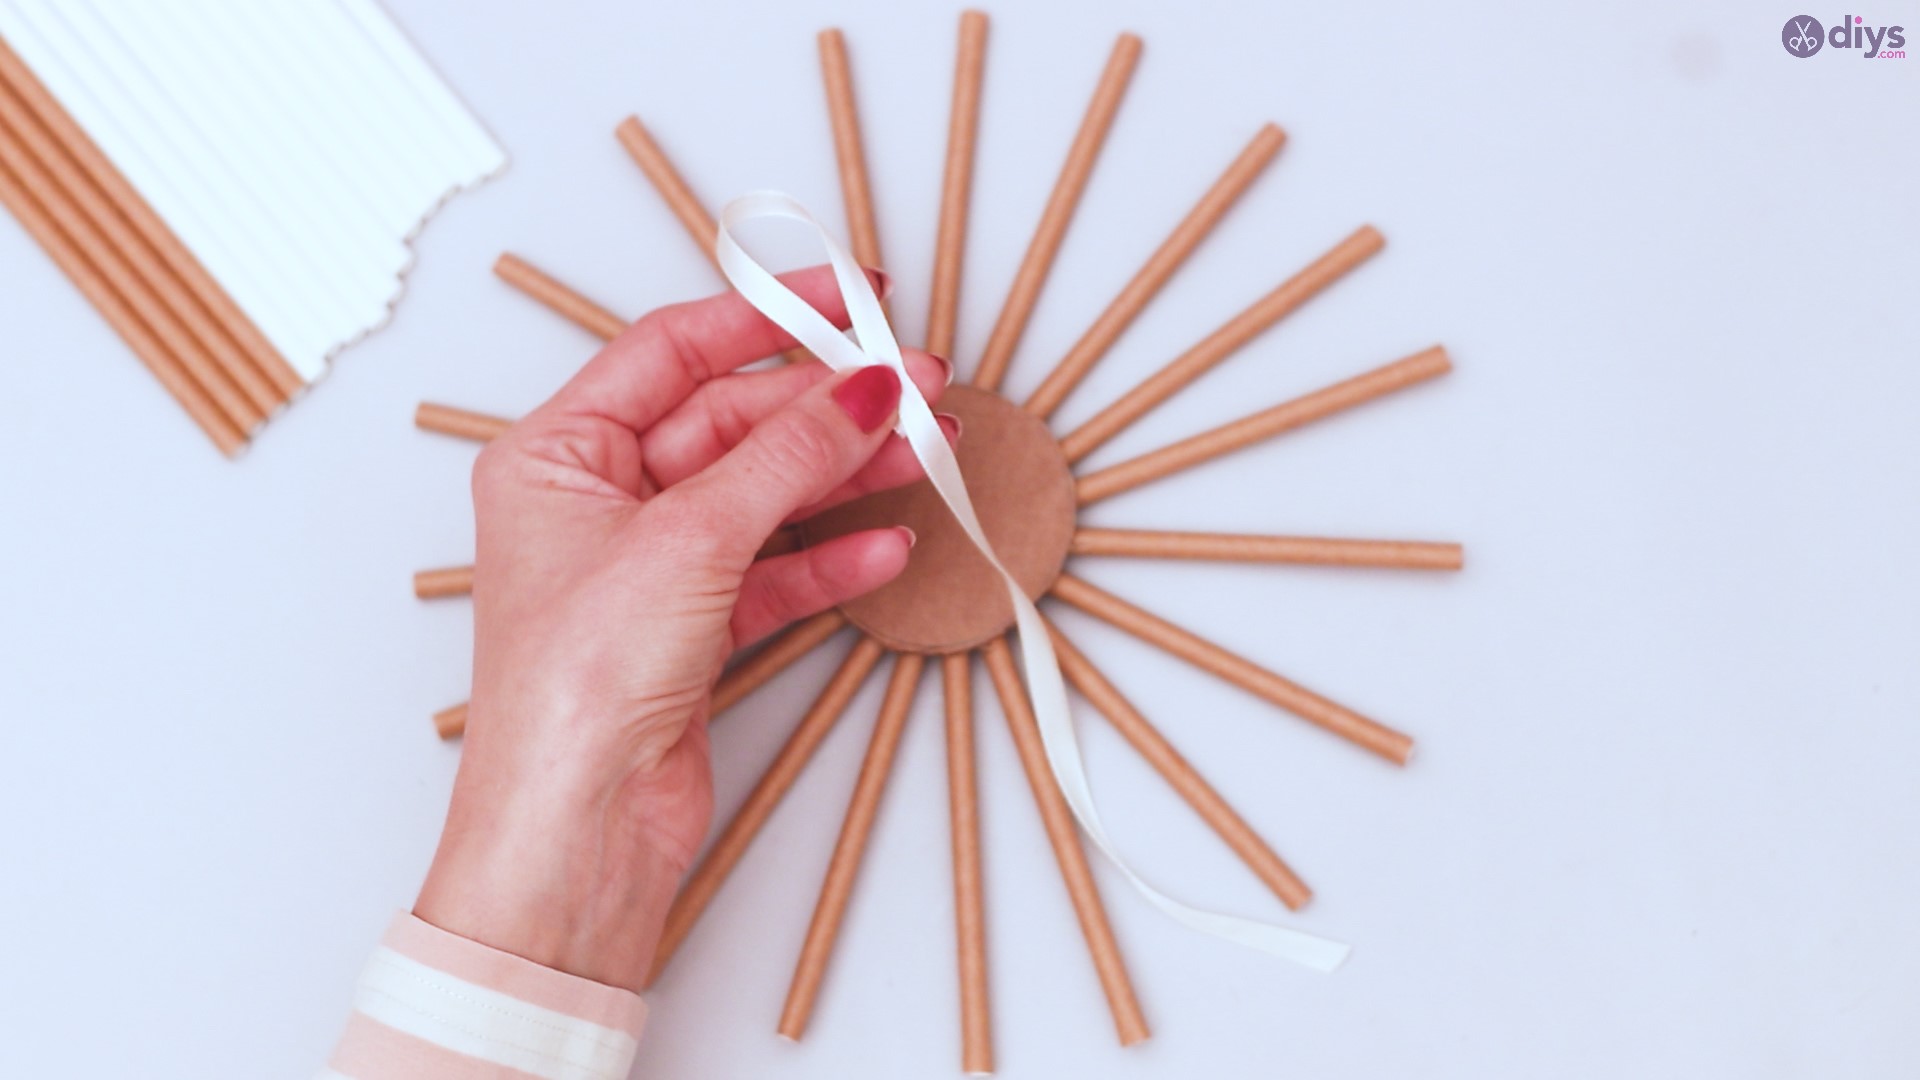
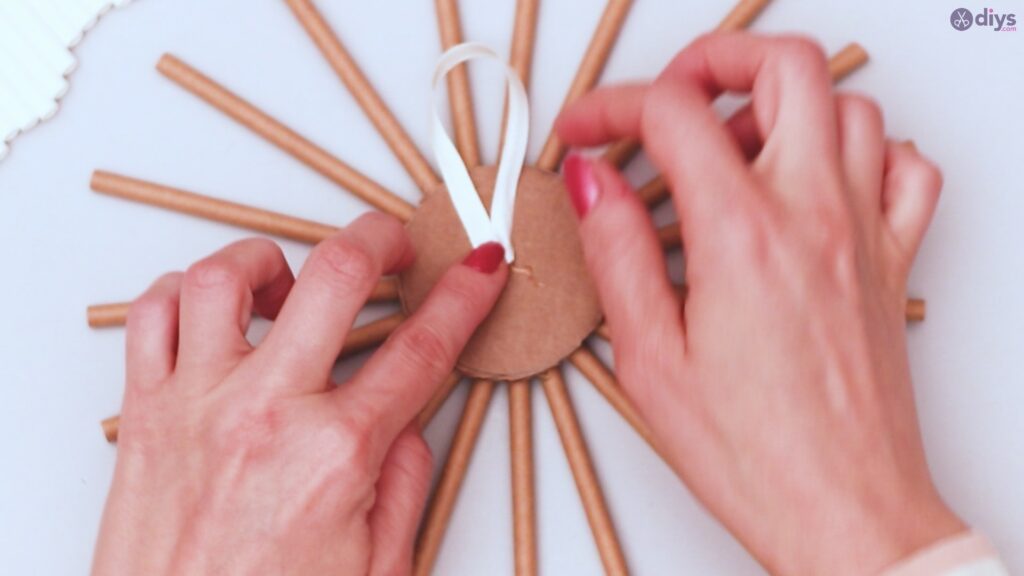
Find your silk ribbon, and fold it like an ‘awareness’ ribbon, folding the ribbon over itself in the center and pinching it to hold it like that.

Trim excess from the ends of the ribbon. You don’t want the extra hanging down from beneath the wreath.
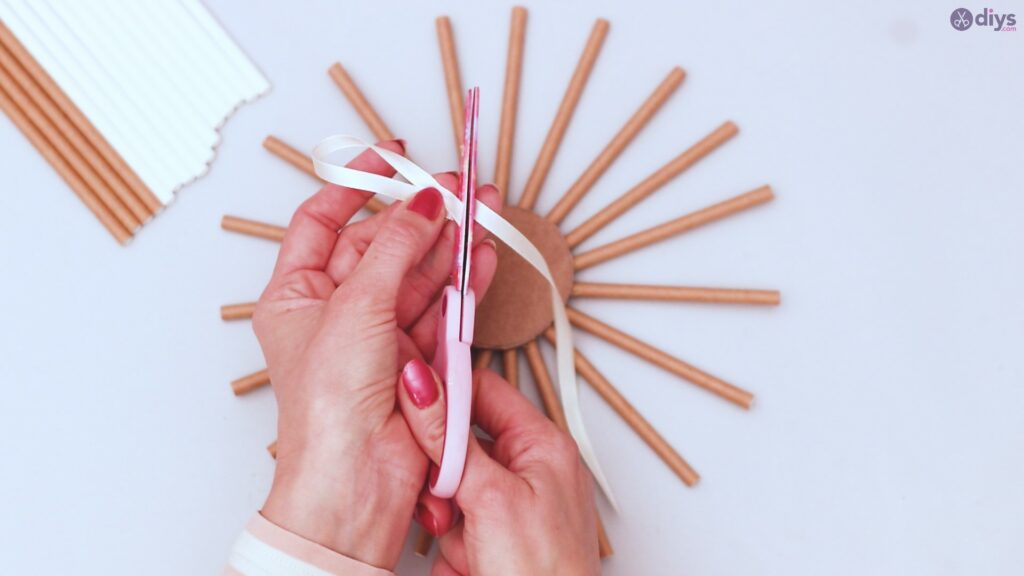
Test your placement of the hanging ribbon. Your loop should rise above the cardboard circle but not be imposing.

When you’ve determined where you want it, use the glue gun to put a dot of hot glue on each side of the ribbon where it crosses over itself. Then, glue to the back of your cardboard circle. This will work as your hanging device for display.
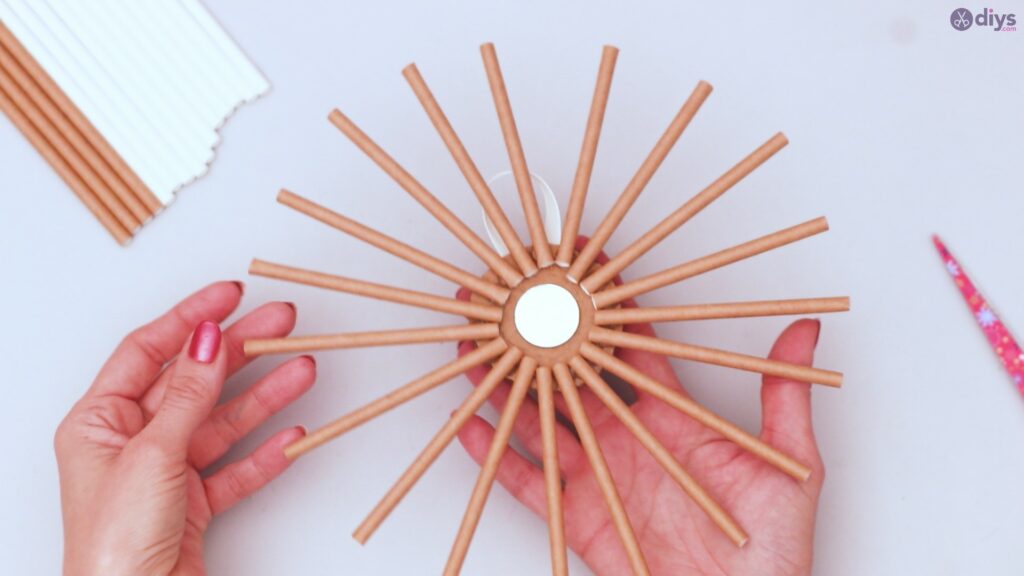
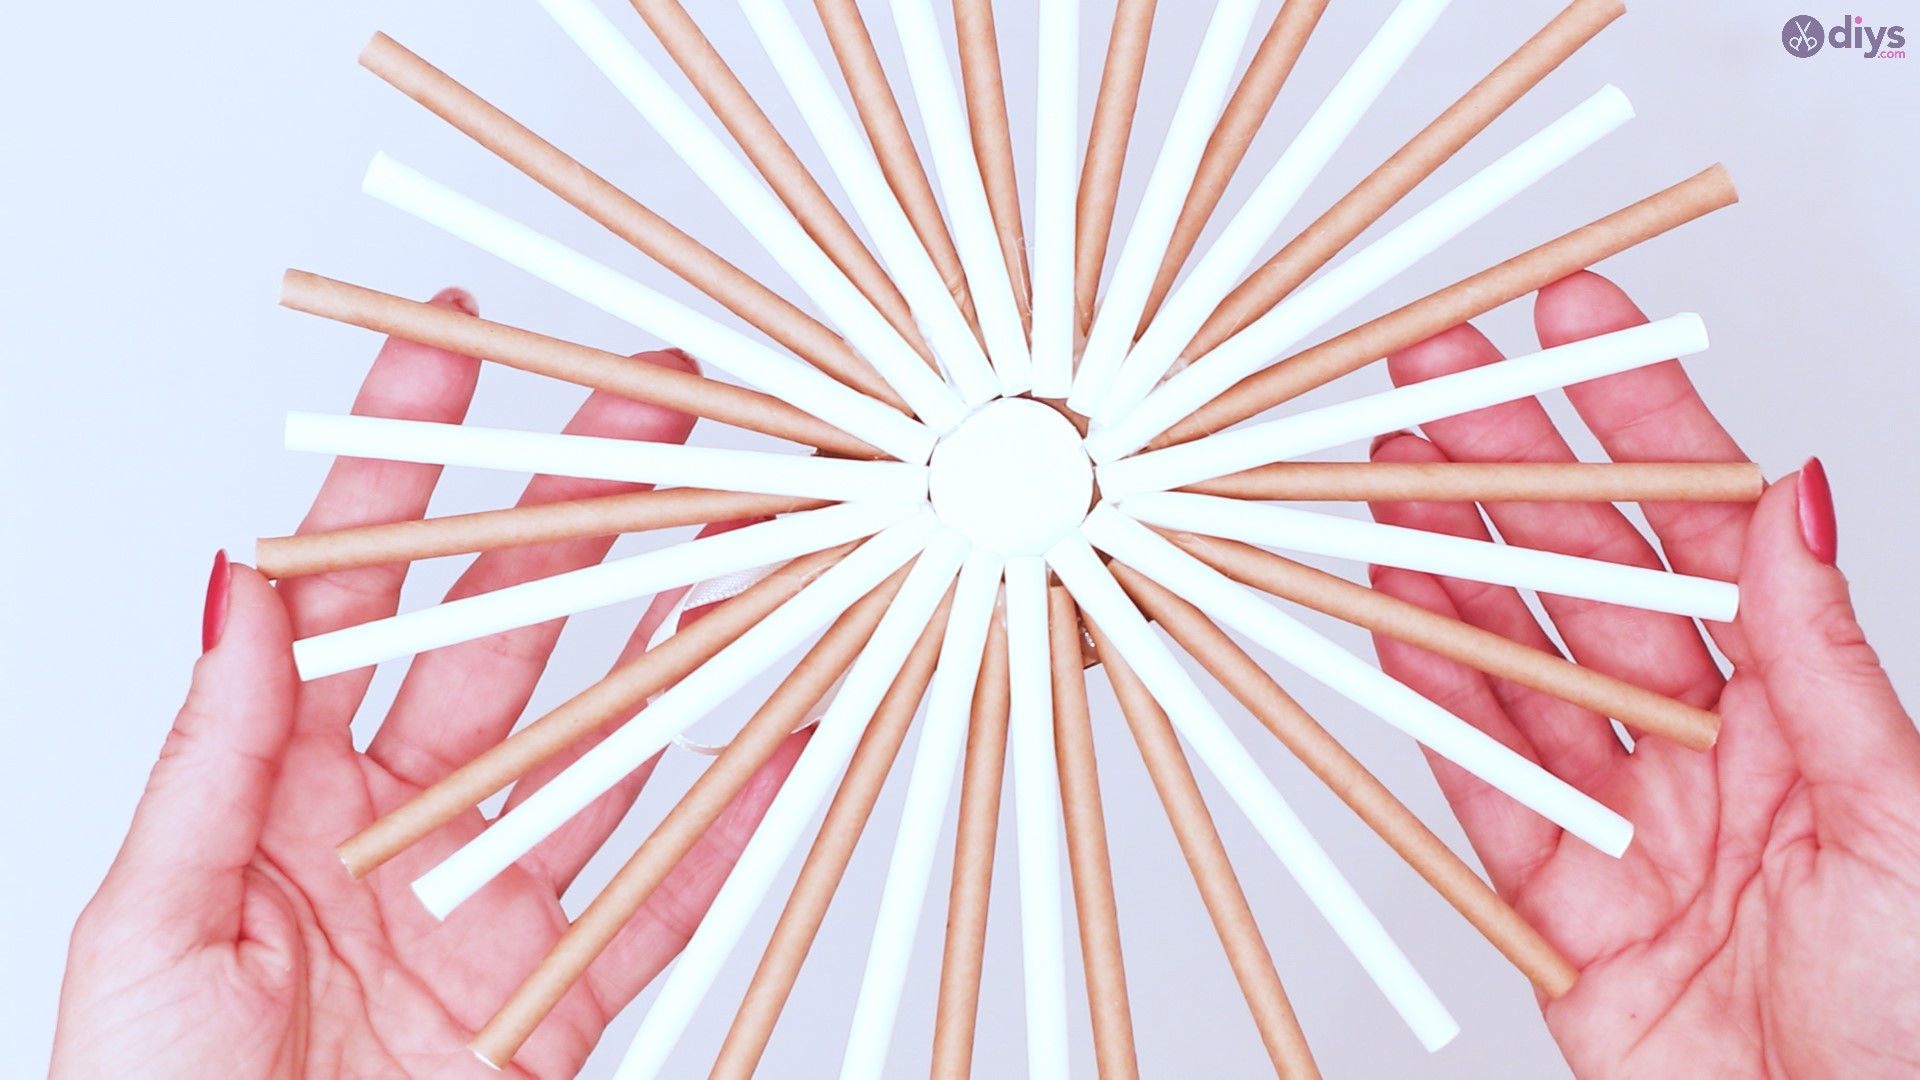
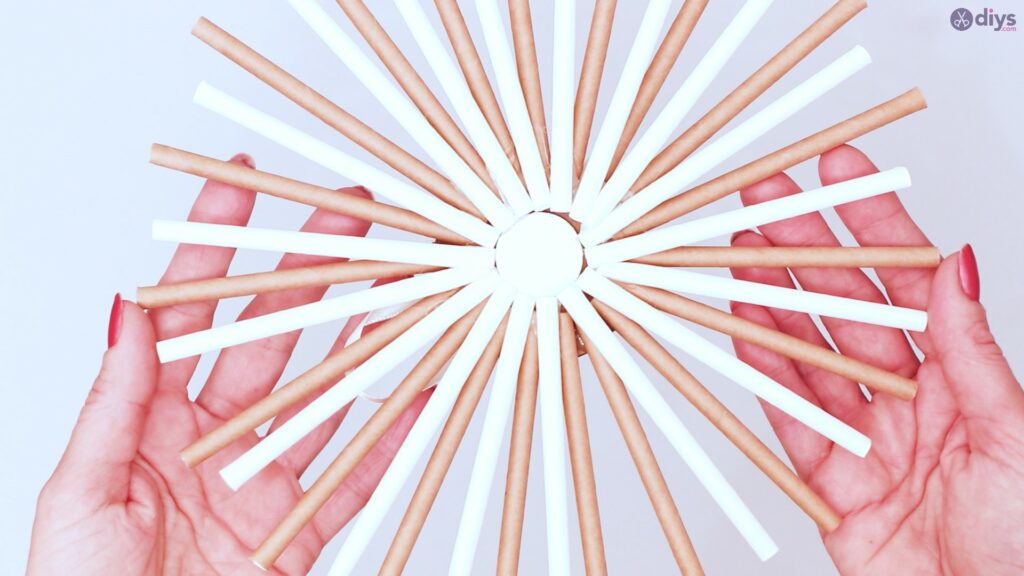
Step 5: Not done! More straws.
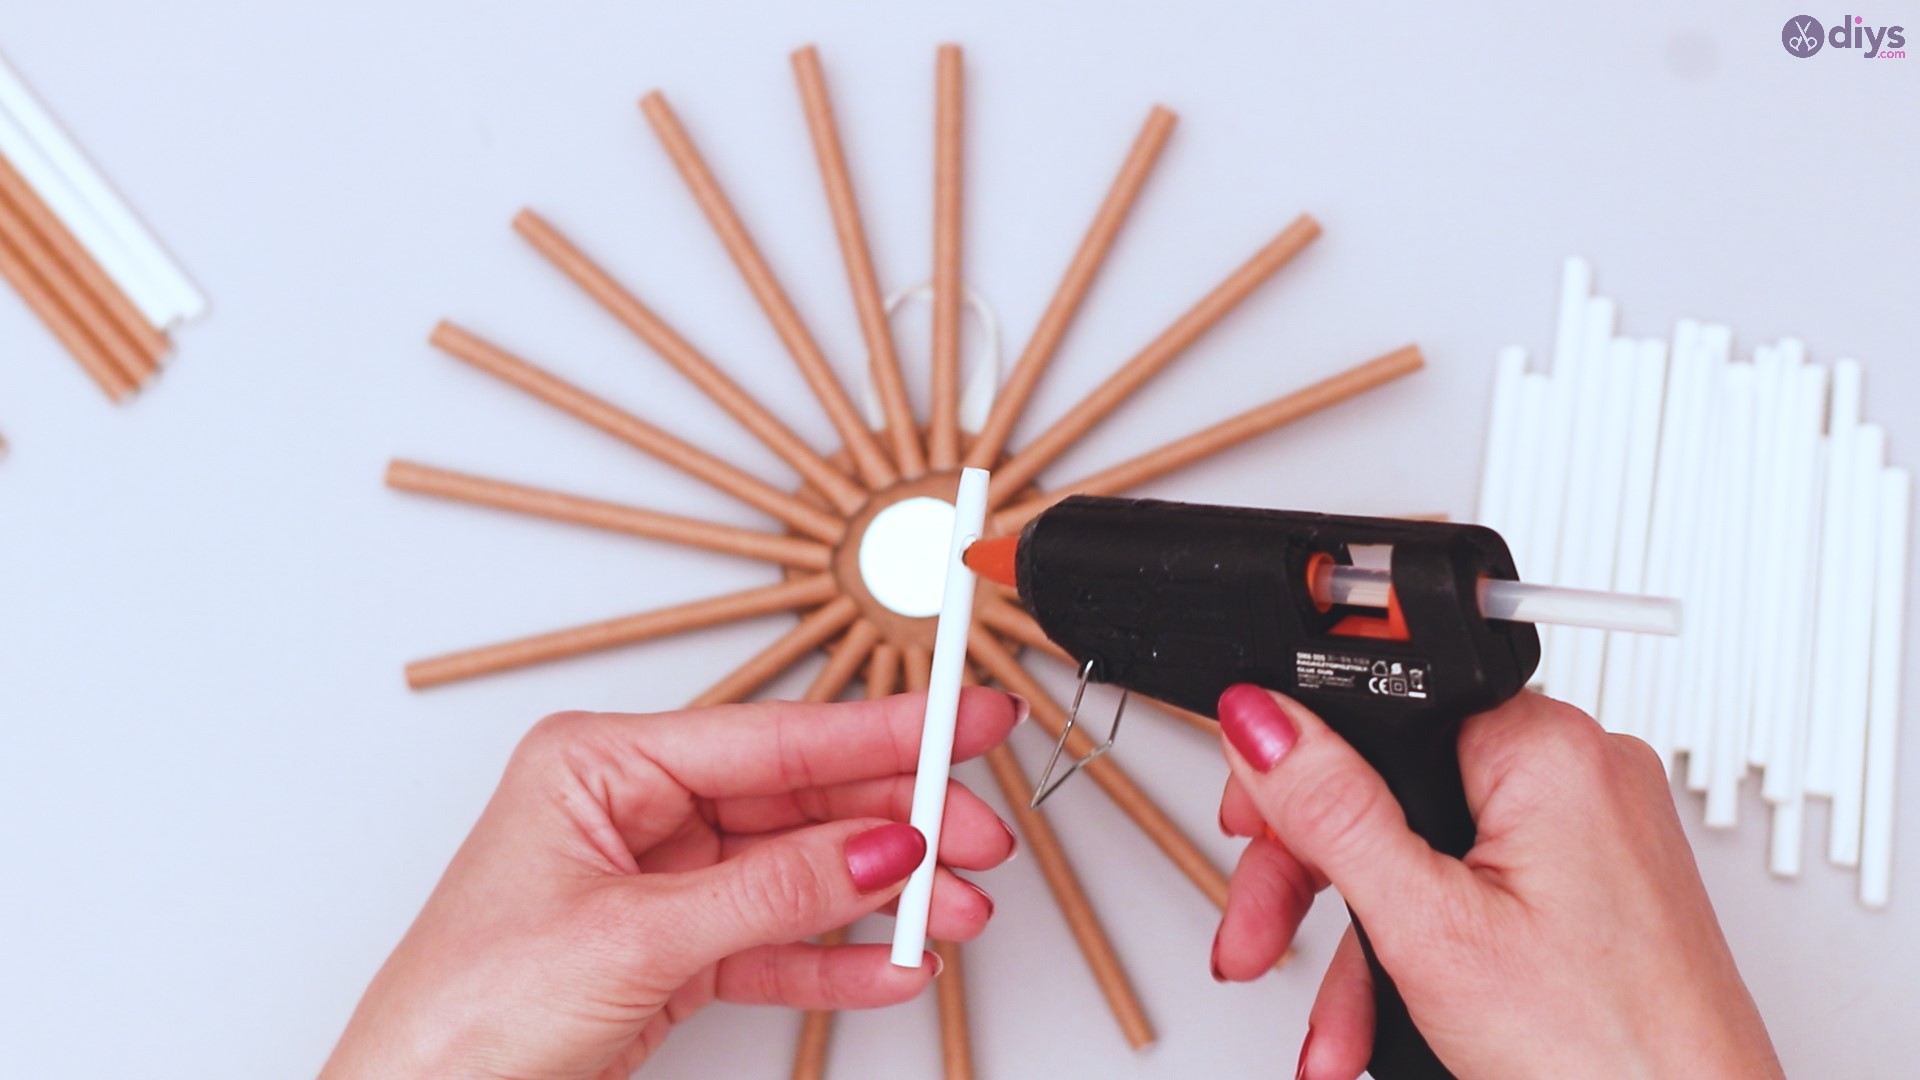
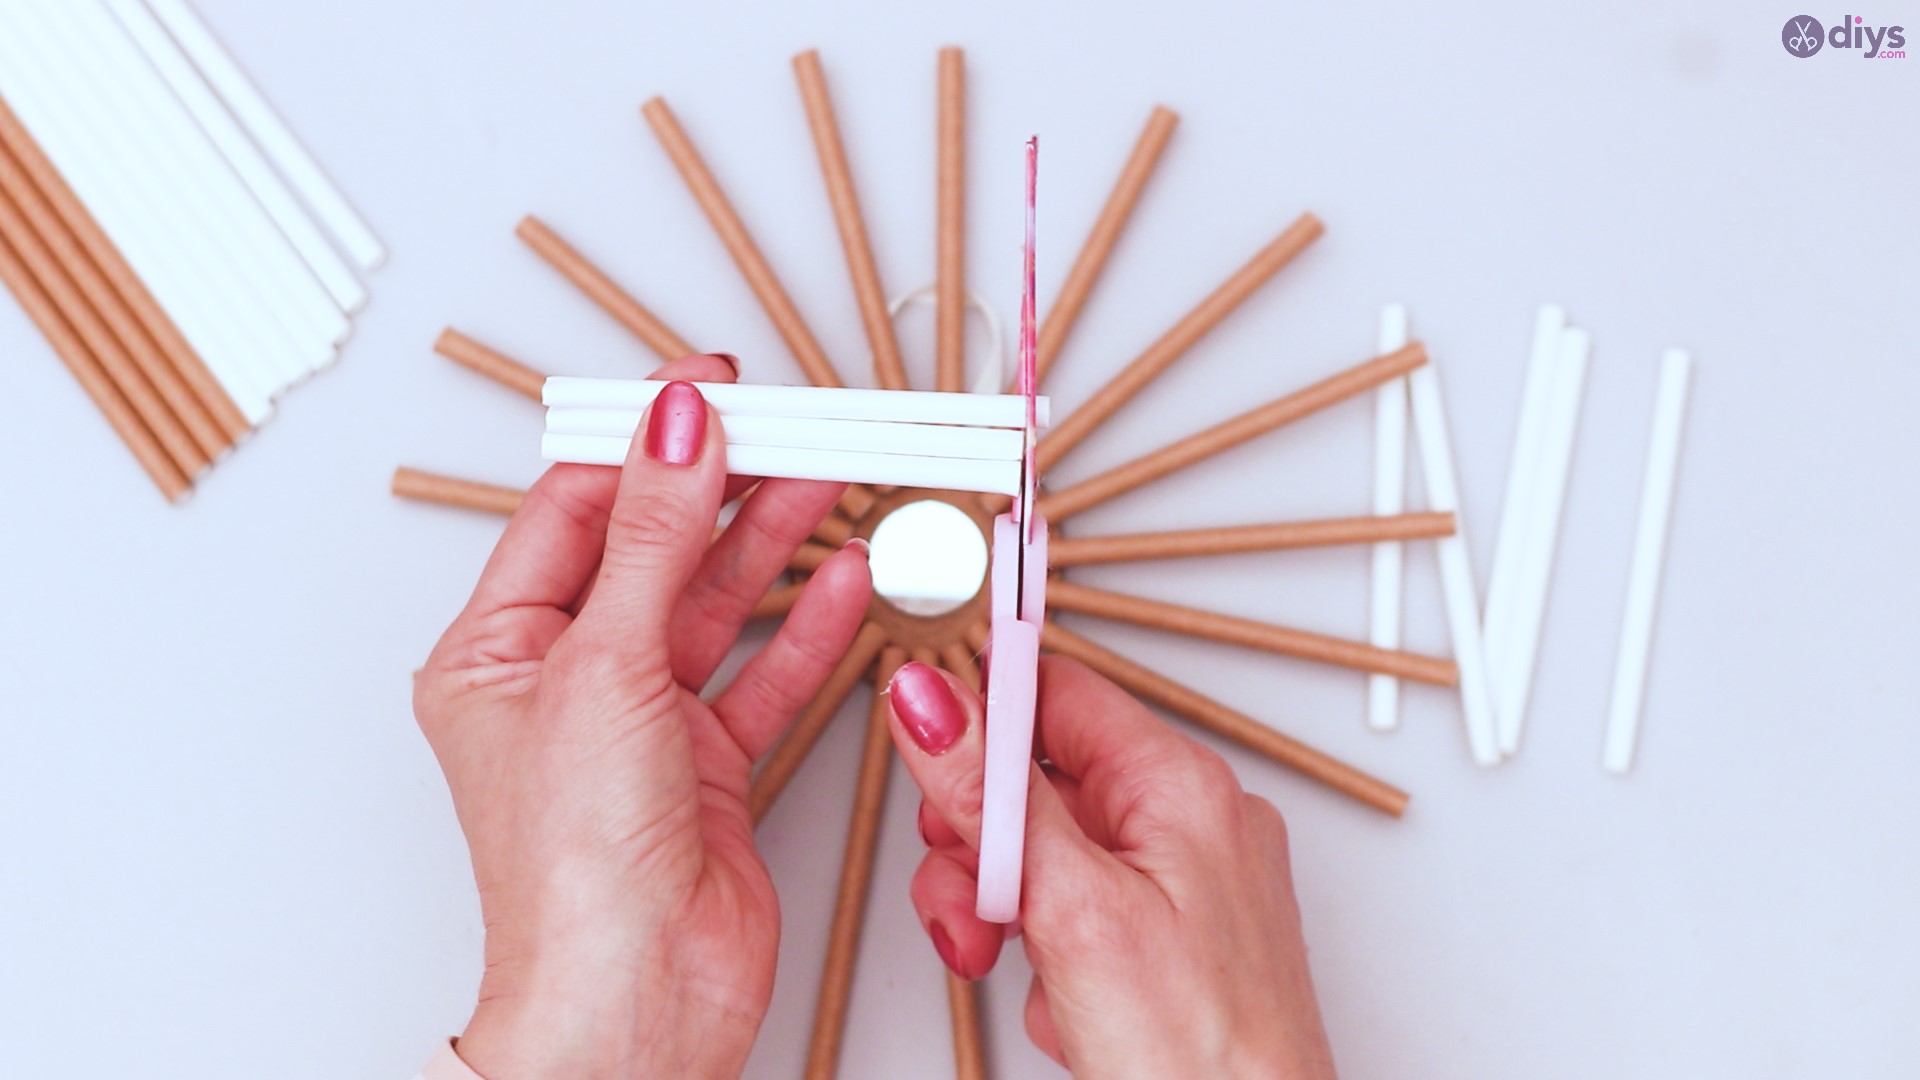
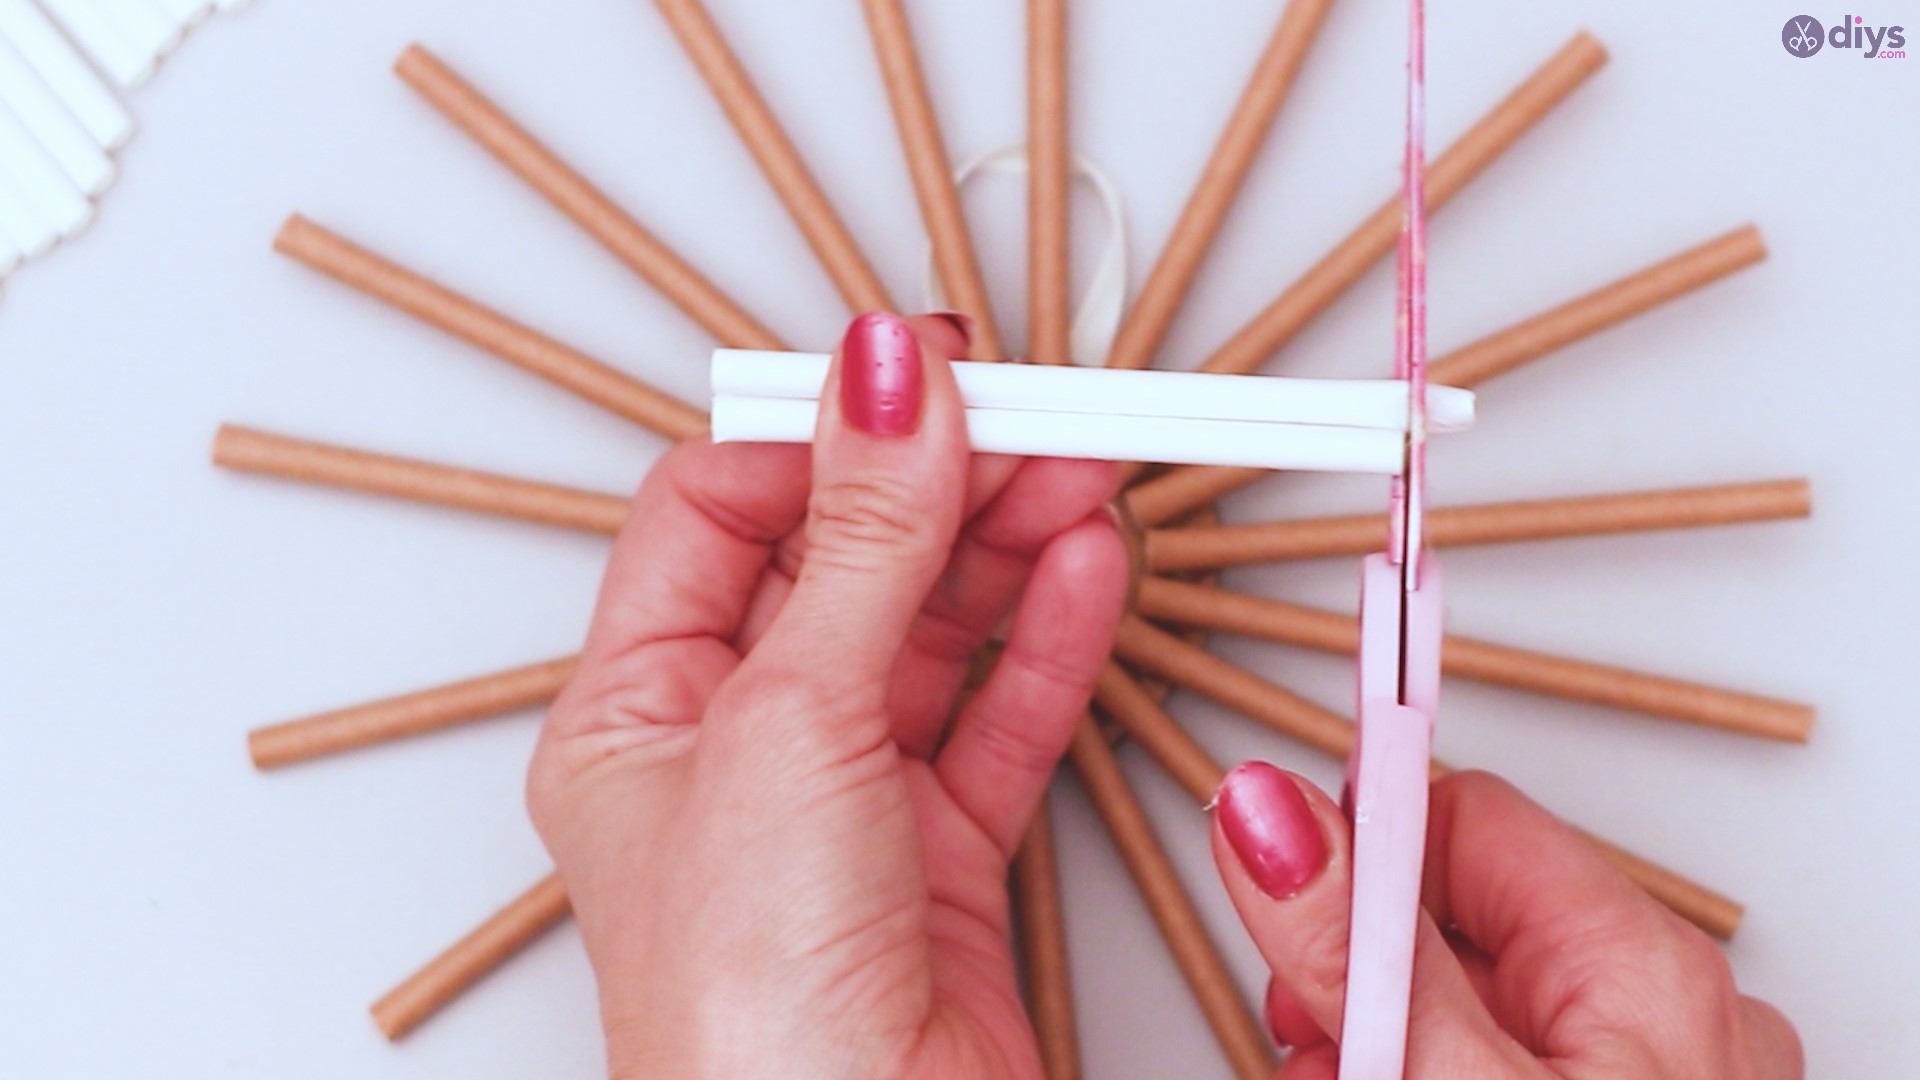
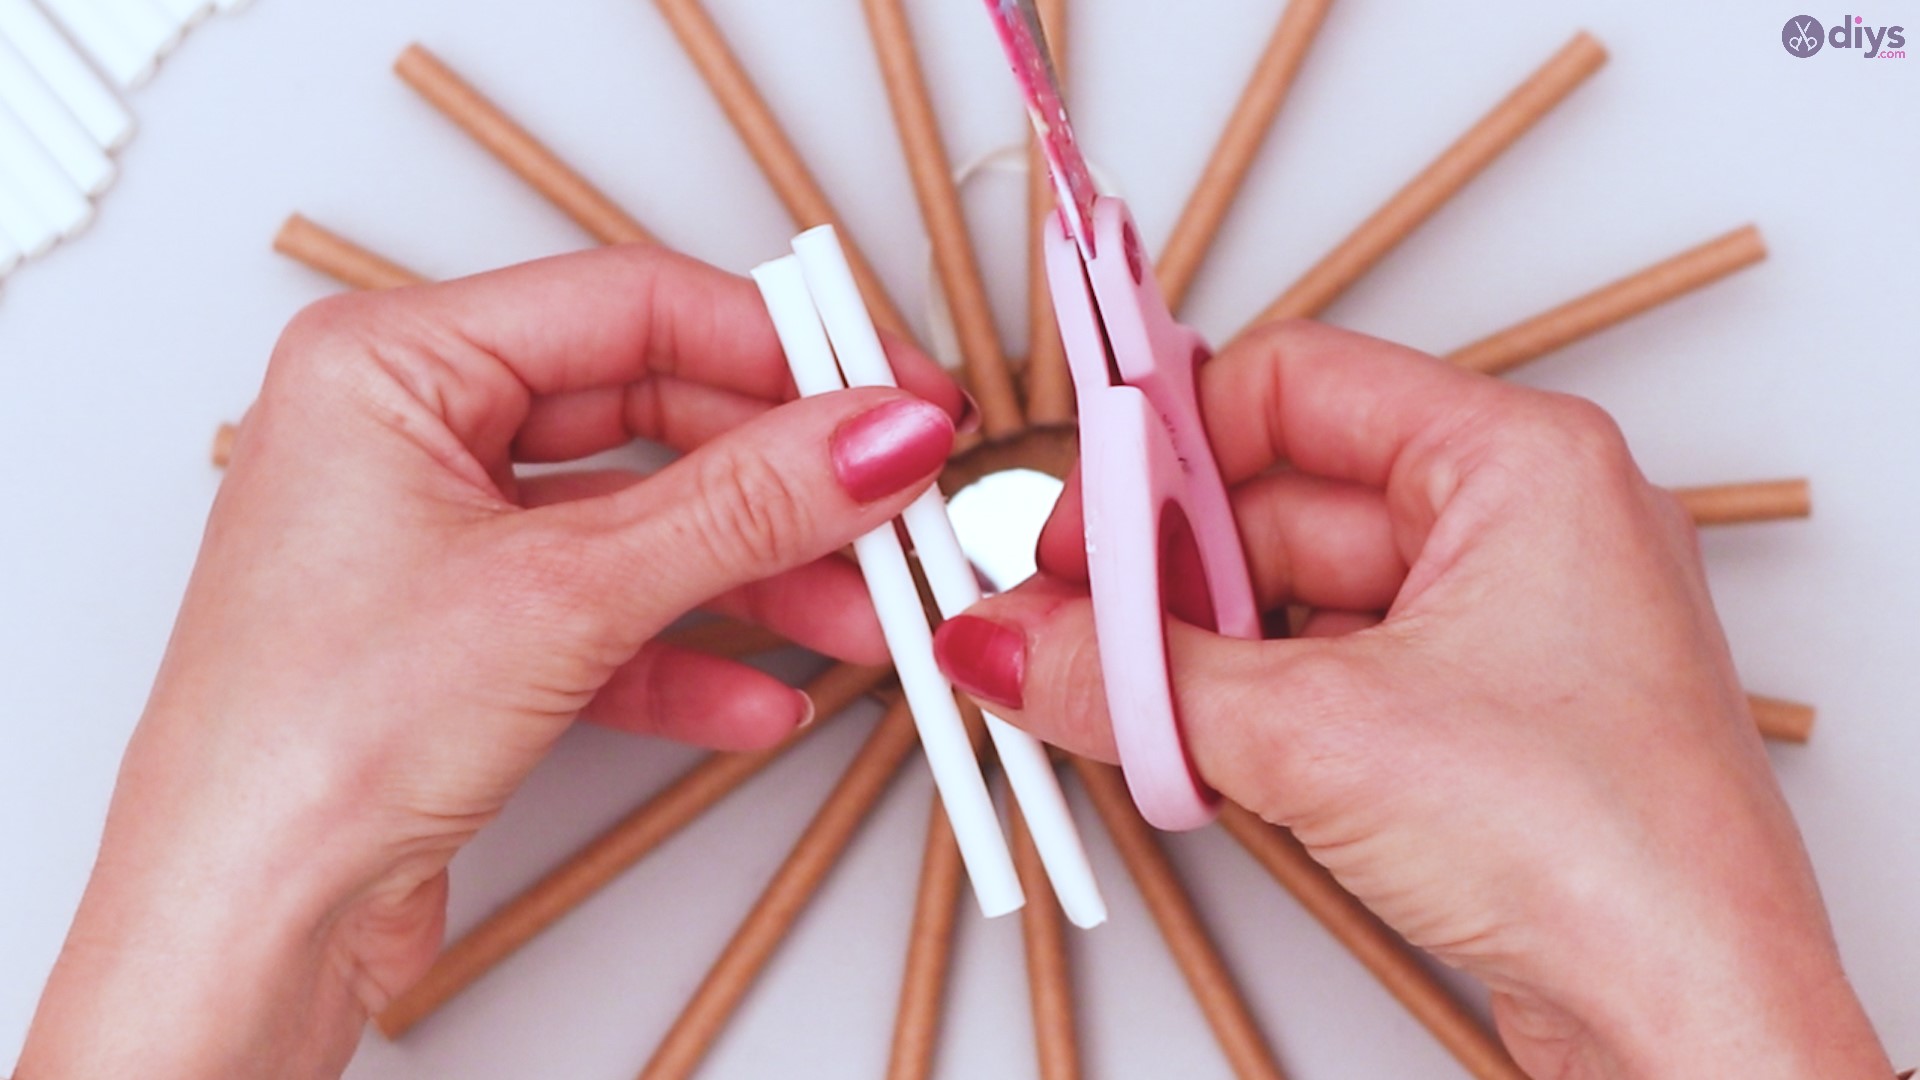
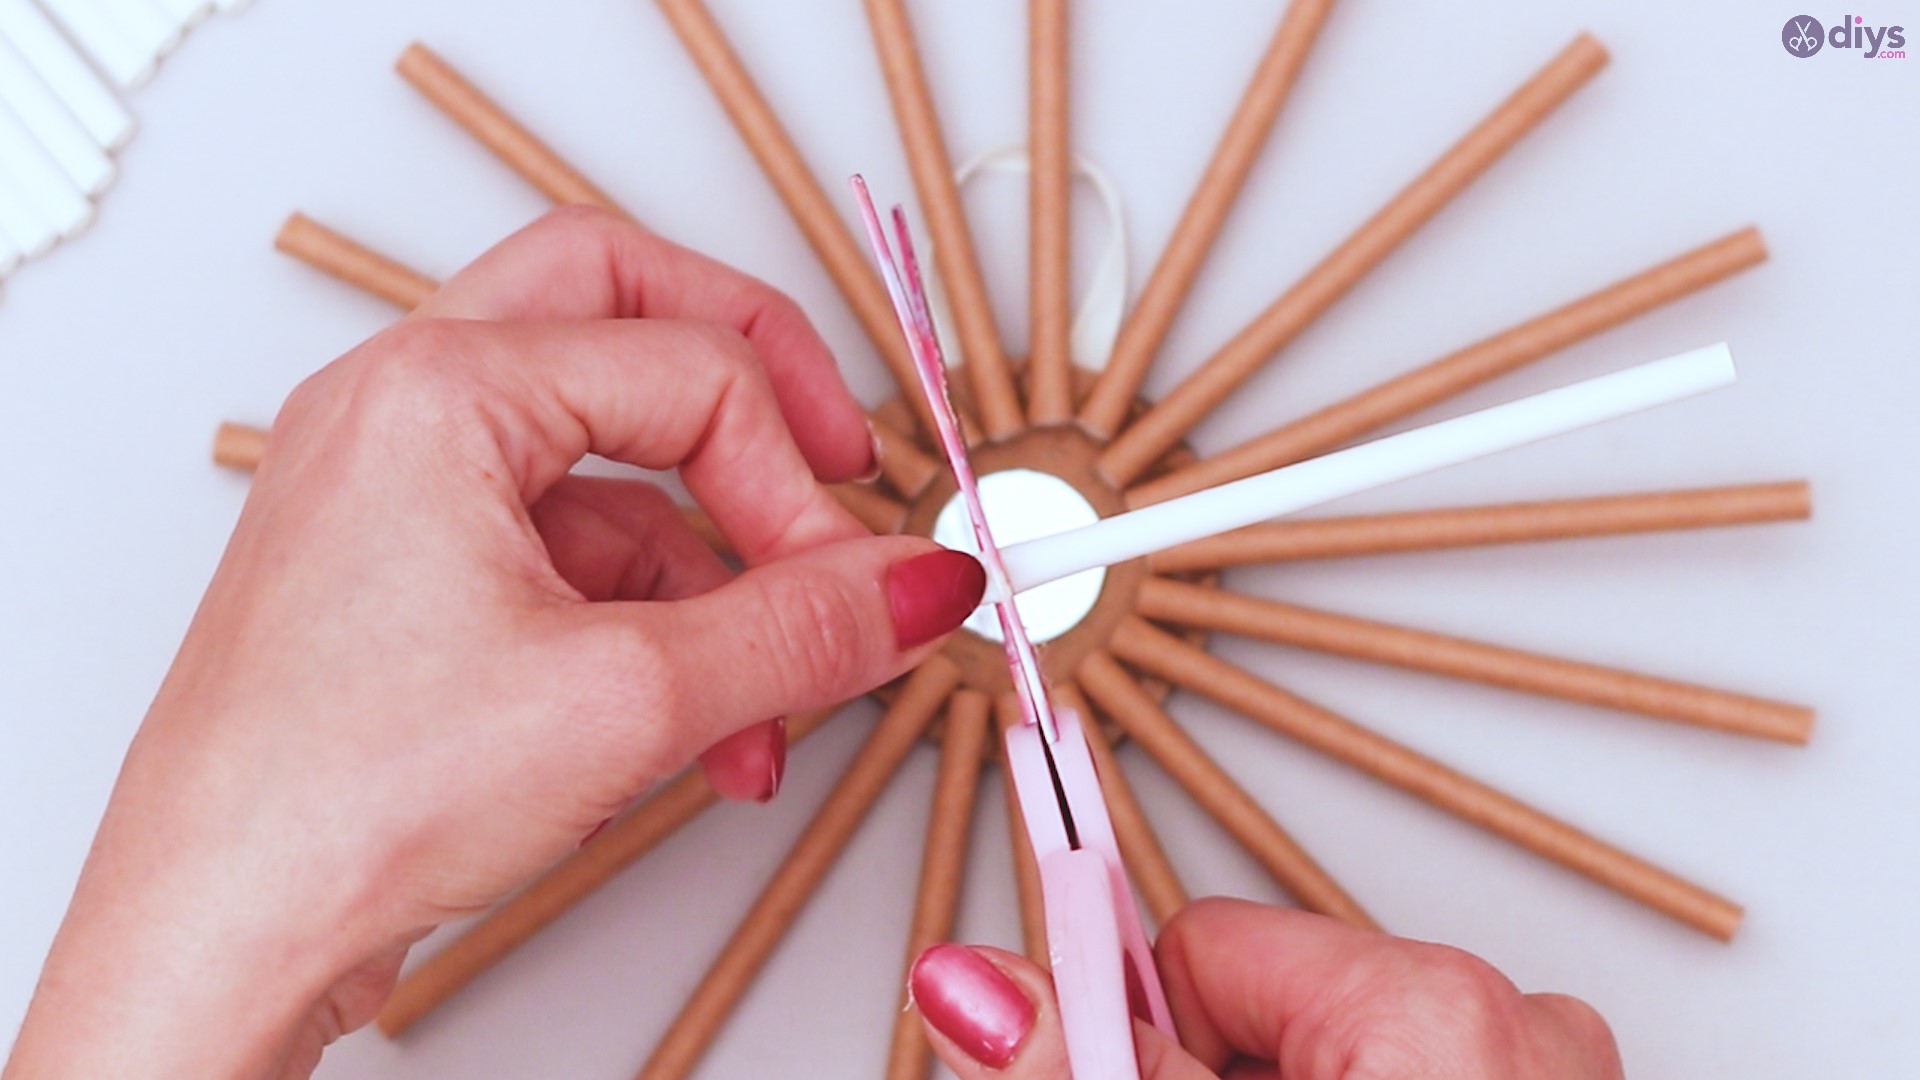
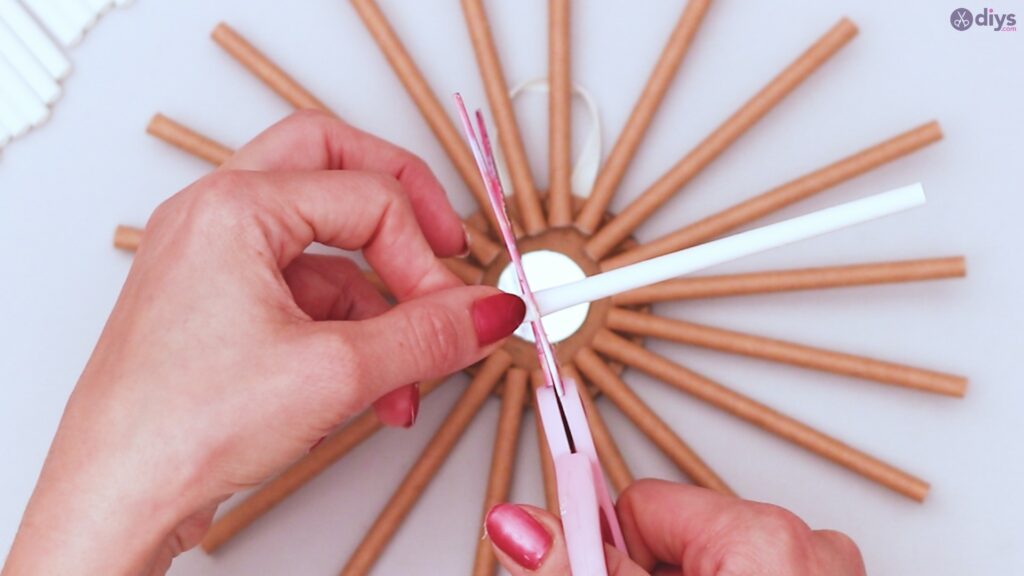
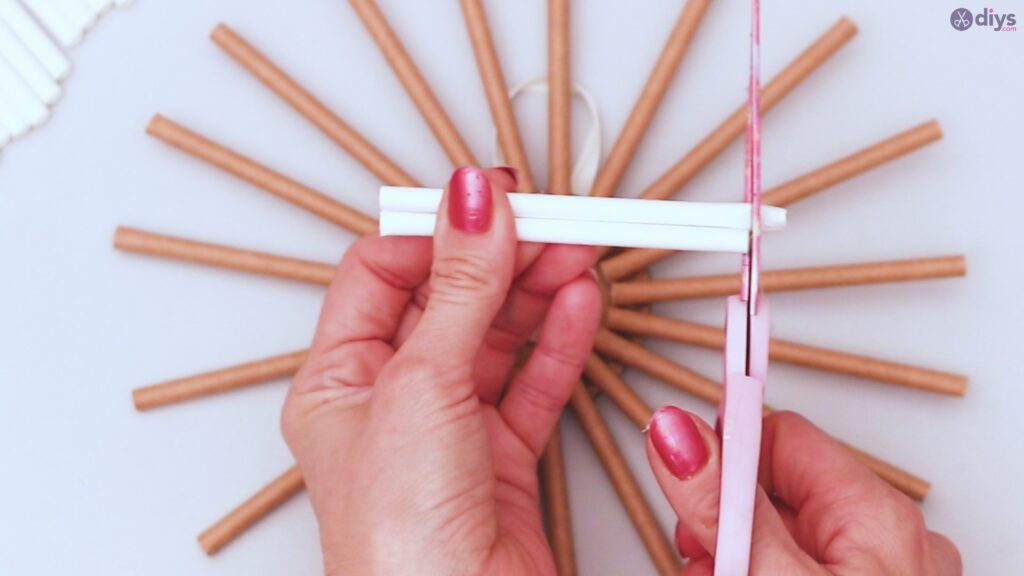
You probably didn’t realize just how many straws you were actually going to use. This time, we’re using white straws. Taking your first white straw, find a location for it between two brown straws. You should have similar overlap and length.
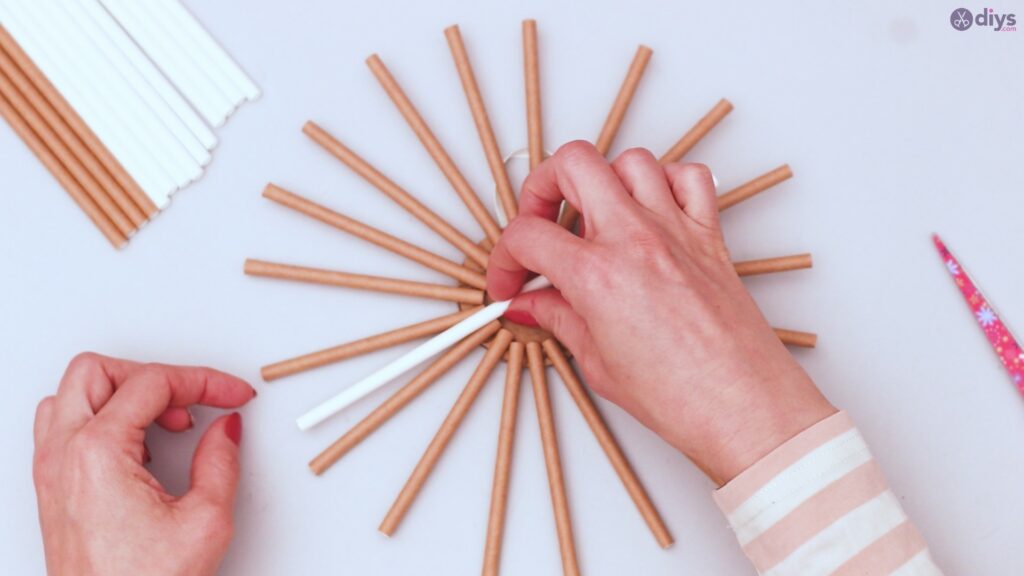
Most of the time, white straws are longer than the brown, and you’ll need to trim them all down prior to use for this project. Simply use the brown straws as a template for proper length.

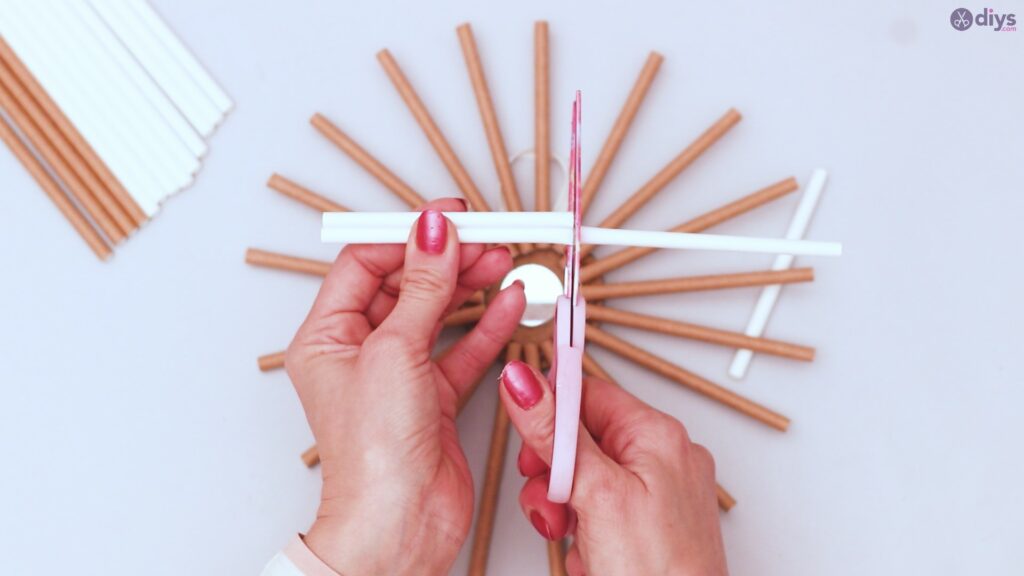
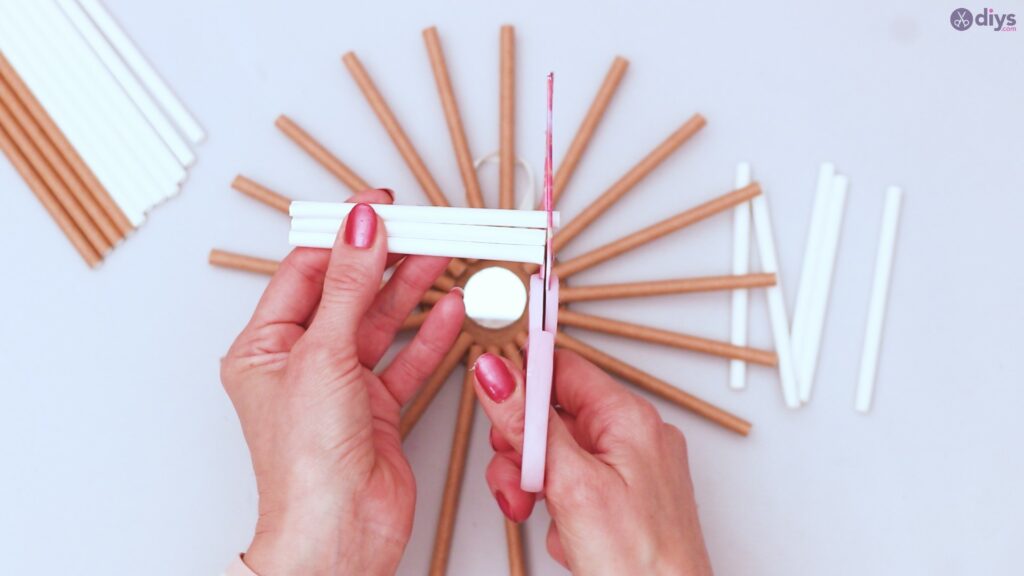
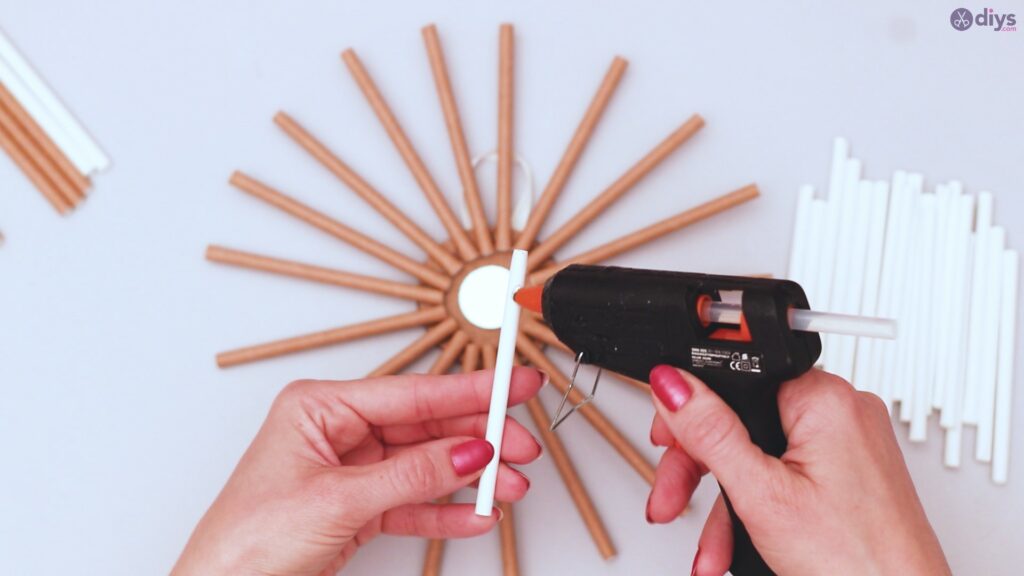

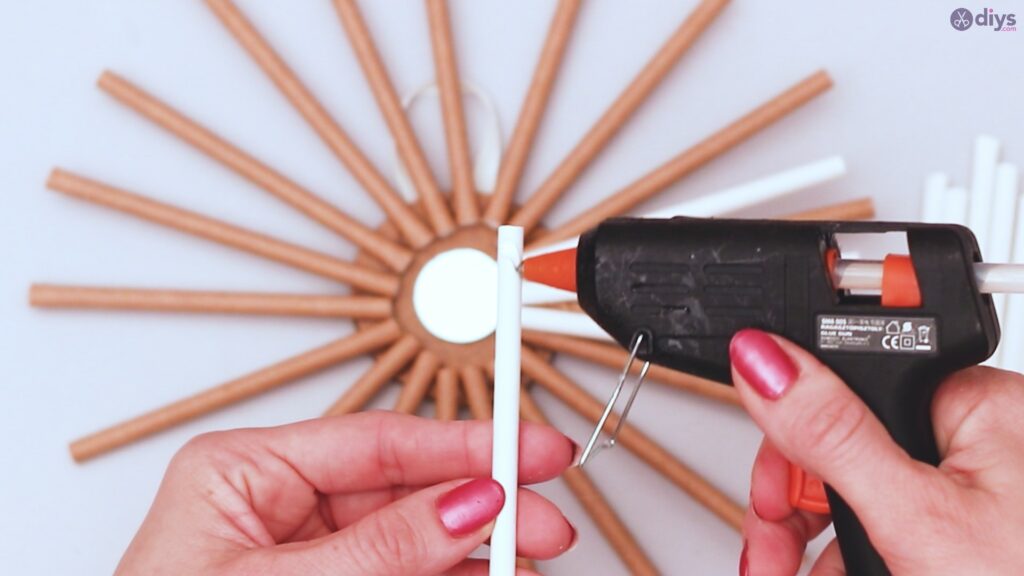
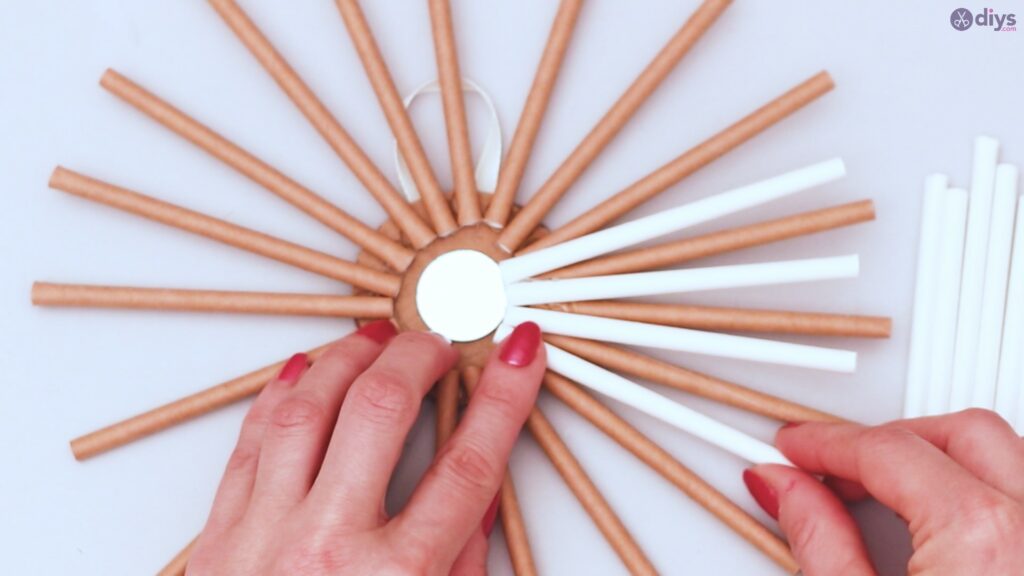
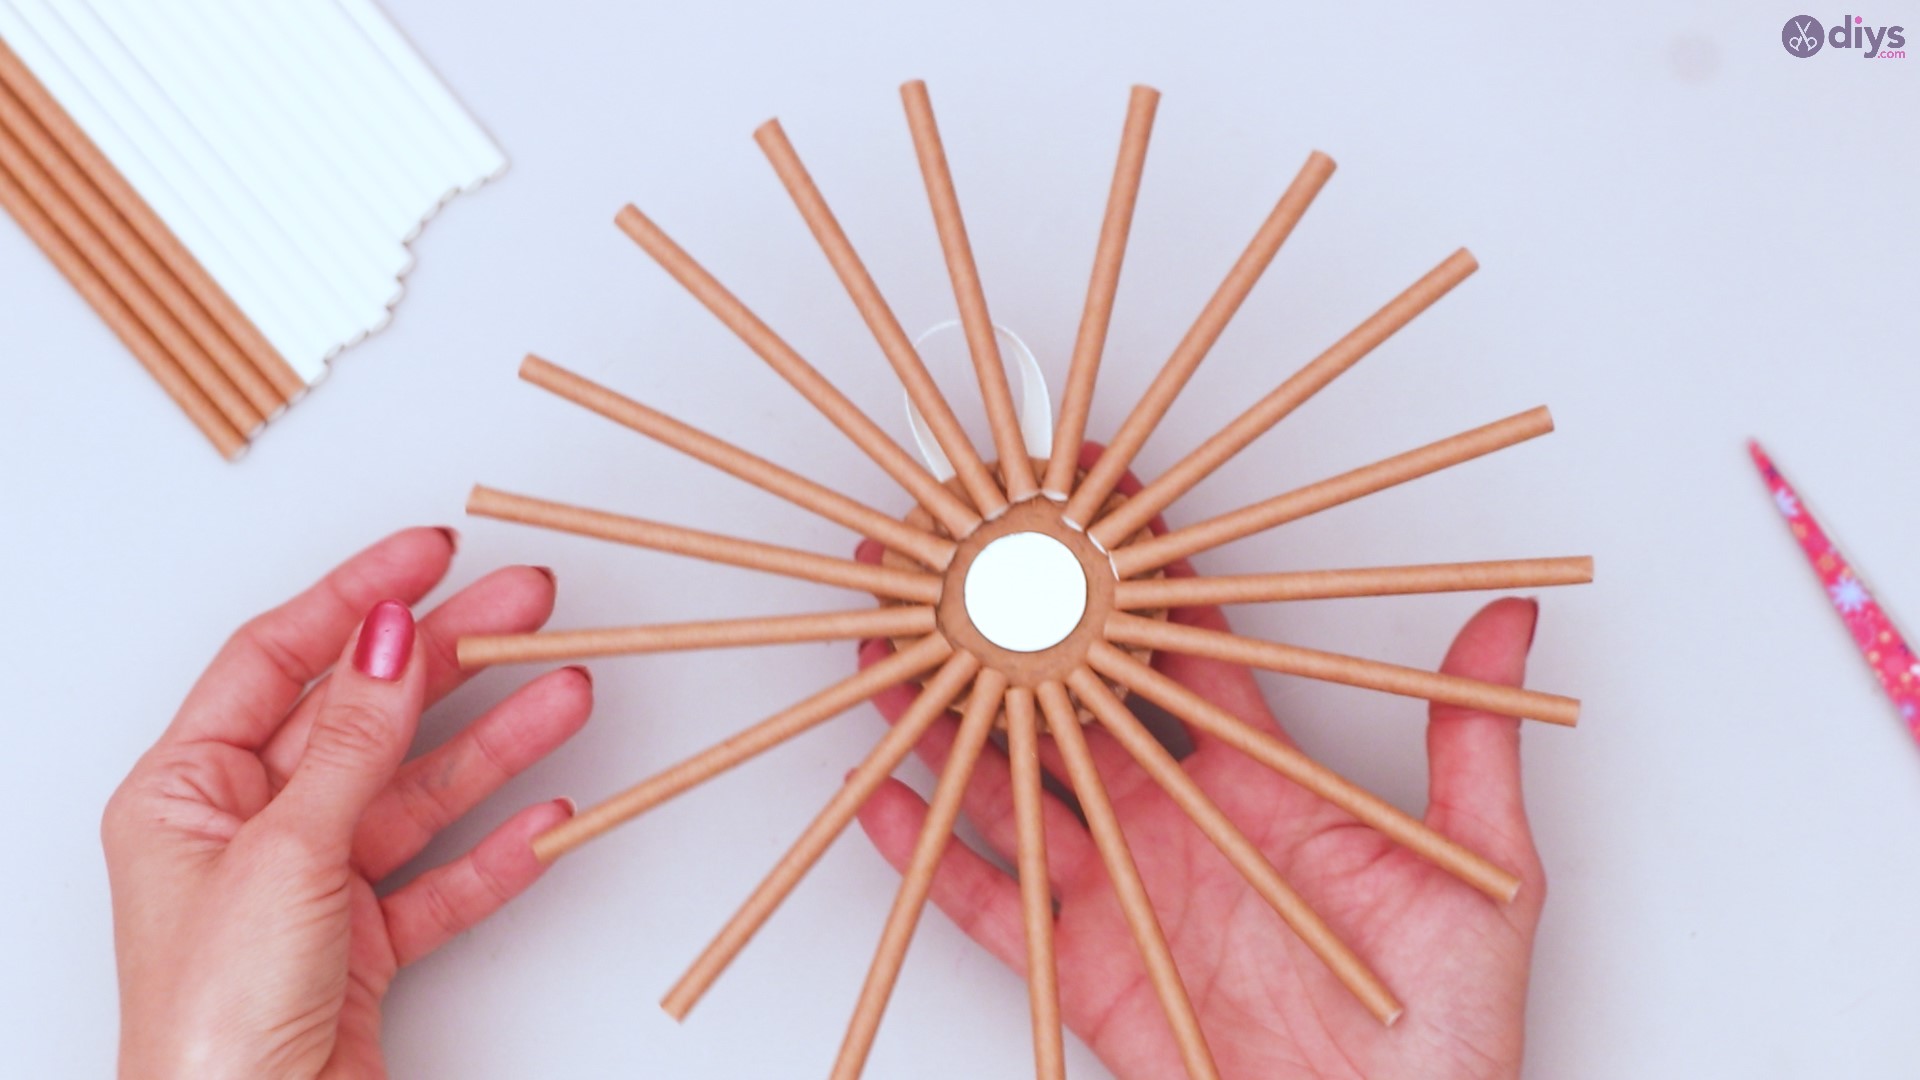
Continue around the circle in either direction you prefer, filling in the spaces between the brown straws until you’ve filled all of them, gluing the white straws down.
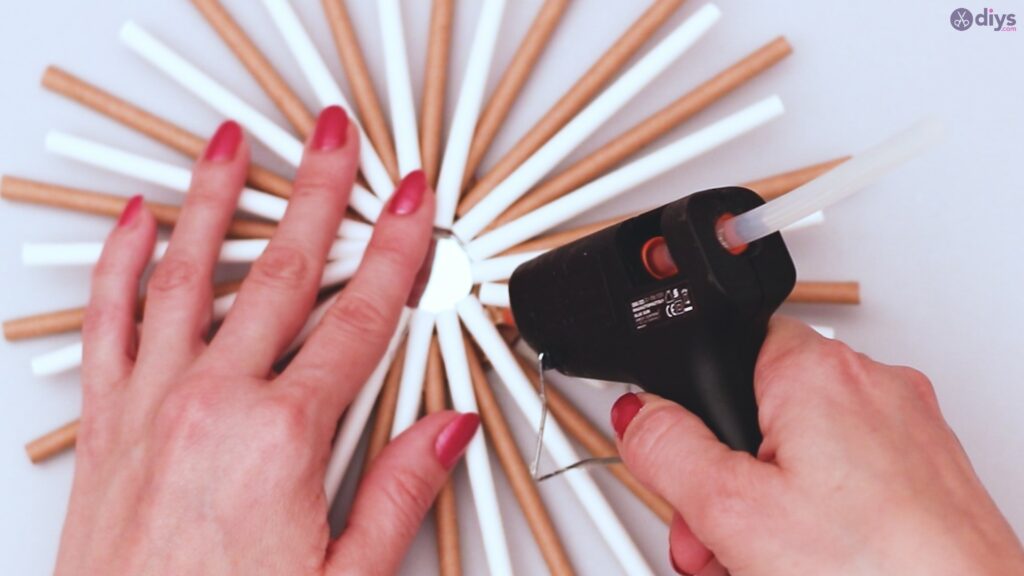
Your finished product will be a lovely, multishade design that is eyecatching and impressive. You can hang it anywhere, since it will match with any other décor you have in any room. It’s diverse in many ways, and enjoyable for years.
The best part of the paper straw wreath is that it’s beautiful for a small investment. It doesn’t take much to collect the supplies, most of them utensils you likely have on hand, especially if you’re into arts and crafts. The other items are simple and inexpensive to get, so you’ll never feel overwhelmed by the cost of the project. And with the ease of creating the paper straw wreath, you can easily accomplish this in minimal free time, so you can take it on in the middle of a hectic time. It’ll help you find that calm central place in the midst of chaos that helps you cope better with stress, almost mindless to do, without overwhelming you with difficulty.