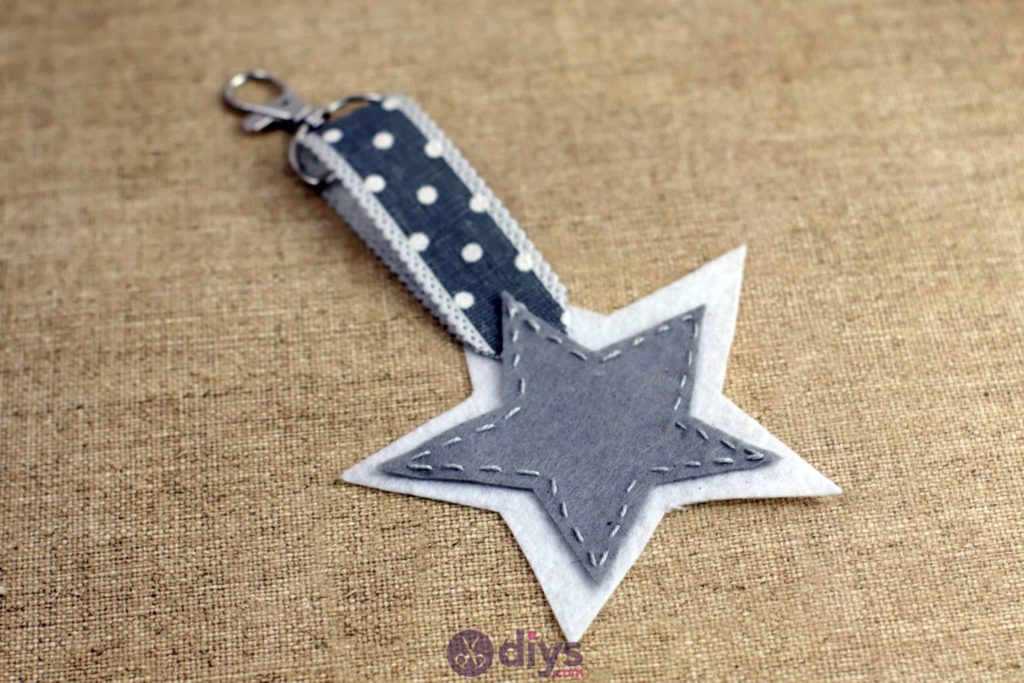
DIY Felt Star Keyholder
Updated on November 19, 2025


I’m a pretty big sewing and fabric crafts enthusiast, so I definitely saw an opportunity to use up some scrap fabric in a cute, productive way while making a DIY project. These adorable felt star key holders that we made last week were the result!
As usual, I decided to document the process of making at least one of the key holders so I can show other crafters how they were done. Check out these step by step instructions complete with photos! If you’d rather follow along with a video tutorial instead of written words, scroll to the bottom of this post to find just what you’re looking for.
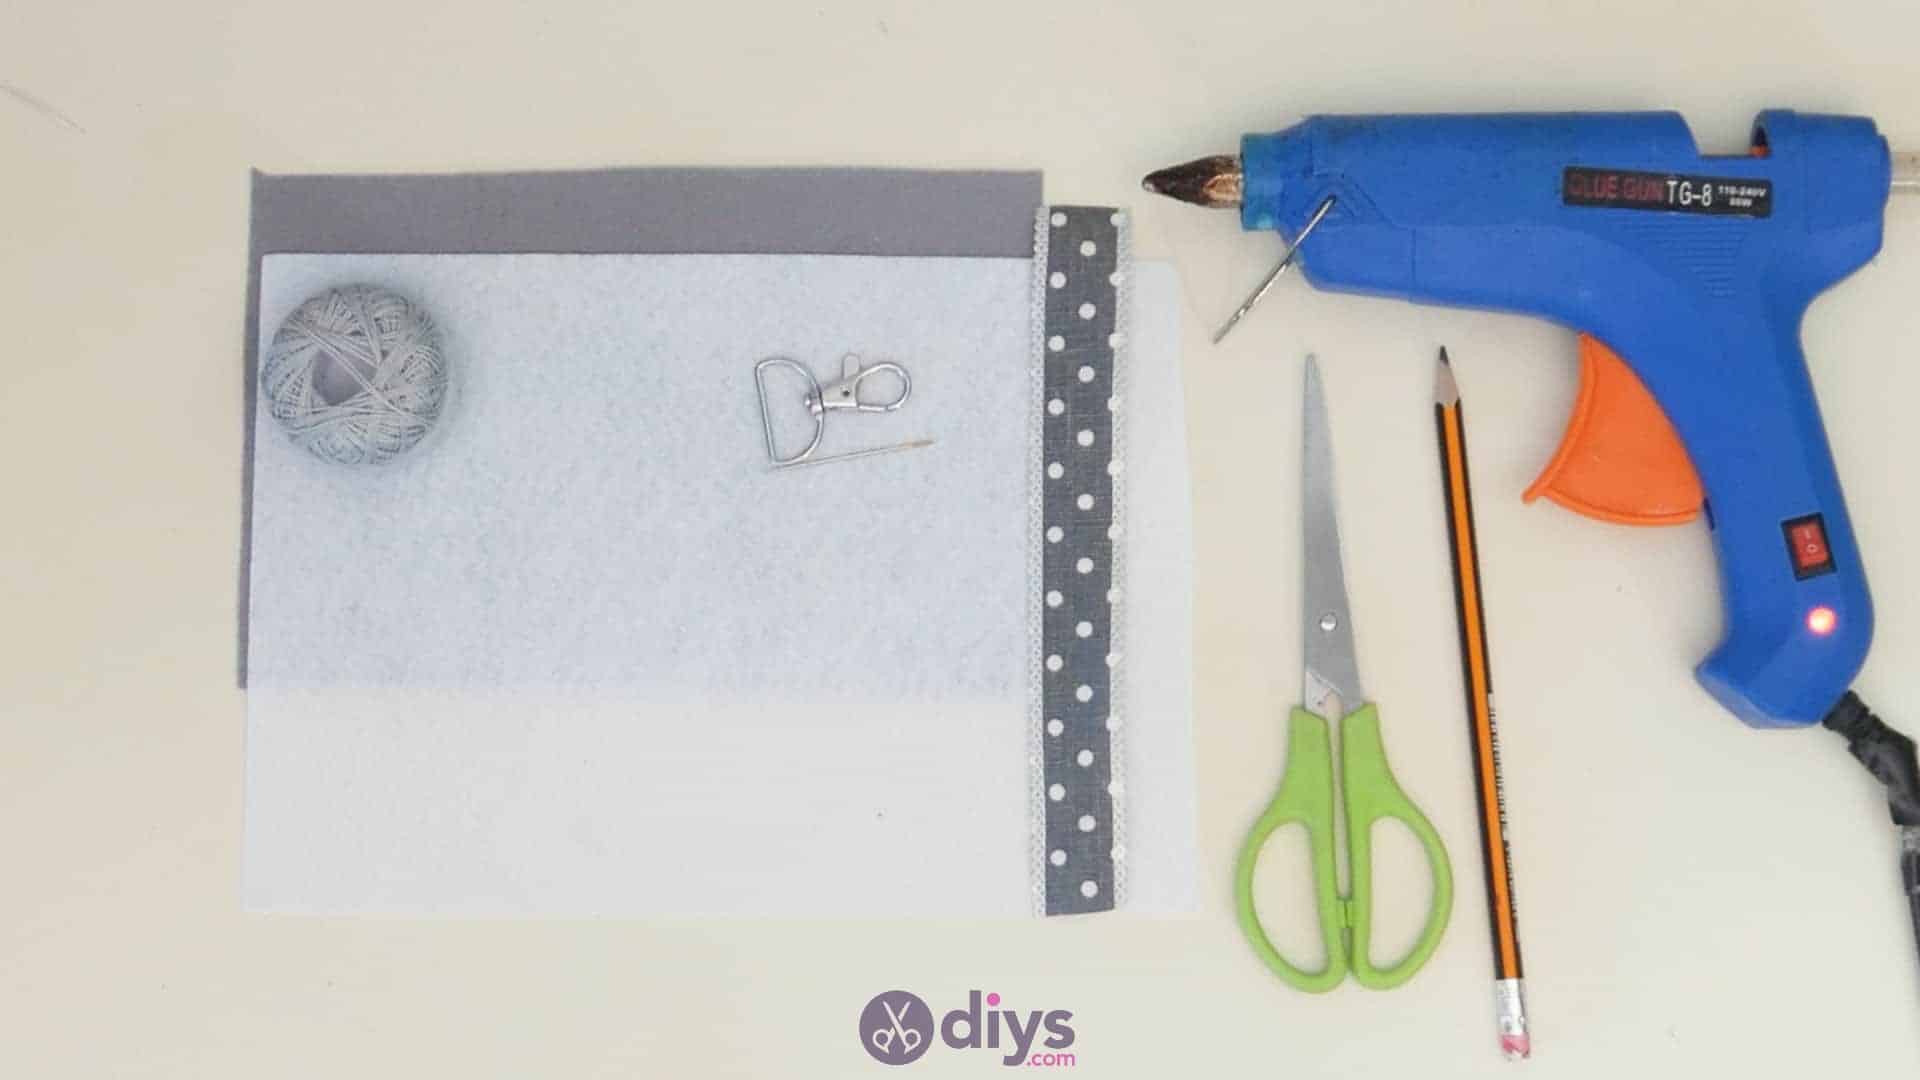
For this project, you’ll need:
- Grey thread
- A sewing needle
- Felt (white and grey)
- A Key ring
- Scissors
- Polka dotted grey ribbon or fabric (my ribbon already came with lace trim edging)
- Hot glue
- A pencil
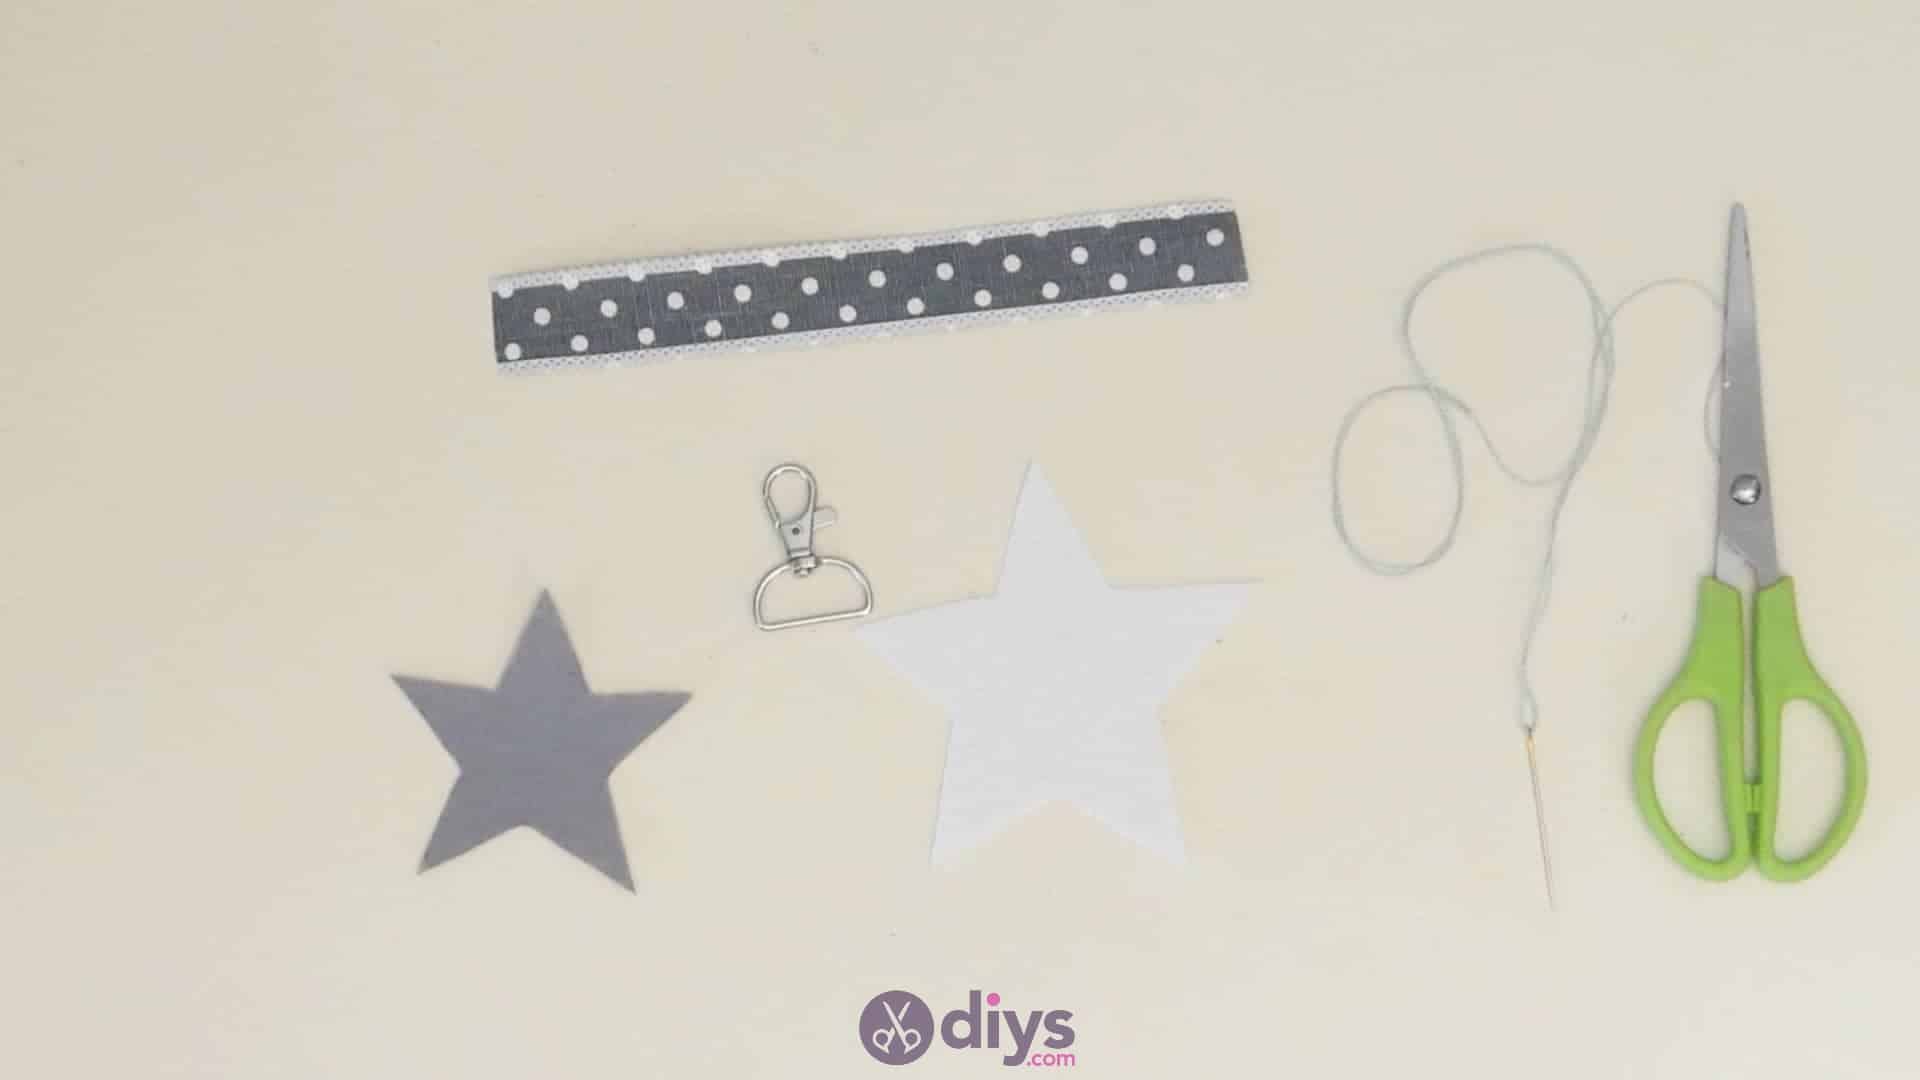
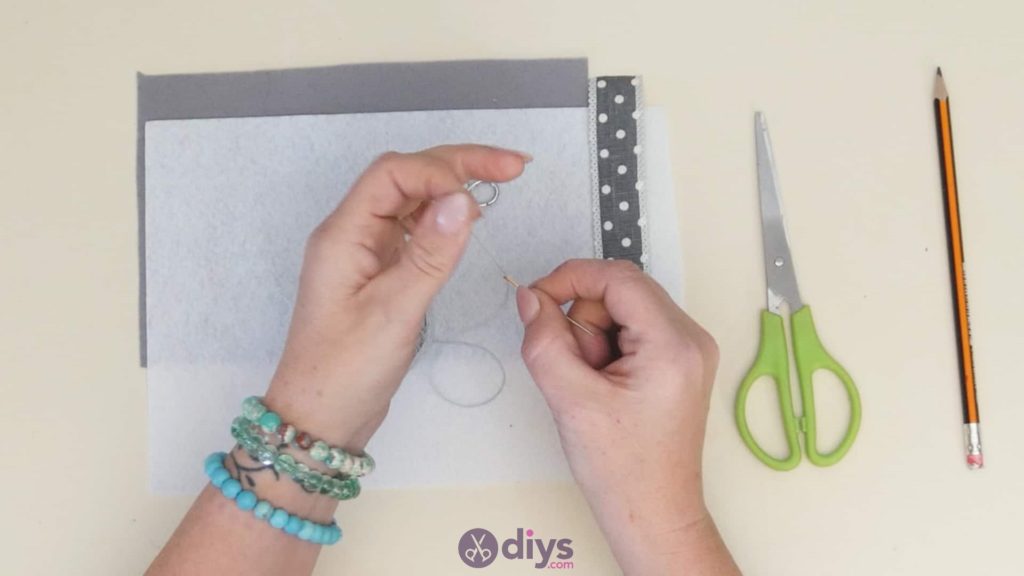
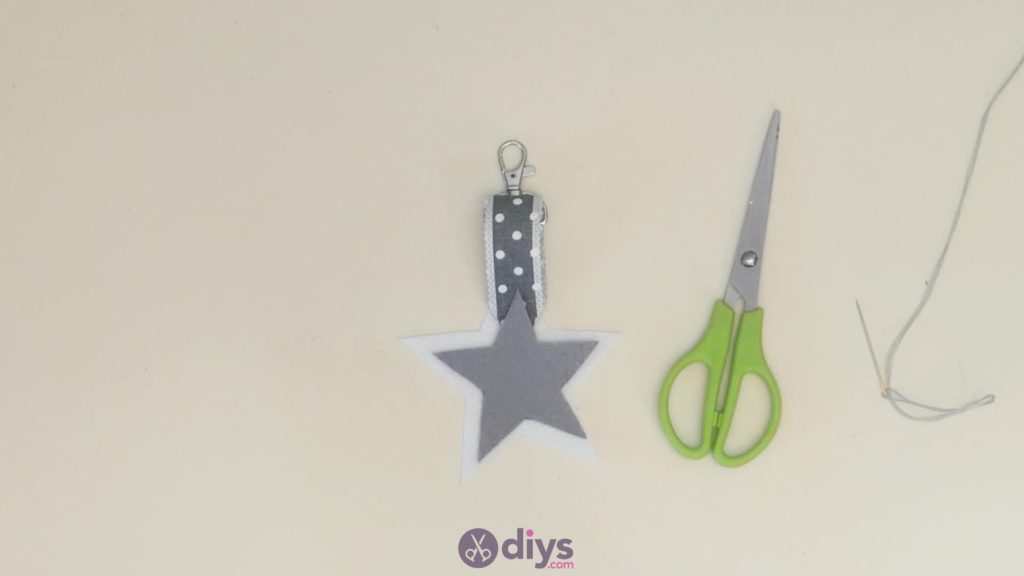
Step 1: Gather your materials!
Get everything from your list and put it in reach.

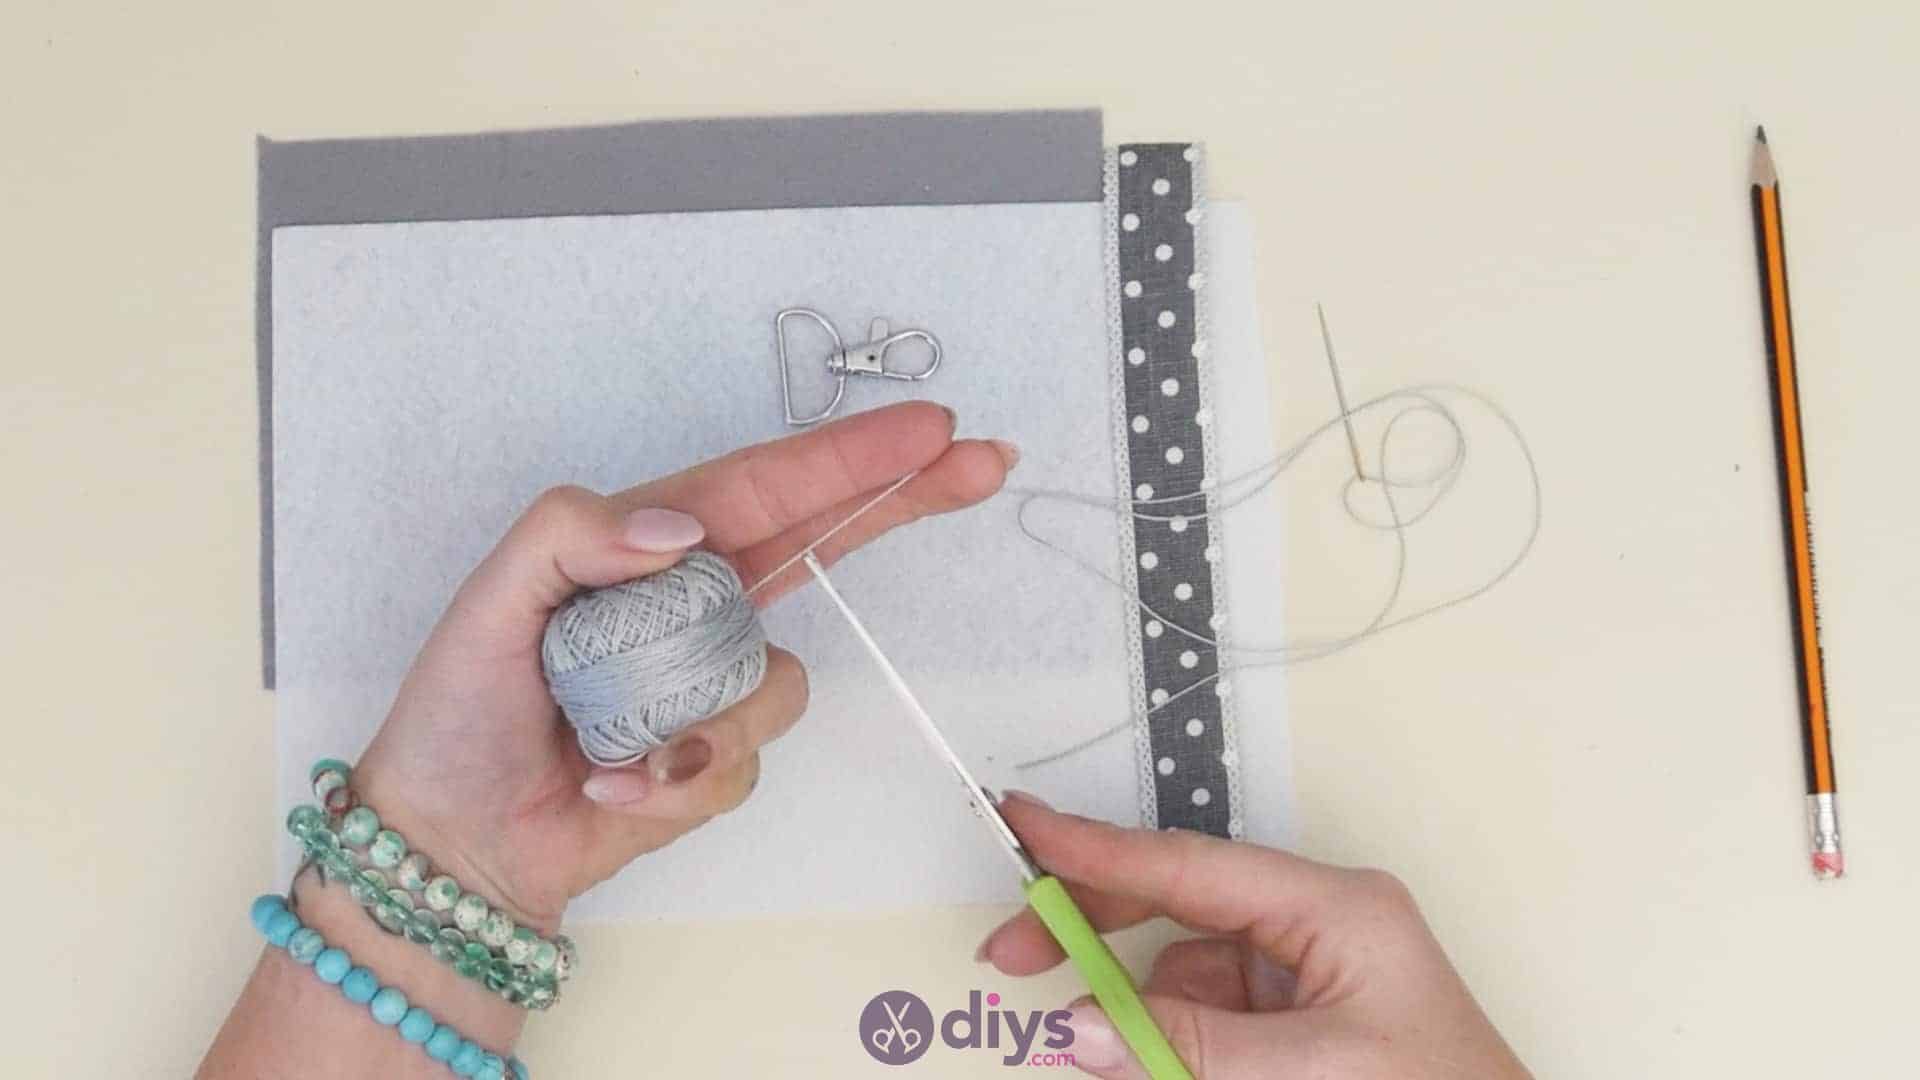
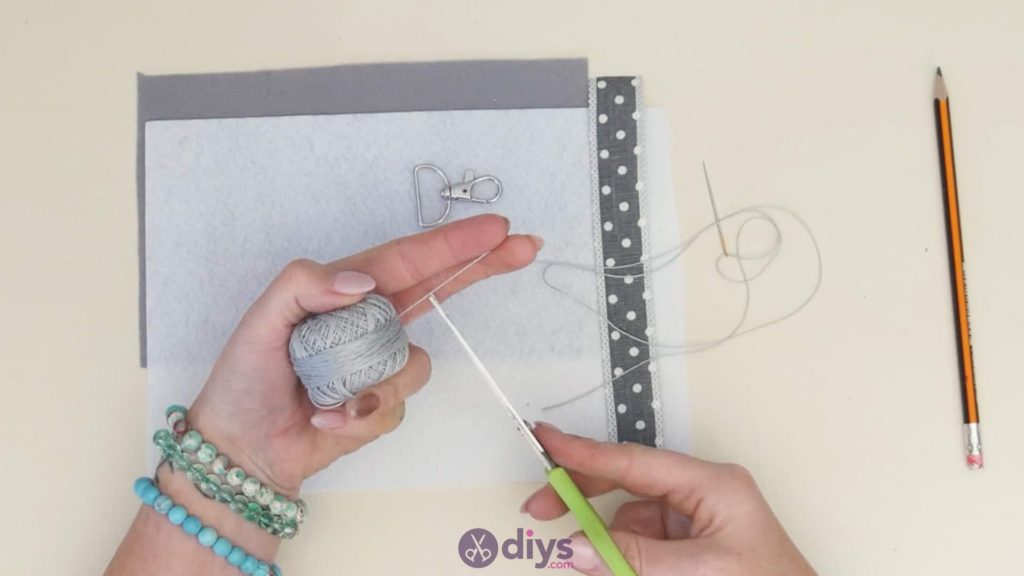
Step 2: get your needle ready
Thread your needle with grey thread! I put the end through the eye of my needle and then pulled enough thread through until I had about ten inches on either side. Cut the thread free and knot the two tips of what you’ve threaded together. Set this aside for the moment while you cut out the pieces you’ll stitch later.
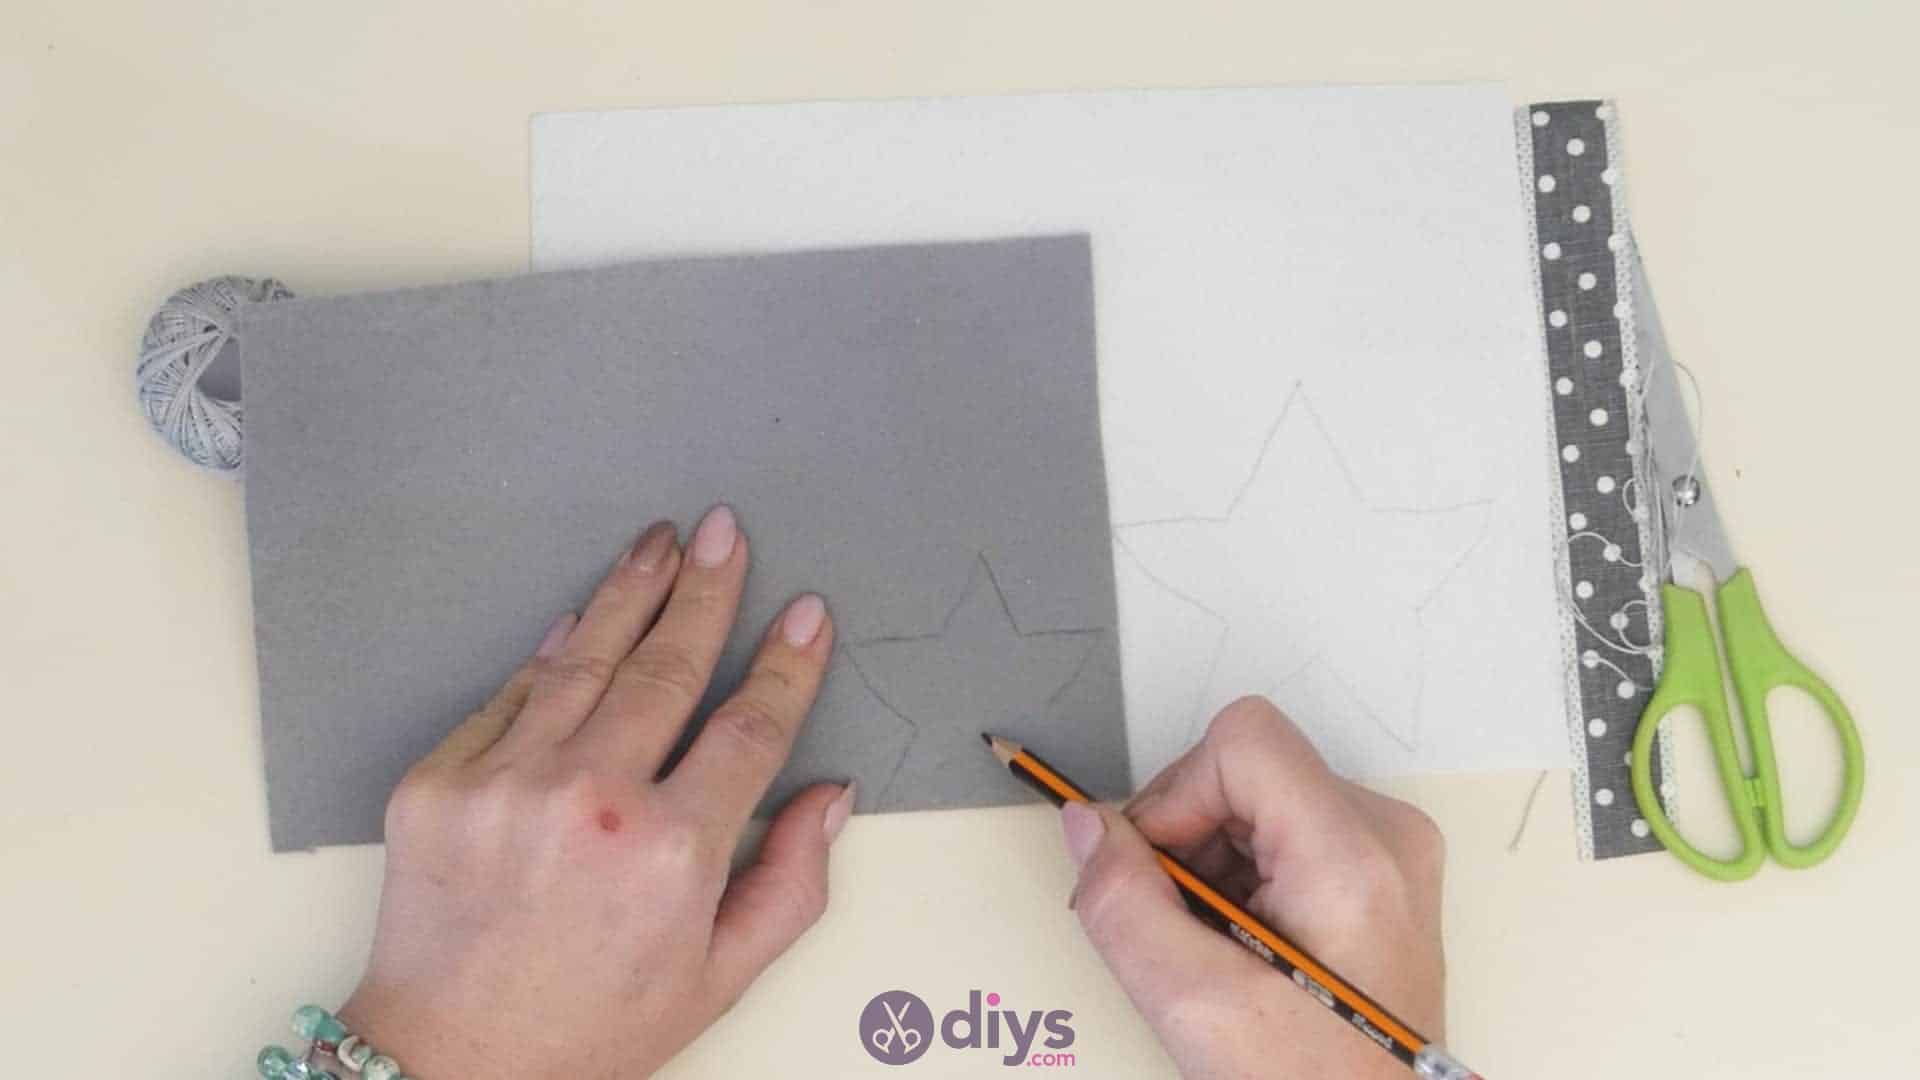
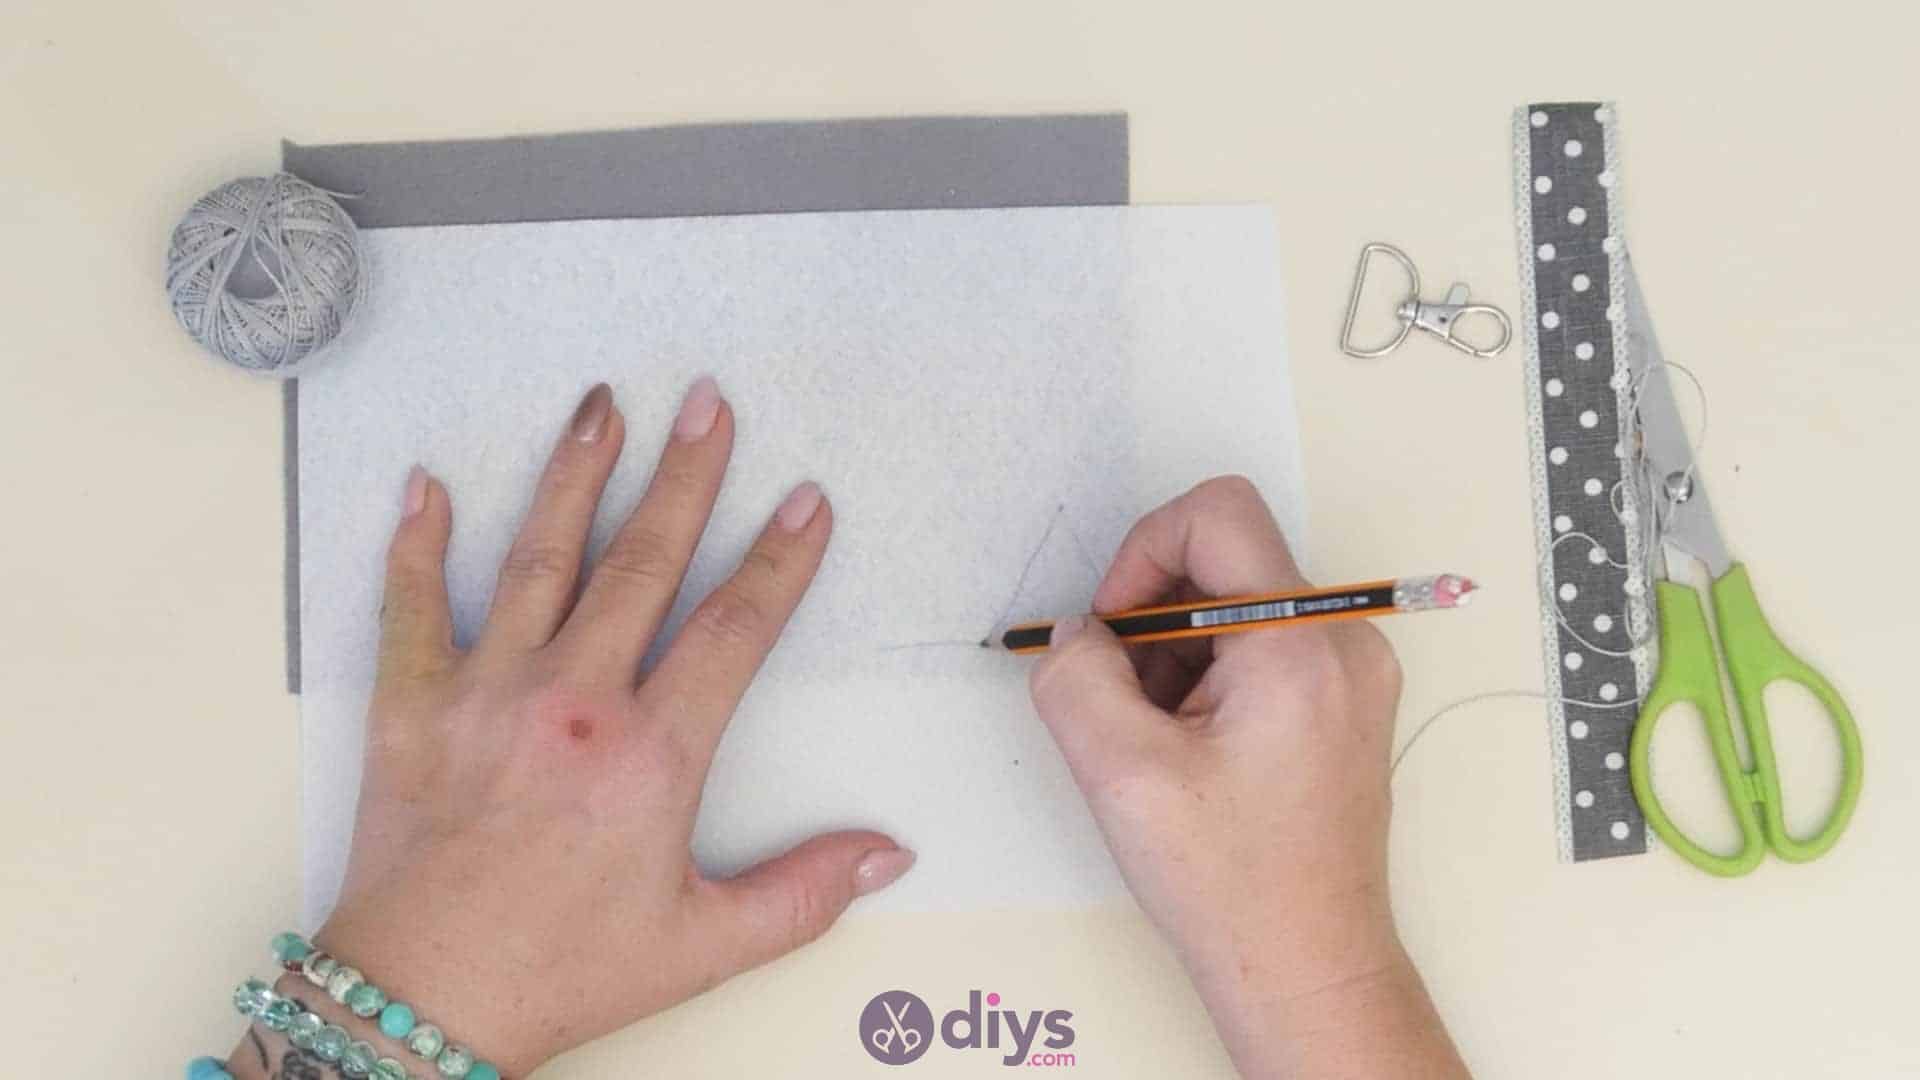
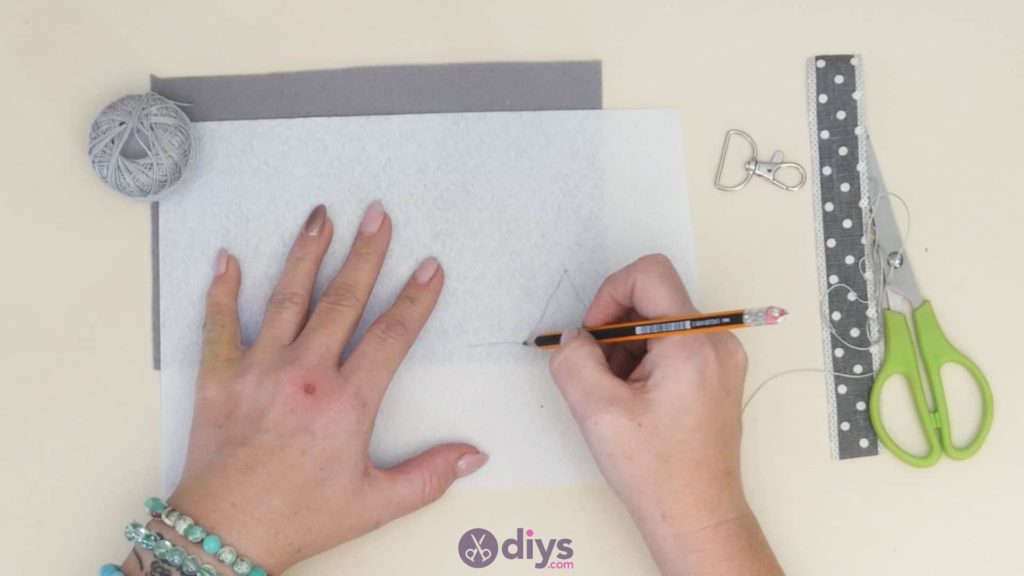
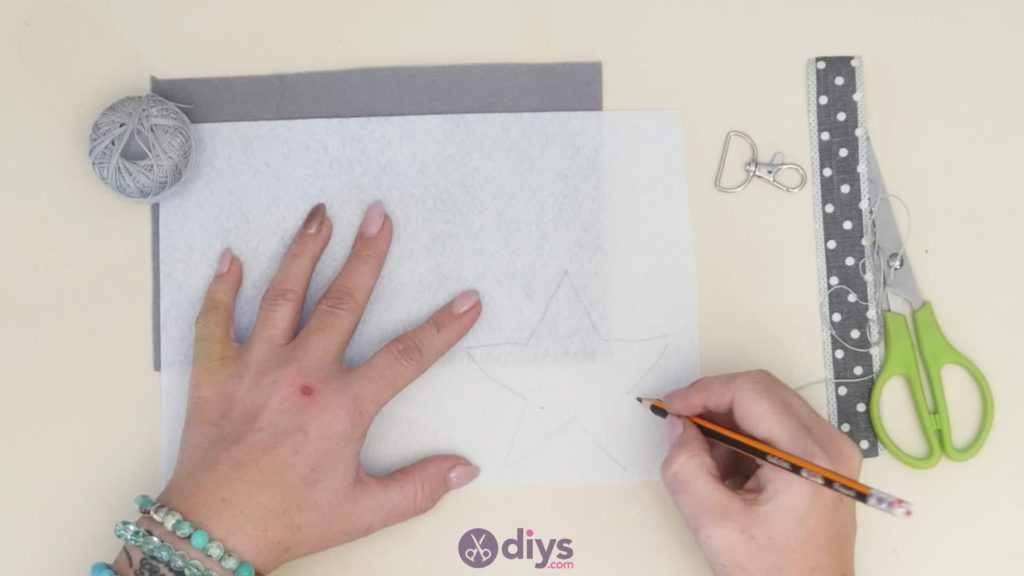
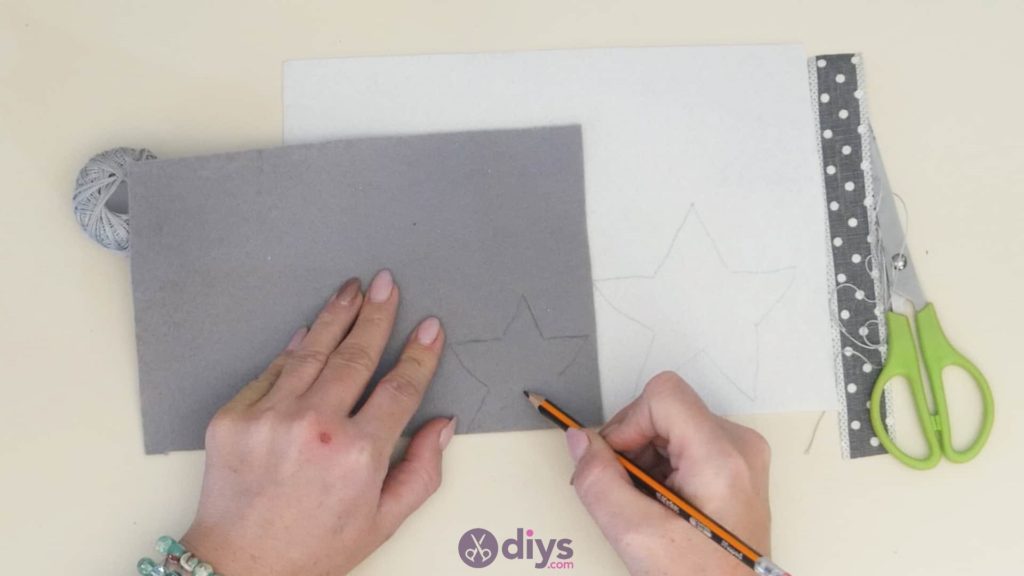
Step 3: draw your star
Cut a length from your ribbon that’s six inches long and set it side. This will make up the strap of your key holder later. Now, use your pencil to draw the shape of a five point start on your sheet of white felt that’s about two inches wide and two inches tall. Then draw another start- the same kind- one your sheet of grey felt, but this time slightly smaller. You want to be able to later the stars later so that the white one shows around the edges of the grey one like a border. Cut each start out.

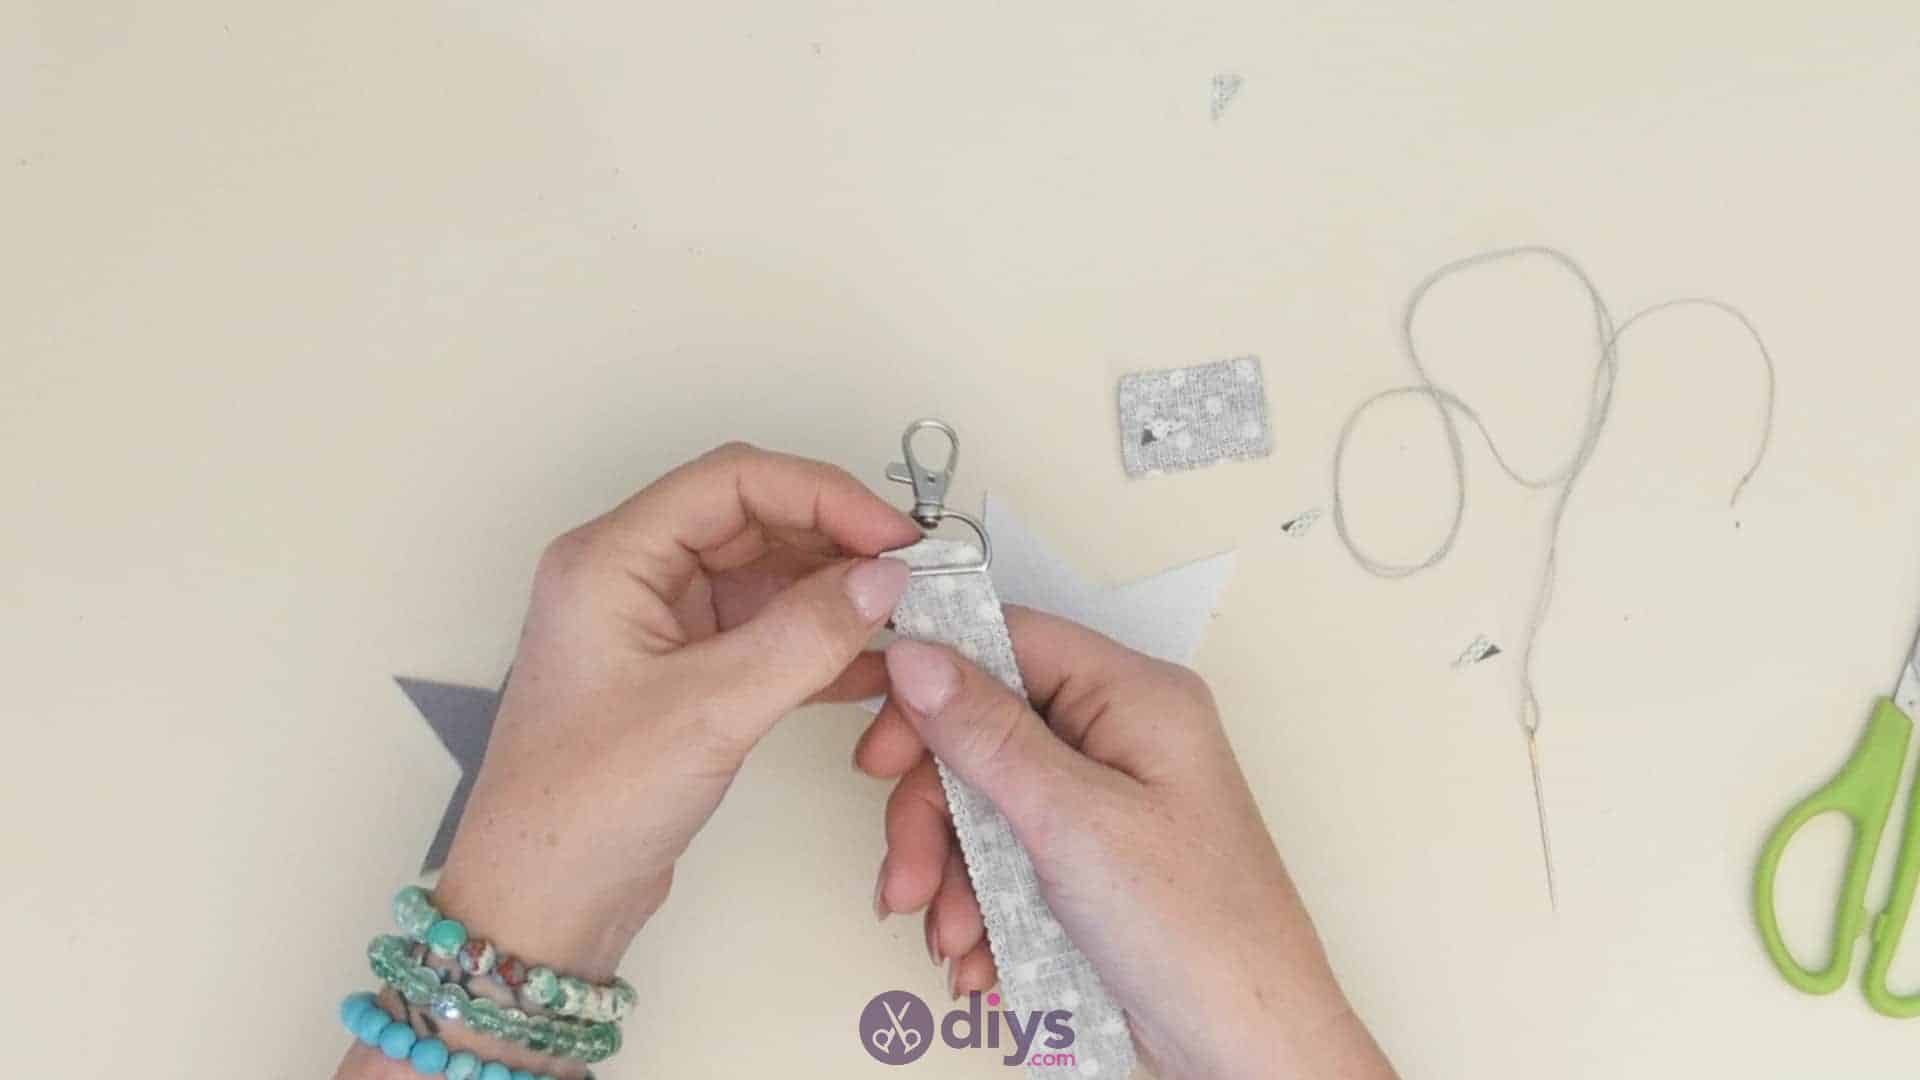
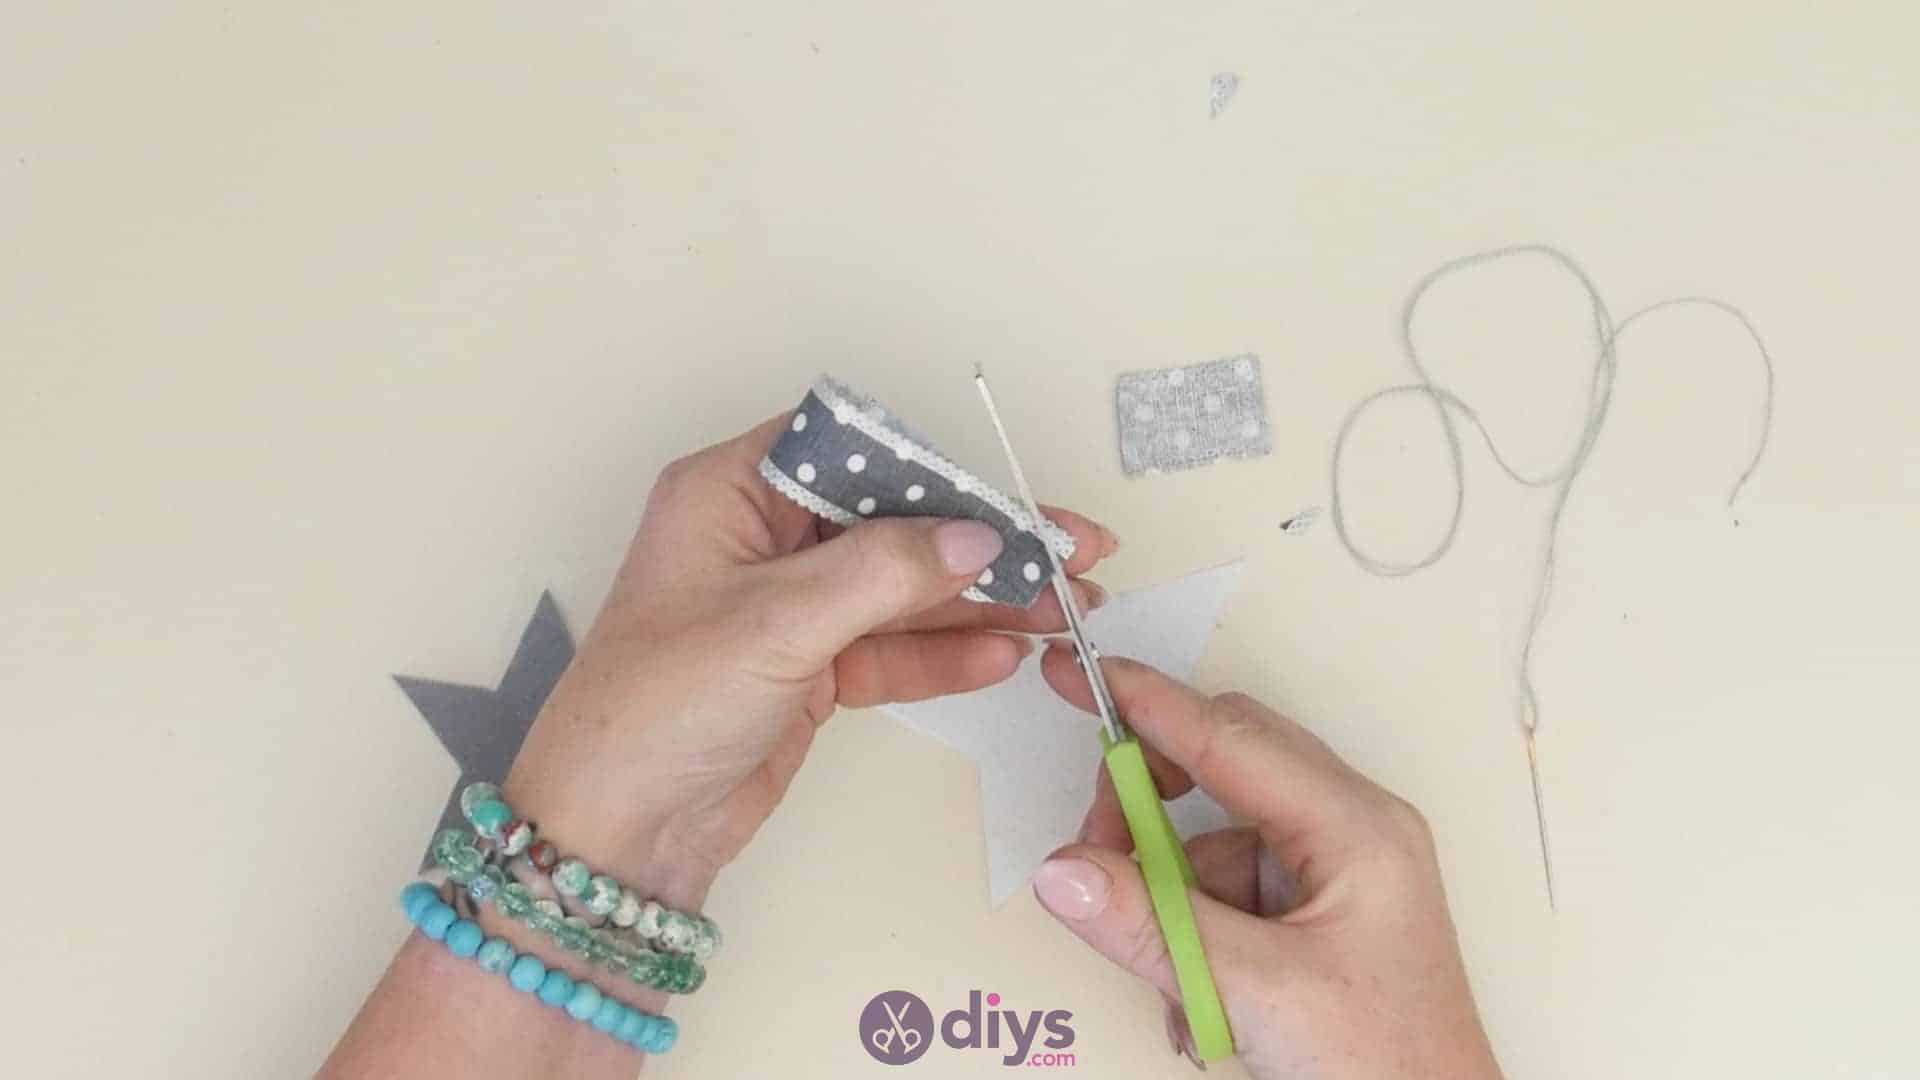
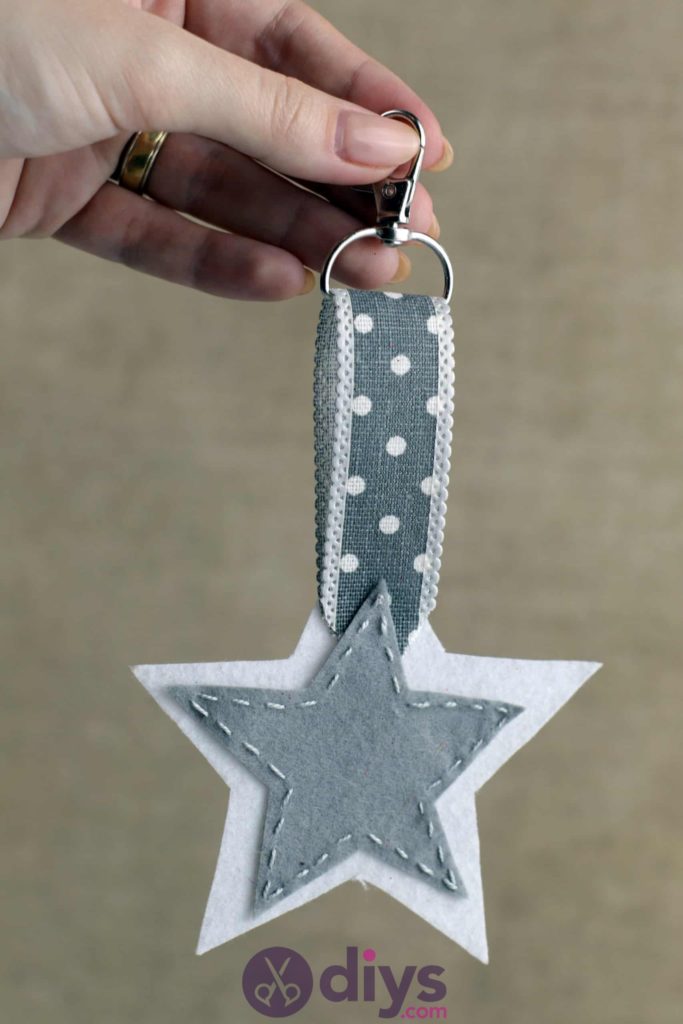
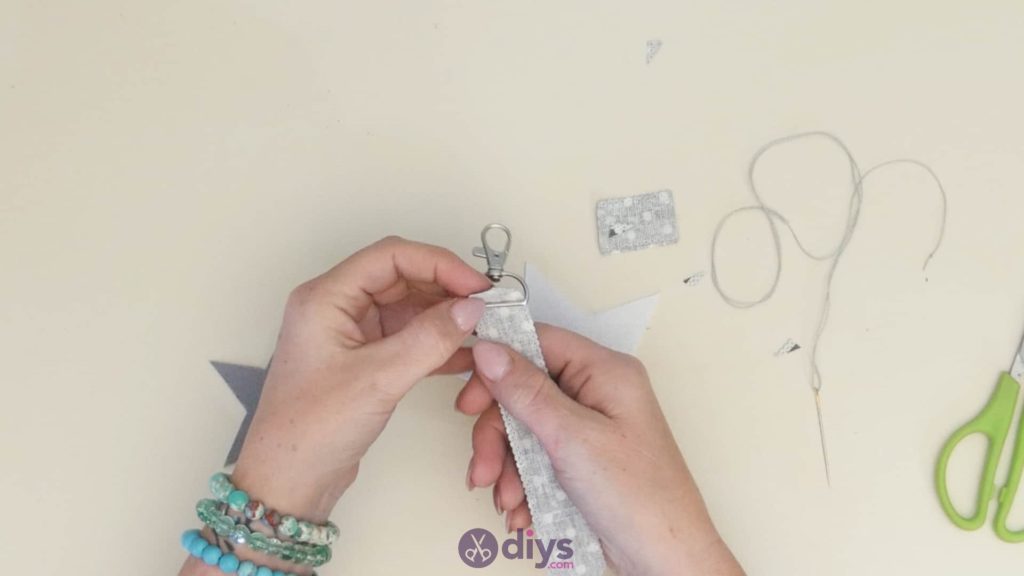
Step 4: attach chain
Fold your piece of ribbon in half, bringing the top end down to meet the bottom end, with the pattern on the outside where it shows. Line the edges of the ends up evenly, layered against one another, and hold them in place. Use your scissors to from the corners of the ends off on a diagonal angle, make each side widen upwards from just past the centre, out and up towards the edge. Make sure you’re cutting throughboth layers of ribbon at once on either side. Straighten your ribbon out again and and slide one end through the bottom ring on your key ring, sliding it to the middle and bringing the ends back together so their edges meet up evenly once more. Apply a bit of hot glue between the ribbon layers and stick the ends together.
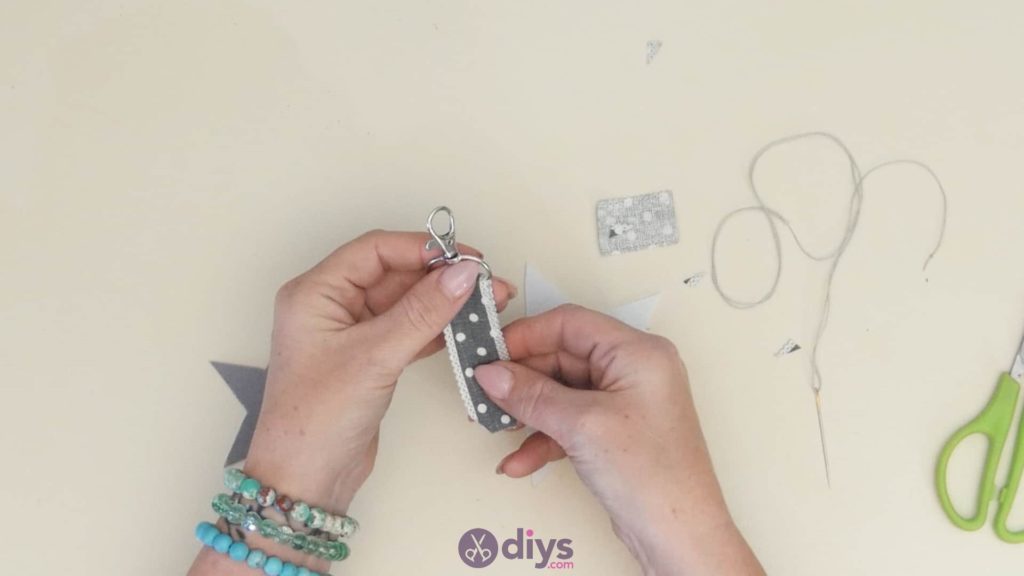
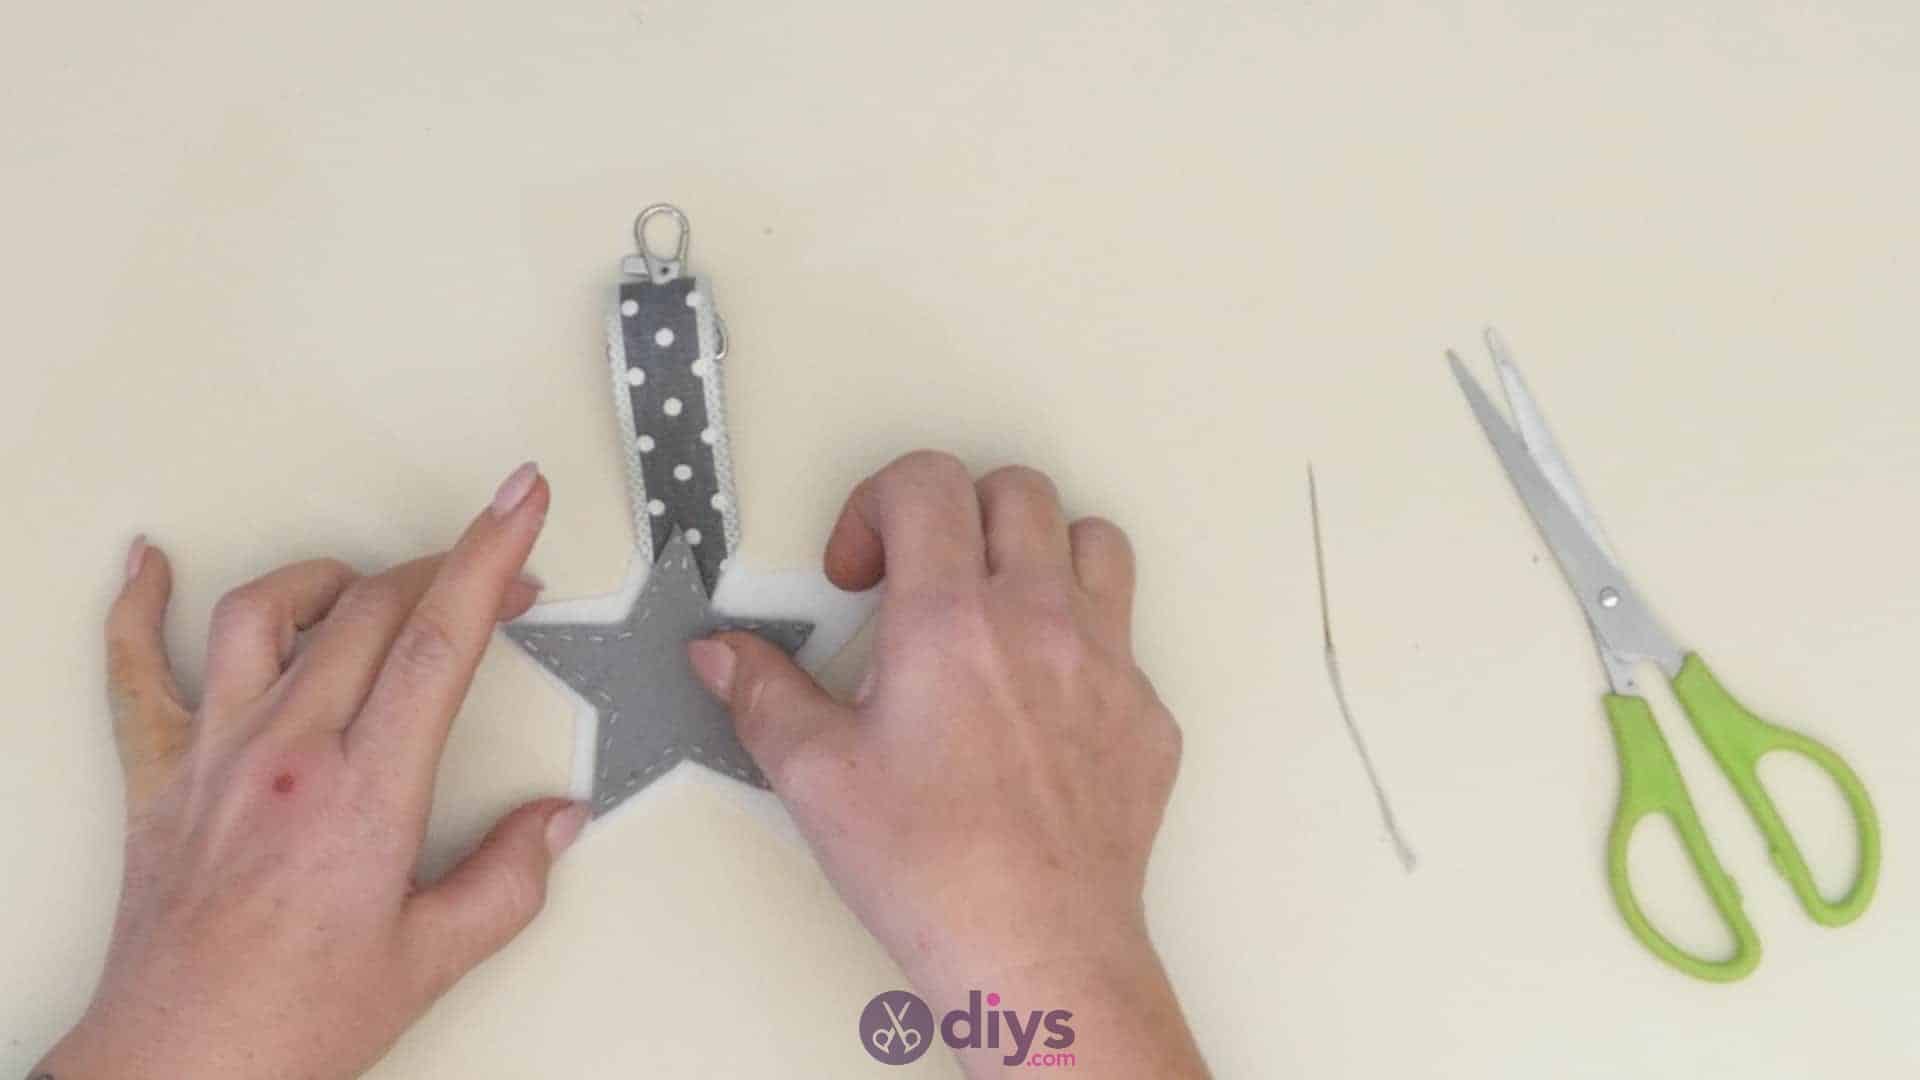
Step 5: attach star
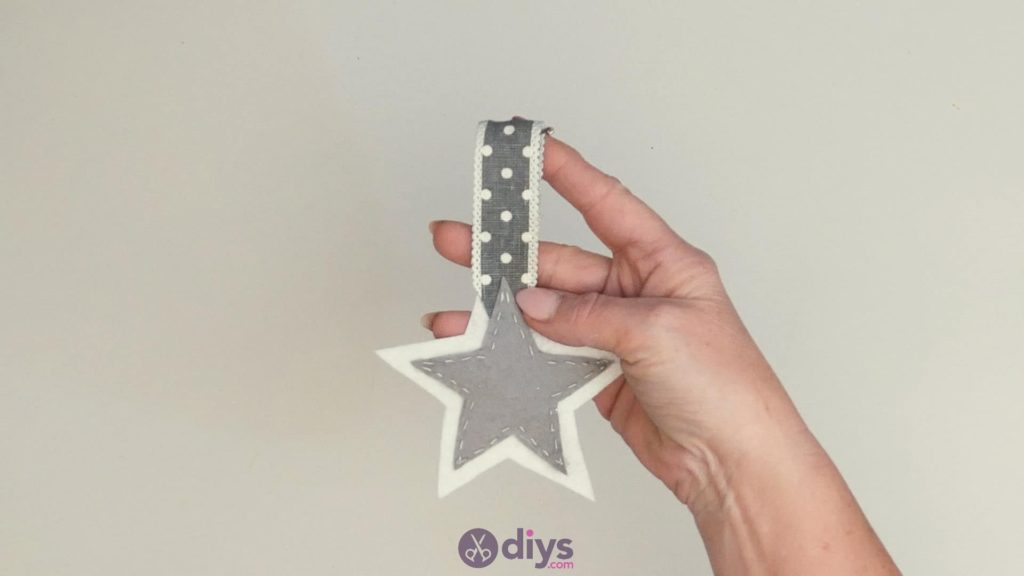
This is a good point at which to put your pieces together and see that everything is sized properly, or whether you need to trim any parts of your ribbon strap or felt stars! On your tabletop, lay down the white felt star, then lay the end of the strap over its top point, overlapping the two by half an inch or so. Next, lay down the grey start so its top point also overlaps the end of the strip, but also position it so it’s in the middle of the white star with even white showing all the way around it. Trim and move things around as necessary before you carry on so you know everything fits. Once you know that everything is a good fit, move the grey star out of the way for a moment and apply glue between the white star and the strap, sticking them back into place where you had them.
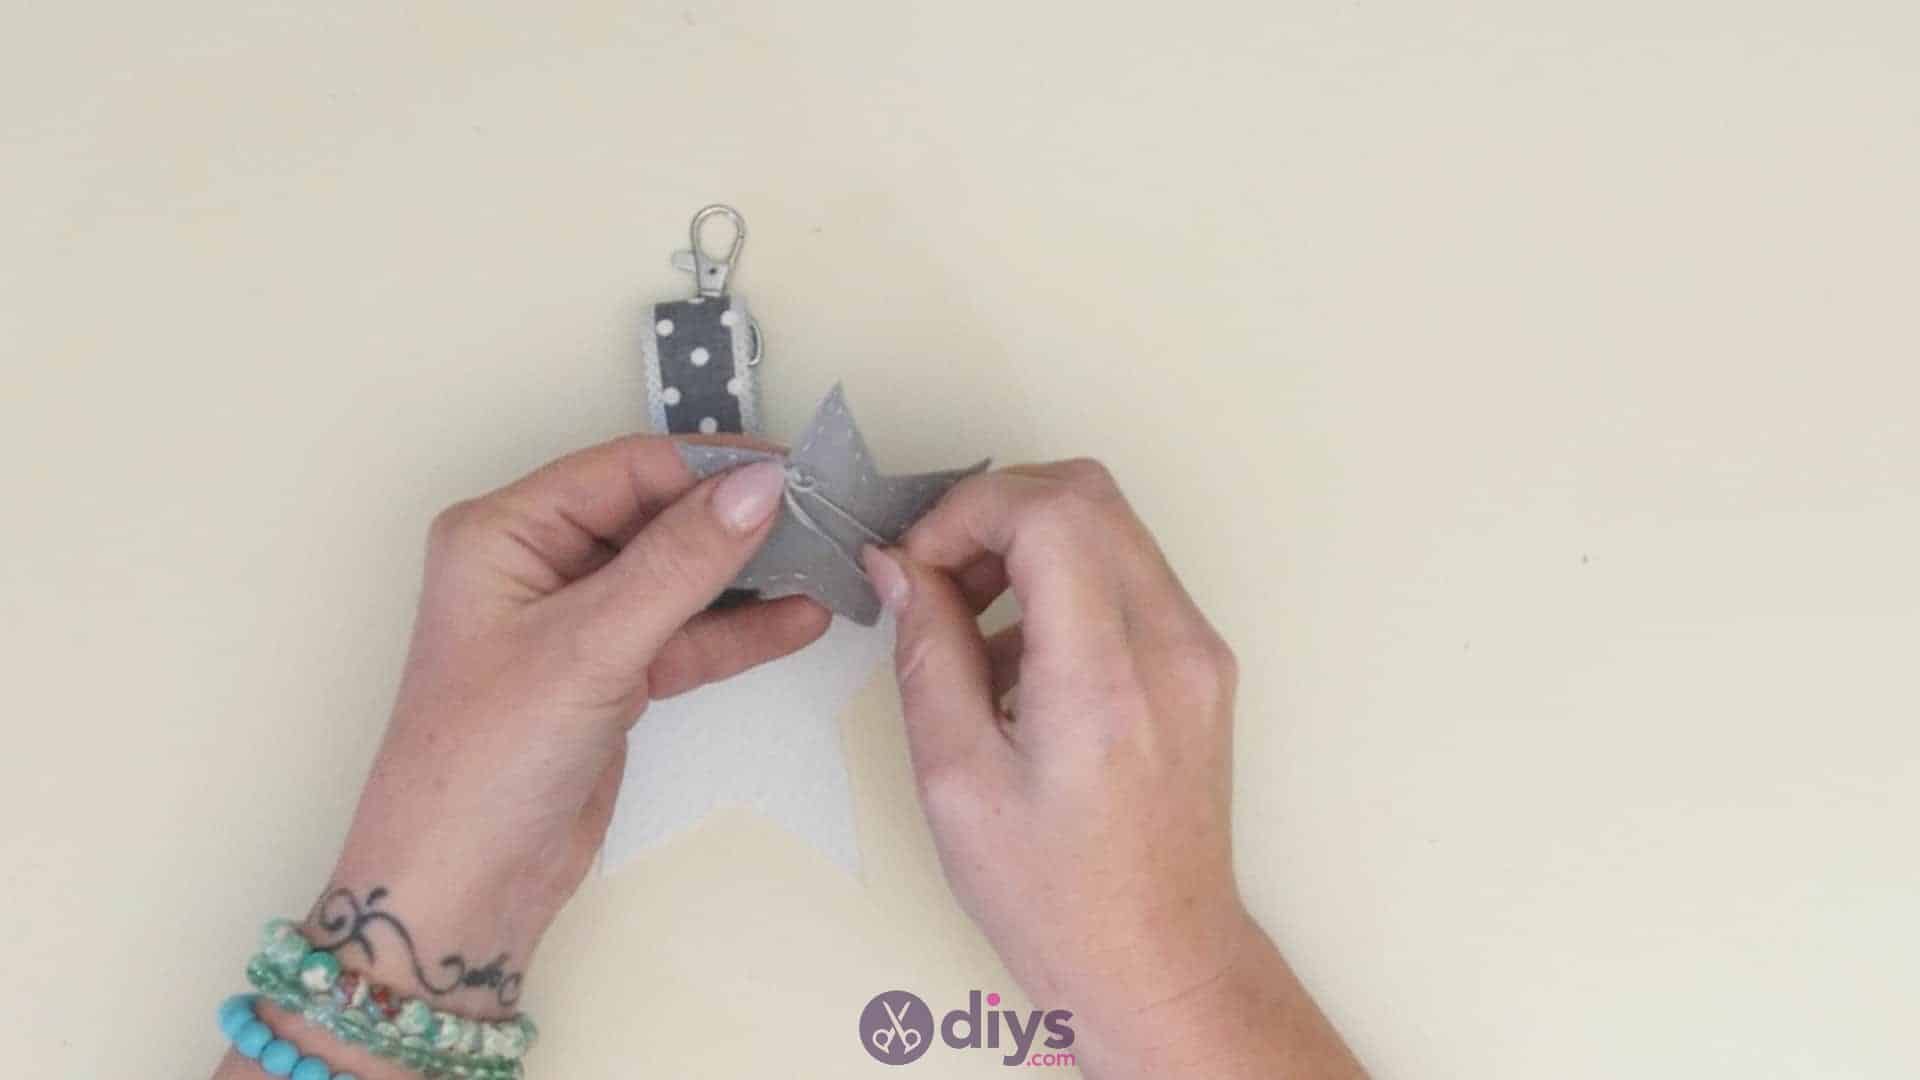
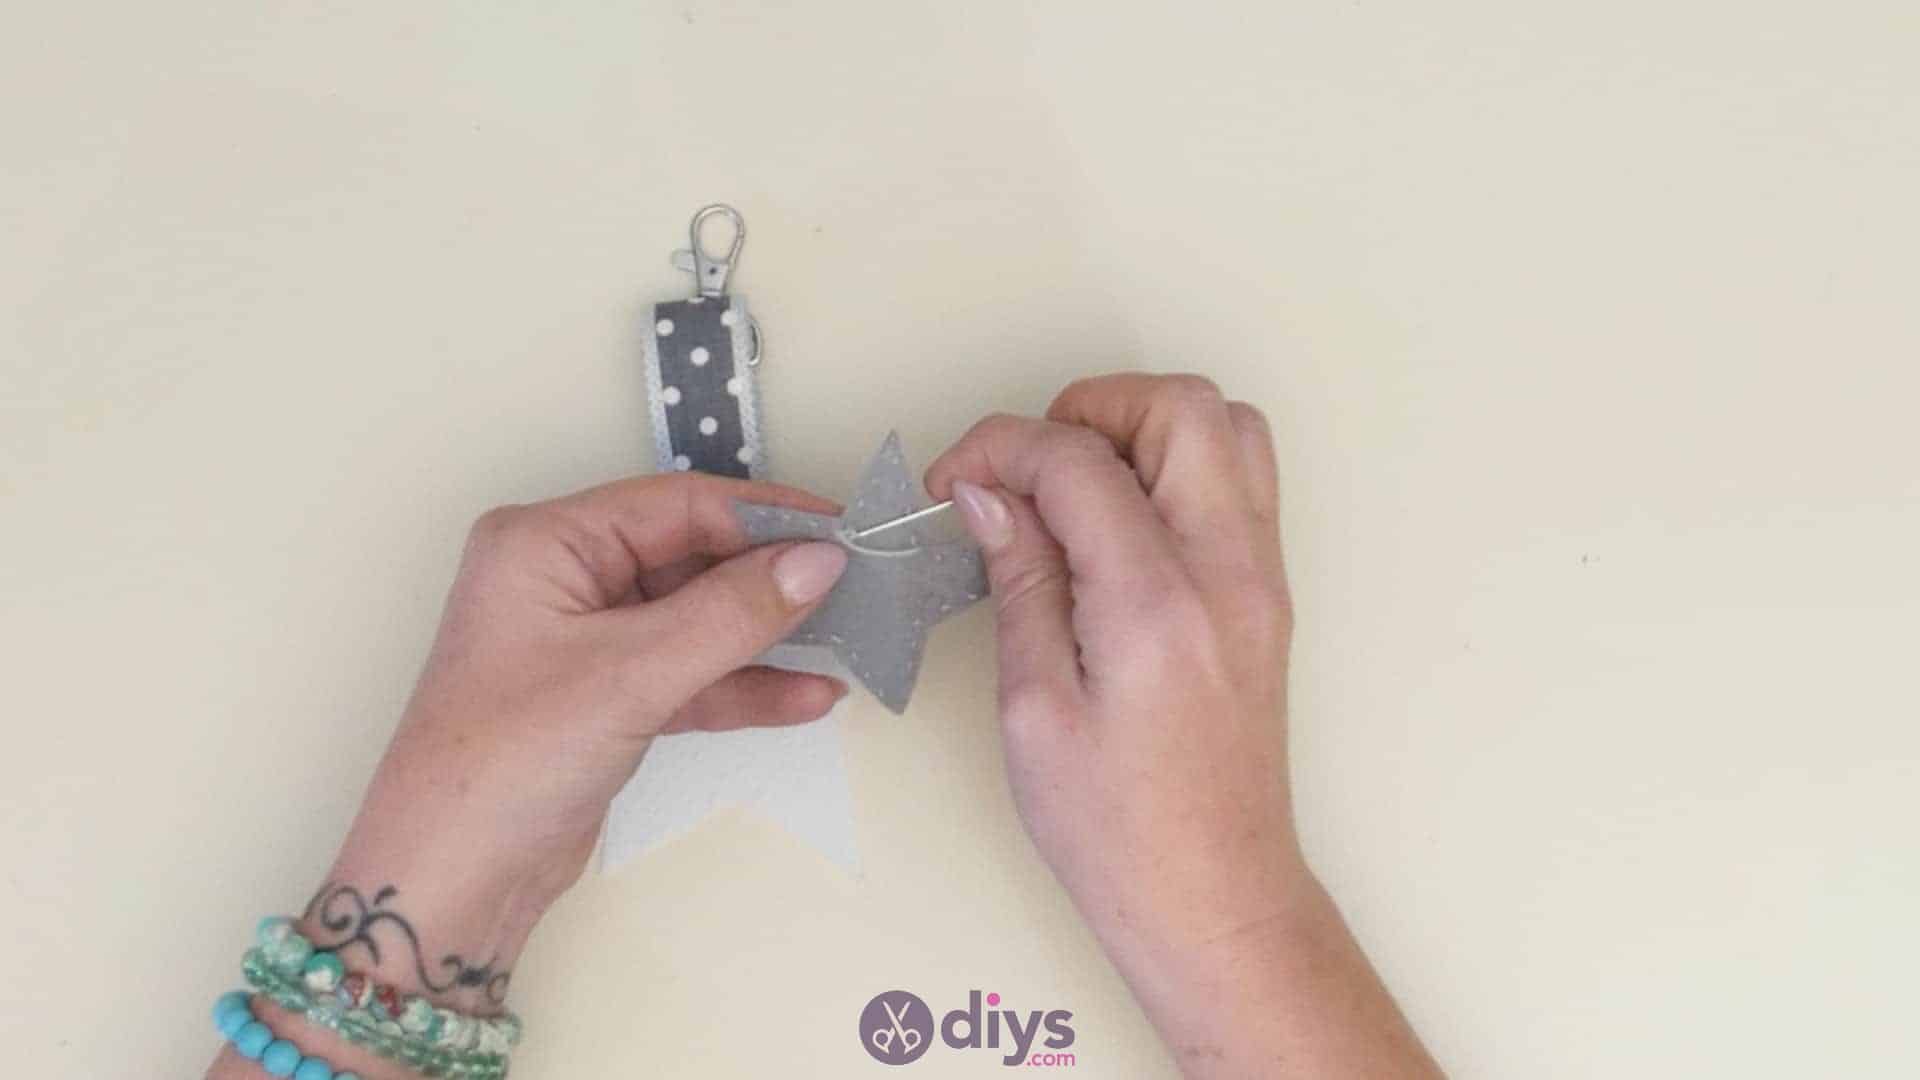
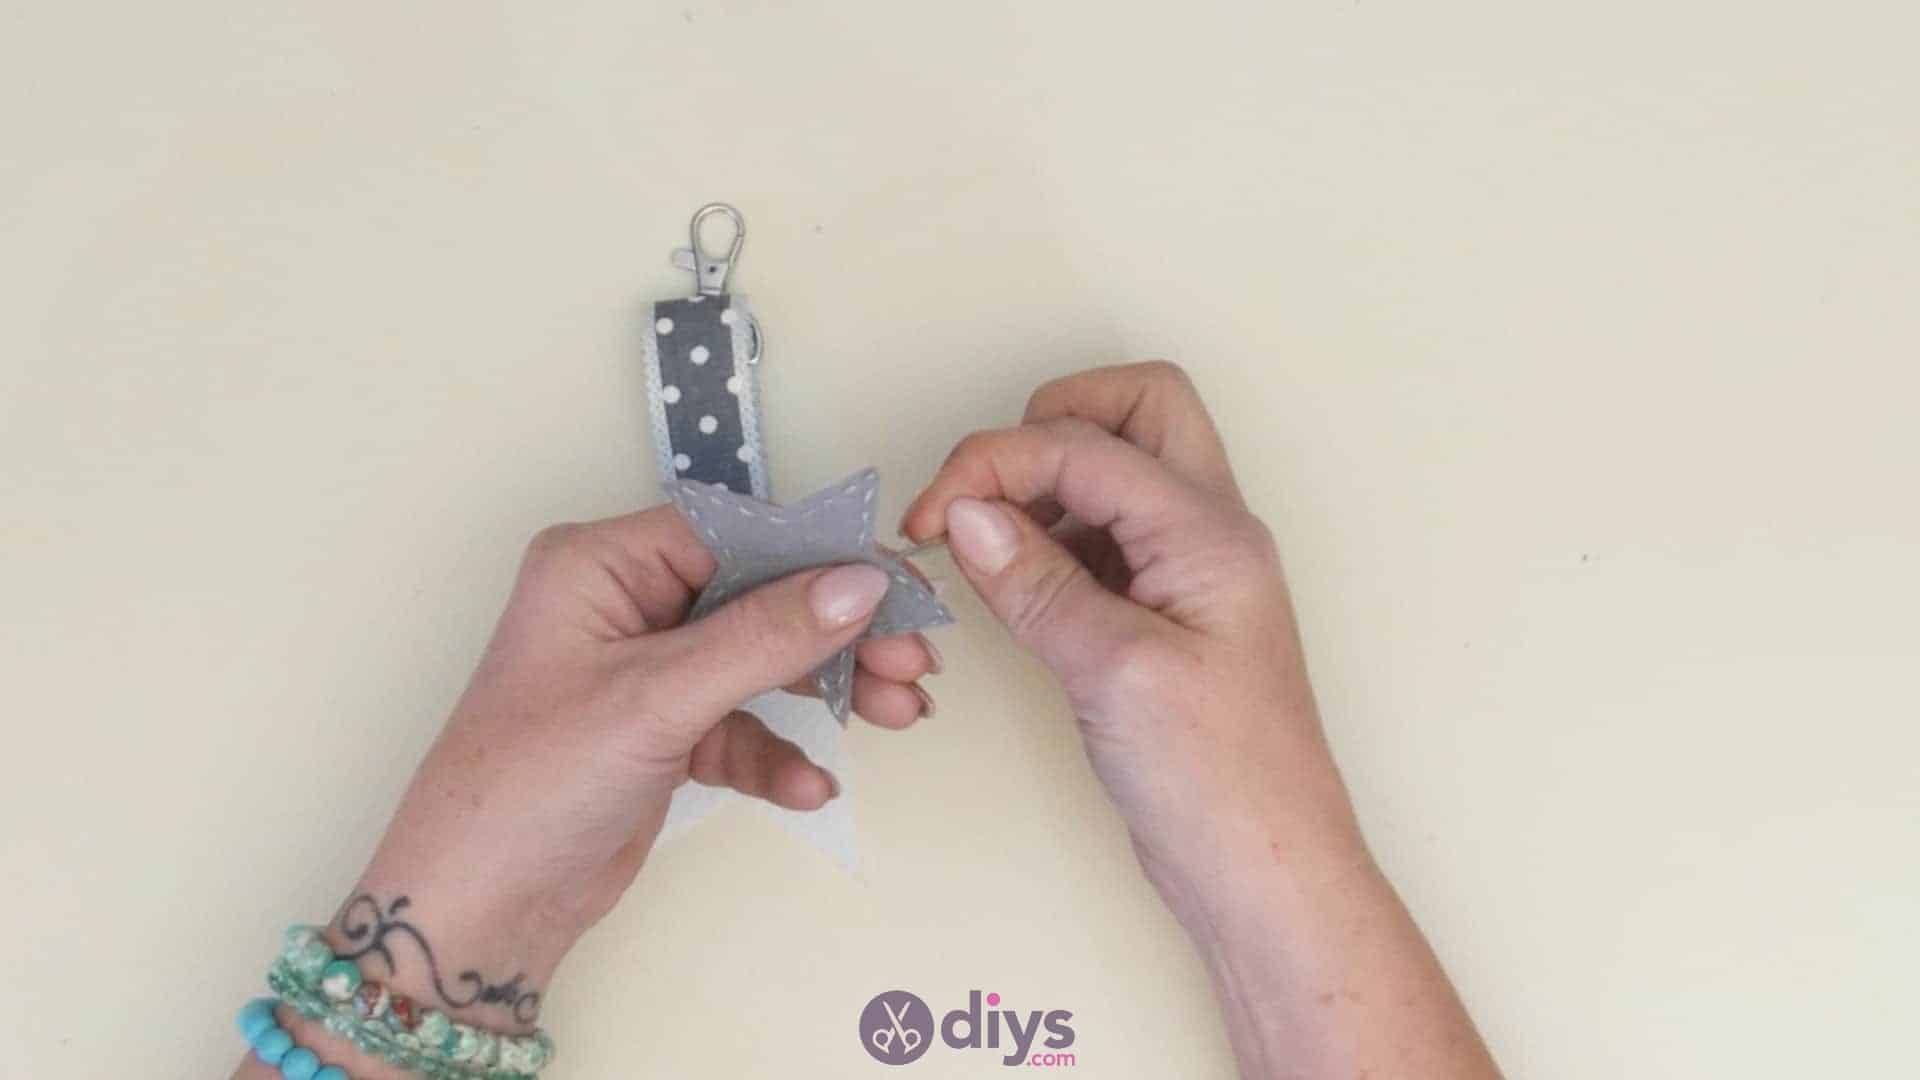
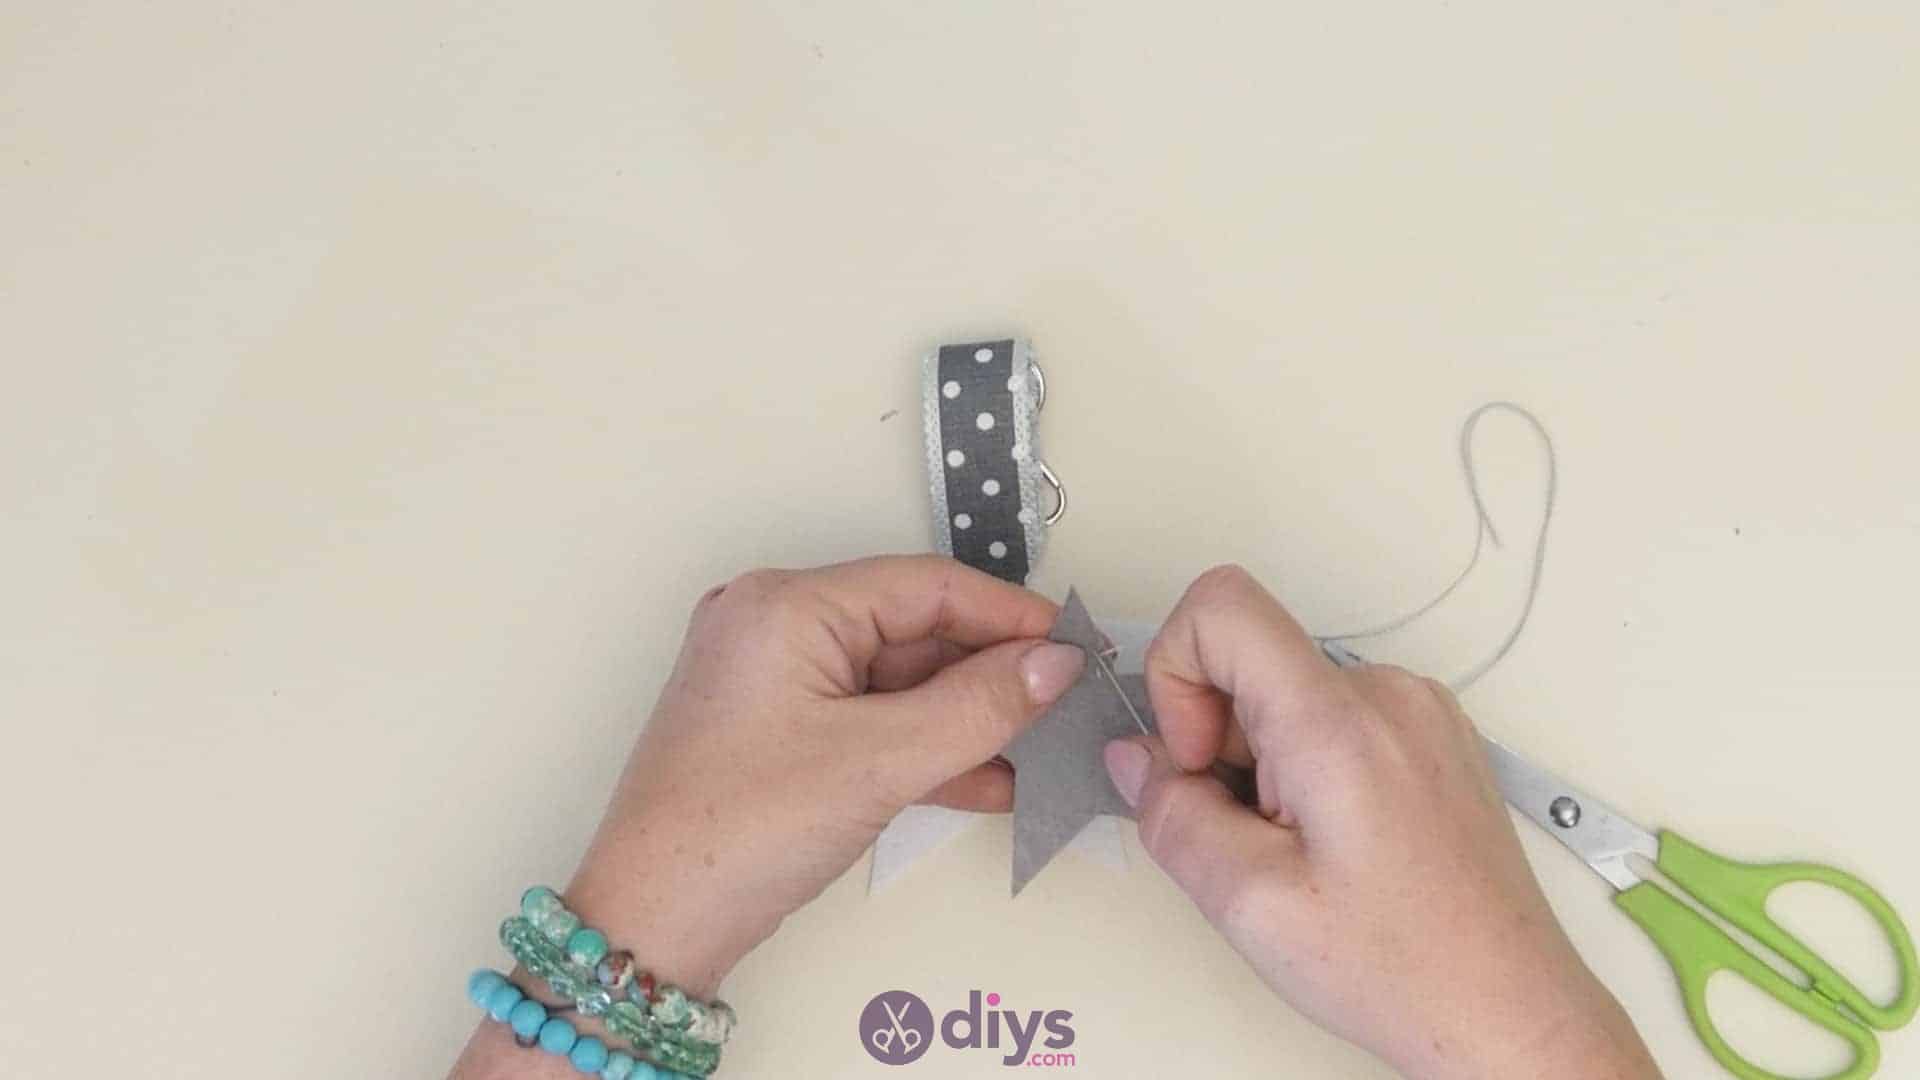
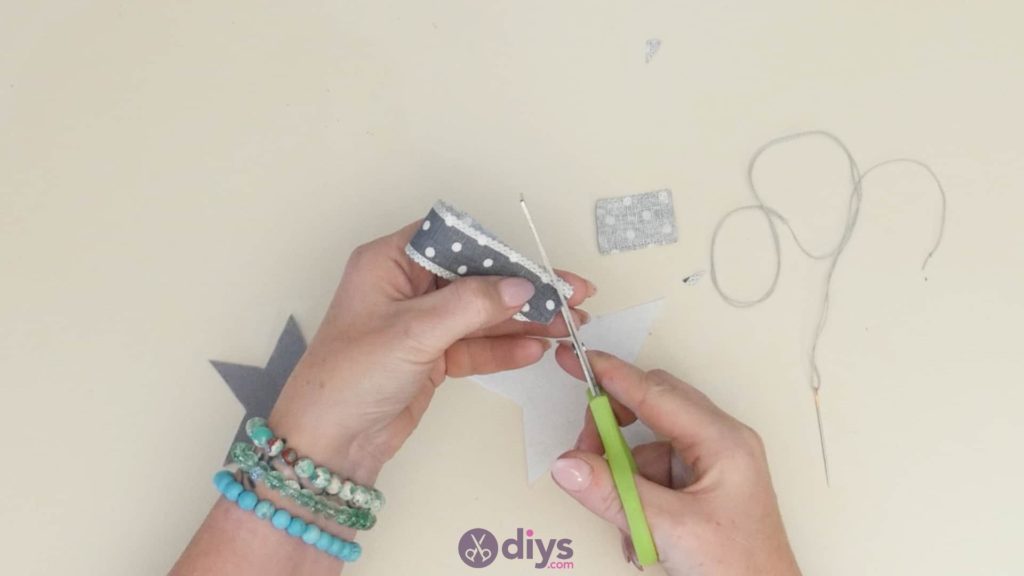
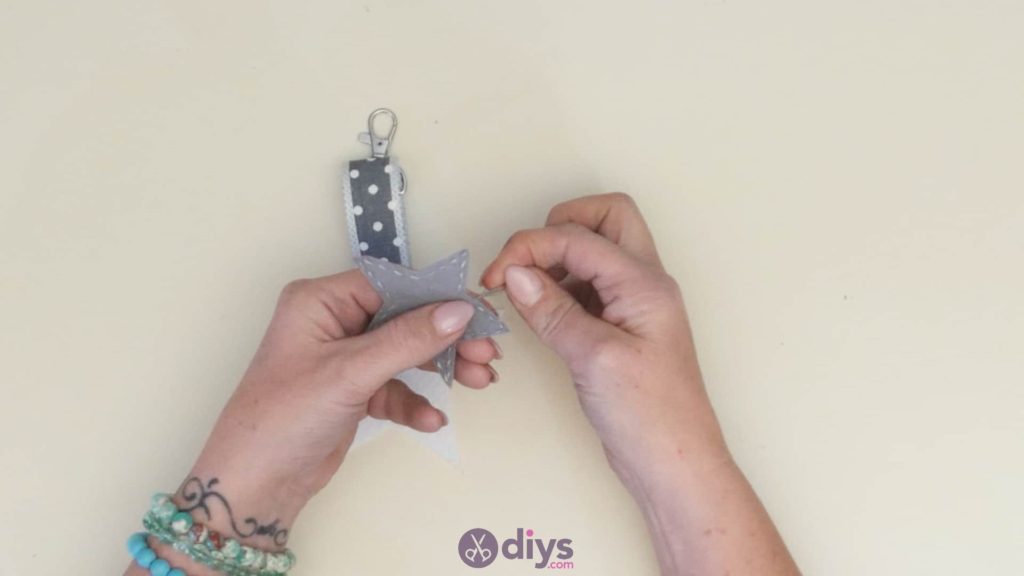
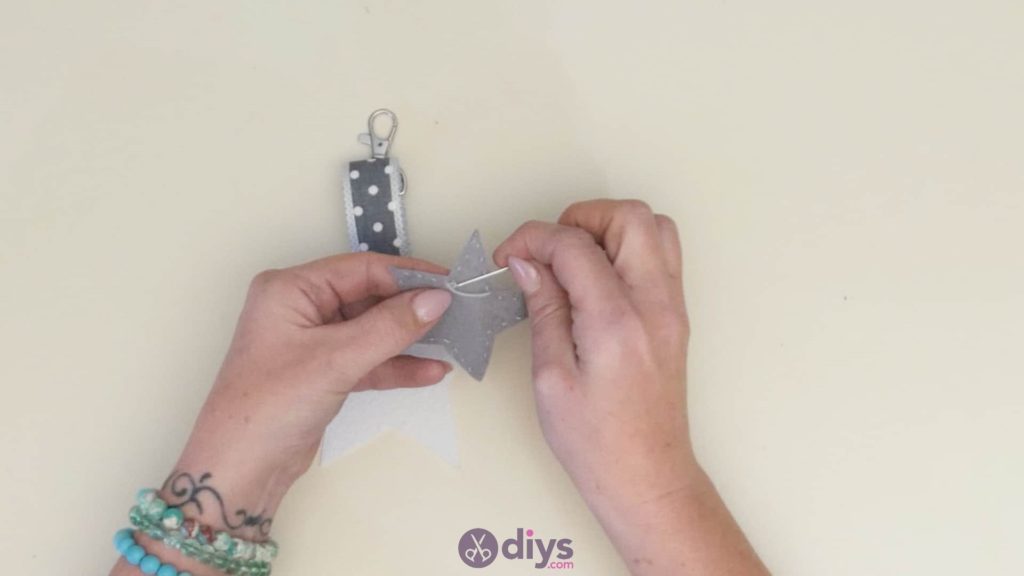
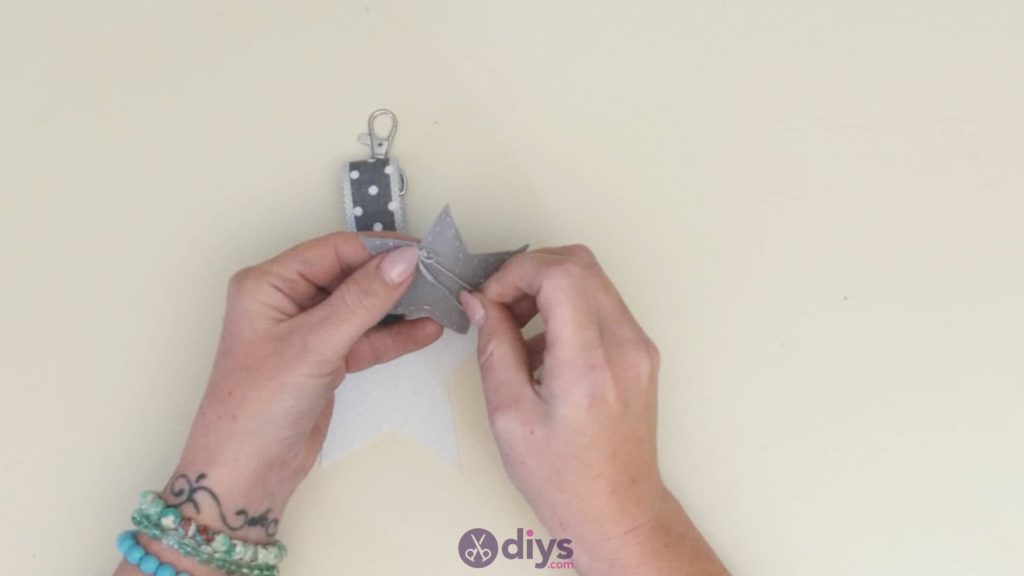
Step 6: sewing
You’re finally ready to sew! Make neat, even stitches all the way around the outer edge of your grey star, making sure not to pull your thread too tightly so that the felt buckles or cinches. Once you’ve come back to the place where you started stitching, put your needle to the back of the felt, where you anchored the knot from your first stitch, and tie off your thread there, making another knot and cutting the excess and the needle free.

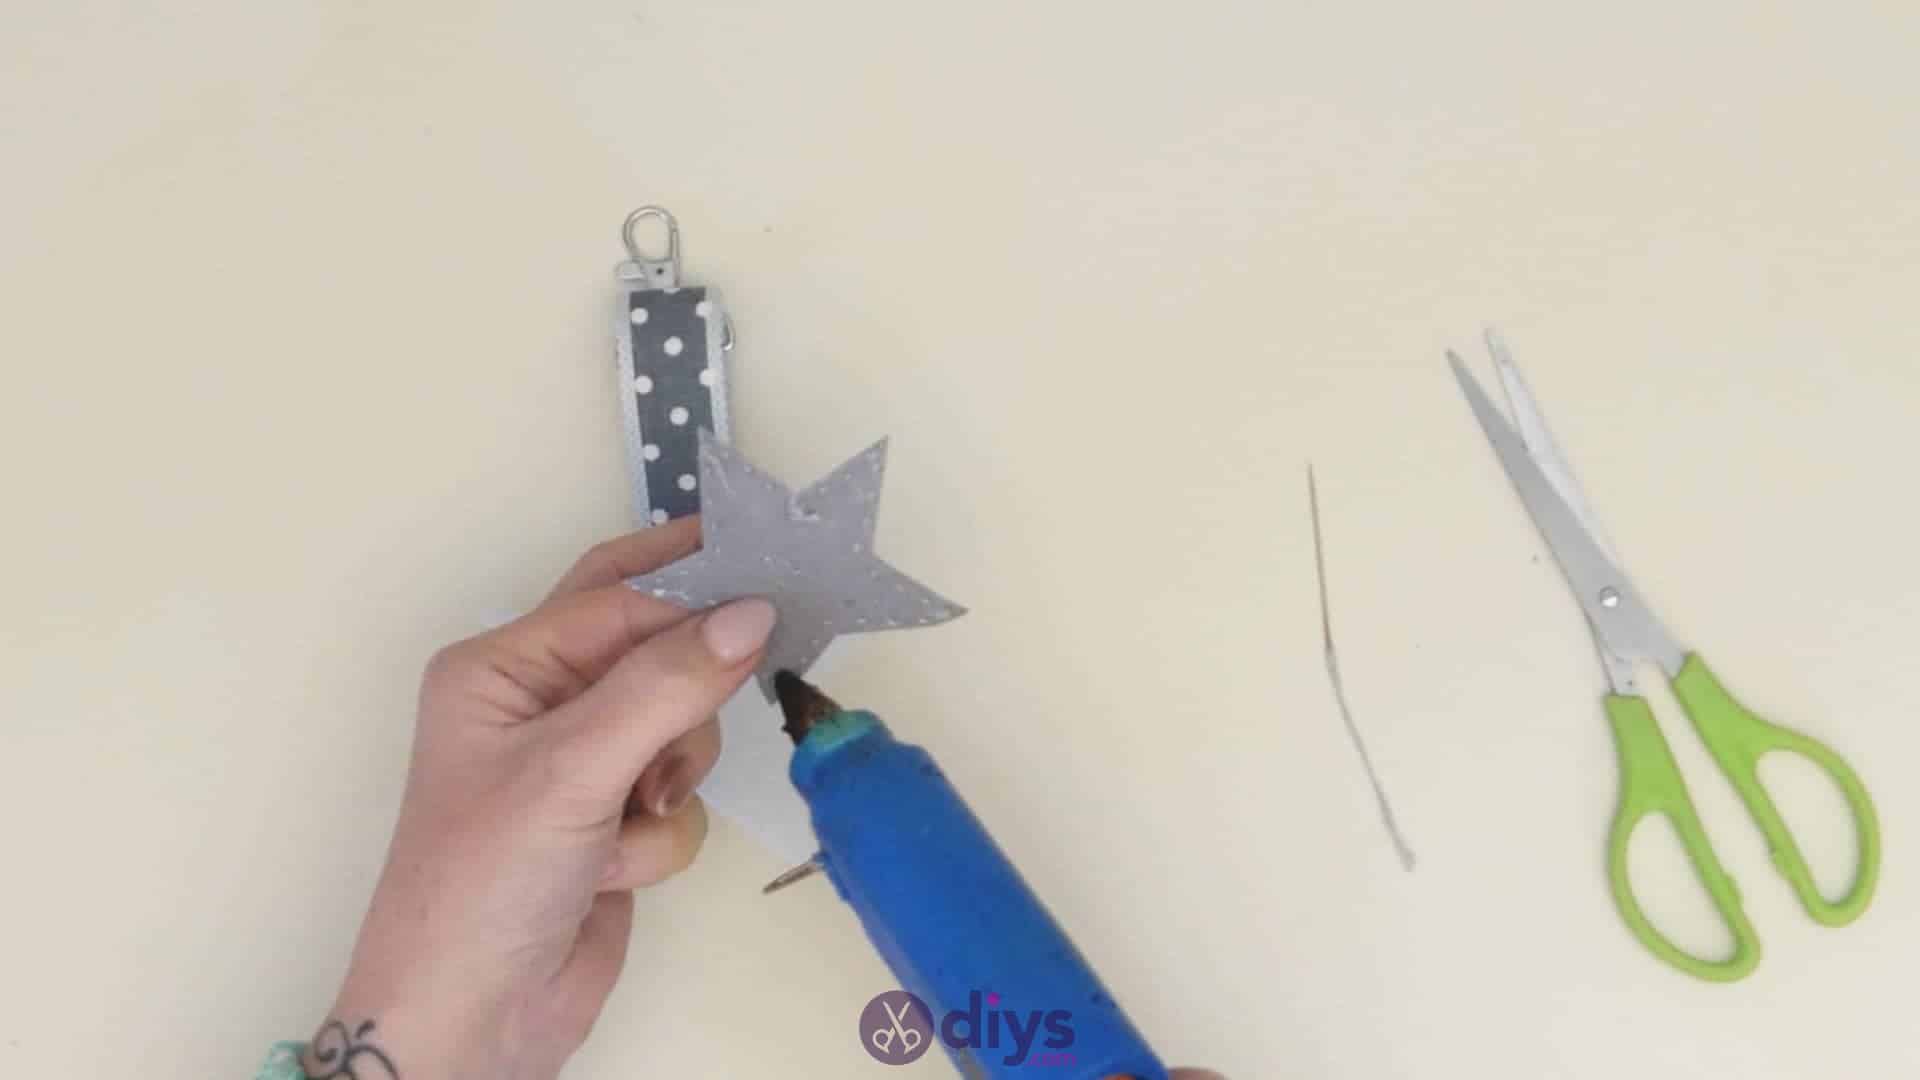
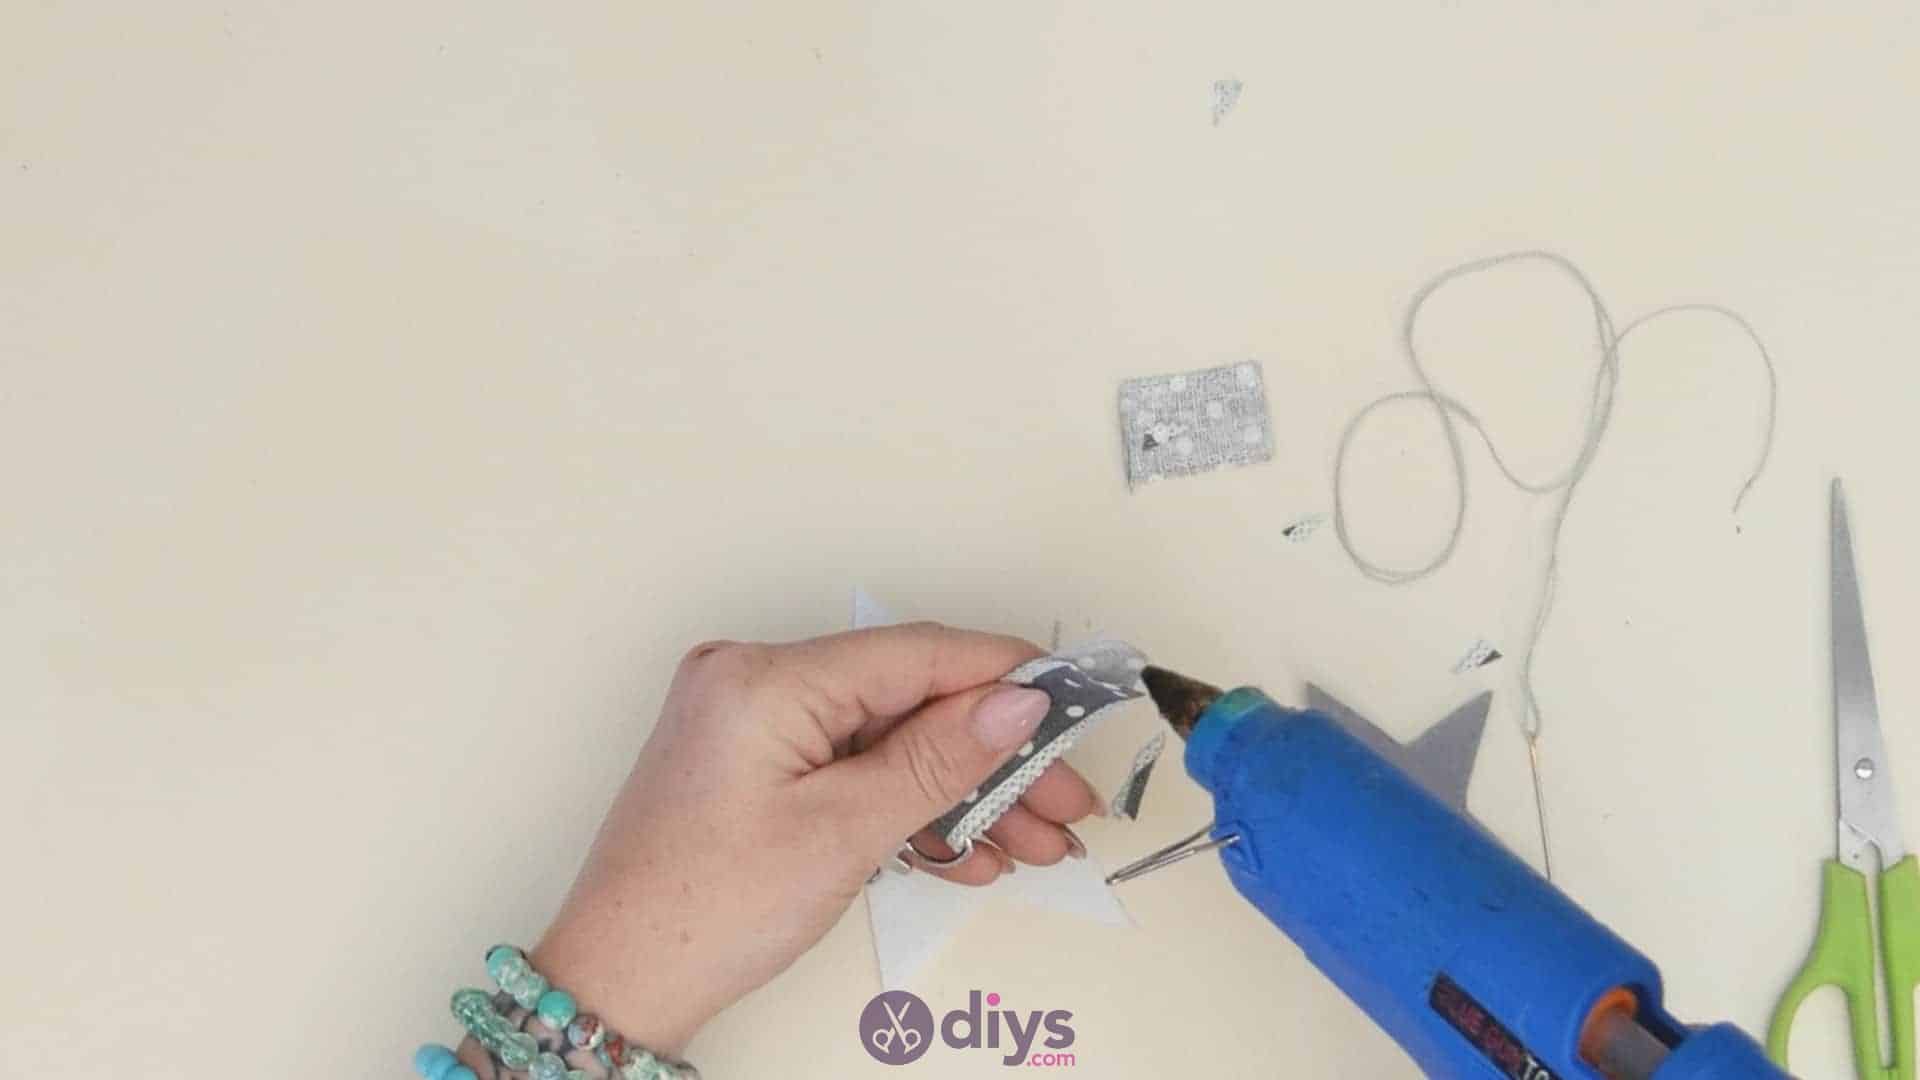
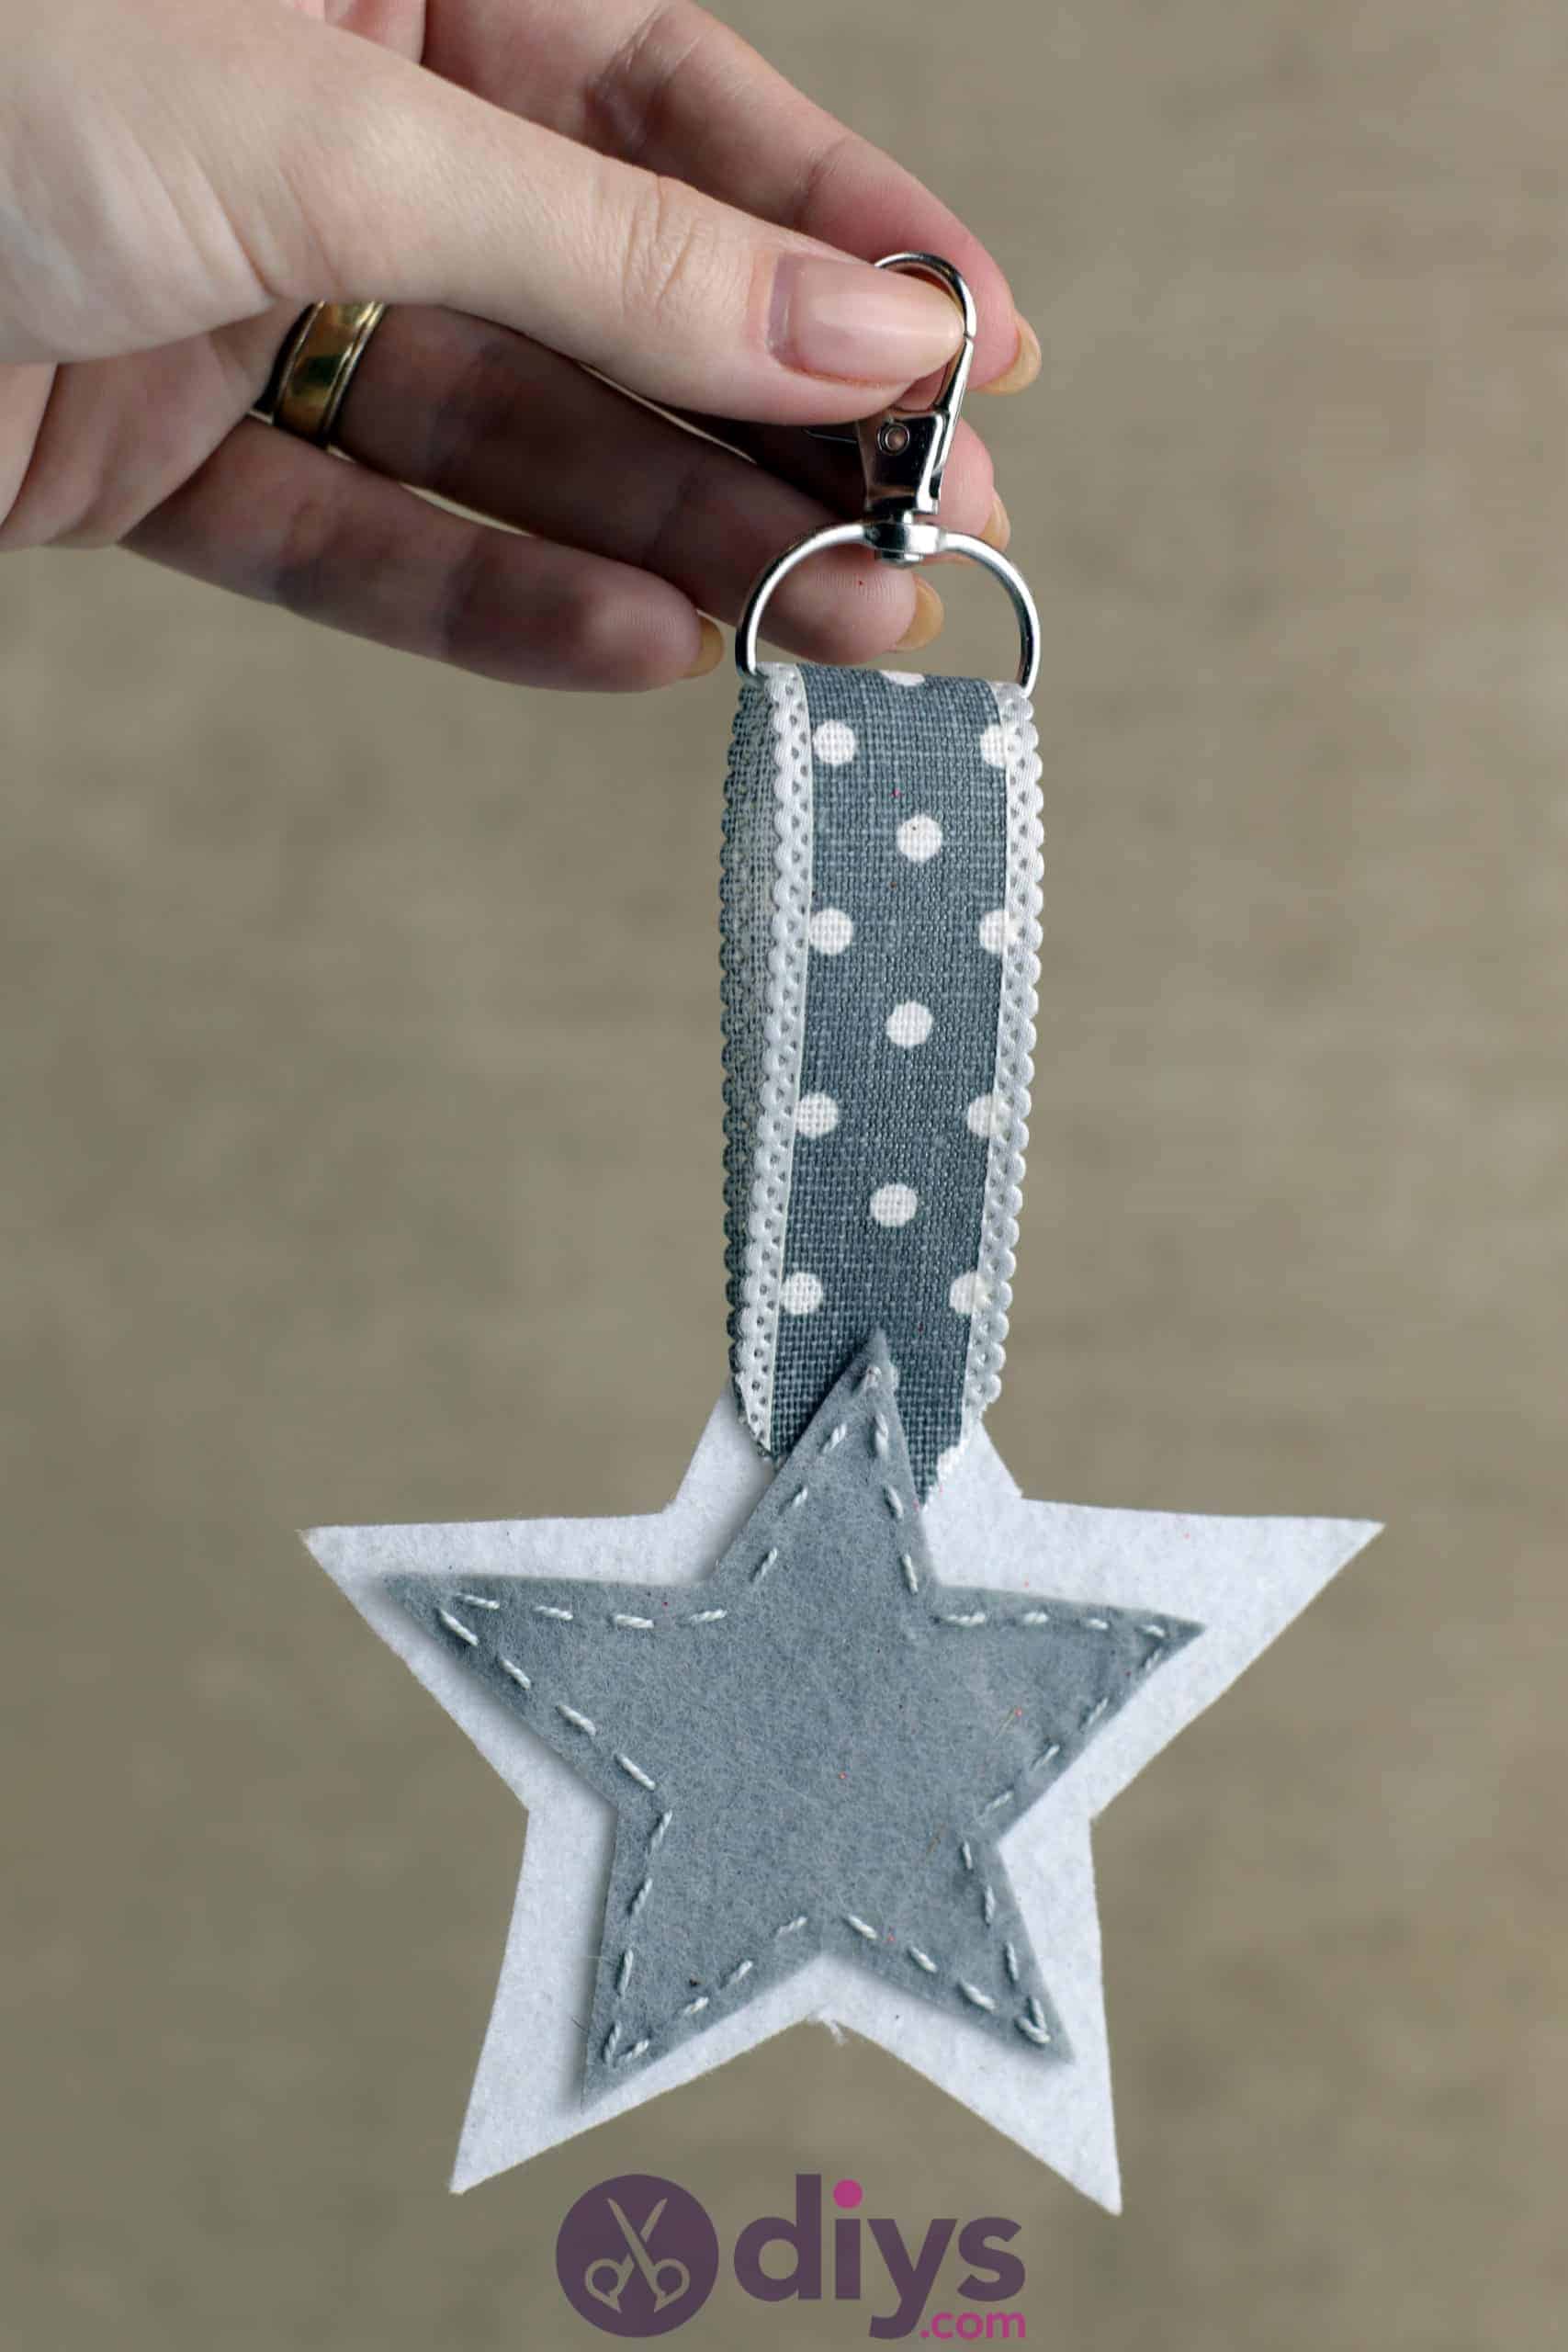
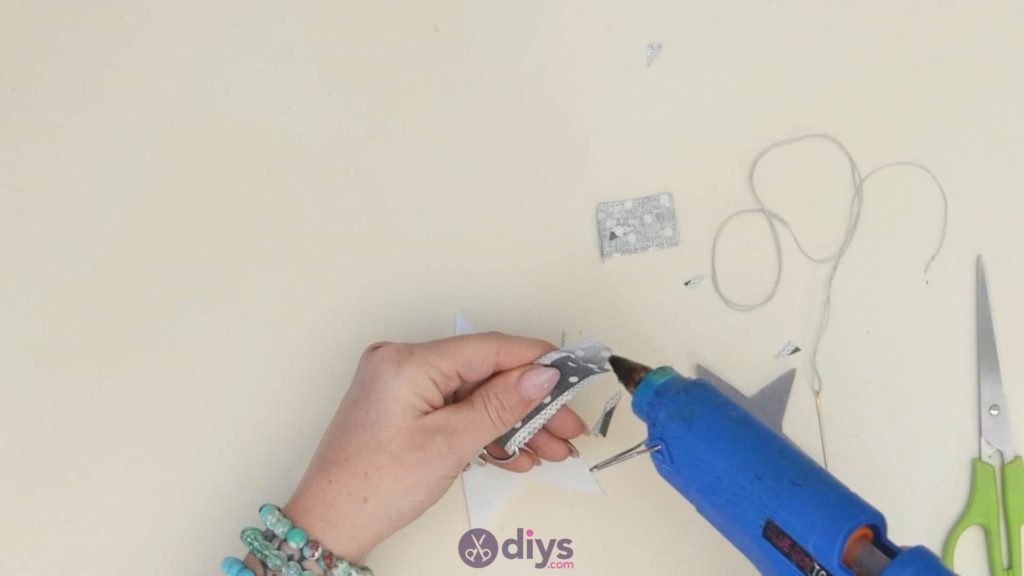
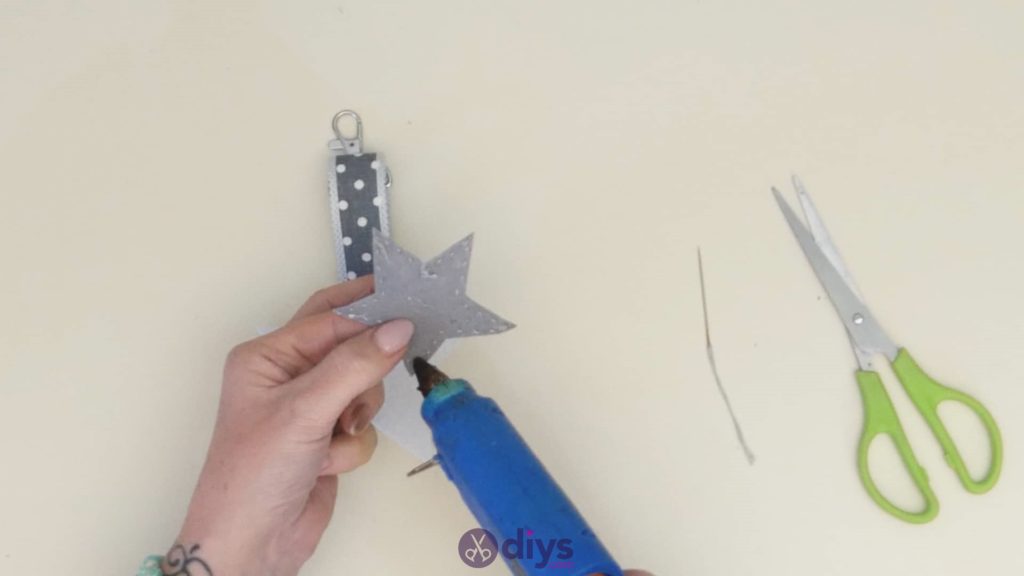
Step 7: glue the star
Apply hot glue to the back of your grey felt star (where the knots you made at the beginning and end of stitching are), making sure to get some across each of the five points to ensure that they don’t lift. Stick it down over the white star and the ribbon strap at the top, where you had it fitting just right before, making sure to press all five points down well.

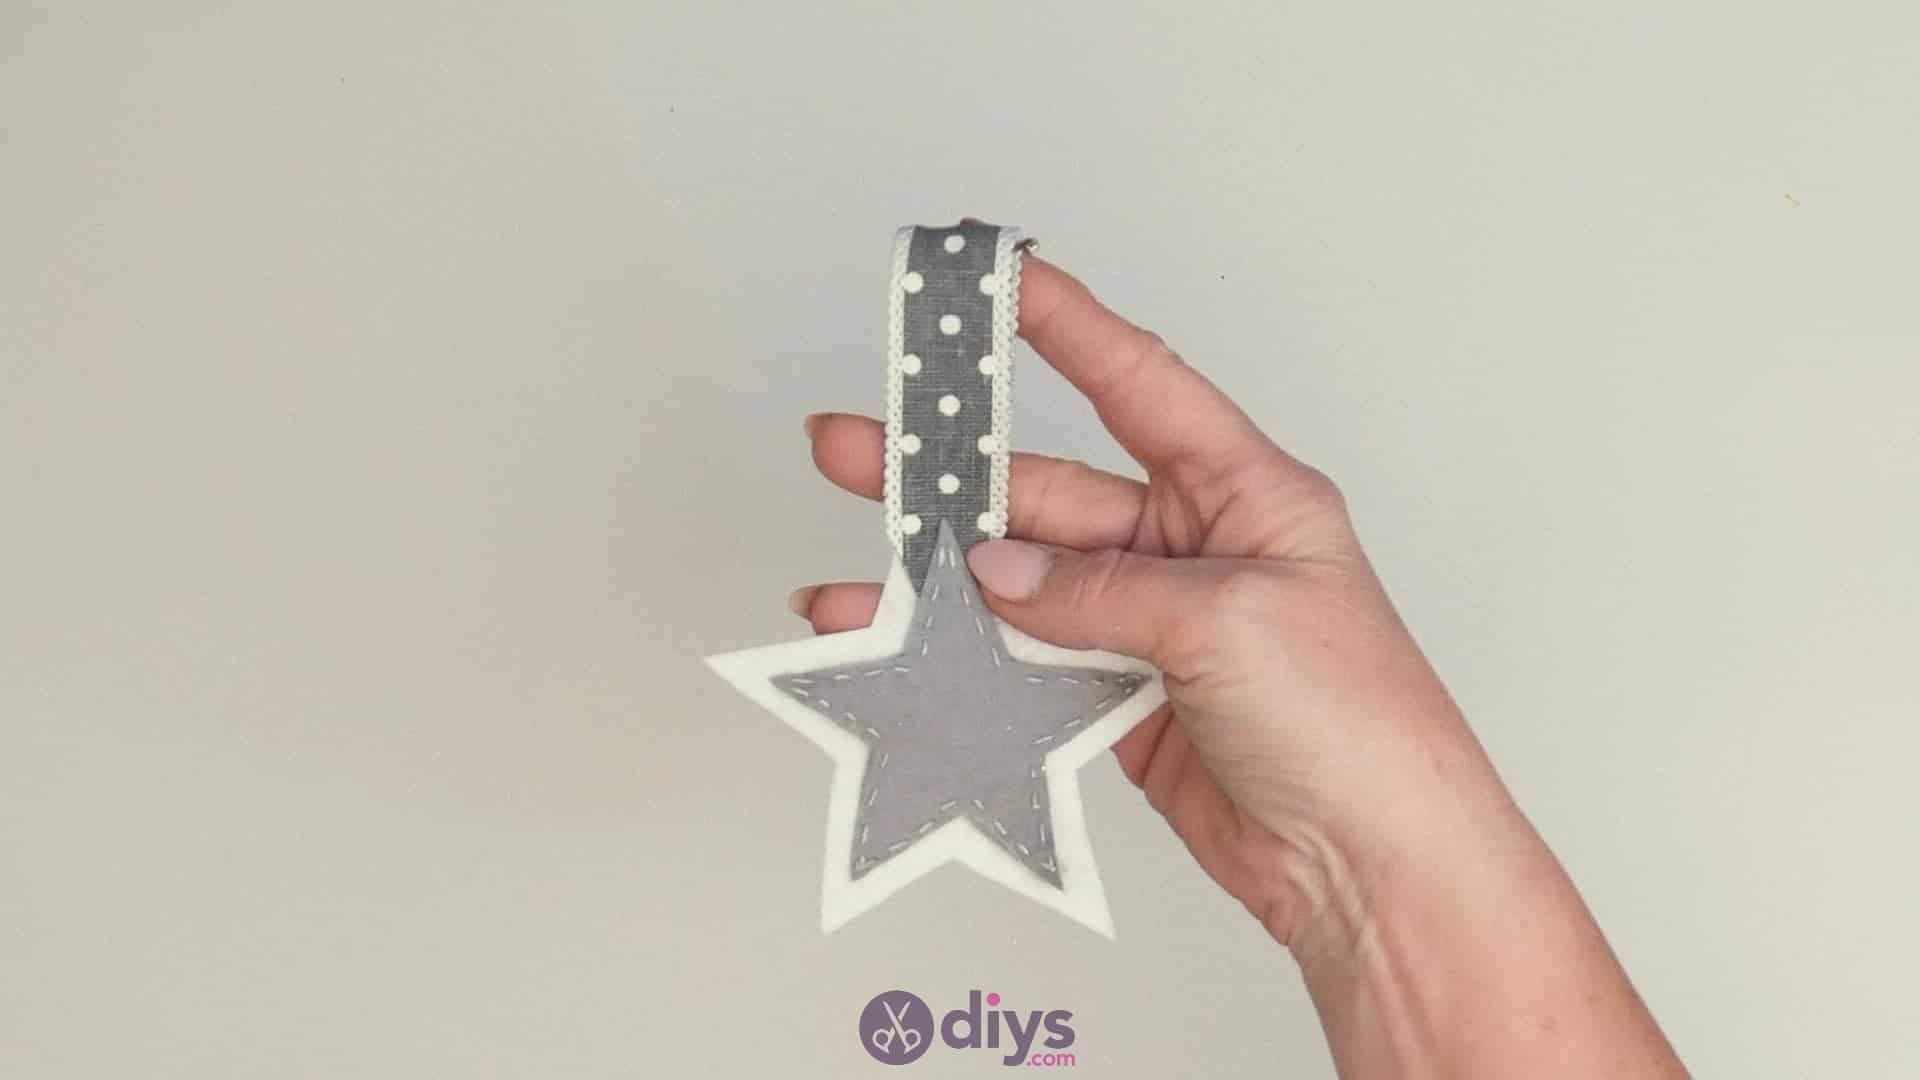
That’s really all there is to it! Of course, you can feel free to get a little brighter or more patterned with your fabric and felt choices or embellish the star further if you wish. Just in case you’d like to try this project out for yourself, here’s a fantastic tutorial video to help you!