DIY Concrete Ring Holder
Updated on November 19, 2025


Concrete projects truly are something I just can’t get enough of lately! There’s just something so industrial chic and stylish about them, besides the fact that they’re an awesomely fun hands-on project to make. lately, I’ve also been in love with the idea of making myself little things that will help me keep organized and eliminated clutter around my house. I was trying to tidy my vanity recently and realized I have no where suitable or putting my rings, so the idea for making a stylish little concrete ring holder was born!
I was so pleased with the first one I made that I actually decided to make a couple more as gifts for friends. As usual, I figured I might as well give other crafting enthusiast I know a play-by-play of how I created the pieces, just in case they want to try it out as well. Check out these step by step instructions complete with photos! If you’d rather follow along with a video tutorial instead of written words, scroll to the bottom of this post to find just what you’re looking for.
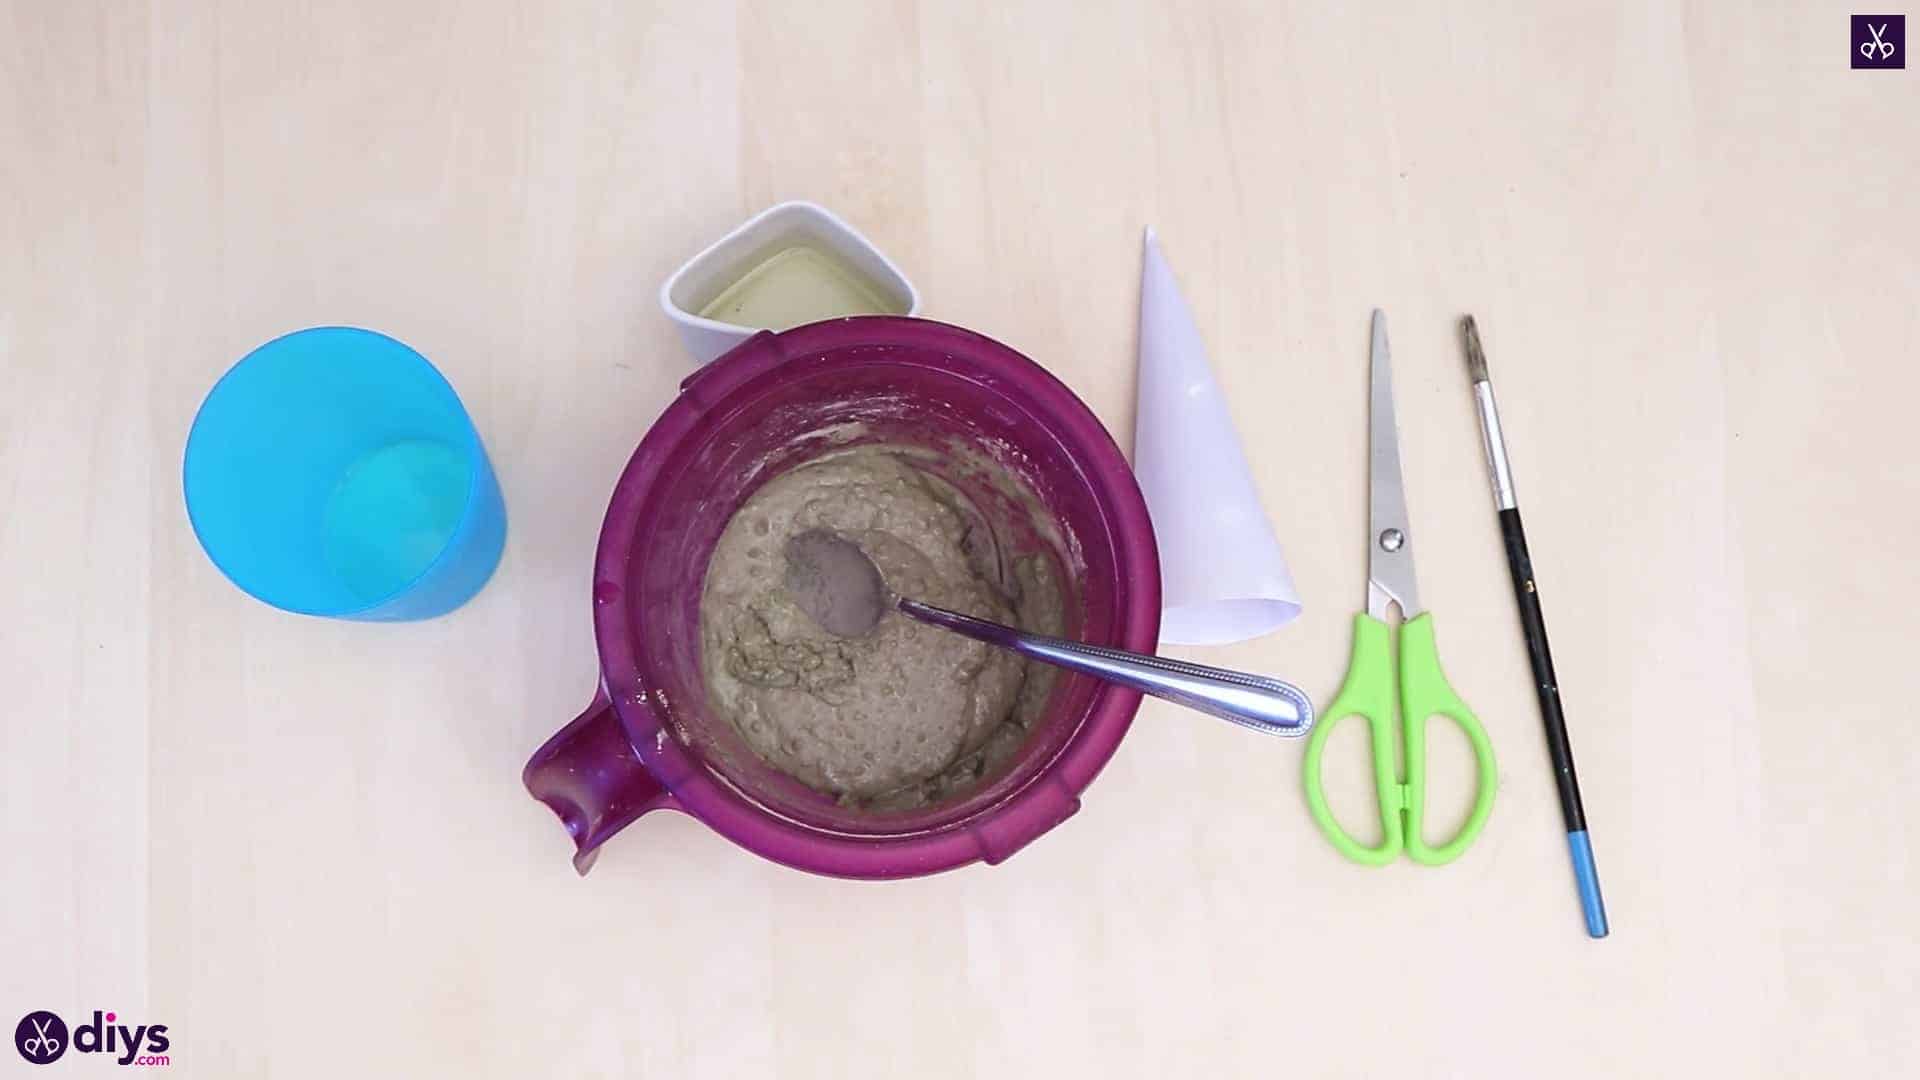
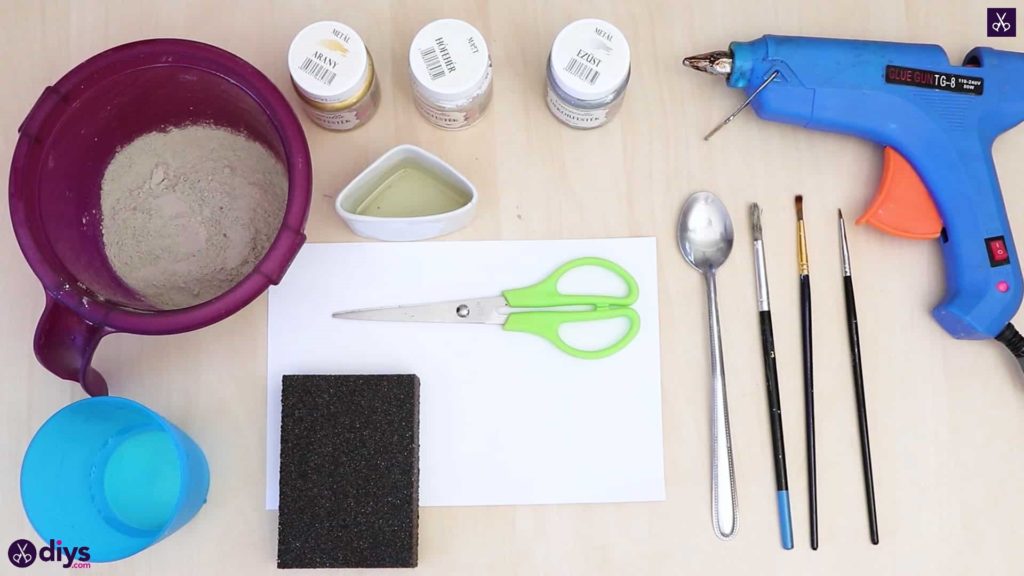
For this project, you’ll need:
- DIY fine particle cement
- Water
- A plate
- A spoon
- A sandpaper block
- Scissors
- Oil
- A paintbrush
- A folding utility knife
- White paper
- Gold paint
- Hot glue
Step 1: Gather your materials!
Put everything you need right in front of you first.
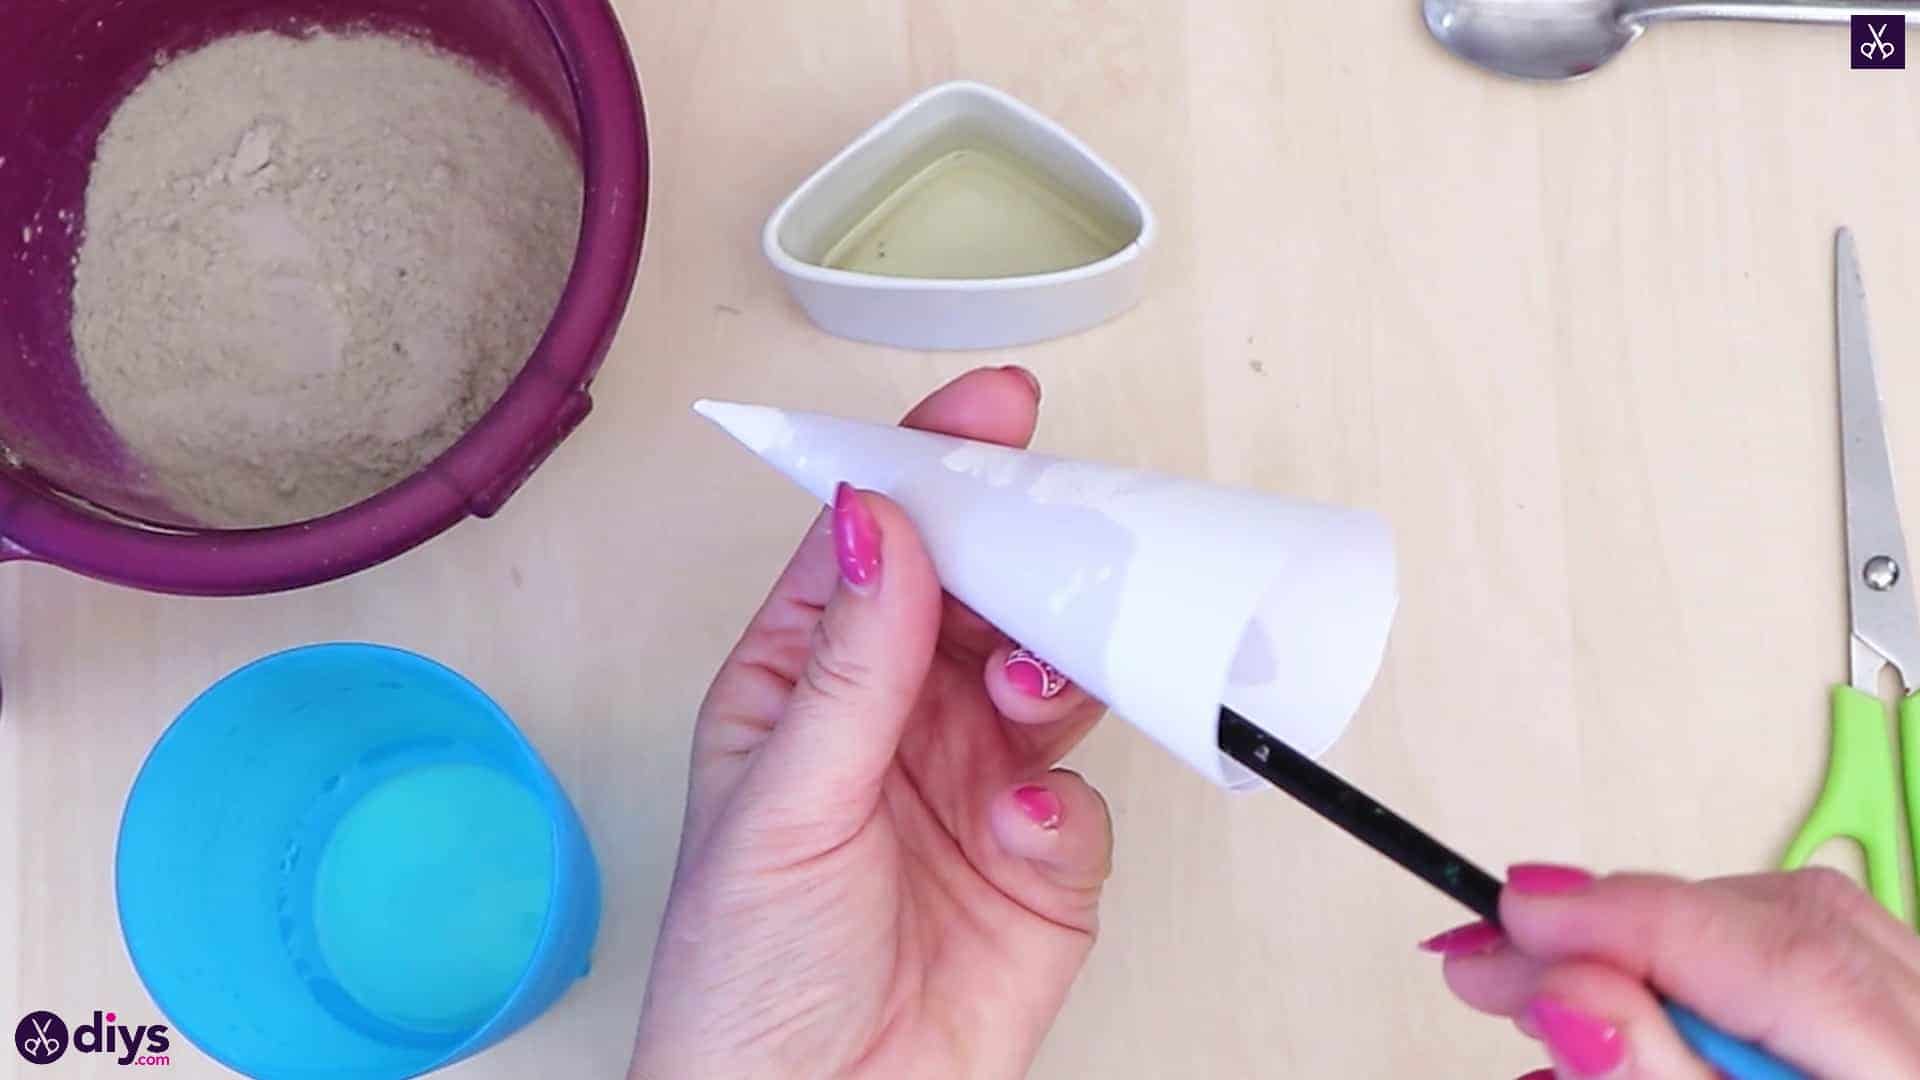
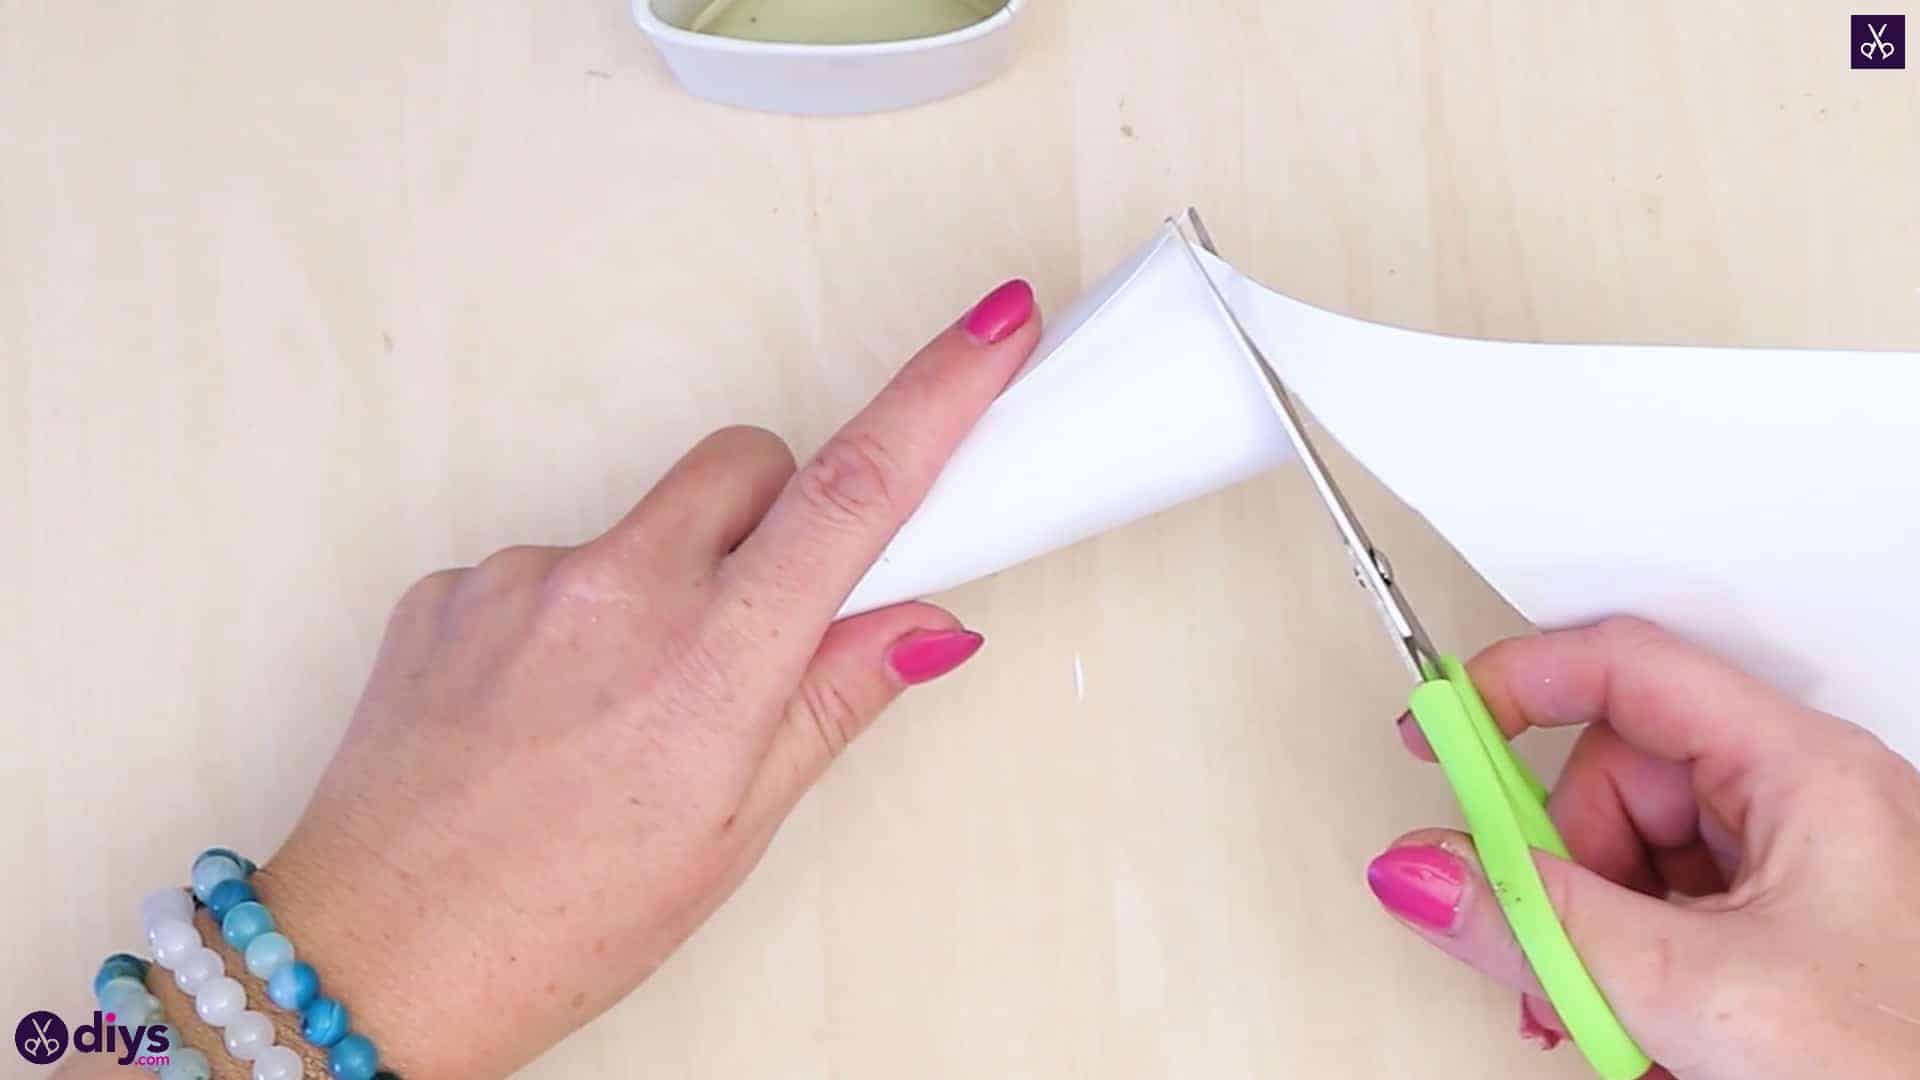
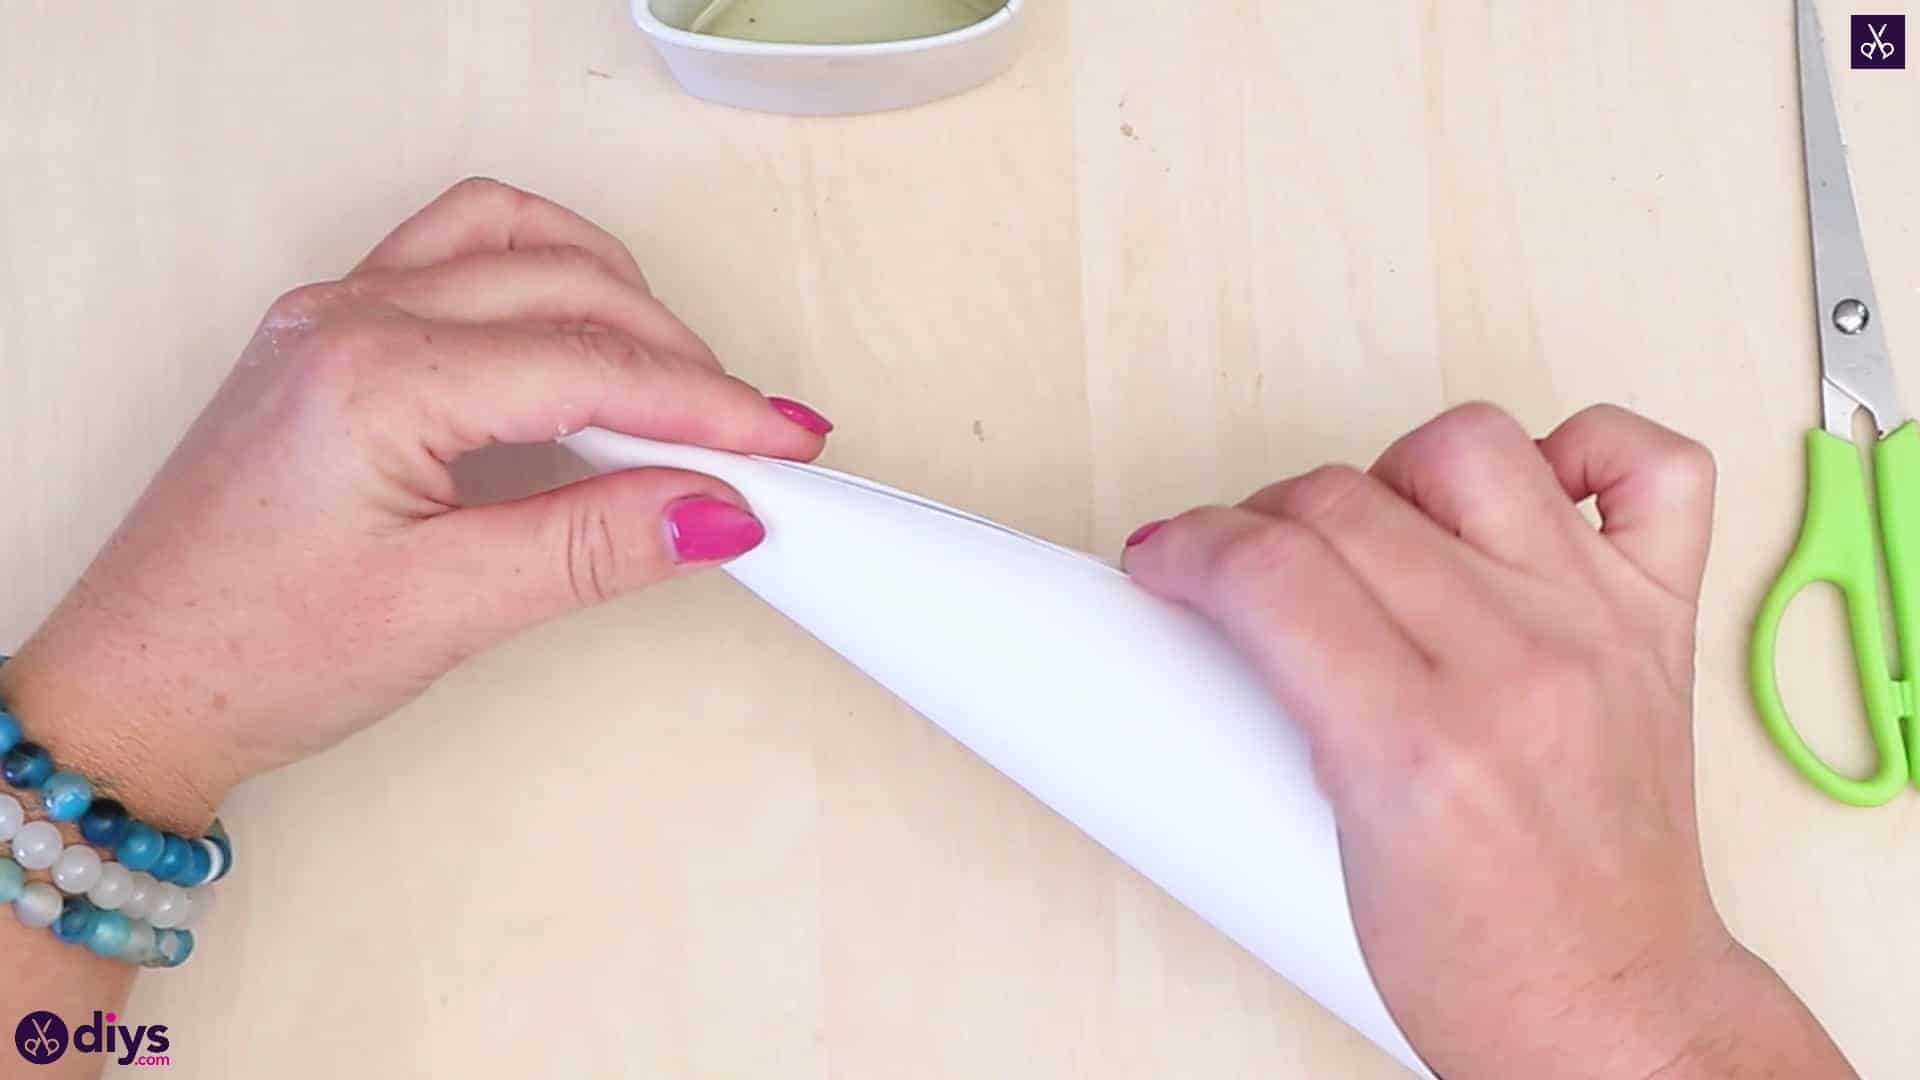
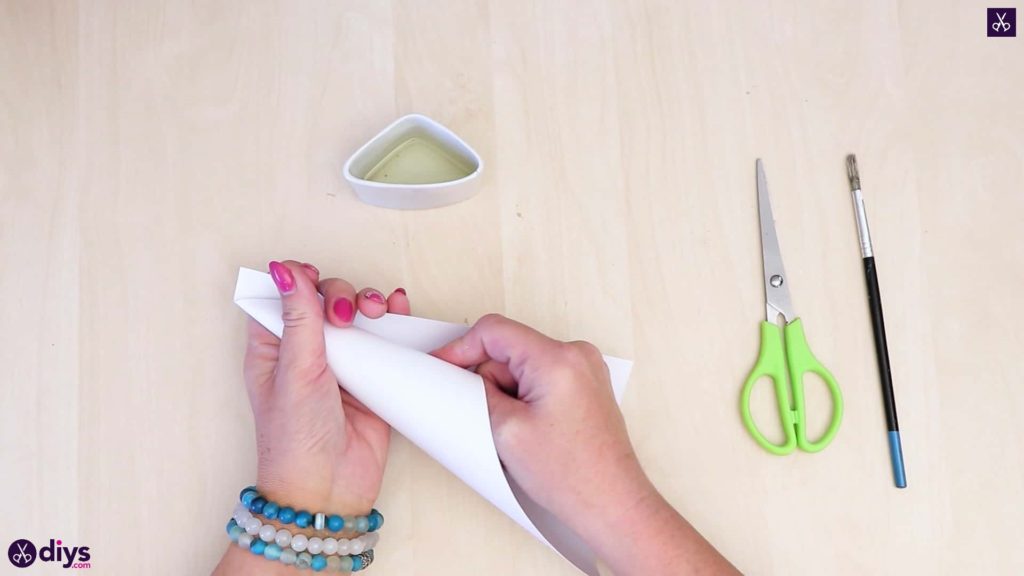
Step 2: form the cone
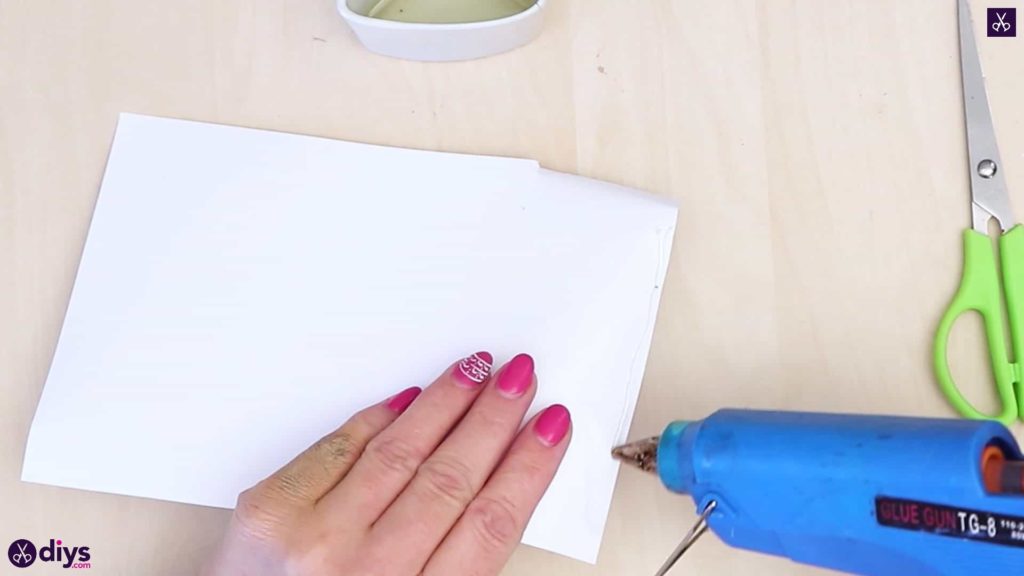
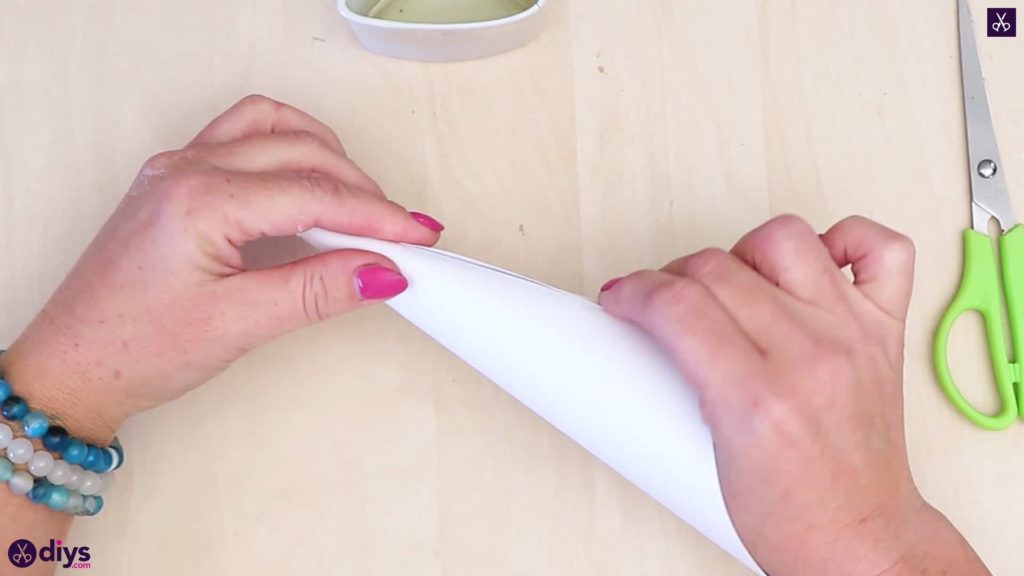
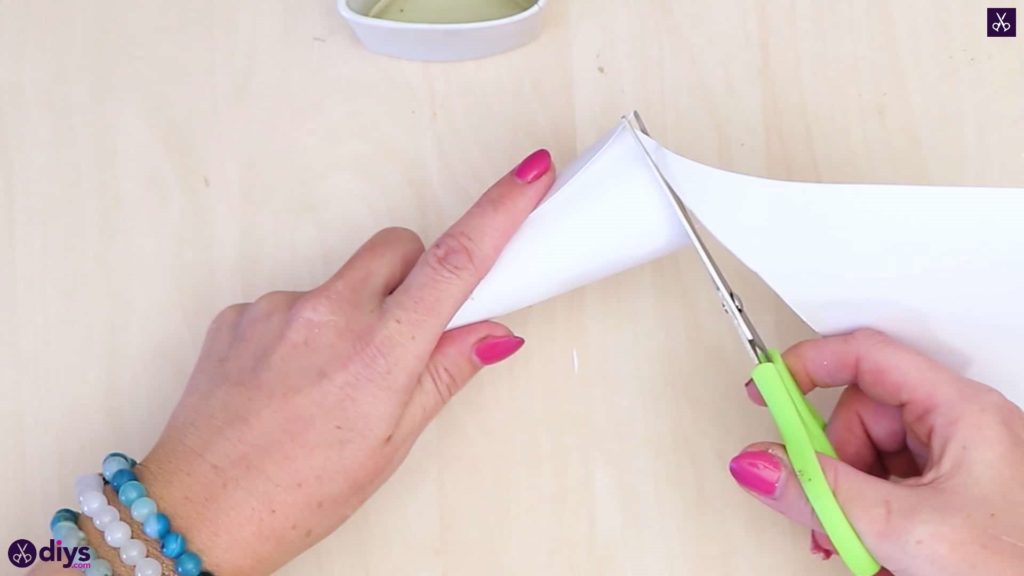
Make a paper cone using your piece of white paper! Do this by curling one corner in towards the middle so the edges follow too, spiralling in on themselves until the rounded surface of the paper’s other side meets the other edge across the page. Use your hot glue gun to apply hot glue along that far edge and stick it down when it meets back up with the curled page. You want to make sure that the newly point end of your cone curls tightly into a true point that is pulled entirely closed; this will be important later when you fill your cone with concrete mix. Use your scissors to trim the excess paper at the wide end until you’ve got a neat, even circular opening. If you flip the cone over and set it on the tabletop with that open end facing downward, you want it to sit flush and evenly on the table. It’s okay (and even good for style) if your pointed end sticks up at an angle, so long as the circular edges sit evenly. This will help your finished piece have a flat bottom later so it sits solidly and doesn’t rock like a wonky chair.
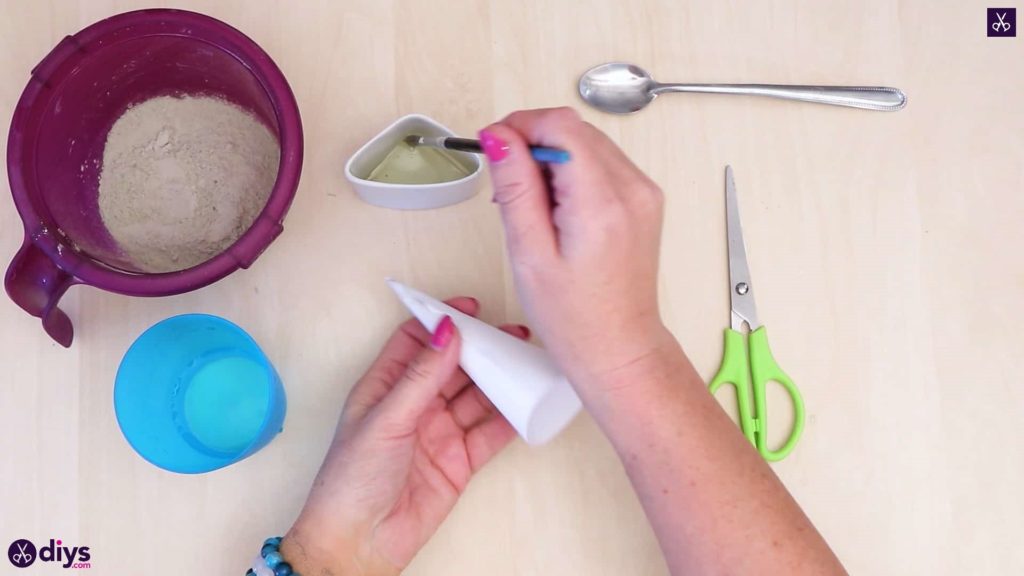
Step 3: oil inside
Use your paintbrush to coat the inside of your paper cone with oil so that the concrete mix doesn’t stick to it too badly later. Apply enough that the paper is fully coated all along the inside but try not to saturate the brush or the paper so much that the paper gets too wet and tears or too soggy and flops, not keeping its cone shape. Set the cone aside for the moment.

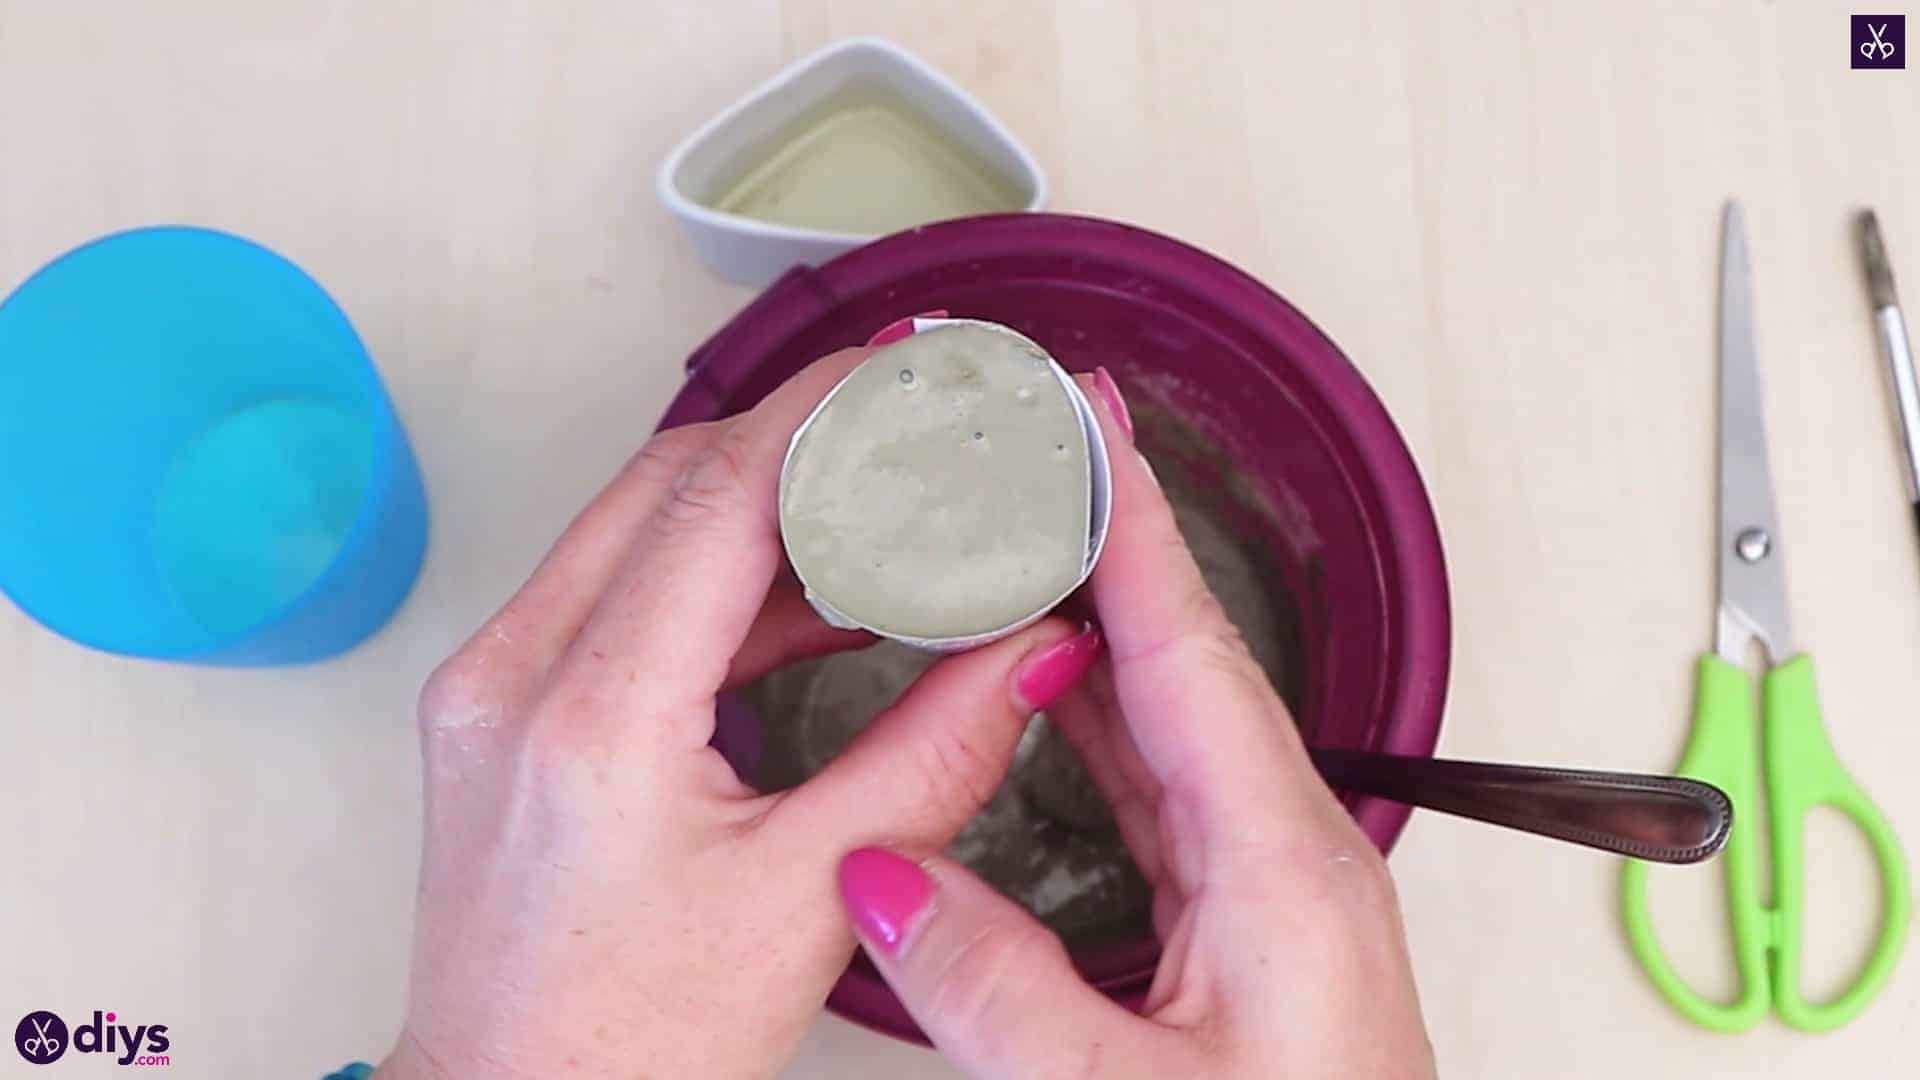
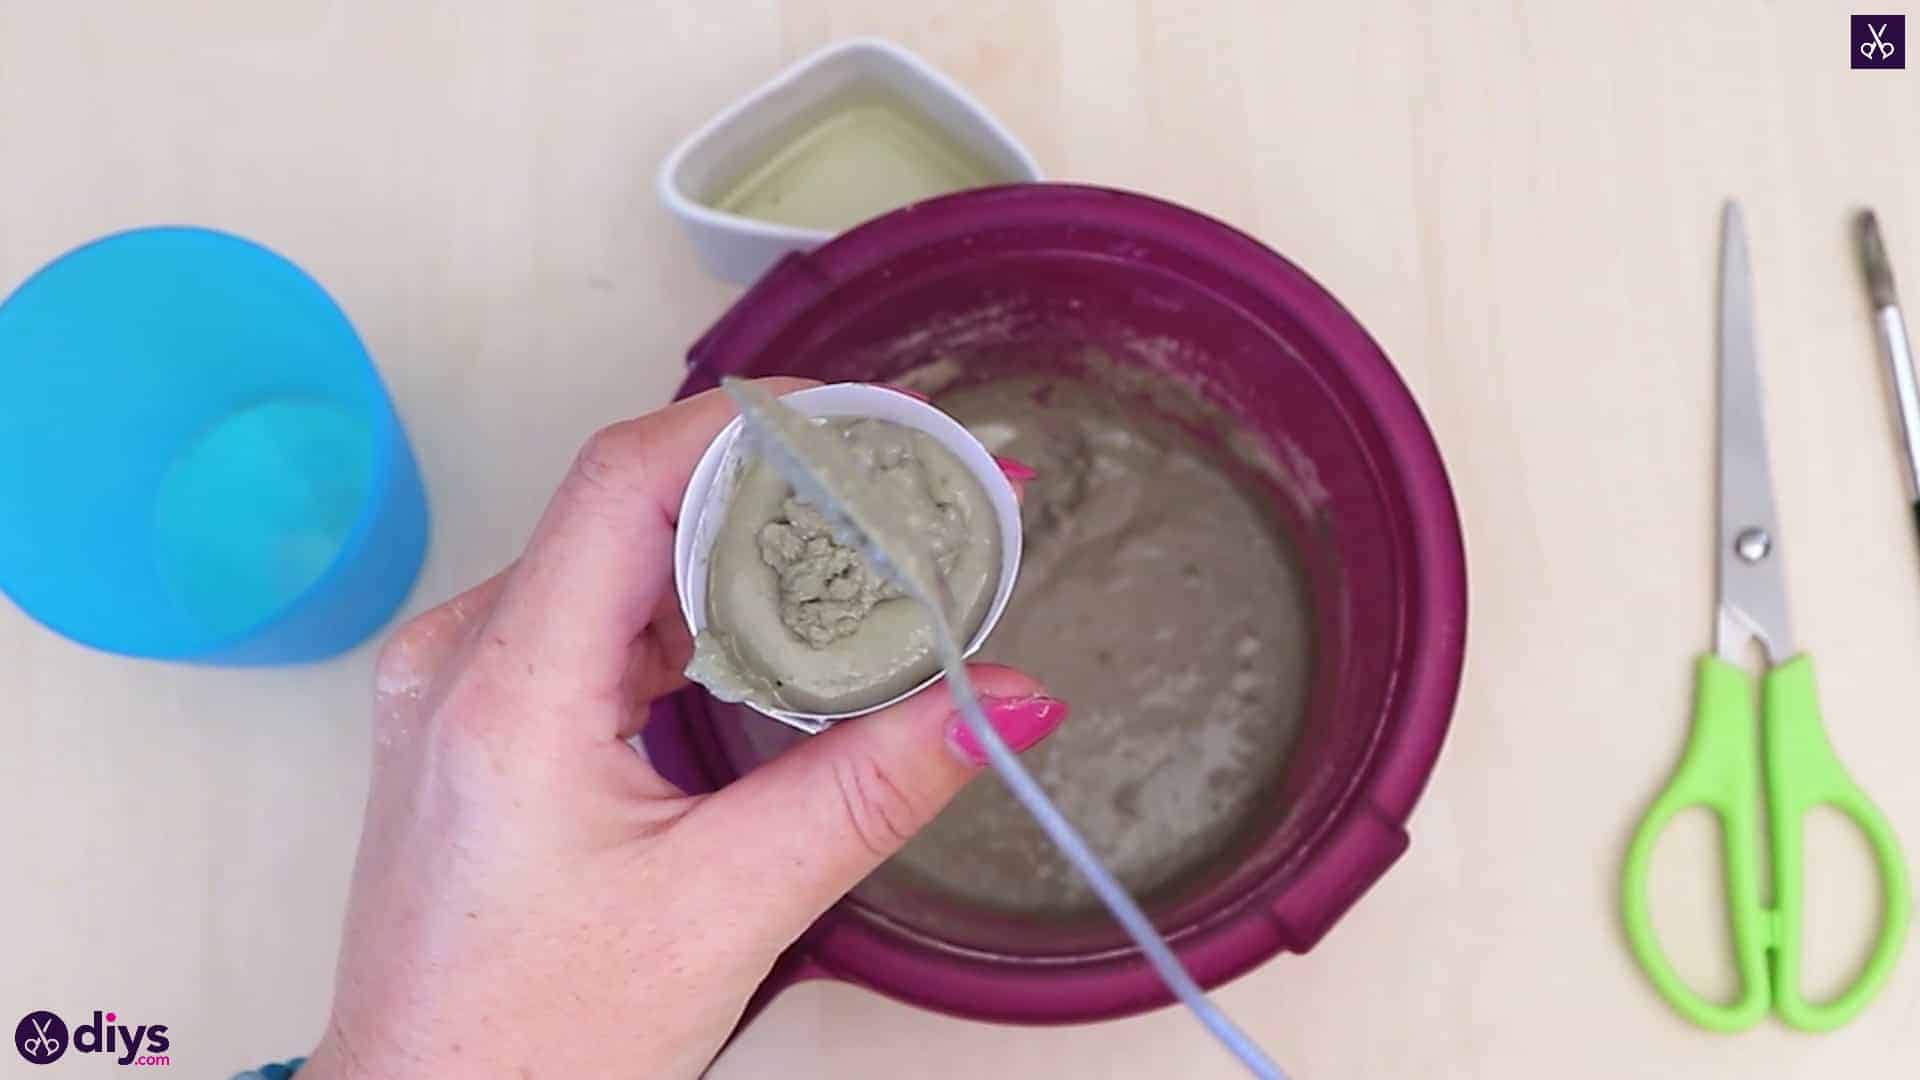
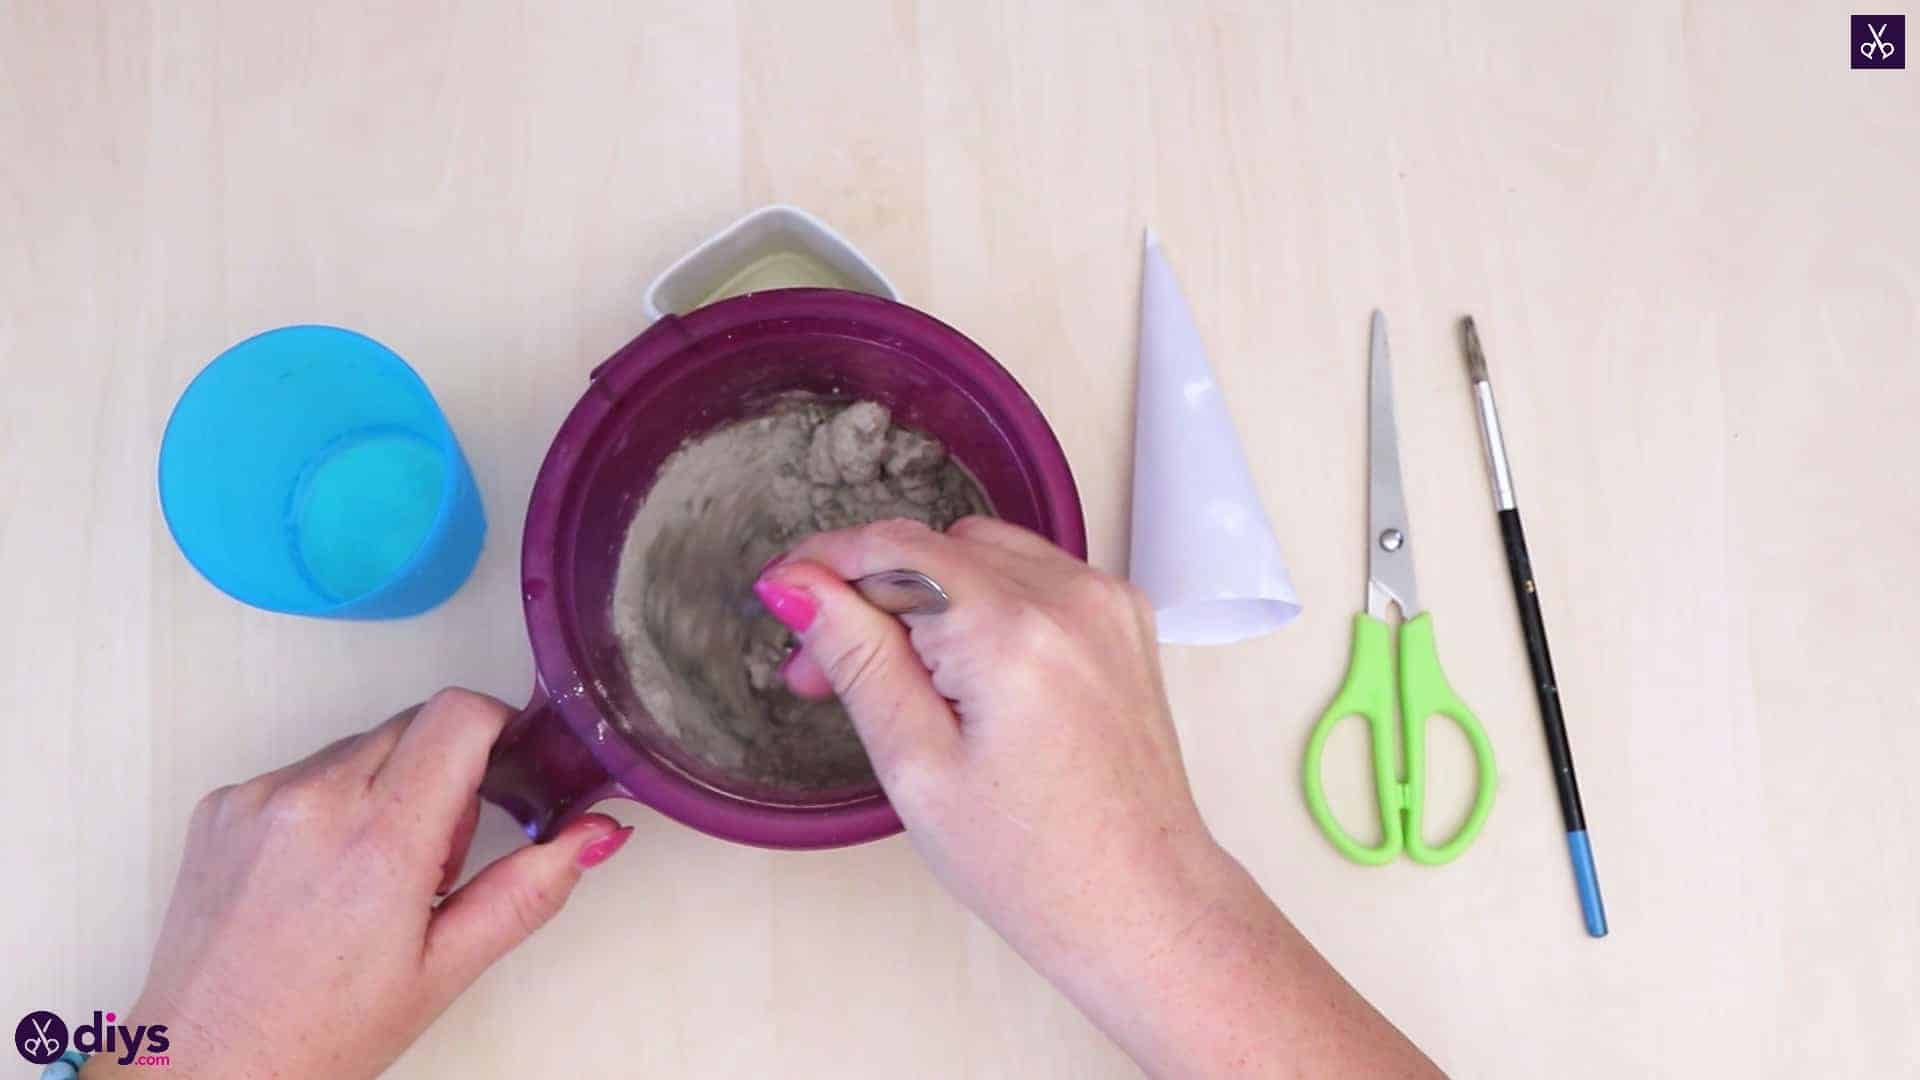
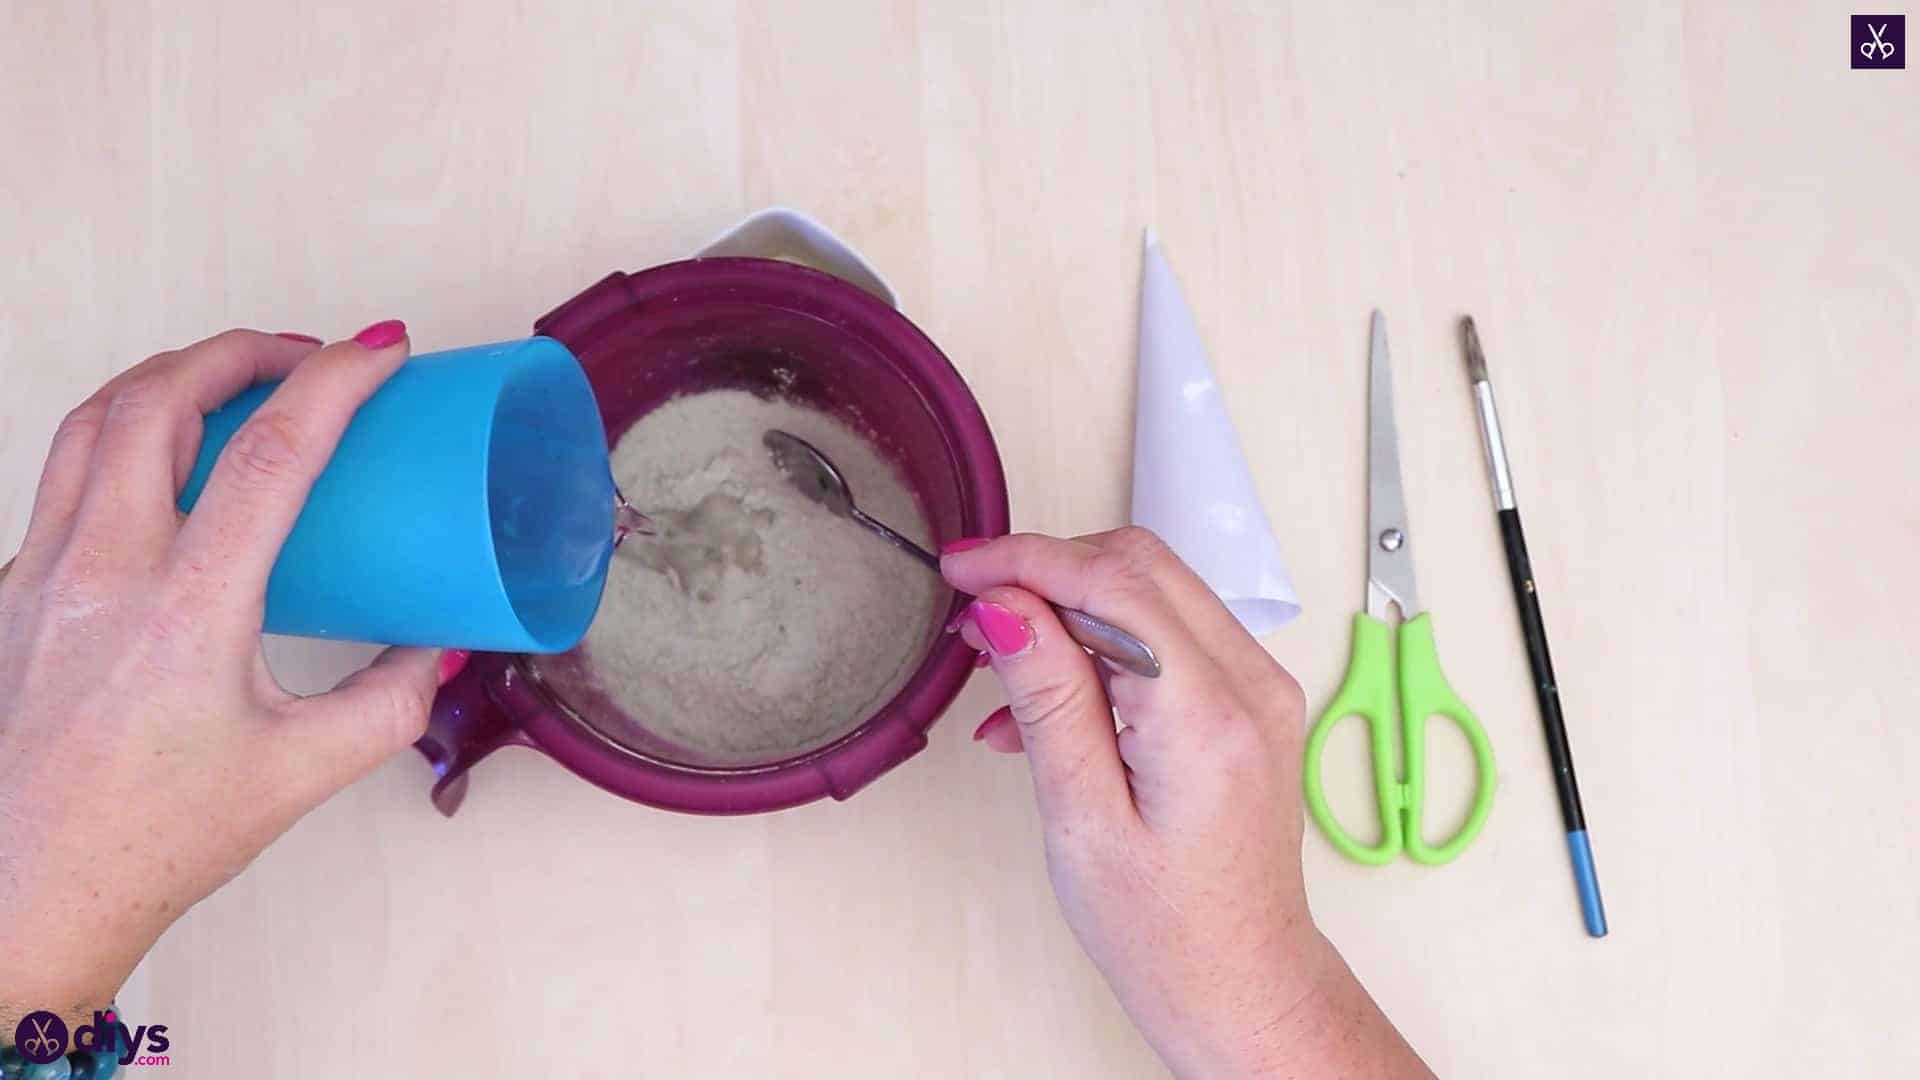
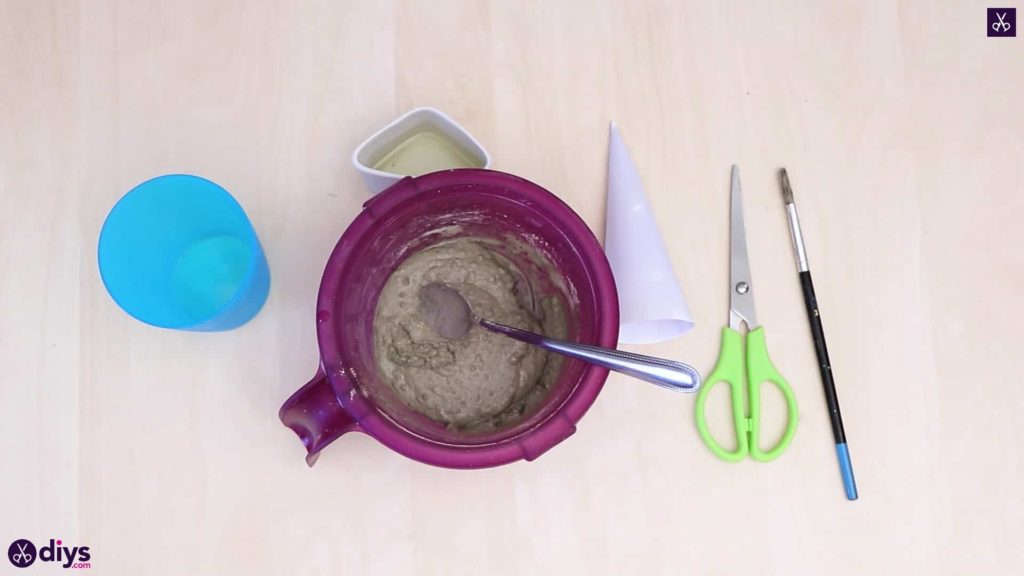
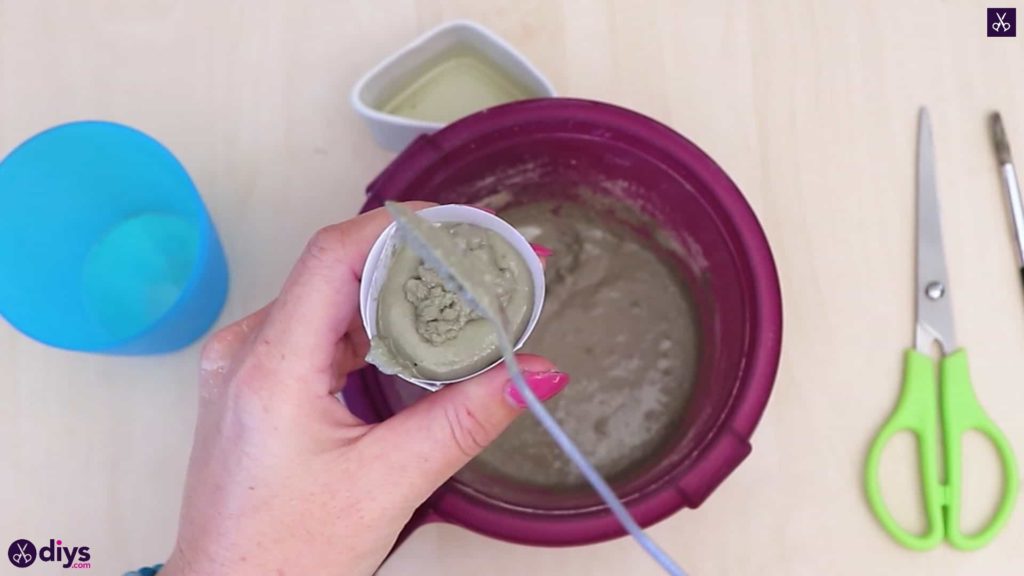
Step 4: mix the cement
Use your spoon to mix your DIY fine particle cement to the proper consistency. Follow the instructions on the back of your package to get the ratio of water to powdered mix just right, since it can vary from brand to brand.


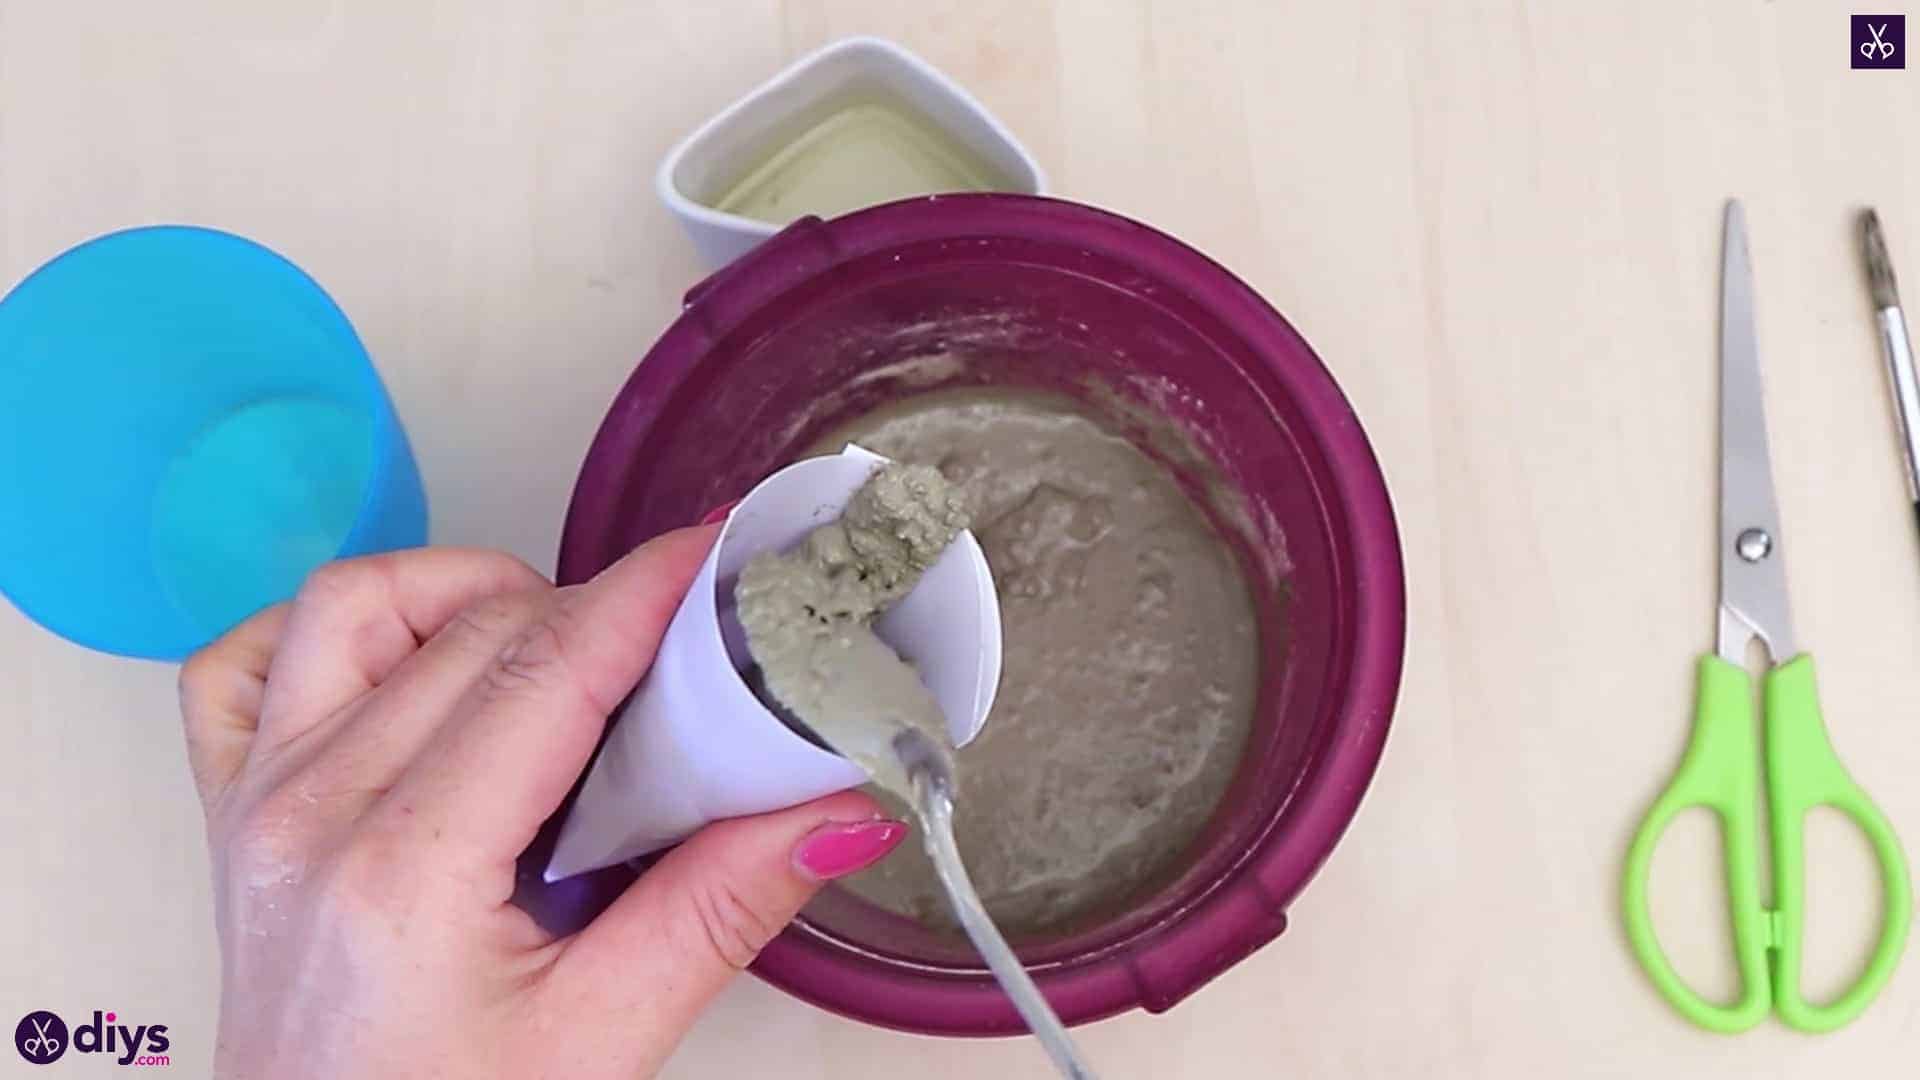
Step 5: pour the cement
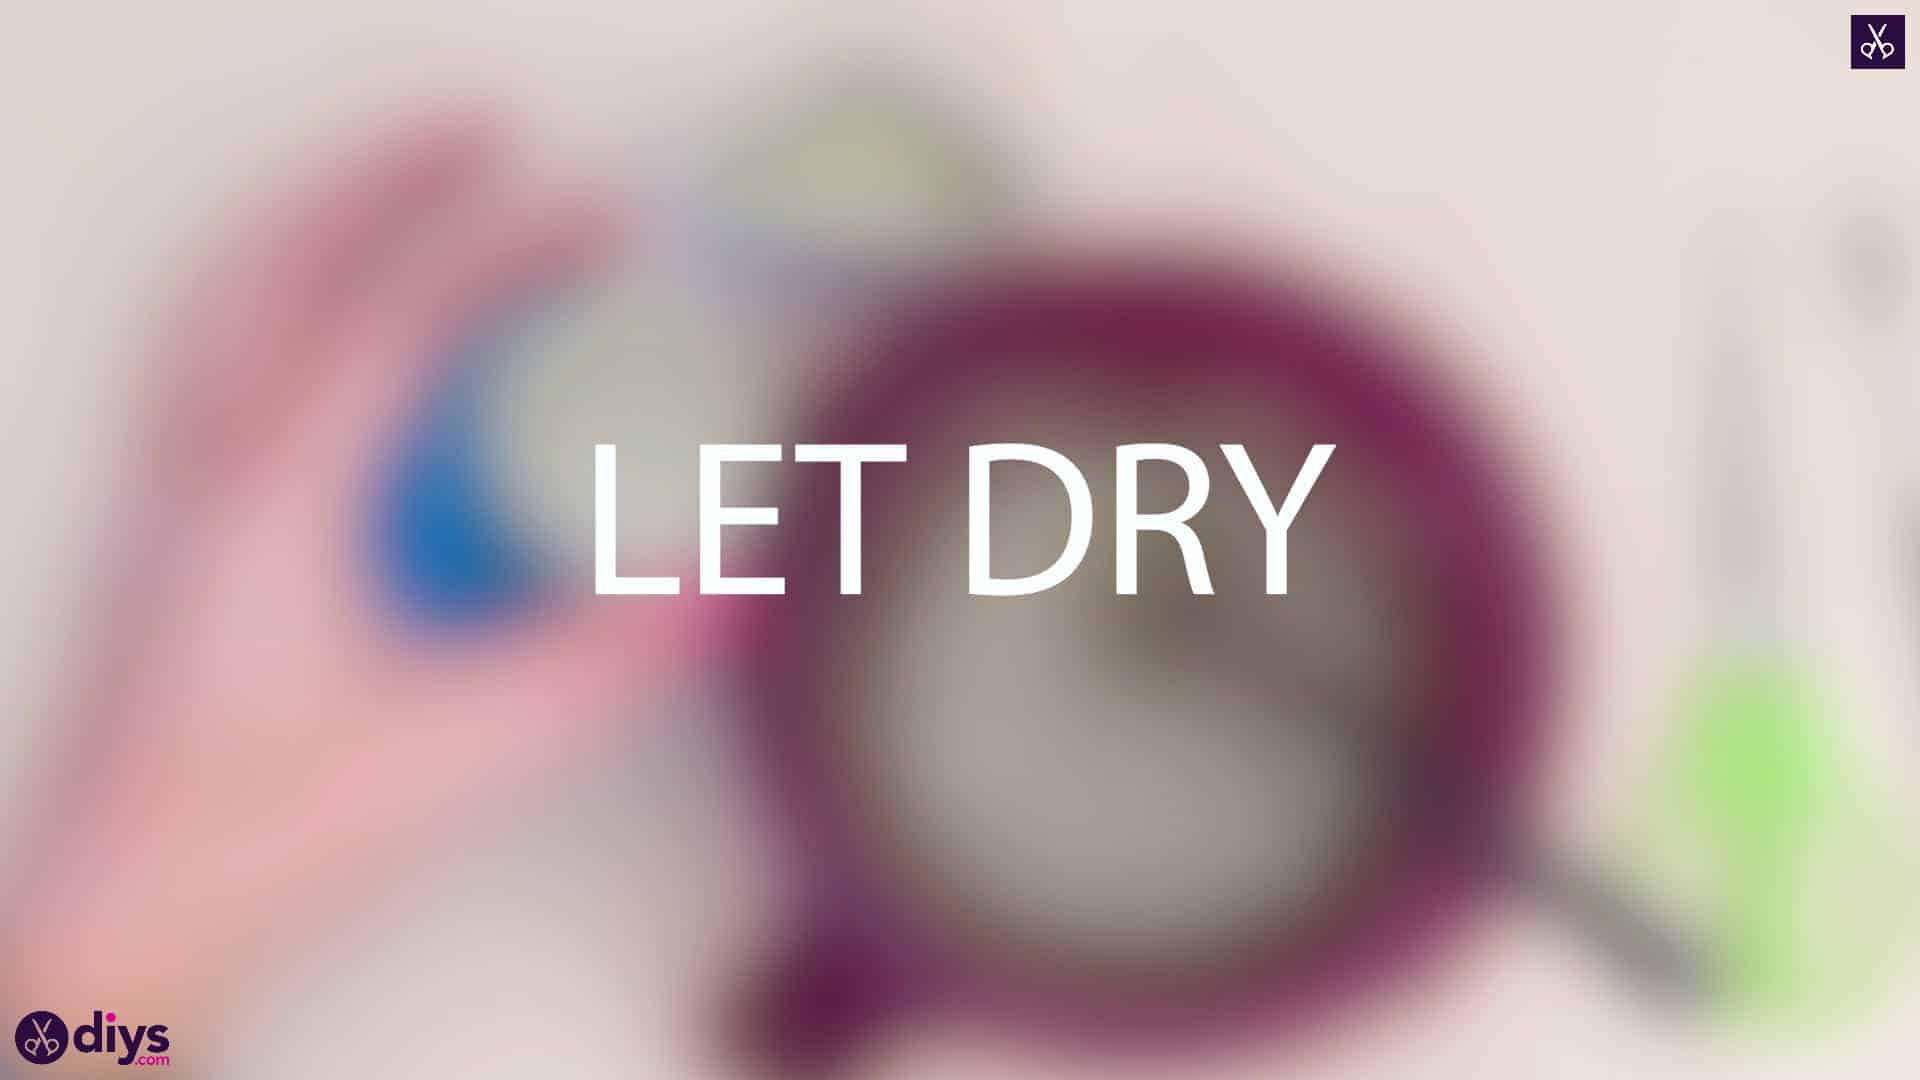
Use your spoon to fill your oiled paper cone with DIY concrete mix. Fill it almost to the edge of the wide circular opening but not quite; you don’t want it to overflow. Give the cone a couple light shapes to get air bubbles out of the surface and help the top (which actually eventually be the bottom) sit evenly. Set the cone aside to let it dry; I kept my cone propped up to dry by placing it inside a cup, stood carefully to lean lightly and hardly even at an angle against the side. Let the concrete dry completely and thoroughly, across the surface and all the way through the middle.


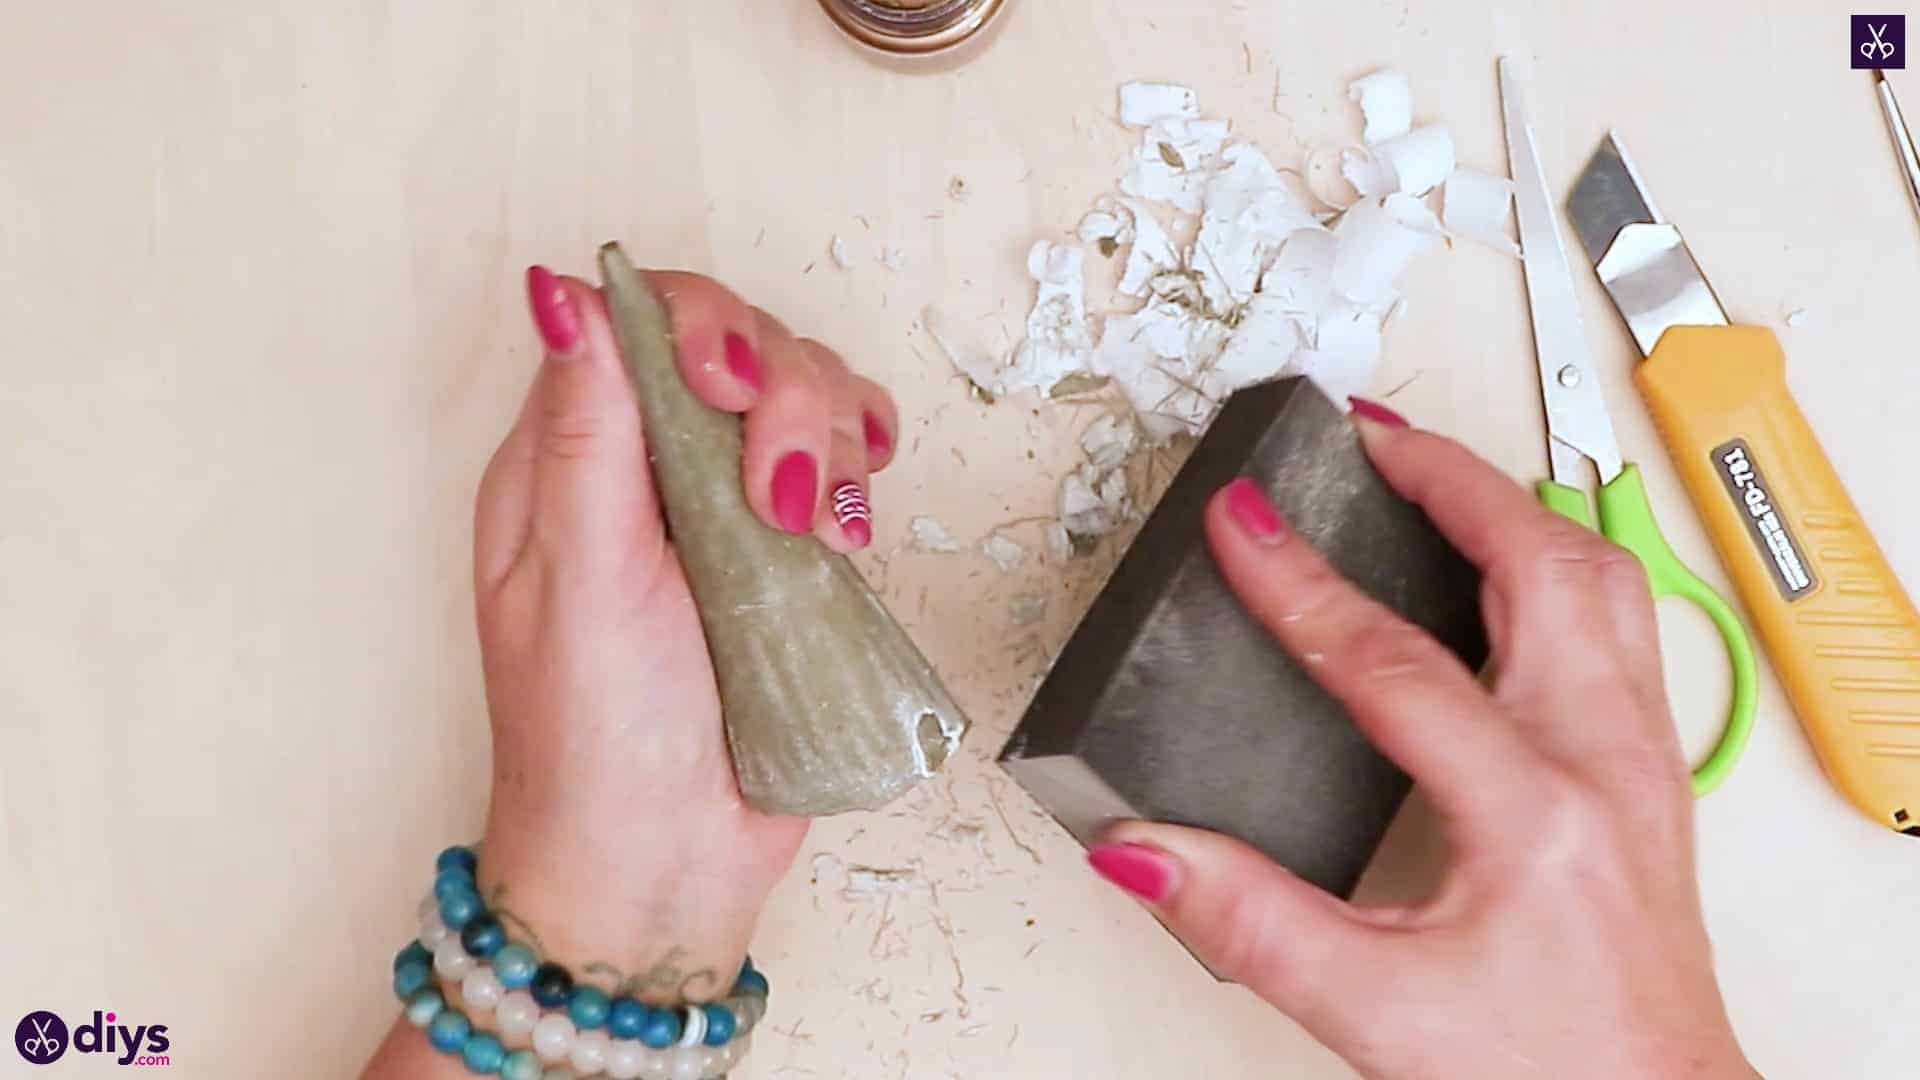
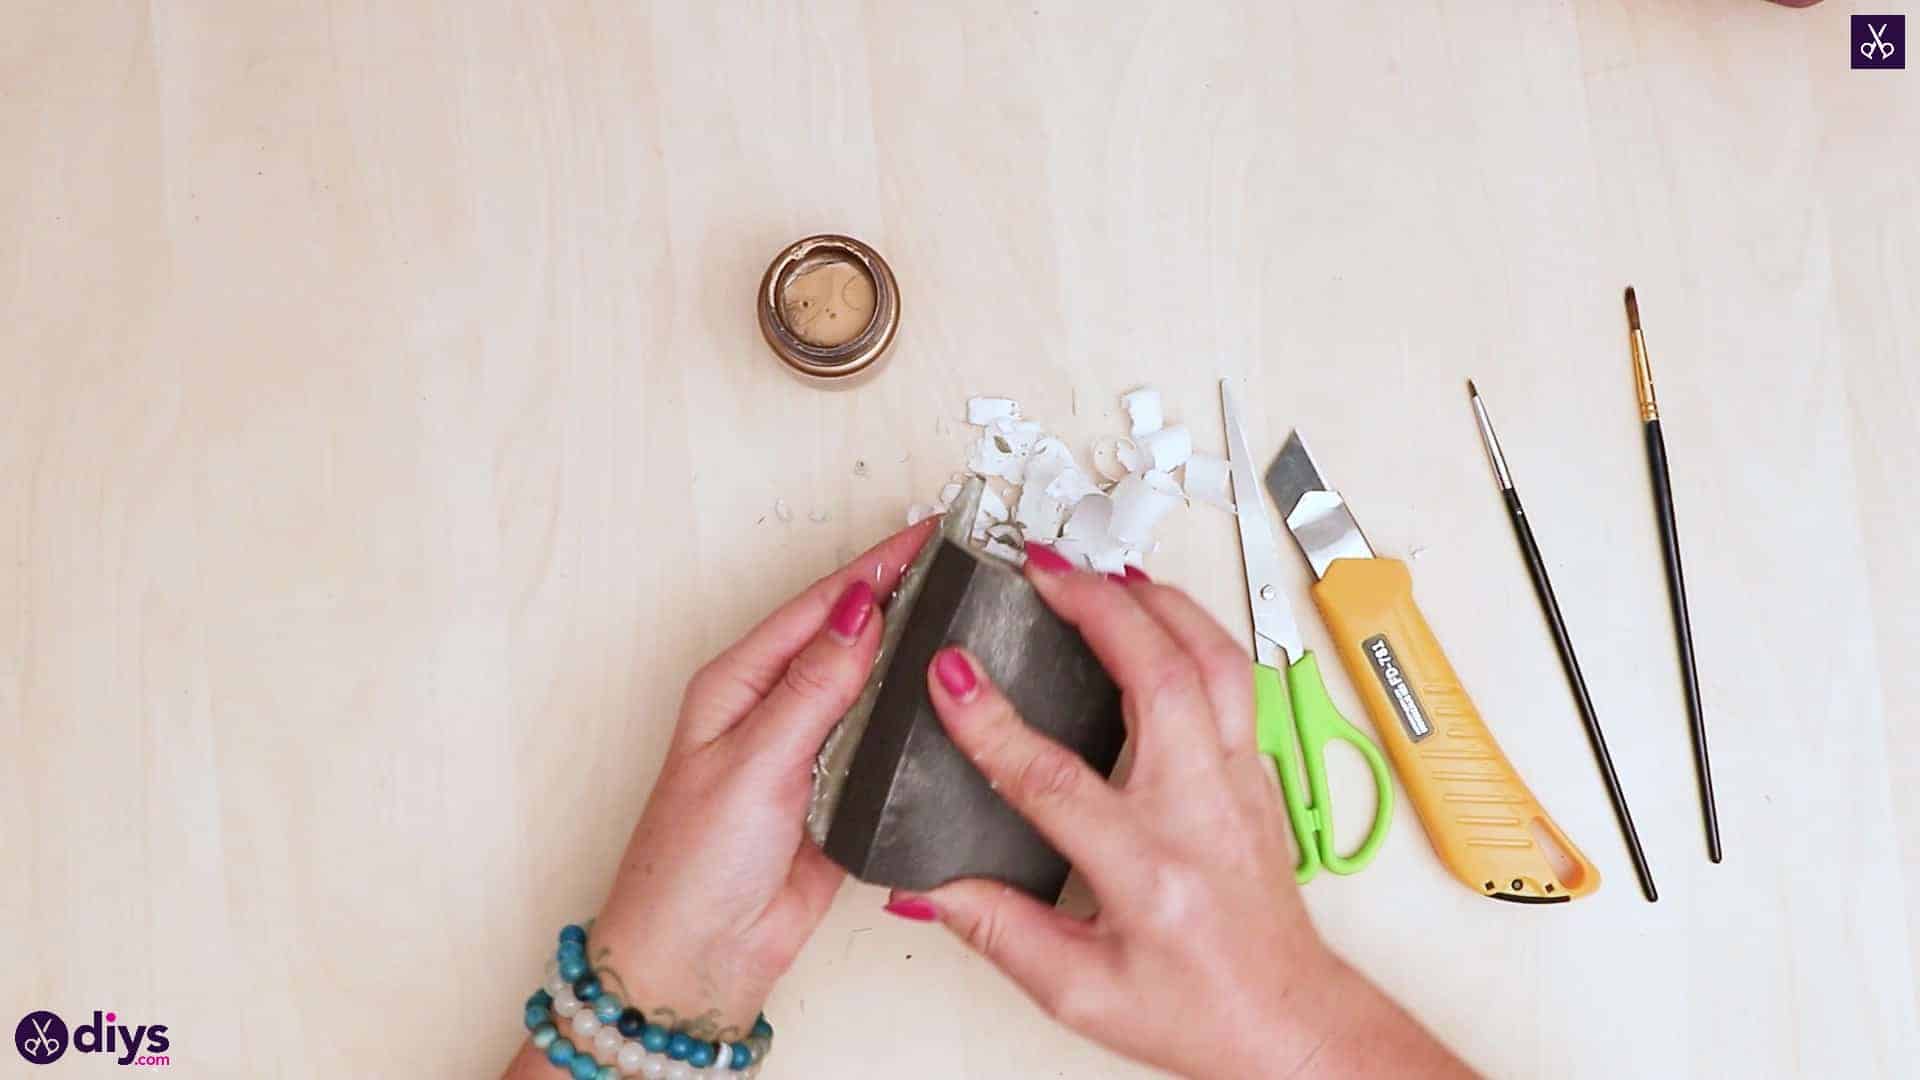
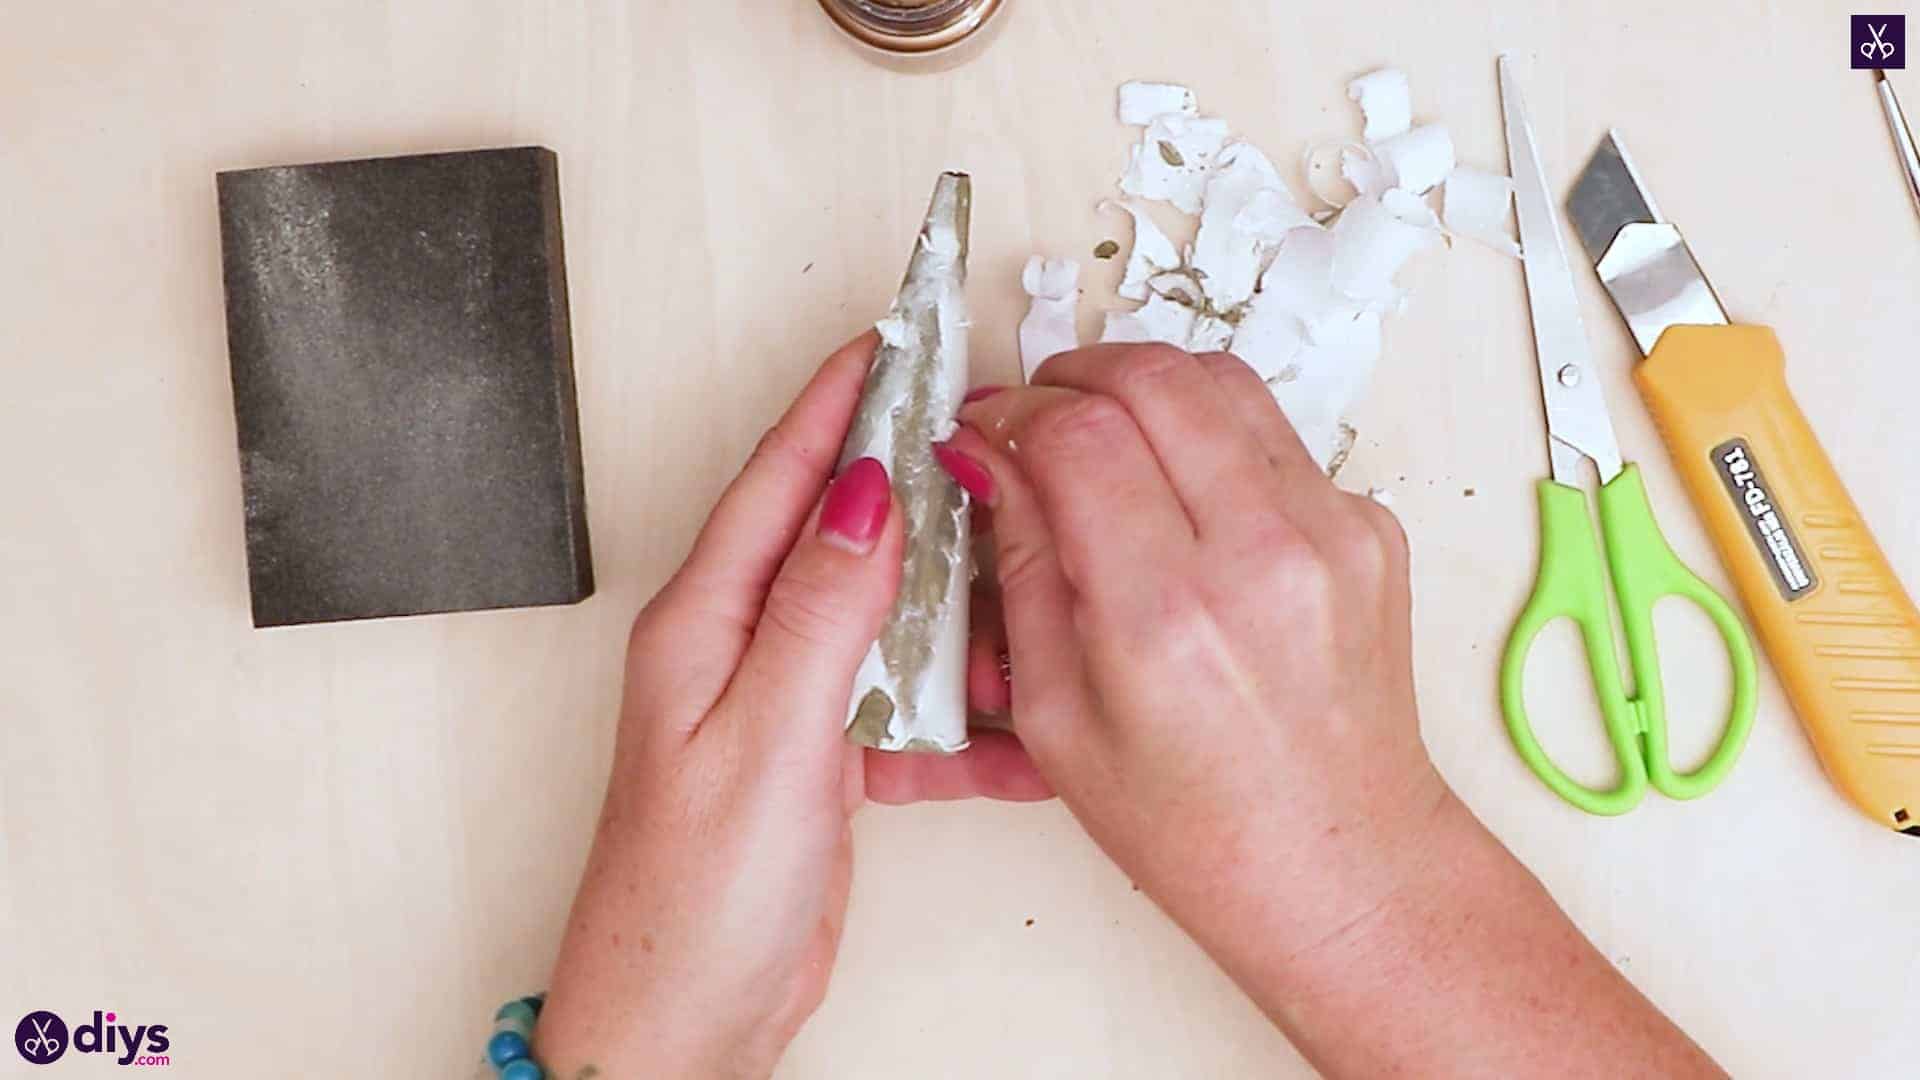
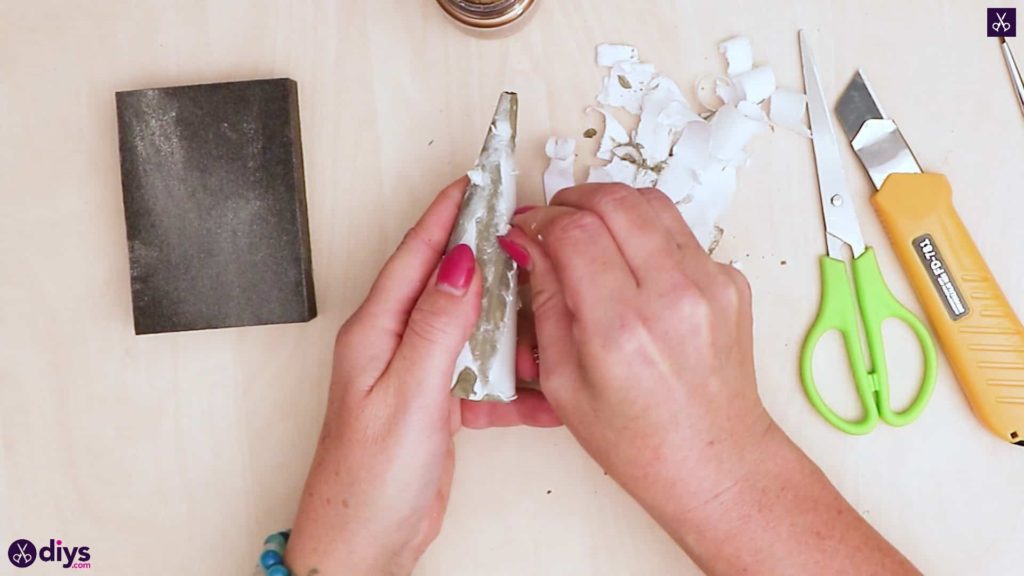
Step 6: remove from mold
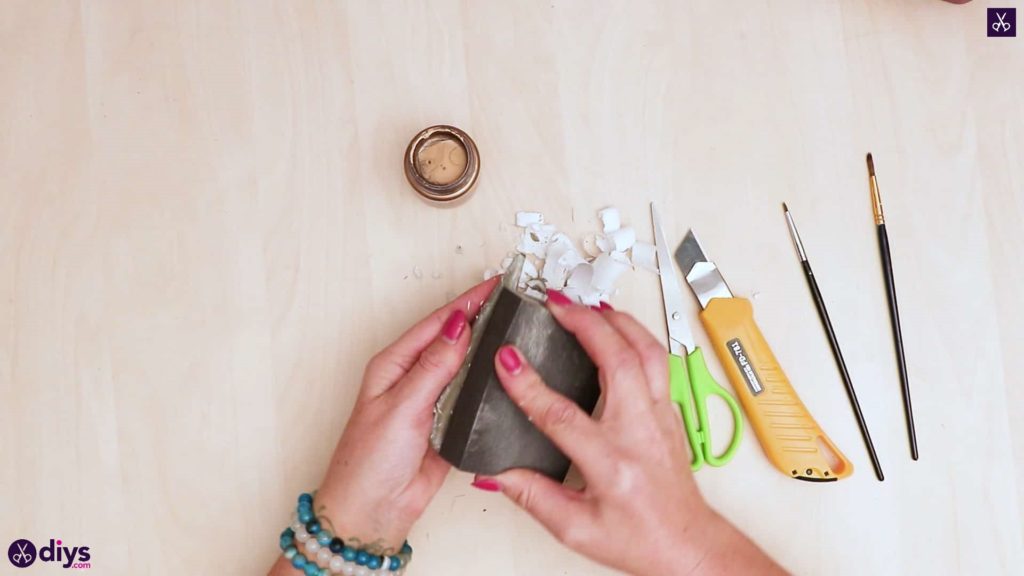
Once your cone is completely dry, tear the paper away from the outside surface of the new concrete shape. Use your utility knife to make cuts in the pats that stick so you can get them lifted if necessary. Remove as much paper as you can and then use your sandpaper block to remove what’s left and smooth out the cone’s surface, leaving the shape nice and even.


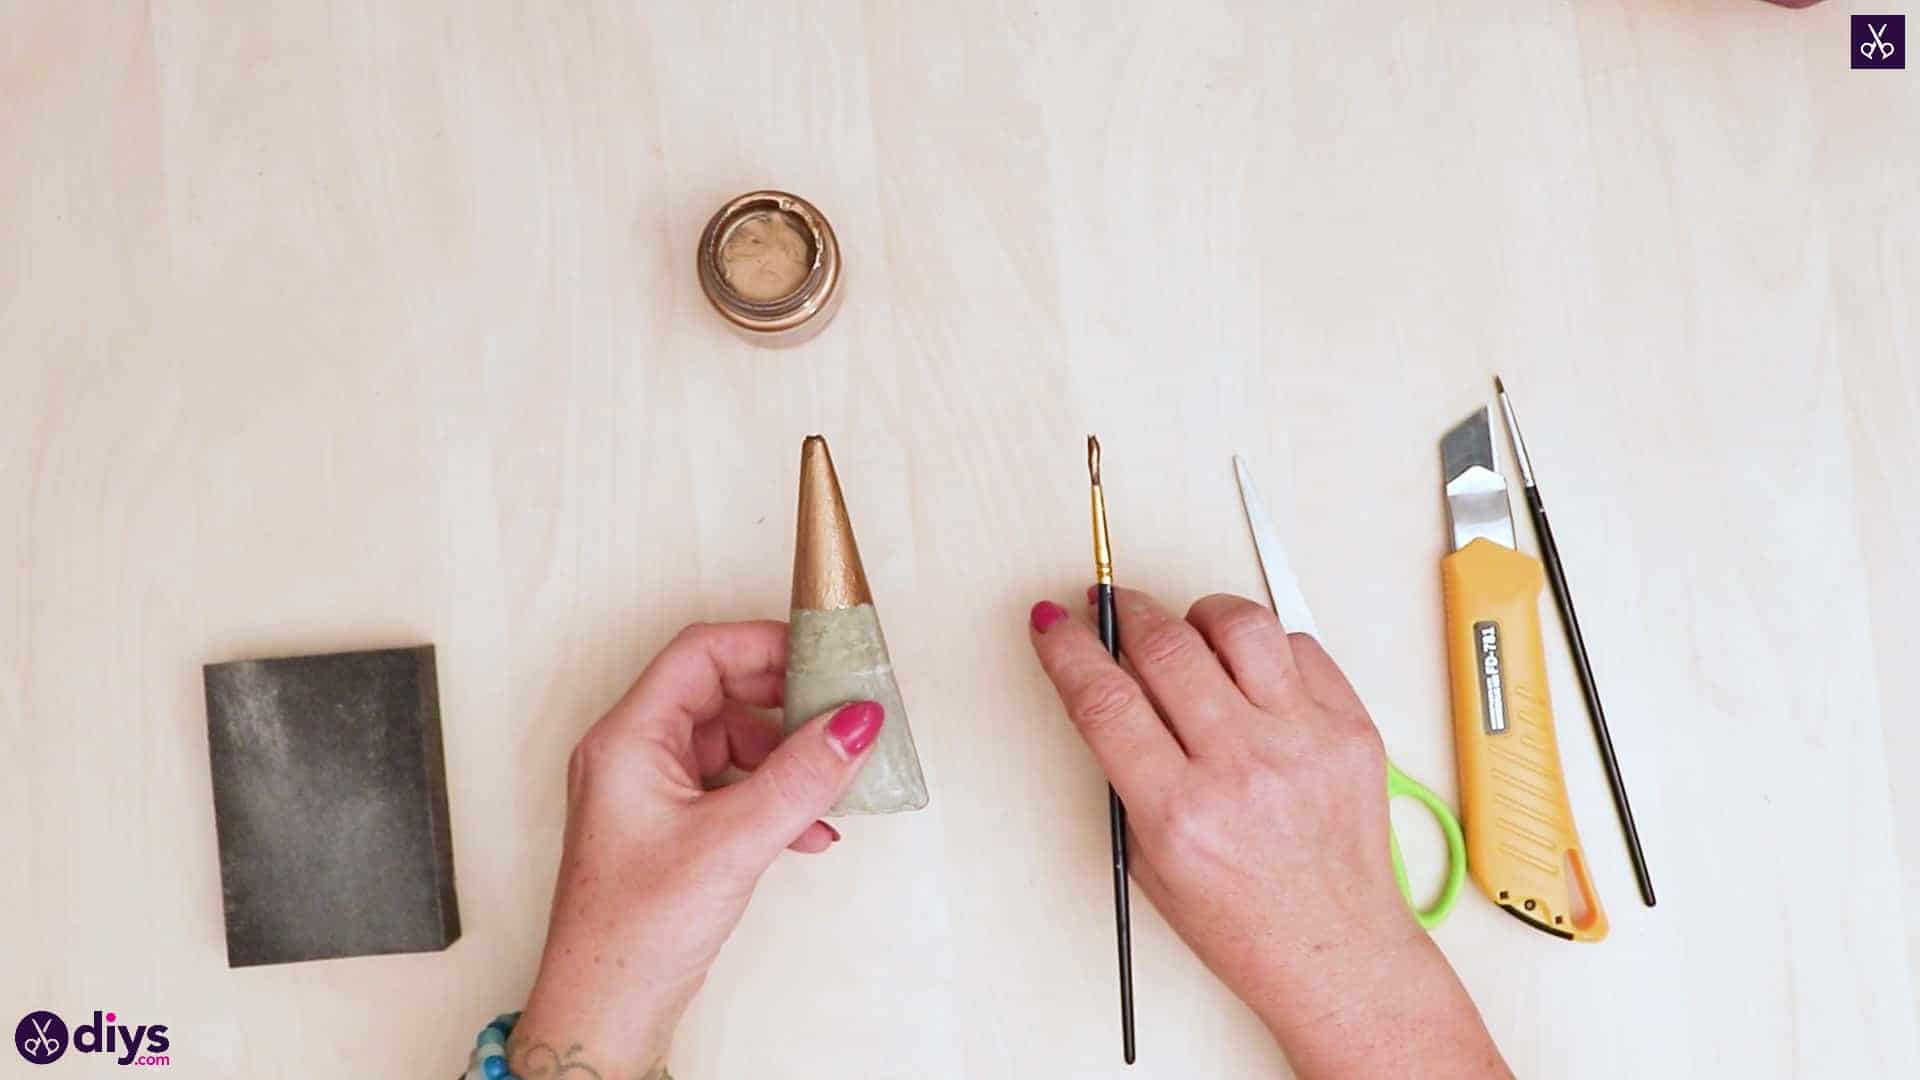
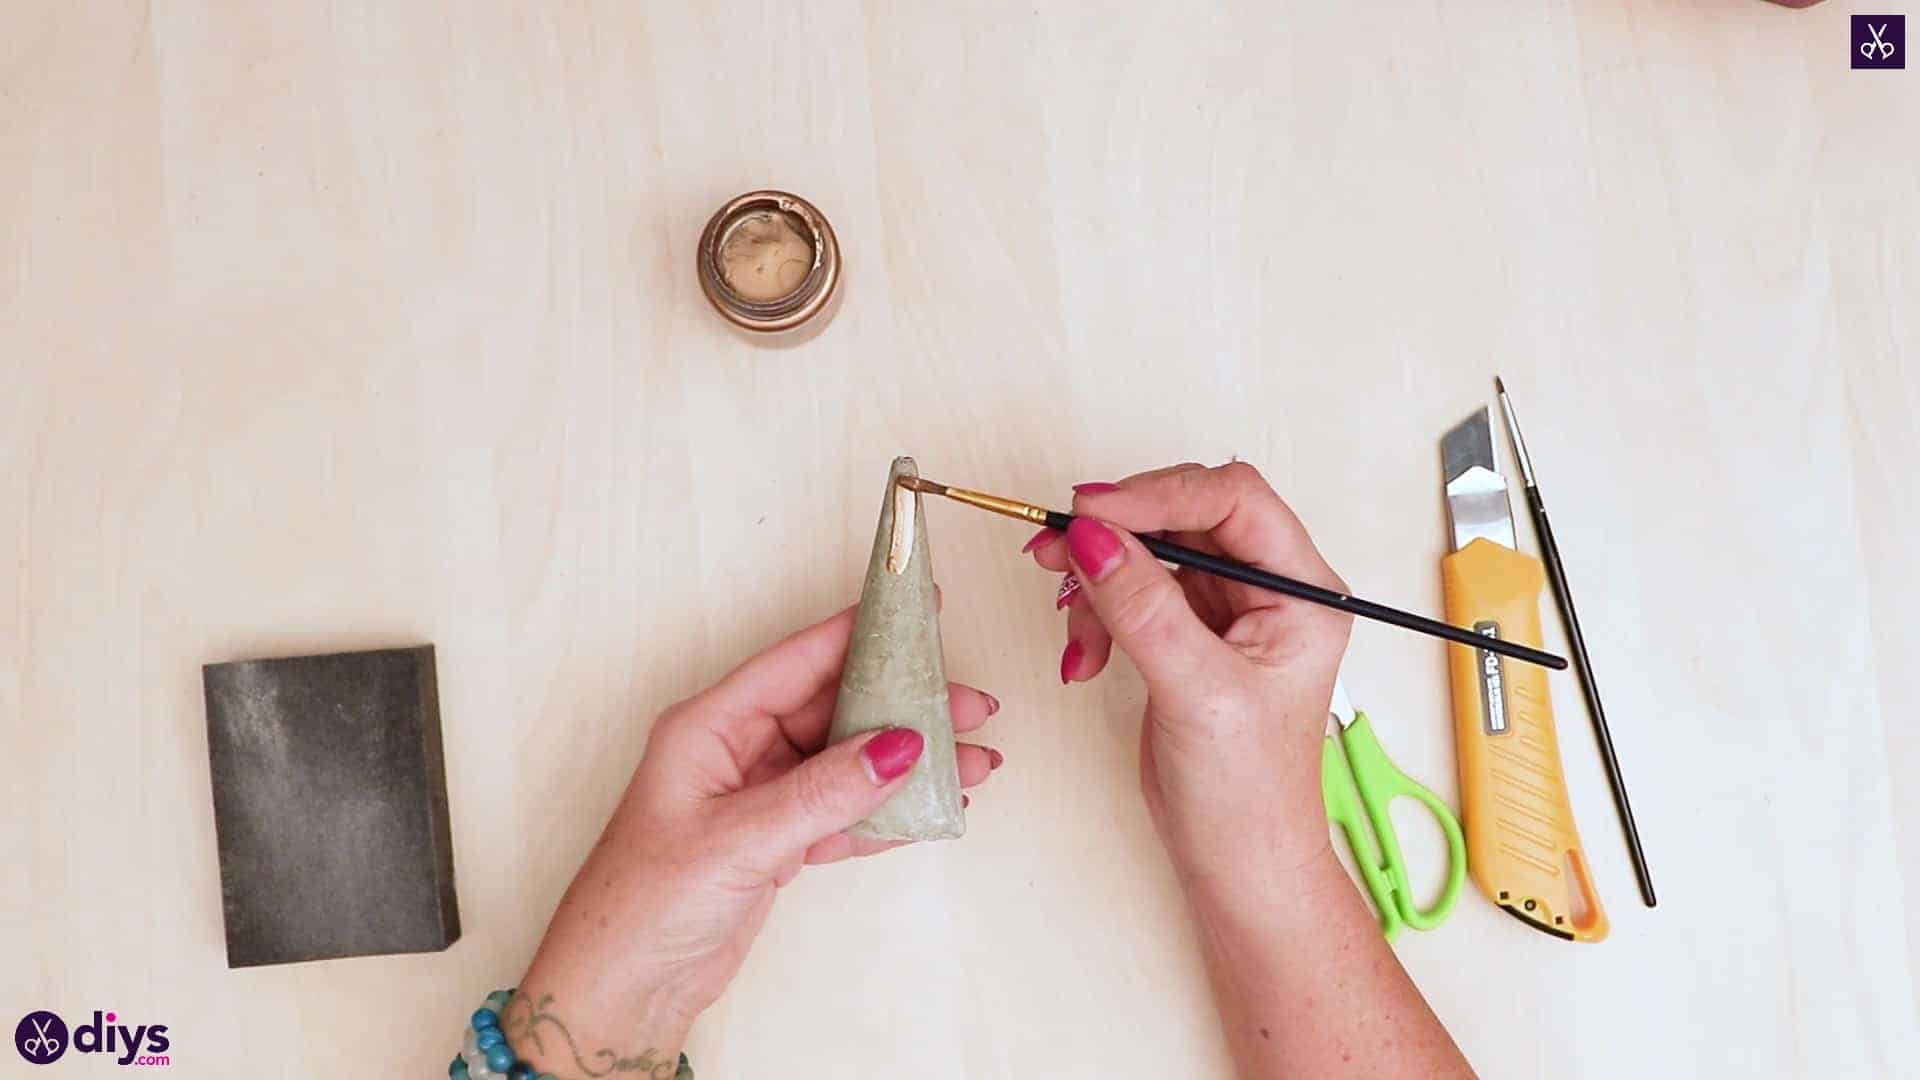
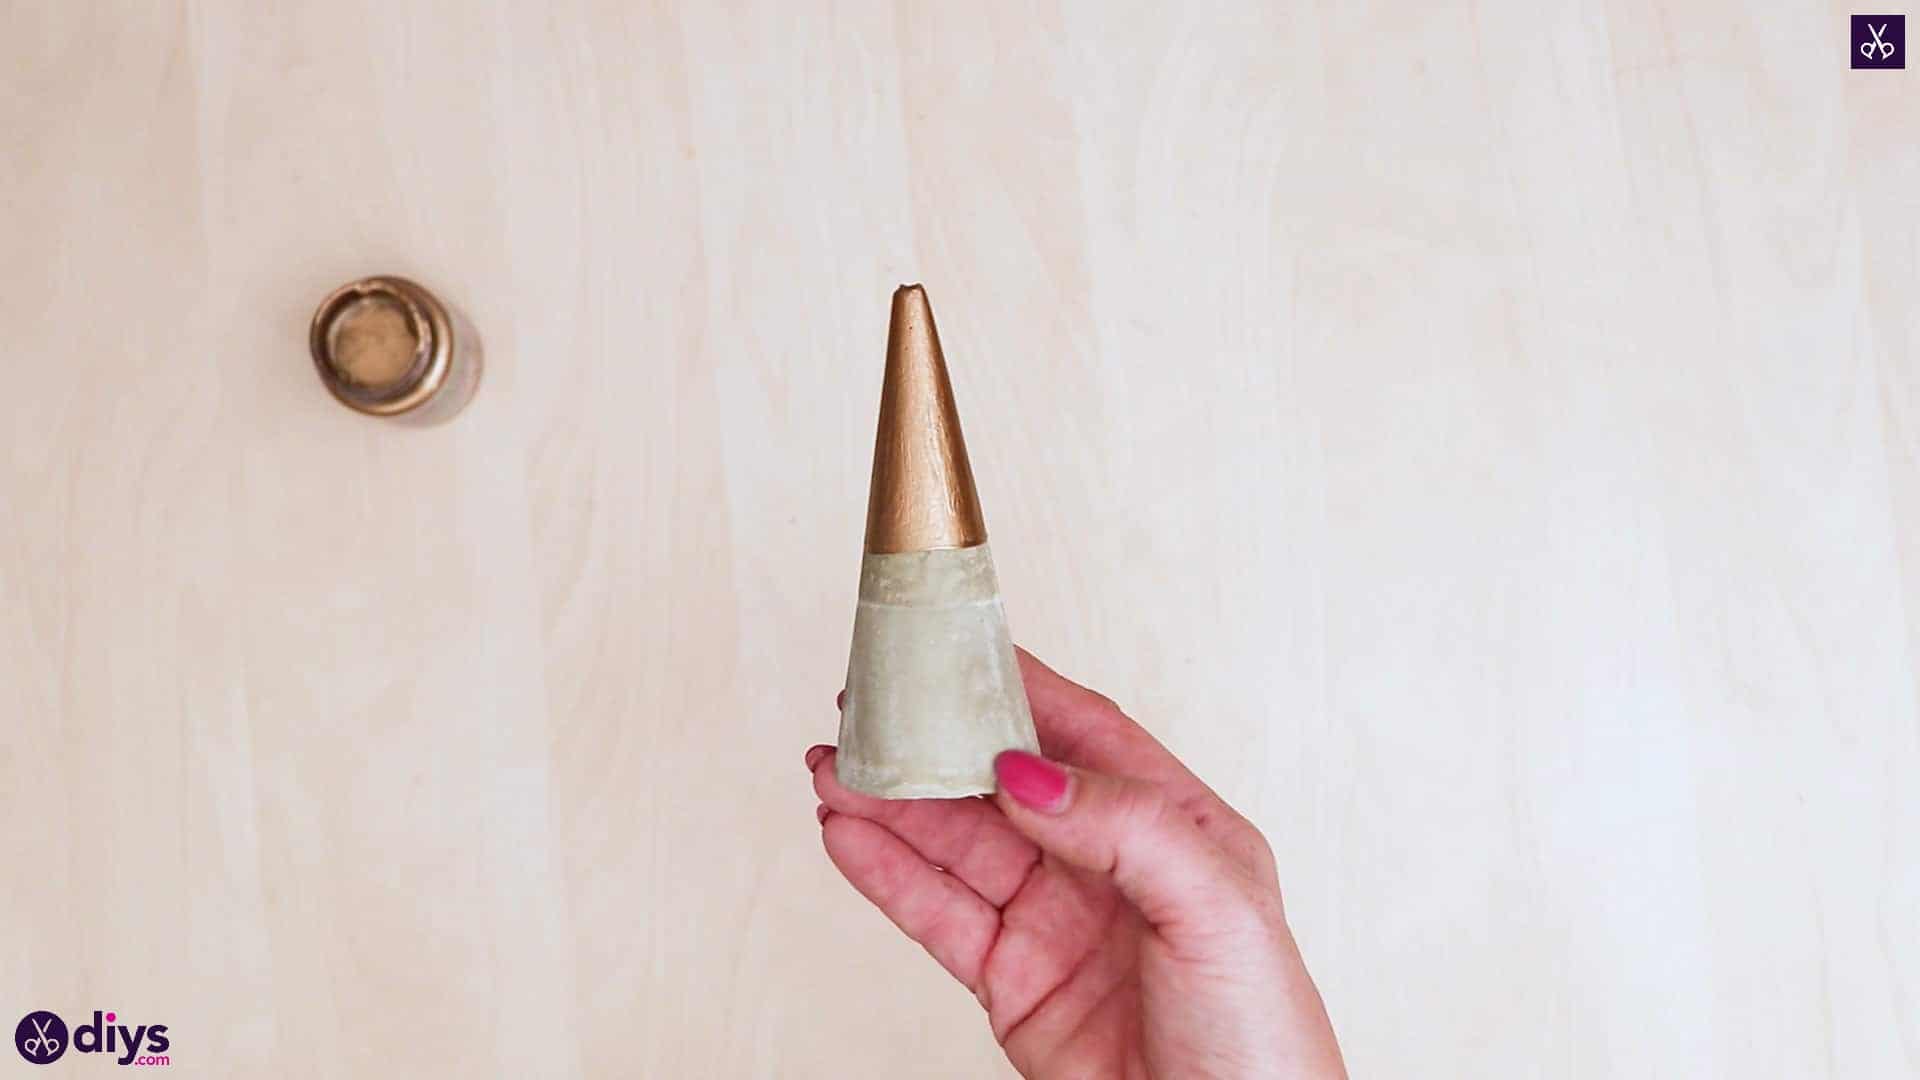
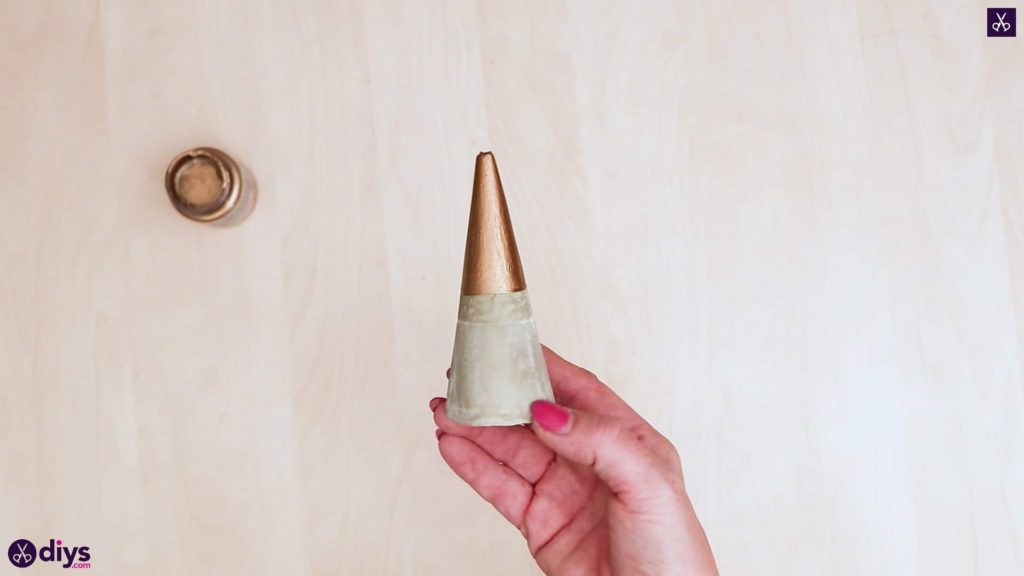
Step 7: paint
Use your paintbrush to add gold painted detail to the point of your cone. I decided to paint just the tip for about an inch down because I wanted to leave some natural concrete showing for an aesthetic contrast. Set the piece aside to dry; it’s ready to hold your rings as soon as that happens.

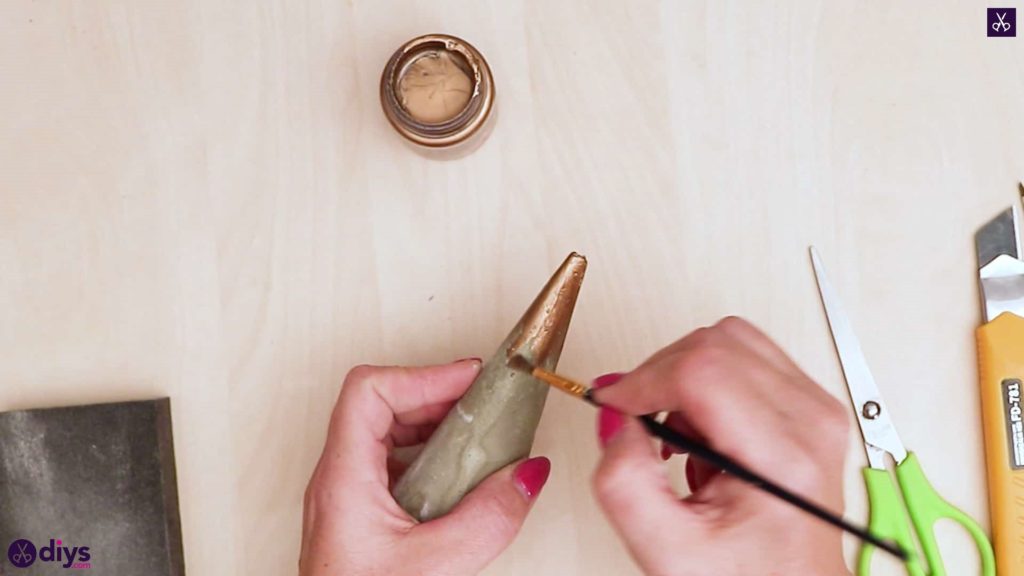

Feel free to get as creative as you please with painted details and colours! I just chose metallic gold and a painted tip against an unpainted based because I liked the contrast and minimalist style it gave off. Just in case you’d like to try this project out for yourself, here’s a fantastic tutorial video to help you!
what type of paint did you use?