DIY Concrete Mobile Phone Holder
Updated on November 19, 2025


Make your own cellphone holder, or create one as a gift for someone, with this super easy and fun step by step tutorial on how to make a DIY concrete mobile phone holder!
This project is so versatile because you can customize each phone holder with shapes and colors. Check out the written instructions and corresponding photos below or scroll to the end to find a full video tutorial instead.
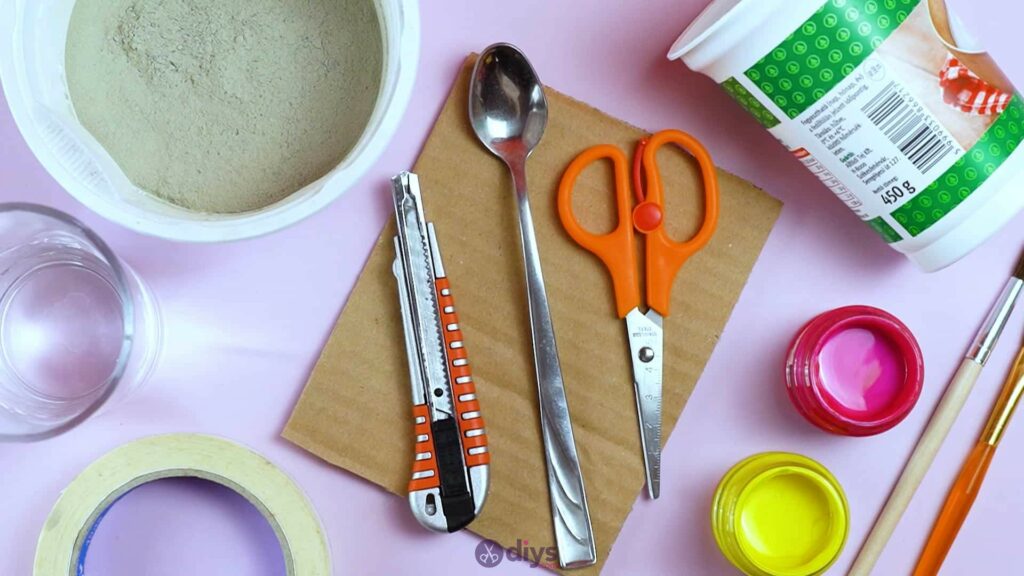
For this project, you’ll need:
- DIY fine particle cement mix
- Water
- Plate
- Spoon
- Tape
- Oil
- Paintbrush
- Acrylic paint
- Plastic cup (like a cleaned out yogurt tub)
- Scissors
- Cardboard
Step 1: Gather your materials!
It’s important to have everything in front of you, especially when dealing with concrete.
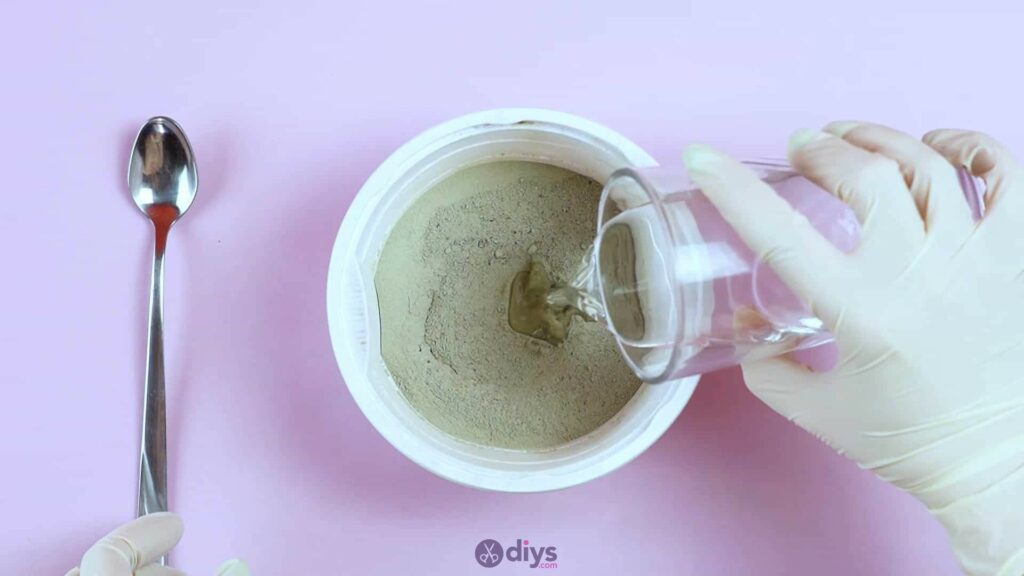
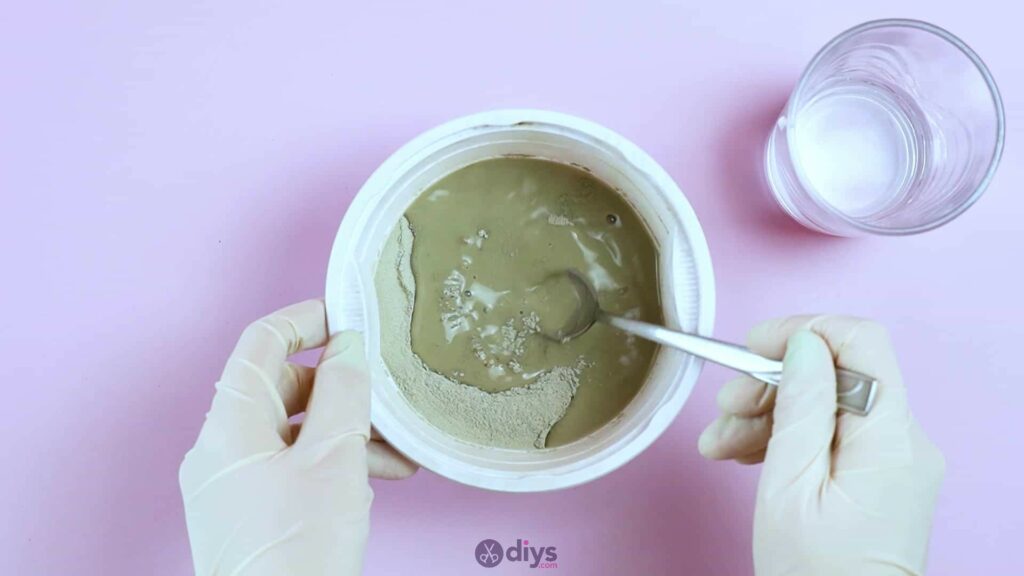
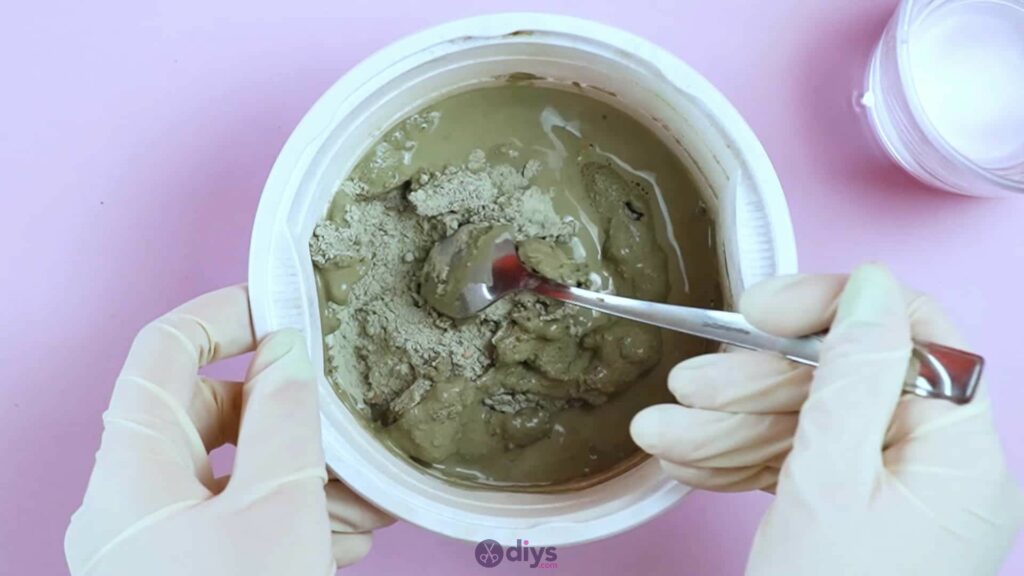
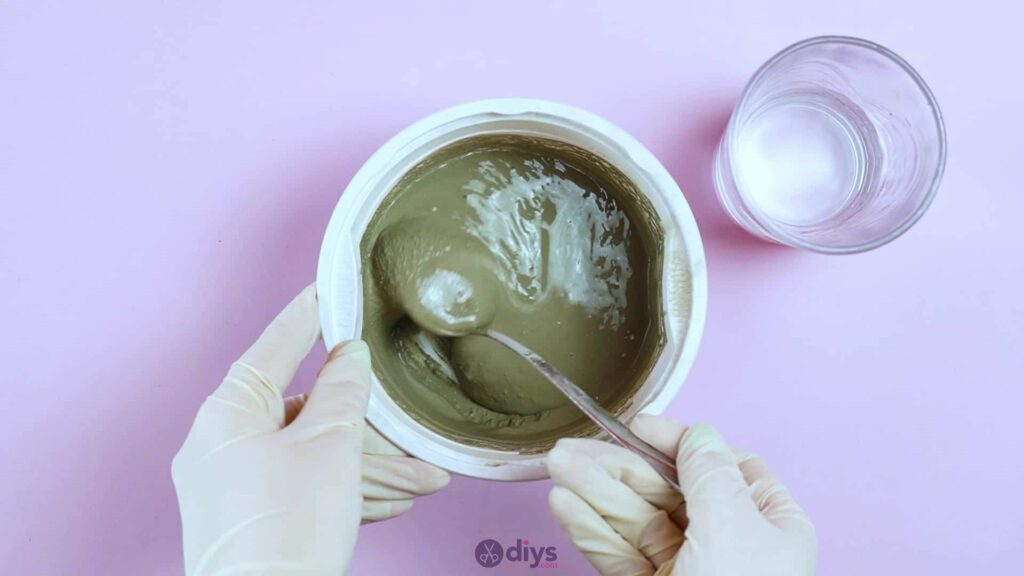
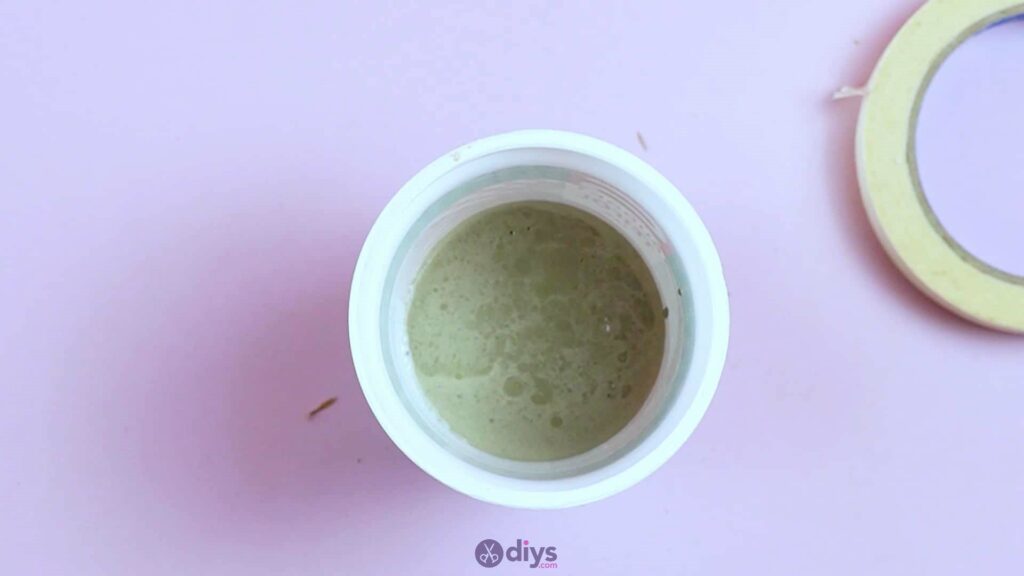
Step 2: mix the cement
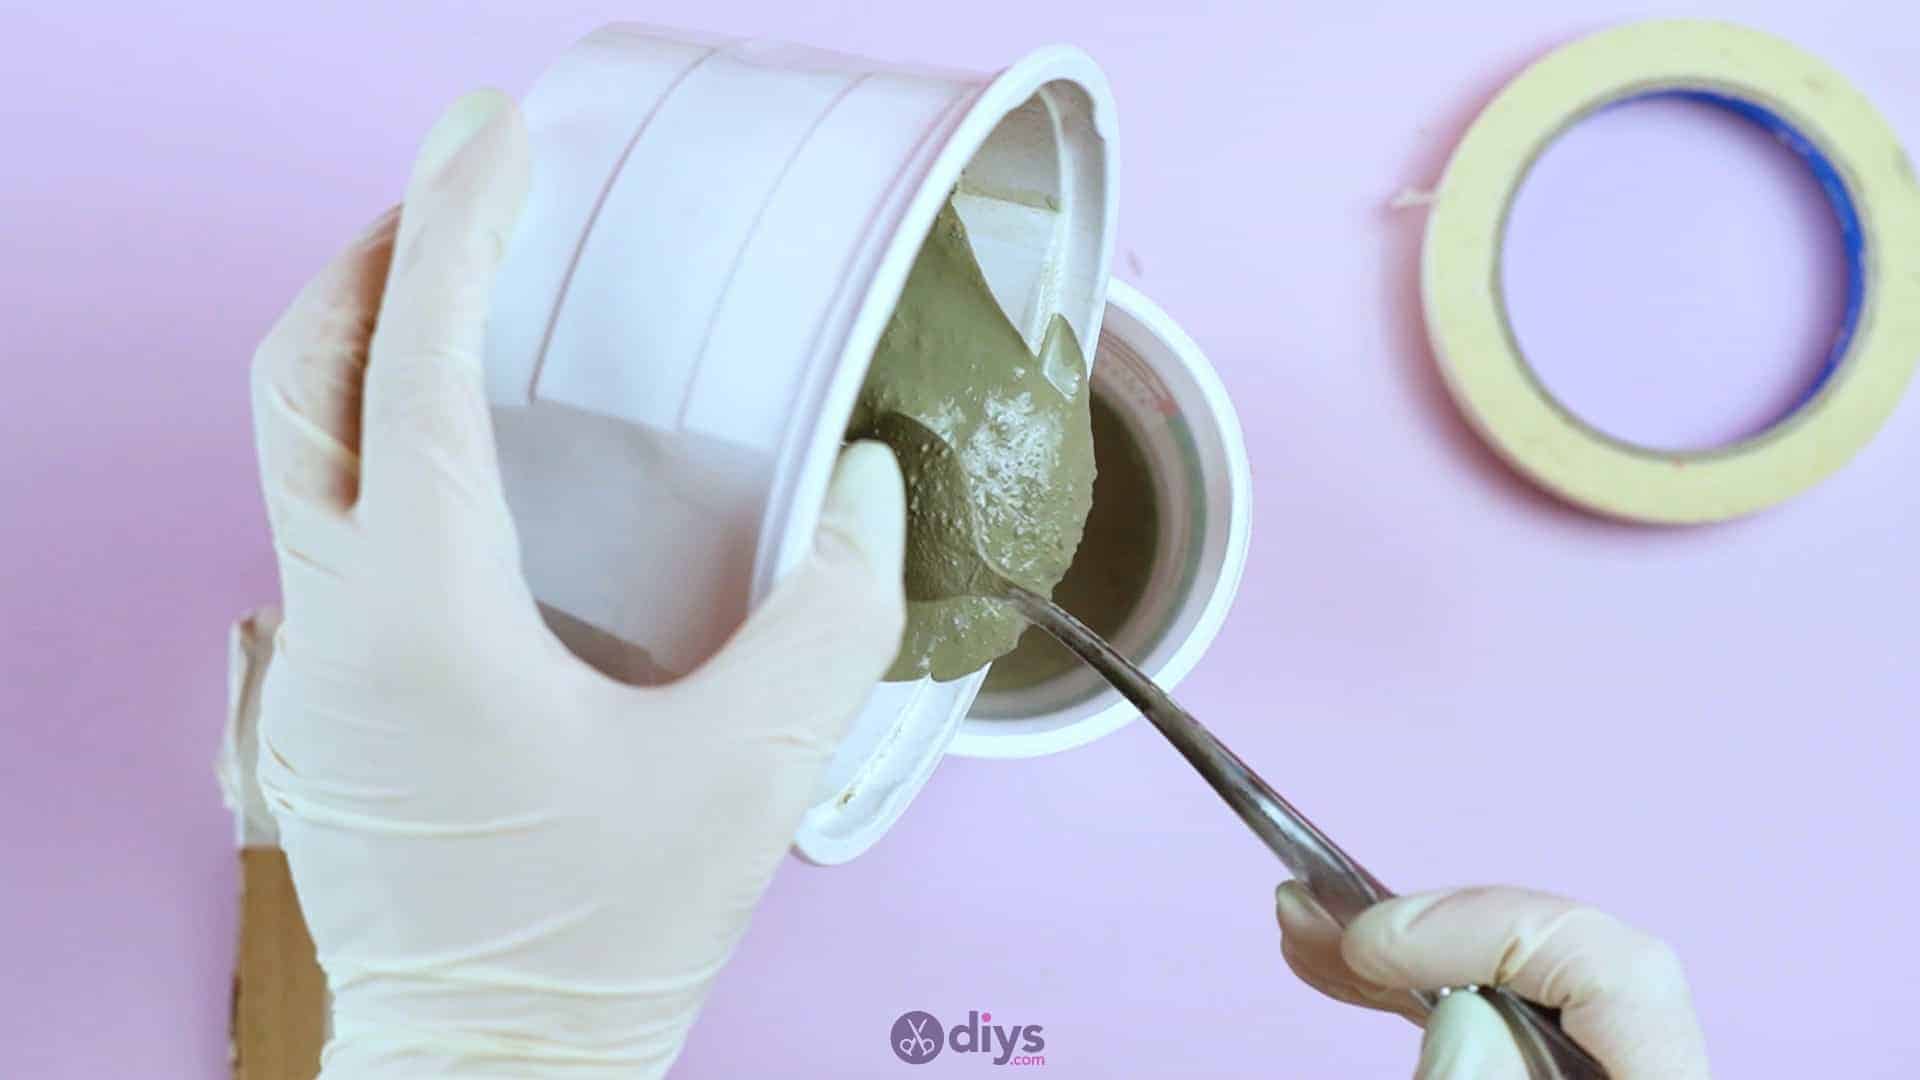
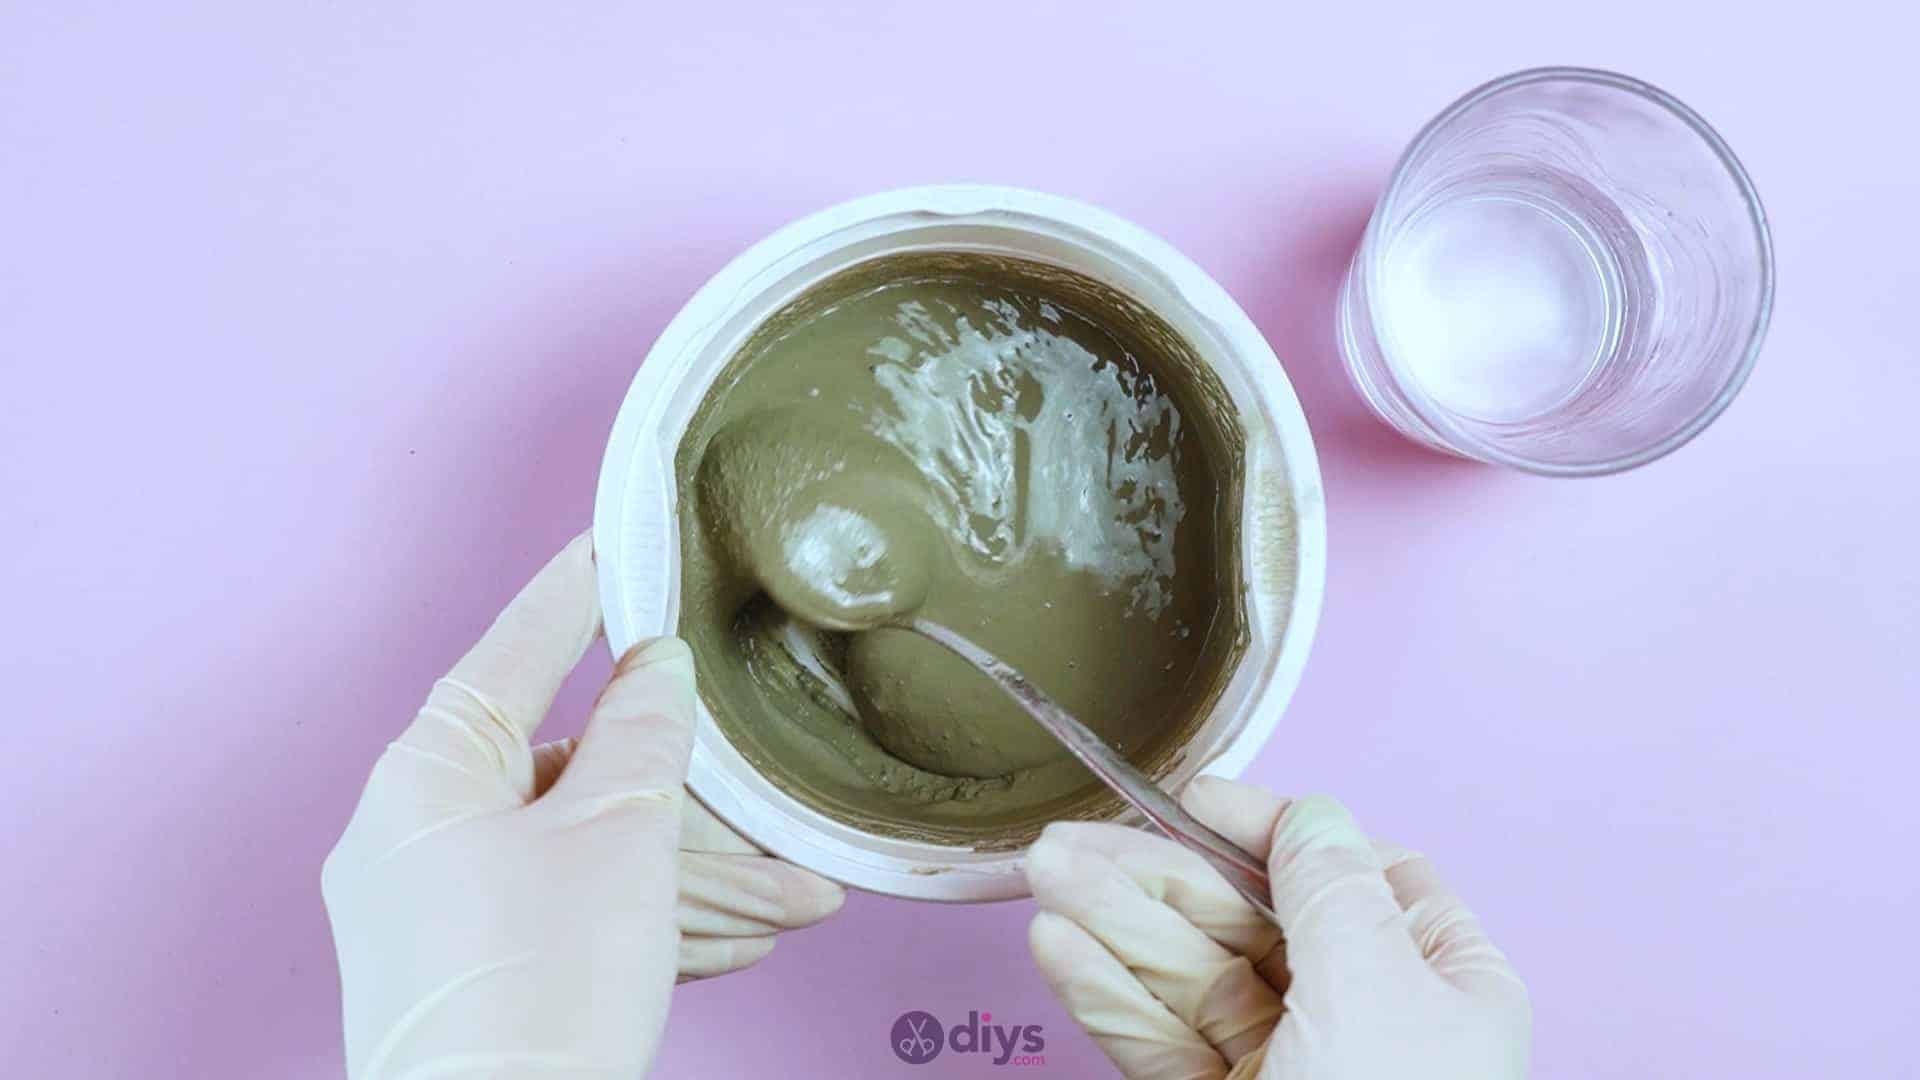
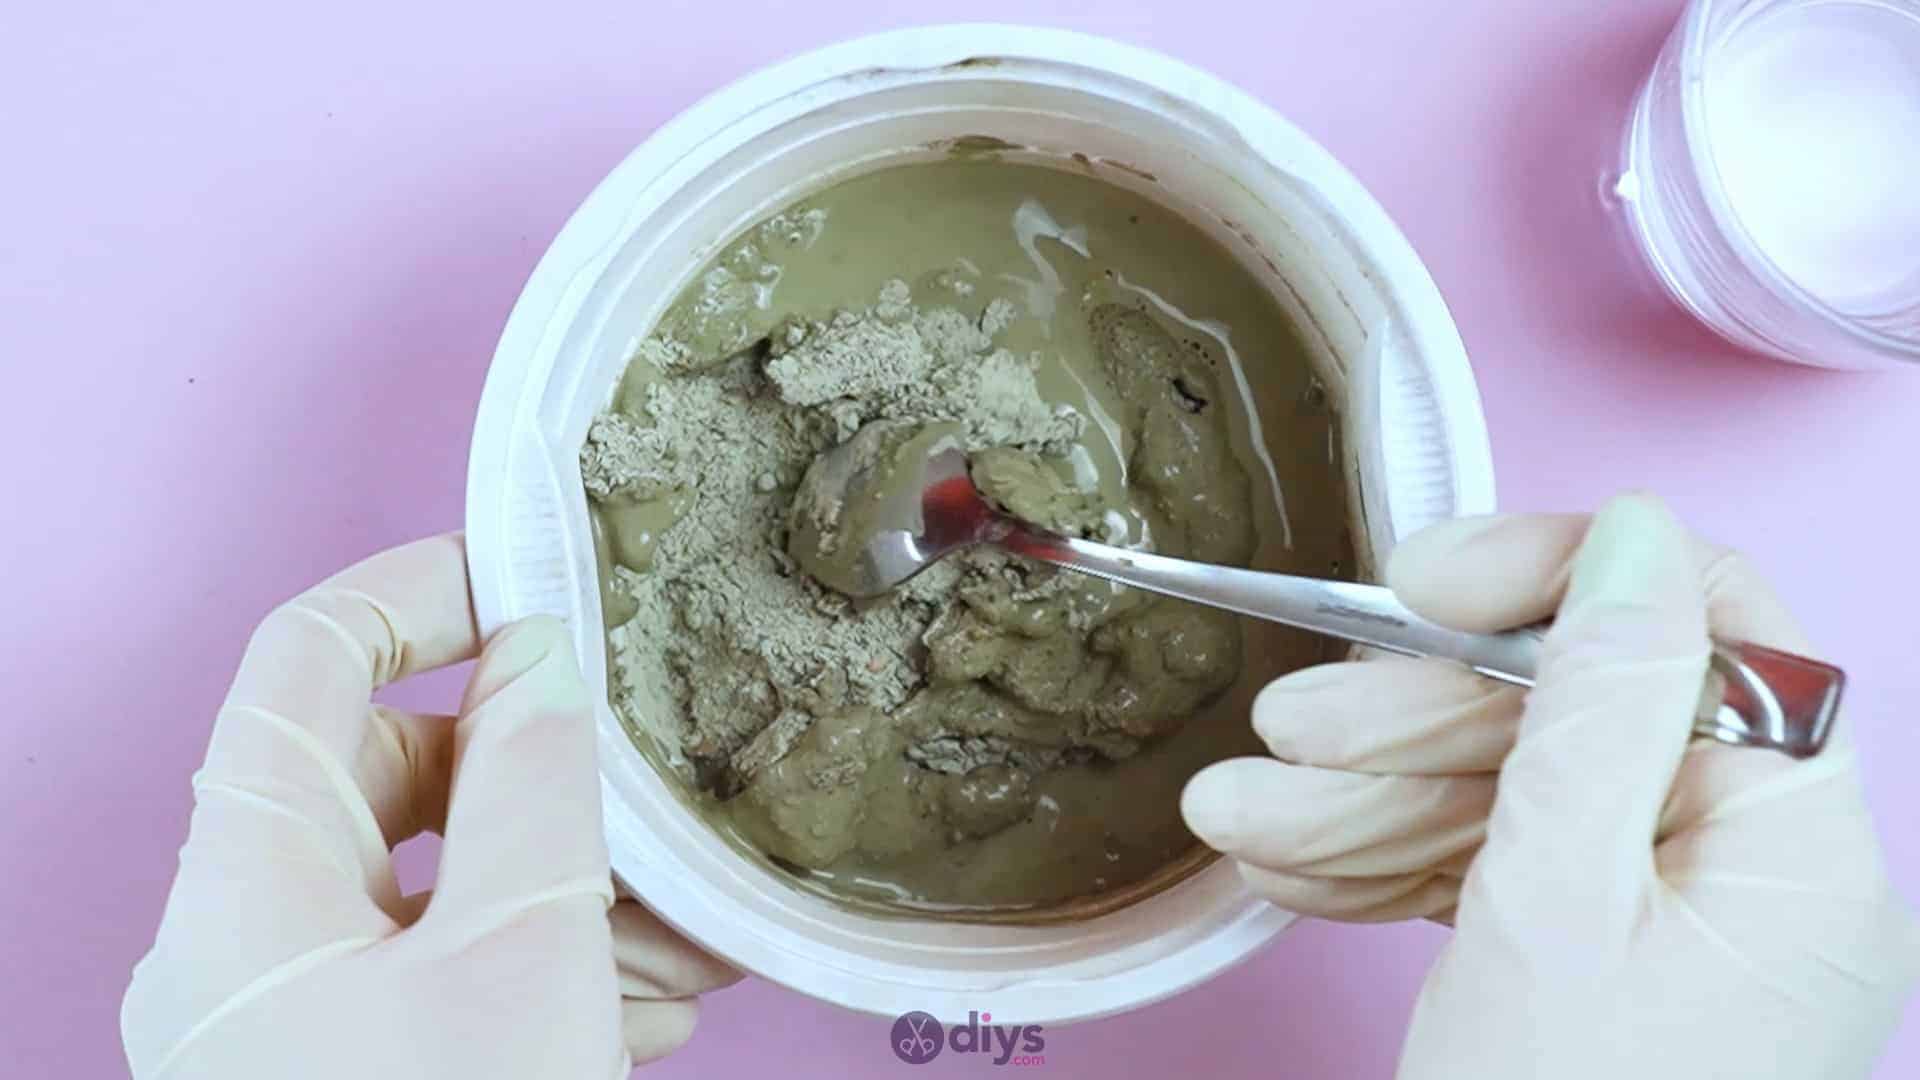
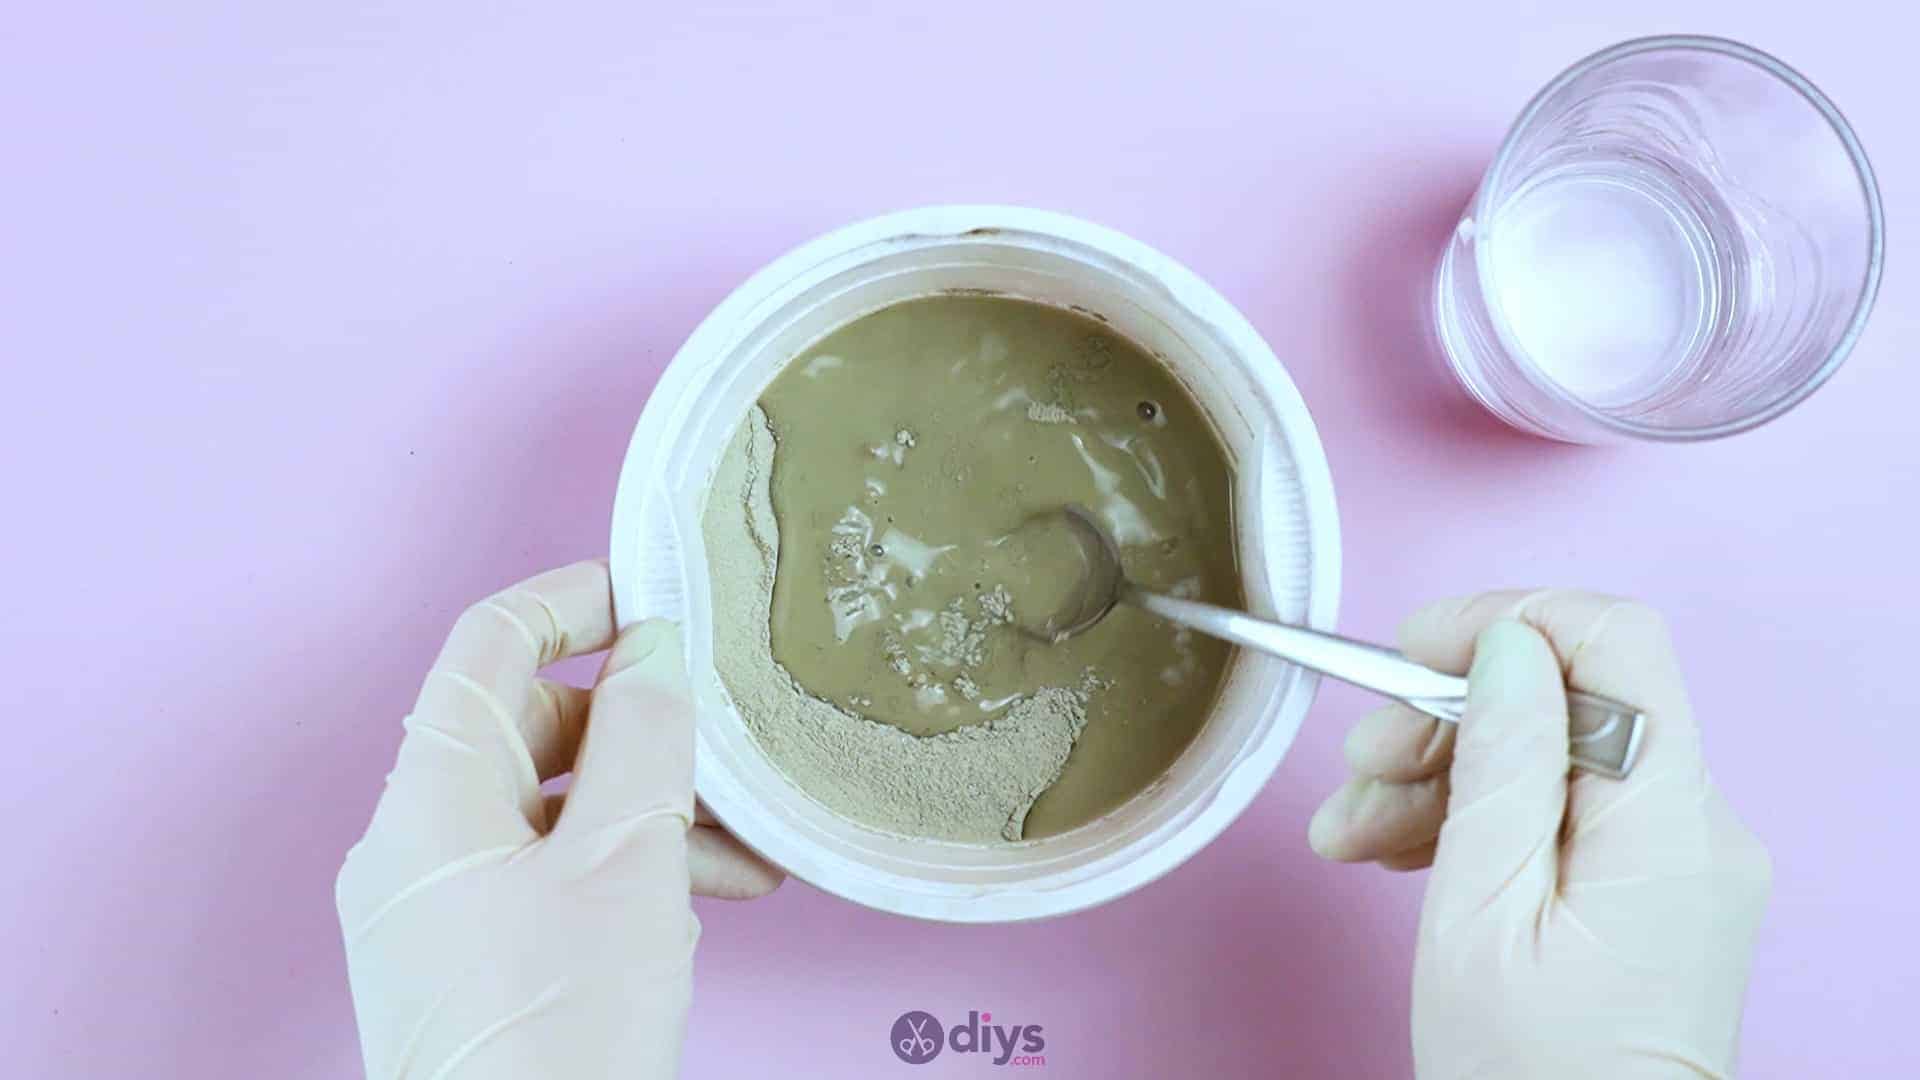
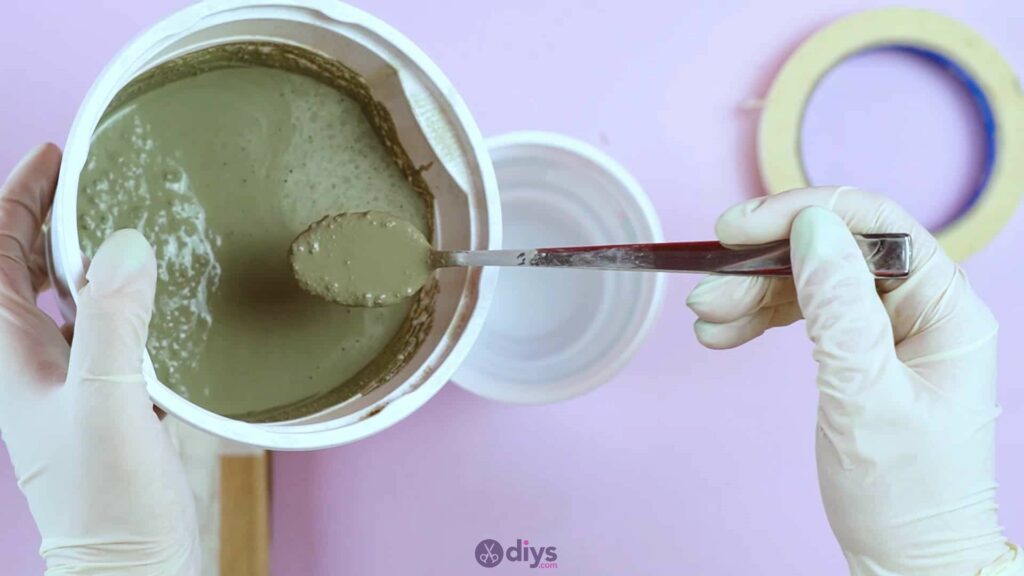
In a disposable container (or one that you’ve saved specifically for crafting in rather than eating from), add your DIY fine particle cement mix and then pour in your water. Use your spoon to mix the two together until the wet cement mixture is the right consistency and free of clumps. Set the mix aside for now; it won’t have had time to dry before you’ve completed another step or two, so don’t worry.
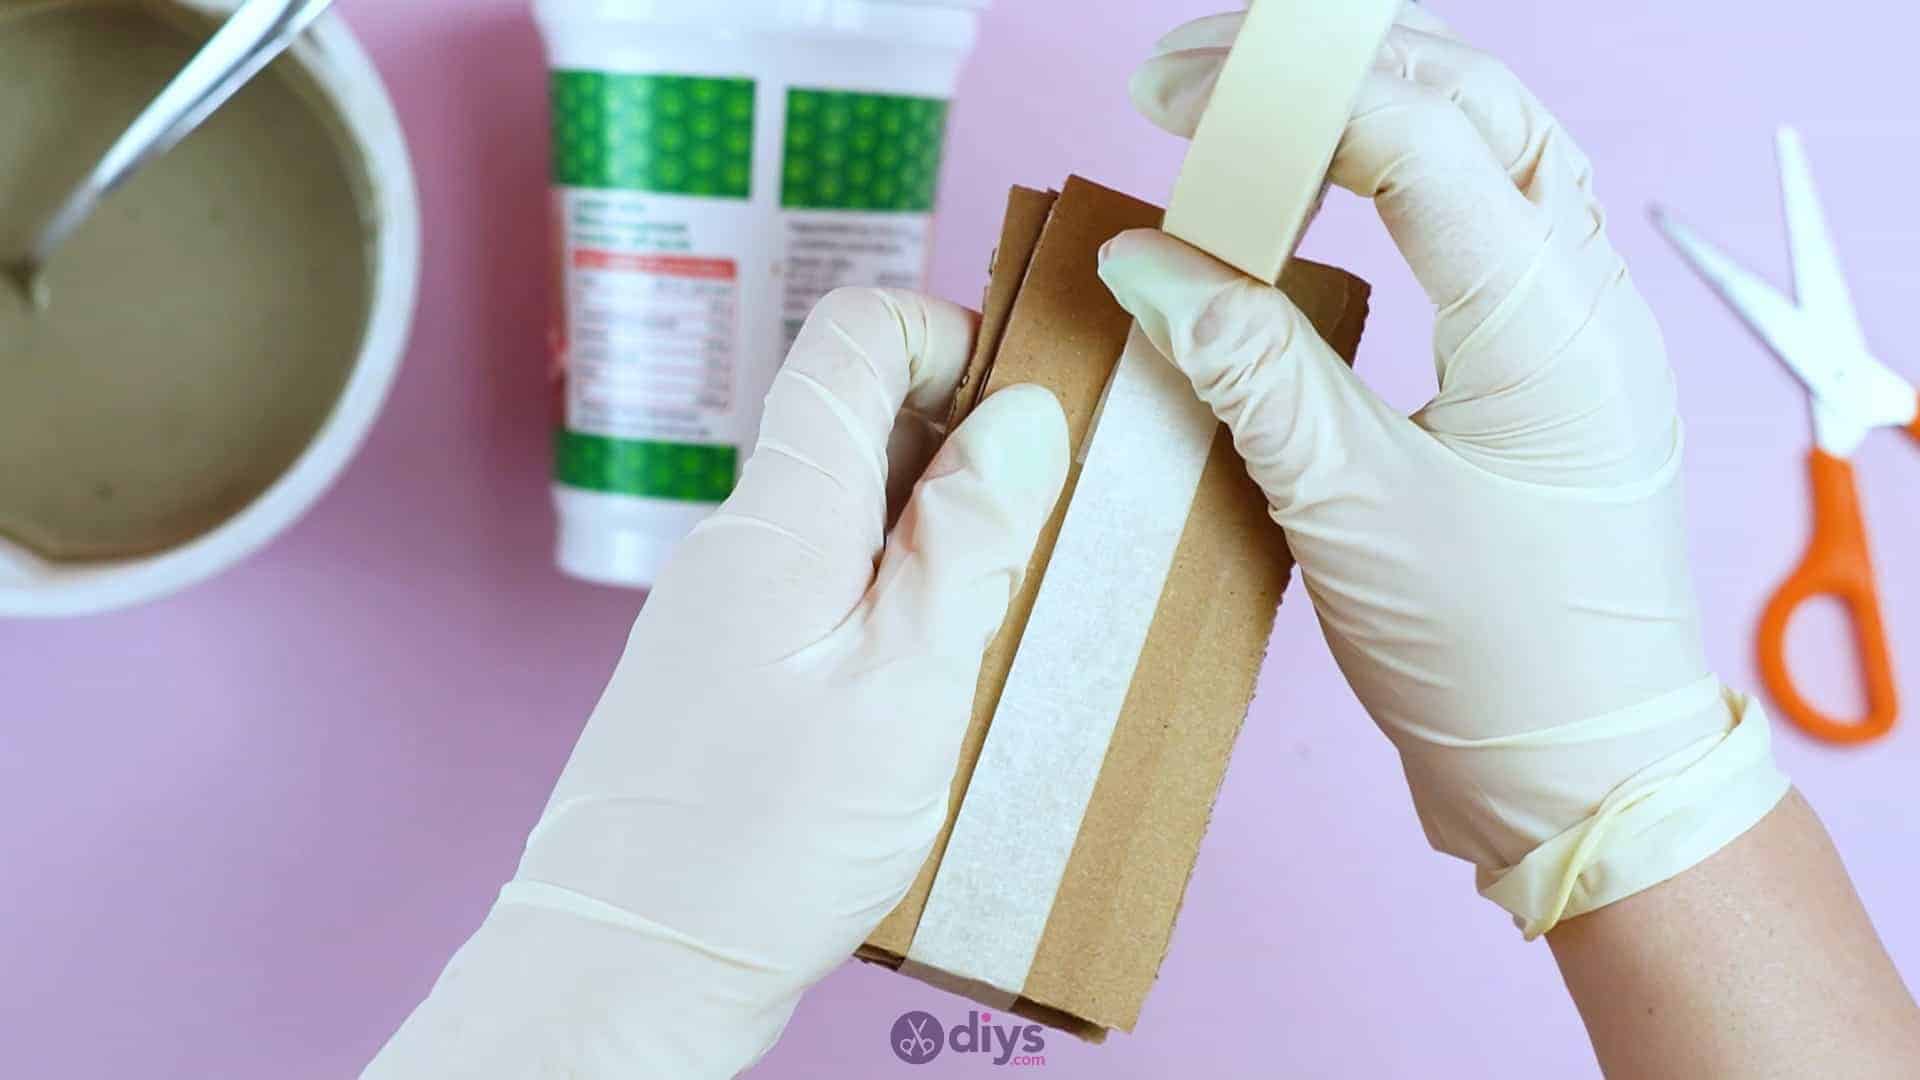
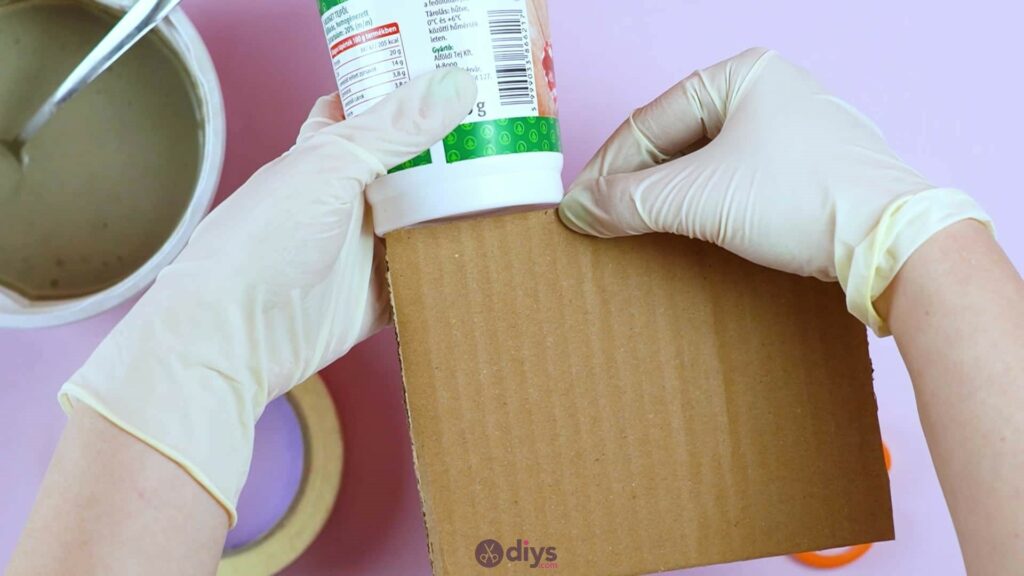
Step 3: forming the ridge
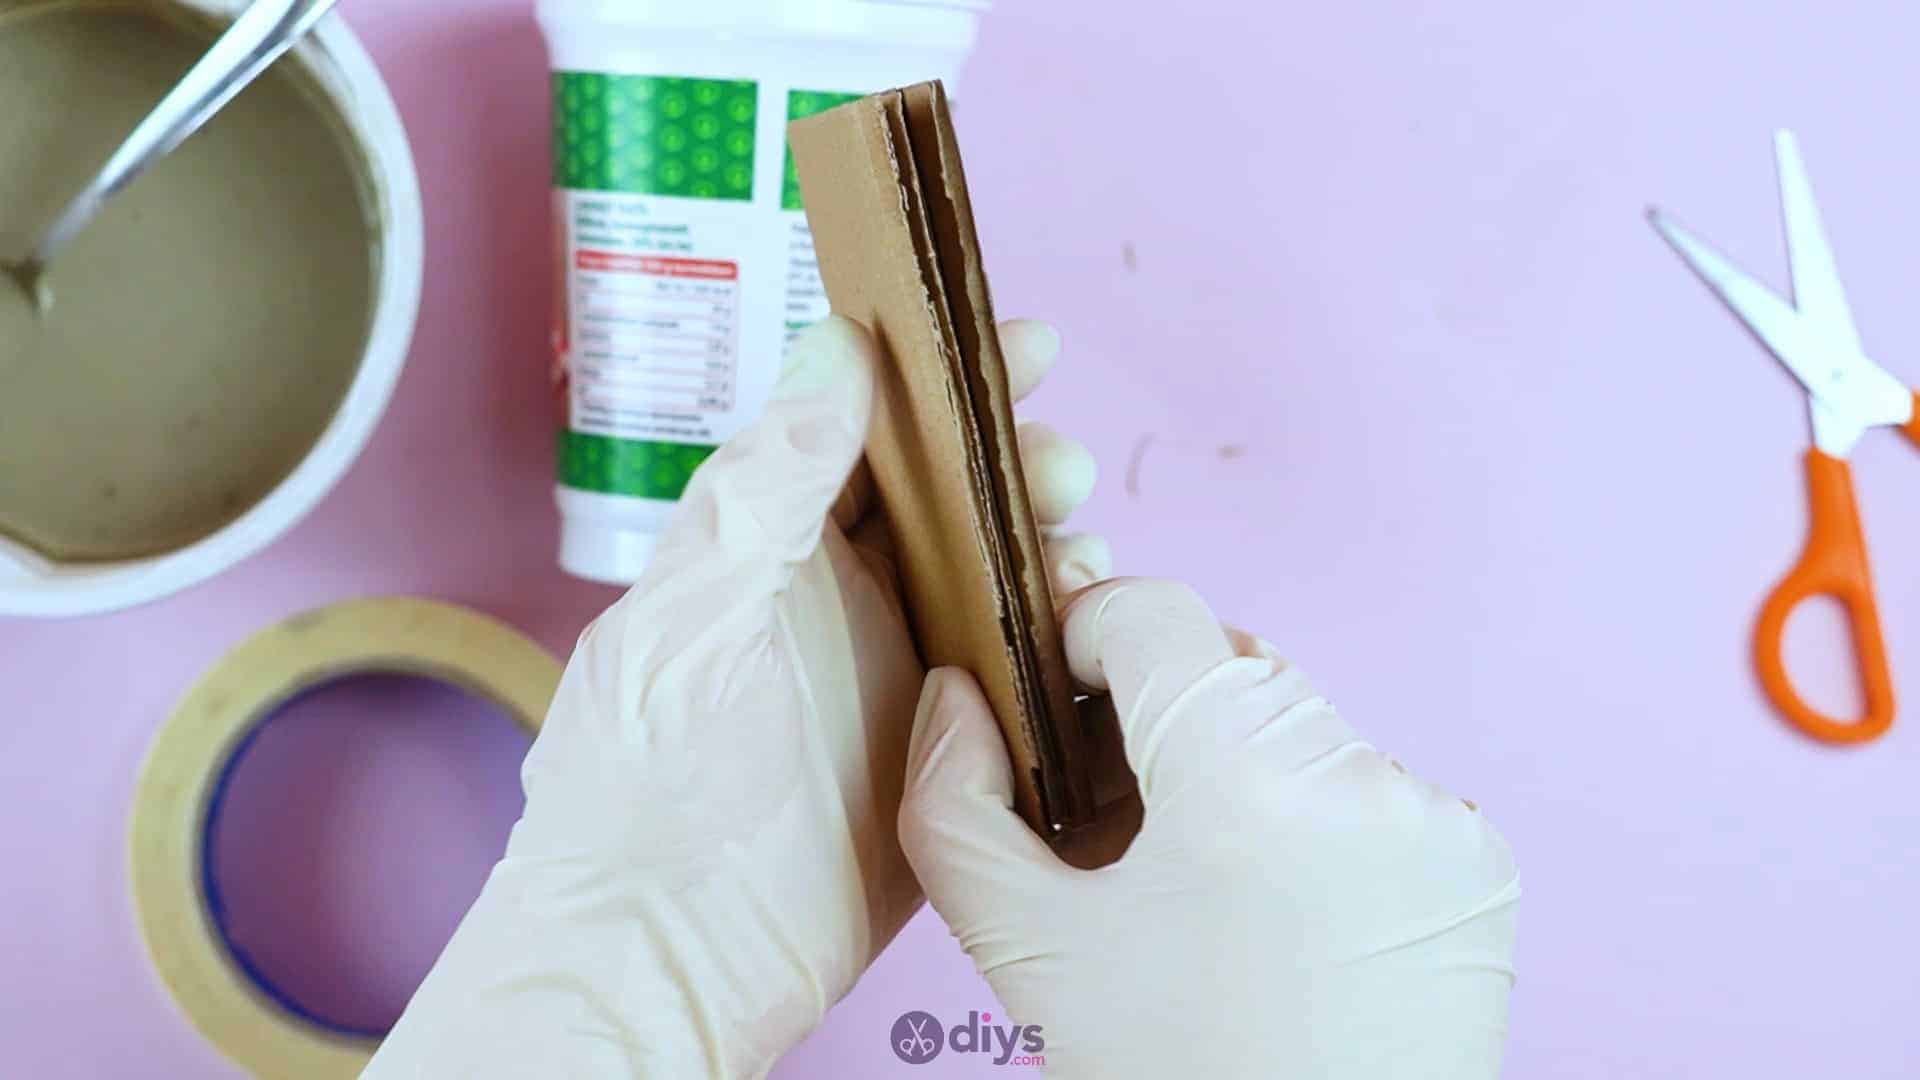
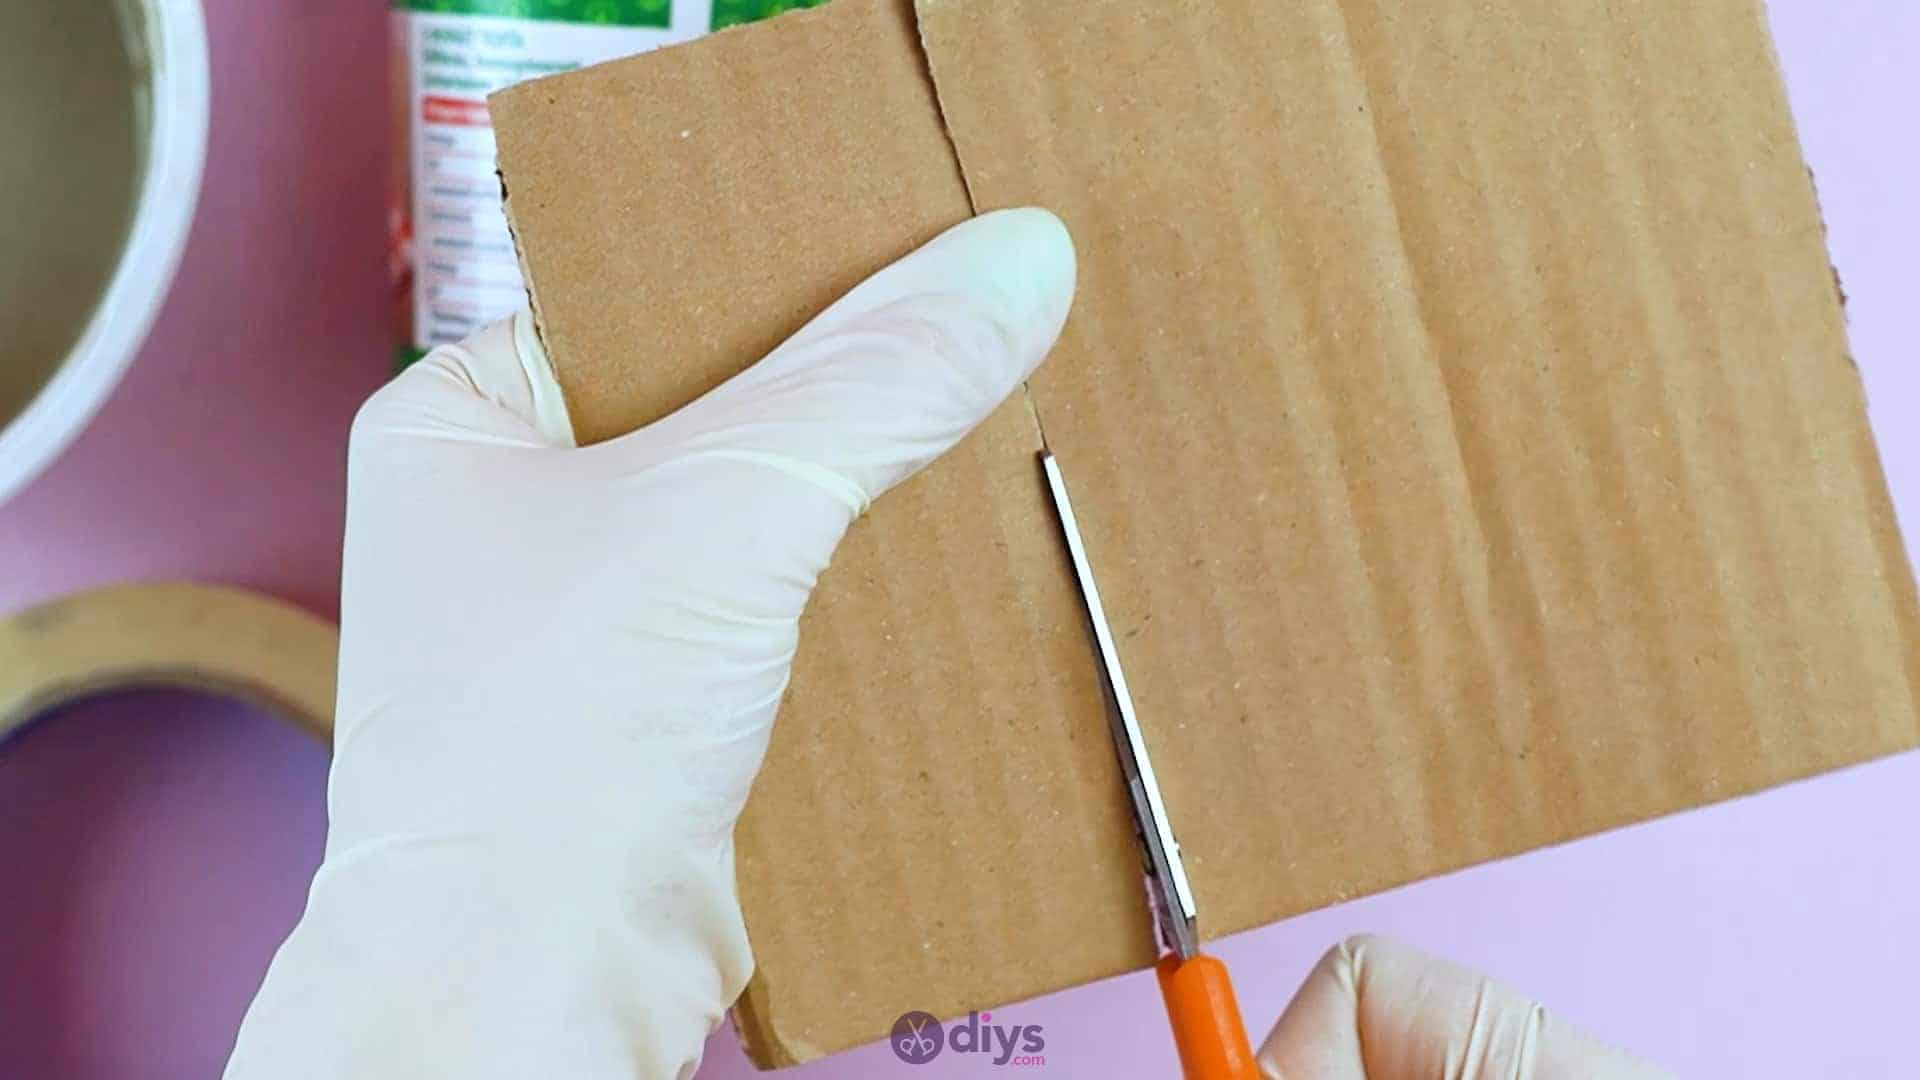
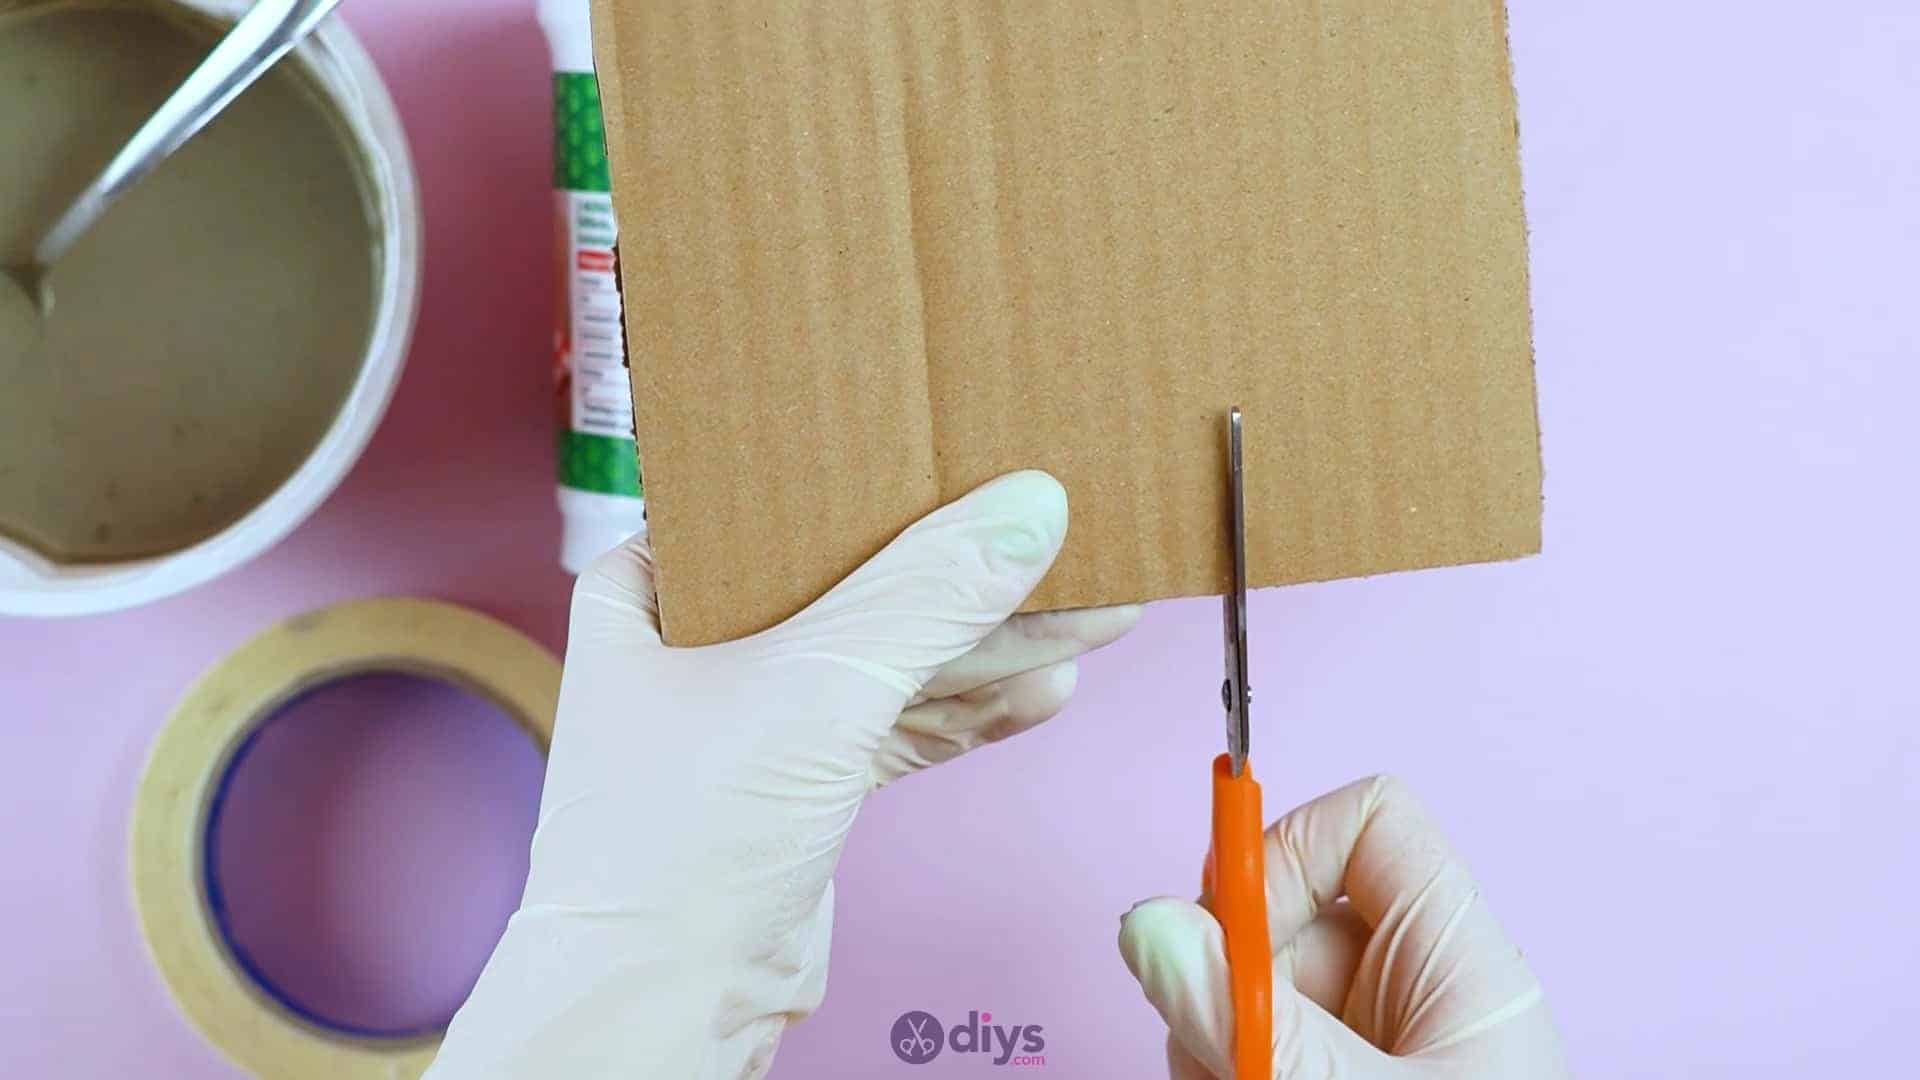
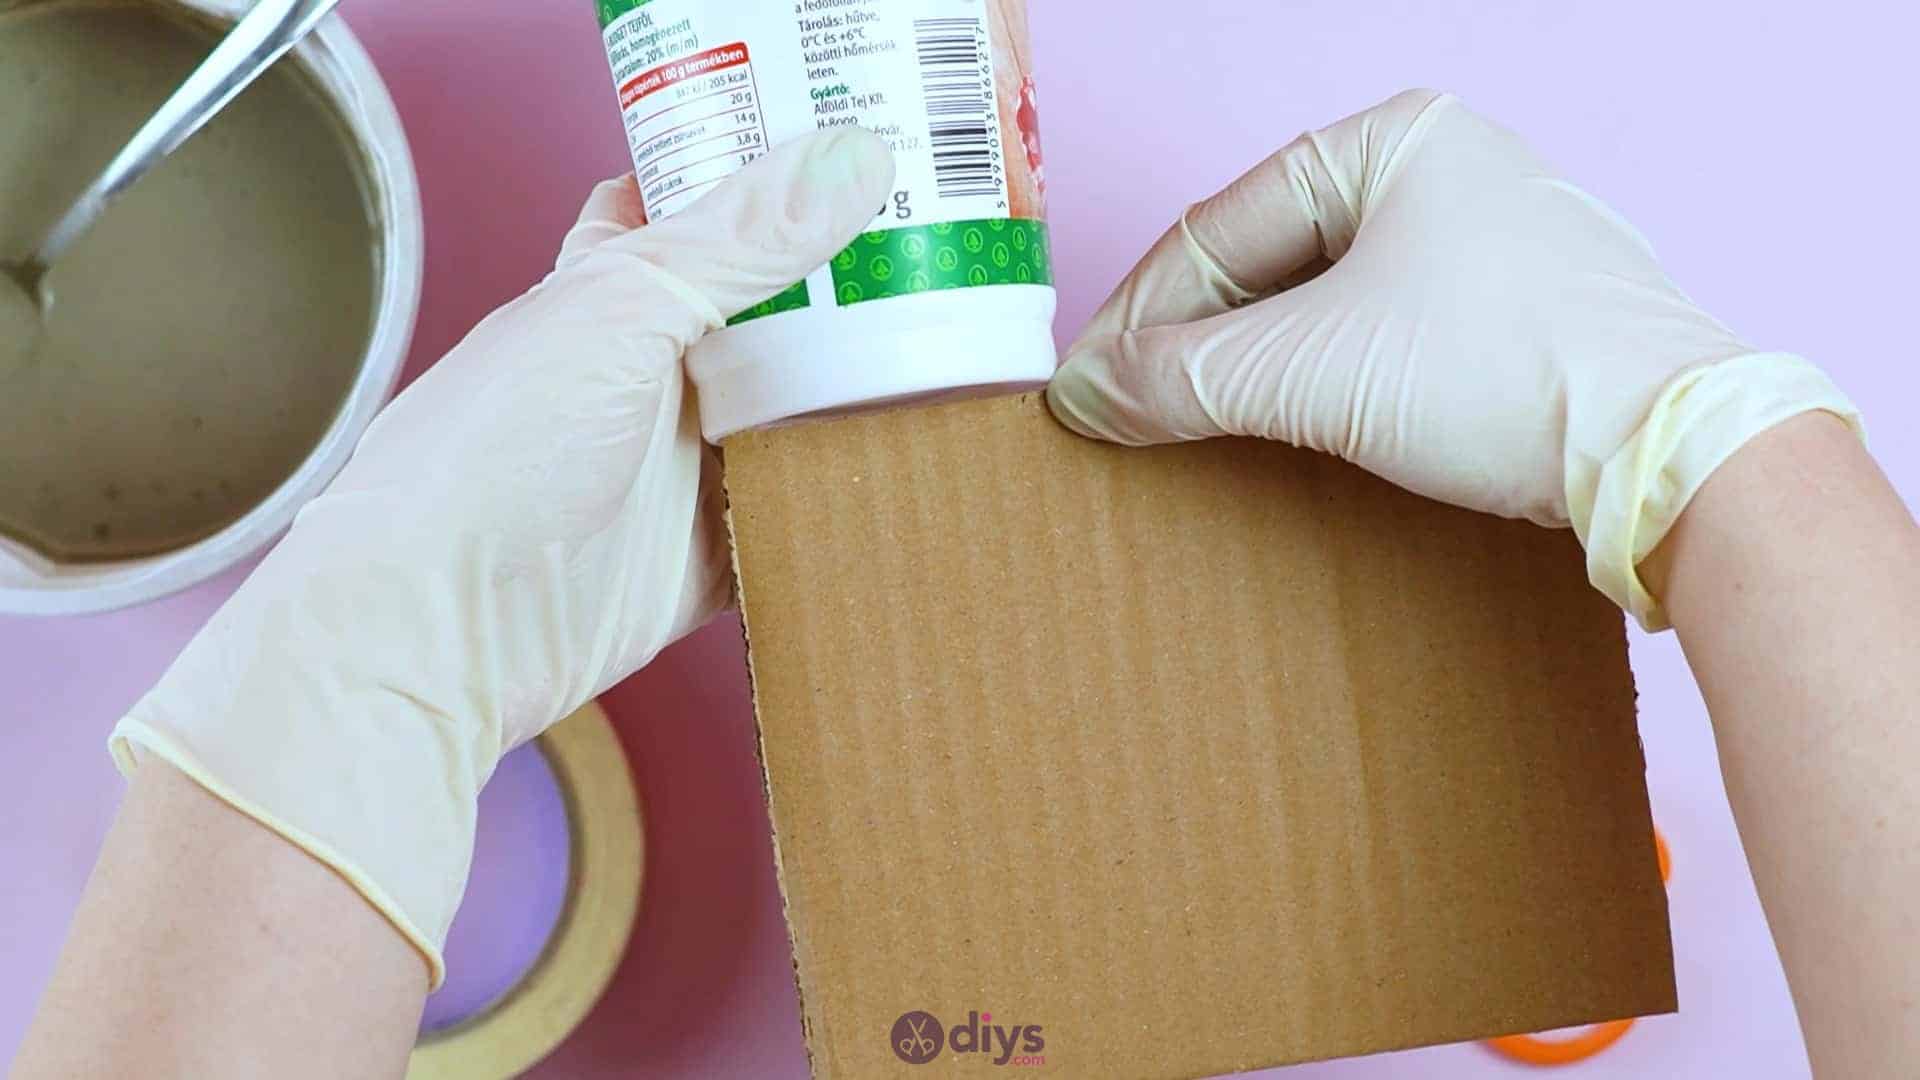
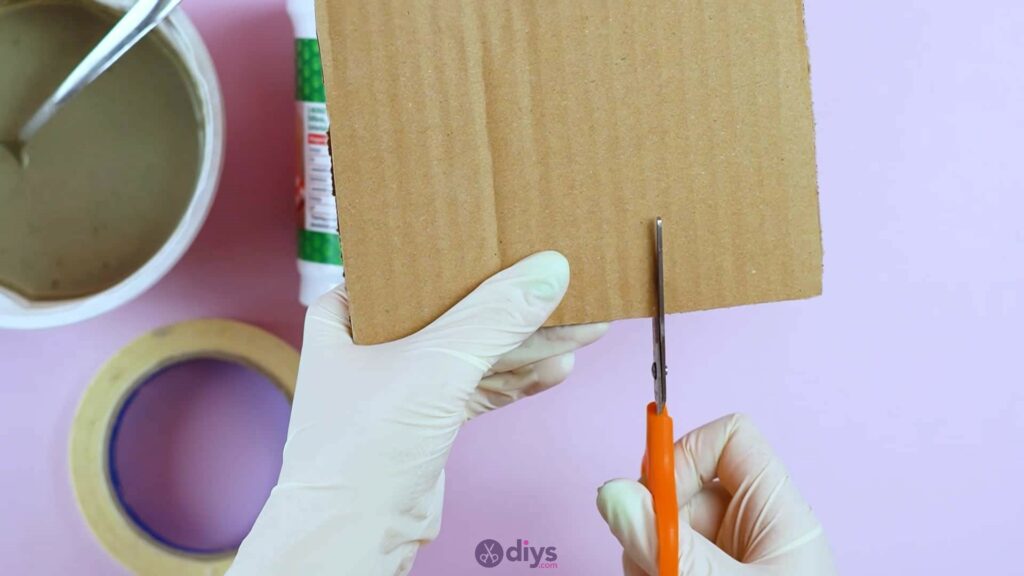
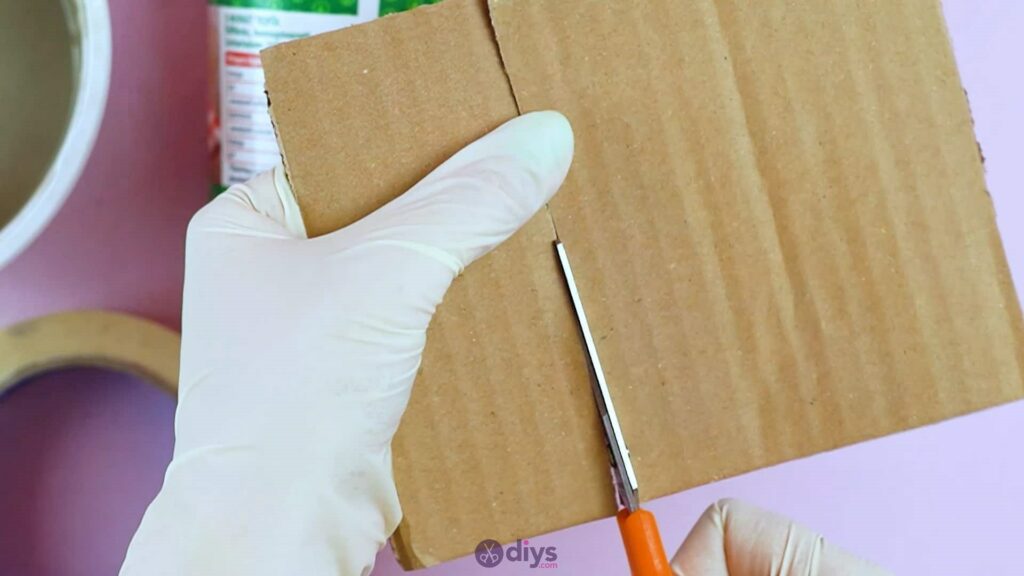
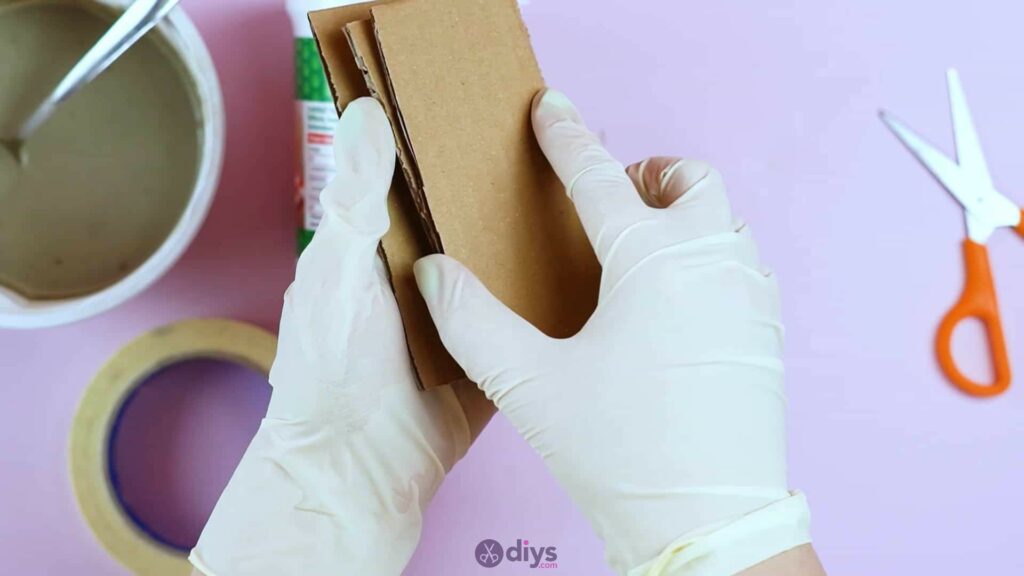
Along the edge of your piece of cardboard, place the bottom of your plastic cup (which will be the mould for your shape) so that its edge lines up with the corner of the piece at one end. Mark the place where its opposite edge reaches on the cardboard, effectively marking out the diameter or width of the cup. Use your scissors to cut there and keep cutting until you have a cardboard rectangle that’s the same width as the cup, but at least a little bit longer than however tall your cup is.
Once you’ve got one piece this size, use that piece as a guide to cut two more just like it. This will be what sizes out the slot your phone will sit in in the holder, so make sure that, when you stack all three of those pieces on top of one another with their edges lined up evenly, the thickness of all three combined is around the same thickness of your phone, or even just a tiny touch thicker. If the combined piece is thinner, cut one more. For a standard iPhone, three pieces of cardboard should work.
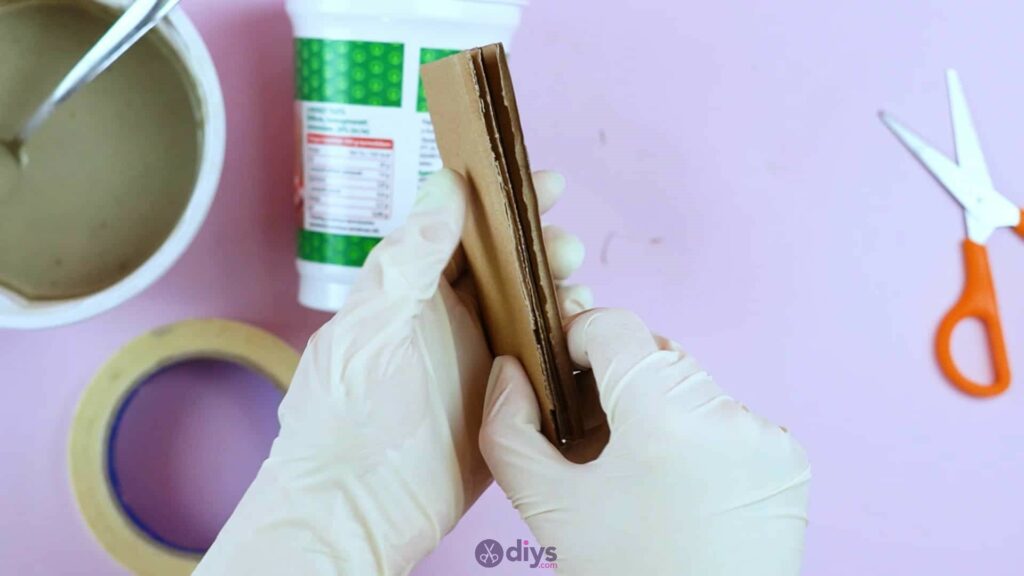
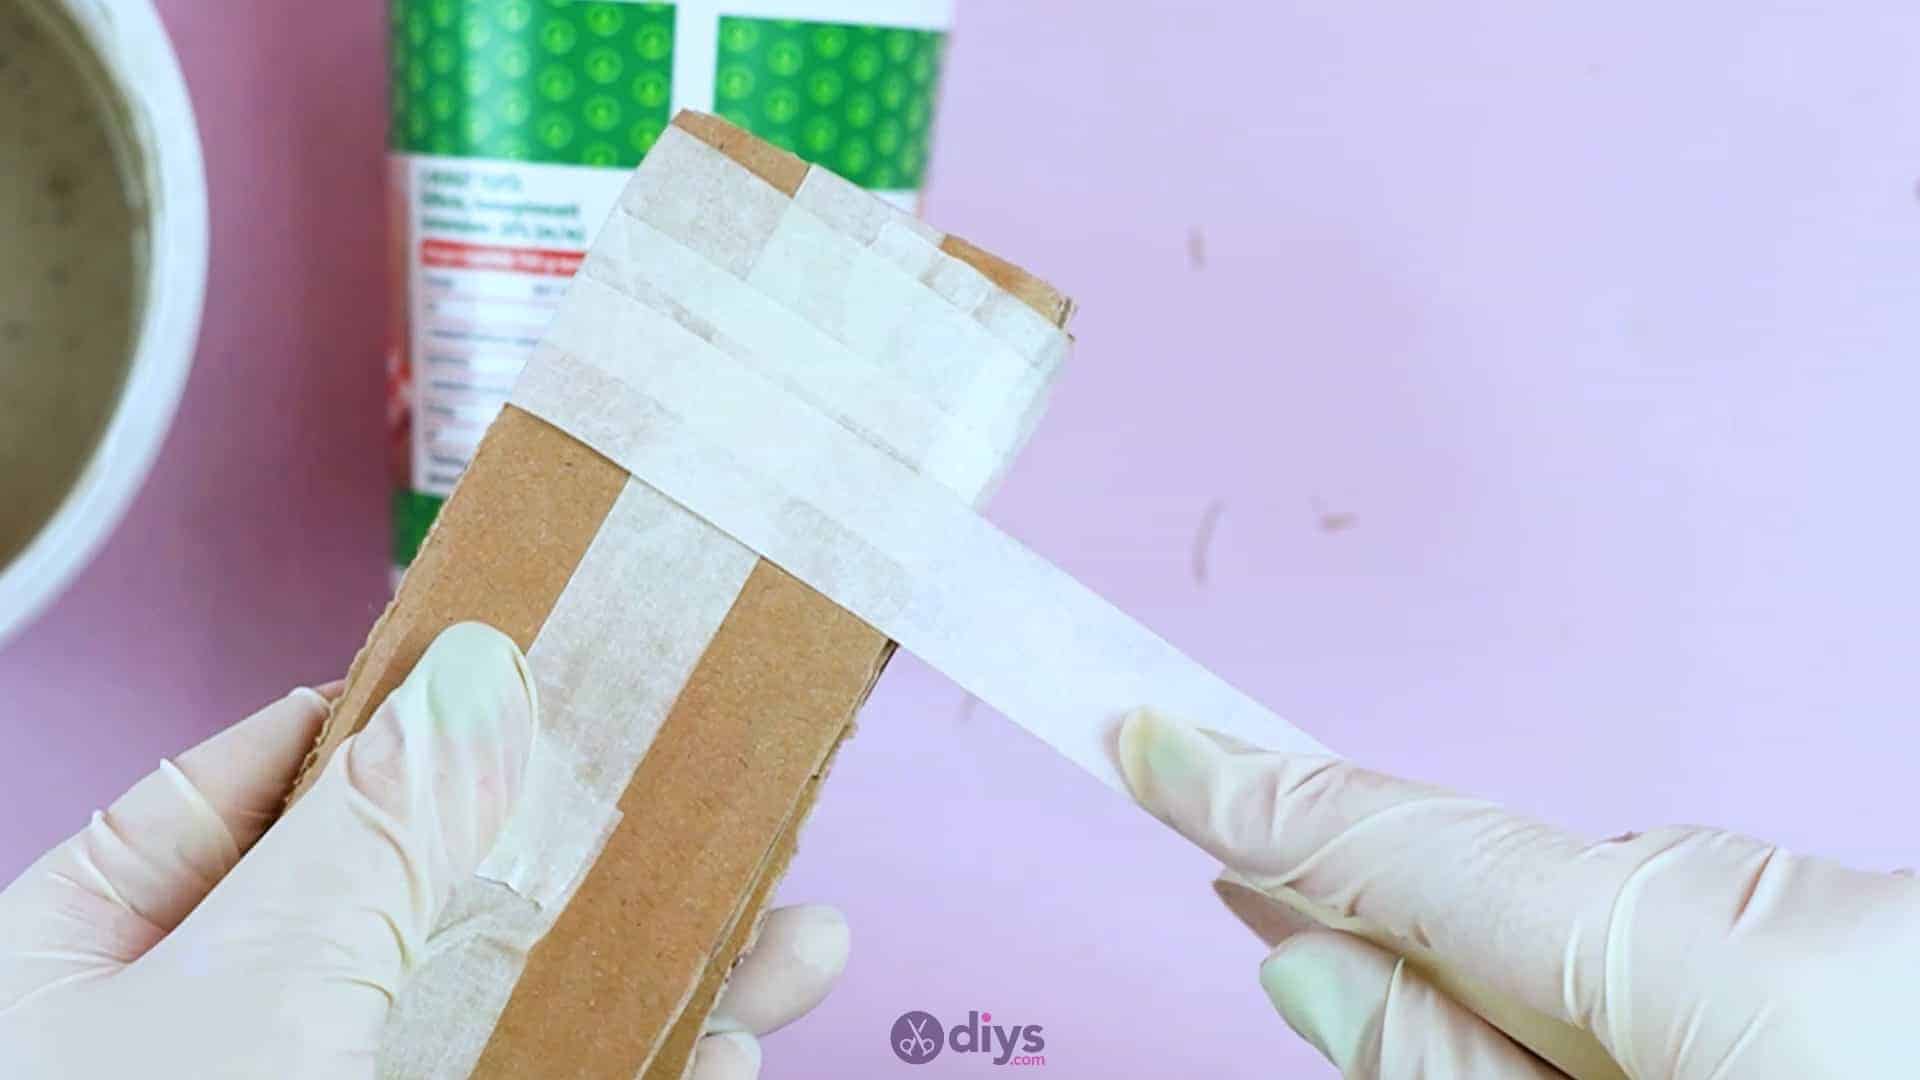
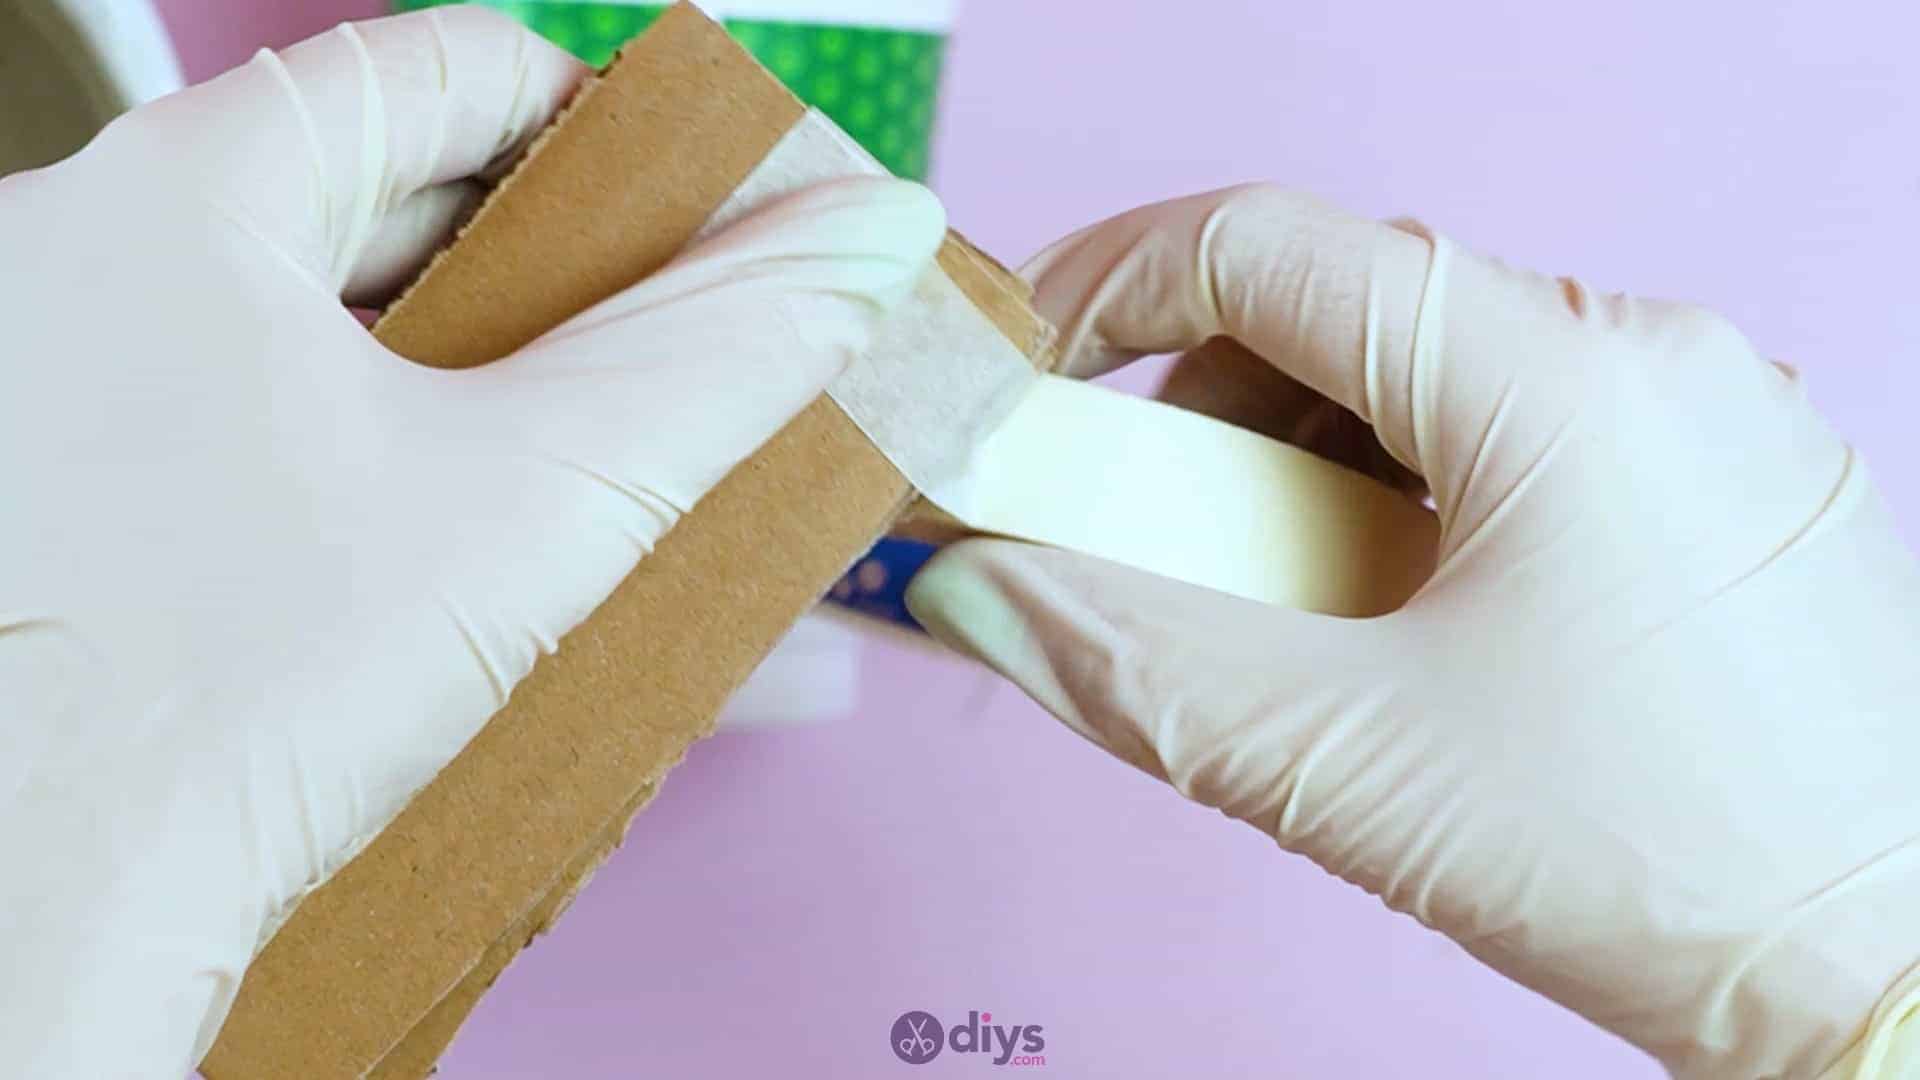
Step 4: tape it
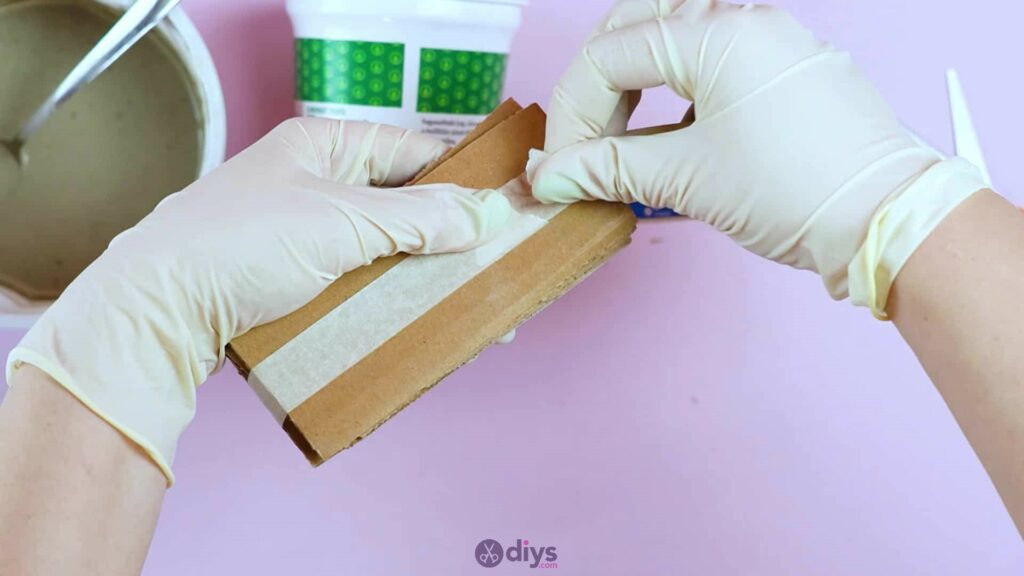
Use tape to attach the pieces of cardboard you just stacked. You’ll also want to reinforce it a little so that the wet cement mix doesn’t eat away at the cardboard and make it too soggy; you will, after all, be putting this right into the mix to create an indent in it as it dries.
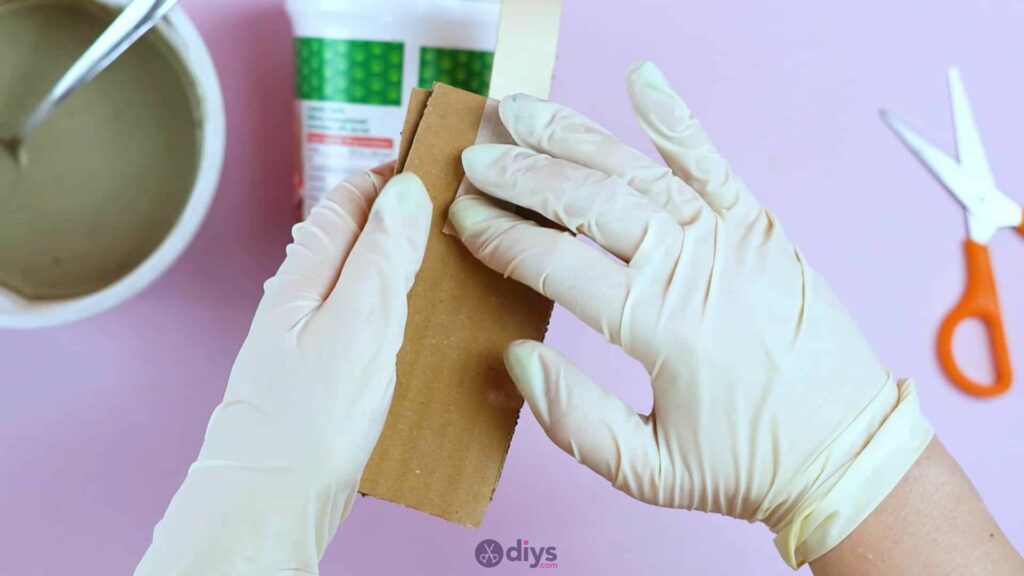
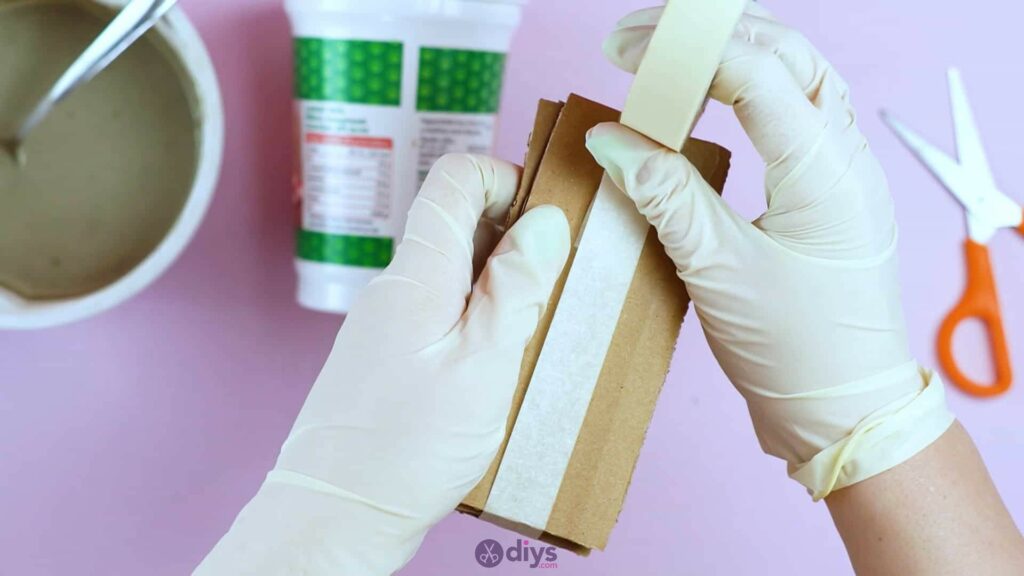
Apply a strip of tape down the vertical length of the pieces, up and over the edge, and back up the other side, attaching them together fully down their lengths and along the centre. Cut the tape and turn it so you can stick it horizontally, and stick the end at the top so the edges of the tape and the cardboard piece line up. Start wrapping the tape around and around the piece’s width, moving it downward ever so slightly so it spirals down its length, like you would if you were wrapping a bandage.
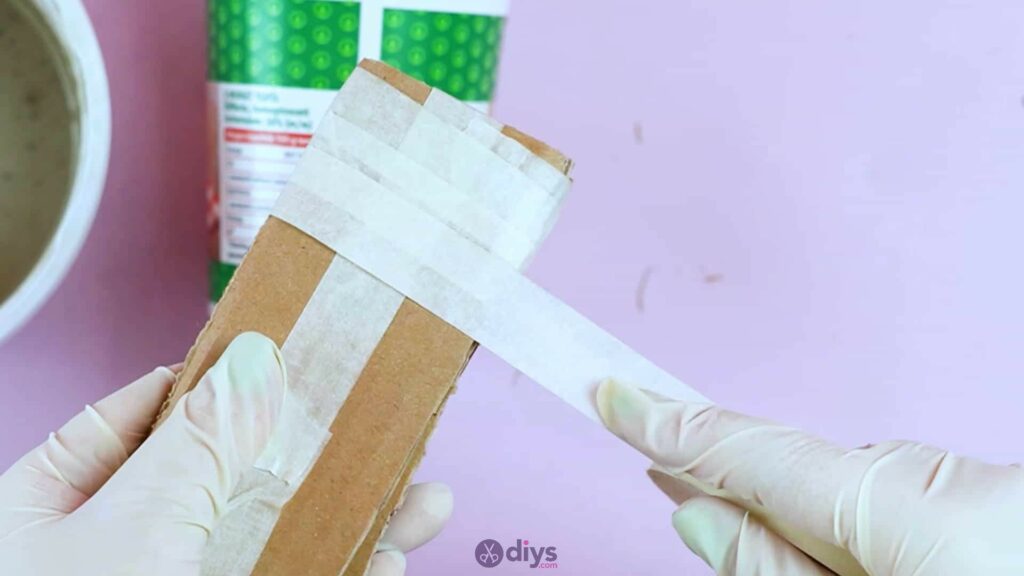
Keep this up until you’ve created a fully tape-covered section from the short edge where you started until about two inches below that. This will be the section that sits downwards, submerged in the cement mix. Now use the tape to cover the very edge, where you started your tape wrapping, but this time folding it width-wise over the expose ends of your stacked cardboard pieces. The goal here is to basically seal that entire end in tape so it withstands the wet mixture until it has dried.

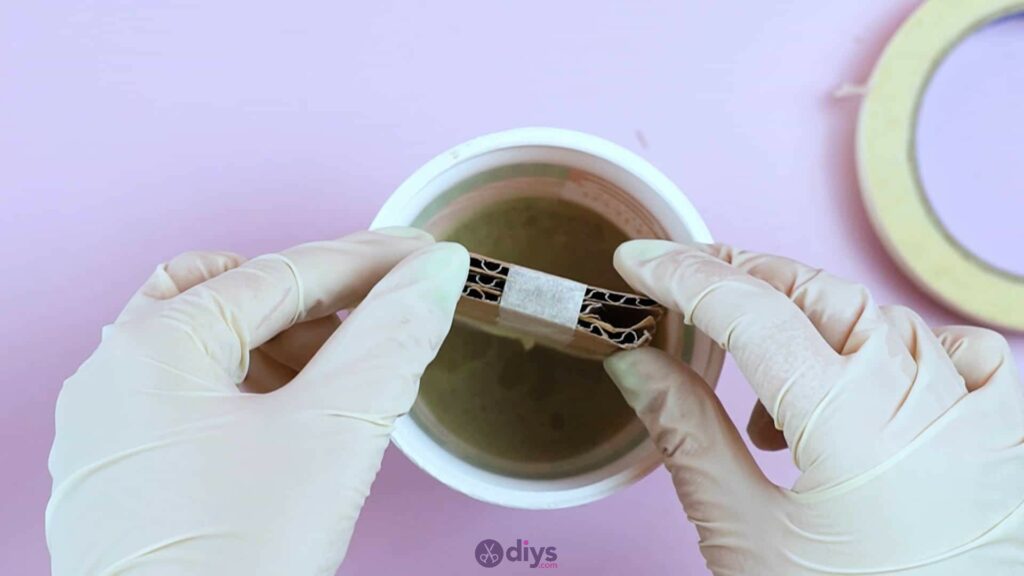
Step 5: fill the container
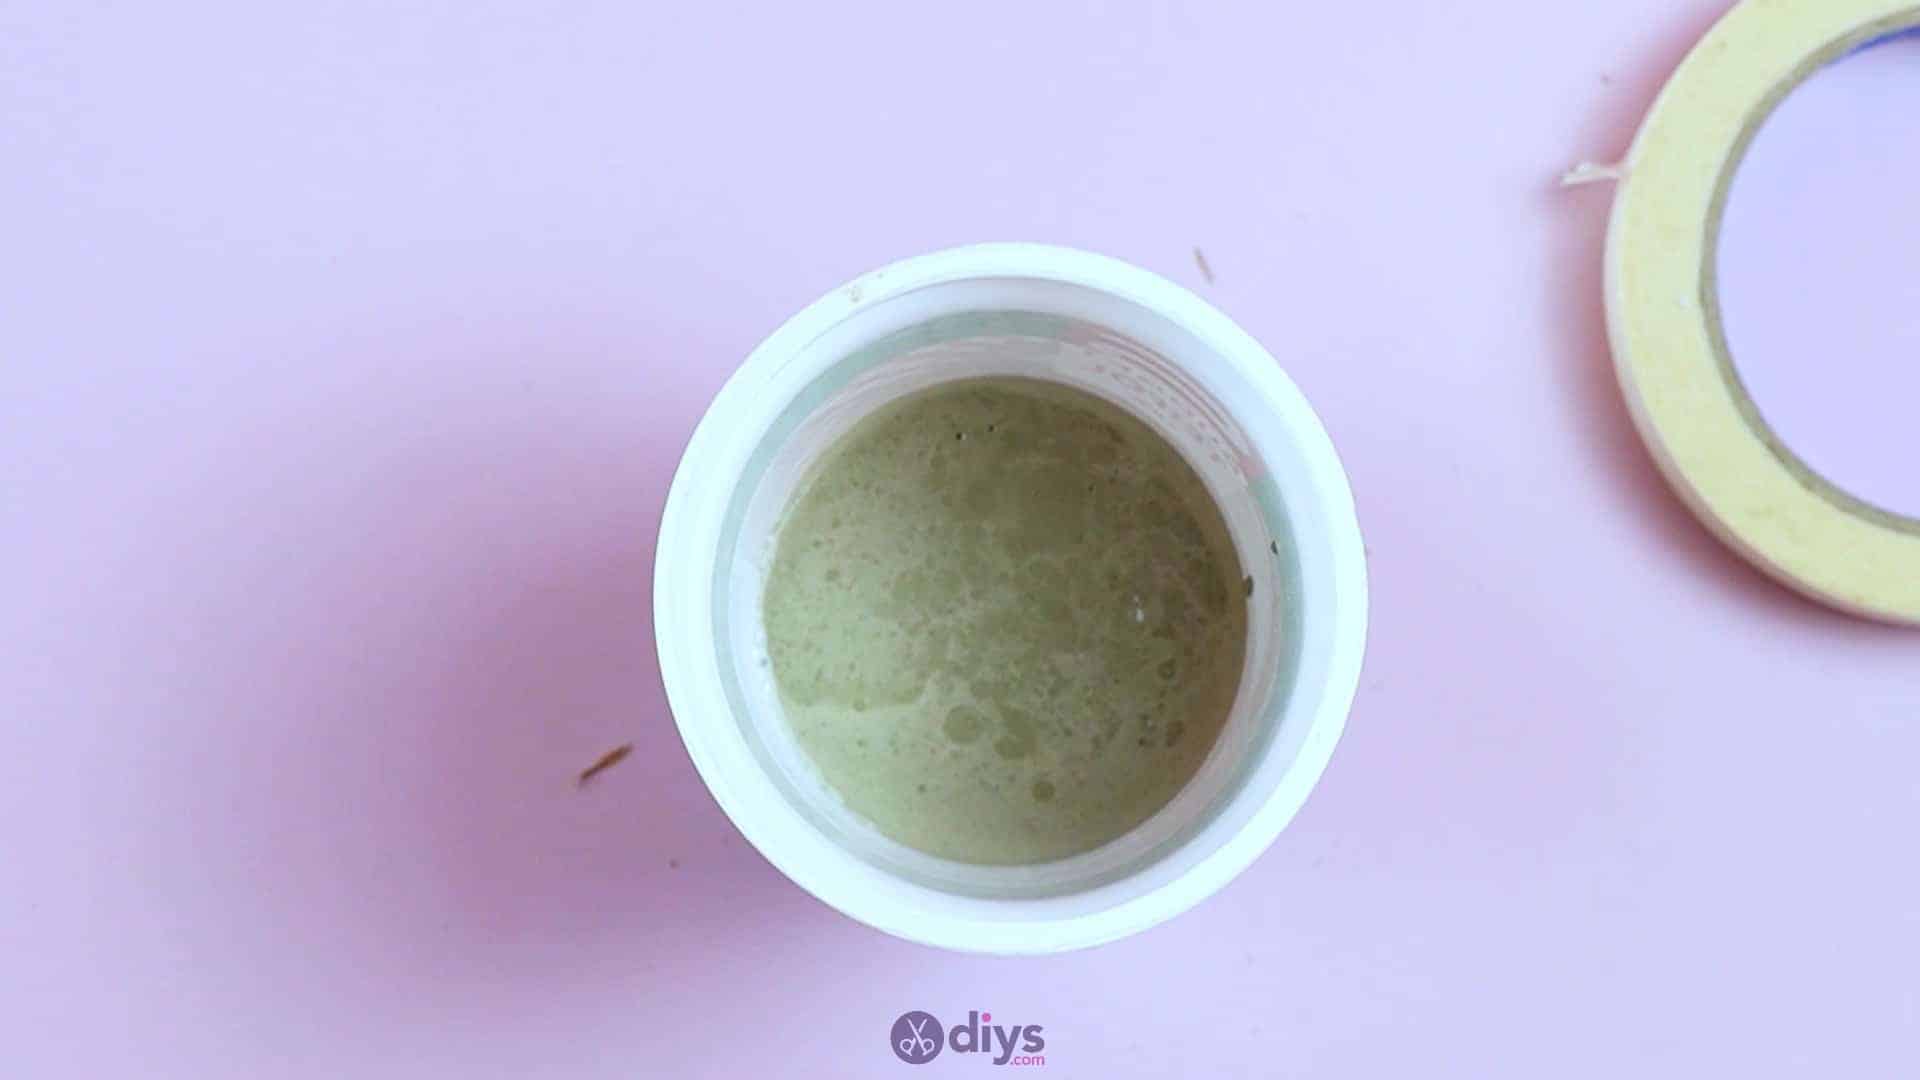
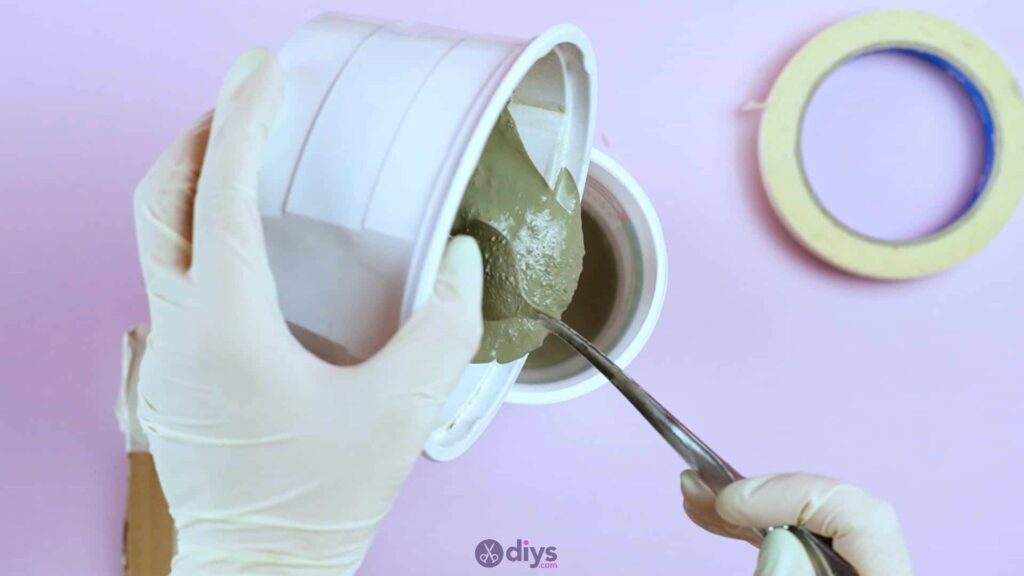
Use your spoon to fill your yogurt cup (or whatever you’re molding your phone holder in) with the wet concrete mixture. Only fill the cup until the mix is about two inches deep; you’re not trying to fill it up all the way. If you see any bubbles or inconsistencies on the surface when you’re done filling, use your spoon to smooth them out or lightly tap the bottom of the cup on the tabletop to even it all out.
Step 6: place the ridge form
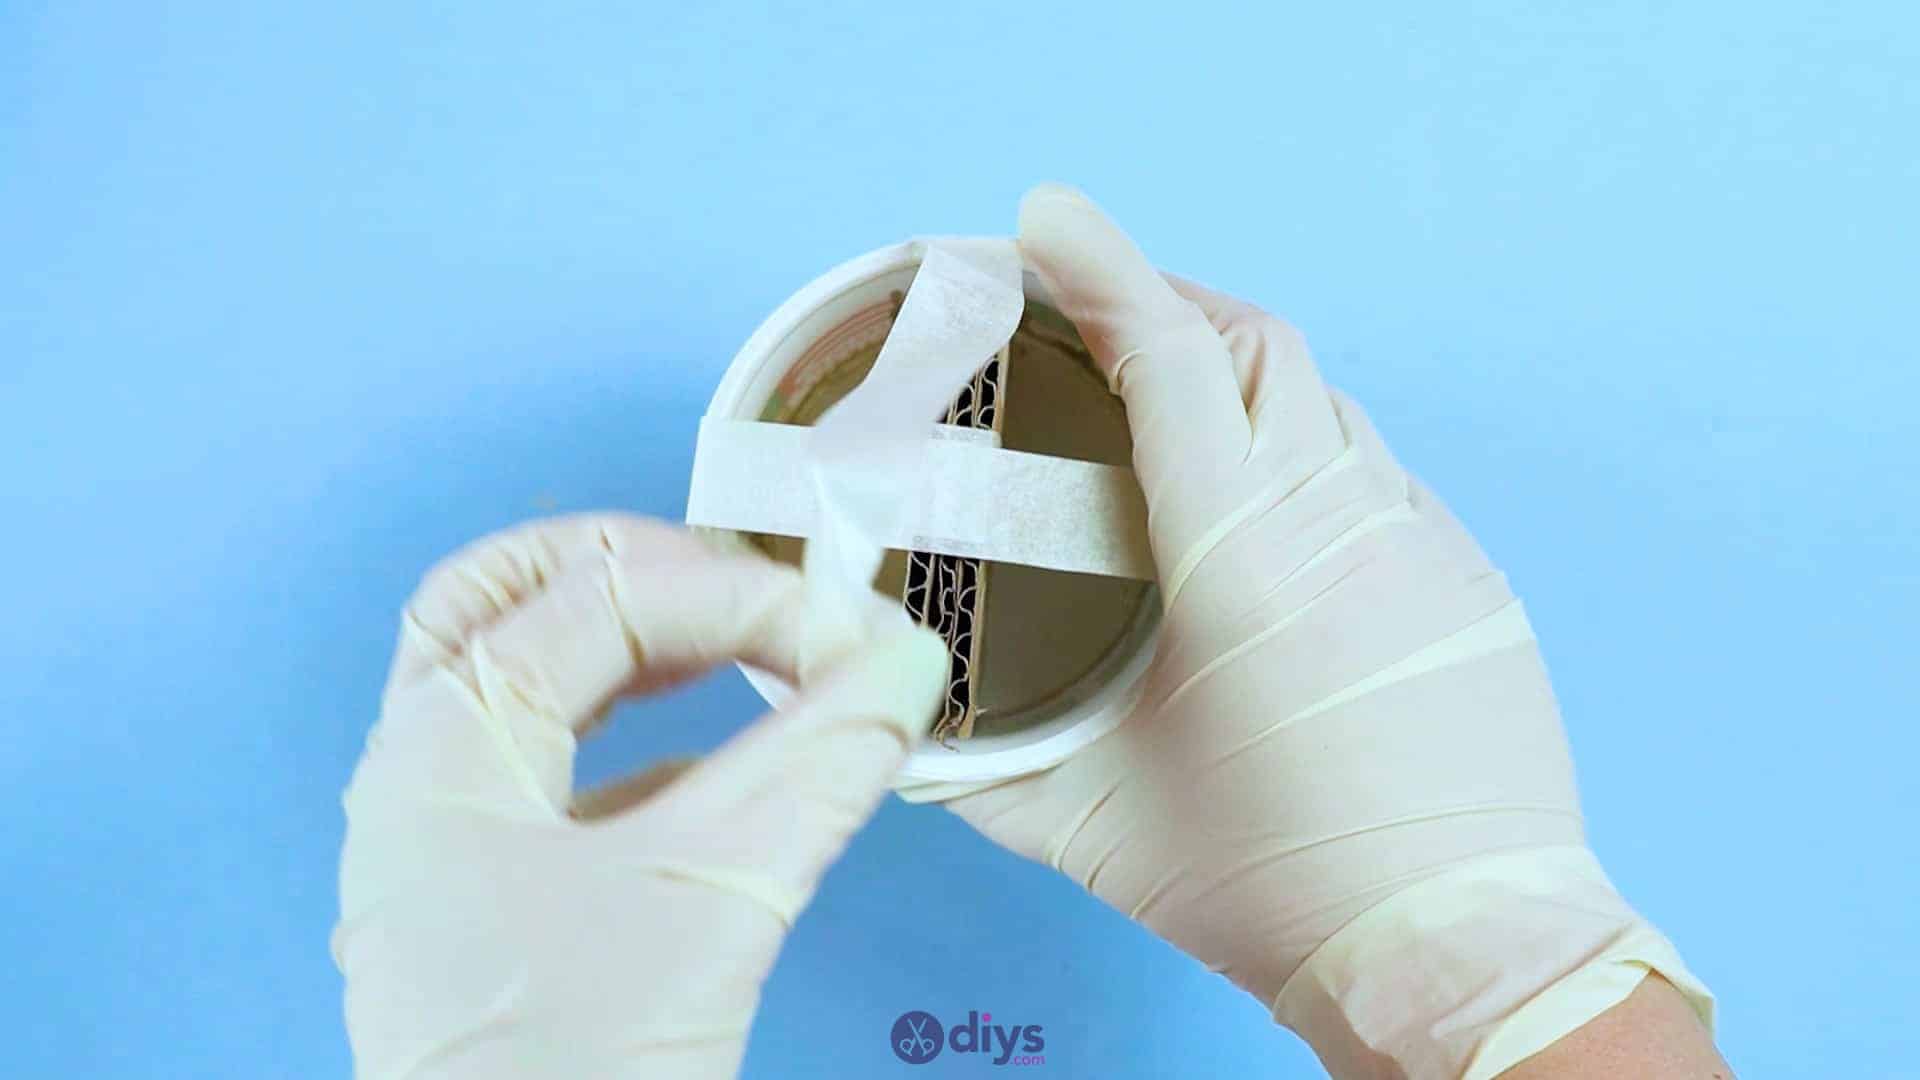
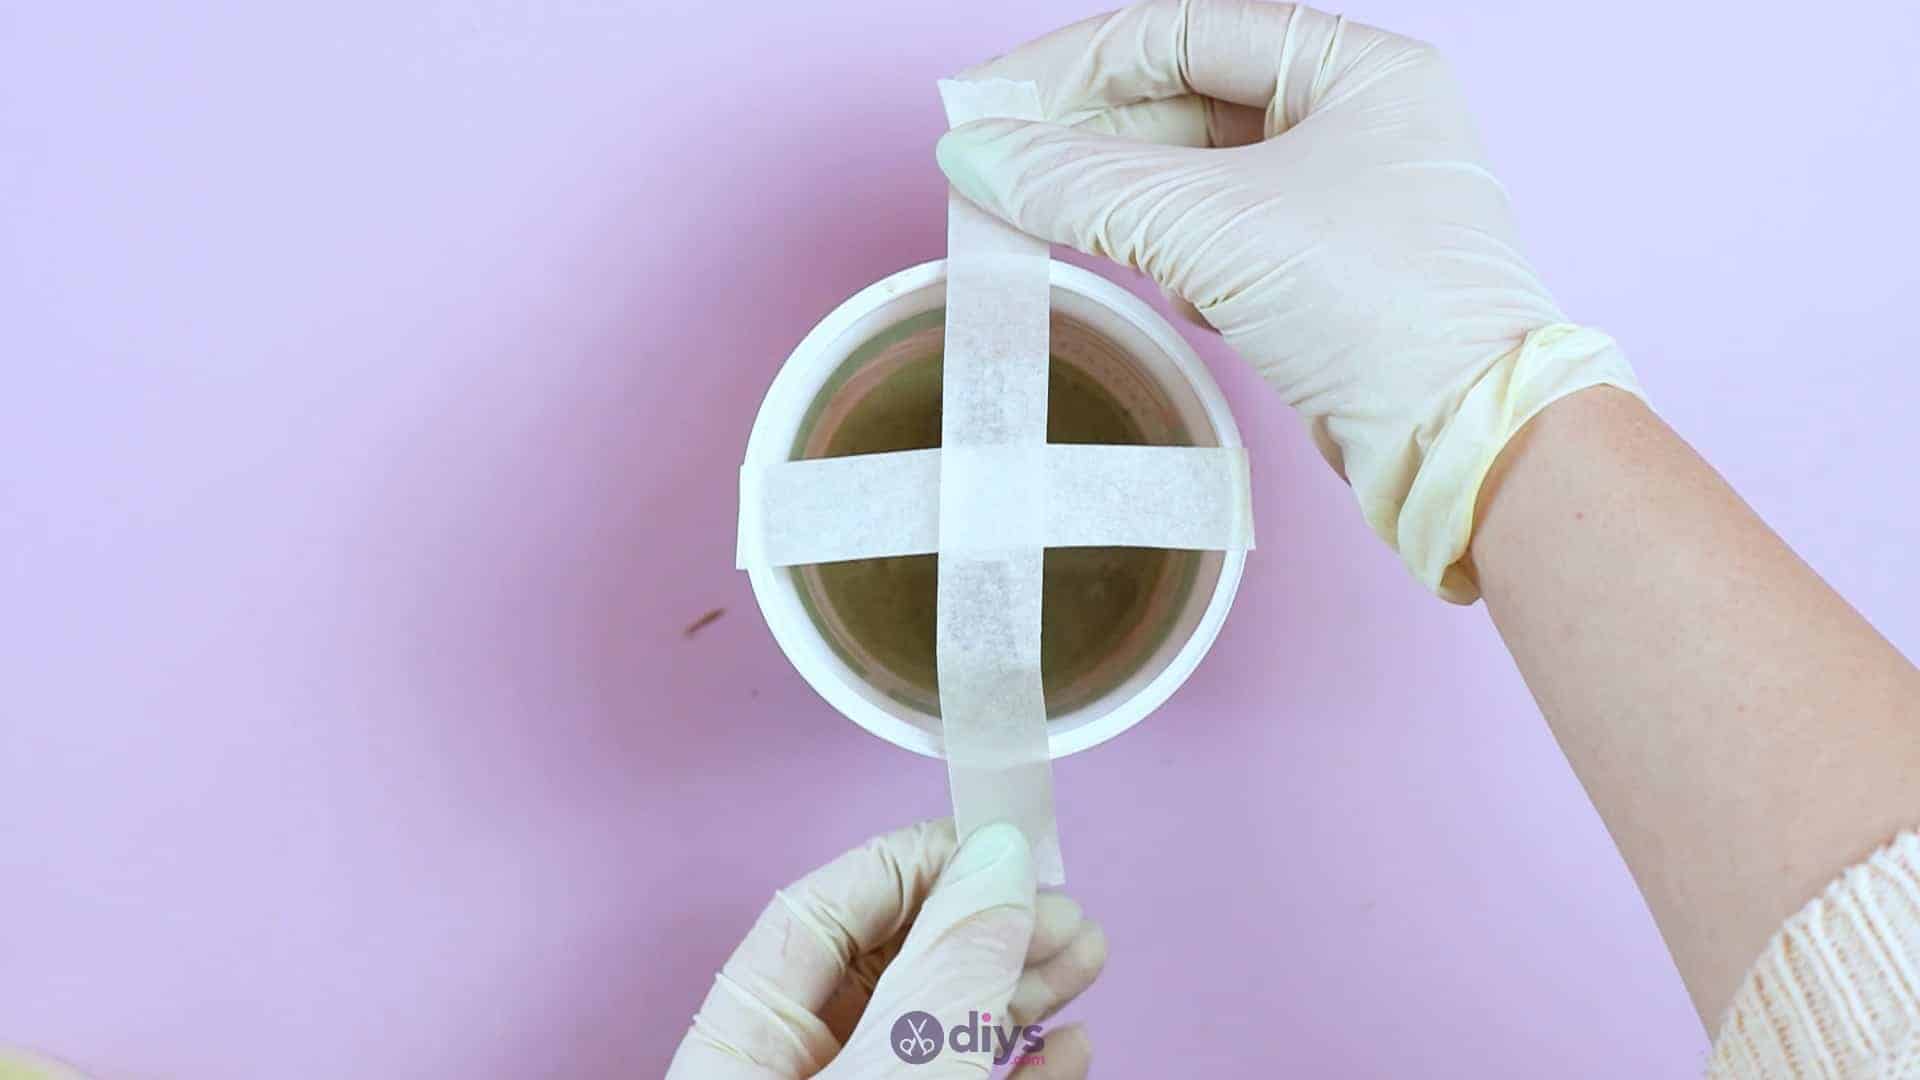
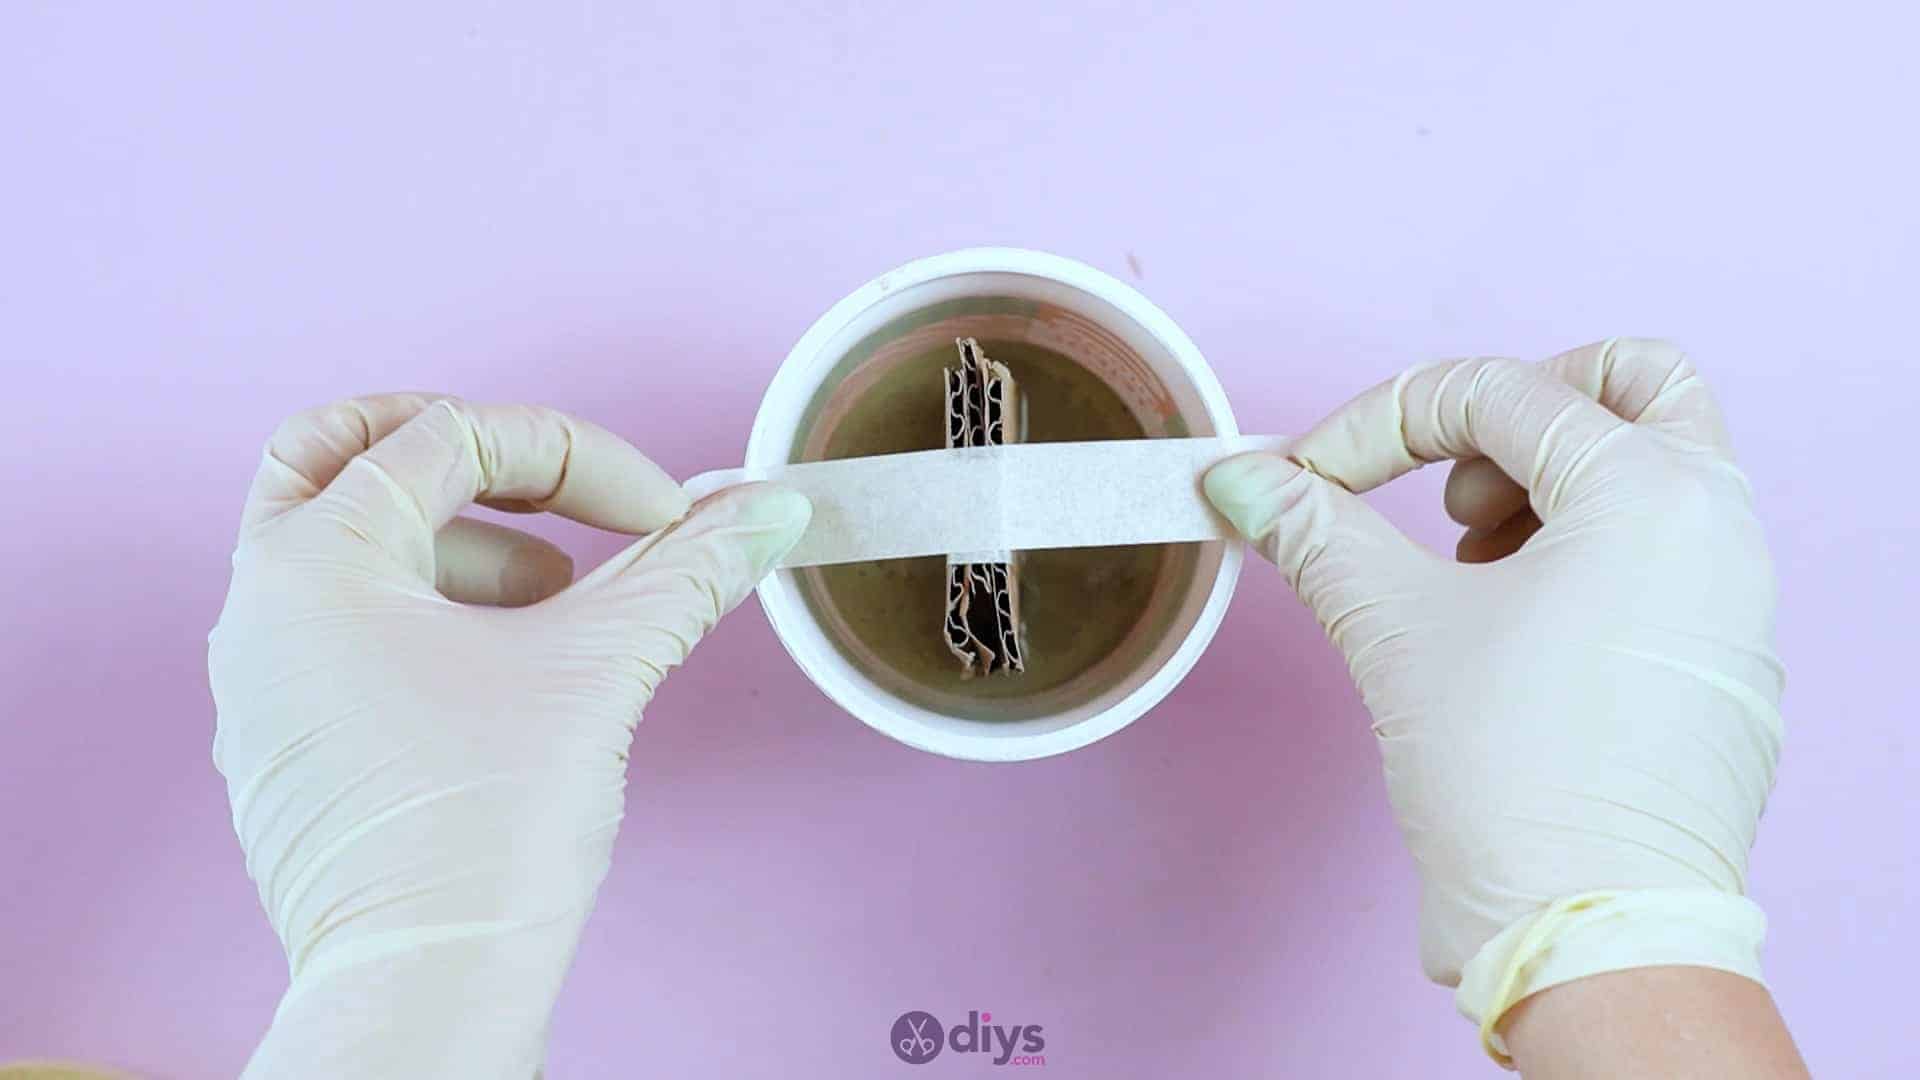
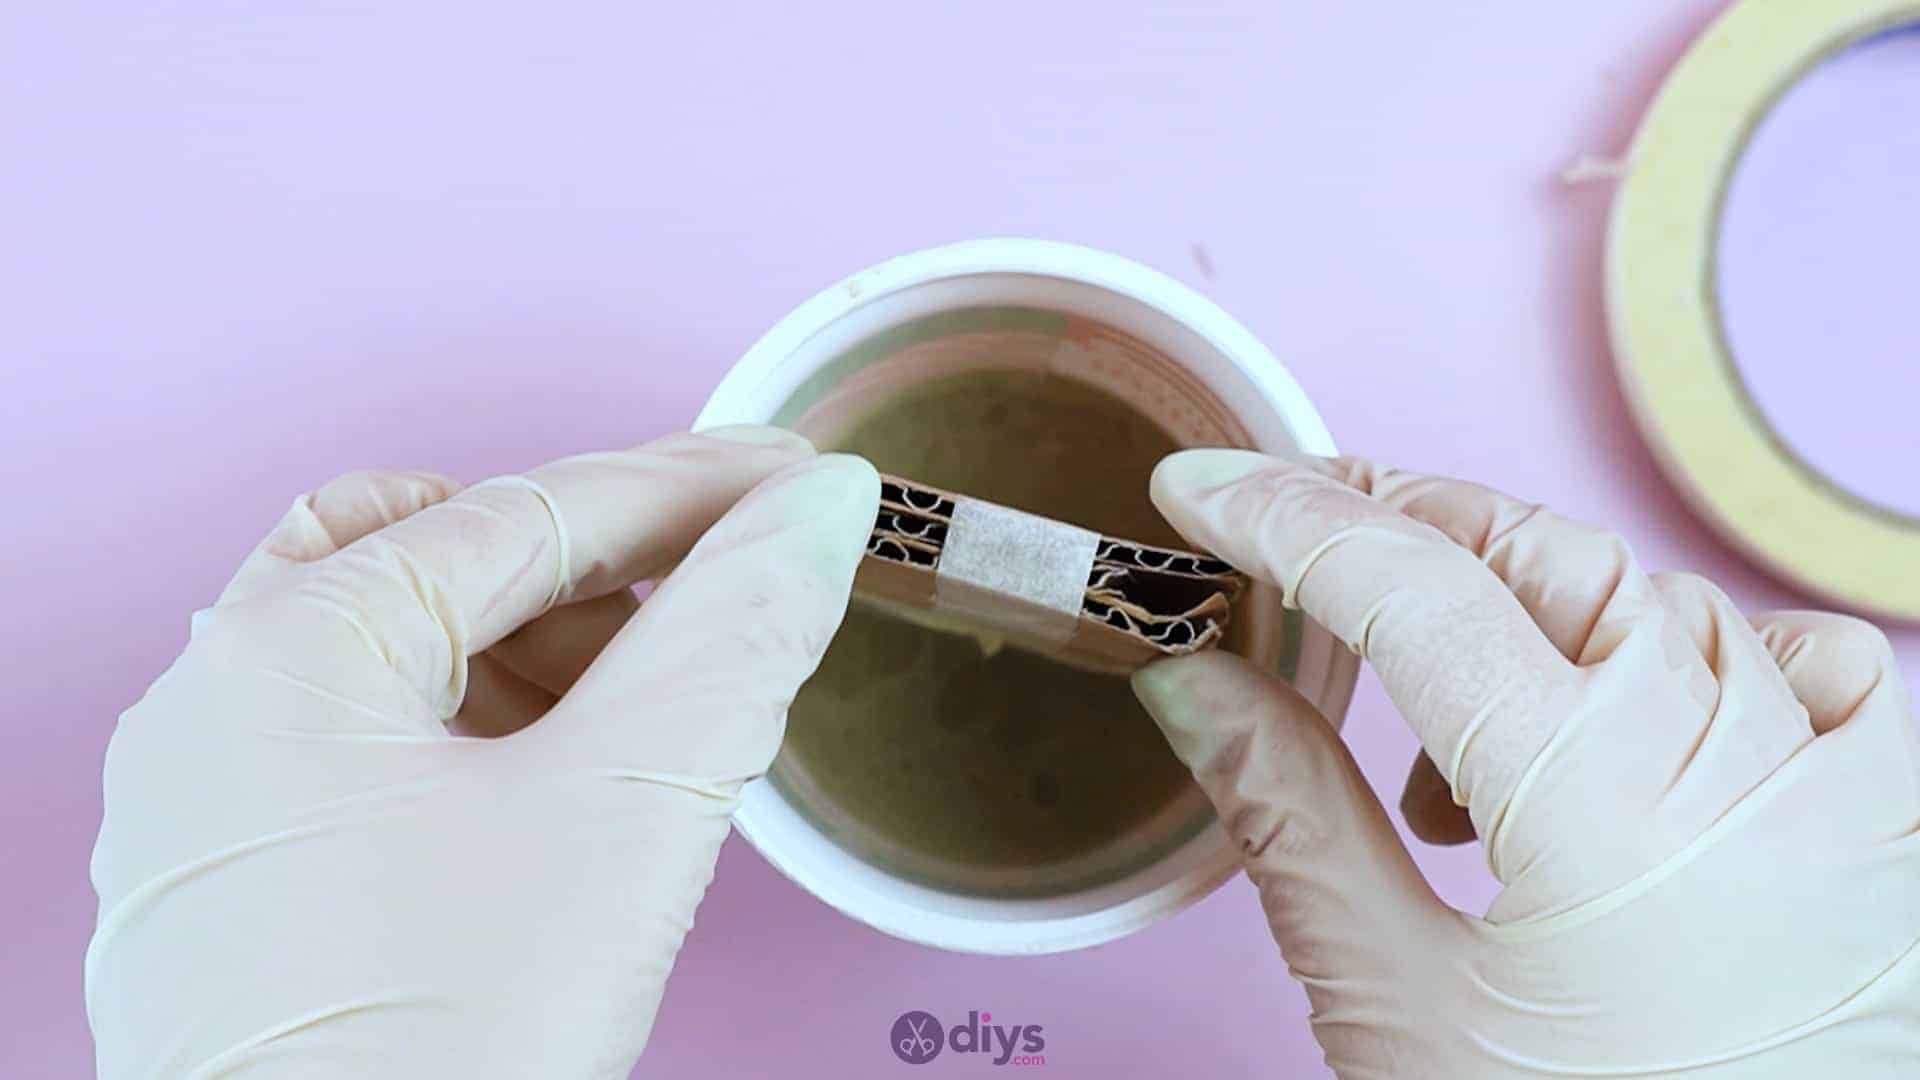
Turn the taped up cardboard piece that you made earlier so that the taped section is on the bottom. Insert it into the cup and press it down into the wet concrete mix, but donot submerge it all the way to the bottom. You’re only aiming to make a slot shape that’s about an inch tall, so you only want to press it into the mix until about an inch of the tape is covered. If you press it all the way to the bottom, your stand won’t sit properly or hold your phone very well.
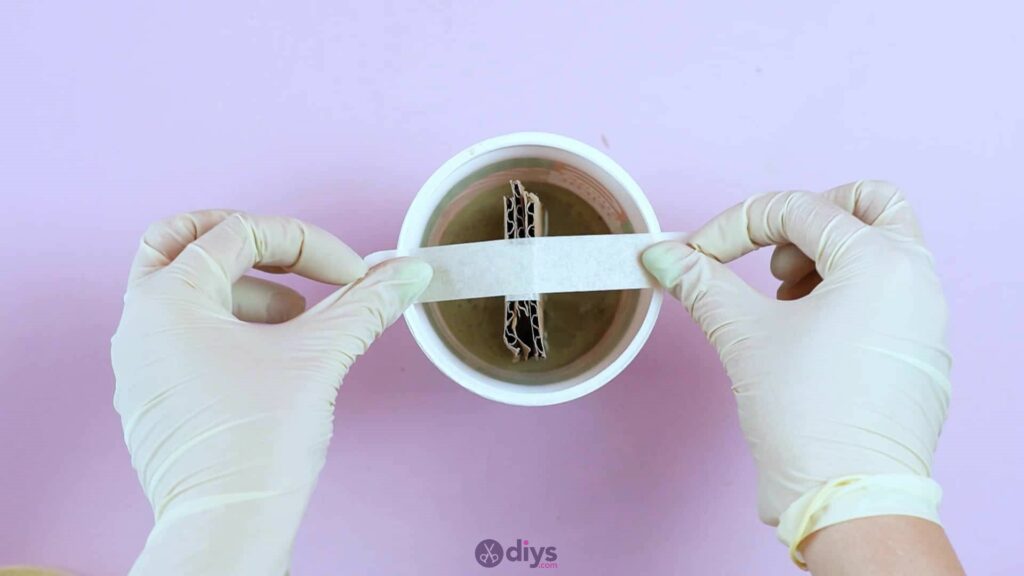
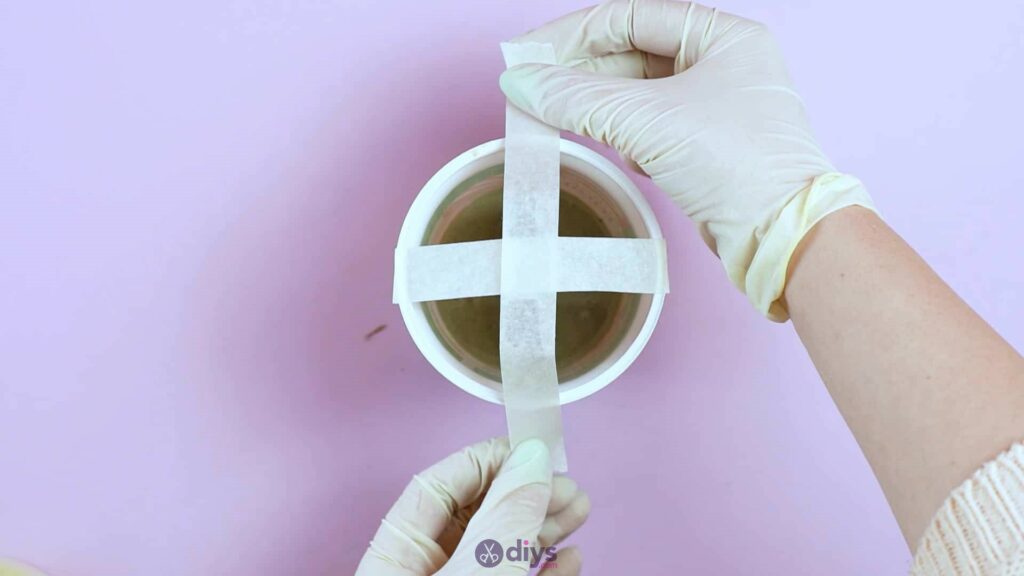
Once you’re happy with how your cardboard piece sits, take a piece of tape, stick it down on one edge of your cup, stretch it across the top of the cardboard piece and stick it over the end, then bring the other end down and stick it to the opposite side of the cup. This will hold the piece in place while the cement dries and keep it from shifting. If you want extra stabilization, you can stick another piece across the cup and cardboard in the other direction, so the two cross each other, like I did. Set the whole thing aside to dry.

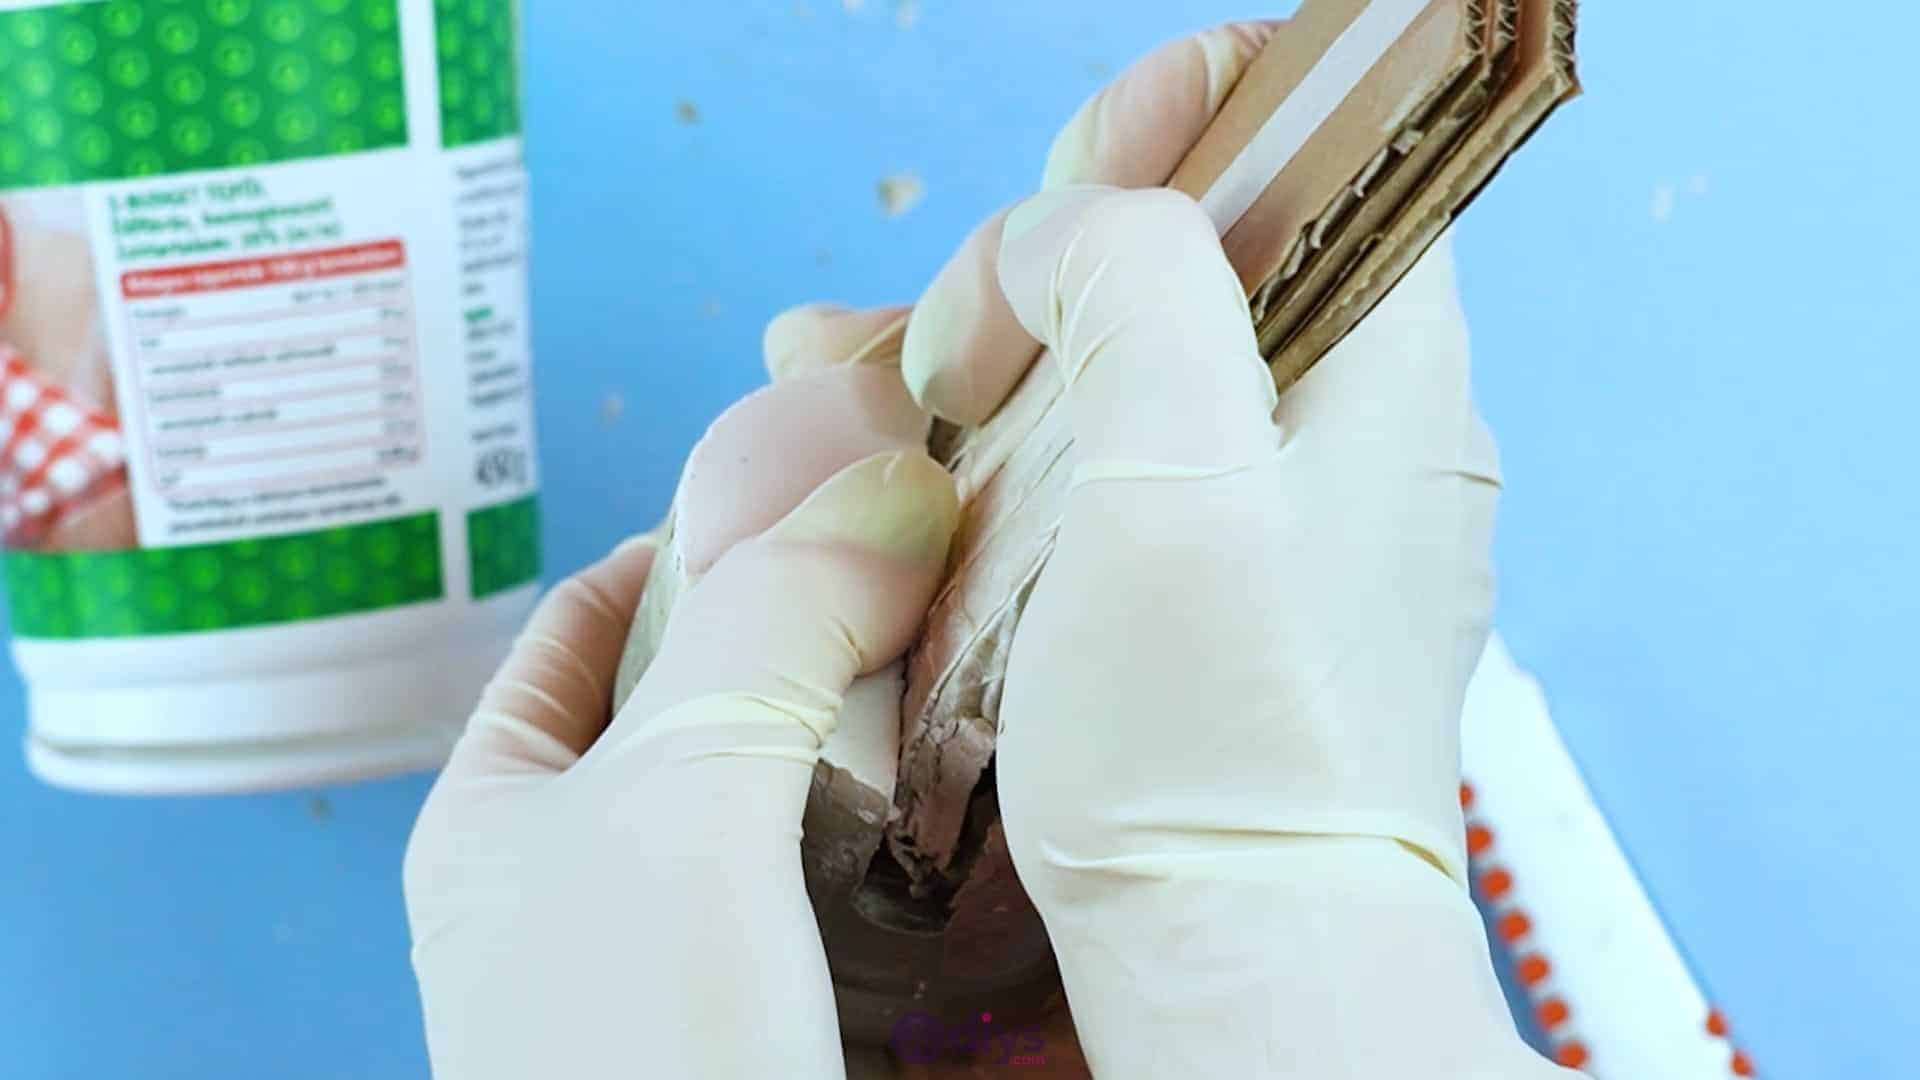
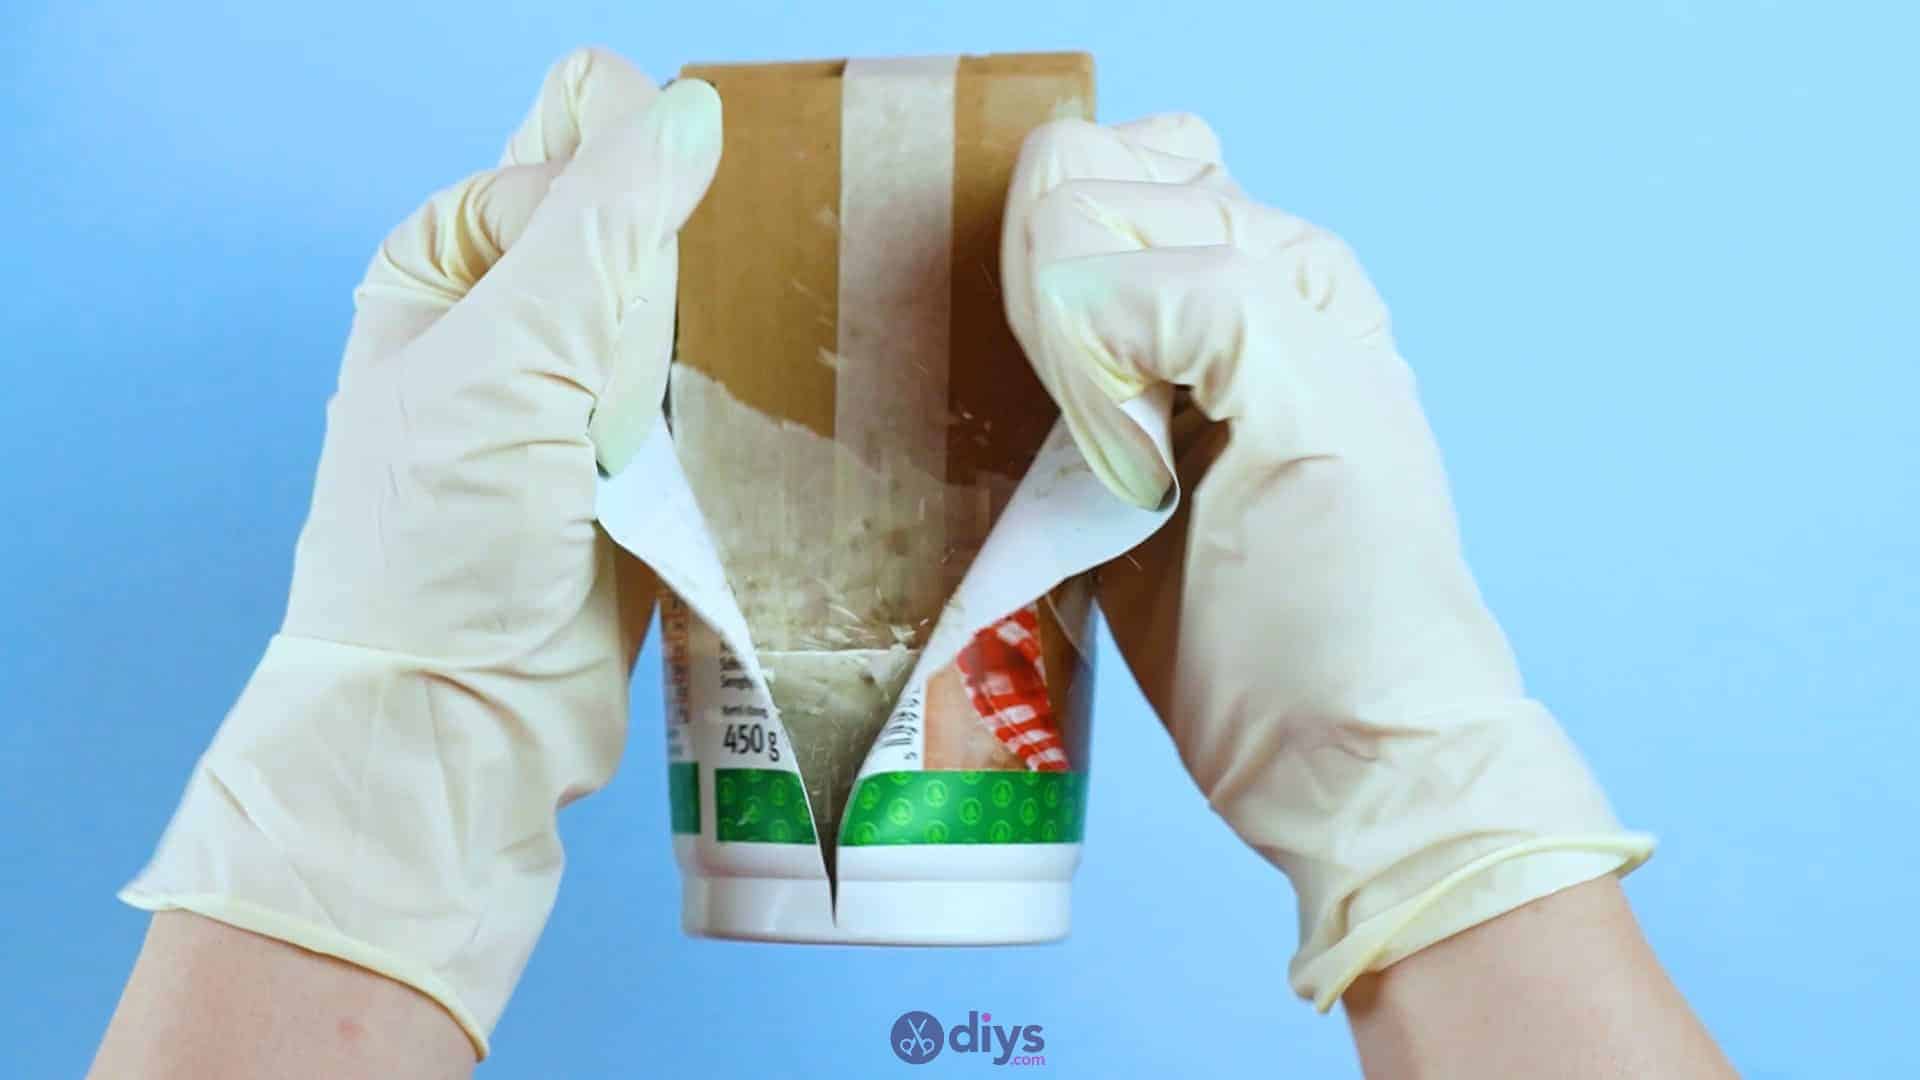
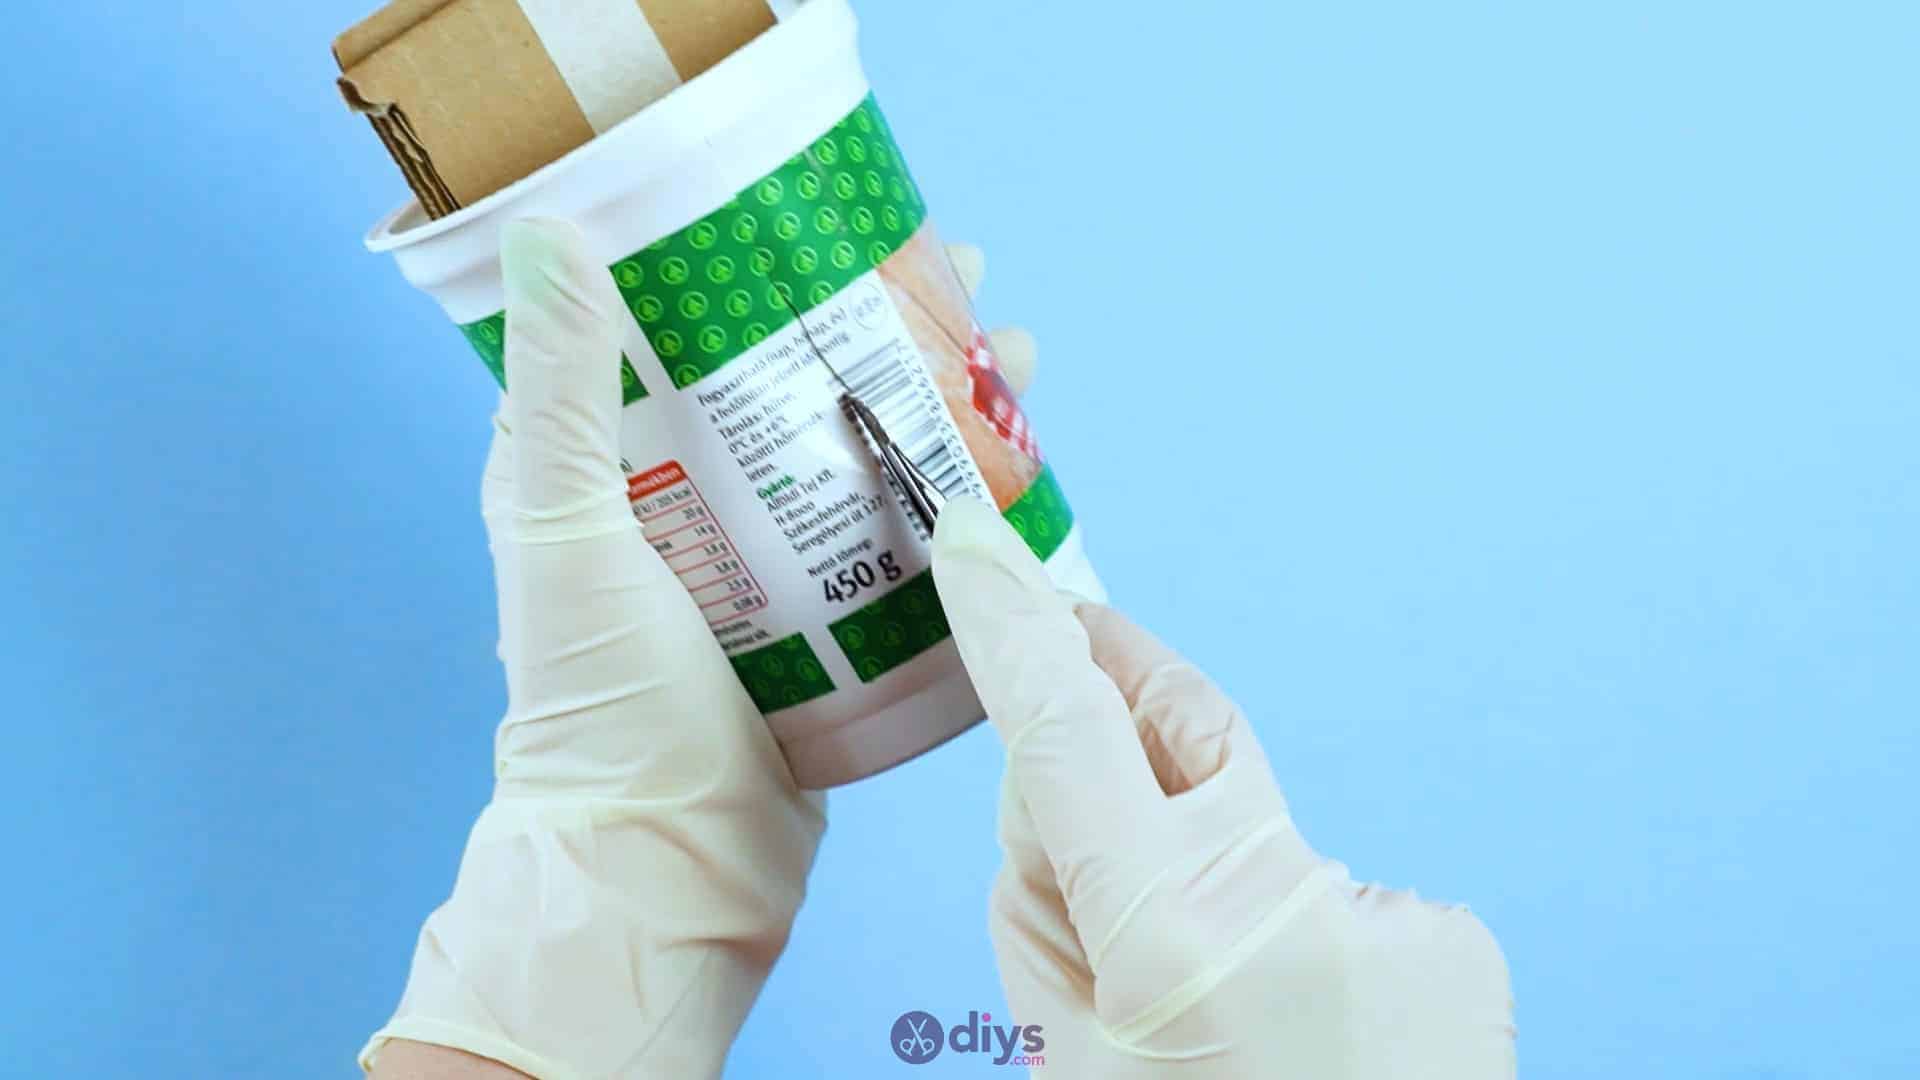
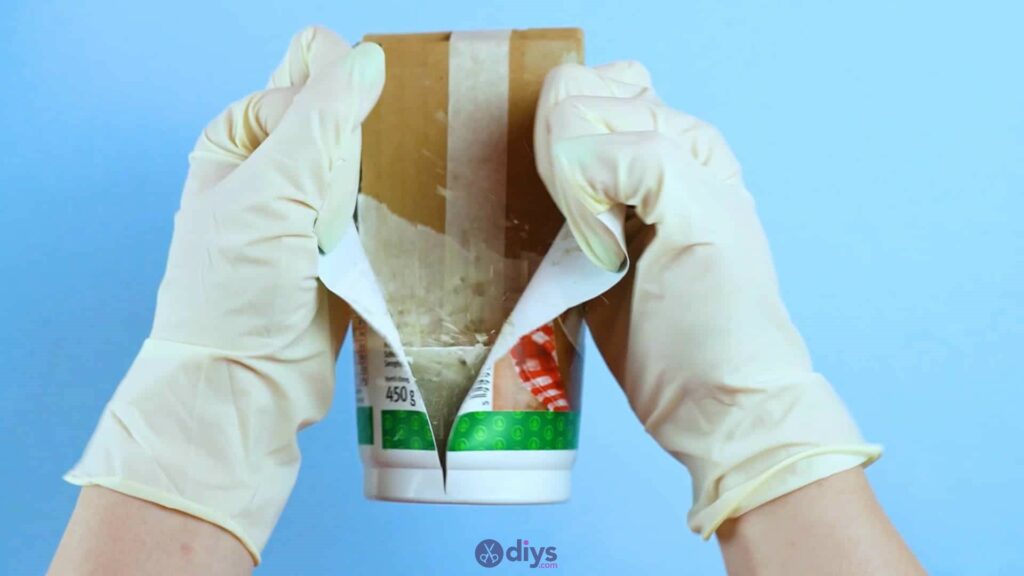
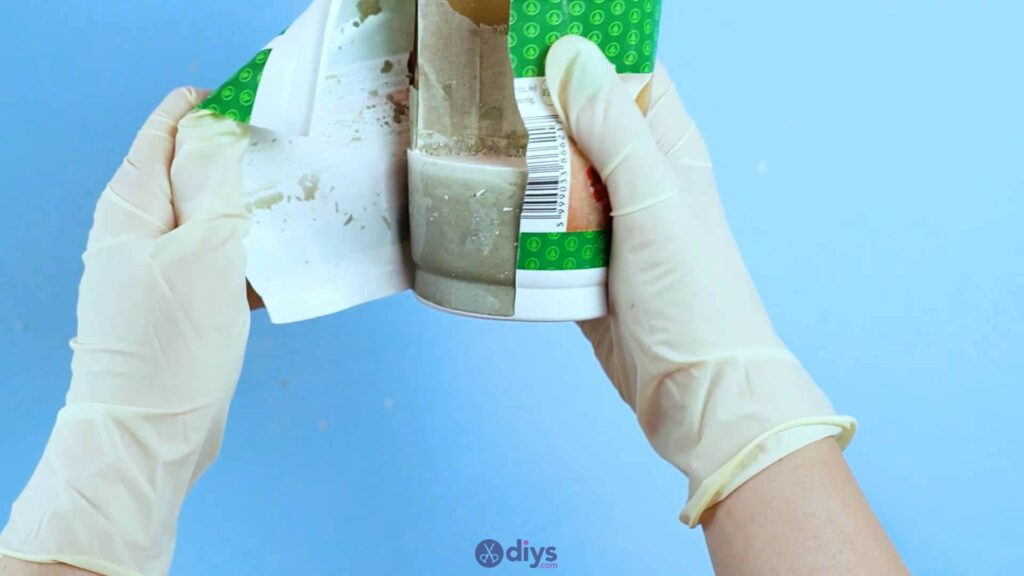
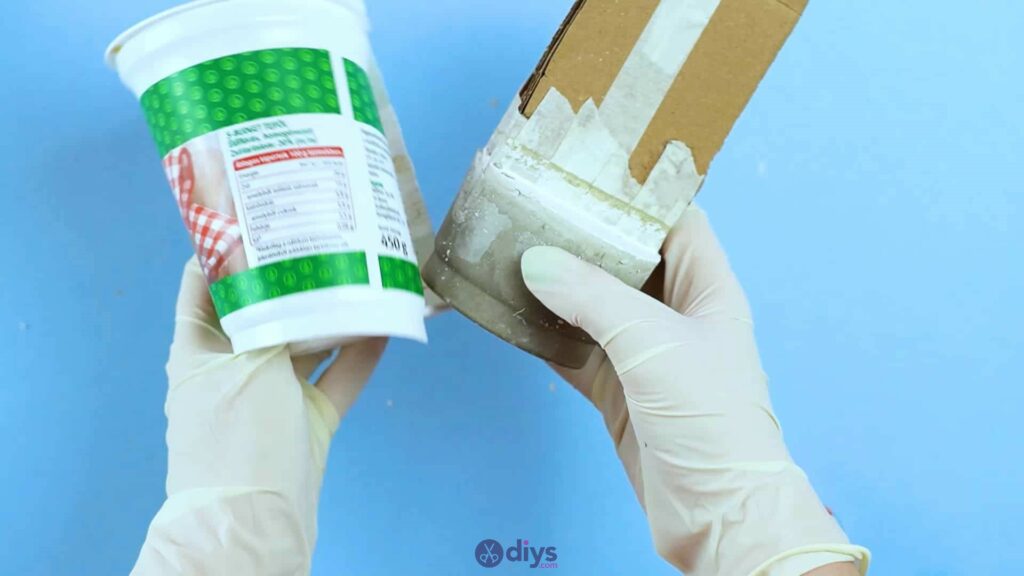
Step 7: remove the mould
Free your dried concrete piece! Remove any tape you’ve put across the top and then use scissors or a crafting blade to cut down the length of the plastic cup so you can bend it backwards from the cement and pop the new shape out. Take out the cardboard piece; this might take a bit of wriggling and effort, but don’t stress if a little bit of cardboard debris is left behind or gets stuck inside the slots. You can fix it in a moment.


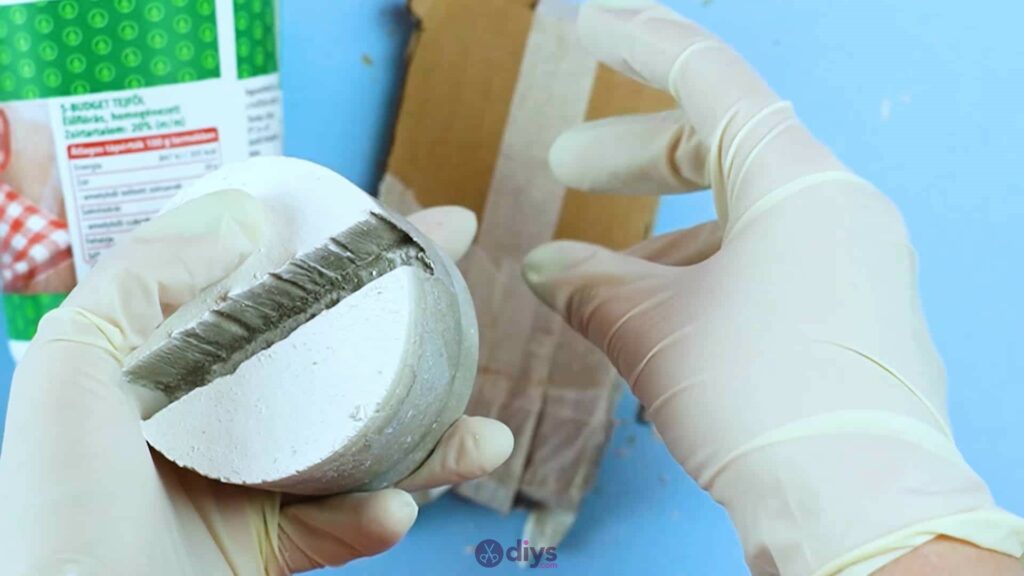
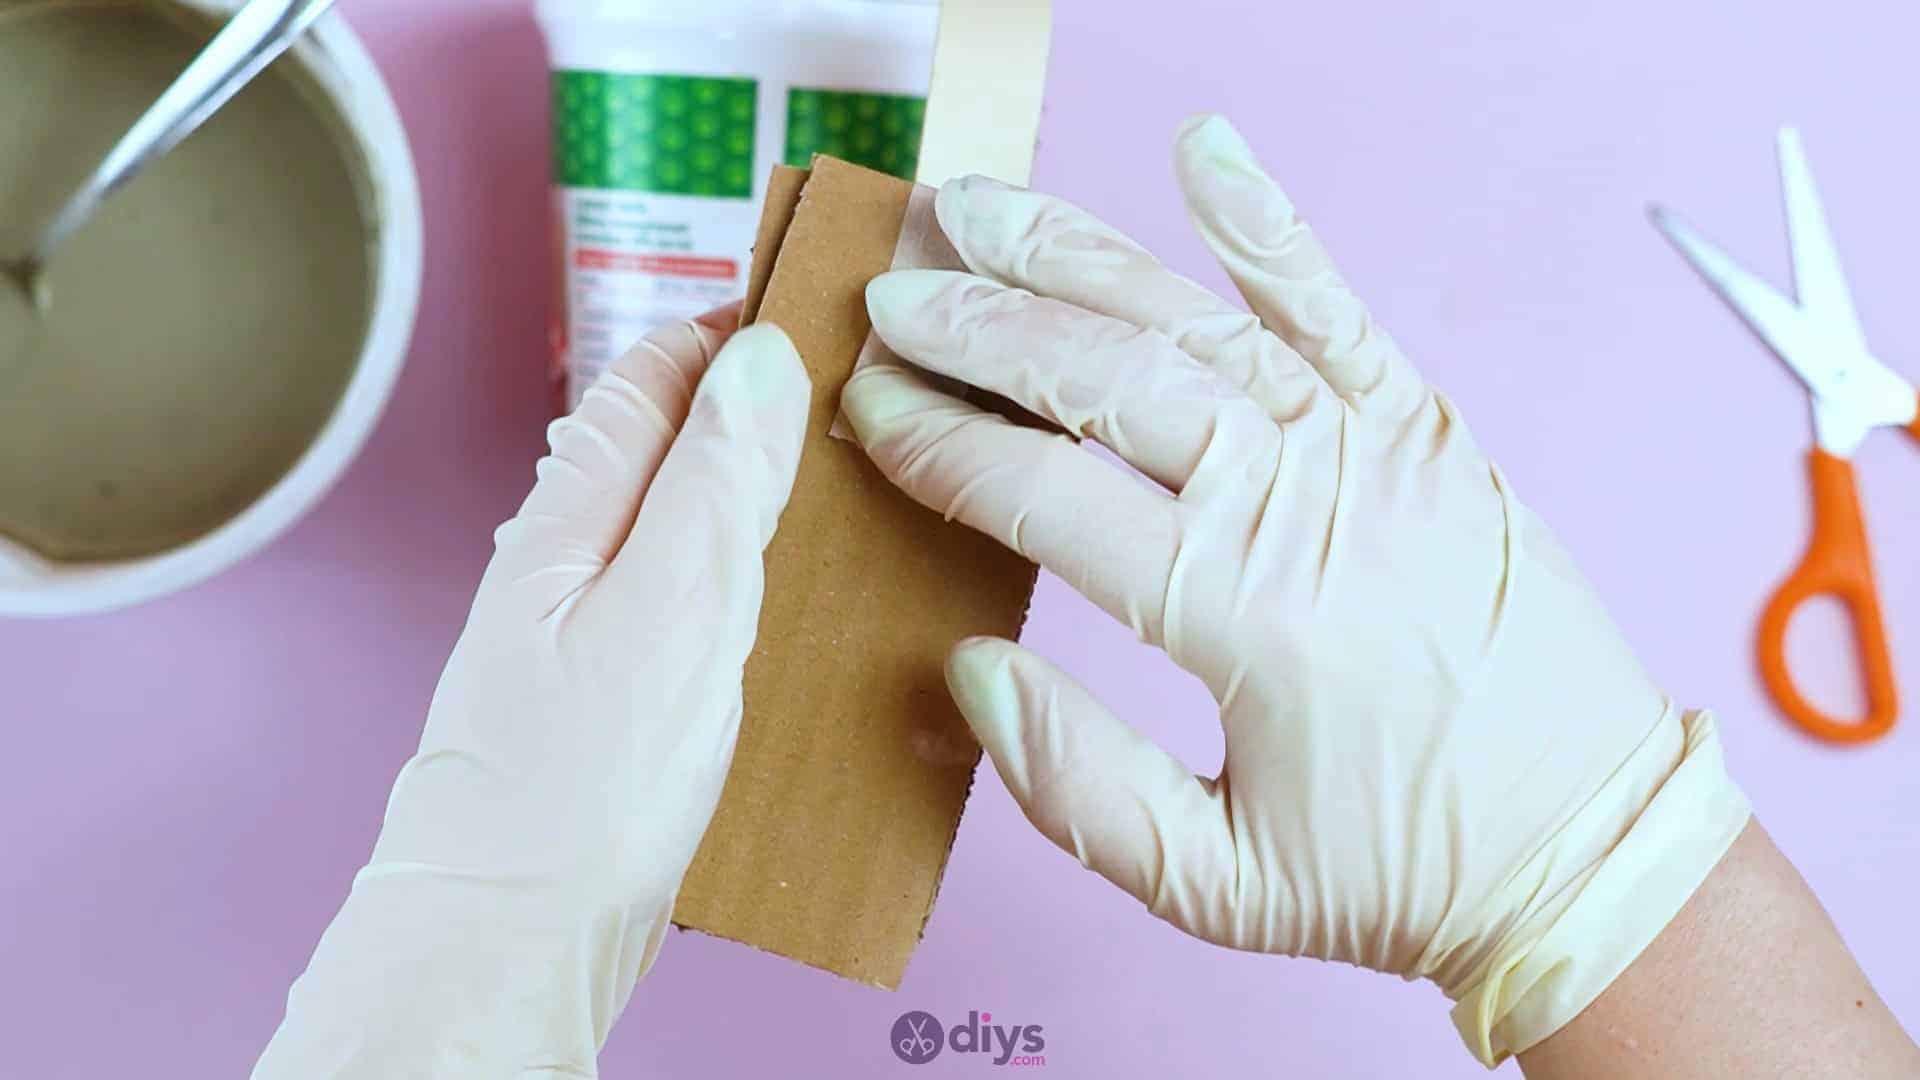
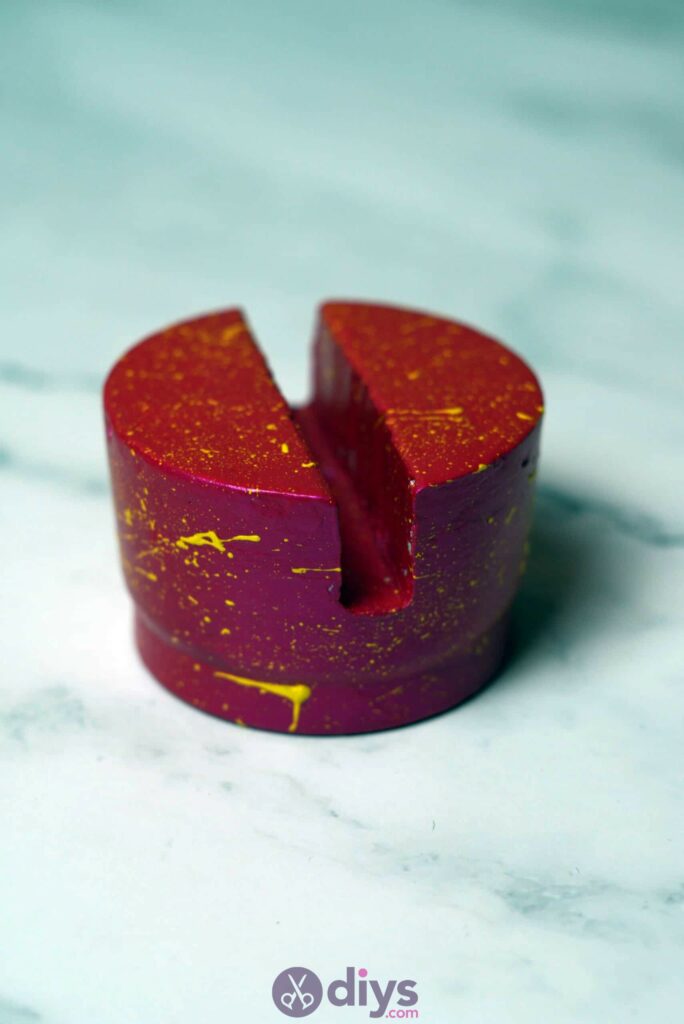
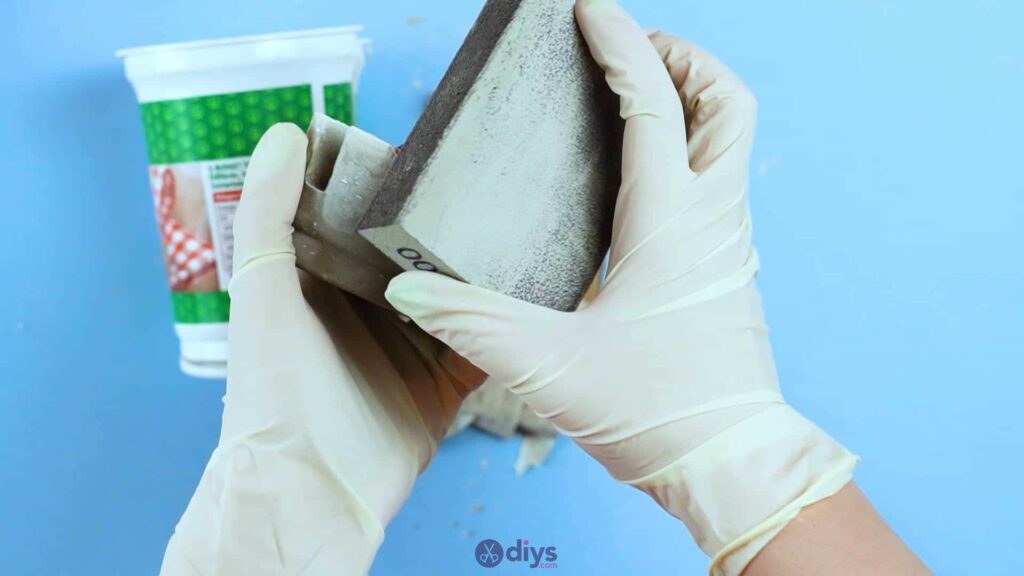
Step 8: sand it
Use a piece of sandpaper or an abrasive block to smooth the outside surface, top, and edges of your new concrete piece until any rough patches or inconsistencies can’t be felt anymore. If the inside of your middle slot is rough or still has cardboard remnants, sand in there as well (sandpaper might work better here than a whole abrasive block).
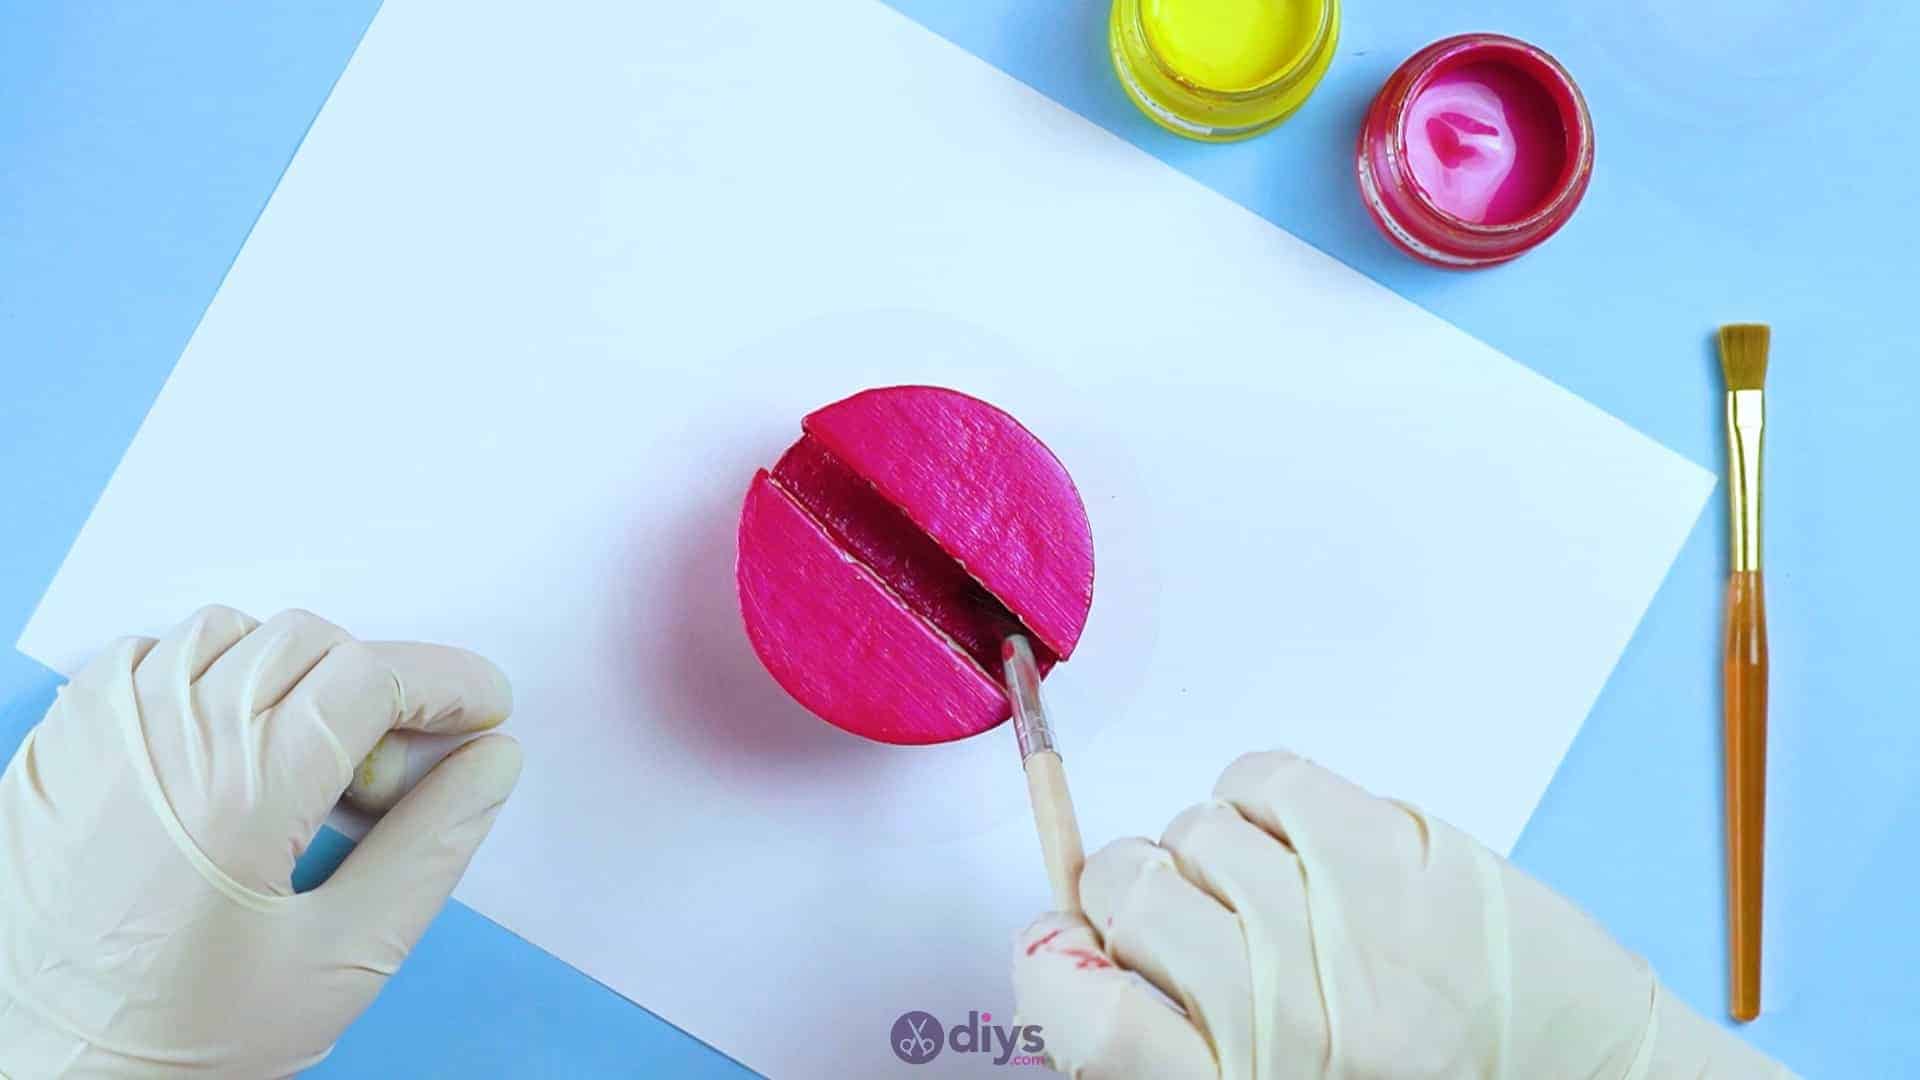
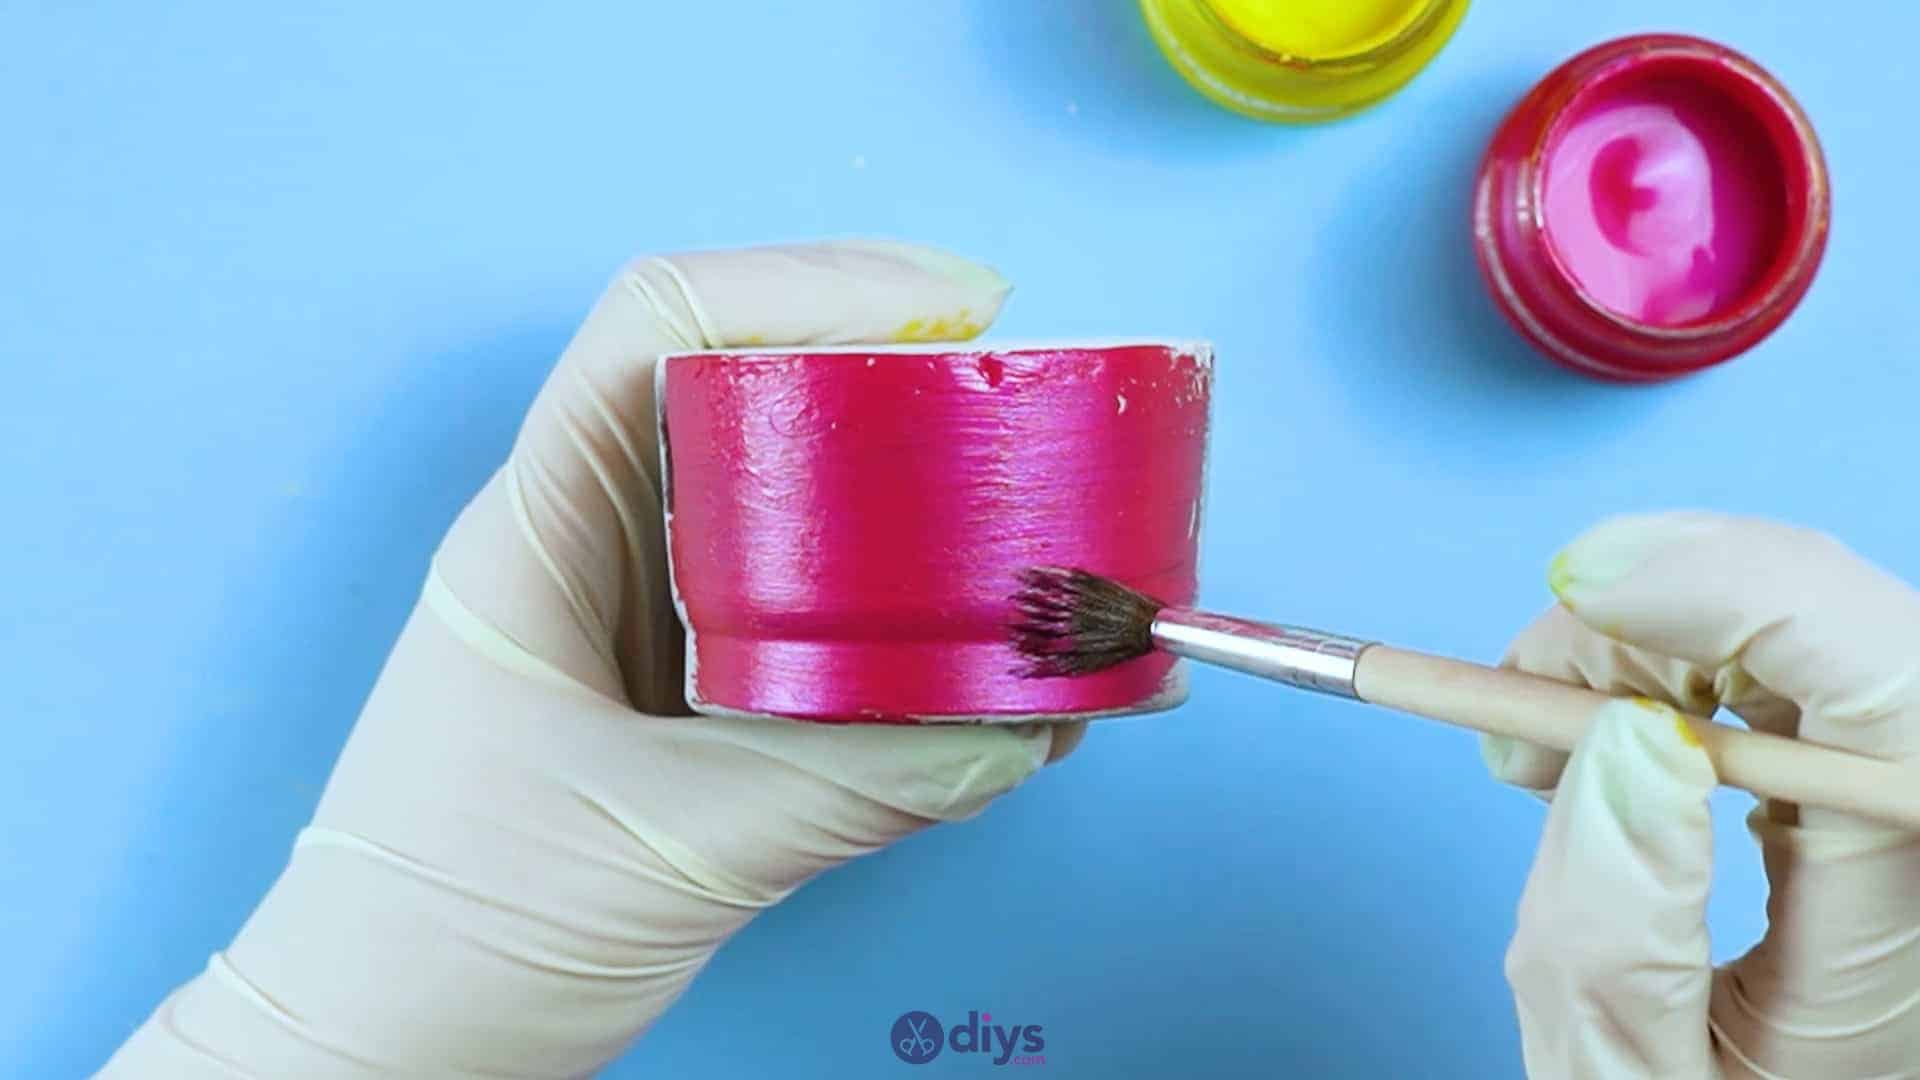
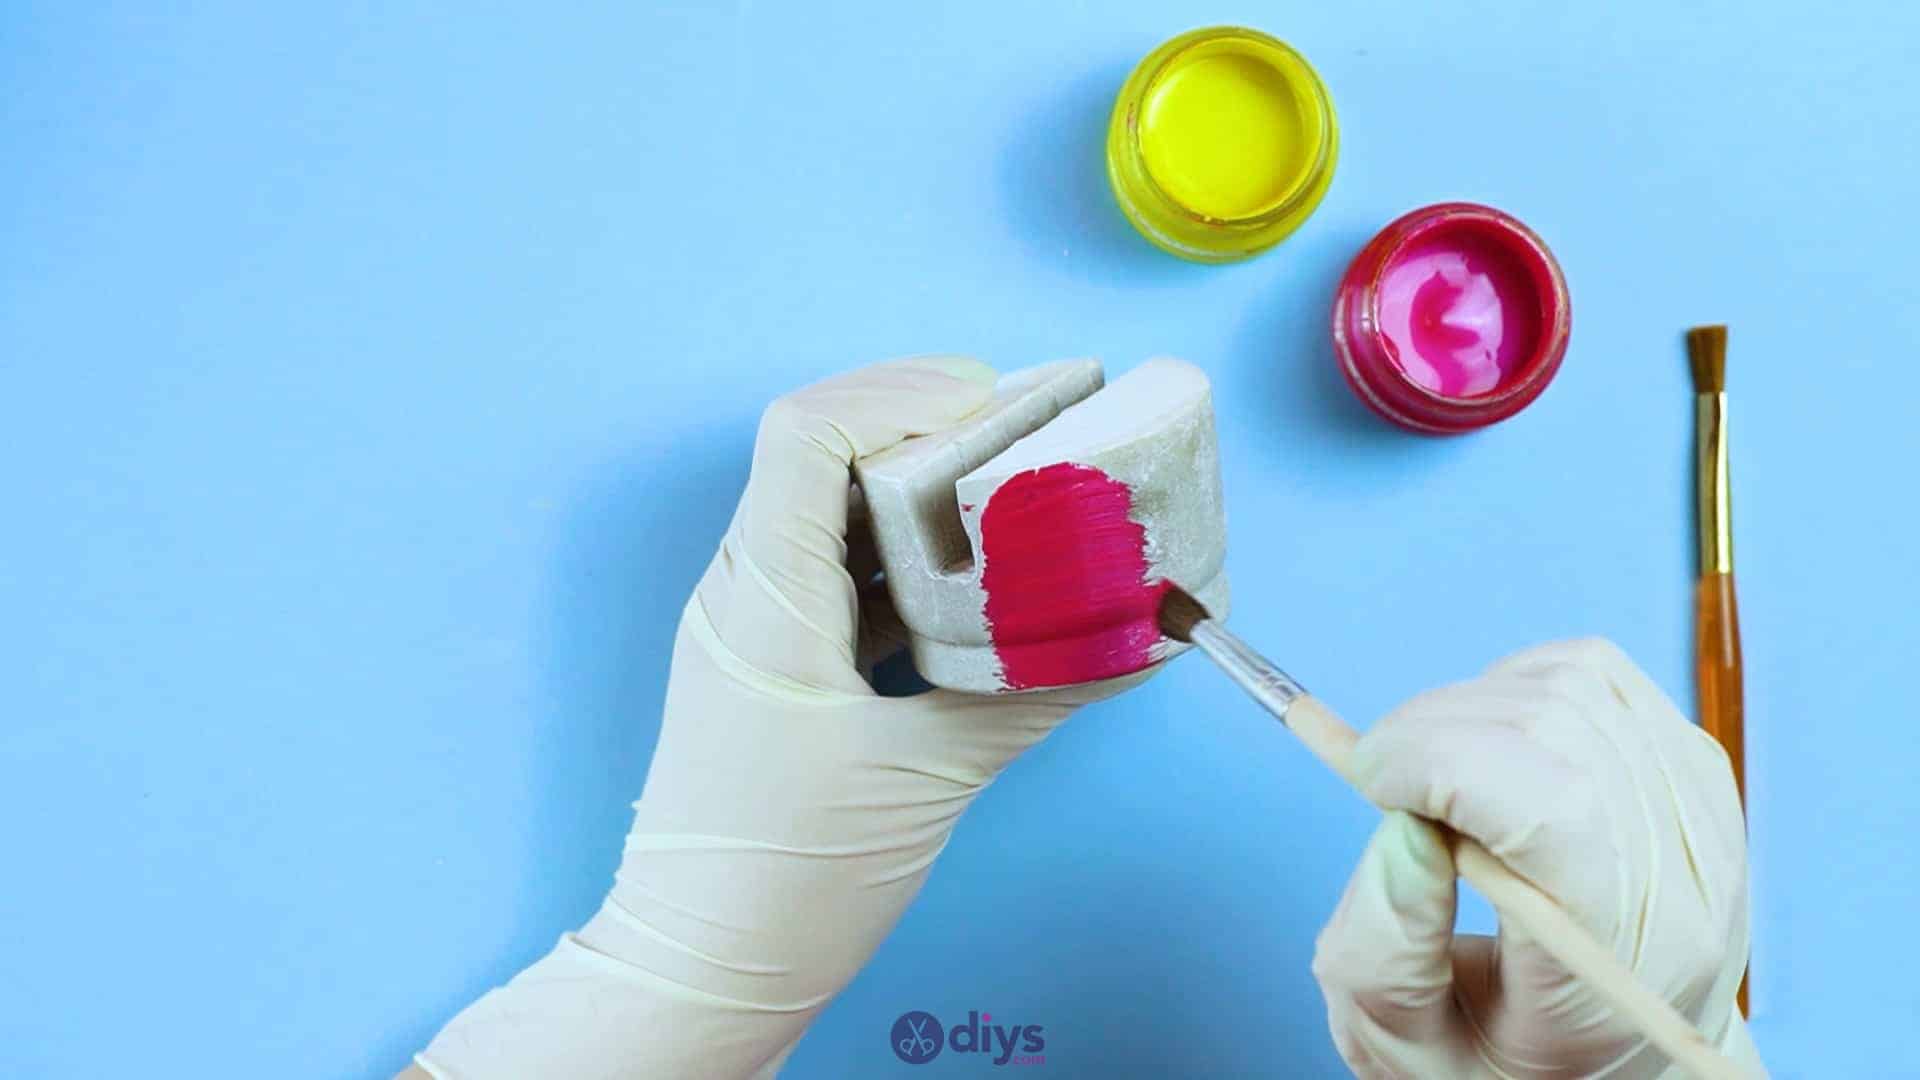
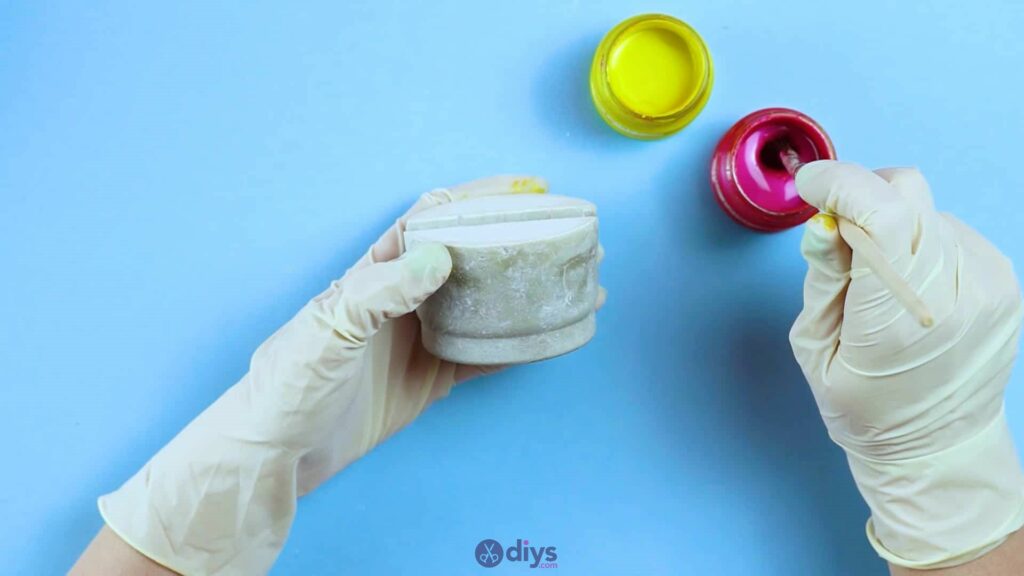
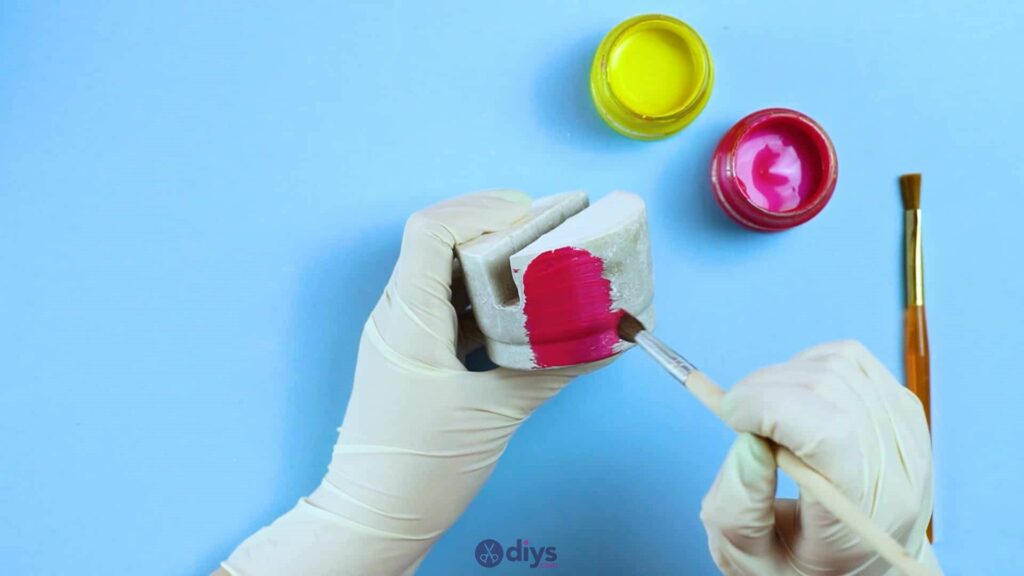
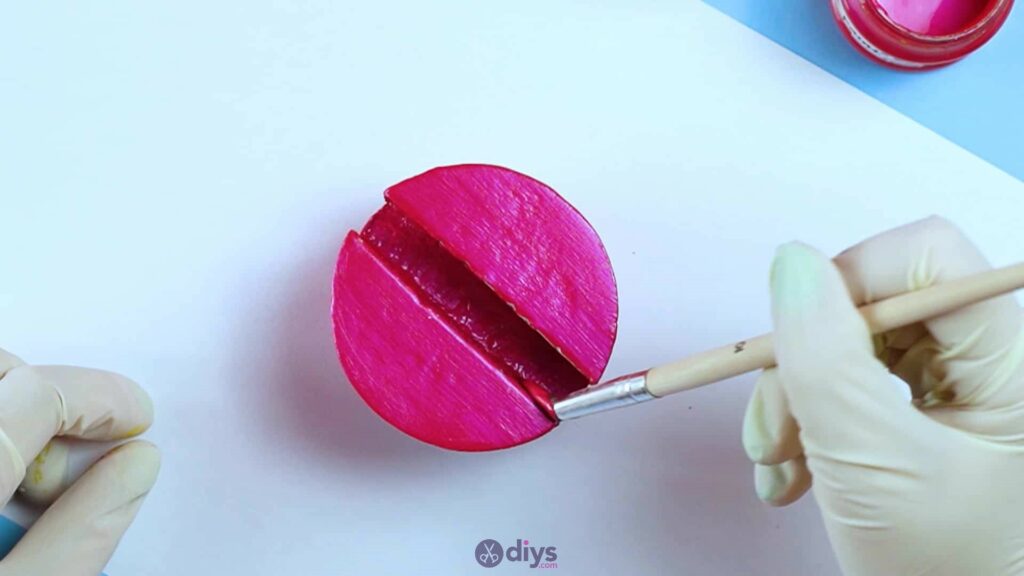
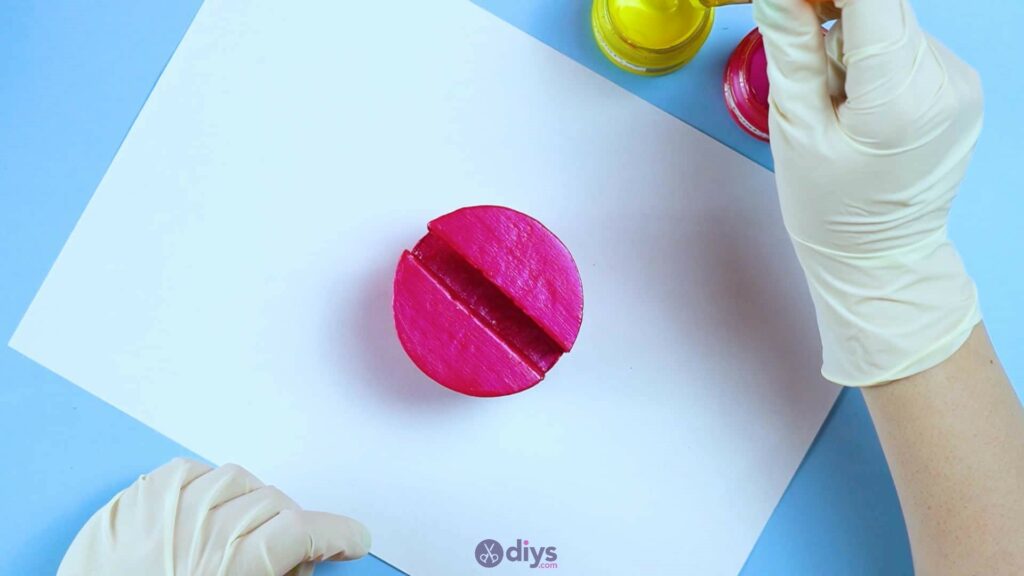
Step 9: paint it
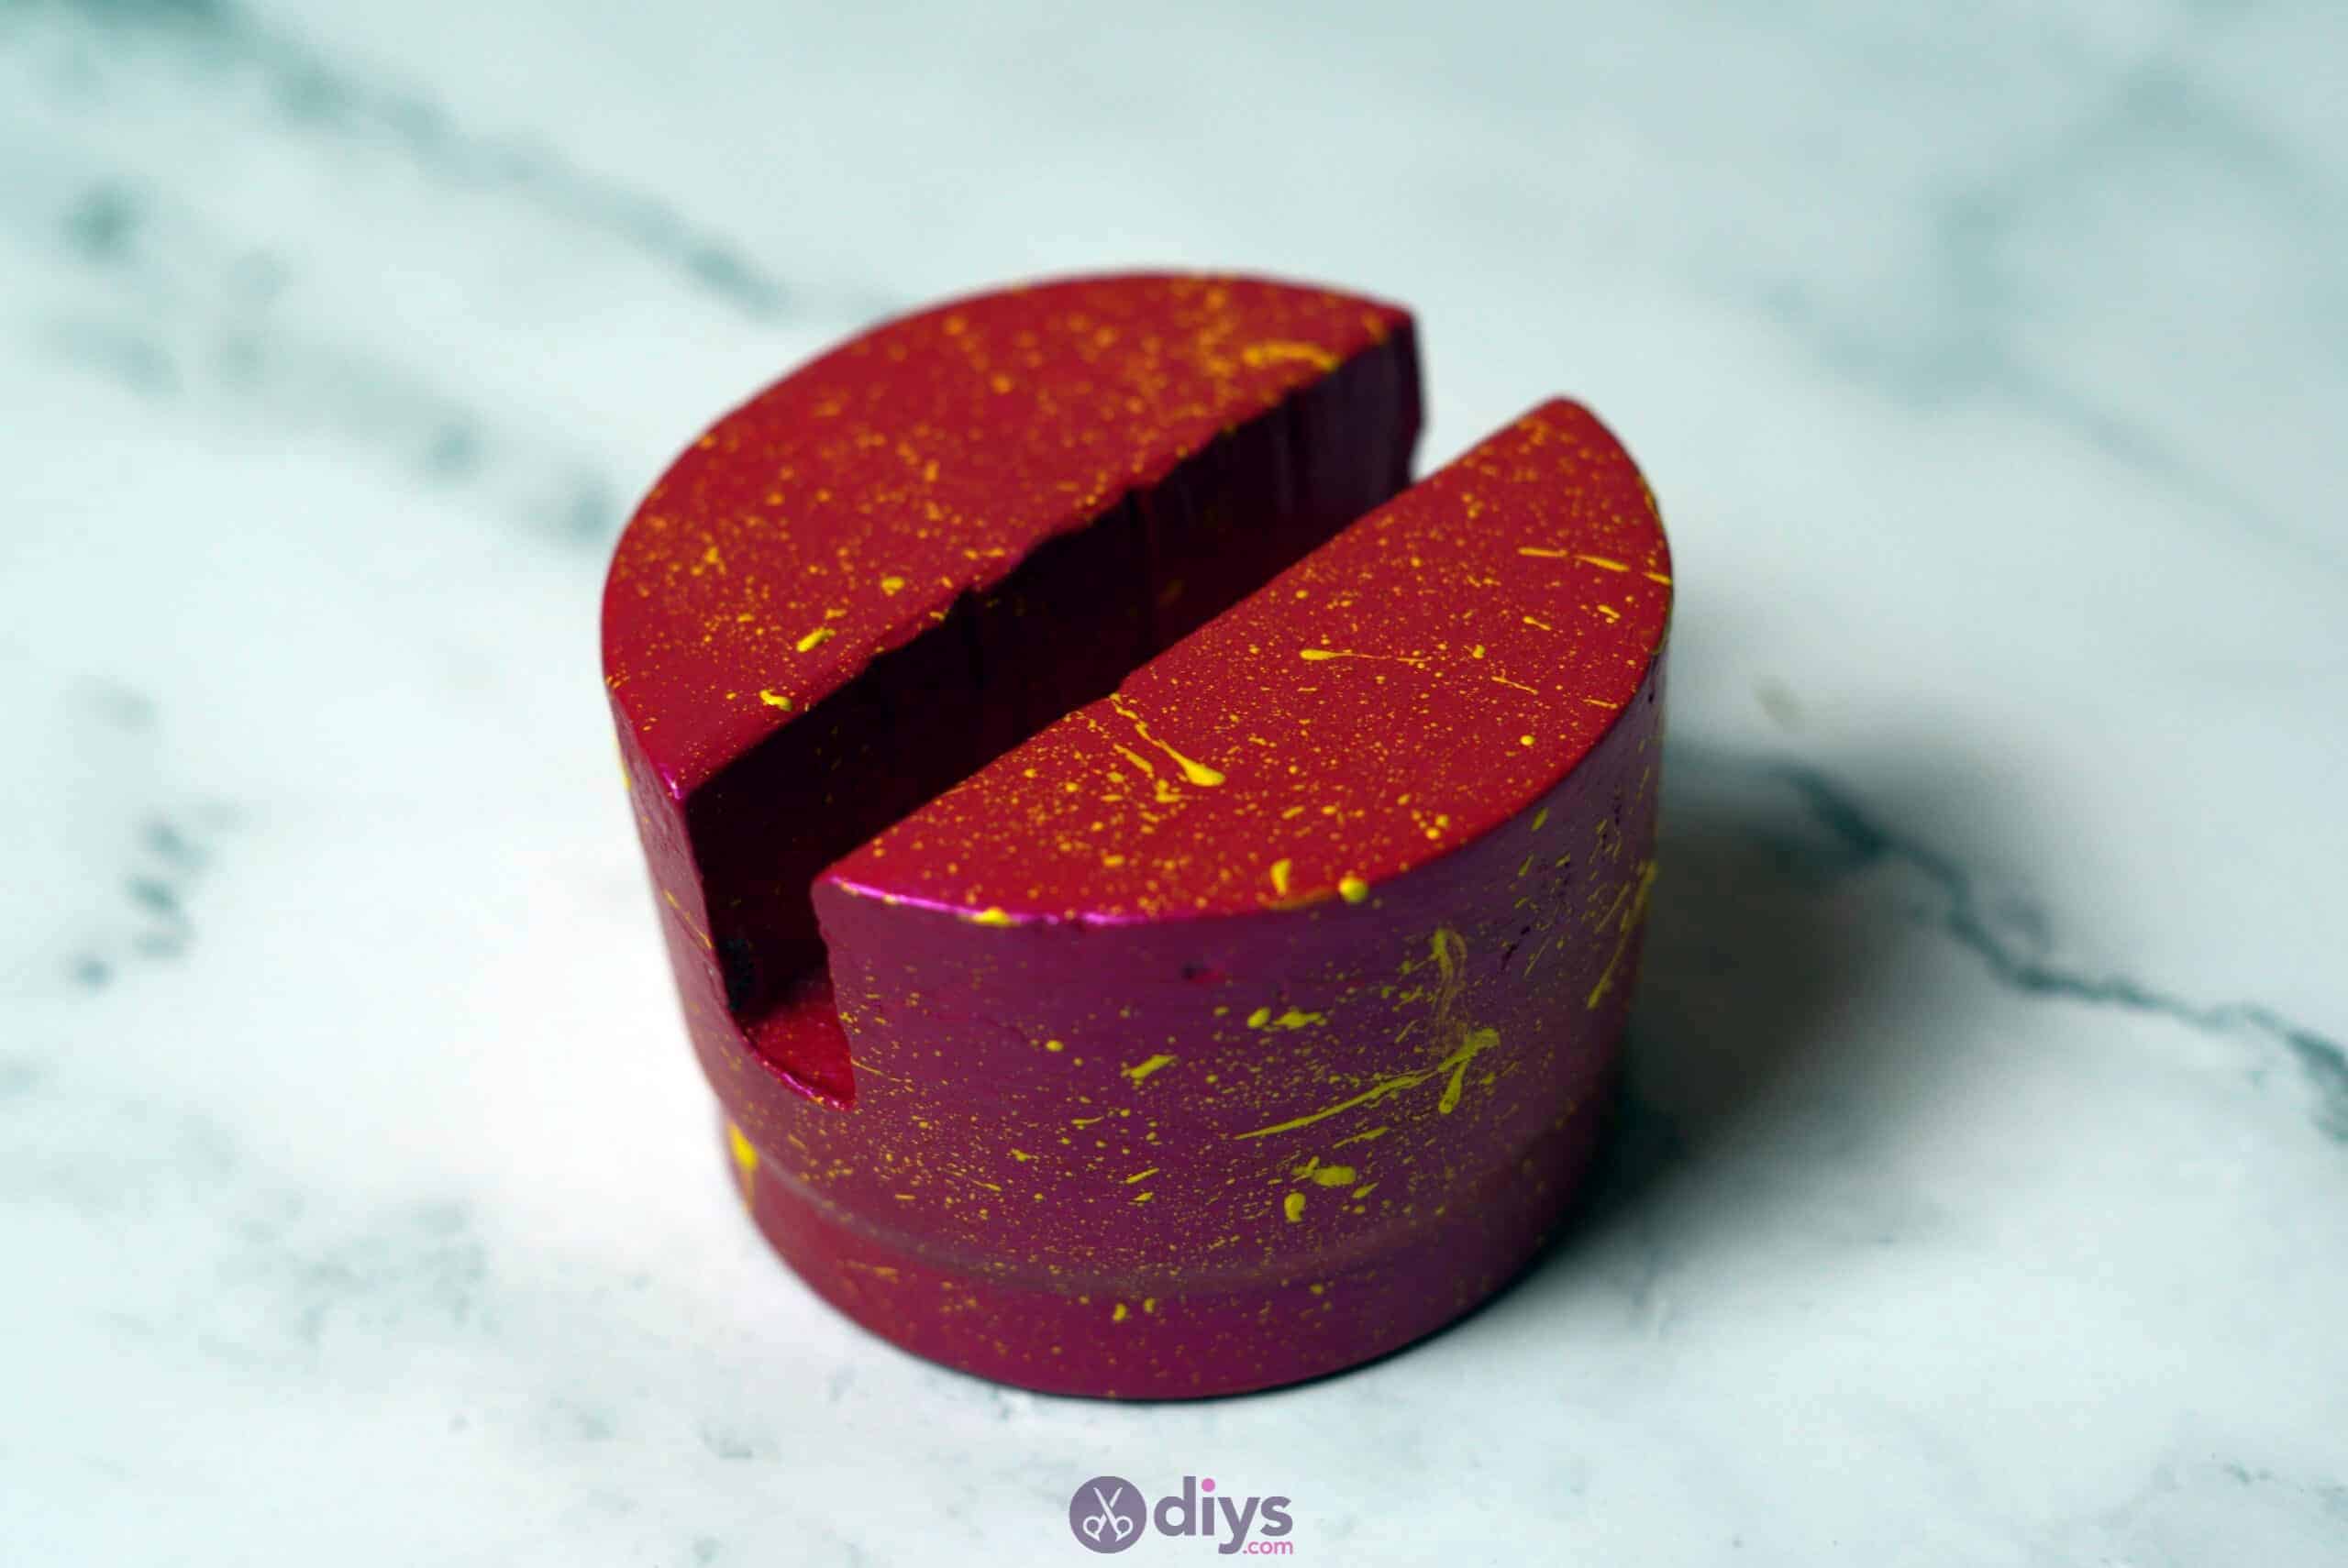
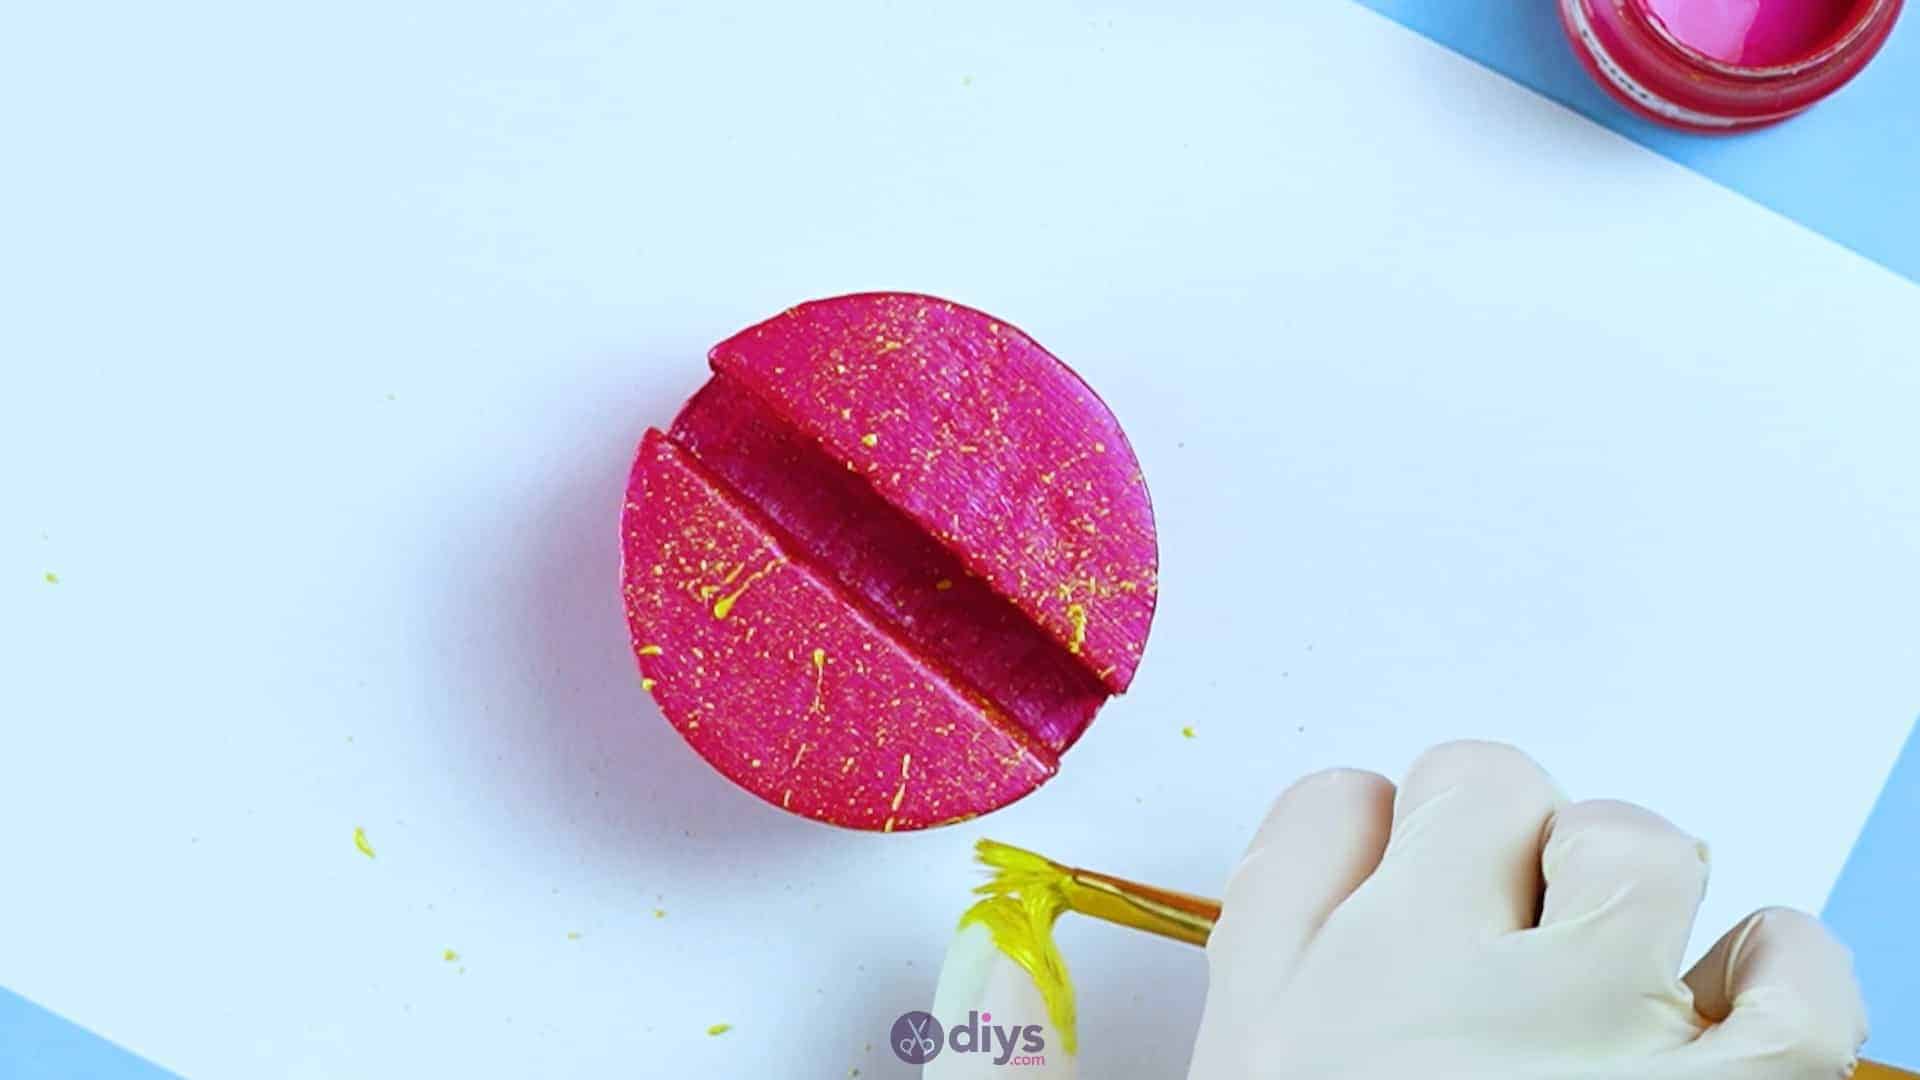
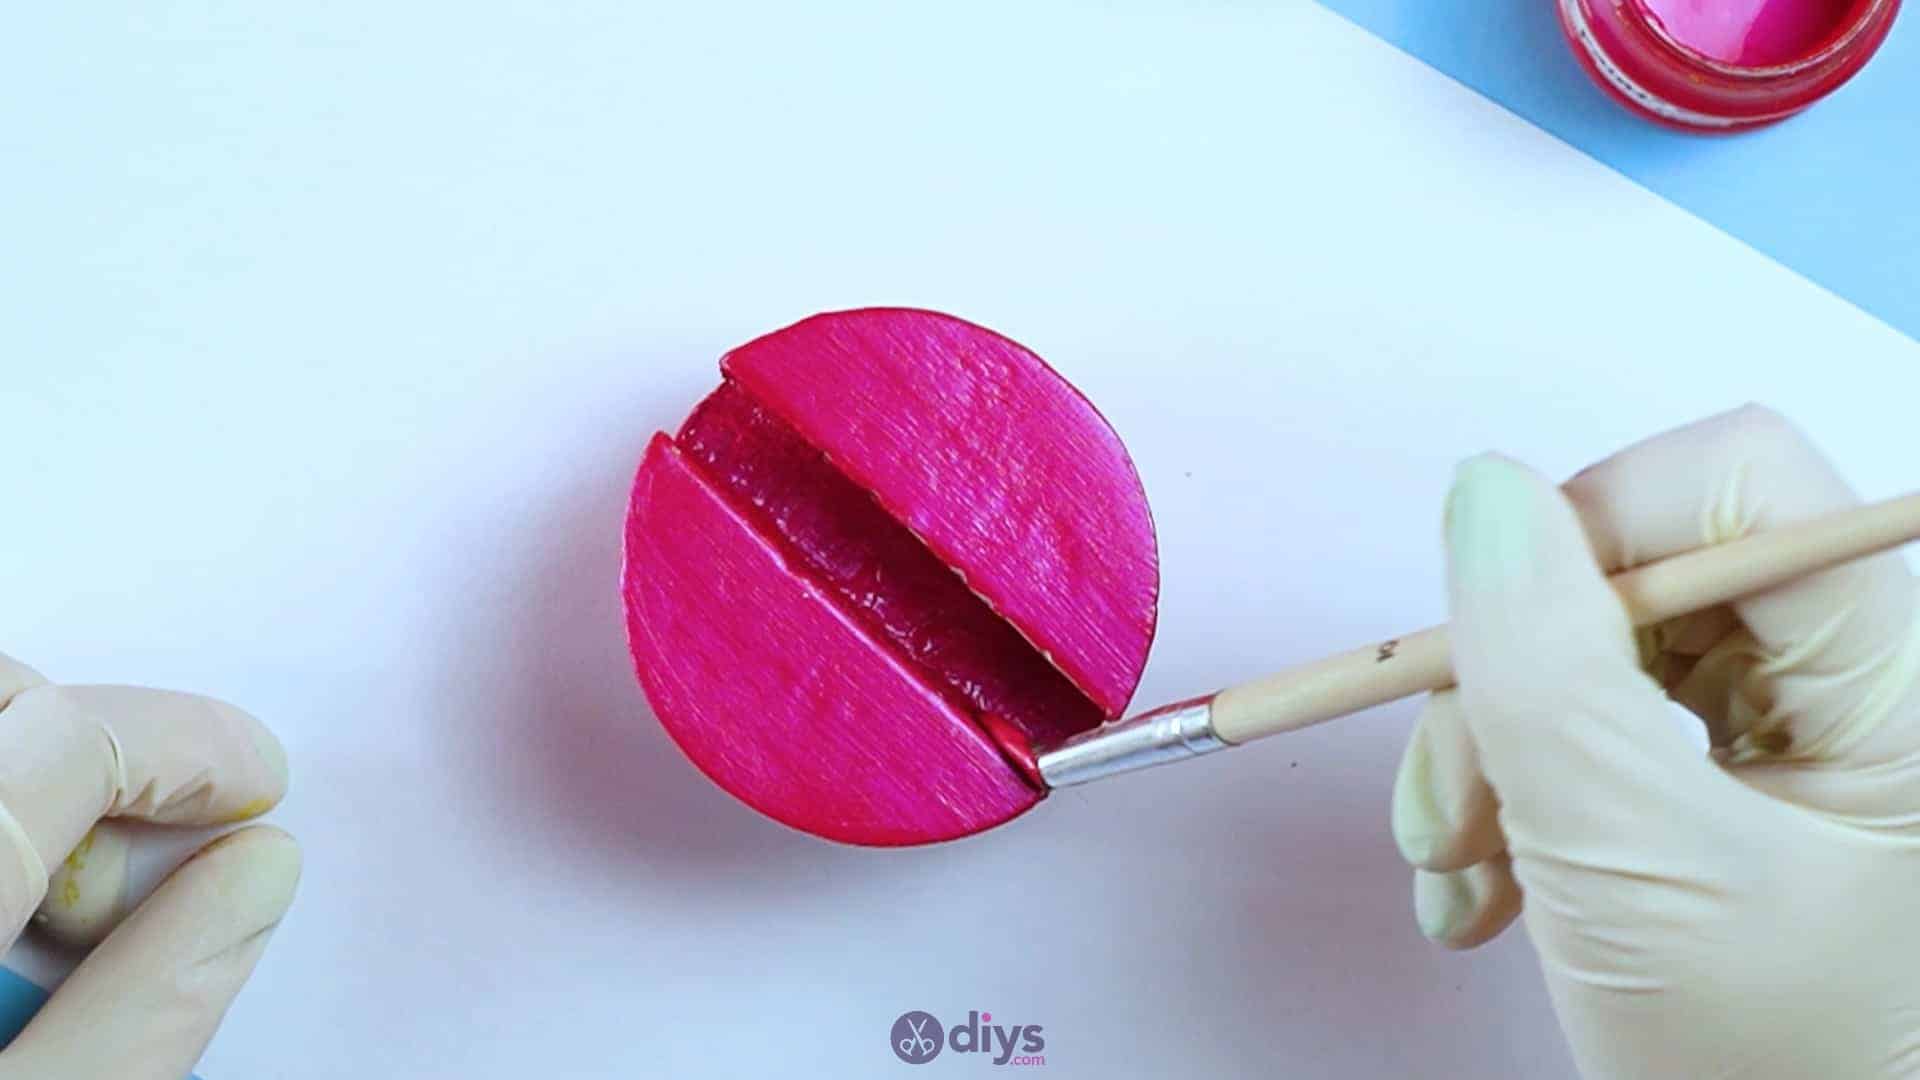
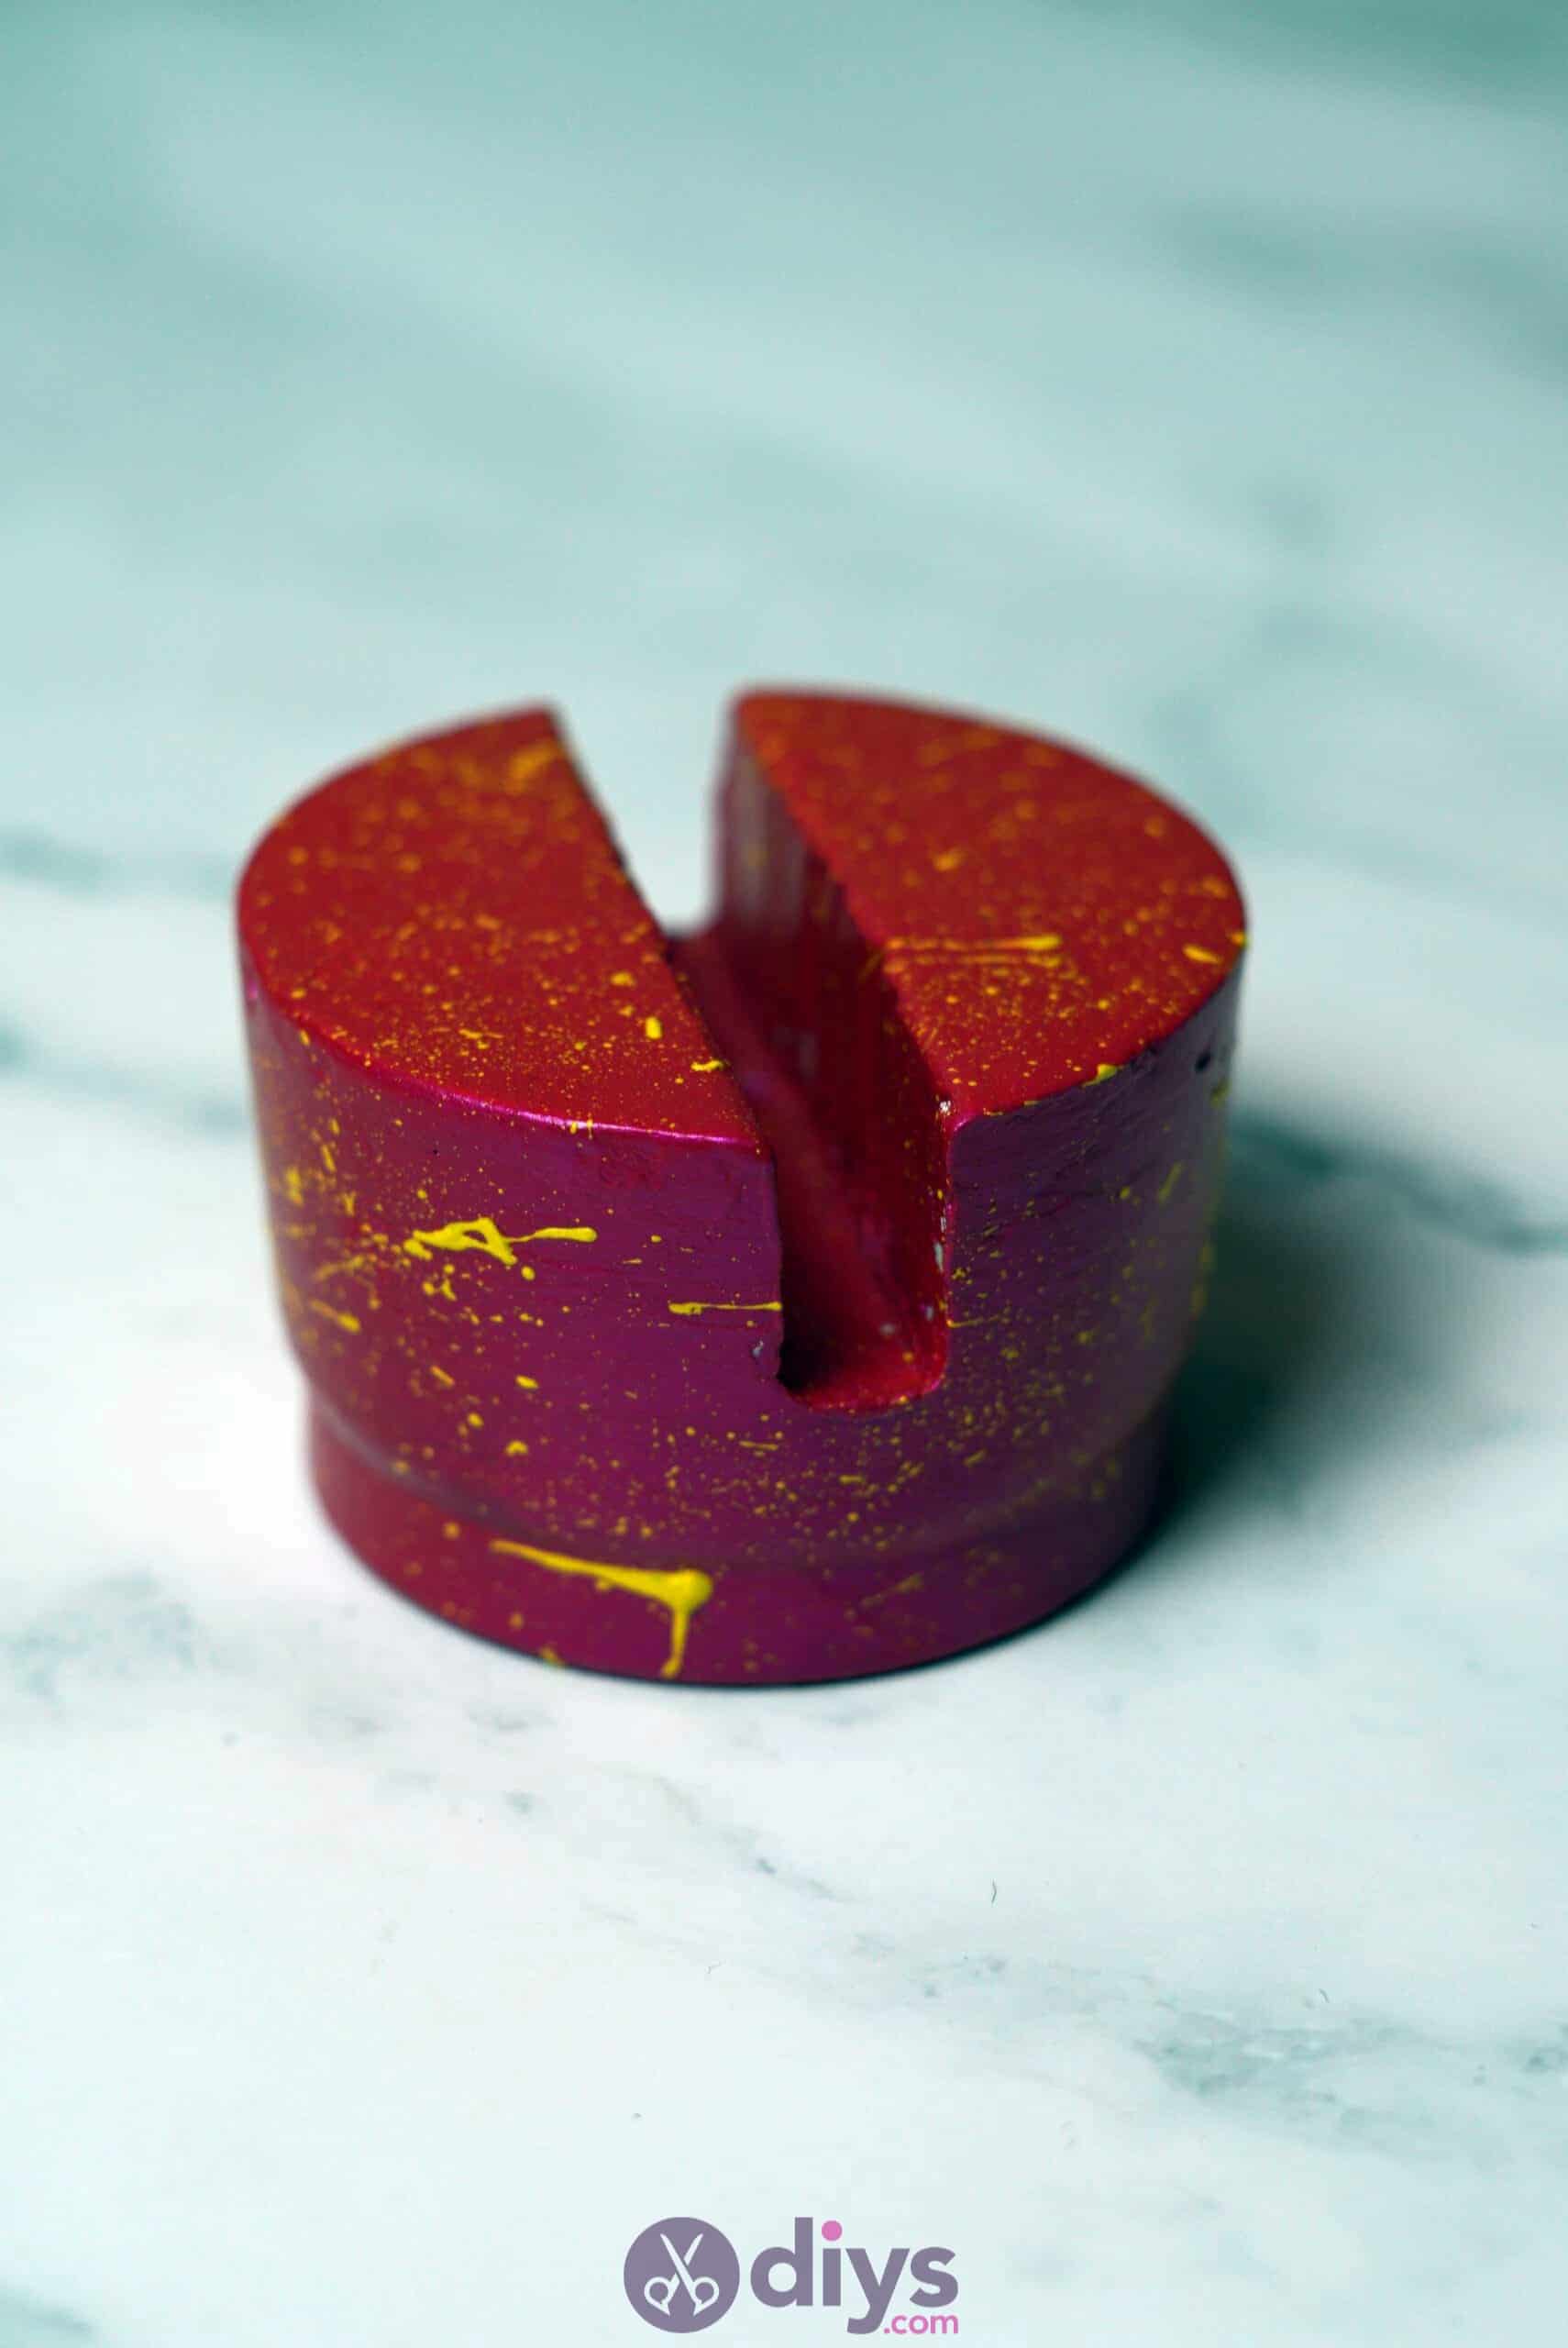
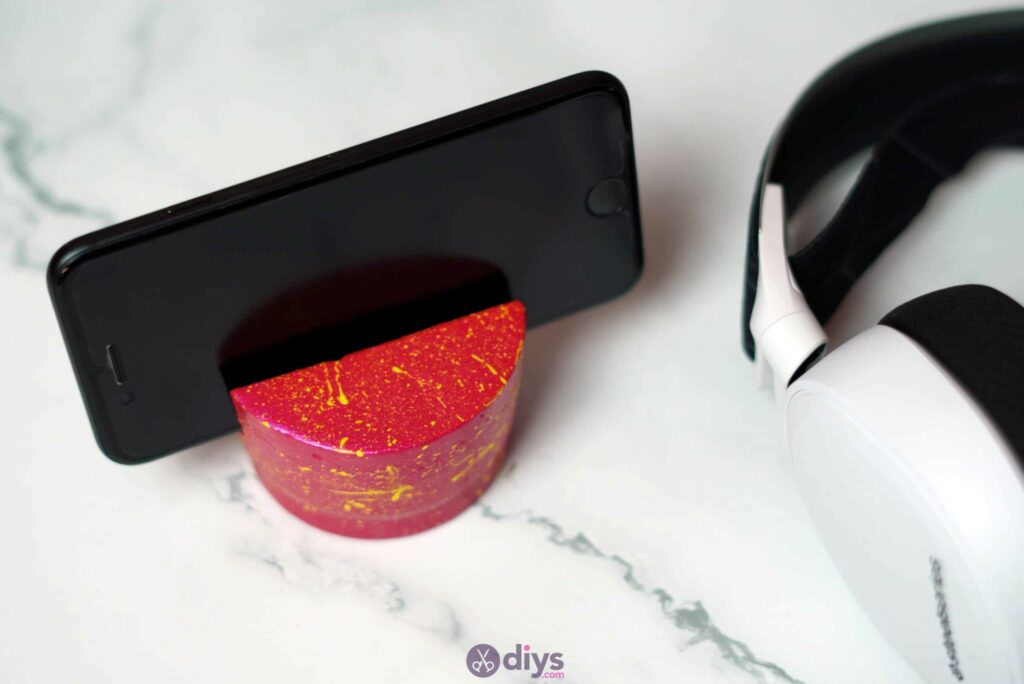
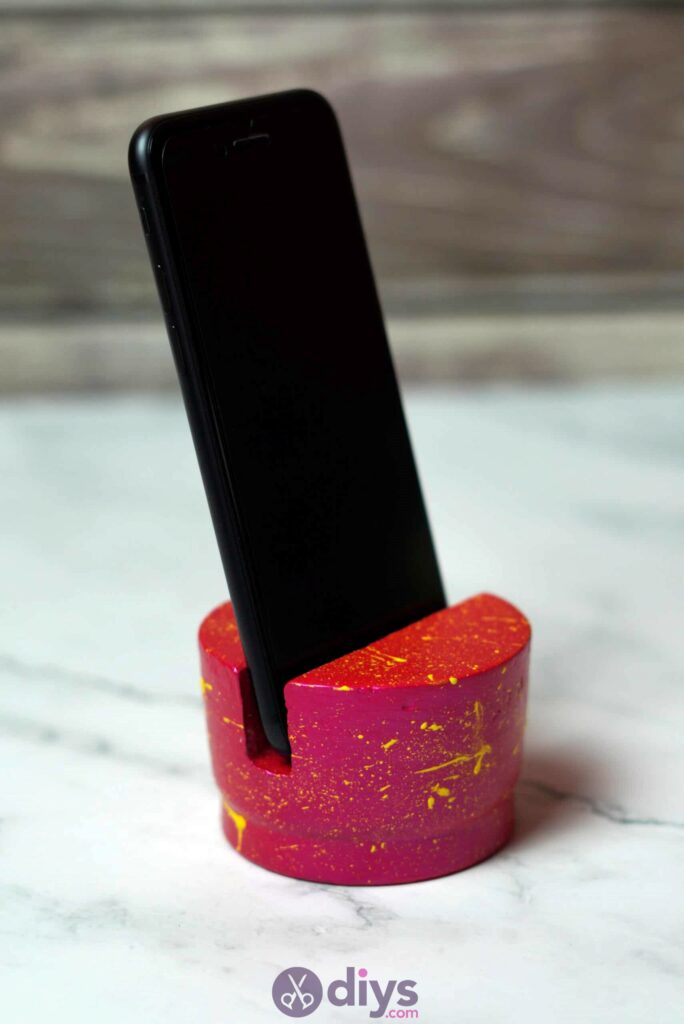
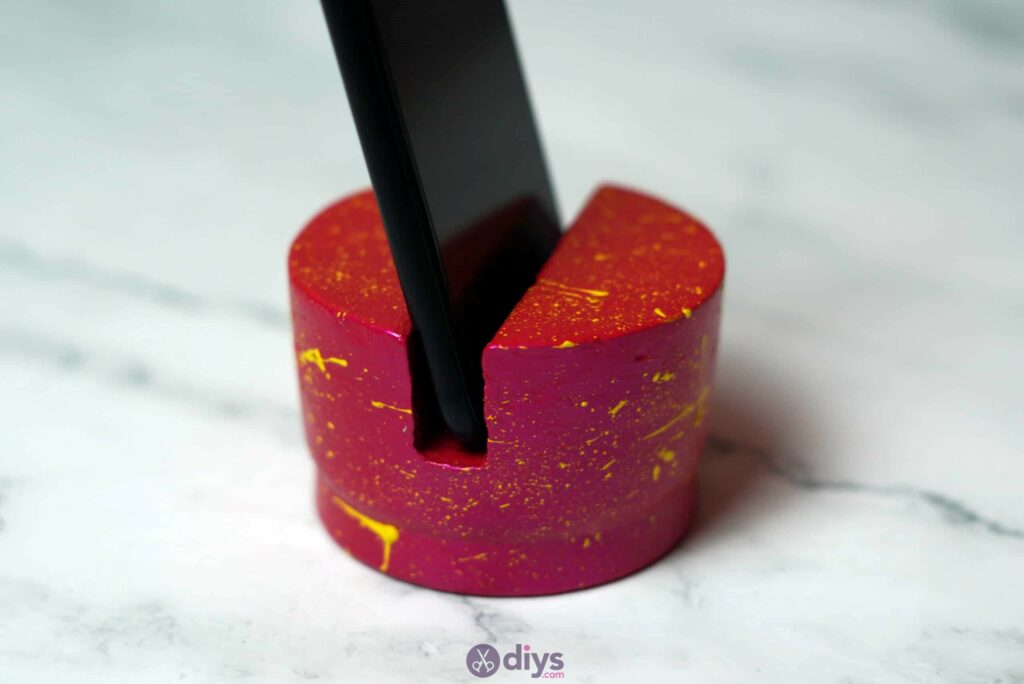
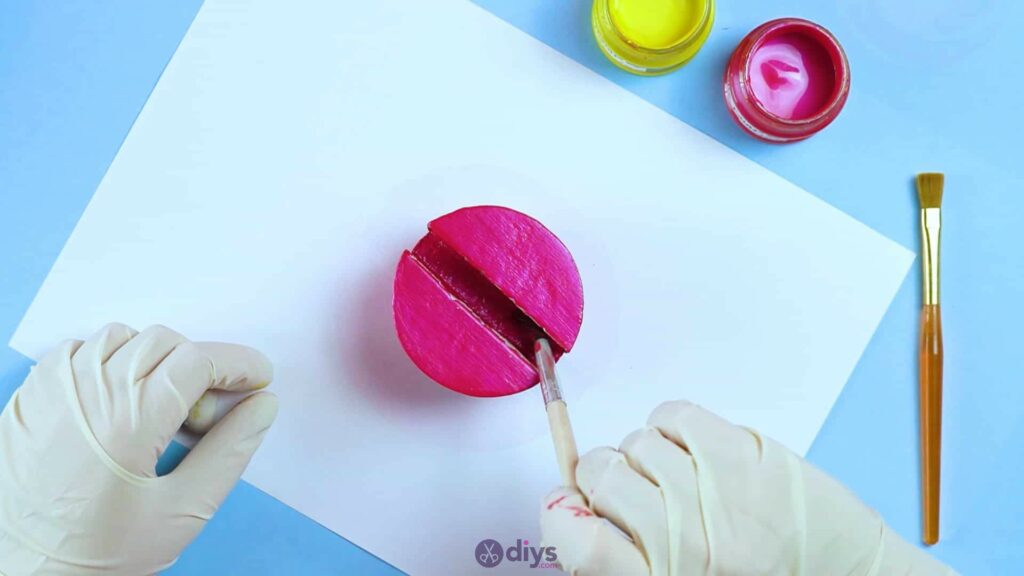
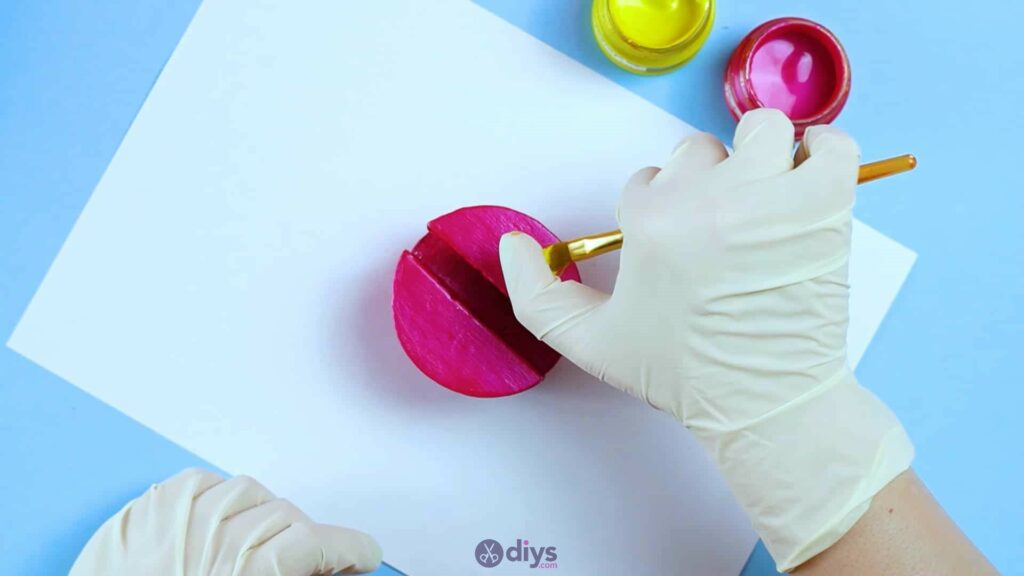
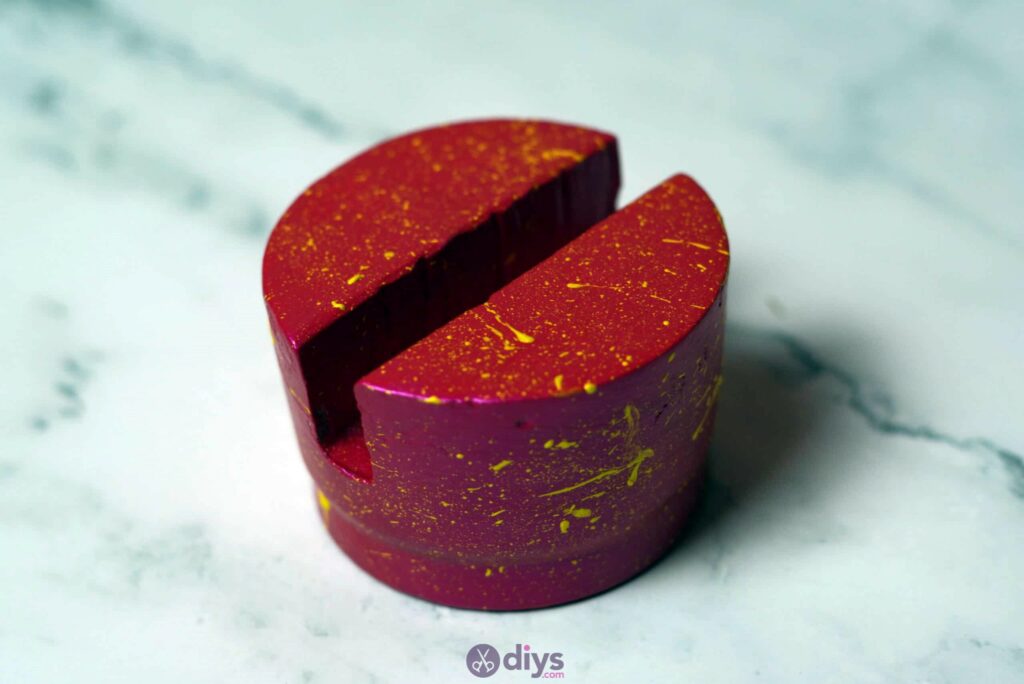
Use your paintbrush and acrylic or all-surface paints to add some colours or personality and detail to your new concrete phone holder! I opted to paint the entire thing red as a base colour and then use a brush splattering technique to add eclectic flecks of yellow all over. Make sure you even paint inside your indent where your phone will sit so it doesn’t stand out for its lack of colour and detract from the overall style of the piece.
Splattering can be done by getting a dense brush, dipping it in paint, and then pulling it back with your thumb, bending the bristles until they spring forward and flick the paint outwards. Just make sure you’re aiming carefully onto your actual concrete piece; it’s pretty easy to spray paint all over using this method, but it’s a whole lot of fun! Set your painted piece aside to dry once more.


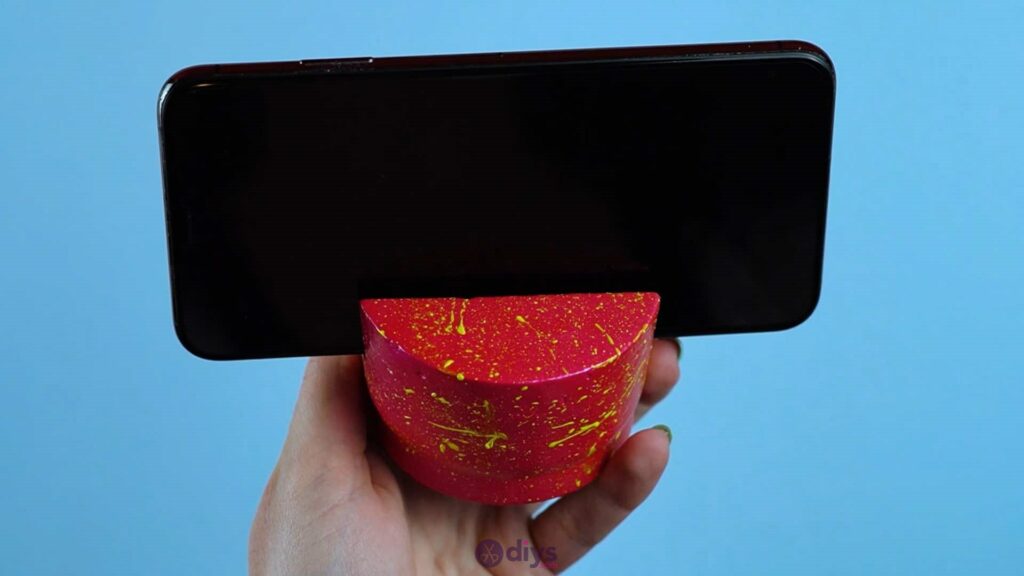

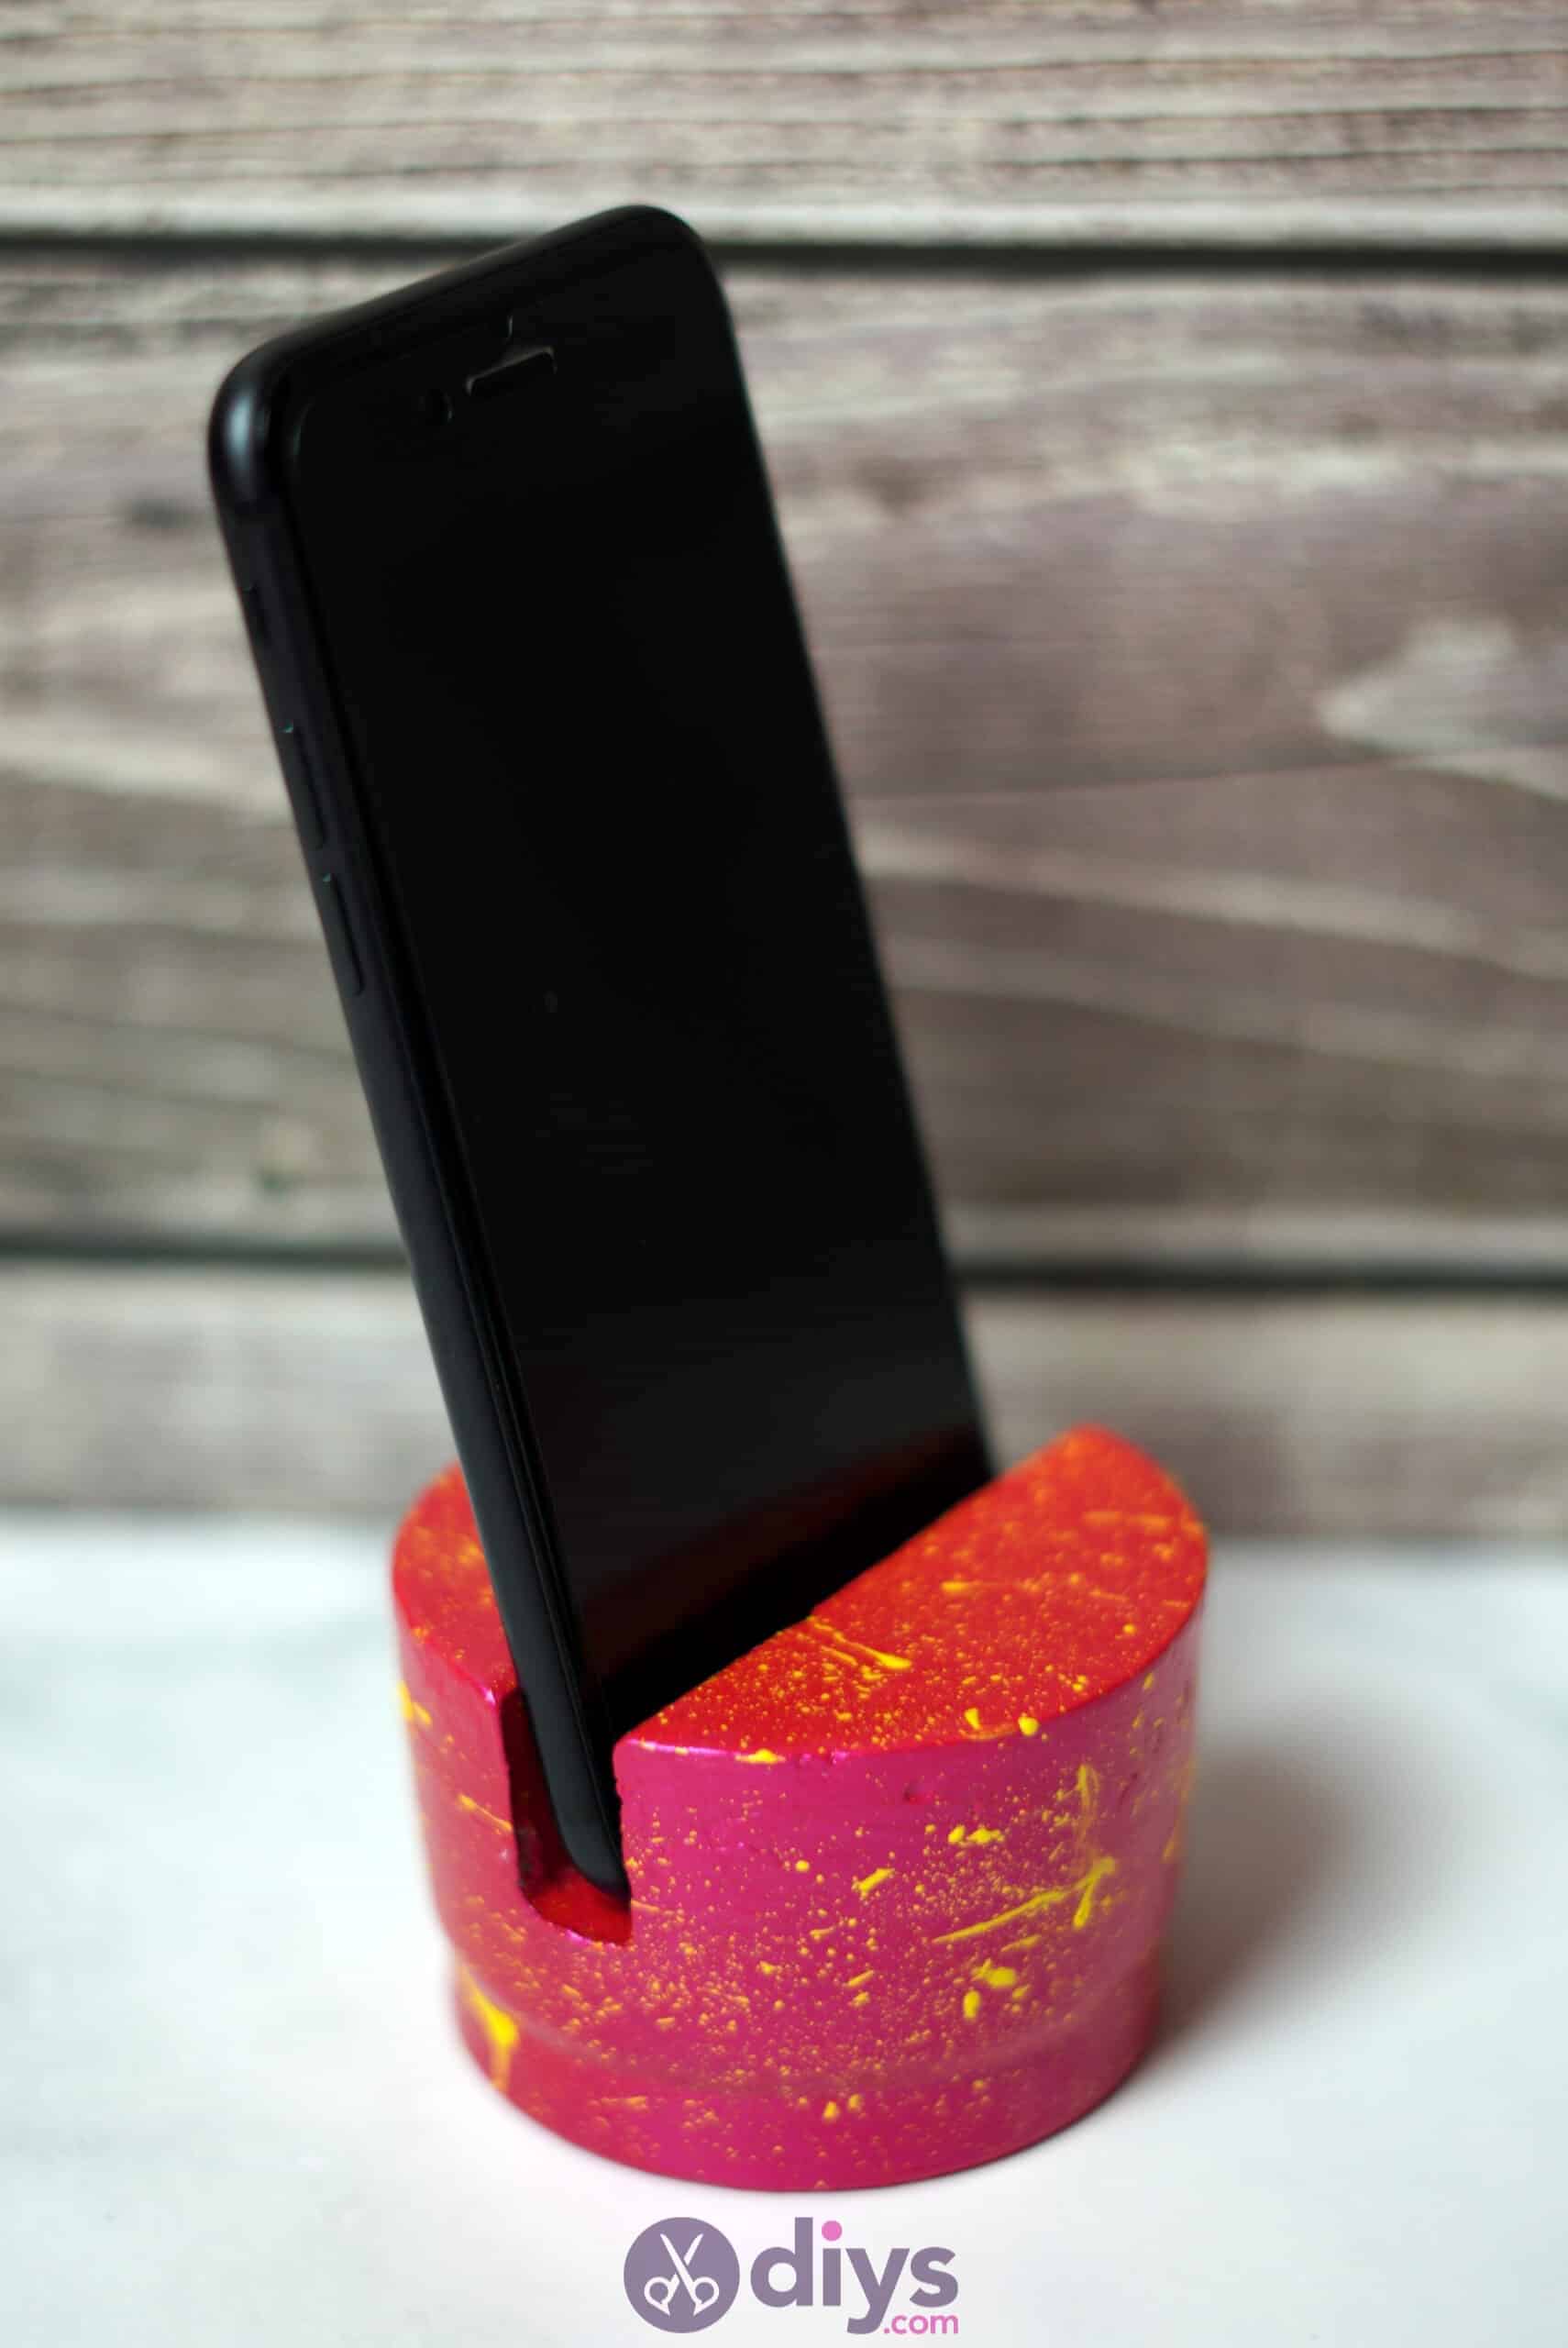
Put your phone in the holder and voila! You’ll be able to stand it upright or turn it sideways in order to view videos or pages in widescreen or fullscreen mode. As always, feel free to get creative with your colour schemes and details! Whether you choose to splatter yours the same way I did or not, here’s a video tutorial to help you out with at least the basic moulding techniques.