DIY Concrete Hanging Star Decoration
Updated on November 19, 2025


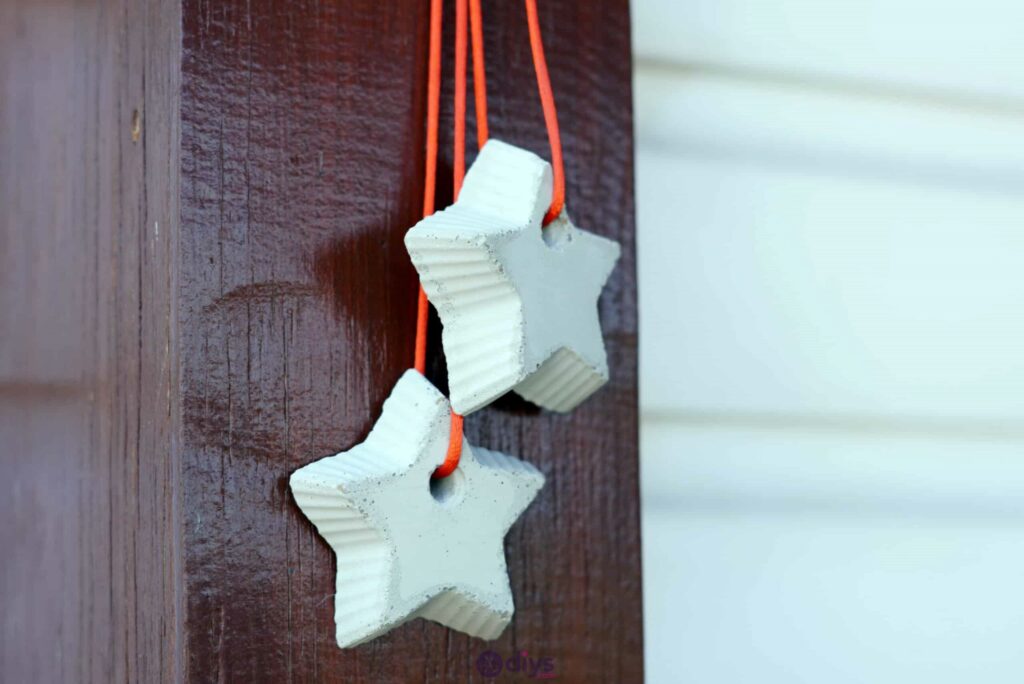
Concrete is fun to work with and can make lots of great projects. Like this concrete hanging star decoration! We’ve put together a step by step tutorial, so you can do it yourself. Keep scrolling to read how!

Despite how incredibly simple they are, I got a lot of questions about how I made them from fellow crafters. I can totally understand this; these are actually a nice, easy project for introducing your kids to the idea of working with DIY cement so long as you’re there to supervise them. I decided to map out the whole process, which you can find below. You’ll also find a full video tutorial for the visual learners out there if you scroll to the end of this post.

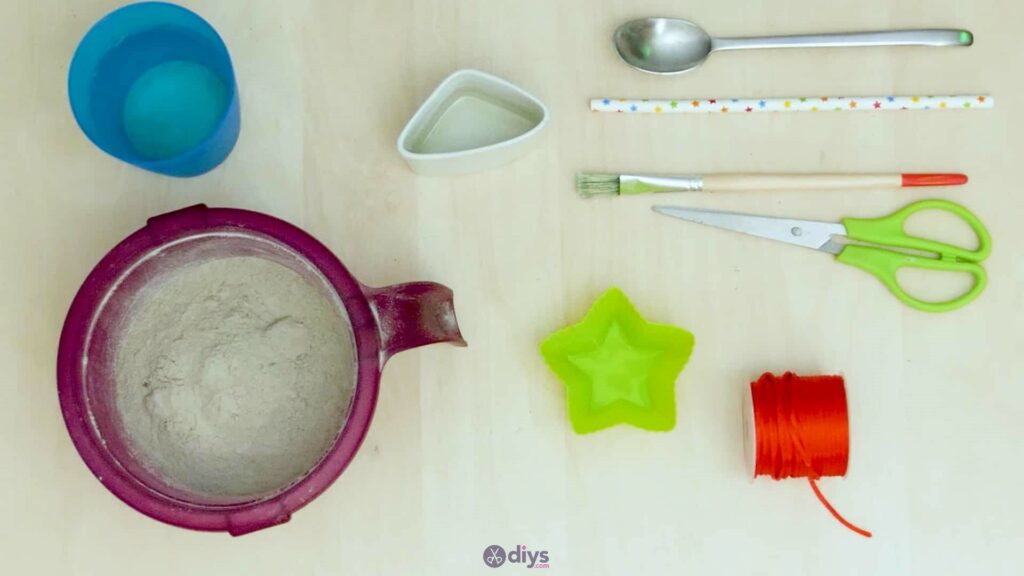
For this project, you’ll need:
- Fine particle cement mix
- Water
- Plate
- Spoon
- Tape
- Oil
- Silicone form
- Satin macrame cord
- Wooden skewer
- Scissors
Step 1: Gather up your materials!
Be sure to get everything together so all your materials are at hands reach when you begin.
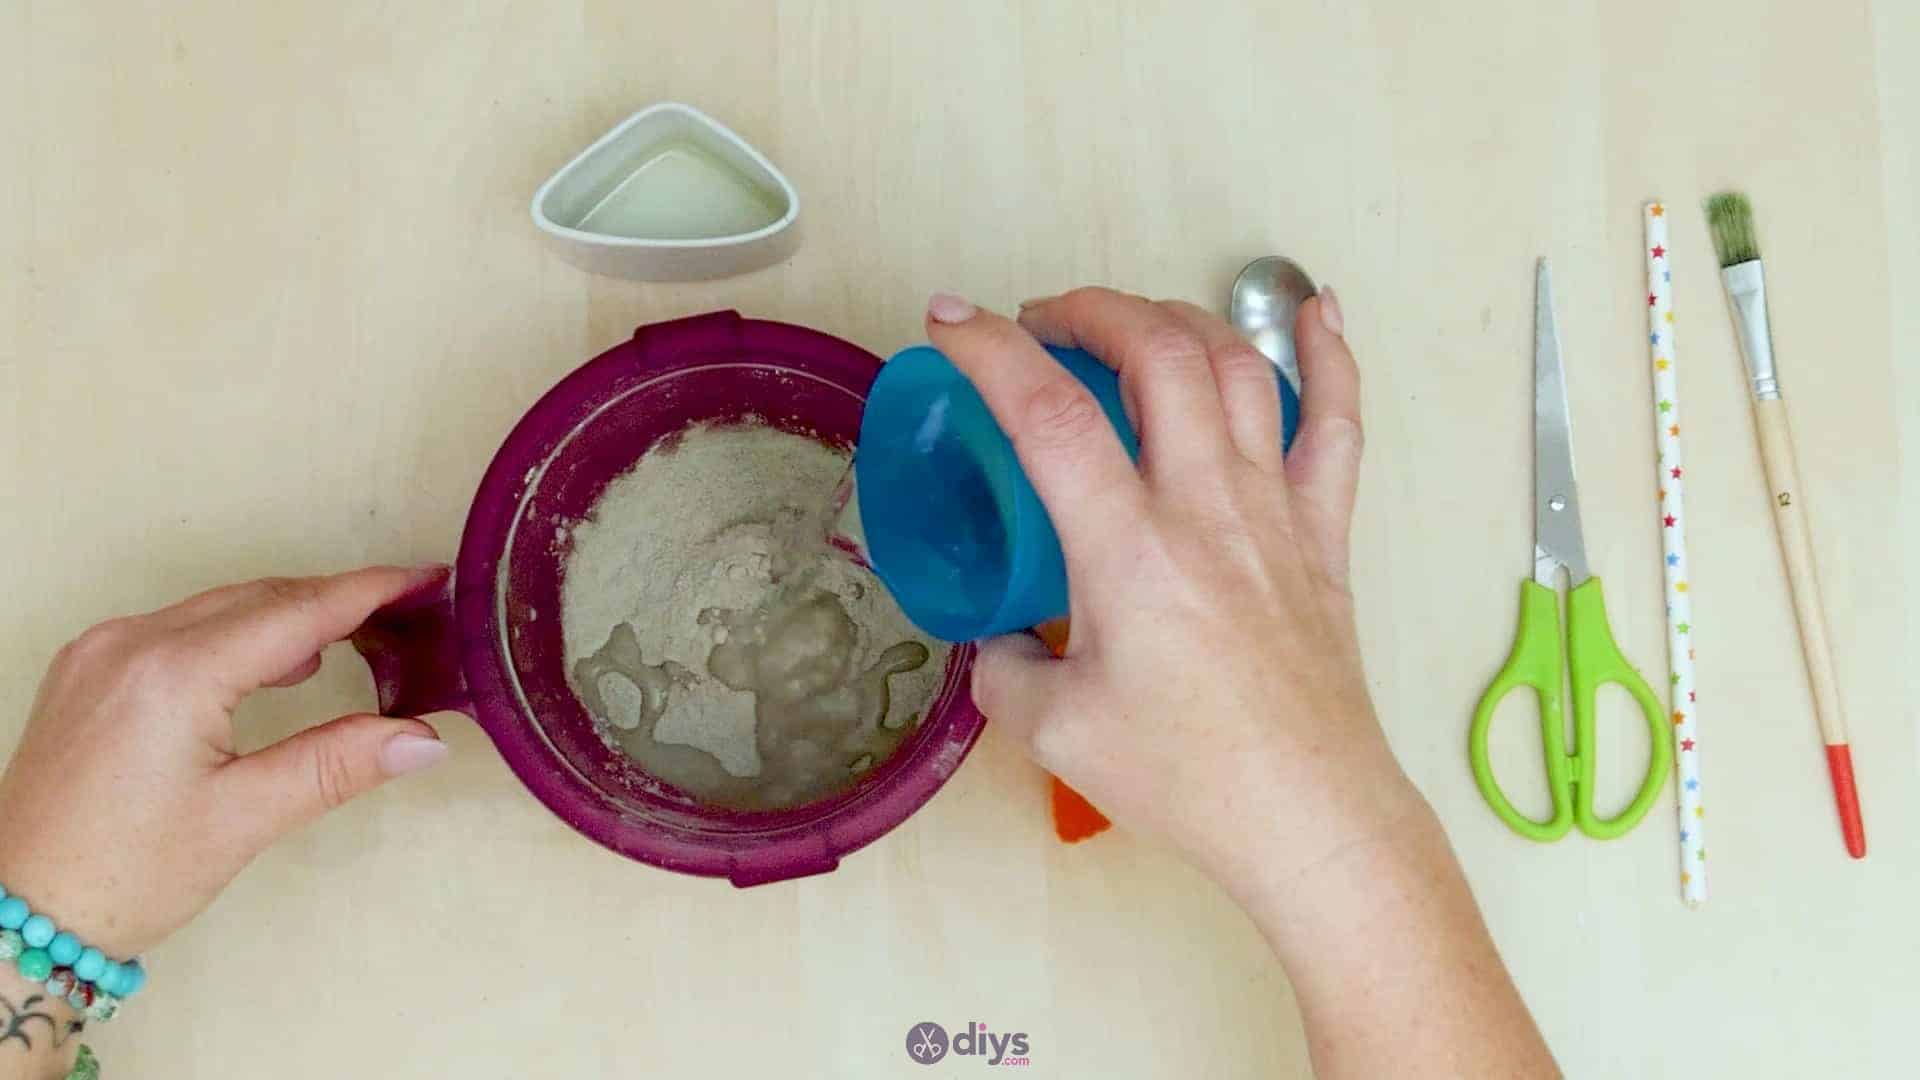
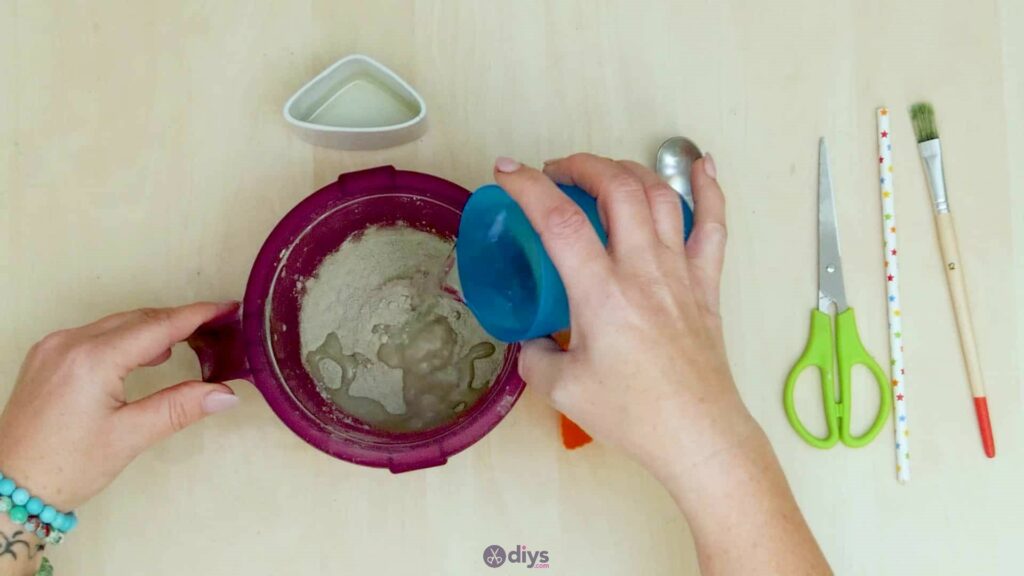
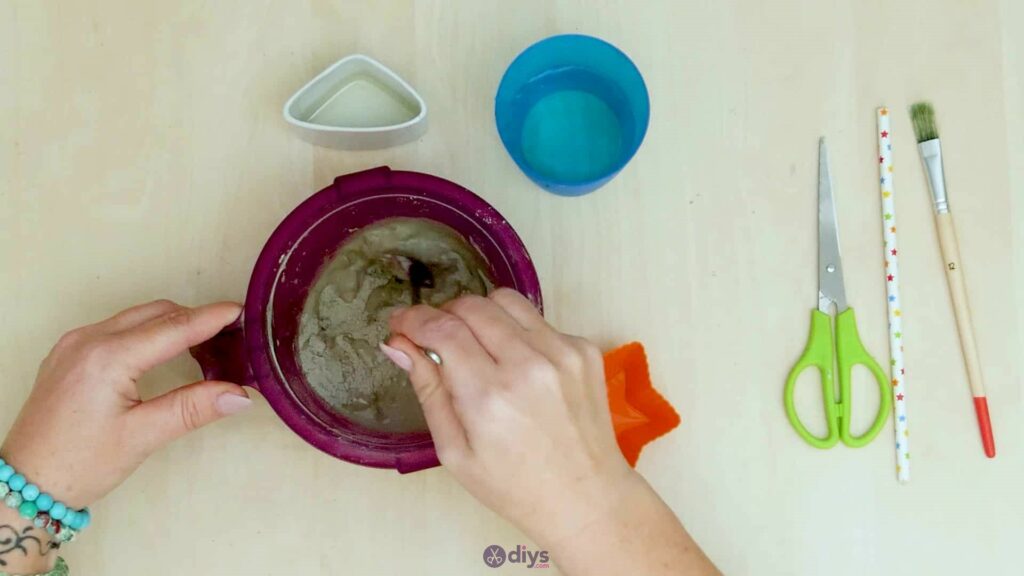
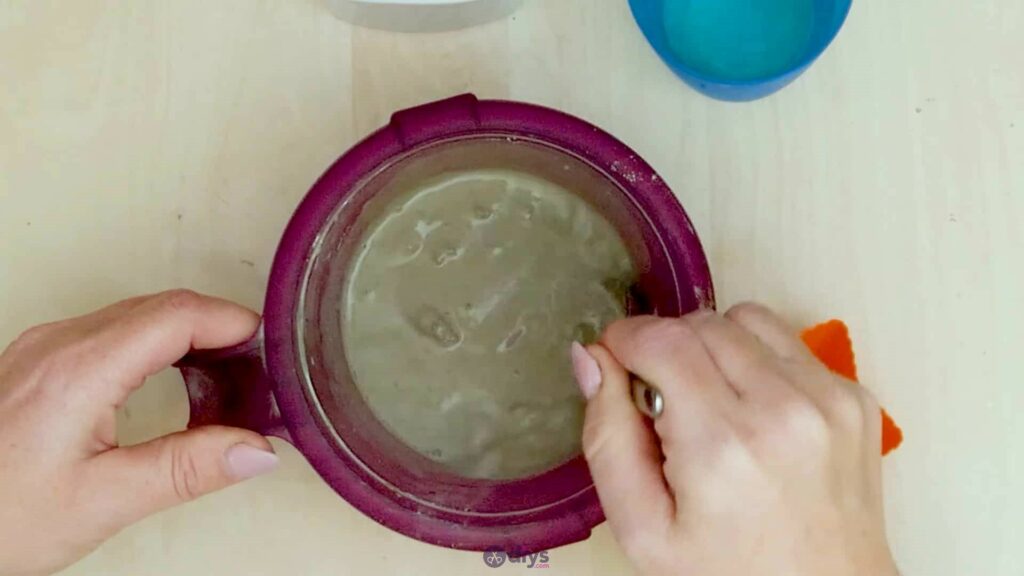
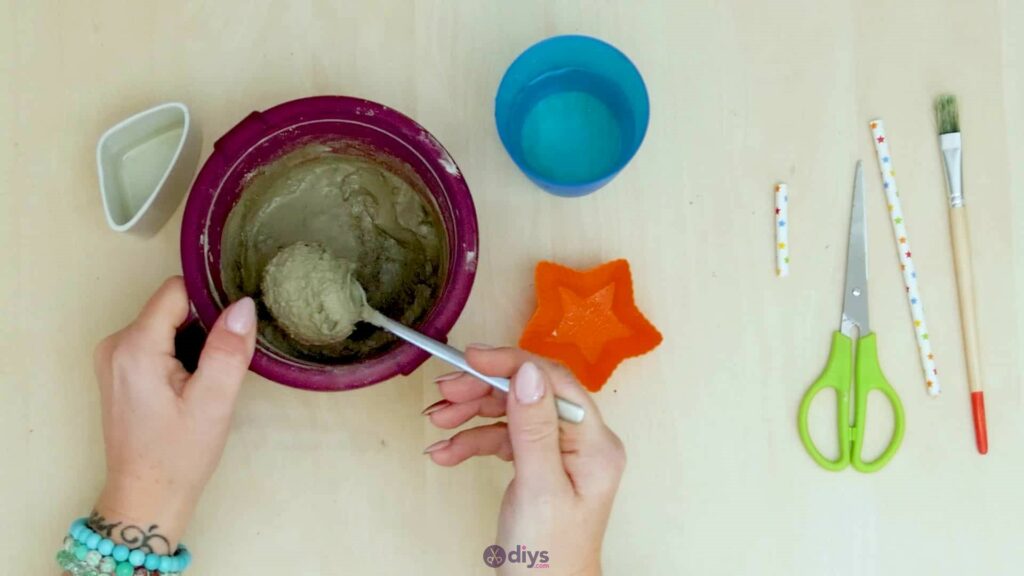
Step 2: mix the cement
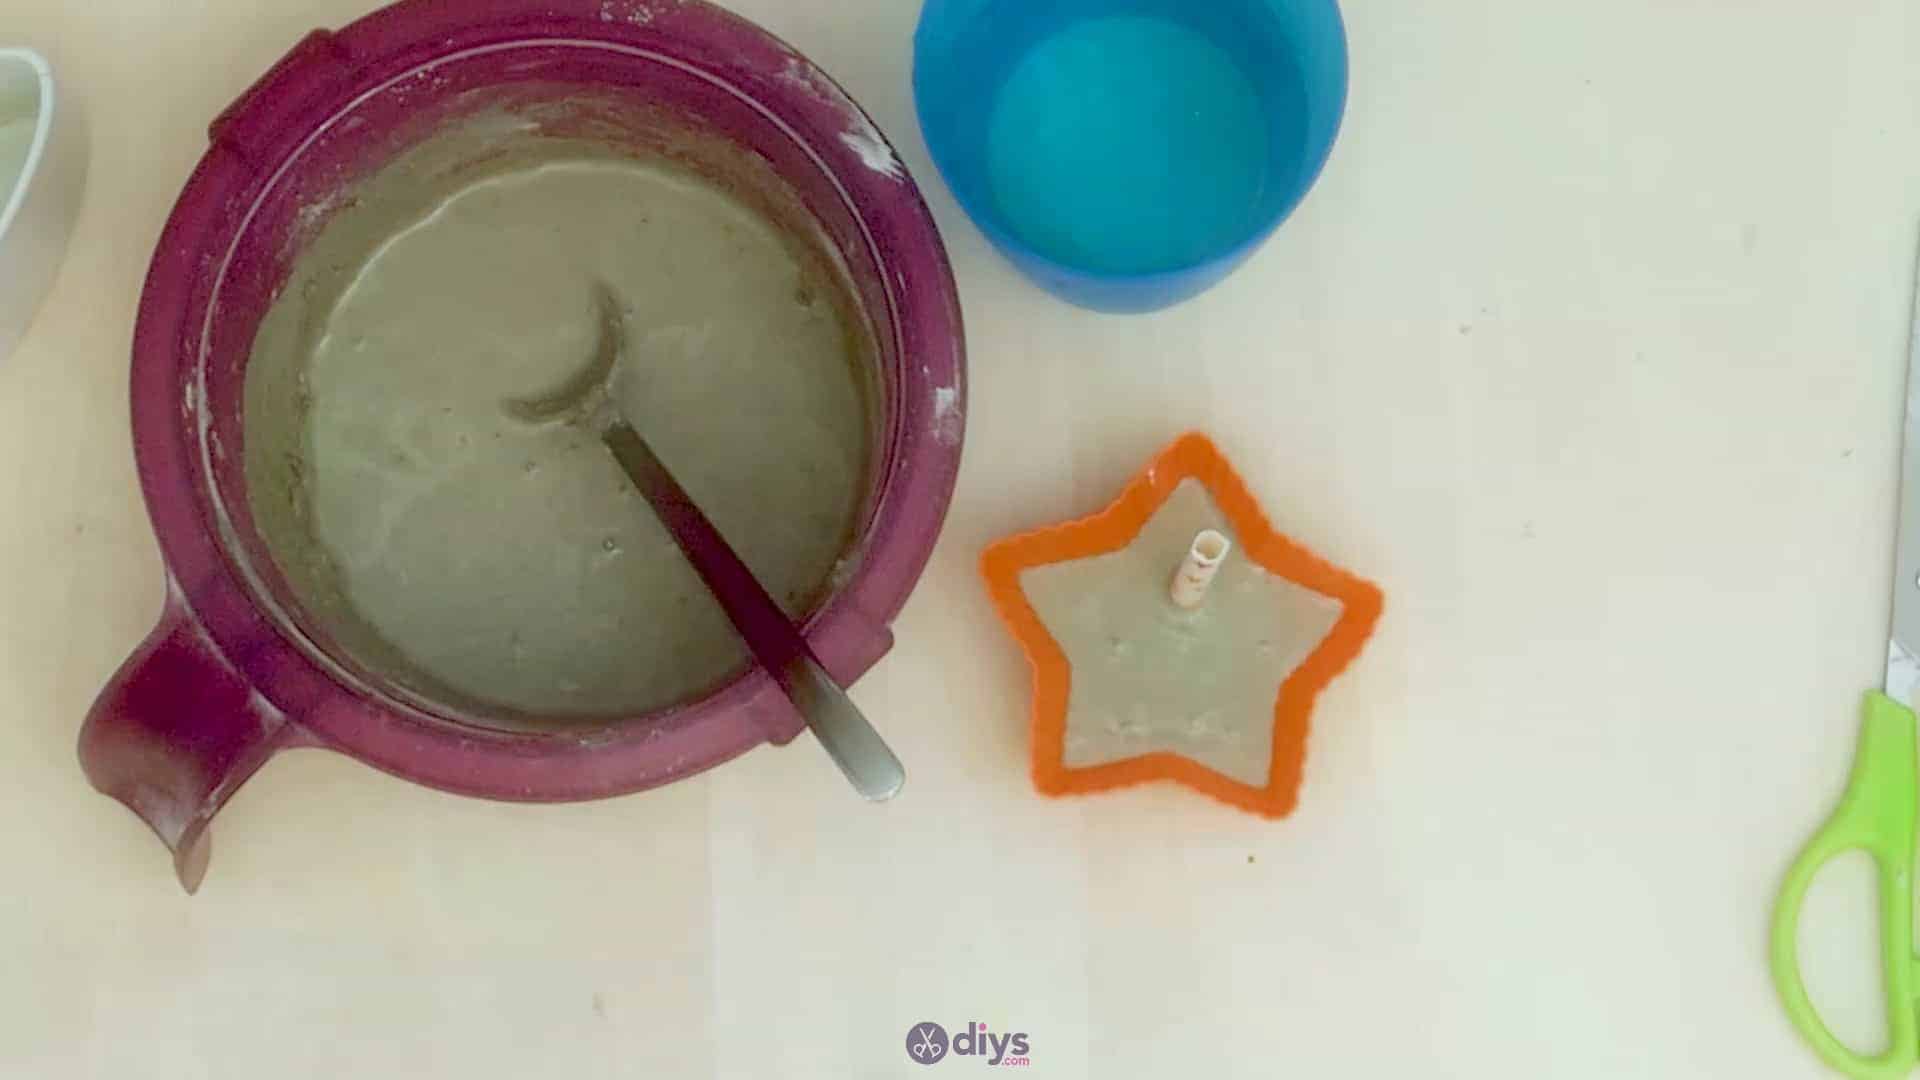
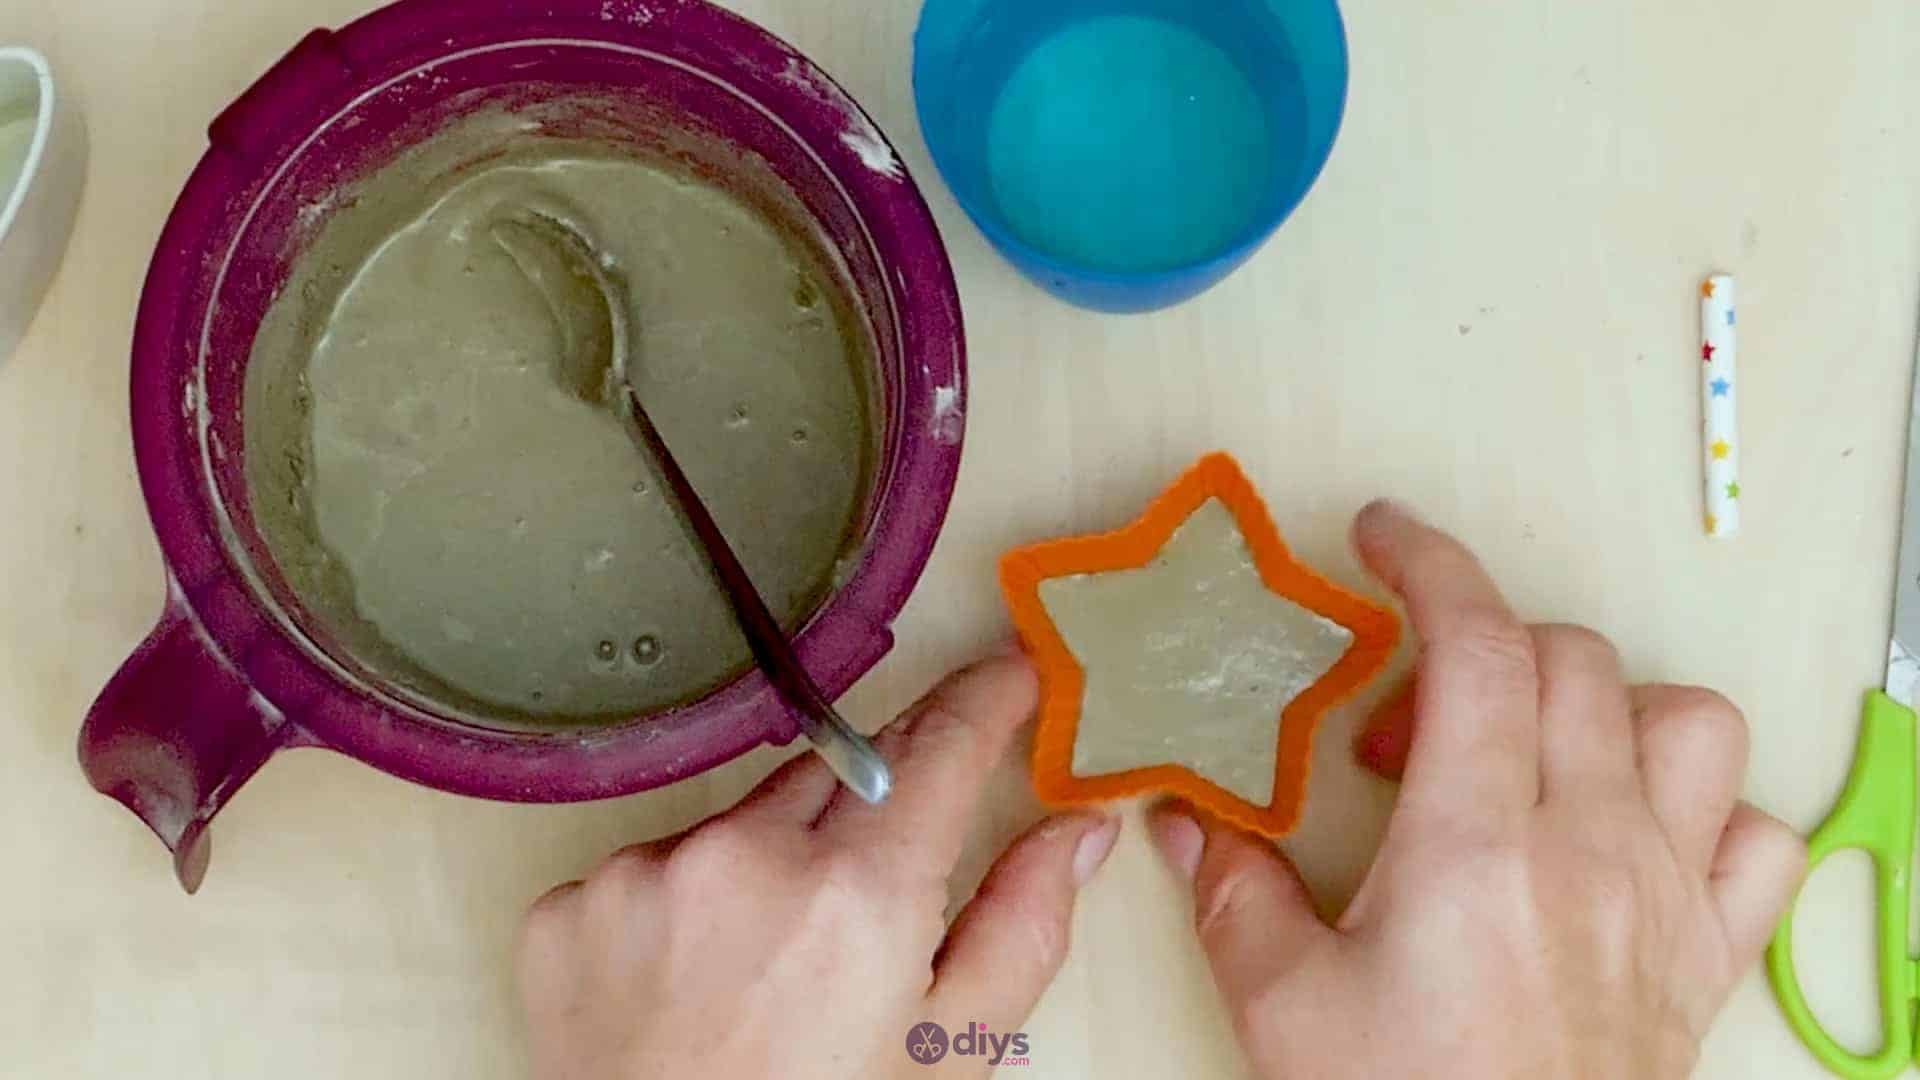
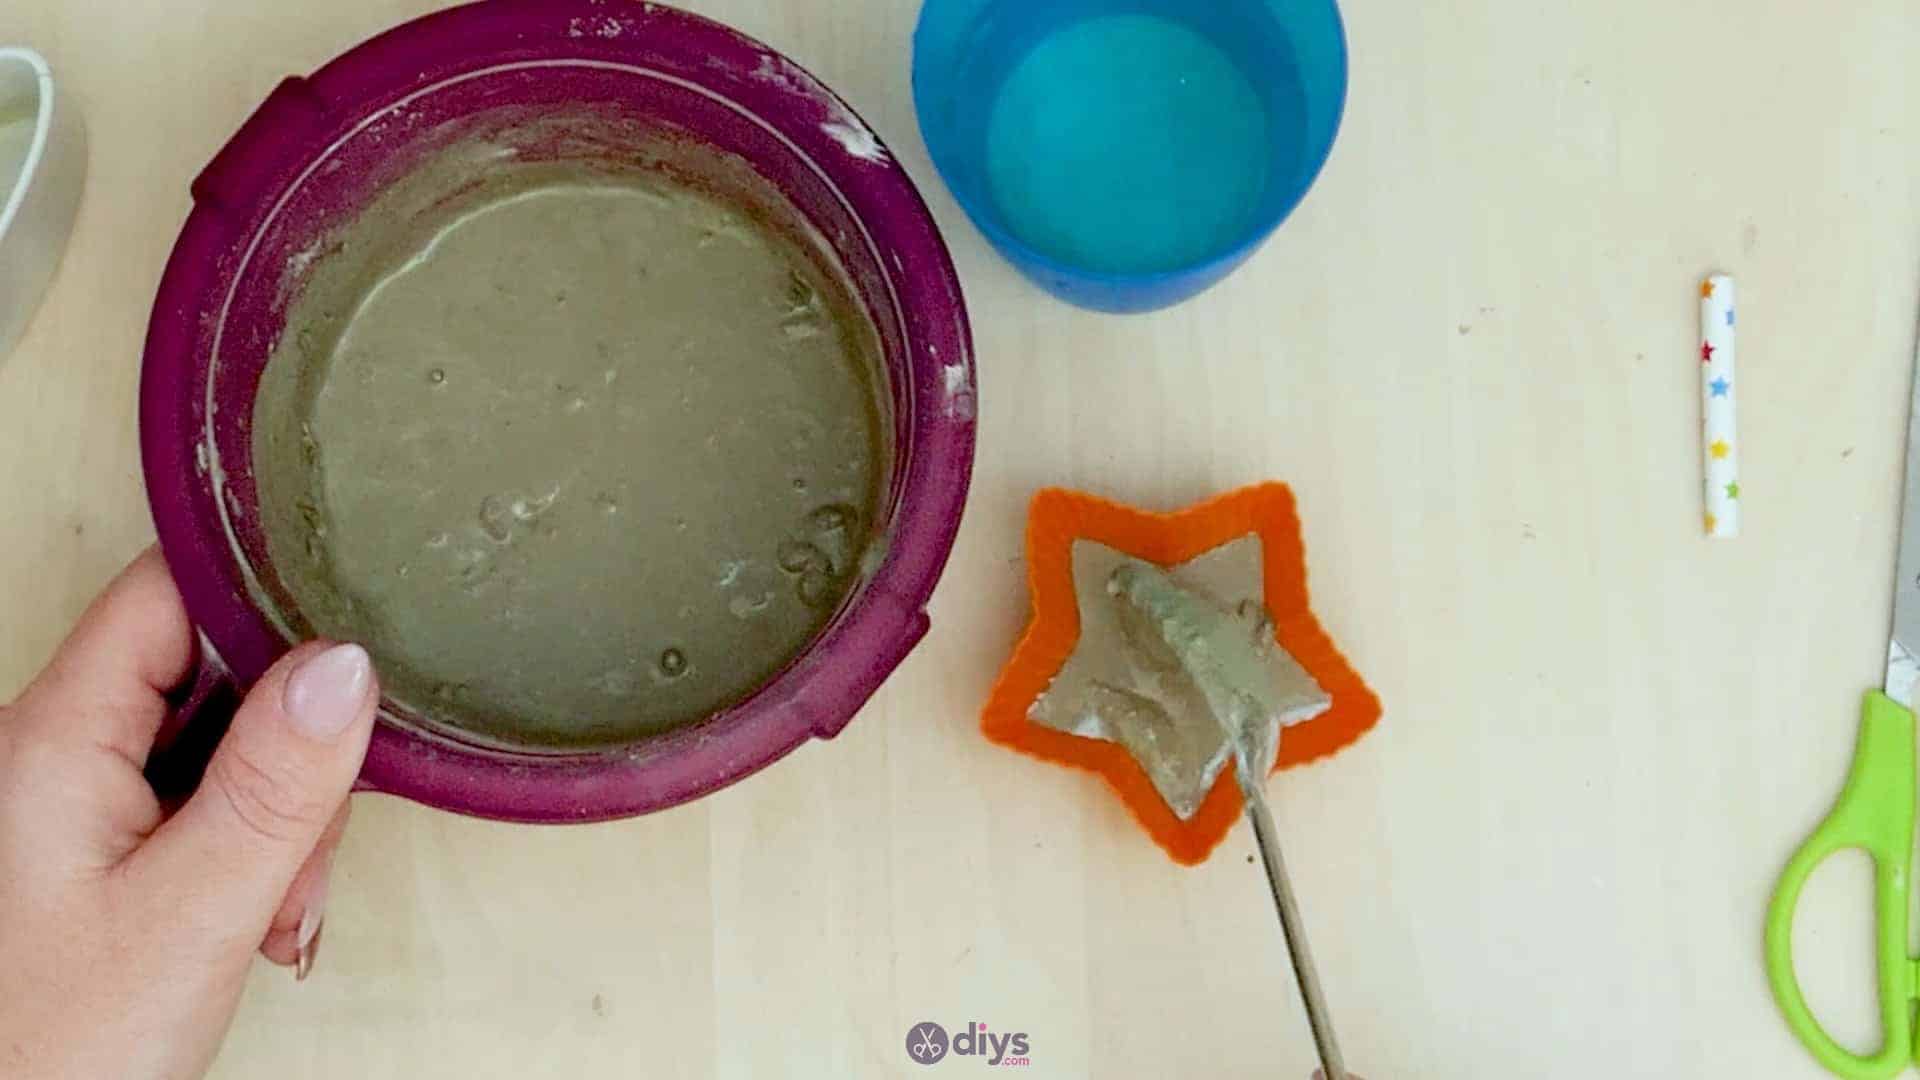
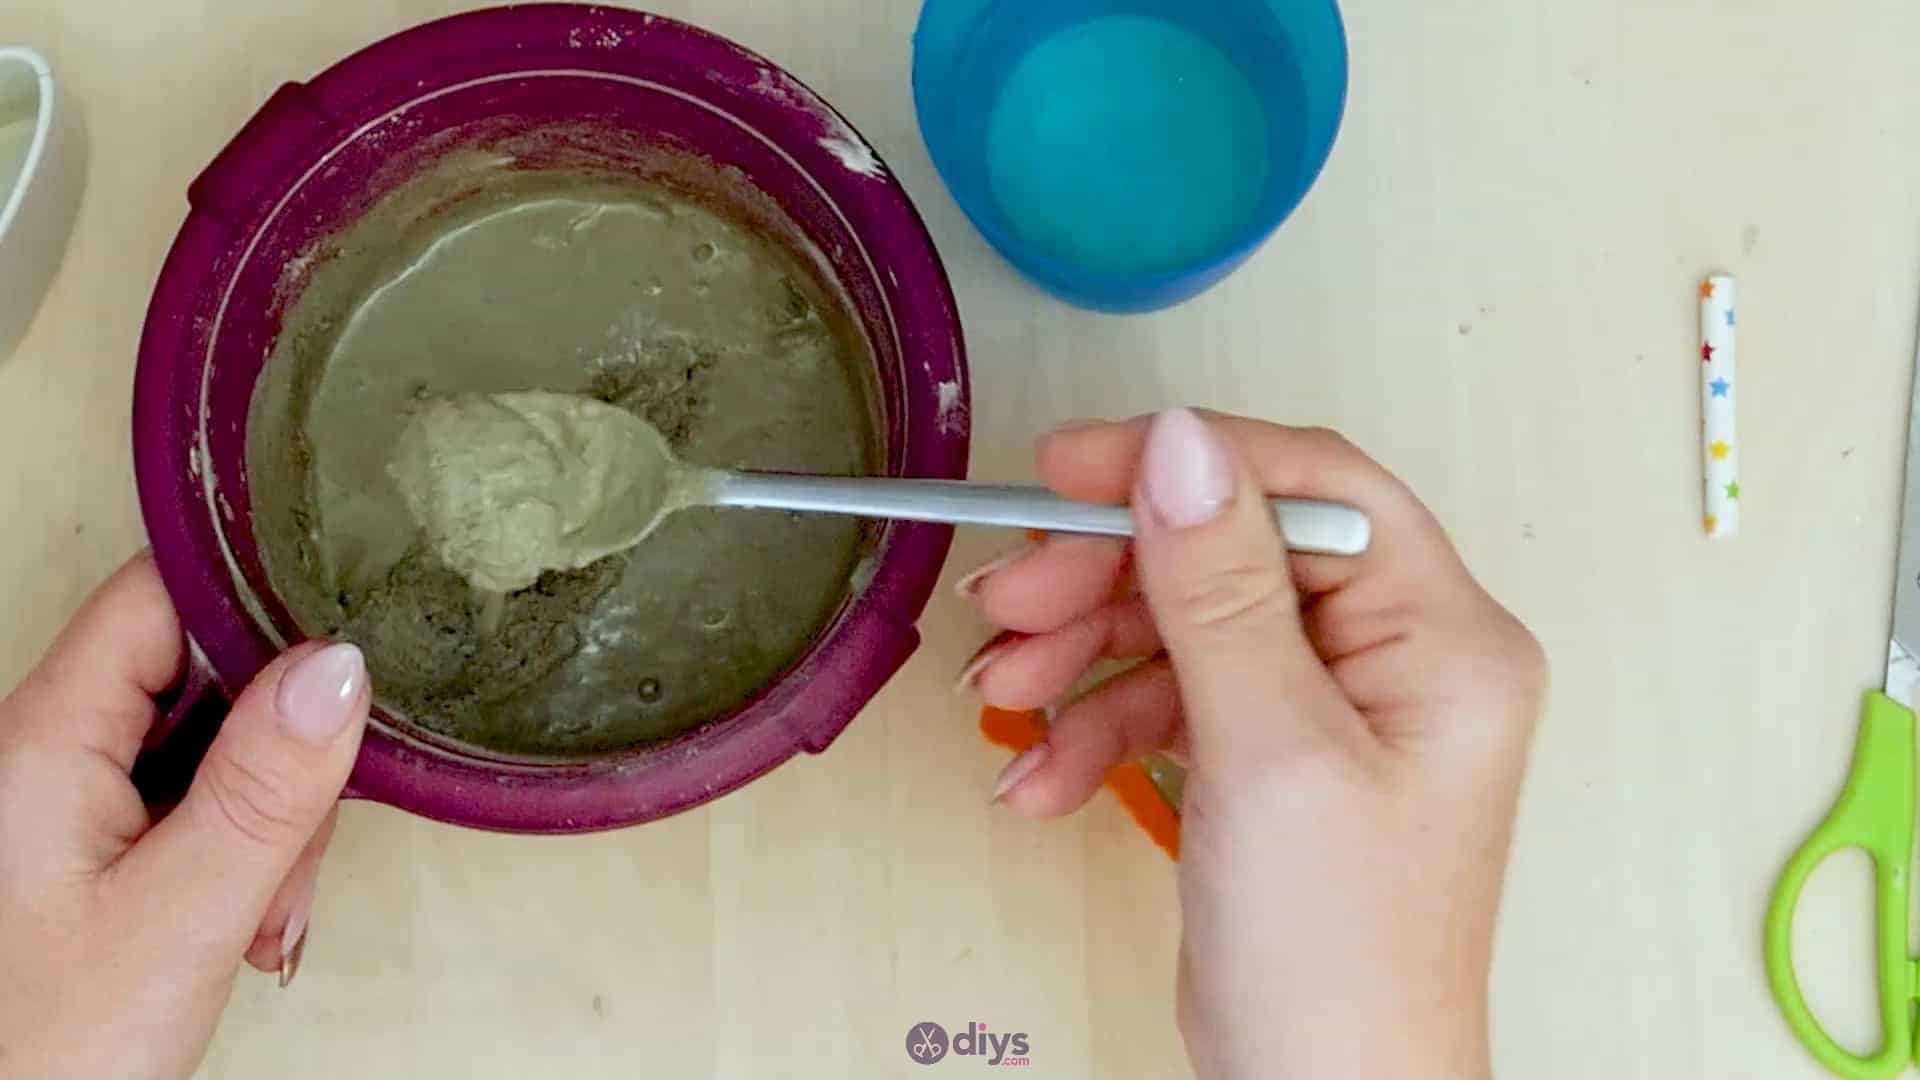
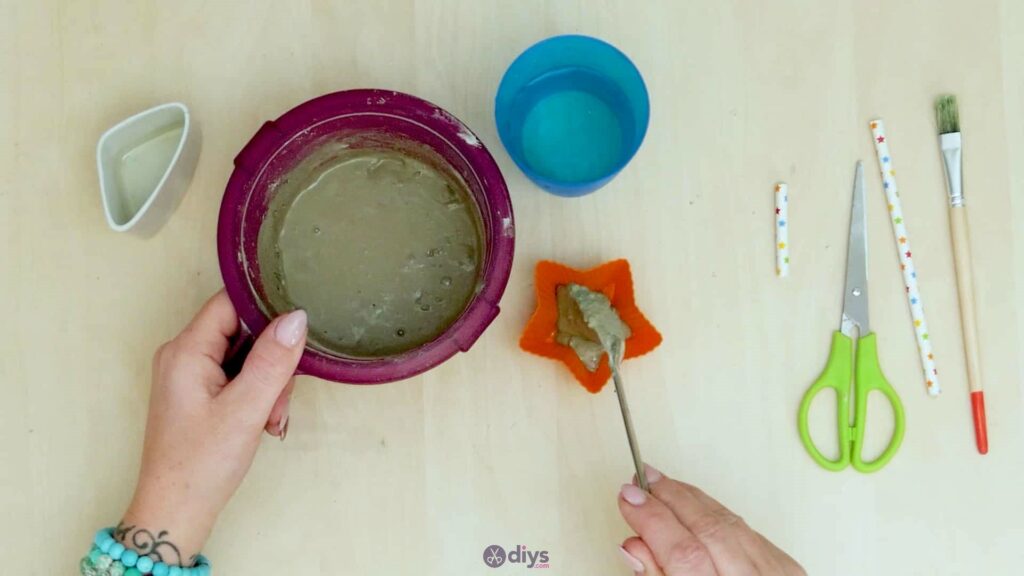
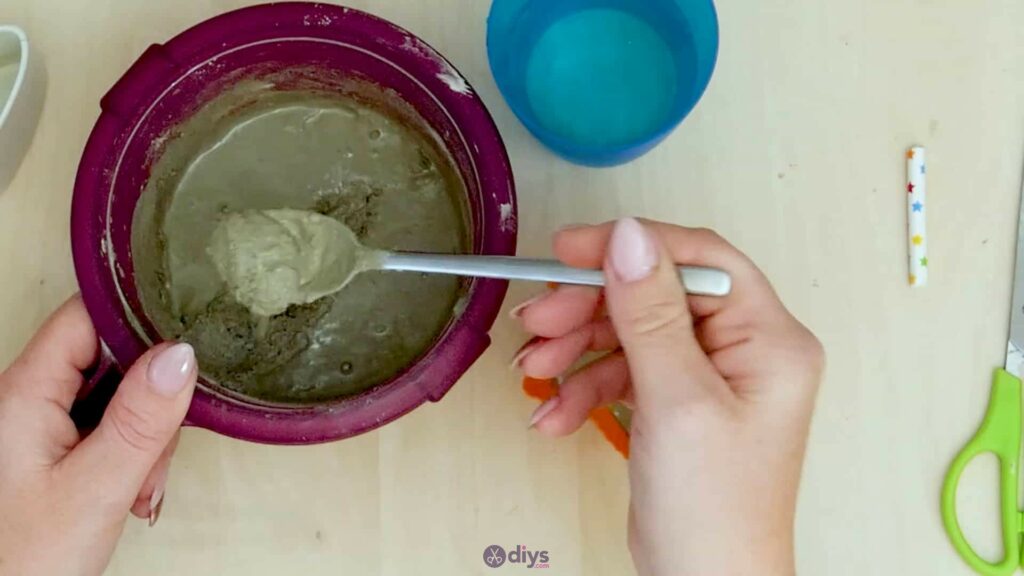
In a plastic container that you don’t mind using for crafting, combine your DIY fine particle cement mix and your water. Use your spoon to stir the two together until the consistency is just right and the mixture is free of any clumps. Make sure to read the instructions on the back of your particular mix’s packaging to get the right ratio of water to powder, since it can vary from brand to brand. Set the wet mix aside for a moment; it doesn’t dry fast enough for it to start hardening before you’ve completed another step or two, so don’t worry about that.
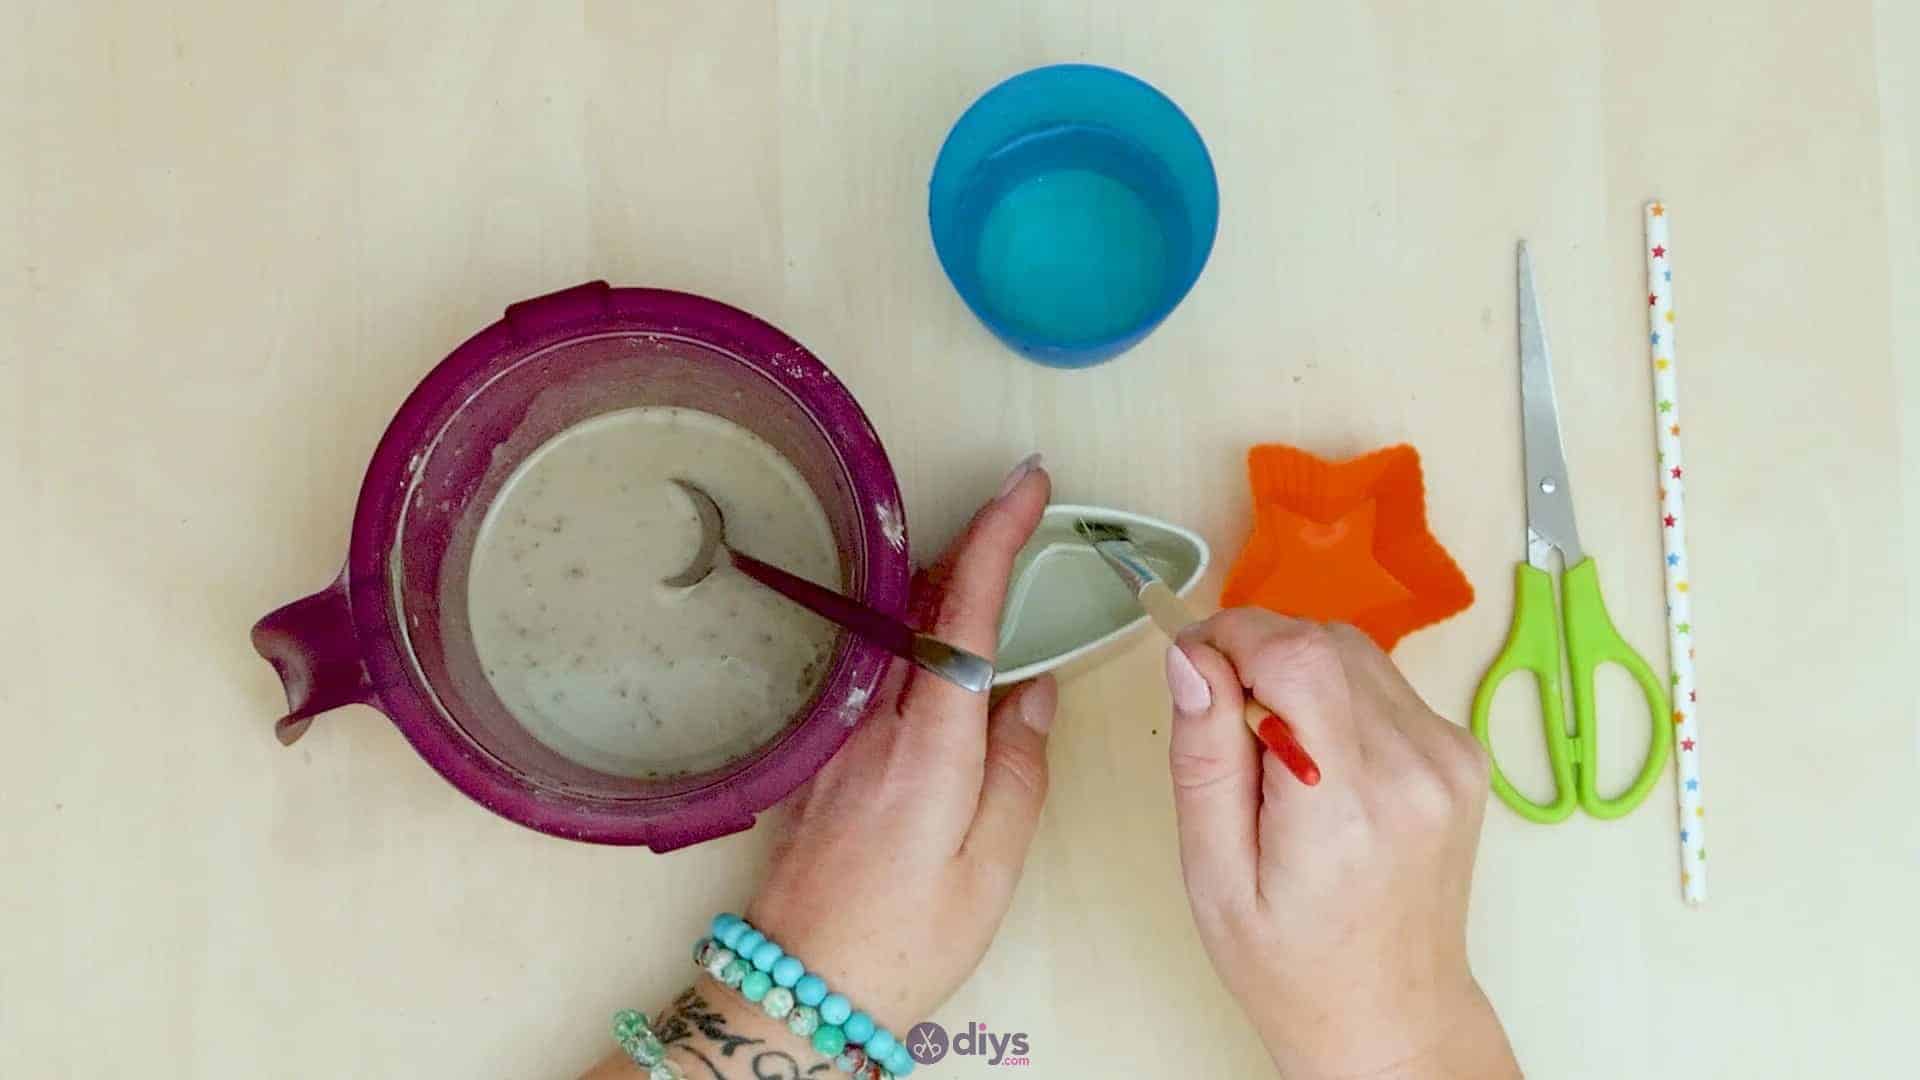
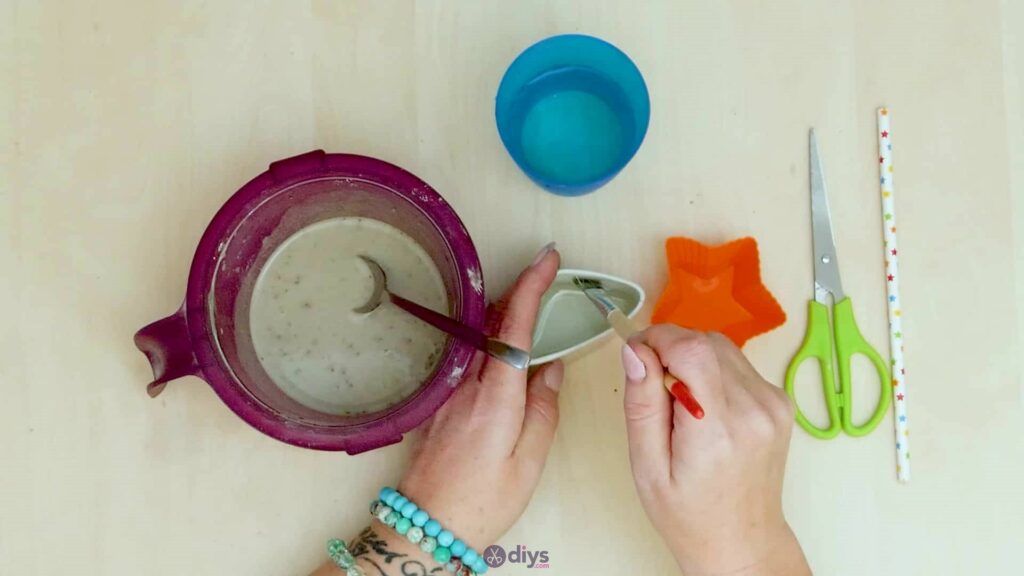
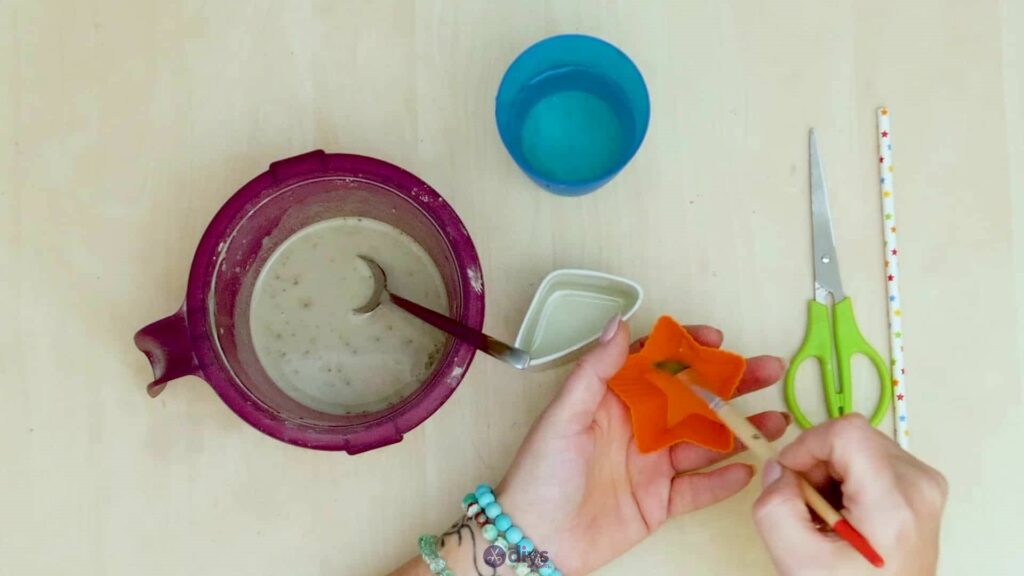
Step 3: oil the pans
Use a paintbrush to coat the entire inside surface of your silicone form in oil. Make sure you cover the whole bottom all the way across, as well as the entire height of the mould on all of its inner sides. Applying oil will help make sure that the concrete mixture doesn’t stick to the silicone for, as it dries, making it easier to remove your finished shape later. You can use any kind of cooking oil, like canola, olive, or vegetable oil.

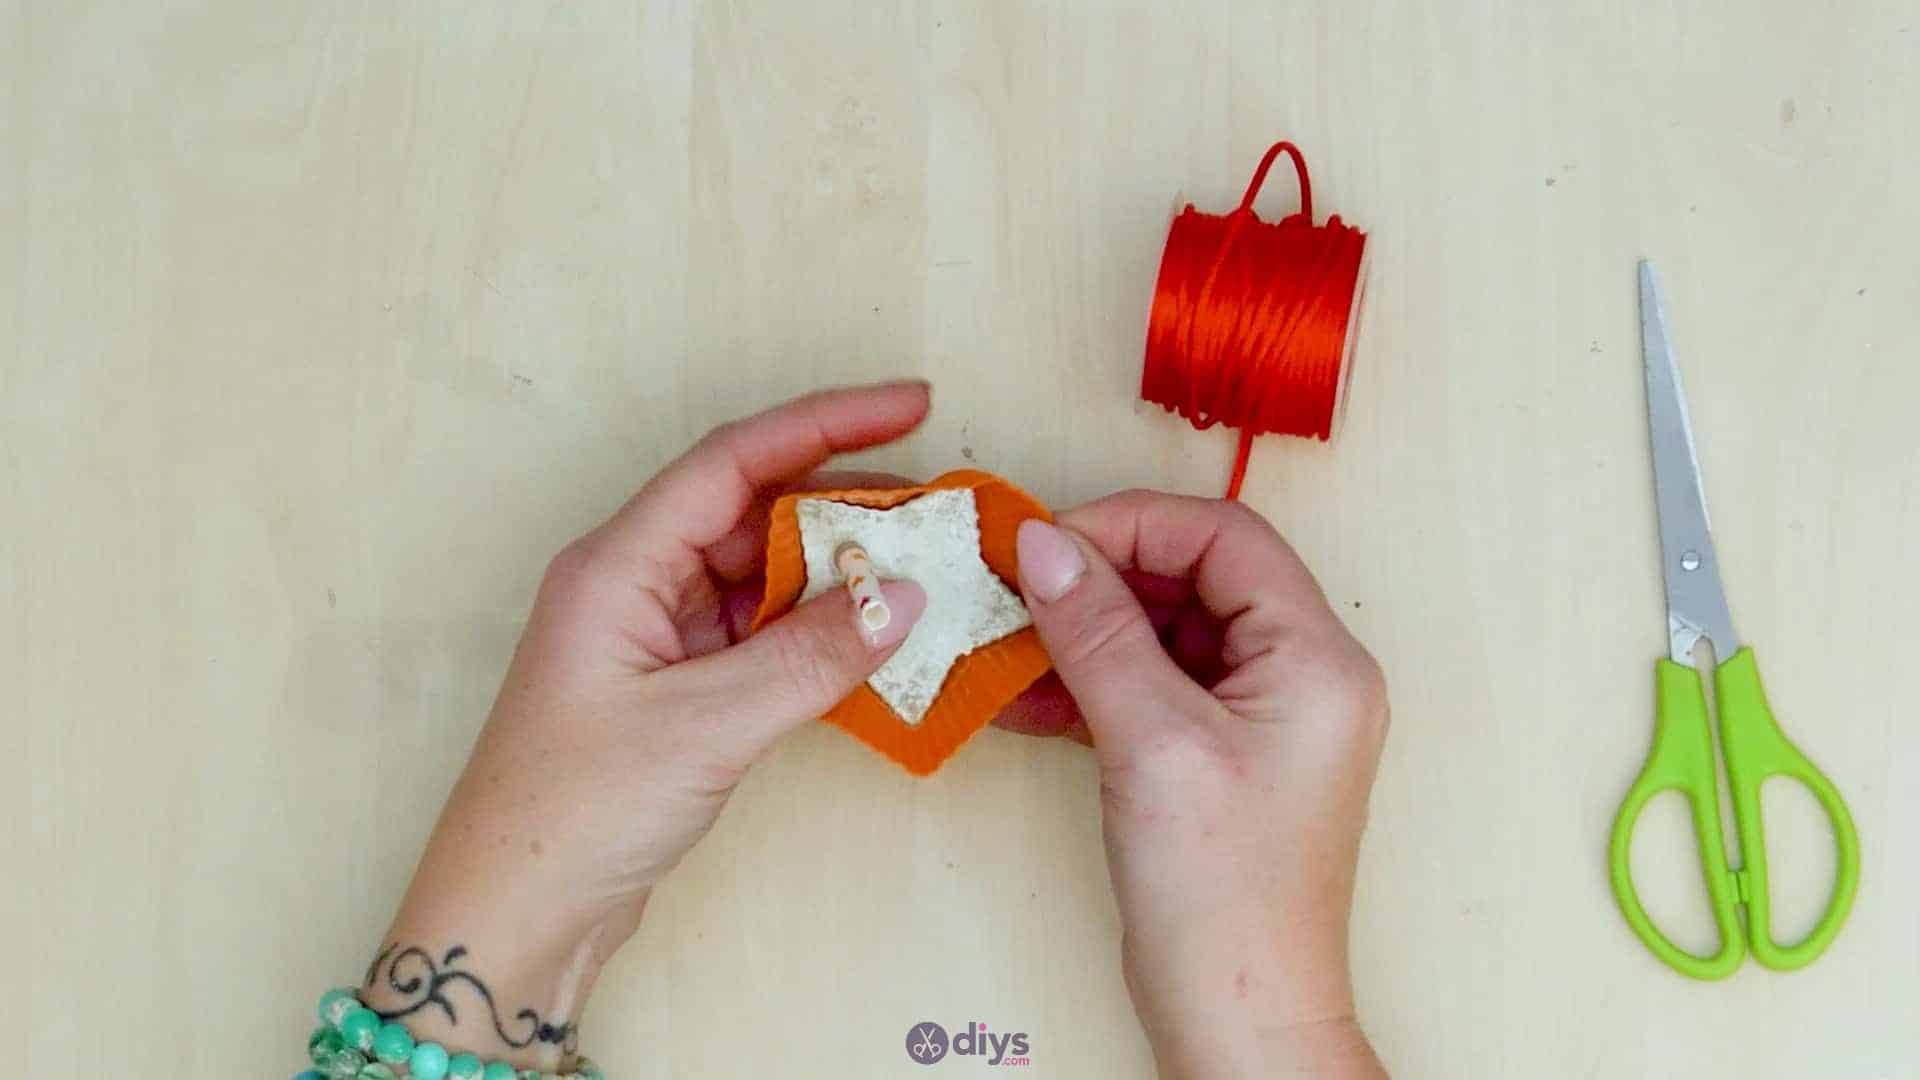
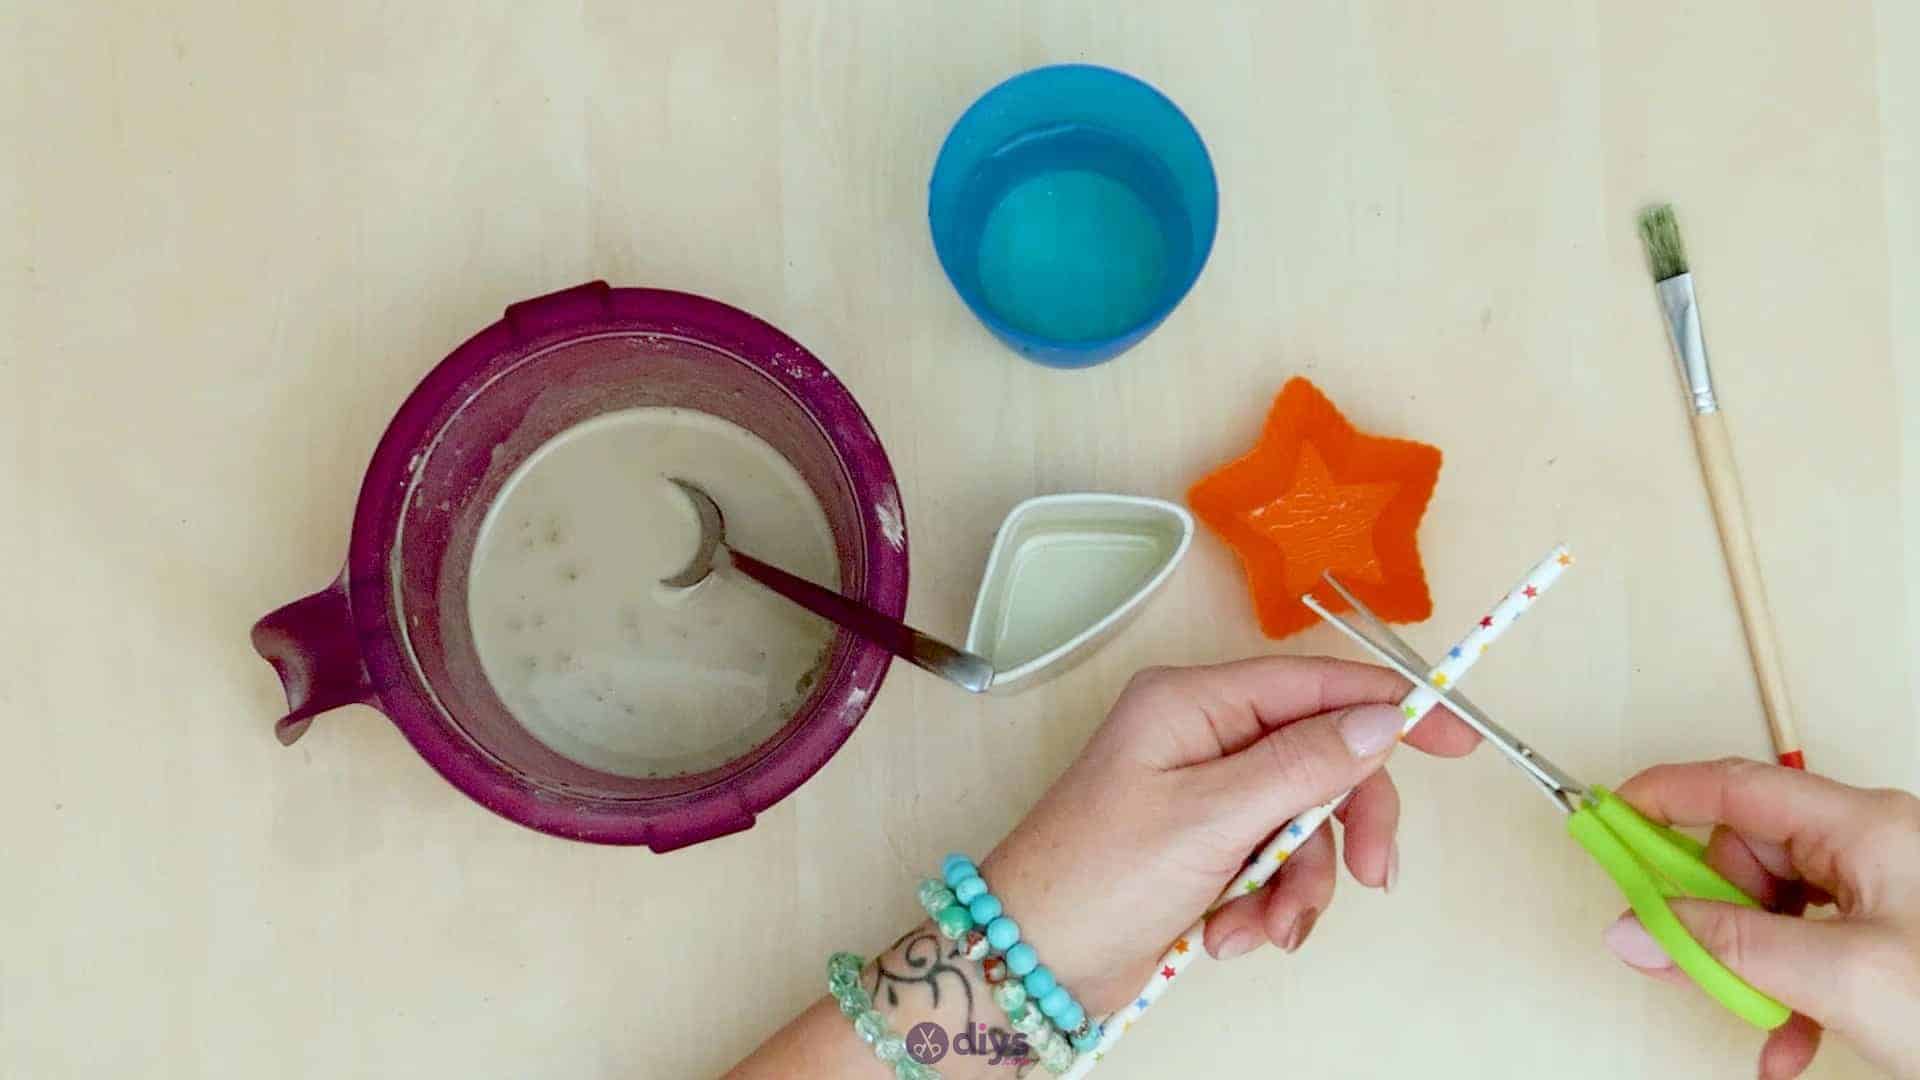
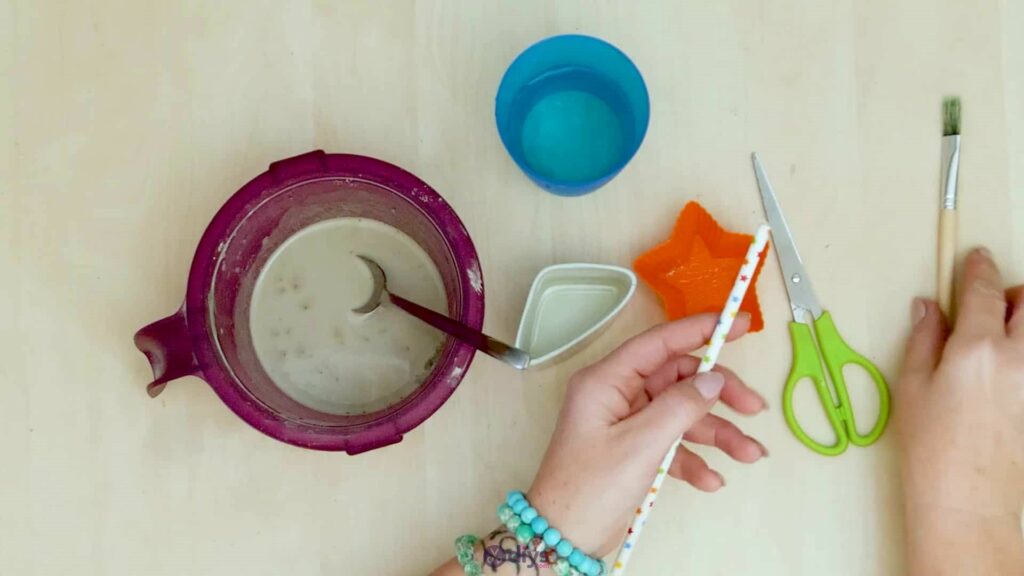
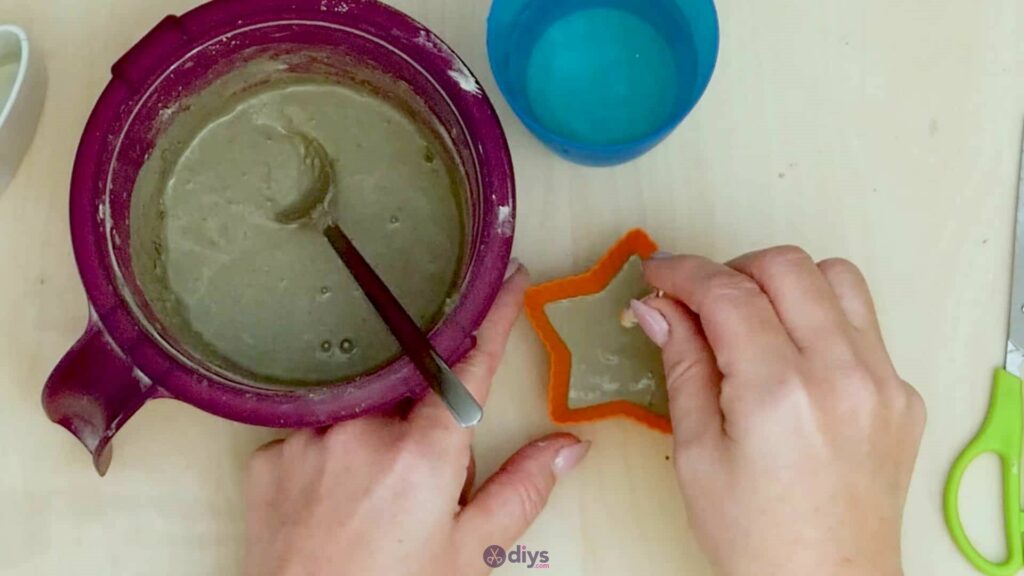
Step 4: prepare the straws for your string hole
Cut a piece from your straw that’s at least a little bit taller than the sides of your mould are high. You’ll use this in a moment to hold space in your concrete mix so that it dries with a hole in it, which is how you’ll be able to string the decoration up later.

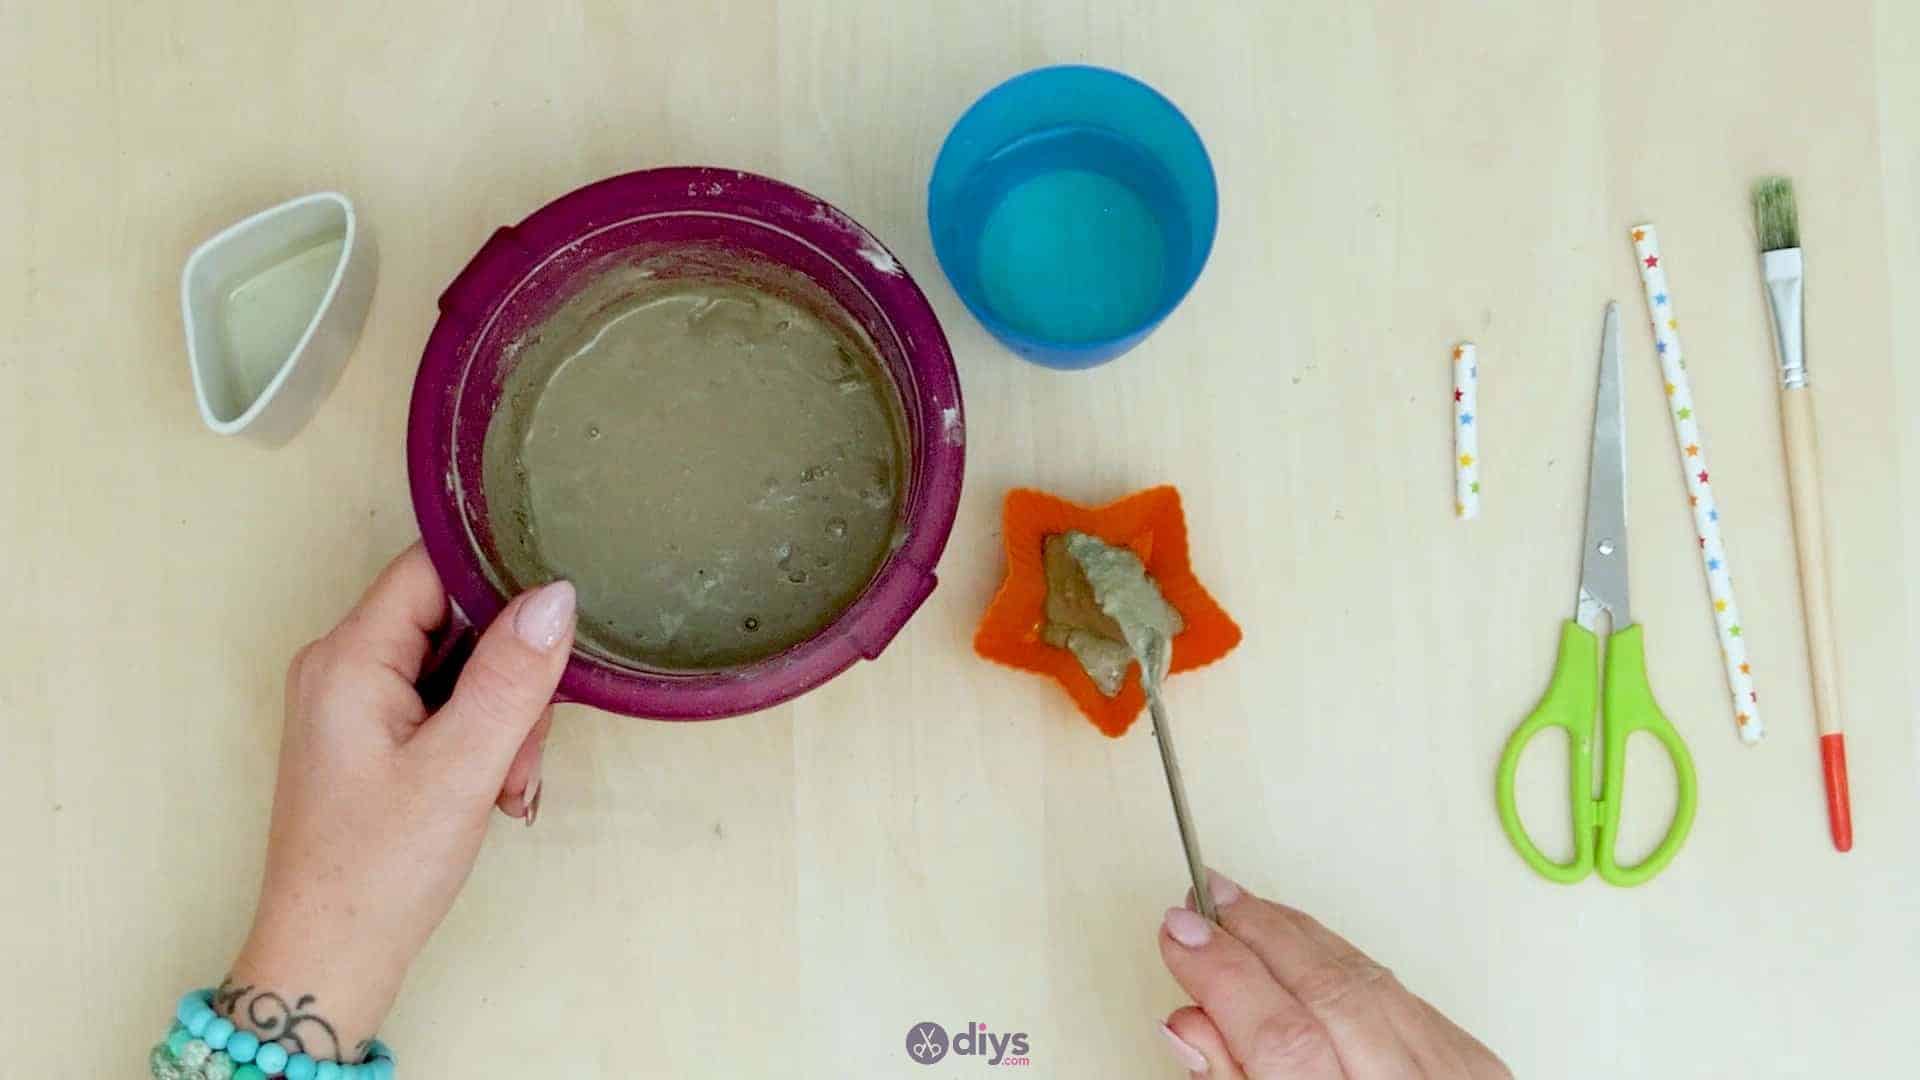
Step 5: fill the moulds
Now use your spoon to fill your oiled silicone form with wet concrete mix. You want to fill italmost to the top, but leave enough room that you won’t overflow the edges when you insert the straw to make a hold in the dried piece. When you’re pleased with how full your mould is, use the spoon to smooth the top of your mix or lightly tap the sides of the form to even our the surface and get rid of any air bubbles.


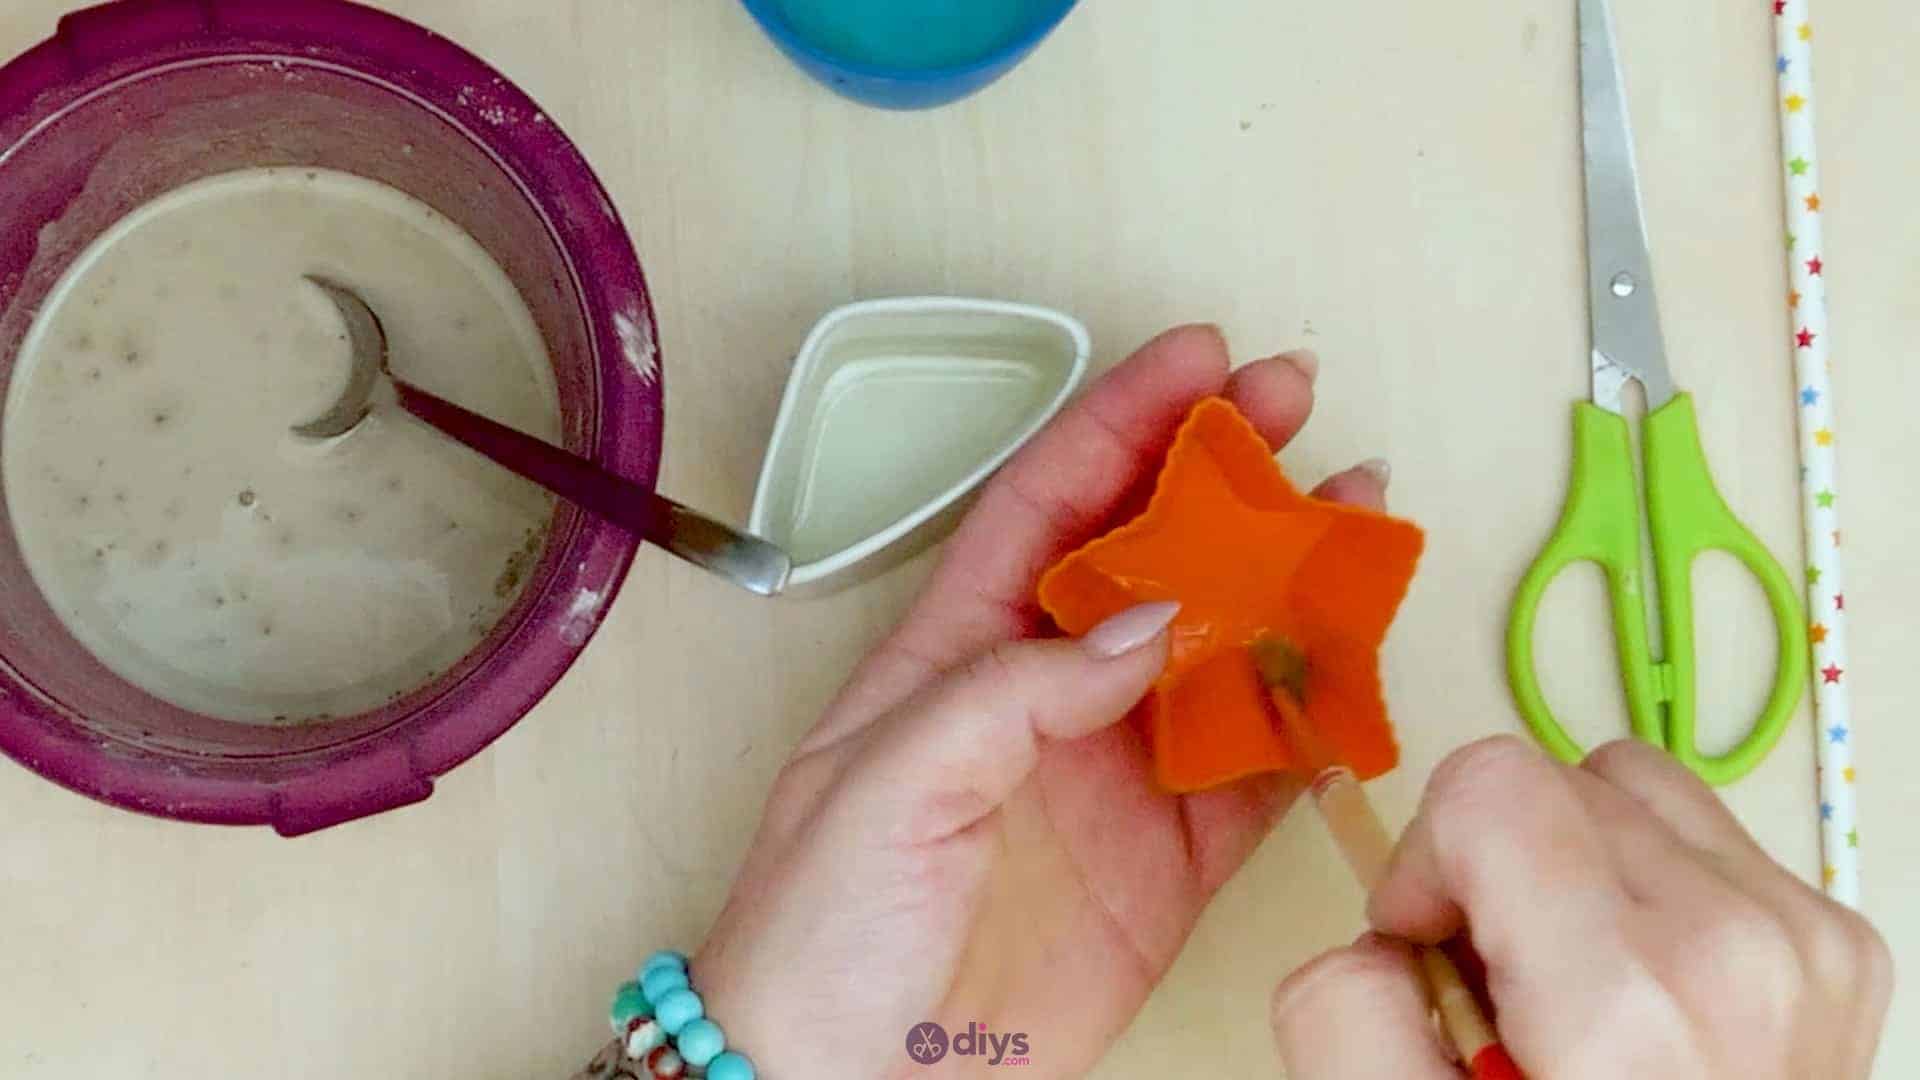
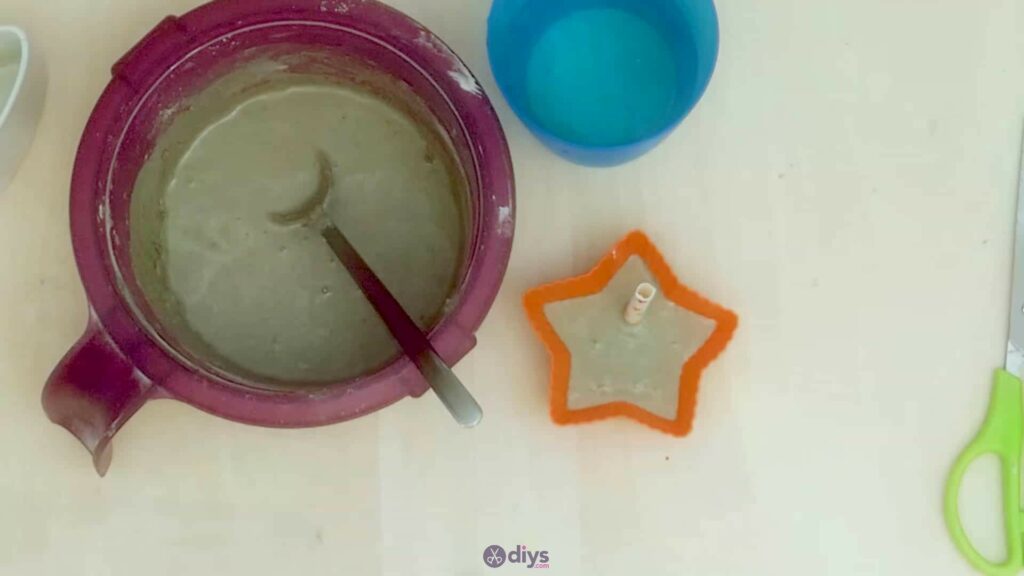
Step 6: make your string holes
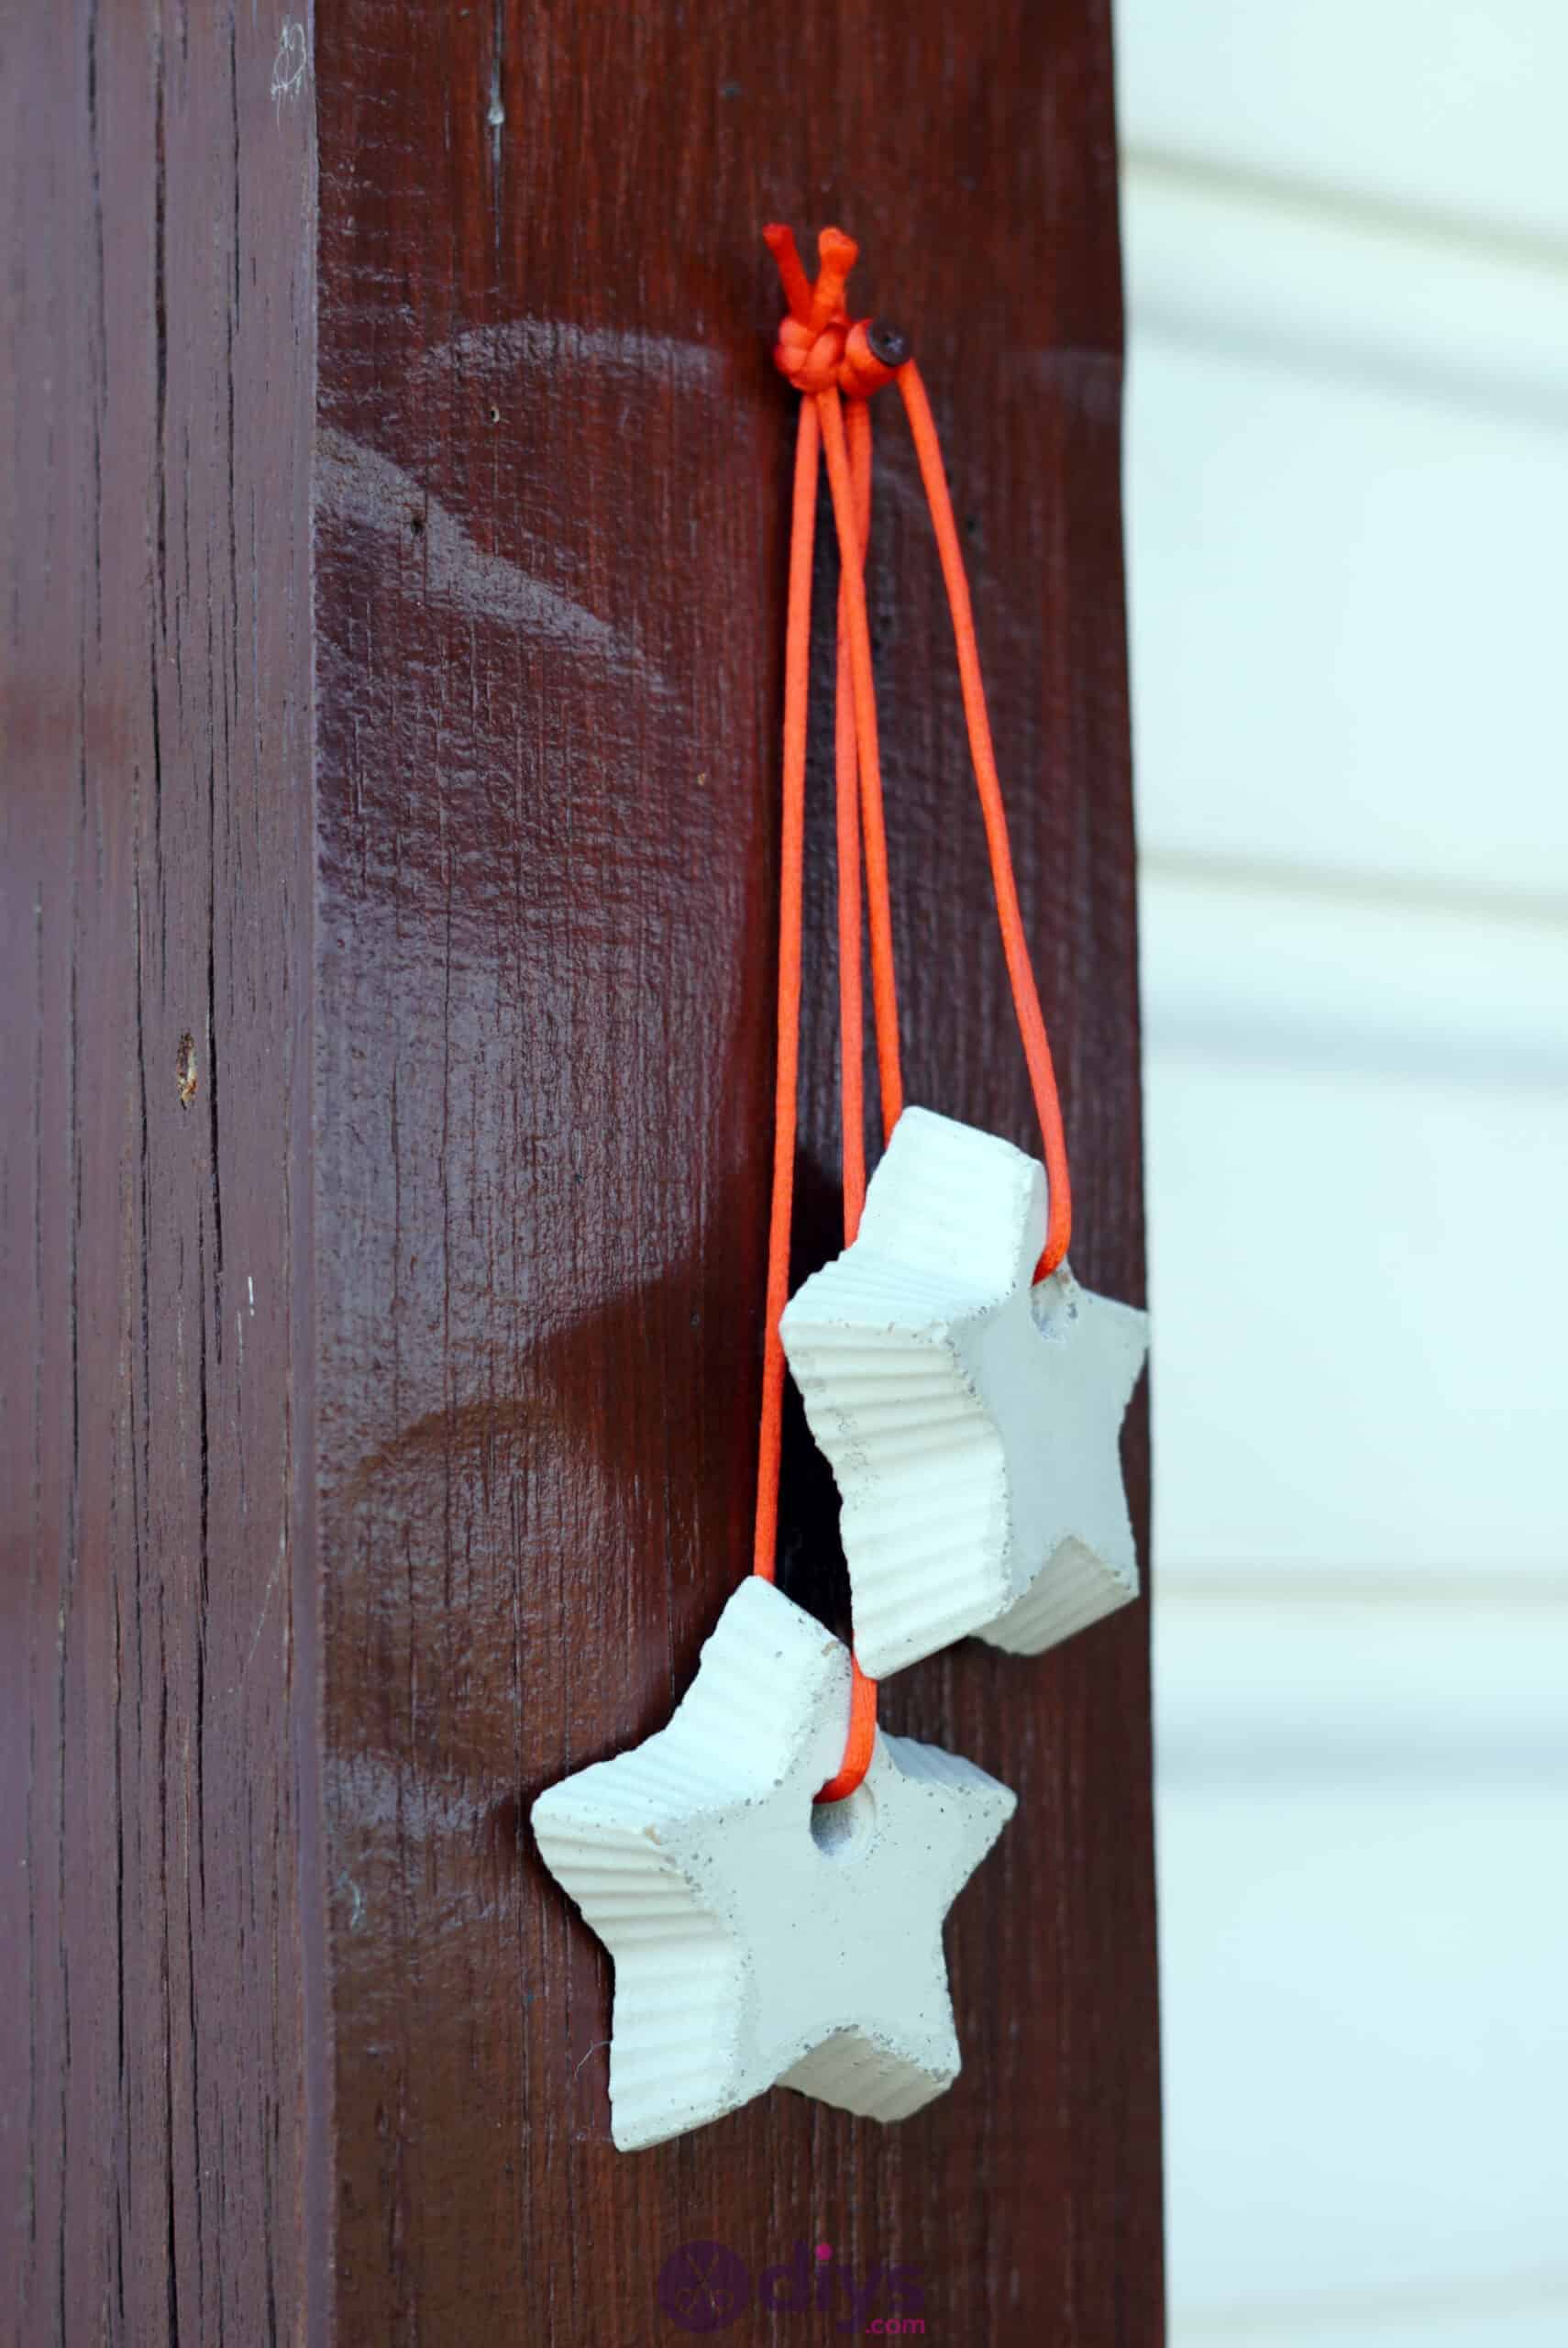
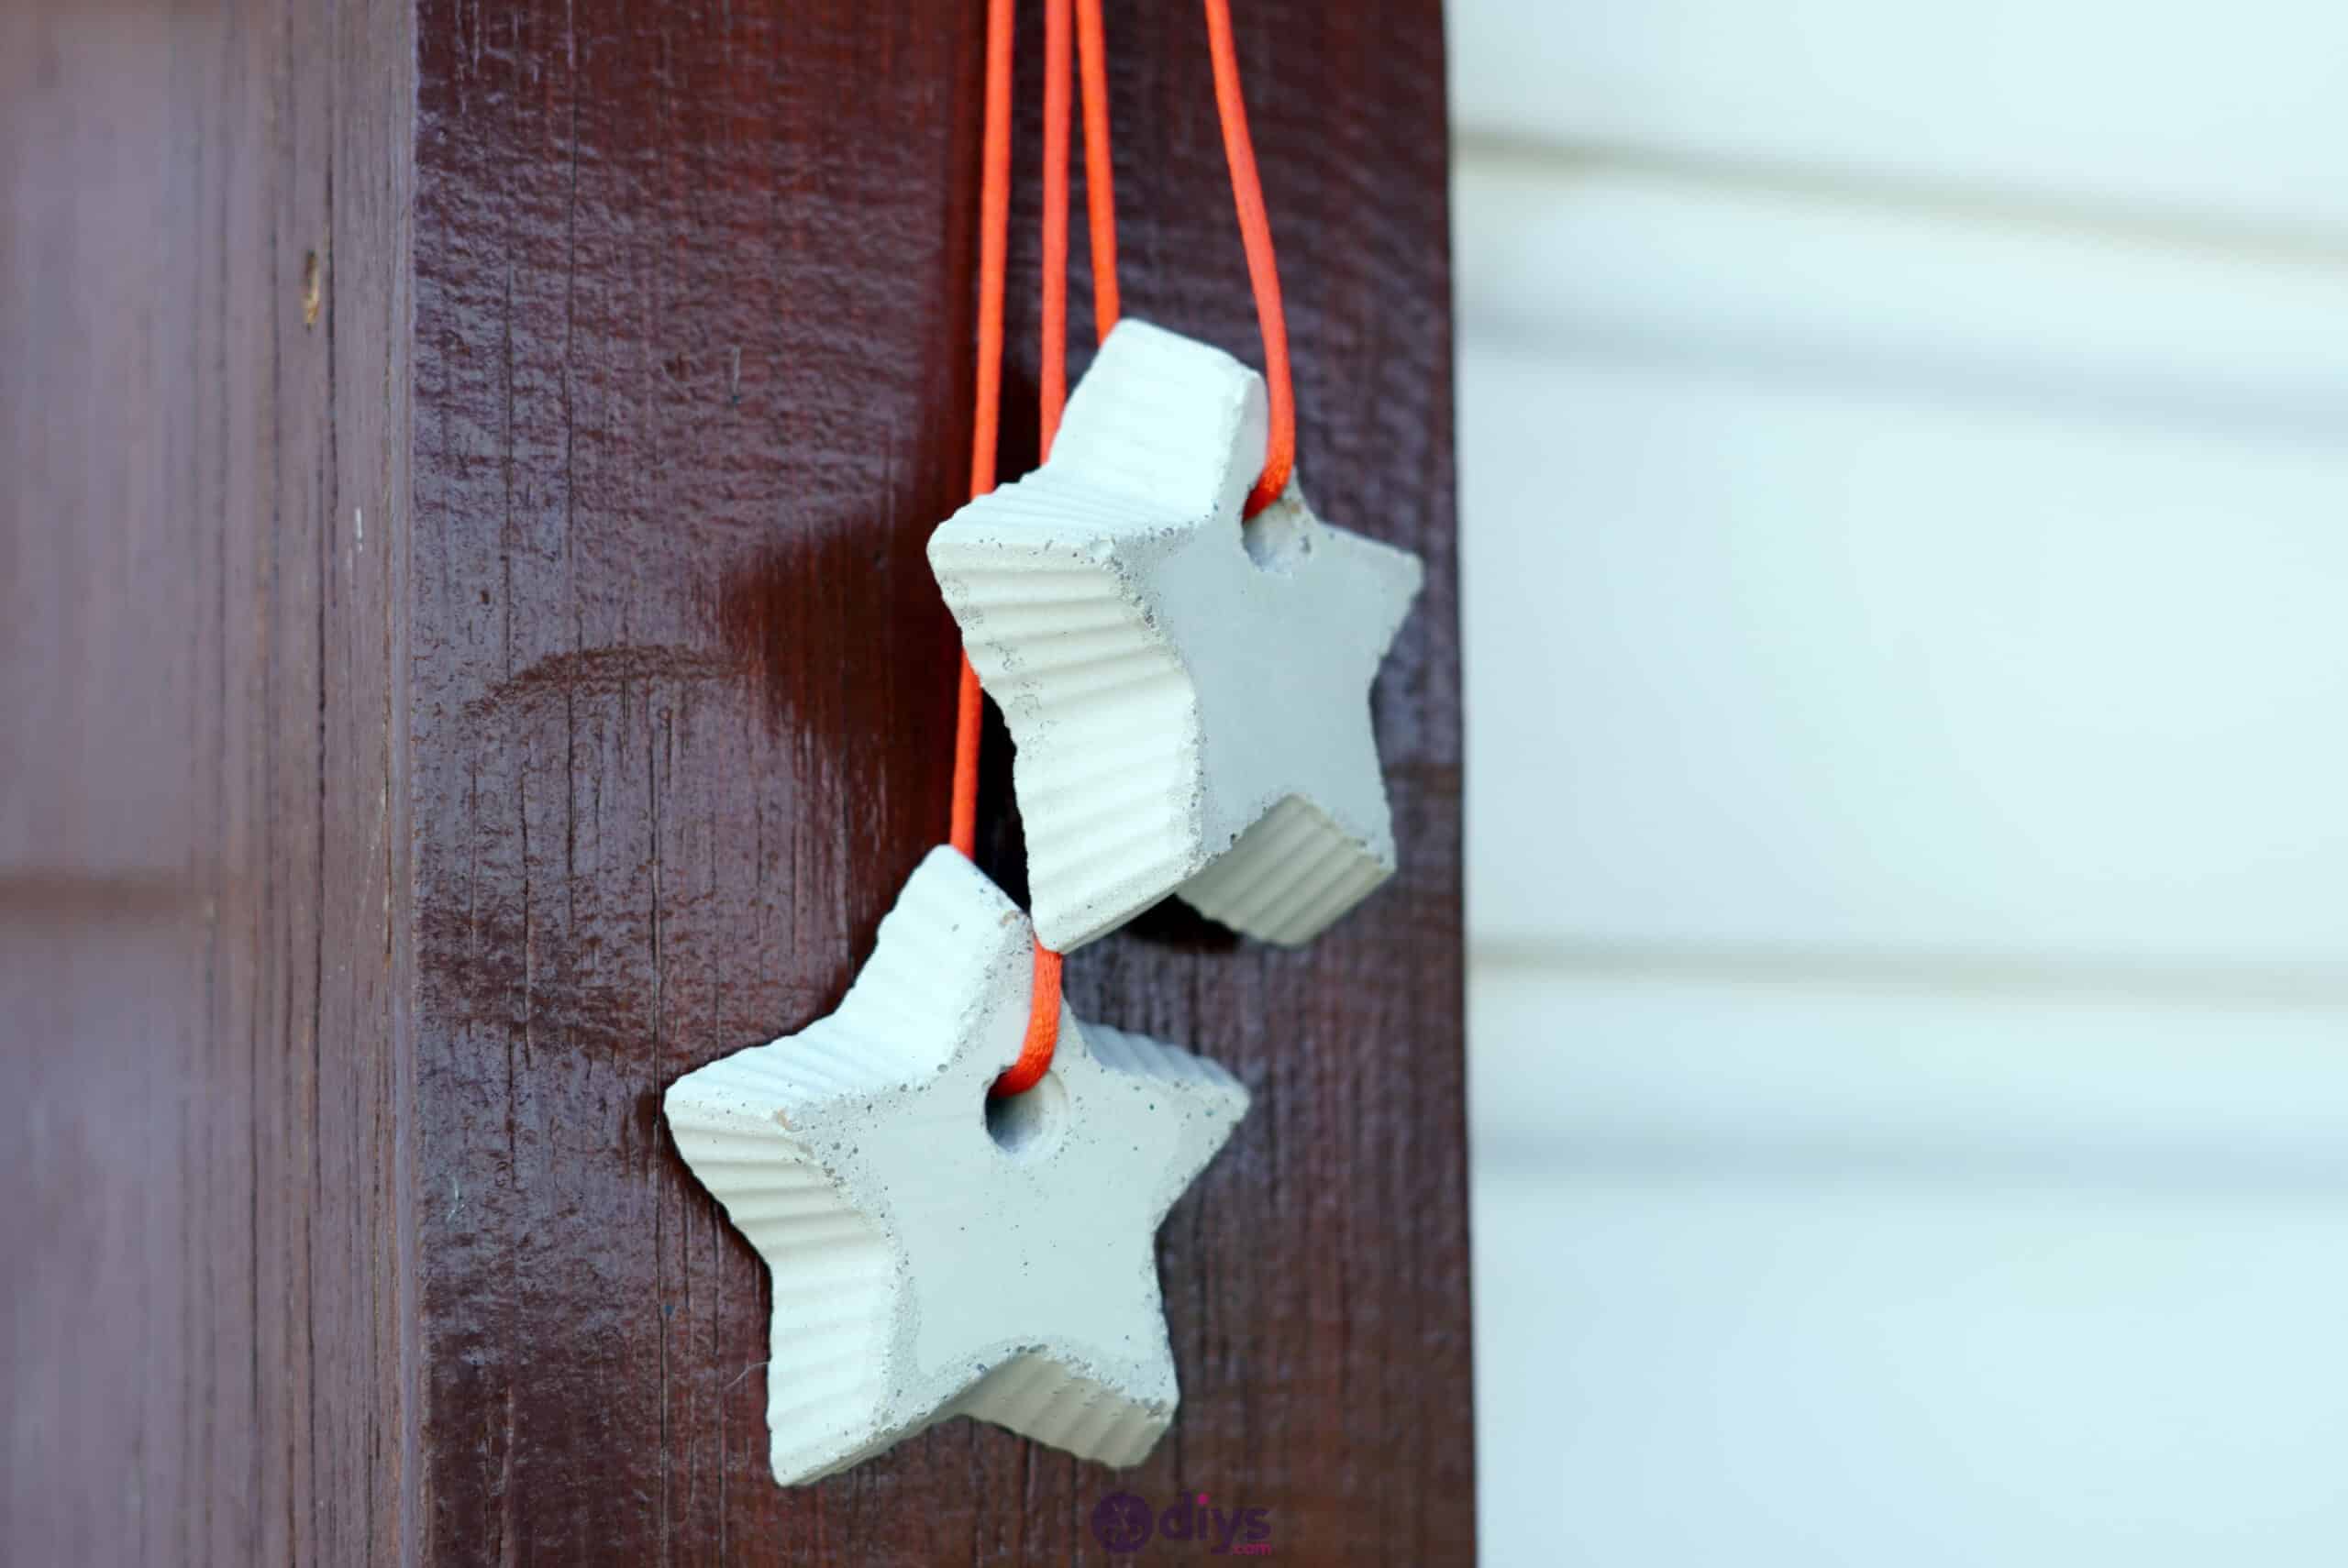
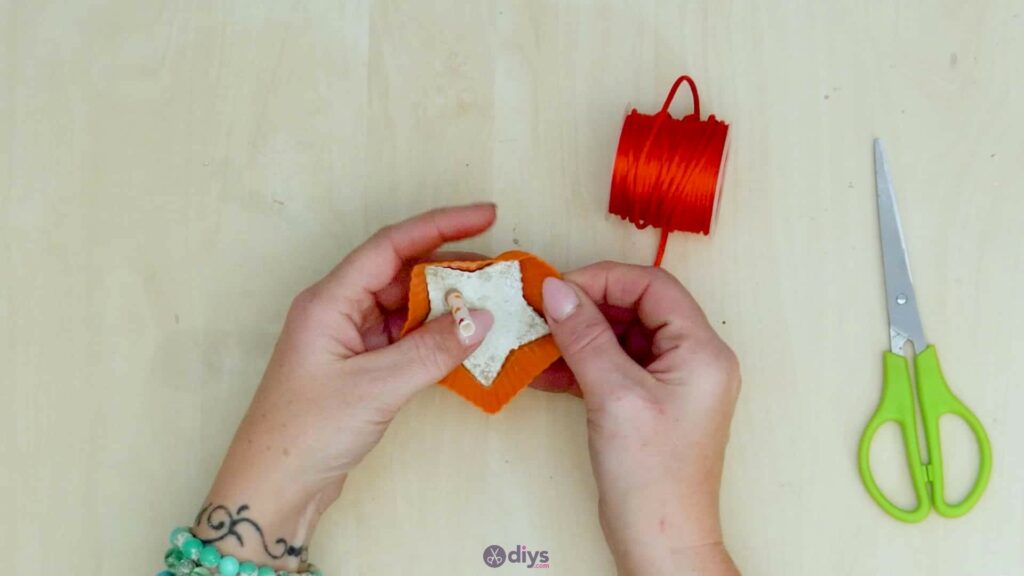
Sink one end of your cut straw piece into the cement mix where you’d like a hole to be in your final concrete piece. Keep in mind that this is where you’ll put a string through to hang your decoration up; that might influence where you choose to put it. Regardless of placement, just make sure that you don’t put your straw (and therefore your hole) too close to the sides or edges of your star. You don’t want to risk the concrete breaking because a piece near your hole was too thin. I chose to put mine at the base of my star’s topmost point, a little closer to the middle. When you’re happy with the placement of your straw, set the whole piece aside to dry thoroughly.

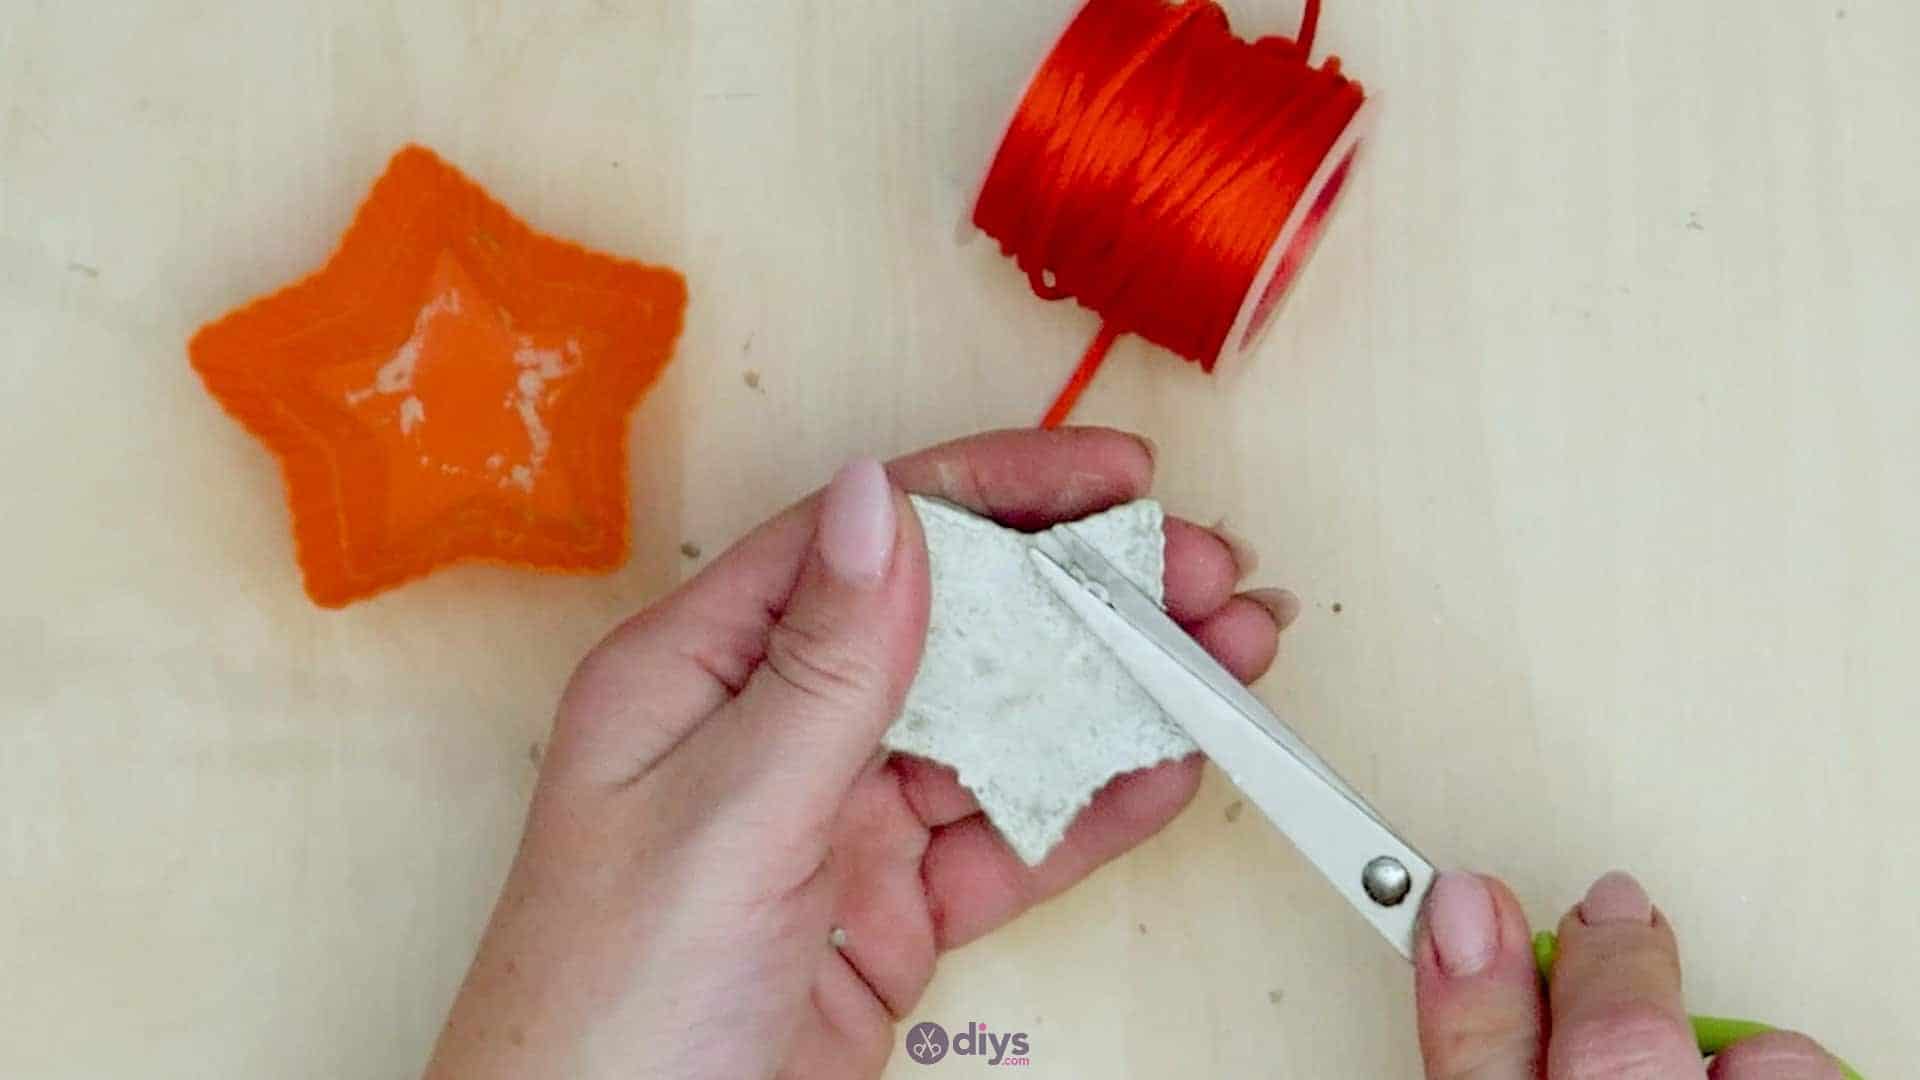
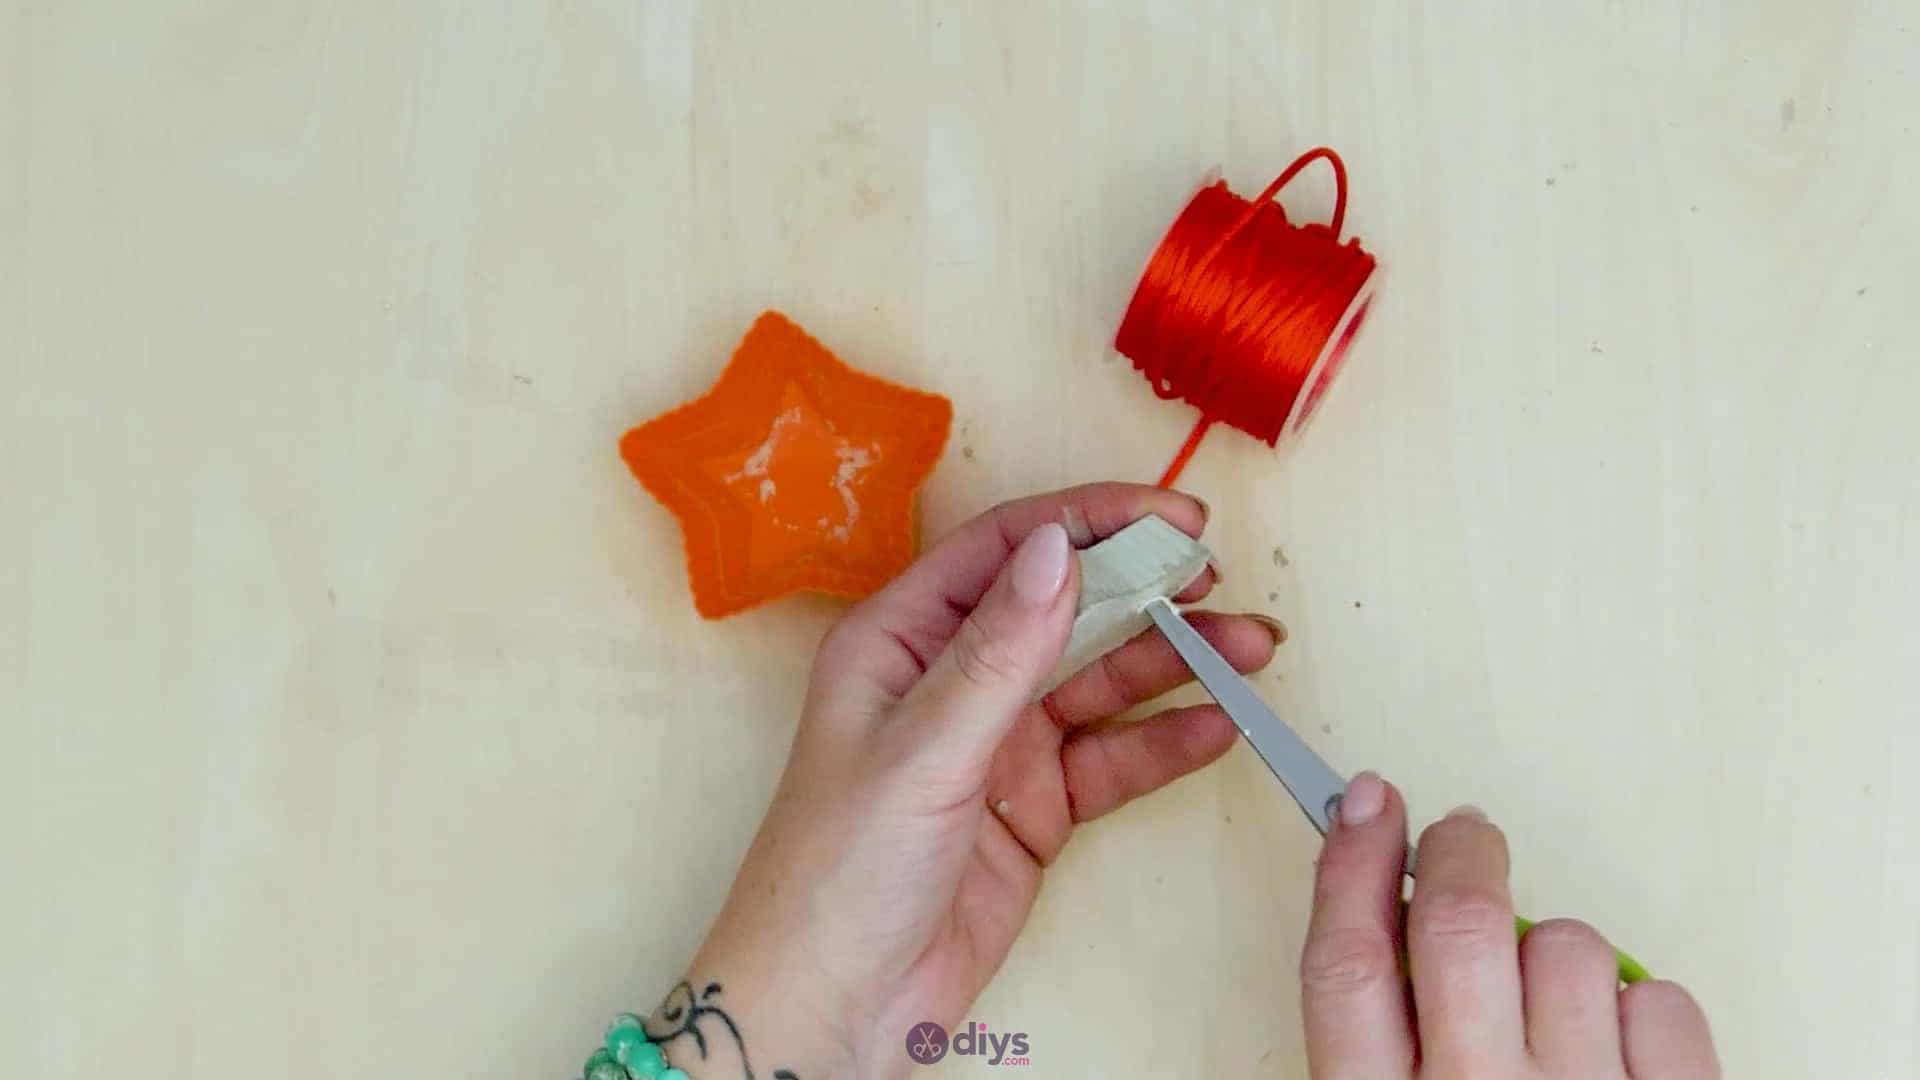
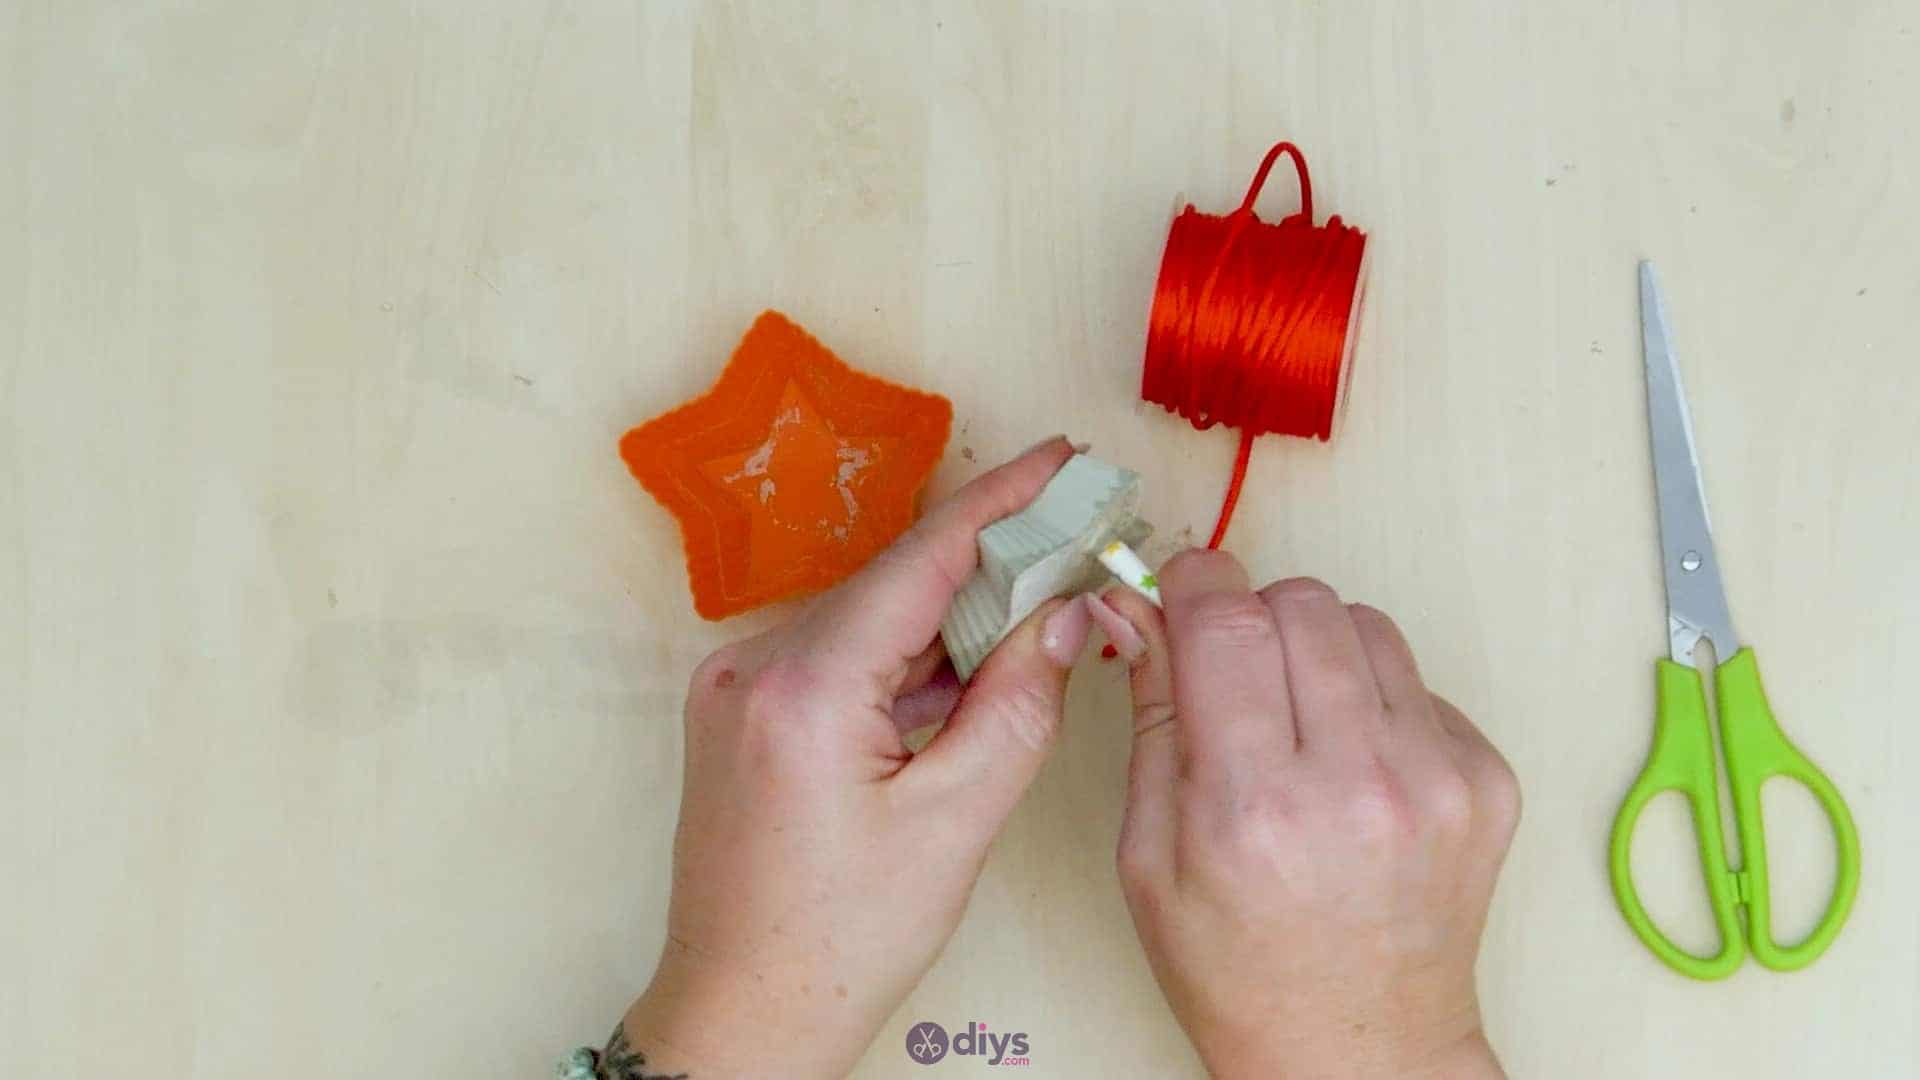
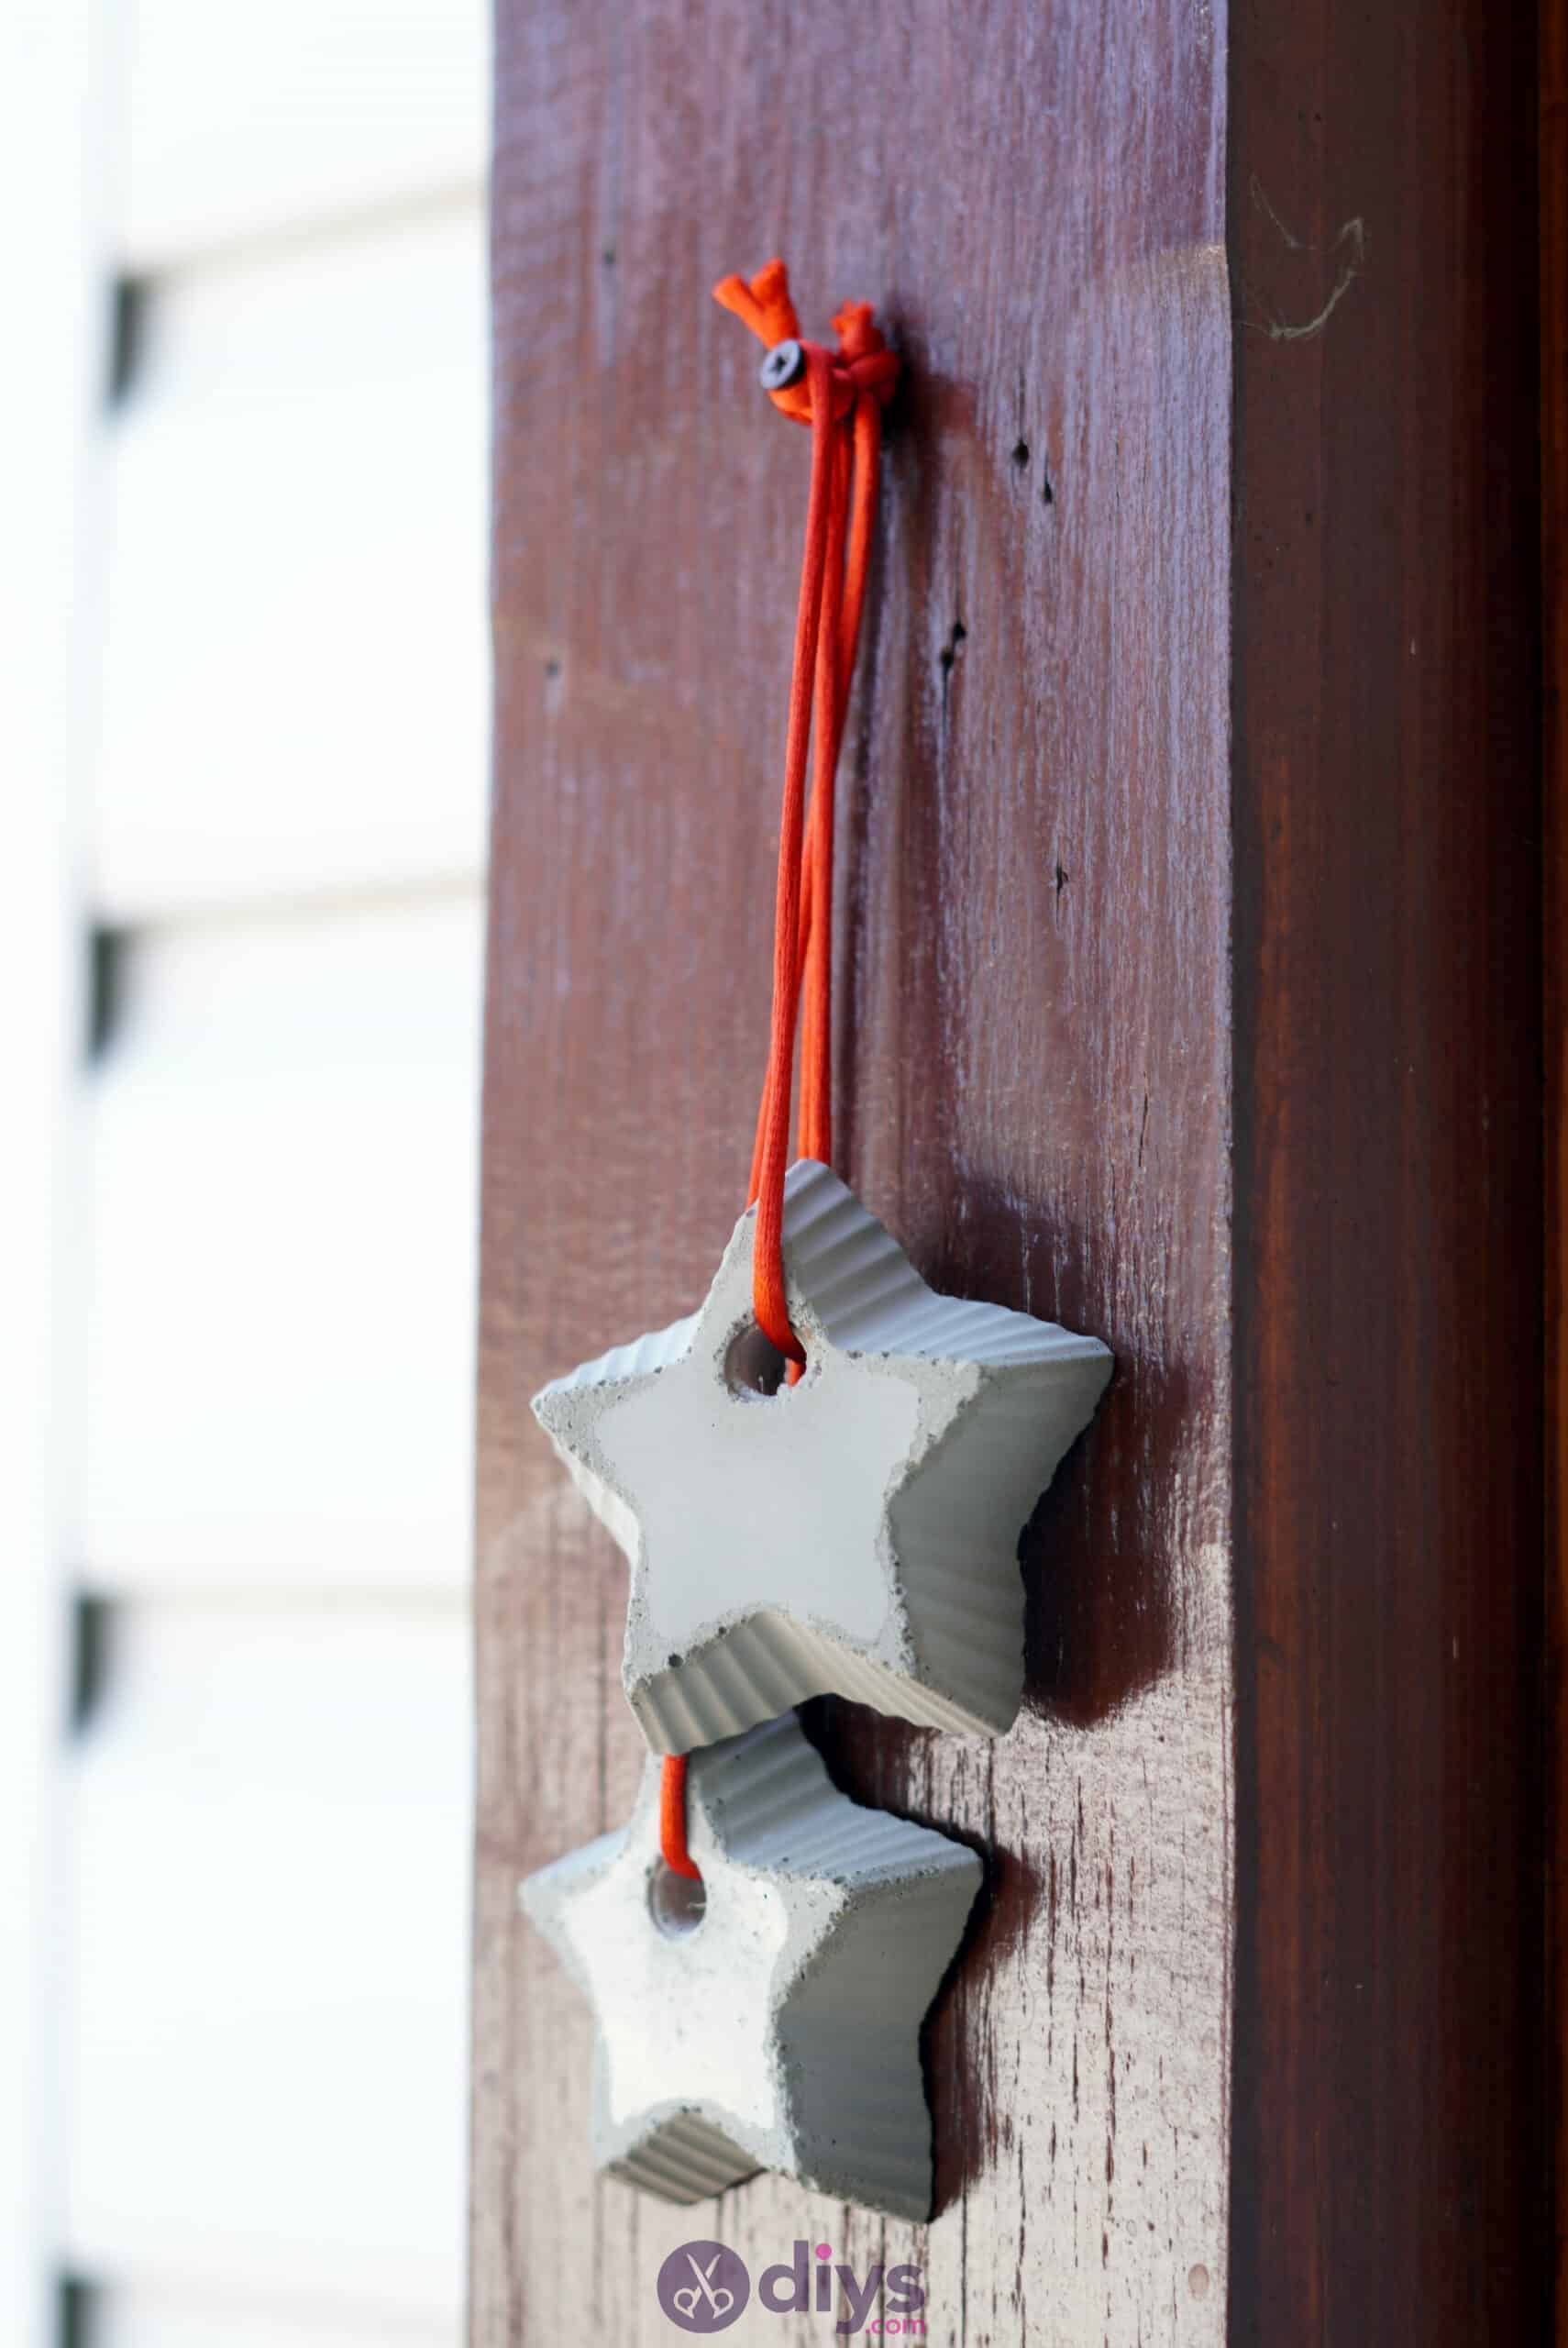
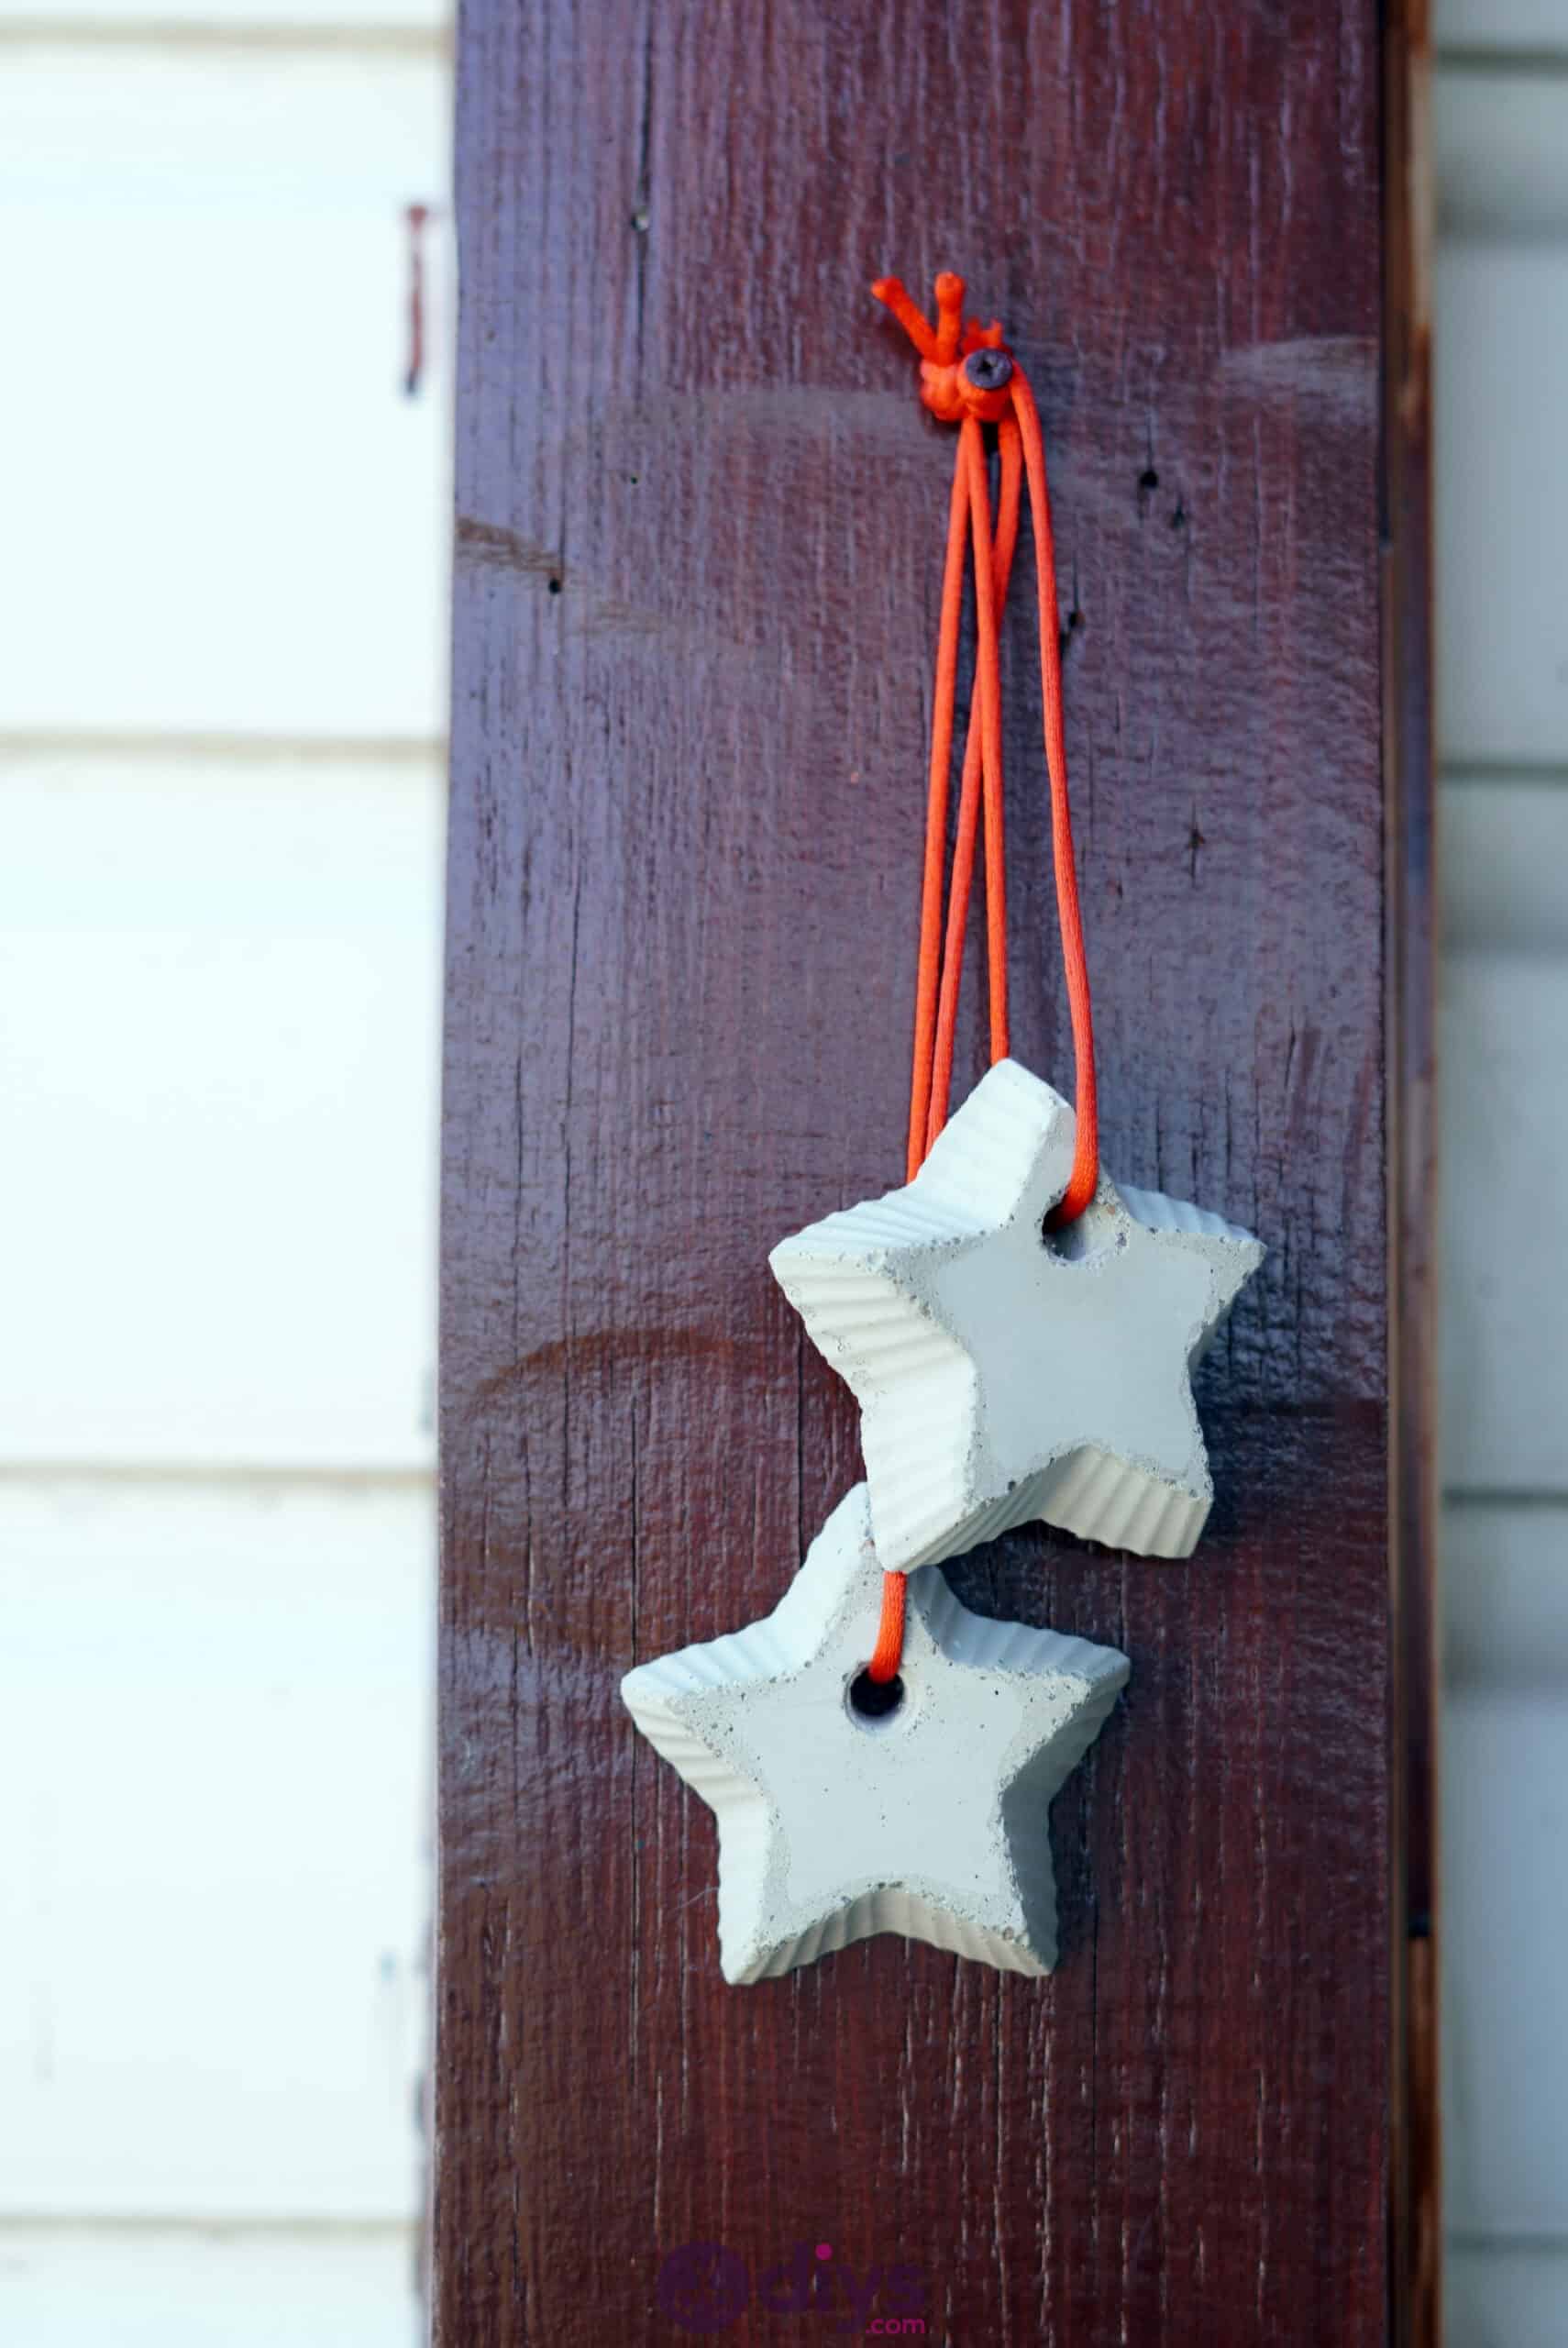
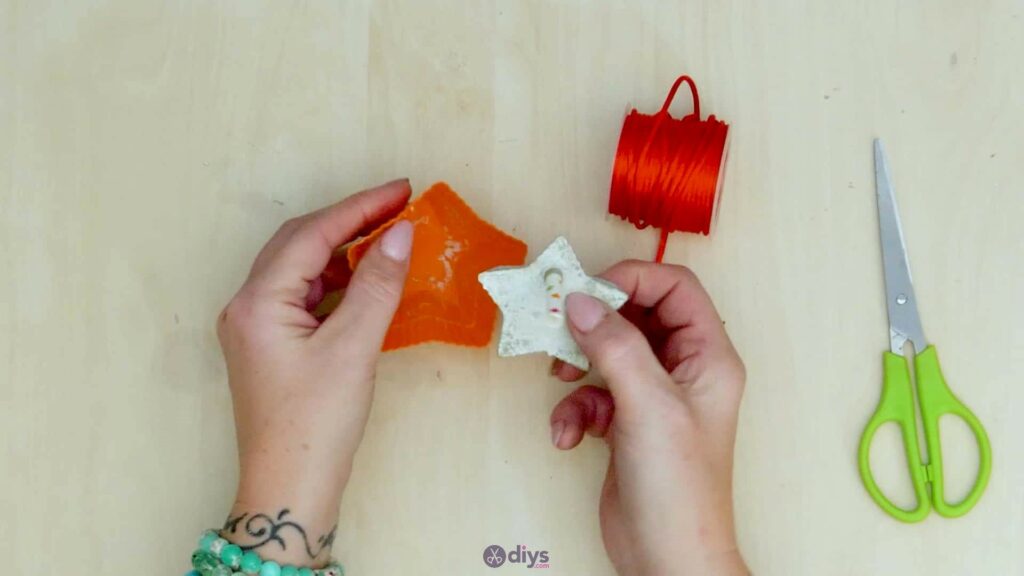
Step 7: remove from the moulds
Remove your finished piece from the mould by bending back the sides to free the new concrete shape. This should be fairly easy to do thanks to the oil coating you applied inside the mould before you filled it. Next, pull out the piece of straw from the spot where you made a hole in the concrete. This part might stick a little bit, so you might have to carefully use your scissors to clear the centre of the hole. No one will see the inside, so you just need it to be clear enough for a piece of cord to slide freely through that hole in a moment. If you feel rough spots on the surface of your concrete start or you want to smooth it out, you can do so now with sandpaper or an abrasive block.

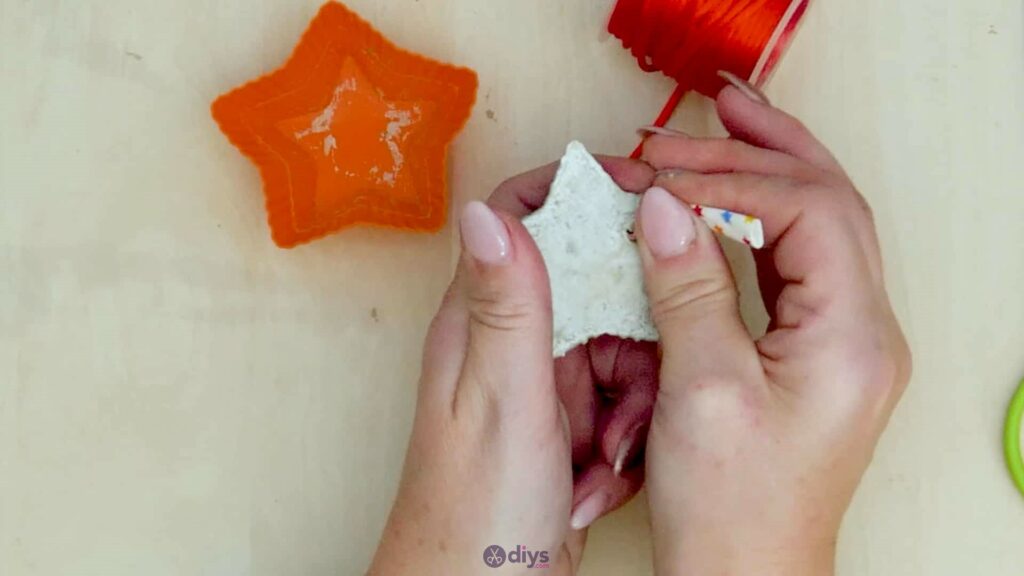
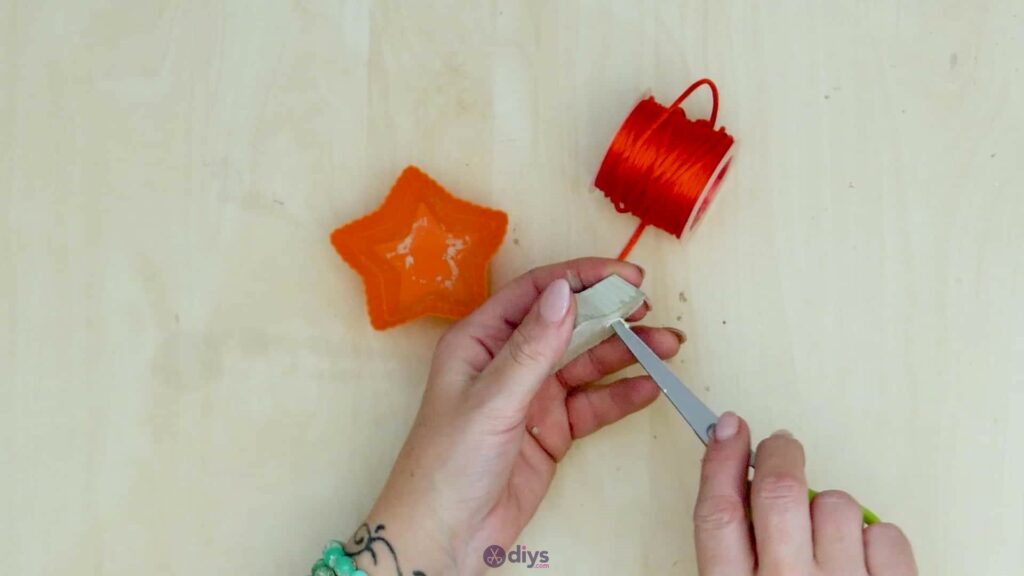

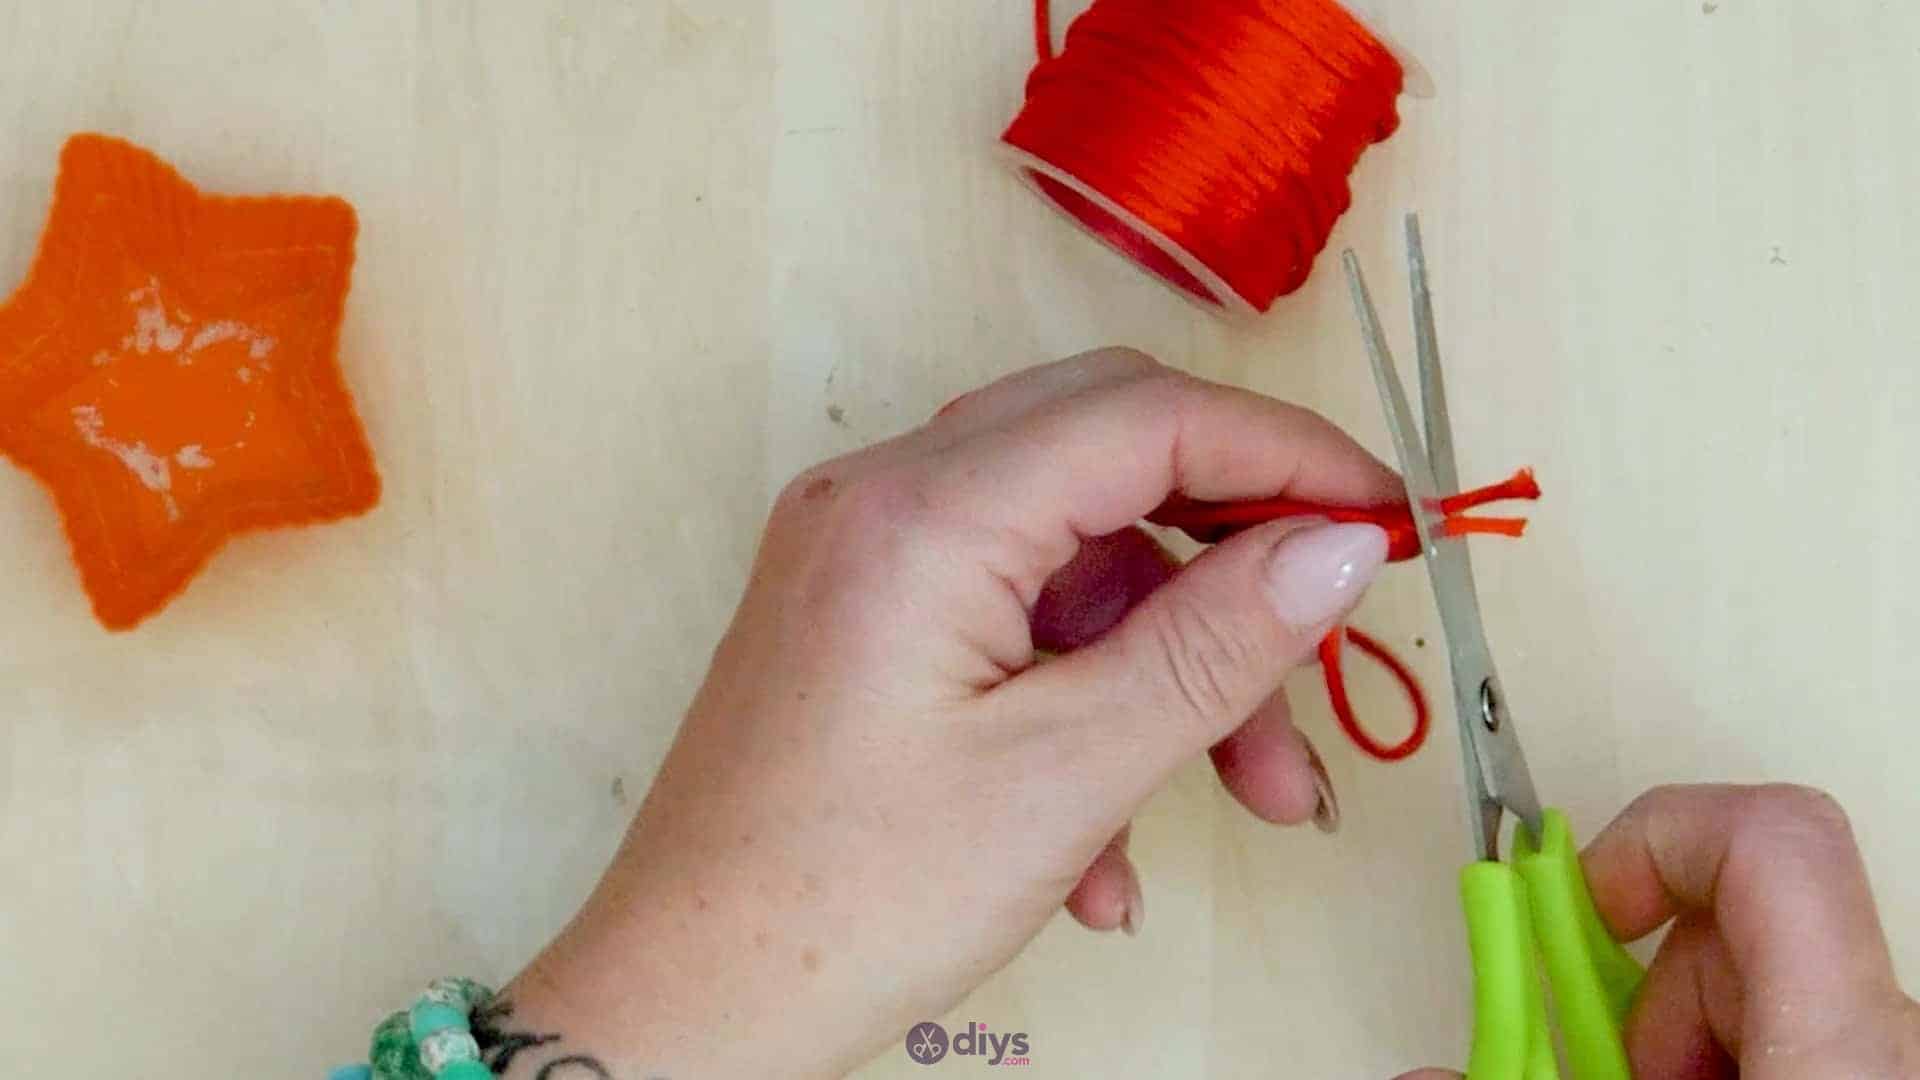
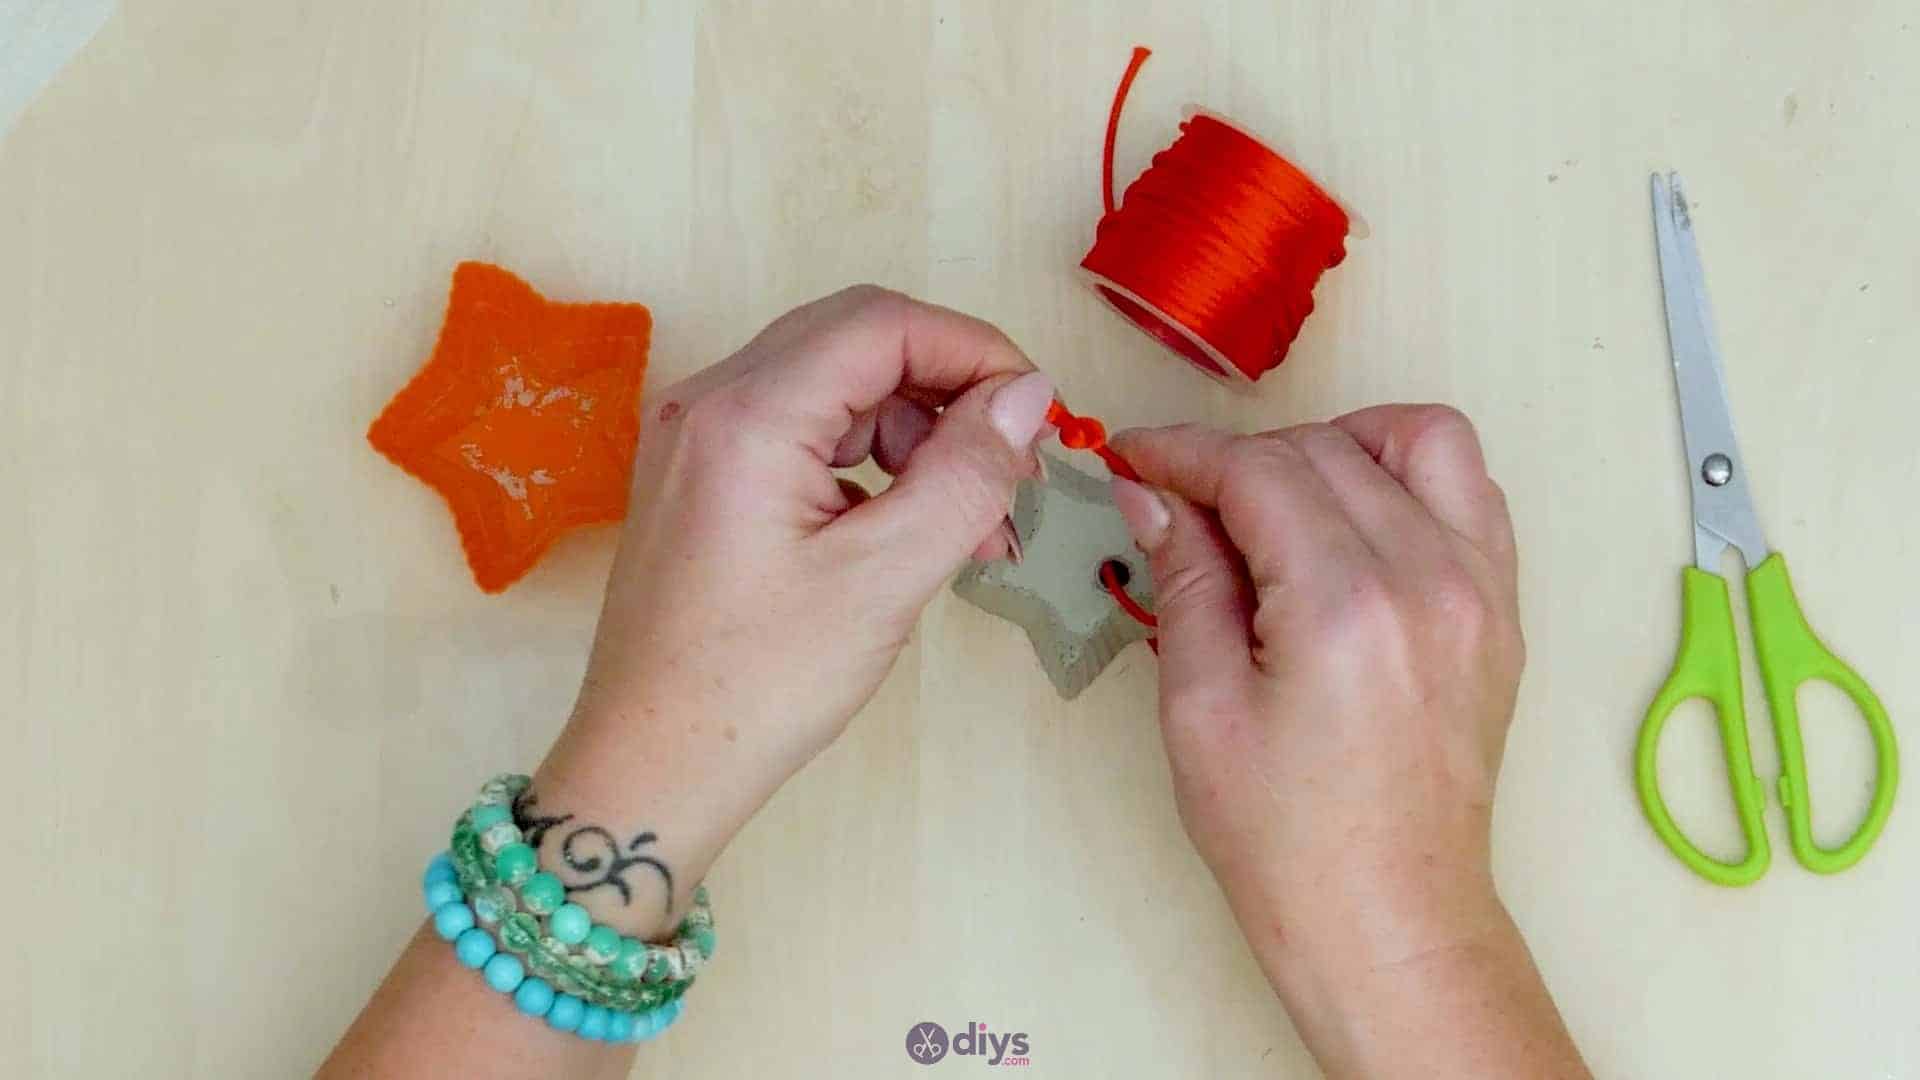
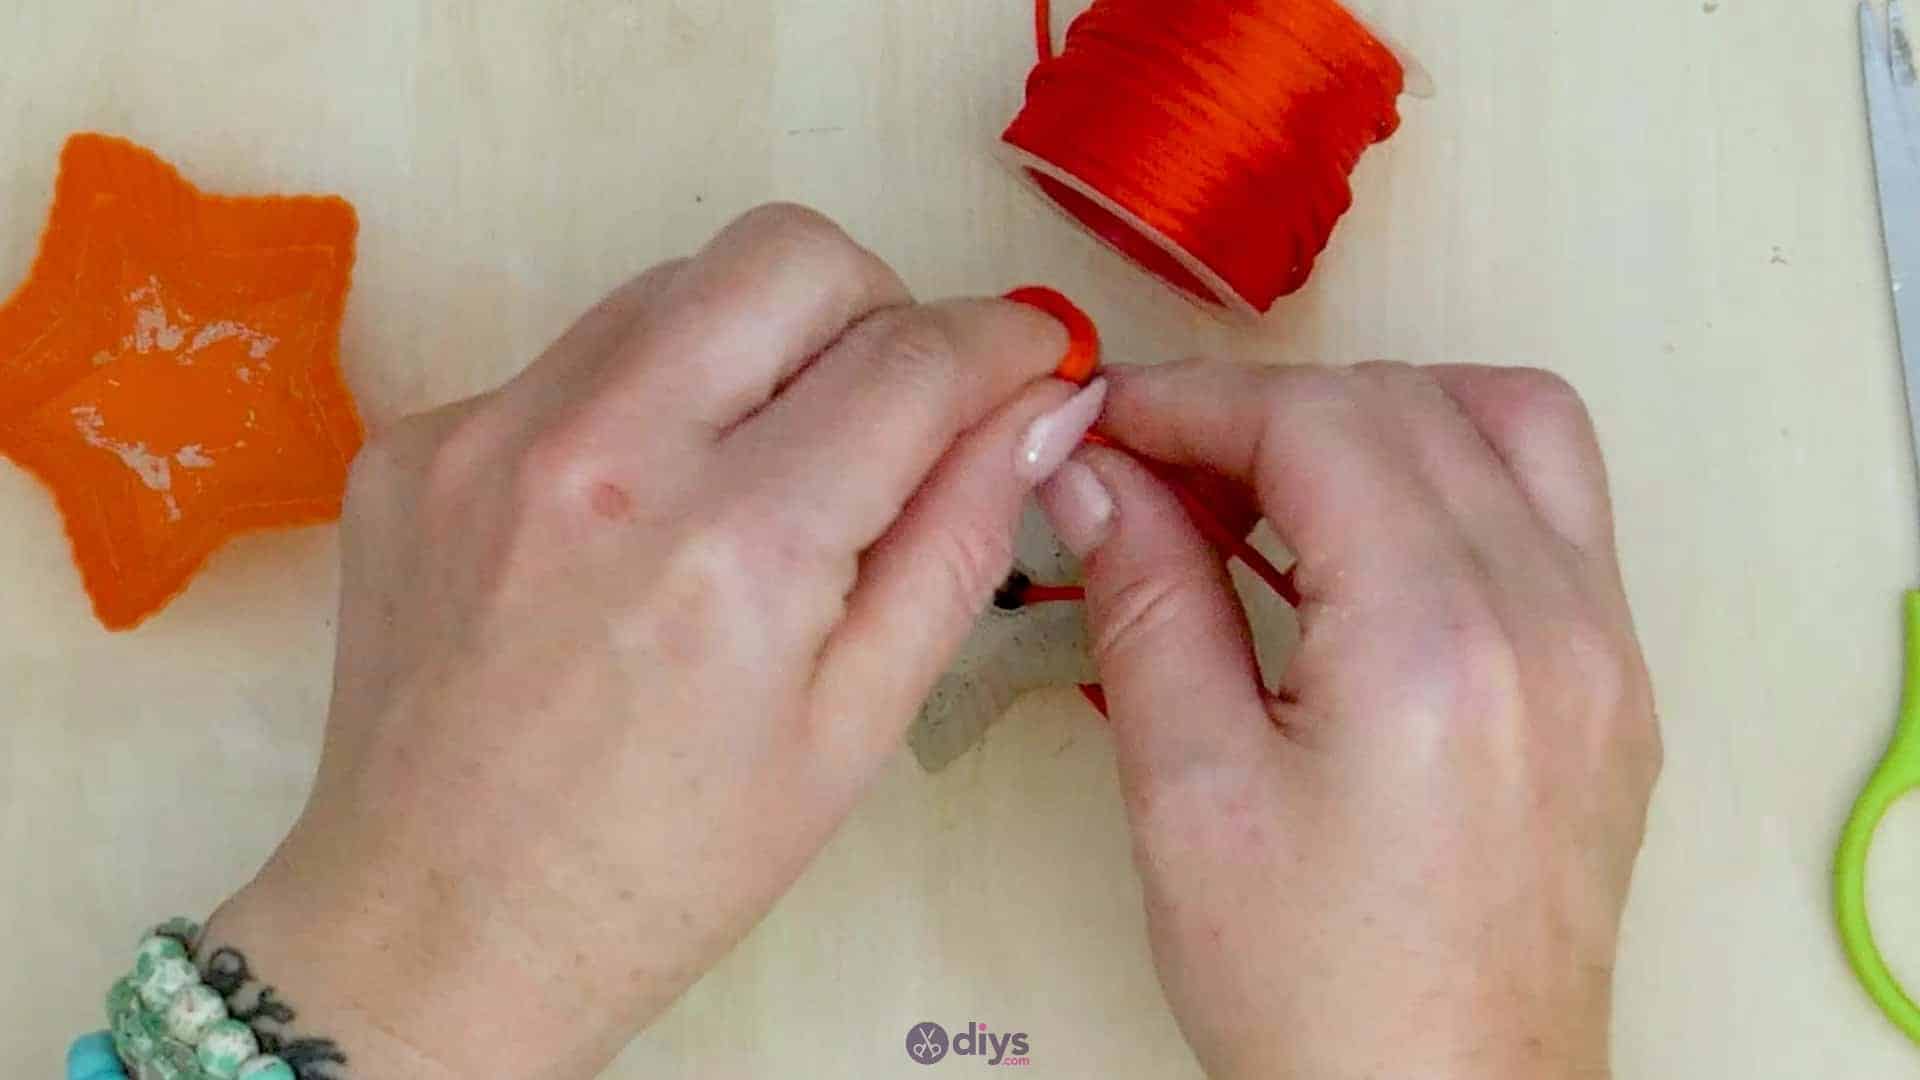
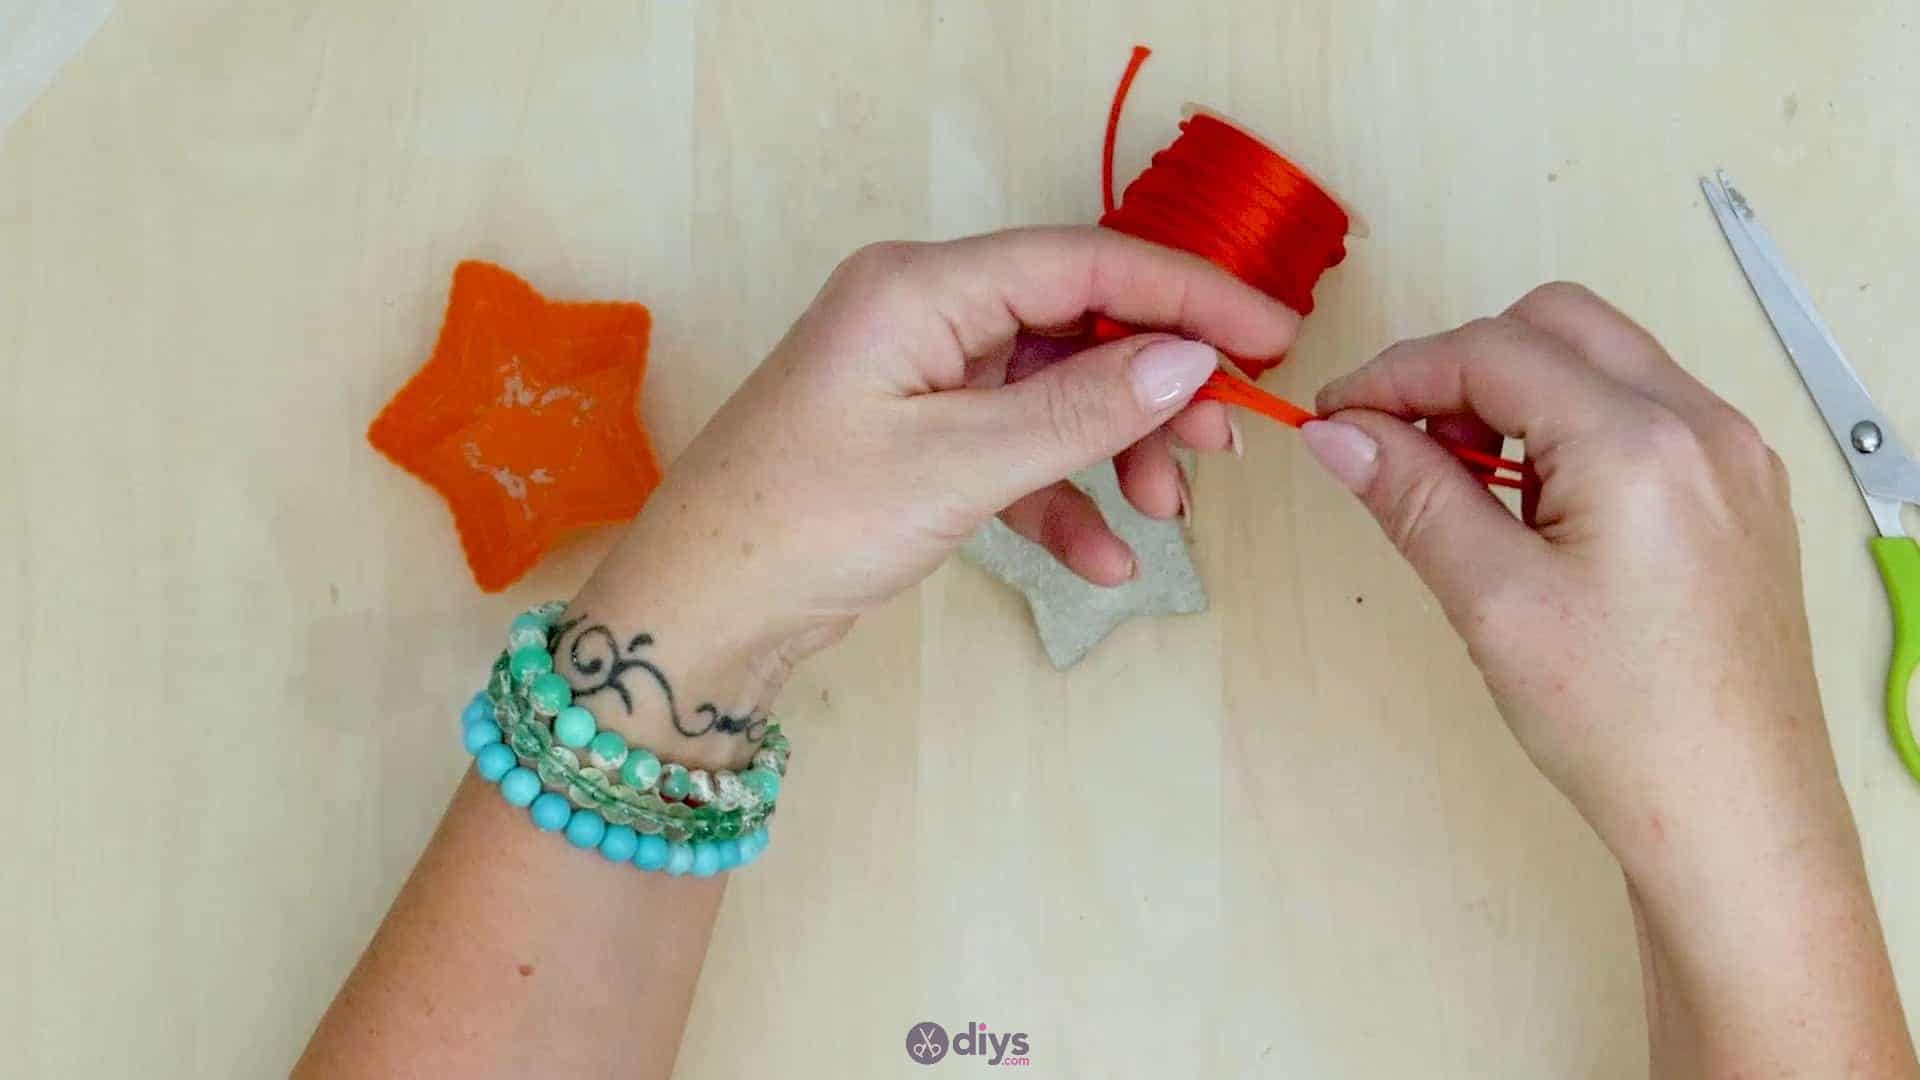
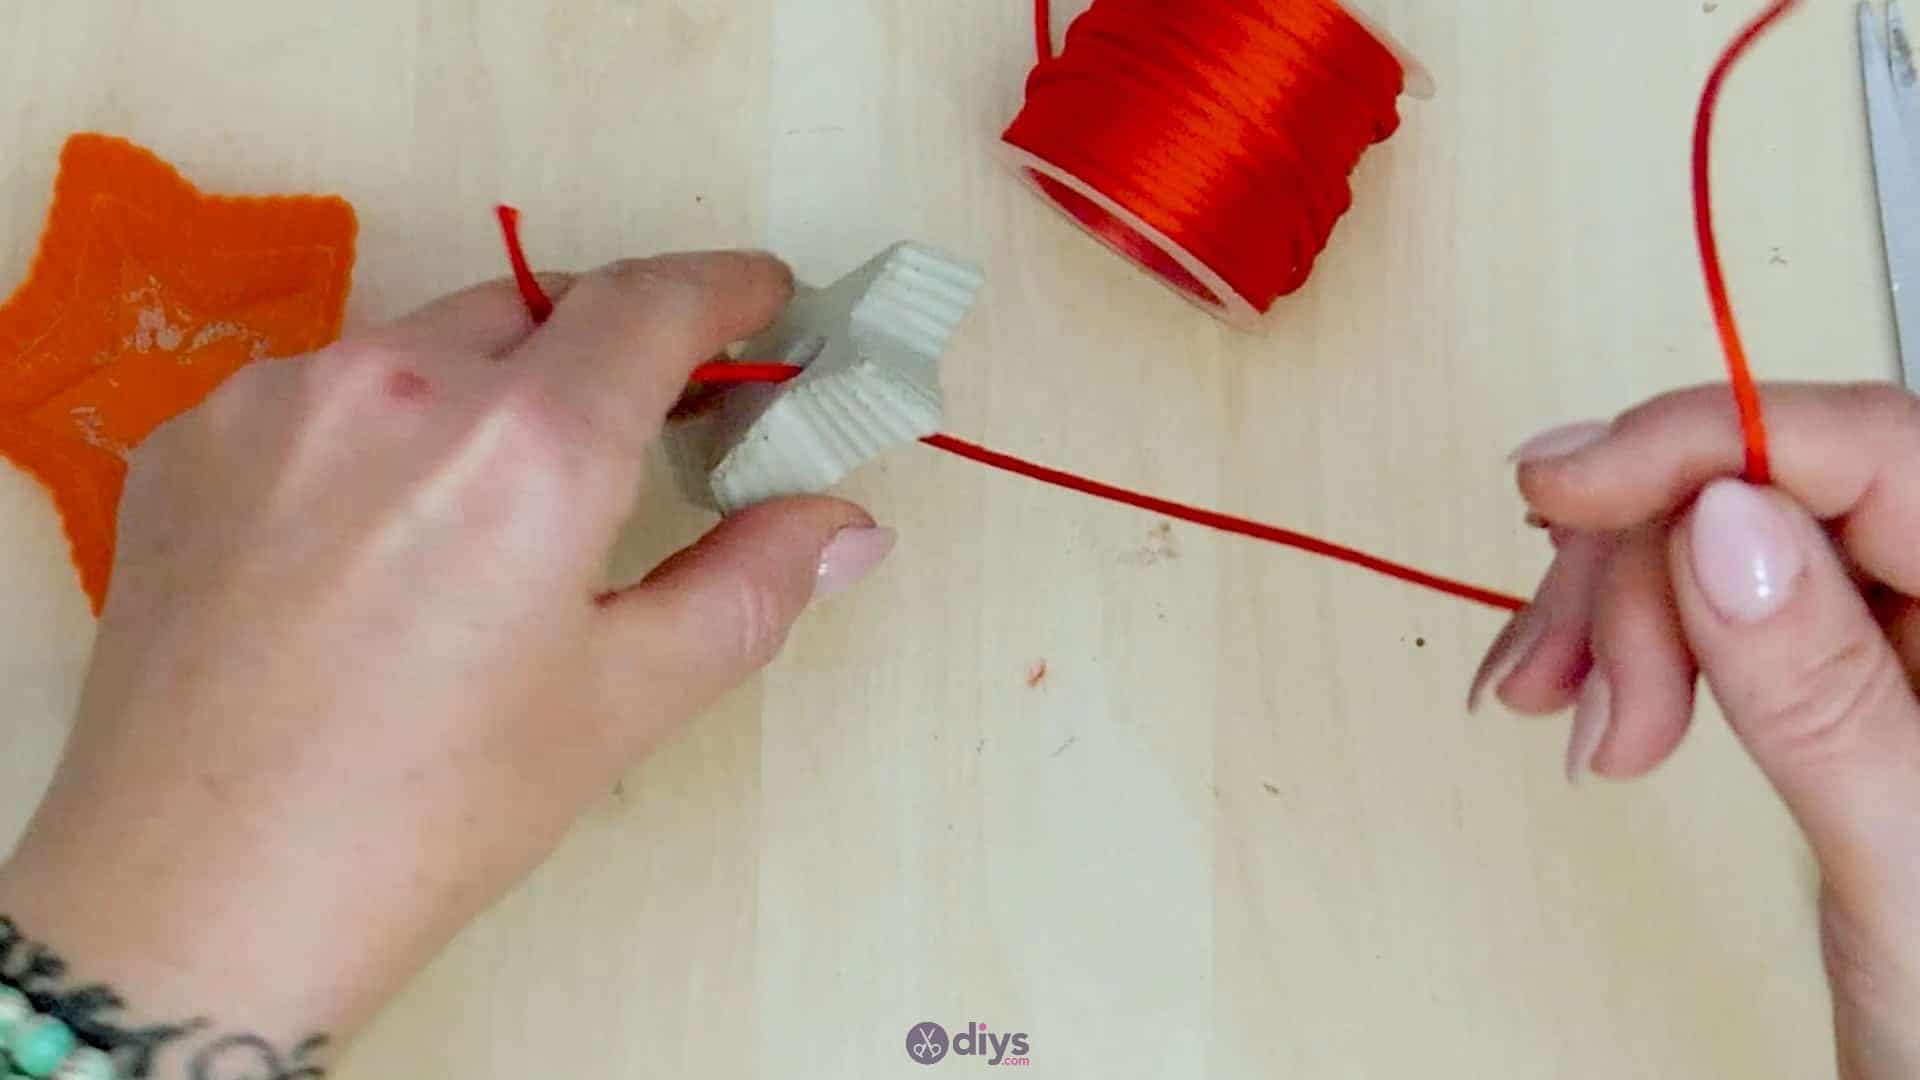
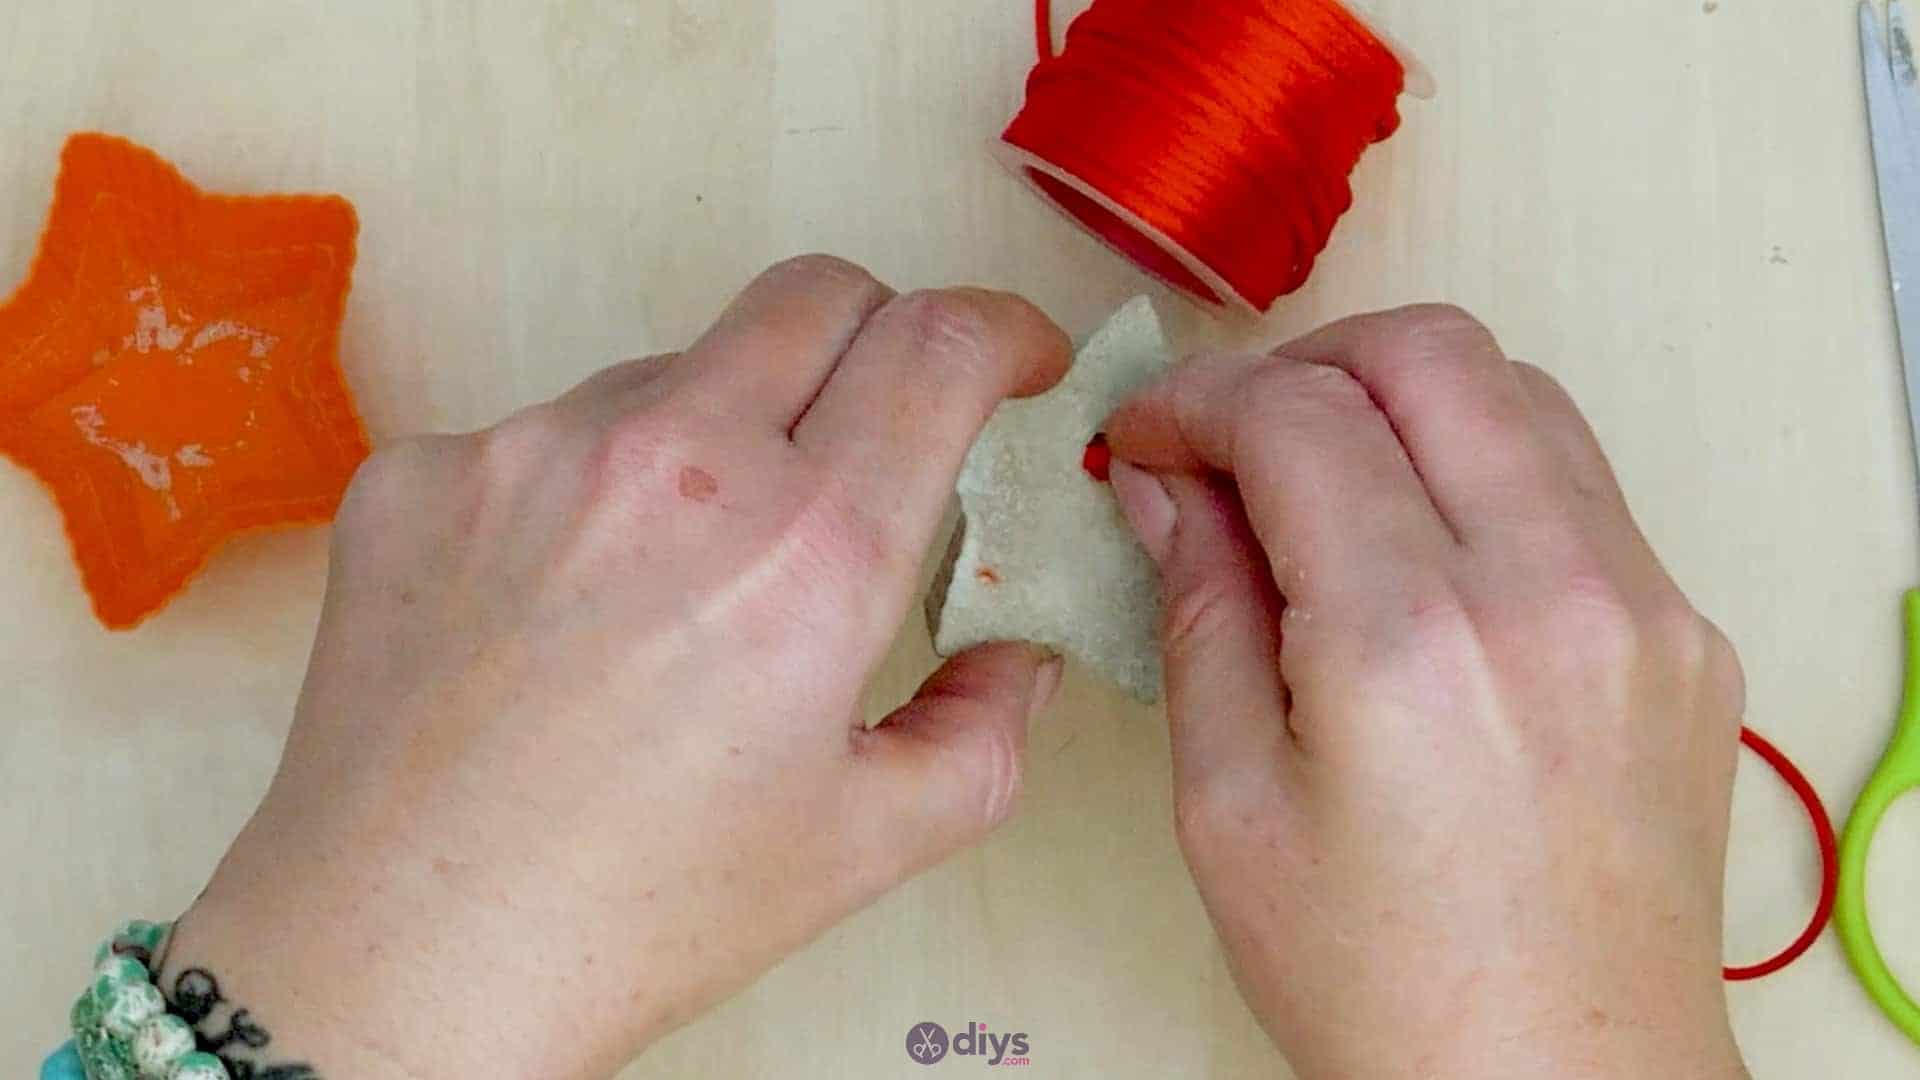
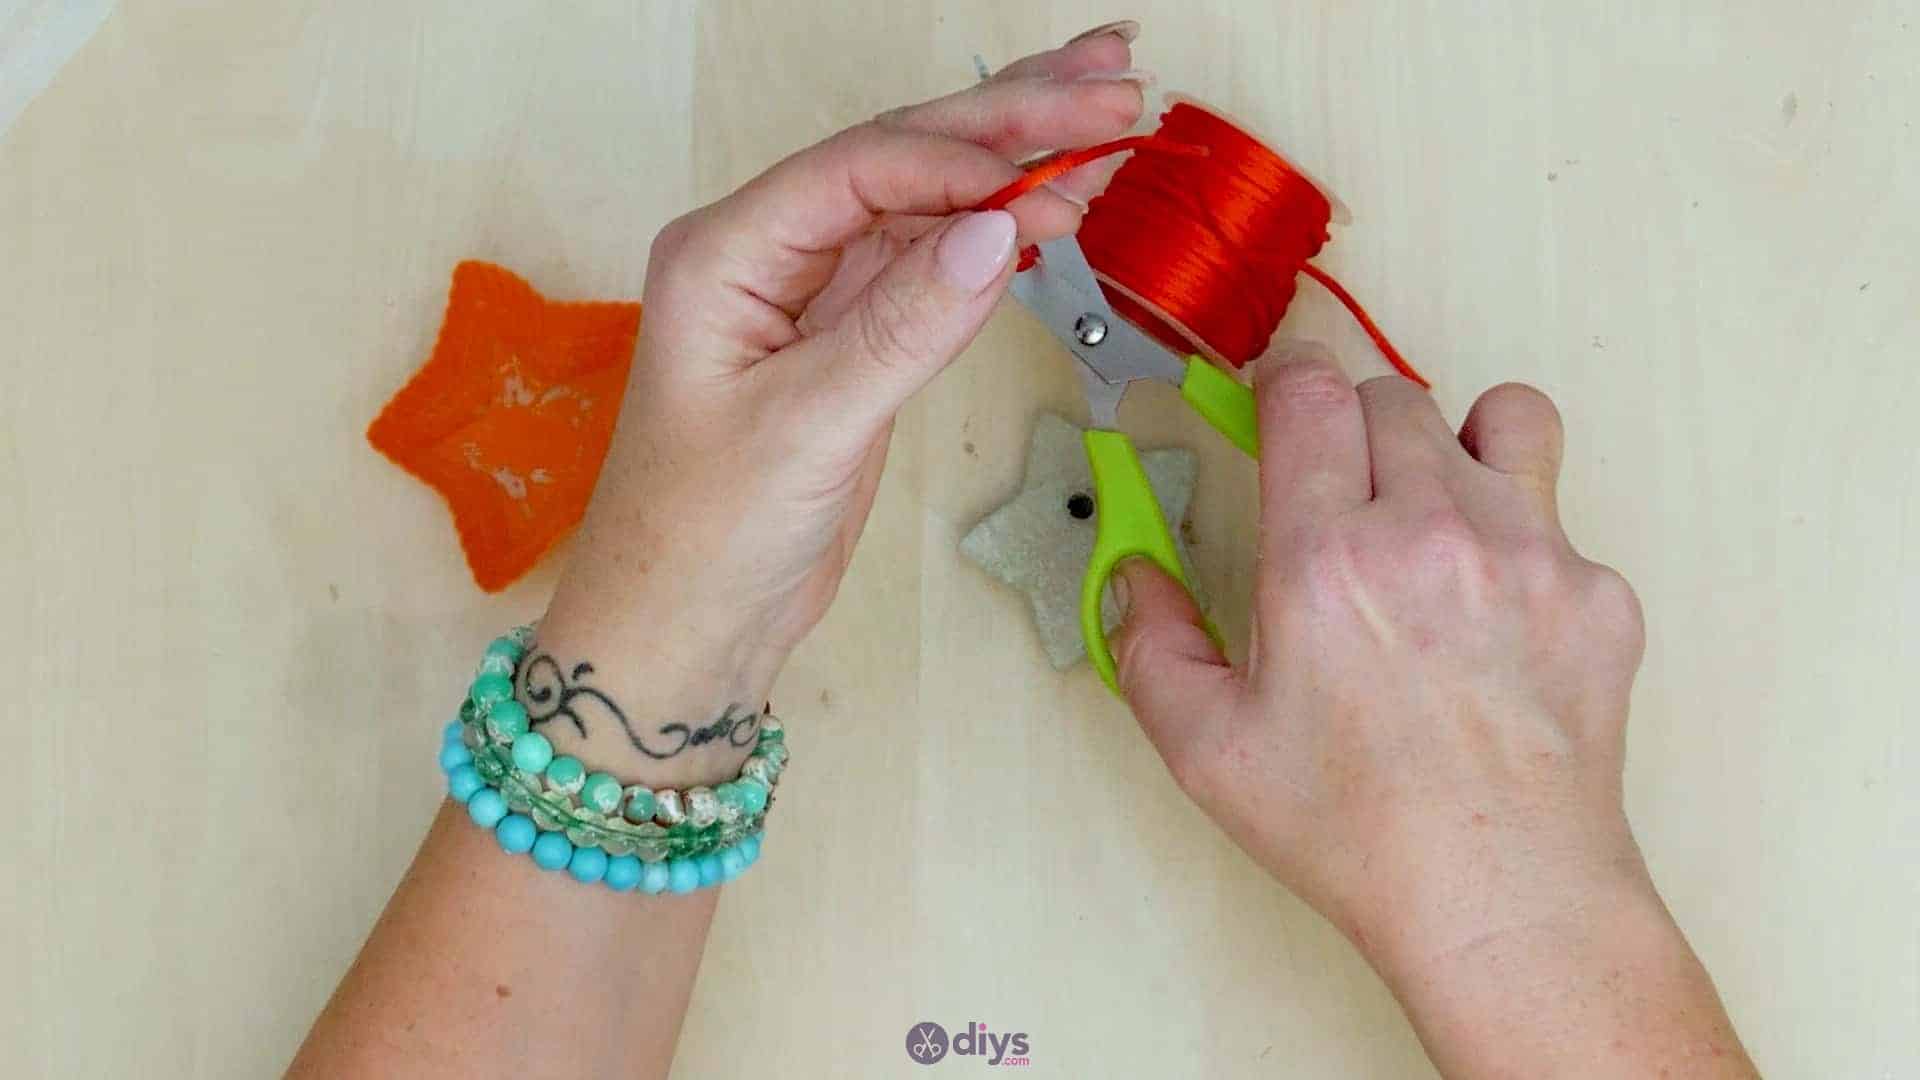
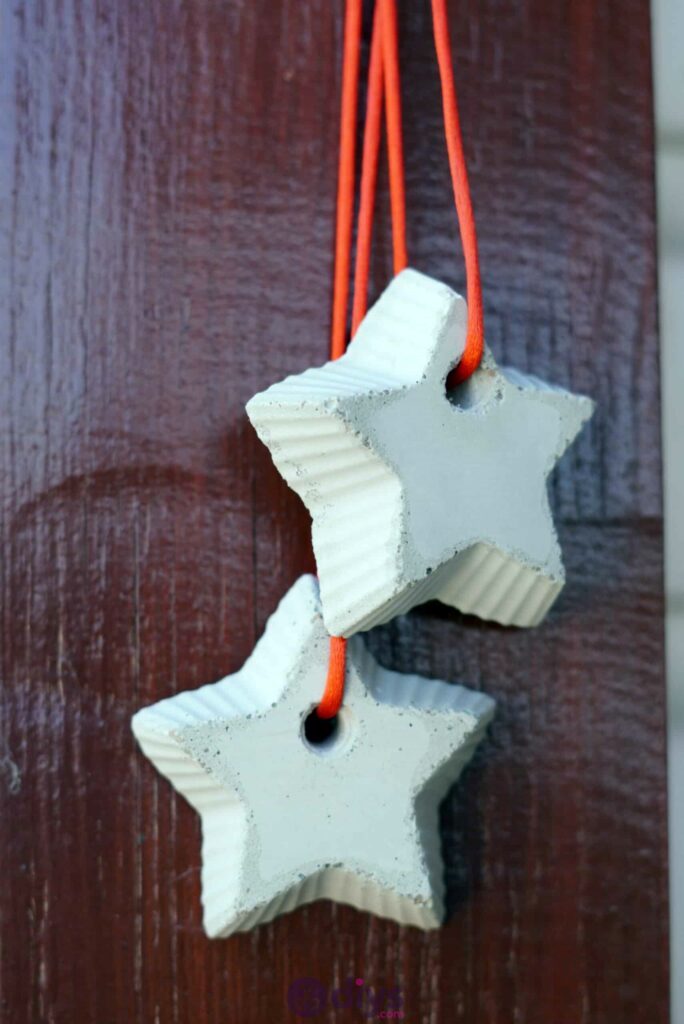
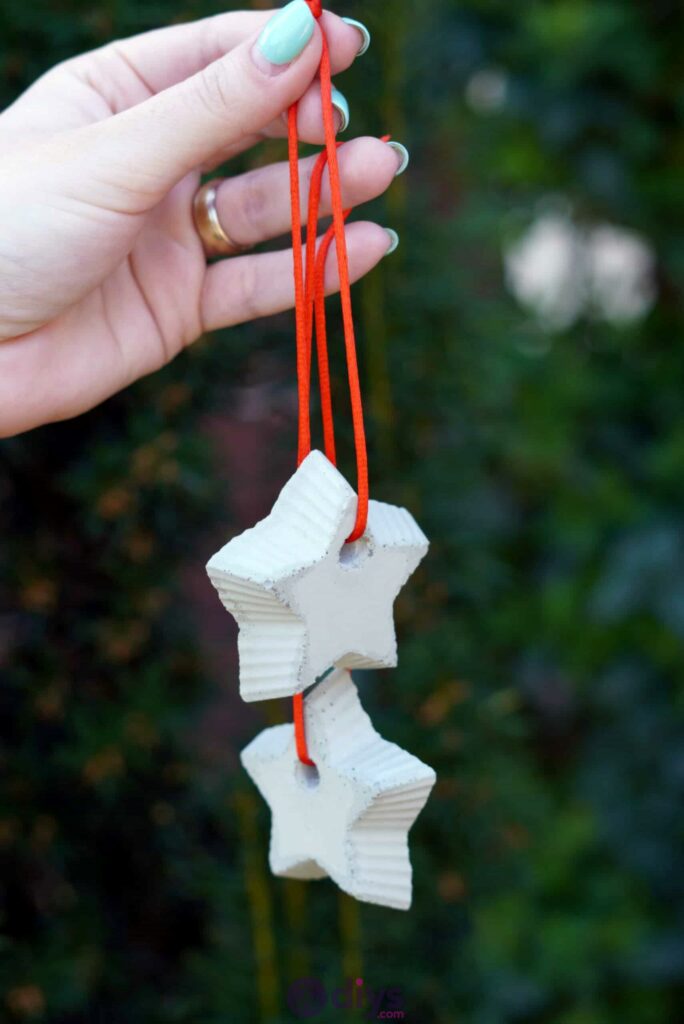
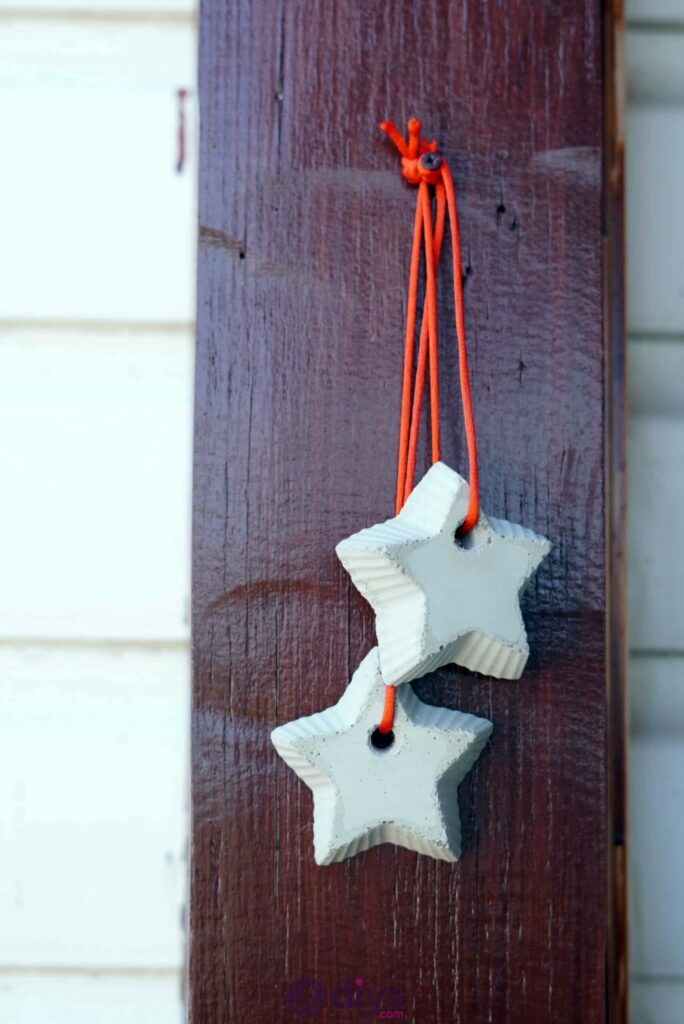
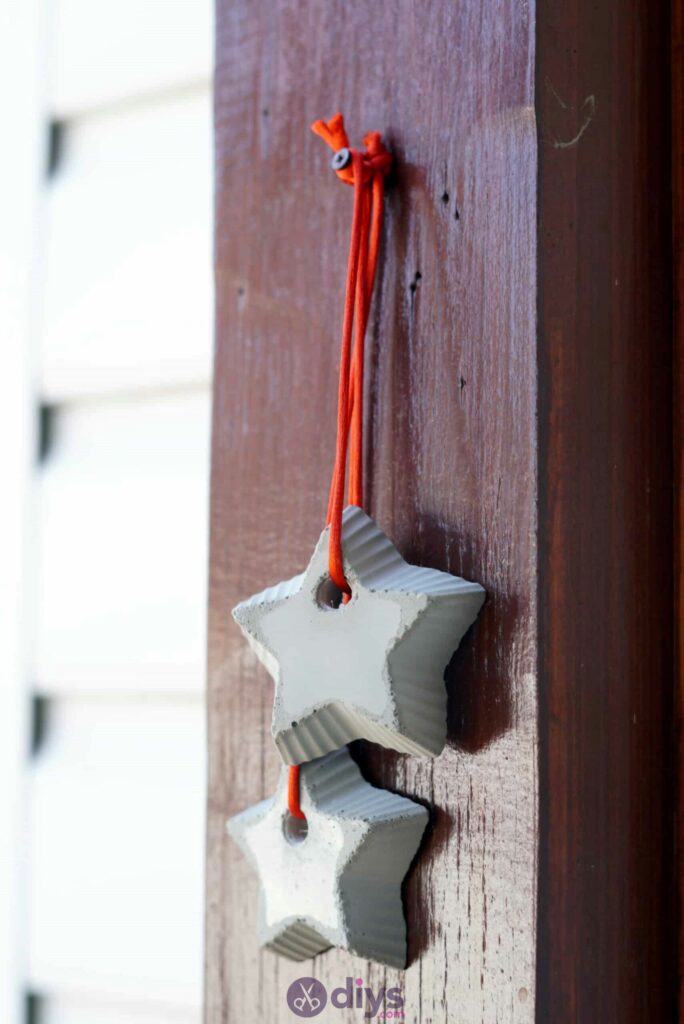
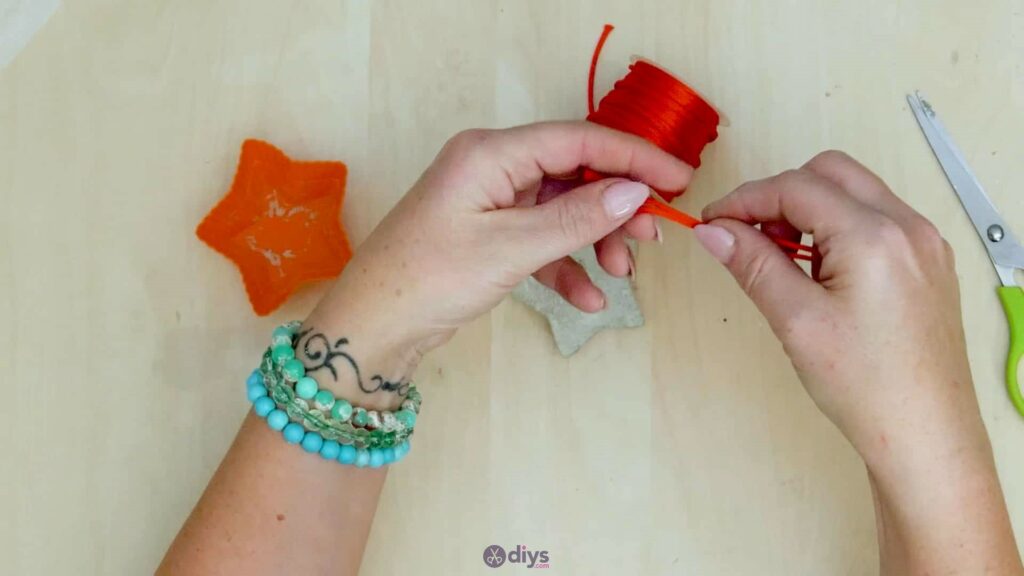
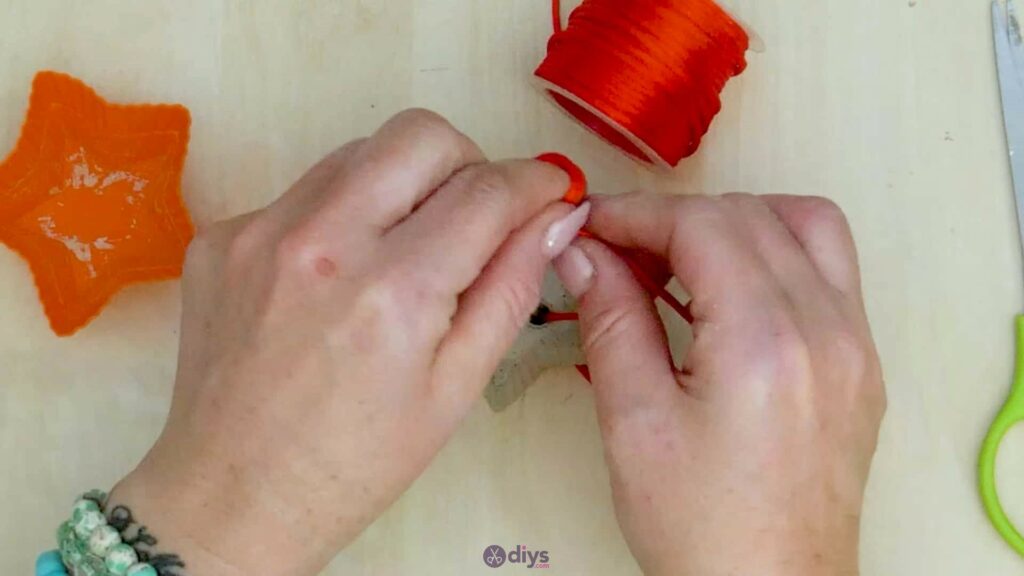
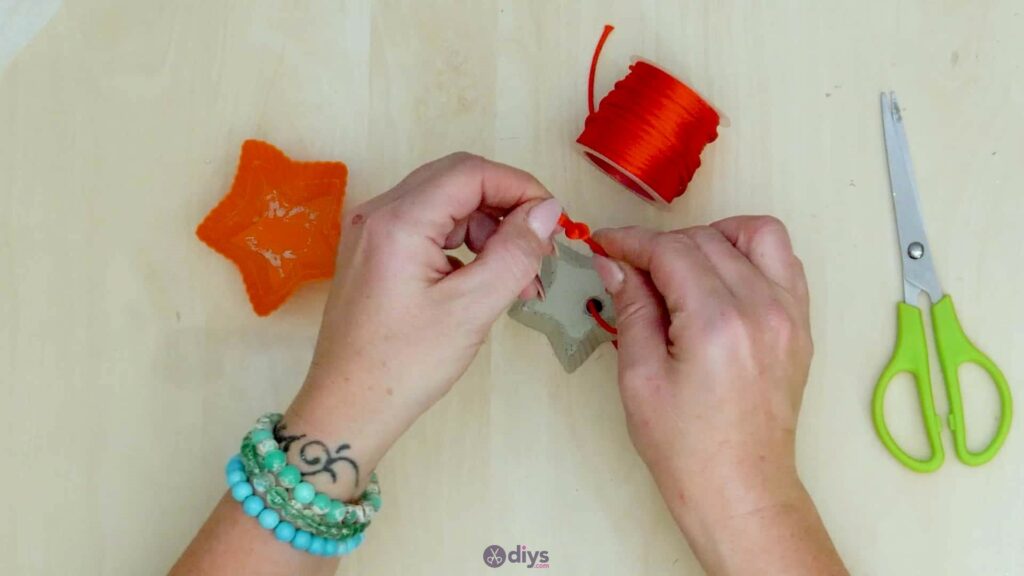
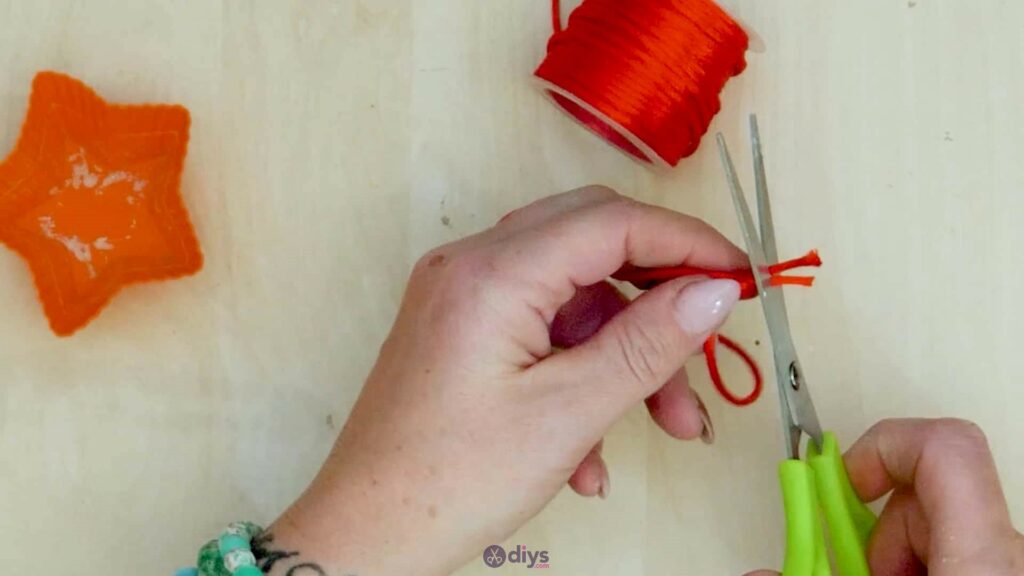
Step 8: string it
Cut a piece of silk cord that’s double the length you’d like to see your star hang down from its own loop. Slide one end through the hole in your star and pull it to meet the other end, double knitting the two together. Trim the excess ends from your knot. You now have a hanging decoration!


I decided to leave my starts plain in order to let the natural appeal of the concrete take centre stage, but feel free to get creative with your finished pieces! Concrete is very easy to paint, glitter, and glue things to, so the options are really endless. Just in case you’d like to try this project out for yourself, here’s a fantastic tutorial video to help you!