DIY Colorful Concrete Coasters
Updated on June 23, 2021


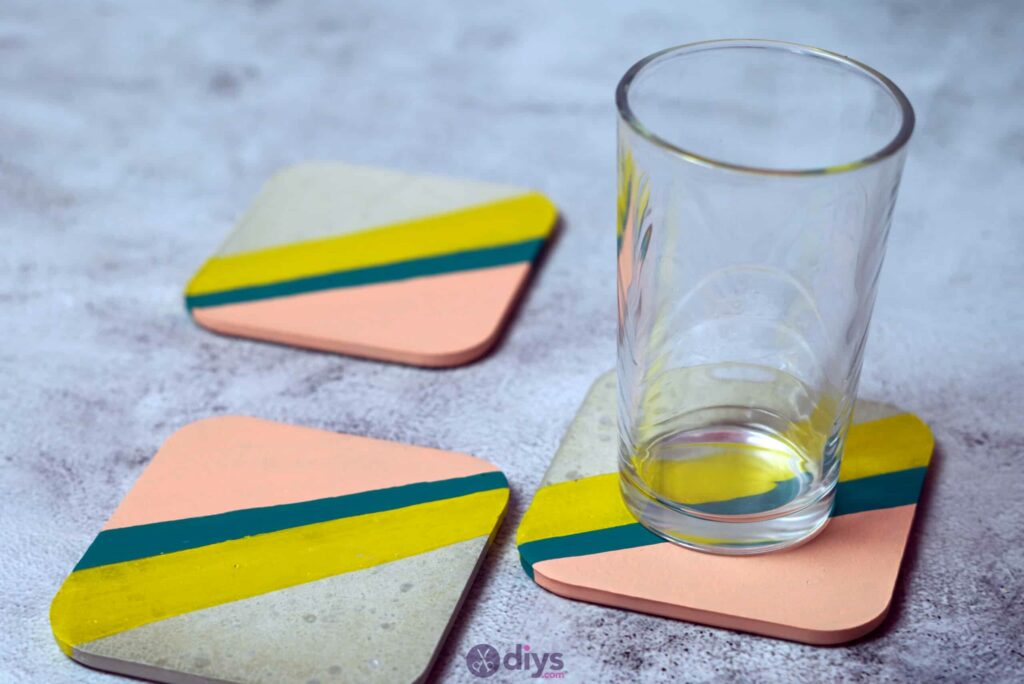
With some free time, some concrete, and a little craftiness you can make these gorgeous DIY concrete coasters! Perfect for your own home or customize them for friends and family as a unique and personal gift. Read on to find out how we made these!

These are so simple it’s crazy. And the options for customization are endless. Take a look at my written outline below, complete with pictures, or keep on scrolling until you get to the video tutorial at the bottom!

For this project, you’ll need:
- Fine particle cement mix
- Water
- Plate
- Spoon
- Paintbrush
- Acrylic paint
- Plastic lid
Step 1: Gather your materials!
Get all your materials form the list together so you’re ready to start.
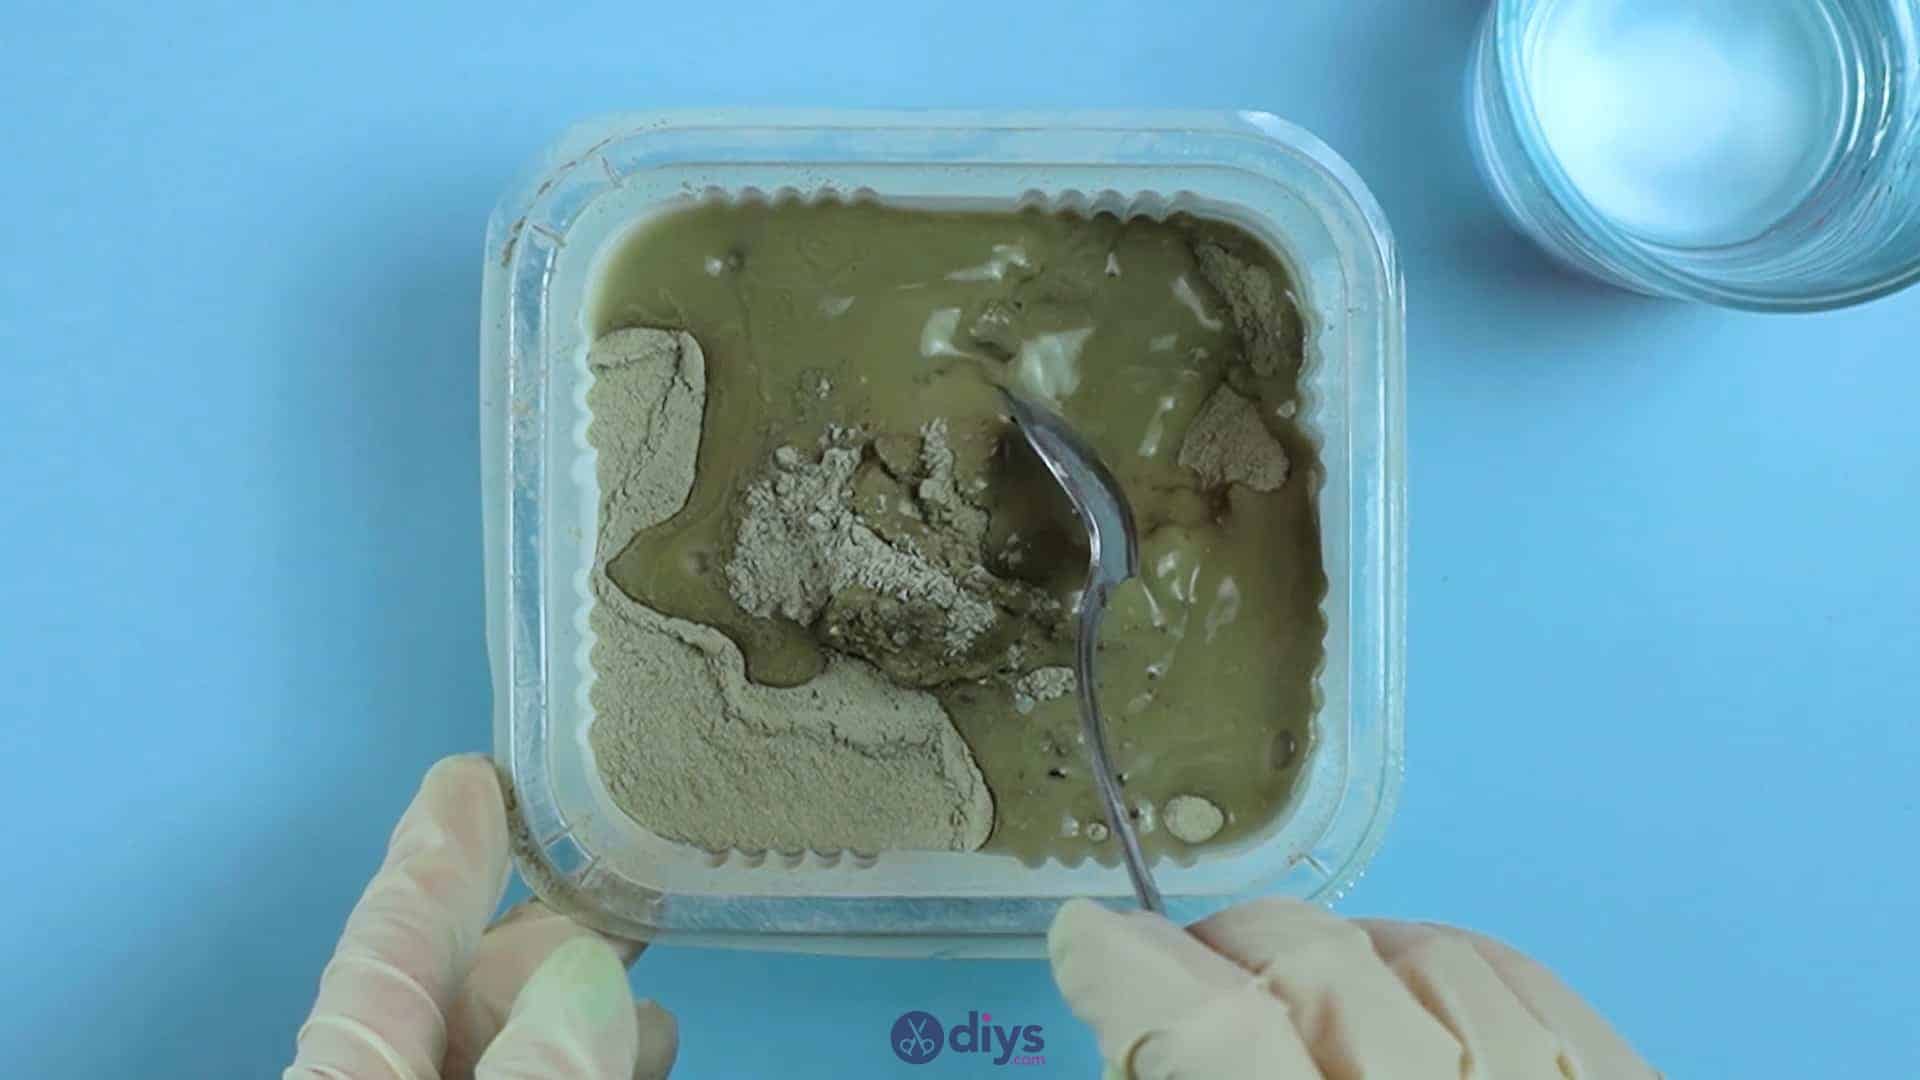
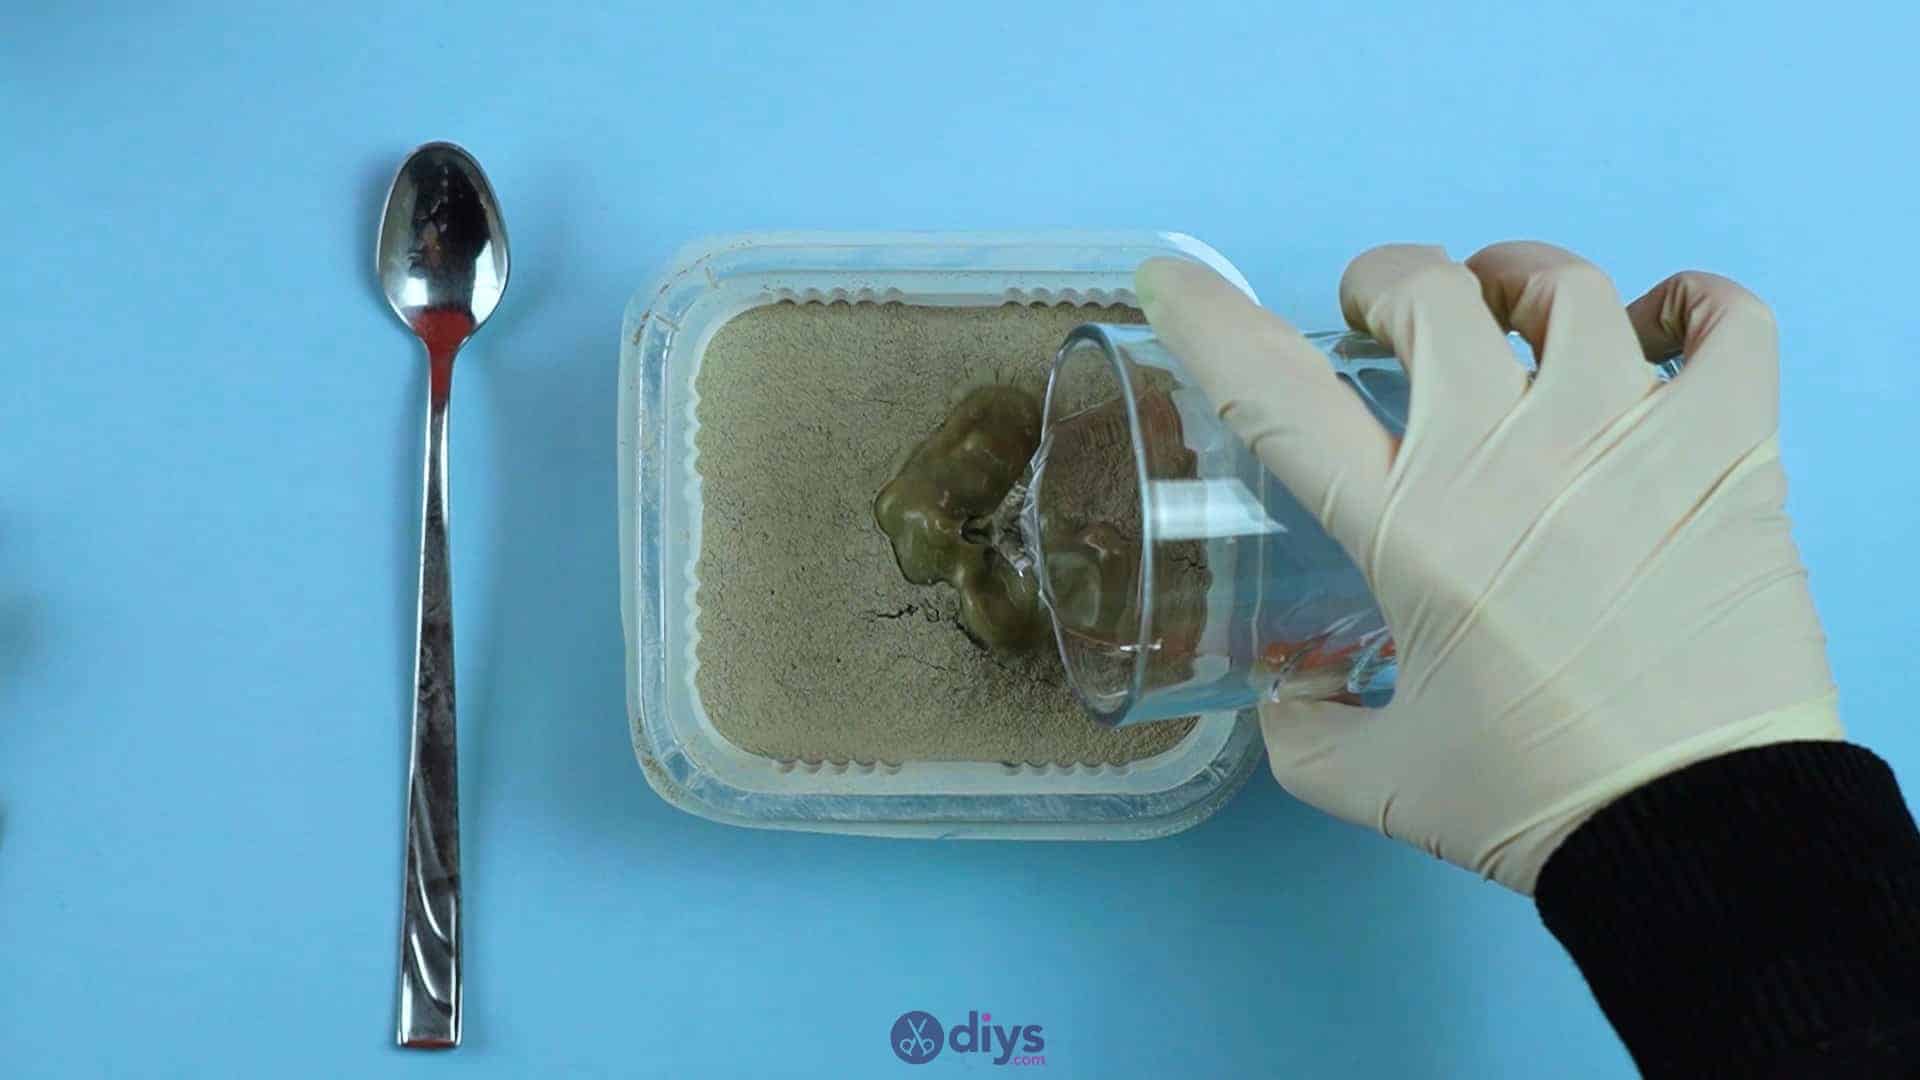
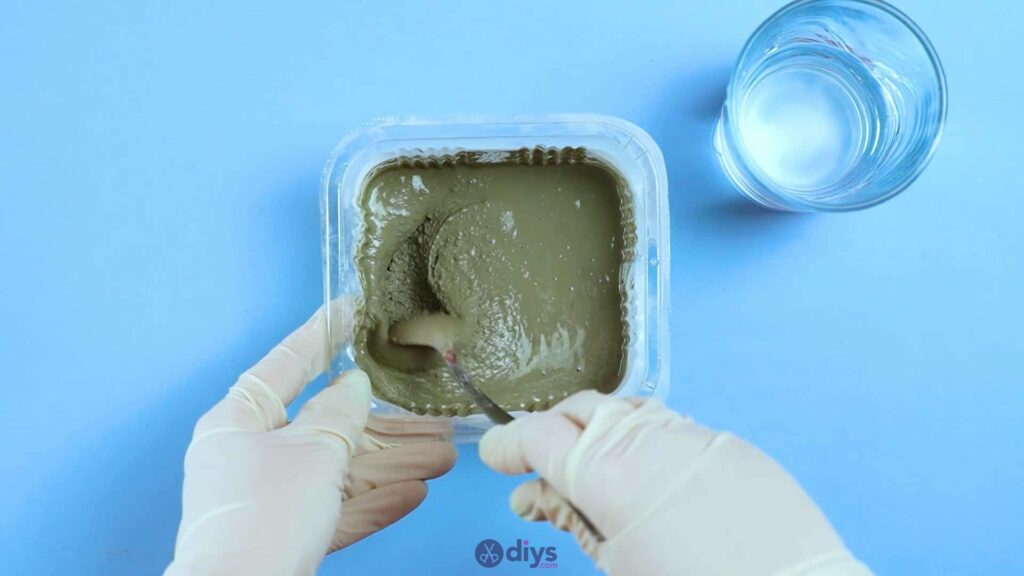
Step 2: mix the concrete
In a disposable plastic container (or one that you’ve specifically saved for crafting rather than eating), pour in your powdered DIY fine particle cement mix, add water, and use your spoon to stir the two together until the wet mixture is the right consistency and free of clumps. Check the instructions on your packaging to get the right ratio of powdered mix to water, since it can vary from brand to brand.


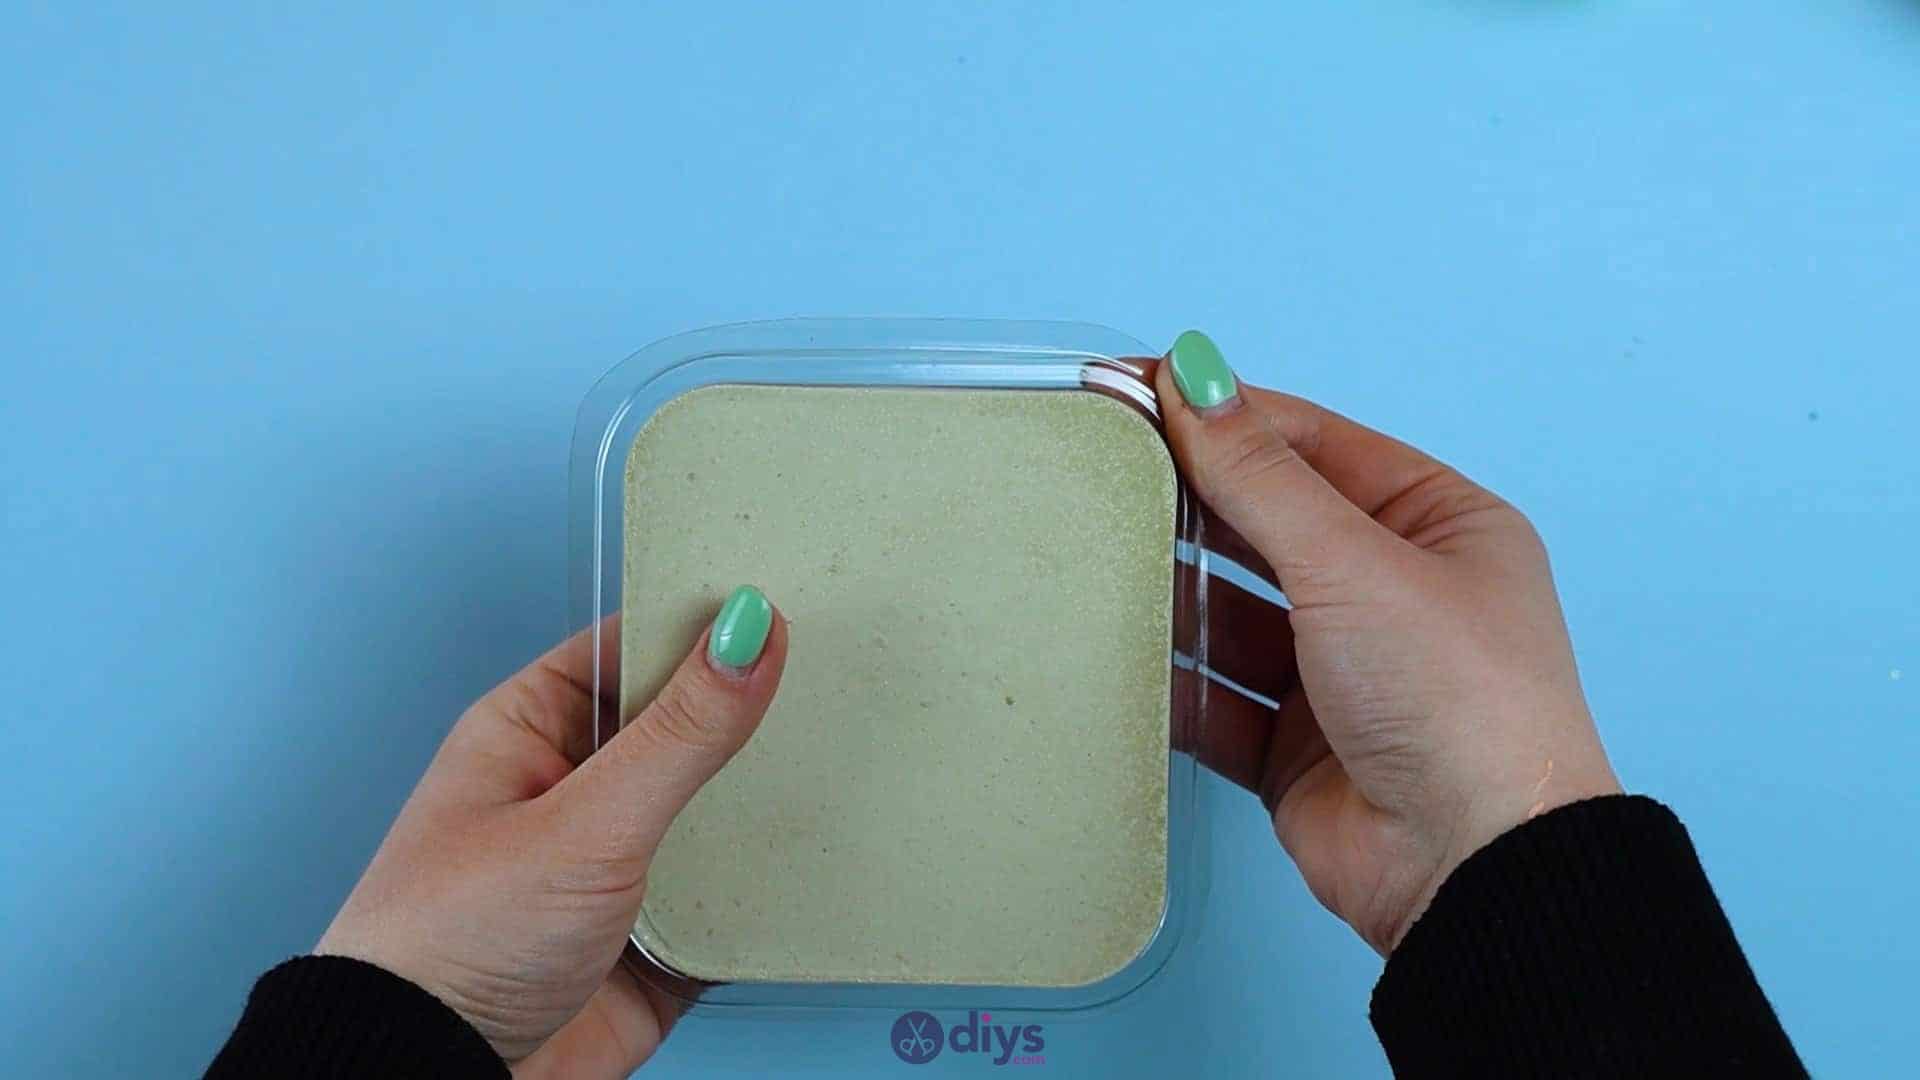
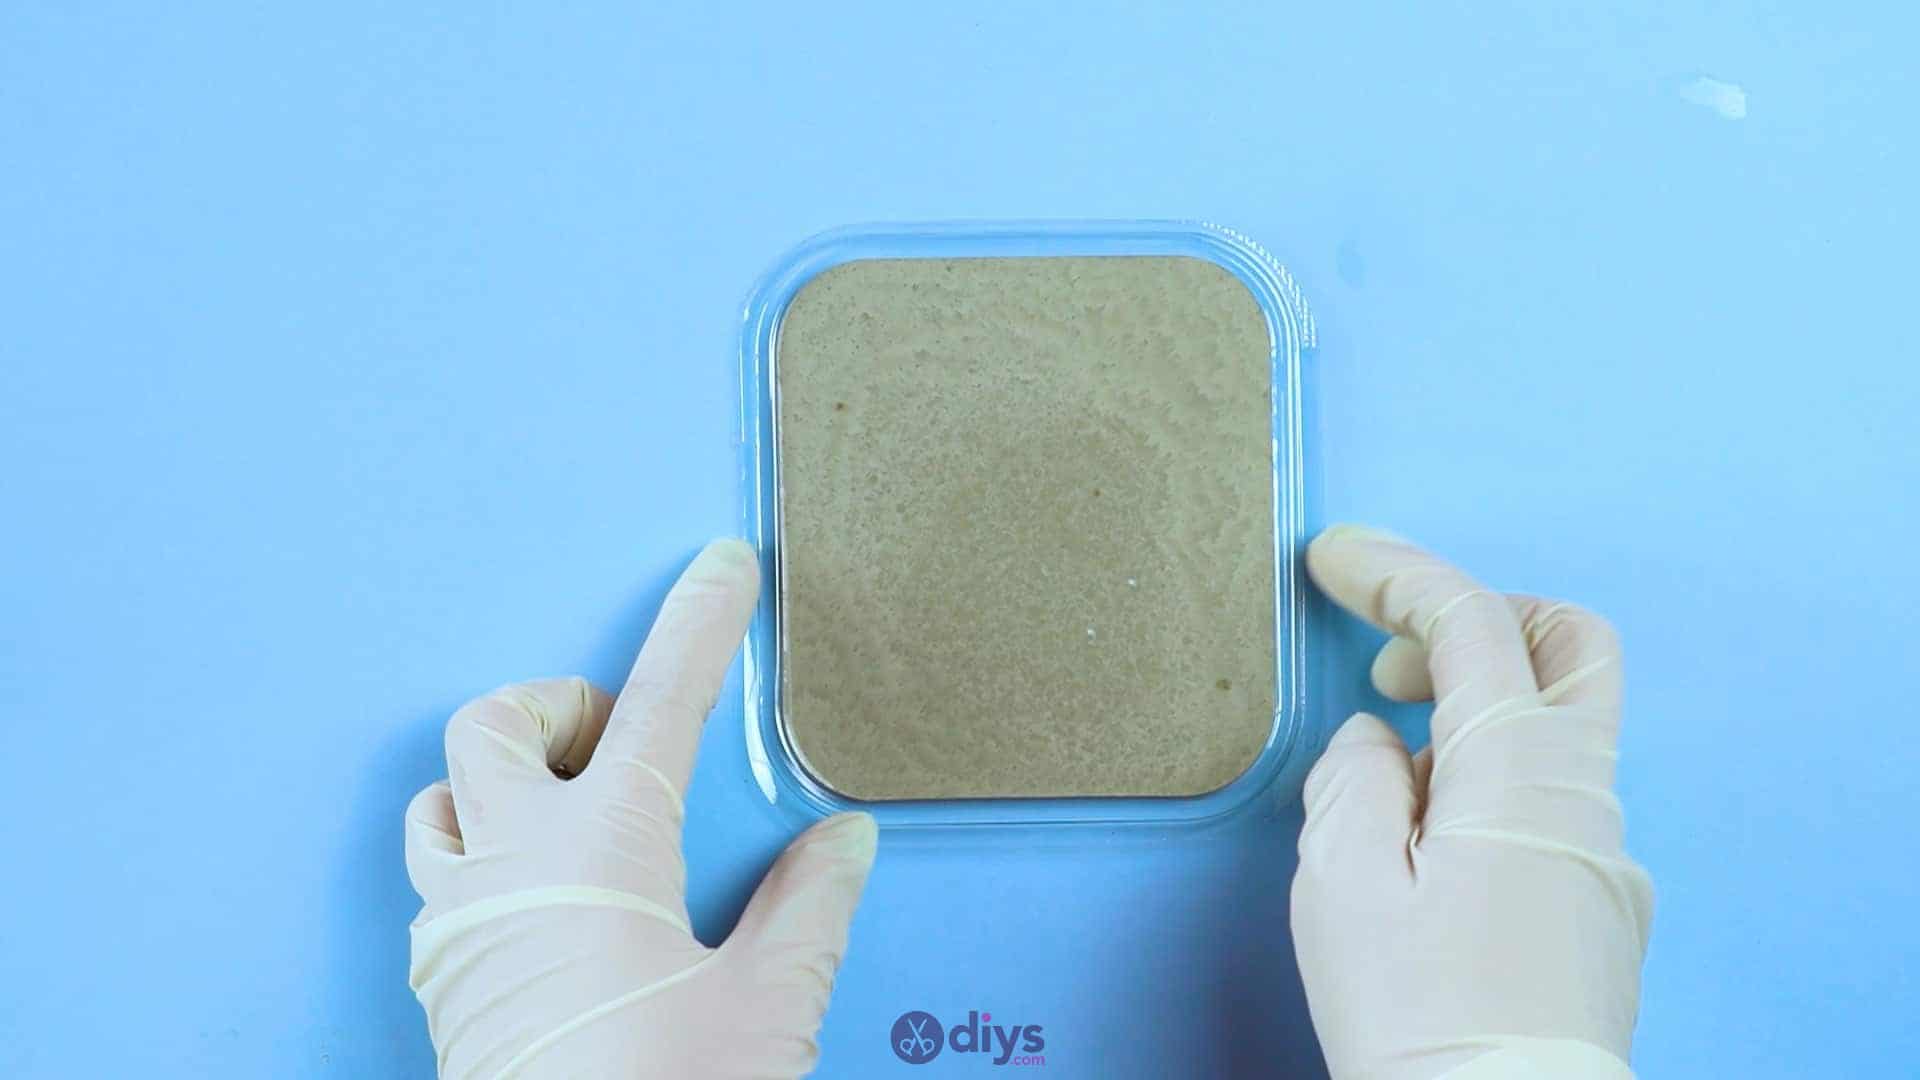
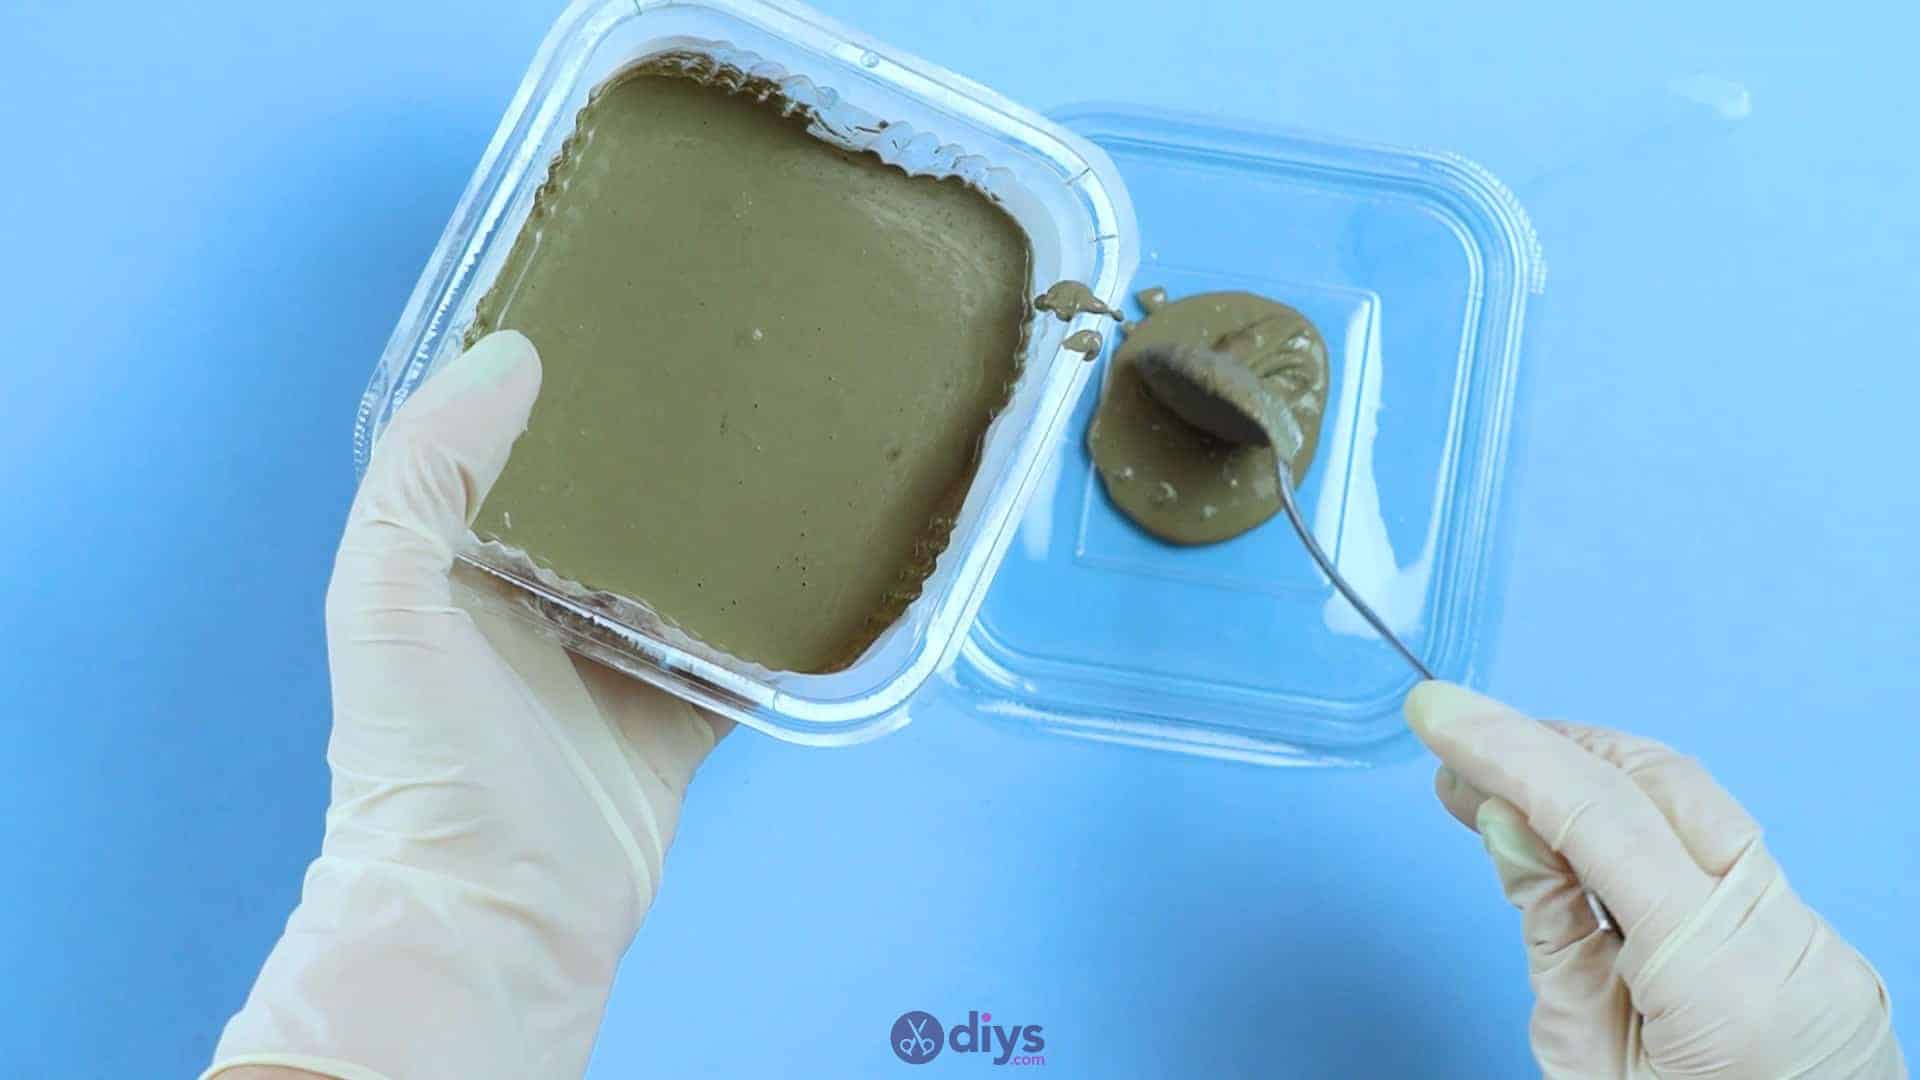
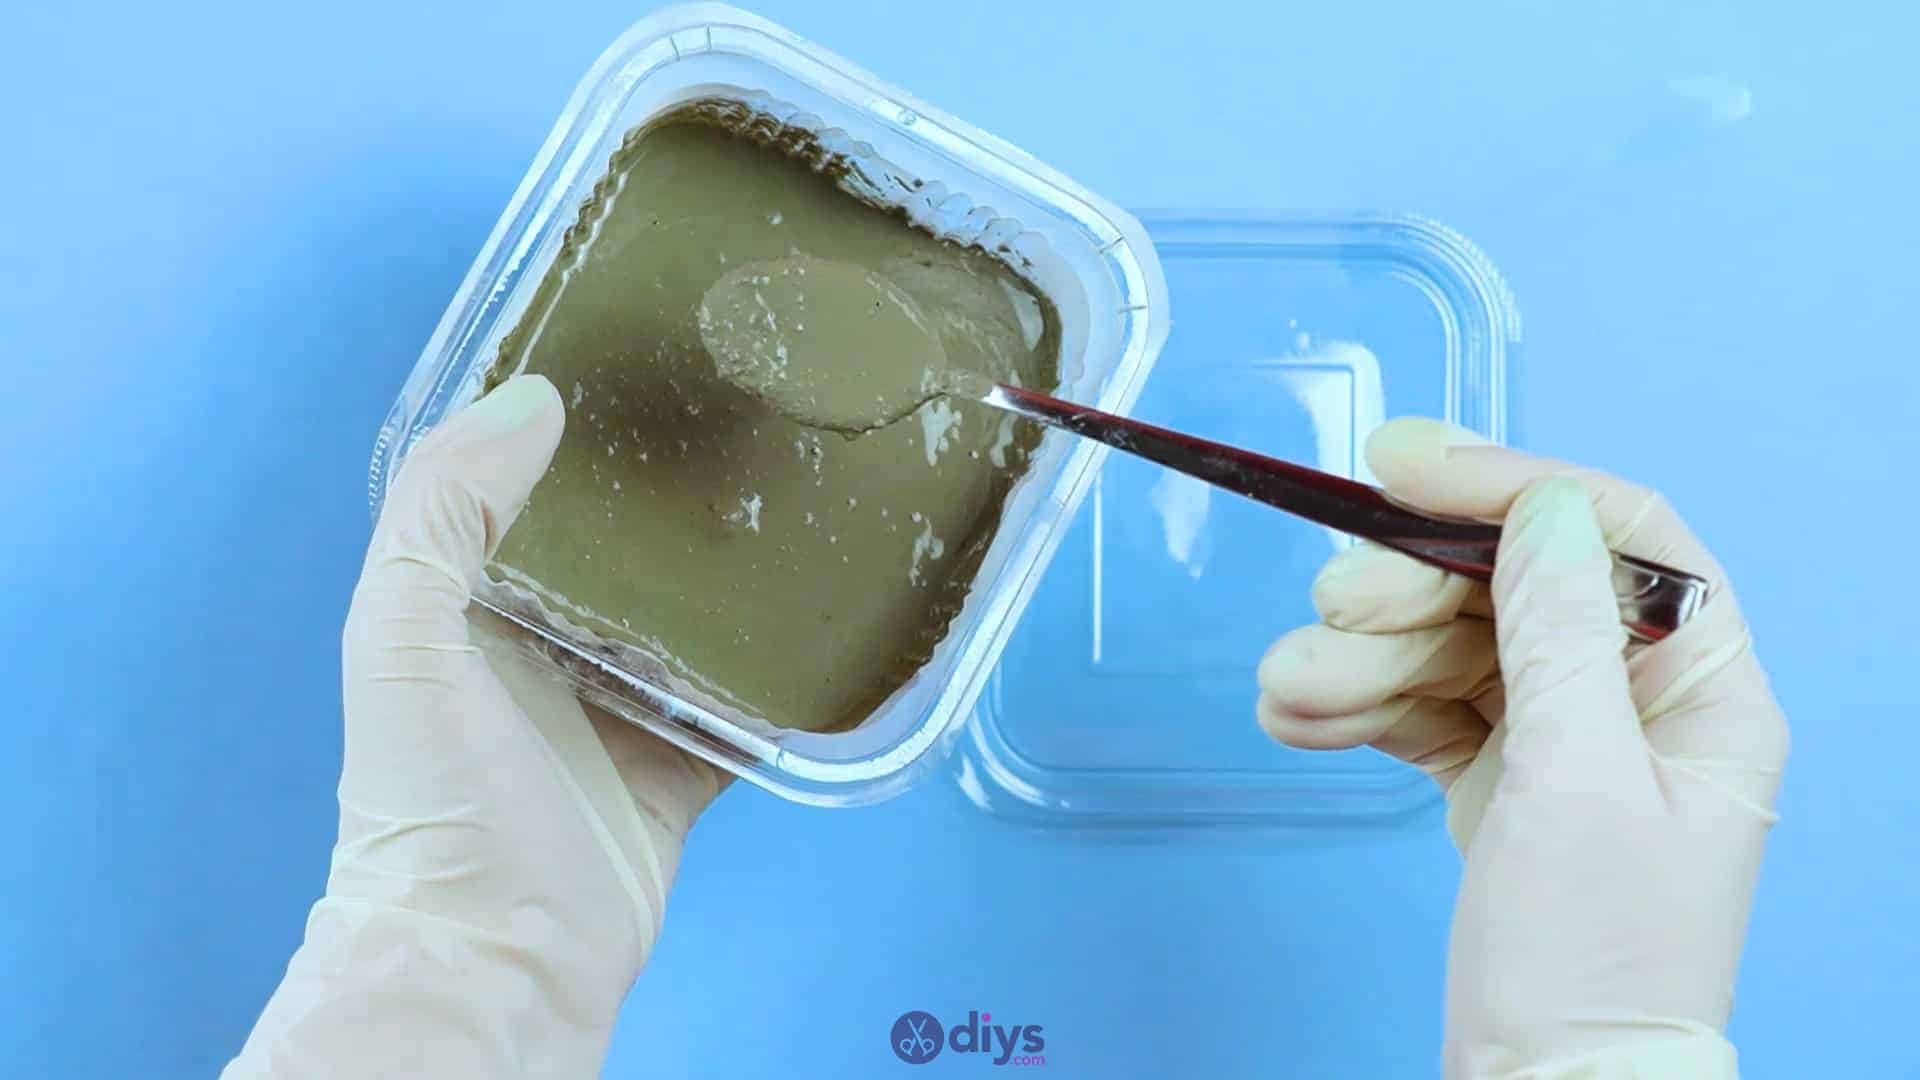
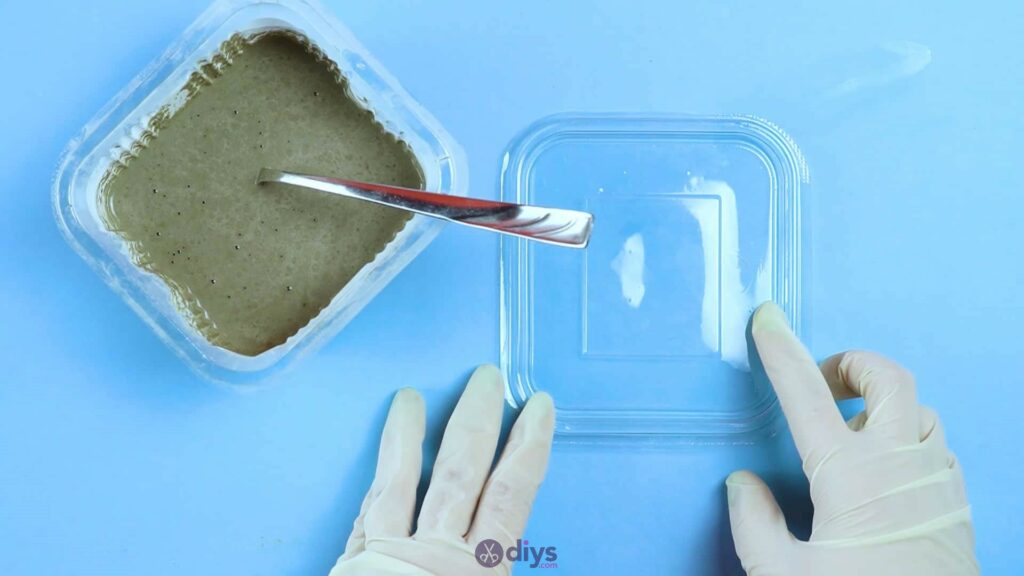
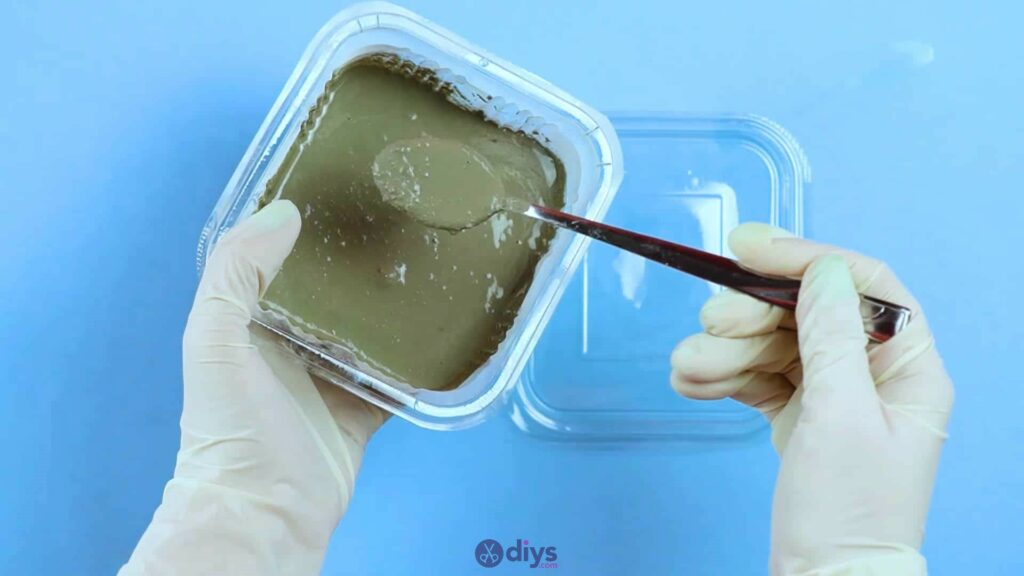
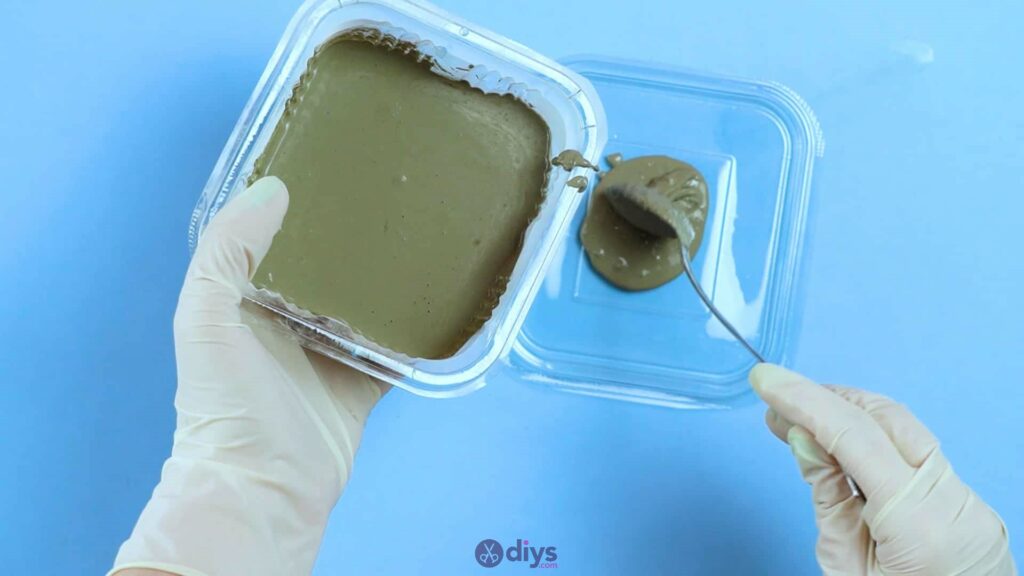
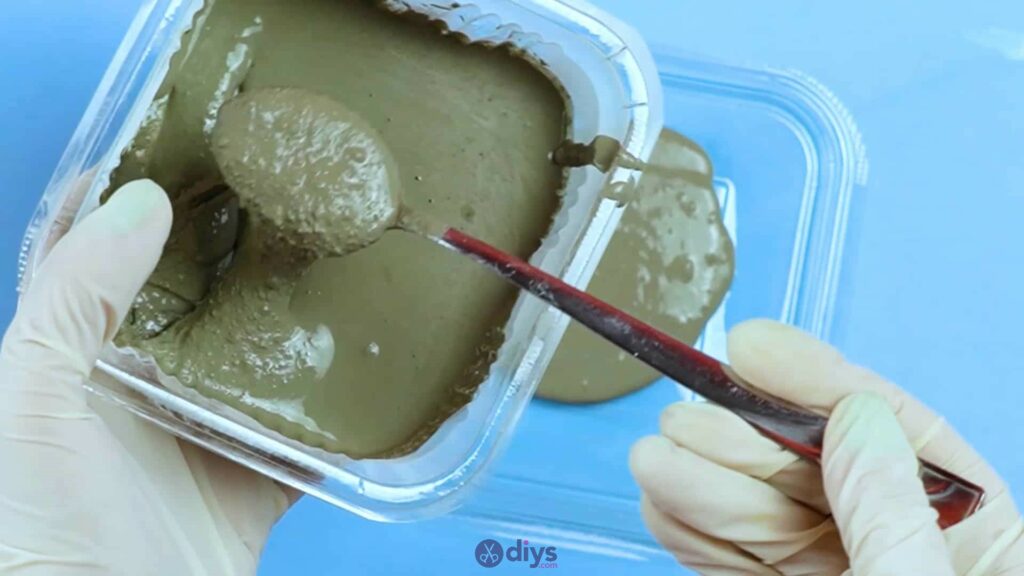
Step 3: pour the mold
The lid of a square plastic snack tub is the perfect shape and size to act as a homemade mould for a coaster with rounded corners. I used the lid of the container I recycled as a mixing bowl. Turn the lid upside down so that the ridges that would normally face downwards and grip the edges of the container you’re closing face upwards, like the edges of a very short mould.
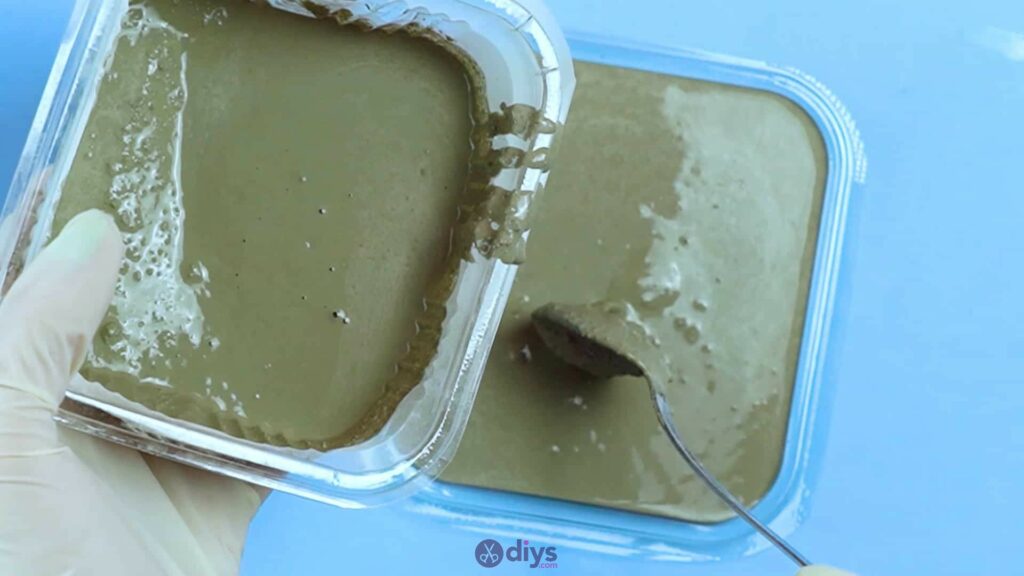
Use your spoon to fill the lid with wet concrete mix, smoothing it evenly across the inner surface of the upside down lid until you have a solid square shape that’s a quarter of an inch or so deep. Be careful not to overfill the lid and spill the wet concrete over the edges of your shape. If you see air bubbles in the surface, feel free to lightly and very carefully tap the lid to even the surface out and get rid of those. When you’re happy with what you see, set the whole thing aside to dry thoroughly.
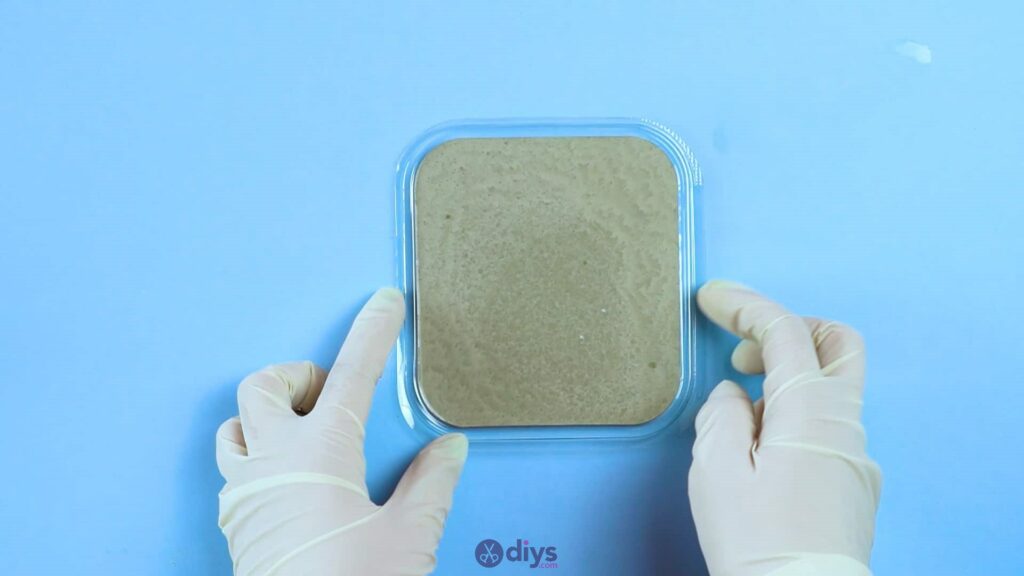
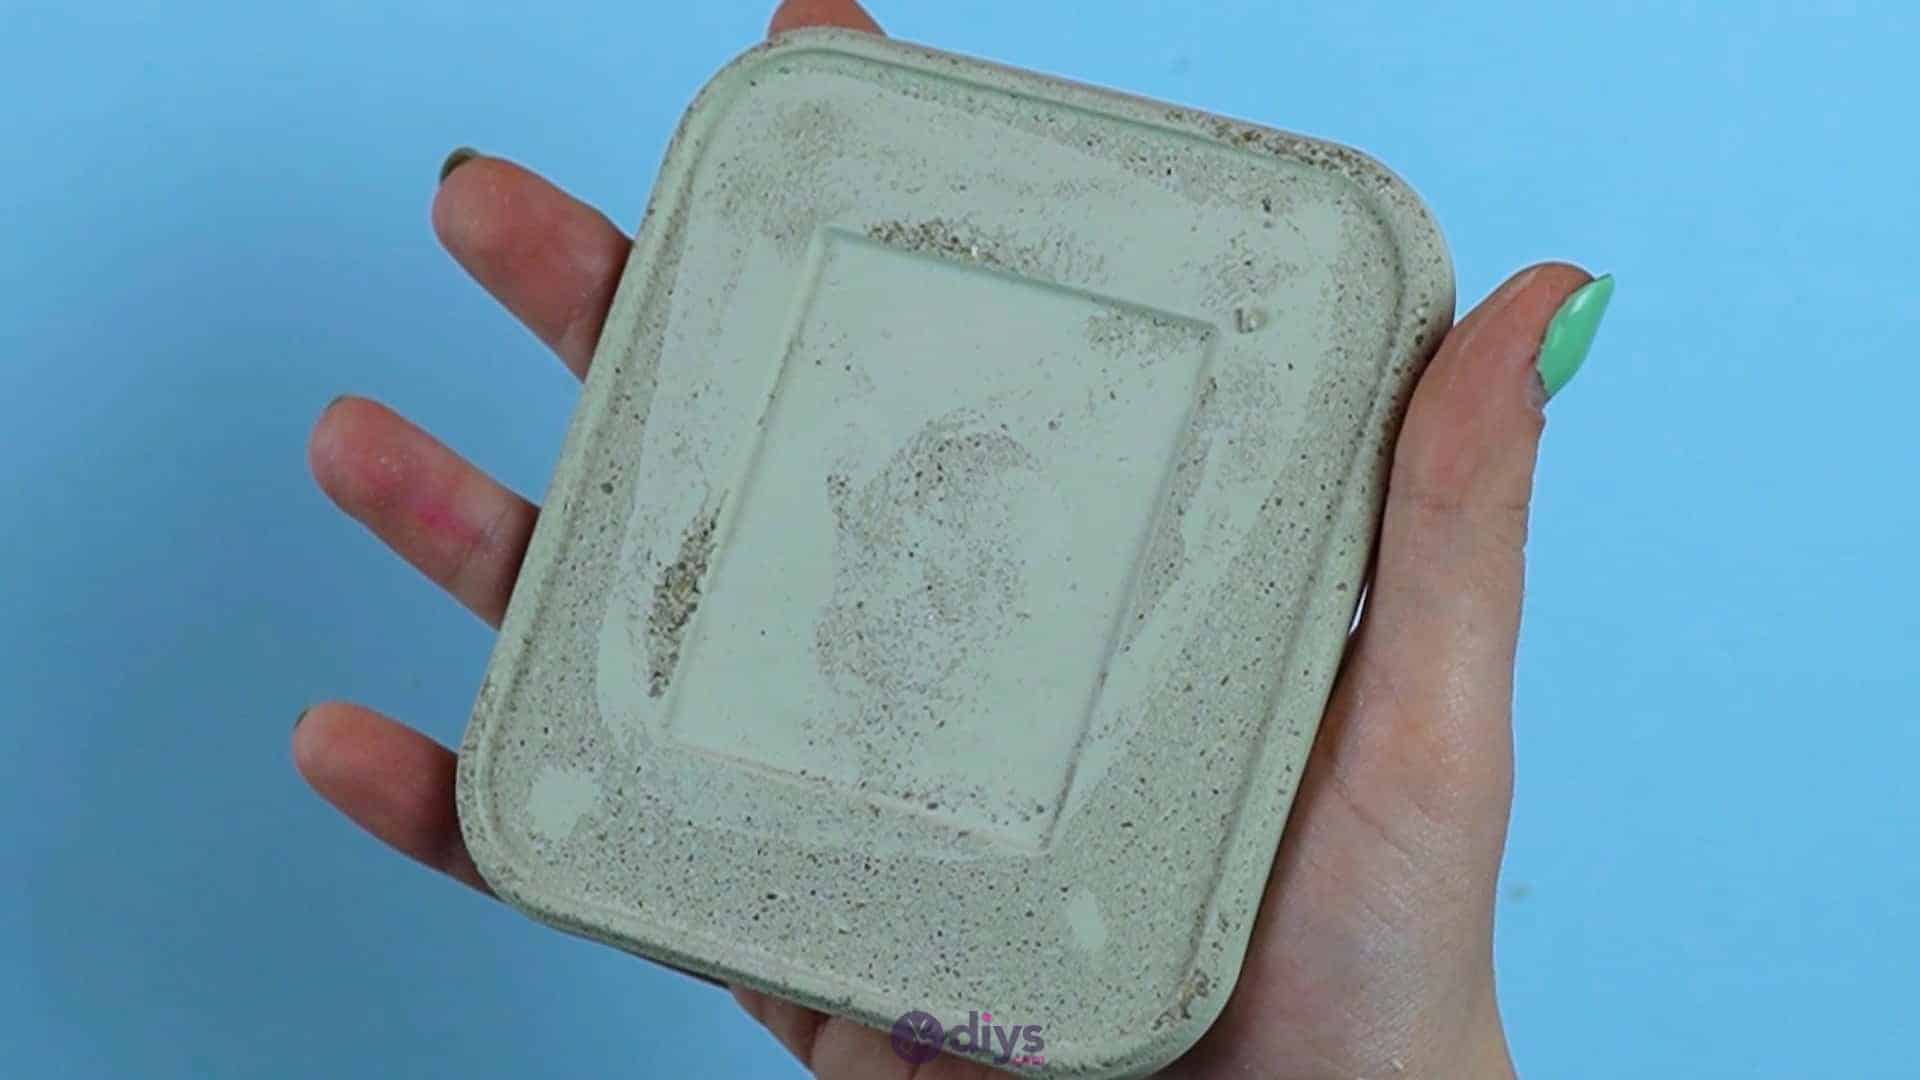
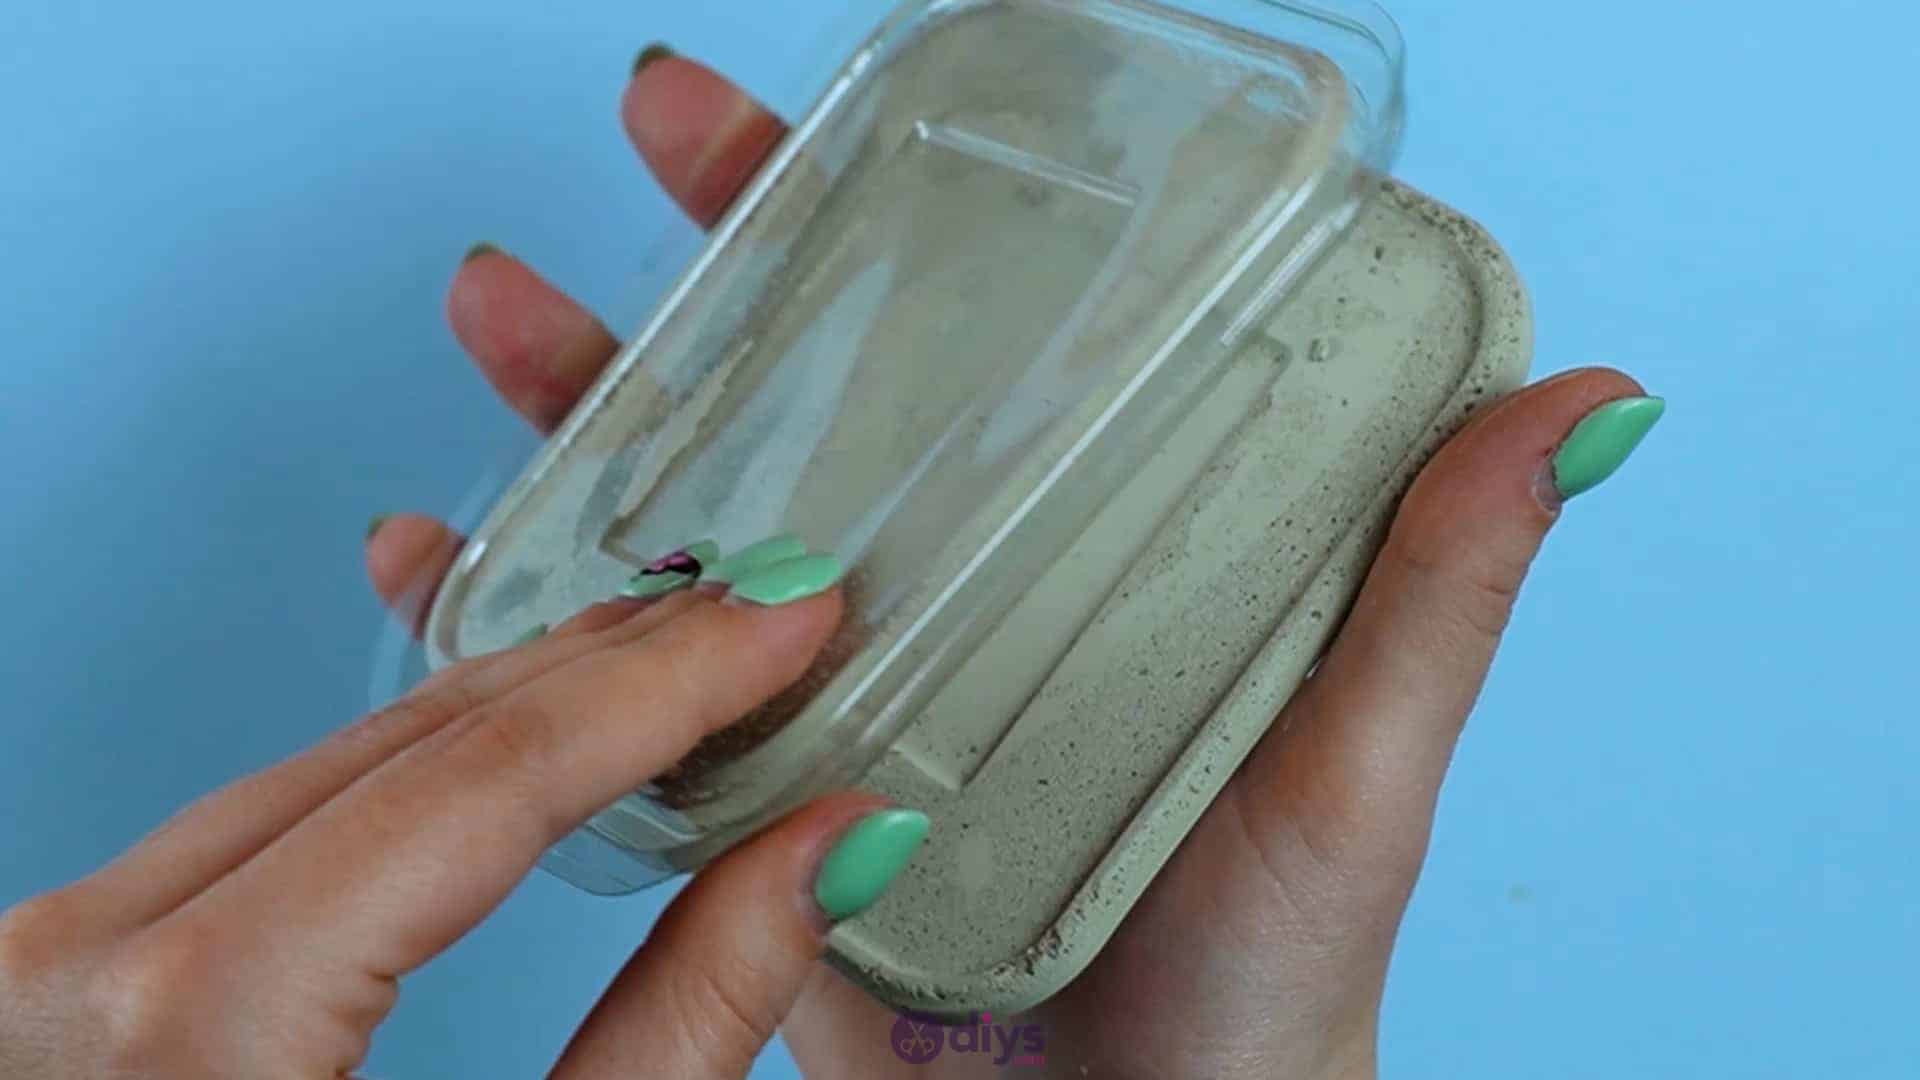
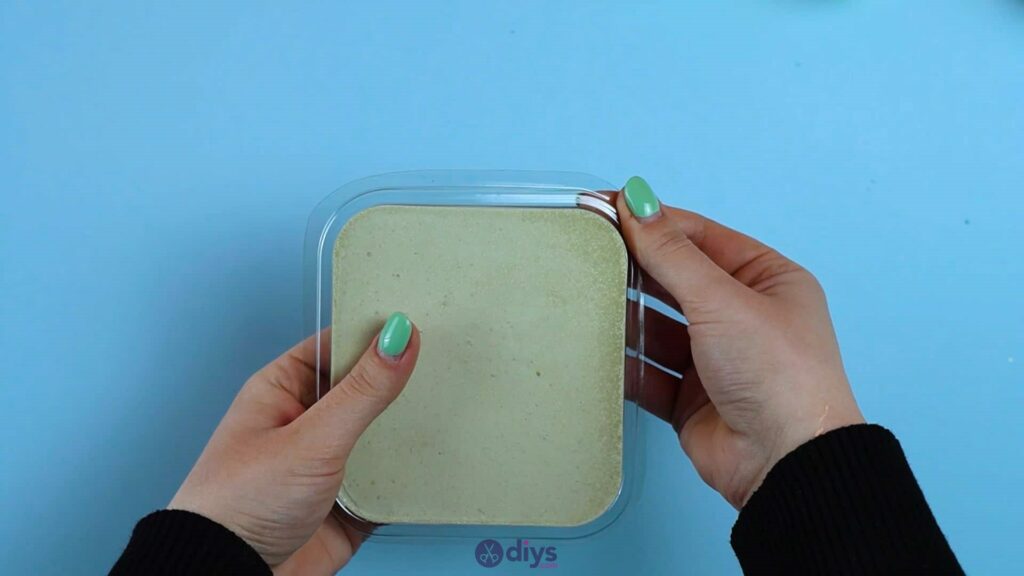
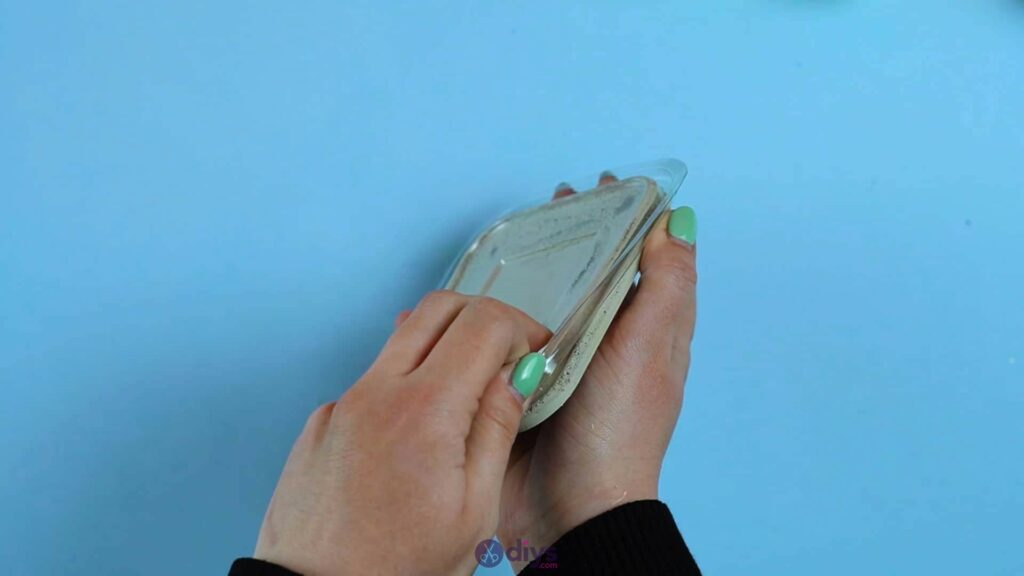
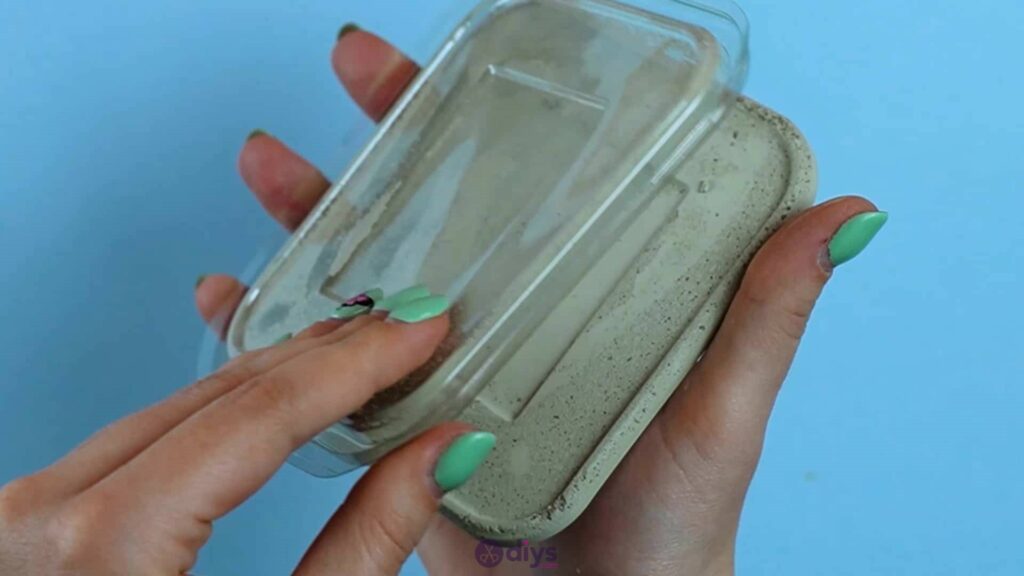
Step 4: remove once dry
Bend back the plastic of the lid you used as a mould and free the new dried concrete shape. You’ll see that one side is flat and smooth and the other side has the same ridges as the lid you just freed the shape from. I’d recommend using the ridges as the bottom and the smooth side as the top so that you can set things like drinking glasses on a solid surface without risking spills. You might use sandpaper or an abrasive block here to smooth the surface of your shape if there are rough patches, but mine was fine!

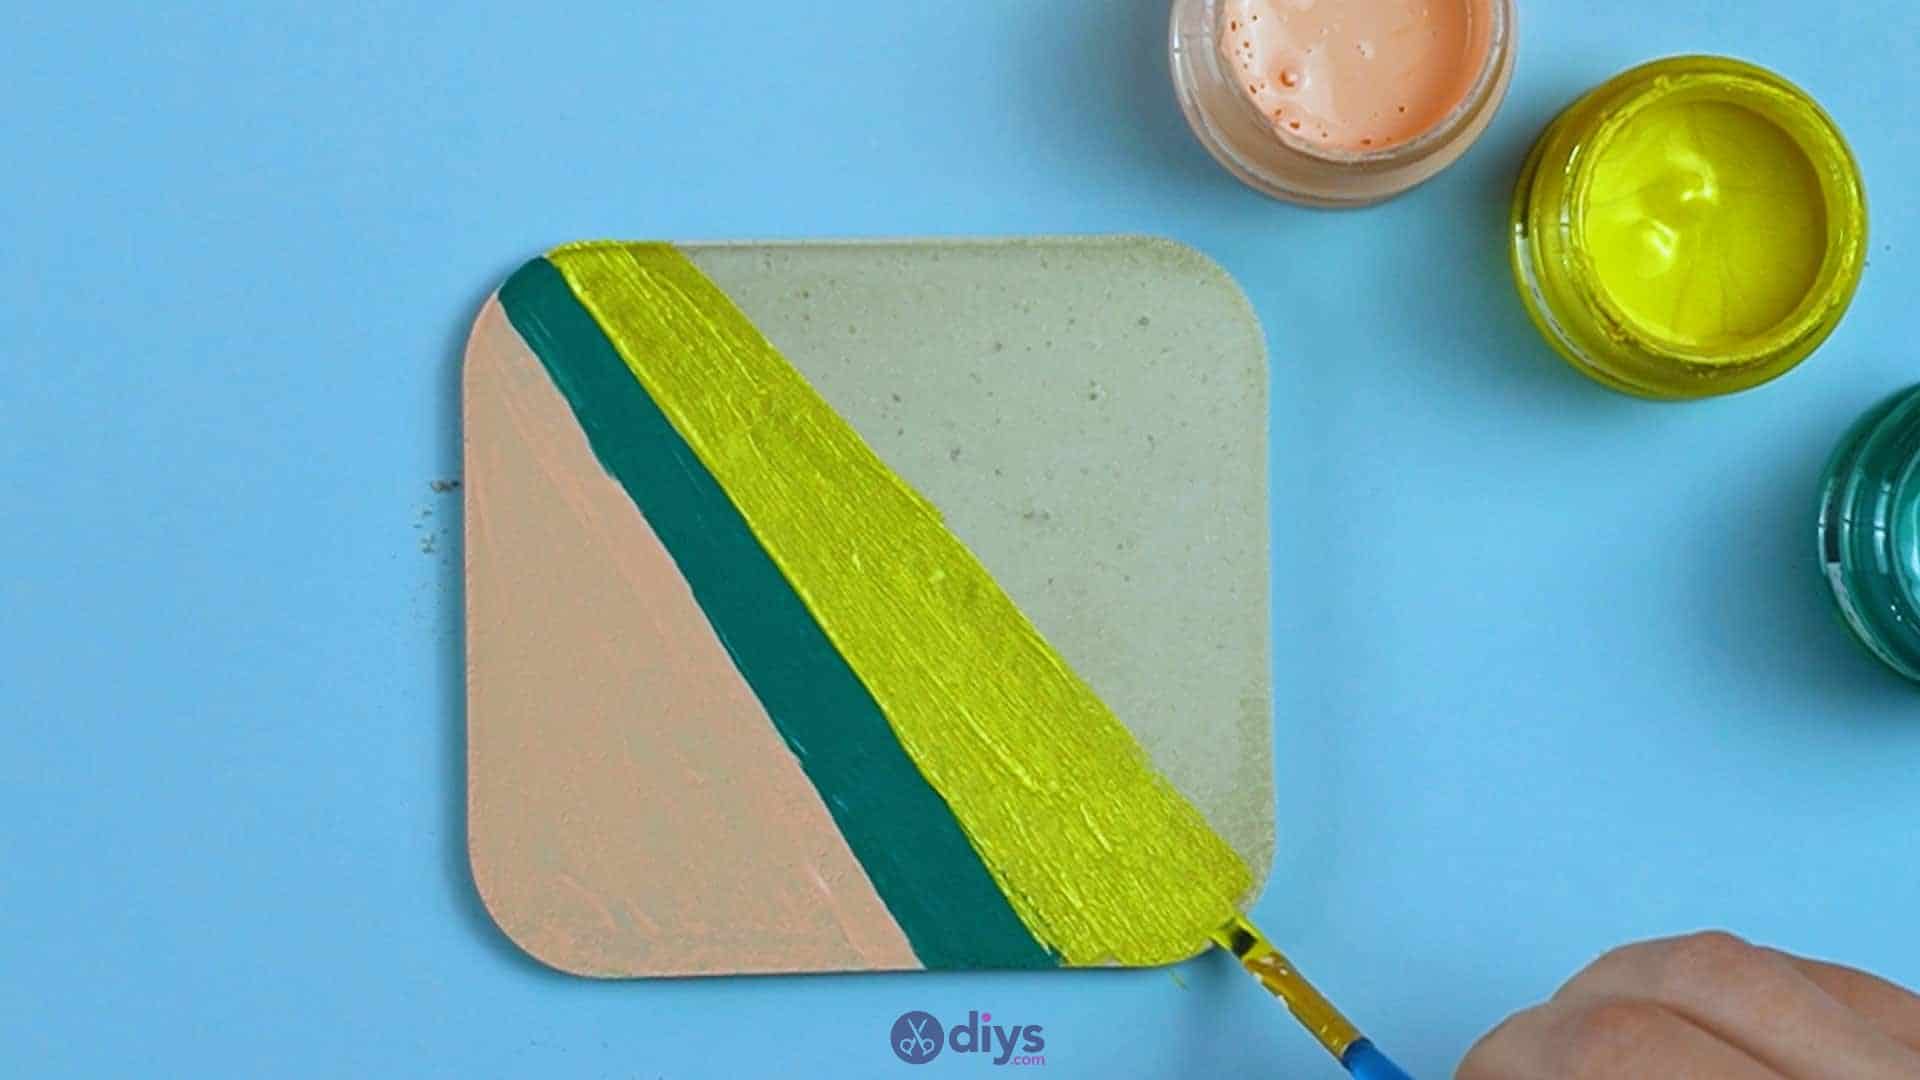
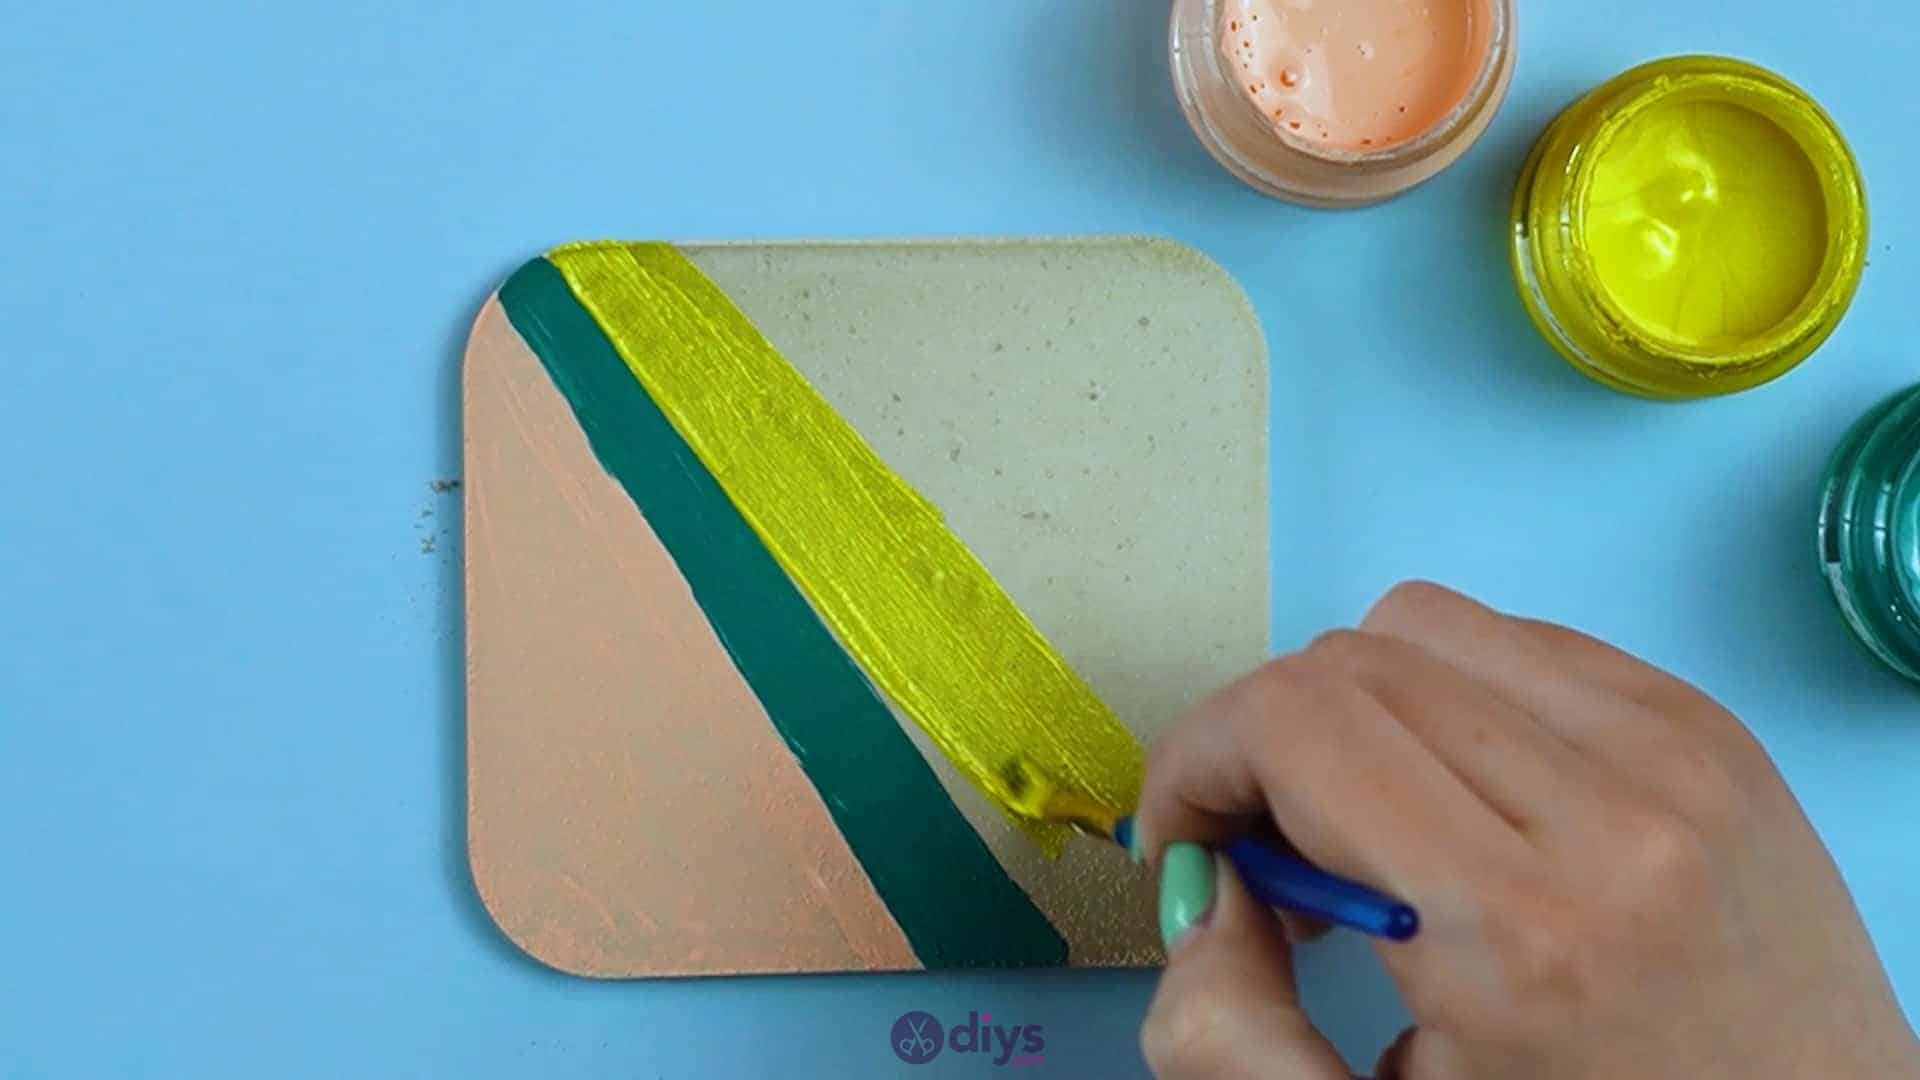
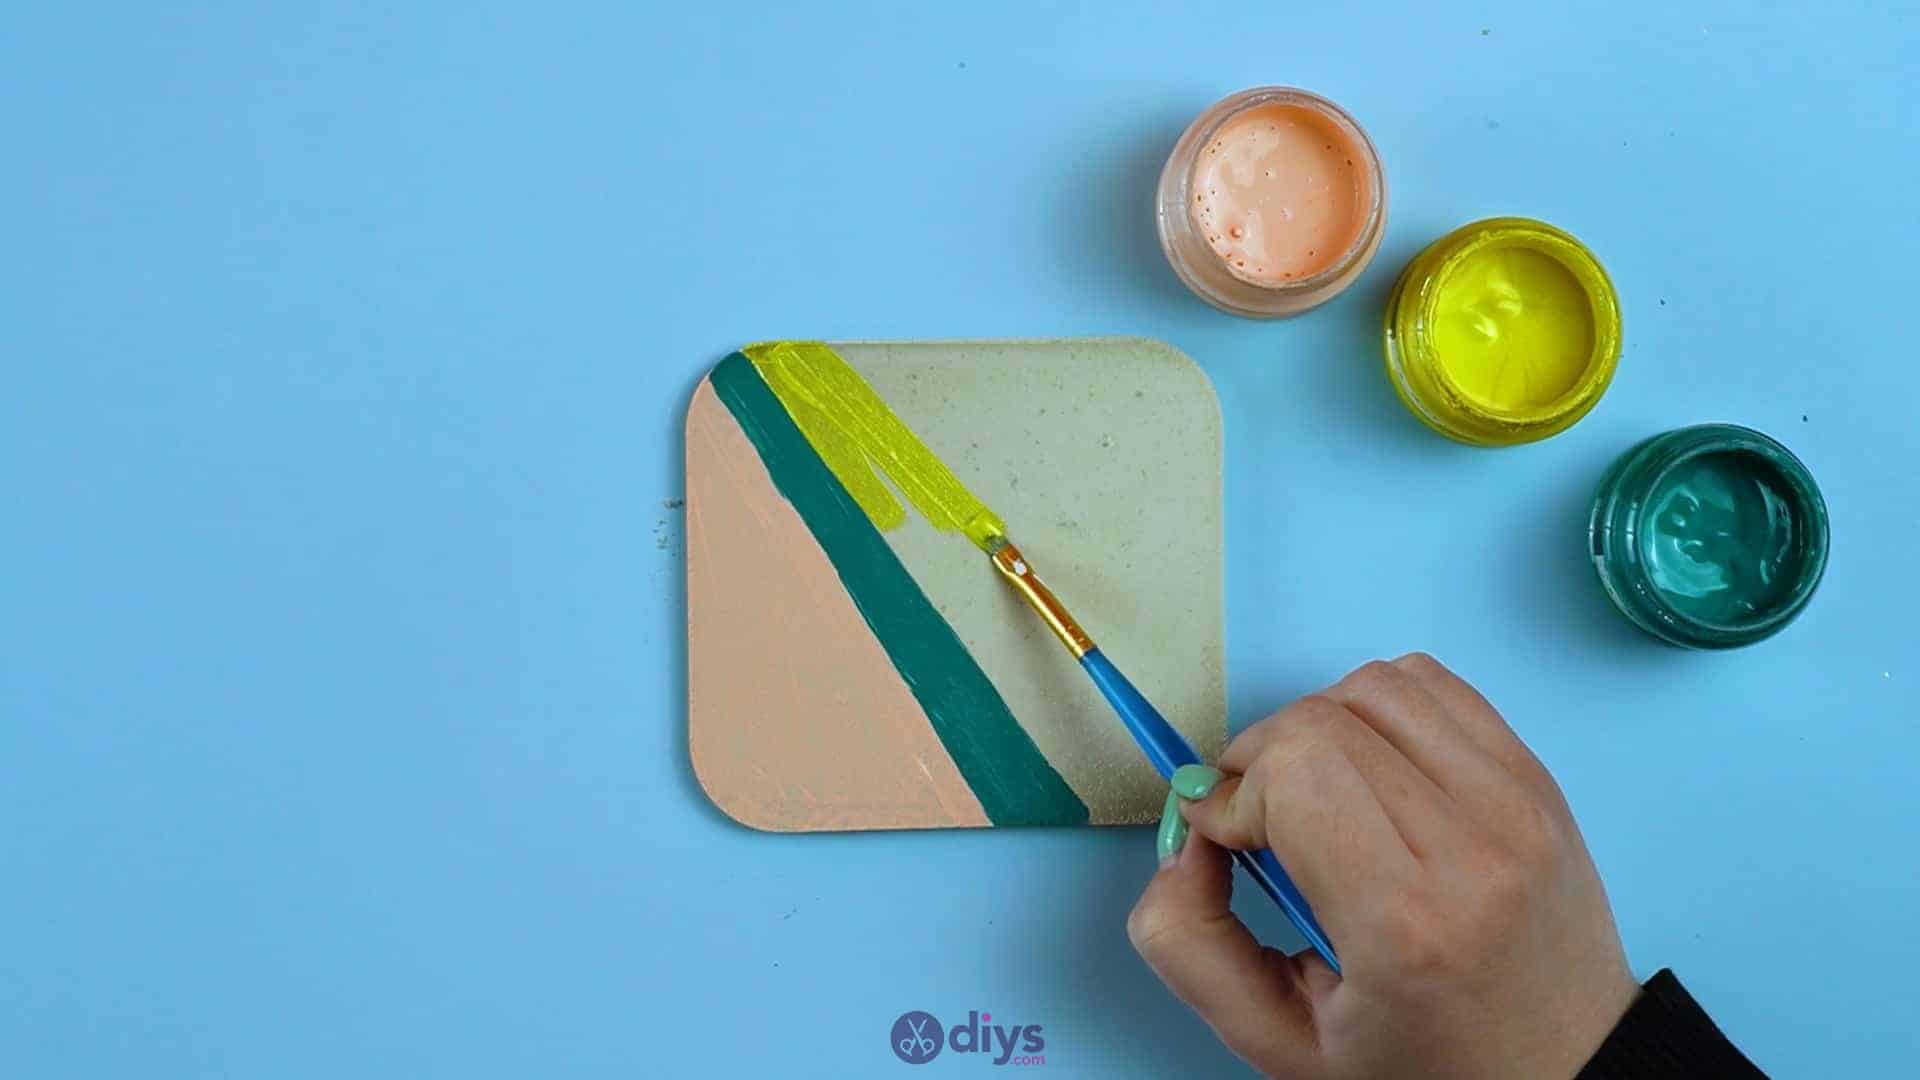
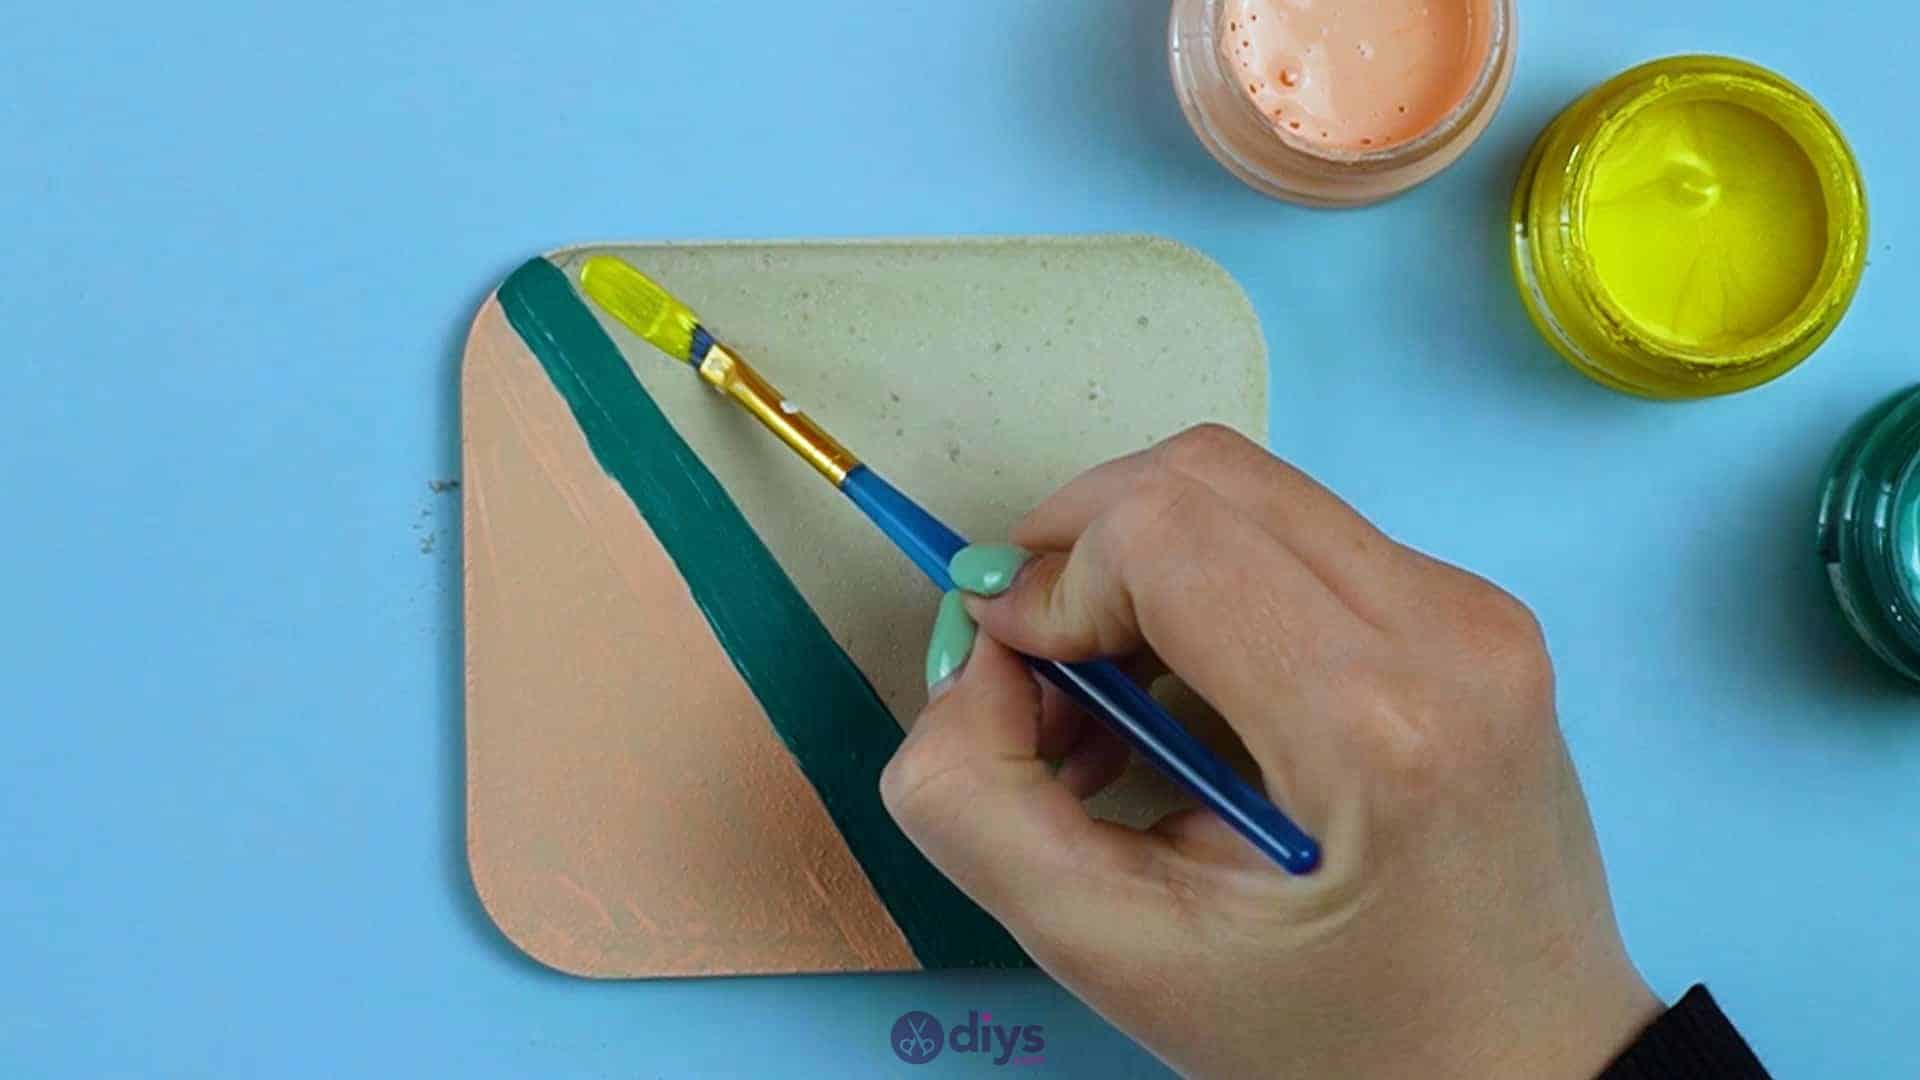
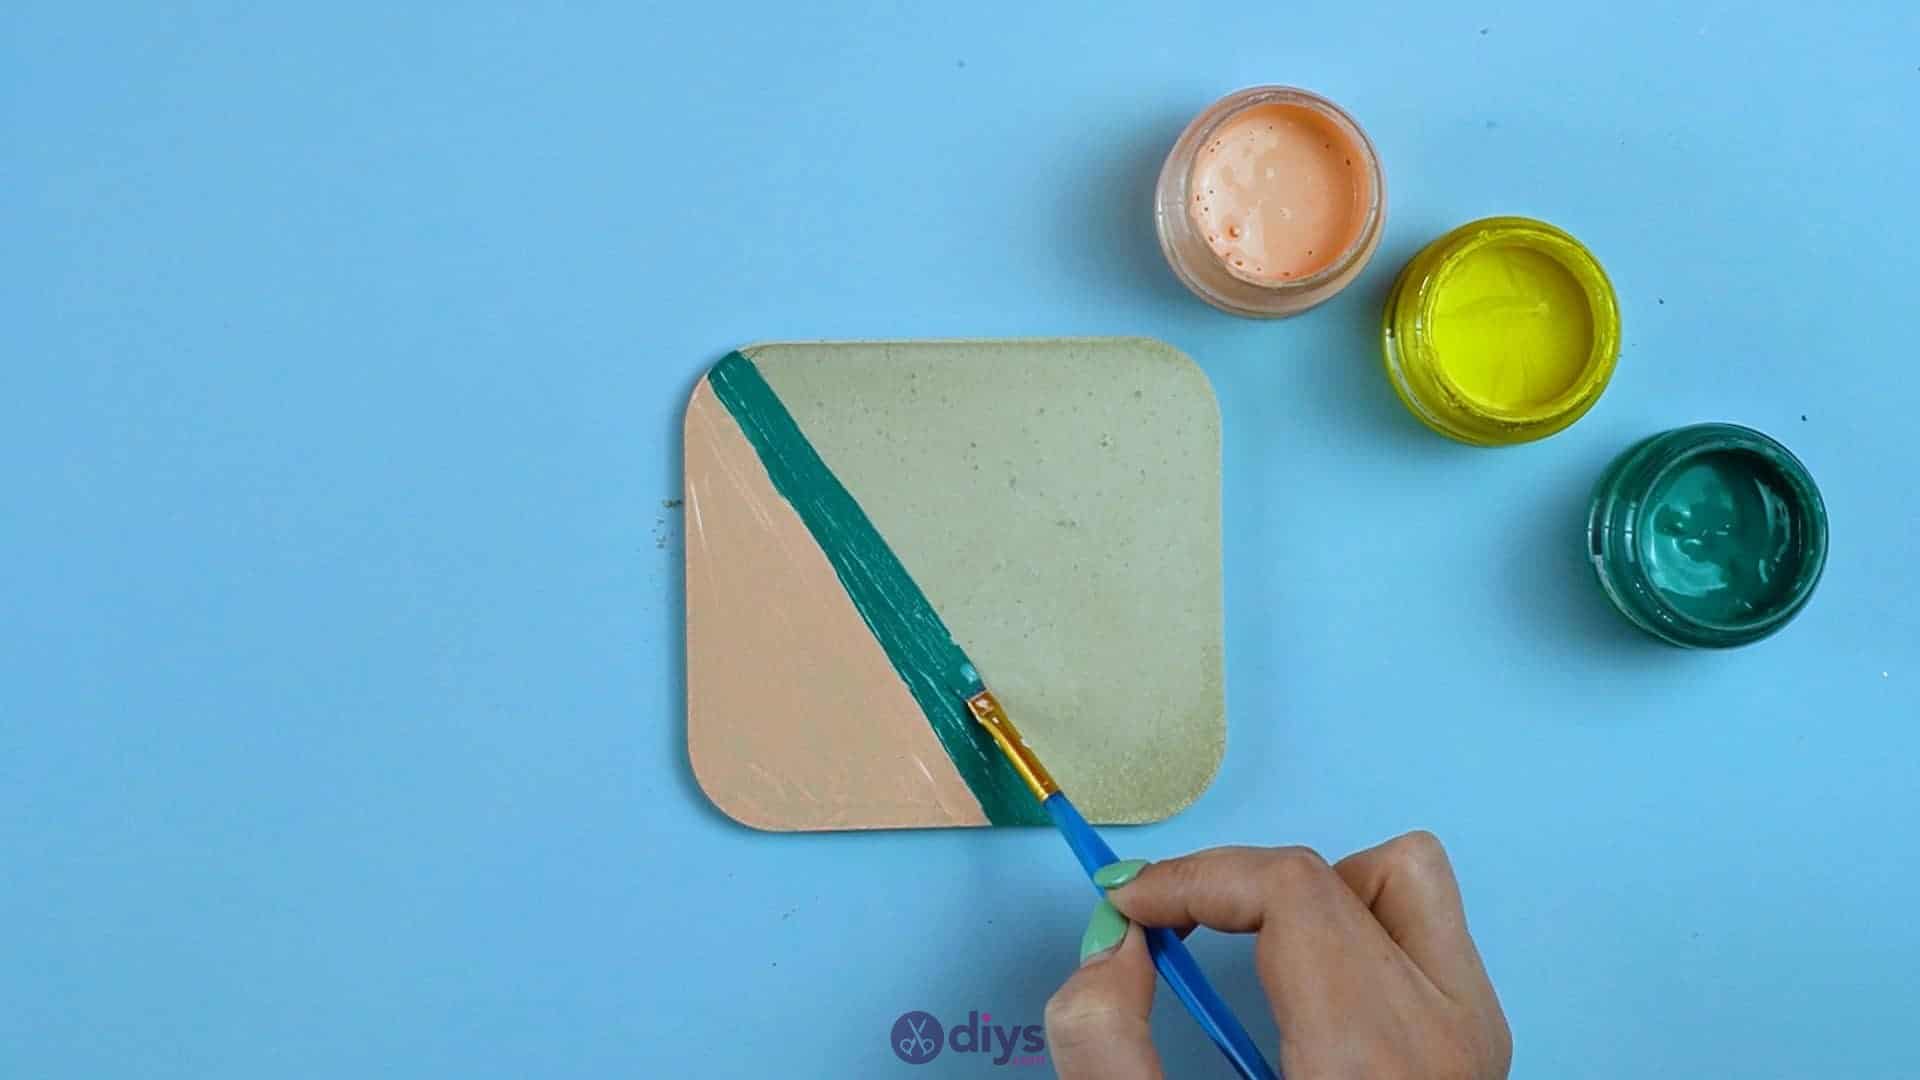
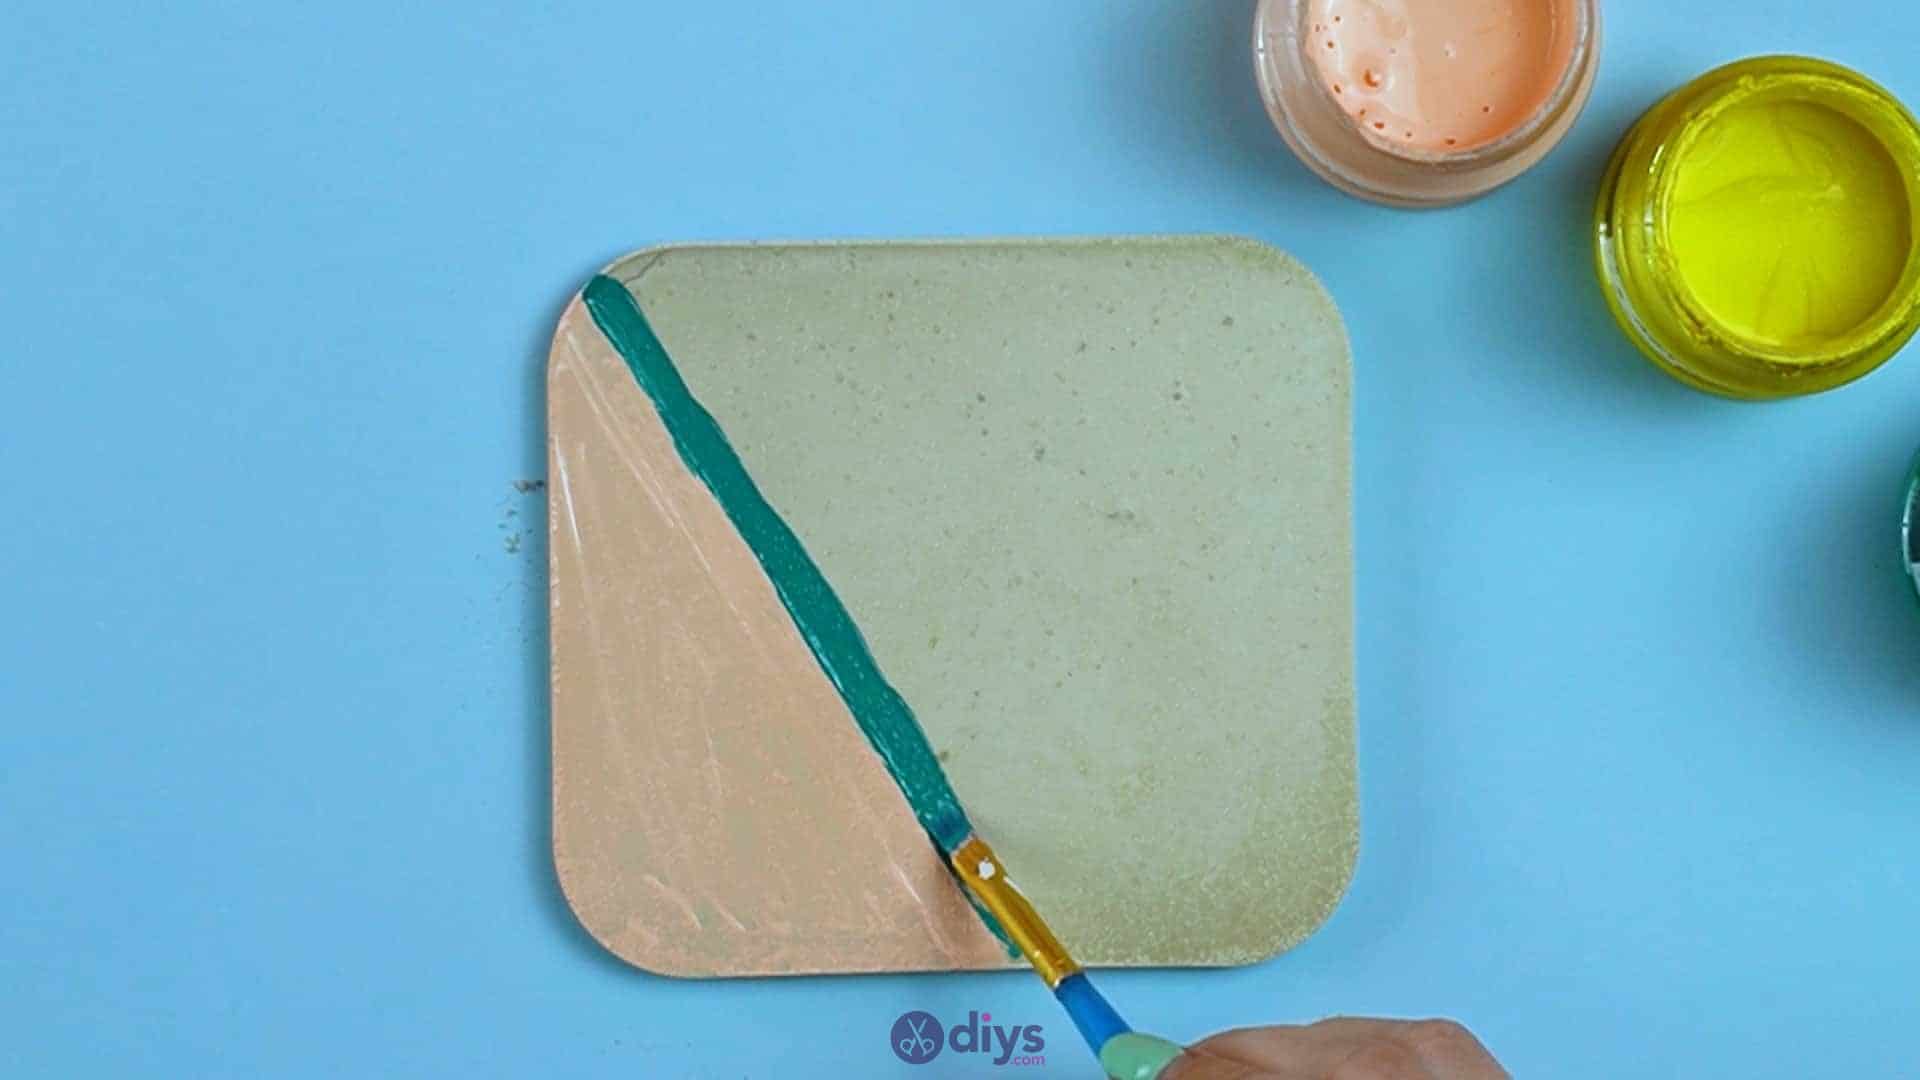
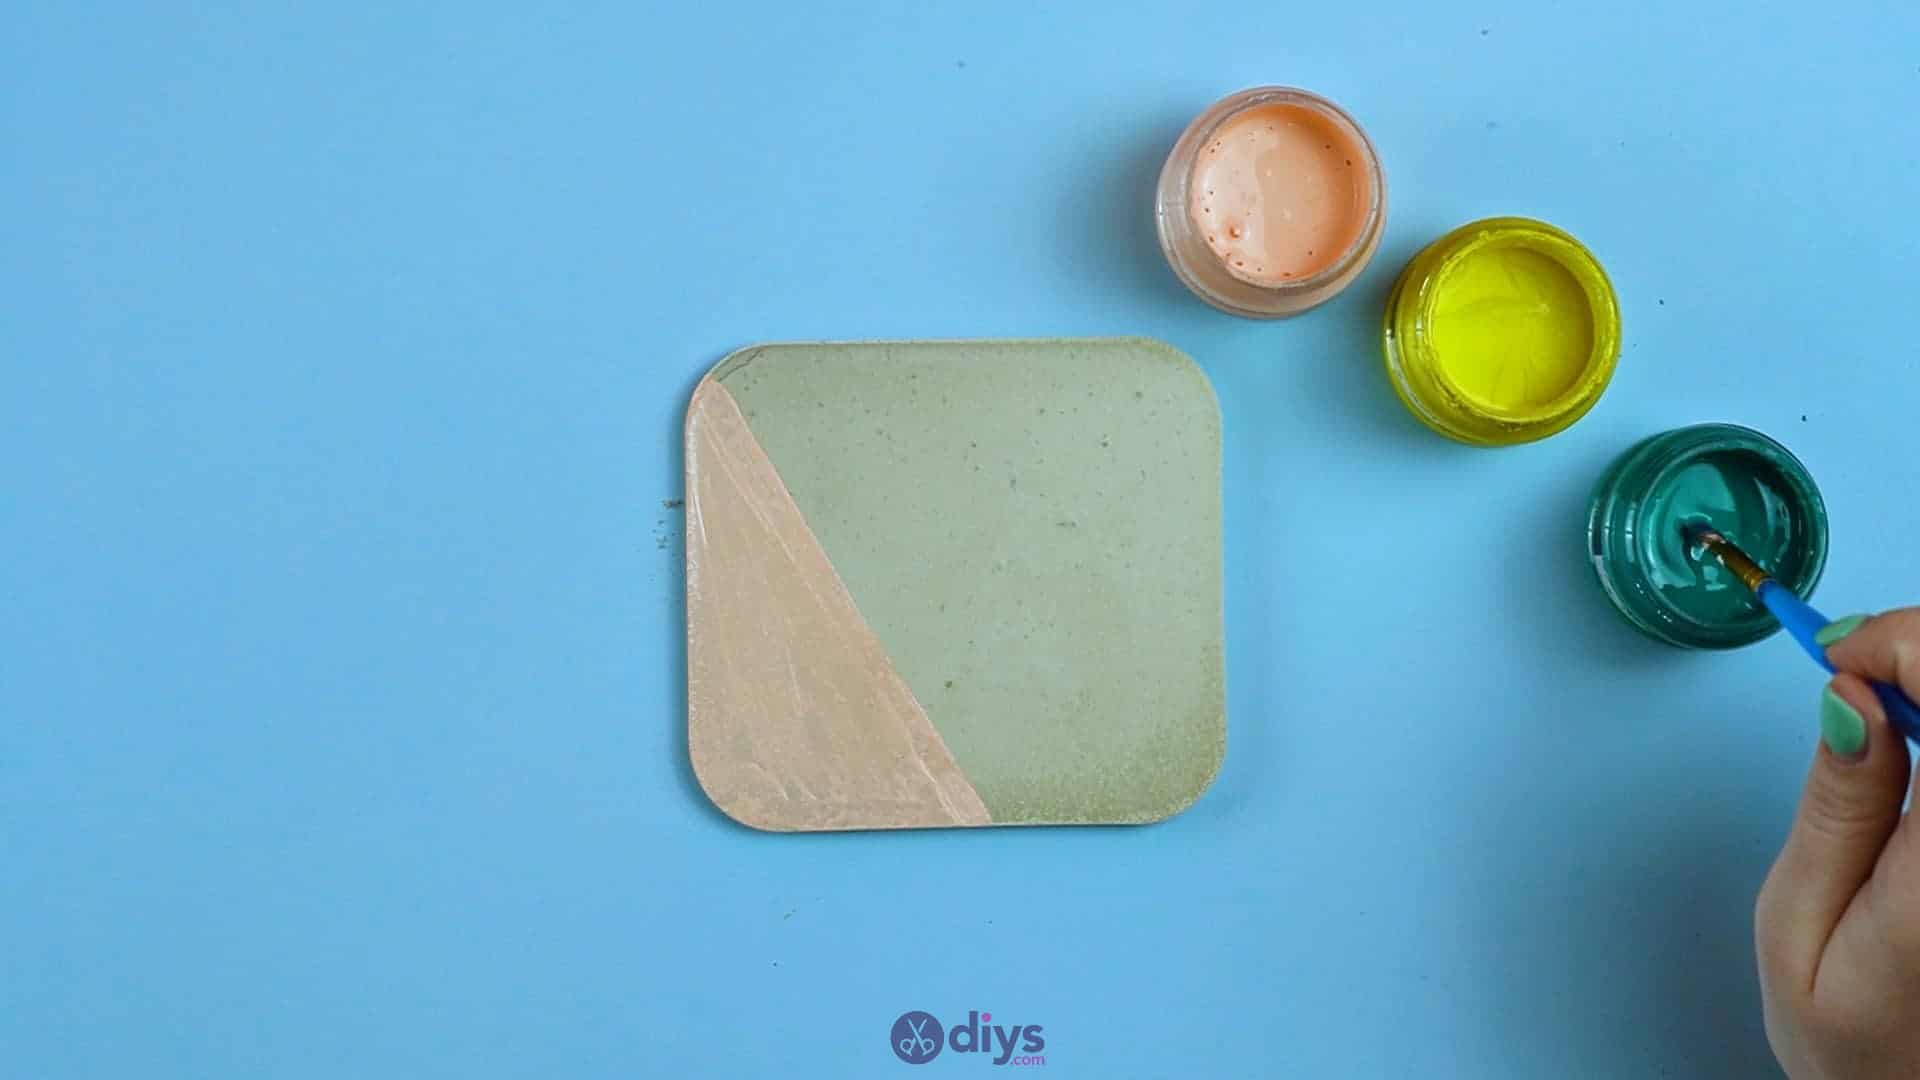
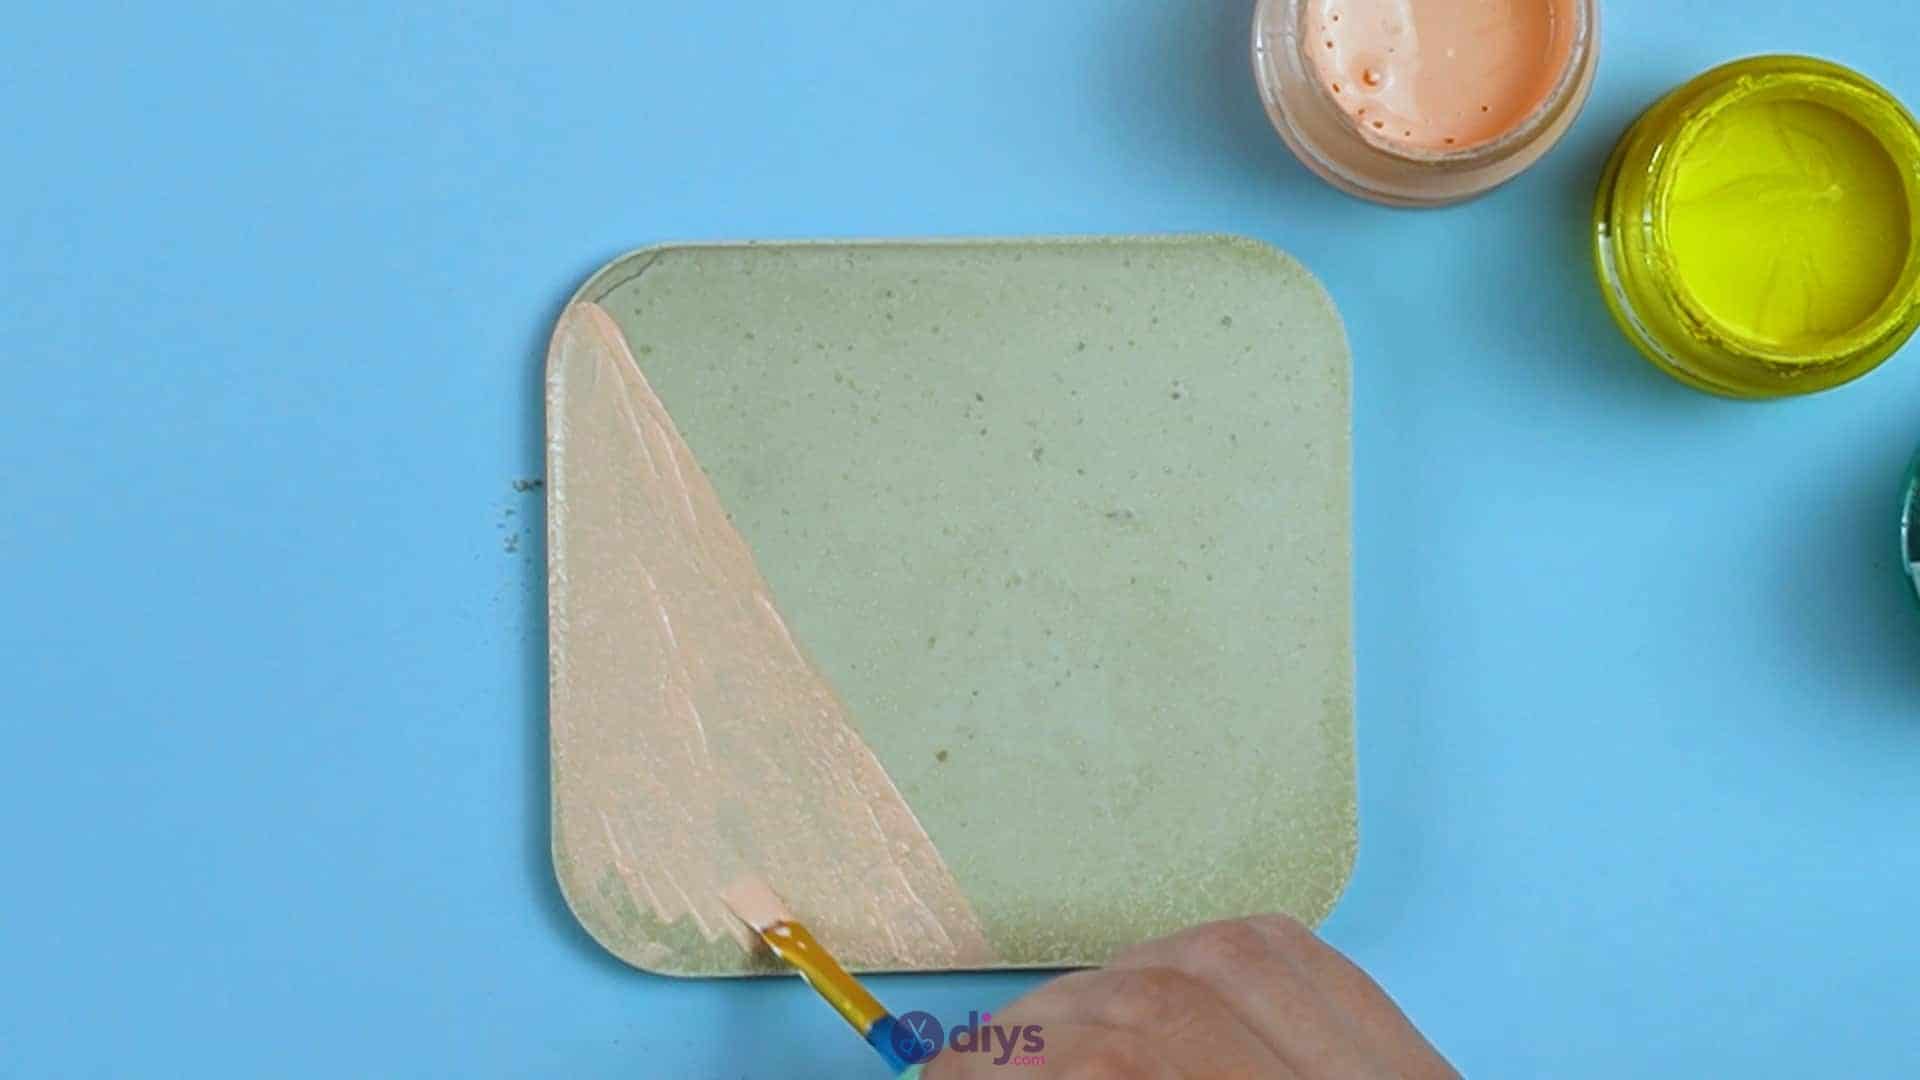
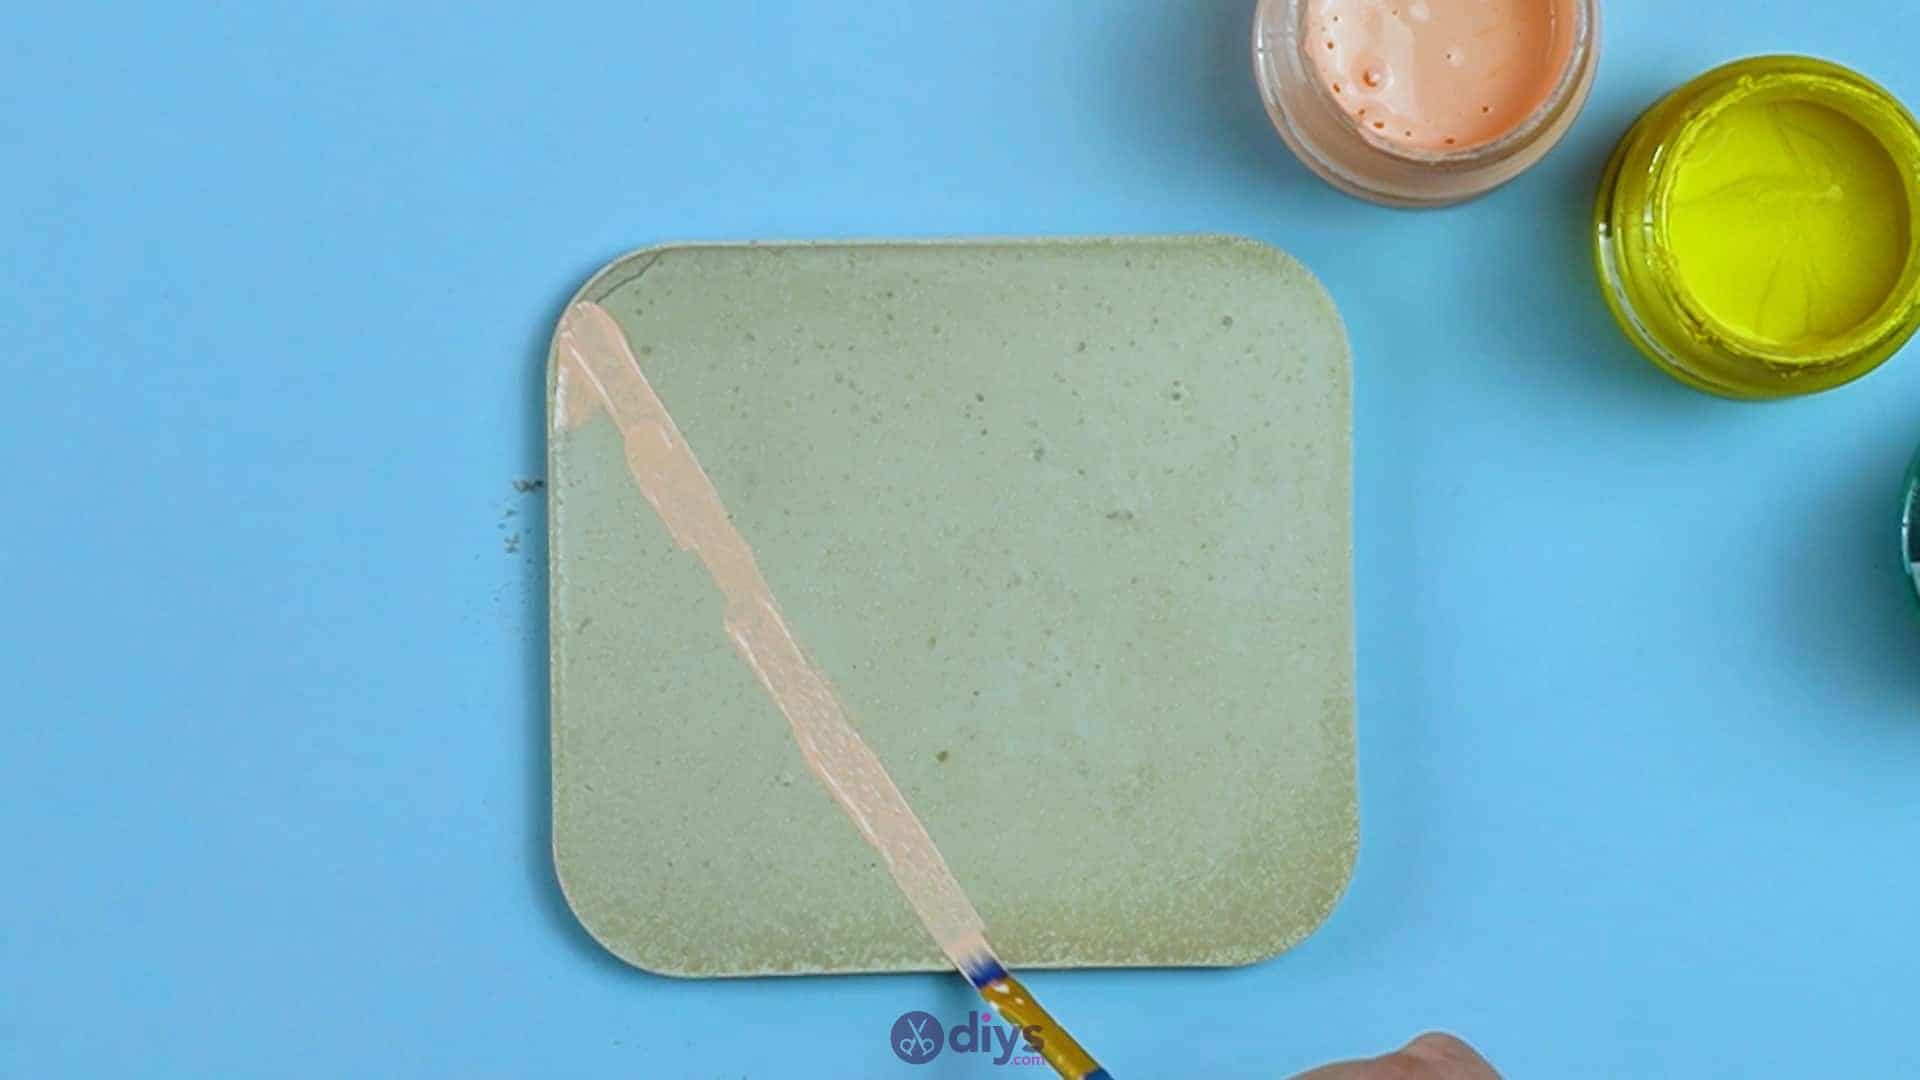
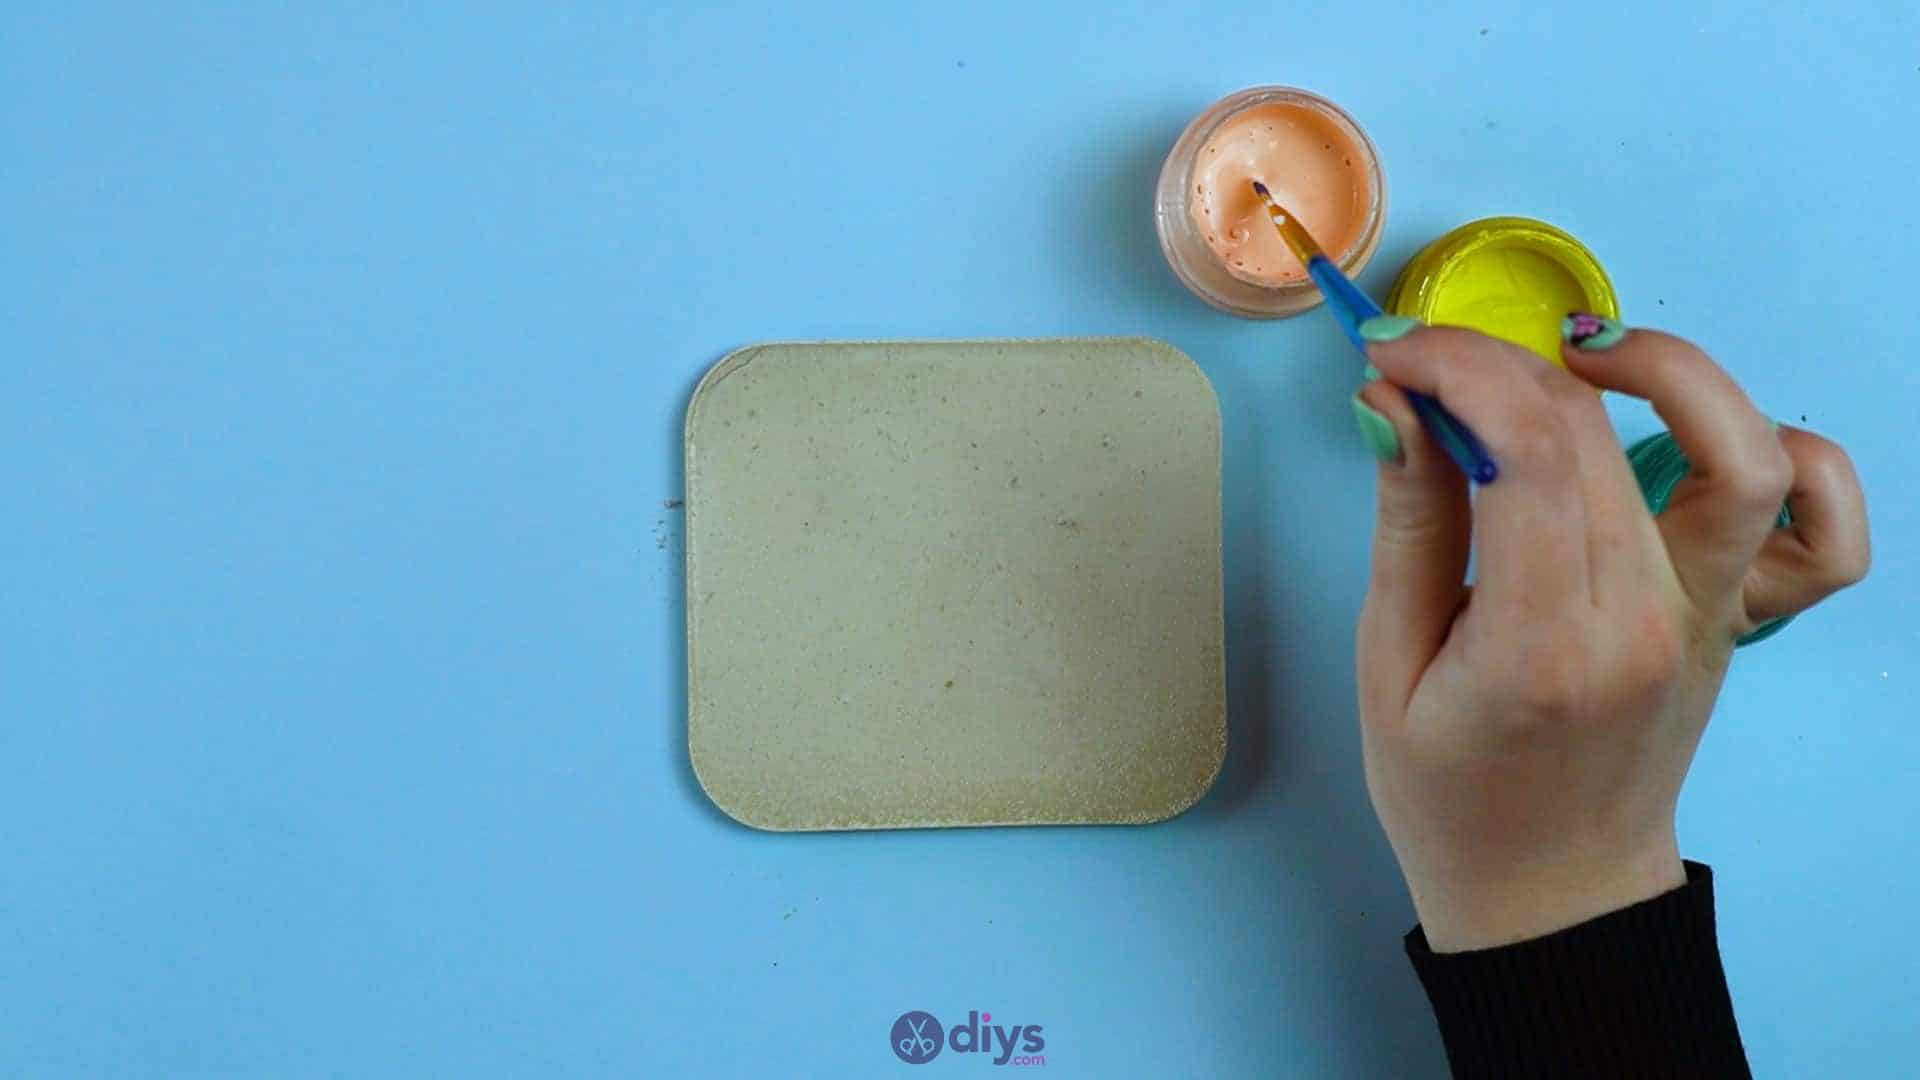
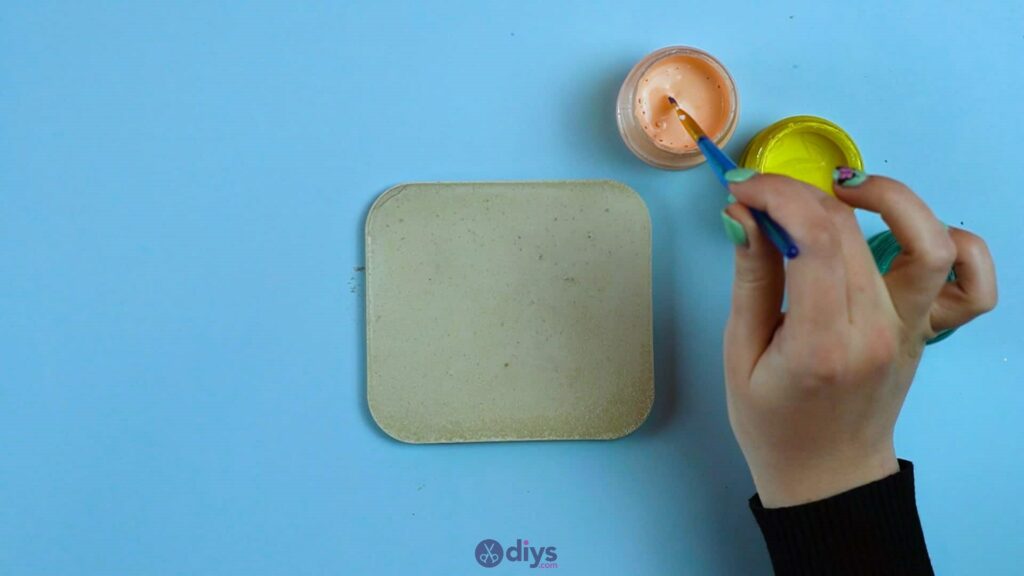
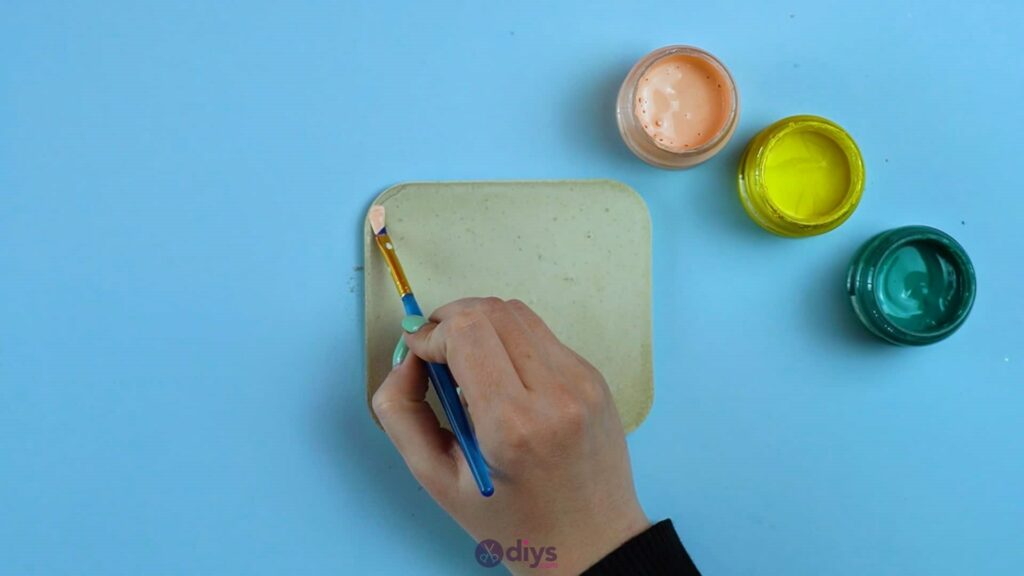
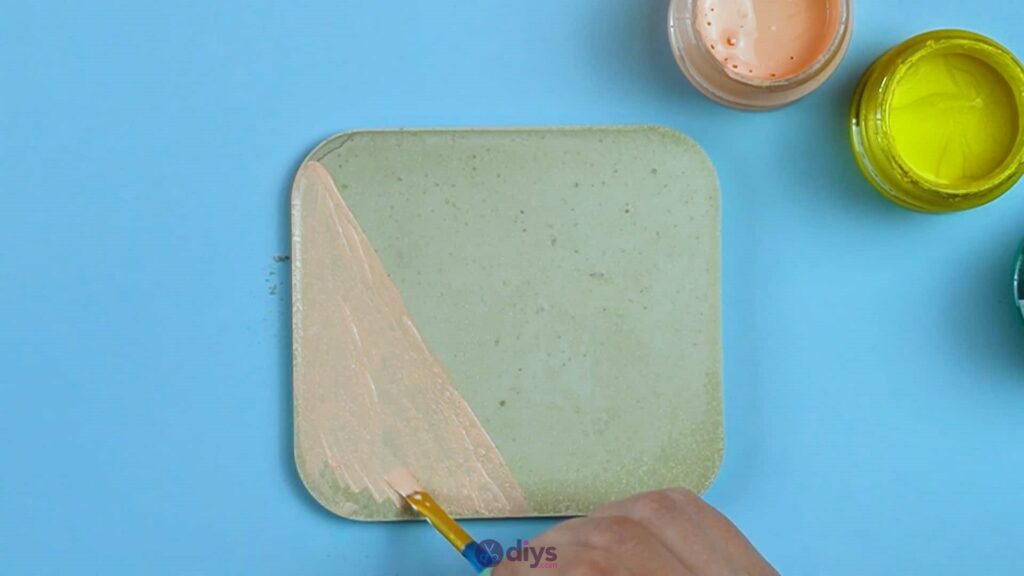
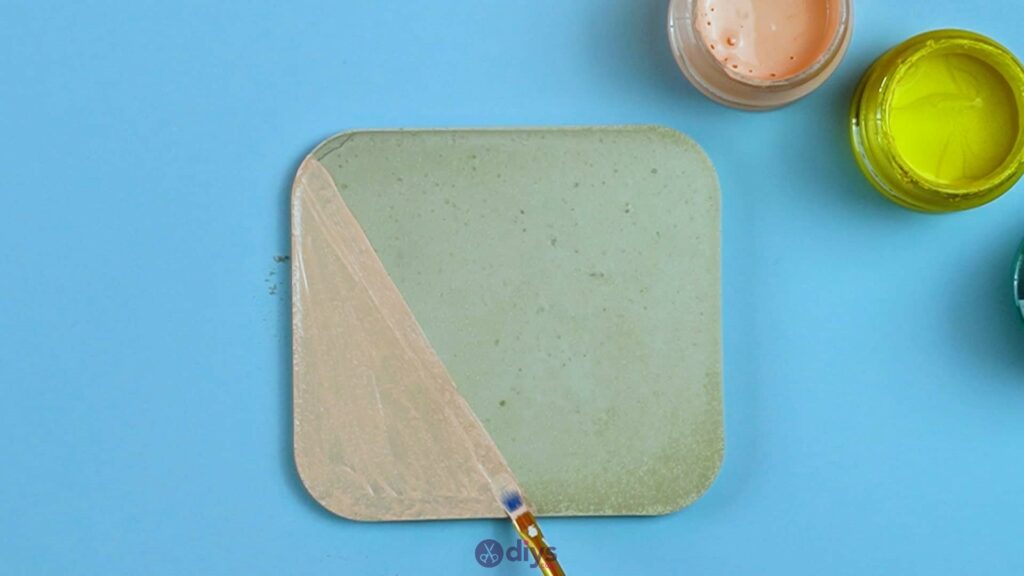
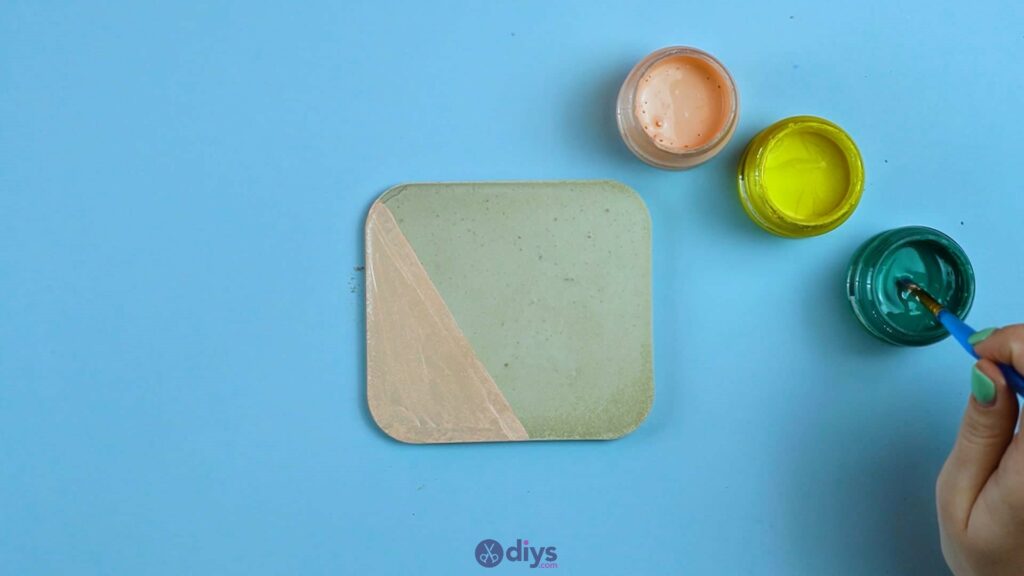
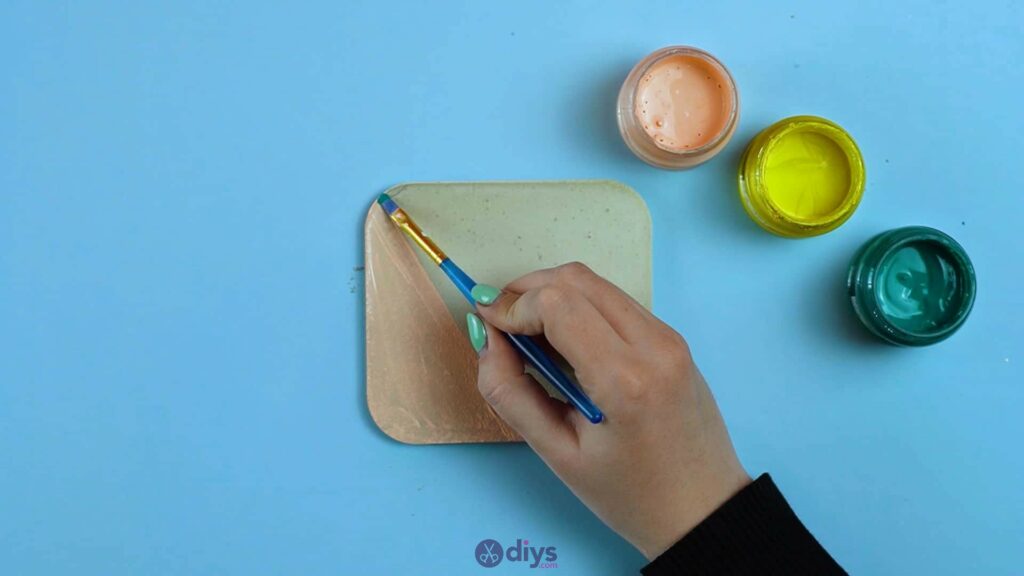
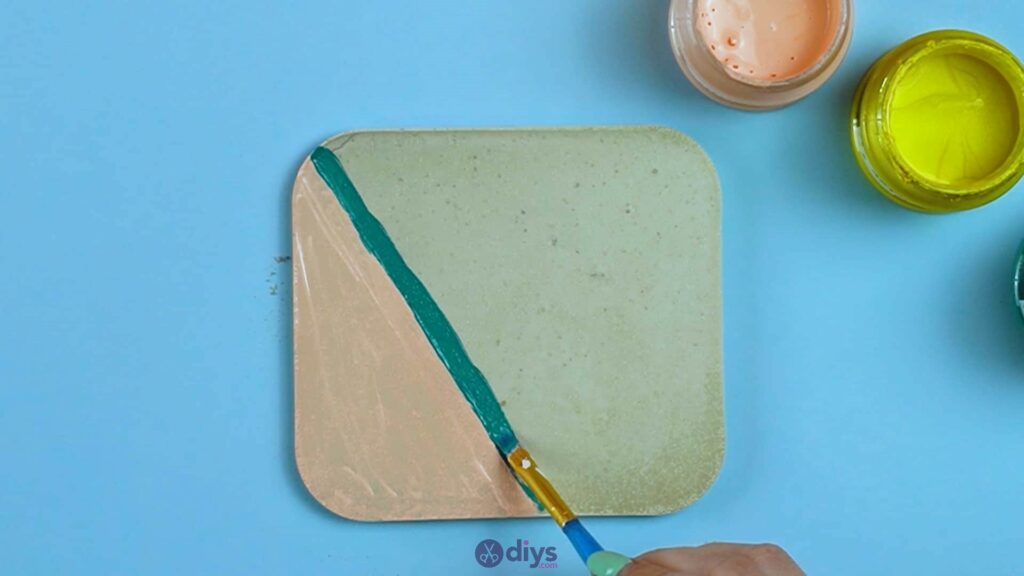
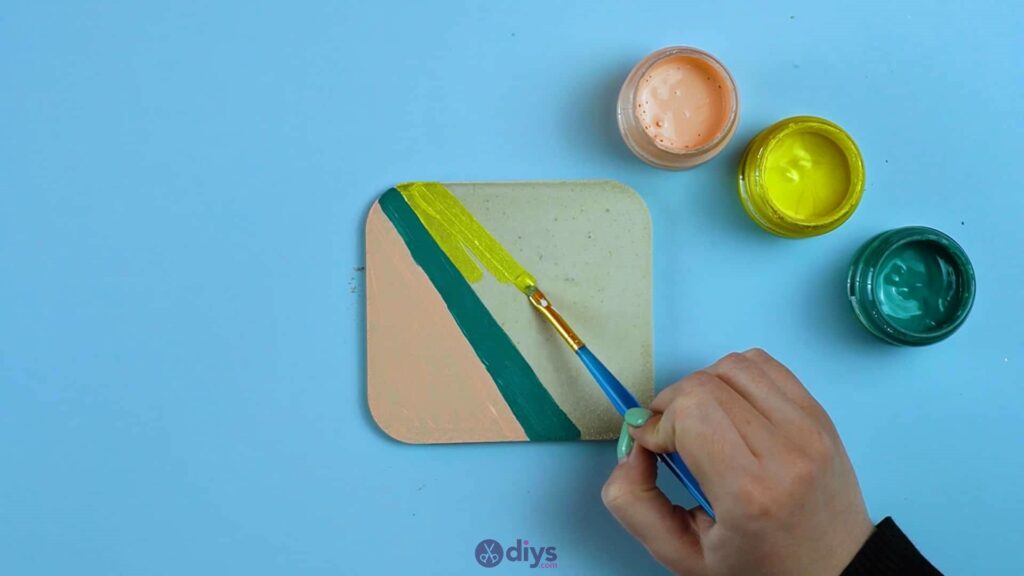
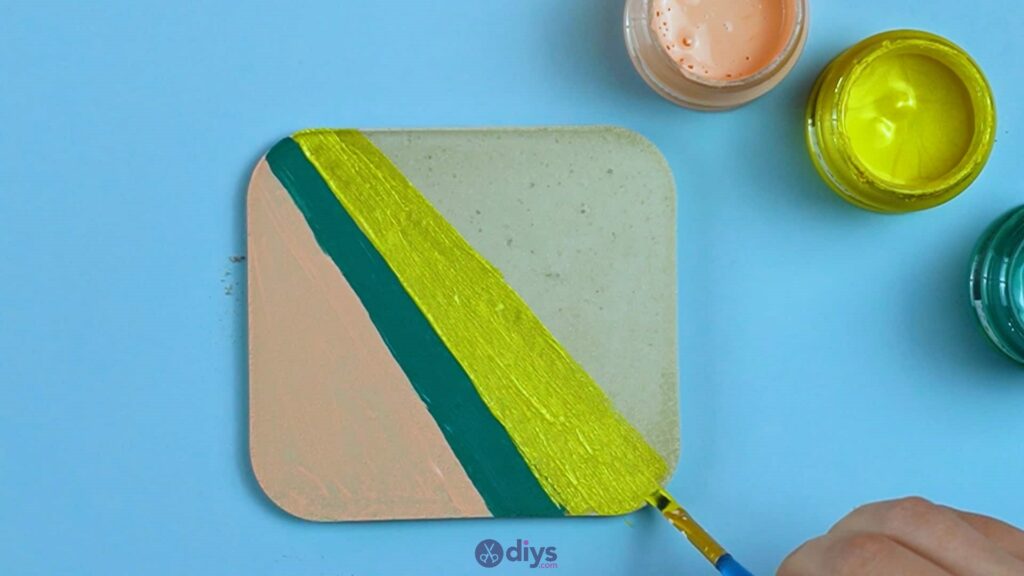
Step 5: paint the coasters
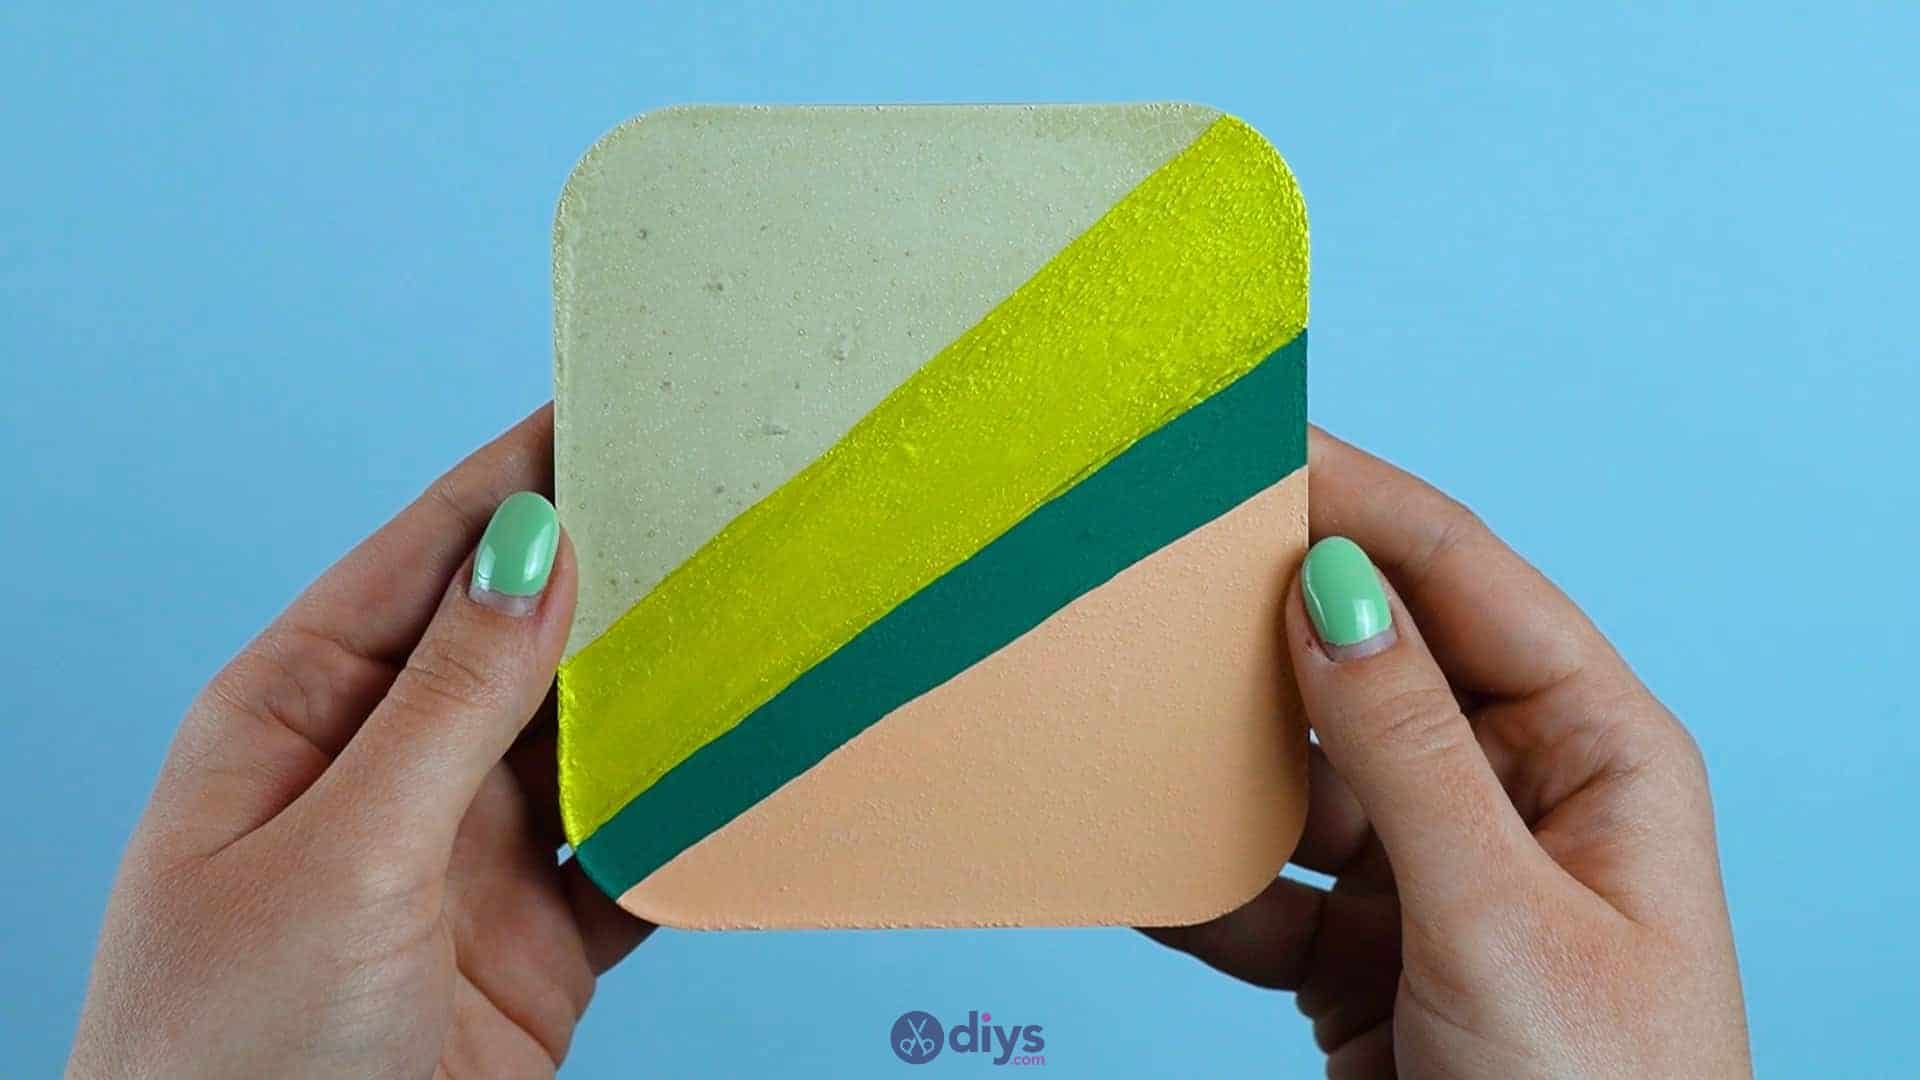
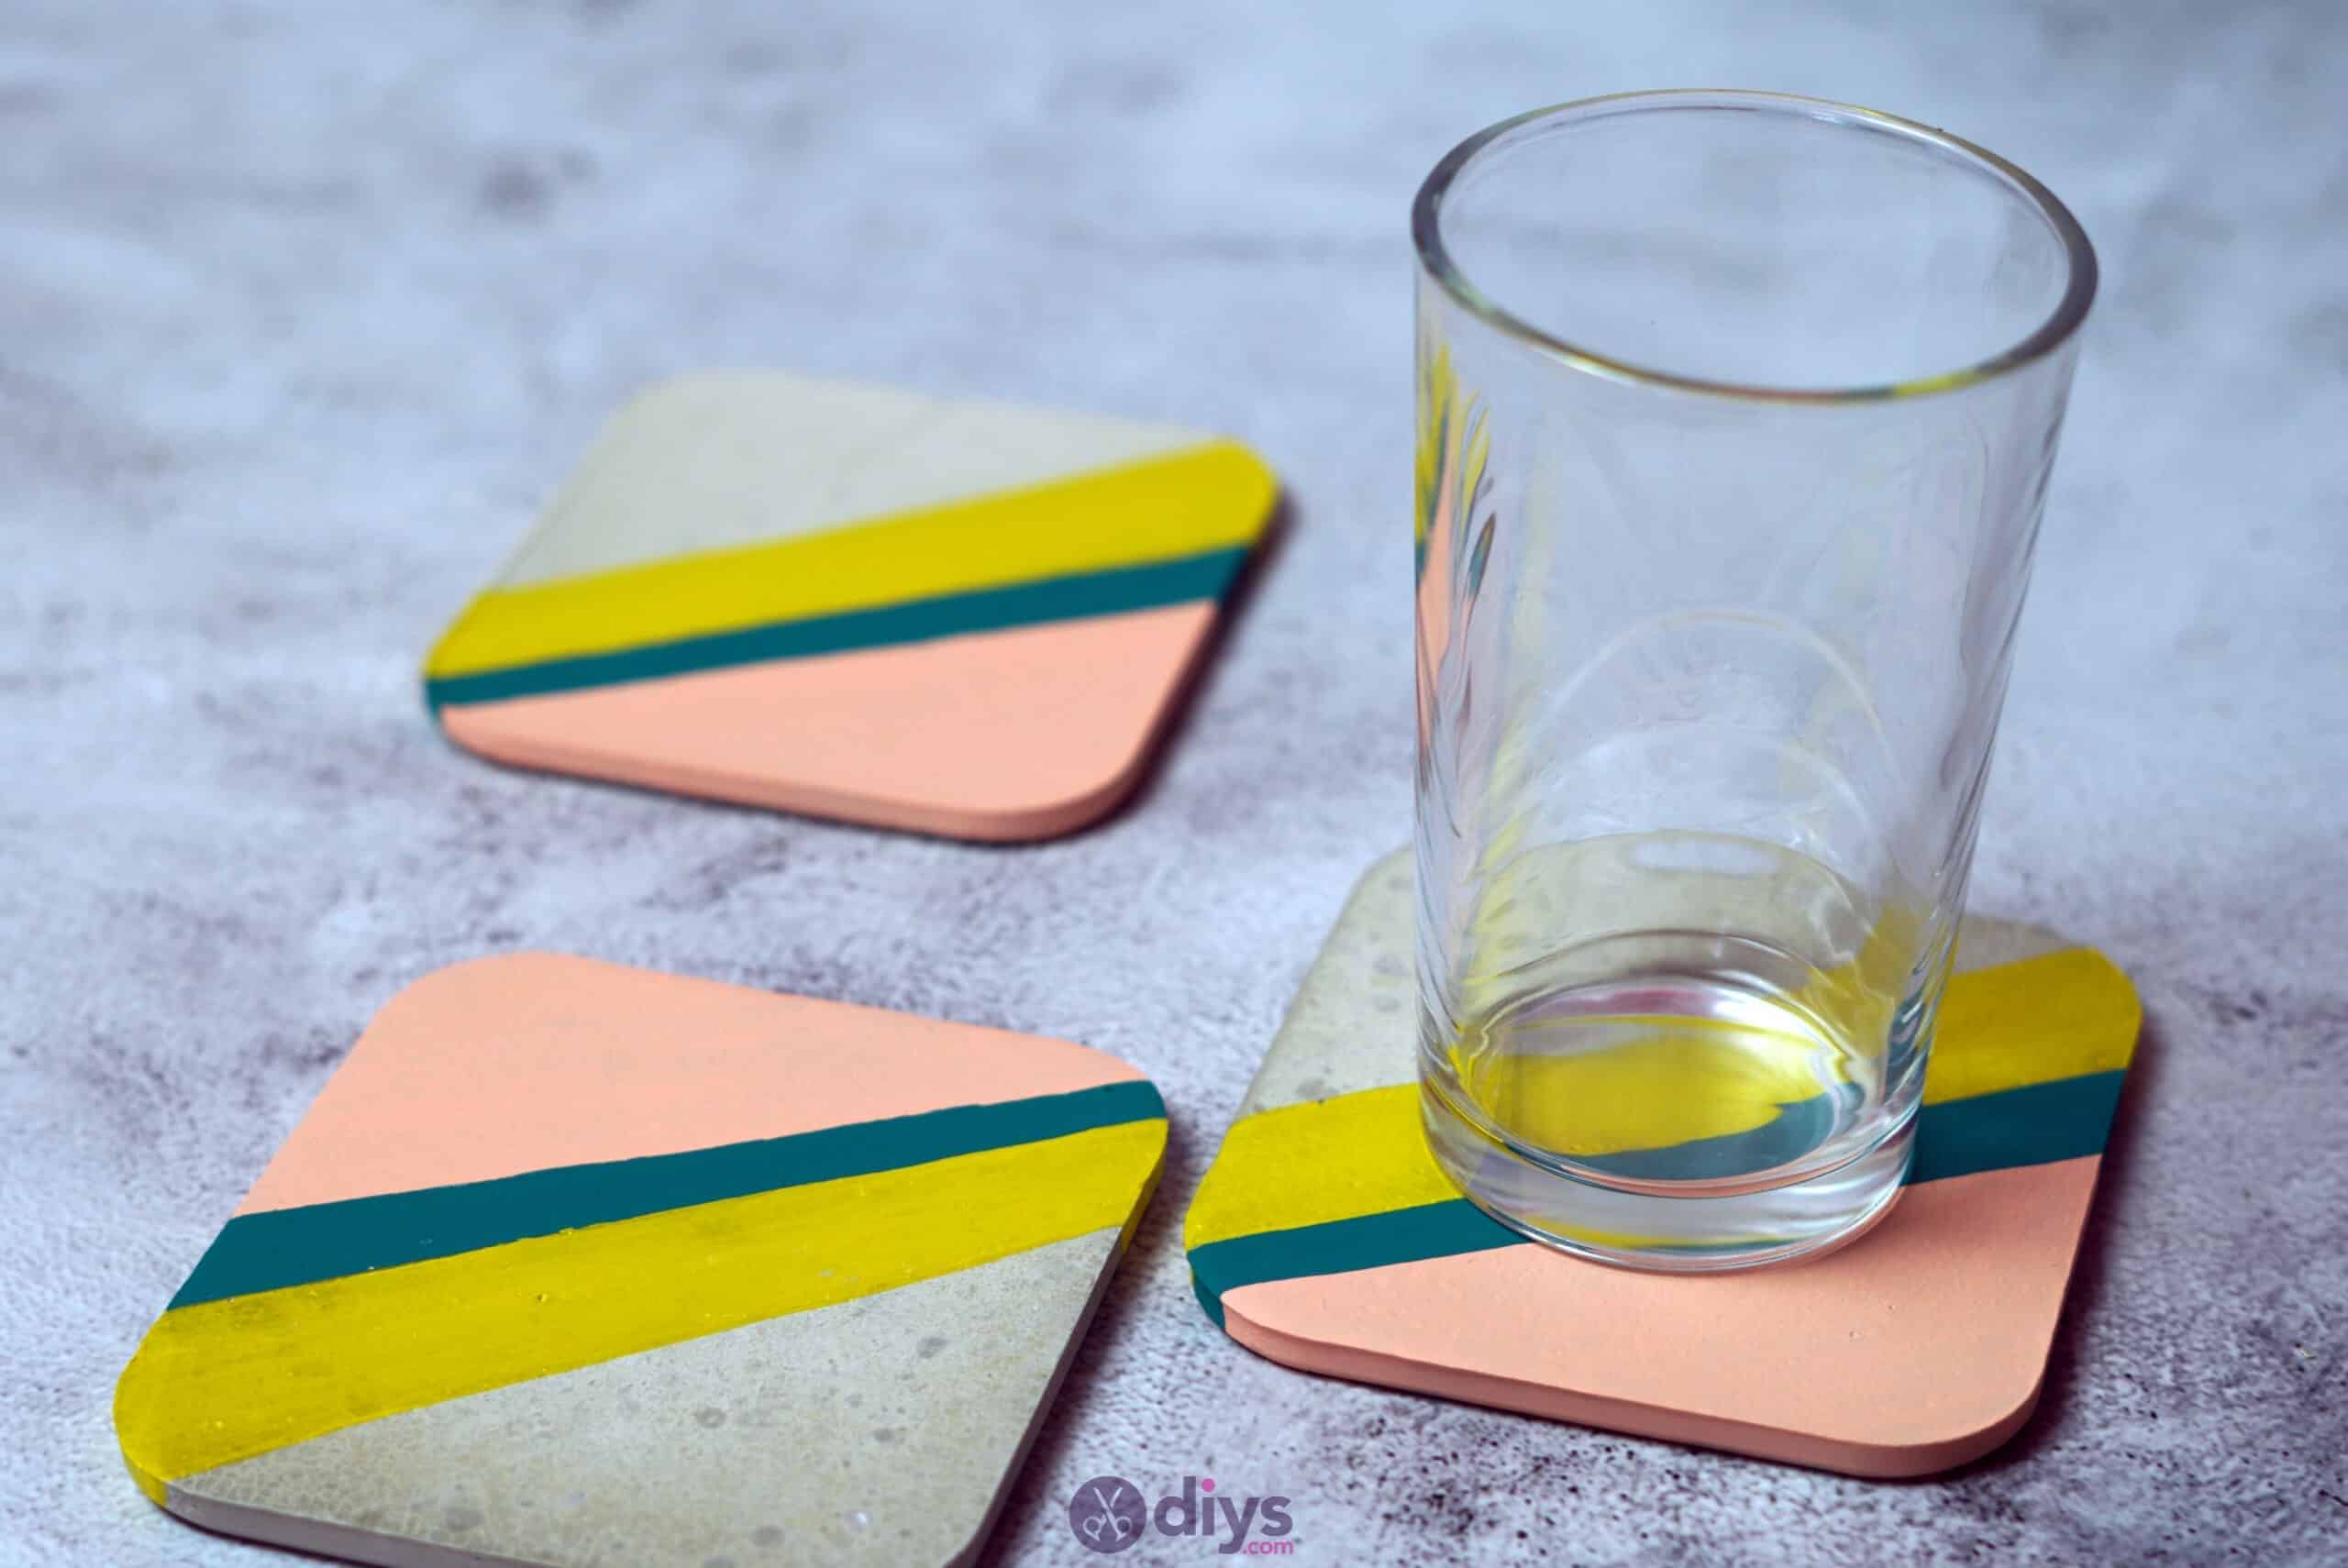
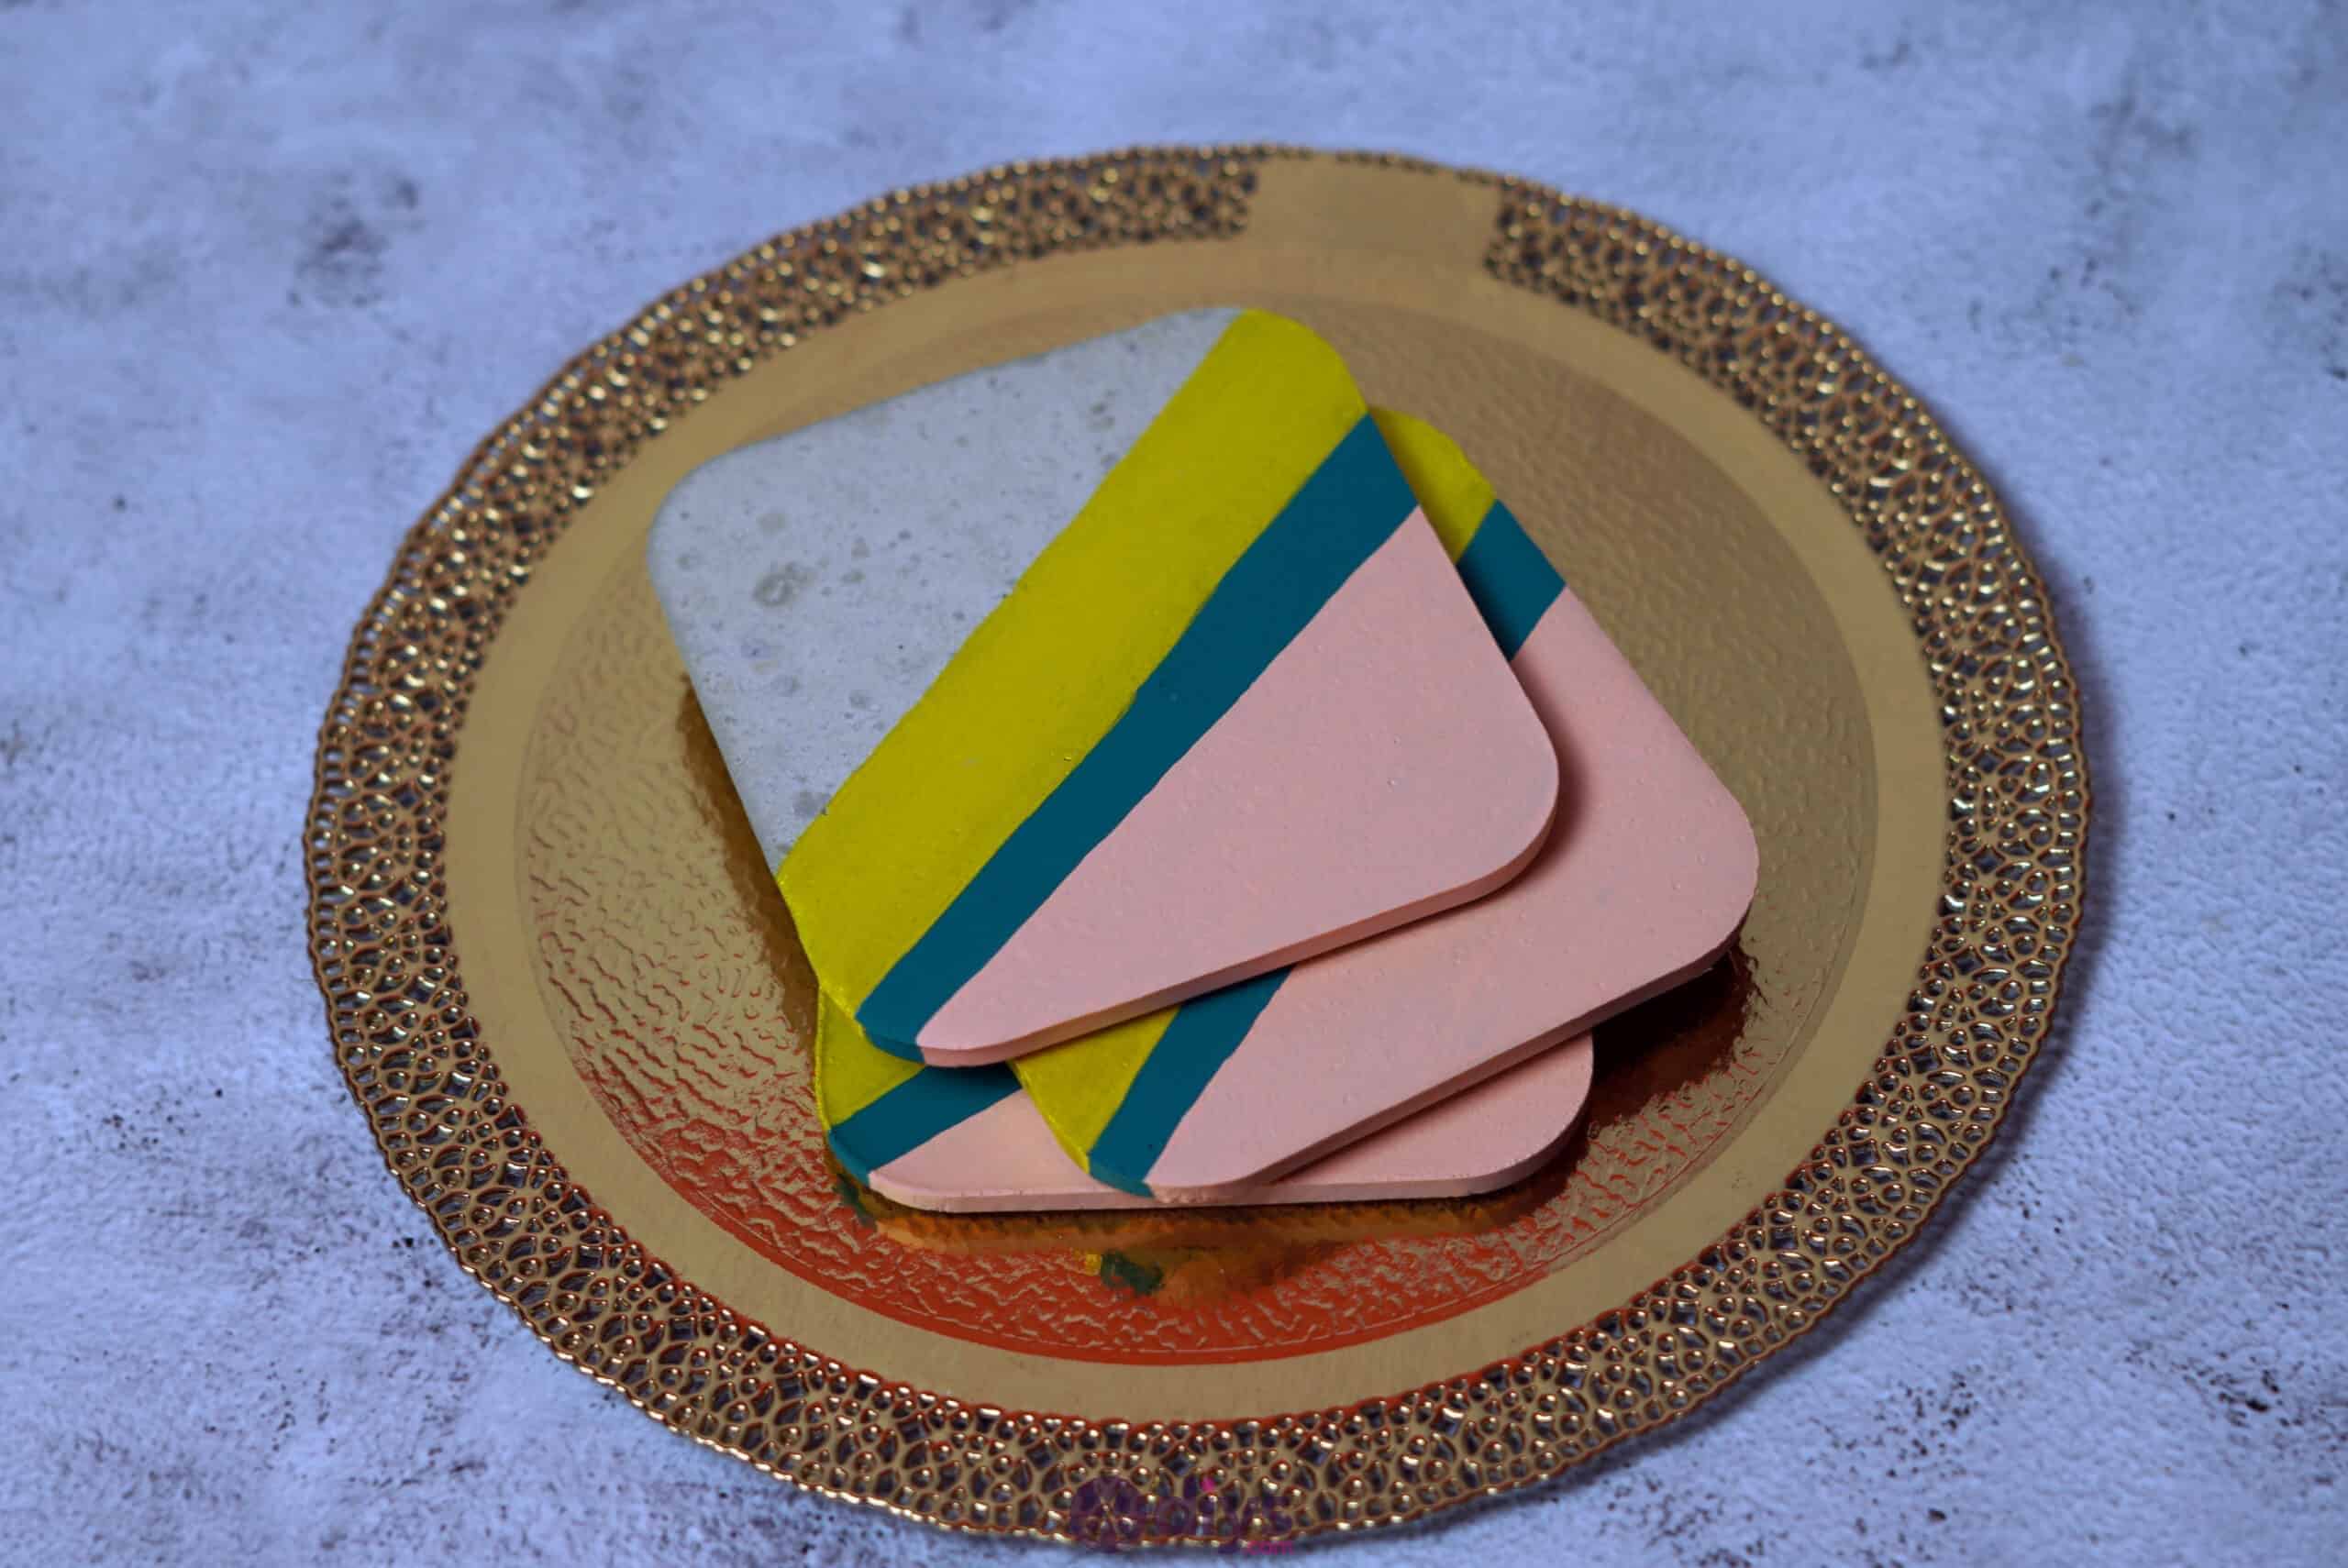
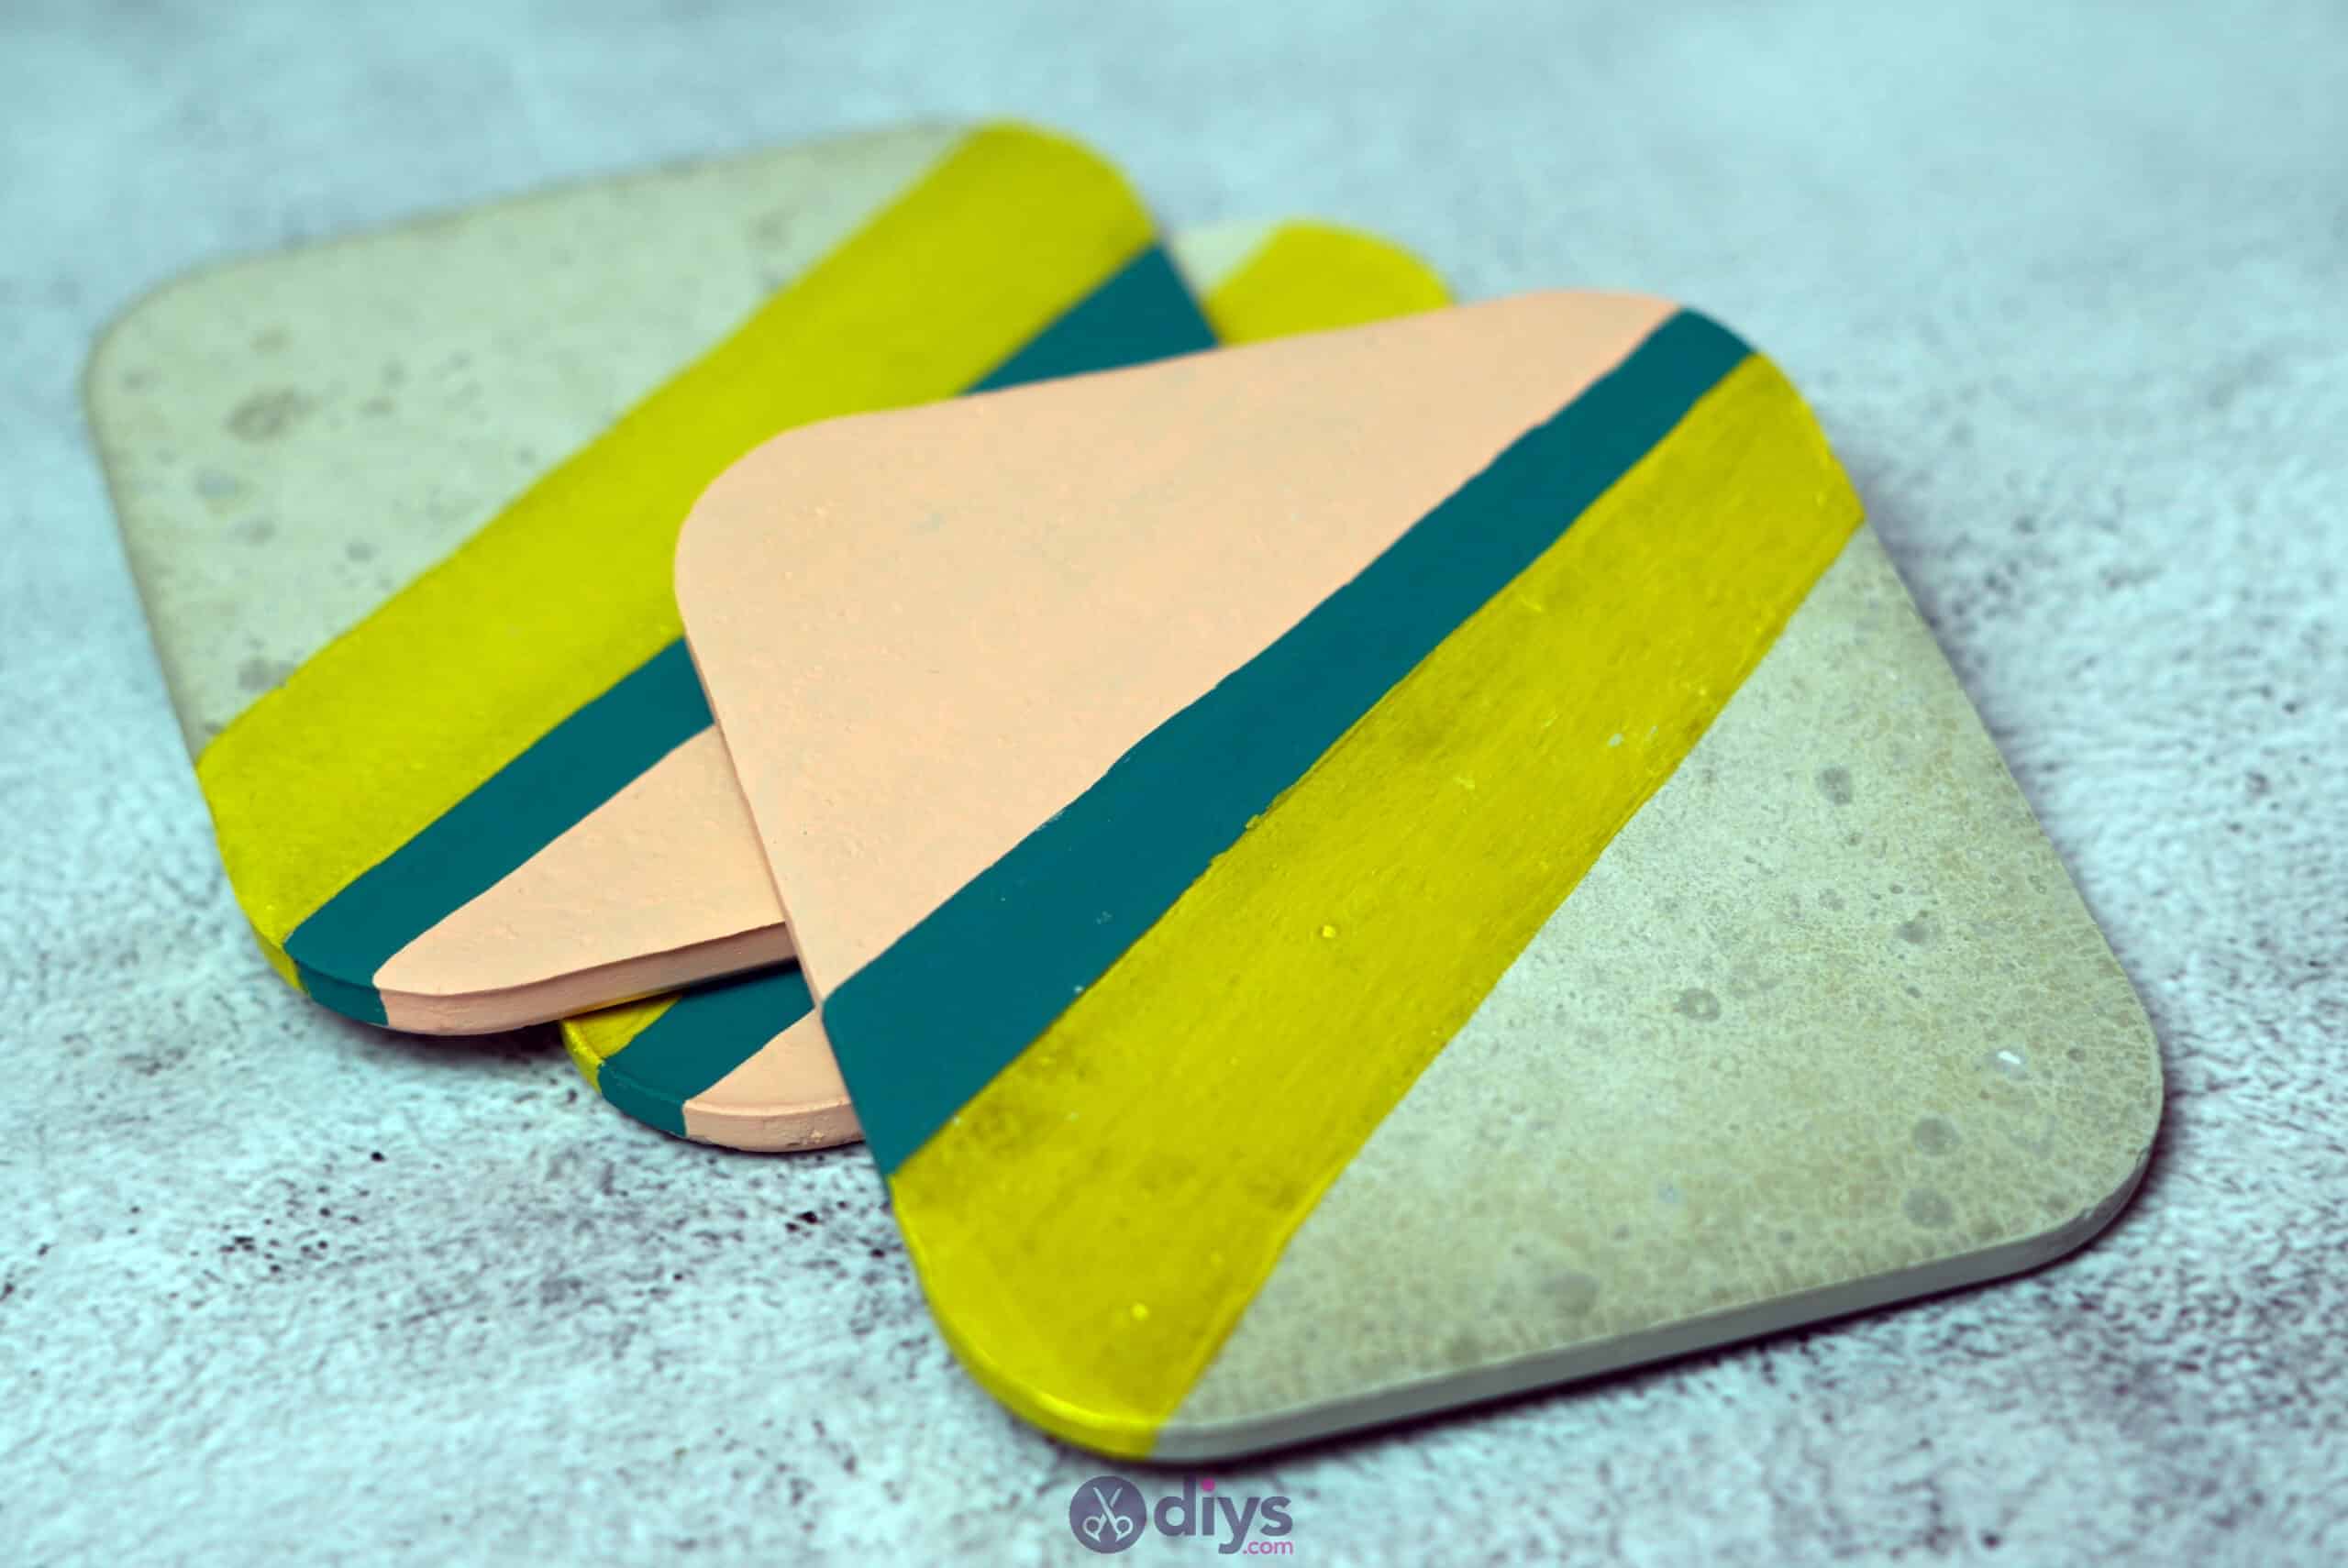
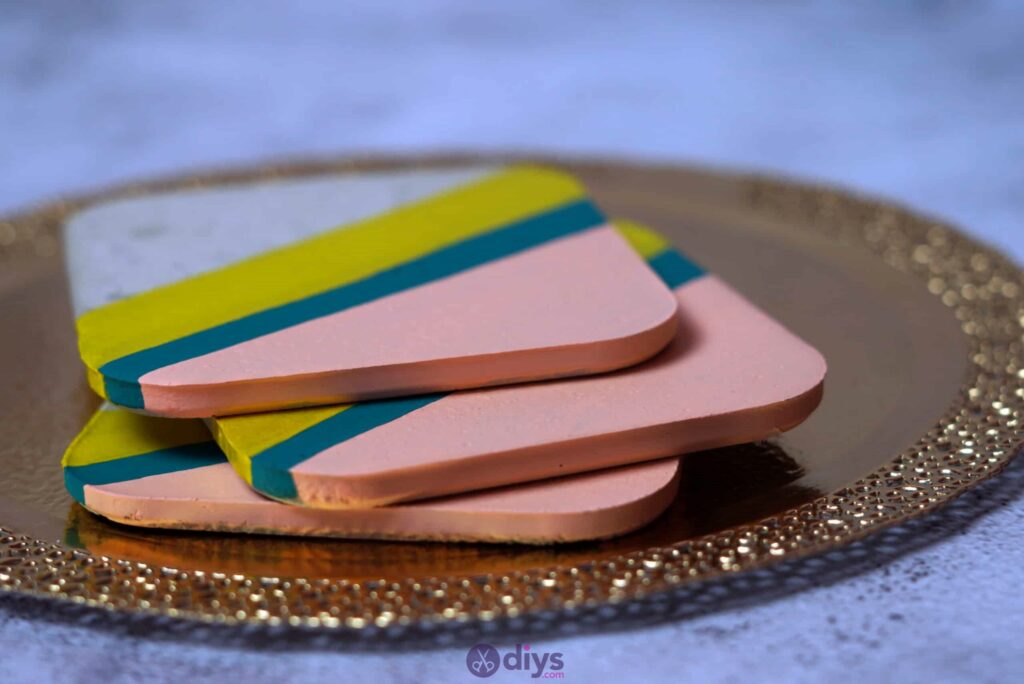
Use your paints and paintbrush to add coloured and personality to your coaster! I chose to create a colour blocking effect in yellow, green, and peach, using diagonal lines for a bit of simple geometric appeal. I started with the colour I wanted the most of and worked from the top left corner downward, then added a stripe of my second colour, and finished up with a smaller but similar angled shape in my third. When you’re happy with your painted pattern, set the piece aside until it has dried completely.


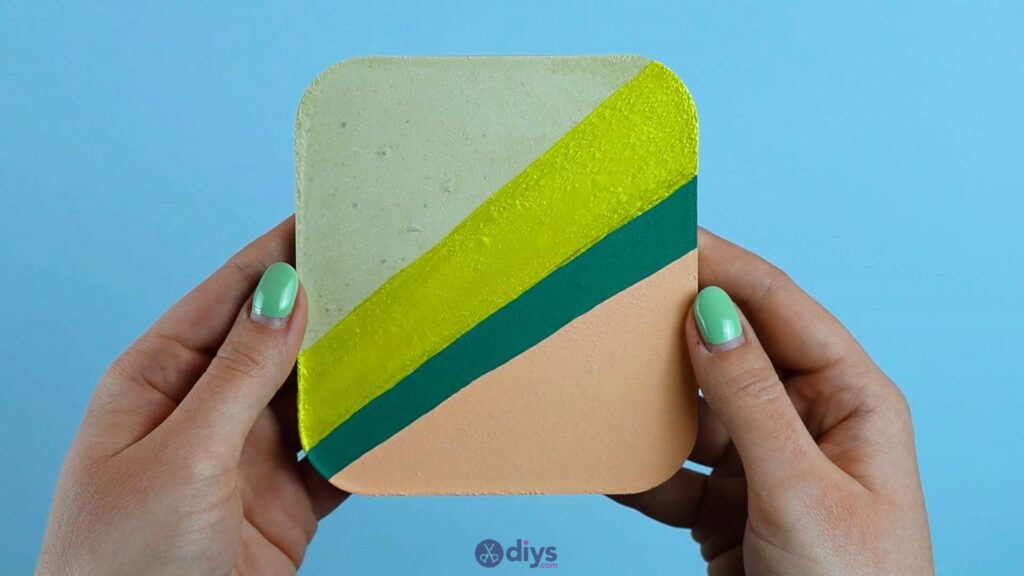
Voila! You’ve officially finished your concrete coaster or underplate. Of course, you can feel free to get creative with your paint job and create something more ornate, or you could use a circular shaped lid as a mould and make a rounded coaster instead. Either way, check out this video tutorial if you feel like you need to see the basic technique in action.