DIY Binder Clip Card Holder
Updated on November 19, 2025
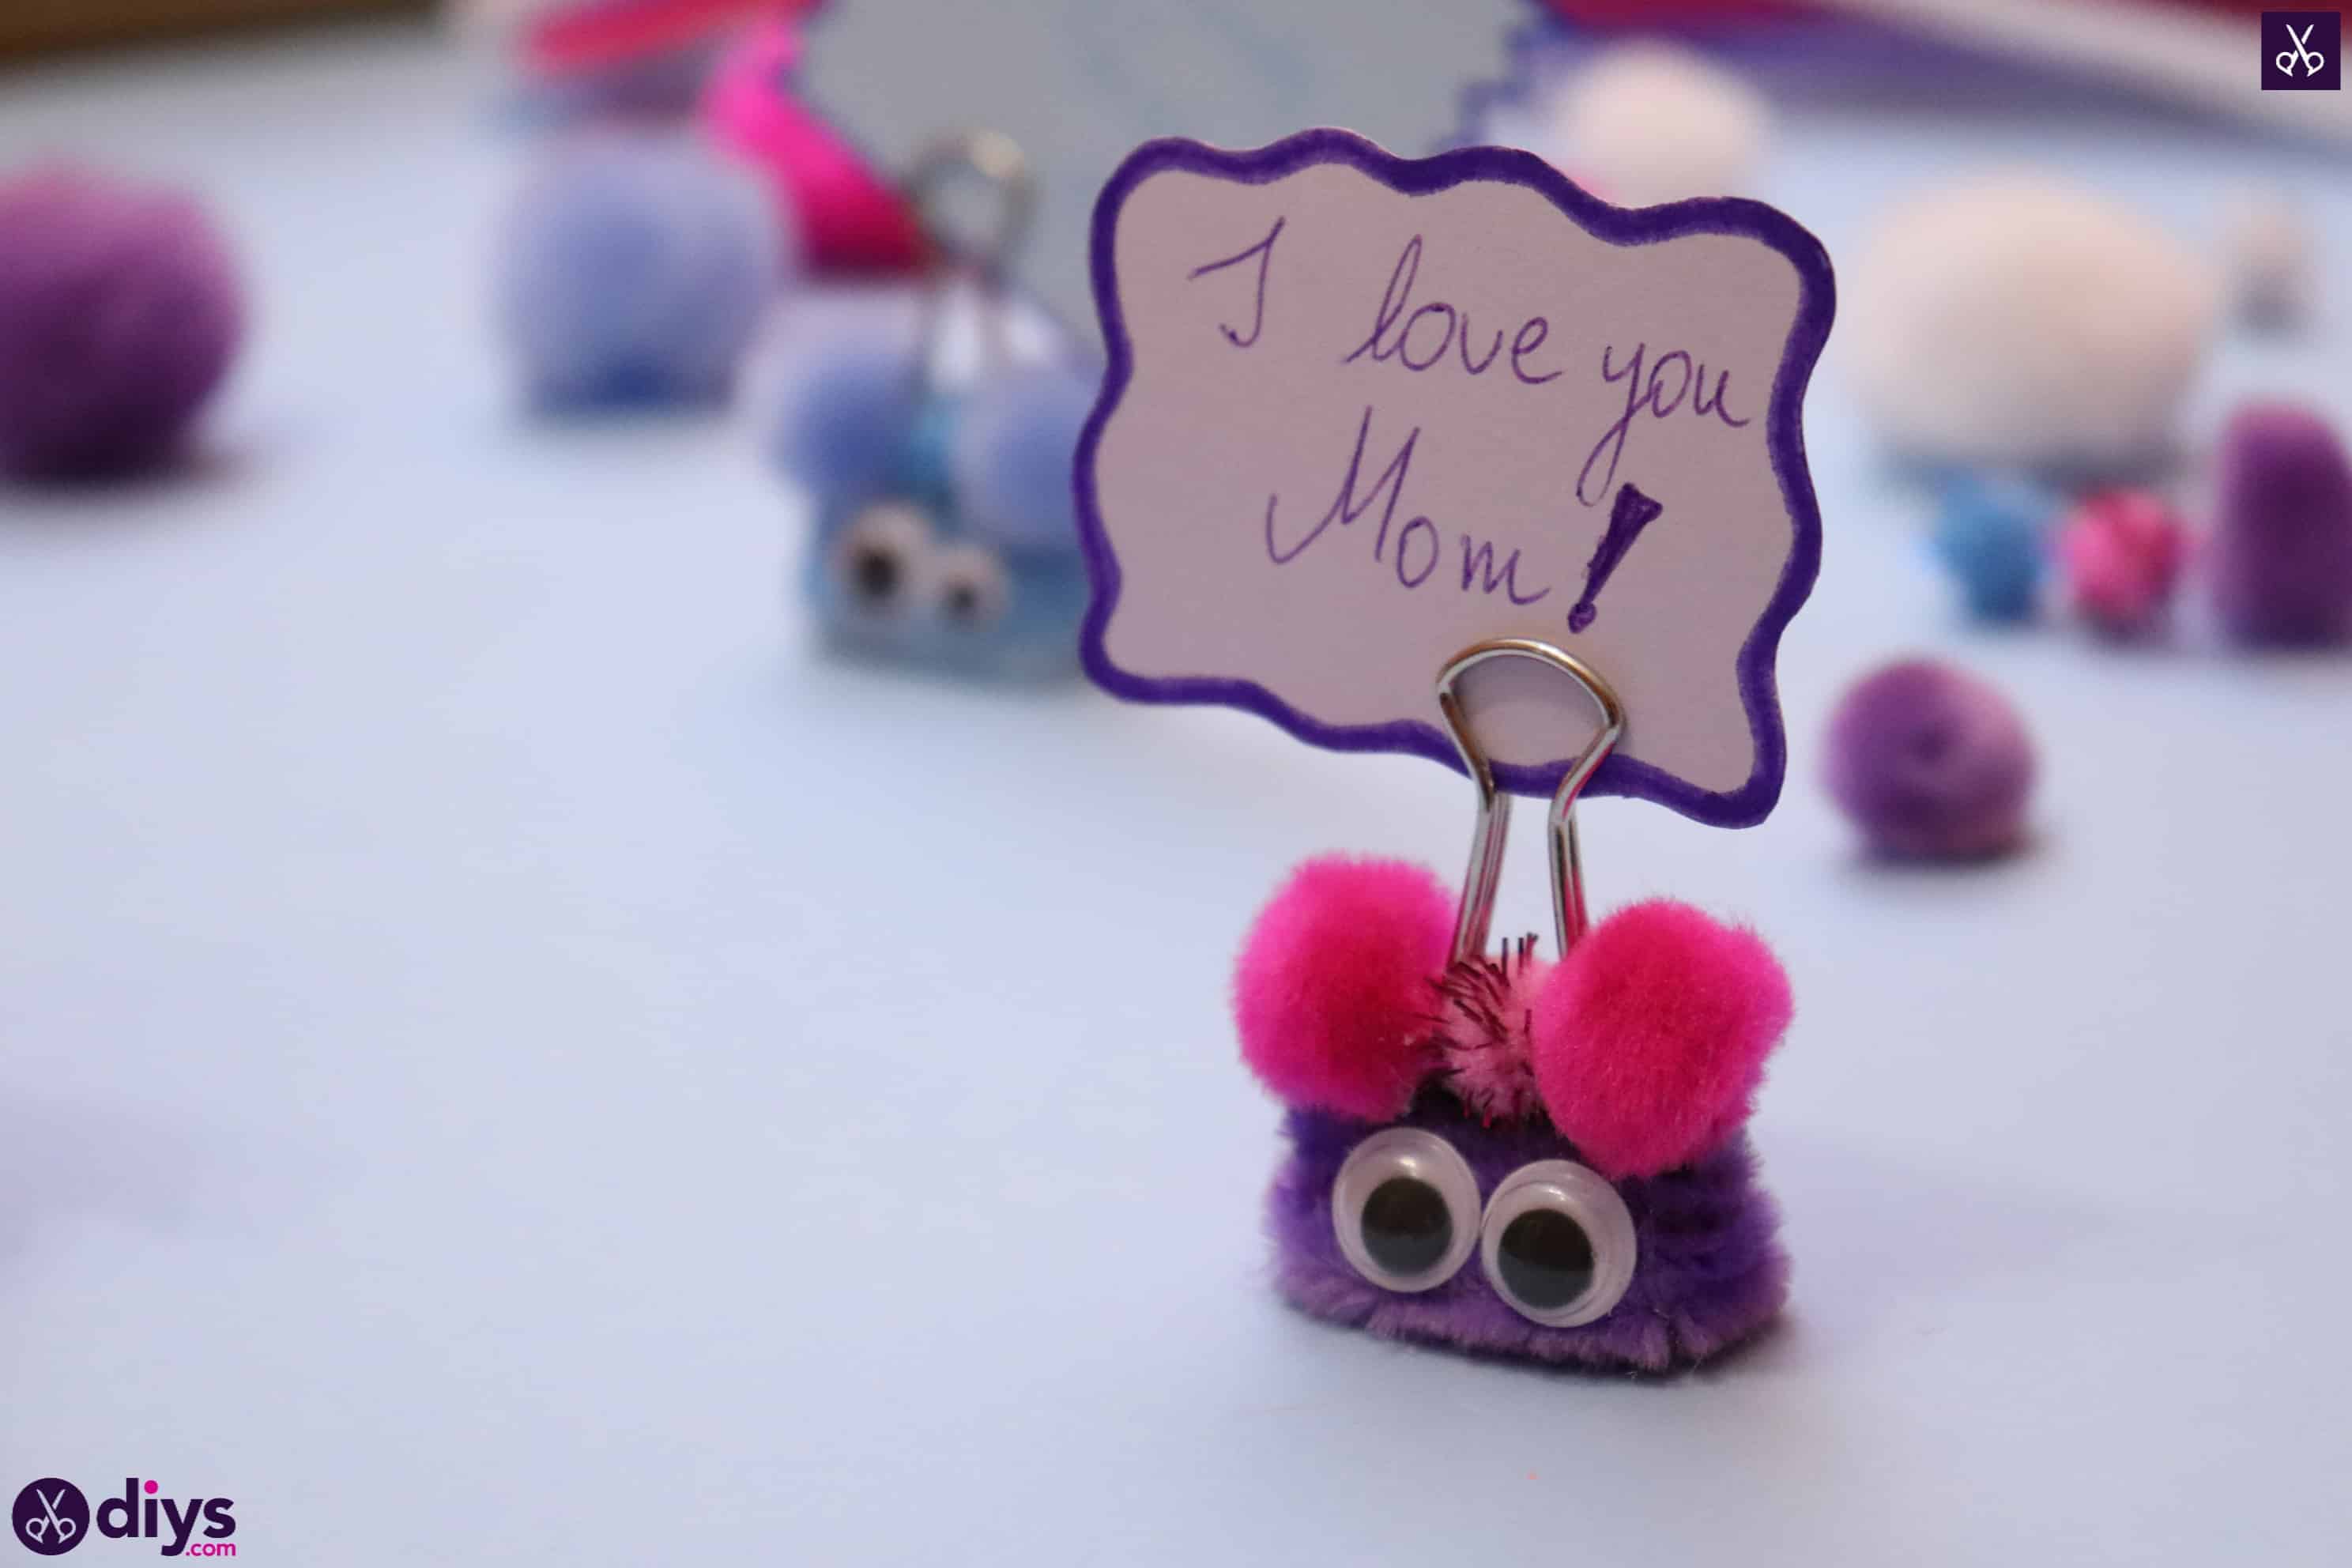


In my experience, even the tiniest gesture of kindness and celebration on a person’s birthday can really make their day. That’s why I always try to make some kind of kitschy or cute trinket for each of my coworkers on their special day! I keep it simple and low maintenance, but I still like to show them my appreciation and make them feel valued. This year, I made each person a cute little birthday message in a holder made from office supplies and it was quite fitting indeed!

If you love the idea of making your coworkers feel nice on their birthday (or any other day, really) using easy office supplies too, check out how I made mine in the following tutorial! If you’d rather follow along with a video, you can find one by scrolling to the end of this post.
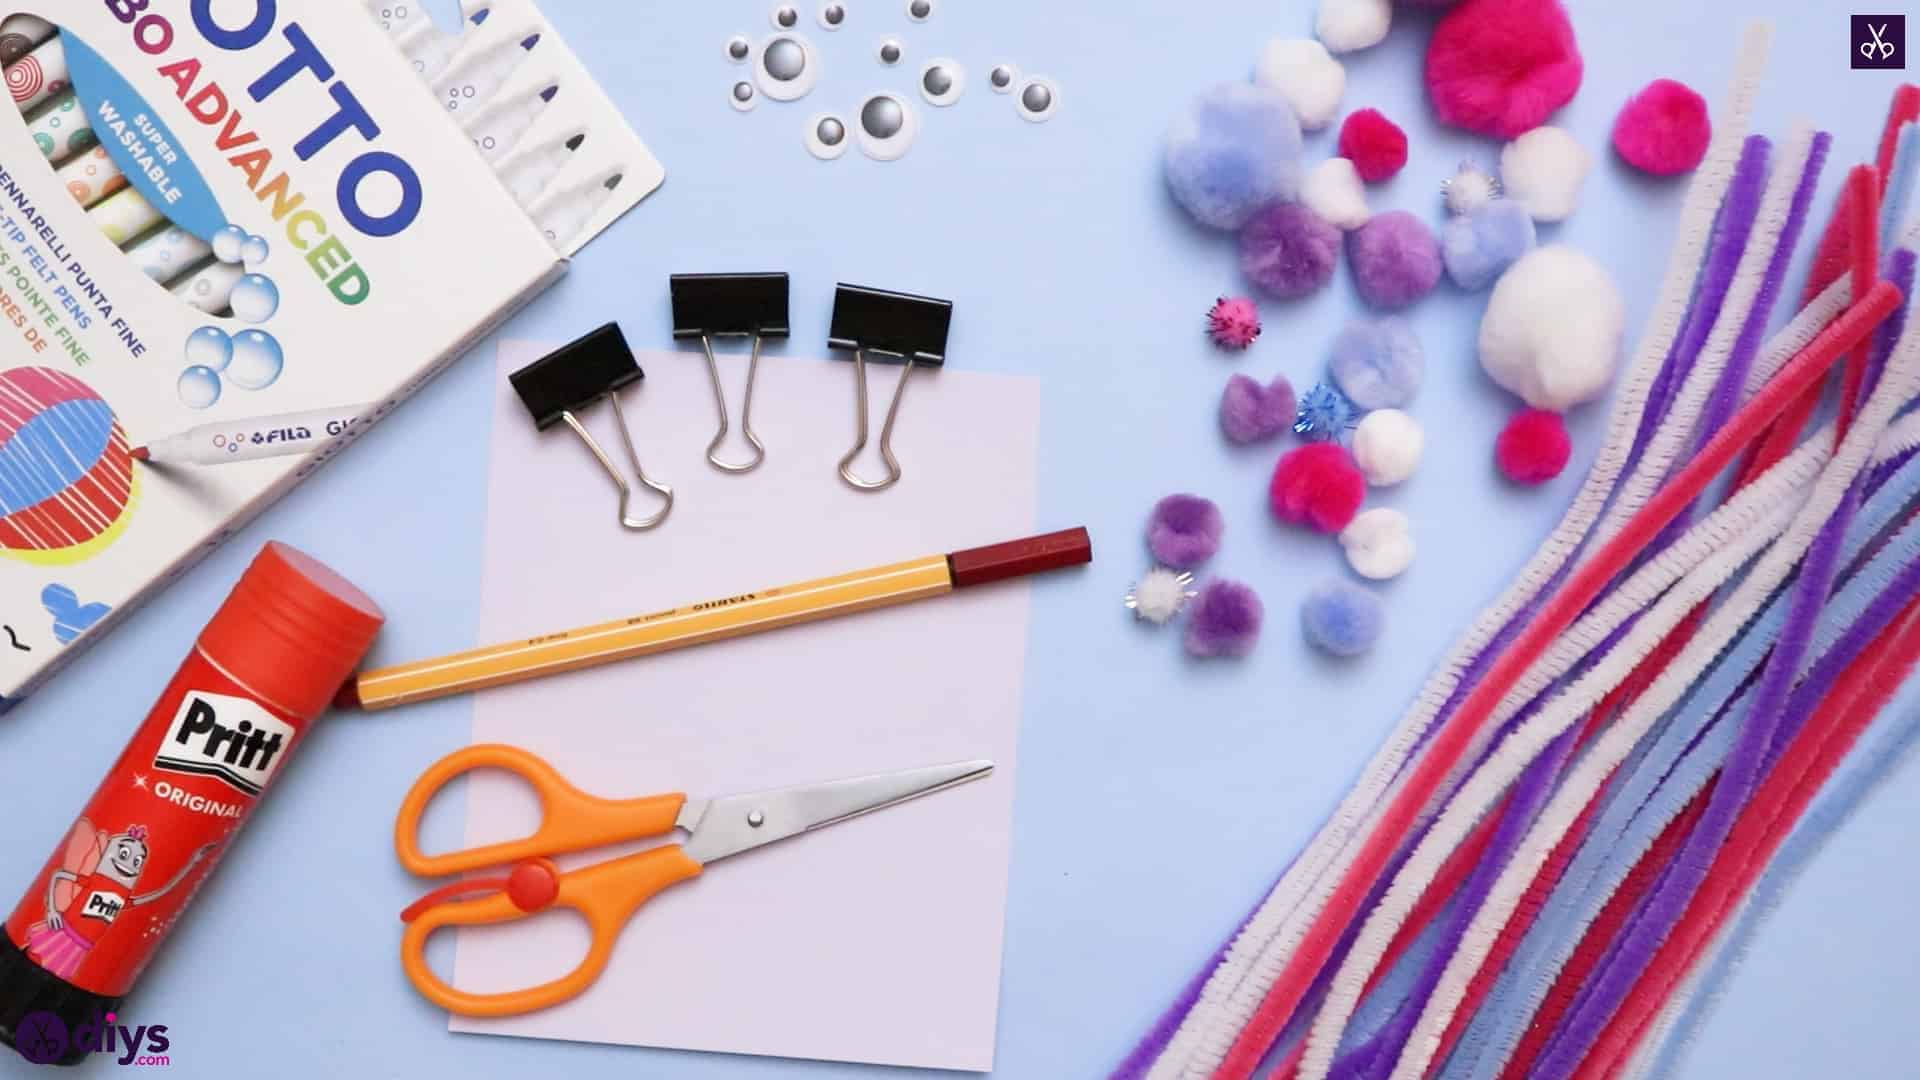
For this project, you’ll need:
- A binder clip
- A red marker
- Pom poms (purple and white)
- Pink pipe cleaner
- Scissors
- A glue stick
Step 1: check your list
Gather all of your materials!

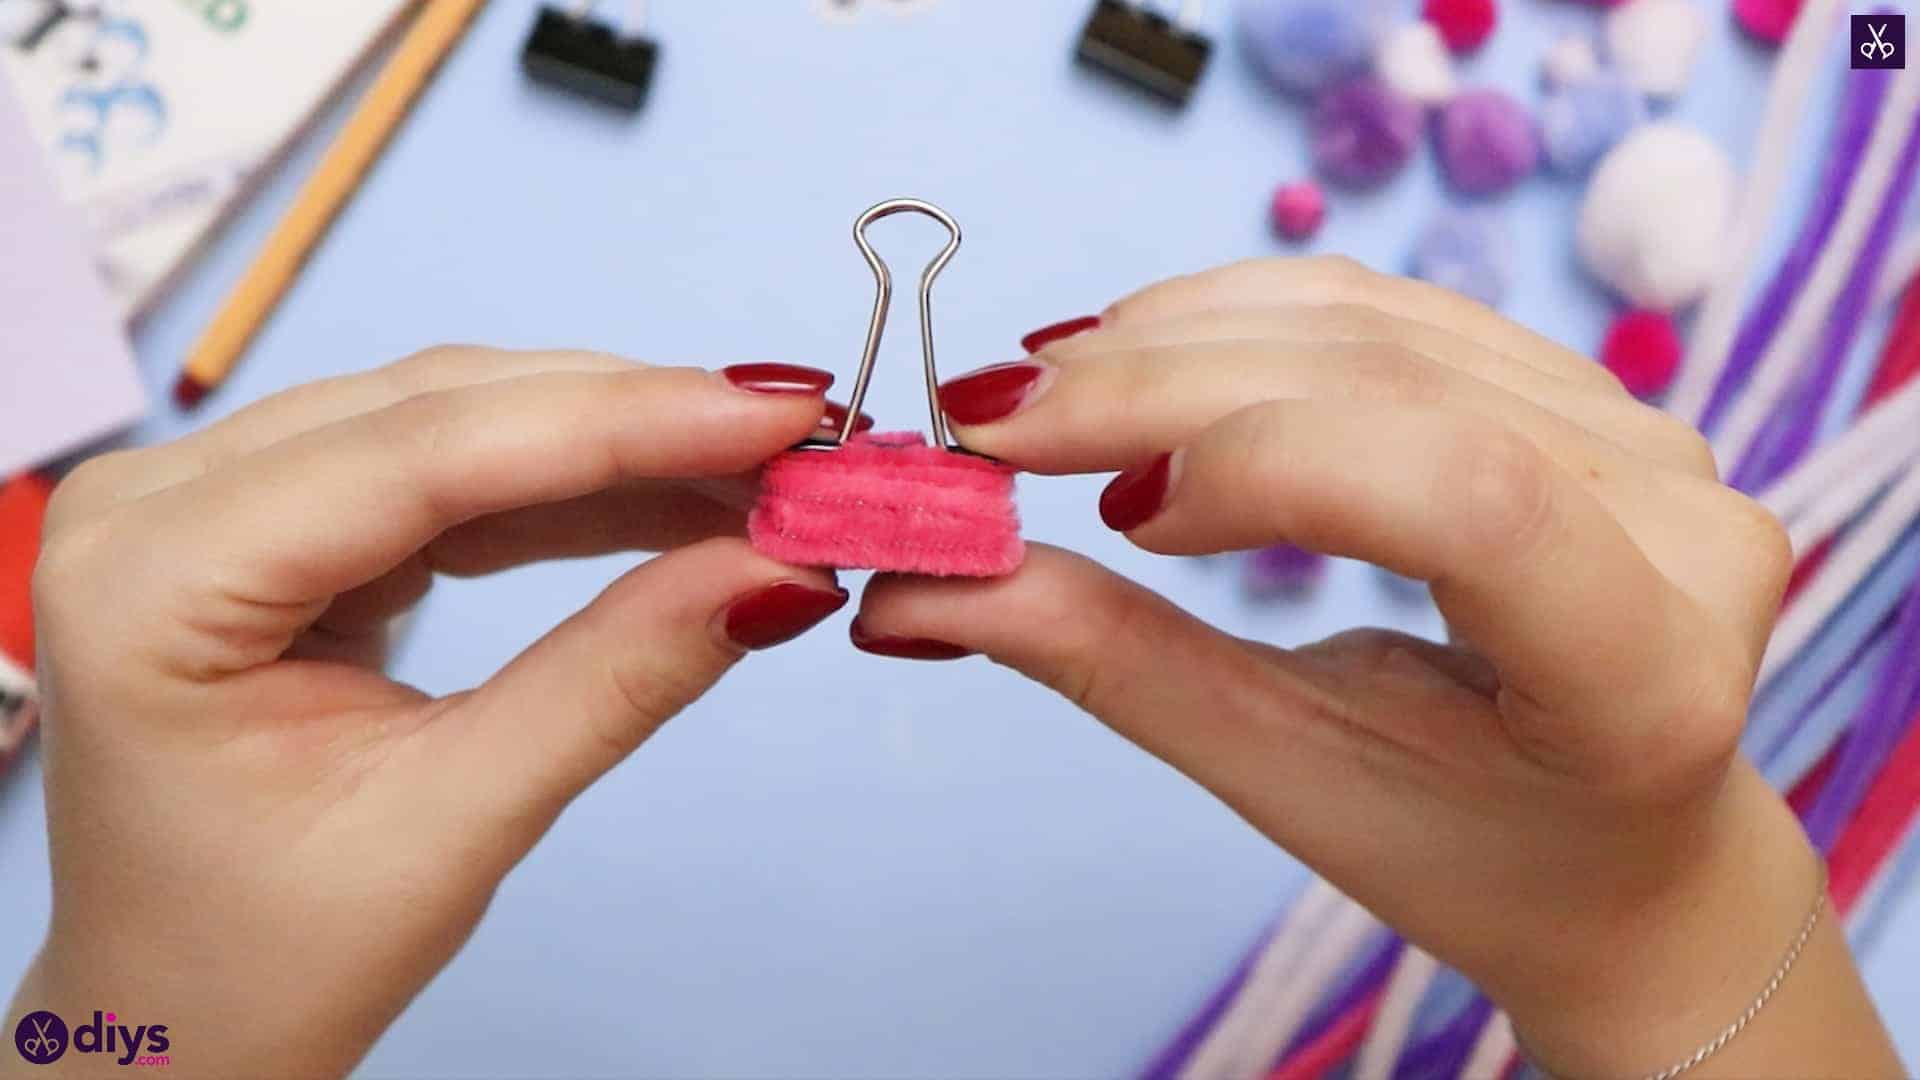
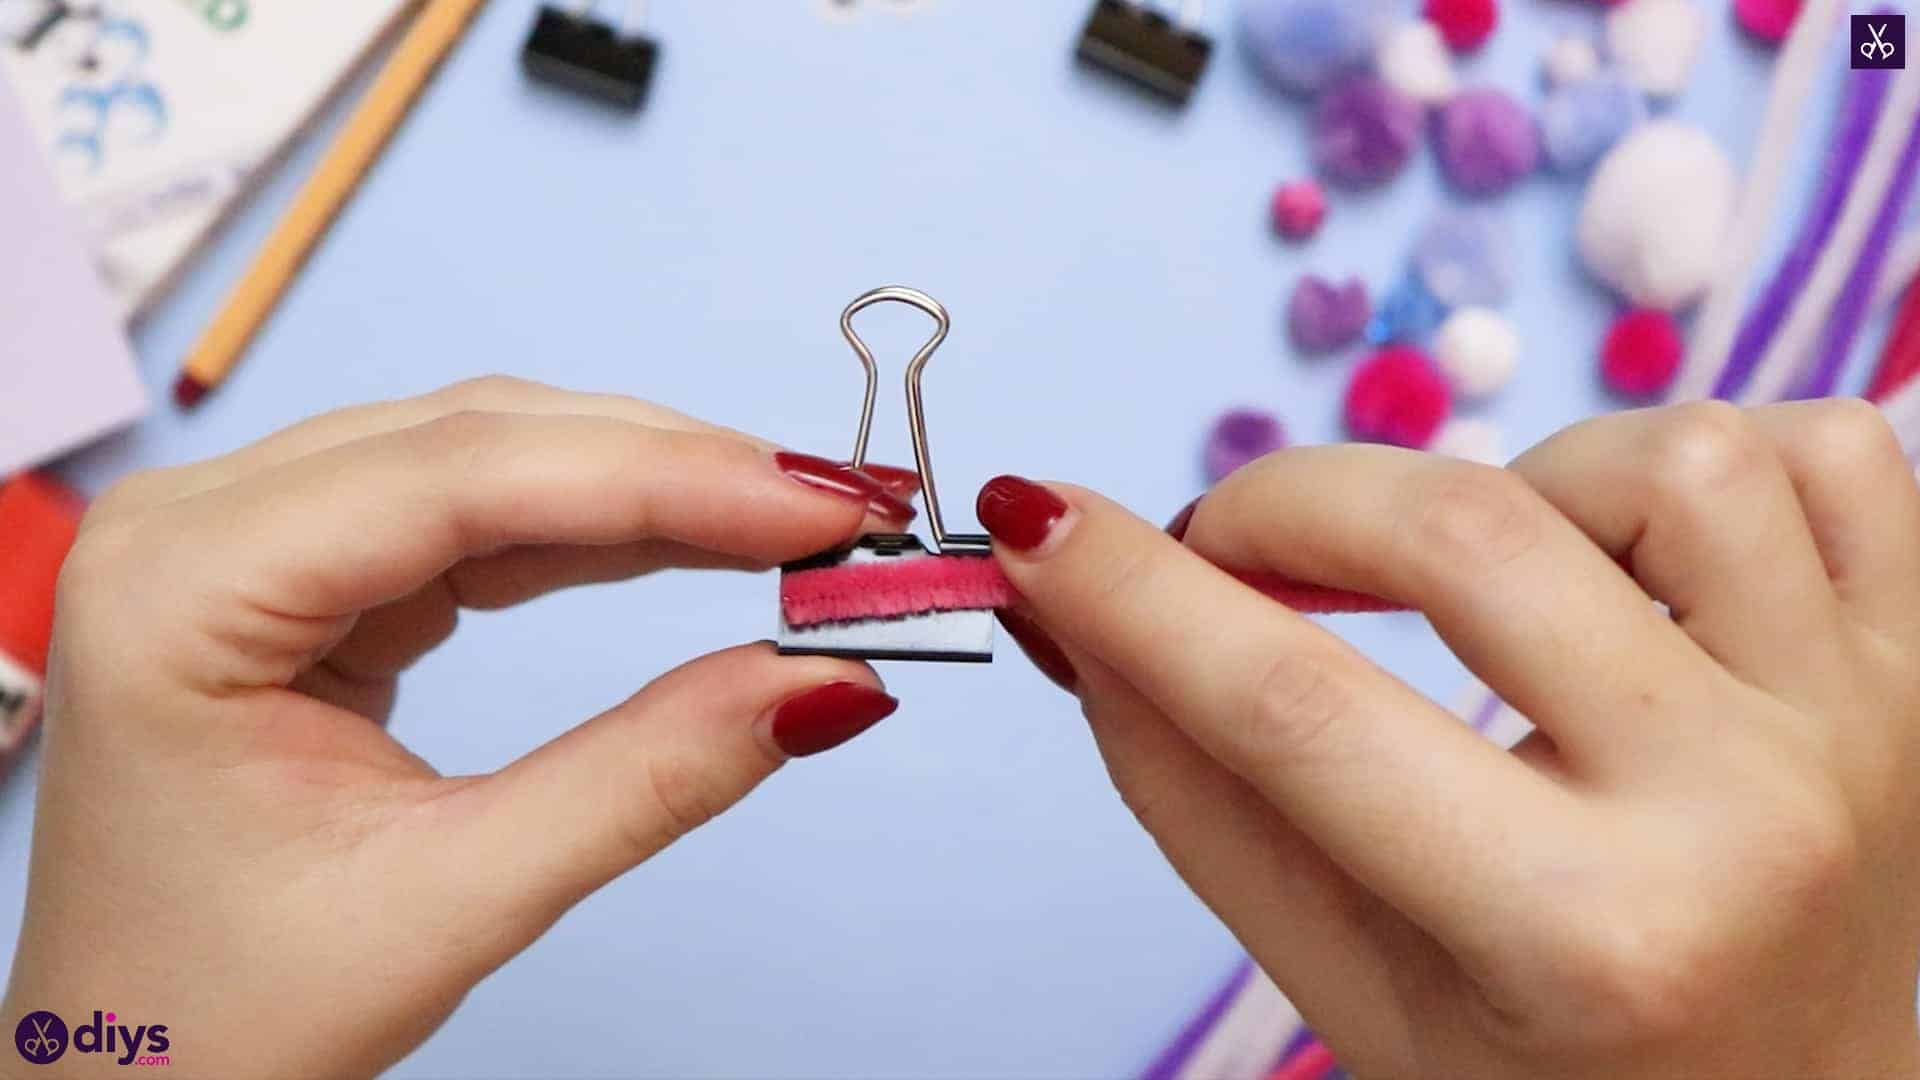
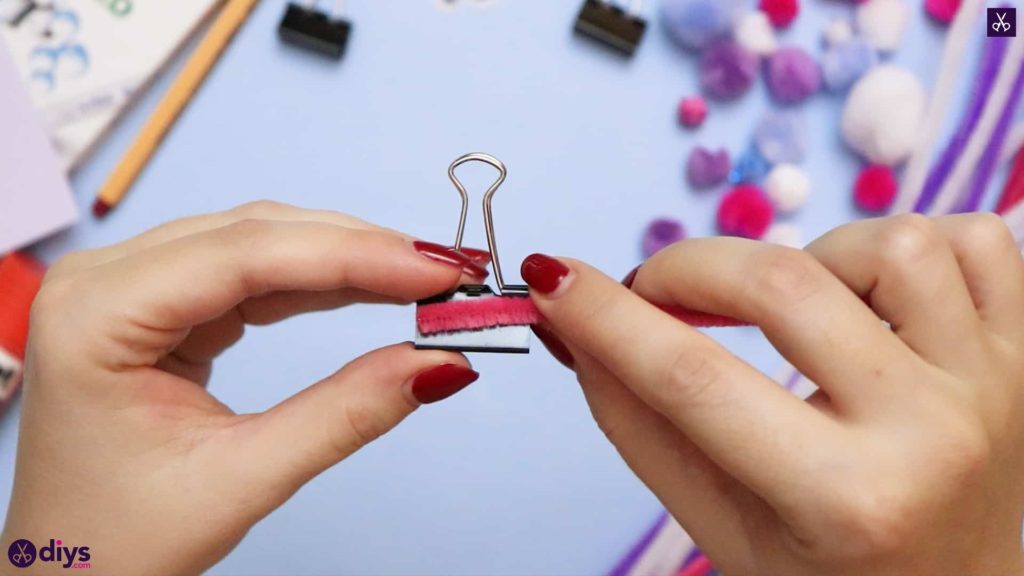
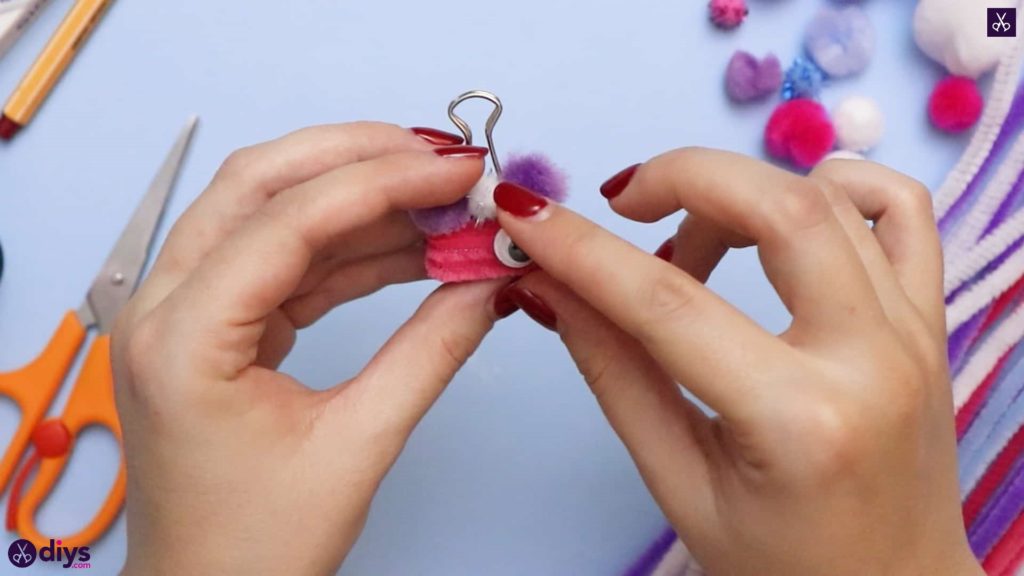
Step 2: wrap with pipe cleaner
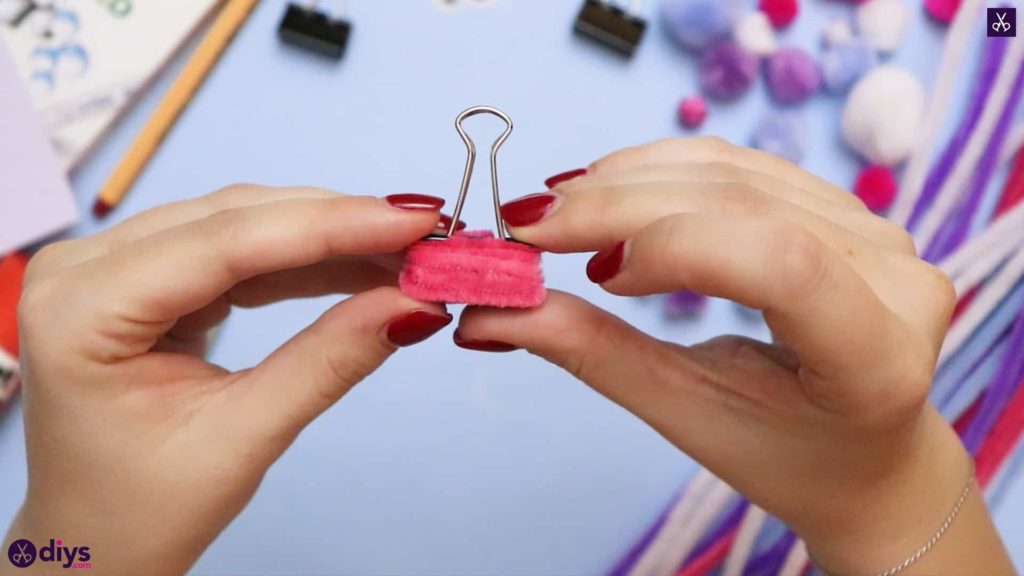
Hold your pipe cleaner horizontally and place the end across the plastic base of your binder clip, near the top where the metal arms connect, so it lines up with the edge. Keep this end in place with your thumb and begin wrapping the pipe cleaner around and around the base, moving downward as you go so each wrap likes neatly against the one before it. Once you’ve covered the whole thing, bend your end inward and tuck it underneath the layers of what you’ve just wrapped (feel free to trim it if you need to, depending on the length of the pipe cleaner and the size of the binder clip).
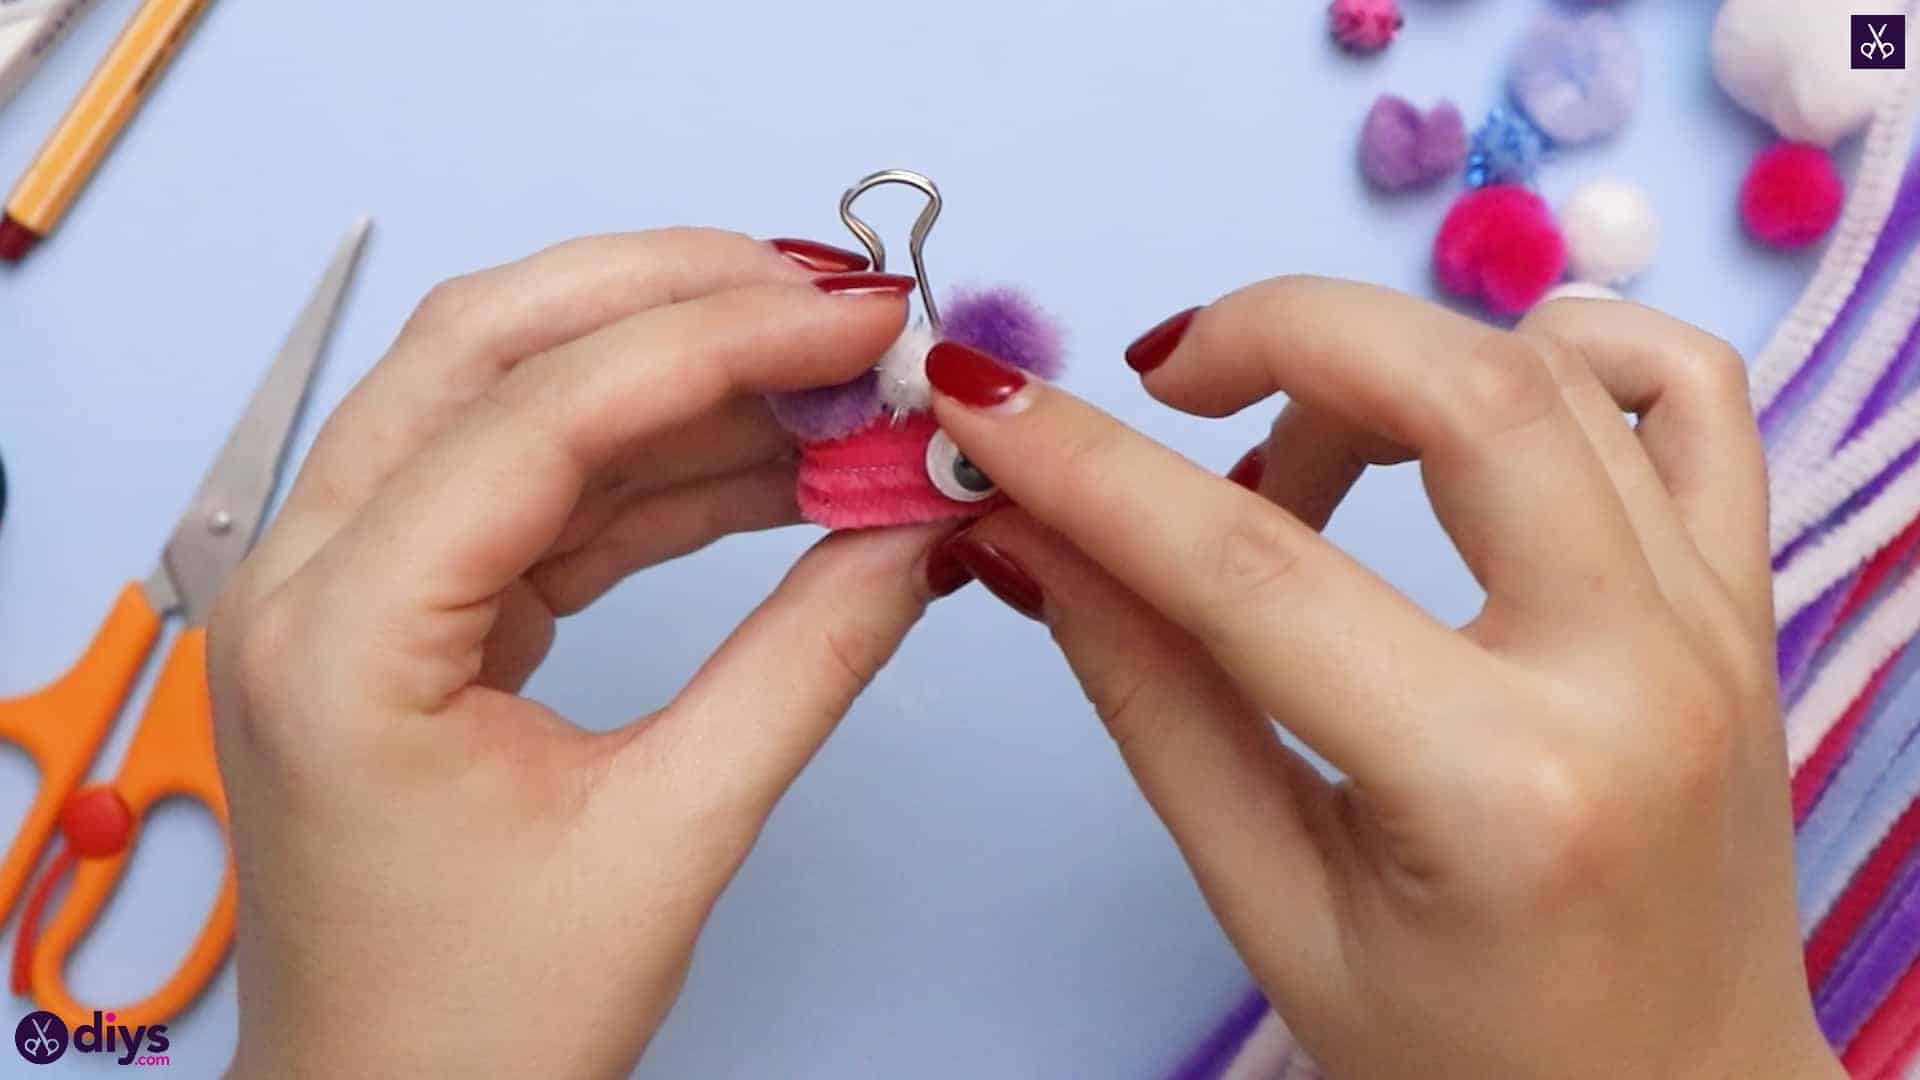
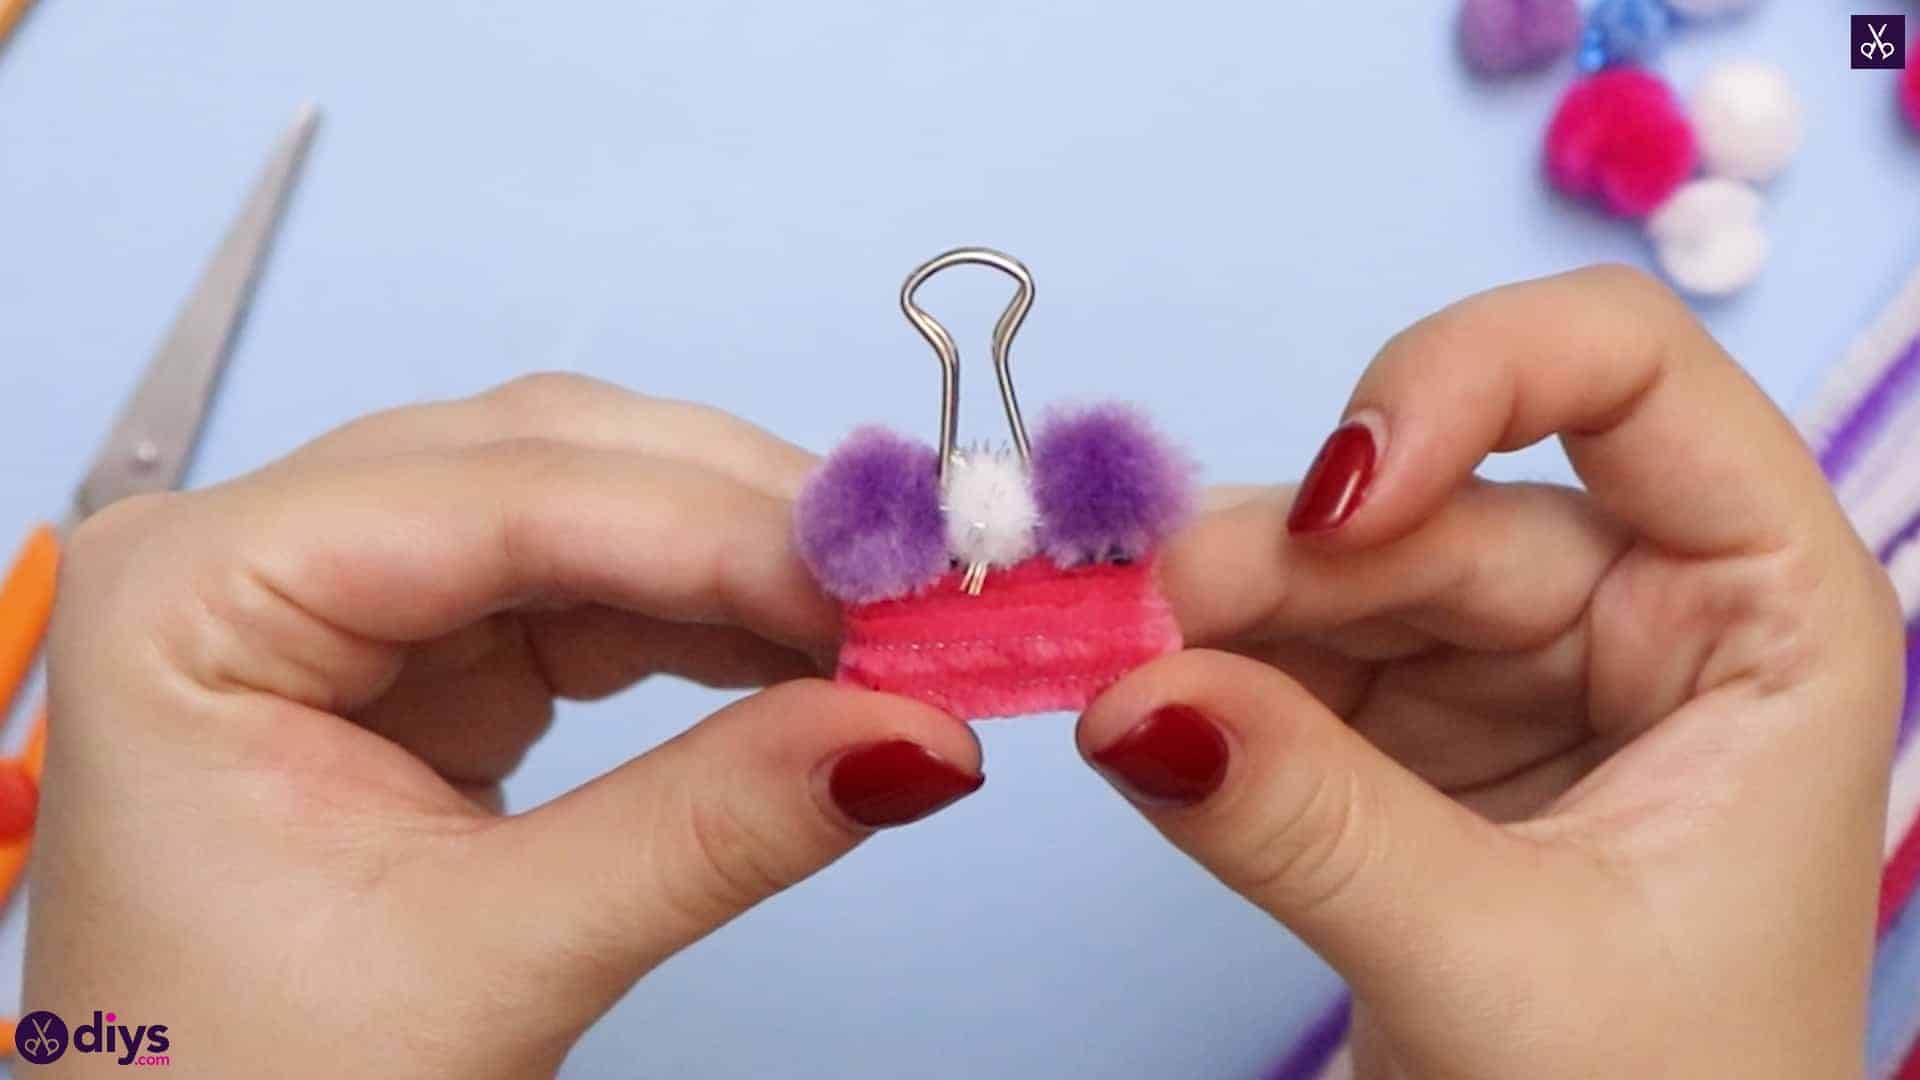
Step 3: add pom poms
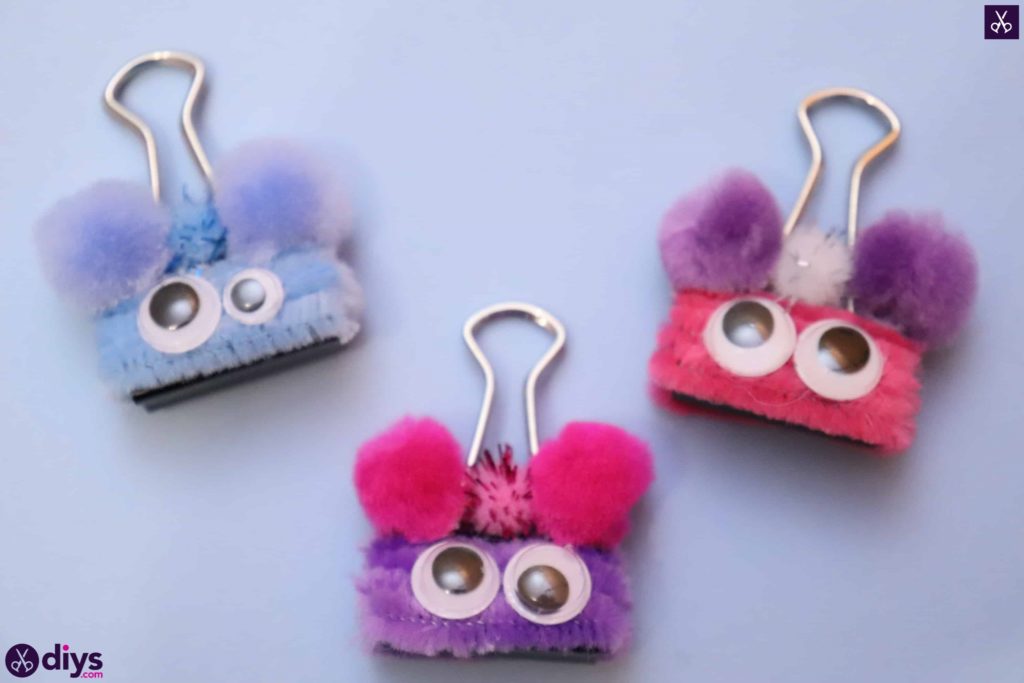
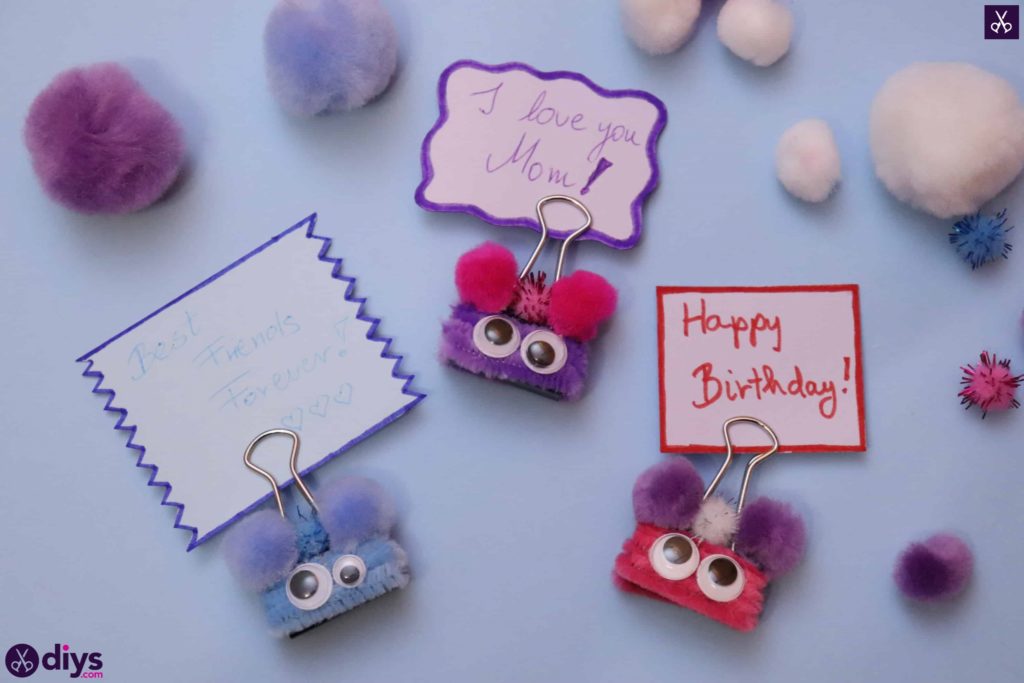
Apply glue to your crafting pom poms and press them into place at the base of your clip’s metal arms, on the top of what will be your little binder monster’s head. I chose to put two slightly bigger pom poms of the same colour on each side like ears and a differently coloured smaller pom pom in the middle like a tuft of hair, but you can get creative however you please.
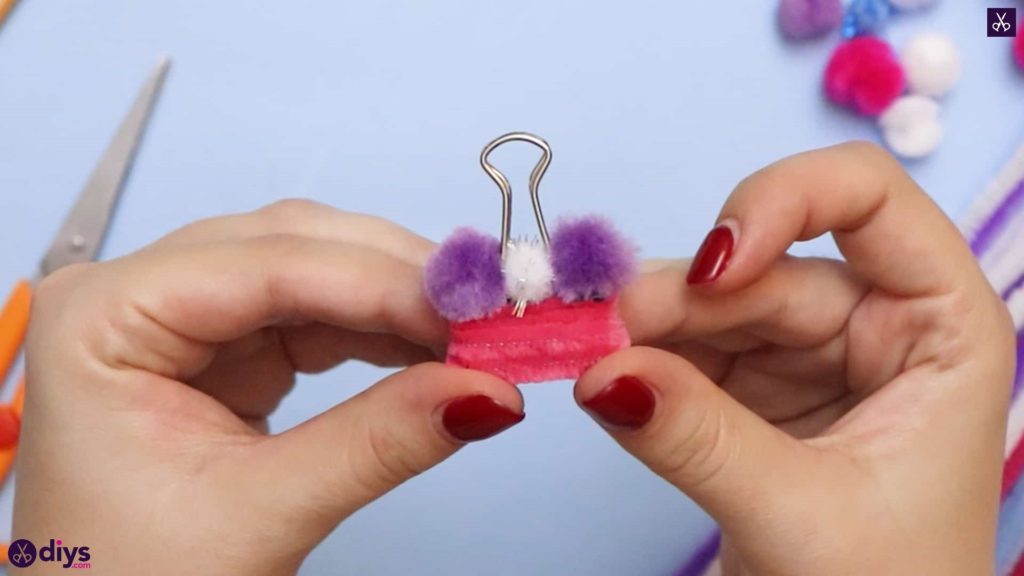
Step 4: add googly eyes
Apply glue to the backs of your googly eyes and stick them into place on the wrapped pipe cleaner, near the center of your clip base to make your creature’s little face.
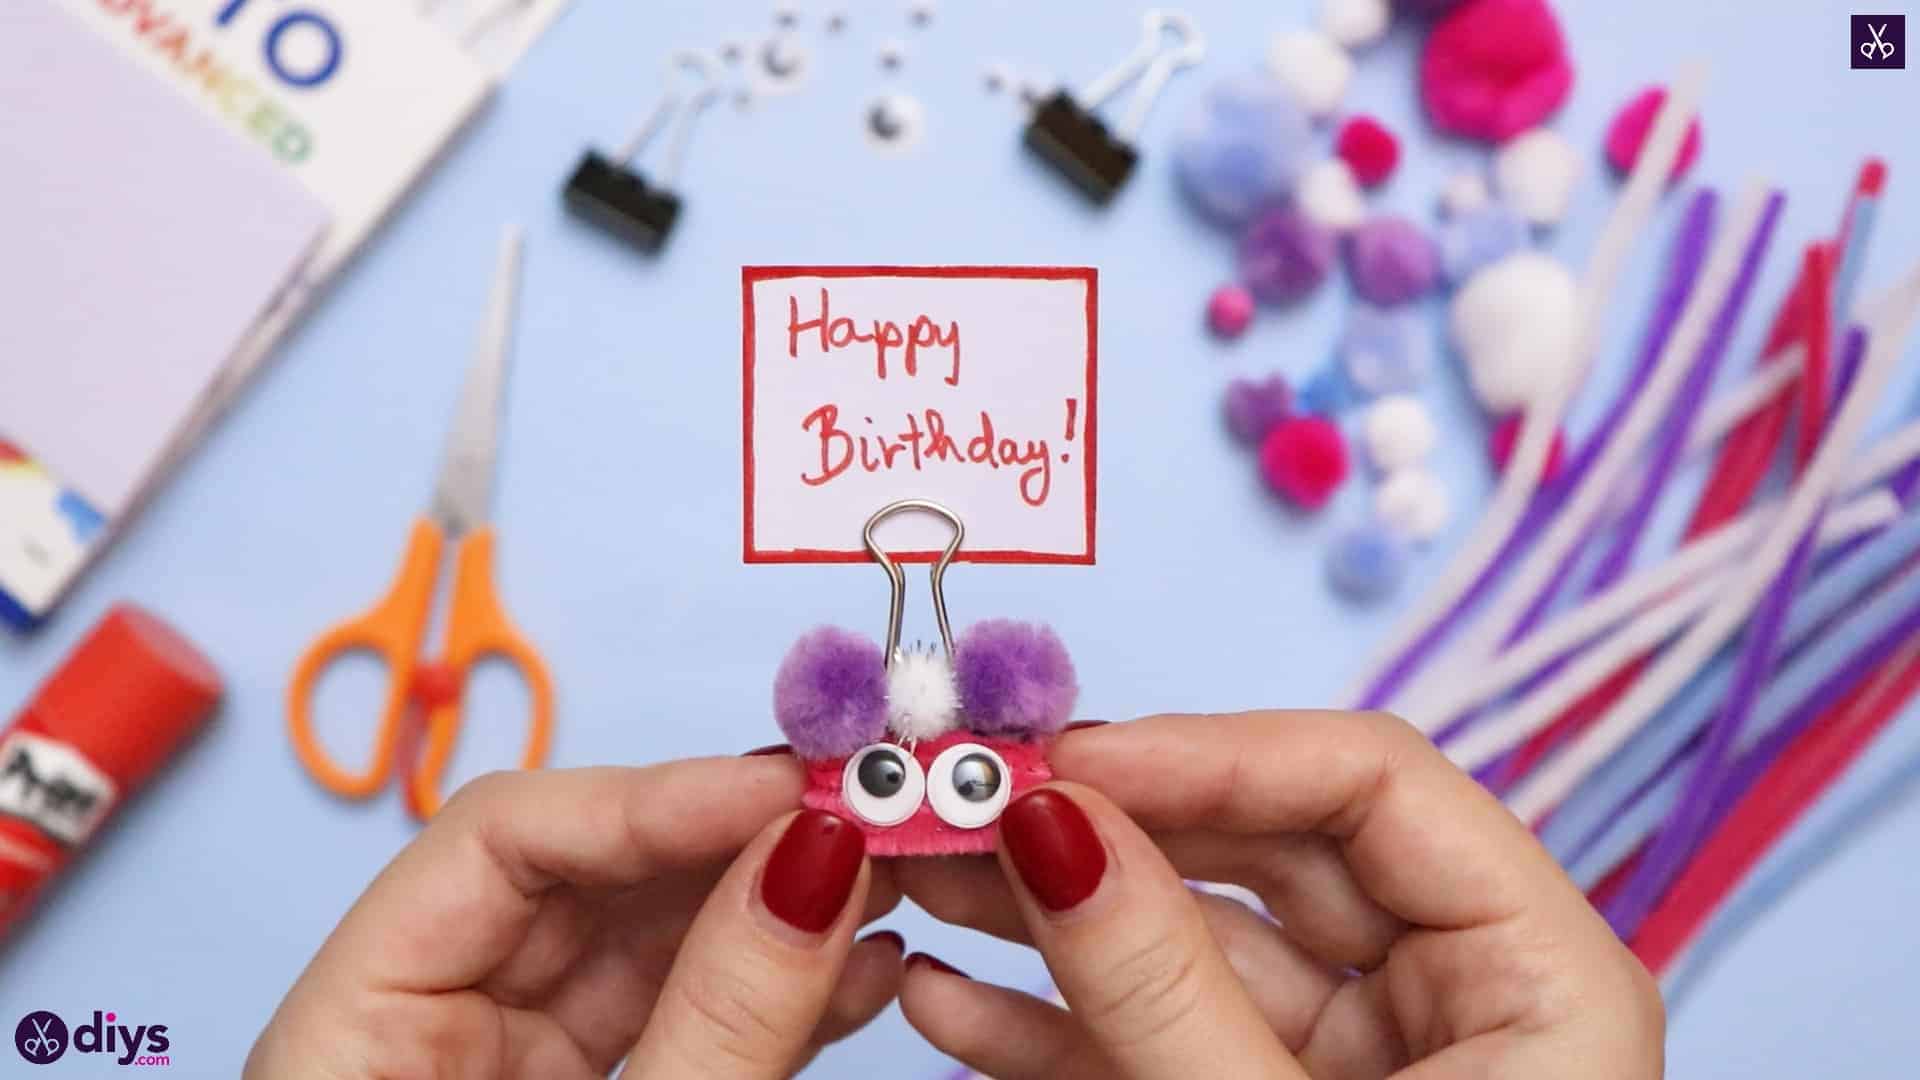
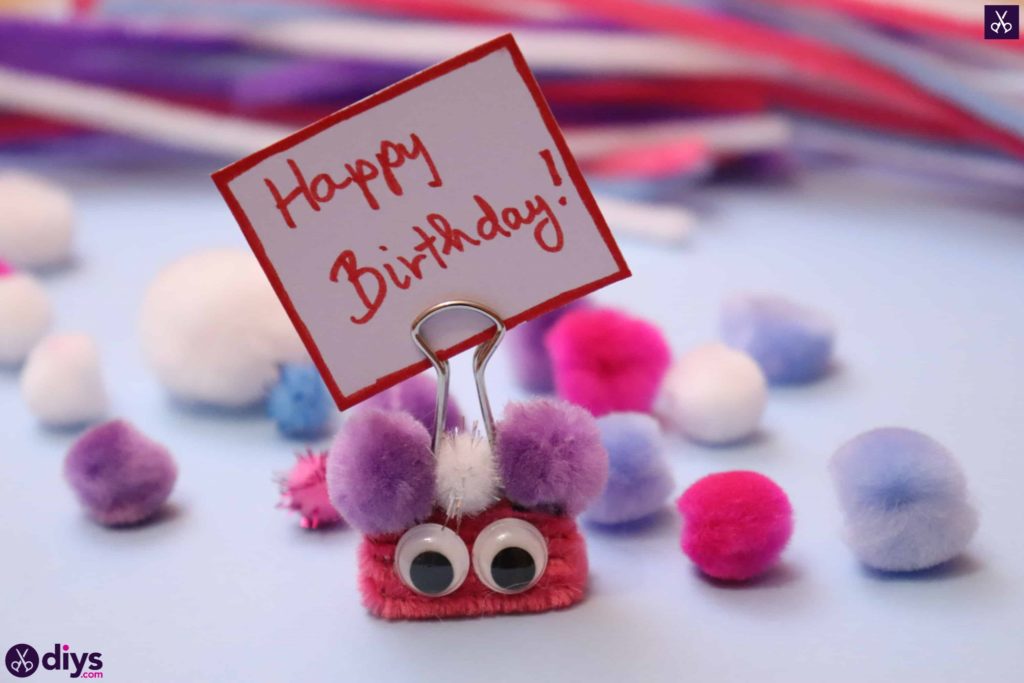
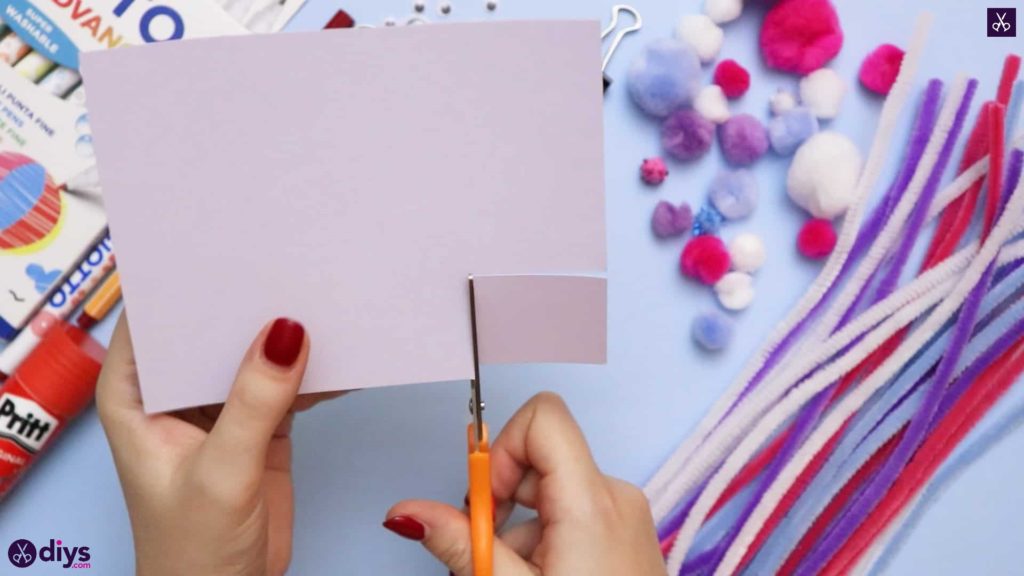
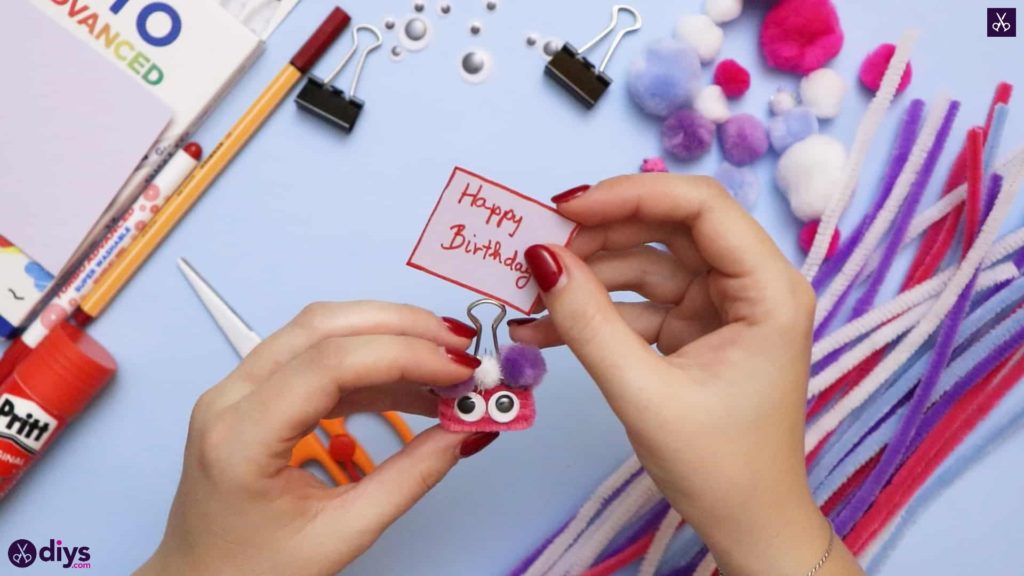
Step 5: add message card
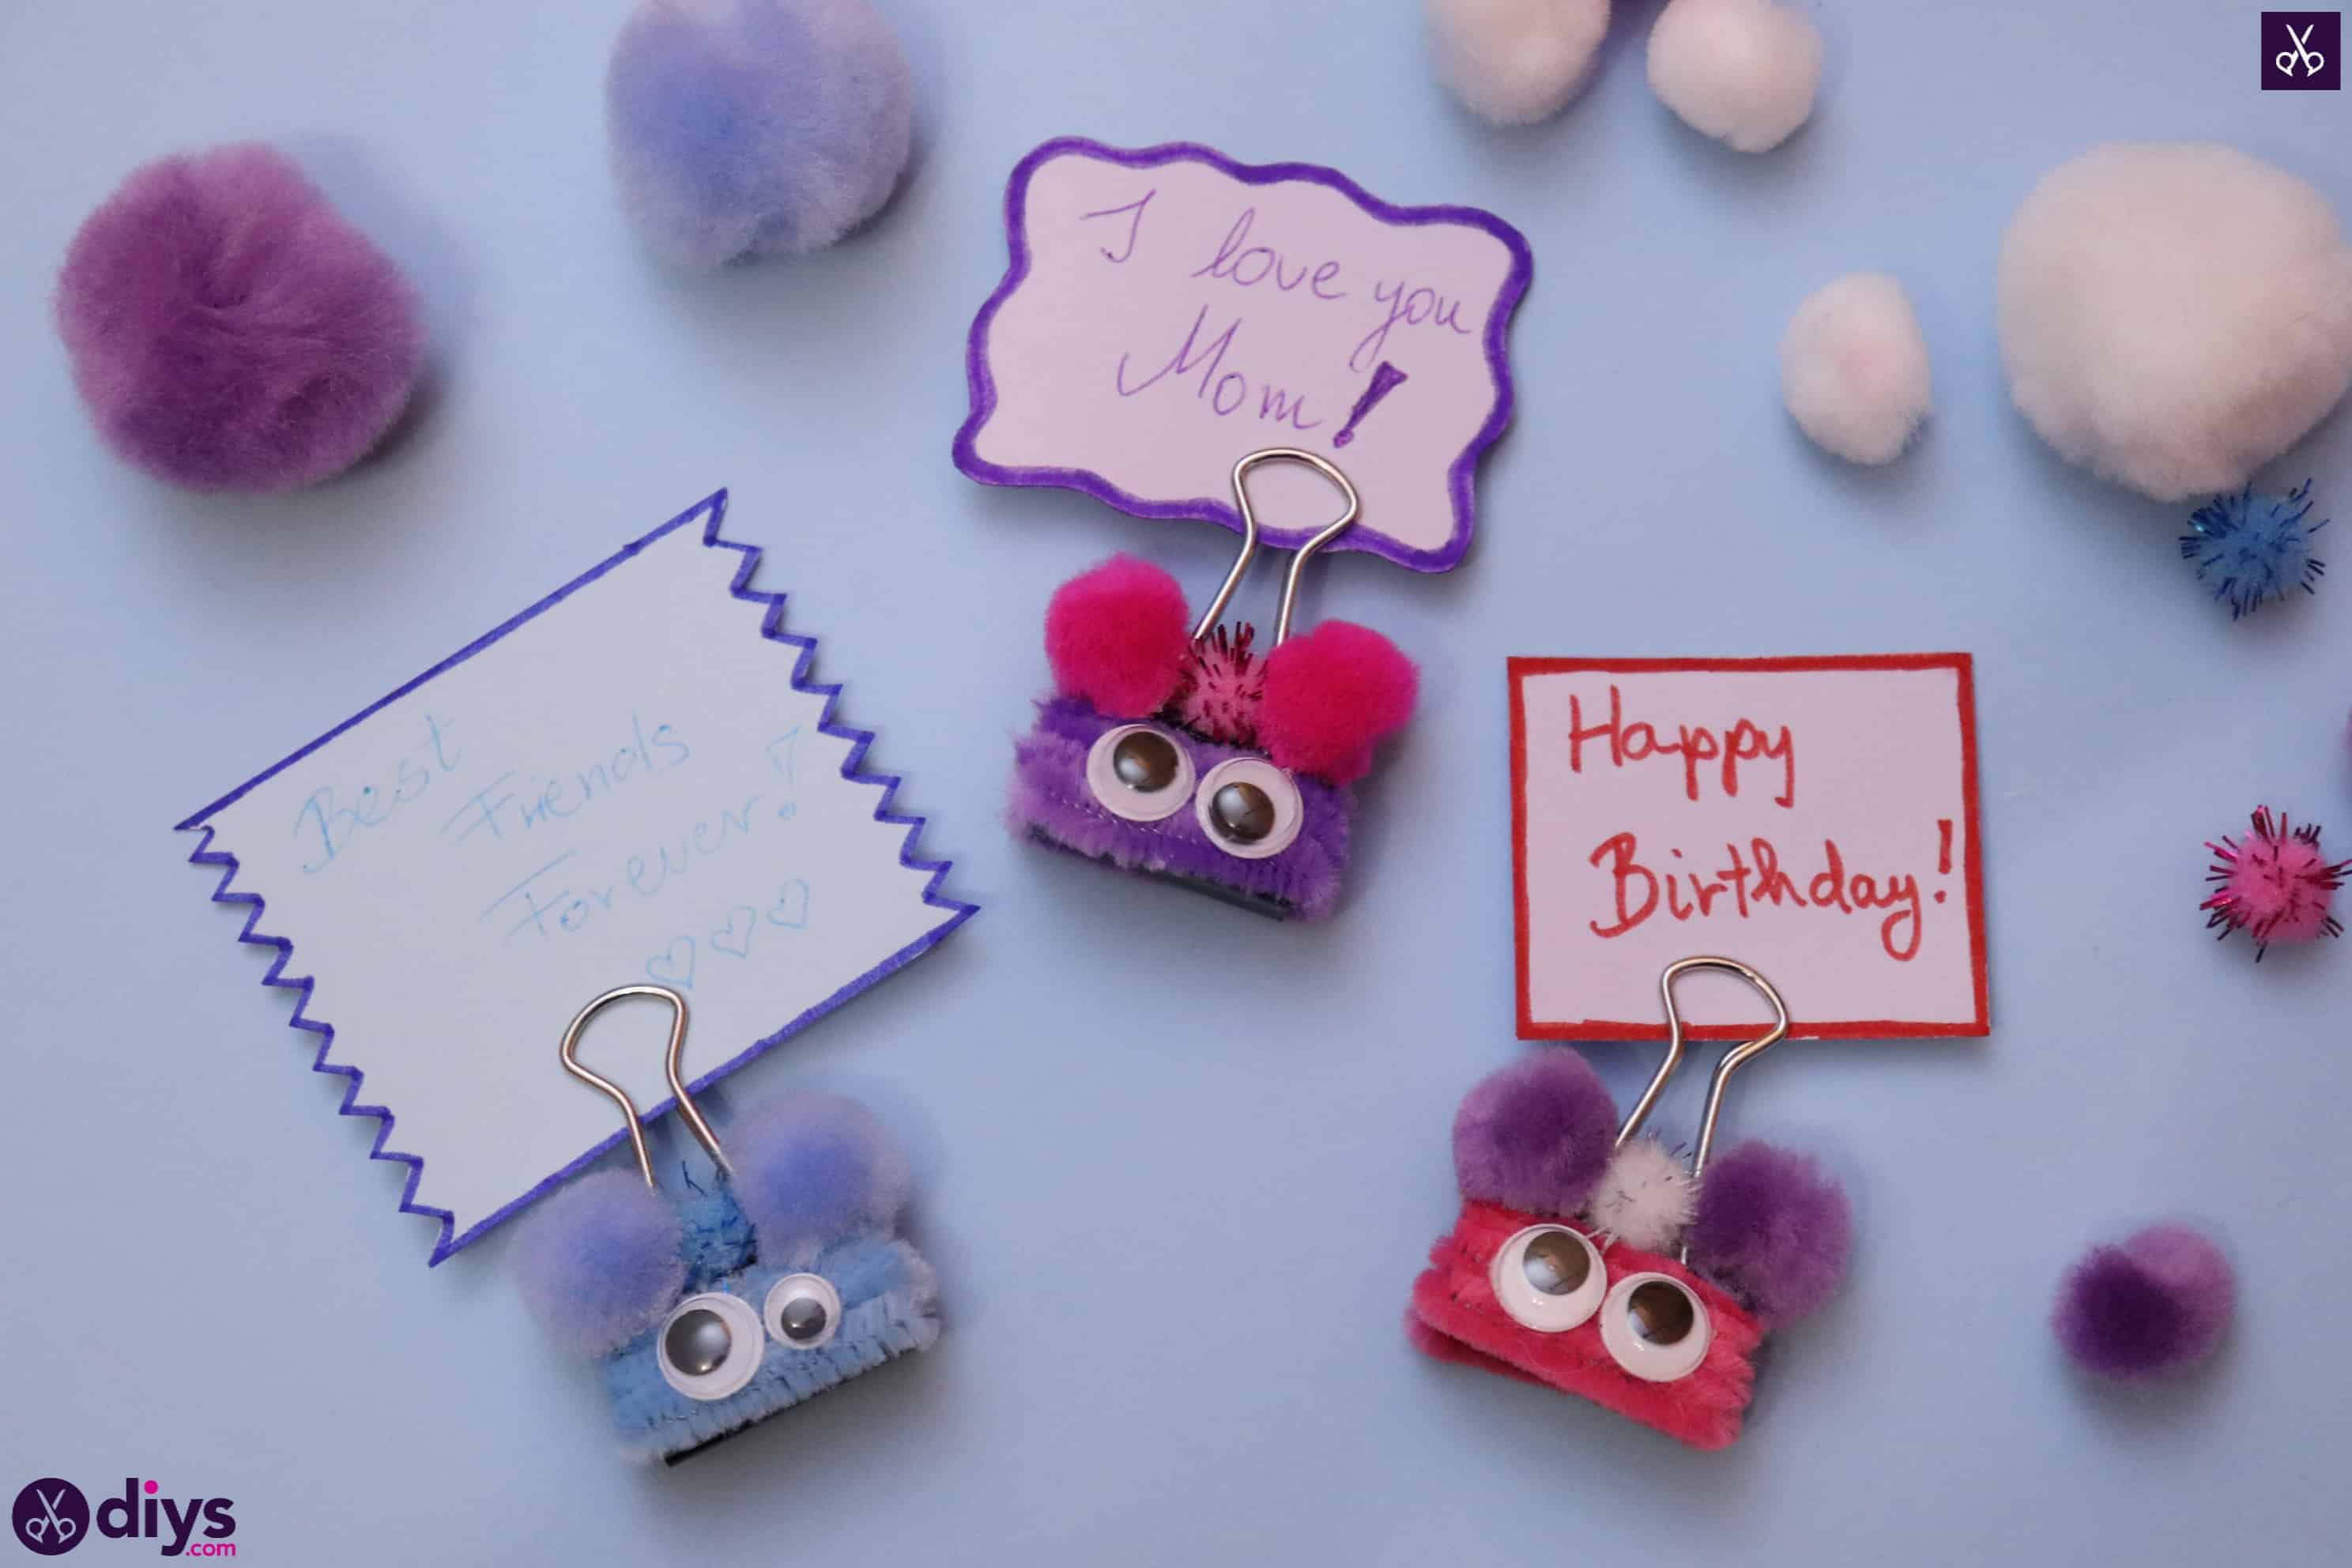
Cute the corner of your white page to make your message card. I cut my piece to be about an inch by two inches. Feel free to keep the edges squareor to make them wavy or spiky, depending on what you think the person you’re giving the message to will like!
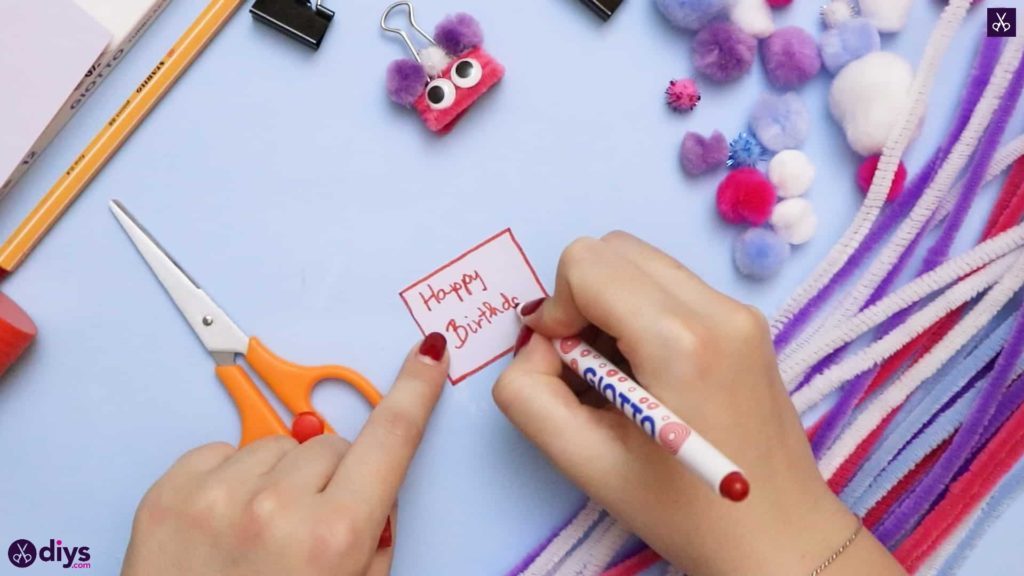
Step 6: write a message
Use your marker to write your message, add a border to your card, or hand decorate it however else you please.
Step 7: slip it in place
Place your message card between the rounded tops of your clip’s metal arms so it stands up above the pom poms.
Of course, birthday messages and coworkers aren’t the only circumstances these adorable little clips will work for! Don’t be afraid to get creative with the idea.
That’s all there is to it! Just in case you’d like to try this project out for yourself, here’s a fantastic tutorial video to help you!
