DIY Wooden Bead Curtain Tieback – Give Your Curtains the DIY Treatment
Updated on June 23, 2021


Curtain tiebacks can be boring when bought from the shop, so why not make our own? With just a few materials, you can whip out a wonderful addition to your home decor. Plus, it’s super easy to make yourself some wooden beads and a bit of thread. Let’s see what we have to do.

Curtain tiebacks can be super useful, especially when you try to prep up the house a bit, arranging them neatly as you gather up the curtains on the sides of the window. It’s a nice touch that makes the house look nicer. Thankfully, they’re easy to make.
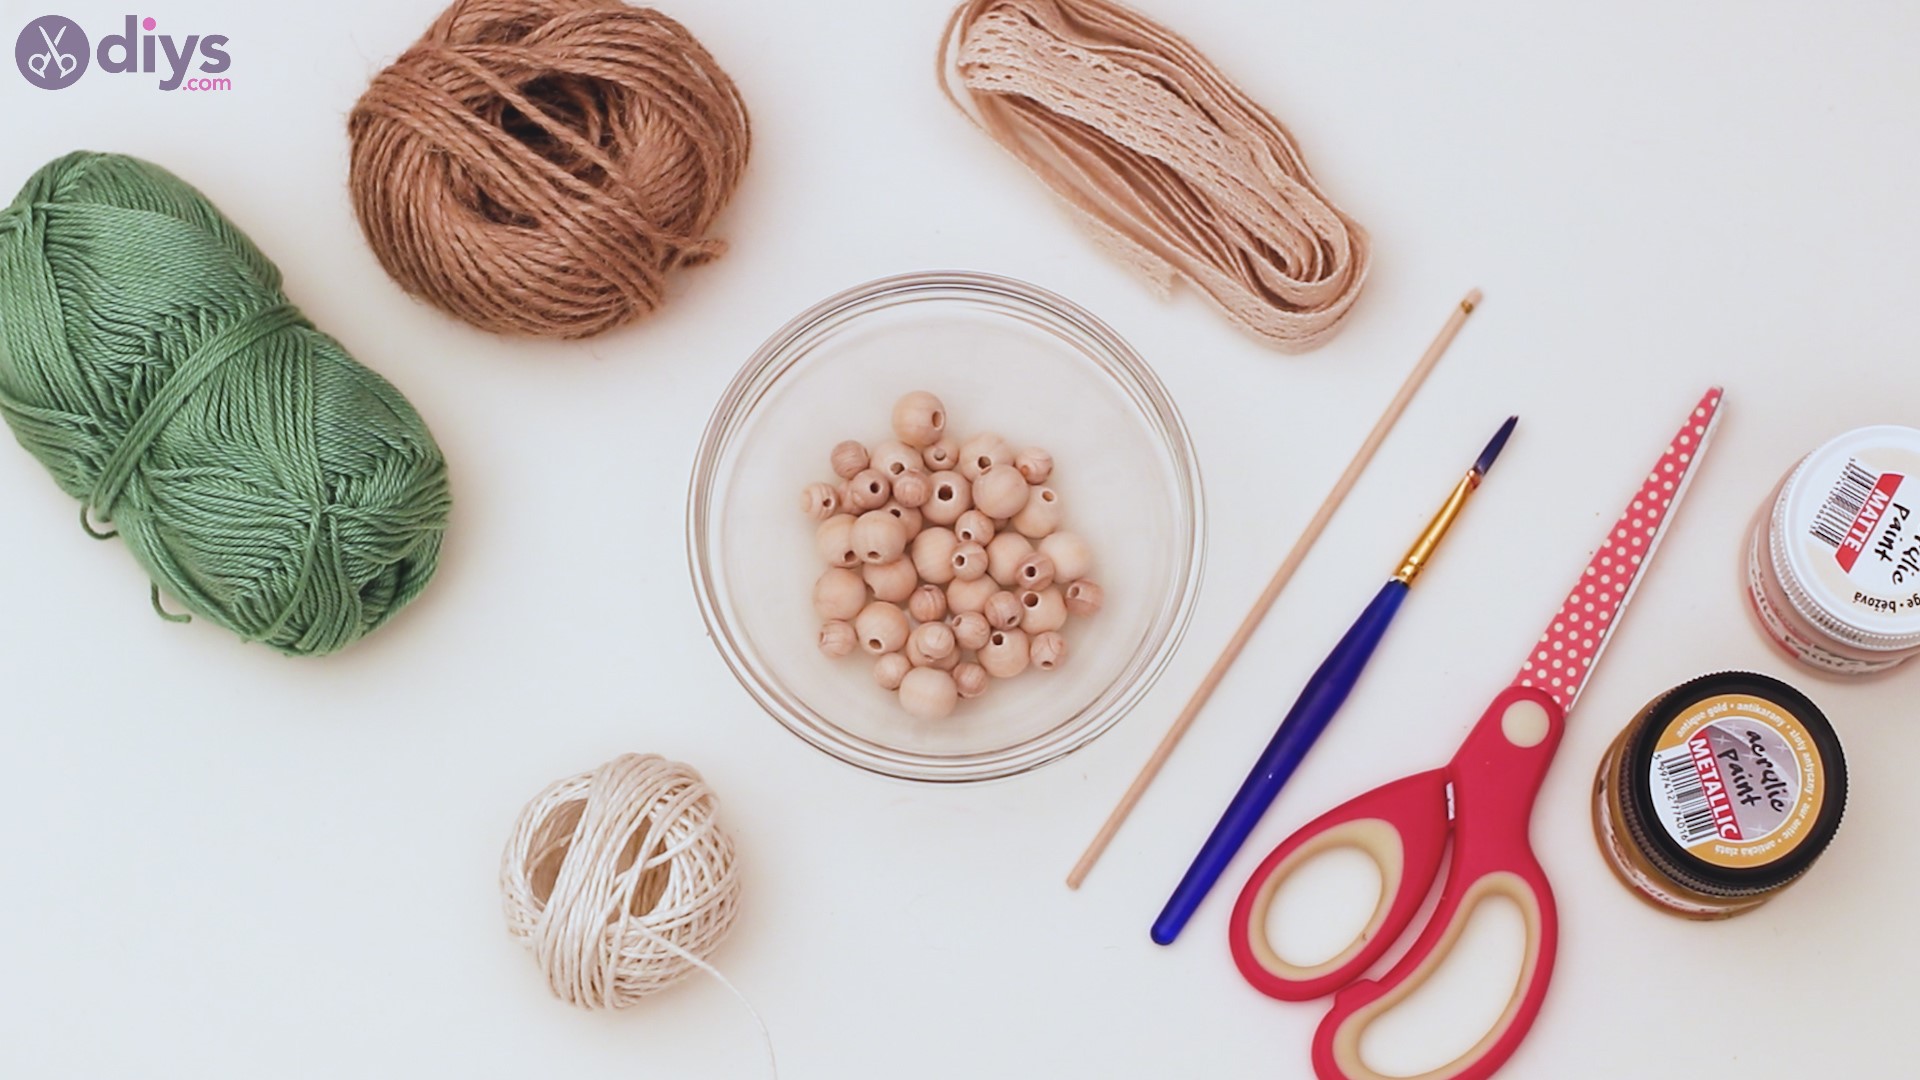
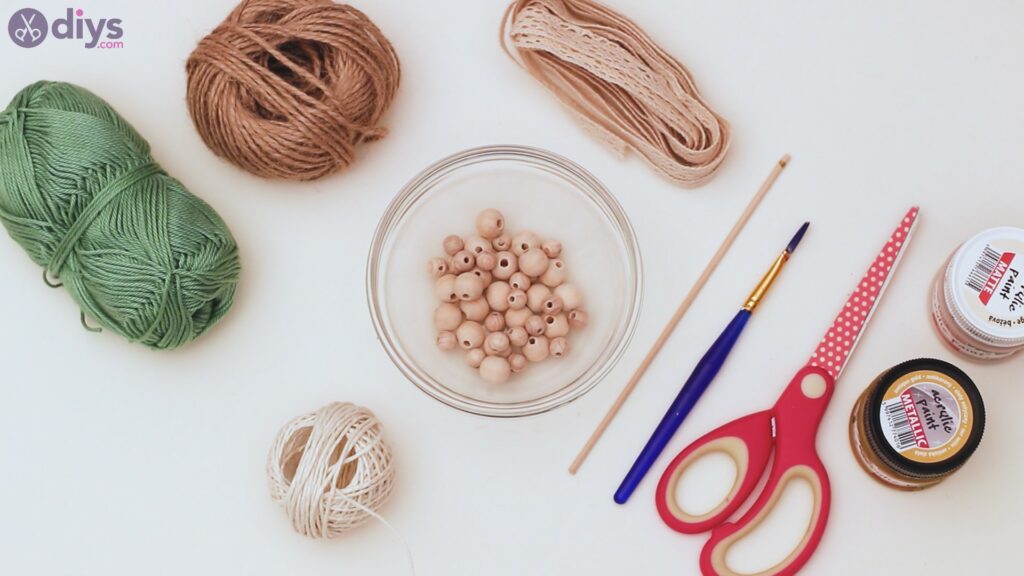
Materials for Wooden Beads Curtain Tieback
- wooden beads in two sizes
- beige and gold acrylic paint
- paintbrush
- green yarn
- hemp twine
- cotton twine
- lace ribbon
- scissors
- wooden stick
How to Make Wooden Beads Curtain Tieback?
If you want to make your own curtain tieback, you need to have all the materials laid down. This is the best way to start a project, as you have everything within reach so you don’t have to go looking for extra materials later on. If you have everything ready, let’s get started.
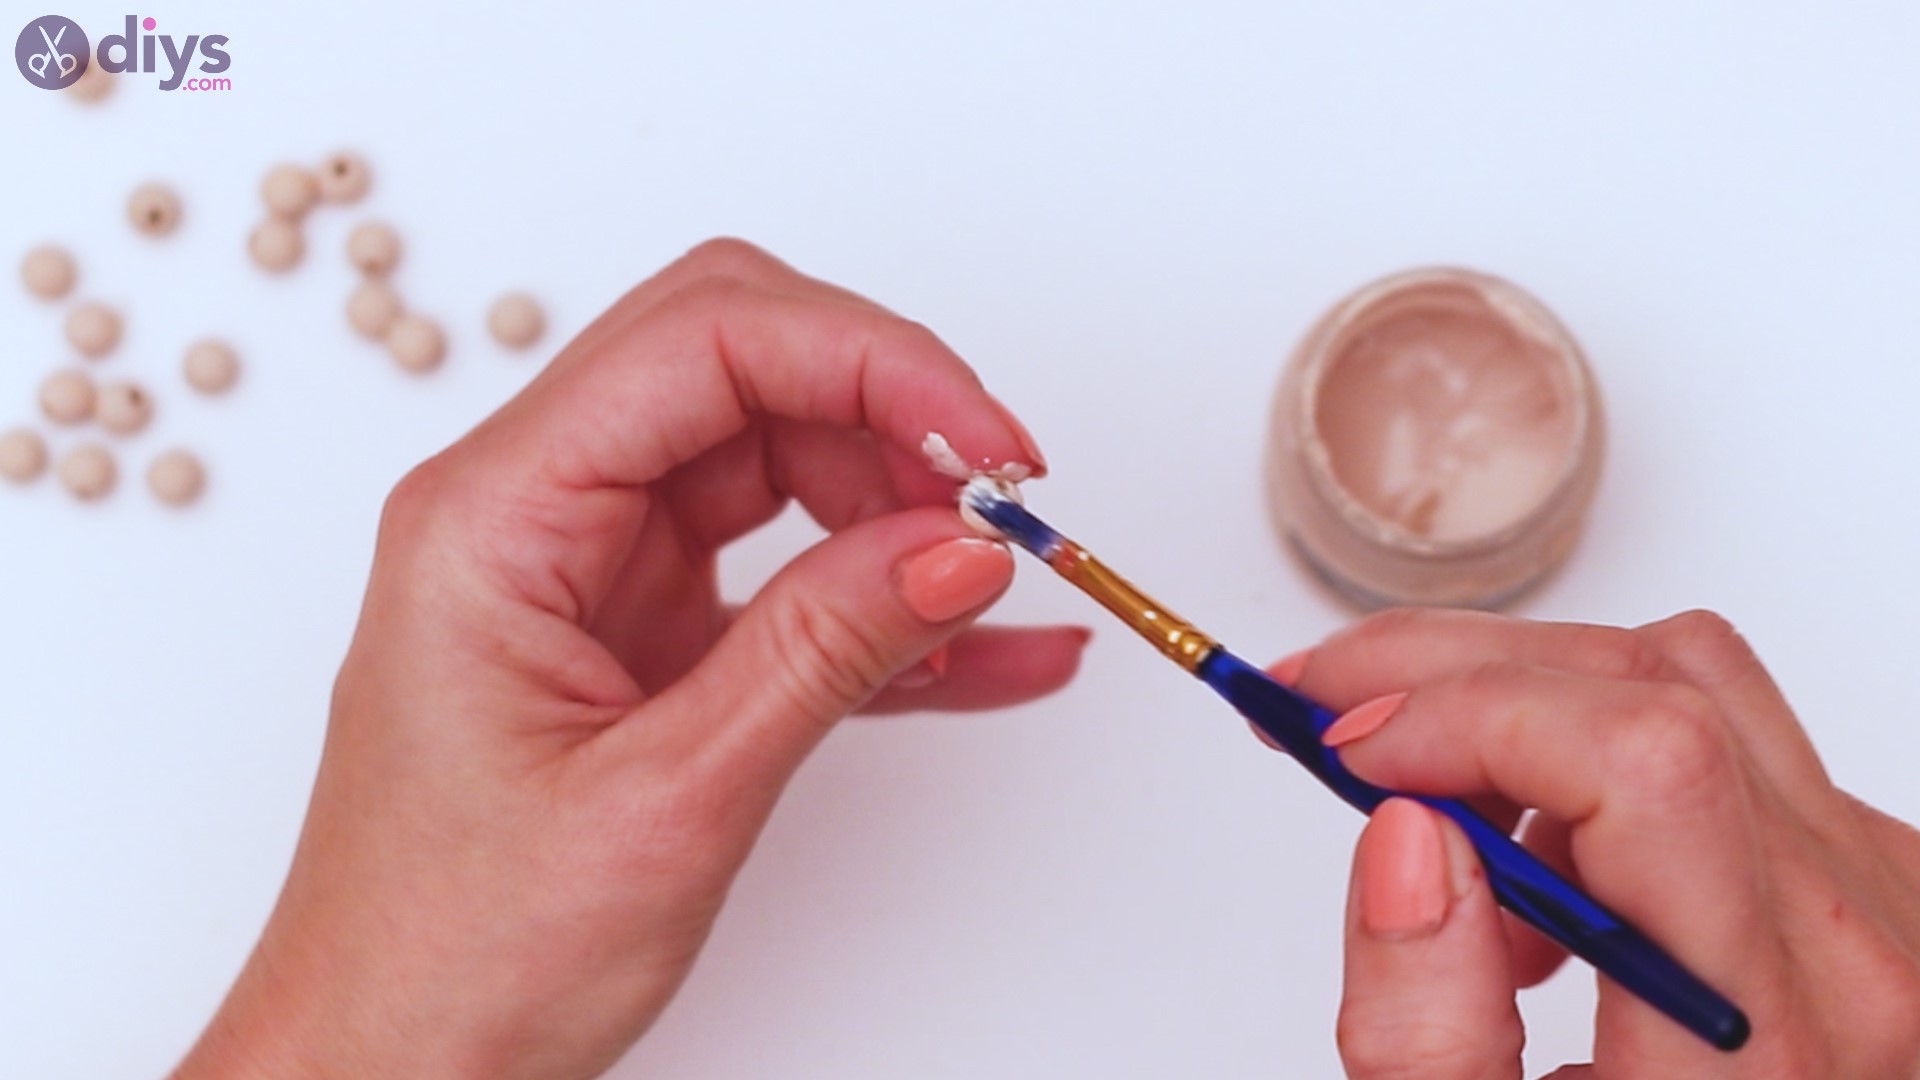
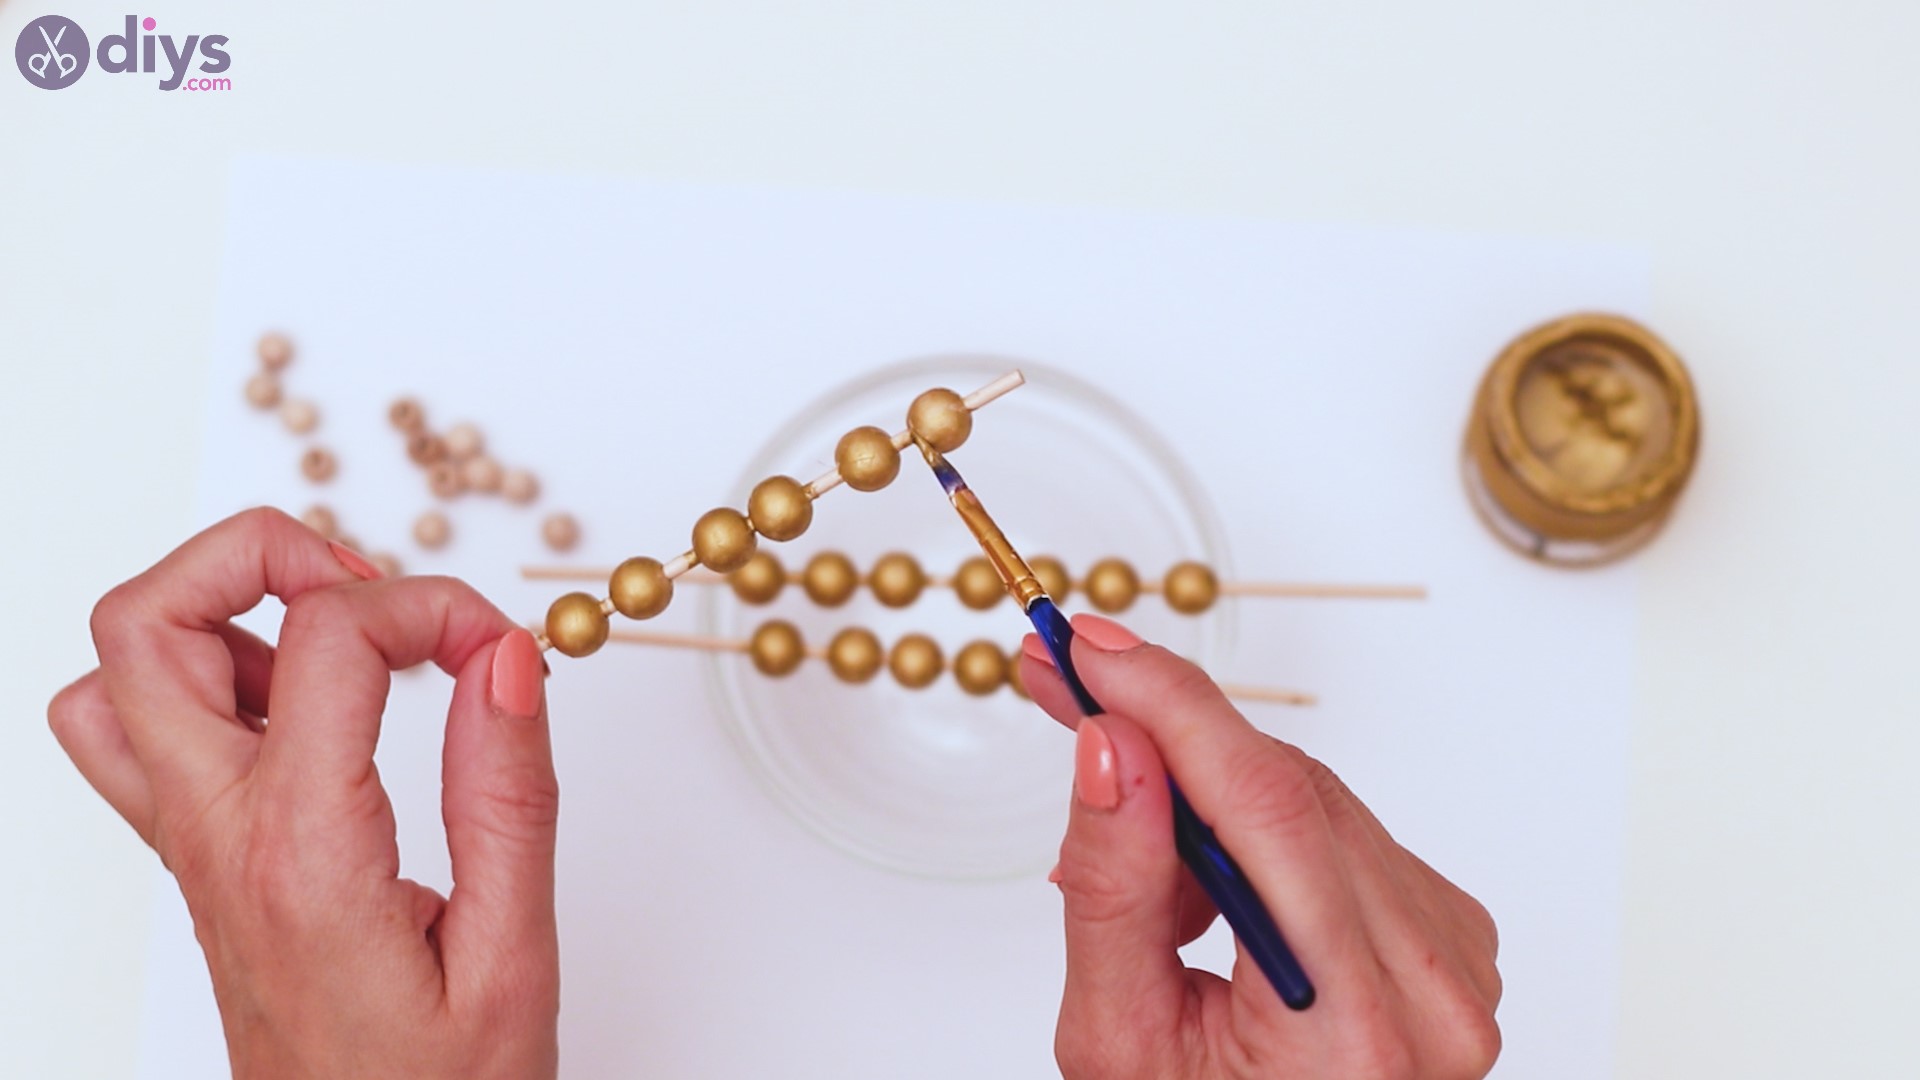
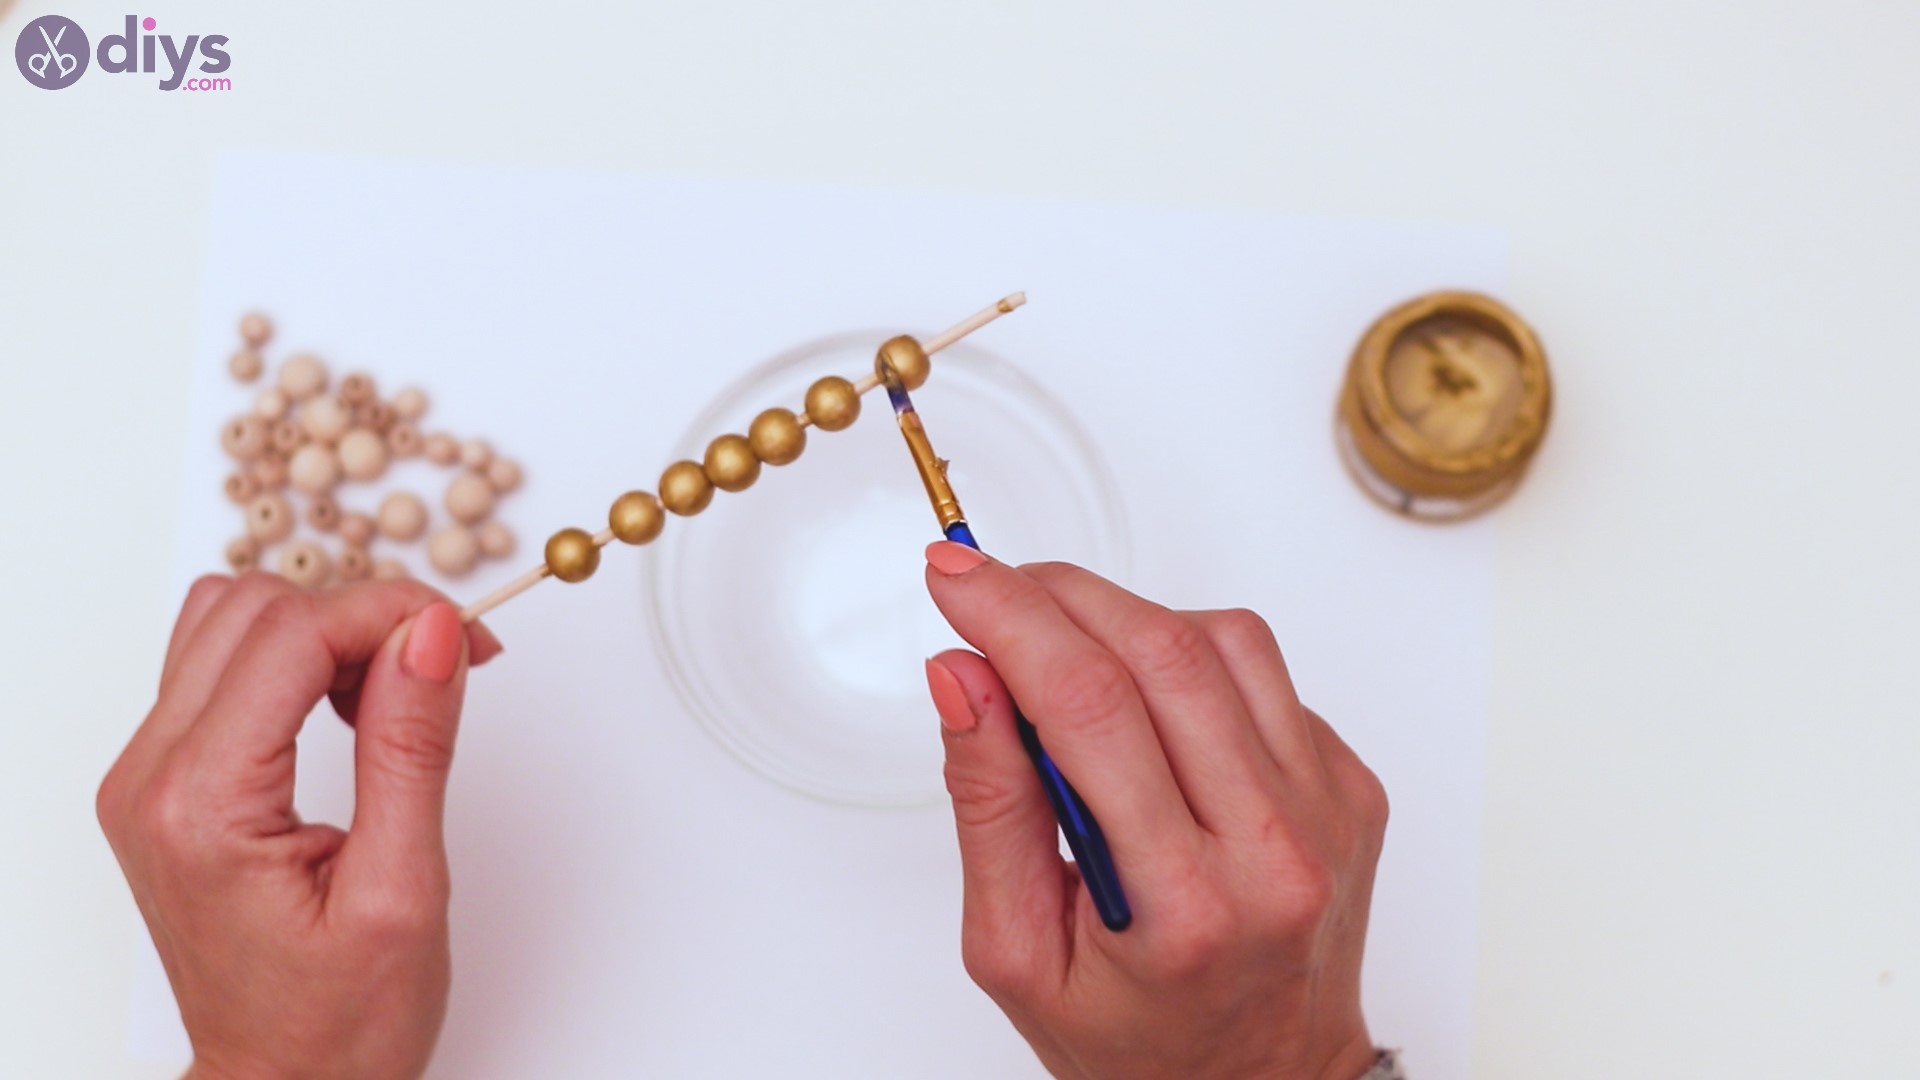
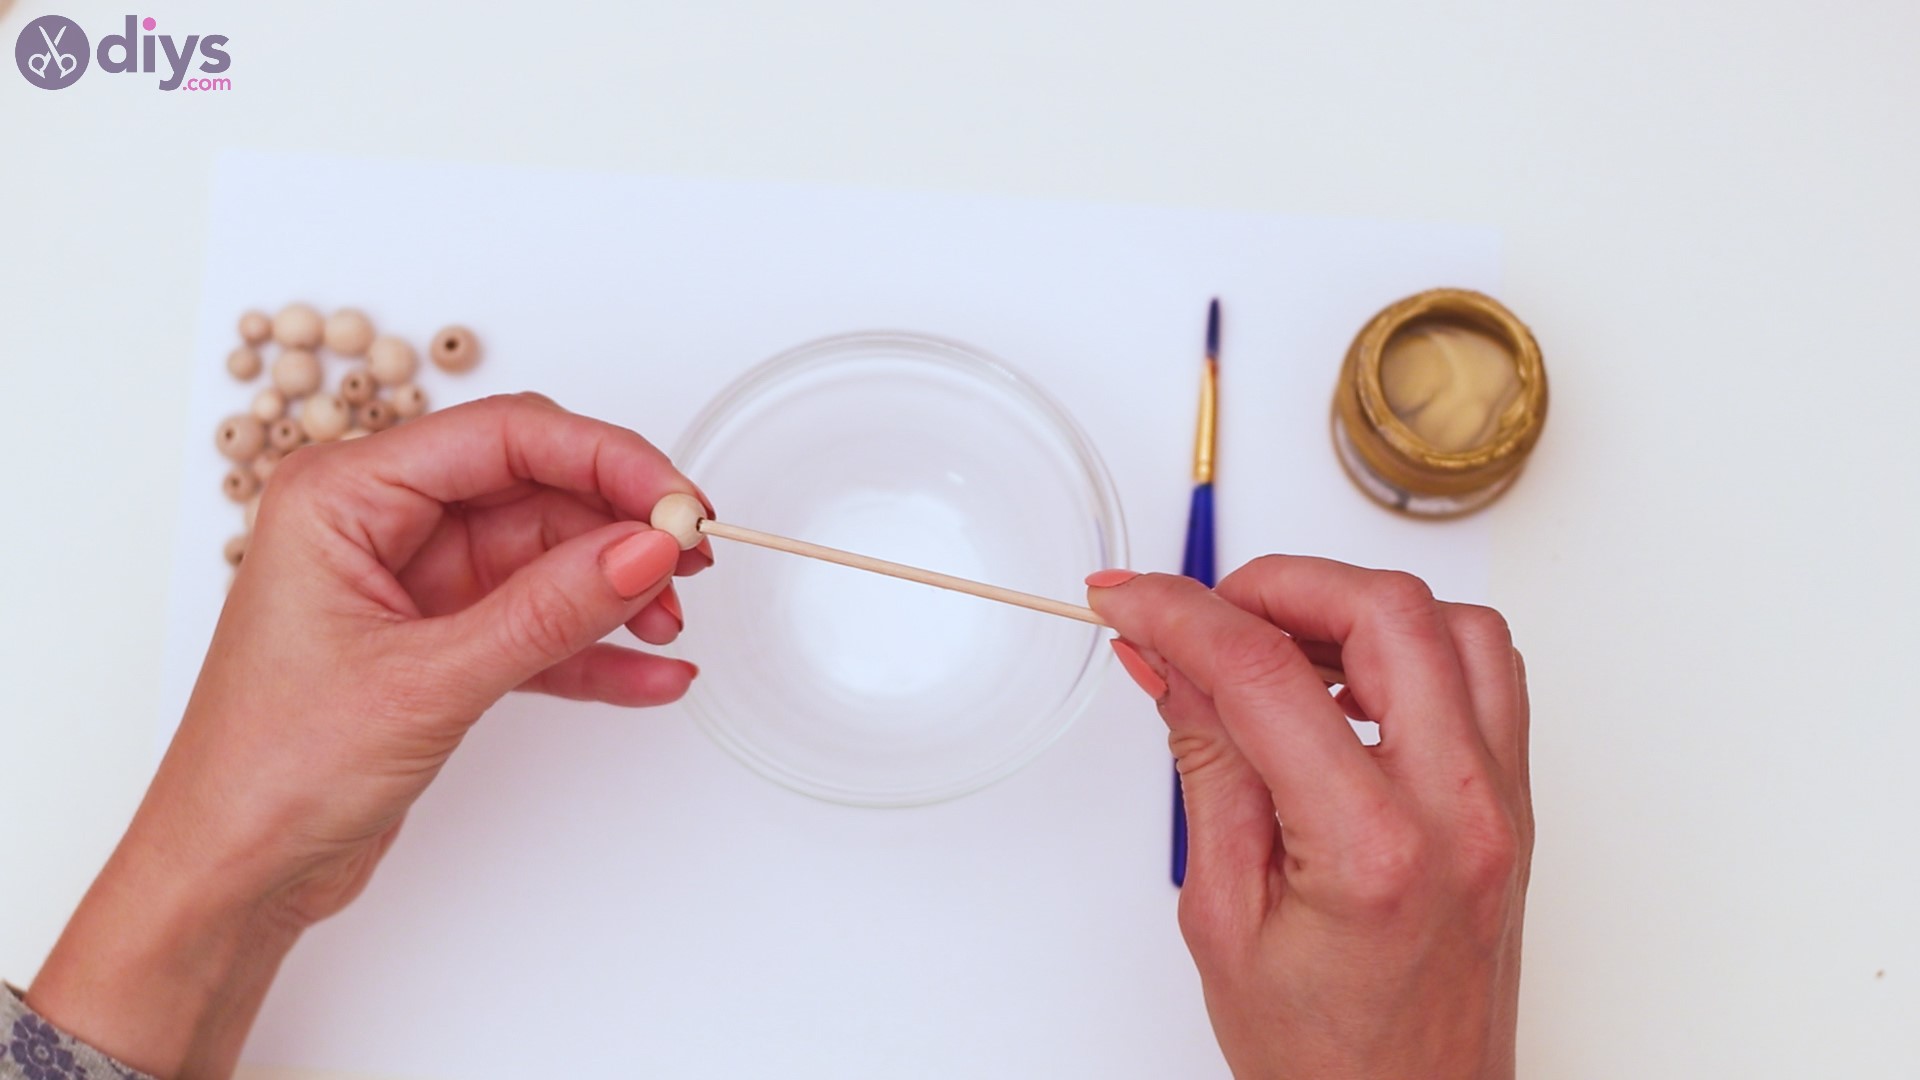
Step 1: Paint the beads gold
The first thing you want to do is to get the wooden stick and start adding the beads to it. We suggest you add them by size – so you’ll want them to all have the same size as they’re easier to paint. We’re starting with the larger beads and the gold acrylic paint.


Pick up yourpaintbrushand yourgold acrylic paint and start coloring the beads. You want to make sure the paint covers all areas, so turn the beads as you go.
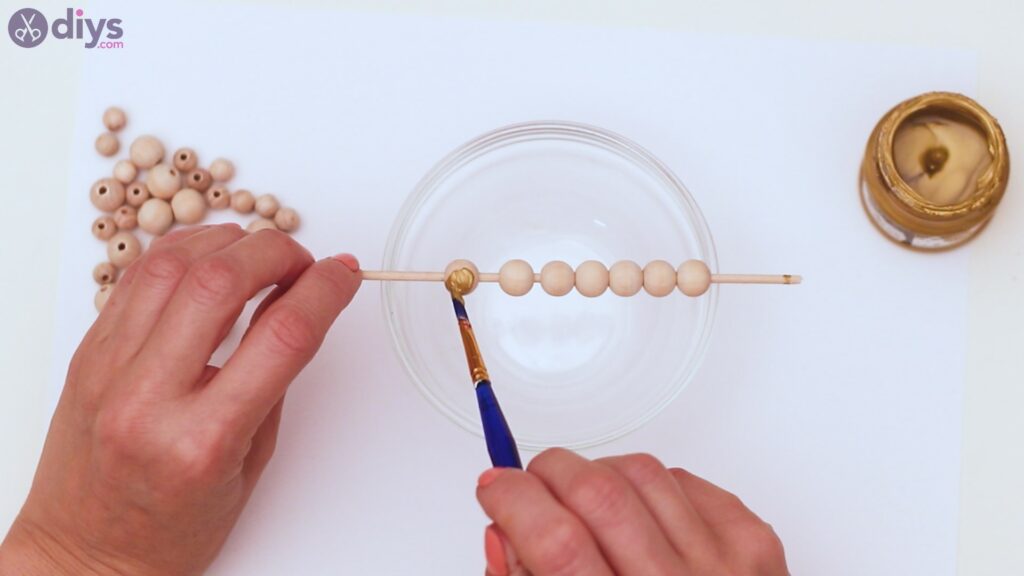
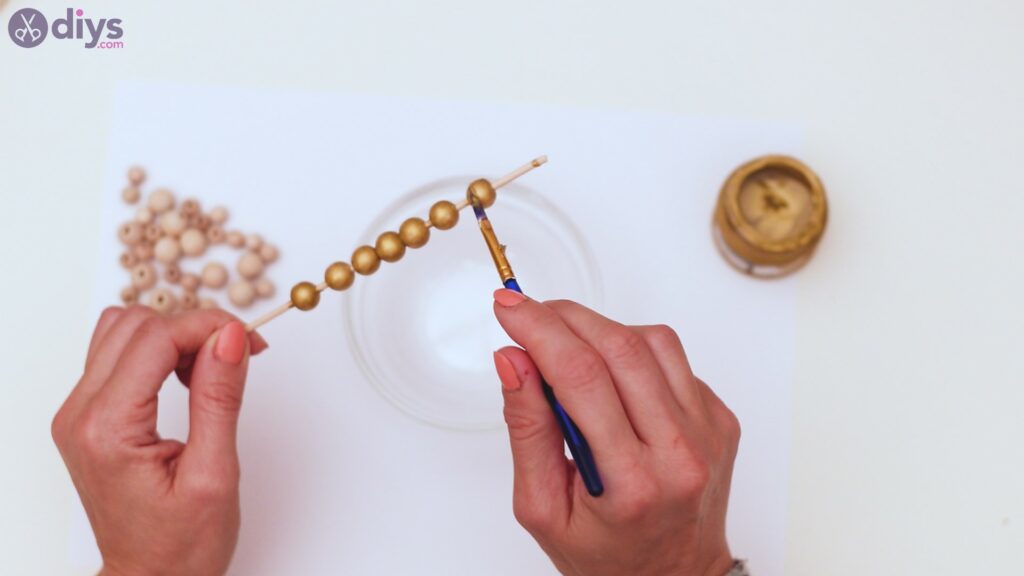
You’ll also want to paint near the holes in the beads, so make sure you cover those spots too. As you add more and more beads, make sure you allow them time to dry by placing the sticks on the sides of a bowl.

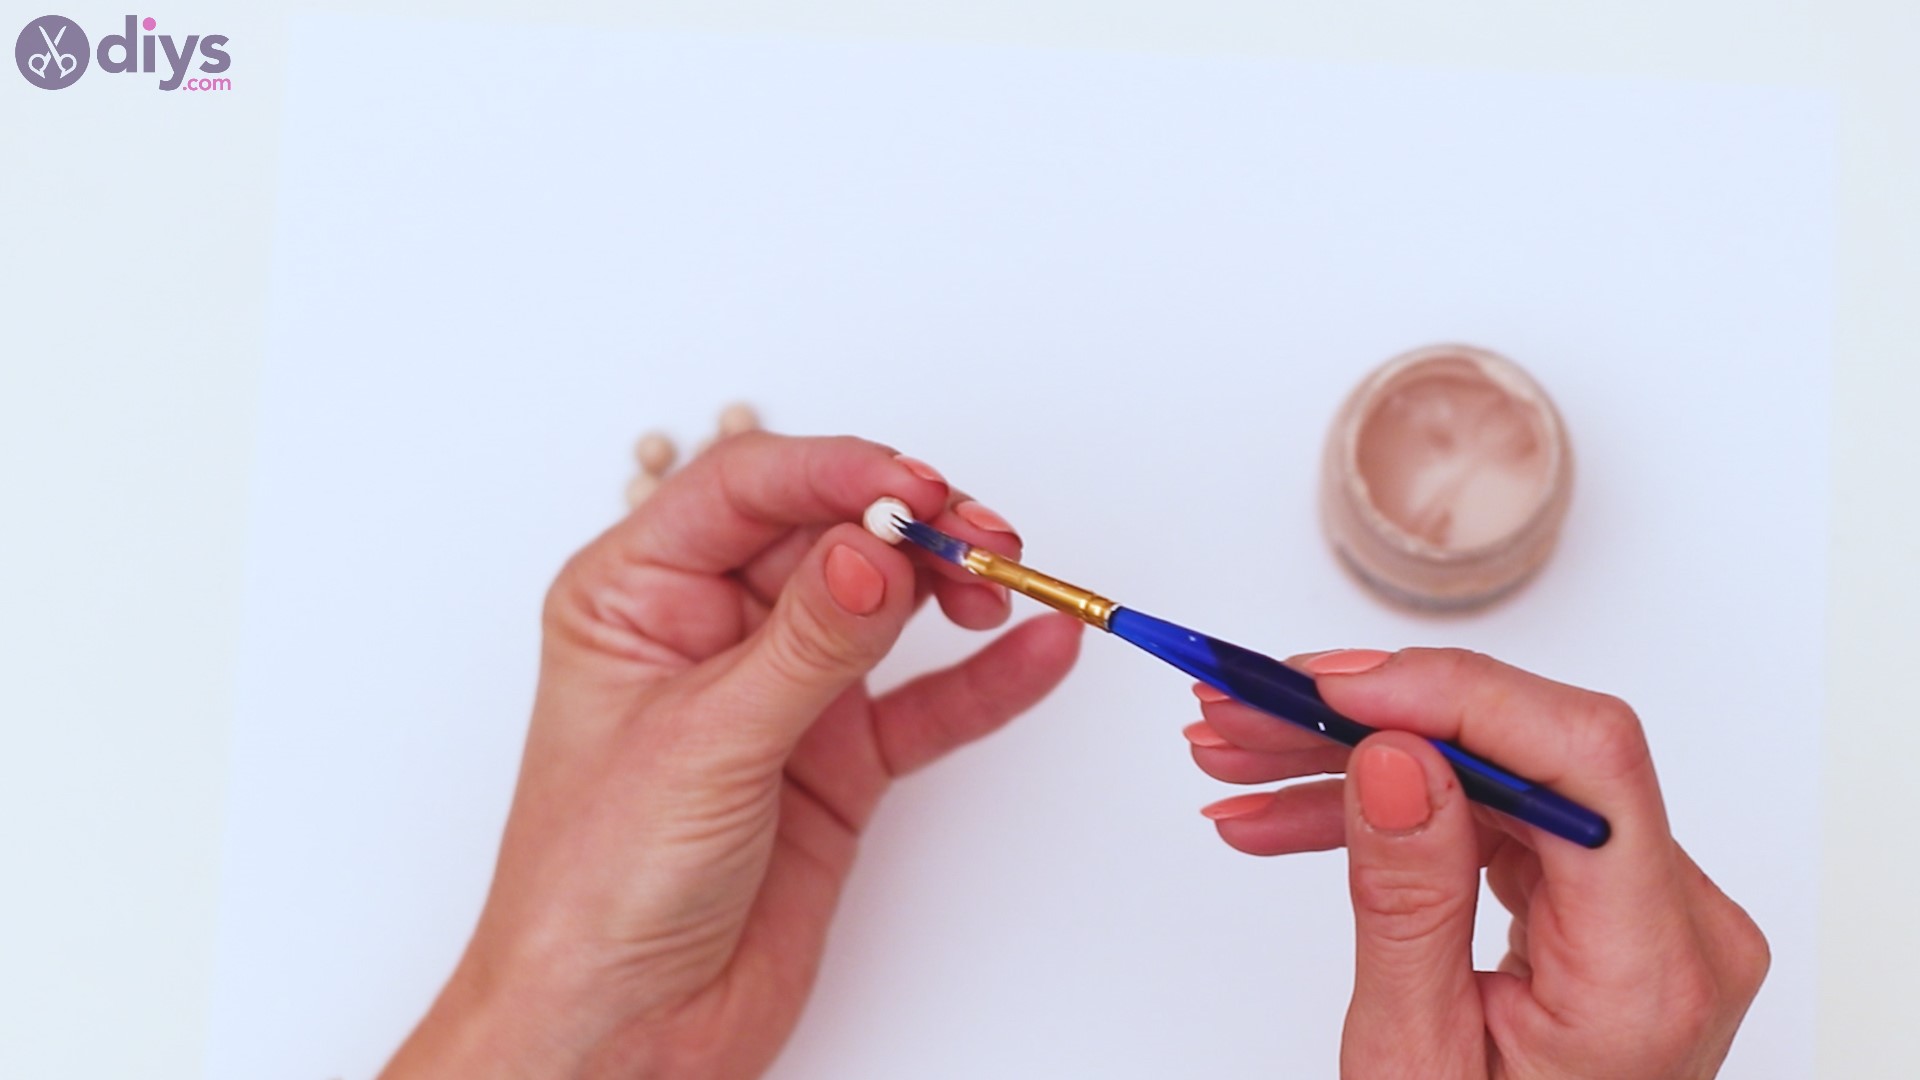
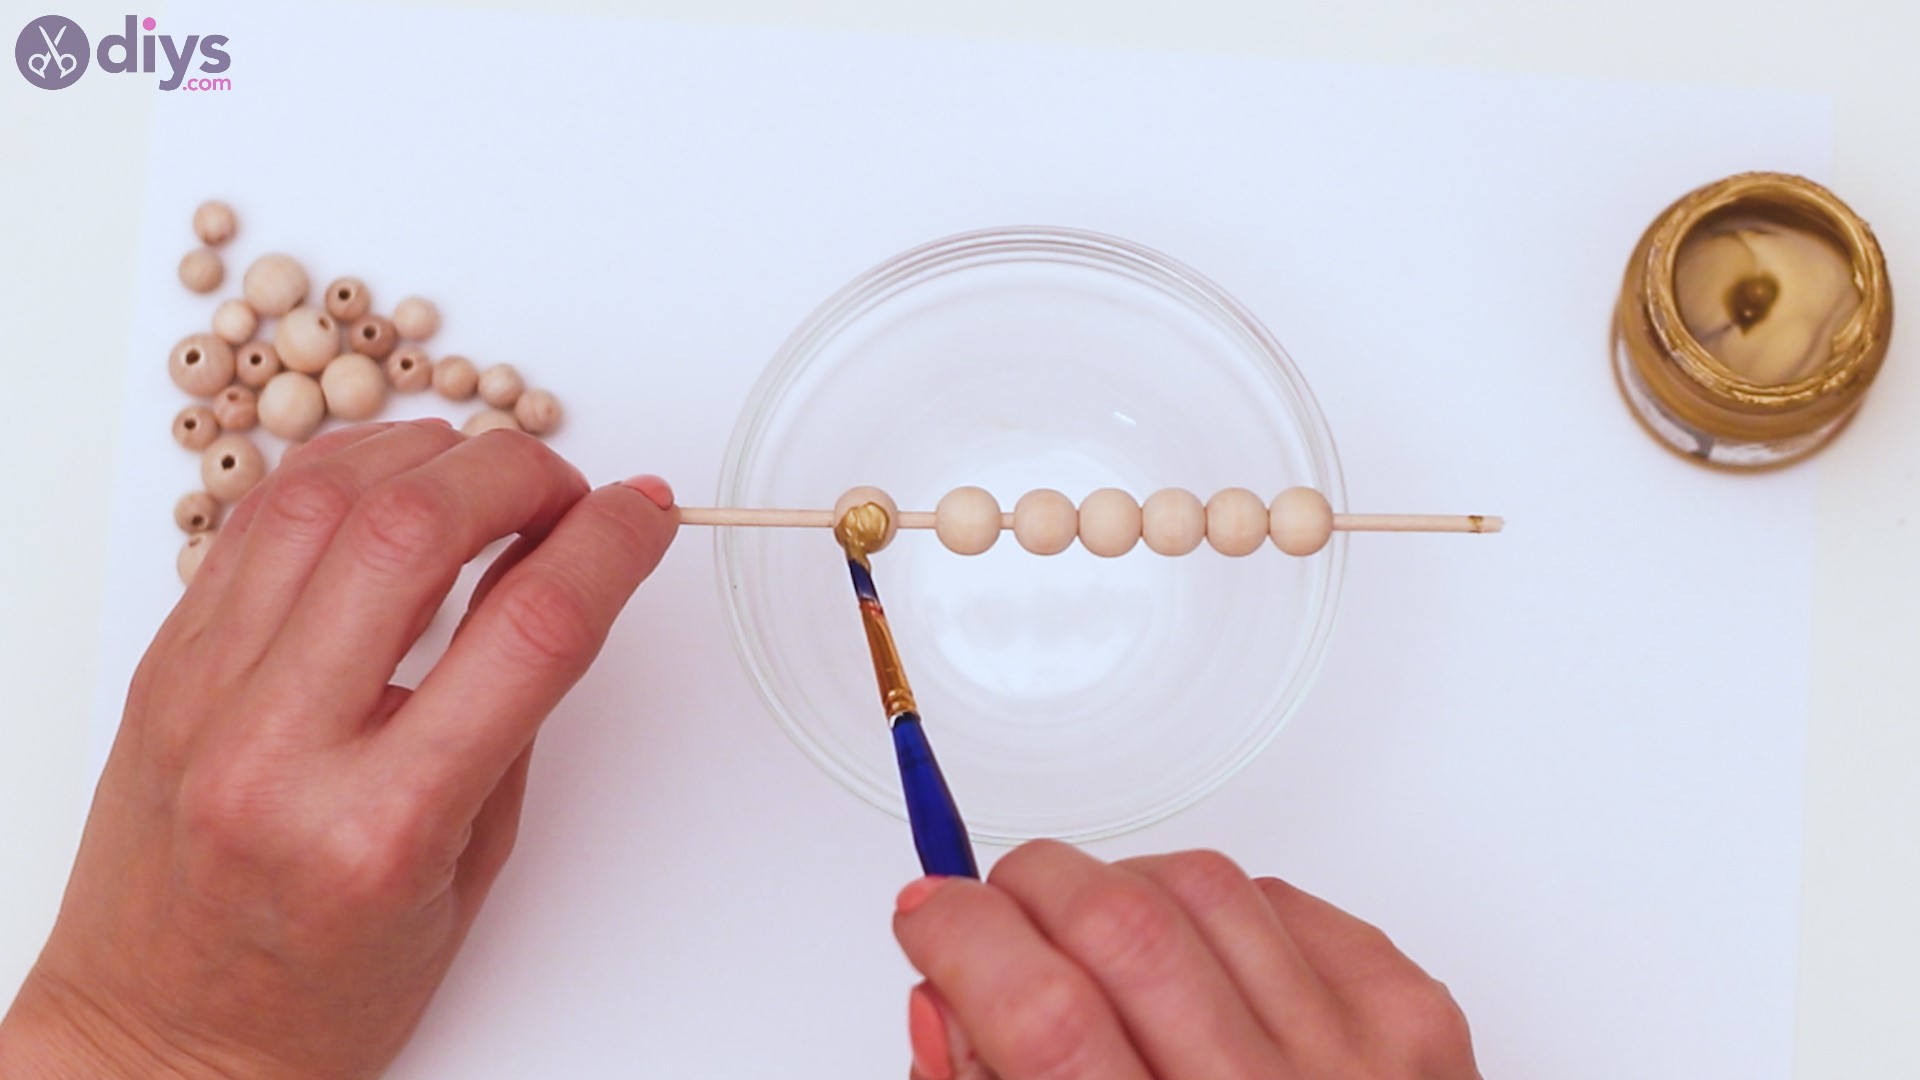
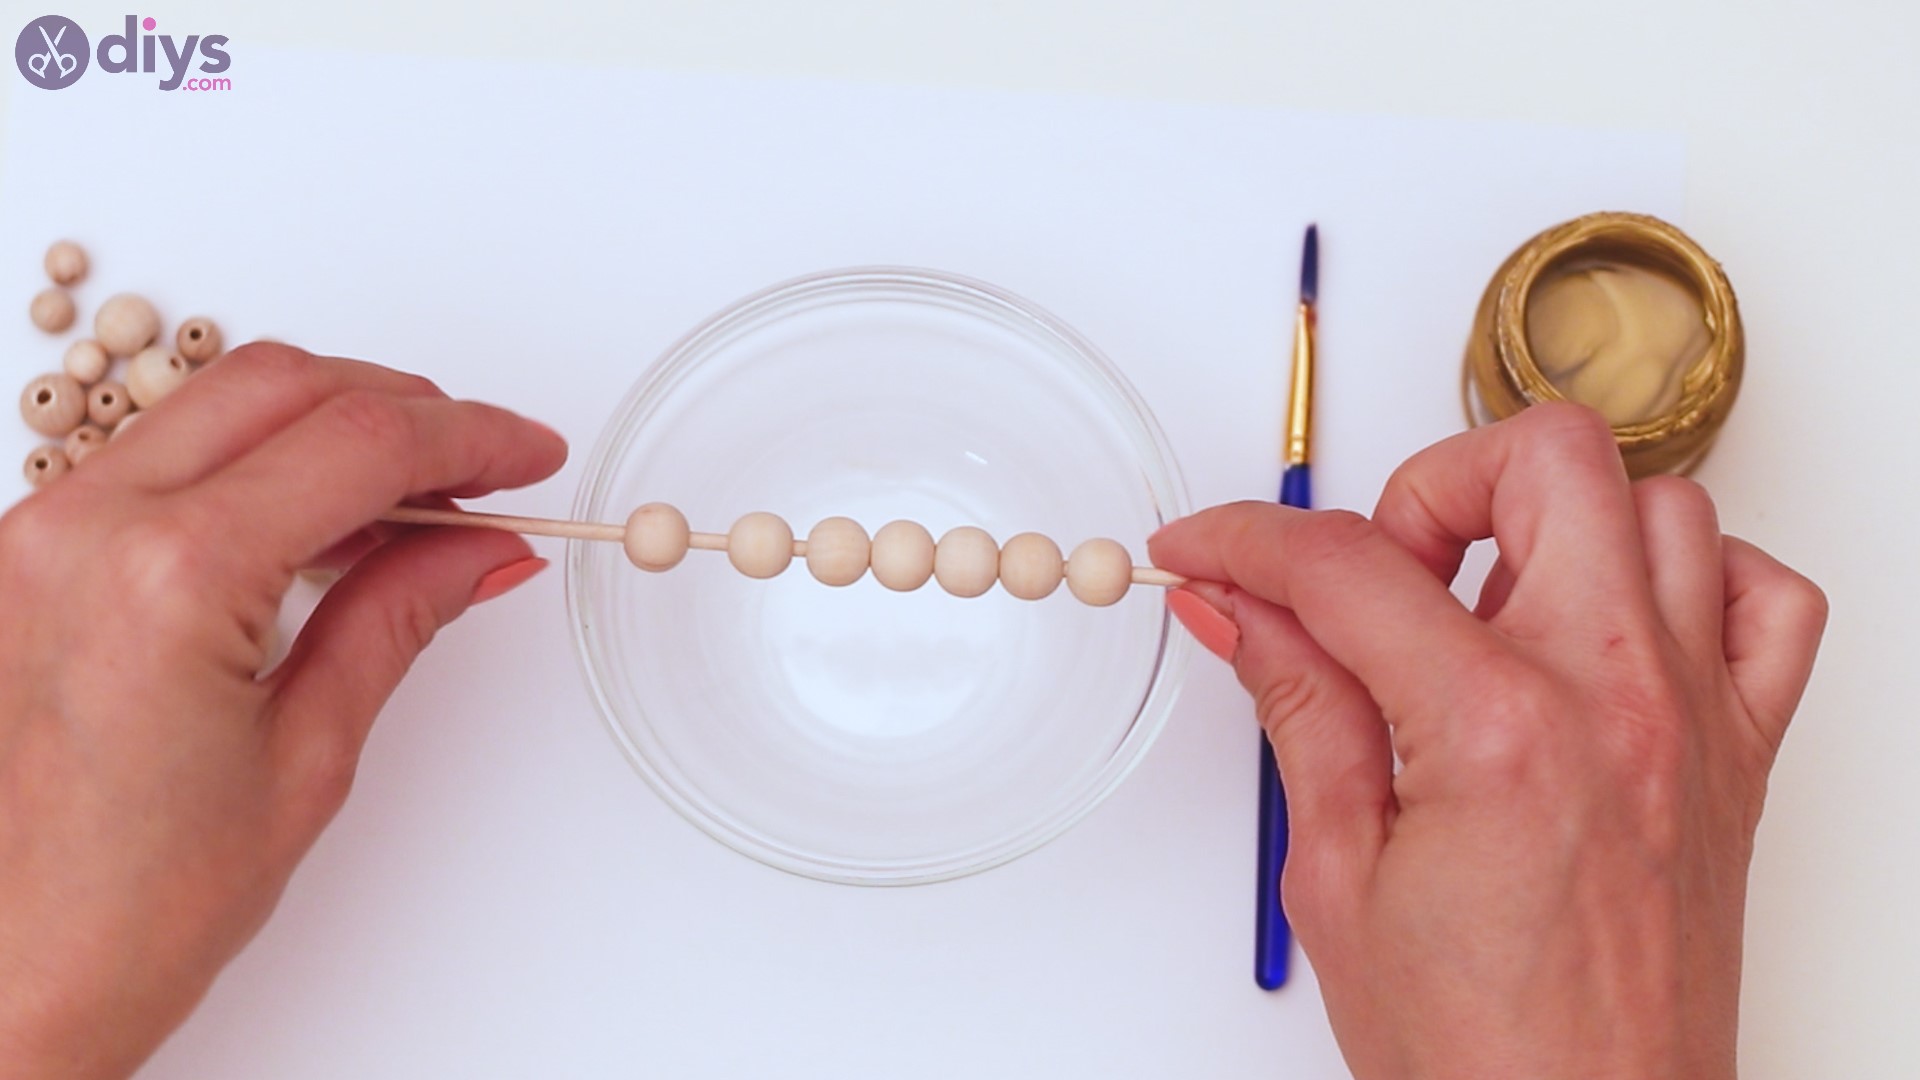
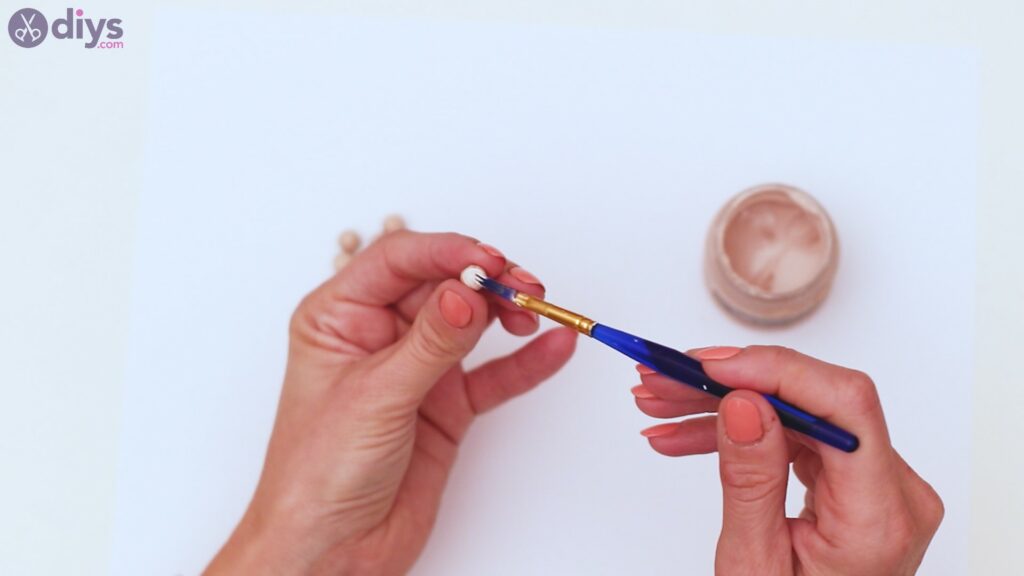
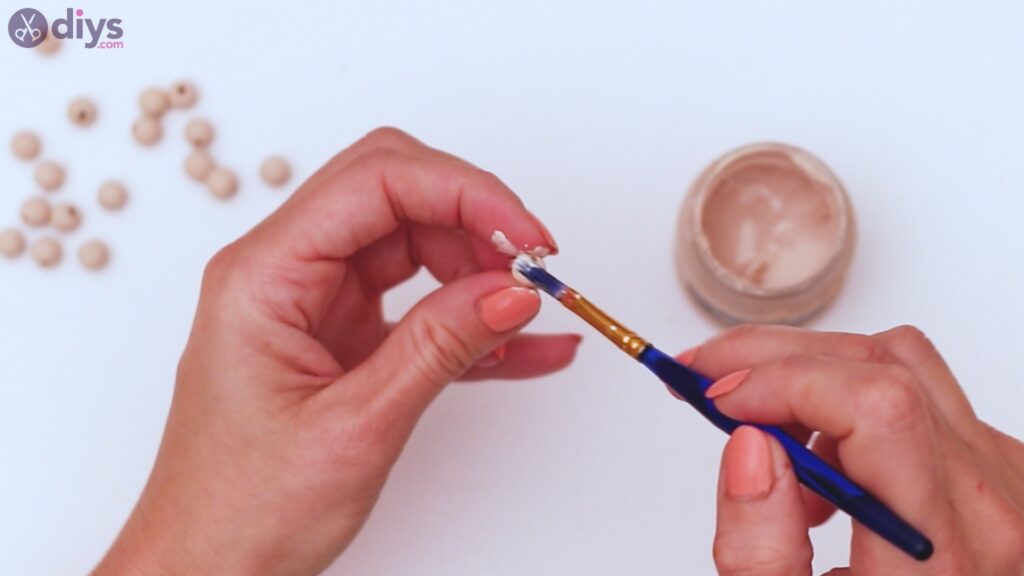
Step 2: Paint the beads beige
Next, pick up the smaller beads and start painting them with the beige acrylic paint. You want to make sure the beads are properly covered in paint before you set them down to dry.
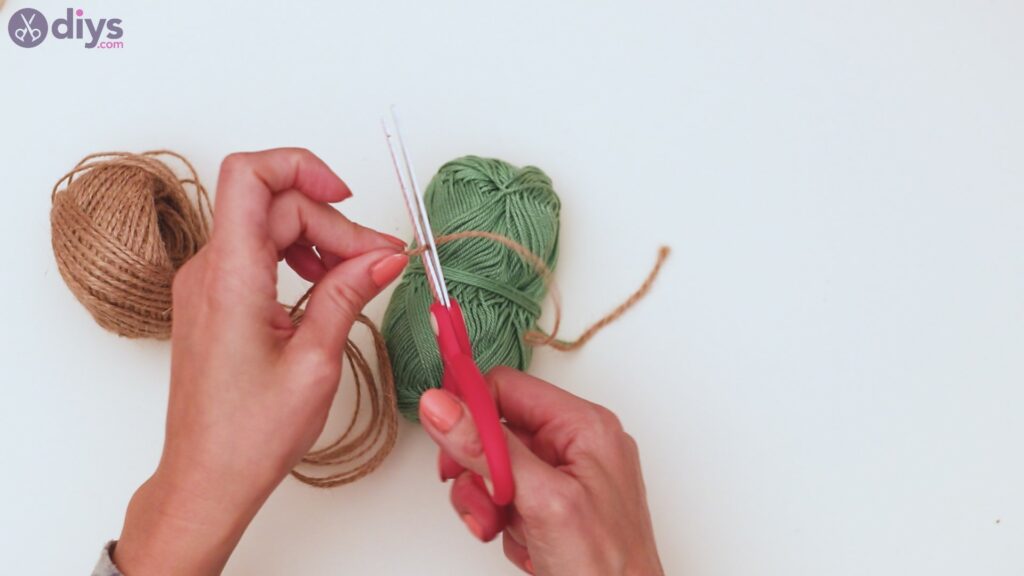
Step 3: Make a tassel
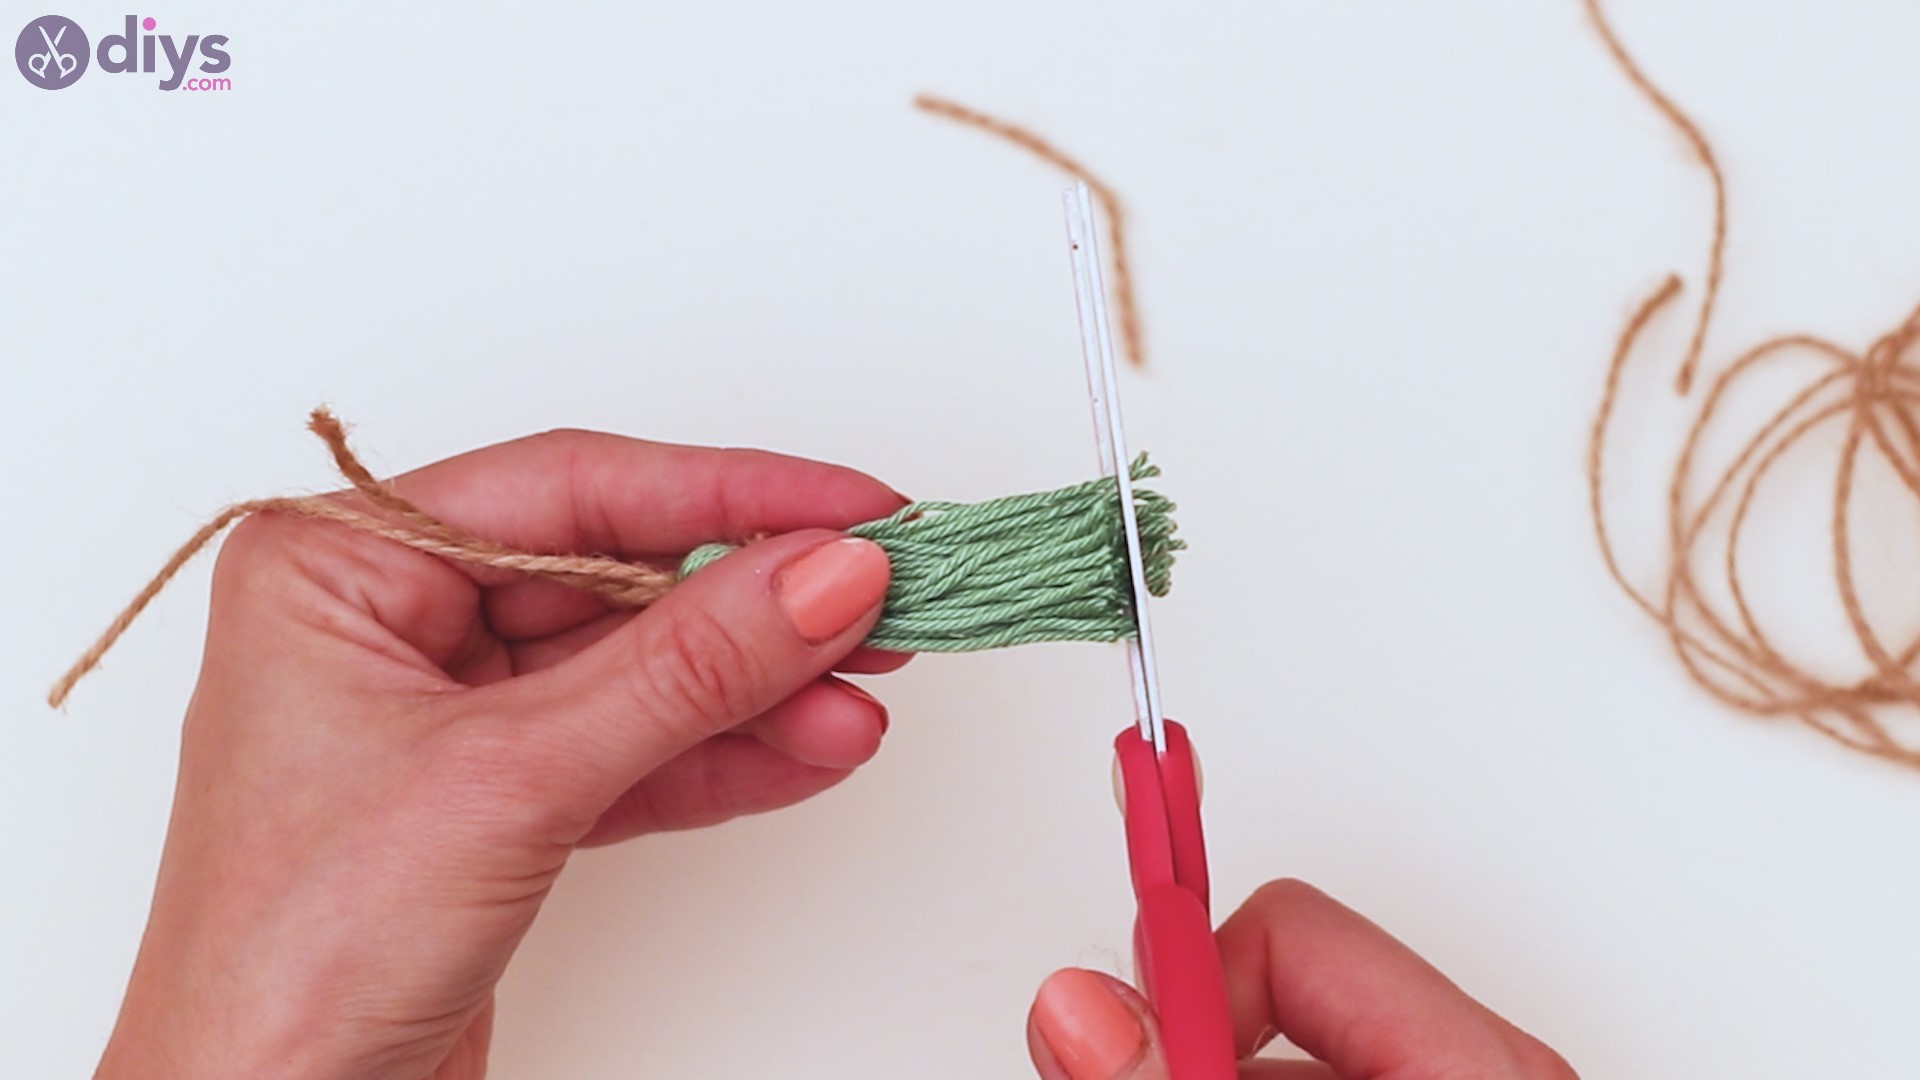
Now, we’re going to make a tassel. Start by cutting a bit of the hemp twine and setting it aside.
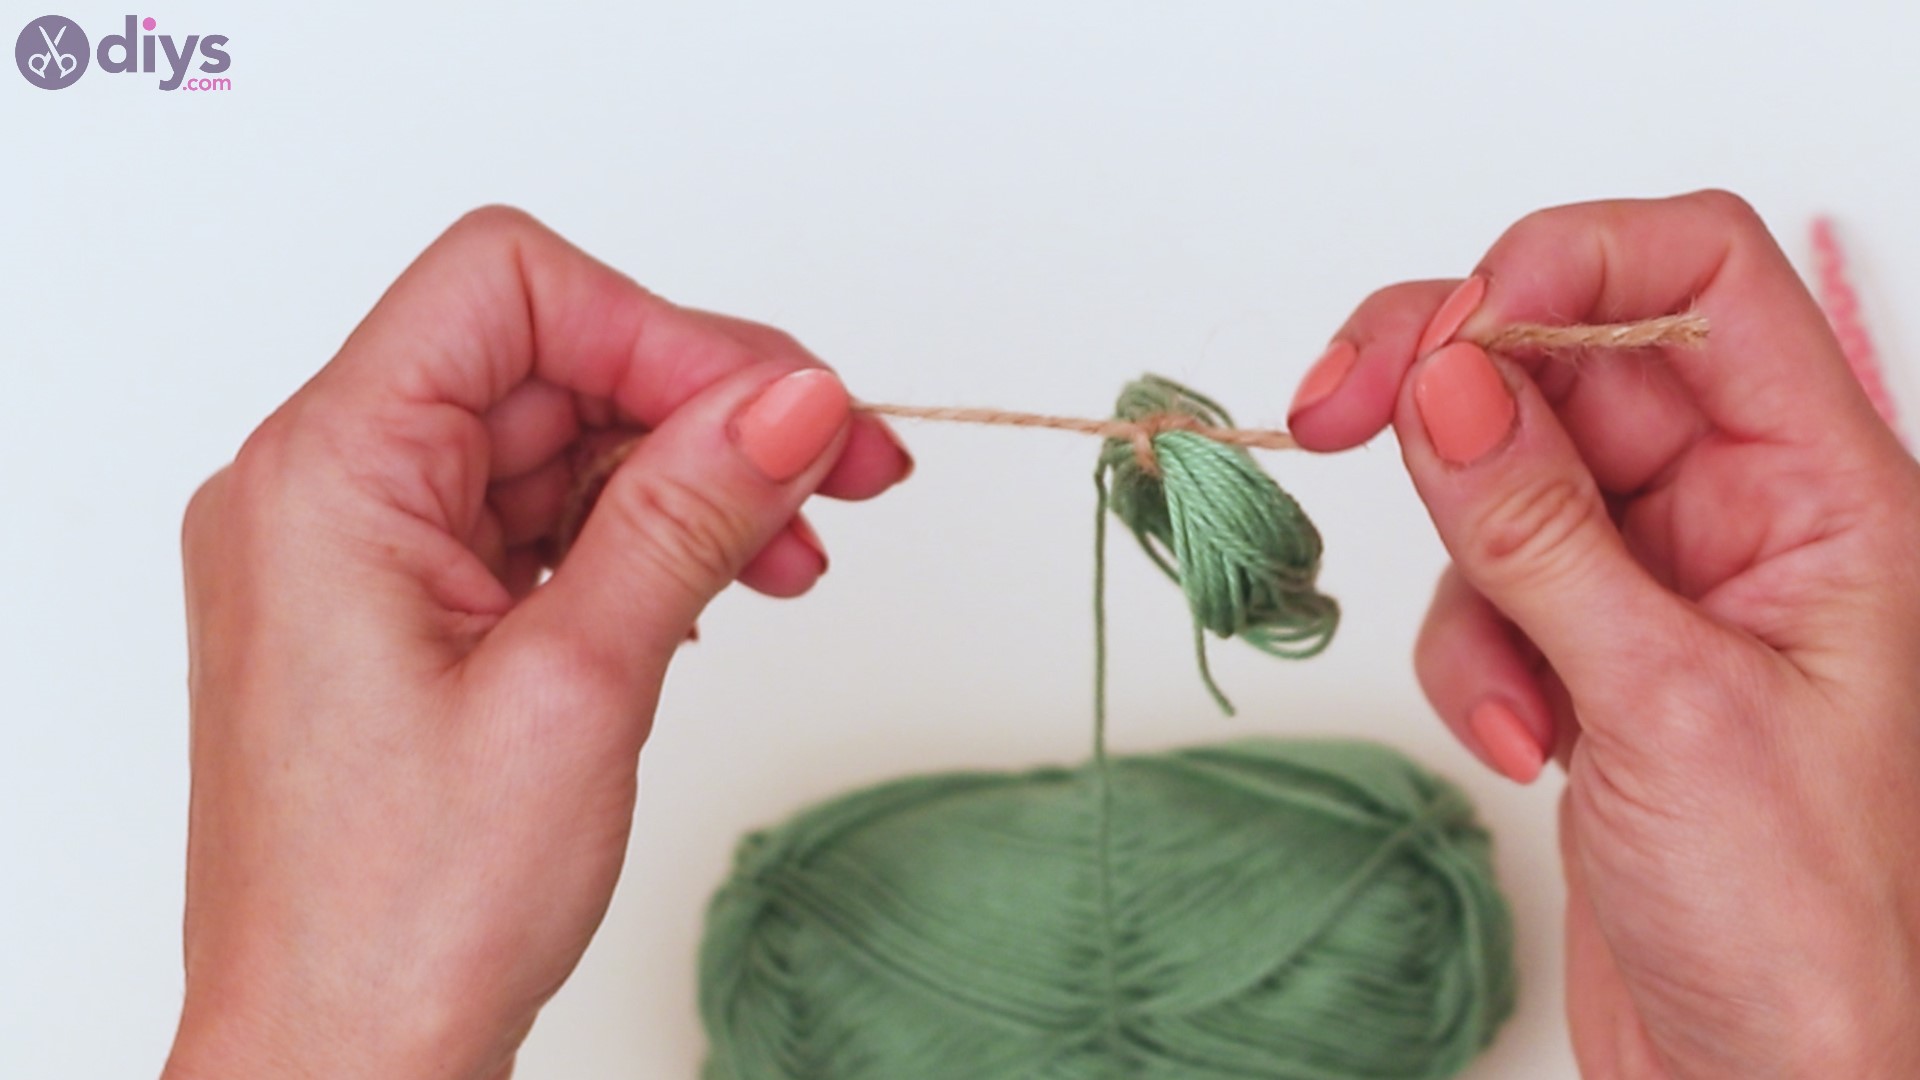
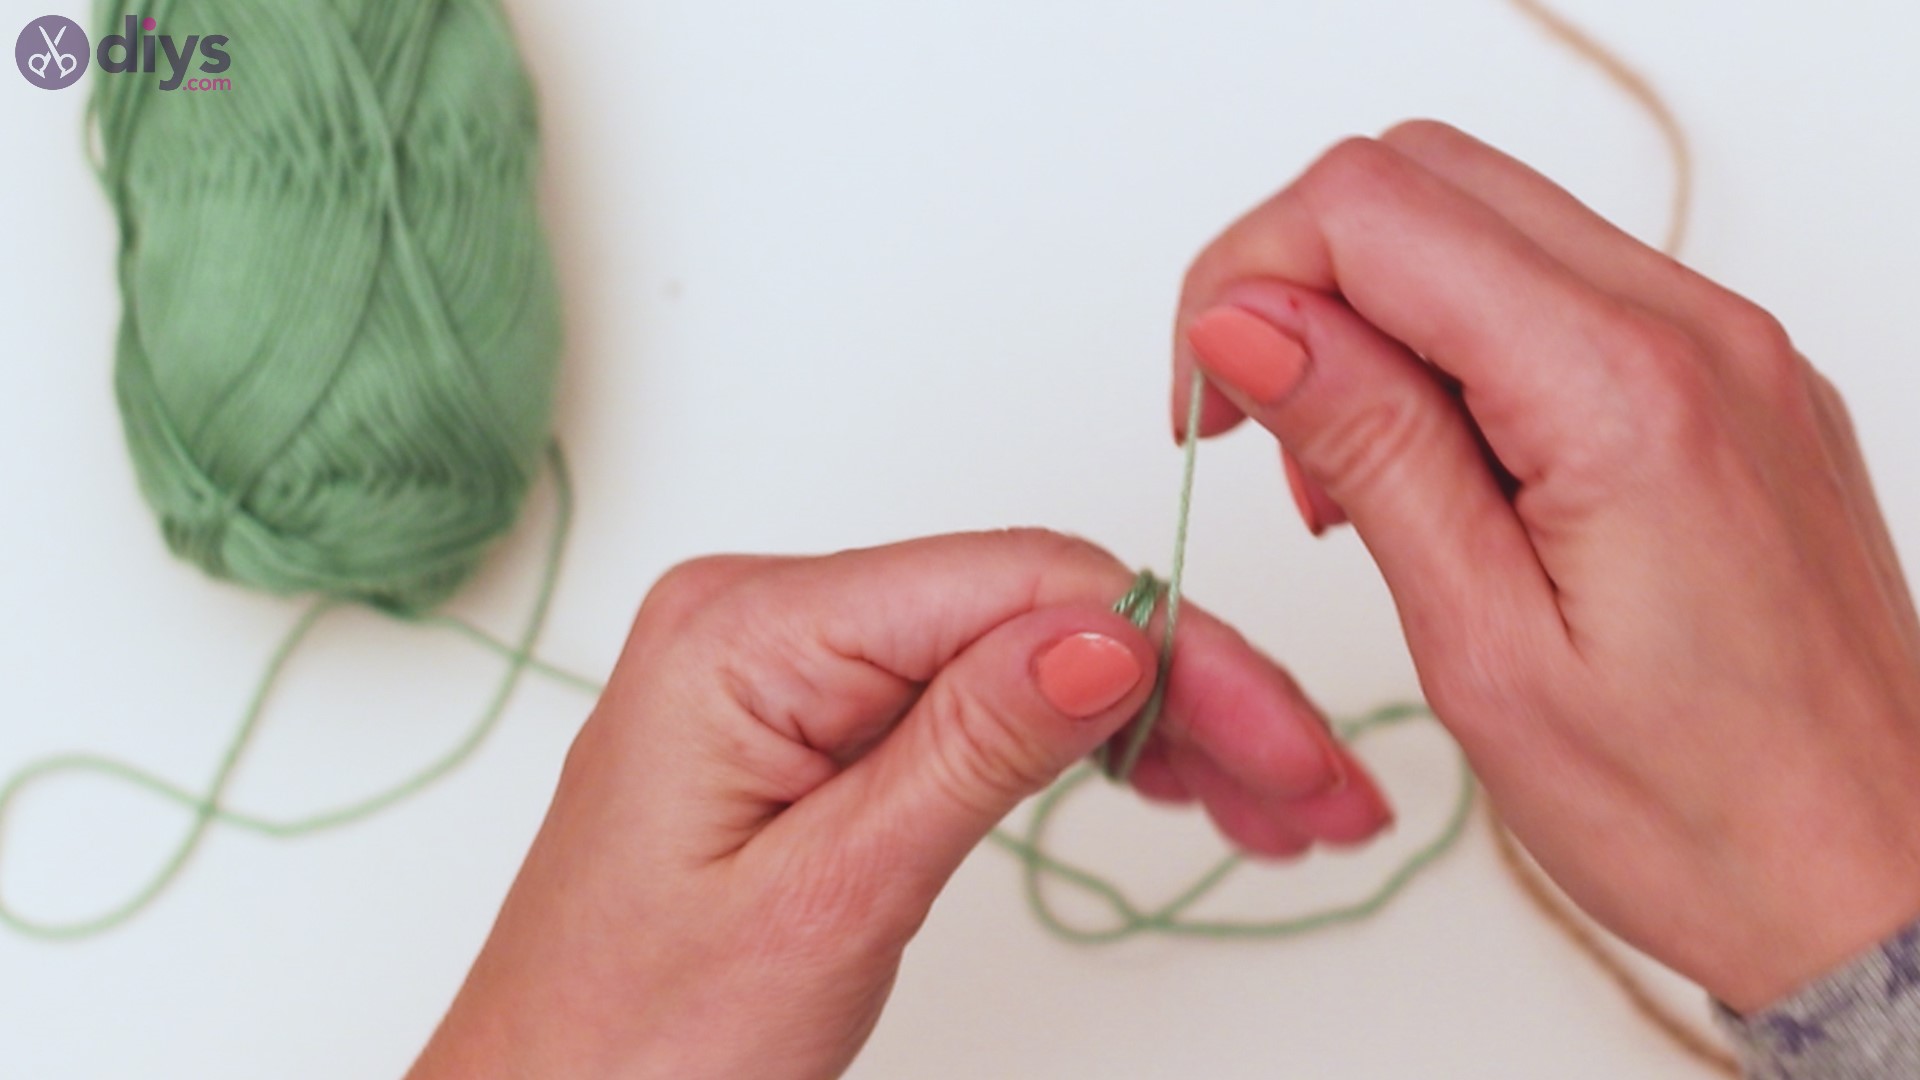
Next, get the green yarn and start wrapping it around four of your fingers. Keep going until you have a good amount of yarn on your hand.
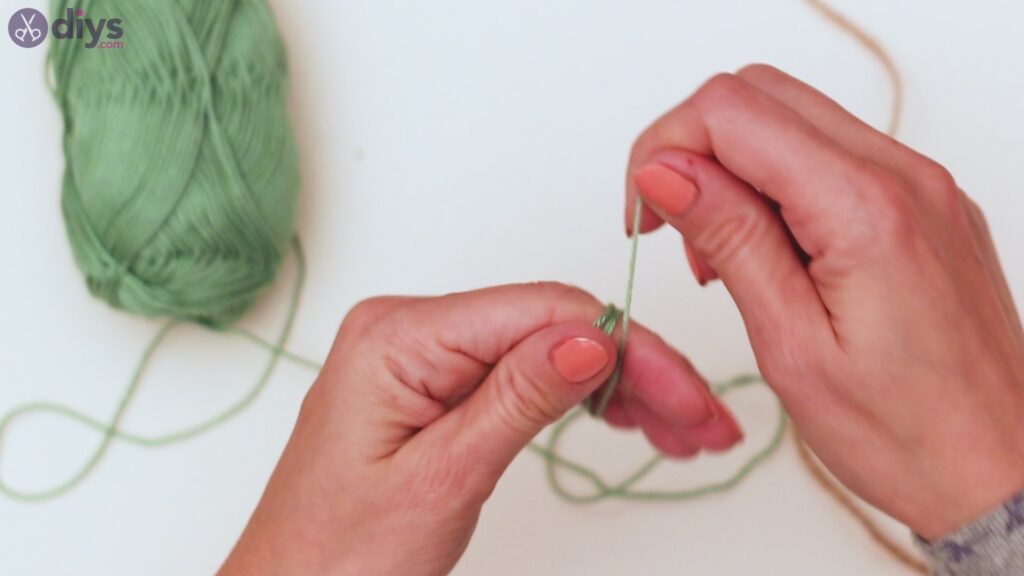
Pull the yarn loops off your hand and push the twine through the center of it. Tie a knot to secure the yarn.

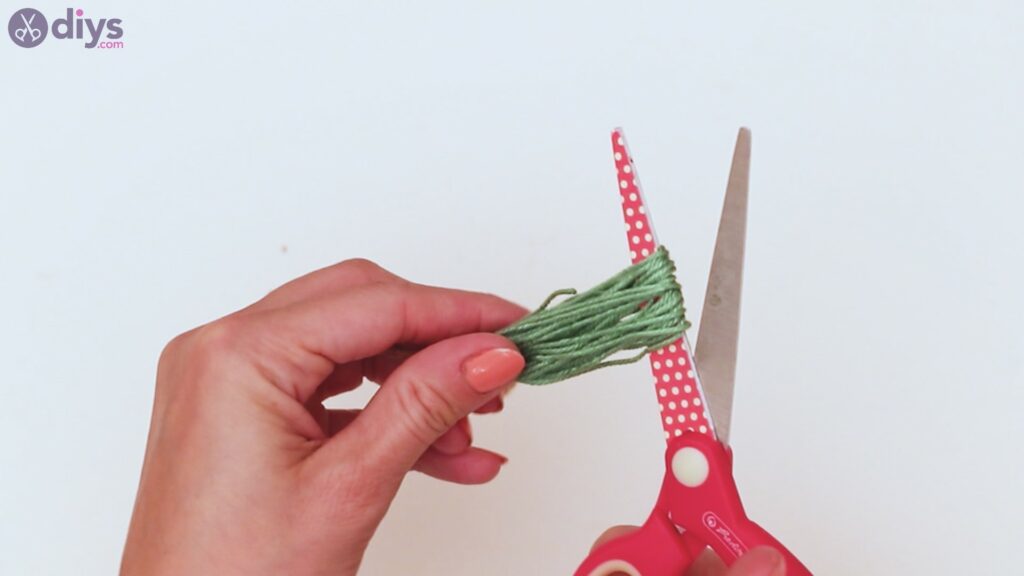
Get your scissors and cut through the yarn, straightening out the material by pulling on the area where the twine is tied.
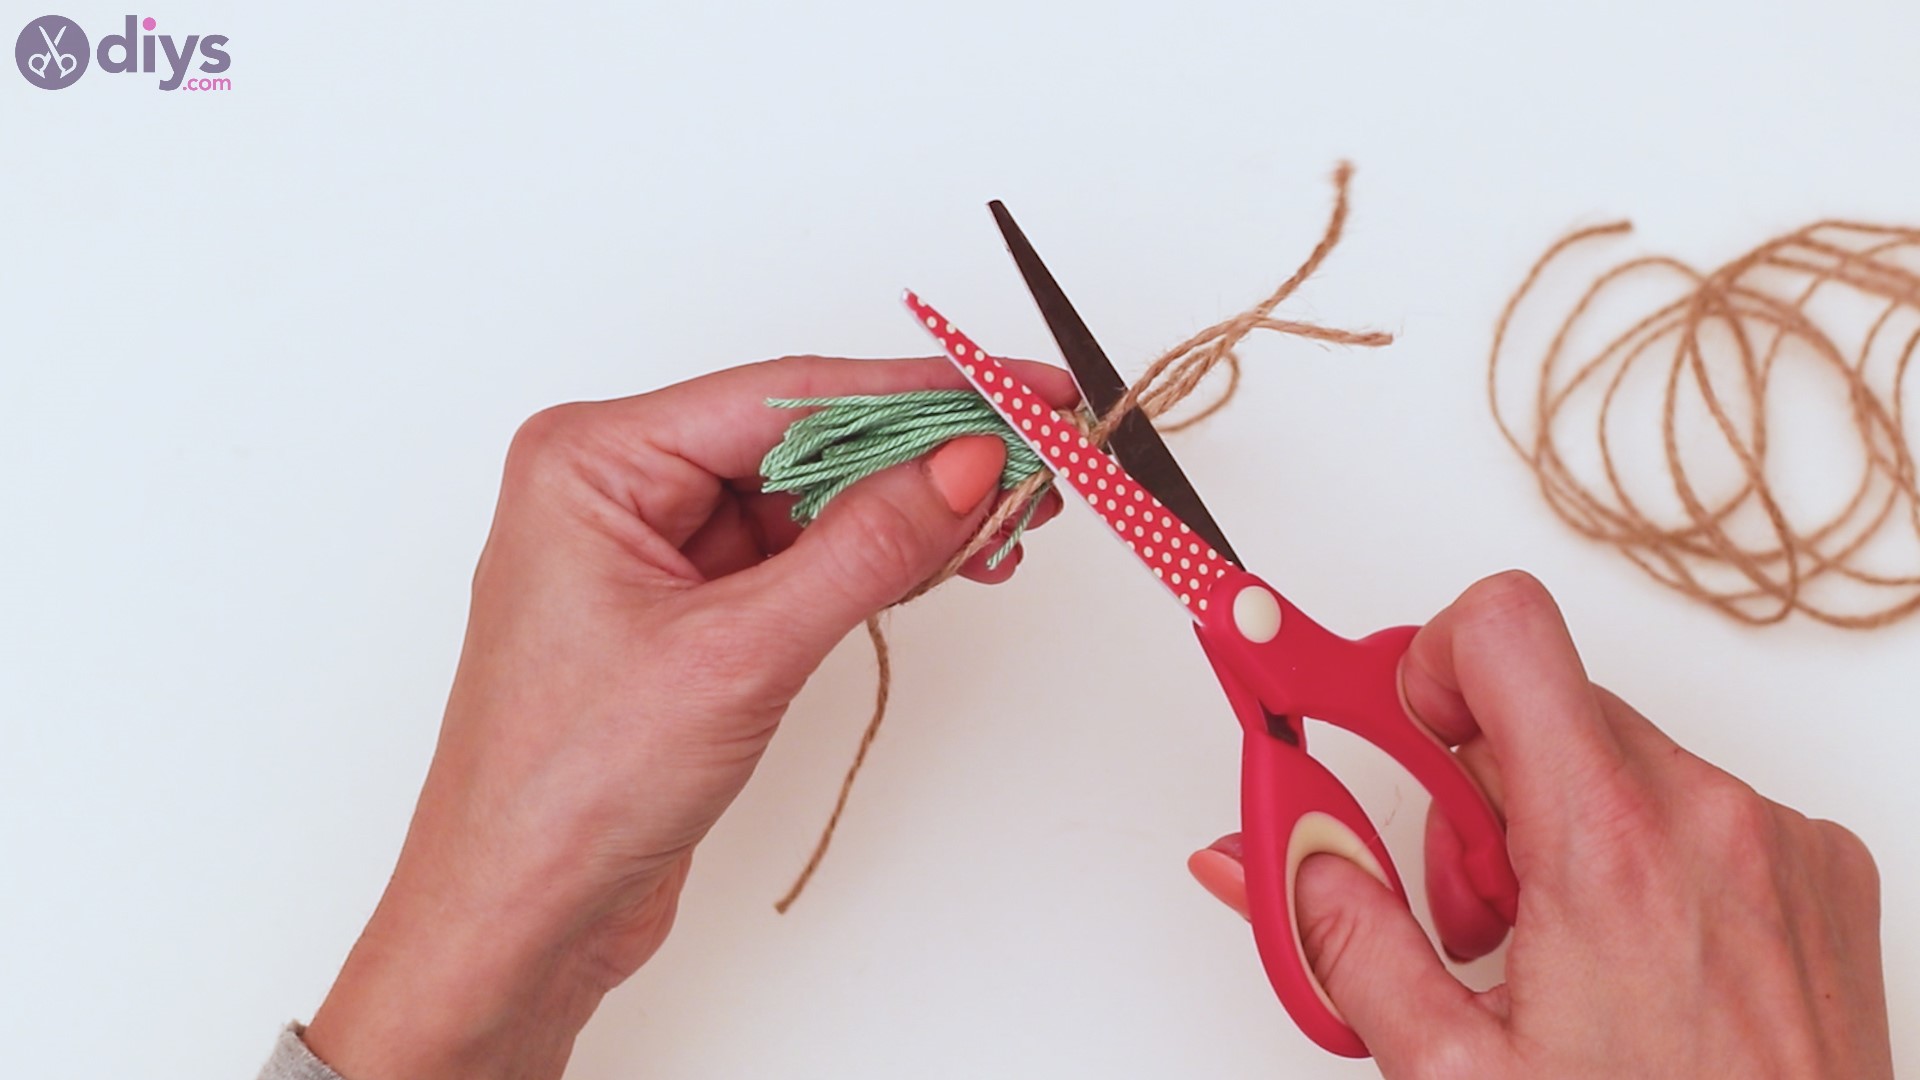
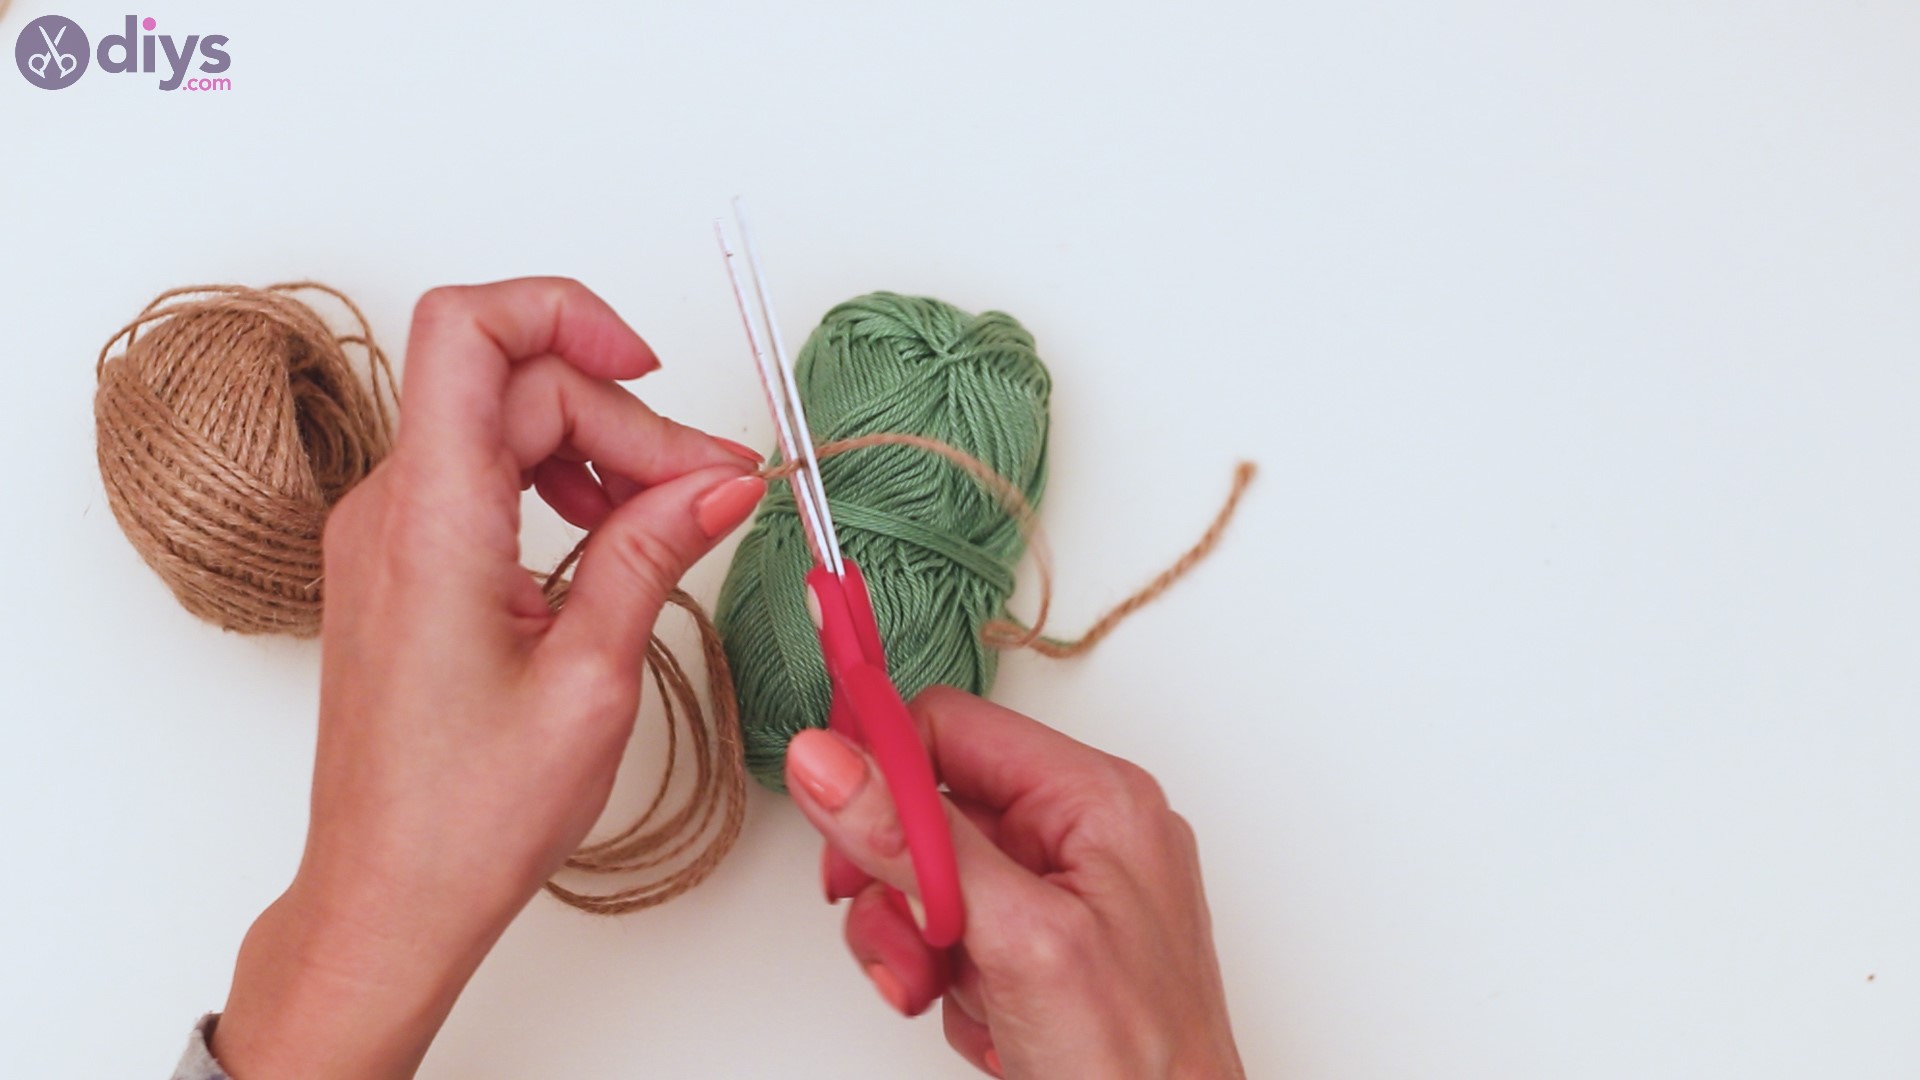
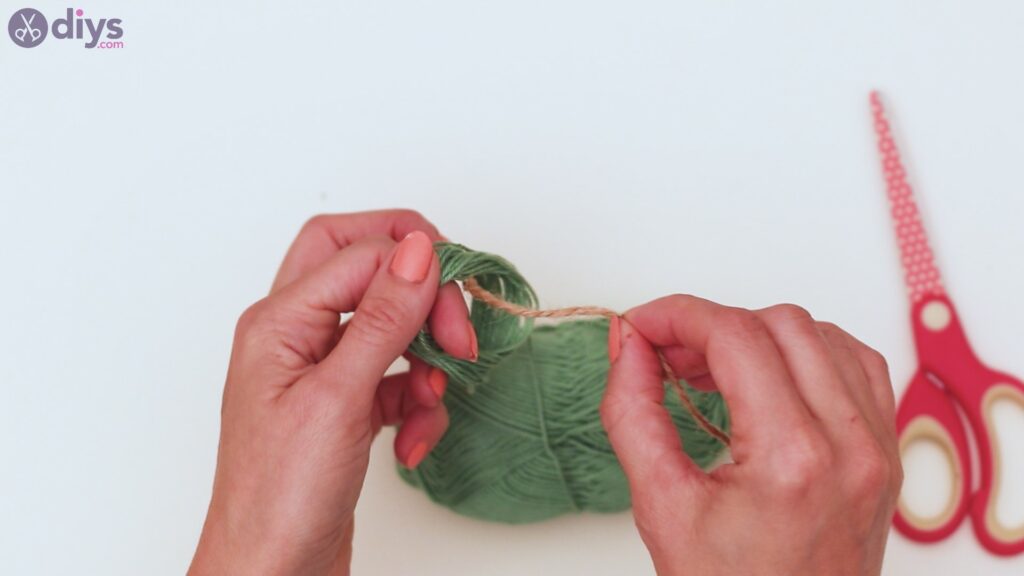
Pick up another piece of hemp twine and start twisting it over the top area of the tassel, bringing the two areas together.
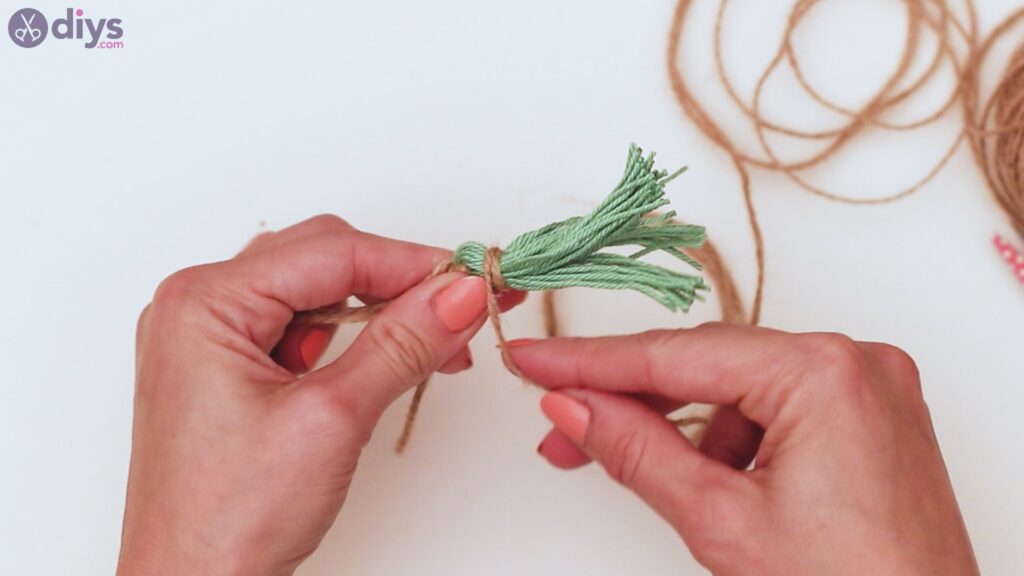

Make a couple of knots to secure the twine and then cut off the excess material.
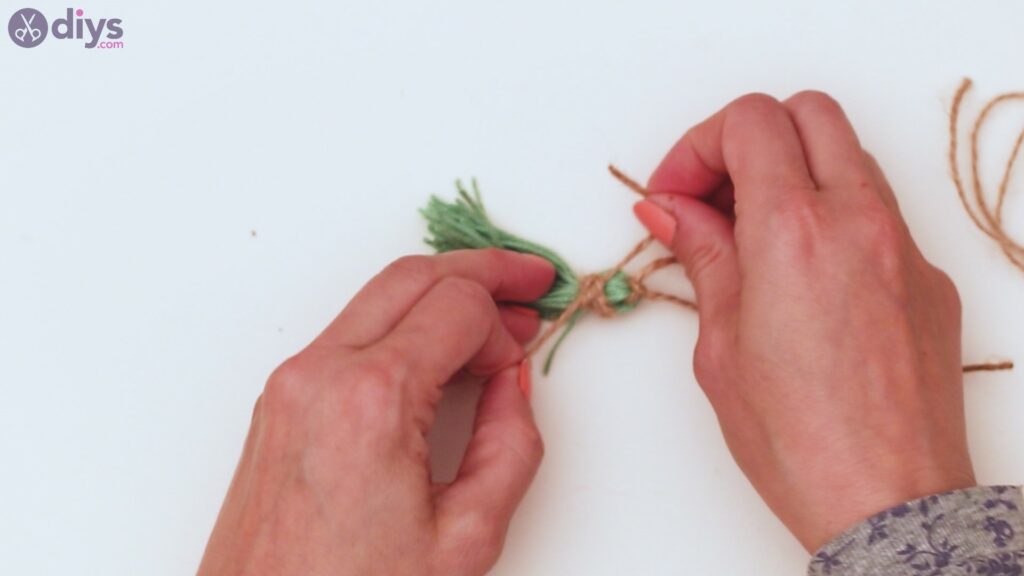
Make sure you make the cut as close to the knot as possible, so have a cleaner look.

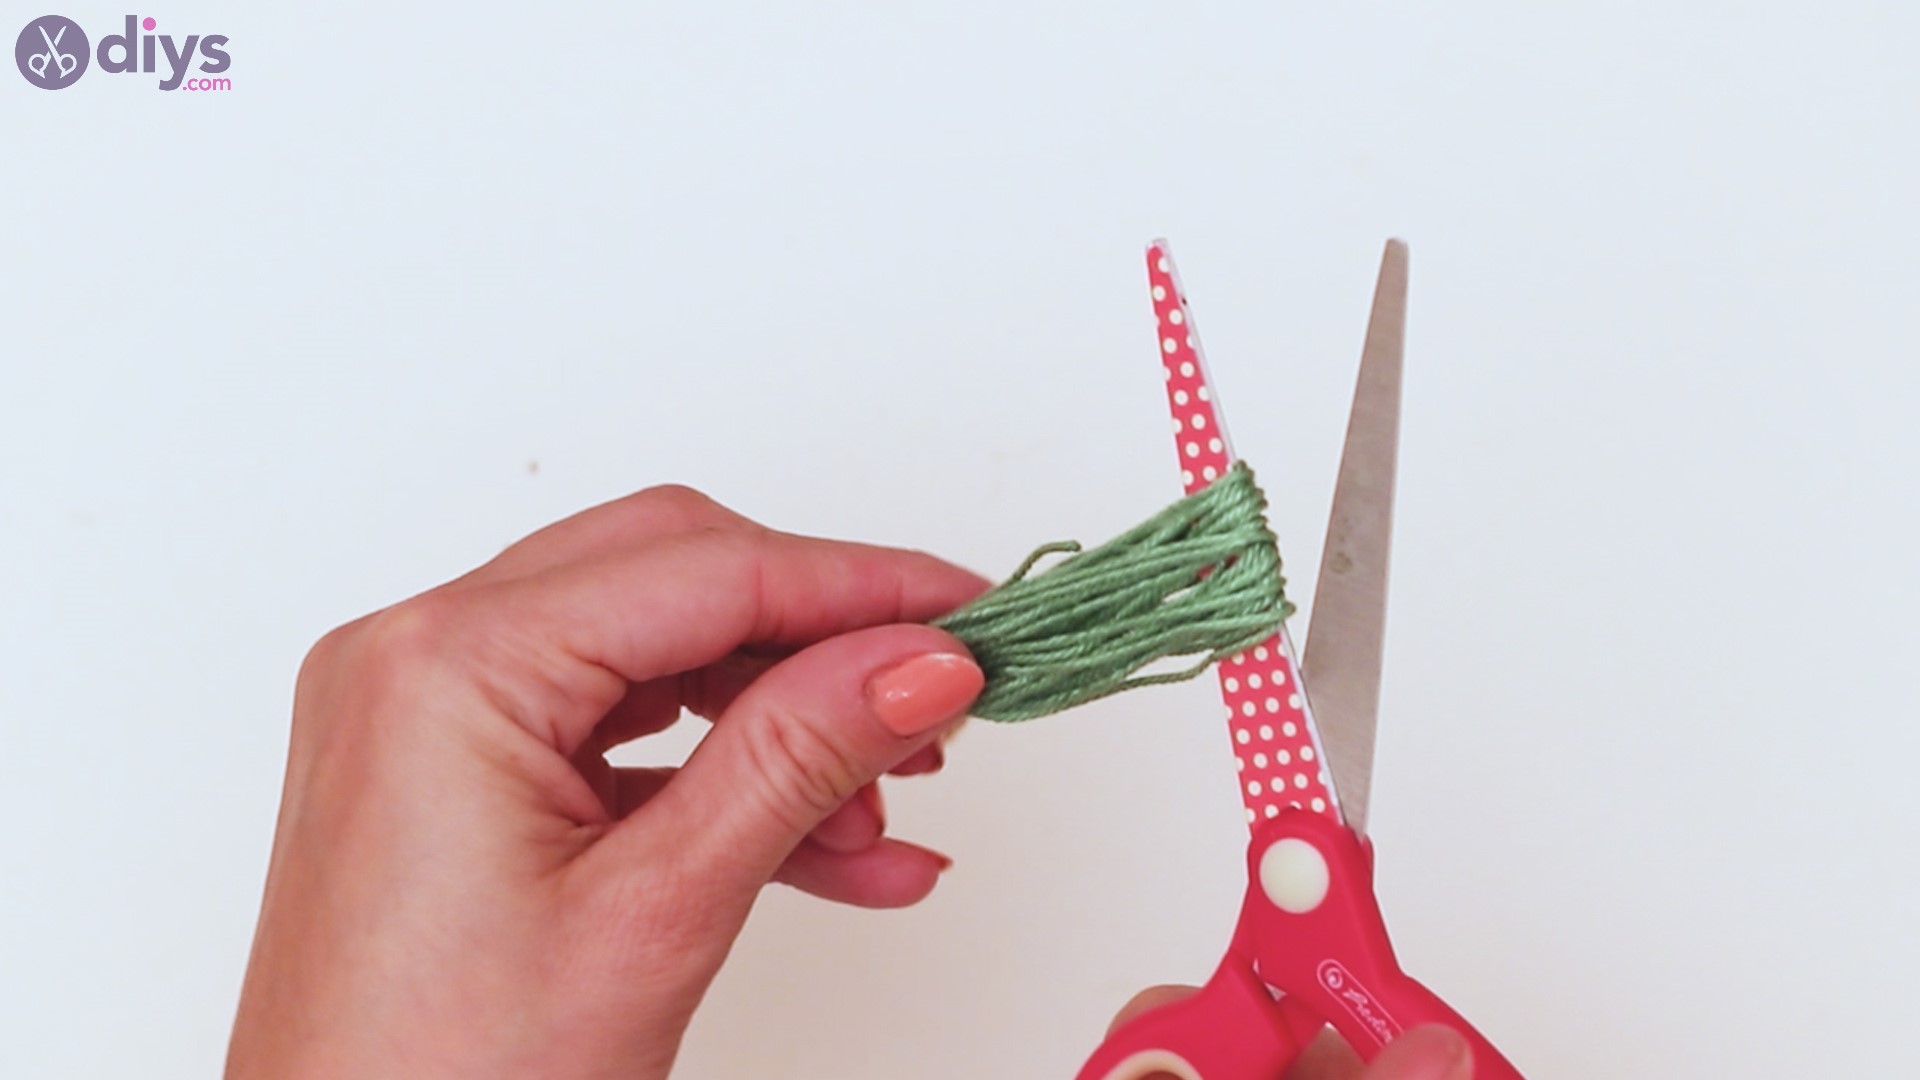
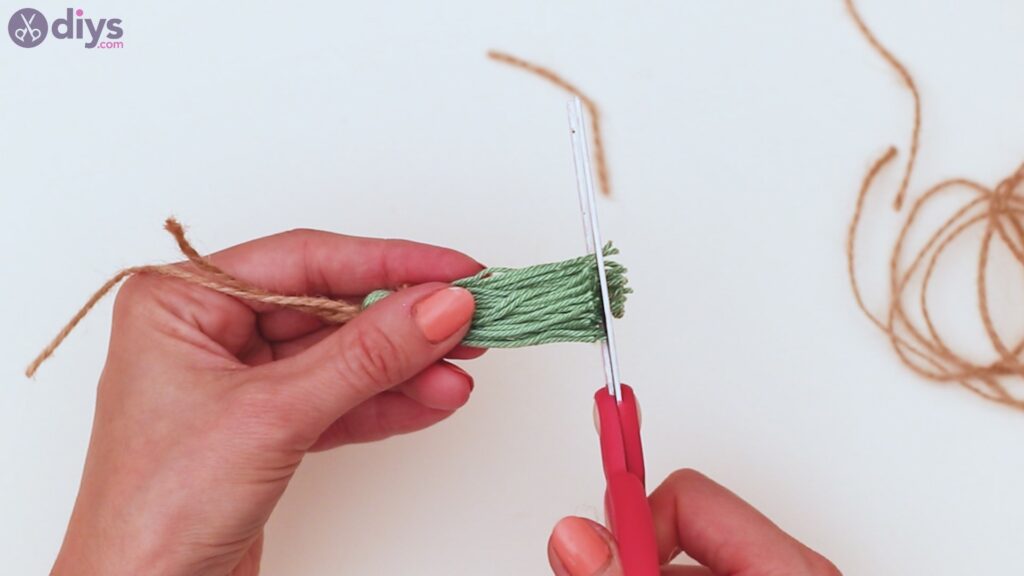
Get the scissors once more and trim the tassel so the ends are all even.
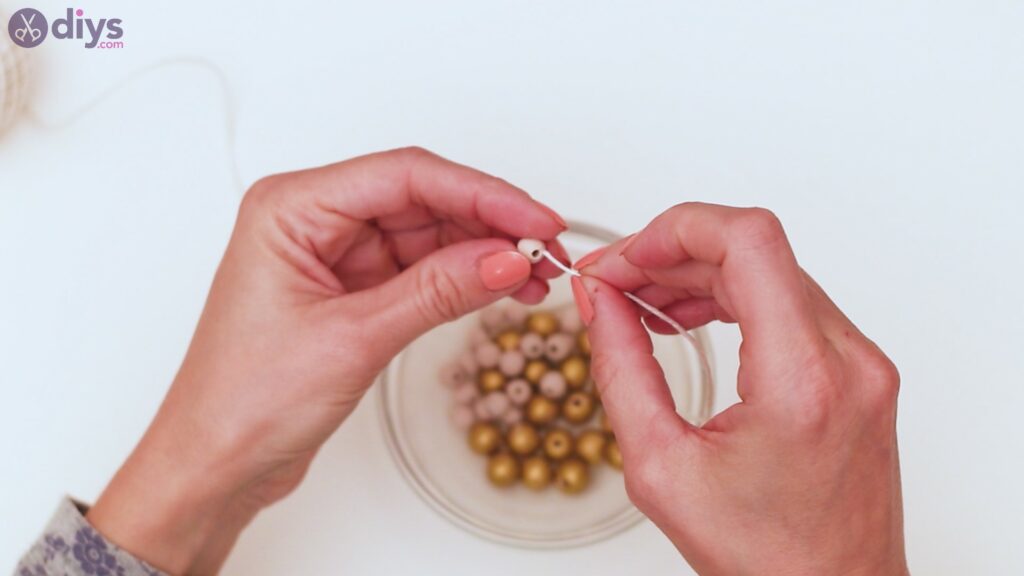
Step 4: Thread the beads
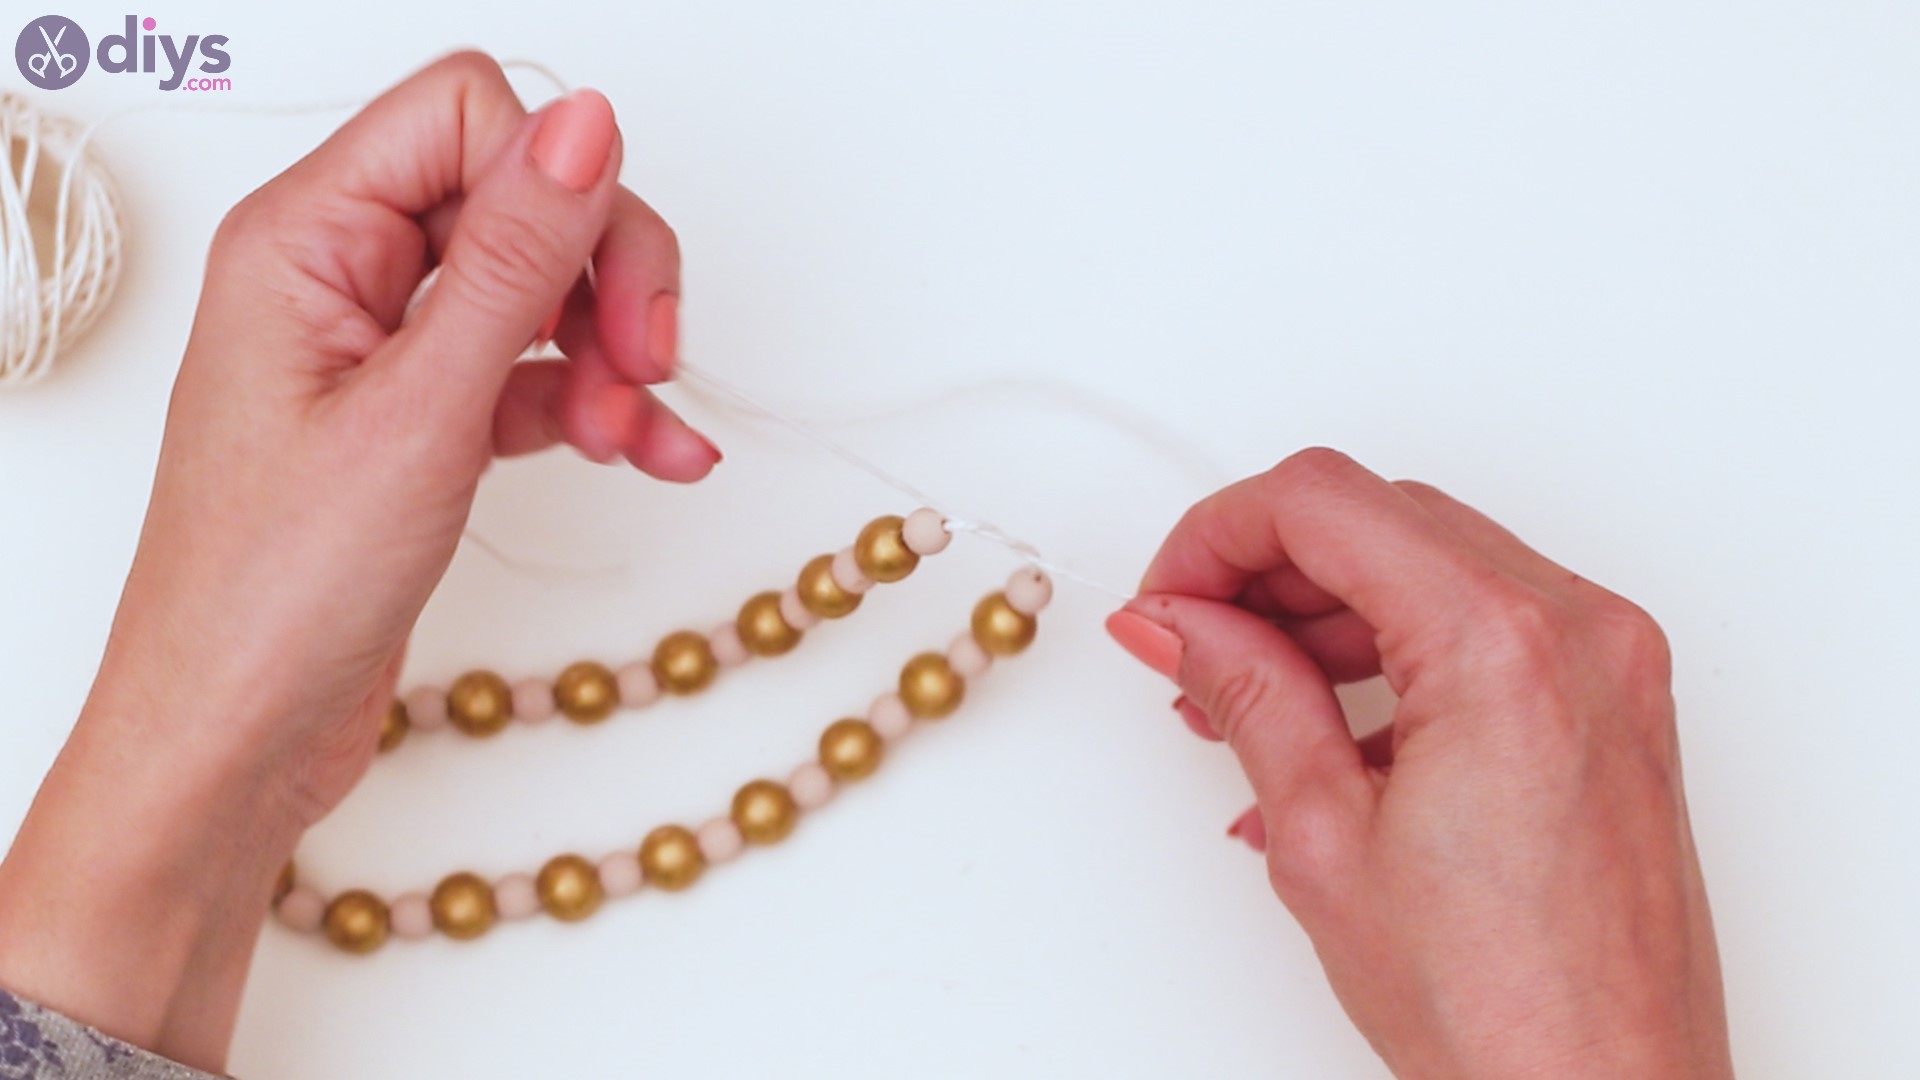
Next up, we’re up to thread the beads. Get the cotton twine and start pushing in the beads. You want to alternate beige and gold ones, creating a nice color pattern, but also giving the curtain tieback some dimension since the beads are in different sizes.
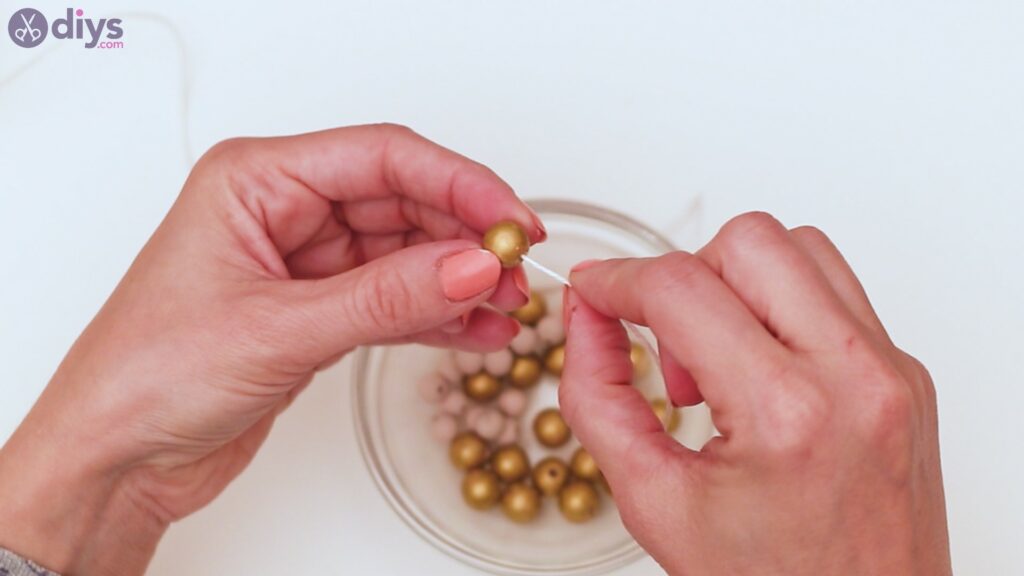
We added in over 30 beads, but it does depend on how thick your curtains are and if you need more or less length than we added to ours. If your curtains are too small and the tieback is too large, it will just slide off and that will make the whole craft useless. So, make sure to measure things out!

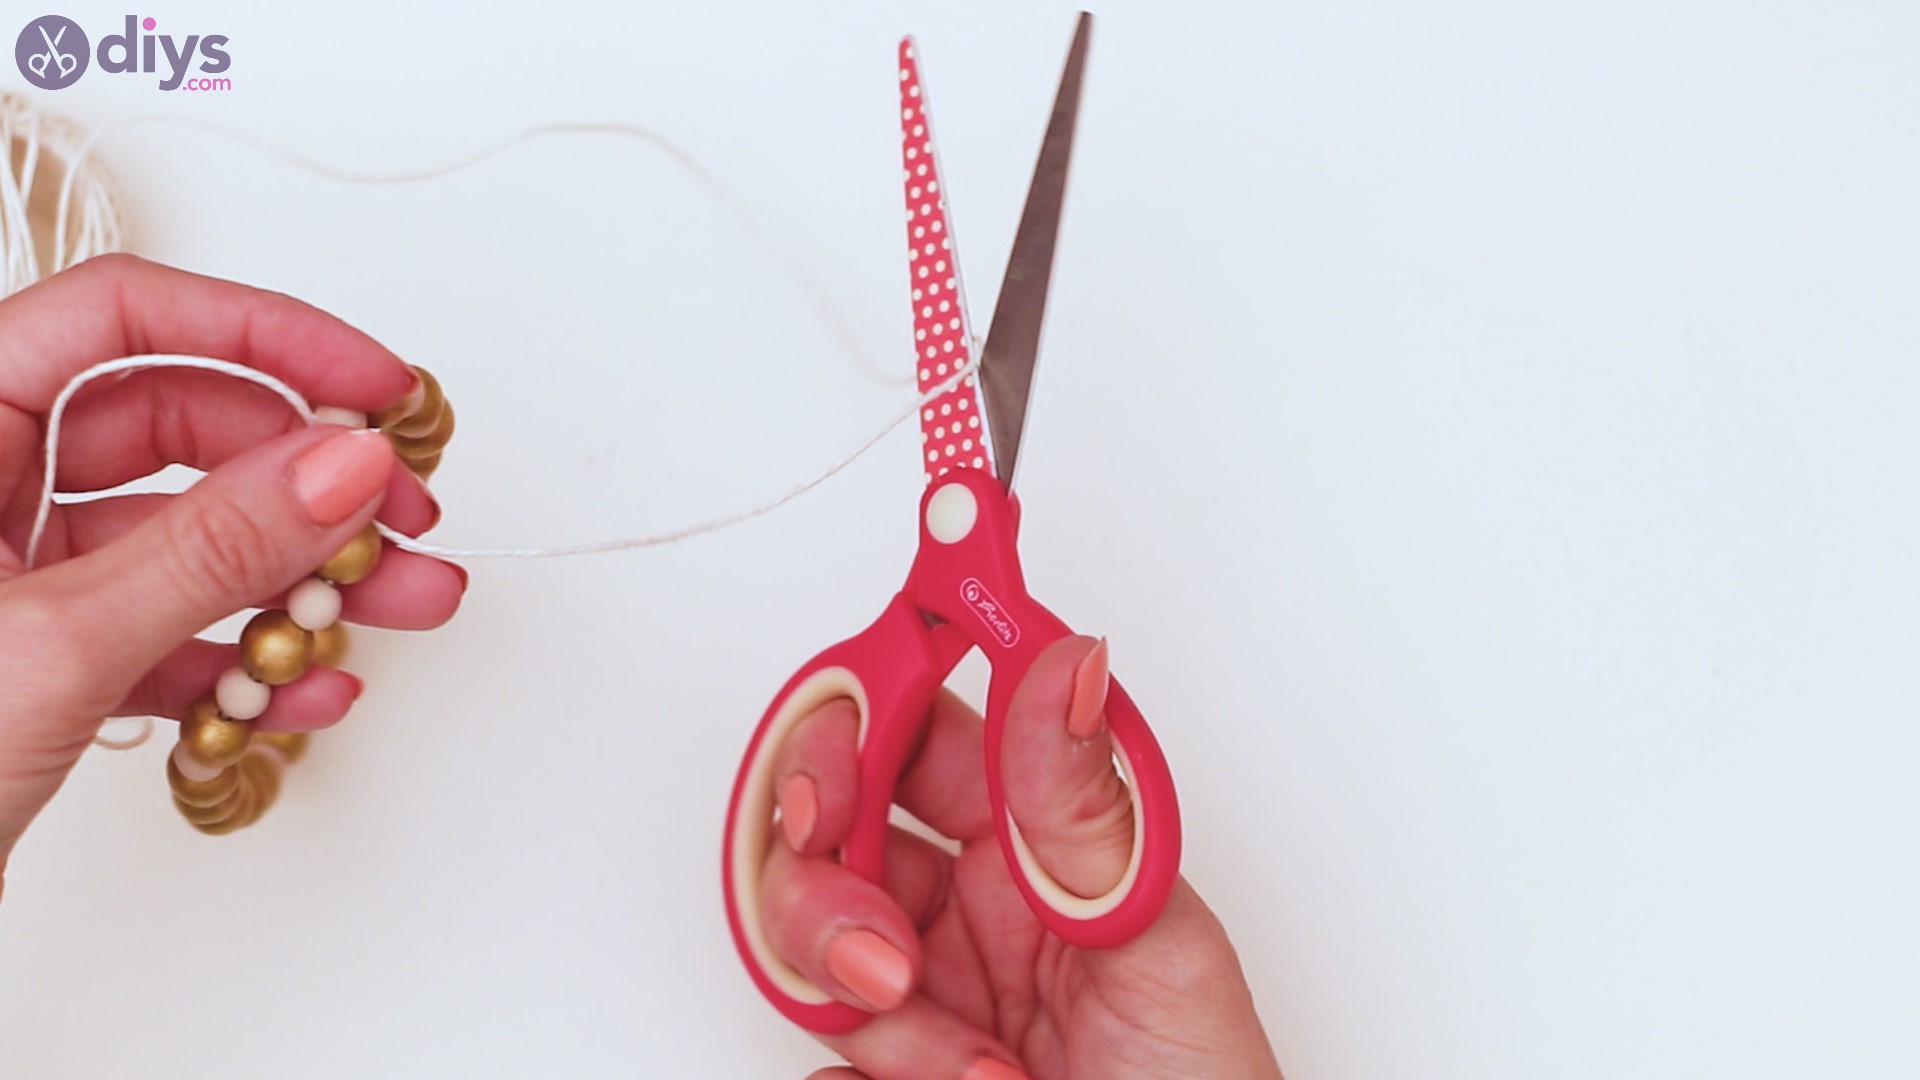
When you’re done, tie the thread together with a double knot.


Cut the excess thread, allowing some extra length.

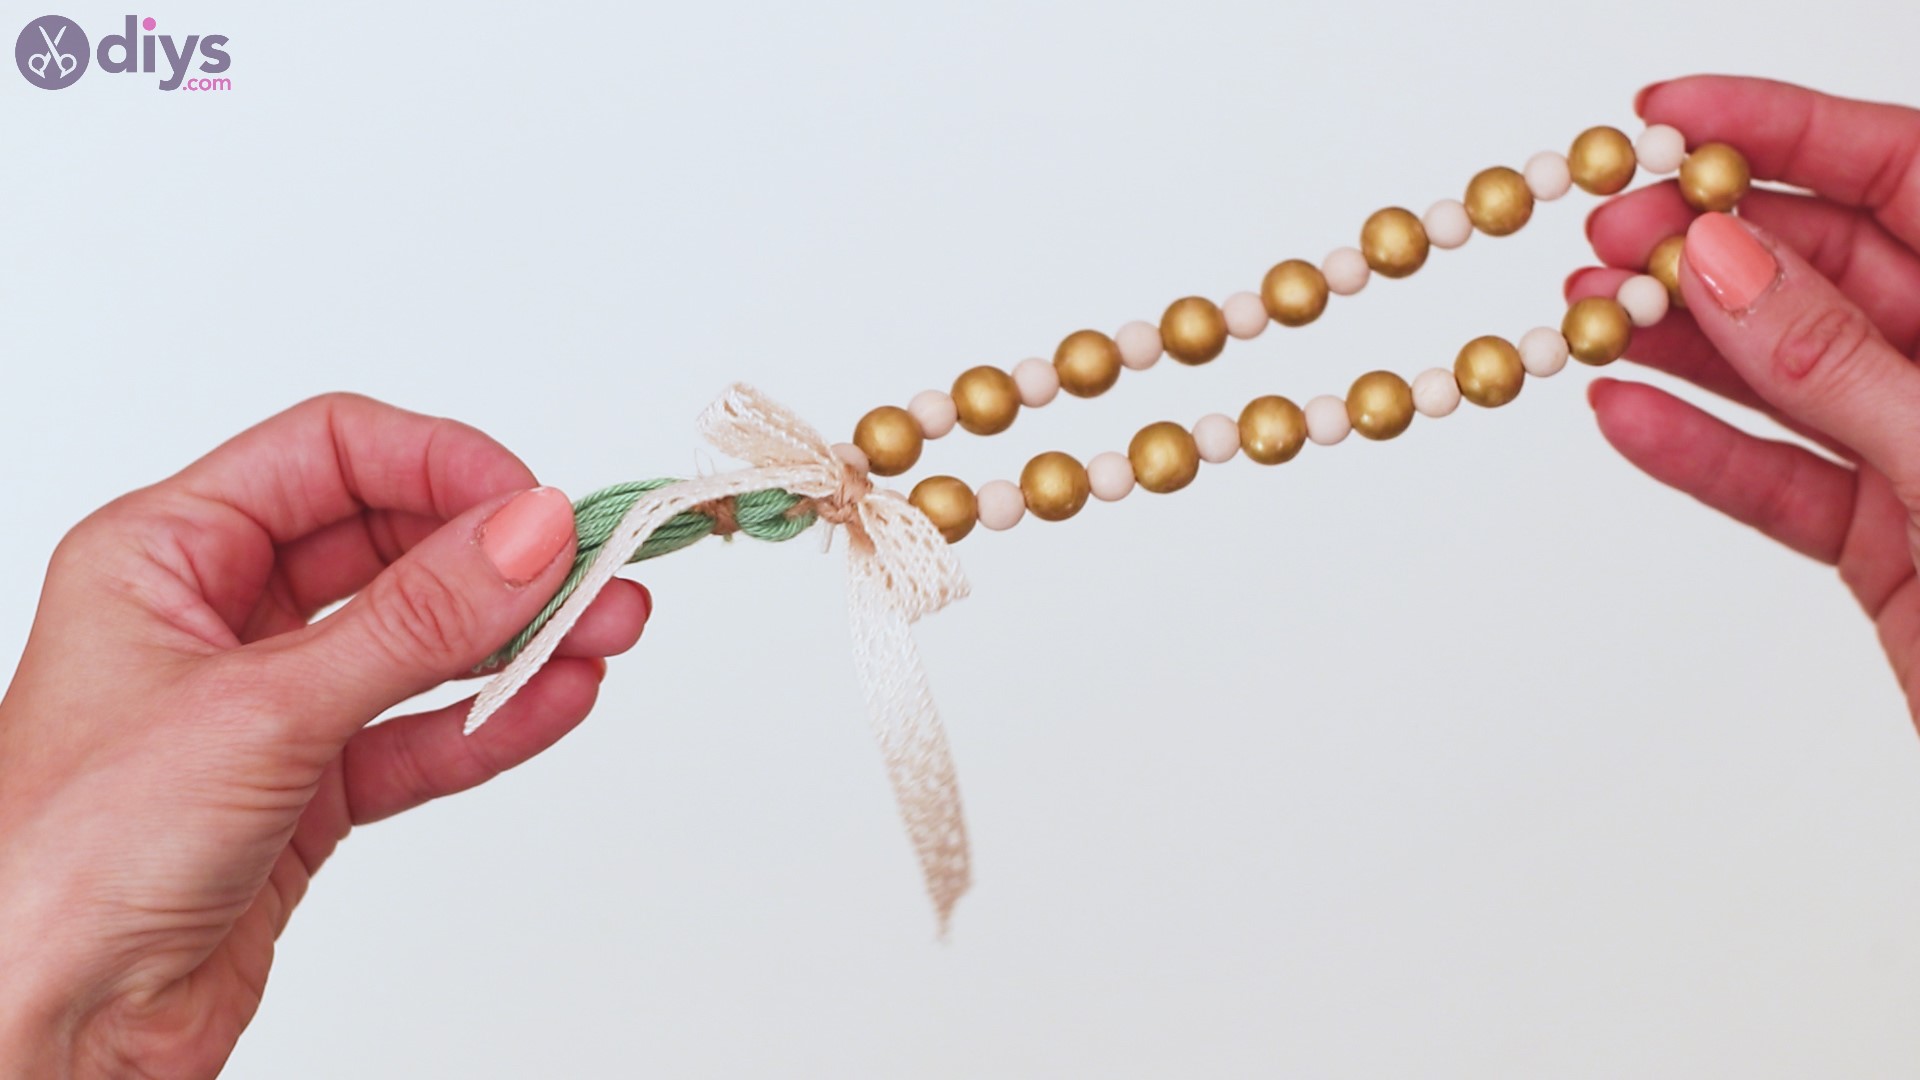
Step 5: Make a bow
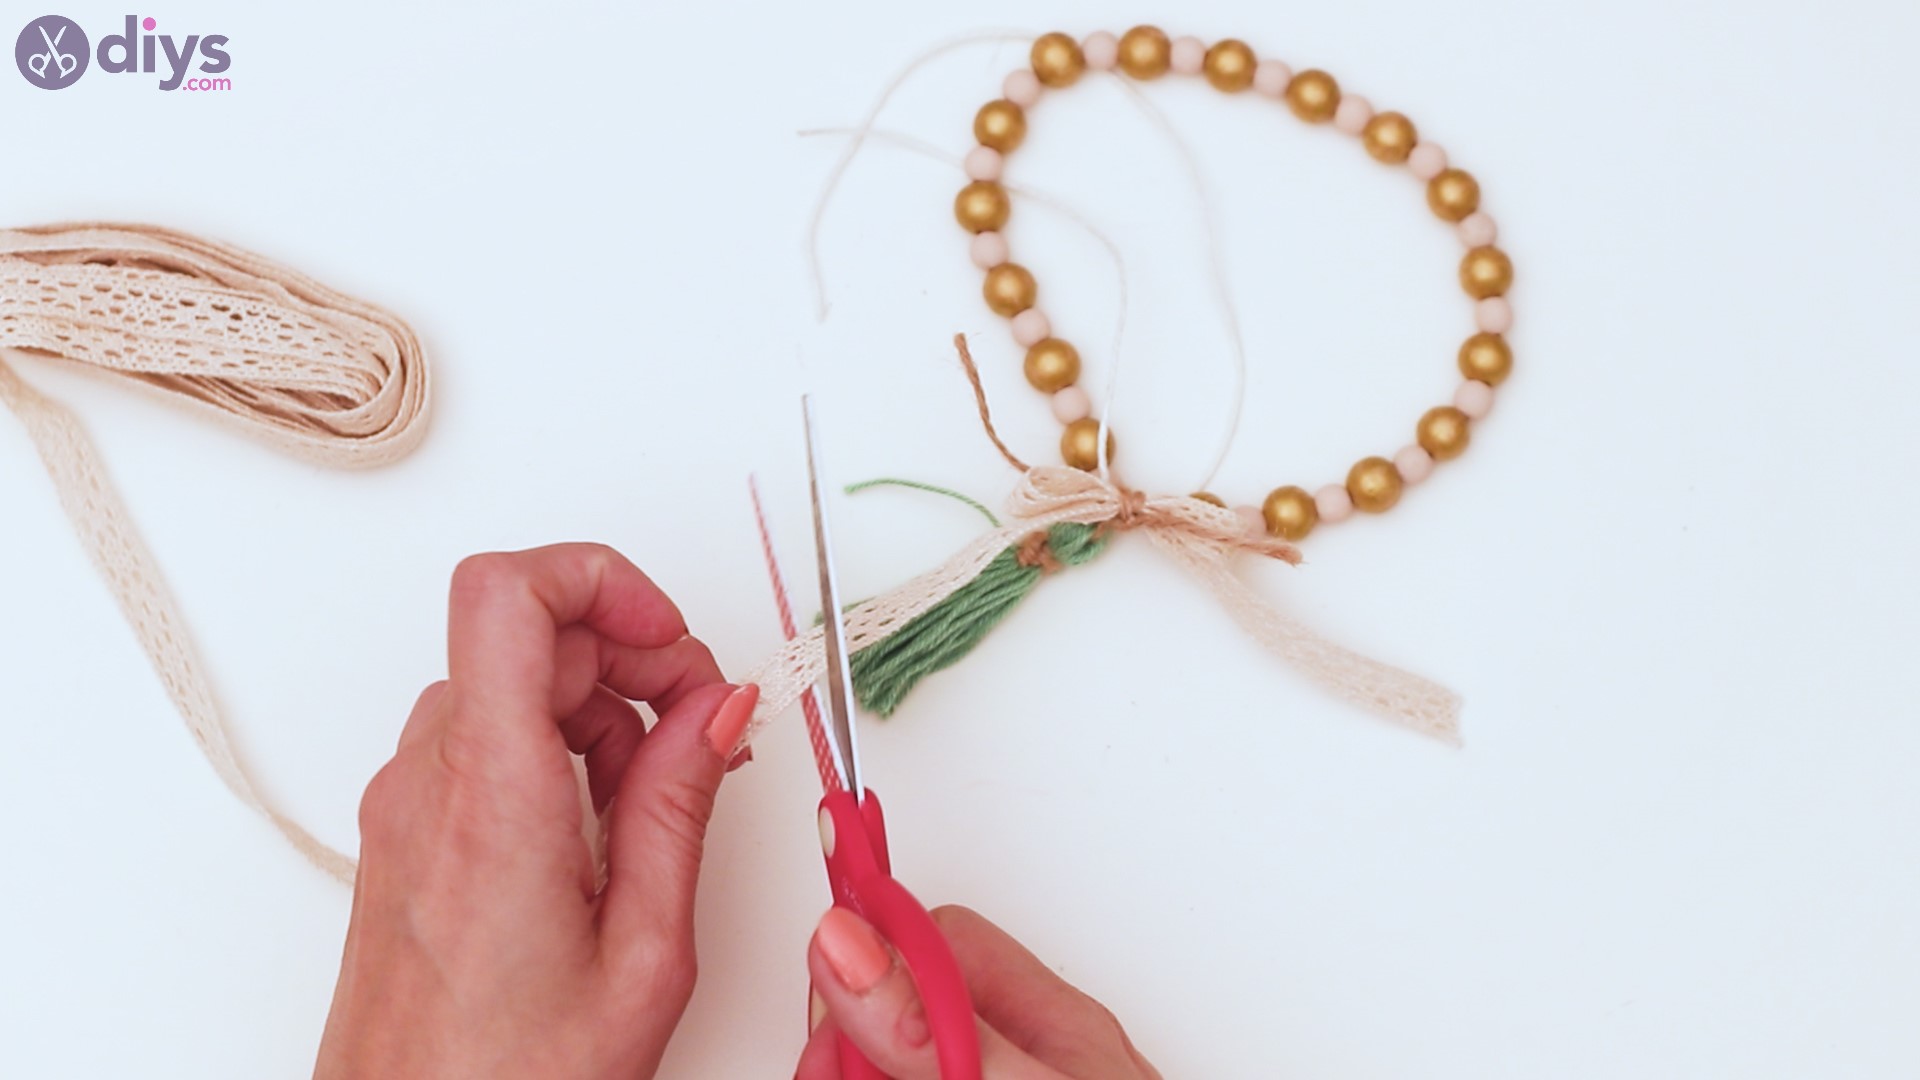
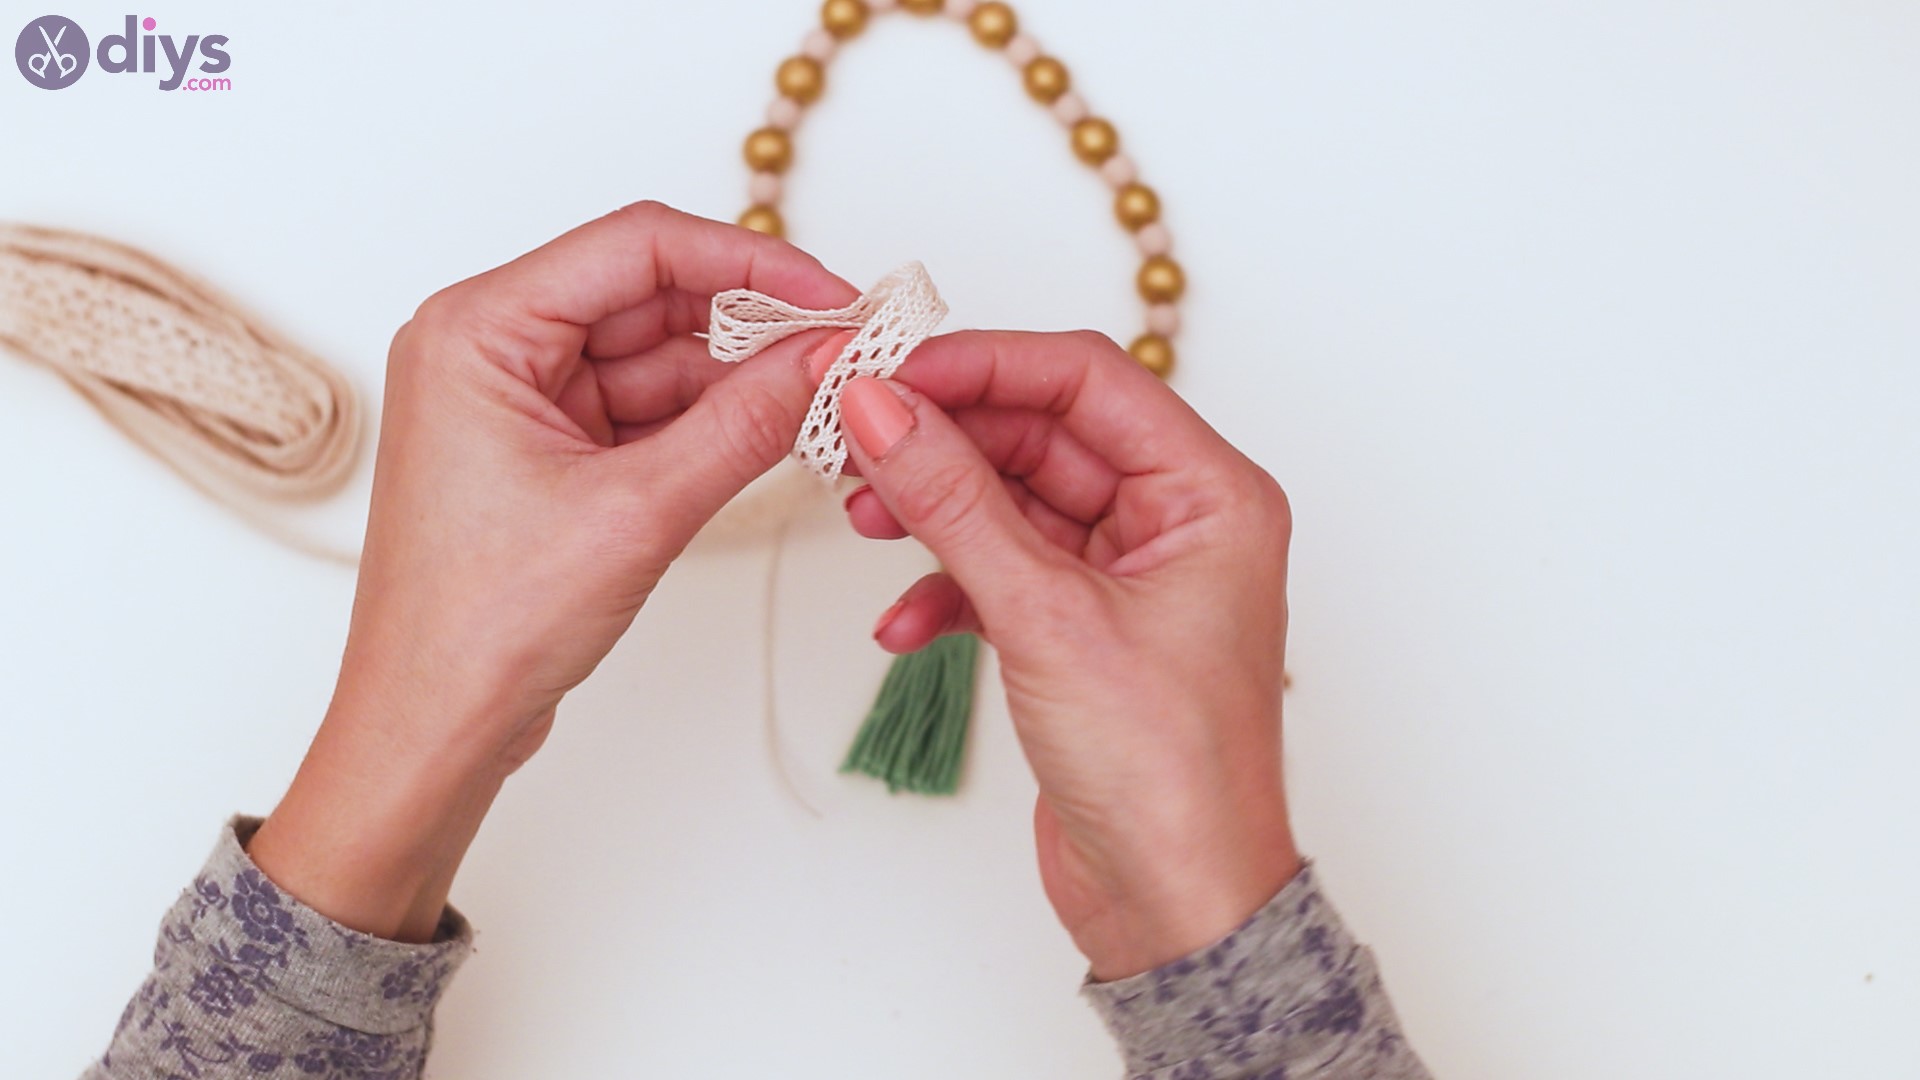
Next, it’s time to make a bow. Get the lace ribbon and arrange the material in the shape of a bow.

Get the tassel, place the bow on the beads and tie the hemp twine over the middle of the bow. In this way, you’re tying all of them together.
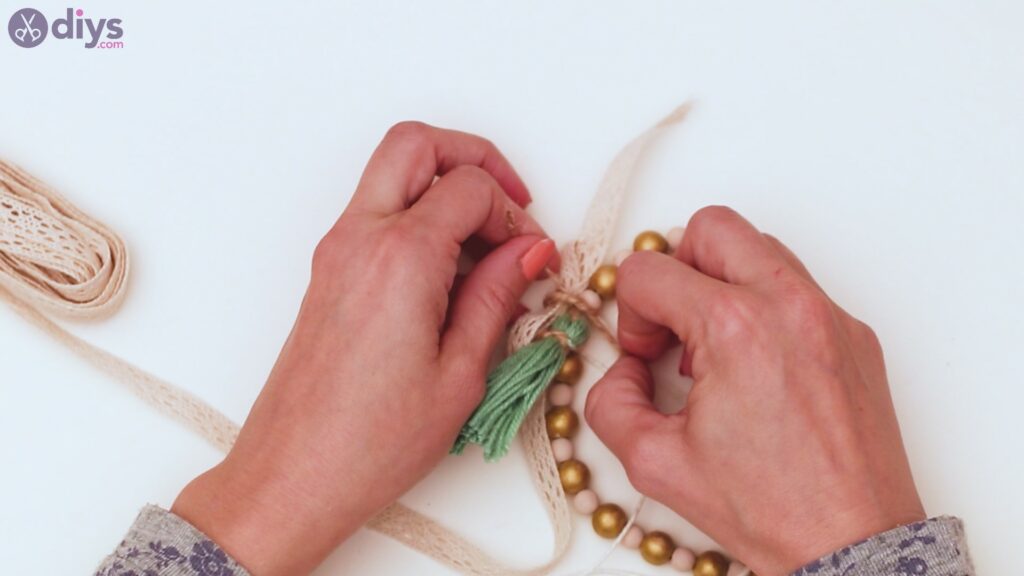
Cut the lace ribbon with your scissors, making sure both sides are about the same length.
 \
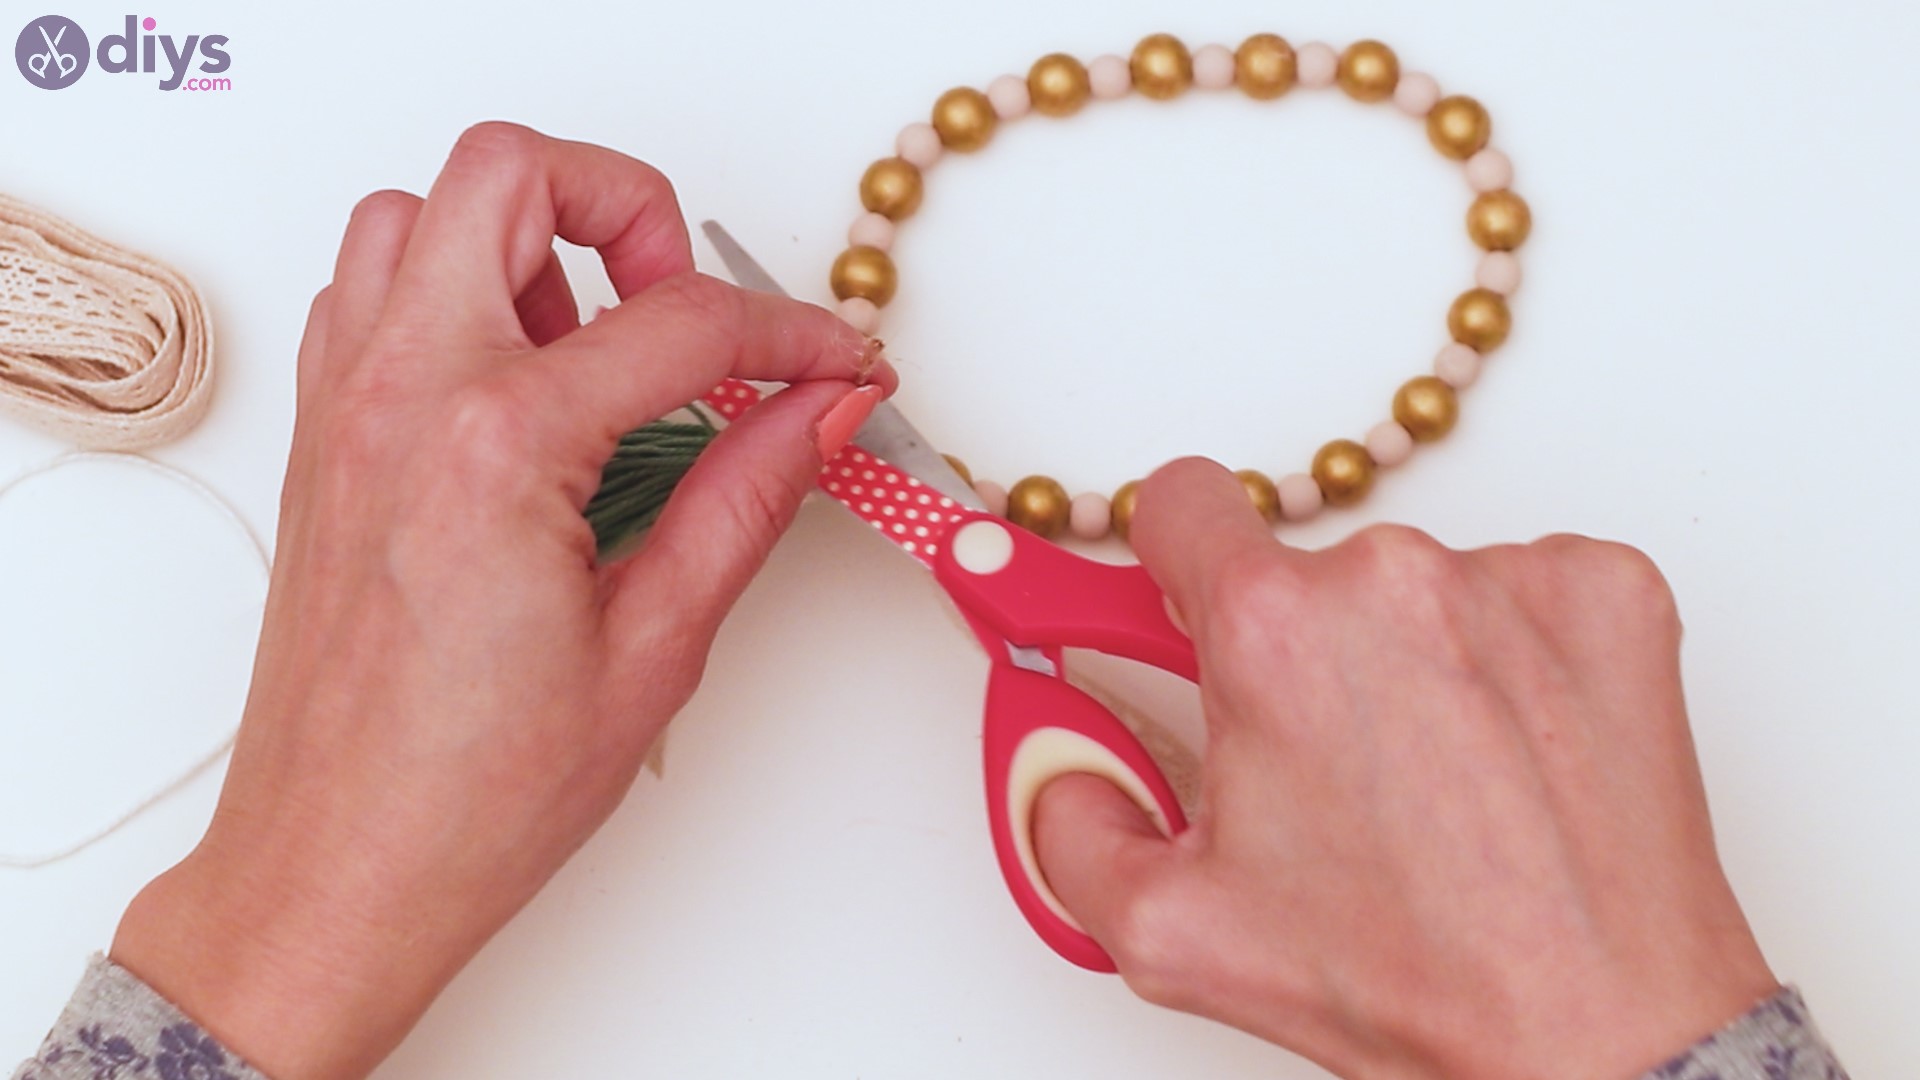
\
Now that all elements are secured, you can also cut the extra twine on from the tassel.

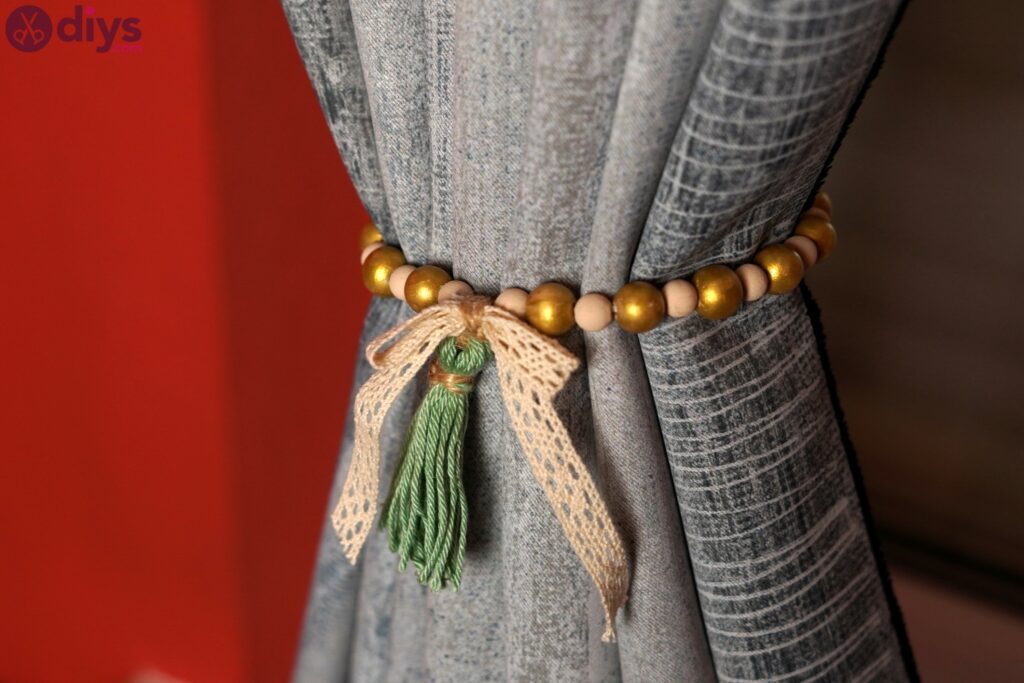
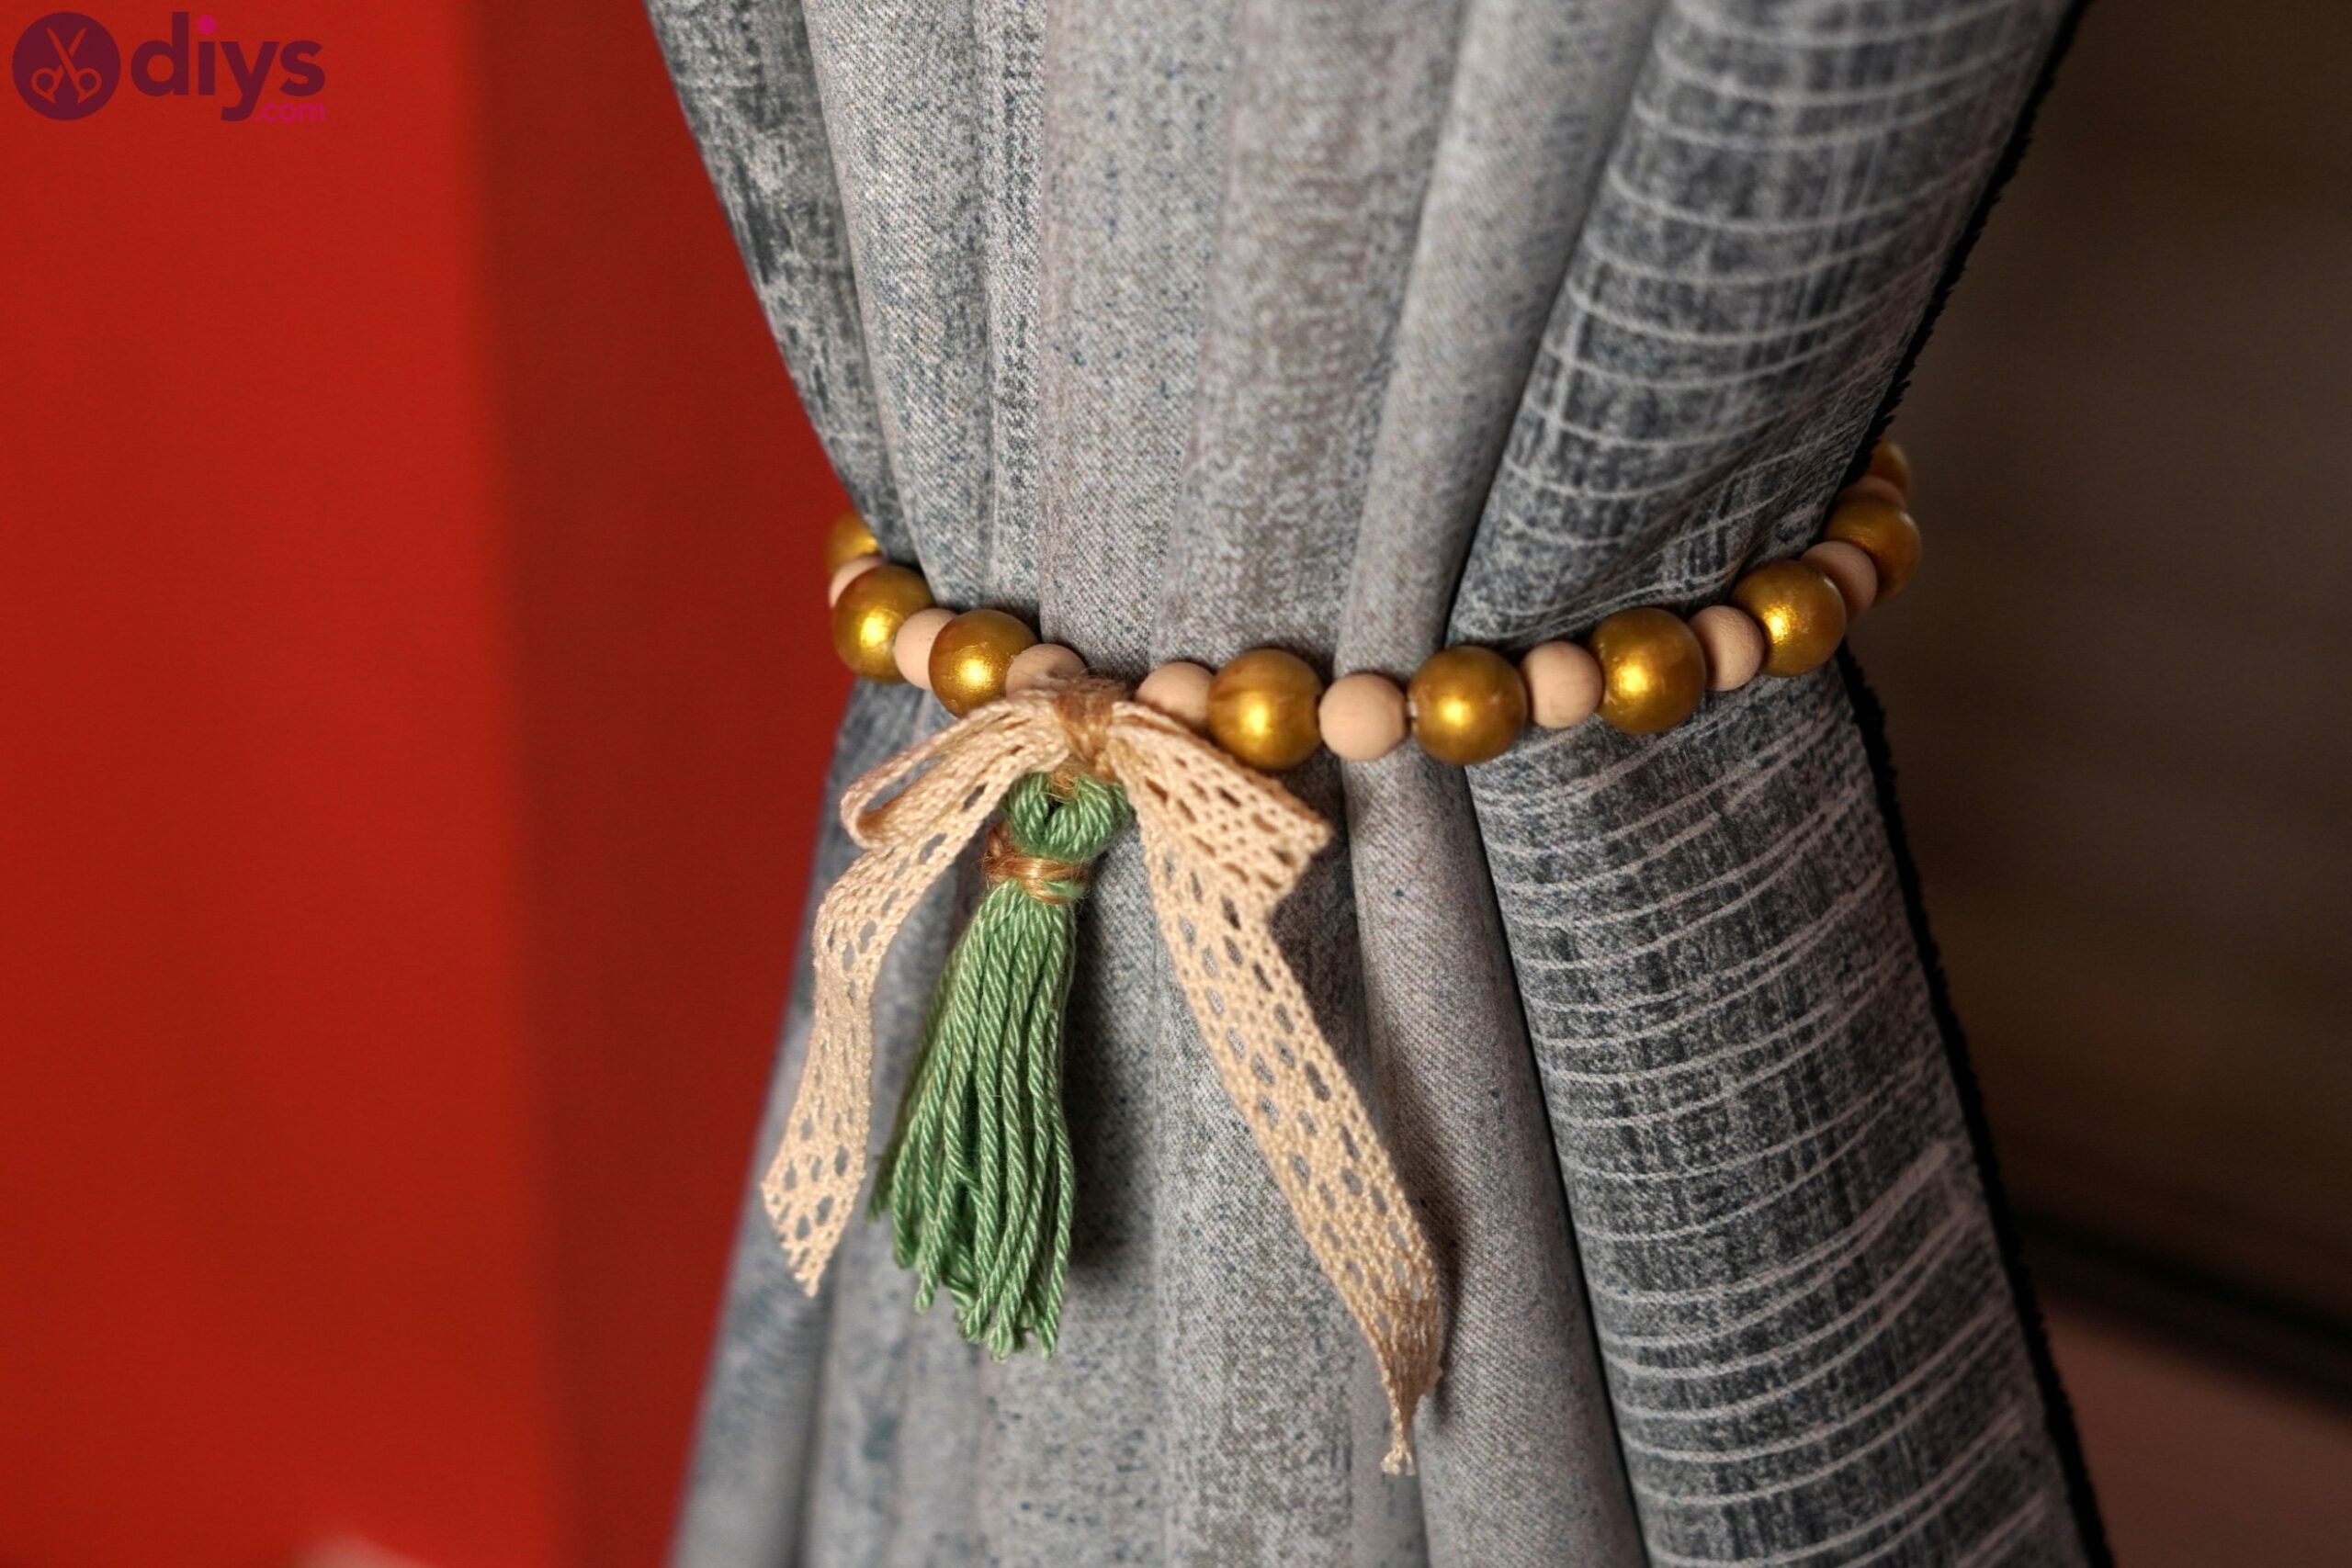
There you have it! A very pretty curtain tieback!

The craft looks so nice on these curtains and we’re sure it will look just as nice with yours. Of course, the craft is easily customizable as you can change the color of paint you’re using on the wood beads, as well as that of the yarn used for the tassel.

Tell us what you think about this design by dropping a comment in the section below. Also, we’re love to see your creations, so share your pics with us over social media!