DIY Concrete Door Stopper
Updated on November 19, 2025


For some reason, I’ve been feelingvery into DIY concrete crafts lately. There’s just something so satisfying about moulding something from scratch and forming a whole piece yourself! After making several trinkets and decorative things, however, I feel like it’s high time now that I make myself something from concrete that’s a little more practical, even though I still wanted to keep it simple. That’s how I came up with this DIY concrete door stopper idea!
Once I’d stopped one loose door from swinging in the breeze every time I opened the window in my old house, I knew I needed more of them. Now I have several and I’ve bee so happy with them that I decided to make sure other people can learn how they’re done too. Check out these step by step instructions complete with photos! If you’d rather follow along with a video tutorial instead of written words, scroll to the bottom of this post to find just what you’re looking for.
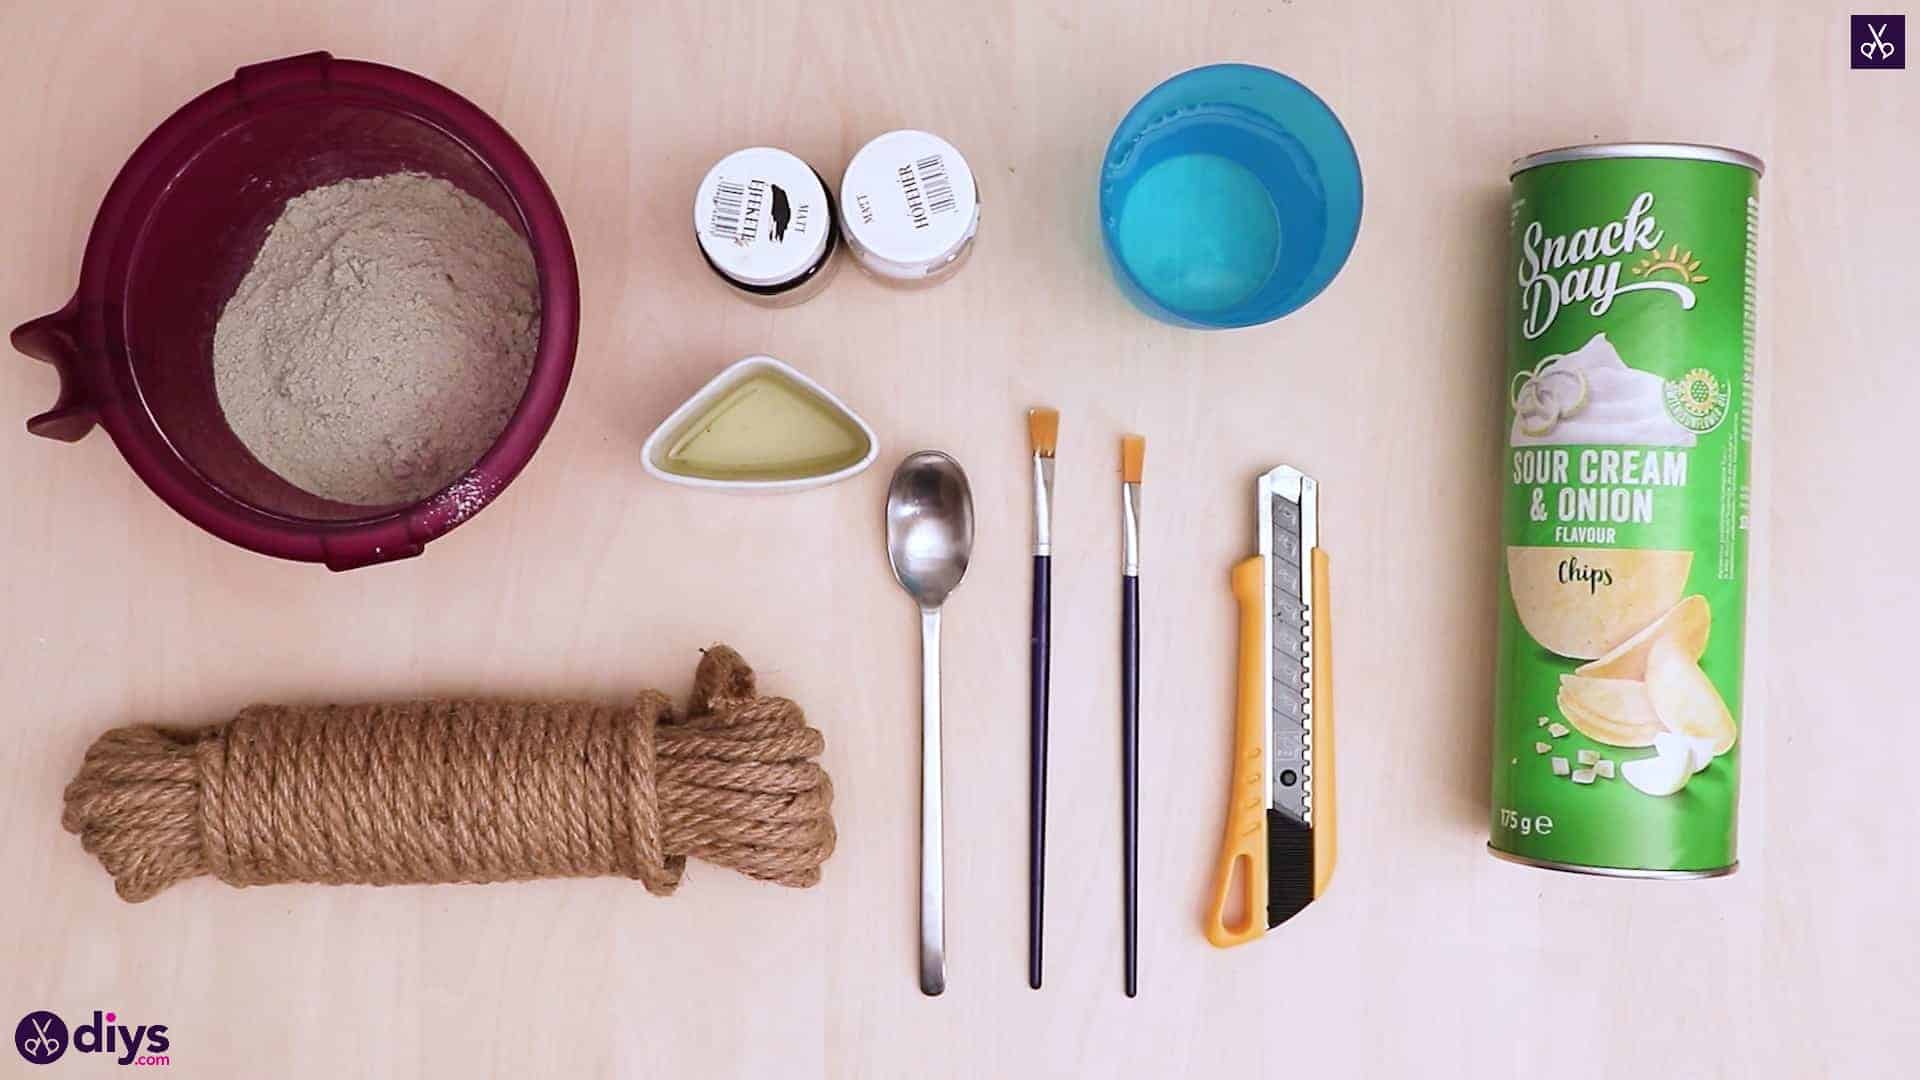
For this project, you’ll need:
- DIY fine particle cement
- Water
- A spoon
- A sandpaper block
- Scissors
- Tape
- Oil
- A paintbrush
- A folding utility knife
- Thin rope or thick jute spring
- Paint (black and white)
- An empty chip tube (like Pringles)
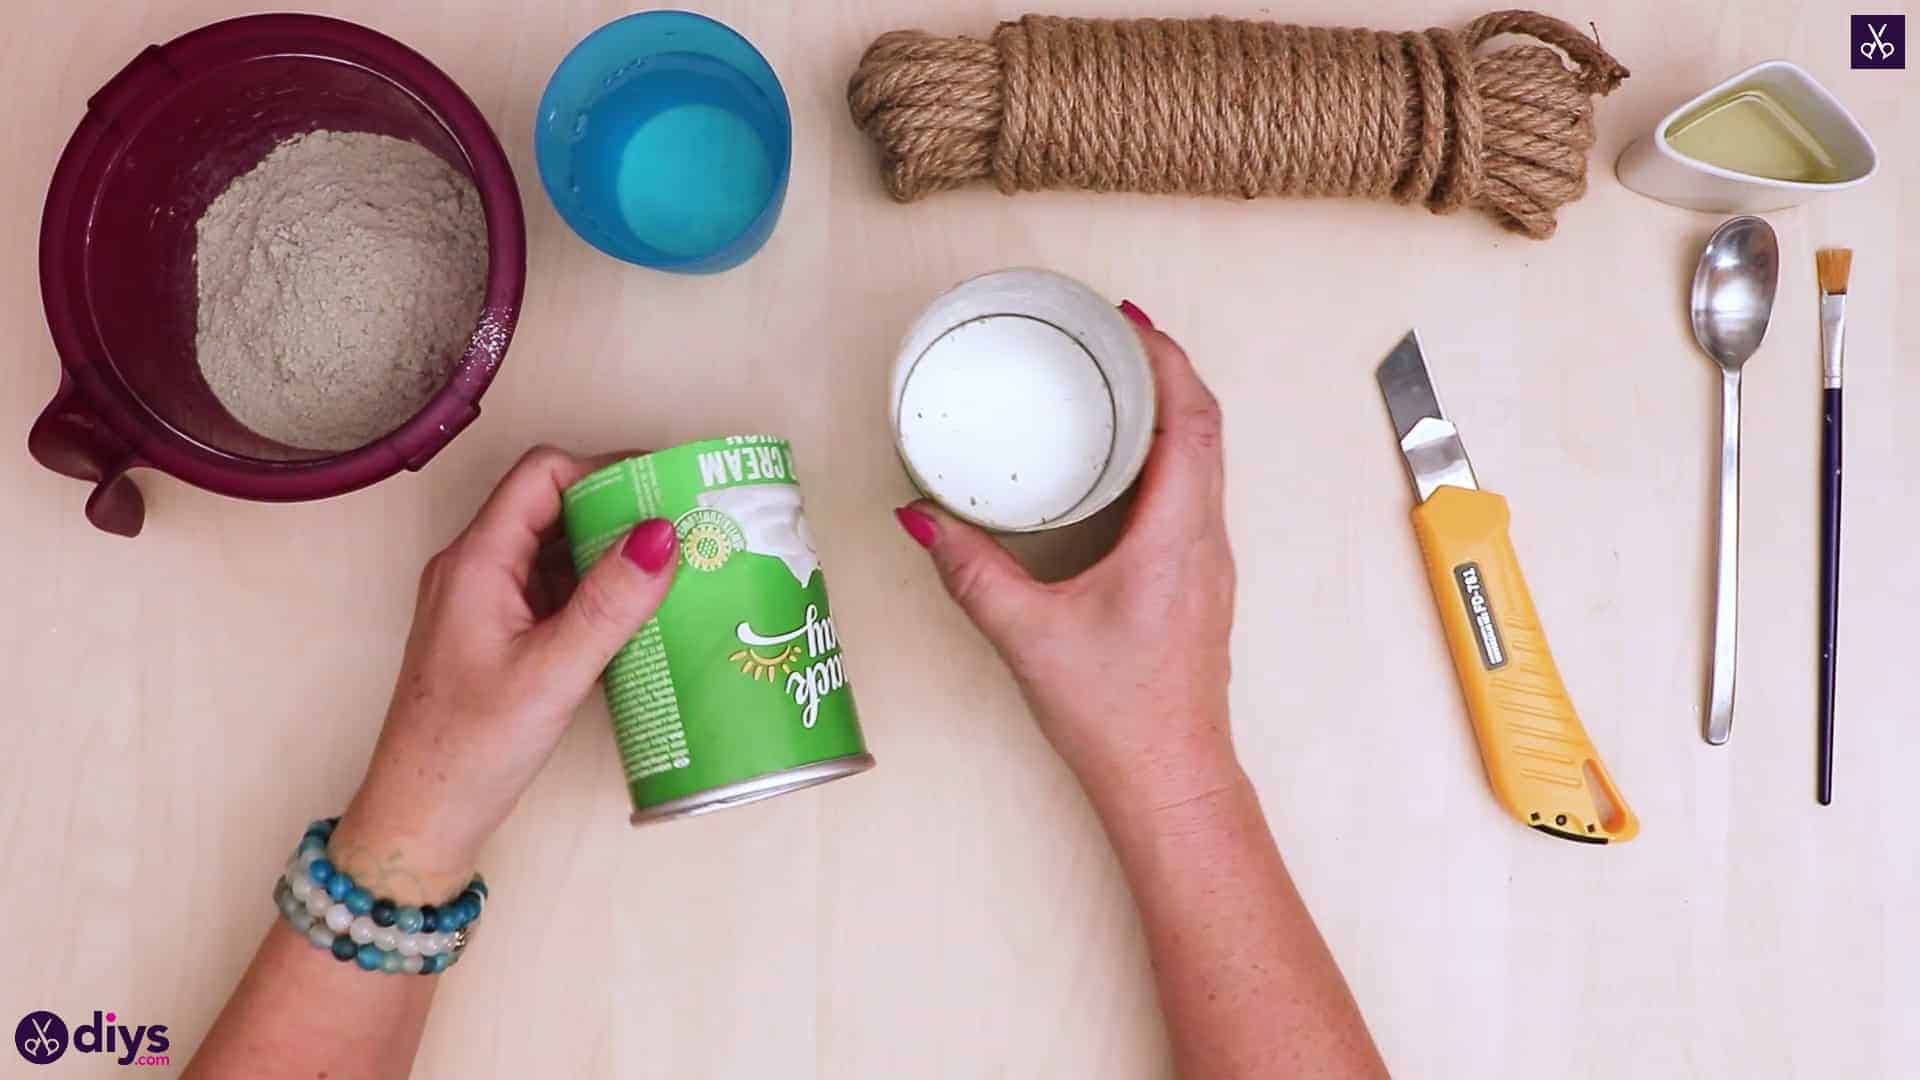
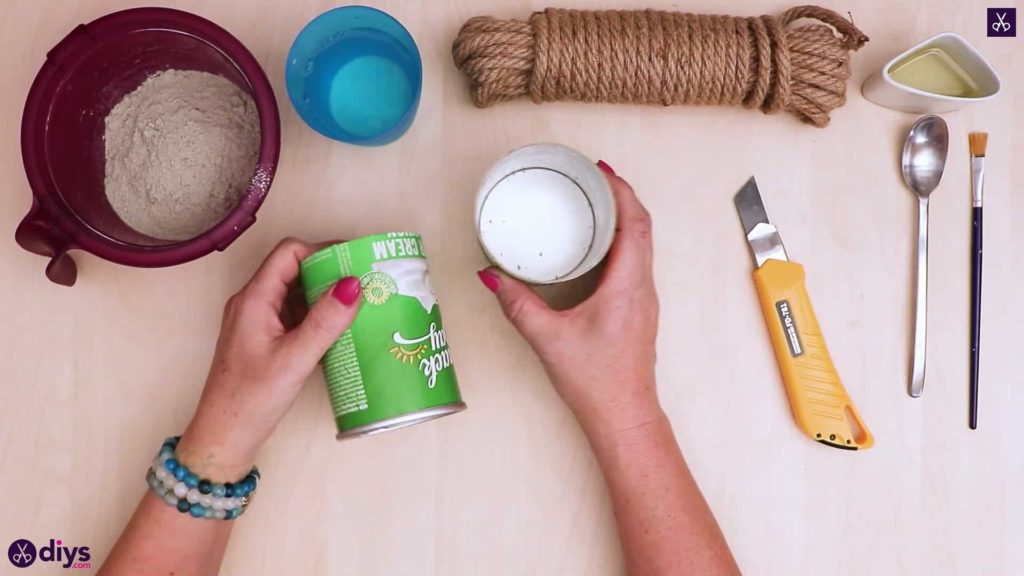
Step 1: get what you need
Gather your materials and ensure you have everything you need. This is important when working with concrete.

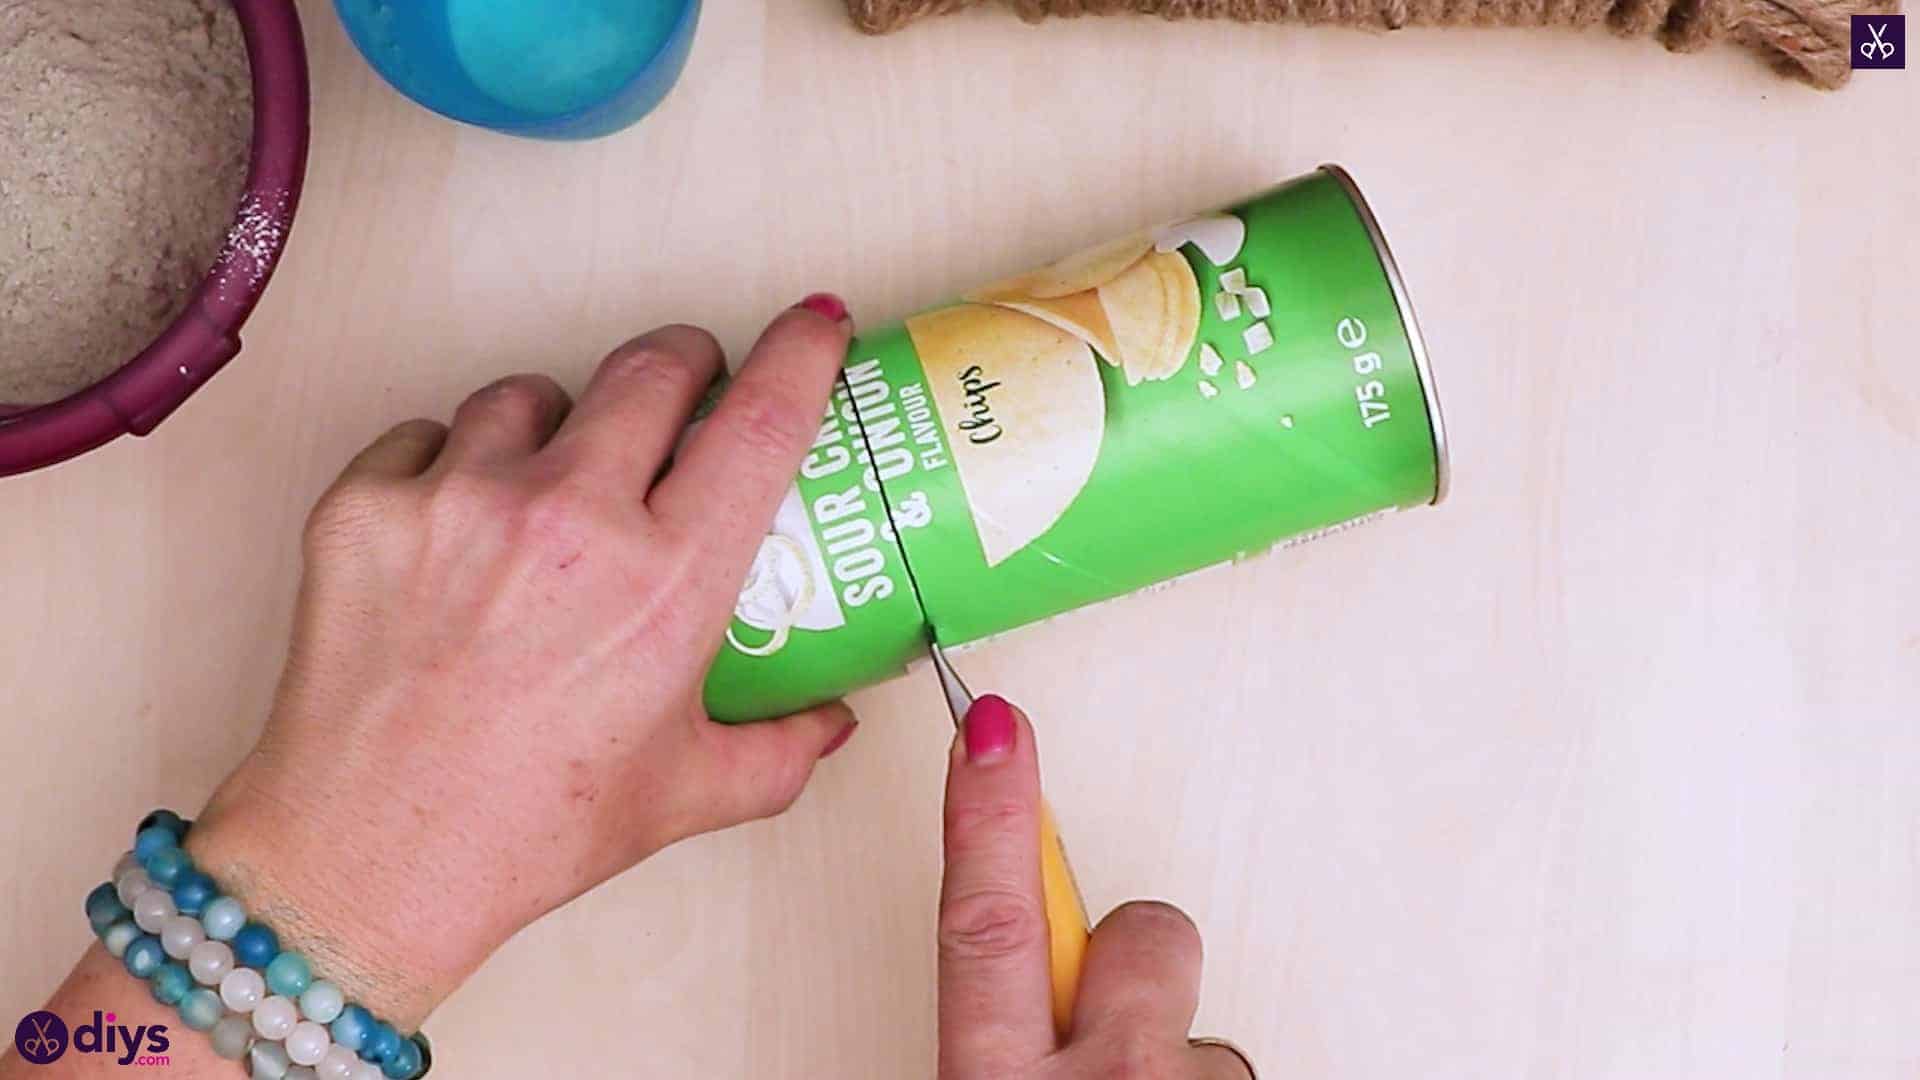
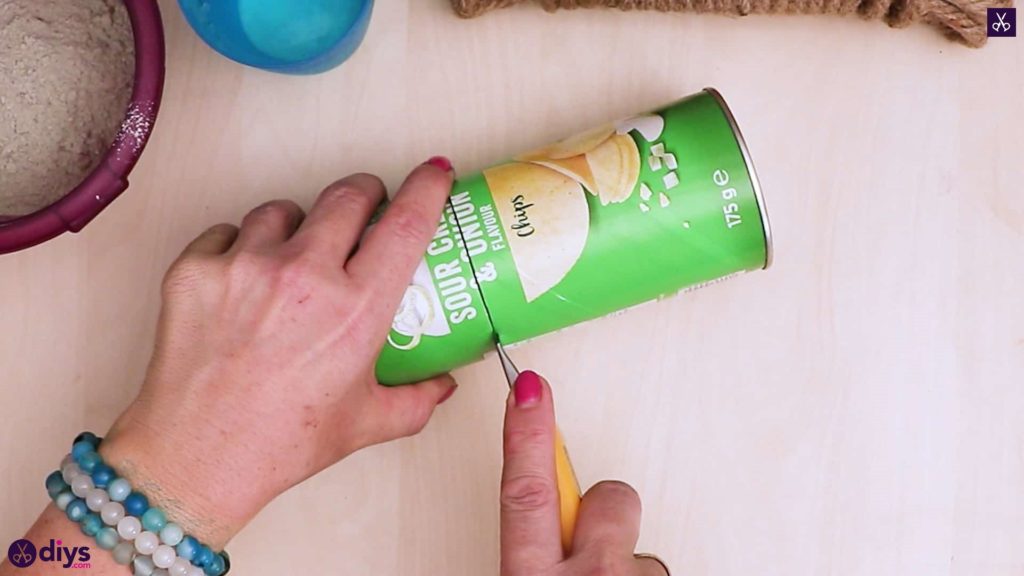
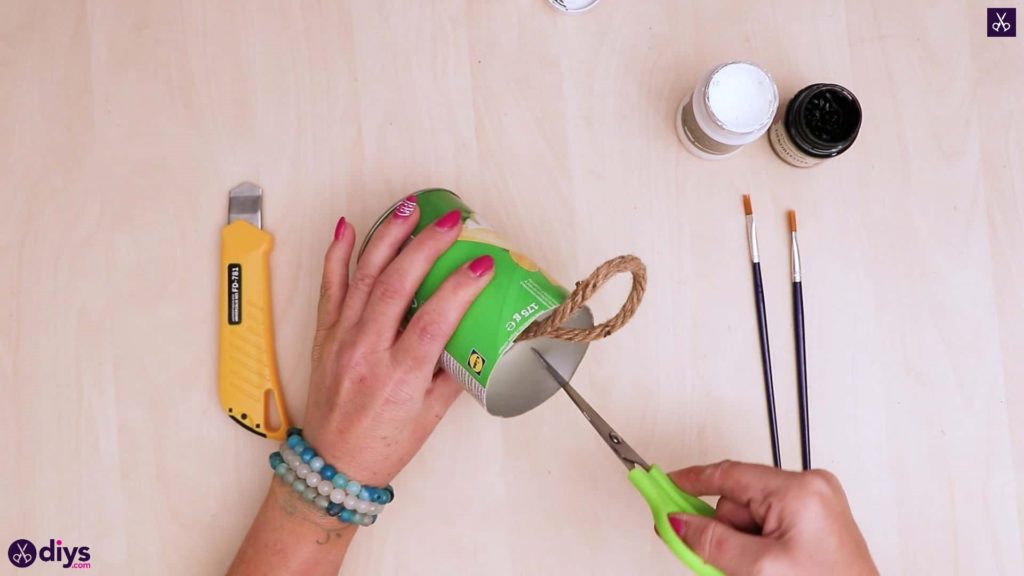
Step 2: cut the tube
Use your utility knife to carefully cut your chips tube in half through the cardboard (or into pieces that leaves you with a bottom section about 5inches tall). You’ll be working with the bottom half, so you can discard the top that has a hold in both its ends.
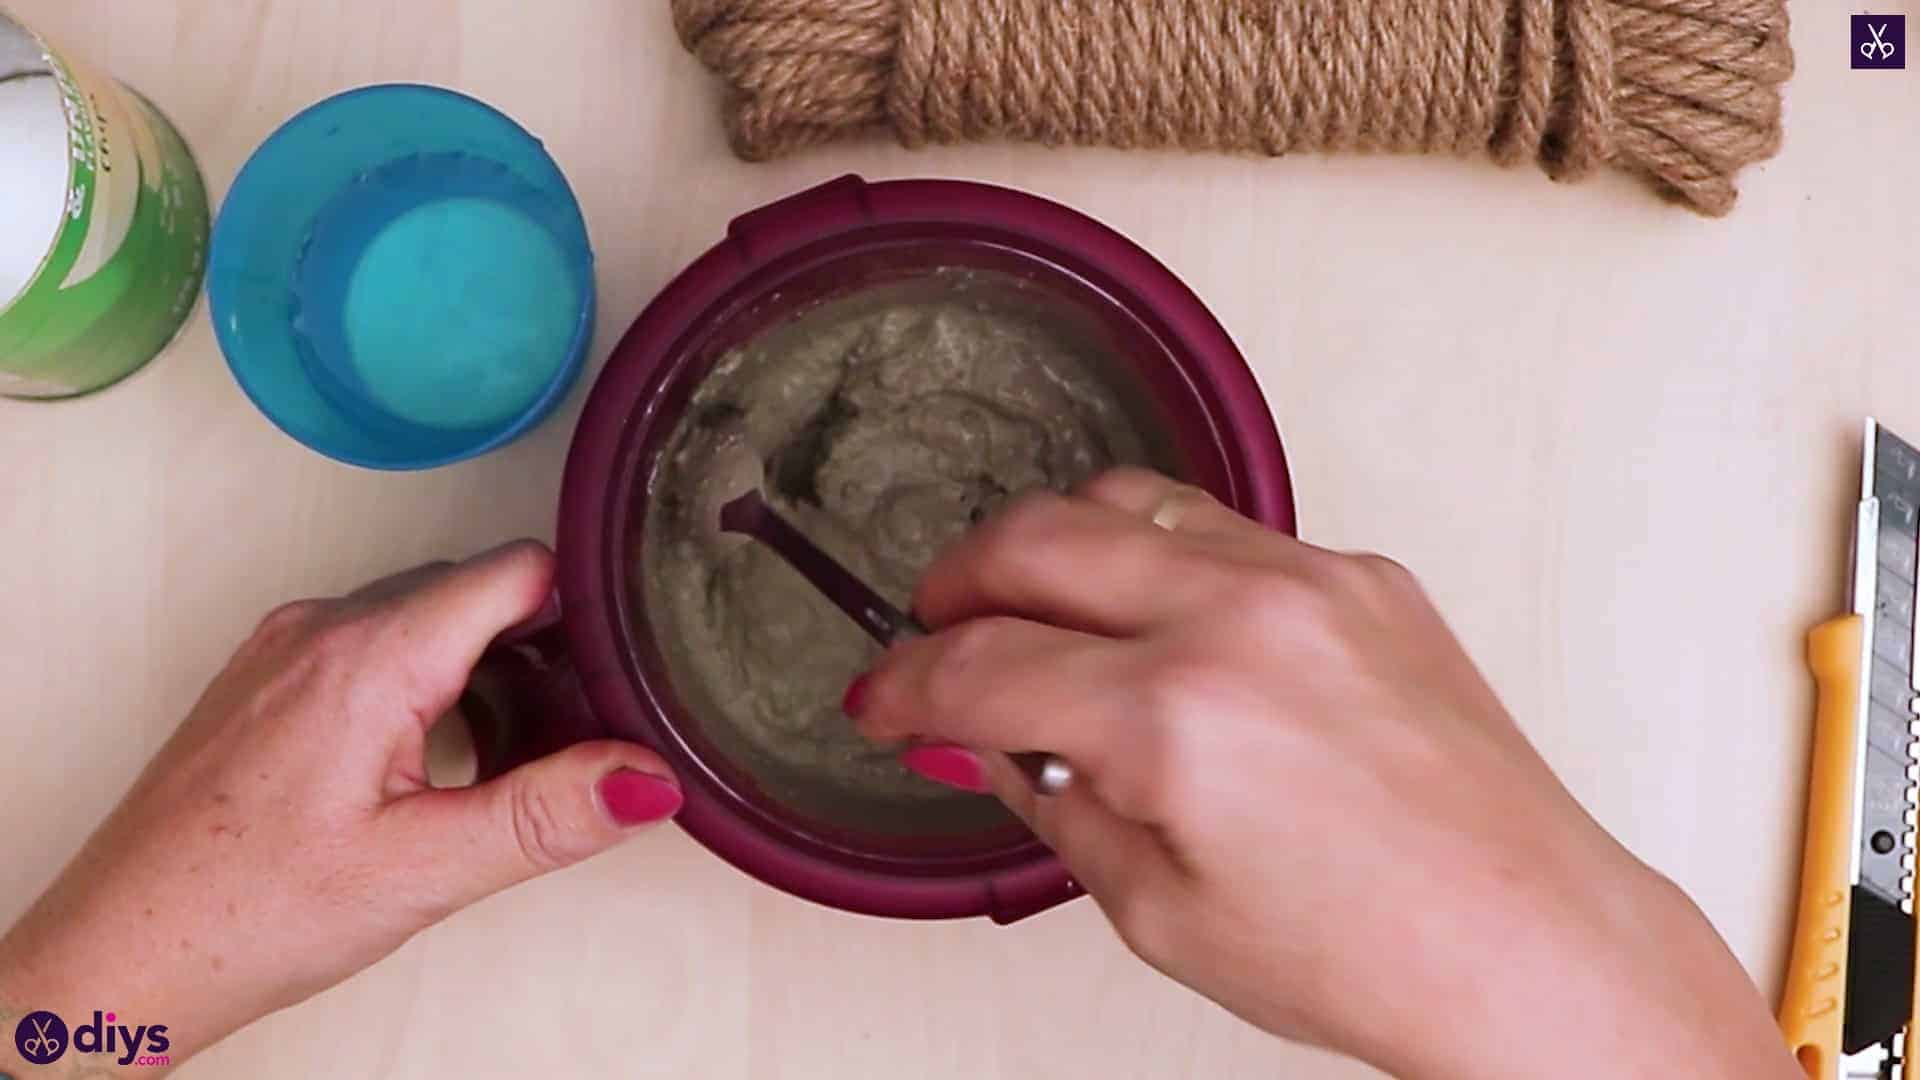
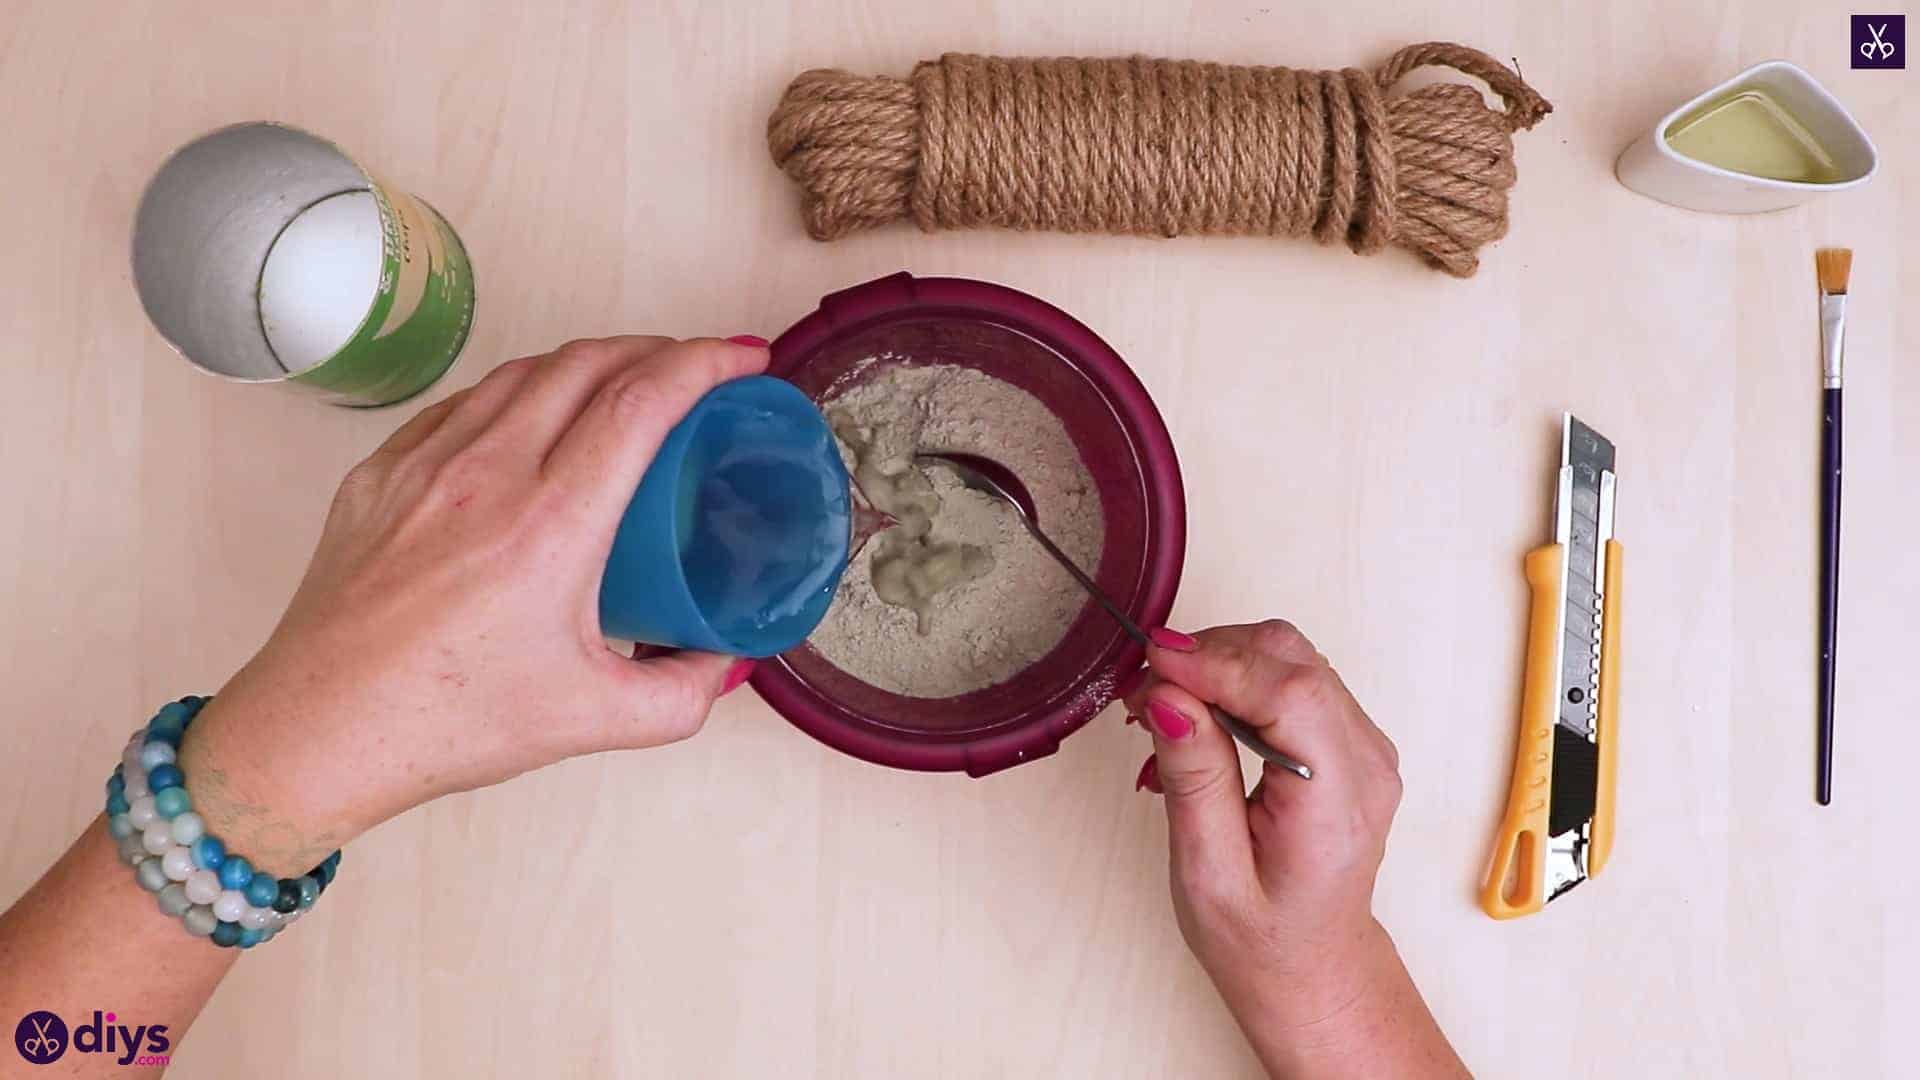
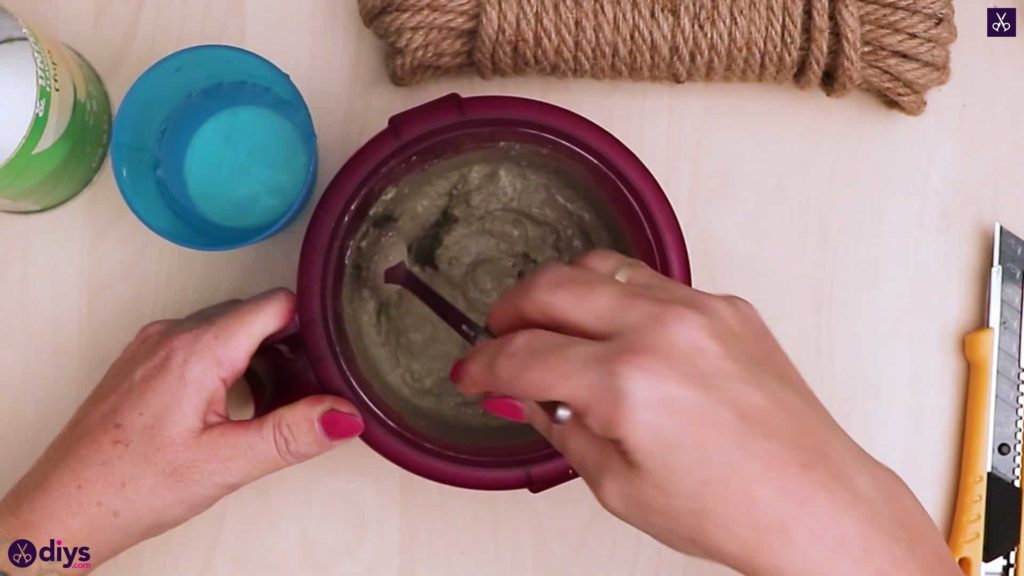
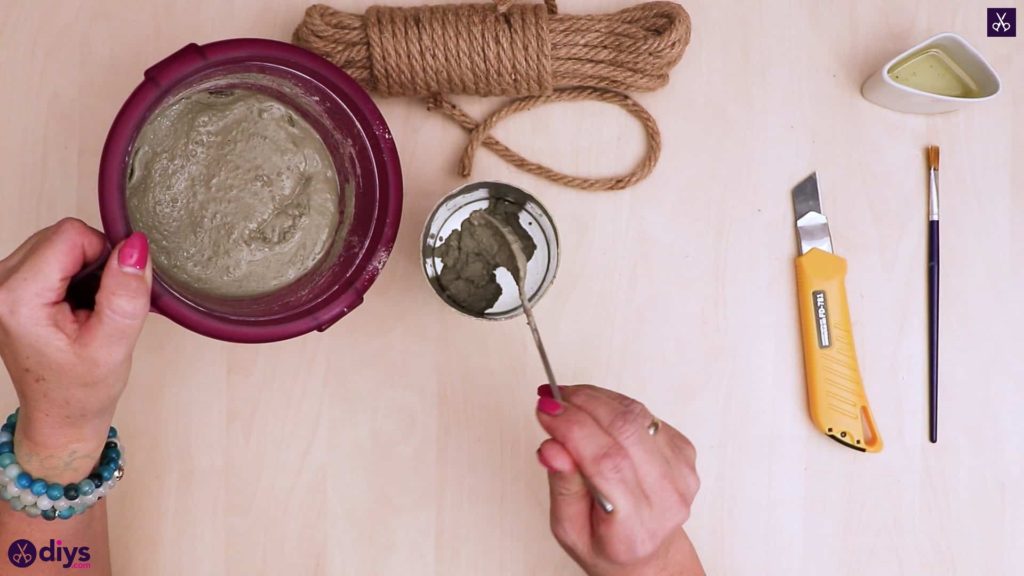
Step 3: mix the cement
Use your spoon to mix your DIY fine particle concrete mix until it has the right consistency! Follow the directions on the package to get the right ratio of powdered mix to water, since it can vary from brand to brand.

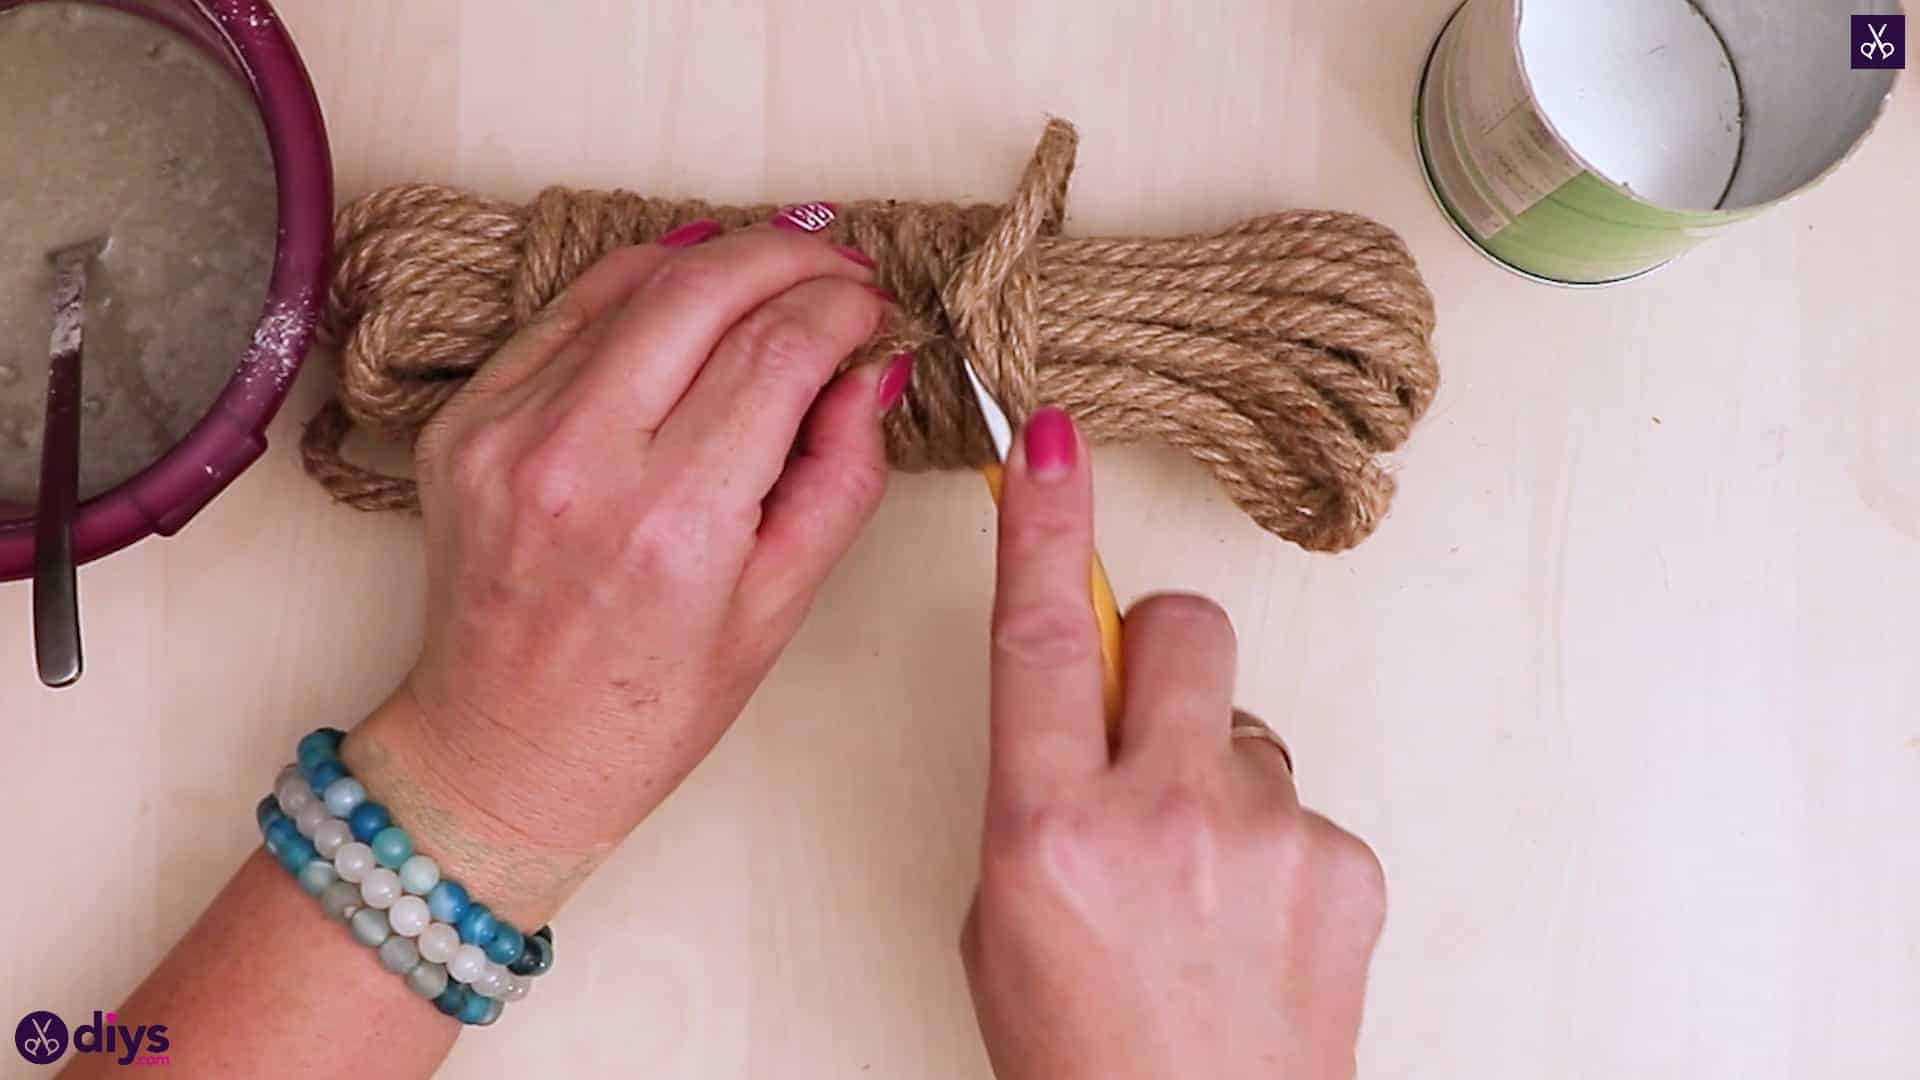
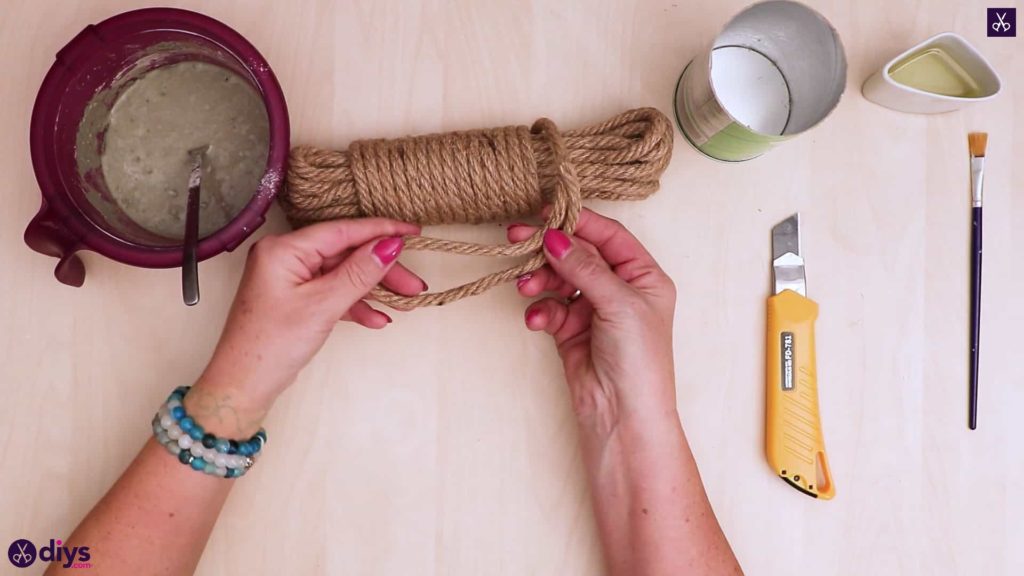
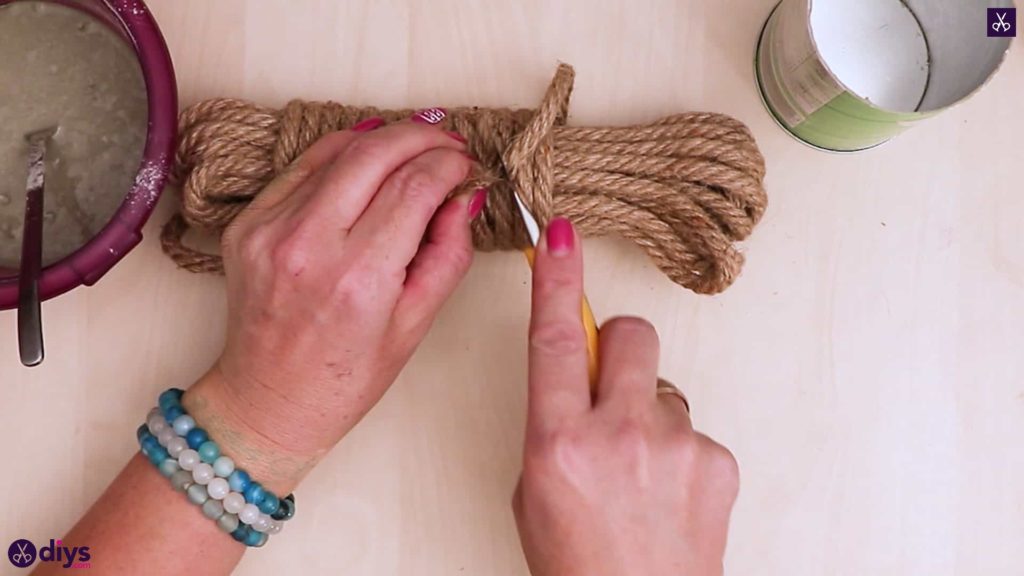
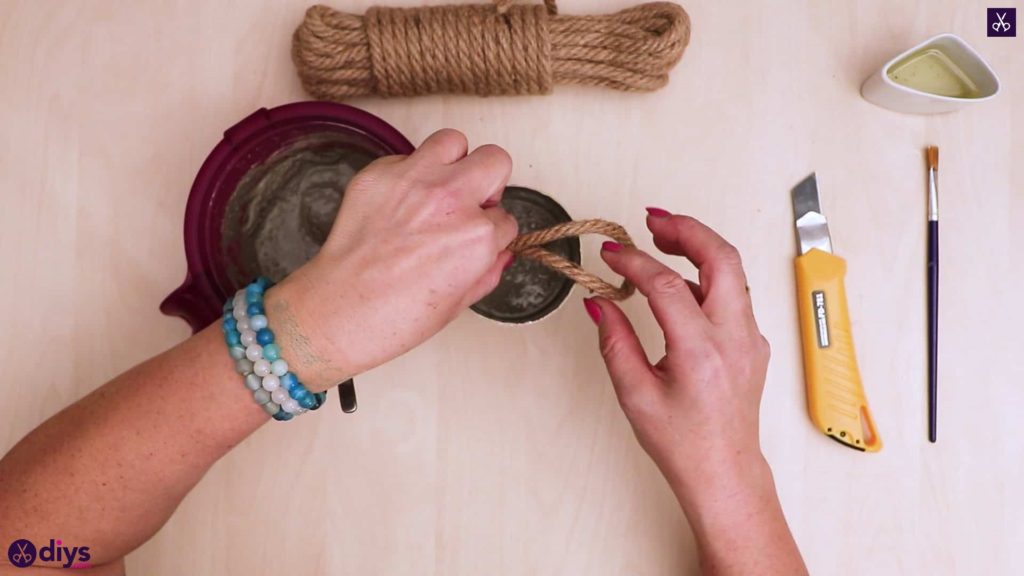
Step 4: cut the twine
Measure out a length of about four inches from the end of your jute rope, and fold that in half to make a loop of about two inches. Cut the length with your scissors or carefully with your utility knife and set the rest aside.
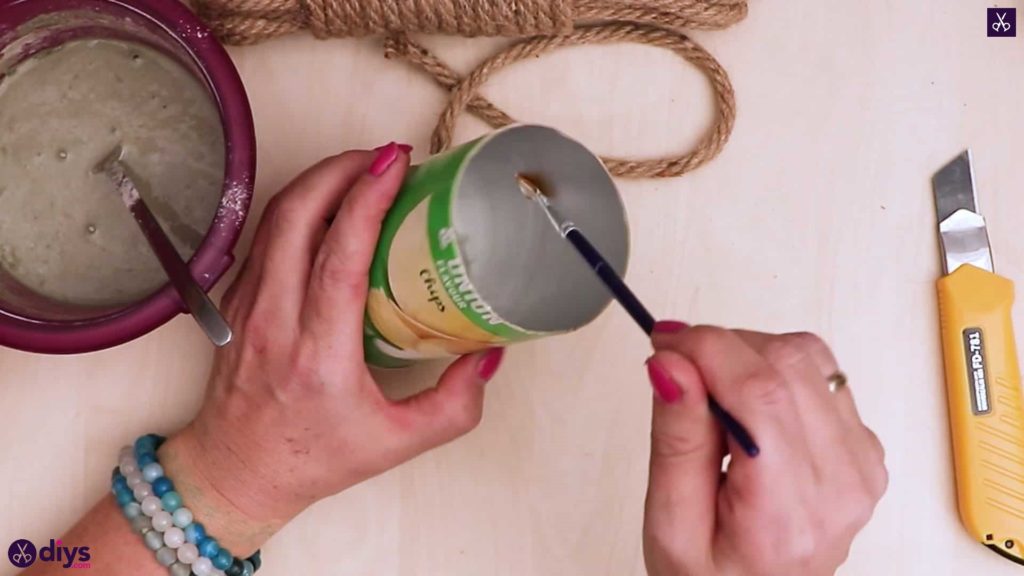
Step 5: oil the mold
Use your paintbrush to brush the entire inside of your bottom tube half with oil. Make sure you coat the whole bottom and all of the sides well; this will stop the tube’s cardboard from sticking to the sides of your new cardboard piece quite so badly.

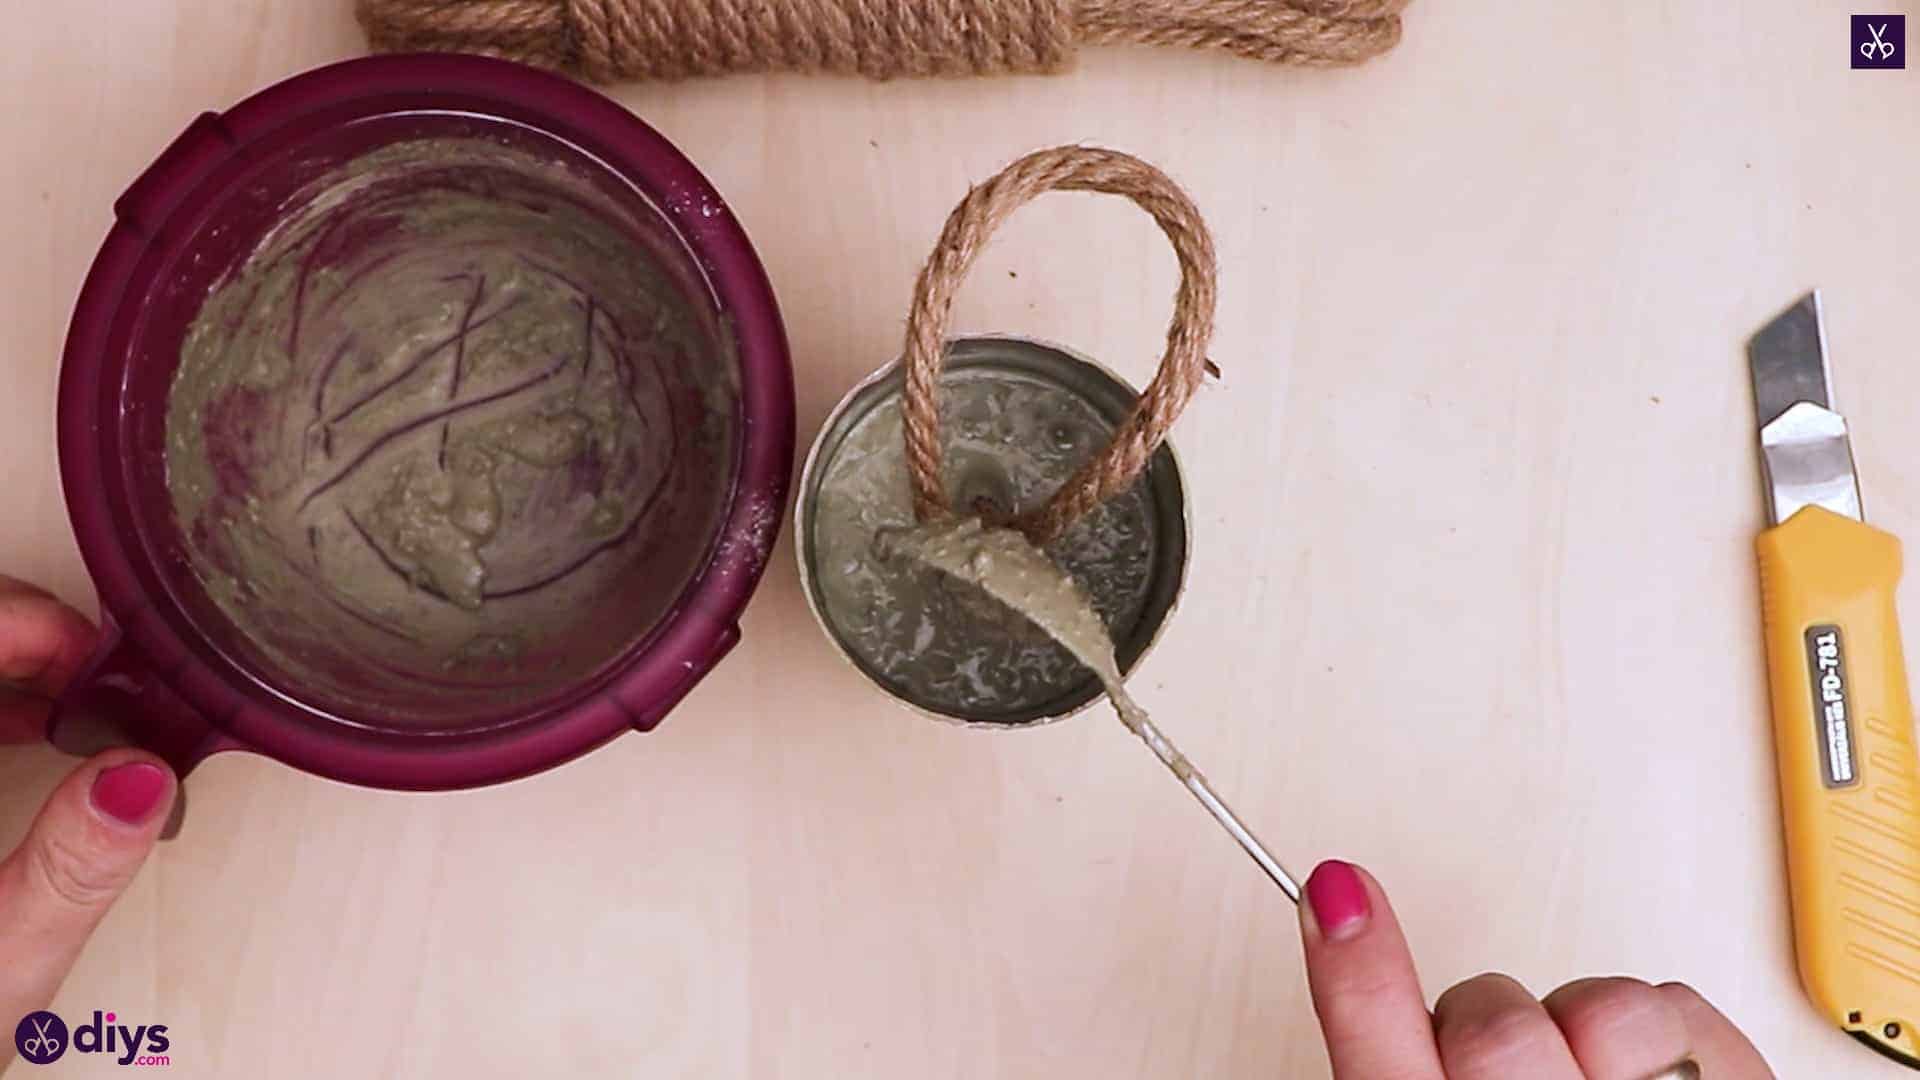
Step 6: spoon in the cement
Use your spoon to fill the inside of the tube entirely with concrete mix. Leave a little bit of space at the top just to make sure nothing spills over. About half way through filling, put the ends of your jute string loop, levelled evenly with each other, into the mix, keeping the rest out. I laid mine out over the edge of the tube to keep the loop and its end in place. Your piece will dry with the ends in the mix so the loop sticks out the top, giving you a handle to move the concrete door stopper around with. When you’re done spooning the mix in, tap the bottom of the tube lightly on the tabletop to level our the surface for an even top on your piece and to get rid of lumps and air bubbles. Then set the entire thing aside to dry thoroughly.


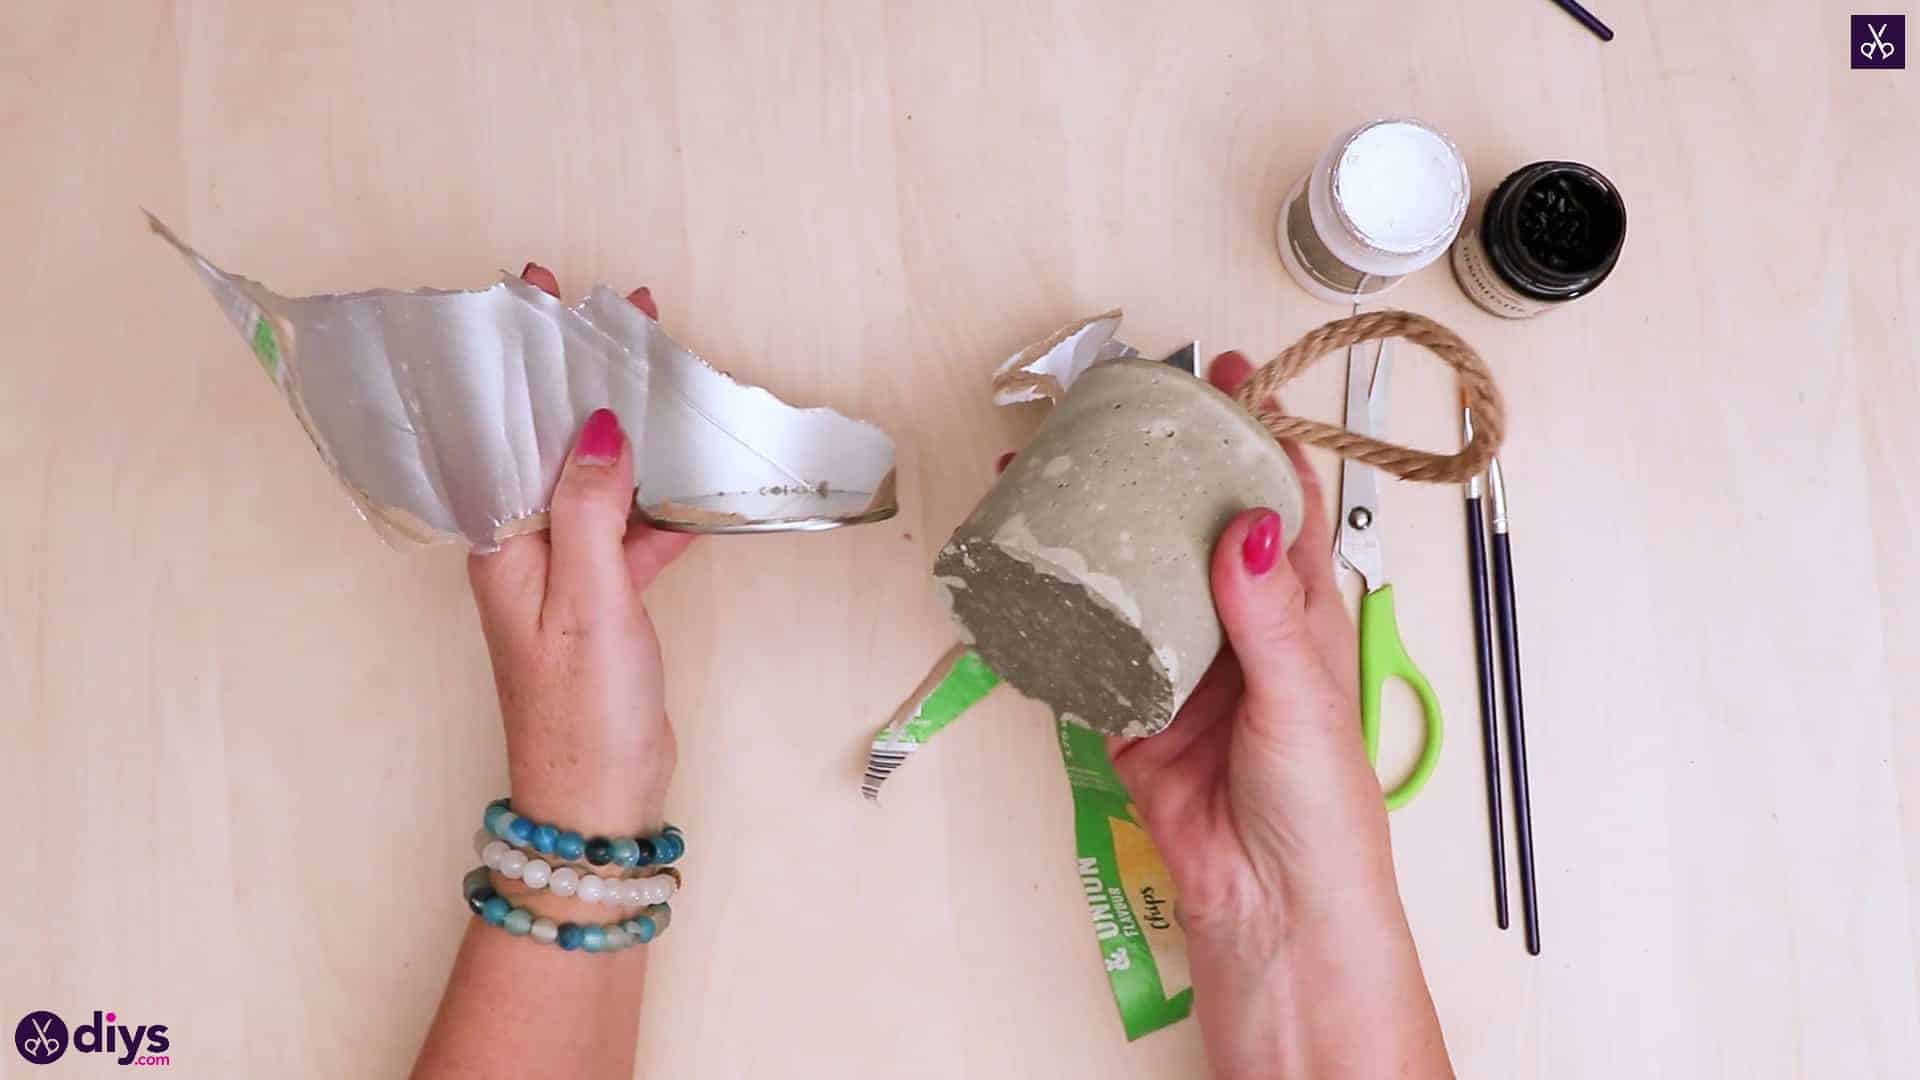
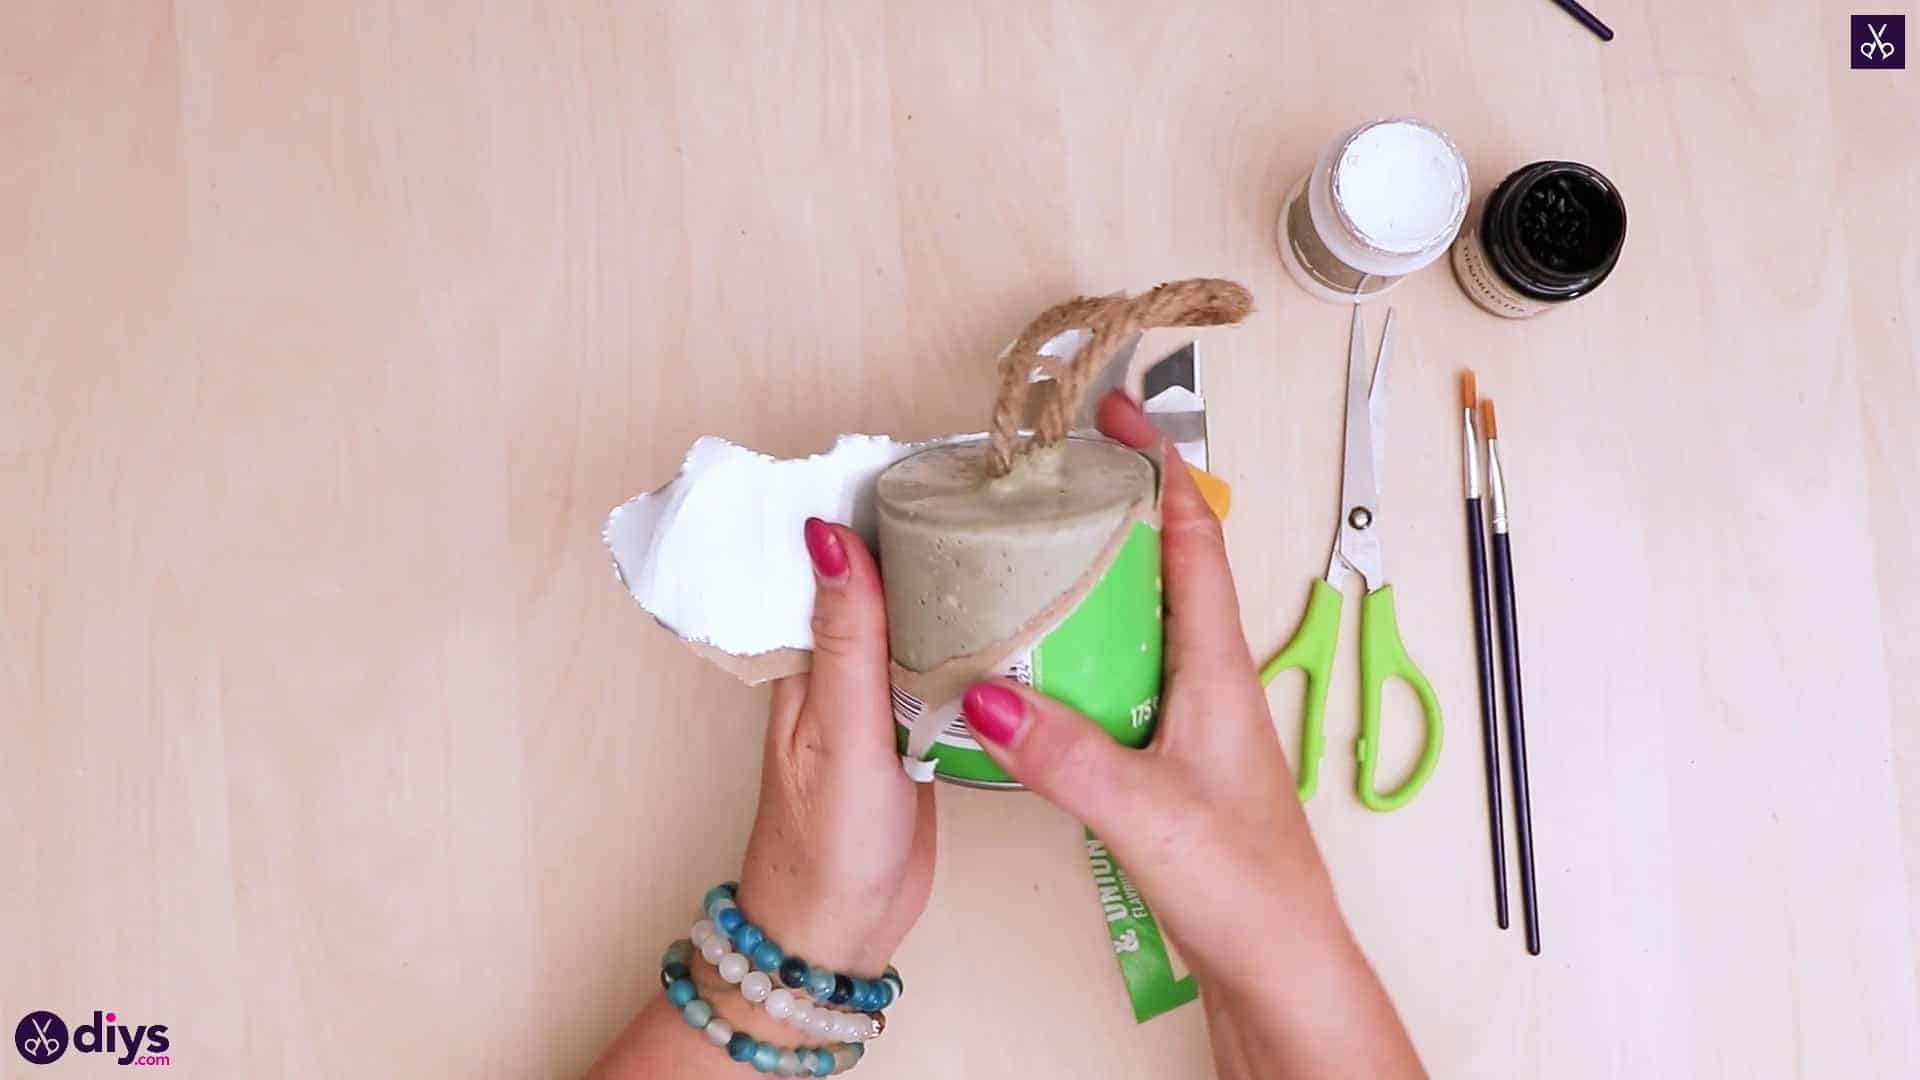
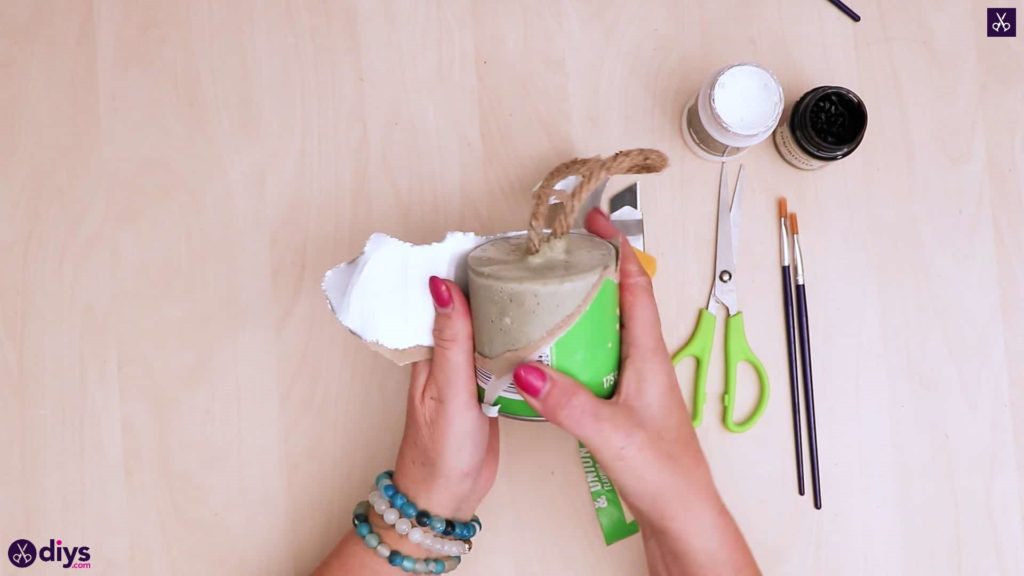
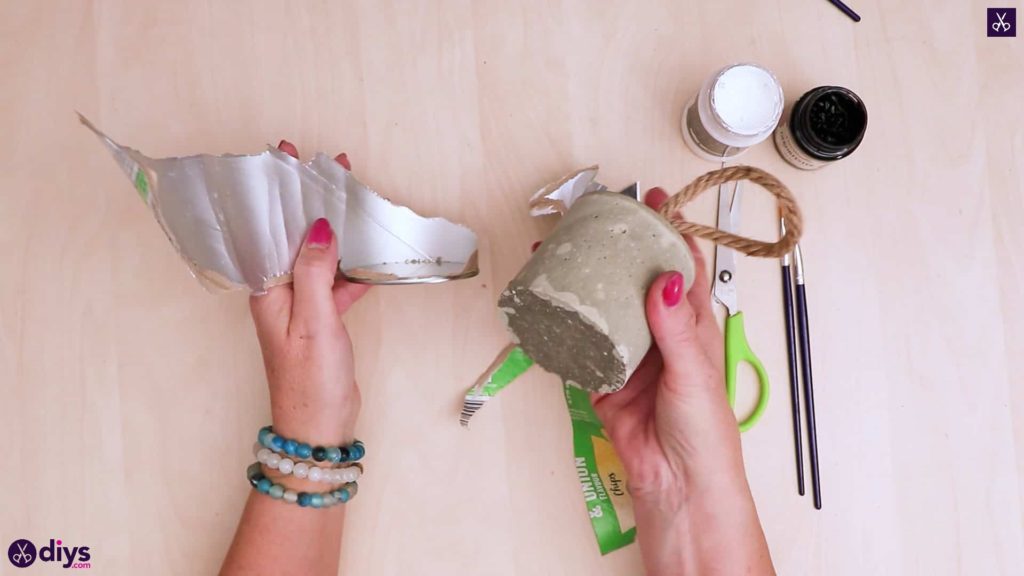
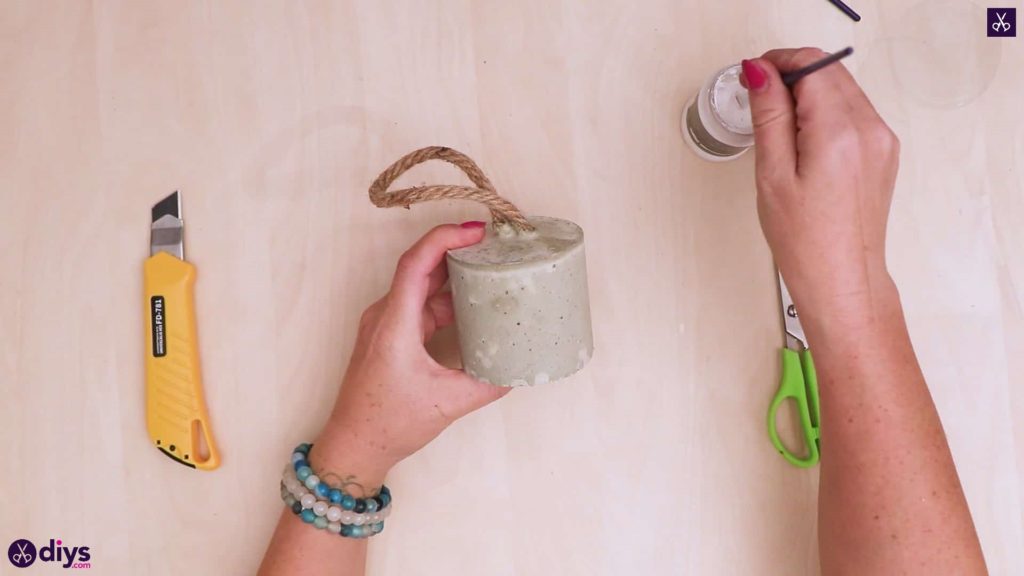
Step 7: remove from mold
Use your scissors to tear the chip tube away from your concrete in order to free your newly formed, fully dried door stopper. You can use a sandpaper block to smooth the surface if you like.
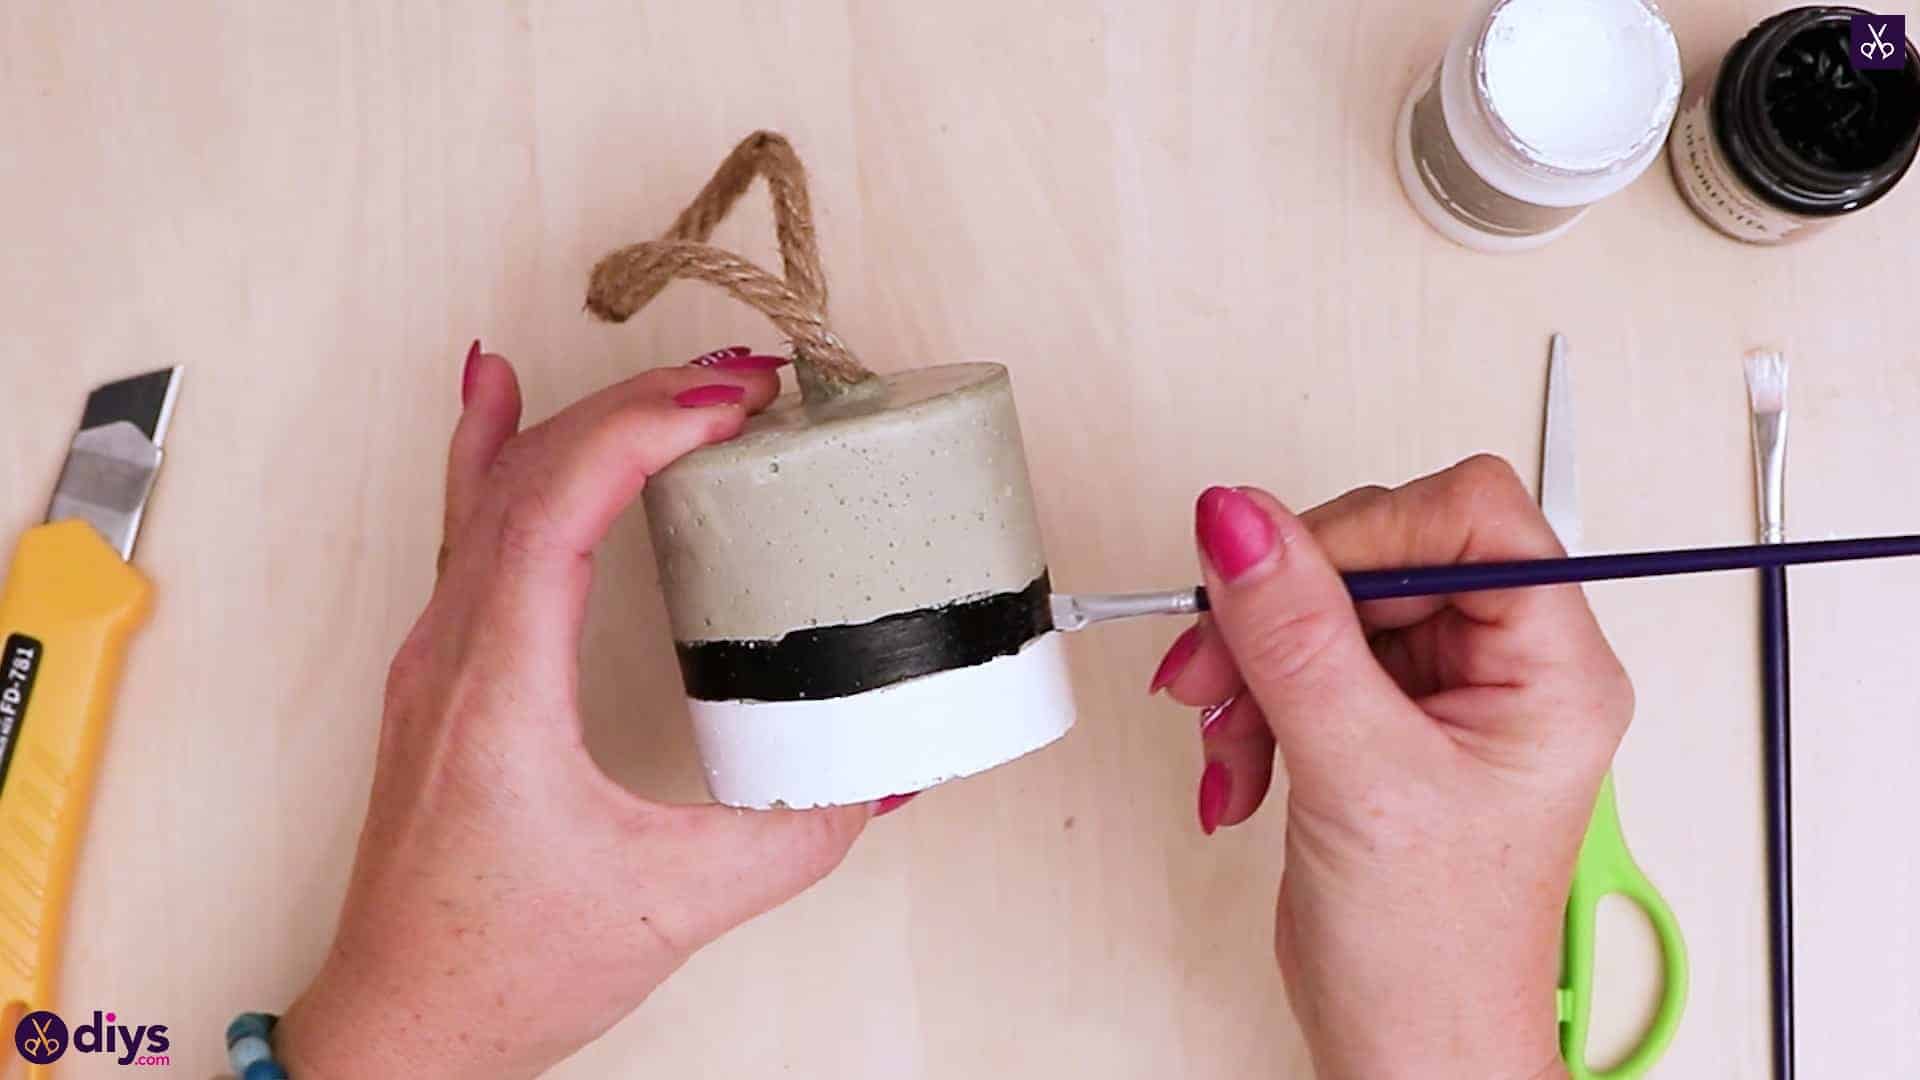
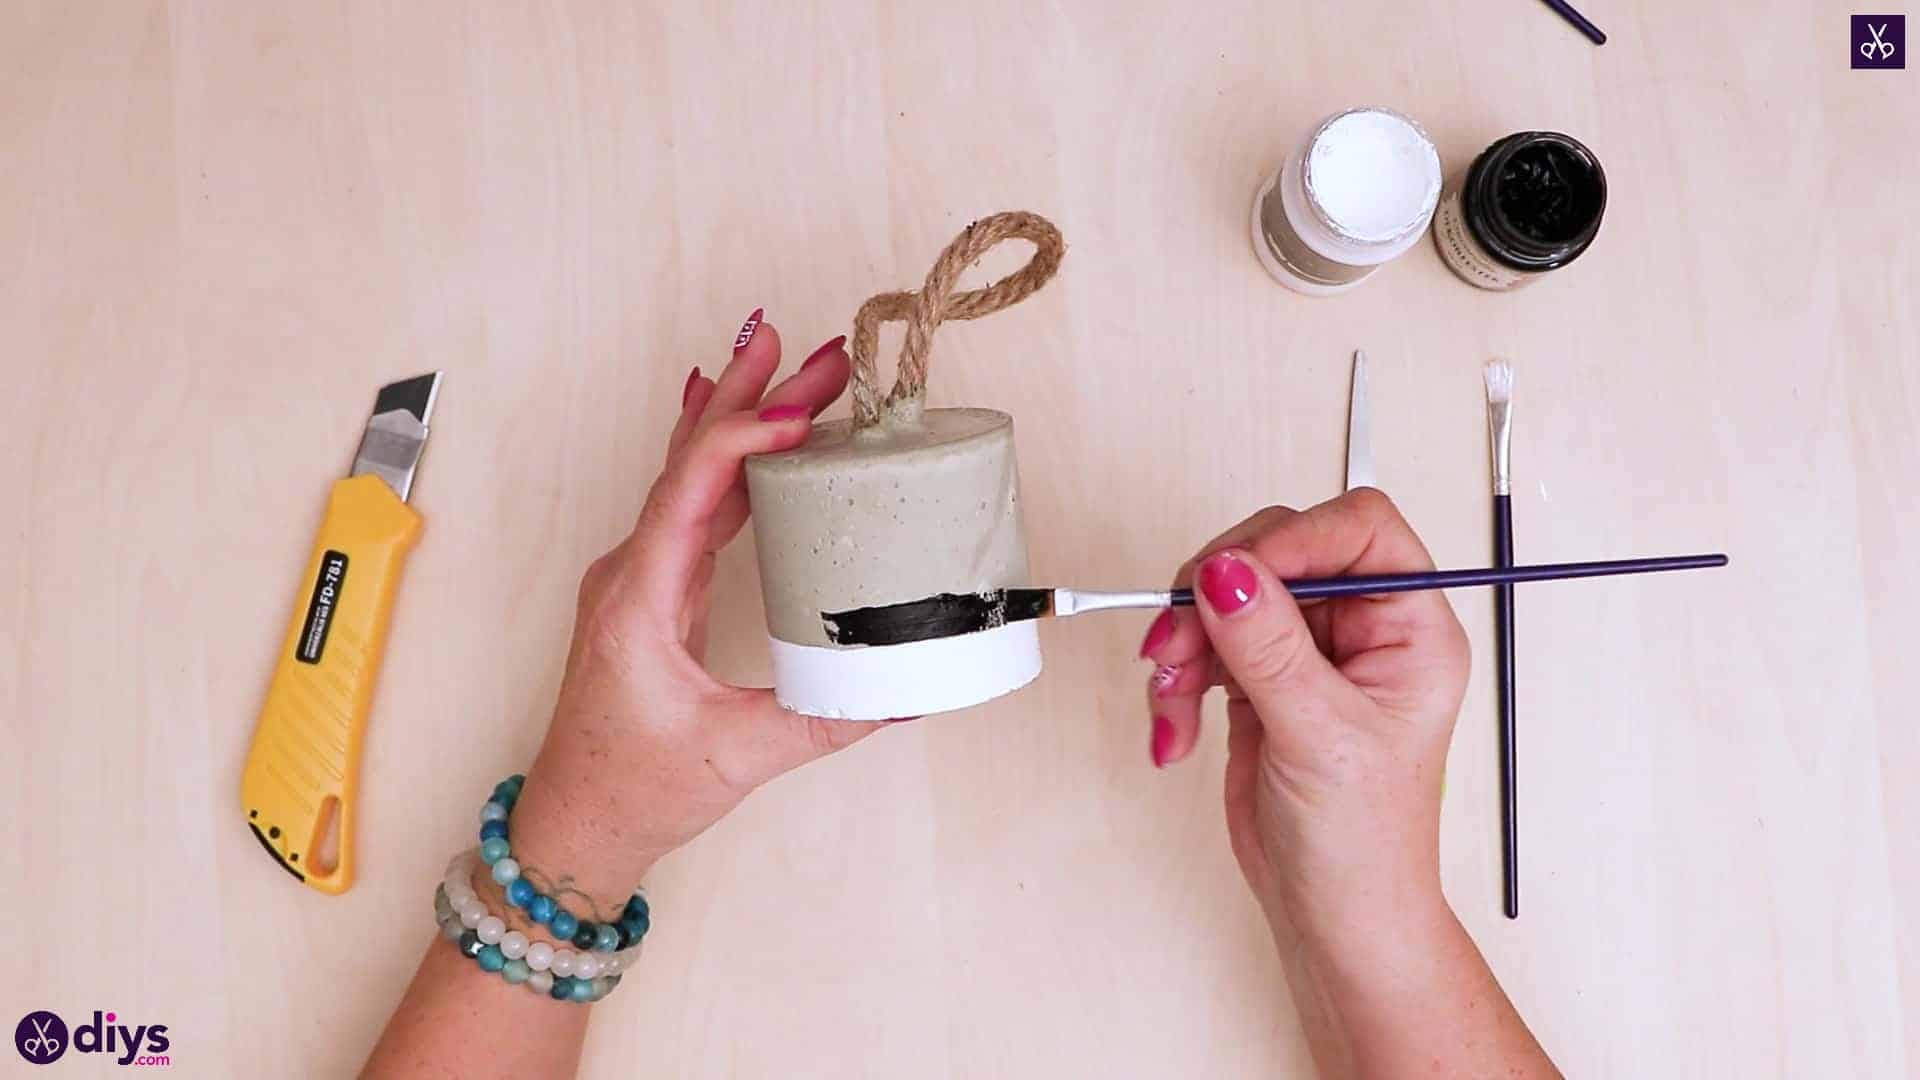
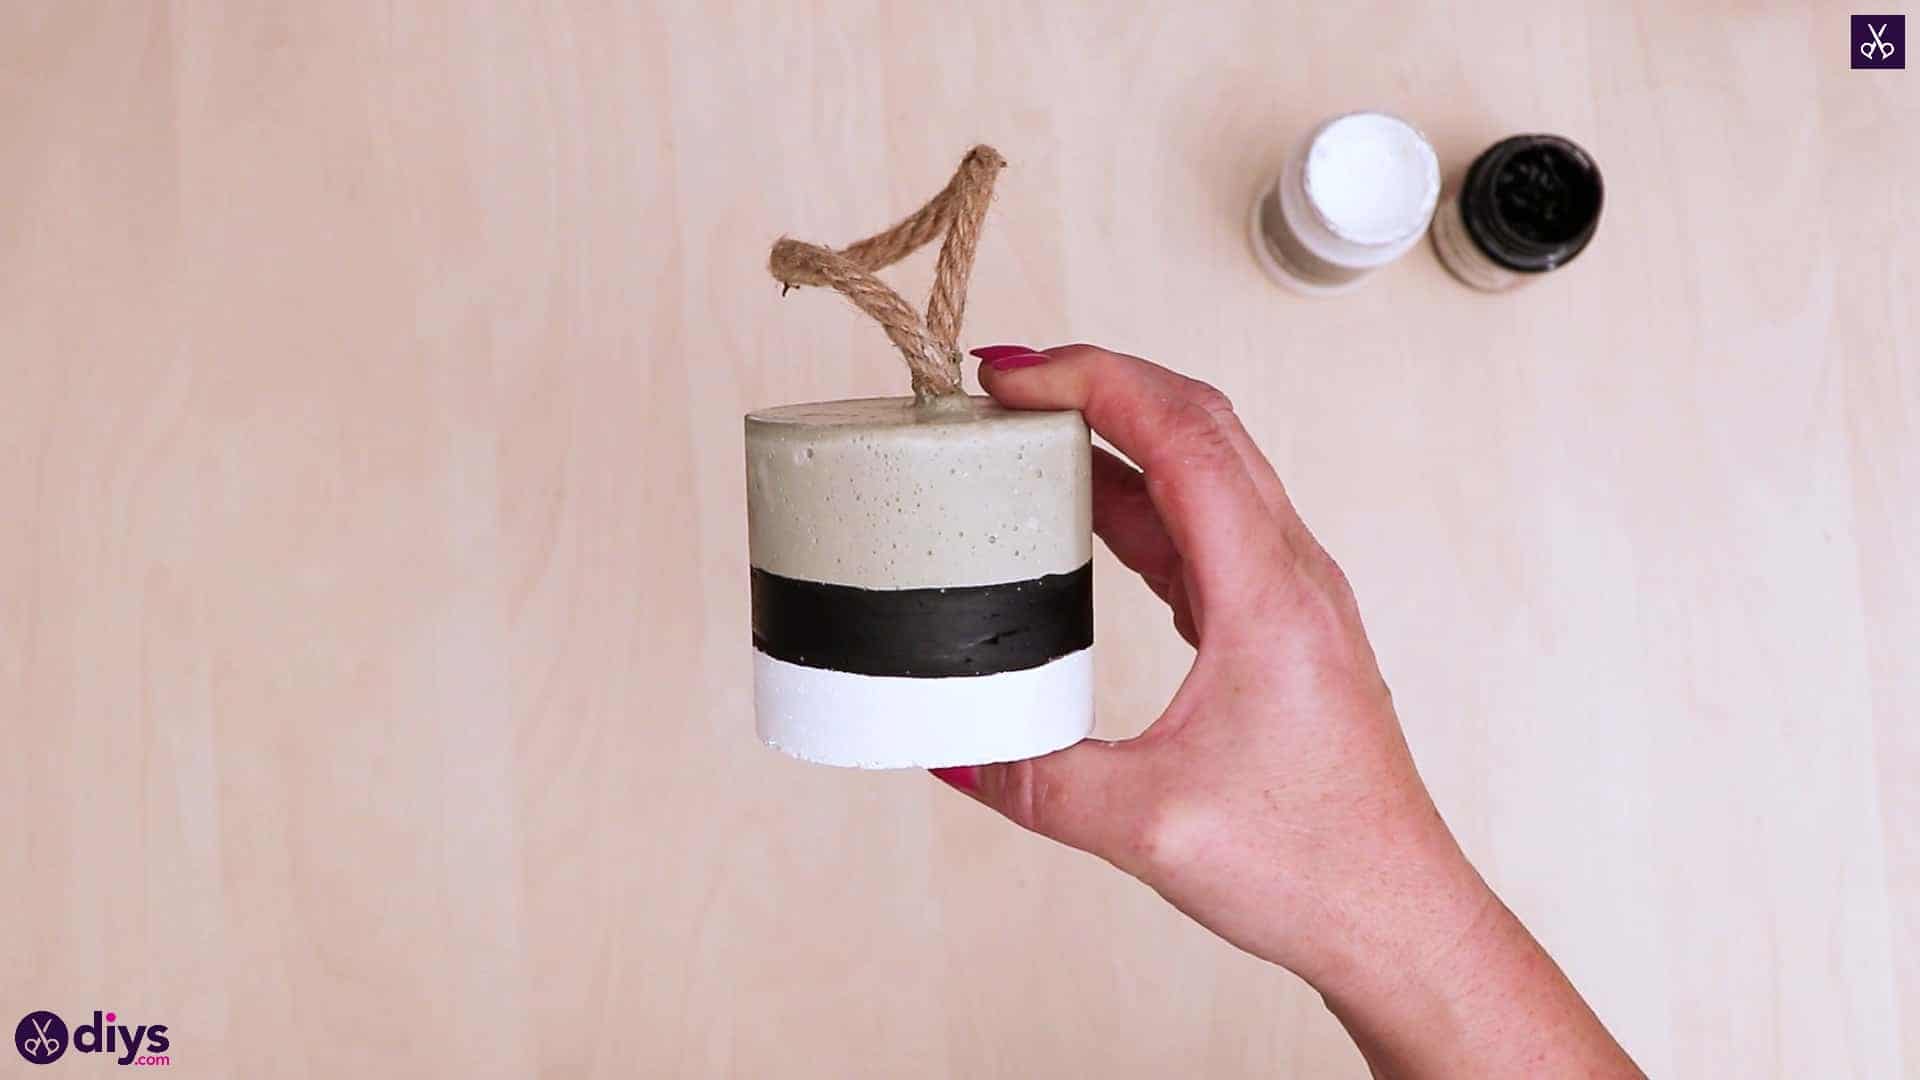
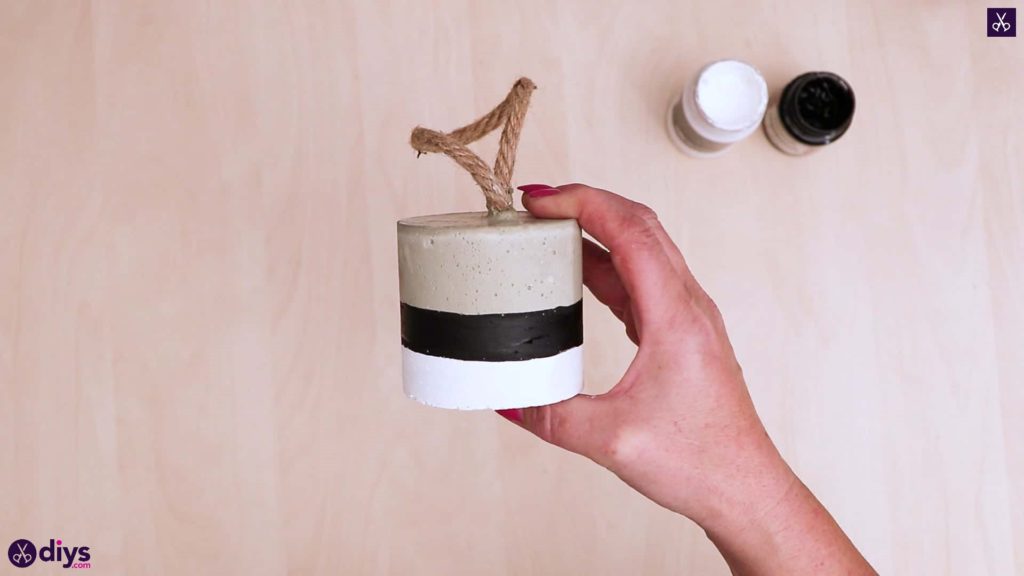
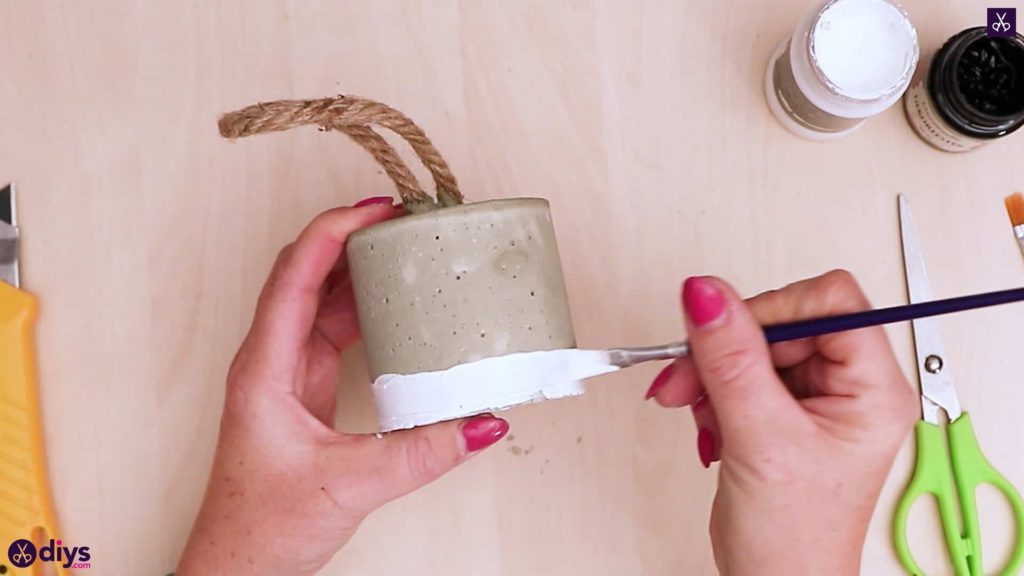
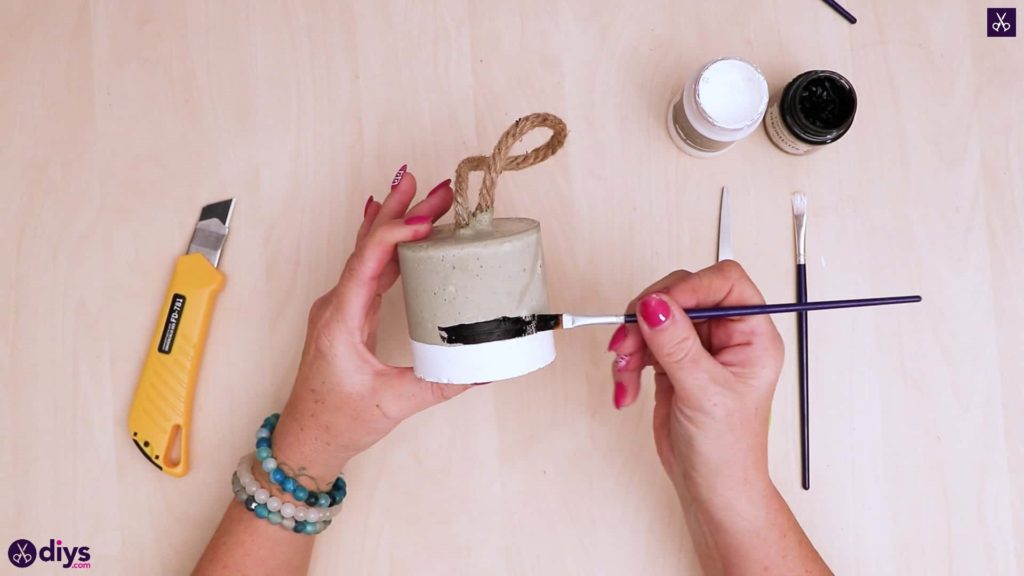
Step 8: paint
Use your paintbrush to add colour and detail to your door stopper! I decided to keep things simple for a minimalist look. I made a stripe of solid white around the bottom edge of my stopper and a stripe of solid black immediately above that, leaving lots of natural concrete for visual contrast because I like industrial chic style influences.

You’re officially finished your door stopper! Feel free to change things up when it comes to the colours and shapes you use in the painting step; you can do whatever you like there to suit or contrast with your own decor scheme and tastes. Just in case you’d like to try this project out for yourself, here’s a fantastic tutorial video to help you!
Can you show how this works?