How To Make Chain Embellished Friendship Bracelets
Updated on November 19, 2025
Have you noticed that things have a way of coming back into style if you hang onto them long enough? That certainly holds true for friendship bracelets… they used to be cool back when I was a kid, and now they’re popular again! So today I wanted to share with you a friendship bracelet with a twist – it has chain on one side! Keep reading to find out how to make one yourself.
Here’s what you’ll need for this project:
- 4 pieces of embroidery floss, each 36 inches long
- 1 piece of chunky chain, 3 inches long
- Scissors
- Pliers
- Toggleclasp
- Jump ring
- Super glue
- Clipboard
How To Make Friendship Bracelets:
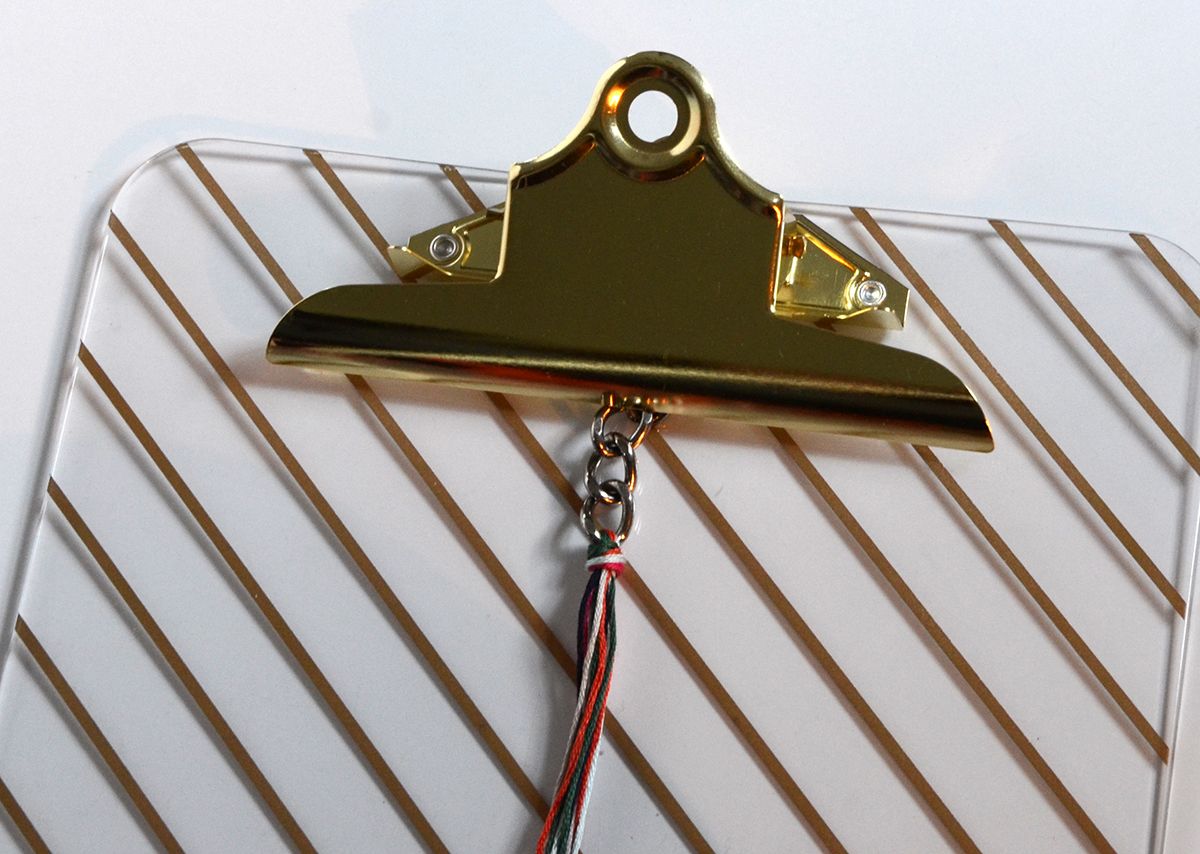
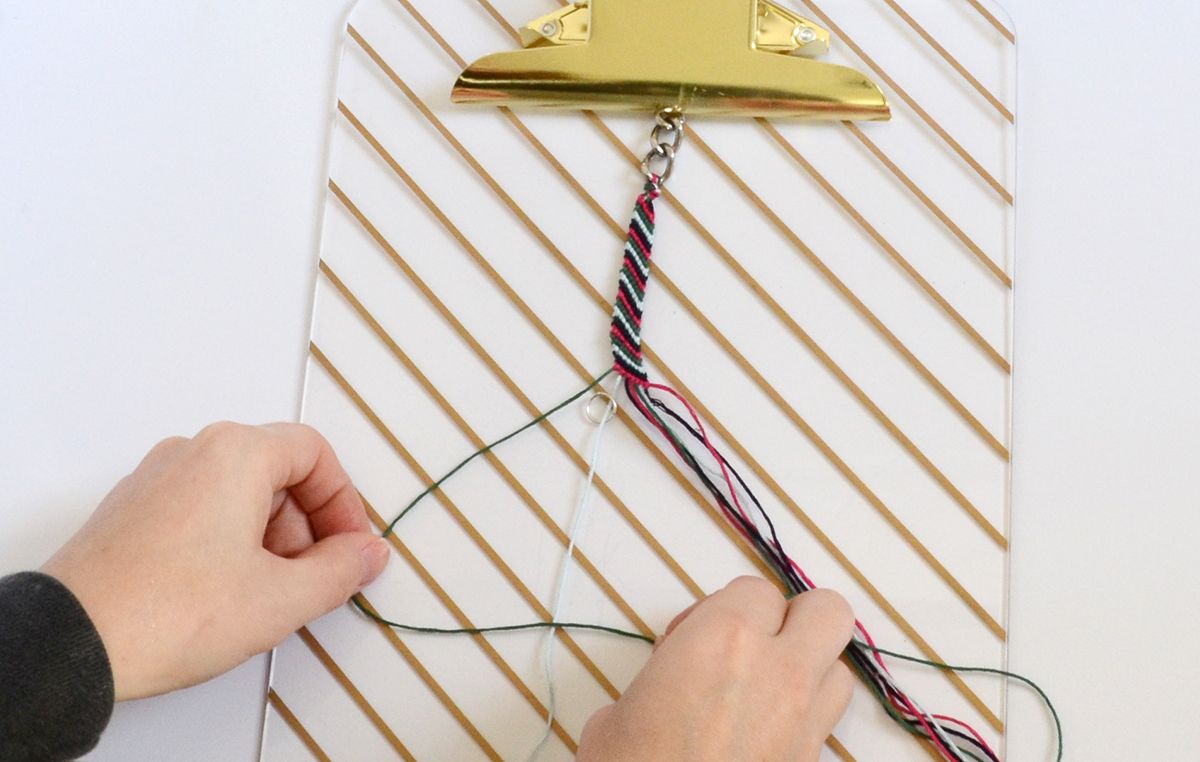
1. Begin by slipping your 4 pieces of embroidery flossthrough the last link of the chain. Fold it in half and tie a knot as shown above.
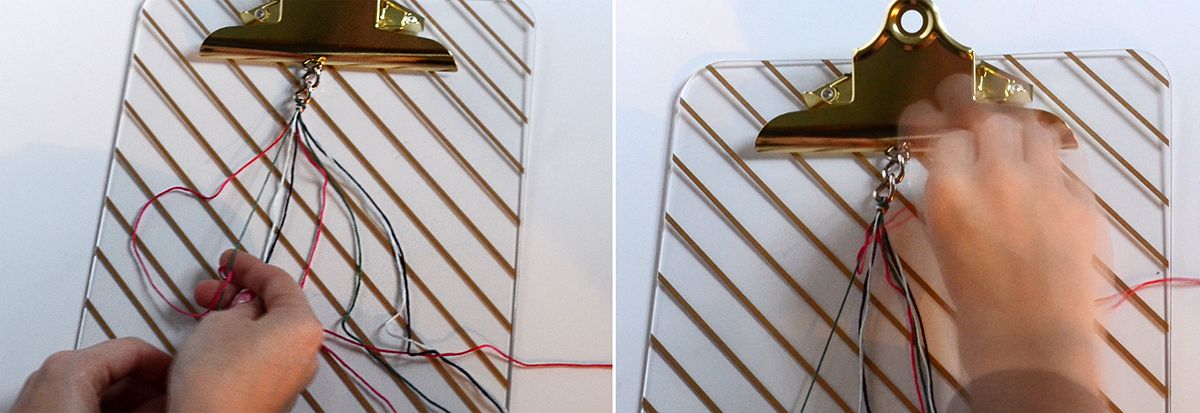
2. Next, arrange your colors. Make sure that they go in the order you’d like and then repeat. So from left to right, mine were pink, green, light blue, navy, pink, green, light blue, navy. Take the pinkstring on the left and fold it over the green oneso it forms a “4” shape. Loop the pink end underneath the green one and pull it up through. Keeping the green string taught, pull the pink one tight. Do this again. Now, repeat the process with the light blue string this time. Move across, doing this with every remaining string and repeat.
If you have trouble remember exactly how this process goes, feel free to check out a how-to video on YouTube.
3. Keep going until the length of the chain and the embroidery floss sections wrap all the way around your wrist. For your last row, slip the O ring part of the toggle clasp onto the second string and repeat the same process as before. Then slip the next string, the navy one, through the ring and do the same thing. Repeat this for the next 4 strings. Don’t slip the ring onto the last string, just knot as usual.
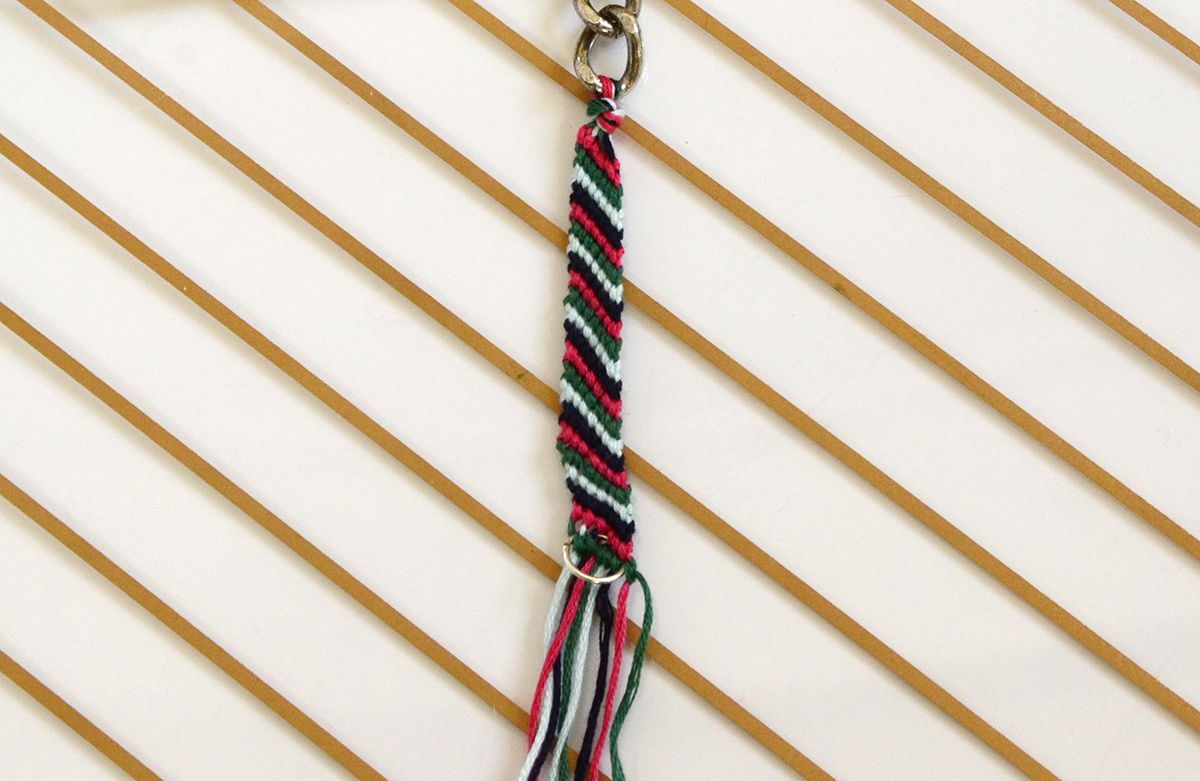
4.Now your O ring should be attached as the photo above shows.
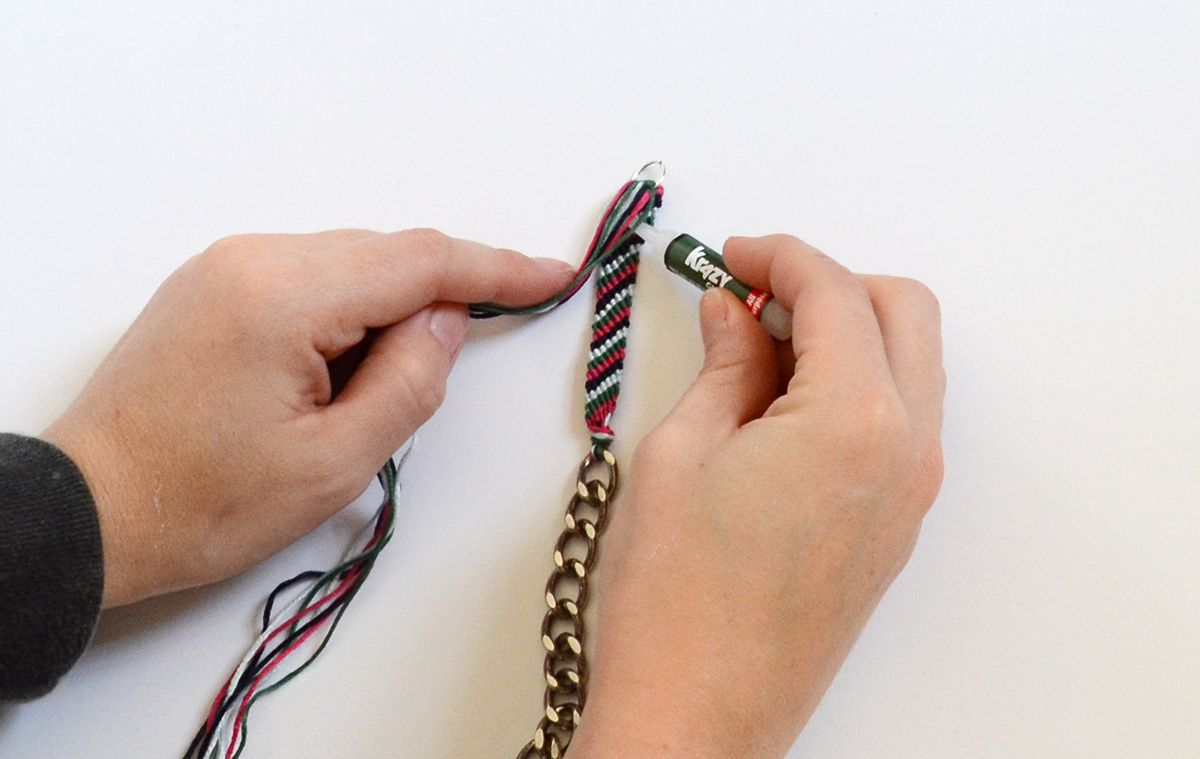
5. Flip the bracelet over and use super glue to adhere the tails to the back of the bracelet. Add some more glue to the top if all the strings are not sticking. Trim off the ends. Last, use your pliers to attach the other part of the toggle clasp to the last chain link using the jump ring.
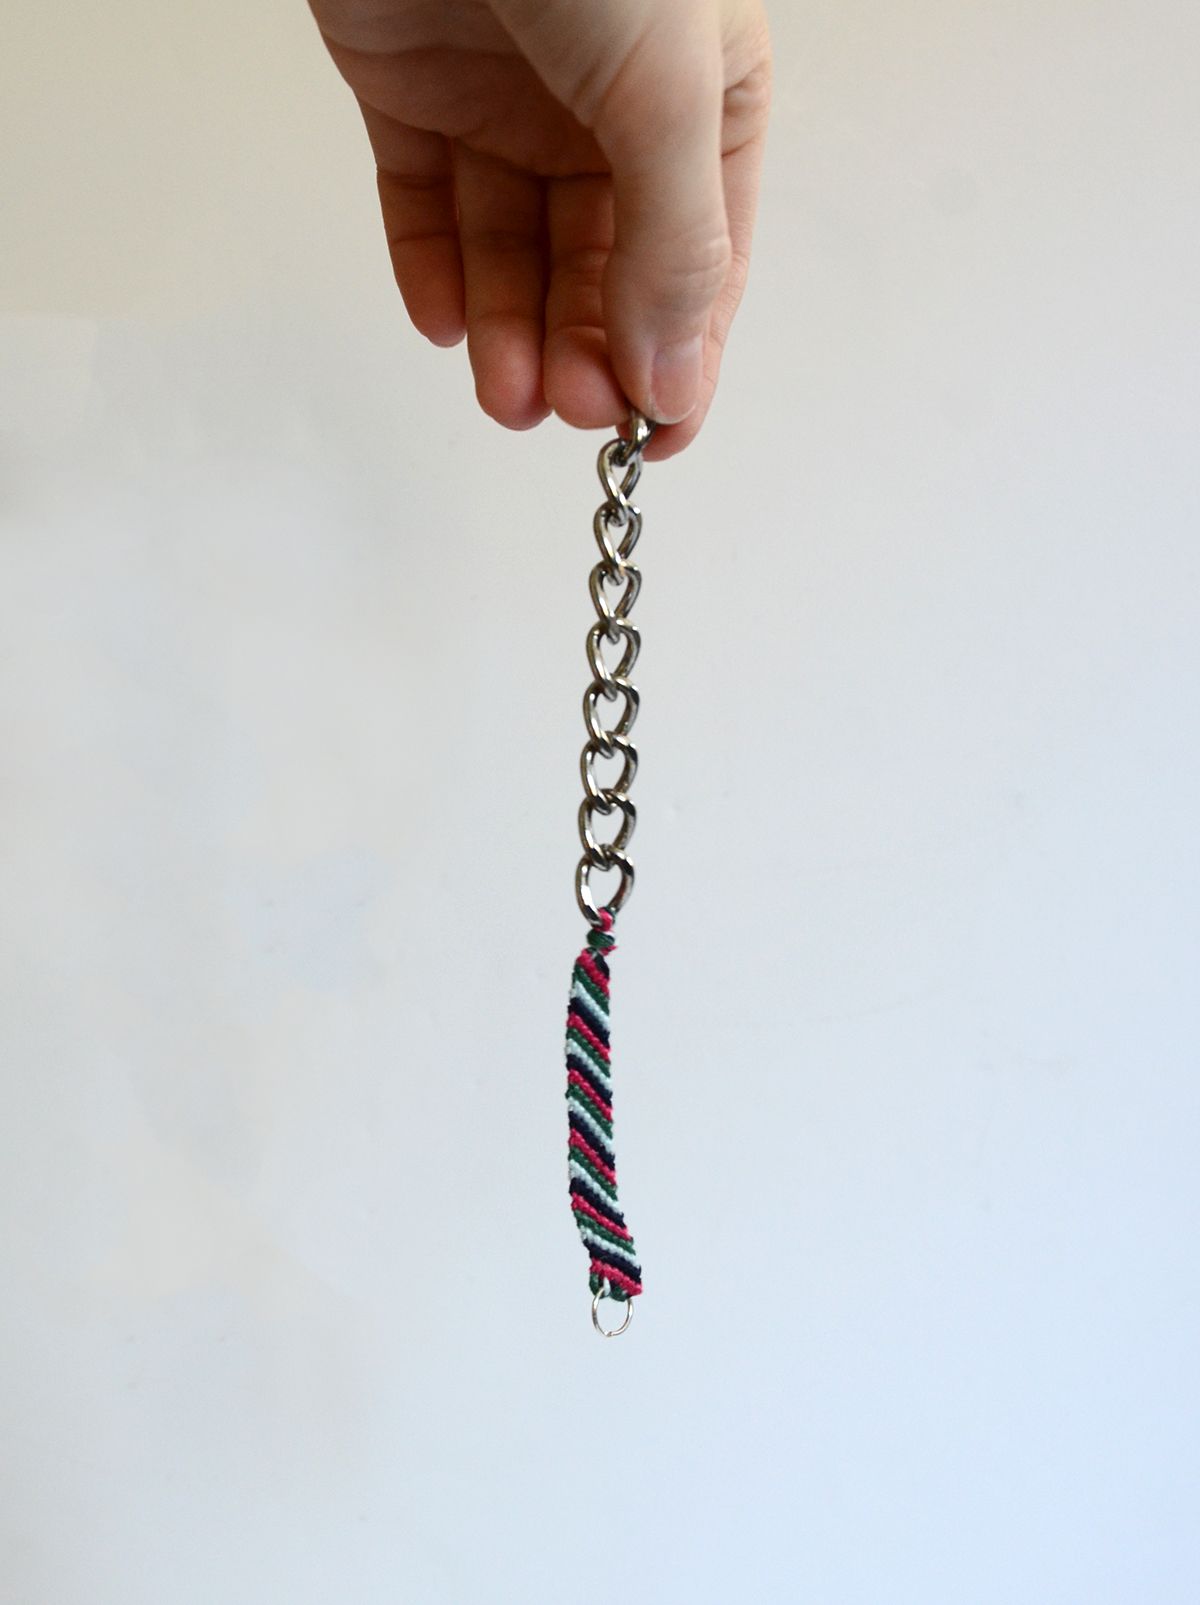
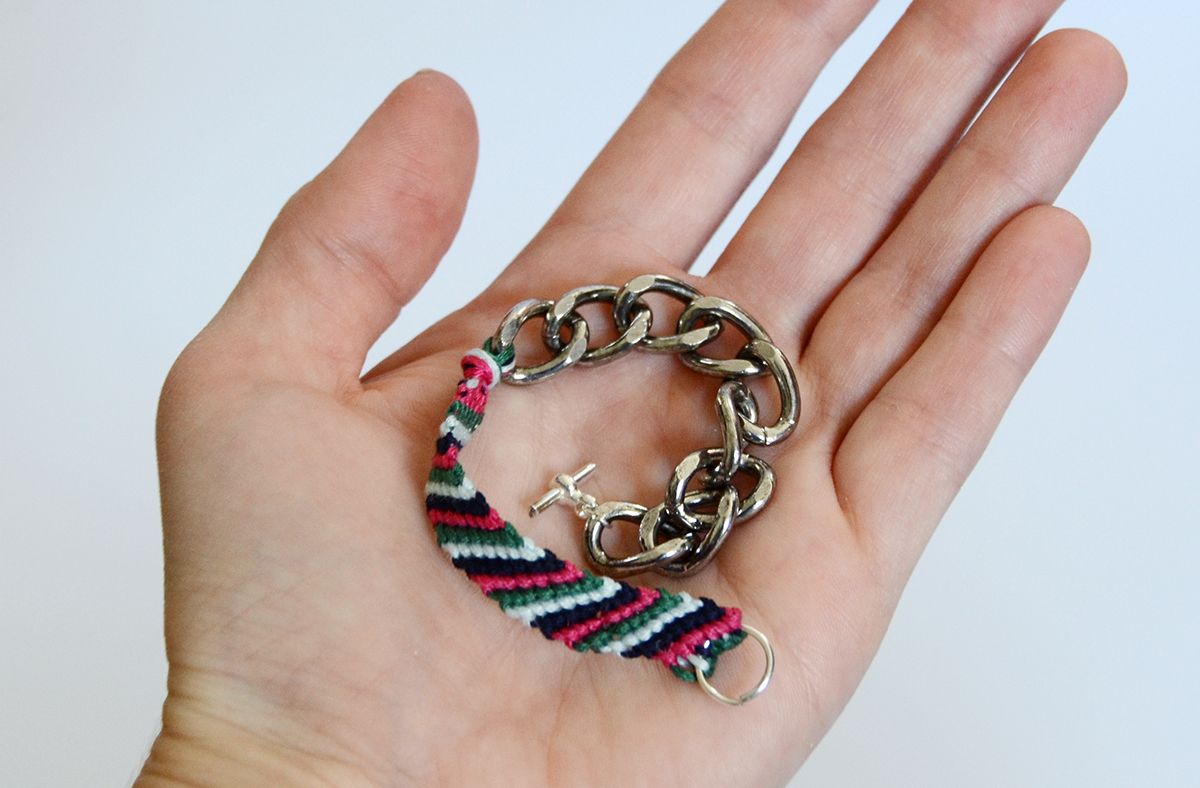
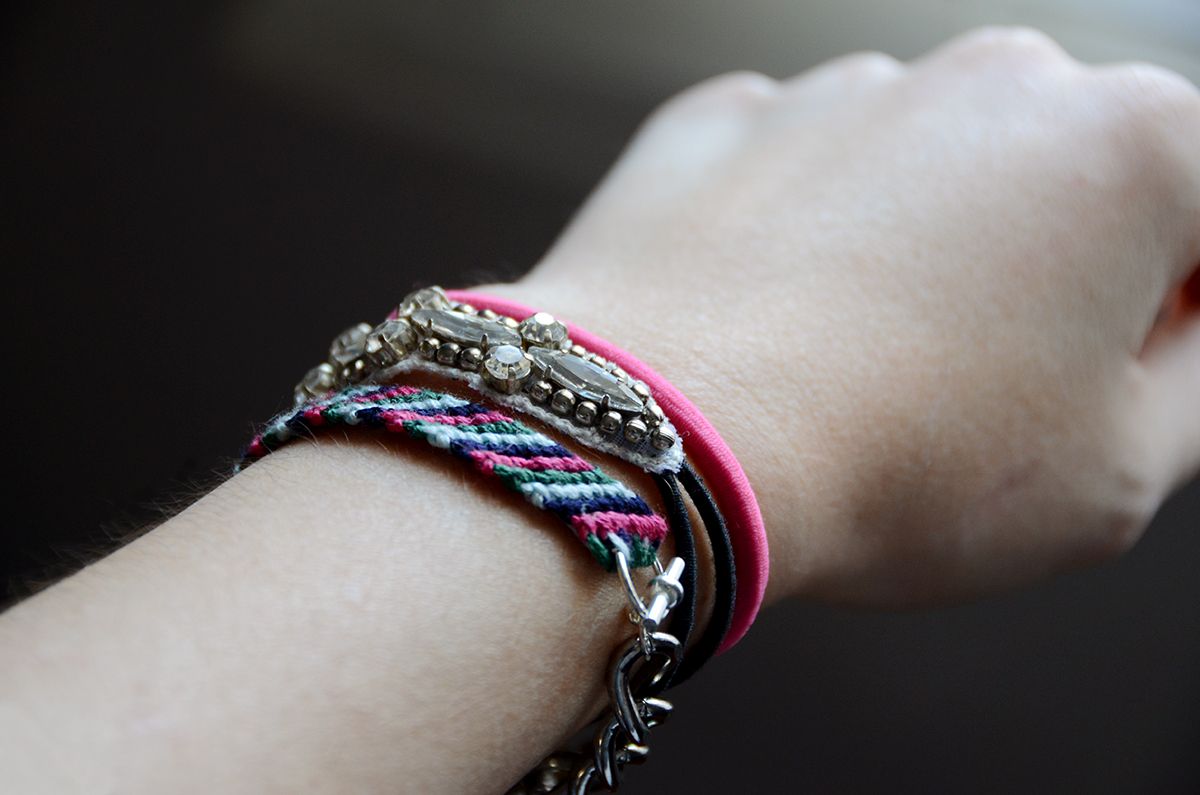
And you’re finished! Now you have your own chain embellished friendship bracelet to give to your bestie.