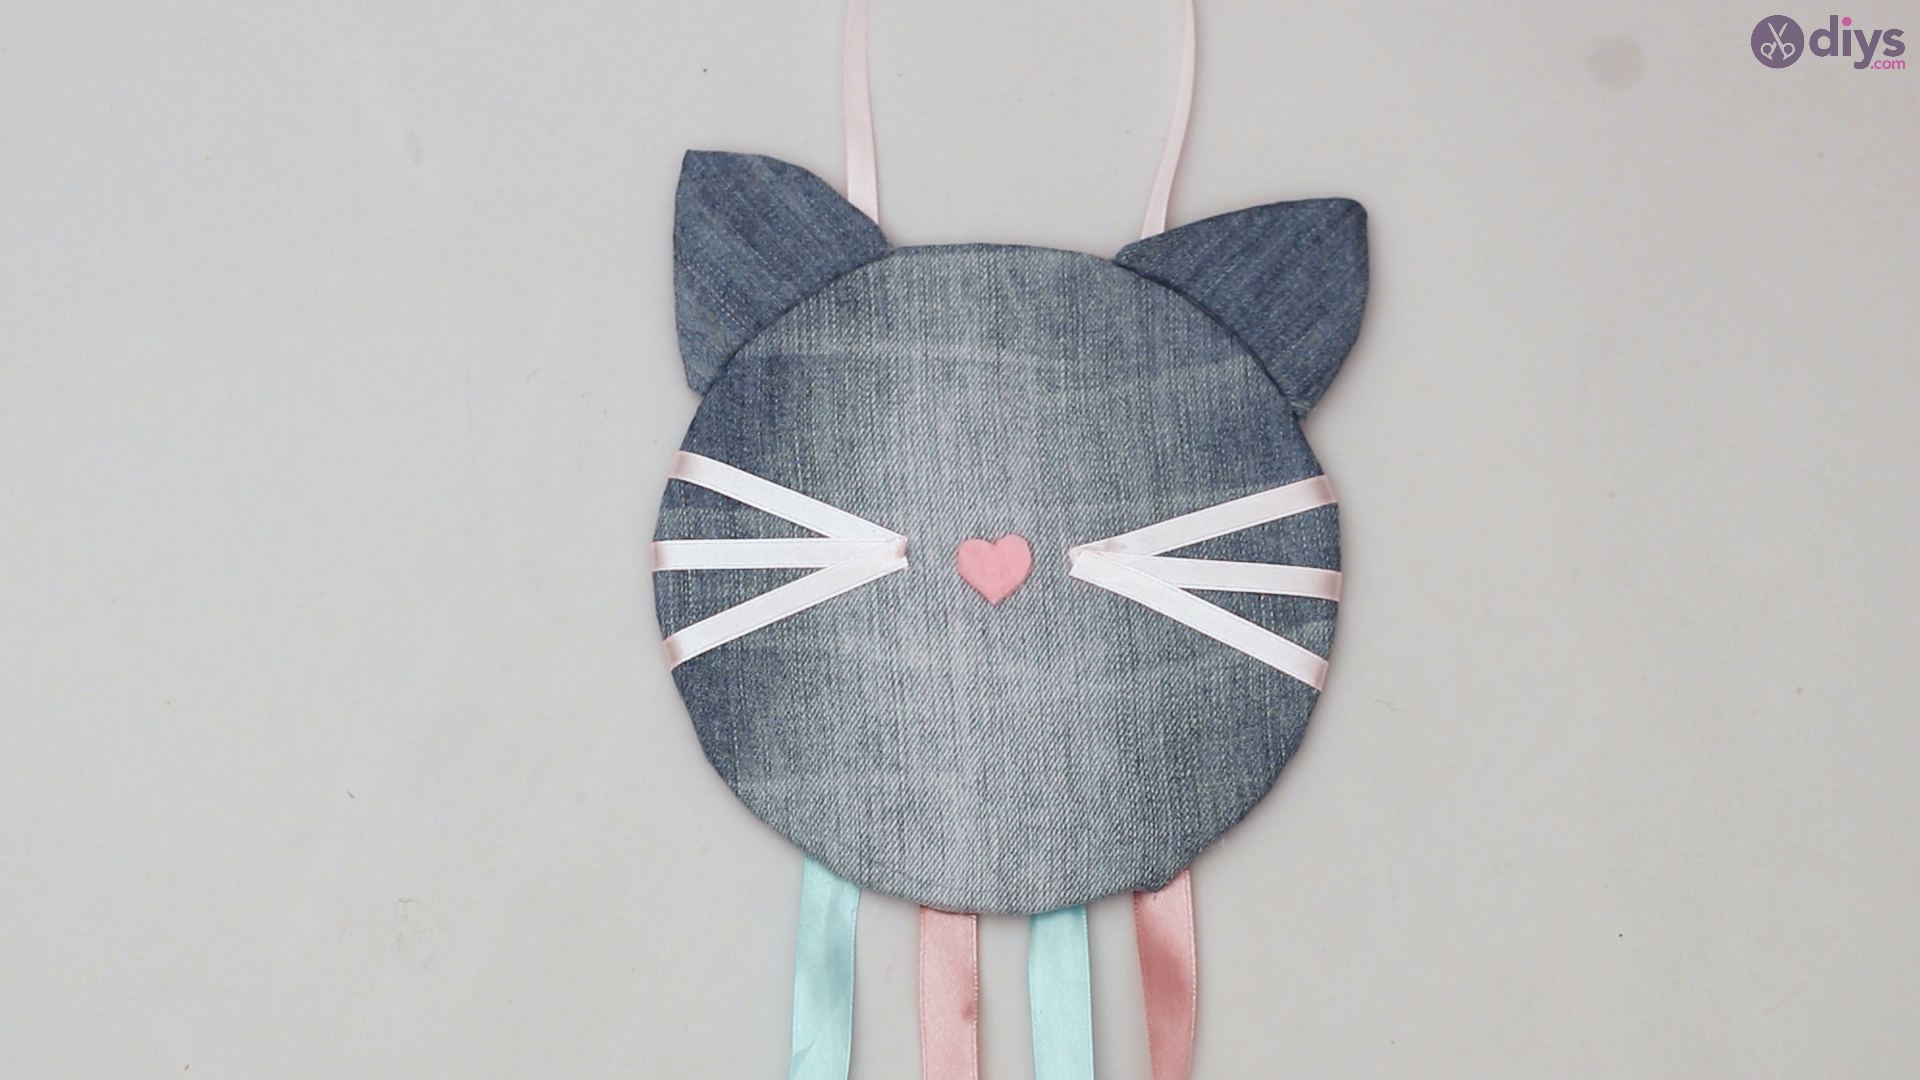
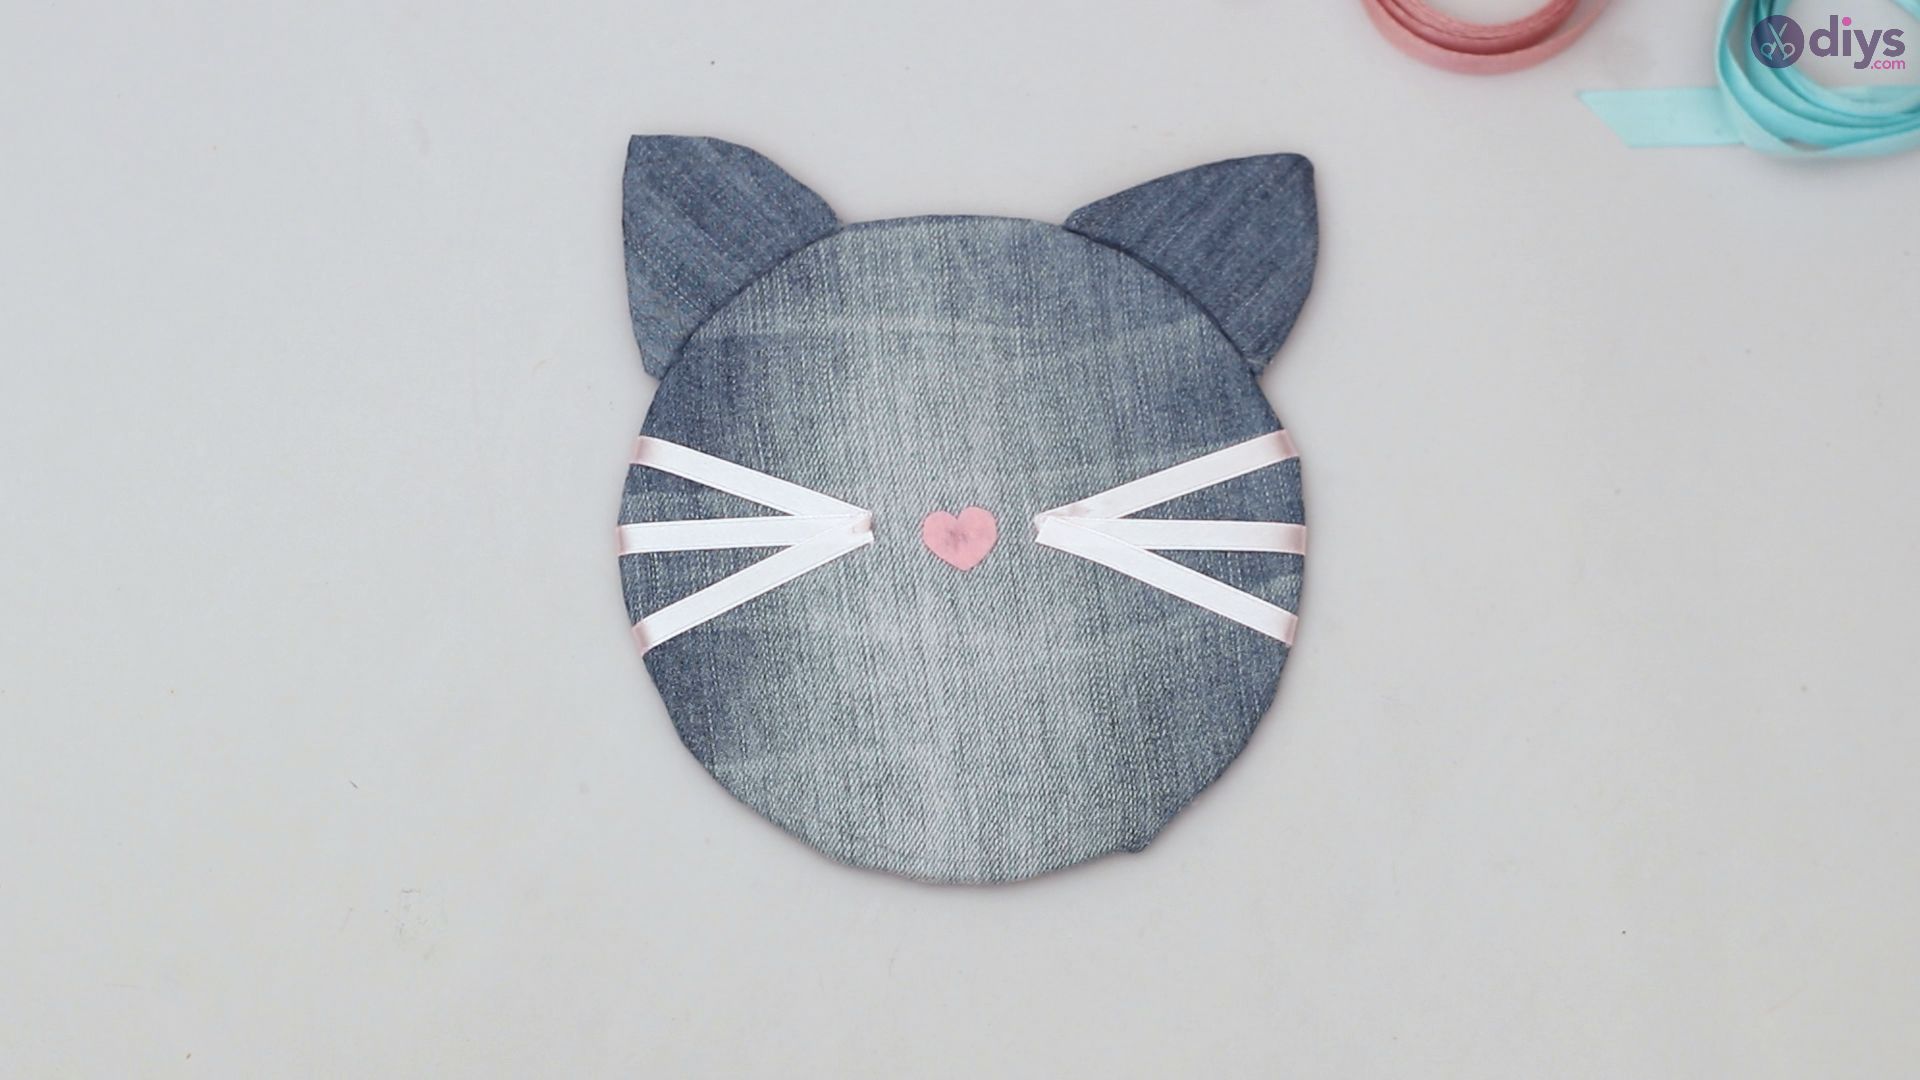
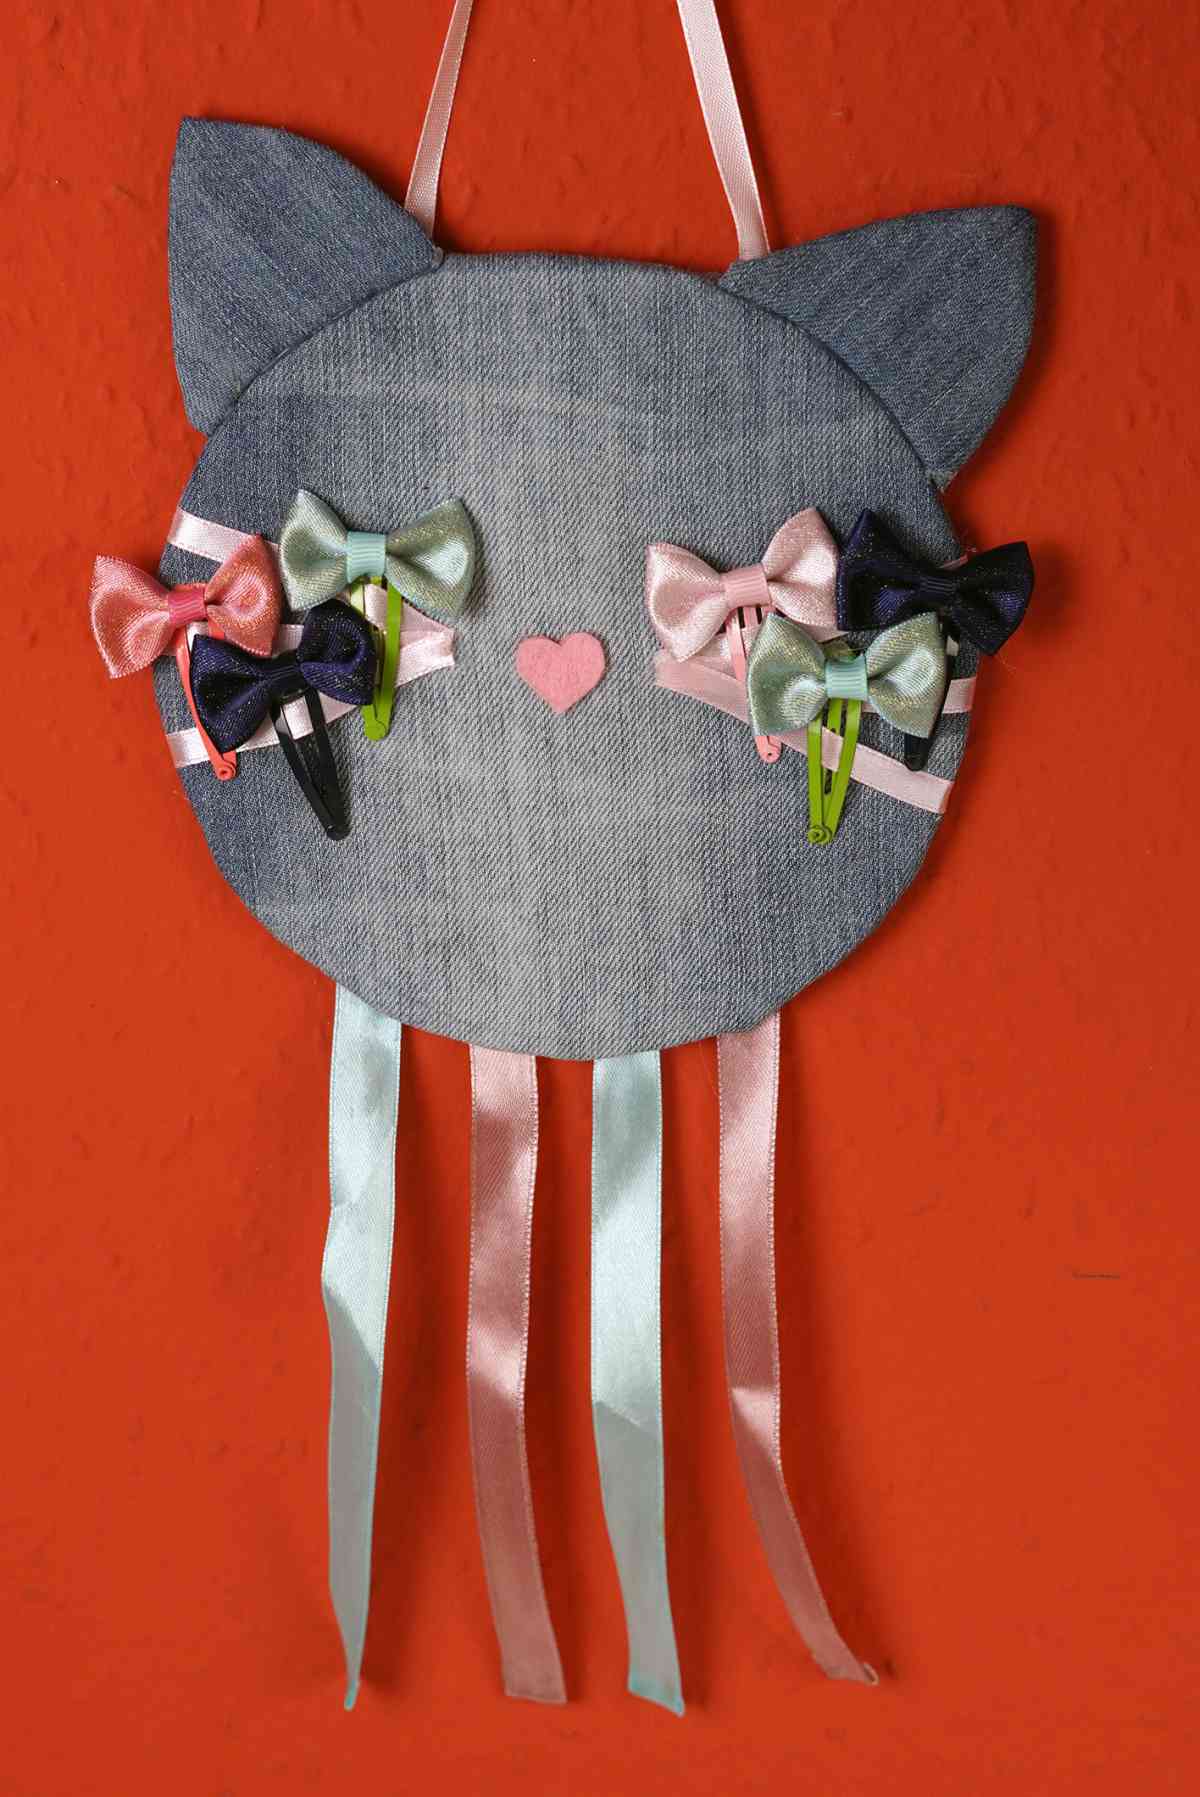
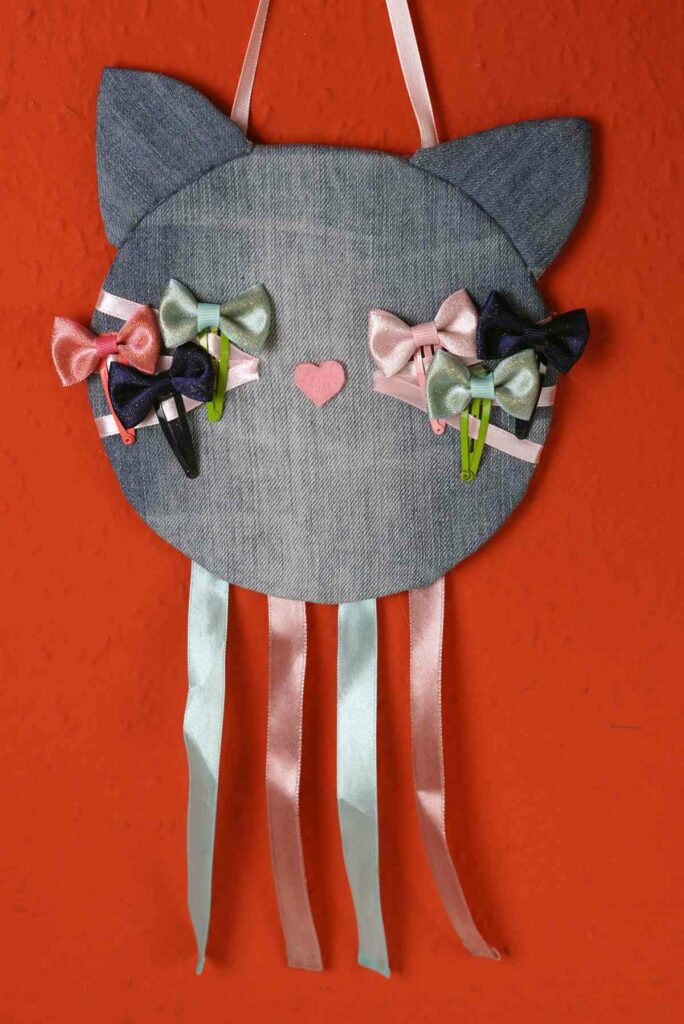
DIY Cat Face Hair Clip Holder
Updated on November 19, 2025


Do you keep losing your hair clips? Are you tired of accidentally stepping on your hair clips when you are in a hurry or trying to move around in the dark? Then this is the project for you.
Get creative and make a cute cat face hair clip holder with these very easy to follow steps. You will never have to spend another second looking for a missing hair clip again.
This project is particularly great for teaching children to keep their hair clips and generally clean up after themselves. The best part is, the steps are straightforward so that they can join in!
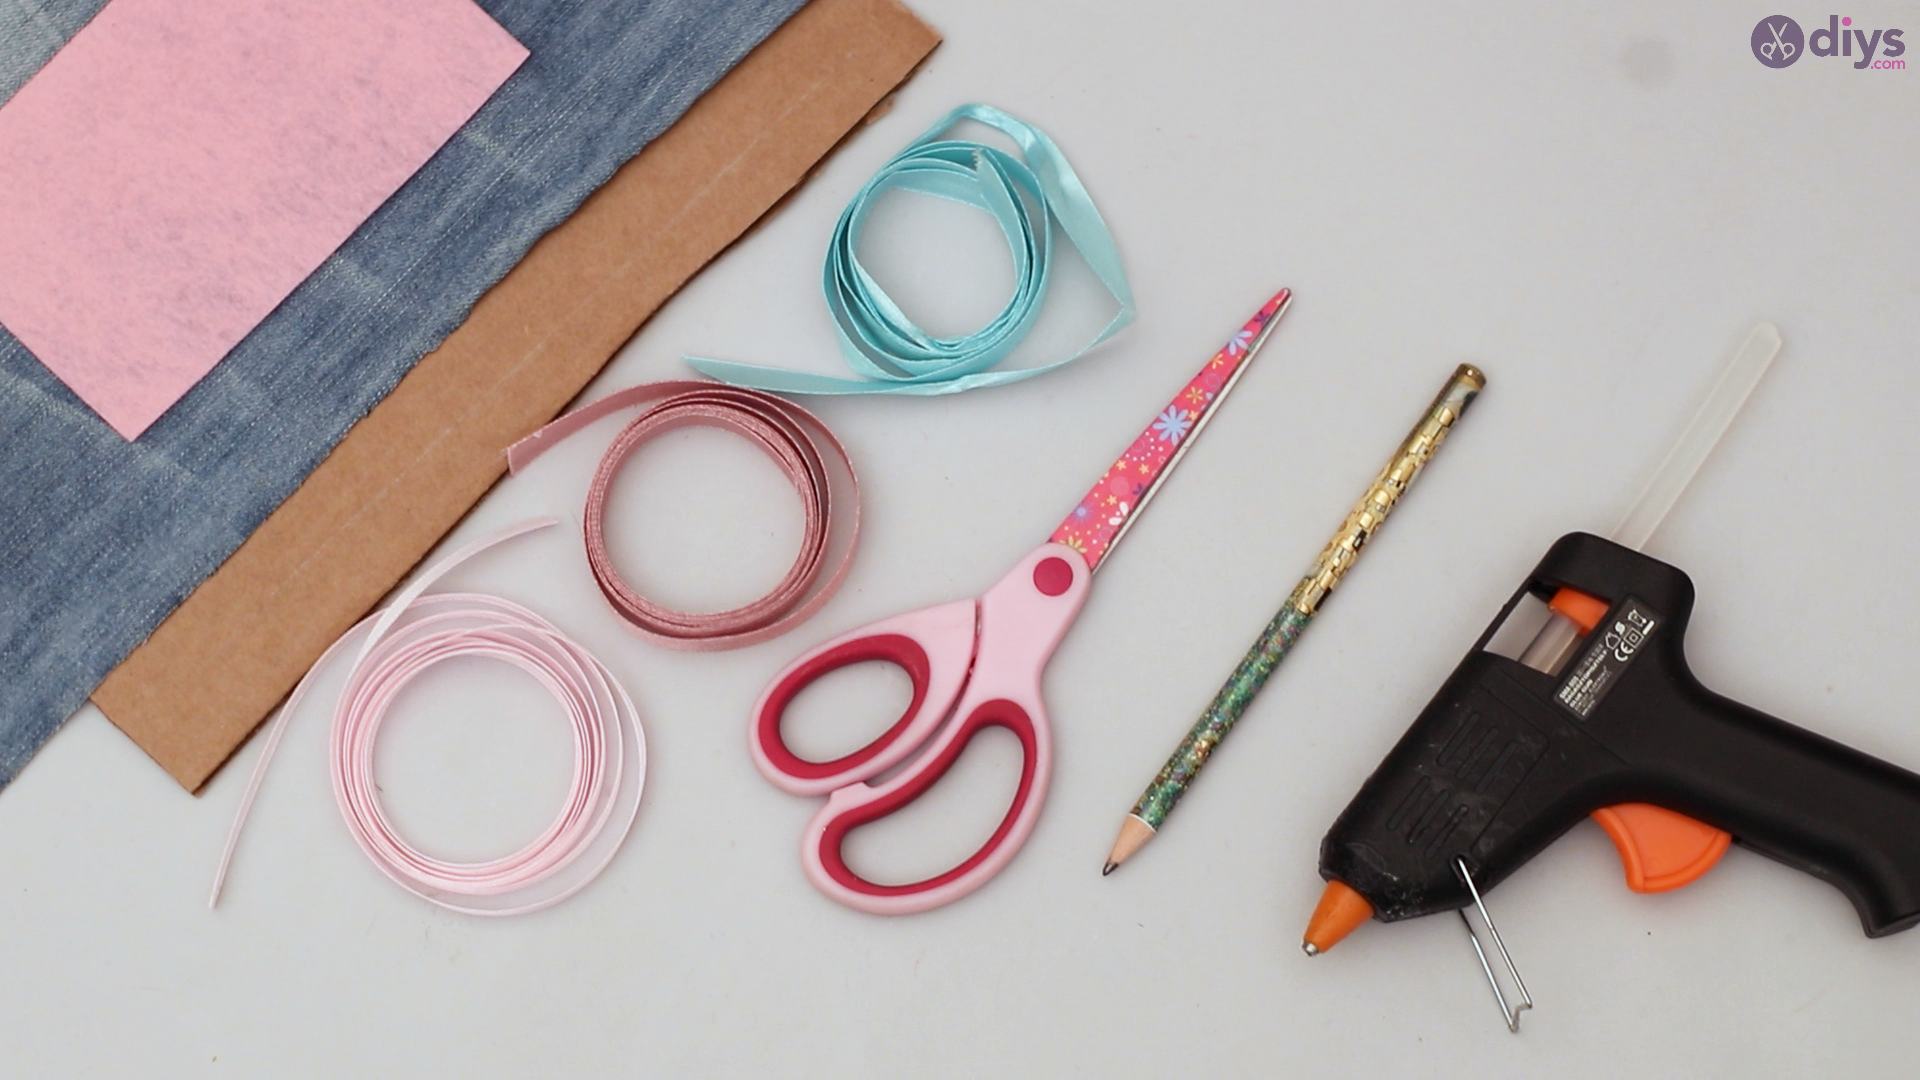
Materials you’ll need for this Hair Clip Holder:
- Cardboard
- Pencil
- Scissors
- Jeans material
- Light rose felt material
- Light blue and light rose silk ribbon
- Glue gun
Step by step guide to craft the Hair Clip Holder:

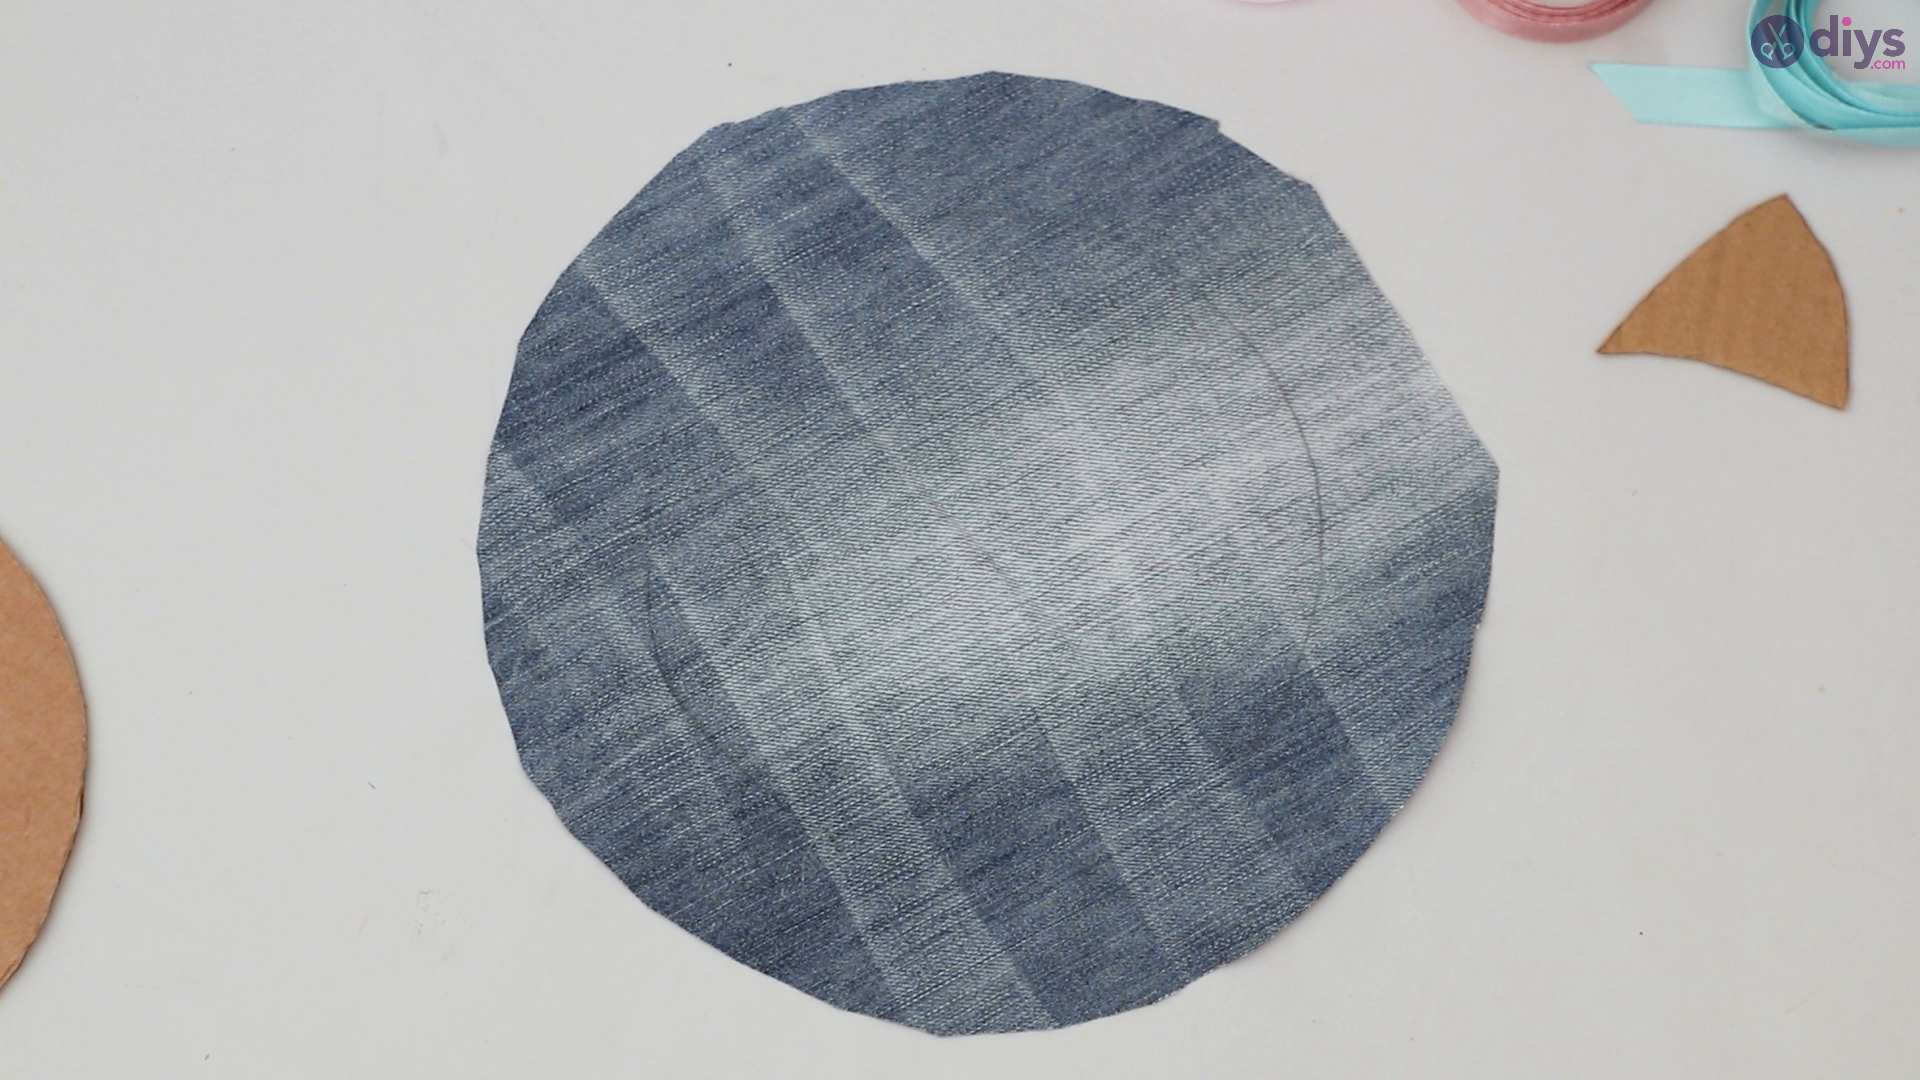
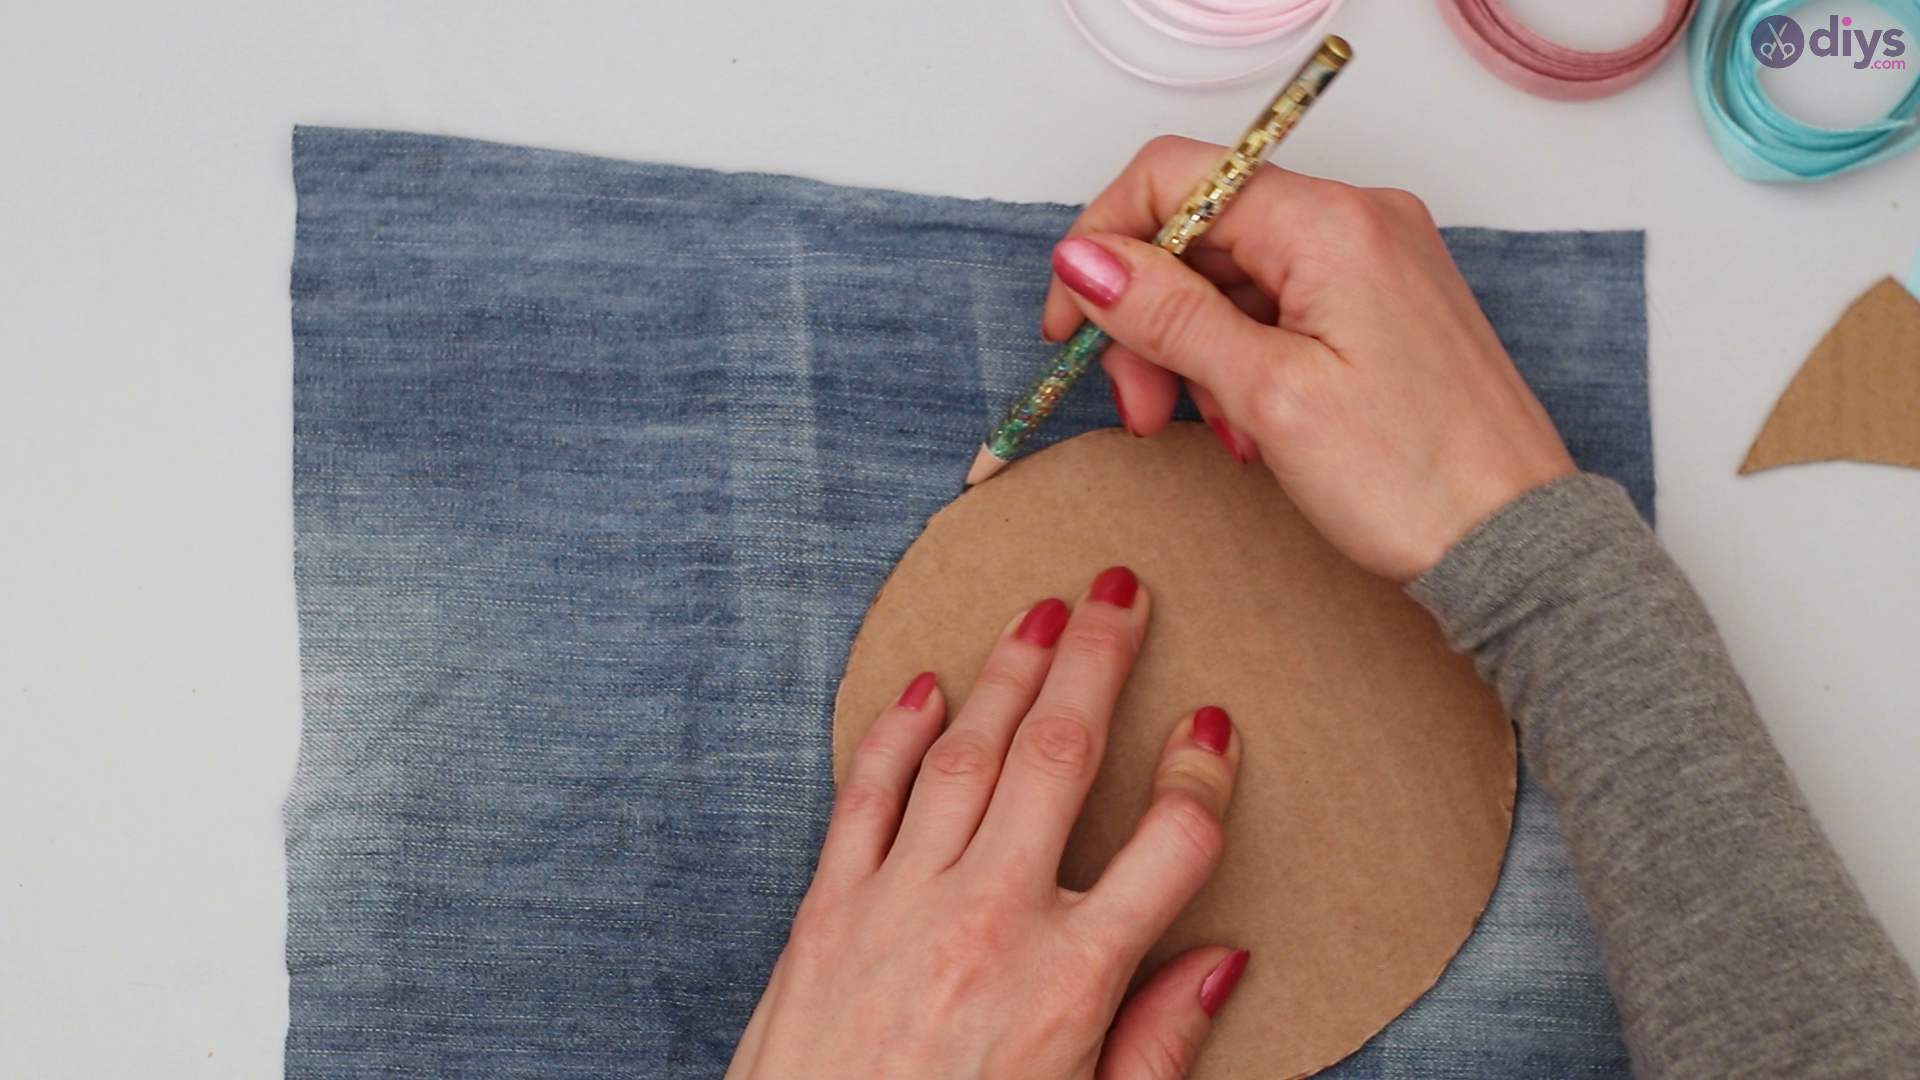
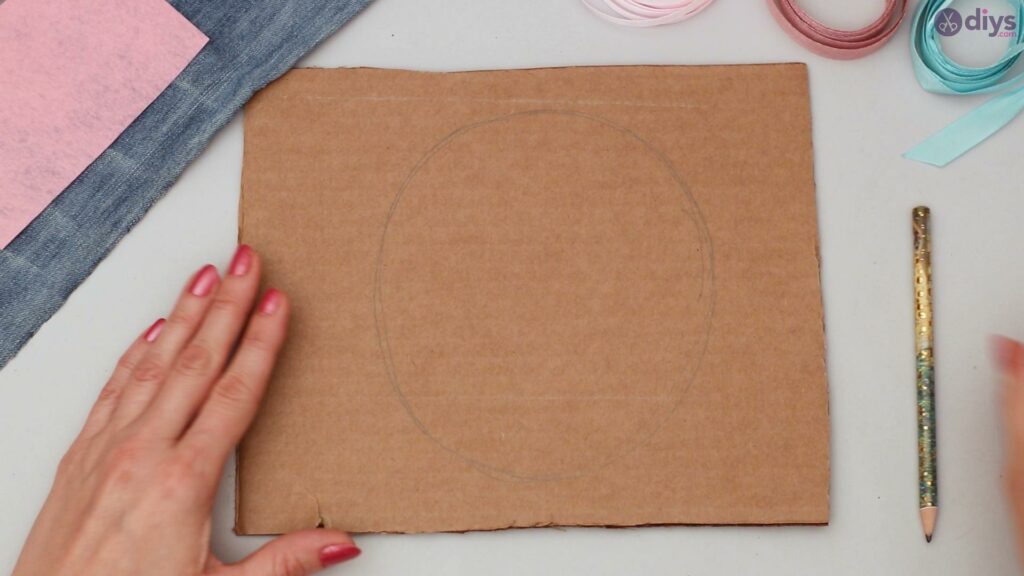
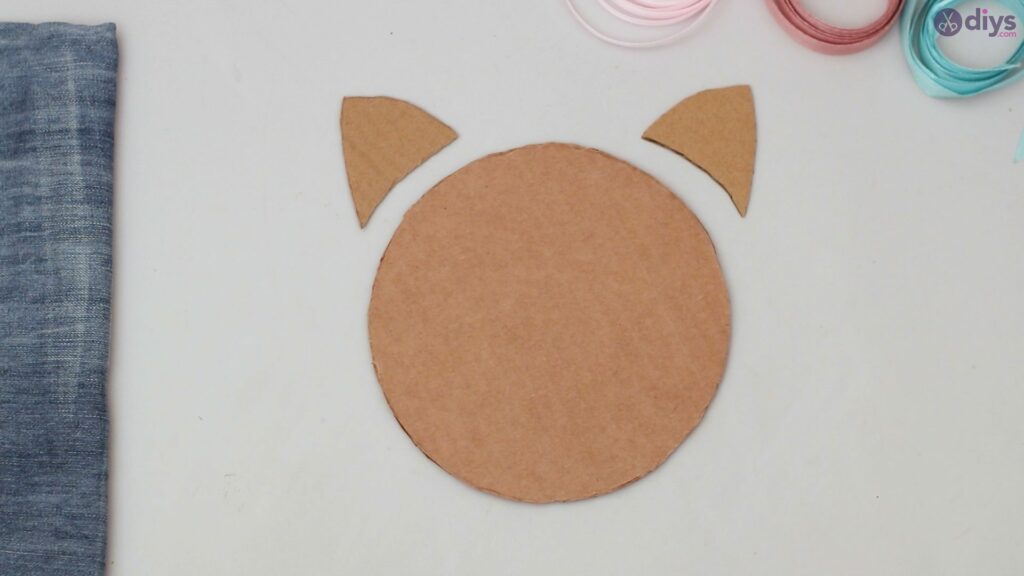
Step 1: Cutting the face
Using your pencil, draw a circle on the cardboard.
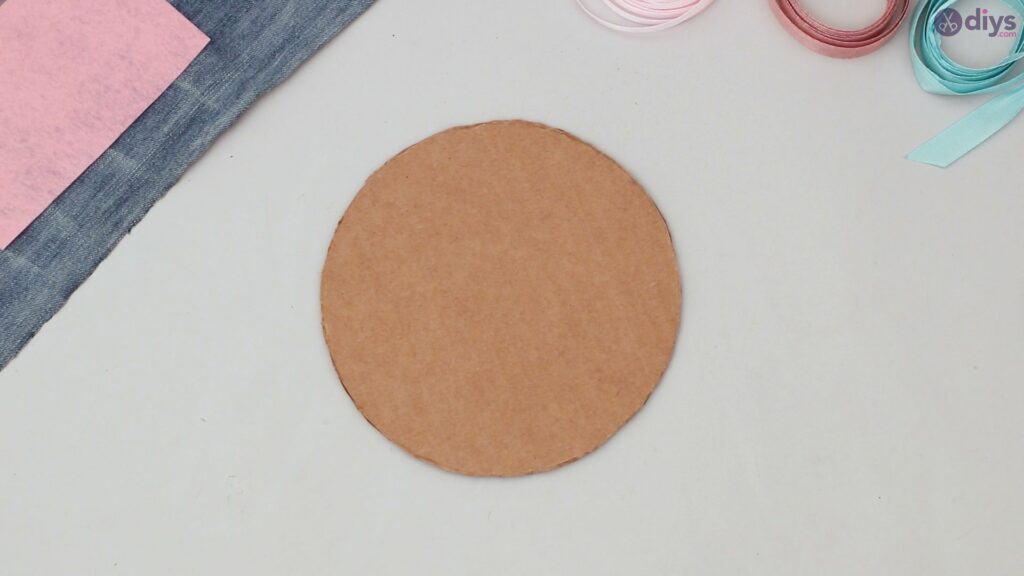
Neatly cut out the circle using your pair of scissors.
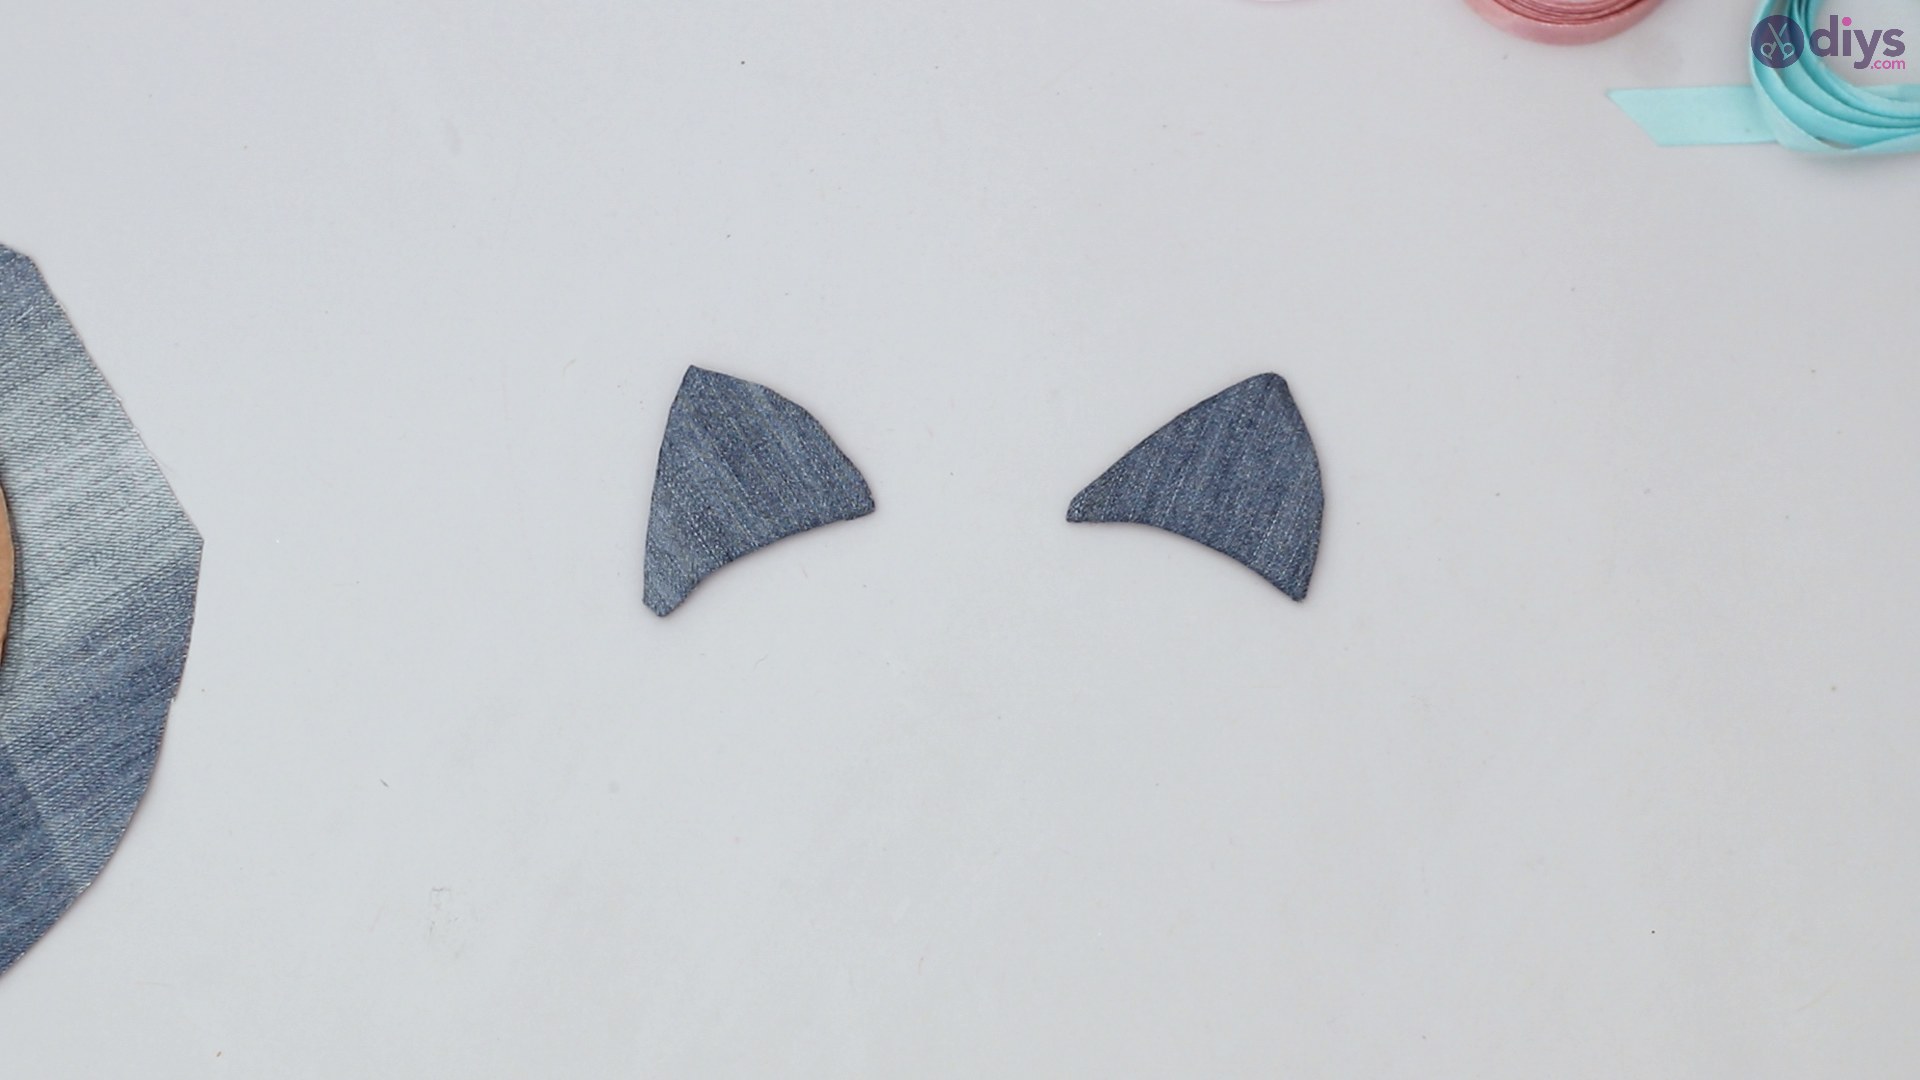
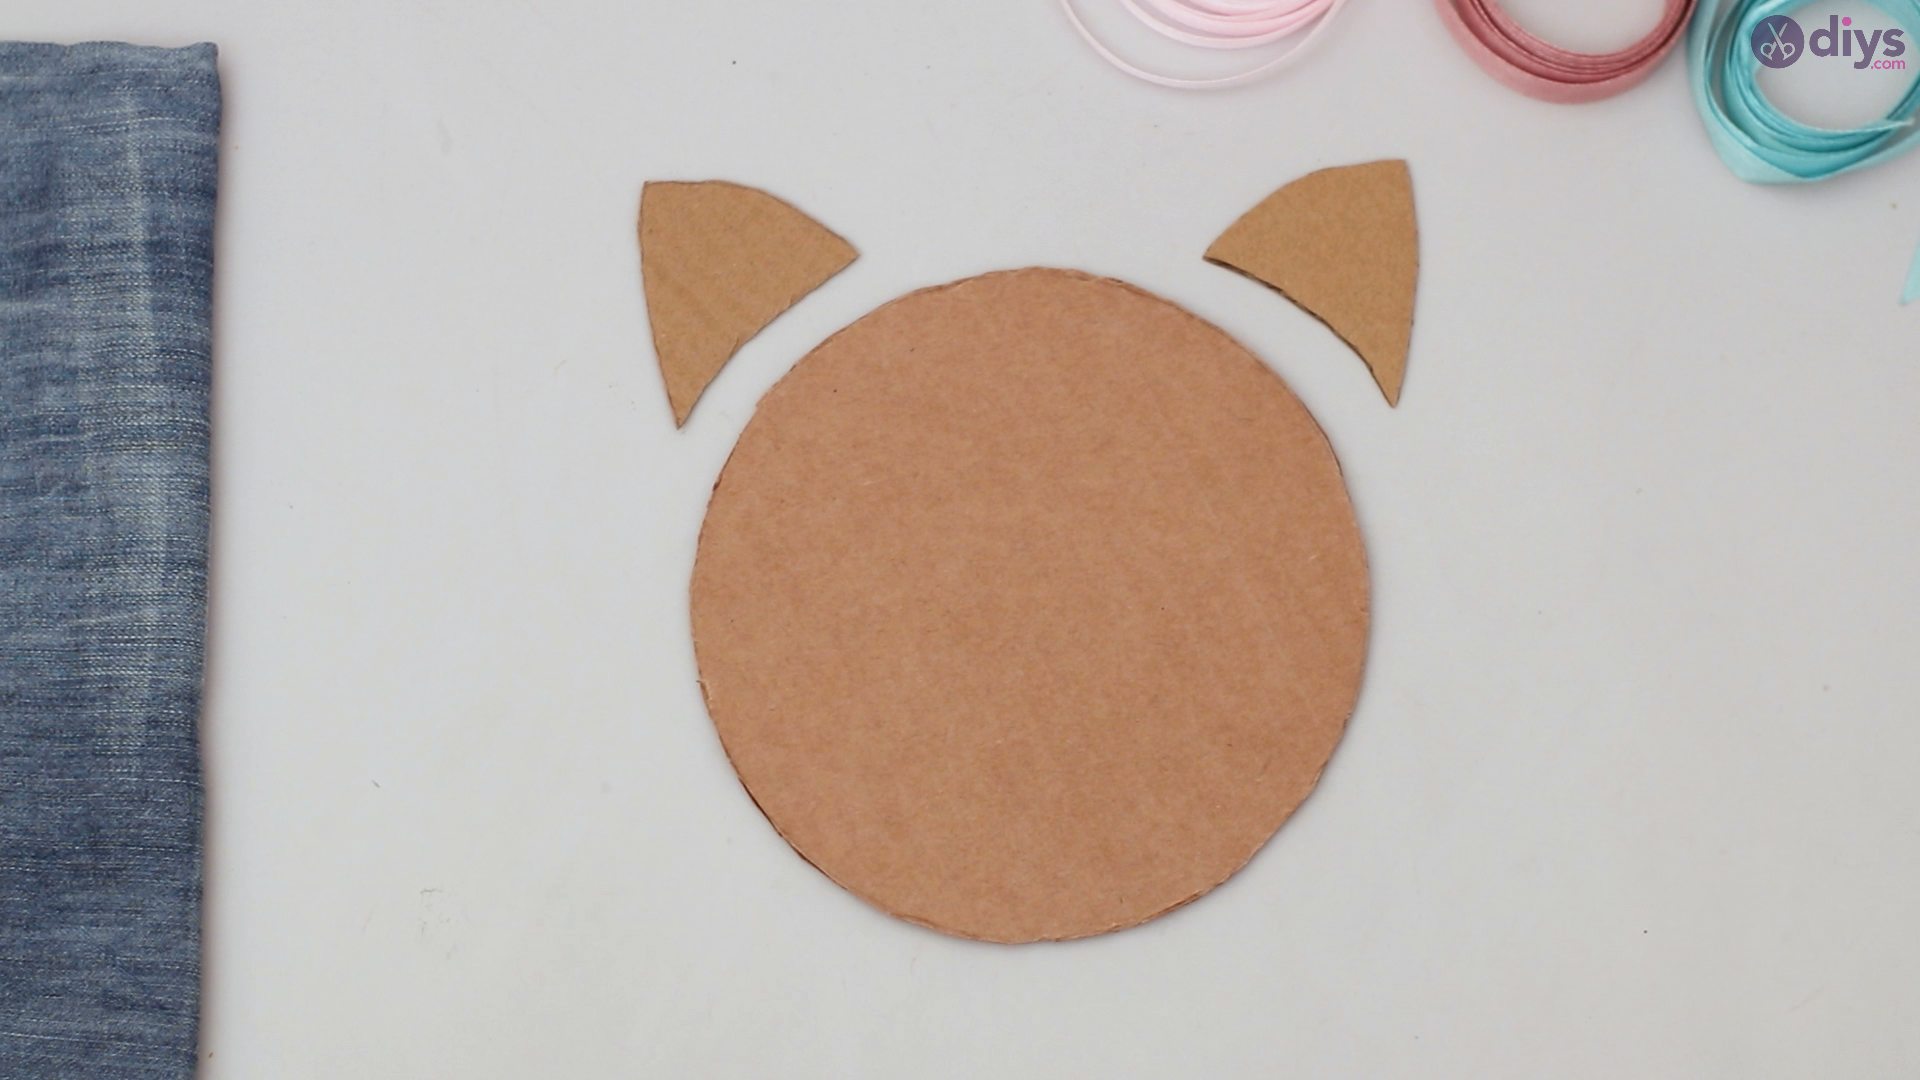
Place the circle you have cut out on the cardboard and with your pencil, draw two triangles or cat ears.
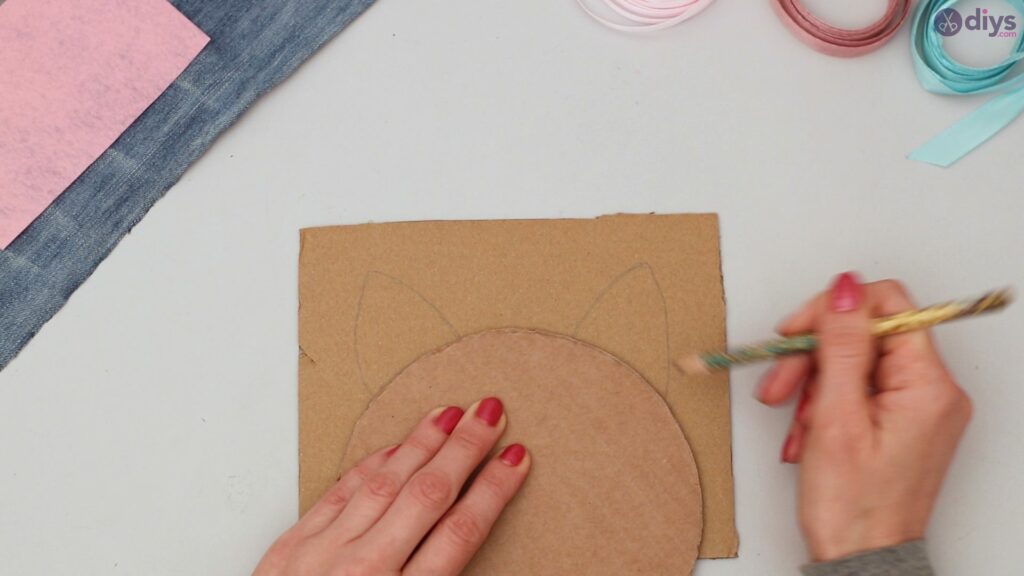
Cut out the cat ears from the cardboard.
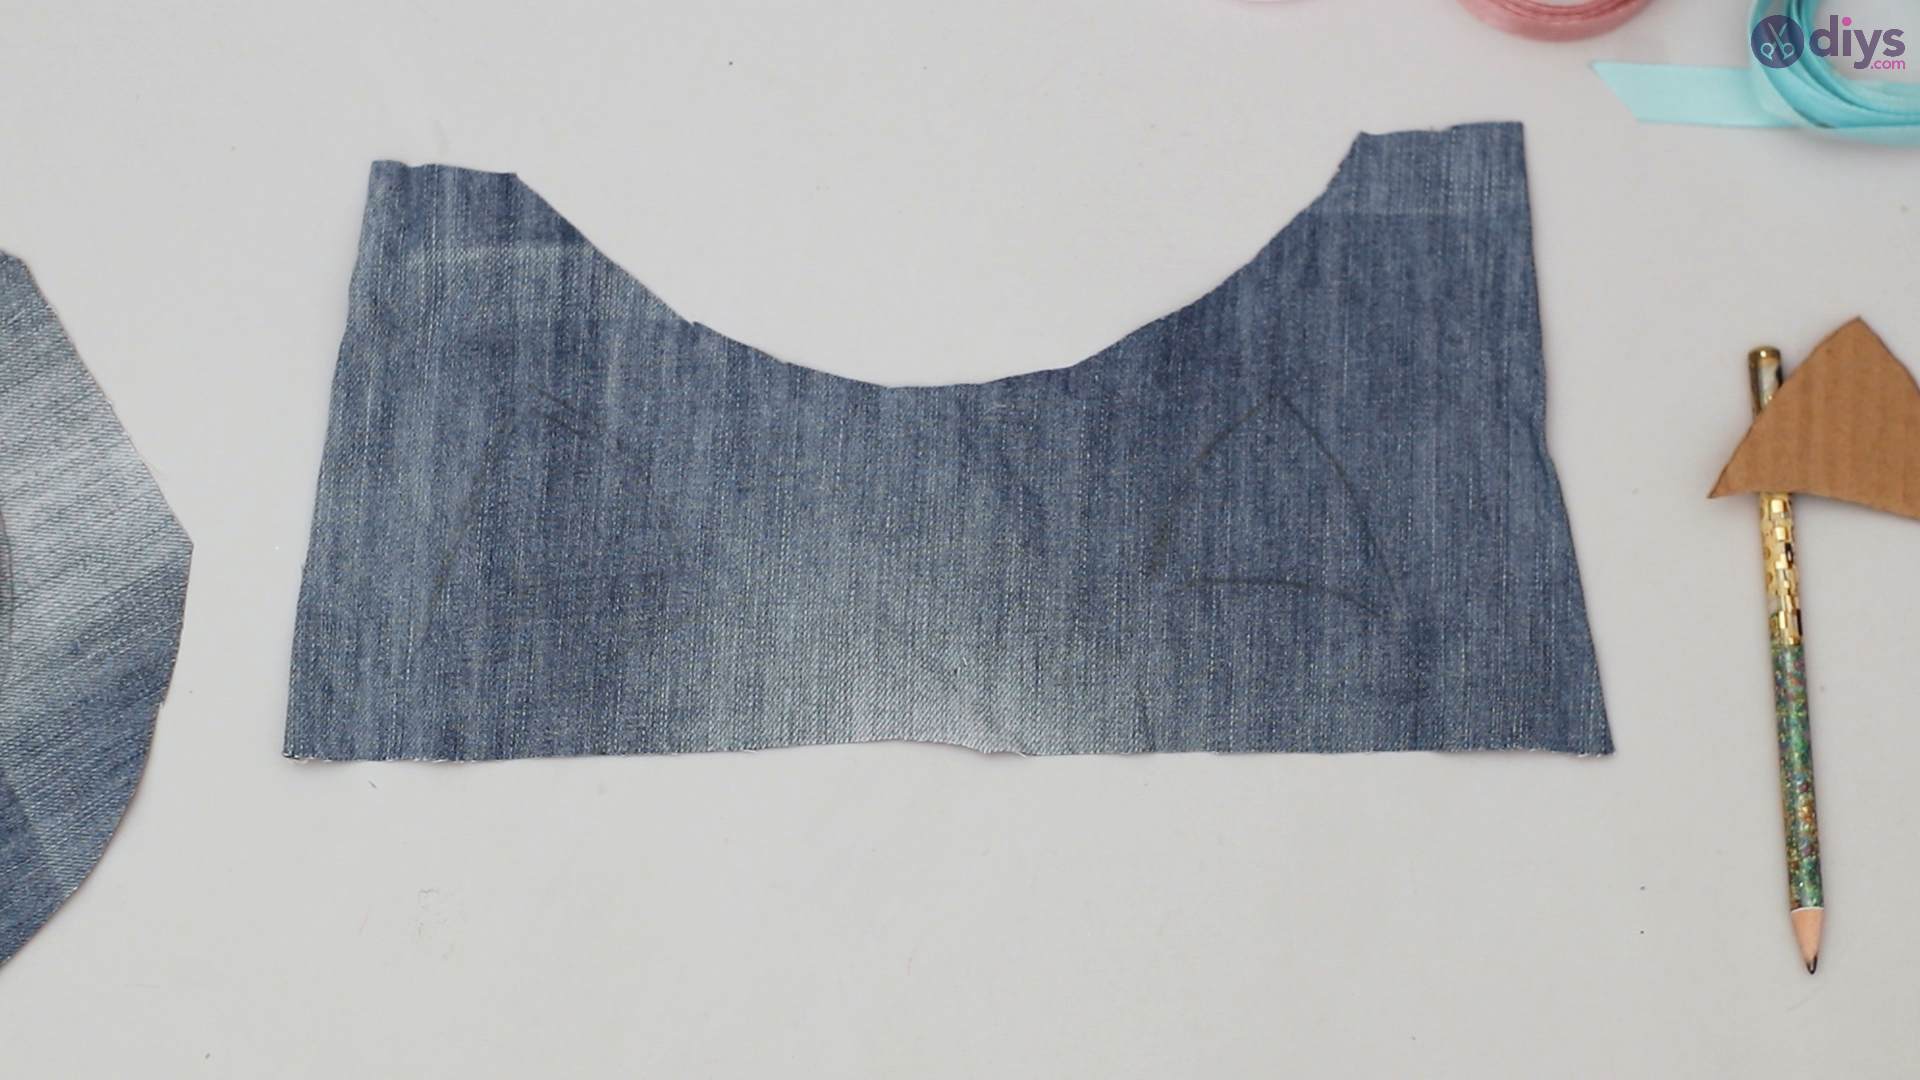
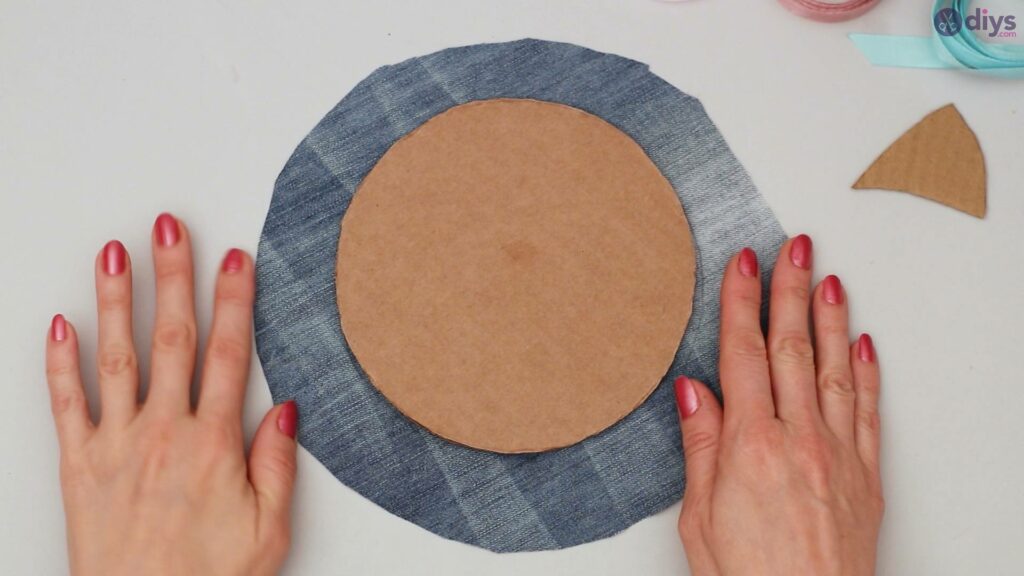
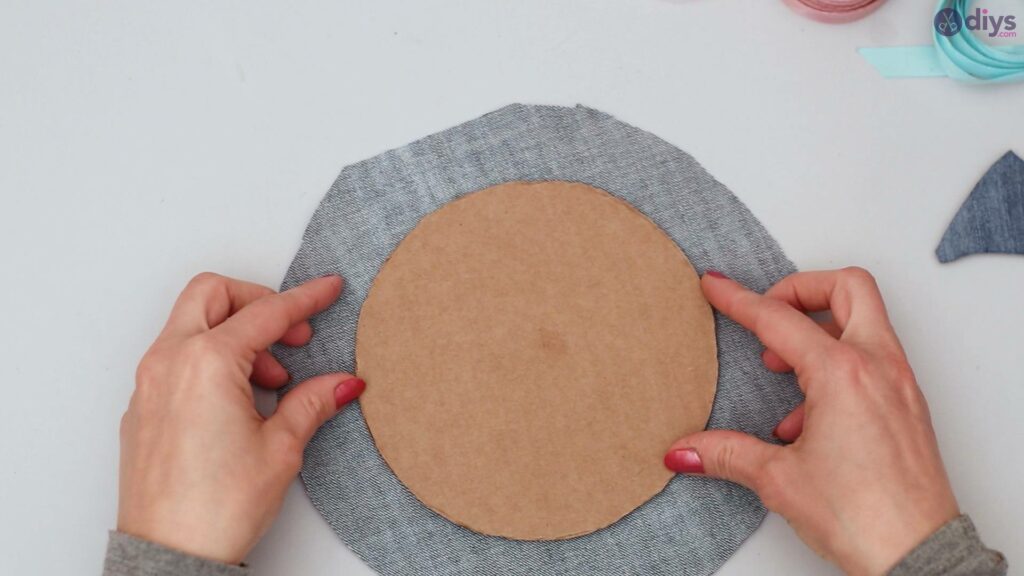
Step 2: Cutting out the jeans covering
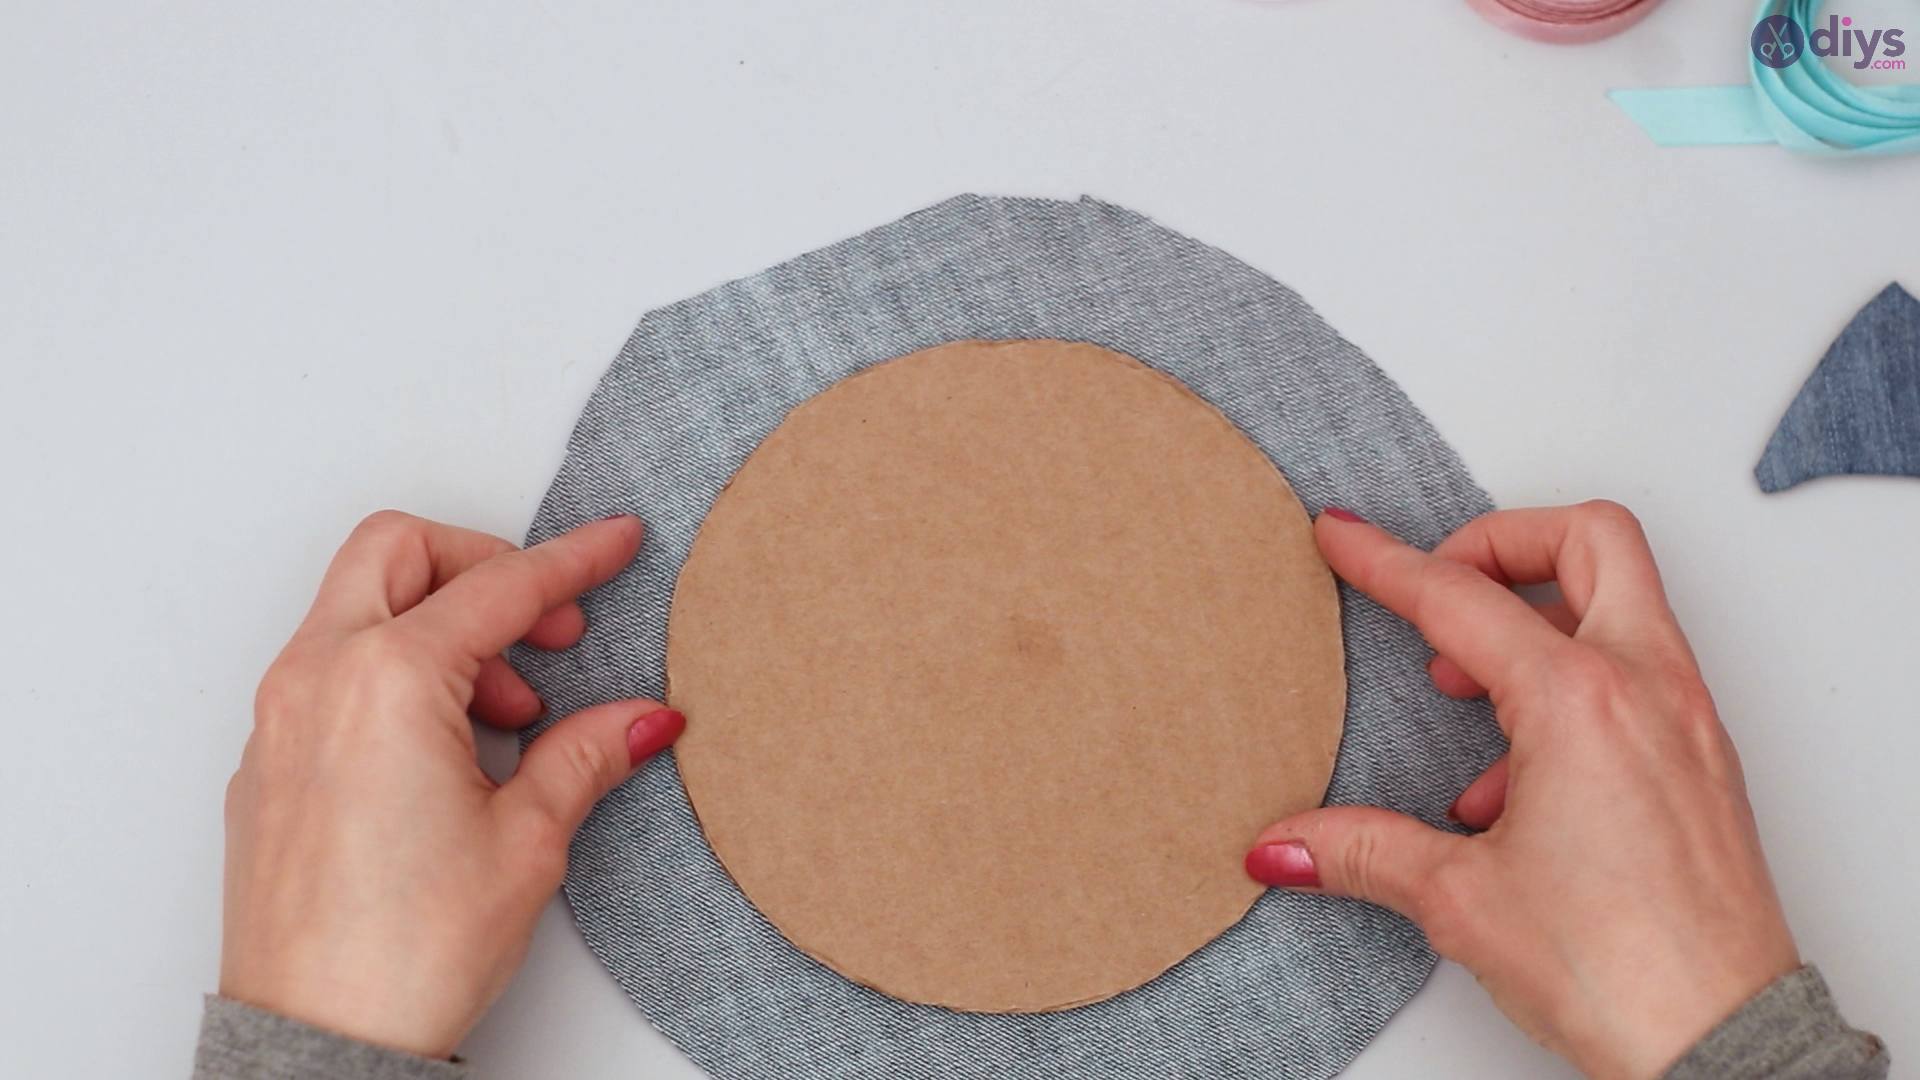
Place the circle you have cut out on the jeans’ material and trace around it with a pencil.
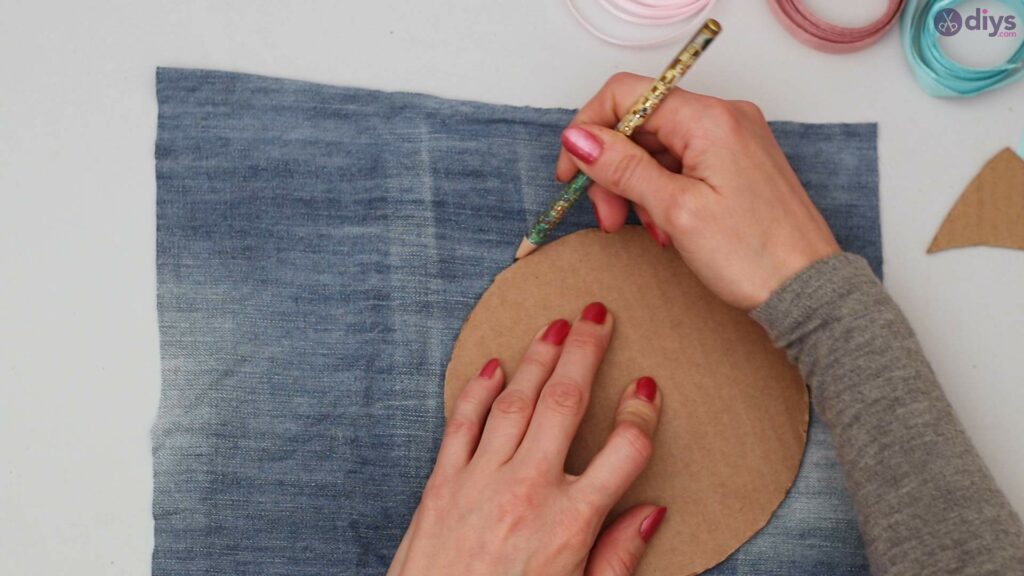
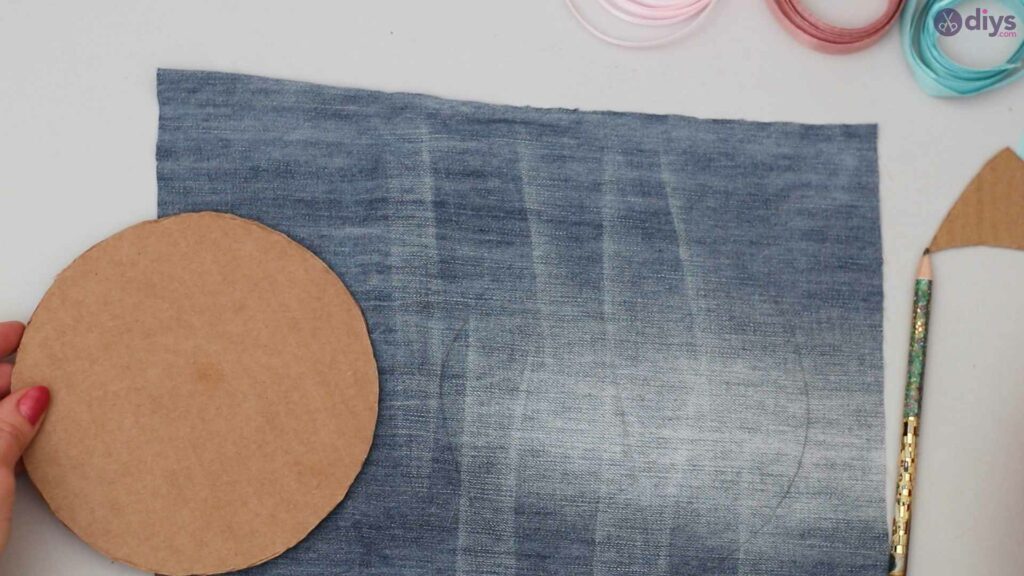
Using your scissors, cut around the circle you have drawn. Do not cut out the exact circle. Leave an inch or two between the actual circle and where you cut.
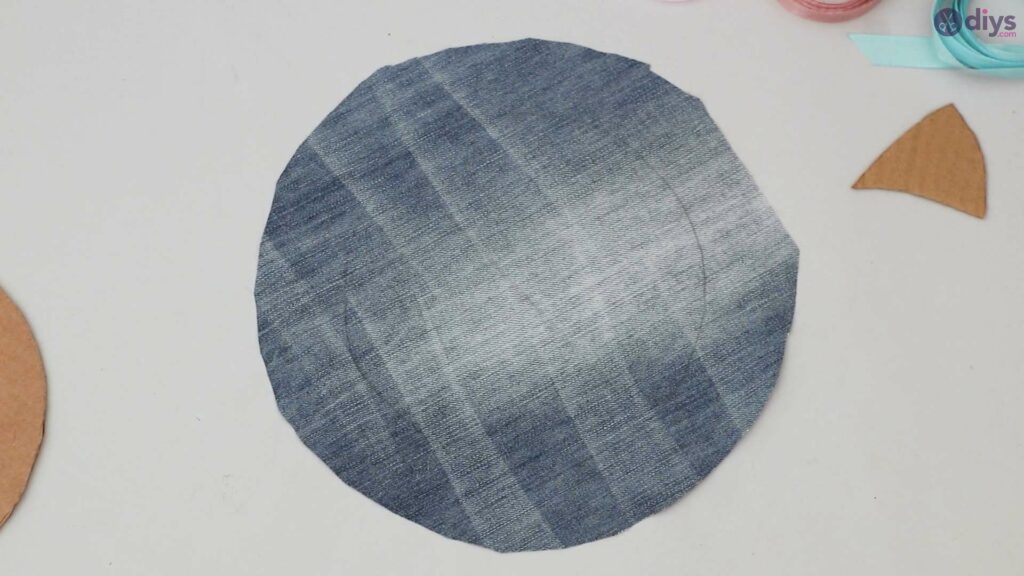
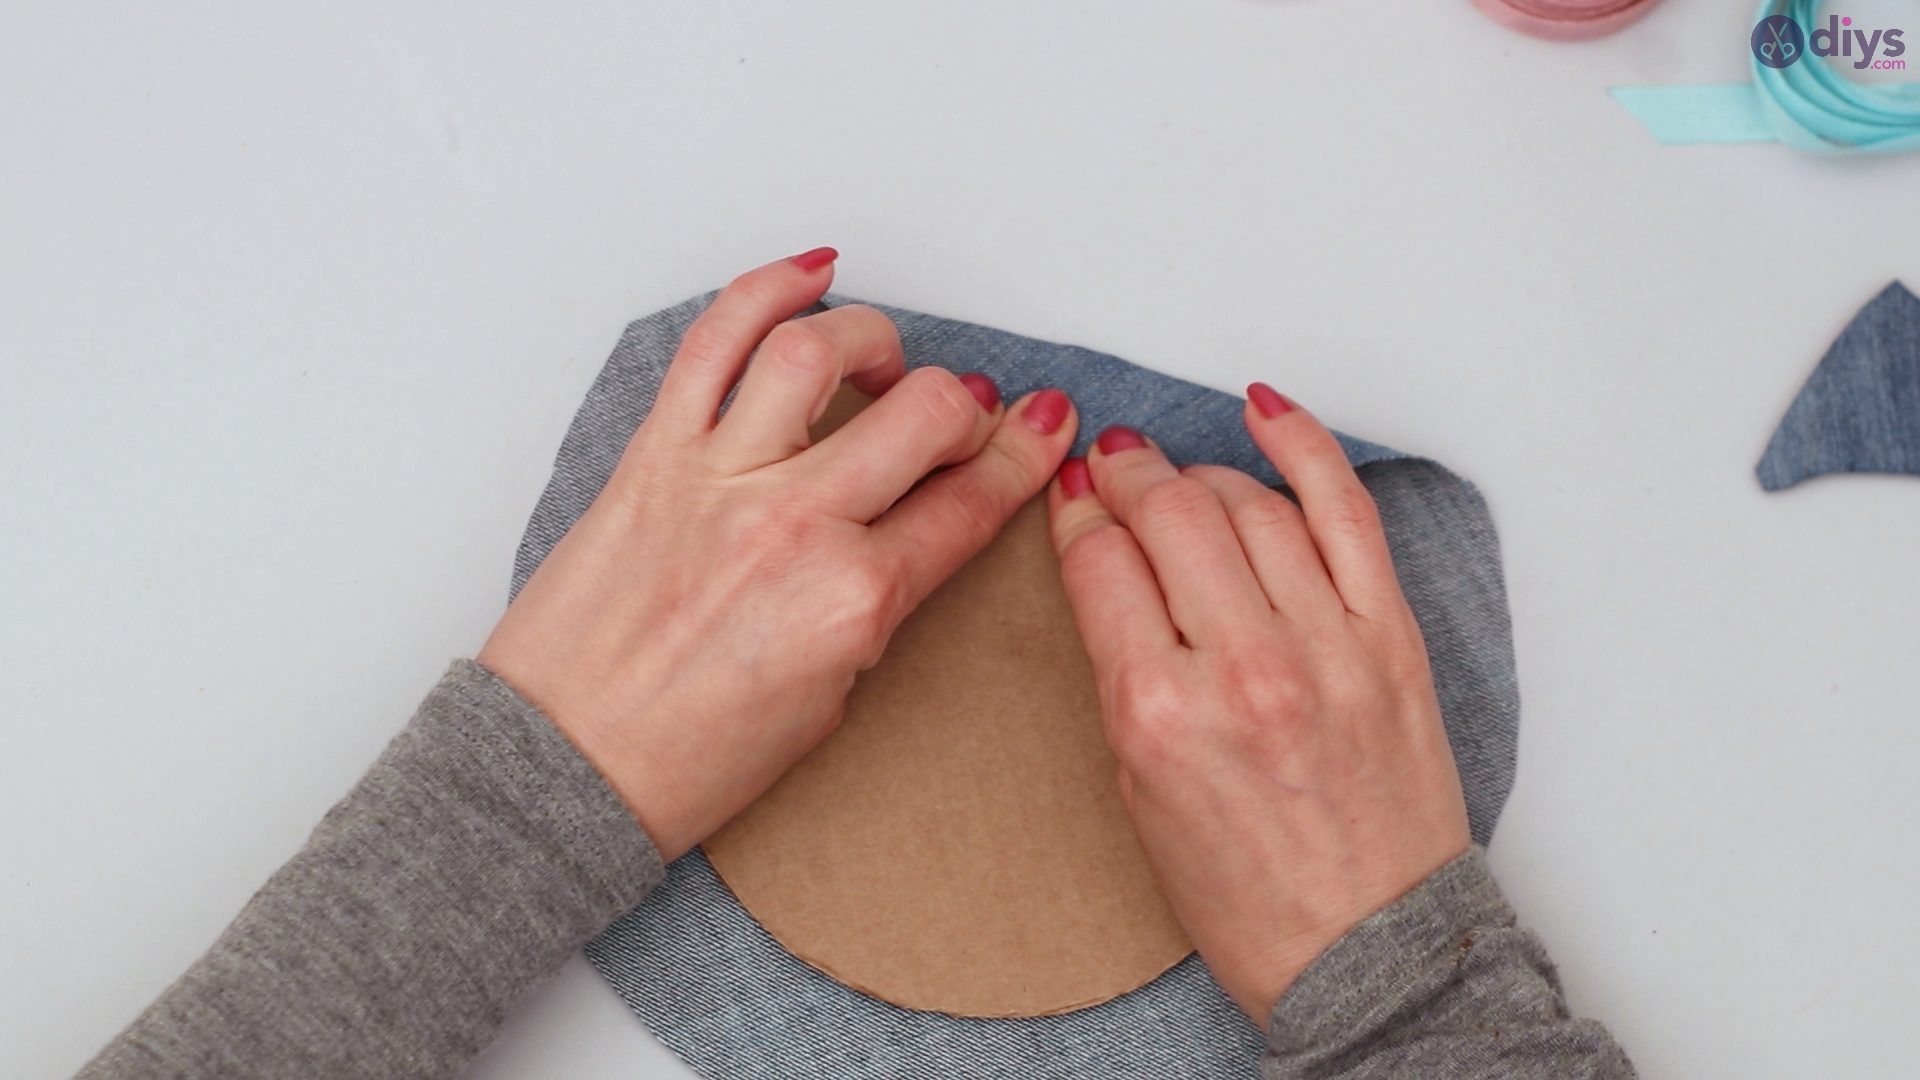
Place the cardboard on the circle you outlined on the jeans material.
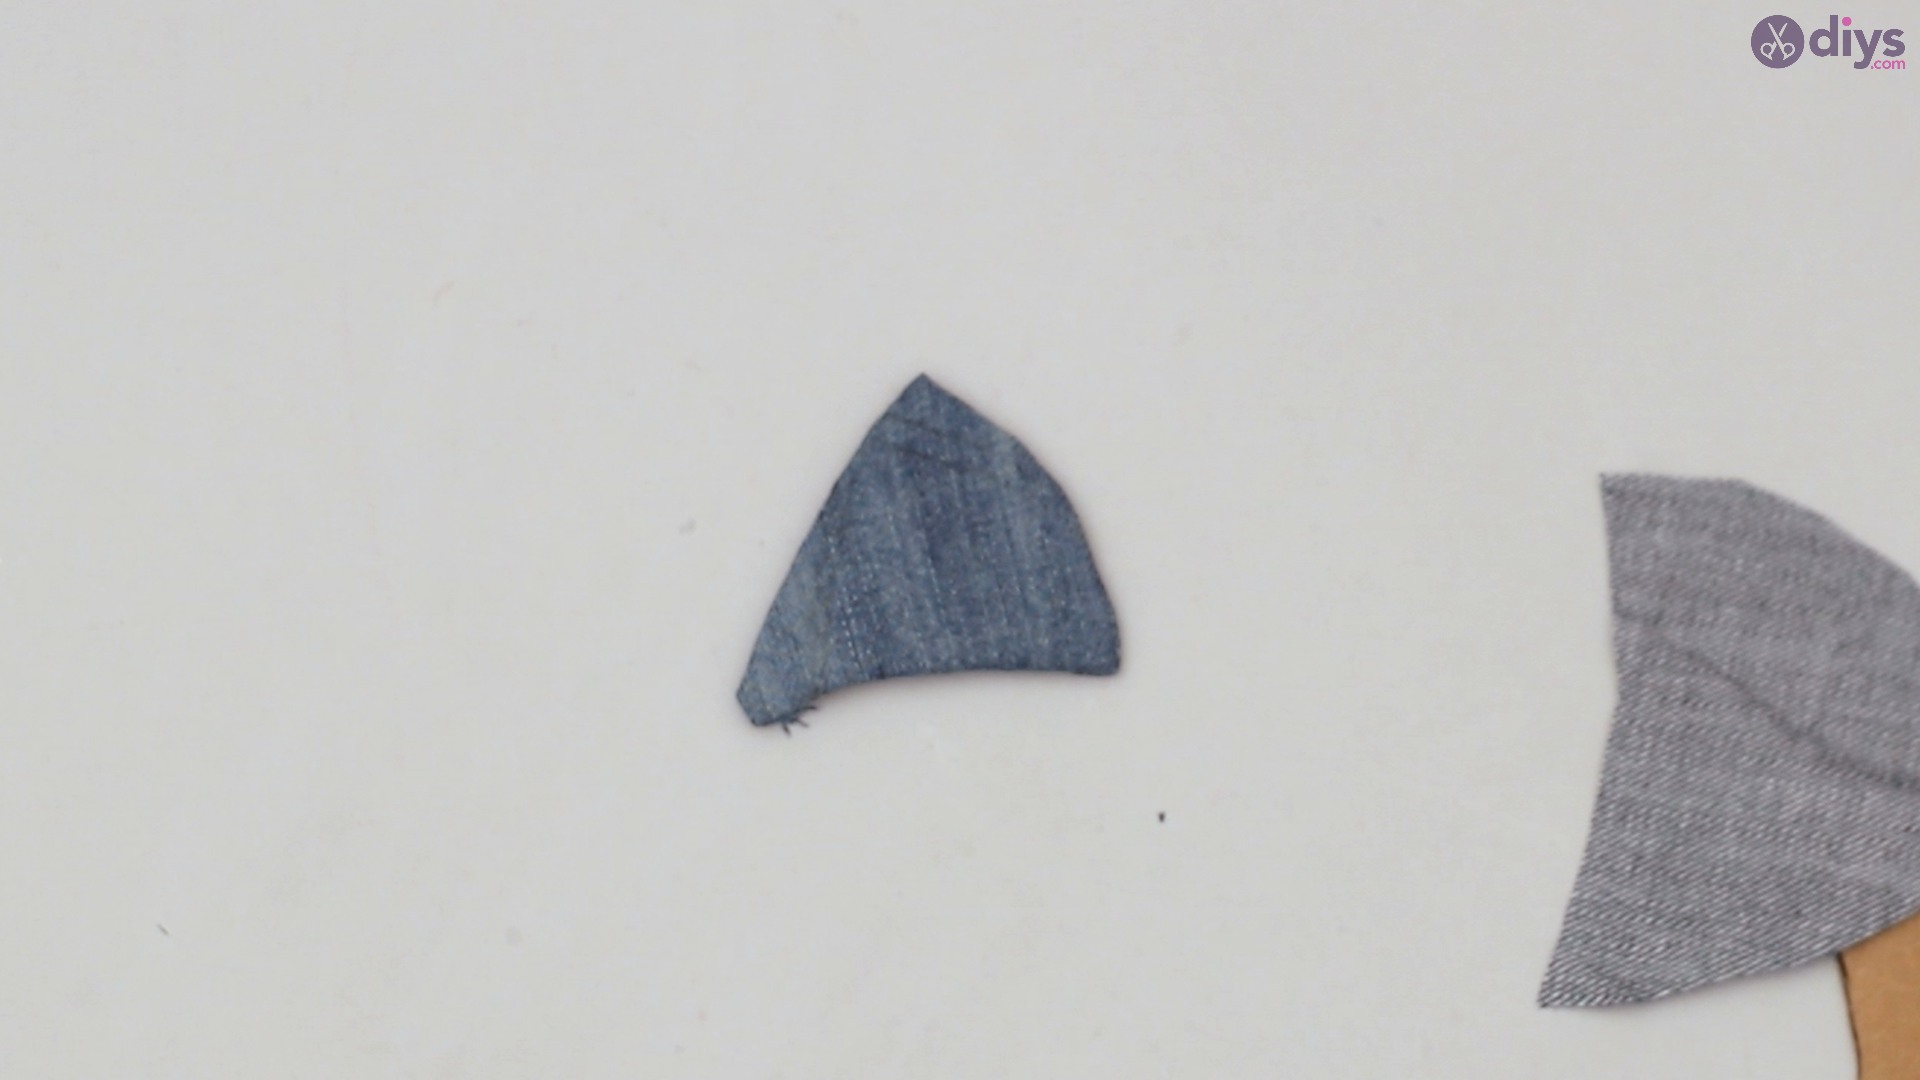
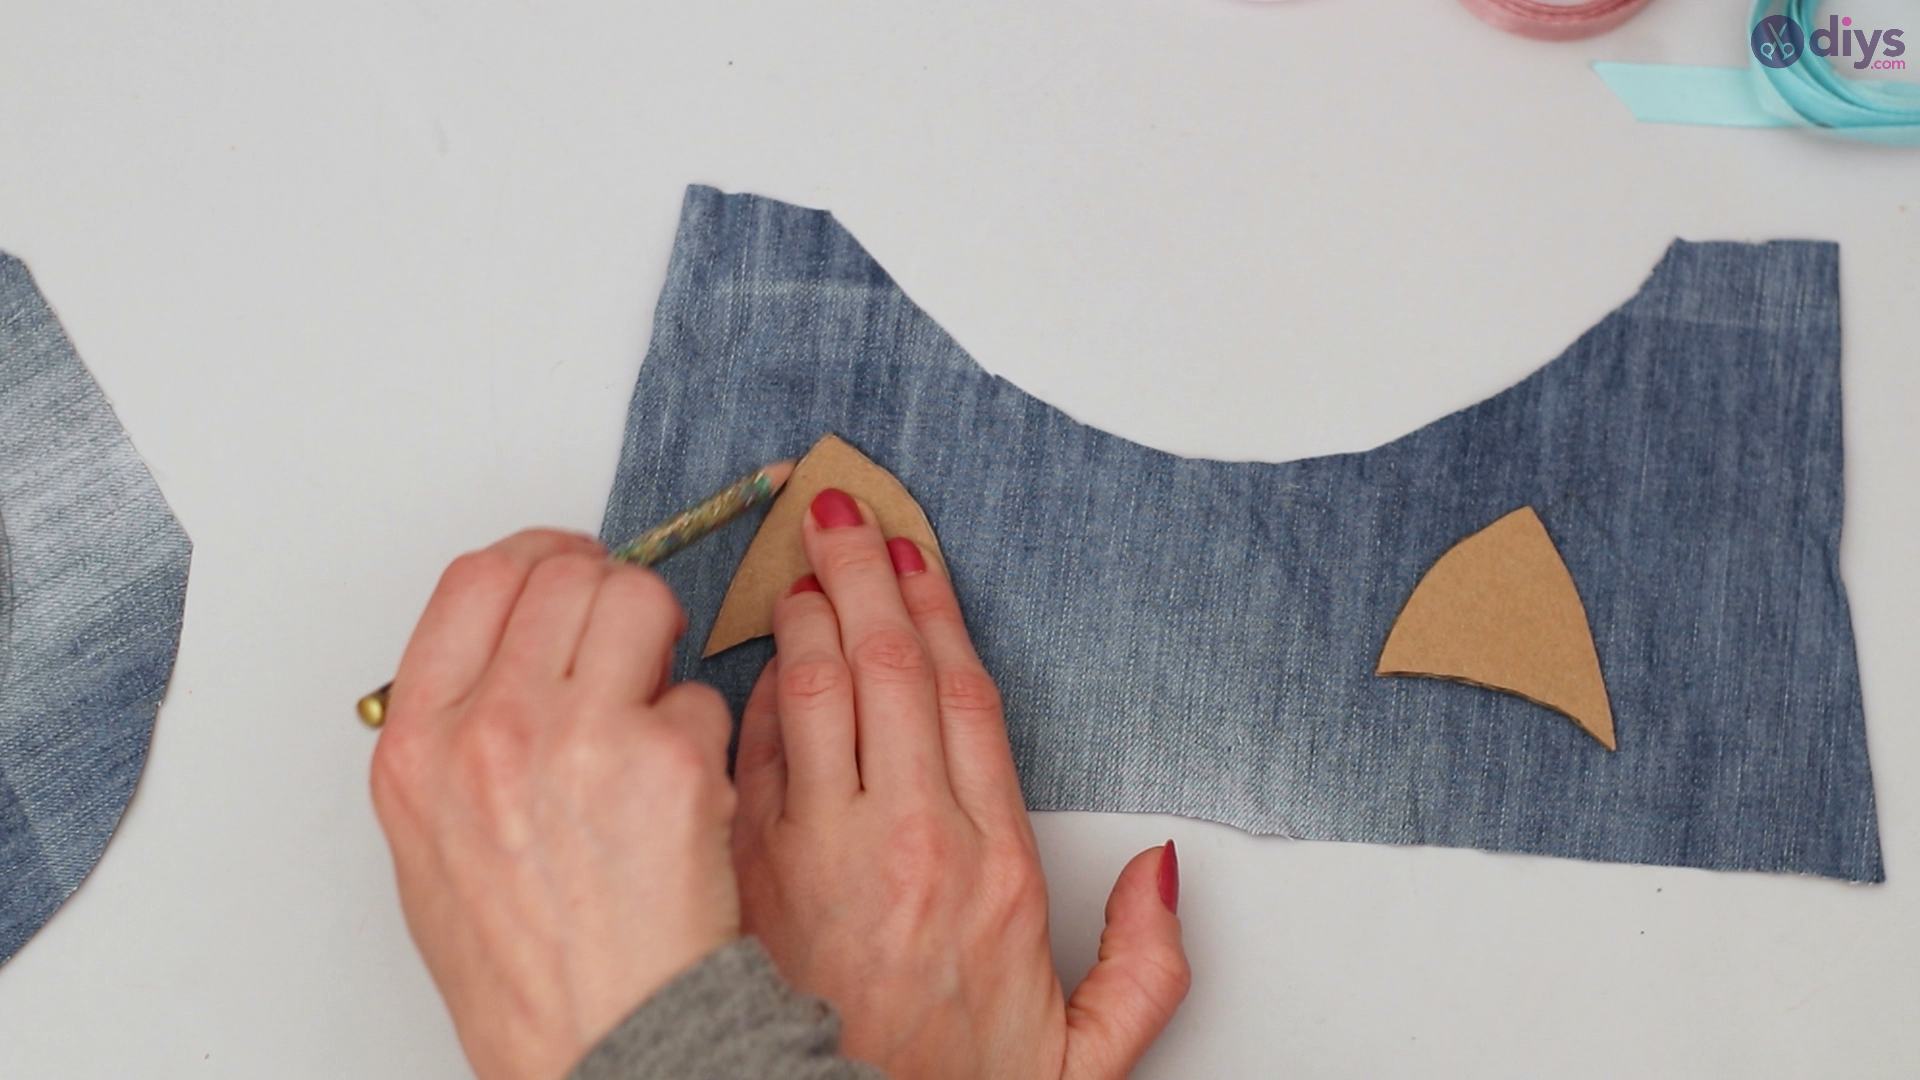
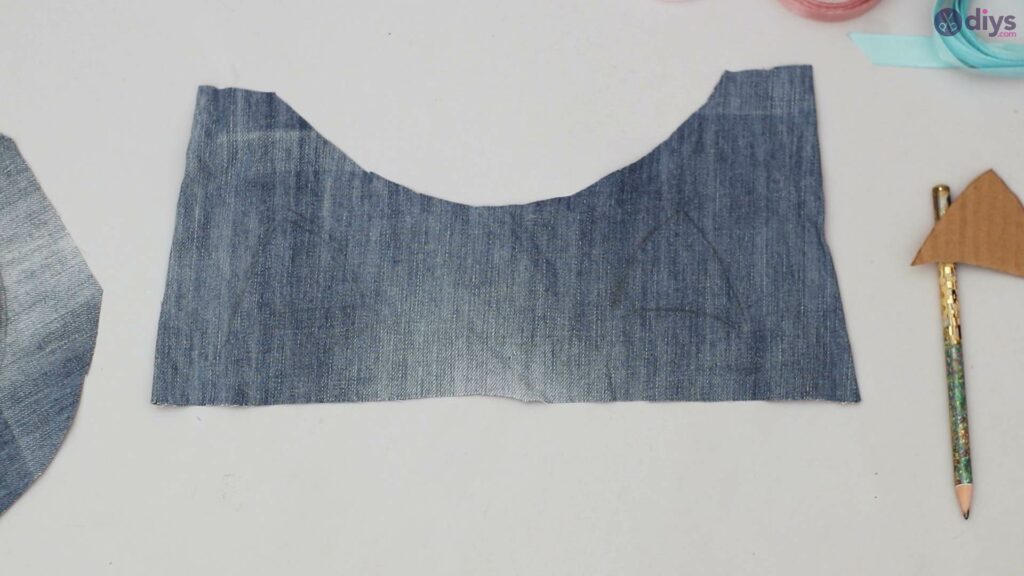
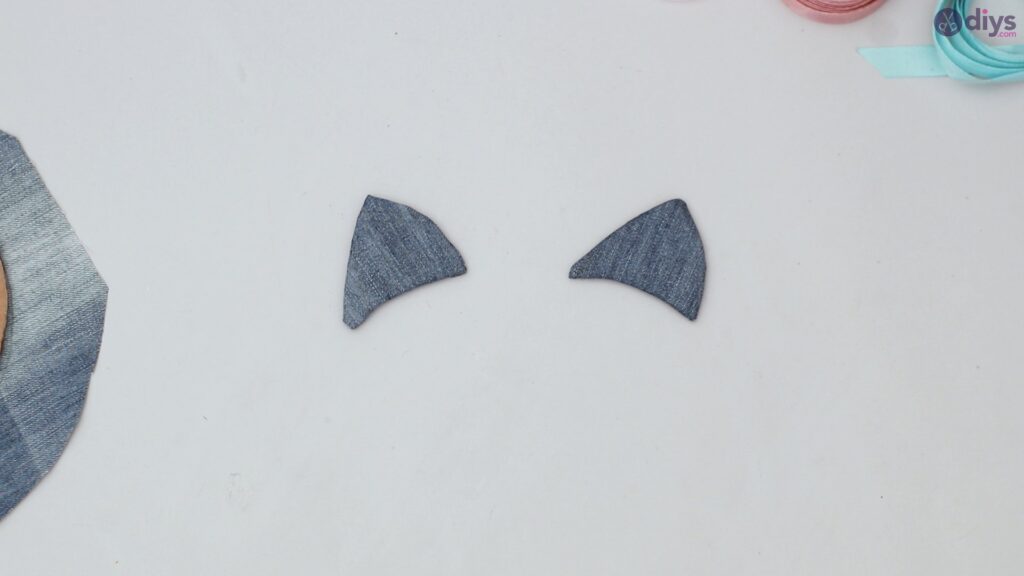
Next, take the cat ears and place them on the jeans. Trace one of them on the material using your pencil.

Trace the second ear carefully on the jean material.

Take your scissors and cut out the ears you have traced, then place the cardboard on the jeans material.

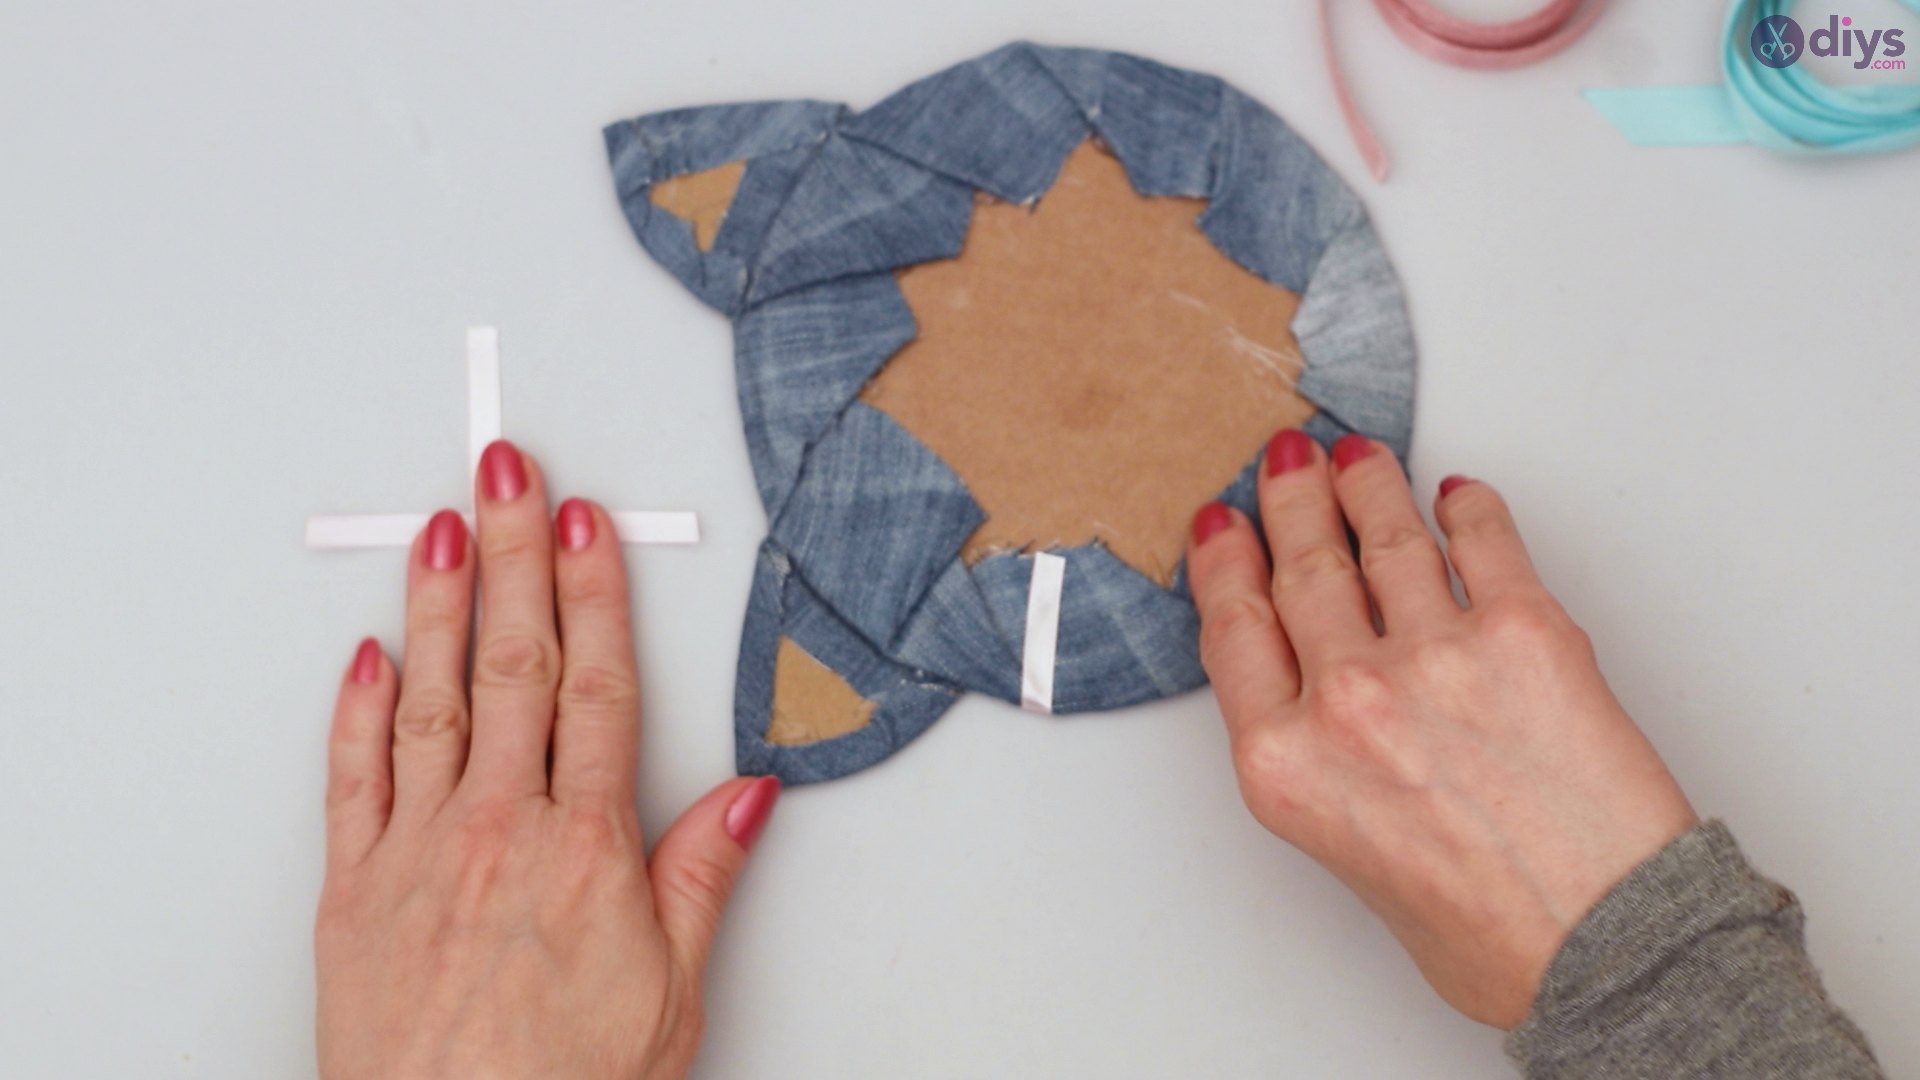
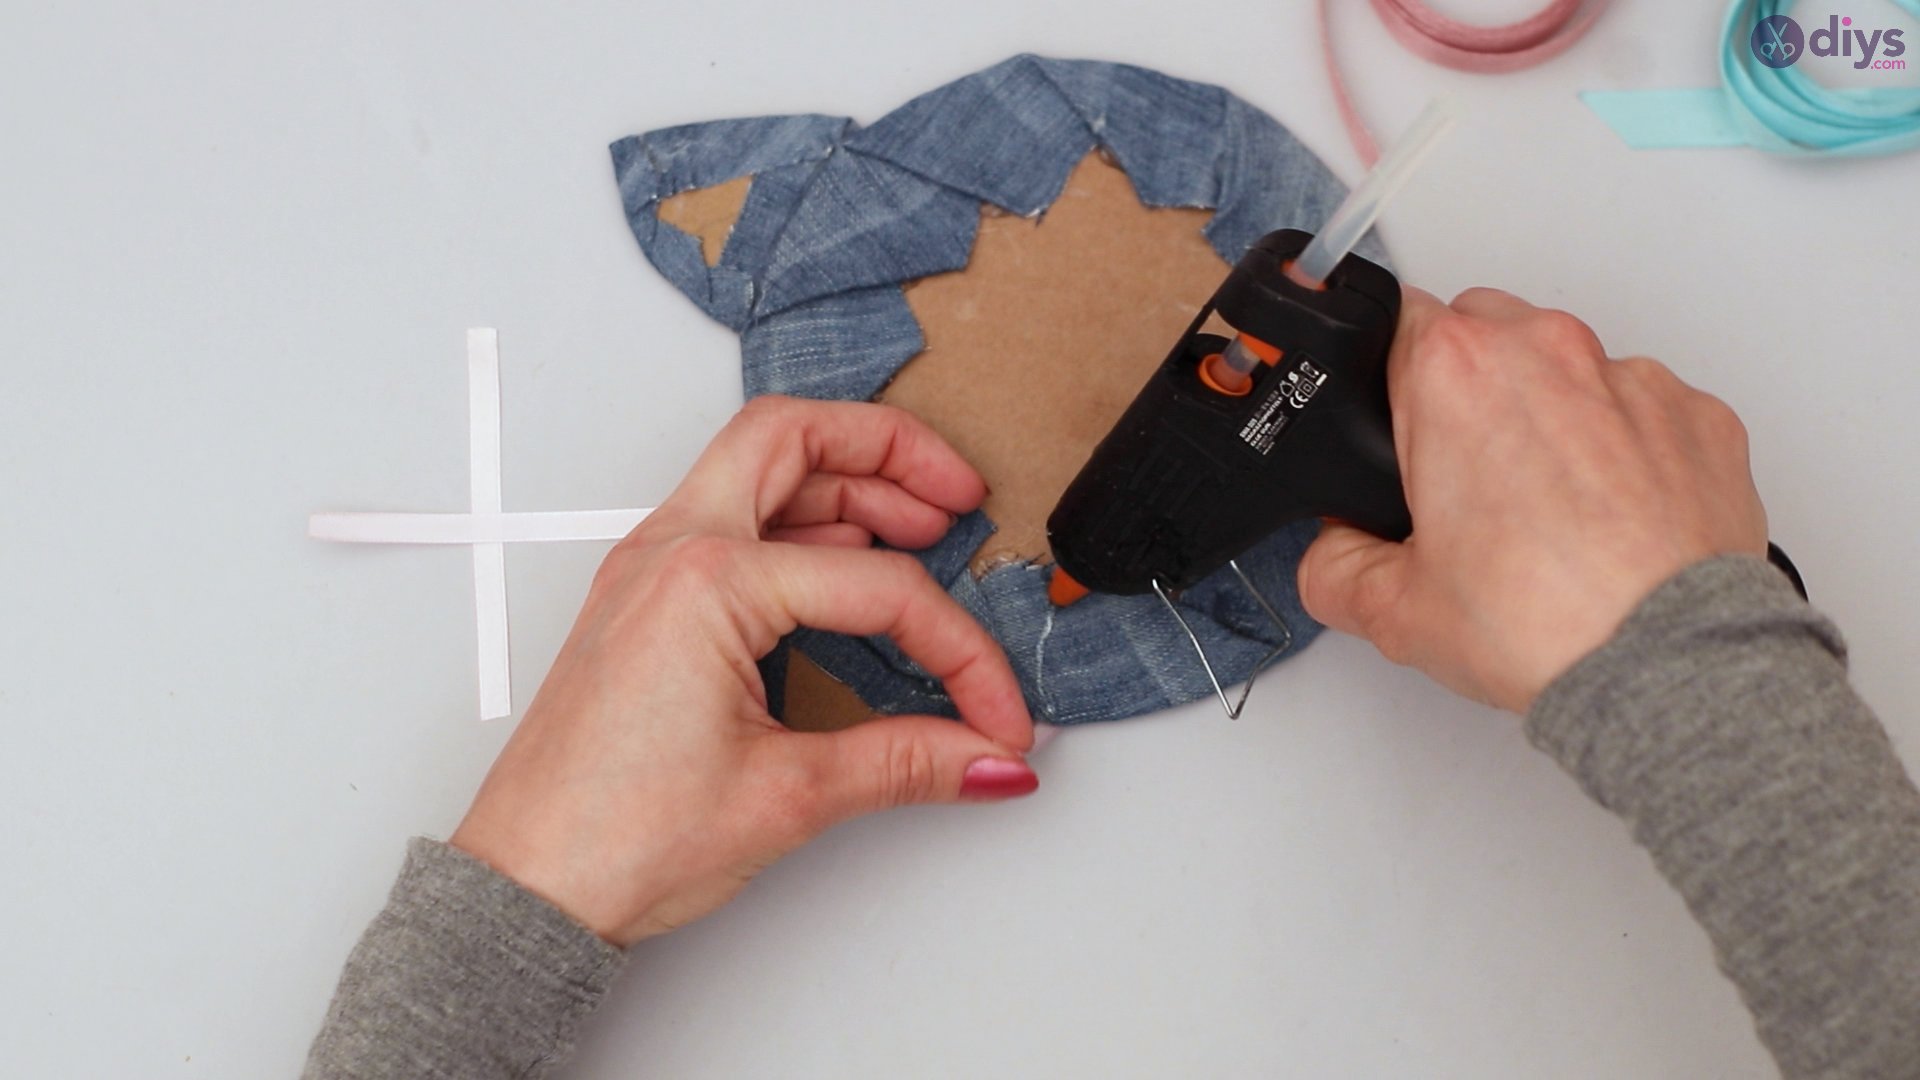
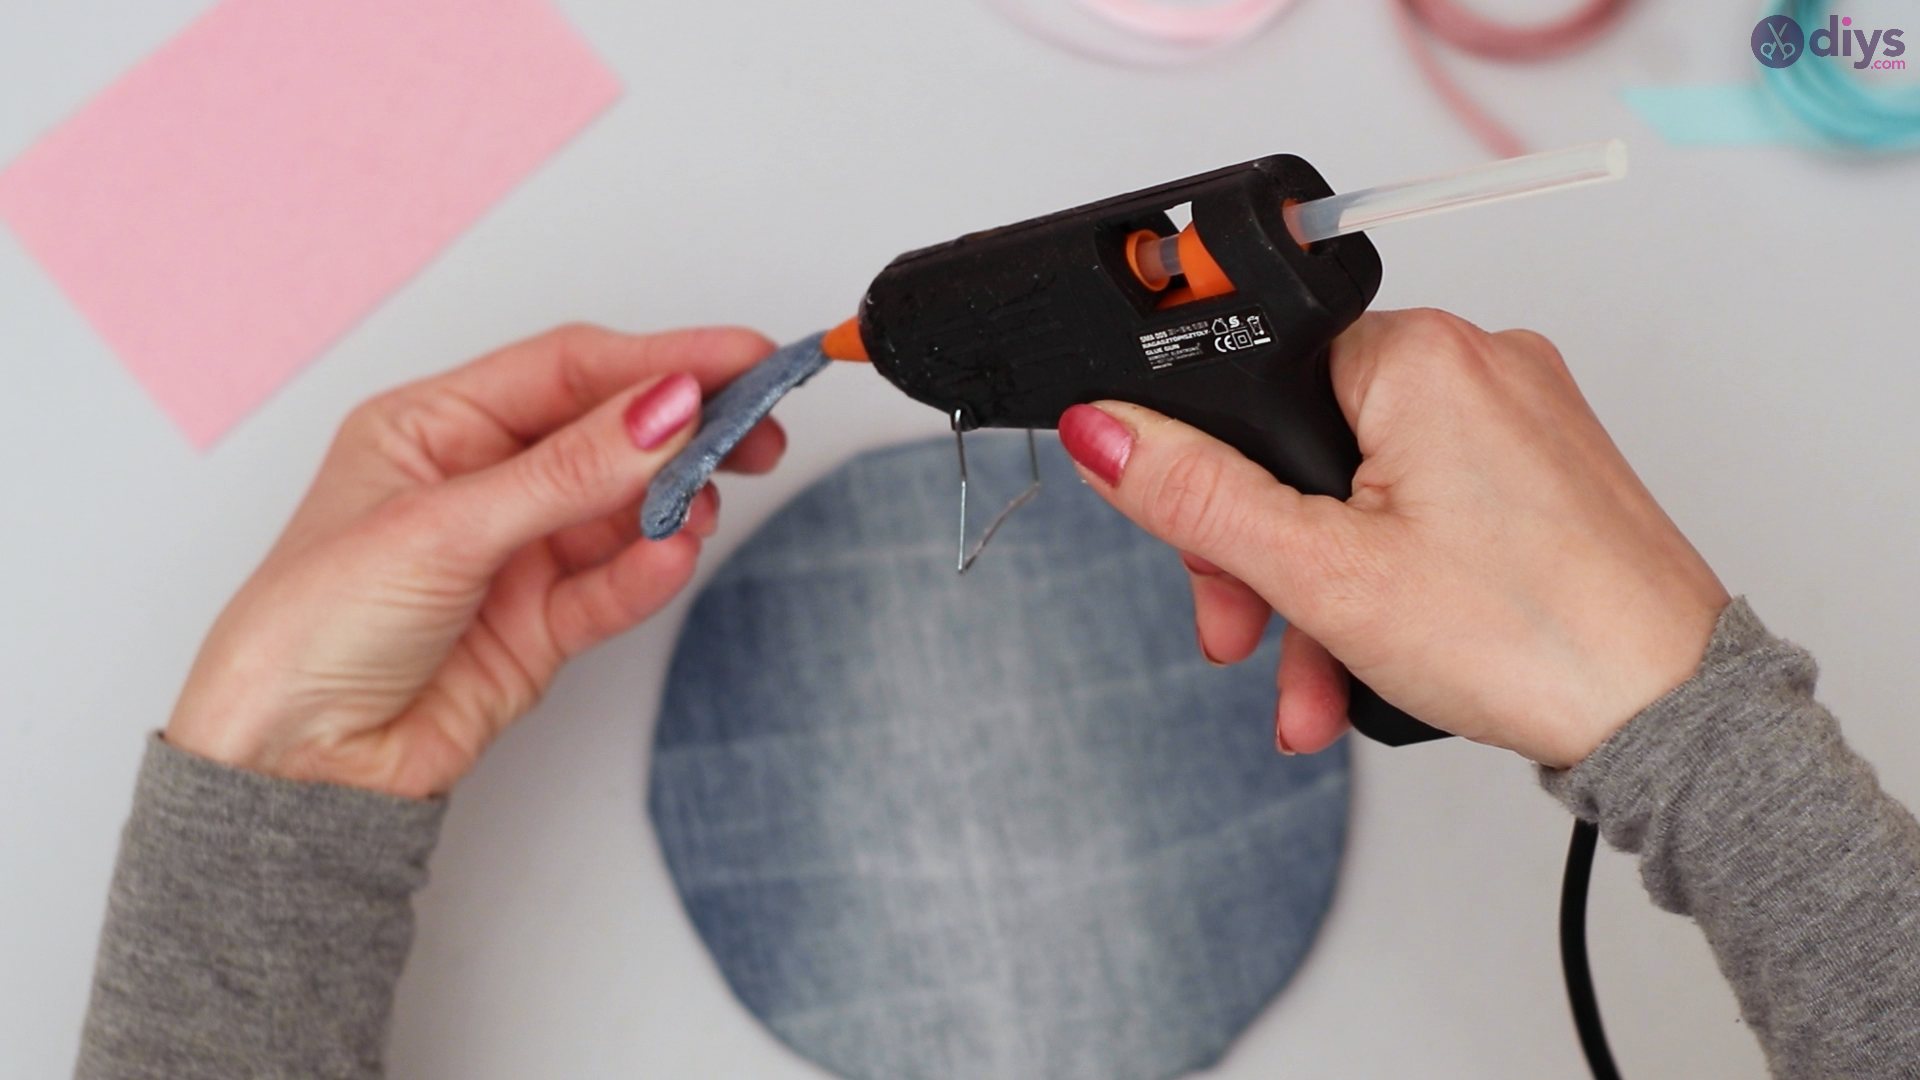
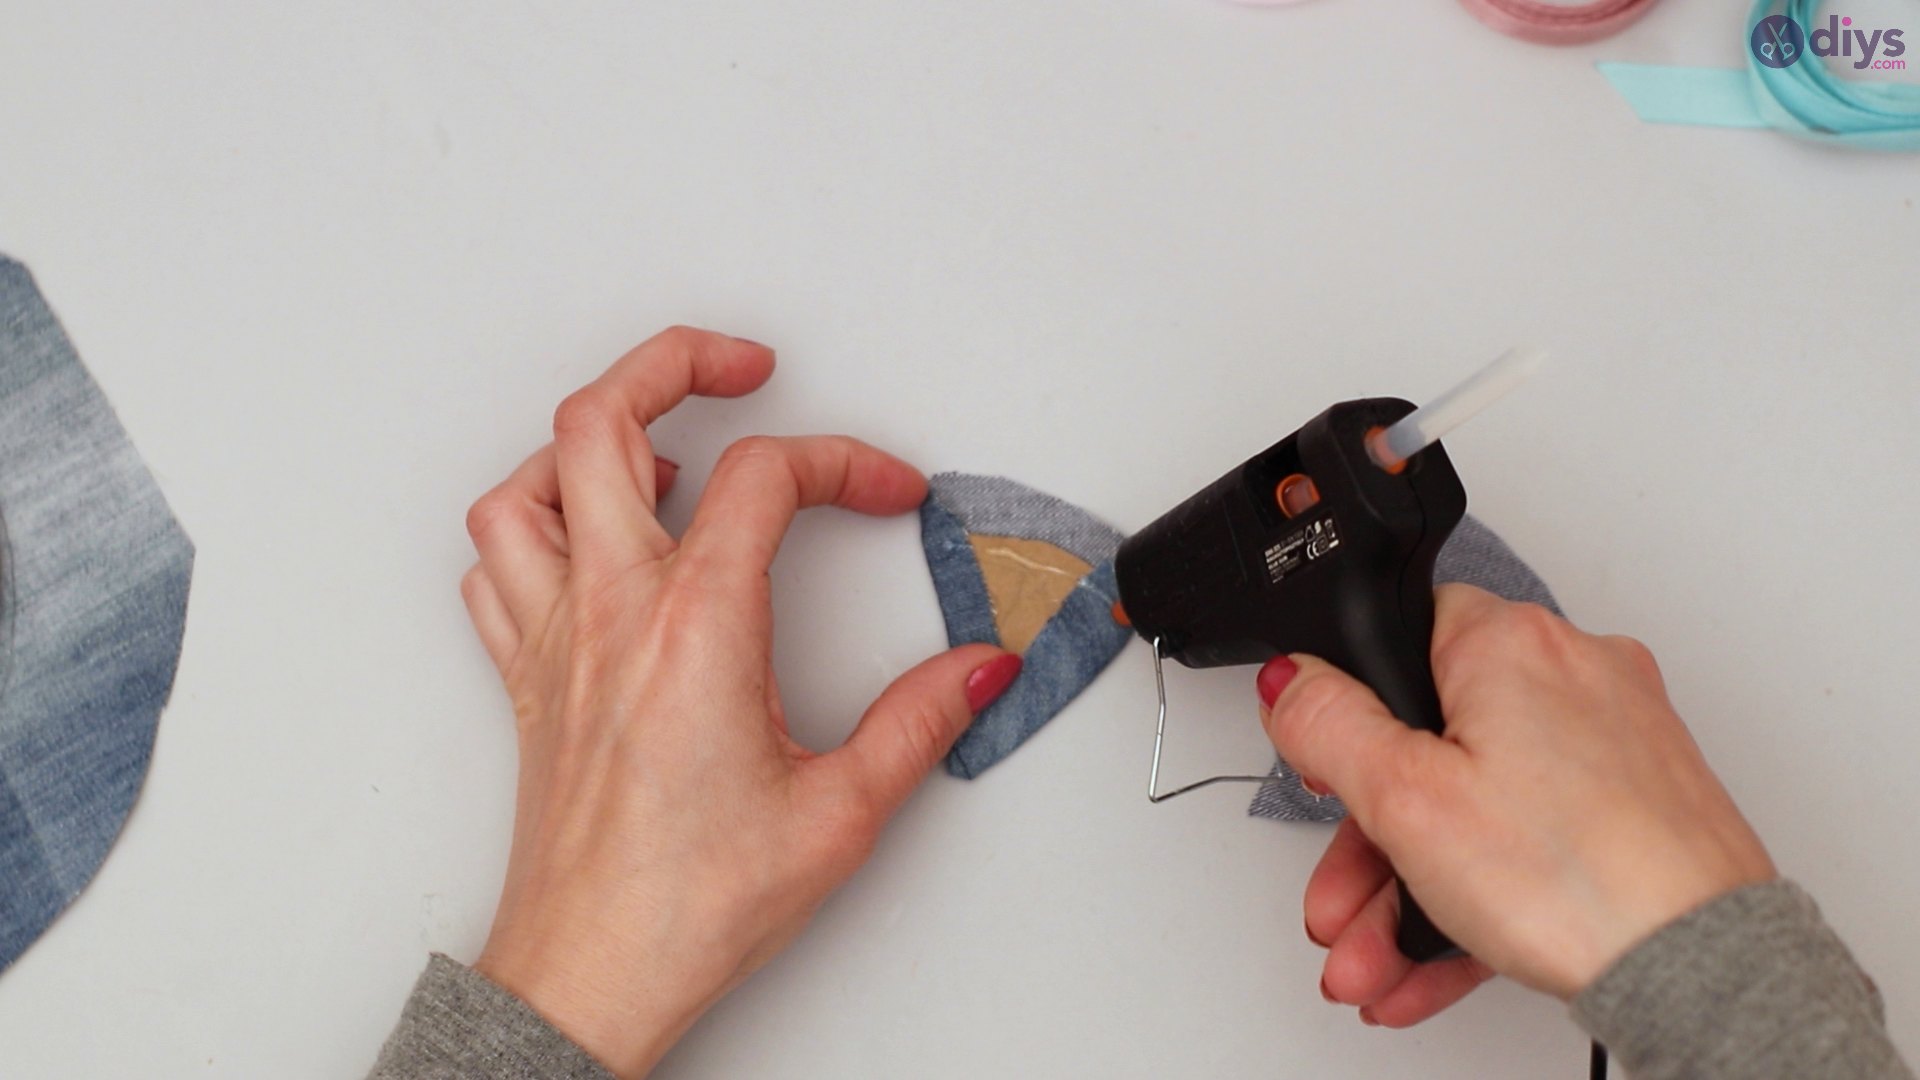
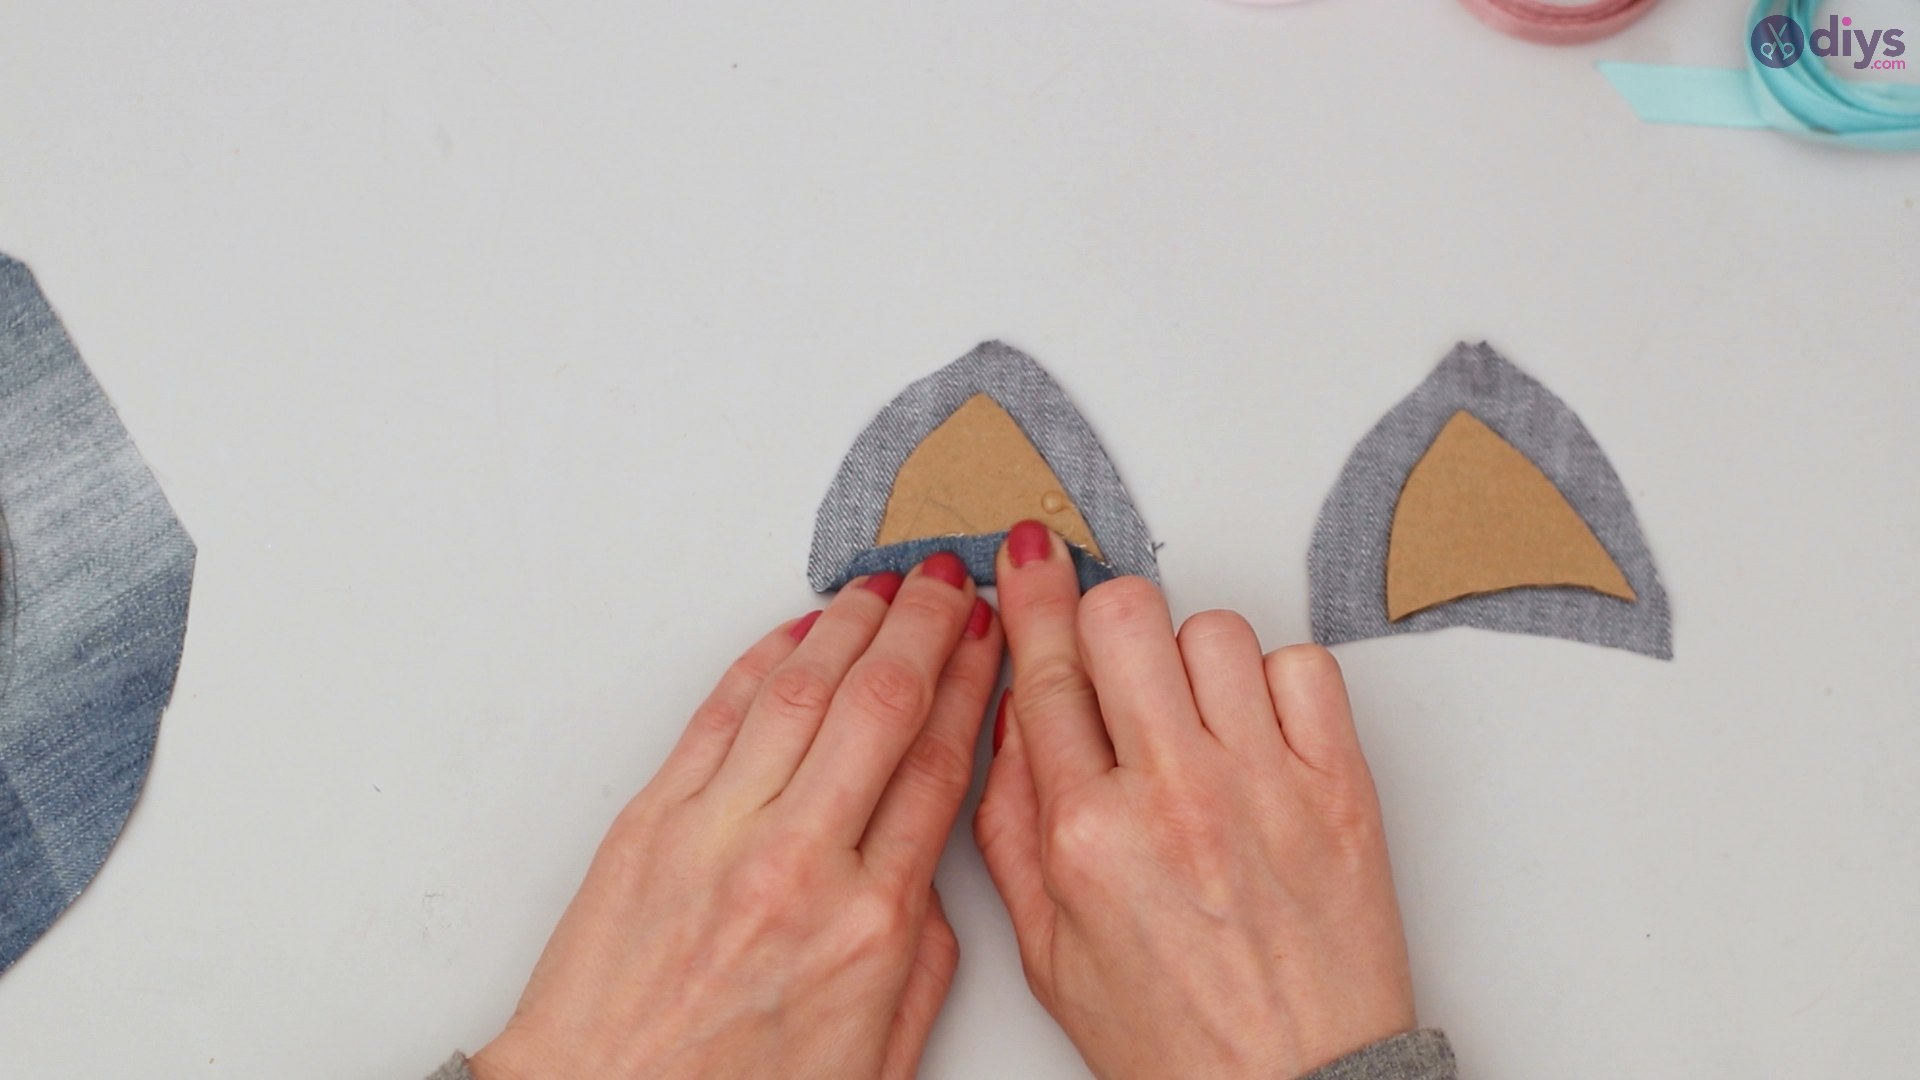
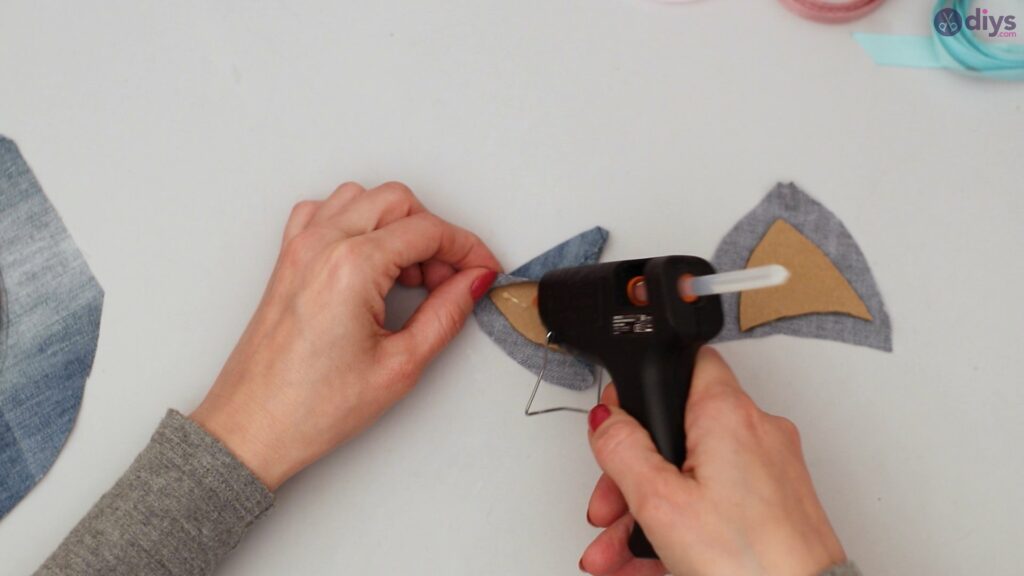
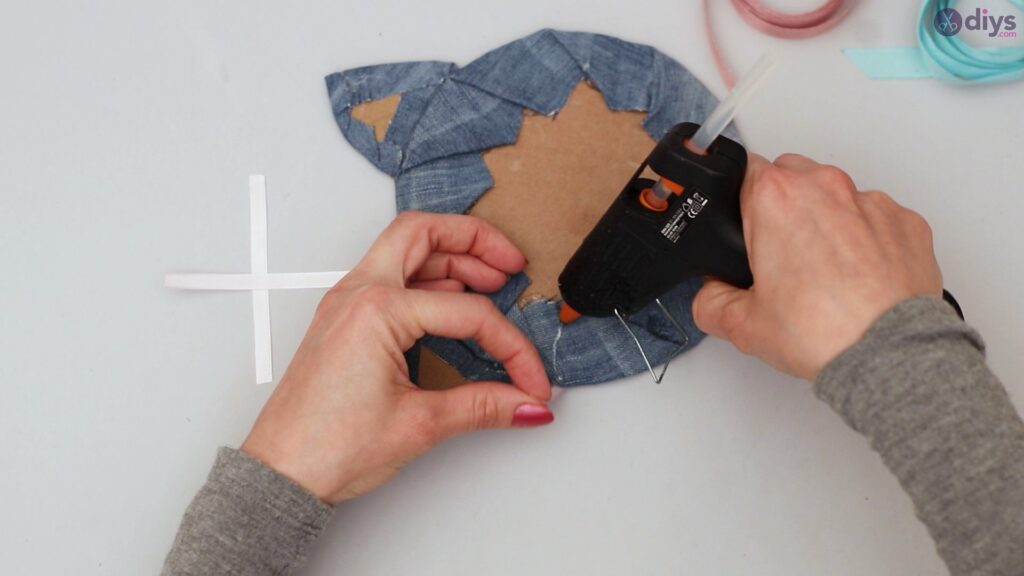
Step 3: Hot glue the jeans to the cardboard.
Take your glue gun and apply some gum to the cardboard ears you.
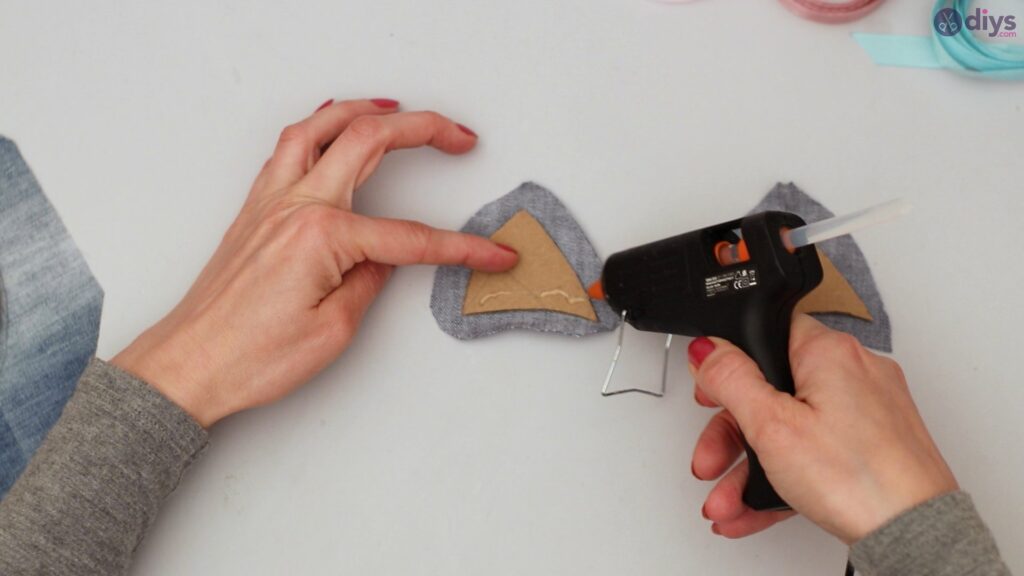
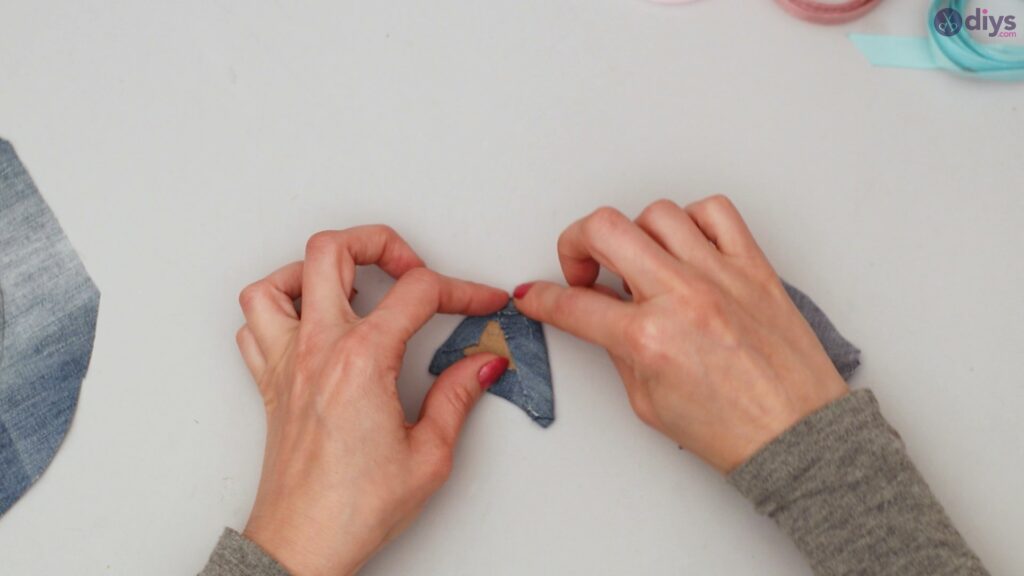
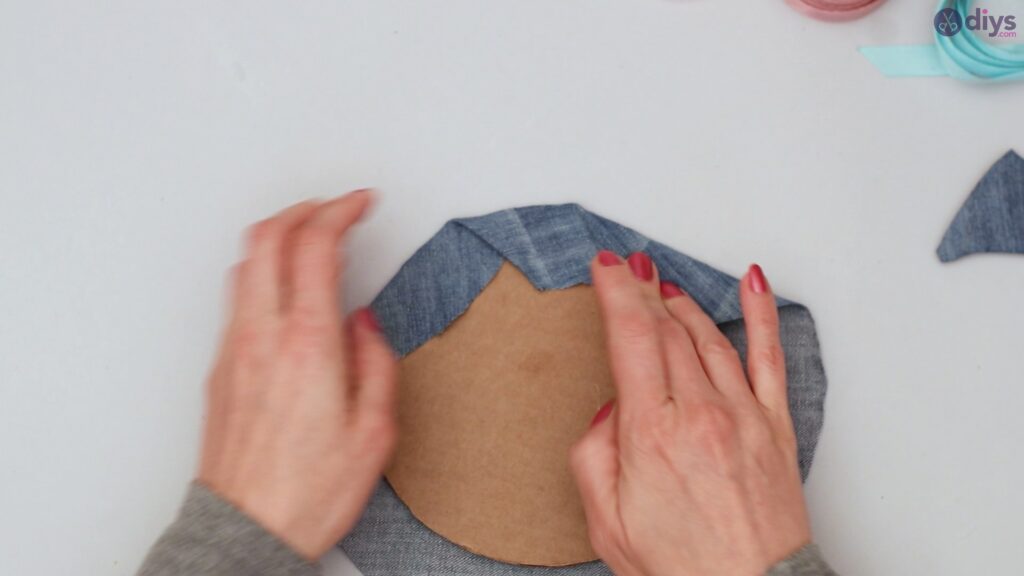
Press the jeans material firmly against the cardboard to secure it.
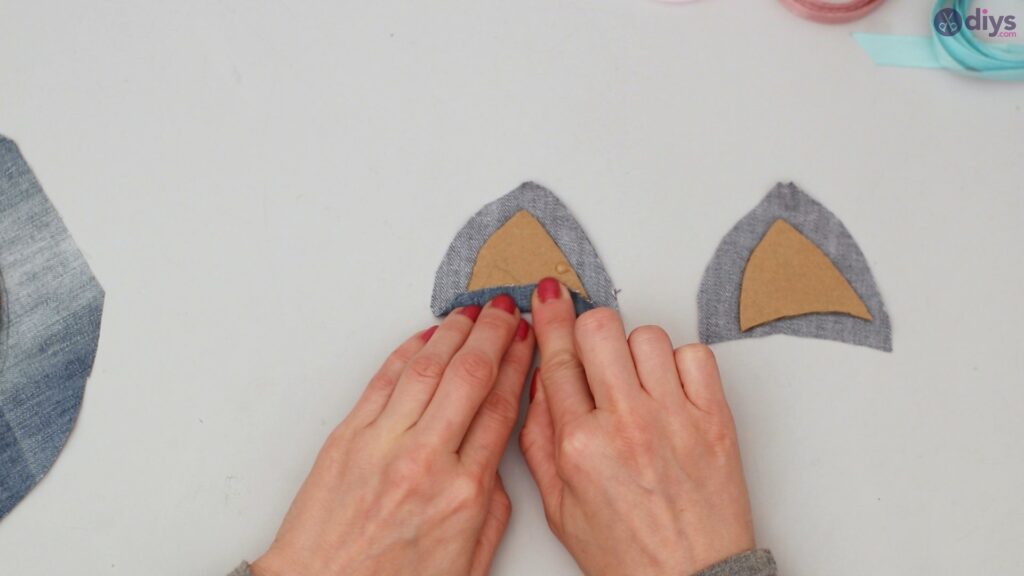
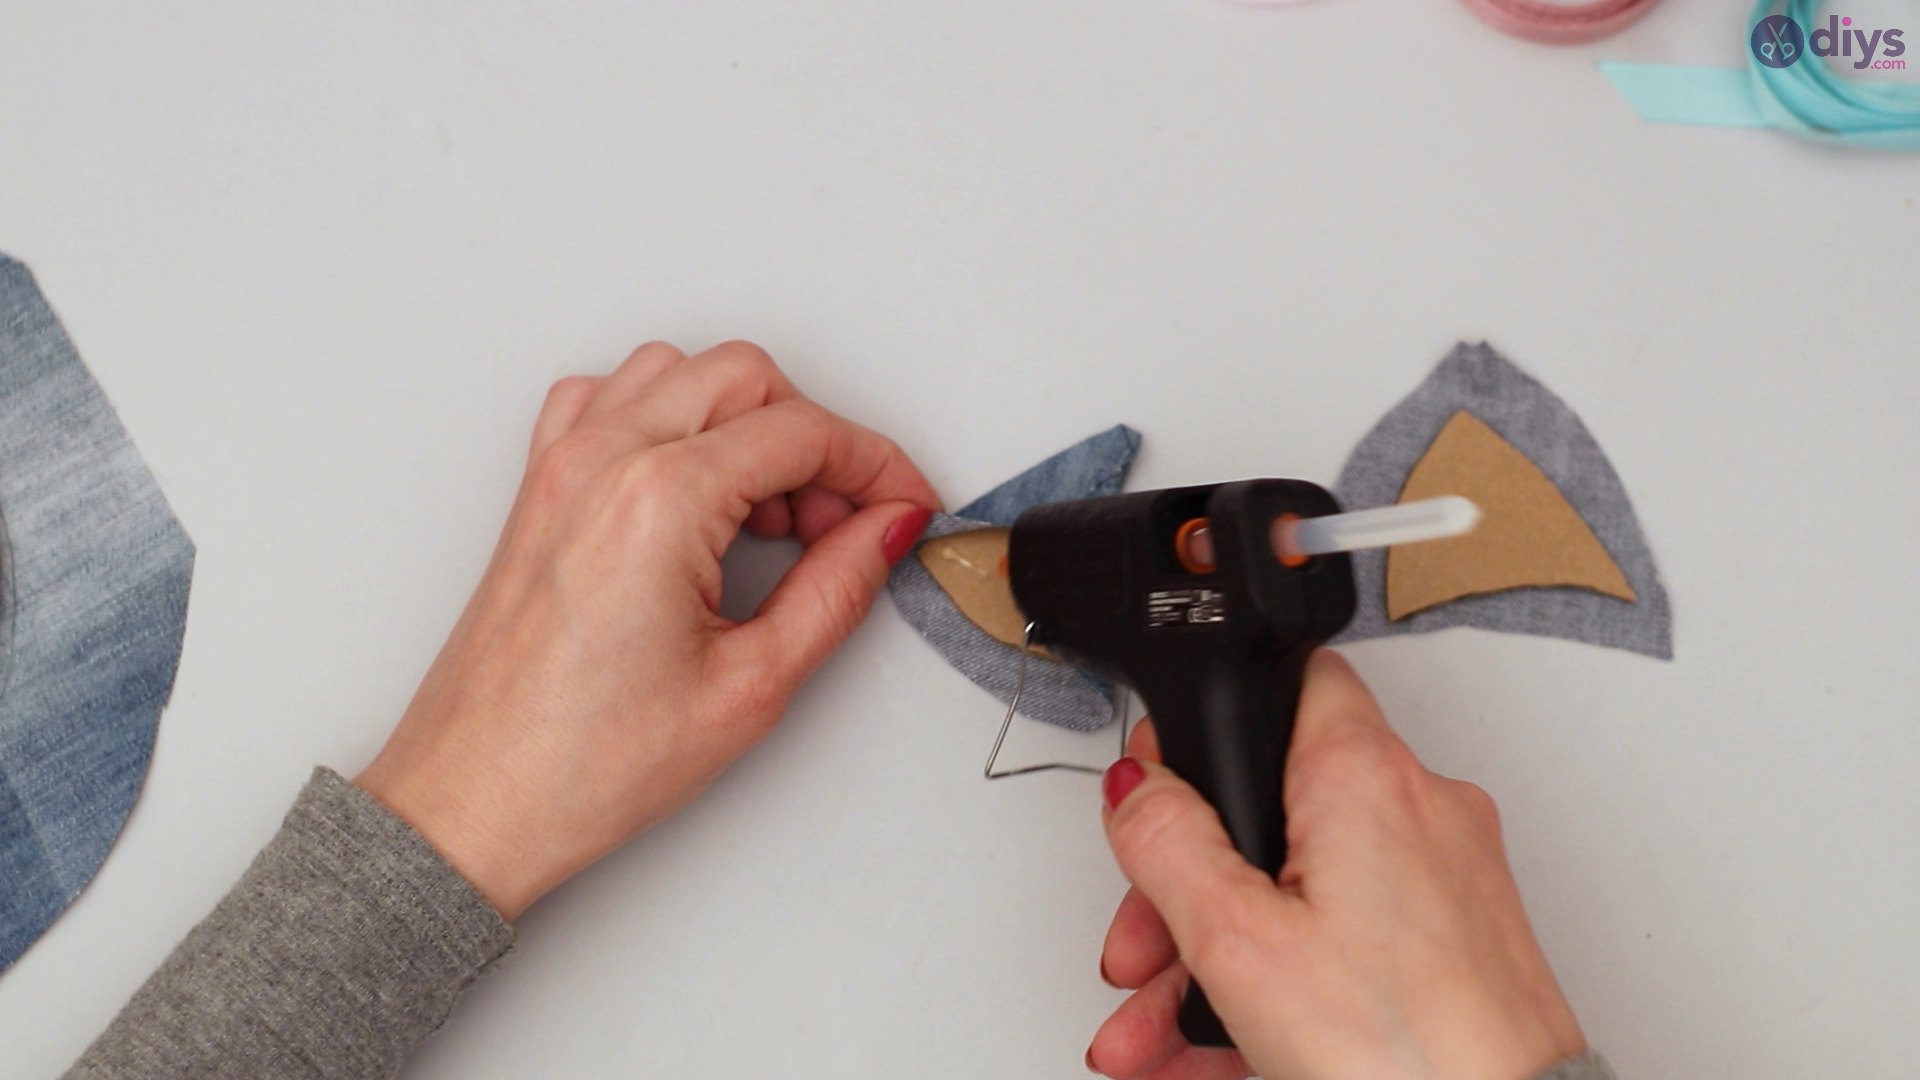
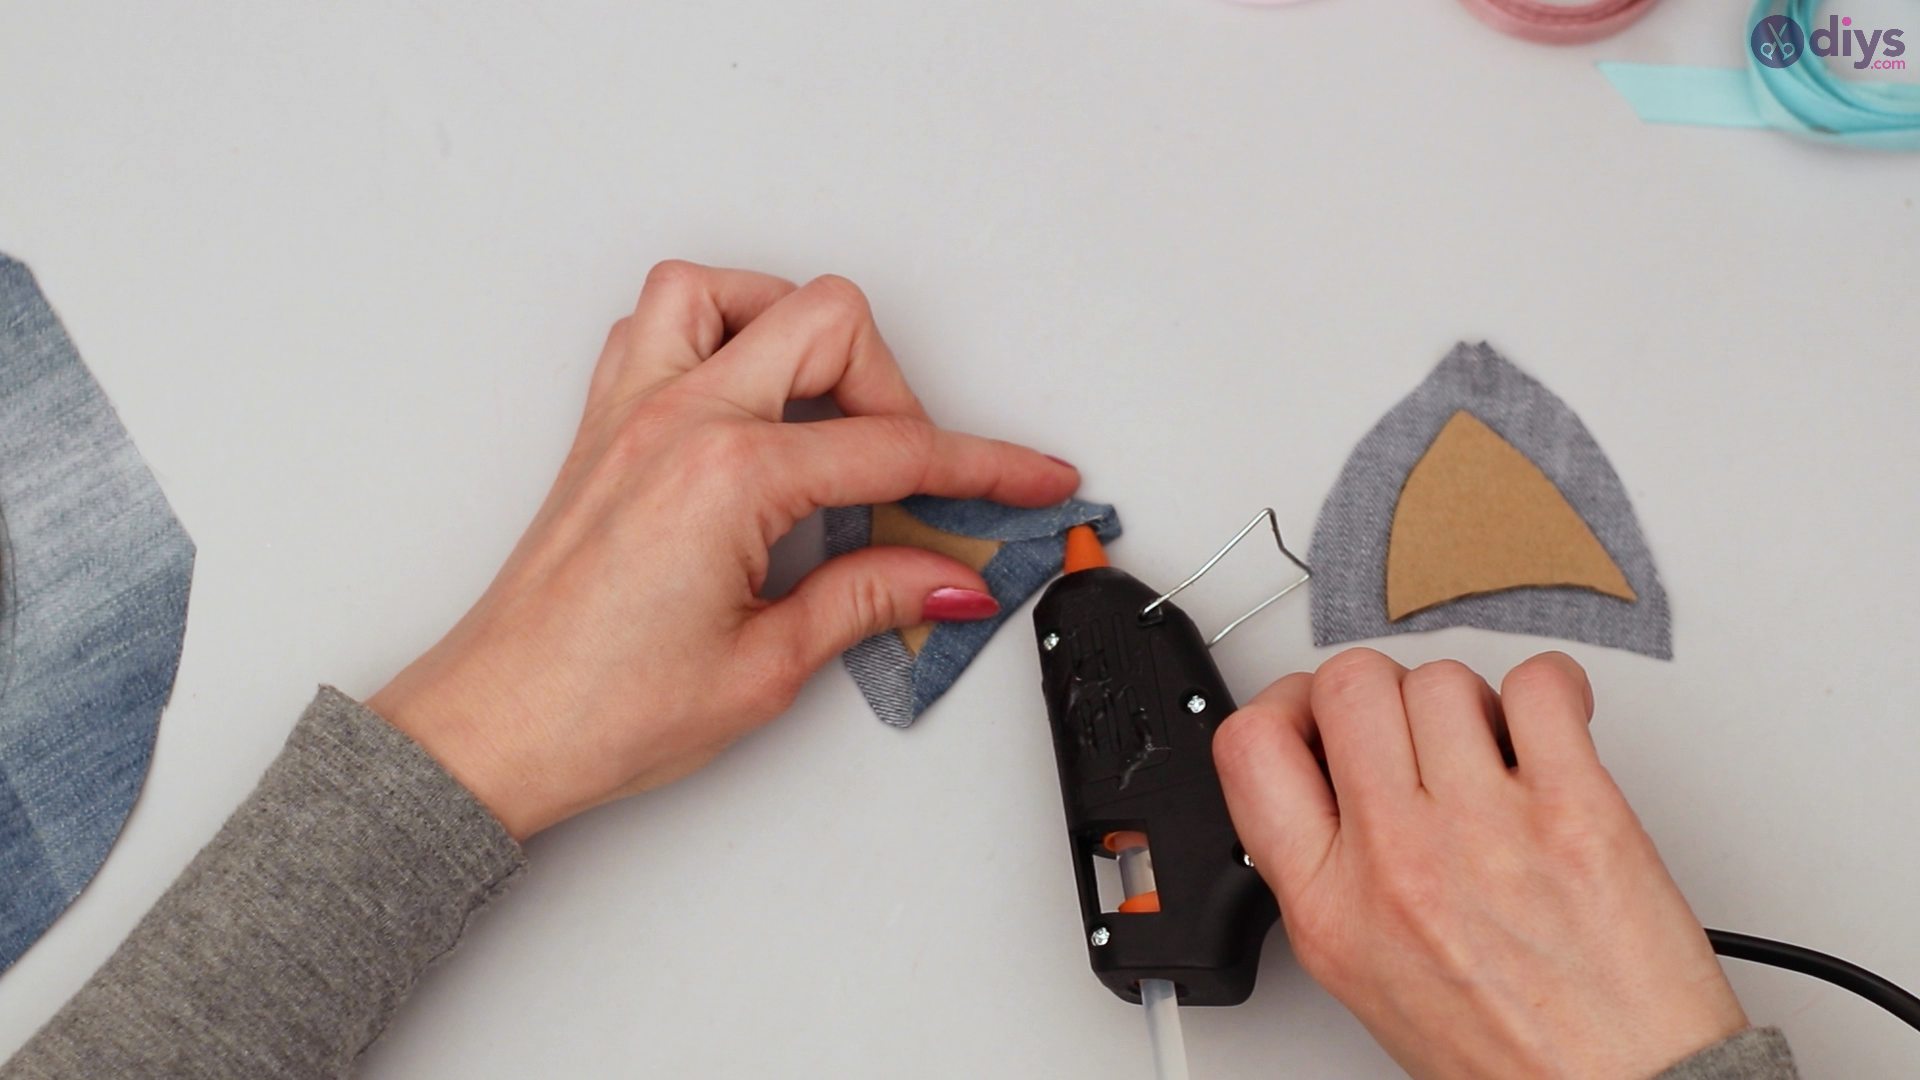
Repeat the process until the jean is firmly secured against the cardboard.

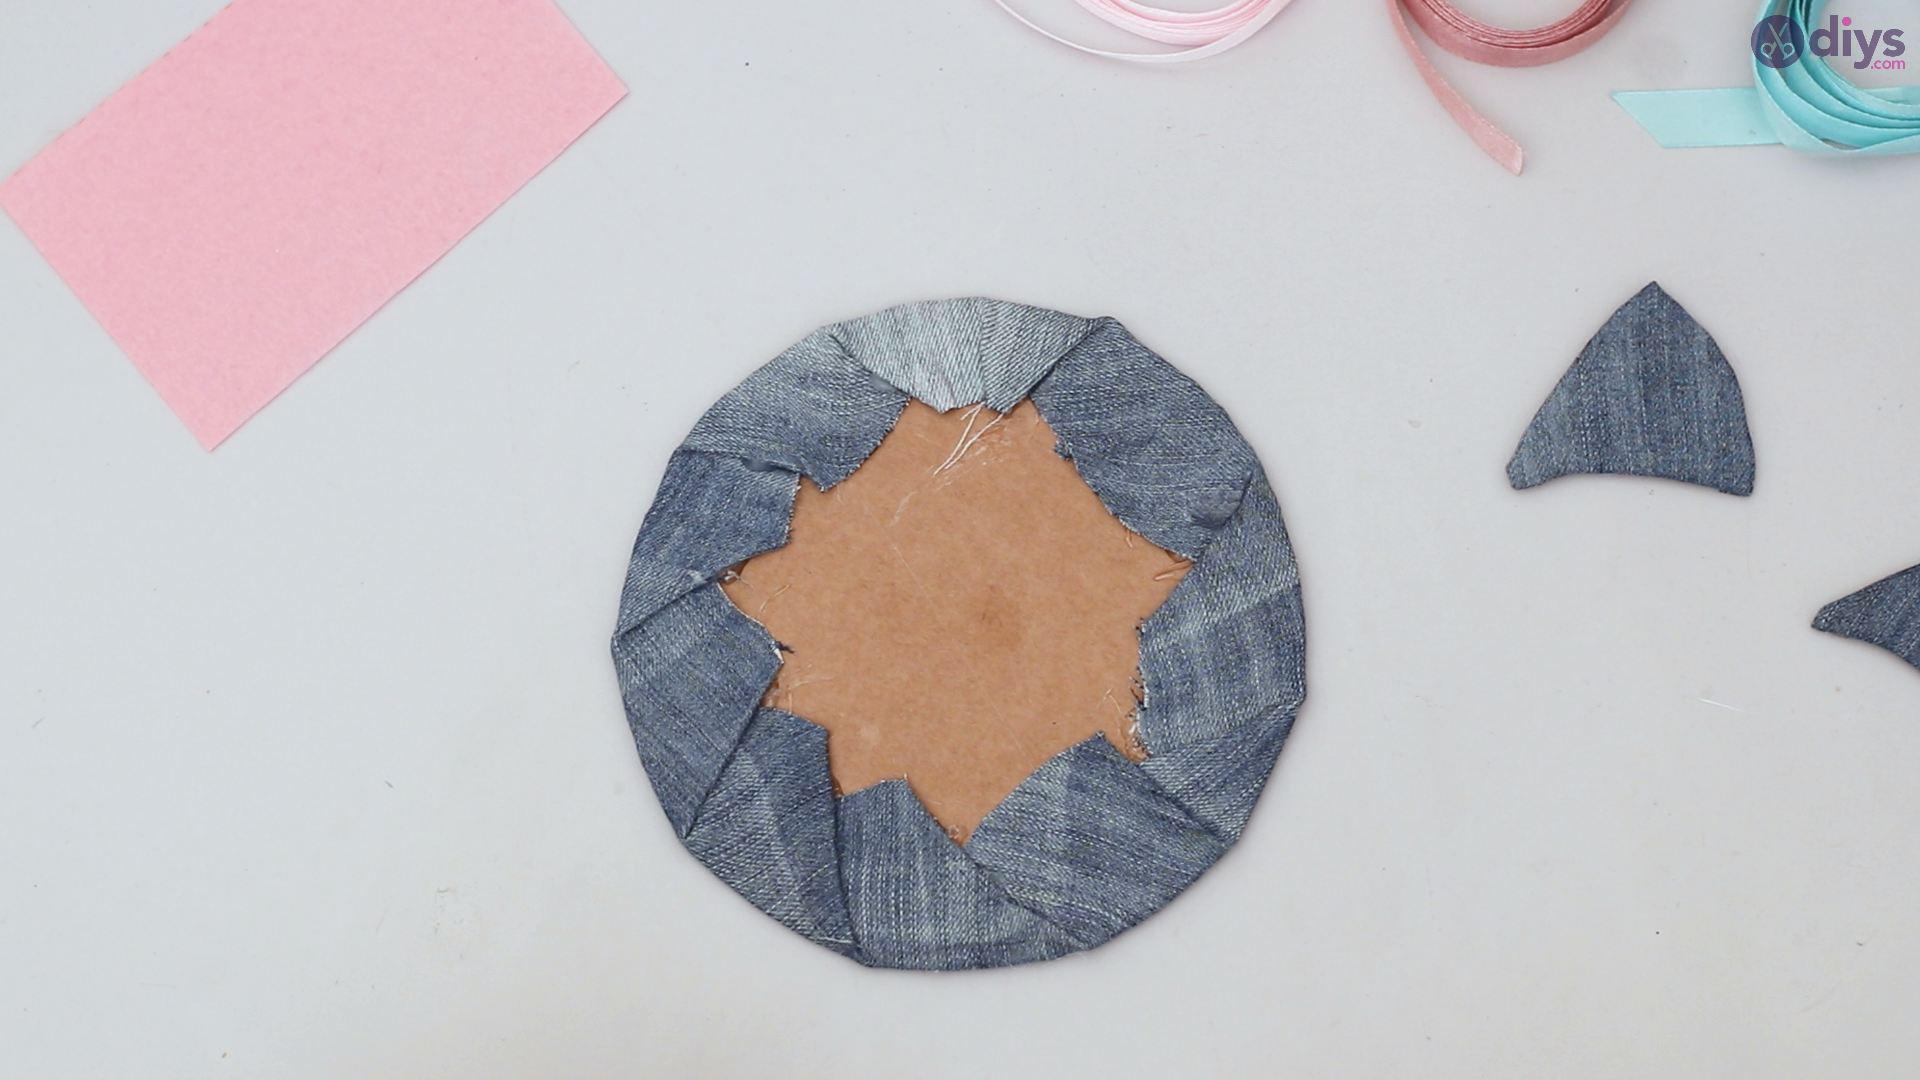
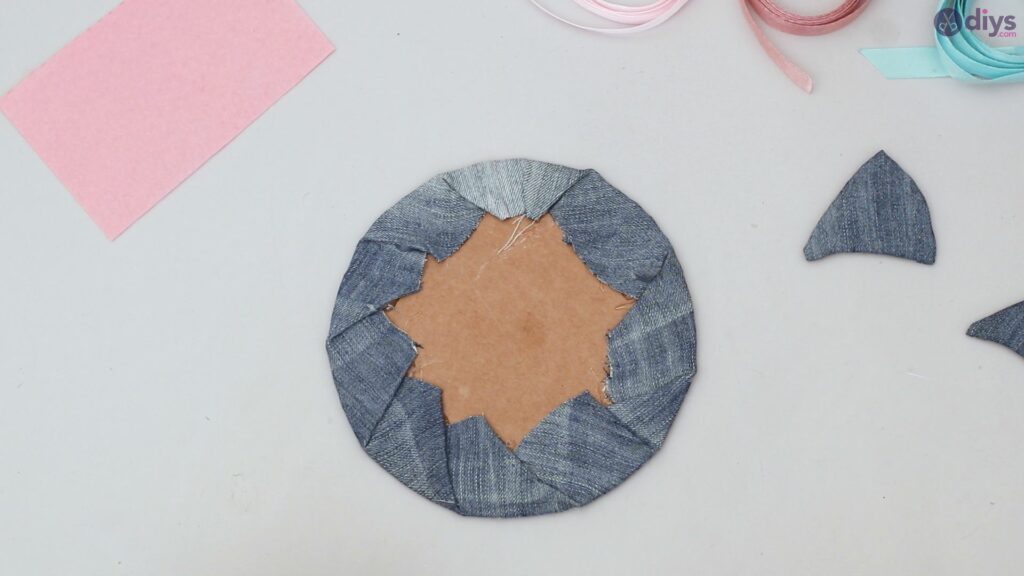
If there is any extra length of material, glue them together securely to prevent the jeans from pulling away from the cardboard.


Secure the jeans against the second cat ear.
Next, make sure your circle cut out is sitting exactly on the circle you outlined on the material.
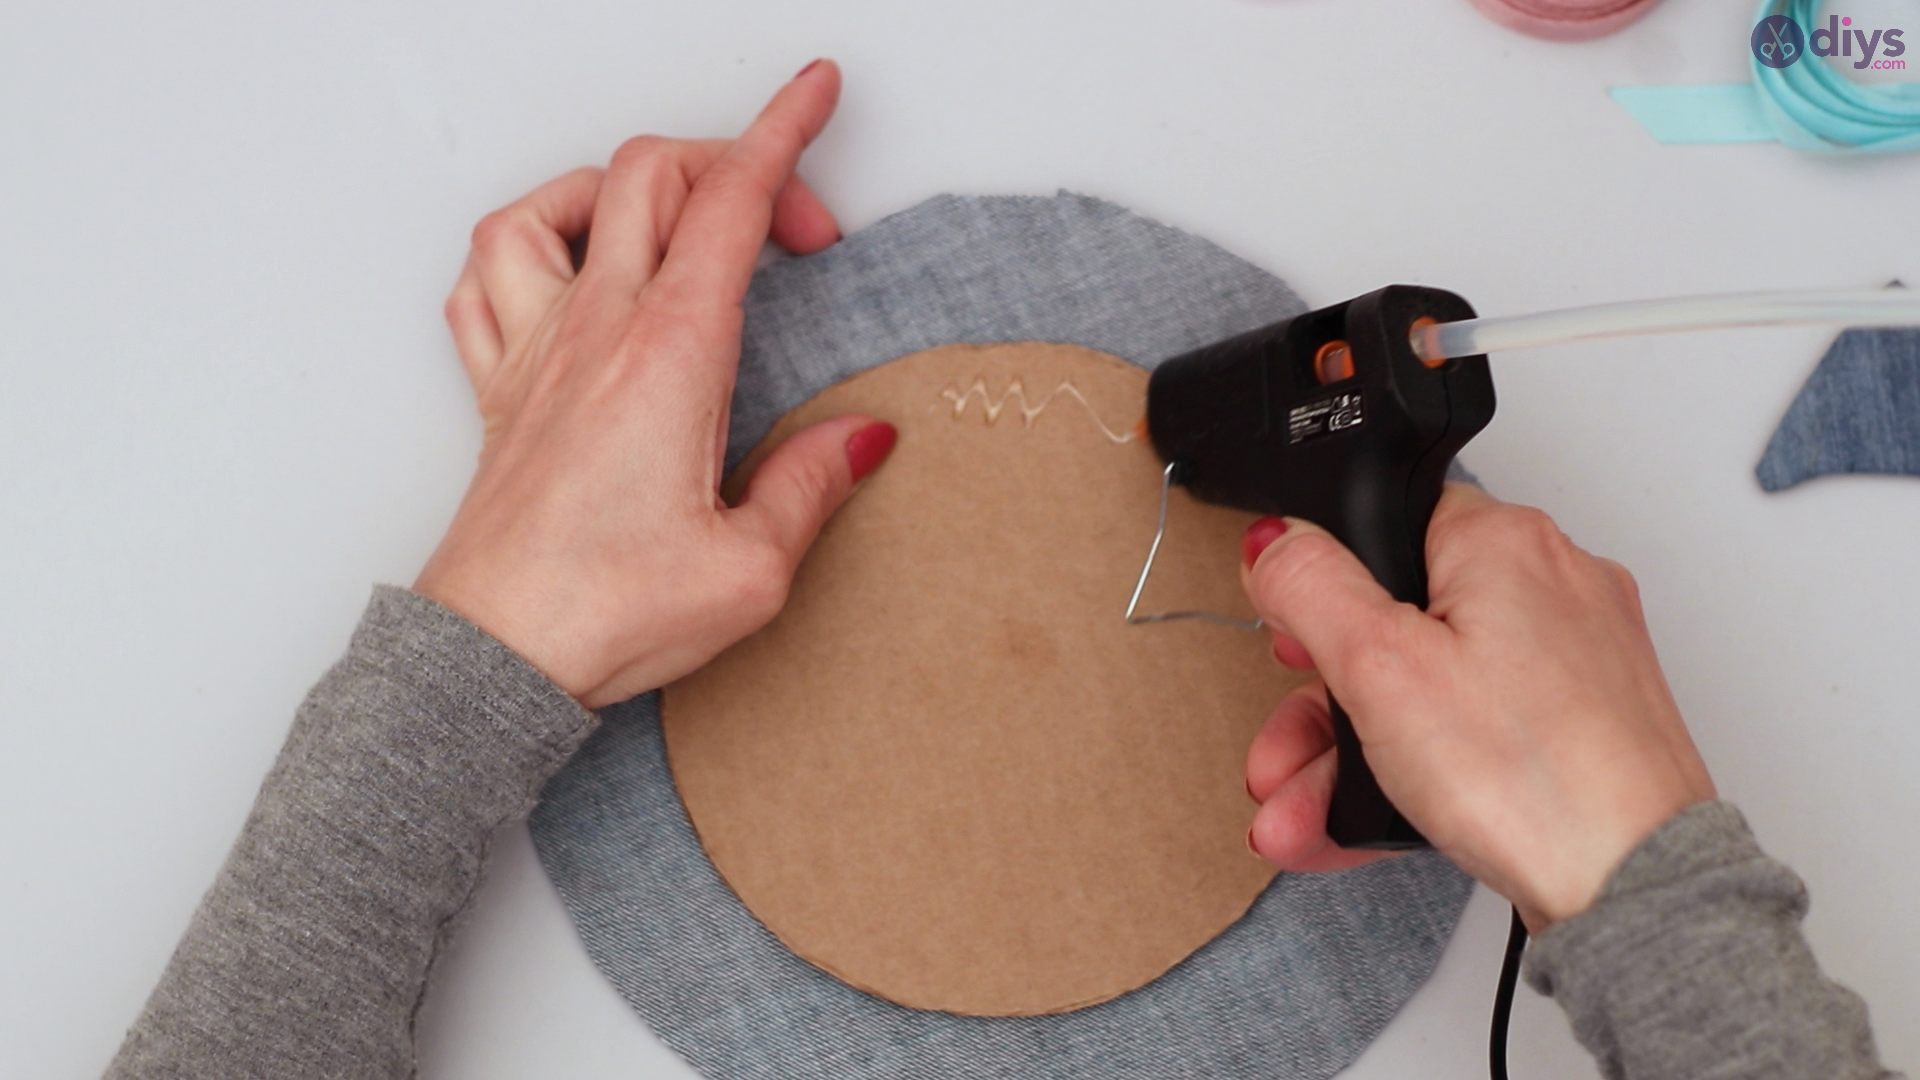
Take your glue gun and apply some glue to the cardboard.
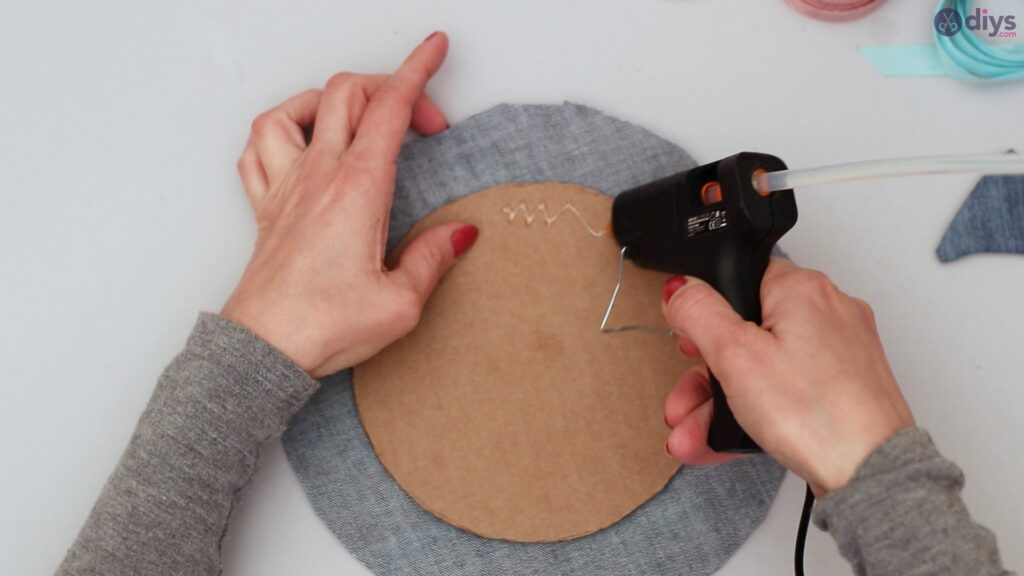
Press the jean material against the cardboard and secure it.
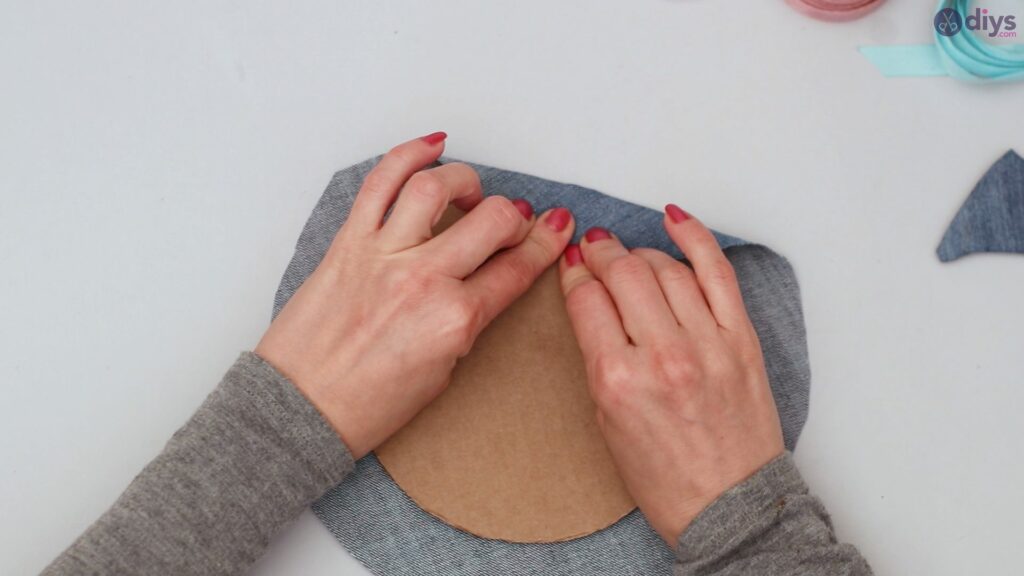
Repeat this till the jean material is tightly stretched and secured against the cardboard.

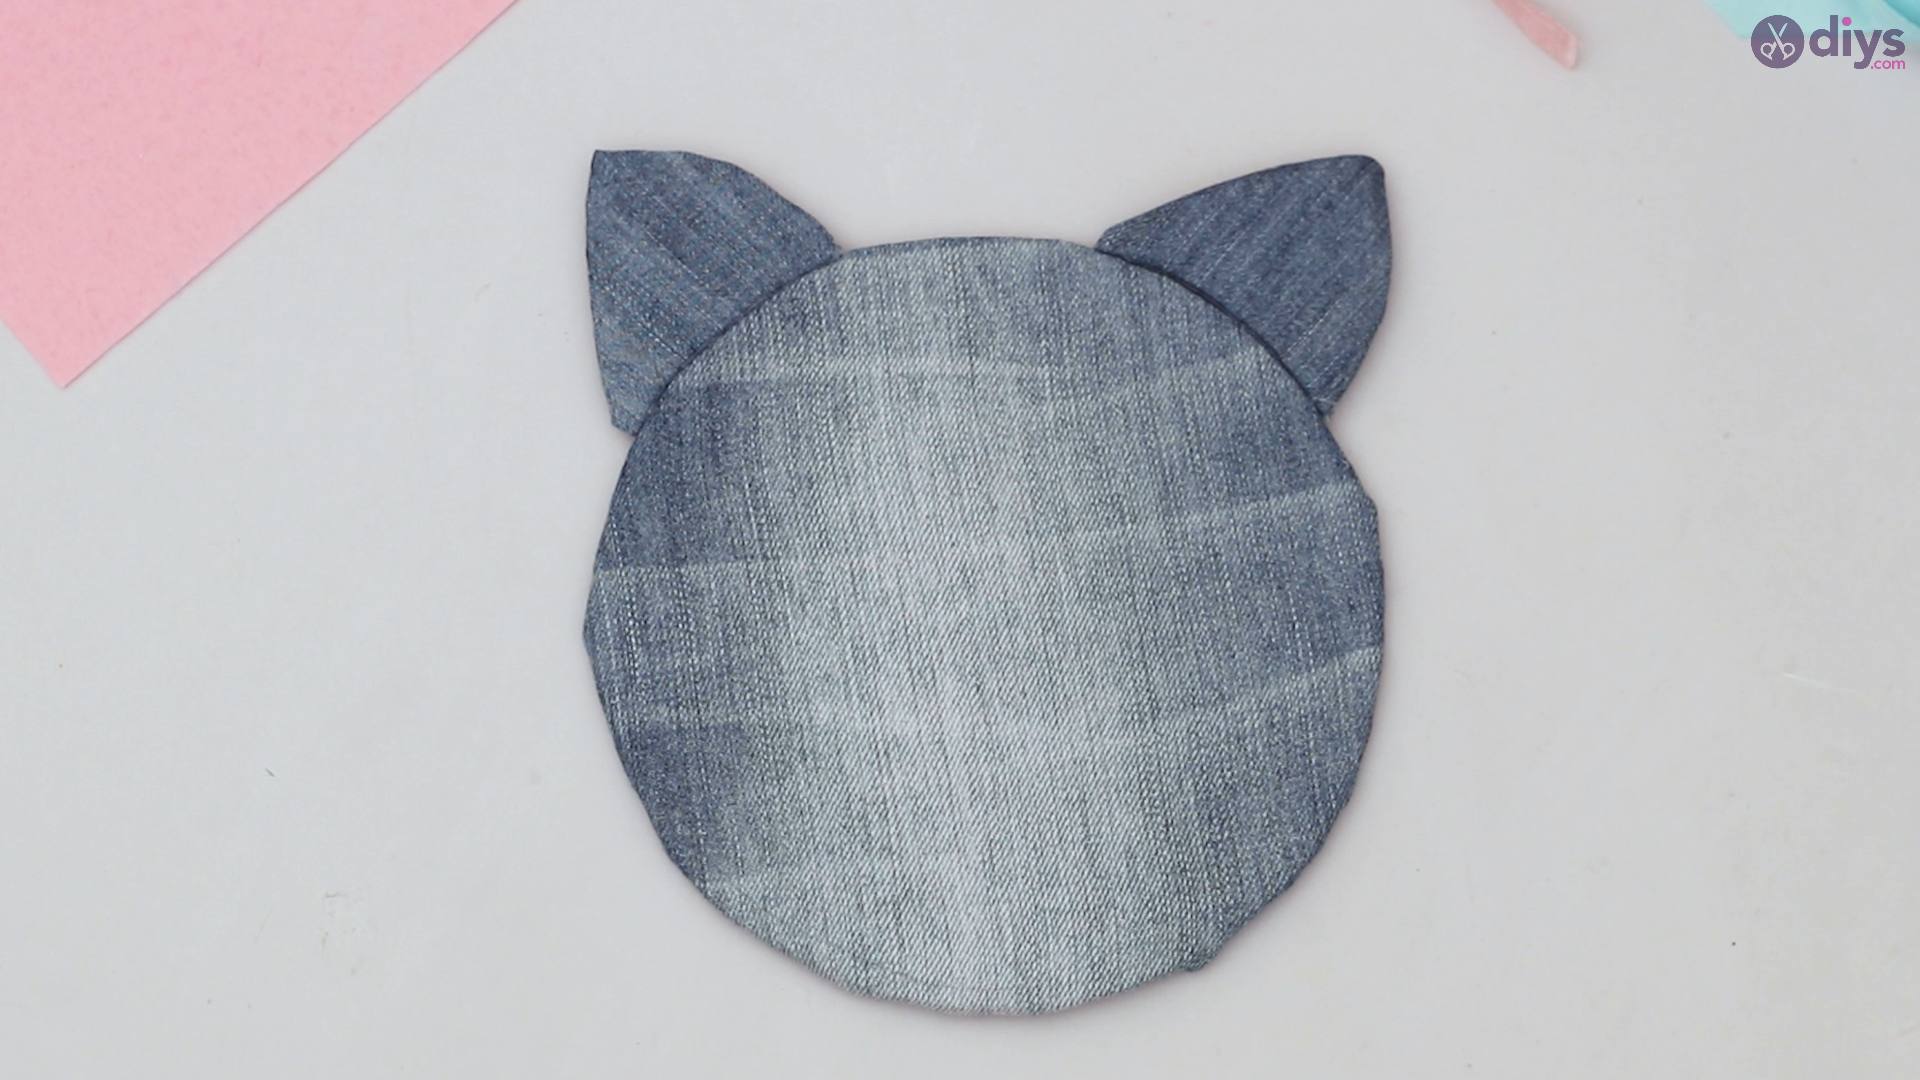
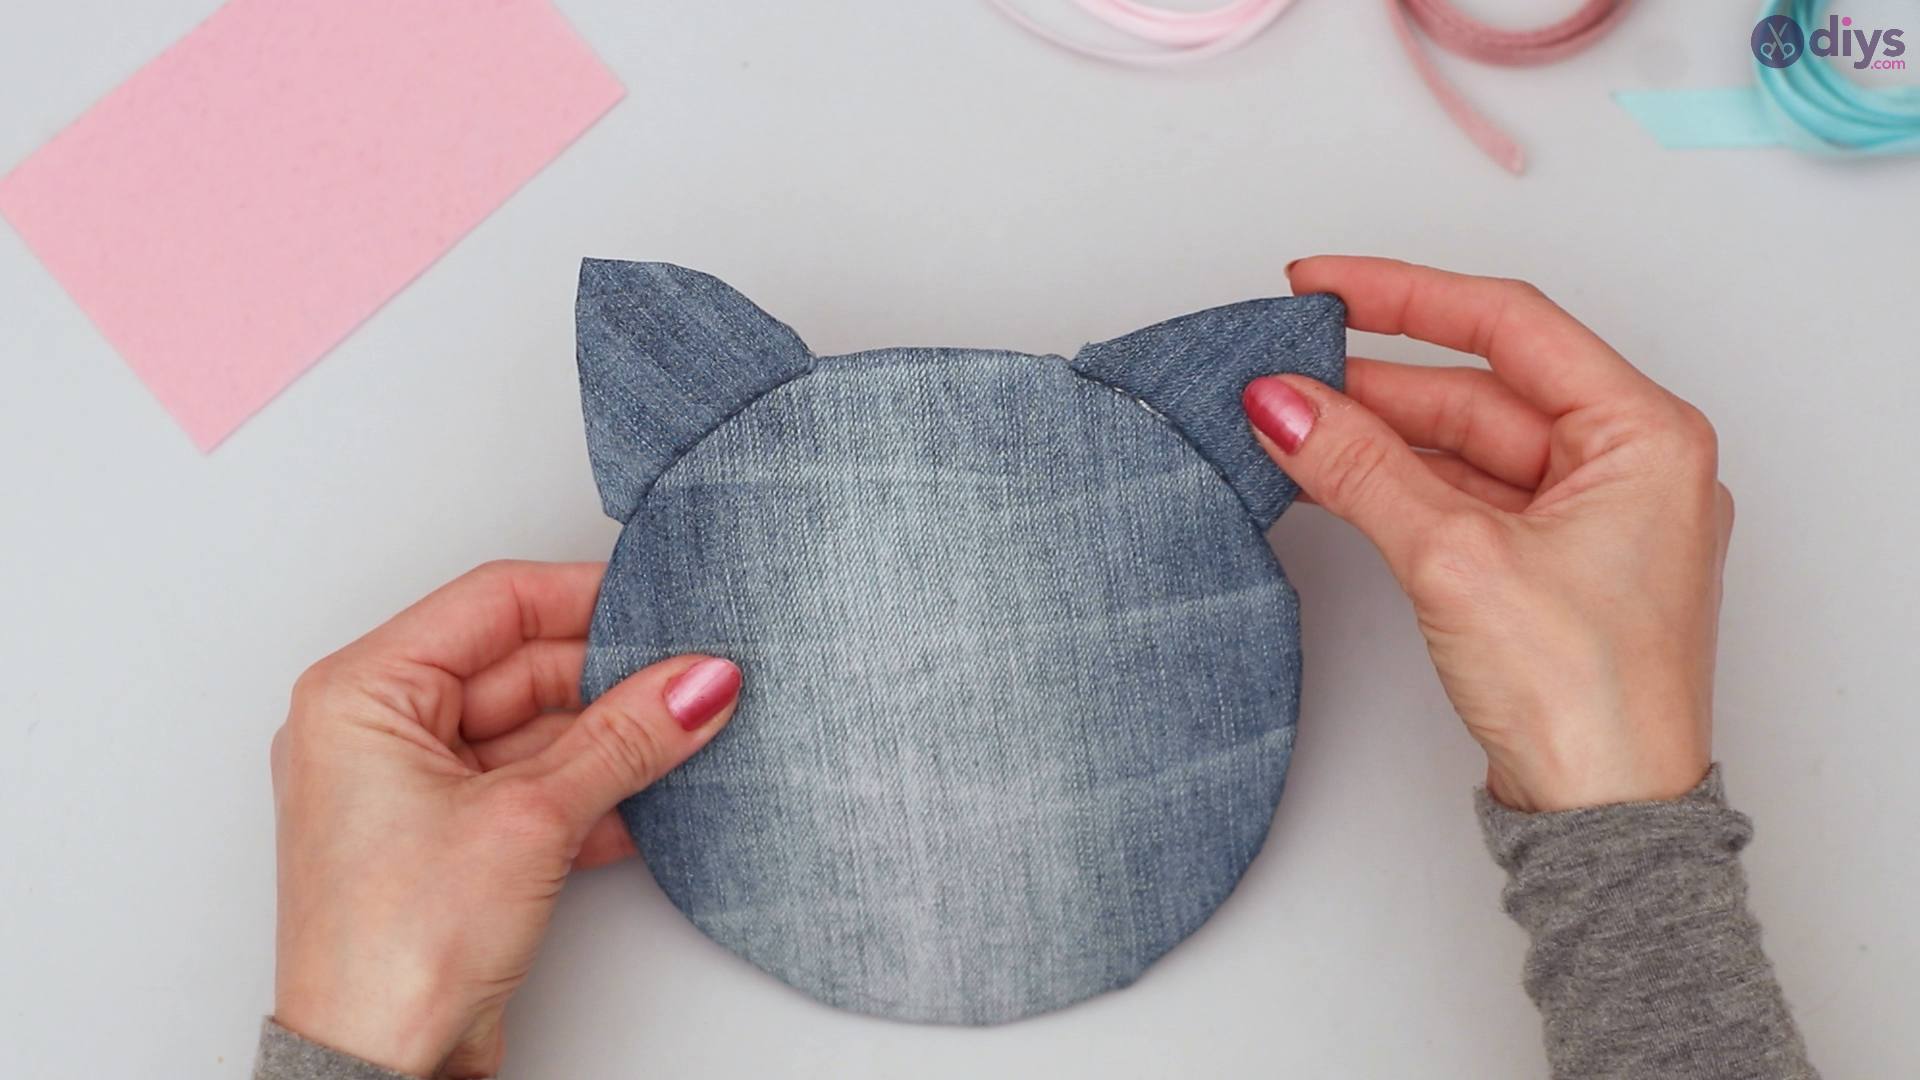
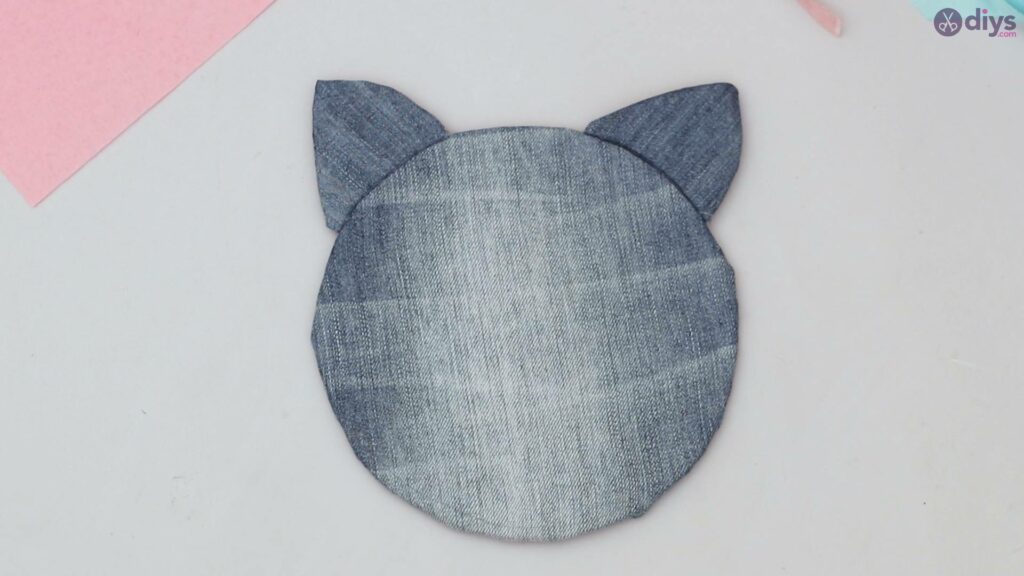
Step 3: Attach the ears to the face.
Apply glue from your glue gun to one of the ears you cut out.

Firmly place the ear against the top of the face to secure it.
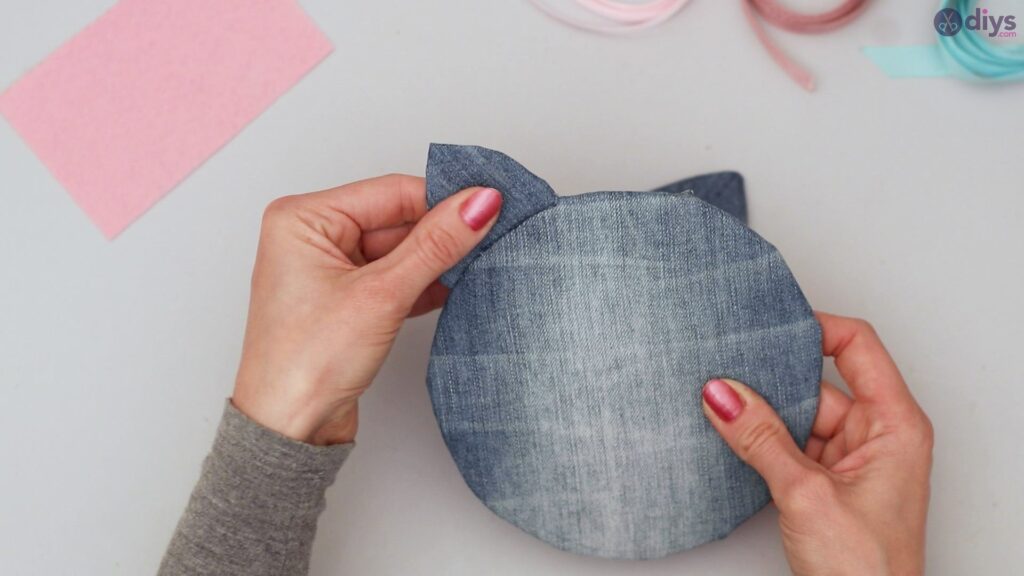
Repeat the process for the second ear.

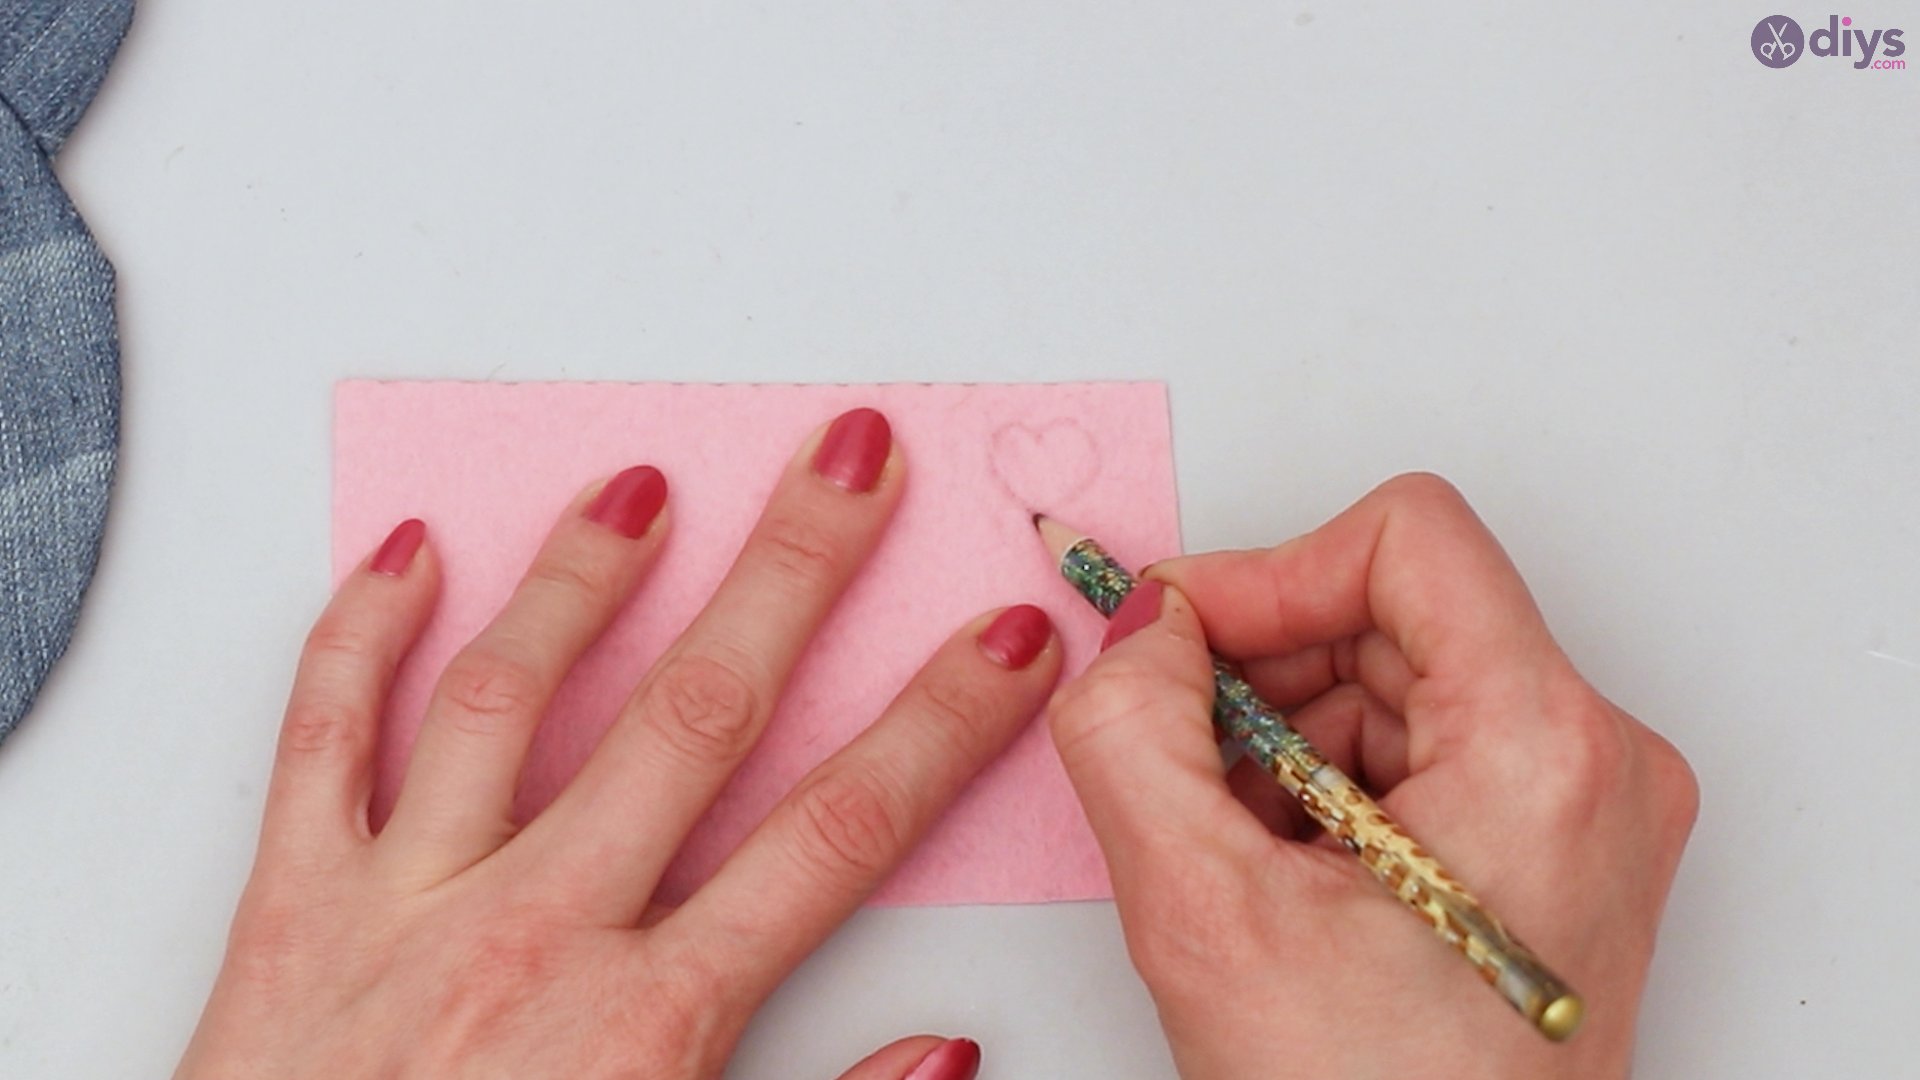
Step 5: Cutting the nose
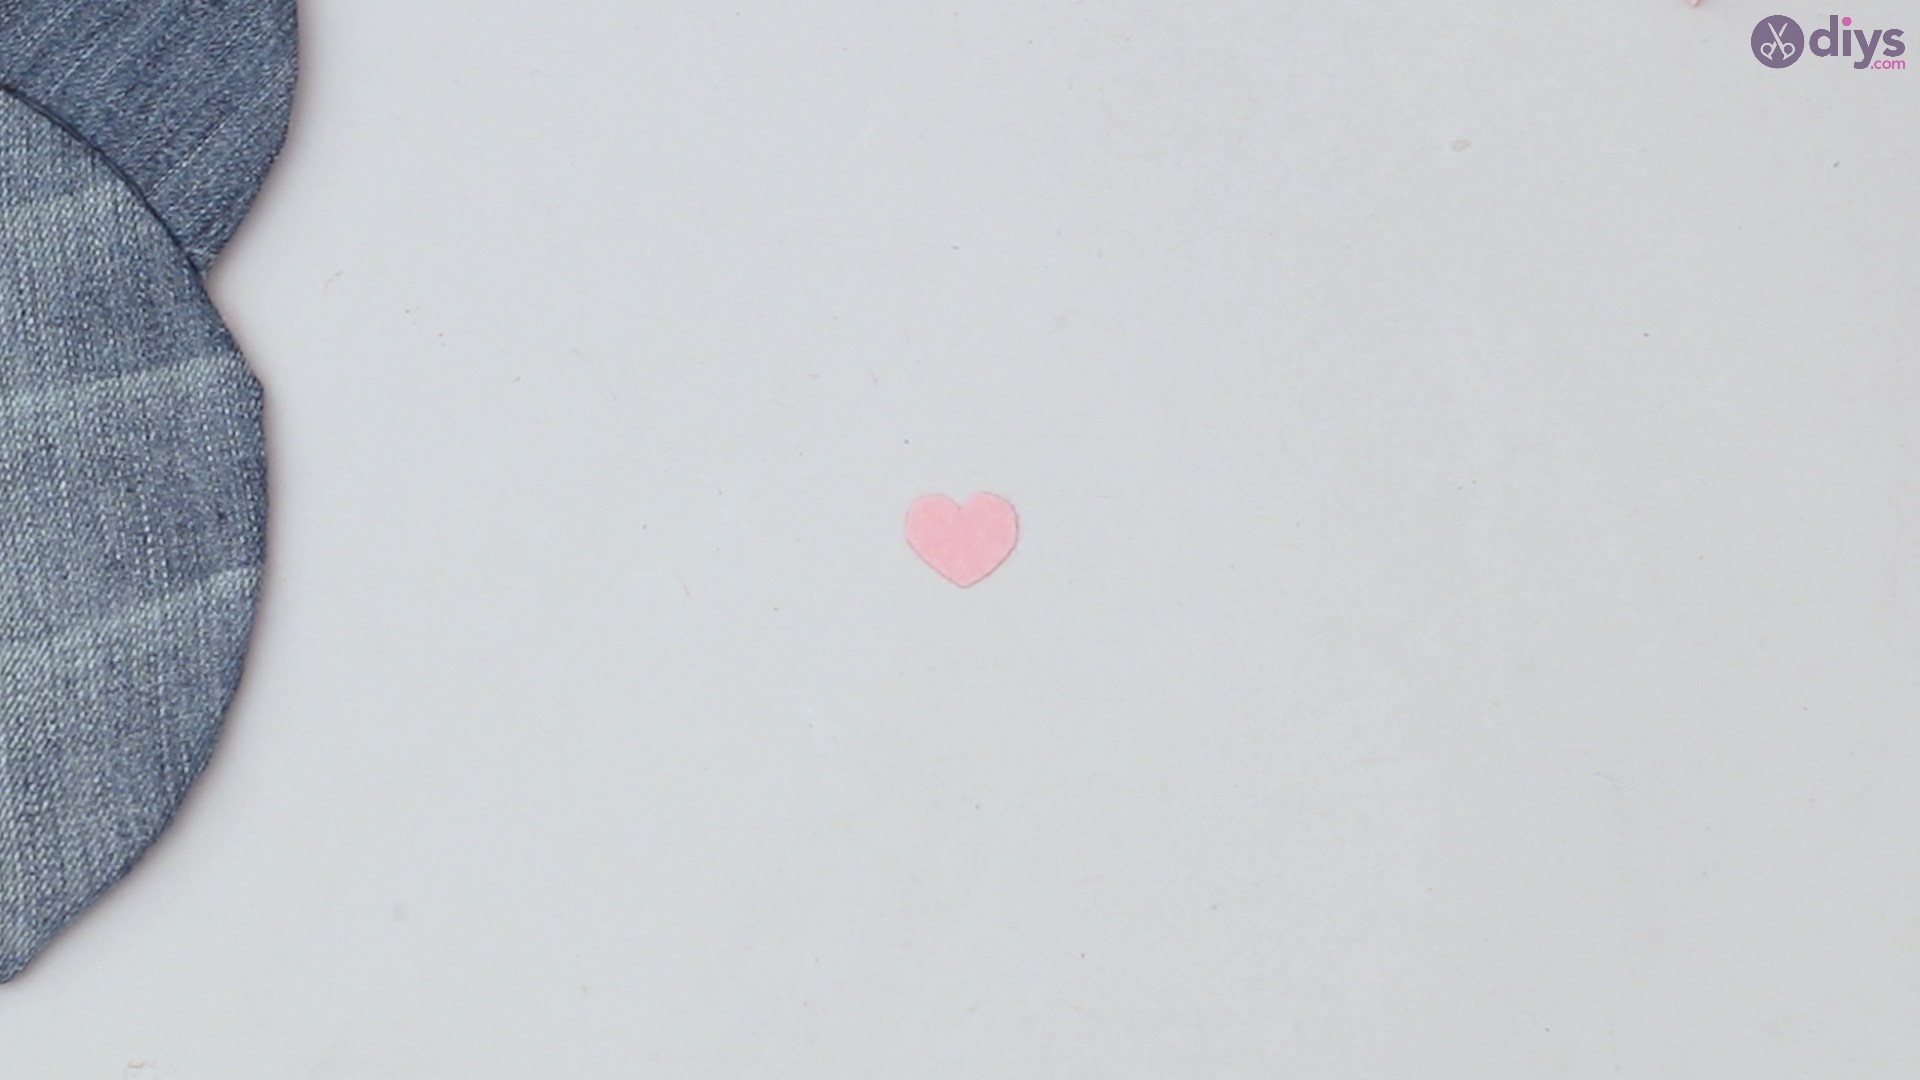
On your light rose felt material, draw a little heart with your pencil.
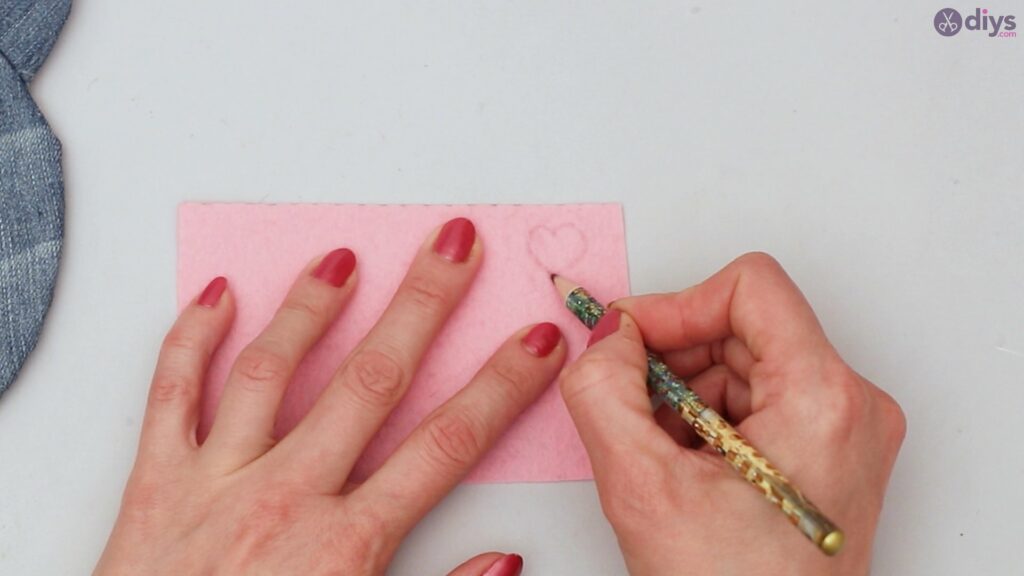
Take your scissors and cut out the heart.
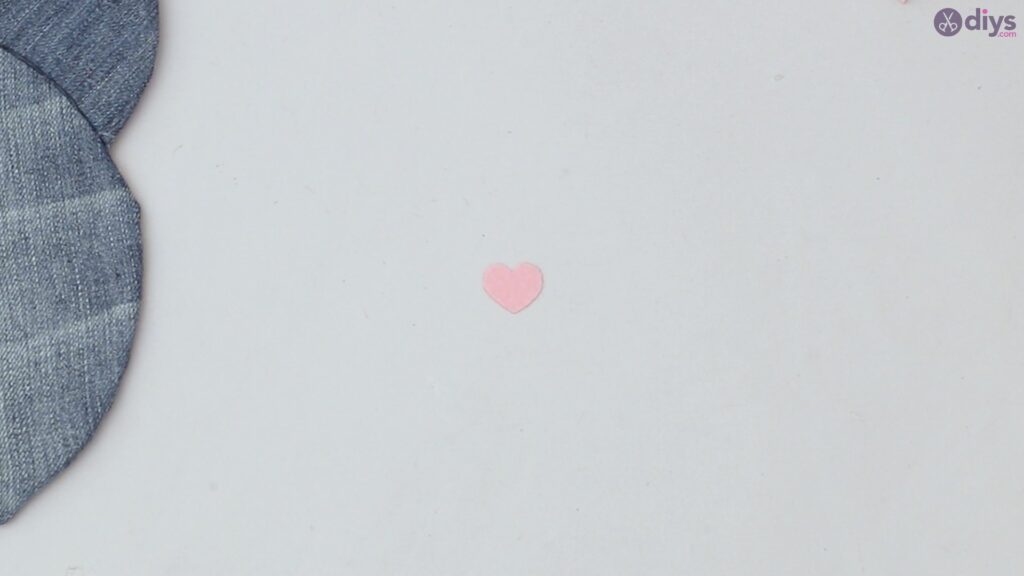
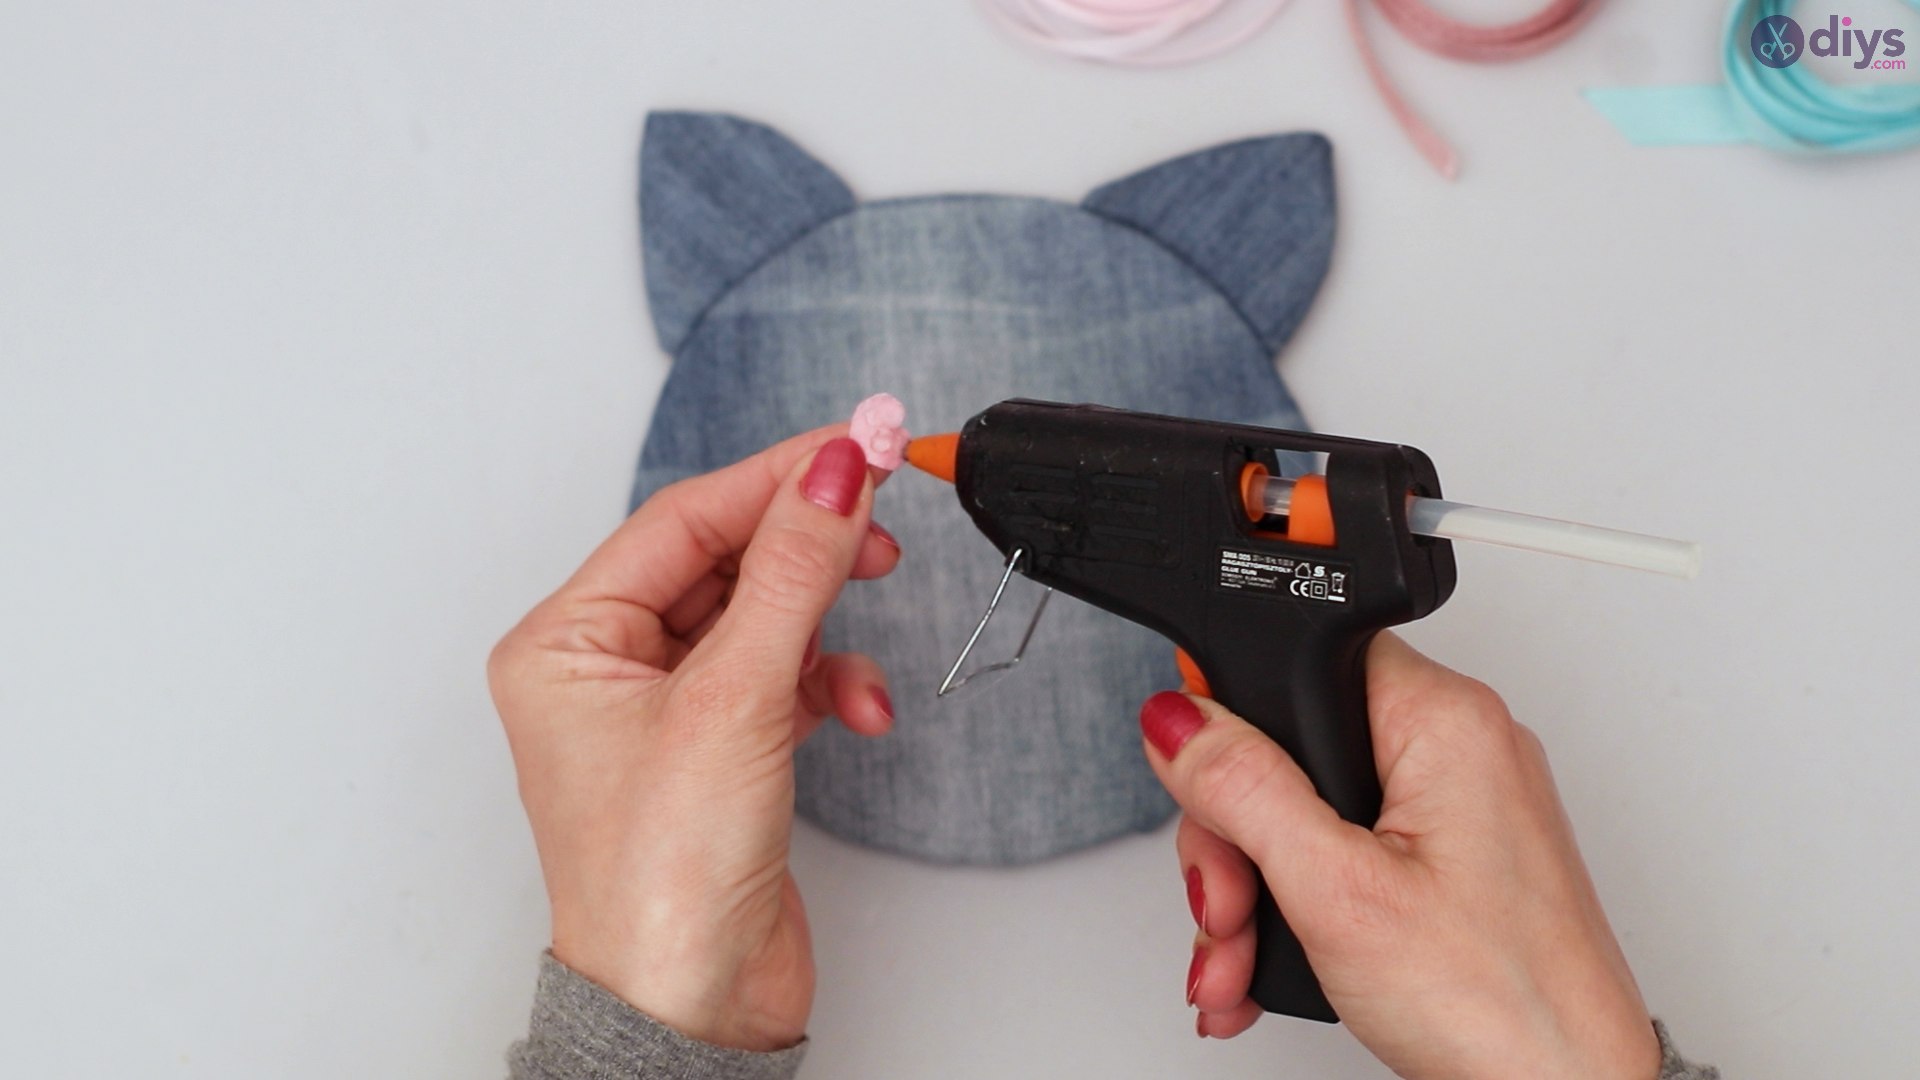
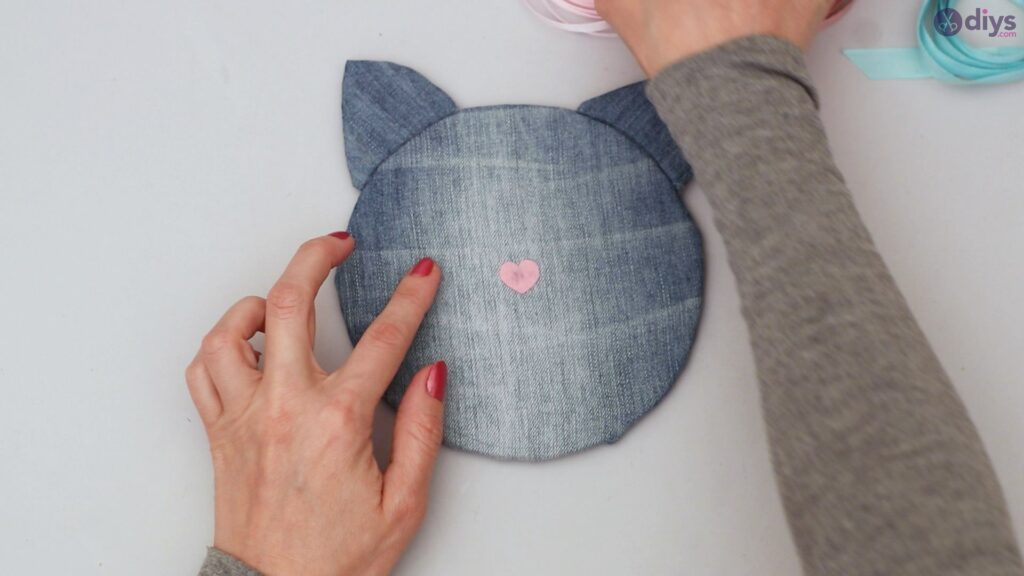
Using your glue gun, apply a dot of glue to the felt material.
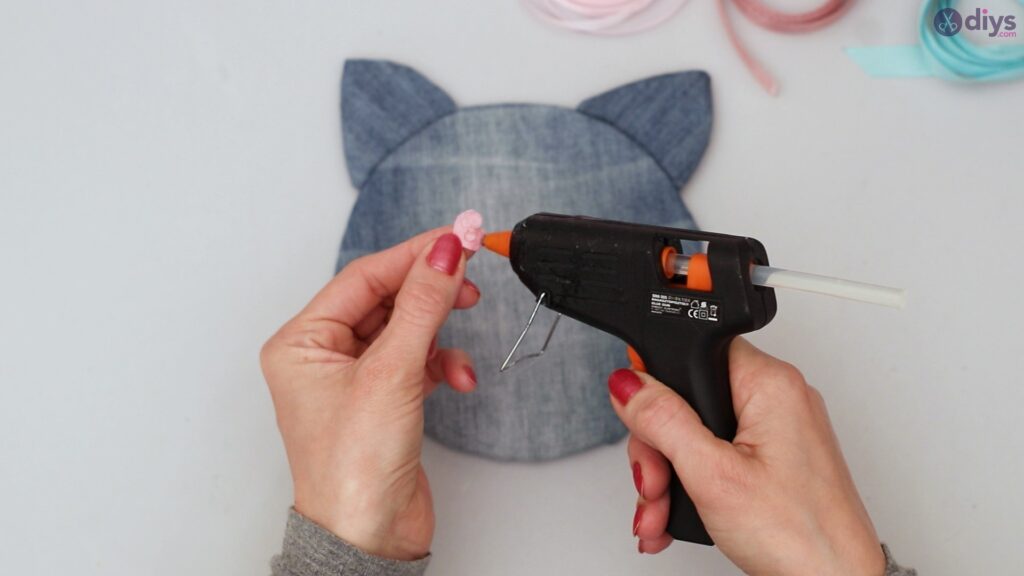
Gently place it in the middle of the cat face, securing it against the jeans material.
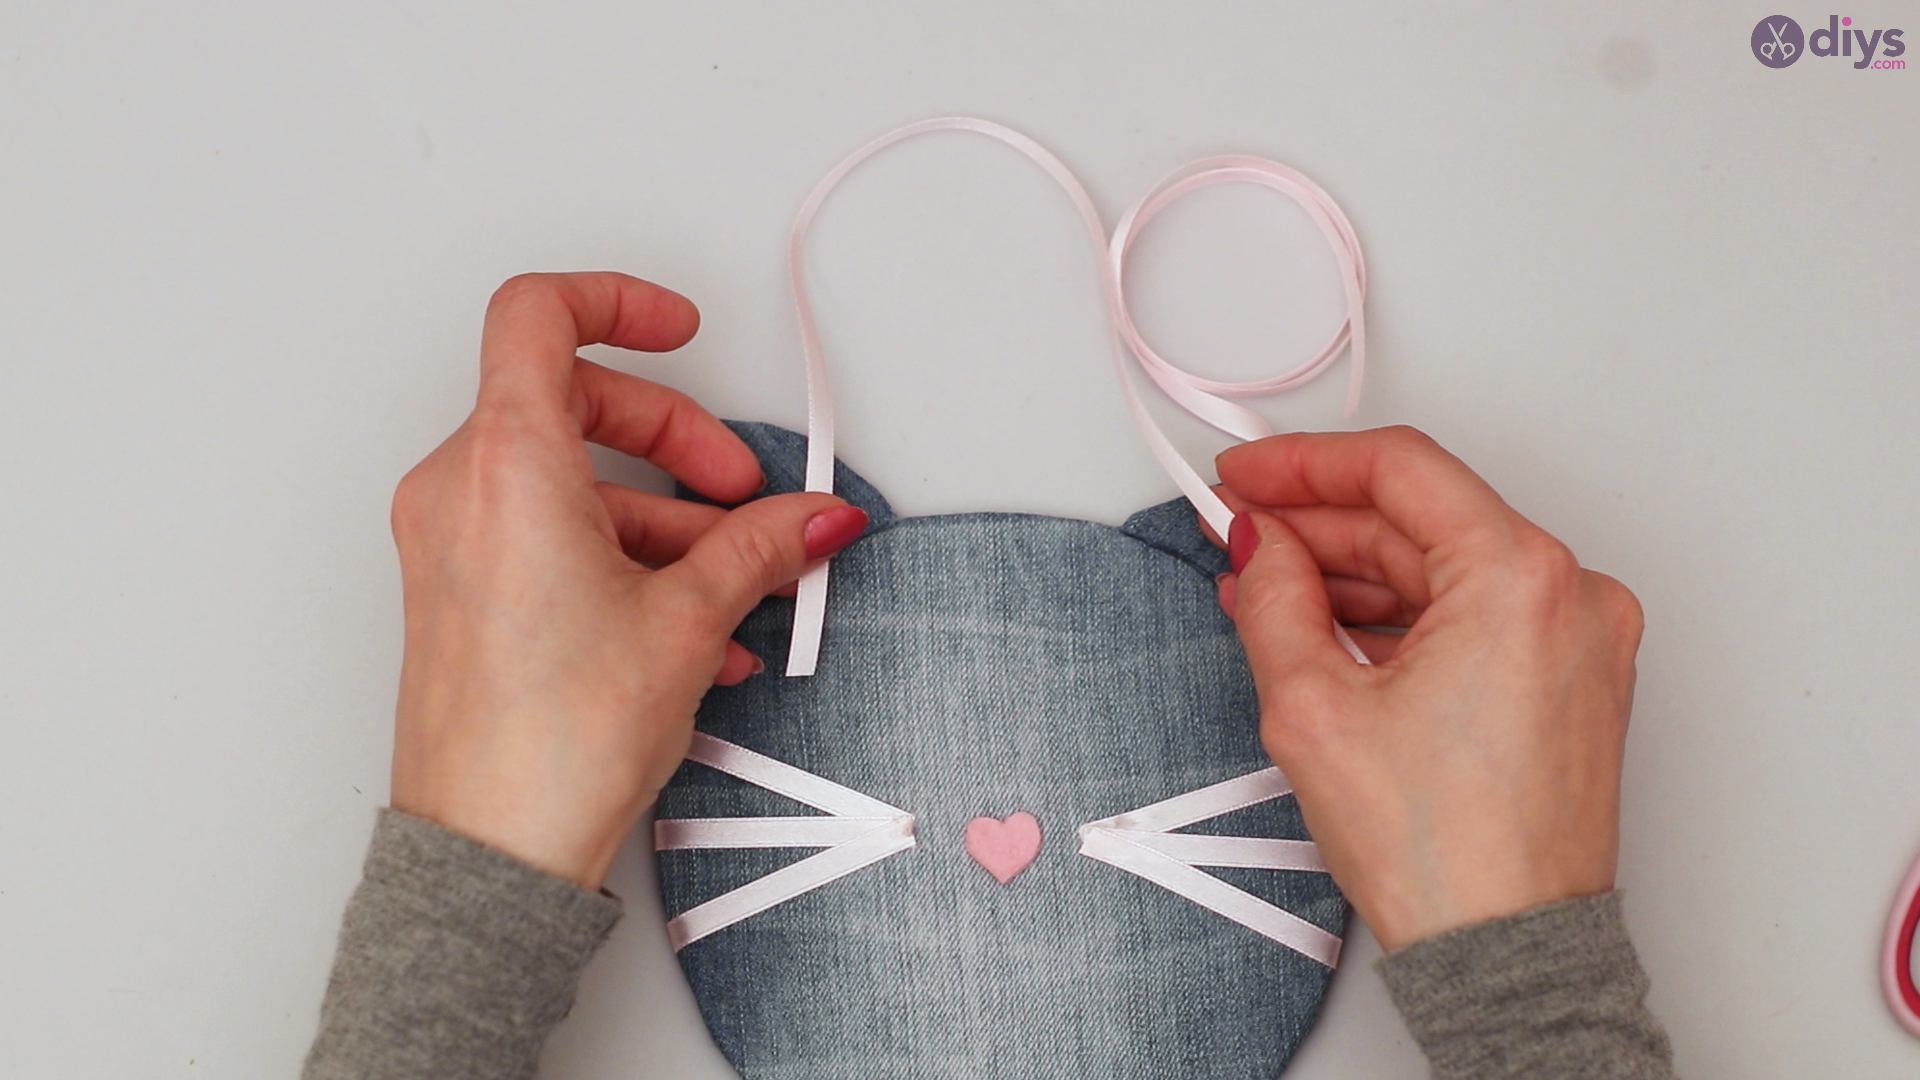
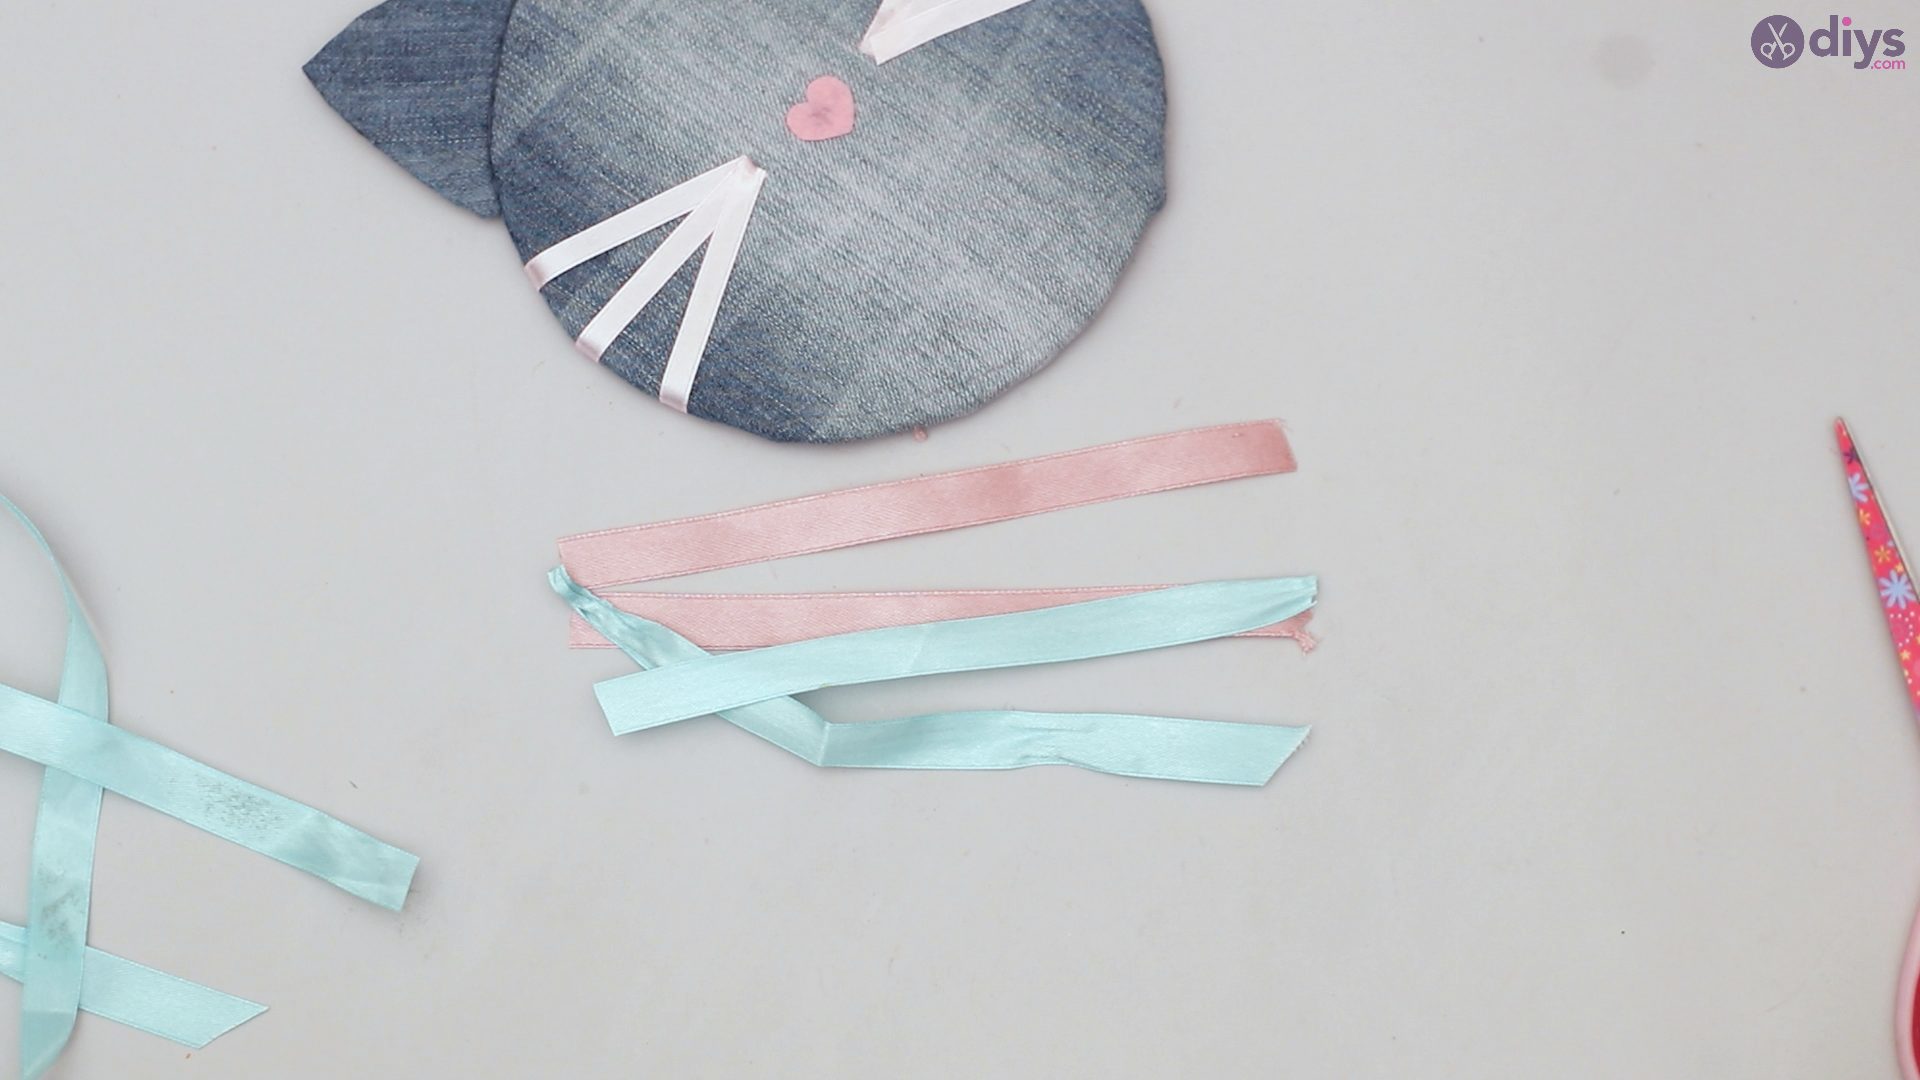
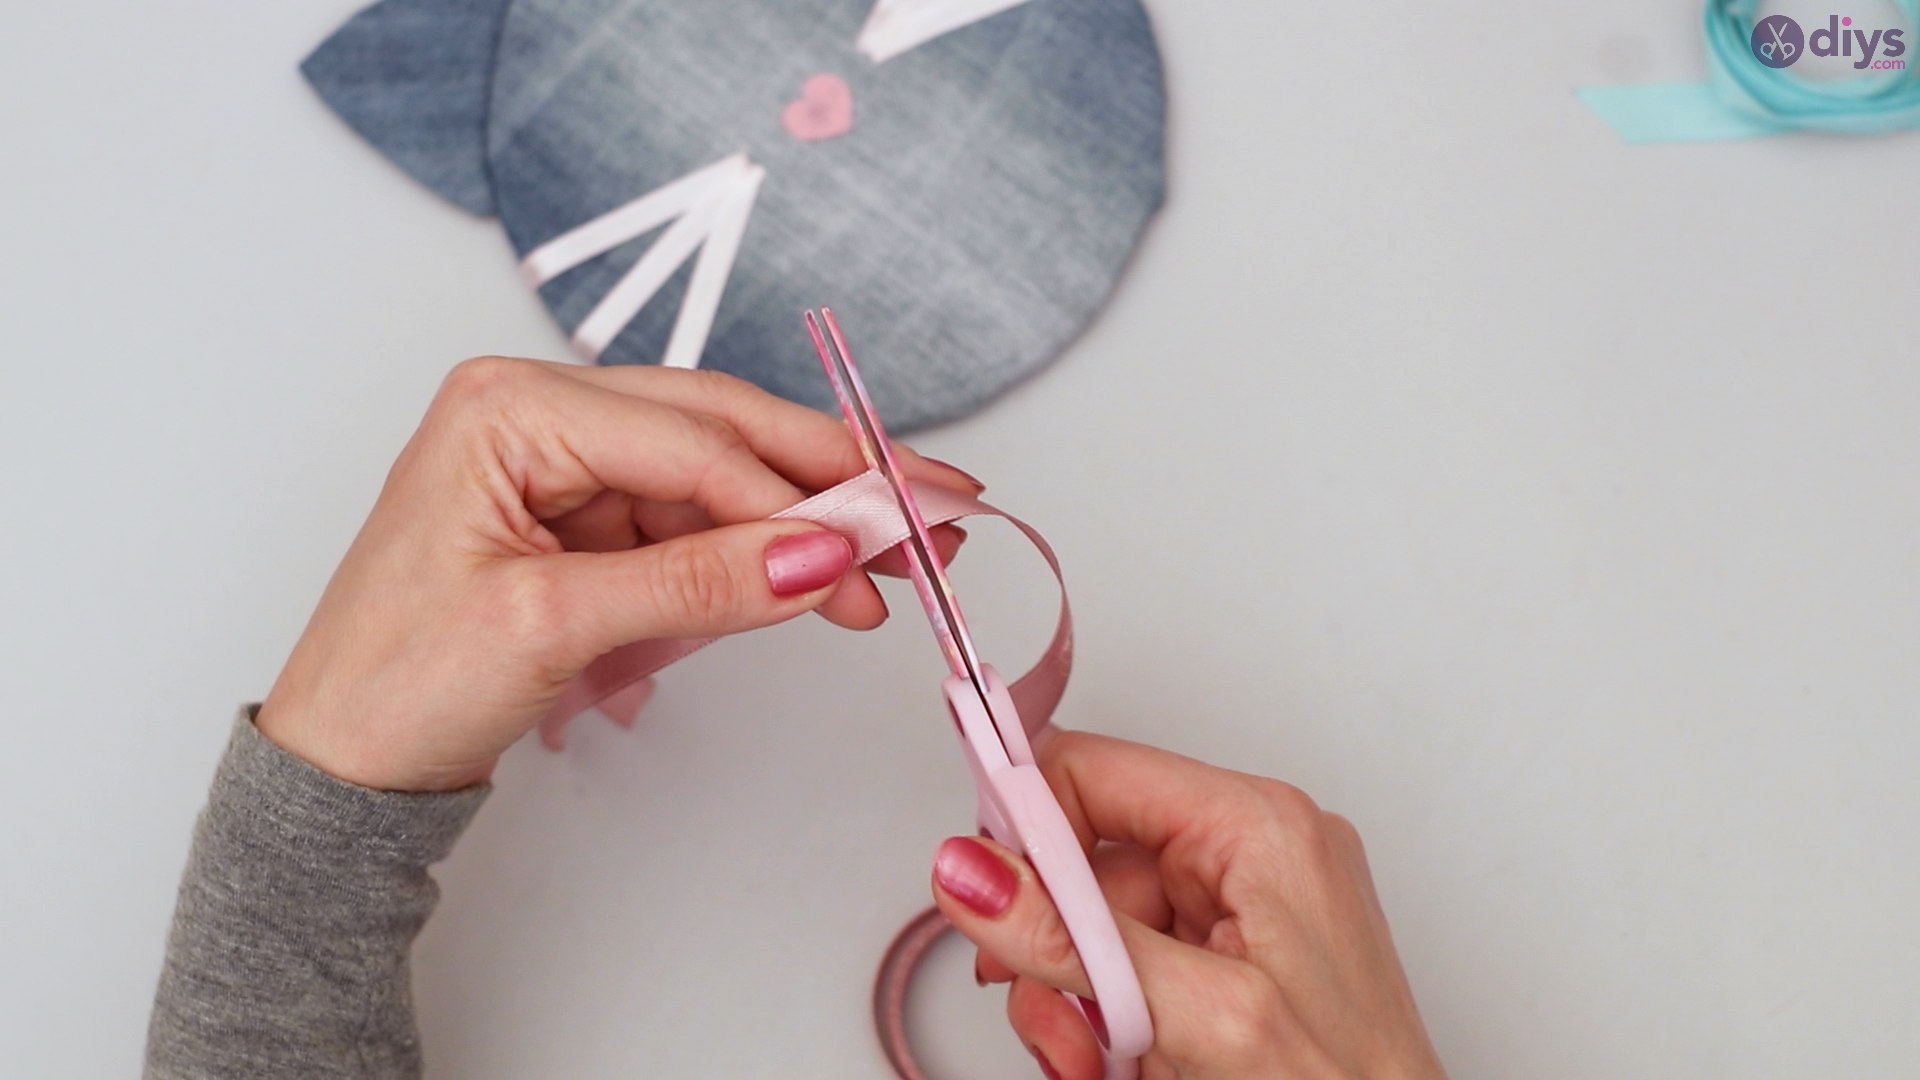
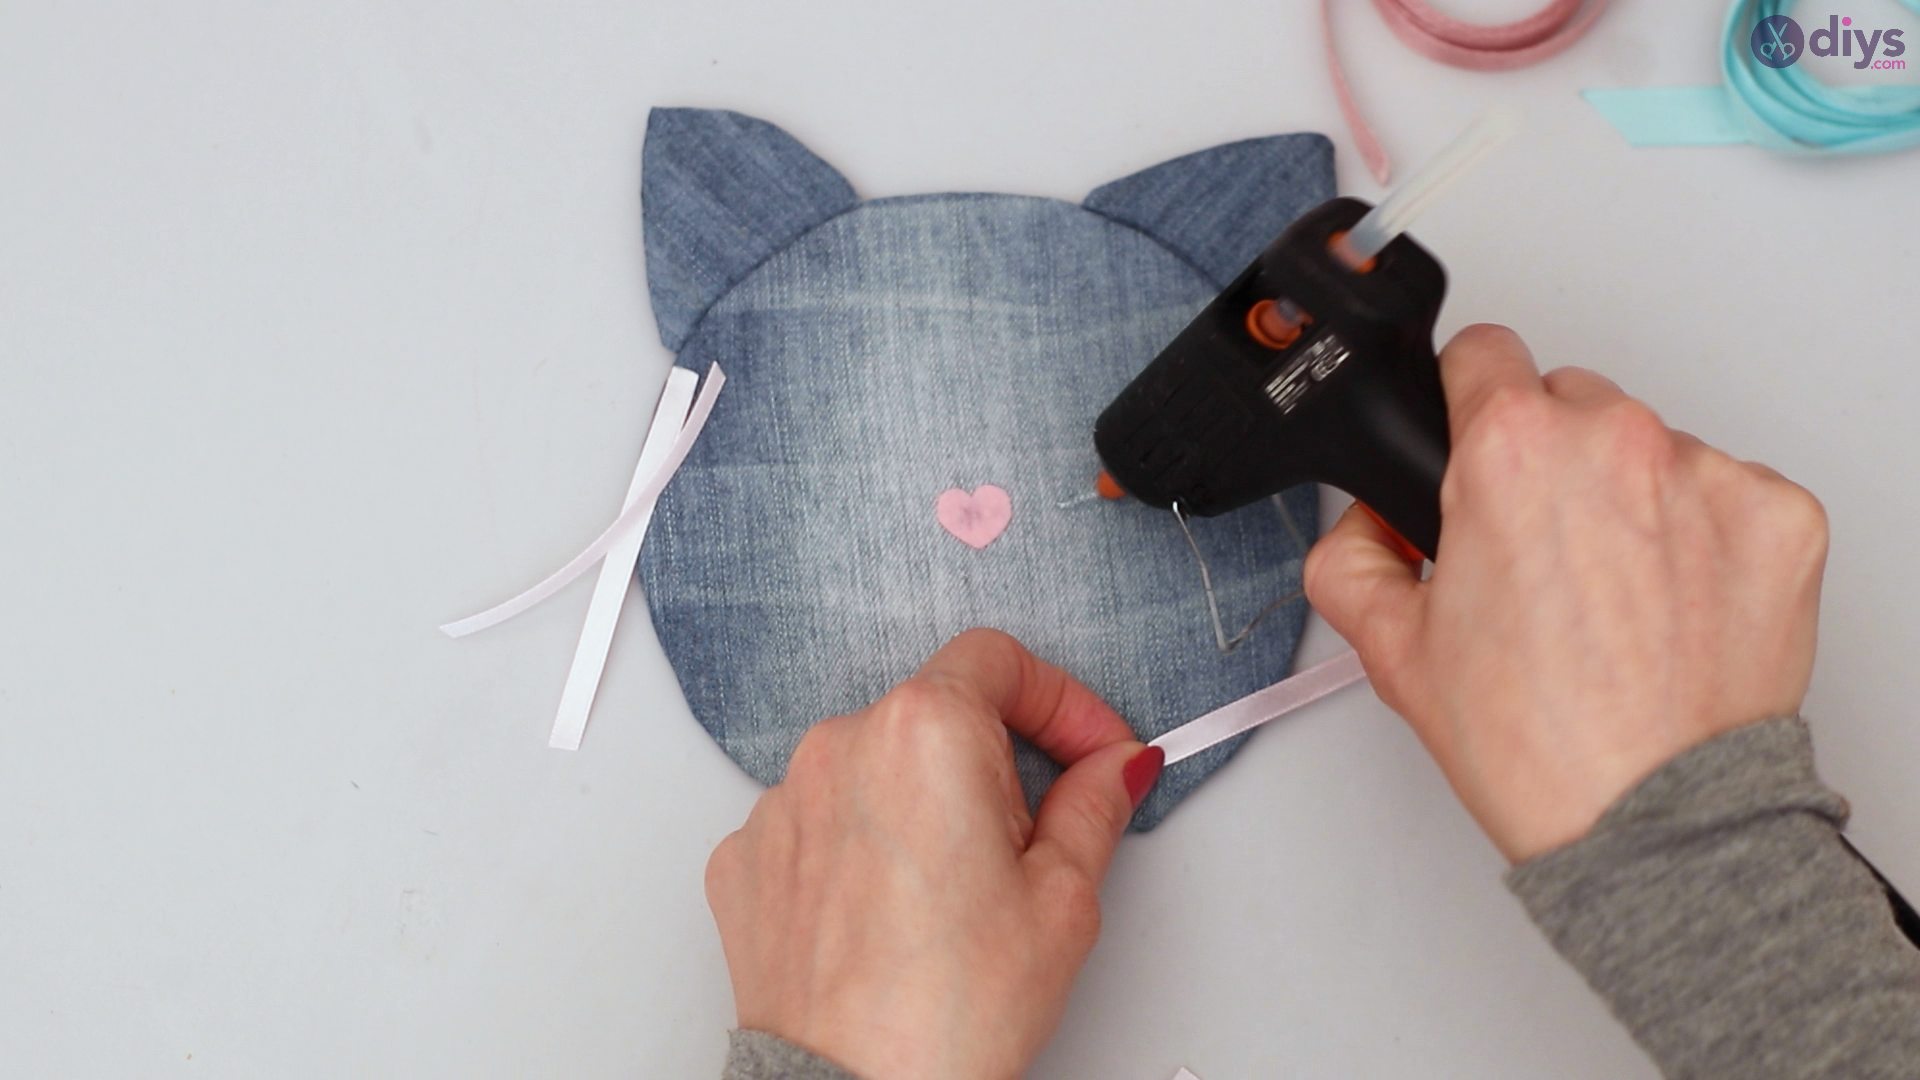
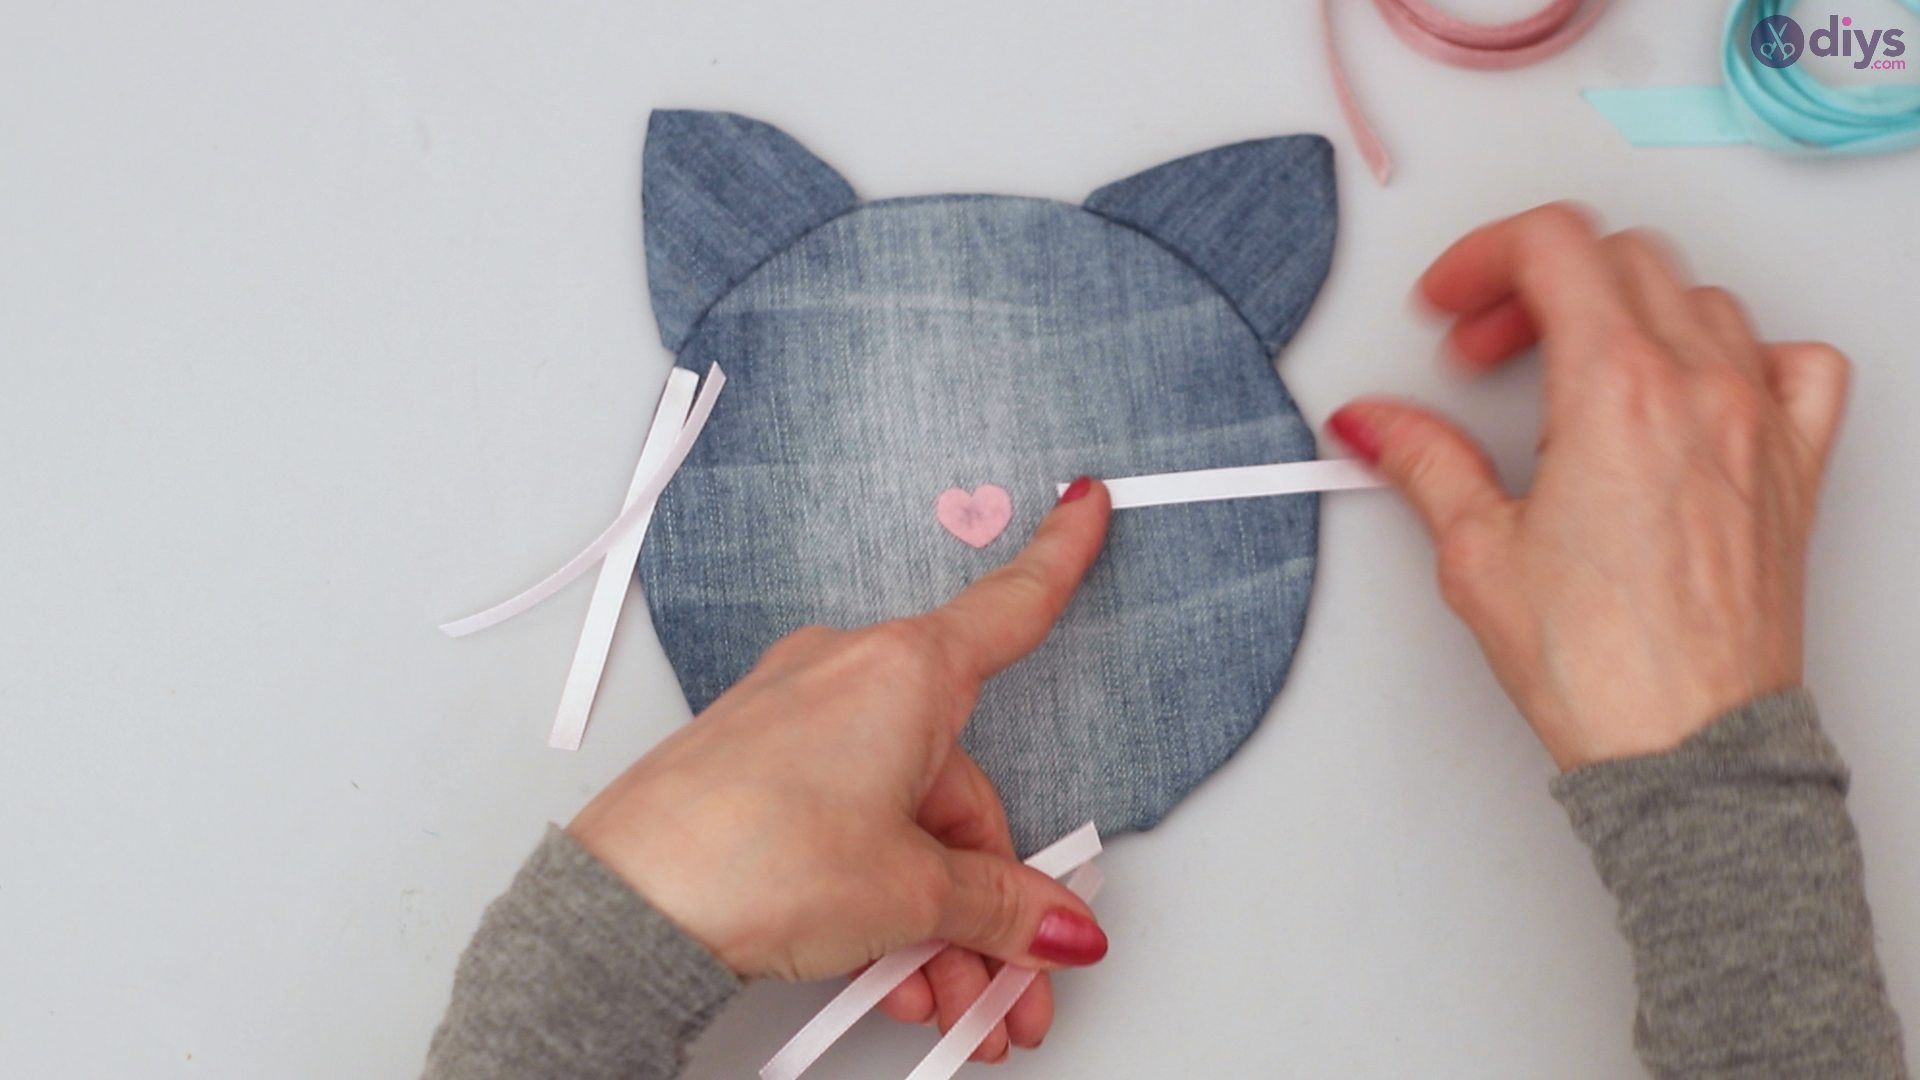
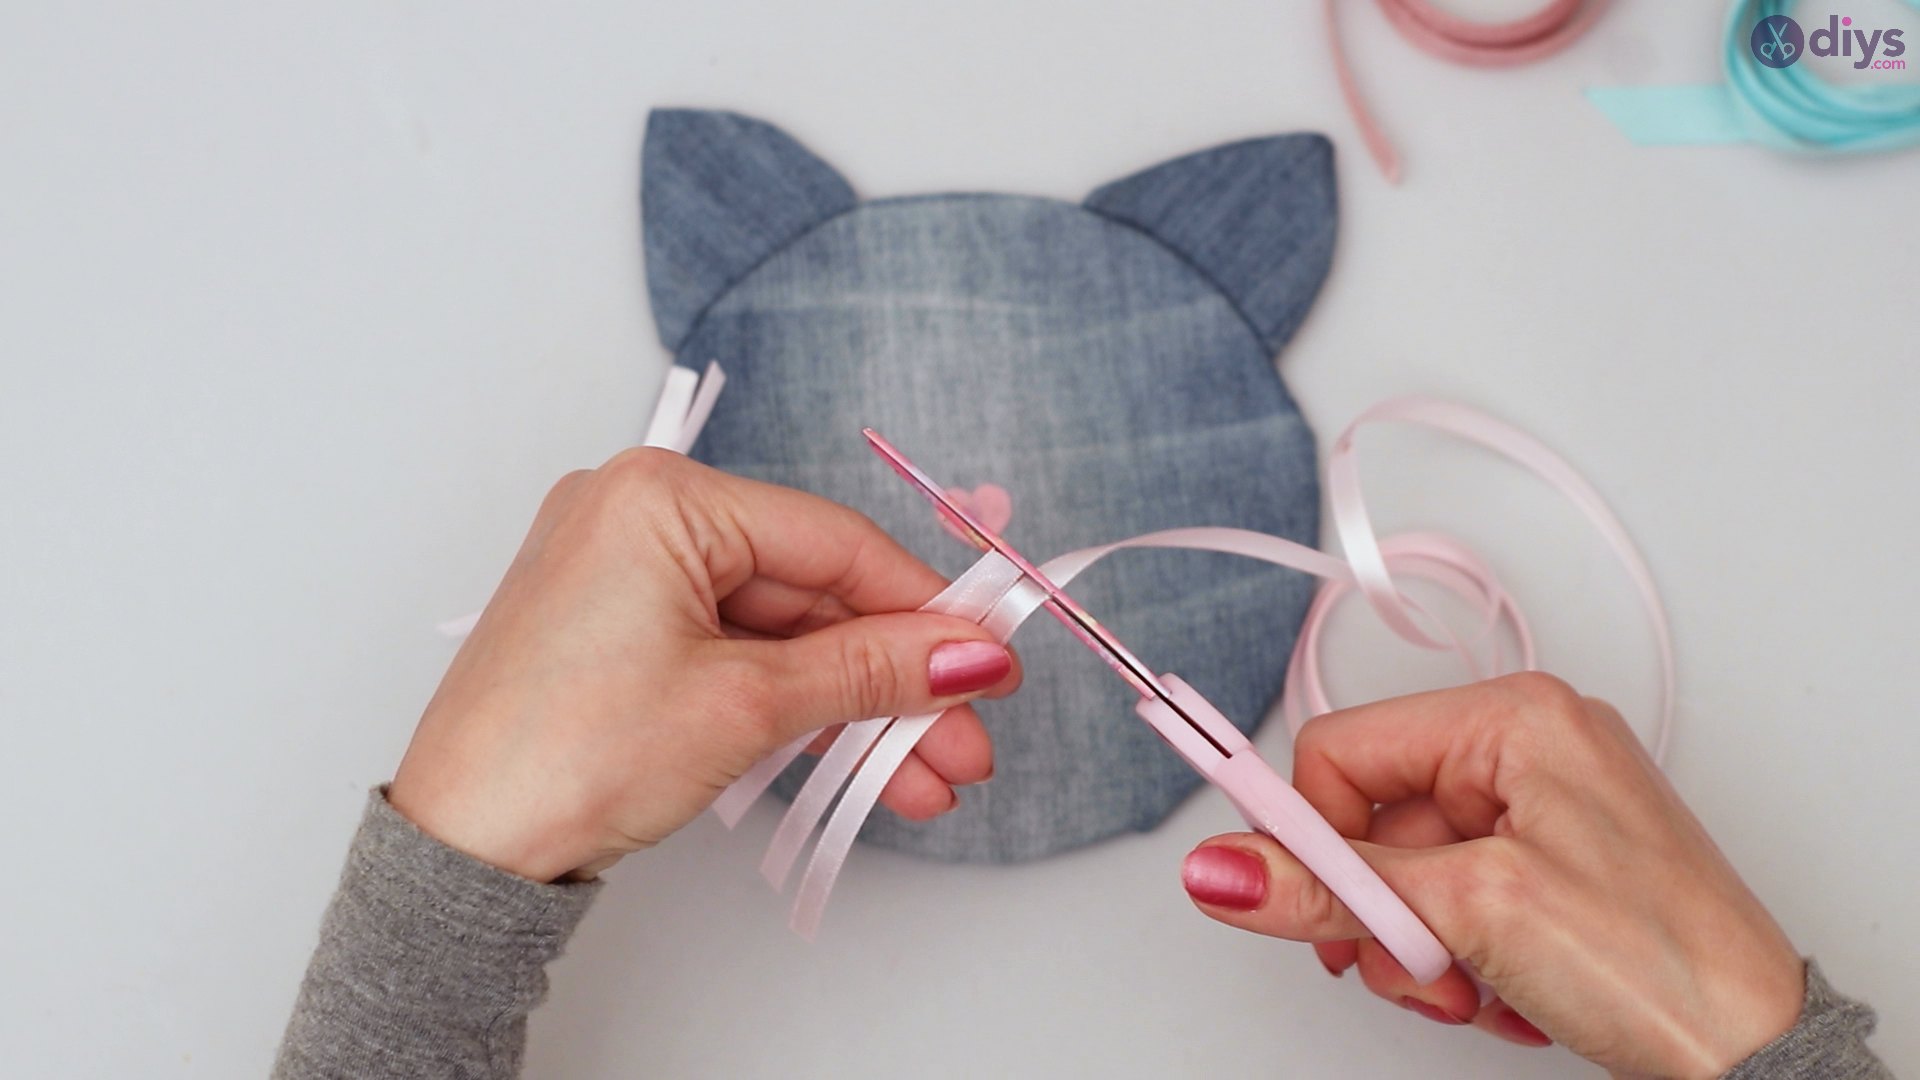
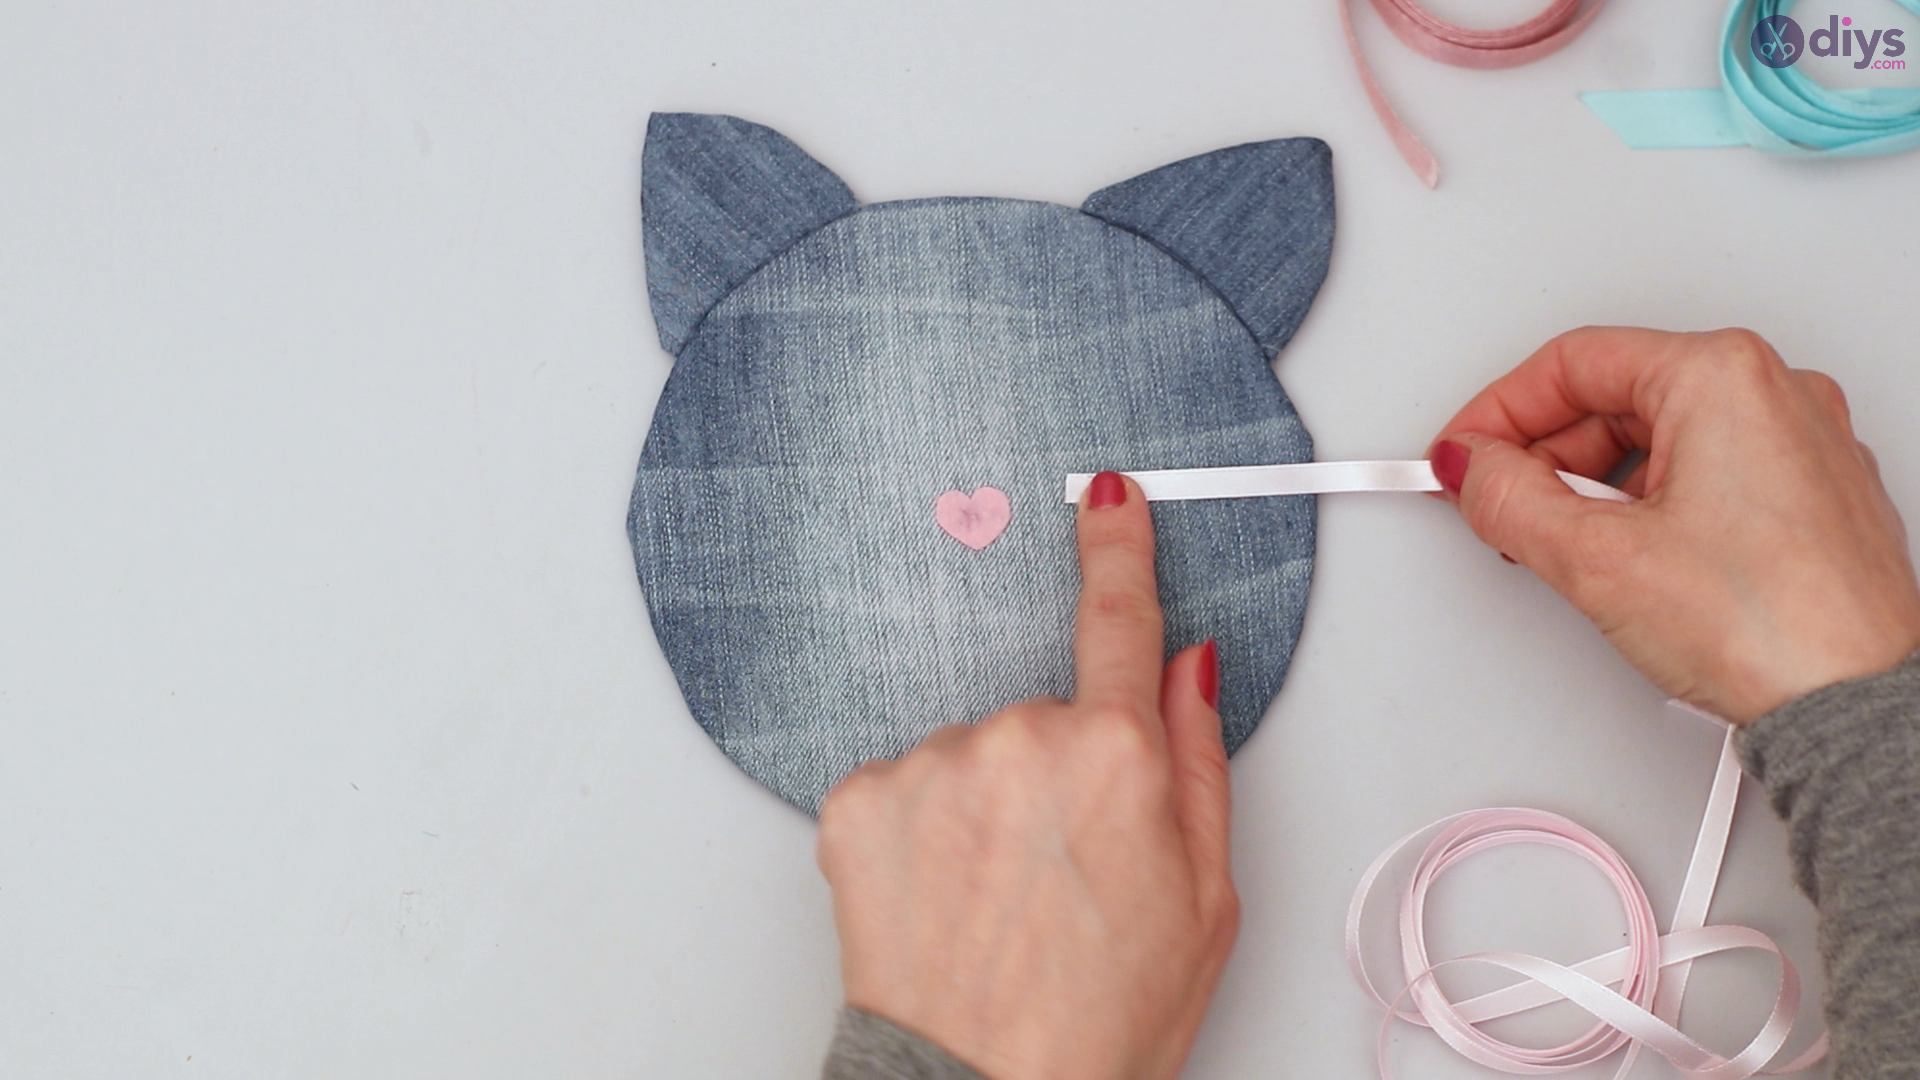
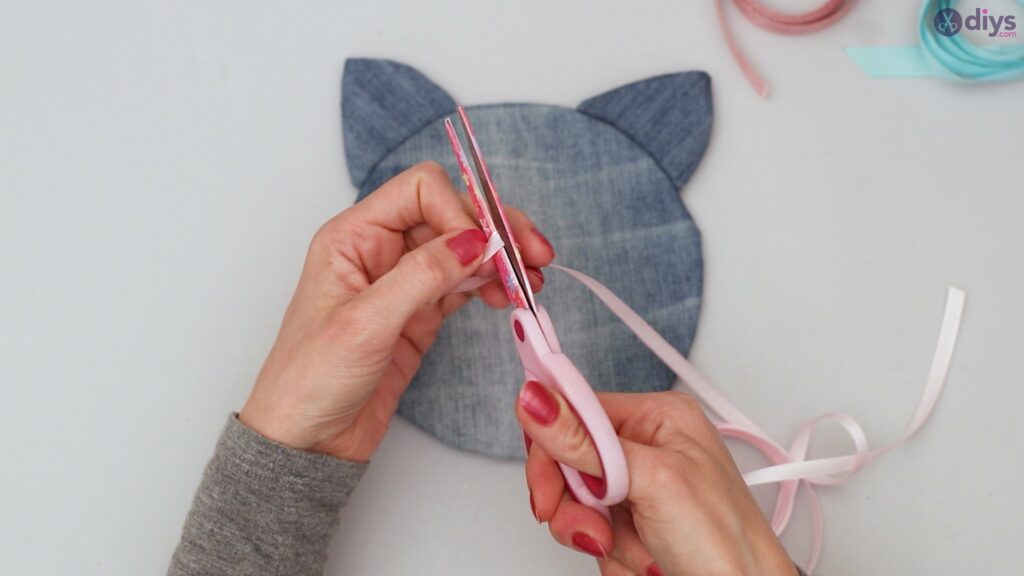
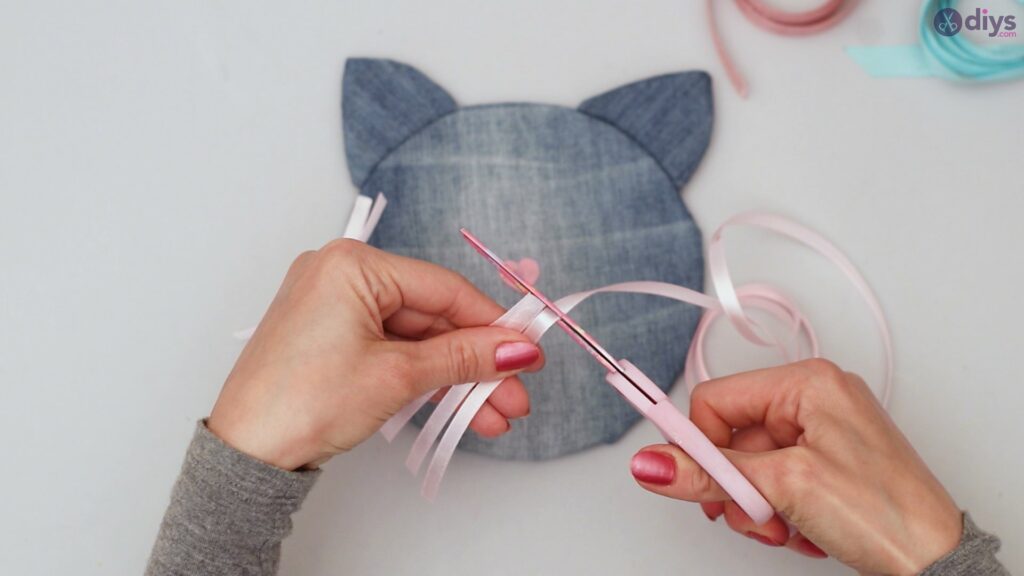
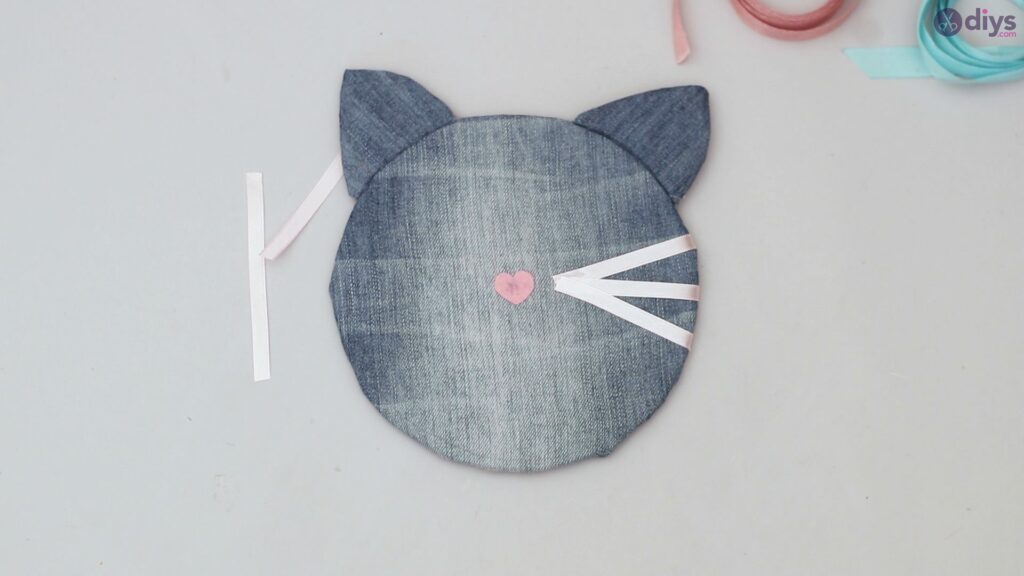
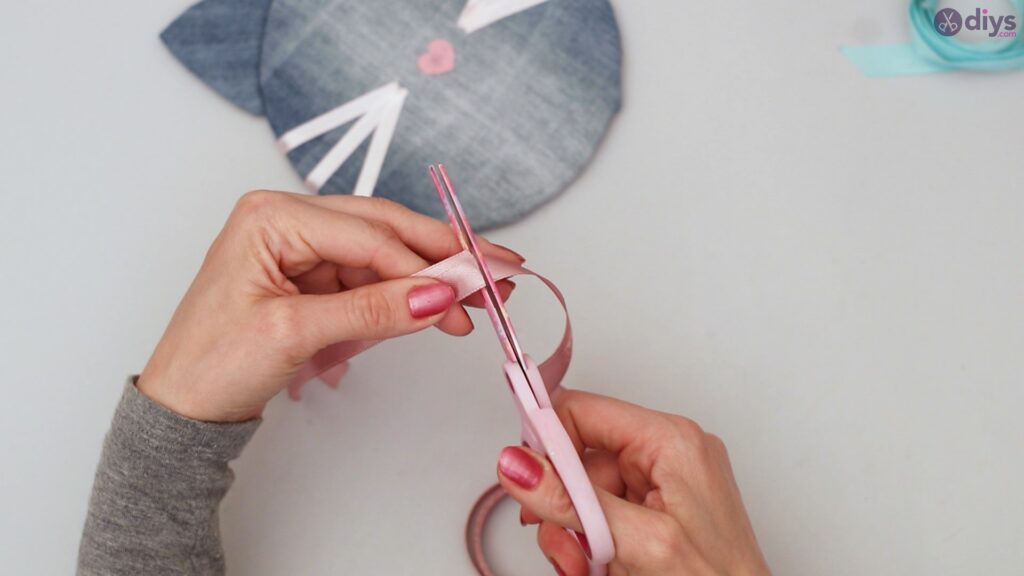
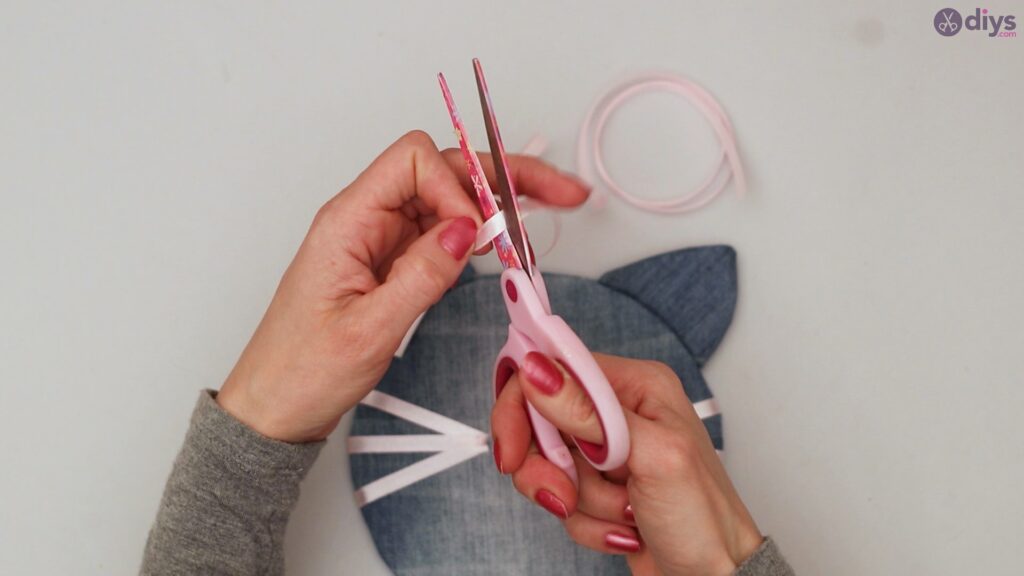
Step 6: Getting the whiskers
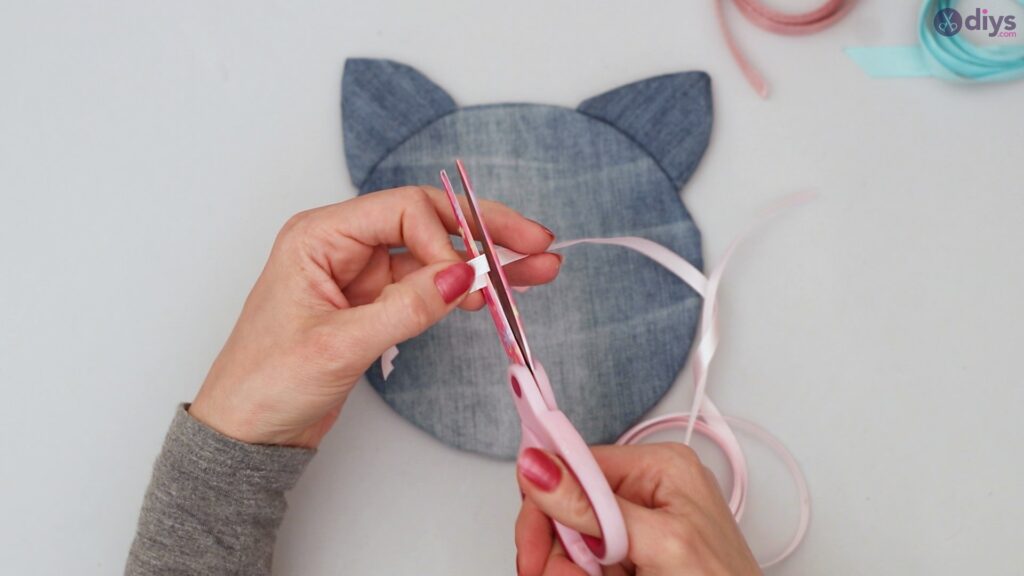
Grab your pink silk ribbon and measure small strips, about 3 – 5 inches each, depending on the size of your cat face. Ideally, these strips should stop half an inch or an inch off the circle that forms the face.

Take out your scissors and cut three strips according to what you have measured.
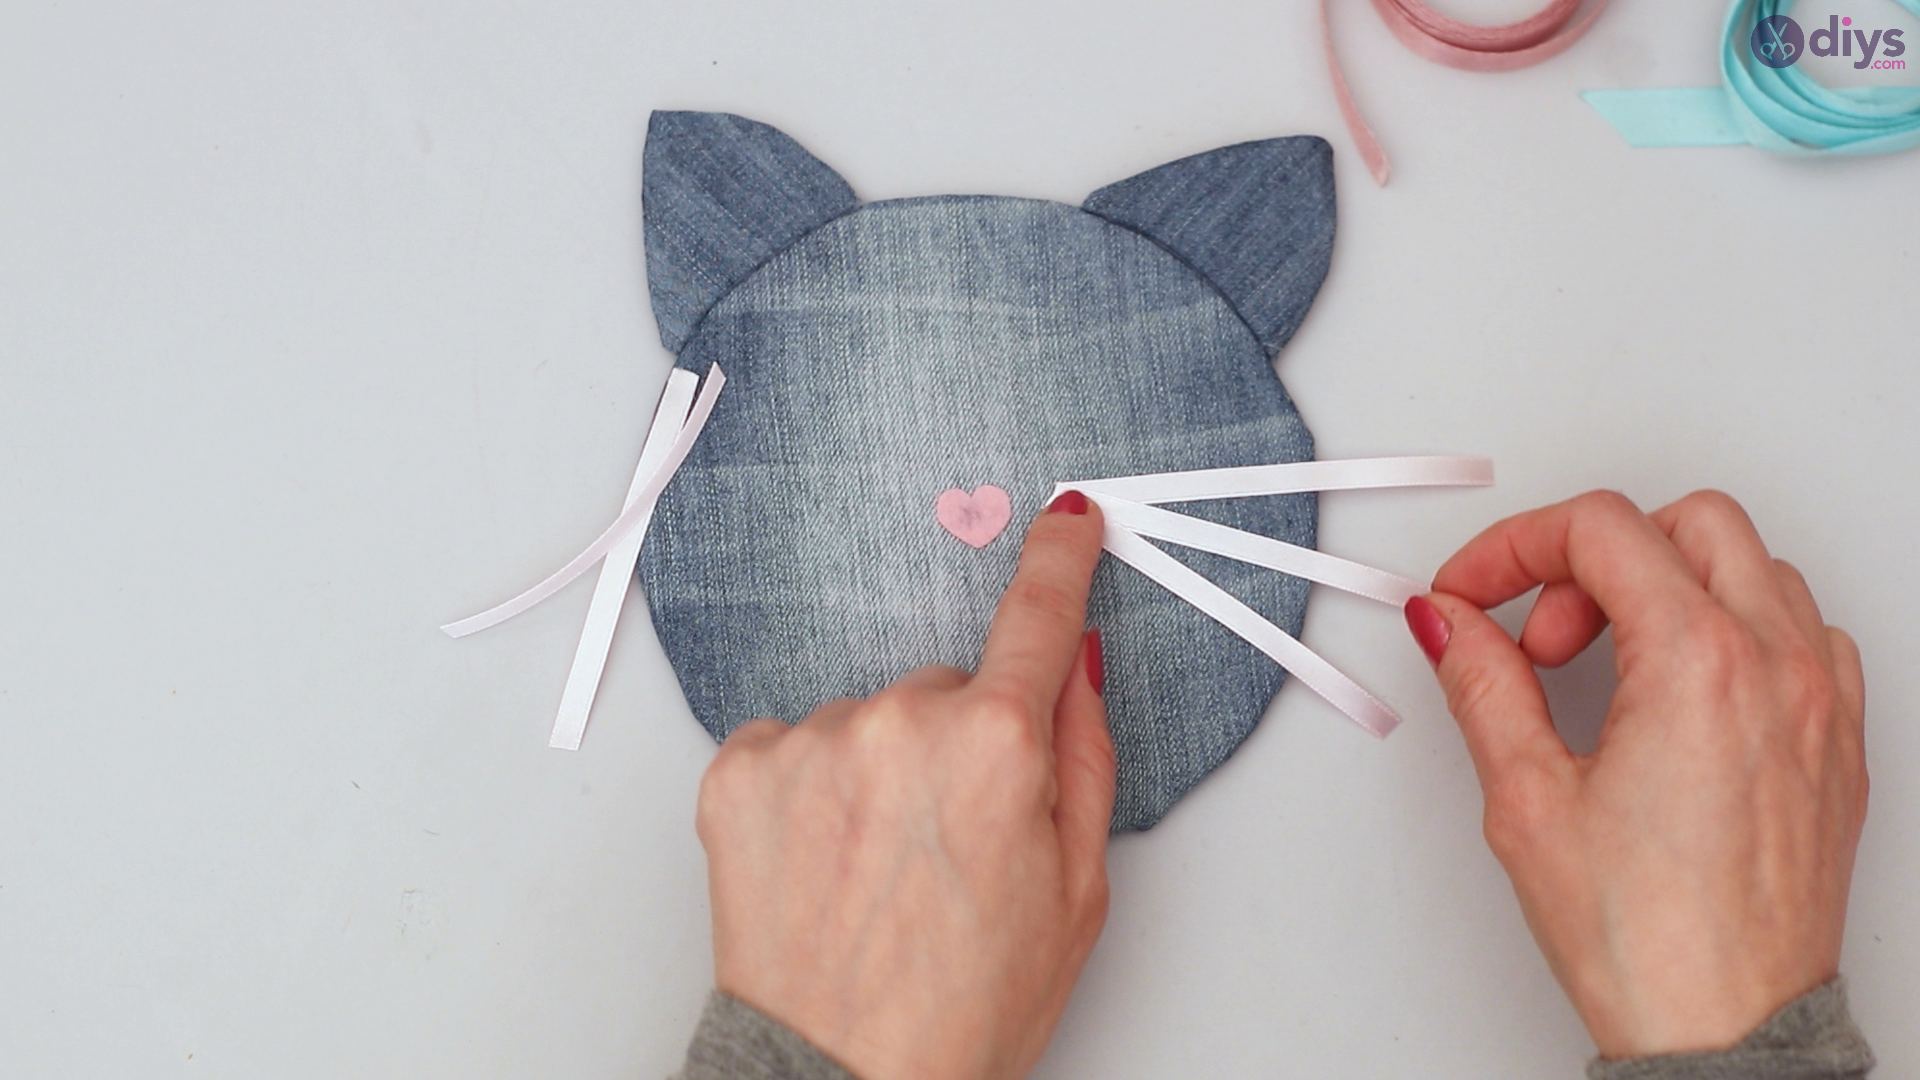
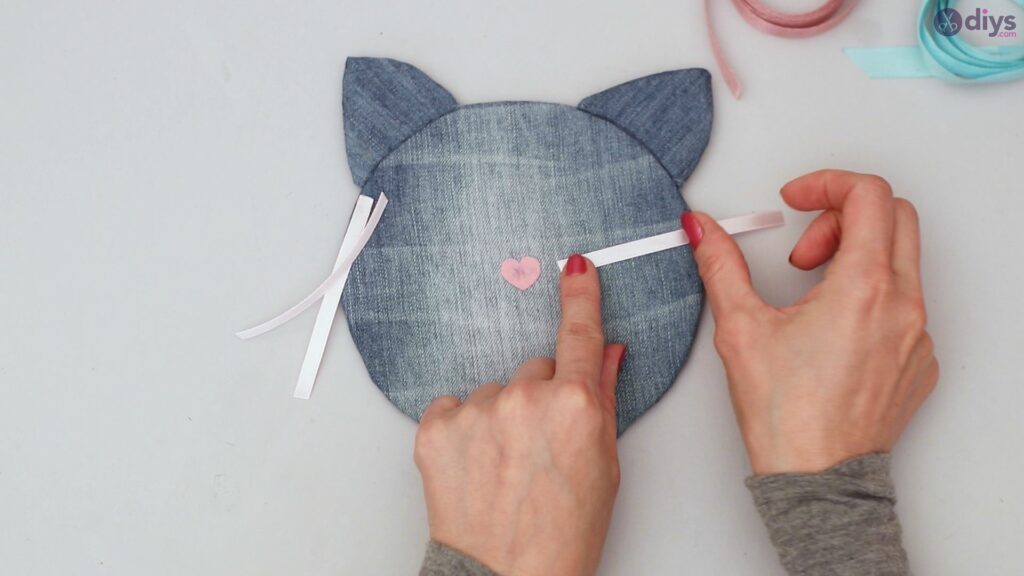
Place the three strips on the cat face like whiskers.
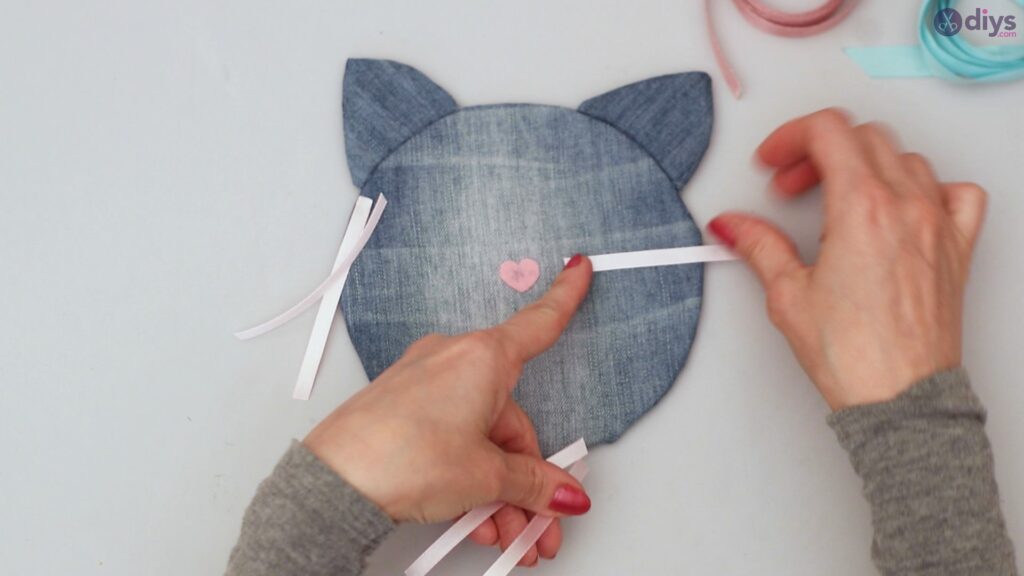

Take your glue gun, apply a glue line, and secure the ribbon to the jean material.

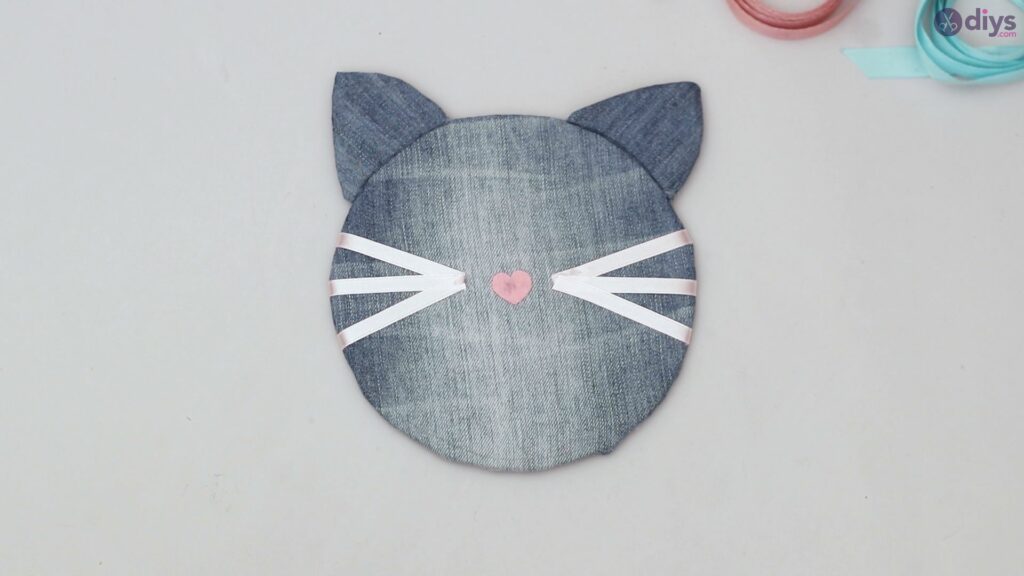
Pull the extra inch to the back of the cat’s face.
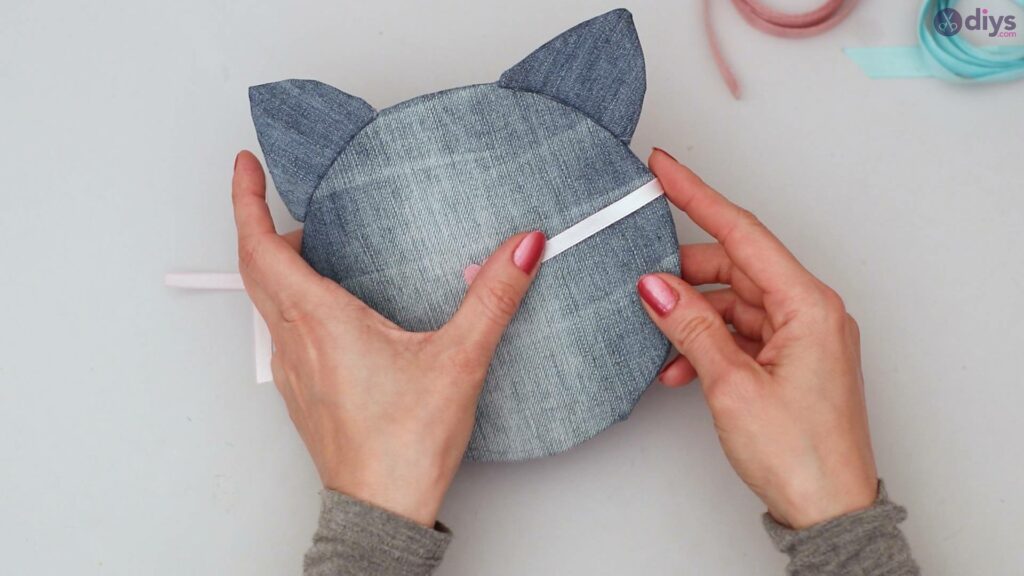
Apply a dot of glue and hold the extra inch securely away from the face.

Repeat the process for all three strips you have cut out.
Now do the same thing on the opposite side.
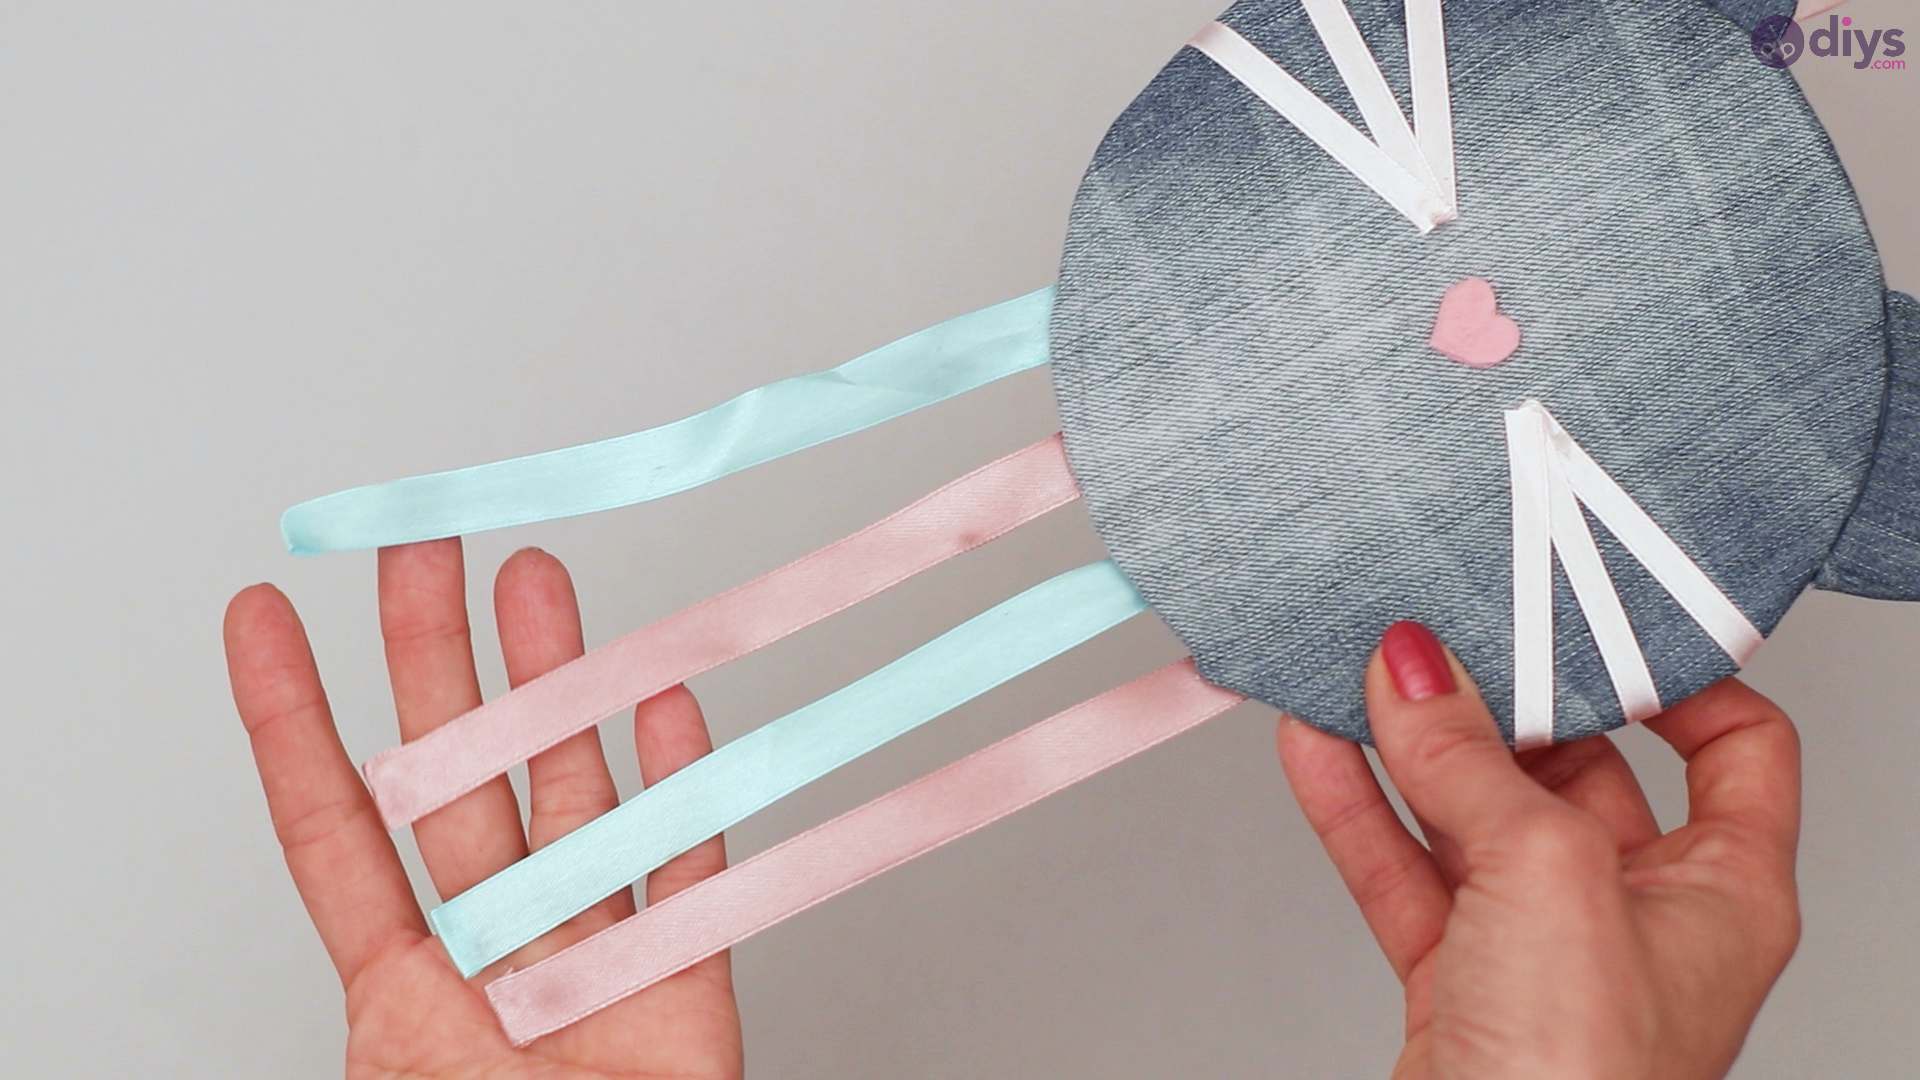
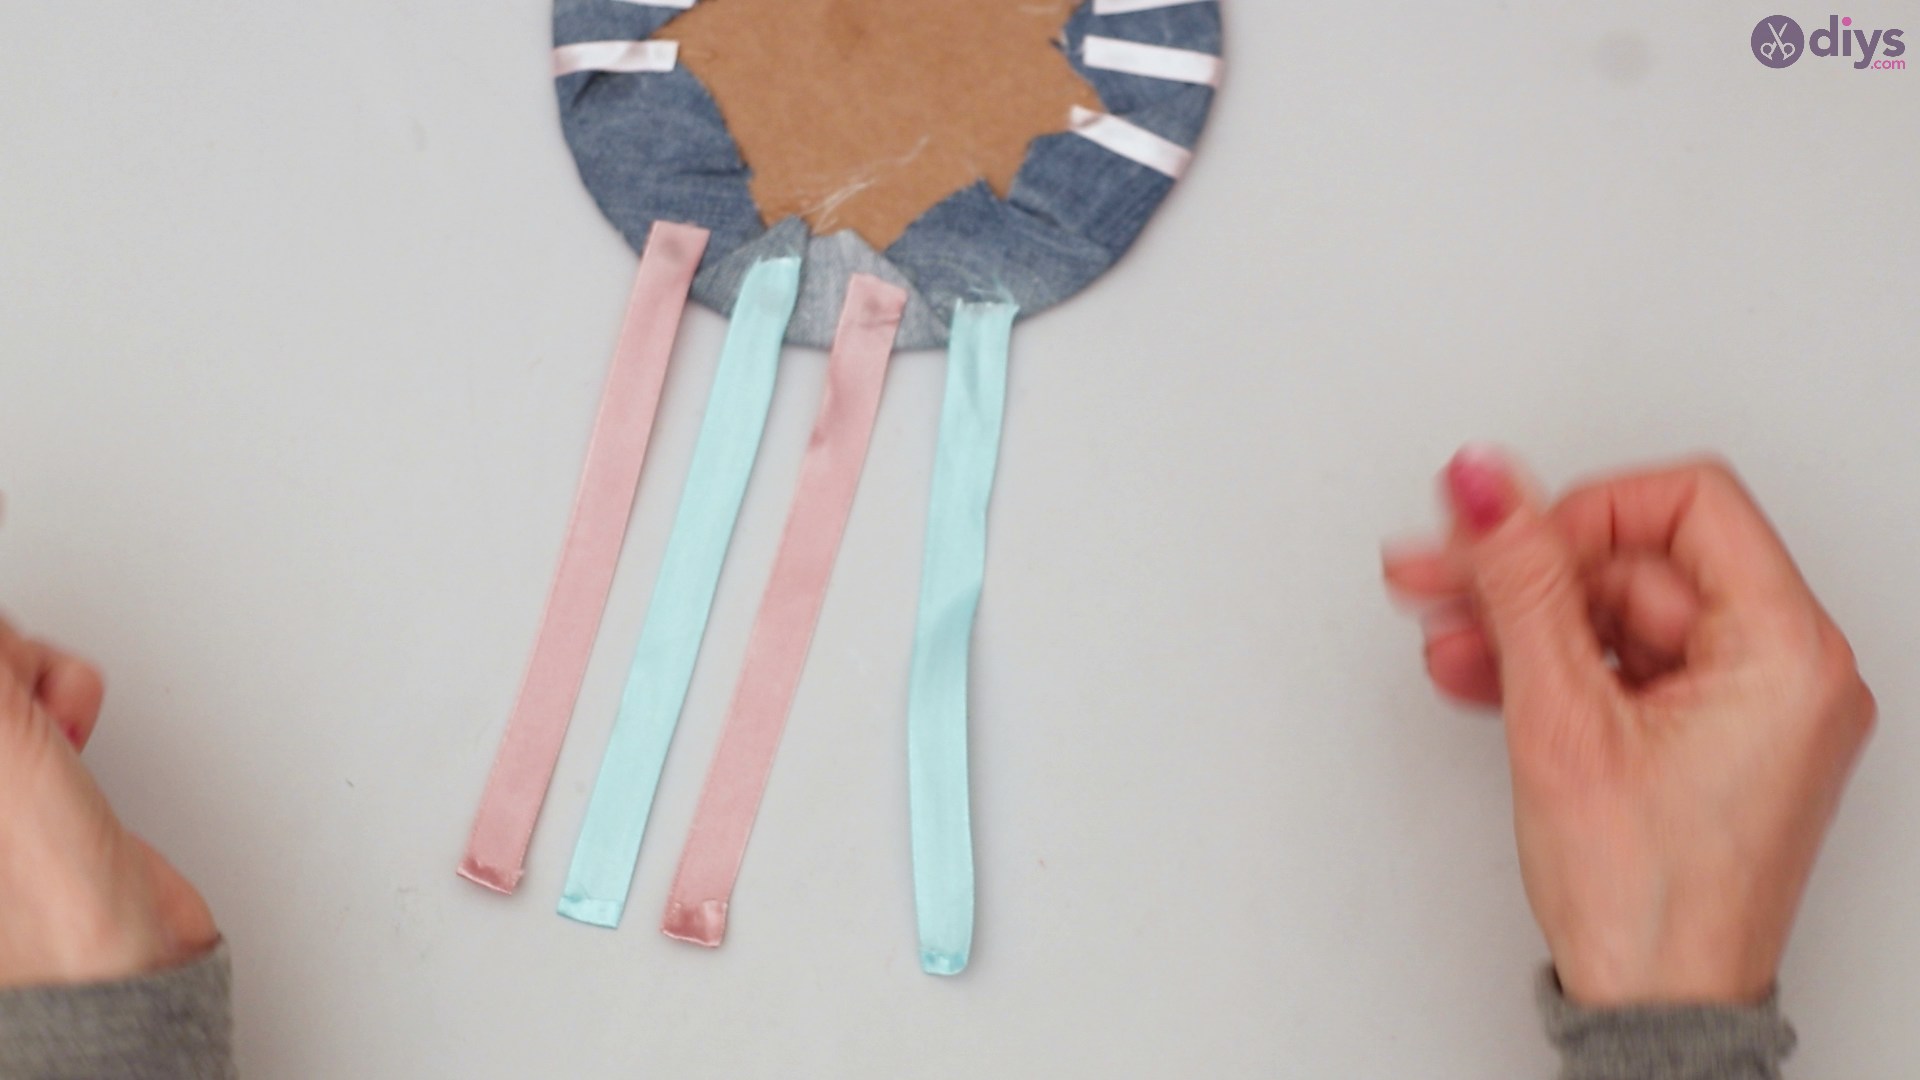
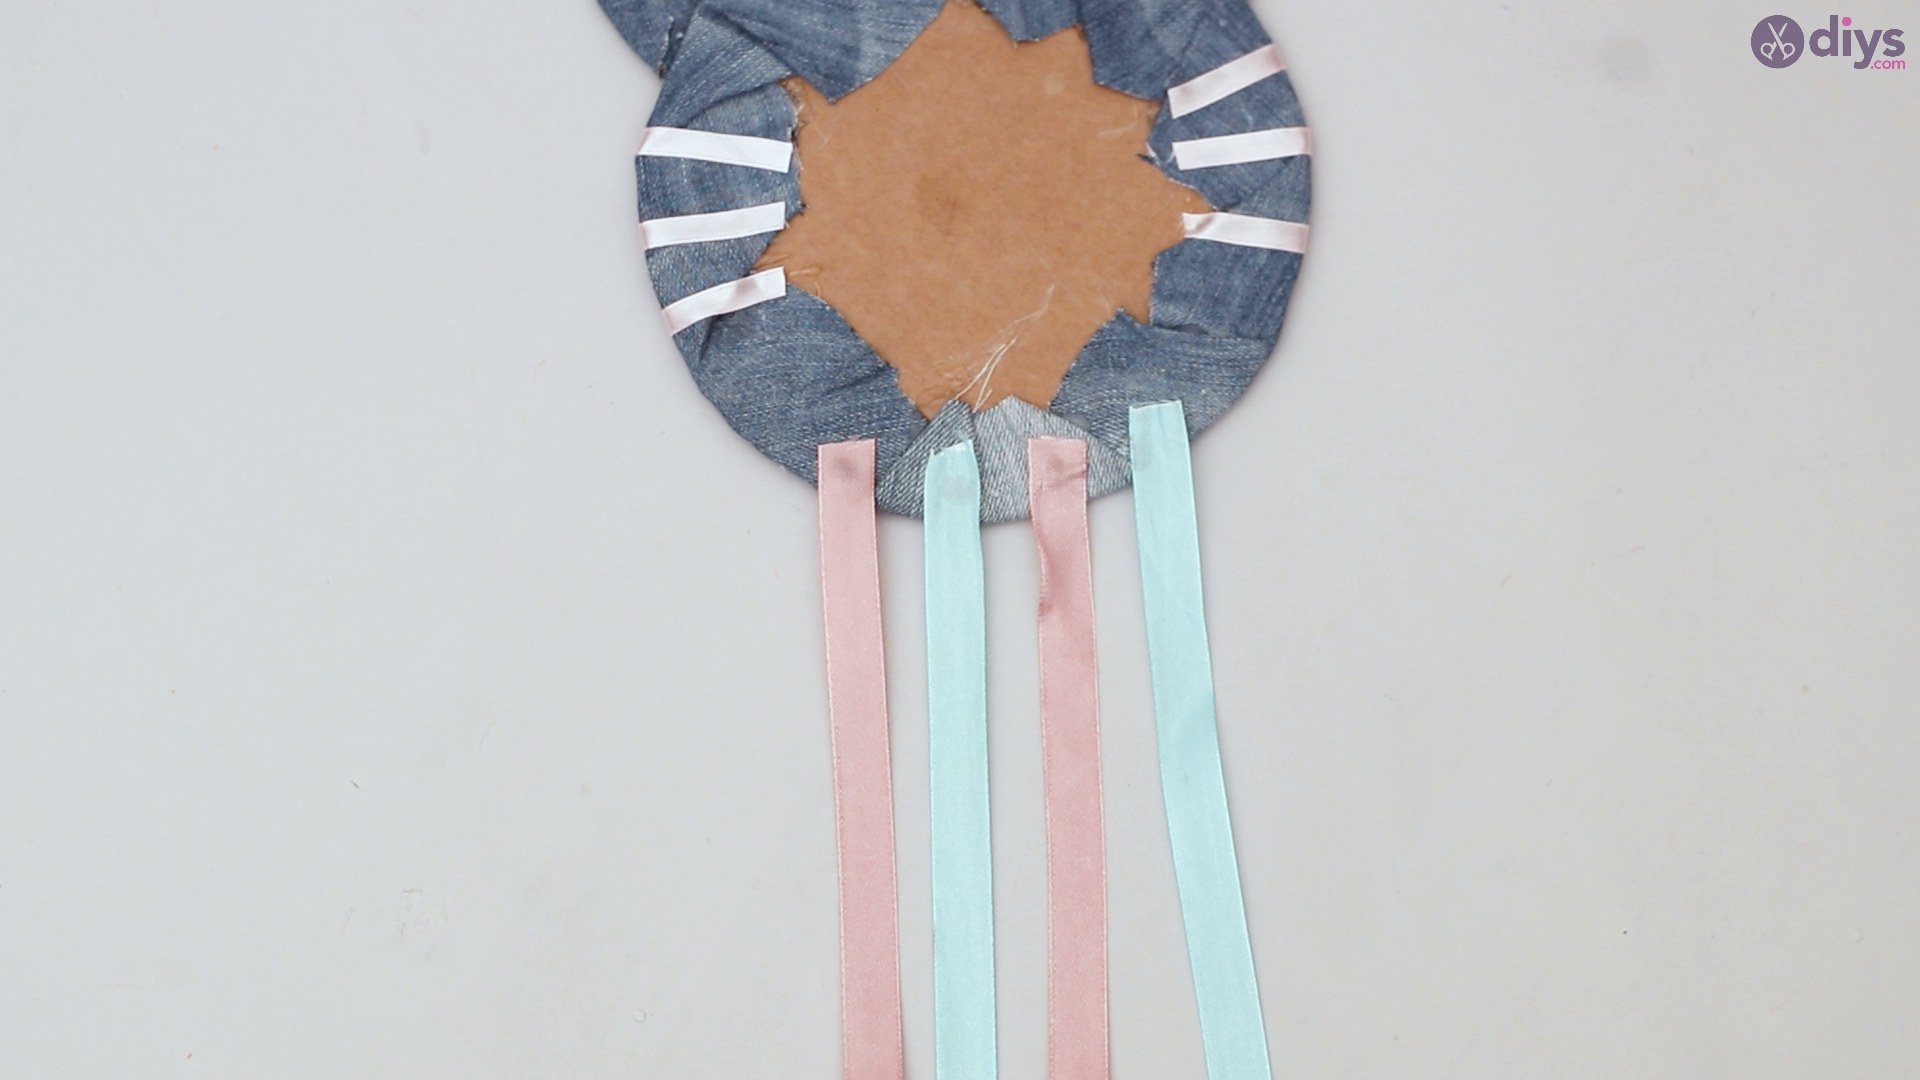
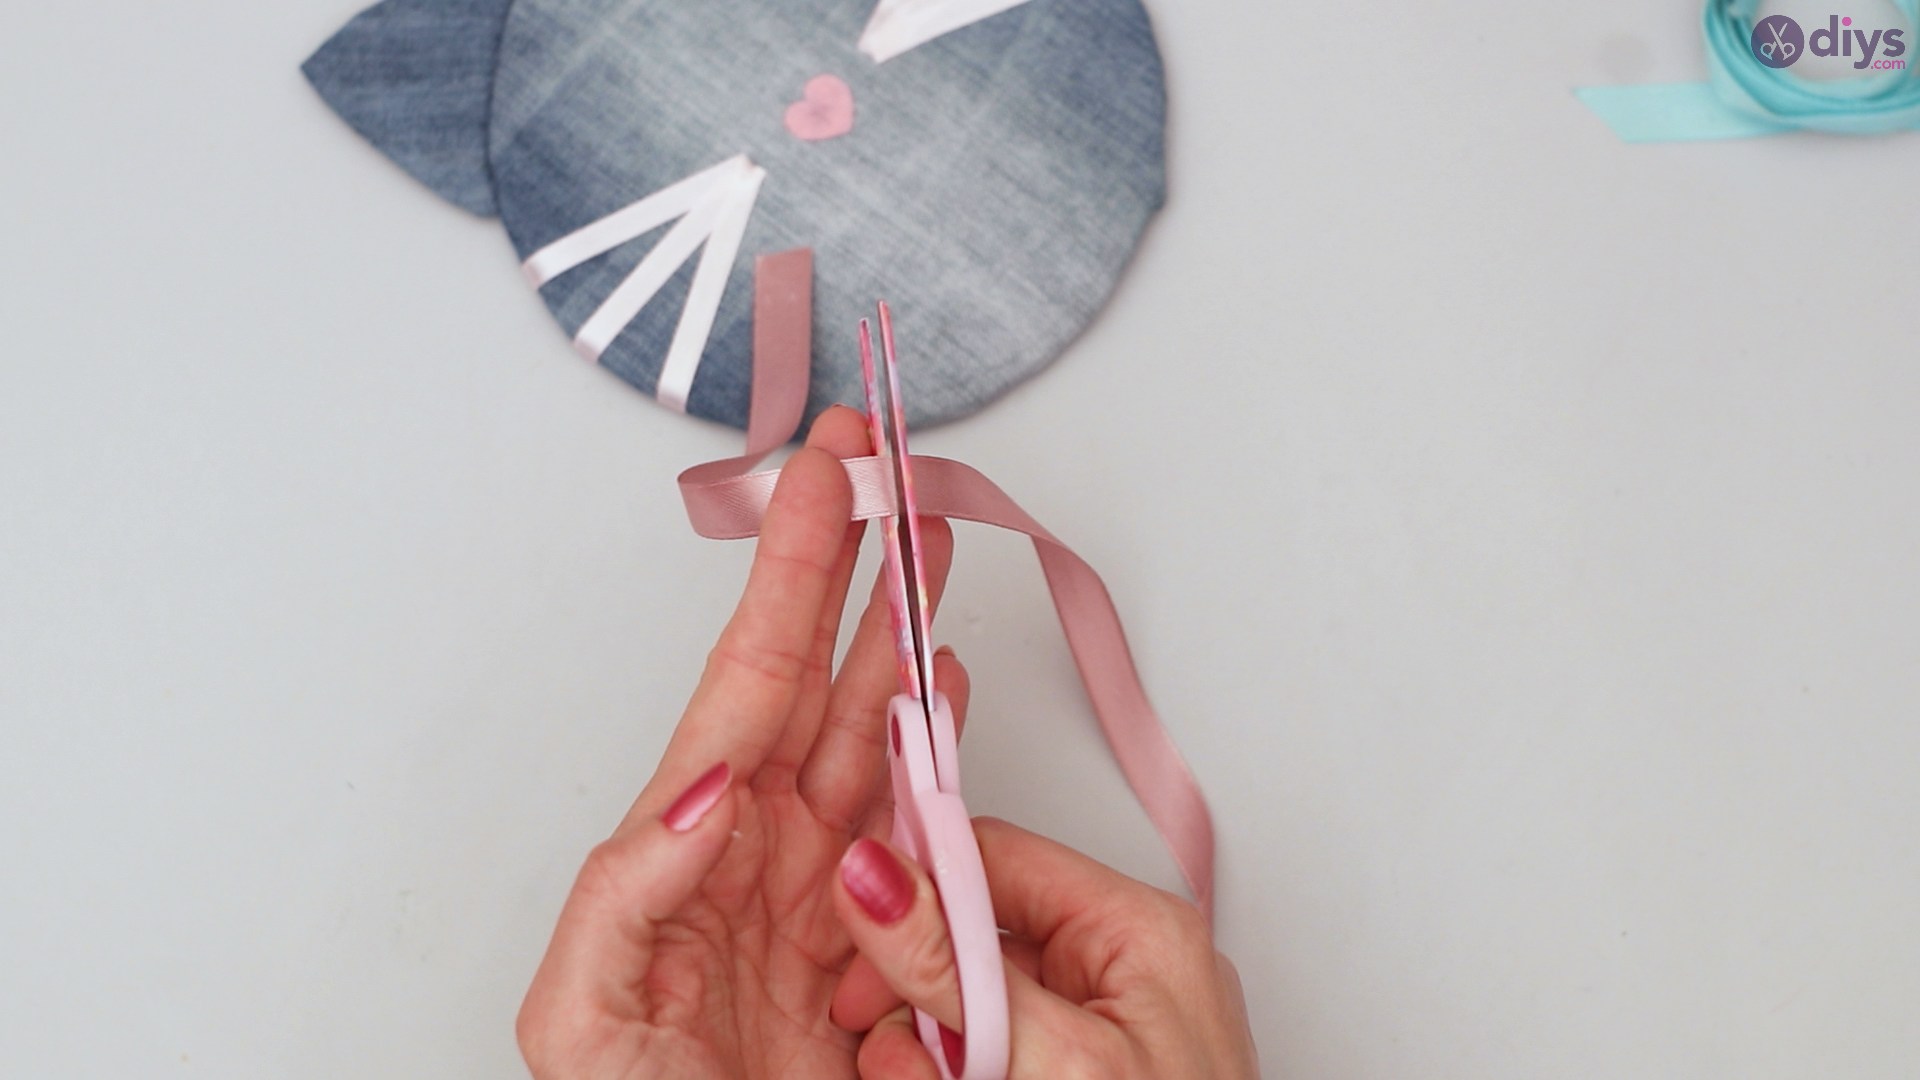
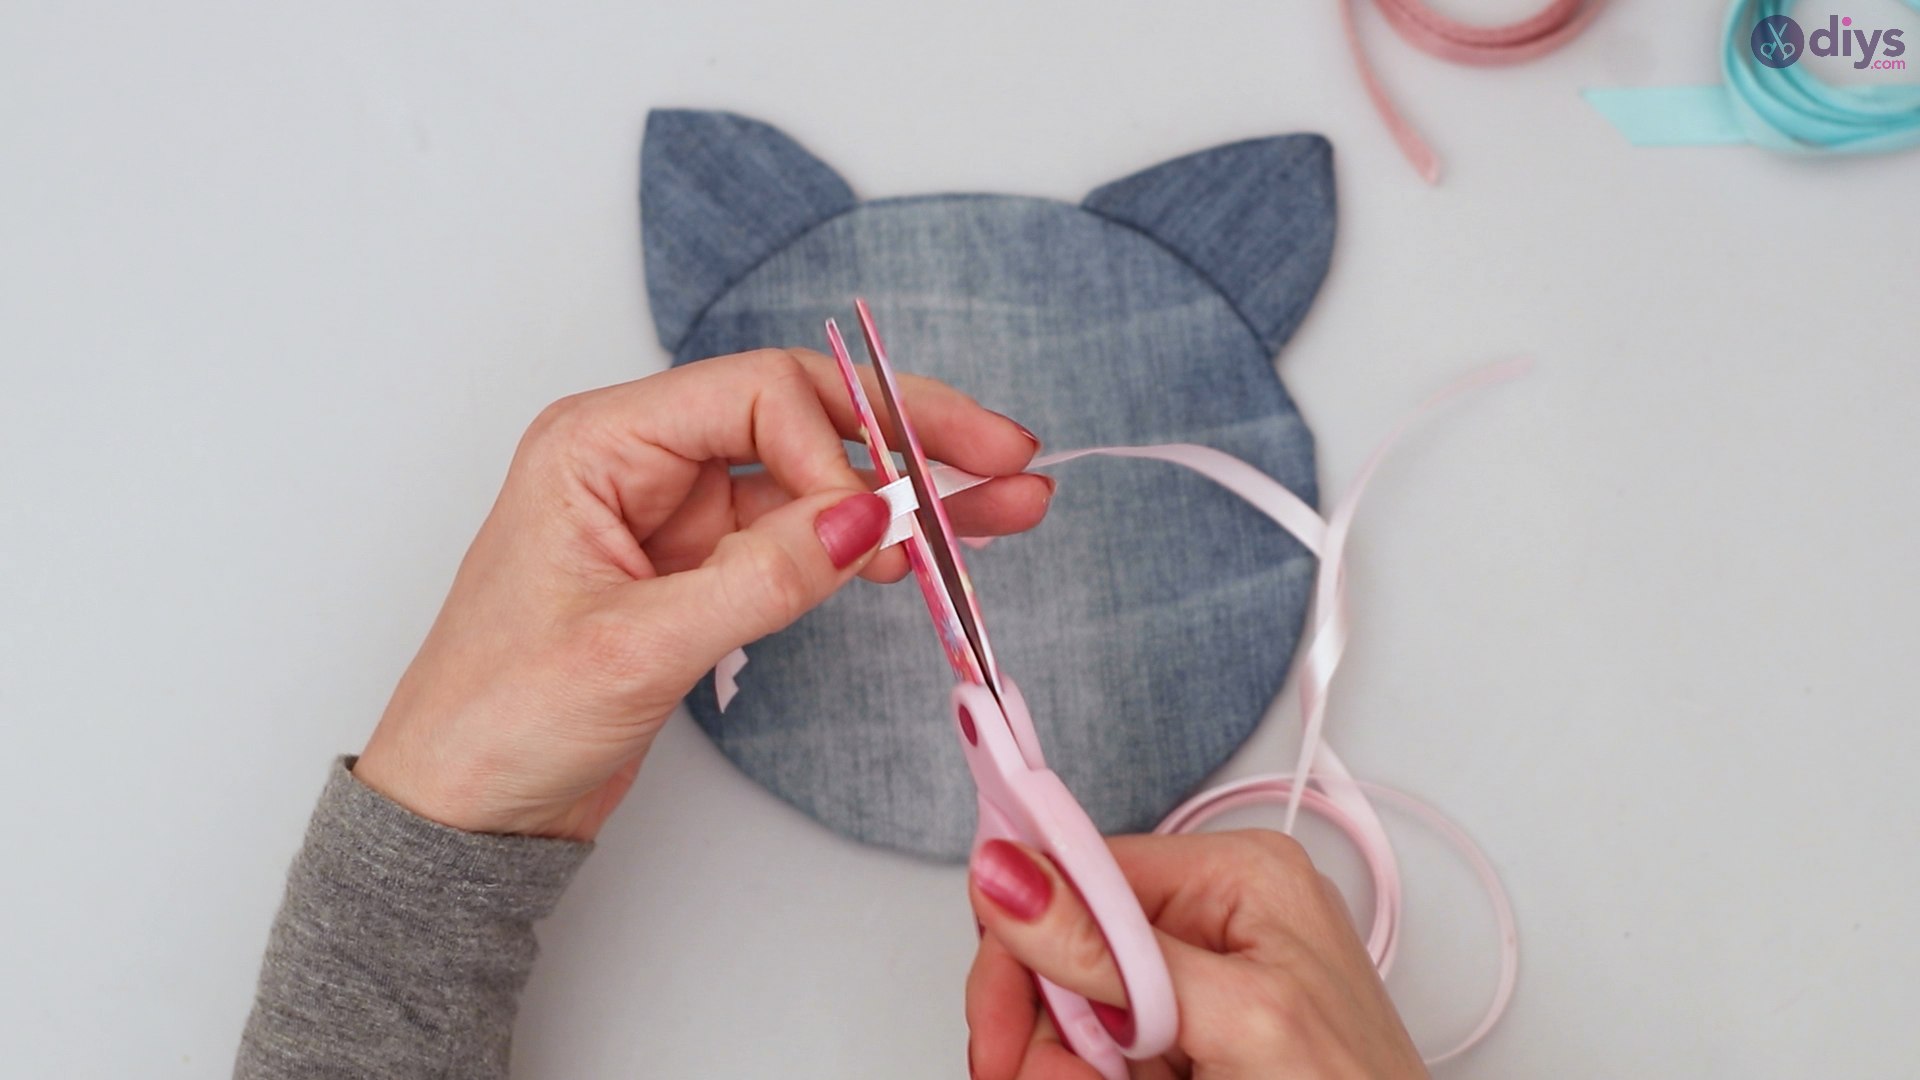
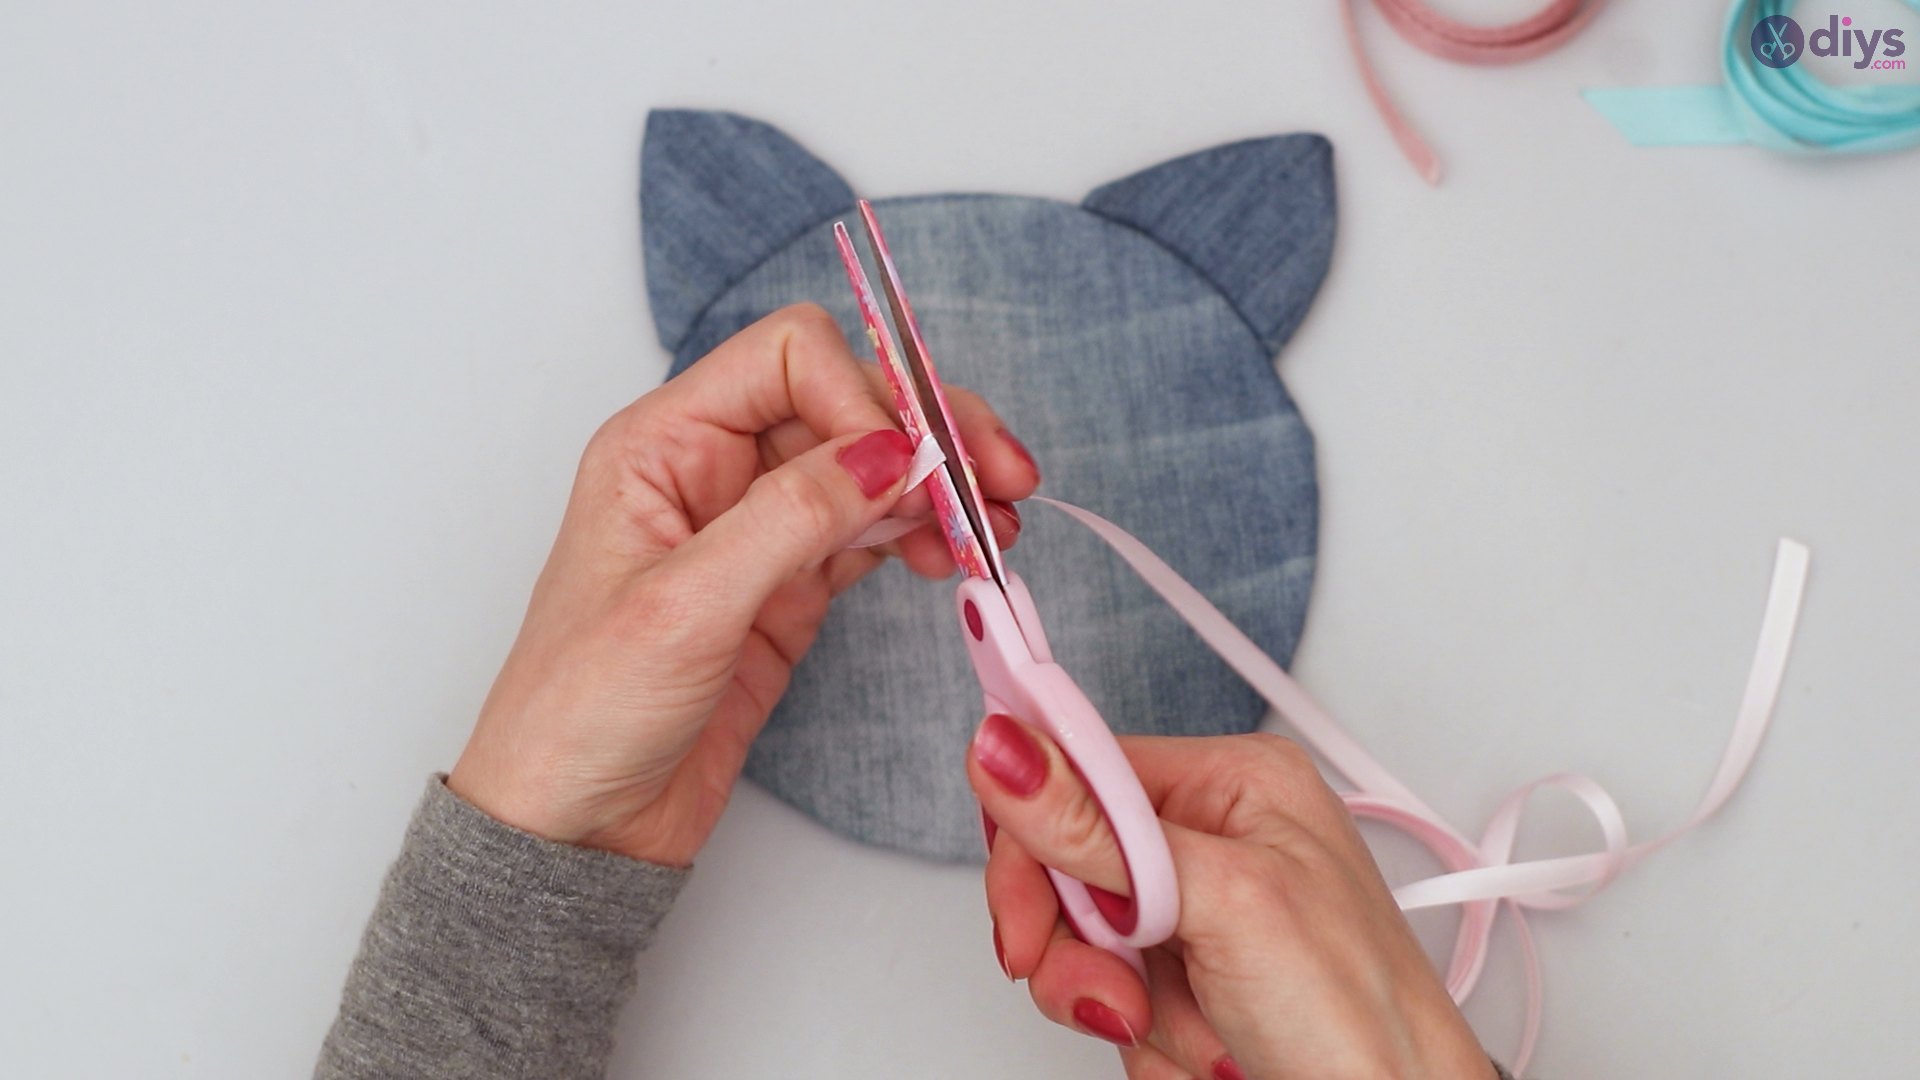
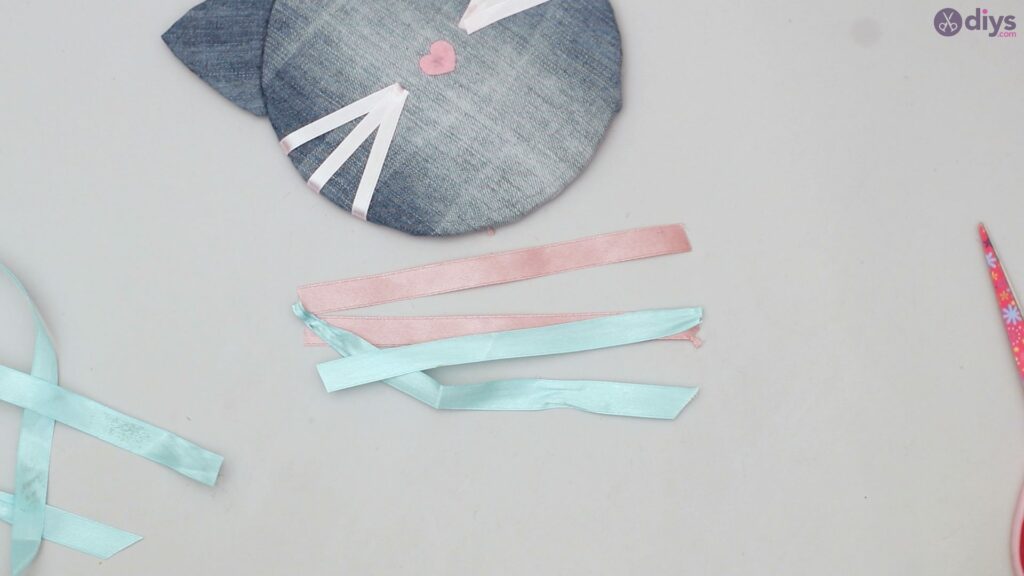
Step 7: Making the clip holders
Take your pink silk material and measure how long you would like it to be. Depending on how many clips you own, it could be anywhere from 5 to 15 inches.
Cut the pink silk ribbon you have measured using your scissors.

Cut a second pink strip of the same length
Repeat the process for the blue silk ribbon, cutting two strips of the same length.
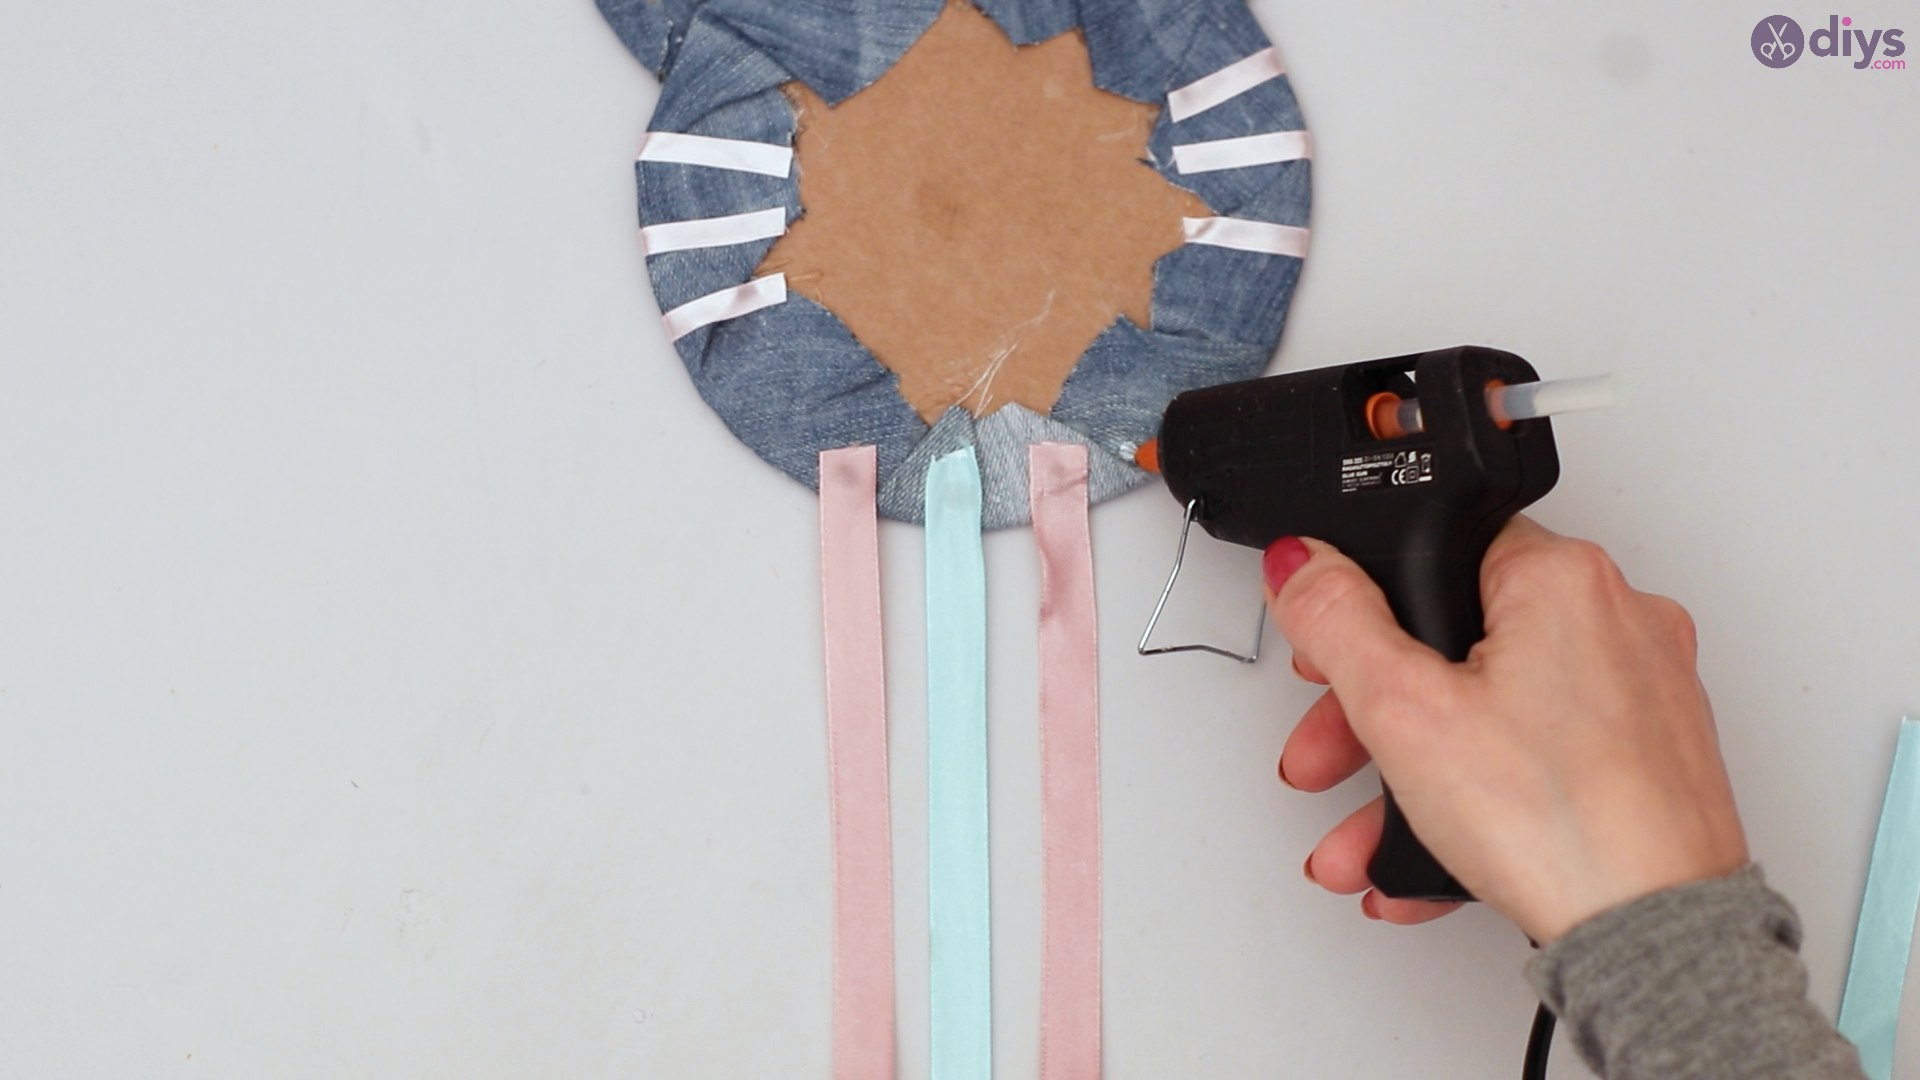
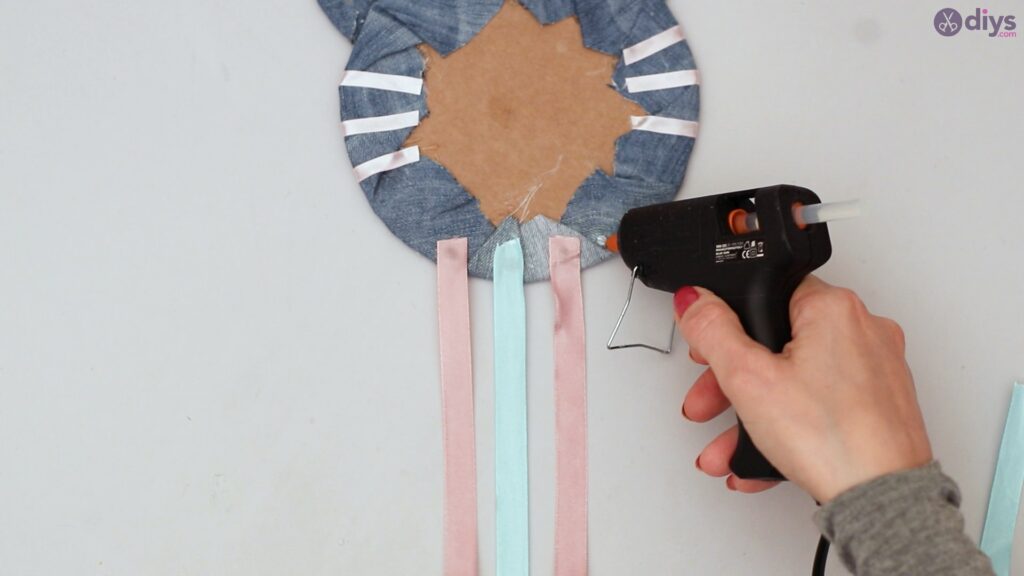
Place the strips behind the cat’s face, spacing them about half an inch from each other. Apply a dot of glue to each strip, securing it firmly against the cat face.
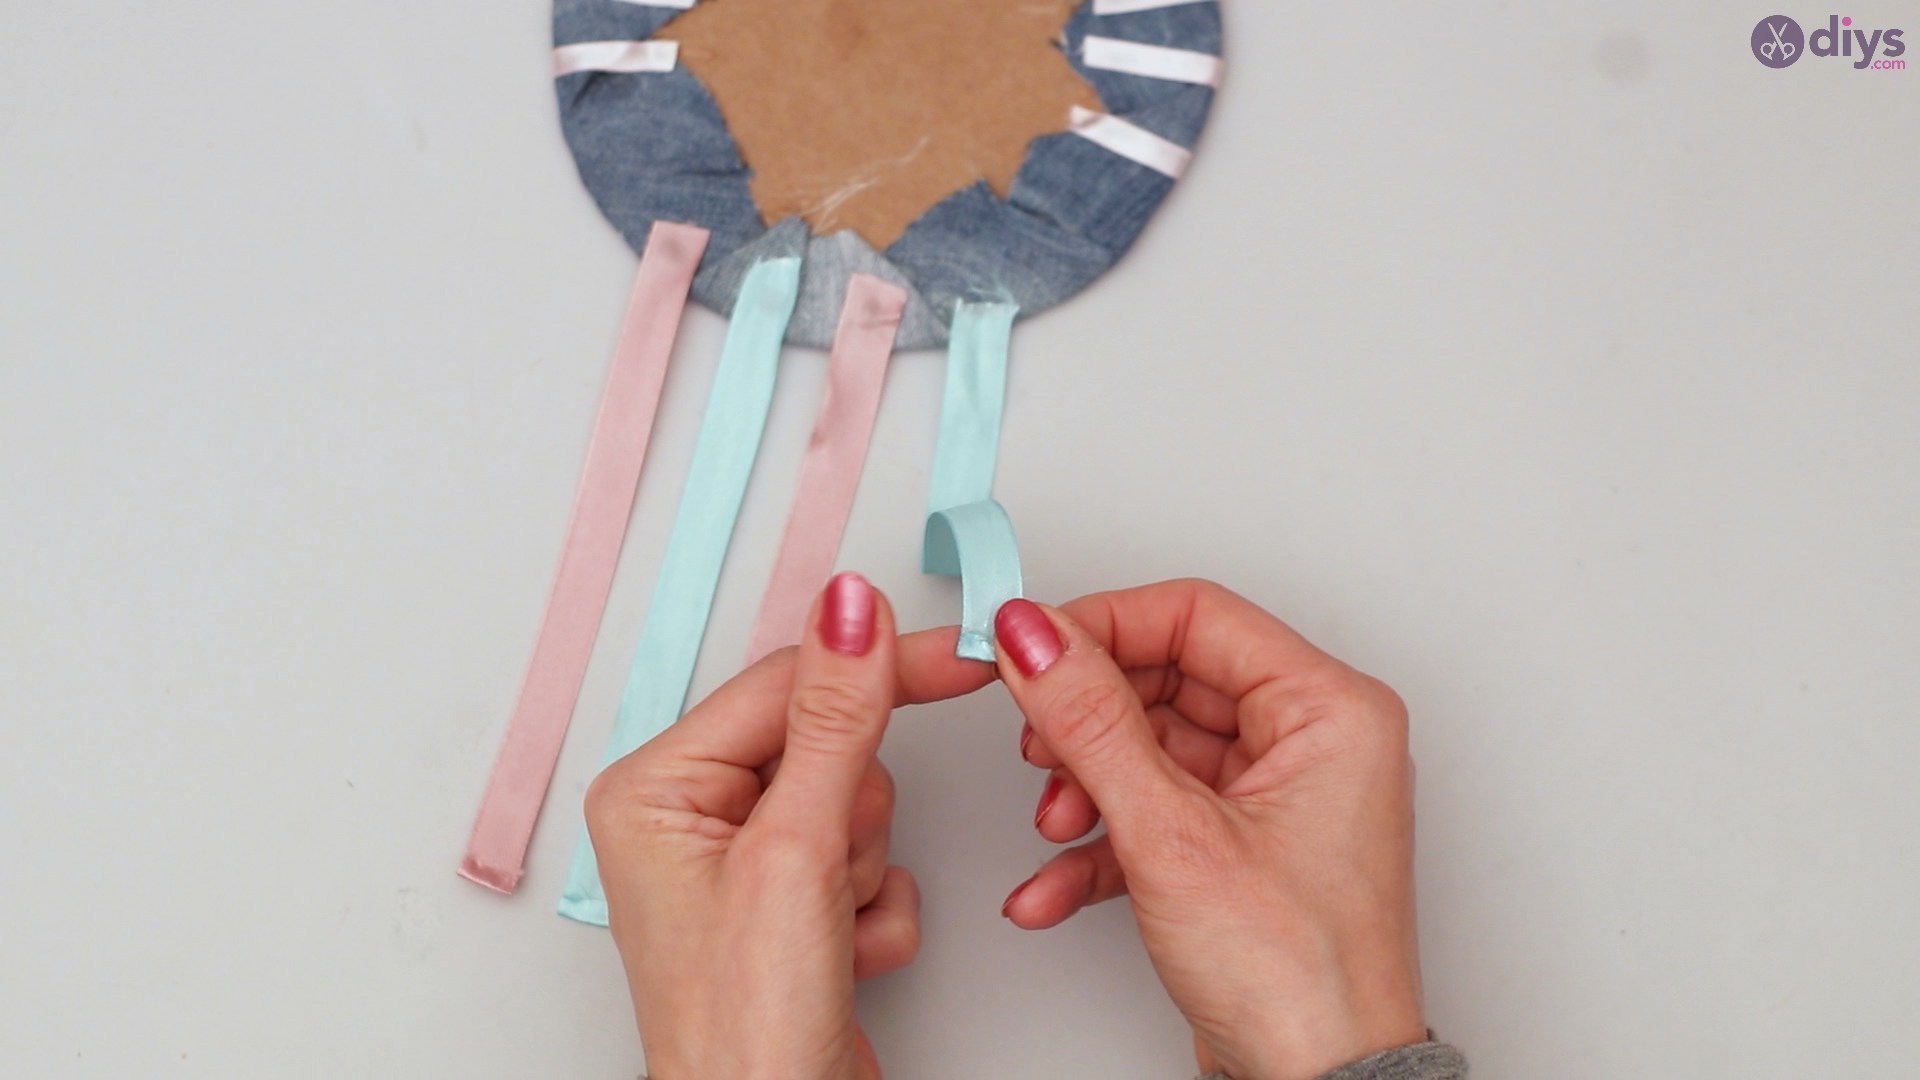
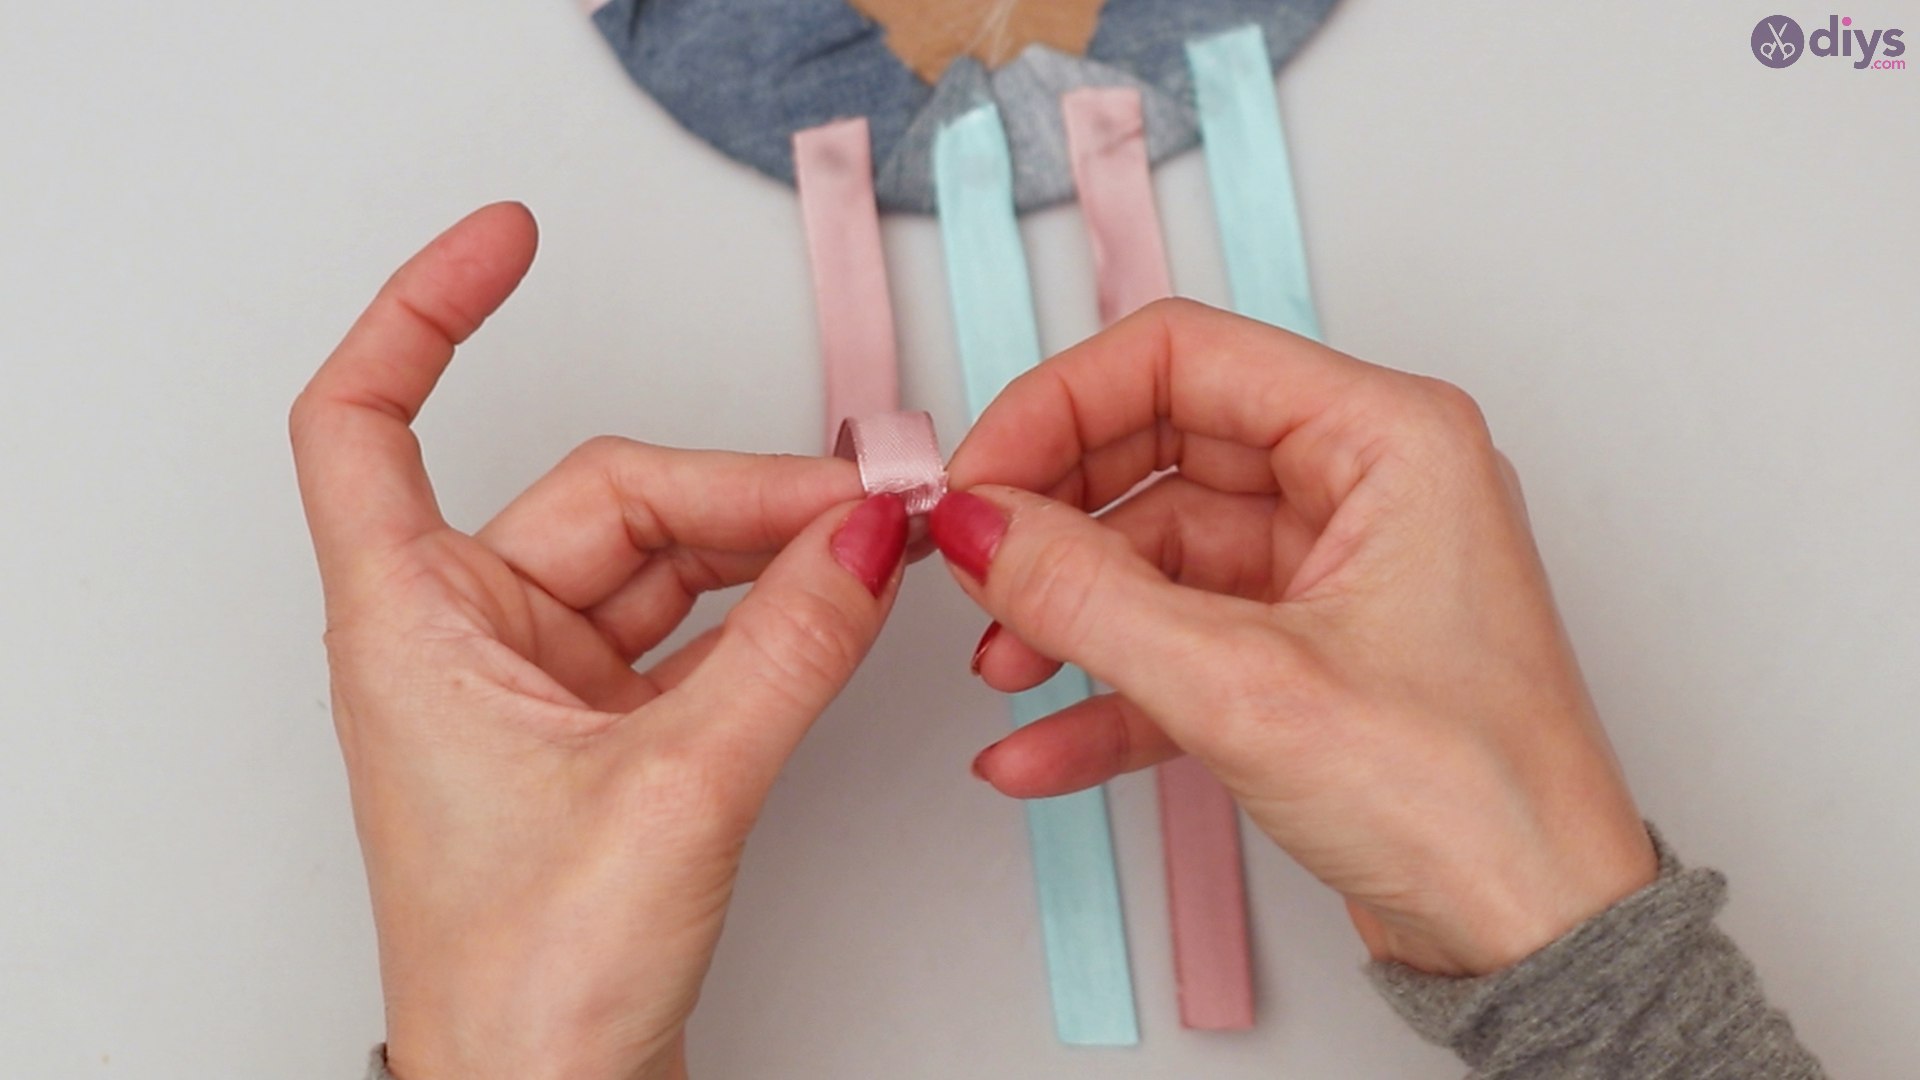
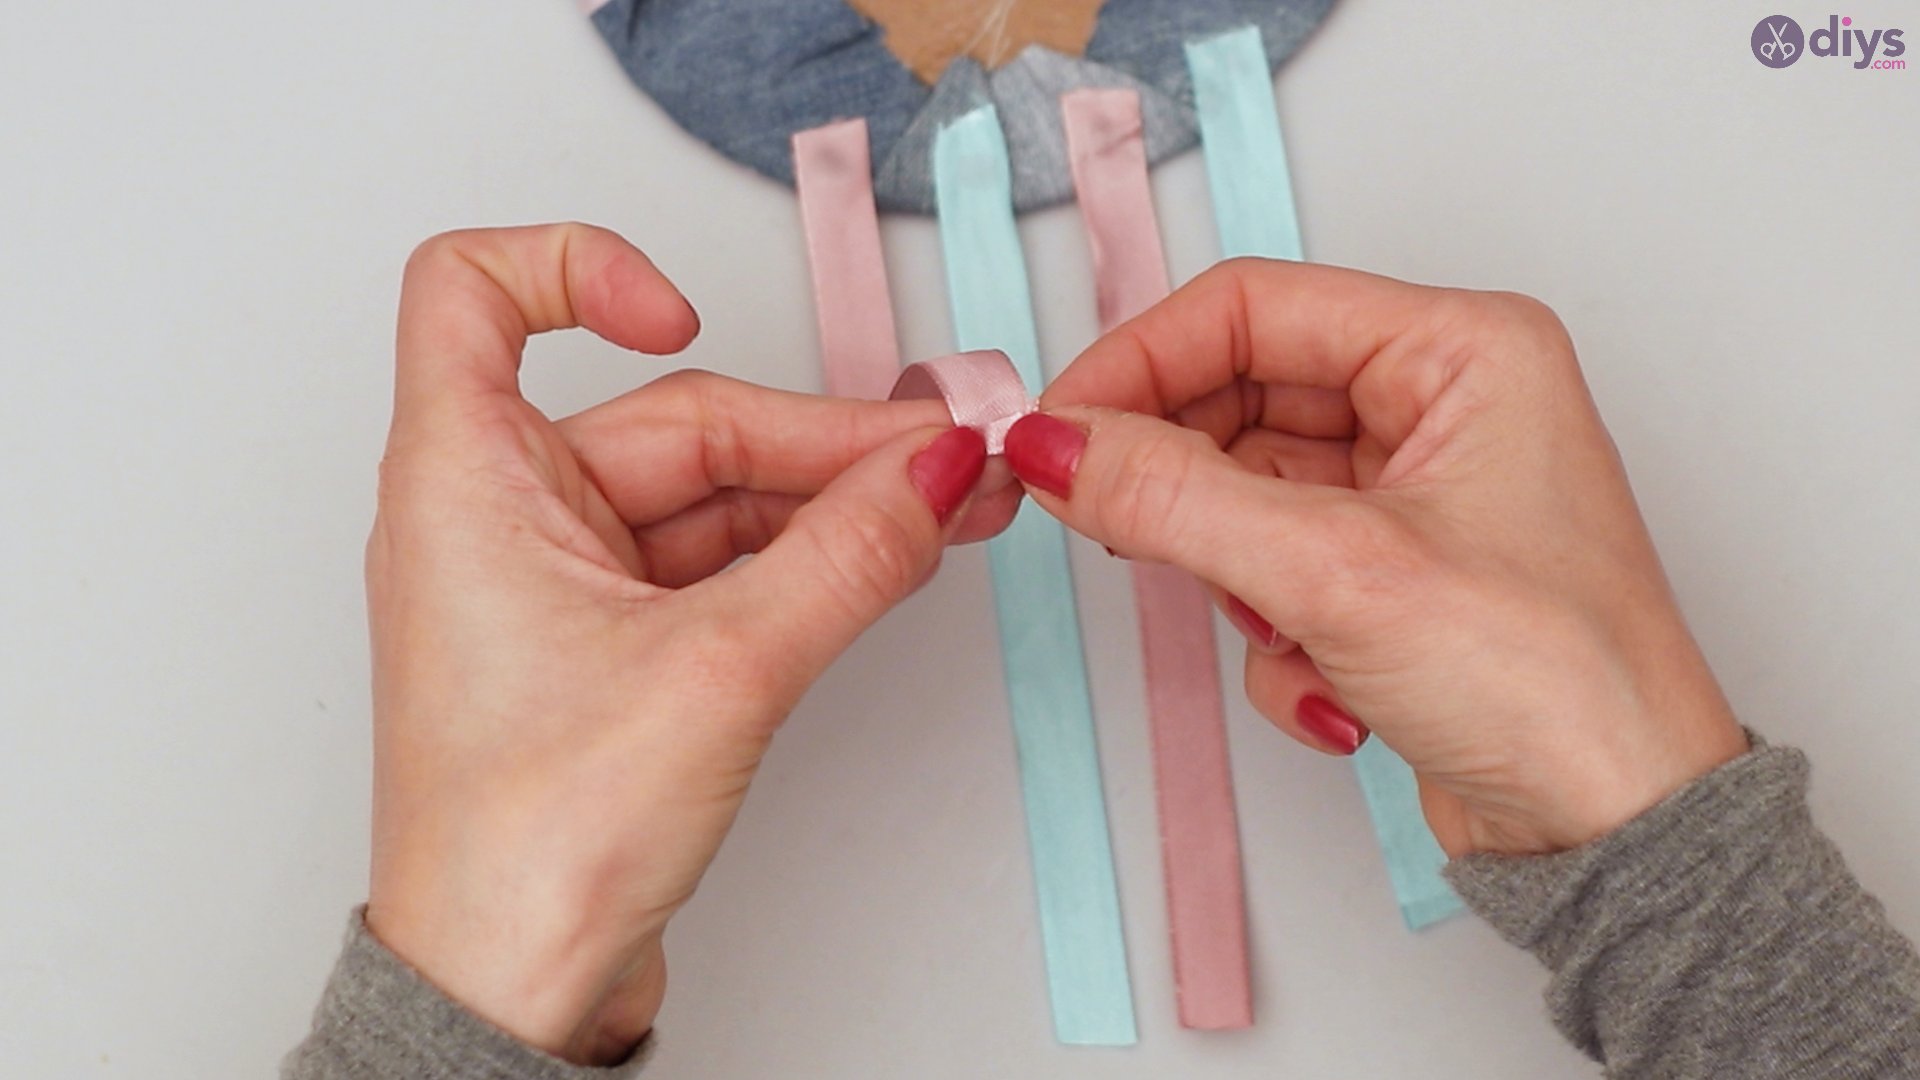
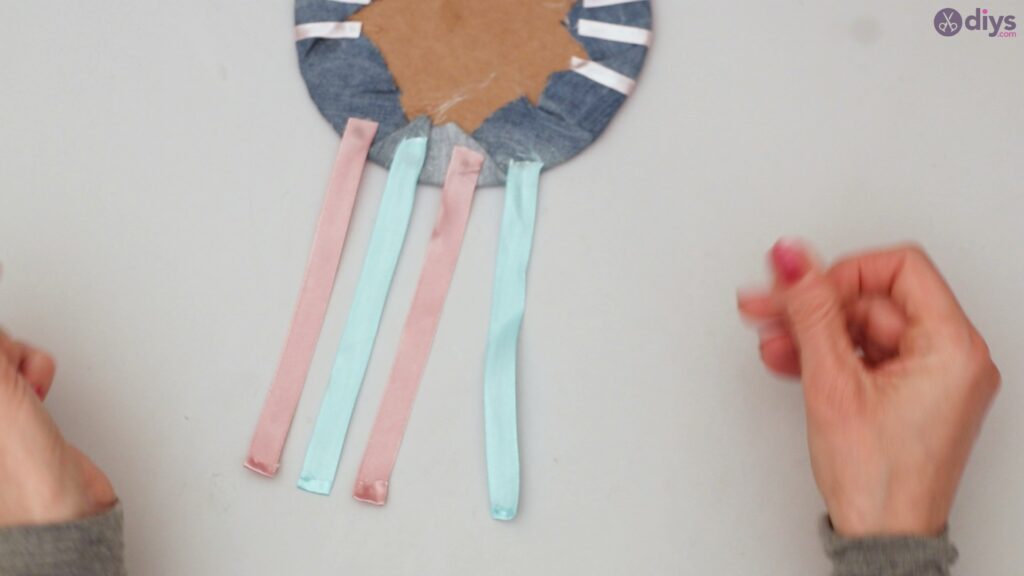
Take the end of one of the strips you have cut out and fold it.


Apply some glue and firmly press it against the more extended portion to give it a clean finish.


Repeat this for all the strips you have cut.

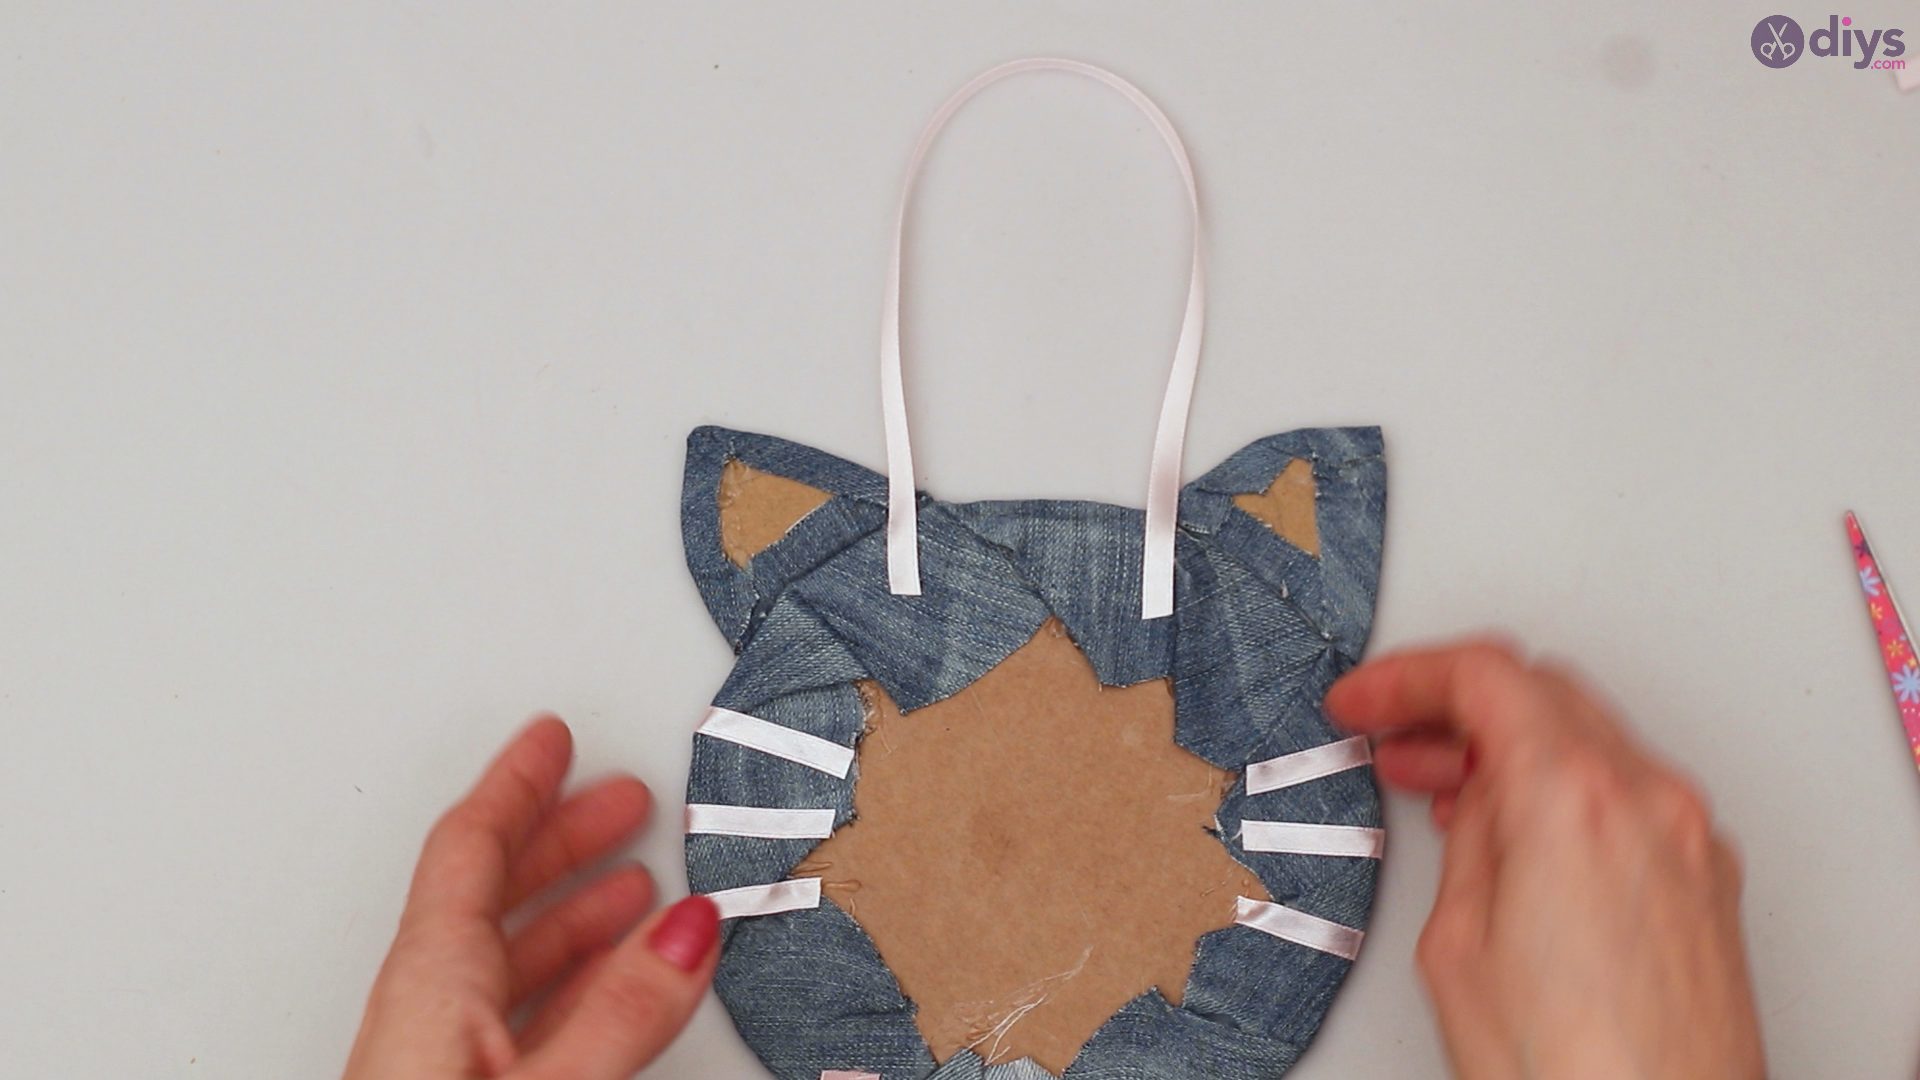
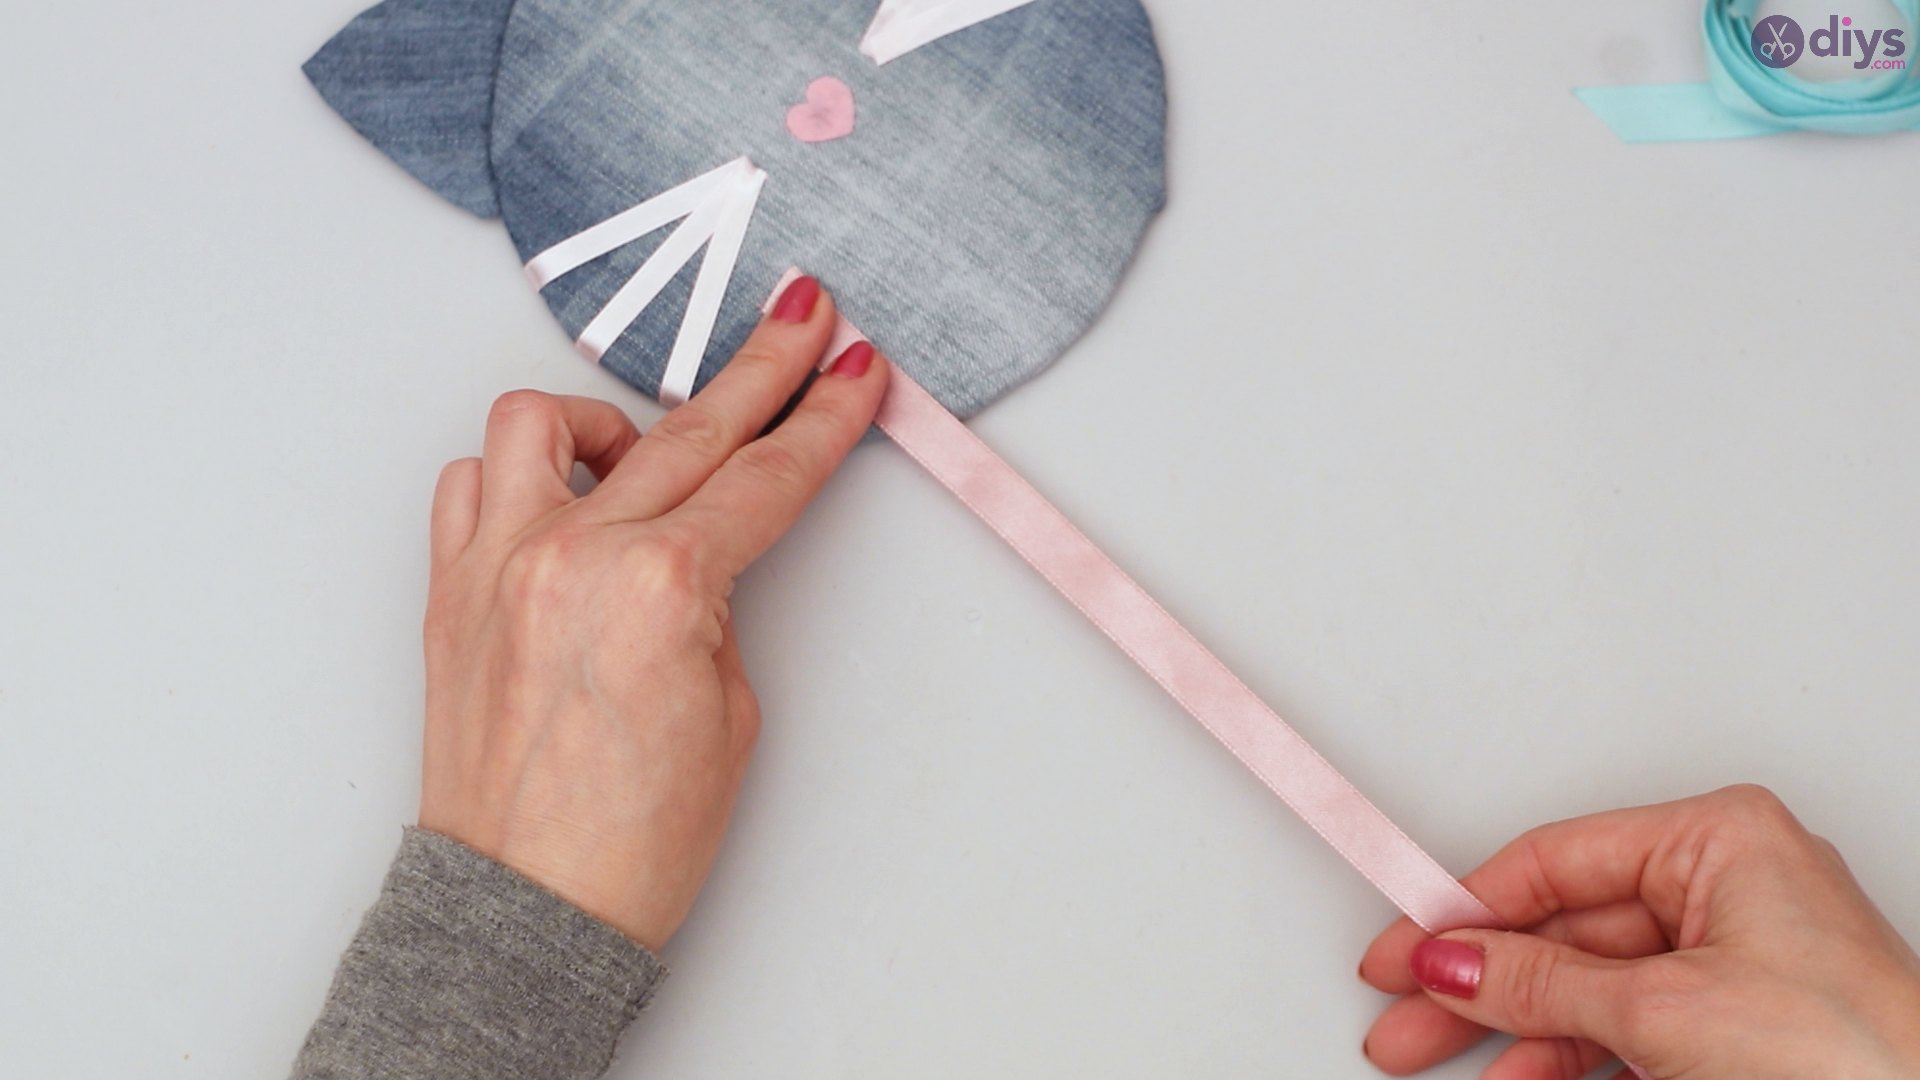
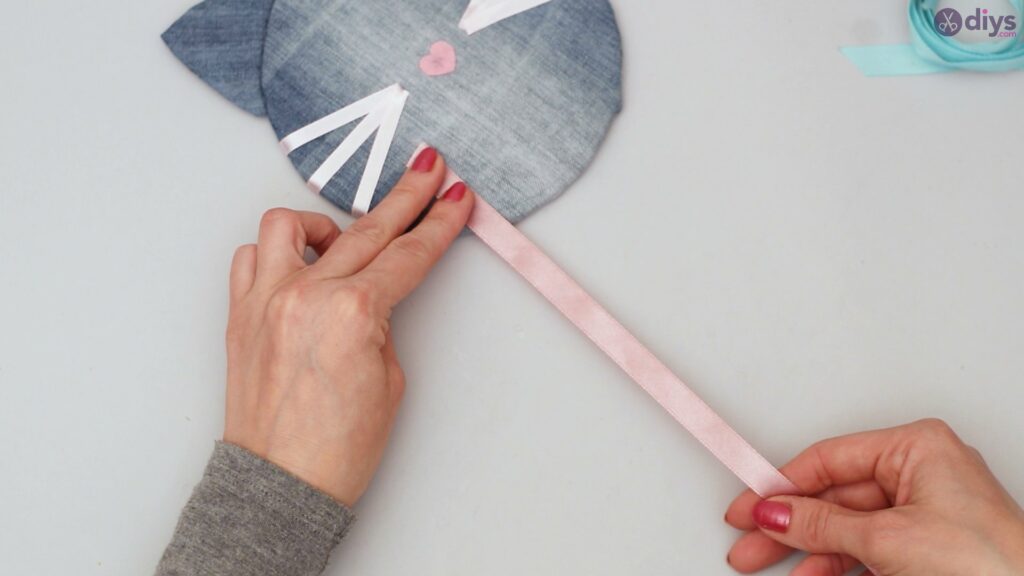
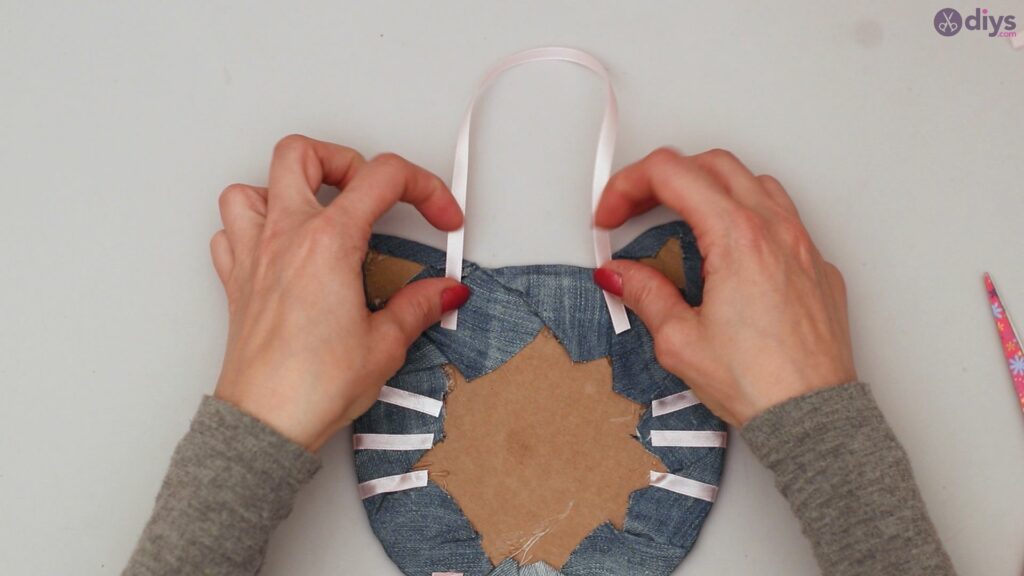
Step 8: Cutting the strap.
Take any of the ribbons you prefer and place it against the top of the cat face. You can measure the strap as long as you like, but remember, the longer the belt, the lower the holder will hang.

Using your scissors, cut the length of ribbon that you have measured.
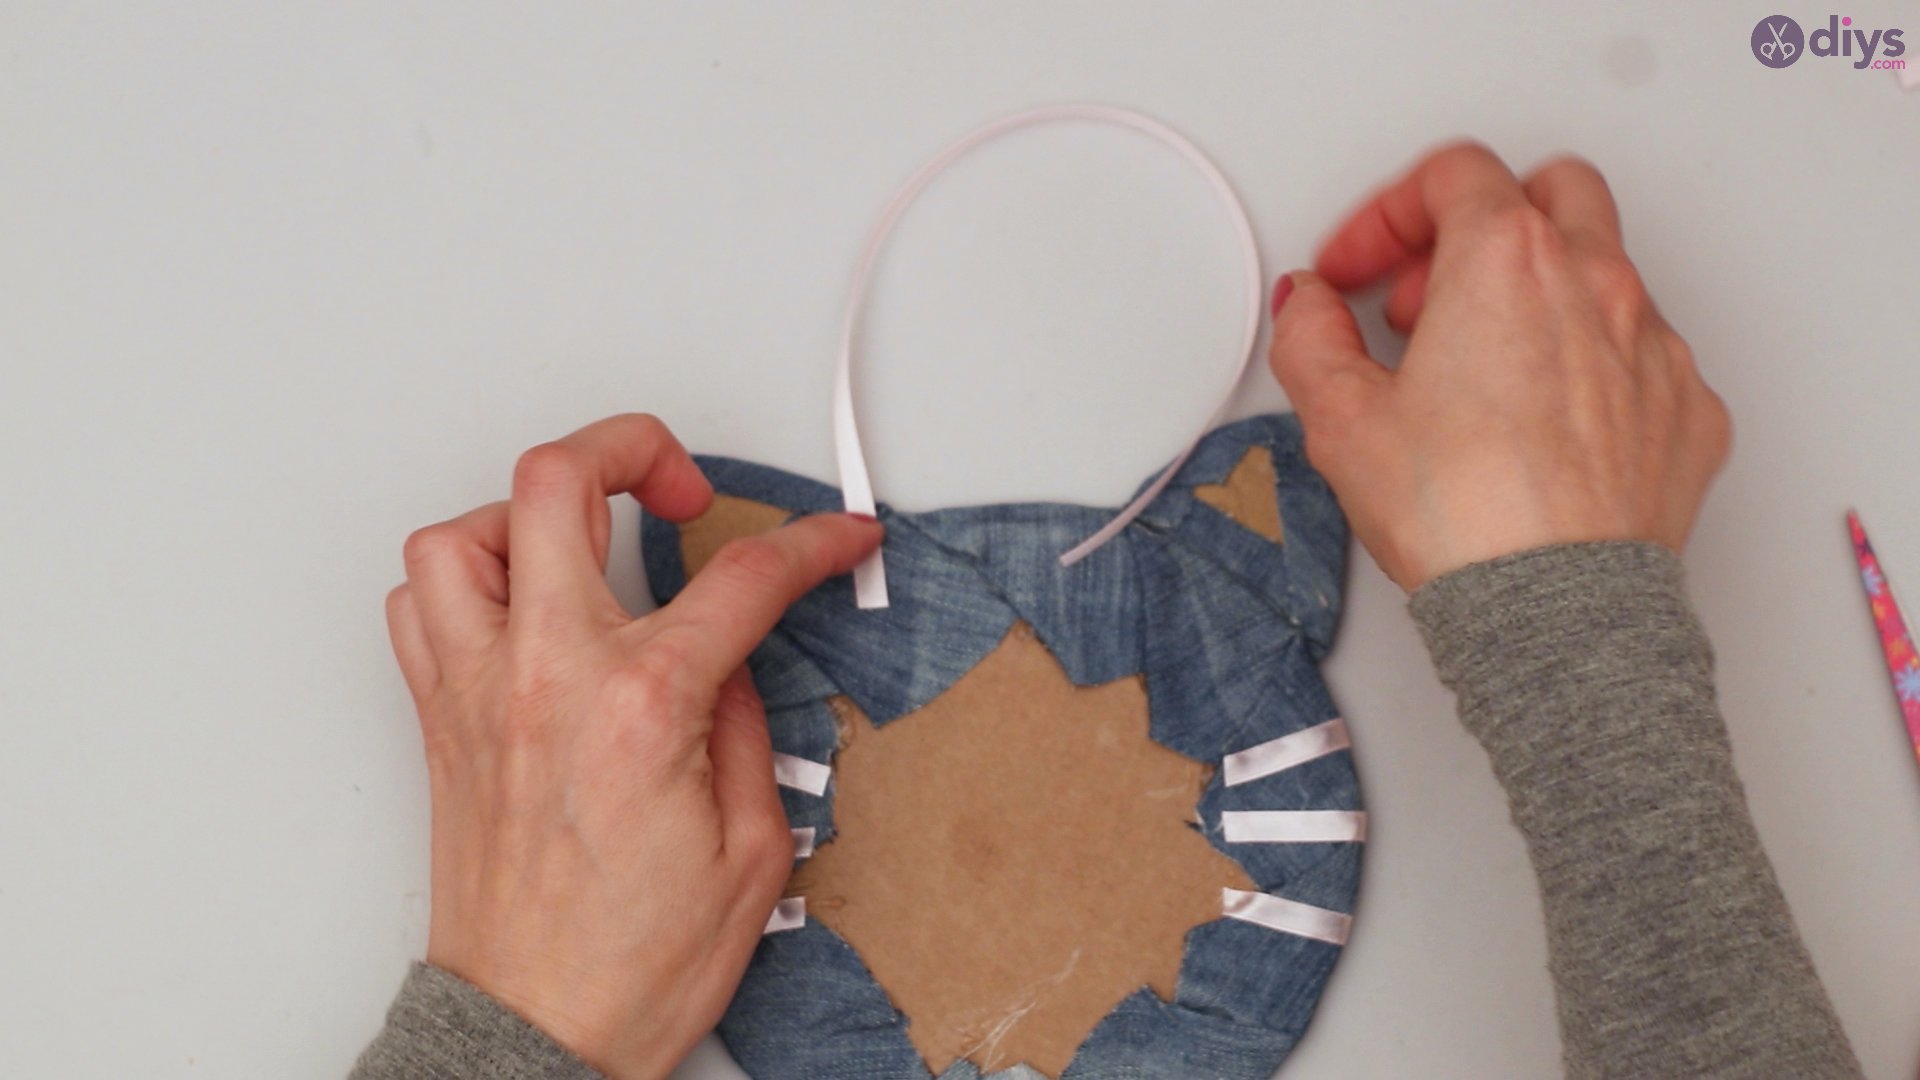
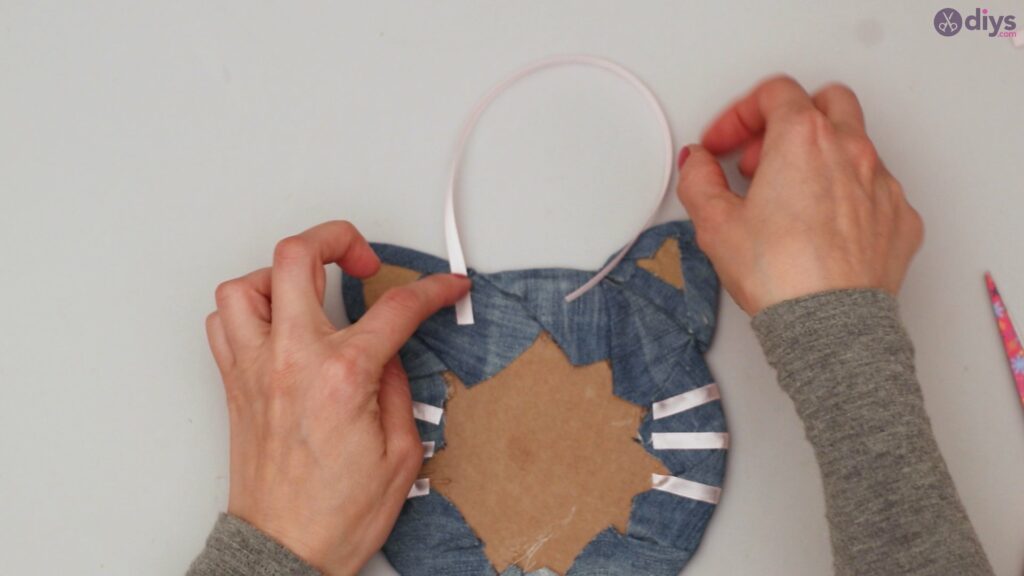
Place the ribbon cut out behind the face of the cat.
Using your glue gun, firmly secure the ribbon behind the cat’s face. You must make the strap as firm as possible, so it does not break when you finally hang it up.
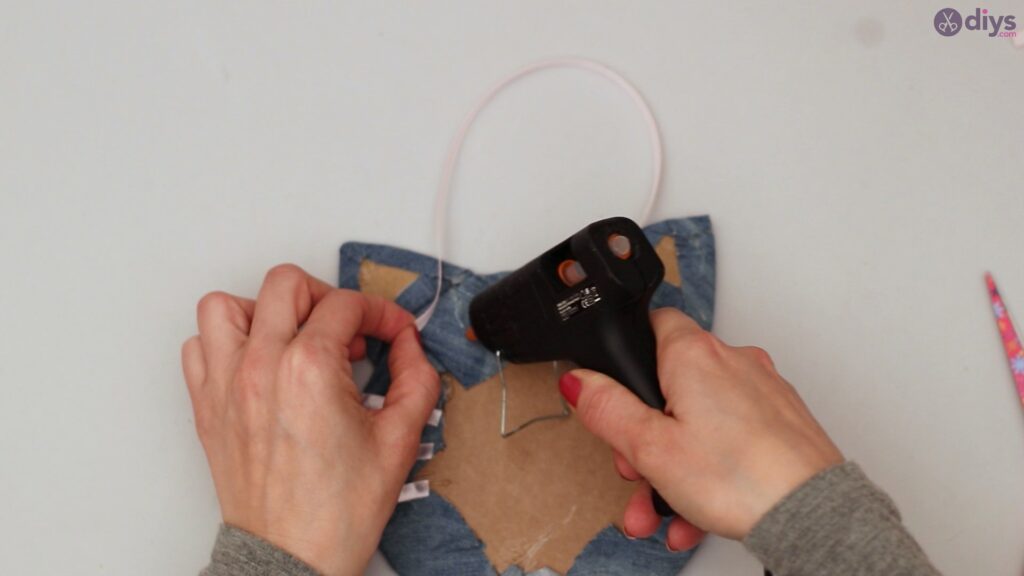
Make sure you glue both sides of the ribbon to the back of the cat’s face.


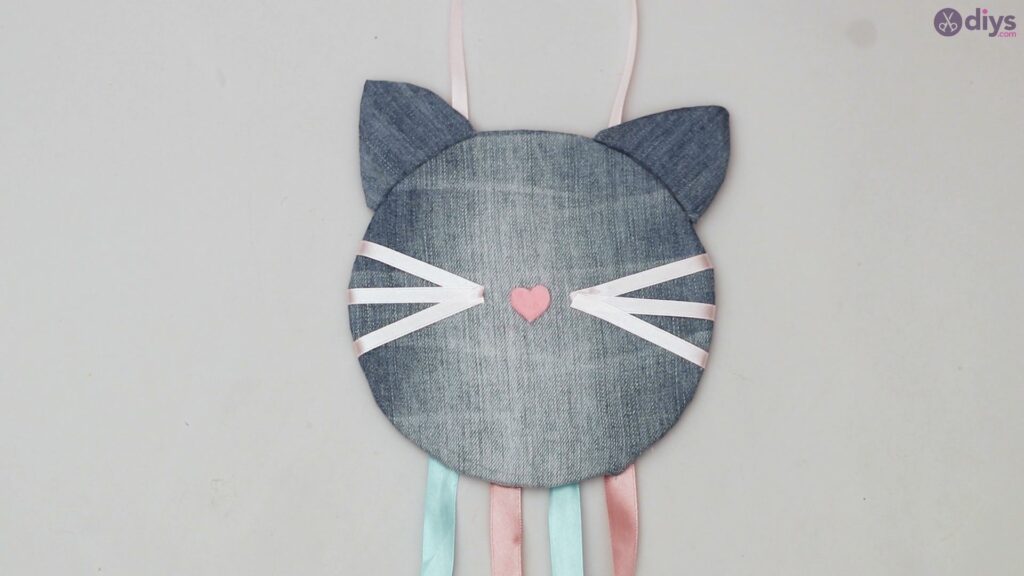
Now that you have made your hair clip holder, feel free to pin them wherever you like on your cat face.
No more missing hair clips and clip related accidents around the house anymore! How great is that?
Children also love this beautiful hair clip holder and find it easy to use. You can use other materials and add various designs and accessories to make your hair clip holder even more unique.
This cat face hair clip is a very functional art project that you definitely will be glad you made!