DIY Bohemian Wall Art Decor
Updated on June 23, 2021


When it comes to unique designs, there are any number of art projects you can undertake. In fact, since art is subjective, you can create just about anything you like, as long as you find it aesthetically pleasing. If you’re looking for a bit of décor that is a little outside the box, consider some Bohemian wall art. Bohemian references something that is a little out of the social norm in an artistic way, meaning that it’s a perfect definition for a piece of wall décor that you create with just a few supplies and your imagination. Take a look at a starter project for you!
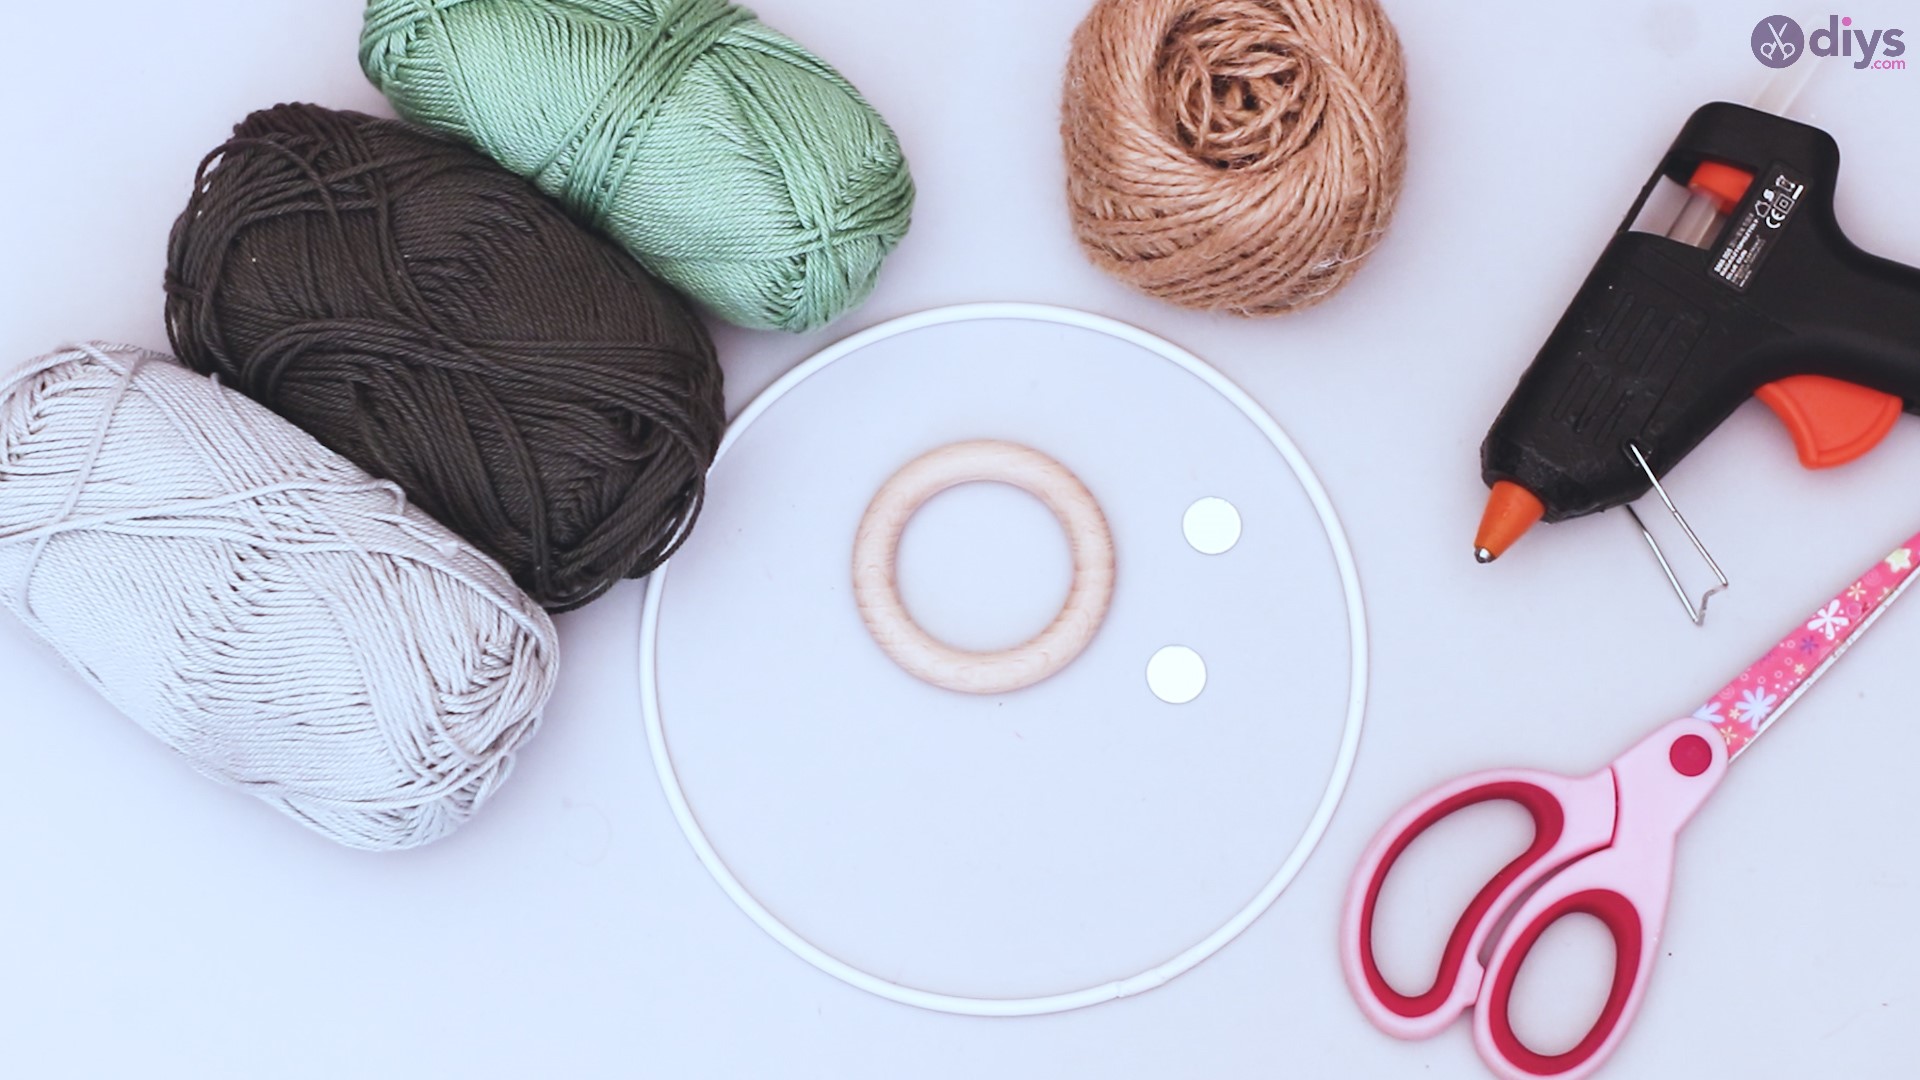
Materials for Bohemian Wall Art Decor:
- wood ring
- metal hoops
- twine rope
- scissors
- glue gun
- 3 colours of yarn
- small round mosaic mirrors

Instructions to create a Bohemian Wall Art Decor:
Step 1: Wrapping your hoop

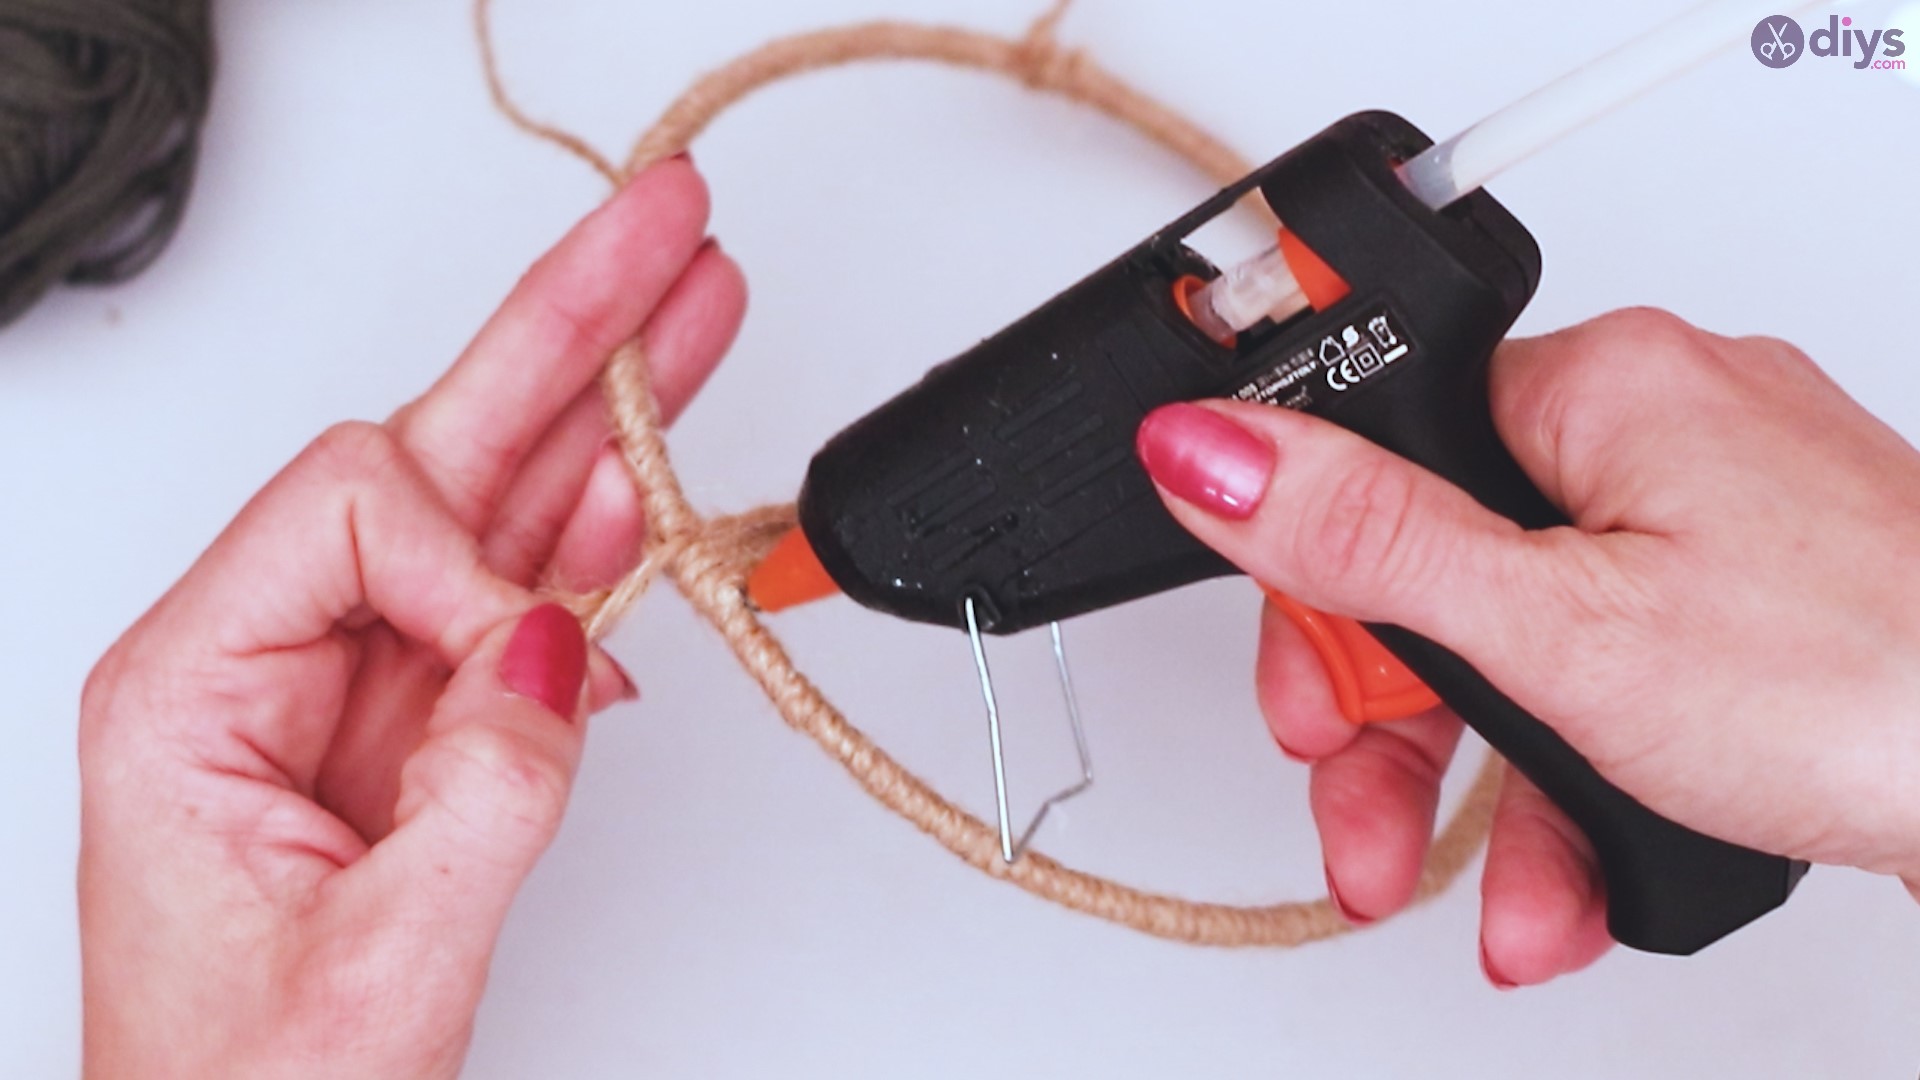
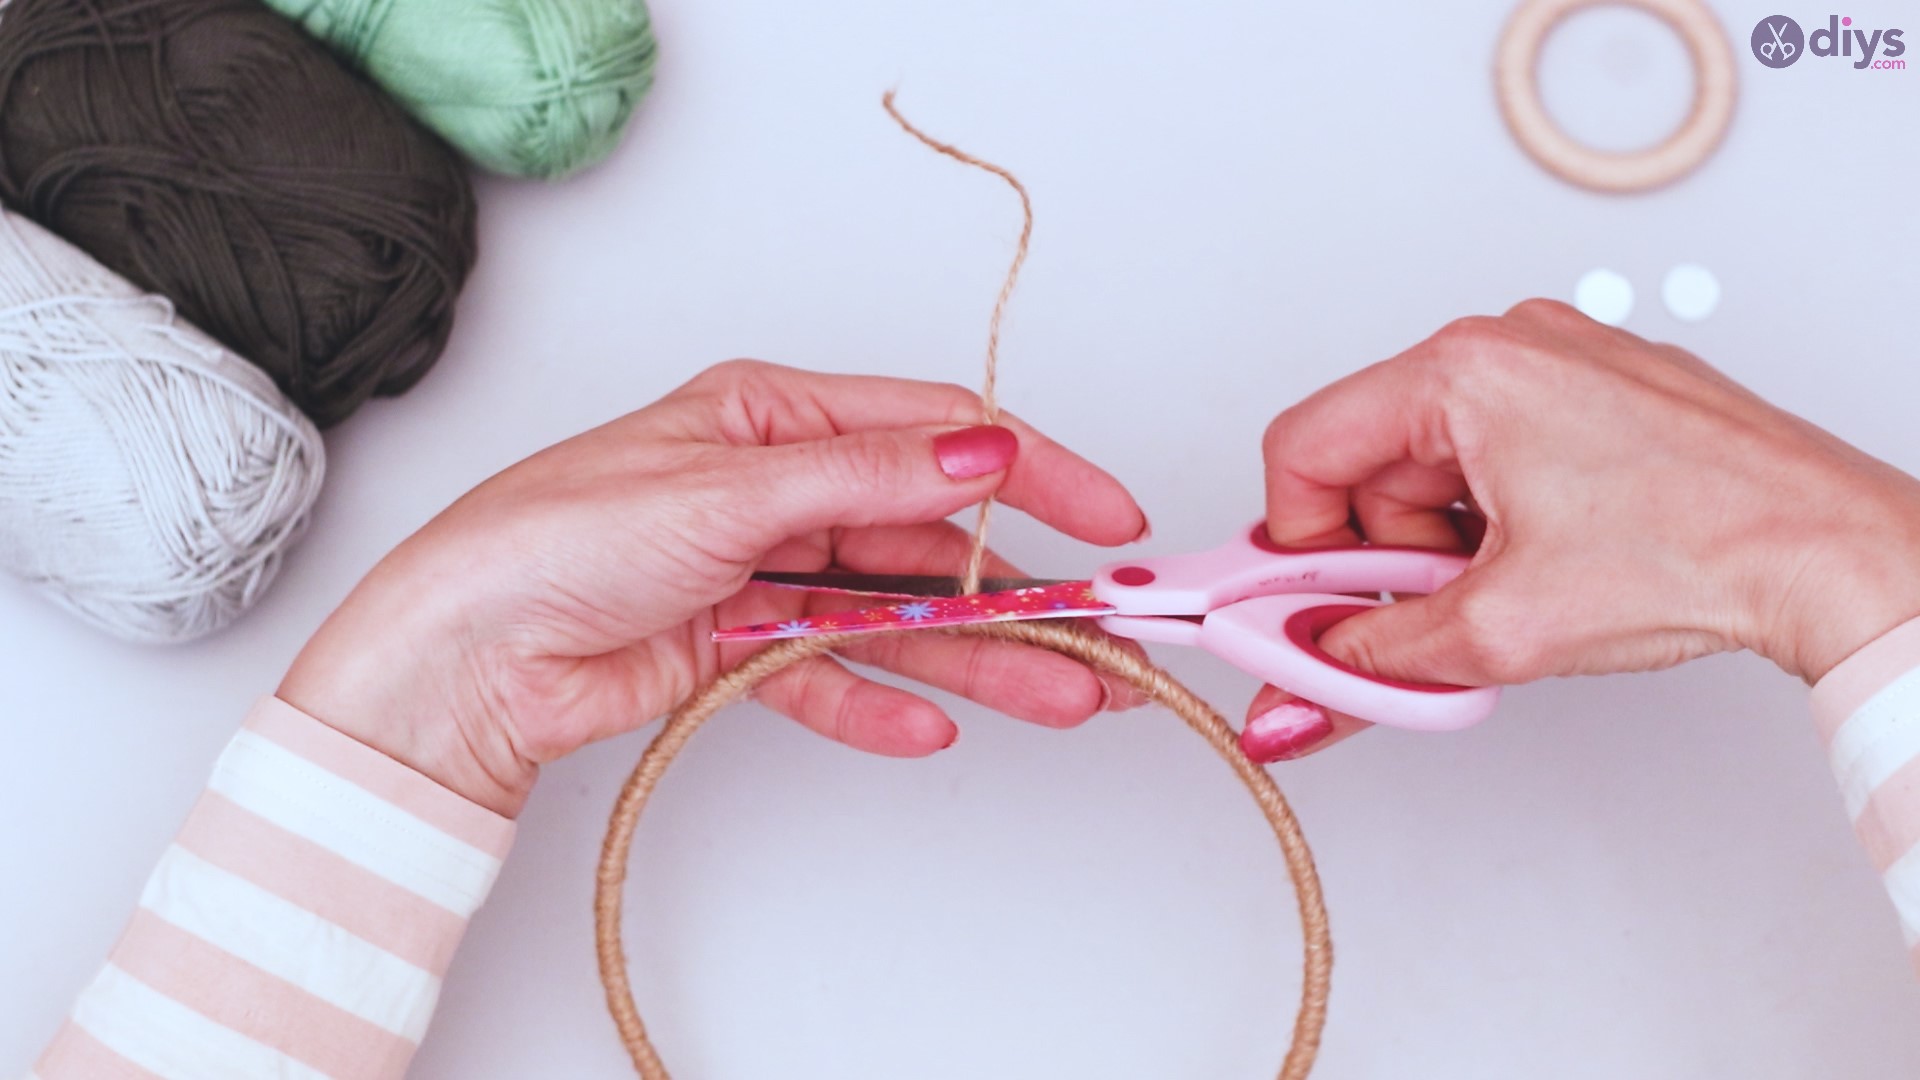
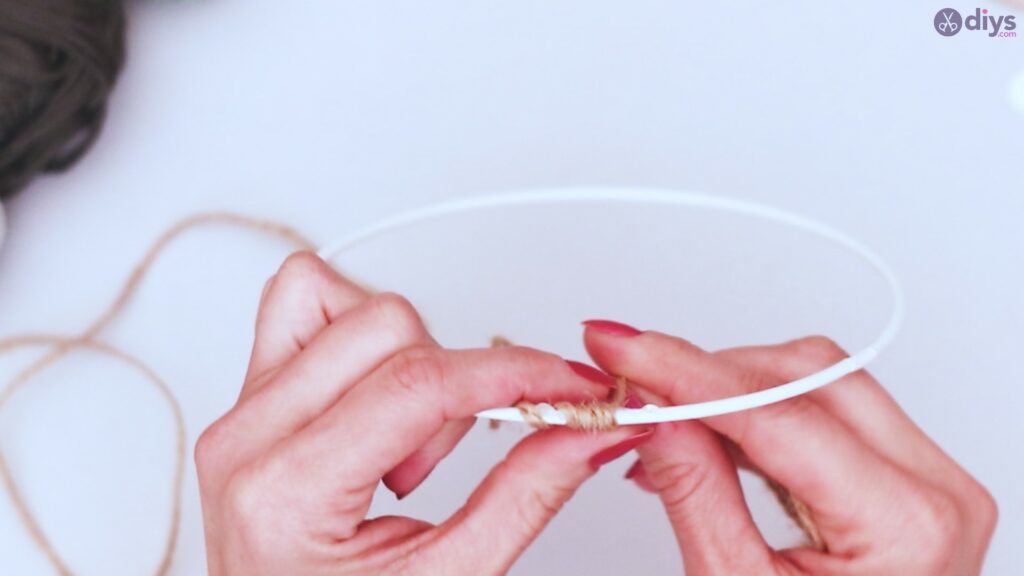
You’ll need your twine rope, your glue gun, and your metal ring to get started. Using your glue gun, place a dot of hot glue somewhere on your metal ring.
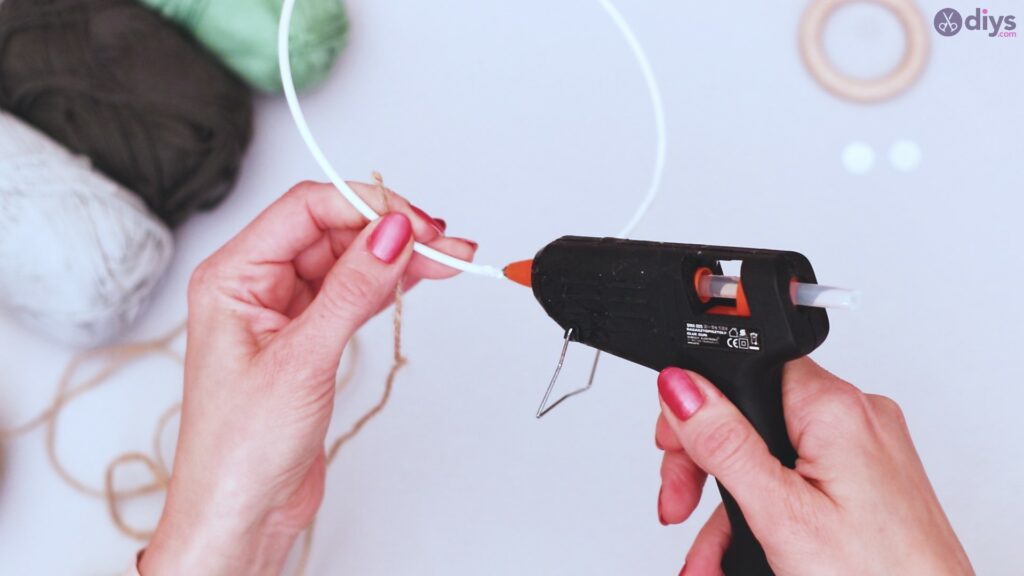
Take the end of your twine and wrap it around the dot of hot glue. Don’t worry if there’s excess. You can trim it later.
Start to wind the twine around the metal ring, covering it completely. Try not to overlap the twine, keeping it to a single layer.
When you near the end of the circle, place more hot glue close to the starting point, and continue wrapping the twine until the ring is covered all the way around.

Allow the glue to dry so the twine won’t come undone. This should only take a couple of minutes.

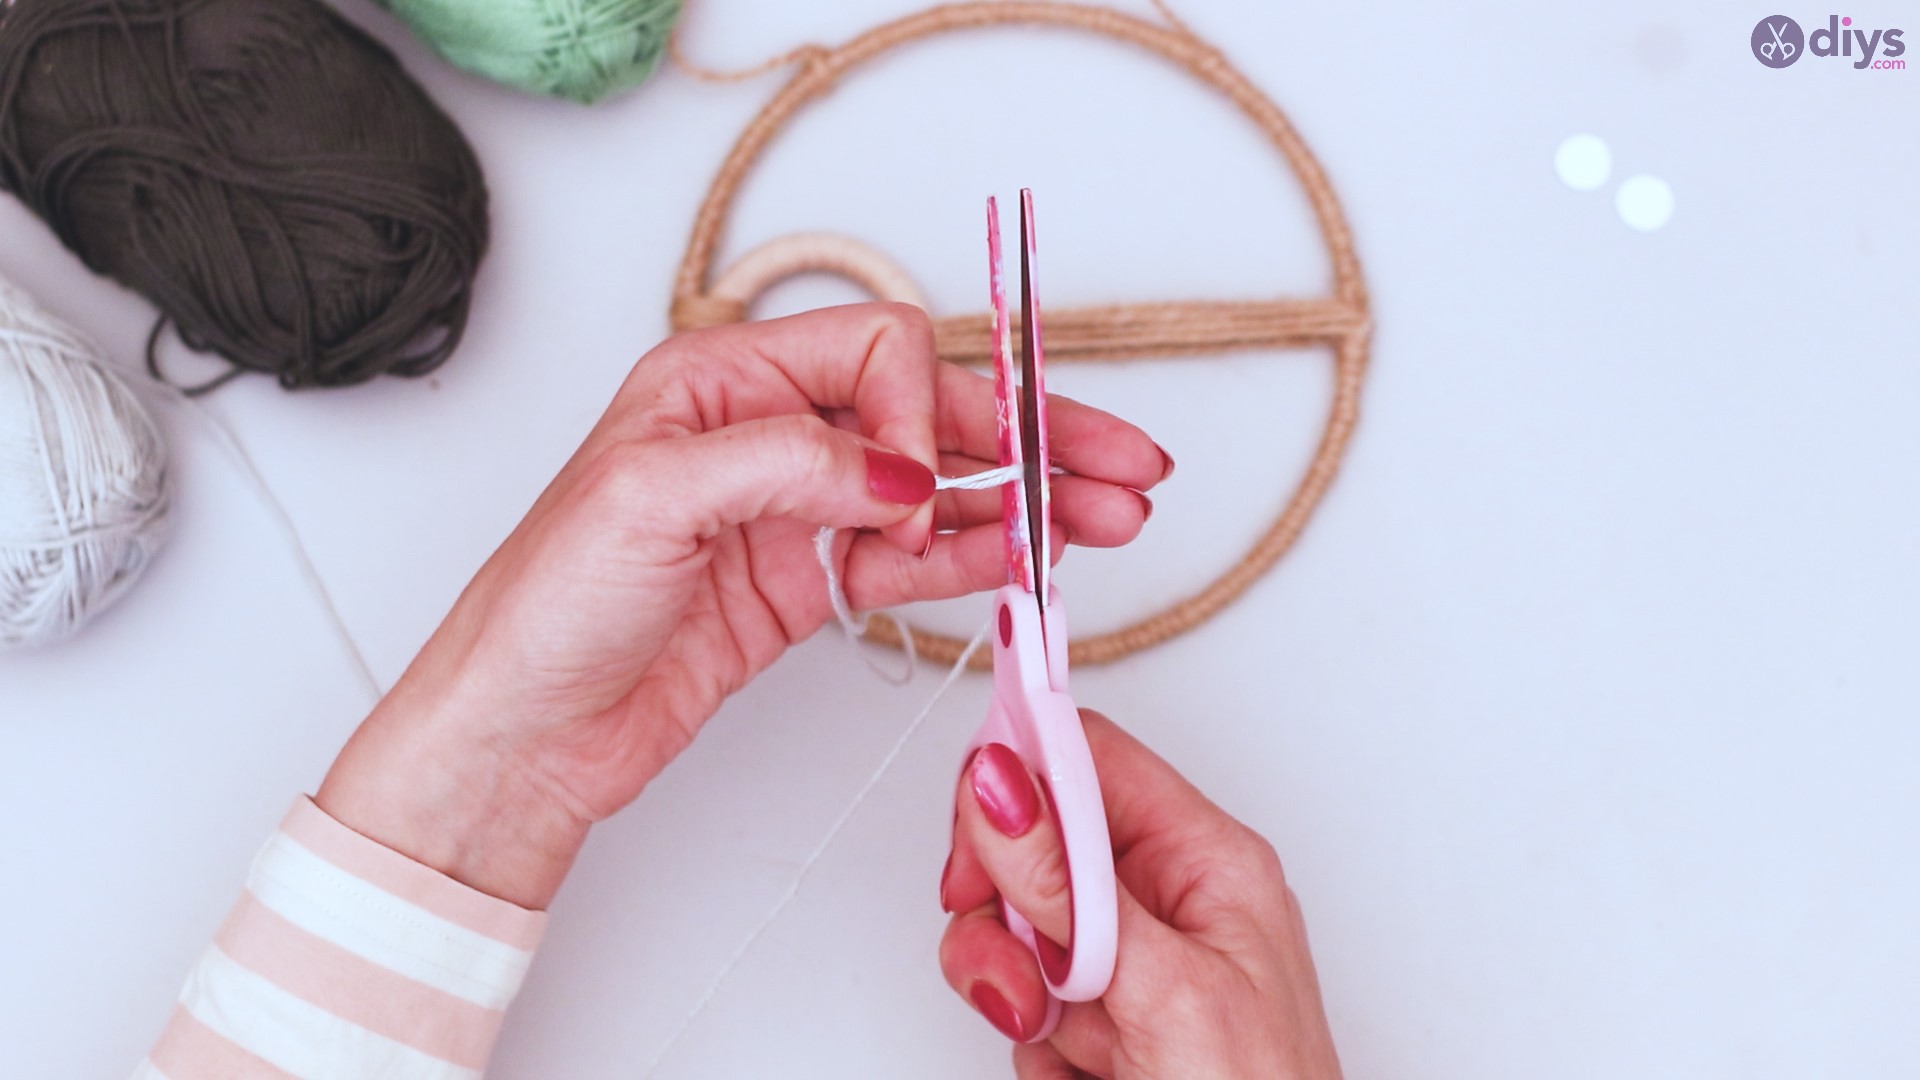
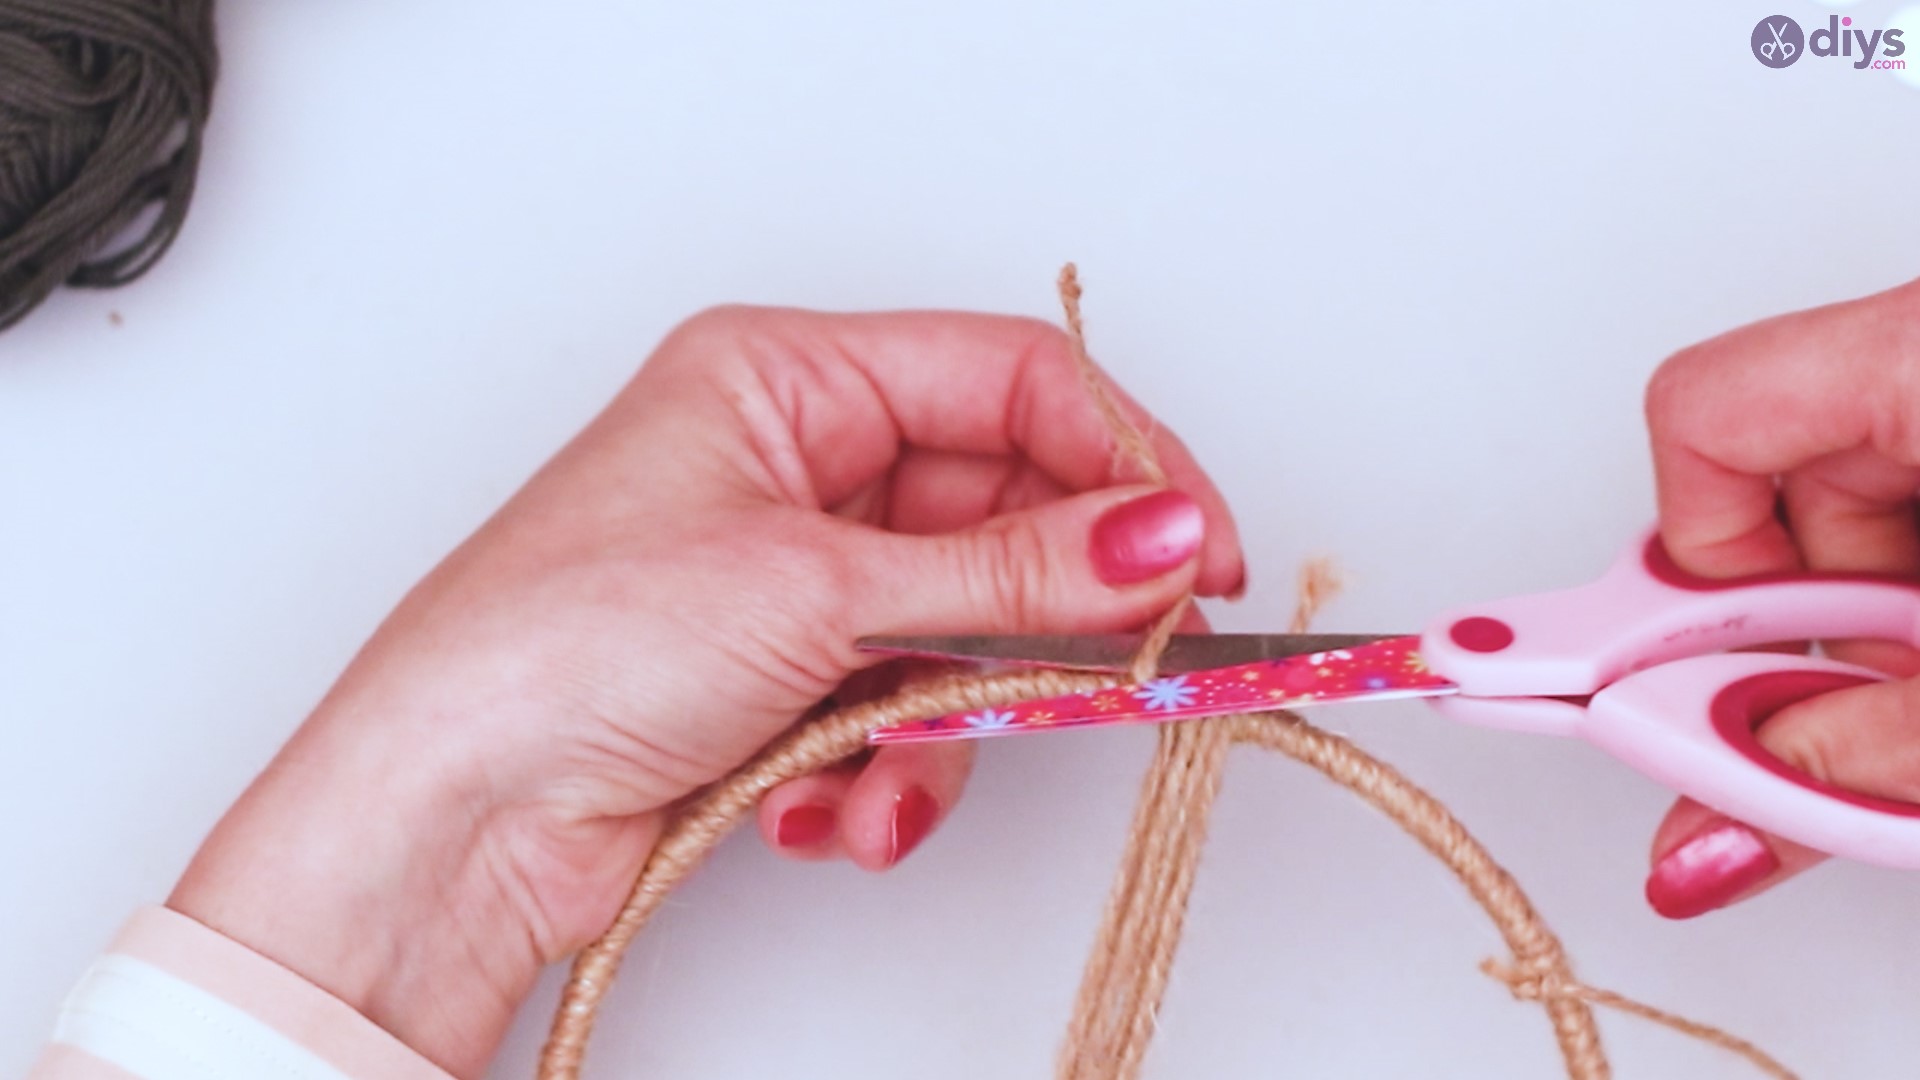
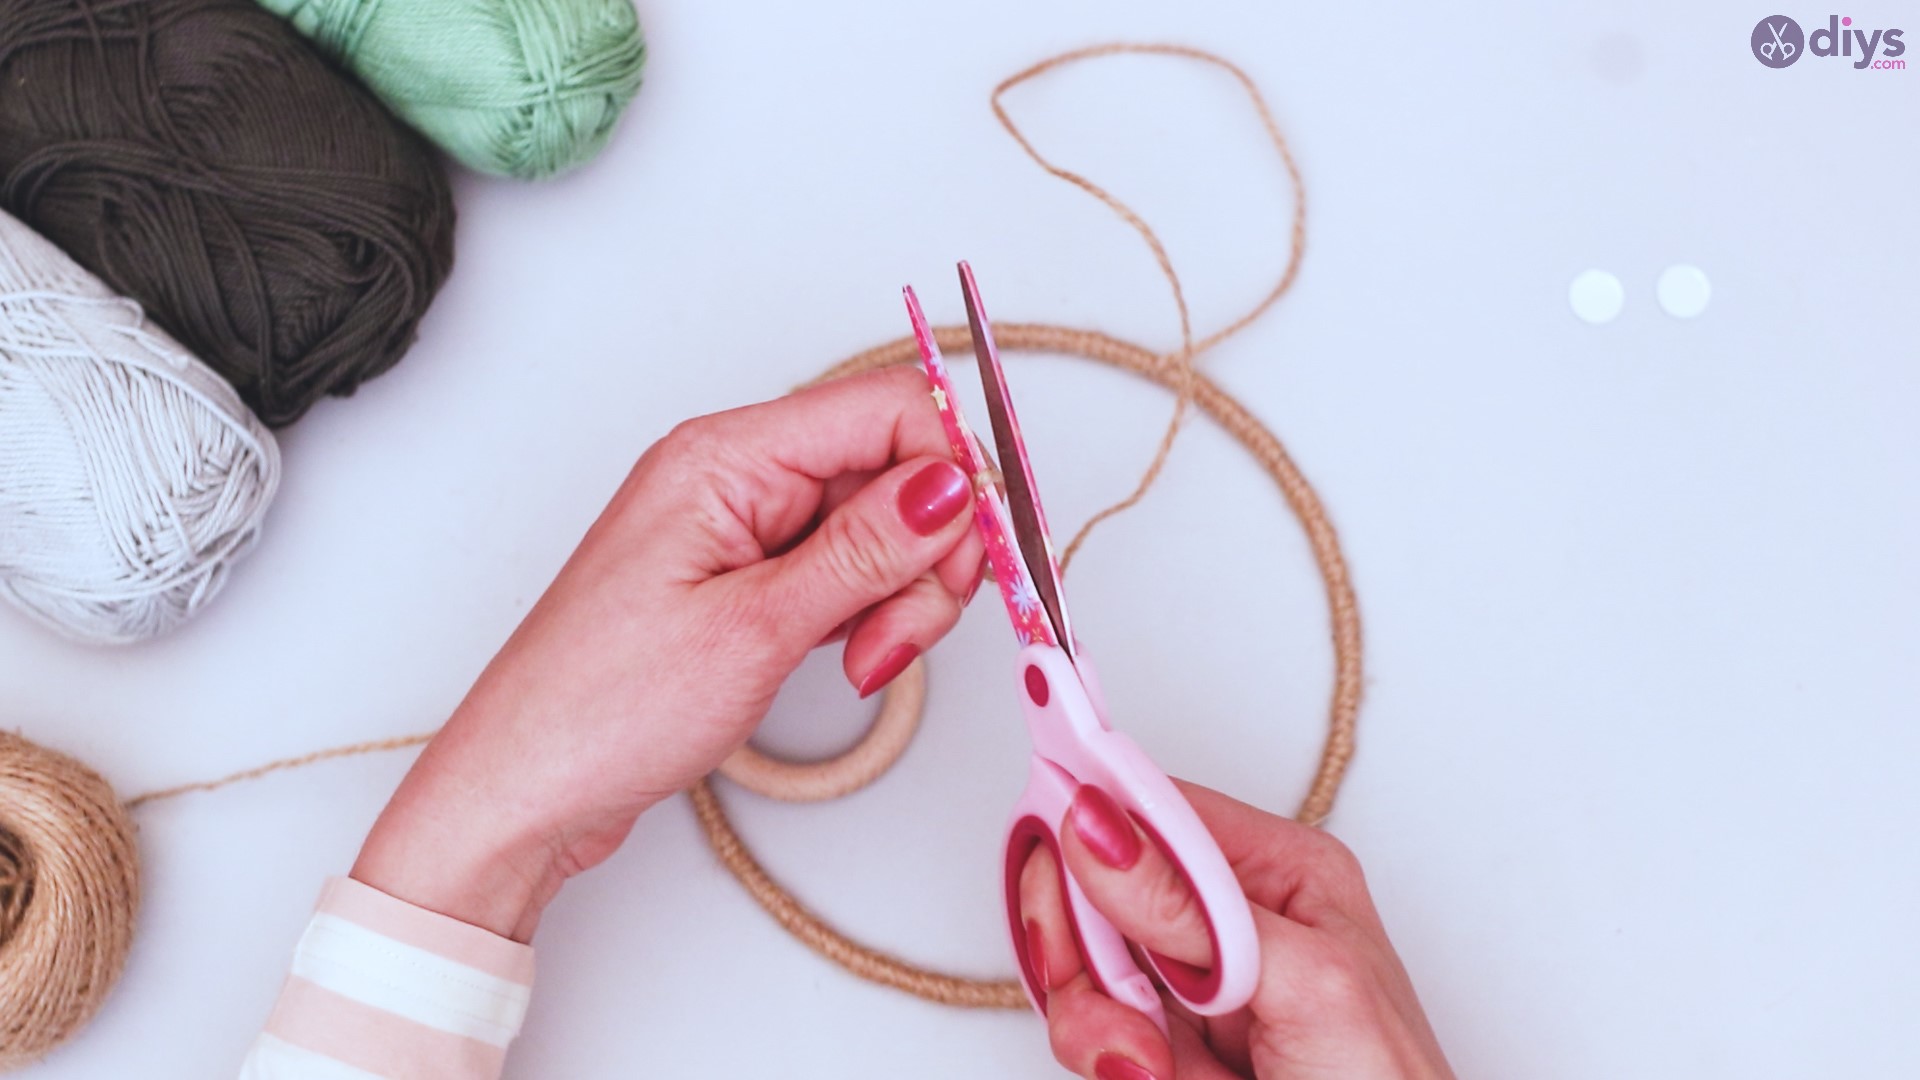
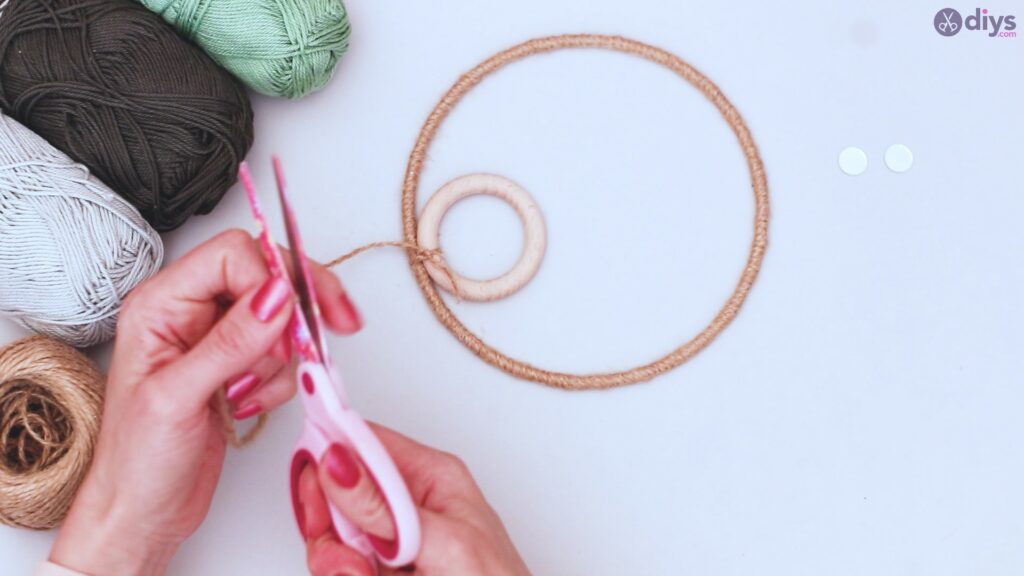
Trim the end of the twine so there is no excess hanging off the metal ring.
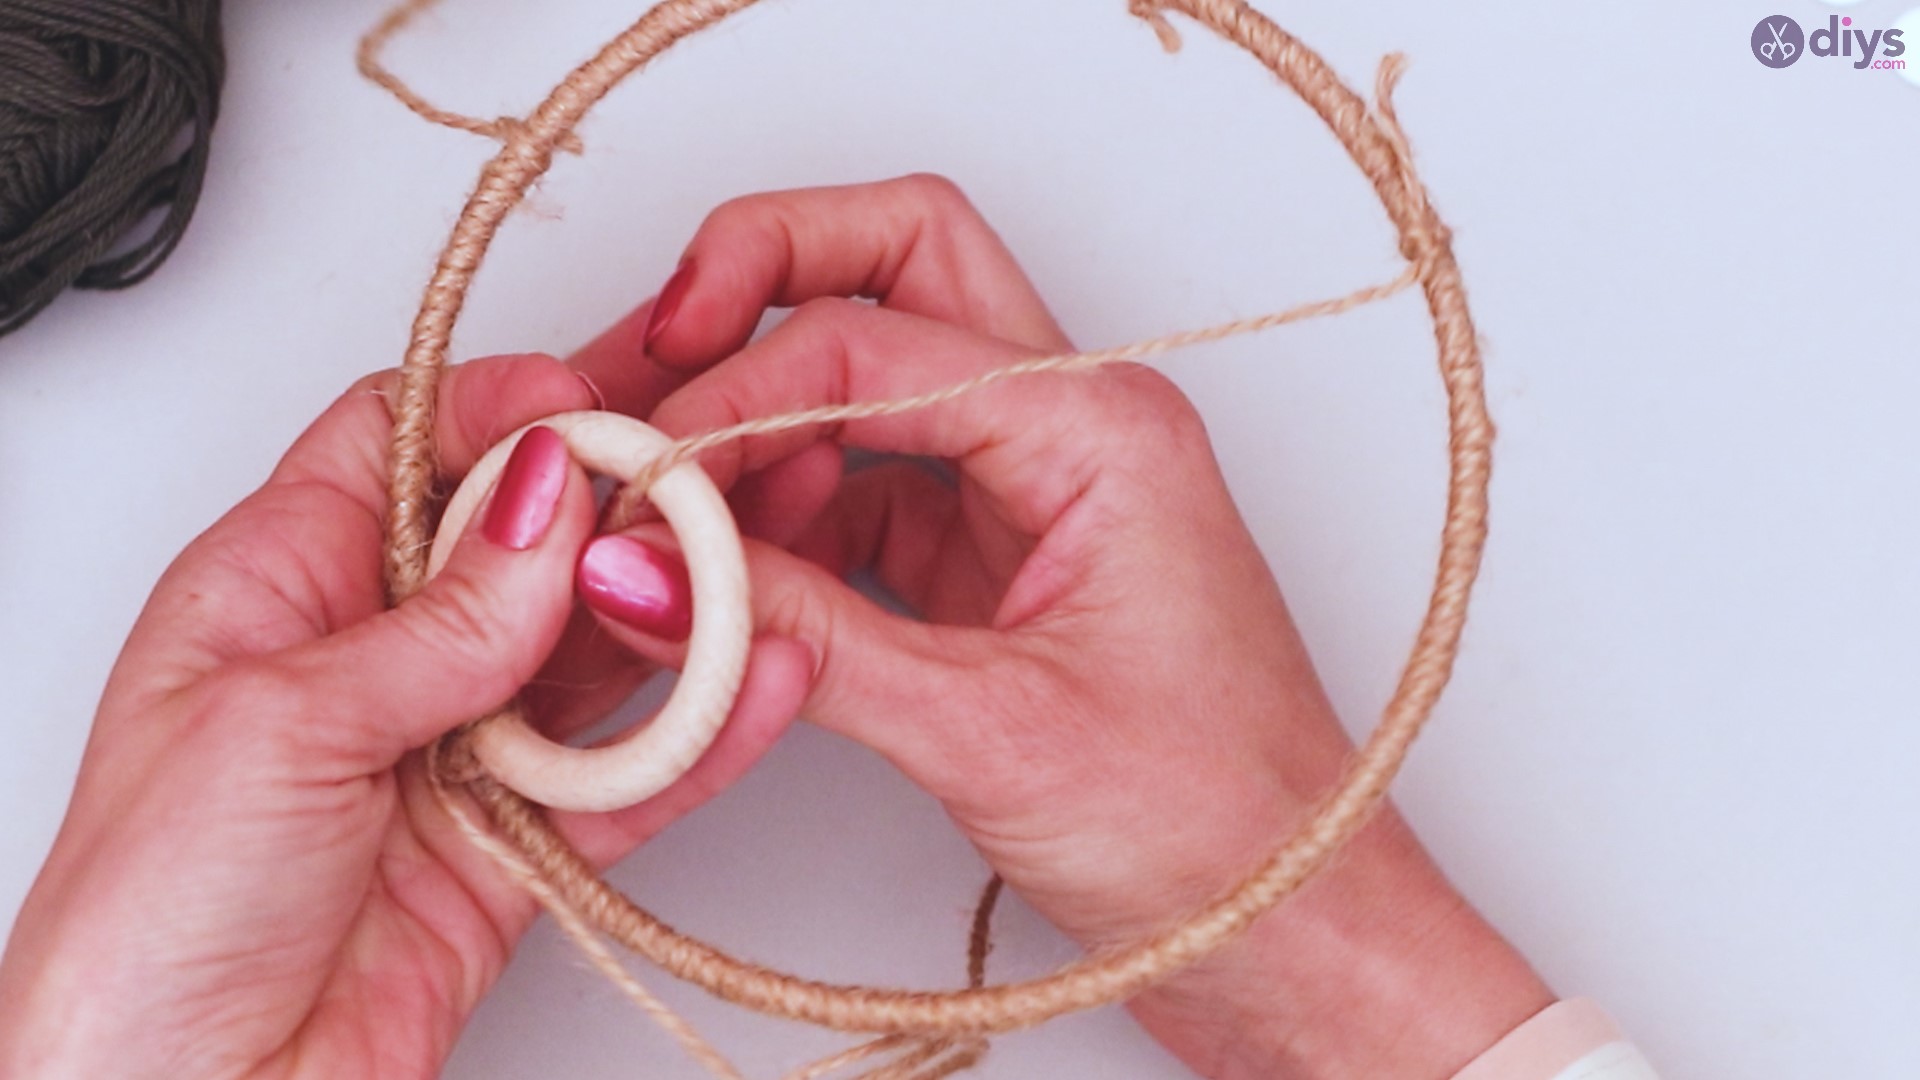
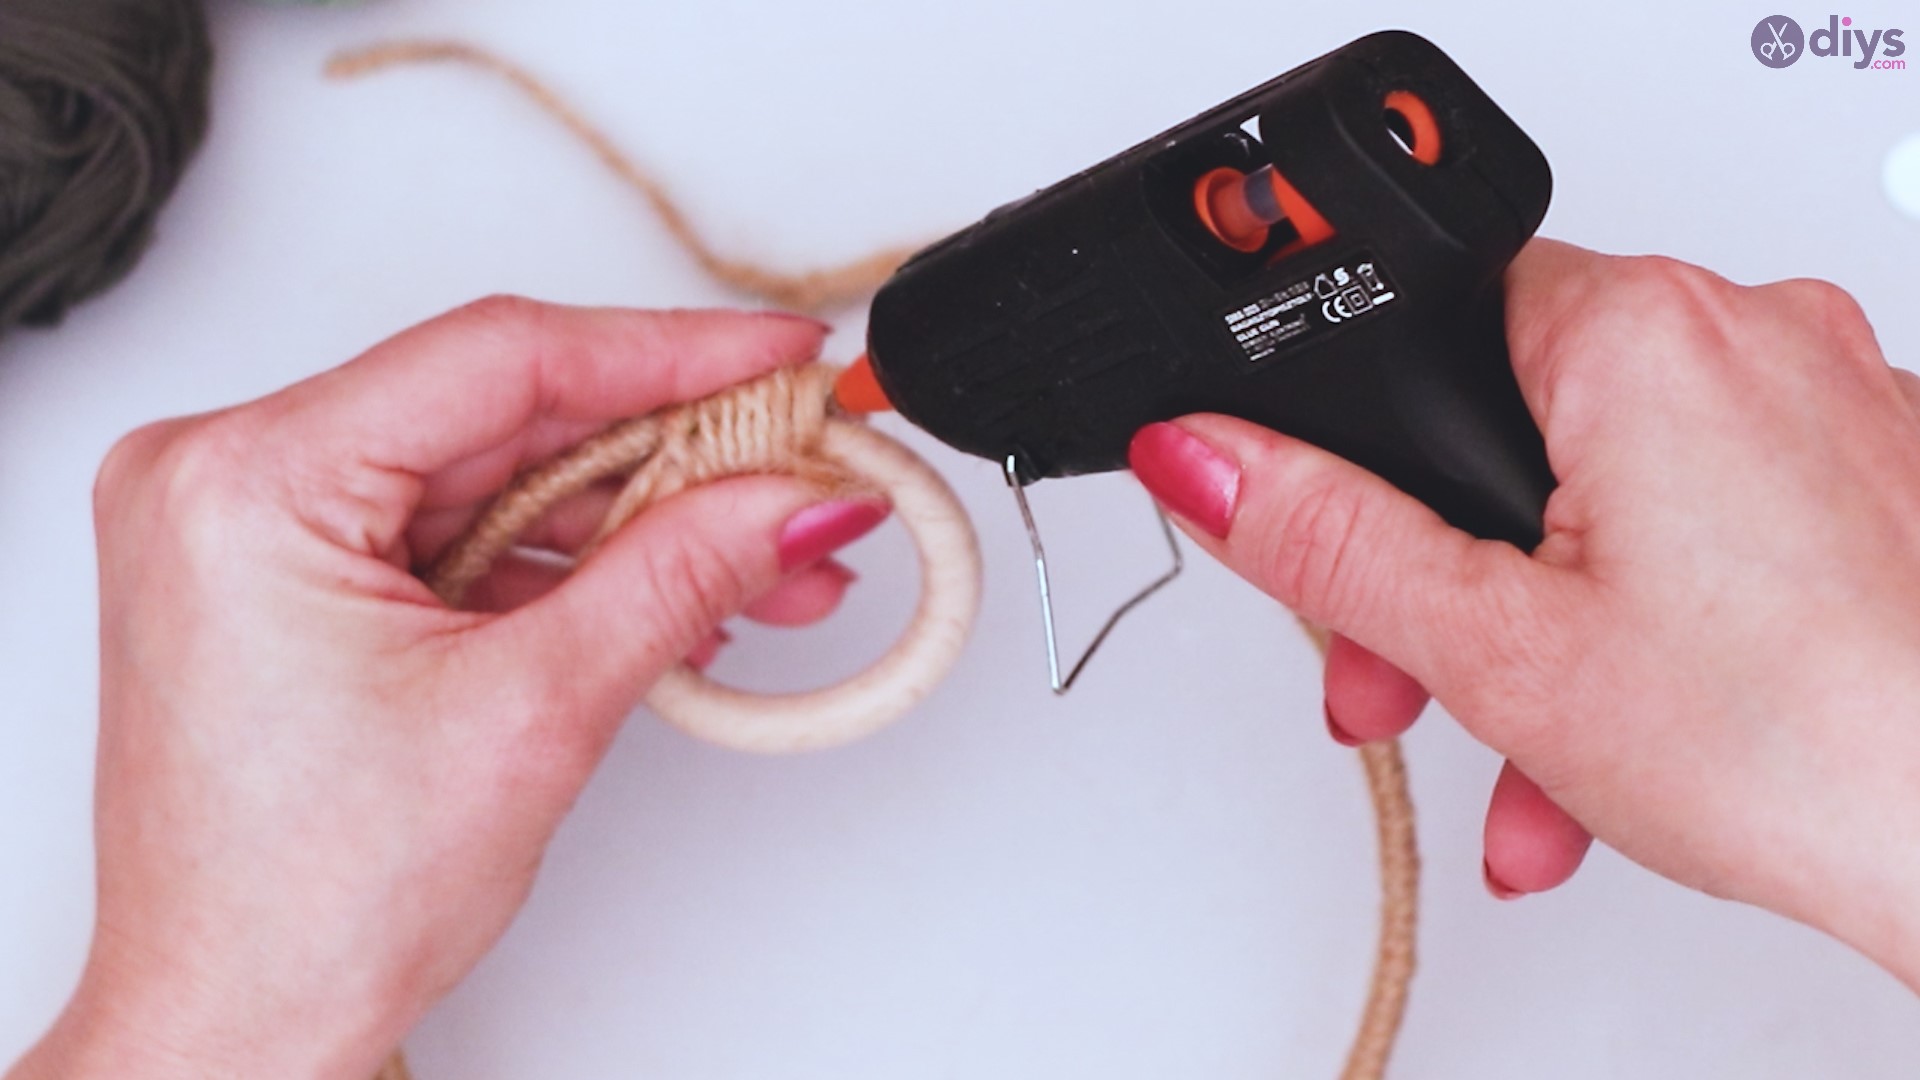
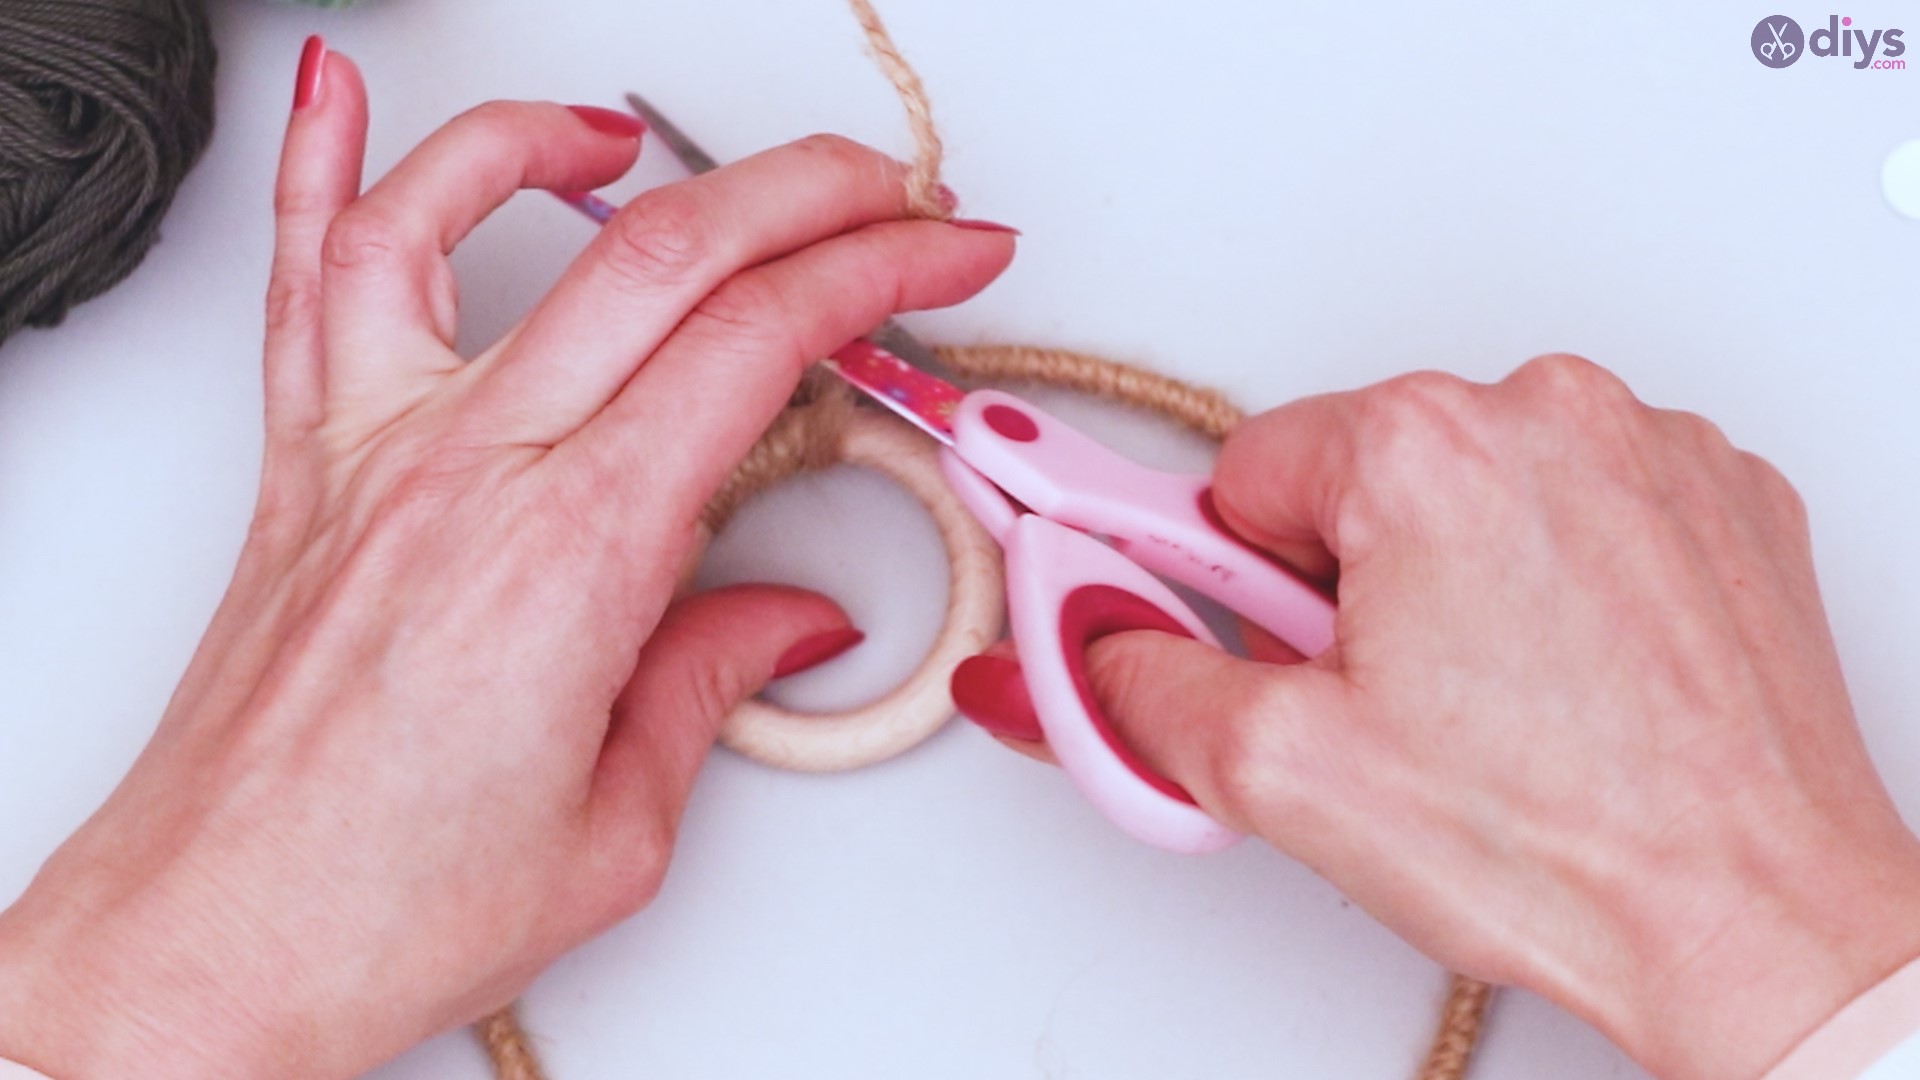
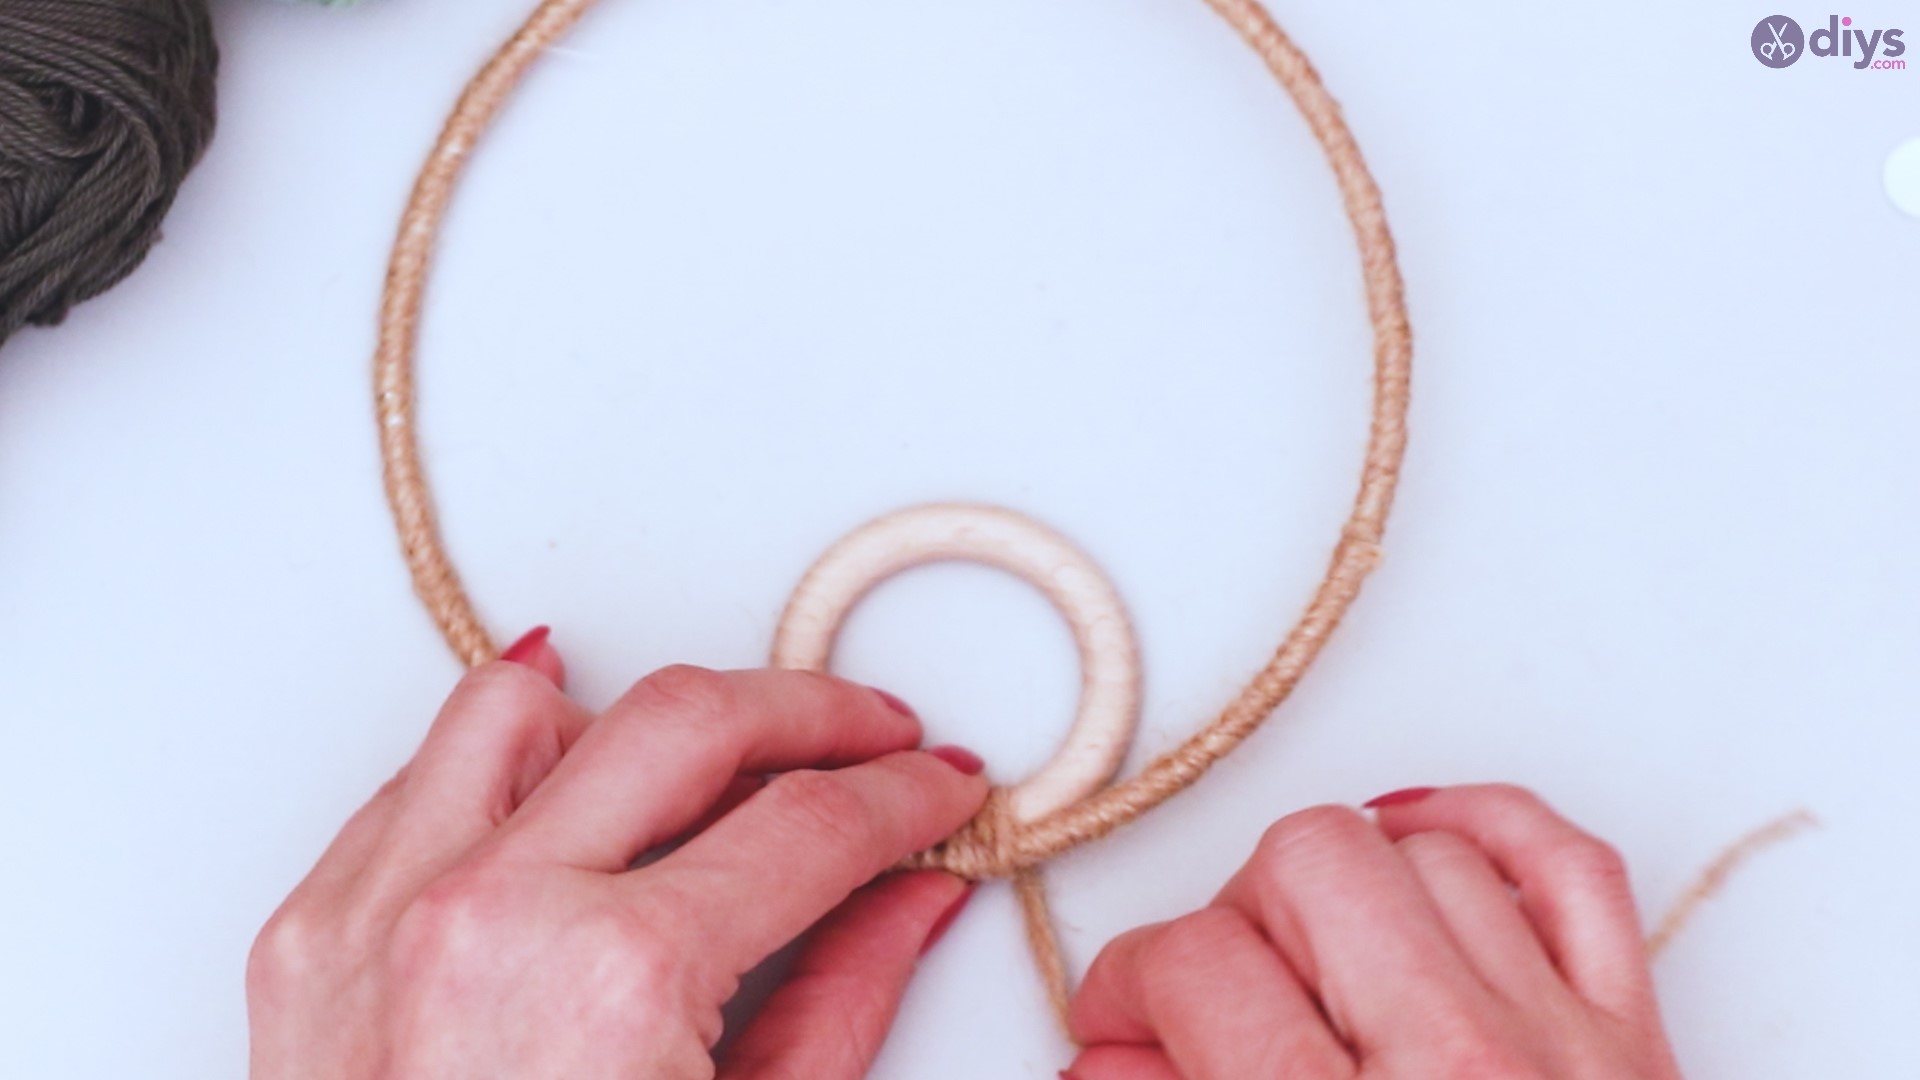
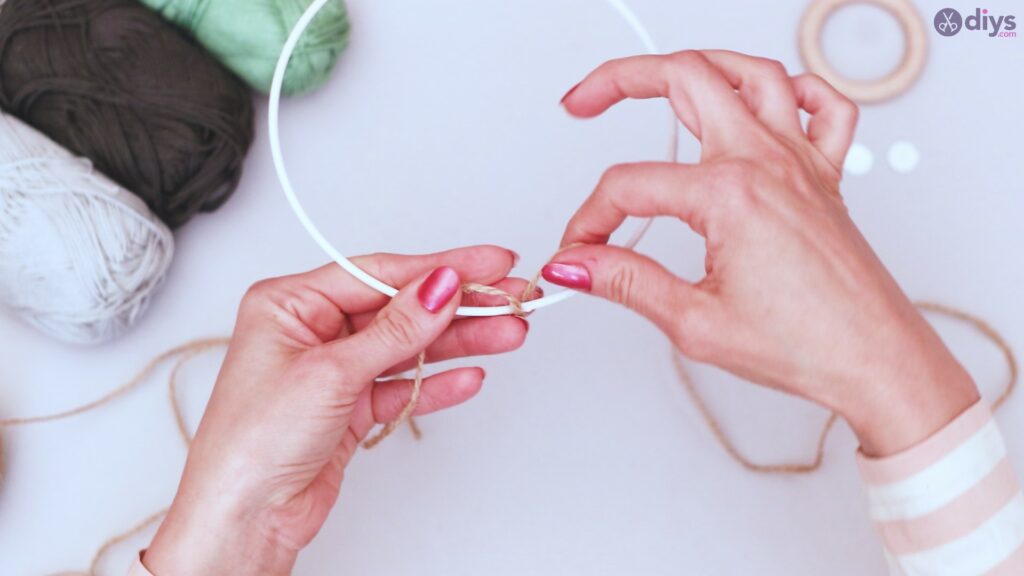
Step 2: Add the wooden ring
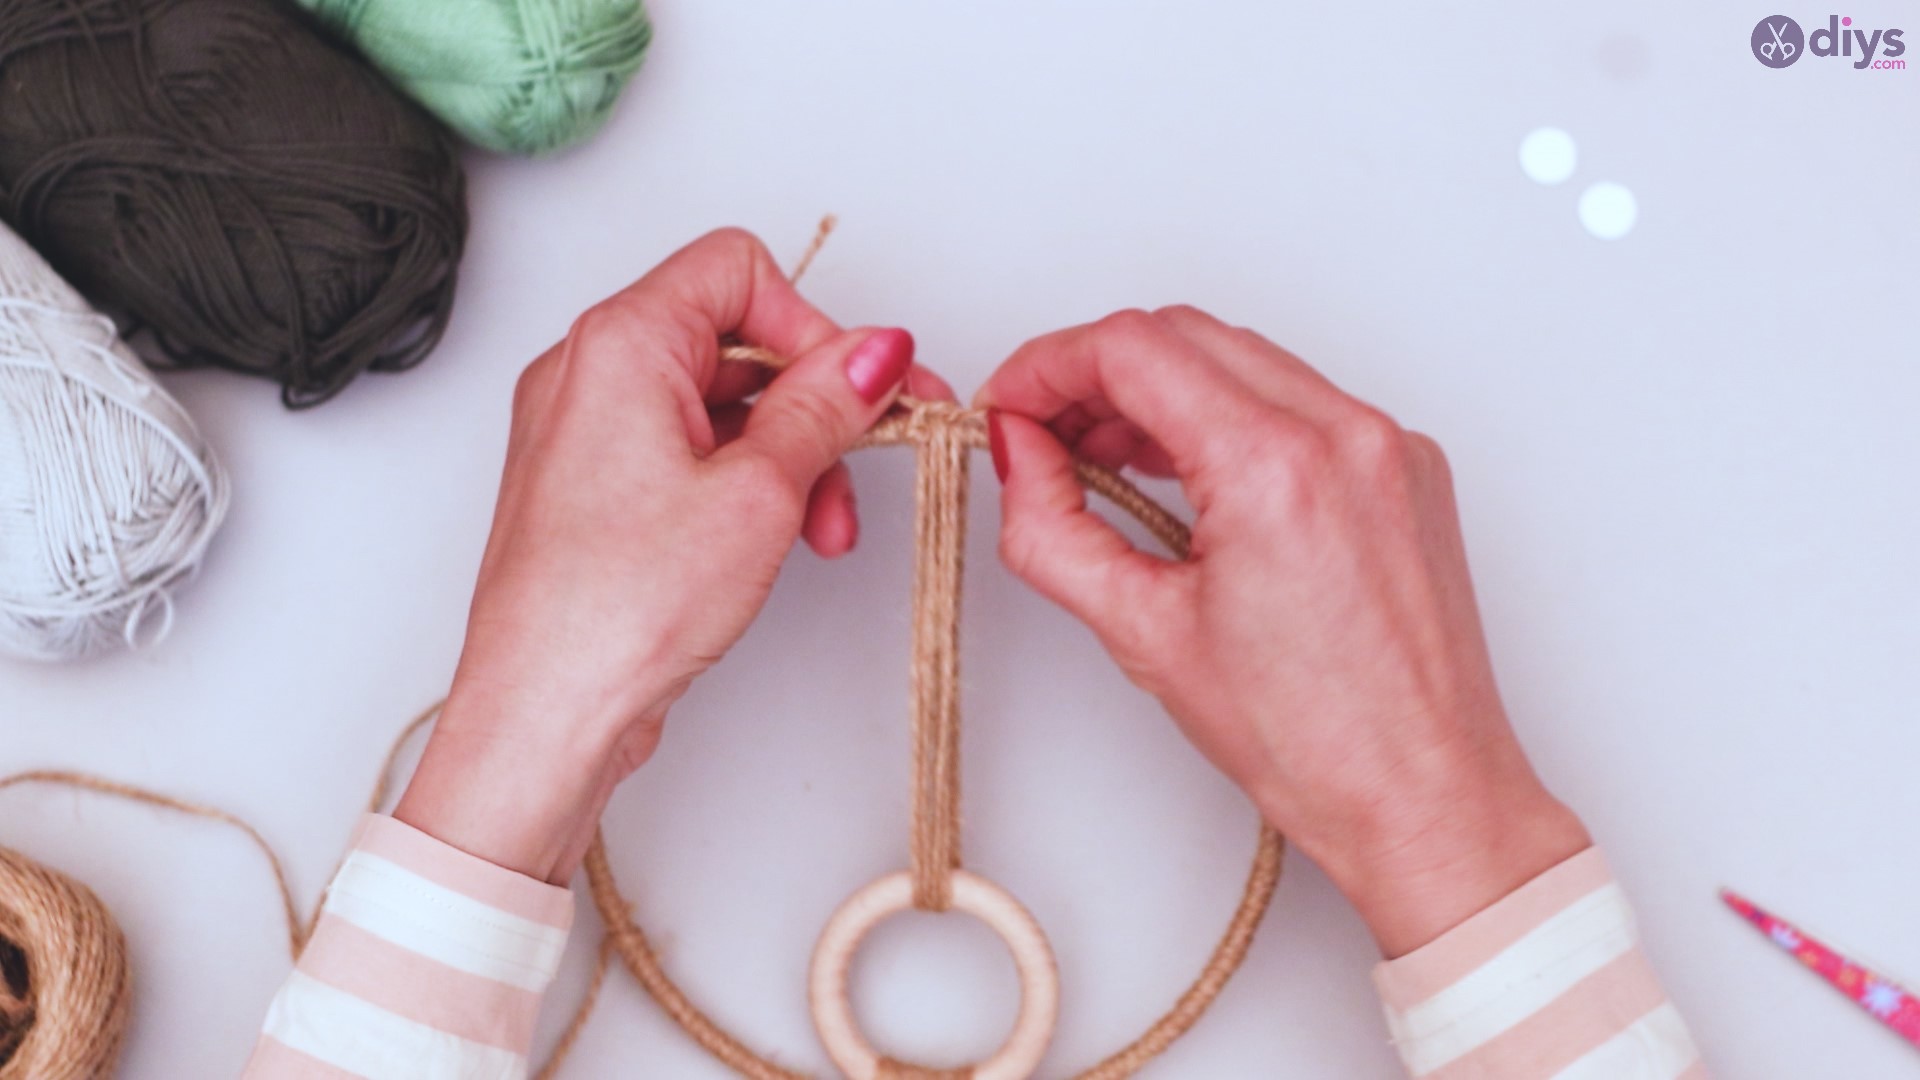
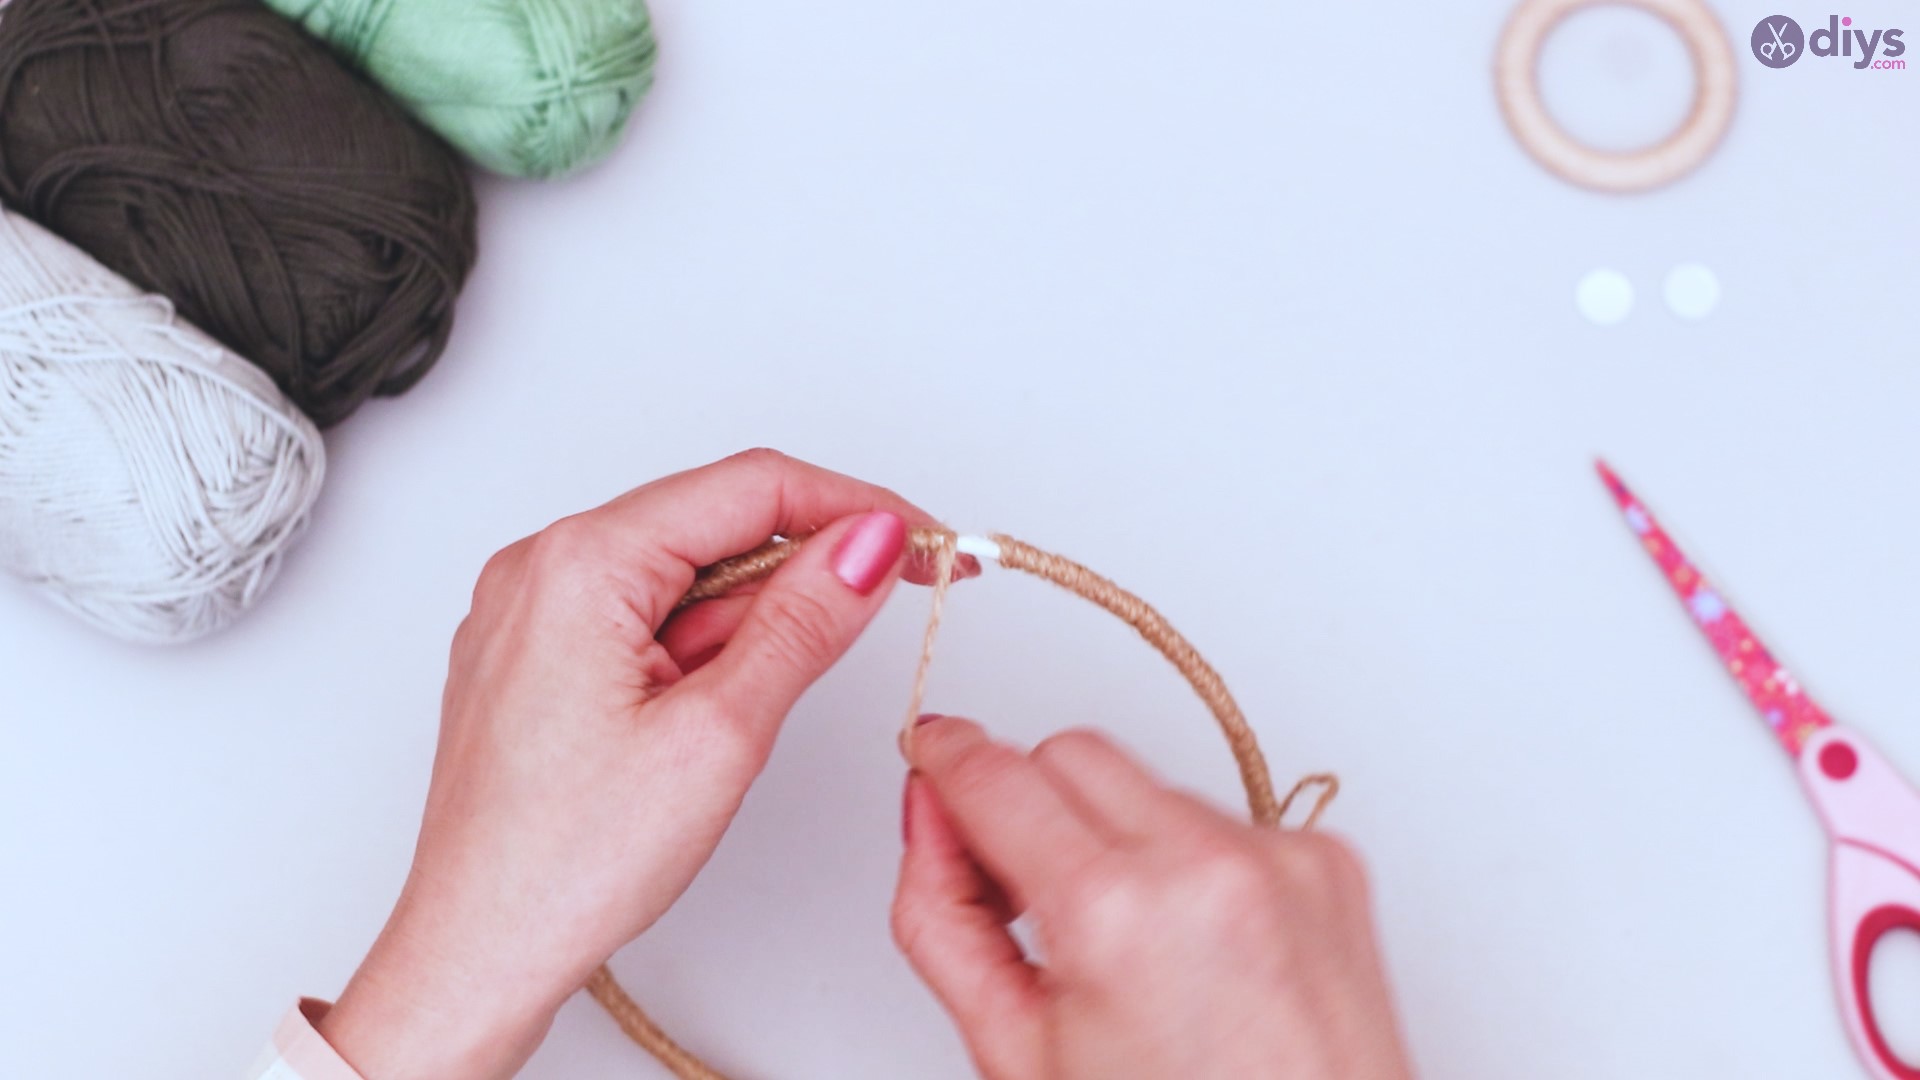
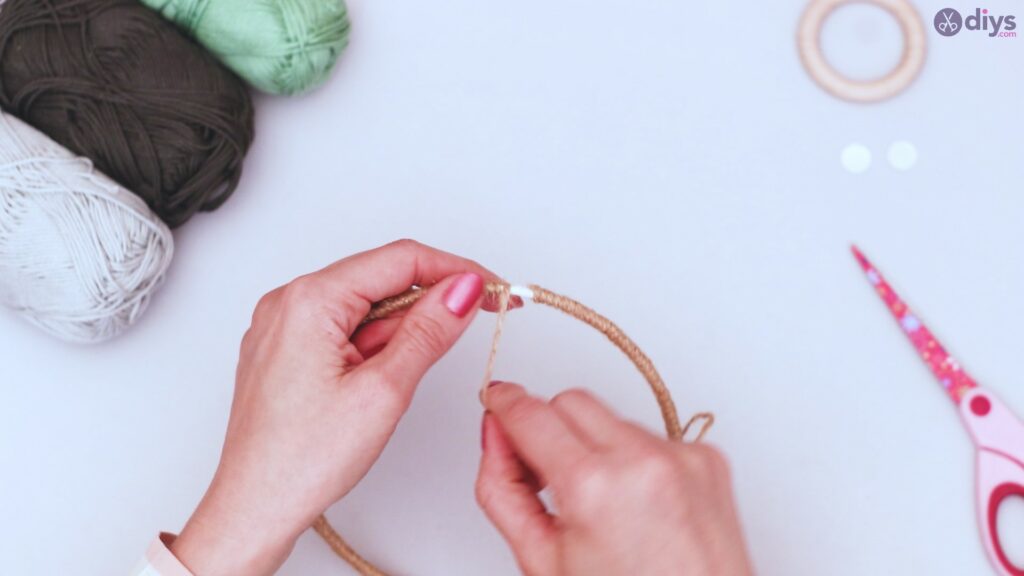
Get your twine again, and grab your wooden ring.
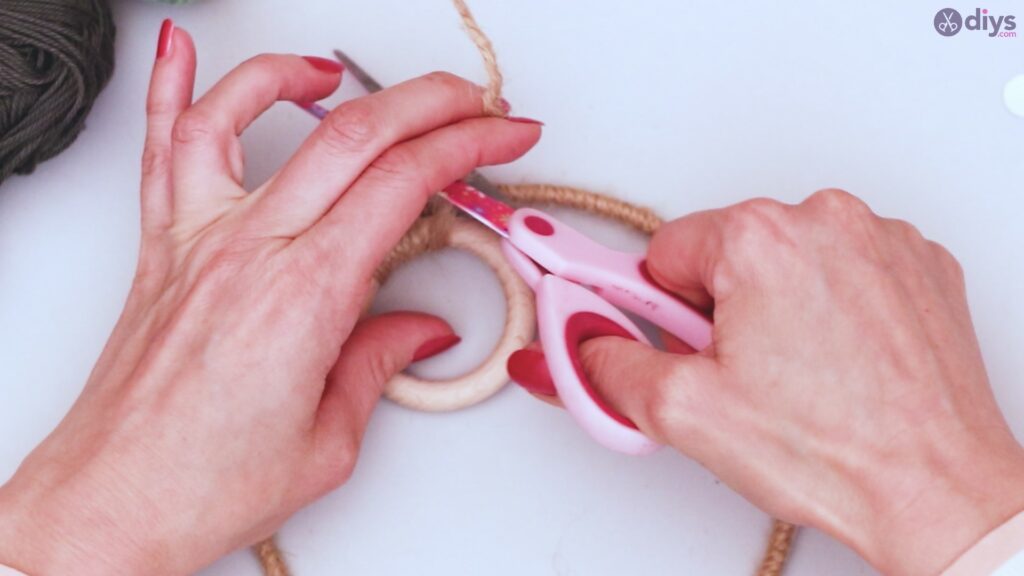
Place the wooden ring against one side of your metal ring, on the inside edge.

With your twine, tie the two rings together, knotting it tightly.

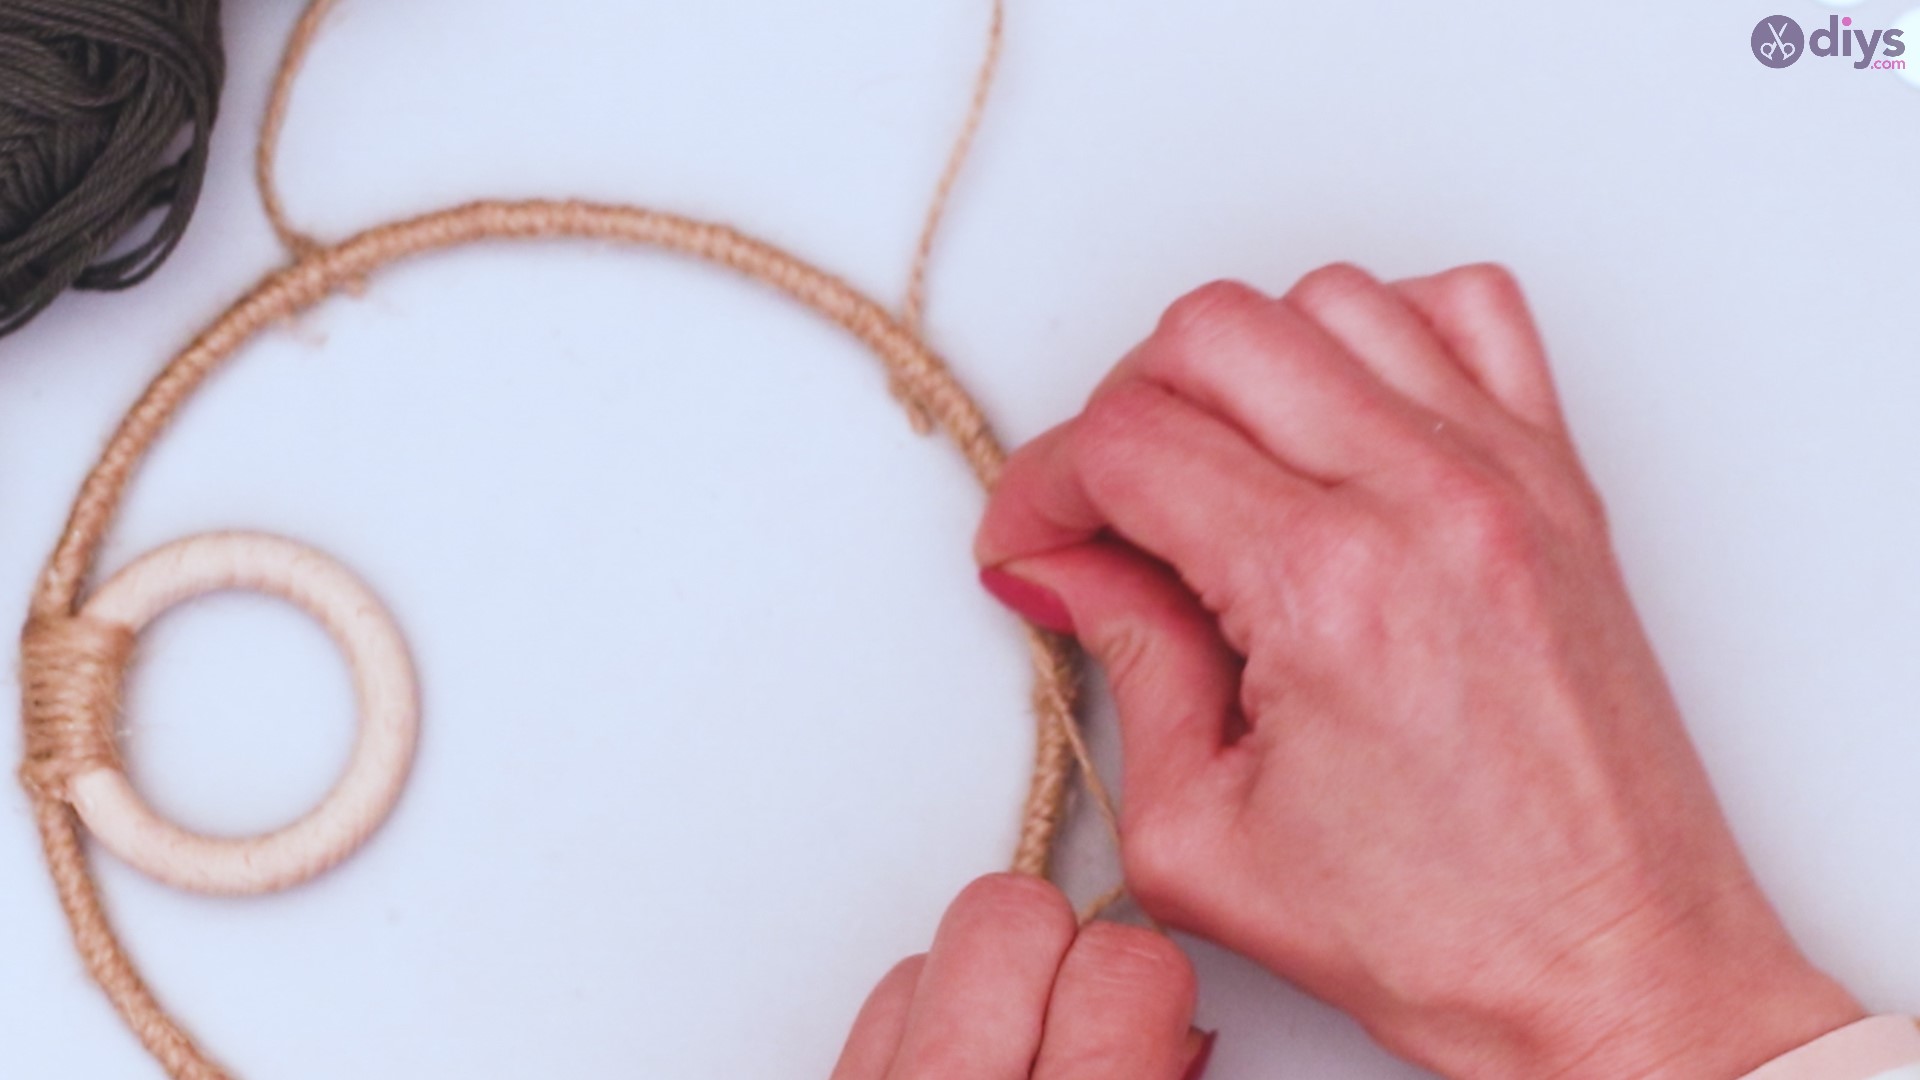
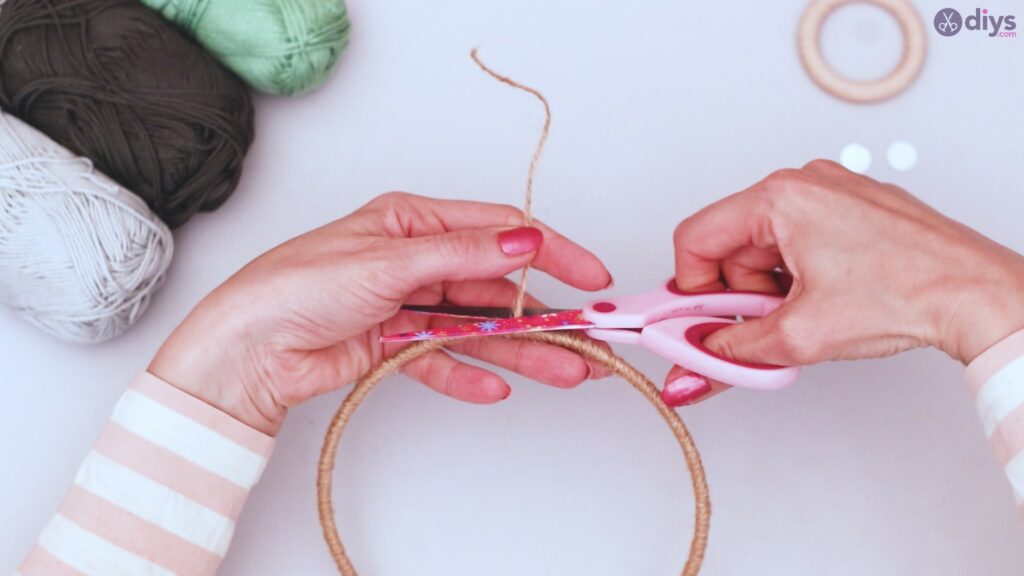
Cut the twine so you have a couple of inches of excess.
Wrap the twine around the two rings together, using most of the rest of the twine you’ve cut.


When you have just enough to tug tight, place a dot of hot glue at the end of your wrapping, and press the twine against it. This will secure the wrap in place.

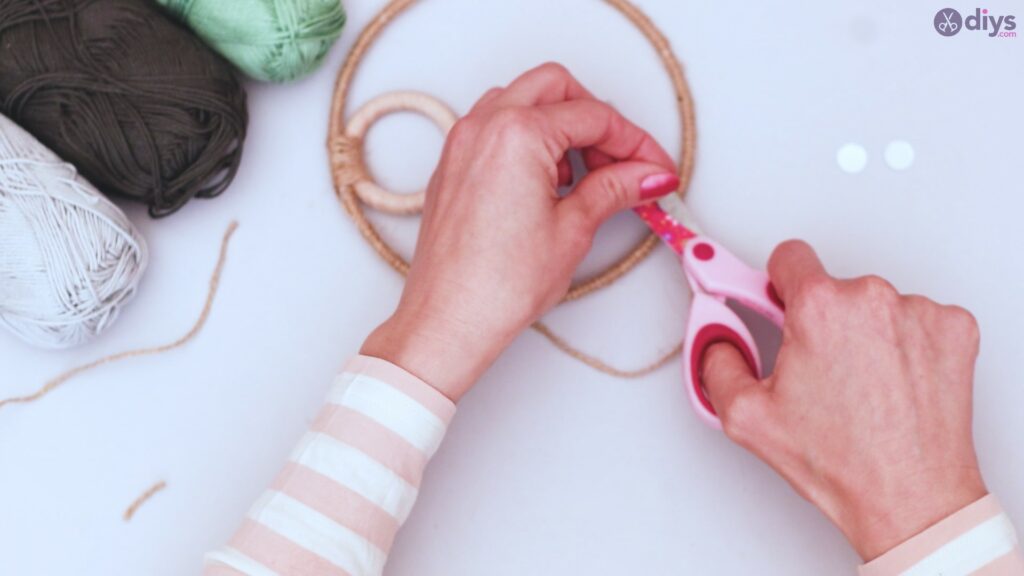
Trim any excess twine from both ends of the wrapping around the two rings.

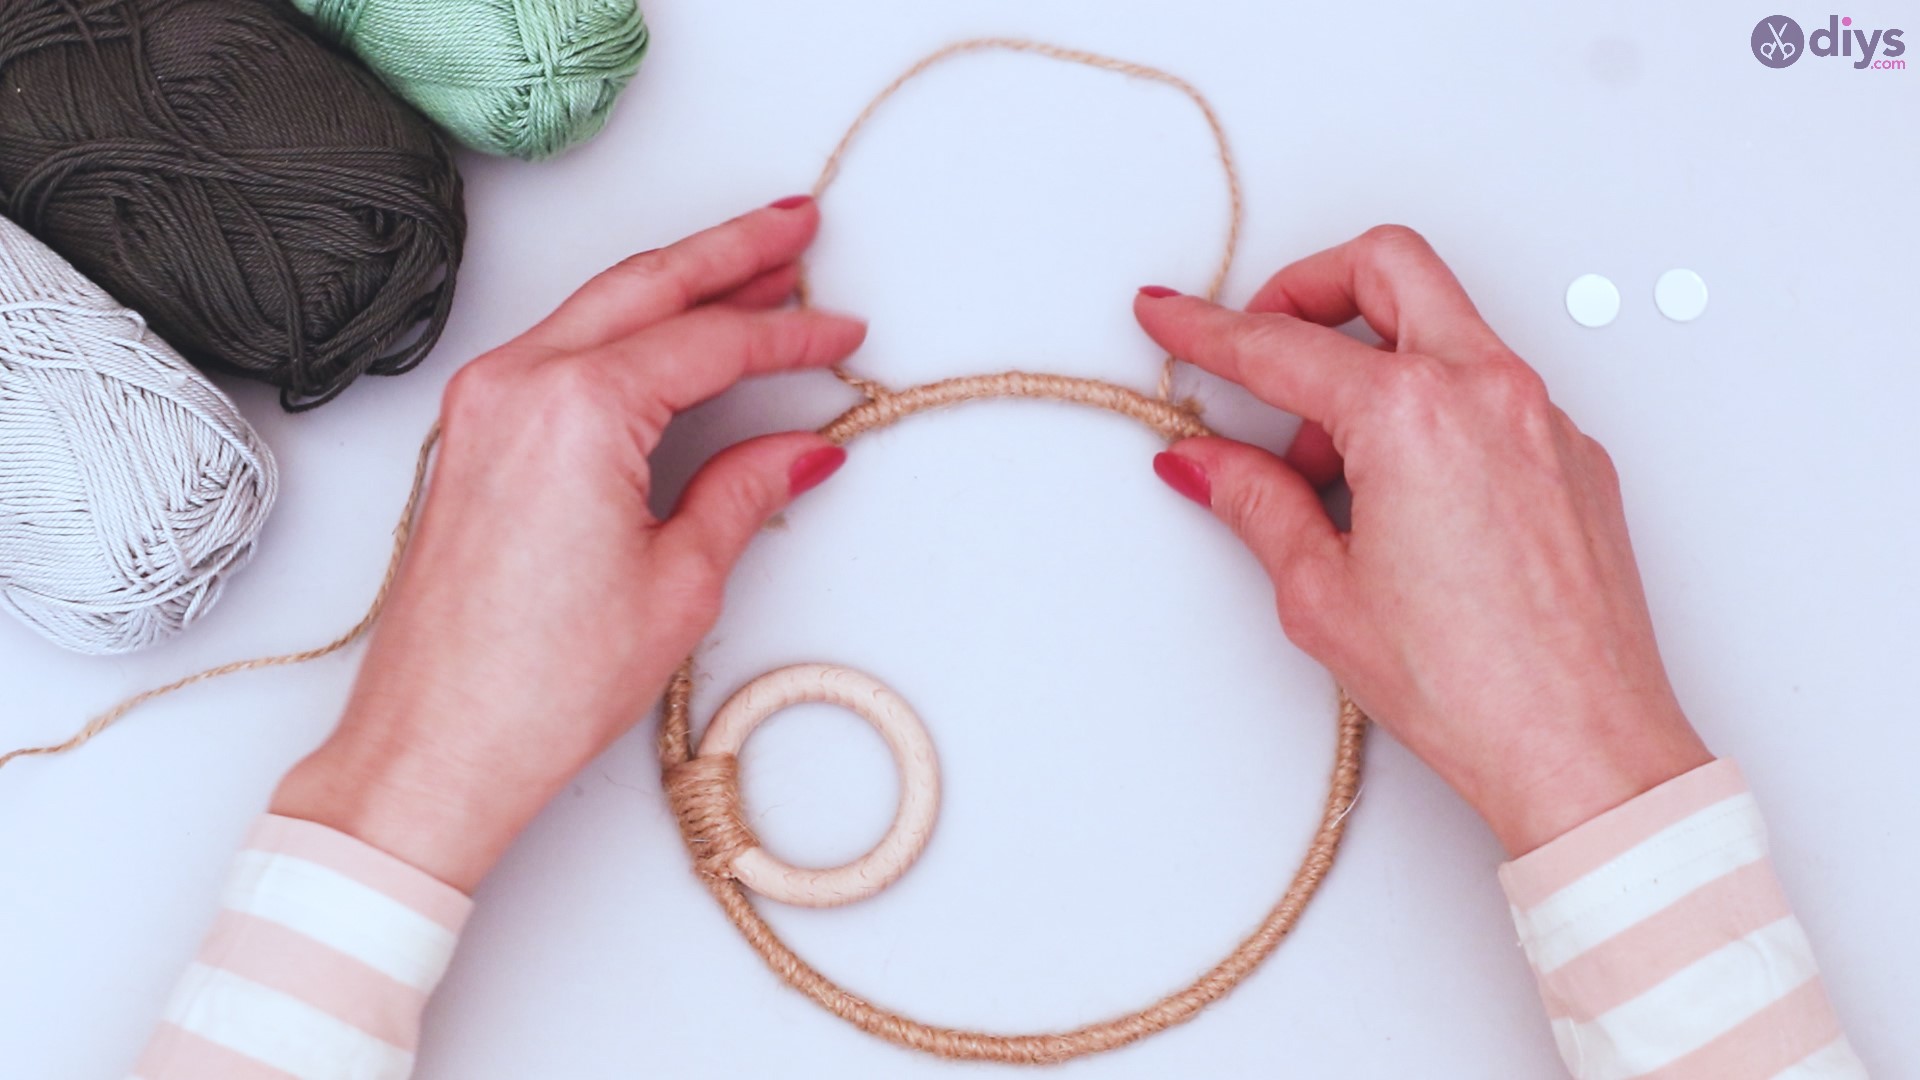
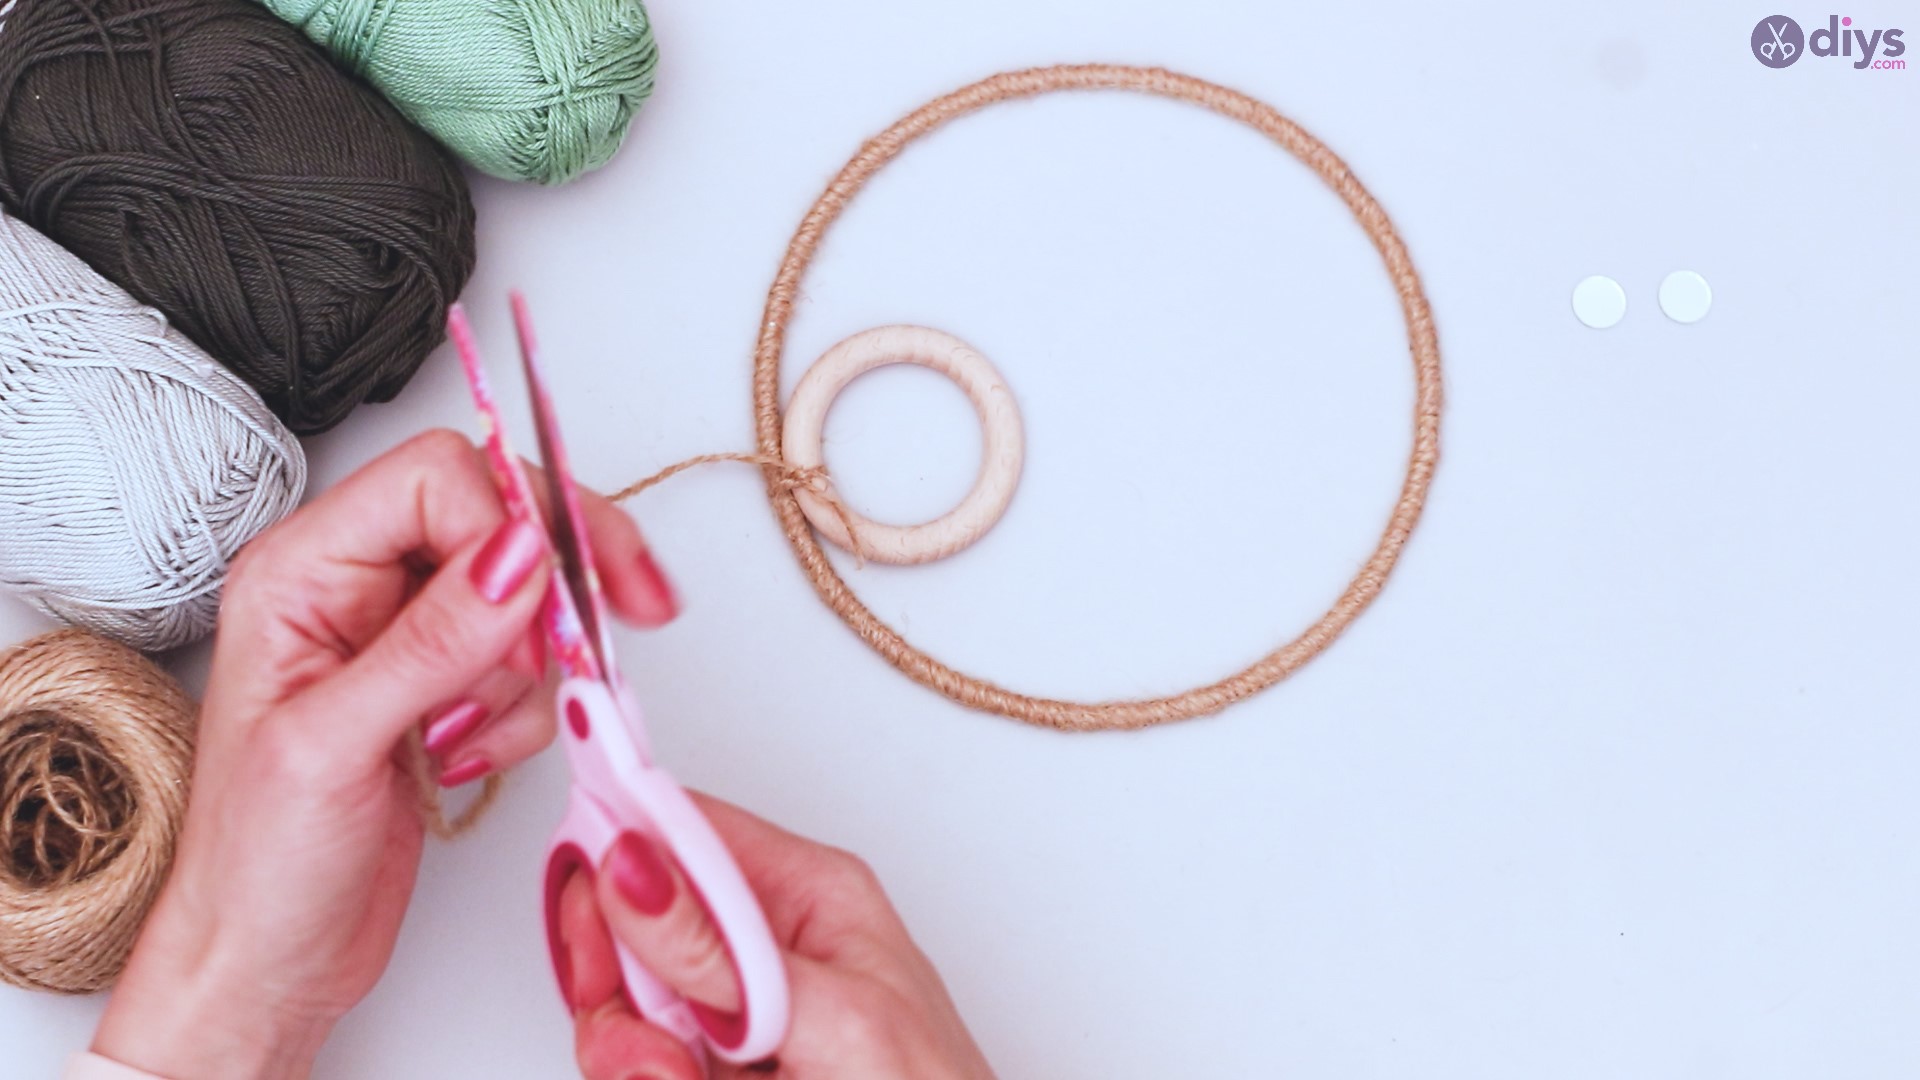
Step 3: The hanging rope
Cut a length of twine. The exact length depends on the size of your metal ring and your personal preference. For my 8 inch ring, I cut a piece of twine that was about 12 inches long.

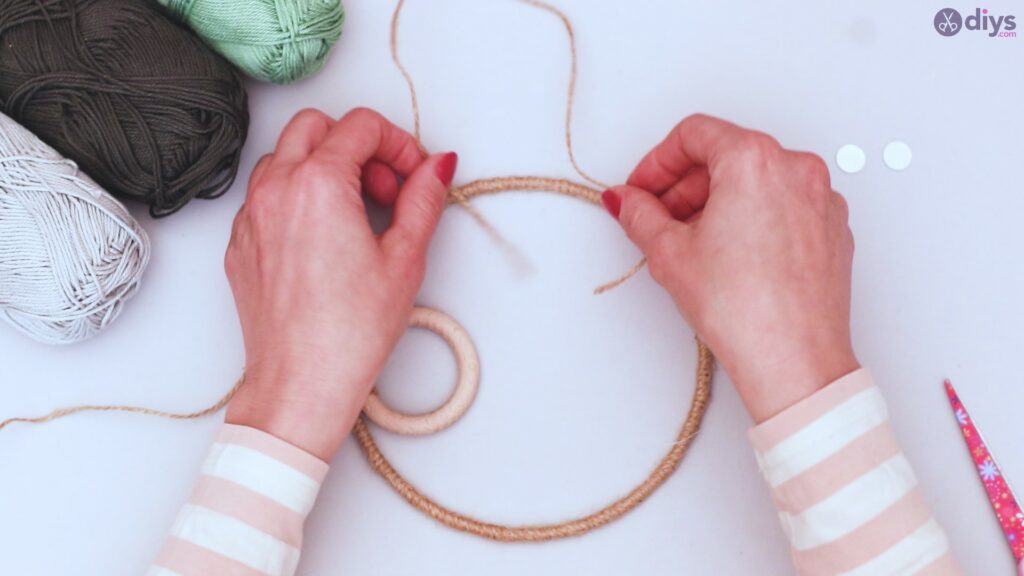
Determine exactly where you want the inner wooden ring to be when the object hangs. Then, take one end of the twine, and tie it in a knot around the metal ring, preferably having the knot on the back side that will be against the wall.

Do the same with the other end of the twine, creating a loop from which you can hang your art.

Trim the ends to remove excess on both ends of your hanging loop.

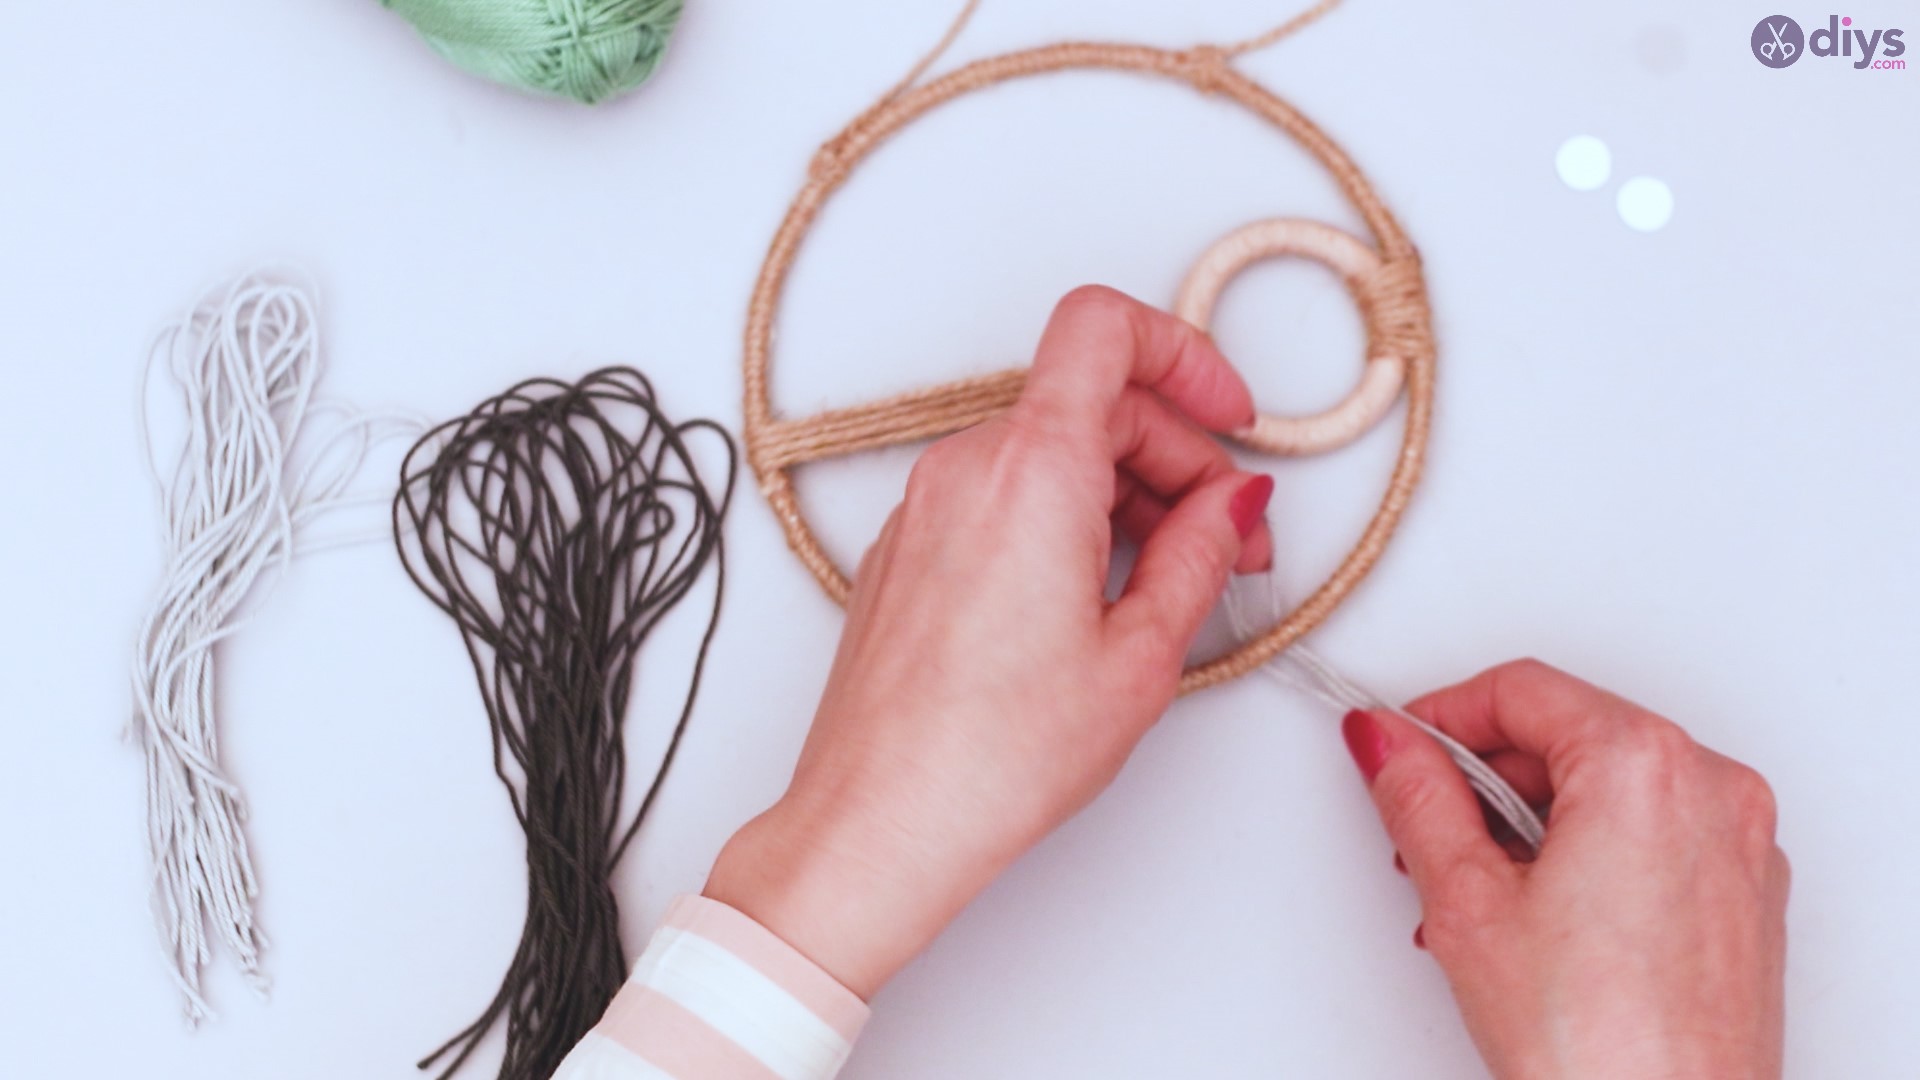
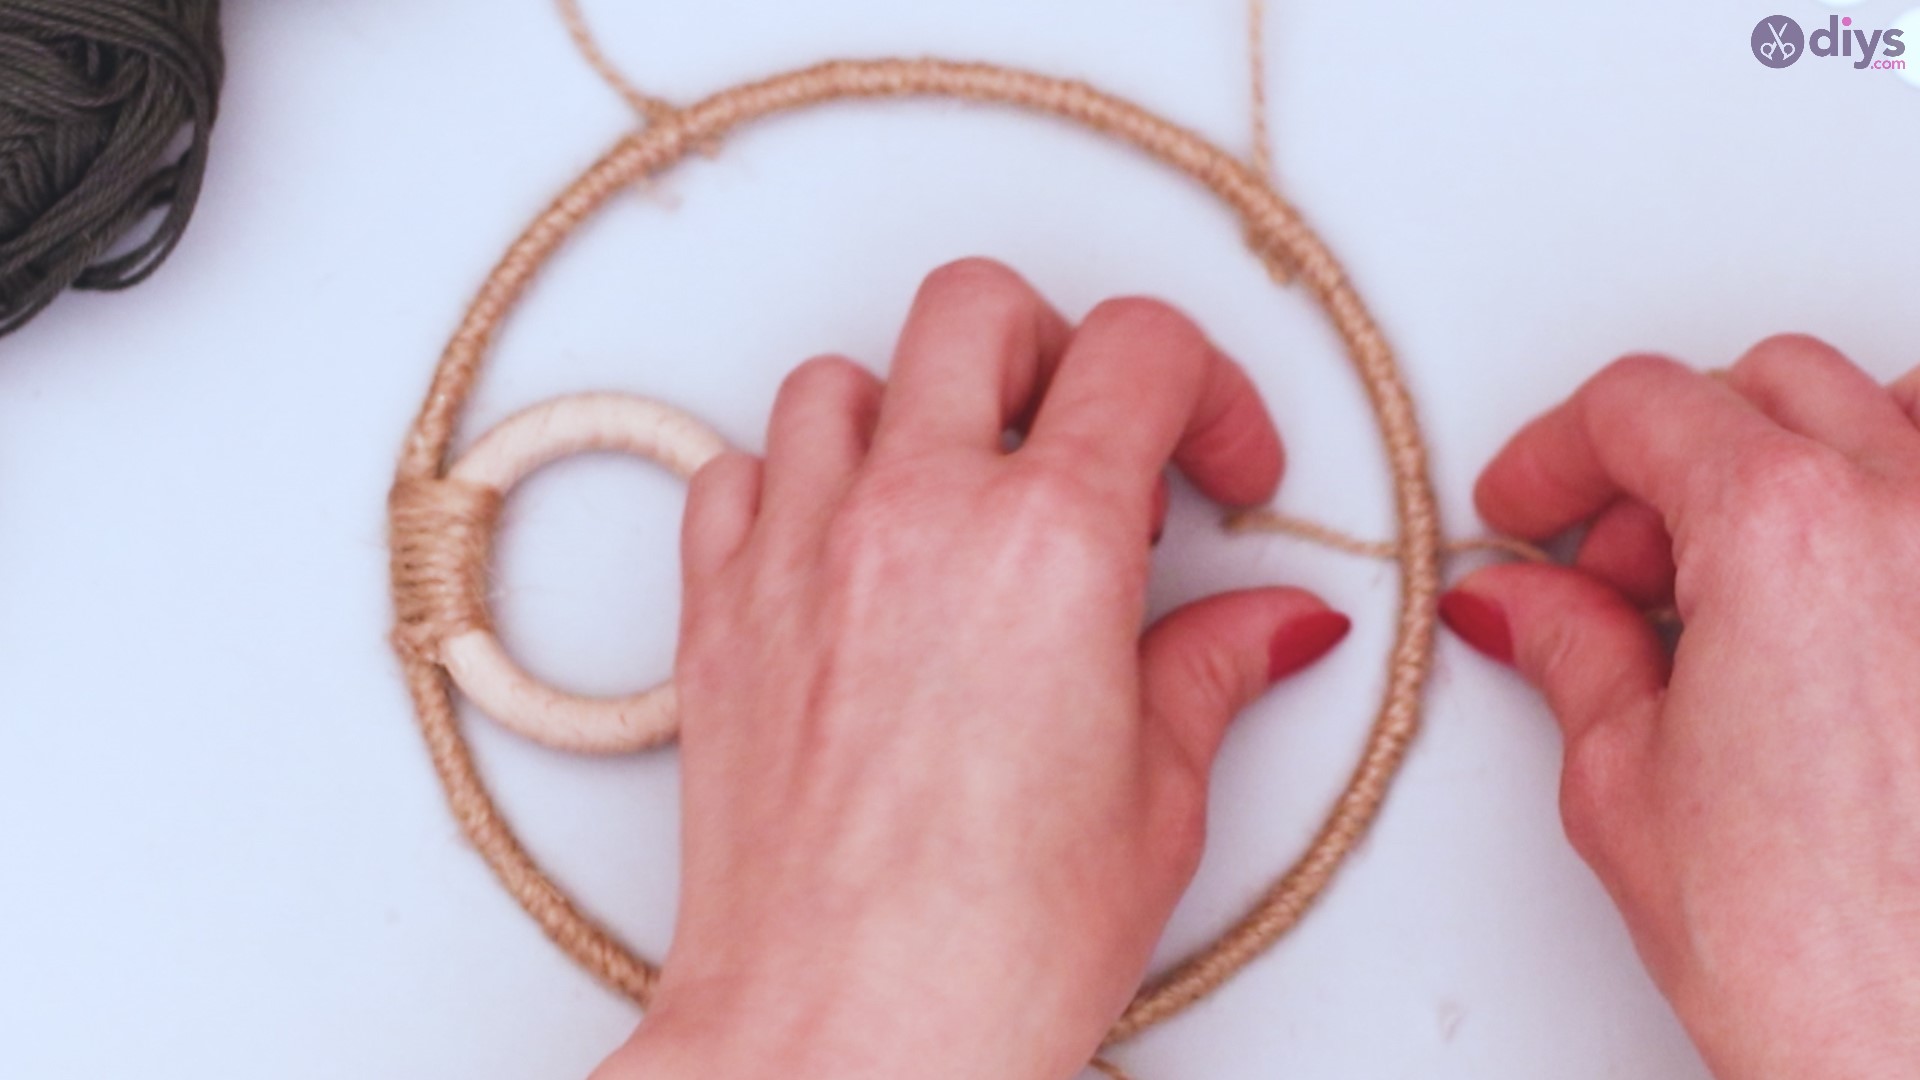
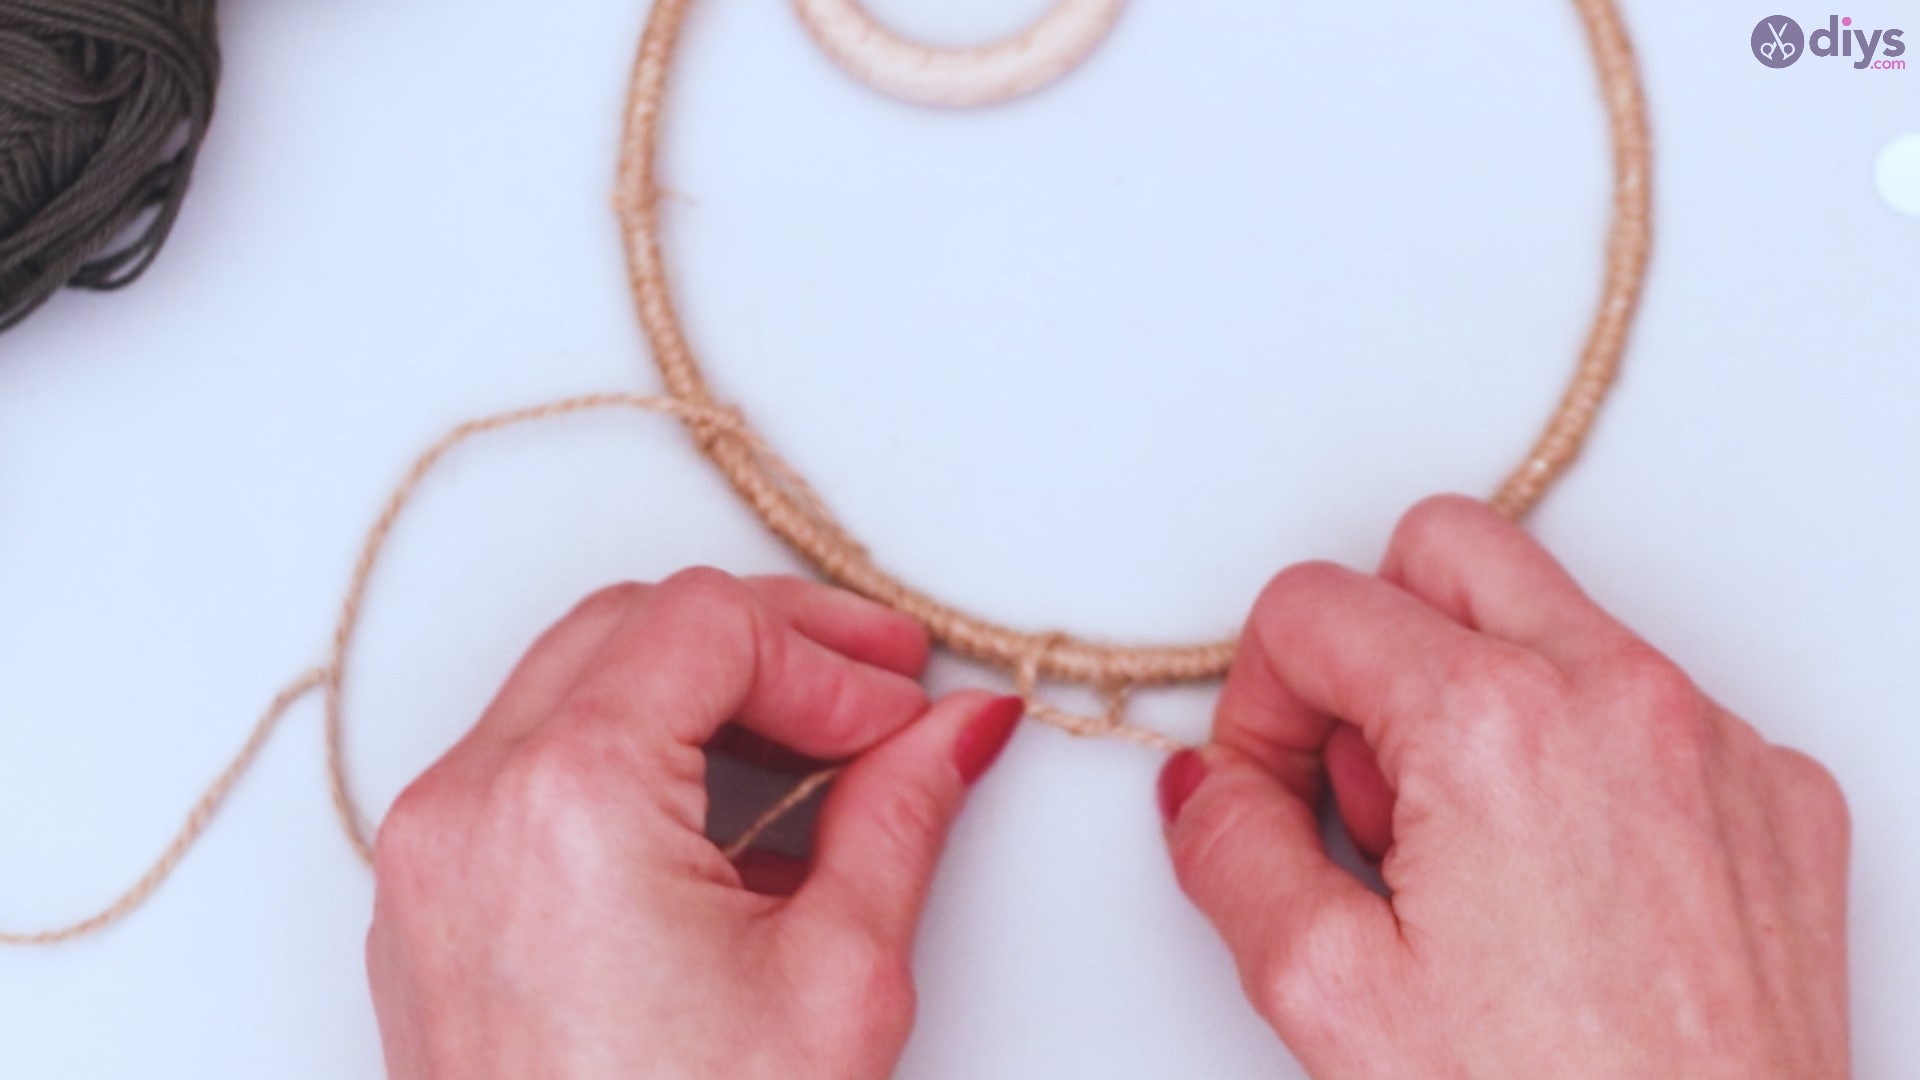
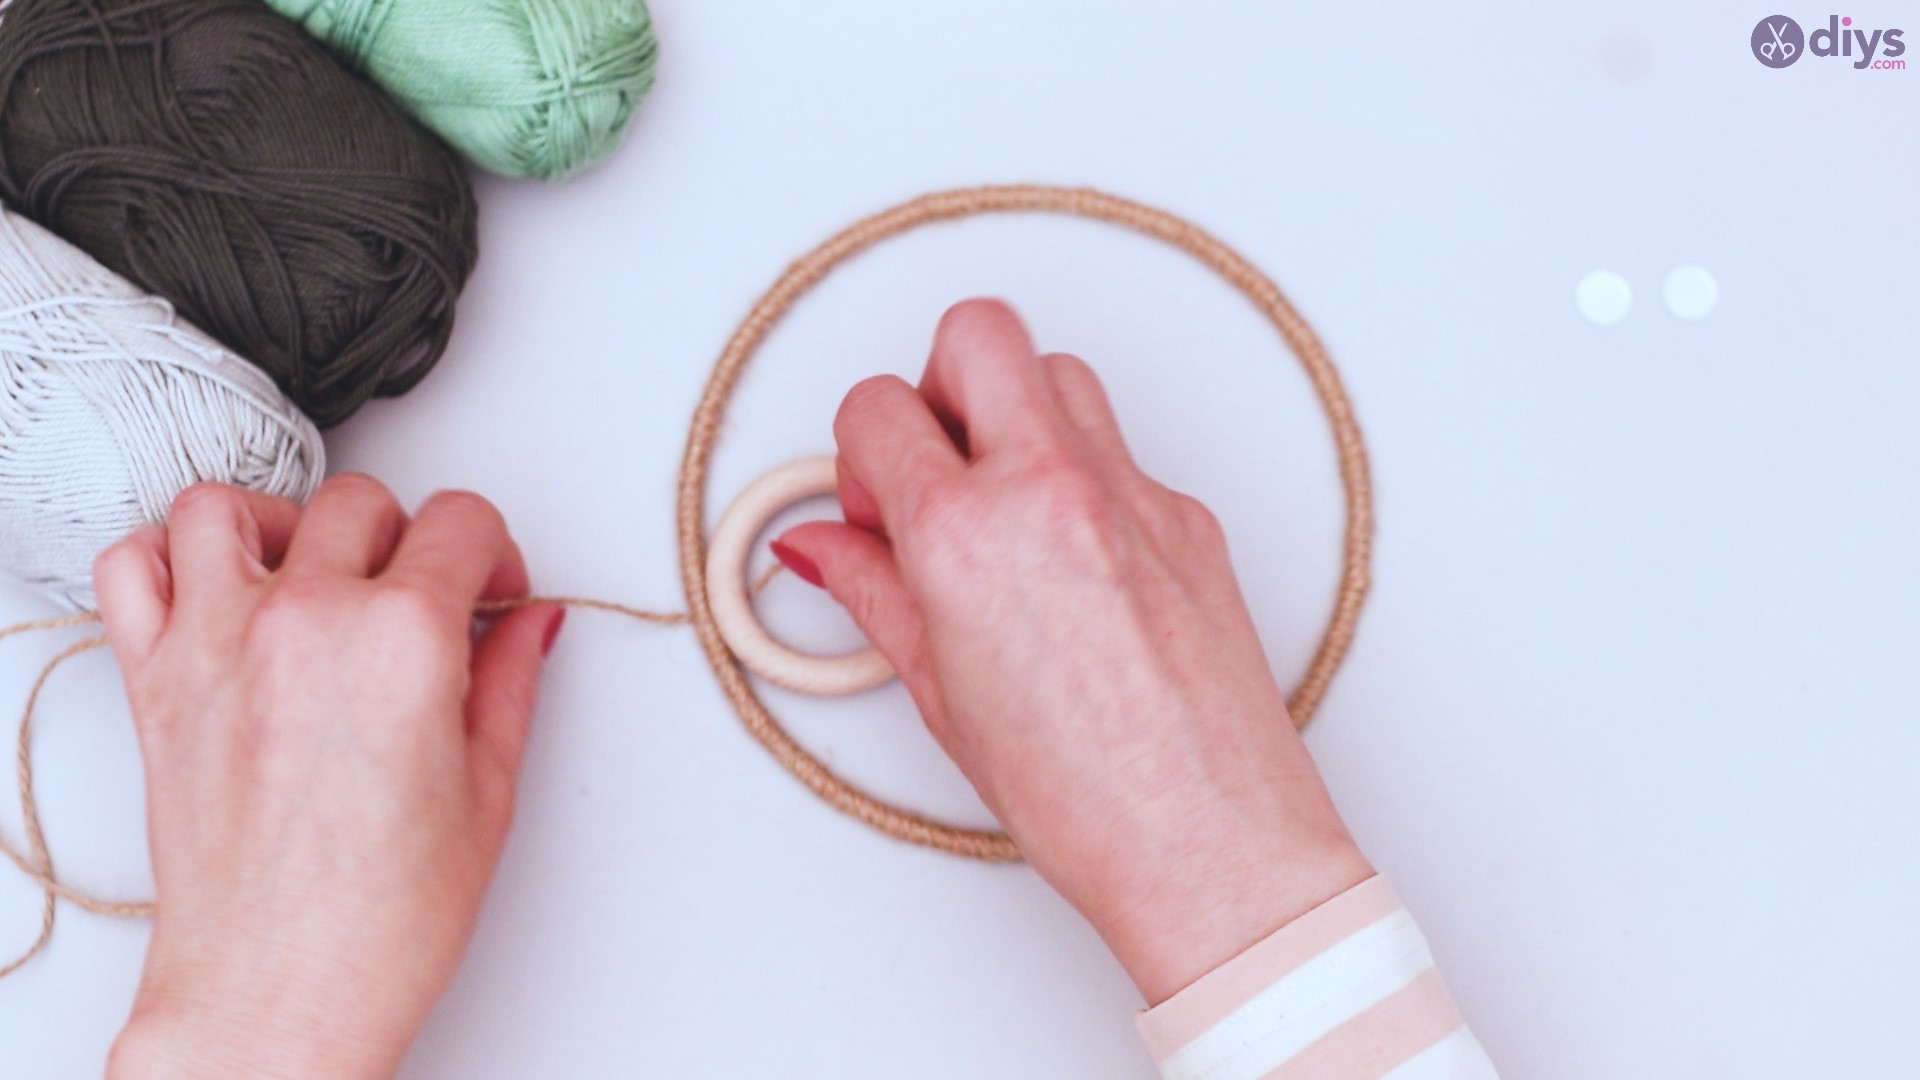
Step 4: Inside lines
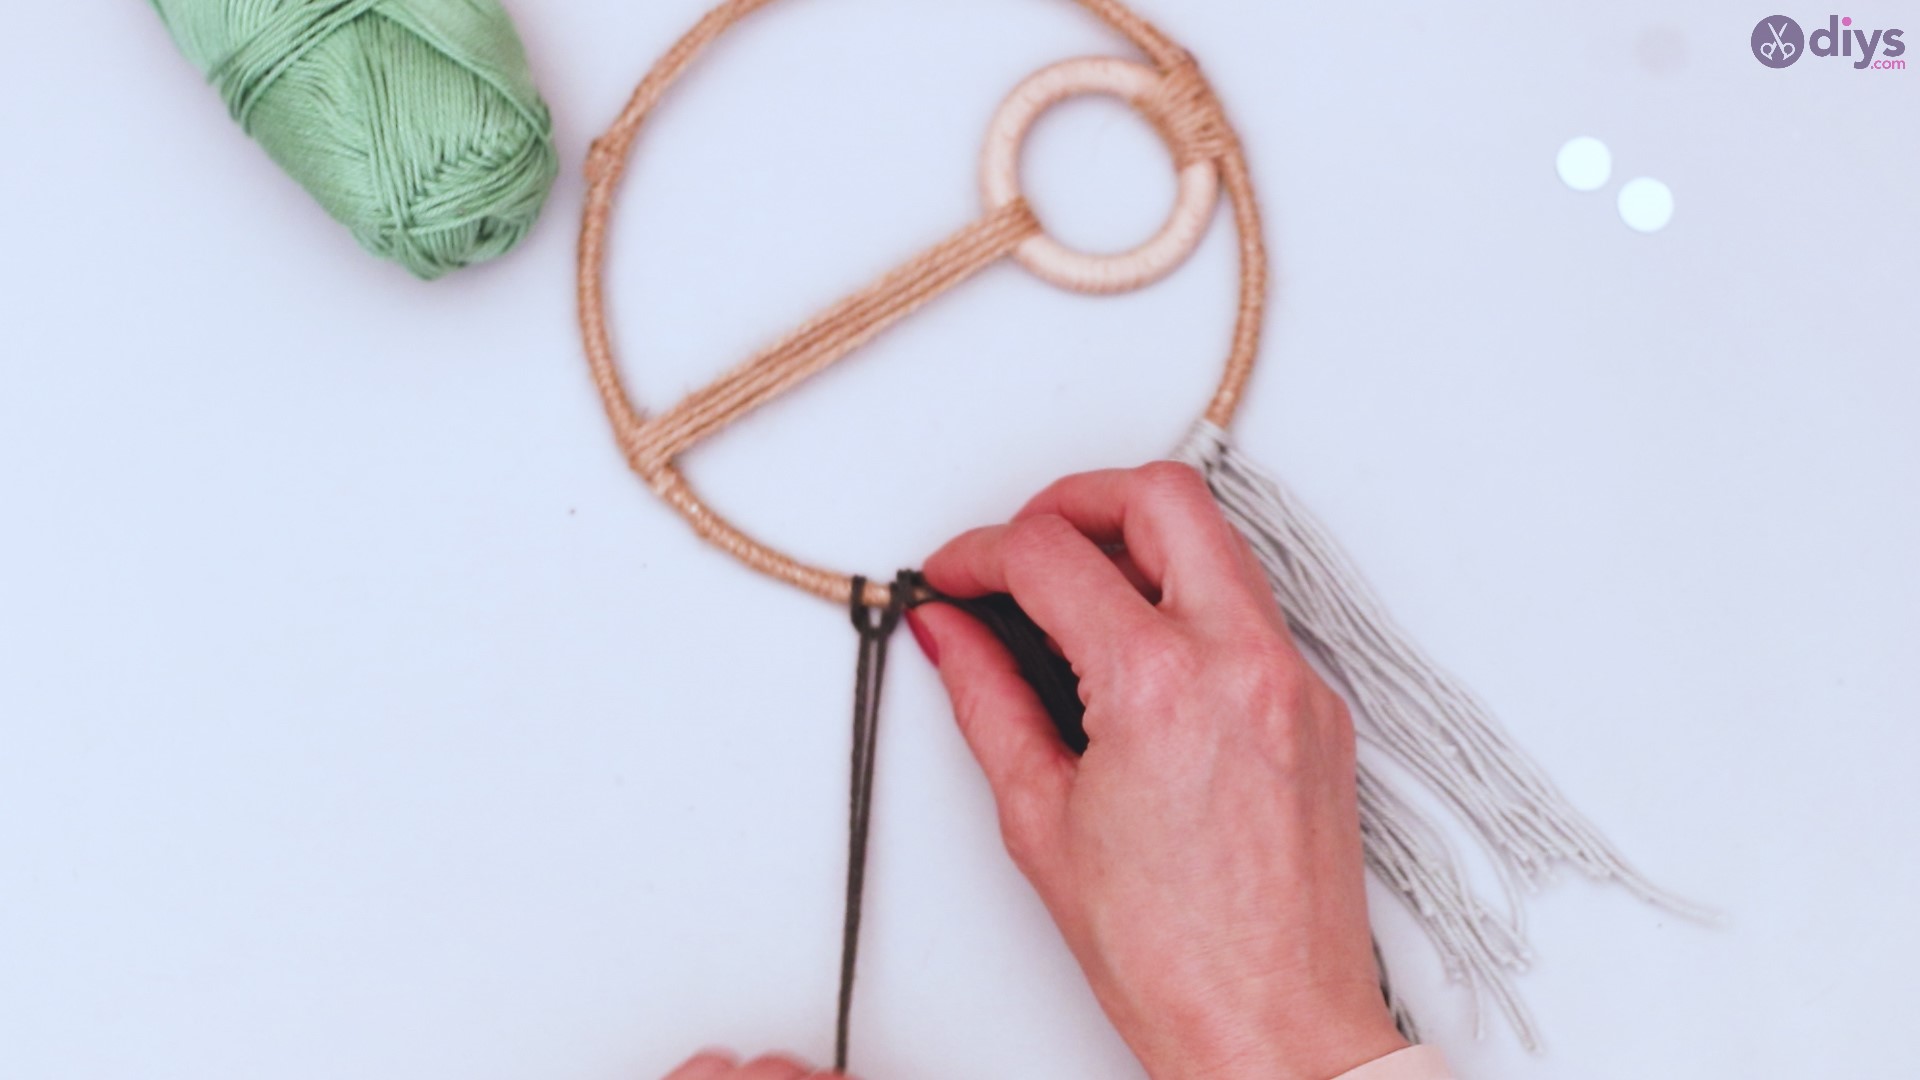
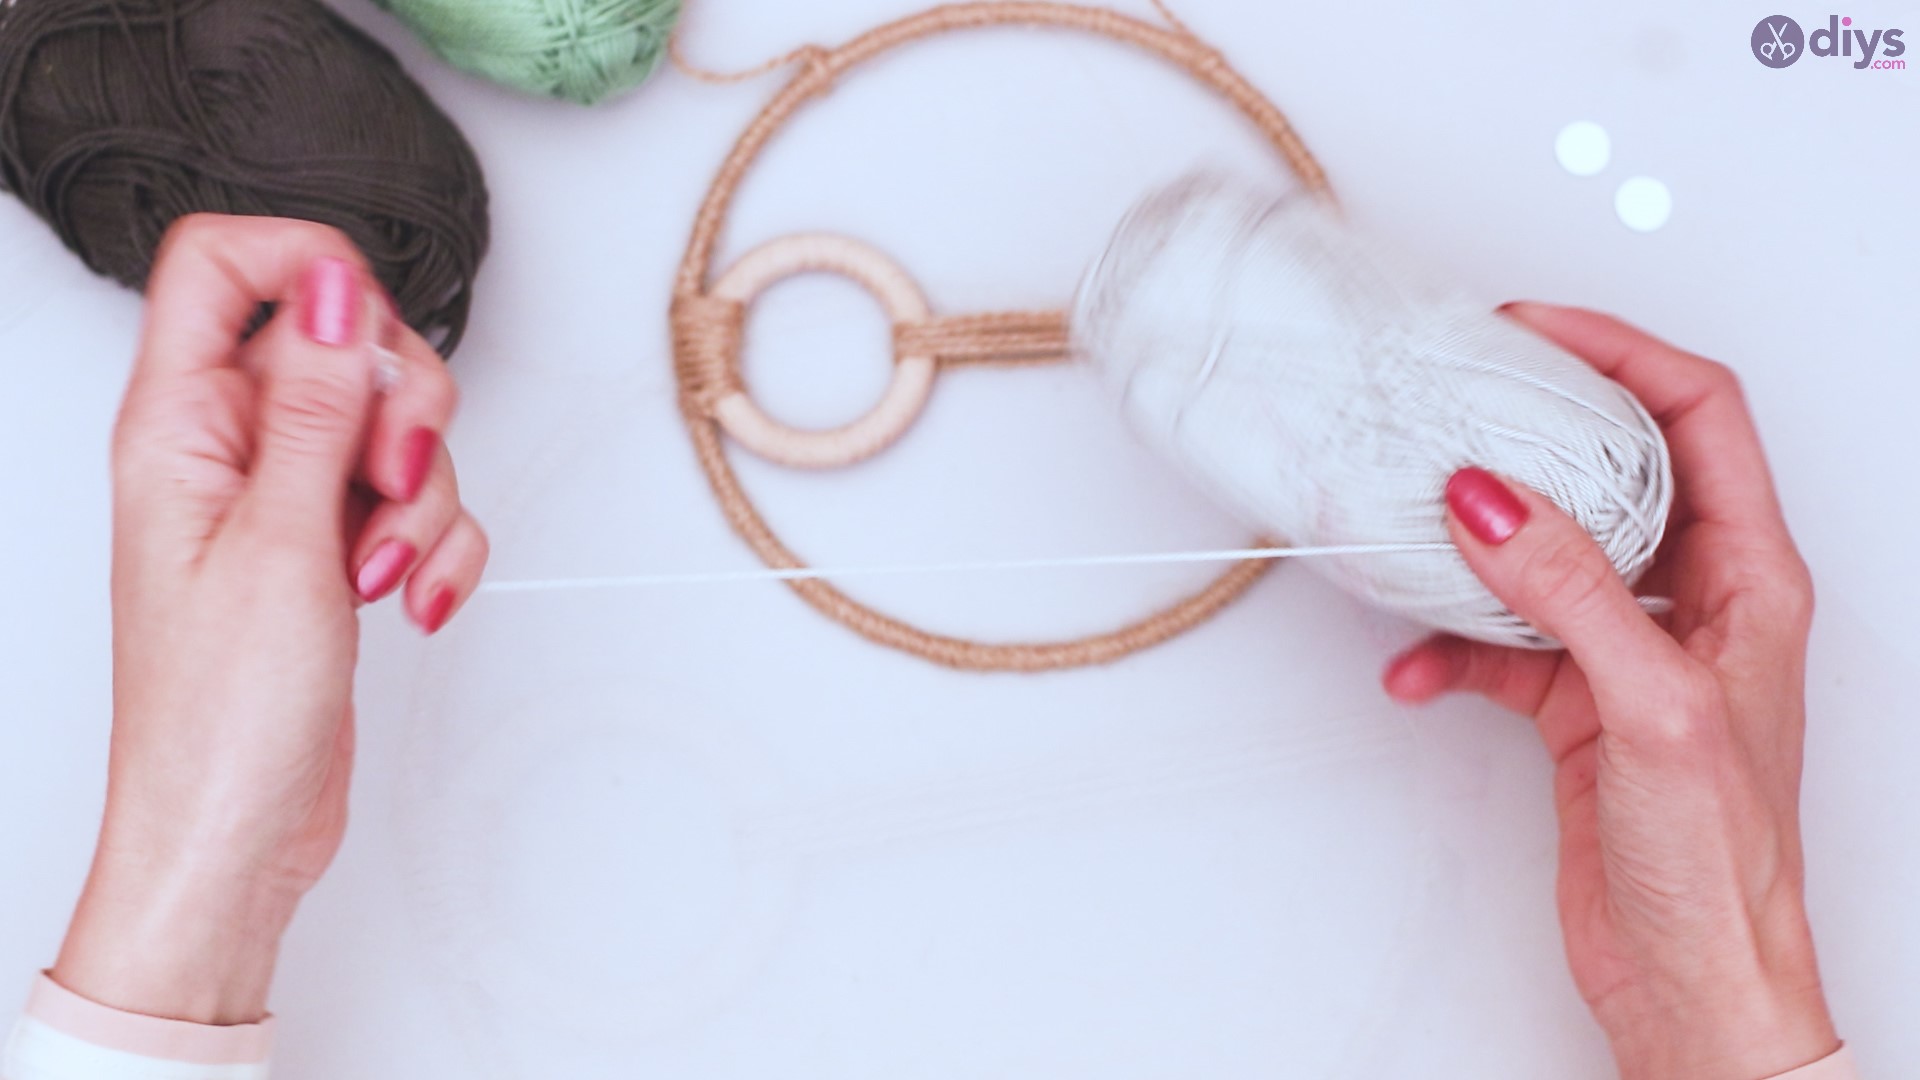
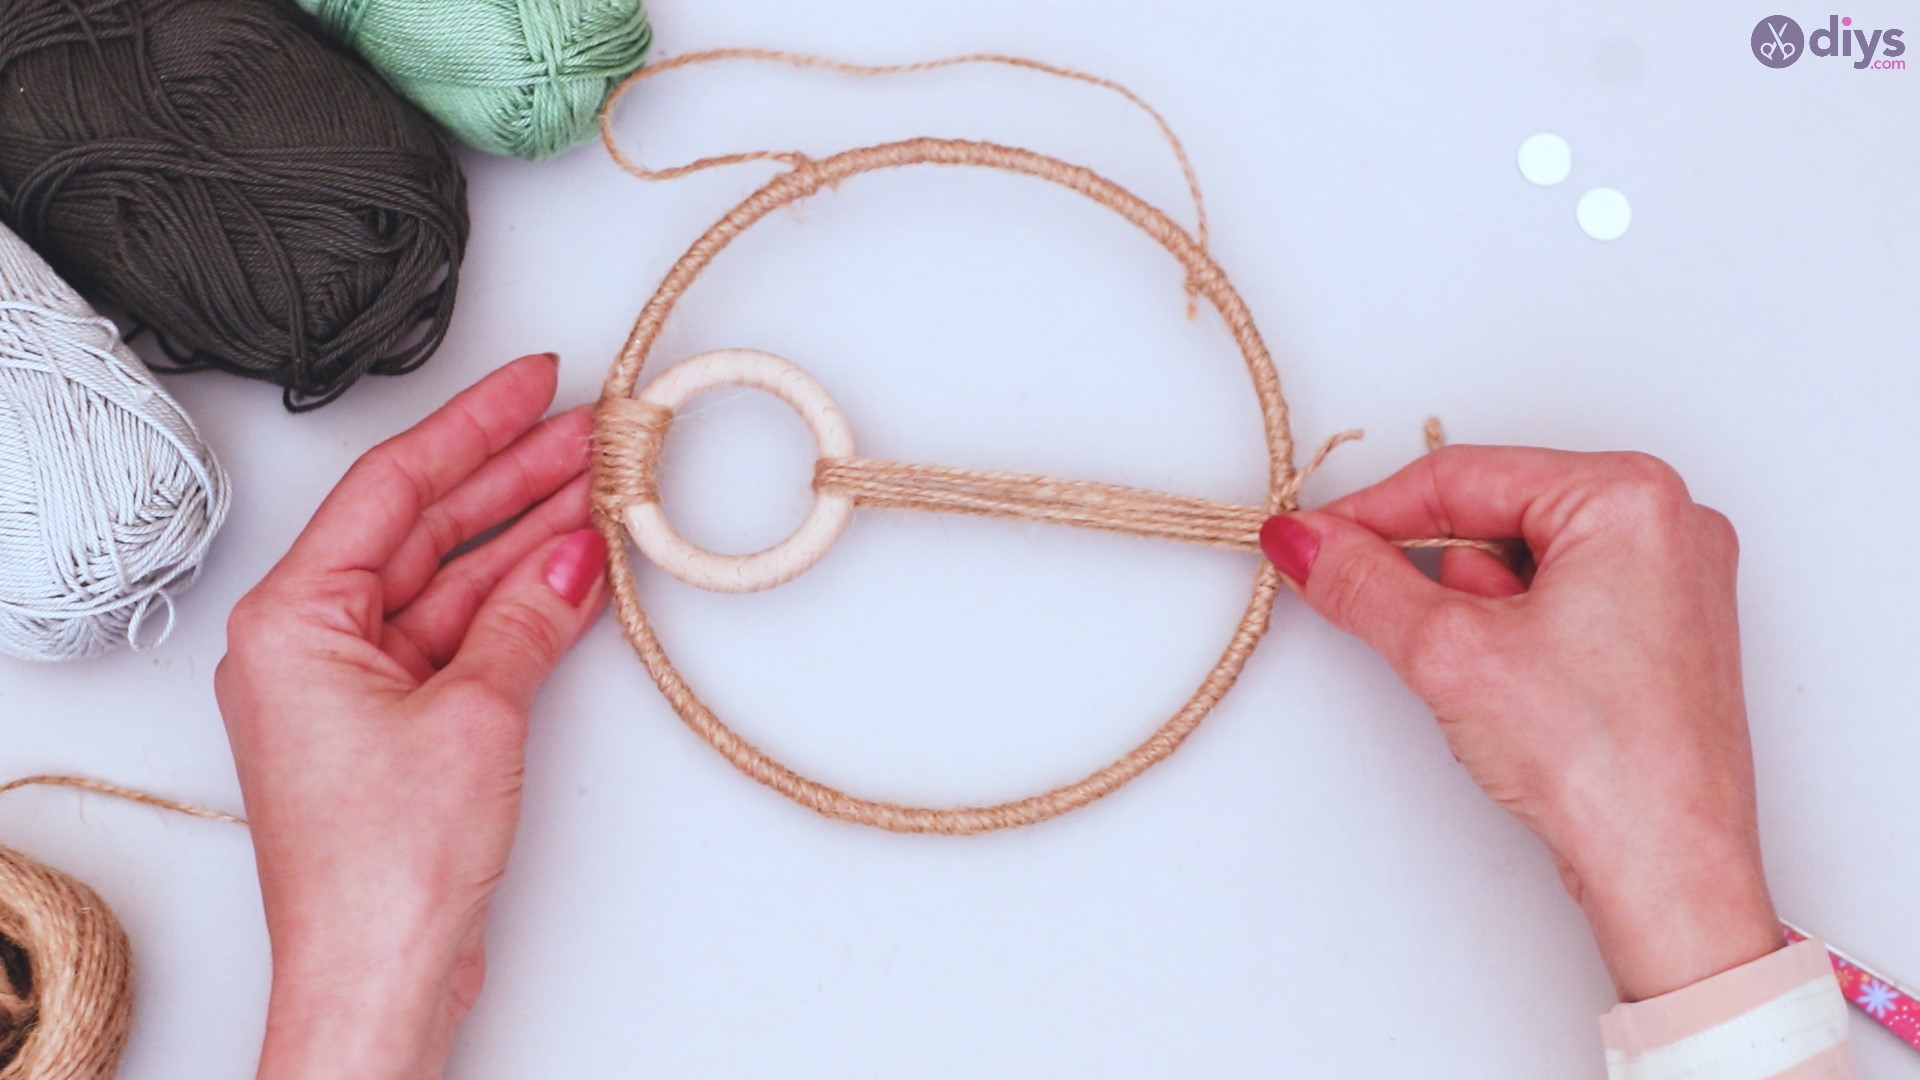
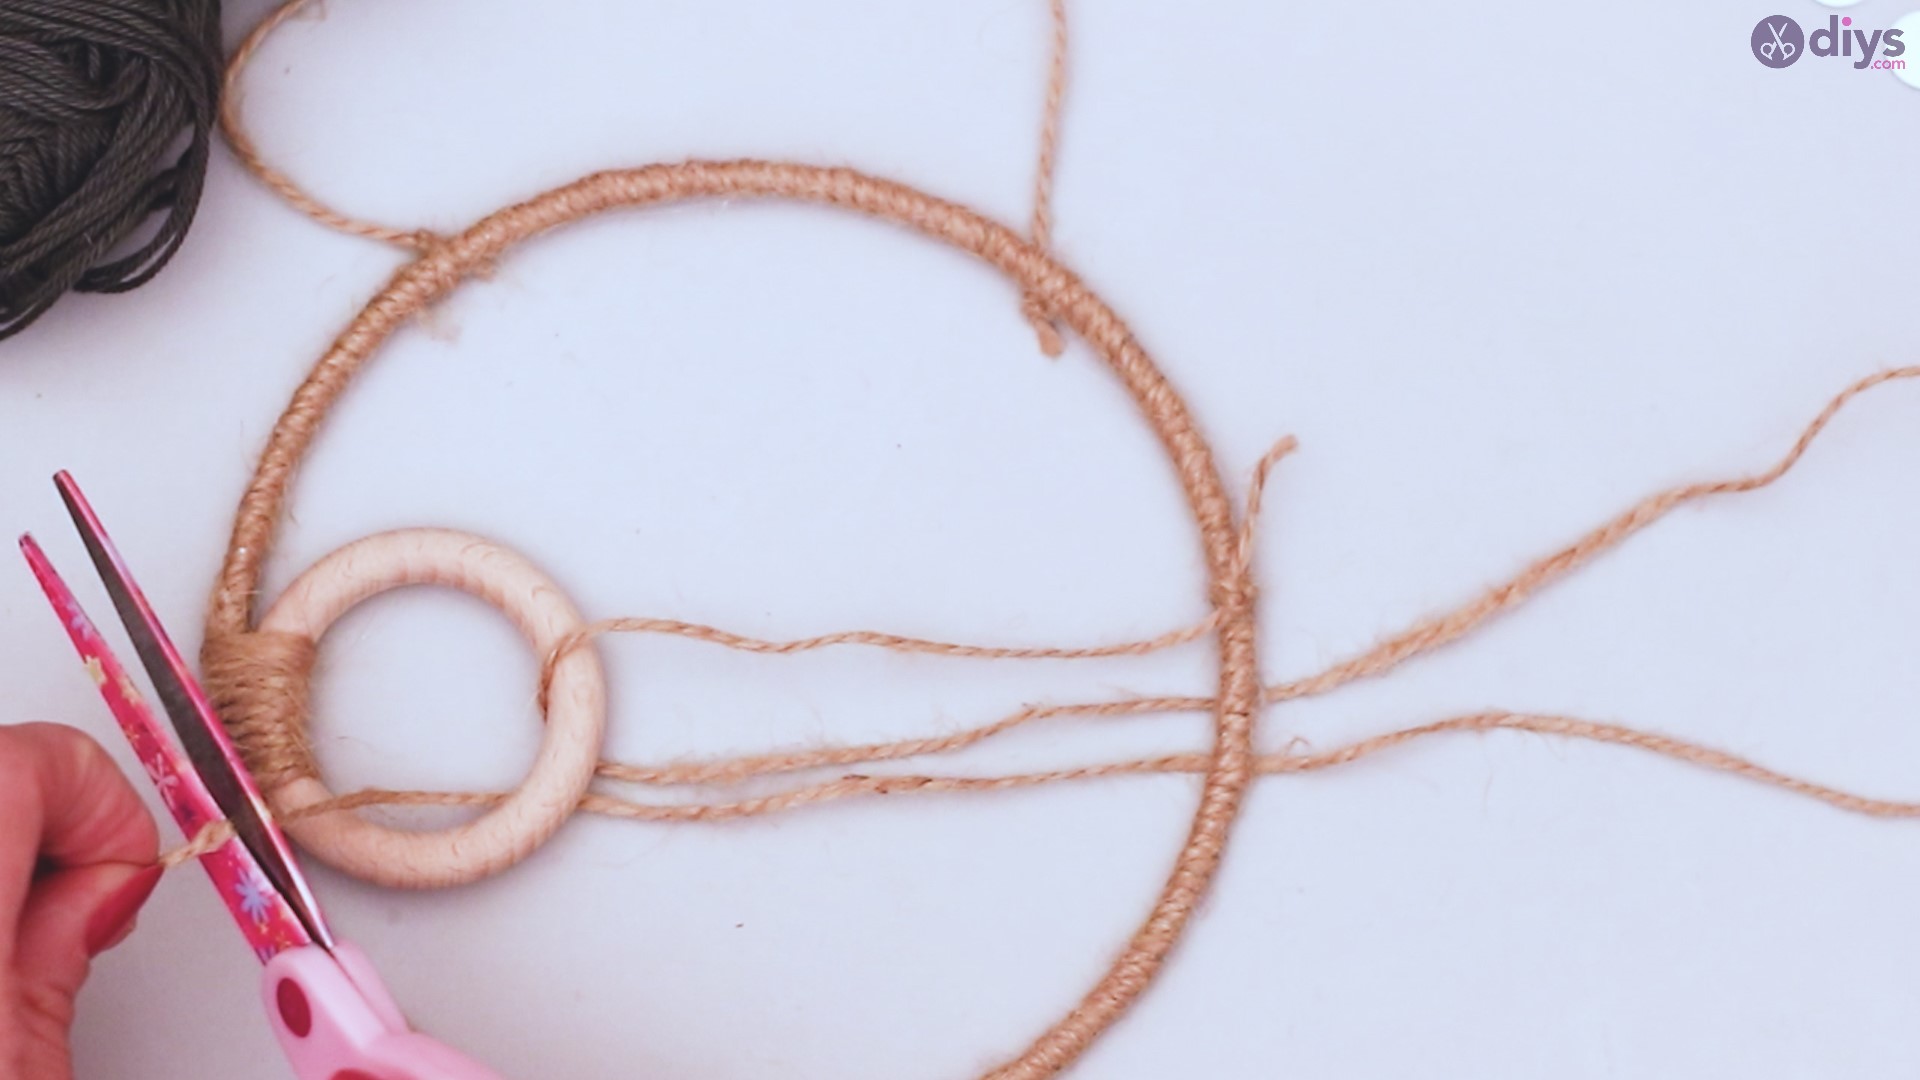
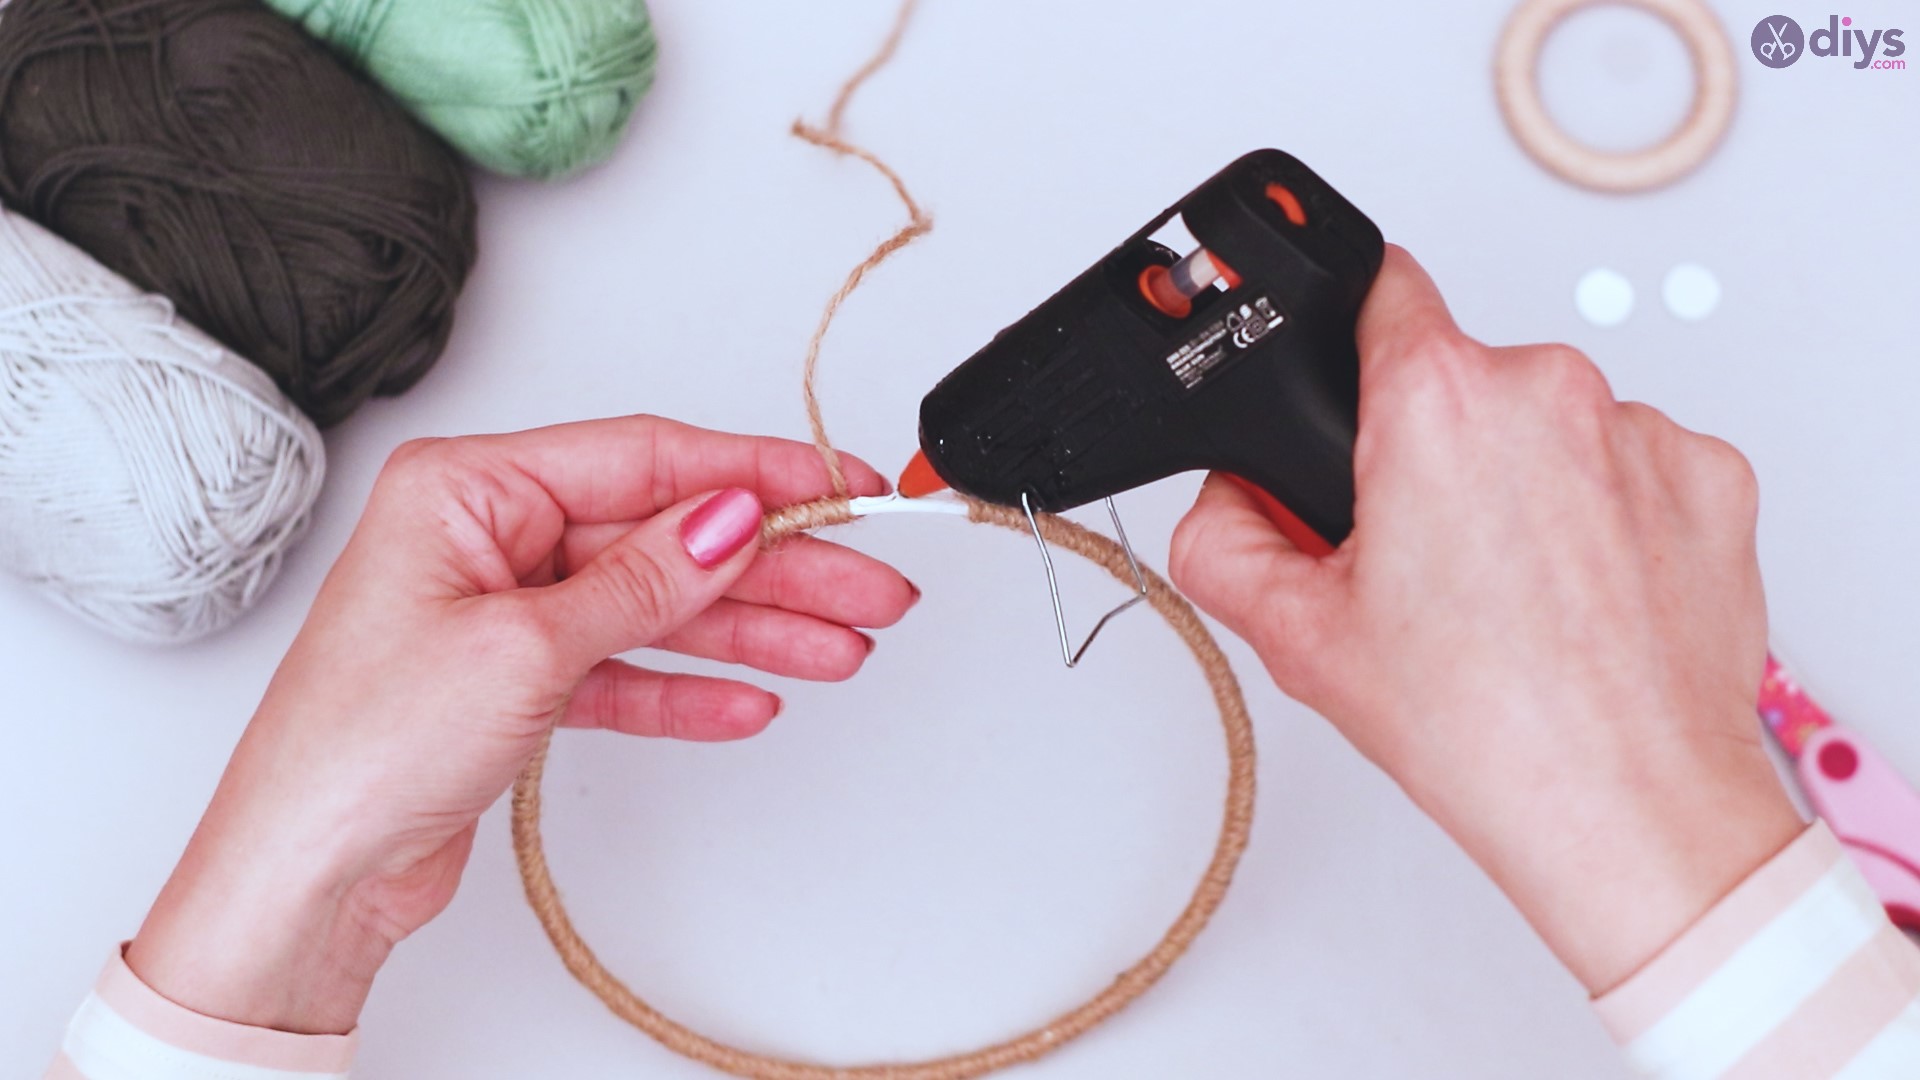
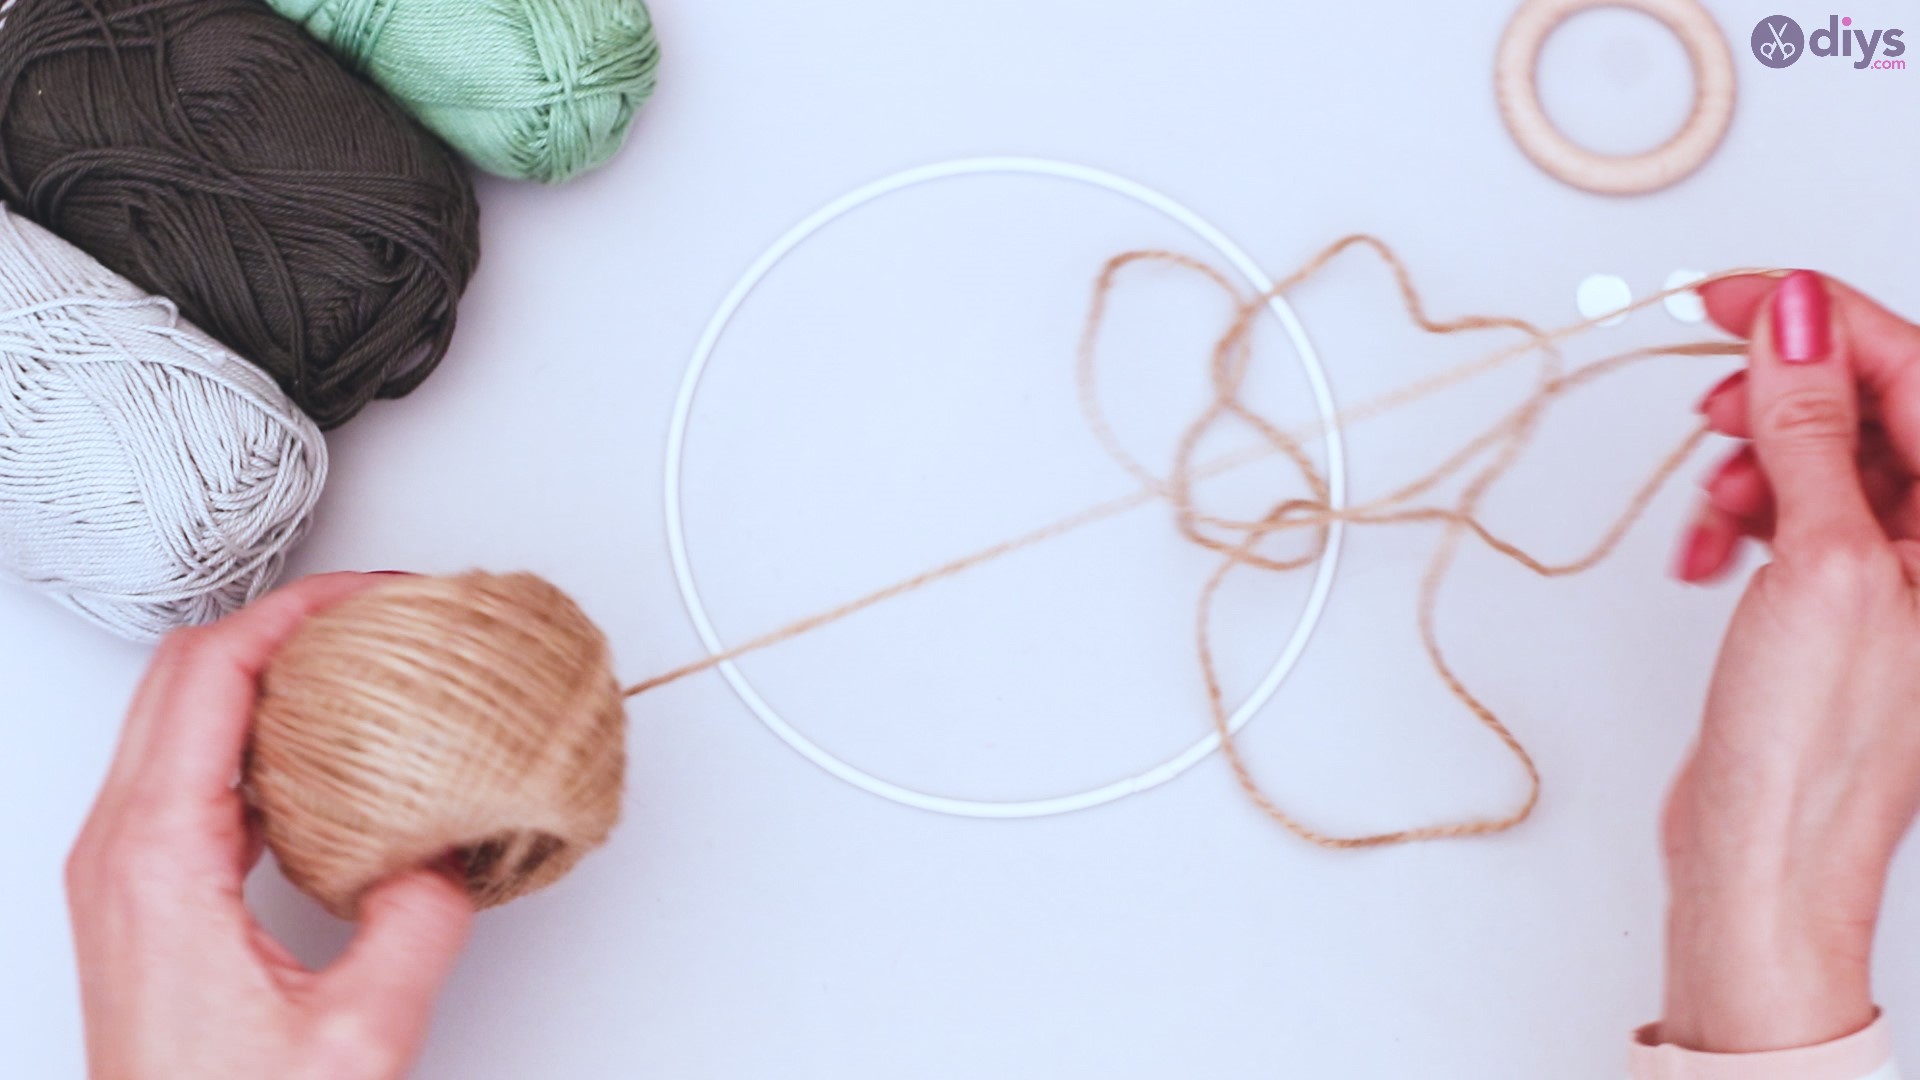
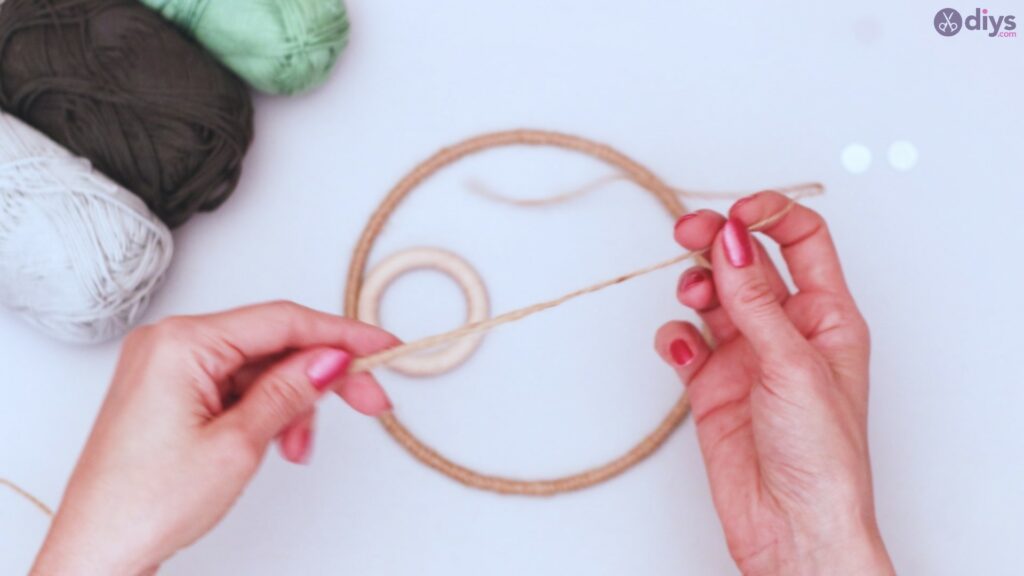
Return to the twine. Directly across from your wooden ring, tie the end of the twine around the metal ring in a knot.


Pull the twine toward the wooden ring, and feed it through the middle of the ring. If your ball of twine is too large to fit through, you’ll need to cut a very long length to continue this process.

Wrap the twine around the wooden ring and pull it back toward the metal ring where you tied it. Wrap the twine around the metal ring and pull it back to the wooden ring.

Repeat this process 4 to 5 times, pulling the twine taut.
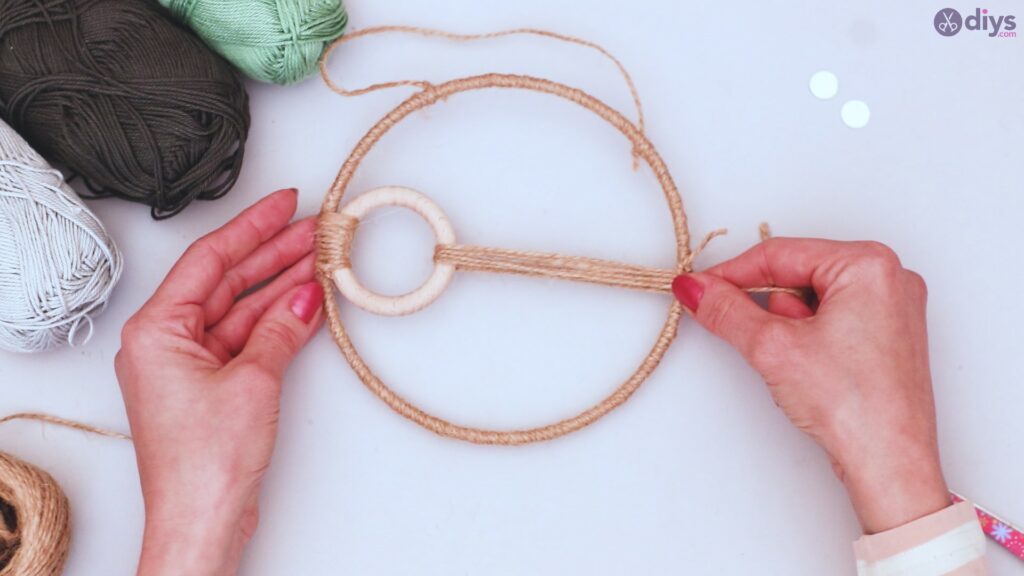
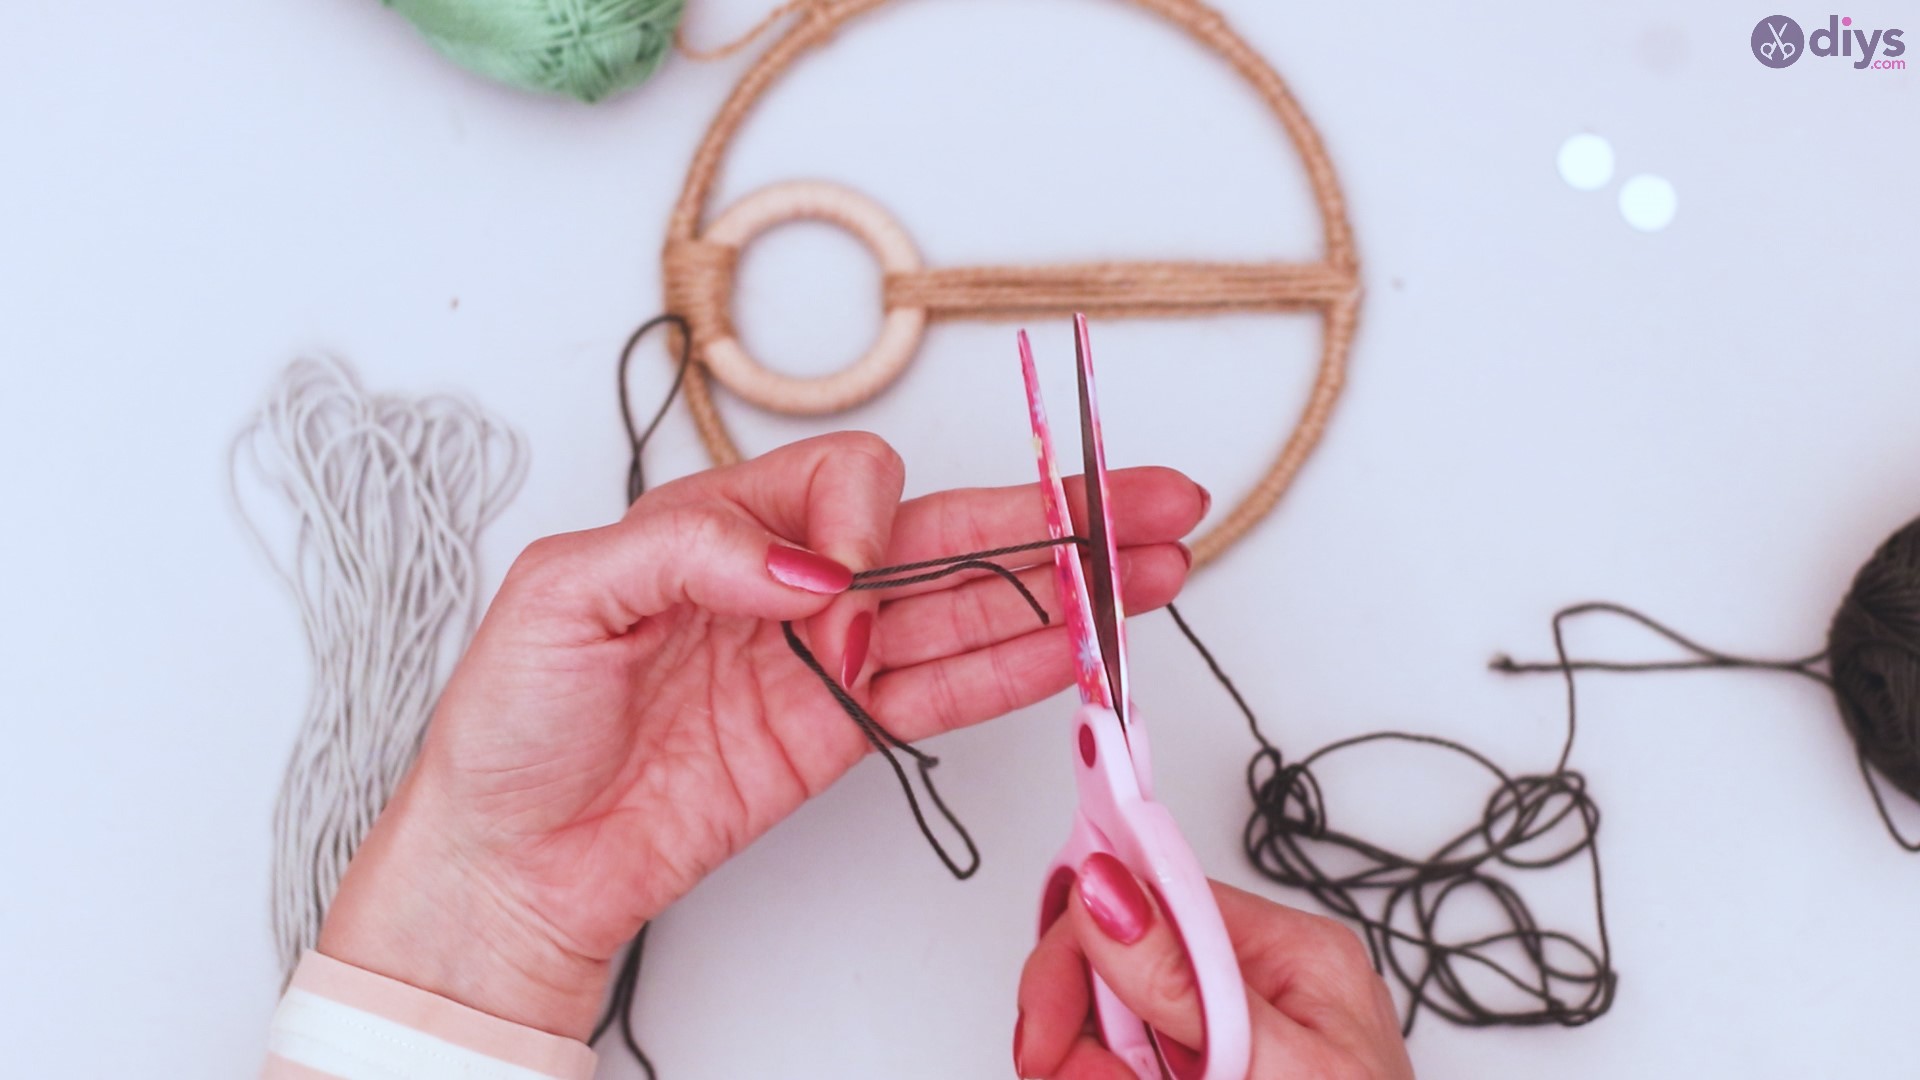
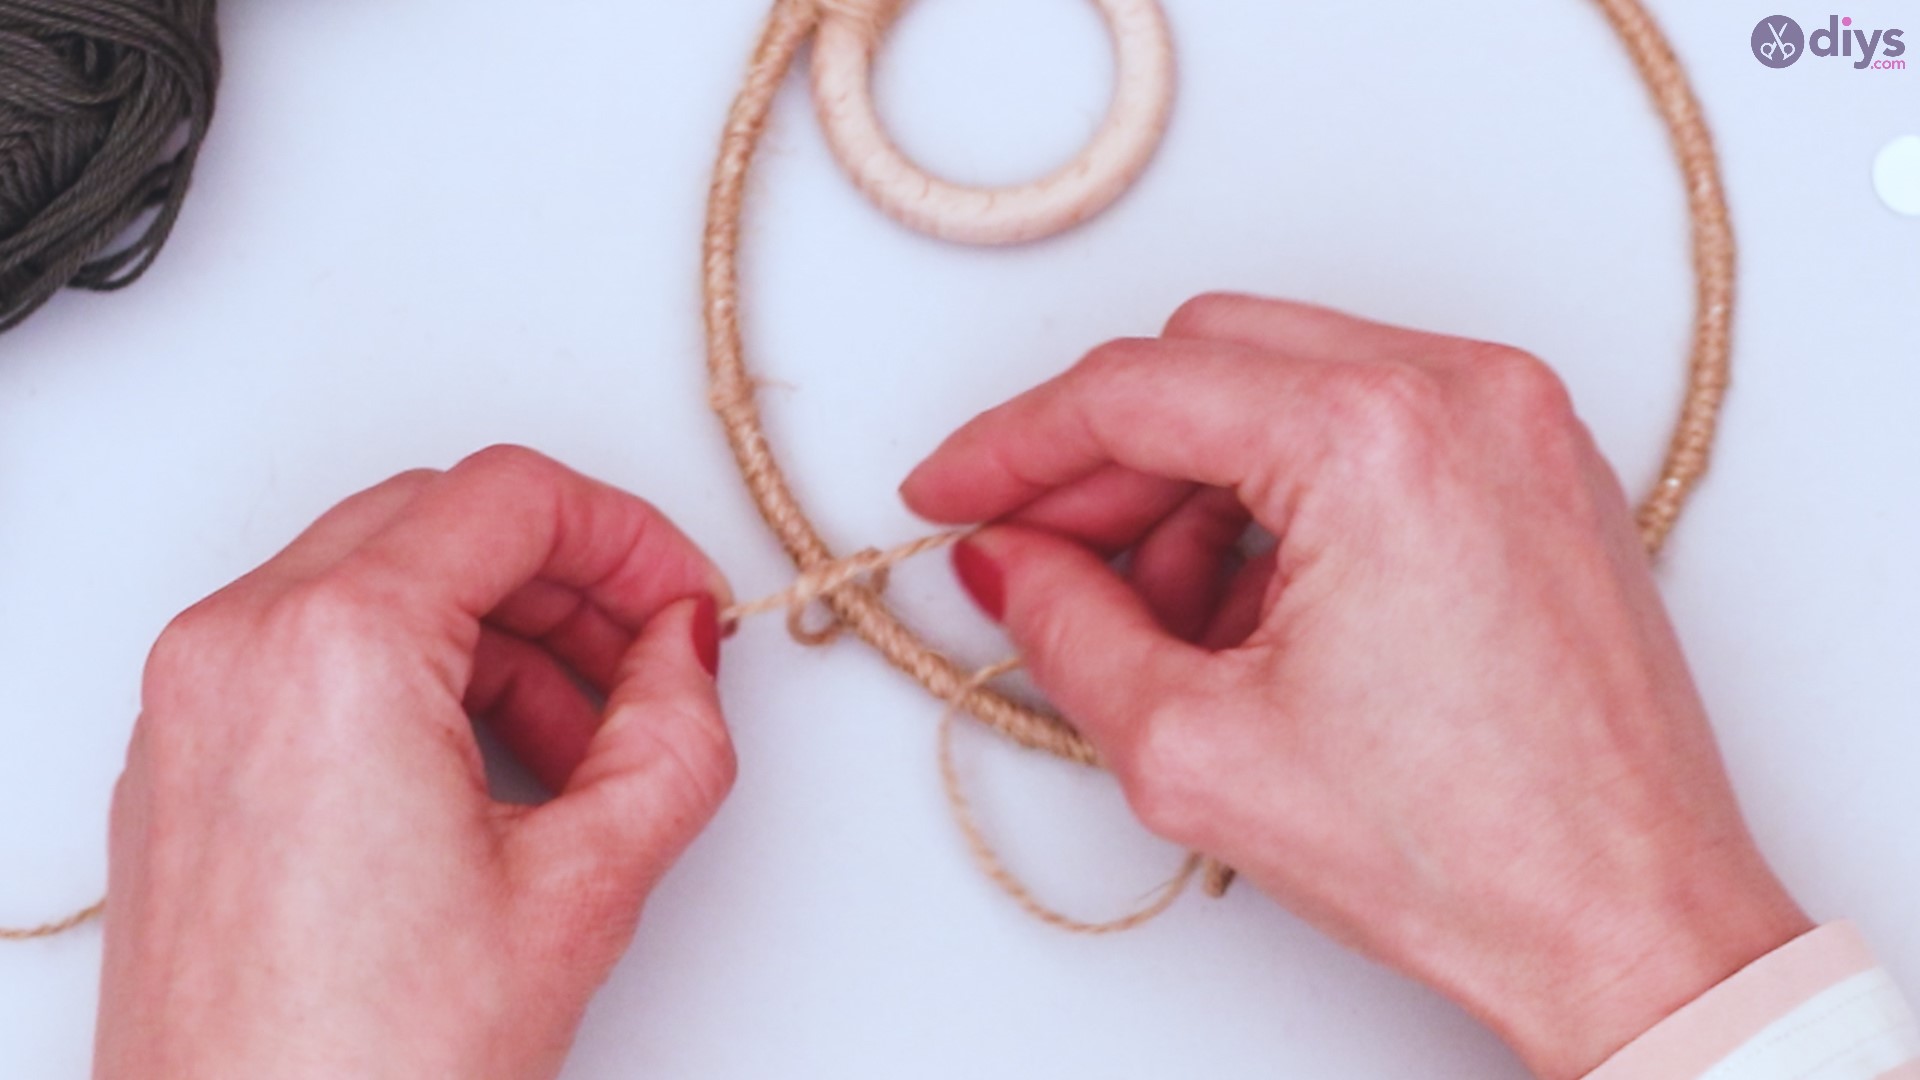
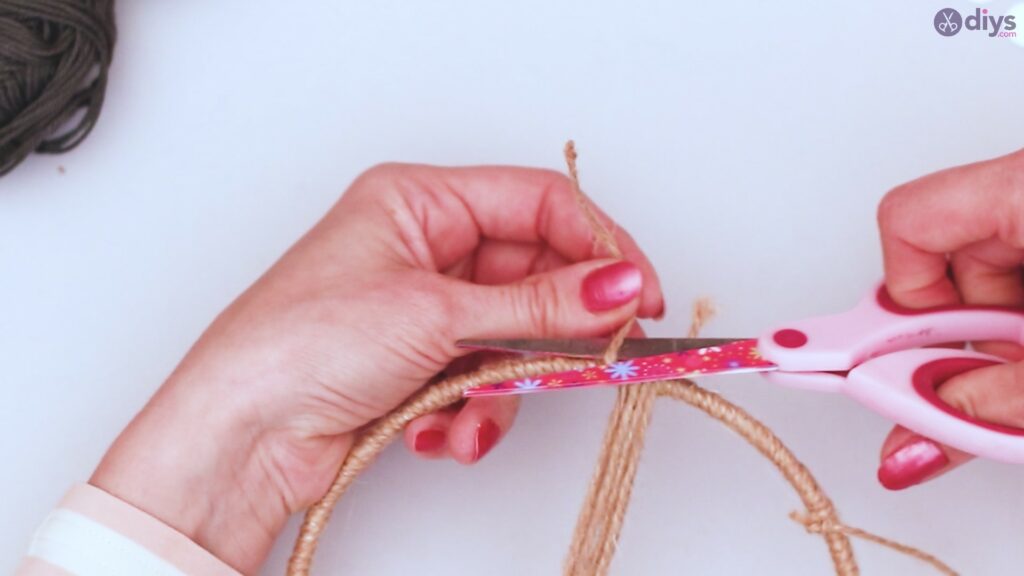
When you’ve completed this, tie off the twine on the metal ring again.

Add a dot of hot glue to assure that the twine will stay in place.

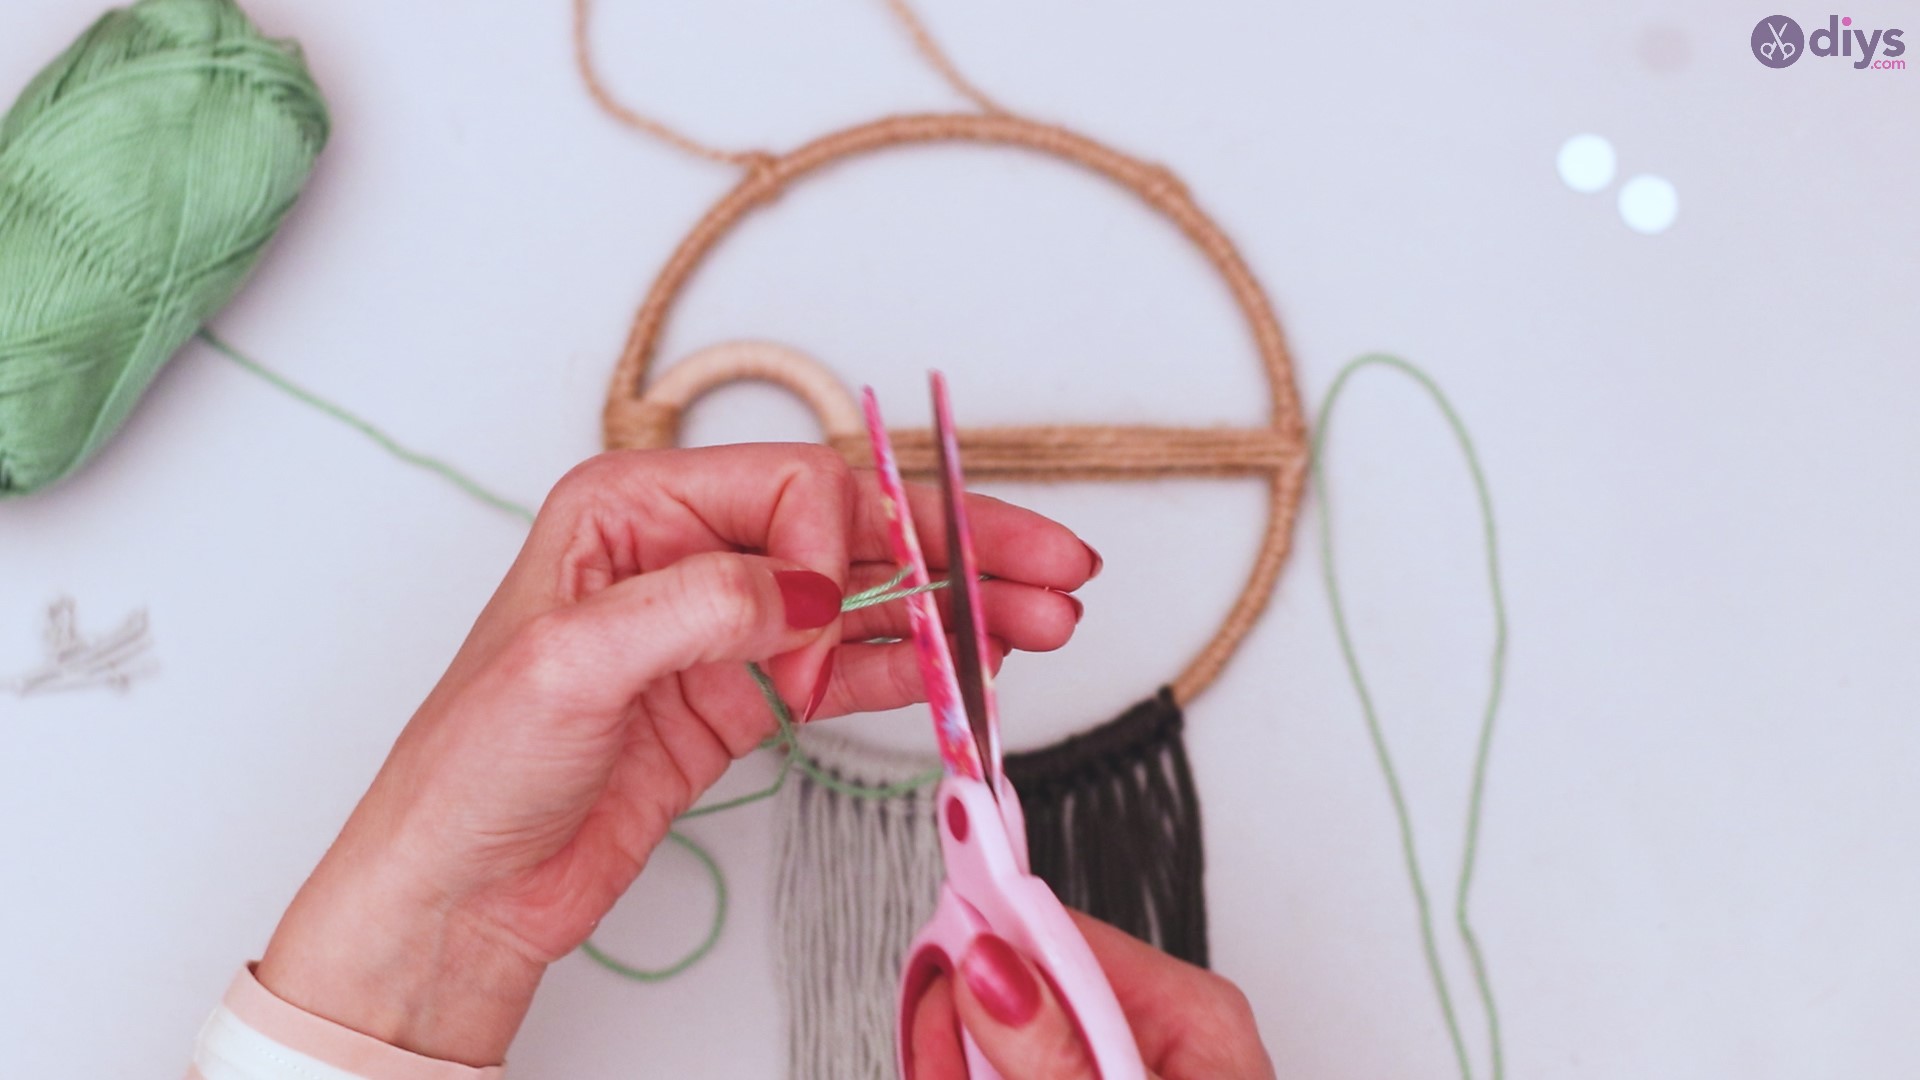
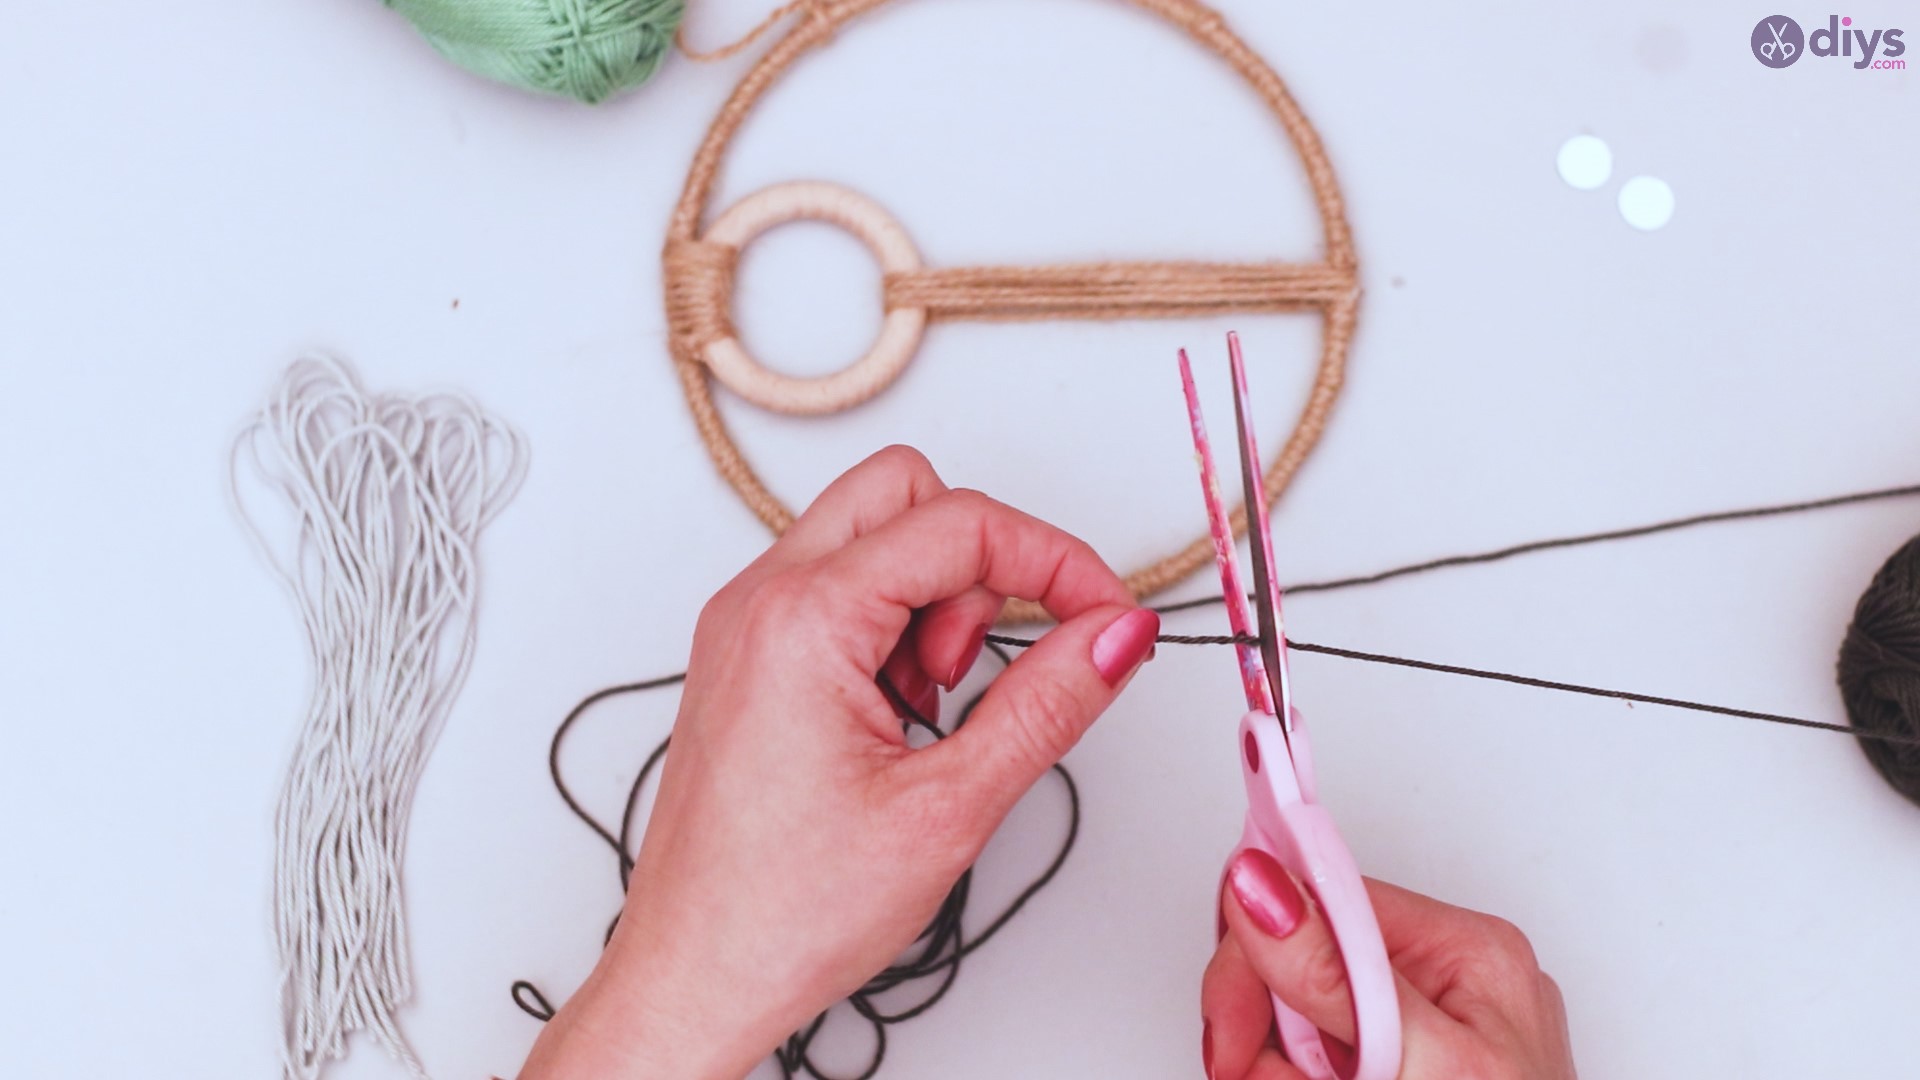
Trim any excess twine for a clean look.
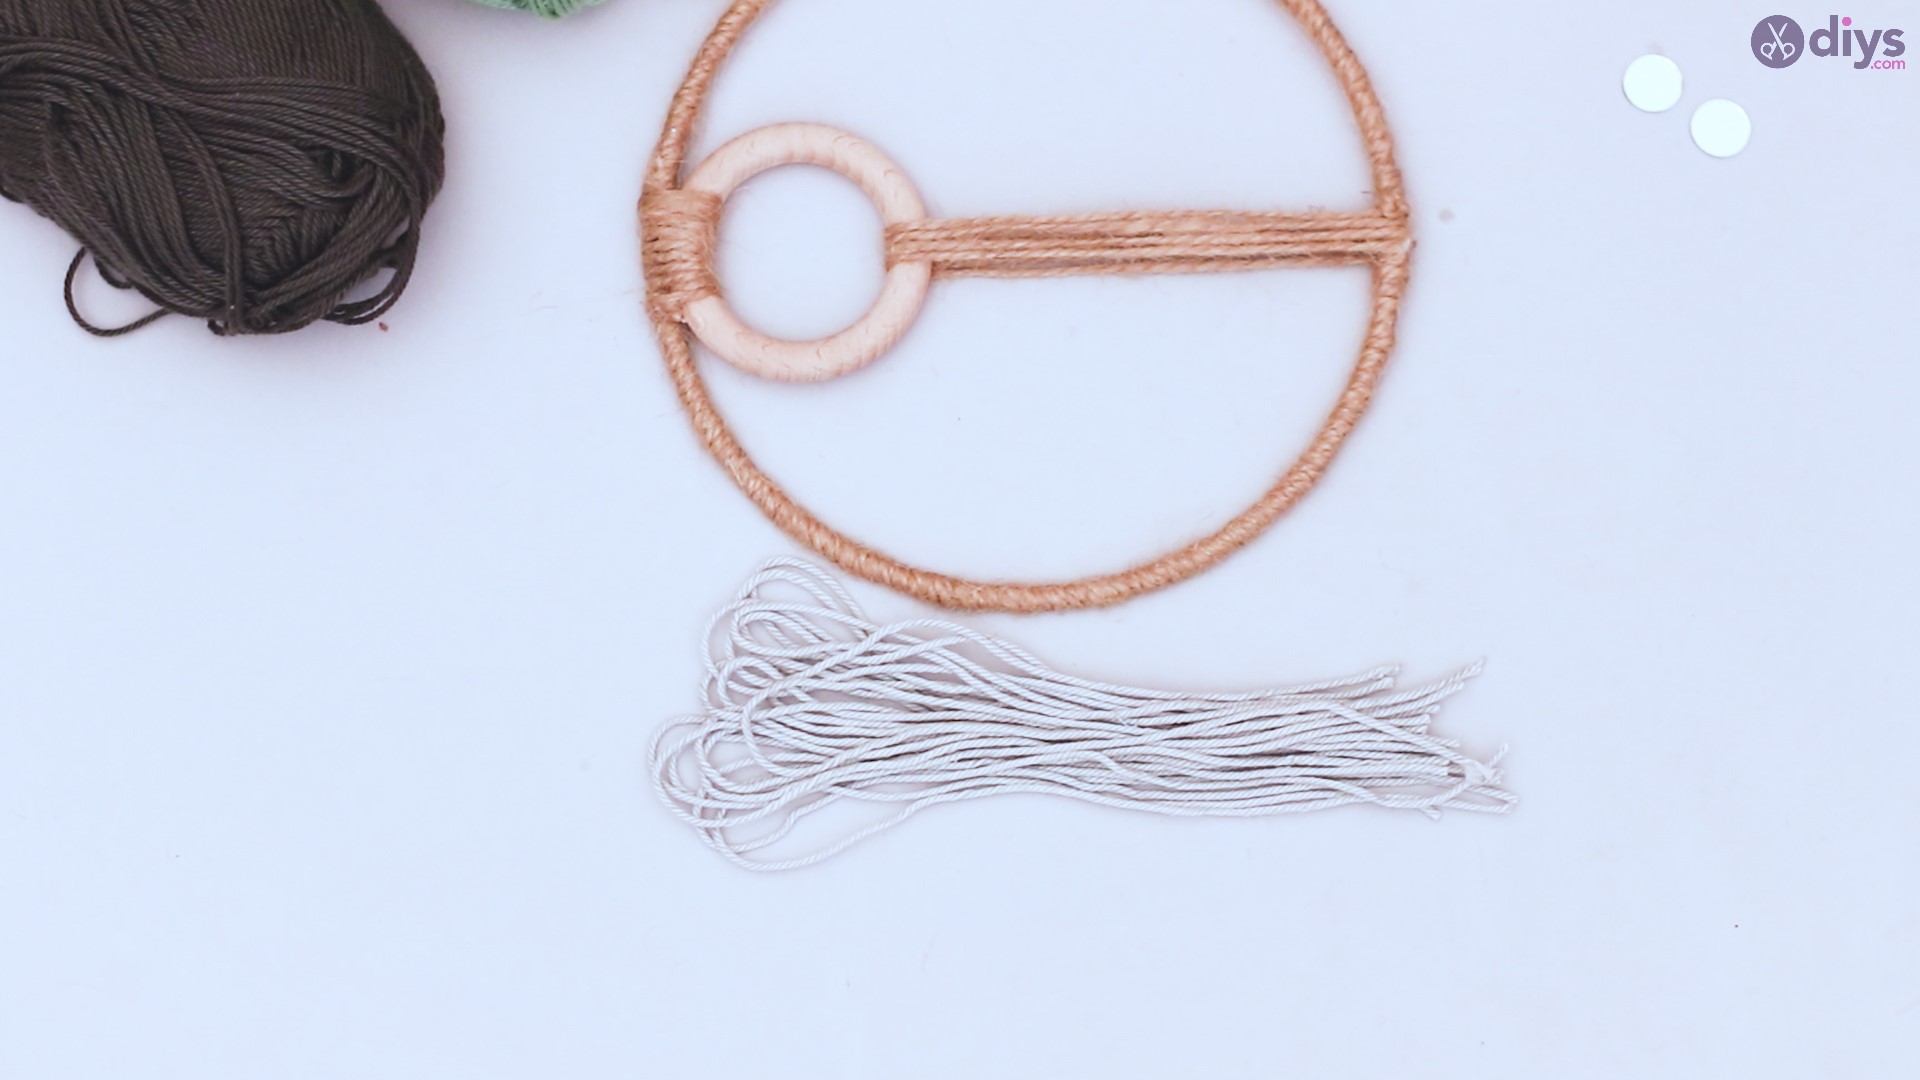
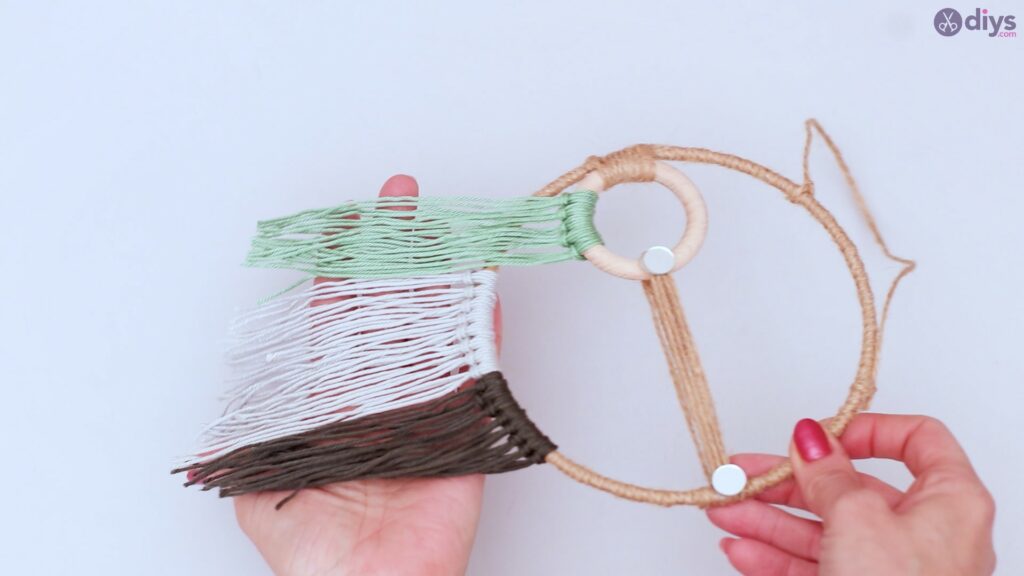
Step 5: Fringe
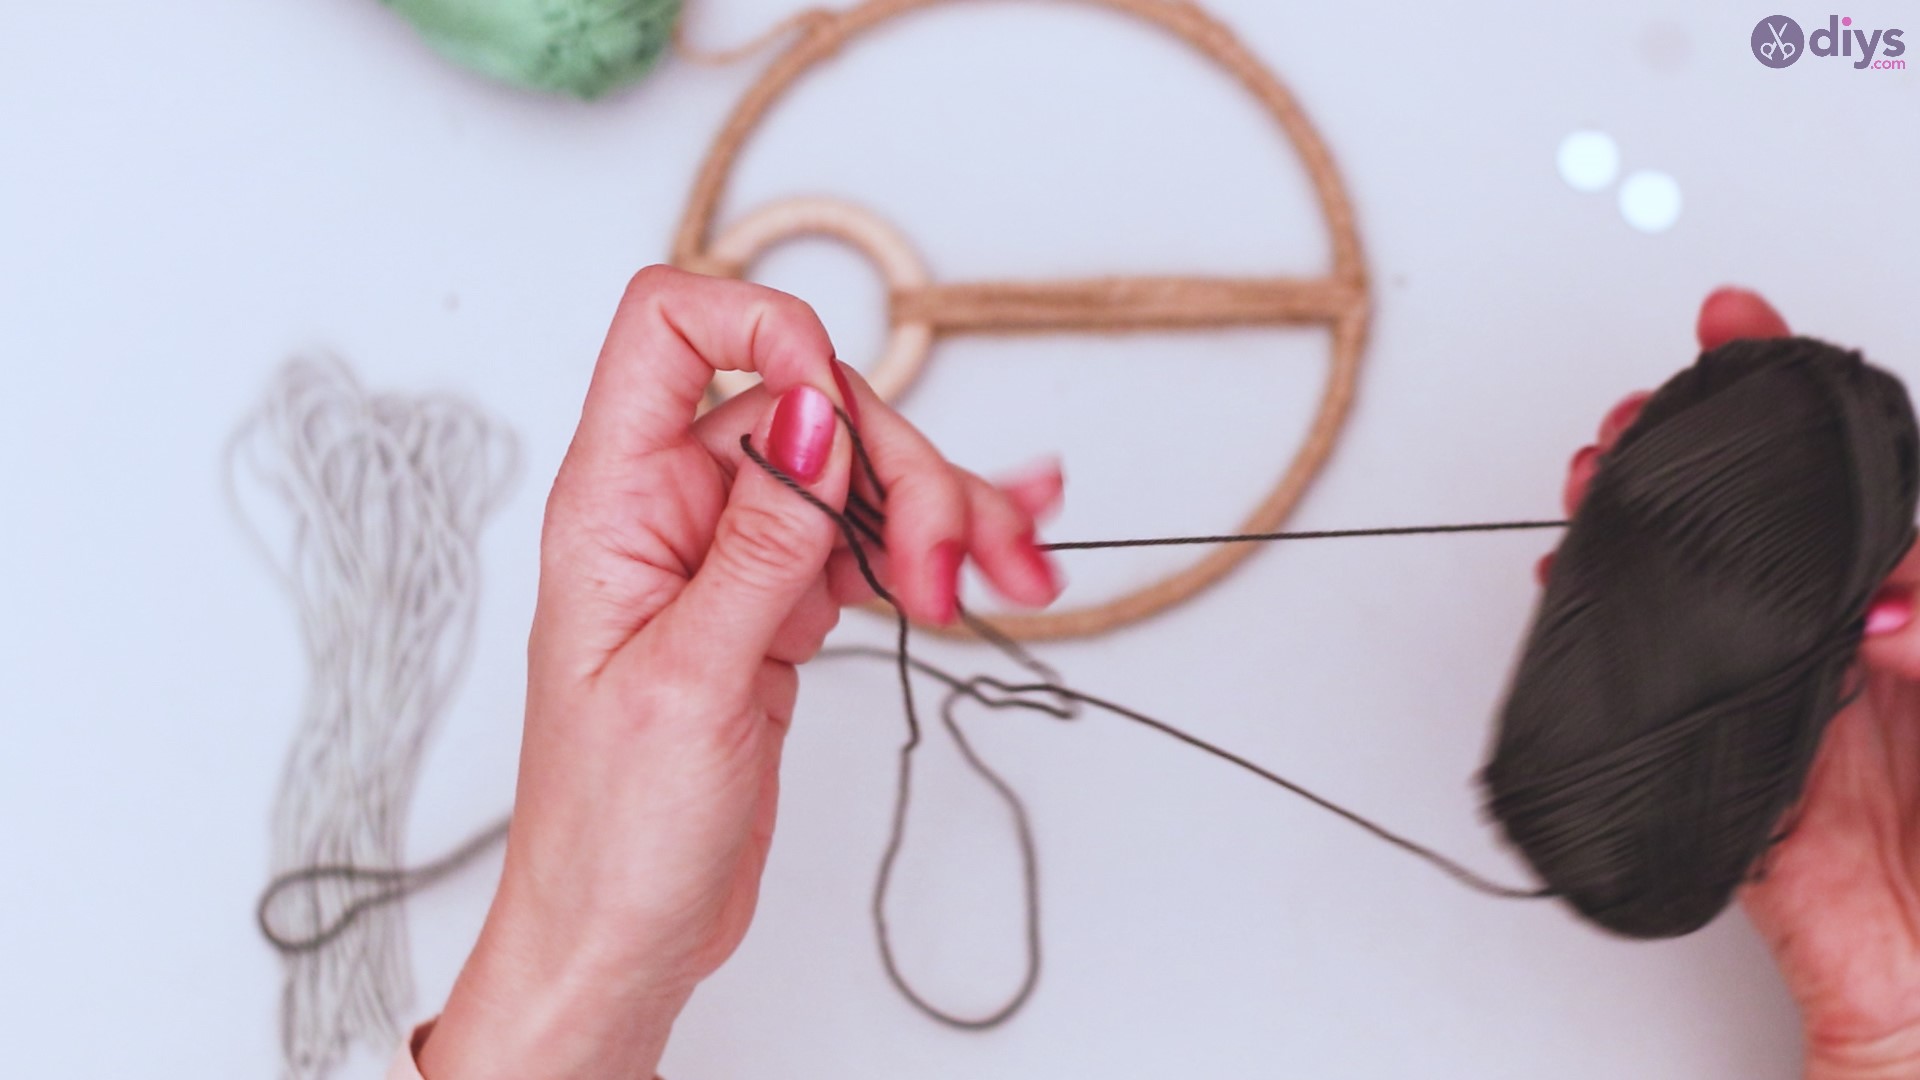
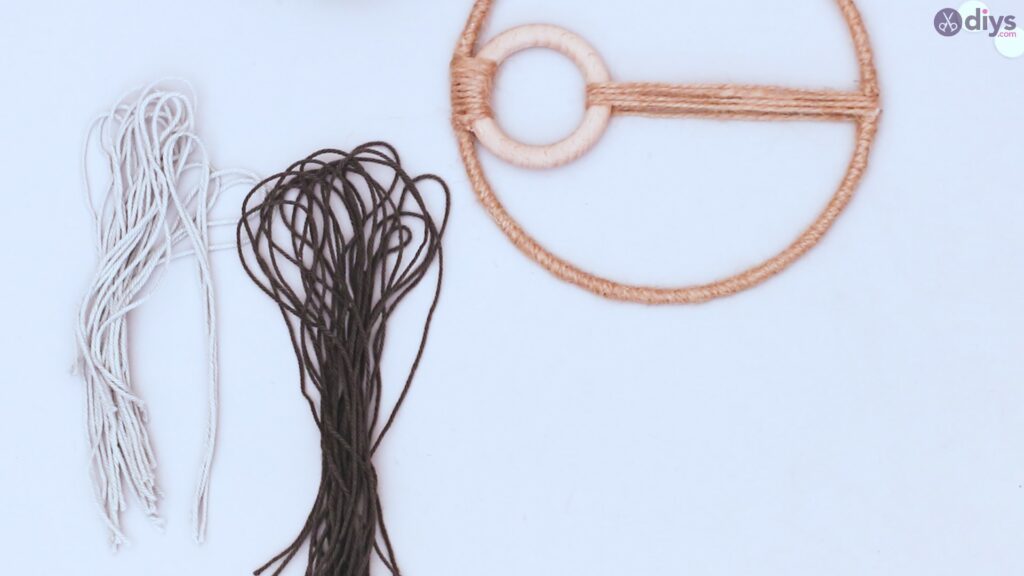
You have three different colors of yarn. Start with your first color.
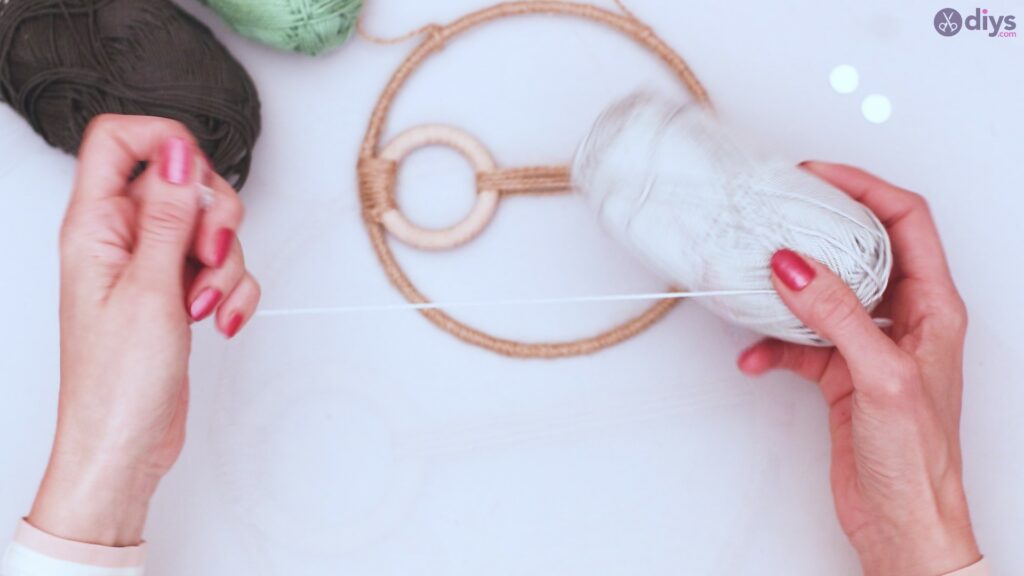
Cut several lengths of yarn. They should be fairly long. For my purposes, I cut them to be about 18 inches long.

Fold them in half, and set them aside. You should have at least a dozen, probably closer to 2 dozen.

Take your next color of yarn, and repeat the process.
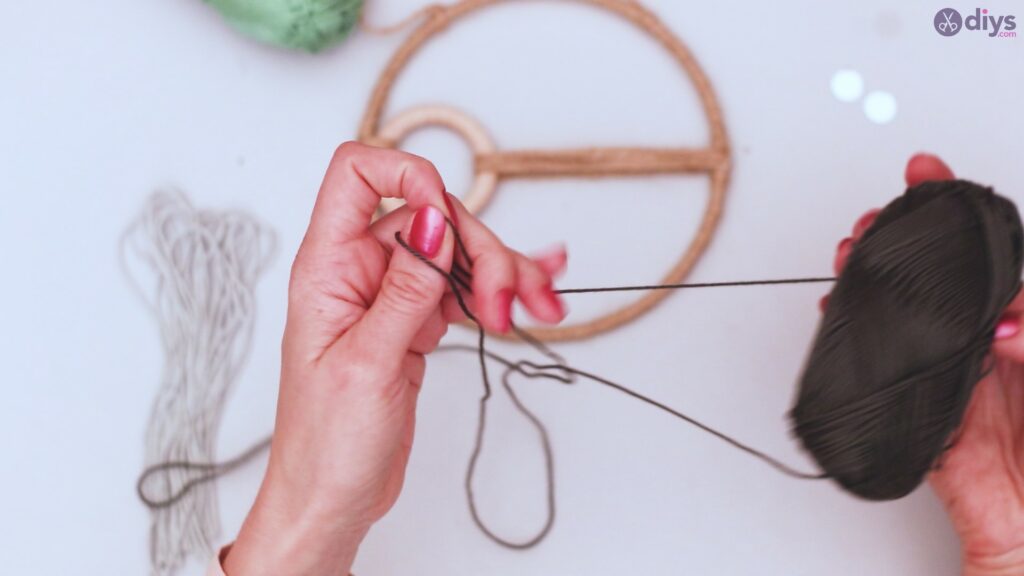
Try to keep the lengths fairly even across the 2 different colors of yarn. You can use one of your previous cuts to start measuring your cuts on this new color of yarn.


When you have equal amounts of the two colors of yarn, it’s time to move on to the next step.
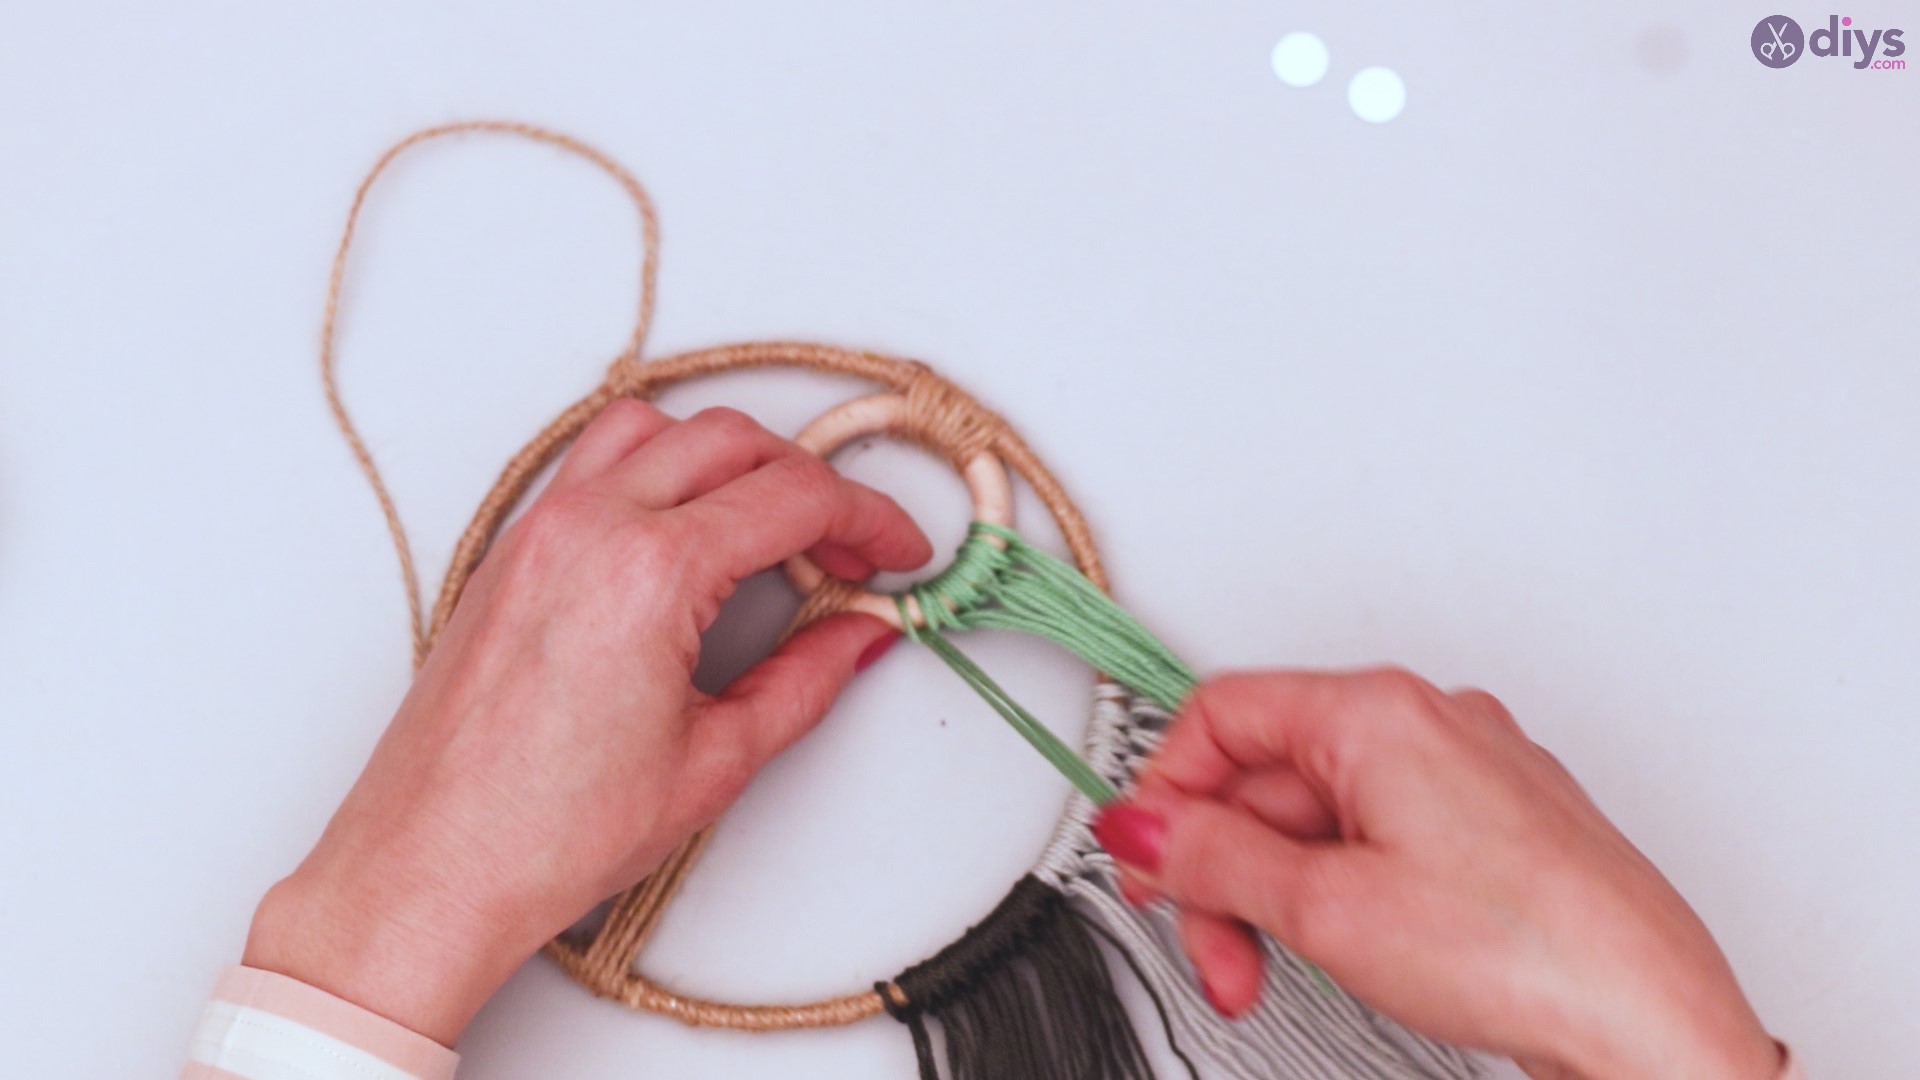
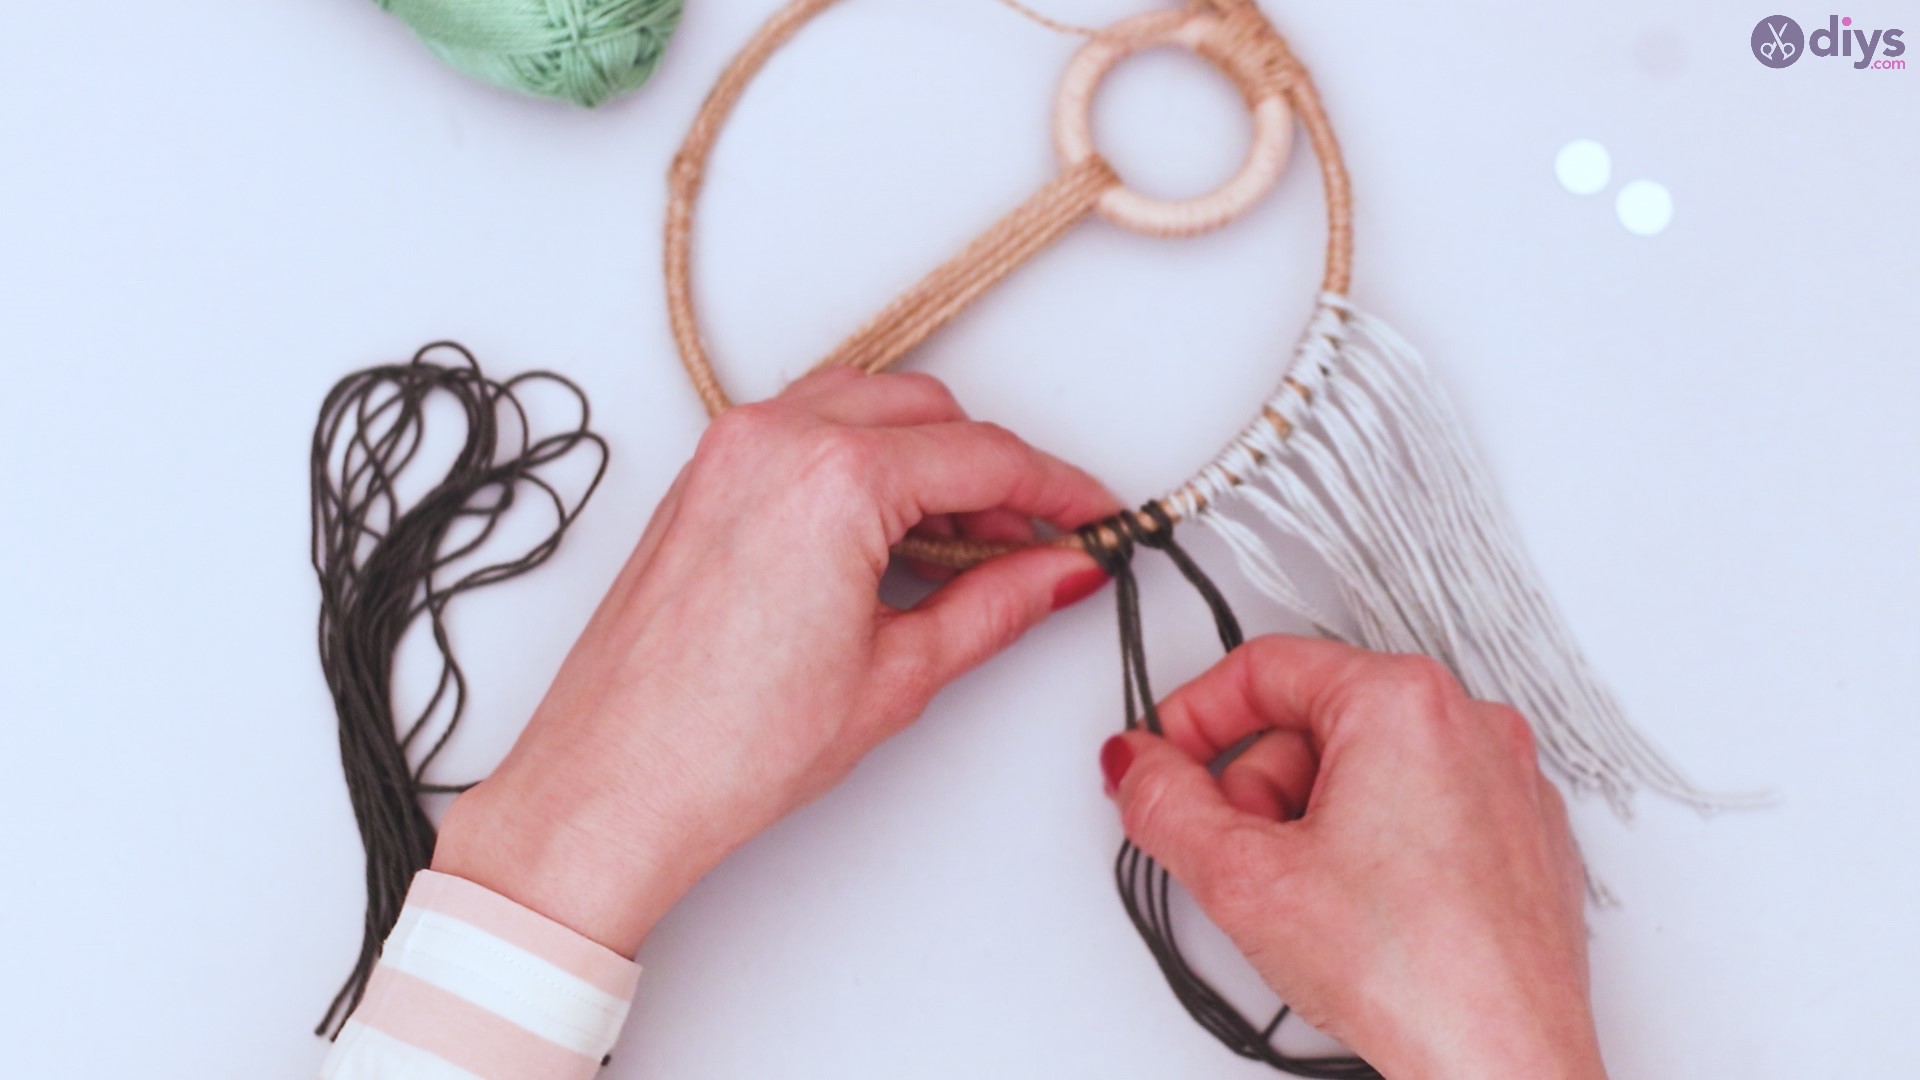
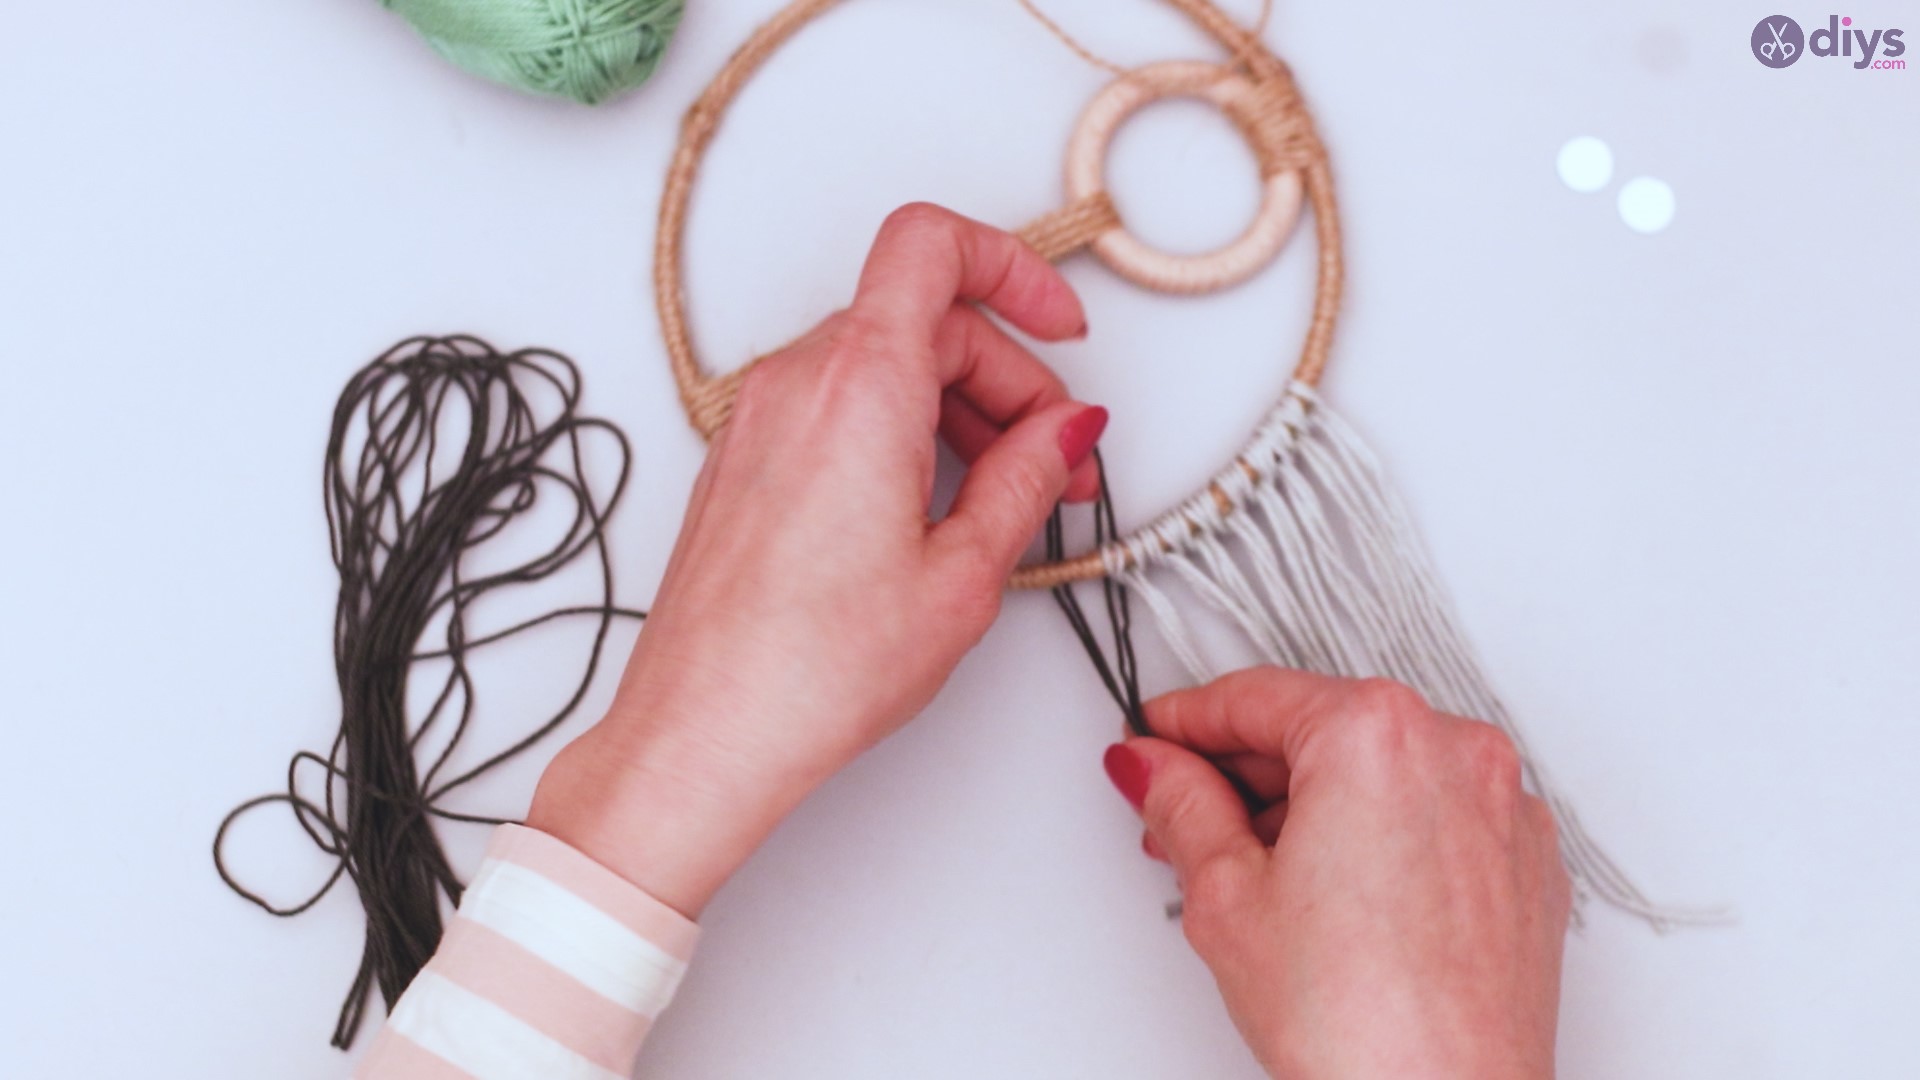
Step 6: Attaching the fringe
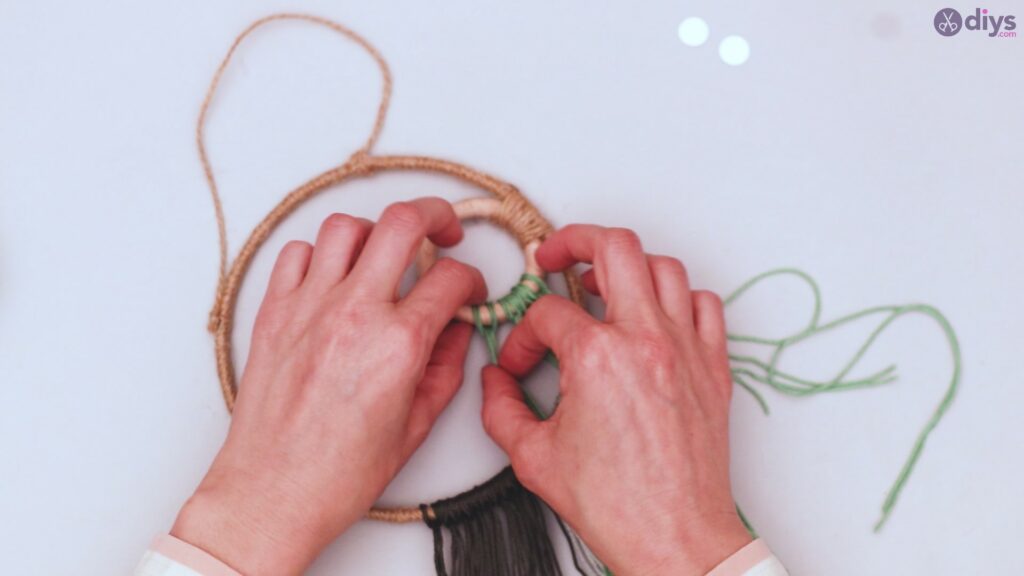
Flip your metal rings over so you are looking at the back side. Take one of your cut strands of yarn, and feed the loop end under the metal ring.
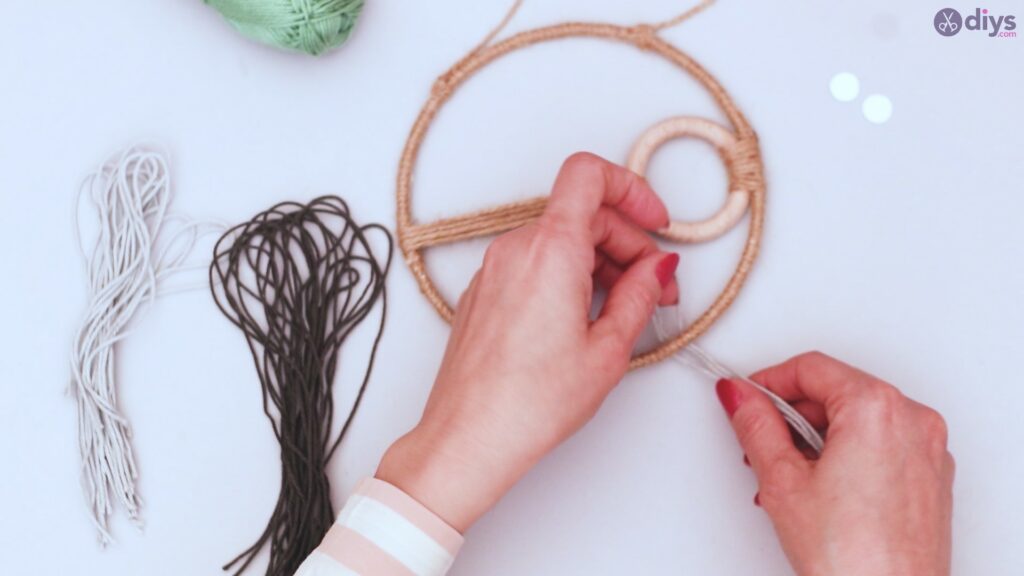
Take the loose ends of your yarn and feed them through the loop end of the same strand of yarn. Pull tightly so that the strand of yarn is wrapped around the metal ring.
Repeat this process with another strand of yarn of the same color.
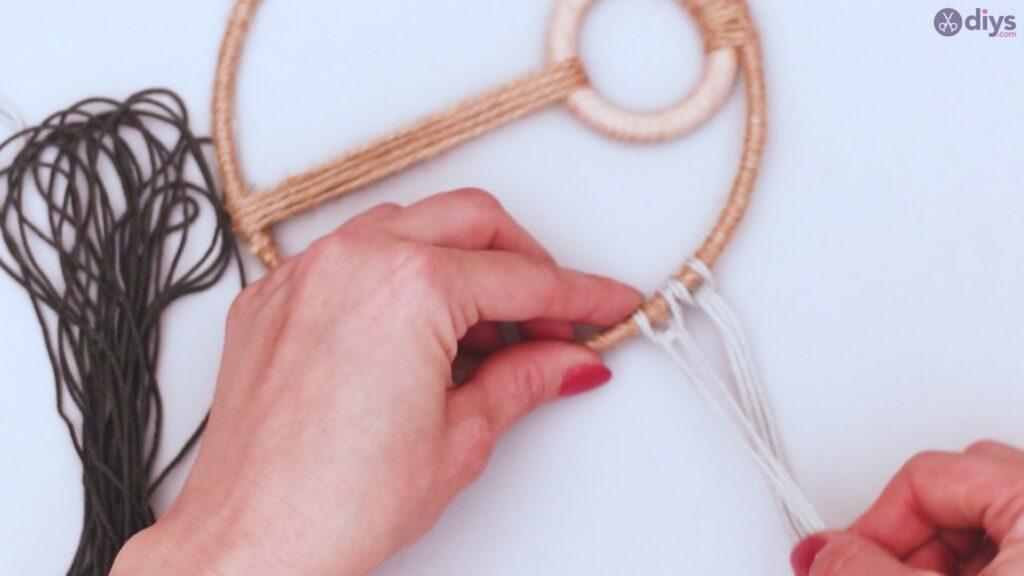
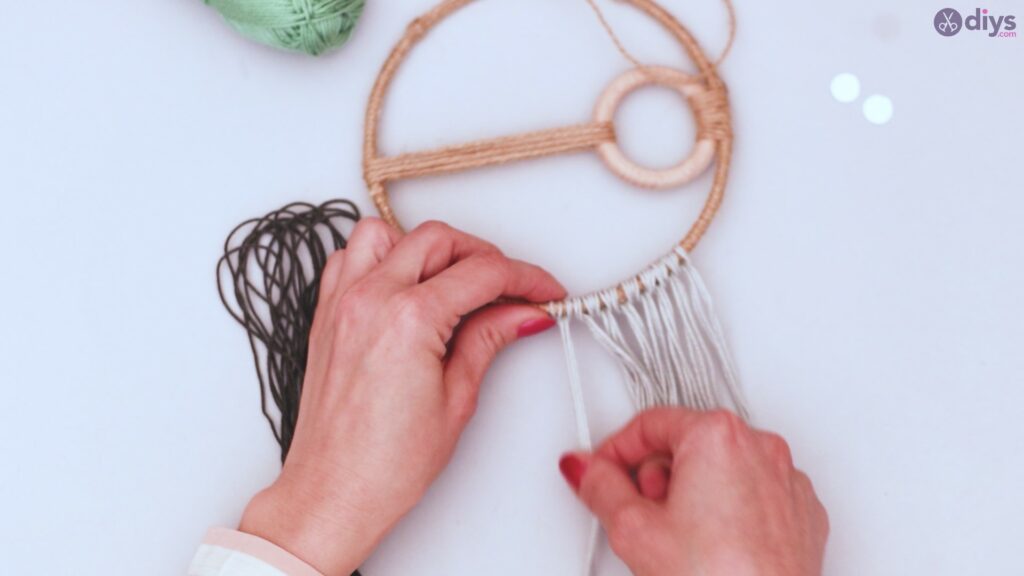
Continue until you’ve attached all the strands of yarn of the first color, and then start with the second color.

Be sure that your strands are up against each other on the metal ring. You can loosen the attachment loops to move them closer together if necessary.
Note that, if you desire, you can use more than 2 colors of yarn, or you can alternate colors rather than blocking them together, creating your own design.

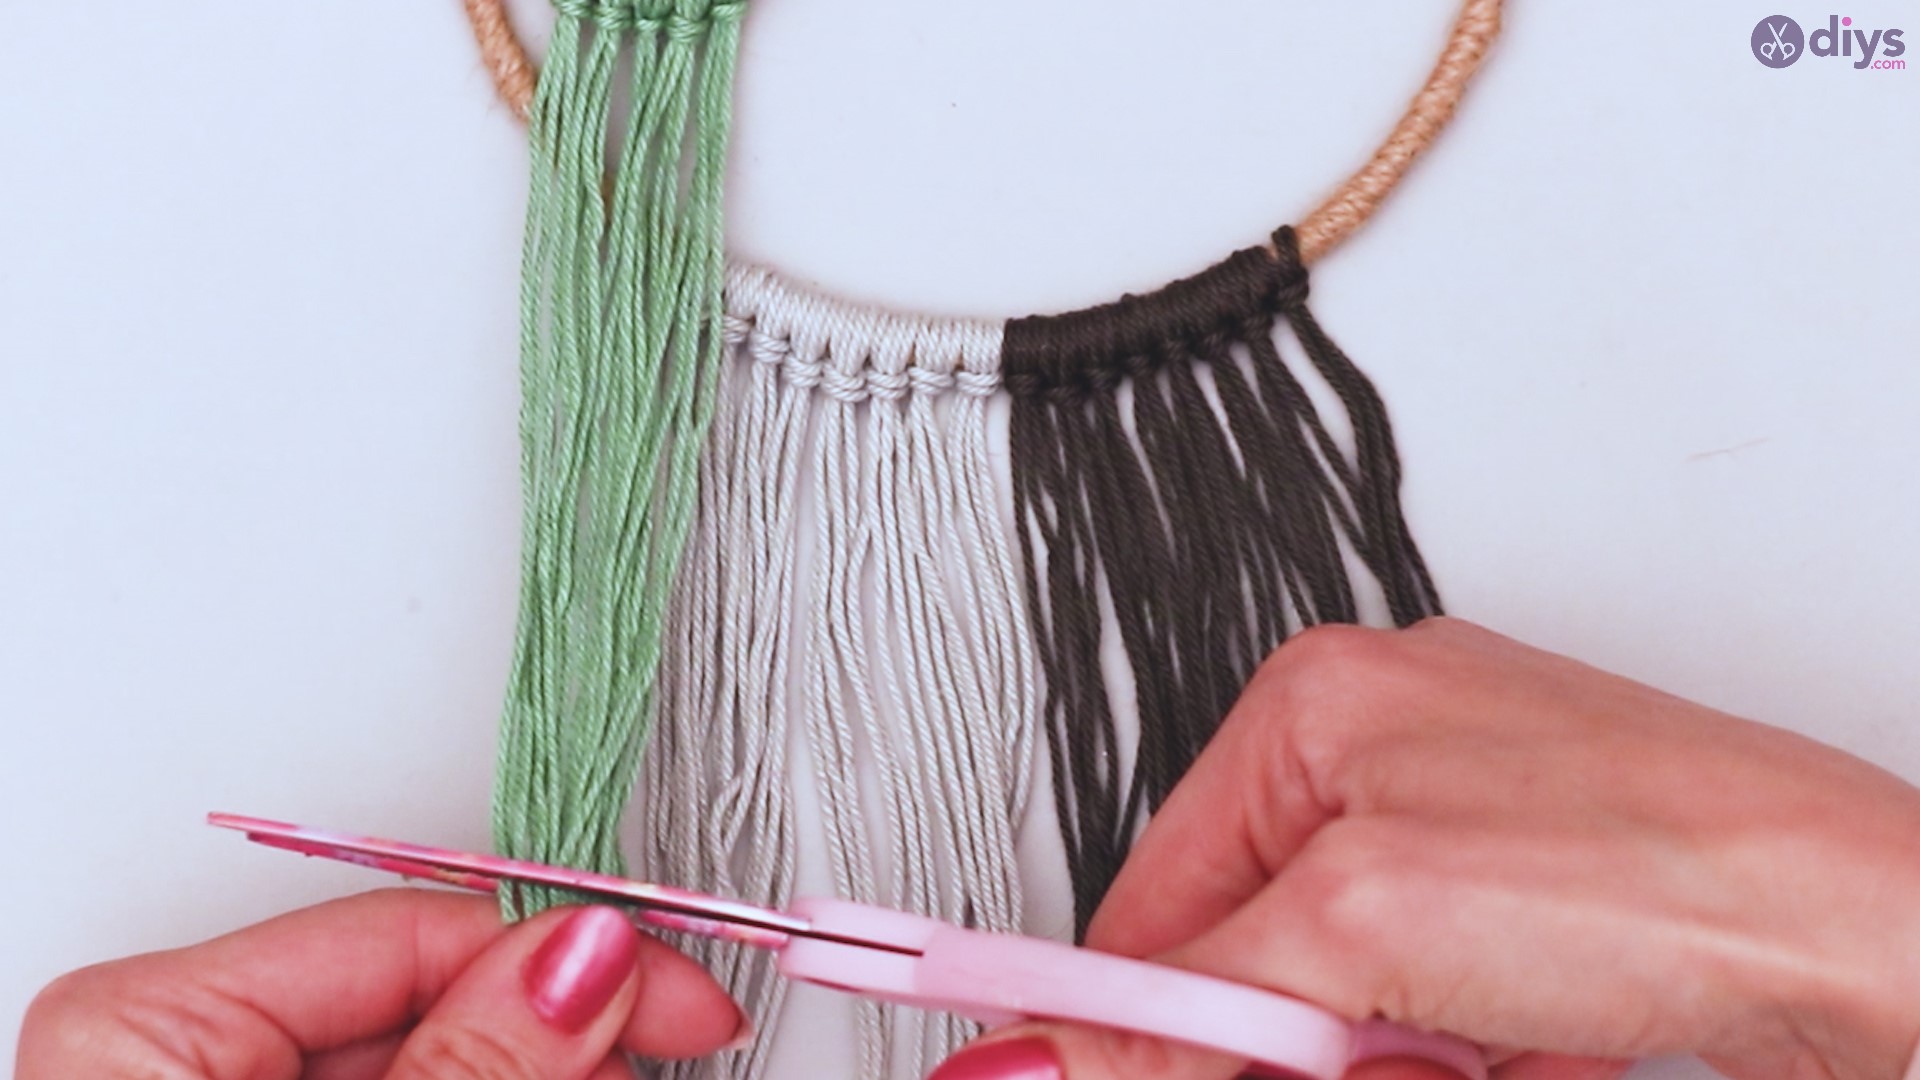
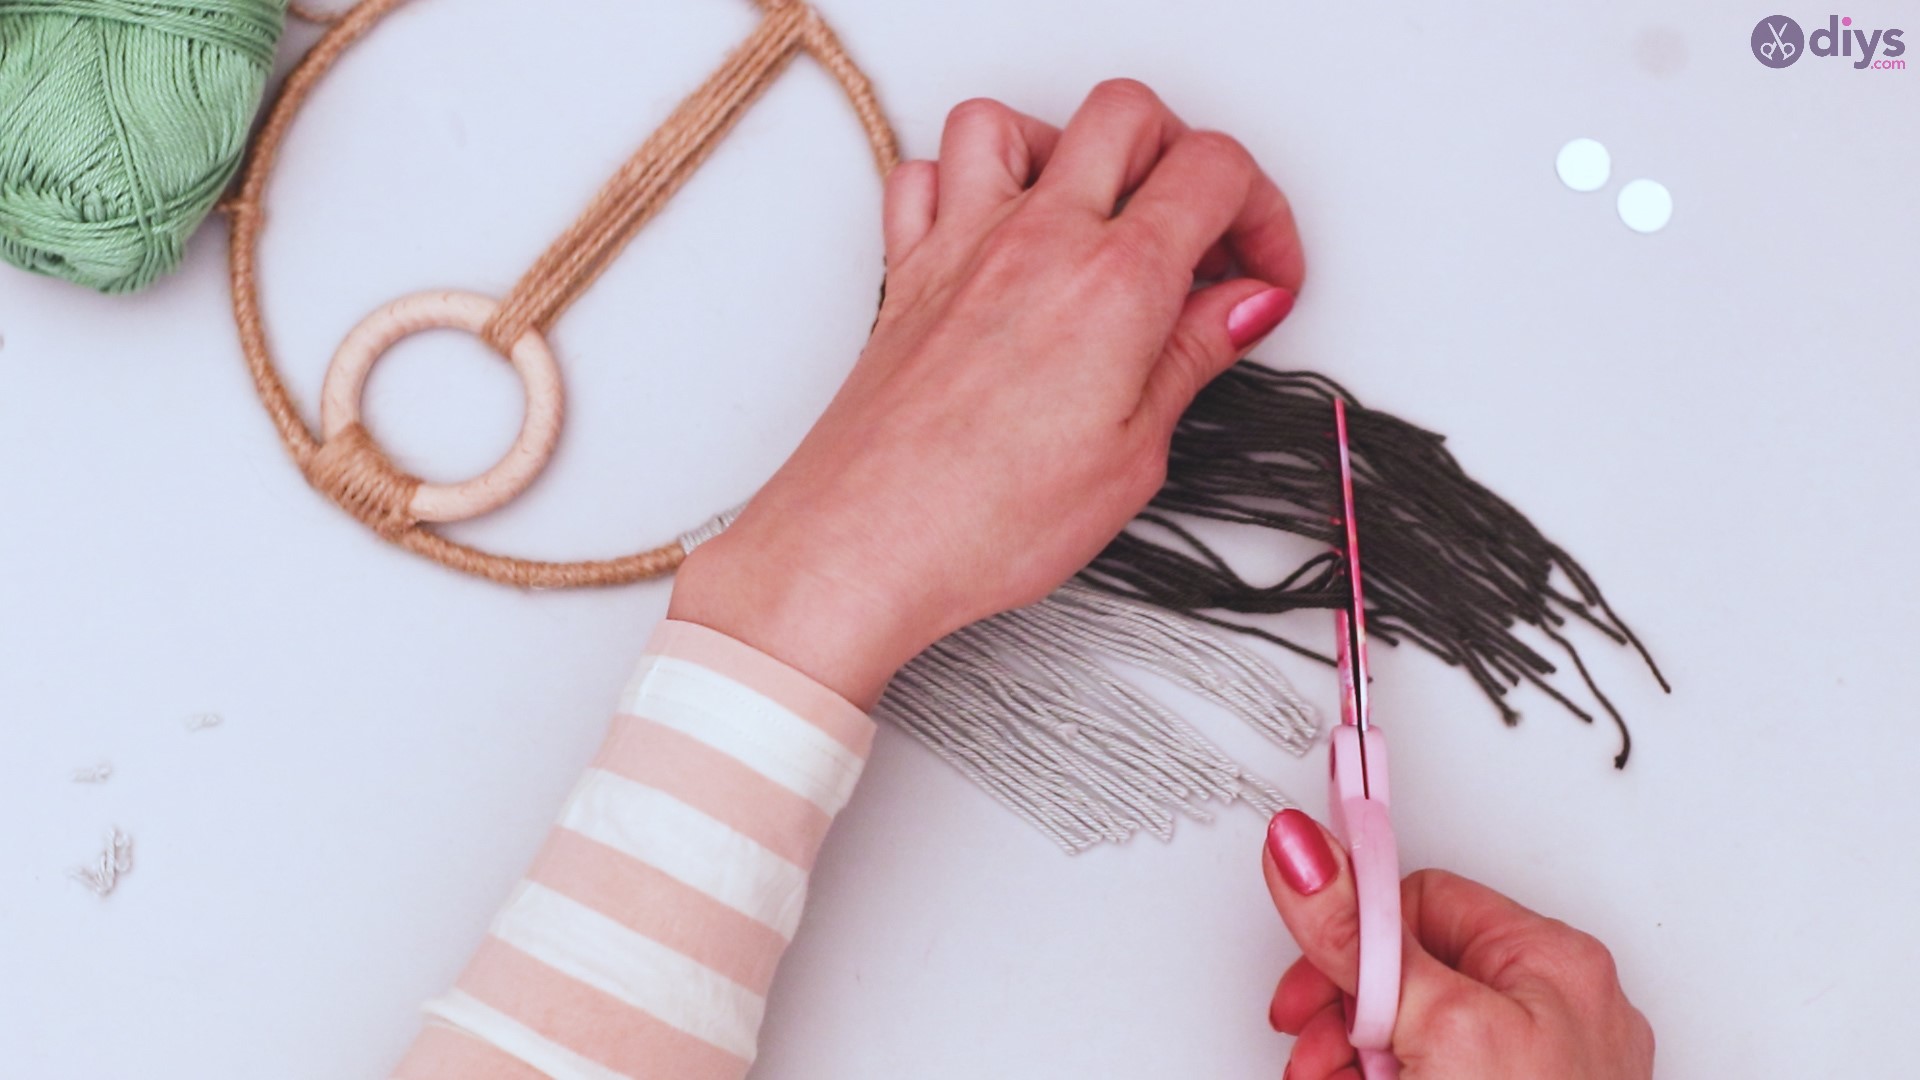
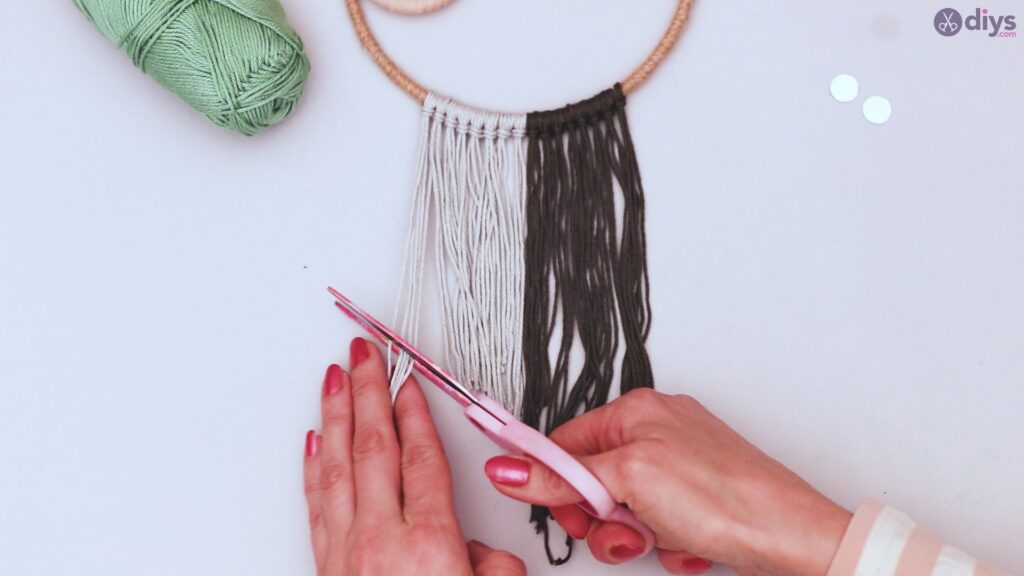
When you have all of your yarn attached, trim it to the length you prefer.

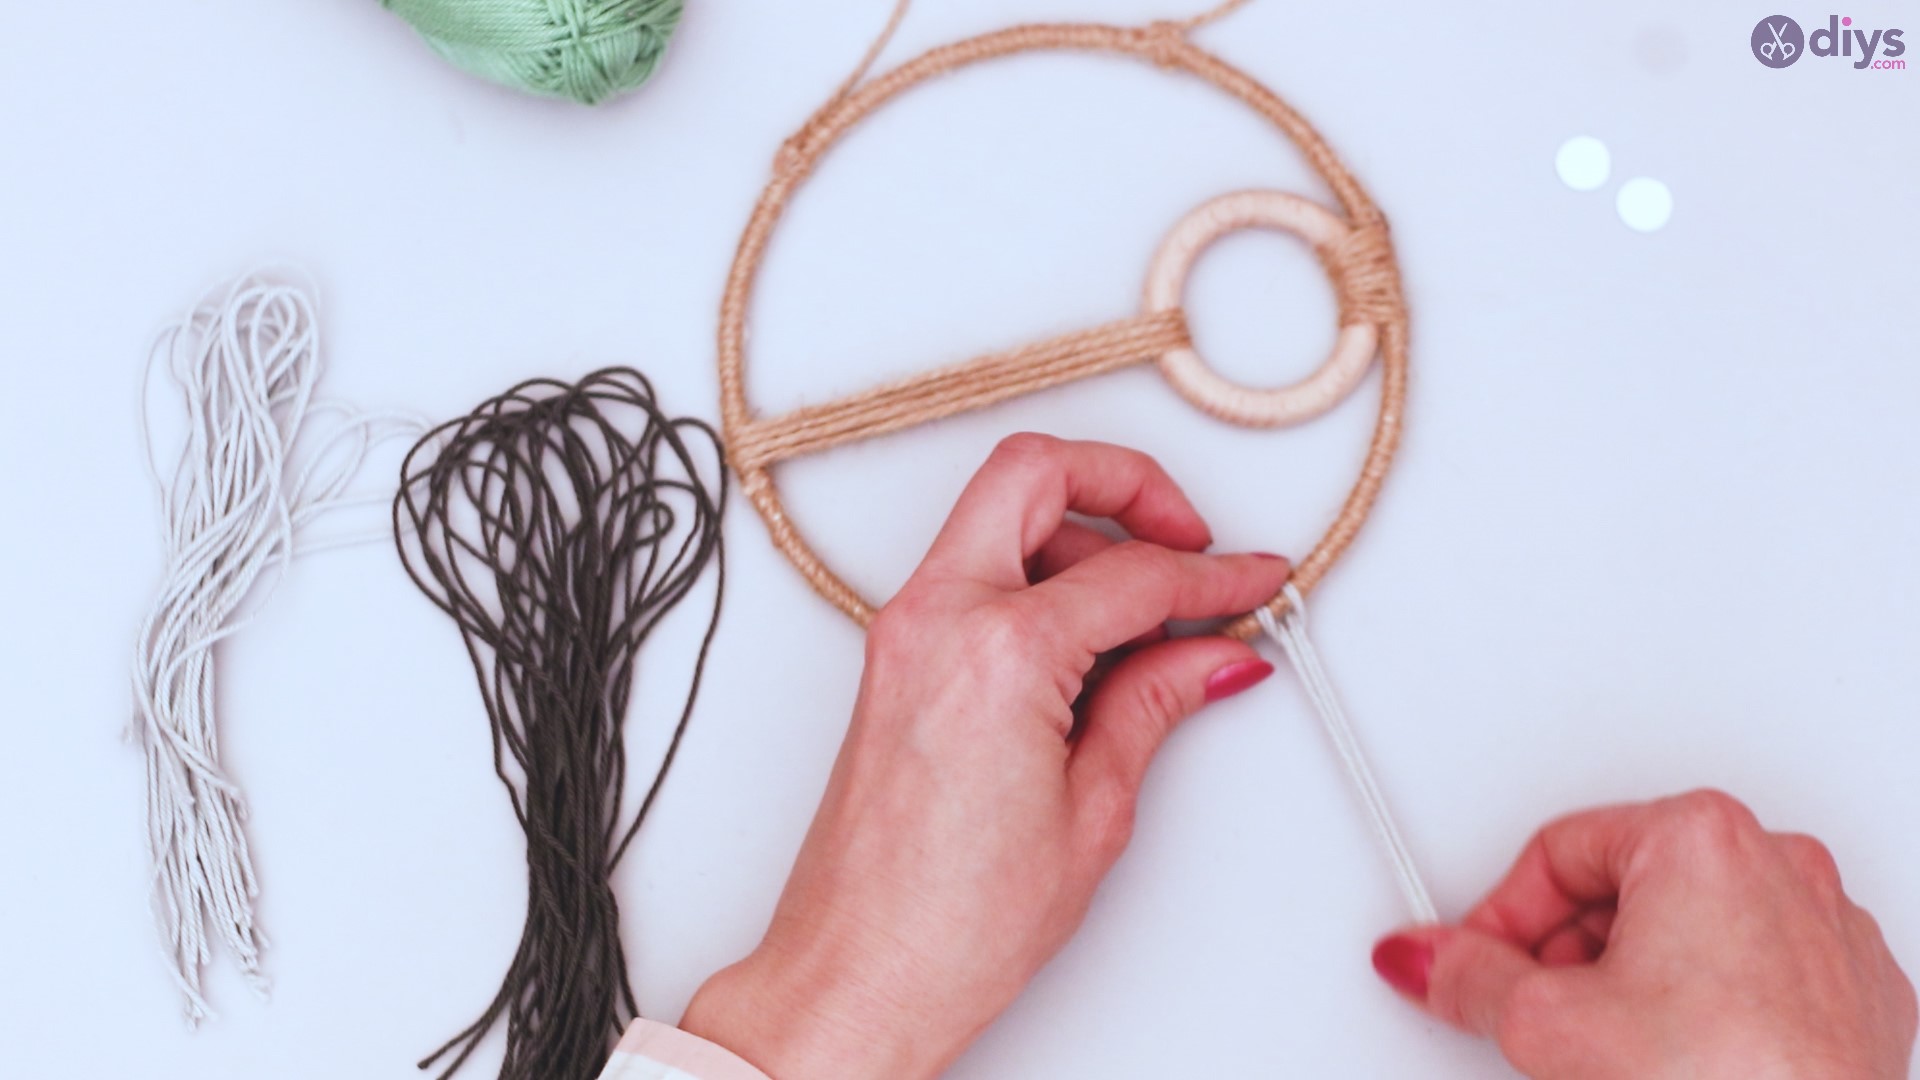
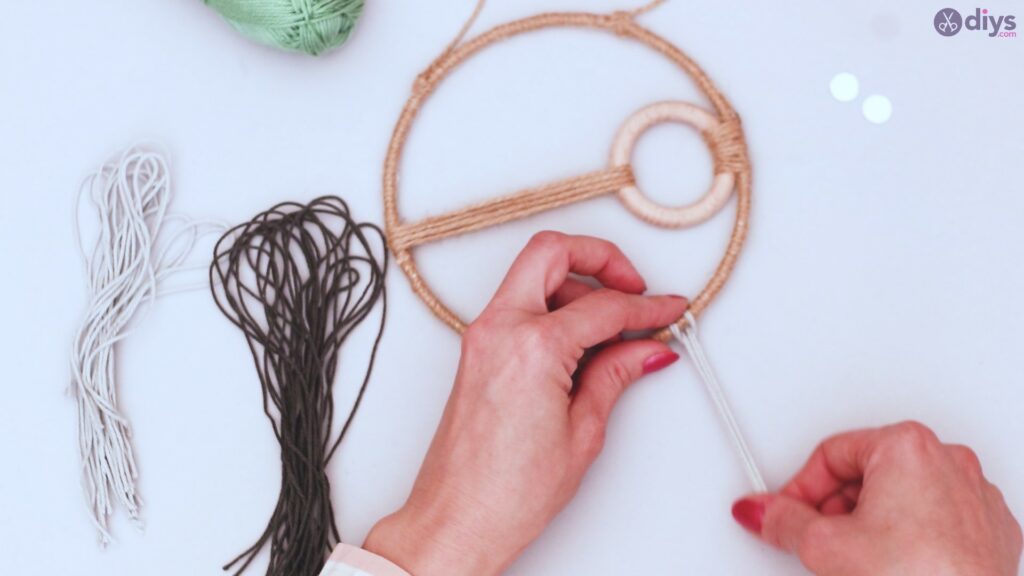
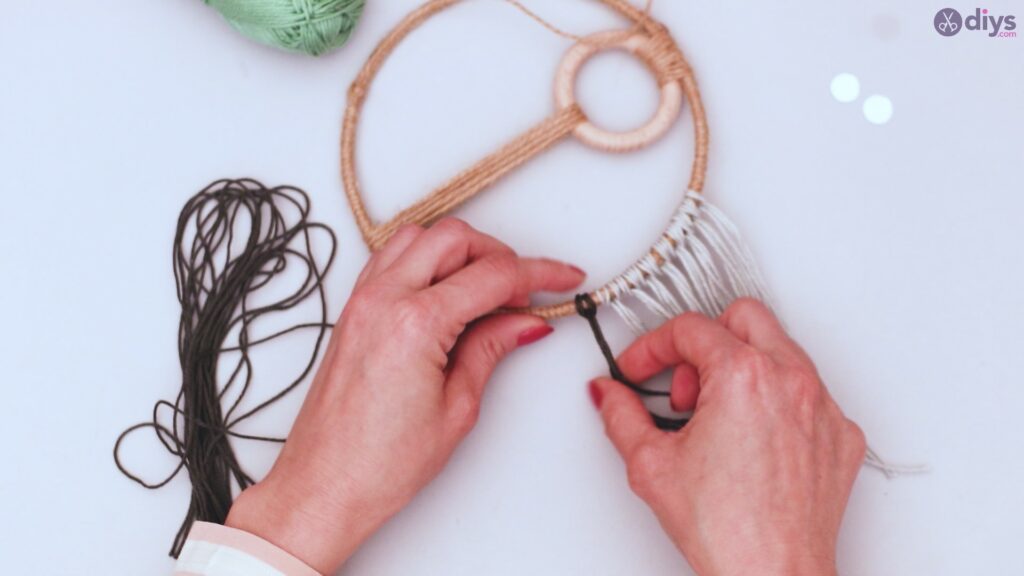
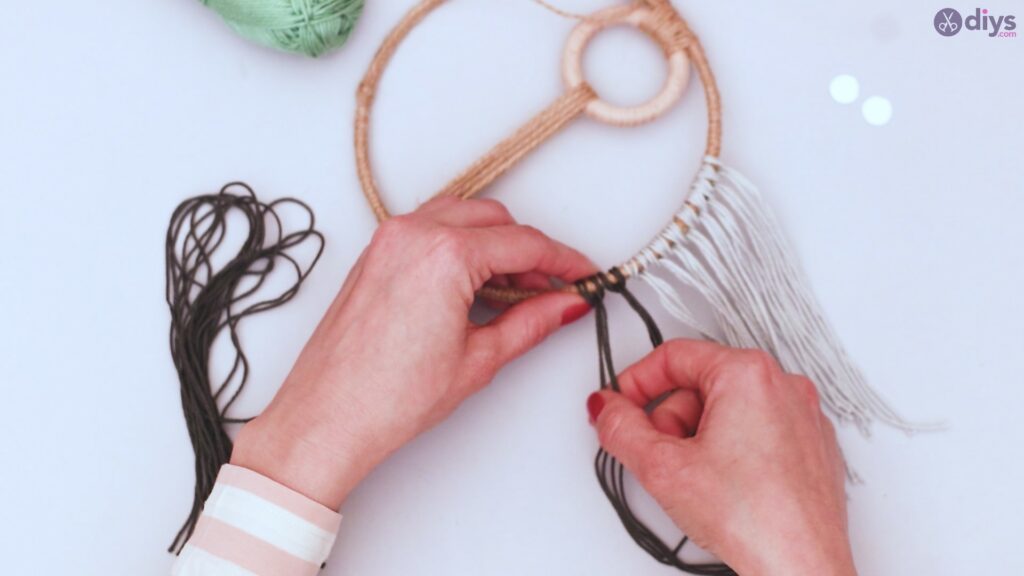
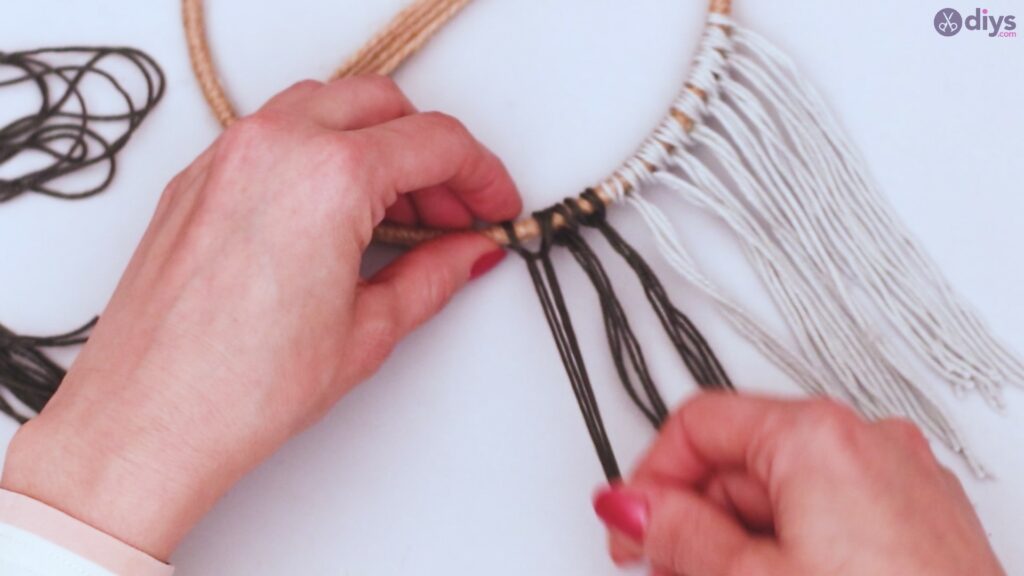
Step 7: More fringe above
With the third color of yarn, cut more strands. These should be much longer than the first two sets.
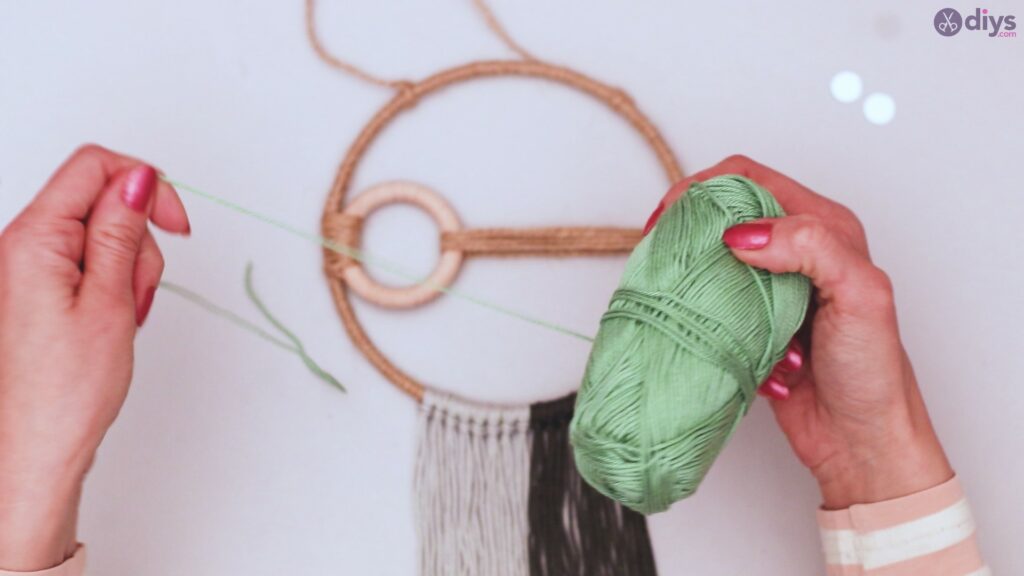
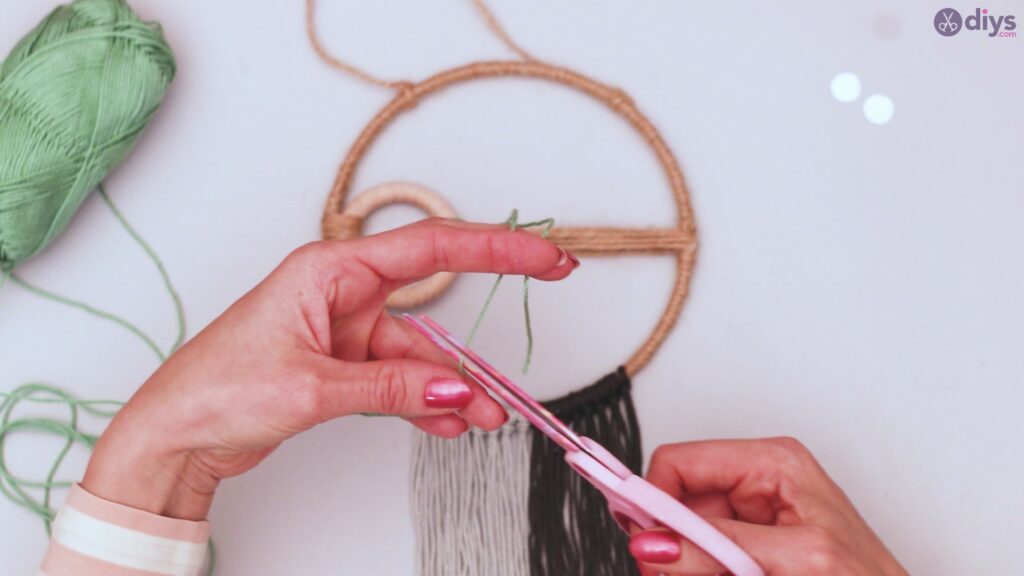

Using the wooden ring as the base this time, repeat the steps above, feeding the loop end of the yarn under the ring, and then pulling the loose ends through the loop before tightening.
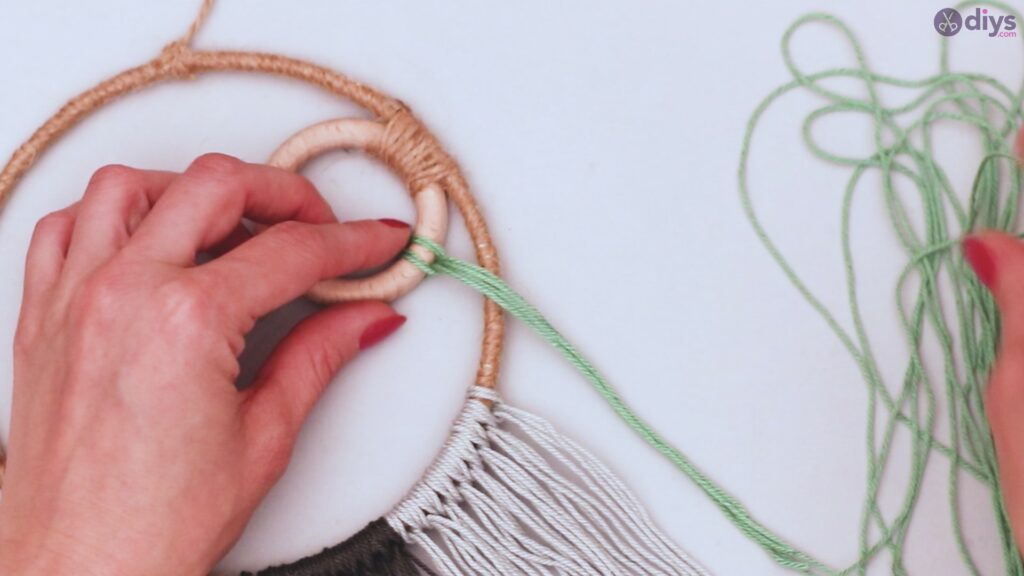
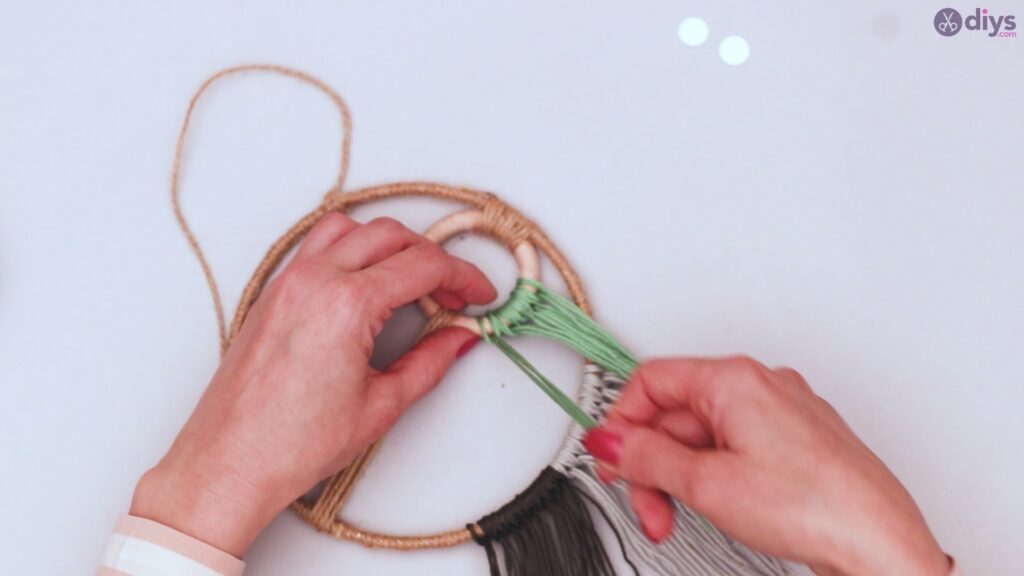

When you’ve attached all of your threads of yarn, trim the ends to match the length of the other yarn you have at the bottom of the metal ring, so they are even across.

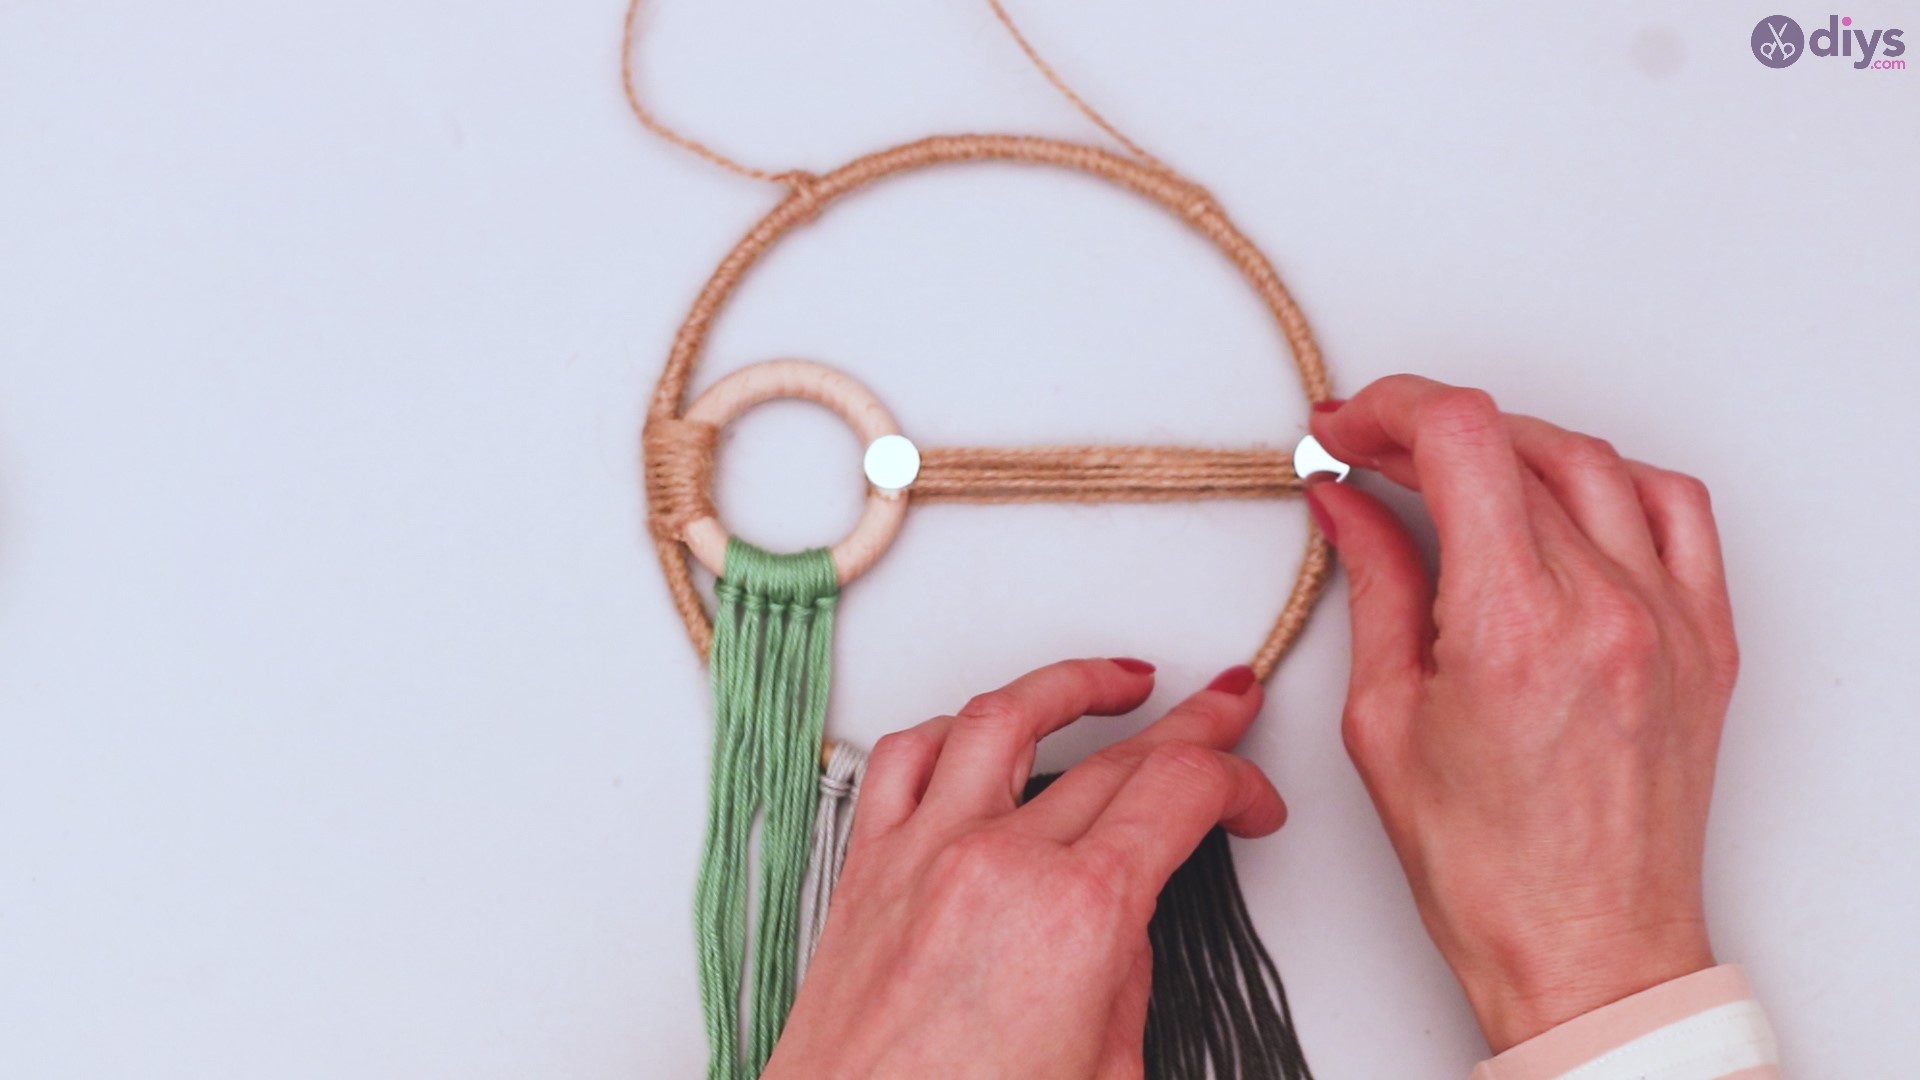
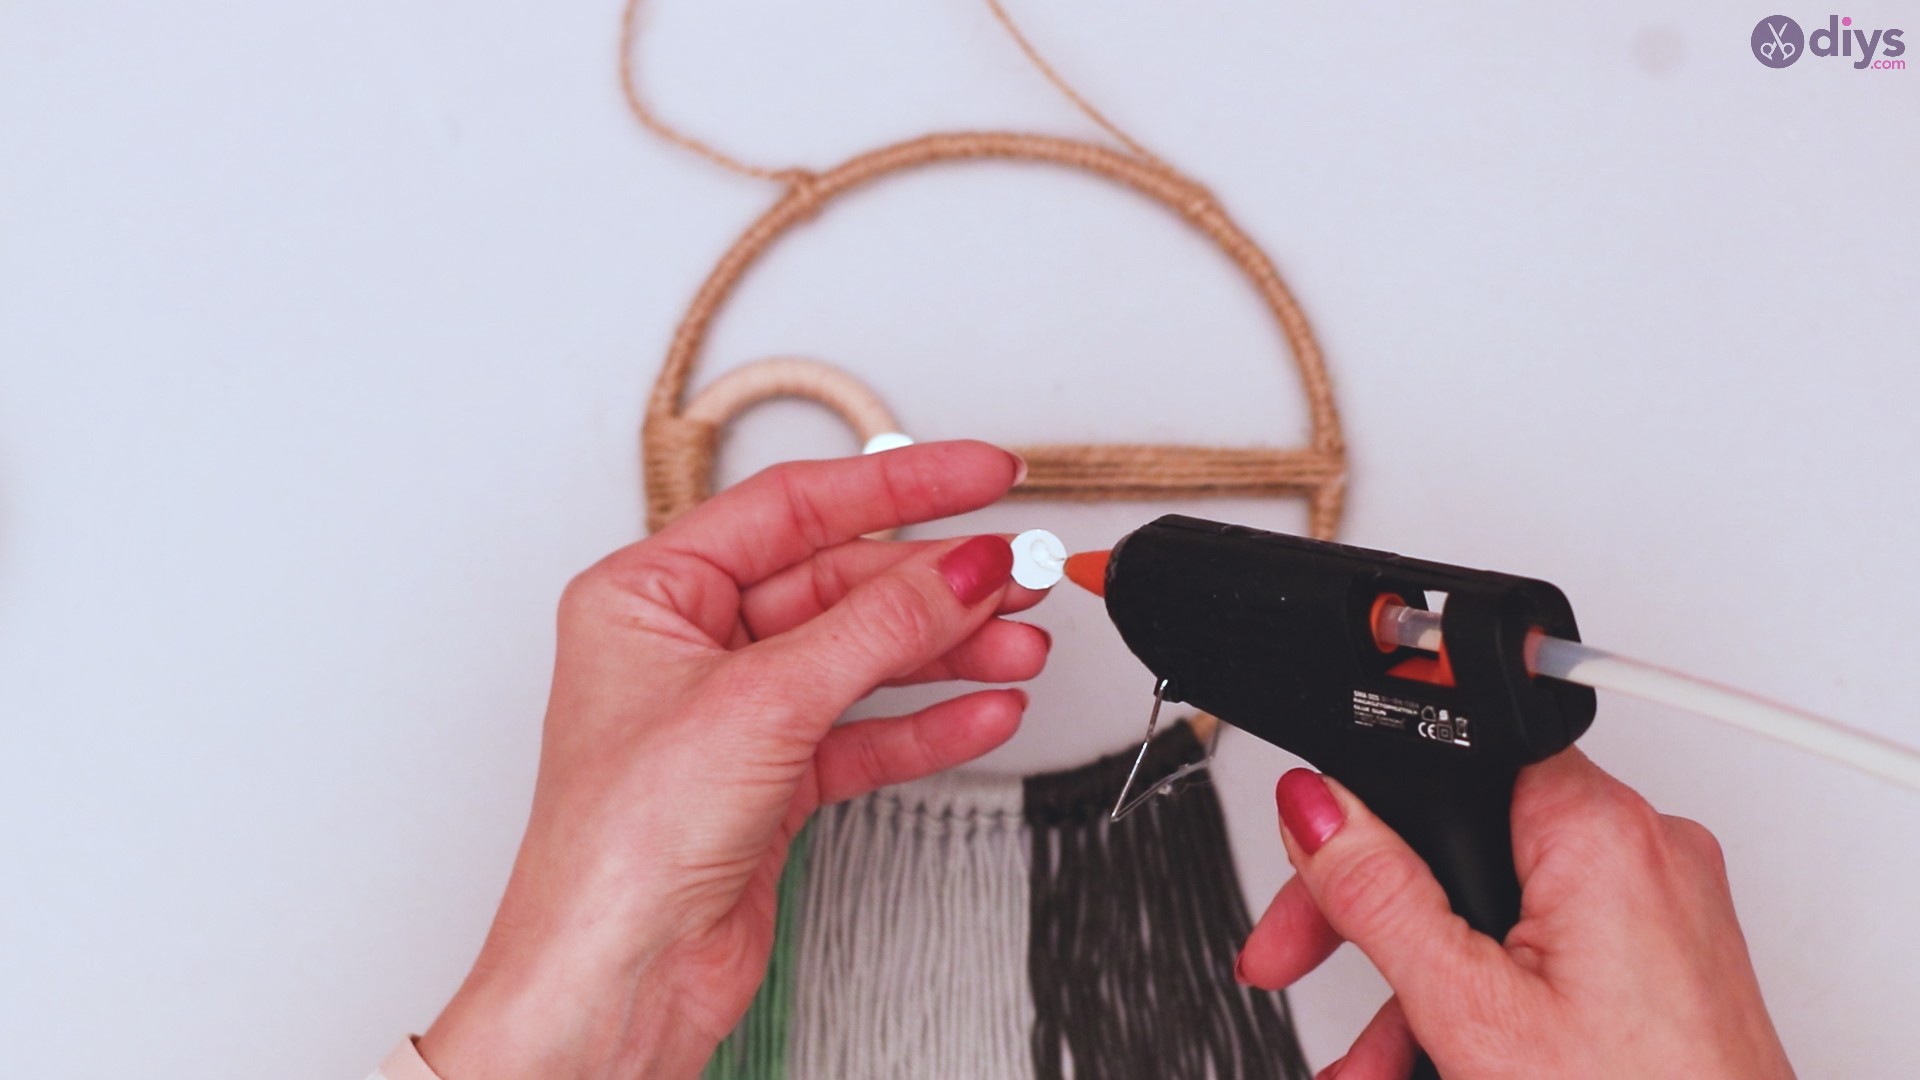
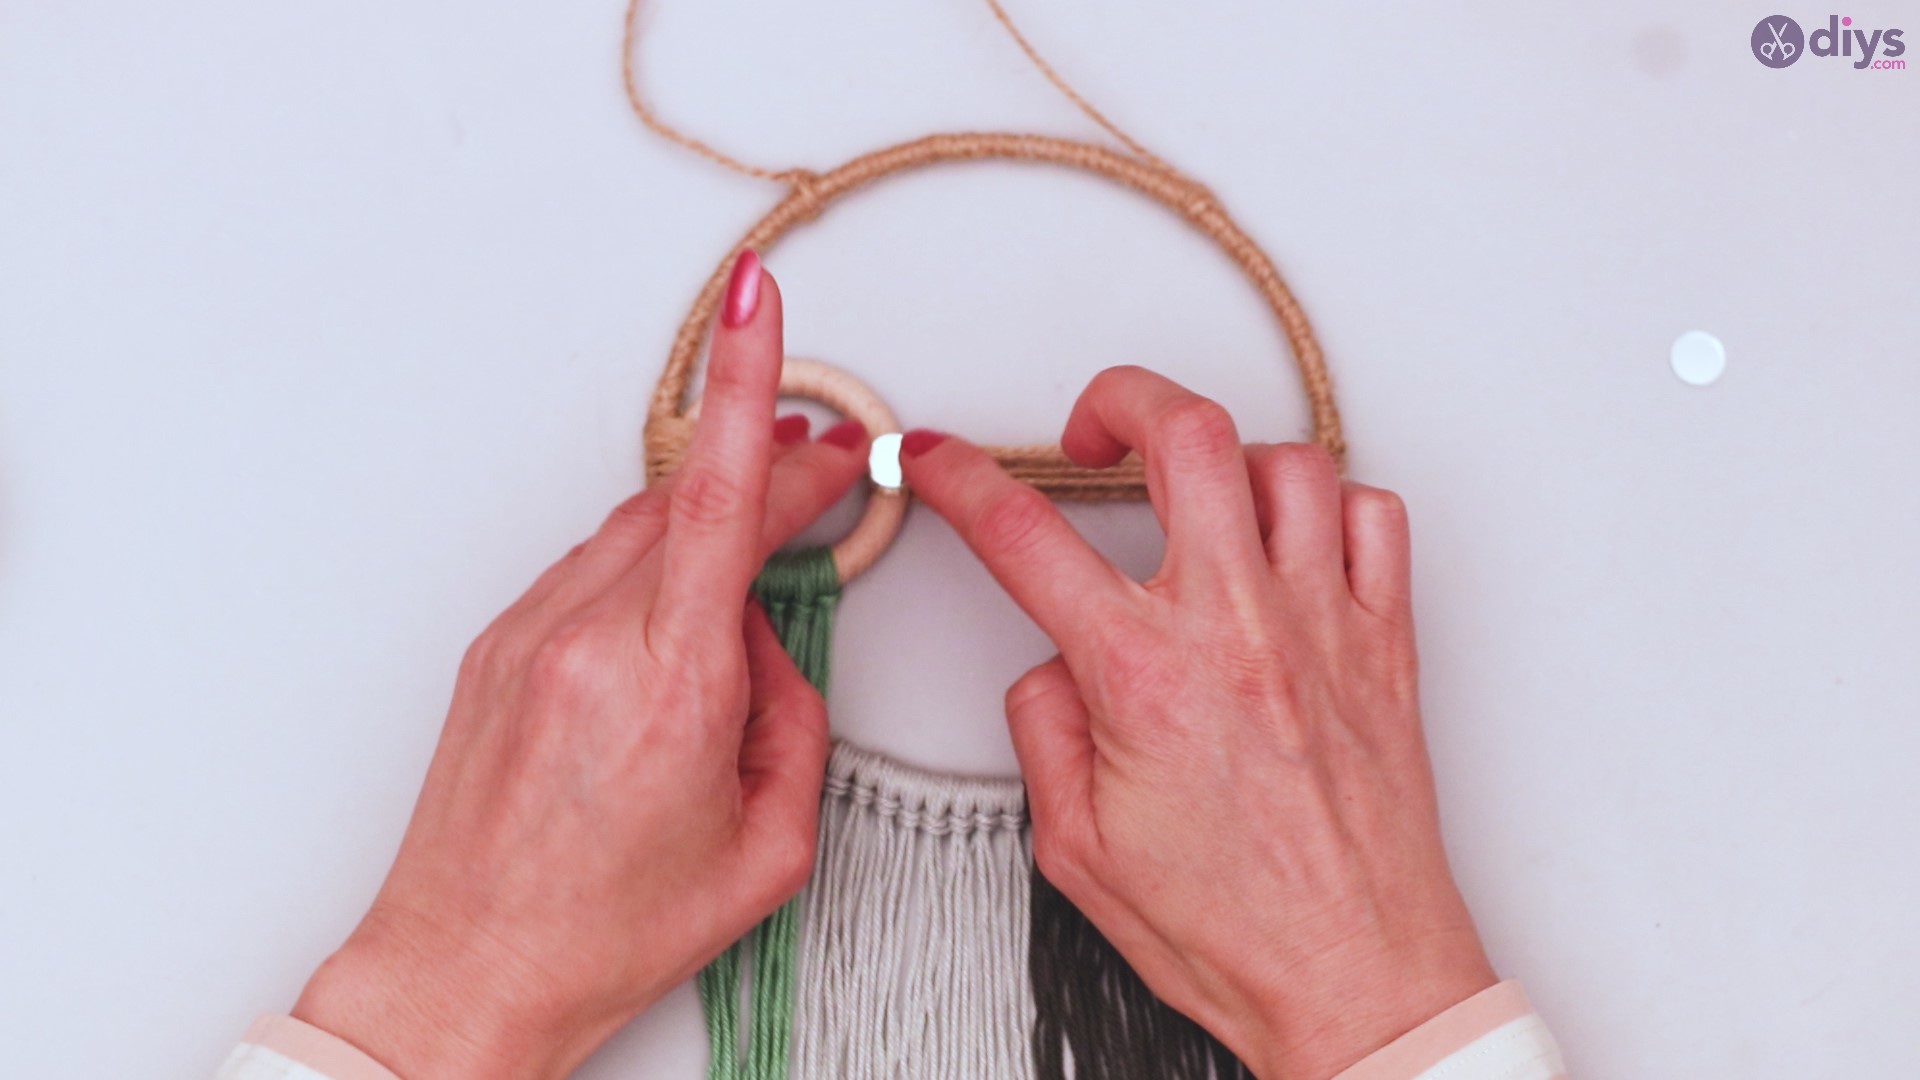
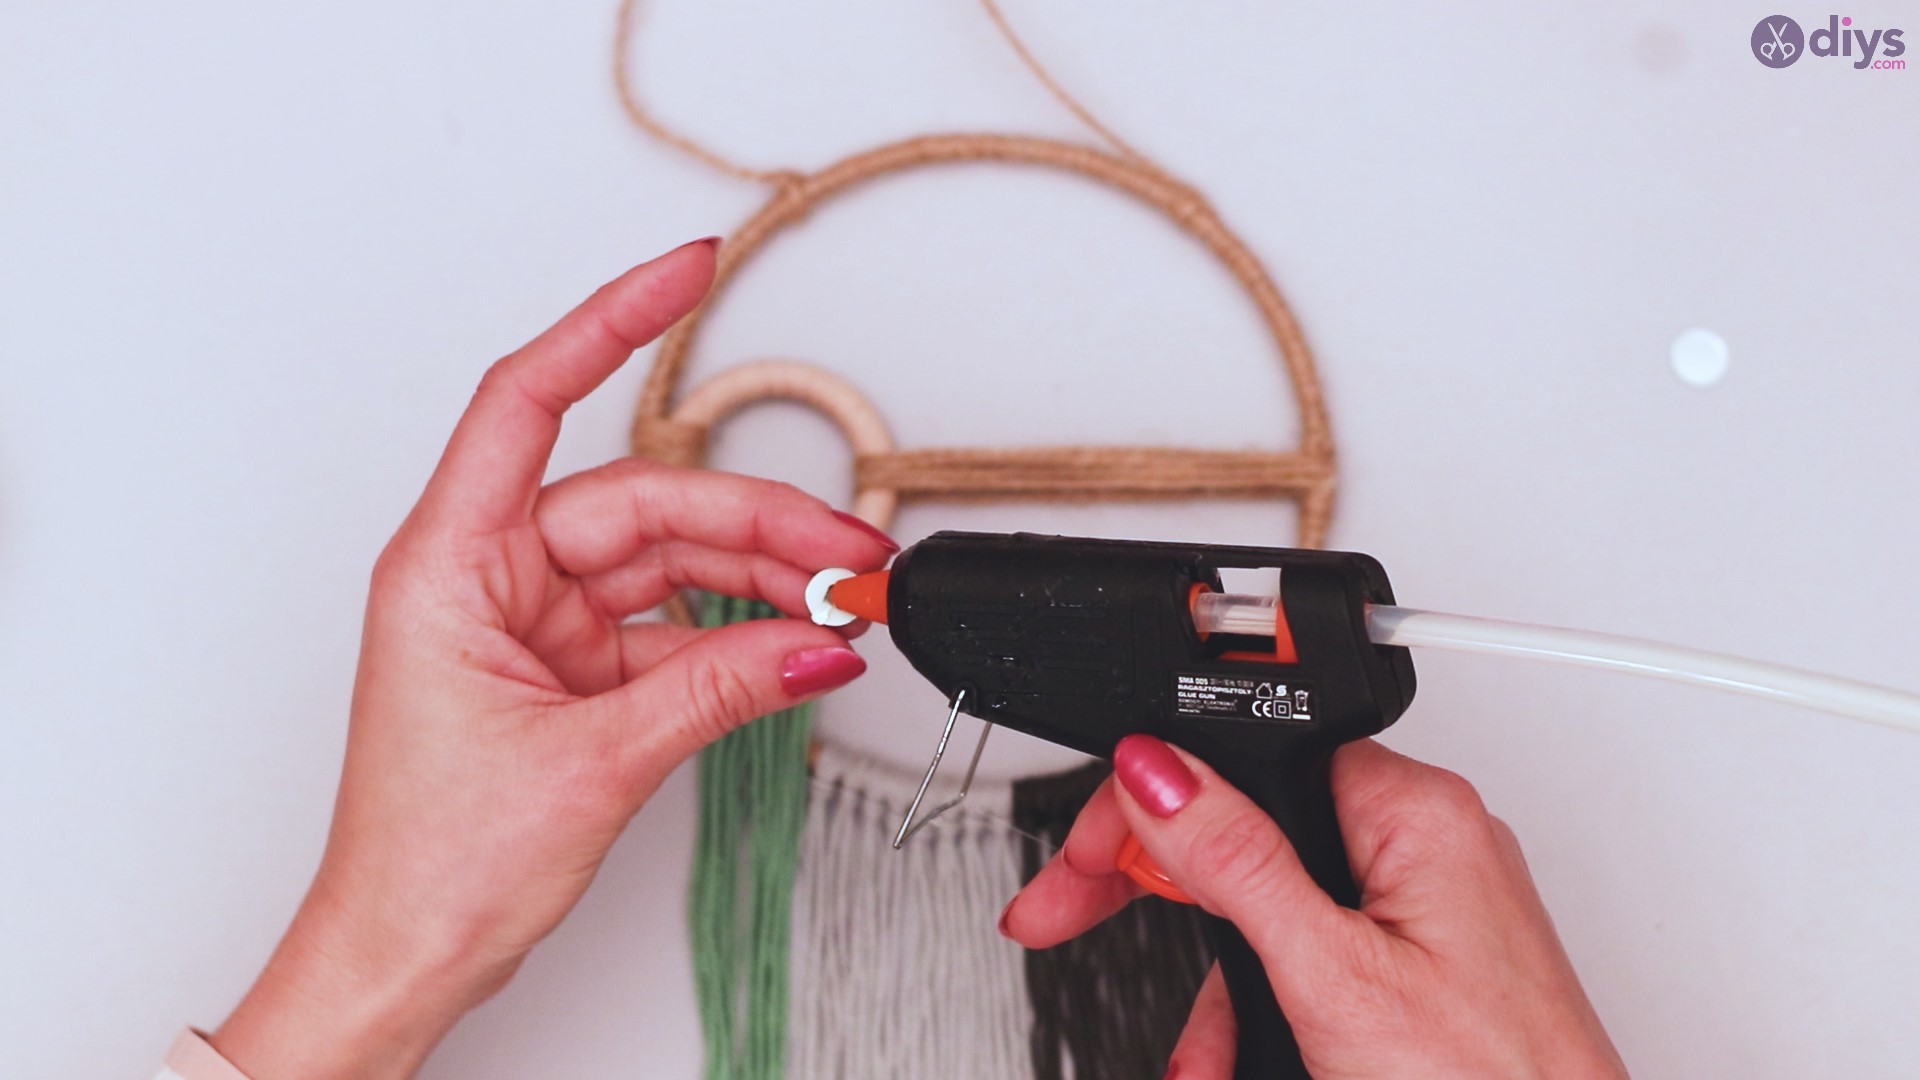
Step 8: Mirror, mirror
Grab your mosaic mirrors. Using your glue gun, place a dot on the back of one of your mirrors.
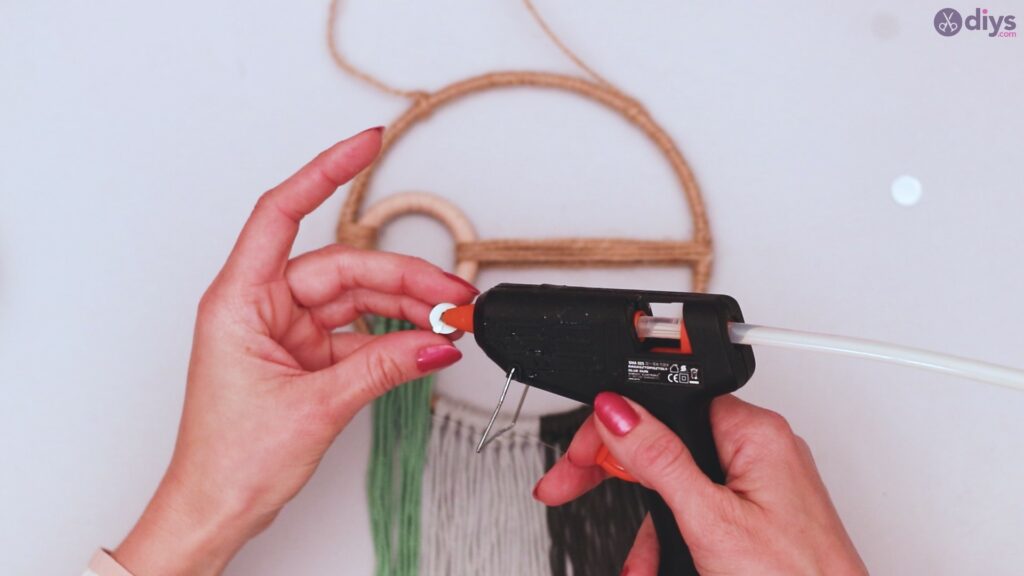
Attach the mirror to the place on your wooden ring where the twine is drawn across to the metal ring.

With your glue gun, repeat this with the other mirror, and place it at the other end of the twine, on the metal ring.

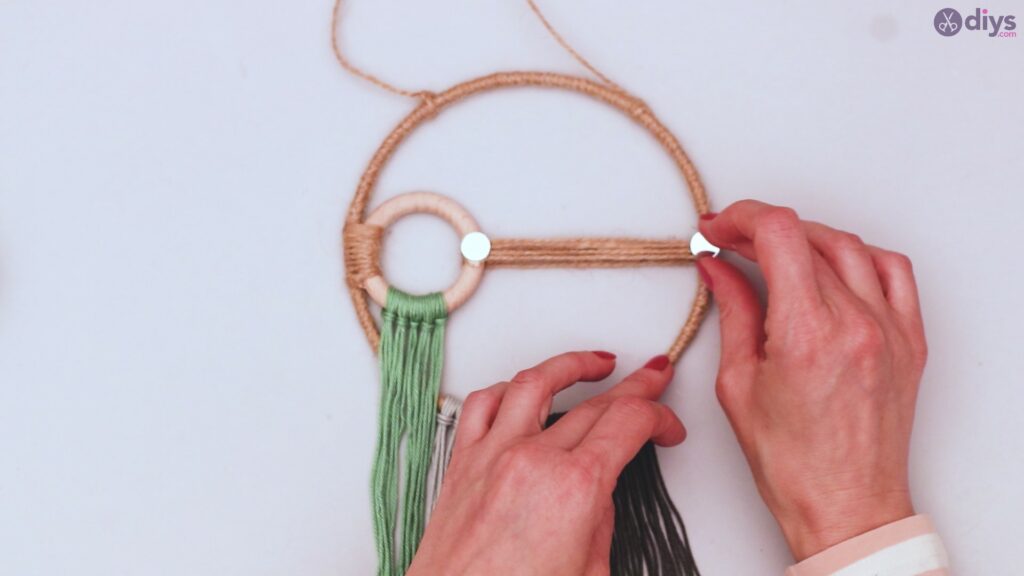
Your finished product will be amazing, both unique and aesthetically intriguing. It will be different from almost anything you’ve seen, and by taking your own creative license with some of the steps, you can make it even more one of a kind. That’s the idea behind Bohemian wall décor, and having a guide to get the creative juices flowing can really send you on an artistic path!