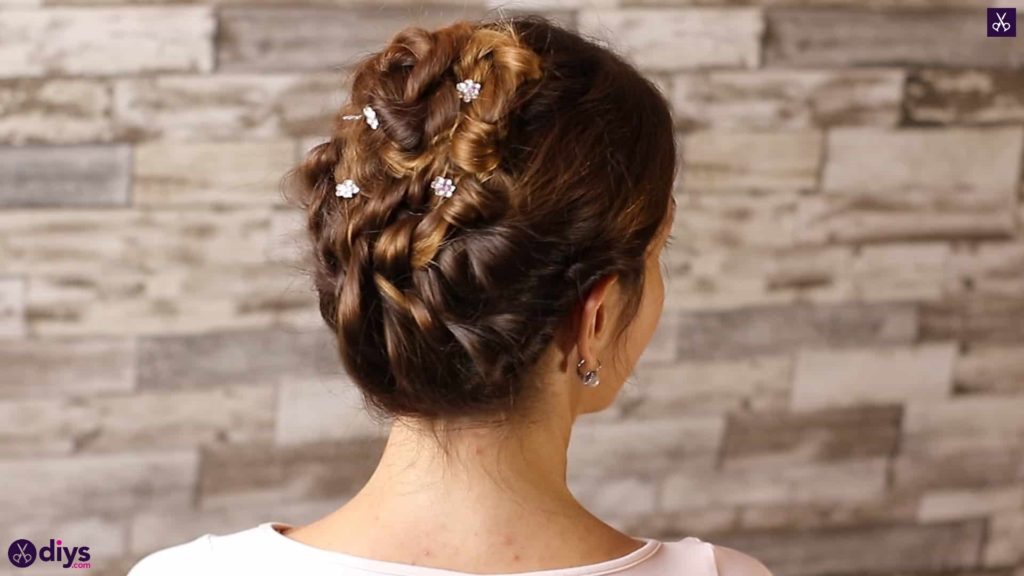
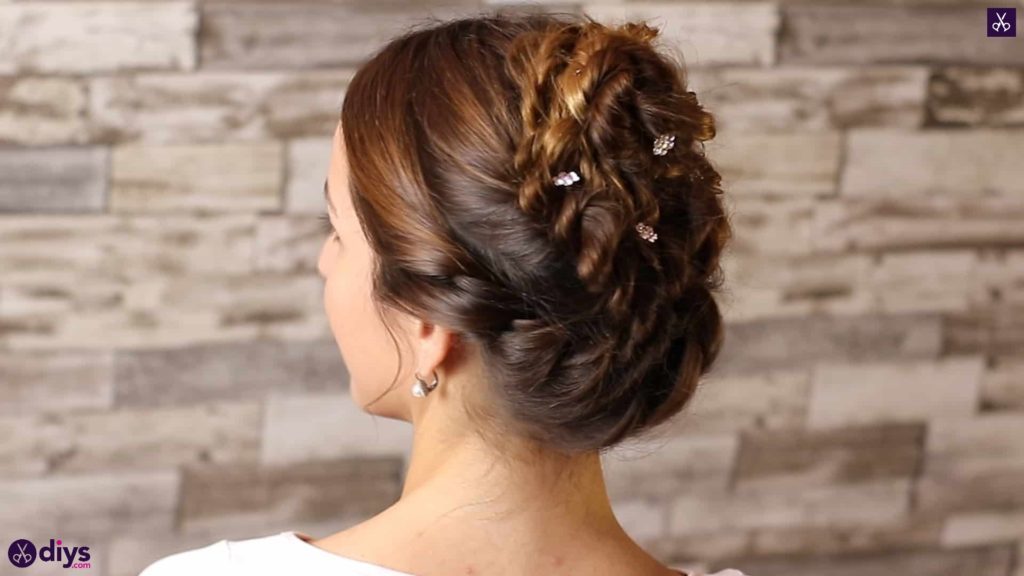
Beautiful Wedding Bun Hairstyle for Bridesmaids
Updated on February 18, 2021


In the last year, I’ve been a bridesmaid in so many wedding parties that I practically feel like a professional at this point! Dressing myself up for all those weddings has given me plenty of practice in bridesmaid hairstyling and I’ve really enjoyed getting creative with my styles, even practicing in advance. There was one style, however, that I liked so many I actually wore it more than once. Friends started asking me how I did it and I love nothing more than watching hair tutorials myself, so I decided to make one of my own so other people could try the style out too.
Check out these step by step instructions complete with photos! If you’d rather follow along with a video tutorial instead of written words, scroll to the bottom of this post to find just what you’re looking for
For this style, you’ll need:
- Hair elastics
- Bobby pins
- Decorative pin accessories
- A brush
- Hairspray

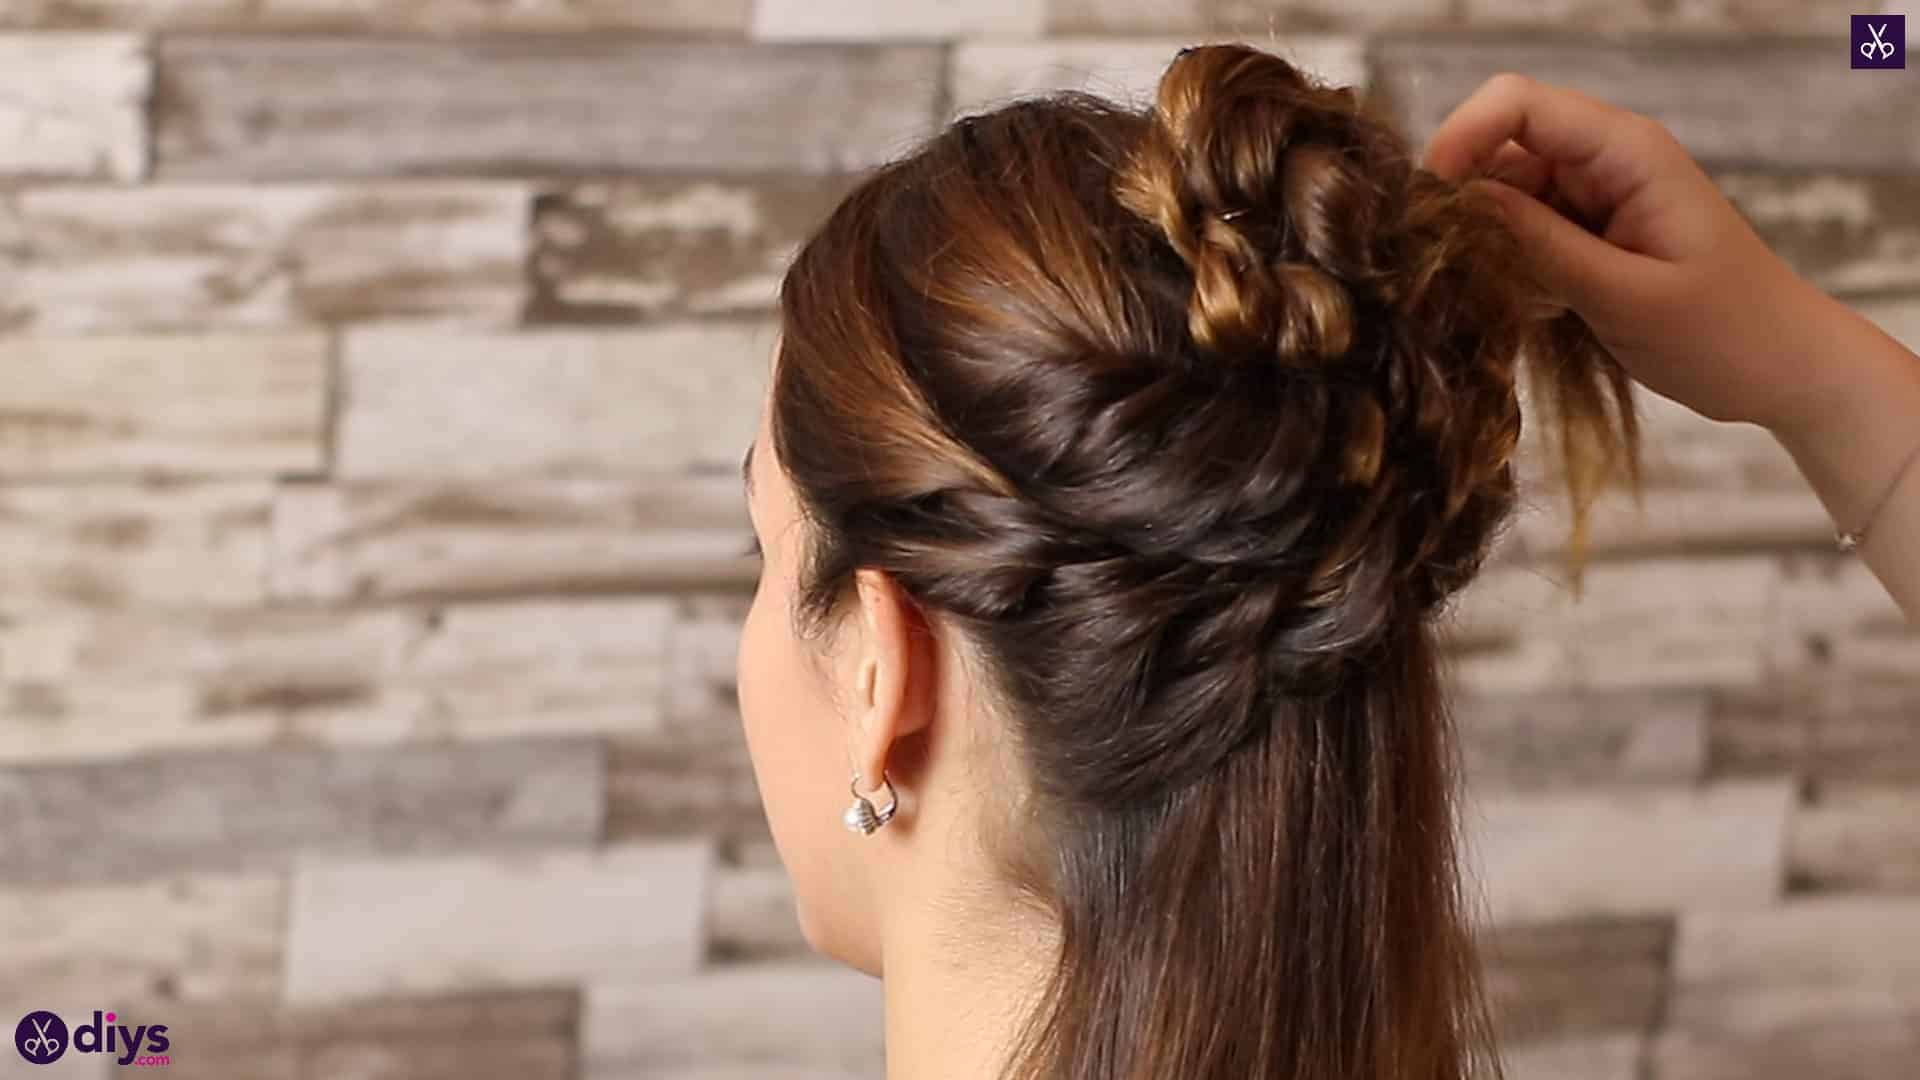
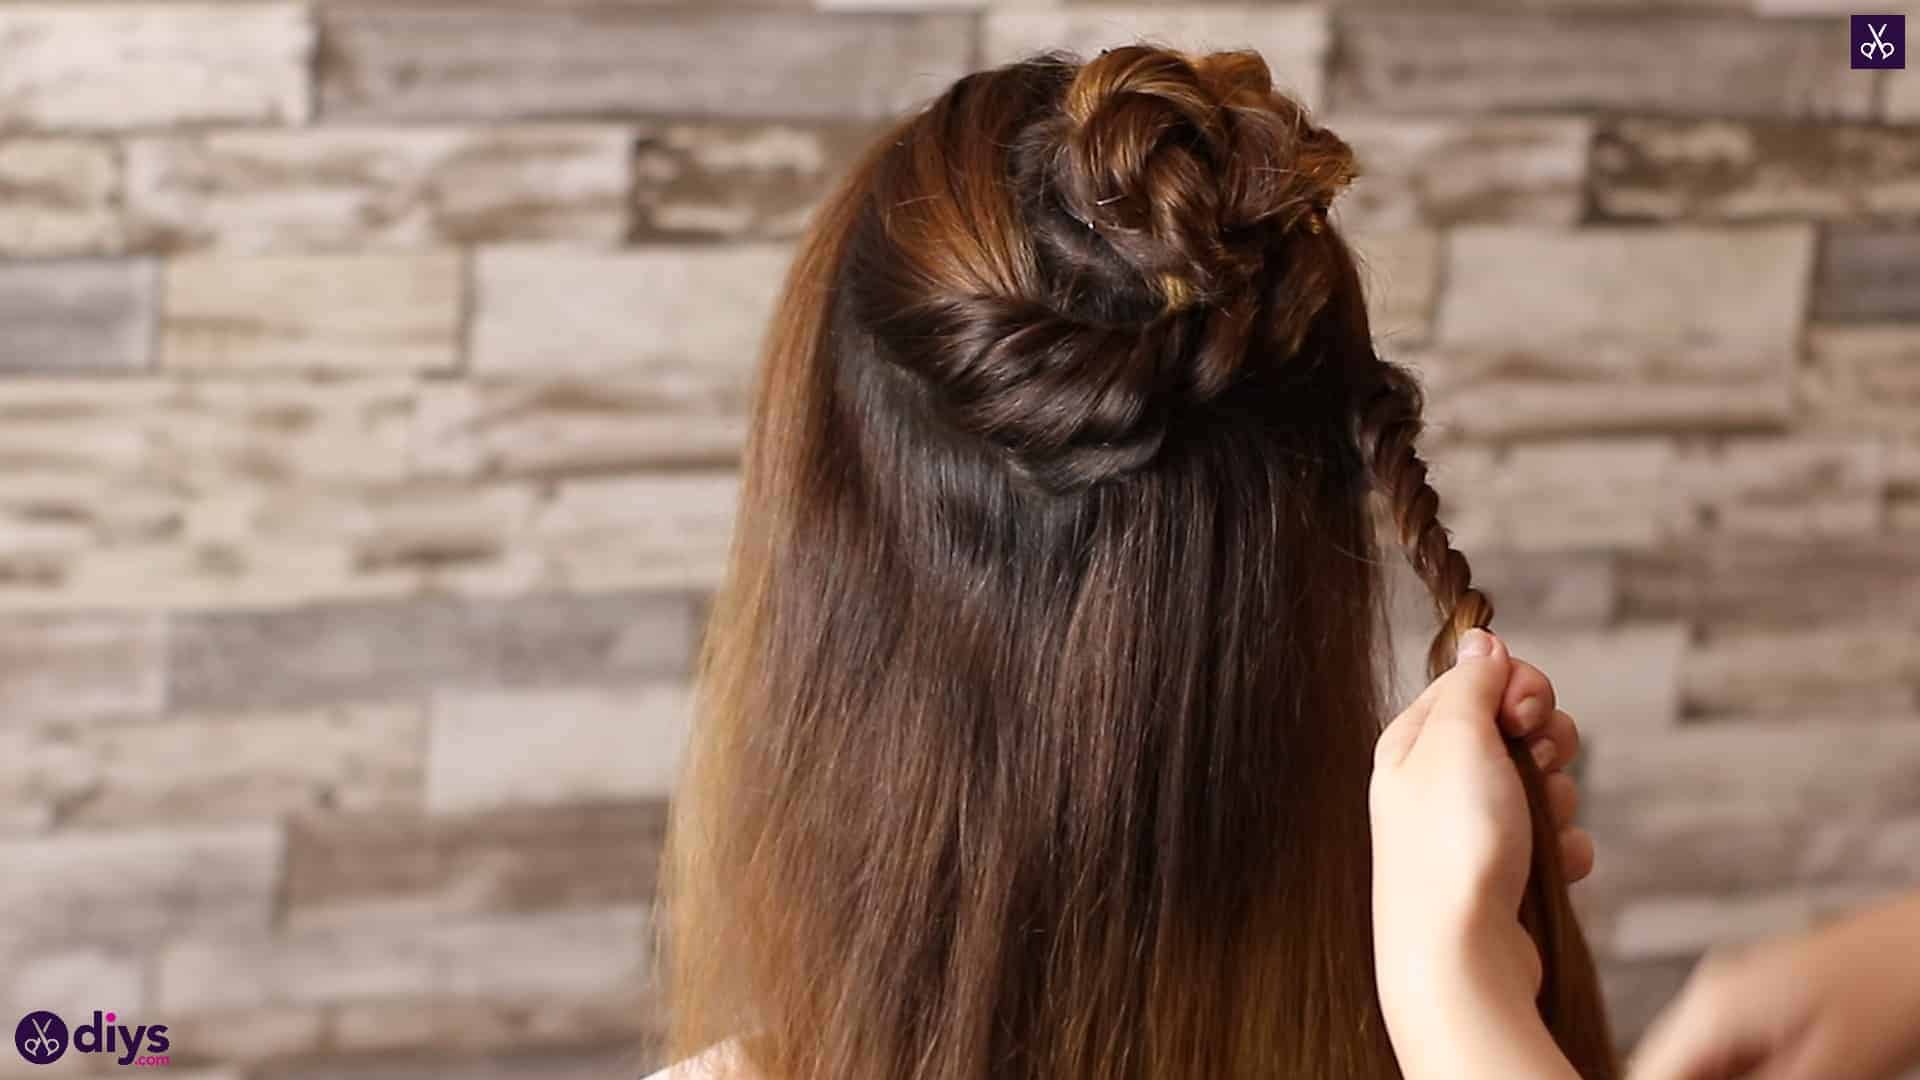
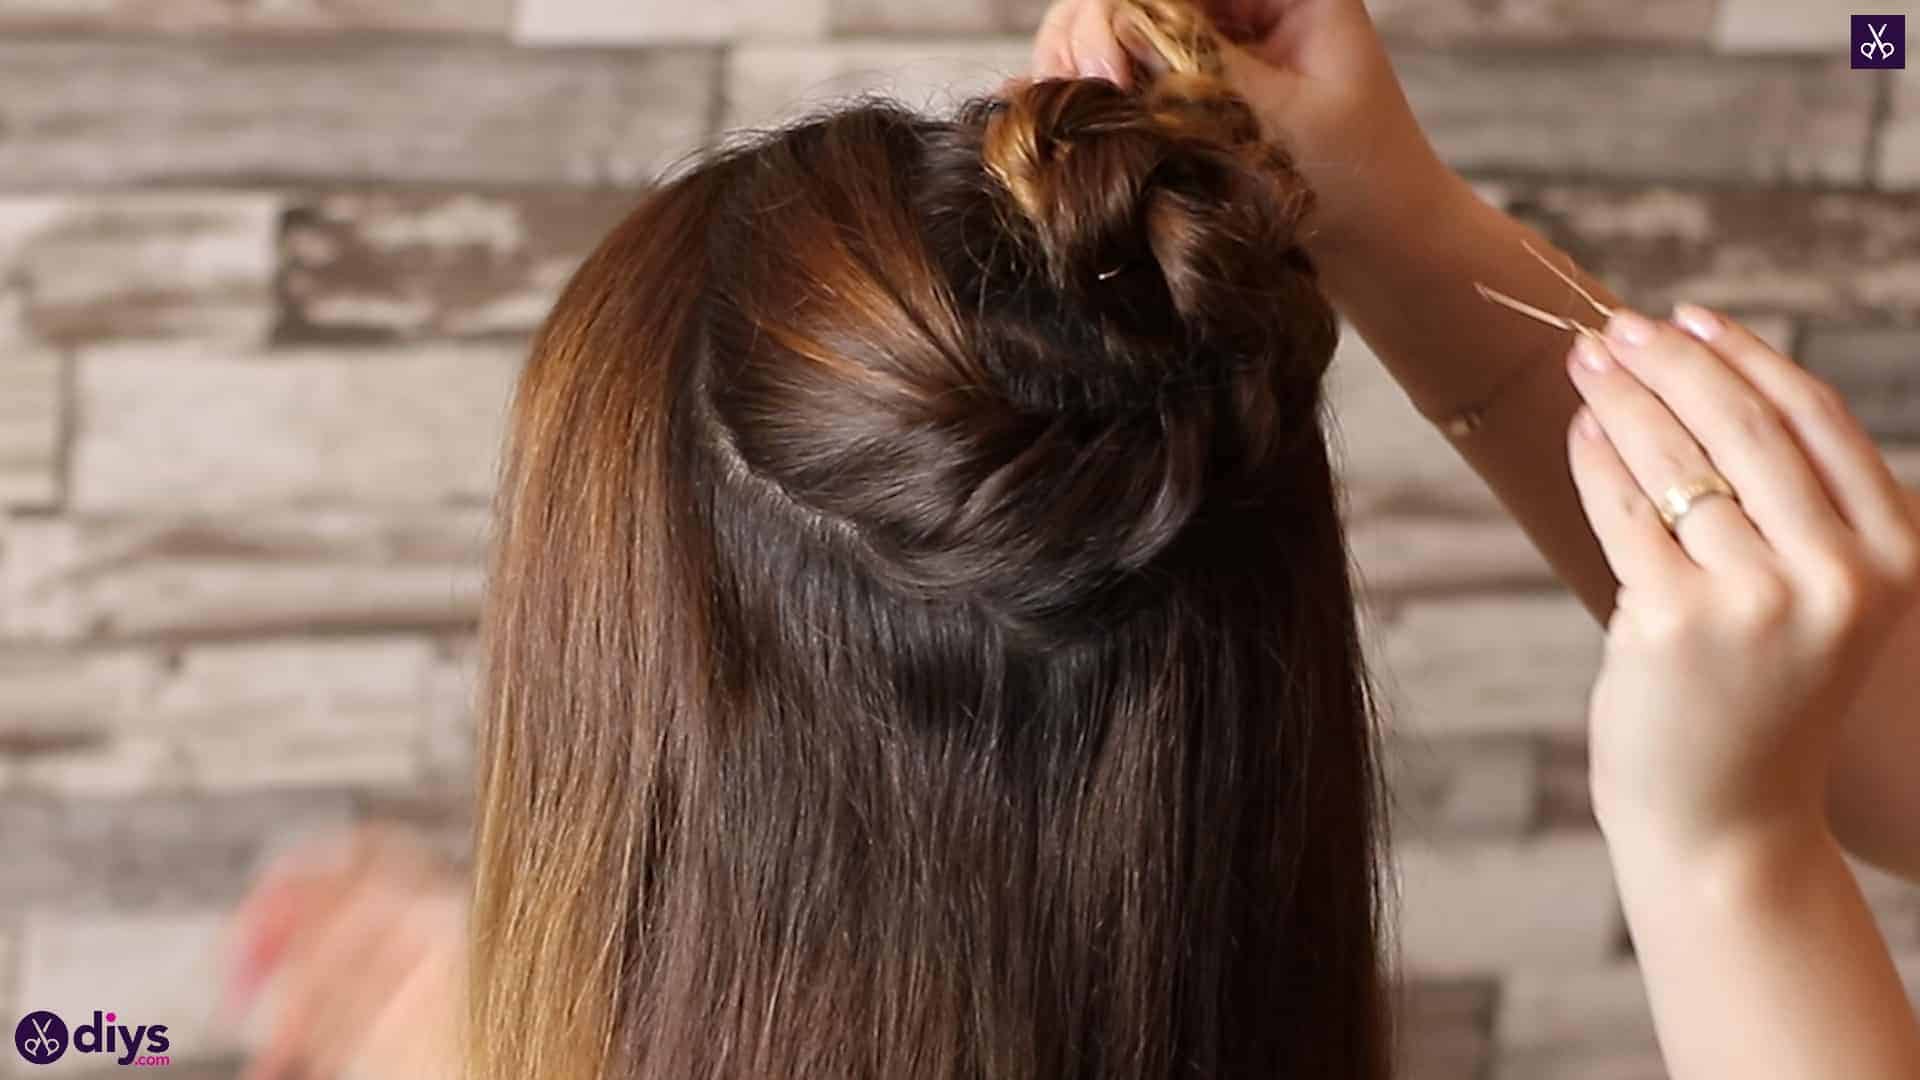
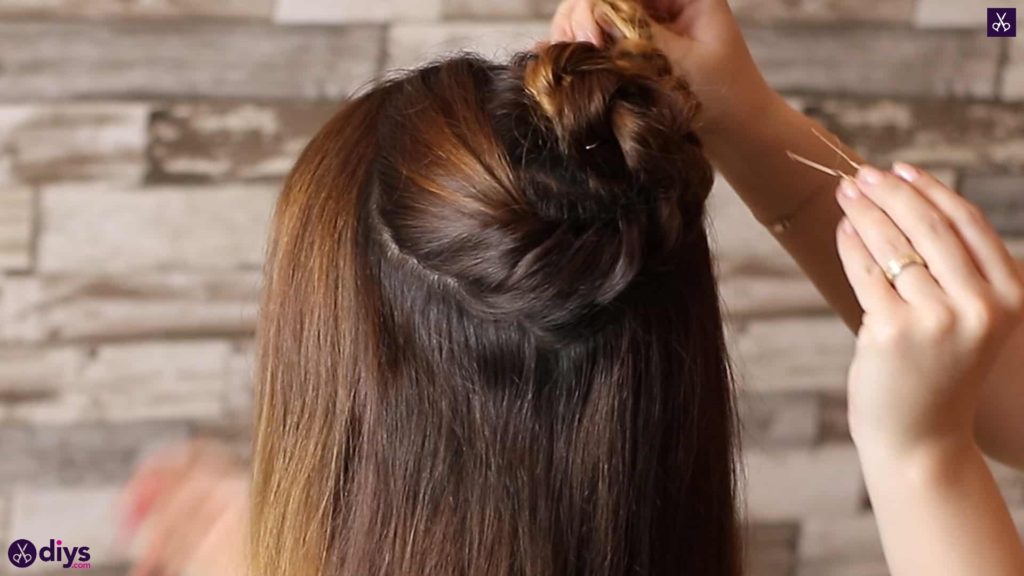
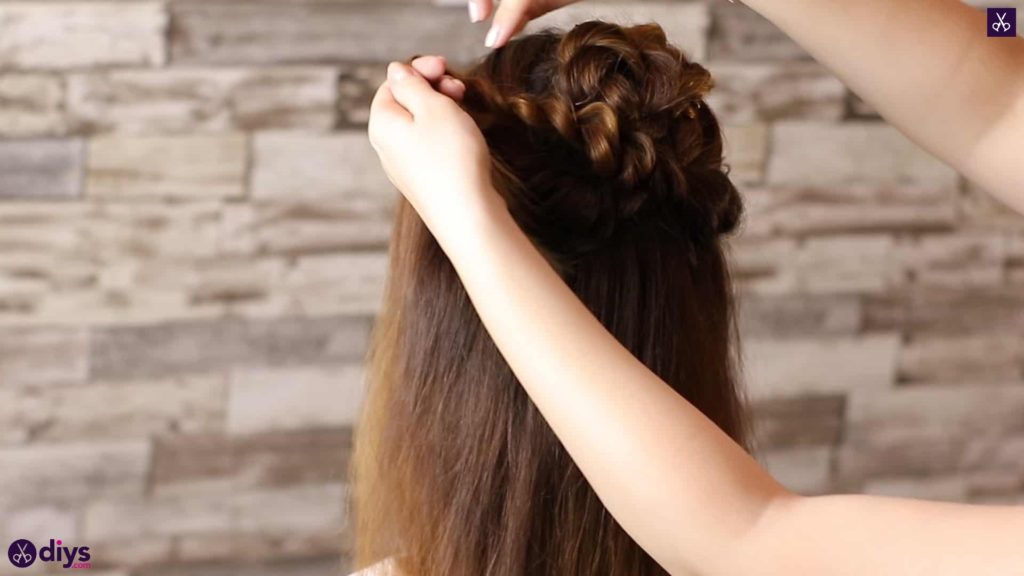
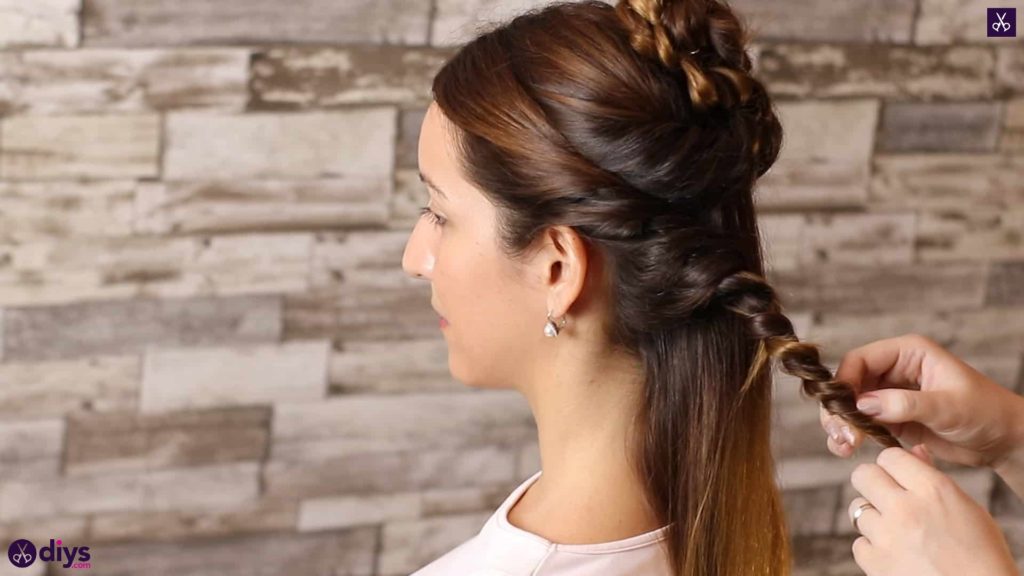
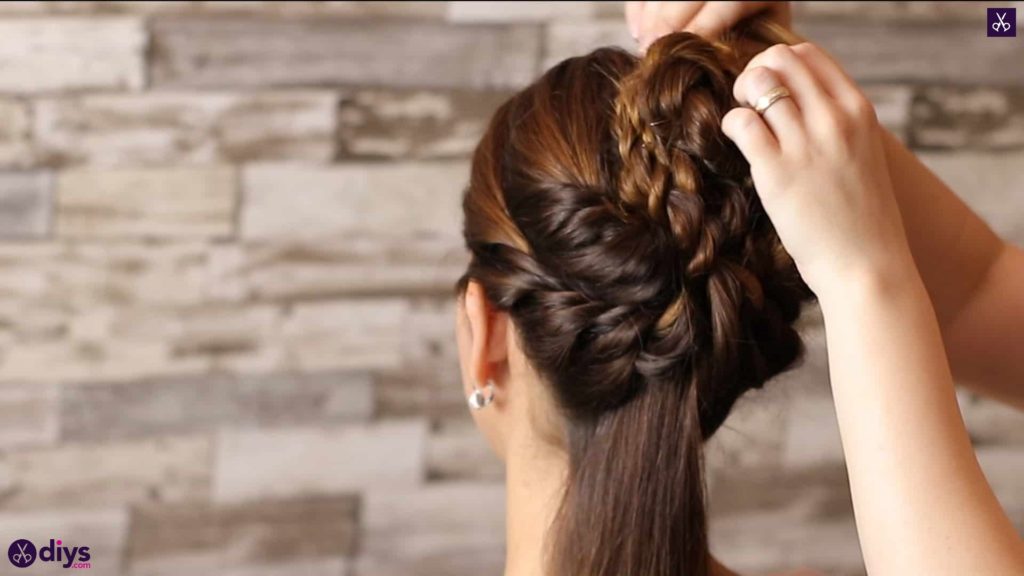
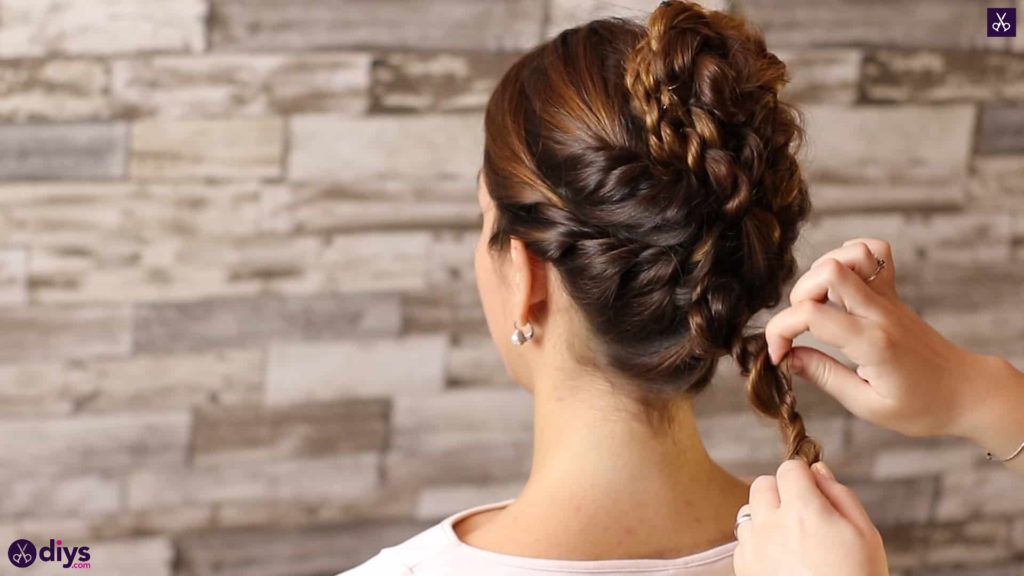
Step 1: section hair and start twisting
Separate a circular piece at the back of your hair right around the crown of your head and put it into a small ponytail. Split this ponytail into two even halves and hold one in each hand. Give the section in your right hand a twist to the right and pass it over the strand in your left hand to hold both briefly in that hand. Then take the untwisted left strand from underneath and hold it in your right hand. Now give that strand a twist to the right and pass it over the other one in the same way. Repeat this process all the way down the whole length of the ponytail and fasten the ends with a small hair elastic. Spiral this twist upwards to the side and back around on itself to curl it into a bun. This will be the base of the style that you wrap everything else around. Use bobby pins to pin this bun solidly into place. Just to the left of the bun, section out another piece of hair roughly the same size as the first one you made to create the bun. You don’t need to tie this one with a top elastic like the first ponytail; just split it into two pieces and repeat your twisting process. Once you’ve fastened those ends, curl this piece up under the first bund, around its side, and up around the top, tucking the end in and pinning it into place in the same way. Feel free to give the woven hair in each of your twists a pull, push, and adjustment to make them look more voluminous, giving you a bun with a little more body.

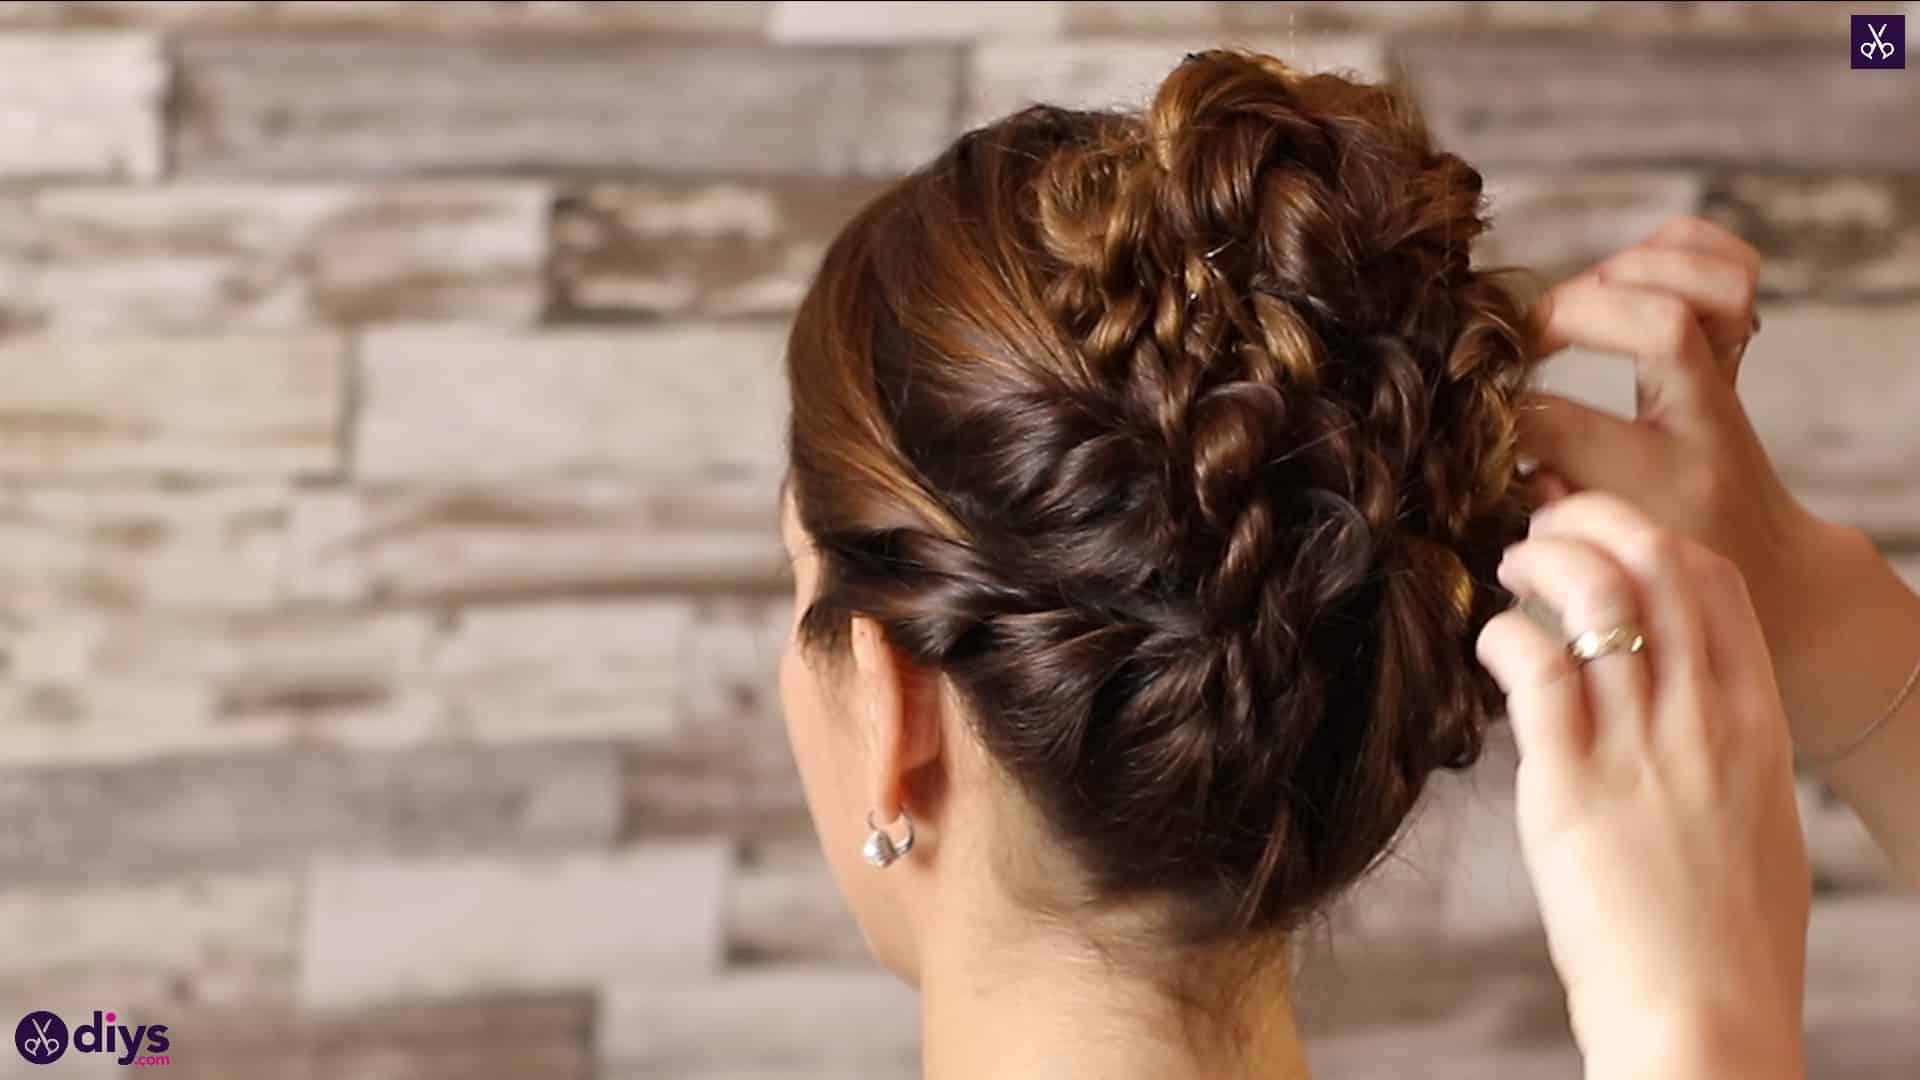
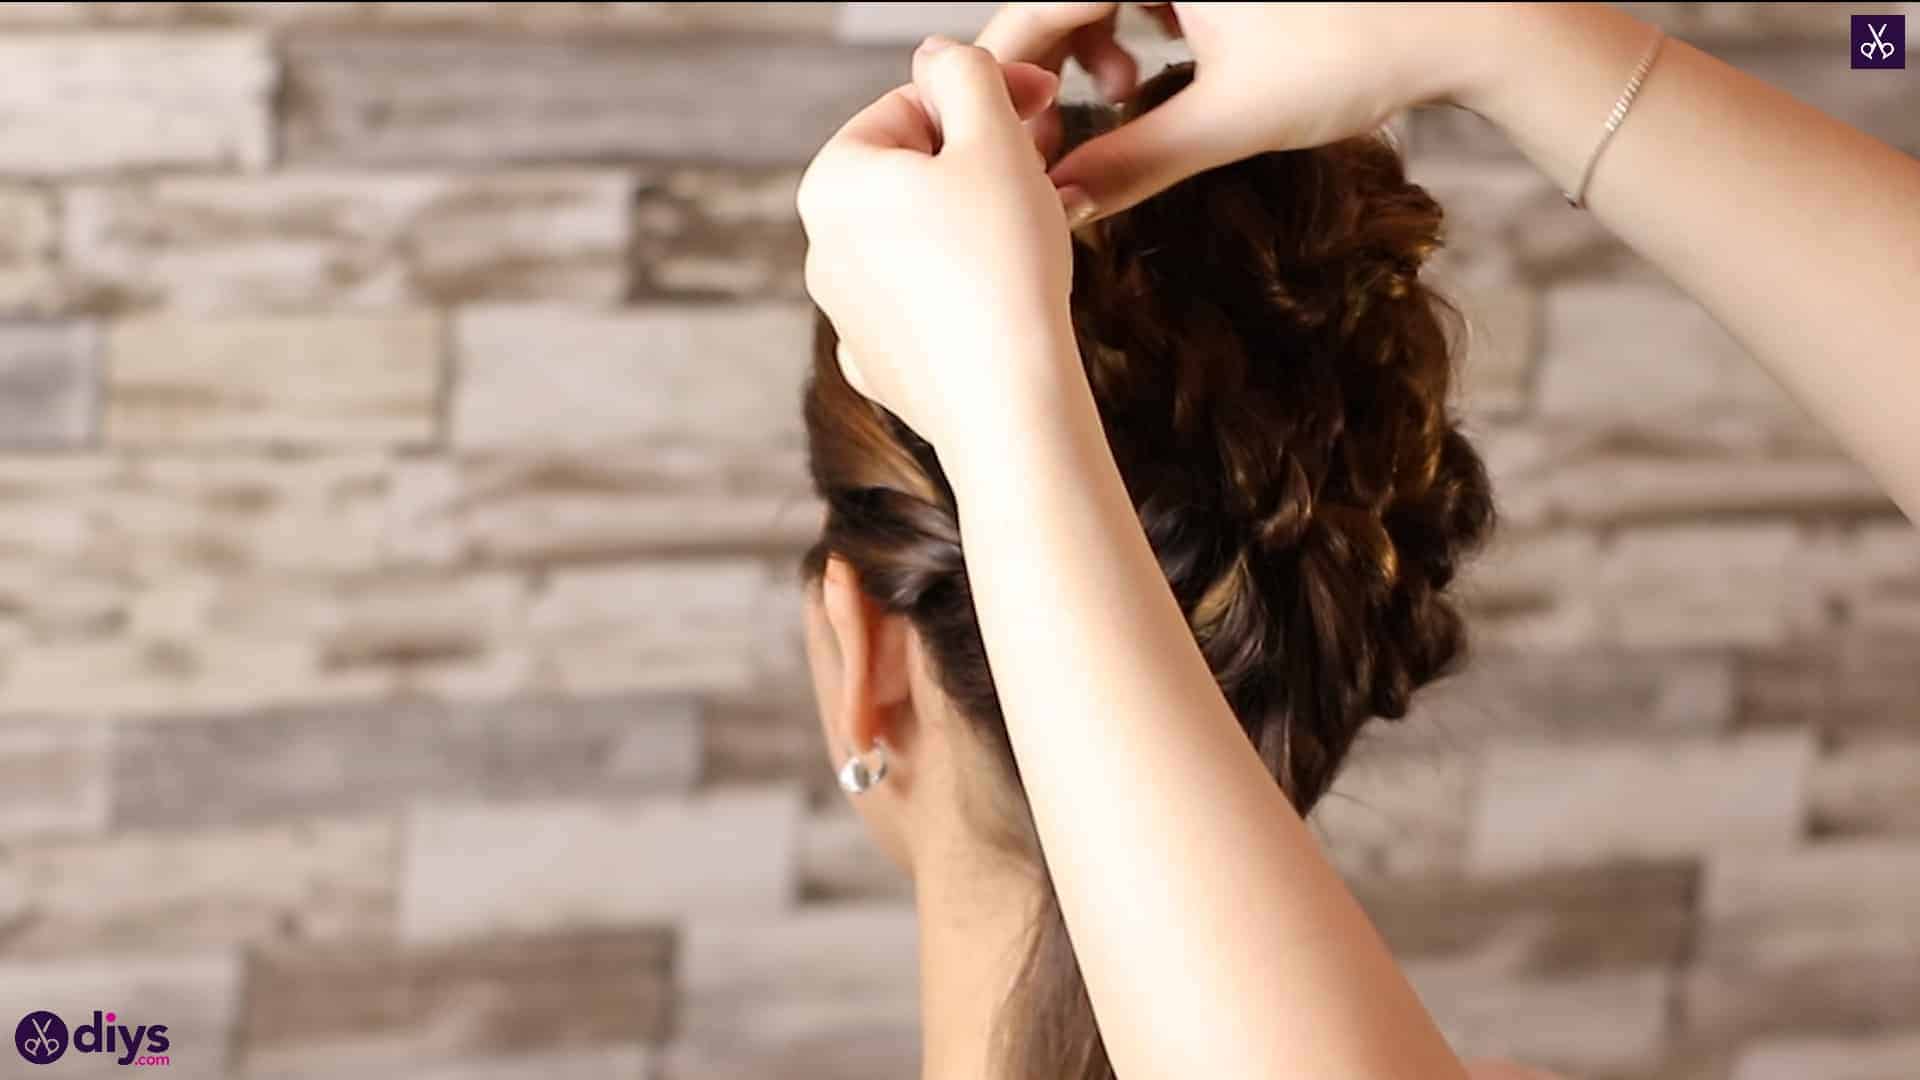
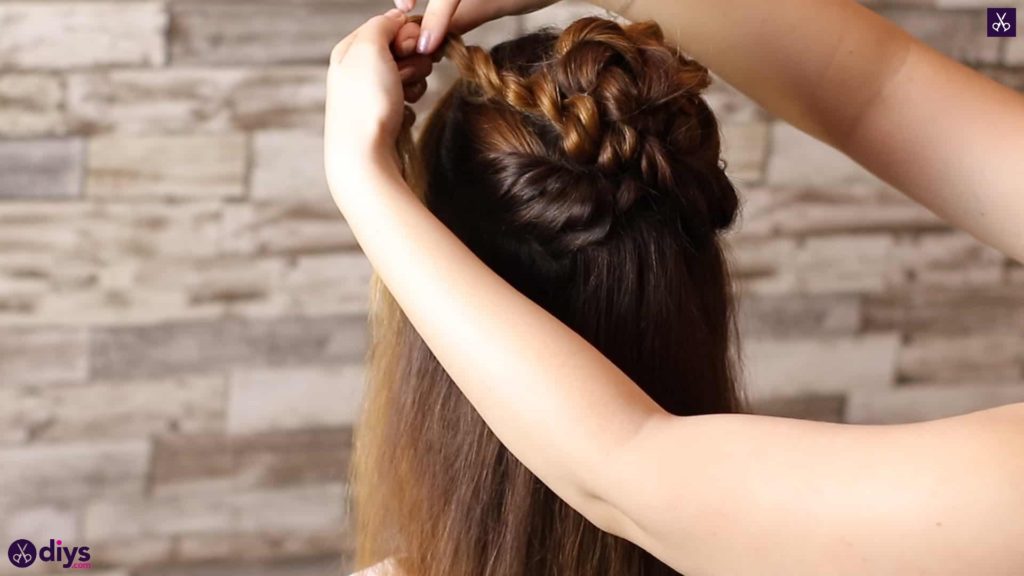
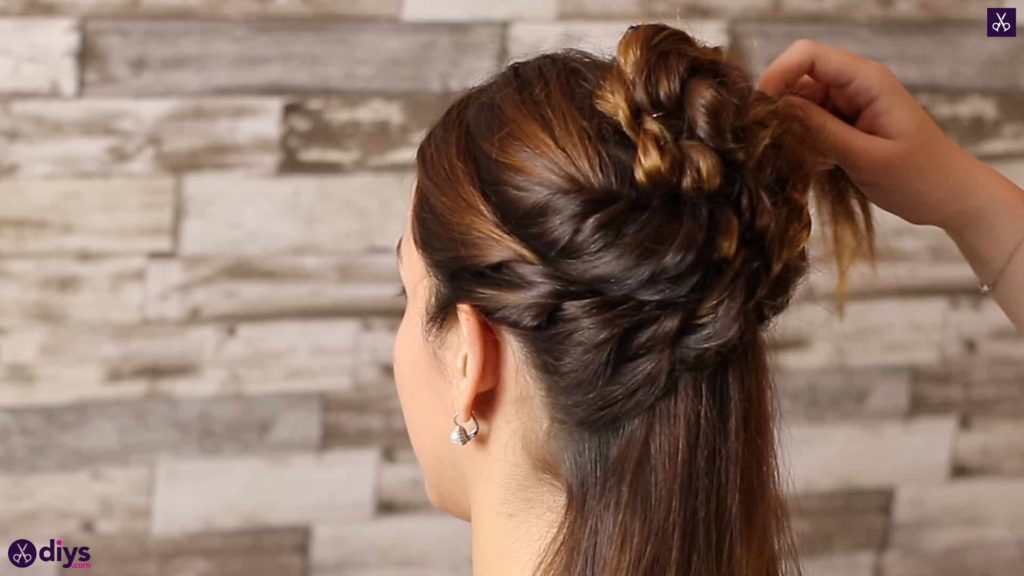
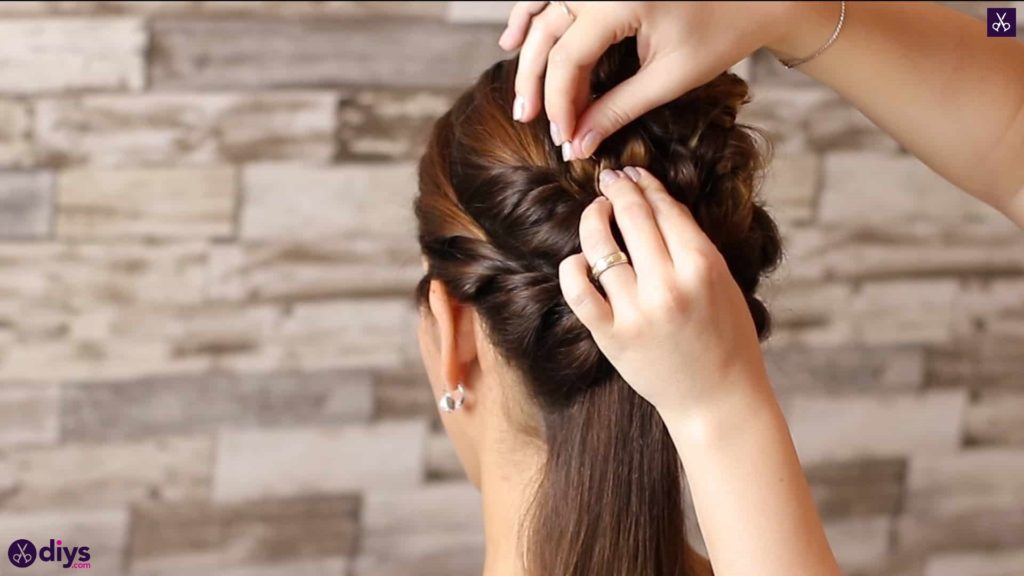
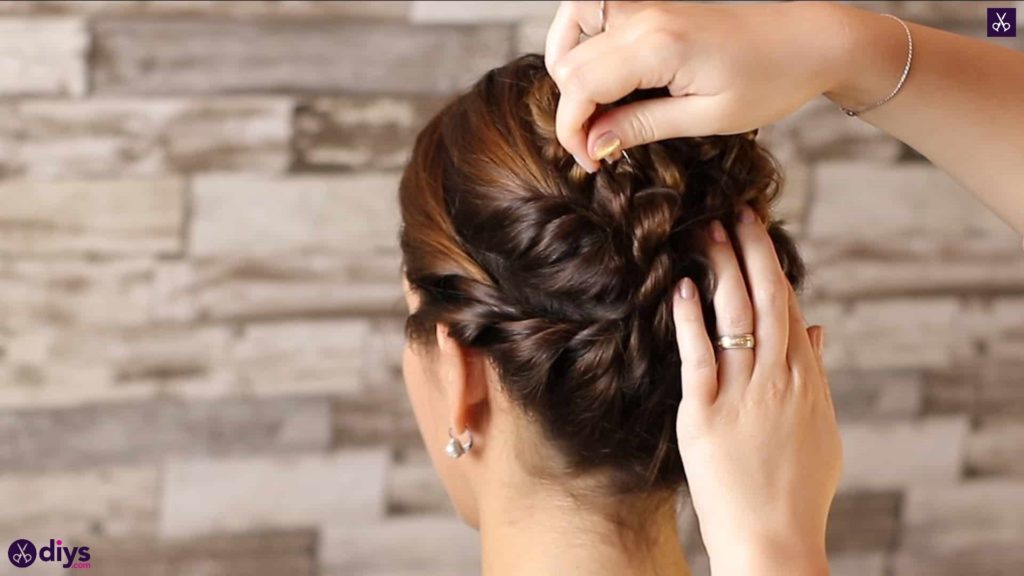
Step 2: repeat
Now repeat the process on the right side of the bun, making another sectioned twist and spiralling it up into the bun. This time, you’ll wrap it under, up, and around the other way to pin it into place. Always tuck your ends under to hide the elastics.
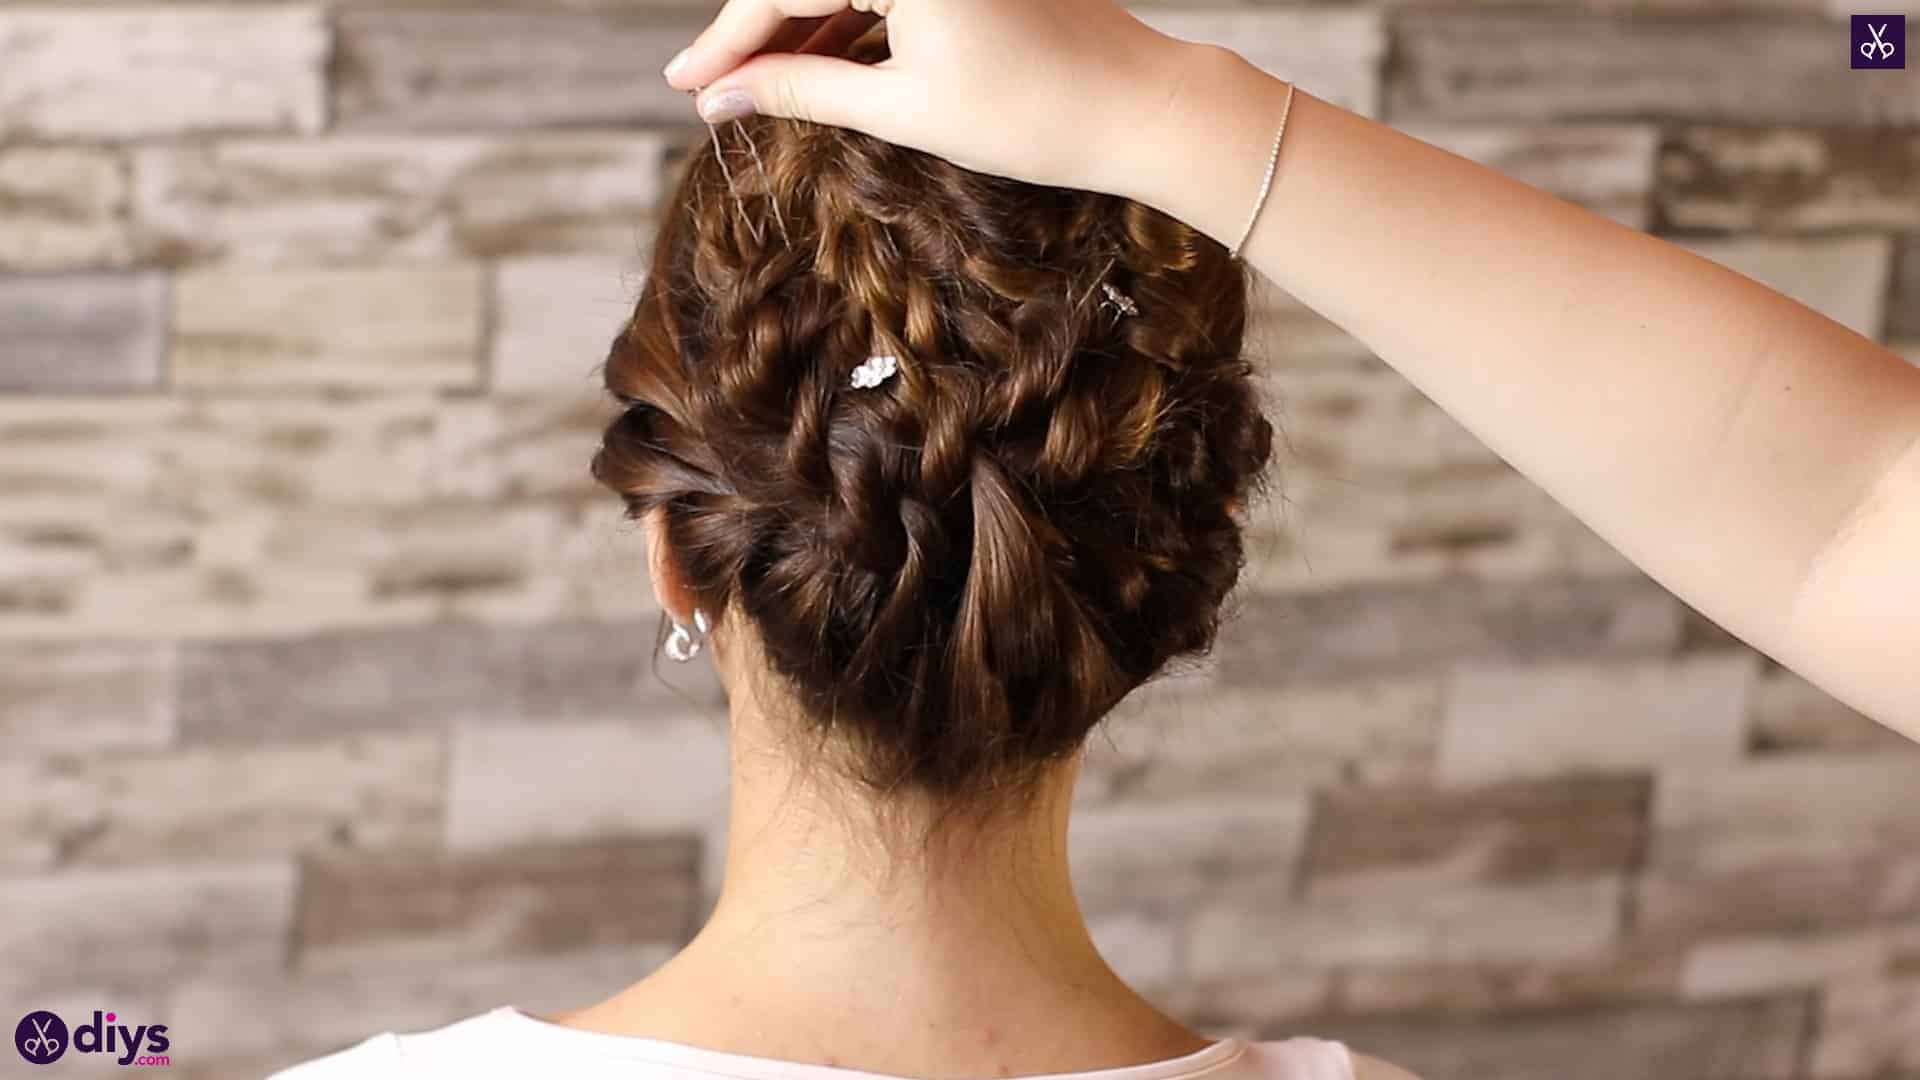
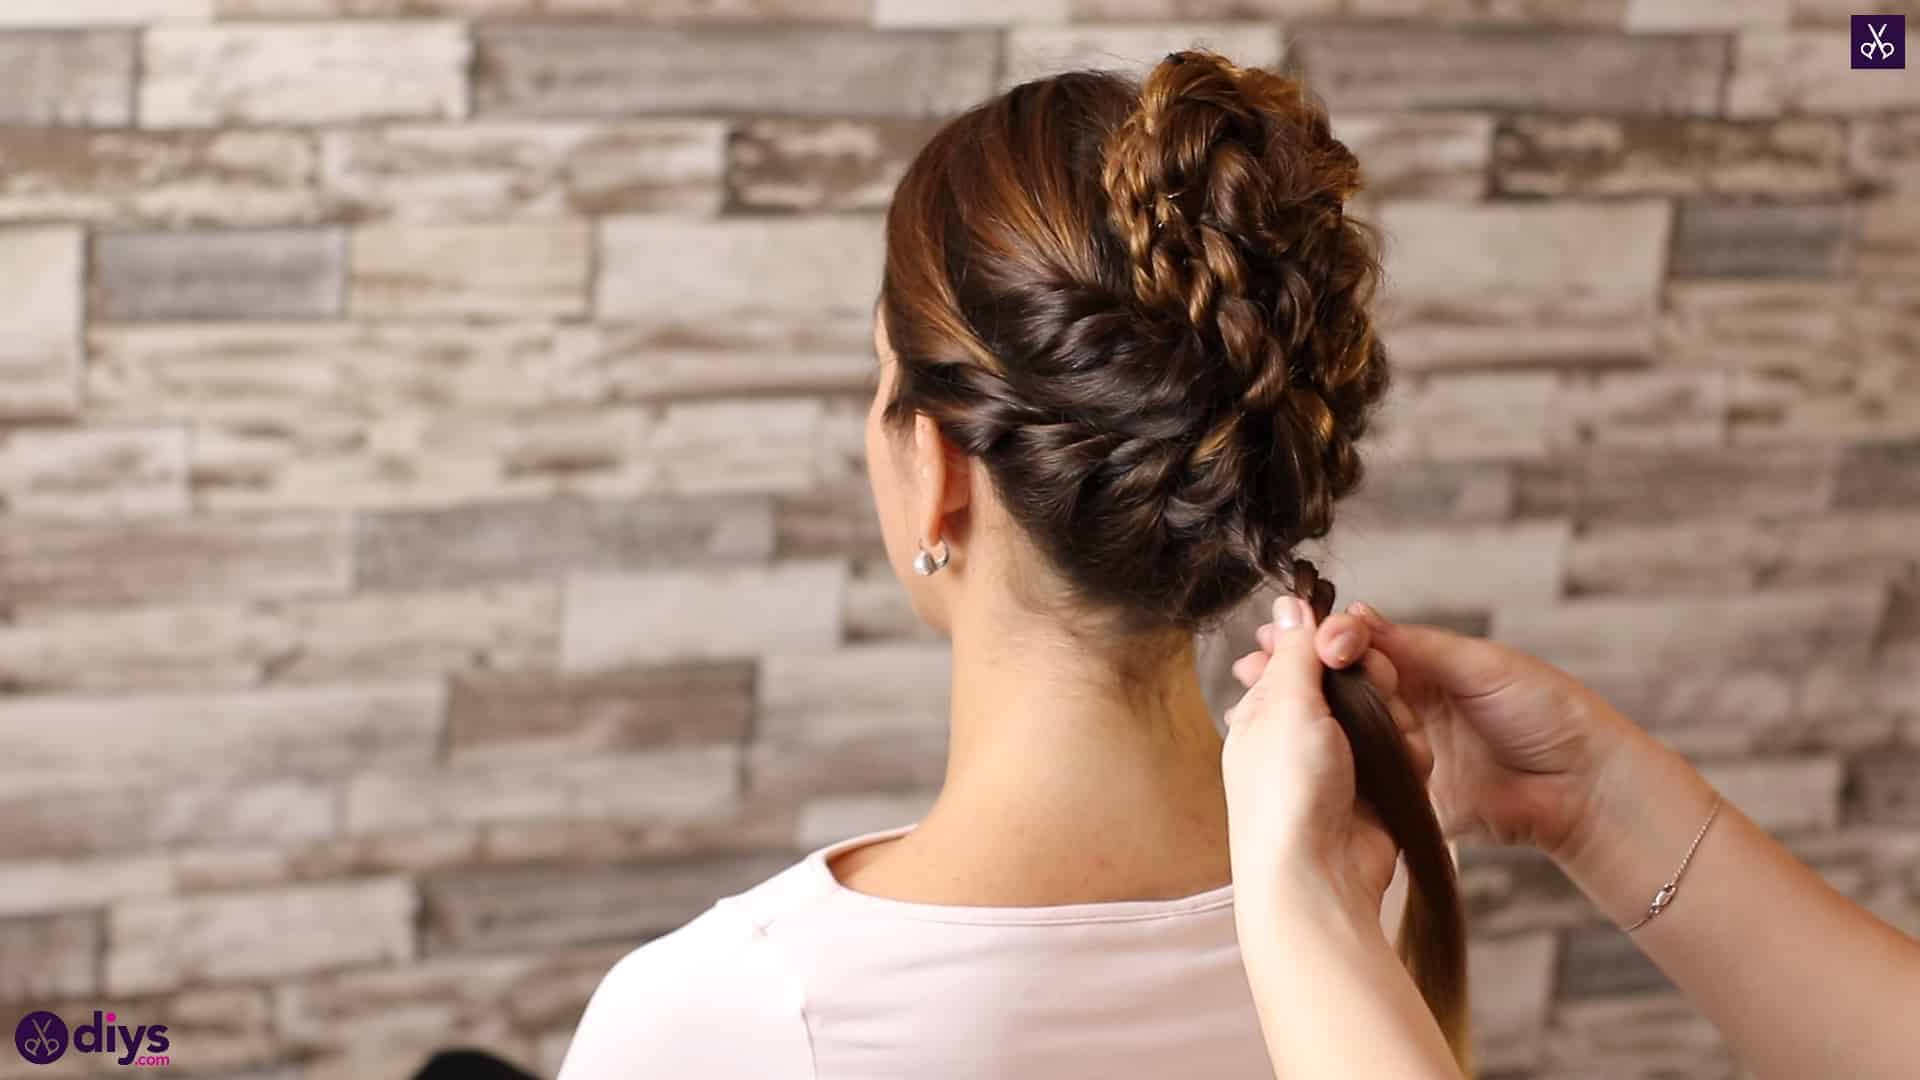
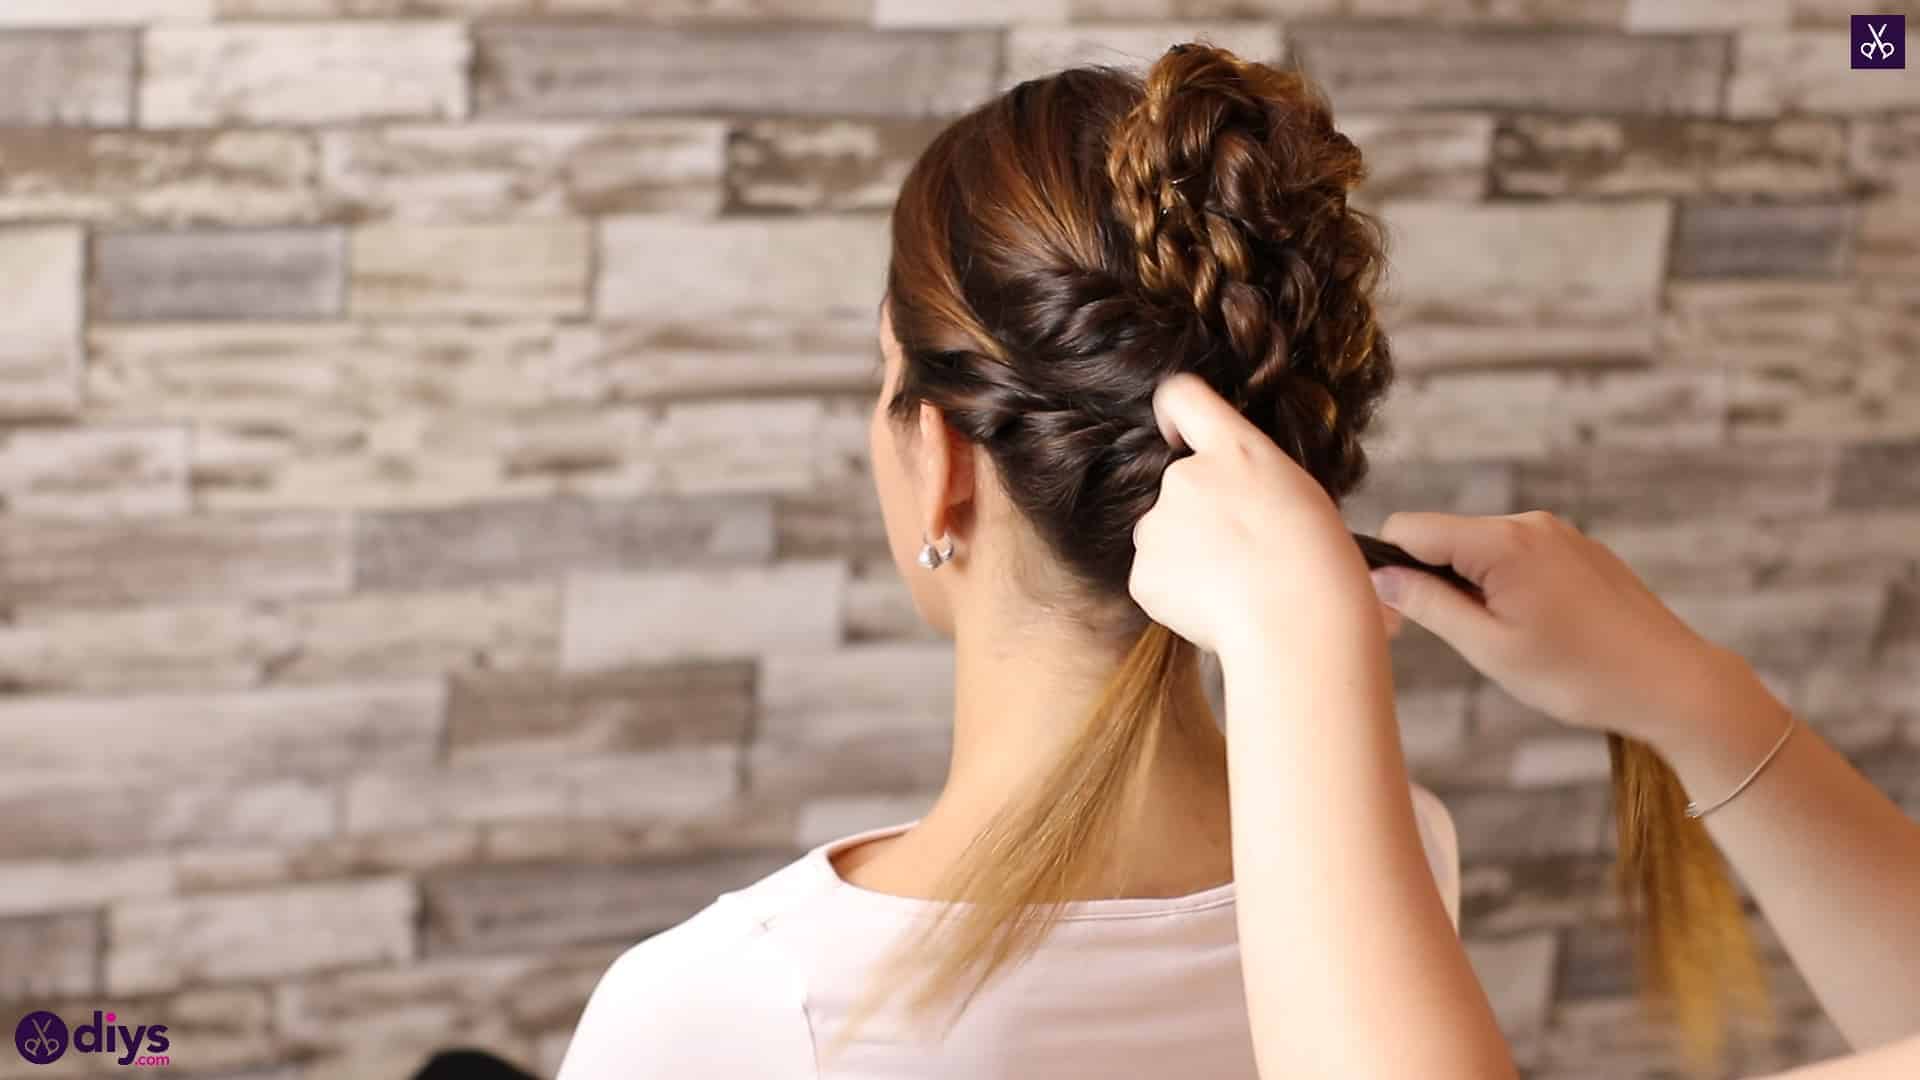
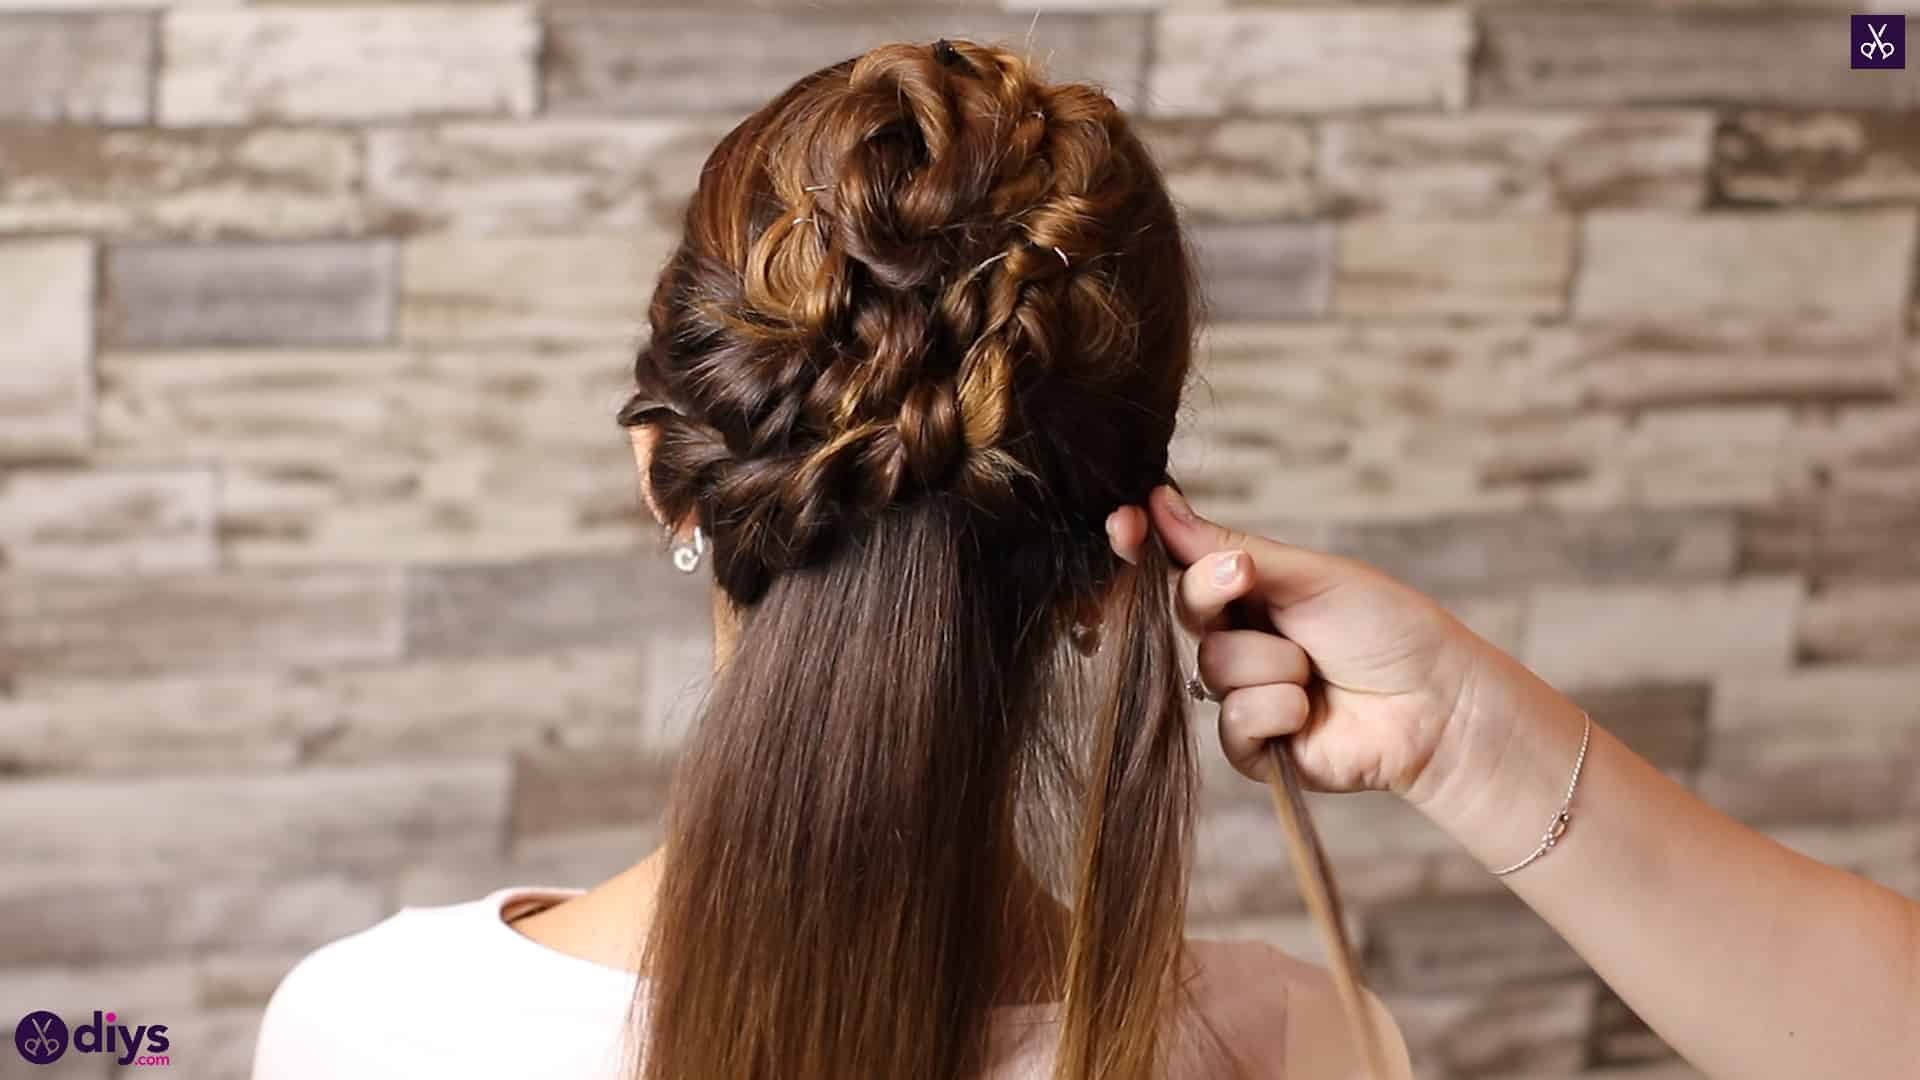
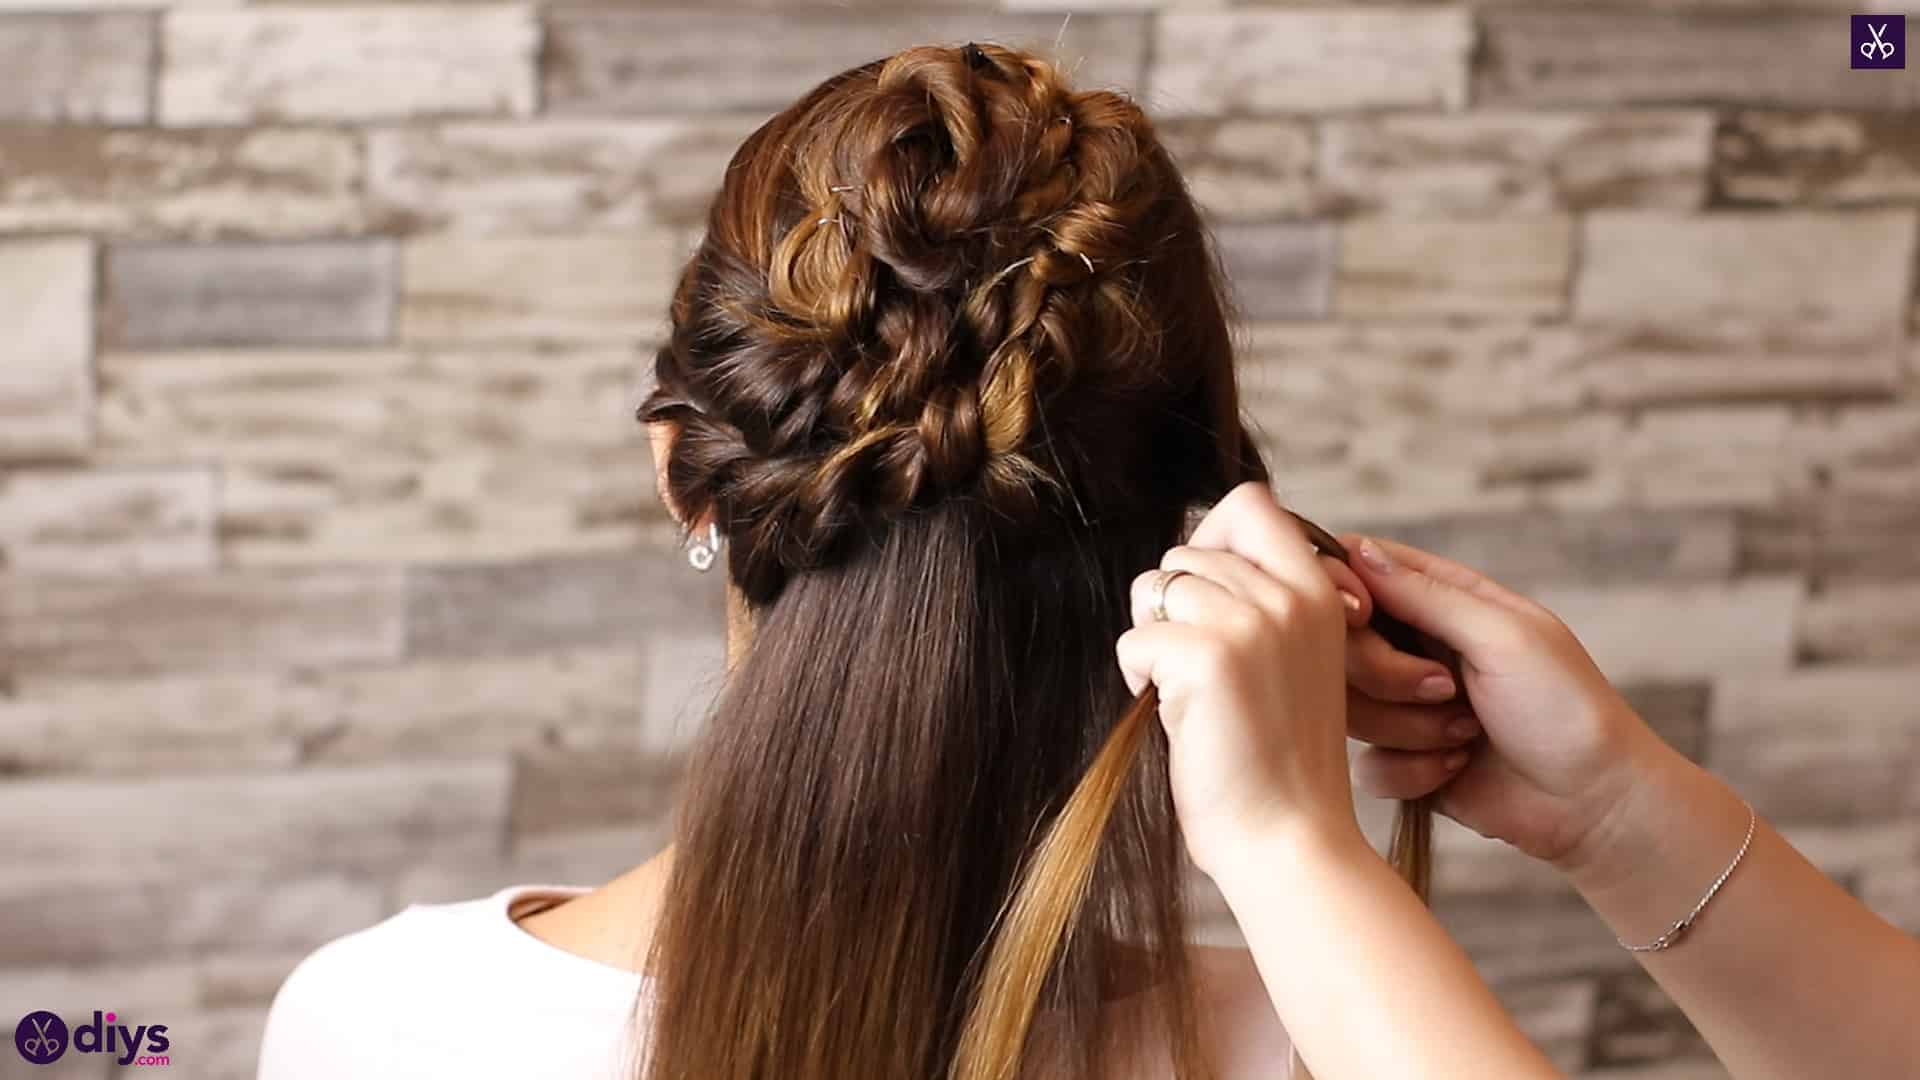
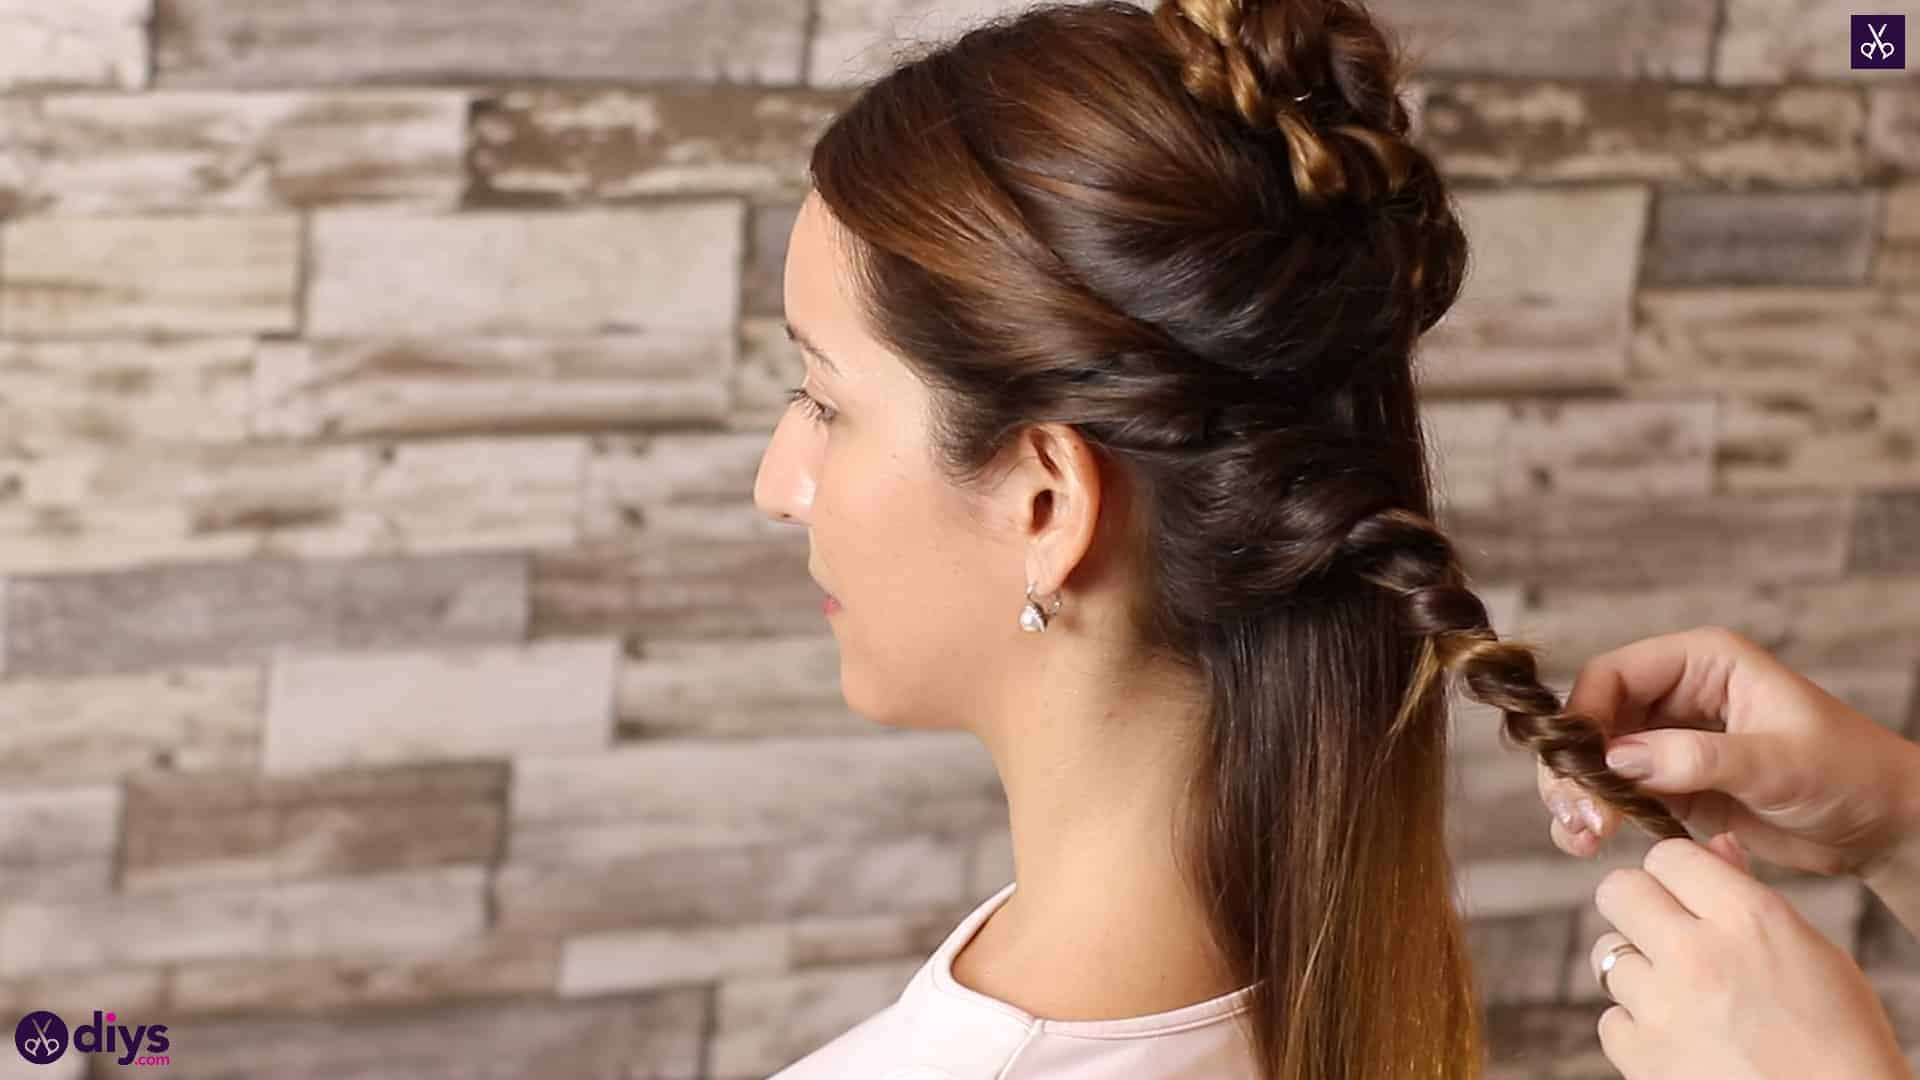
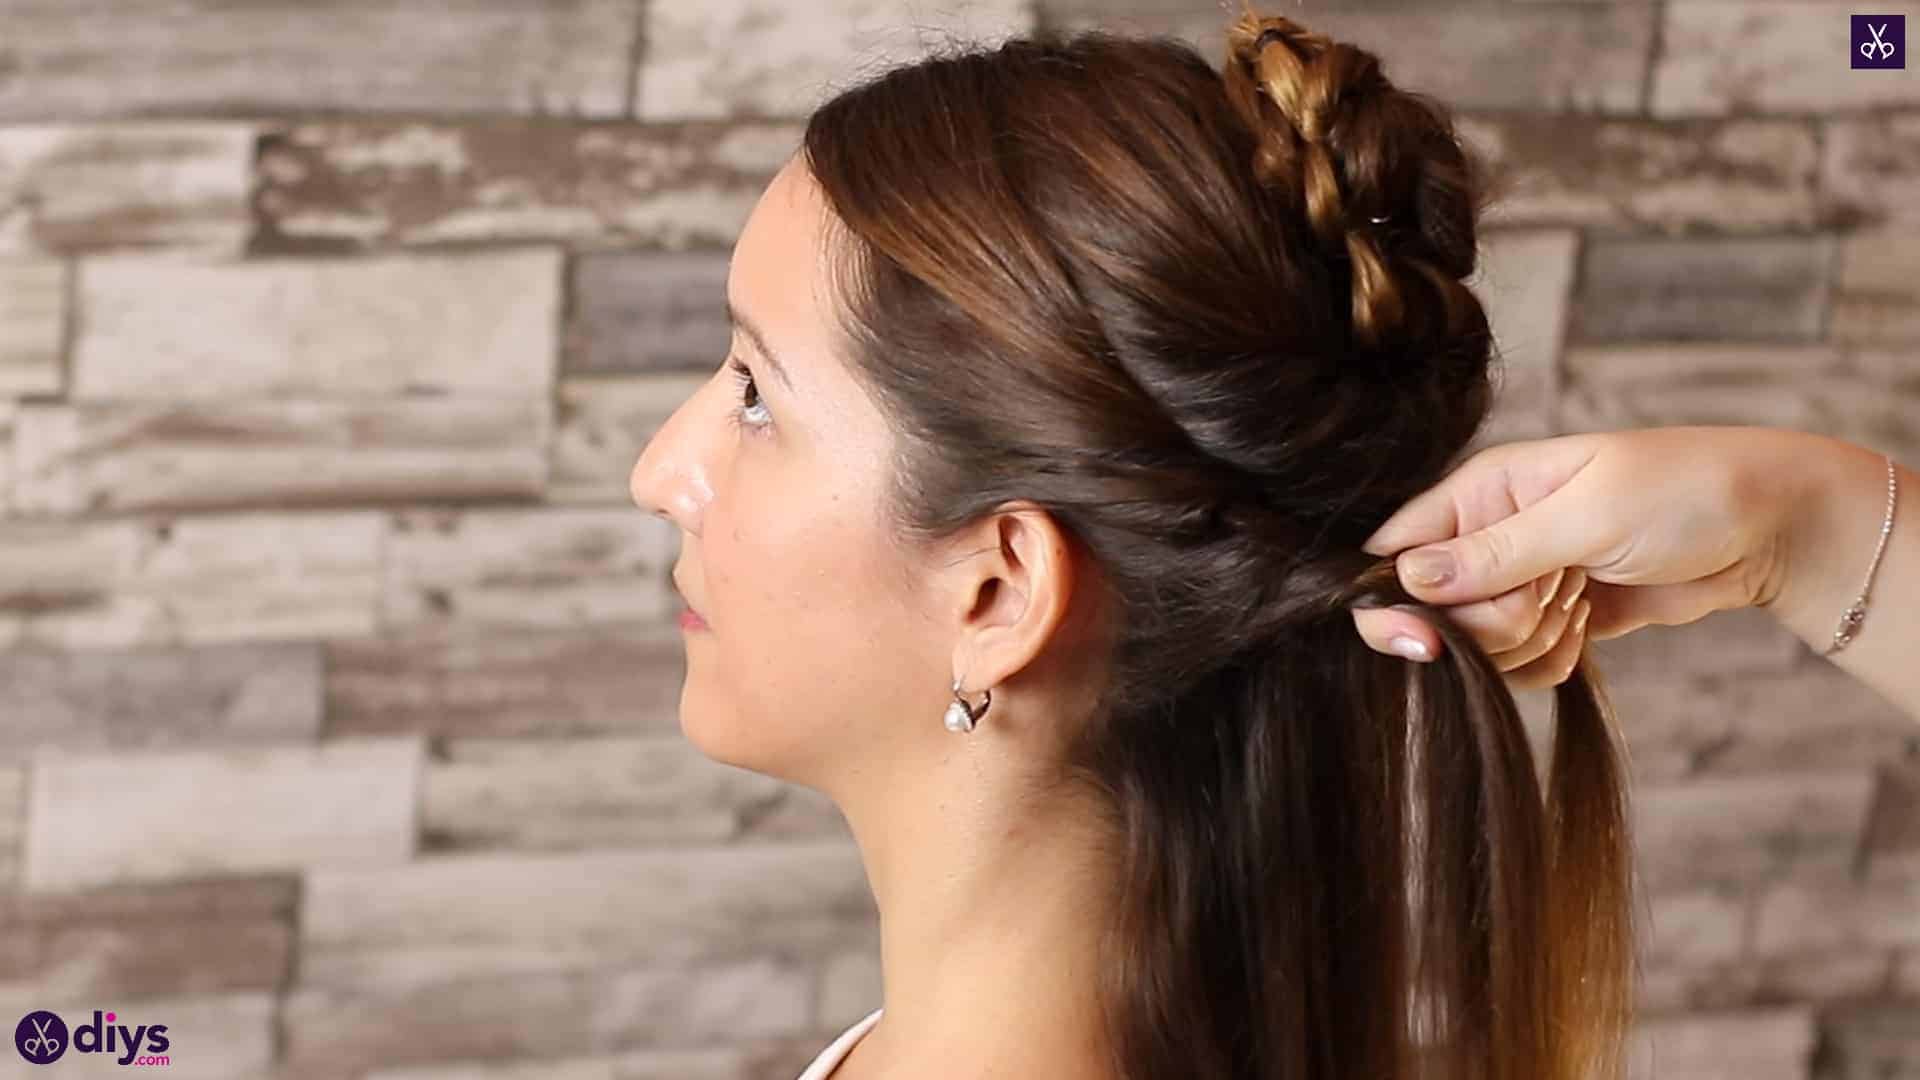
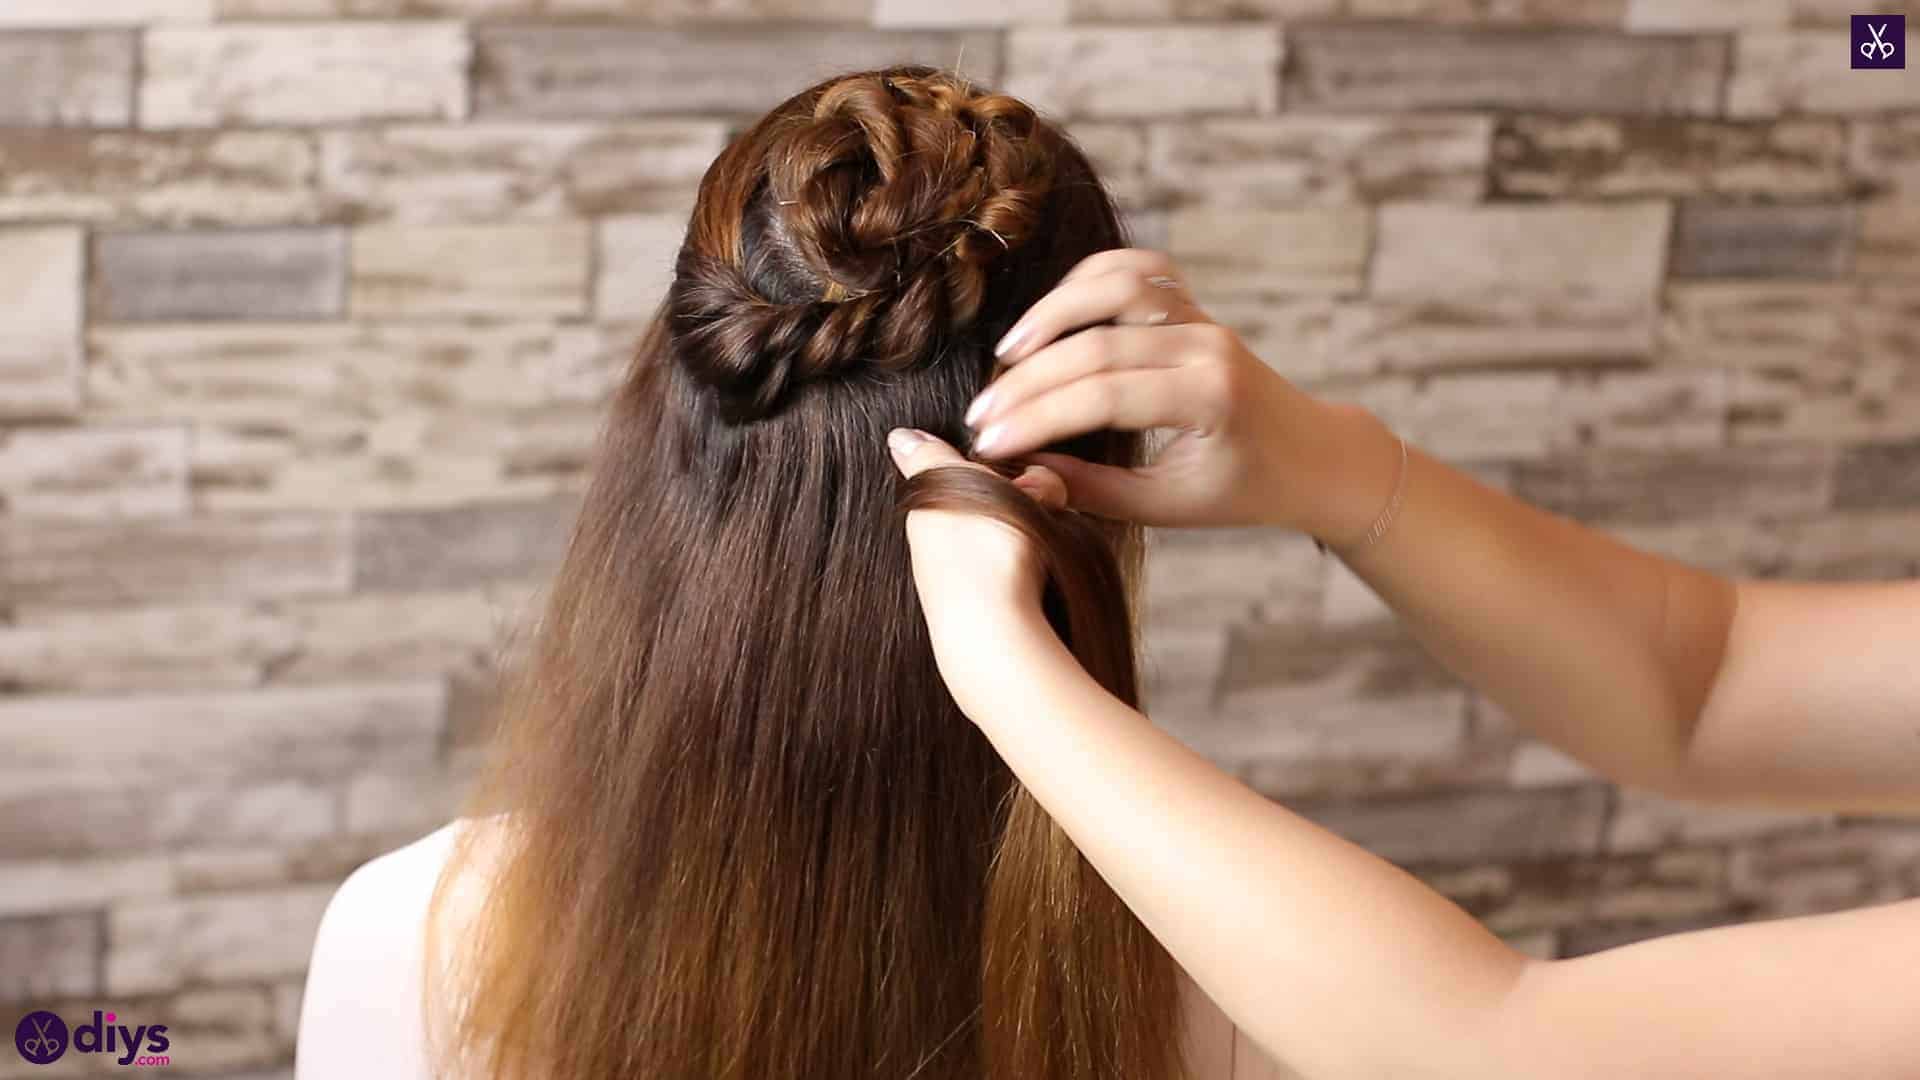
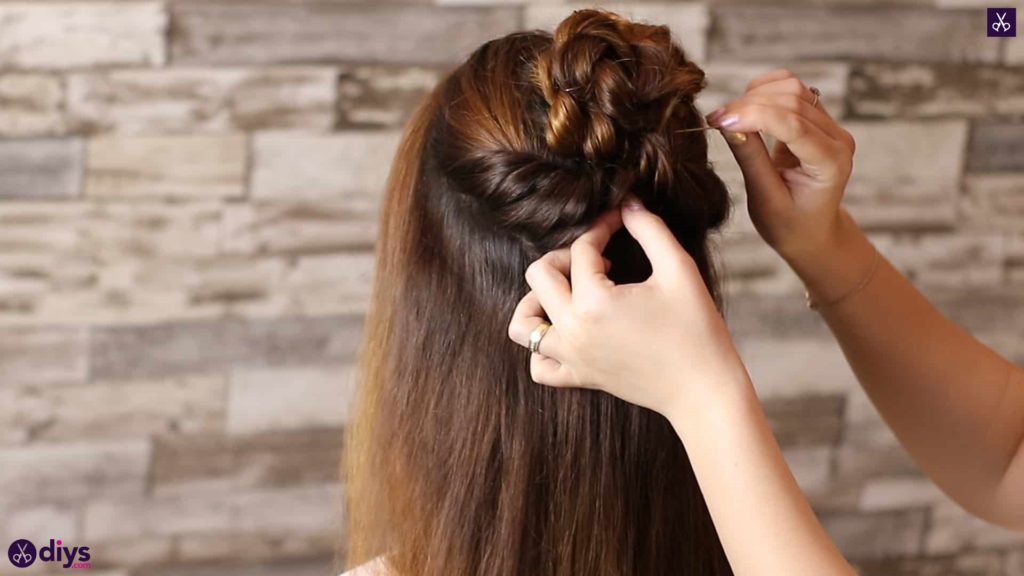
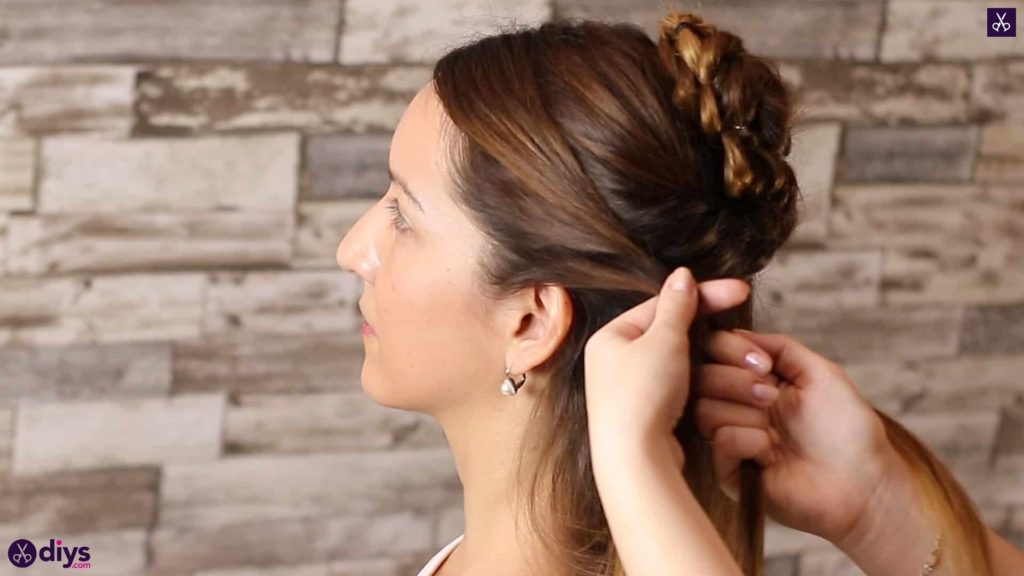
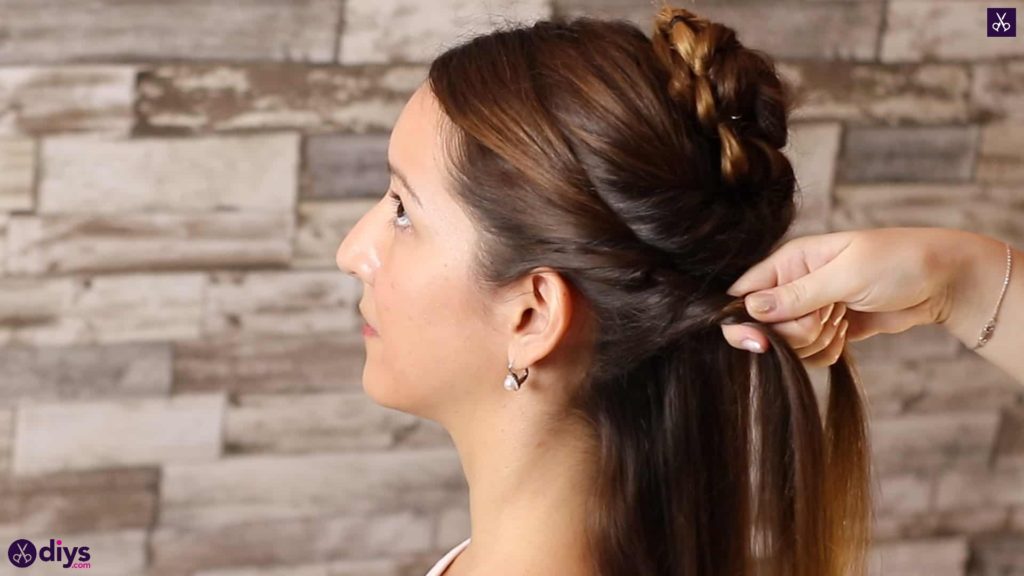
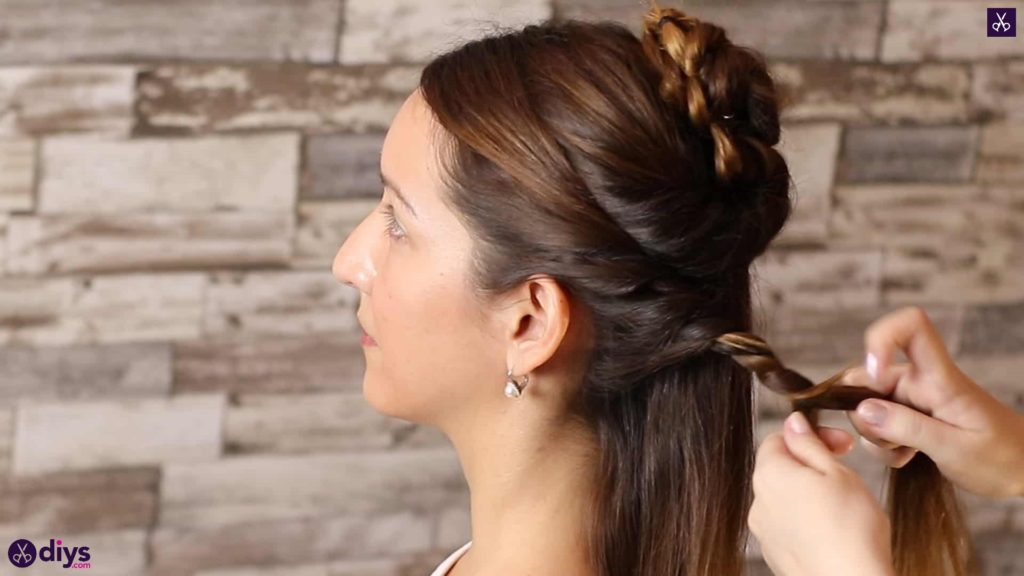
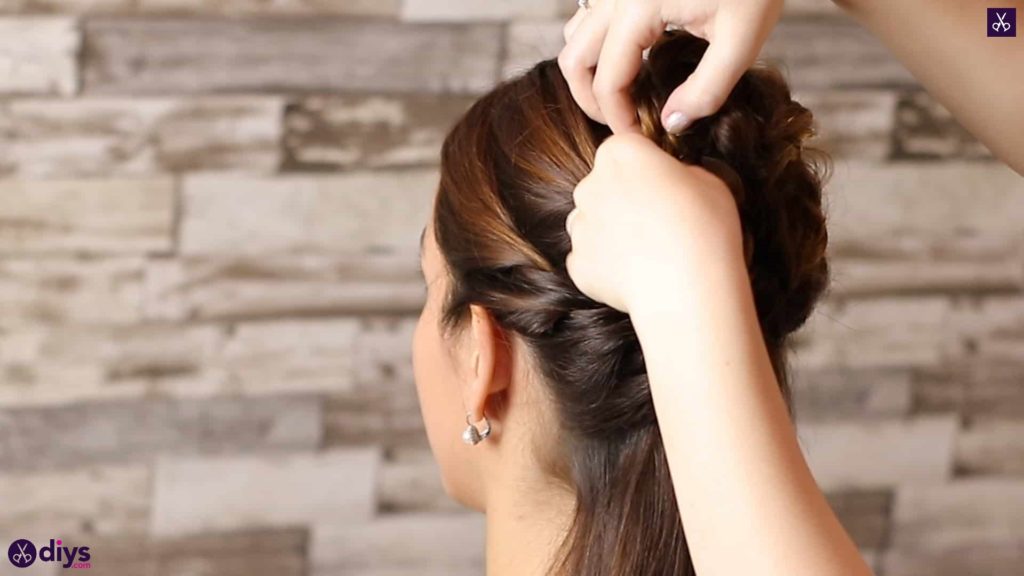
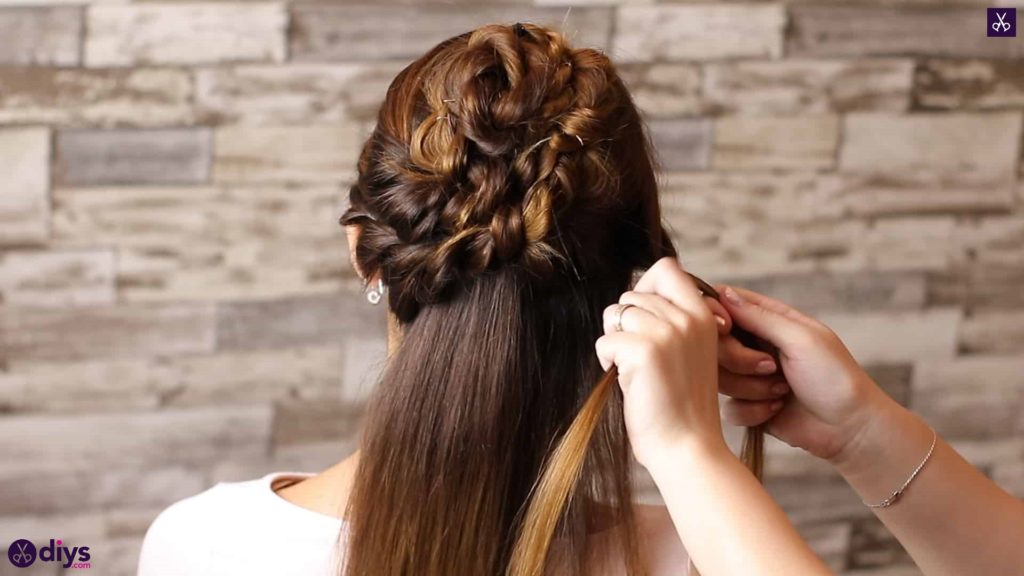
Step 3: french to the side
Now make a twist on the left side again, but gather in the rest of the hair at the front of the head on that side. You’ll use a technique similar to the one you would if you were French braiding. Split your initial section into two pieces and start your twisting process, but pick up a little bit of hair from the front (your left side) and gather it into the twist each time you work from that side. You won’t do the same on the right side because that hair is already gathered into the style. Once you’ve gathered all the side hair, switch back to just doing regular twisting until you reach the ends. Fasten them, curl the twist up into the bun however it sits and looks best, and pin it into place.

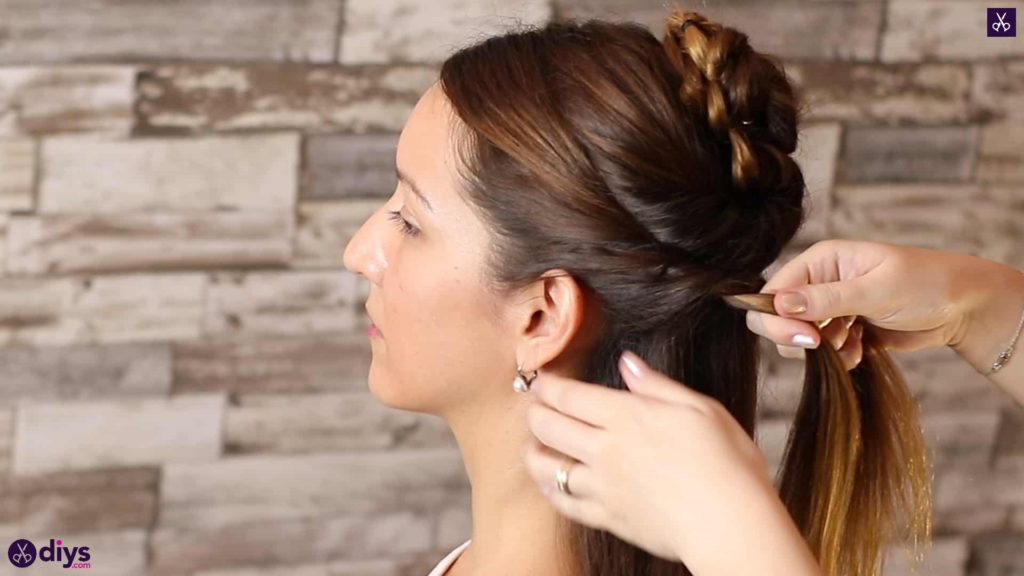
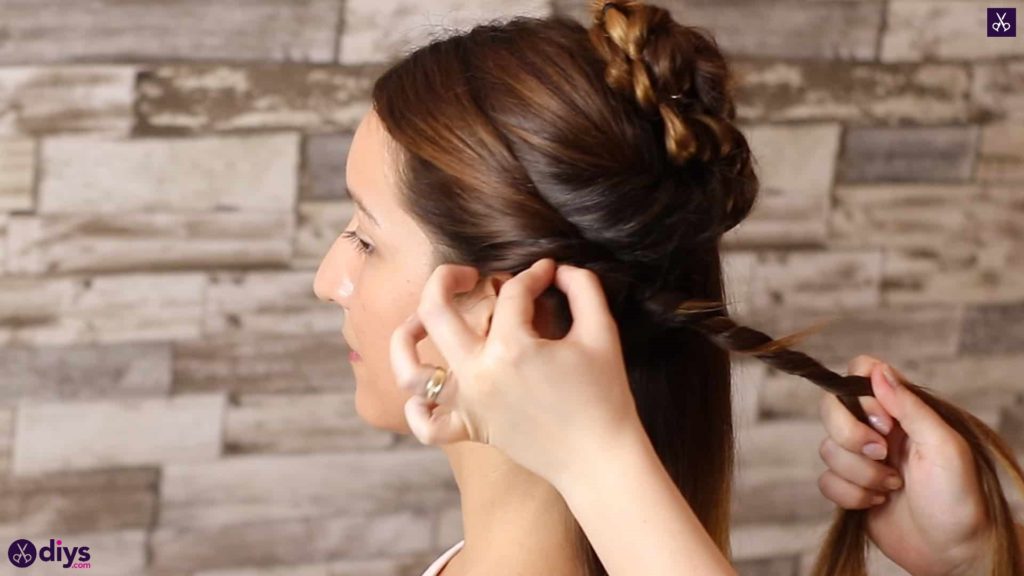

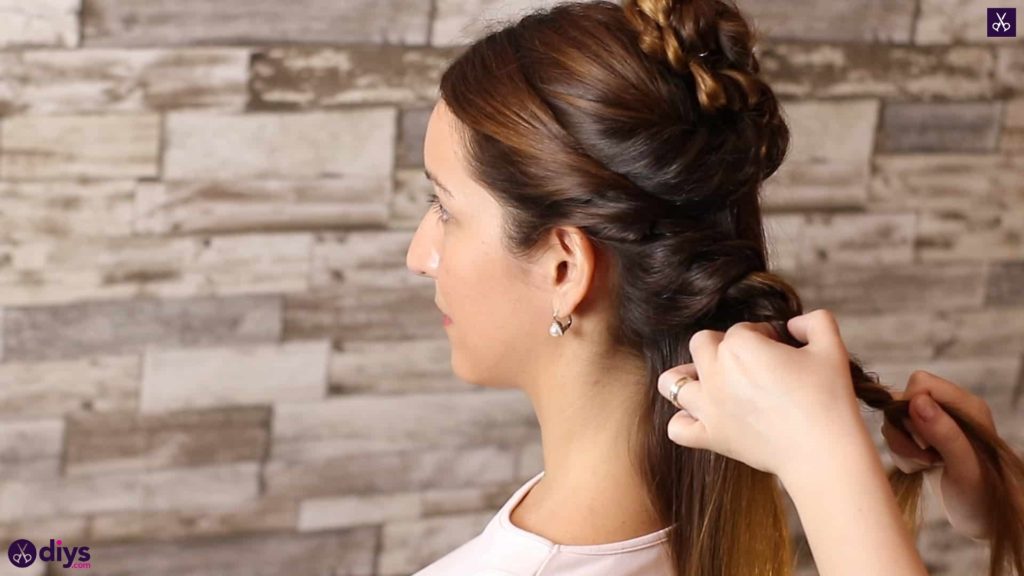
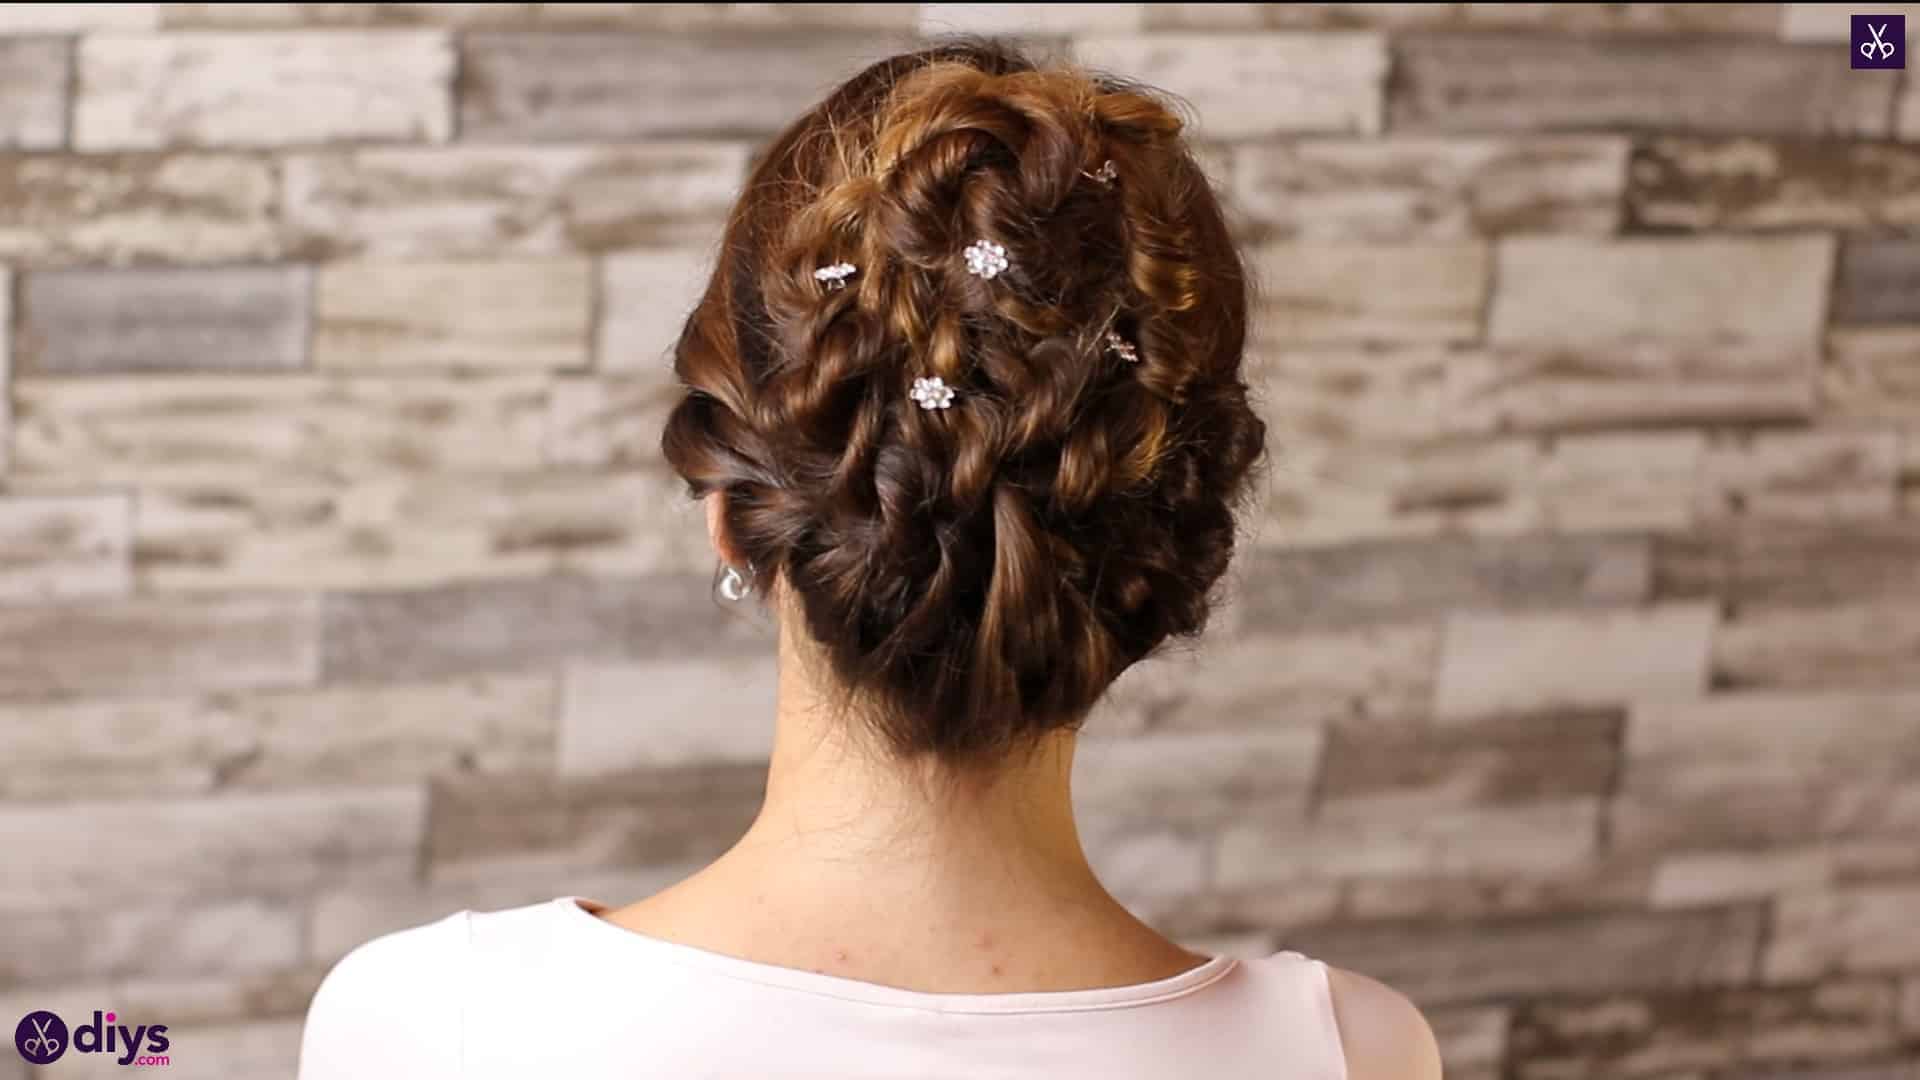
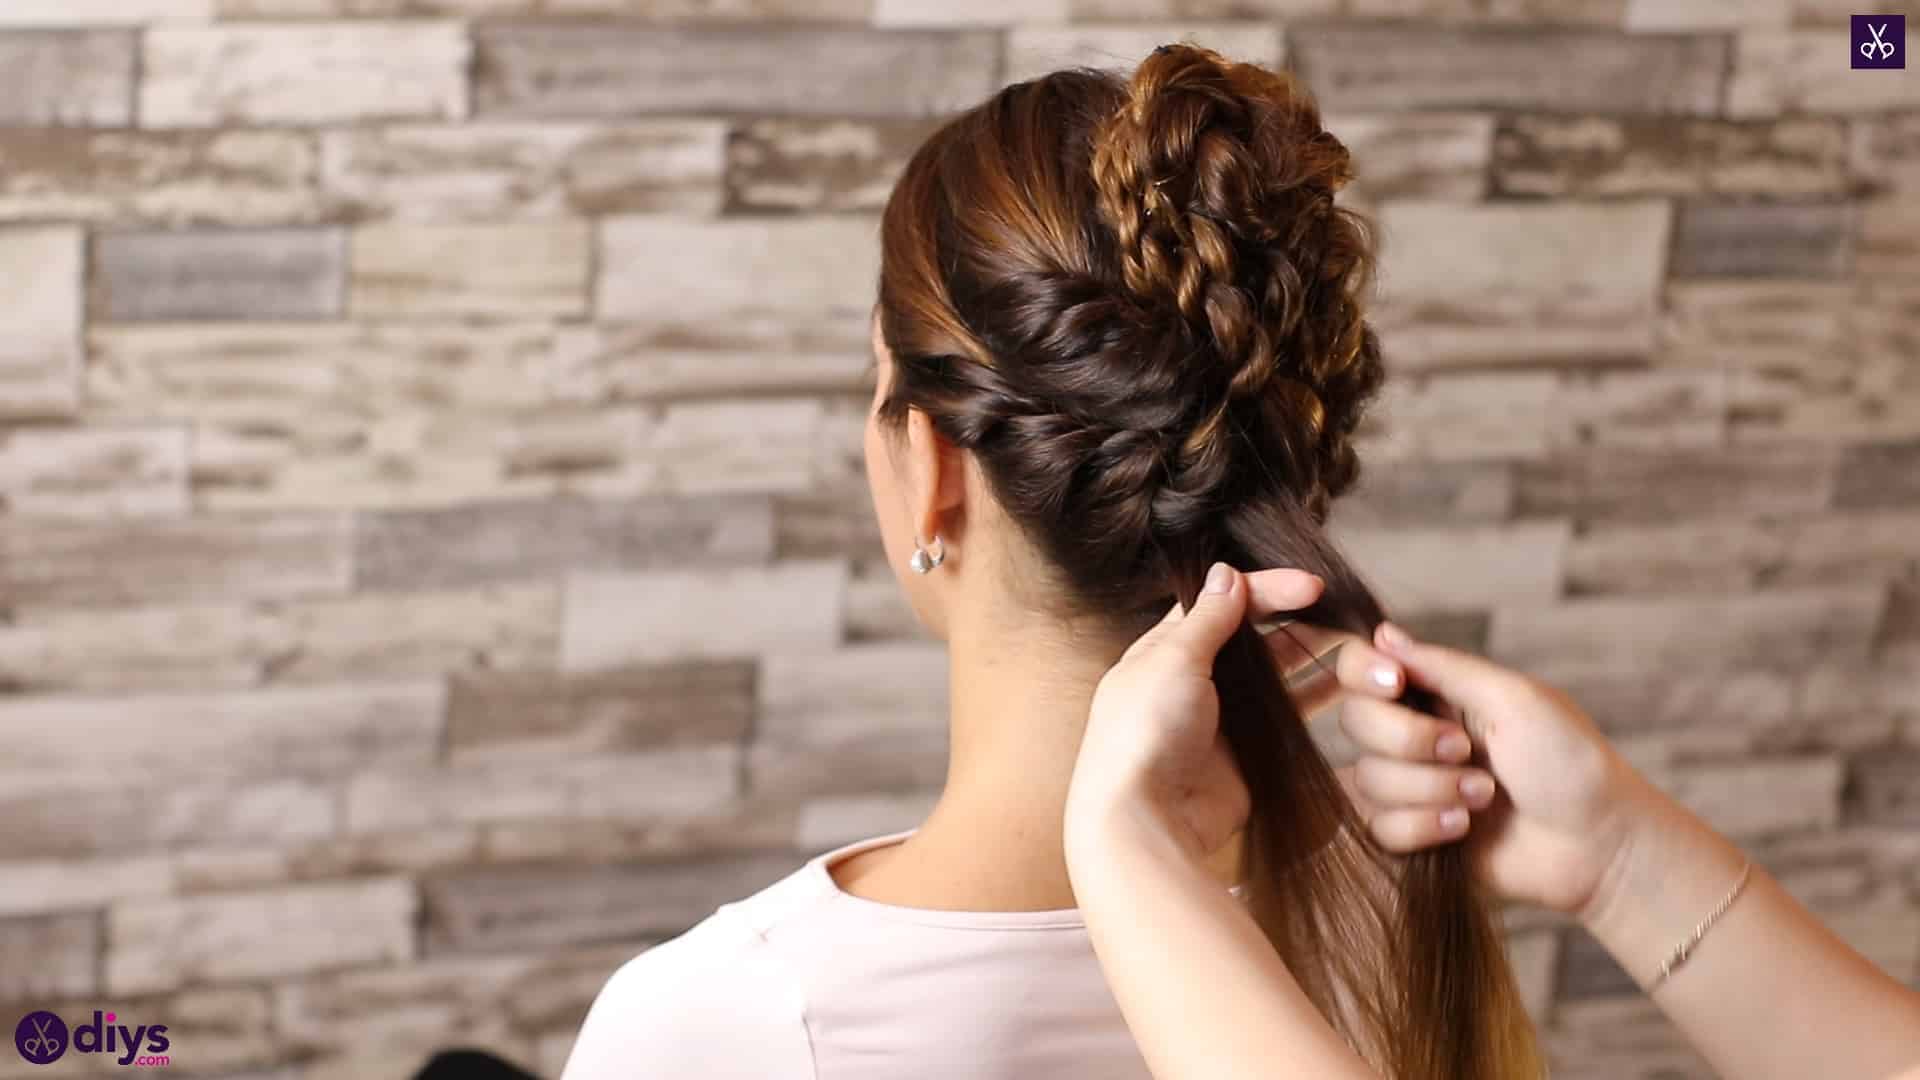
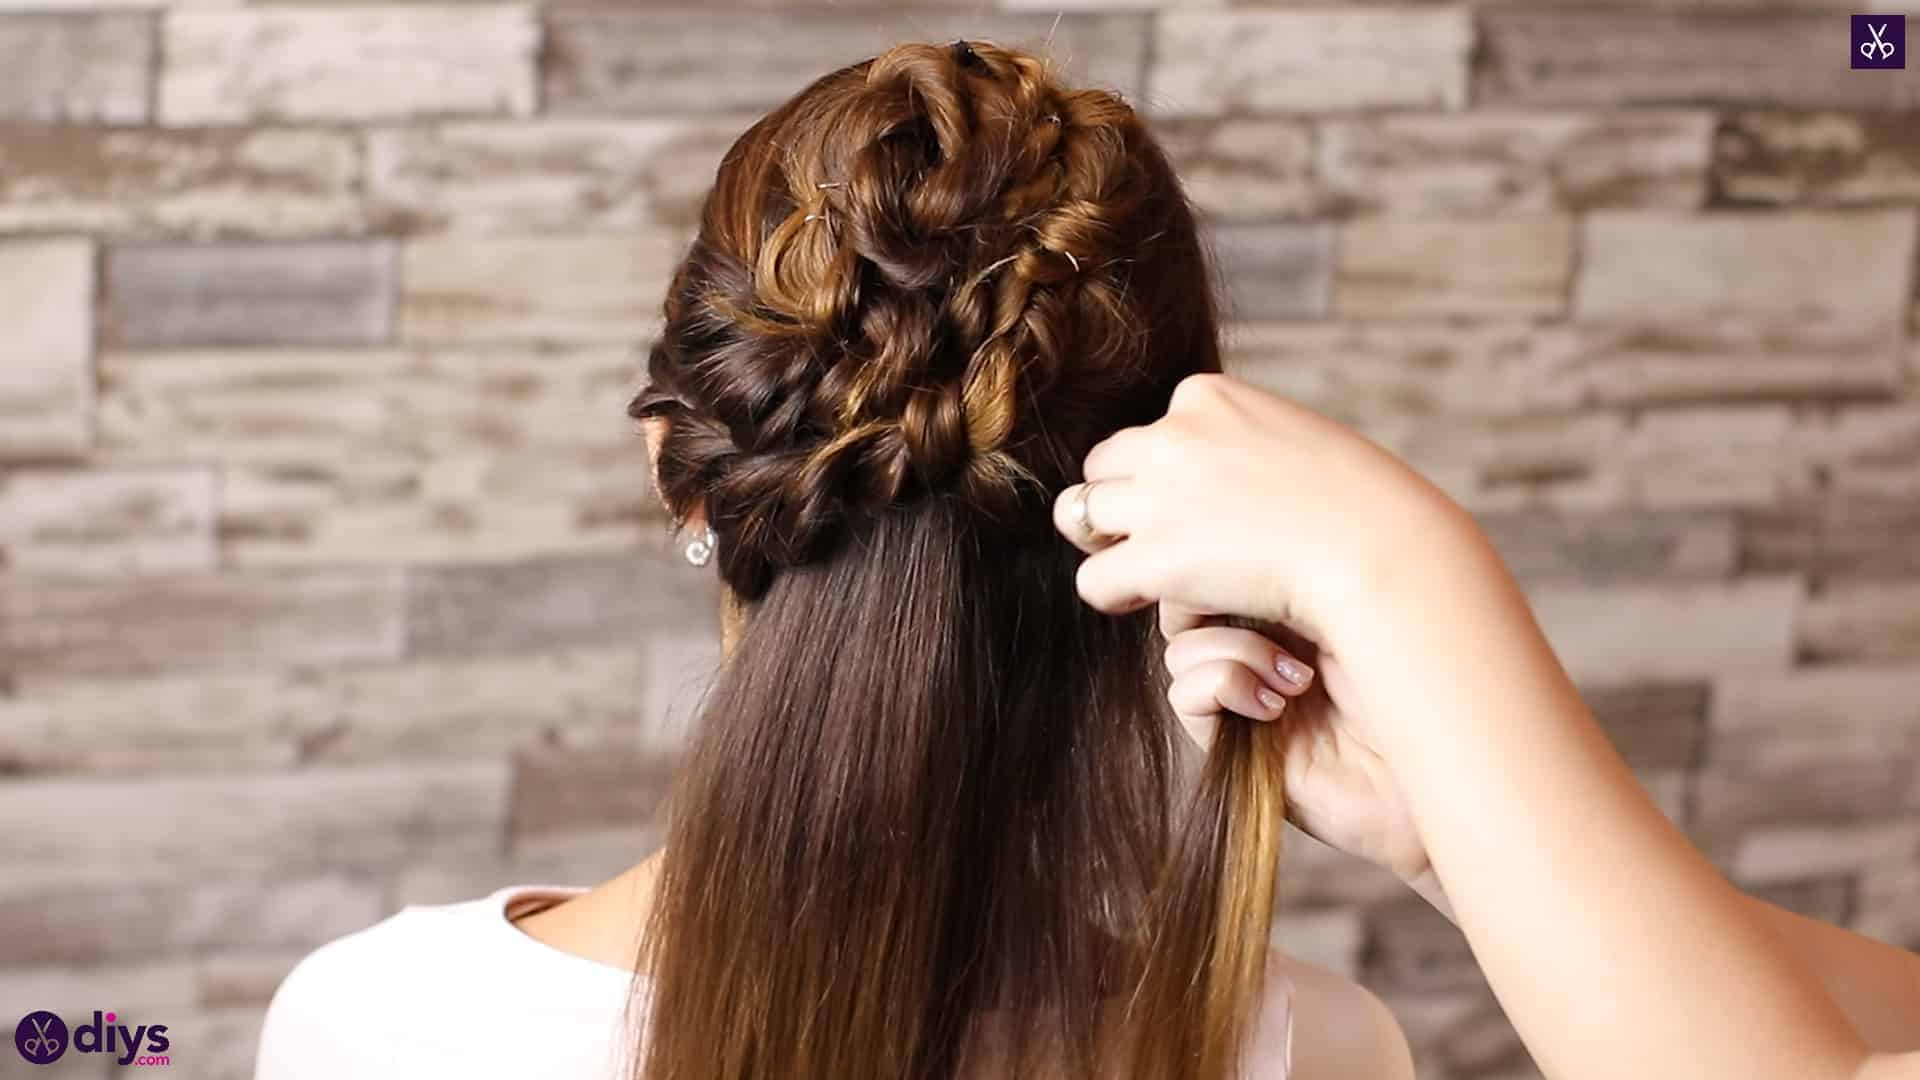
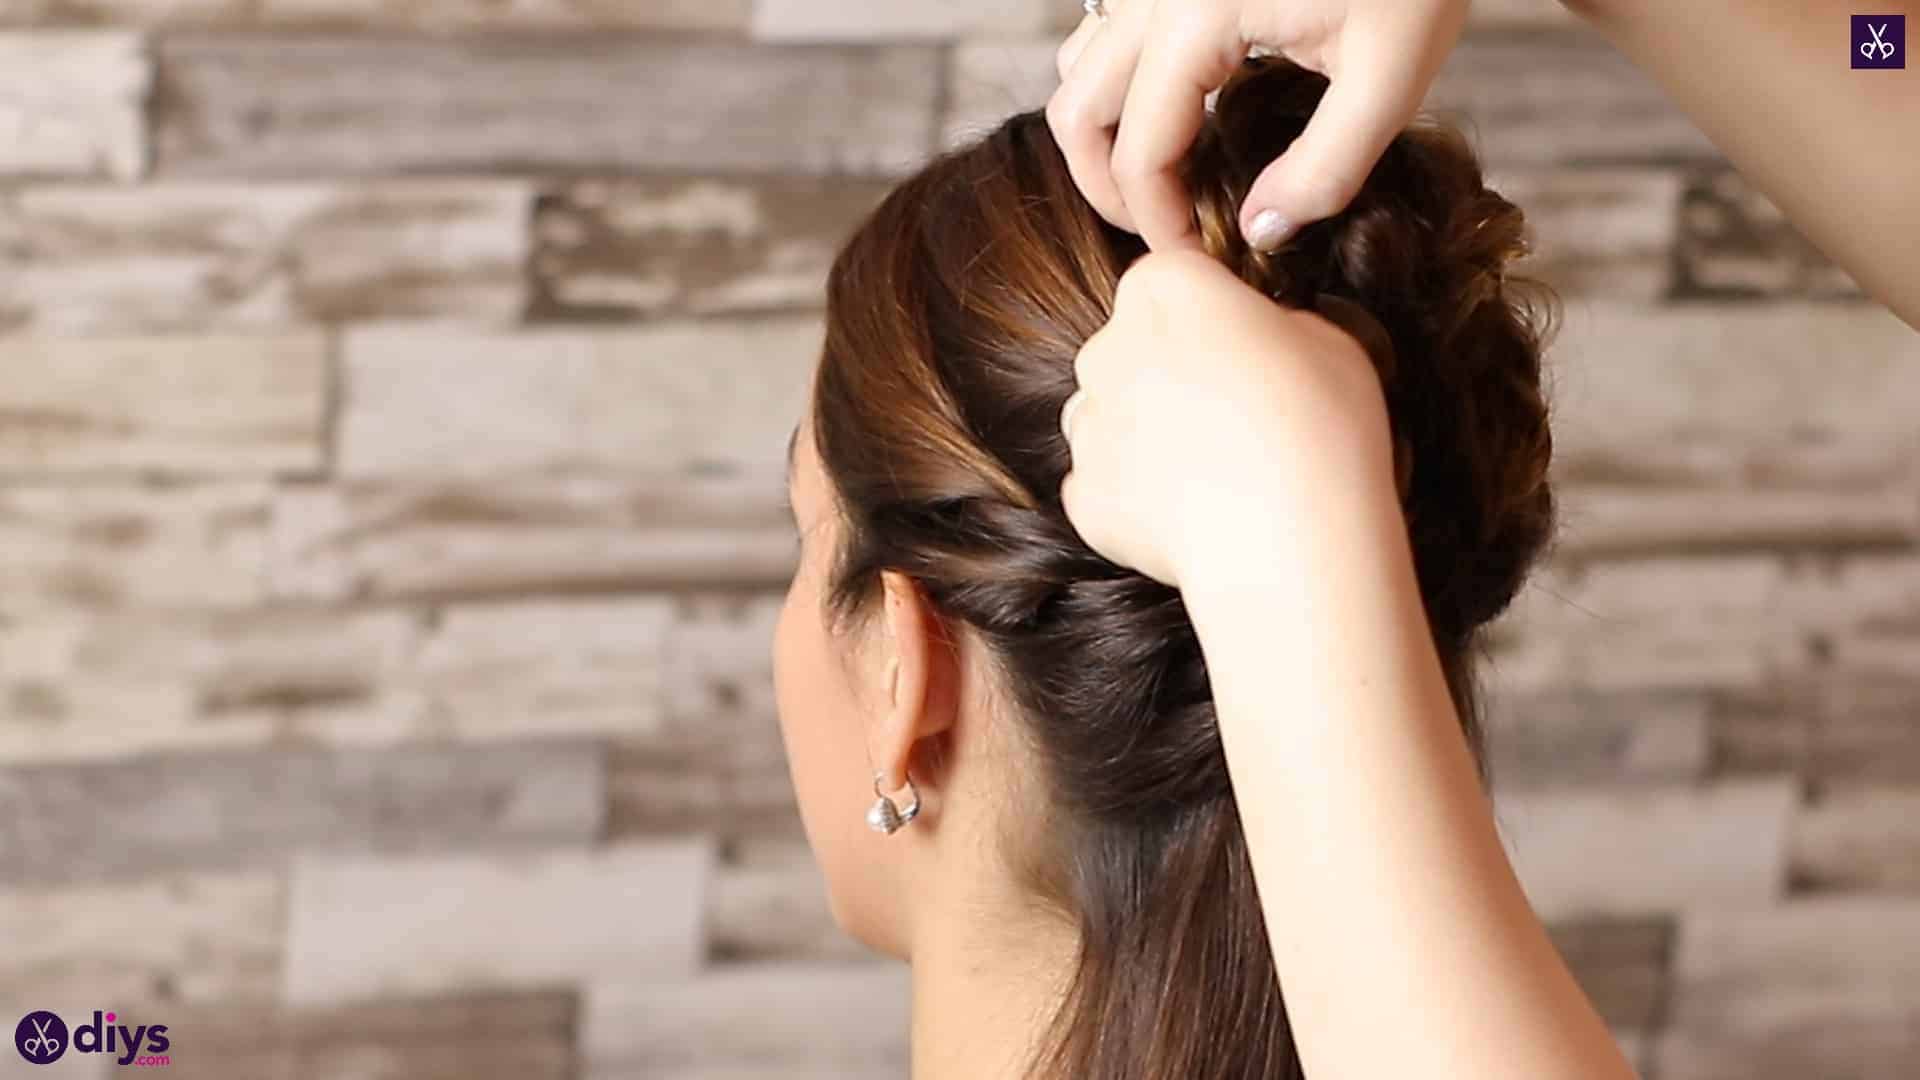
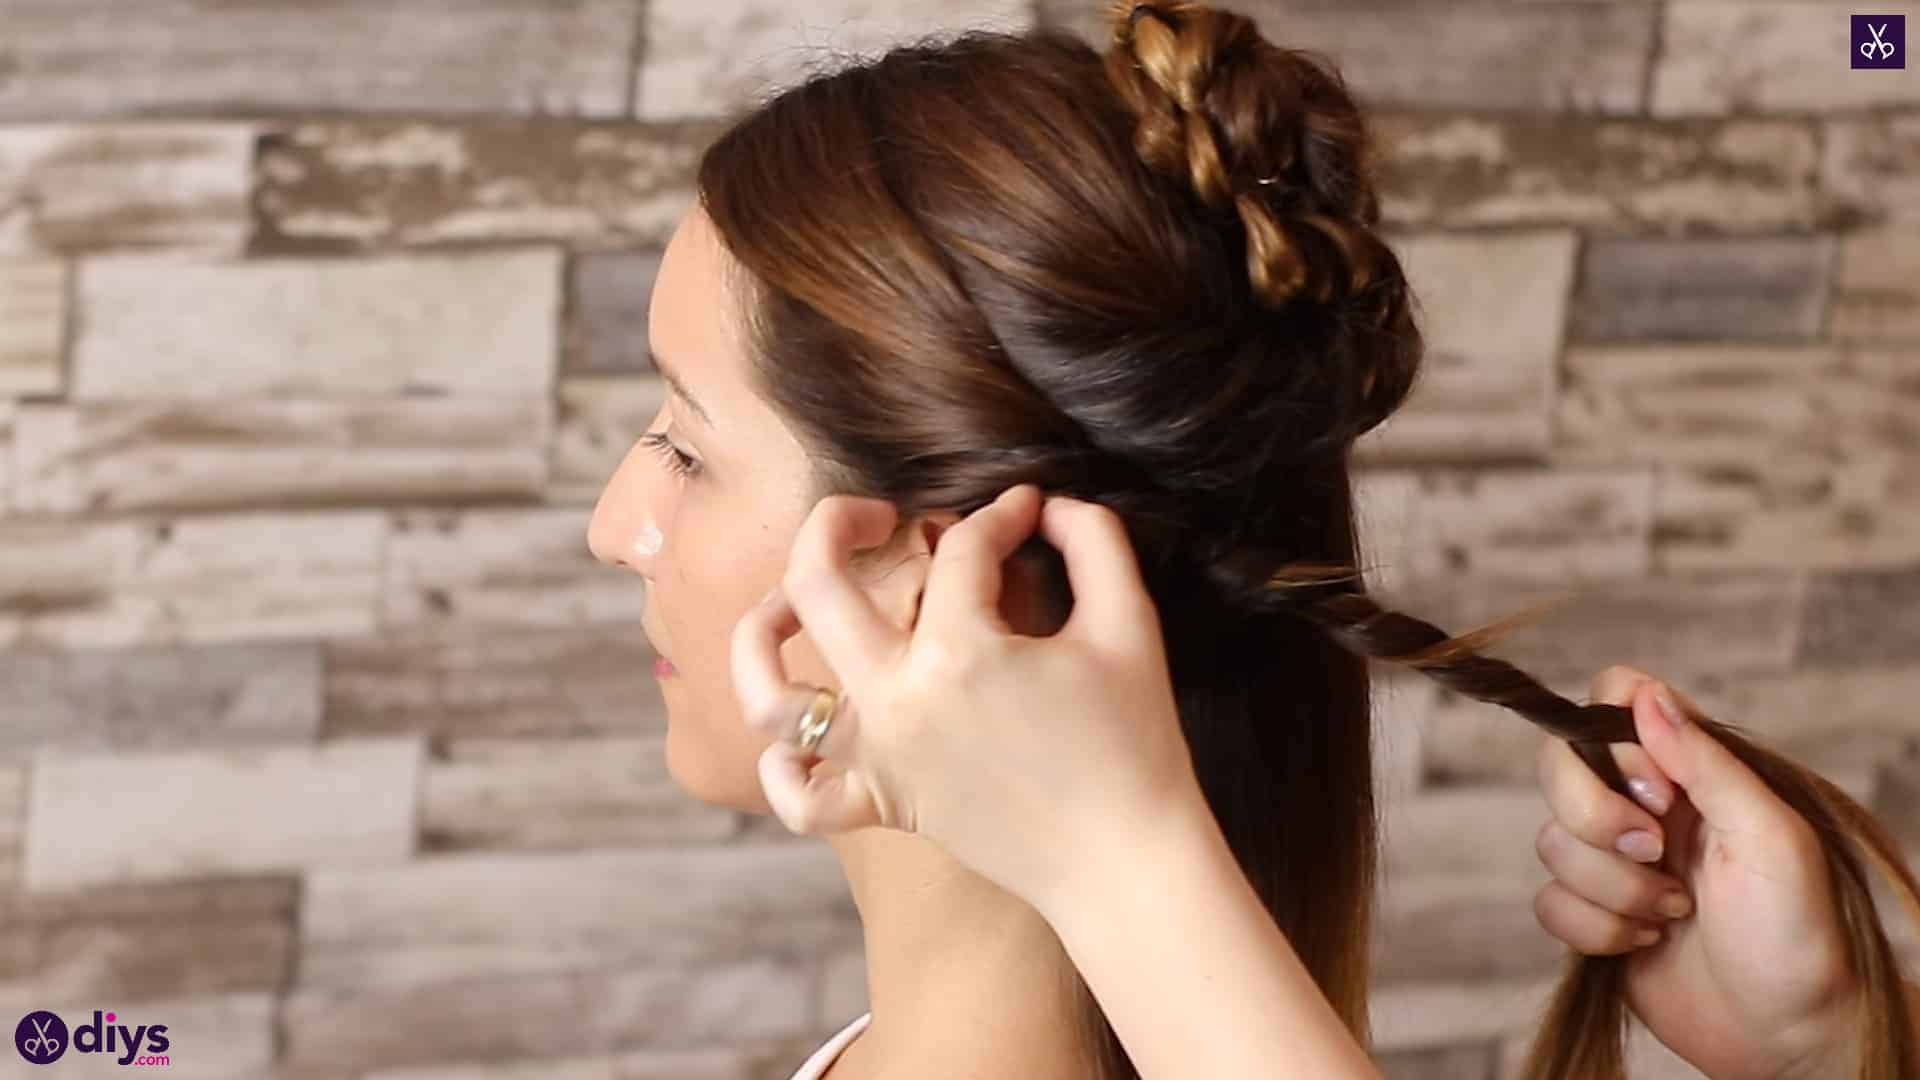
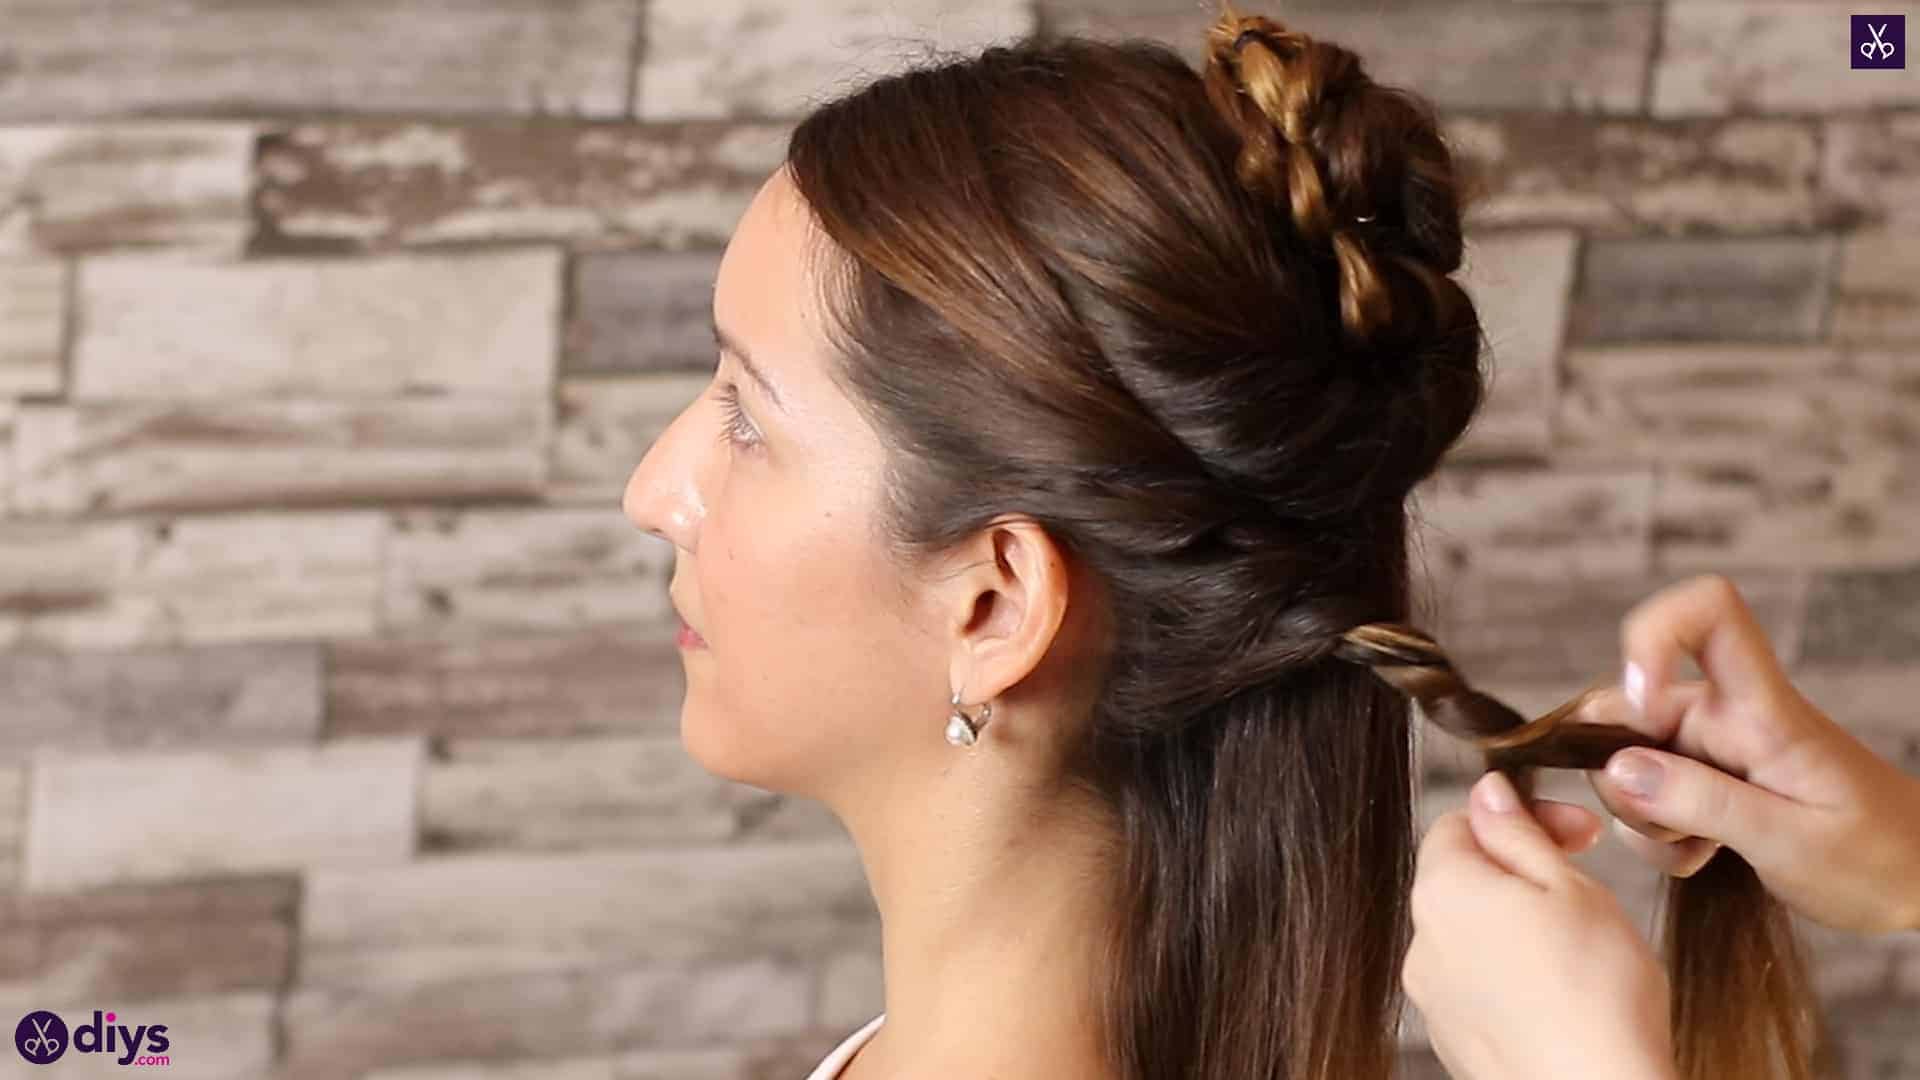
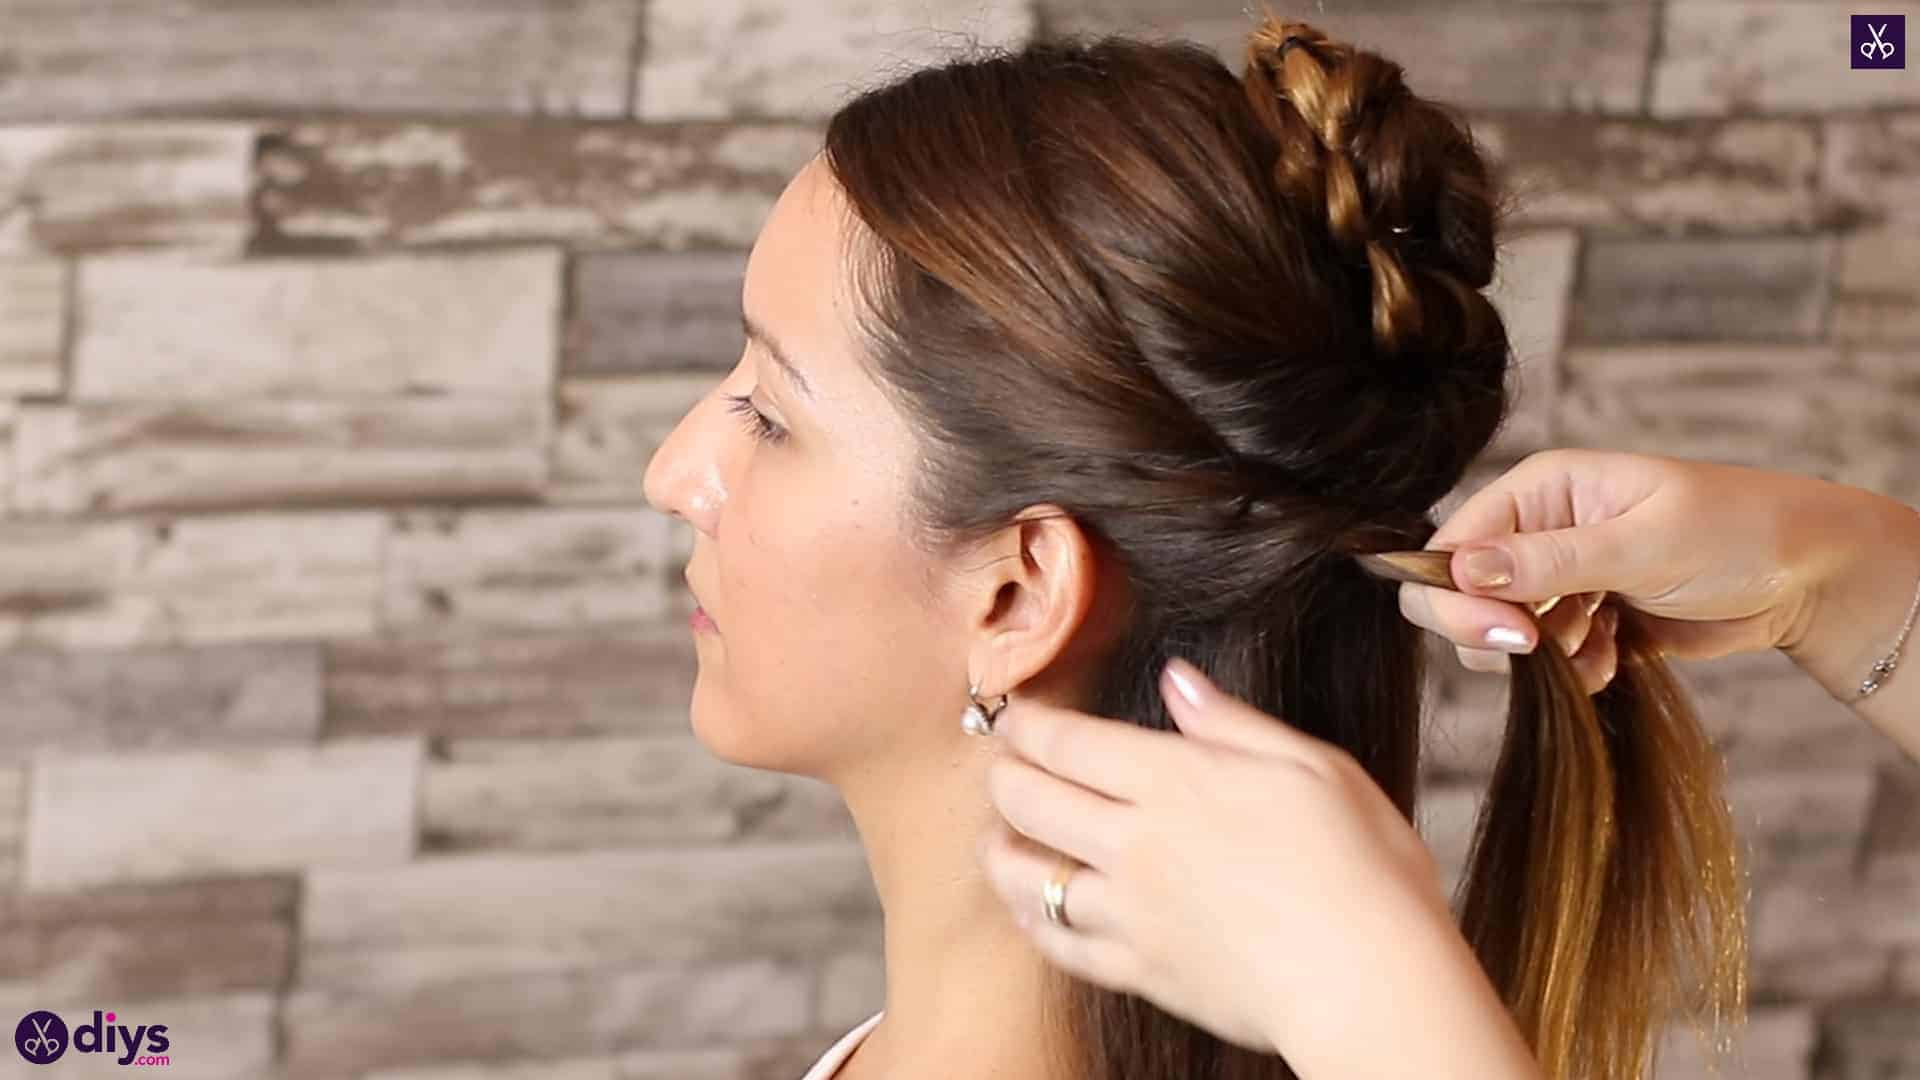
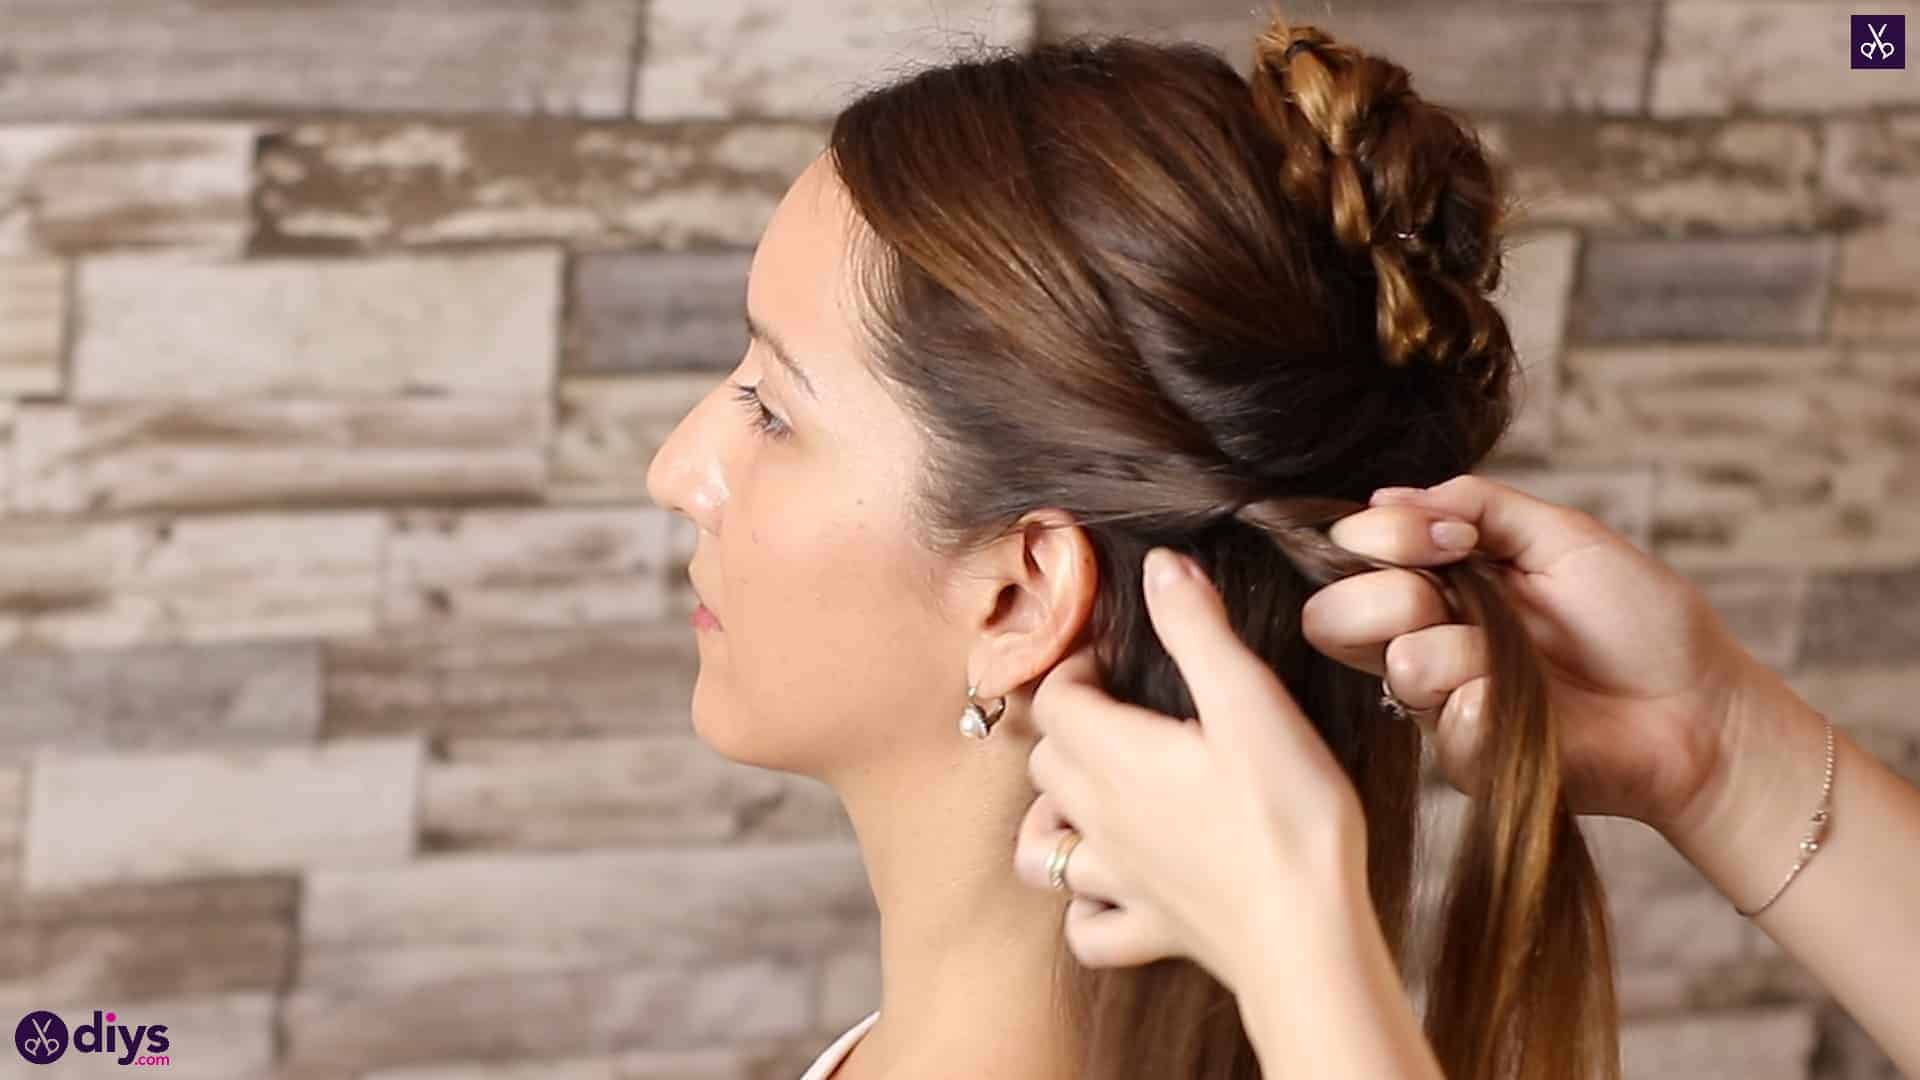
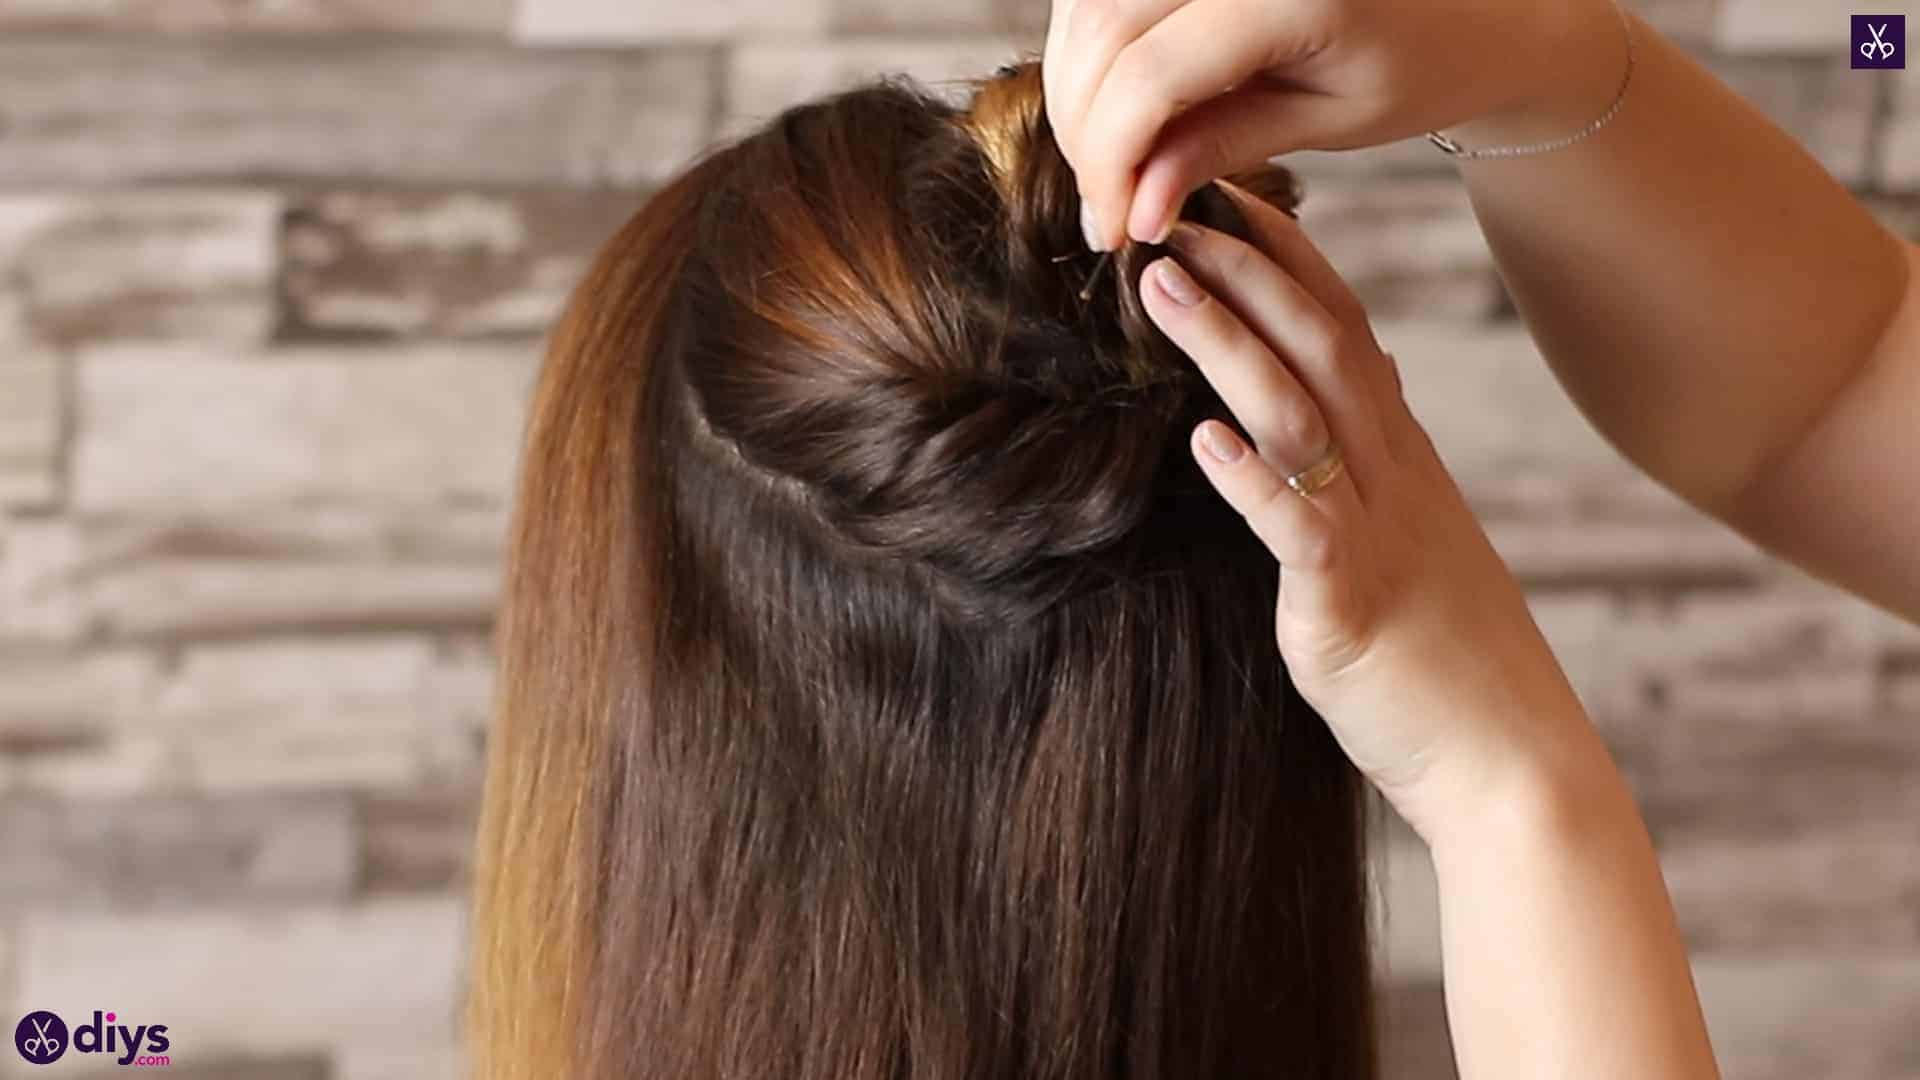
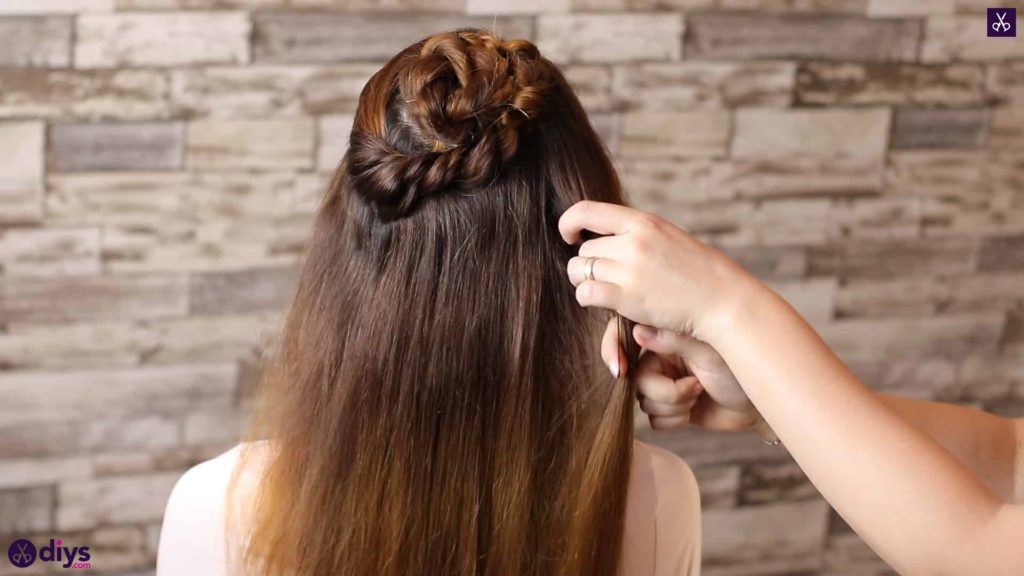
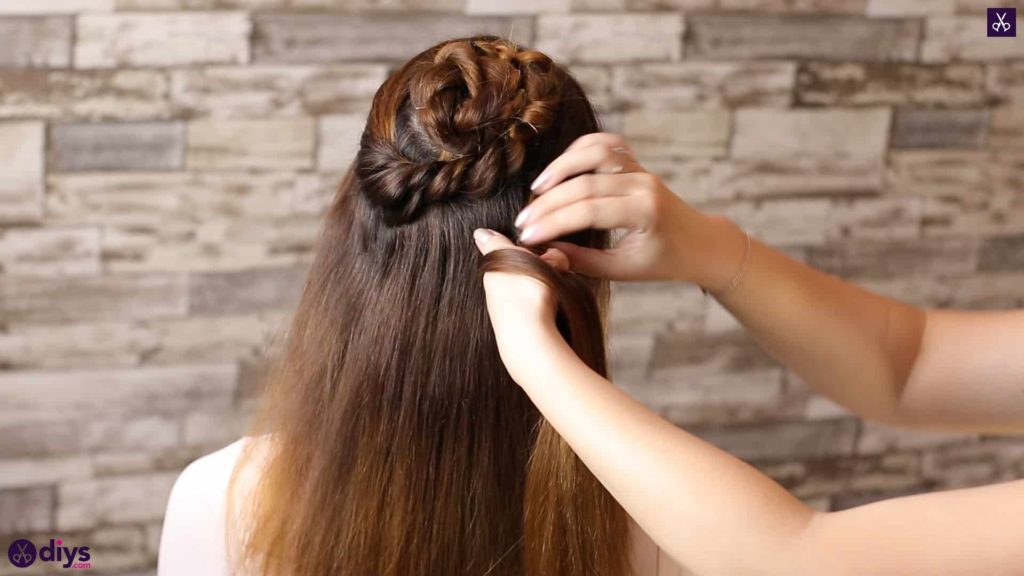
Step 4: Repeat on the other side
Repeat the same side twisting process with the gathering on the right side, pulling in all the hair at the front near your face there as well and then swapping back to regular twisting once it’s all in. Wrap the hair up into the bun and pin it into play.
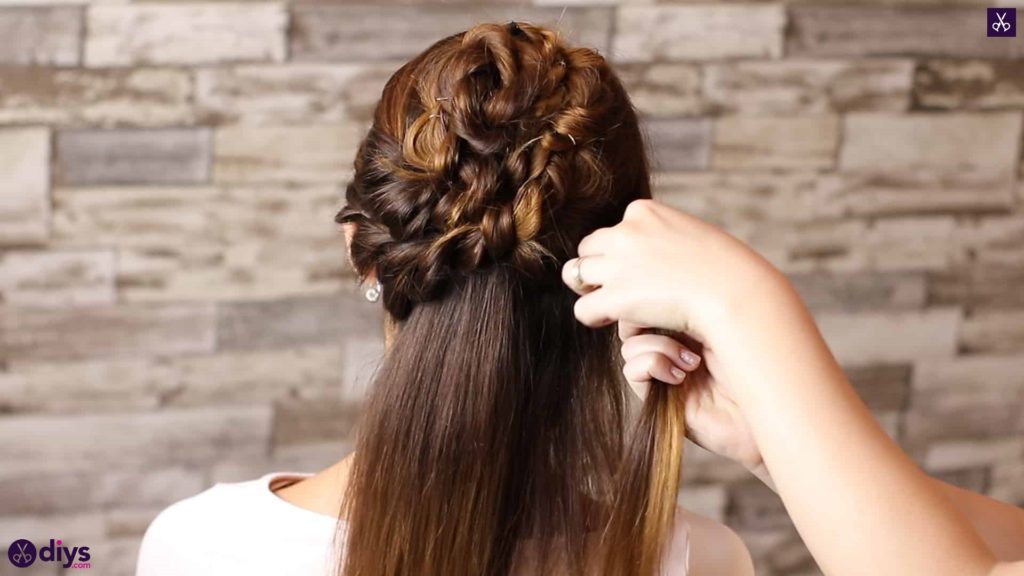


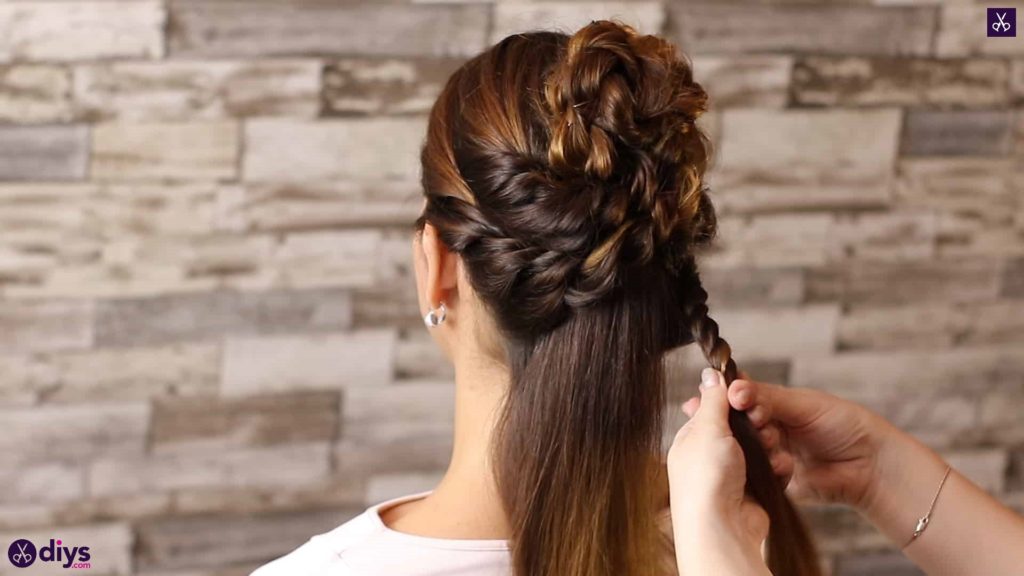
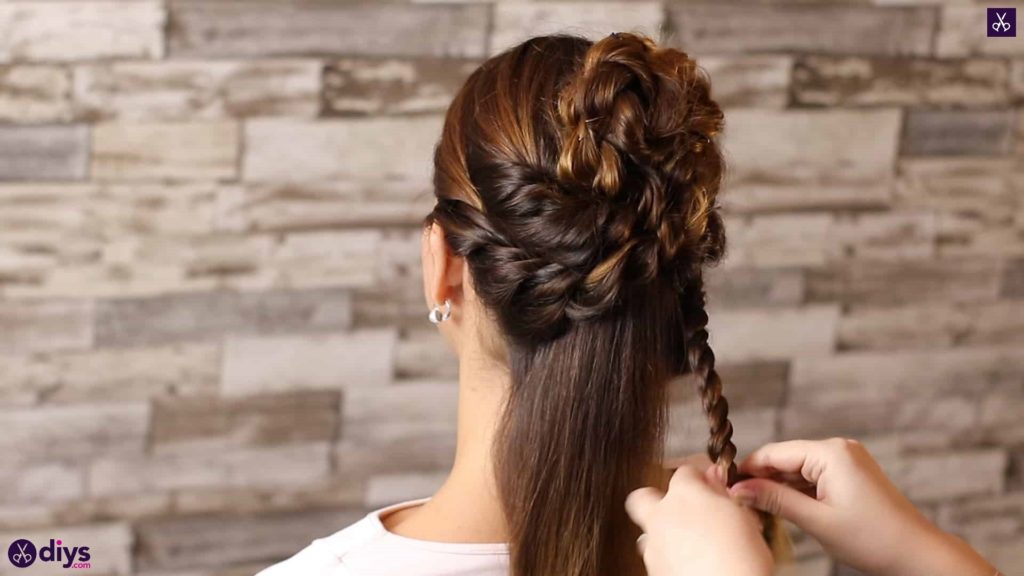

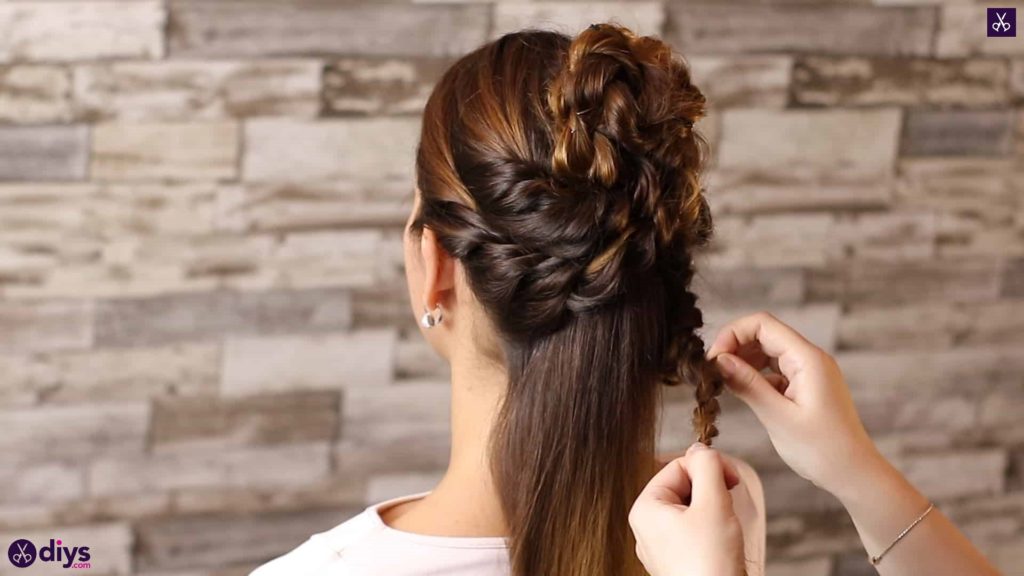

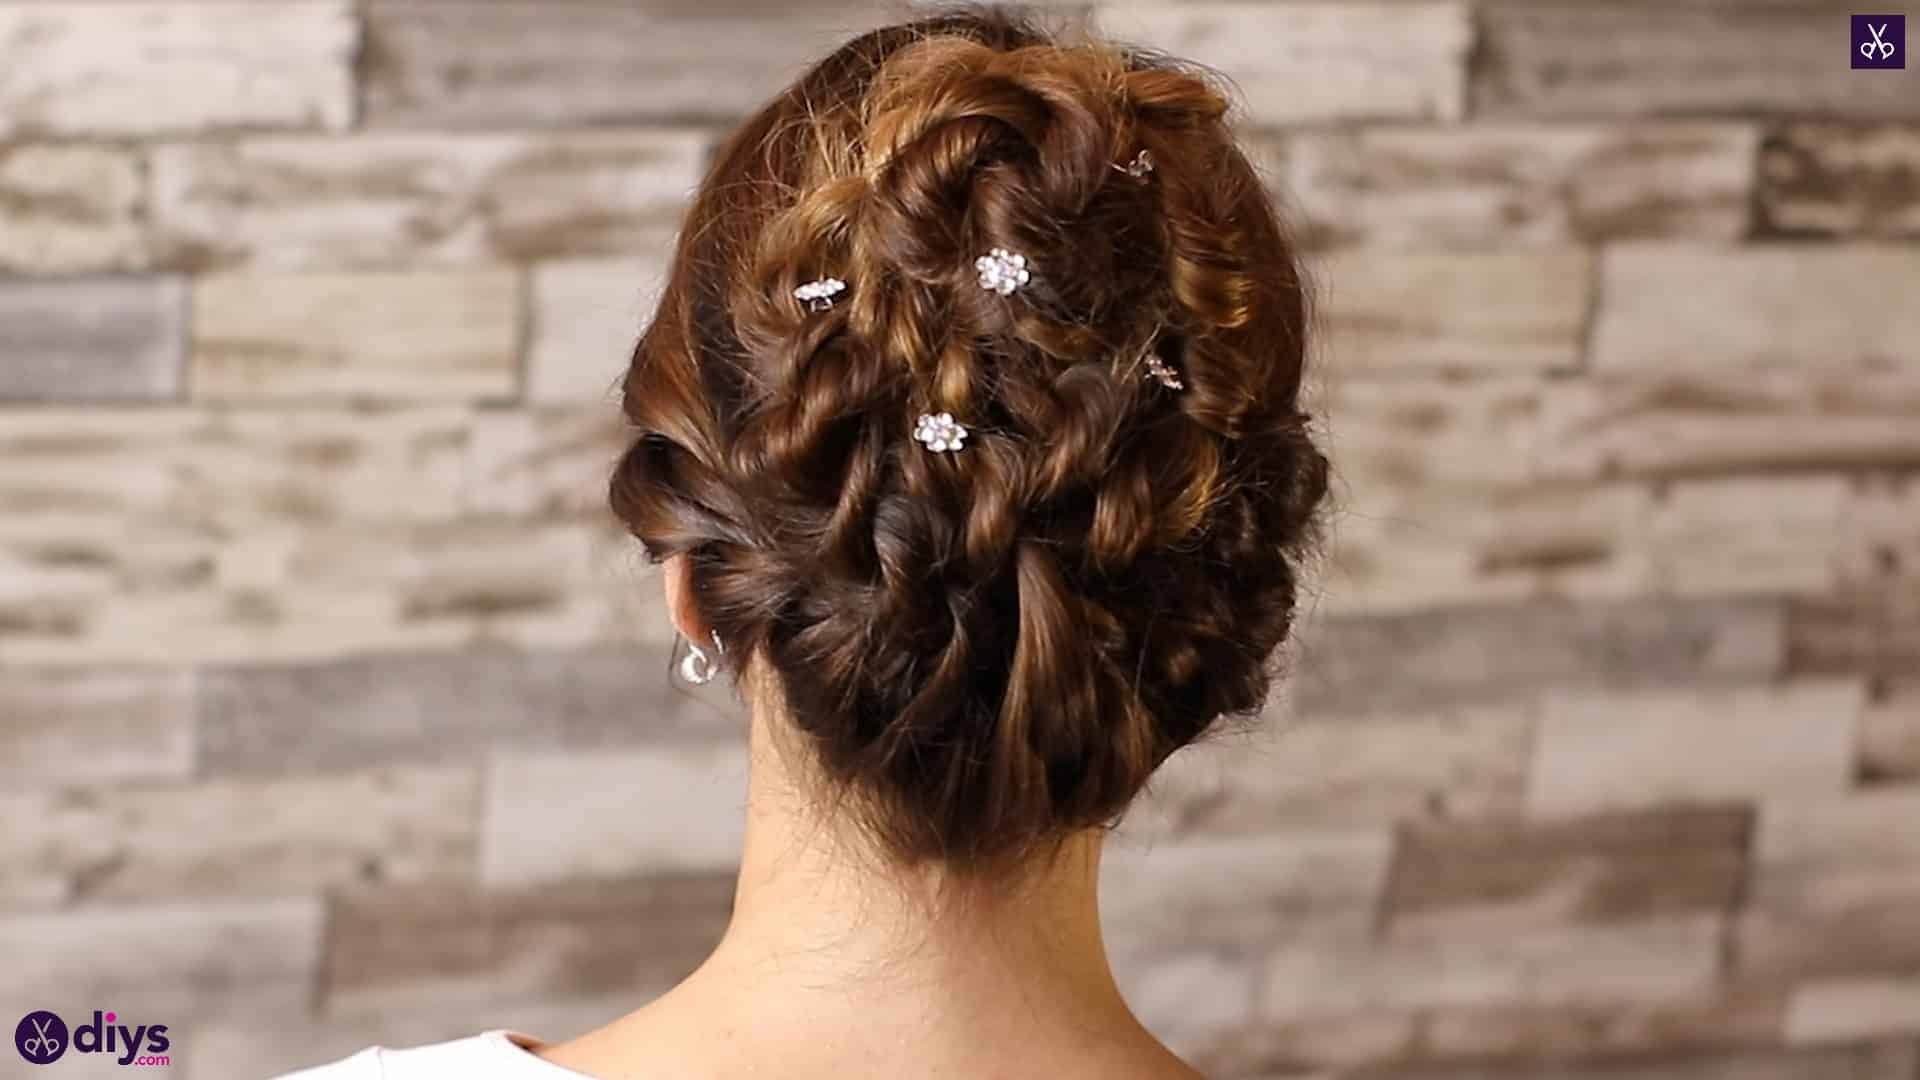
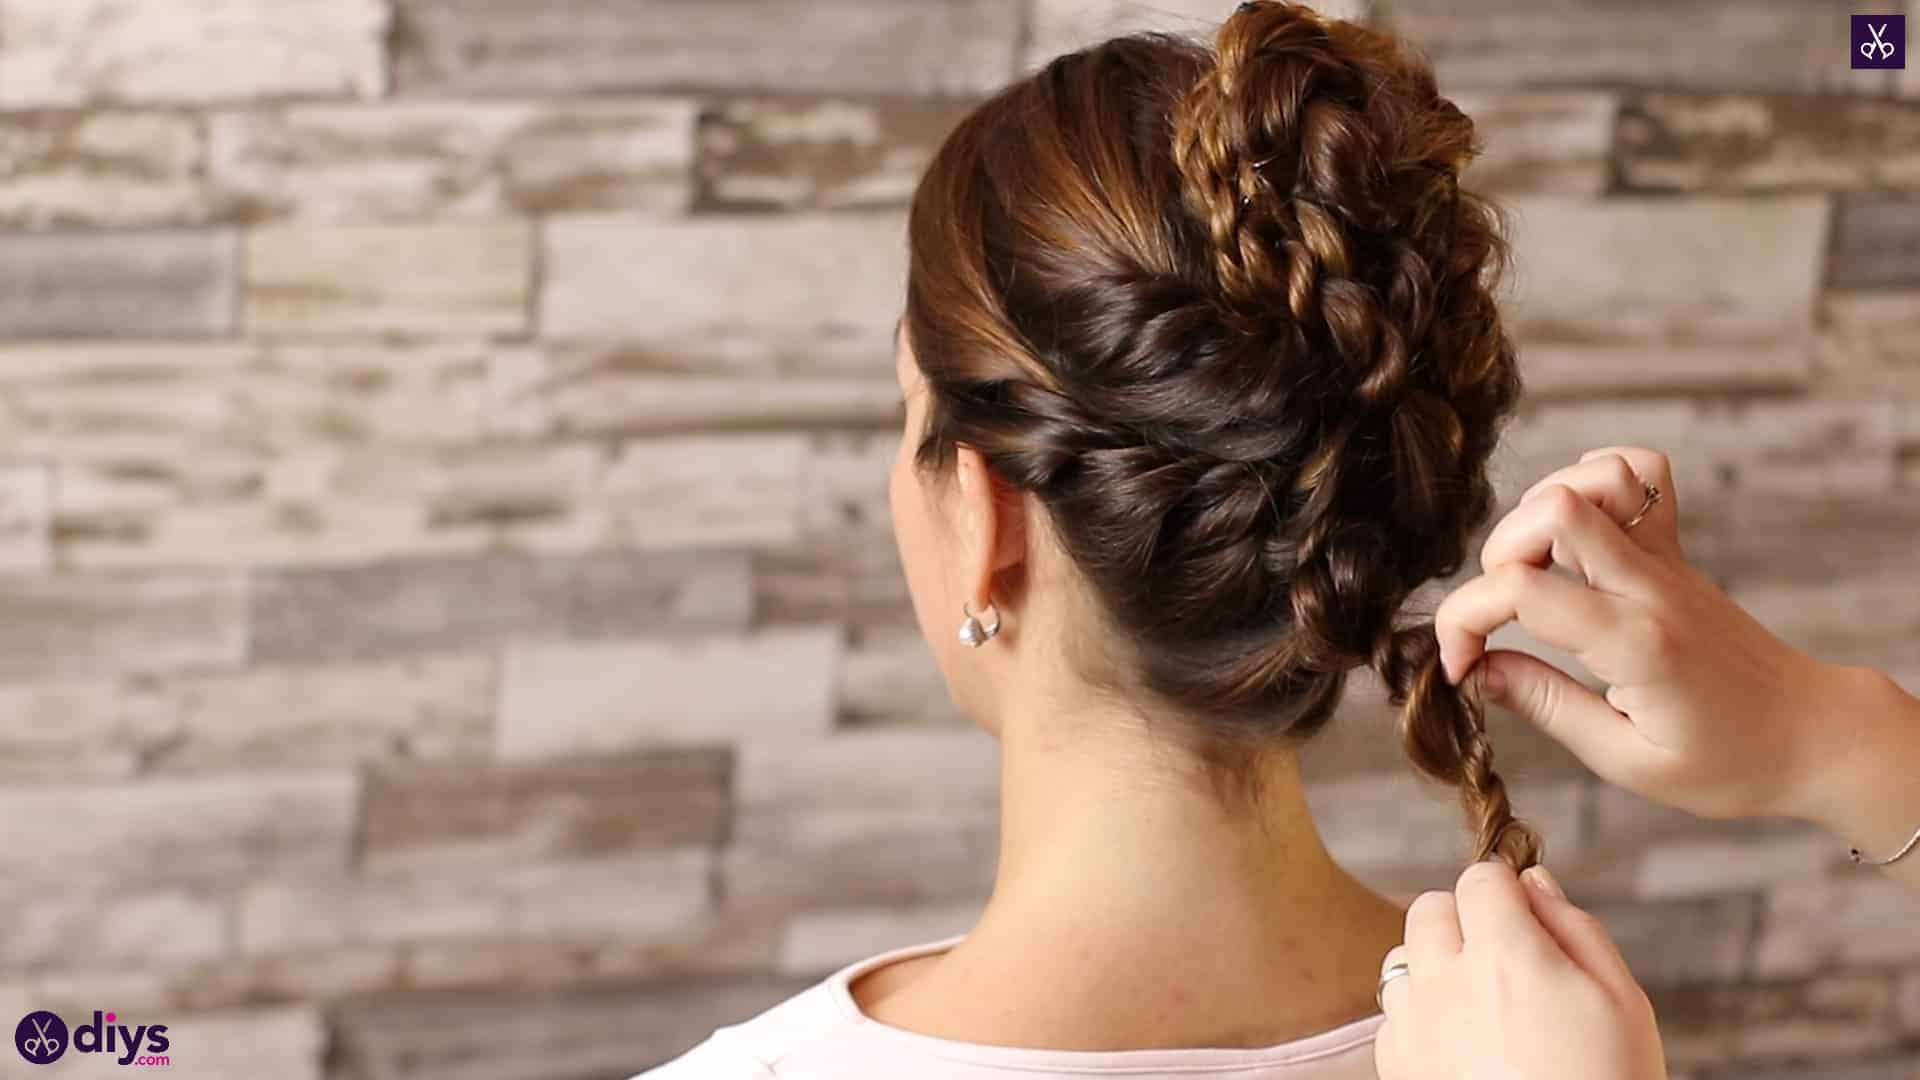
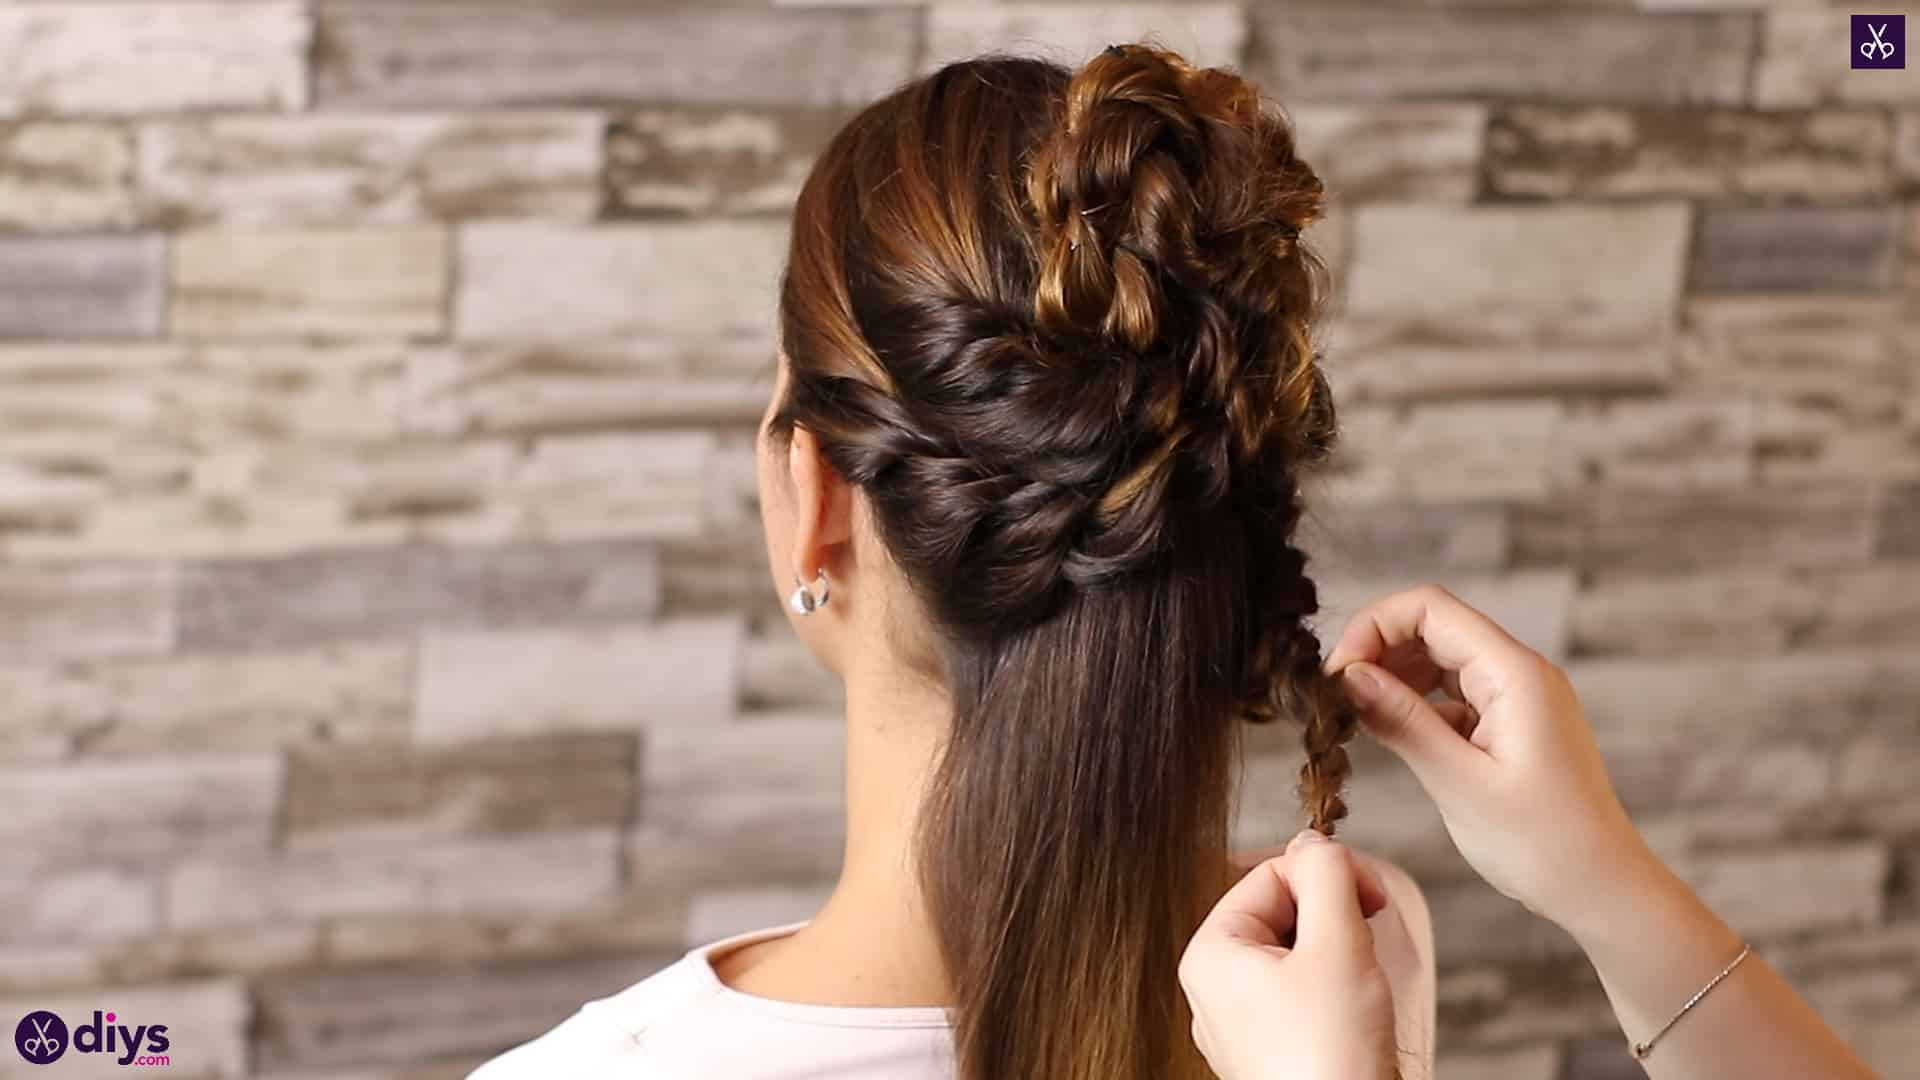
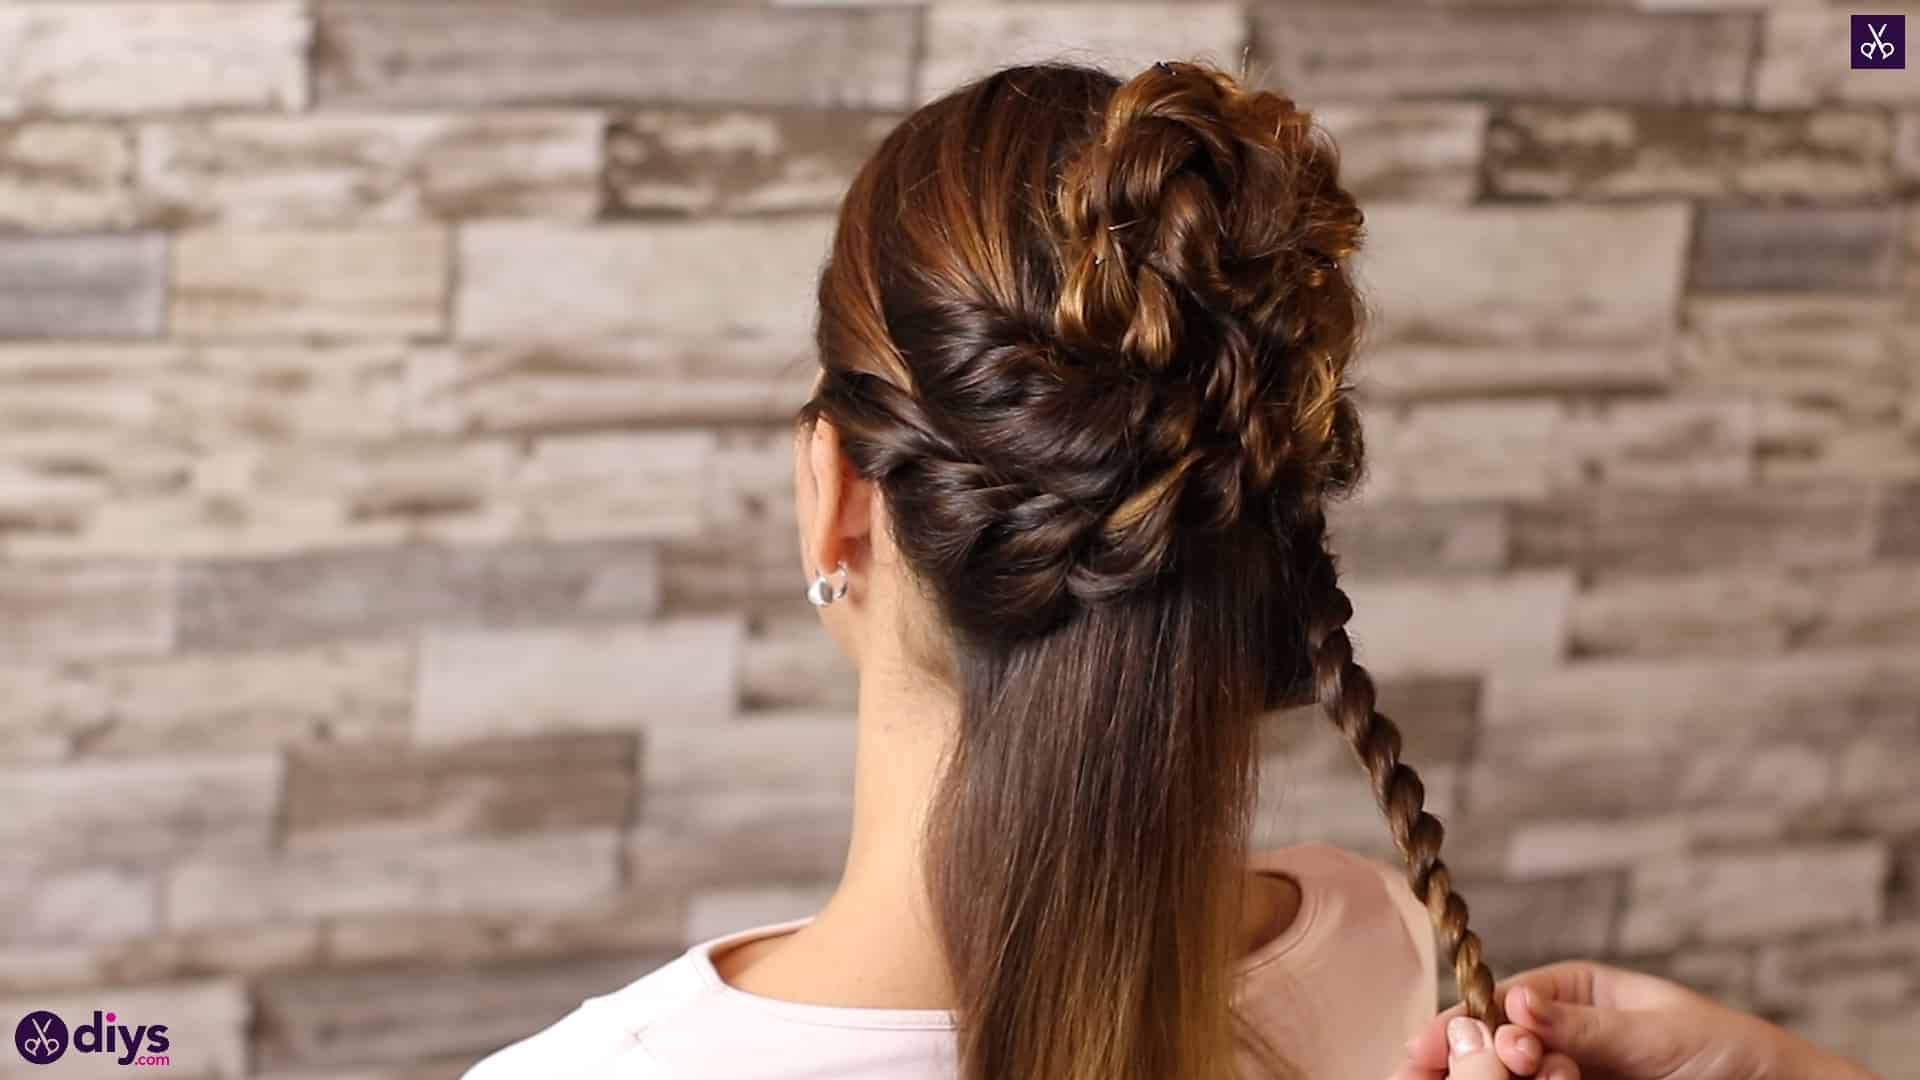
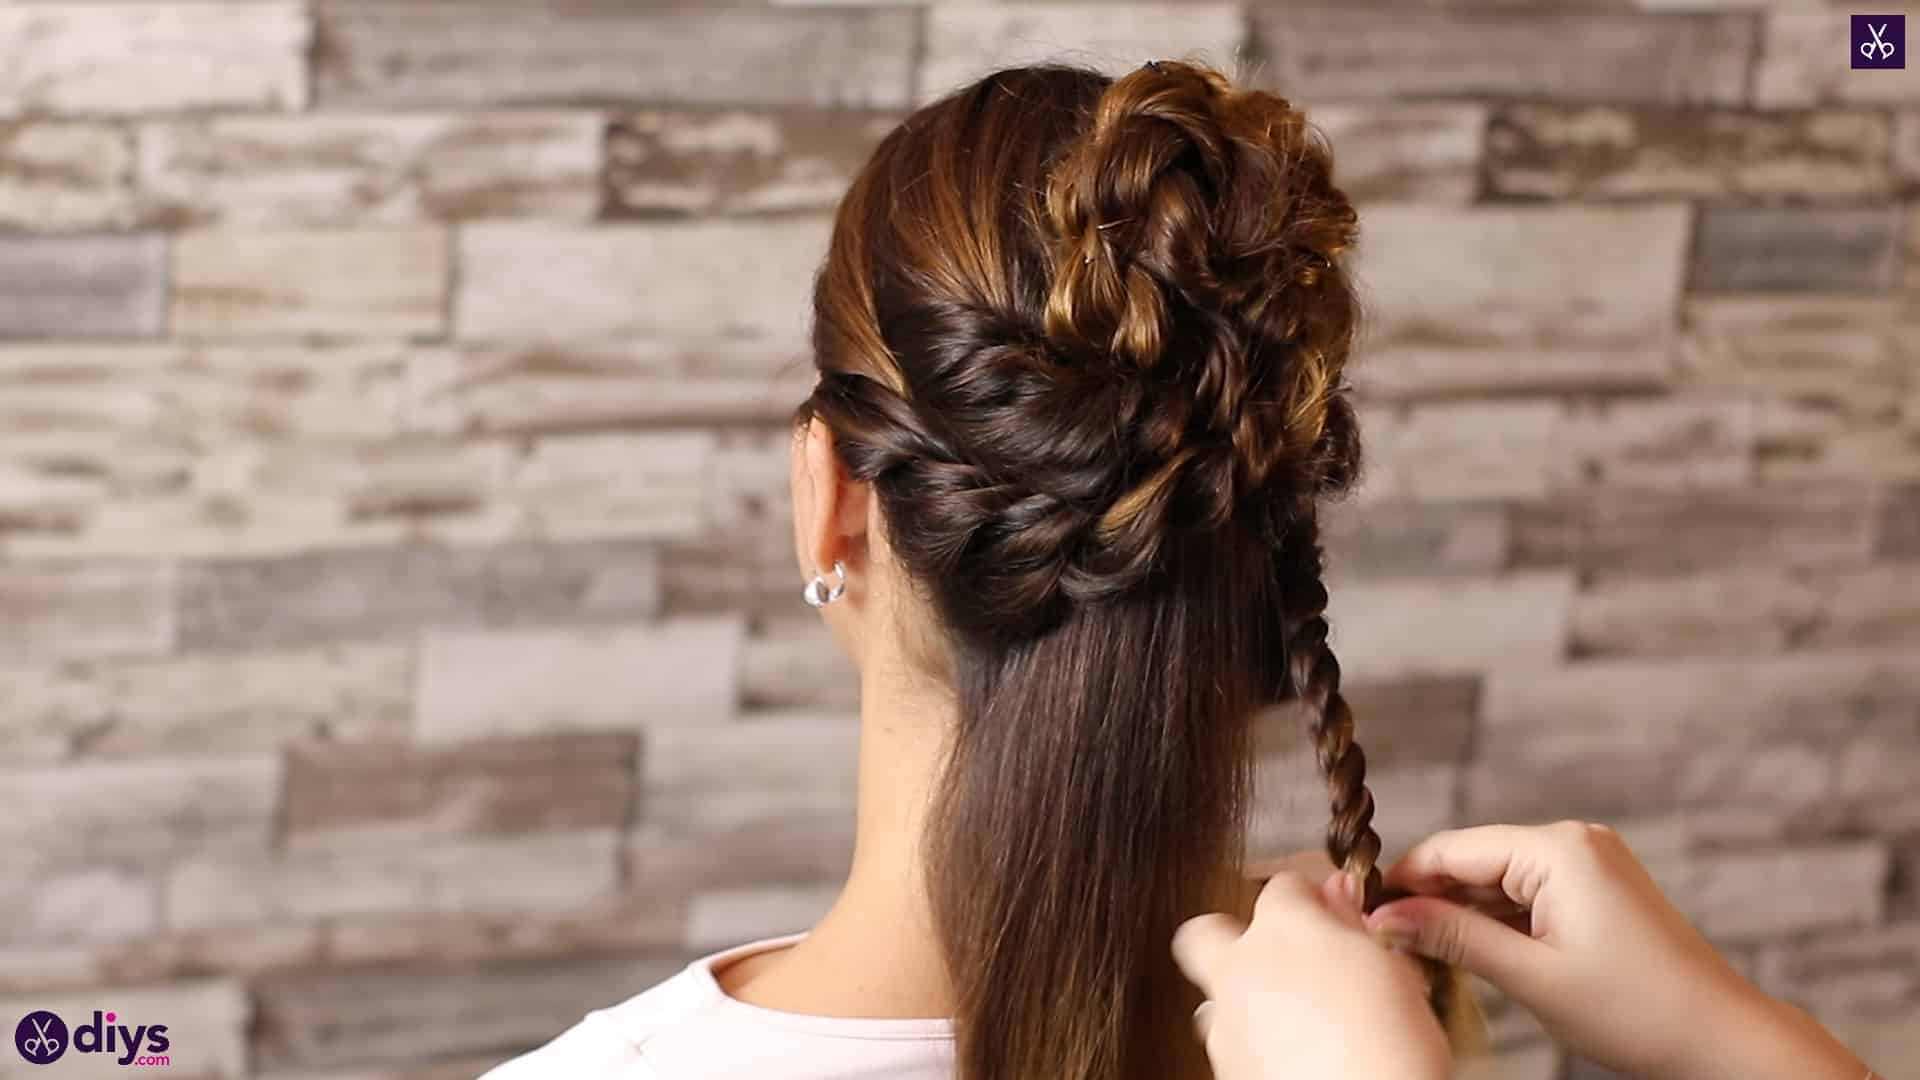
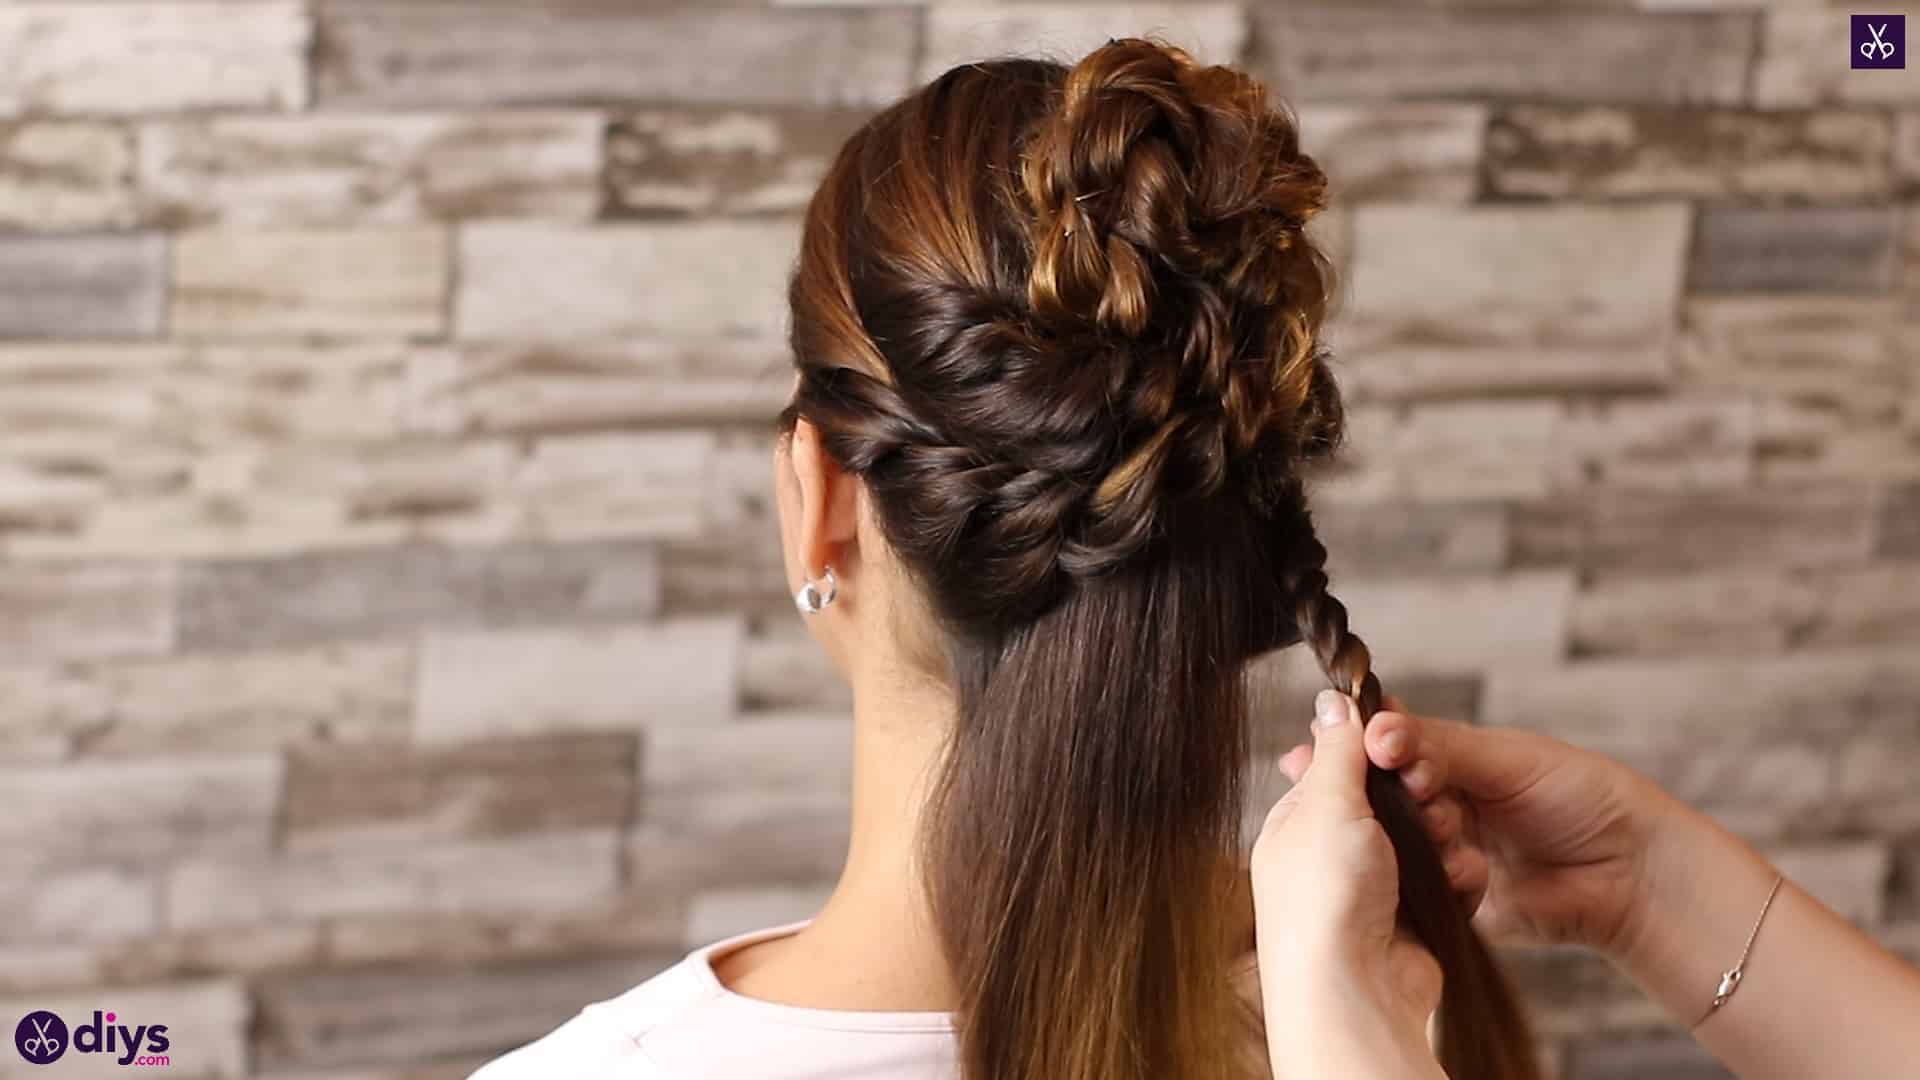
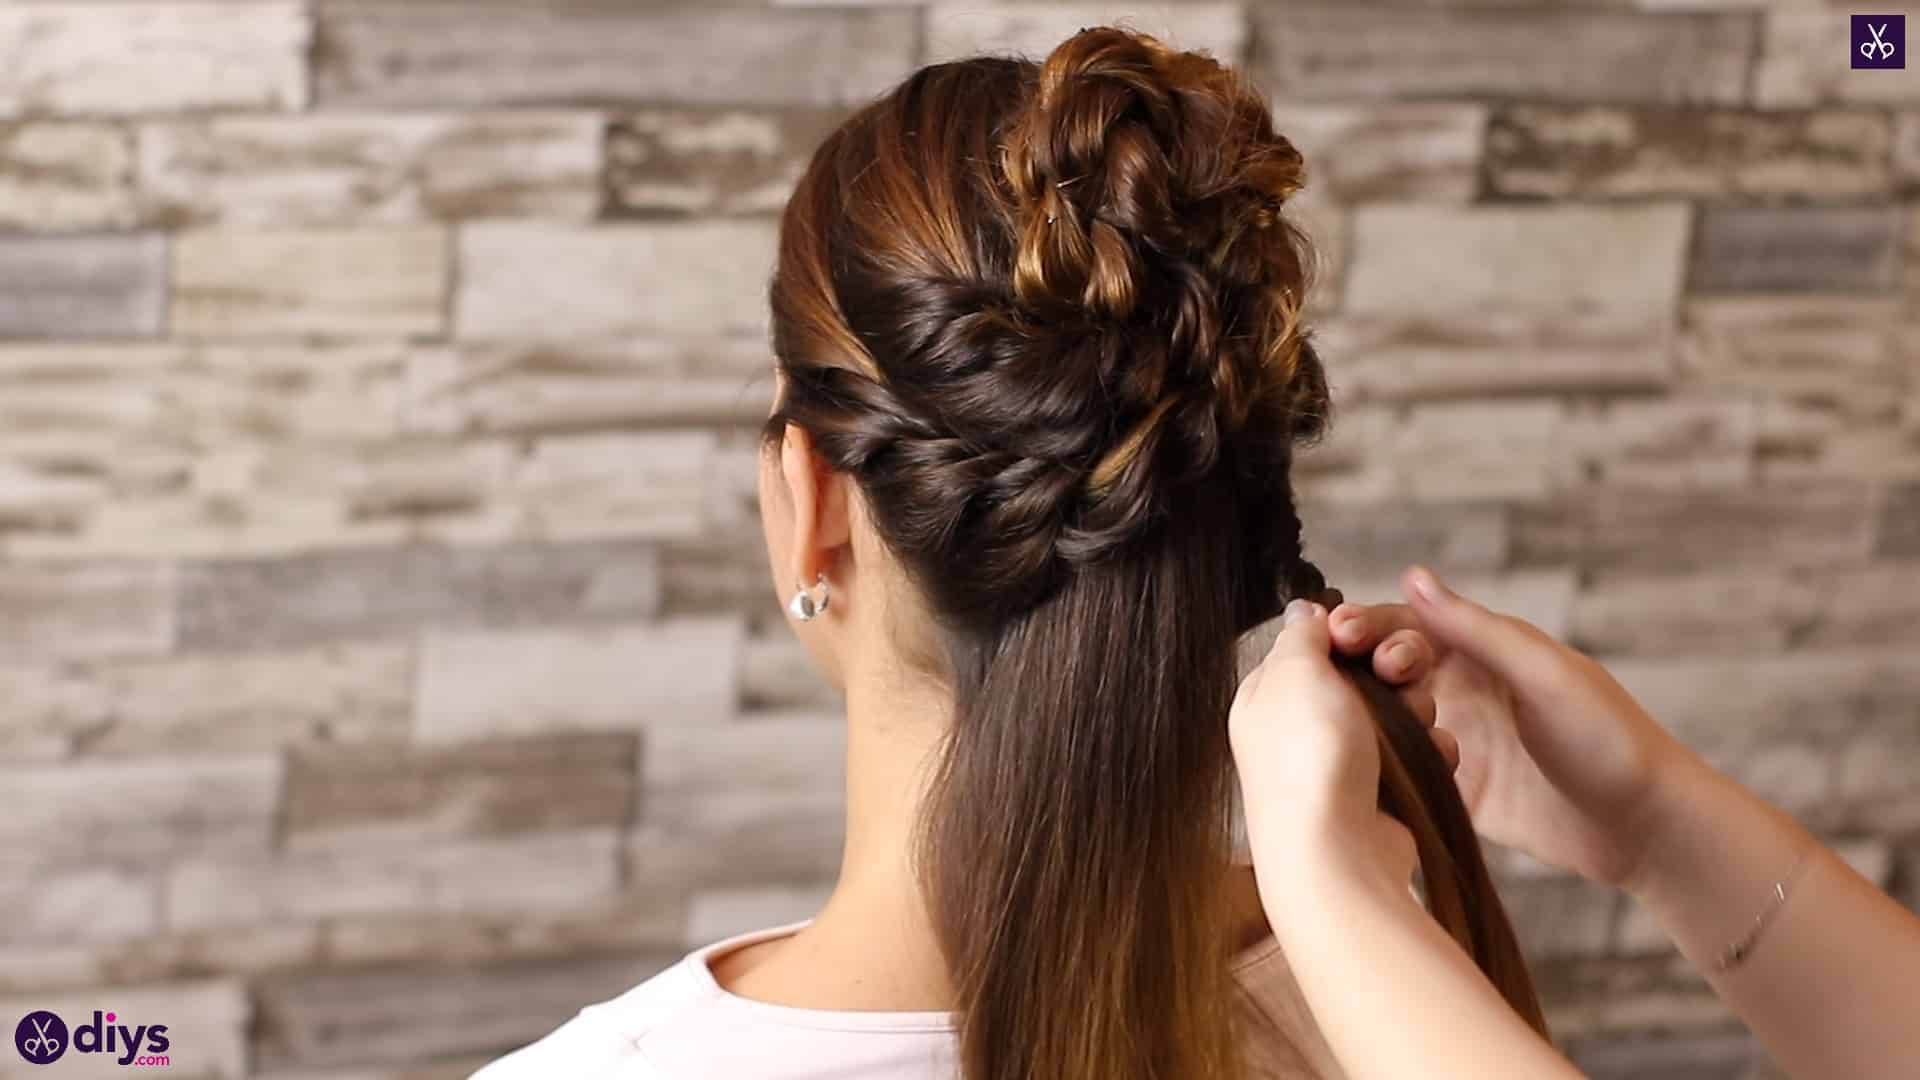
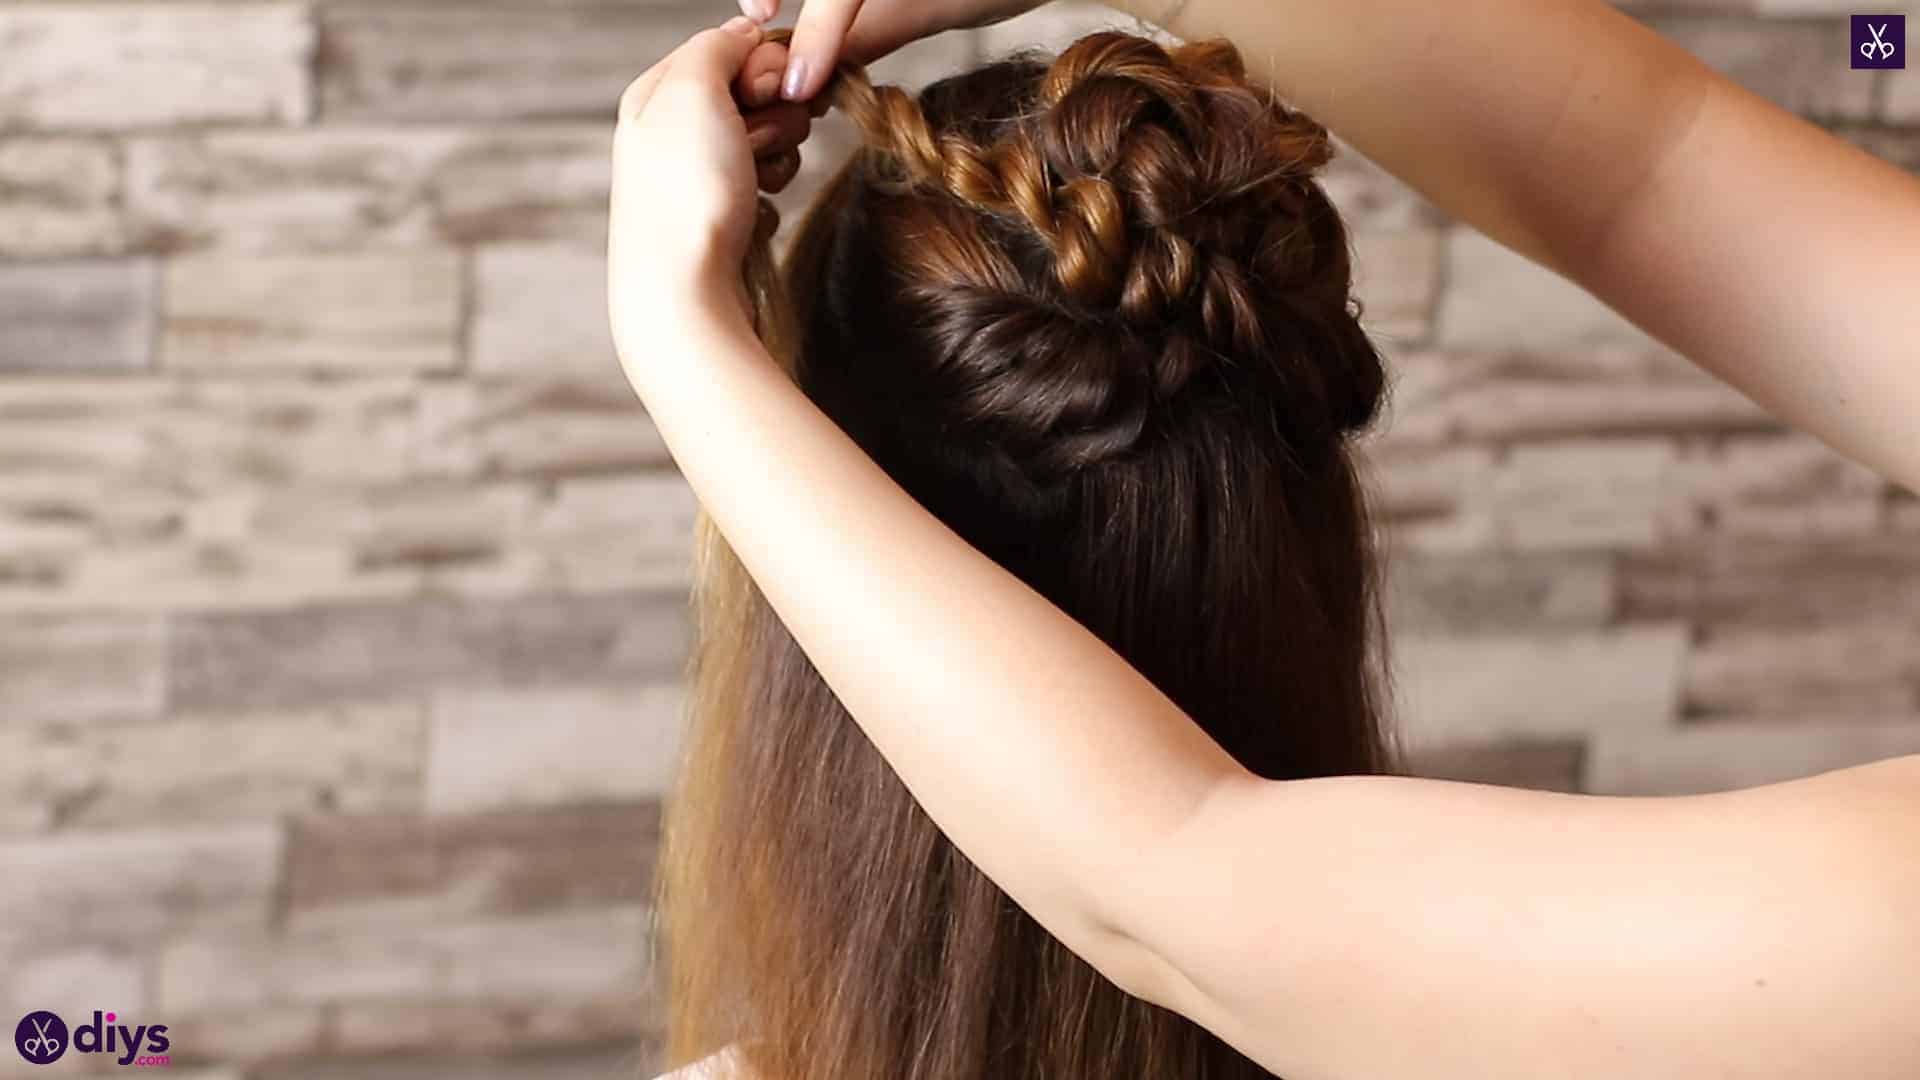
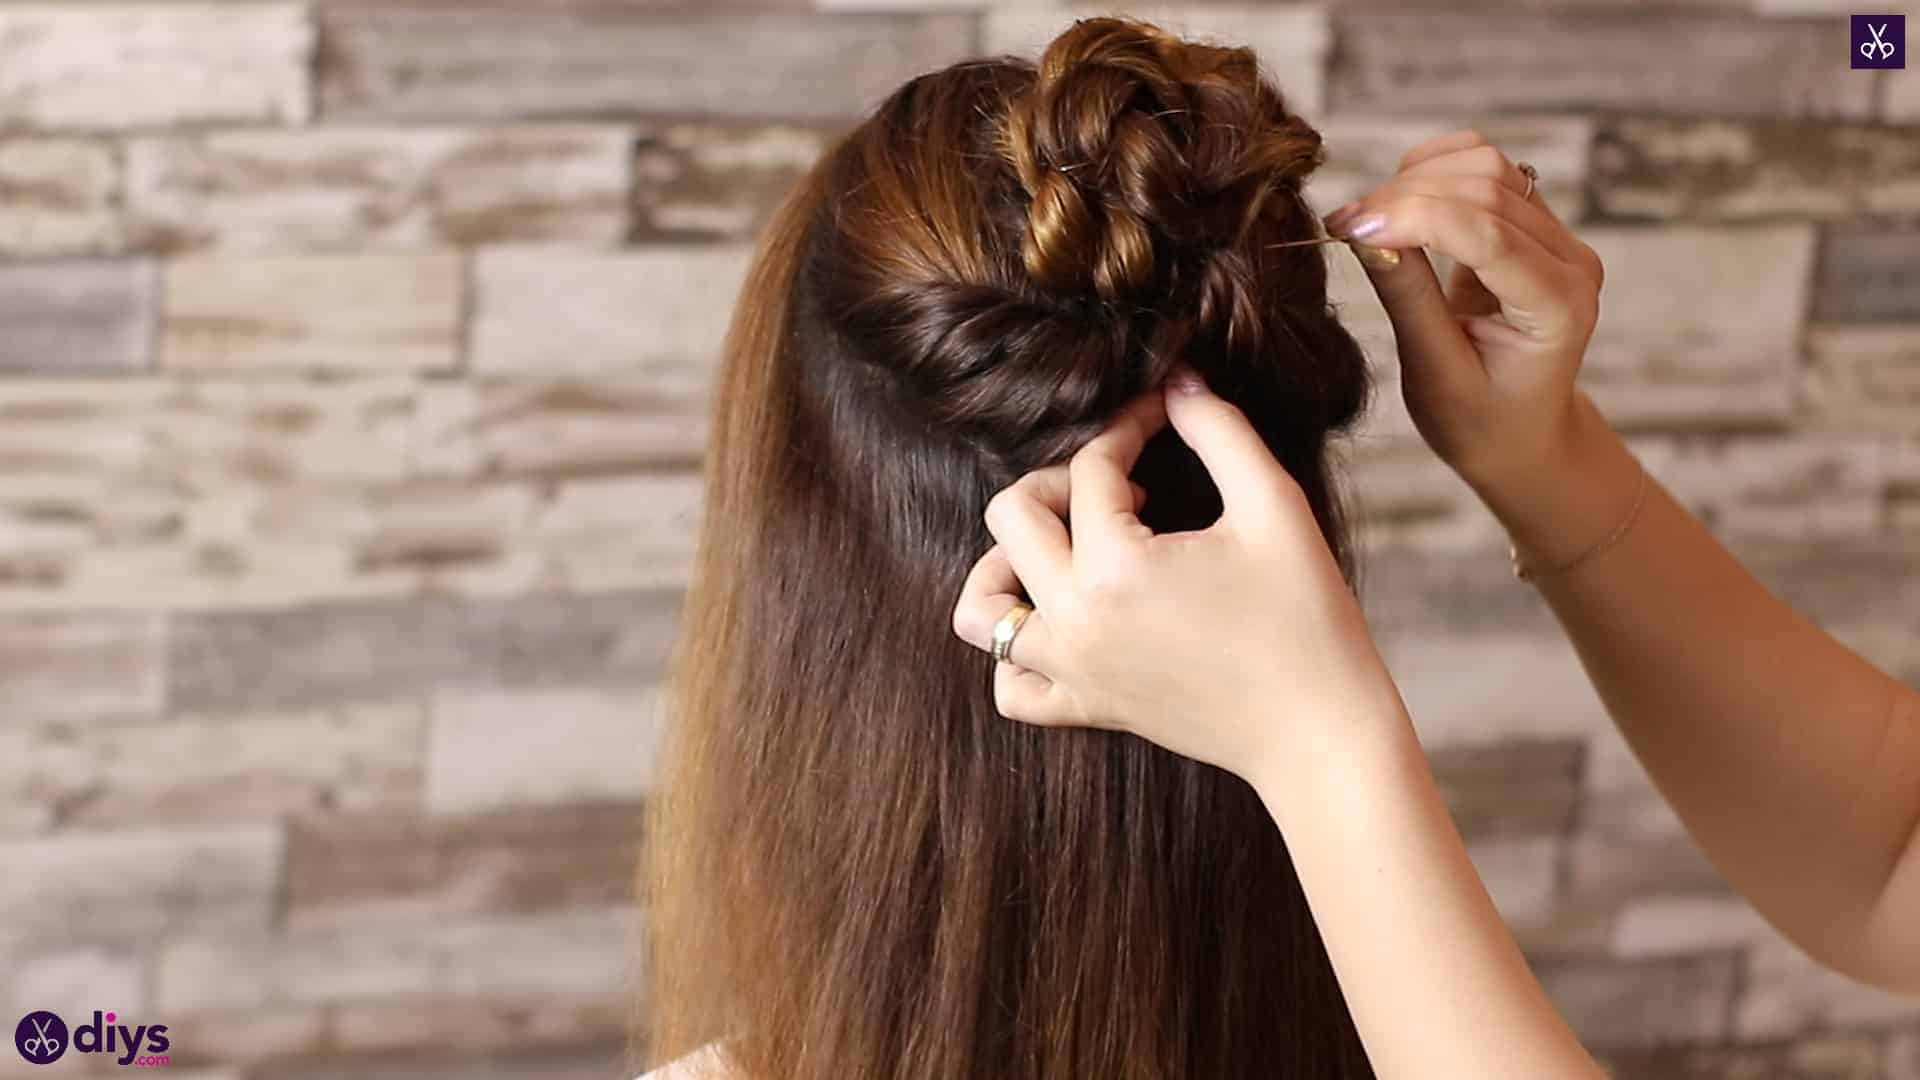
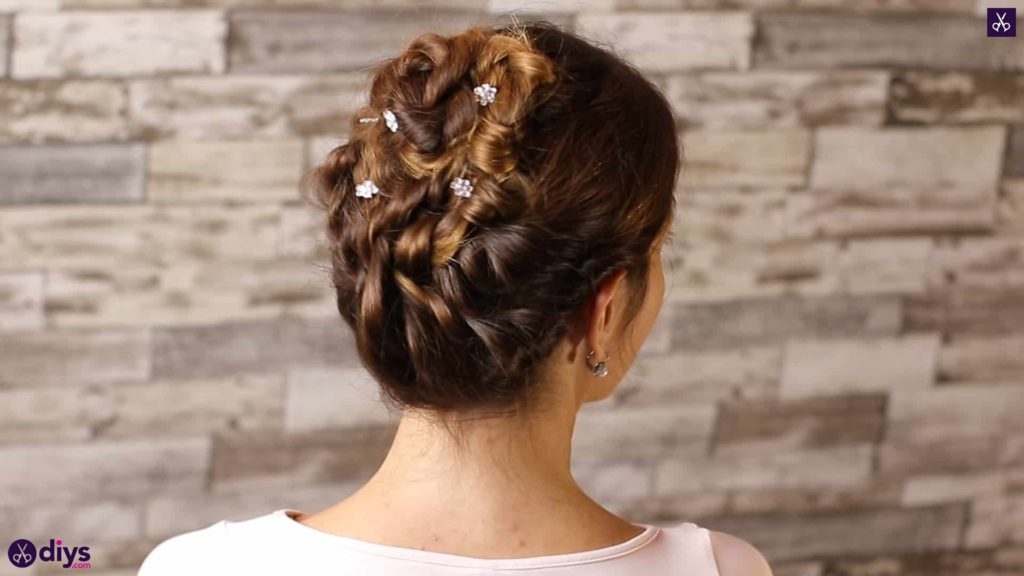
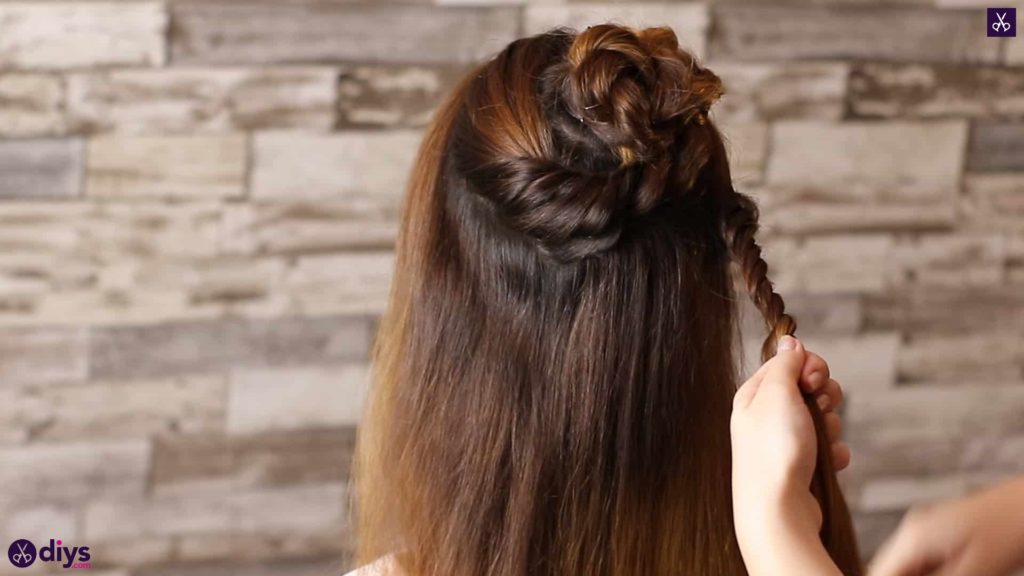
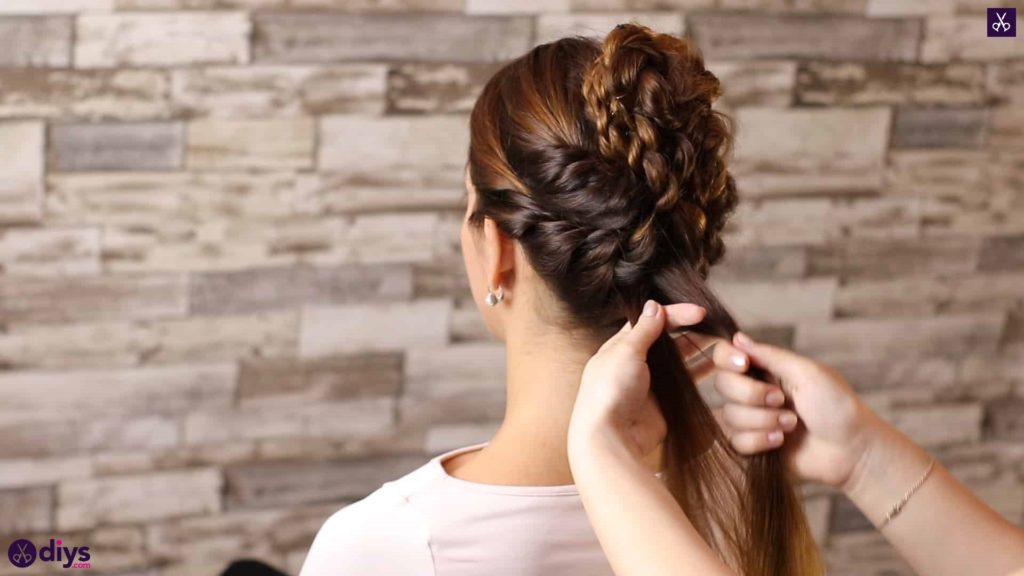
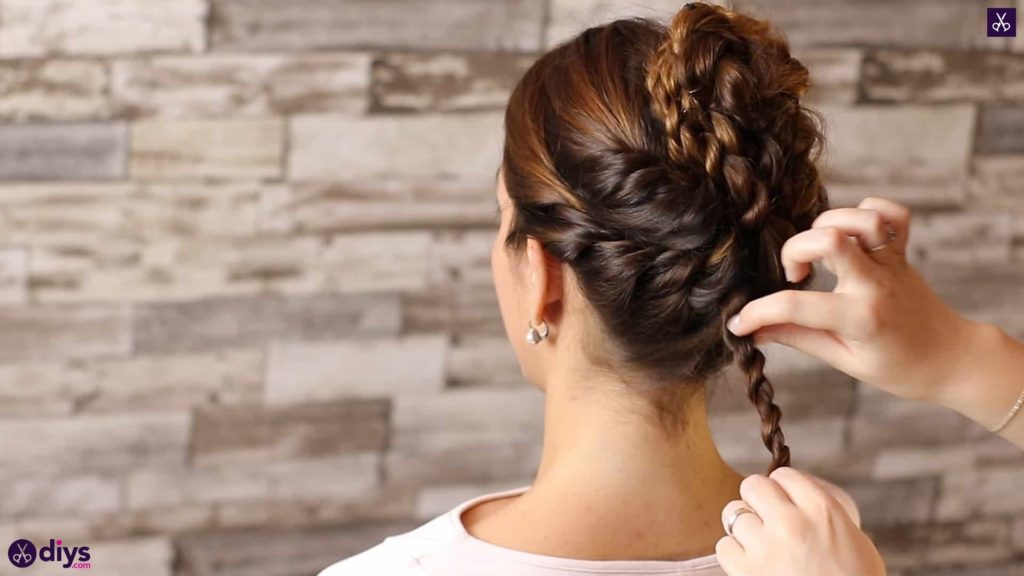
Step 5: braid the bottom
Now you only have hair in the center at the bottom of the bun. Gather this entire section up, split and twist it like before, fasten the ends, and curl it up into your bun to be pinned into place like the rest. You can wrap this section to either side; just do whatever you like the look of best.


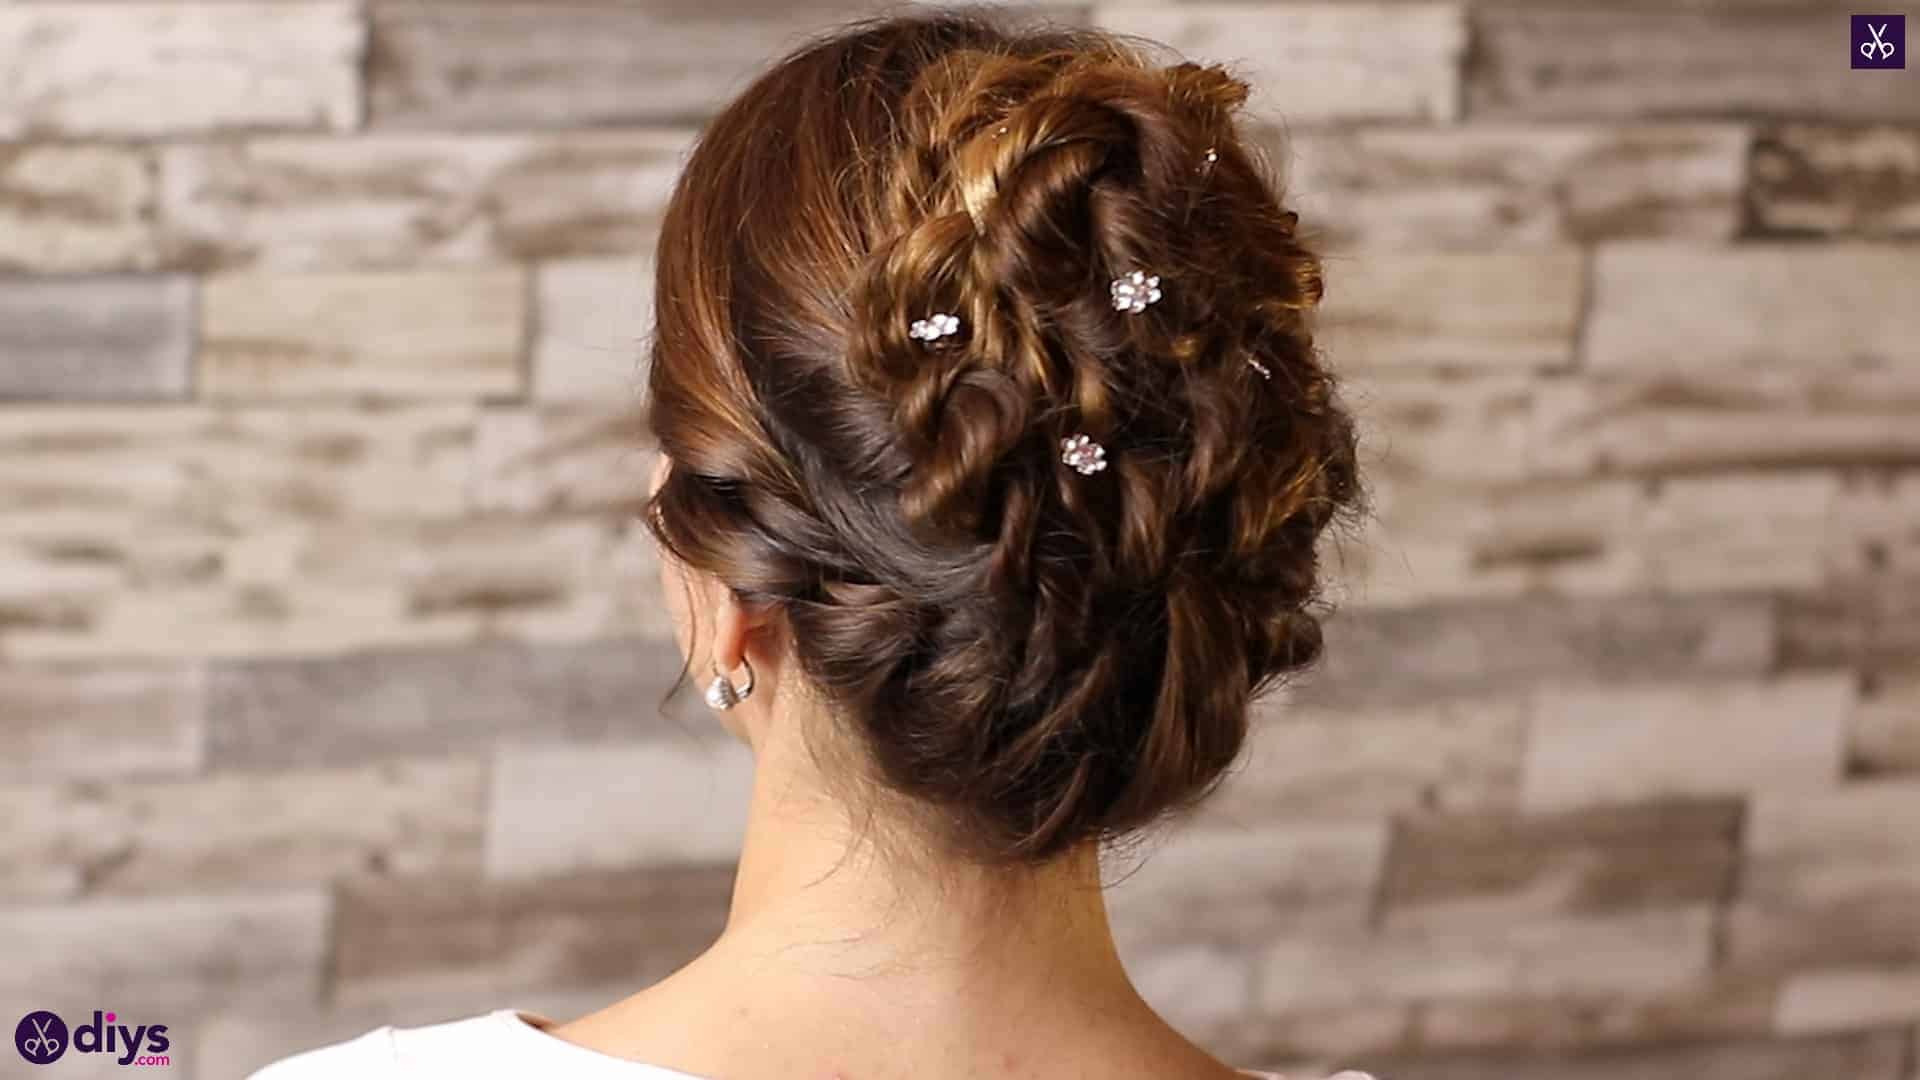
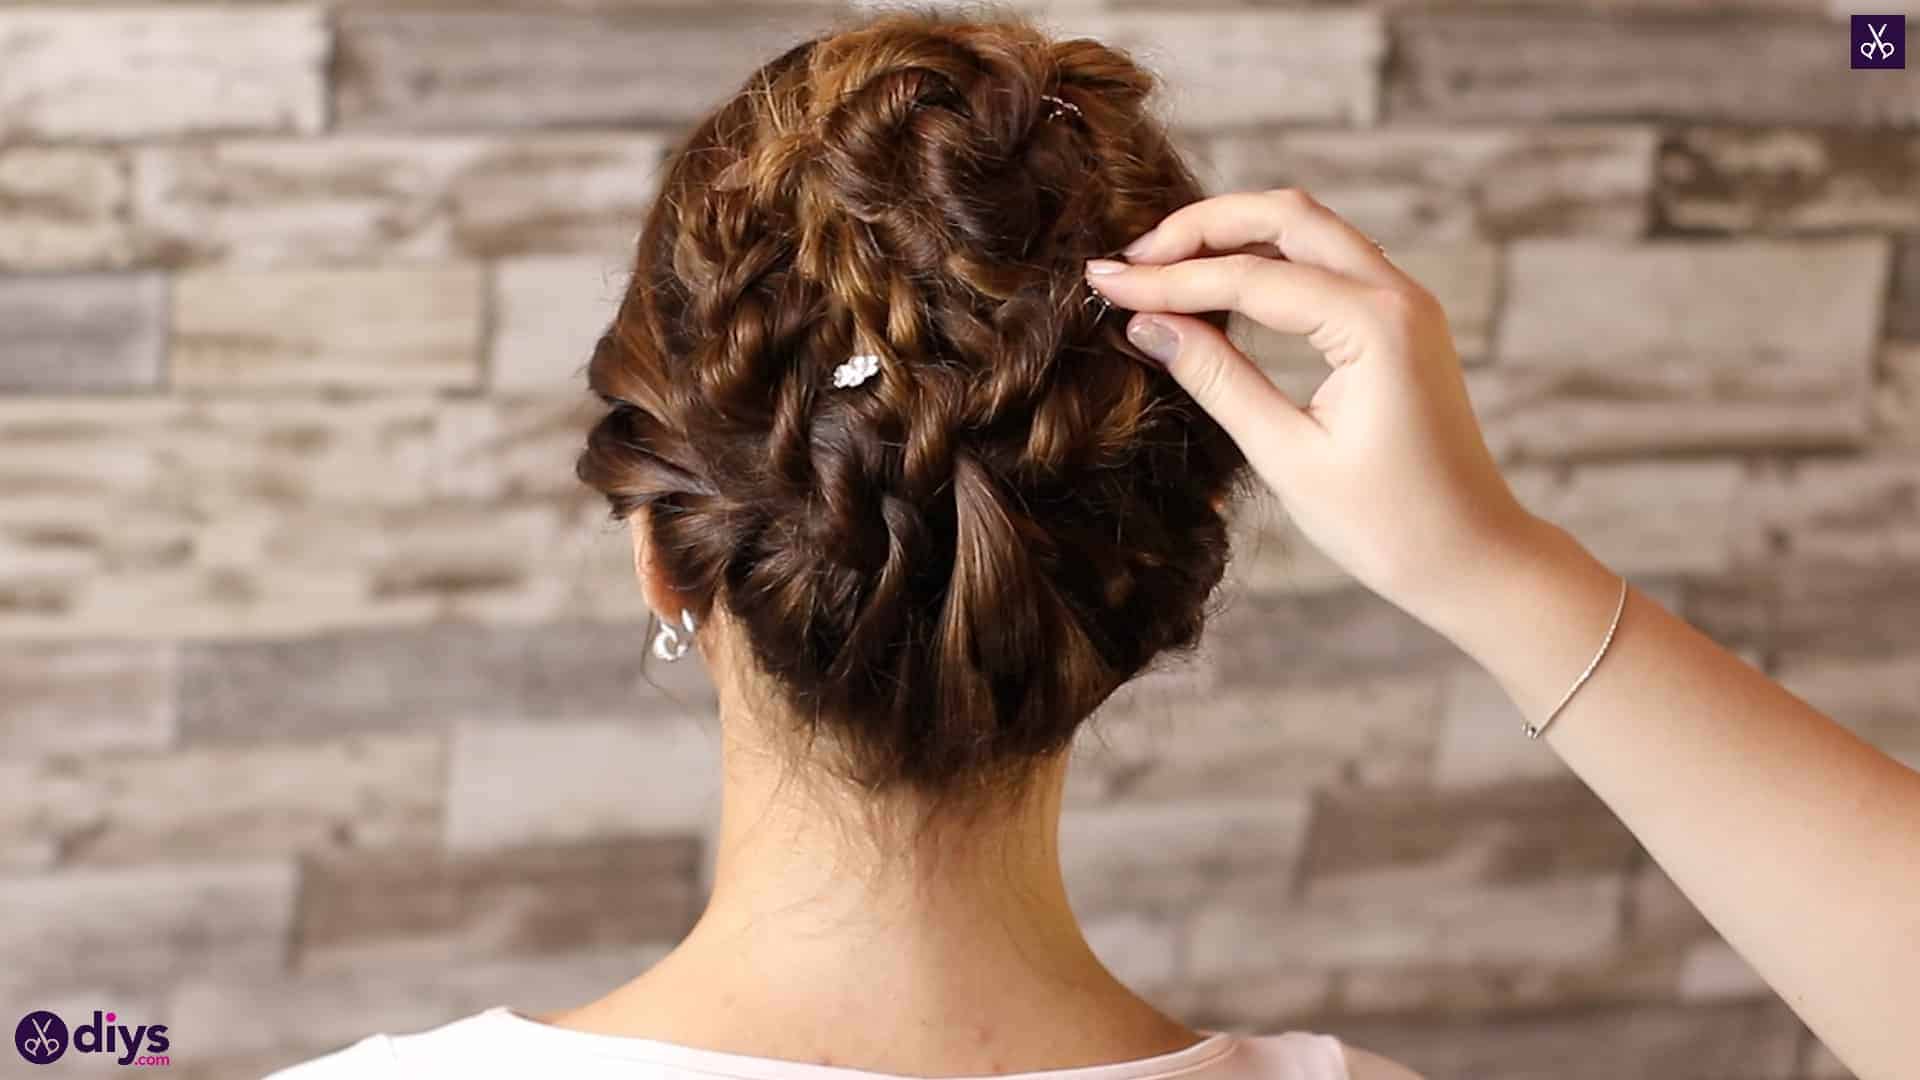
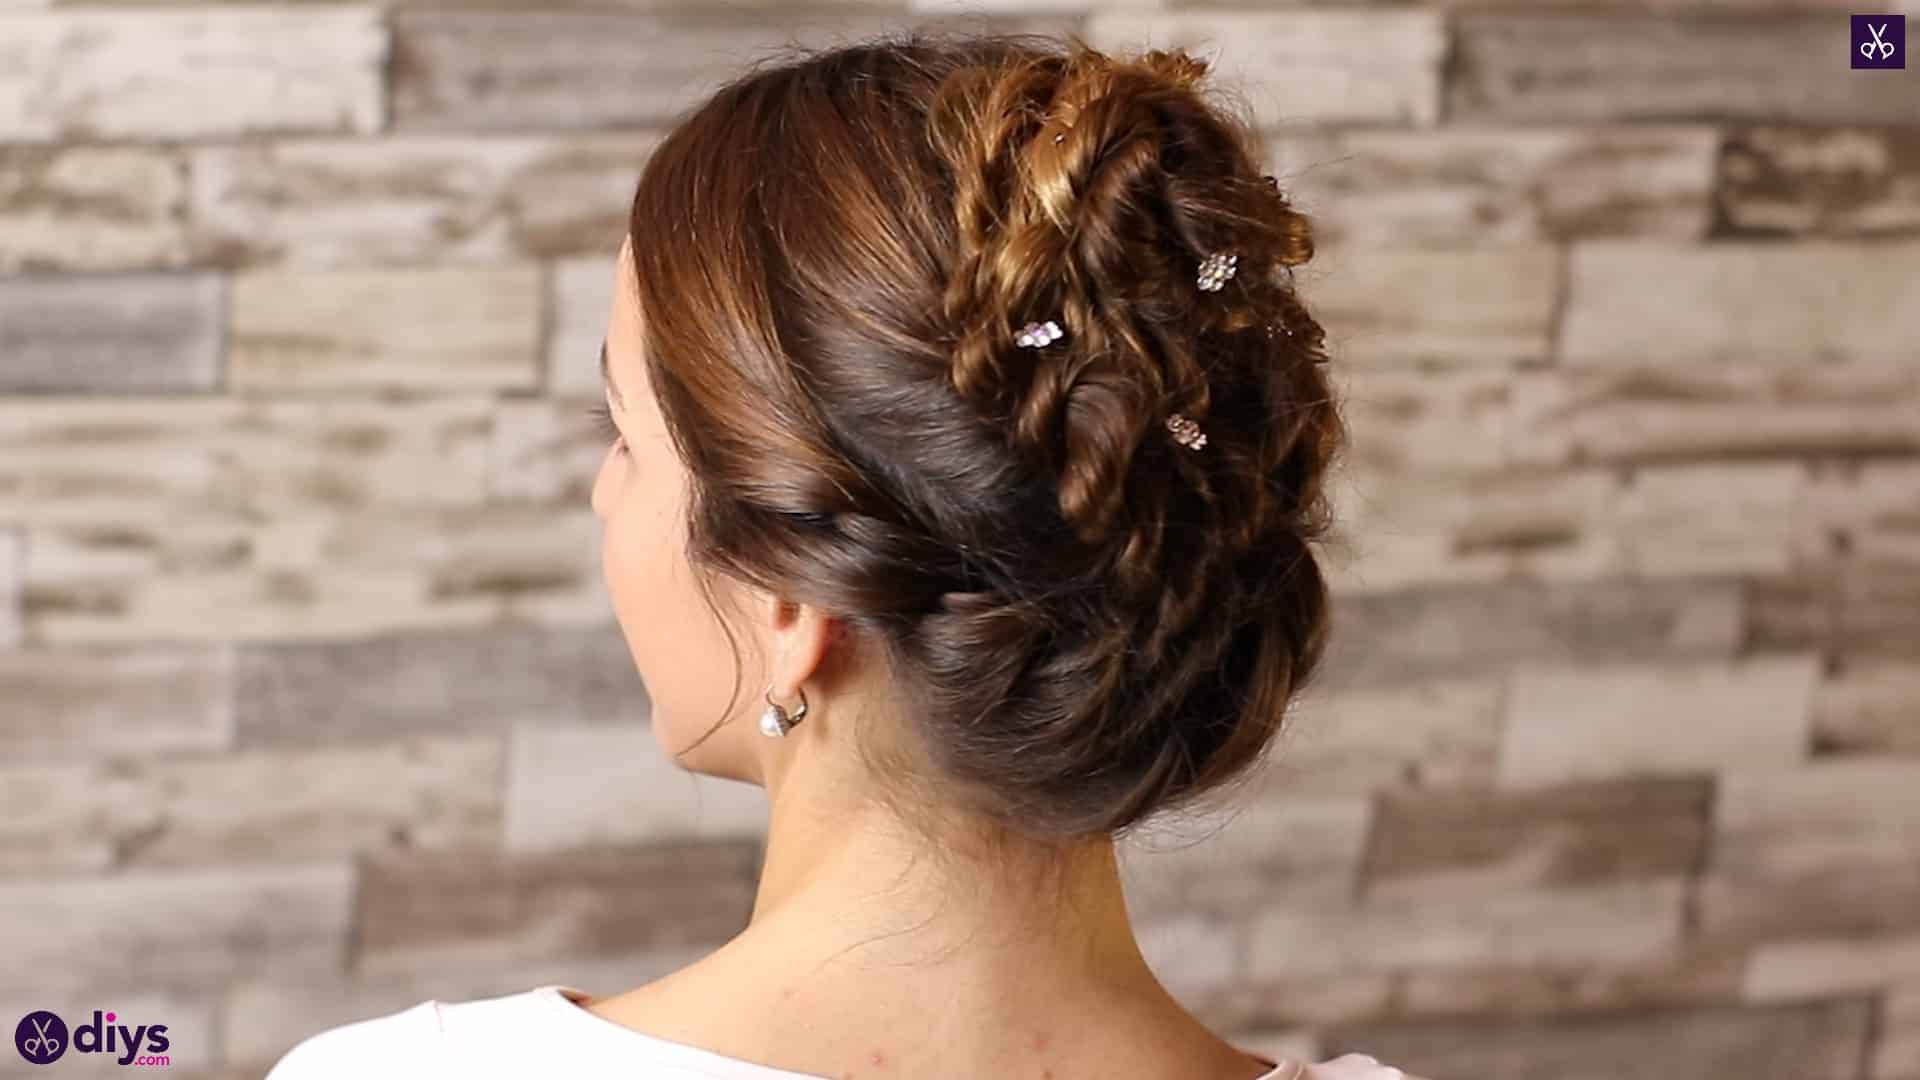
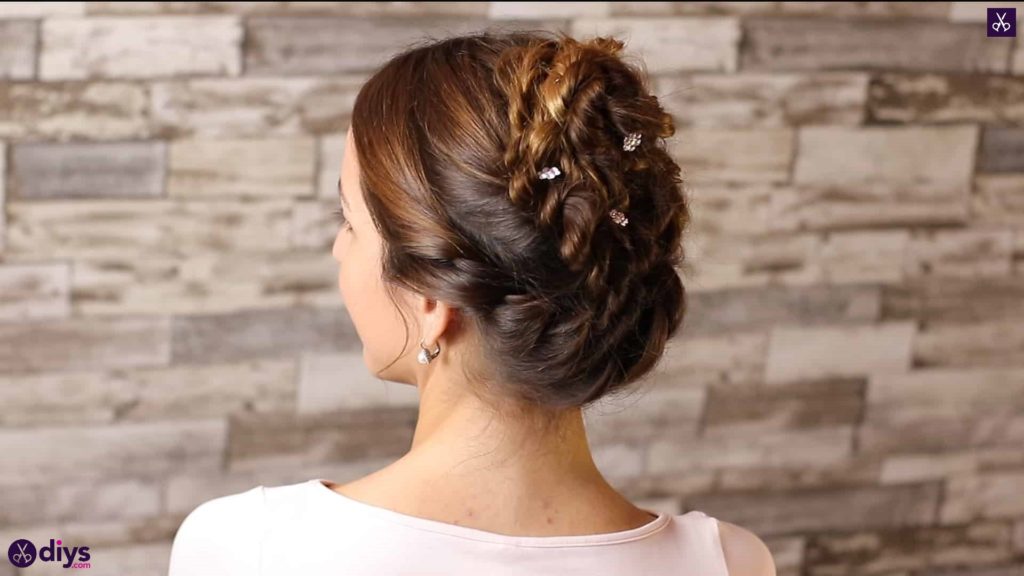
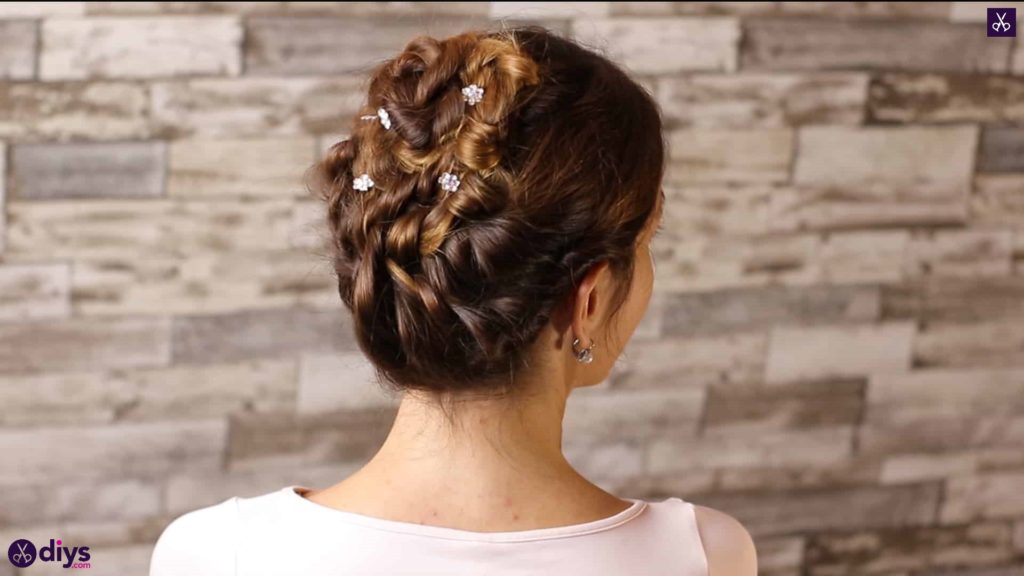
Step 6: embellish
Add your decorative pins! I used bobby pins that have rhinestone flowers on the end and scattered them throughout the style.


Of course, you can feel free to get creative with different types of accessories and embellishments, or you can skip and enjoy the style plain. Just in case you’d like to try any of these styles out for yourself, here’s a fantastic tutorial video to help you!

