Asters Care – How To Grow And Care For Asters
Updated on August 13, 2021
Asters are like daisies on steroids. Not just because they’re prettier, but also because they come in different varieties and types. So much so that it would take an avid gardener a long time to go through all the asters available in nature.
Since variety is the spice of life, asters in your garden bring joy and vitality that few floral plants can manage. And like clockwork, it blooms every year without fail. So you can start your floral arrangements from mid-summer all the way to early fall. And did we mention it was easy to grow and maintain? Read on to find out more about asters, how to plant them, care for them, and use them to design your landscape and home.
All About Asters
Asters refer to a genus of plants that encompass over 250 species and countless more cultivars and hybrids. They’re usually grown for their ornamental values since they have a long bloom time that starts from August until September. Some cultivars bloom earlier than that and last longer.
Most aster species grow well between zones 3 to 10. However, some cultivars are more adjusted to cool weather and can thrive and bloom even in partial shade. As a native of North America, these plants are adapted to most hardiness zones and grow well in the wild.
There’s no average height for asters. Each species varies wildly from the next. The majority of asters will grow between 1 to 3 feet. But some dwarfish types will not grow above 5 or 6 inches. This will come in handy when you’re designing a landscape with asters, as we’ll see below.
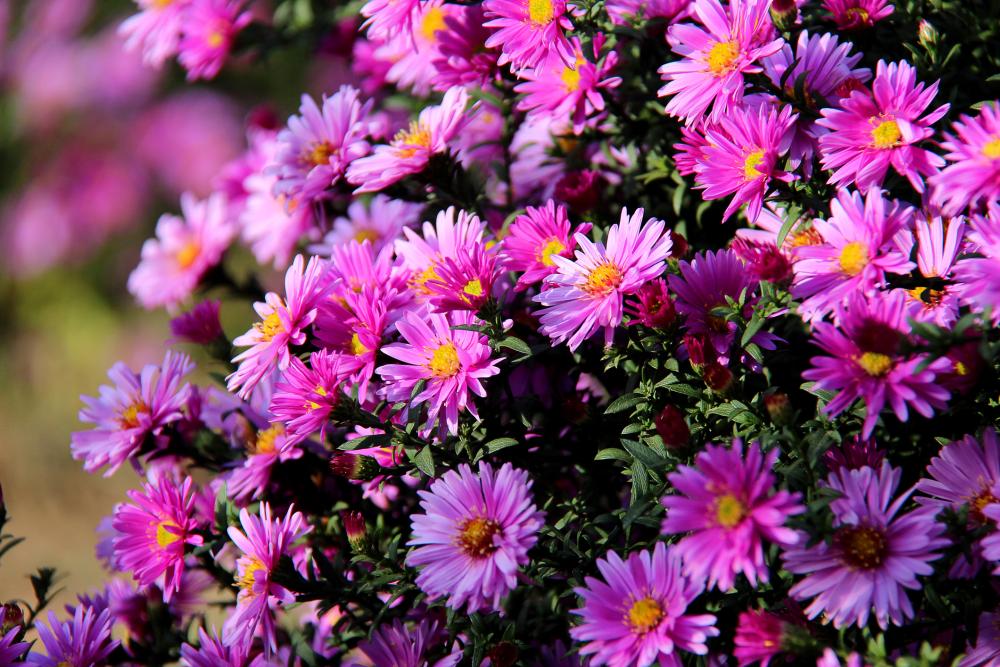
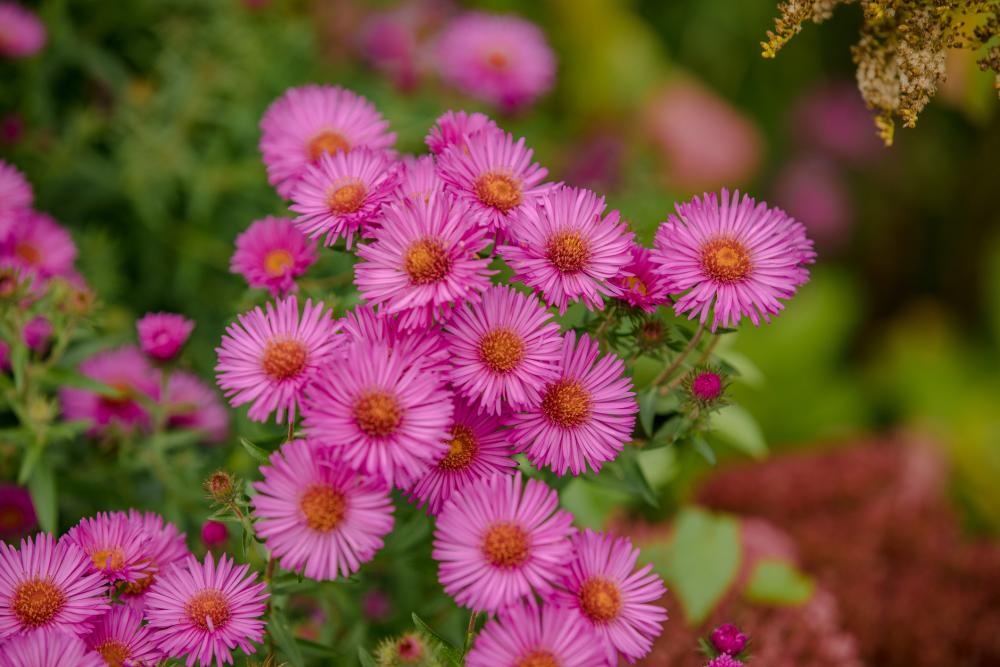
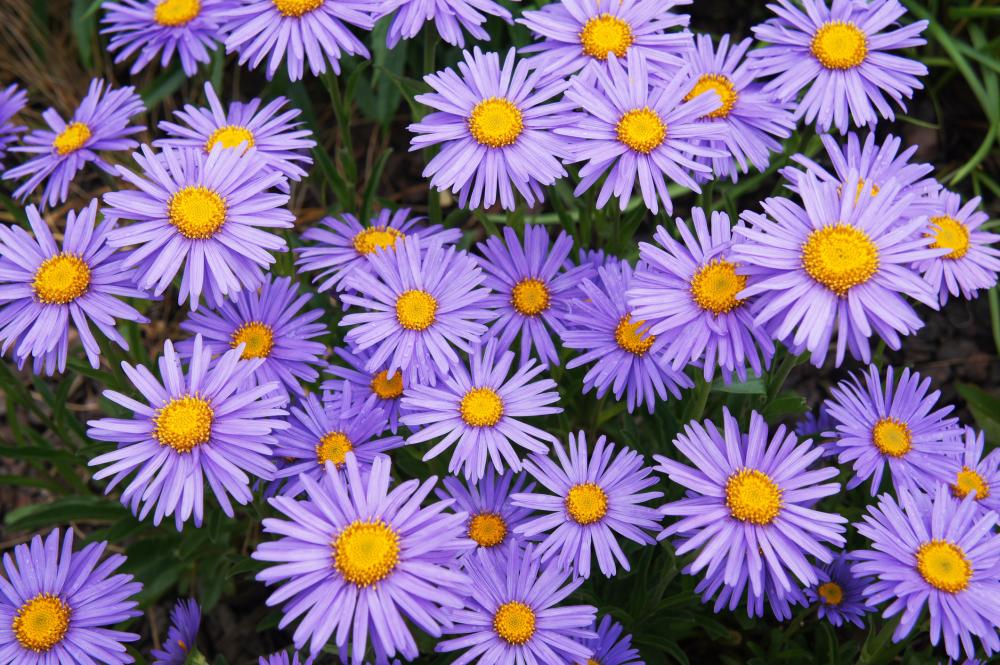
The same can be said about colors. The flowers bloom in a myriad of colors depending on the species or cultivar. The most dominant asters colors are purple, white, scarlet, blue, and pink.
But asters are not just all about blooms. They have foliage that competes for your attention. Most varieties have dark green leaves and long slender stems. The stems are usually smooth, so they’re easy to pick and arrange.
Design with Asters
With such a wide variety of sizes and colors, asters are a designer’s ultimate dream. You can mix and match blooms of different colors, plant the tall varieties as an impressive backdrop, and use the small species as ground cover. Asters offer you a seemingly endless array of designing options limited only by your imagination. Here are some designing tips to get you started.
- Plant asters of different heights to create a stunning landscape. The 6-foot tall varieties go in the back and cover walls and fences. The shrubs create a colorful ground cover. In between, plant medium-height cultivars.
- Pick the right species for the right spot. Some varieties such as Symphyotrichum cordifolium, Symphyotrichum ericoides, and Symphyotrichum novi-belgii are sun-loving and will flourish under the full sun. Others prefer partial shade and have a high tolerance for dry soil. So there’s always the right aster for your particular landscape.
- Asters thrive in large groups. So don’t limit yourself to a few plants when you can fill up a whole corner with different species. Just make sure the cultivars all bloom at the same time to enjoy a spectacular view of cascading colors.
- Asters are good container plants as well. For containers, use a bushy cultivar that fills up the pot and overflows with shimmering dark green foliage. A single aster is enough per container.
- Plant asters as companion plants to bulbs and bushes that also bloom in the late summer and early fall. Yellow and purple asters go well with other perennials since they complement a lot of different colors without stealing the show.
- Another option is to plant asters with other companion plants of contrasting colors. Foliage bushes, for example are a wonderful backdrop for strategically placed asters with bright and cheerful colors.
- Landscapers don’t recommend mixing asters with daisies. They’ll compete and look like an odd couple in your garden.
How to Grow Asters
Another aspect of asters that endear them to gardeners is that there are many ways to plant them. You can start them from seeds, use cuttings, or grow the mature plants by division. Each method has its advantages, although if you’re planting a cultivar, you should use a cutting over seeds. Seeds of cultivars don’t always produce the same plant you had in mind.
- Start the seeds indoors about 4 weeks after the last frost.
- Fill a shallow tray with a general-purpose potting mix.
- Sow the seeds about a quarter-inch deep and space them one inch apart.
- Cover the seeds with a shallow layer since they need light to germinate.
- Sprinkle enough water to get the potting mix all moist without soaking it.
- Place the tray in a sunny spot sheltered from cold winds and drafts.
- When the seedlings are about 3 inches high, thin them out and leave a healthy seedling every 3 inches.
- Harden the seedlings gradually by taking them outdoors for a few hours every day.
- Prepare the soil in the garden choosing the right sun exposure that suits that particular aster species or cultivar.
- Amend the soil to make it loose and well-drained. If you have loamy soil, then you don’t need anything apart from some organic materials to make it richer.
- Turn up the top 10 inches of the soil and let it rest in the sun. This cures the soil of any lurking pathogens and improves aeration.
- Dig a hole the same depth as the root ball of the seedlings and a little wider than its diameter.
- Moisten the potting mix in the tray to make it easier to extract each seedling.
- Ease the seedling in the hole so that the soil line on the stem aligns with the edge of the hole.
- Backfill the hole with soil and firm it gently to chase out any pocket holes.
- Space the seedlings according to the cultivar. If in doubt, keep them 26 inches apart unless you’re growing the small species as ground cover.
- Water the soil to get it moist, then cover it with a thin layer of mulch.
If you’re growing a cutting instead of seeds, cut a 6-inch stem and remove the leaves at the bottom. Dip the cutting in rooting hormone powder, then plant it in a container filled with soil. Water it regularly to keep it moist and place it in a sunny spot. When new growth emerges, you can transplant the sapling to the garden following steps 9 to 15.
Asters Care
Asters, in general, don’t need much care. There’s no surprise there since they’re hard perennials that adjust well to different types of soil and weather conditions. Still, some pruning would be required from time to time, especially with the aster cultivars that get leggy. And if you allow asters to reseed themselves, the new plant might not look anything like their parents. Also, they might not flower.
Soil
While asters are not very particular about the type of soil you plant them in, you should avoid clay and sandy soil. Heavy soil retains water which is not what the plants prefer. And sandy soil loses moisture faster than the roots can absorb it. Amend the soil to make it as close to loamy as possible. The soil pH should be either neutral or a little acidic. Get a reading of the soil structure before sowing the seeds and amend it to get the reading between 5.5 and 6.5.
Water
As with many perennials that you grow in the garden, asters will need about one inch of water a week. You can break up this amount according to the soil type and season. In the summer, you might have to water the asters every day. The same is true for loose soil that dries up too fast. Focus on the base of the plant and give it enough water to make the soil moist. Few asters can tolerate dry soil. Once the flowering season is over, you can cut back on watering and allow the top couple of inches of soil to go dry between irrigations.
Light
The light requirements of asters vary depending on the species and cultivar. While most natural species relish the sunlight, some can tolerate partial shade. That said, you should protect the plants from the glaring afternoon sun in hot zones. In those cases, the morning sun should be enough for the flowering asters. Place them in a spot facing the north or east. In cool zones, plant the asters in the garden where they face the west or south to get as many hours of sunlight as possible.
Fertilizer
Don’t let the hardy asters with a reputation for growing just about anywhere fool you. These perennials need as much feeding as any other plant. So before planting them in the soil, mix in a good portion of aged manure or other organic materials. This has the advantage of increasing the acidity of the soil in case it’s too alkaline. Once the plants are growing, side-dress them with phosphorus-rich fertilizer and apply slow-release organic compost during the growing season. Hold off all types of feeding once the last flower has dropped. Don’t fertilize during the fall or winter to avoid triggering new shoots that will perish in the cold weather.
Pruning
Pruning and deadheading of asters go hand in hand. Especially if you have a bushy aster or one that gets leggy. Even if the plant behaves well and doesn’t take up more space in your garden than necessary, you still need to trim off a broken or damaged stem here and there. Deadheading the flowers is important to prevent the aster from reseeding. As for leggy plants, you can encourage them to grow more robust and bushy by snapping the tip off the main stems early in the spring. Lateral stems mean well-distributed blooms all over the plant and not just at the top.
Pests and Diseases
Being hardy doesn’t protect asters from the onslaught of many pests. Aster leafhoppers, aphids, tarsonemid mites, snails, and slugs often attack the plant and feed on the leaves, stems, and flowers. While it’s common to get rid of aphids by hosing them off the plant with a strong water stream, you shouldn’t do that with asters. It could trigger a fungal infection. Instead, spray the infected plants with neem oil to kill the small pests. As for snails and slugs, you can pick them by hand and drown them in soapy water. Don’t release the pests outside the garden, as they will certainly crawl back.
The most common diseases that asters suffer from are white smut, leaf spots, powdery mildew, and rust. You should keep the garden clean and remove weeds to get rid of pests that carry pathogens. Also, keep the asters well-spaced and improve air circulation to prevent fungal breakouts.