How to Make your own Floral Quote Tote Bag
Updated on November 19, 2025
Spring is fully rolling, trees are now in full blossom and daylight is everyday longer: positive vibes are all around us and we’d love to capture some of these in our own personalized tote bag. Tote bags are actually very useful and strong bags, especially for people that have to bring lots of things around in a day; I personally use them every day to bring my pack lunch at work or use a bigger one for yoga class.
Follow this tutorial and you’ll be able to make all sorts of personalized tote bags, having fun with iron on textile and a textile marker.
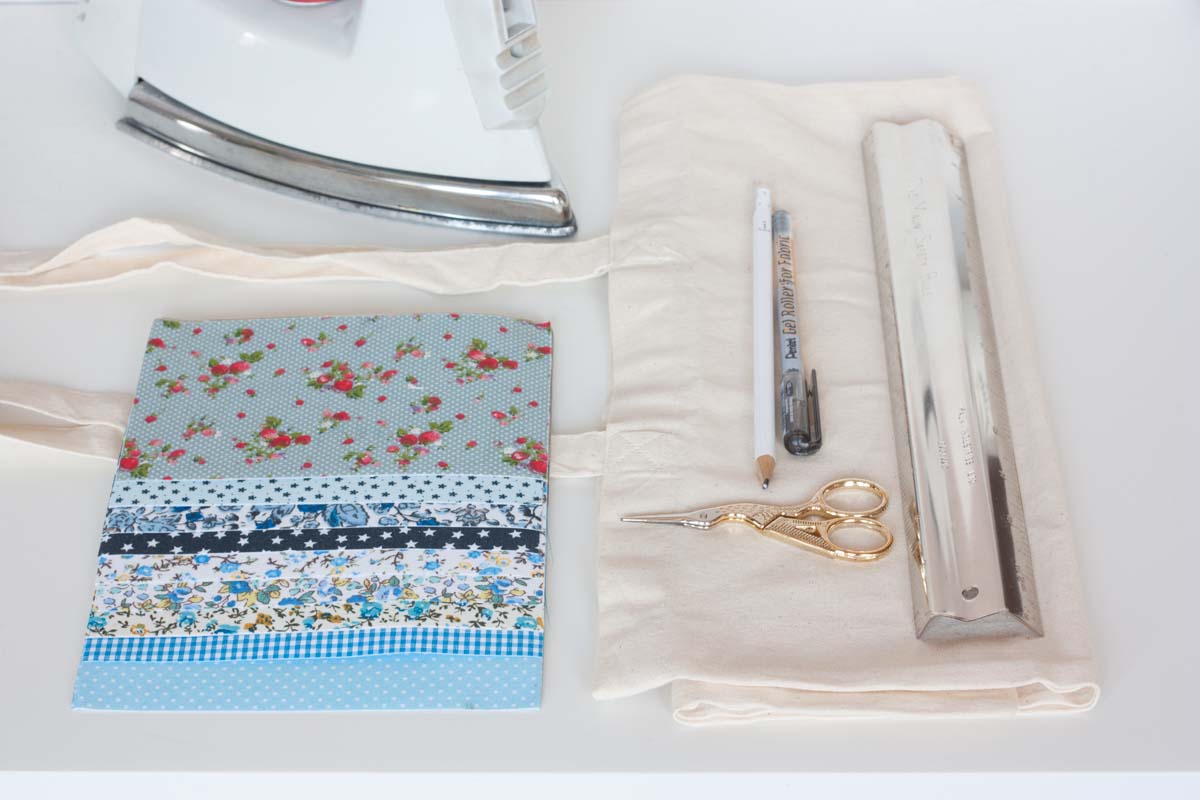
Supplies
- plain tote bag
- floral iron on textile
- > textile marker
- scissors
- pencil
- ruler
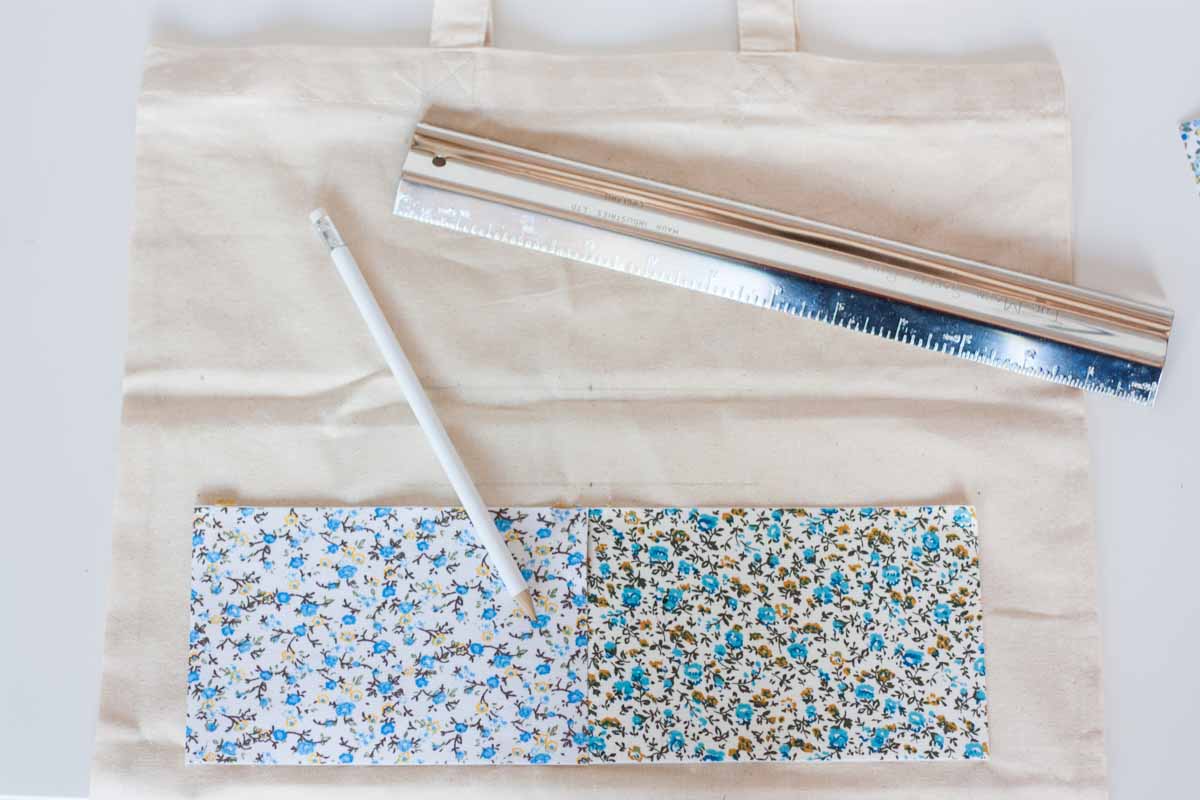
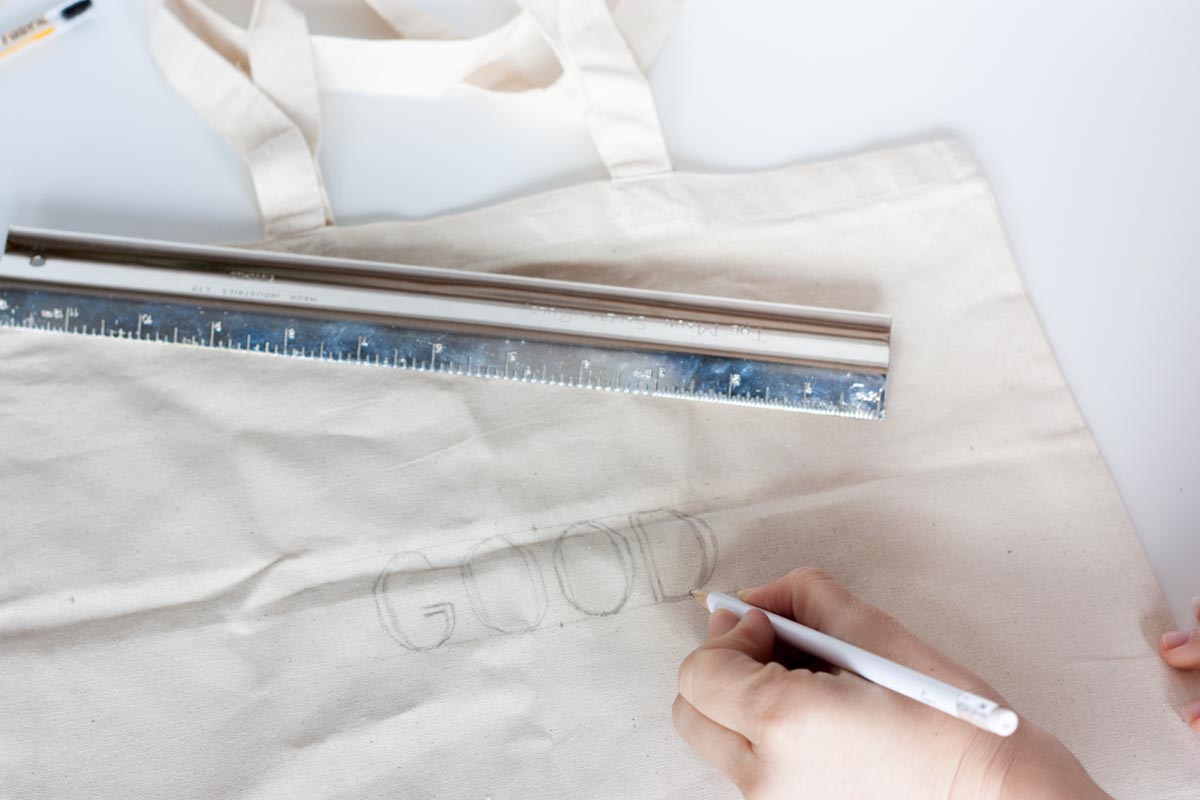
1. Start by deciding the size of your floral letters and were you’d like the “good” quote to appear. Make some small signs with a pencil, finding the central point. Make 2 lines that will guide you while drawing the letters freehand.
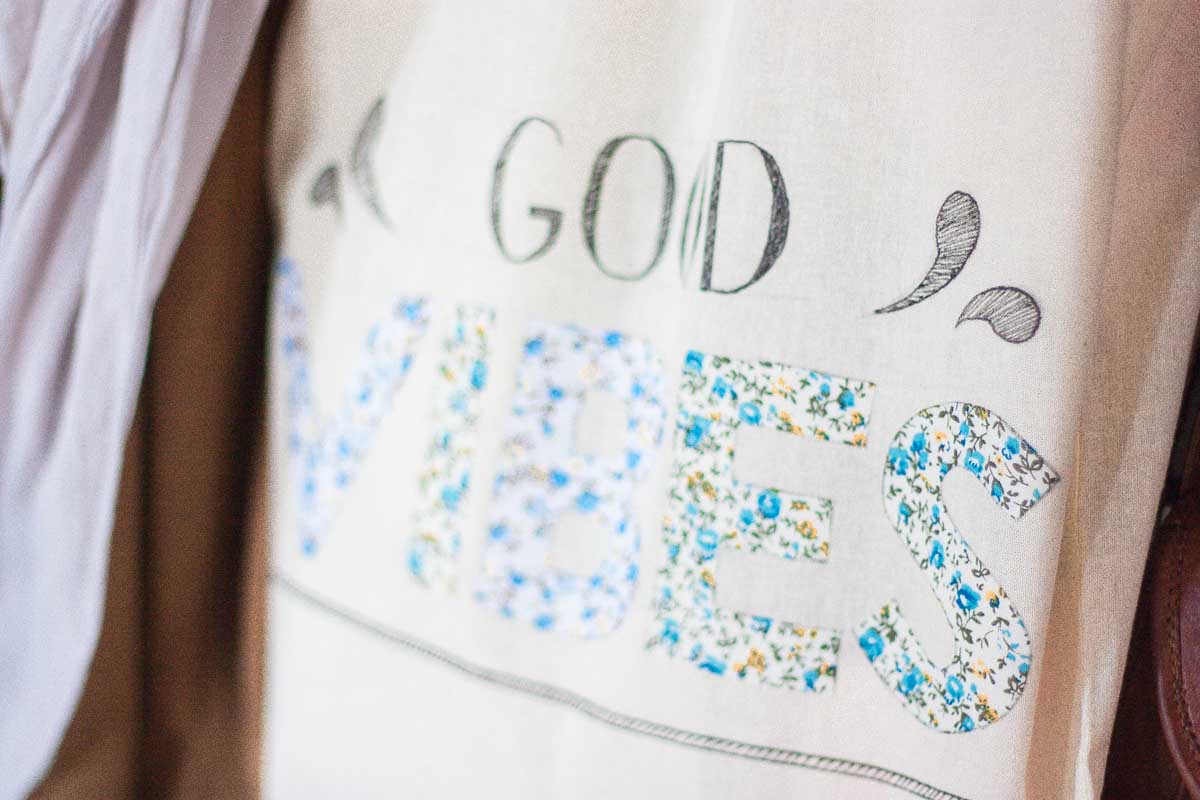
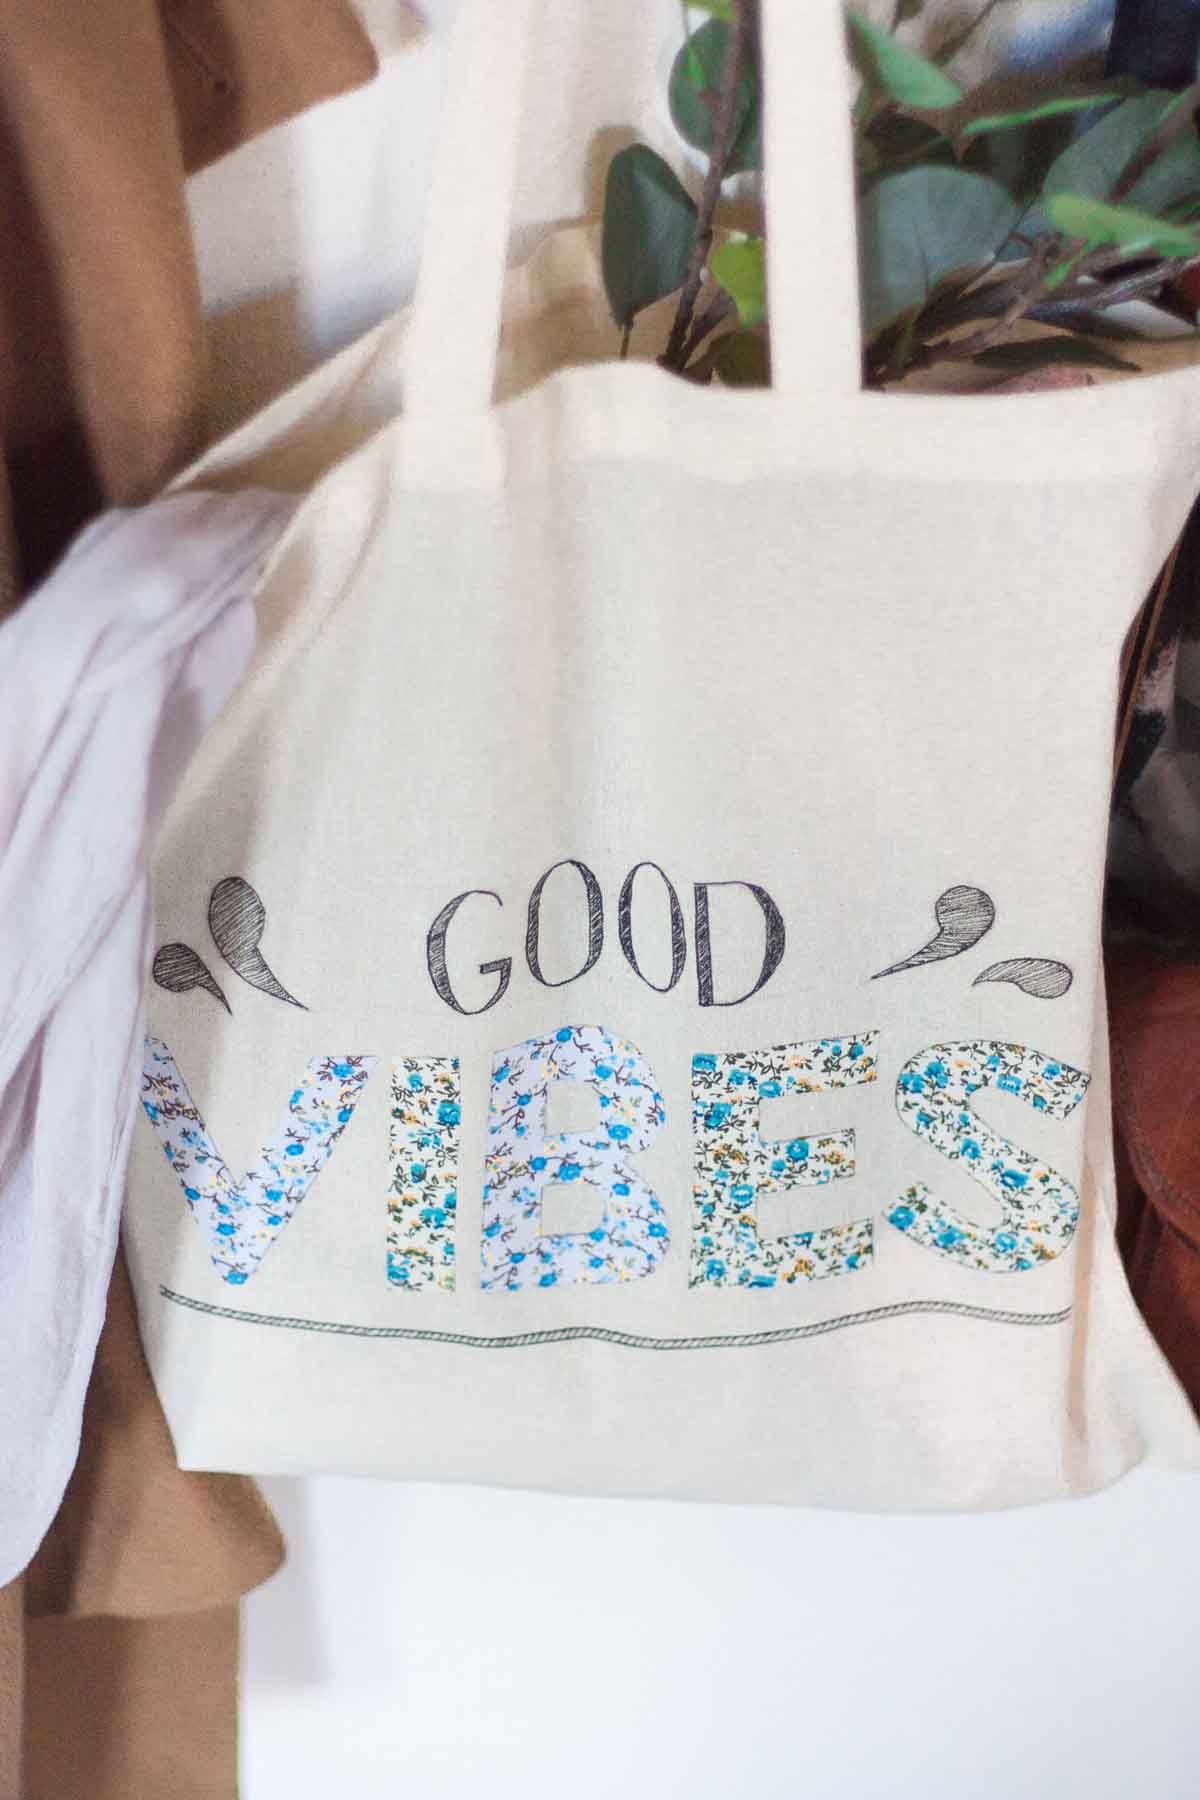
2. Using the lines as a guide, draw the letters GOOD with your preferred styled. If it’s the first time approaching hand lettering, we recommend you stick to an all caps sans serif font. To make the spacing work out evenly, start with the two central Os keeping them to the left and right of the central point. Then add the G and the D trying to keep them at the same distance from the Os. When you’re happy with the result, go ahead and trace them with your marker.
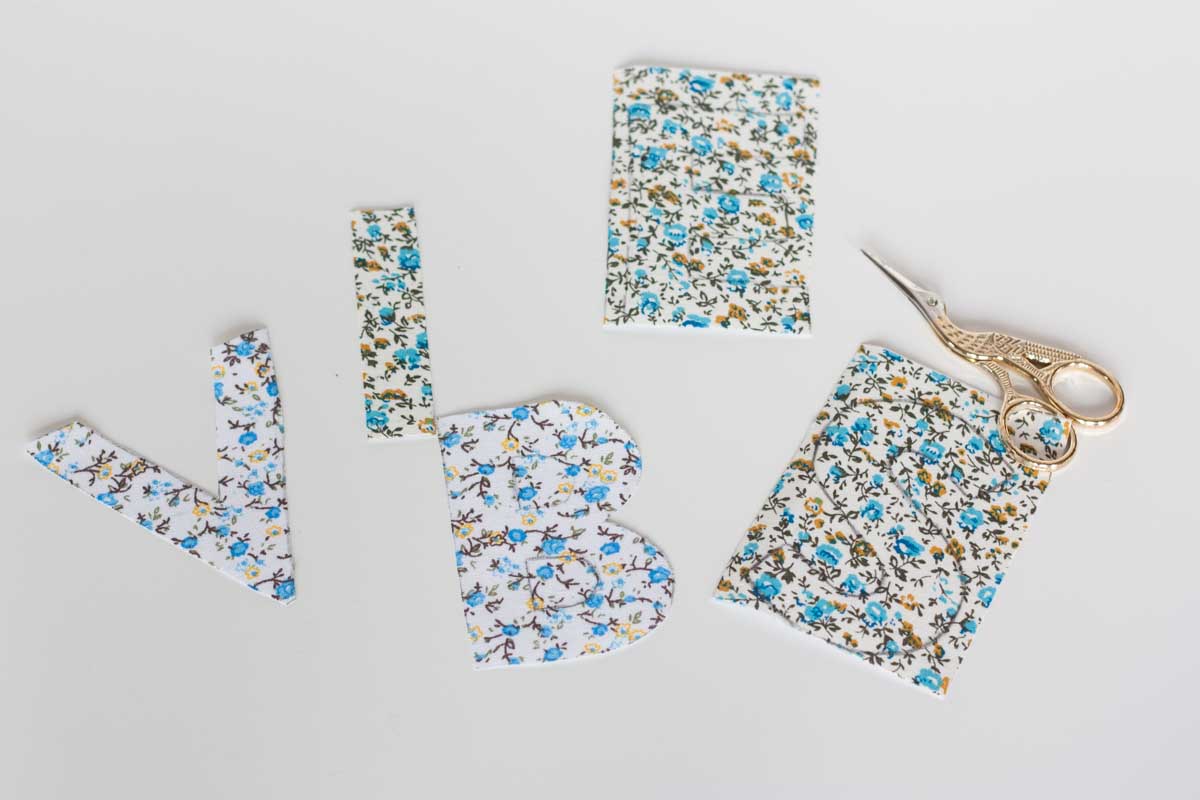
3. Draw the “vibes” letters onto the floral iron on textile and when you’re happy with the result cut them out. Remember too keep them quite thick and big to make a nice statement on your tote bag. Also, if you have different kinds of floral patterns try mixing them up for a more creative result.
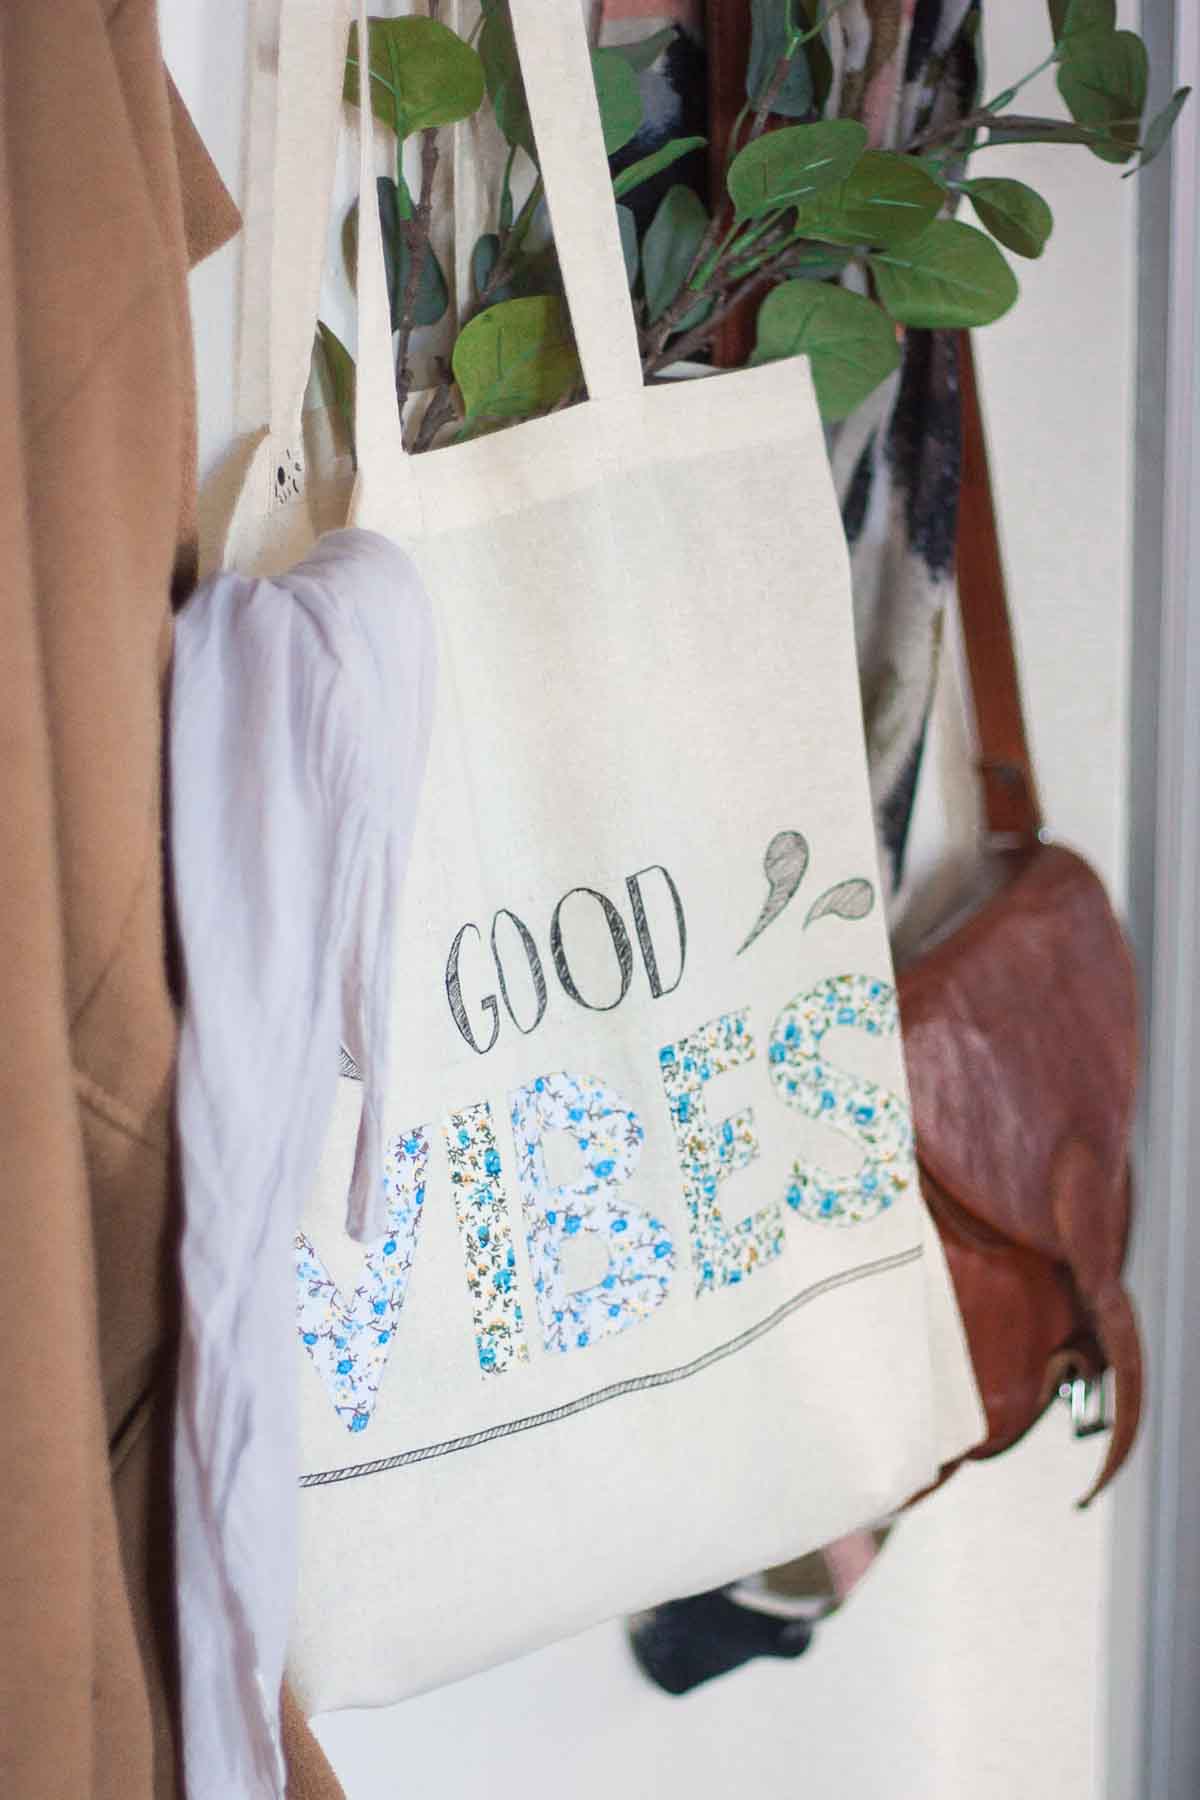
4. In the end, glue the floral letters to your tote, starting again from the middle and expanding via to the sides. Pay attention to letter spacing, which must be quite similar from one to another. If you make a mistake placing them, thankfully you can unstick the letters and re-position them better, because until you do not iron they will come off quite easily.
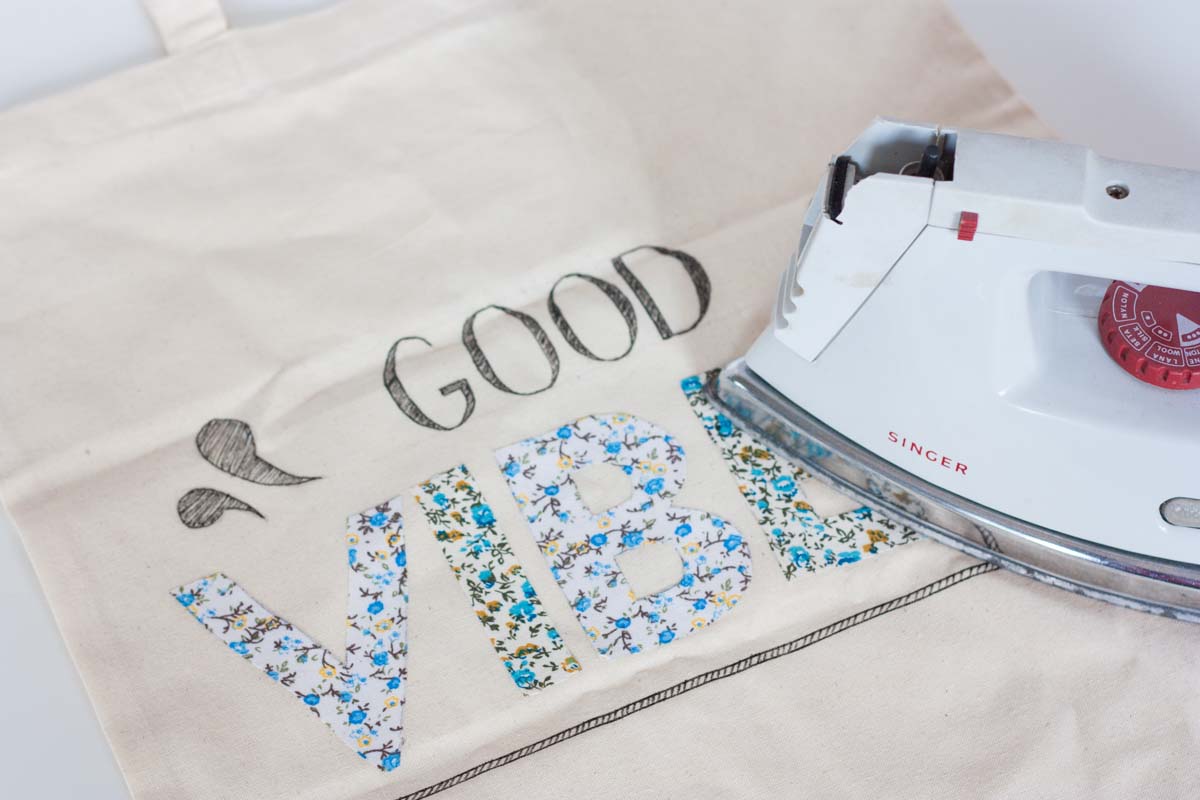
5. Before ironing, you might want to add some few fun designs: try doodling around your quote! If you’re not sure what to do, copy our design, but remember always to start with your pencil and then re-trace with a permanent marker. Finally, iron the letters.
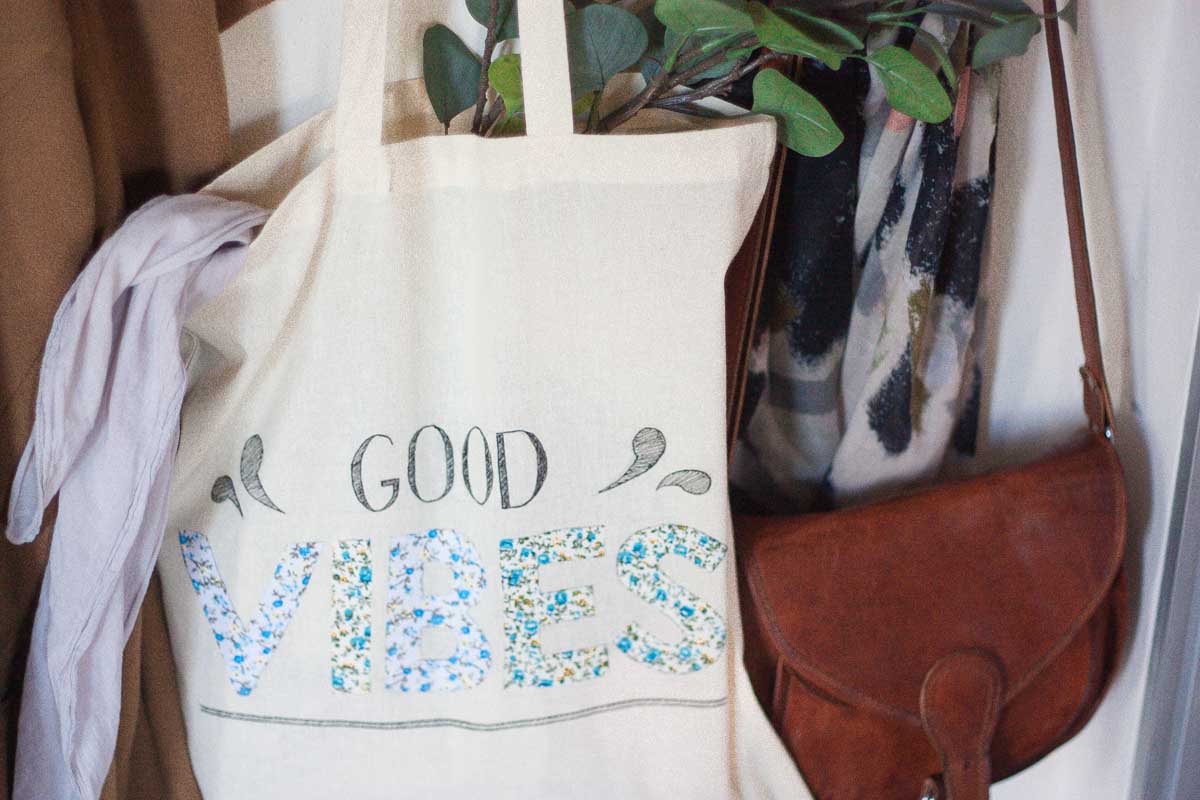
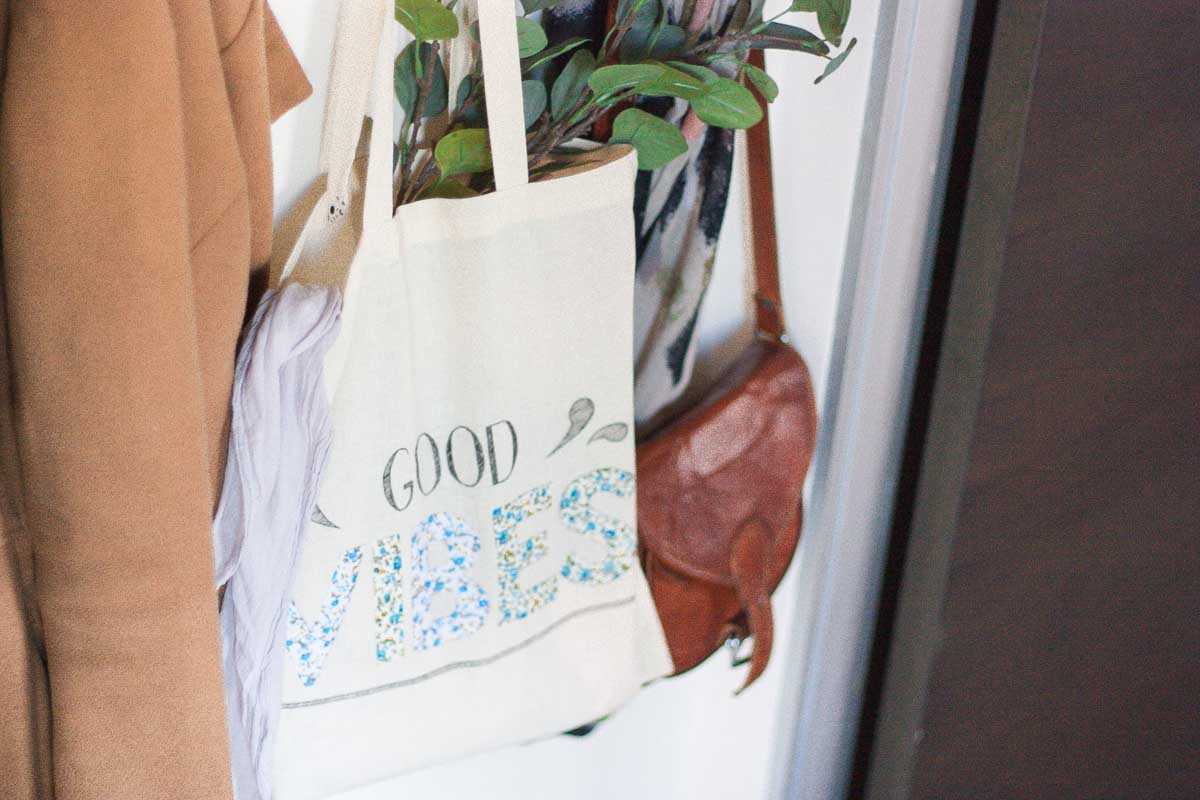
Every time you’ll move around with this unique tote bag, gloomy thoughts won’t surely be around you! Good vibes to all of you my dear crafters!