DIY Geometric Stitched Pegboard
Updated on November 19, 2025
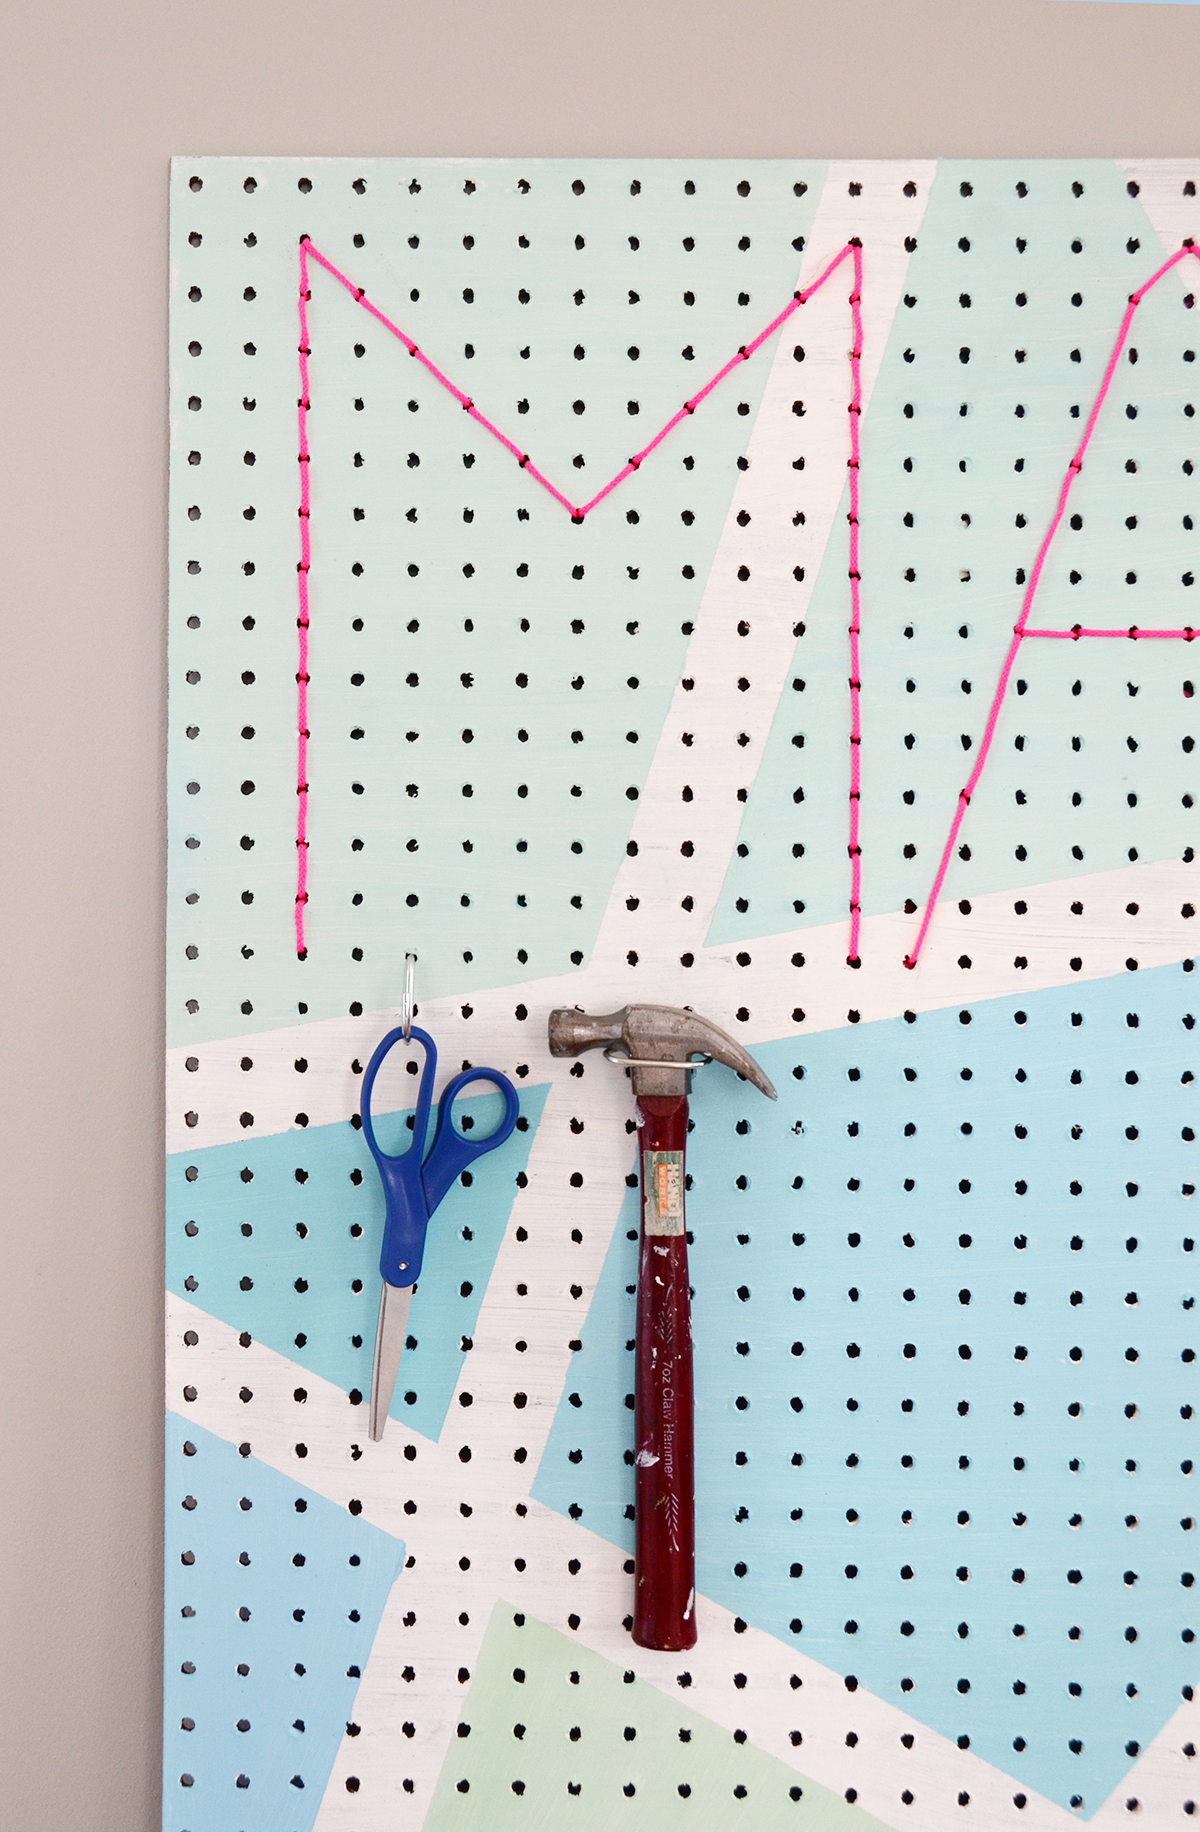
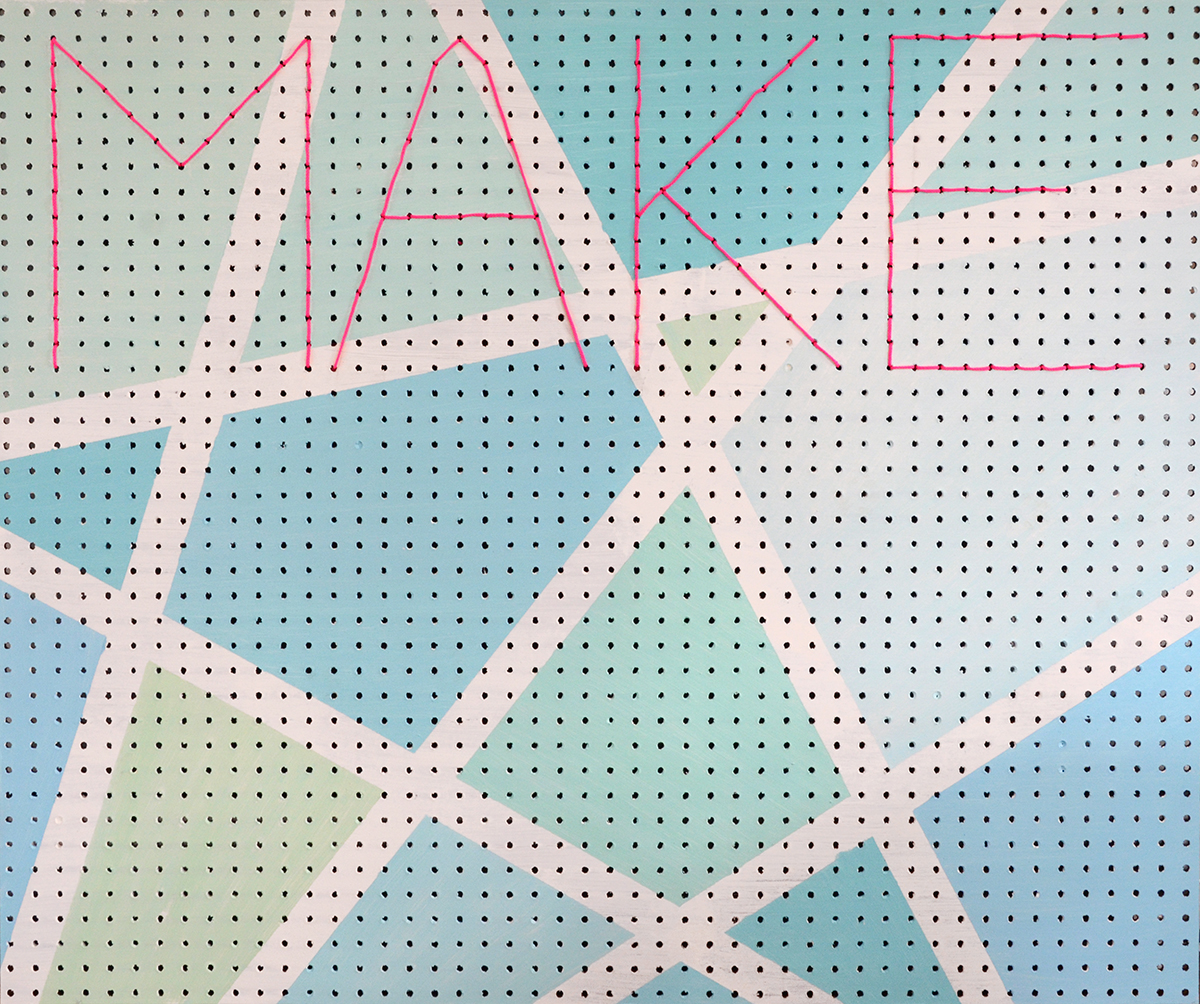
Do you have a hard time keeping your tools organized? Me too. So I decided to create a colorful pegboard to hang tools on so that I would want to put things away. And I added a motivational word too… “make.” Keep reading to find out exactly how to create one of these geometric pegboards to get your workspace in order.
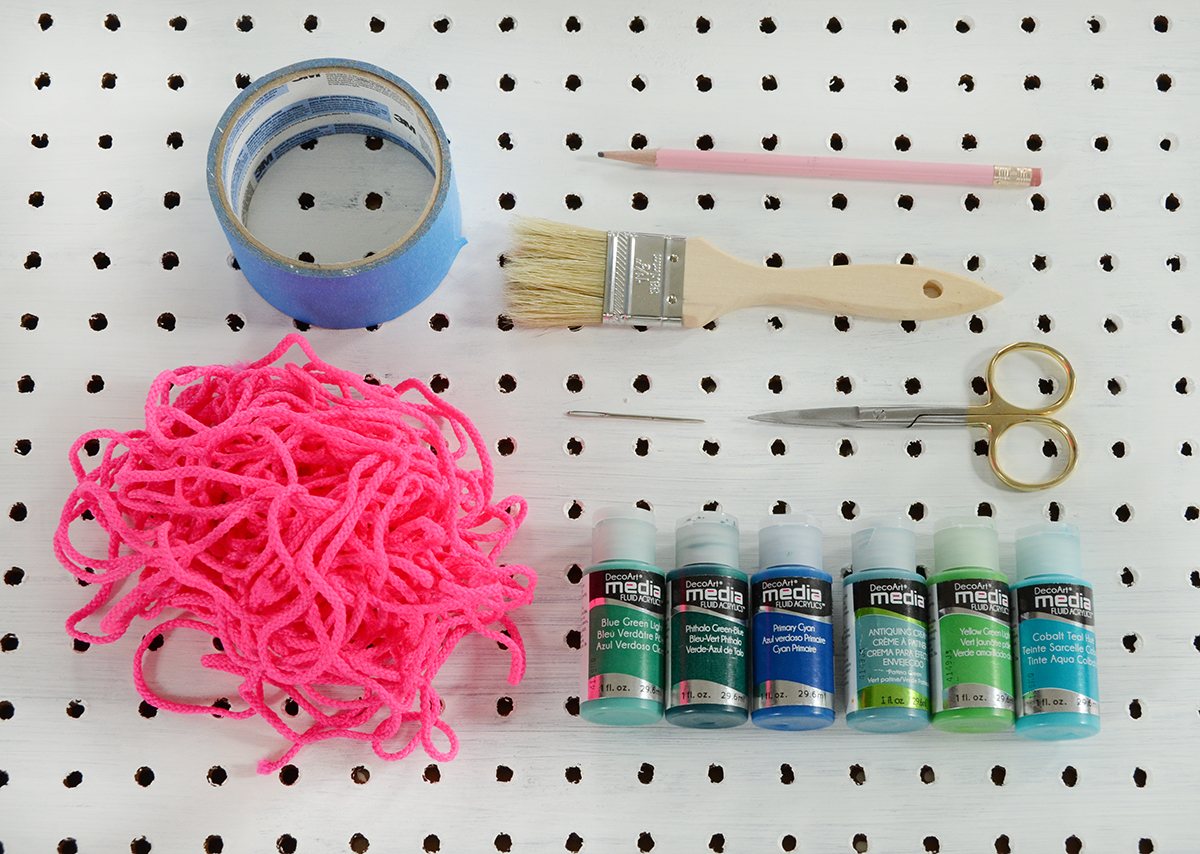
Here’s what you’ll need for this project:
- White pegboard (mine started out brown, so I painted it white)
- Neon cord
- Acrylic craft paint
- Painters tape
- Paint brush
- Scissors
- Large needle
- Pencil
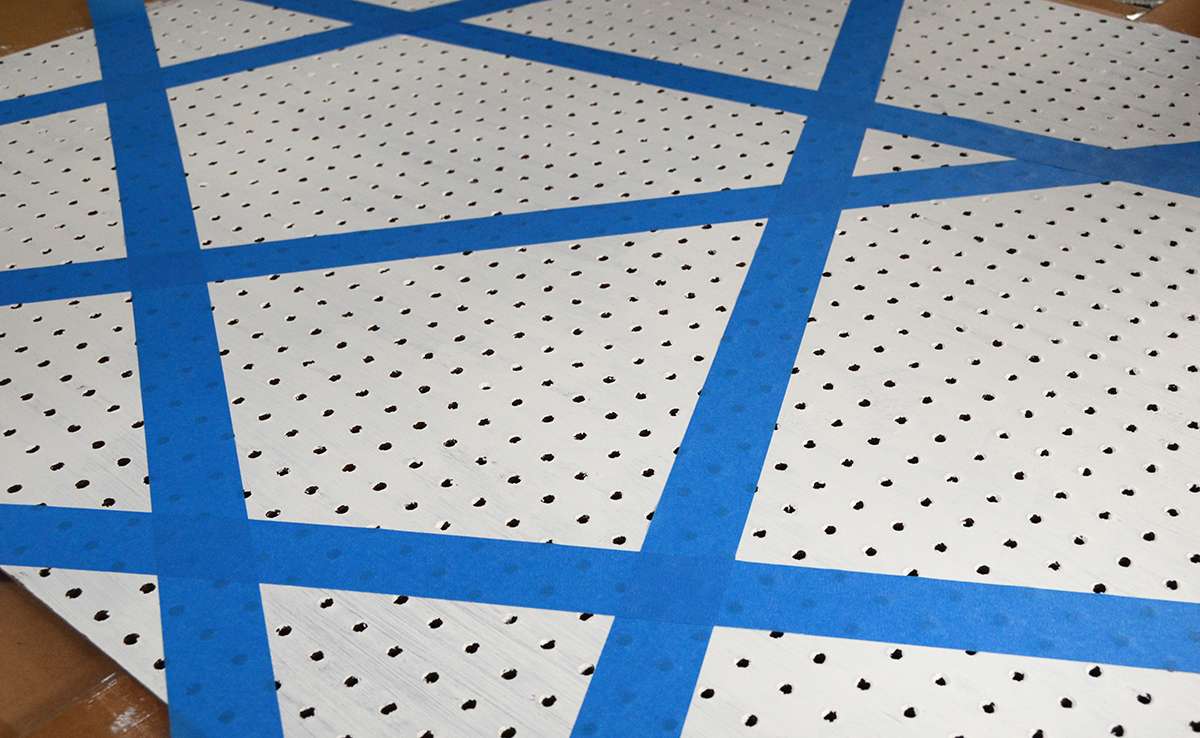
Begin by placing your pegboard on top of a drop cloth or an old piece of cardboard. This is crucial, because the paint will seep through the holes and ruin whatever surface is underneath. Next, tape off a number of geometric areas on your pegboard, creating a series of different shapes as shown above.
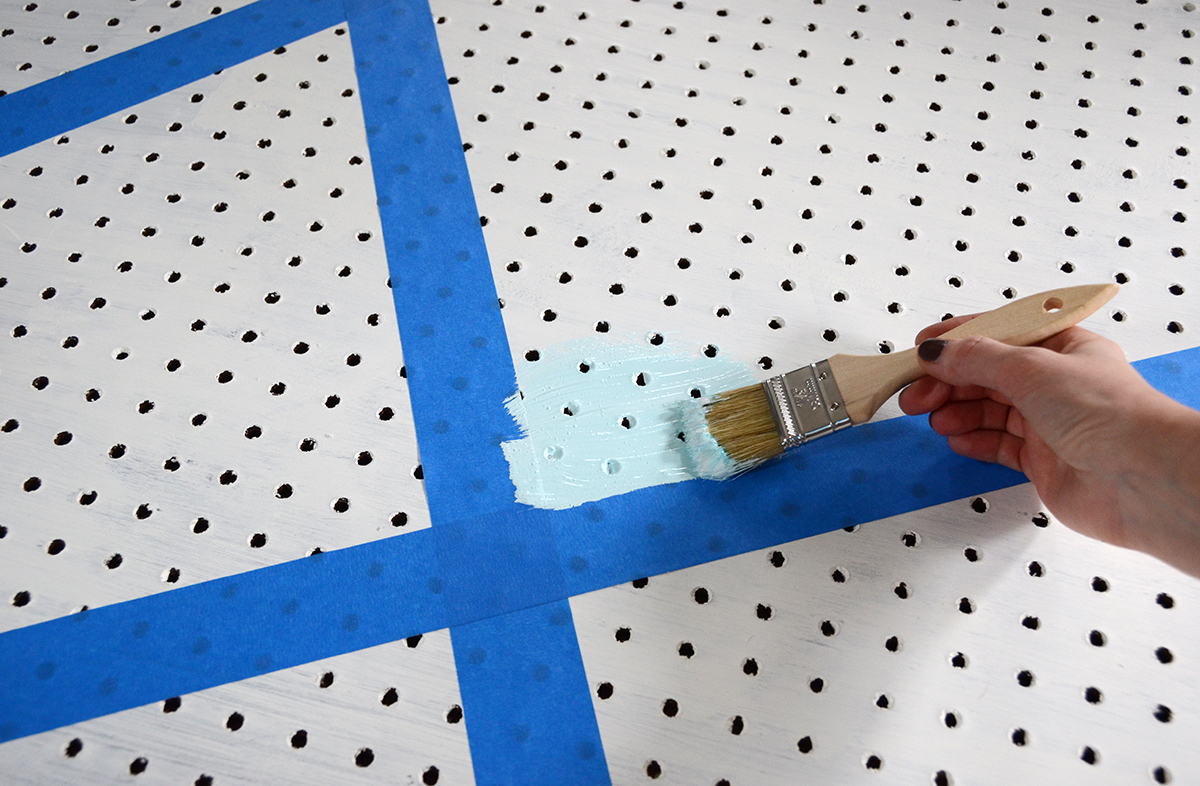
Now paint each section a different color. I went with light blues and greens, to contrast with my neon pink cord that I would be using later in the process.
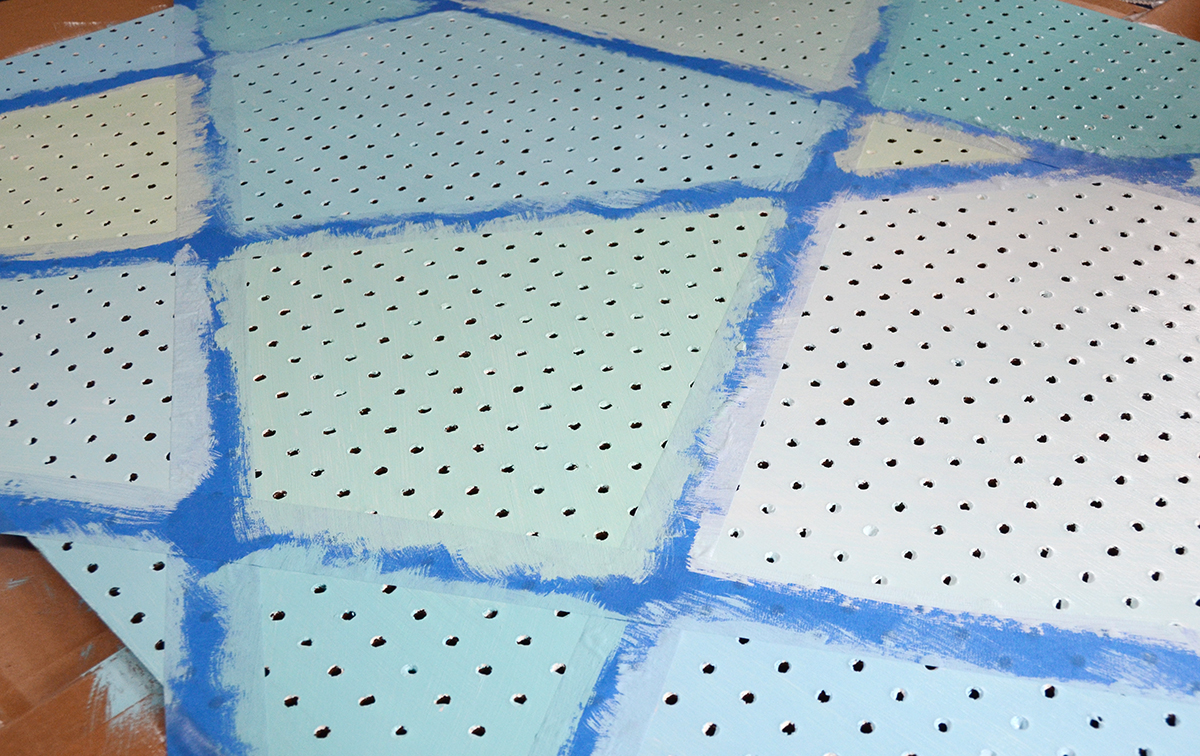
It should look something like the image above. Let it dry for a few minutes and then remove the tape. Then let everything dry thoroughly for a couple of hours.
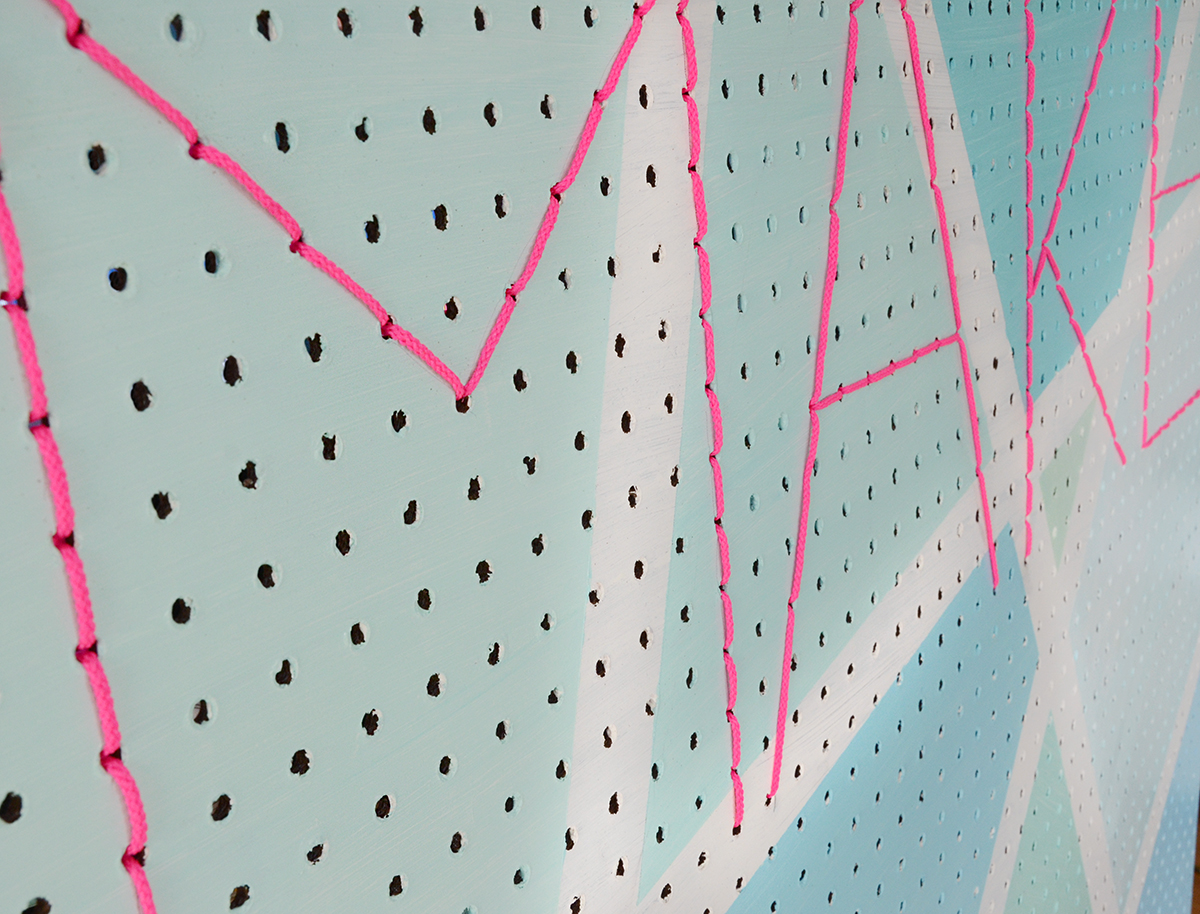
Next, sketch the word “make” with a pencil where you’d like it to be positioned. To do this, draw an imaginary vertical line down the center of the board and draw the “A” and “K” on either side of it. Then work outward from there. If you make a mistake, you can easily erase a line and begin again.
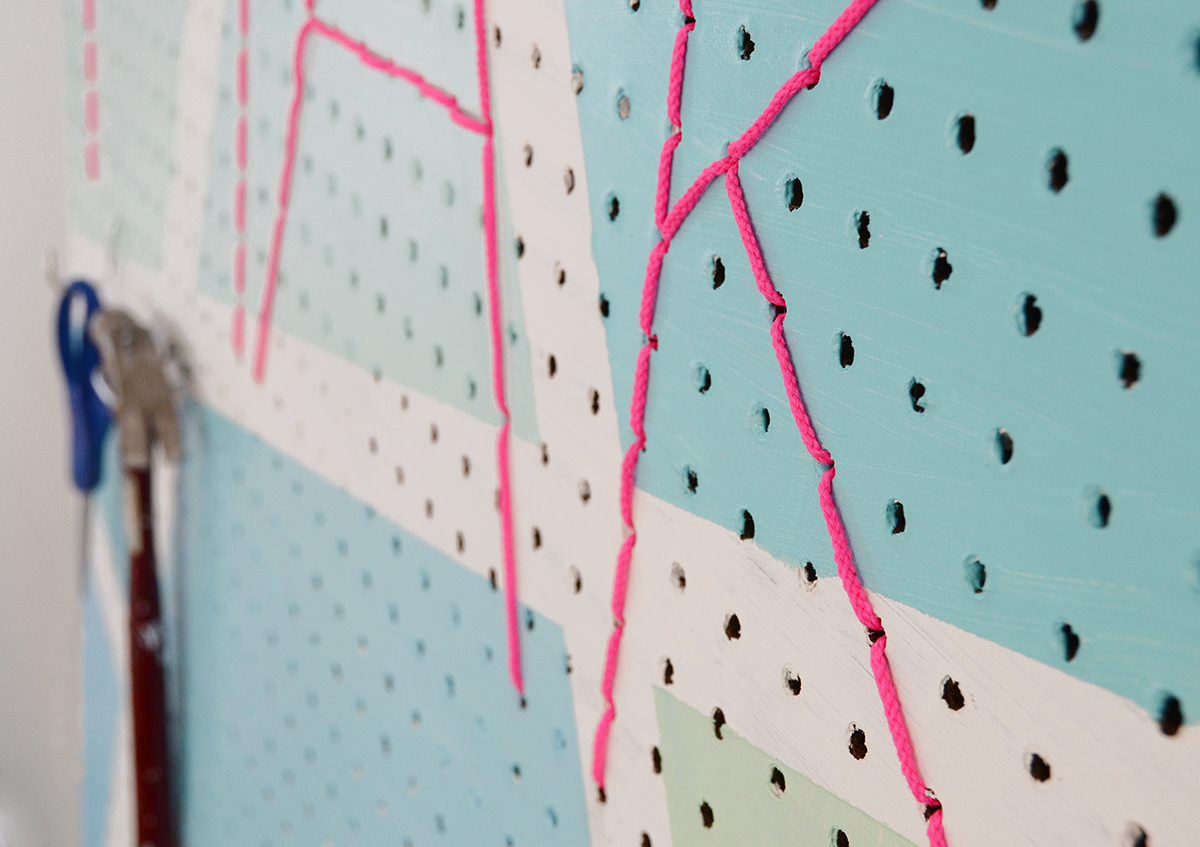
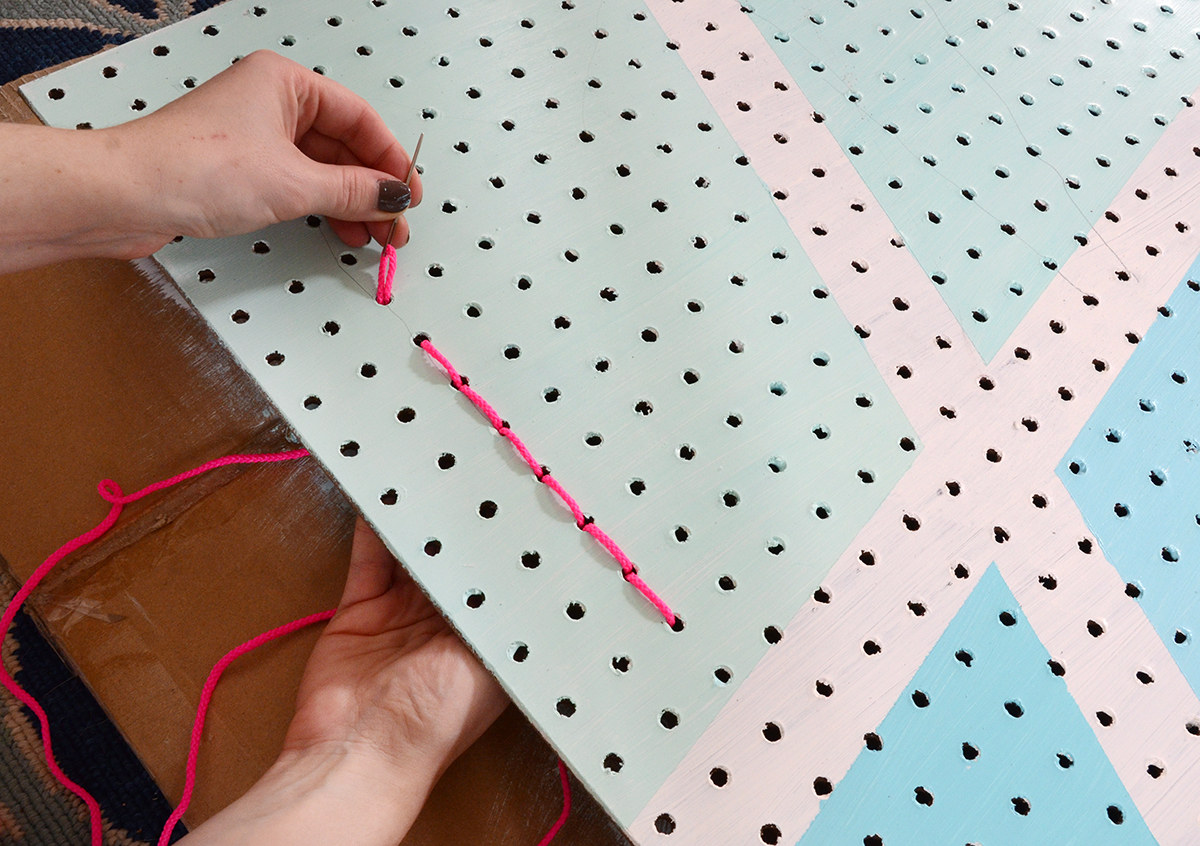
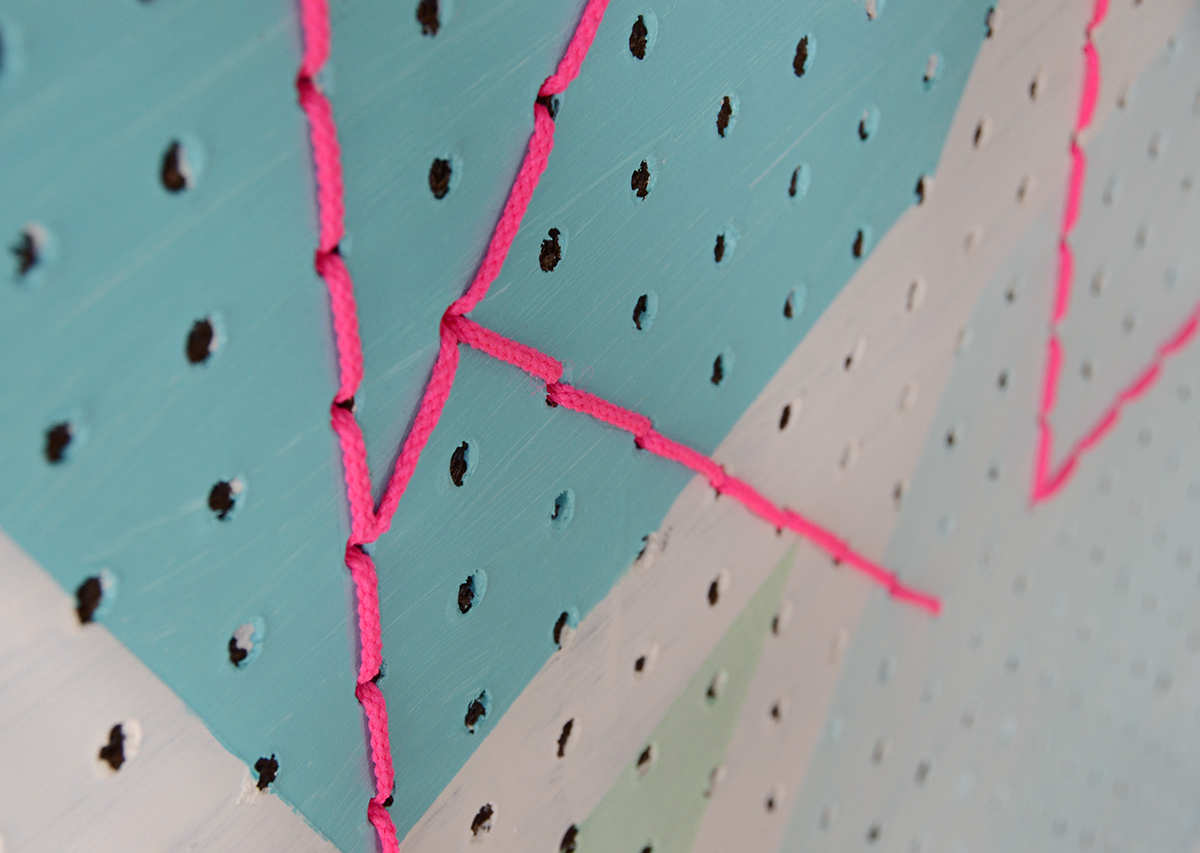
Now you’ll start the last step – stitching the word using your neon cord. Pull a large amount of cord through the second hole and then poke it back down through the first hole. Then pull it up through the third hole and back down through the second, and so on and so forth. Continue in this way until you finish stitching the first letter.
Stitch the rest of the letters in the same way. If you run out of cord while you’re still on the same letter, simply cut an additional length of cord and tie it to the end of the original one so that the knot ends up on the back of the board. Erase any pencil marks that are showing, and that’s it! Your colorful geometric pegboard is complete.
Feel free to use any colors for this project, but the key is to ensure that the word “make” stands out against the background. It might look neat with all shades of white and gray, with a darker contrasting cord.
I’m planning to add lots more pegs and hang all of my tools on it. That way I will be able to clear off my tool bench so I can do even more craft projects!