How to Make Natural Henna and Get Inspired for Unique Tattoo Designs
Updated on November 19, 2025


Henna tattoos are an absolutely gorgeous way to express your personality, culture, or style. Whether you’re doing them for a family wedding or as a bonding activity with your friends, knowing how to make great henna is the key to great henna tattoos! Once you’ve made your henna, check out these gorgeous patterns for a little bit of inspiration.
To make natural henna, follow the recipe on Henna Guru! You’ll need:
- Fresh henna powder. Consider order this from a reputable local online henna supplier rather than buying it at your local health food market. Henna powder from generic places isn’t always proper body art quality and sometimes it contains preservatives or unnecessary additives.
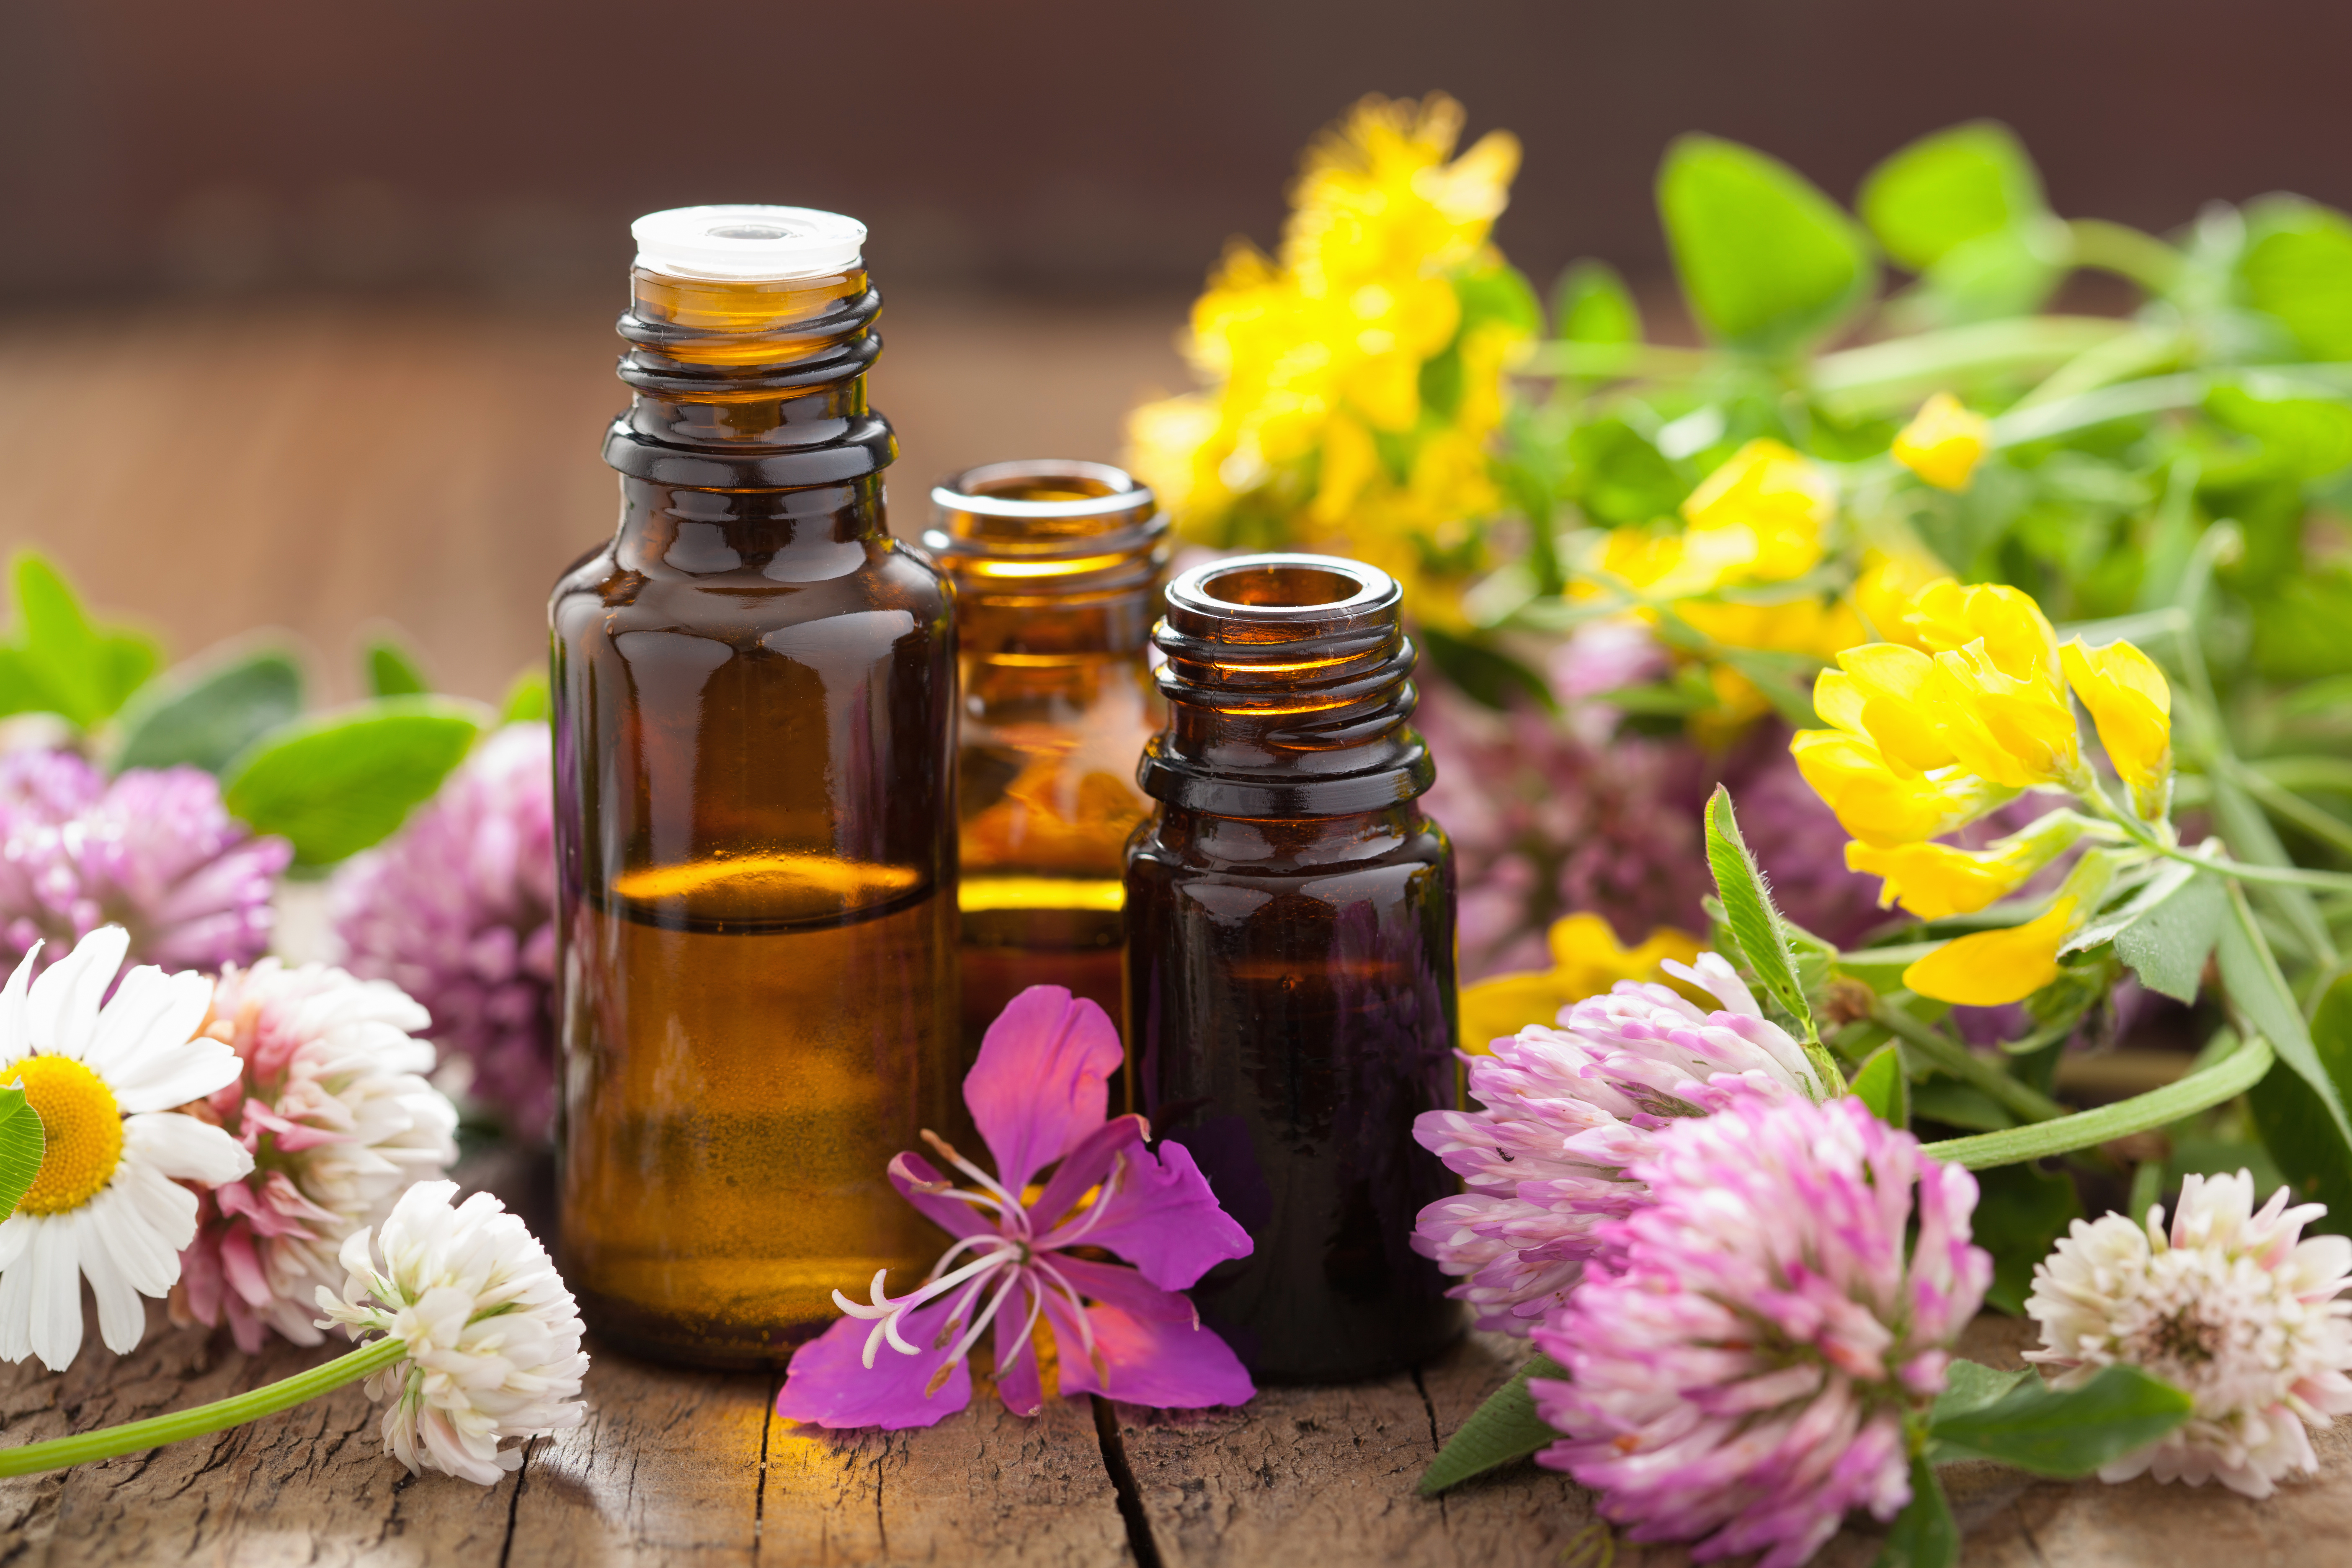
- Pure essential oil. Depending on what’s available to you, consider cardamom oil, frankincense oil, lavender oil, tea tree oil, or cajeput oil.
- Room temperature distilled water.
- A natural sweetener to help the henna stick better and last longer. Consider honey, sugar, or molasses.

Step 1:
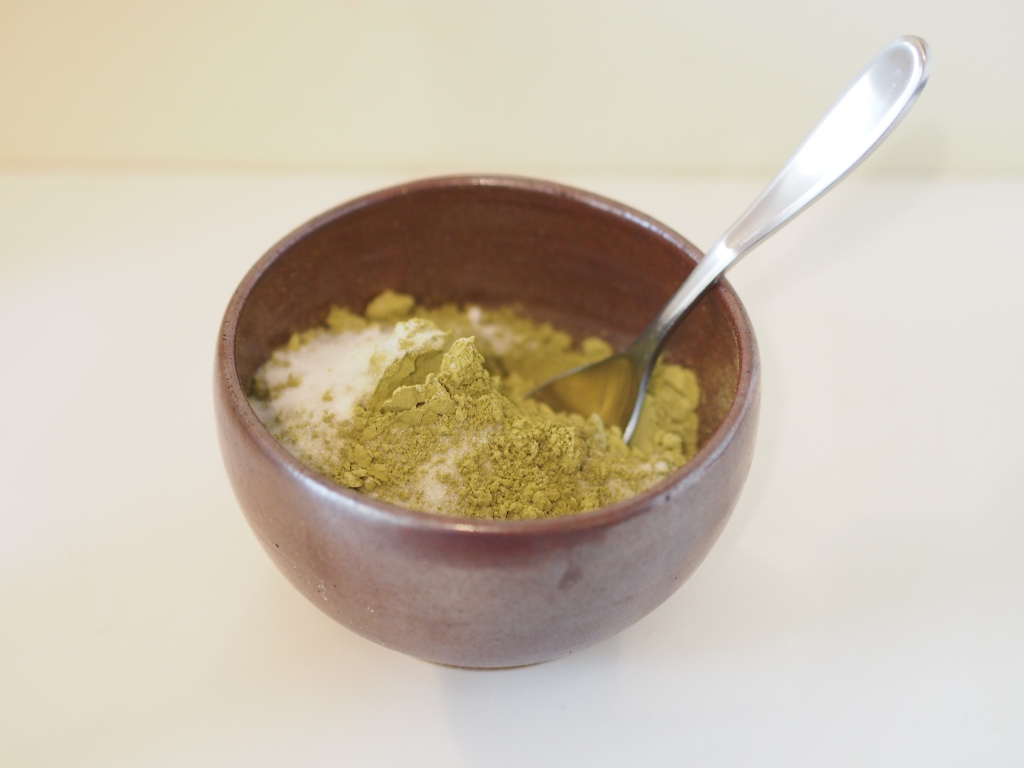
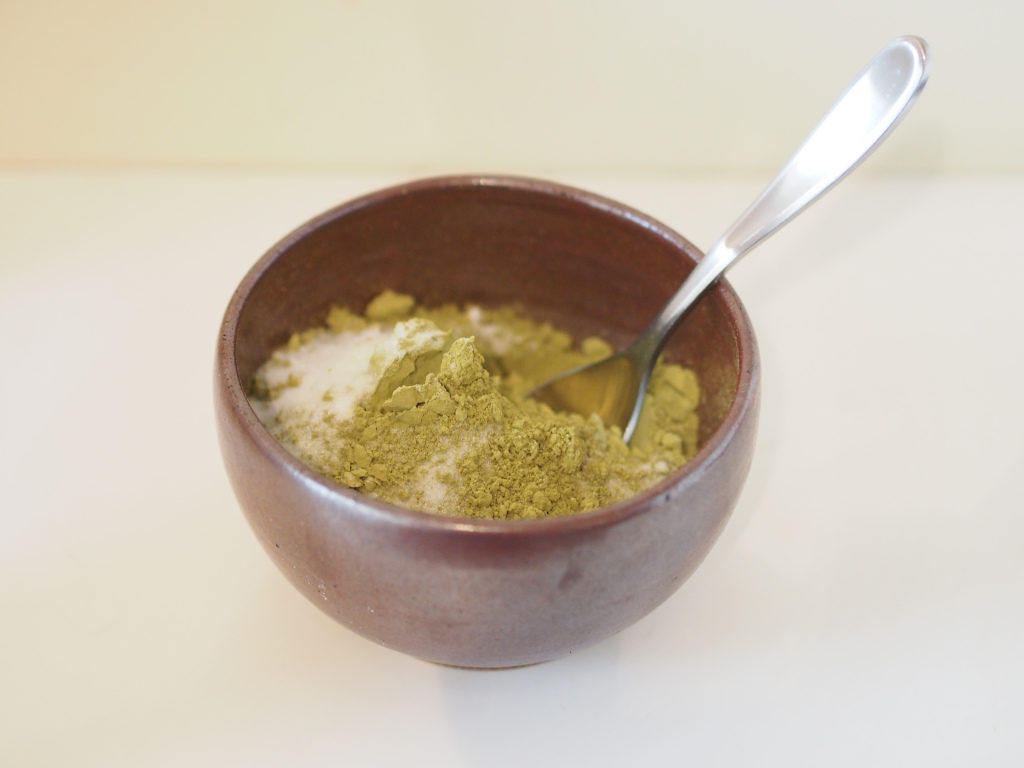
Mix your dry ingredients together in a bowl. Blend your fresh henna powder with your sugar, if that’s the sweetener you’ve chosen.
Step 2:
Add distilled water at room temperature until the consistency of the mixture resembles a thick paste. Don’t worry about lumps- we’ll take care of those later when we thin the henna out!
Step 3:
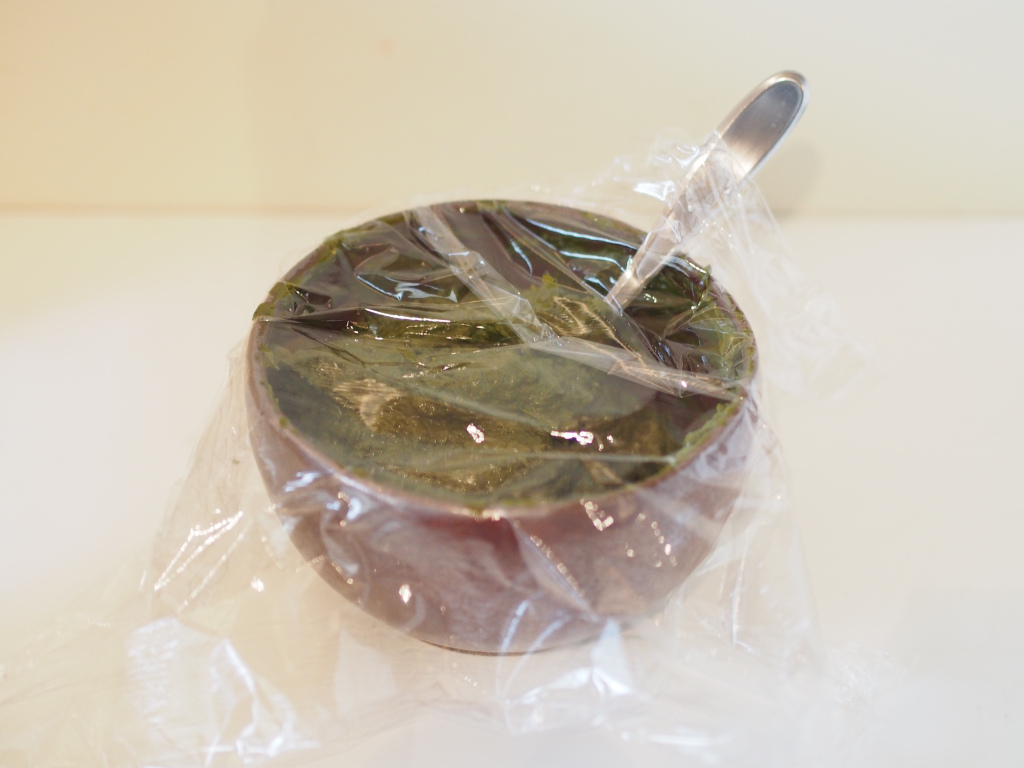
Cover your henna mixture with plastic wrap and let it sit for 15 minutes. This lets the powders absorb the liquid ingredients thoroughly.

Step 4:
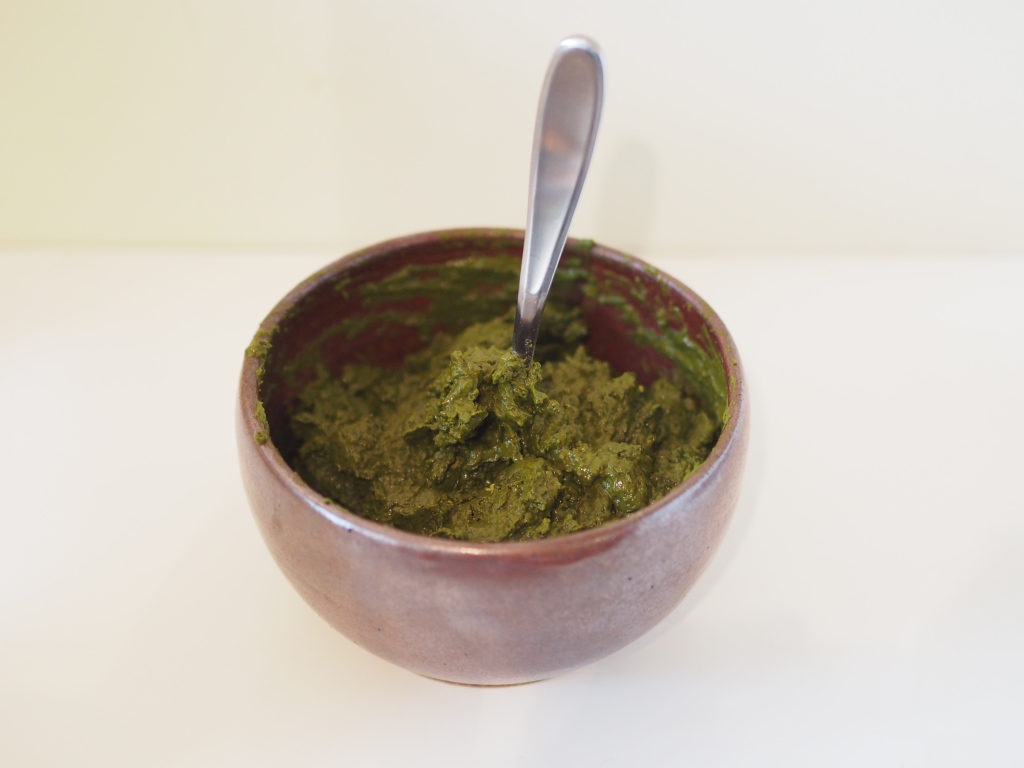
Add more distilled water until your paste is slightly thinner. Add your essential oils as well, stirring thoroughly. Cover your mixture once more and let it sit for another 15 minutes.

Step 5:
Mix your henna until it becomes a sticky paste that is smooth and free of lumps.

Step 6:
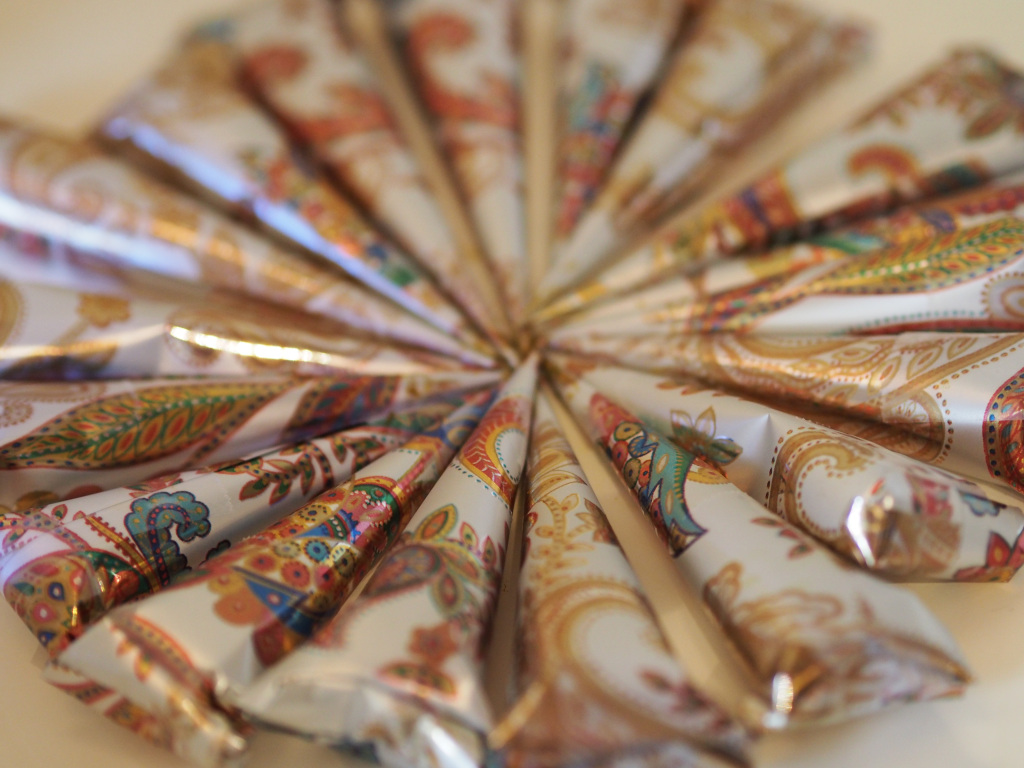
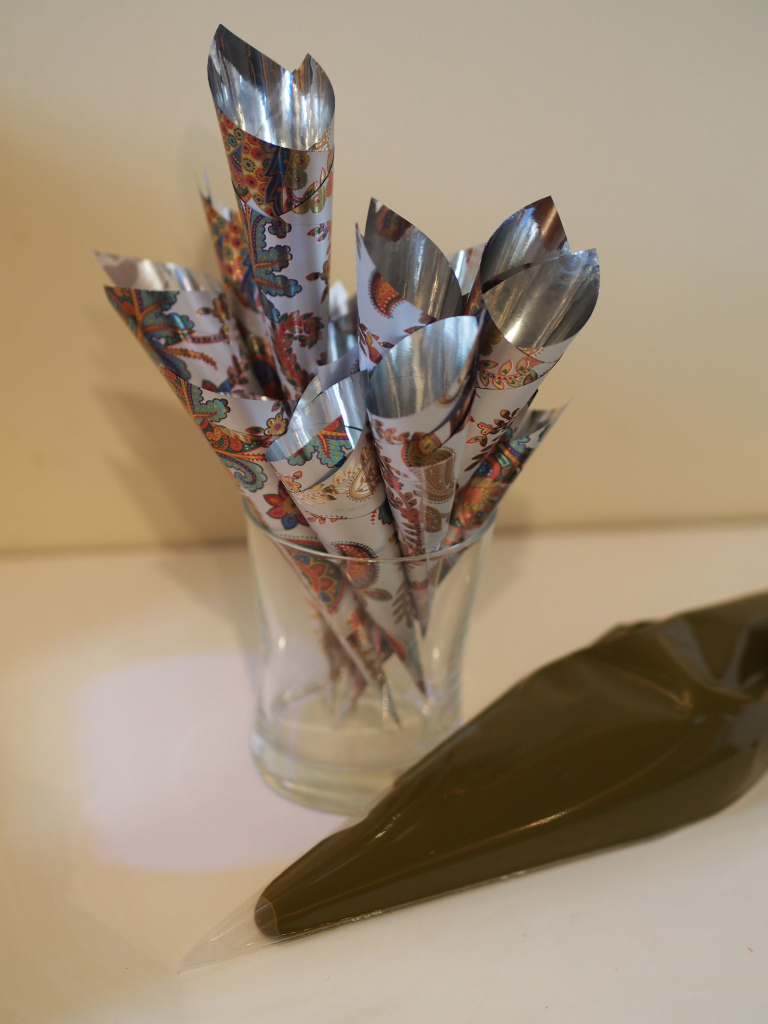
Roll henna paper (or another type of lined, water resistant paper) into cone shapes, leaving the wide end open. Fill an icing bag with your new henna paste.

Step 7:
Fill your cones in preparation for creating your henna designs! Fill each cone about 2/3 of the way and tape the end shut. Making smaller cones rather than tattooing with the large icing bag gives you easier control of the henna as you draw your design.
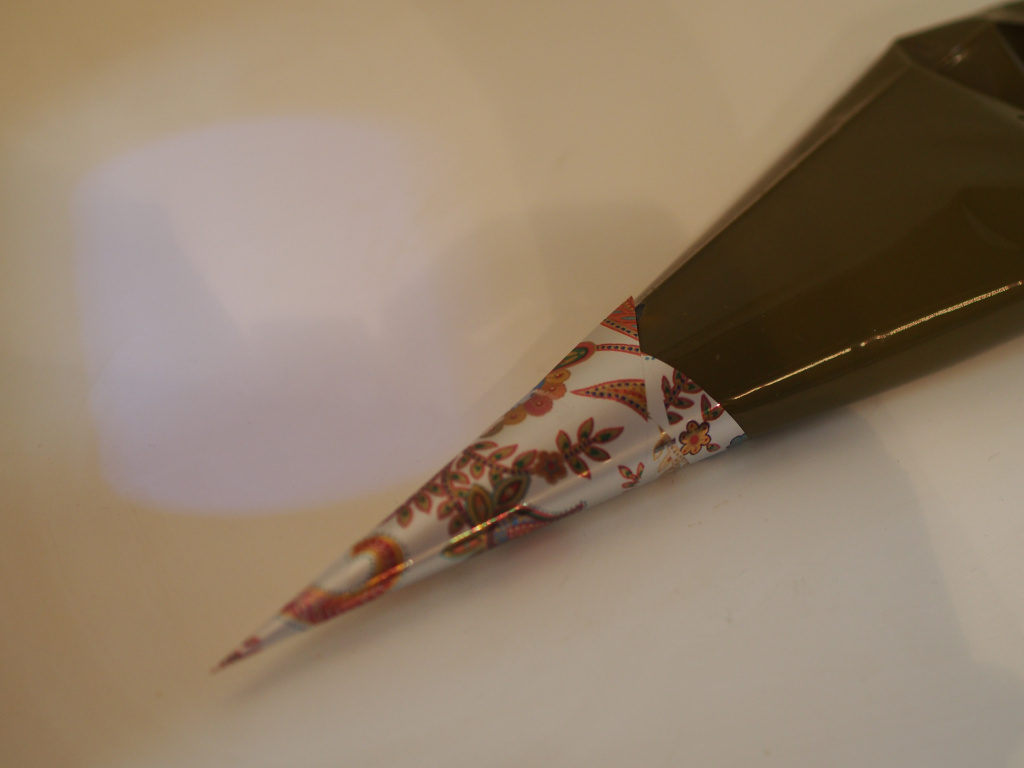
Step 8:
Freeze any spare henna cones so the paste doesn’t go bad.

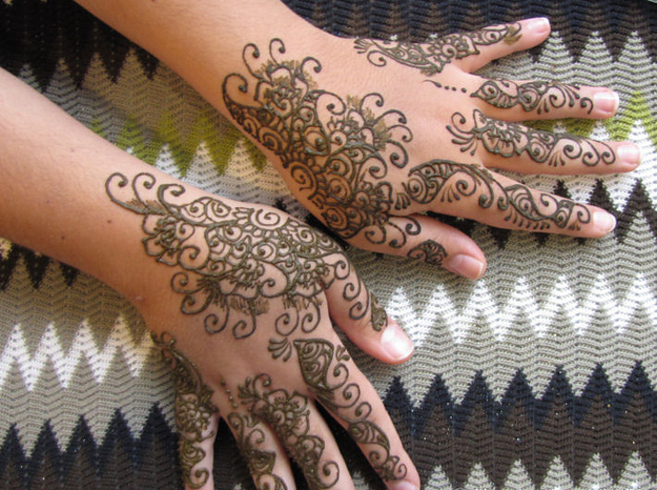
Now you’re ready to create gorgeous henna designs! Check out these pretty patterns for a little inspiration!
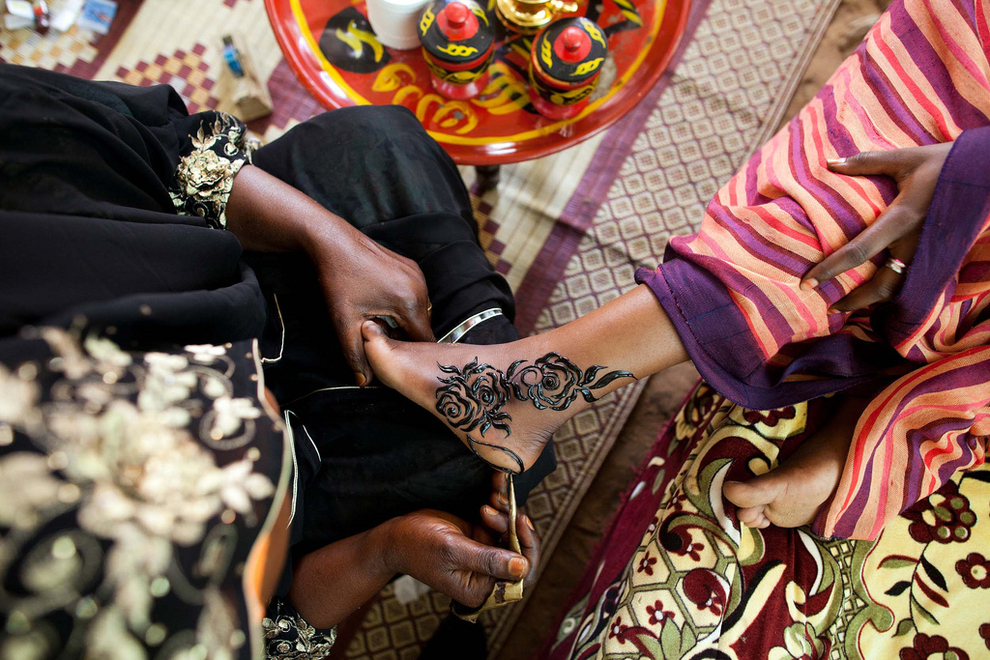
Try creating bold roses that travel up the ankle, as well as down and around the heel.

This gorgeous henna looks like peacock feathers fanning out from the inside of the wrist!
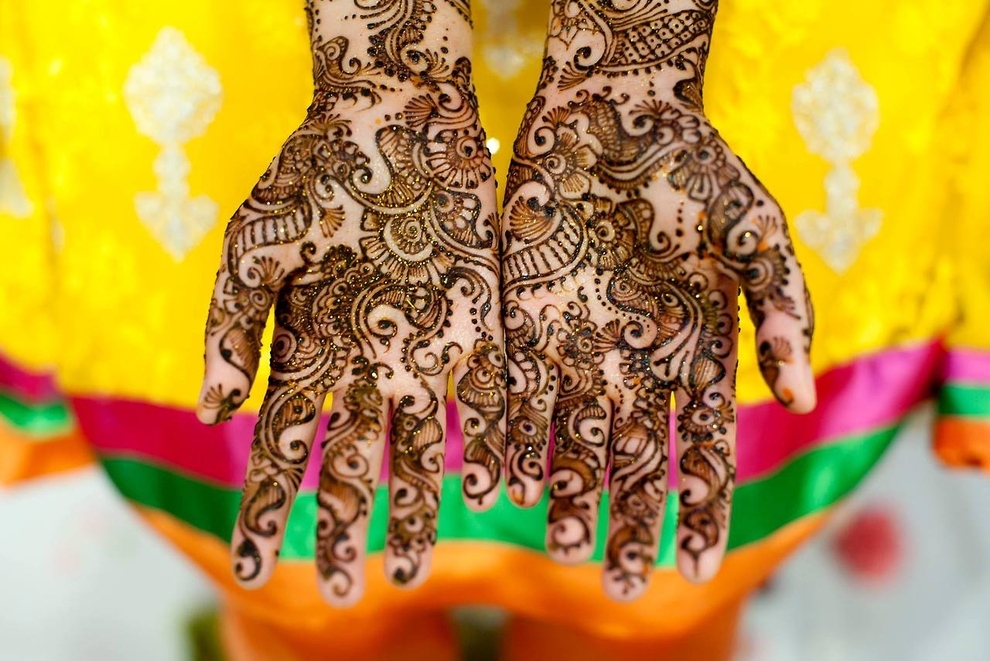
Before your henna crumbles to leave a gorgeously stained patterned, glam it up with a light dusting of glitter!
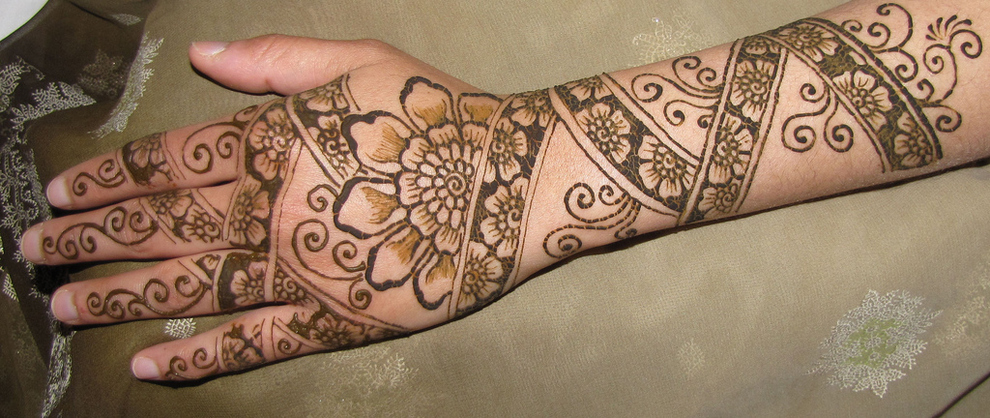
Flowered bands extending from fingers to forearm are feminine and unique.
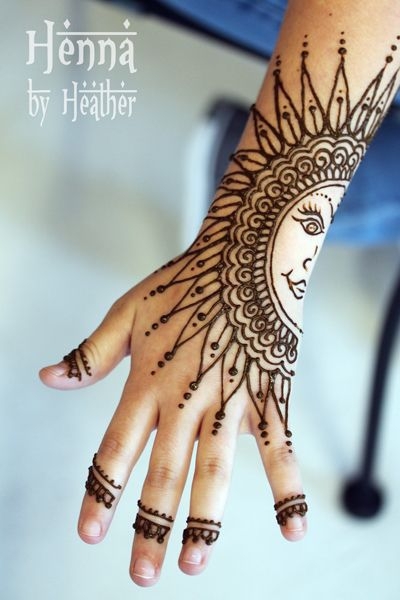
Kids love henna too! This gorgeous sun design is fun and festive.
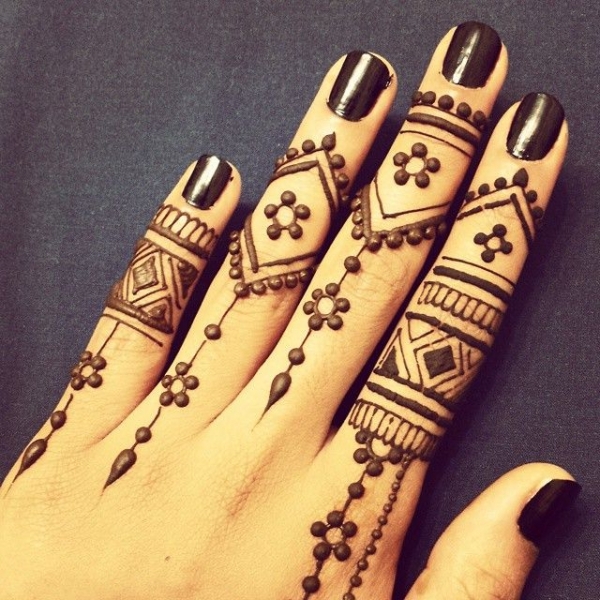
Delicate henna patterns around the nails and along the fingers is even more gorgeous than rings and jewelry!
Once you’ve made your easy henna paste and created a gorgeous design, link us to pictures of your work in the comments section!
Image sources: The Art of Unity, Adventures in Making, Unamid, Henna by Divya, Henna by Heather, Henna Chai.