DIY Wire Heart With Beads – THE Gift for This Valentine’s Day
Updated on January 29, 2021
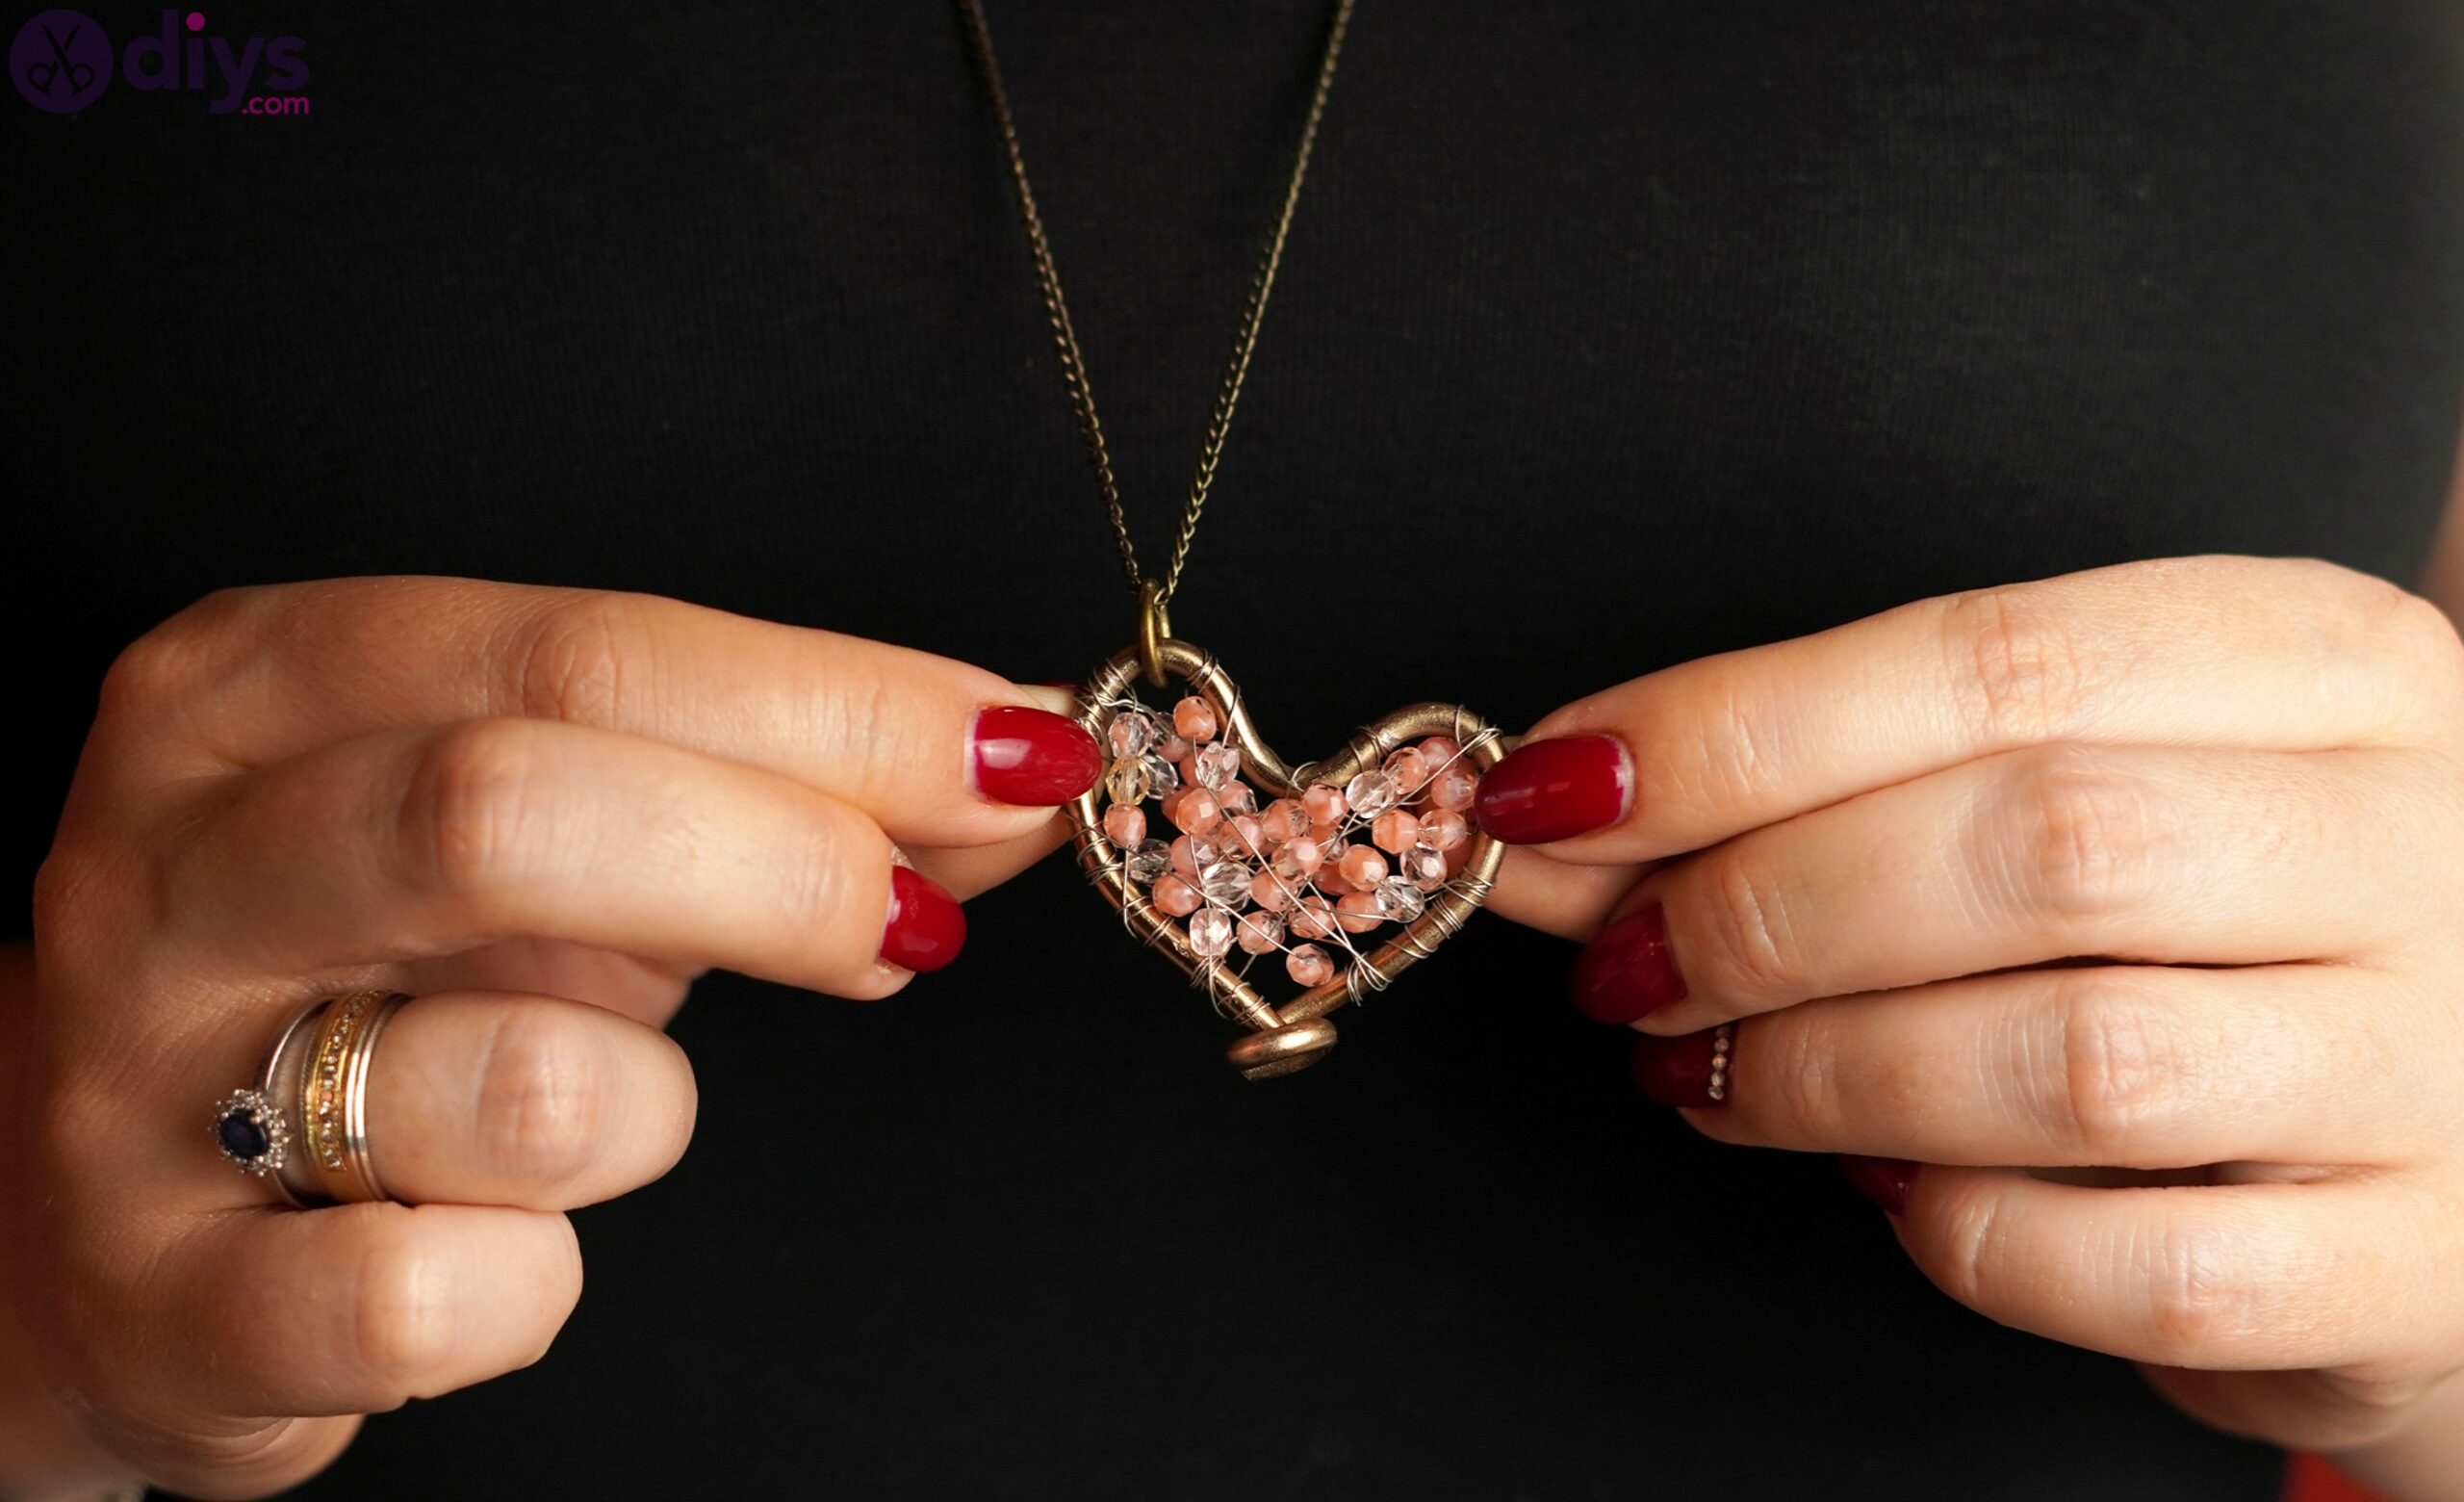


Jewelry pieces are always nice gifts, especially around Valentine’s Day. Talking of which, what better way to show your feelings than with a heart-shaped piece full of cute little beads?
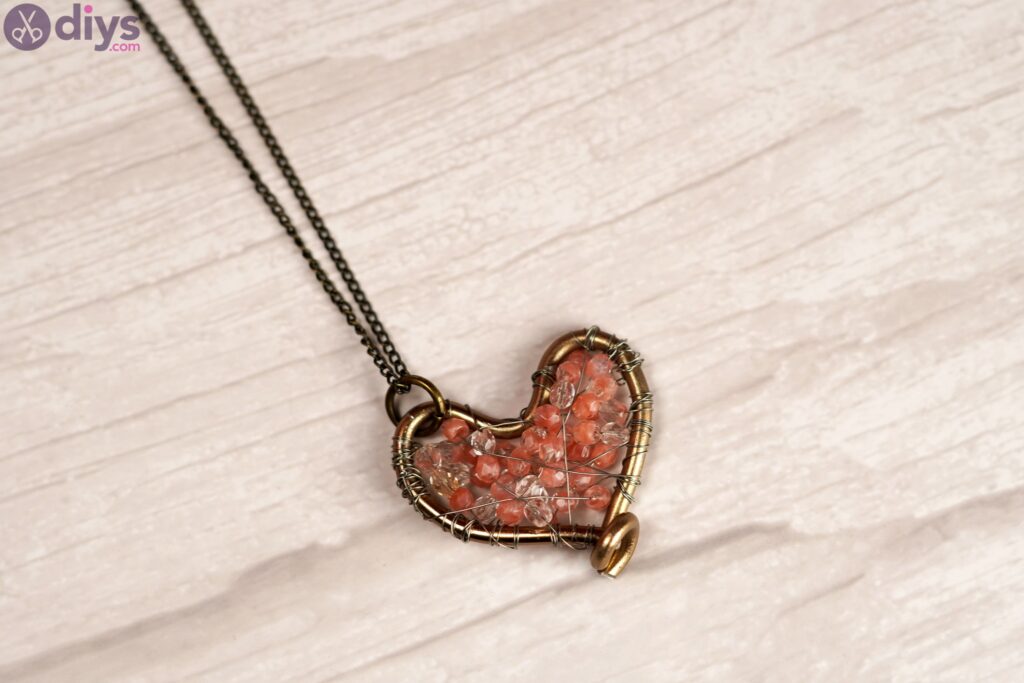
Today, we’re going to create a wire heart with beads so you can give it to your loved one. It’s going to be a wonderful pendant they can wear on a daily basis and it’s particularly great because it goes with almost every style.
Materials for wire heart with beads
- chain
- beads
- jump ring
- thick wire
- thin wire
- round-nose pliers
- pliers
How to make a wire heart with beads
We’ve gathered up our materials and we’re ready to start making our beautiful wire heart with beads. It’s such a cute design that we cannot wait to get started. We hope you have all your materials and tools ready too, so you don’t go looking for anything later on.

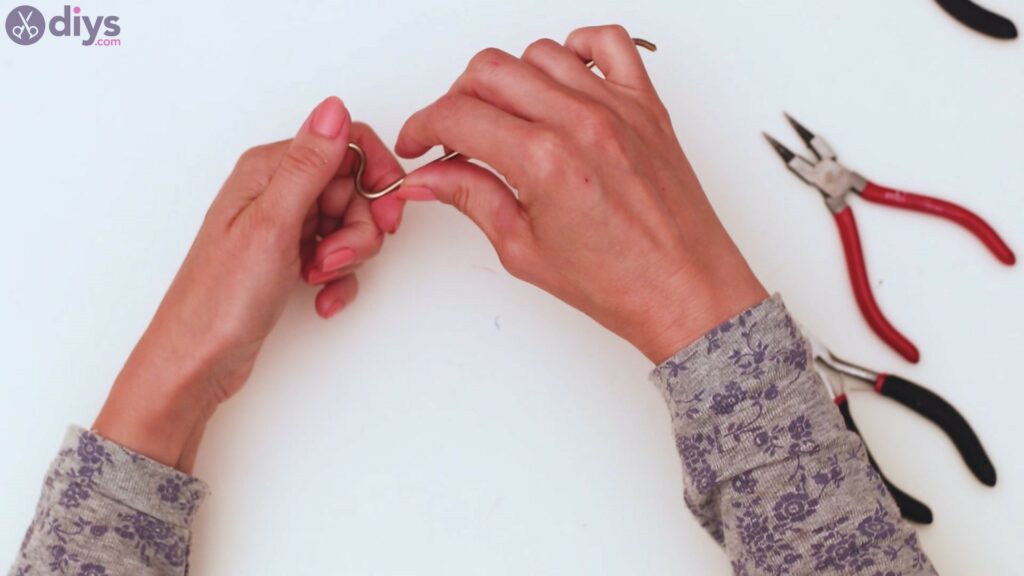
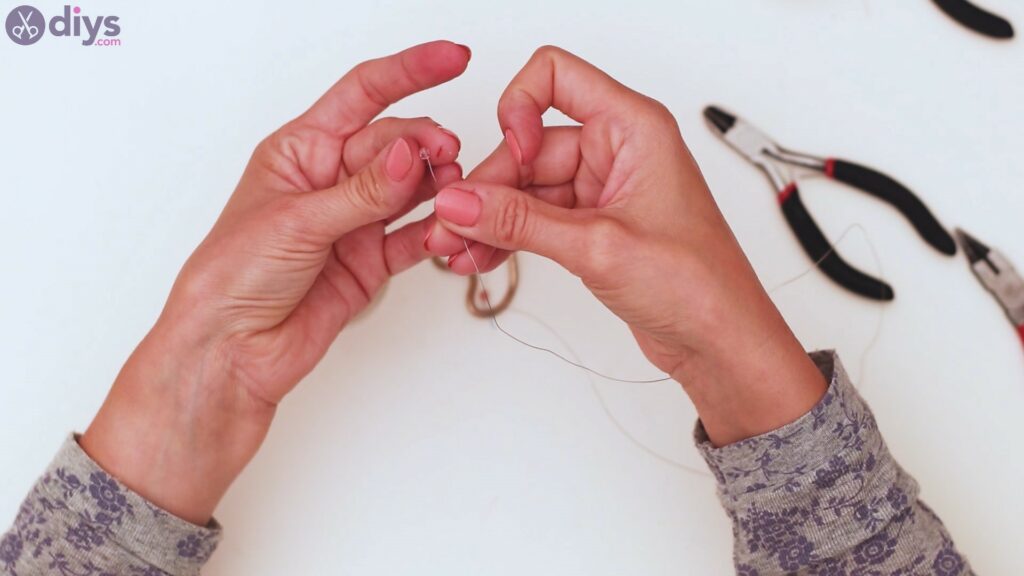
Step 1: Make a heart
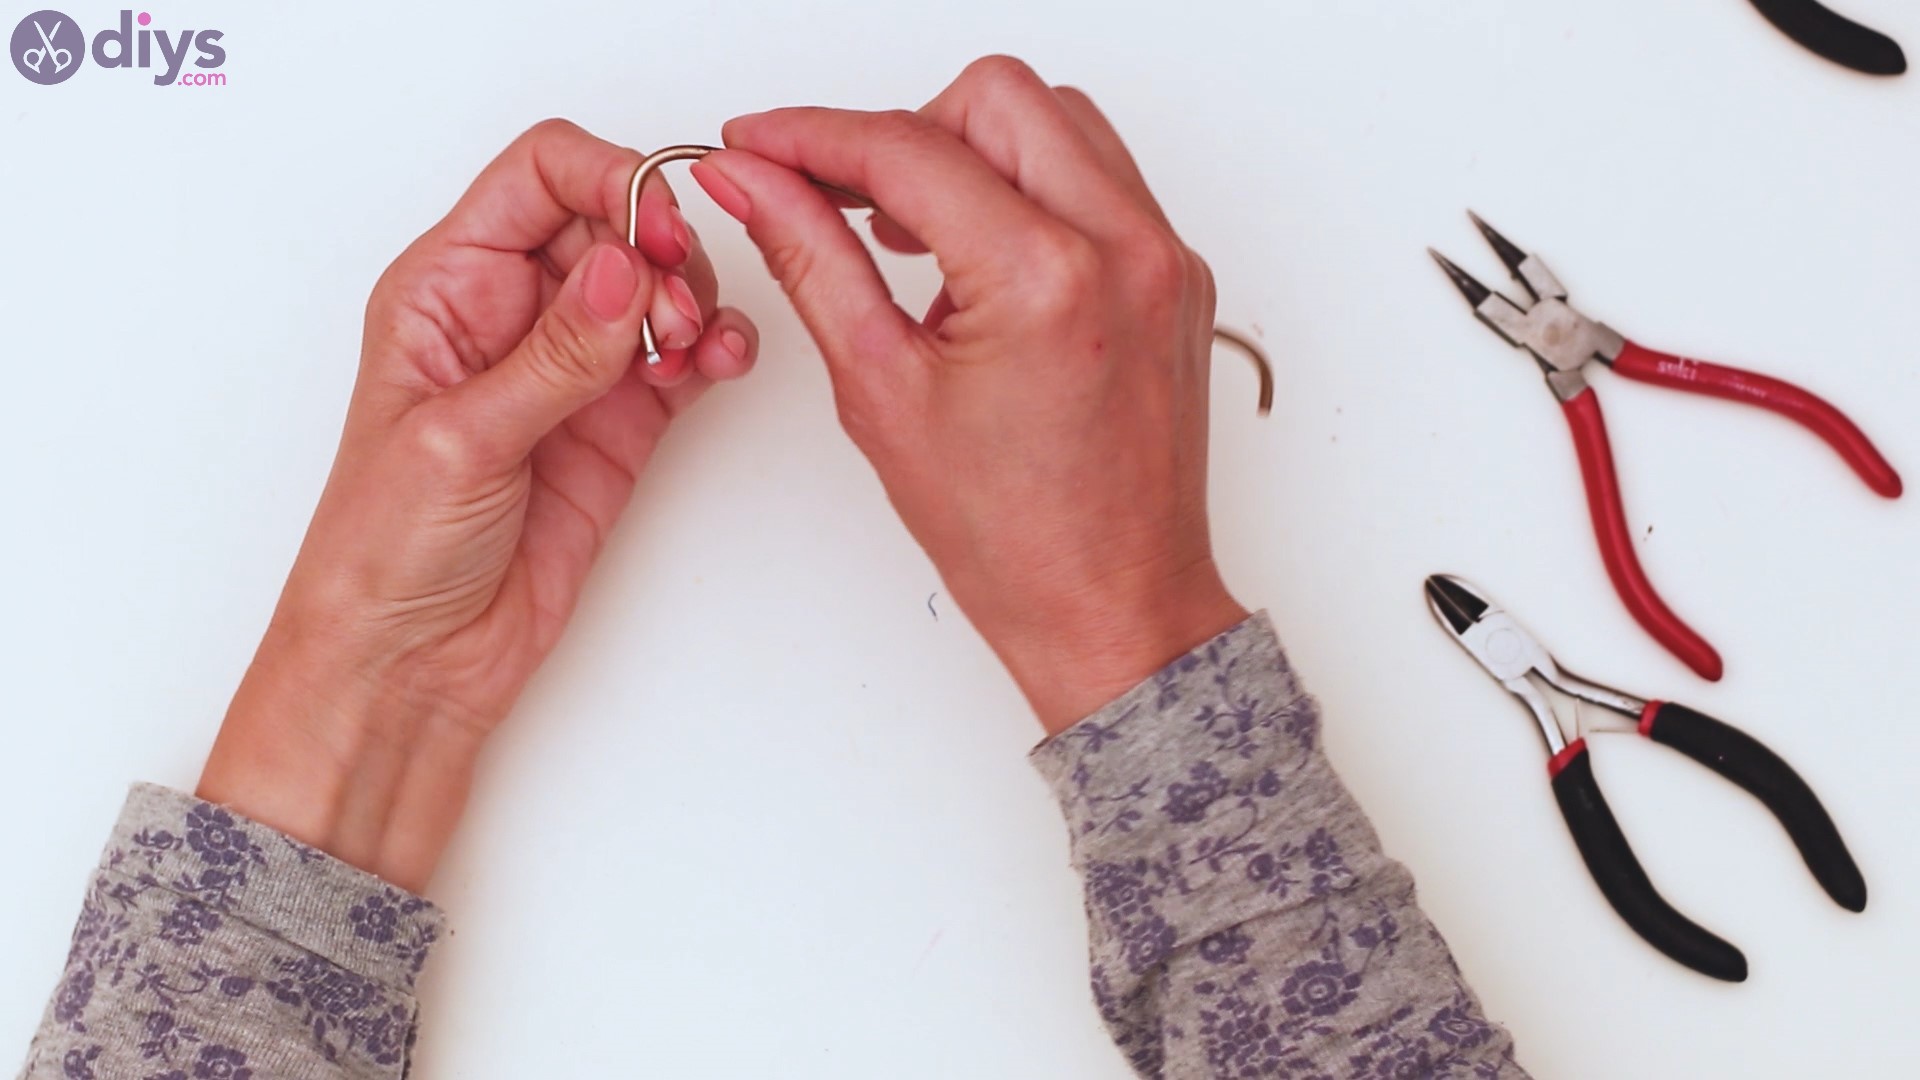
We’re going to start by creating a heart. Take the thick wire and start molding it in the shape of a heart. We went for a small gauge (remember, smaller gauge wires are actually thicker), but you can choose whatever size you feel is right for your needs, especially since the thicker they are, the harder it is to bend them.

You want to create the first half of the heart and then work on the second half, trying to create a somewhat-symmetrical shape. Ours turned out a bit loopy, but we think that gives it a lot of personality. Given the thickness of the wire, you won’t be able to make quick bends, but it will look wonderful nonetheless.
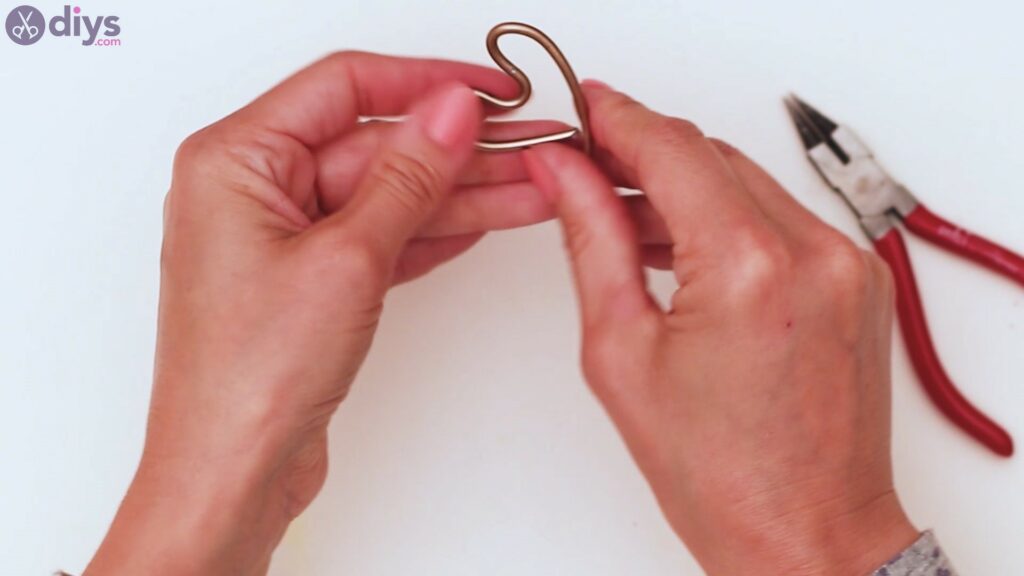
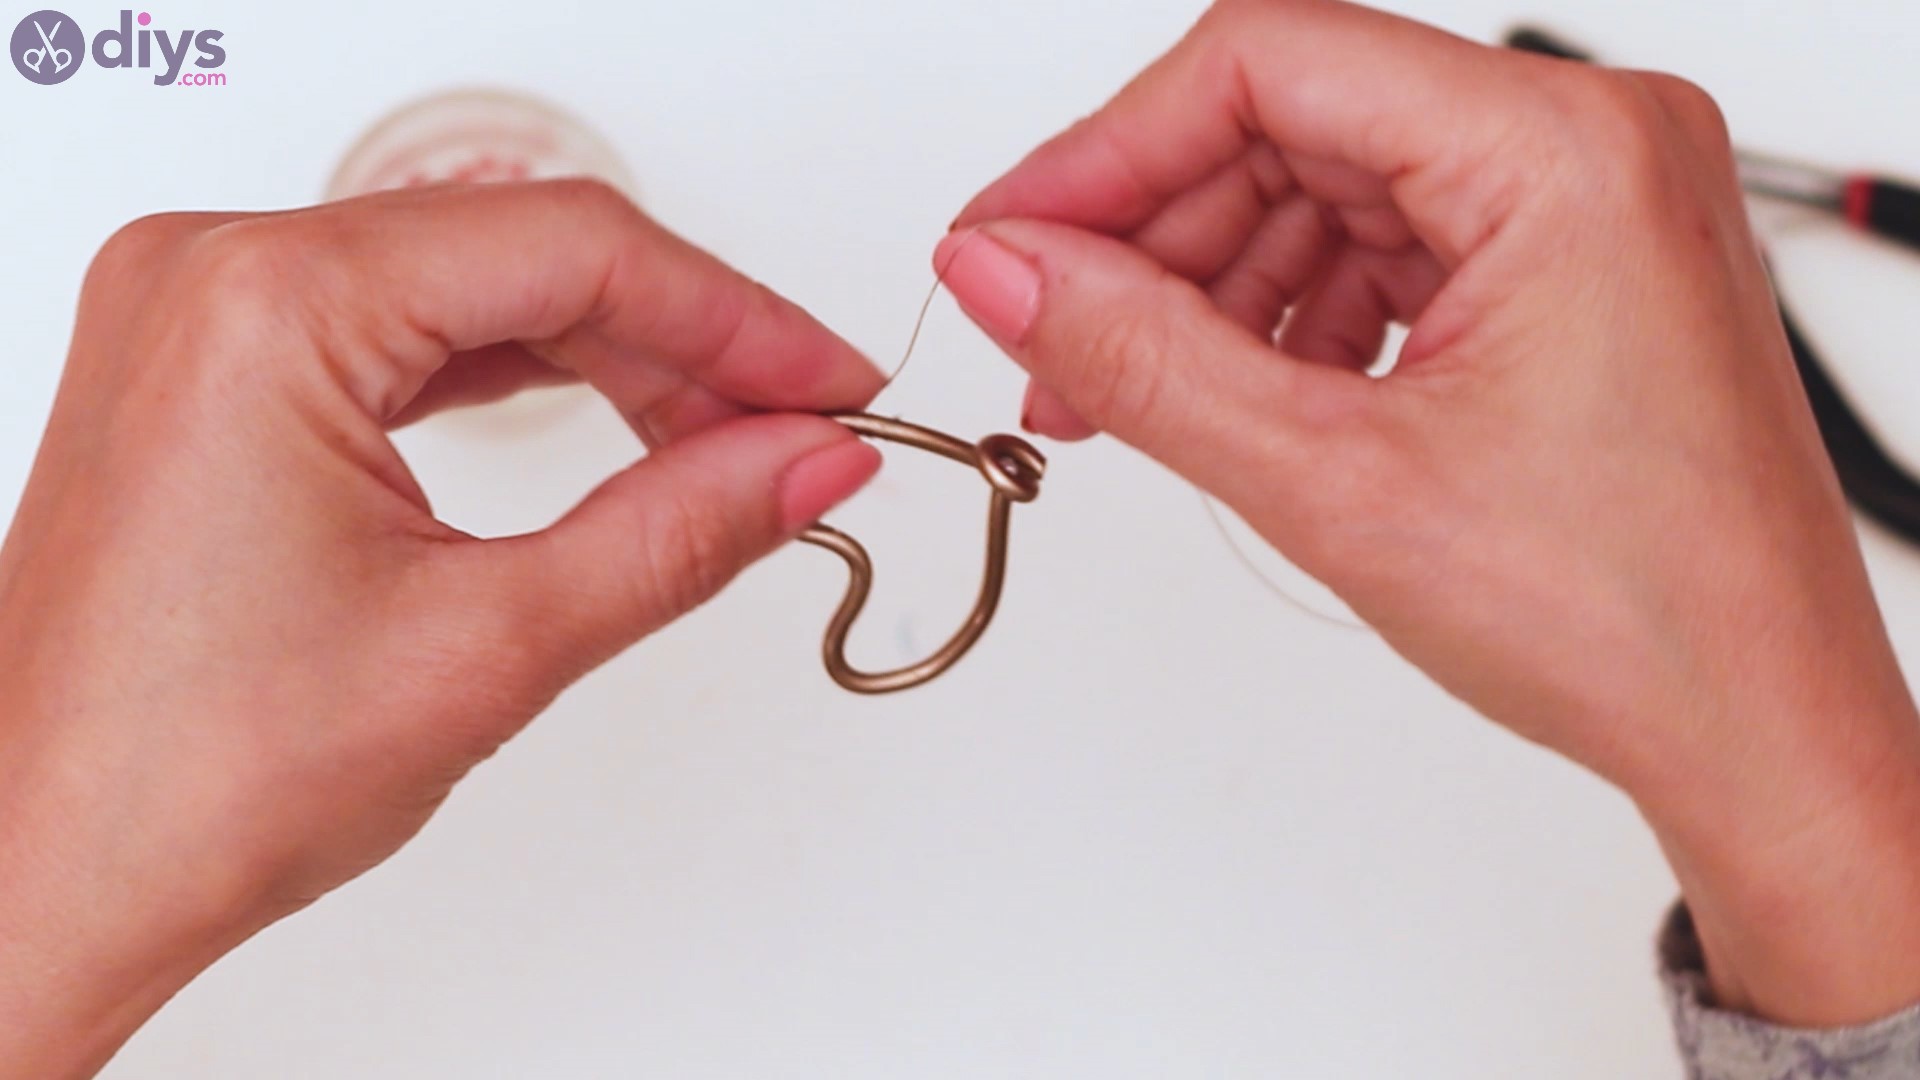
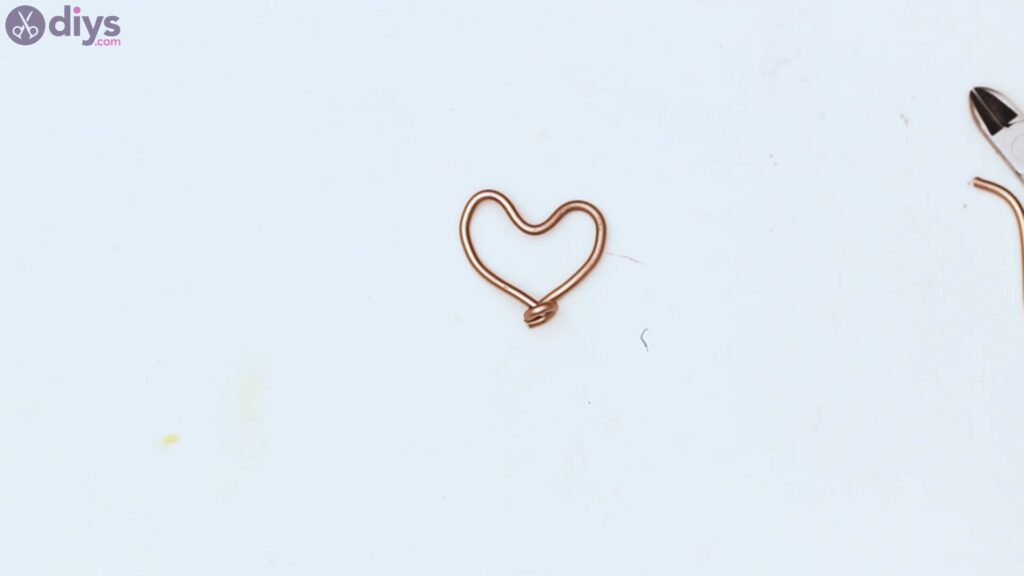
Once you’ve managed to give the whole wire the heart shape, you should go ahead and make a few twists at the end to close up the design. Bend the longer wire over the other end.
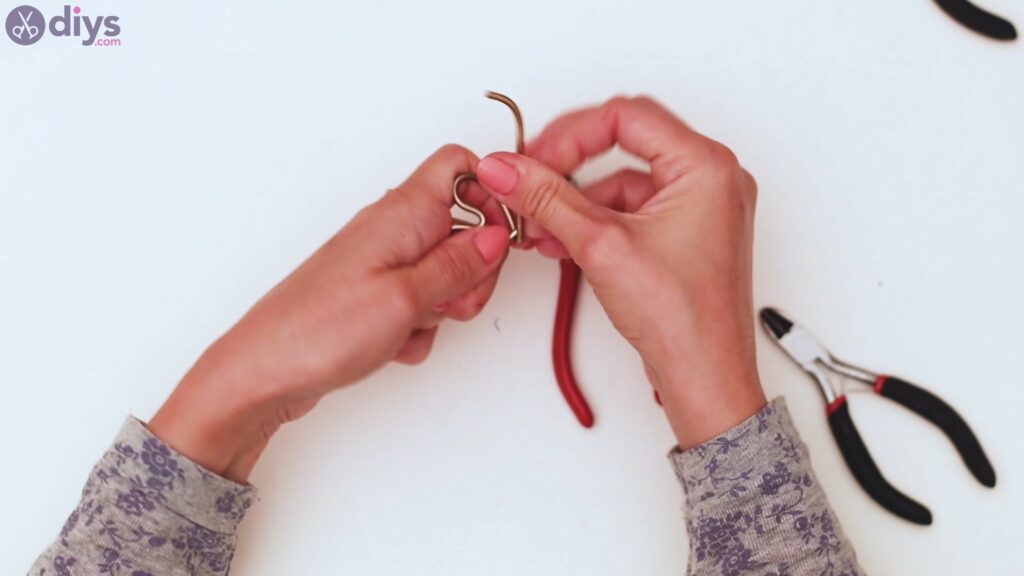
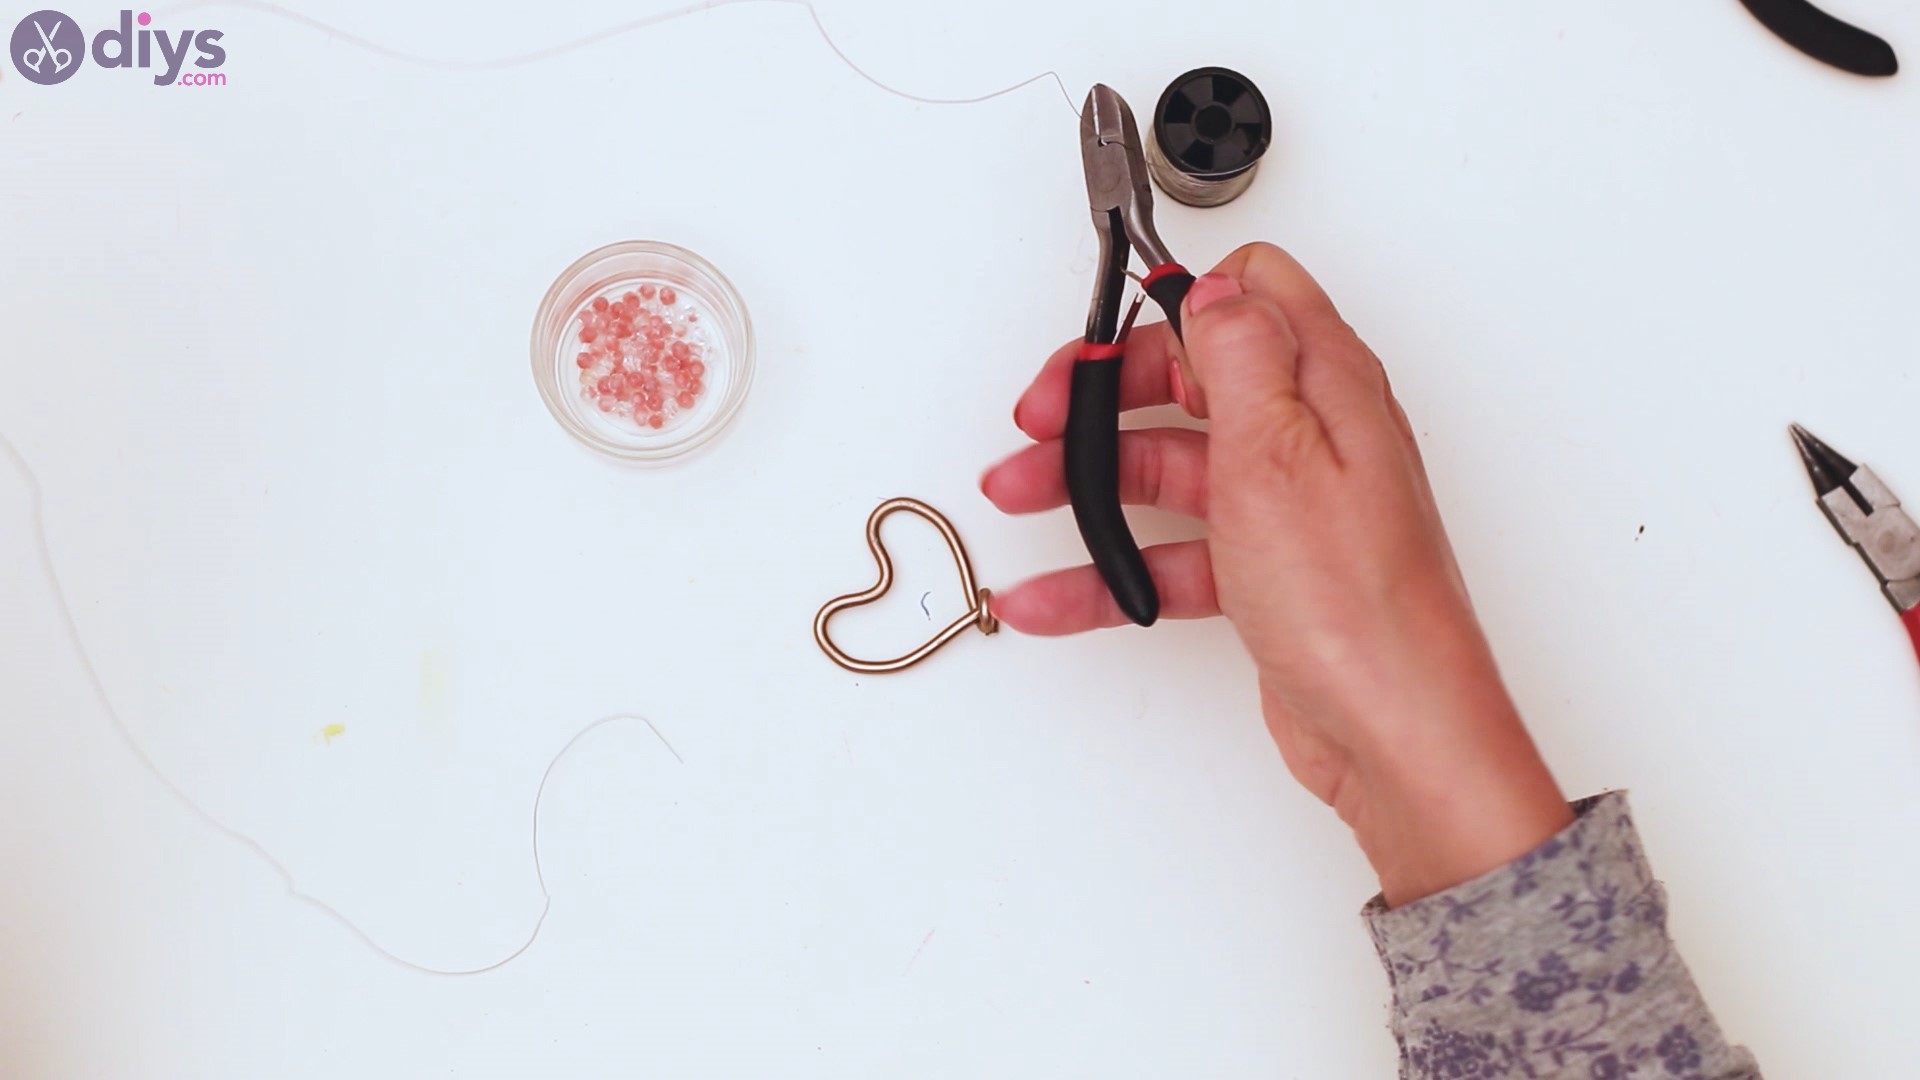
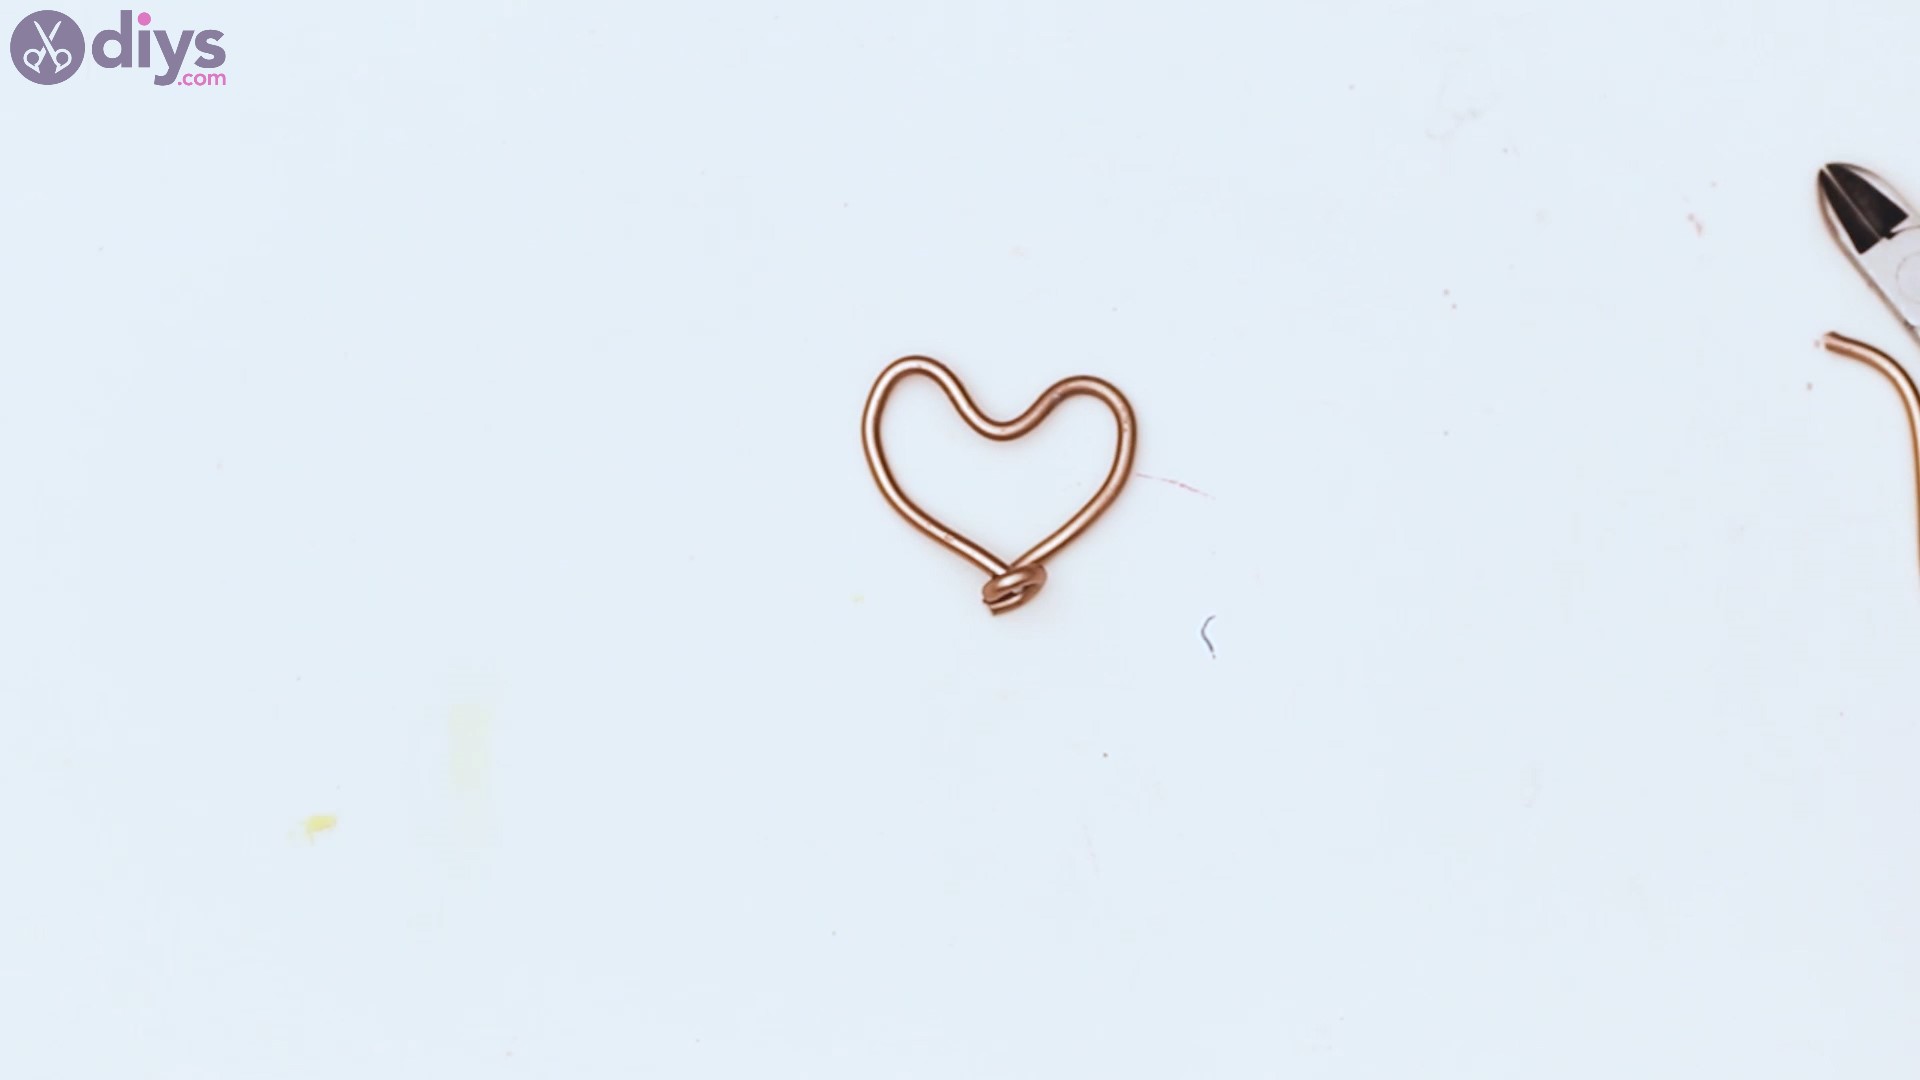
Once you’ve twisted the wires like you see in the picture below, you can get yourpliers and cut off the excess wire.
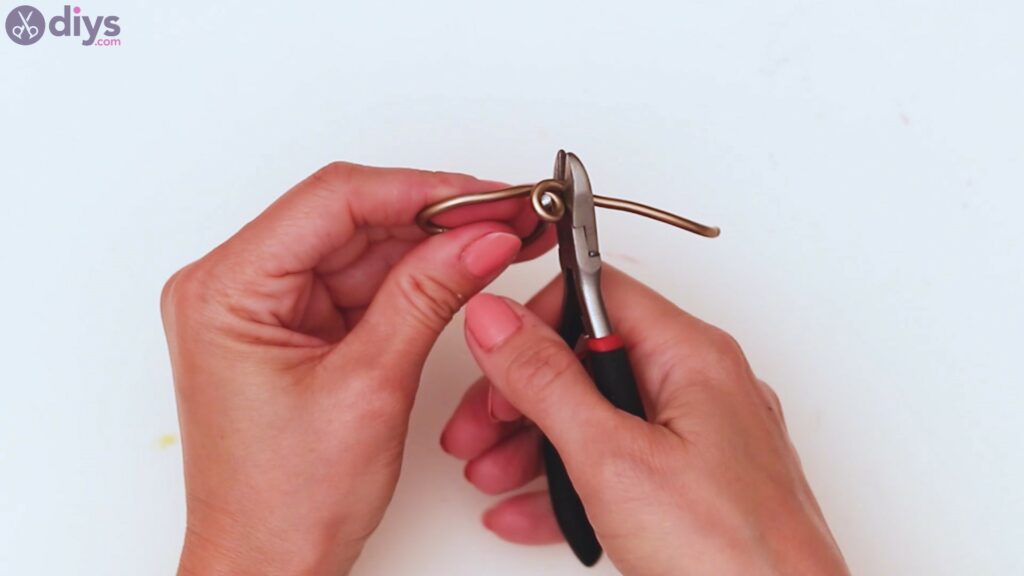
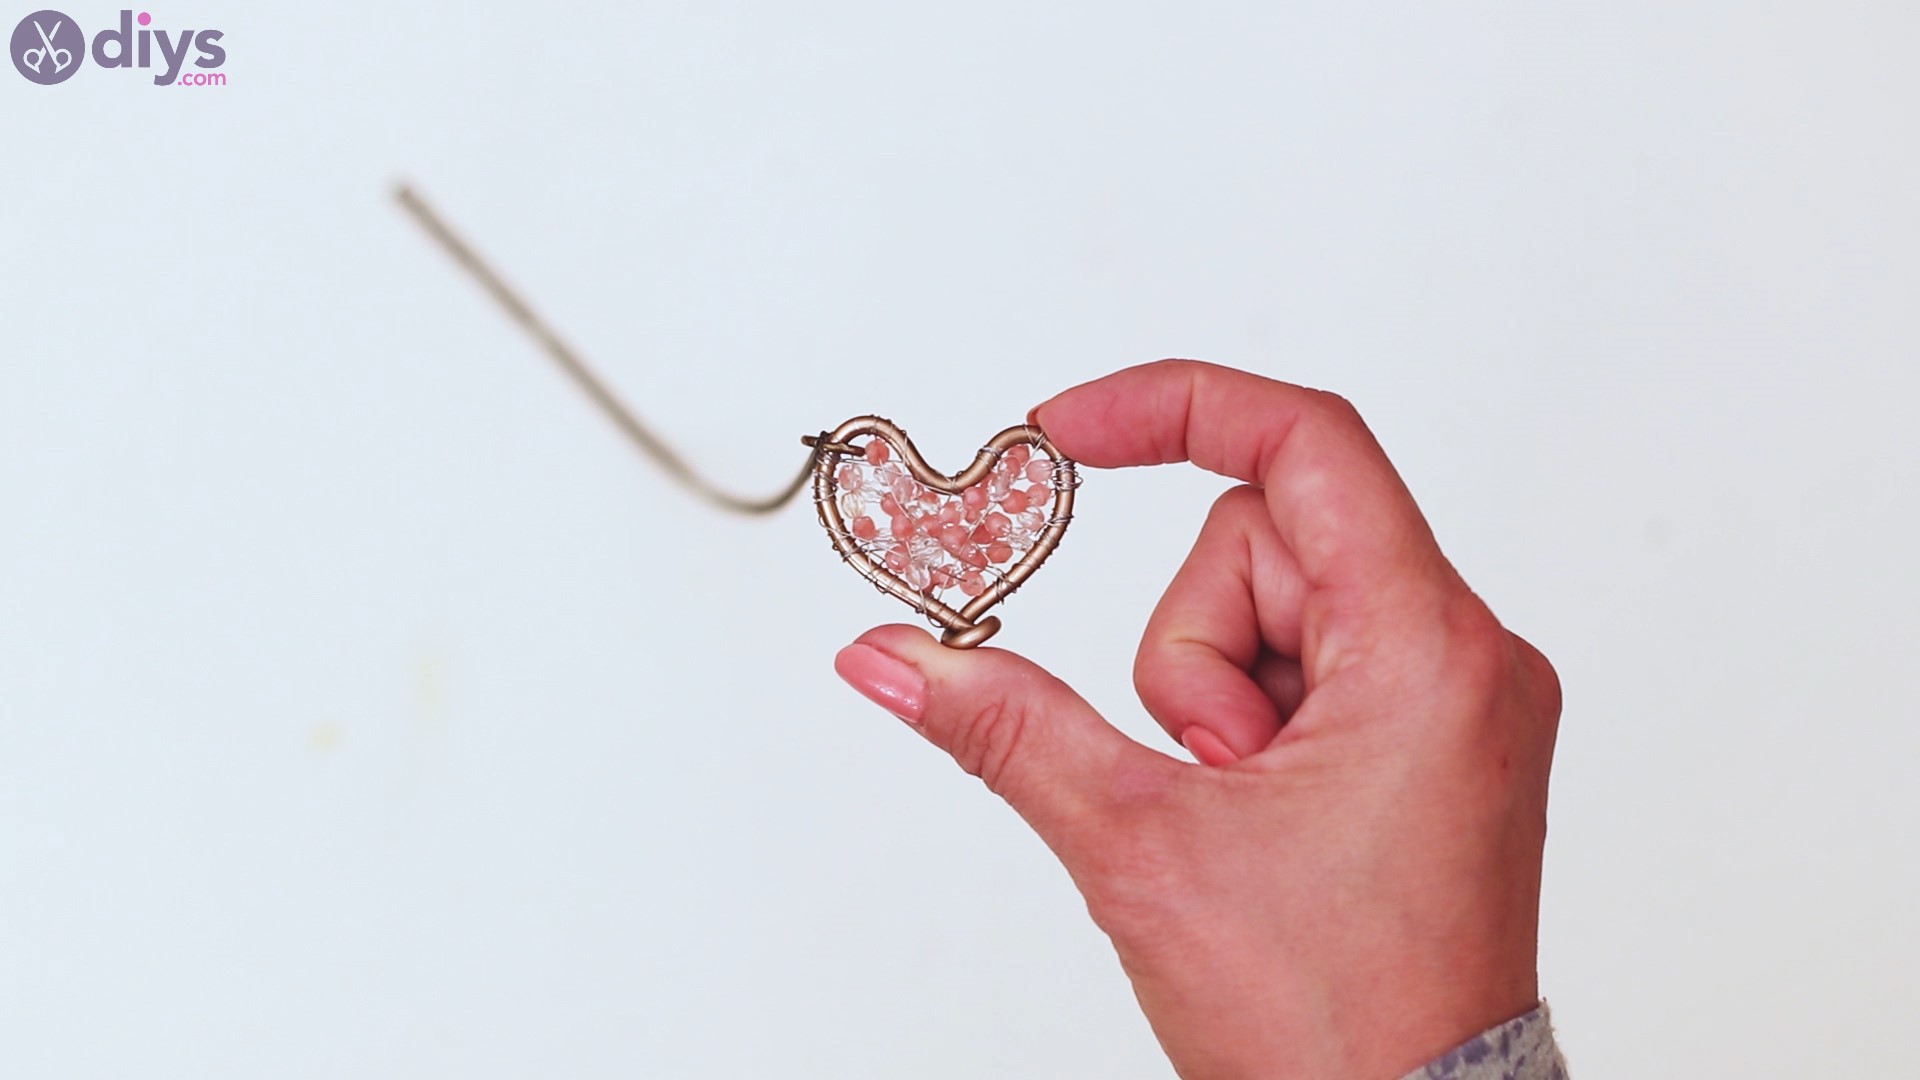
There you go! A beautiful heart shape.
Step 2: Start adding the beads
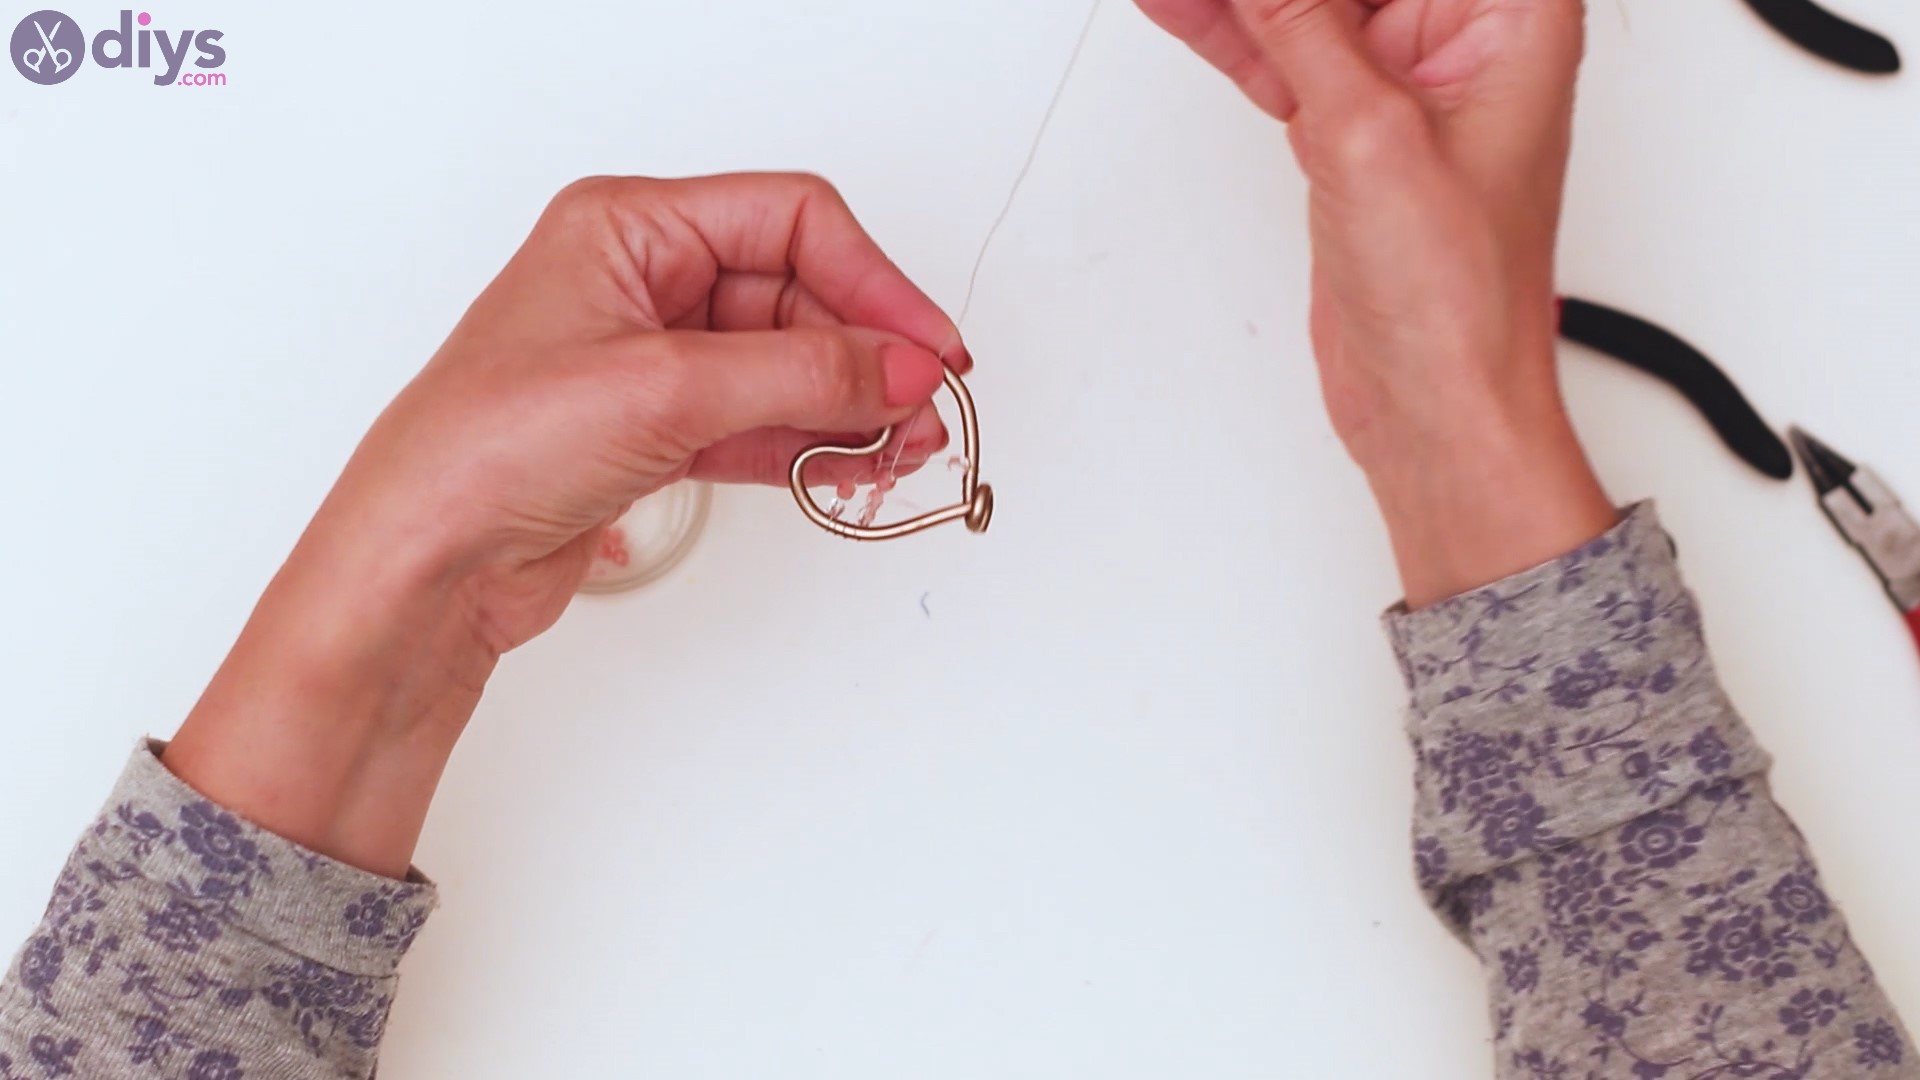
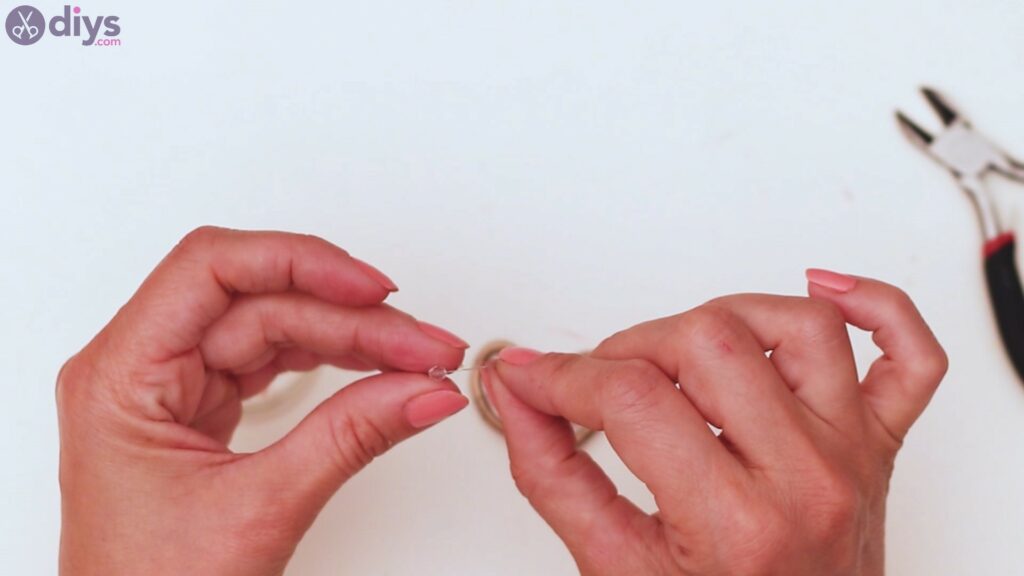
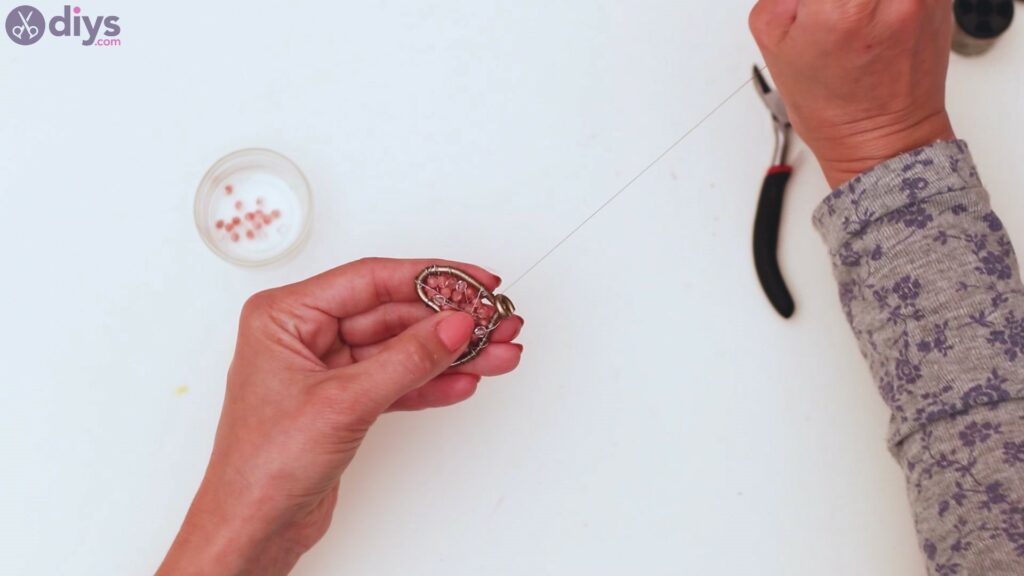
Now that your heart base is done, it’s time we go to the next step. Get the thin wire and cut a good length wire with your pliers.
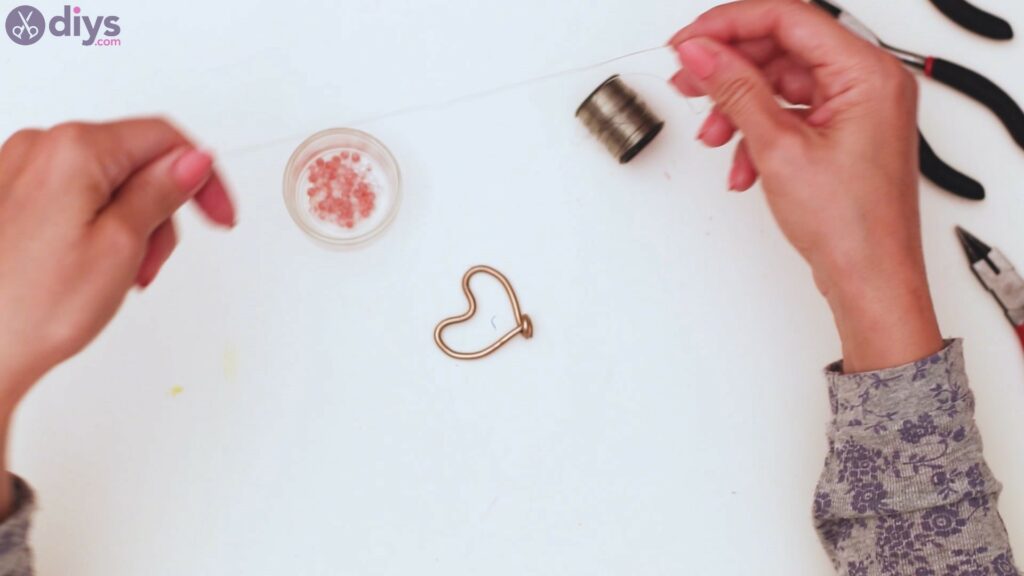
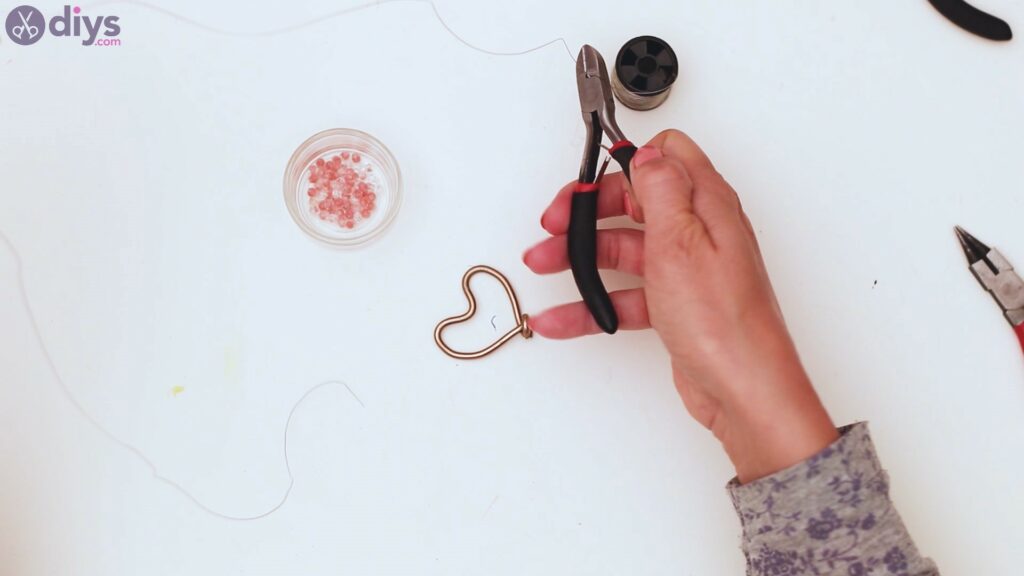
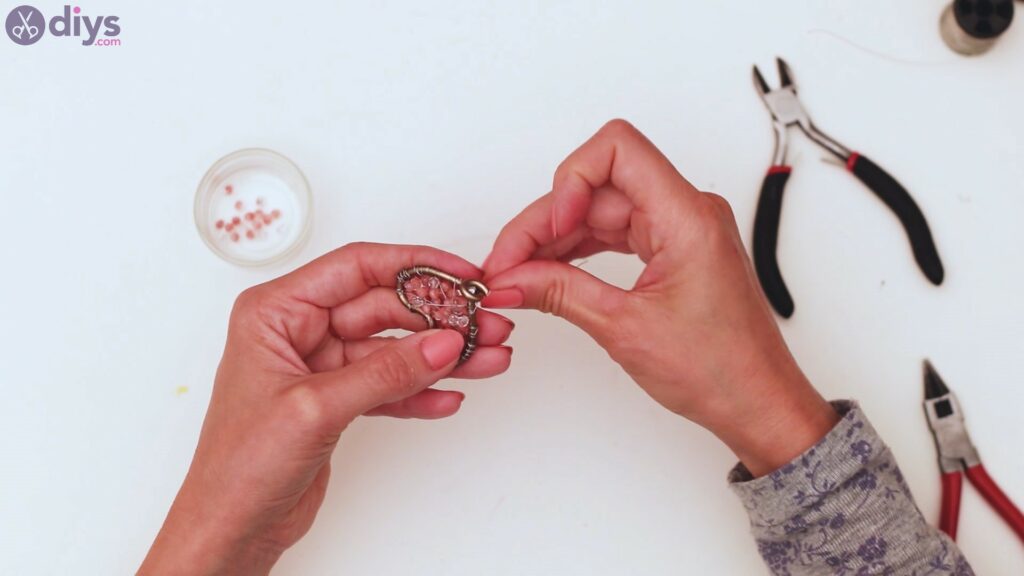
Then, wrap one of the ends around a side of the heart, and secure it.

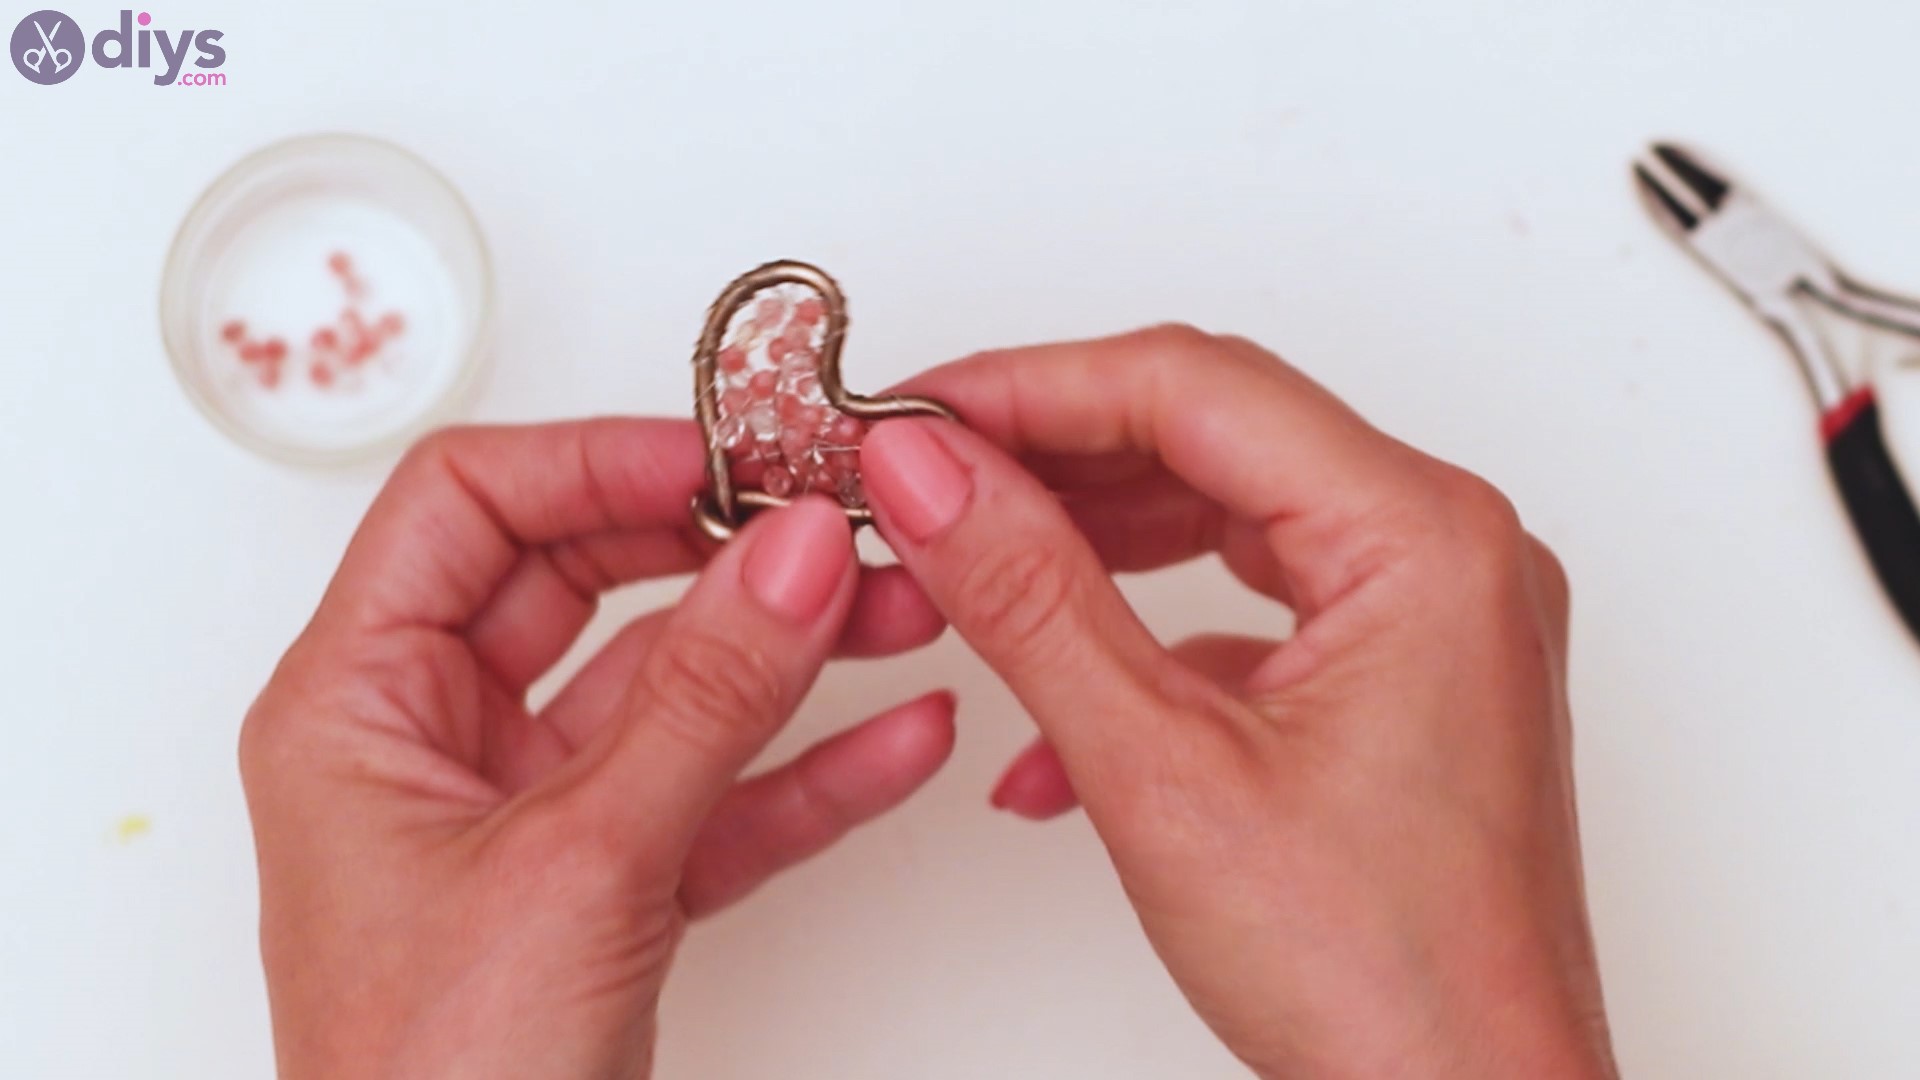
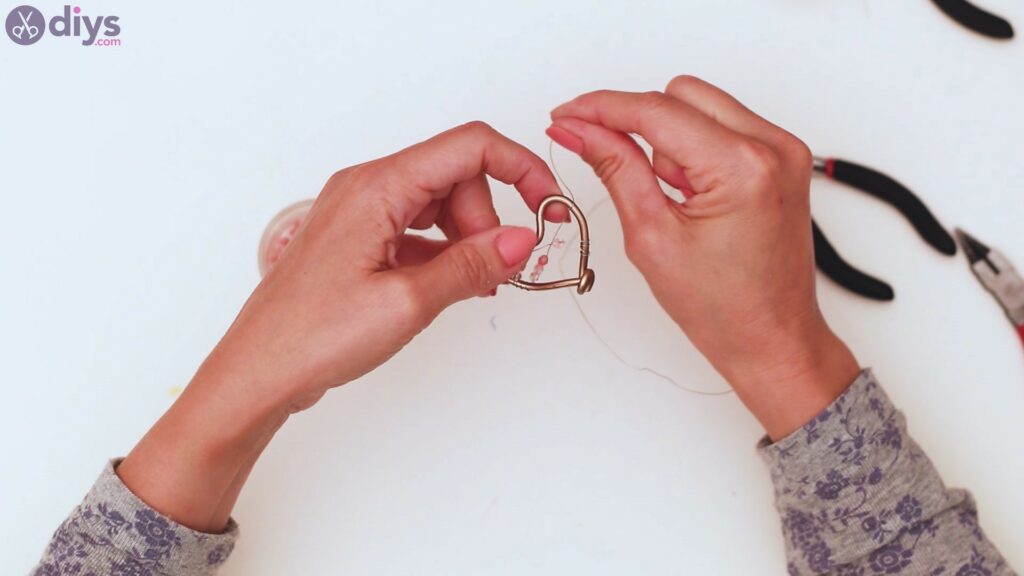
Start adding in some of the pink beads.We chose faceted beads that are light pink and others that are almost see-through. Line up three beads and then cross the wire to the other side and wrap it multiple times around the thick wire of the heart shape.


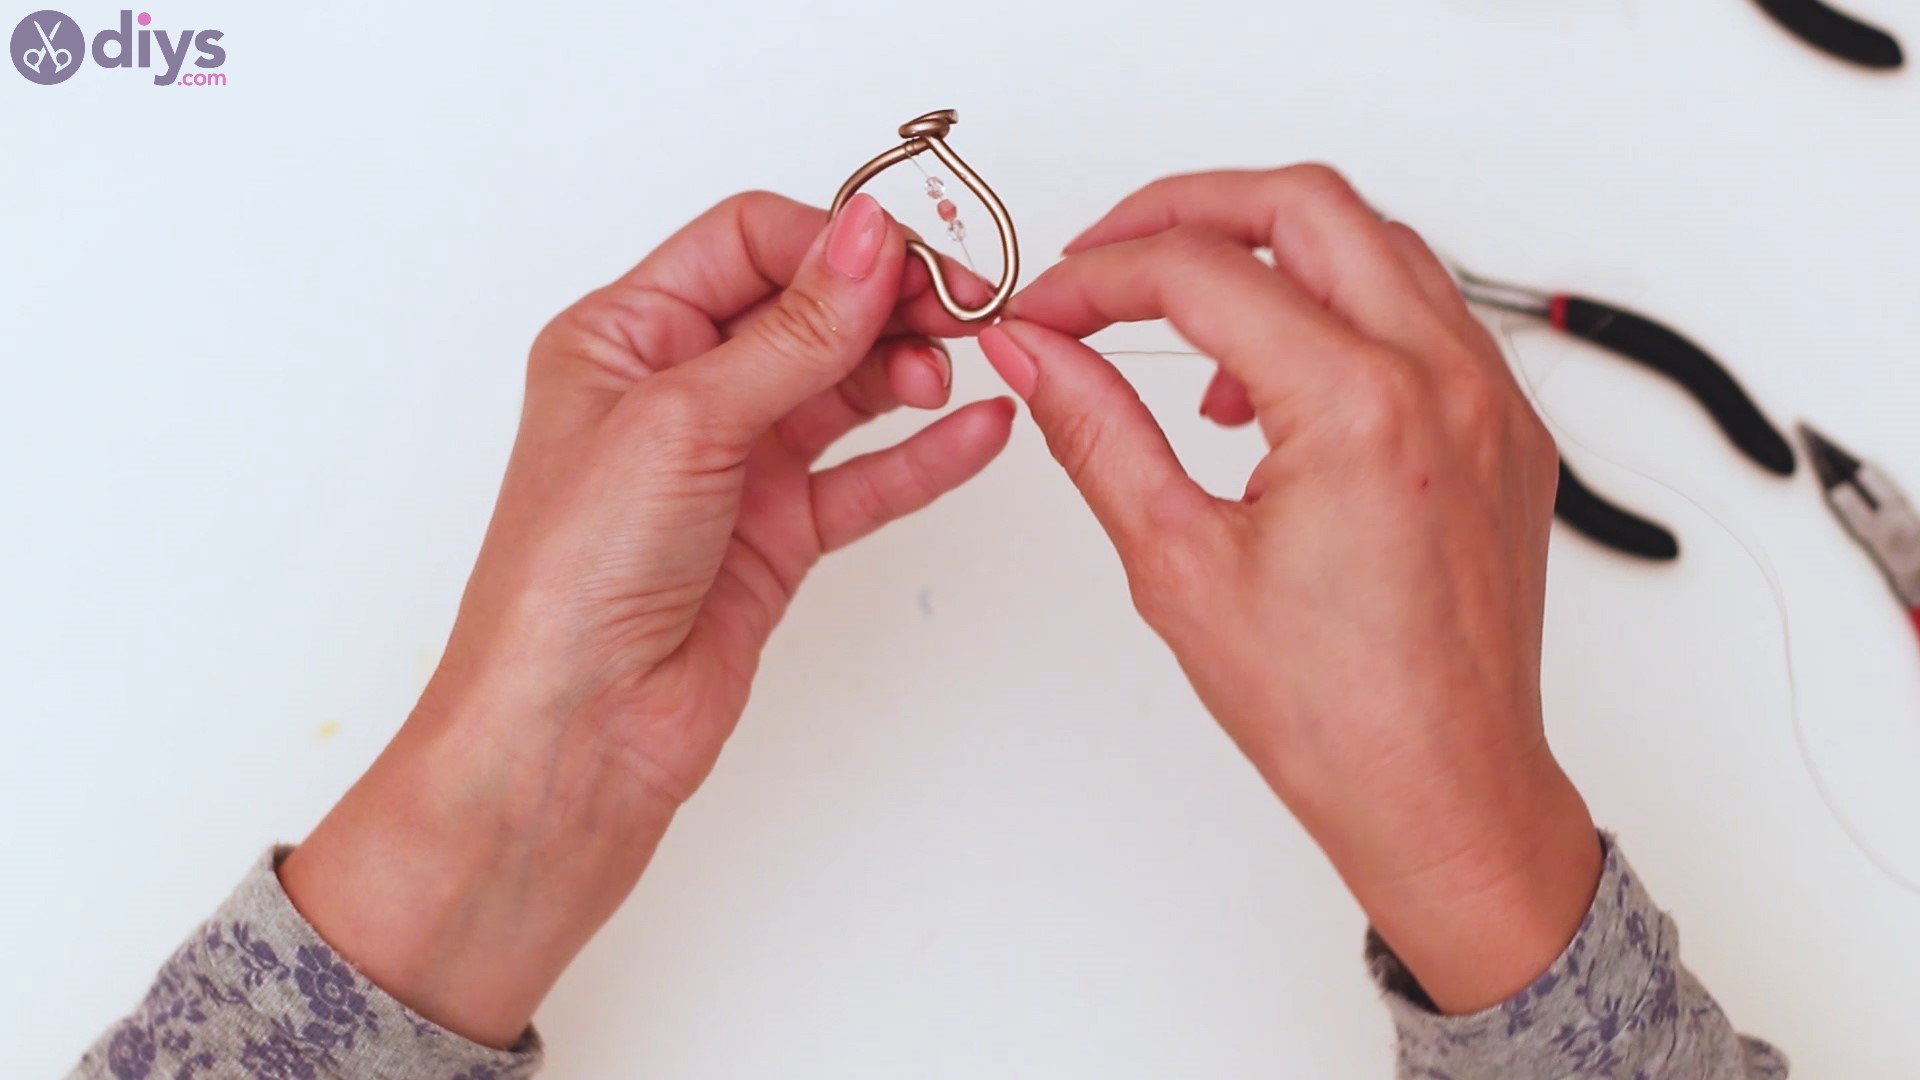
Continue with another line, adding another three beads and crossing the wire to a different location. Once more, wrap the wire multiple times around the thick wire of the heart.

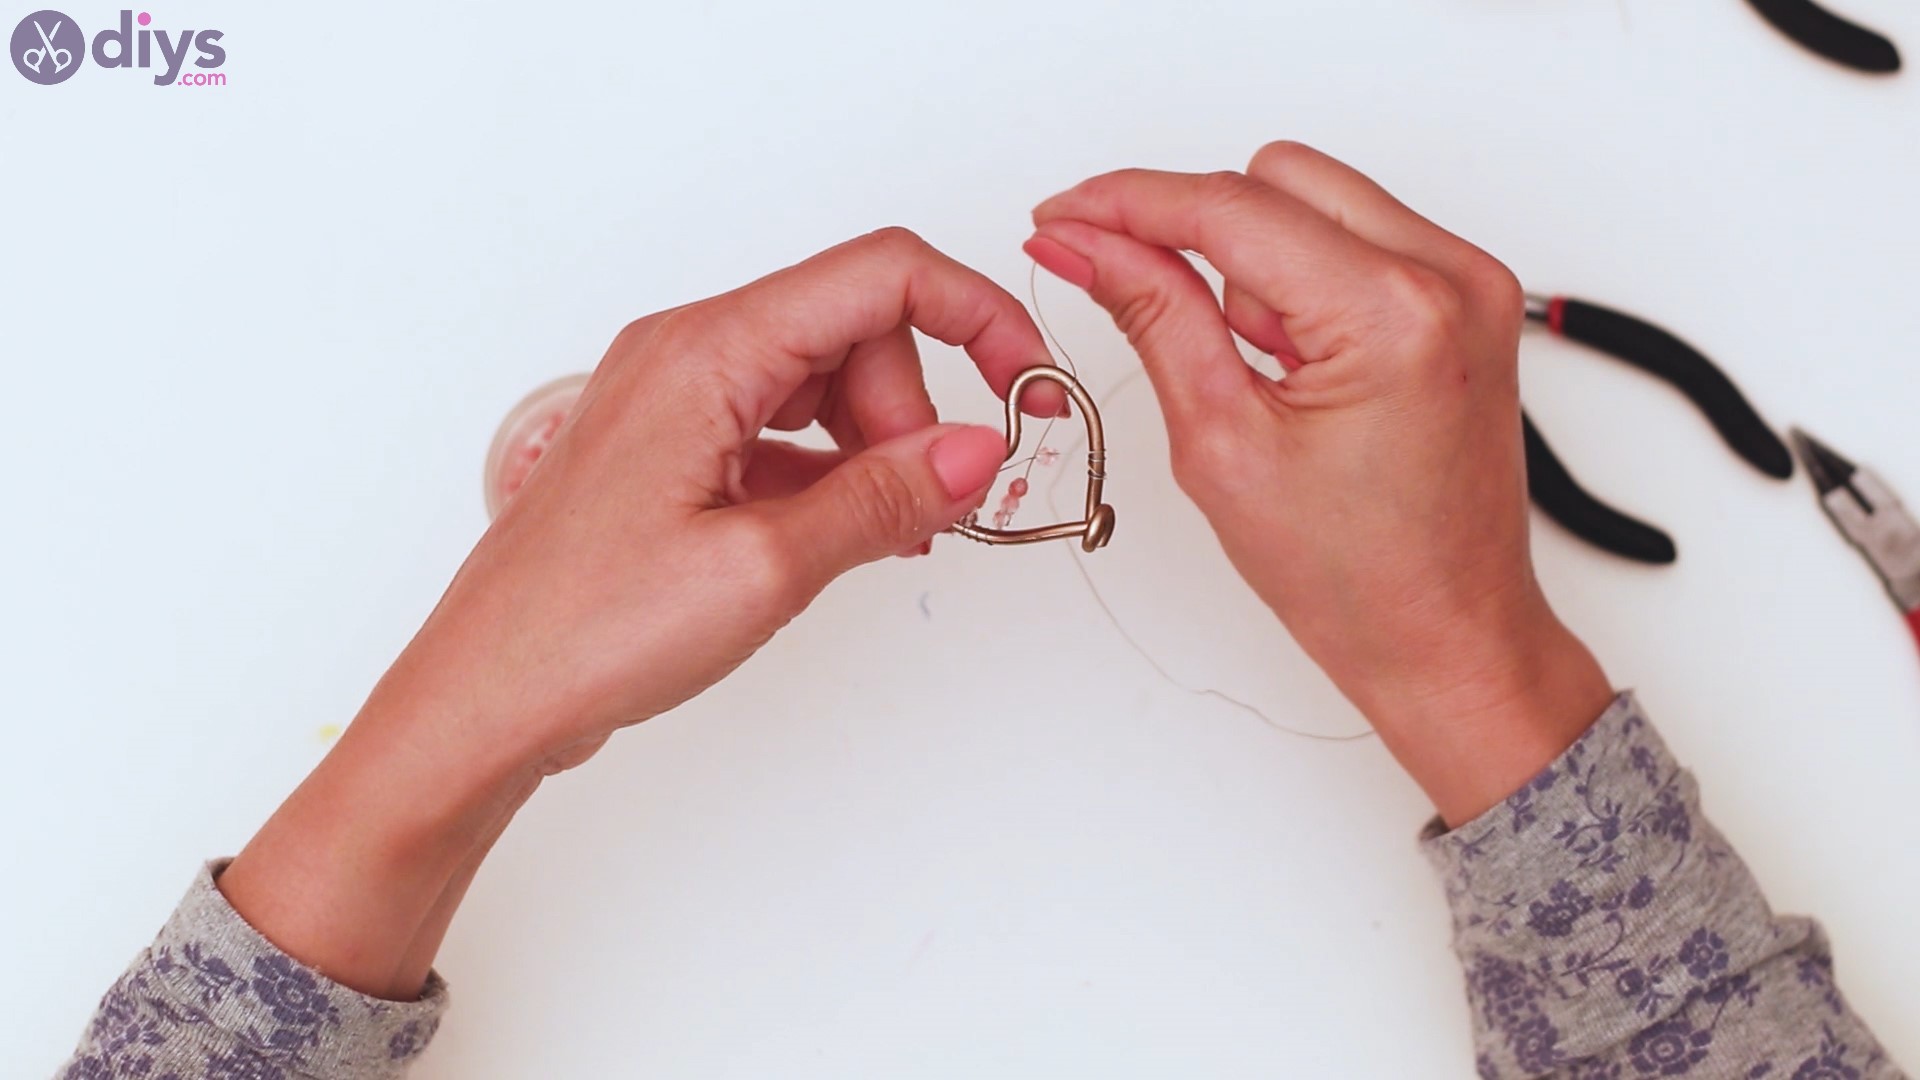
Keep building up wires featuring a few beads each and move from one location on the heart to the next. You’re looking to create a spiderweb of wires, reaching all areas of the heart.
Every time you secure the thin wire on the thick one, you want to wrap it around the base a few times – make sure you also wrap it around its own base, so it remains in place.
You can also push the wire you’re working with under other wires you already tied up. In this way, you’ll have a sturdier design.

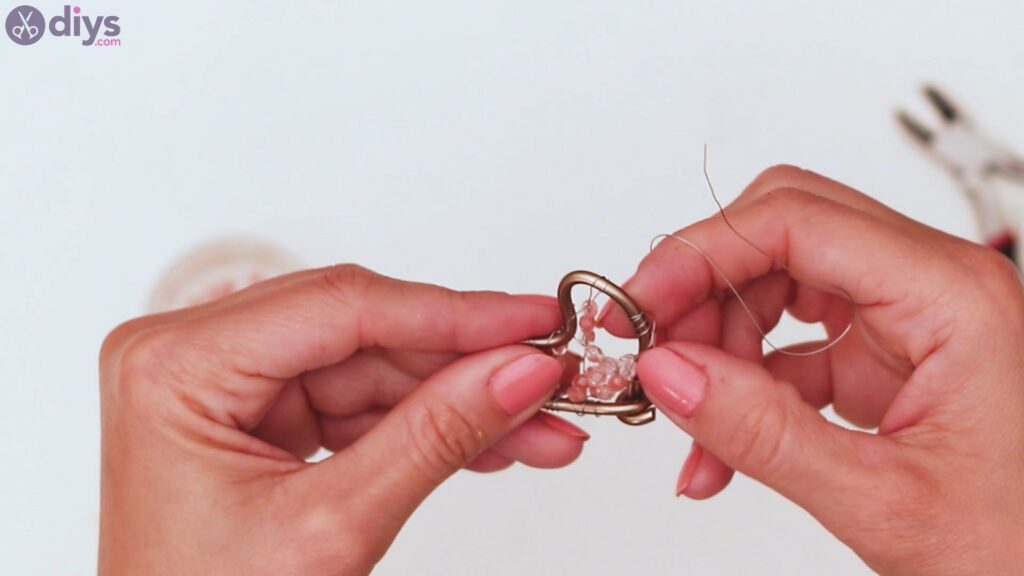
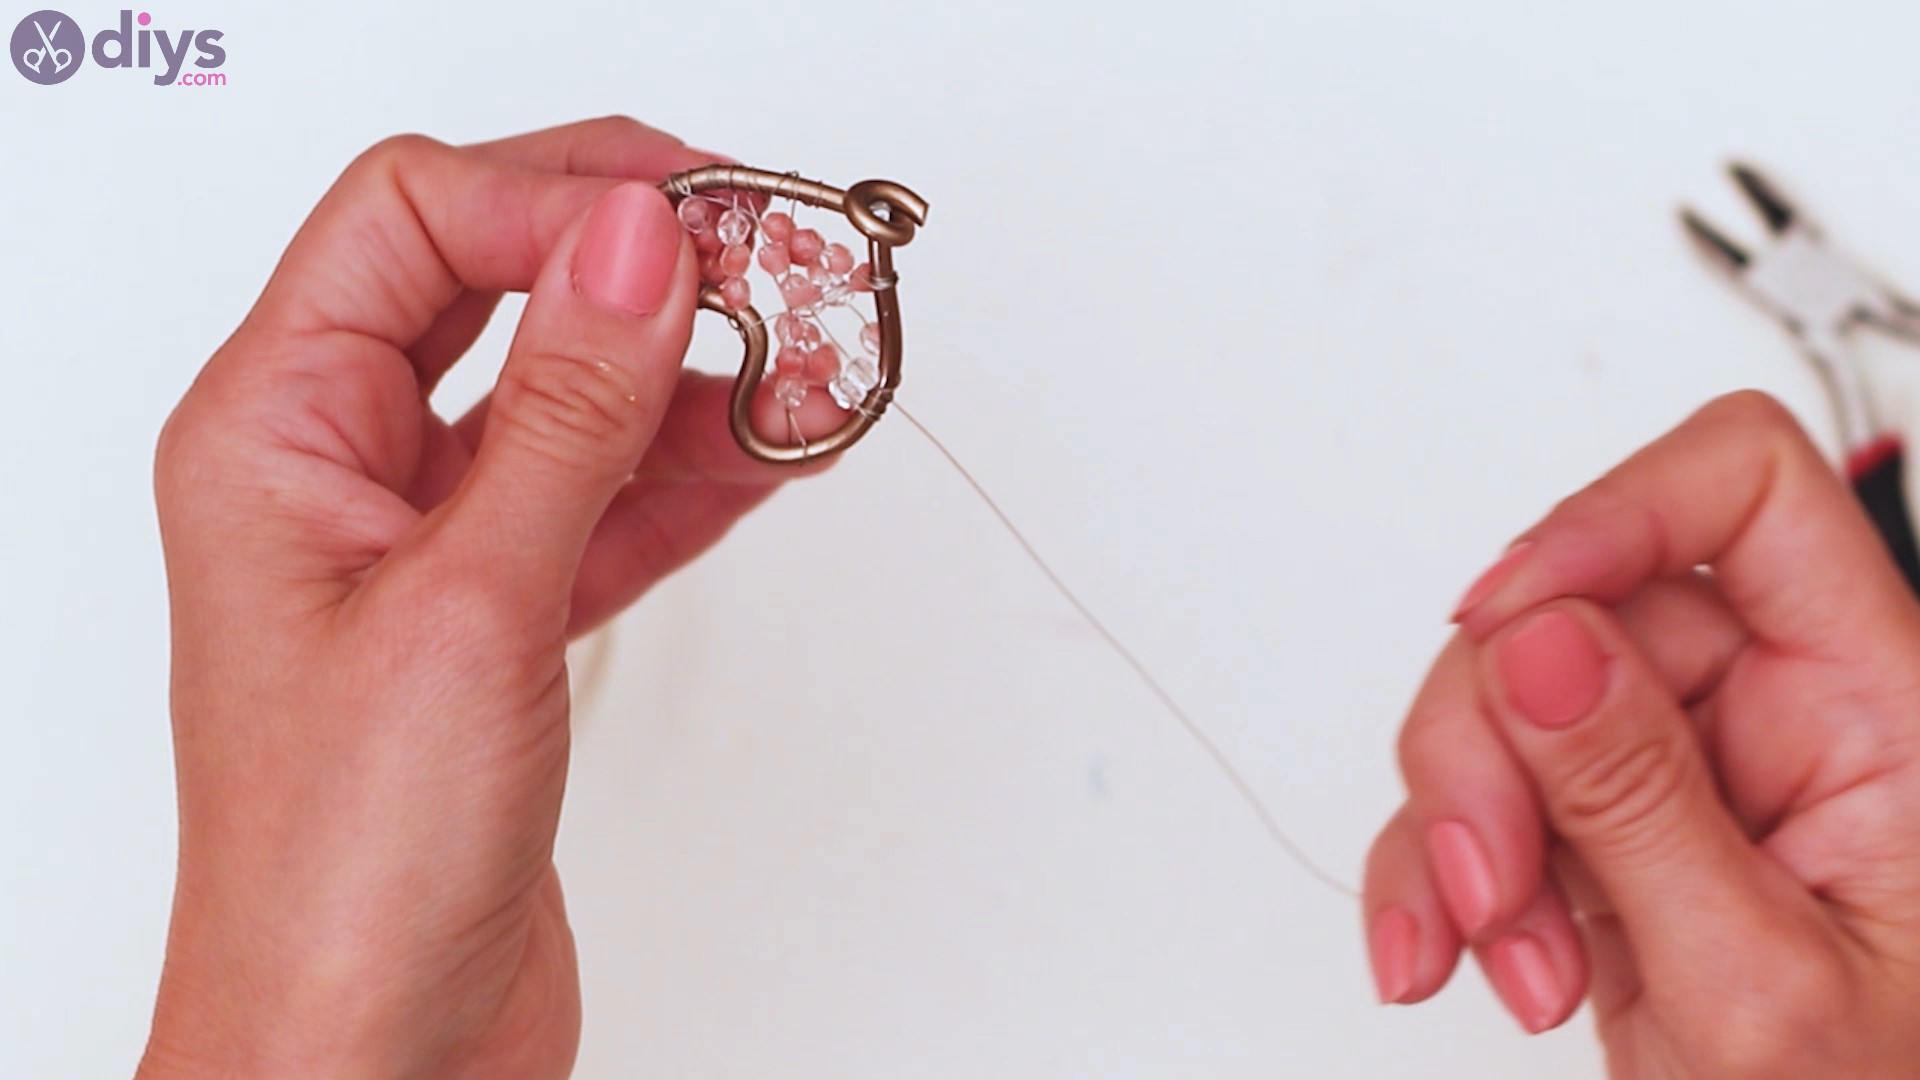
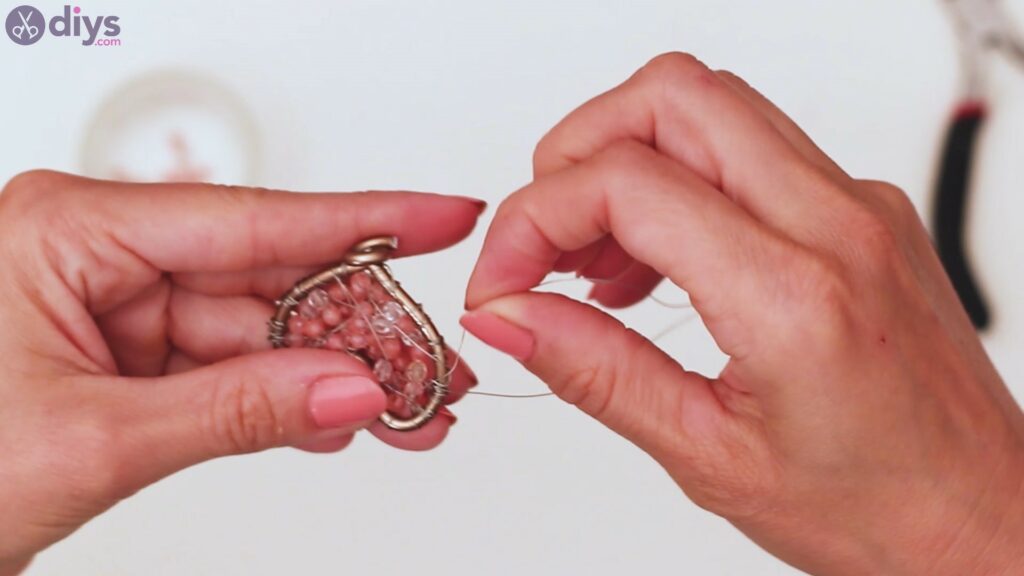
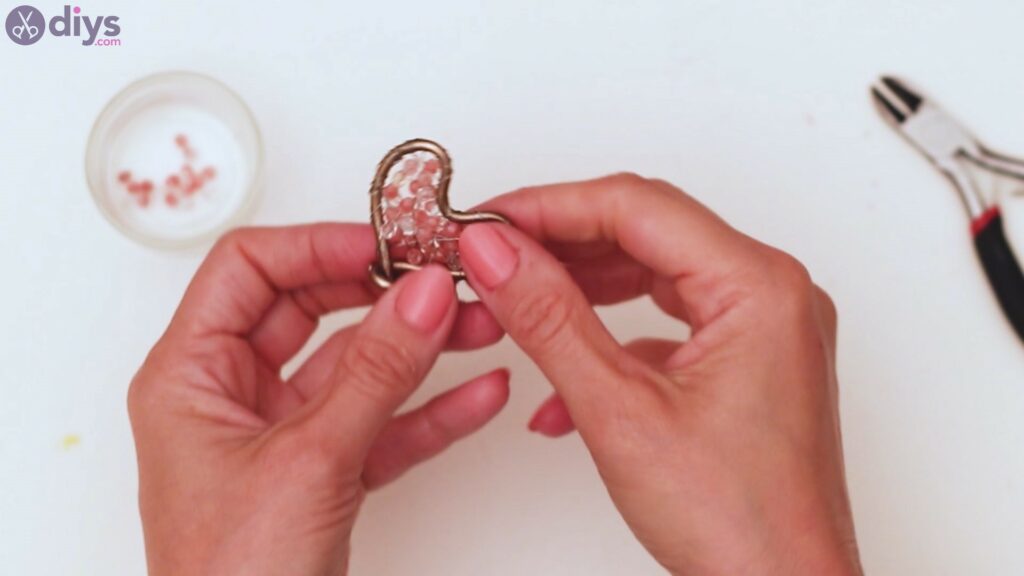
Add more and more wires until the whole center of your heart is filled with beads and the wires are all secure in their spots.
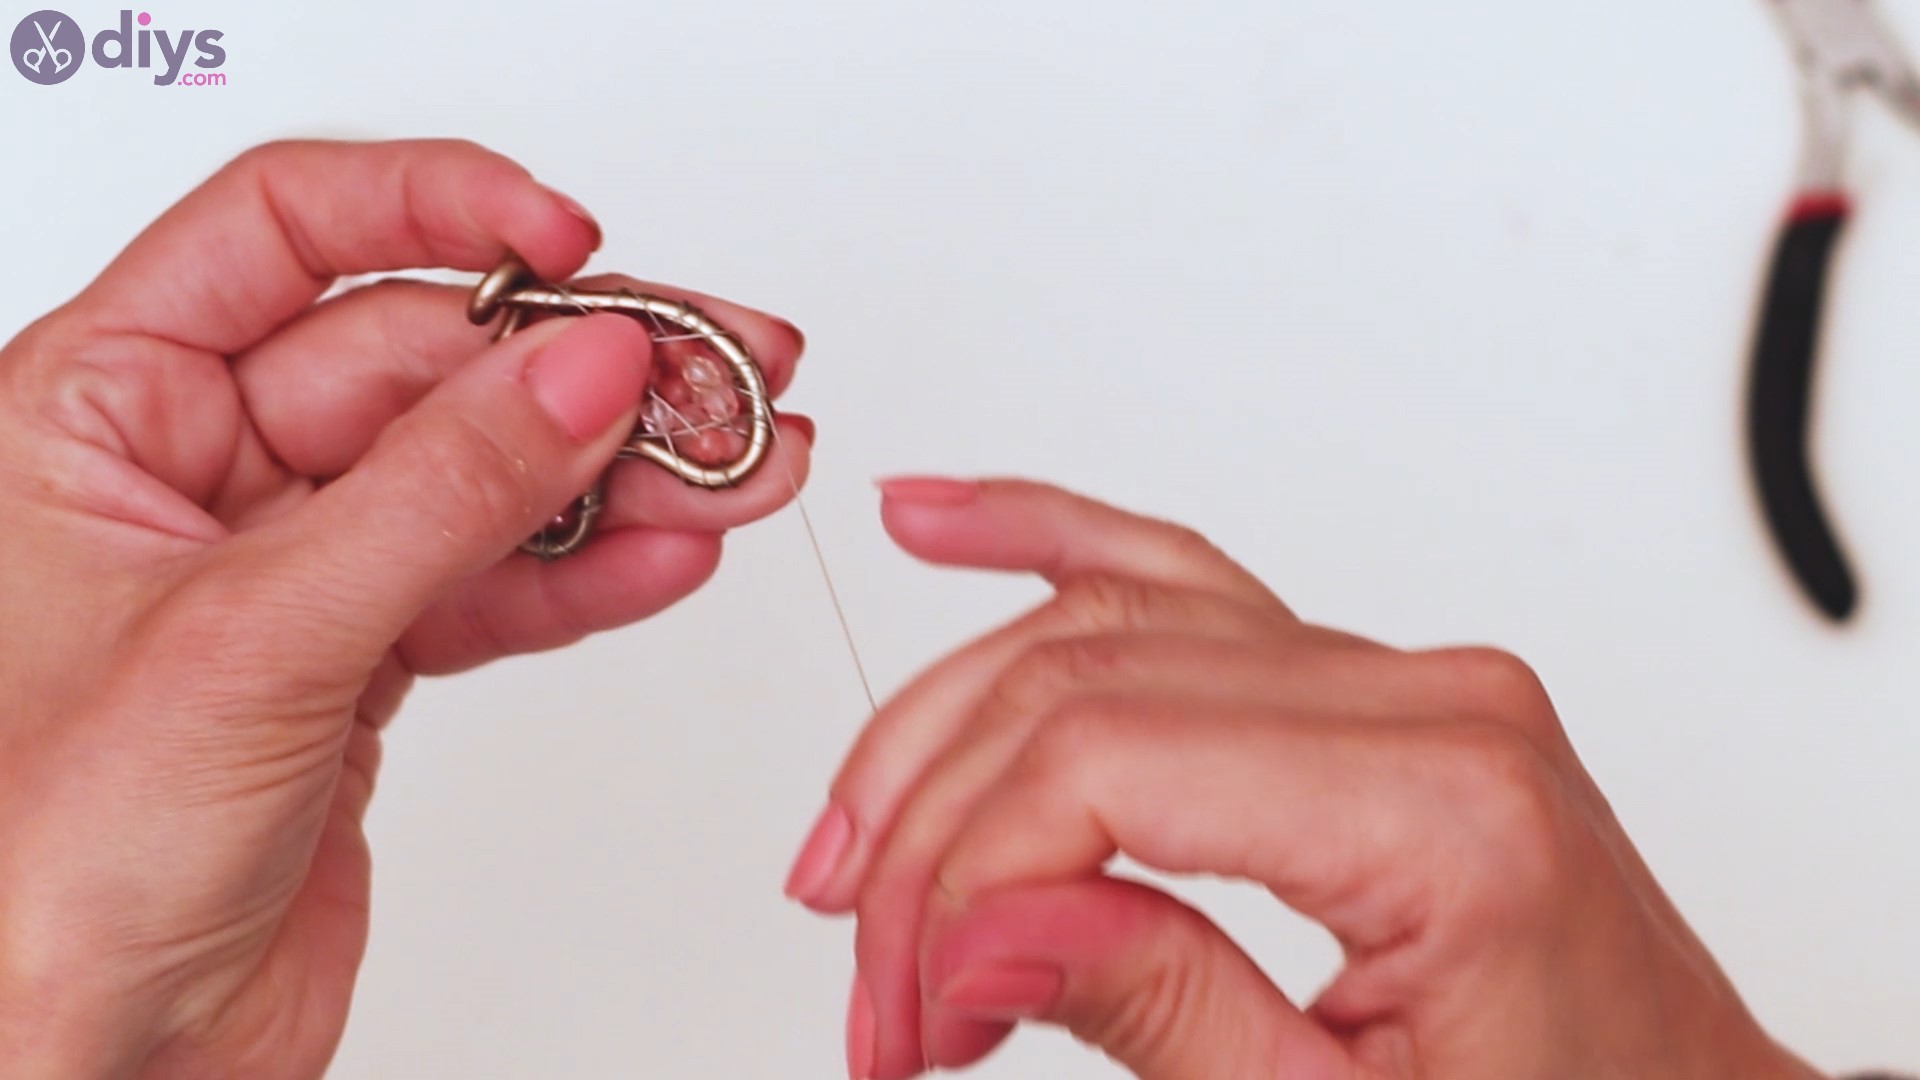
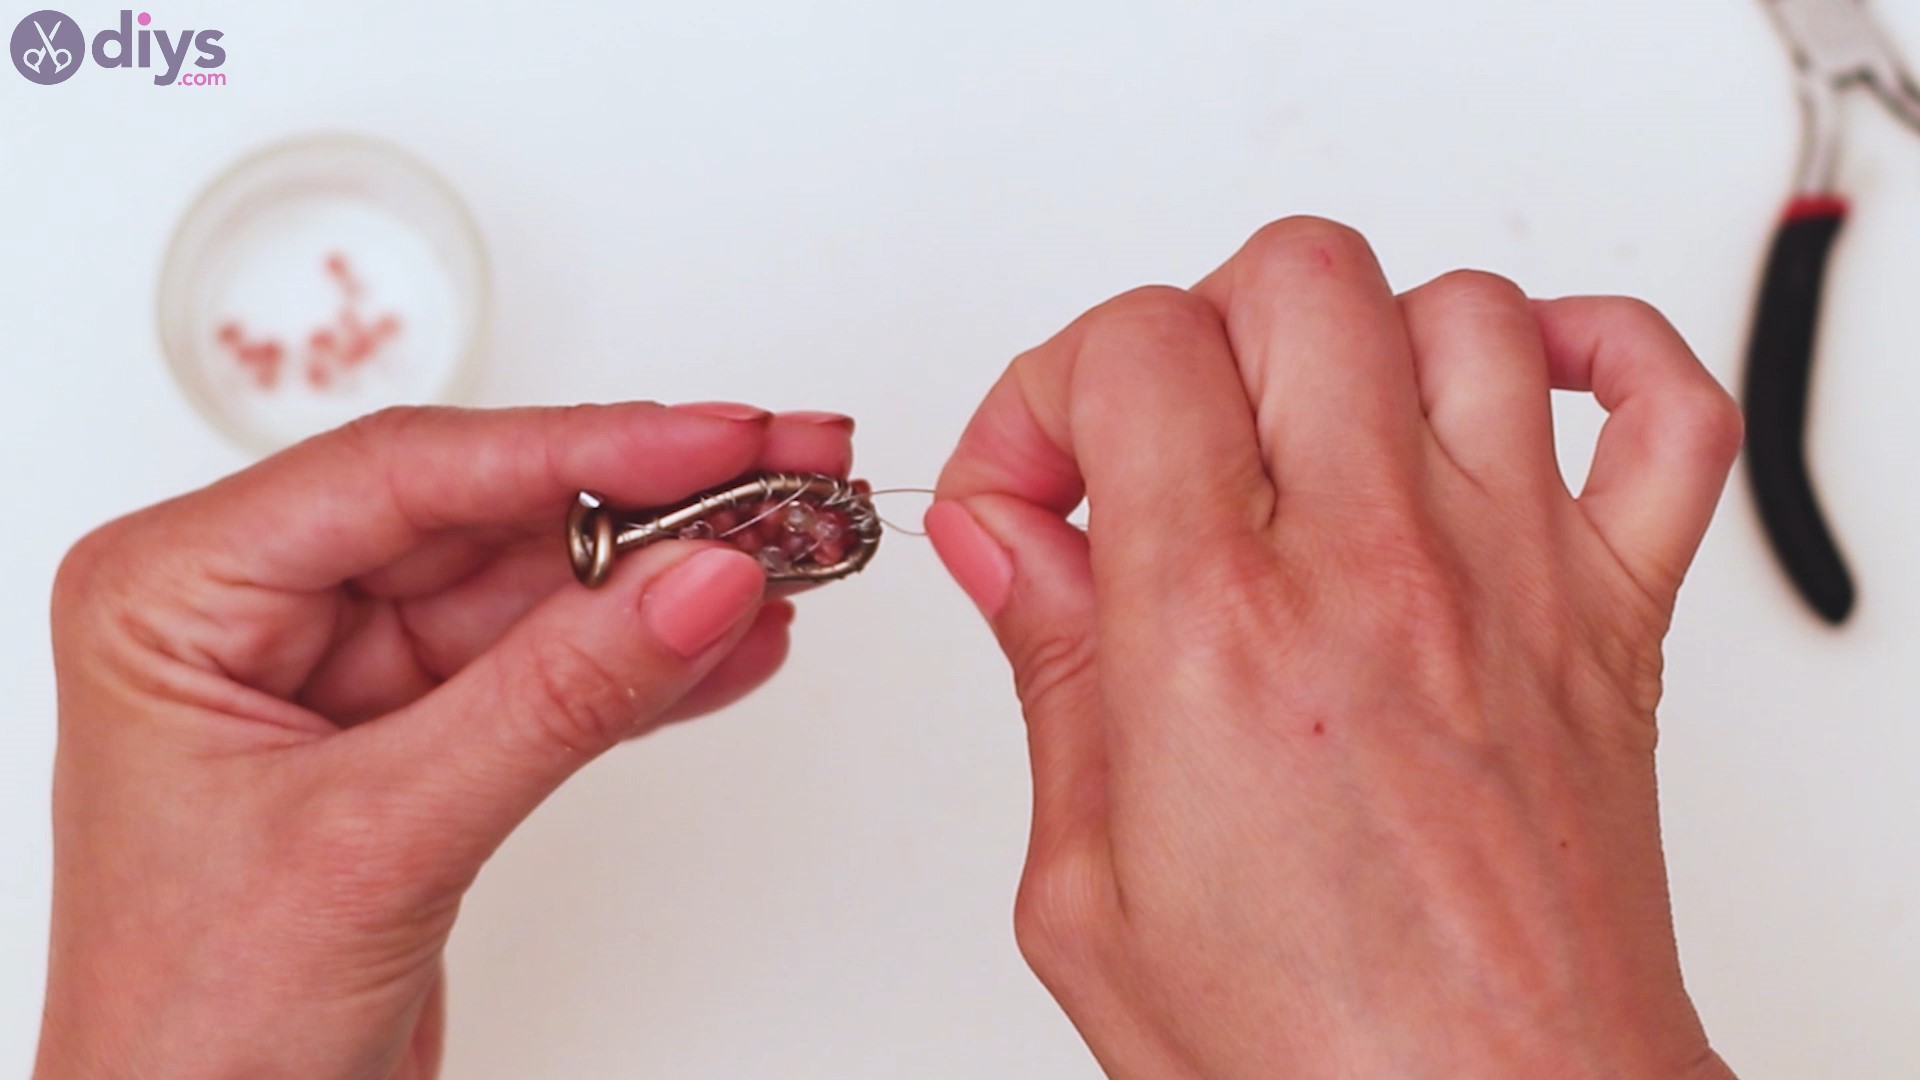
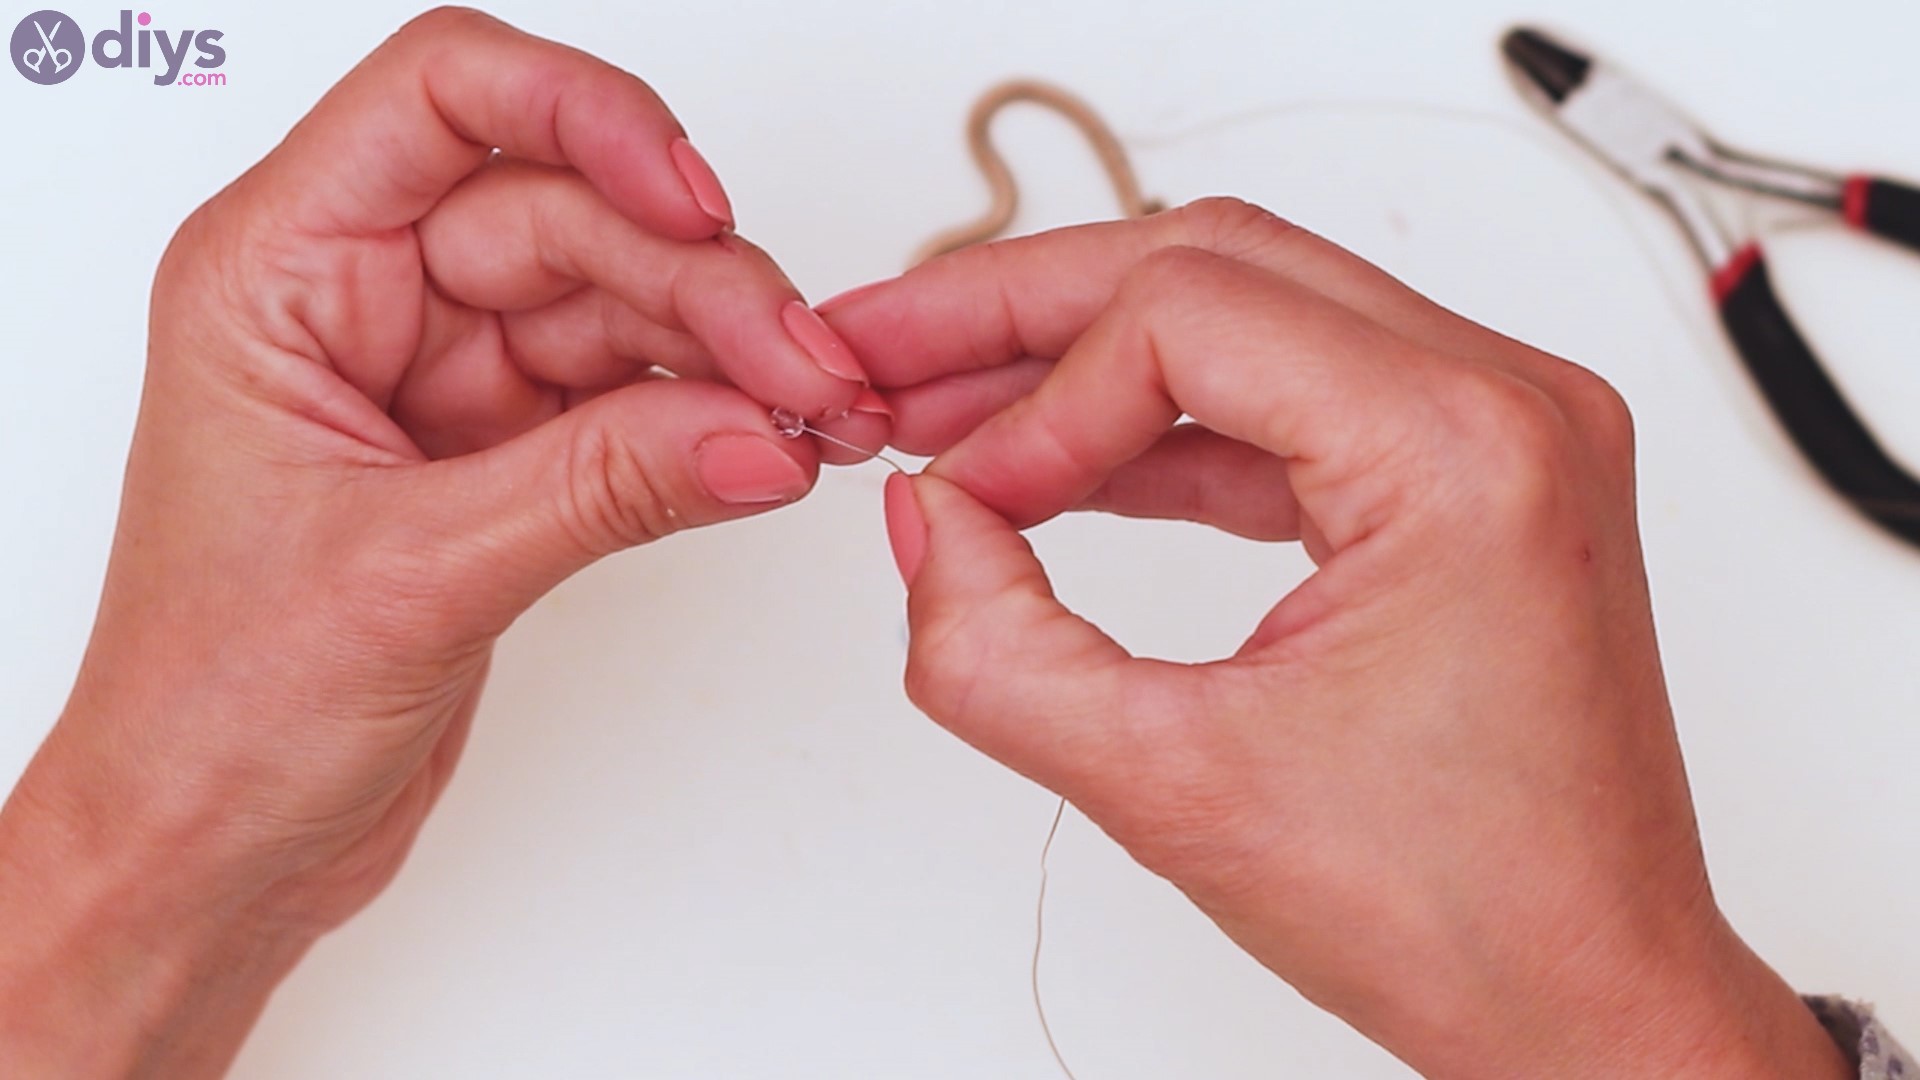
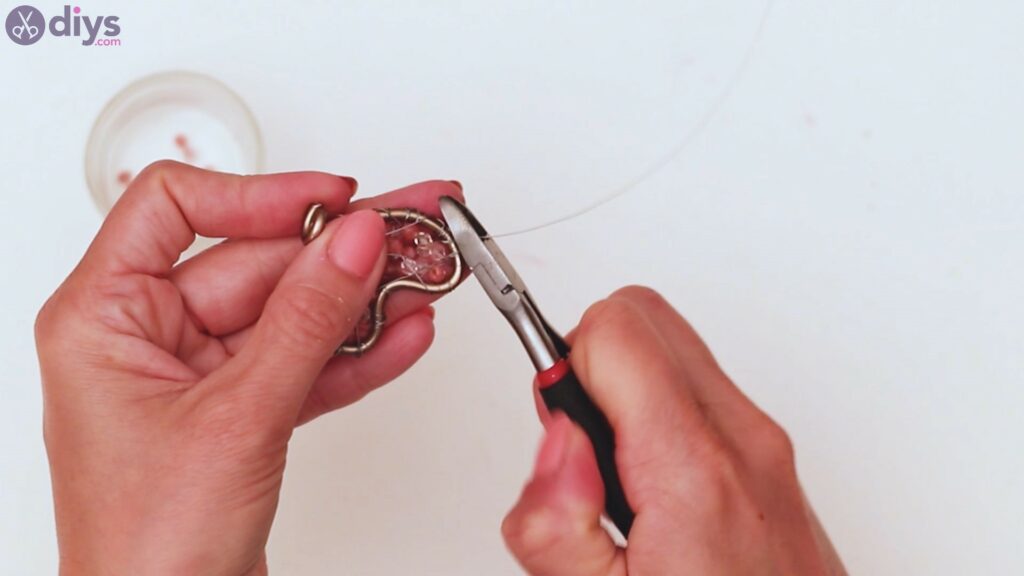
When you’re done adding beads, we need to secure the wire. Push the tip through the loops created on the thick wire of the heart, then turn back around and push it through a different loop. Since you can’t really twist them up too much with your fingers, you can at least weave it until it’s perfectly secure.

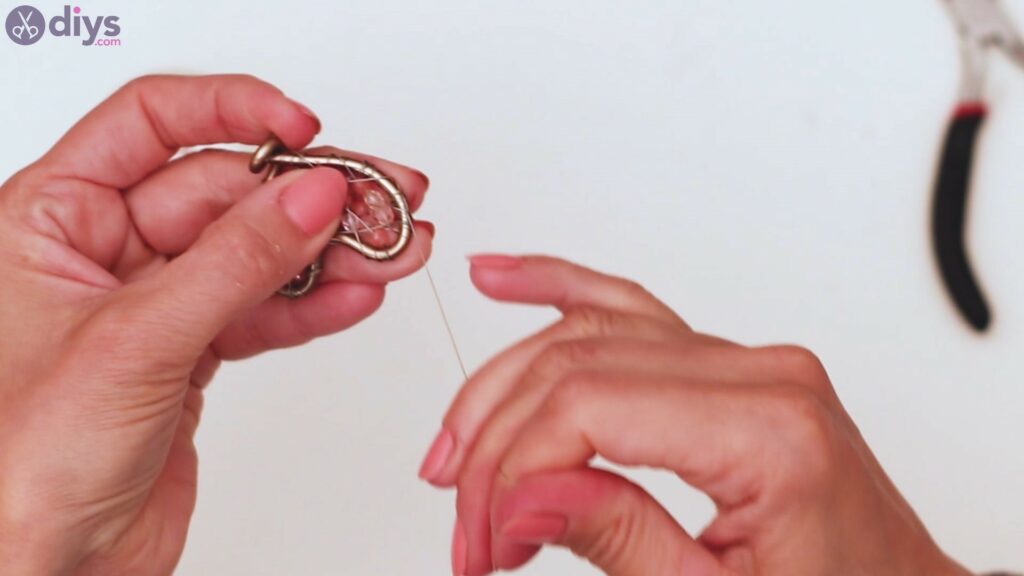
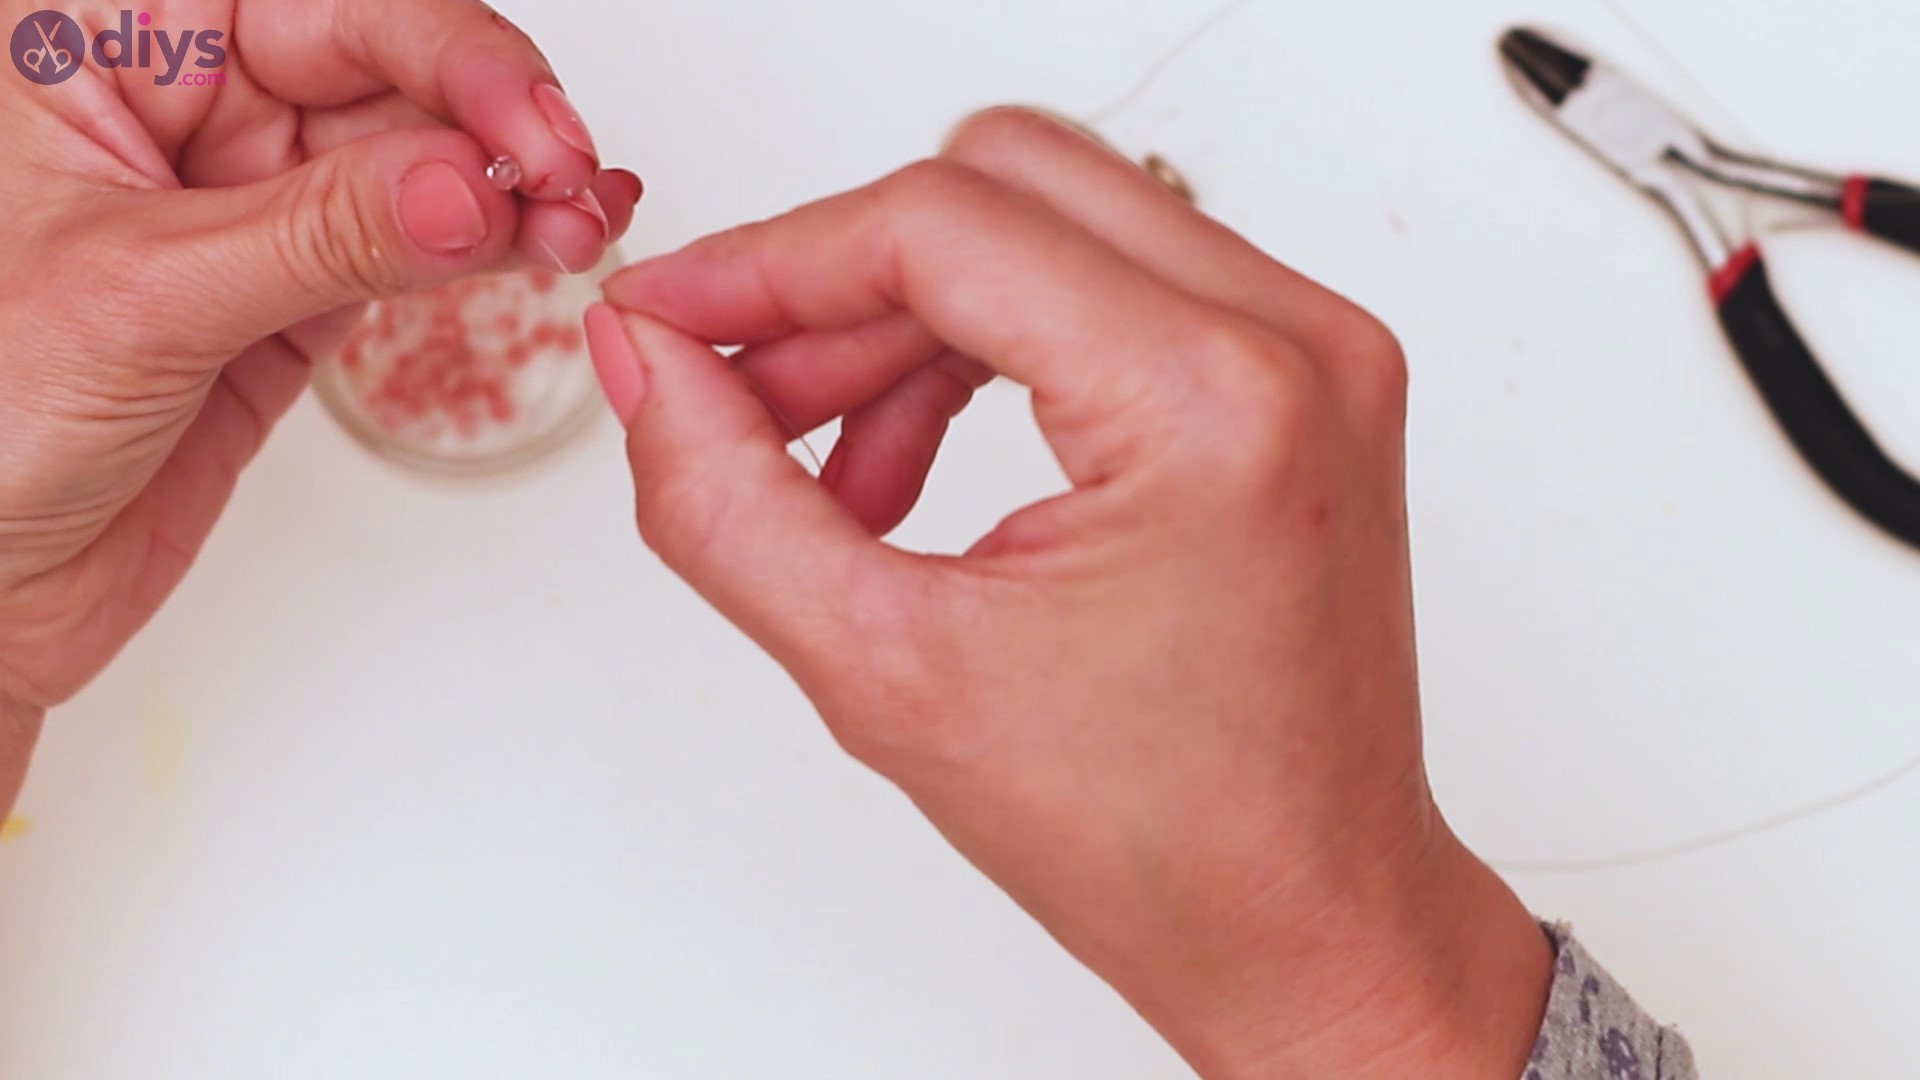
Make sure the wire is pulled tightly and twist it some more if you want to make sure it’s even more secure. Get your pliers and cut off the excess wire.
Arrange the beads some more if necessary.
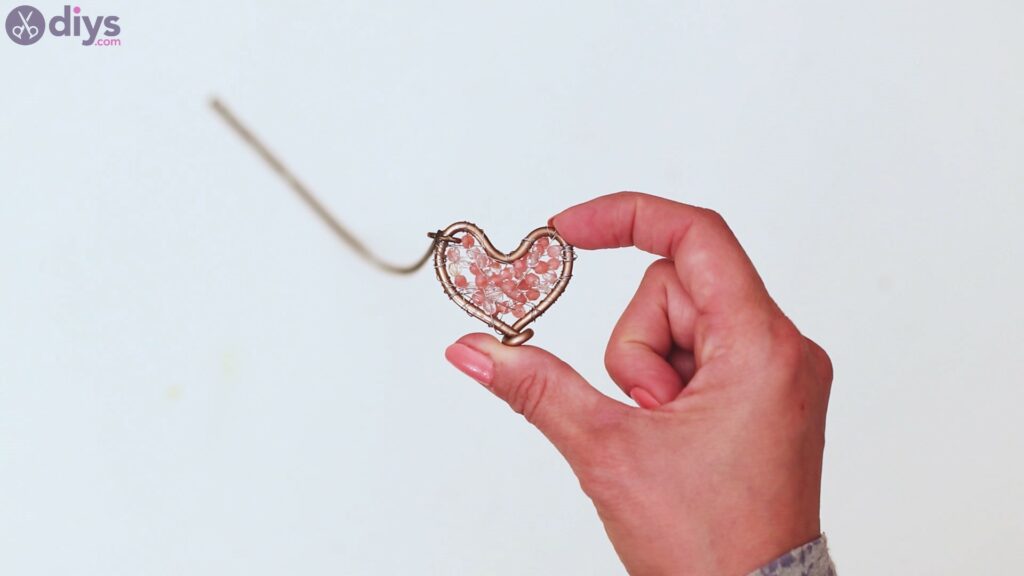
Step 3: Complete the wire heart with beads
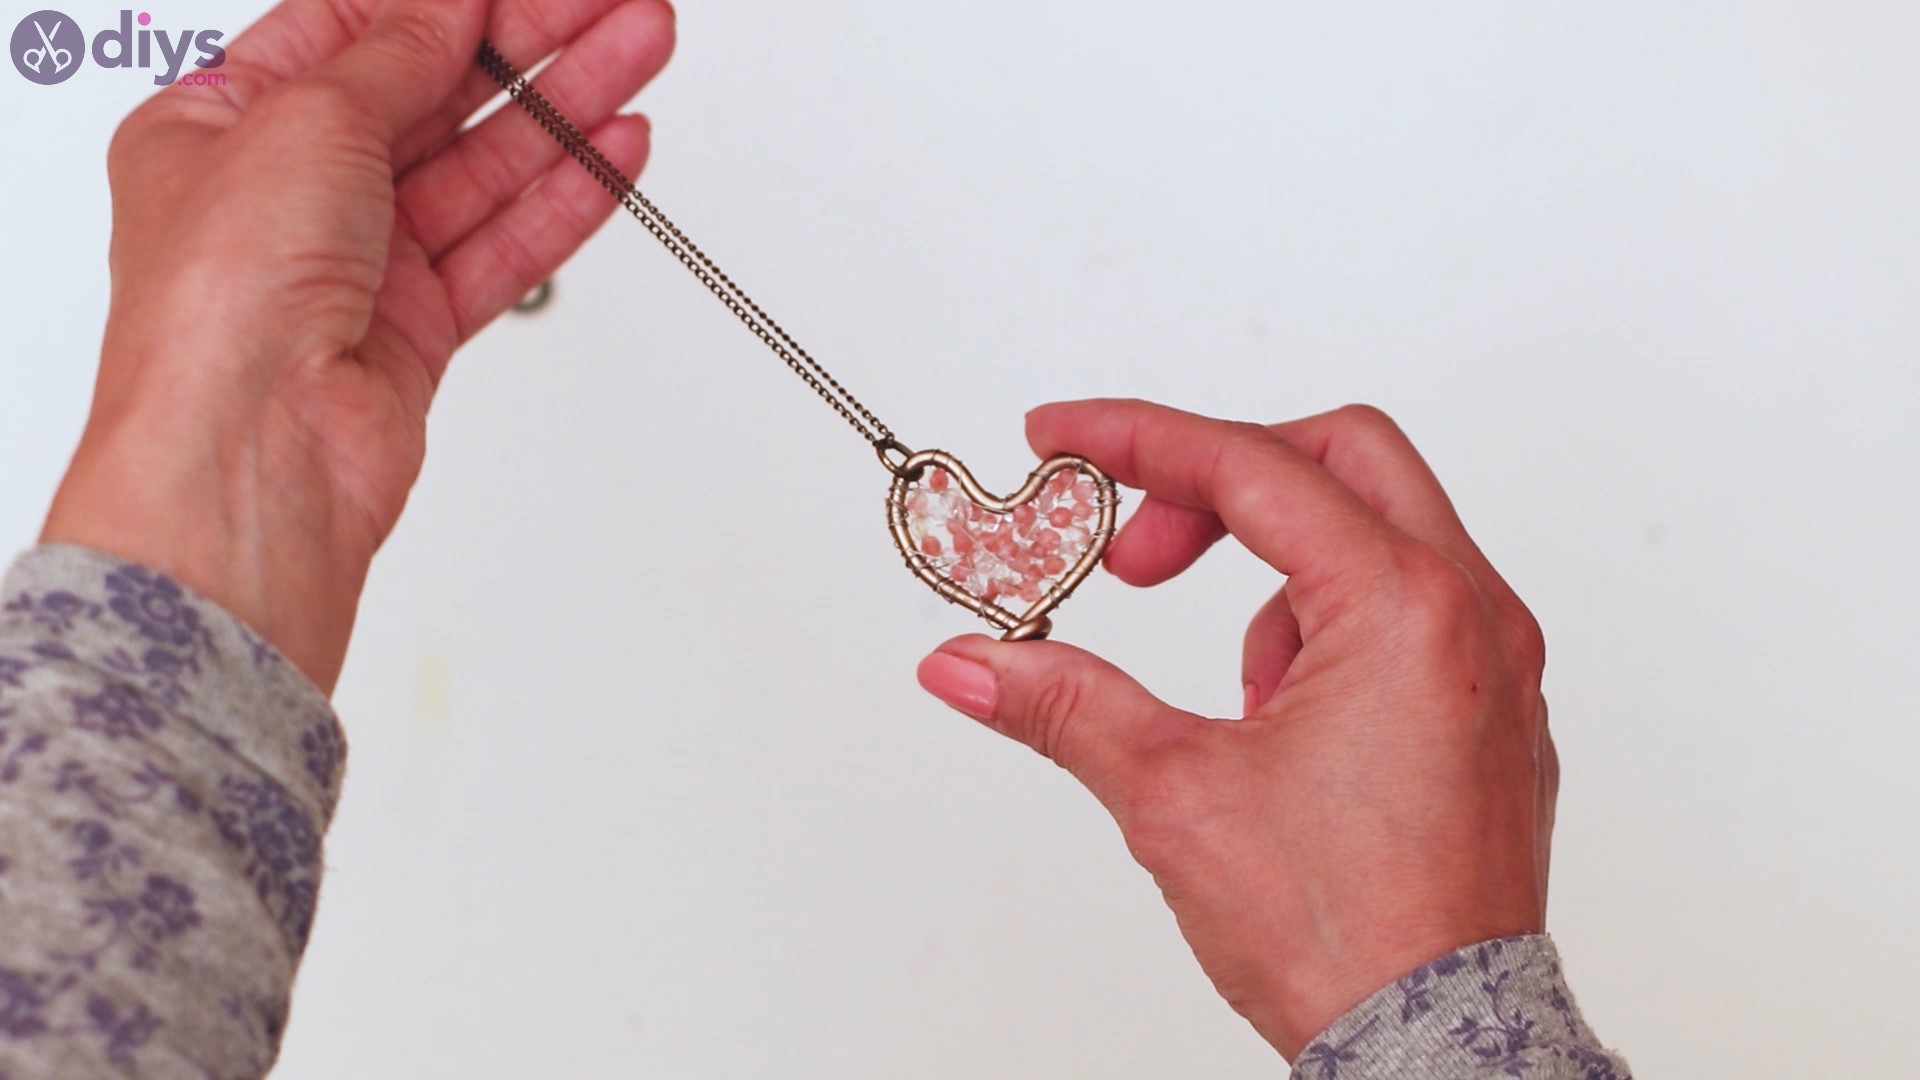
Now that the heart is done, you’re pretty much done. Get the large jump ring and push it through one of the sides of the heart. The ring should fit between the thick wire and the web of beads.
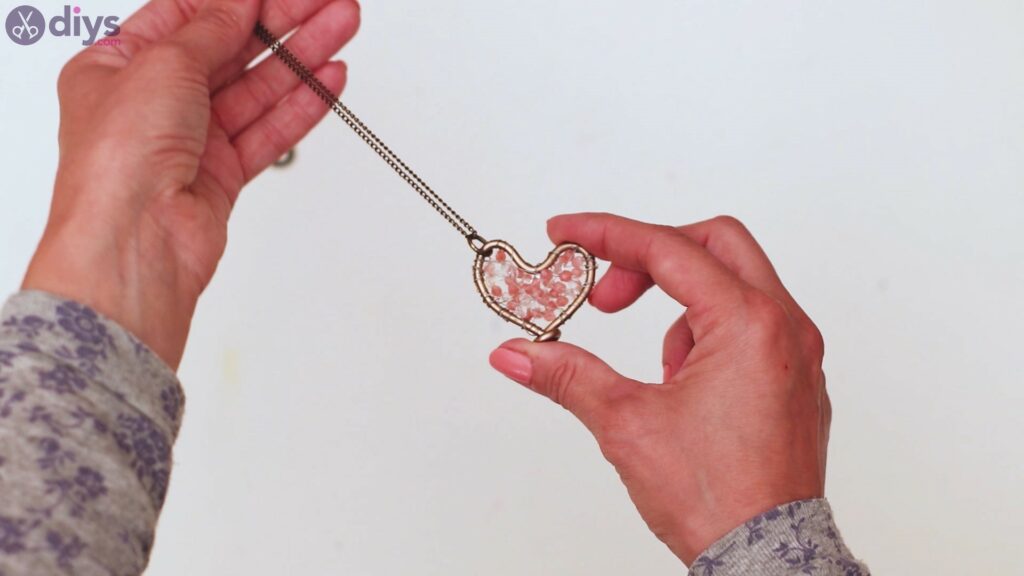
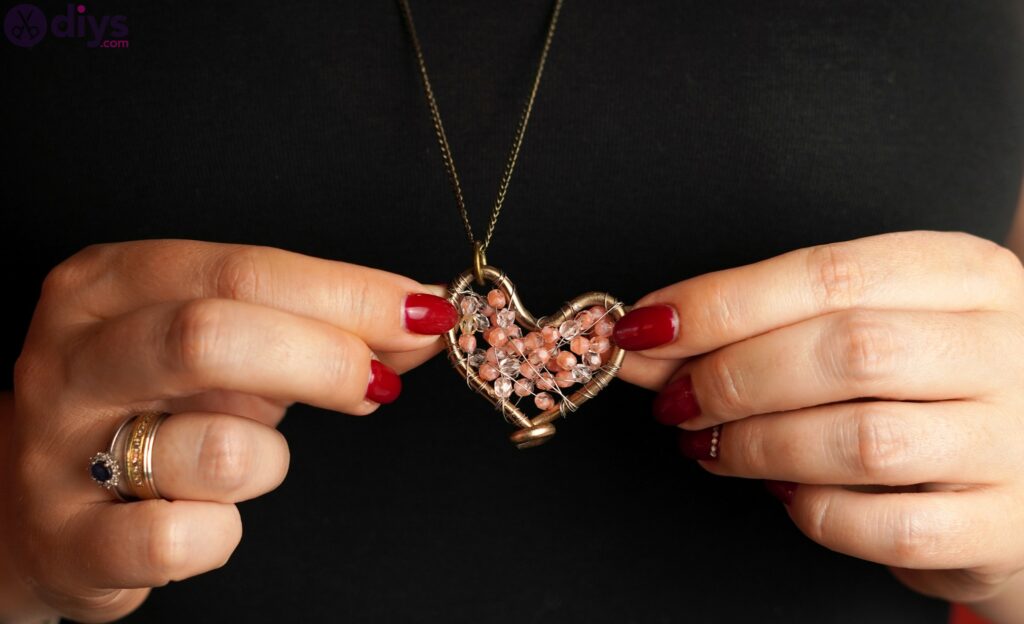
Attach the chain to the jump ring and you’re officially done! Check it out! We think it looks absolutely great and it will be a beautiful piece that anyone would love to wear.
We would love to see how yours turned out so drop us a comment and show off your creation!
Obviously, you can make some changes to the design. First of all, we used coppery-shades for the wires and the chain and jump ring, but you can also go for silvery materials. Also, the color of the beads can be changed too. It’s all up to your imagination!
If you’re making this for yourself, you can do it however you want, and if you’re making it for someone else, we’re sure you’ll be able to figure out what they like. We know one thing for sure – your Valentine will be impressed with all the time and thought and love put into this creation!