DIY Wine Cork Coasters – Pretty and Useful
Updated on November 19, 2025


Did you just buy some cork coasters but they’re dull at best? Well, we know a way you can completely transform them so you have some chic coasters in your home instead. Unsurprisingly, we’re going to use wine corks to completely transform your coasters!
We find that coasters are always useful as they can protect your furniture from hot or cold beverages. When it comes to cork coasters, they’re even more useful as they are perhaps the most efficient for the job as cork has thermo-resistant properties.

Materials for DIY Wine Cork Coasters:
- Cork coaster
- Wine corks
- Glue gun
- Knife
- Scissors
- Creme acrylic white
- Paintbrush
- Silk ribbon
- Lace ribbon
DIY Wine Cork Coasters – Step by Step
These cork coasters look awesome and they’ll protect your furniture, so it’s always a cool idea to have some around when you have company. Let’s see how you can make some for your own.
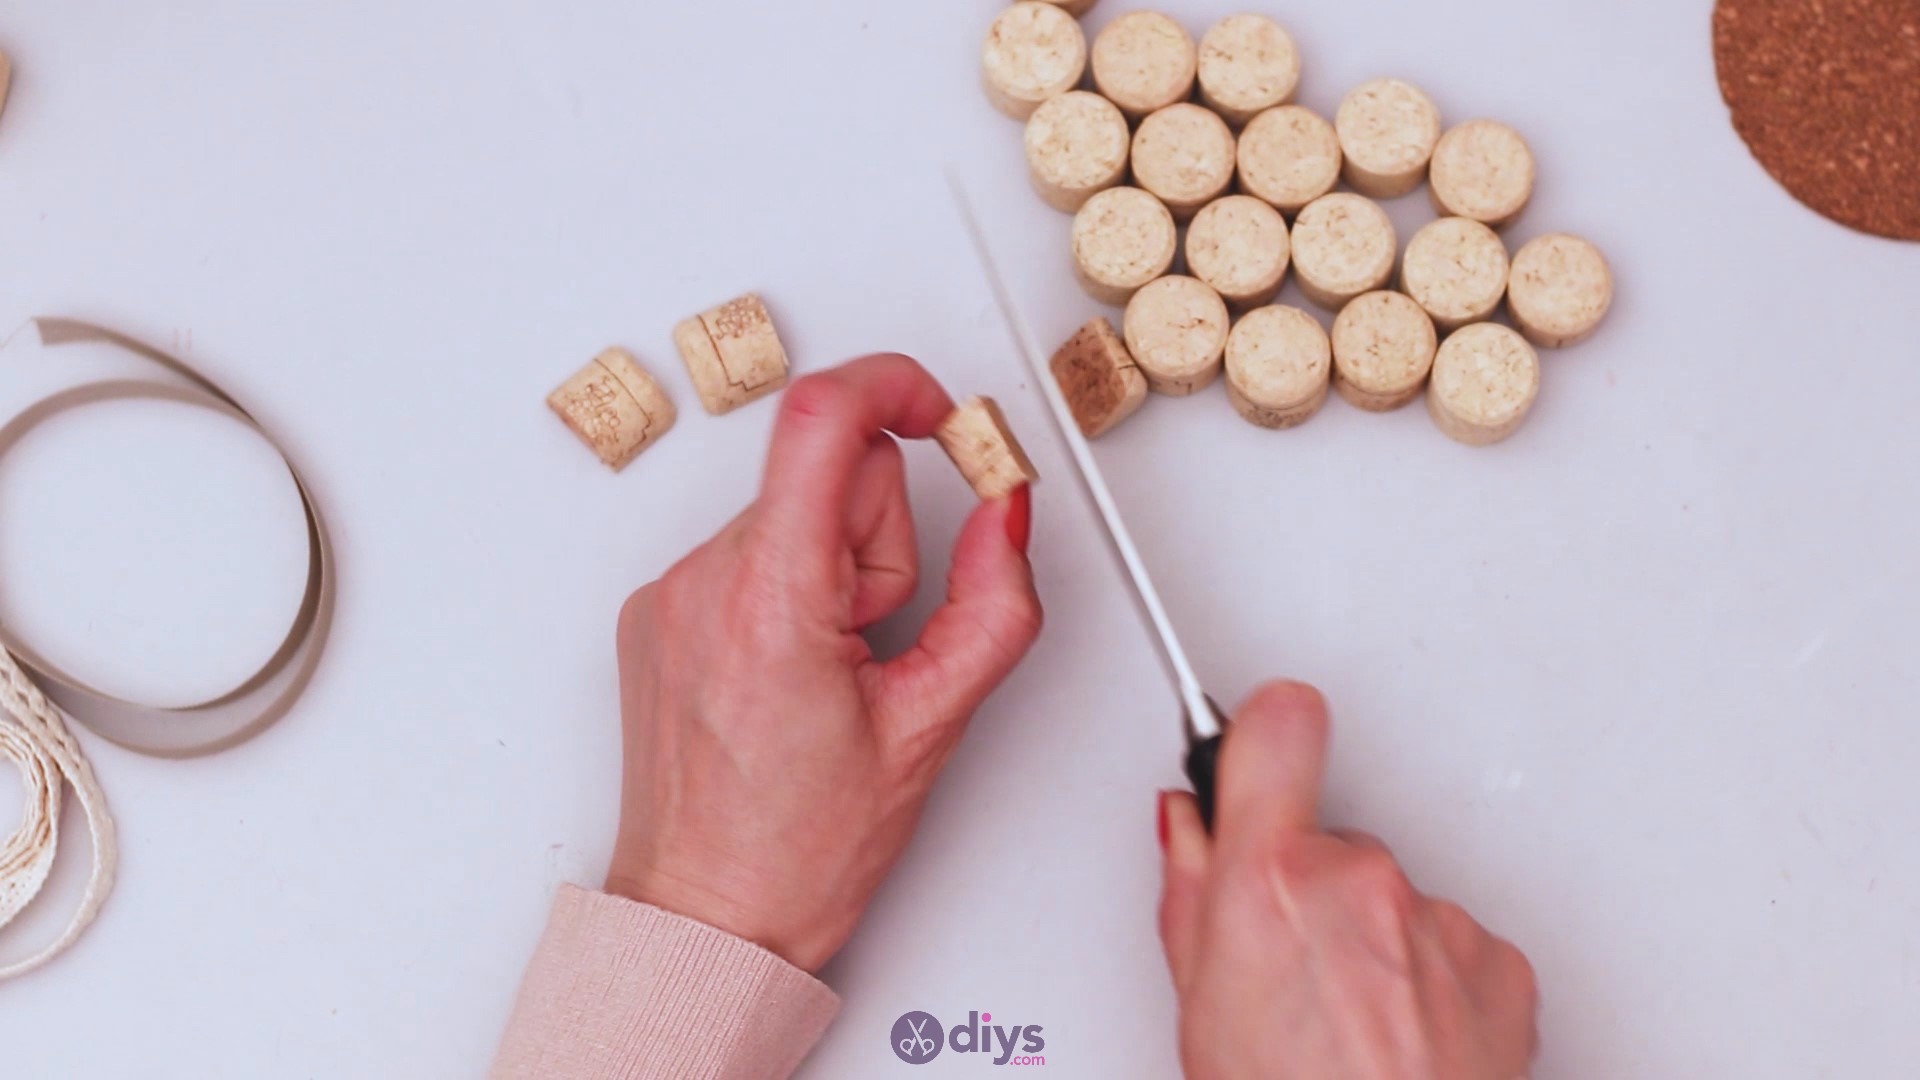
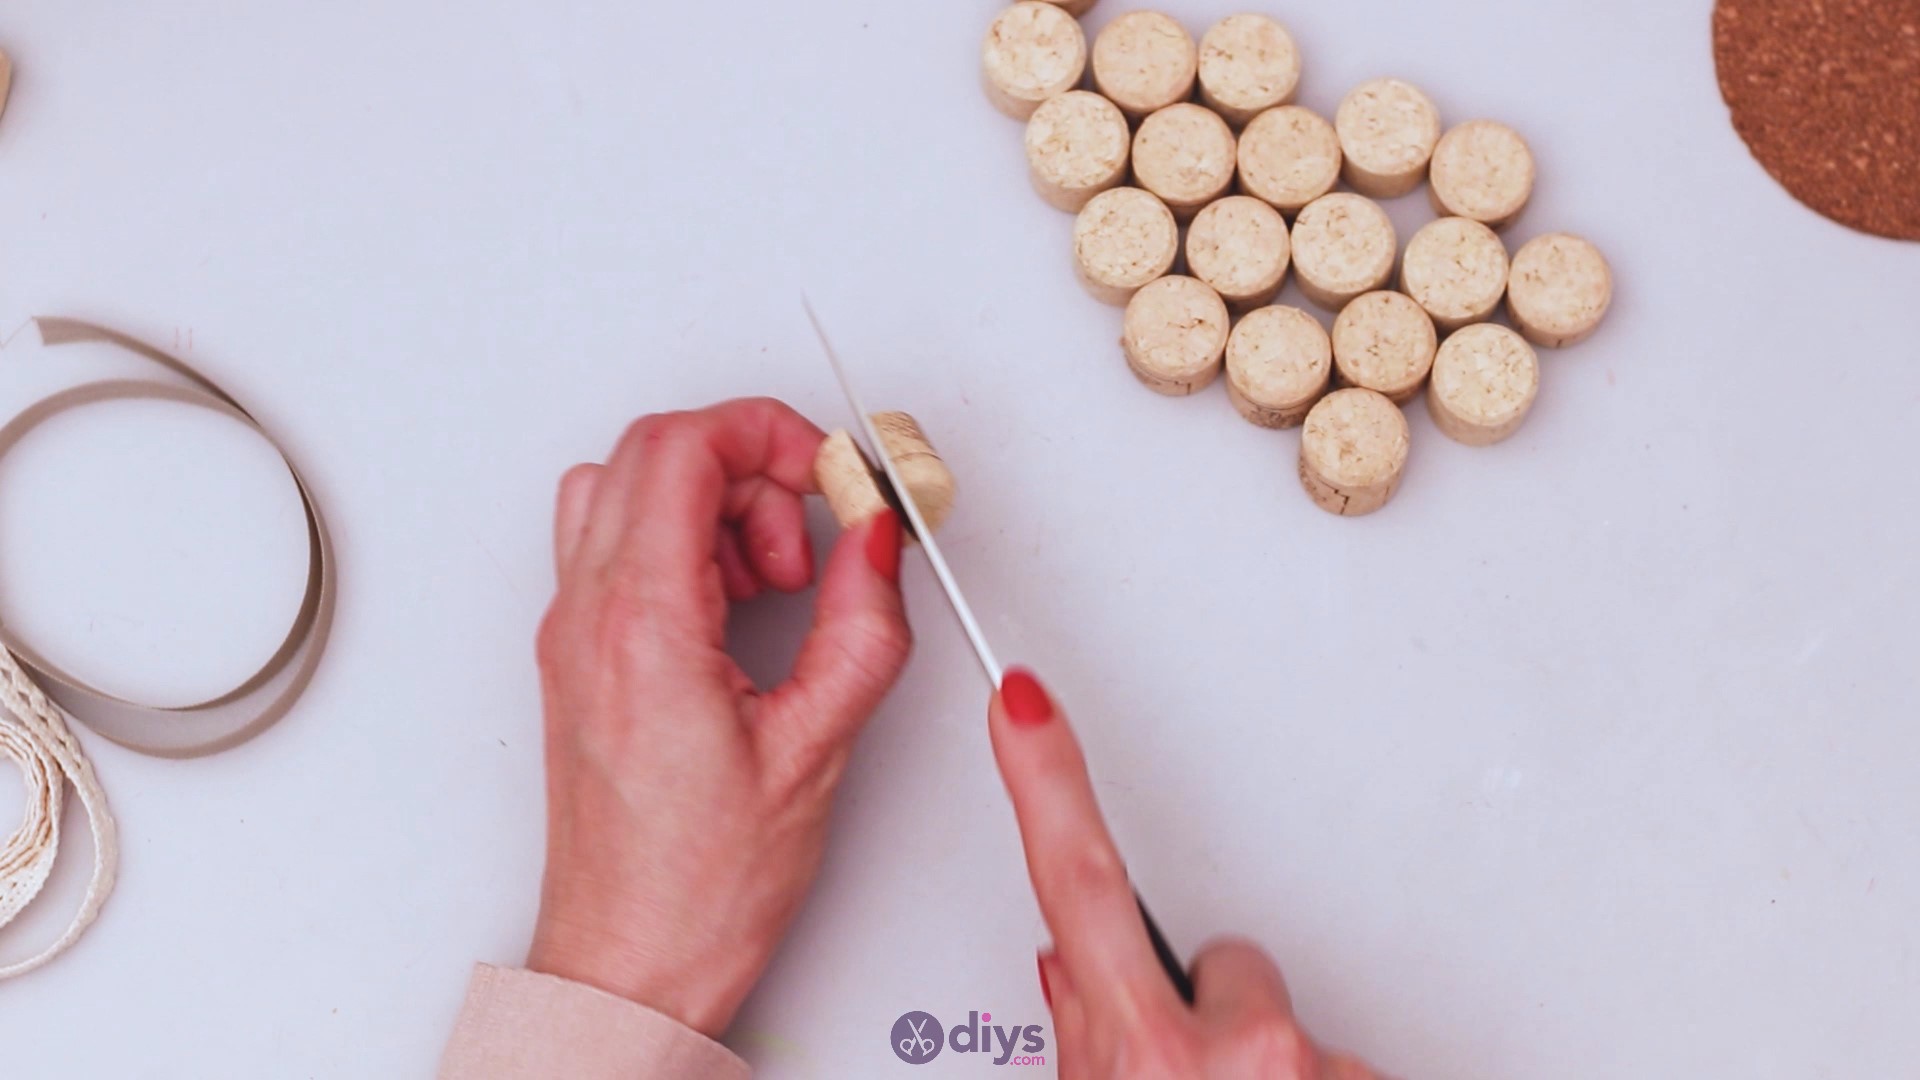
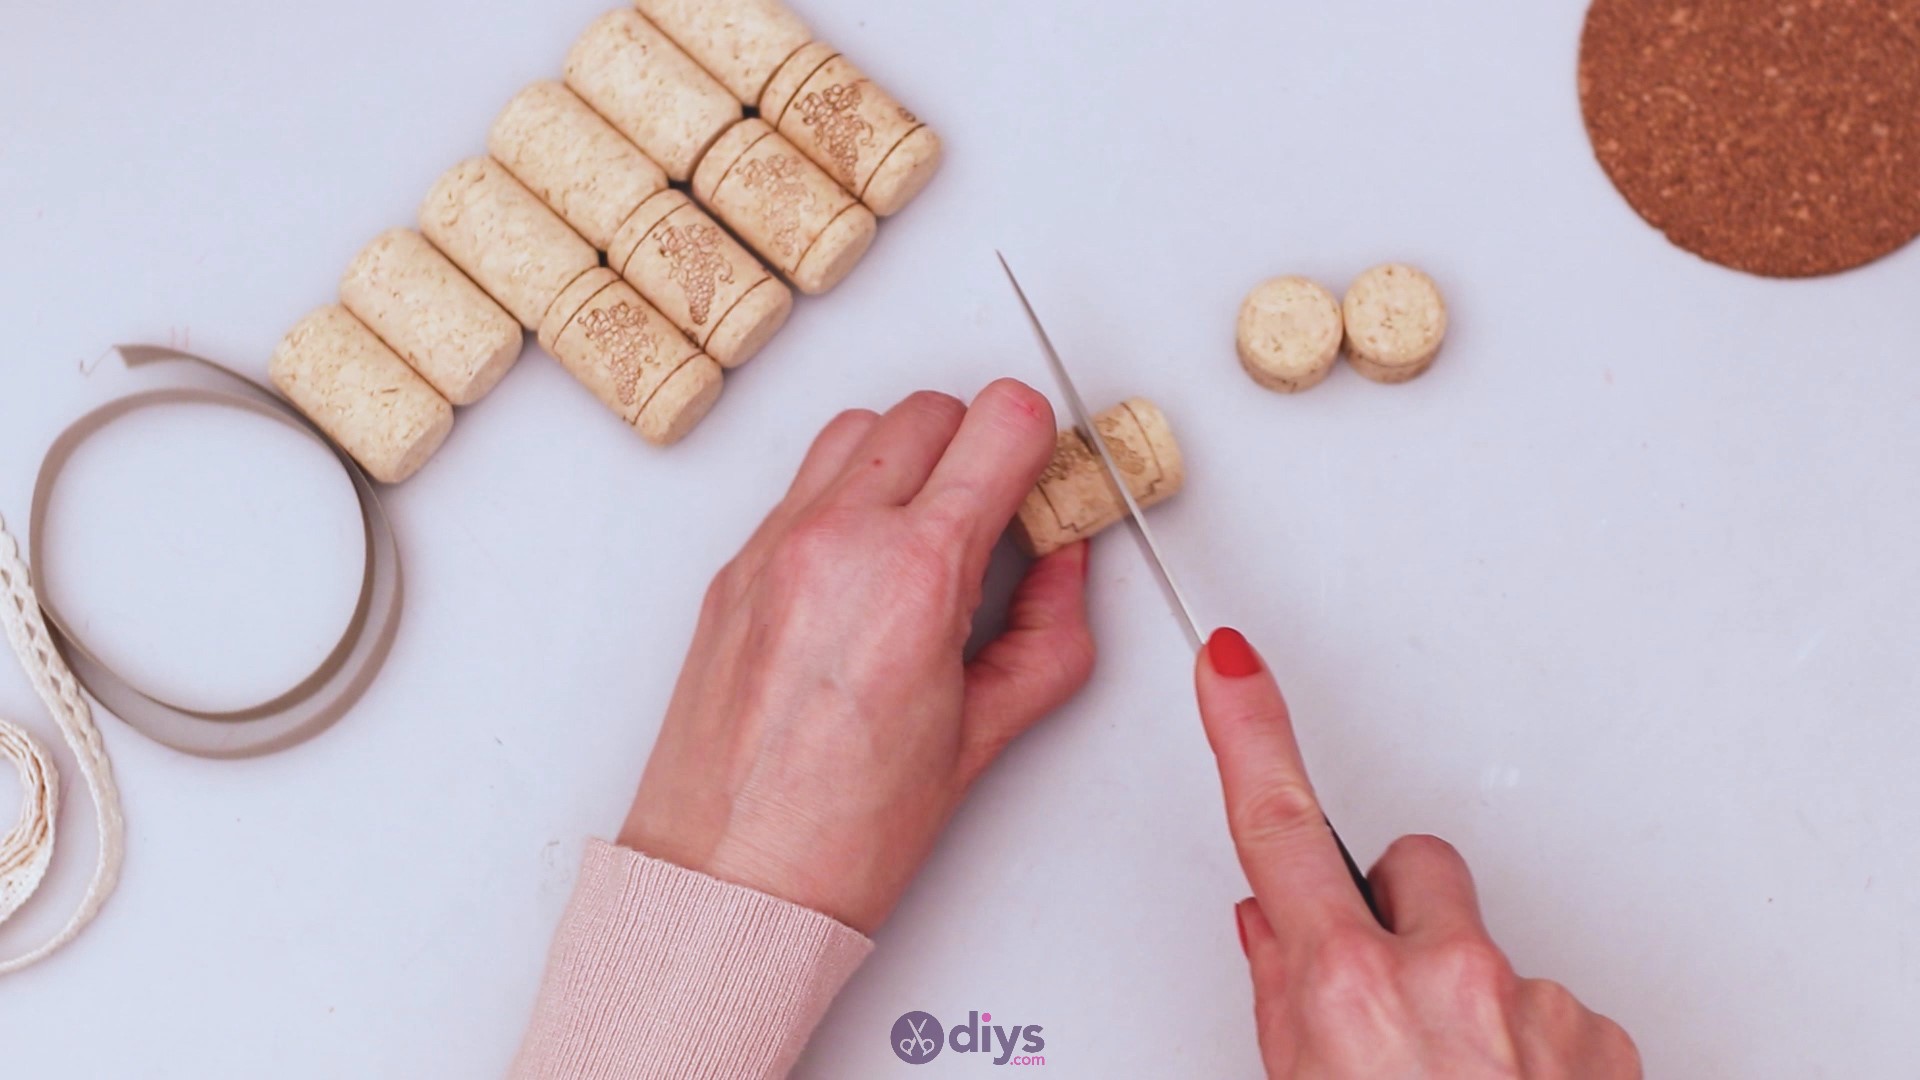
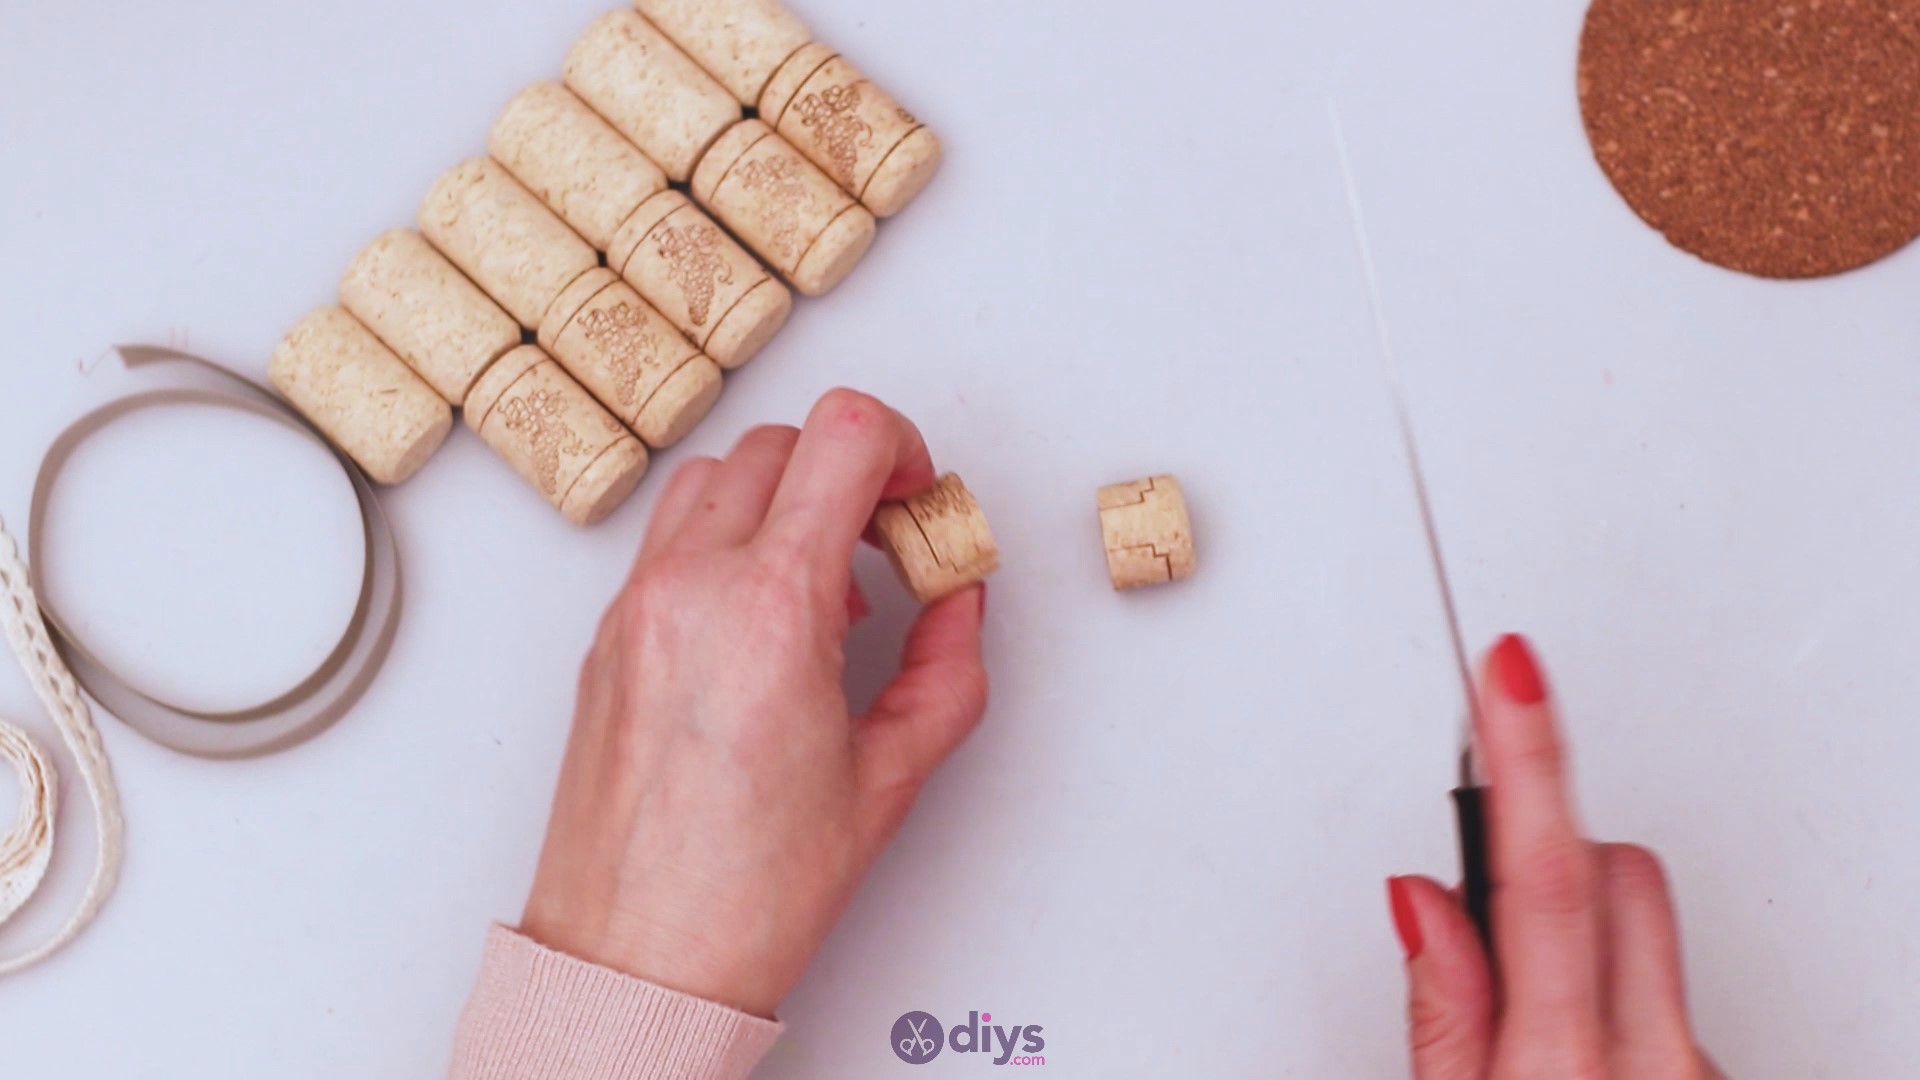
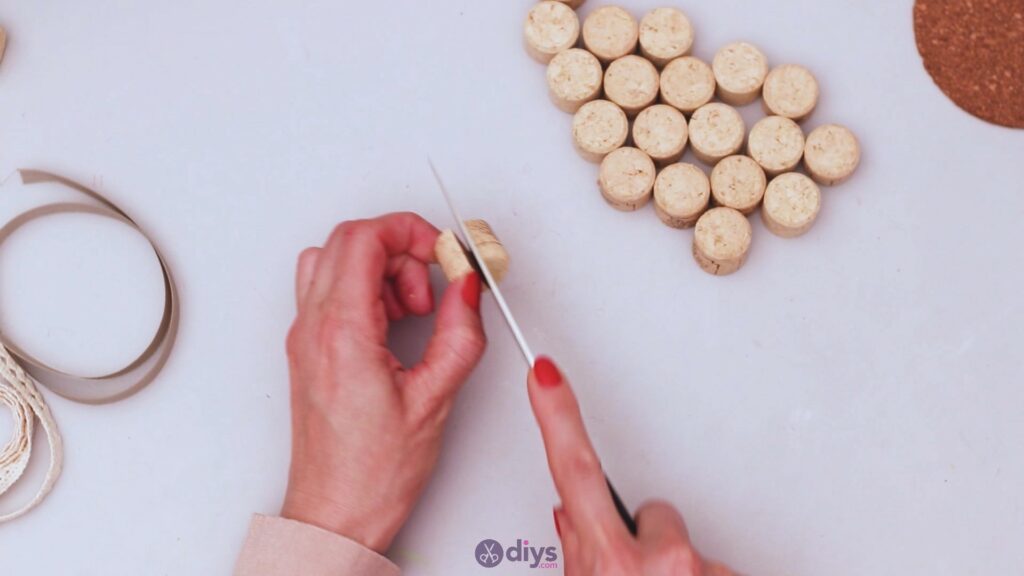
Step 1: Cut the corks
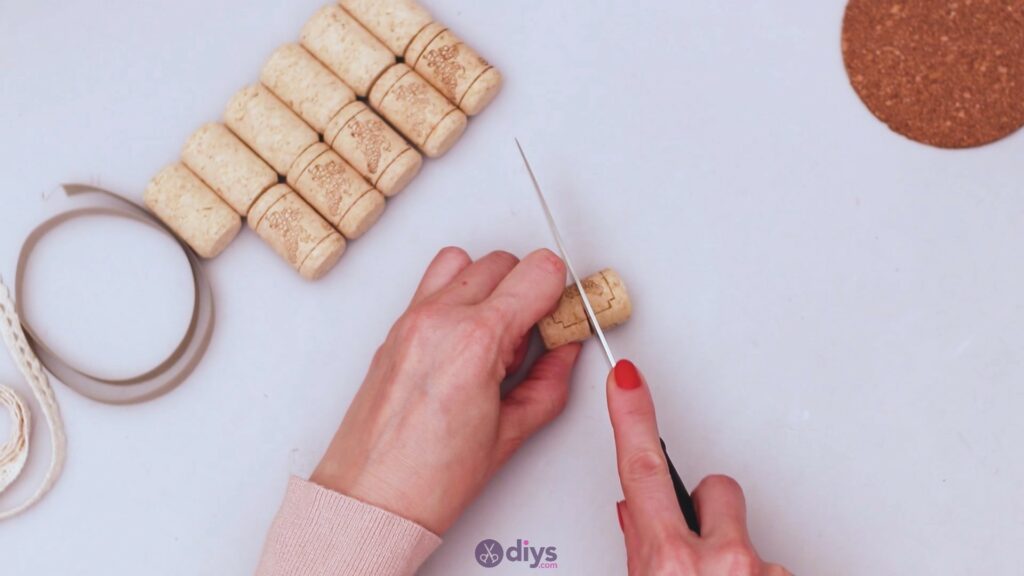
You’re going to start this journey to creating your own cork coasters by cutting the wine corks in half. Keep going until you’ve cut them all up.
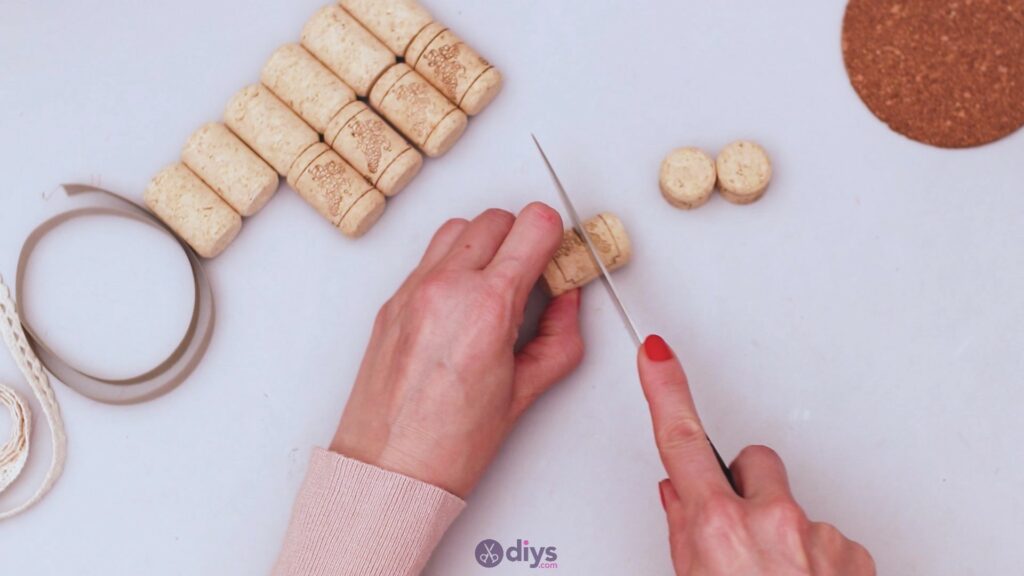
Try to make them as equal as possible as you’ll want the surface of the coaster to have the same height and be relatively even.

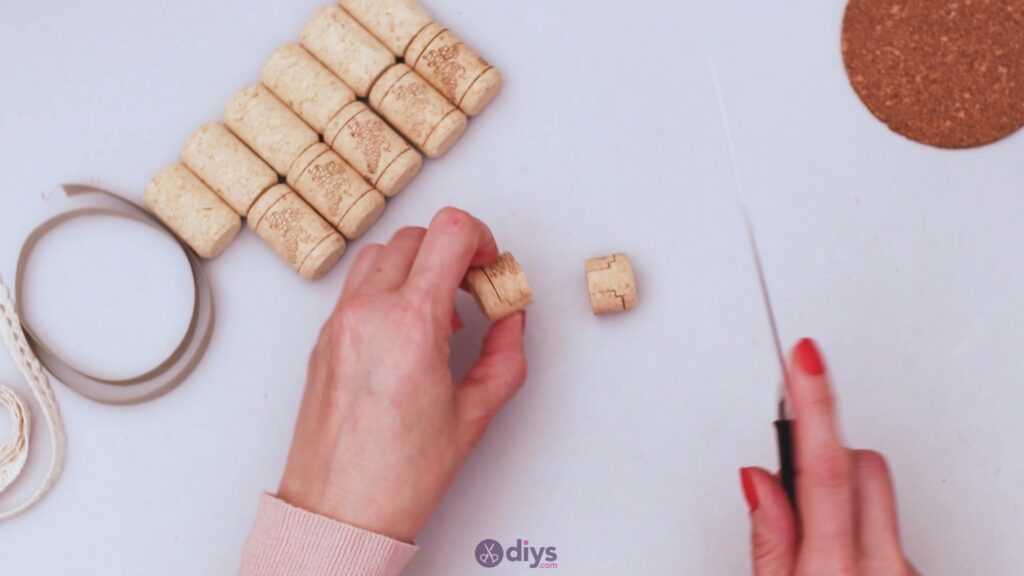
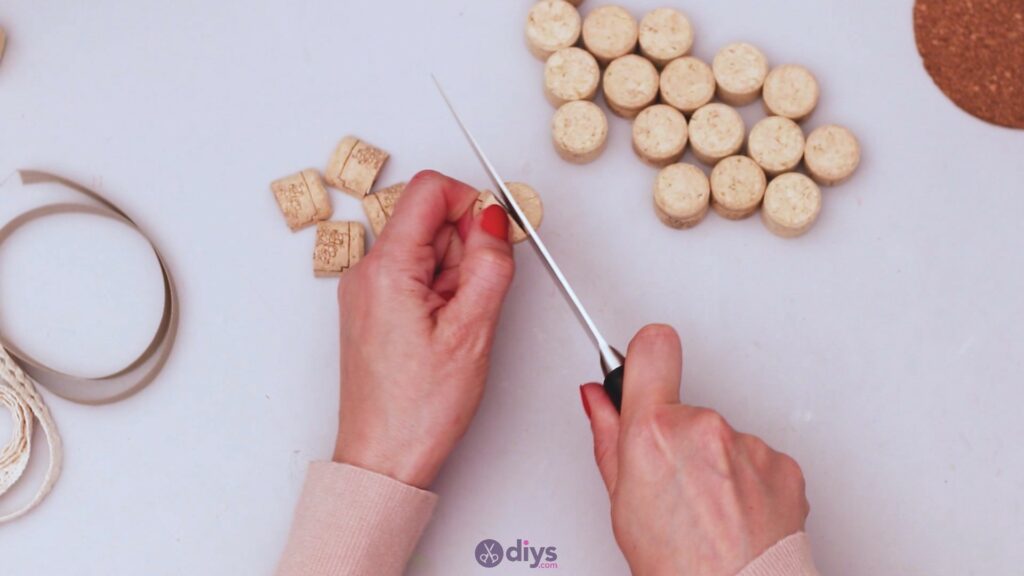
Take three of these halves and cut them in half too. This time make sure you make the cut transversely, as shown in the picture below.

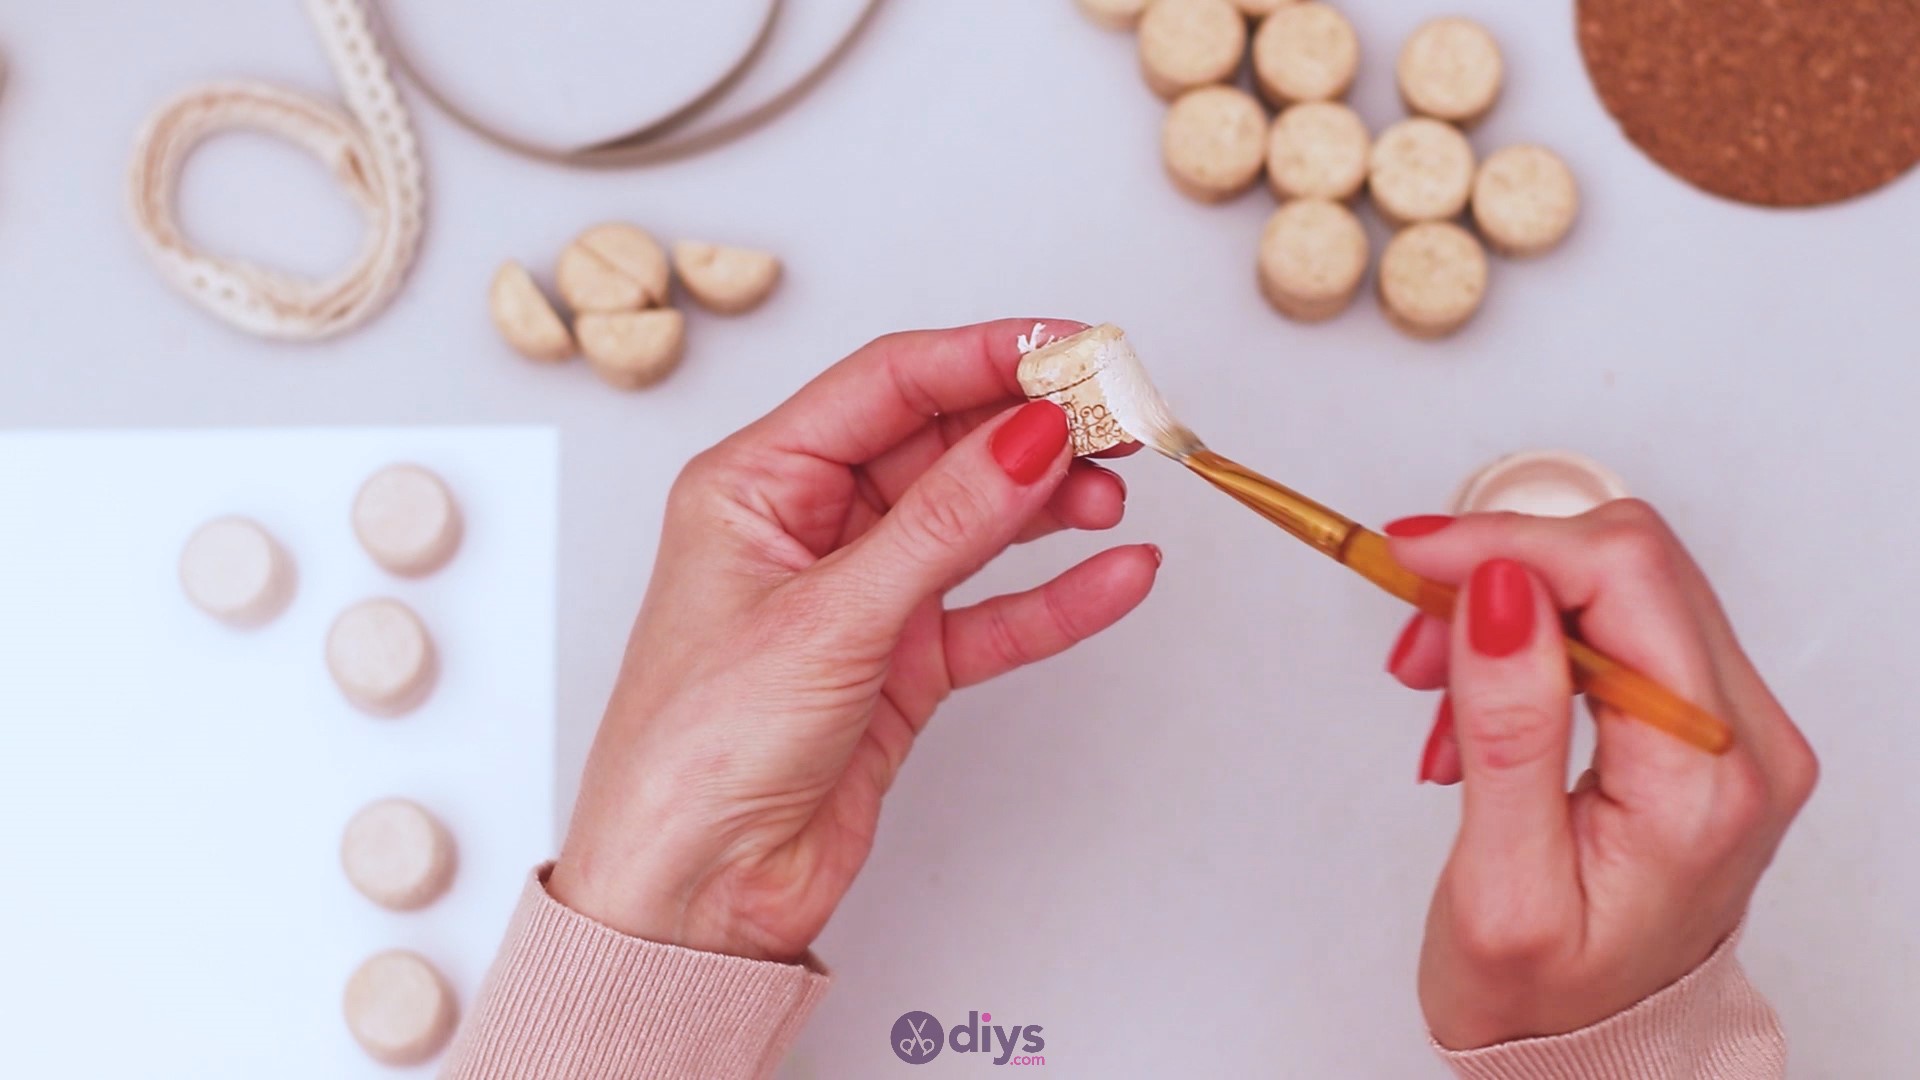
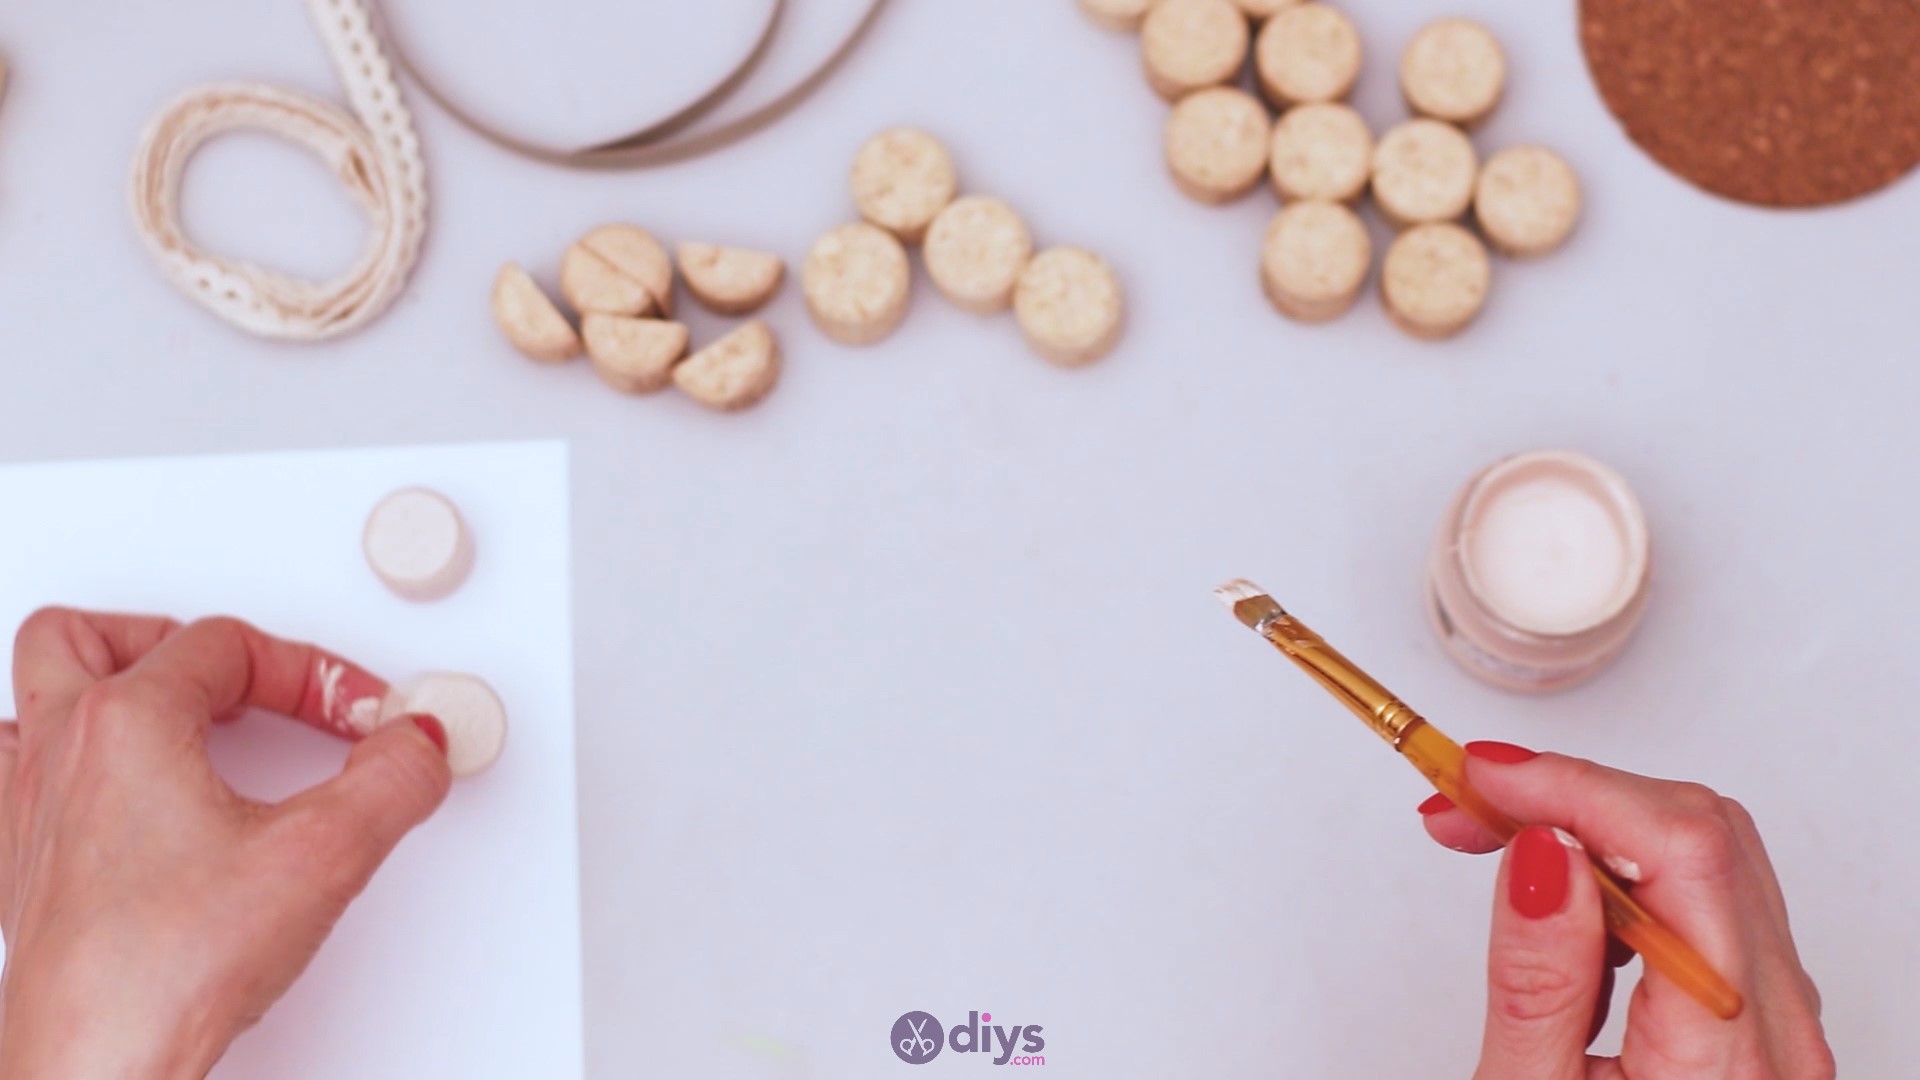
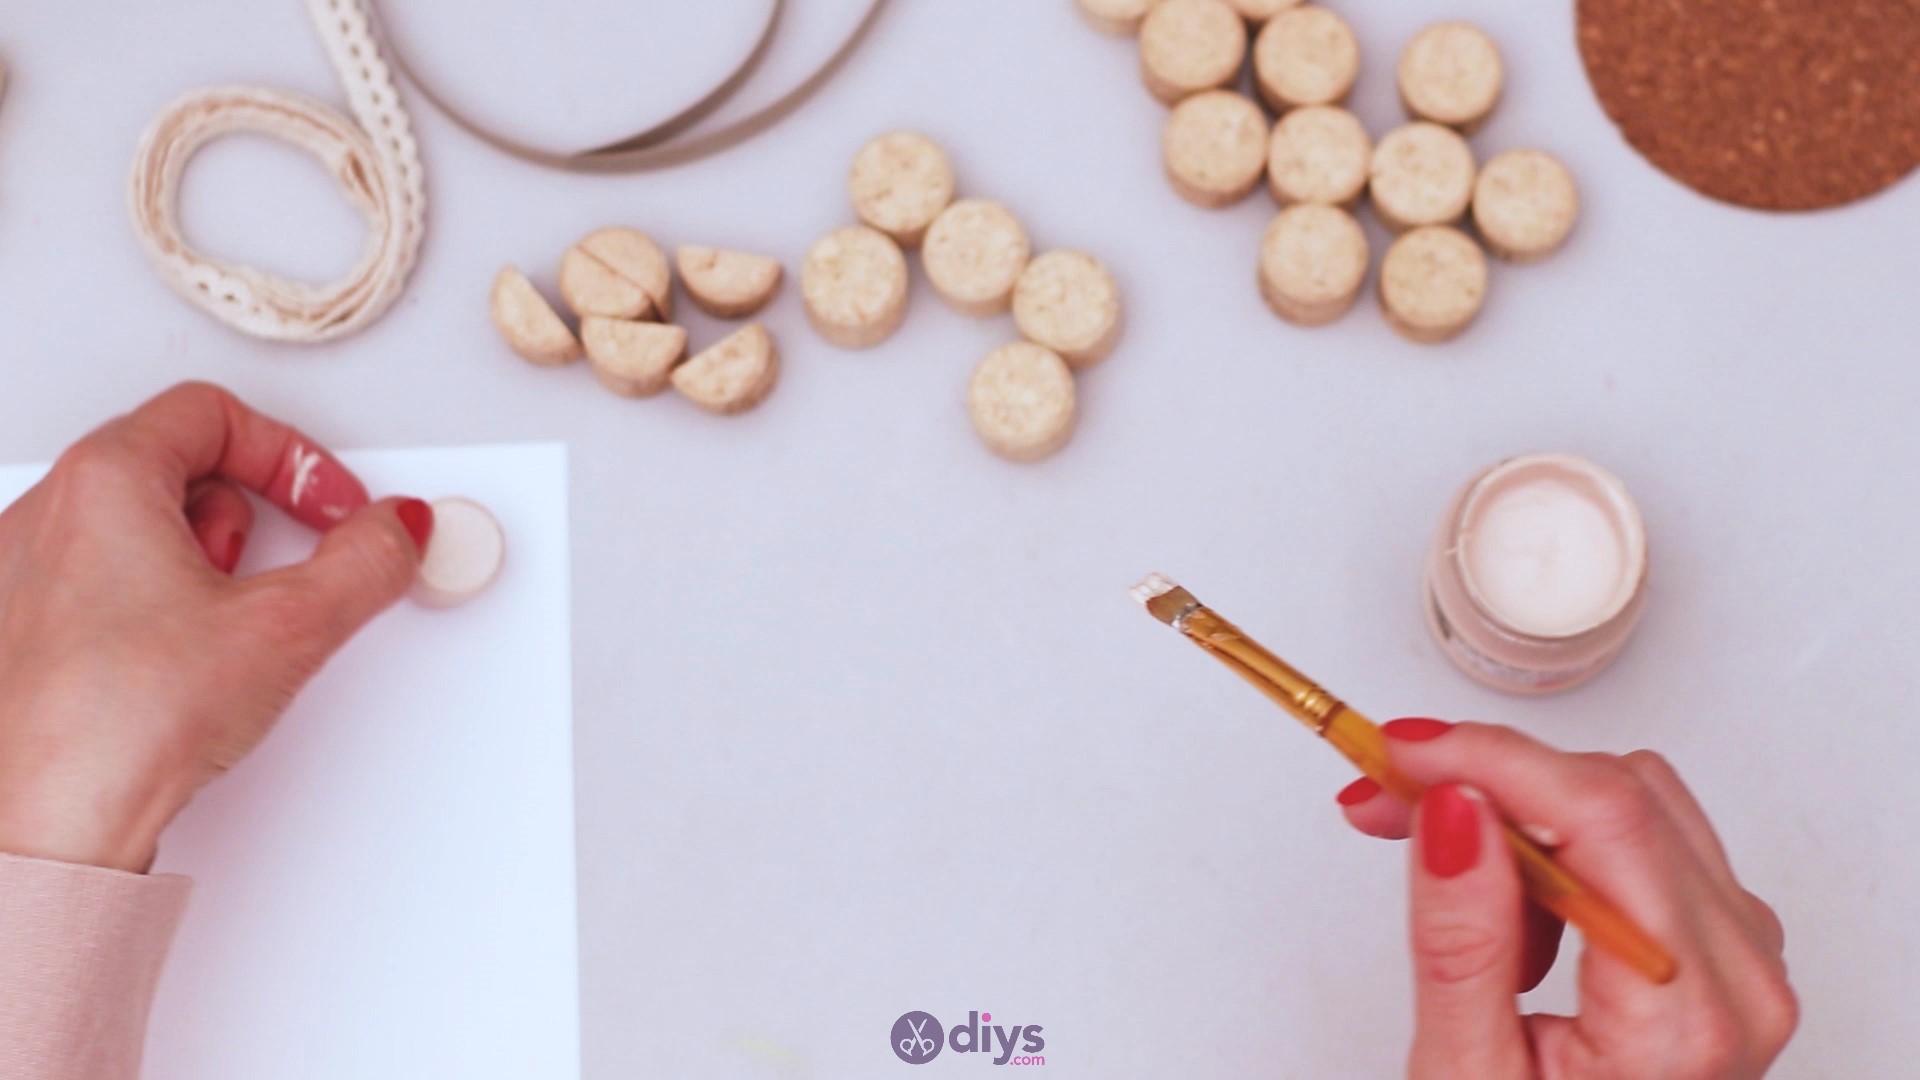
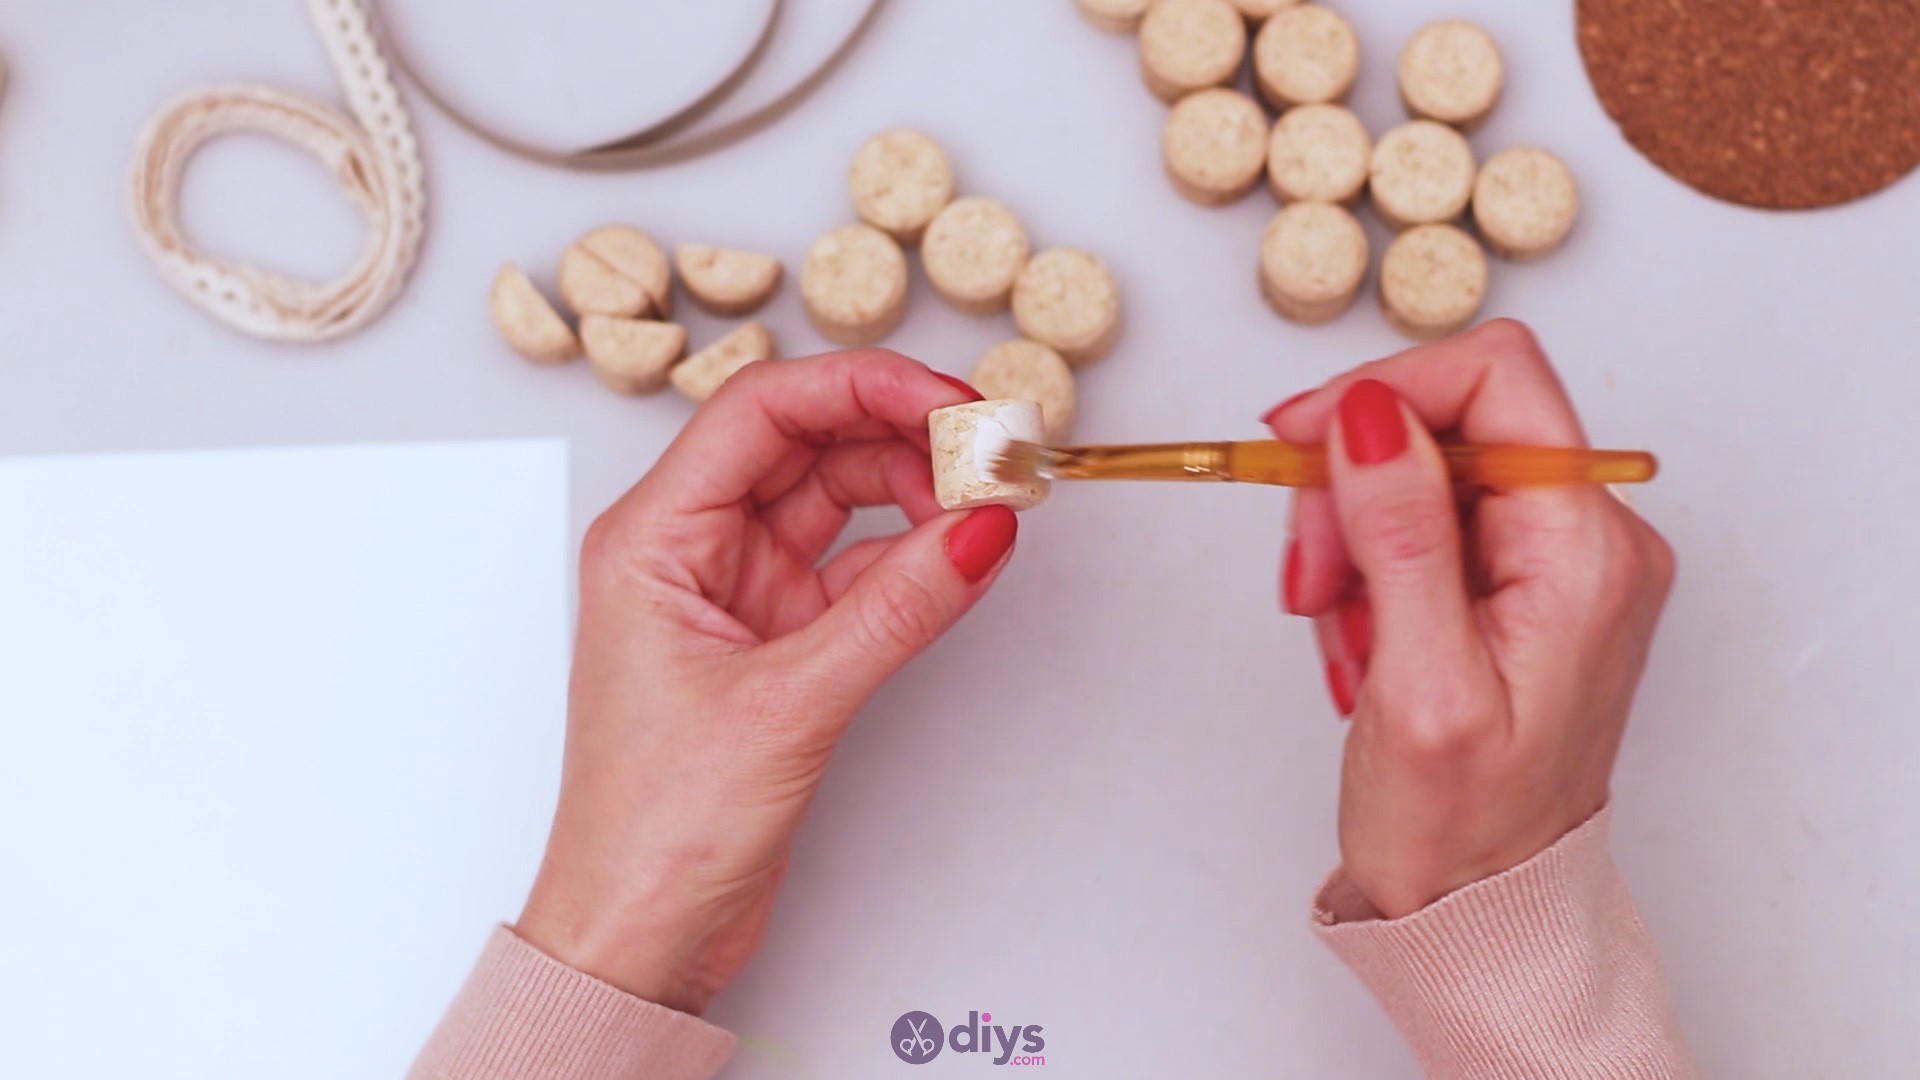
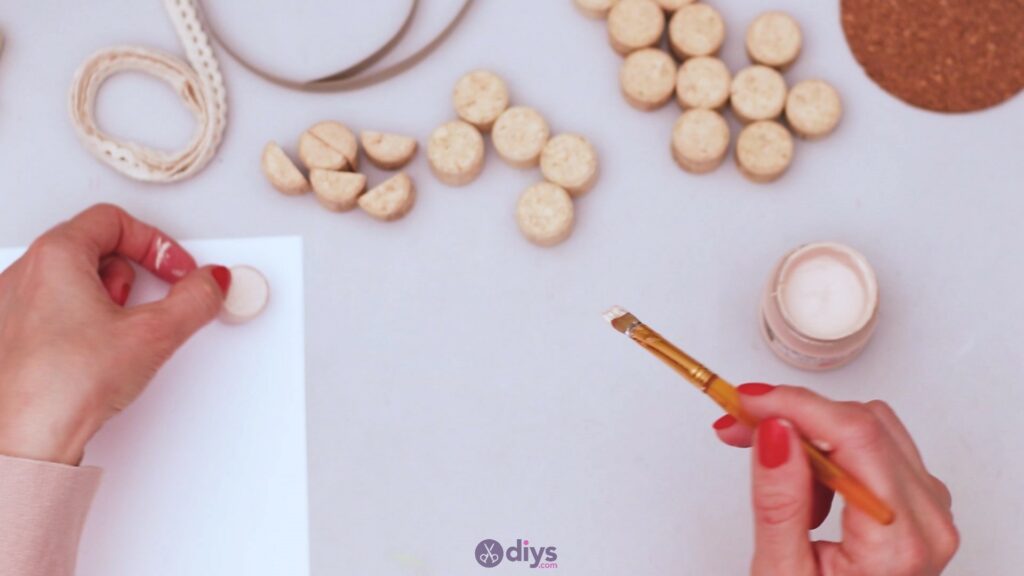
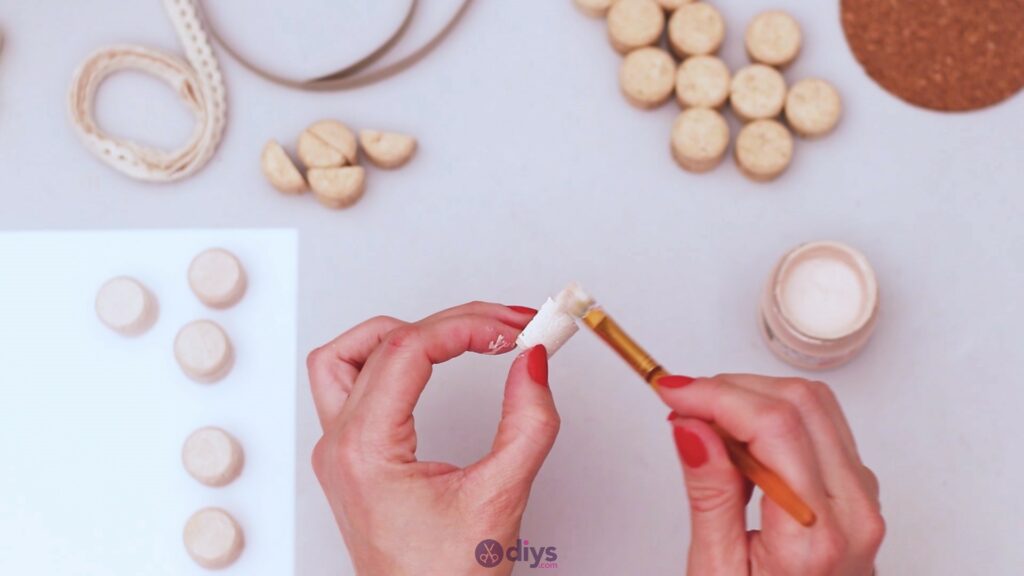
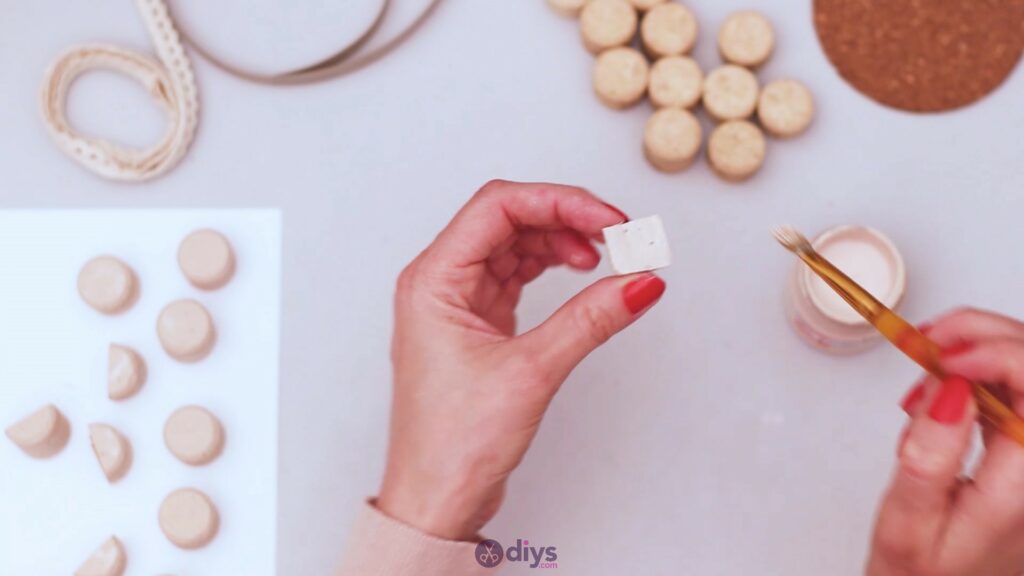
Step 2: Paint the wine corks
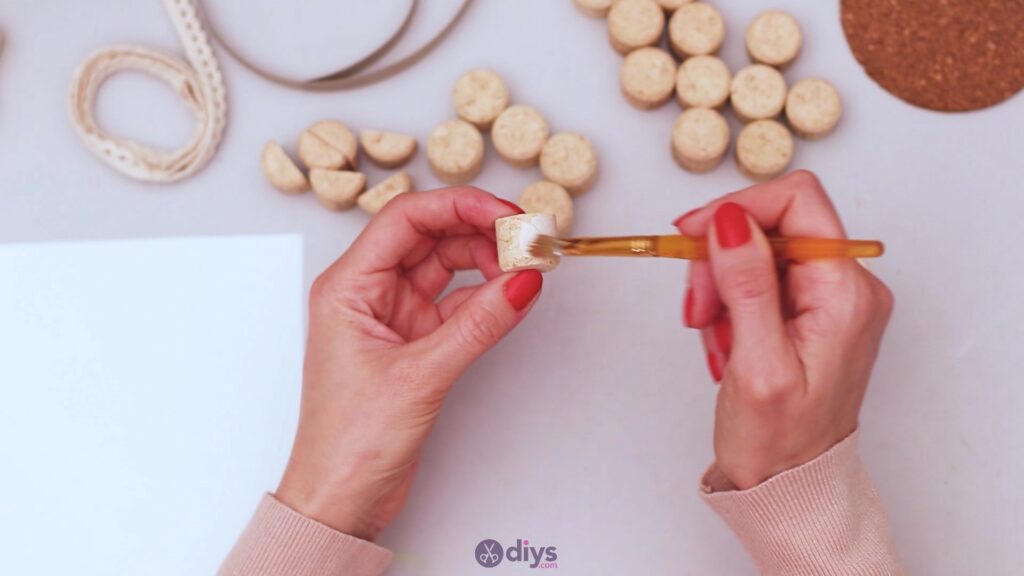
Next, you’re going to take the white acrylic paint and the paintbrush and start painting some of the corks white. We only covered some of them in paint and left them out to dry. Of course, you can choose different colors if you want to.
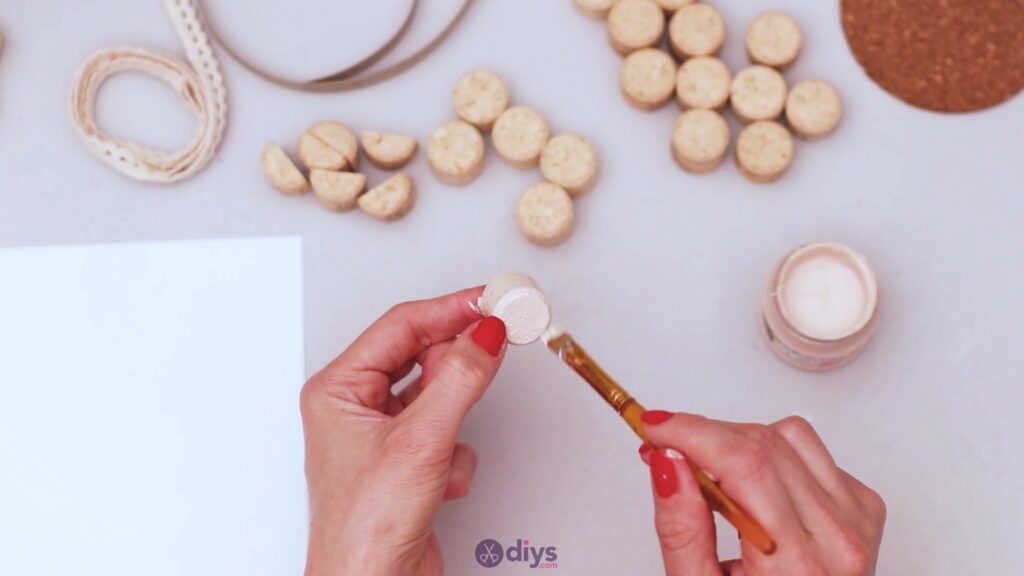
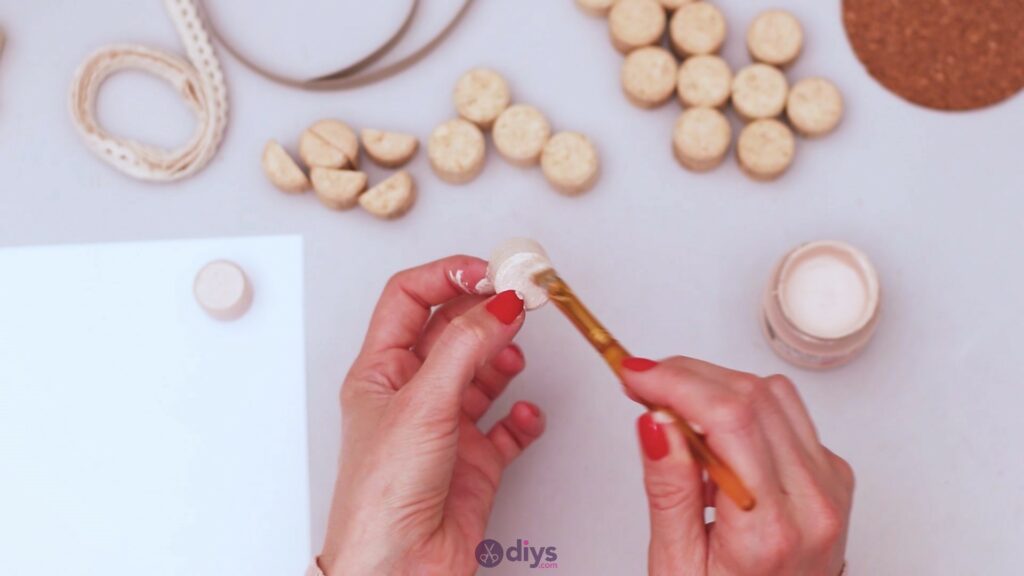
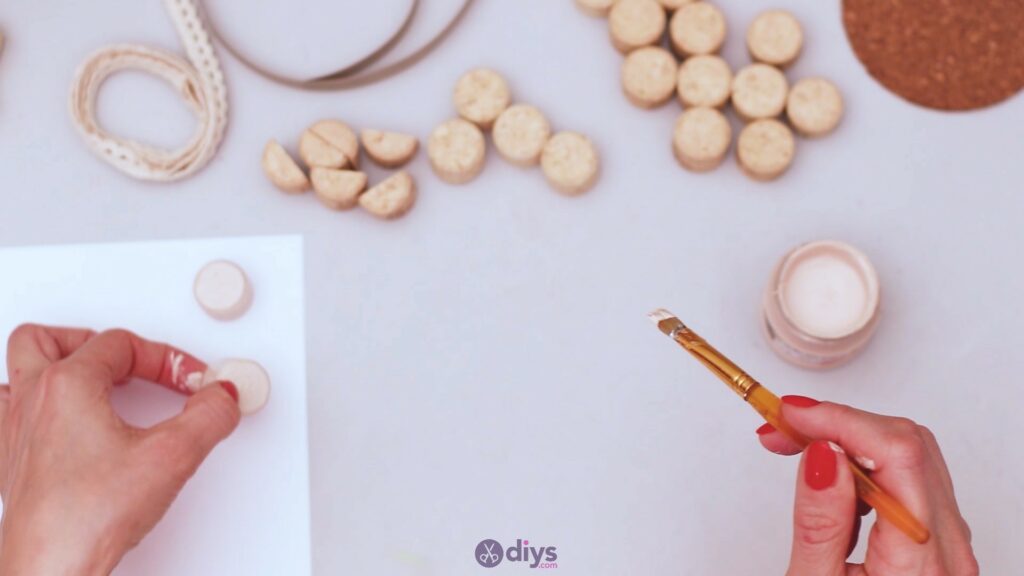
Make sure you leave them out to dry for an appropriate length of time. You don’t want them to leave any extra marks on your hands when you pick them up for the next step.
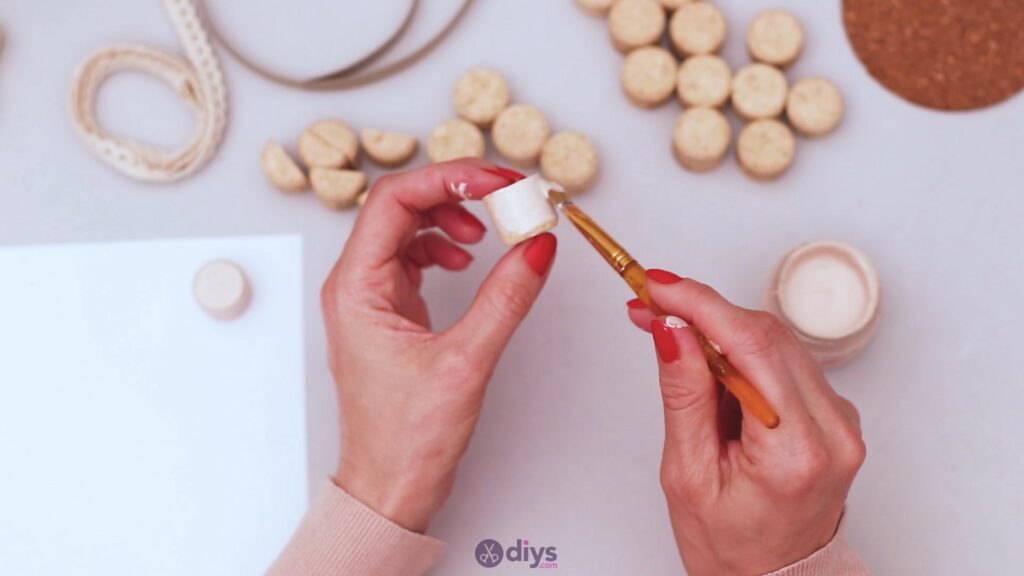
Make sure you place the painted corks on a white piece of paper so they don’t dirty up your table. You can paint the wine corks on all but one side – the bottom you can leave alone.

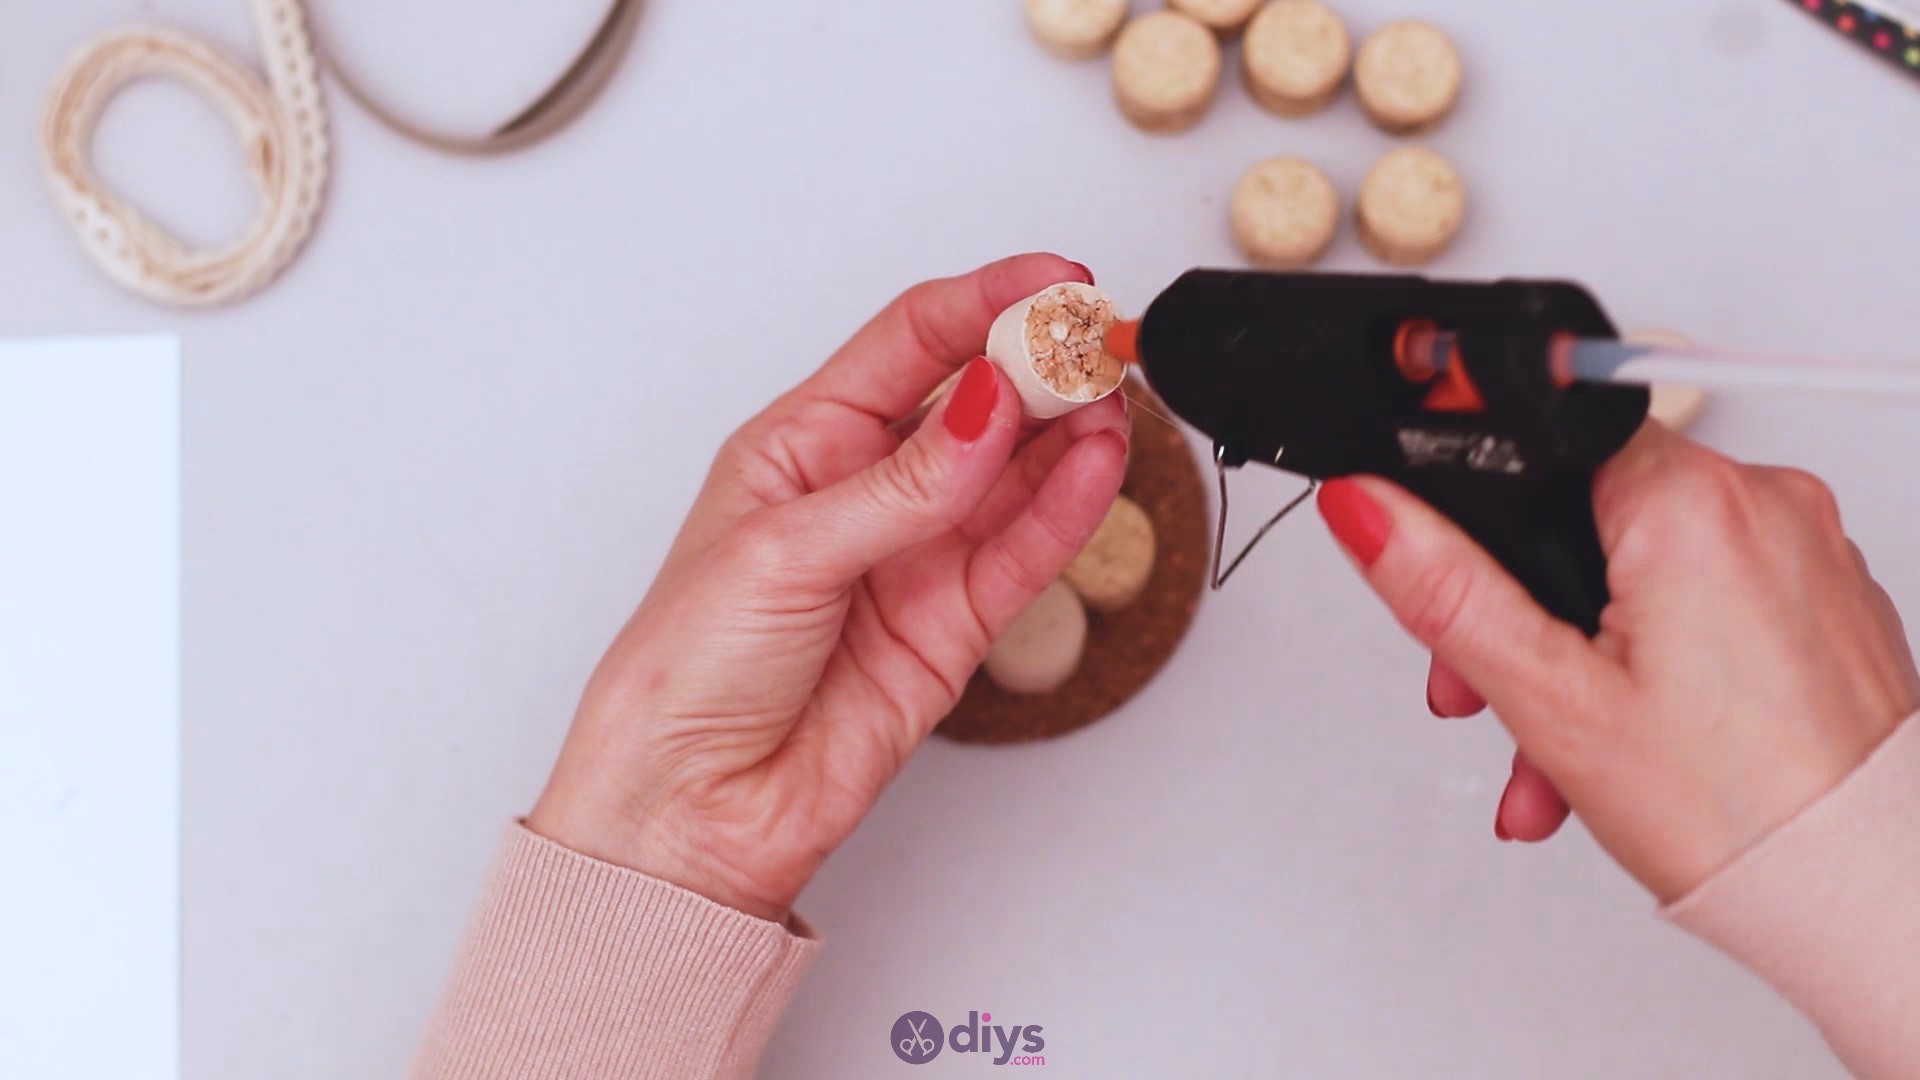
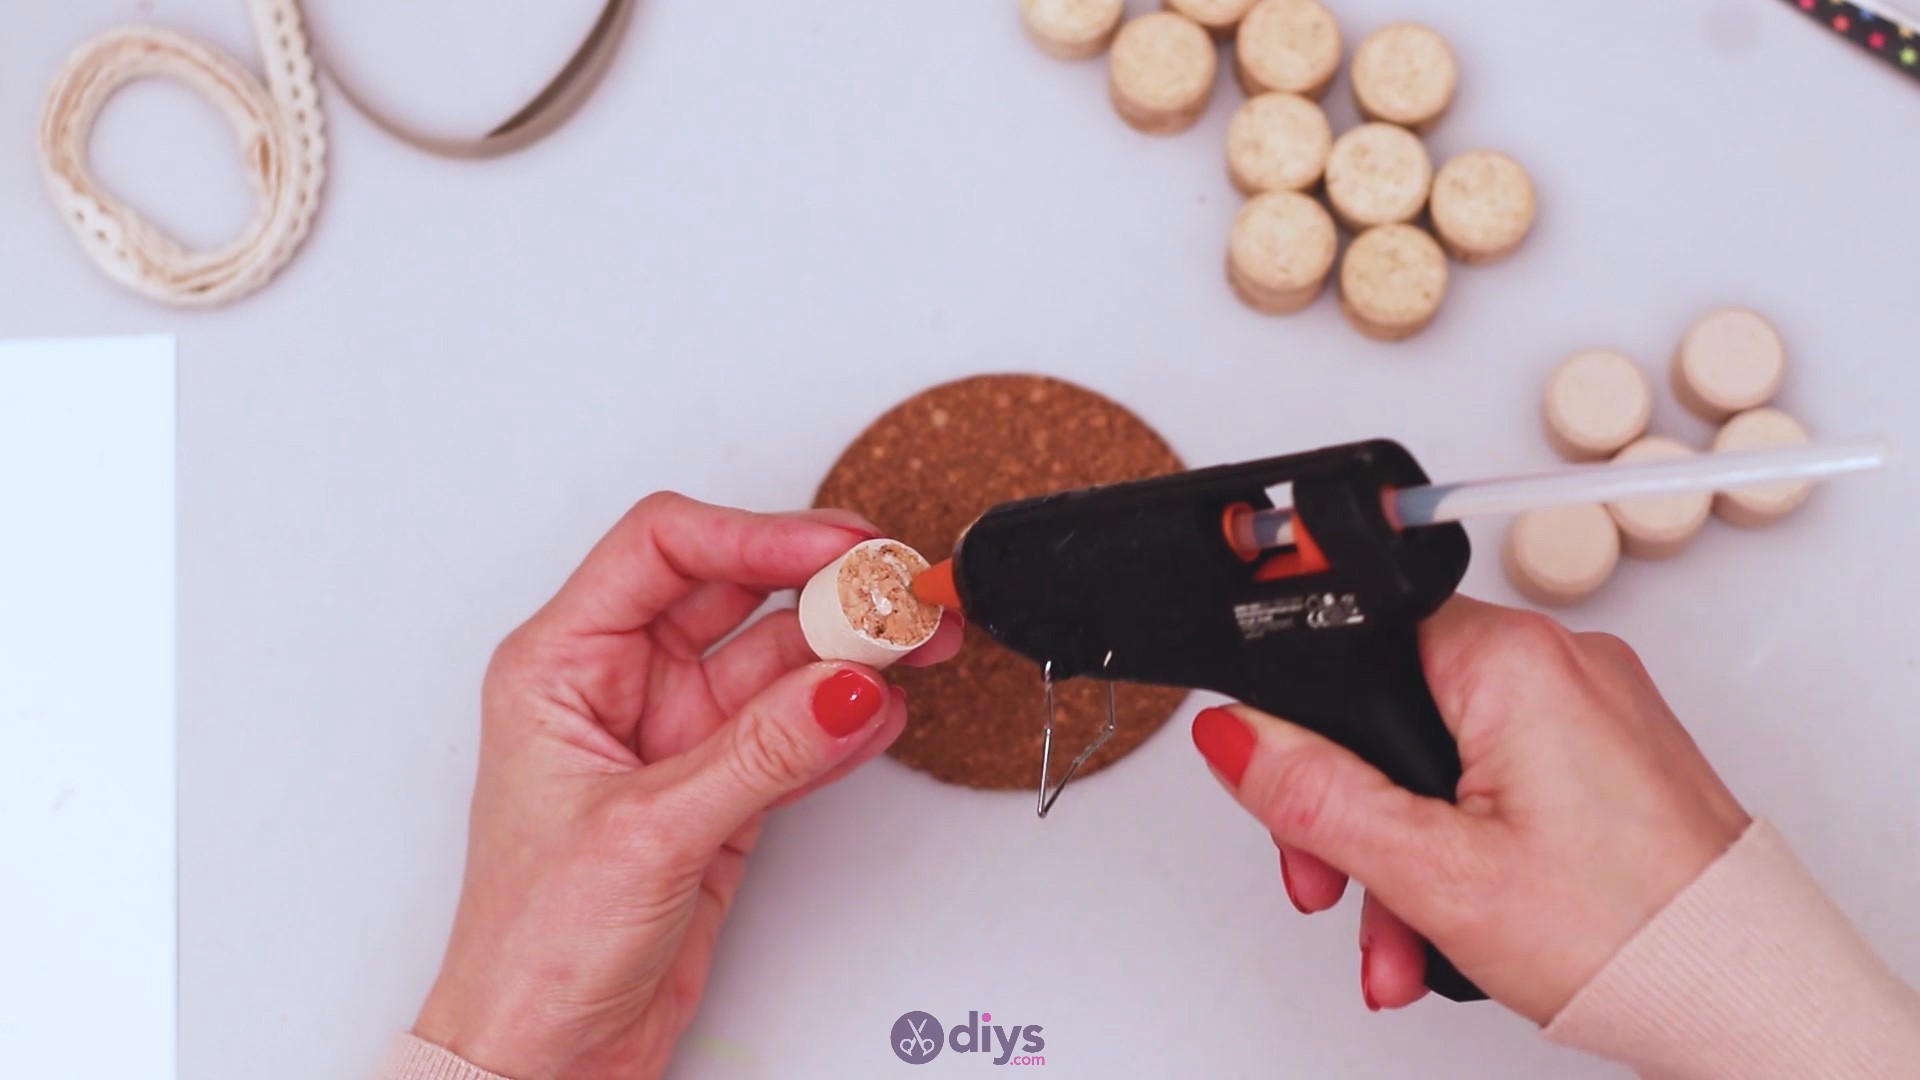
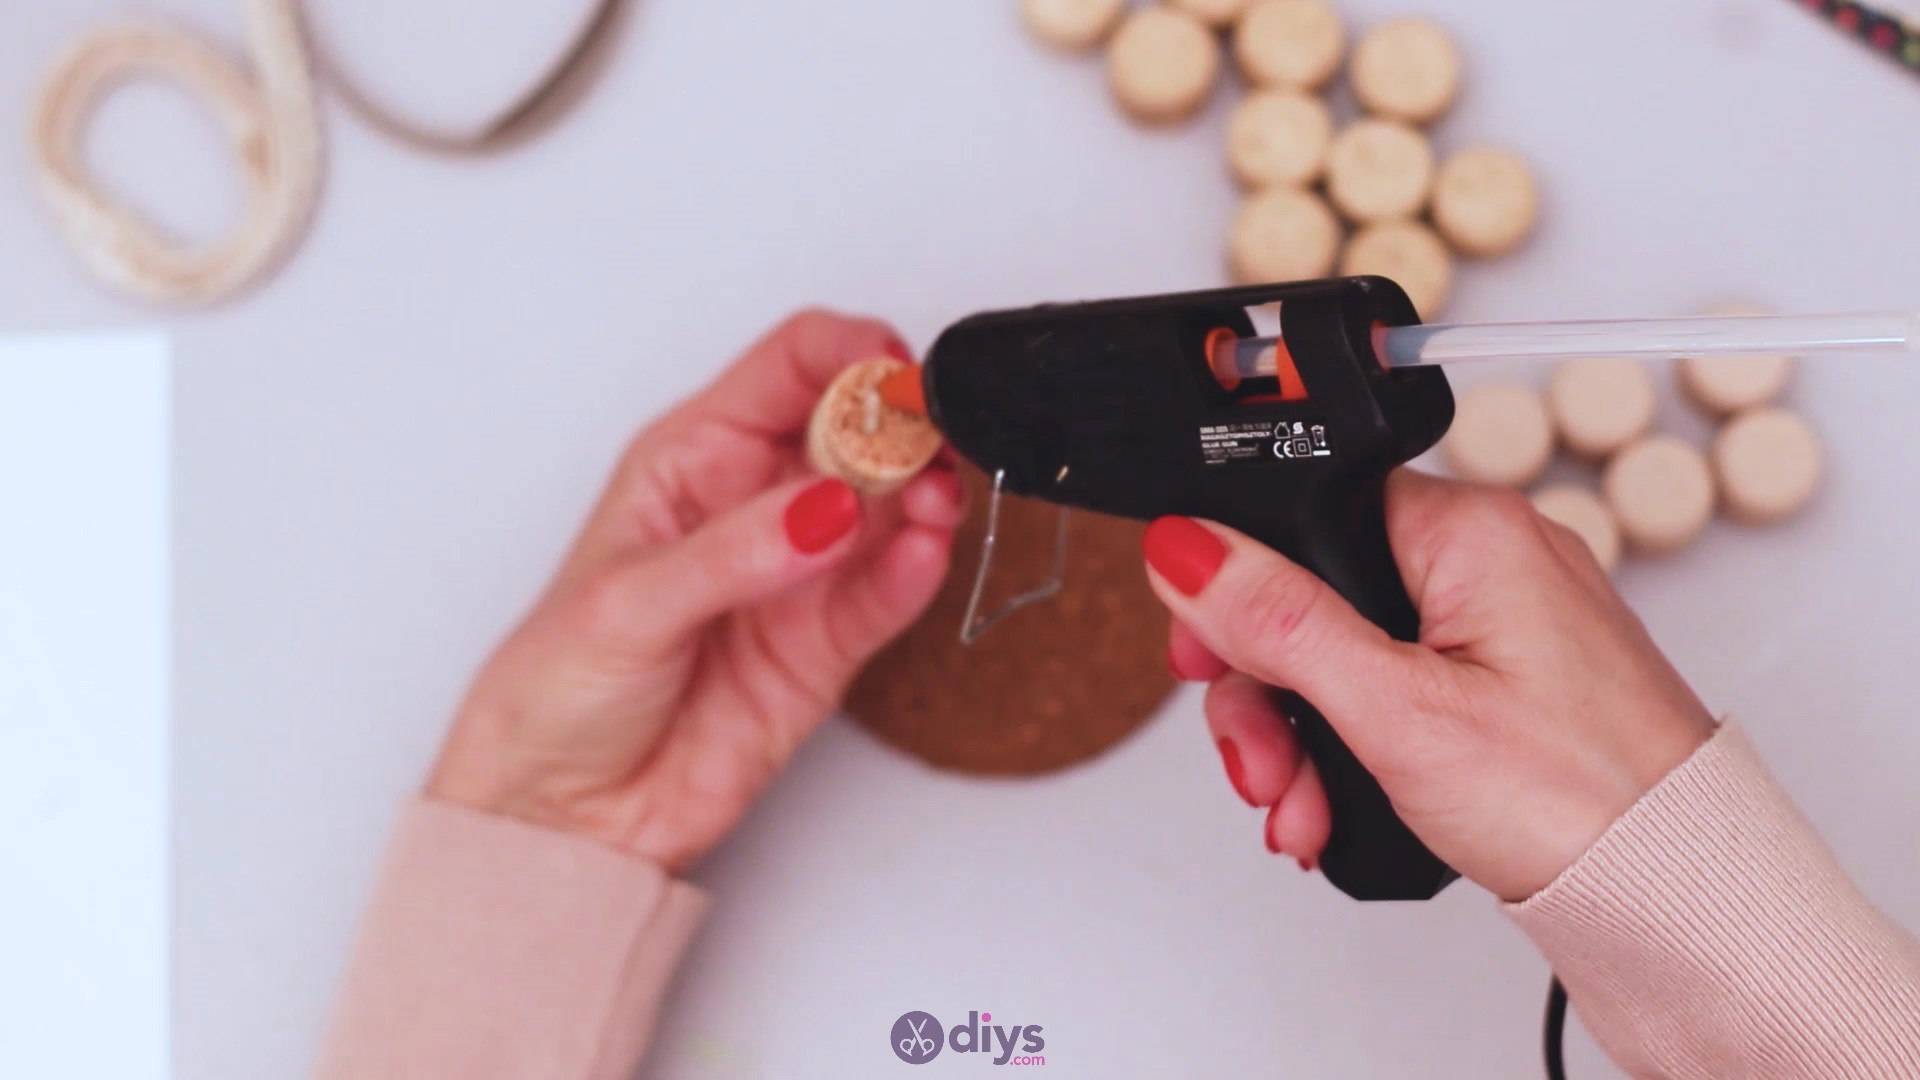
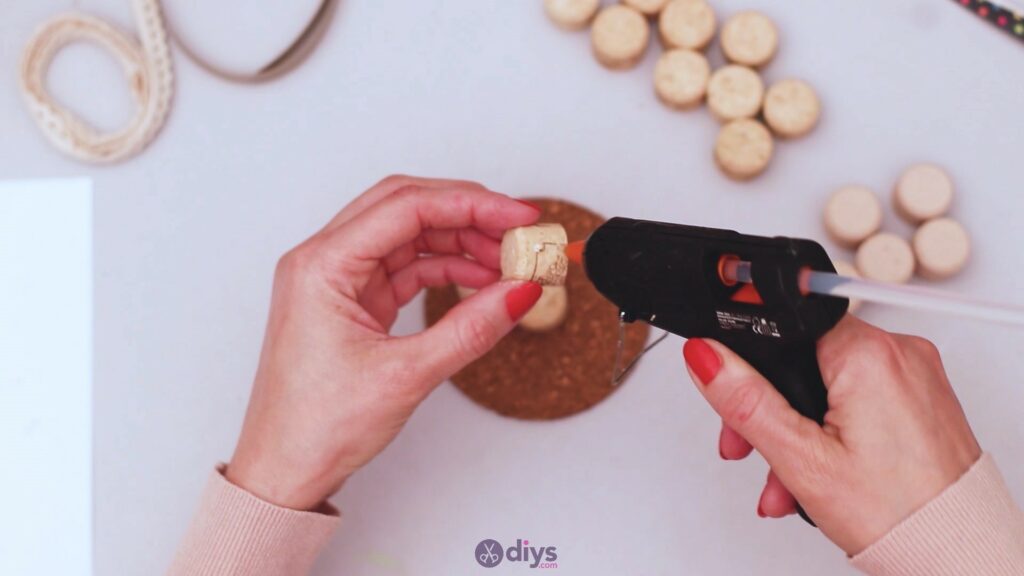
Step 3: Glue the wine corks to the coaster

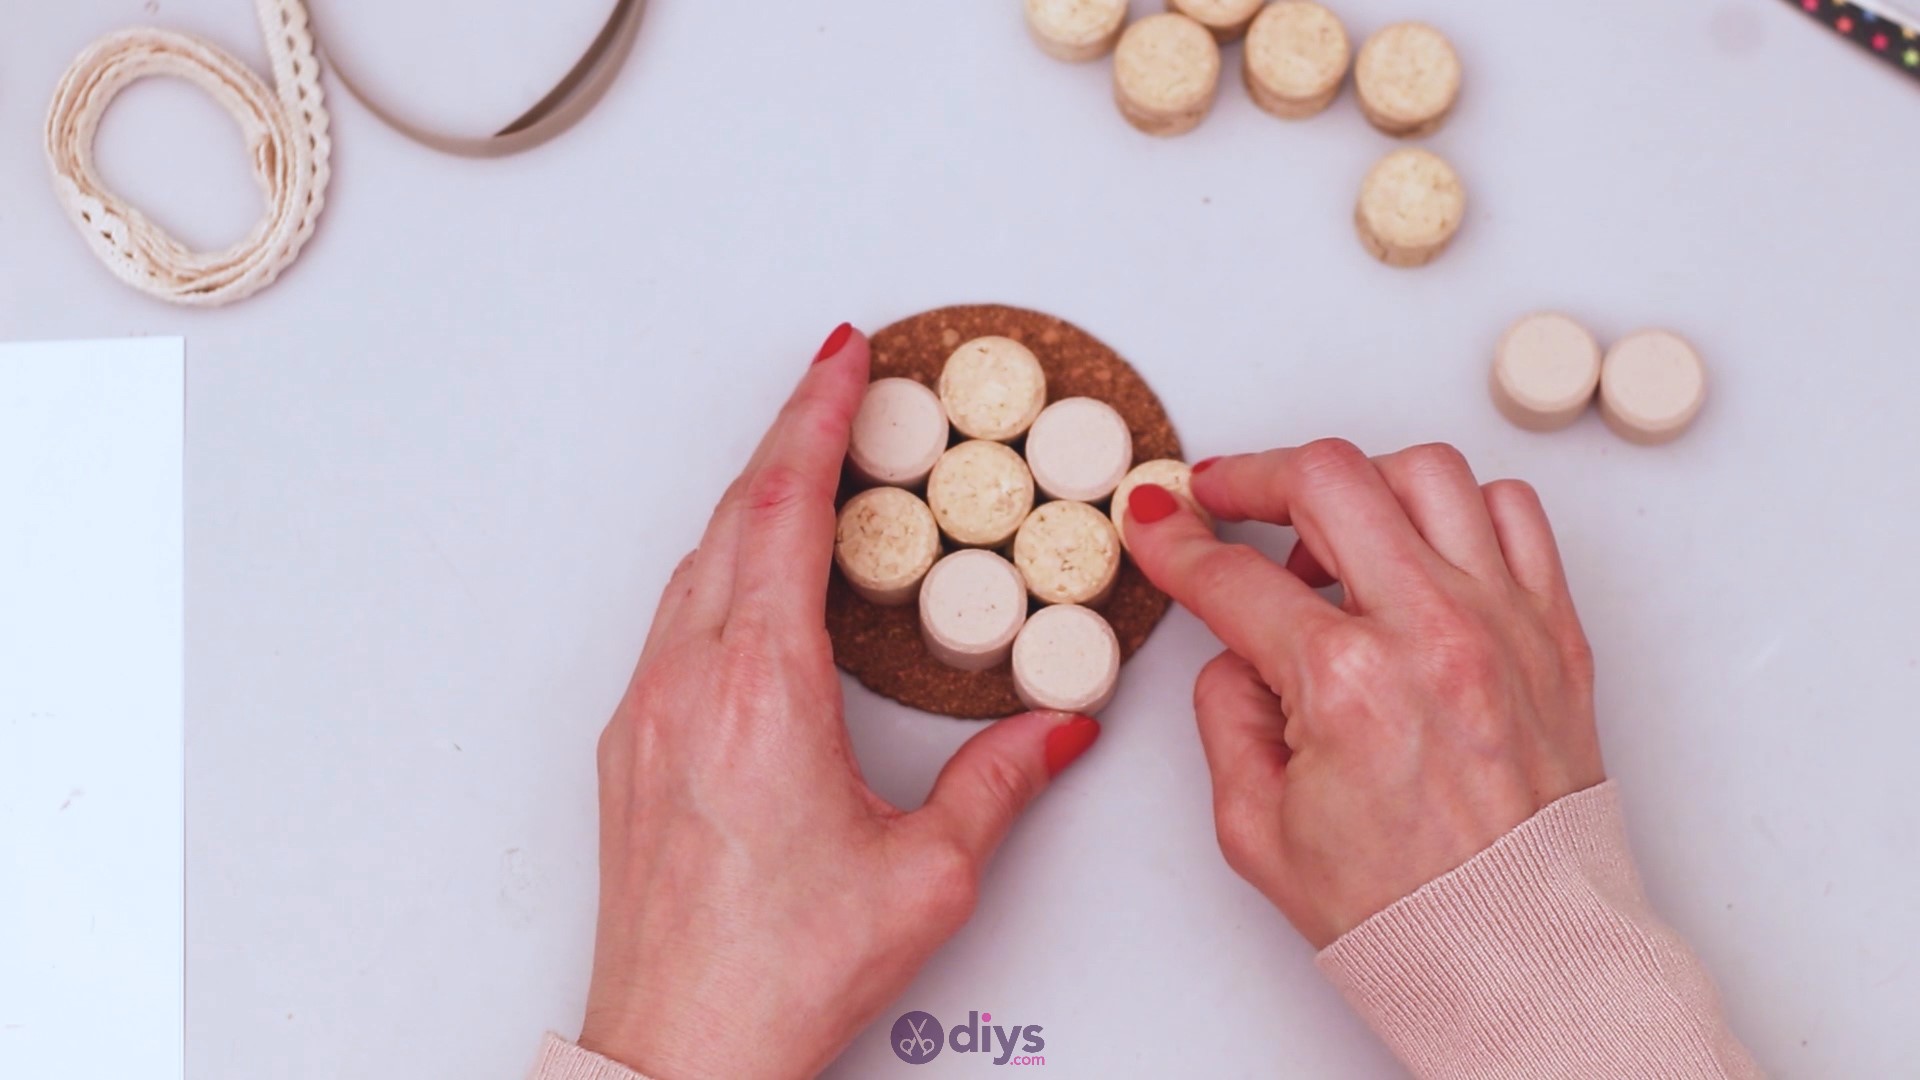
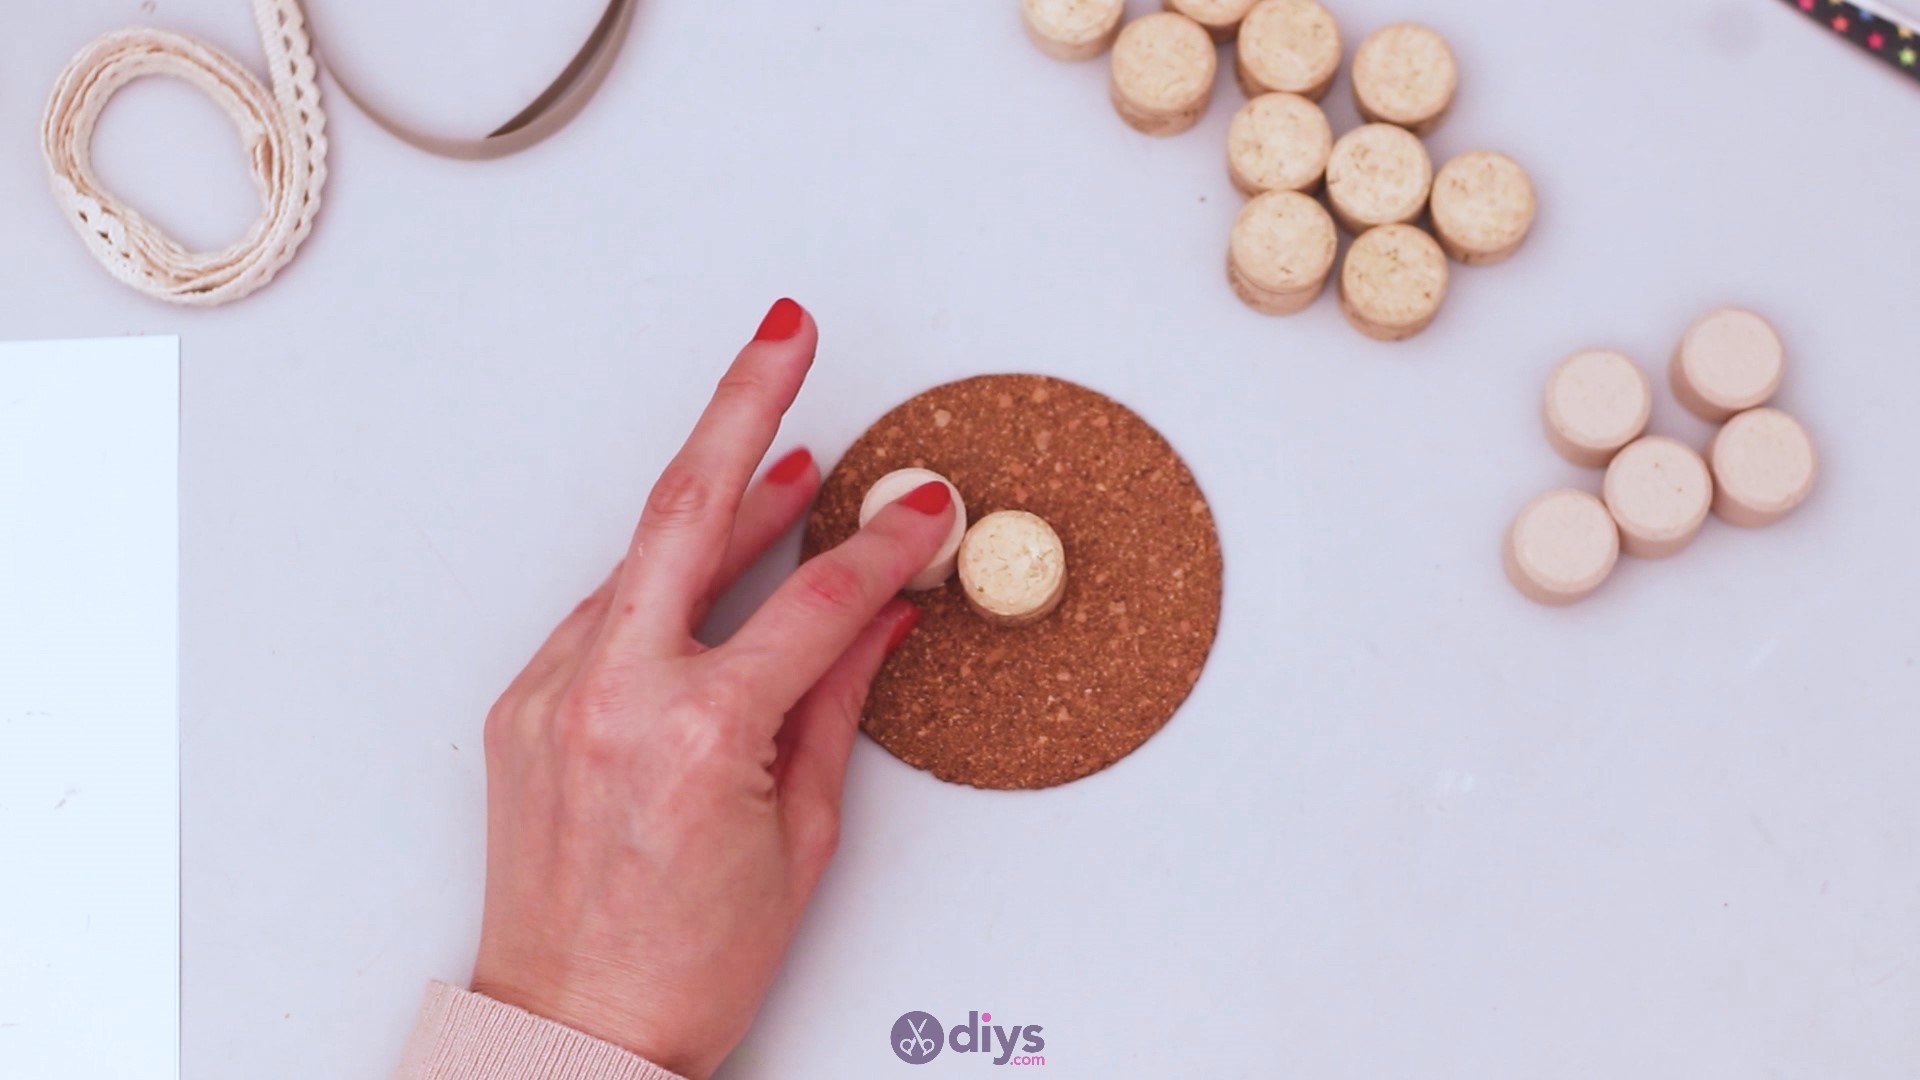
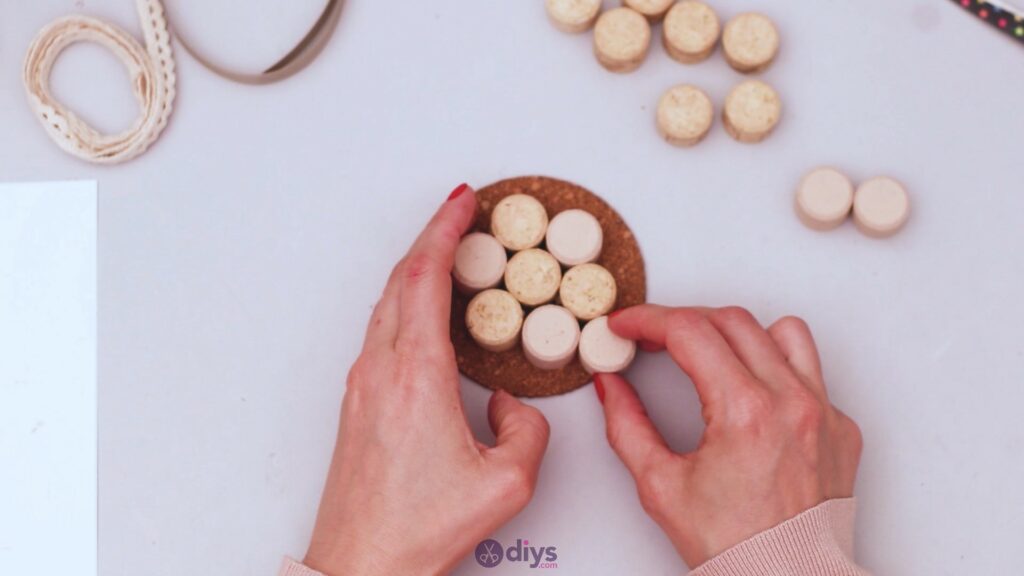
Now, we’re going to start gluing the wine corks to the cork coaster. Start from the middle and go from there.
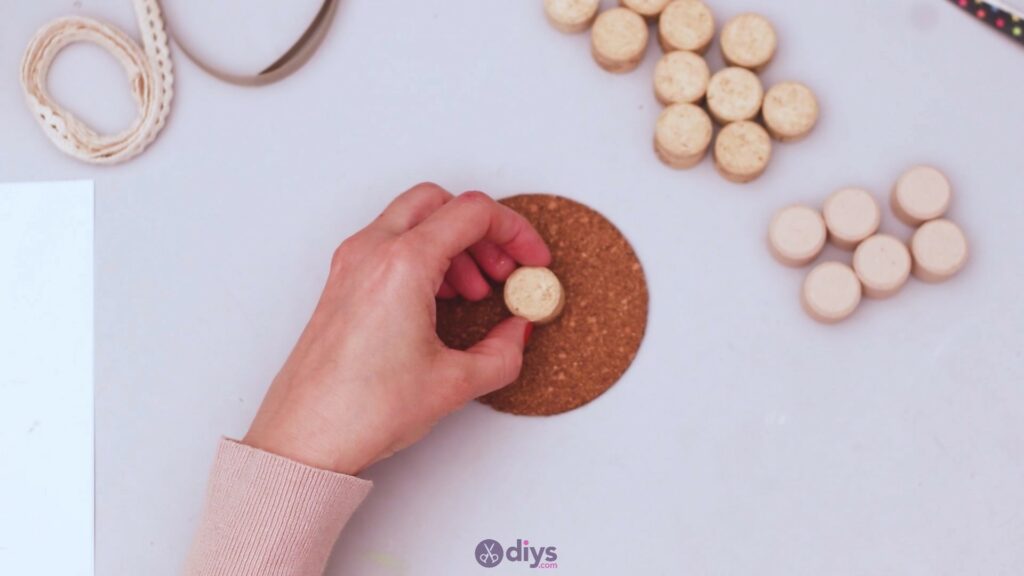
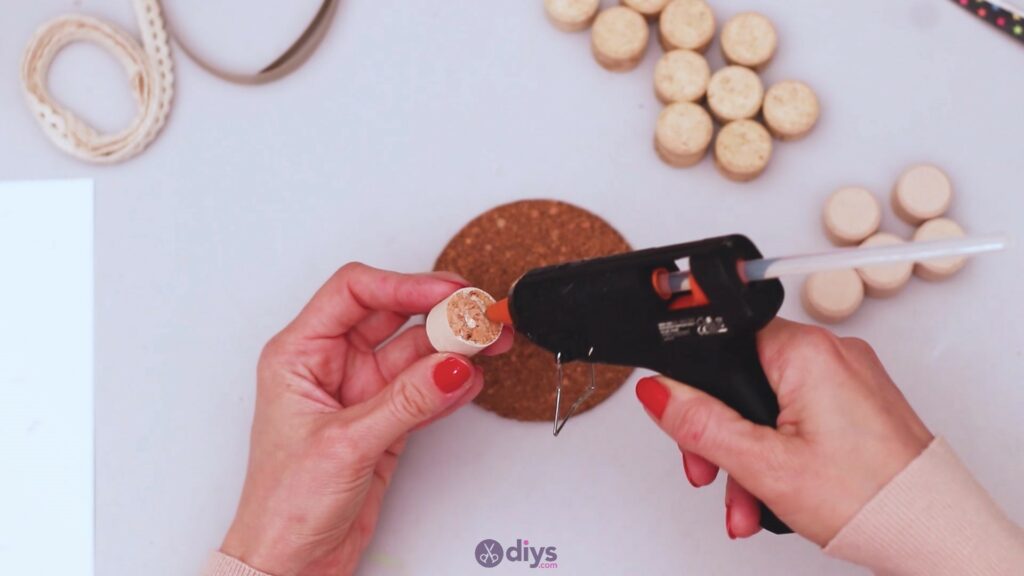
Place the cork pieces close together and make sure you also add hot glue to the sides. Mix the wine corks – natural color and white, in order to create a cute pattern.

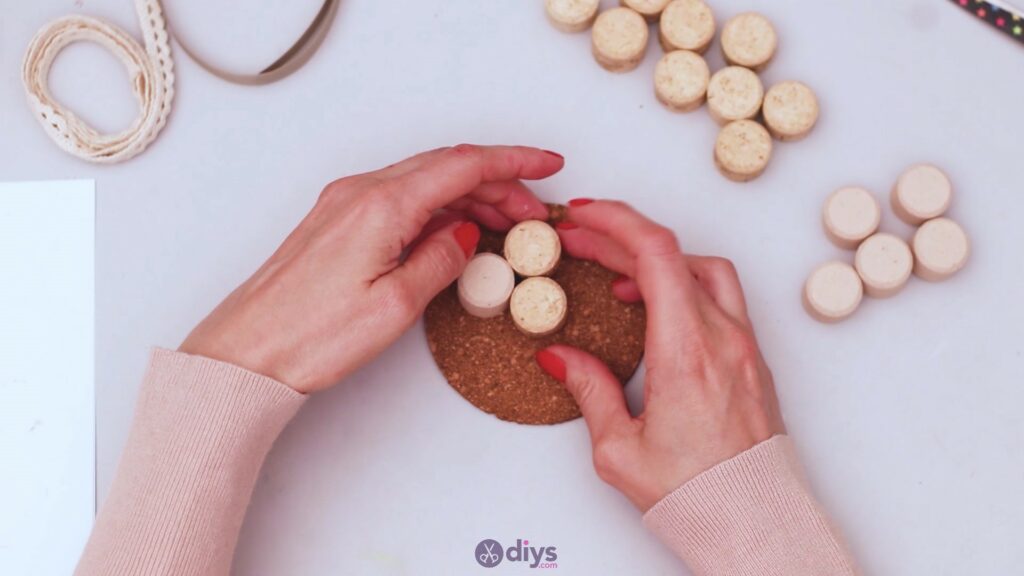
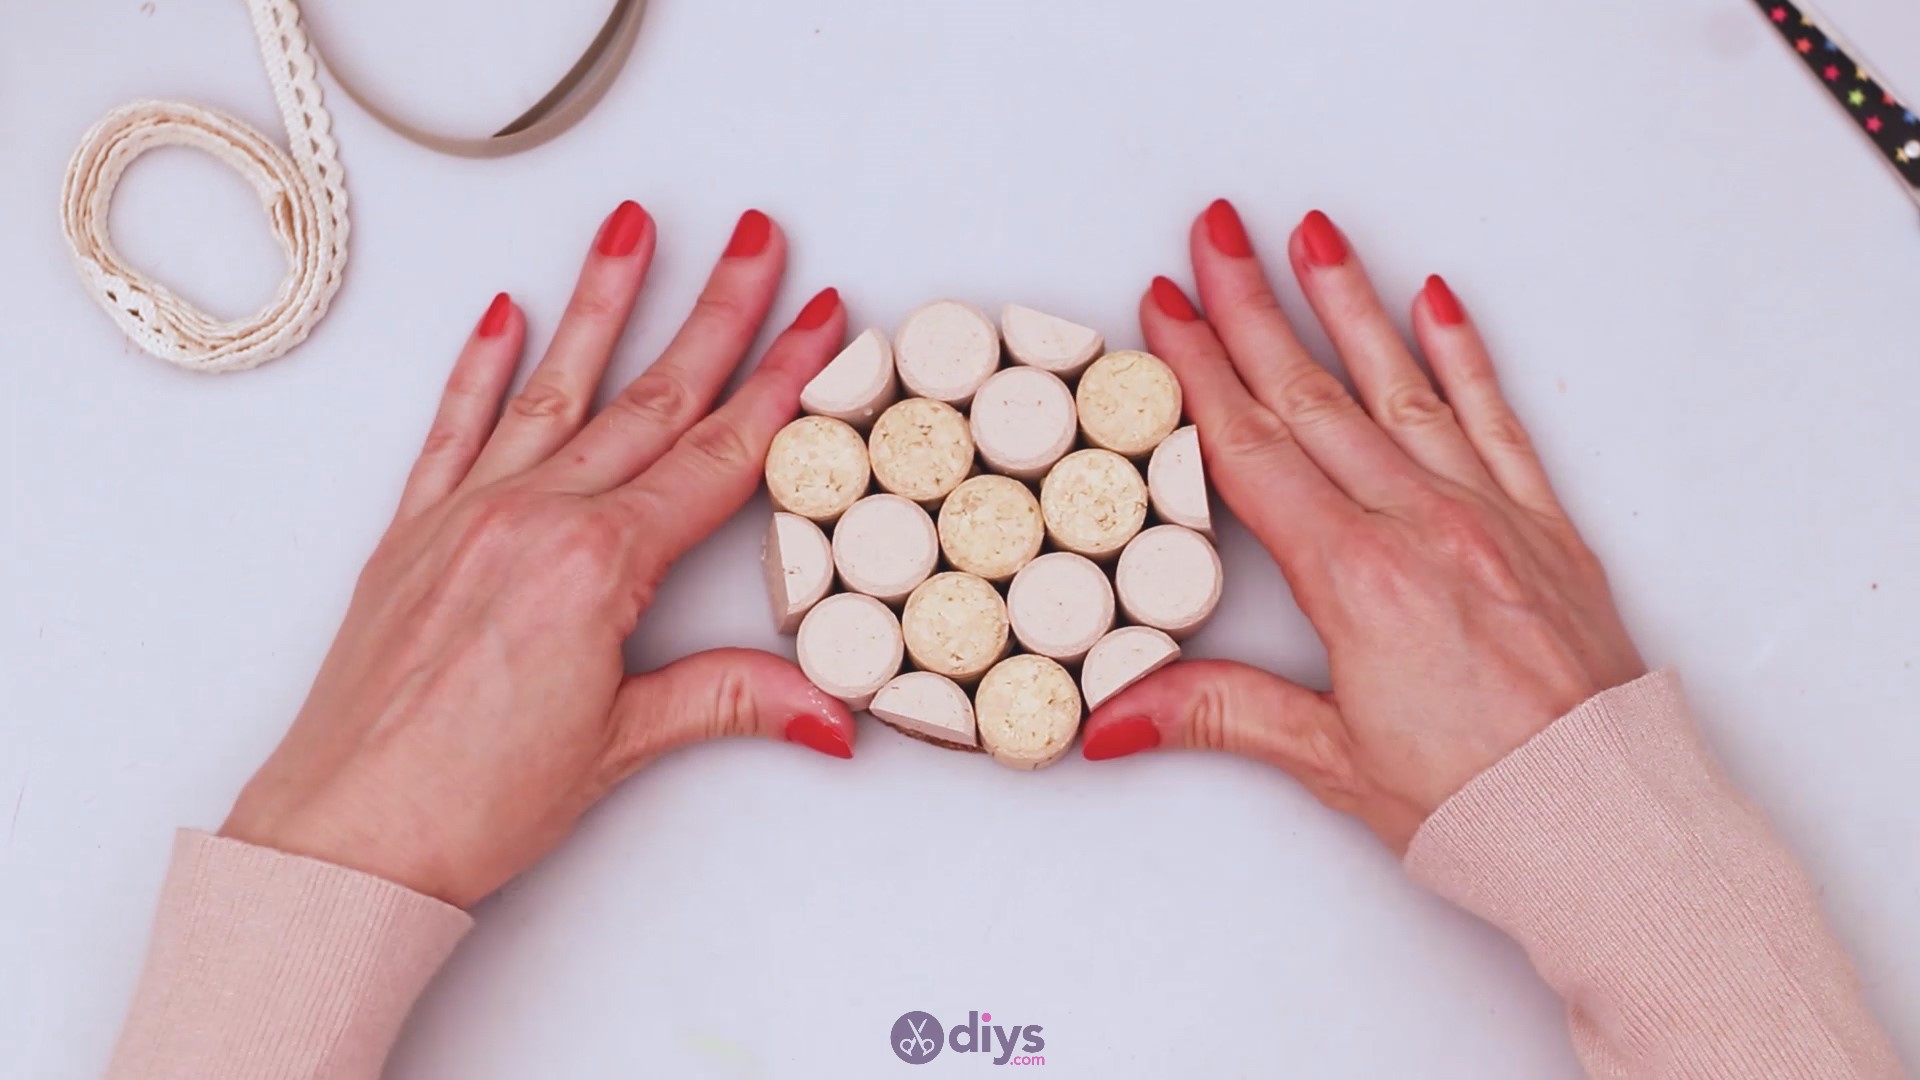
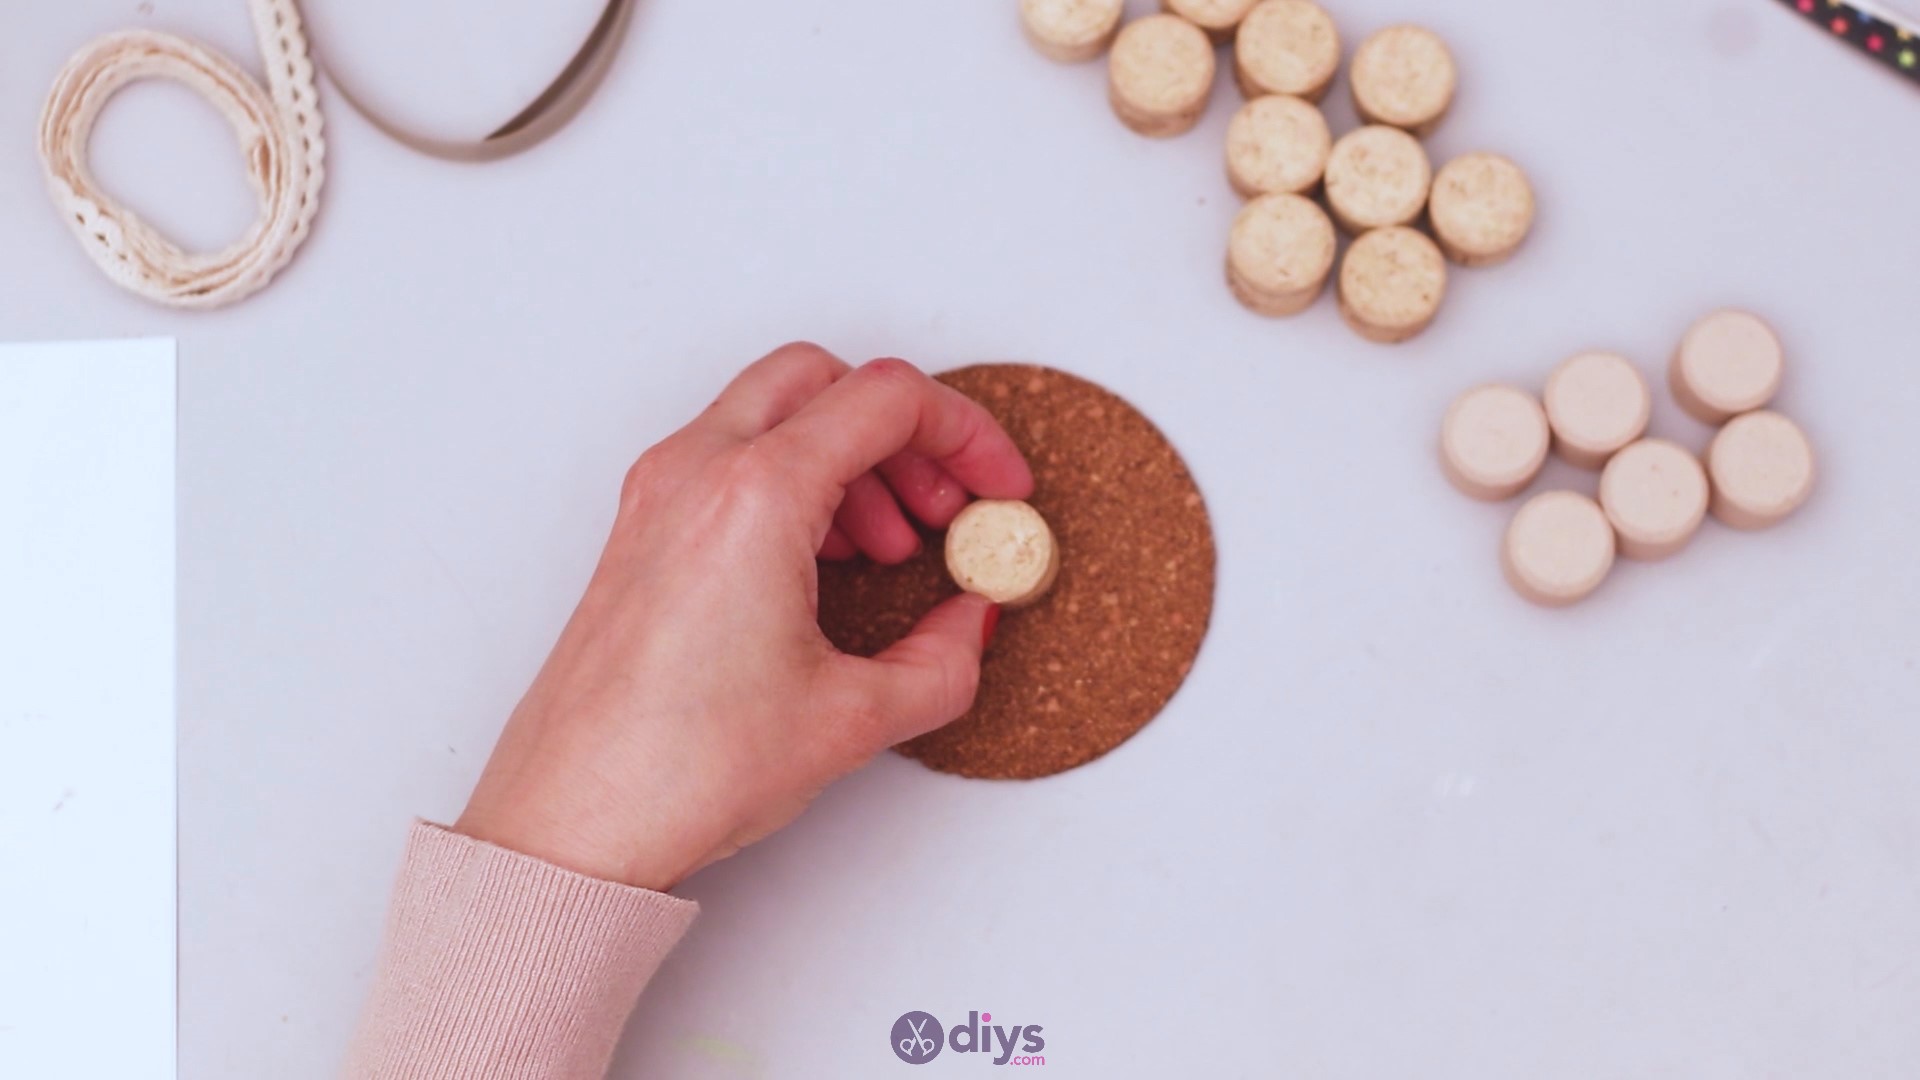
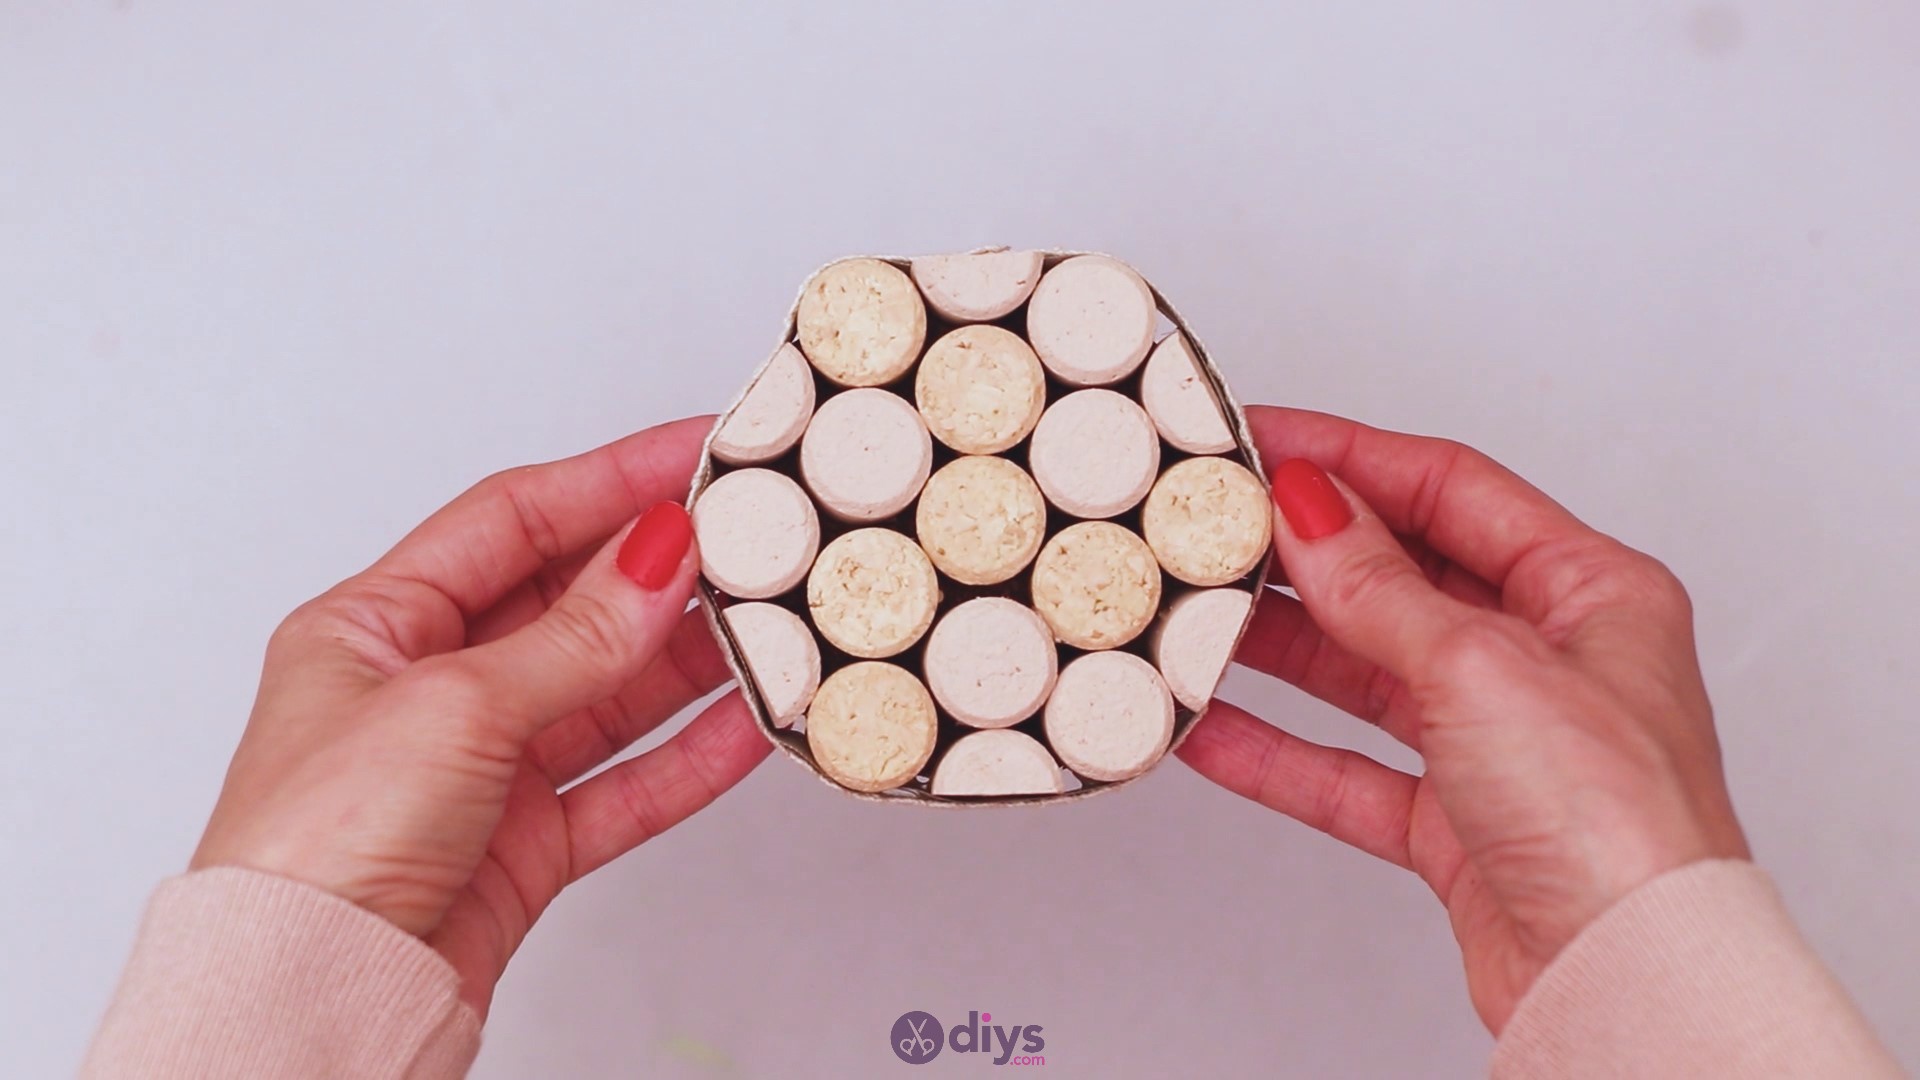
Add the wine corks until you’ve created a flower with them, Make sure the wine corks are close together.
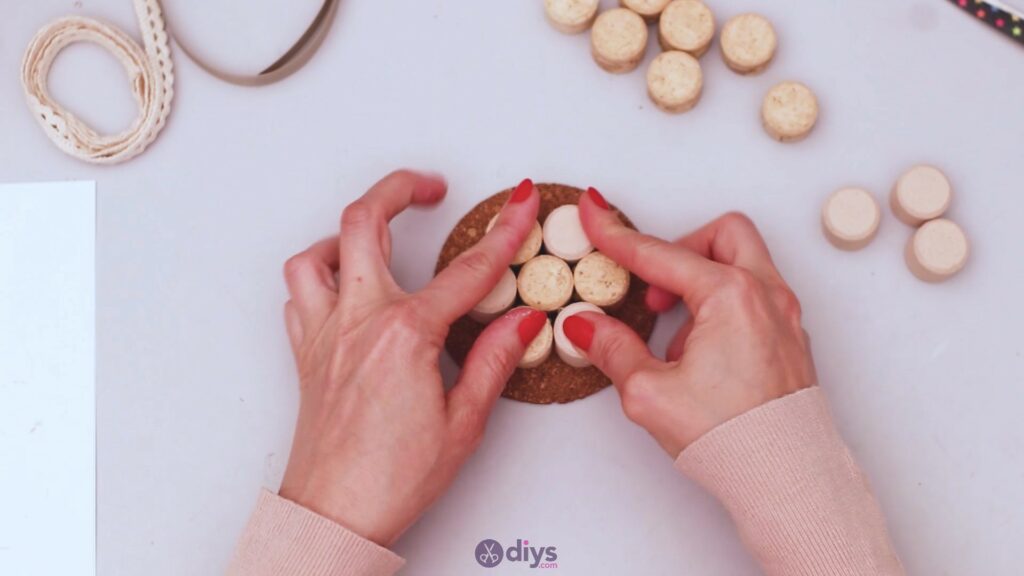

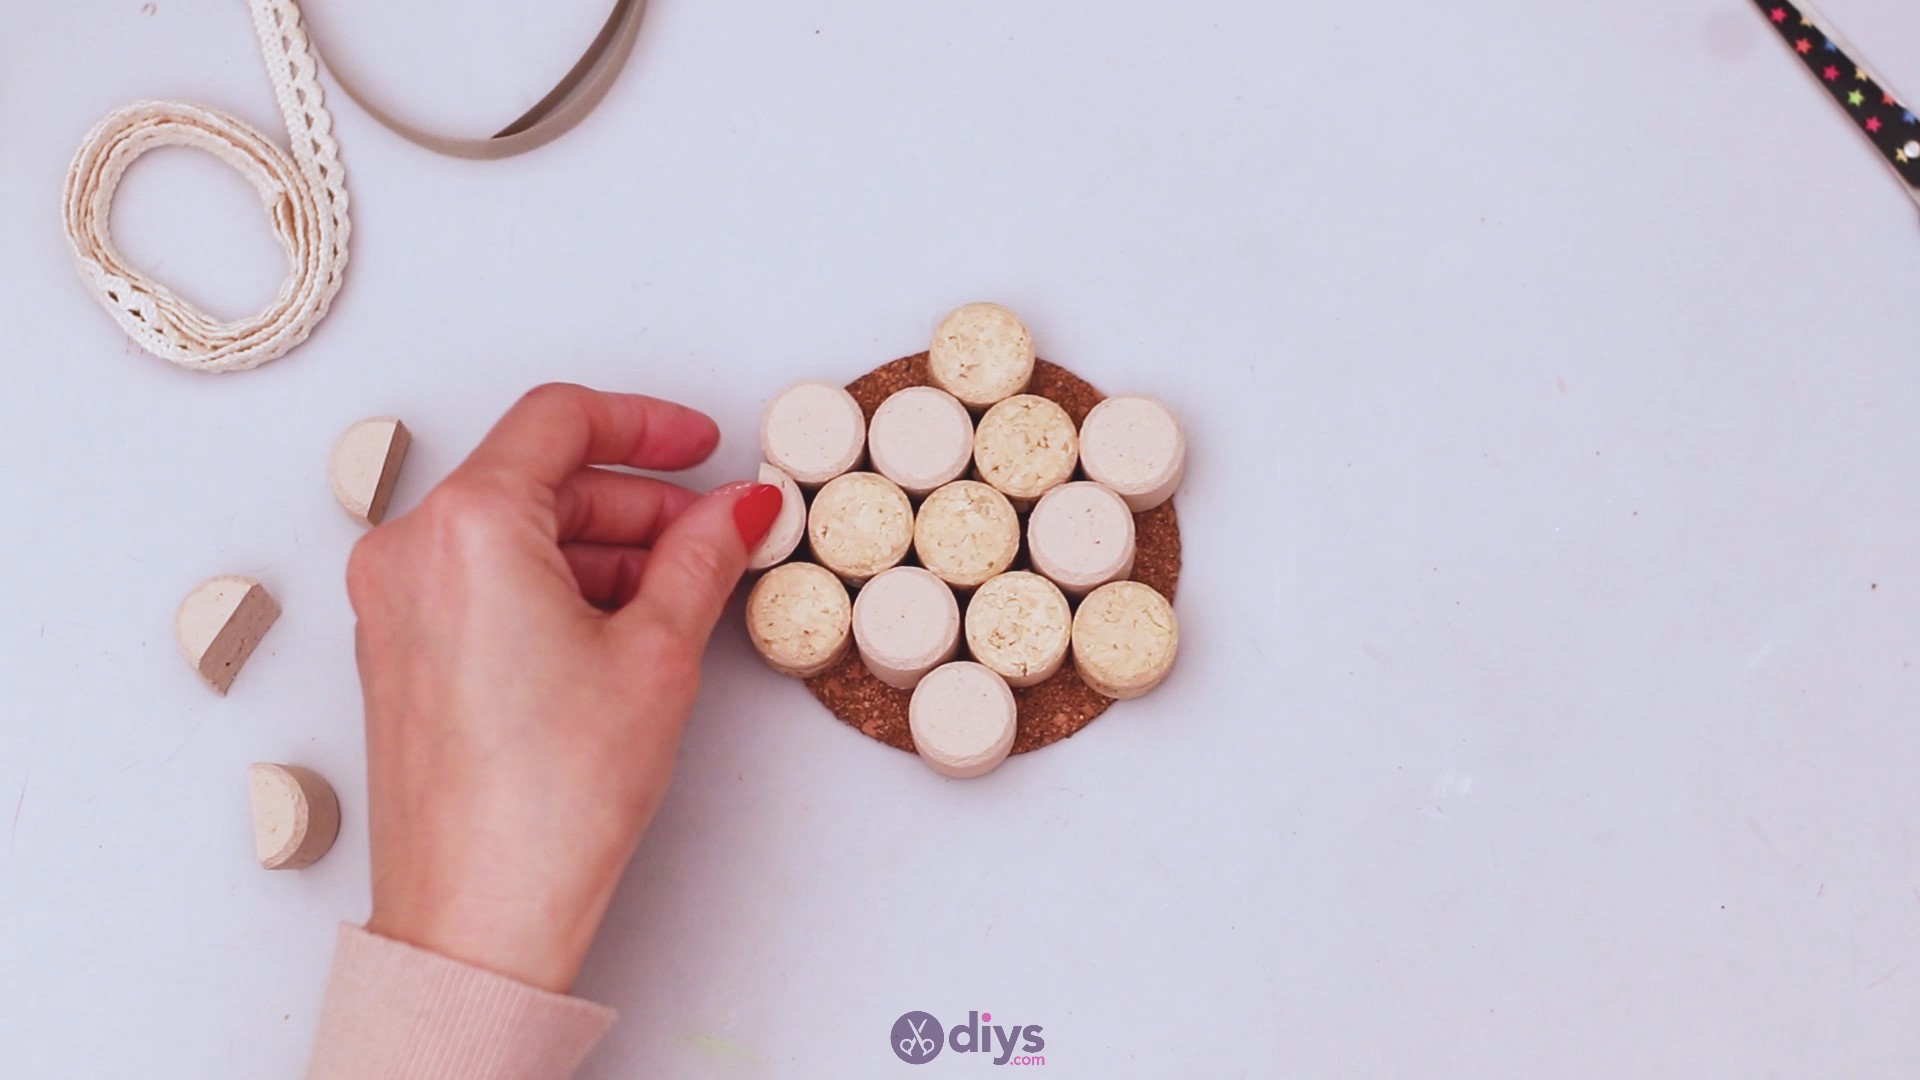
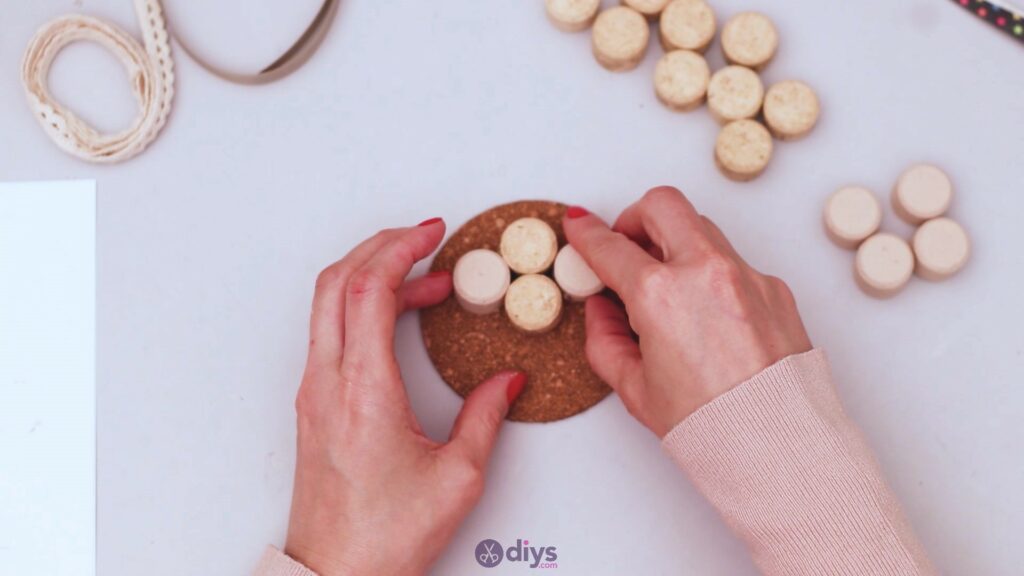
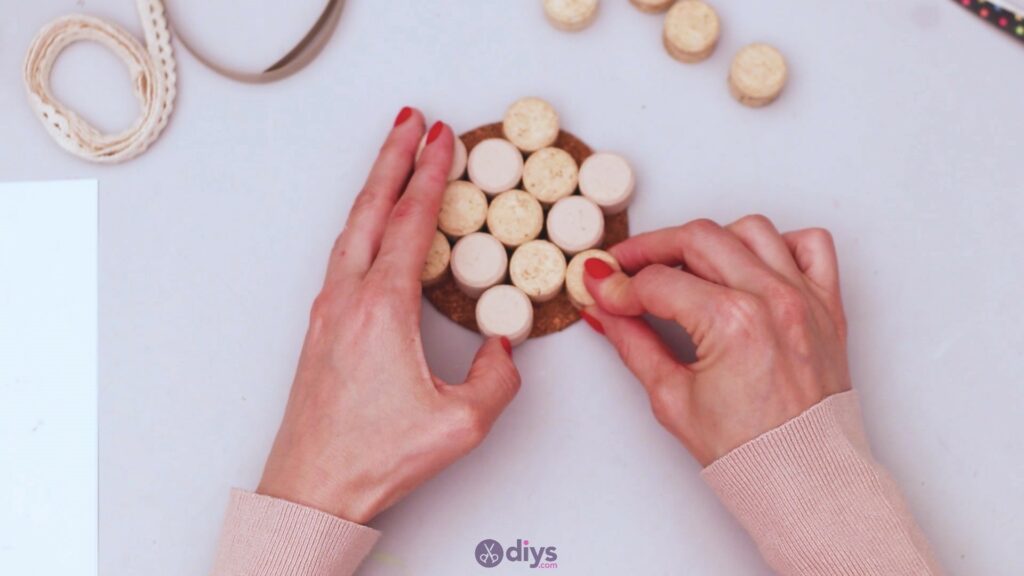
Keep adding pieces to the outer layer. This time, only place them in the gaps formed by the two previous corks.

Add them in until they look like a flower.
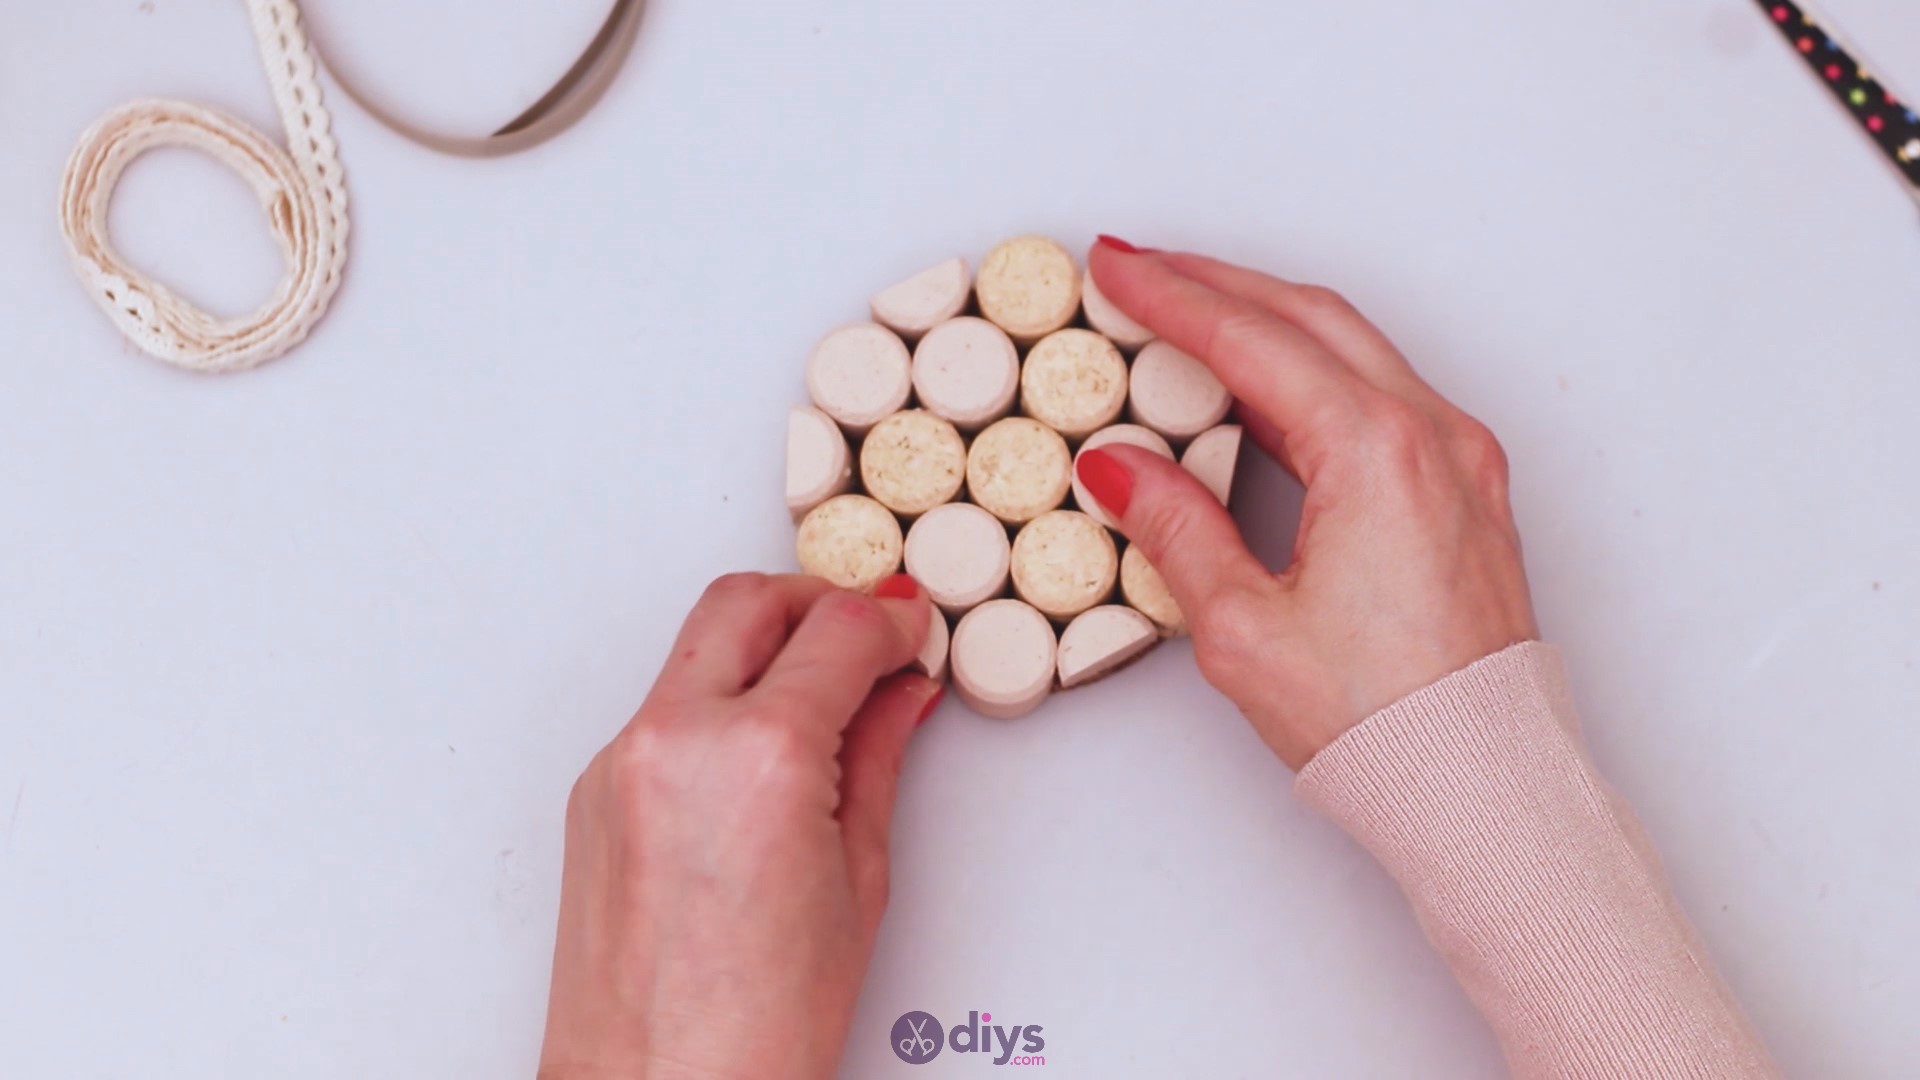
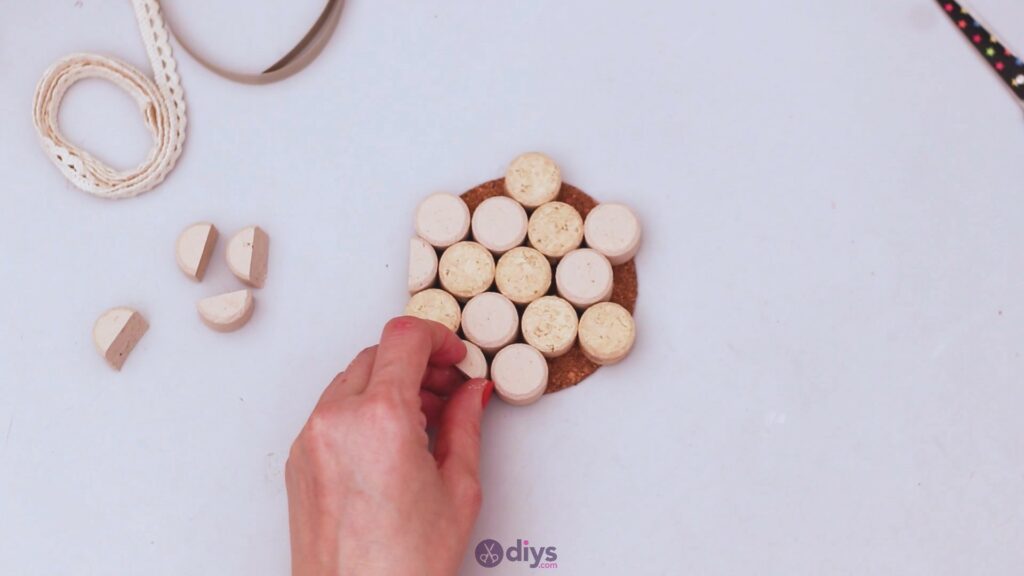
Step 3: Add the wine cork halves

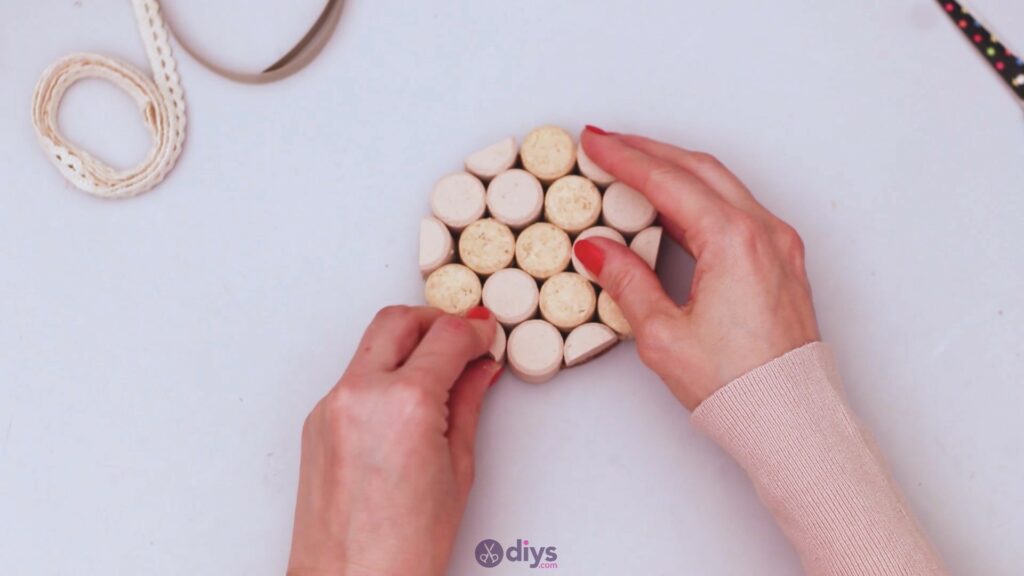
When we started, you cut three pieces in half. Now it’s time to add those in too. You’ll place them in the gaps resulted following the previous steps. This will help give a more complete look to your creation.

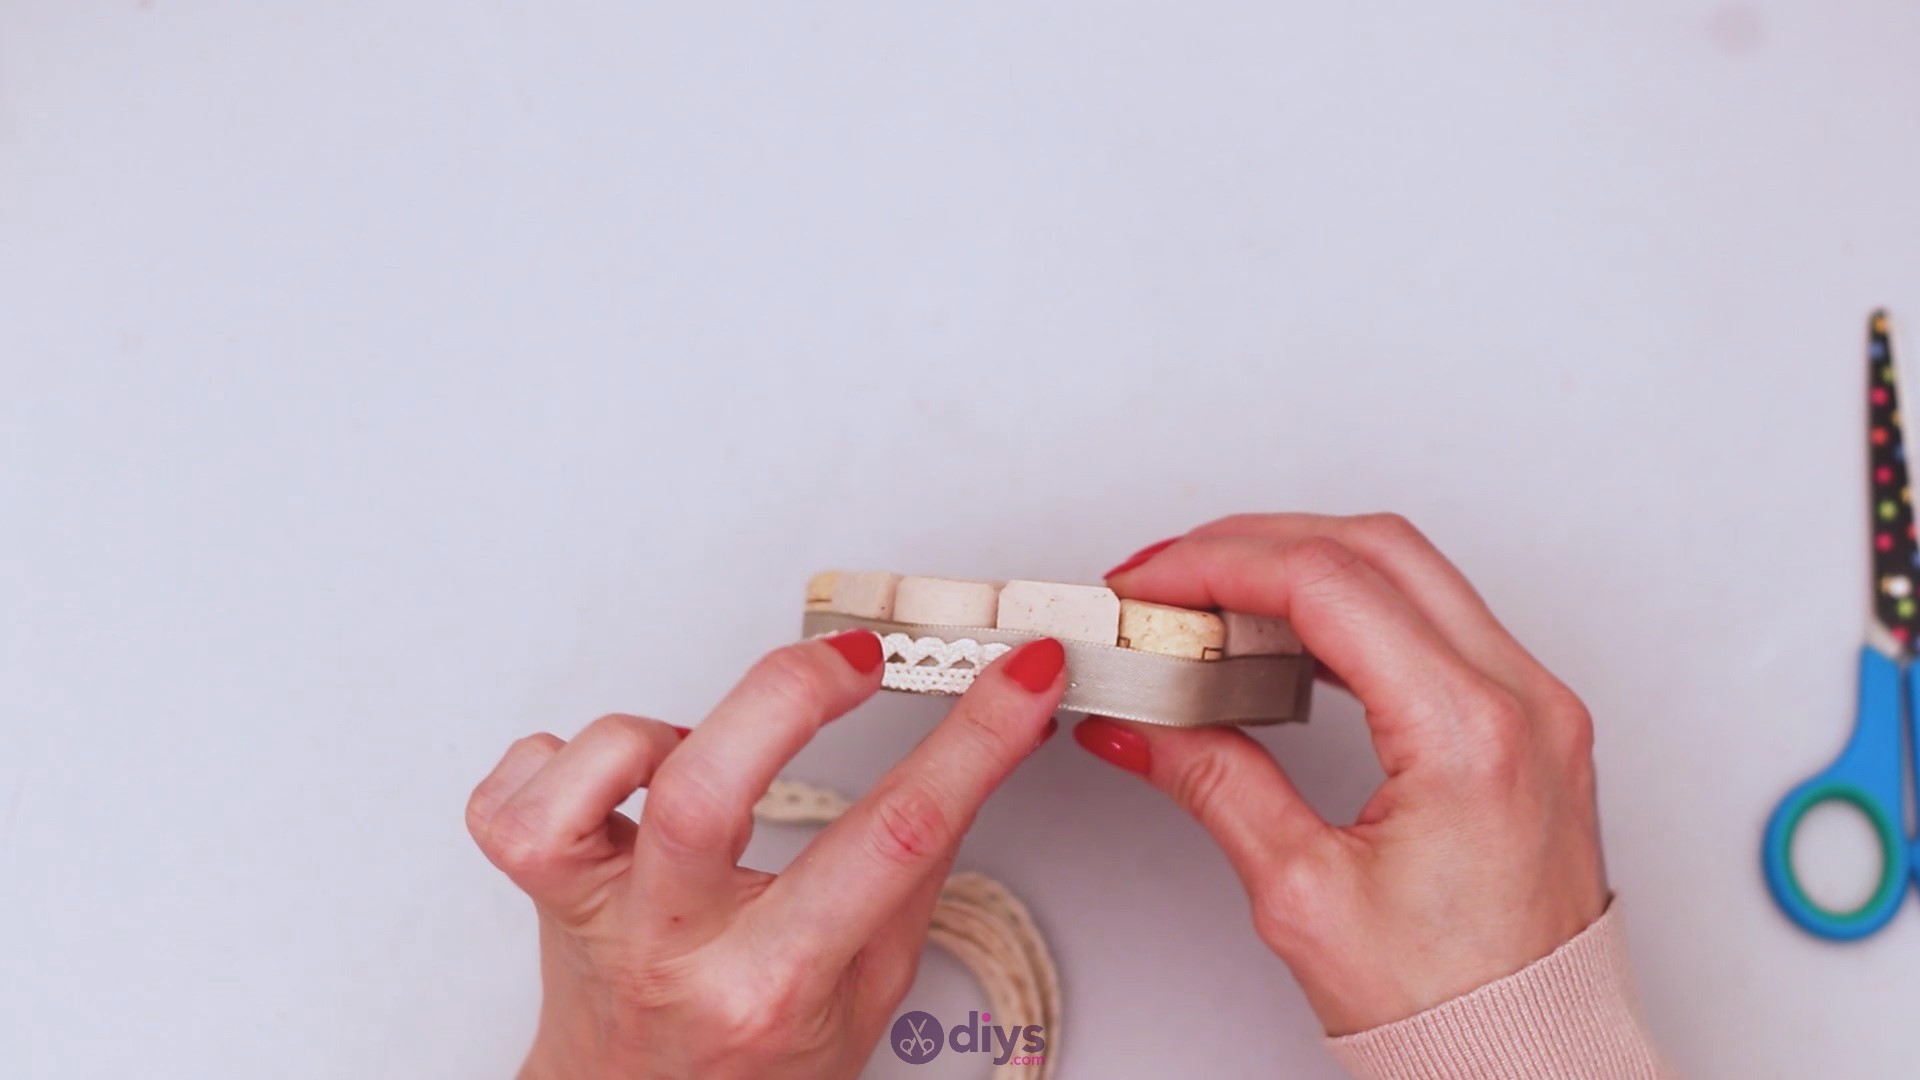
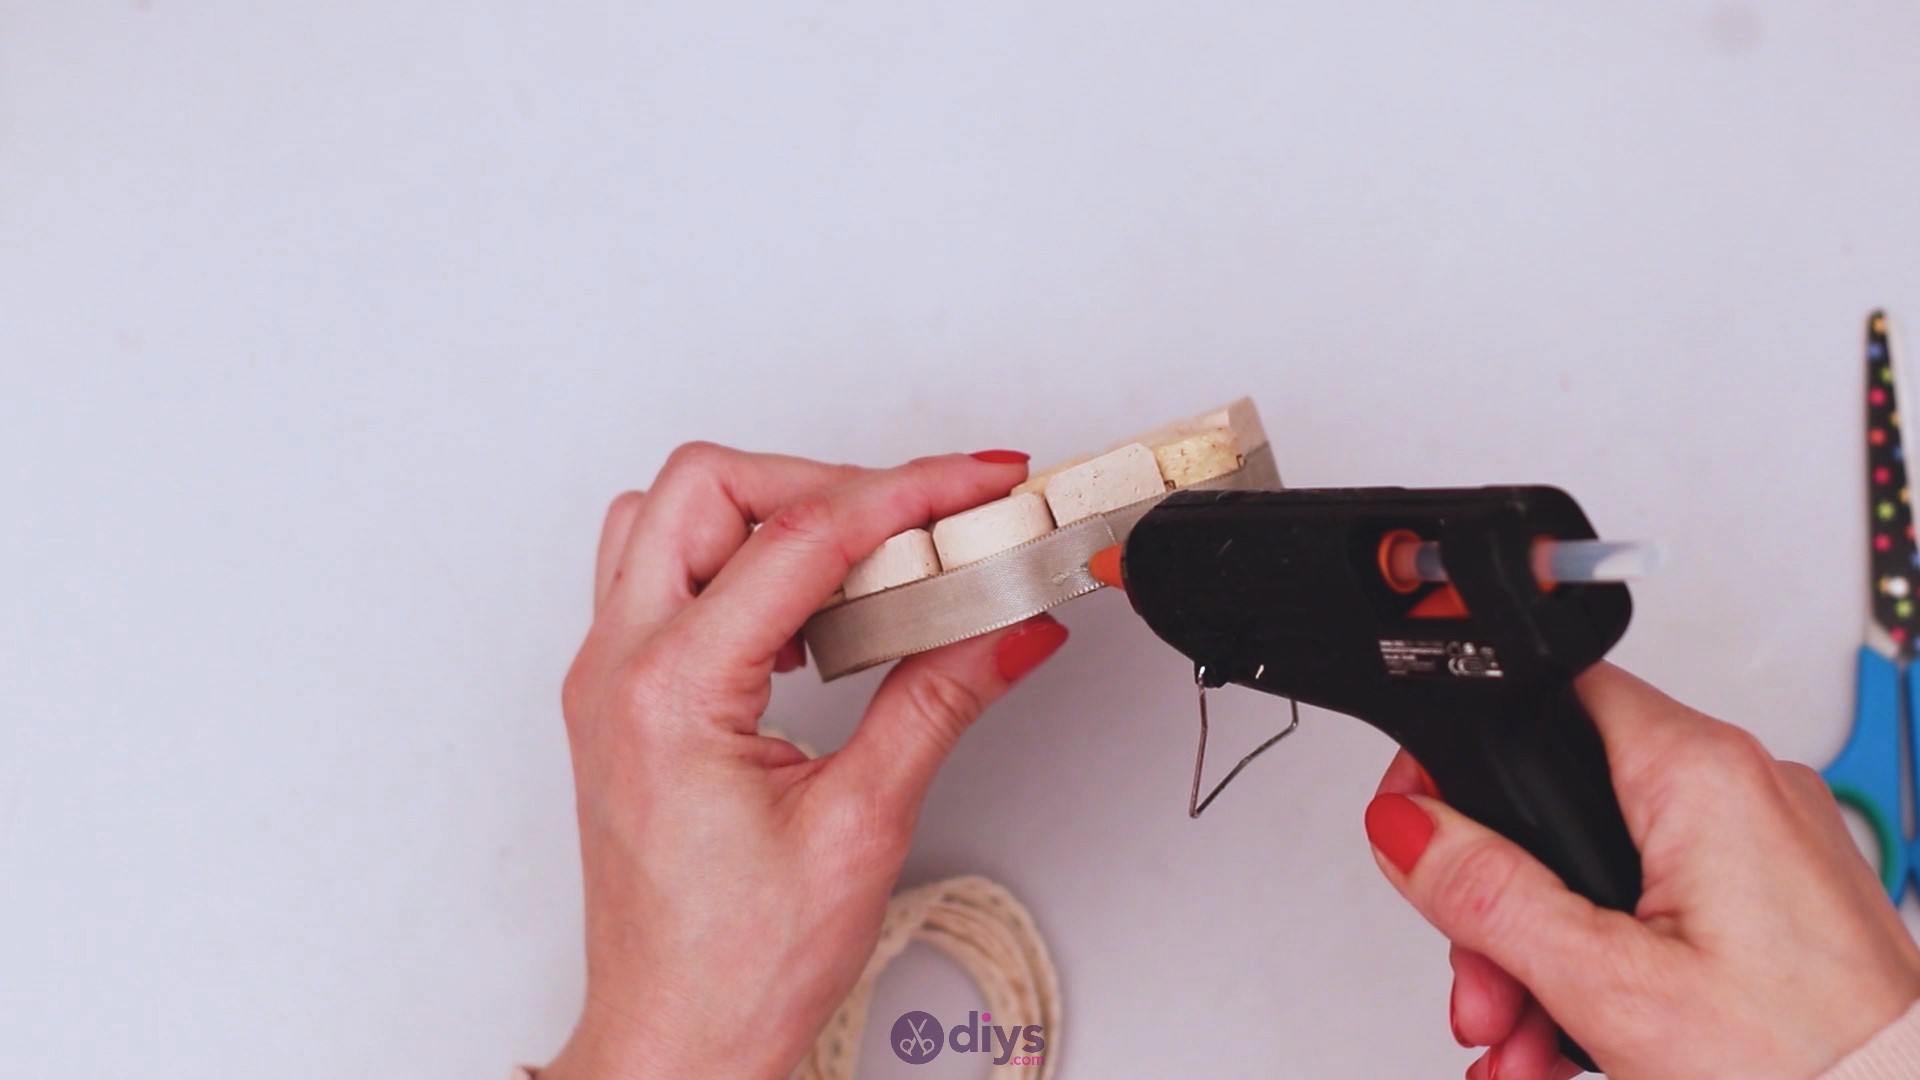
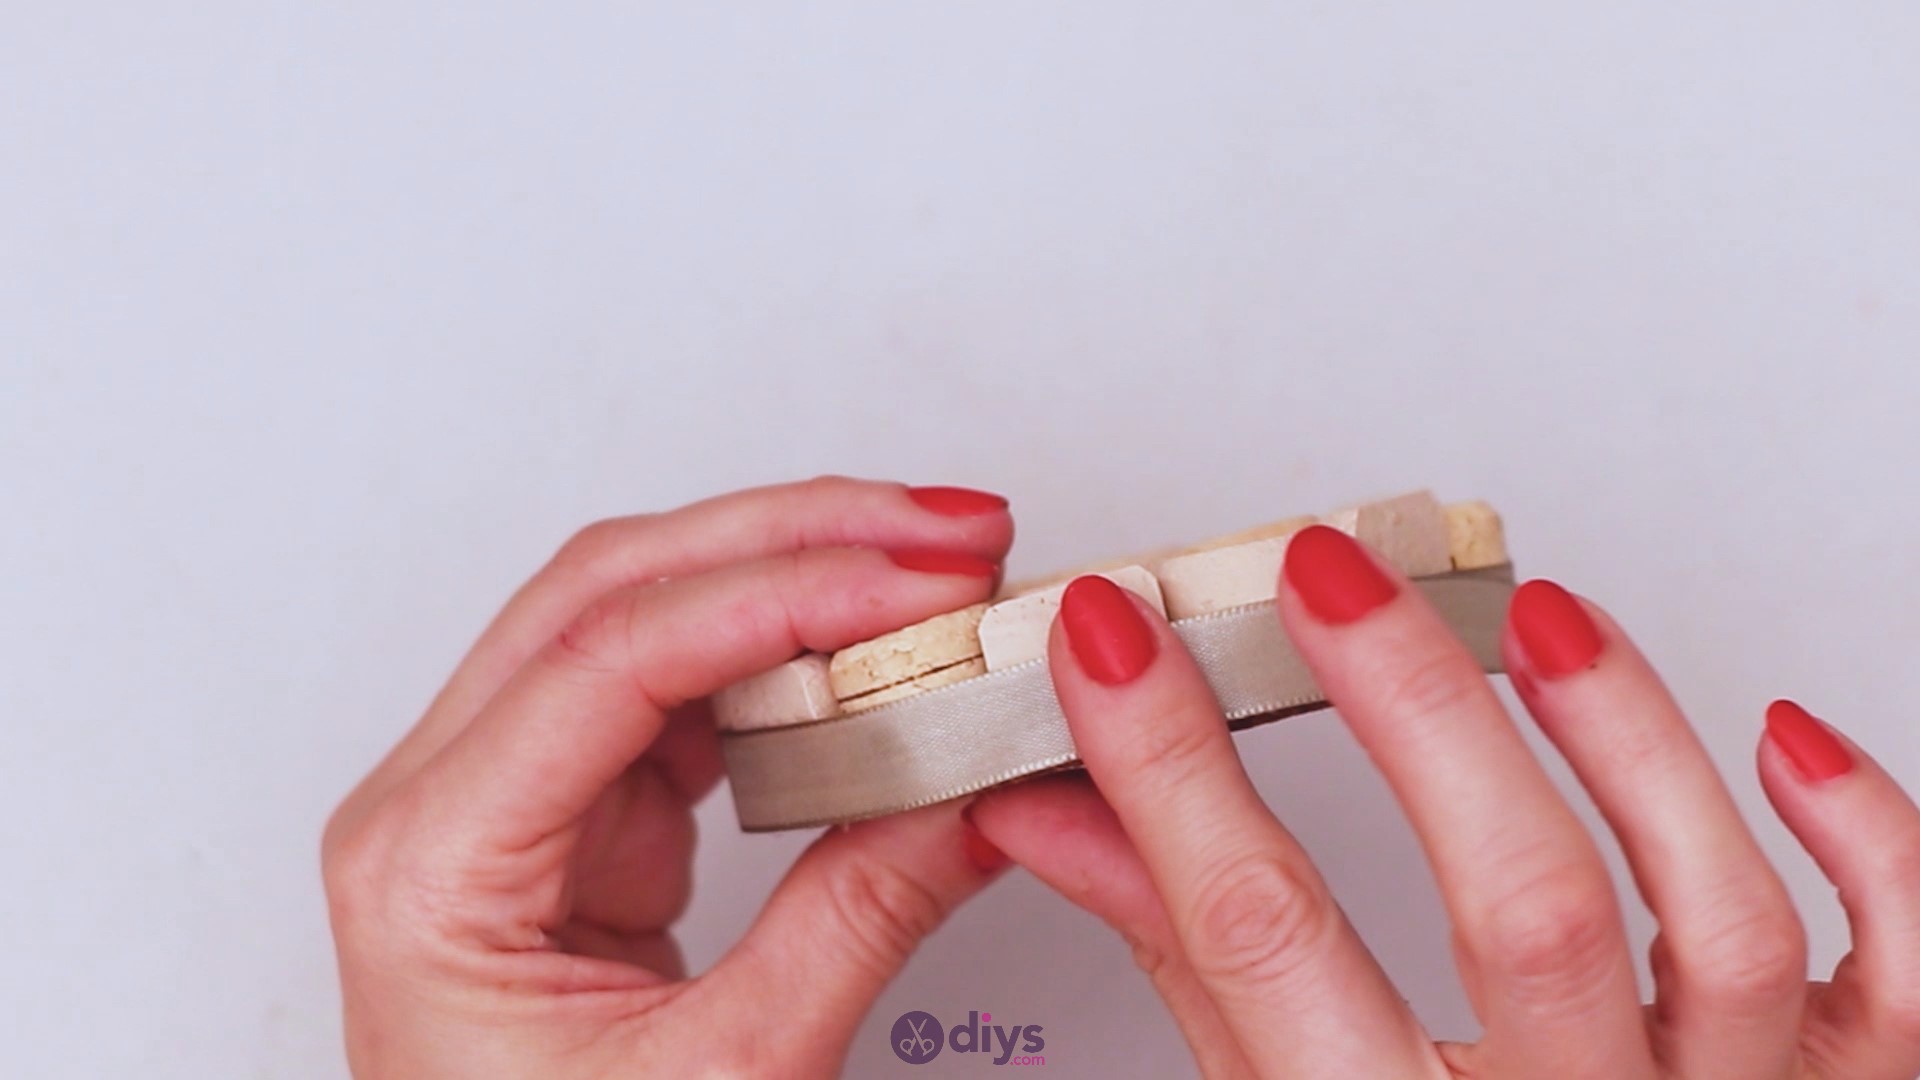
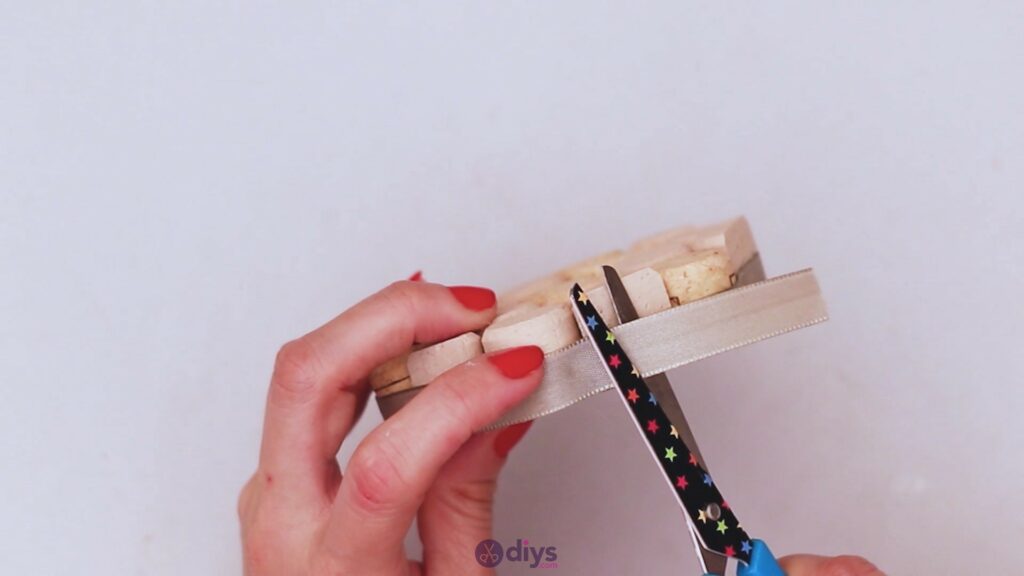
Step 4: Add the silk ribbon

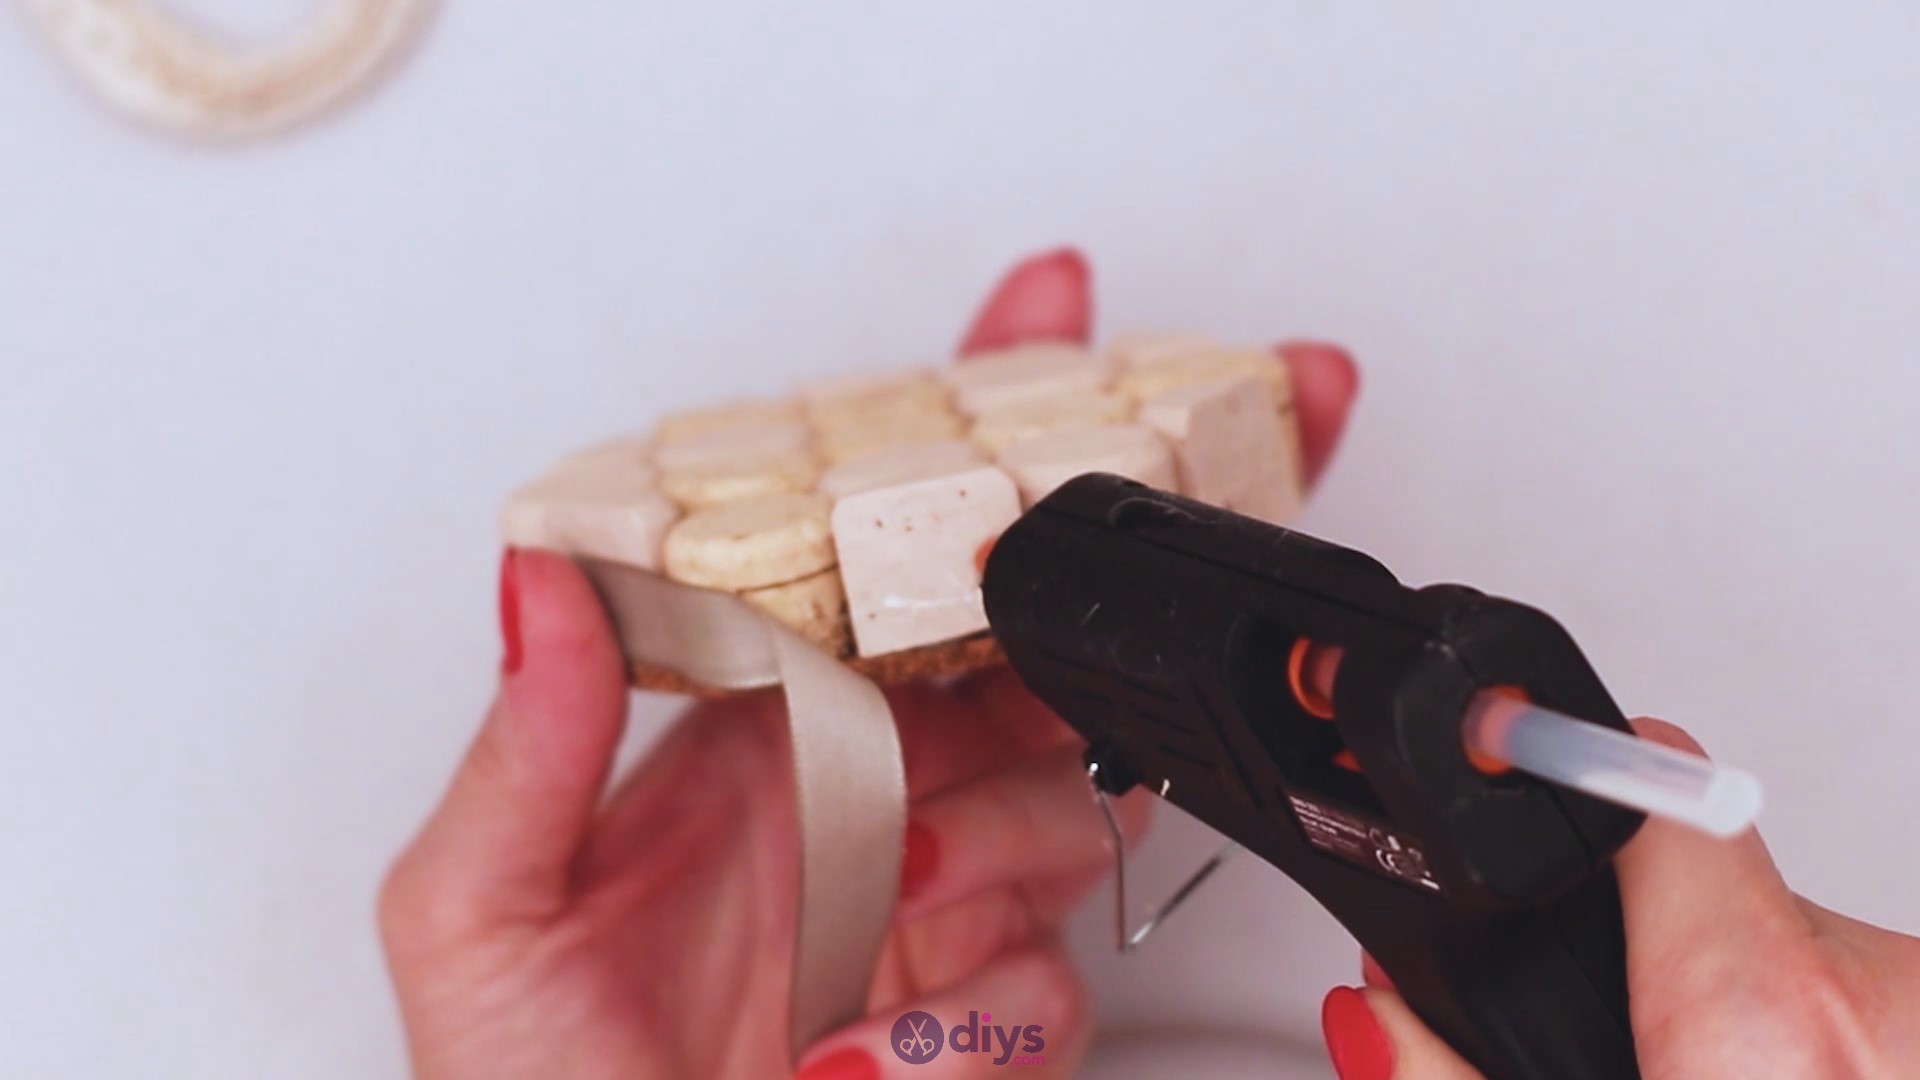
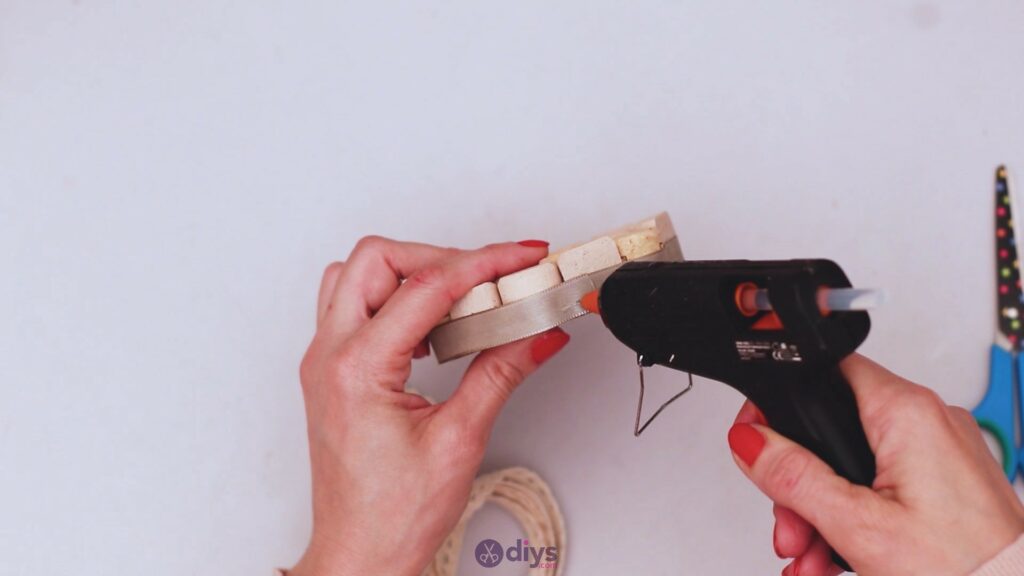
Now that your wine cork coaster is mostly done, it’s time to decorate it. Take the glue gun once more and start adding hot glue near the bottom of the coaster.
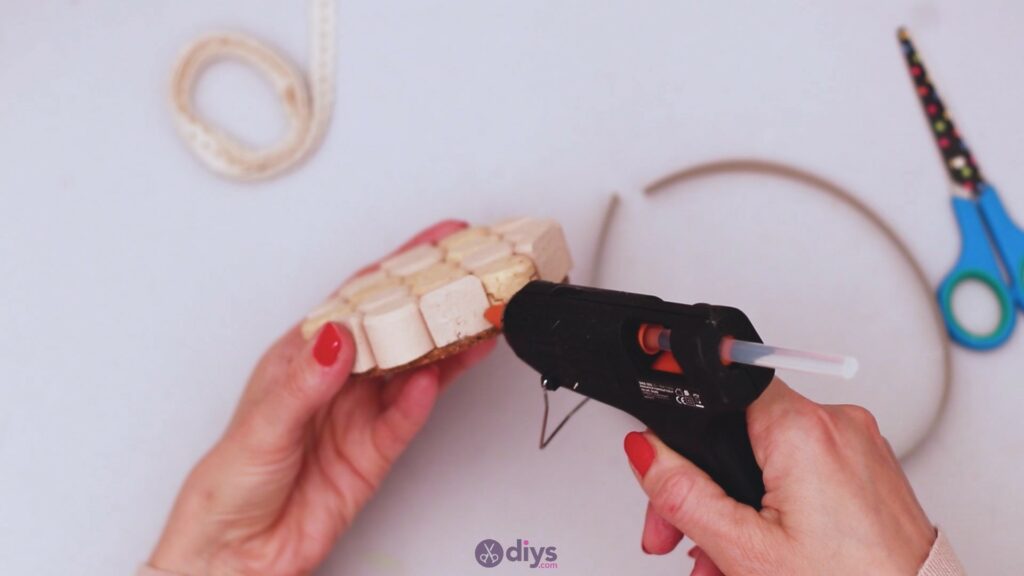
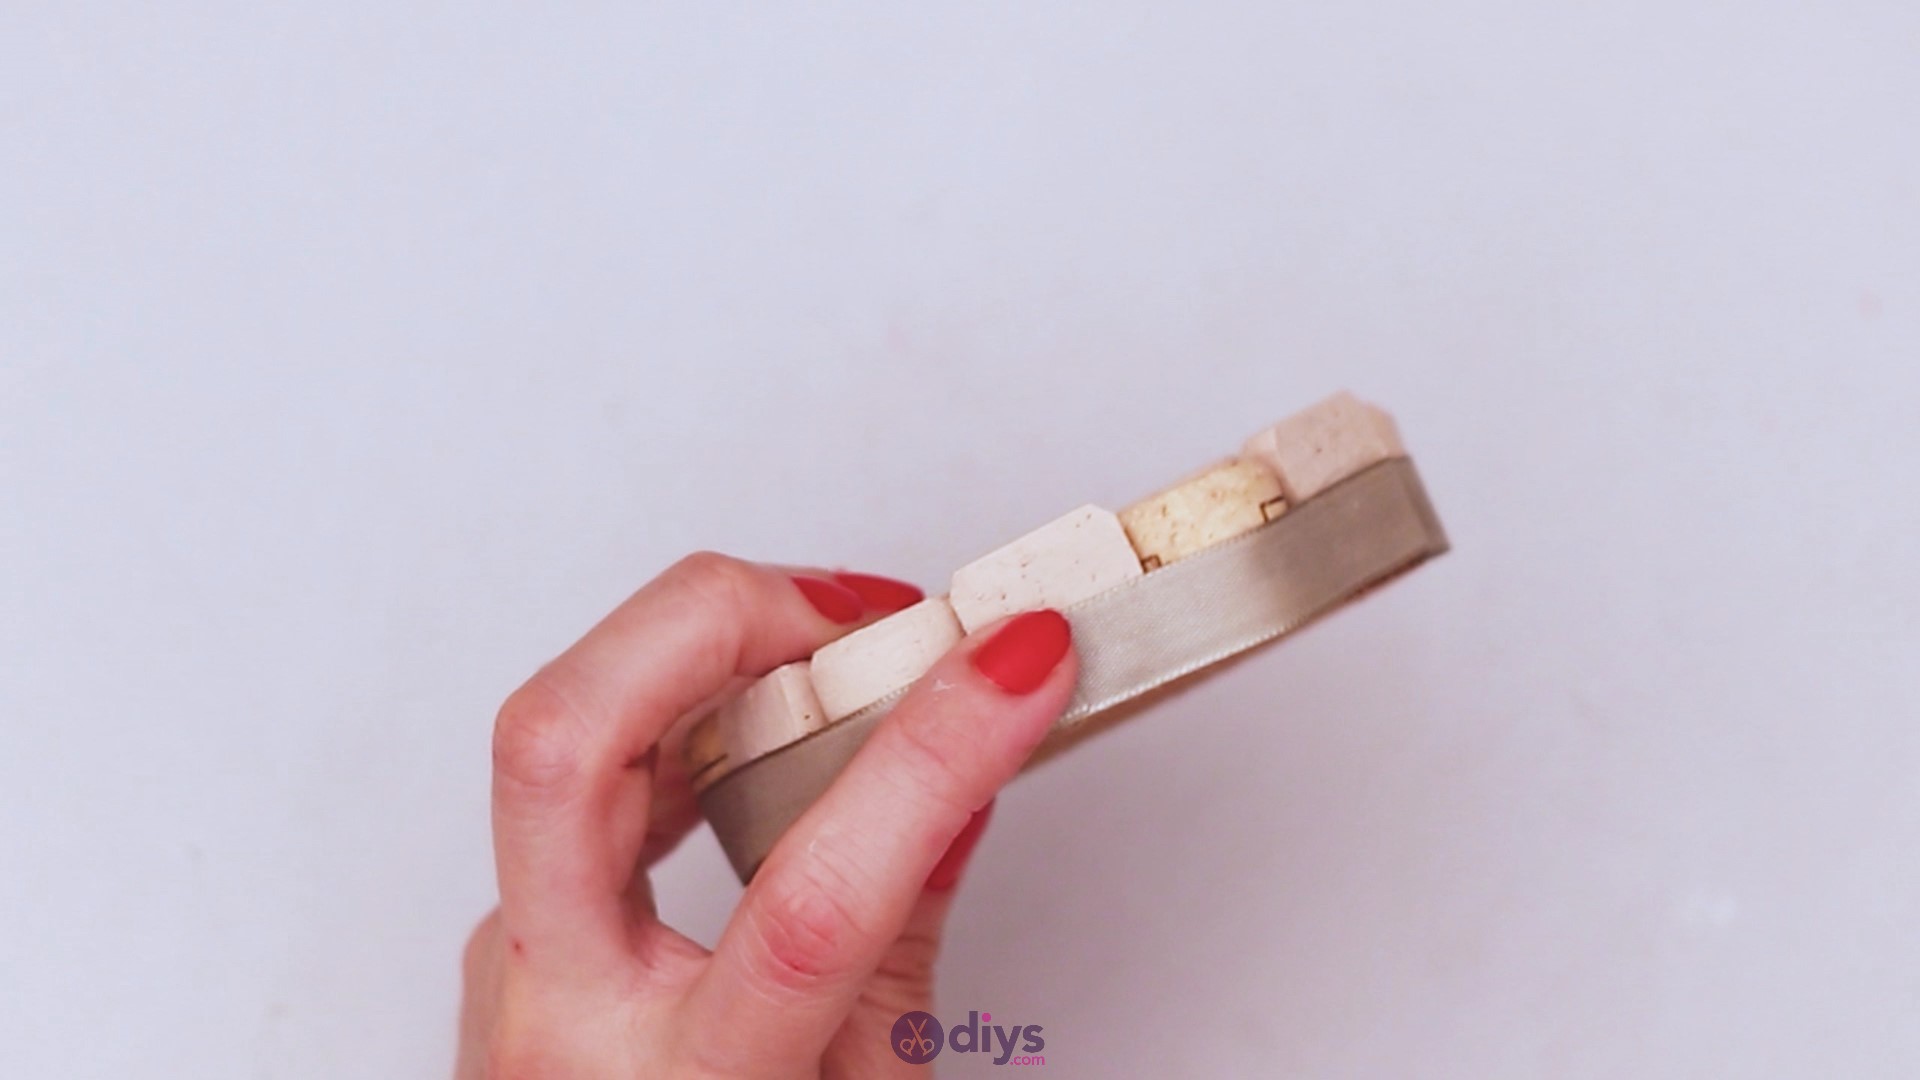
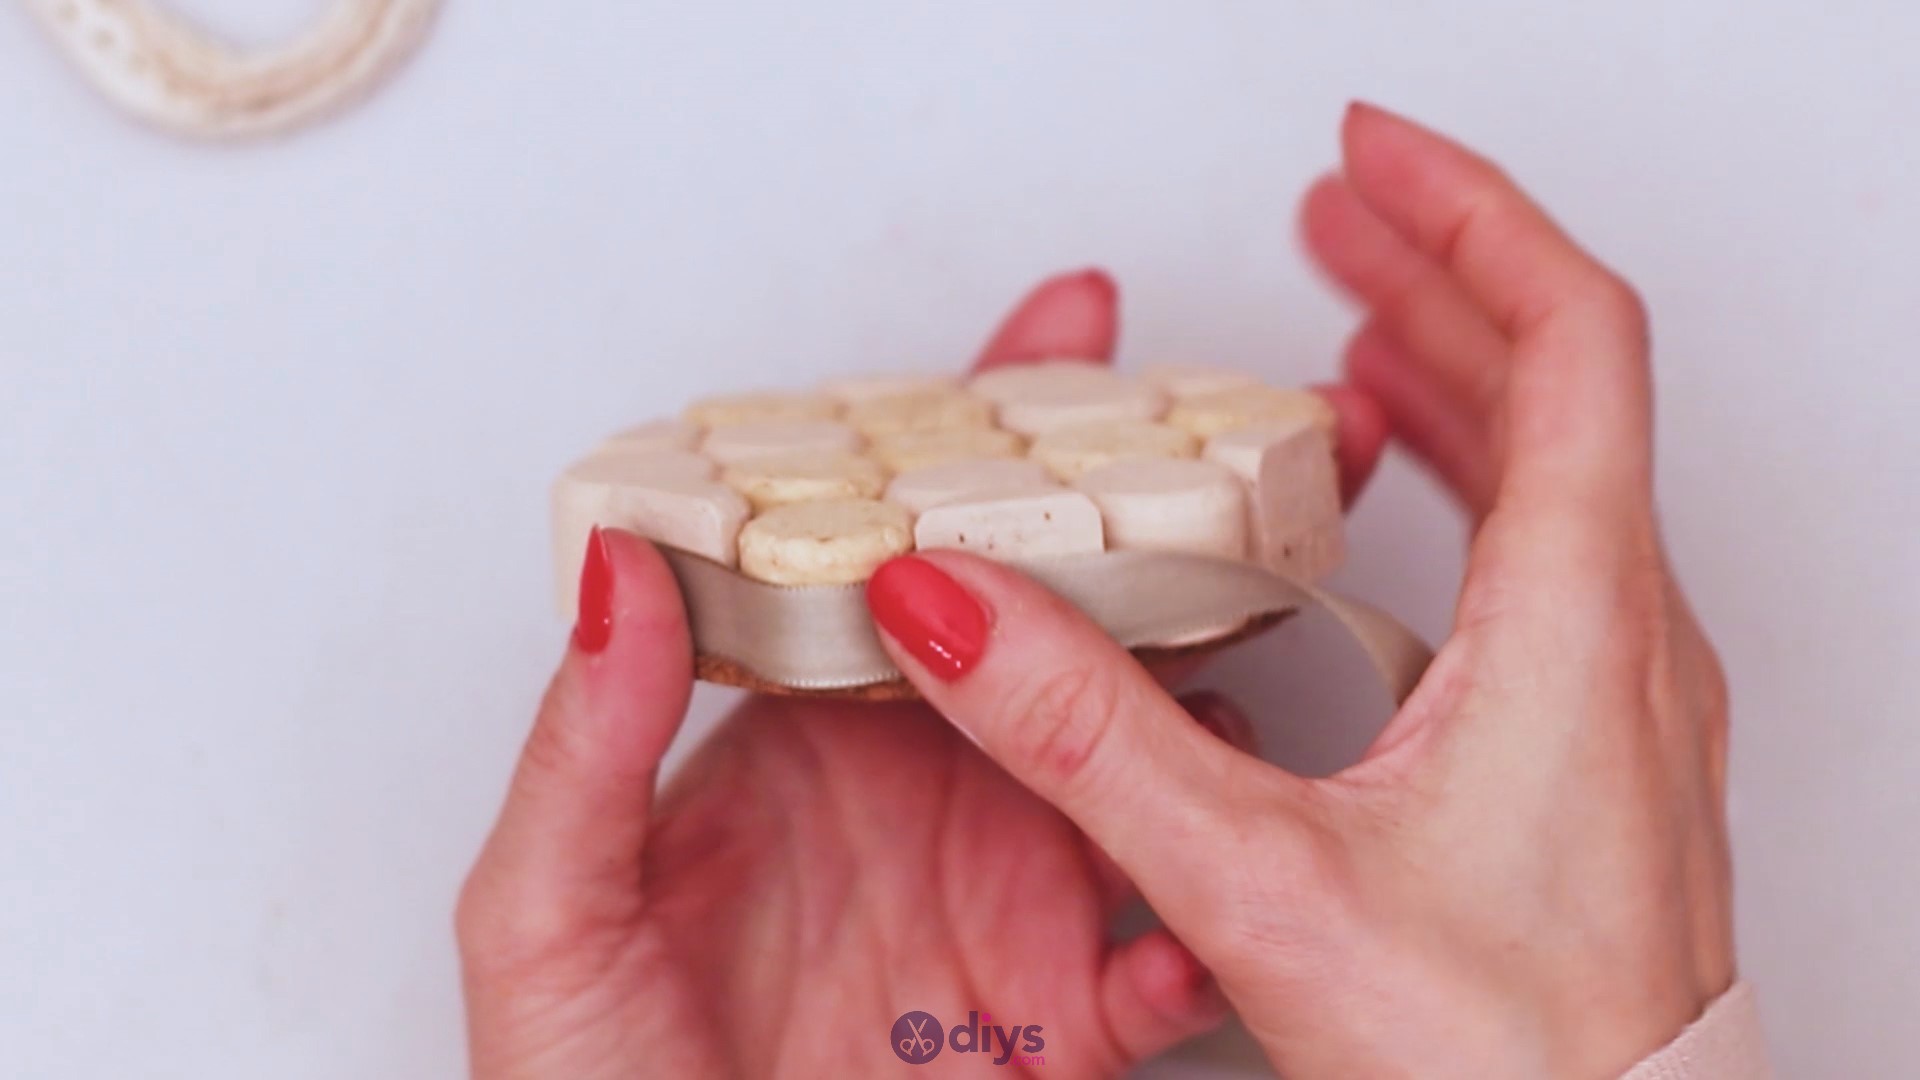
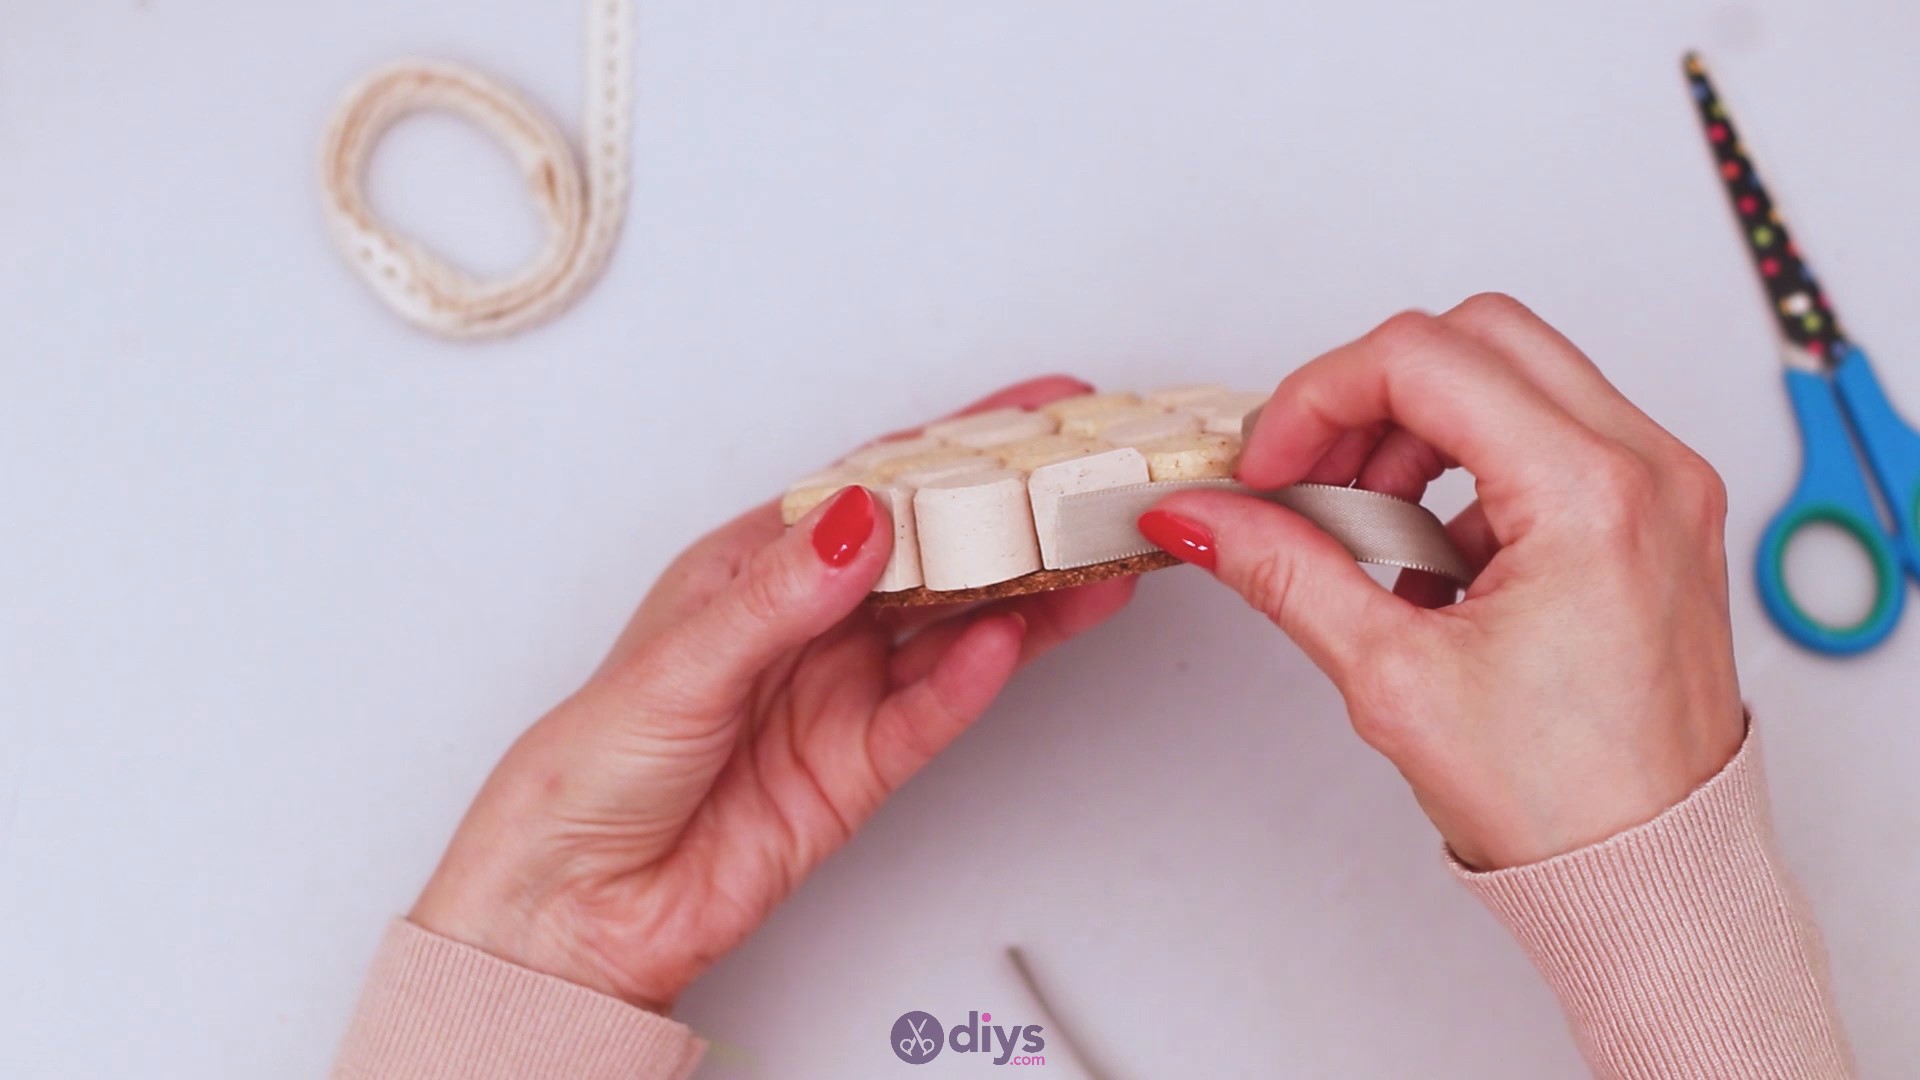
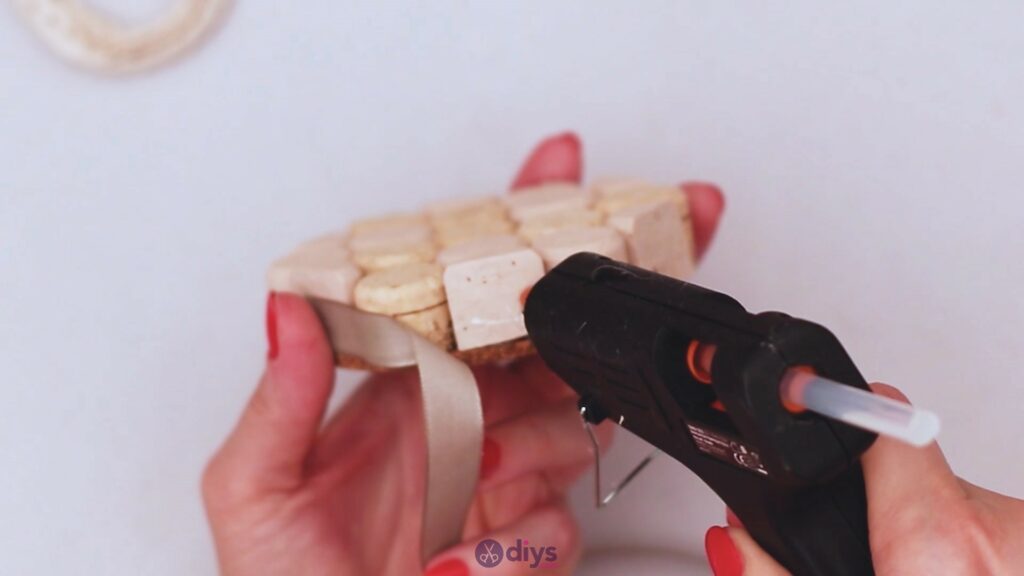
Then, you’re going to take the silk ribbon and start gluing it near the bottom of the coaster, making sure the bottom line of the ribbon aligns with the bottom line of the corks.

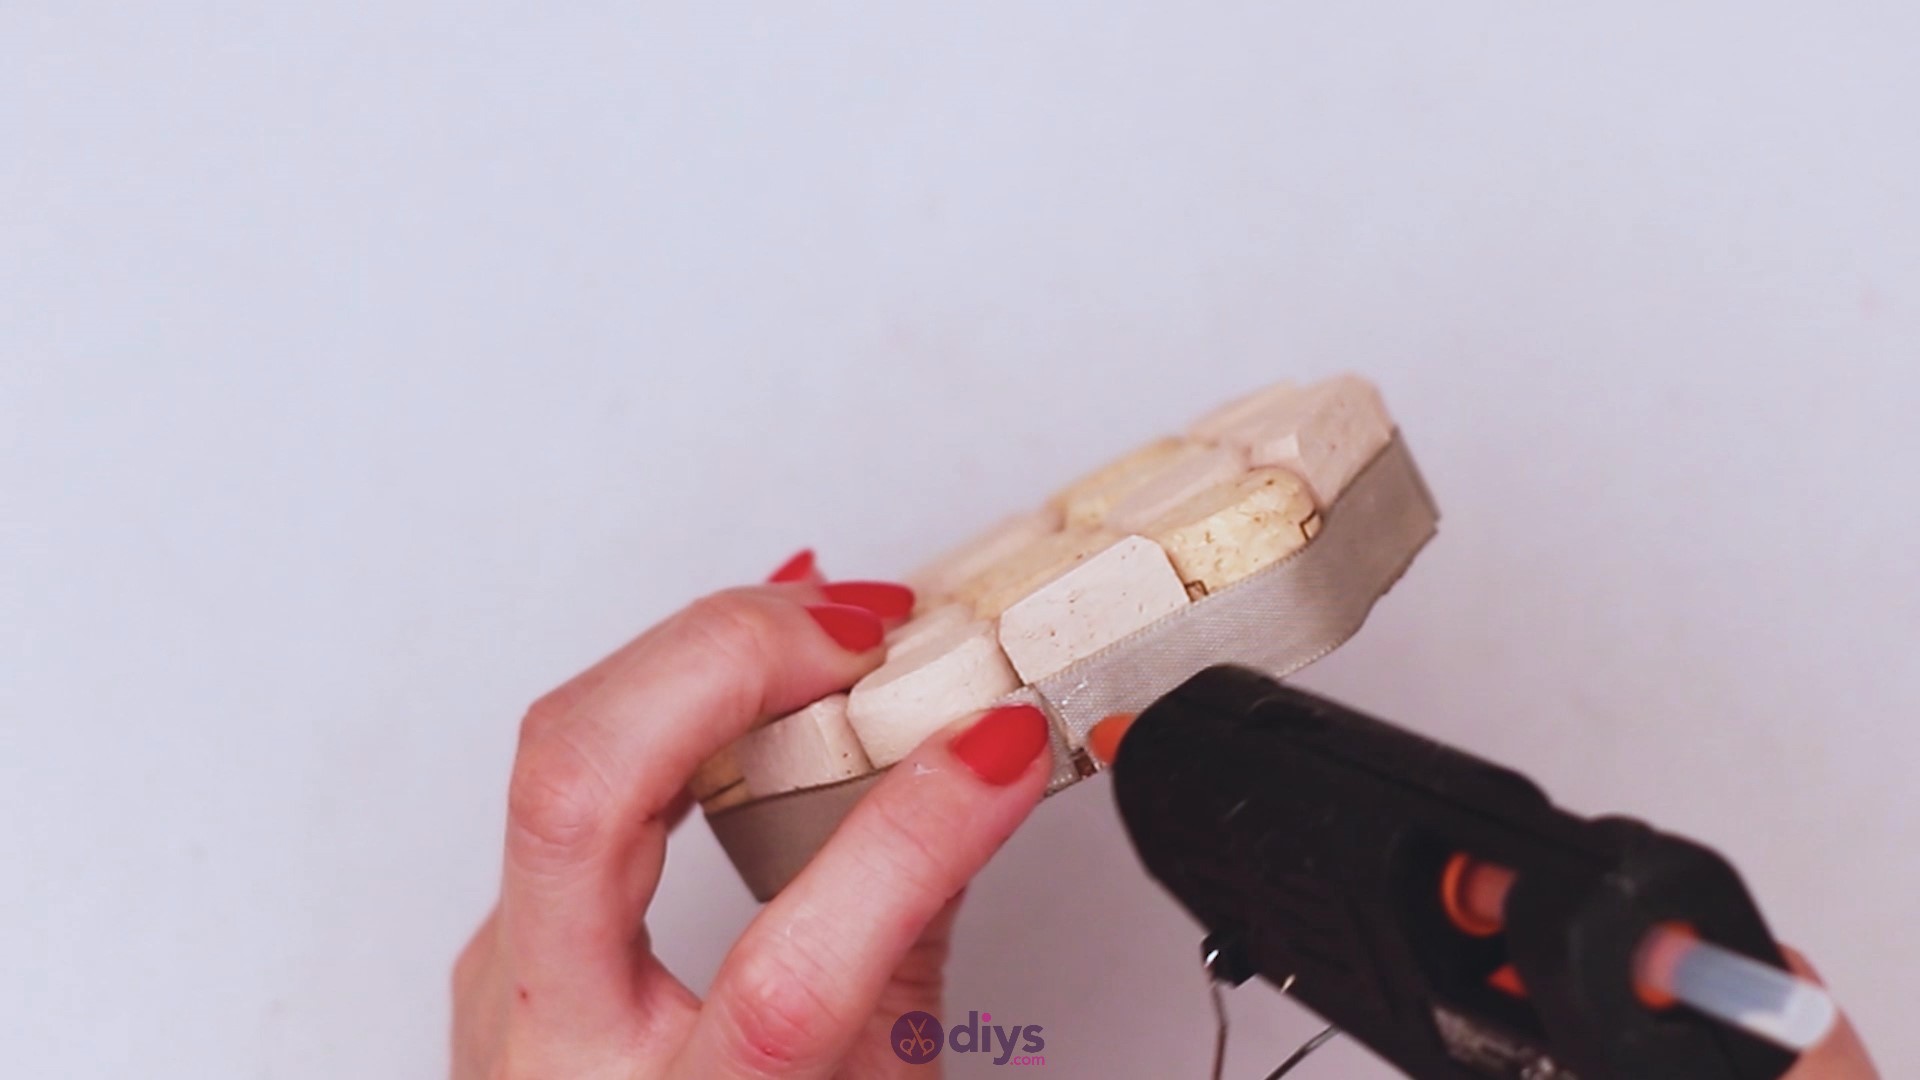
Continue the process until you’ve gone around the wine cork coaster.
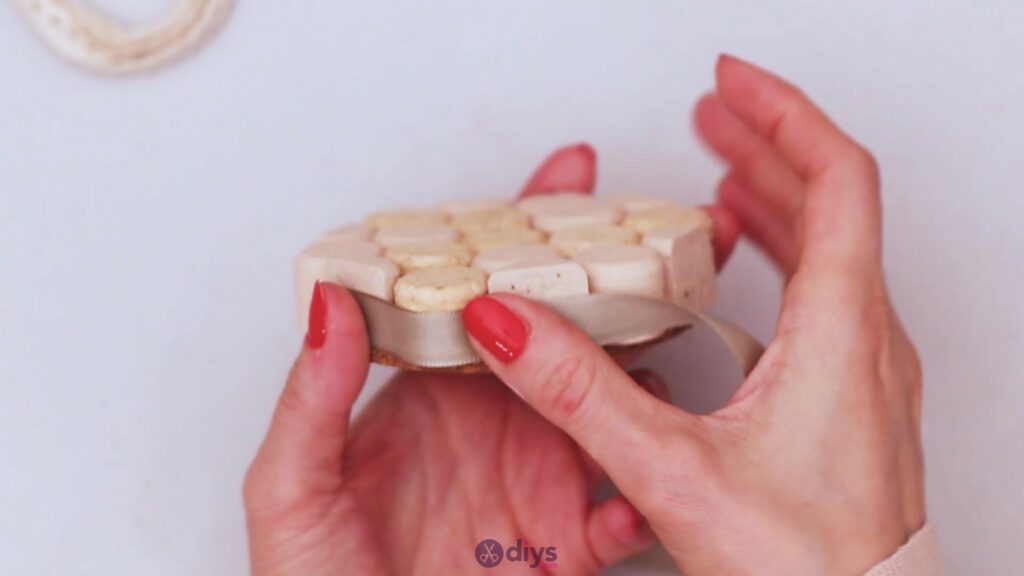

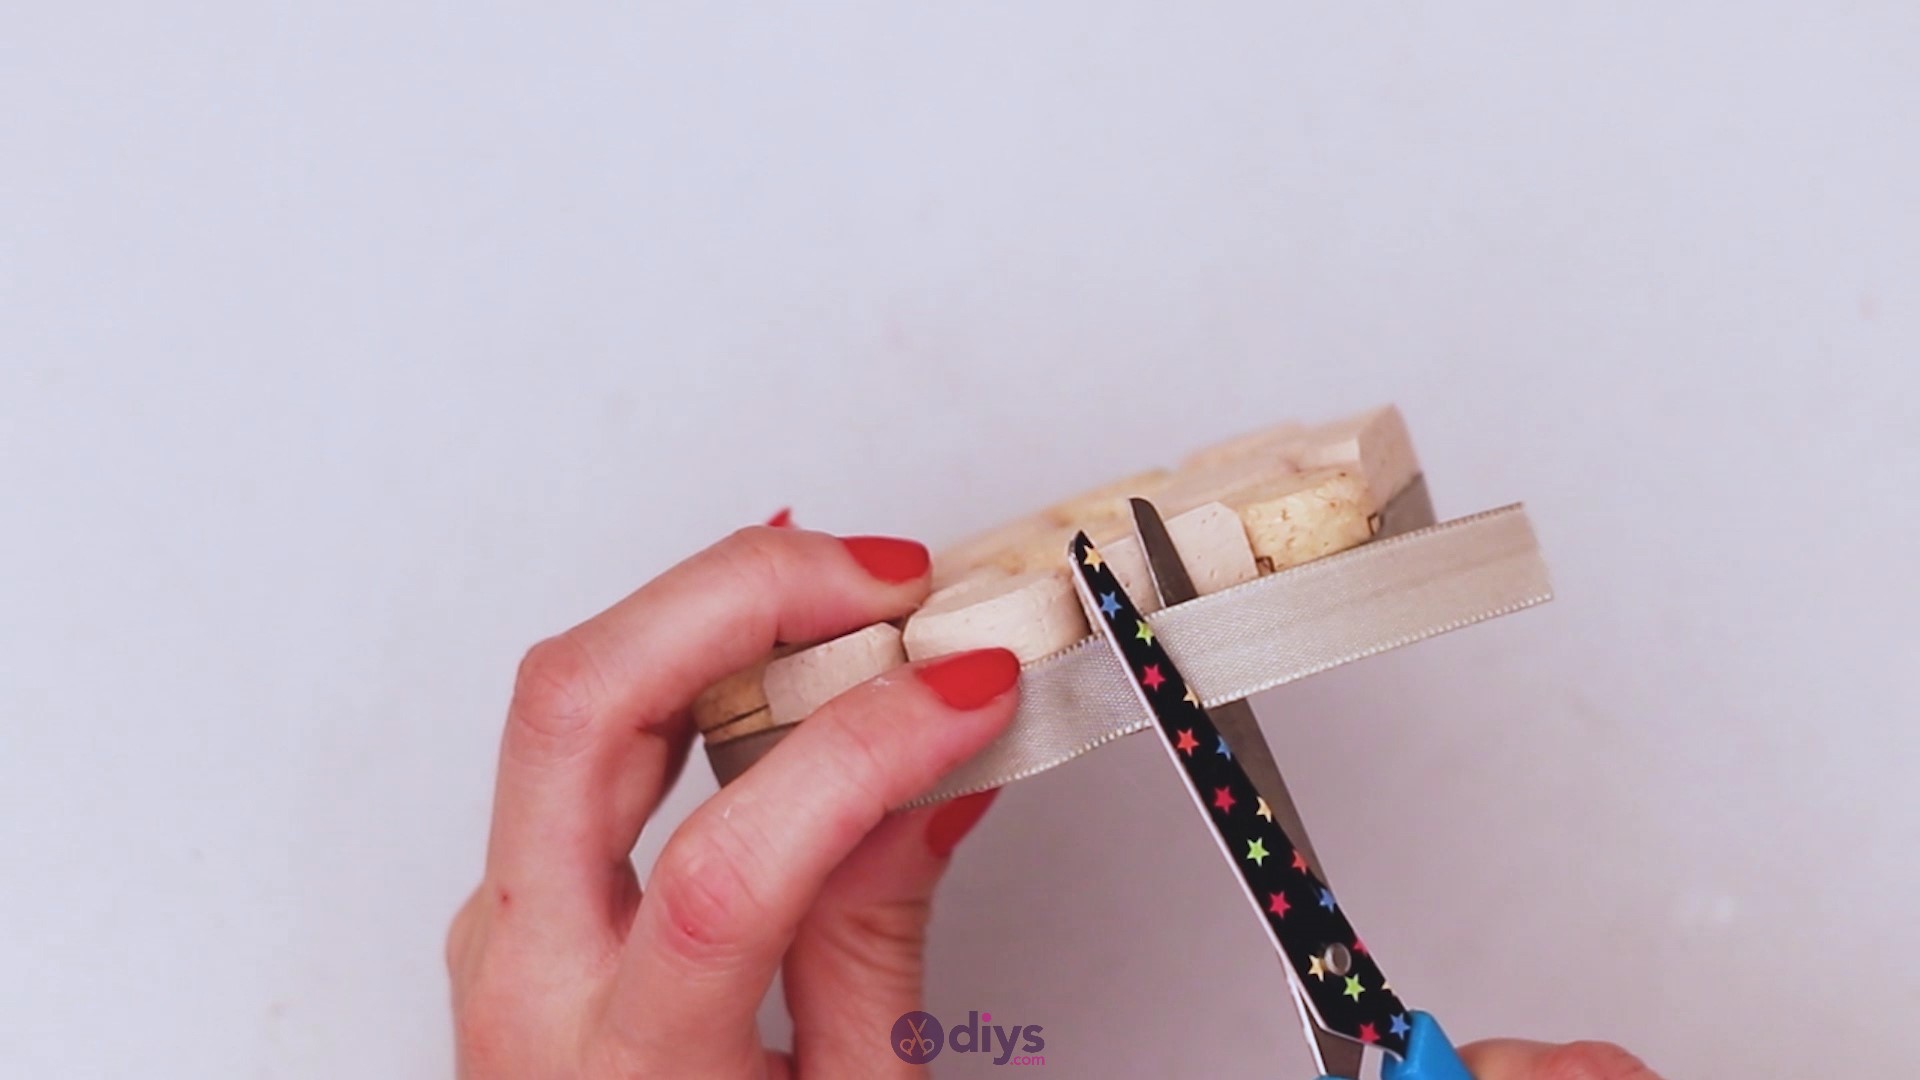
Once you’ve reached around the coaster, measure up the ribbon so it overlaps a bit and add some extra hot glue over the ribbon you already glued in.

Lightly press the ribbon ends one of the other and keep pressing for a few seconds until you’re sure the glue has set in.

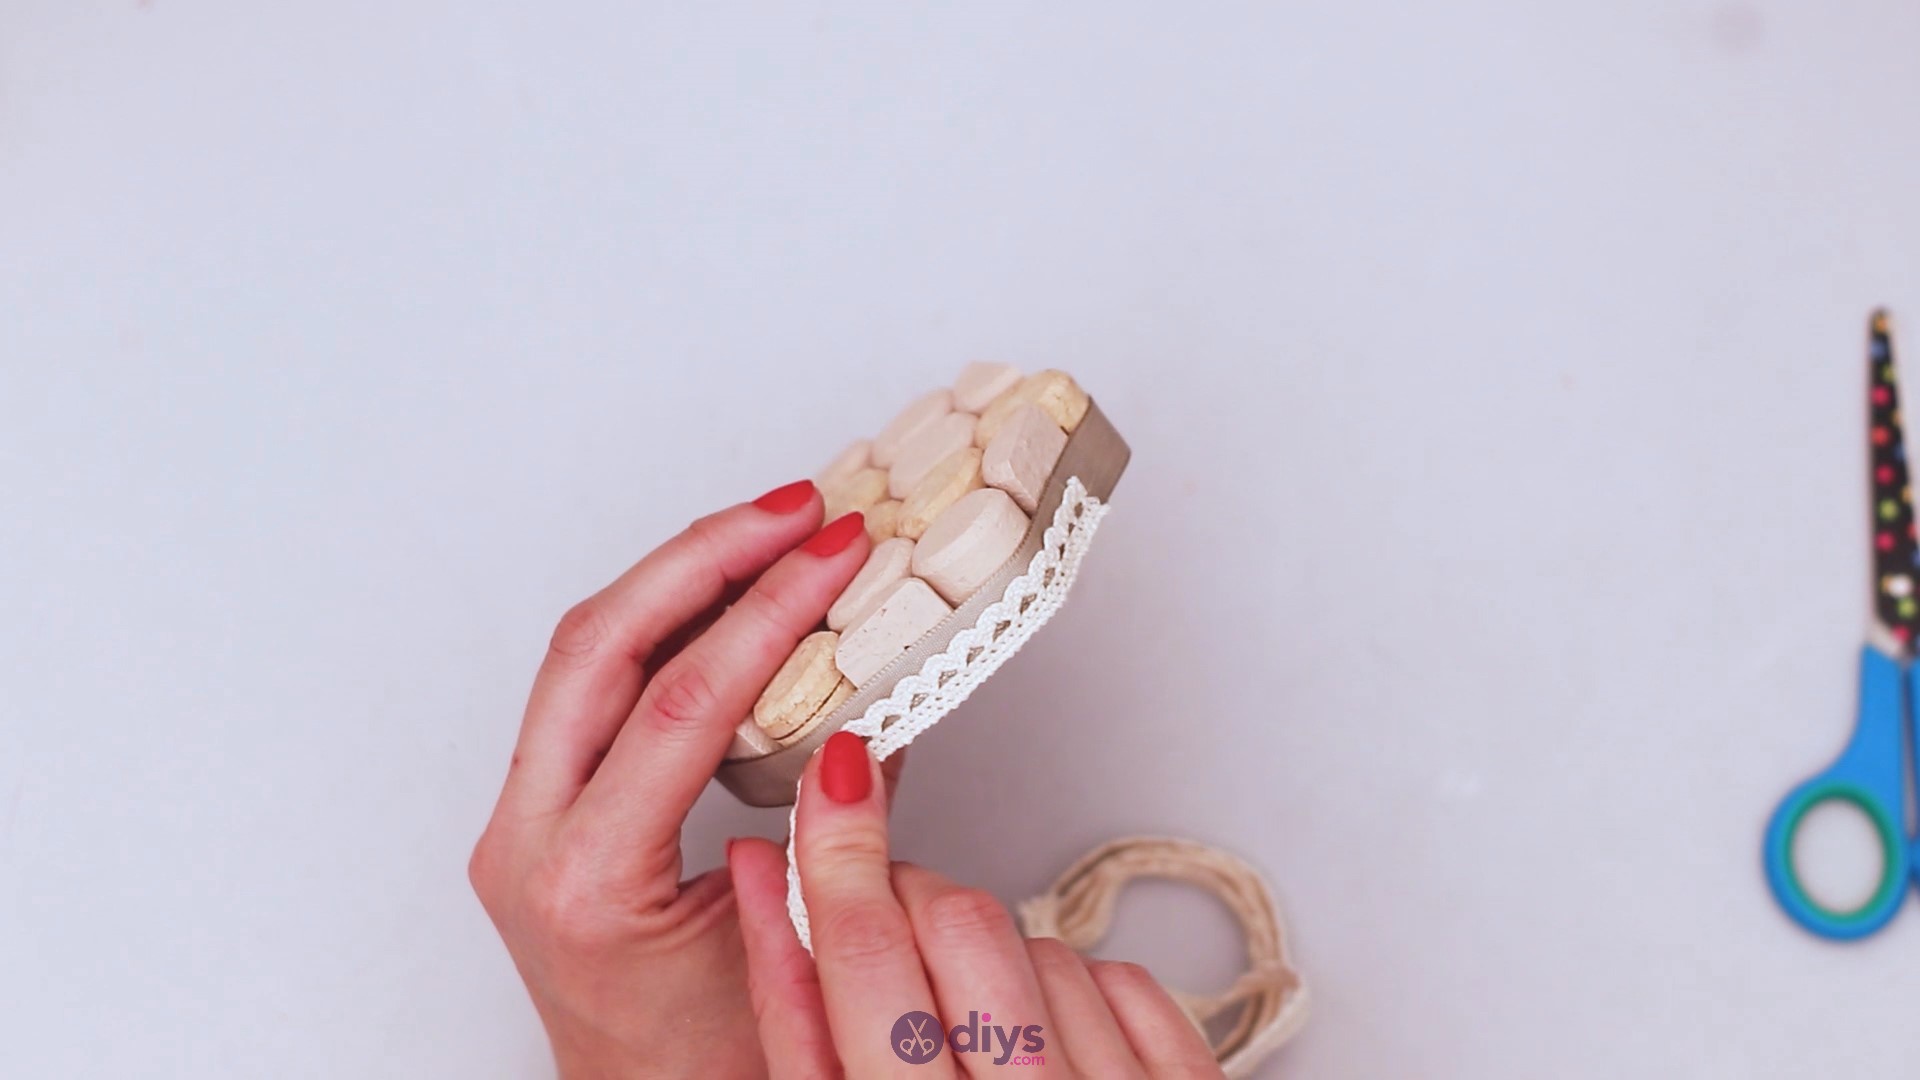
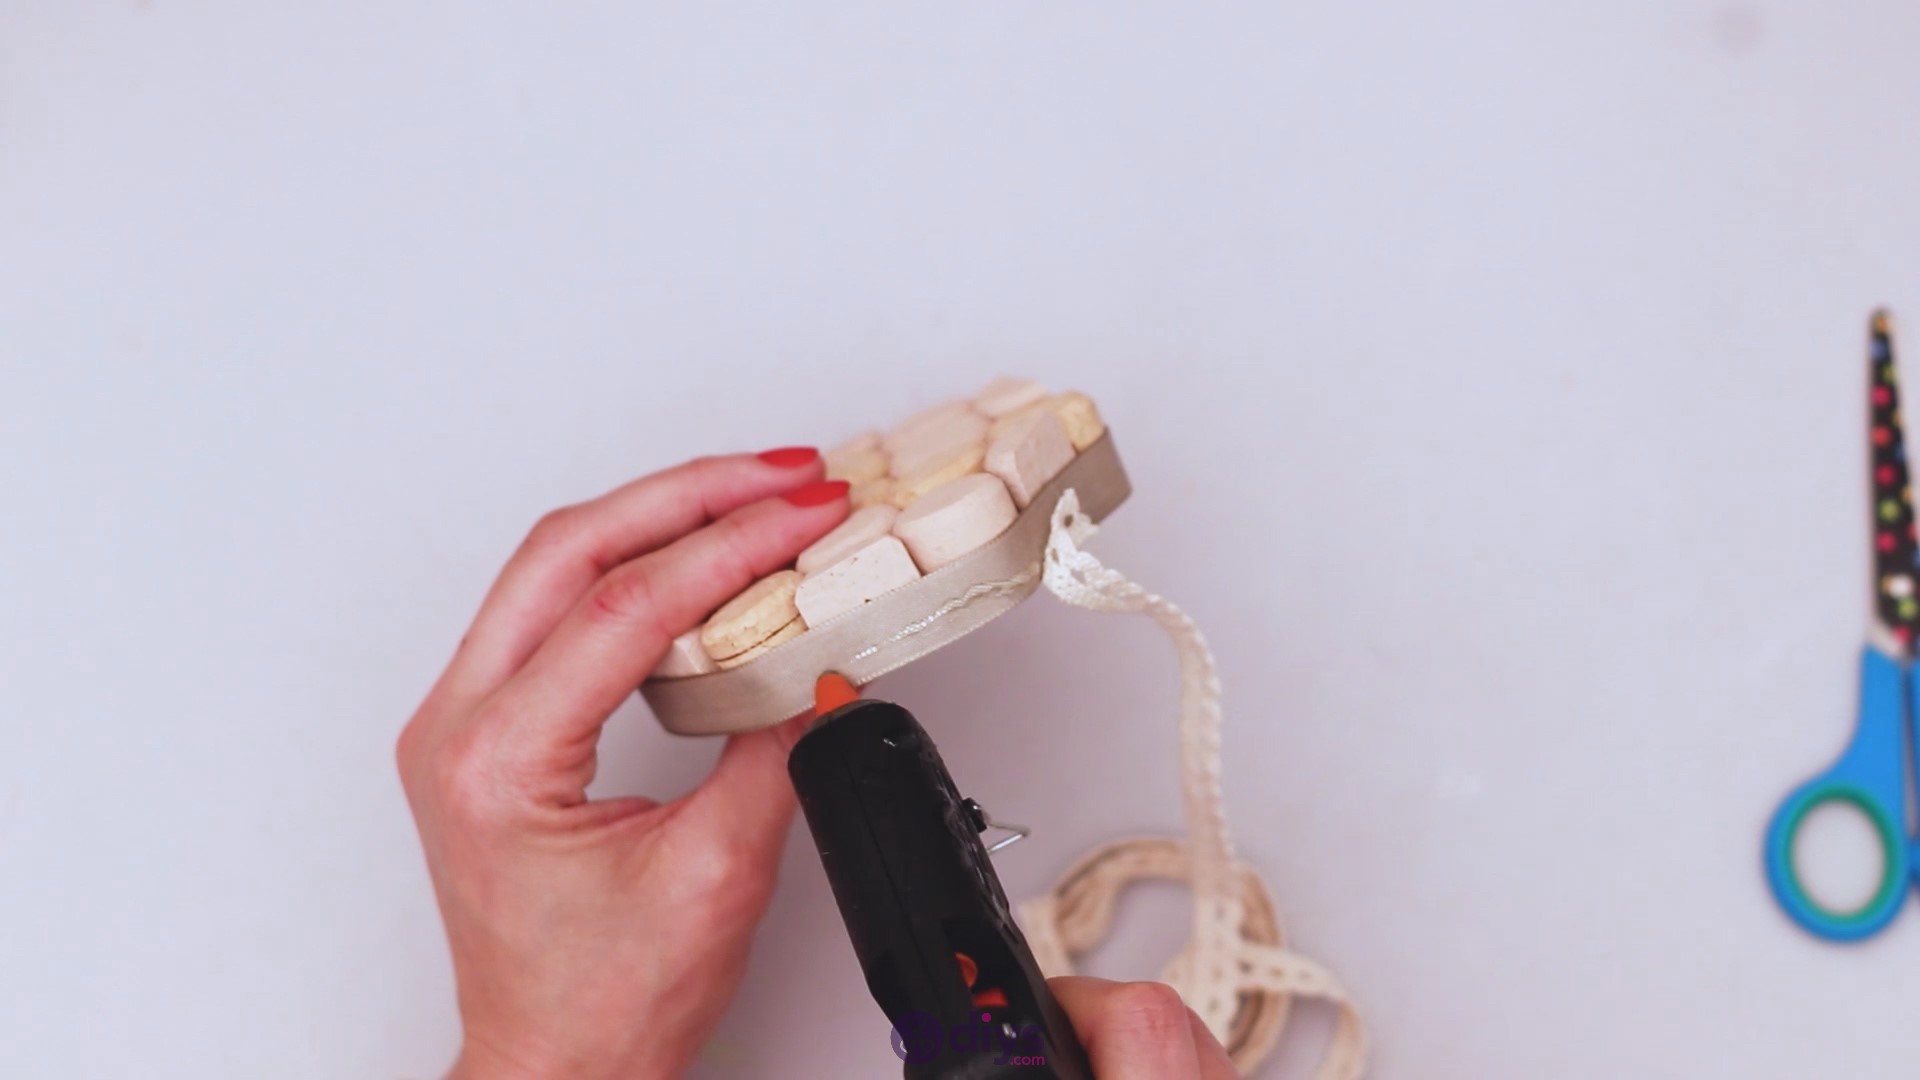
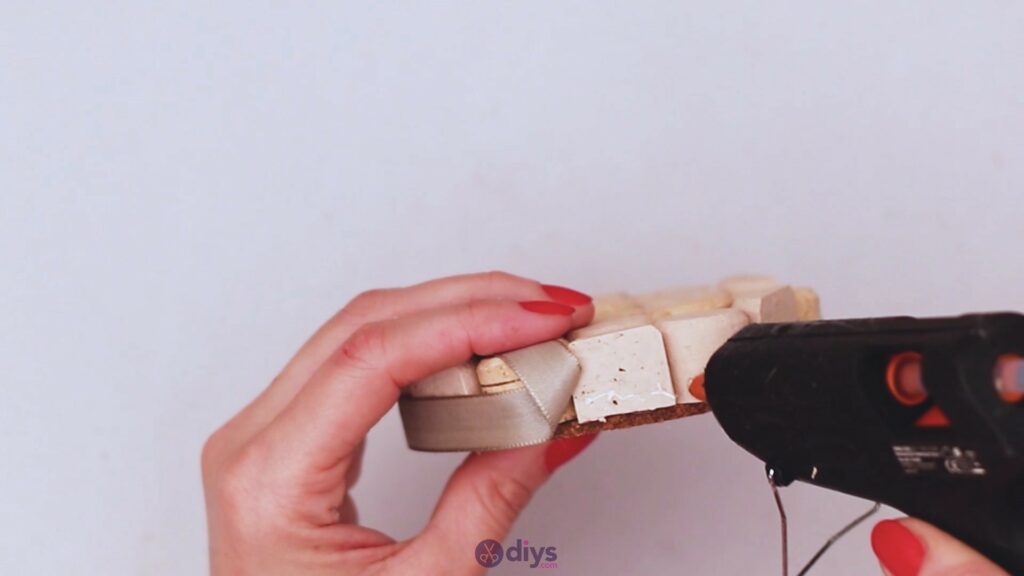
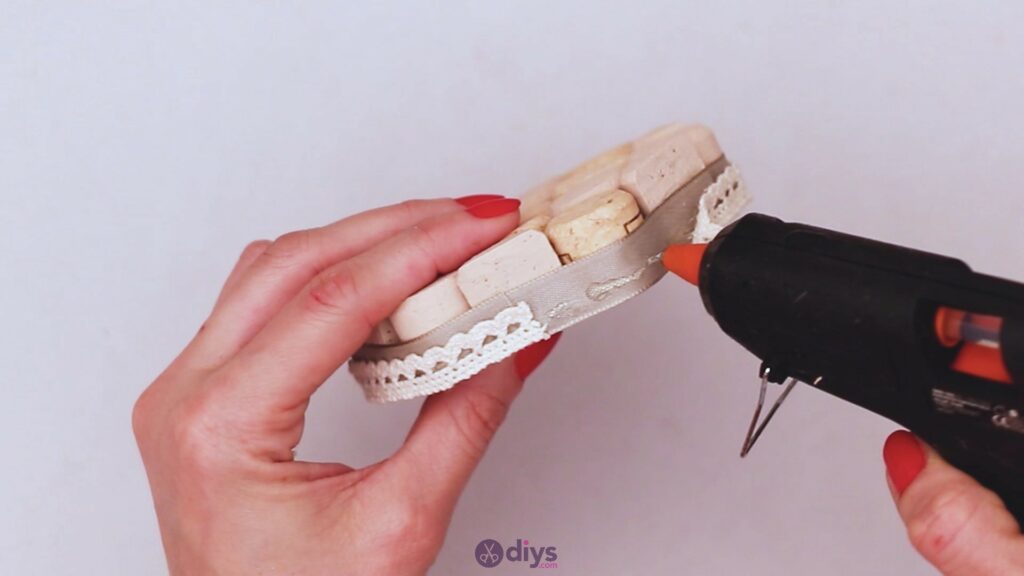
Step 5: Add the lace
Finally, it’s time you use that beautiful lace you have been holding on to since we started this project. Add some hot glue over the ribbon and lay the lace over it.
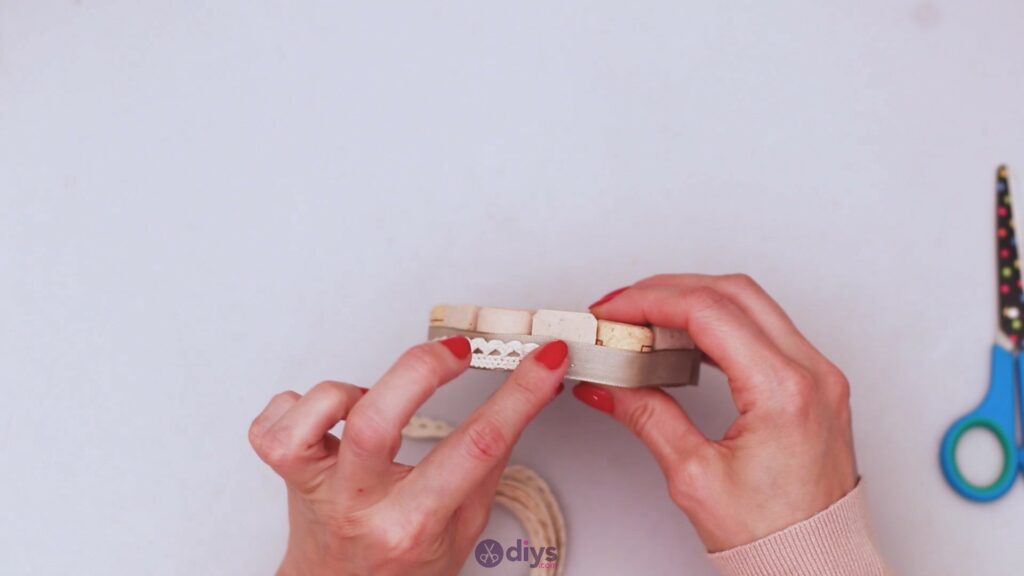
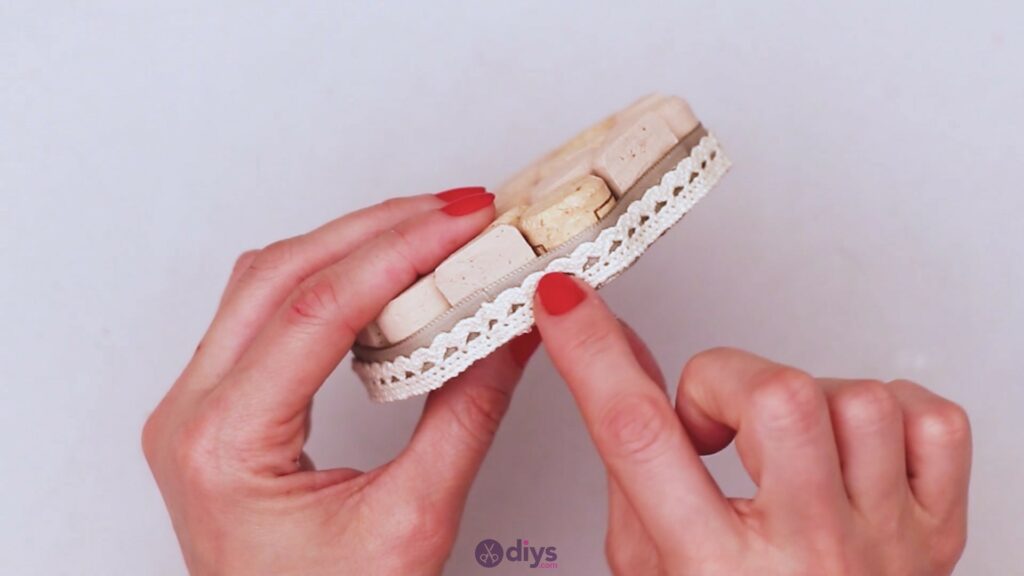
Slowly go around the wine cork coaster and add more hot glue in a line. Press the lace over the glue line and make sure it’s nicely laid over.


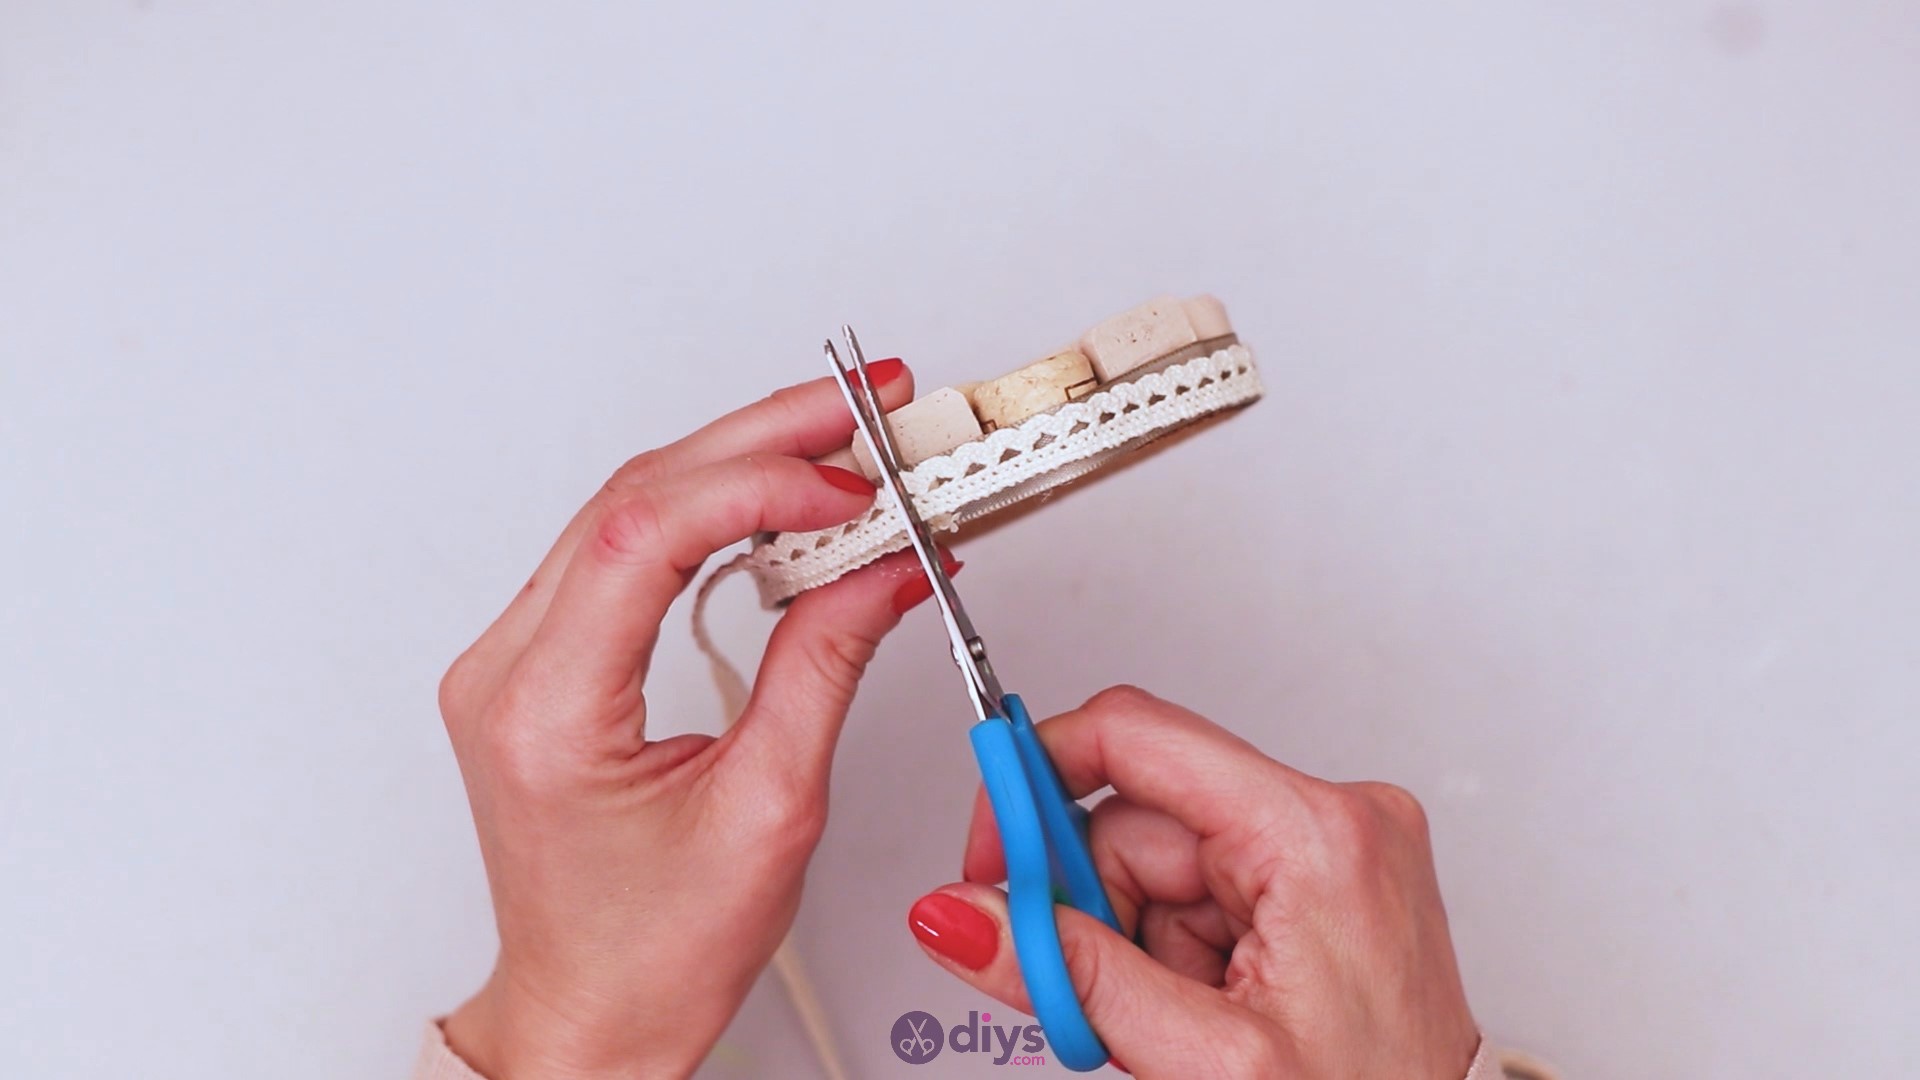
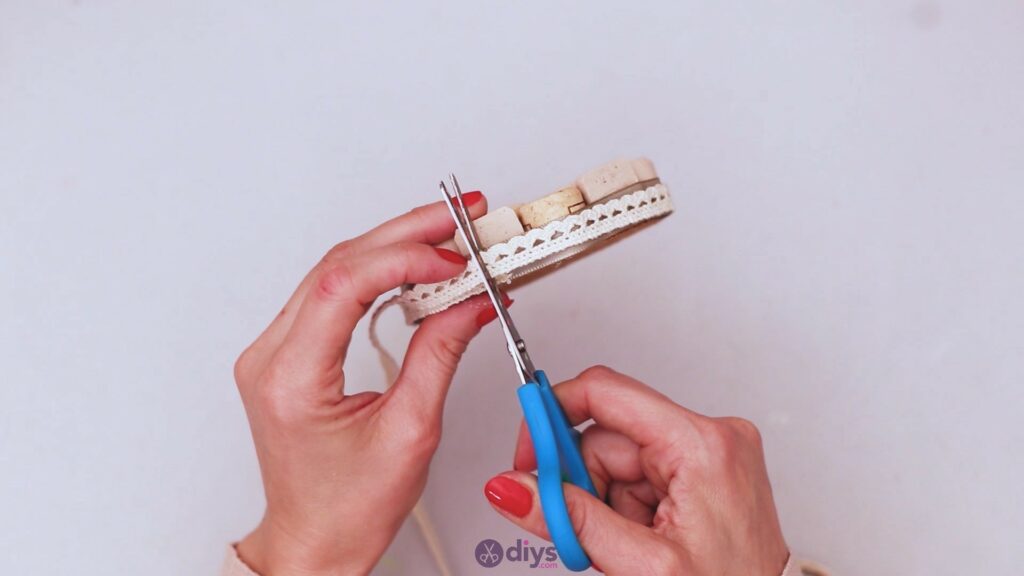
When you’re almost done, measure up the lace and cut it so the two ends overlap for just a very tiny bit. Add more hot glue and finish up arranging the lace.
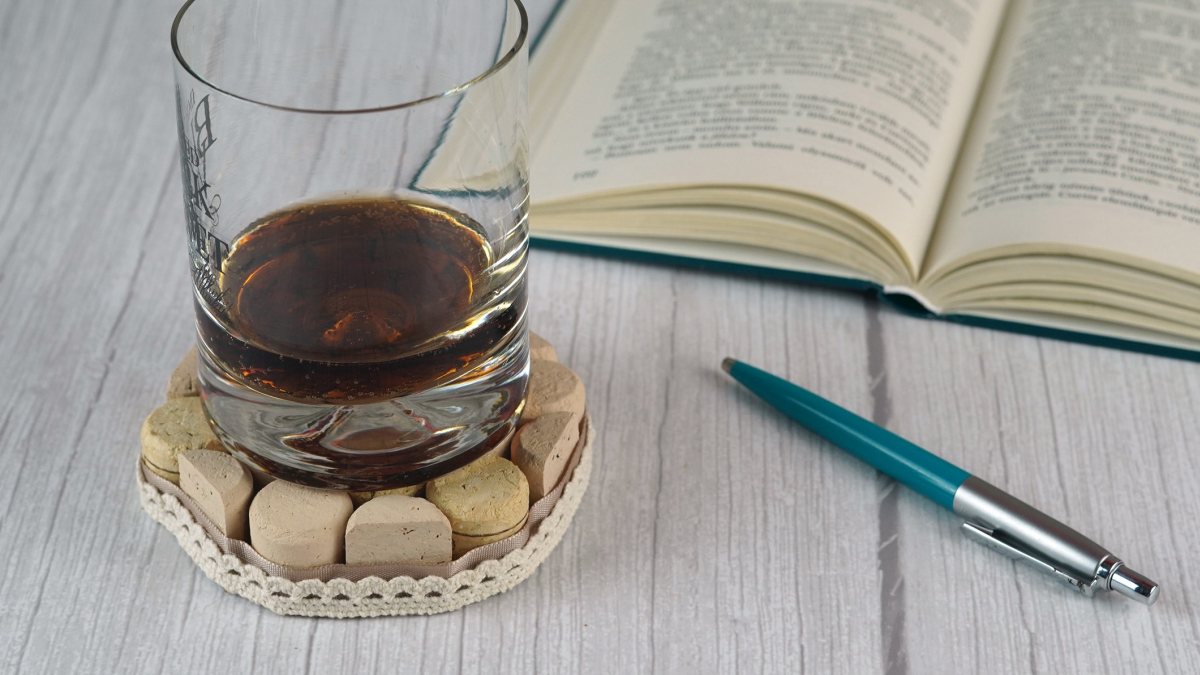
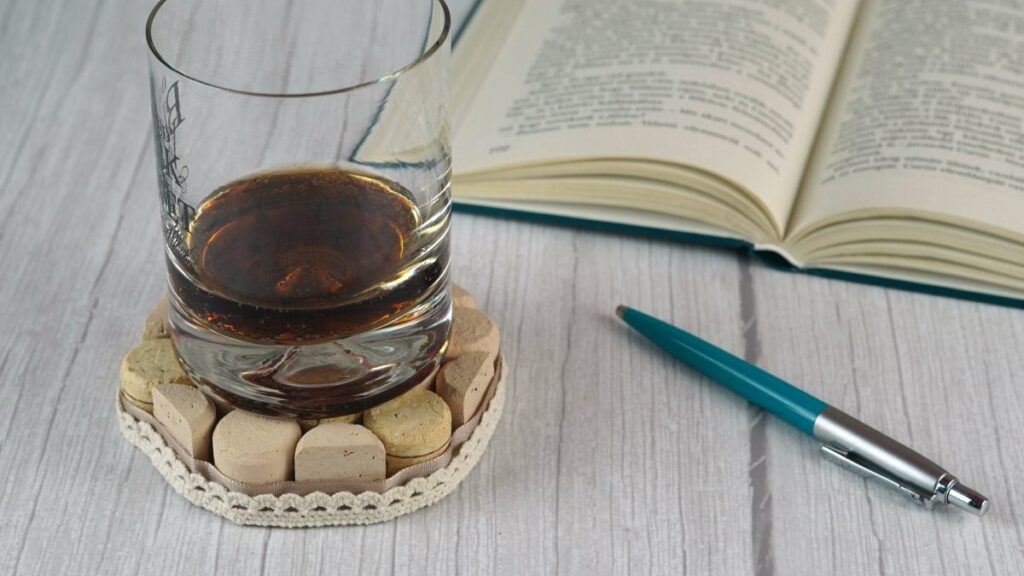
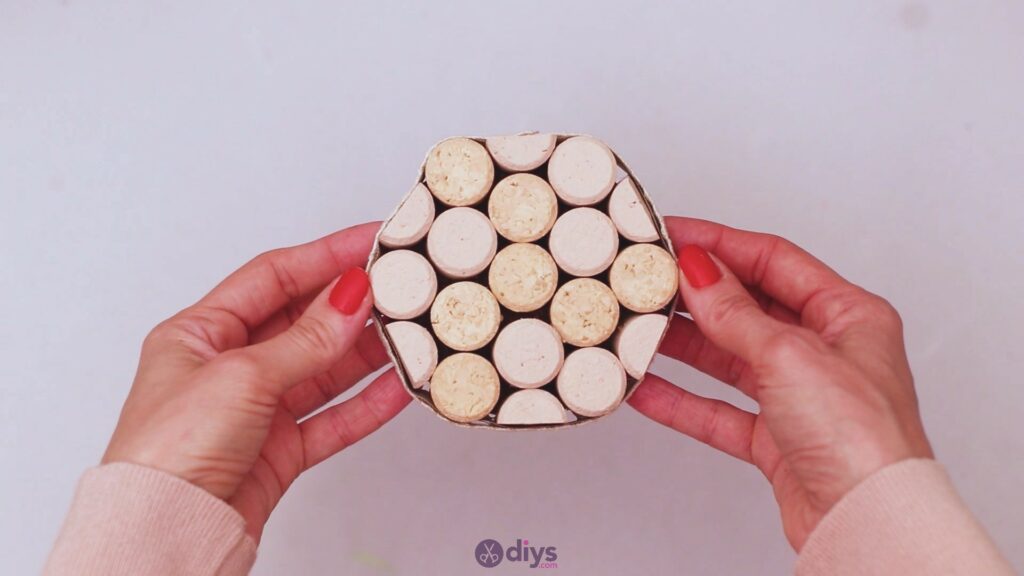
There you go! You now have a beautiful wine cork coaster to protect your furniture. It looks nice and you can make quite a few of these, so they’re ready for the next get-together you host. We’re sure yours turned out just as nice, if not nicer!
We know you’ll want to try making more and we think you can definitely try more color combinations and more decorating materials. These are not only pretty, but they’re also handy, so we think that you can also make some as gifts to family and friends. Share your results with us!