DIY Elegant White Beads Bracelet
Updated on November 19, 2025

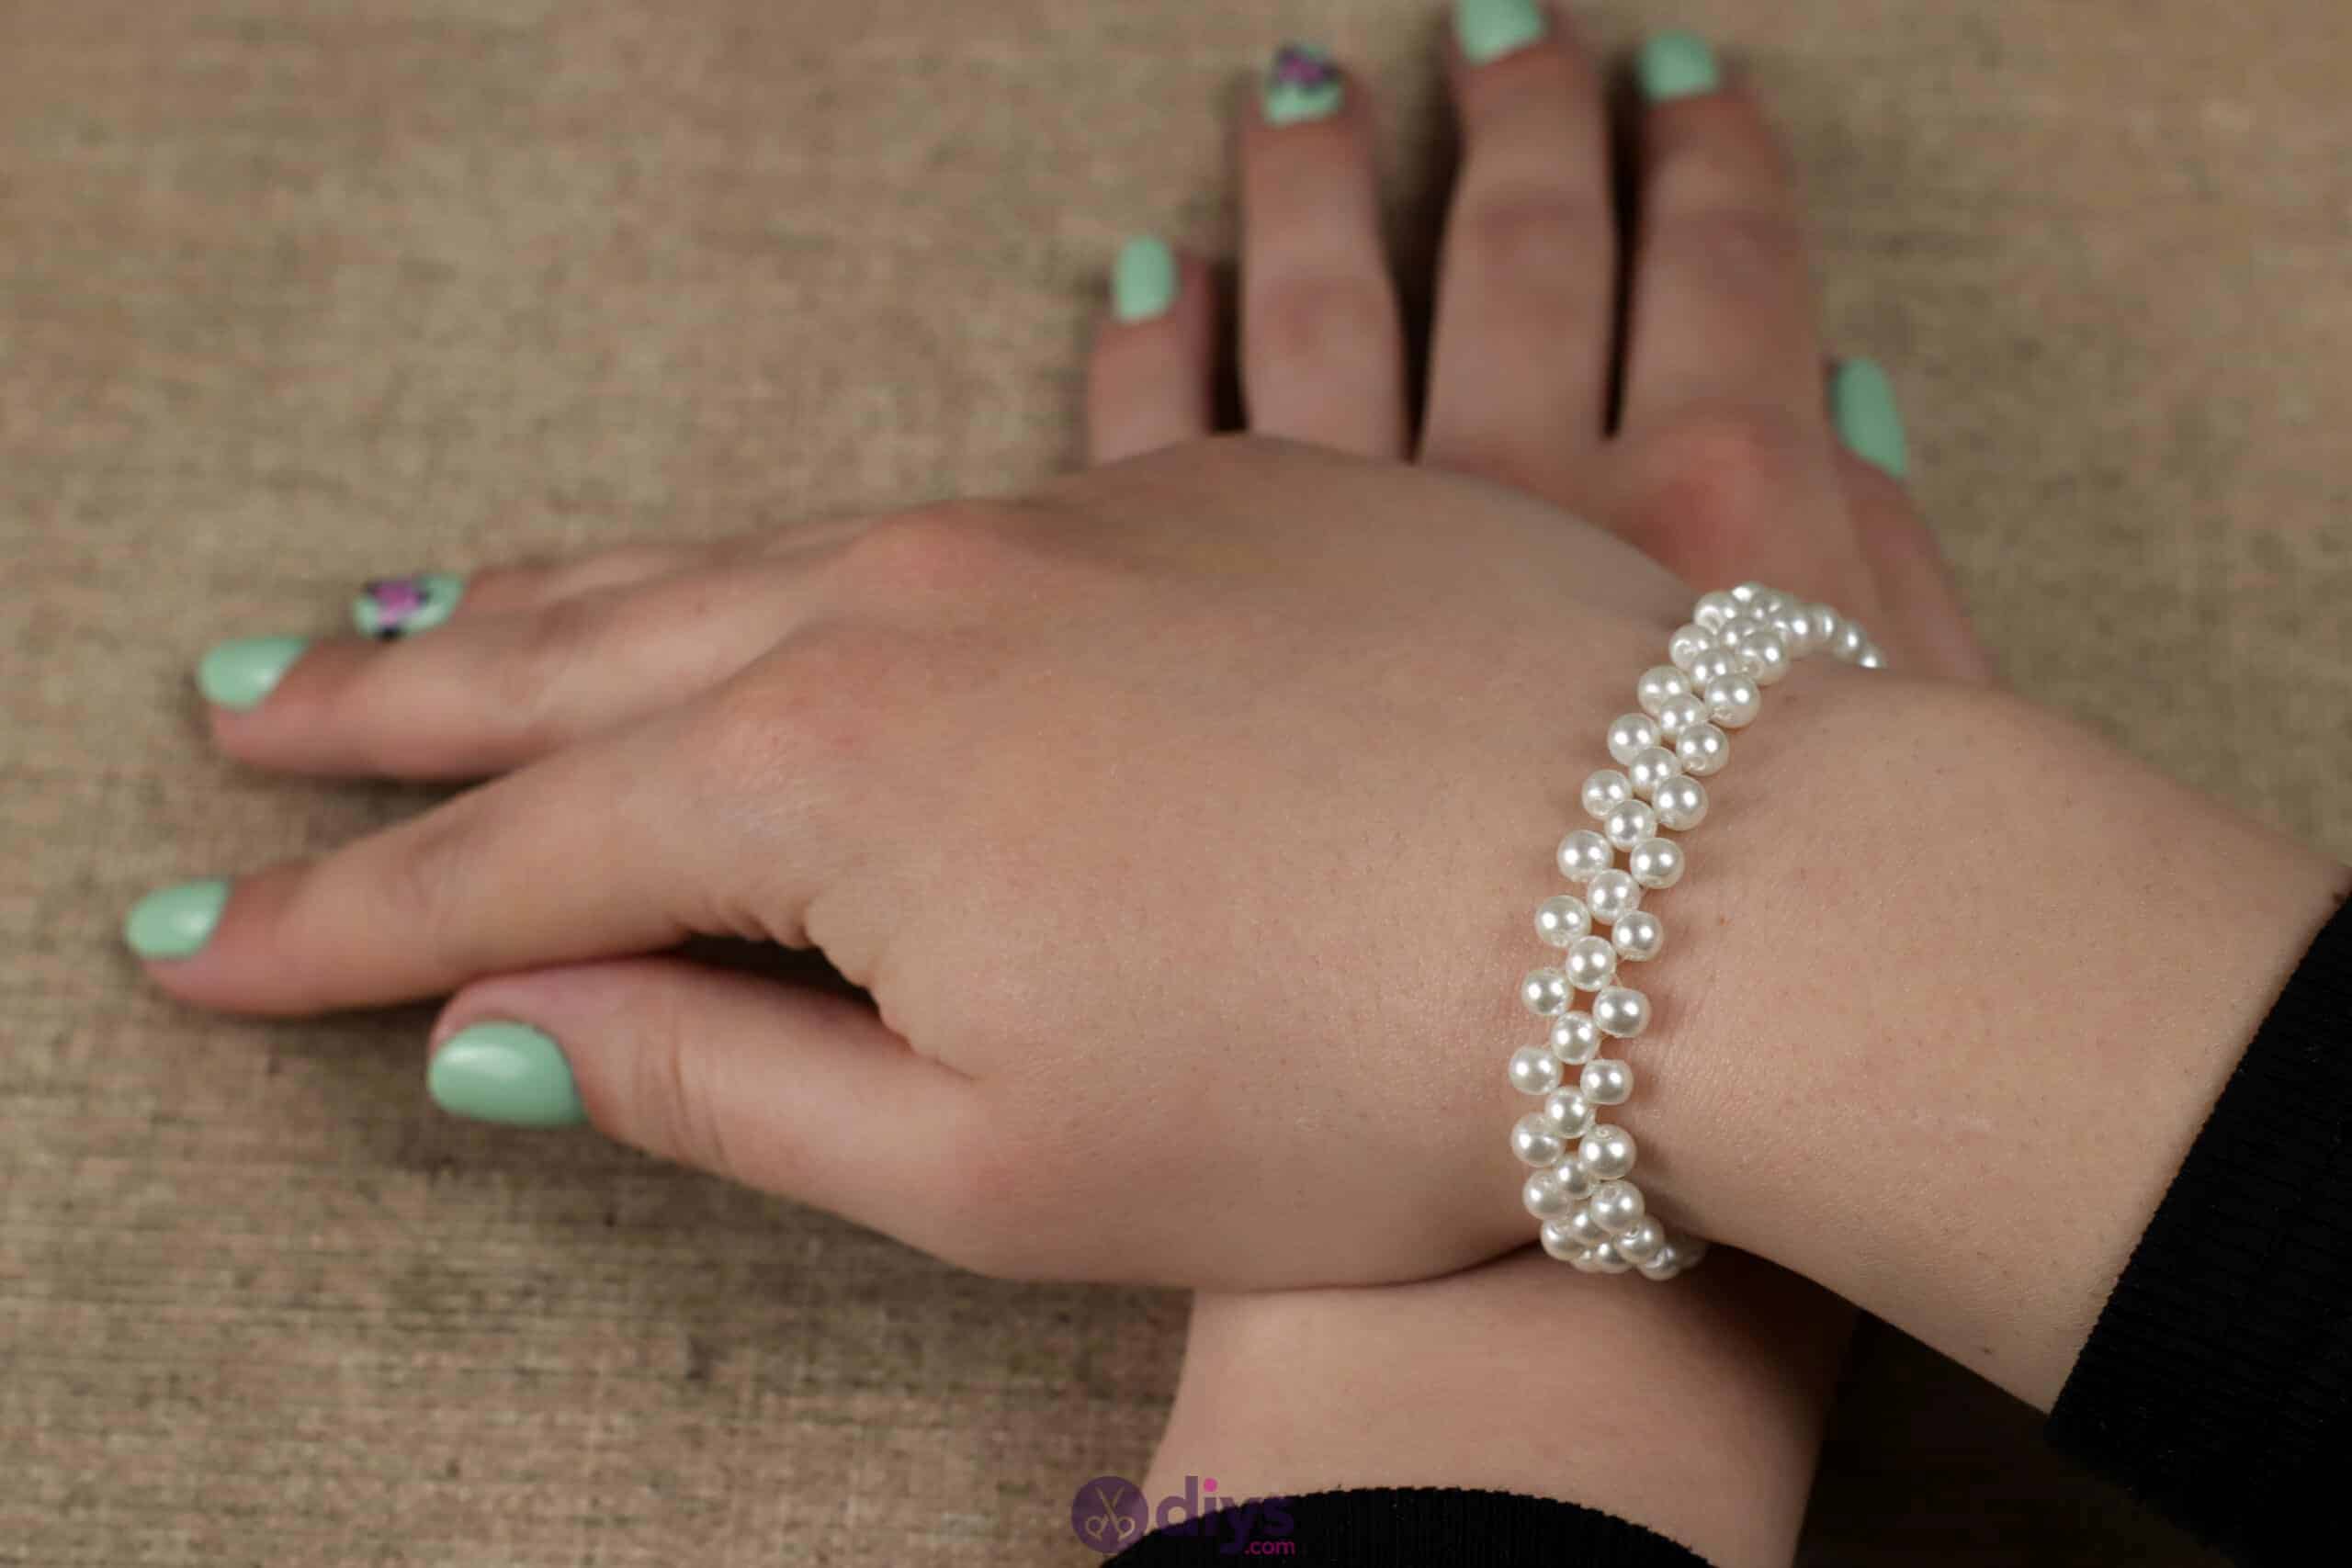


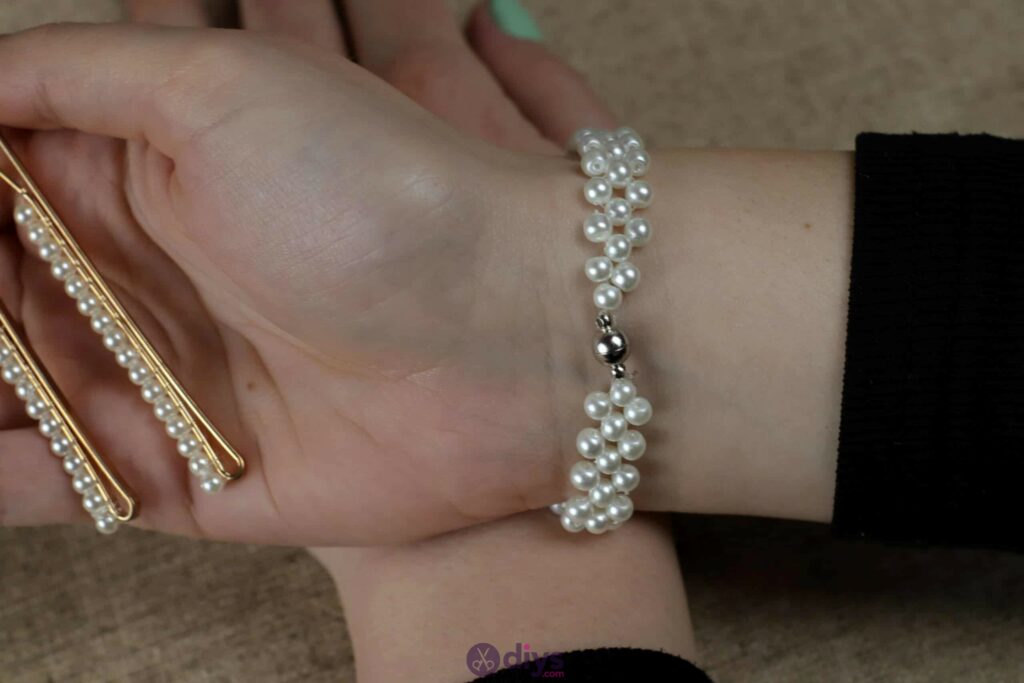
You don’t have to spend a fortune on beautiful beaded or pearl jewelry, you can make it yourself! Especially with this super simple DIY tutorial we’ve put together for you to try. Check it out!
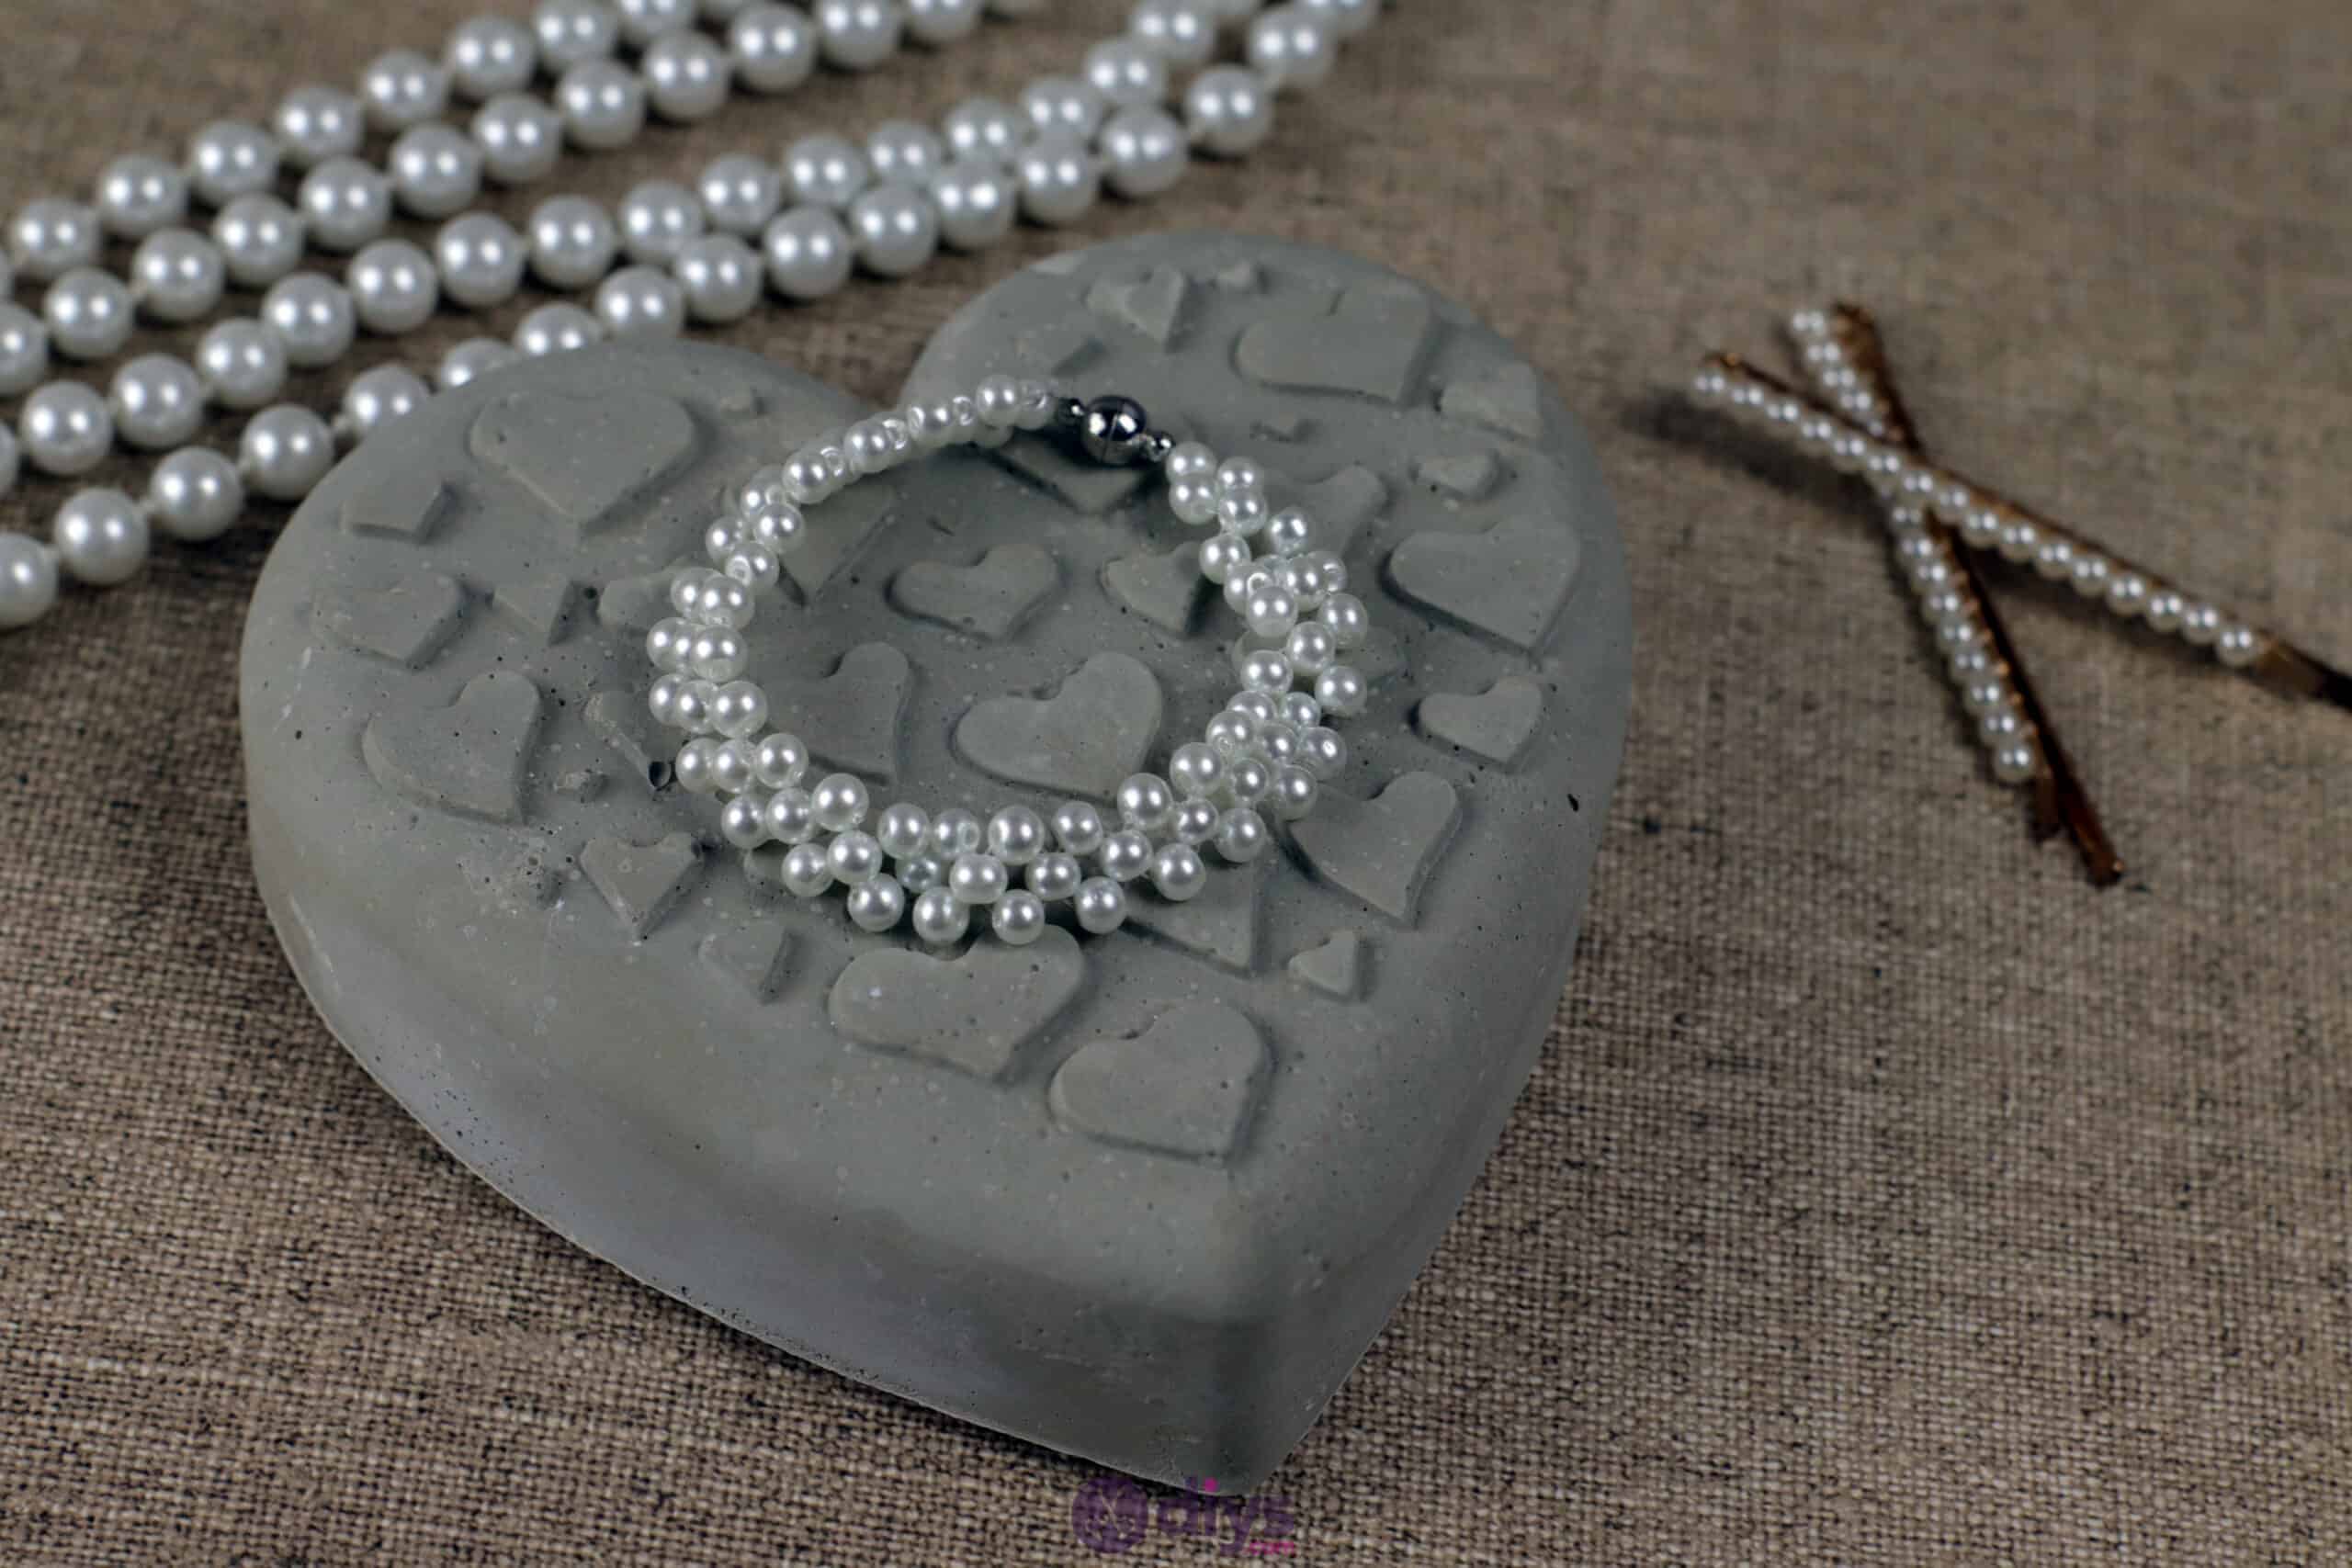
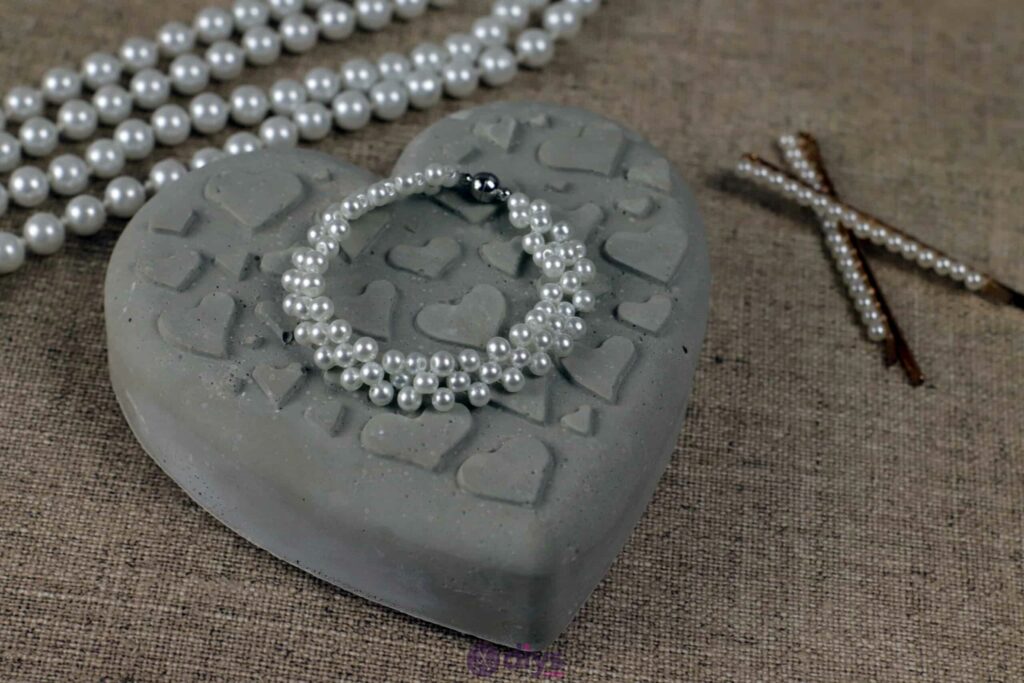
Just look how beautiful and elegant this bracelet is! Keep scrolling to find that full guide in, written form and accompanied by pictures, or skip to the bottom of this post in order to see a complete video tutorial instead!

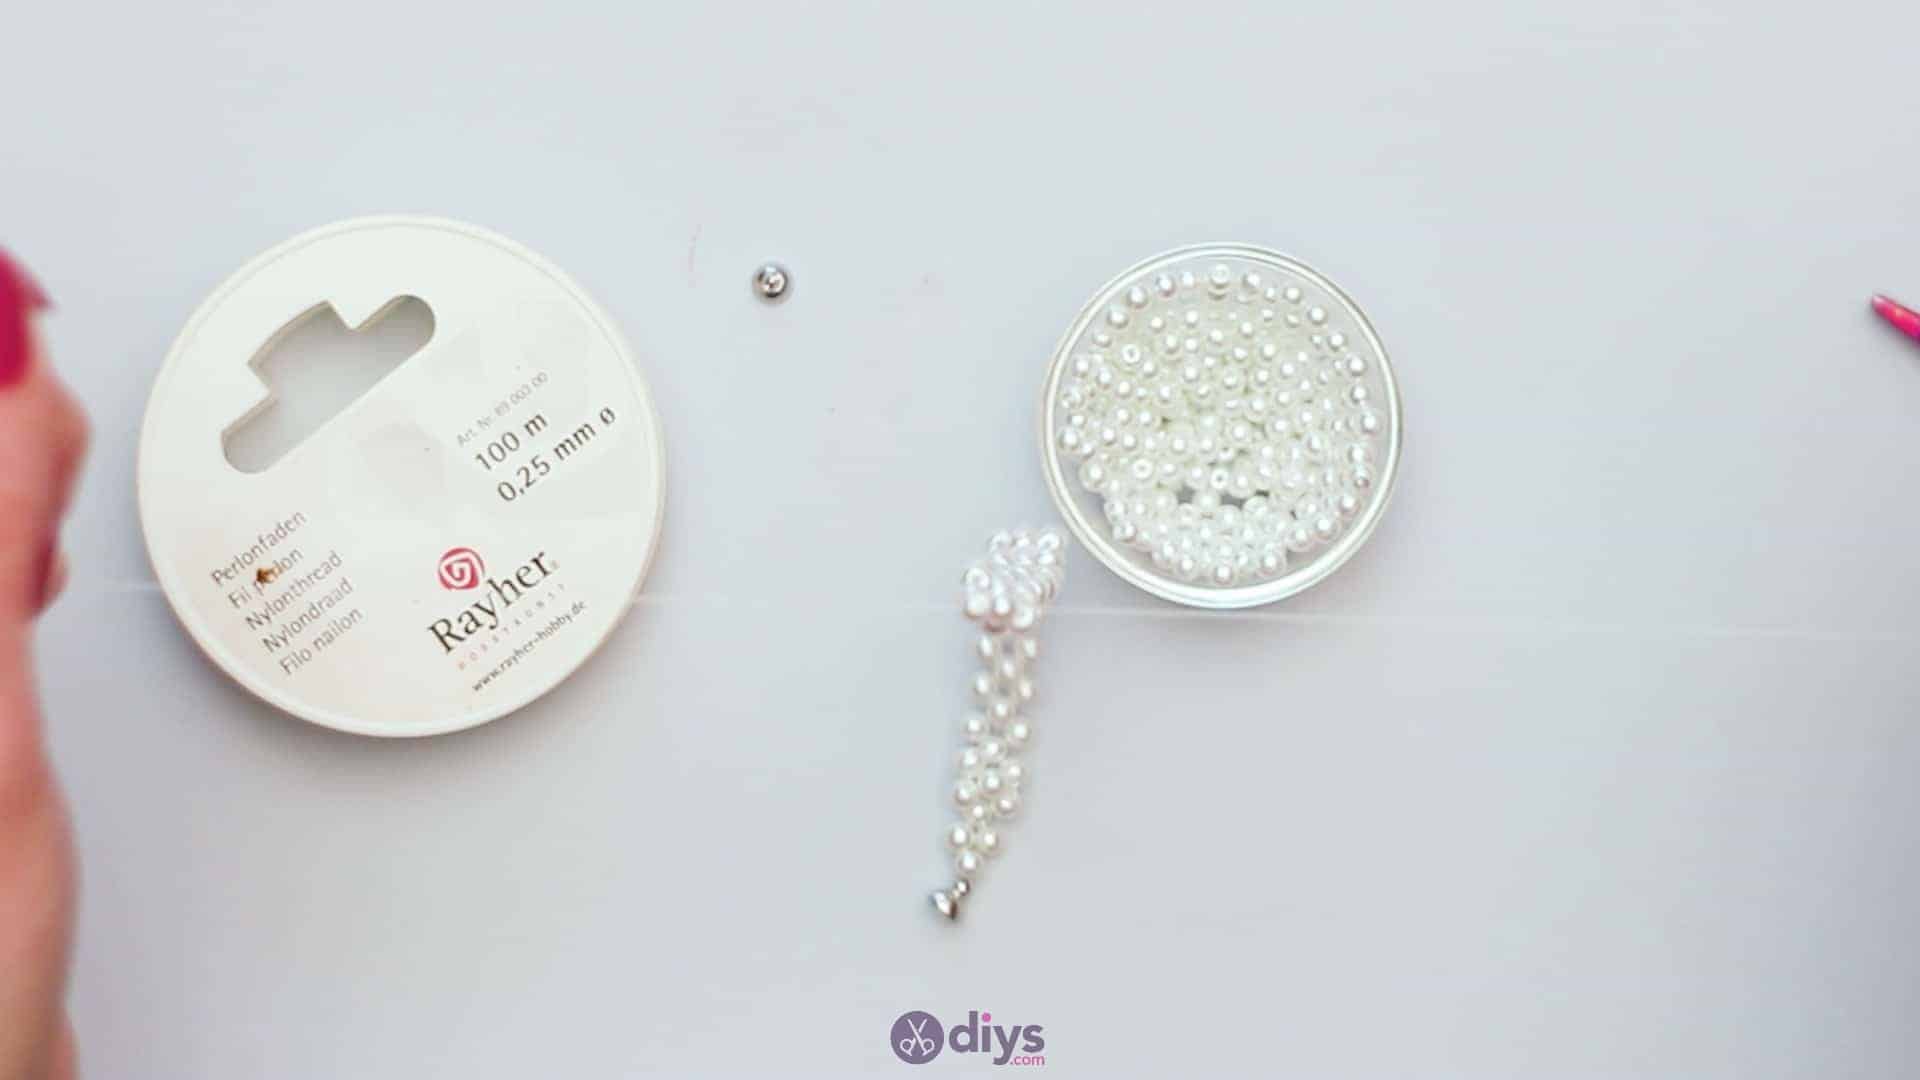
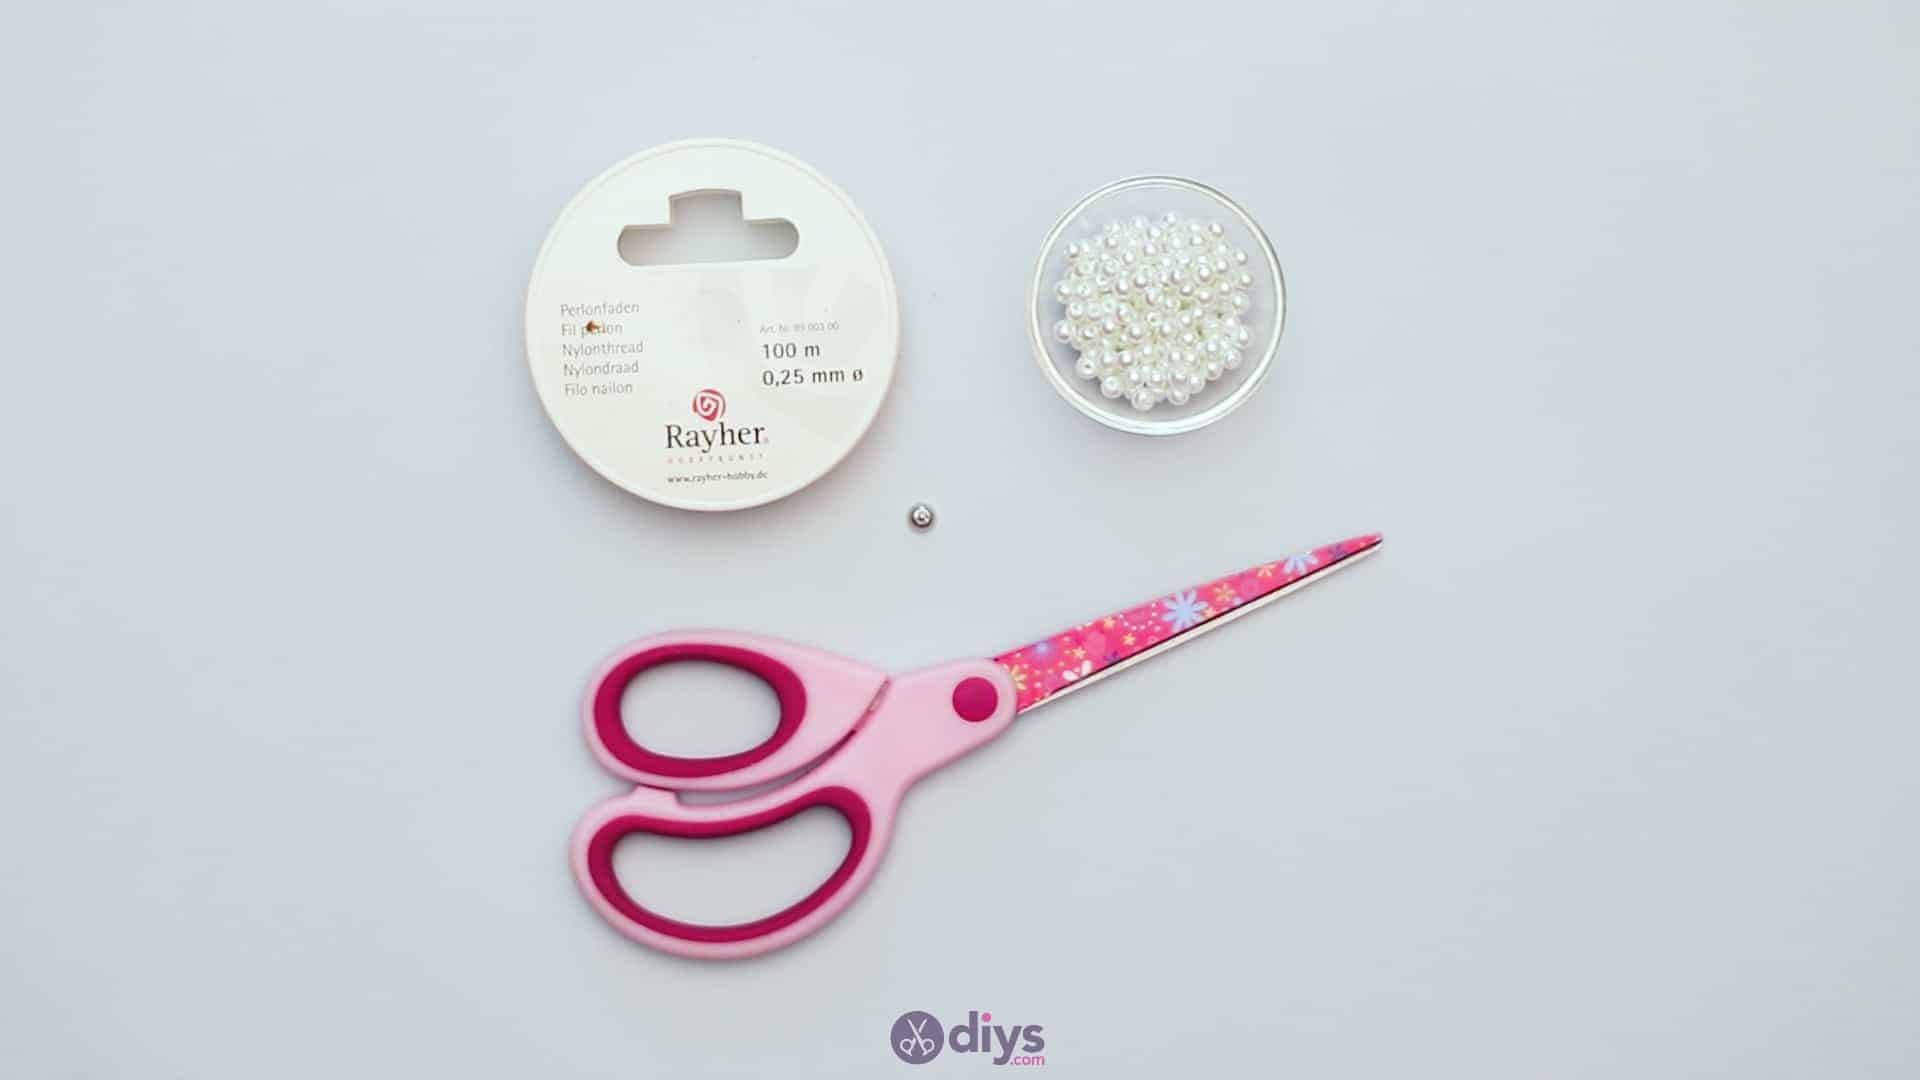
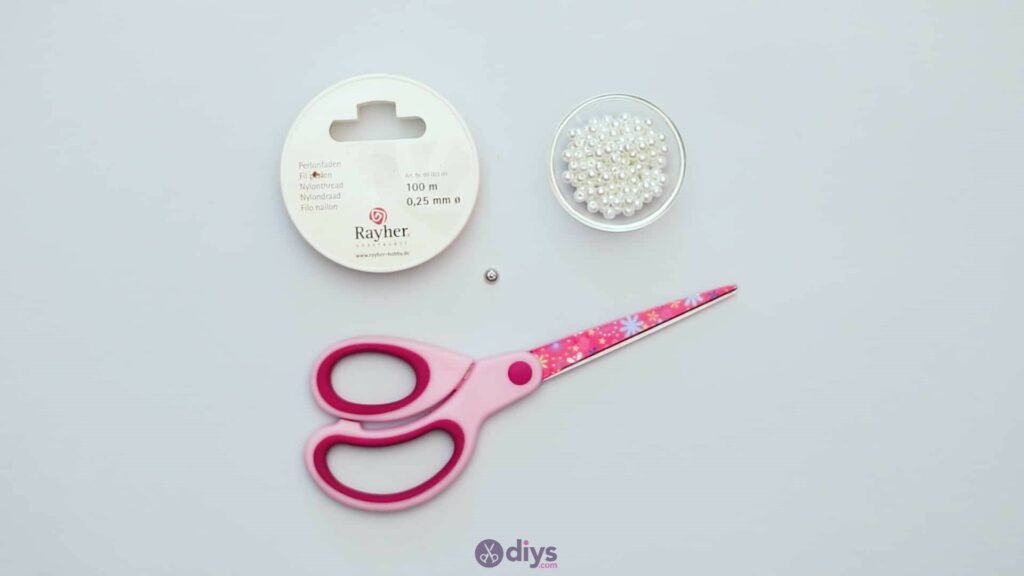
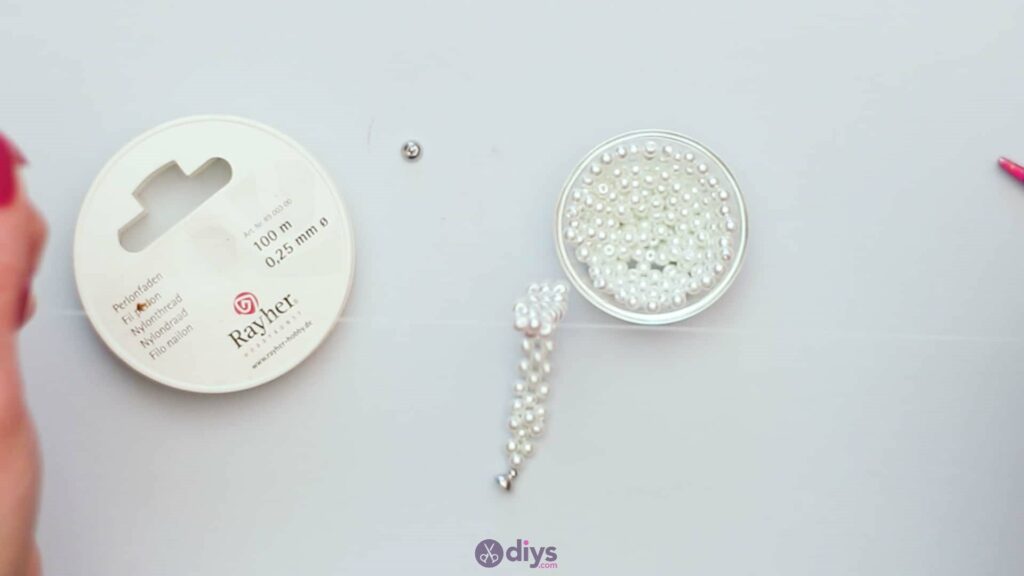
For this project, you’ll need:
- Jewelry line
- Beads
- Magnet fastener
- Scissors
Step 1: Gather up your materials!
Go over your item list and make sure you have everything you need.
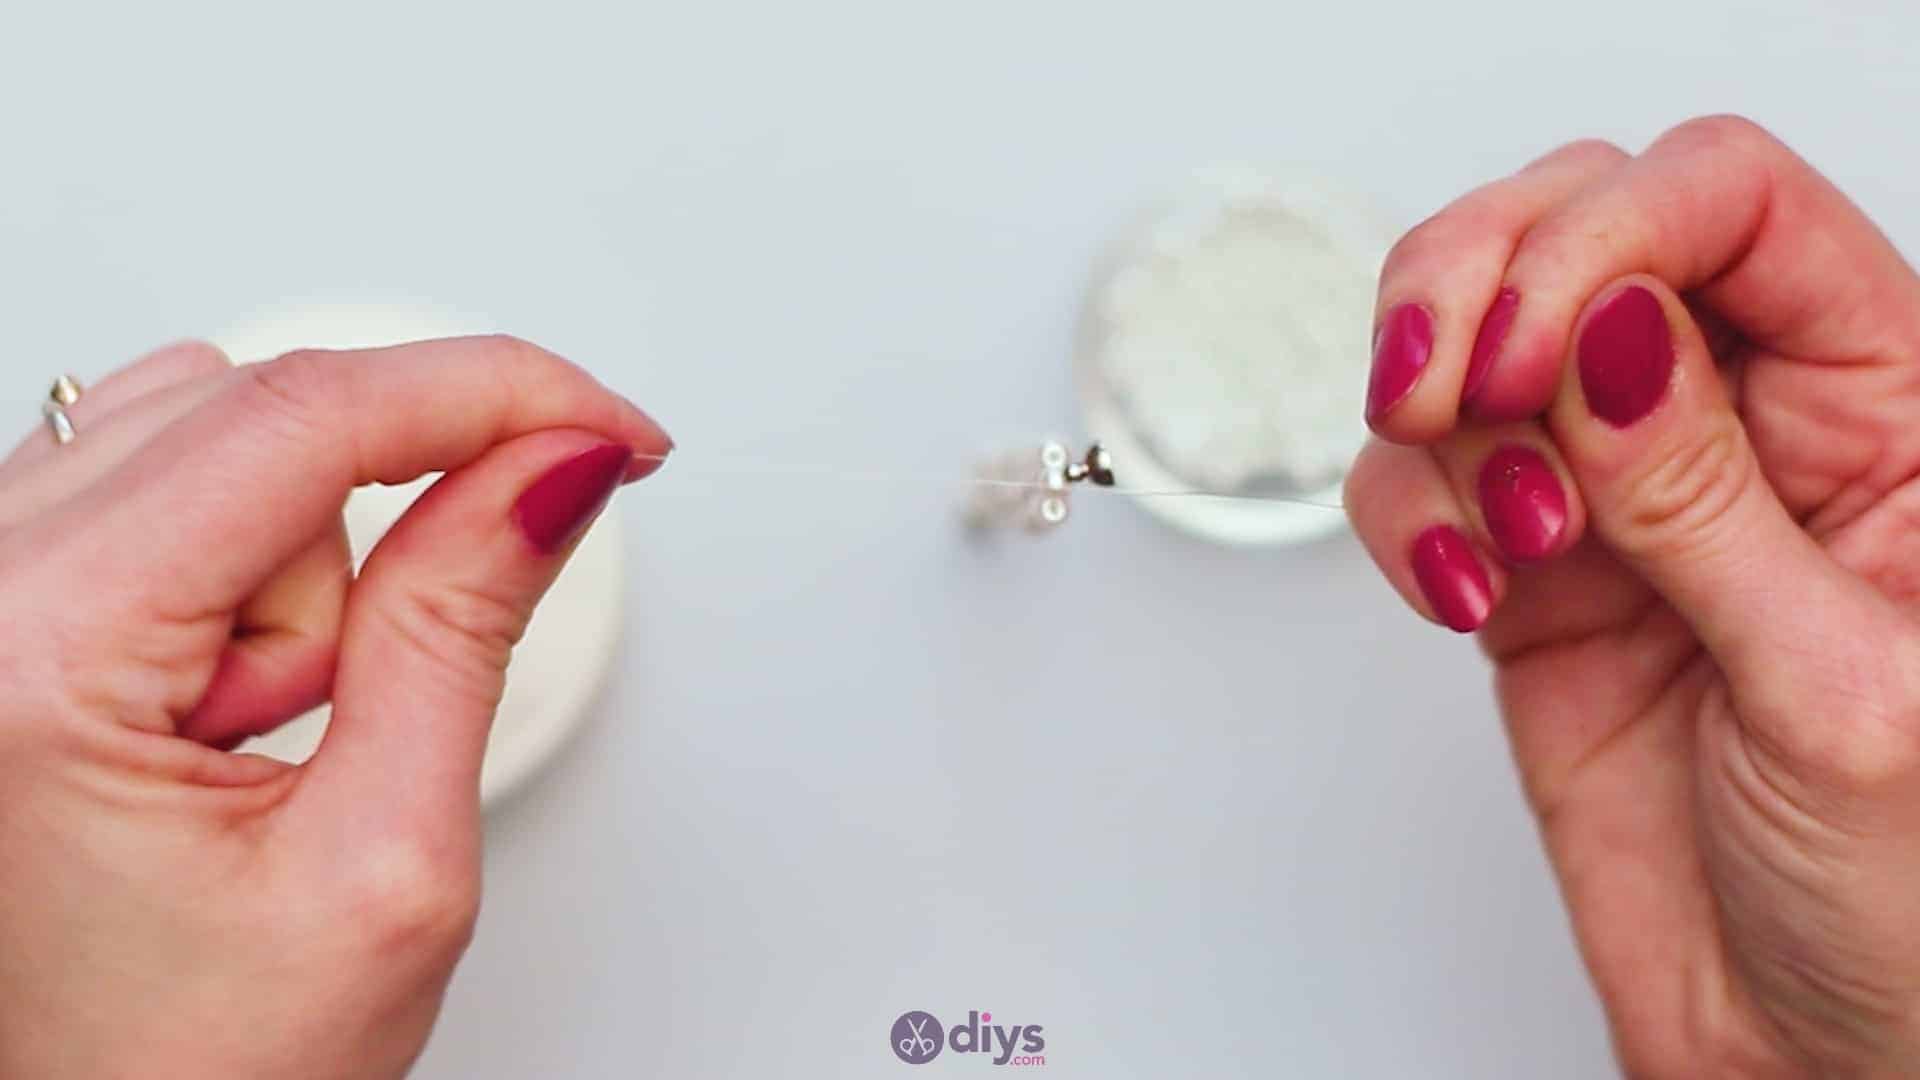
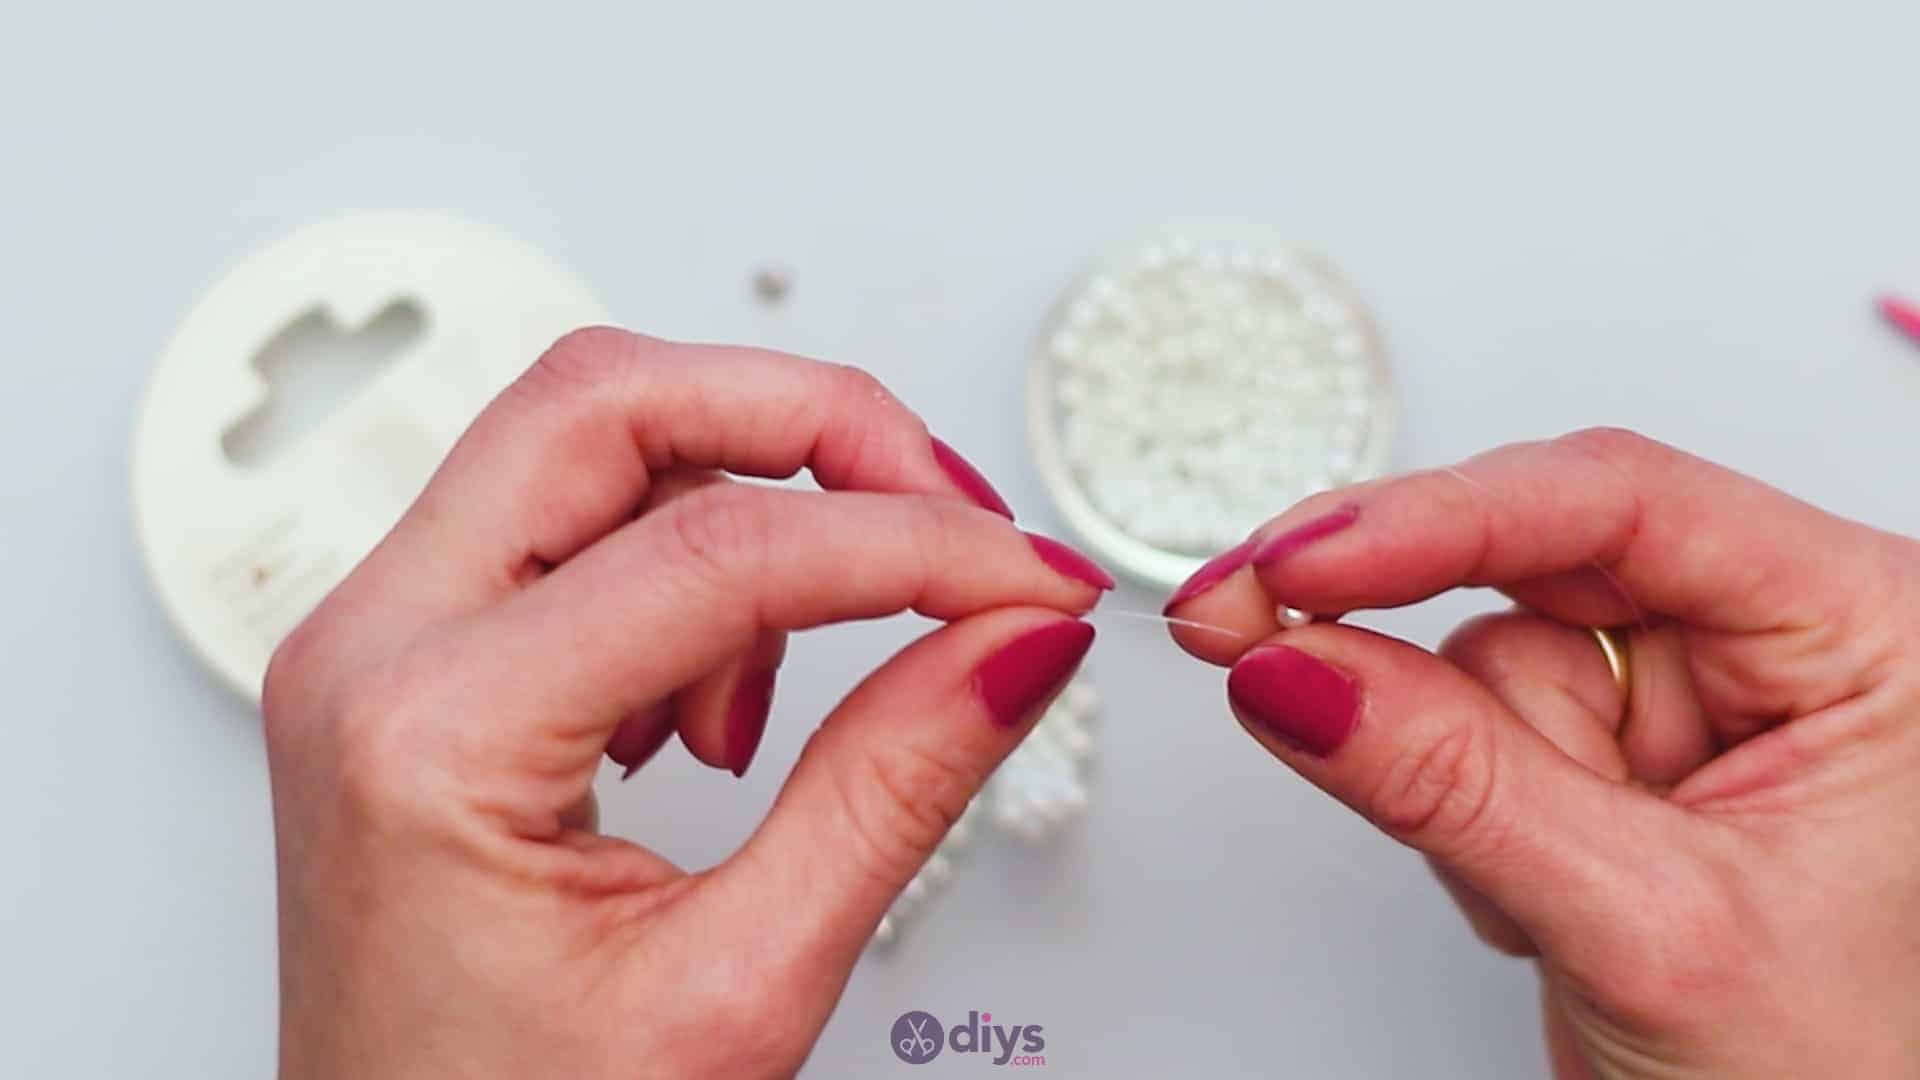
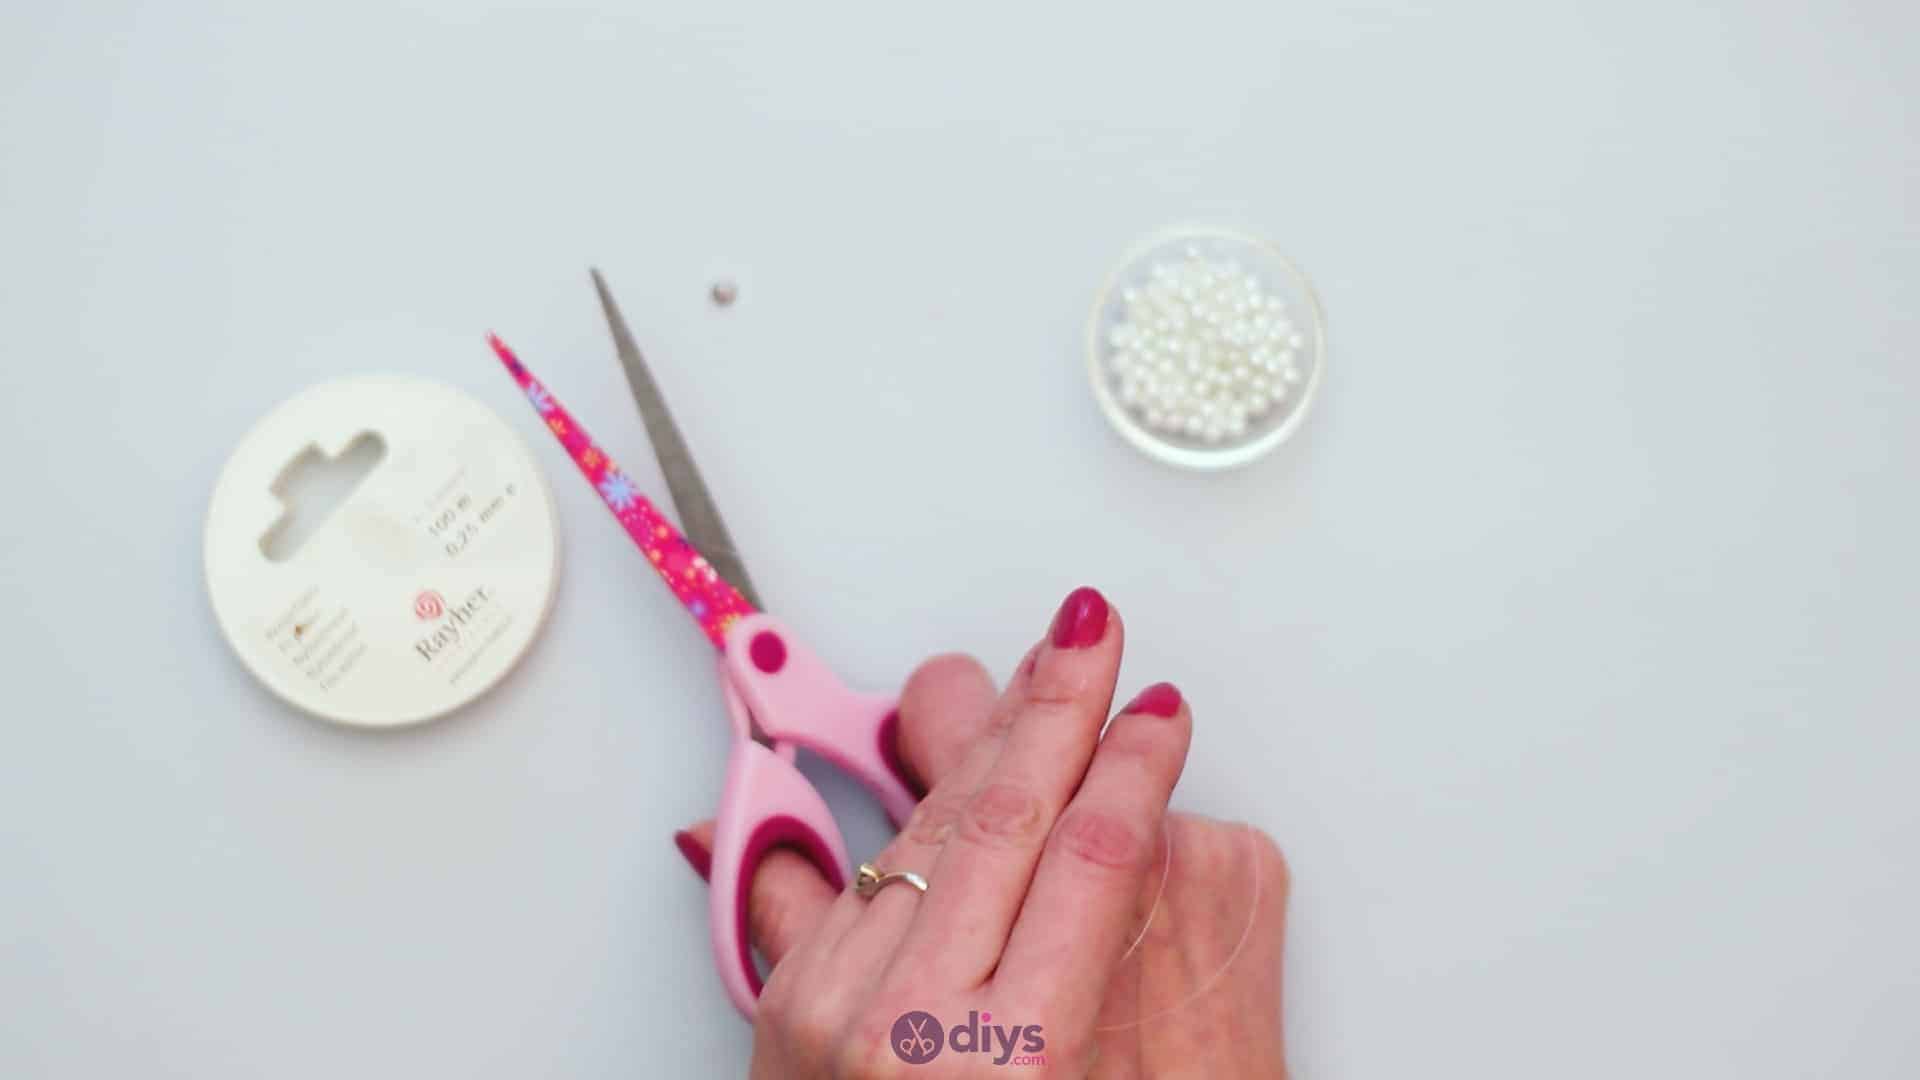
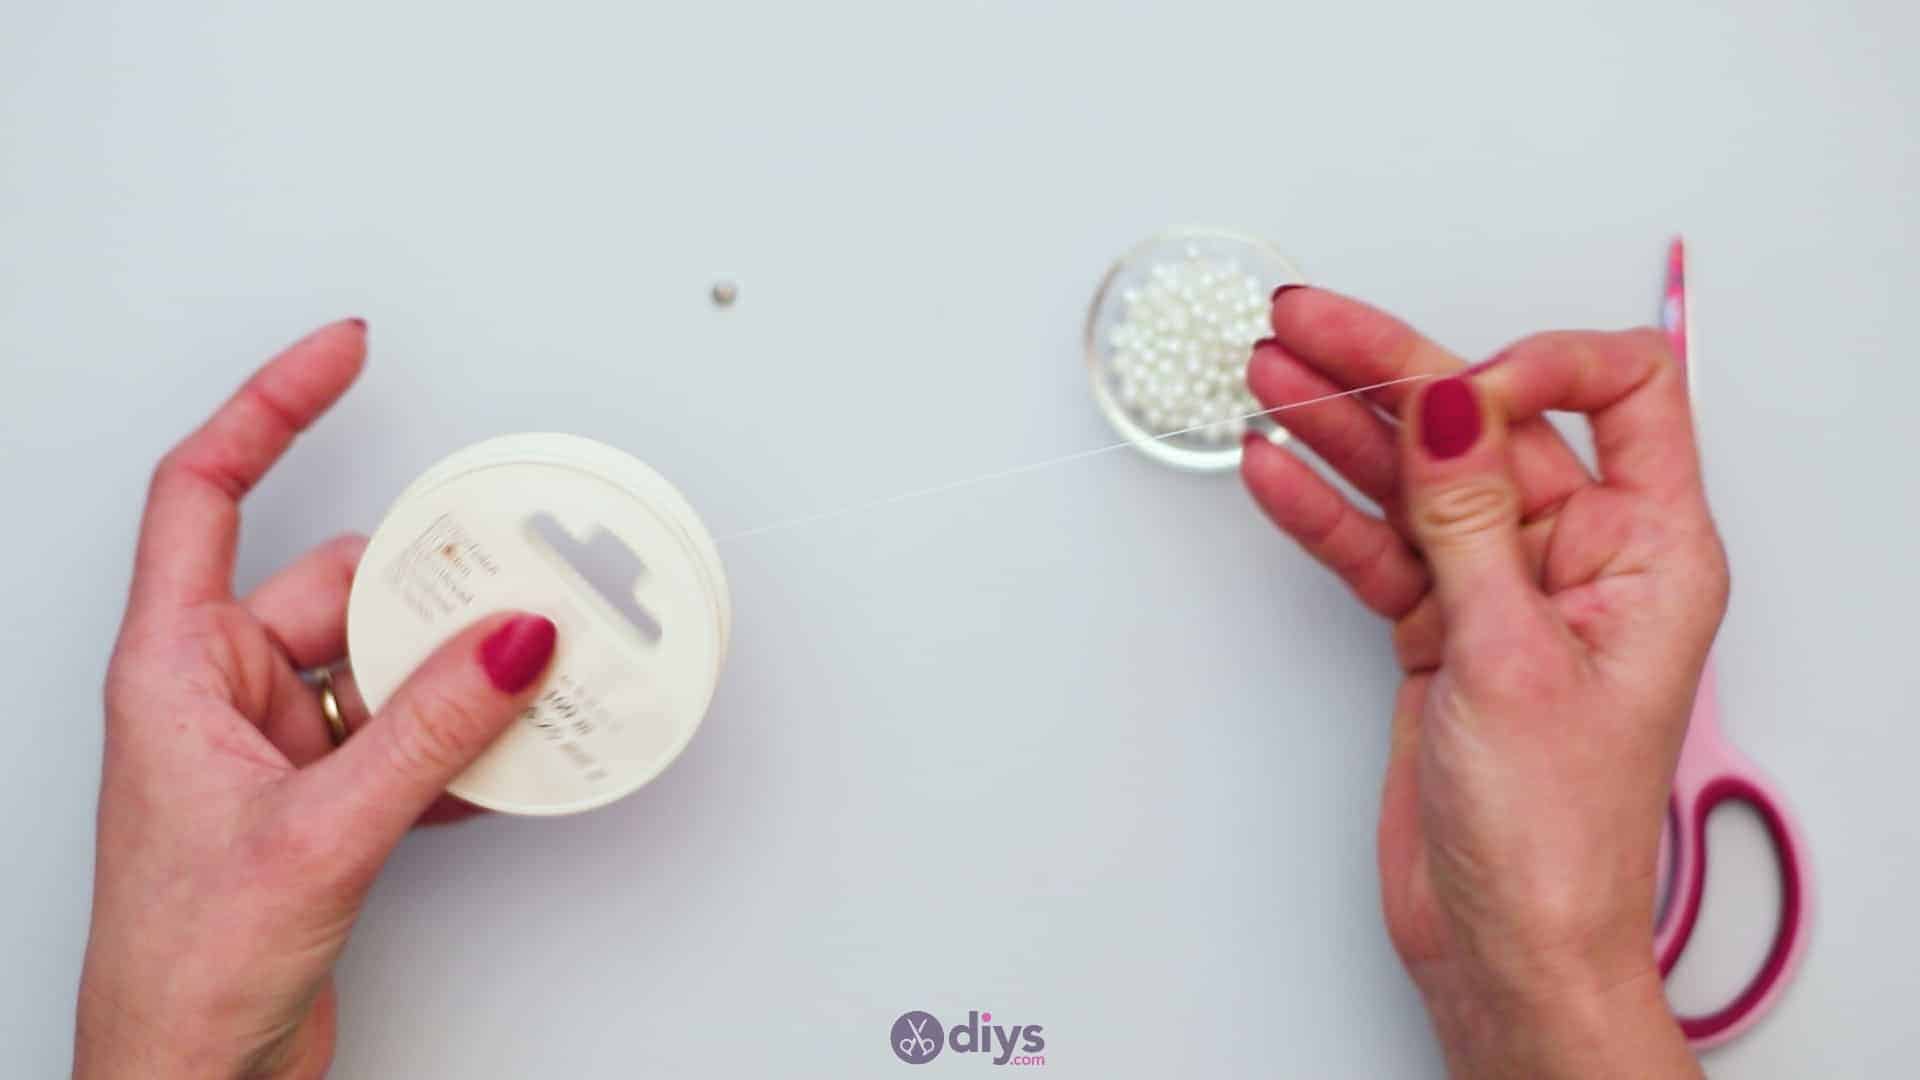
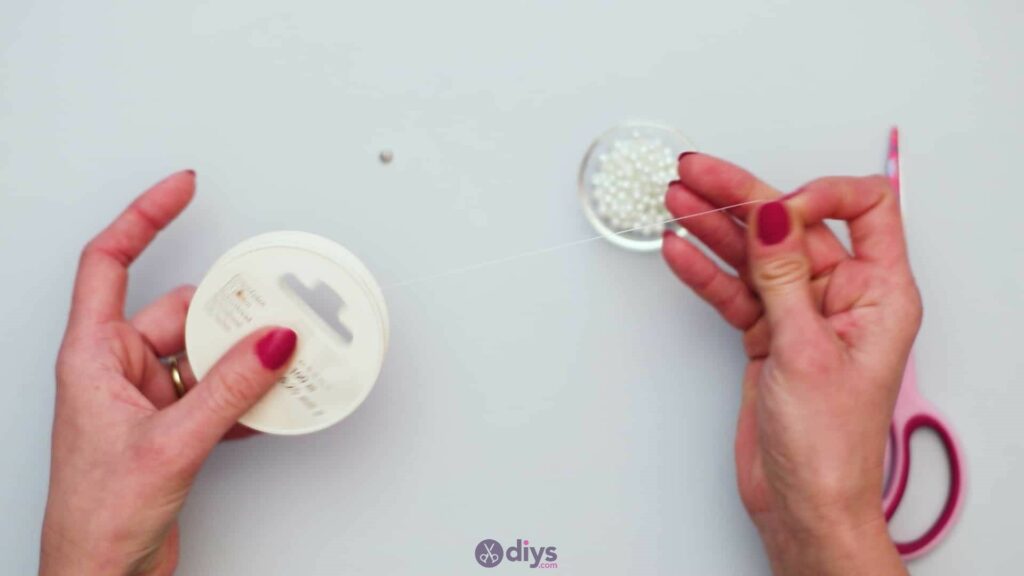
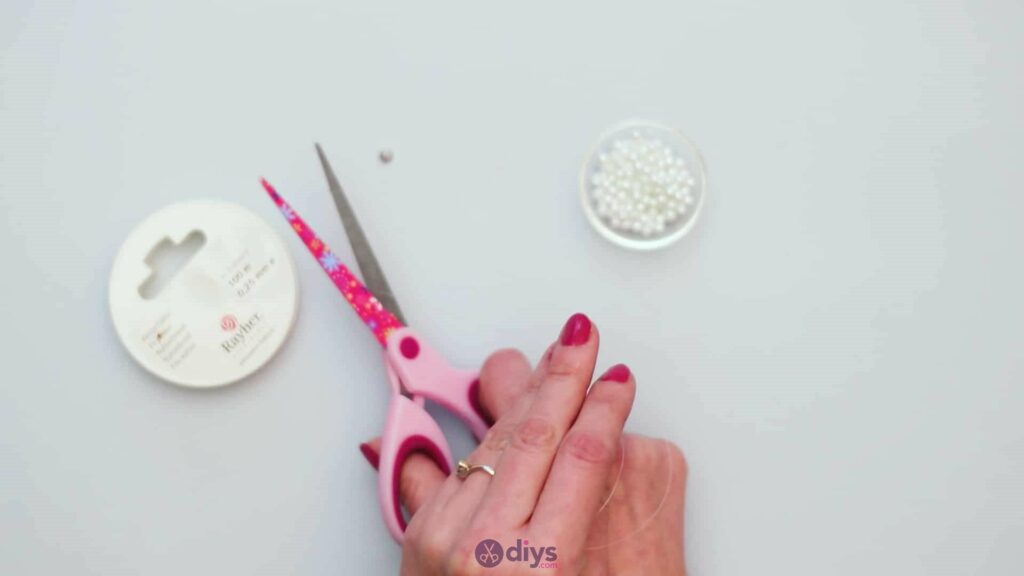
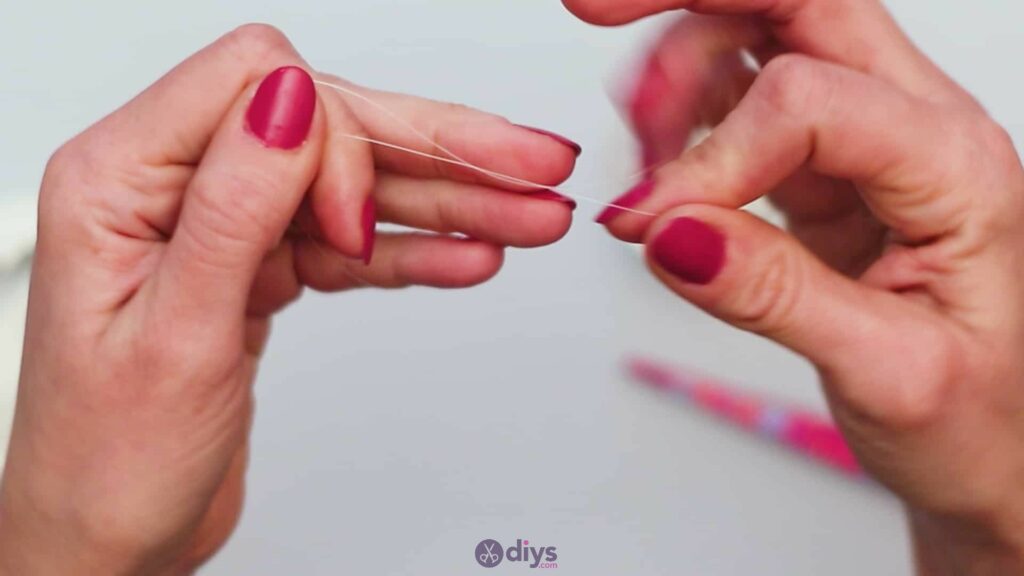
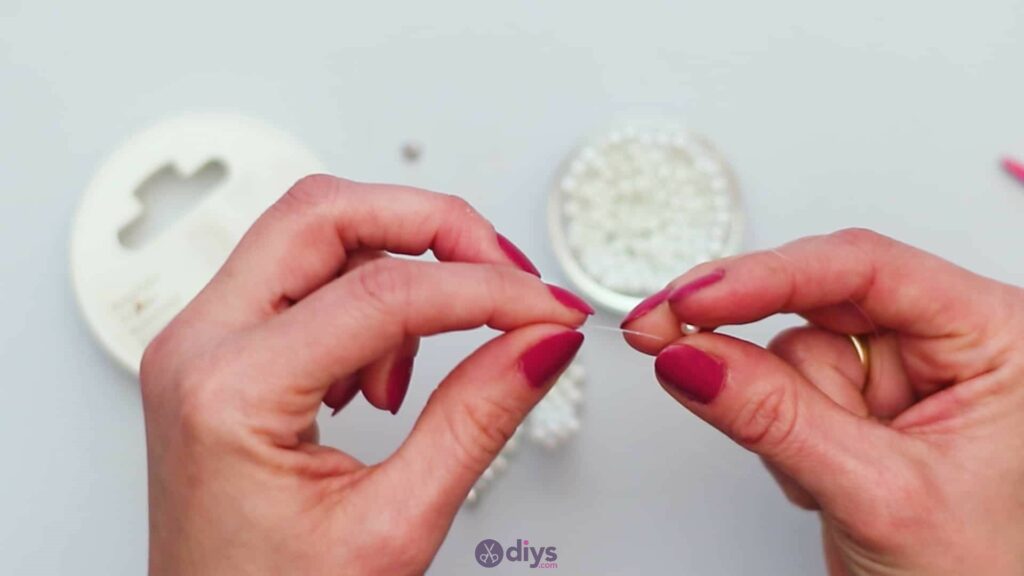
Step 2: measure
Measure out a piece of jewelry line about ten inches long (you want to leave yourself lots of space to work with) and cut it free from the roll with your scissors. Pick up your magnetic clasp (or whatever kind of clasp you’ve been able to get your hands on) and pass one end of your jewelry line through the loop on one side of the clasp, pulling it through until the clasp sits in the middle, halfway between the two ends. Tie the line in a double knot around the ring to hold that side of the clasp in place there are the centre.

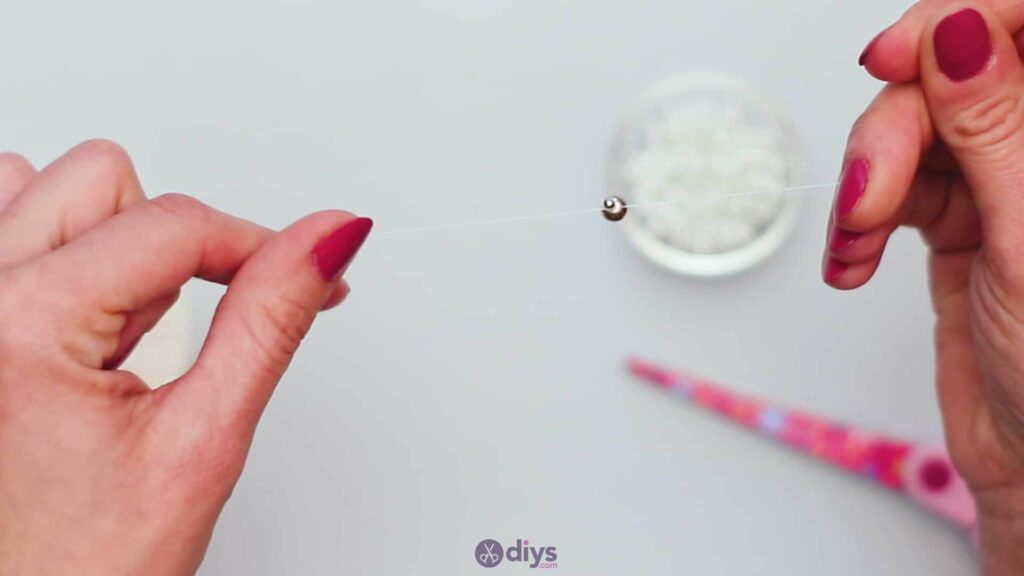
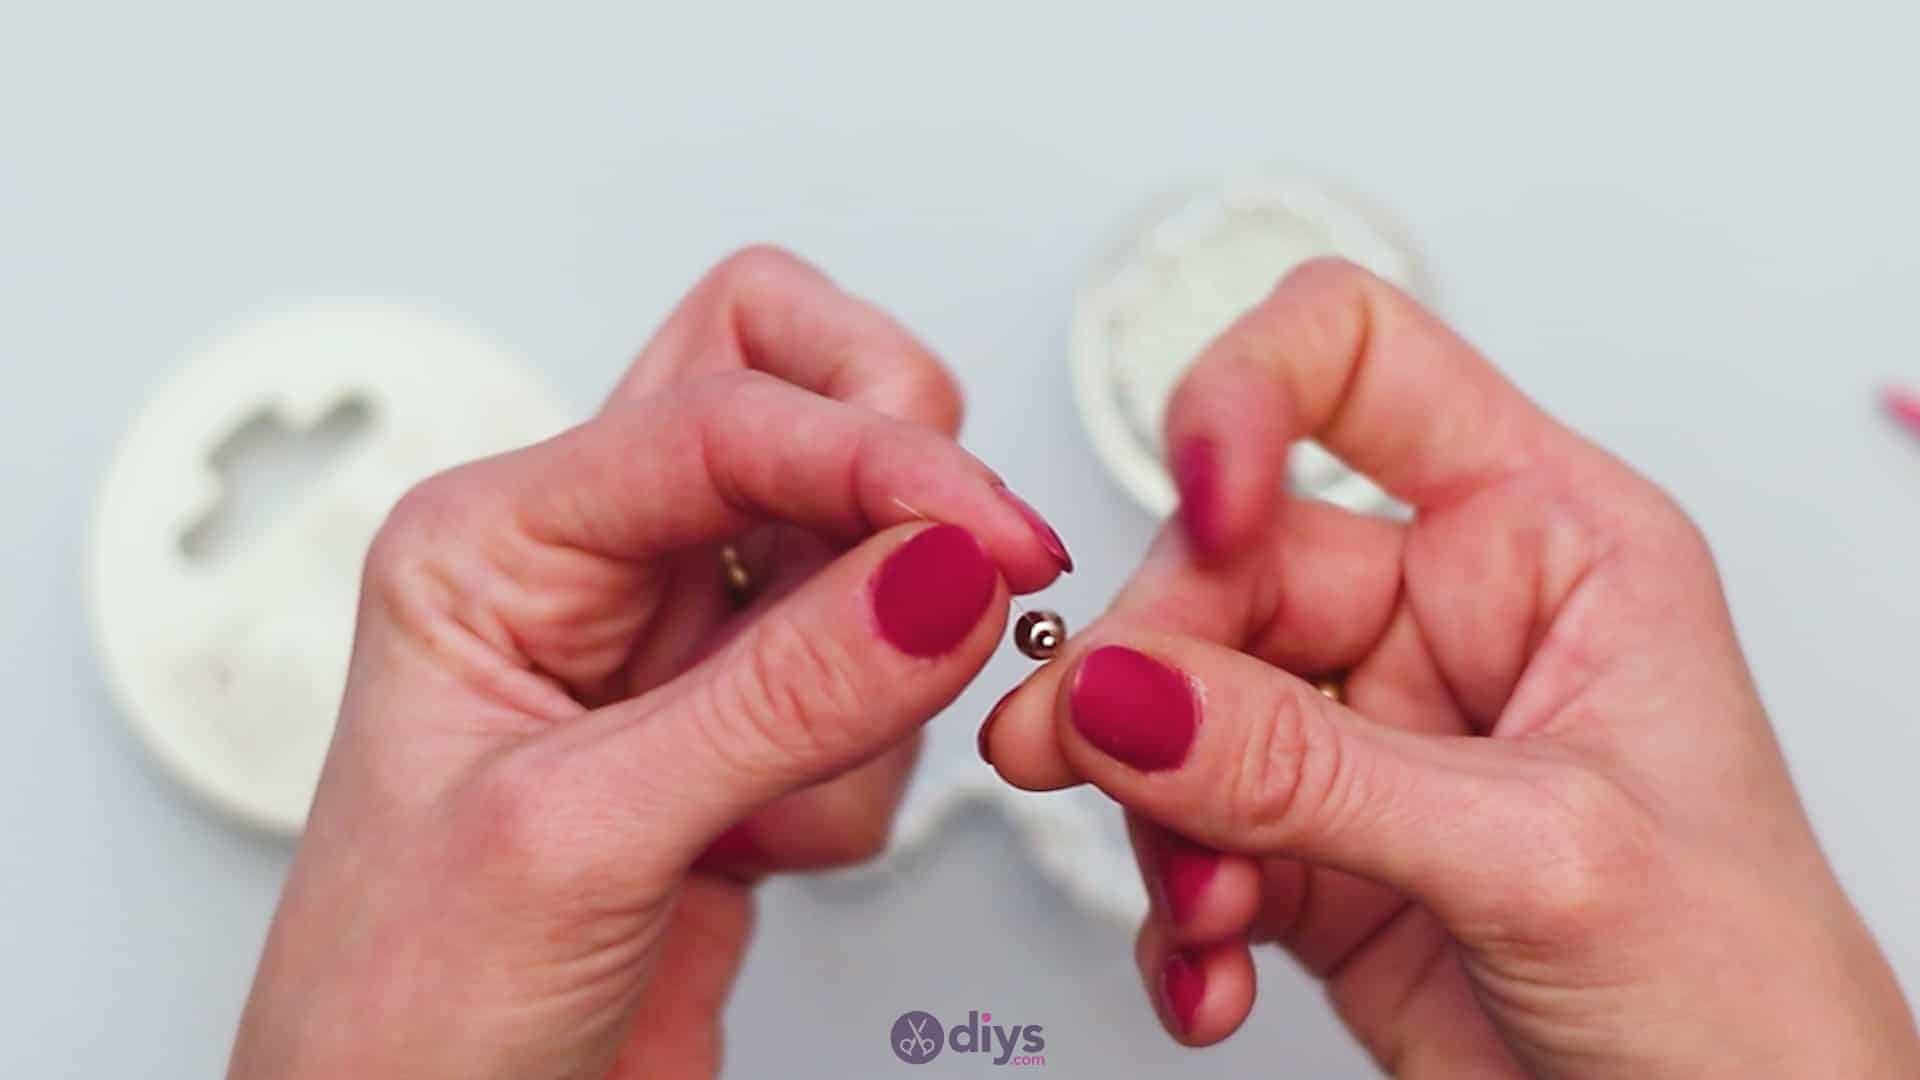
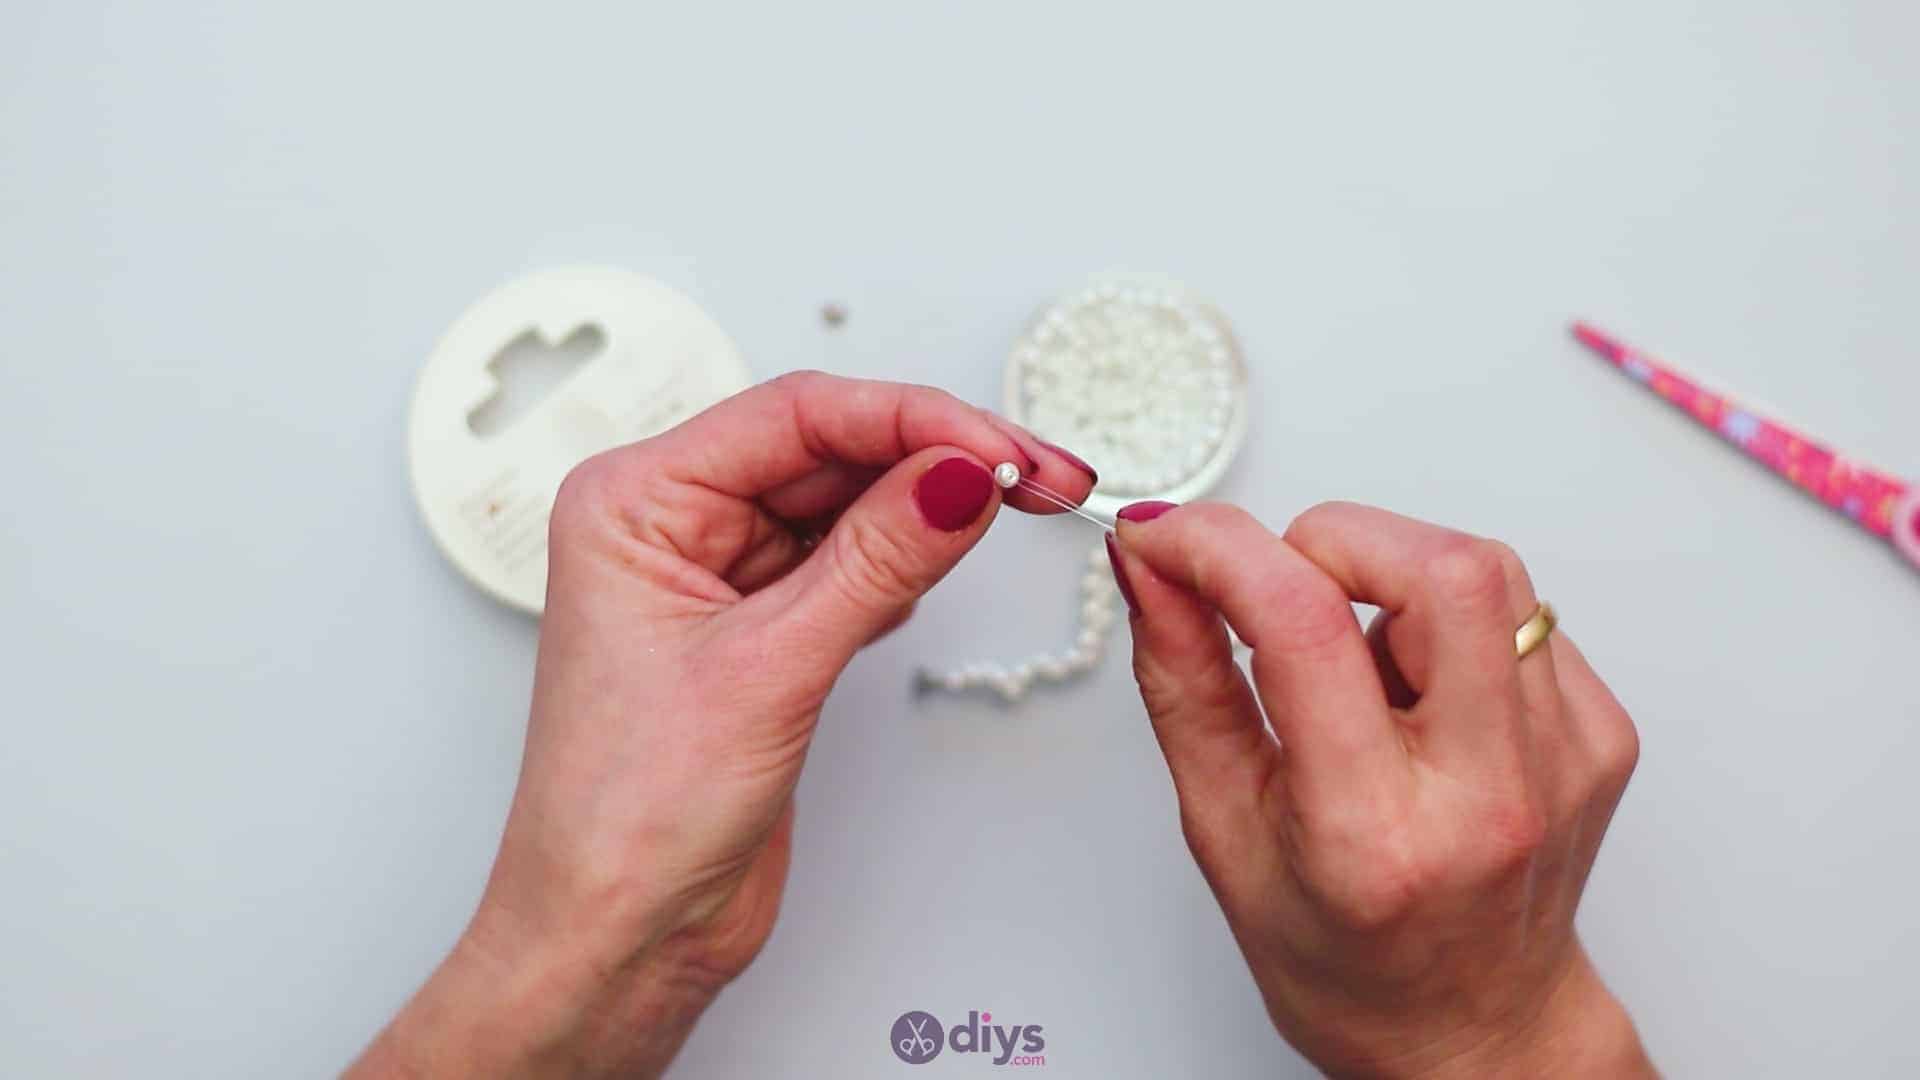
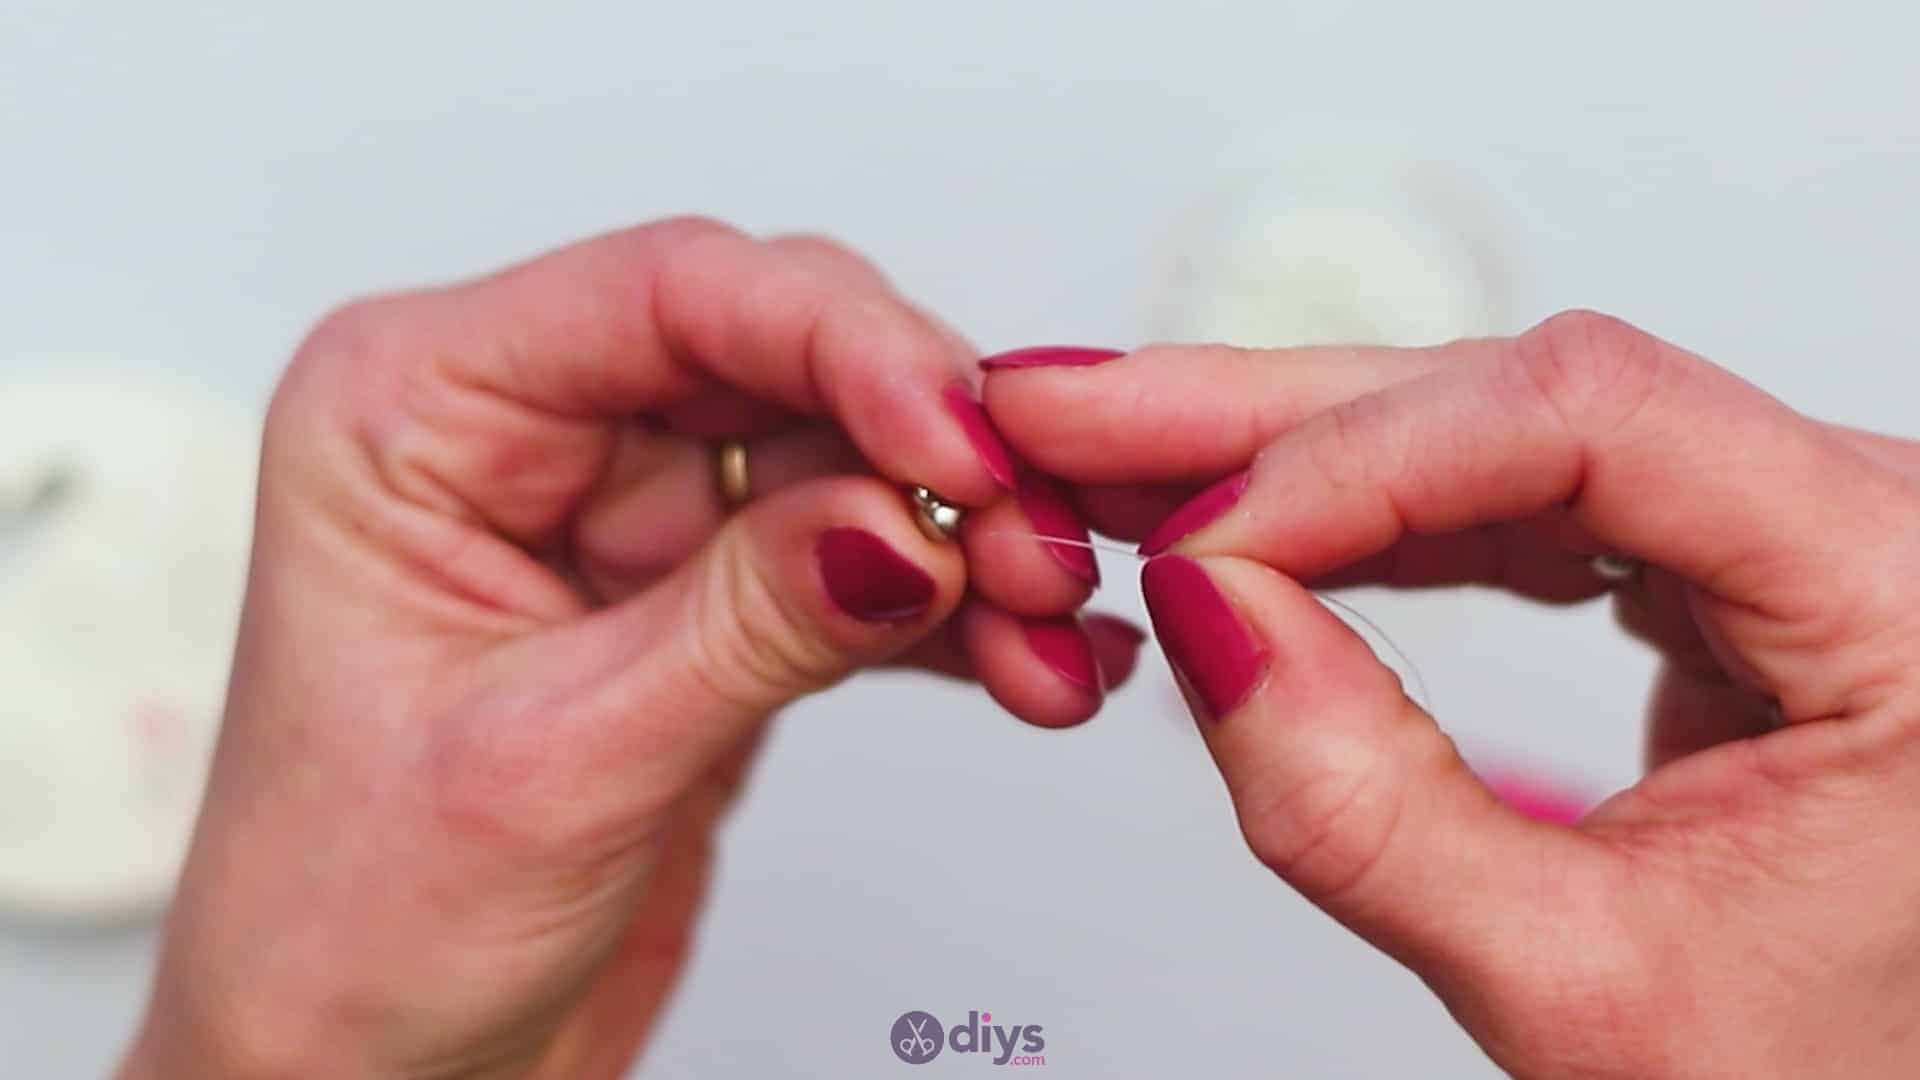
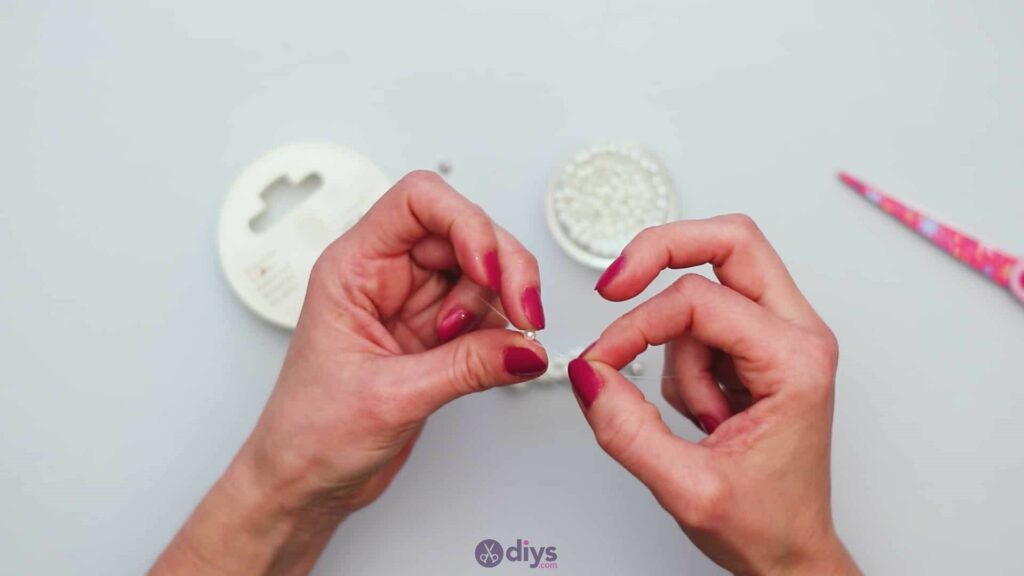
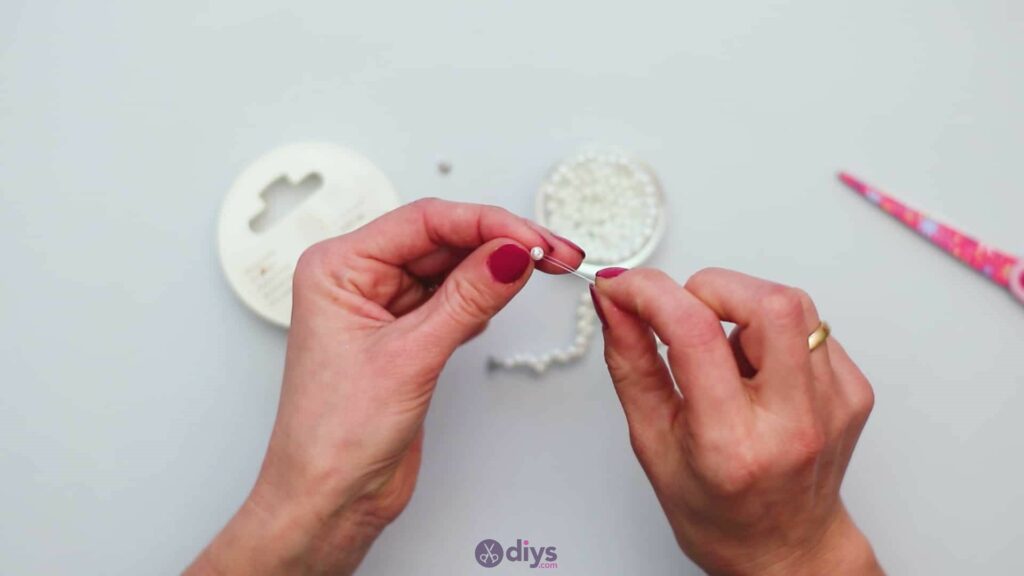
Step 3: bead it
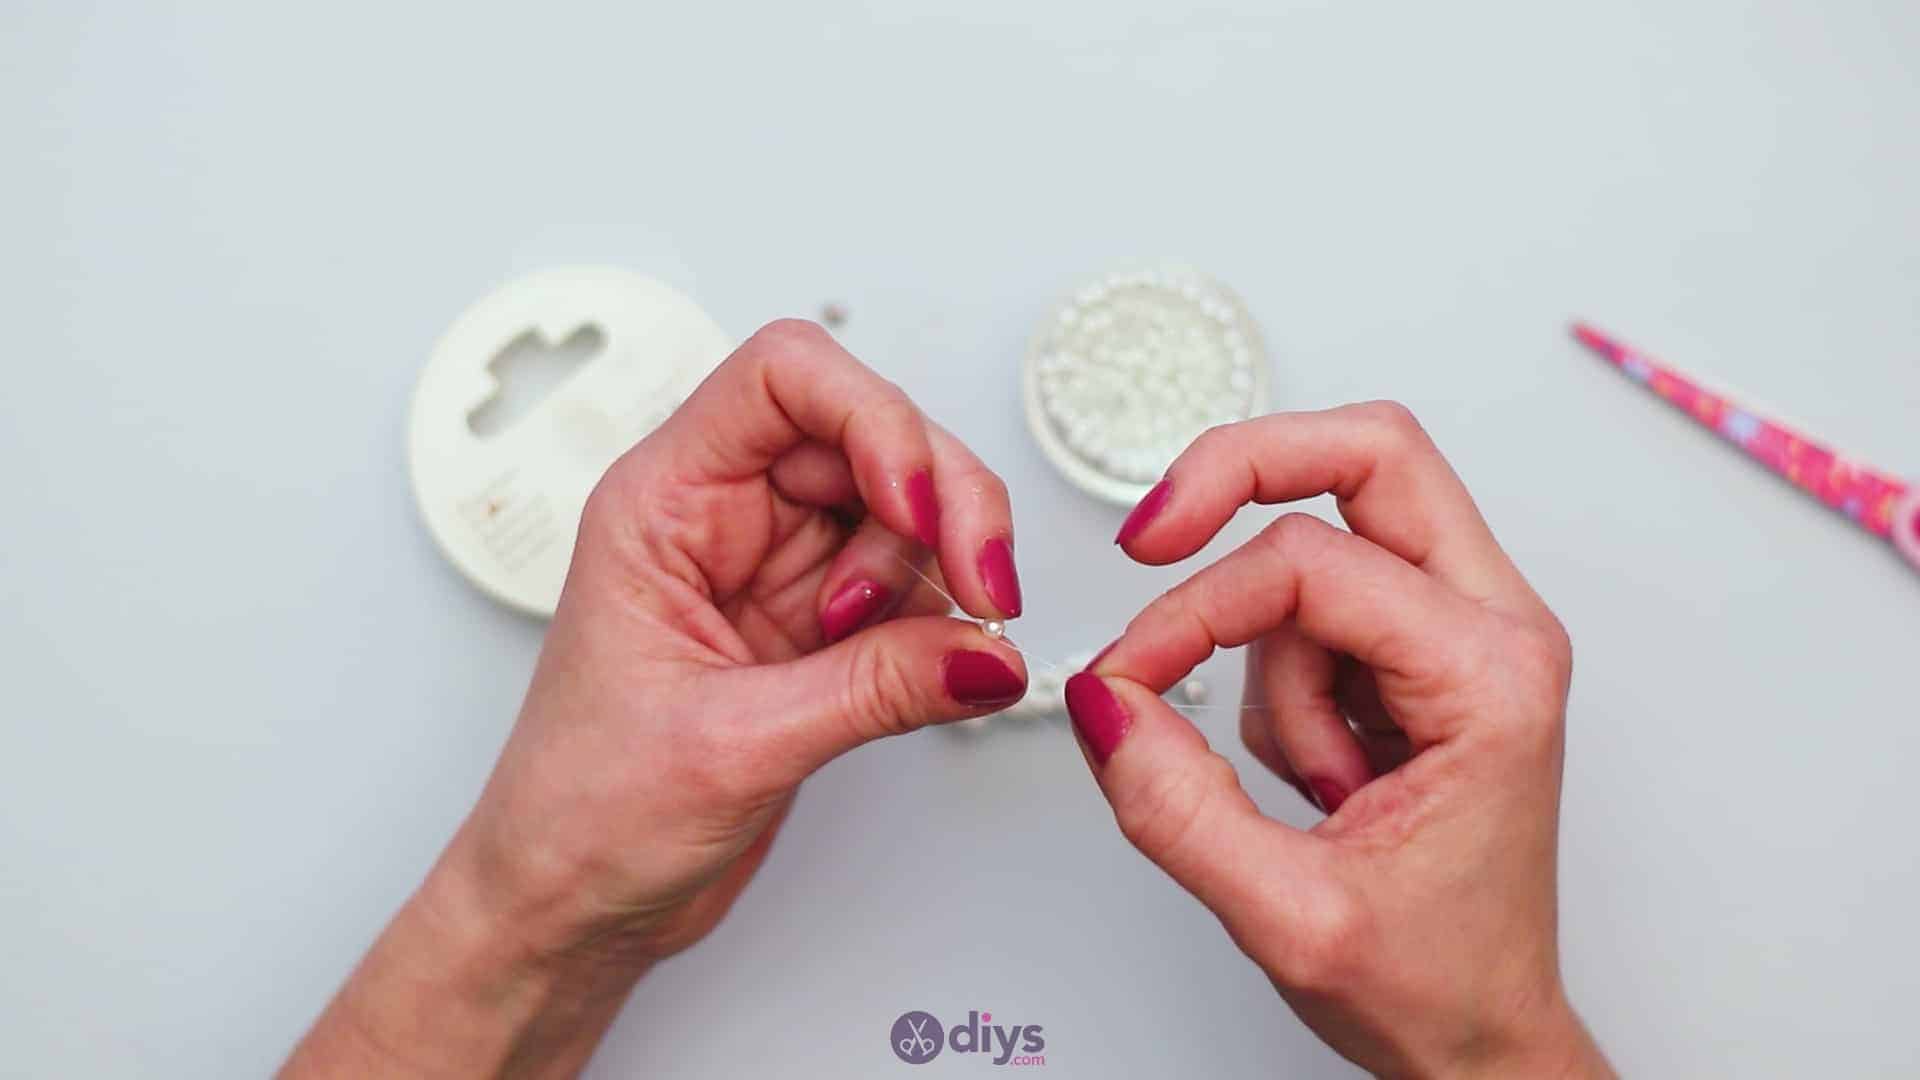
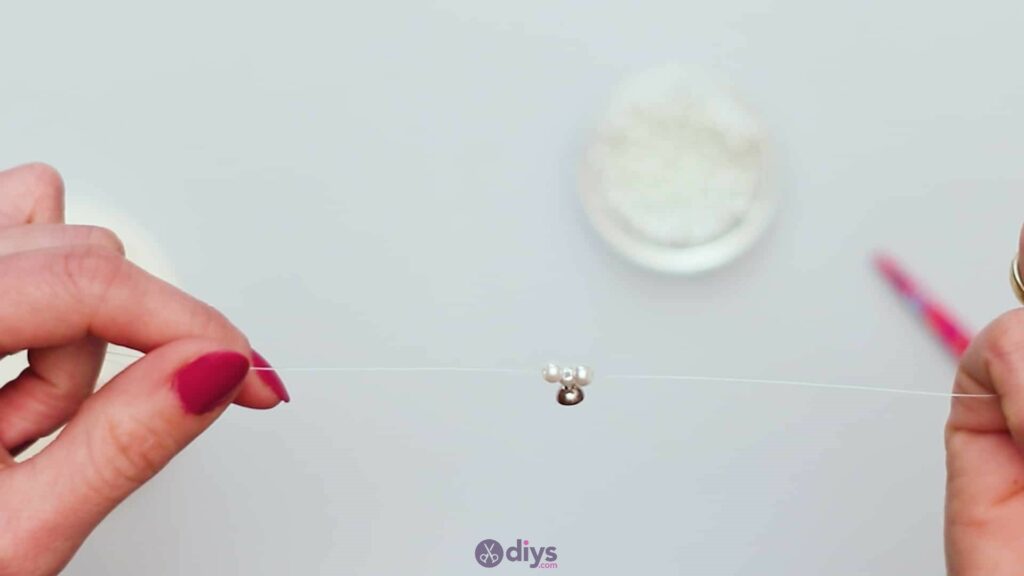
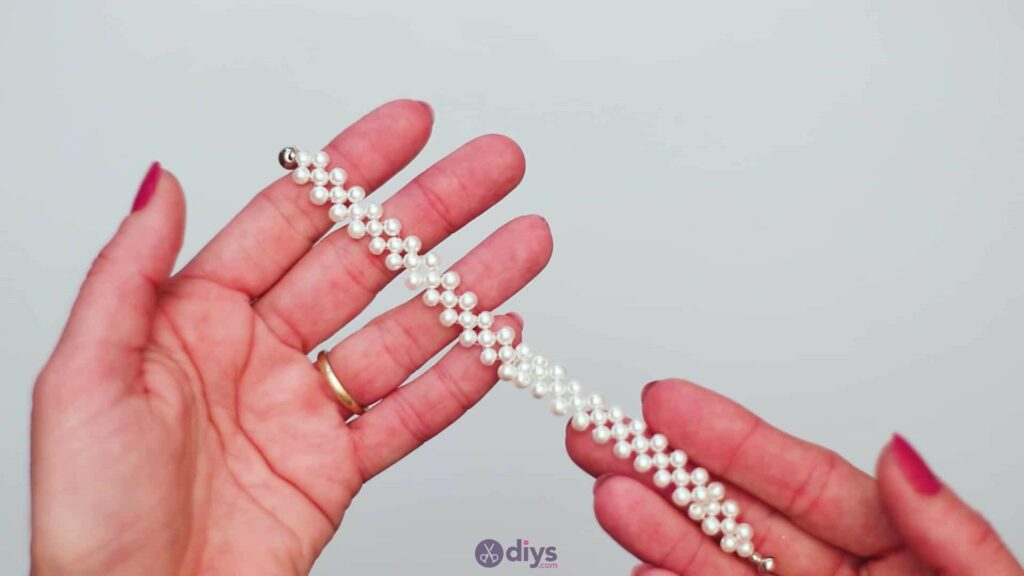
Now y0u’ll start beading. Start by holding both of your ends together and putting the both through your first bead, sliding it down both sides of line as one until it rests against the clasp at the bottom. Take two more beads and, this time, only put the end ofone side through each so you can slide one bead down each piece of line. When they get to the bottom, they will rest against the first bead on each side.
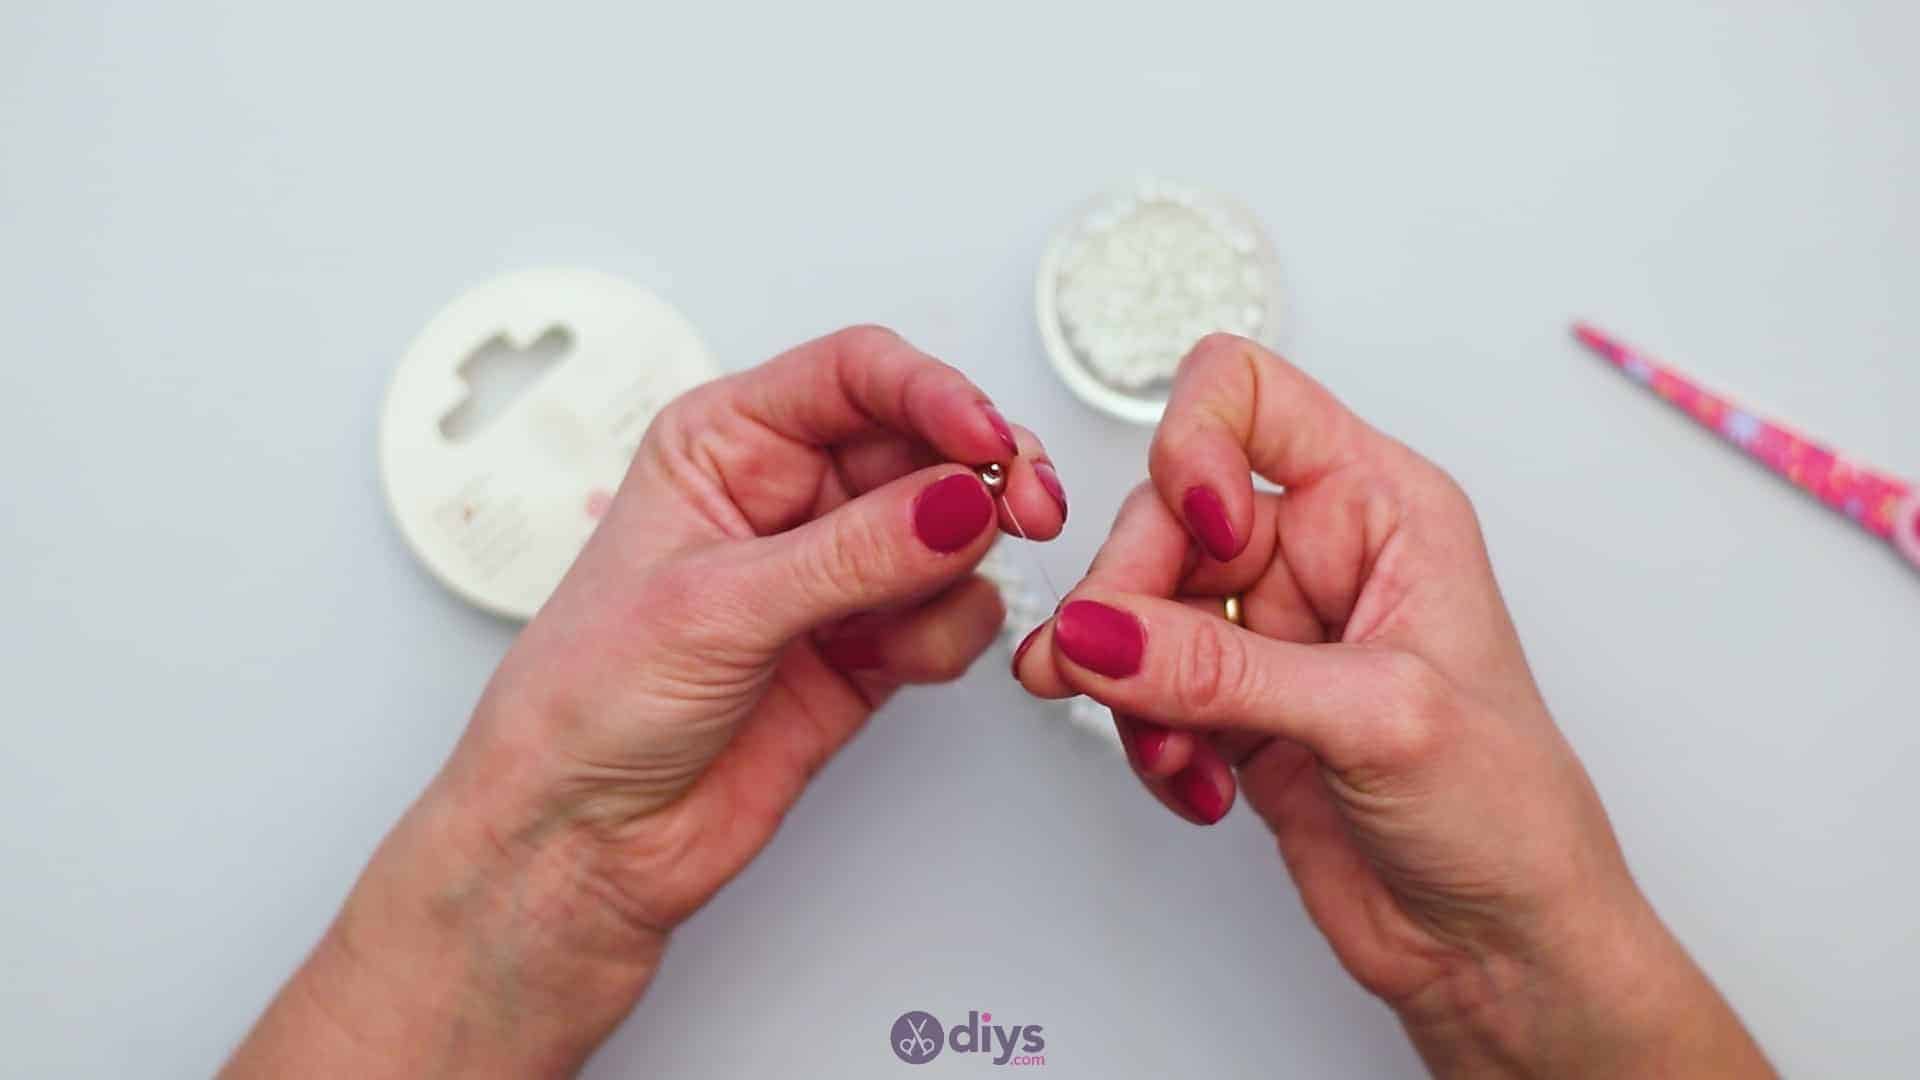
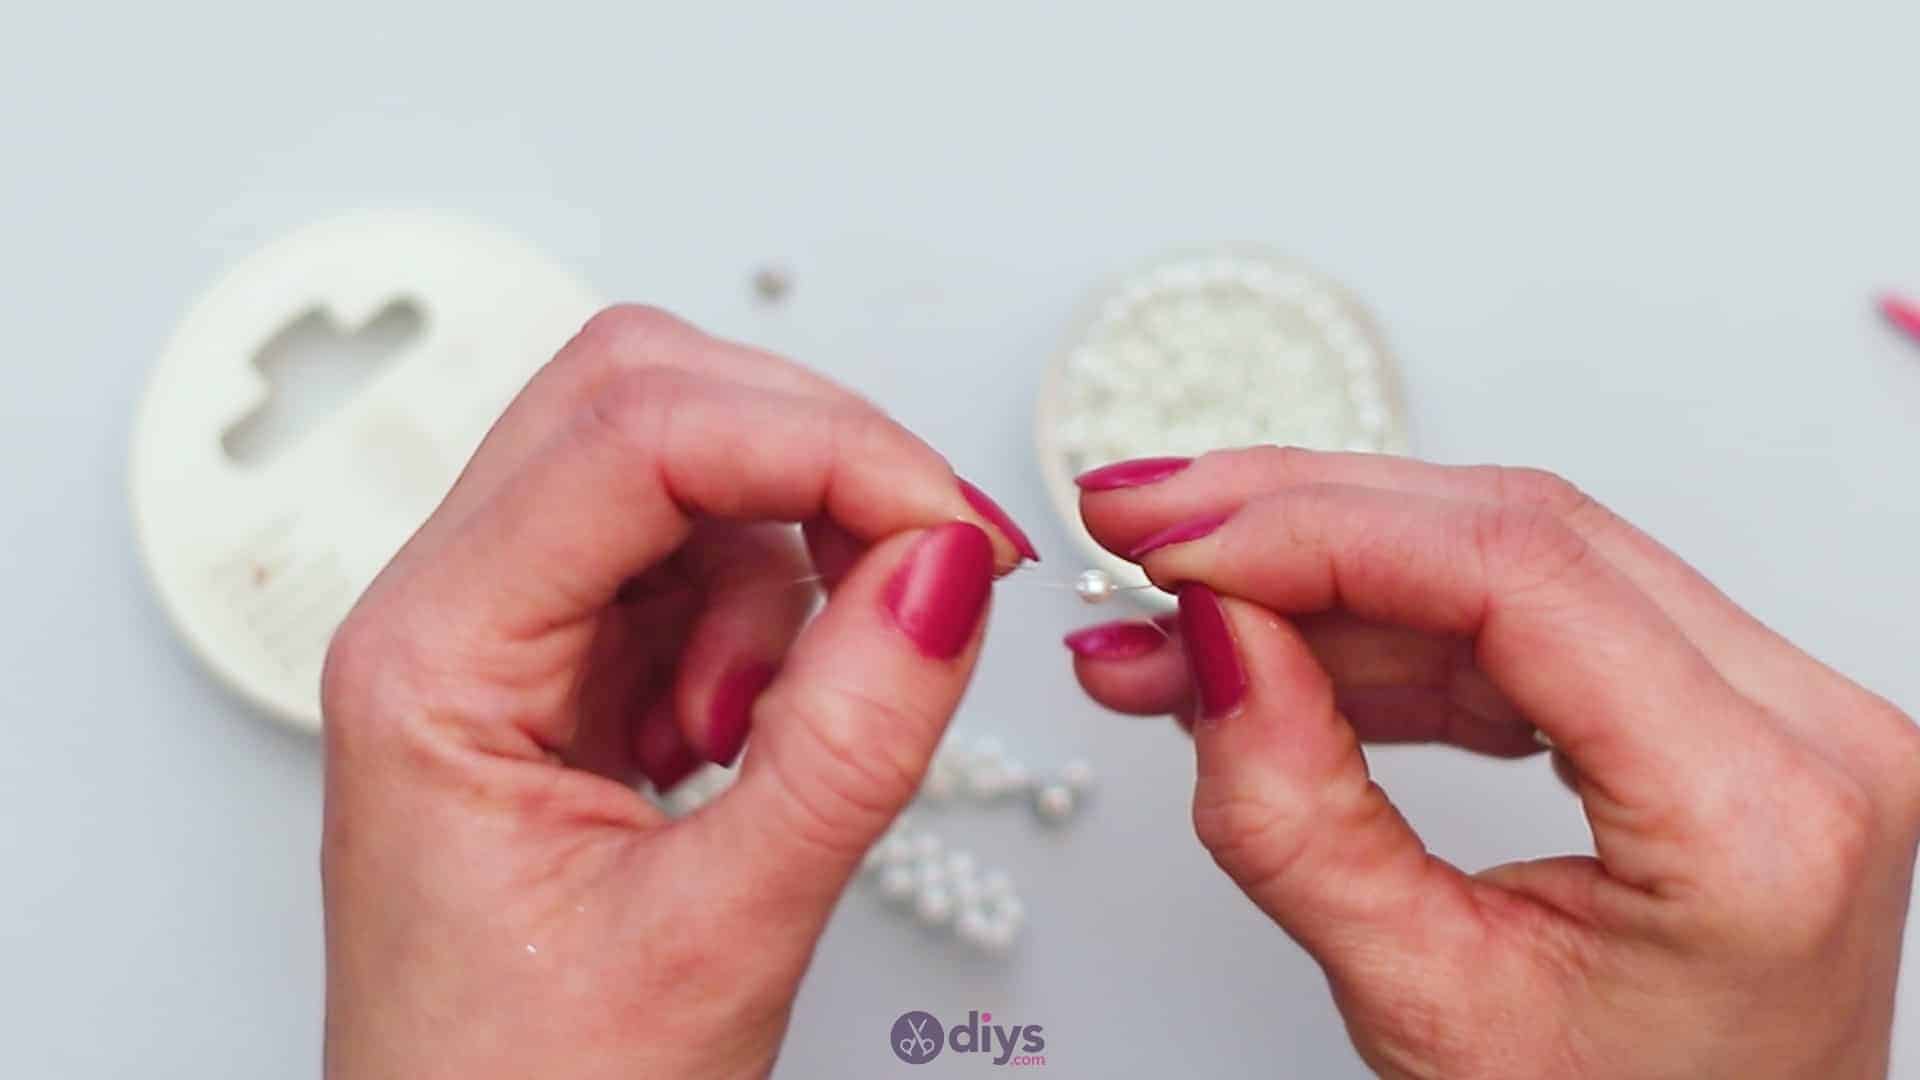
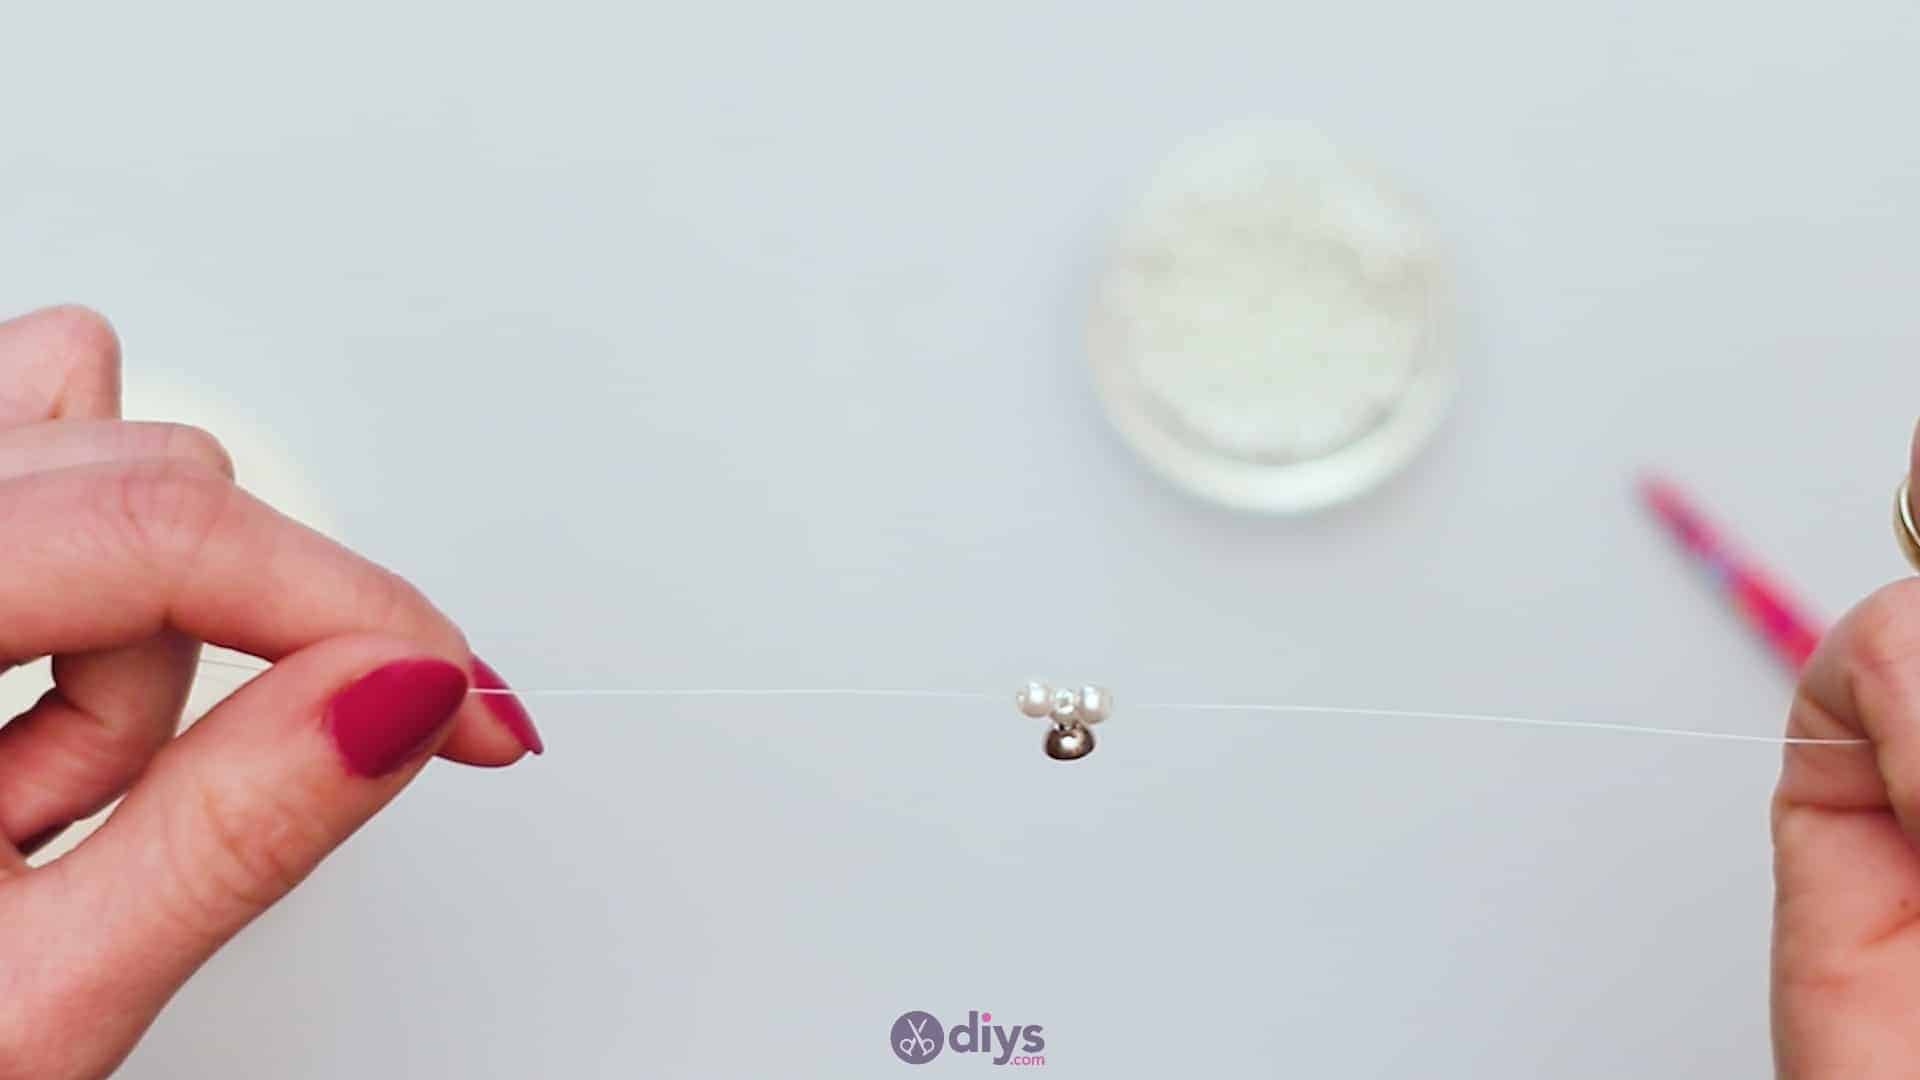
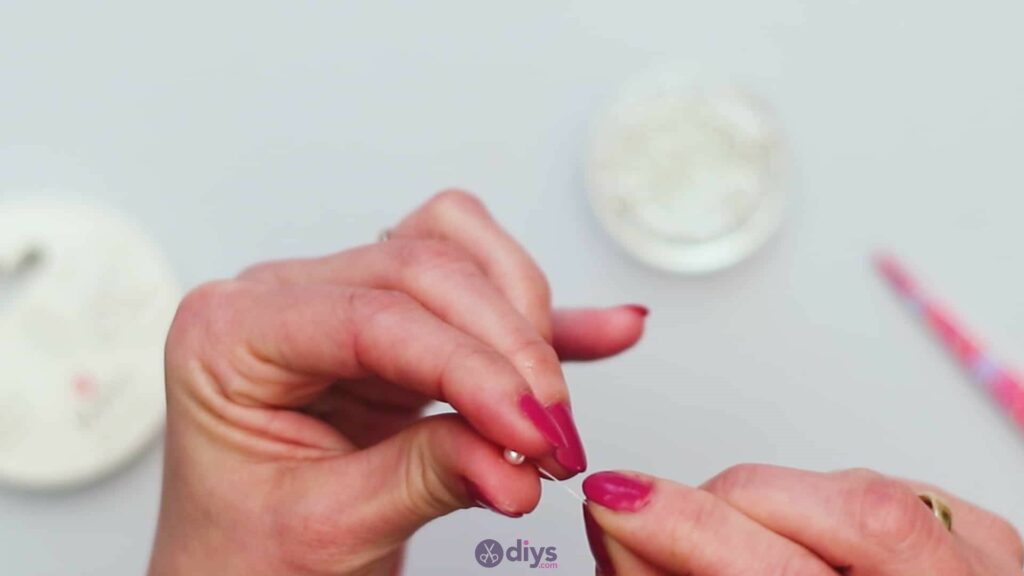
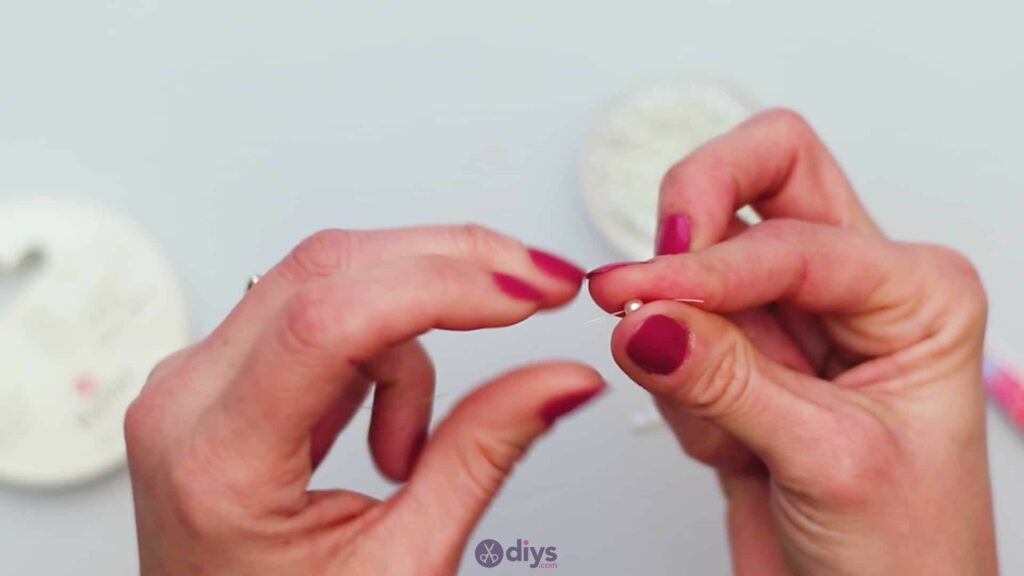
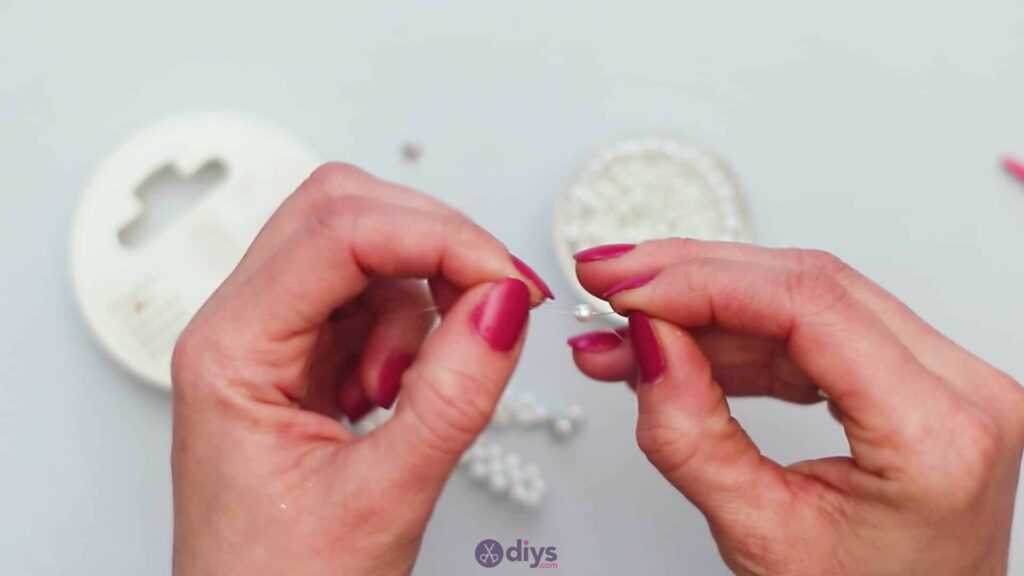
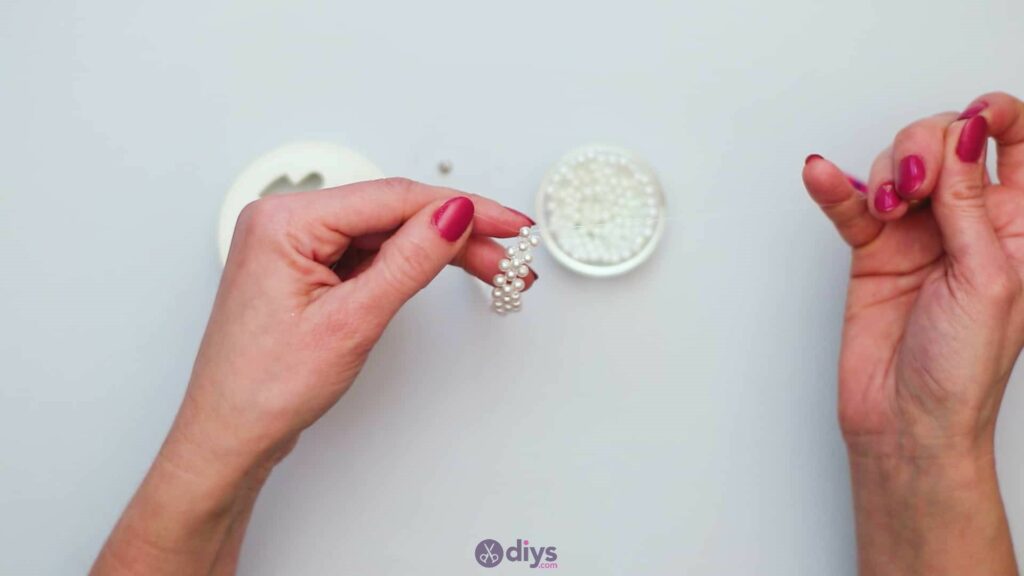
Now, place a fourth bead that will sit in between these two, opposite to your first bead, thereby closing off a small four-bead cluster. Do this by sliding the end of one piece of jewelry line through the bead, then holding it in place and sliding the end of the other piece of jewelry line through the bead fromthe other side, so it runs opposite to the first one.
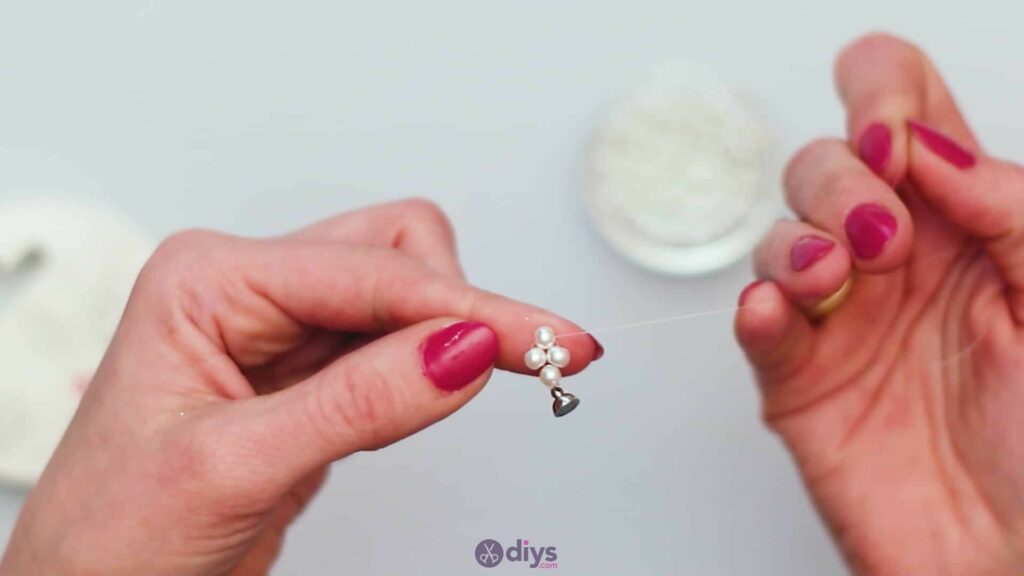
You’ll have an end sticking out of the bead in each direction, facing away from each other. Pull these ends evenly so they stay the same length and keep sliding the bead downwards in this manner until the fourth bead meets the others to rest between the second and third.

Step 4: repeat
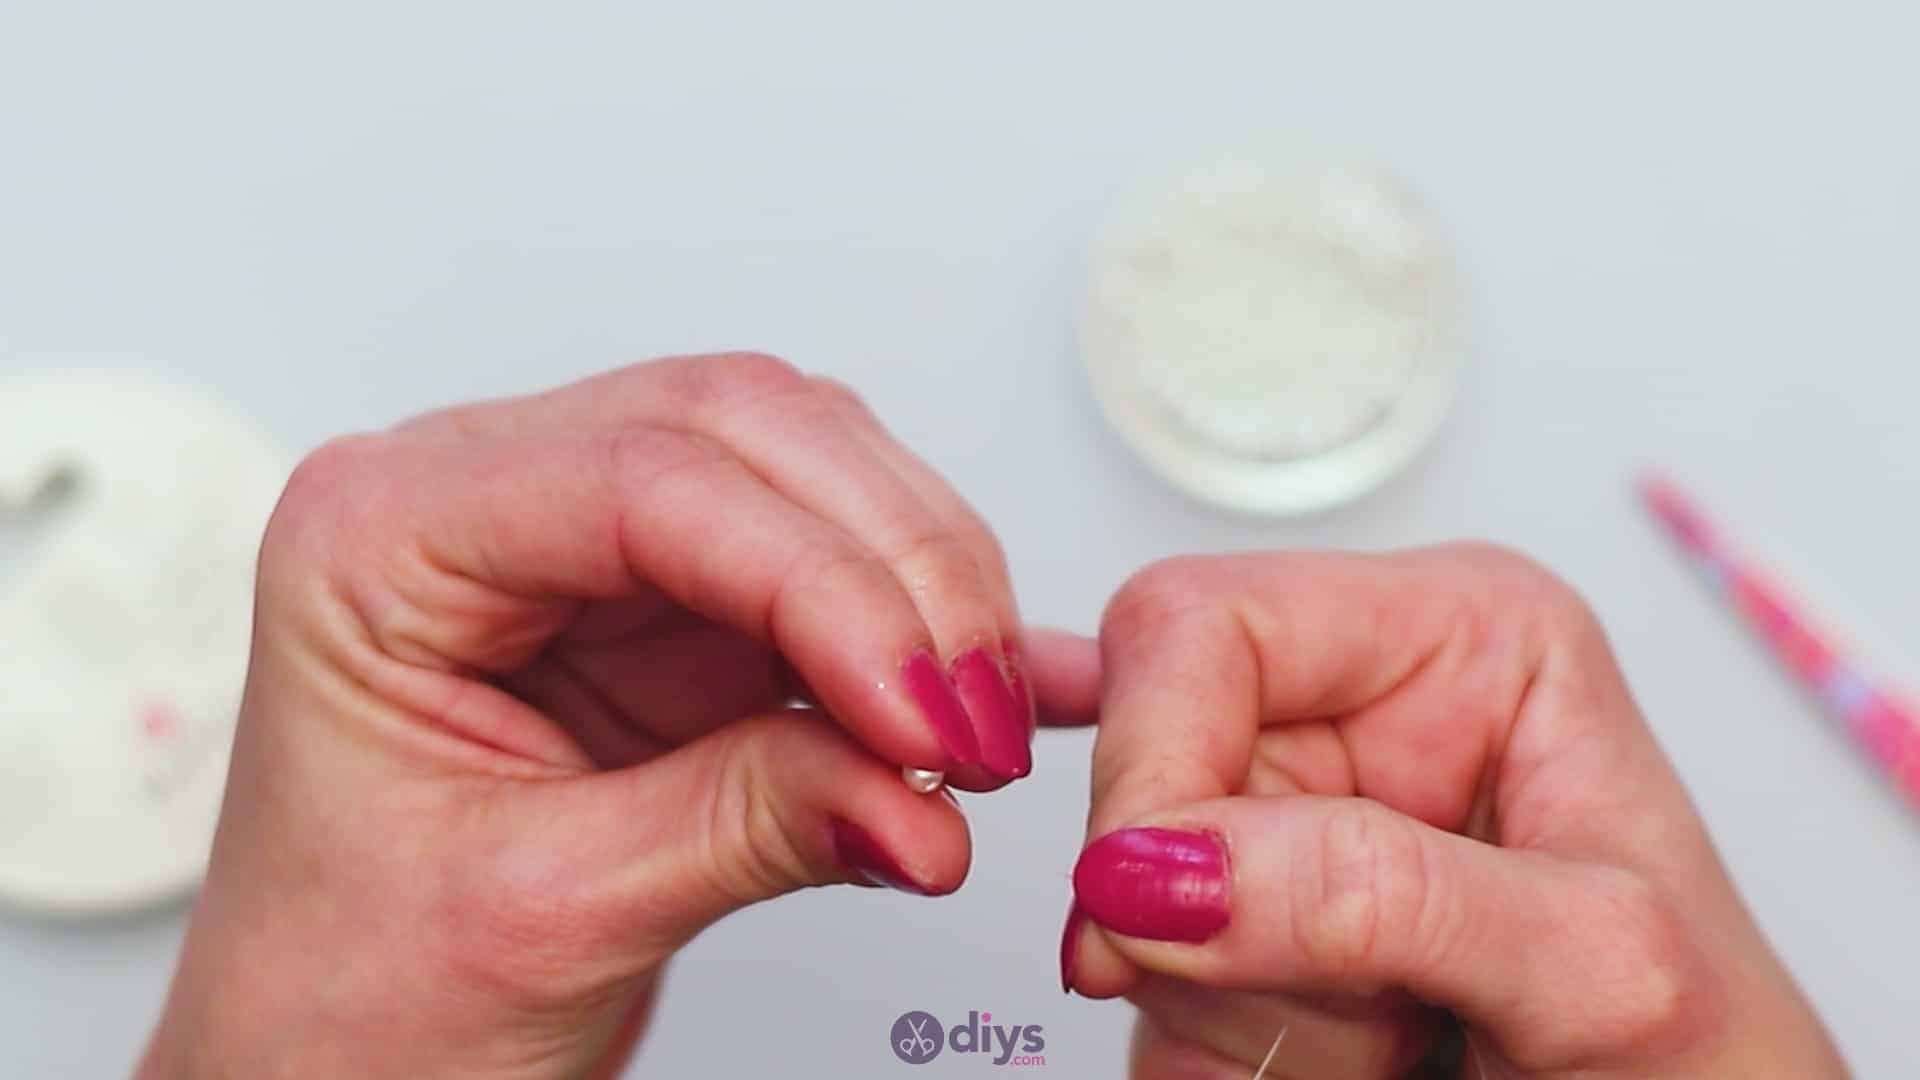
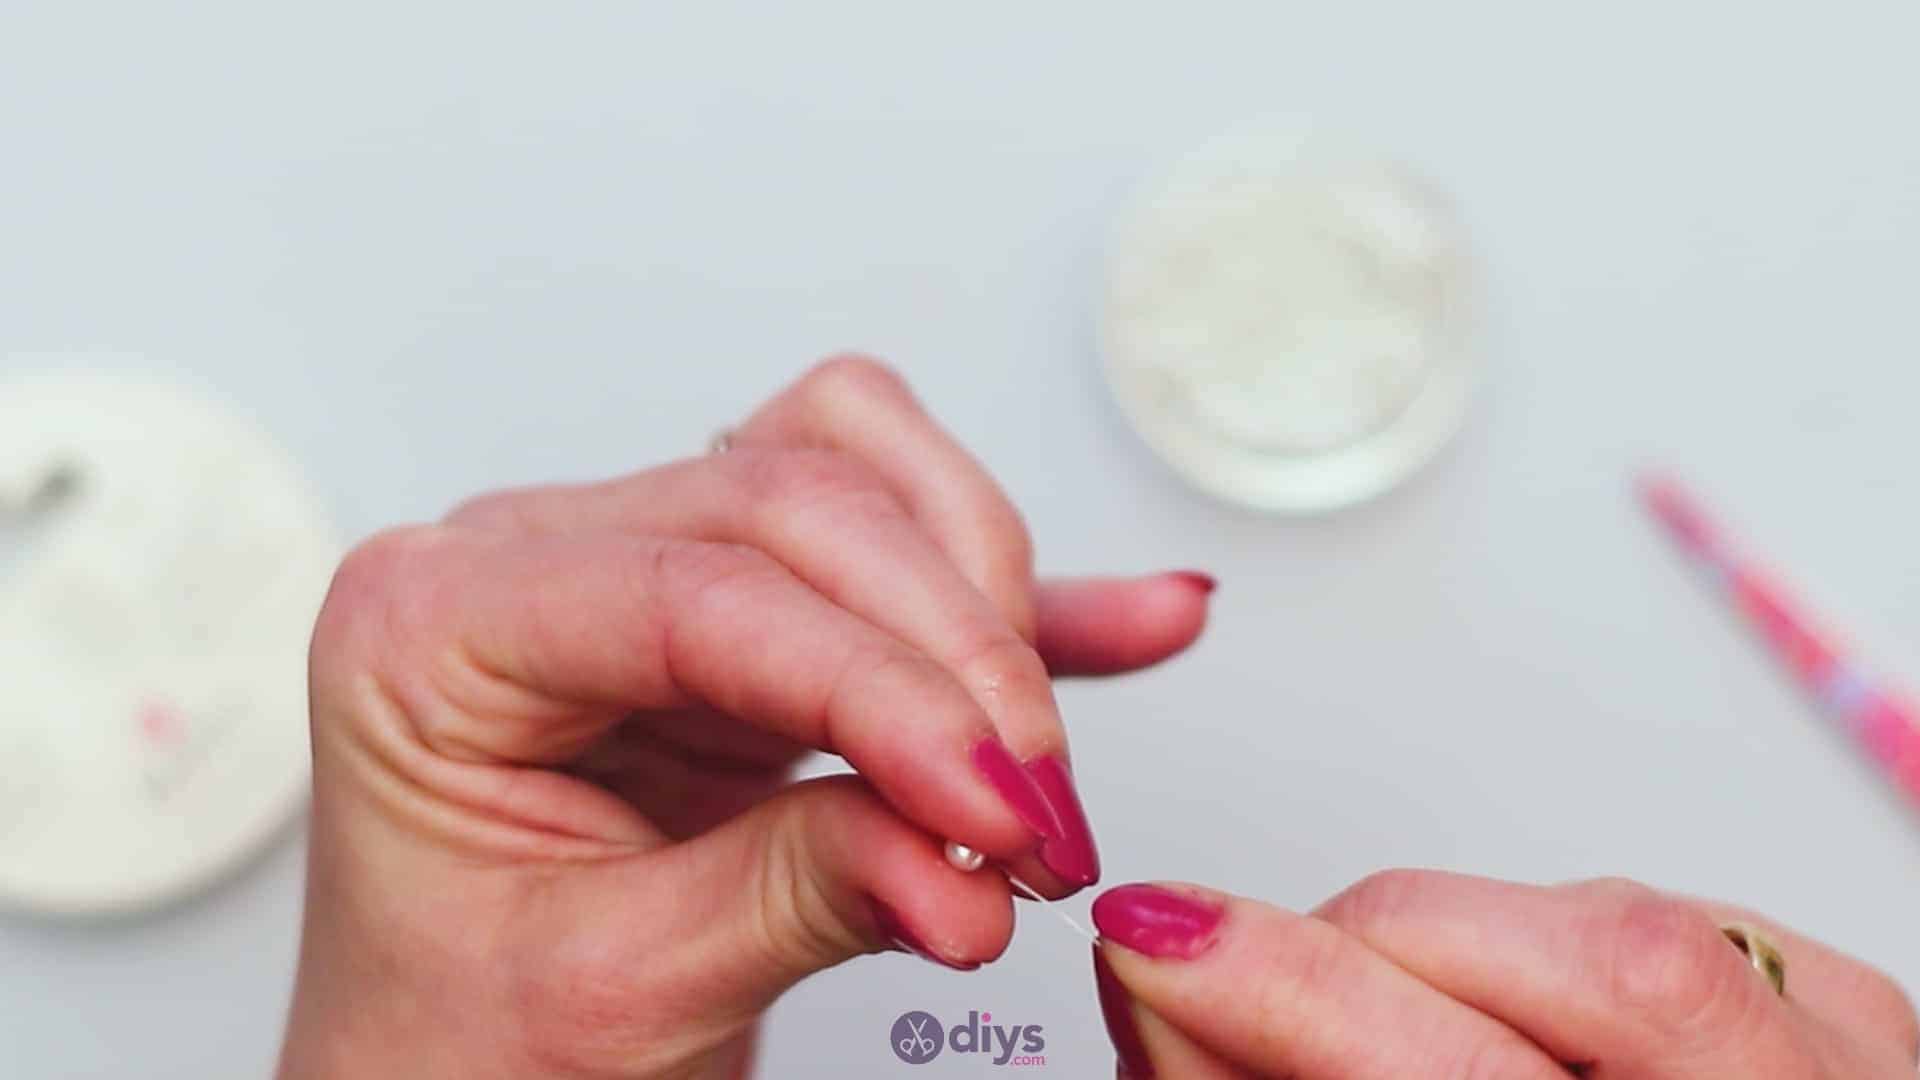
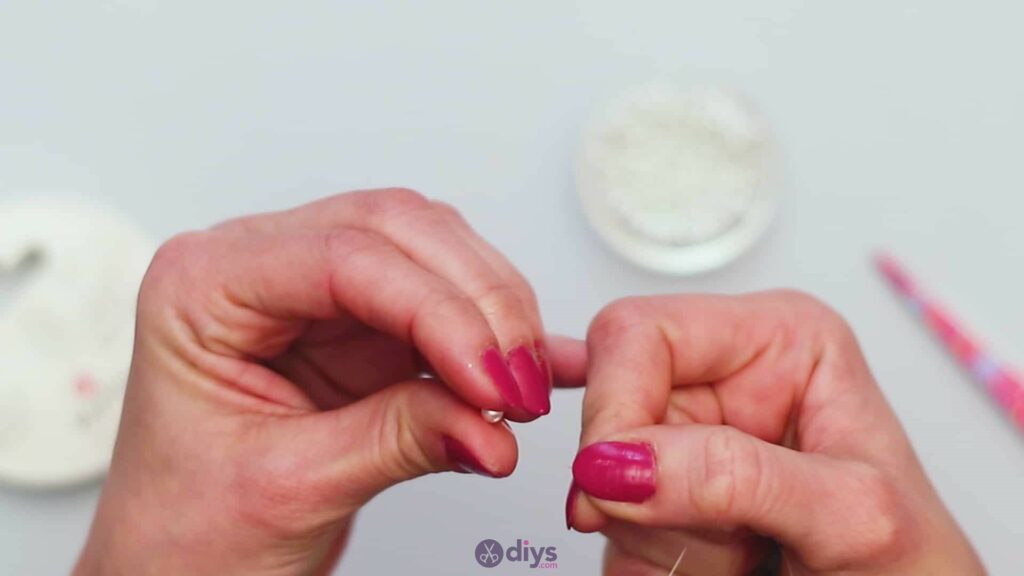
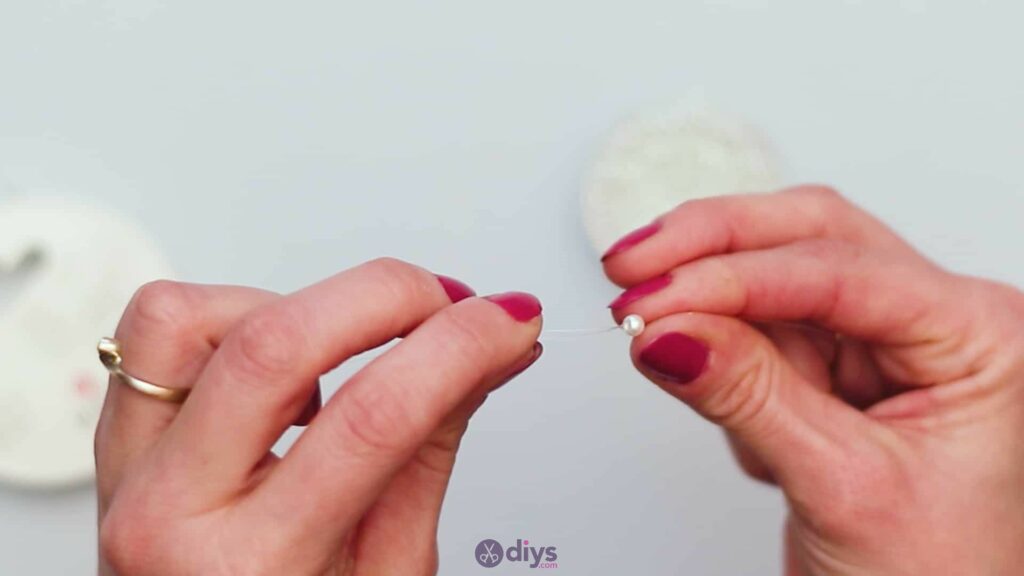
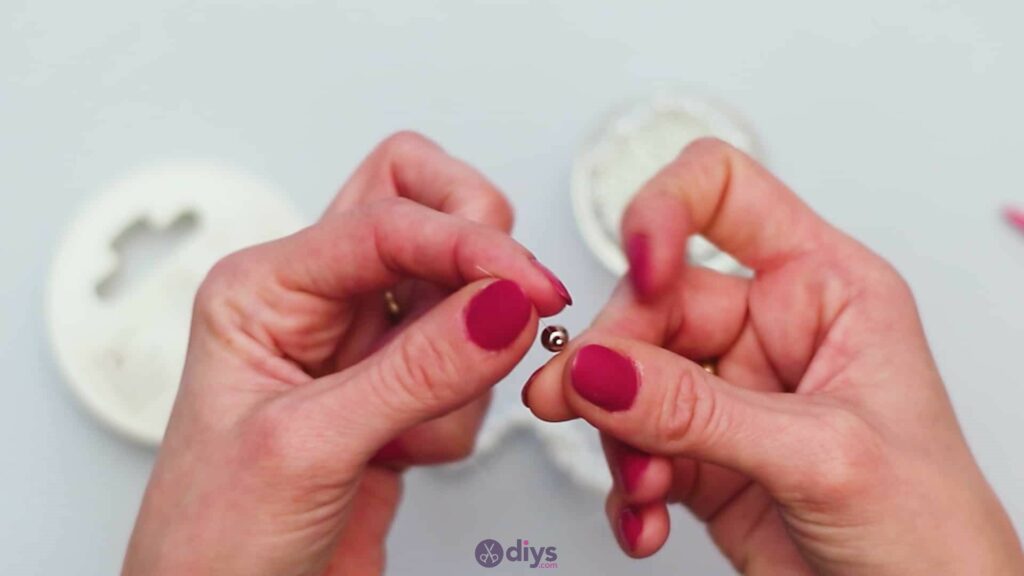
Now you’ll repeat this overall beading process again, but acting as though the bead you just placed, which was your fourth bead in the first cluster pattern, is now your first bead, already in place and ready to go. You’ll skip to placing your second and third beads, sliding one down the piece of jewelry line on one side and the other straight down the line on the other side. When they get to the bottom, they should rest against that fourth/first bead on either side just like you saw previously.
Now you’ll repeat the process of placing a fourth bead, where you put the ends of the pieces of jewelry line each through the same bead, but from opposite sides. You’ll see how this nestles between the two previous beads just like before, closing out a second cluster pattern and also, by default, getting you ready to start another one if you please.

Step 5: make as long as you need
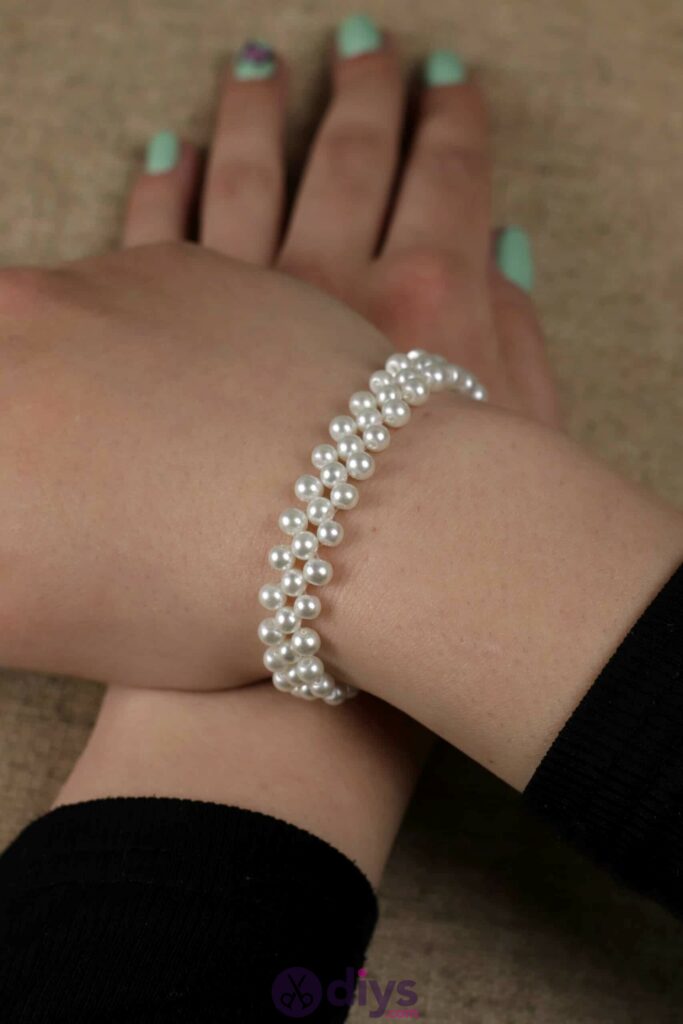
Keep repeating this beading process and clustered pattern to create the band of your bracelet. Continue until the bracelet is long enough to wrap comfortably around your wrist with the last bead (a fourth one that finishes off a cluster shape) meeting up with the ring on the free side of your clasp.
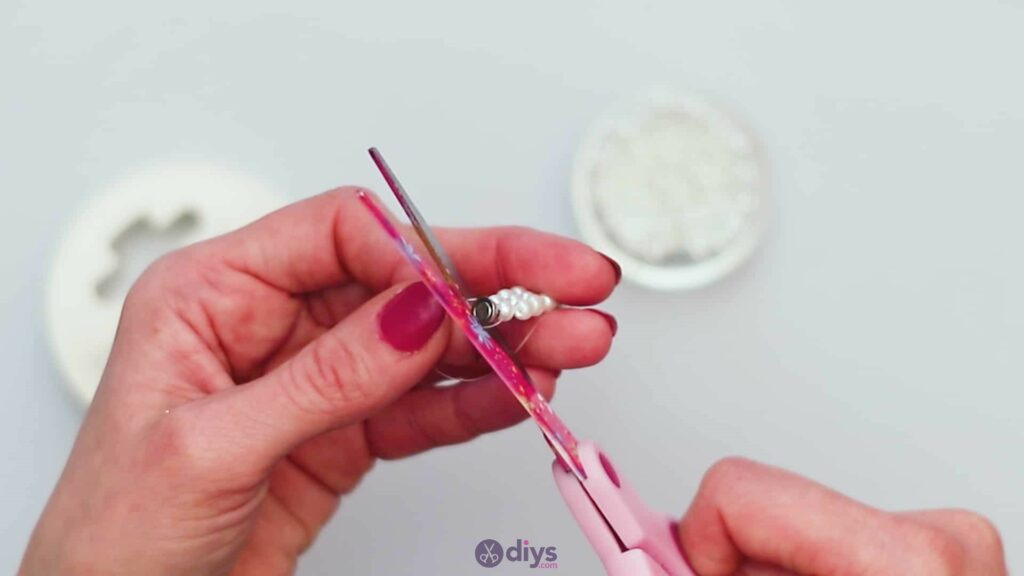
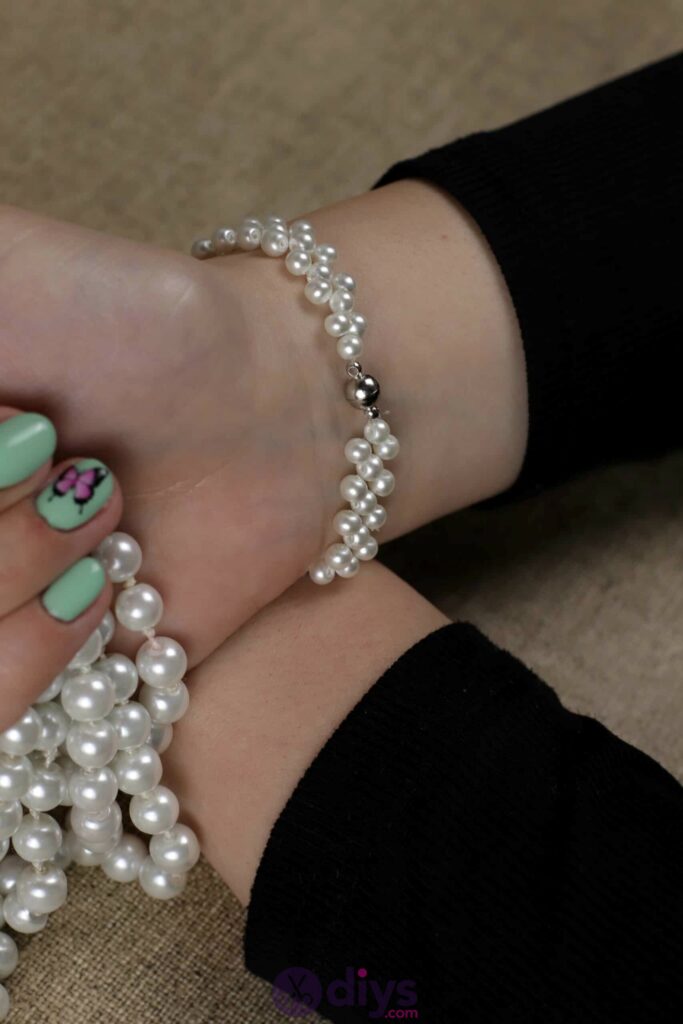
Step 6: clasp it
Slide the end of one of your jewelry line sides through the loop on the free side of your clasp (you can undo the clasp and just work with that half if you need to) and bring the ends of both together to tie a knot around the loop, sliding it down and settling it into place against your final bead. I’d suggest double or triple knotting this side as well to really hold it in place. Trim the excess line from your ends.


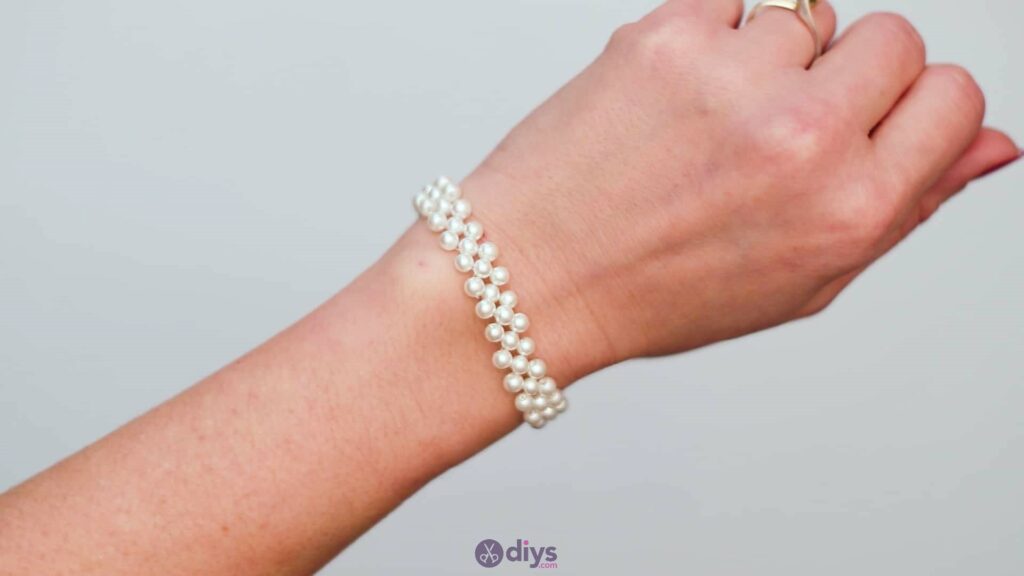
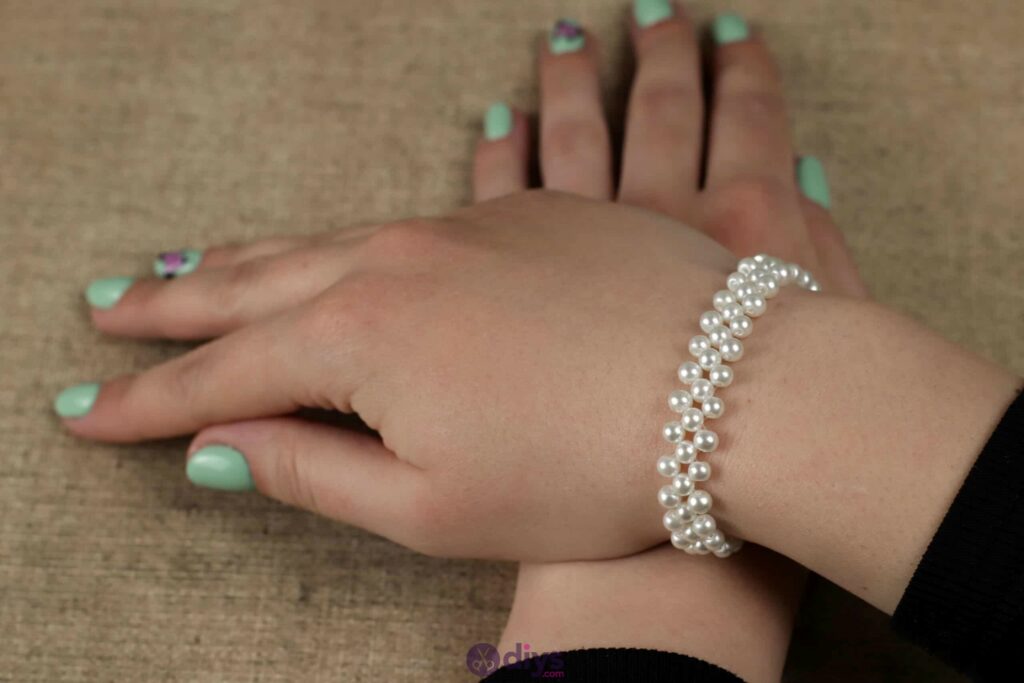
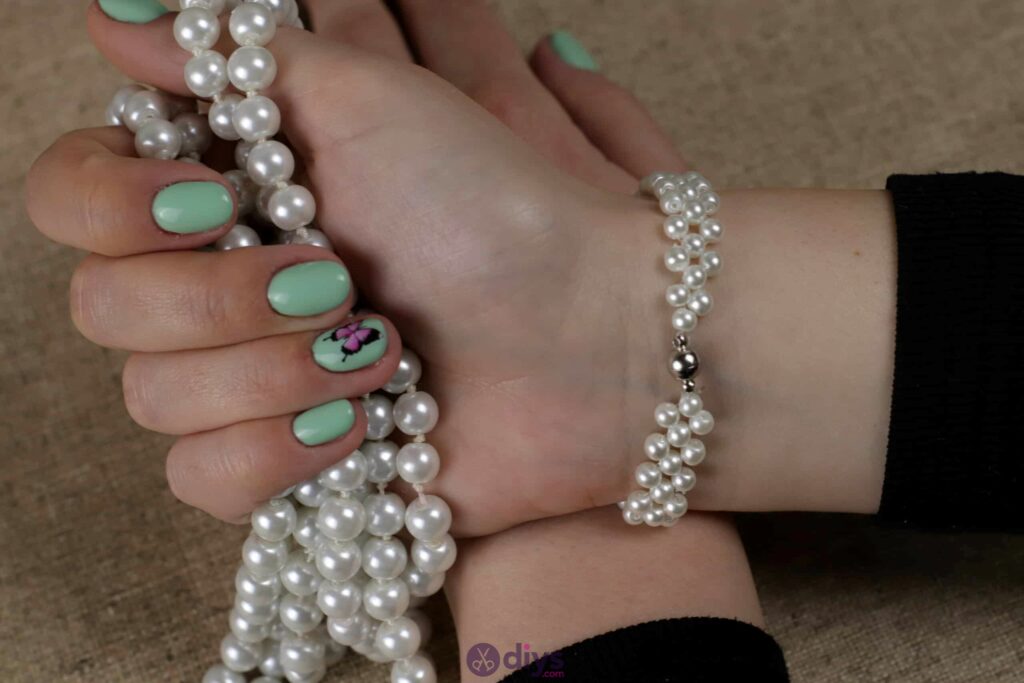
Your bracelet is officially all finished and ready to wear! Put it on and voila. Of course, you don’t have to used faux peals like I did; there plenty of different kinds of beads that will work in this project. Try colourful ones instead and see if you can create a repeating pattern colour scheme in your bracelet’s band, if your style is a little more eclectic than elegant. As promised, here’s that handy video tutorial to help you out too.