Simple String Art Christmas Tree
Updated on November 19, 2025


In my house, the most popular crafts are always those that let our kids get a little messy. They’re very hands-on crafters and proud of it! That’s why I’m always trying to come up with things they can make that have a bit of fun mess to them without ruining my house and all their clothes. The holidays are no exception! That’s how we found ourselves making these awesome glue and string art Christmas trees earlier this week. They were so much fun that I decided to outlined how we did it, just in case other people want to give them a try too.
Check out these step by step instructions complete with photos! If you’d rather follow along with a video tutorial instead of written words, scroll to the bottom of this post to find just what you’re looking for.
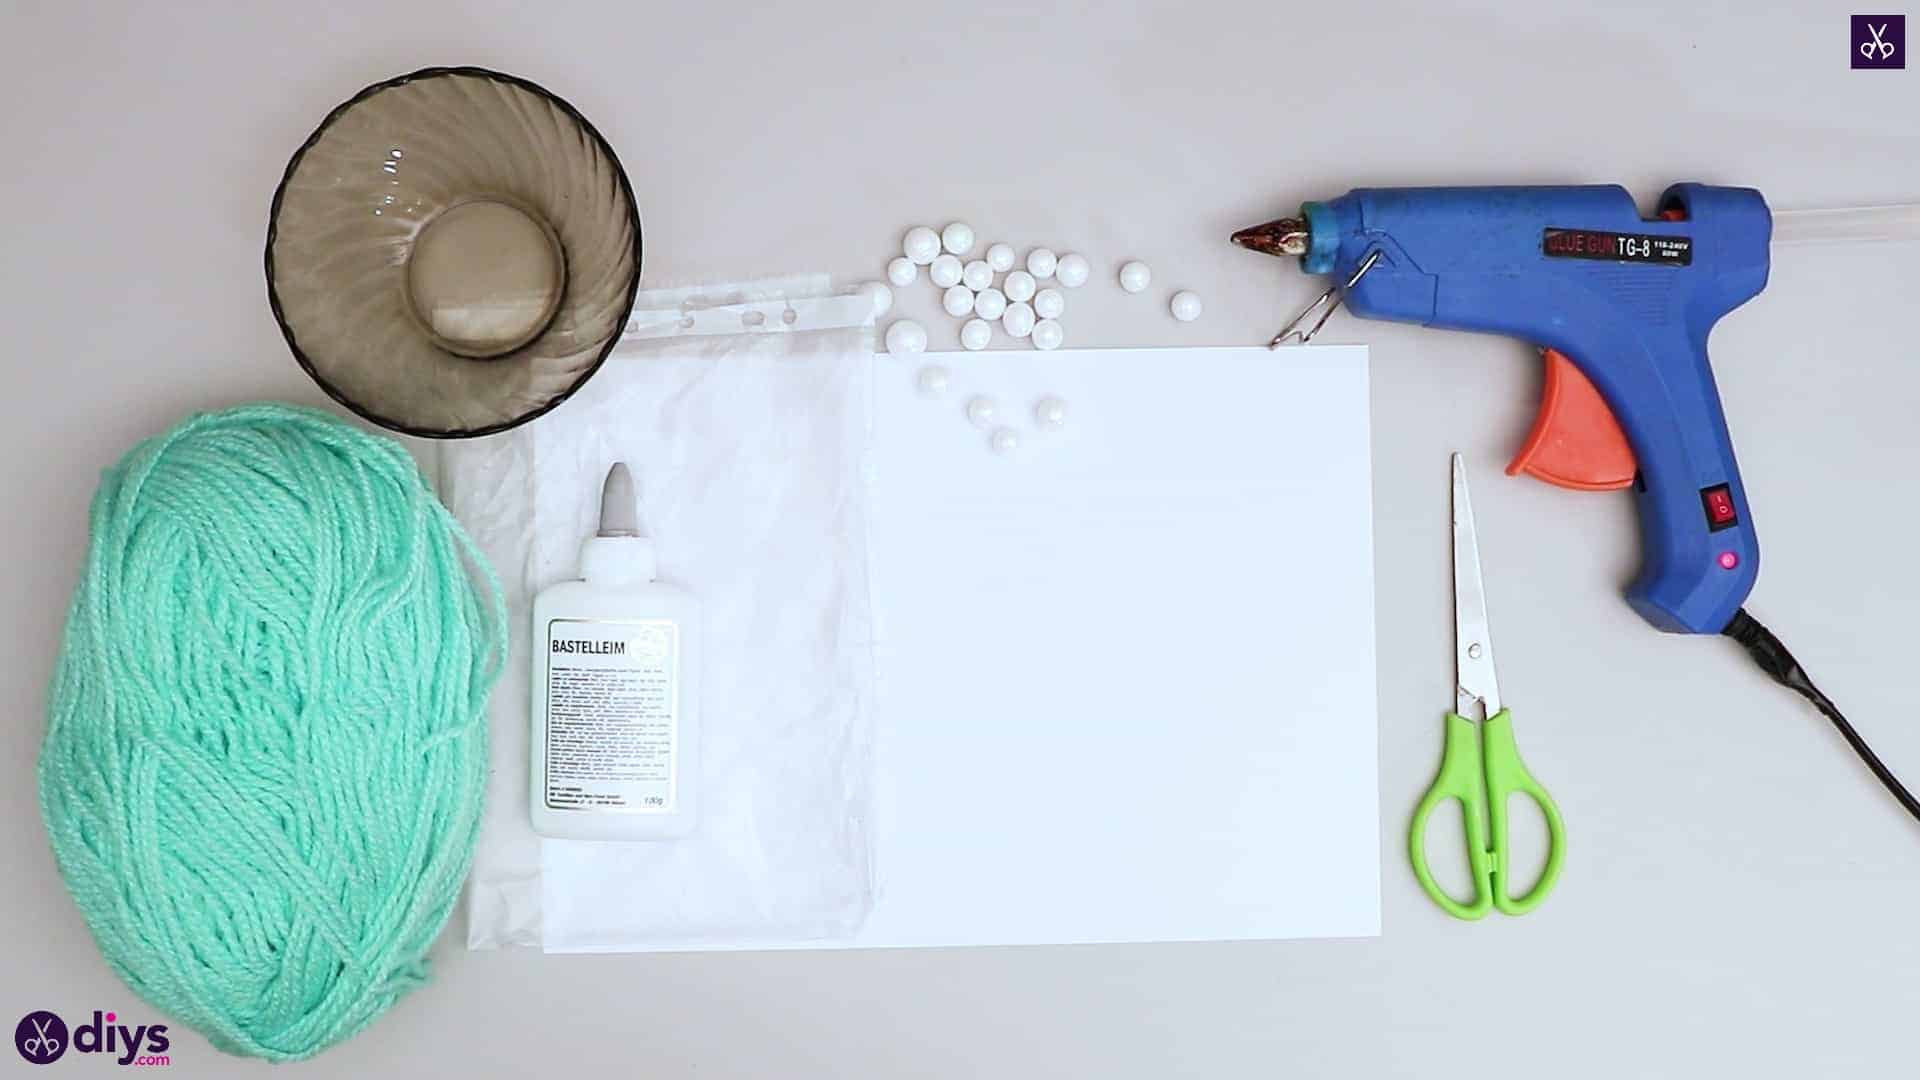
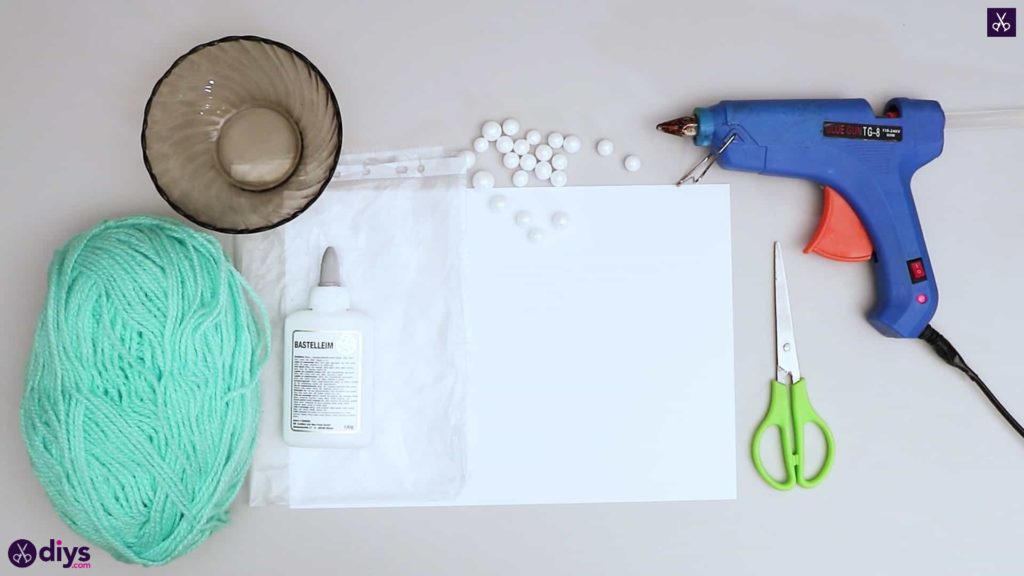
For this project, you’ll need:
- White paper
- Green yarn
- Textile glue
- Scissors
- Hot glue
- A plastic file sleeve
- Pearl beads
- A bowl
Step 1: Gather your materials!
Check your list and get all your materials in front of you.
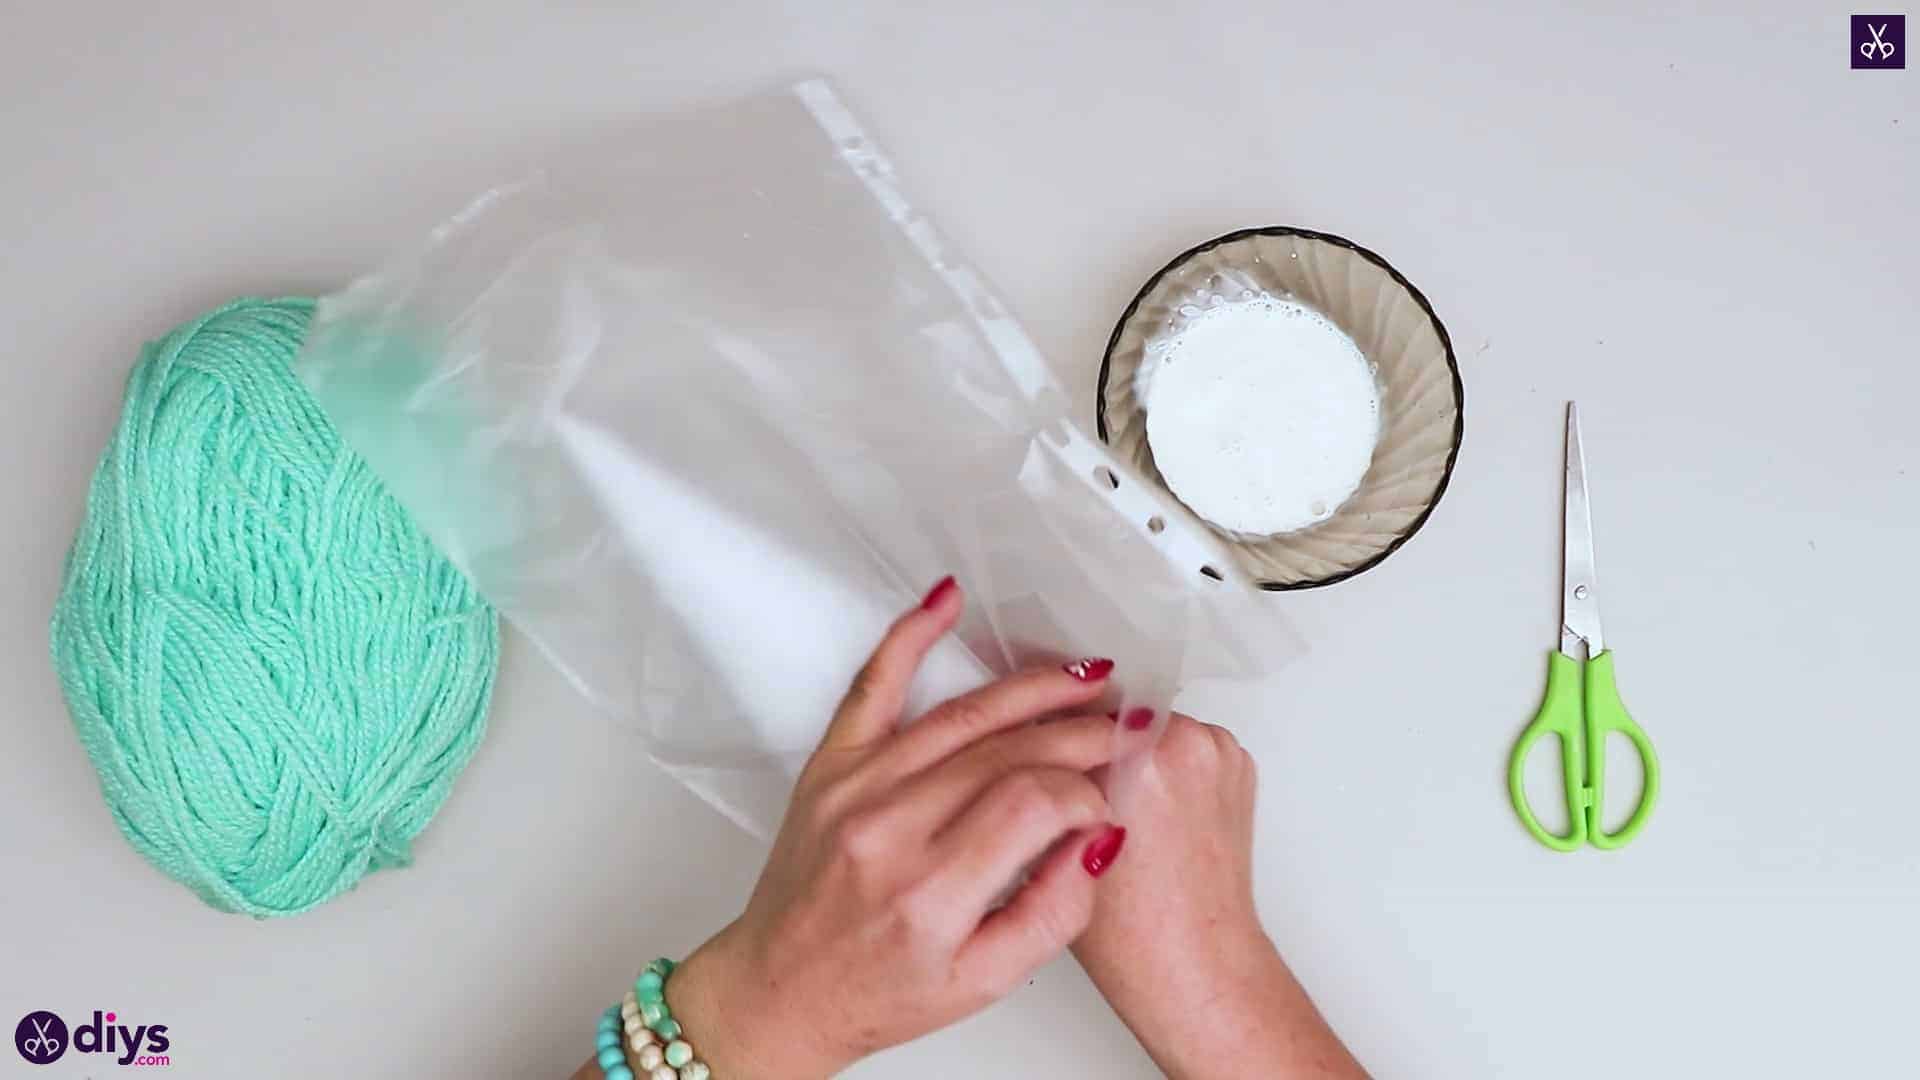
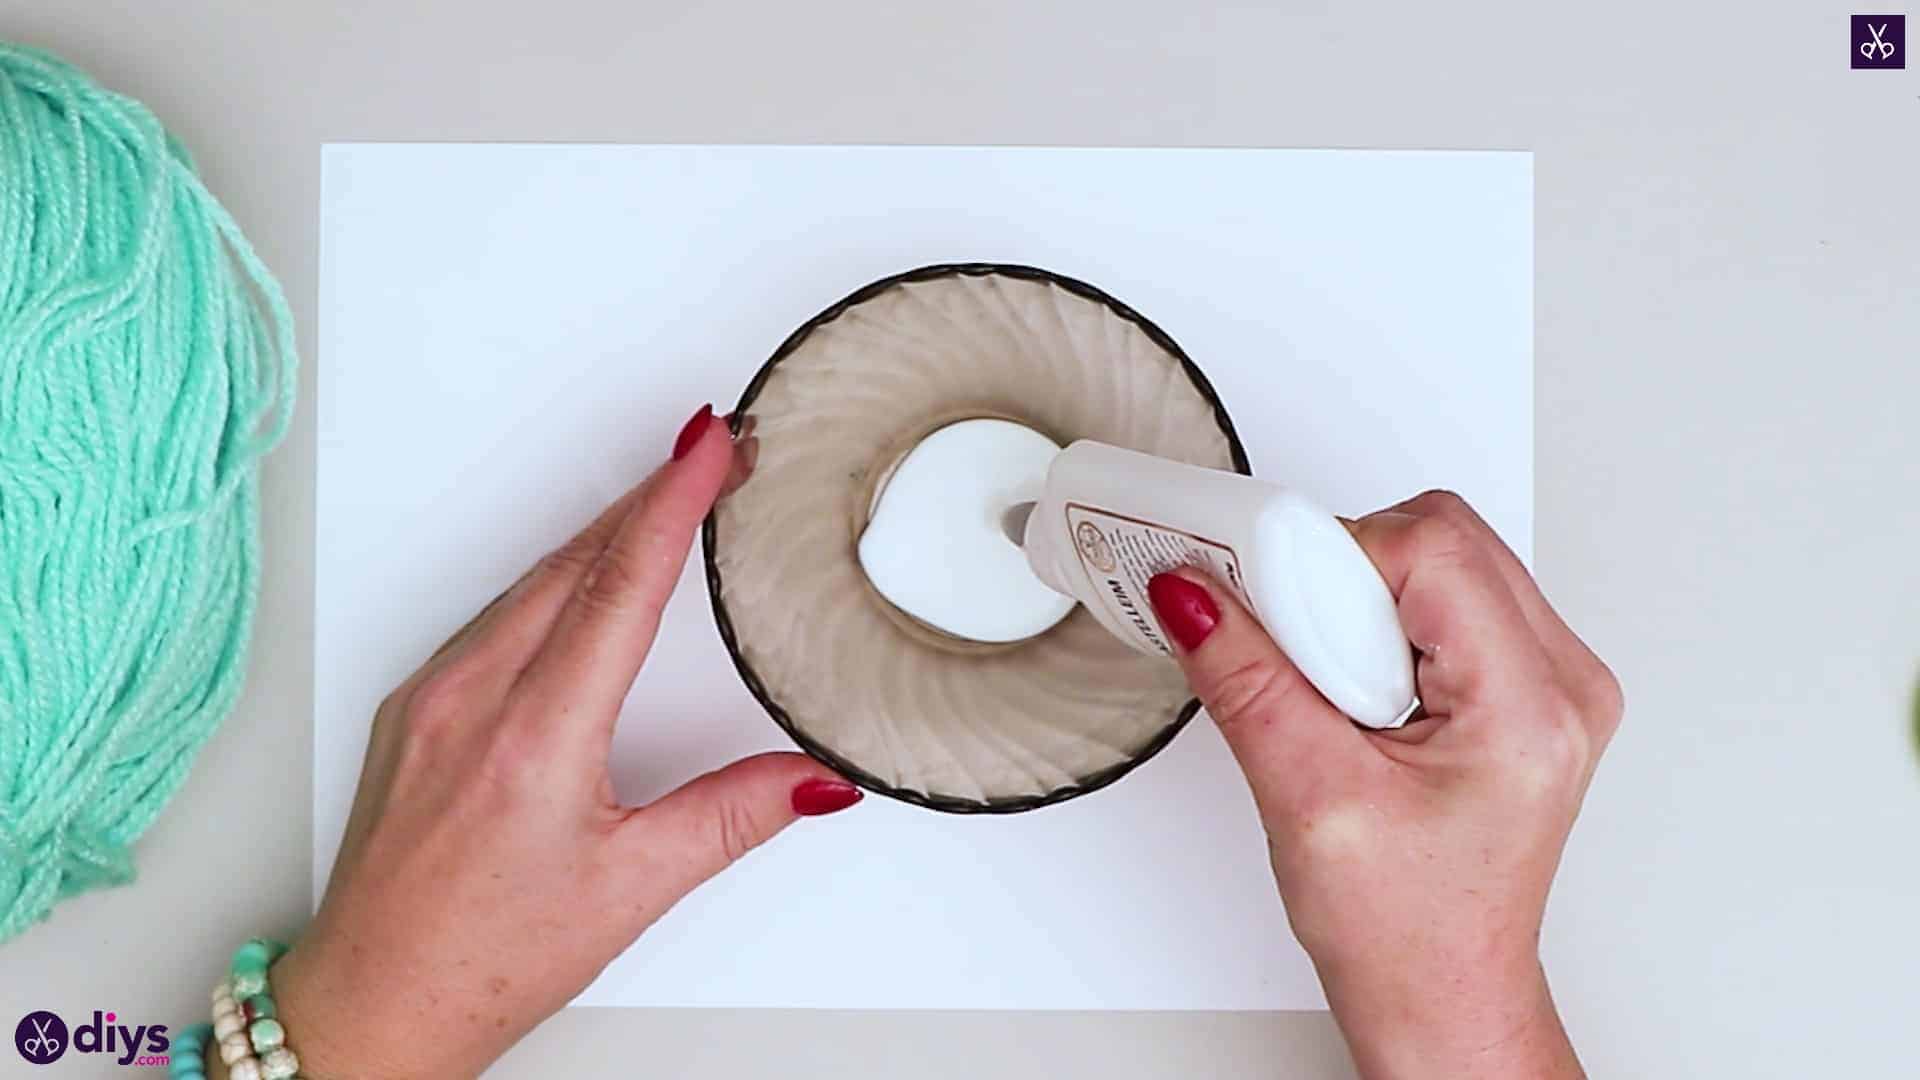
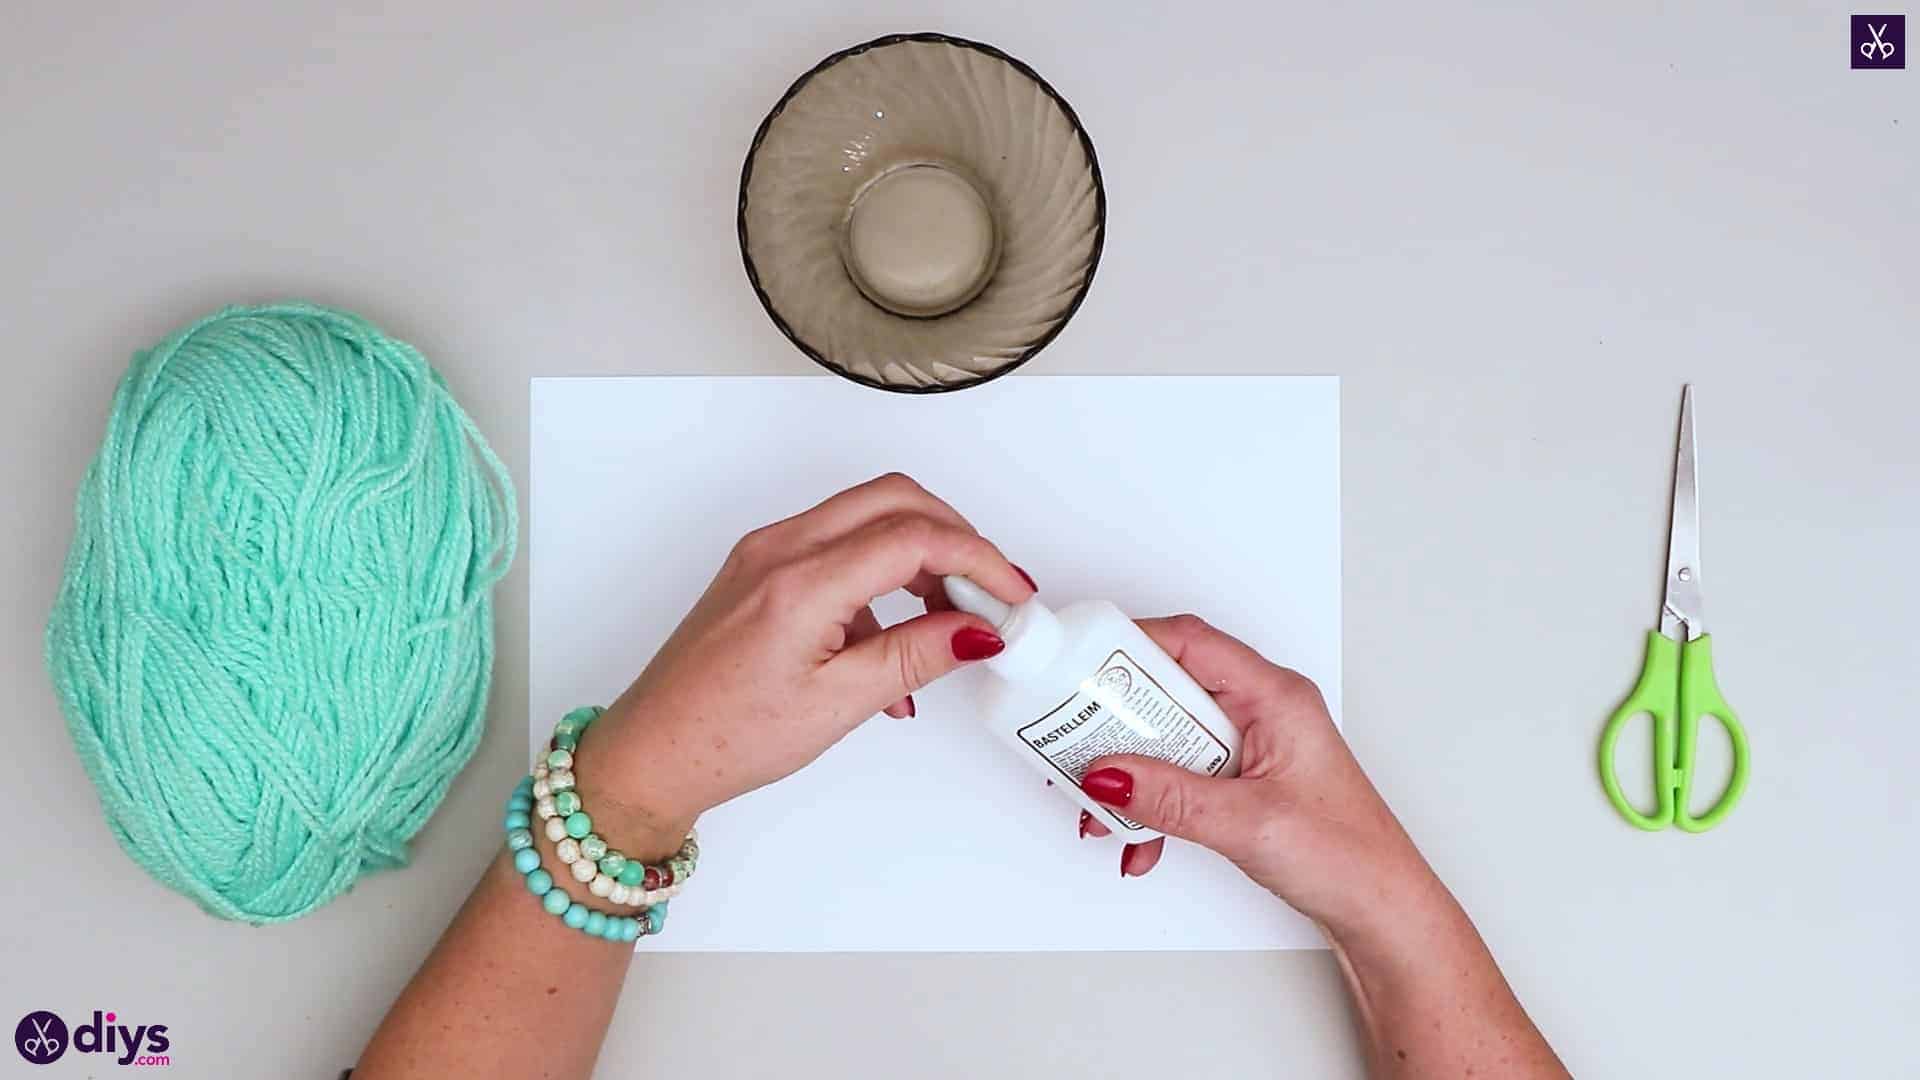
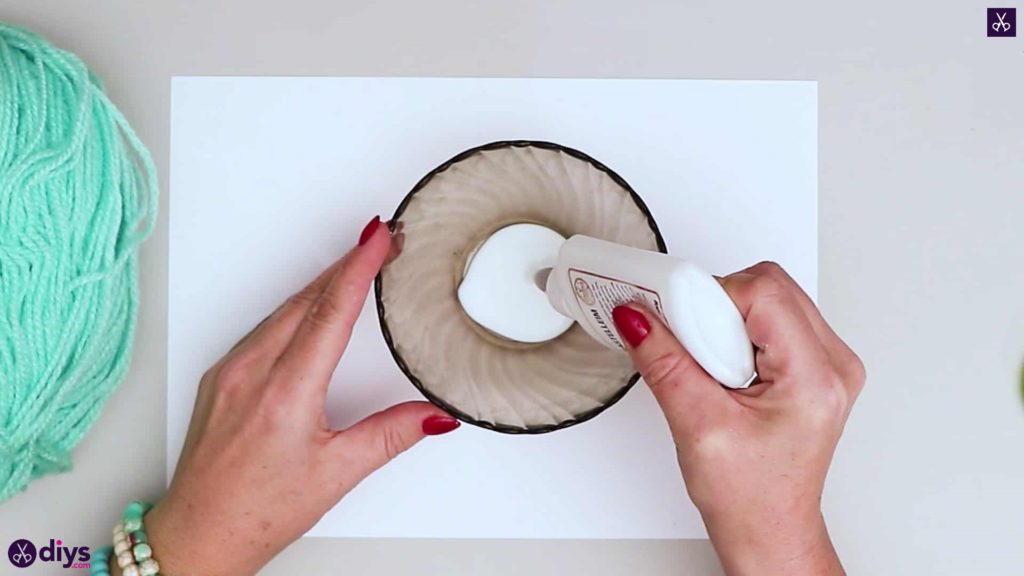
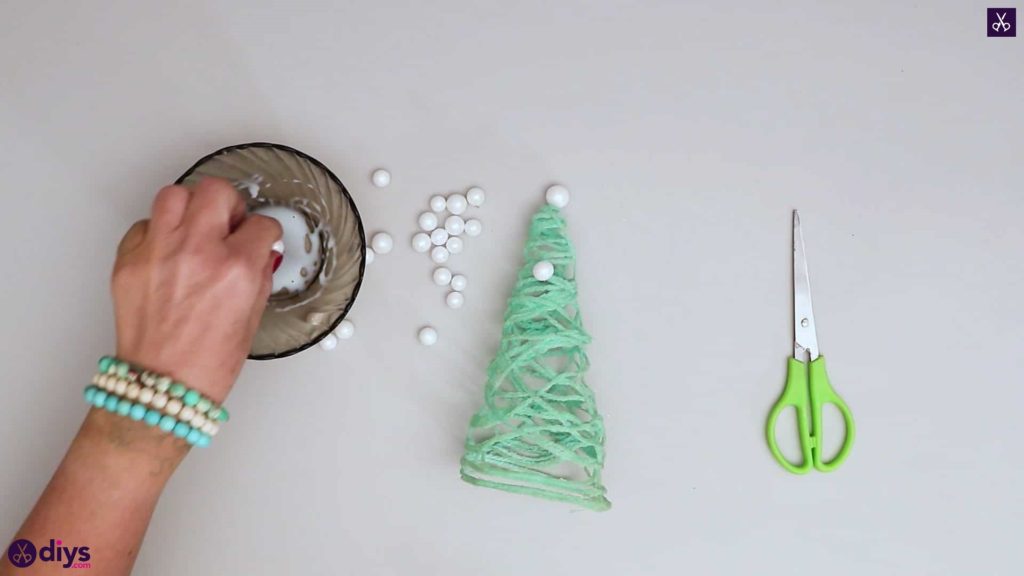
Step 2: pour the glue
Fill your bowl with white textile glue (don’t fill the whole thing; you’ll only need enough for dunking string and you never want to waste good crafting supplies).

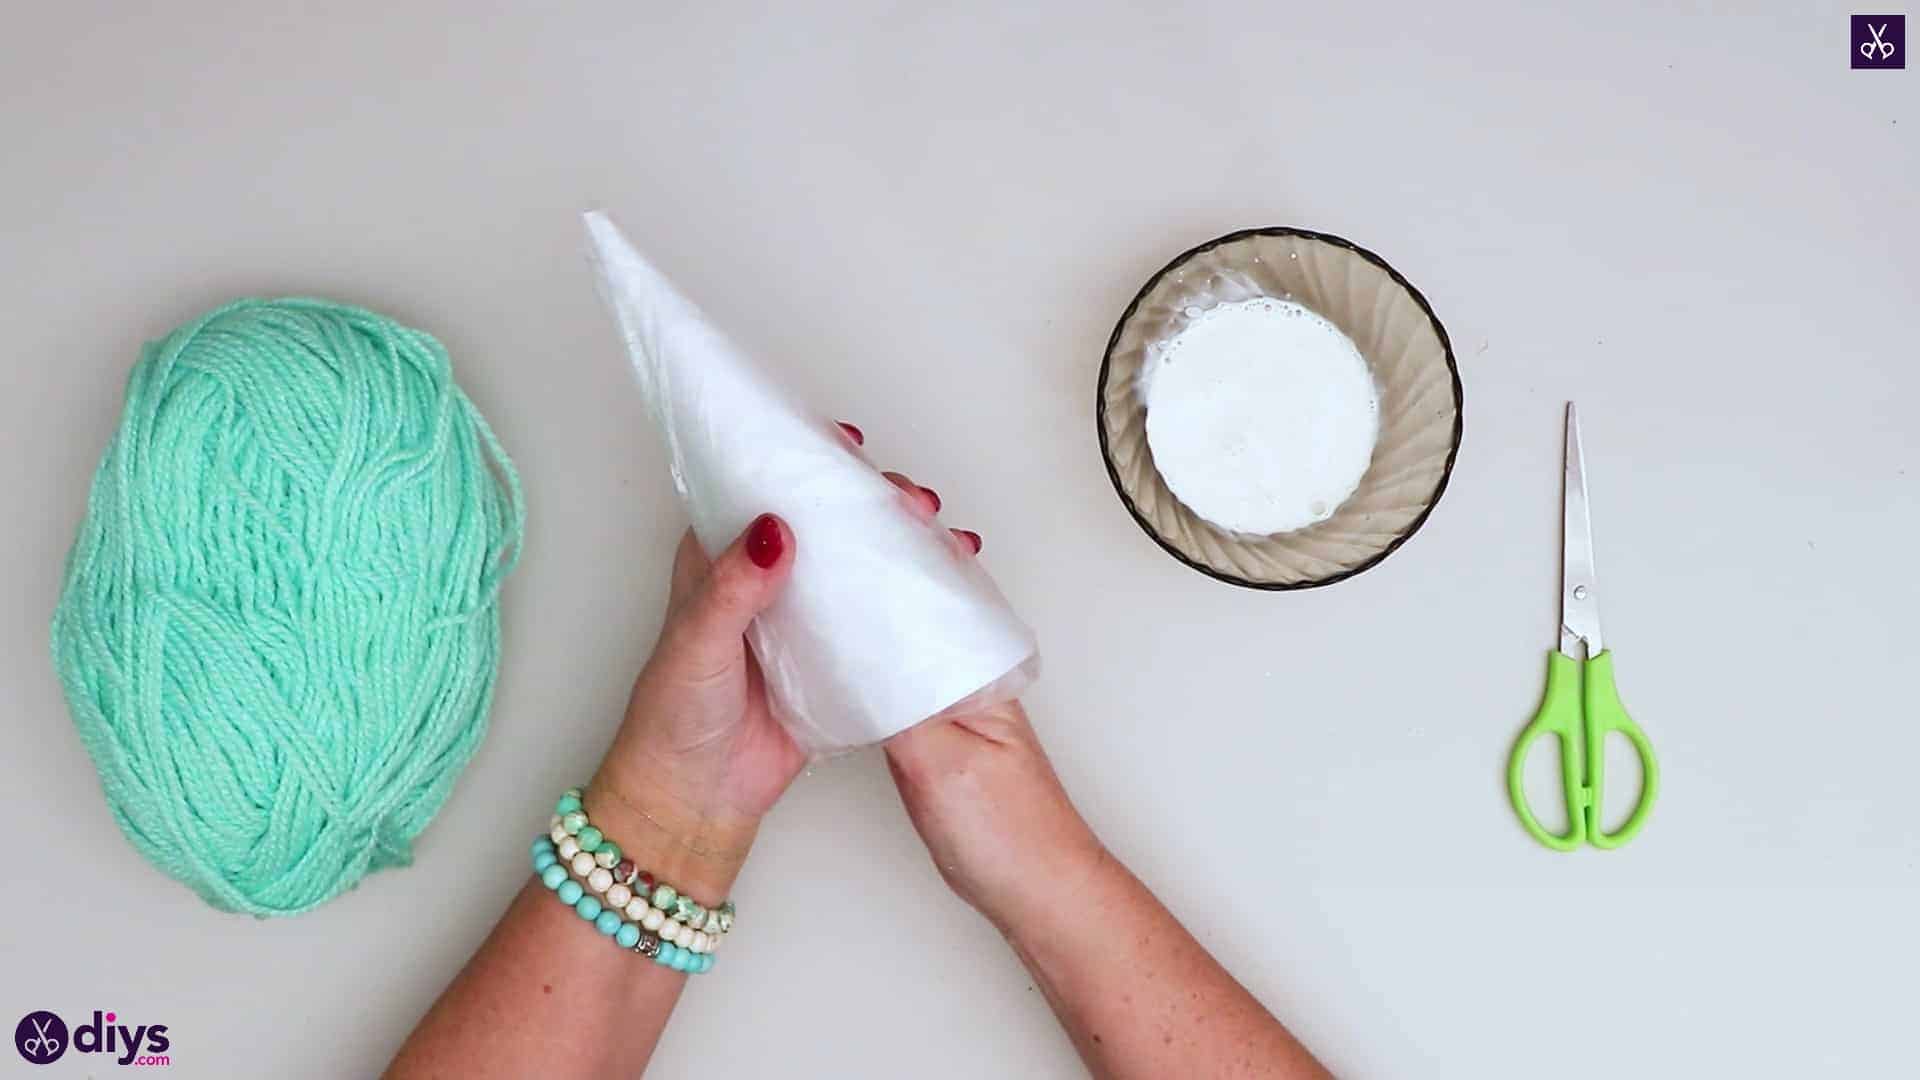
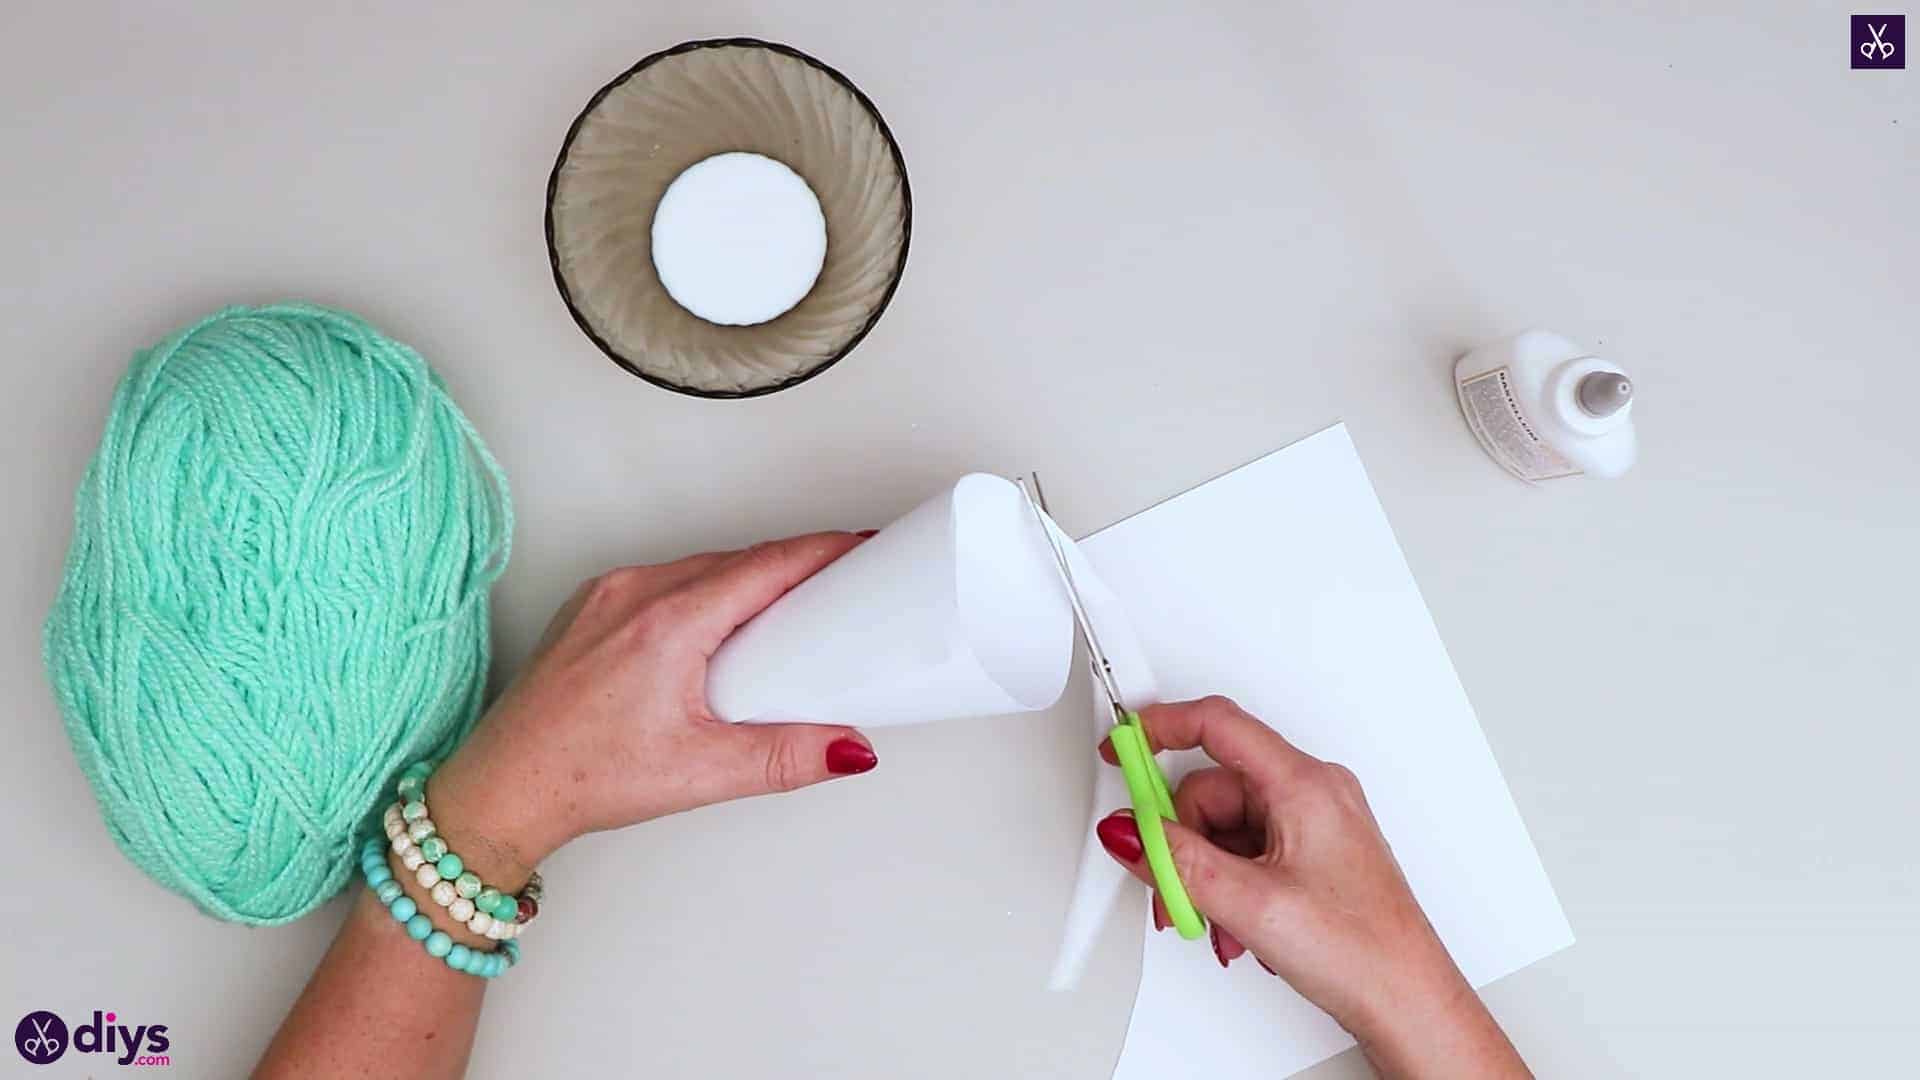
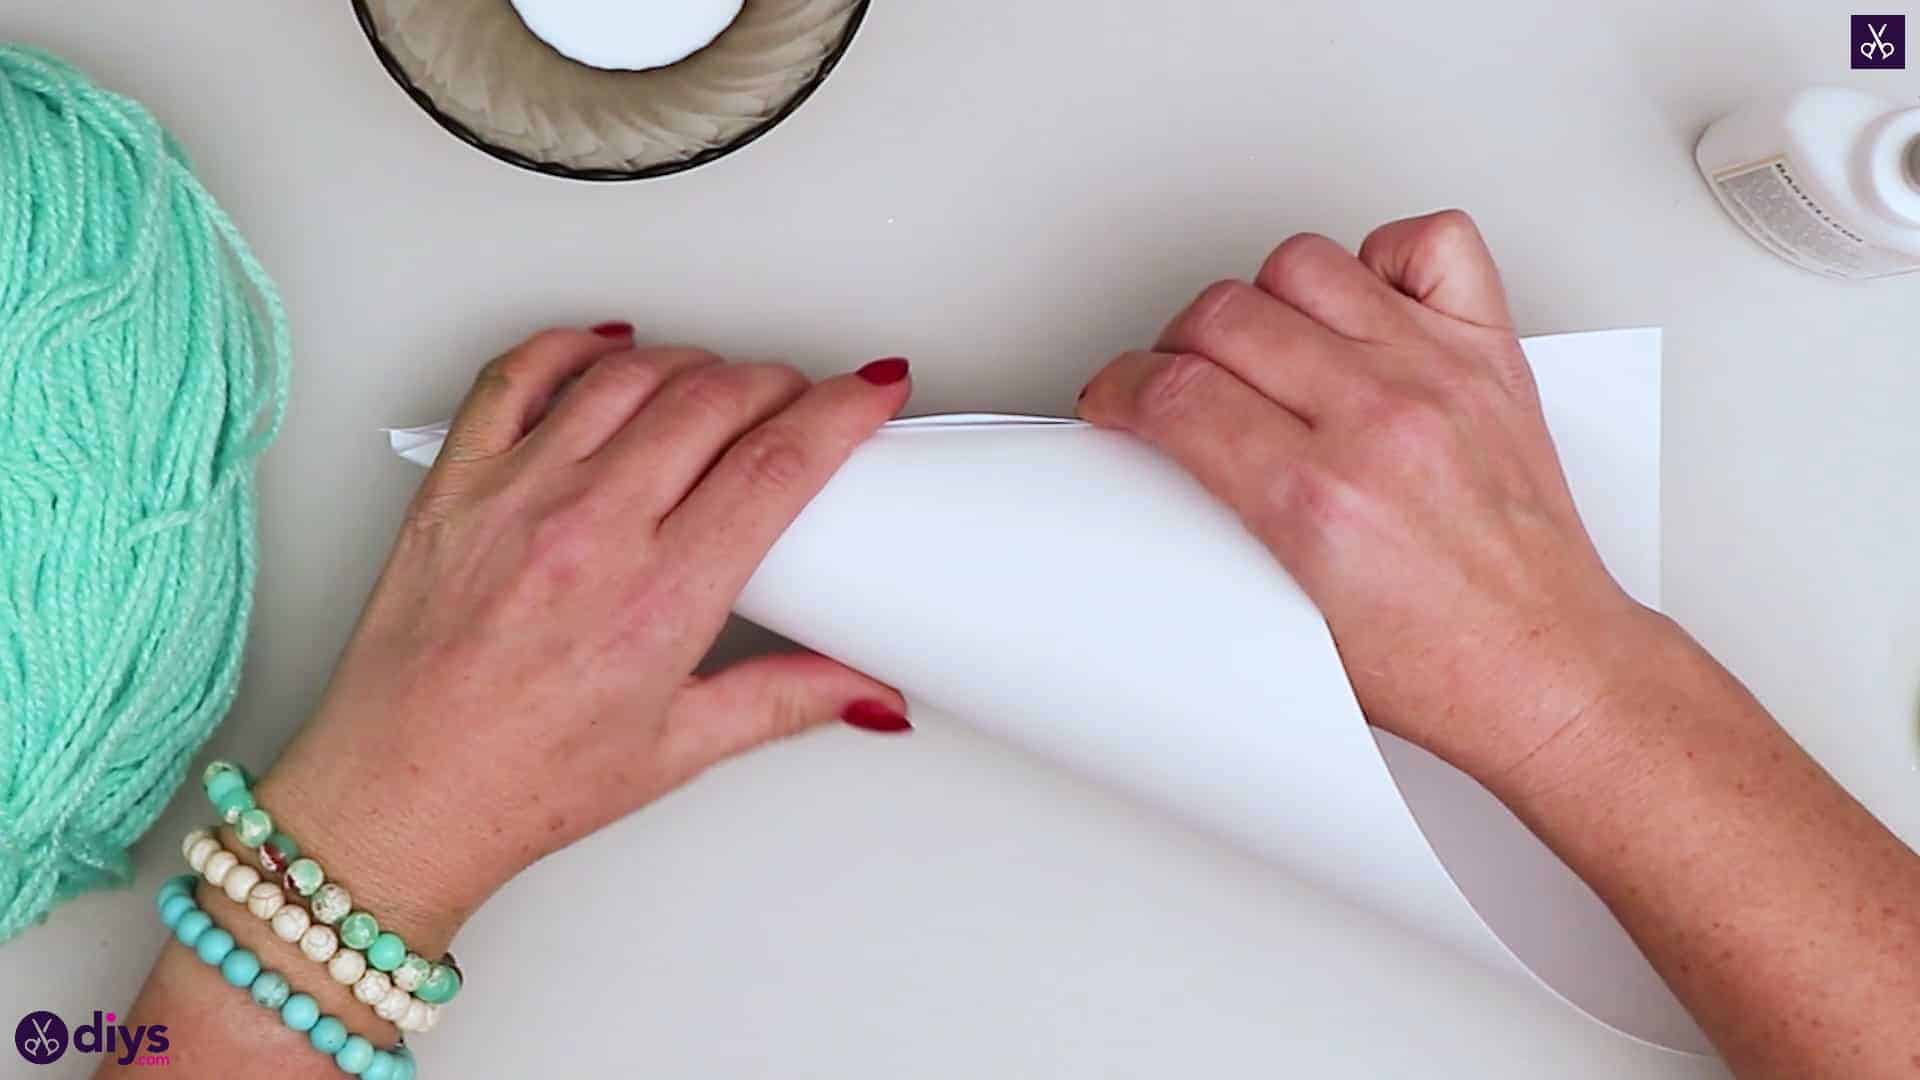
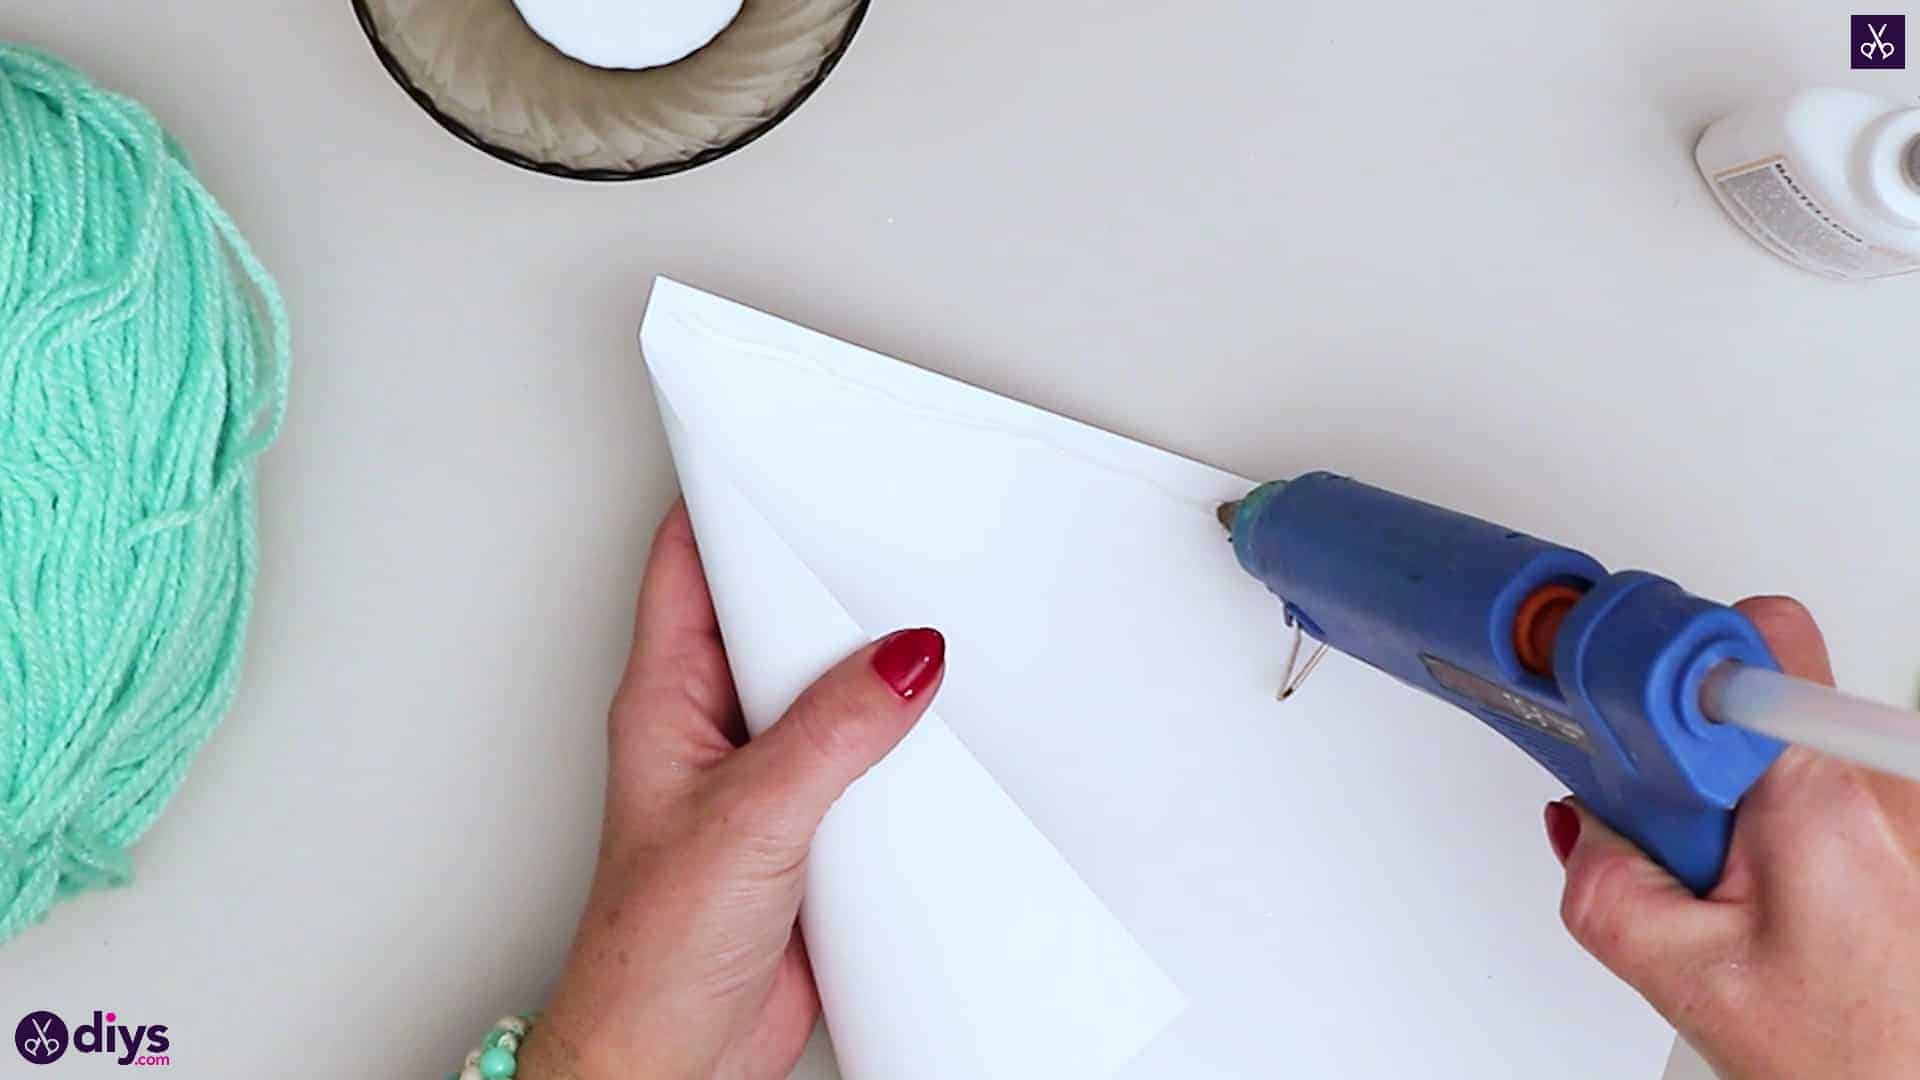
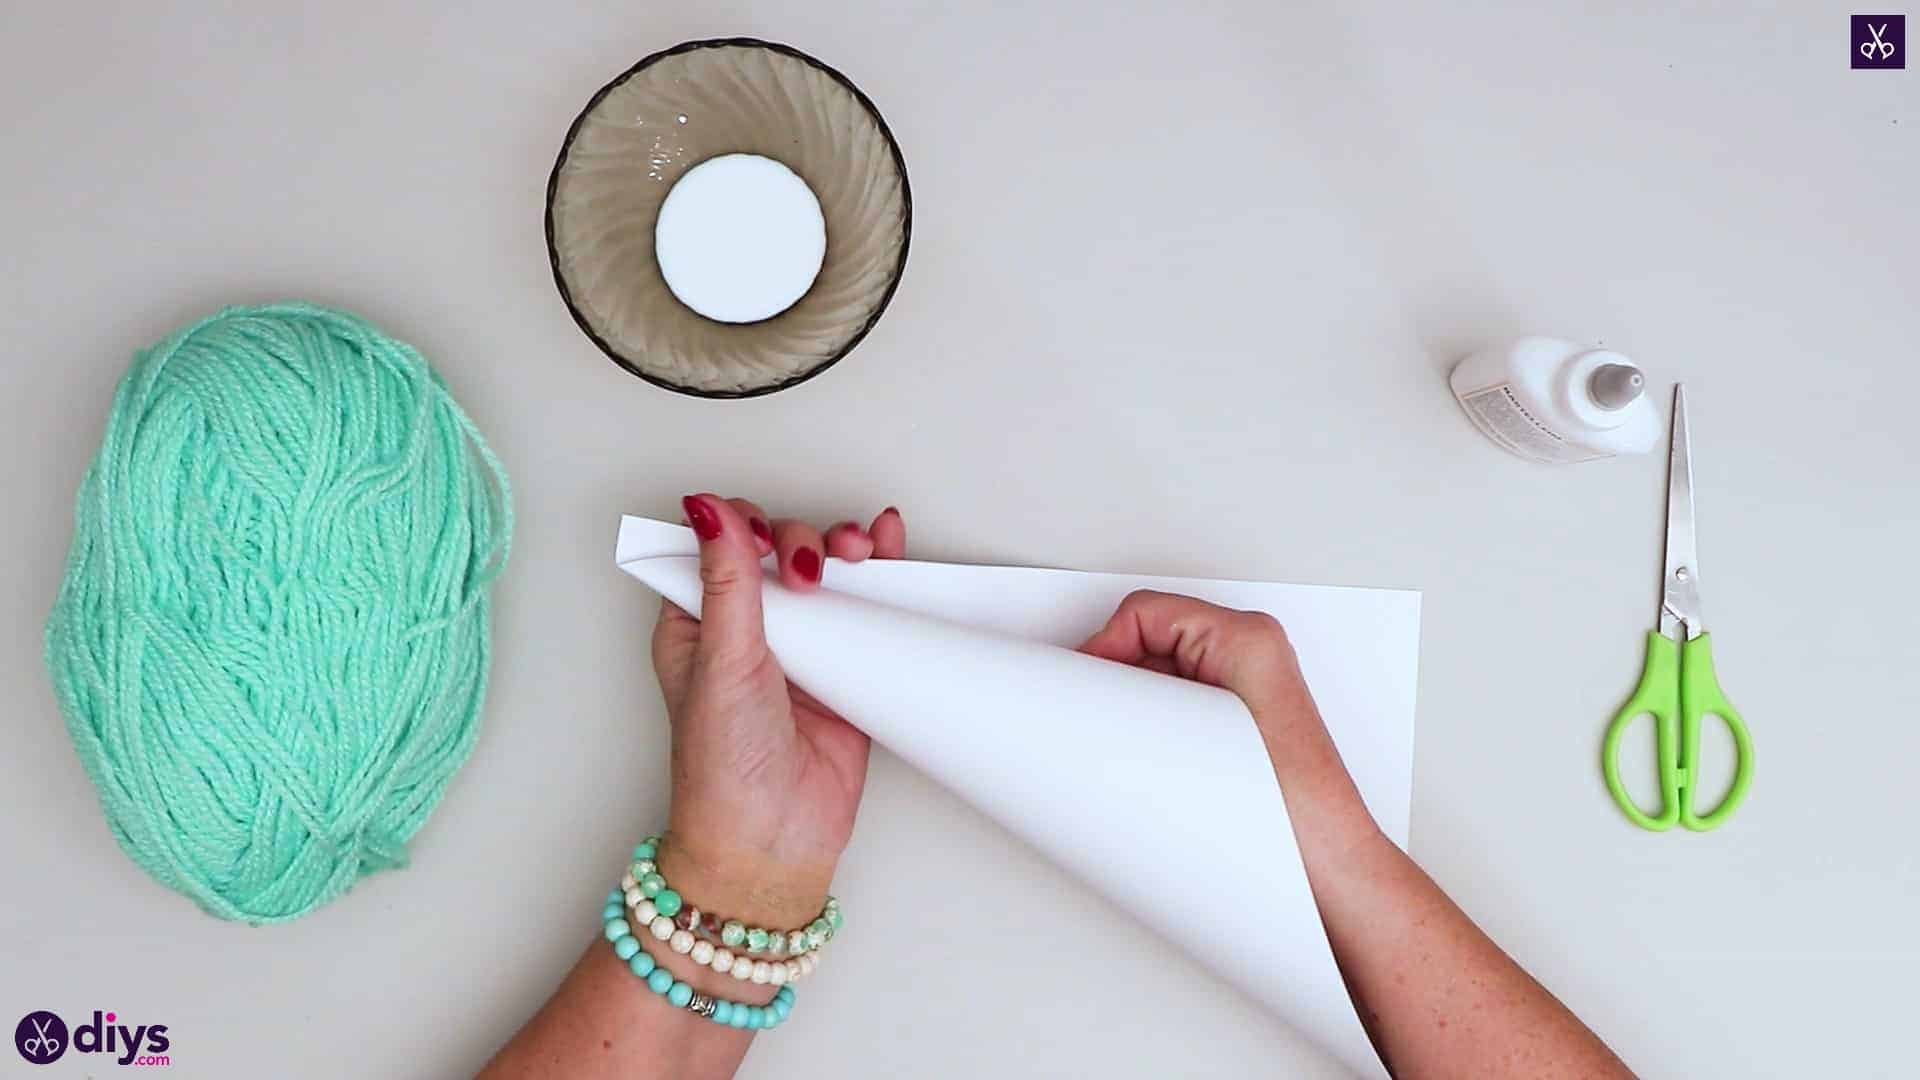
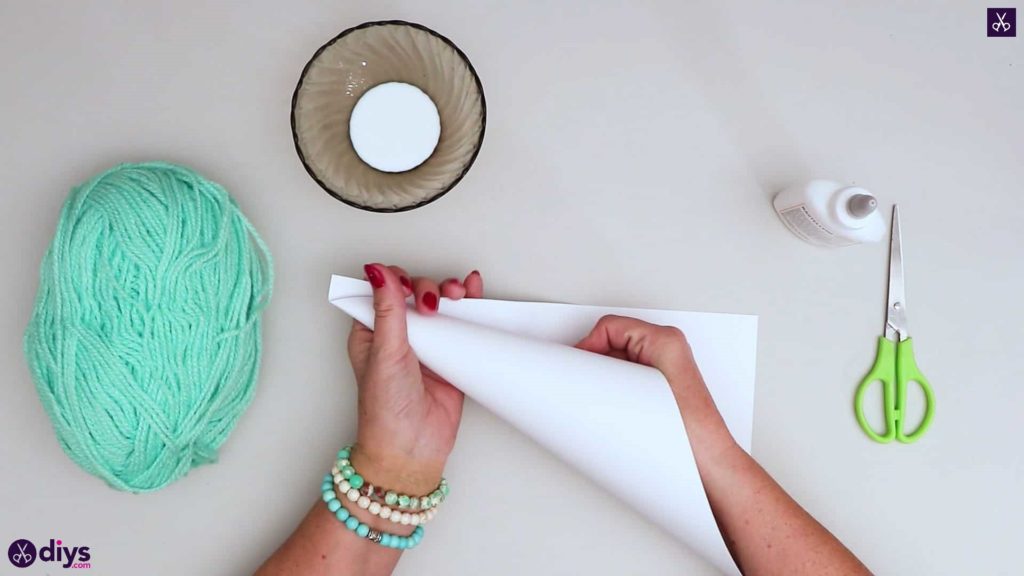
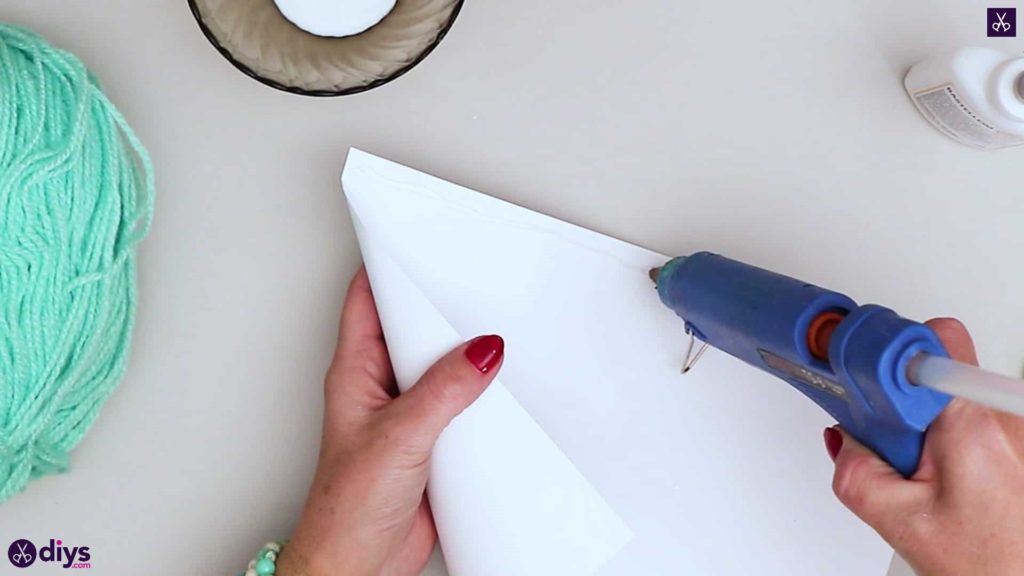
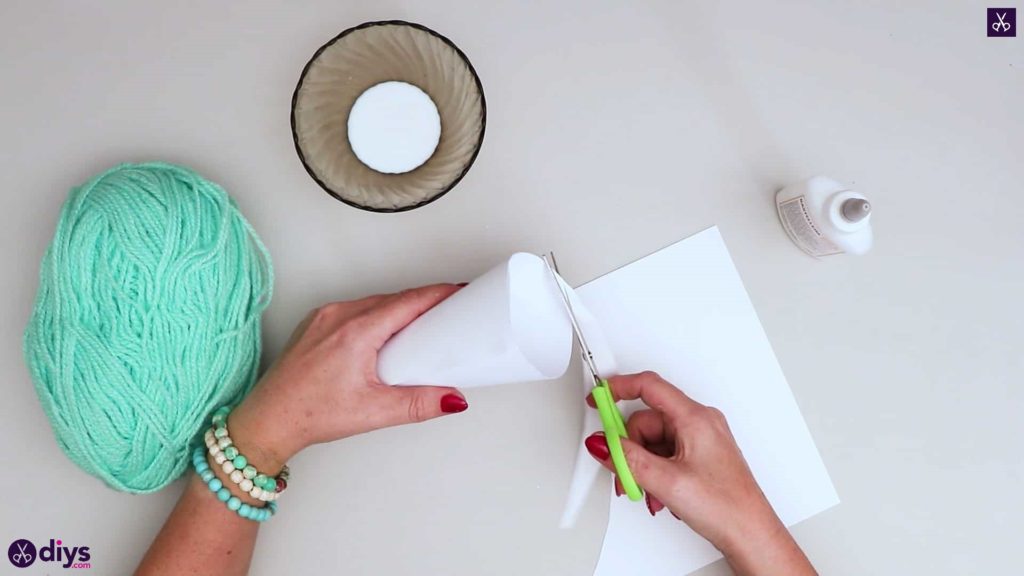
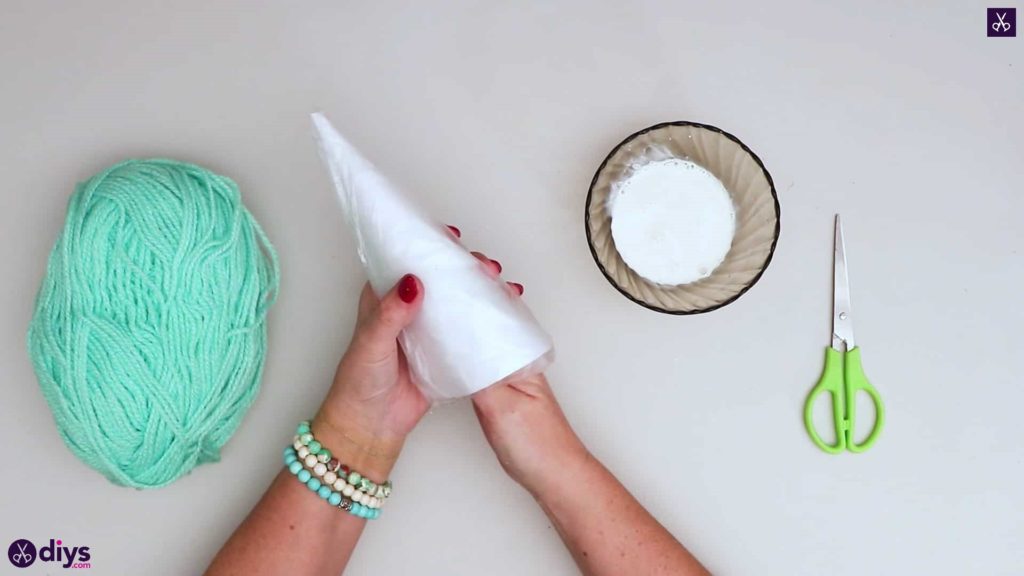
Step 3: shape the cone
Turn your white paper landscape and start curling the bottom left corner inwards towards the middle to create a cone shape. The paper shape will be pointed at the top on the left and have a circular opening at the bottom towards the right. Apply hot glue along the top edge once you’ve got an idea of your shape, then tighten your cone, continuing to curl that edge inward, and stick the outer edge down where it meets the curved paper. Once it’s stuck in place, trim the excess off the bottom so the edge there is smoother, rounded, and more even.

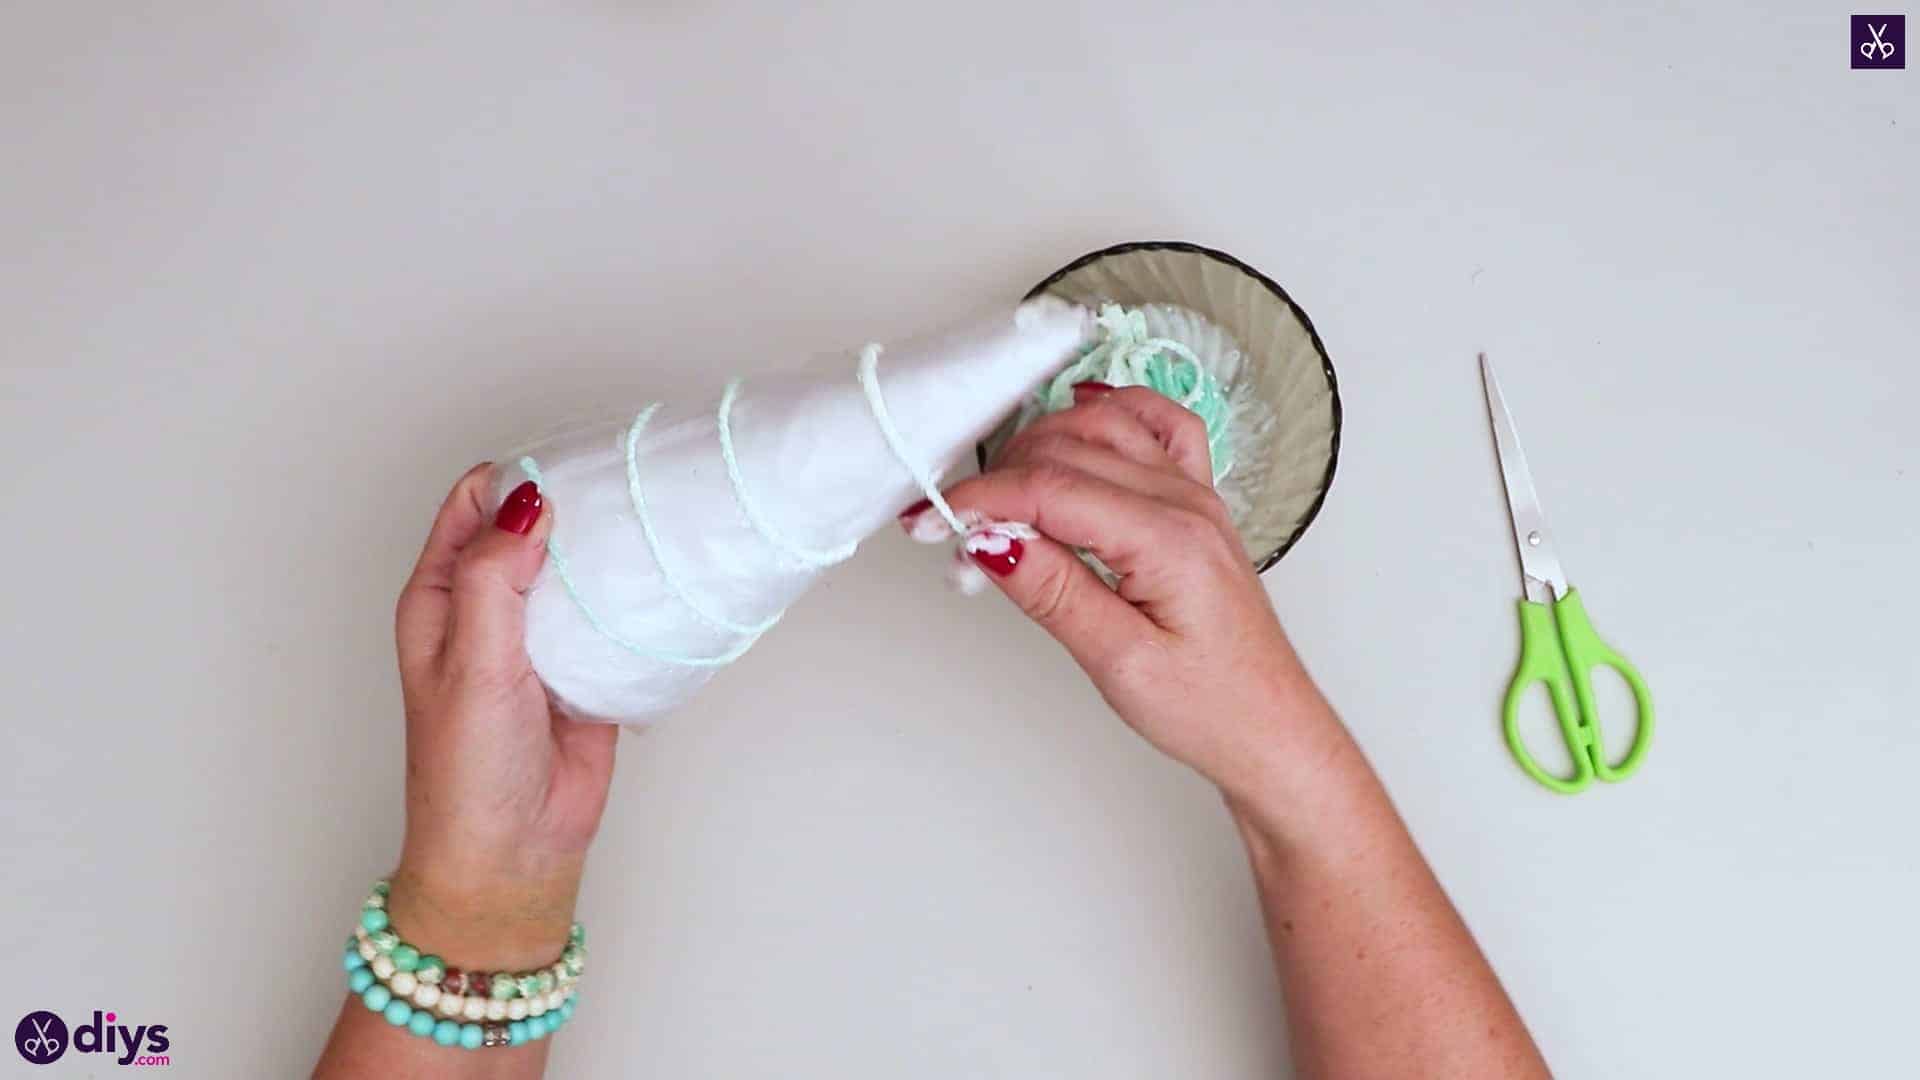
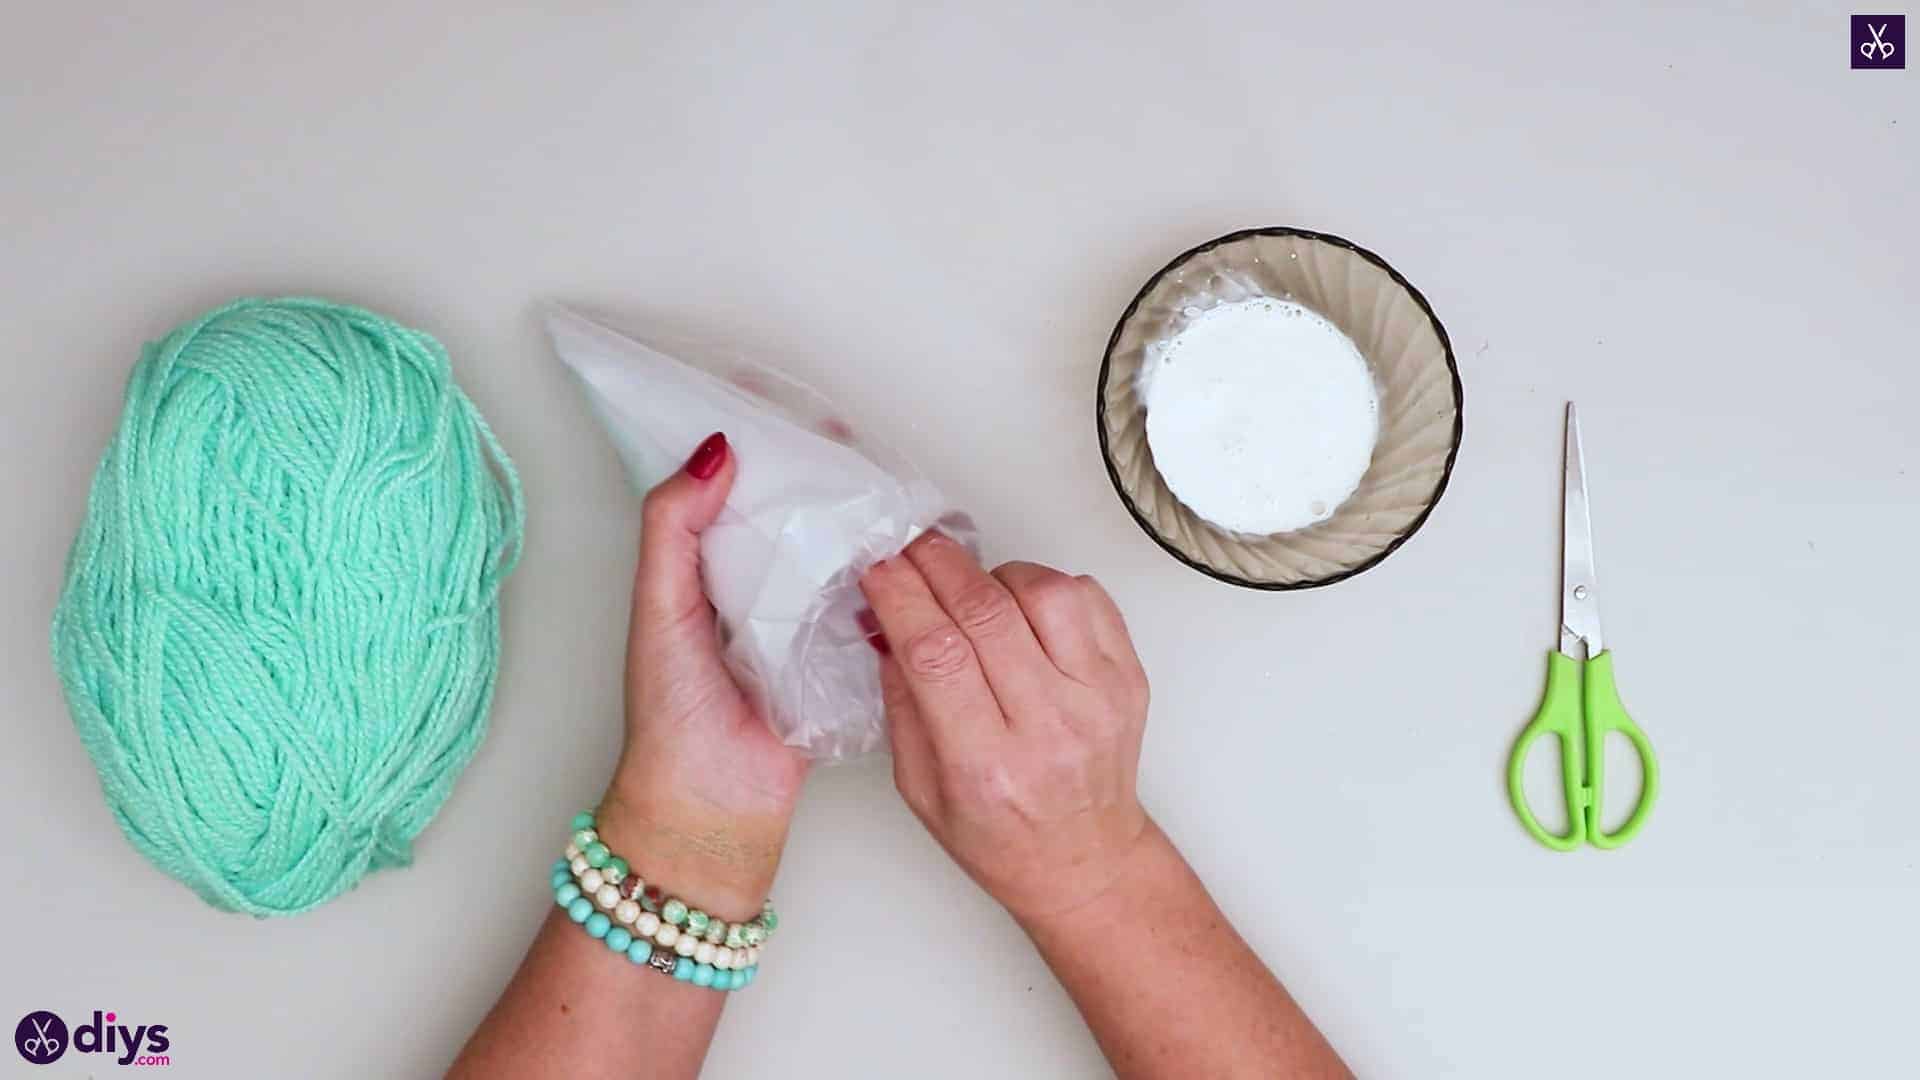
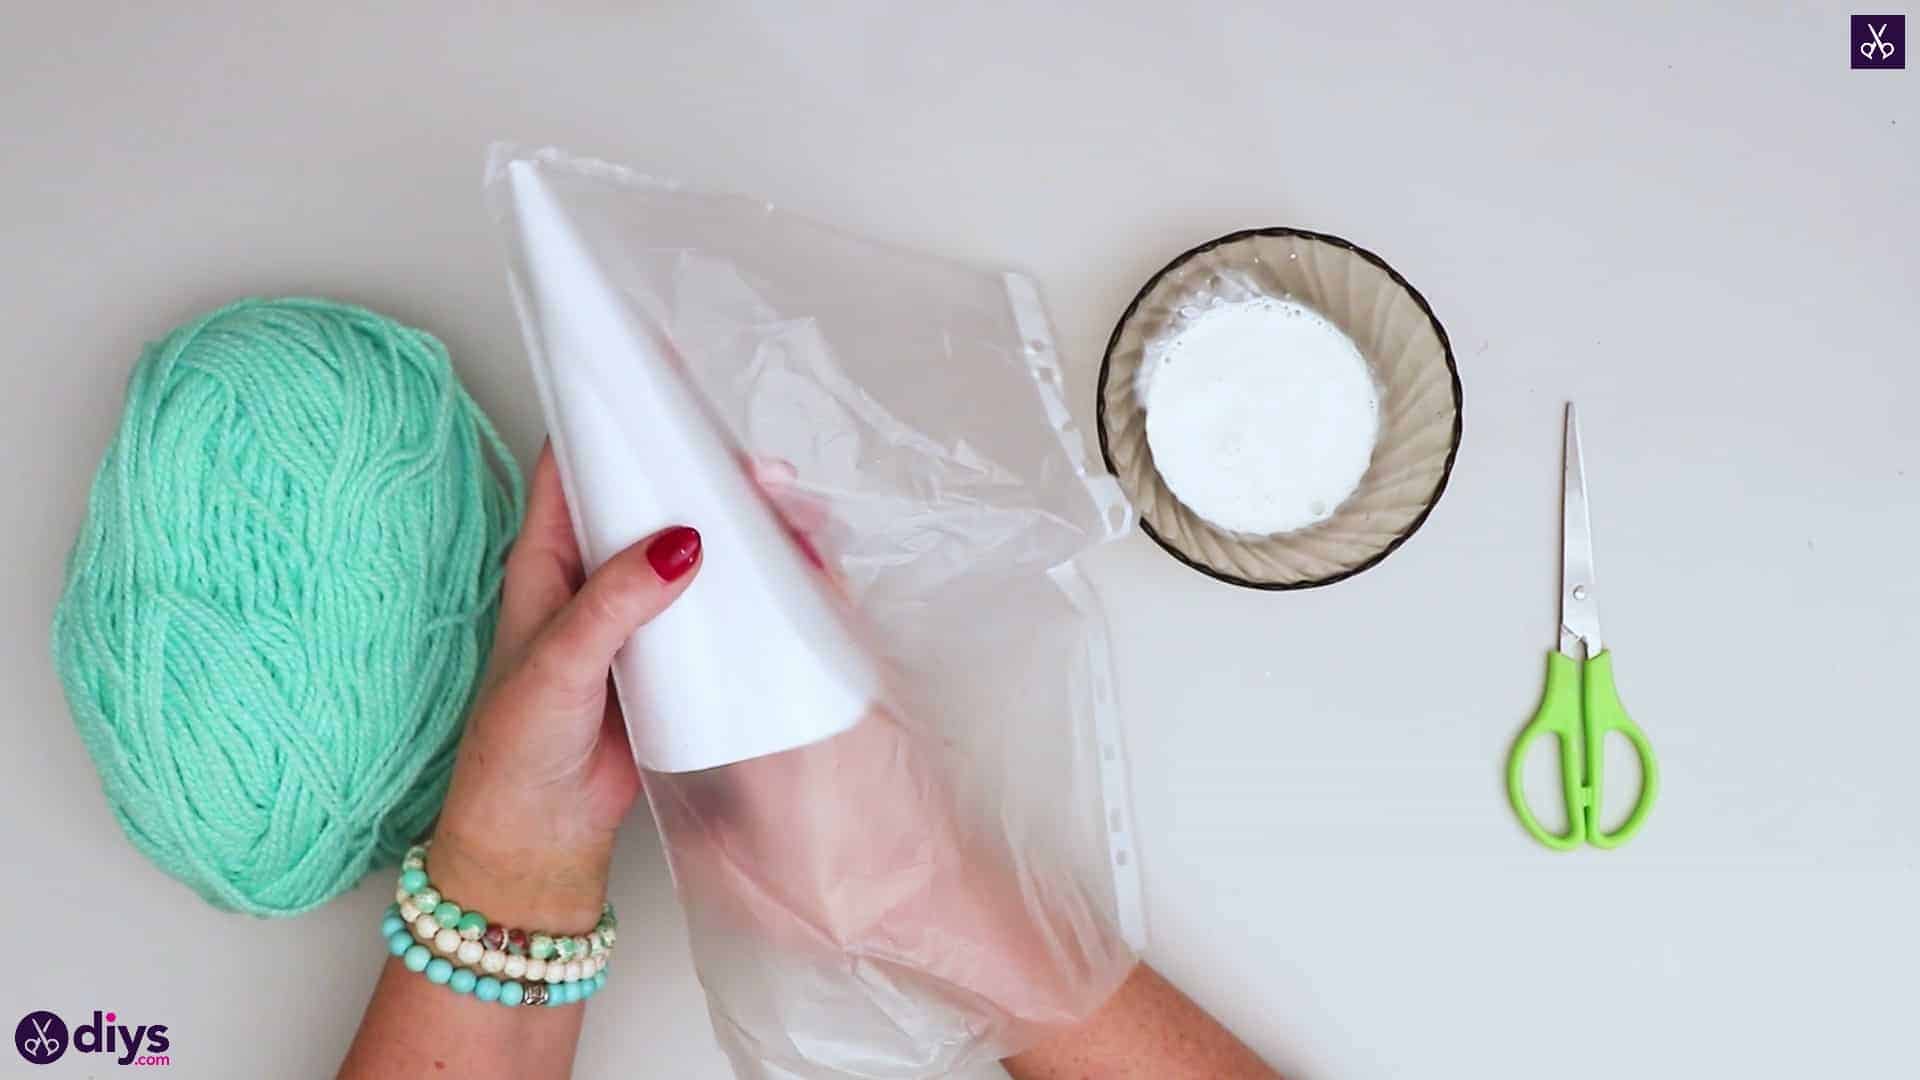
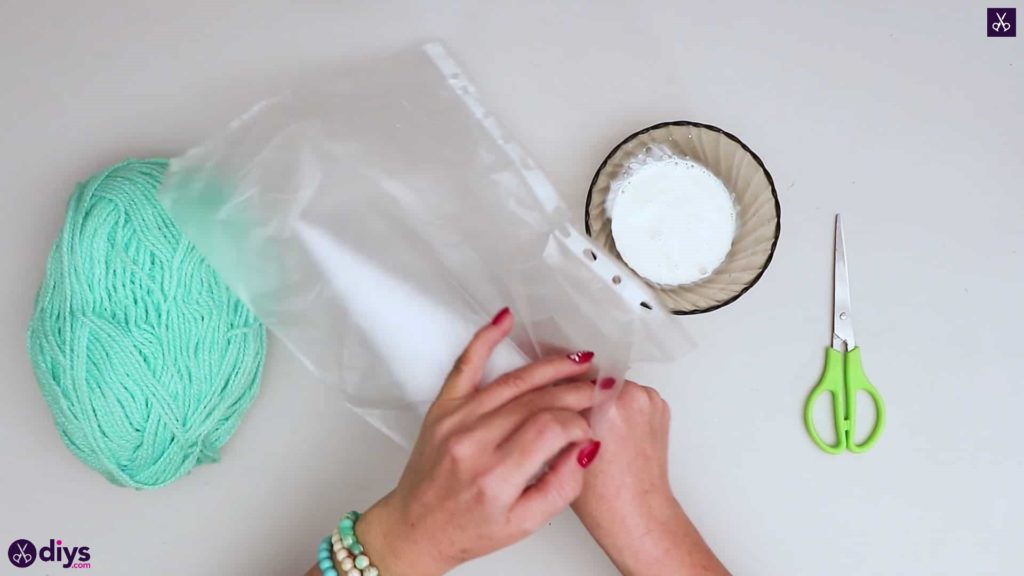
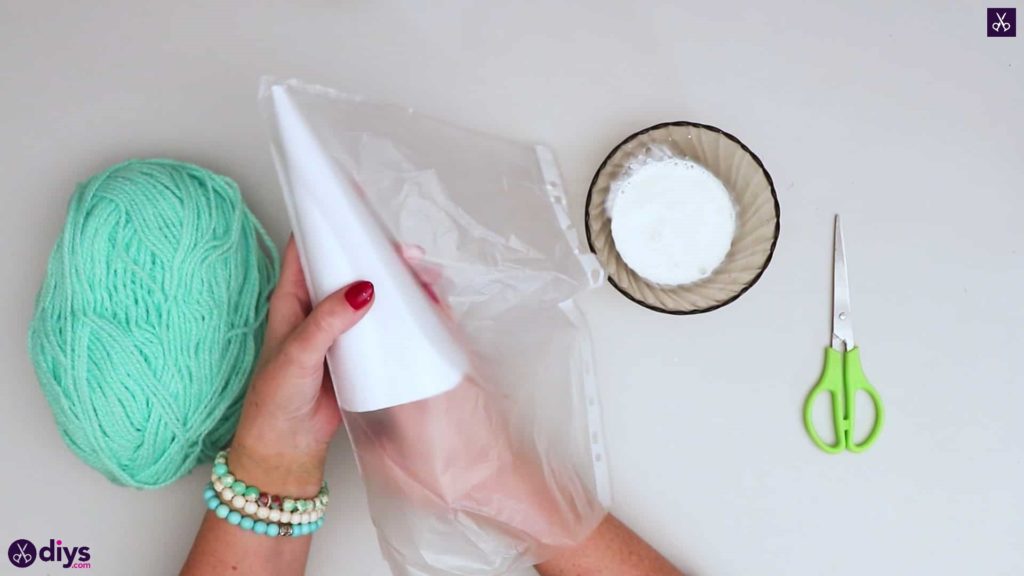
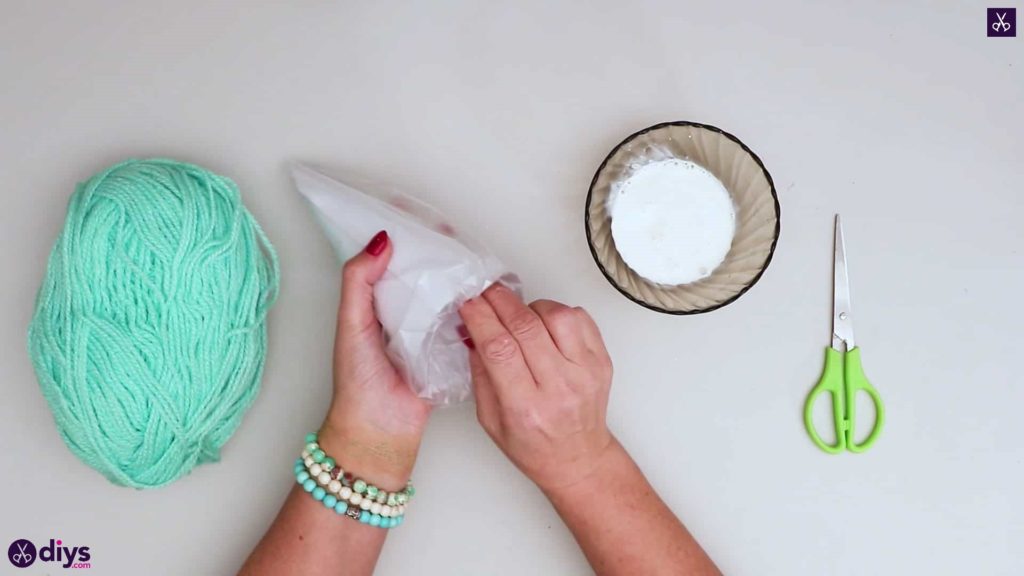
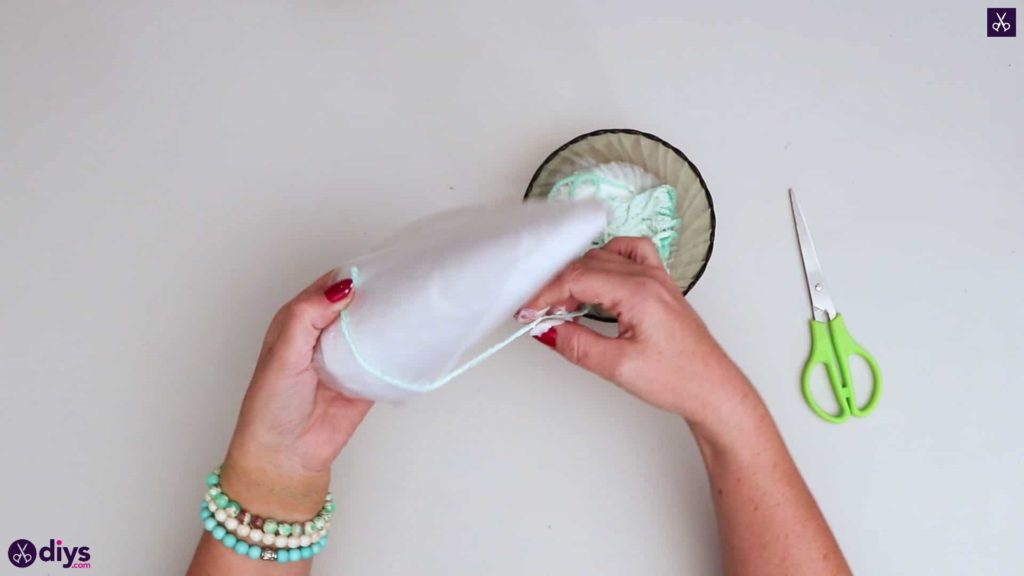
Step 4: wrap in plastic
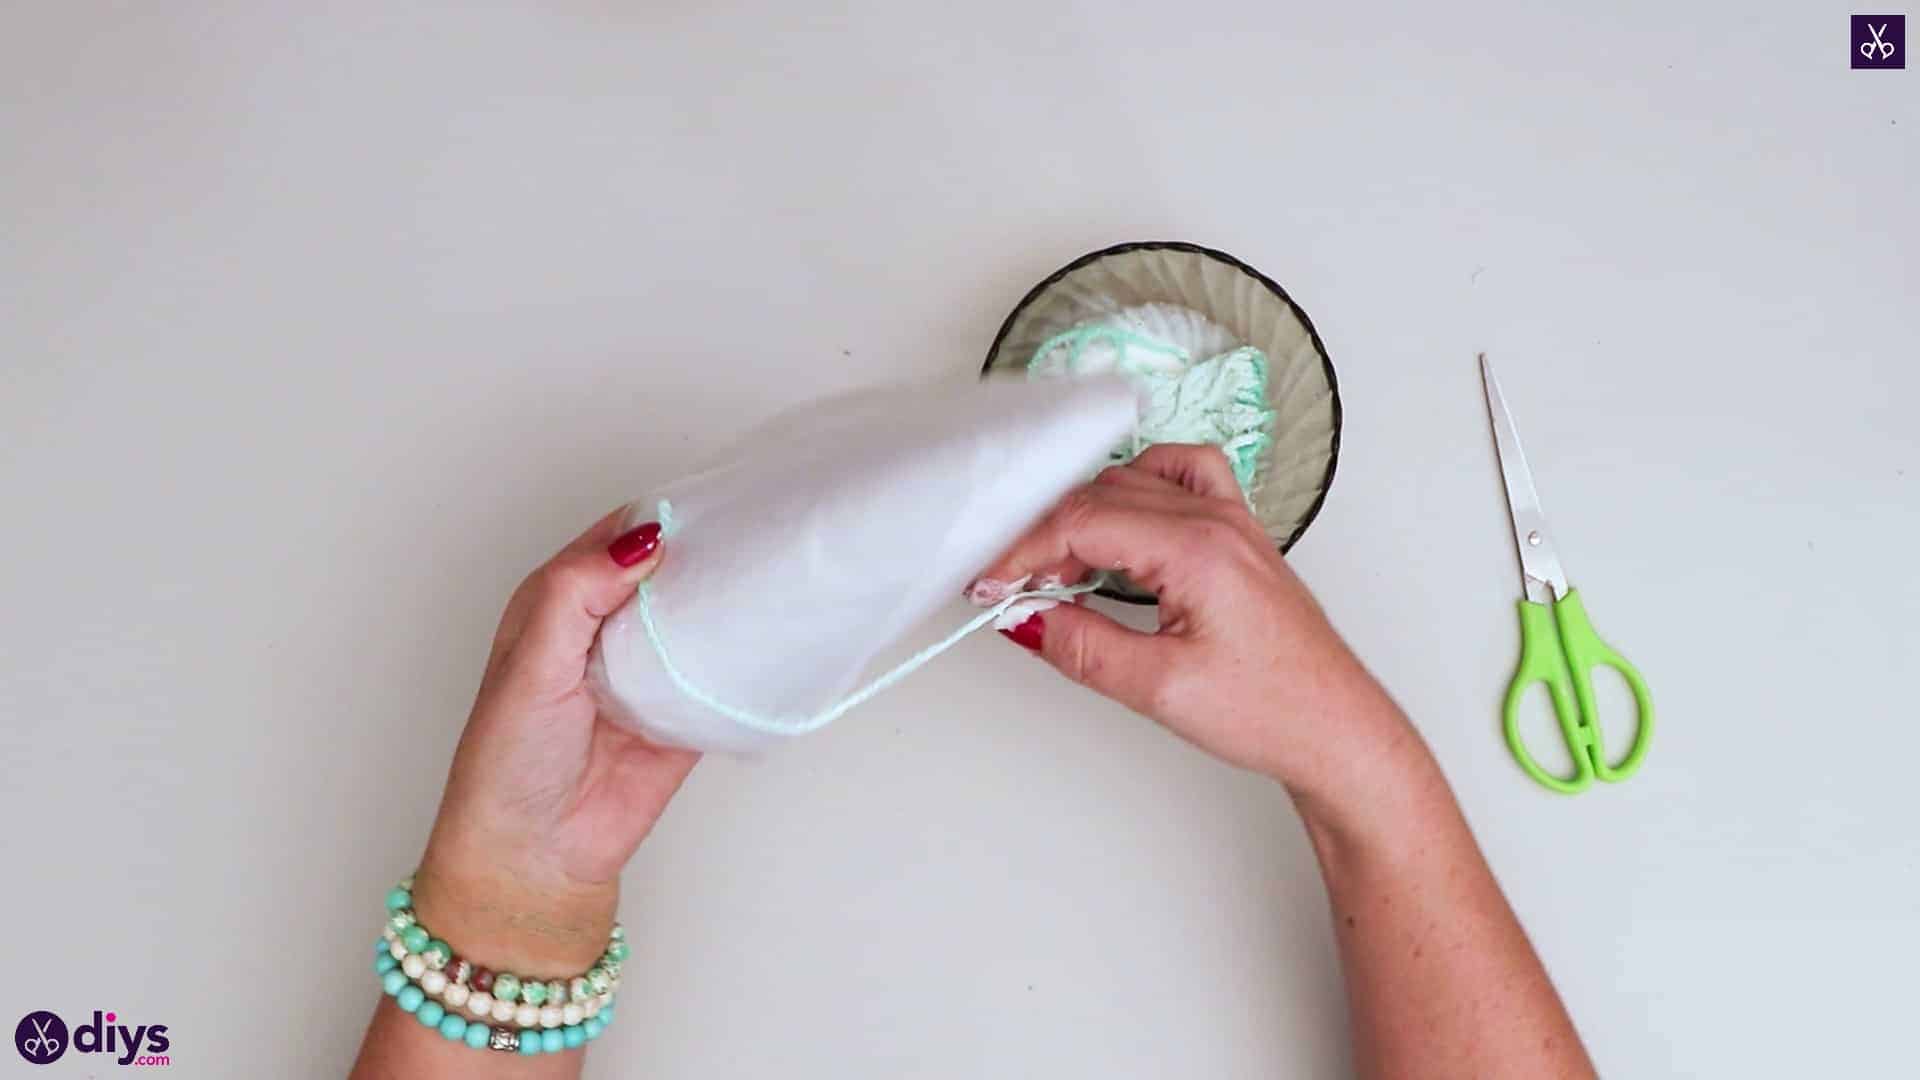
Slide your paper cone into the opening of your plastic file sleeve, down into the free bottom corner that doesnot have the binder rings attached to it. Nestle the tip right into the corner and smooth the sleeve over the cone shape, gathering and folding it as you need to. I kept my sleeve in place but still removable for later by tucking the excess near the opening up inside the circular bottom of my paper cone. I held the plastic in place and held my cone steady while I worked by putting the cone on my fist.
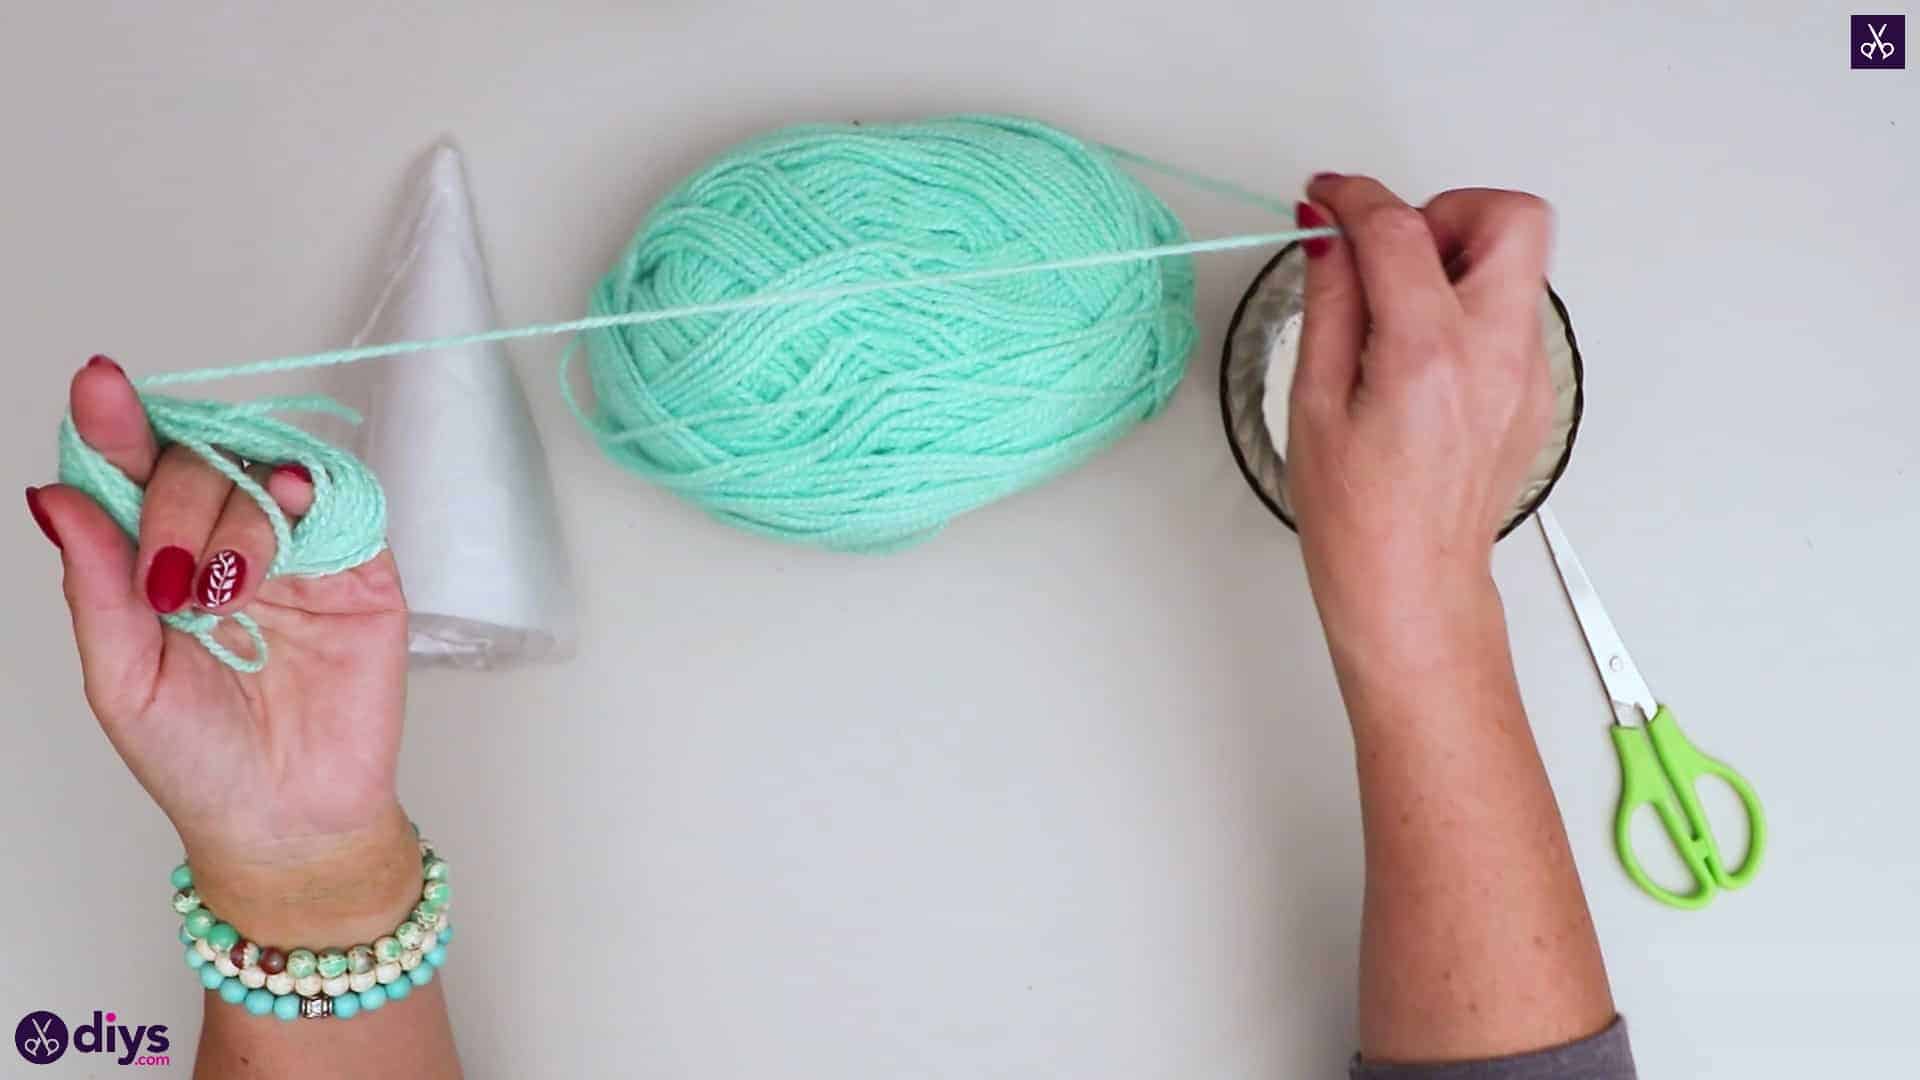
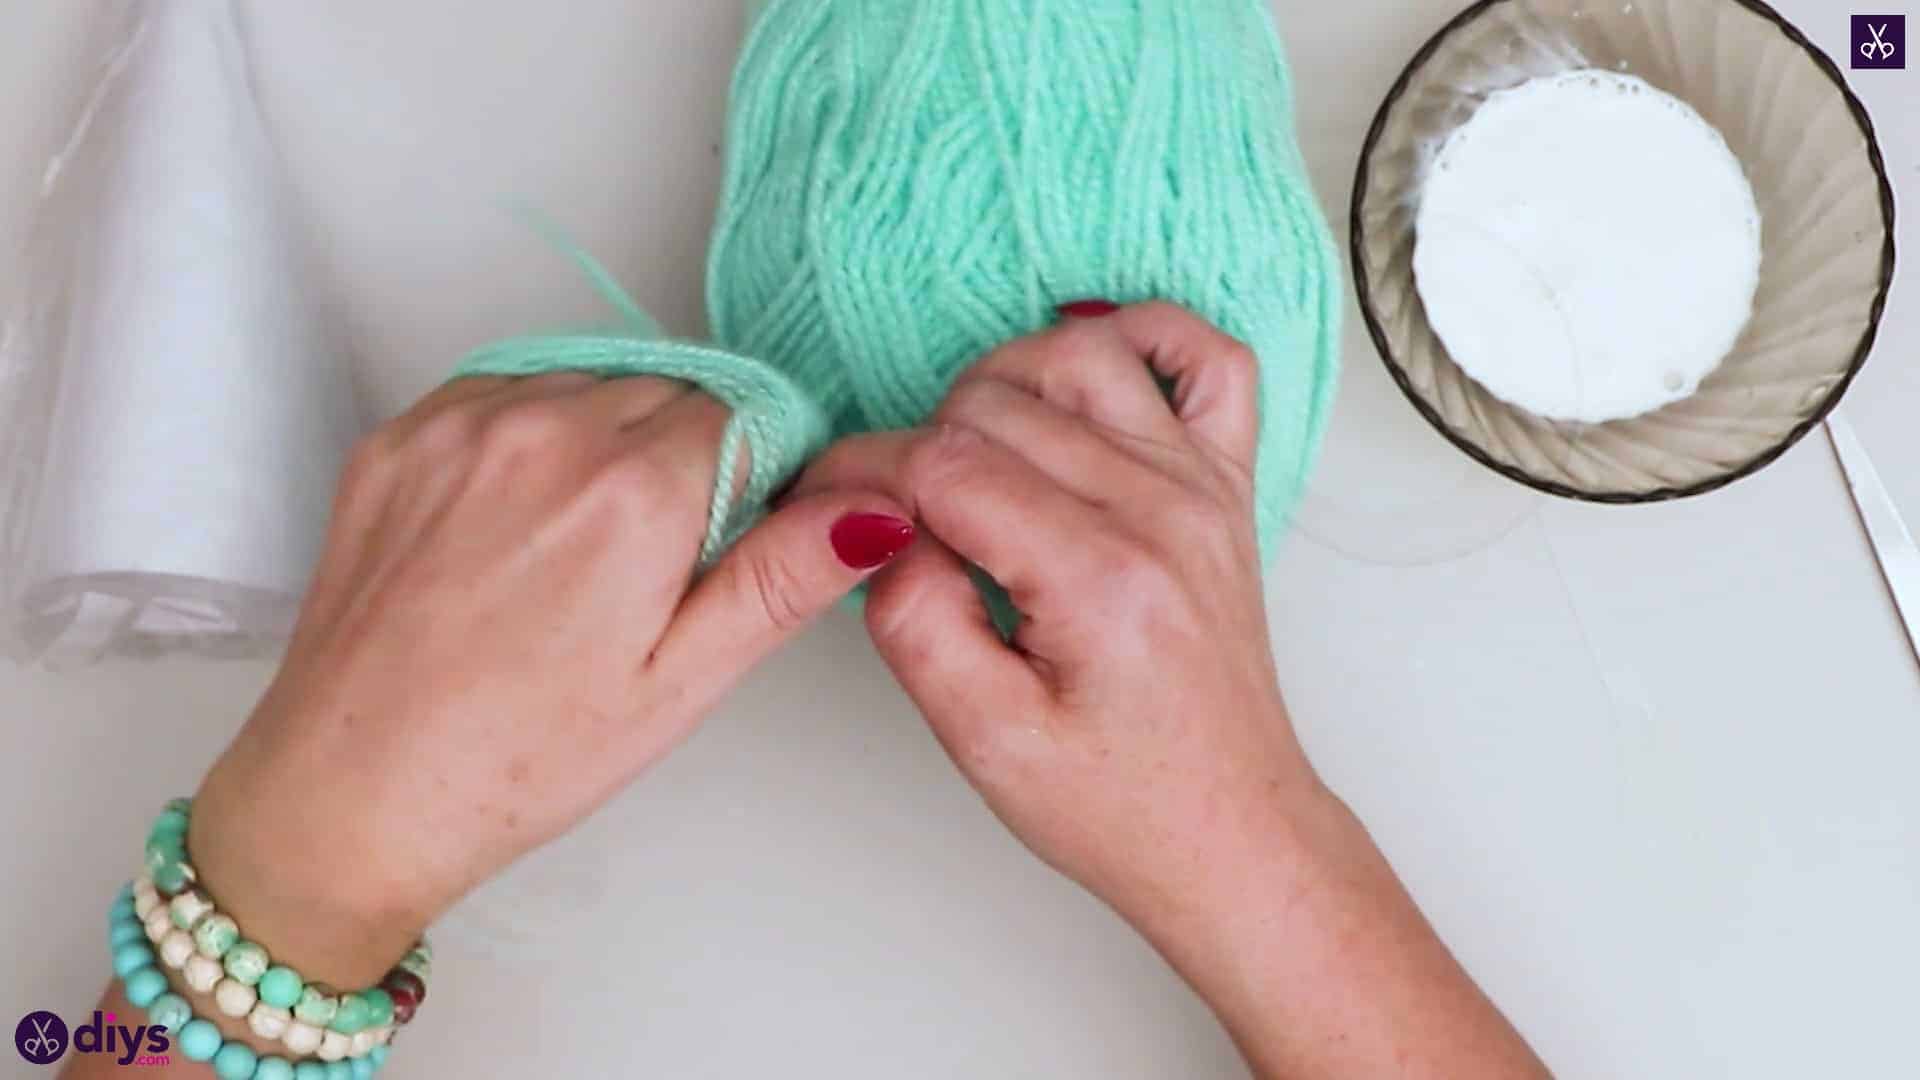
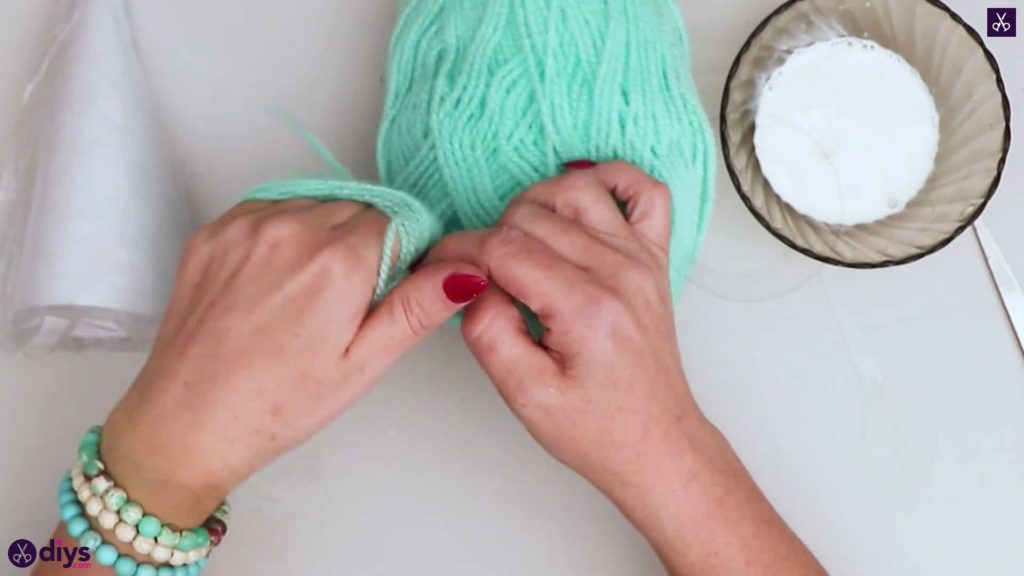
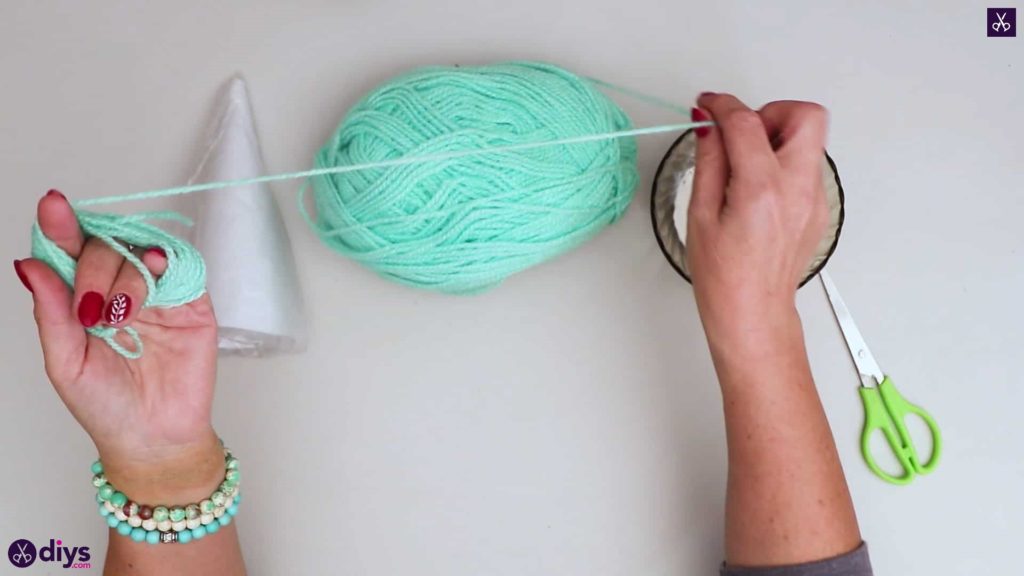
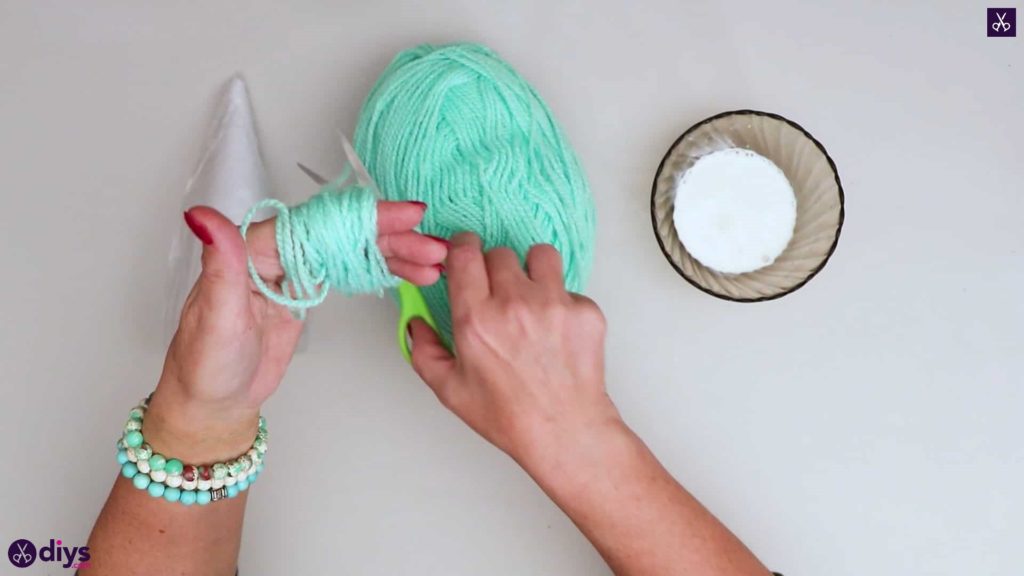
Step 5: prepare the yarn
Hold the end of your green yarn between your thumb and the inside of your other four fingers held together, then start wrapping the yarn around your fingers. Wrap it around and around until you have a handful nearly half an inch thick in layered yarn. Cut your new bundle free from the ball and slide it off the ends of your fingers.
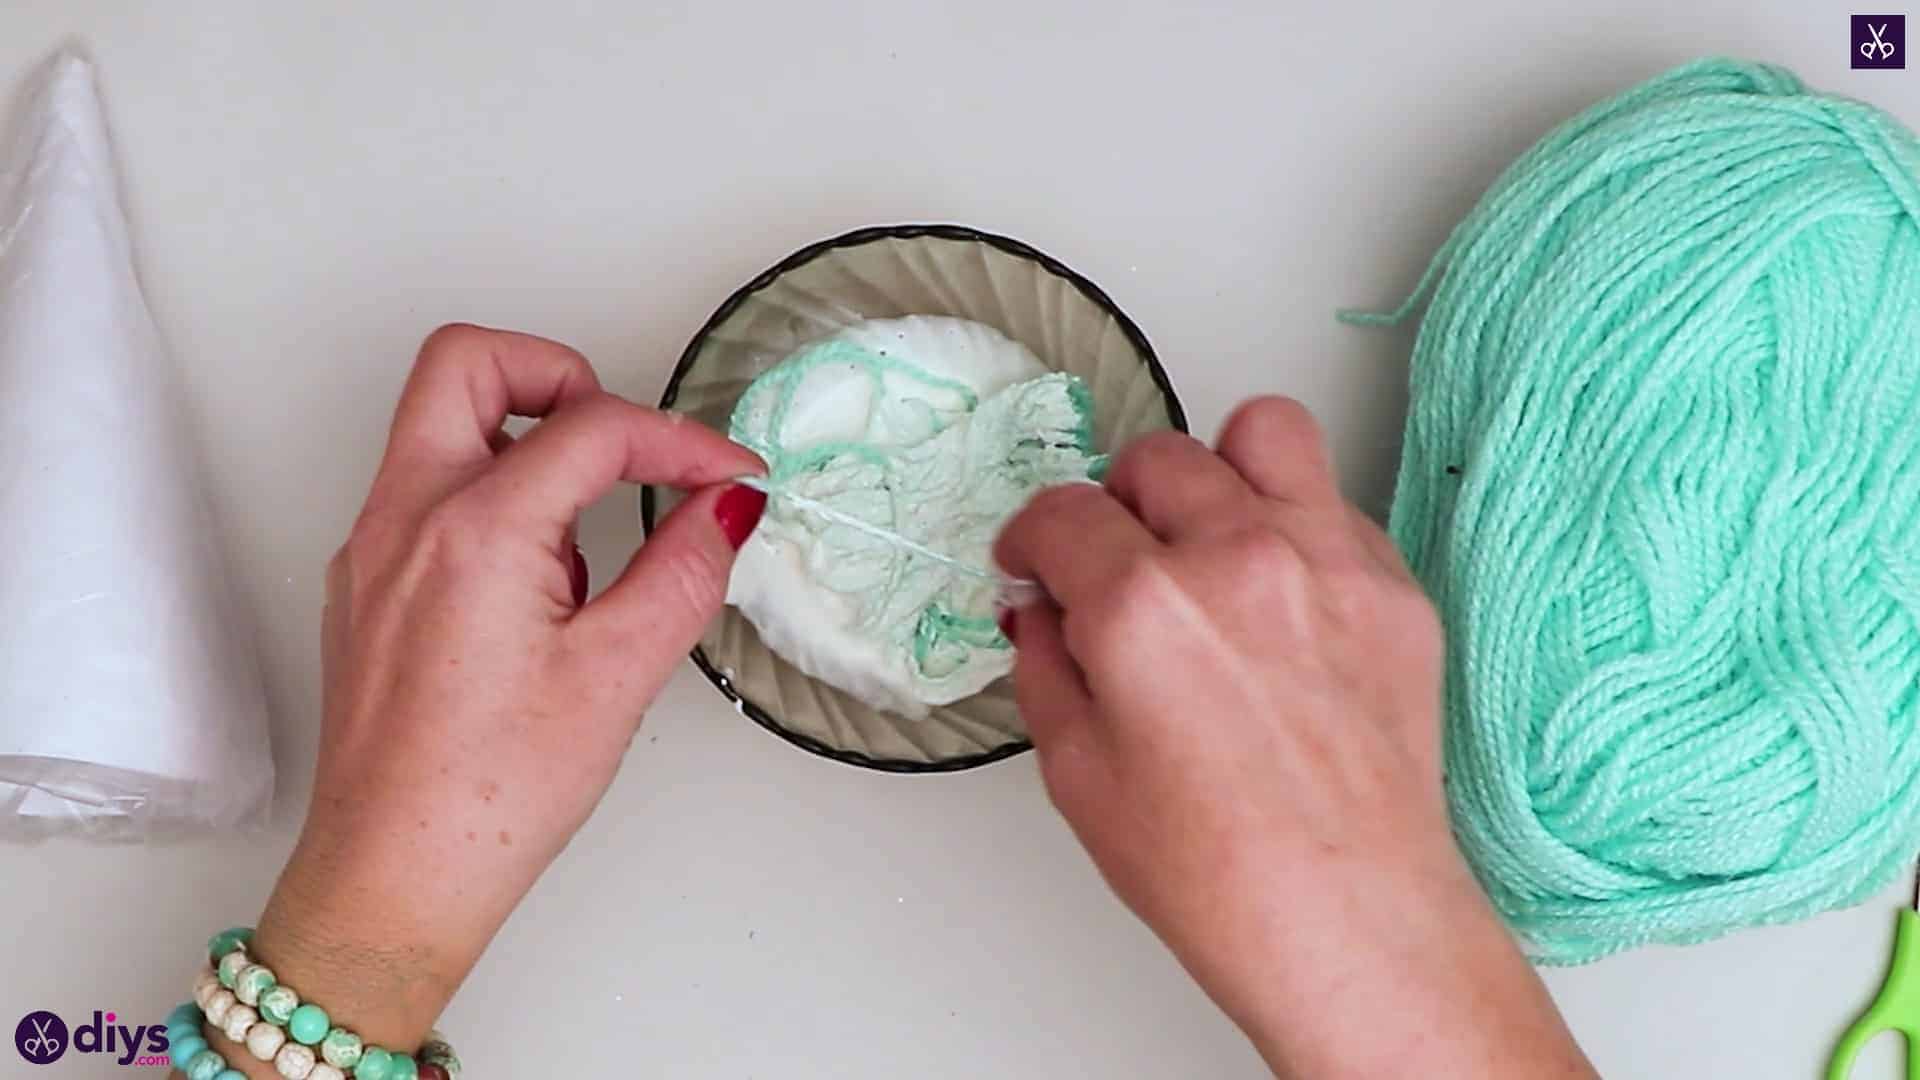
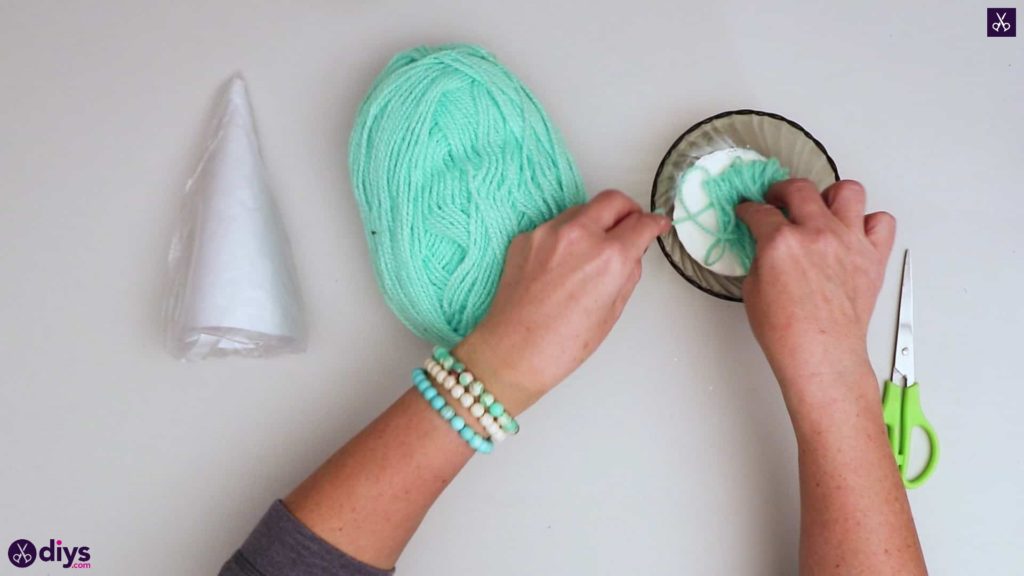
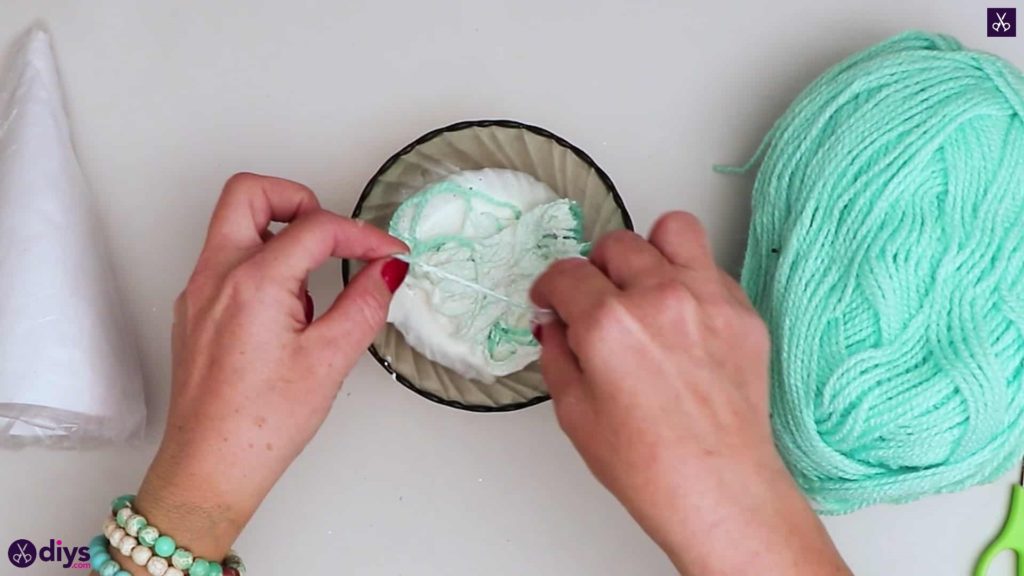
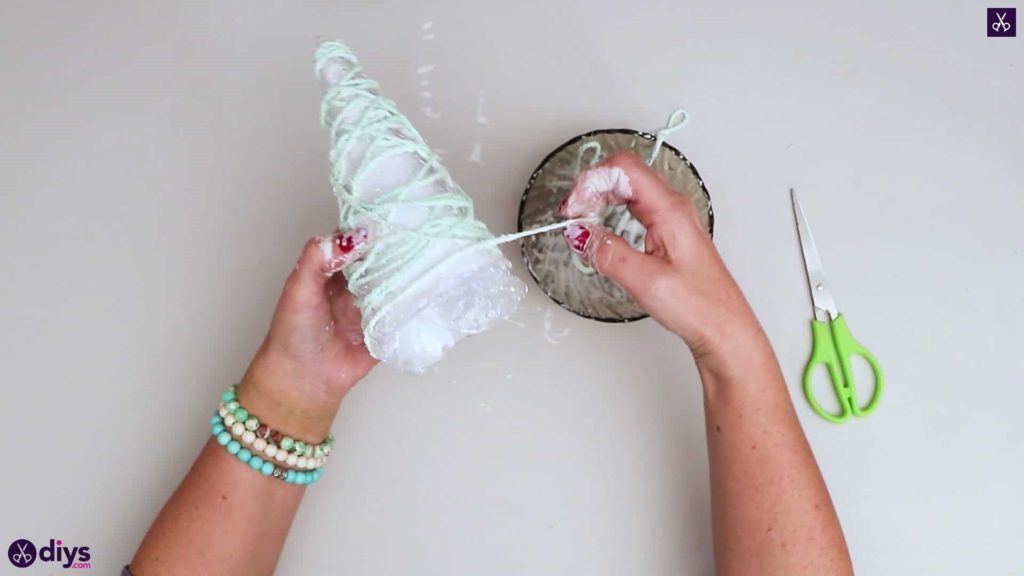
Step 6: soak in glue
Put your yarn bundle into your bowl of glue and work it through with your fingers until each bit of yarn along the gull length is covered well and decently saturated. You can leave the yarn sitting in the glue to pick up more while you work. Try not to lose track of the end you just cut free in this process, just to make things a little easier.
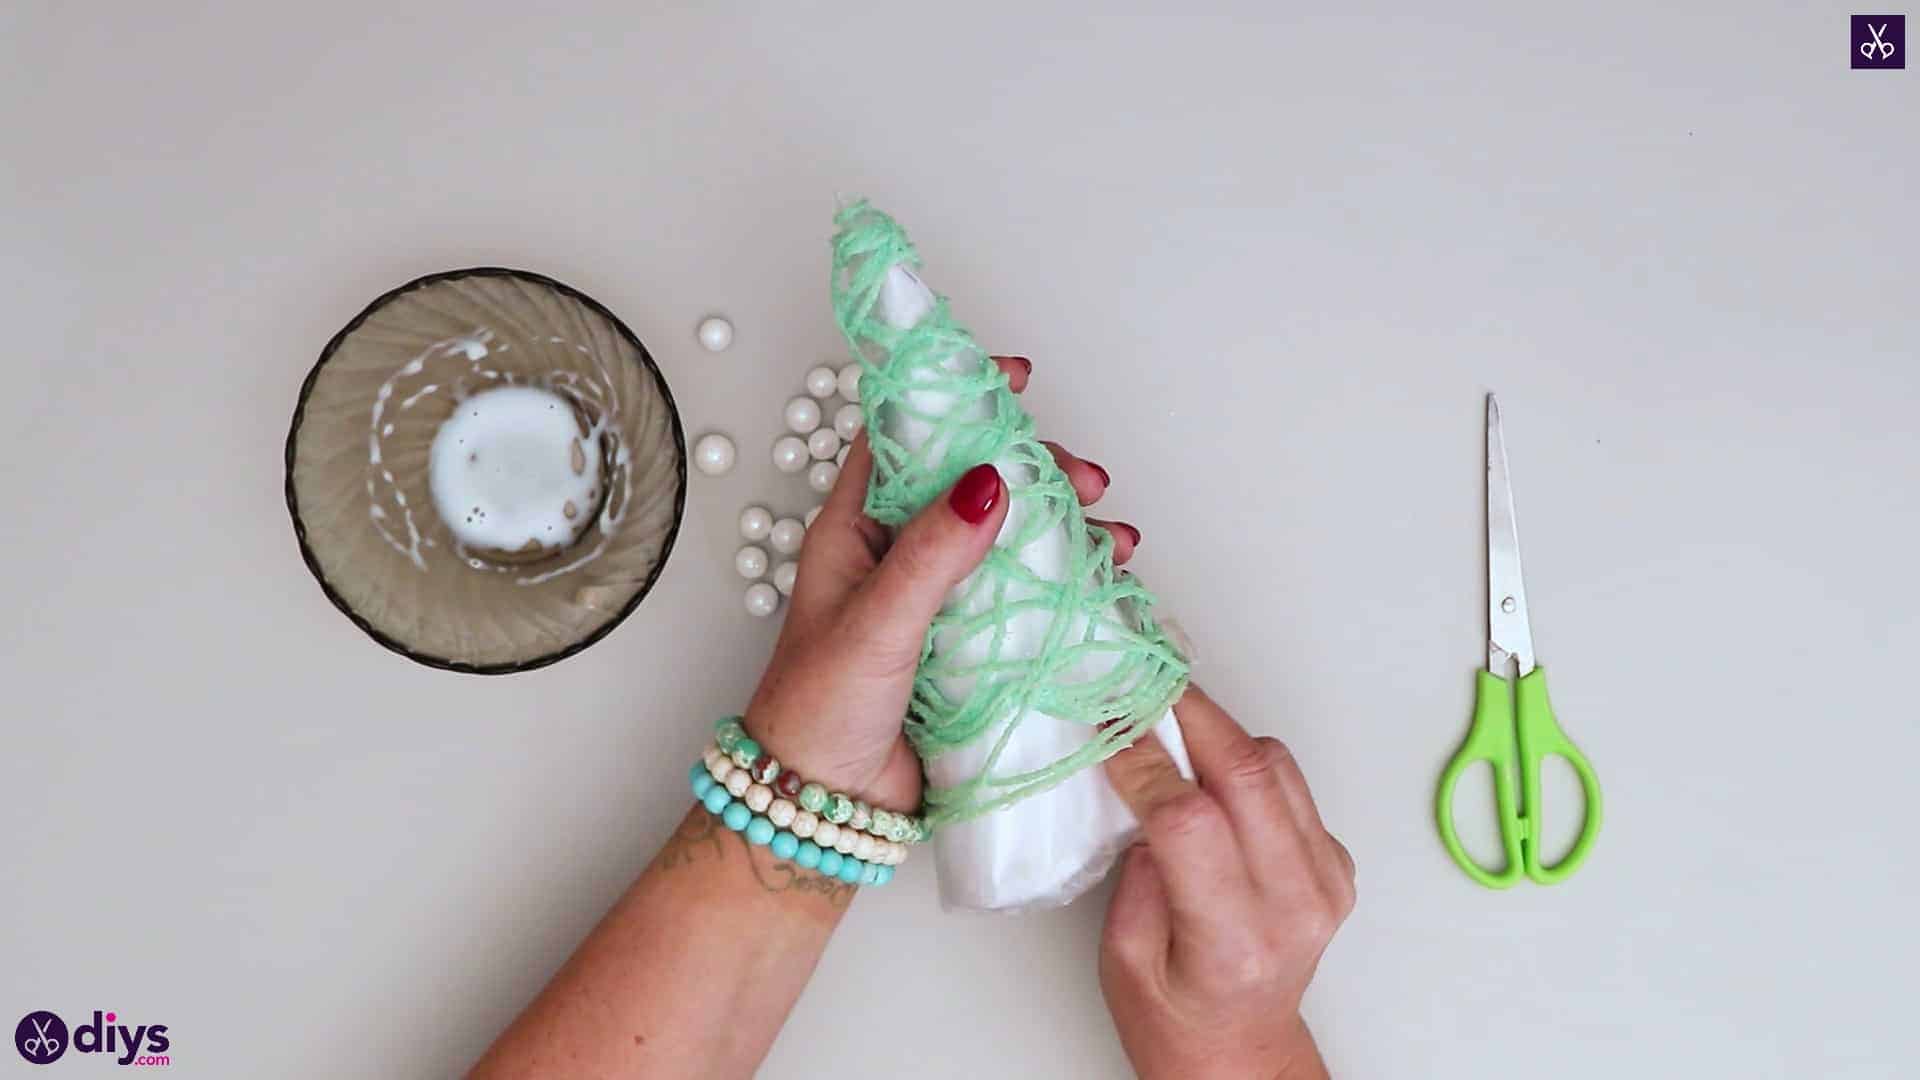
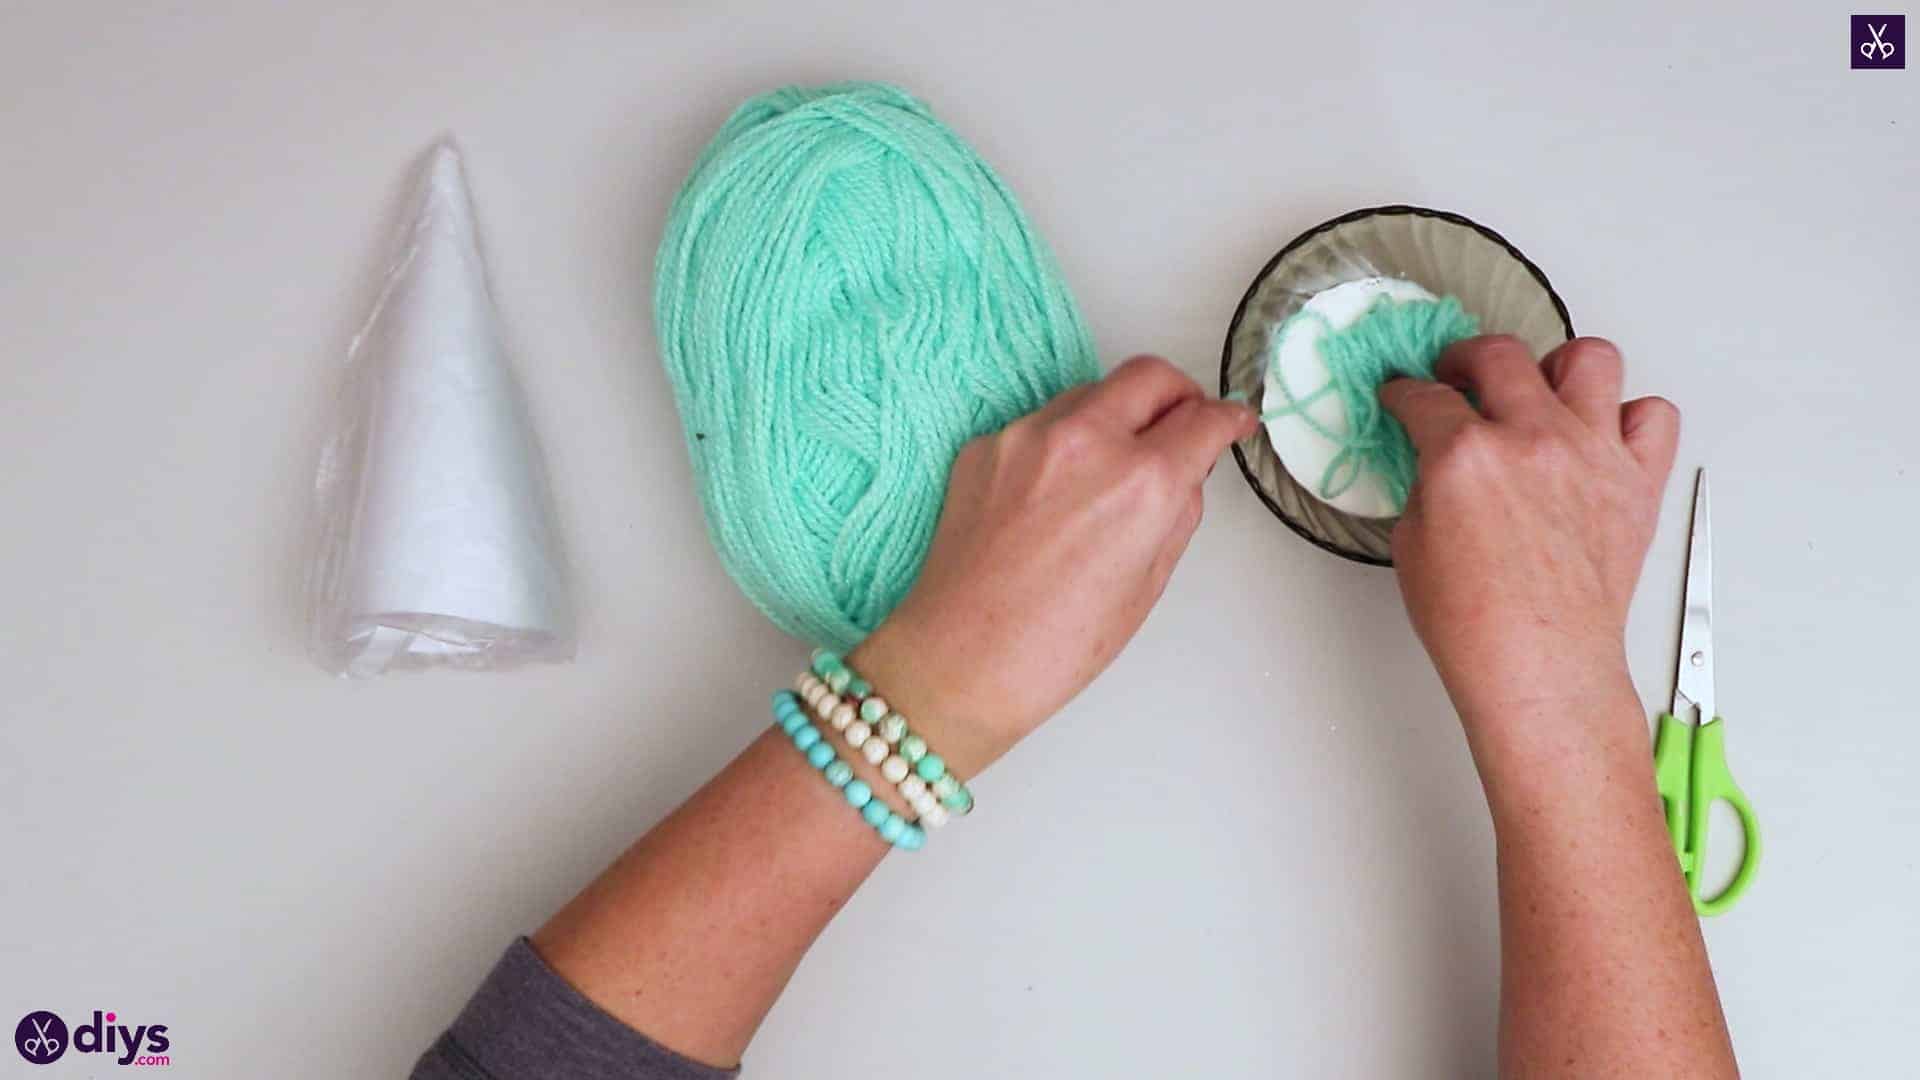
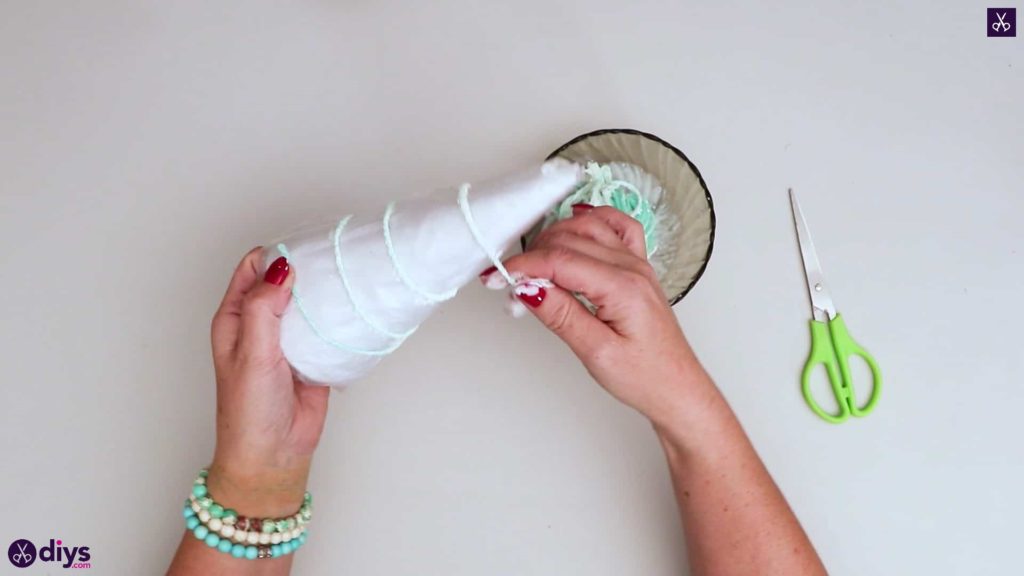
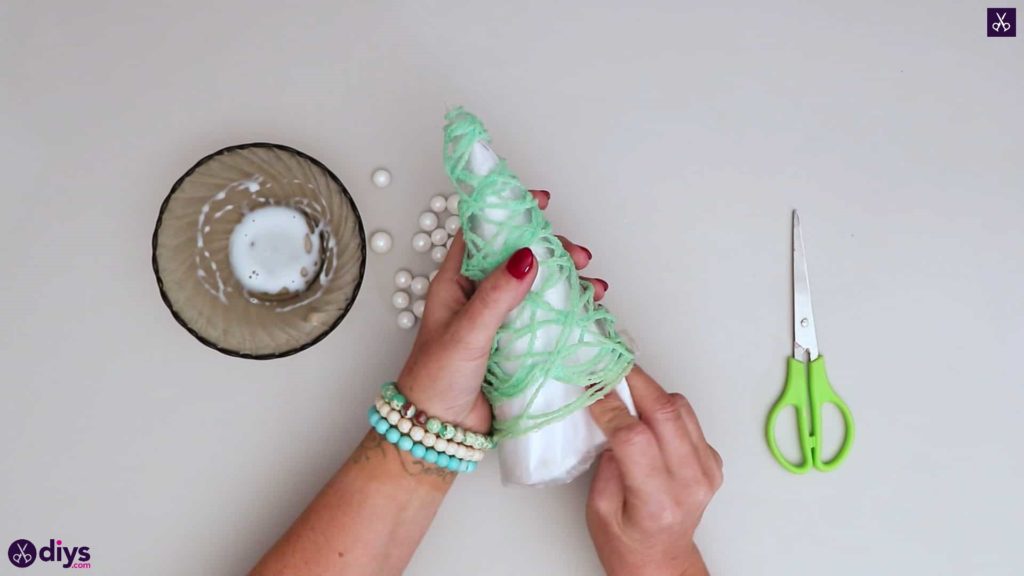
Step 7: start wrapping
Pull the end of your yarn from the glue and position it horizontally along the bottom of your covered cone, holding it in place with your thumb. Wrap it upwards around the cone in a wide spiral. When you get to the top, angle your yarn downwards and wrap it in the opposite direction, spiralling it back to the bottom so it criss-crosses over your previous spiral. Wrap the yarn back up and then back down however many times you please to get an artistic sort of scattered effect or more coverage, whichever you please. Don’t feel like you have to keep you wrapping even; feel free to get creative! Once you’re done, set the whole thing aside to dry.
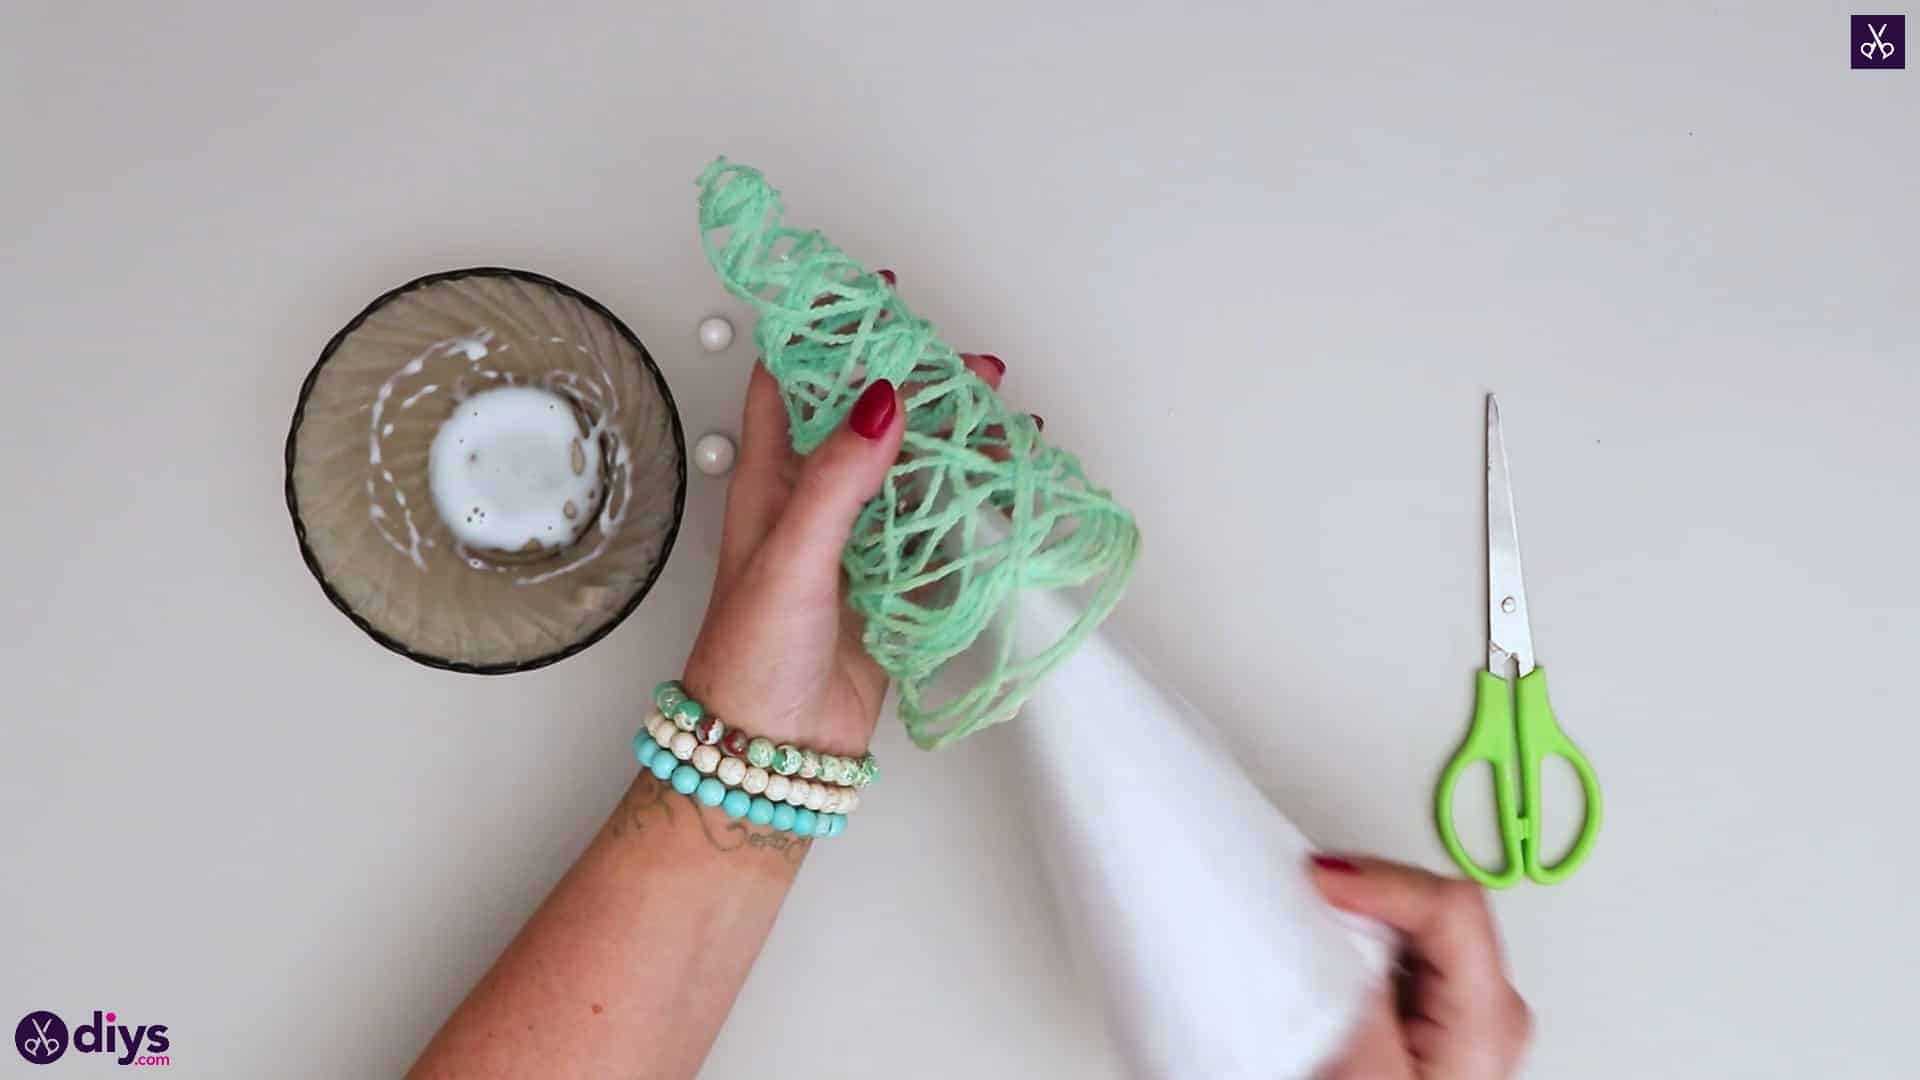
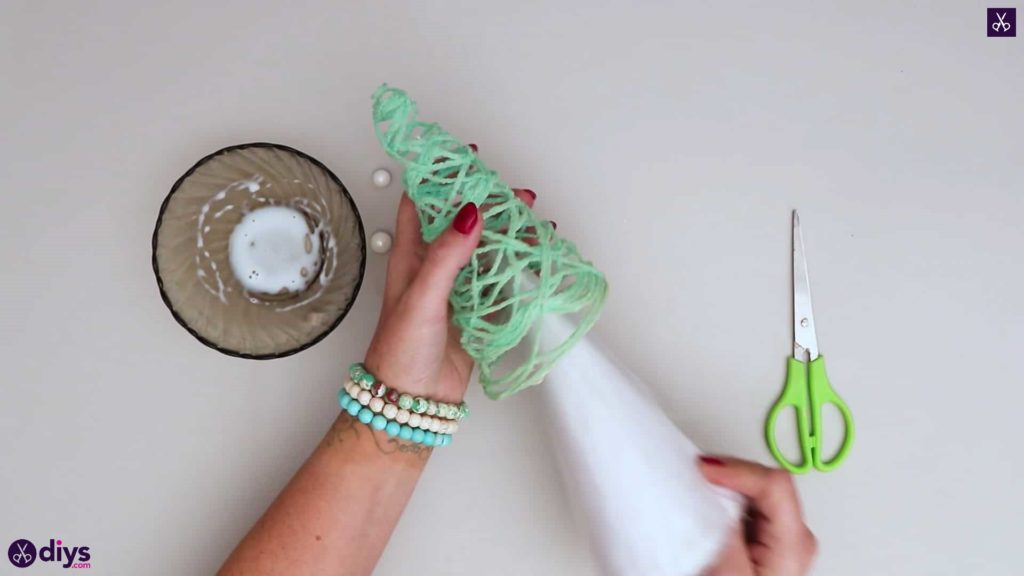
Step 8: let dry and remove
Once your yarn has dried thoroughly, carefully remove it from the cone. The plastic sleeve should separate quite easily and harmlessly from the underside of the dried yarn shape.
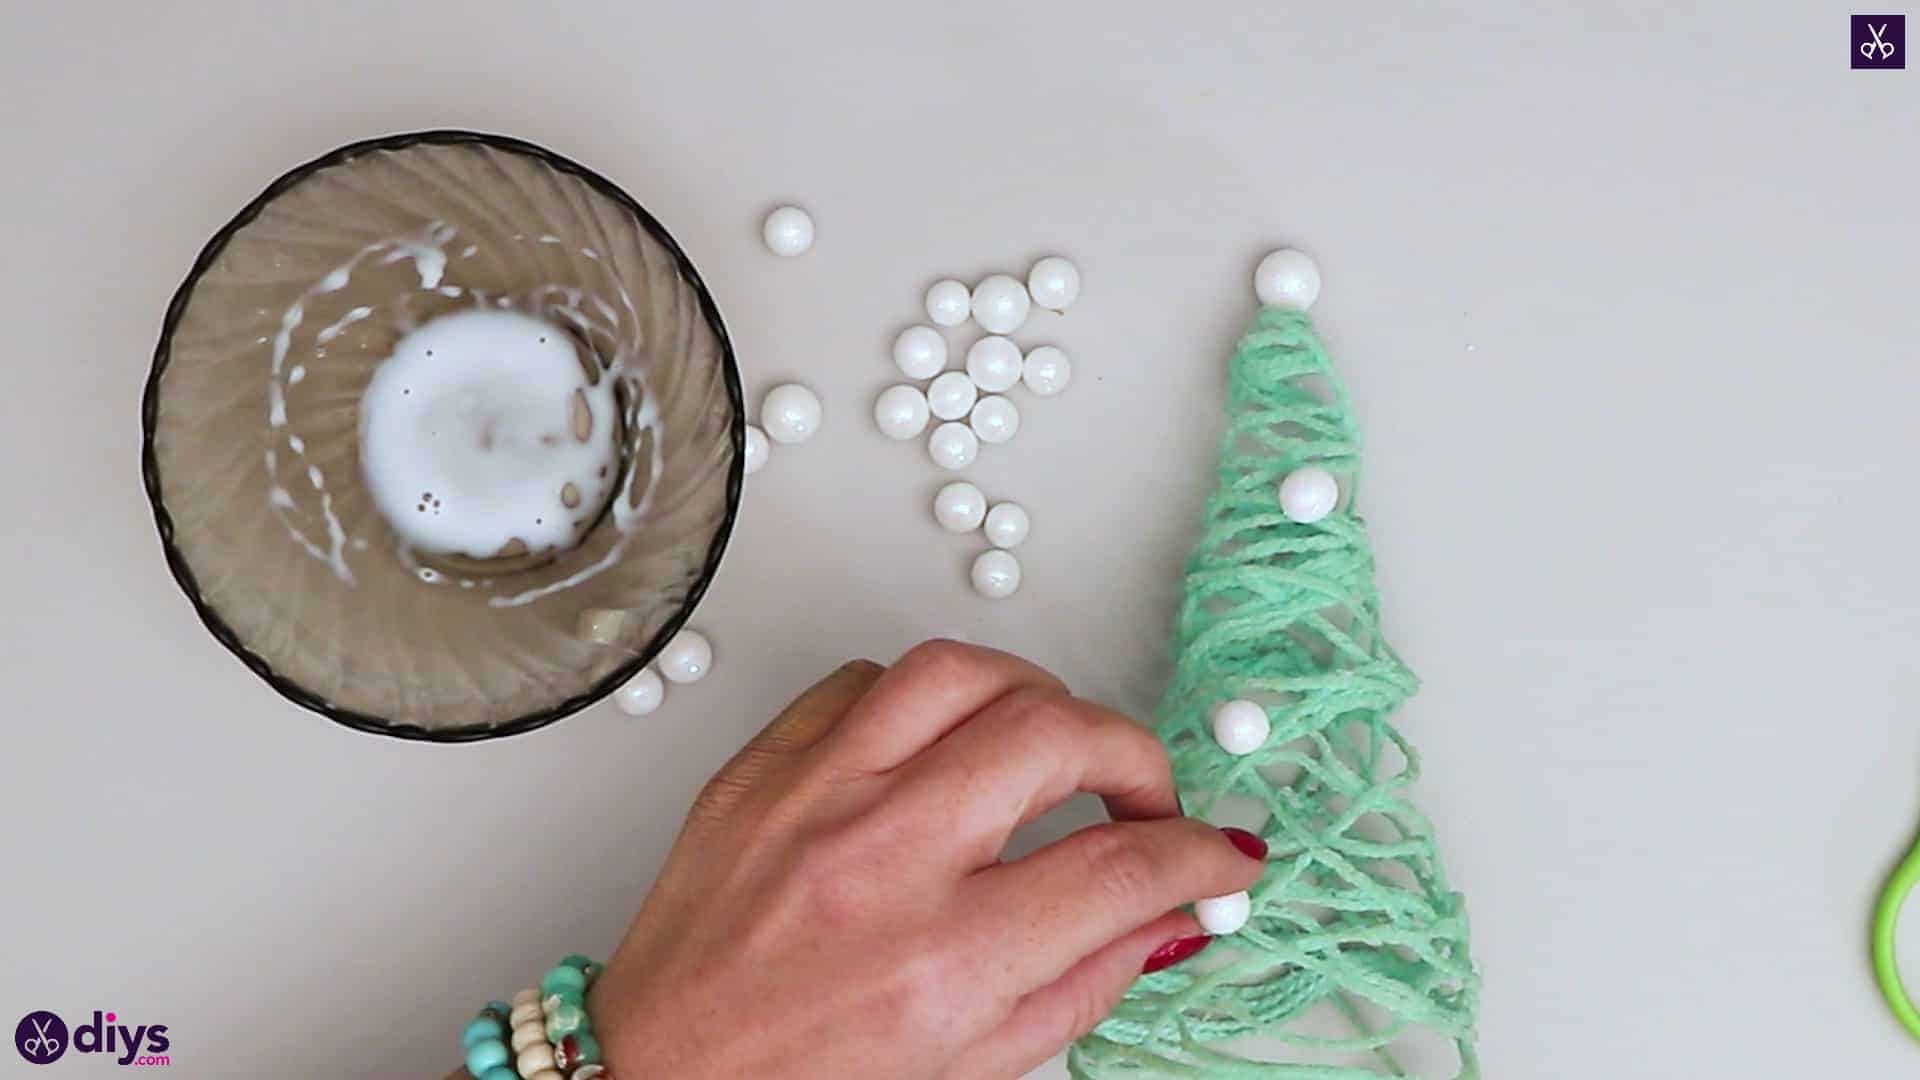
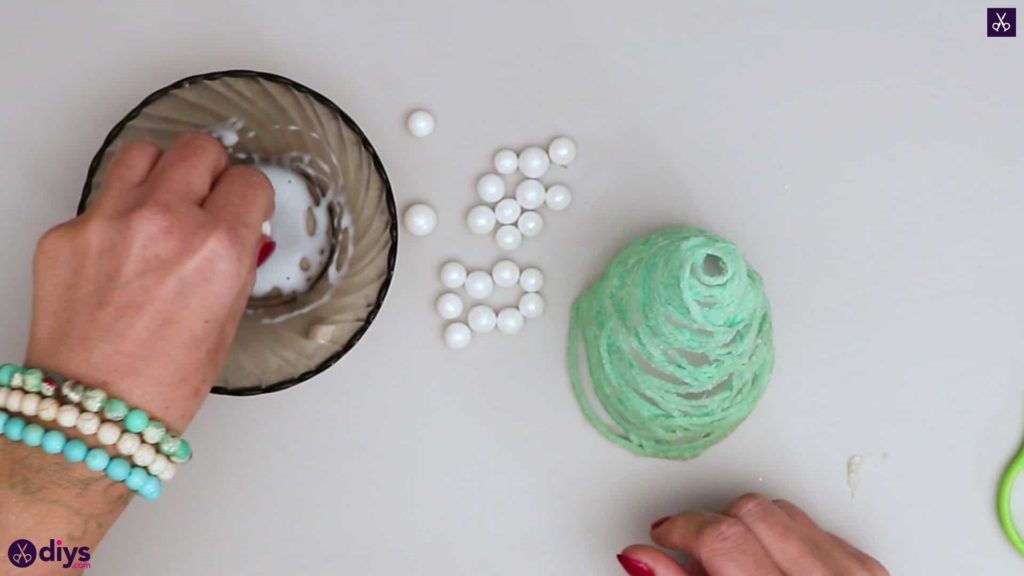
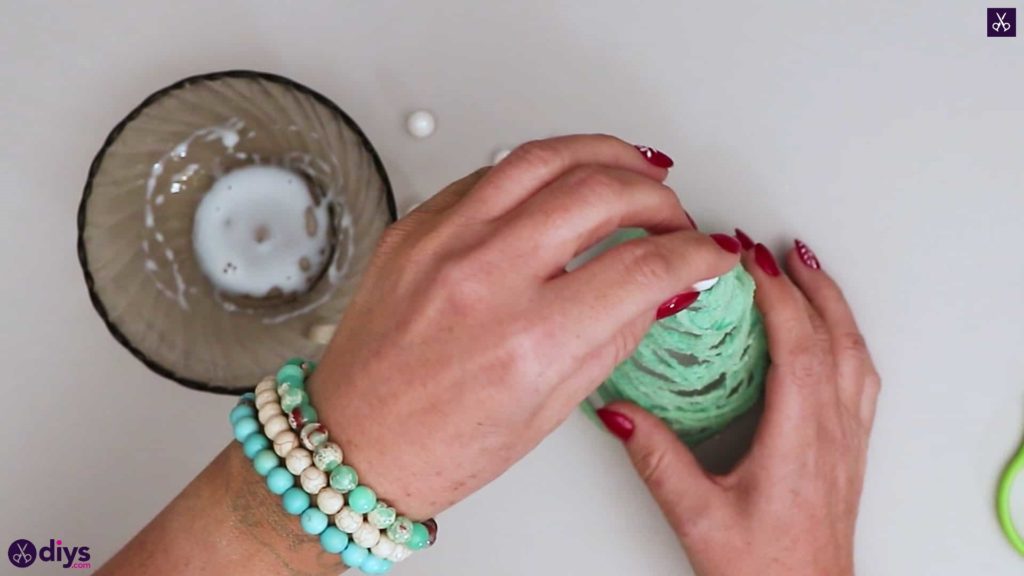
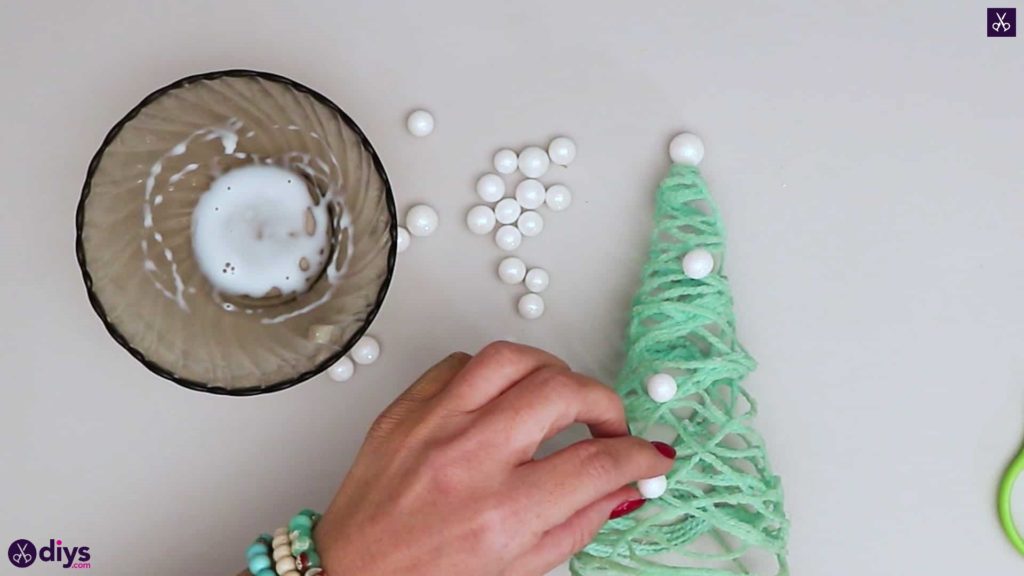
Step 9: decorate
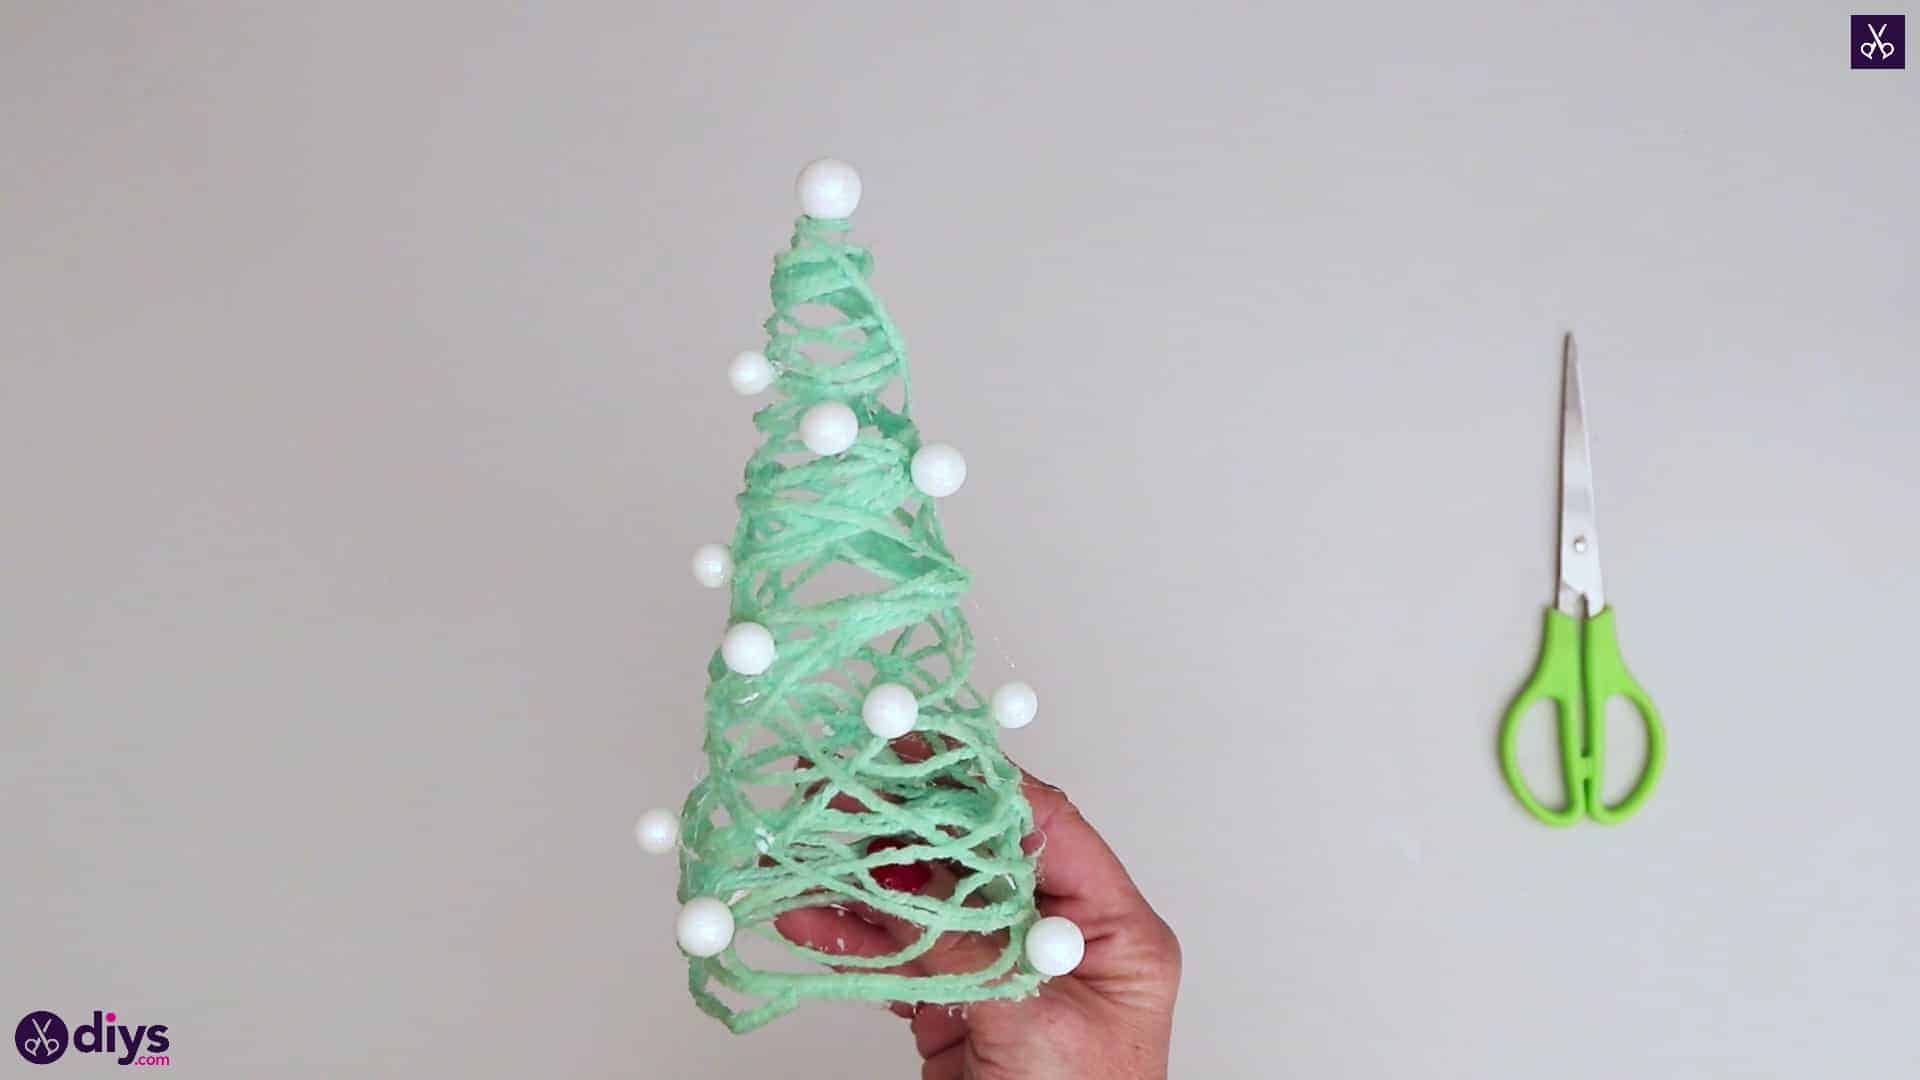
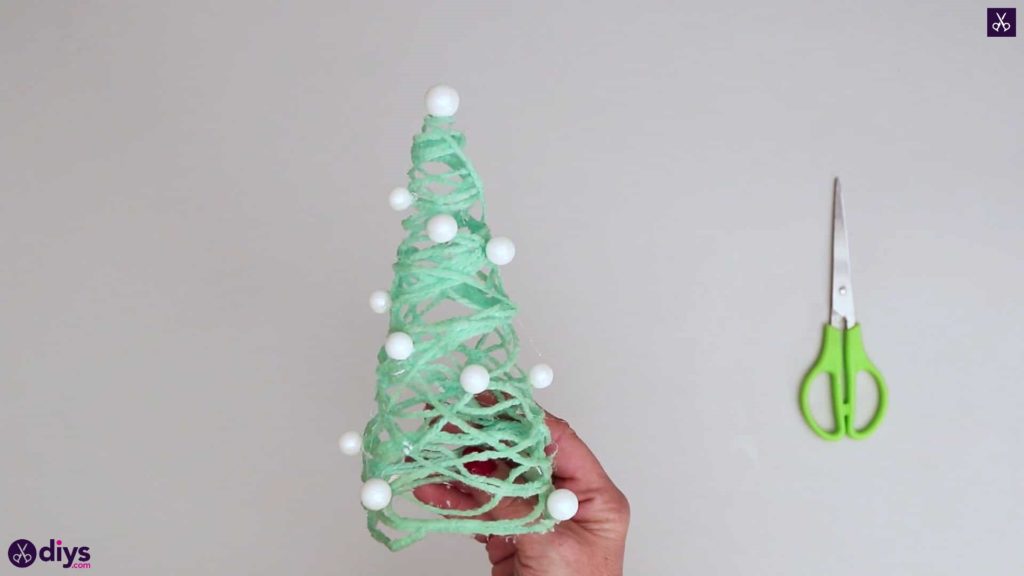
Stand your new yarn tree upright on its bottom and decorate it with pearl beads! Put a little more textile glue into your bowl and dip the beads into the glue, holding them for a second against the dried yarn where you want them to sit. Scatter the tree in beads like ornaments and dot one right on top where you’d normally find a star or angel on a classic Christmas tree.
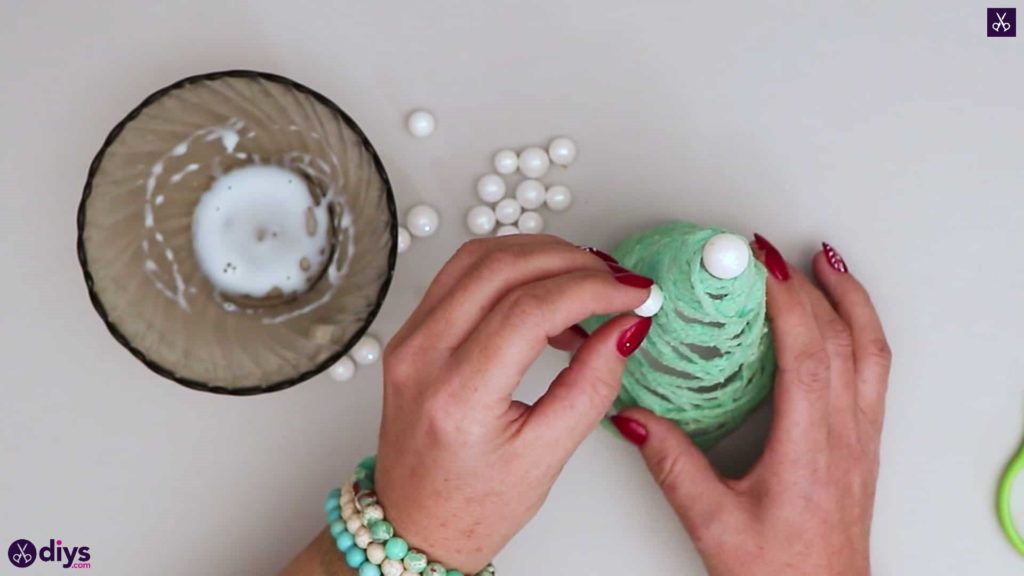
You’re all finished once your tree is decorated to your satisfaction! Feel free to try covering it in other baubles and embellishments as well. Just in case you’d like to try this project out for yourself, here‘s a fantastic tutorial video to help you!