DIY Small Concrete Planter – Video Tutorial
Updated on November 19, 2025


I love how many things you can make with concrete. Like this DIY small concrete planter! We documented just how we made this one right here so follow along and make it yourself!


Check out these step by step instructions complete with photos! If you’d rather follow along with a video tutorial instead of written words, scroll to the bottom of this post to find just what you’re looking for.
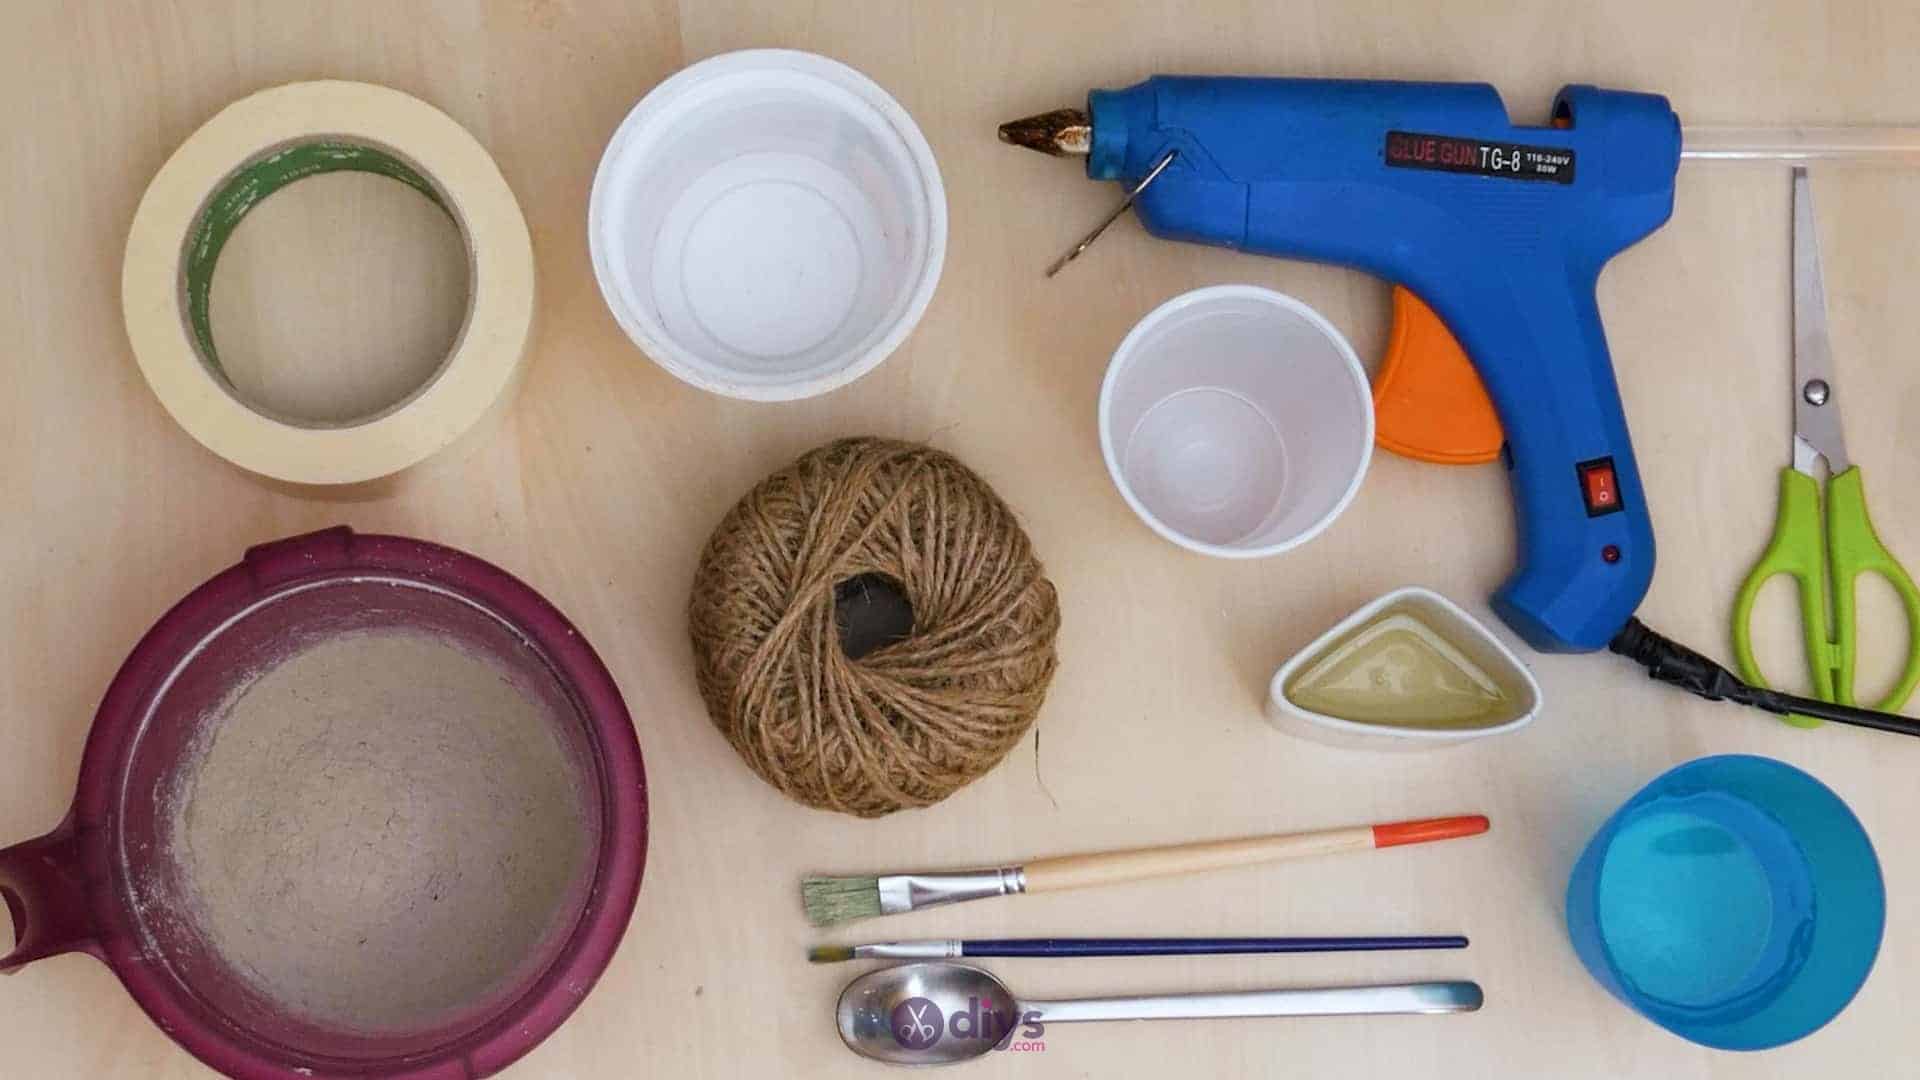
For this project, you’ll need:
- DIY fine particle cement
- Water
- A spoon
- Scissors
- Tape
- Oil
- A paintbrush
- Hot glue
- Jute twine
- An empty yogurt cup
- A plastic water cup
Step 1: Gather your materials!
When using concrete, it’s super important to make sure you have everything in front of you before you begin.

Step 2: Mix the Concrete
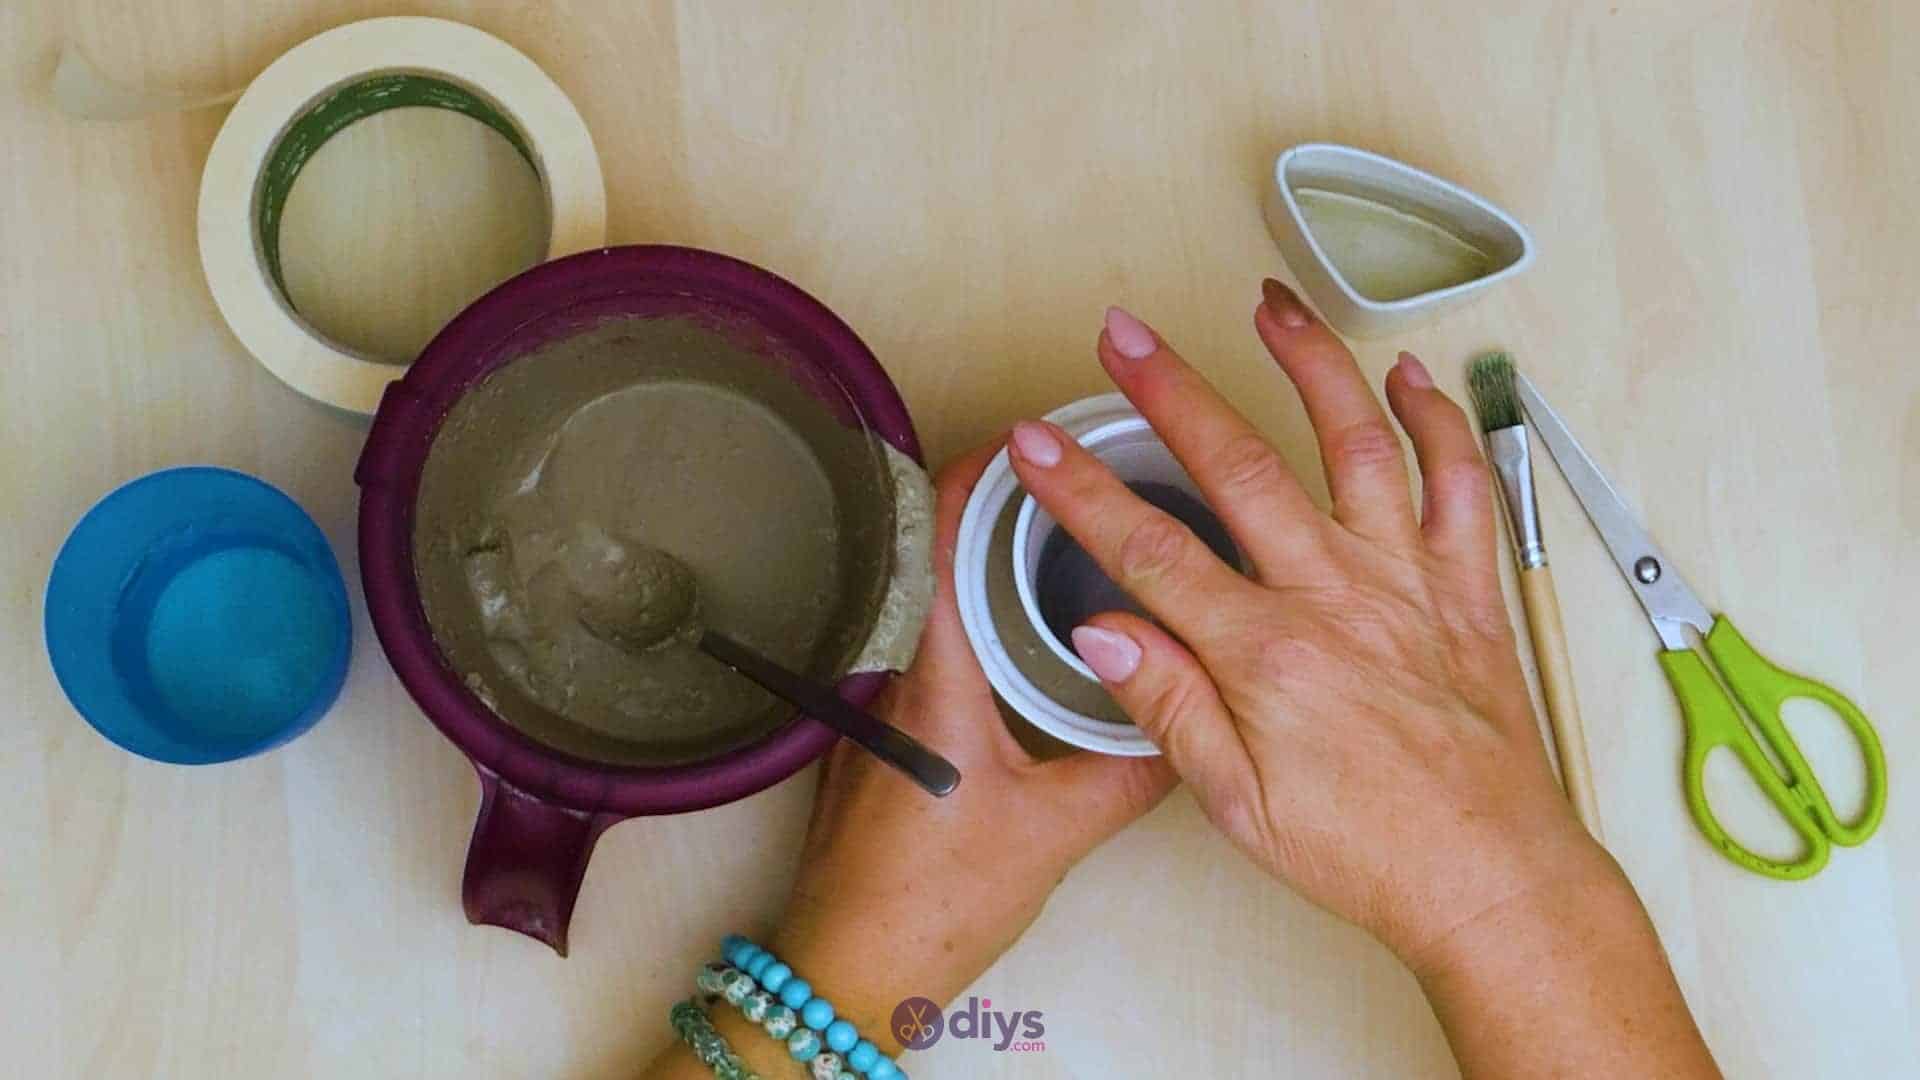
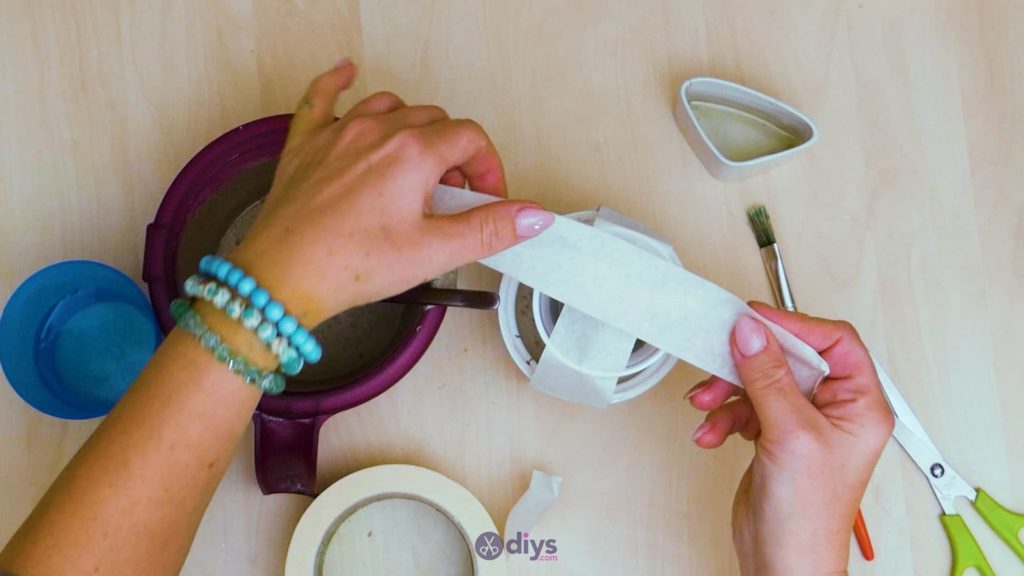
Add water to your DIY fine particle cement mix and stir it with a spoon until it’s free of clumps and you have the right consistency! Check the instructions on the packaging to get the right ratio of water to powdered mix, since it can vary from brand to brand. Set the mix aside briefly and use your paintbrush to coat the entire inside of your empty plastic yogurt cup with oil (canola or olive oil will work fine). You want to make sure you’ve spread oil all the way across the bottom and all the way up the sides so the wet cement mixture won’t stick to the plastic of the cup as it dries. Then fill your cup with your wet cement mix almost all the way to the top, leaving a few centimetres leeway so that it doesn’t overflow when you press the plastic water cup into the centre to make the opening in the pot in a moment. Once your yogurt cup is filled to your satisfaction, use your spoon to smooth the surface so the pot has a nice, even top. You can also tap the bottom of the yogurt cup on the tabletop to level out the surface and free it of air bubbles.

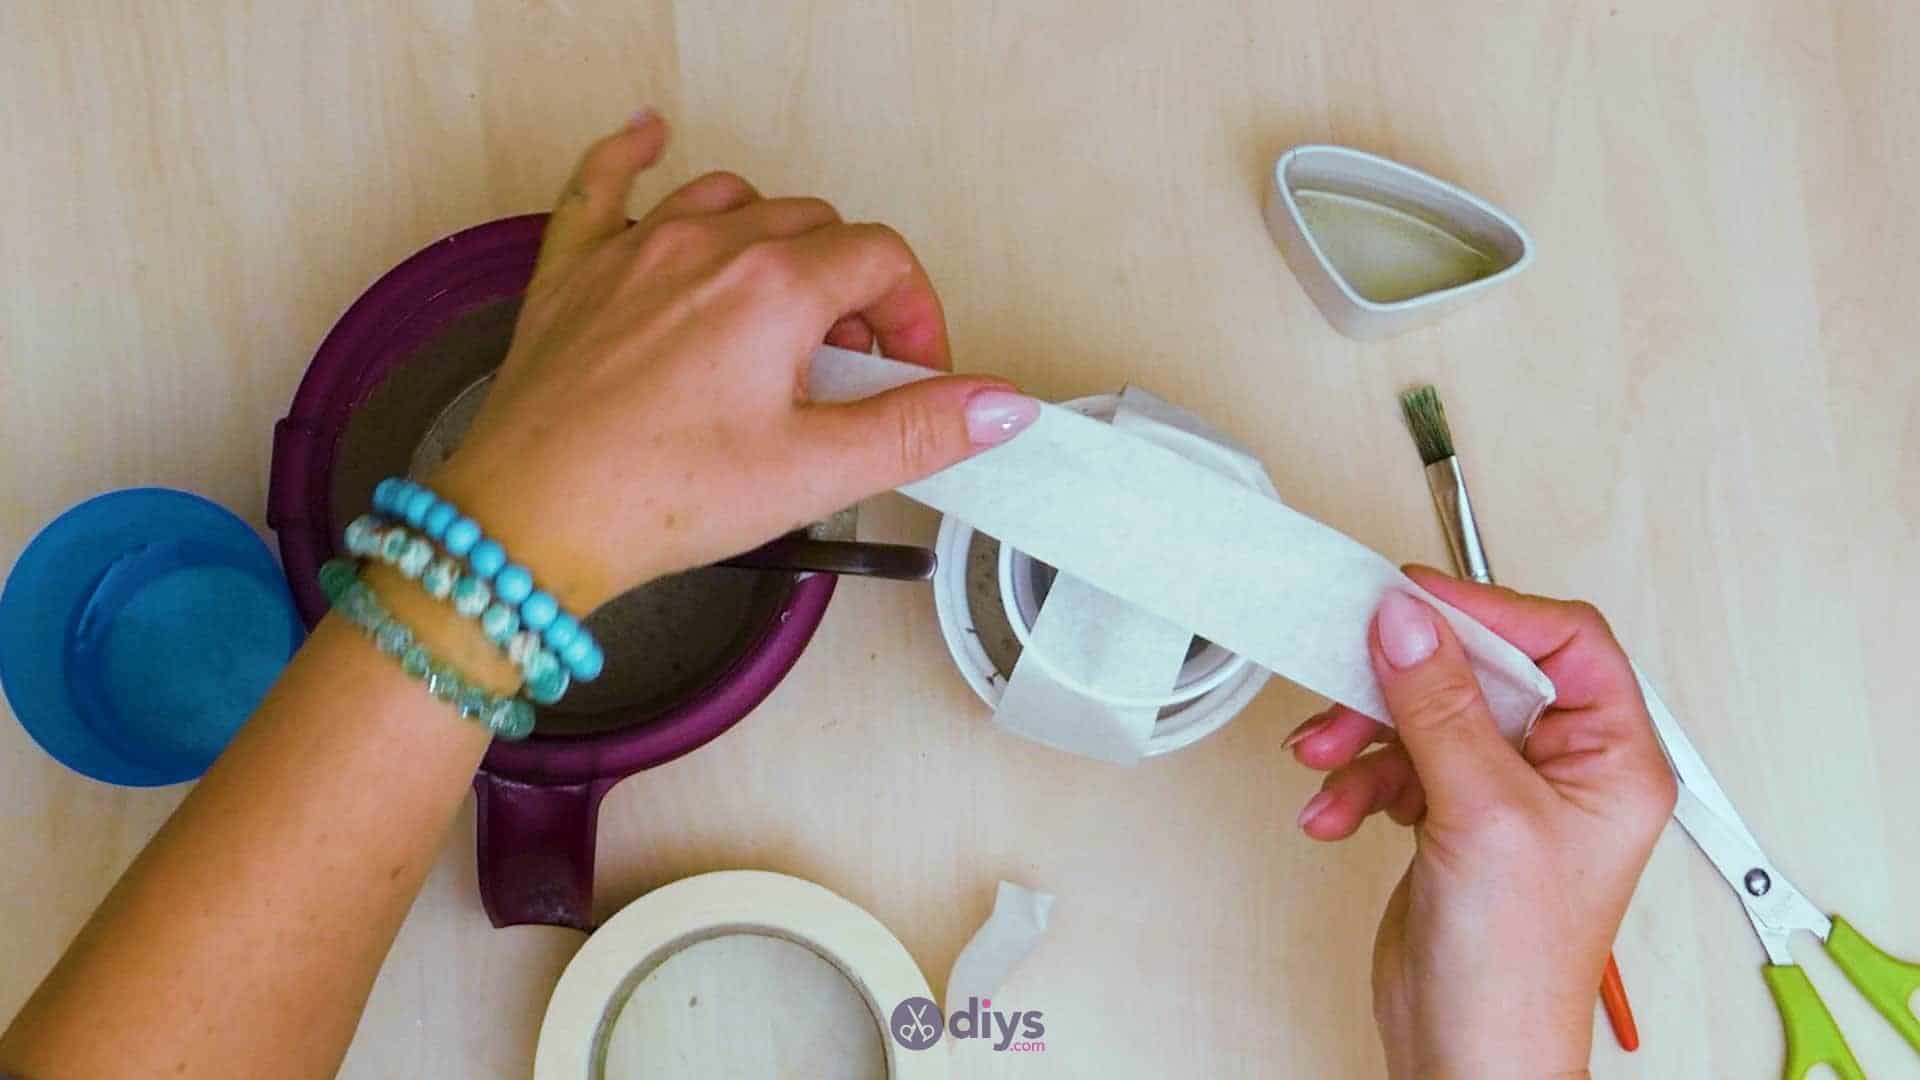
Step 3: Oil Your Containers
Now use your paintbrush to coat the entireoutside surface of your plastic water cup in oil and then position it above the cement mix in your yogurt cup, pressing it down right in the centre. Be careful not to sink itall the way down into the mix until it hits the bottom of the yogurt cup; you don’t want it to moveall the cement mix out of the way so that your finished product has a hole in the bottom. Once you’ve got your plastic water cup positioned in the centre of the mix the way you want it, anchor it in place by stretching two piece of tape across the top, sticking their ends down on either edge of your first yogurt cup. Set the entire thing aside to dry.


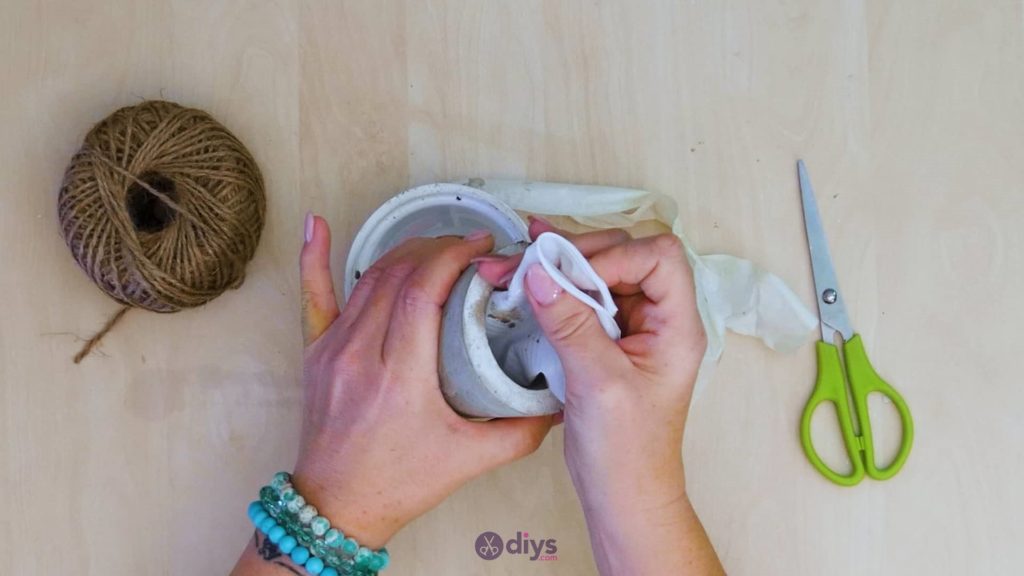
Step 4: Pour the Concrete
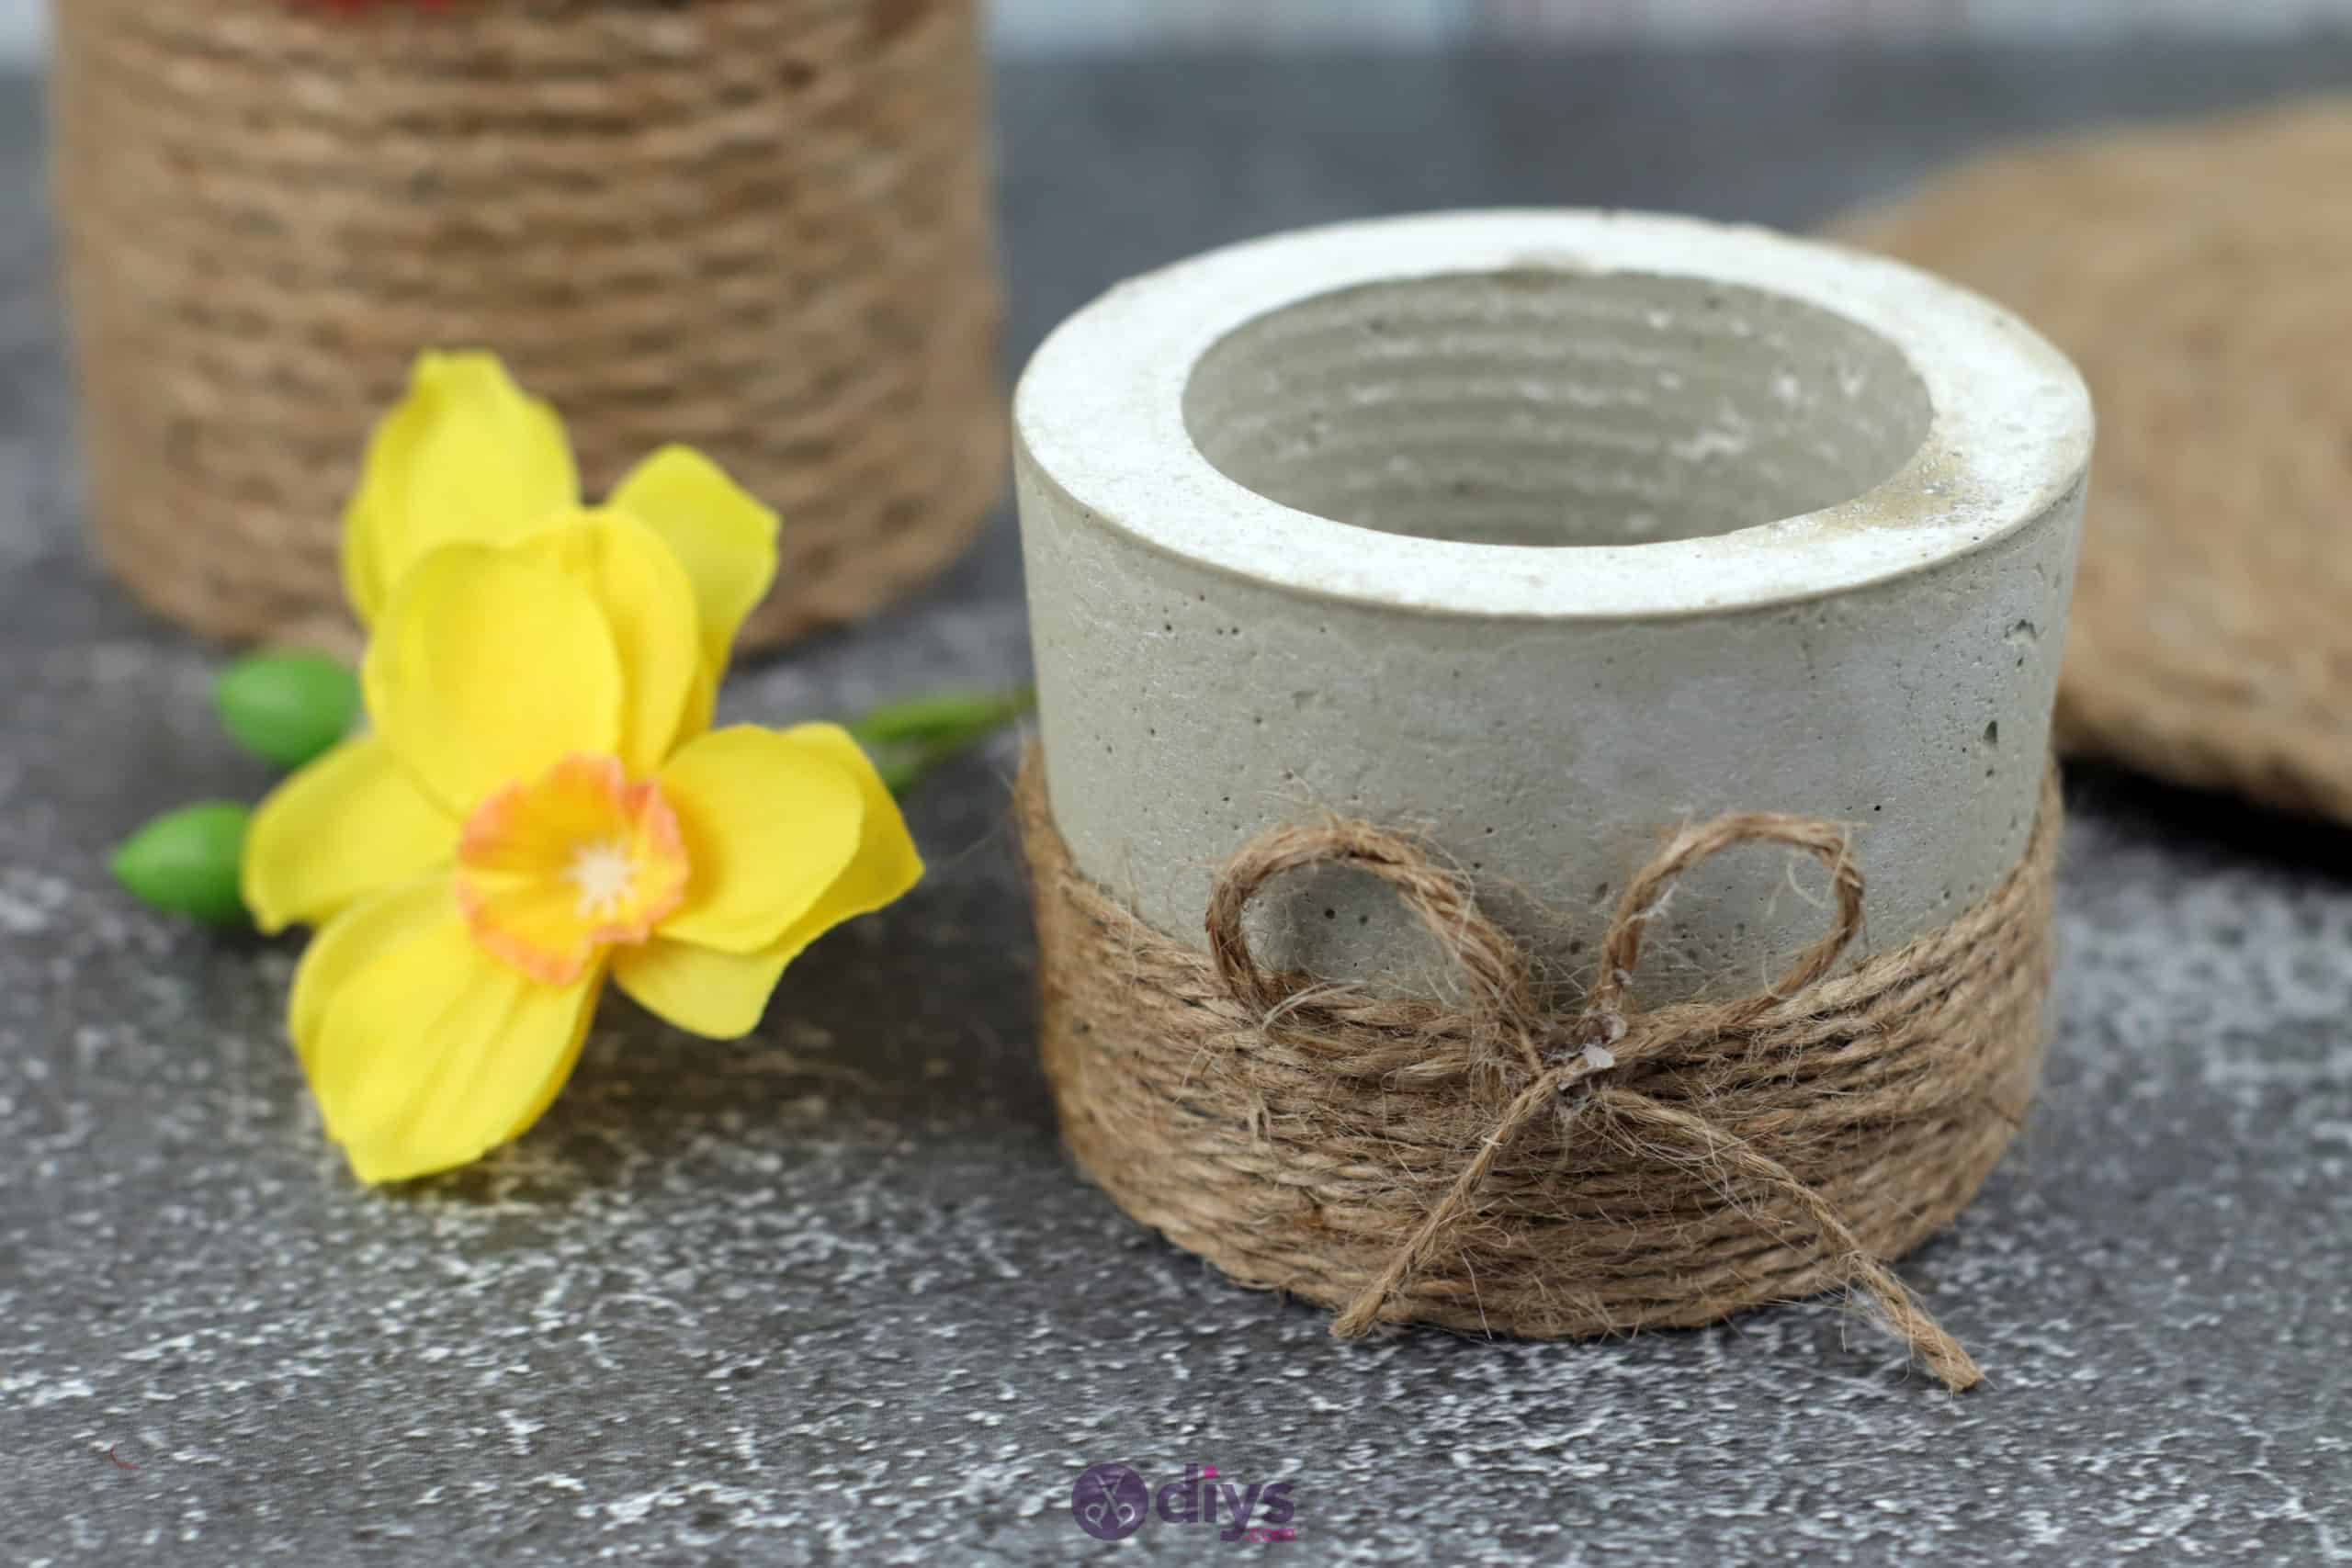
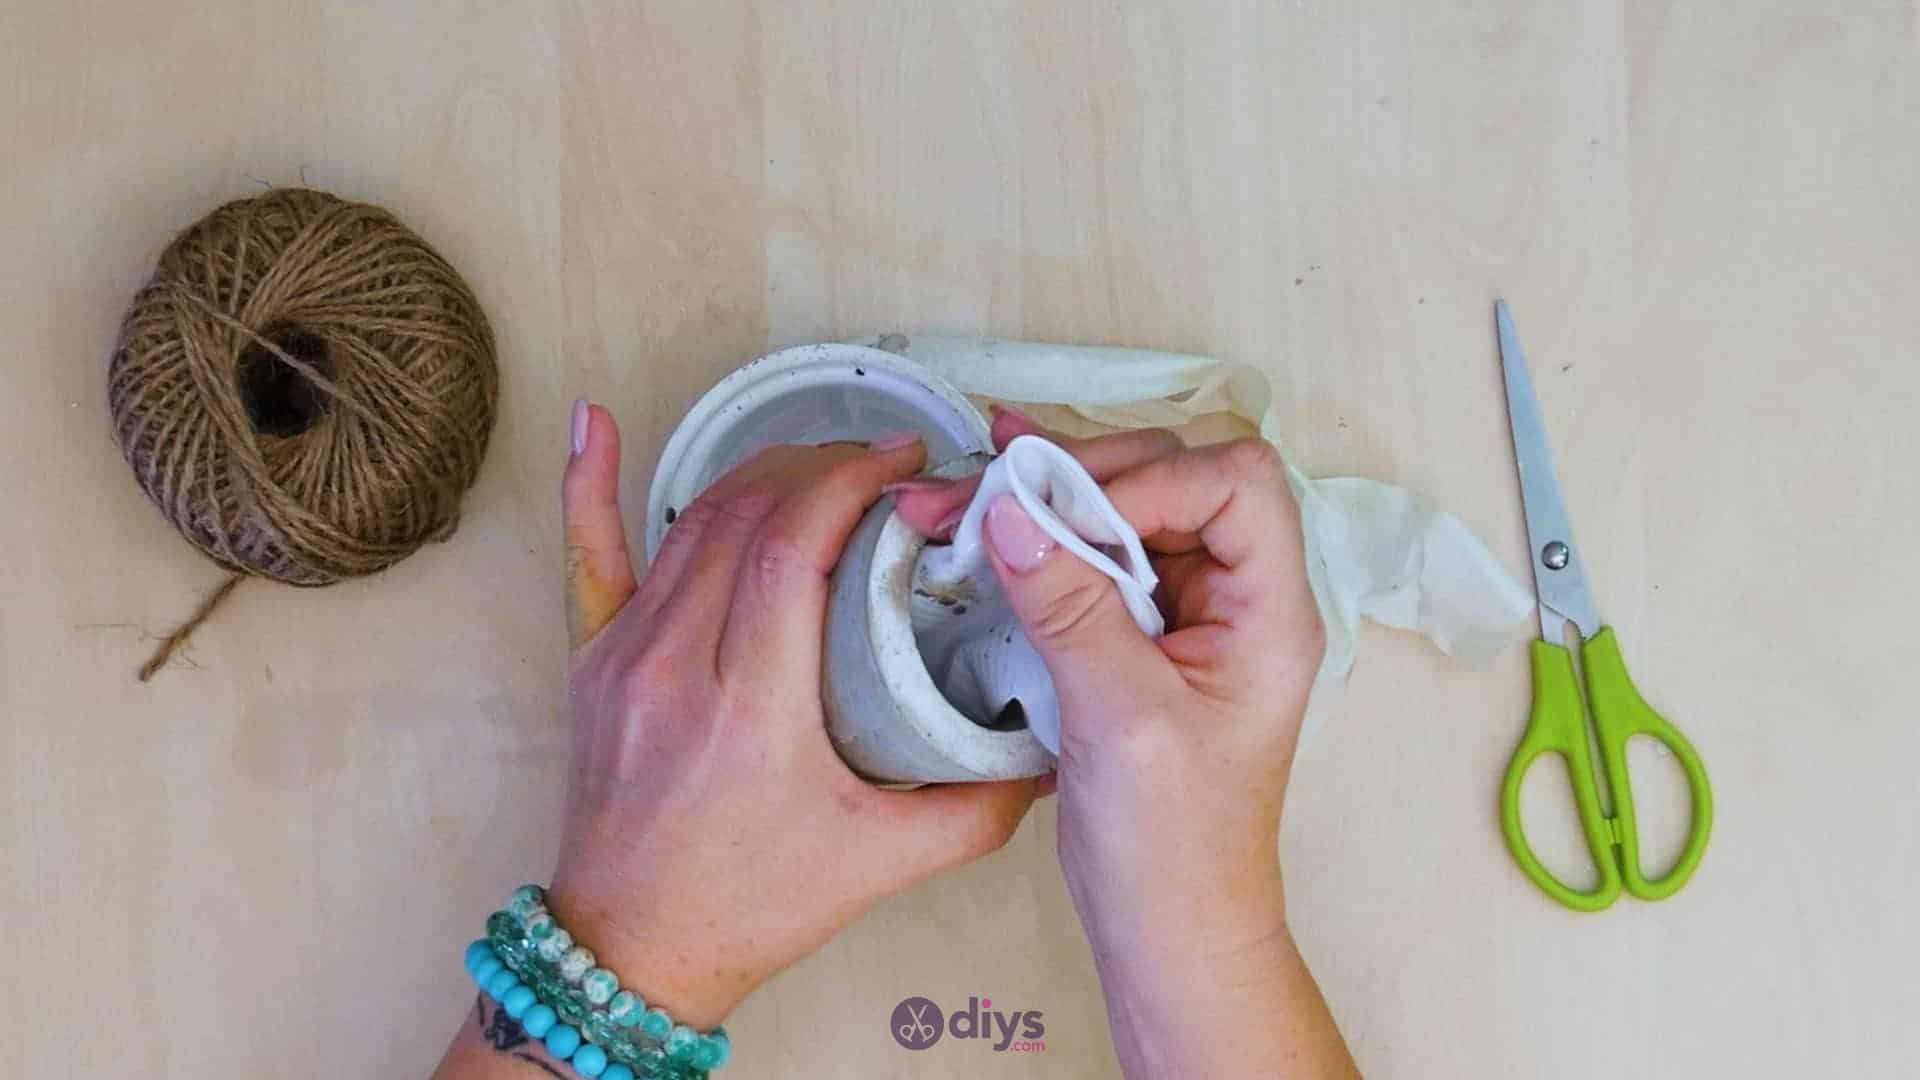
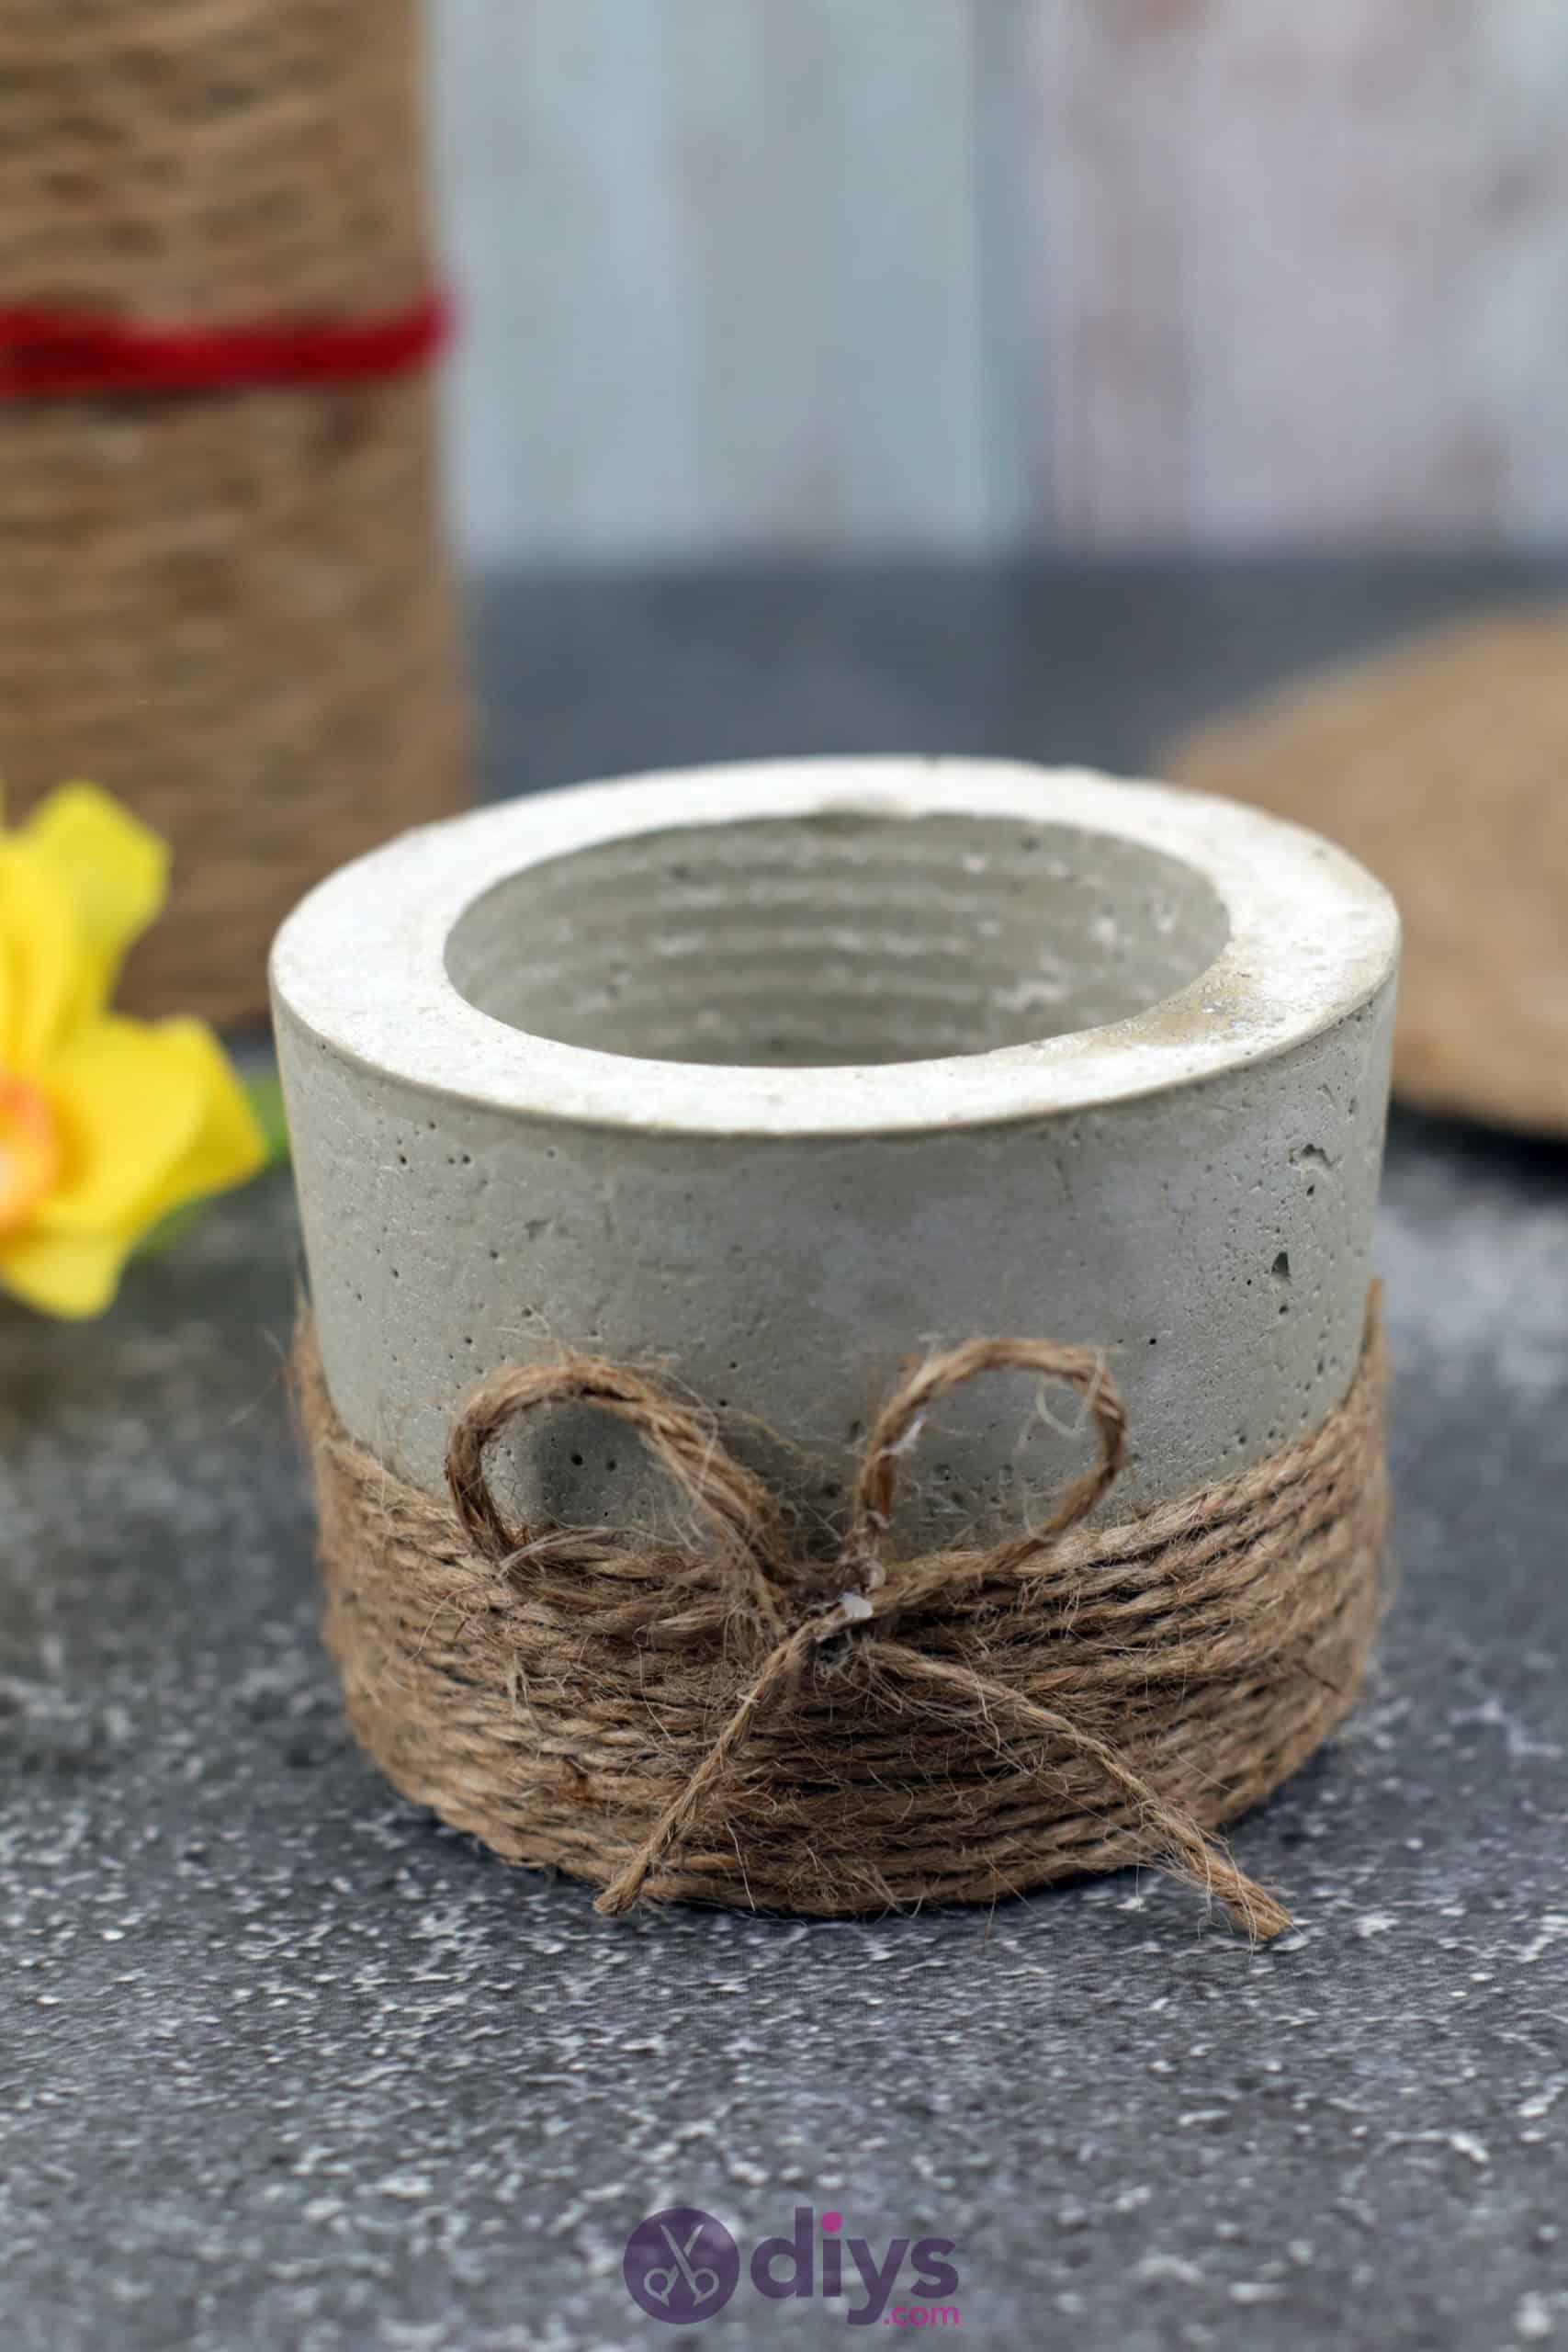
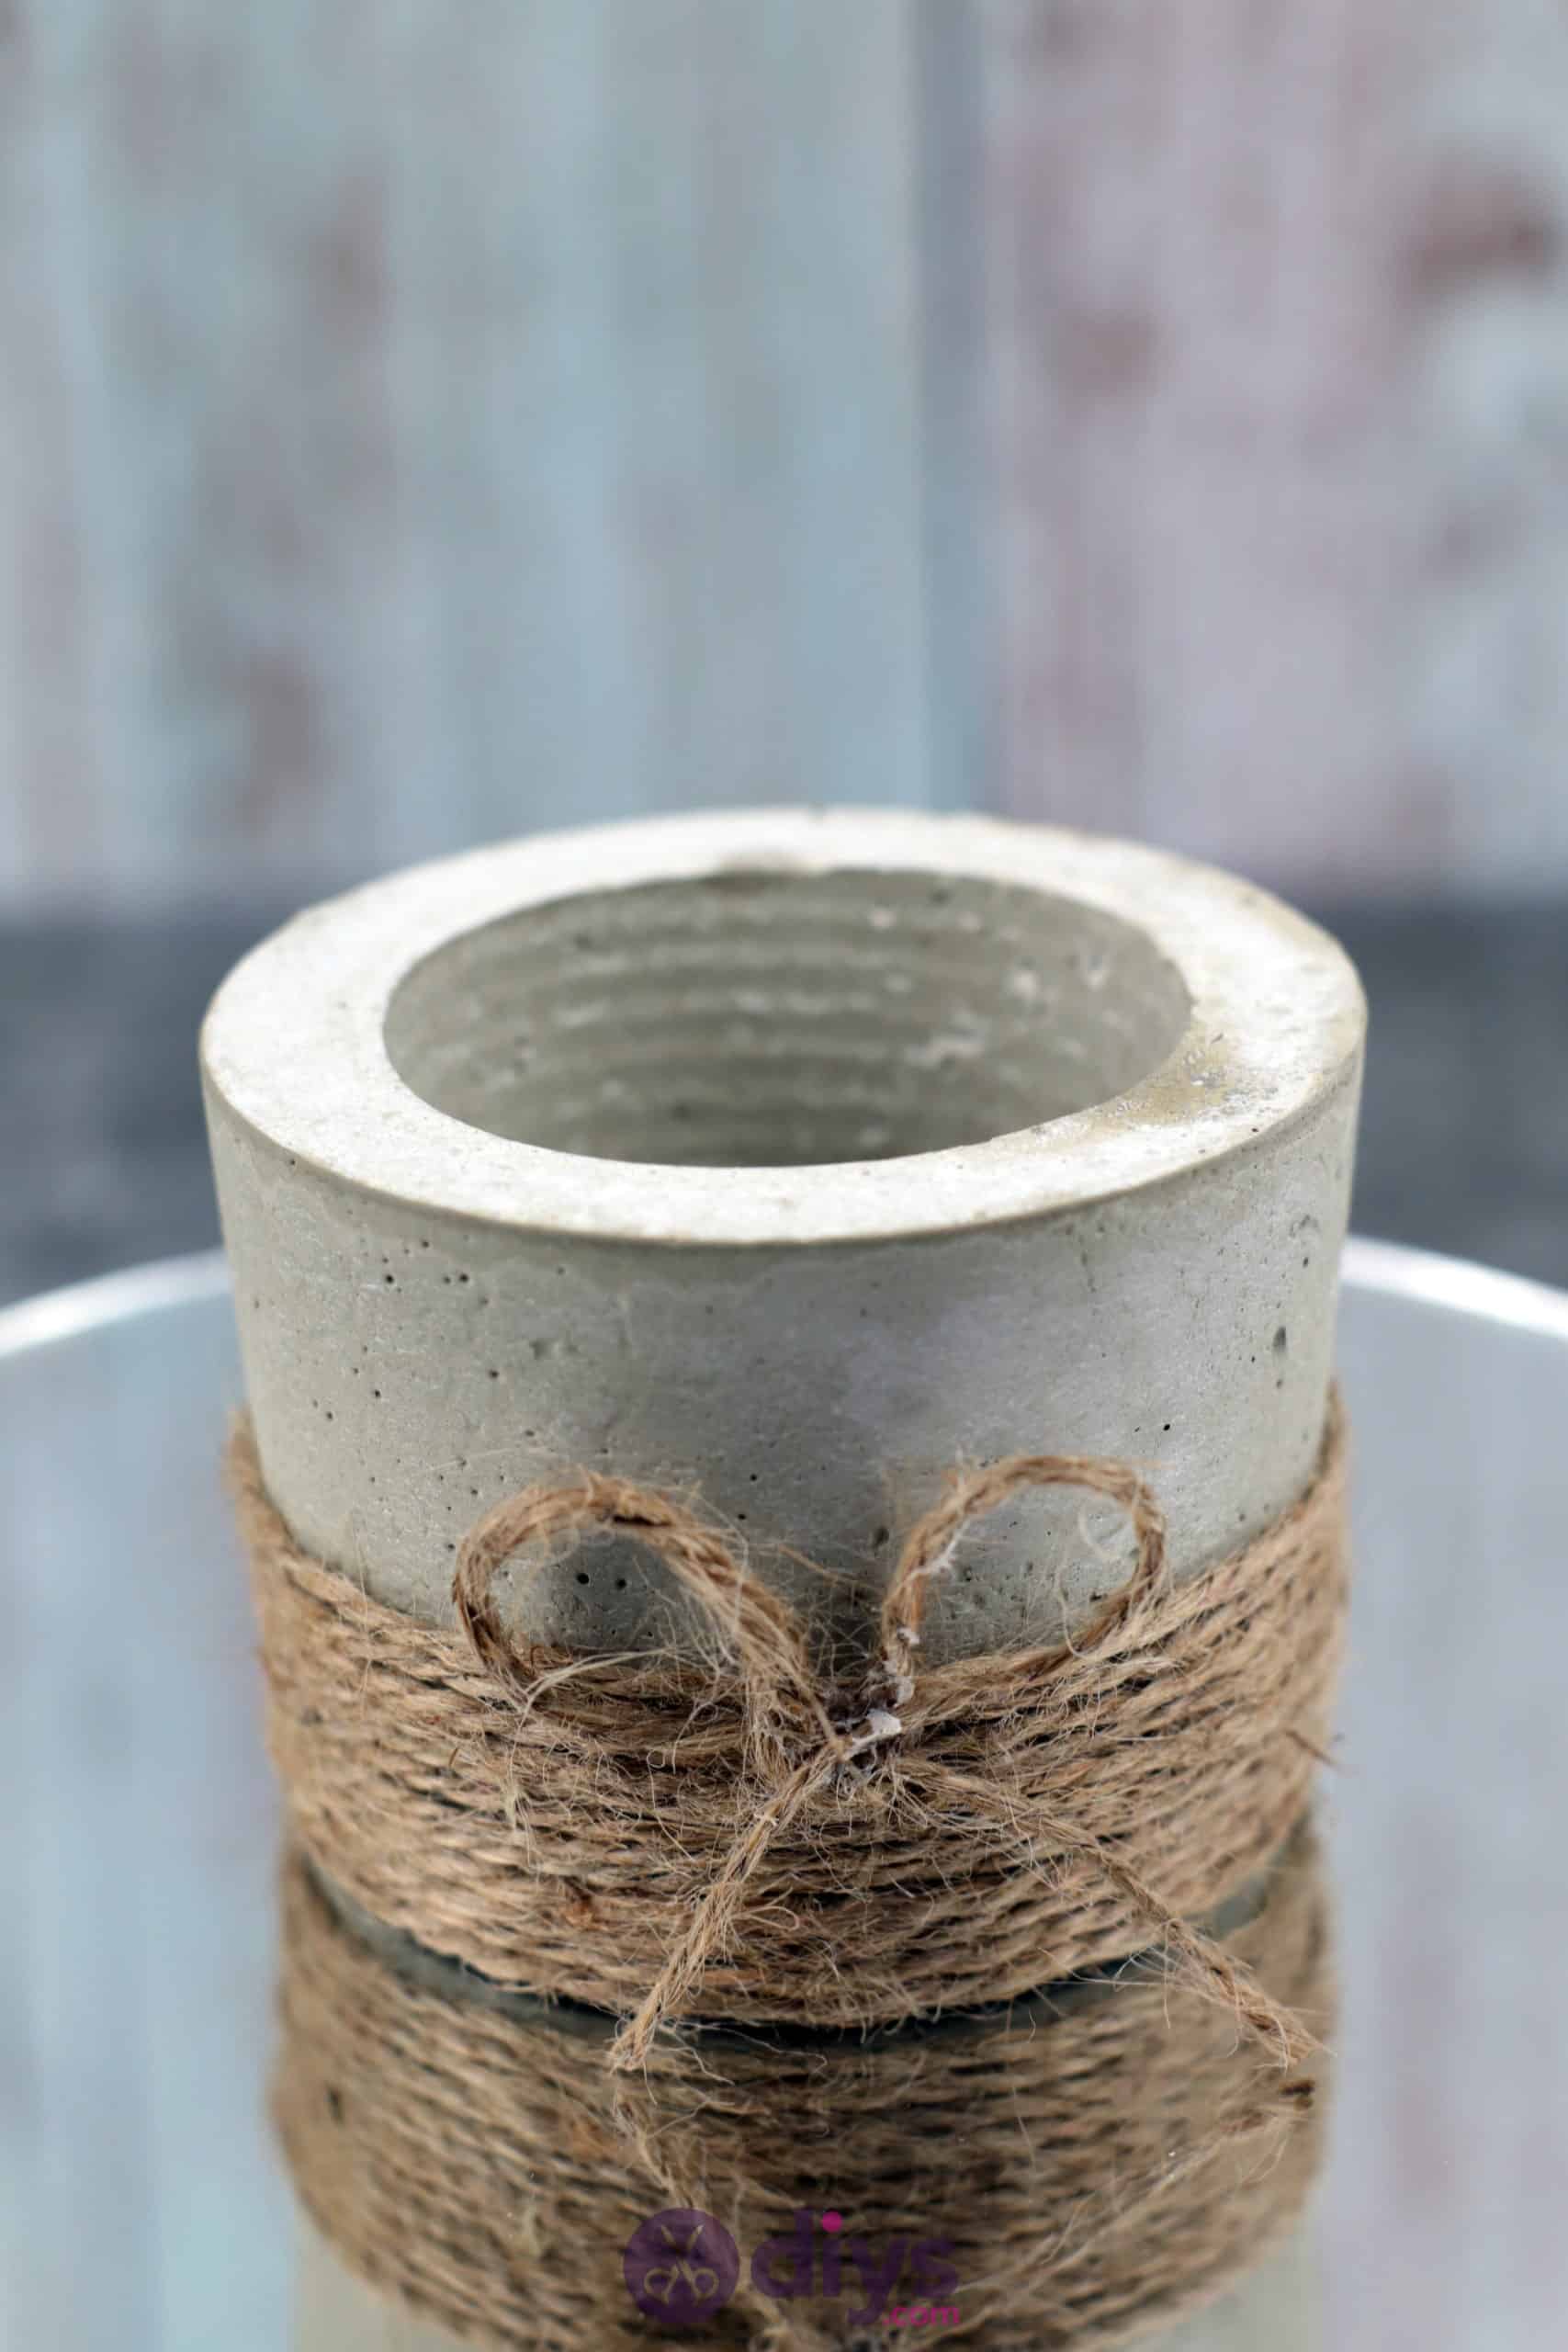
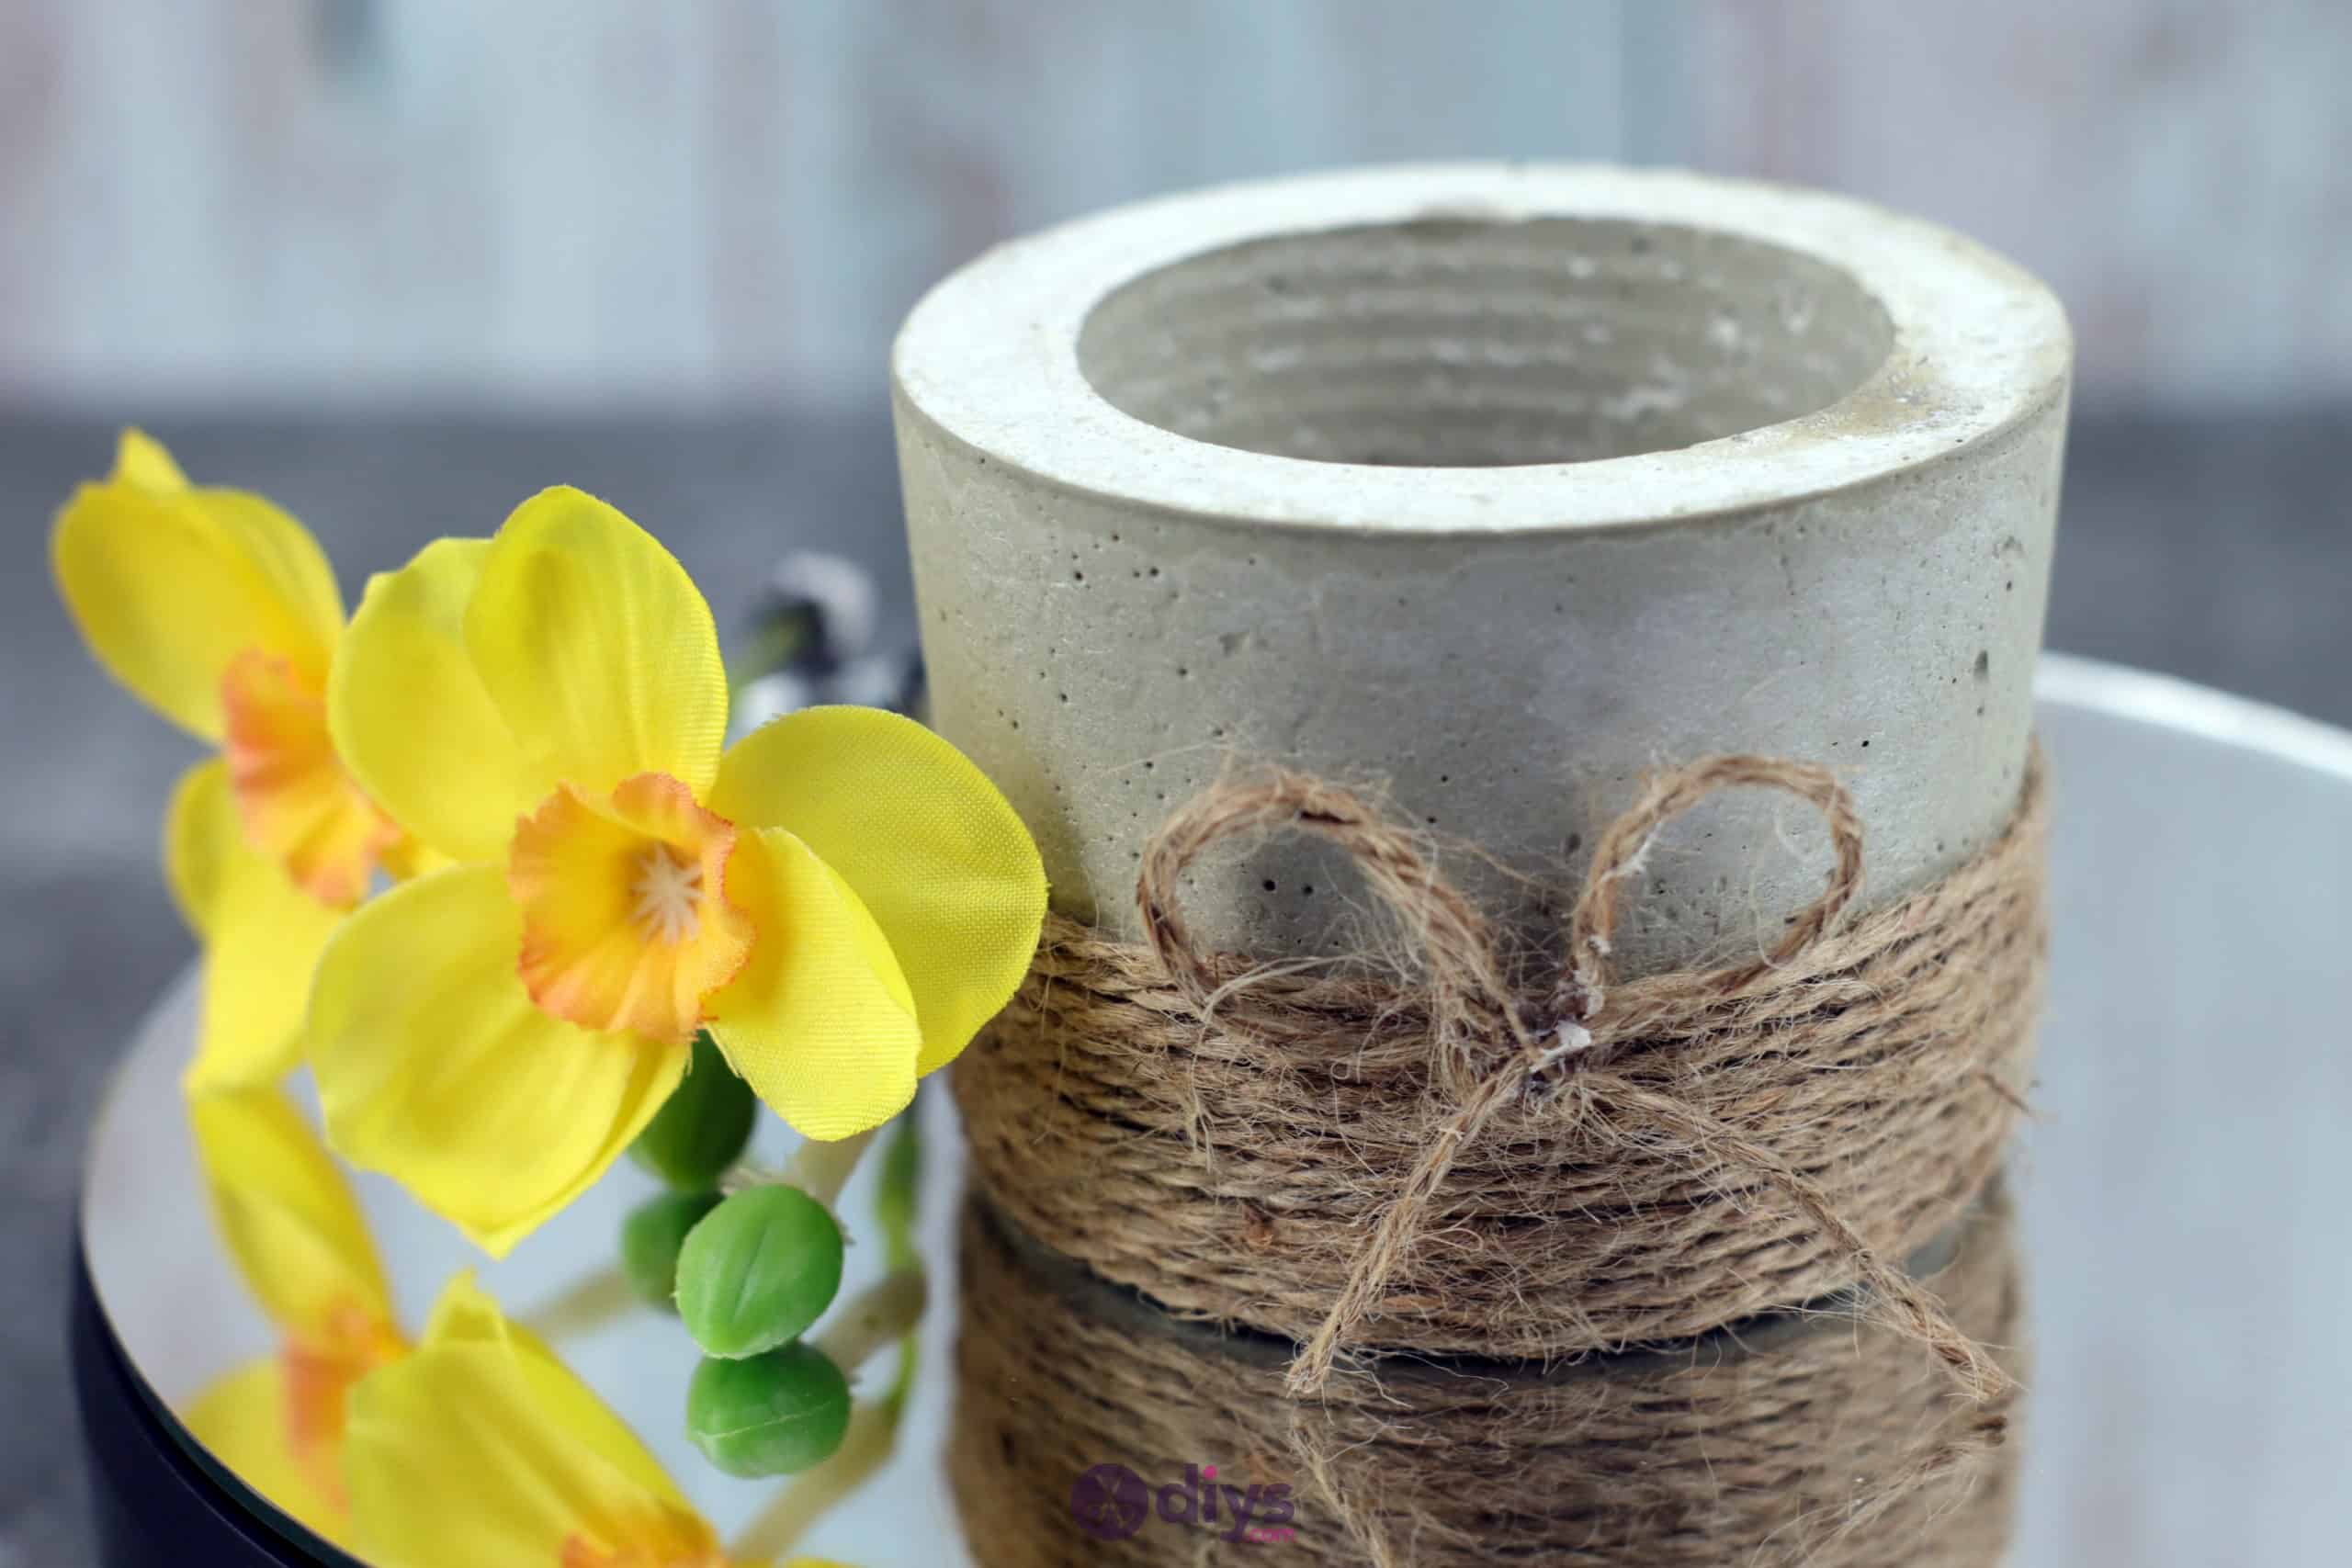
Once your cement mix has dried entirely, all the way through, remove it from the yogurt cup and pull the plastic water cup out of the centre. This is the base shape of your little planter or flower pot! You can use a piece of sand paper or an abrasive block to smooth the top and outside surface of the concrete pot if you want, but I left mine with its natural texture because it wasn’t that rough and I liked the rustic aesthetic.
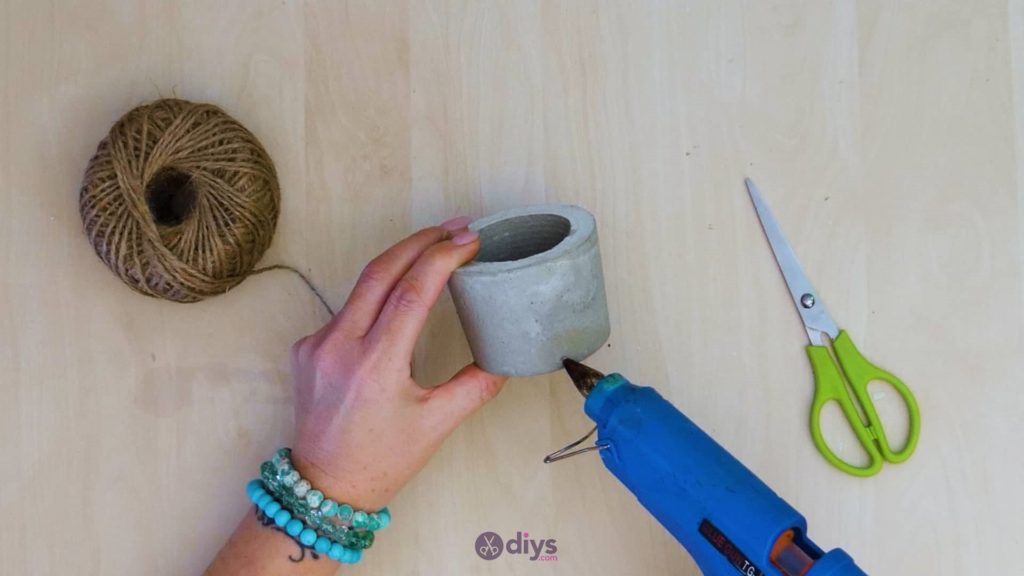
Step 5: Wrapping
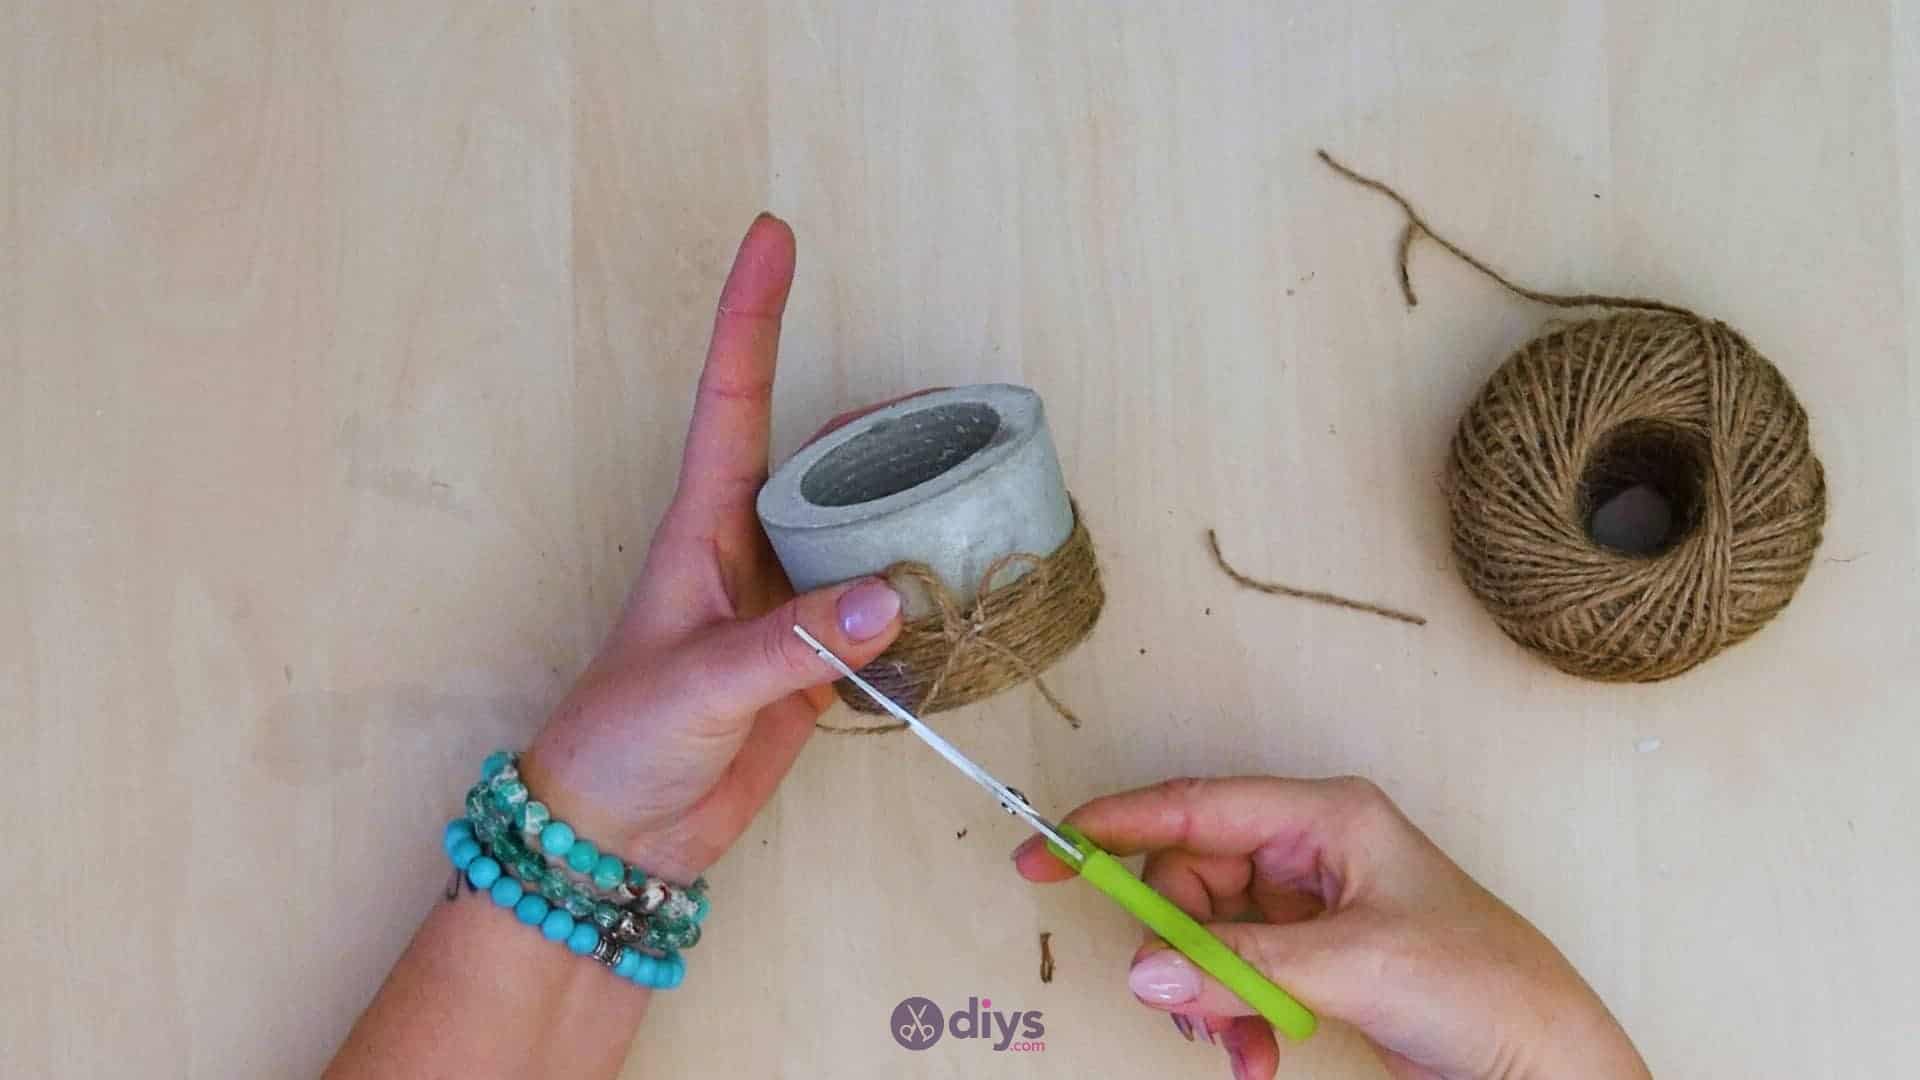
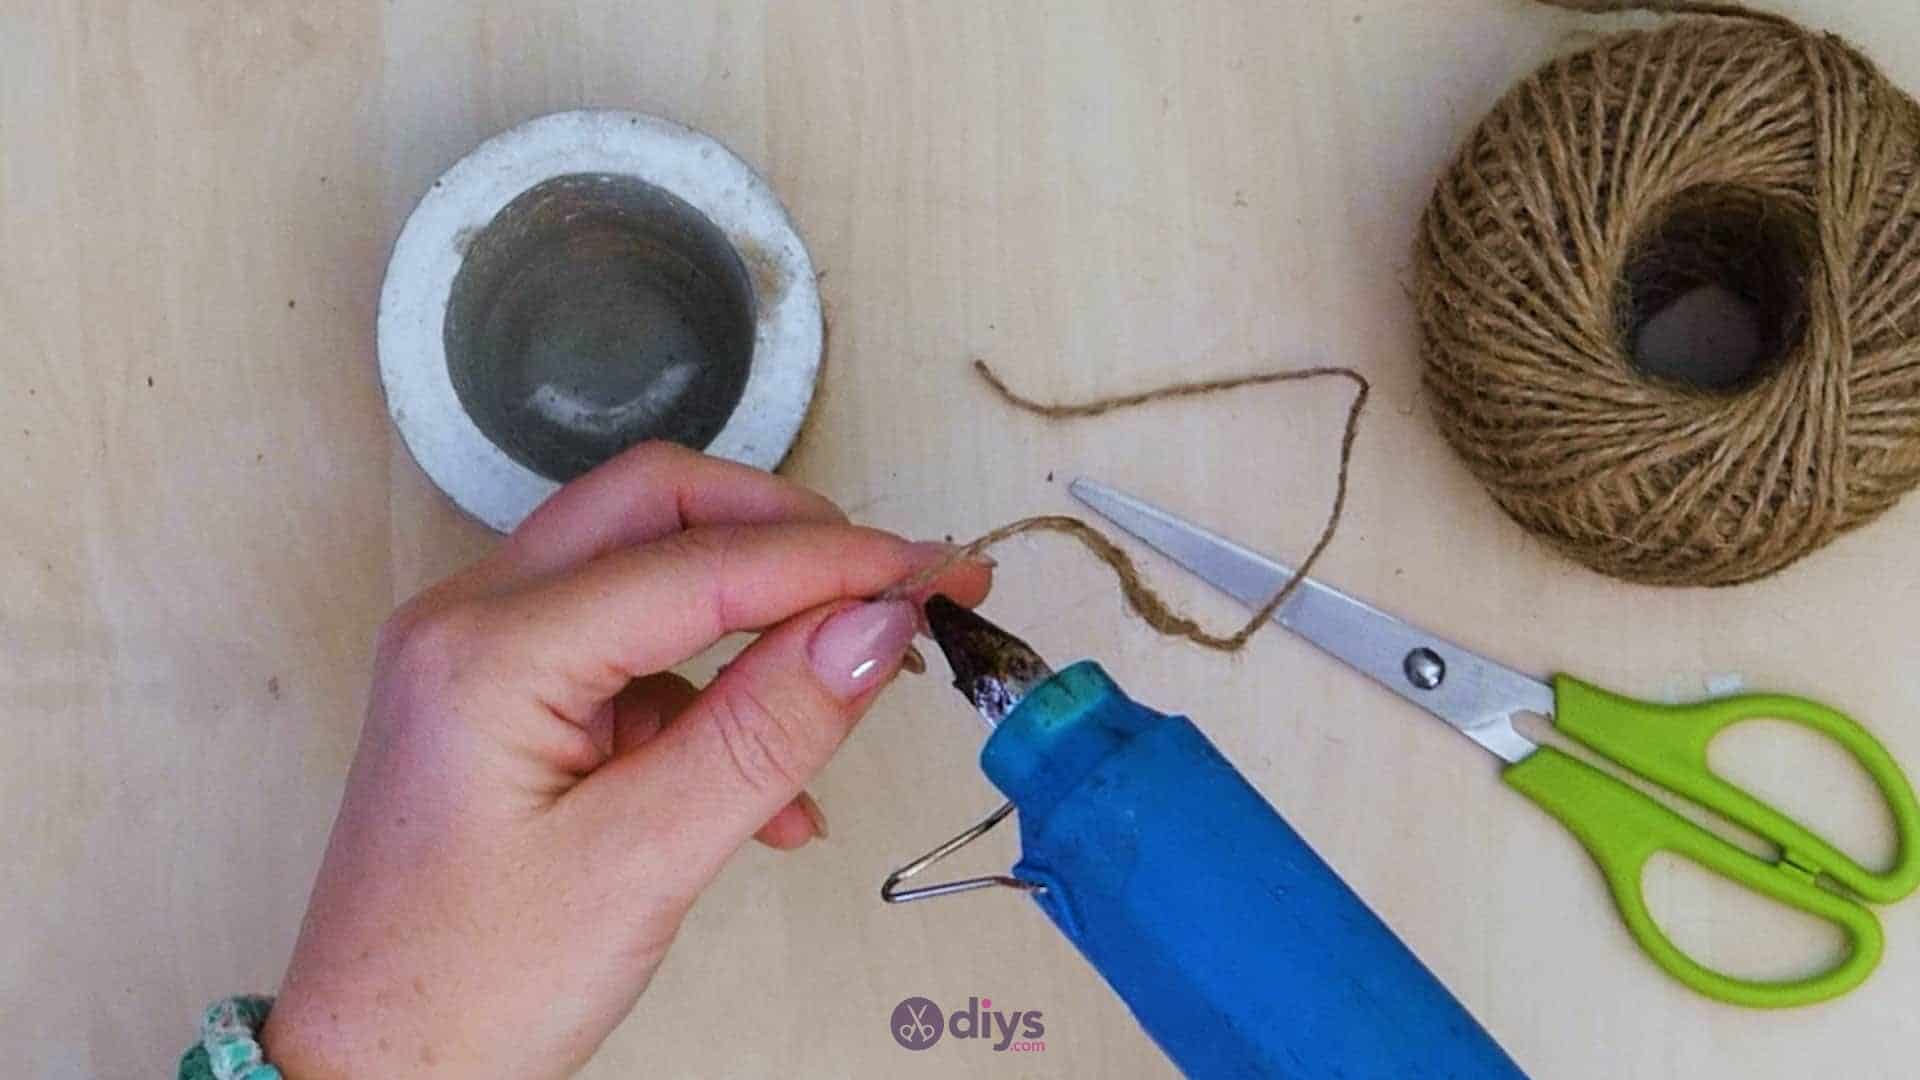
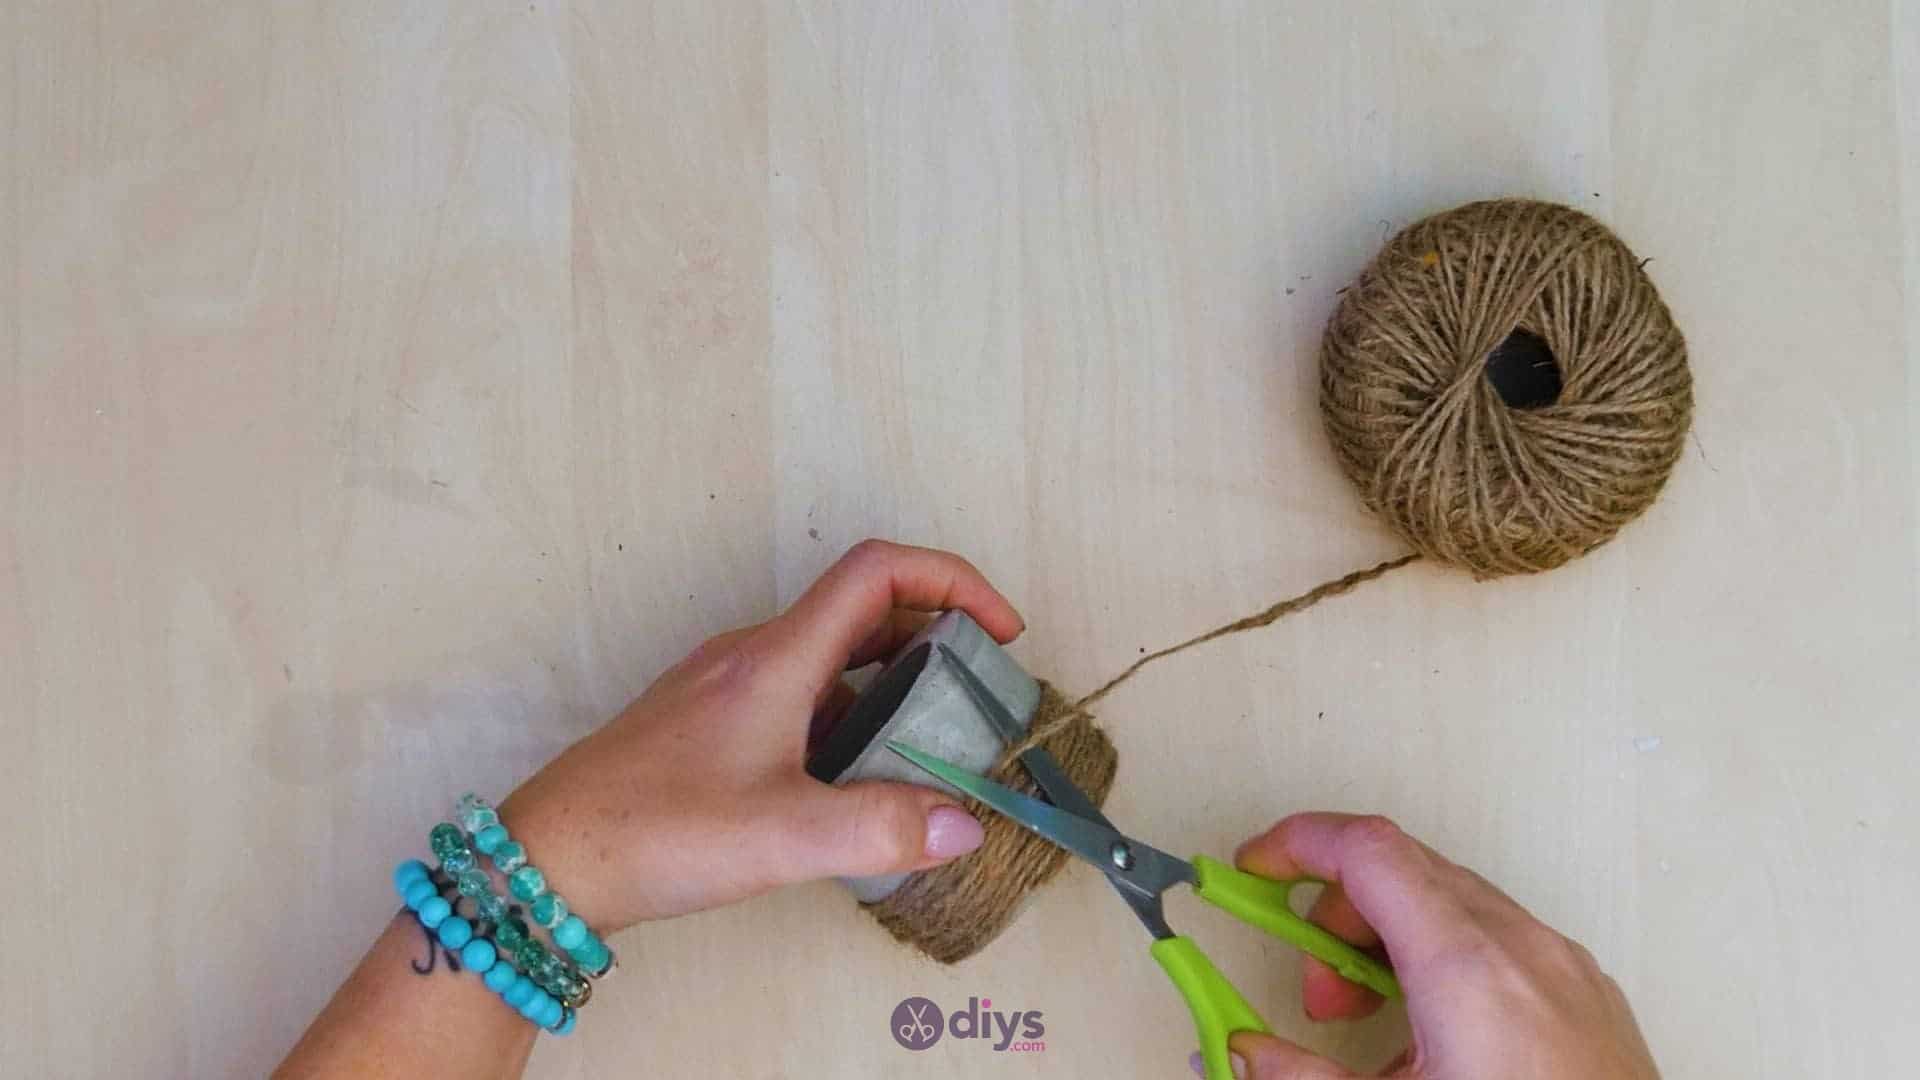
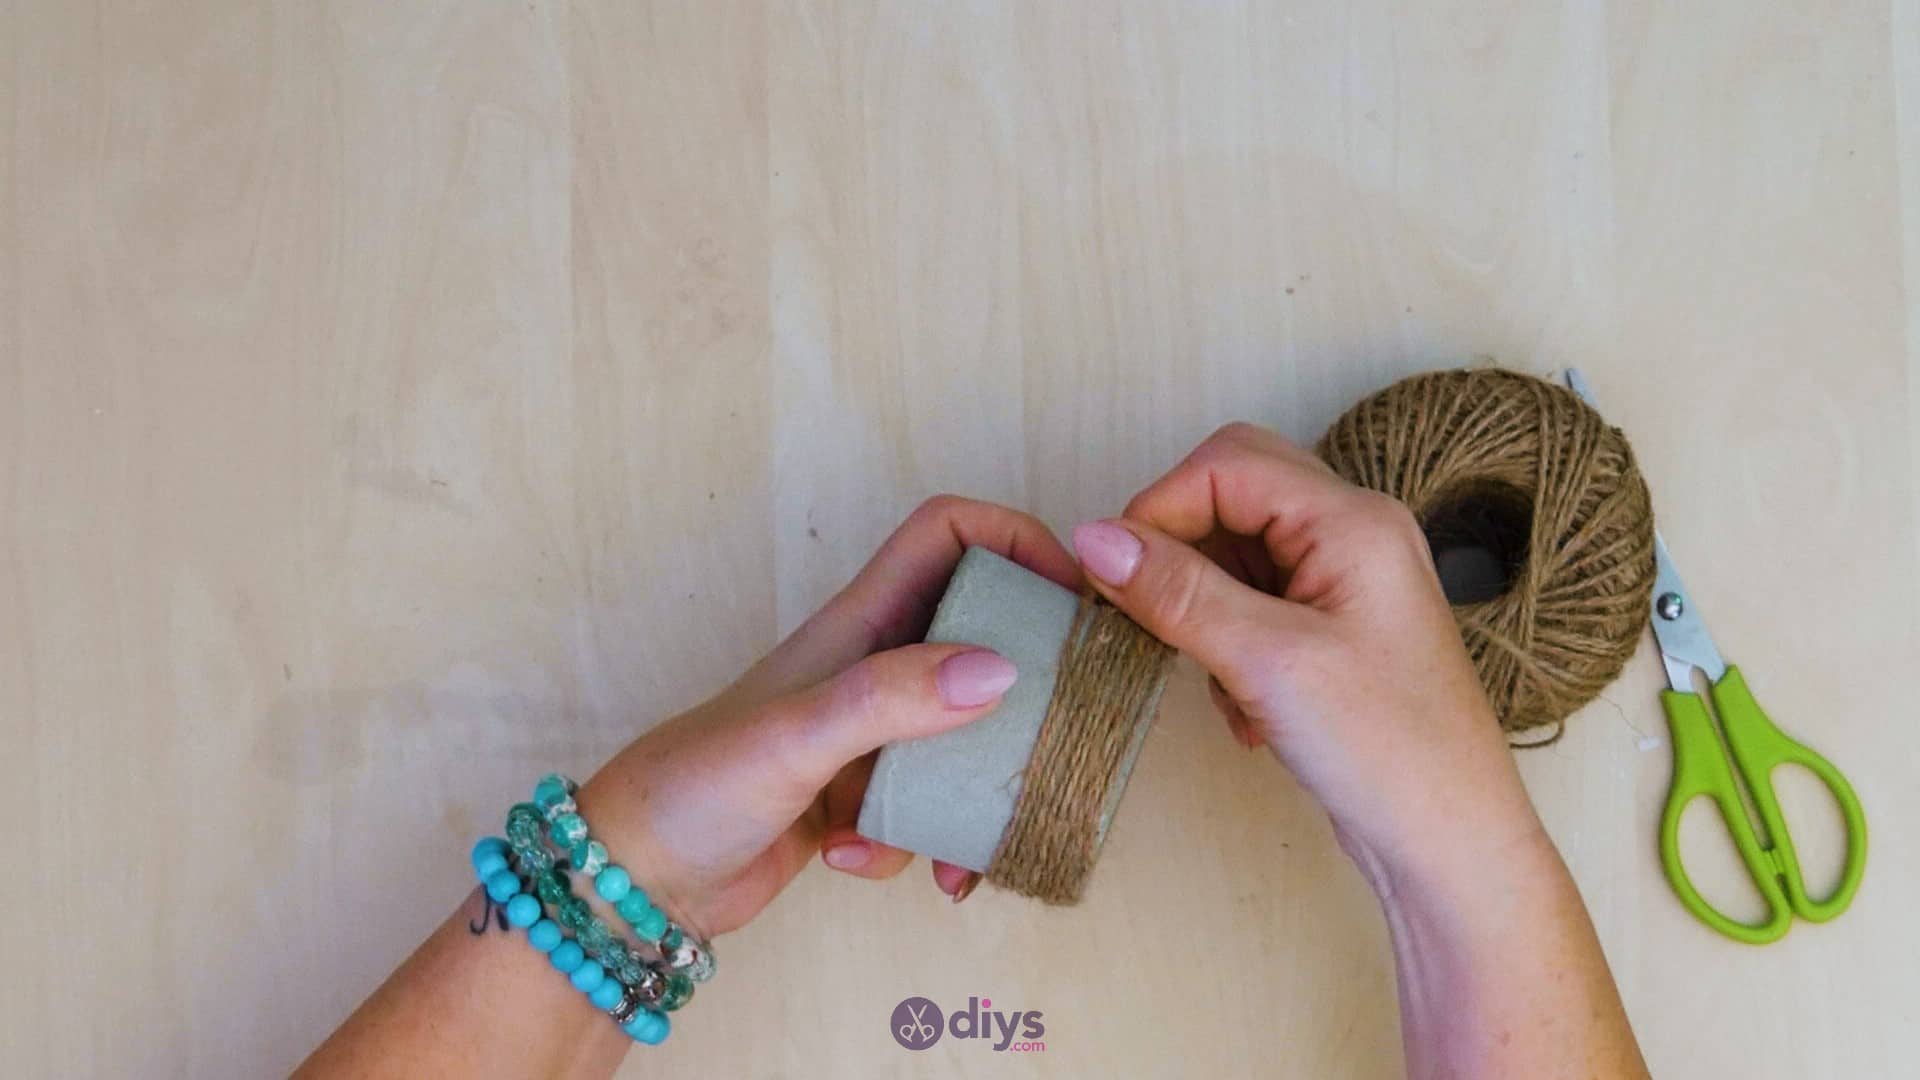
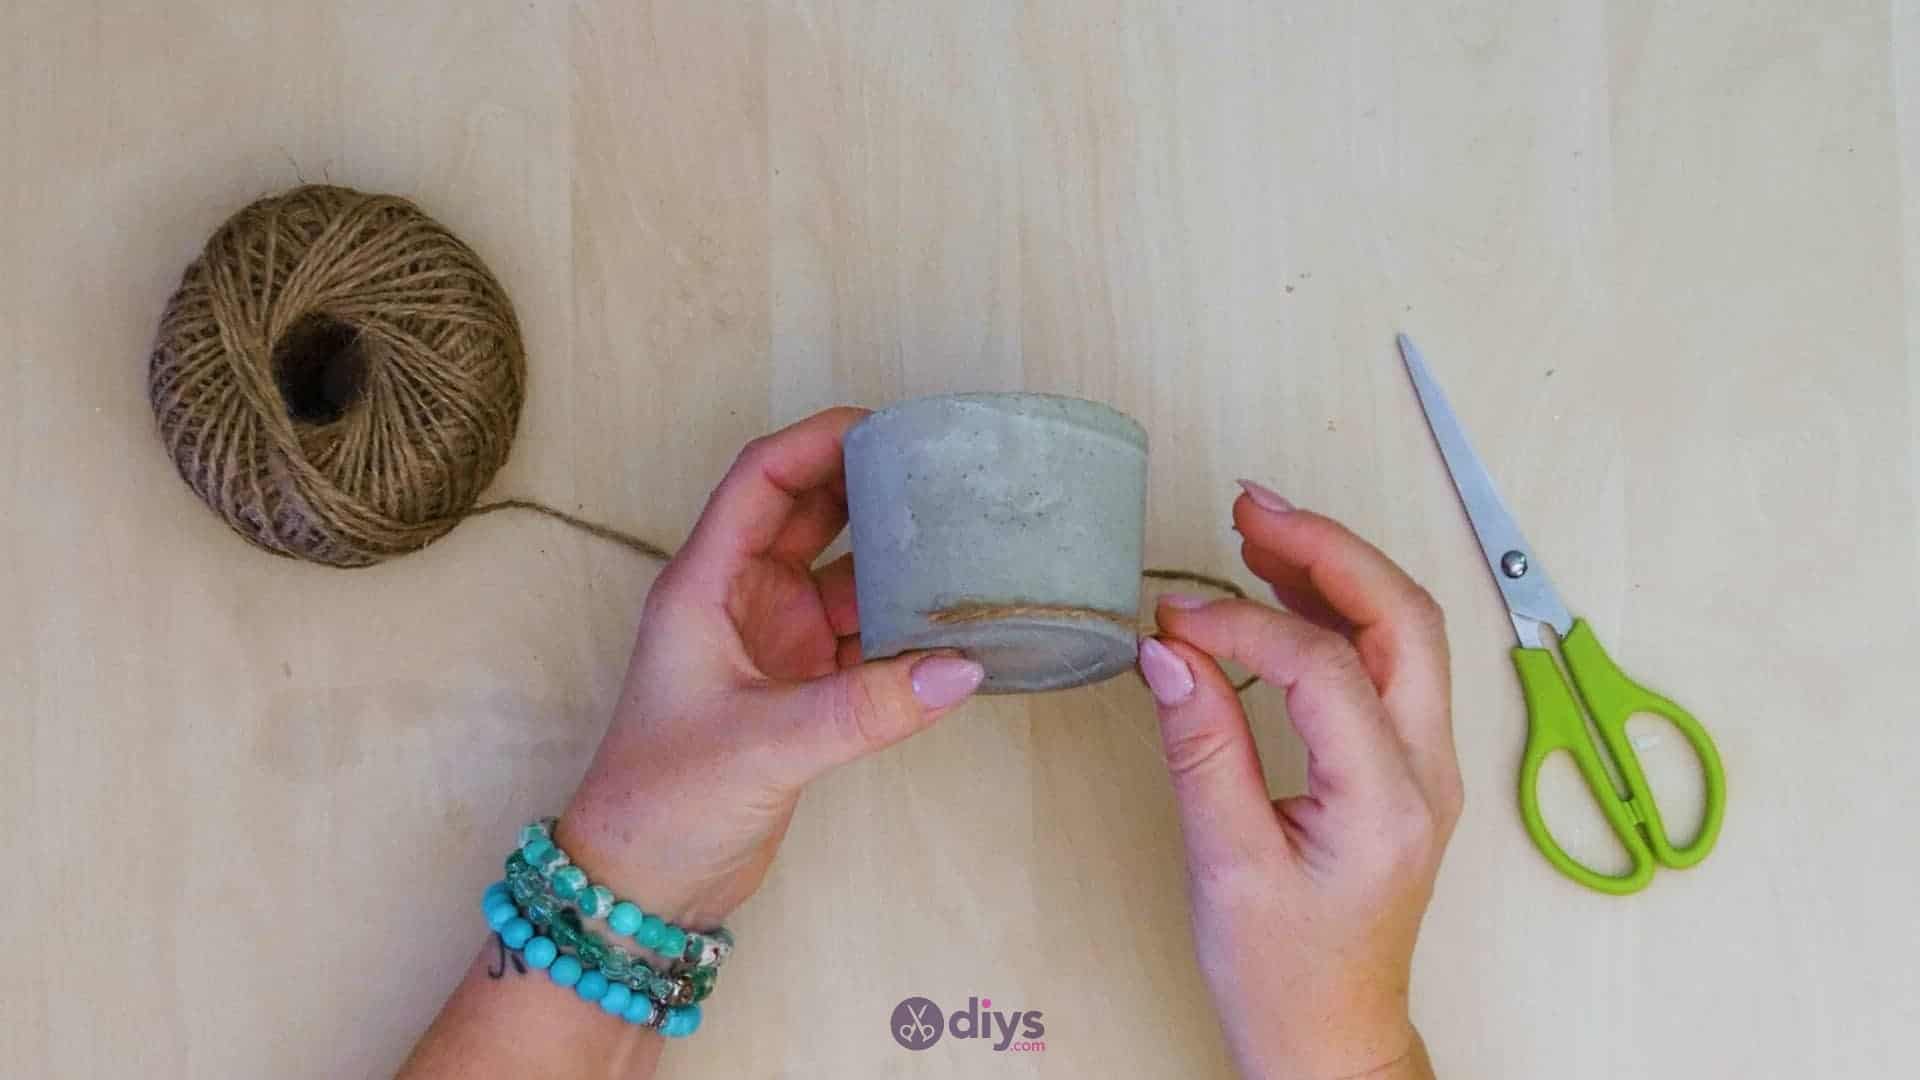
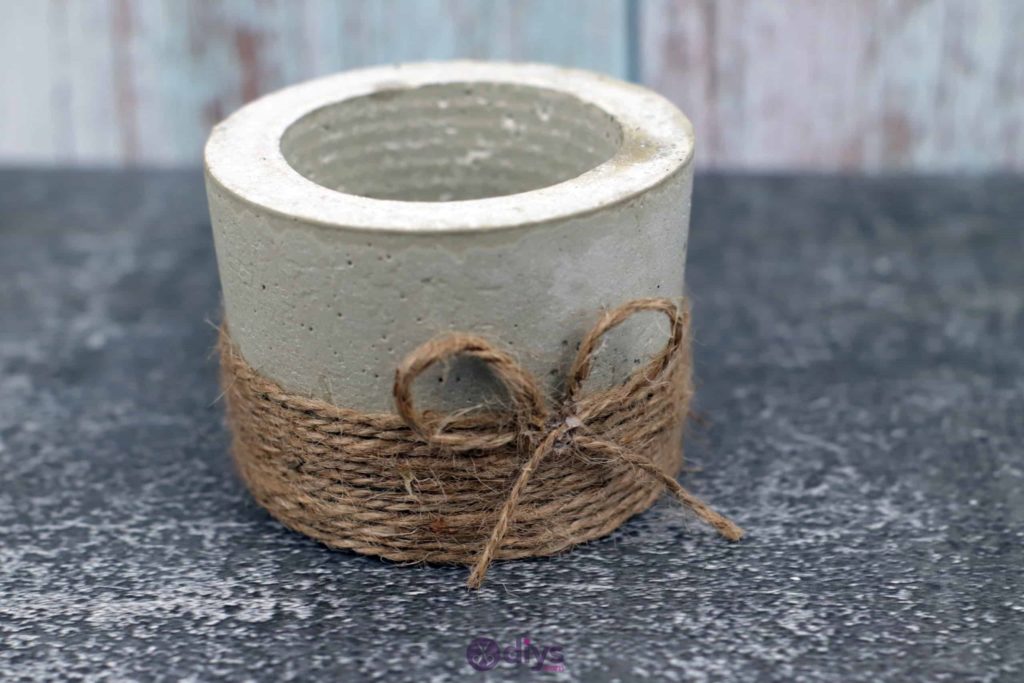
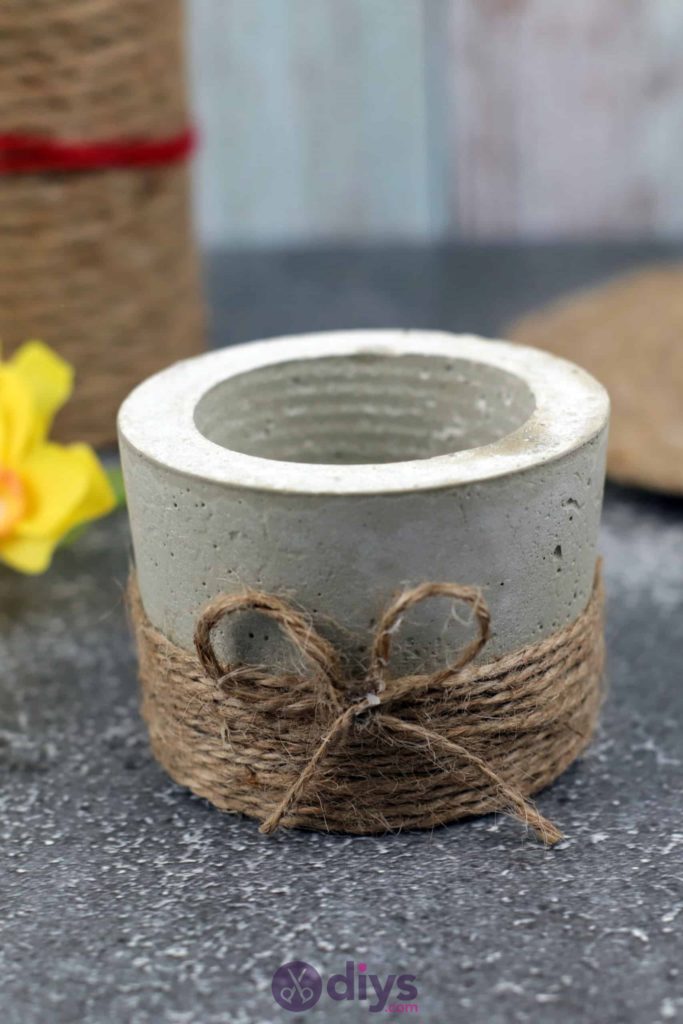
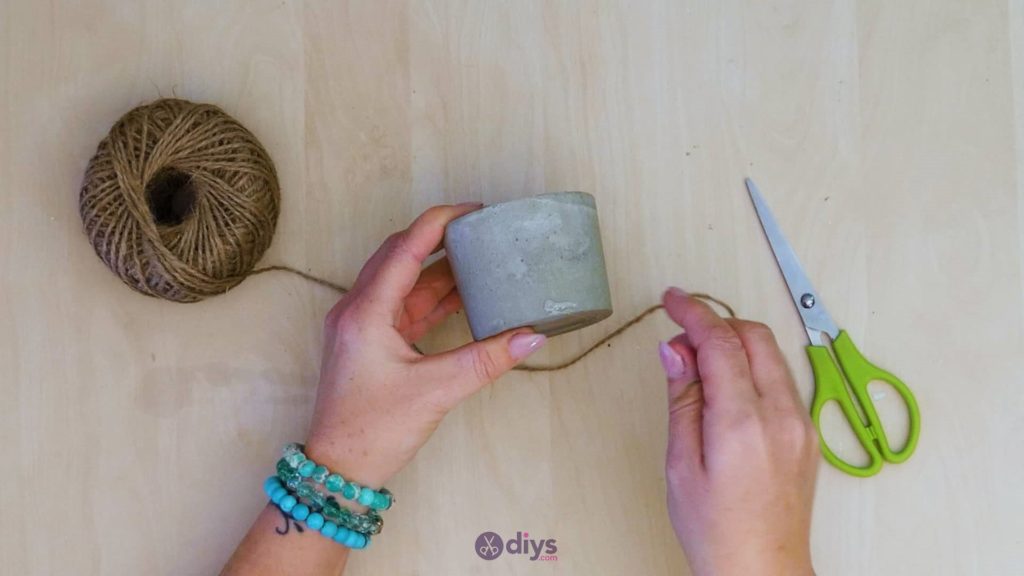
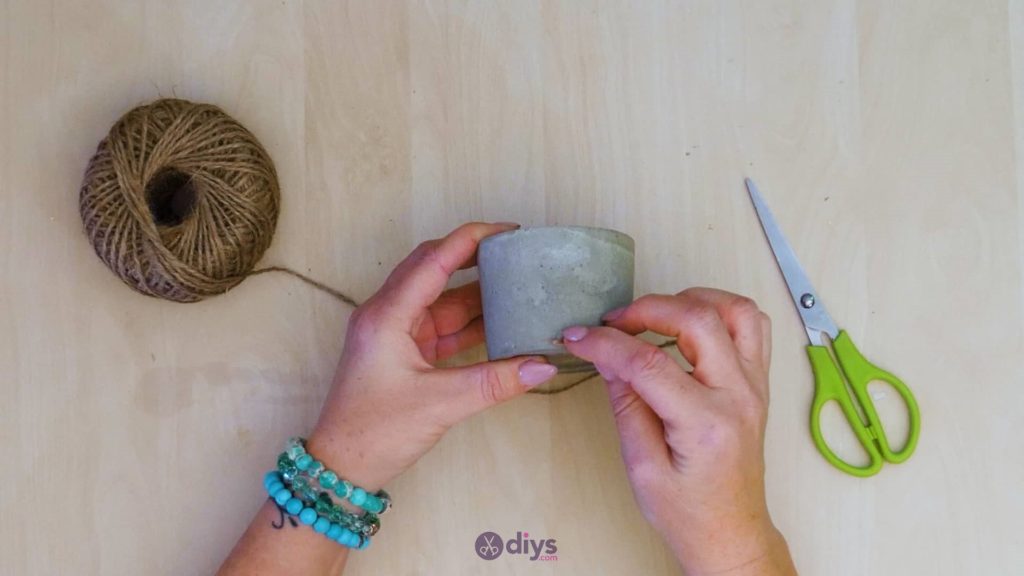
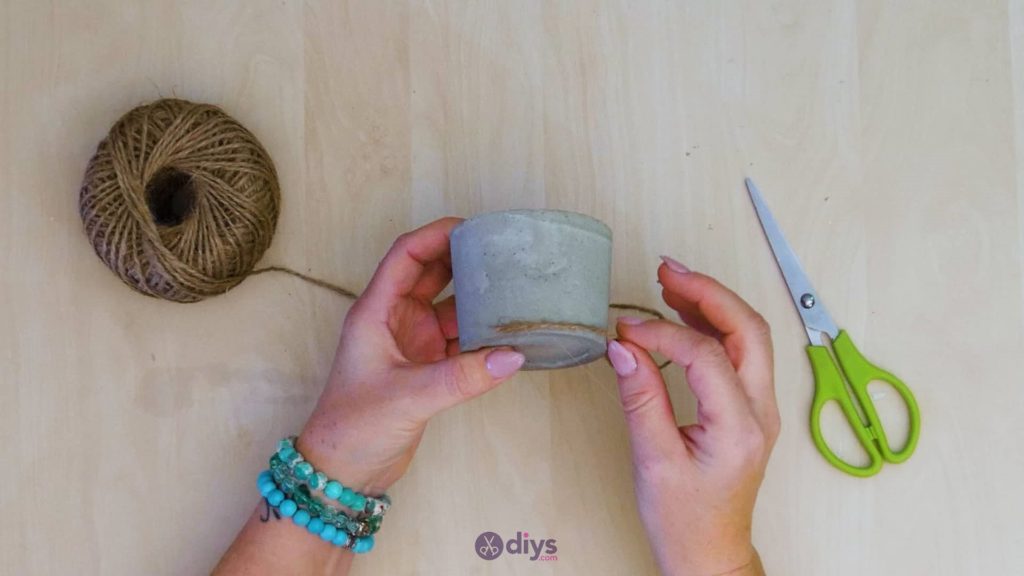
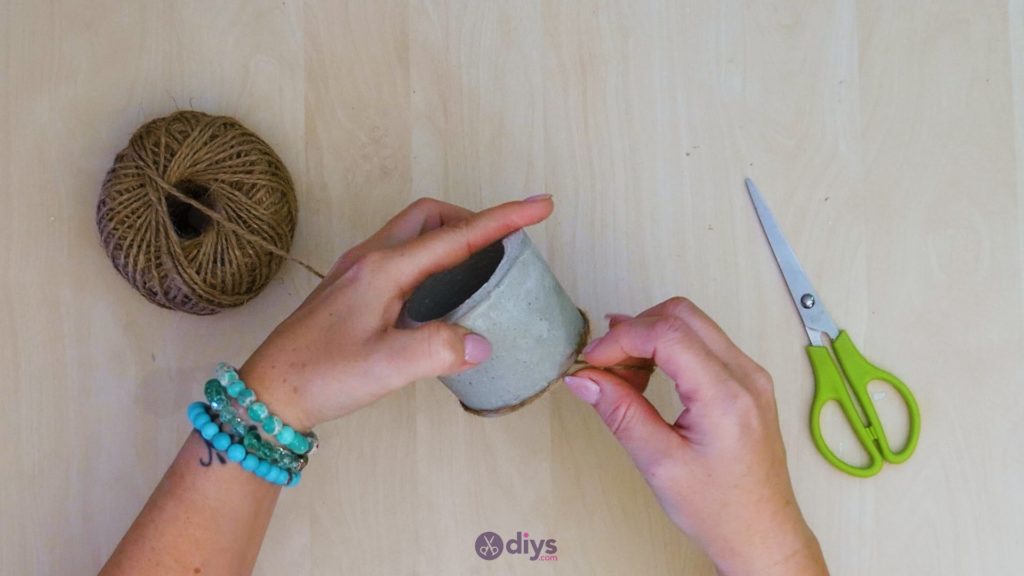
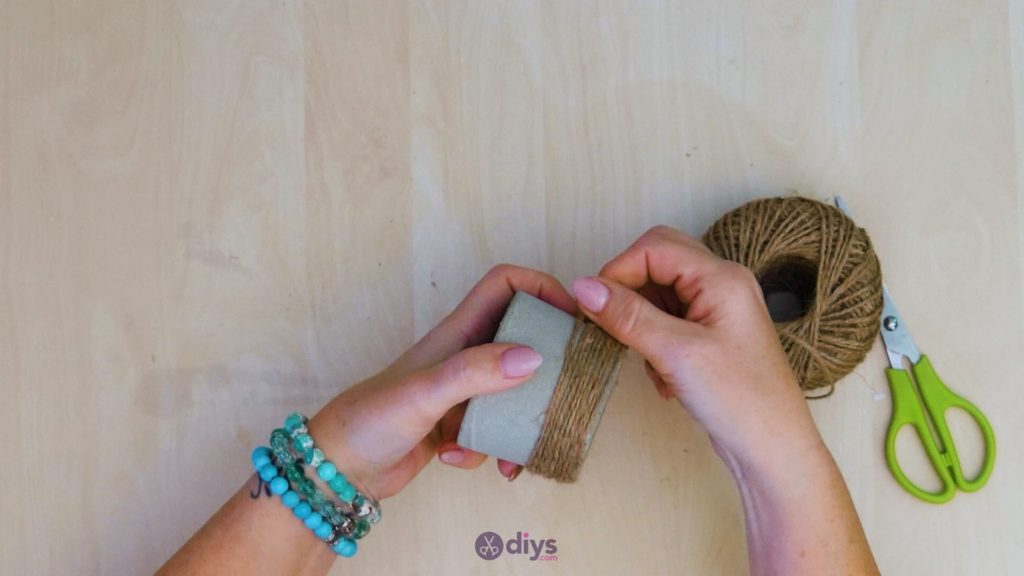
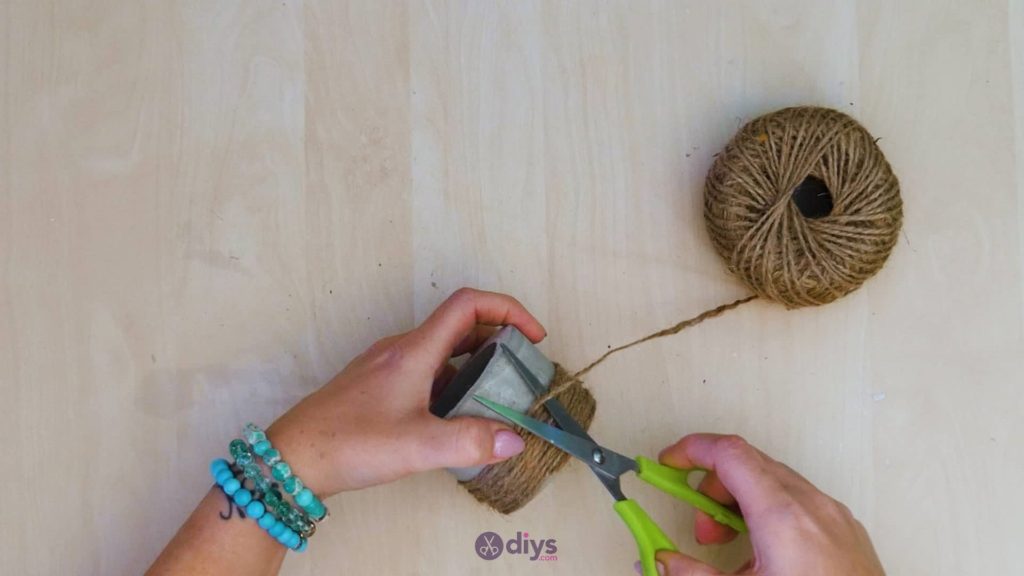
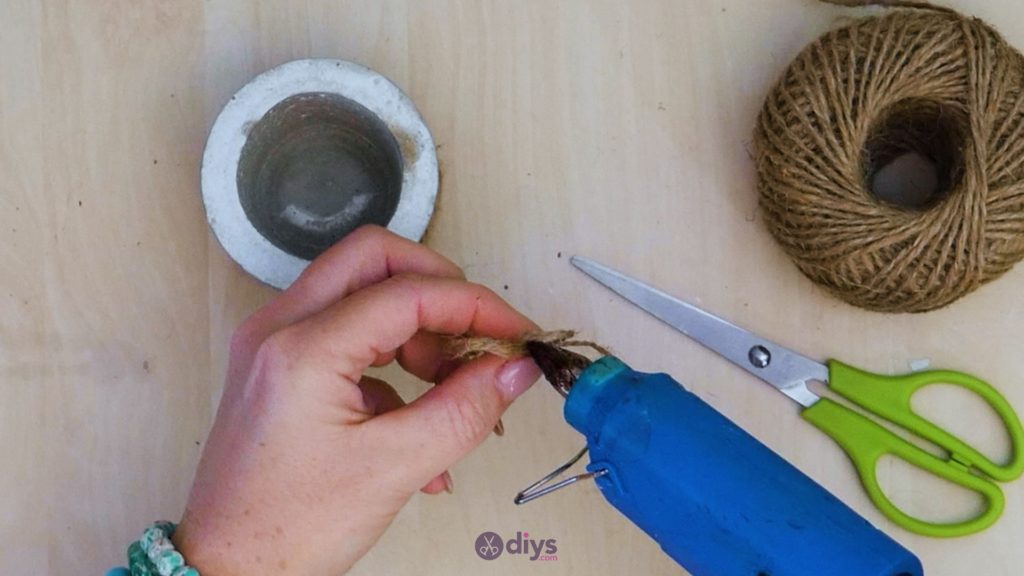
Now you’ll do some string wrapping around the bottom half of your concrete pot. Apply a little bit of hot glue right near the very bottom edge and then position the end of your jute twine so the string is horizontal and can be wrapped all the way around the pot. Stick the end down in the glue and start wrapping, keeping the string in line with the pot’s bottom edge all the way along. When you get back to the start, continue wrapping with the string positioned so that it lies against and runs along next to the part that you already wrapped. Keep going so the jute twin travels flat and upwards on the surface of the pot. I wrapped until just before the halfway point. When you get back to the side you started on and you’re happy with how much you’ve wrapped, apply another dot of glue, trim the string, and stick the new end down there.

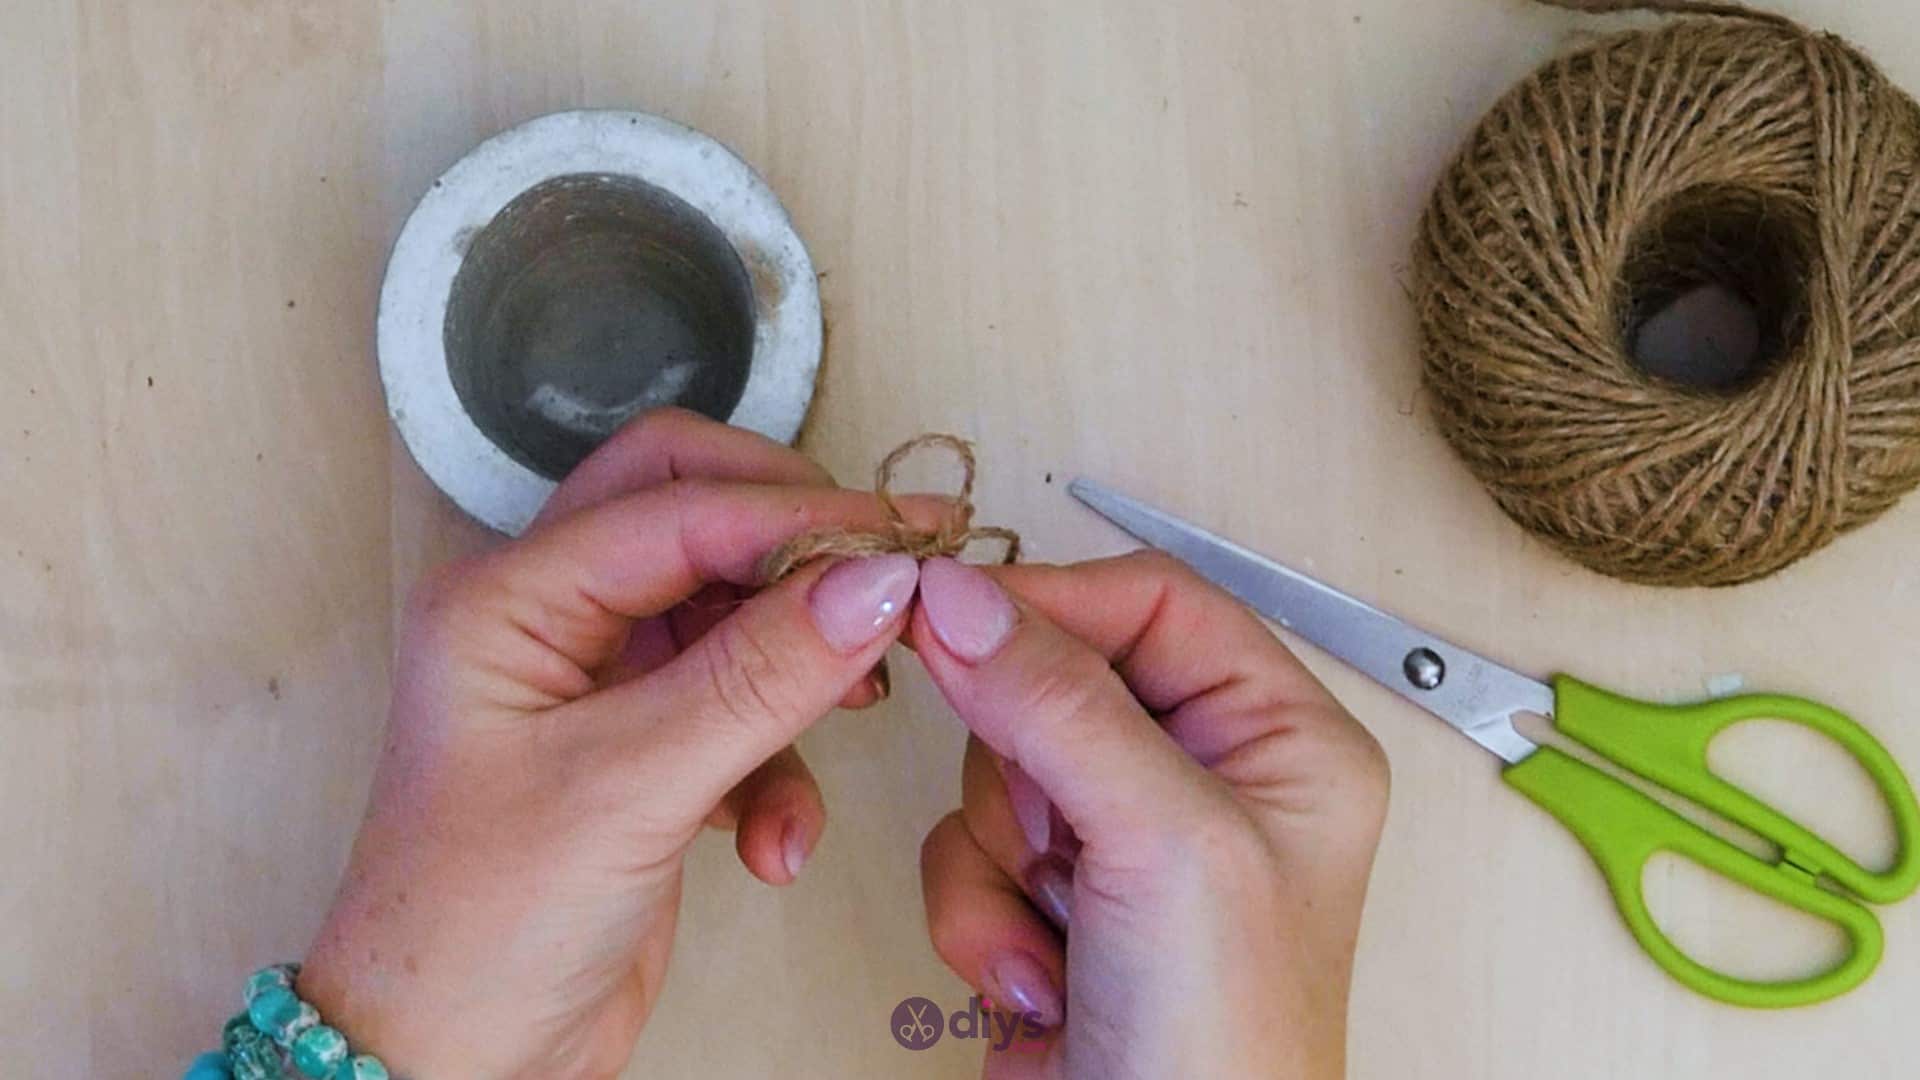
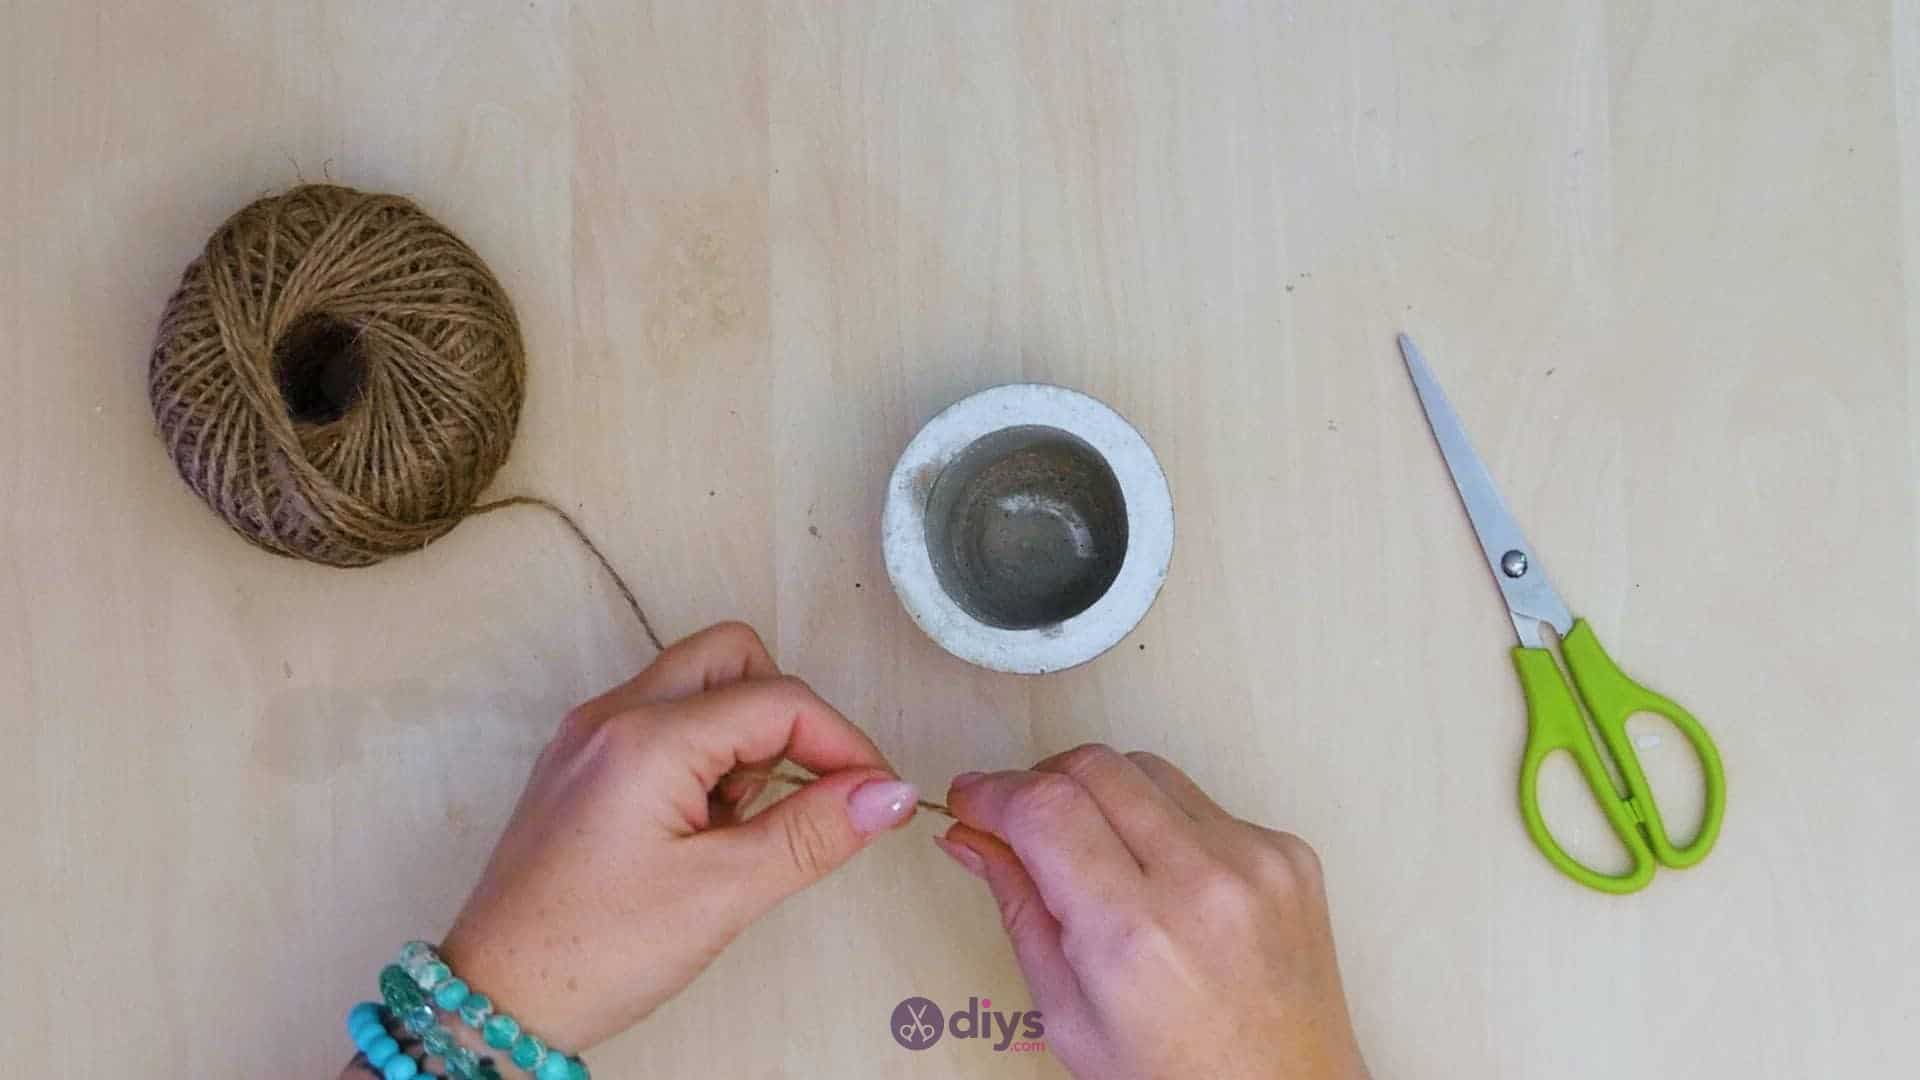
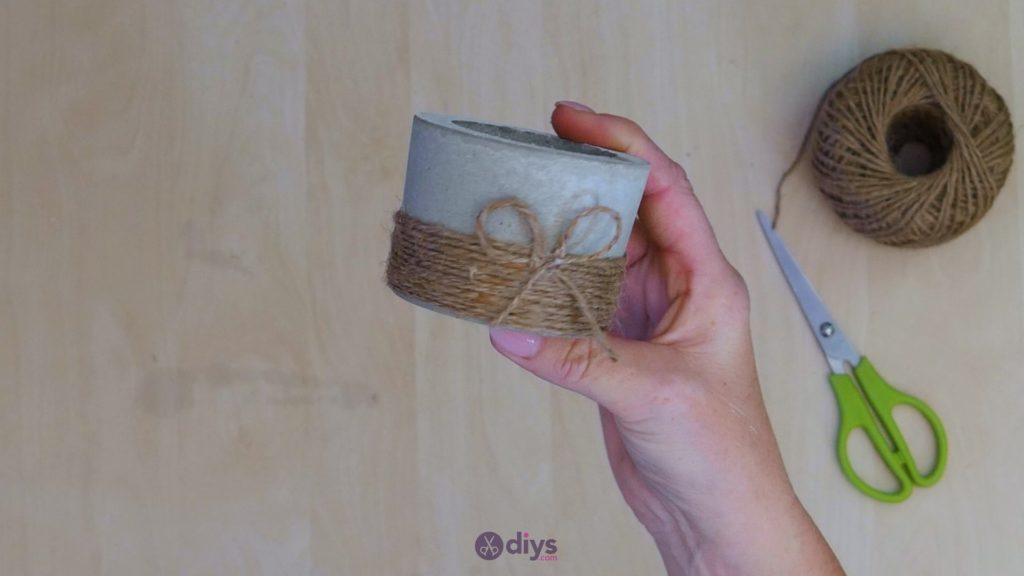
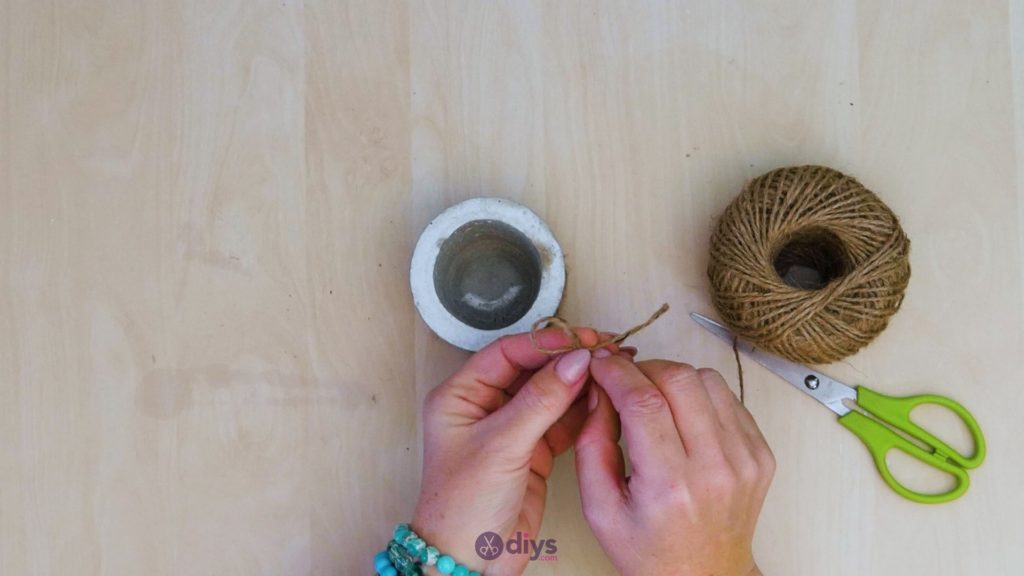
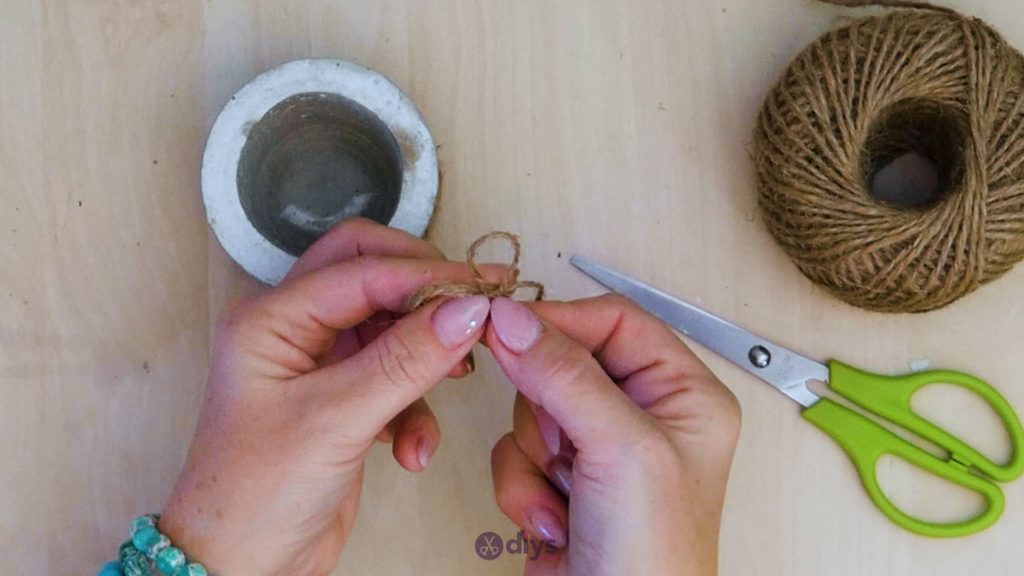
Step 6: Make the Bow
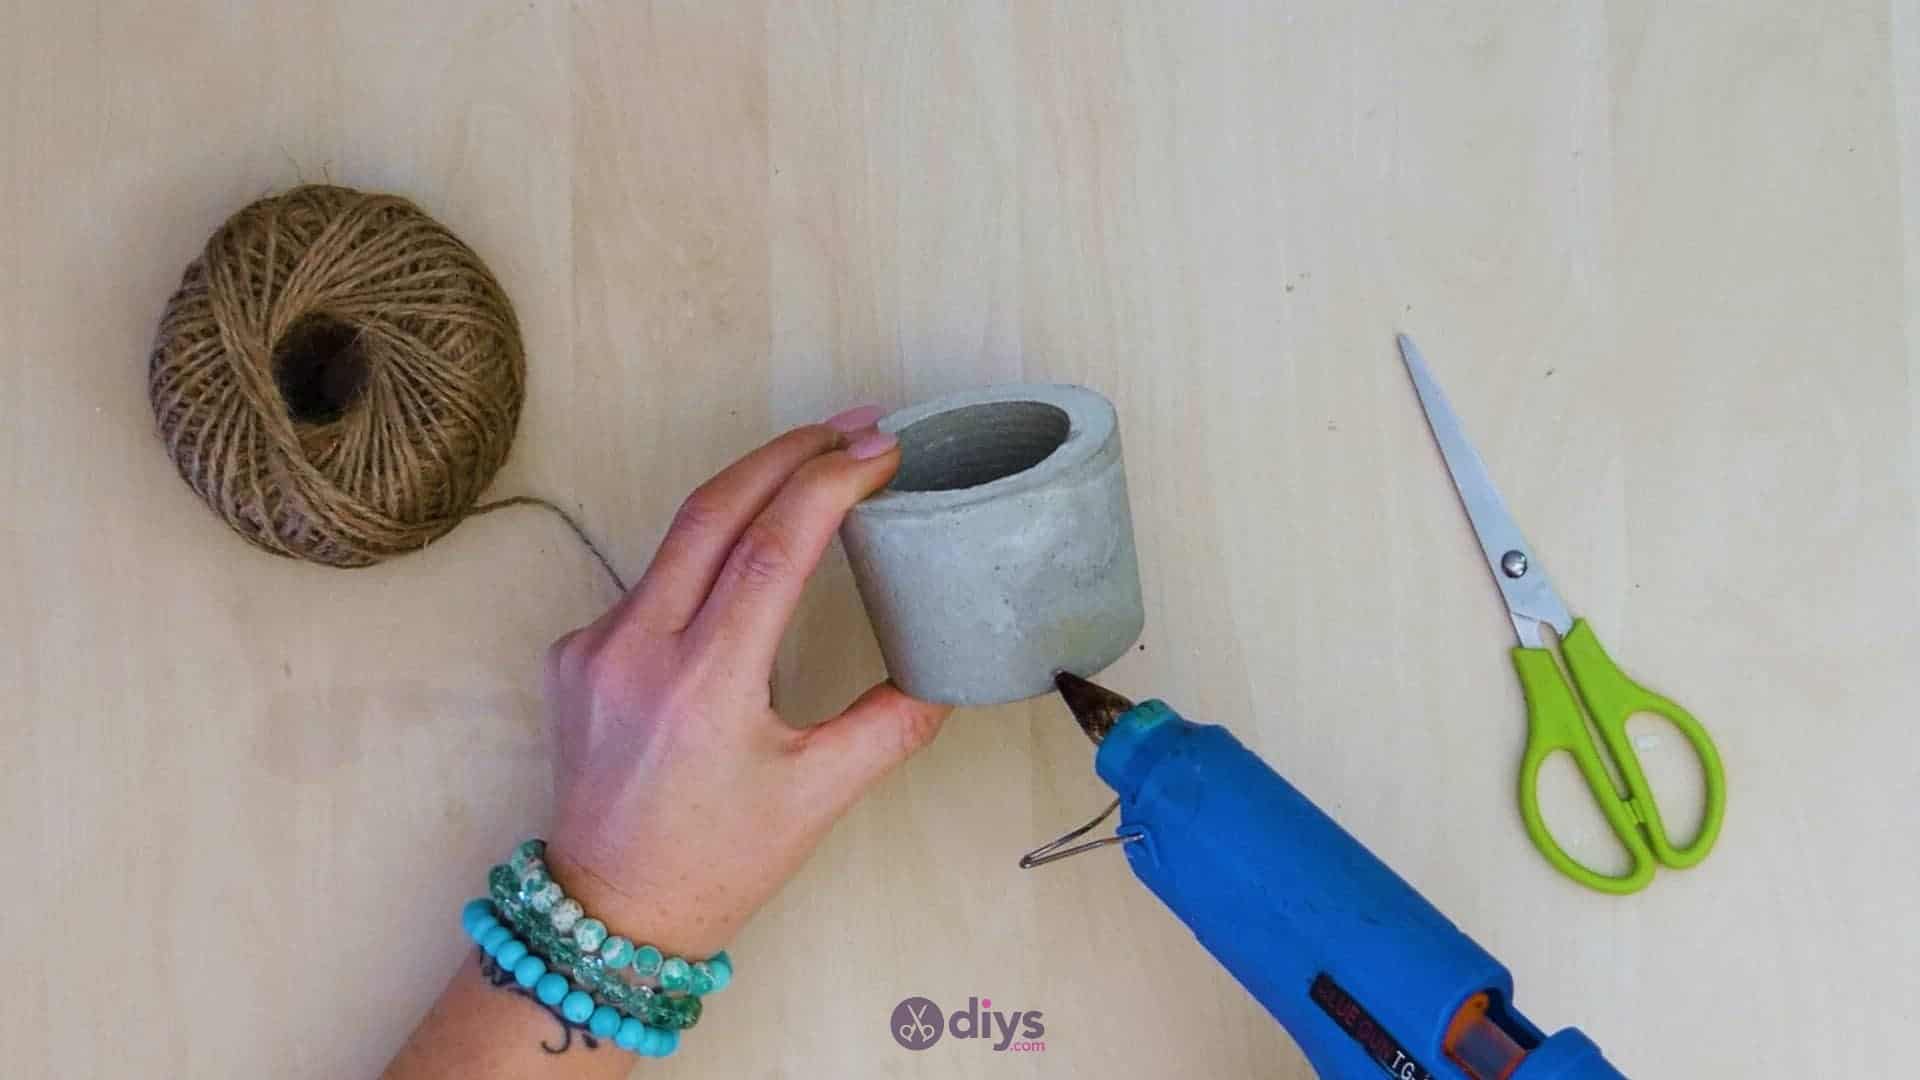
Cut a new piece of jute twine that’s about four inches long and make it into a bow. Curl one side inwards to the string’s halfway point so it makes a loop, letting the end cross over that middle point. Apply a dot of glue and stick the crossover in place, leaving an excess end like a ribbon’s tail. Repeat the looping process inwards from the other end, sticking it down in the same way to cross over the middle point with some excess. Trim your two ends to be the same length. Then turn your bow over and apply some glue to the back. Choose which side of your flower pot you want to be your front and stick the bow down near the top of the twine wrapping you just finished.


That’s really all there is to it! Feel free to add colour with paint or embellish your pot in different ways if the natural and more rustic chic aesthetic I aimed for isn’t quite your style; you can still use this technique as a basic guide and just change up the details. Just in case you’d like to try this project out for yourself, here’s a fantastic tutorial video to help you!