DIY Pom Pom Valentine’s Day Craft Monsters
Updated on November 19, 2025
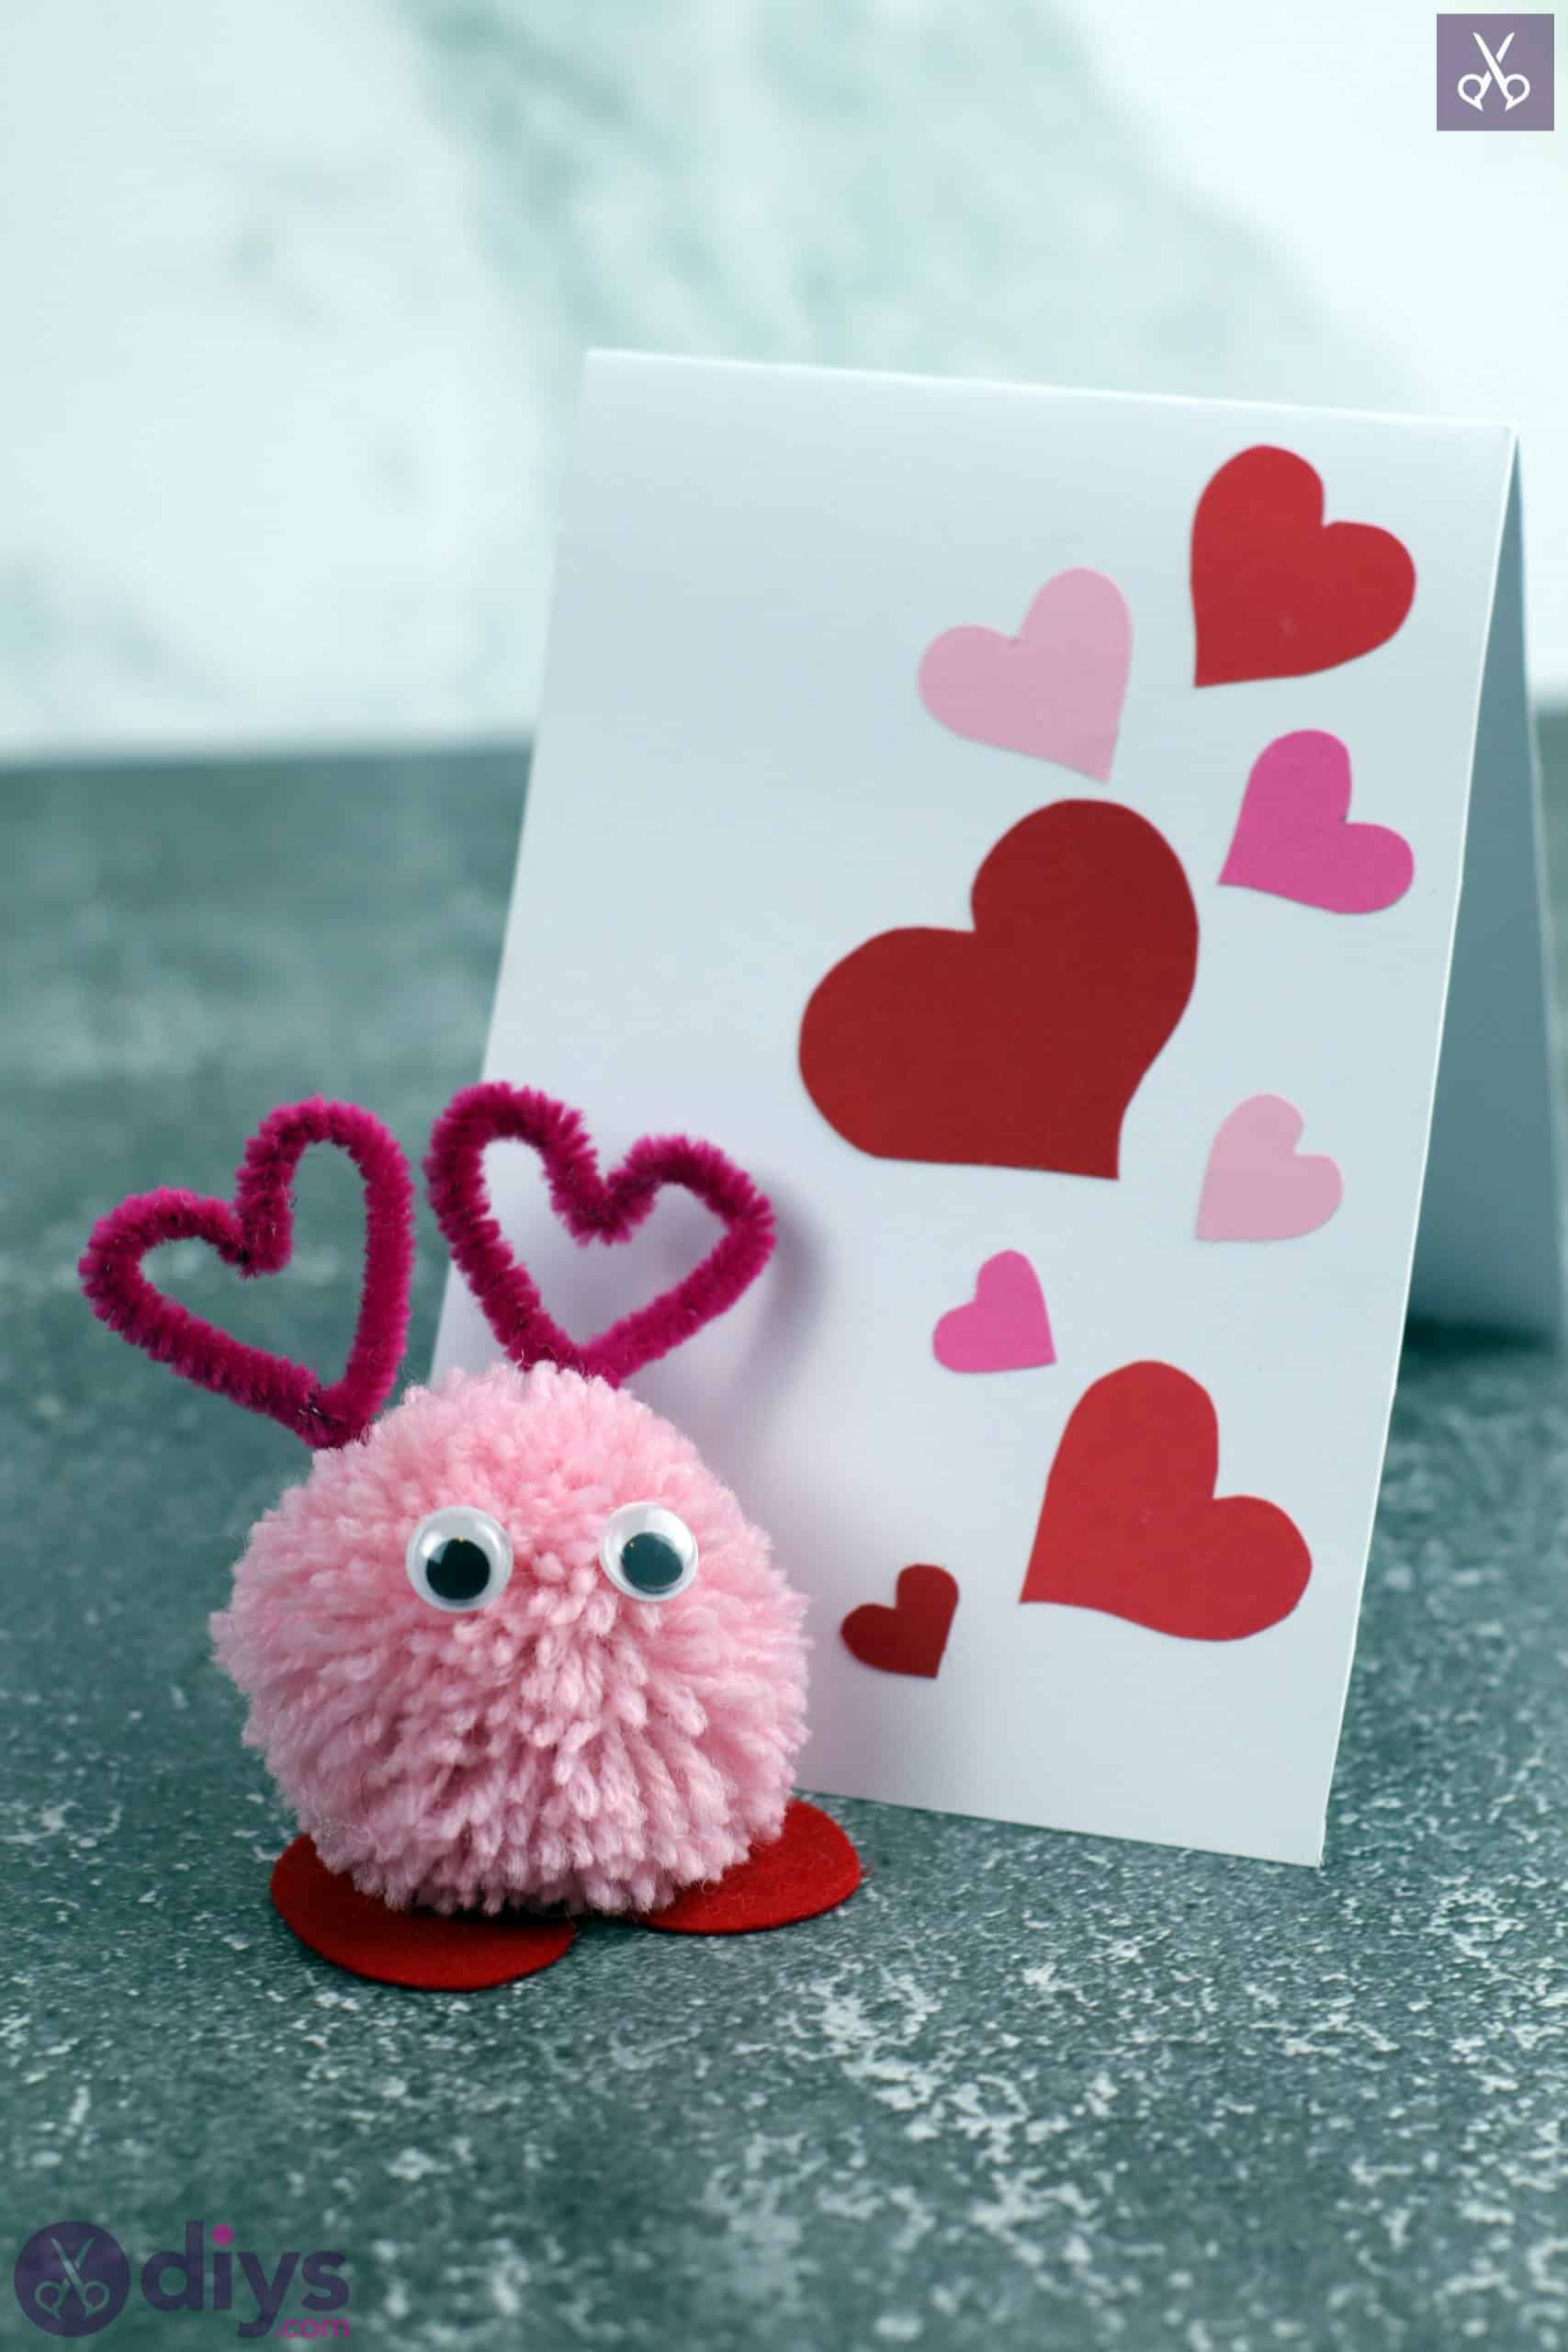


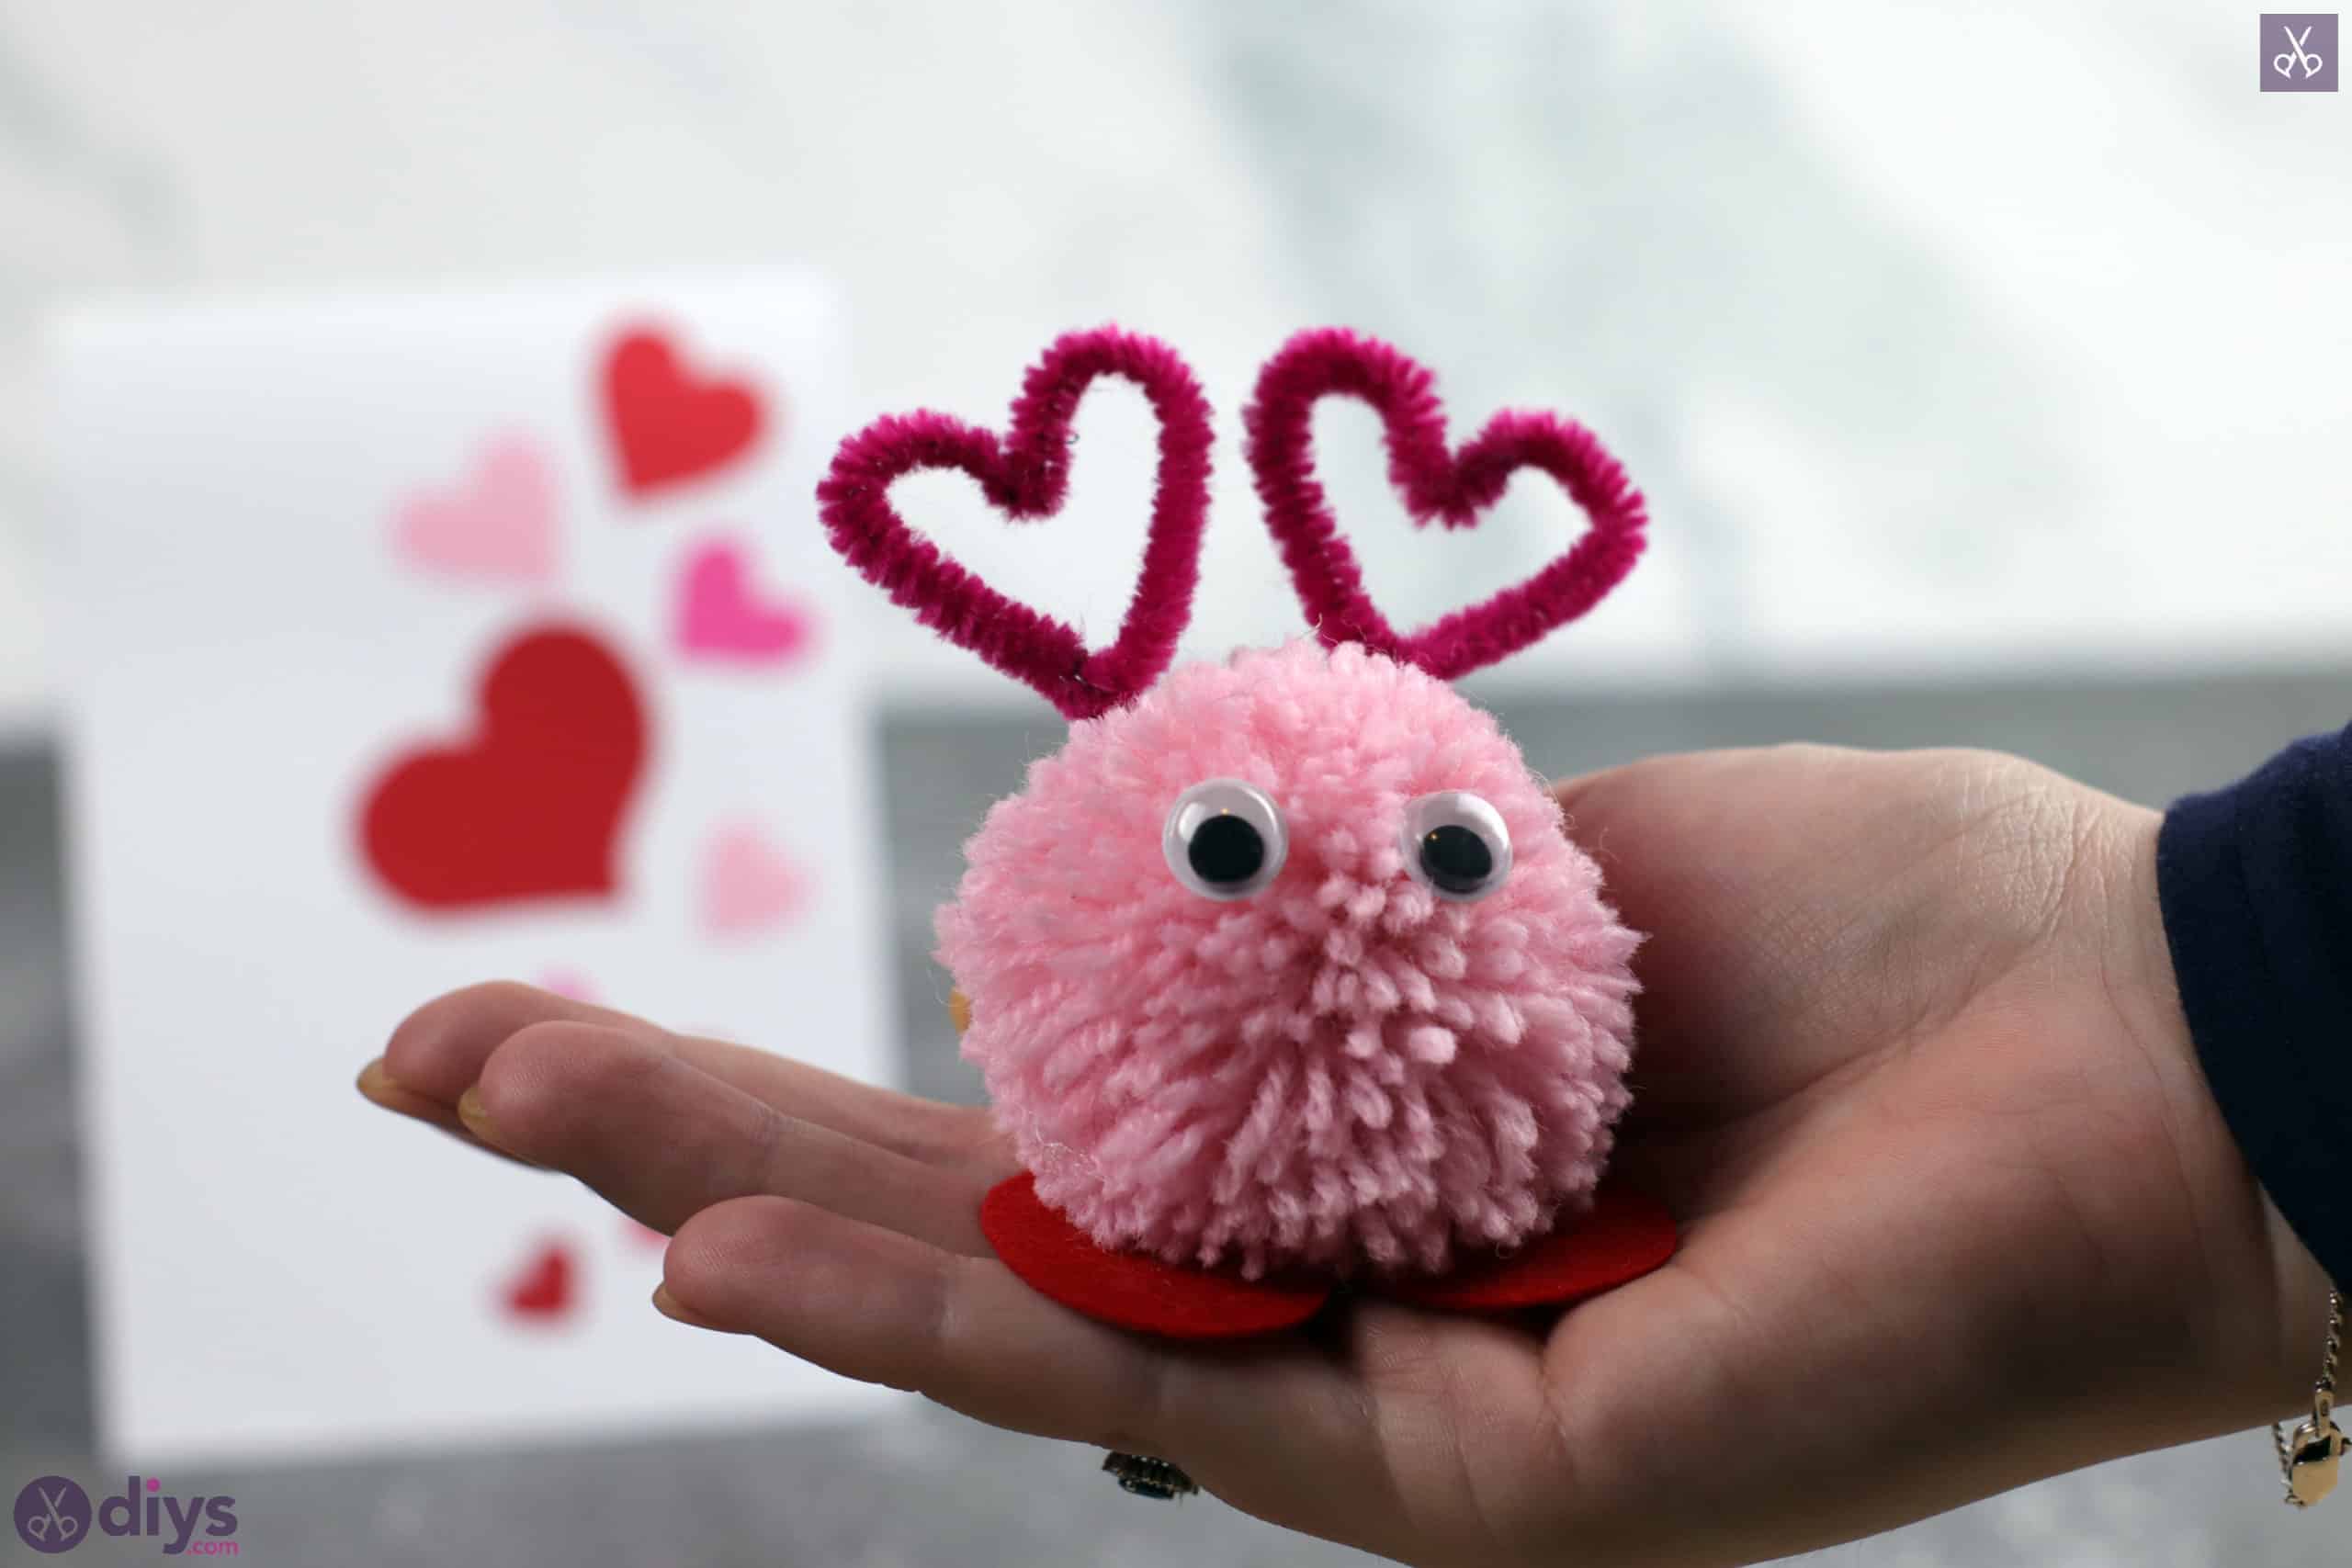
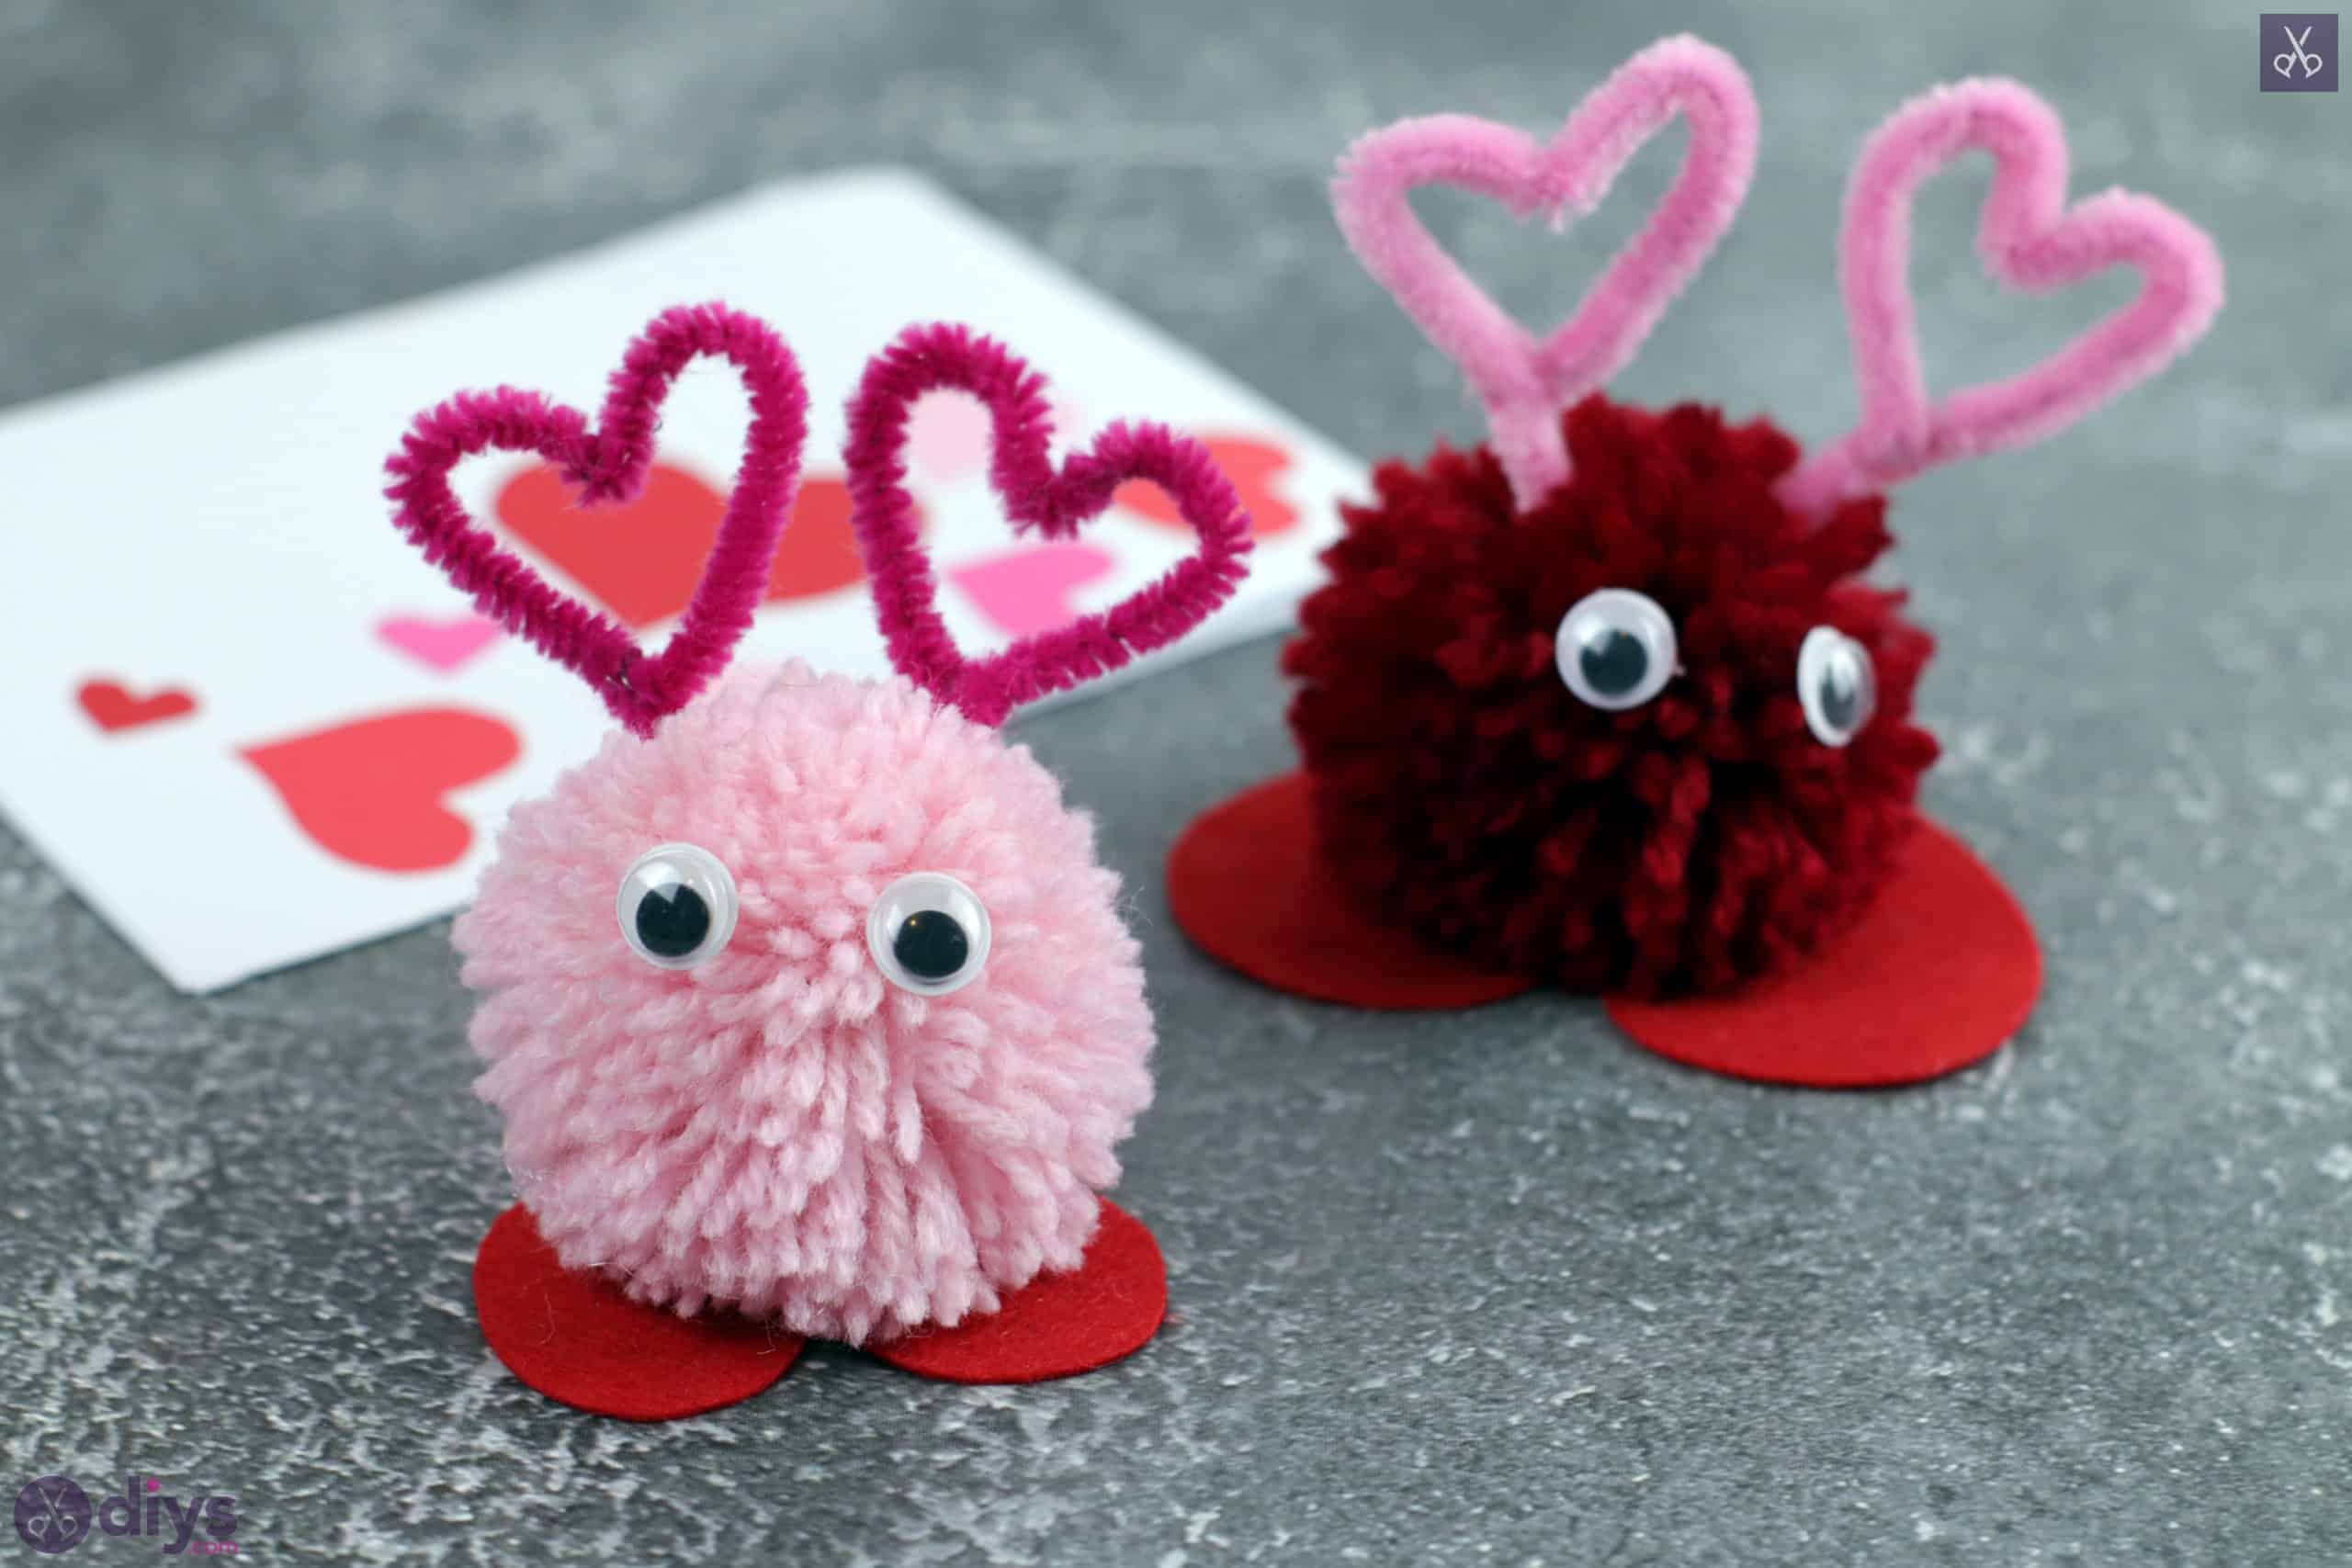

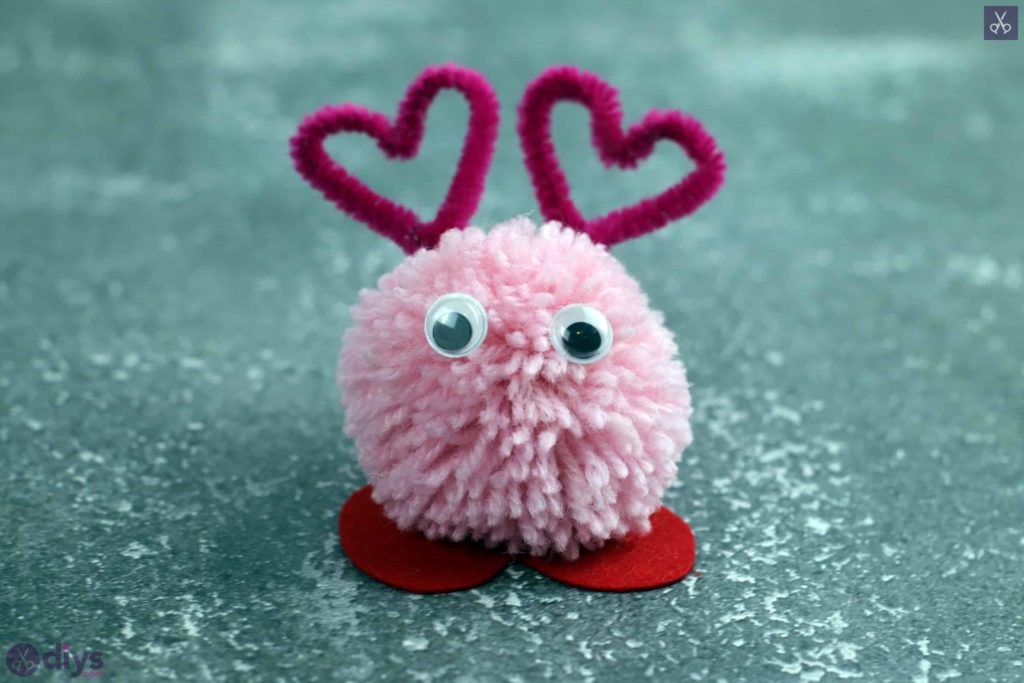
These DIY pom pom Valentine’s Day craft monsters are the perfect idea to try with your kiddos this year! Check out just how I made them right here.
We actually had so much fun making these pom pom monsters together that we made several each and scattered them about the house in preparation for the big day. Like I usually do, I decided to outline the process of how they were made during one of mine, just in case other crafting enthusiasts like the look of them too. Check out these step by step instructions complete with photos! If you’d rather follow along with a video tutorial instead of written words, scroll to the bottom of this post to find just what you’re looking for.

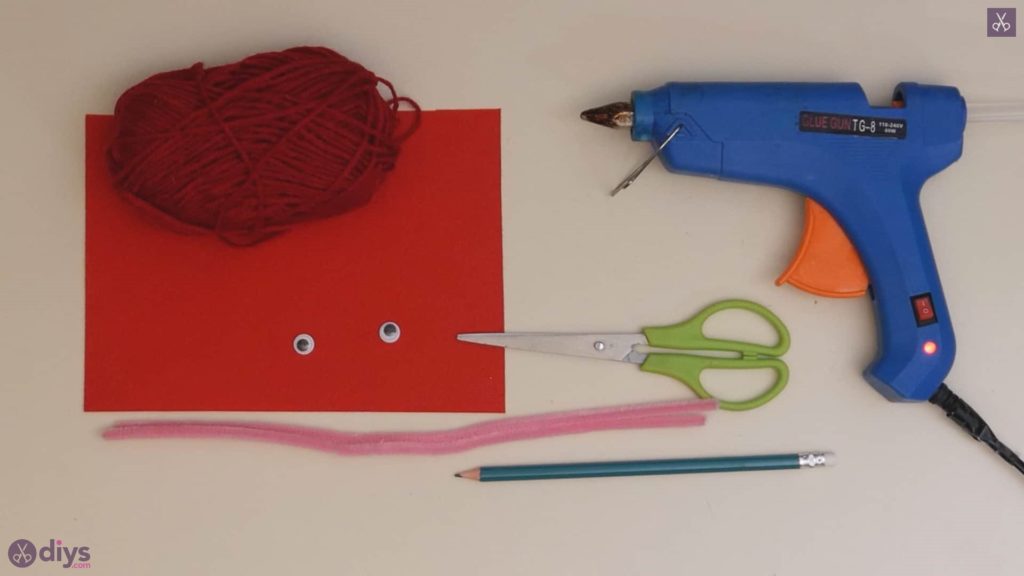
For this project, you’ll need:
- Red pipe cleaner
- Pink yarn
- Red felt
- Googly eyes
- Hot glue
- Scissors
- A pencil
Step 1: check your list
Gather your materials!
Step 2: draw the heart
Use your pencil to draw a heart shape in one corner of your red felt. I made mine as even as I could while freehand drawing and kept it about one inch wide and two inches tall. Cut the hear out and set it aside; this will be your monster’s feet later on.

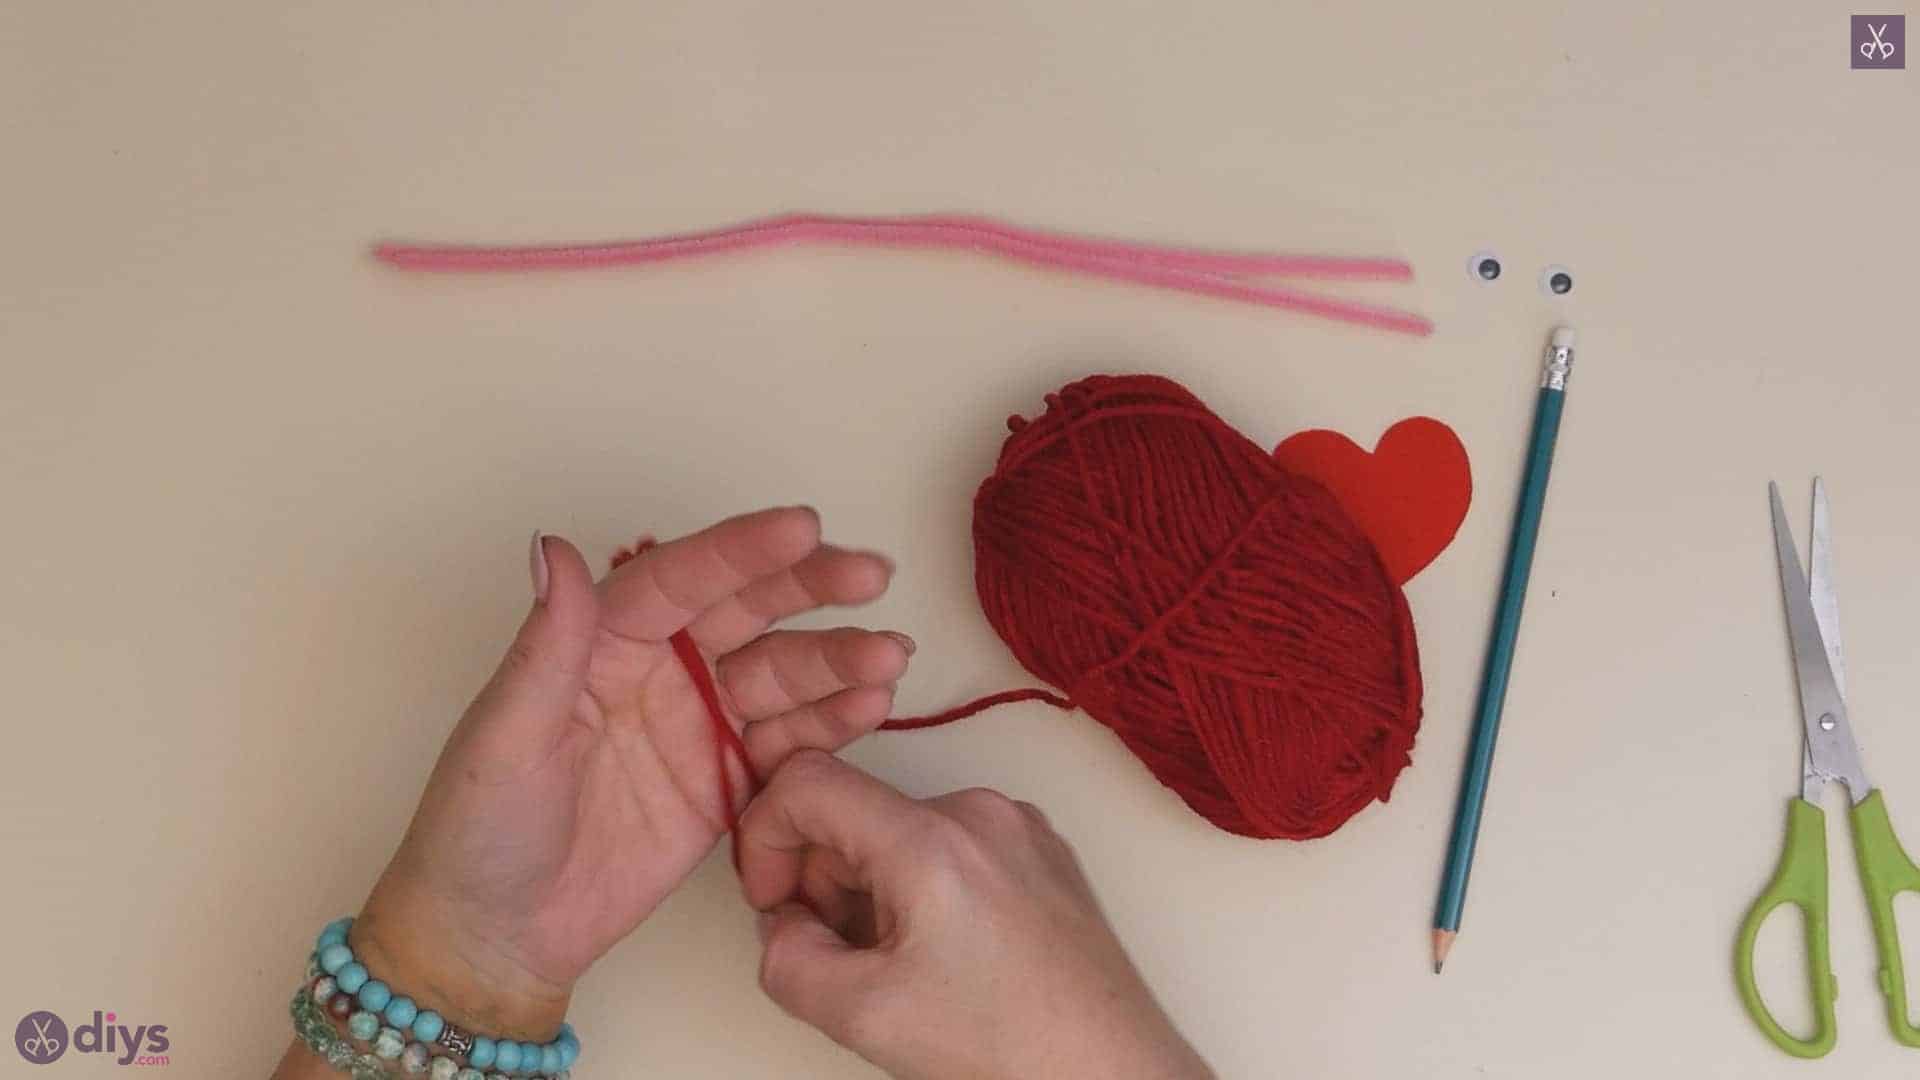
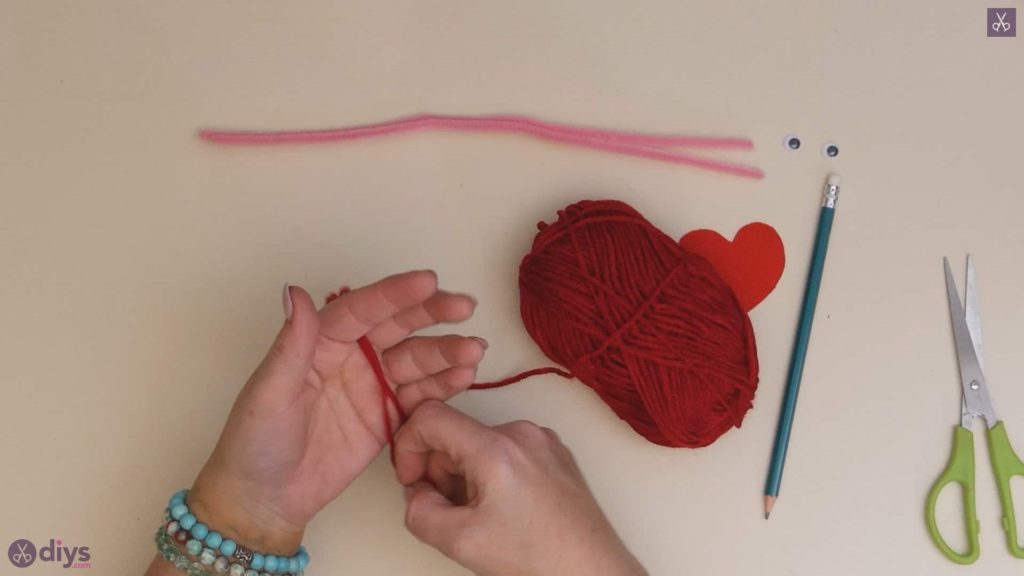
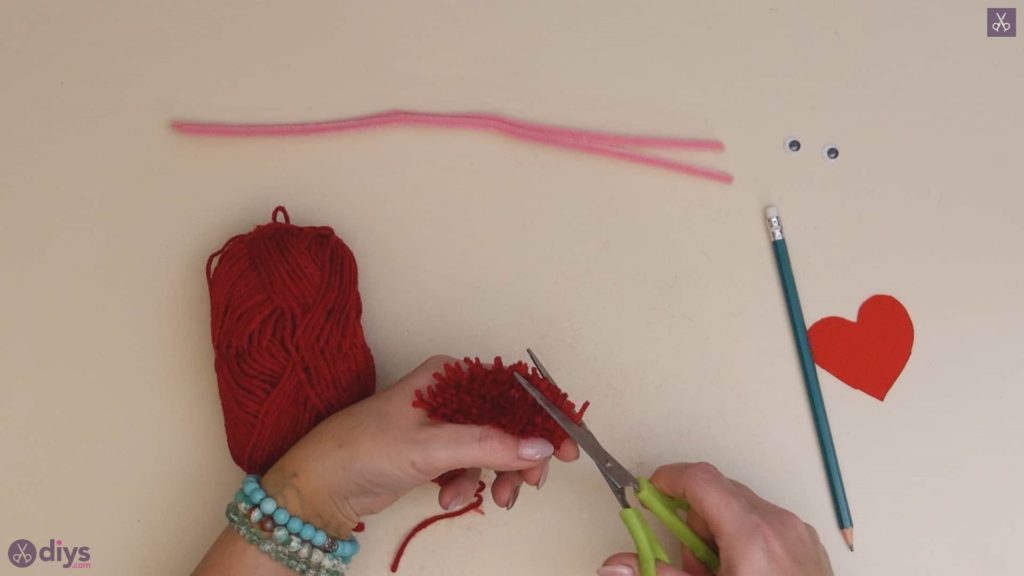
Step 3: make the pom poms
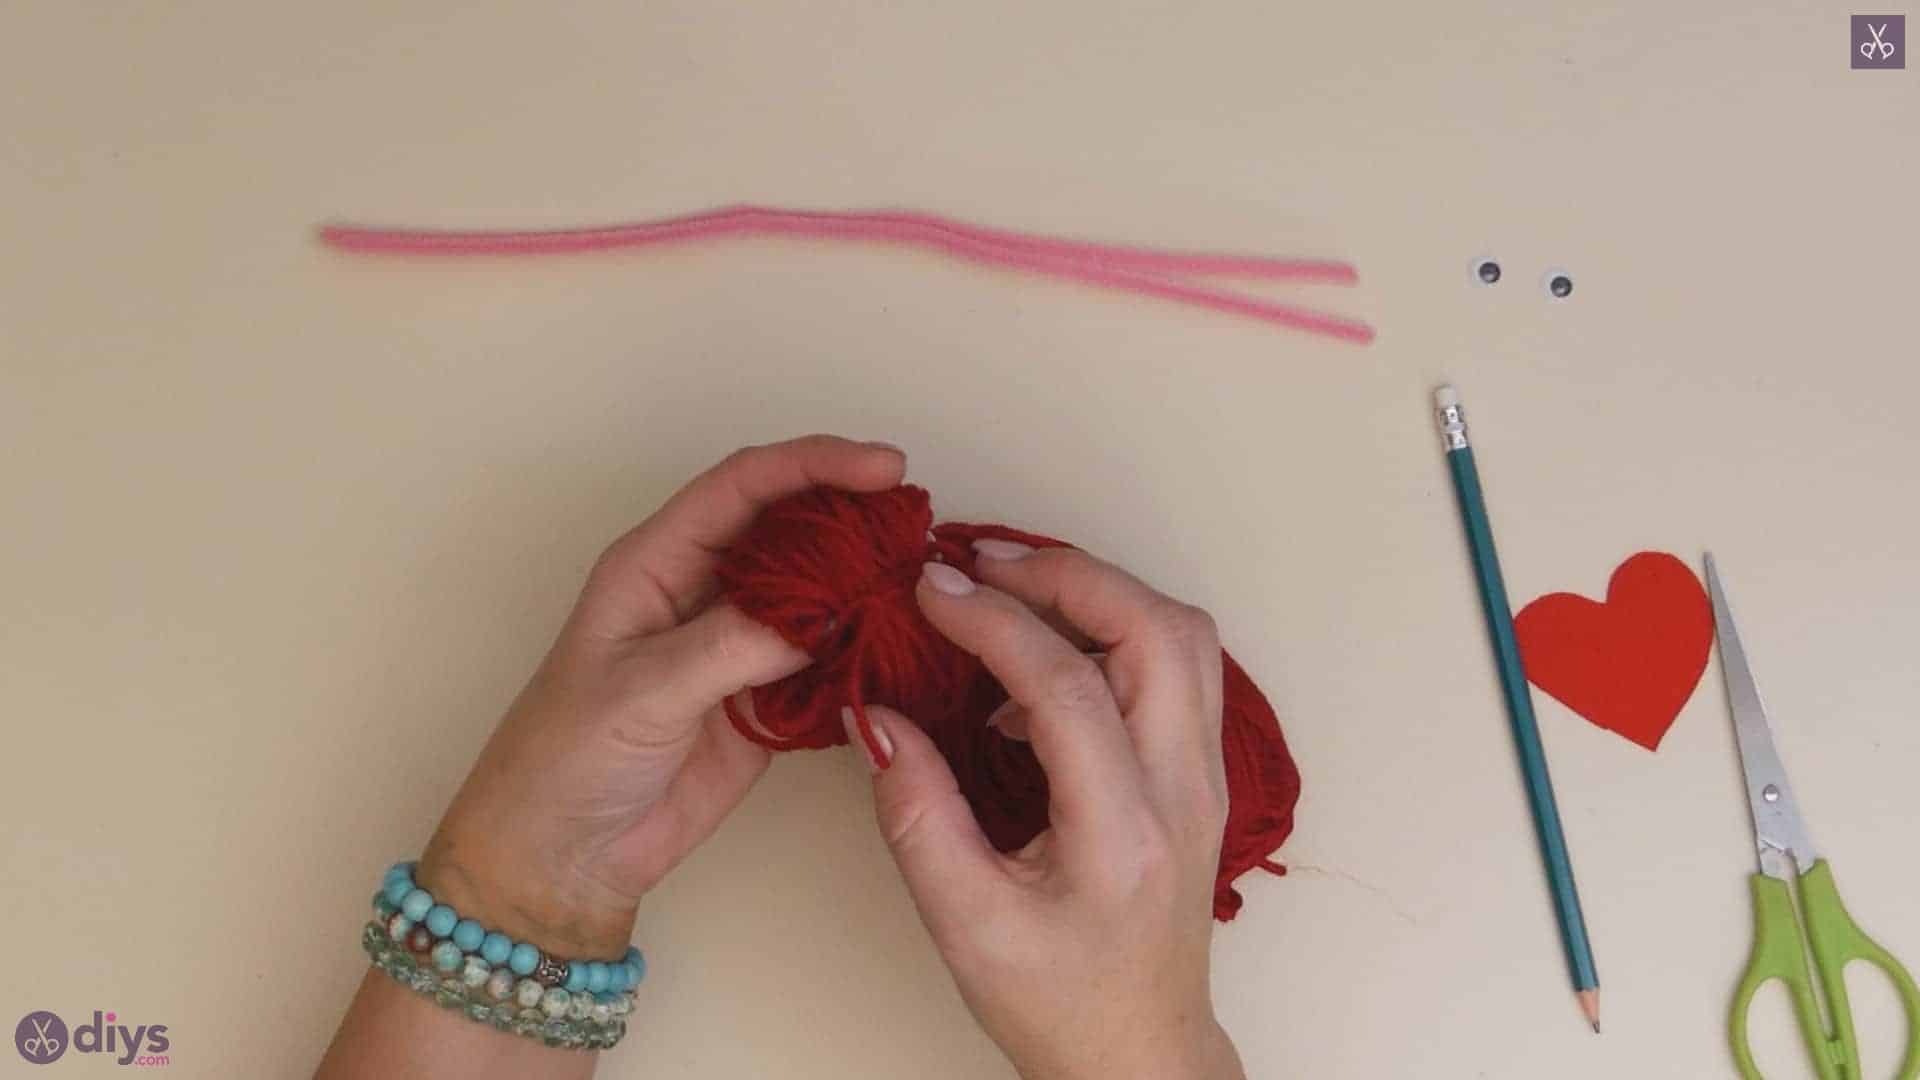
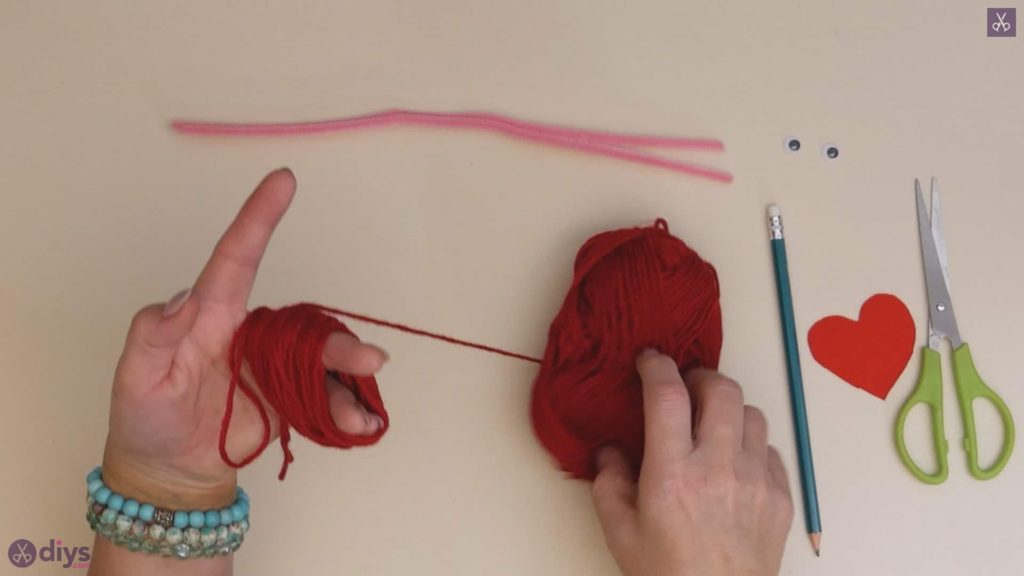
Use your red yarn to make a yarn pom pom! Start by cutting a strand of yarn about six inches long, folding it in half so you have the two loose ends met at one end and a loop at the other, and slide it between your first and second fingers with your palm facing you. I chose to put the looped side at the back of my hand and the loops ends at the front. Slide the piece all the way down to the base of your fingers and hold it there tightly so you’ll be able to find the loop and ends easily later. Next, place the end of the ball’s yarn against the inside of your fingers just to the side of those ends, holding the tip in place with your thumb and holding all your fingers together and straight out, and start wrapping the yarn around all four of your fingers; you can pull your thumb out once you’ve got a few rounds wrapped, as those will hold it in place instead.
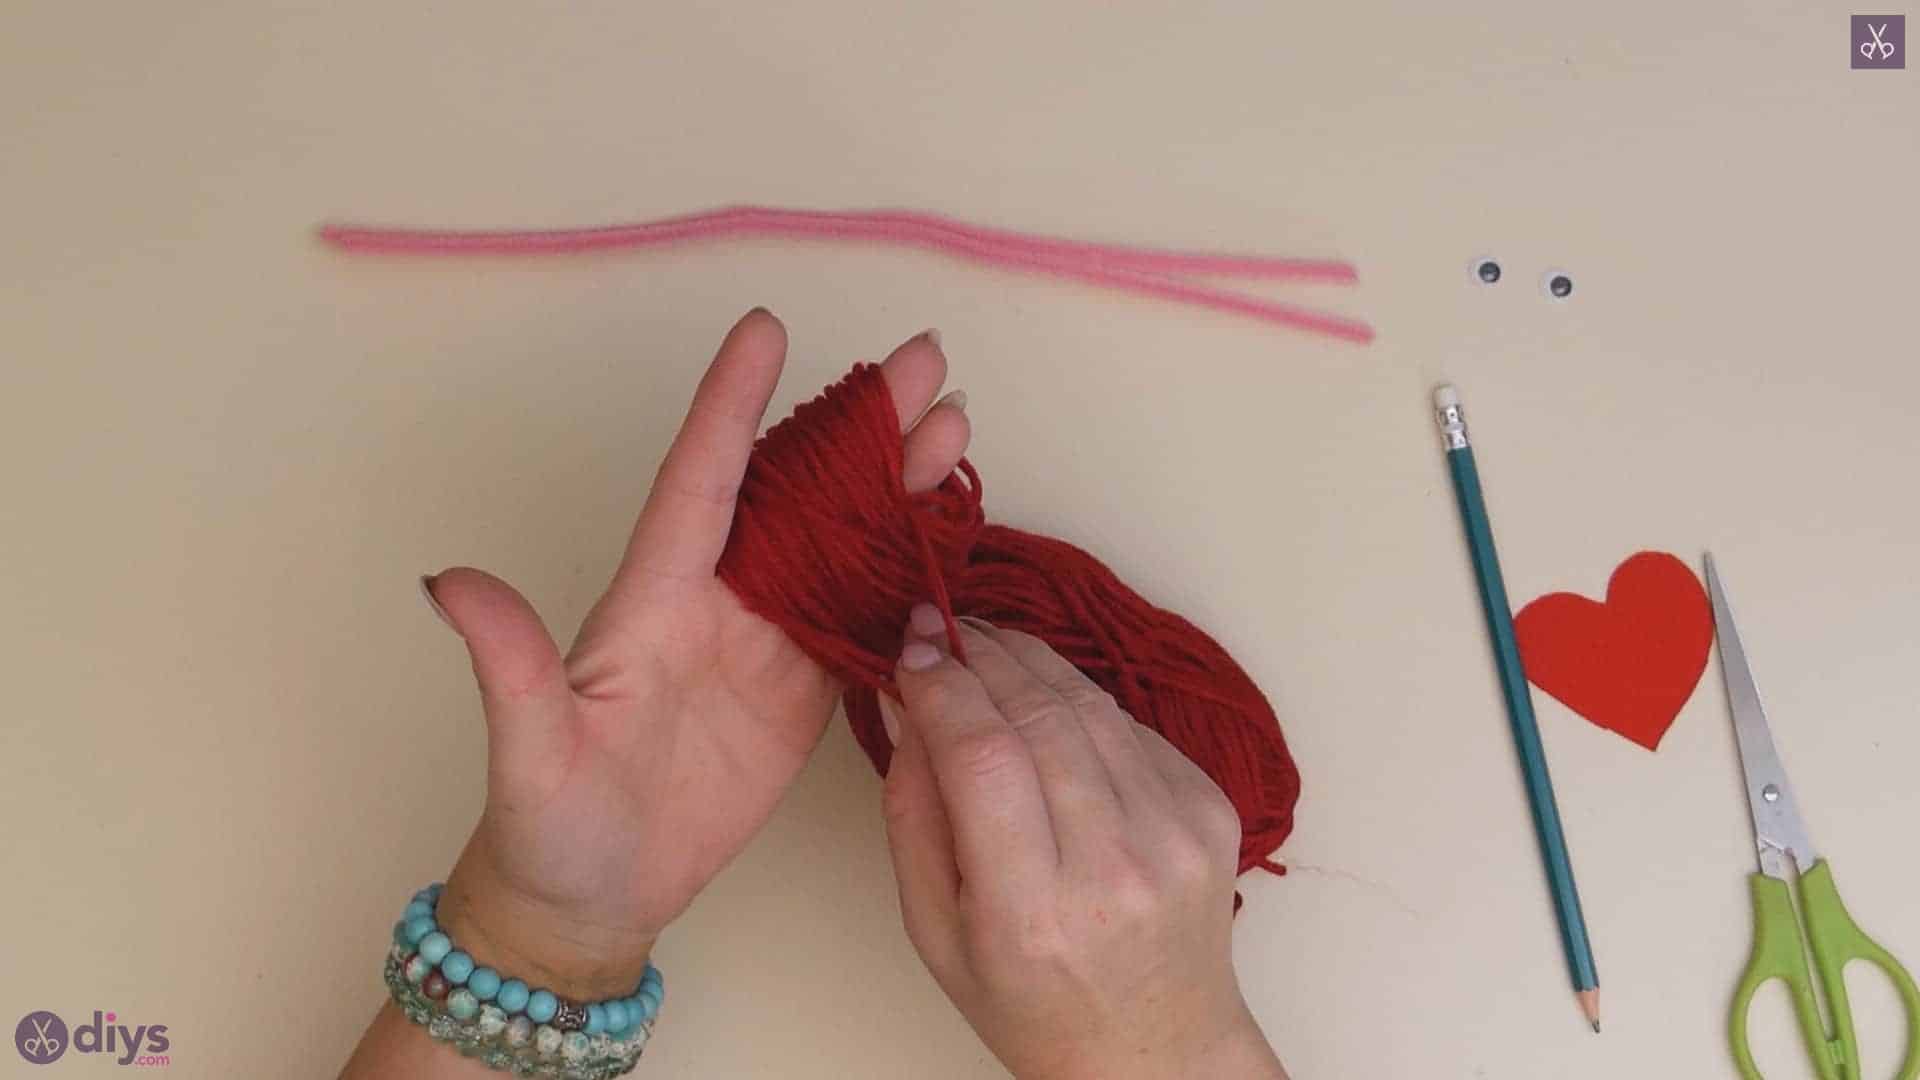
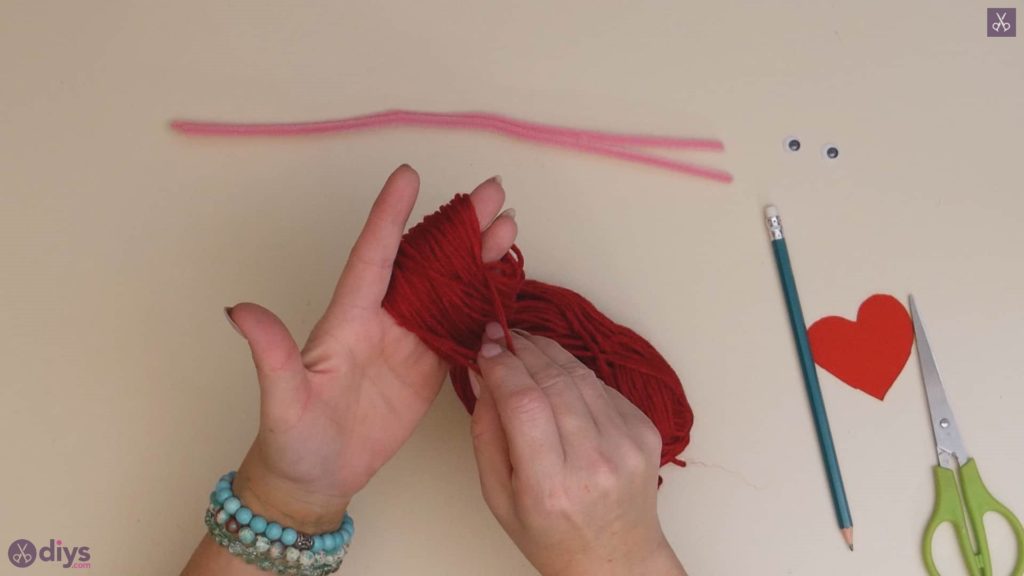
Keep wrapping until the yarn bundle around your fingers is half an inch thick (or however thick you please; the more you wrap, the fuller your pom pom will be). Bring the live yarn back around the front of your hand (palm up) and pinch it in place with your thumb again, then cut it free. Now, grab the ends and loop of your original piece and pull the, towards your bundle, towards the tips, bringing the up and around the bundle to meet on the other side. Pass the ends through the loop and start pulling your ends tight so the loop slides down and pinches the bundle in the middle, cinching it.
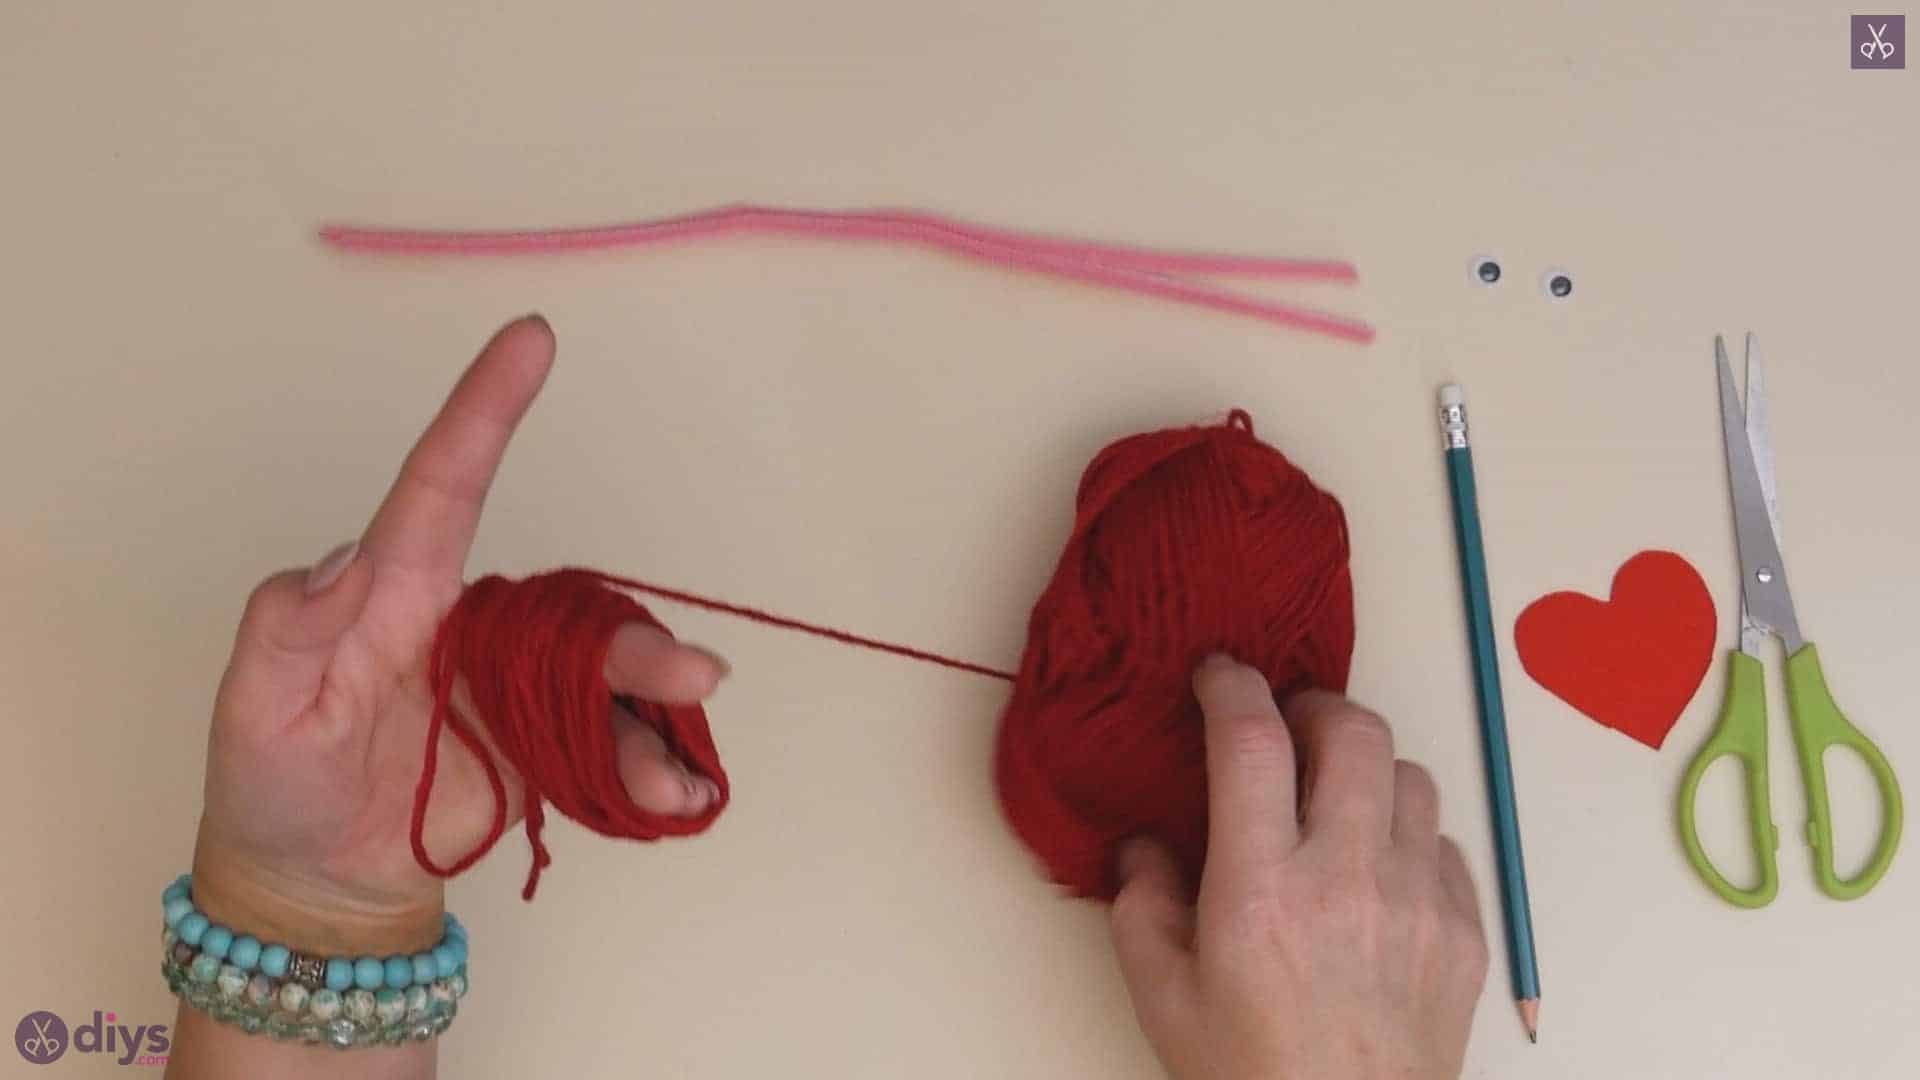
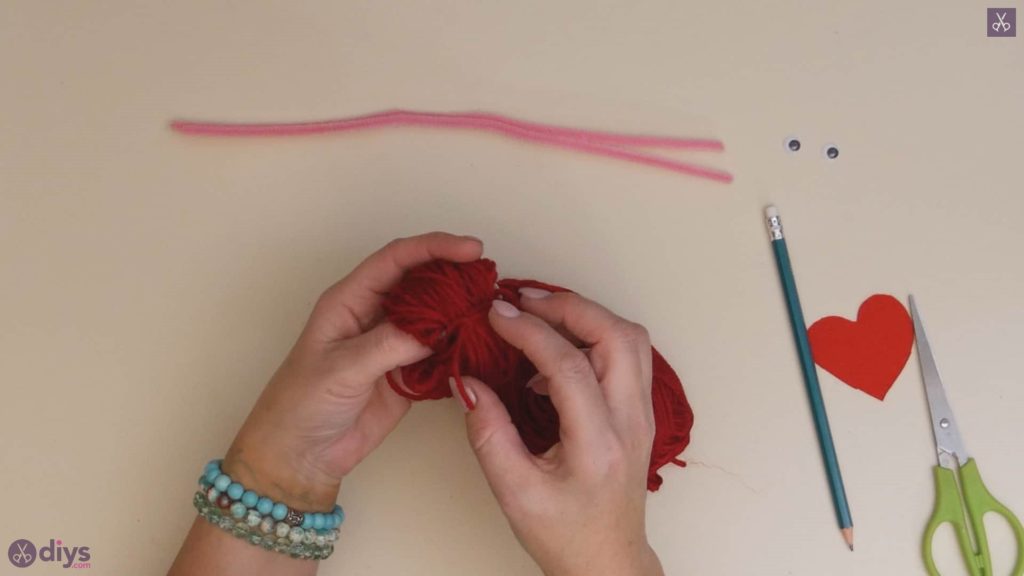
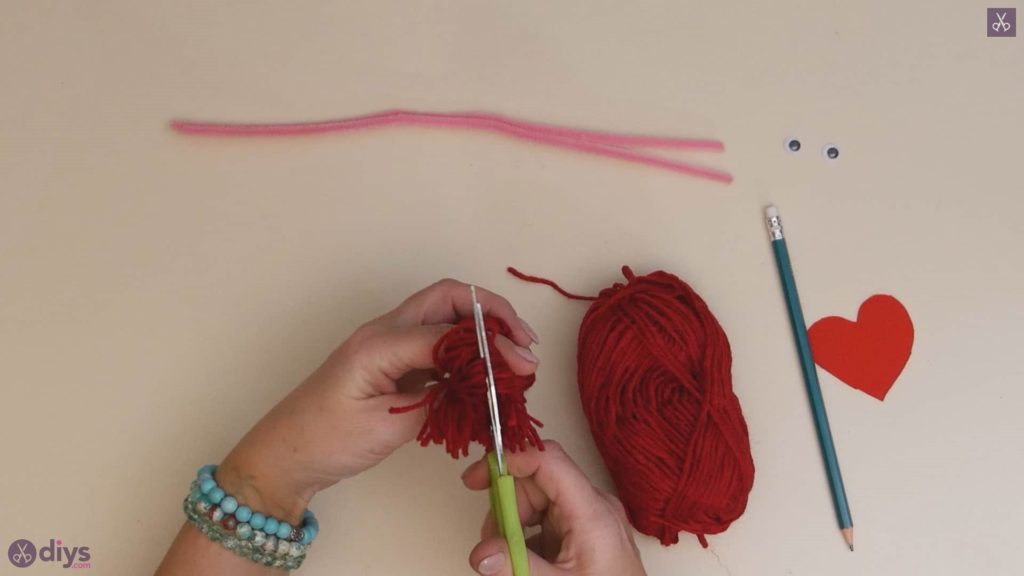
Now that your bundle is held together, slide the whole thing off the ends of your fingers (feel free to tighten the middle more once you’ve got both hands free- I made sure to tie my ends in a tight not to keep them in place). Take your scissors and cut the ends of each loop at the top and bottom of your pom pom free so they spring apart and make that classic spherical shape. Finally, trim the outside edges of the pom pom’s fringe so they are more even and the whole thing is a little more rounded and smoothly spherical.
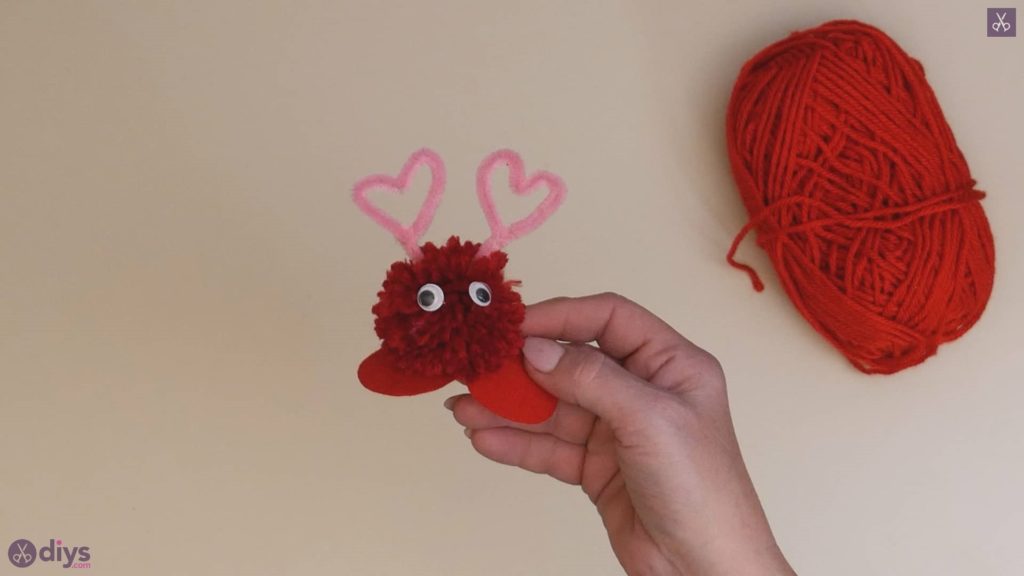
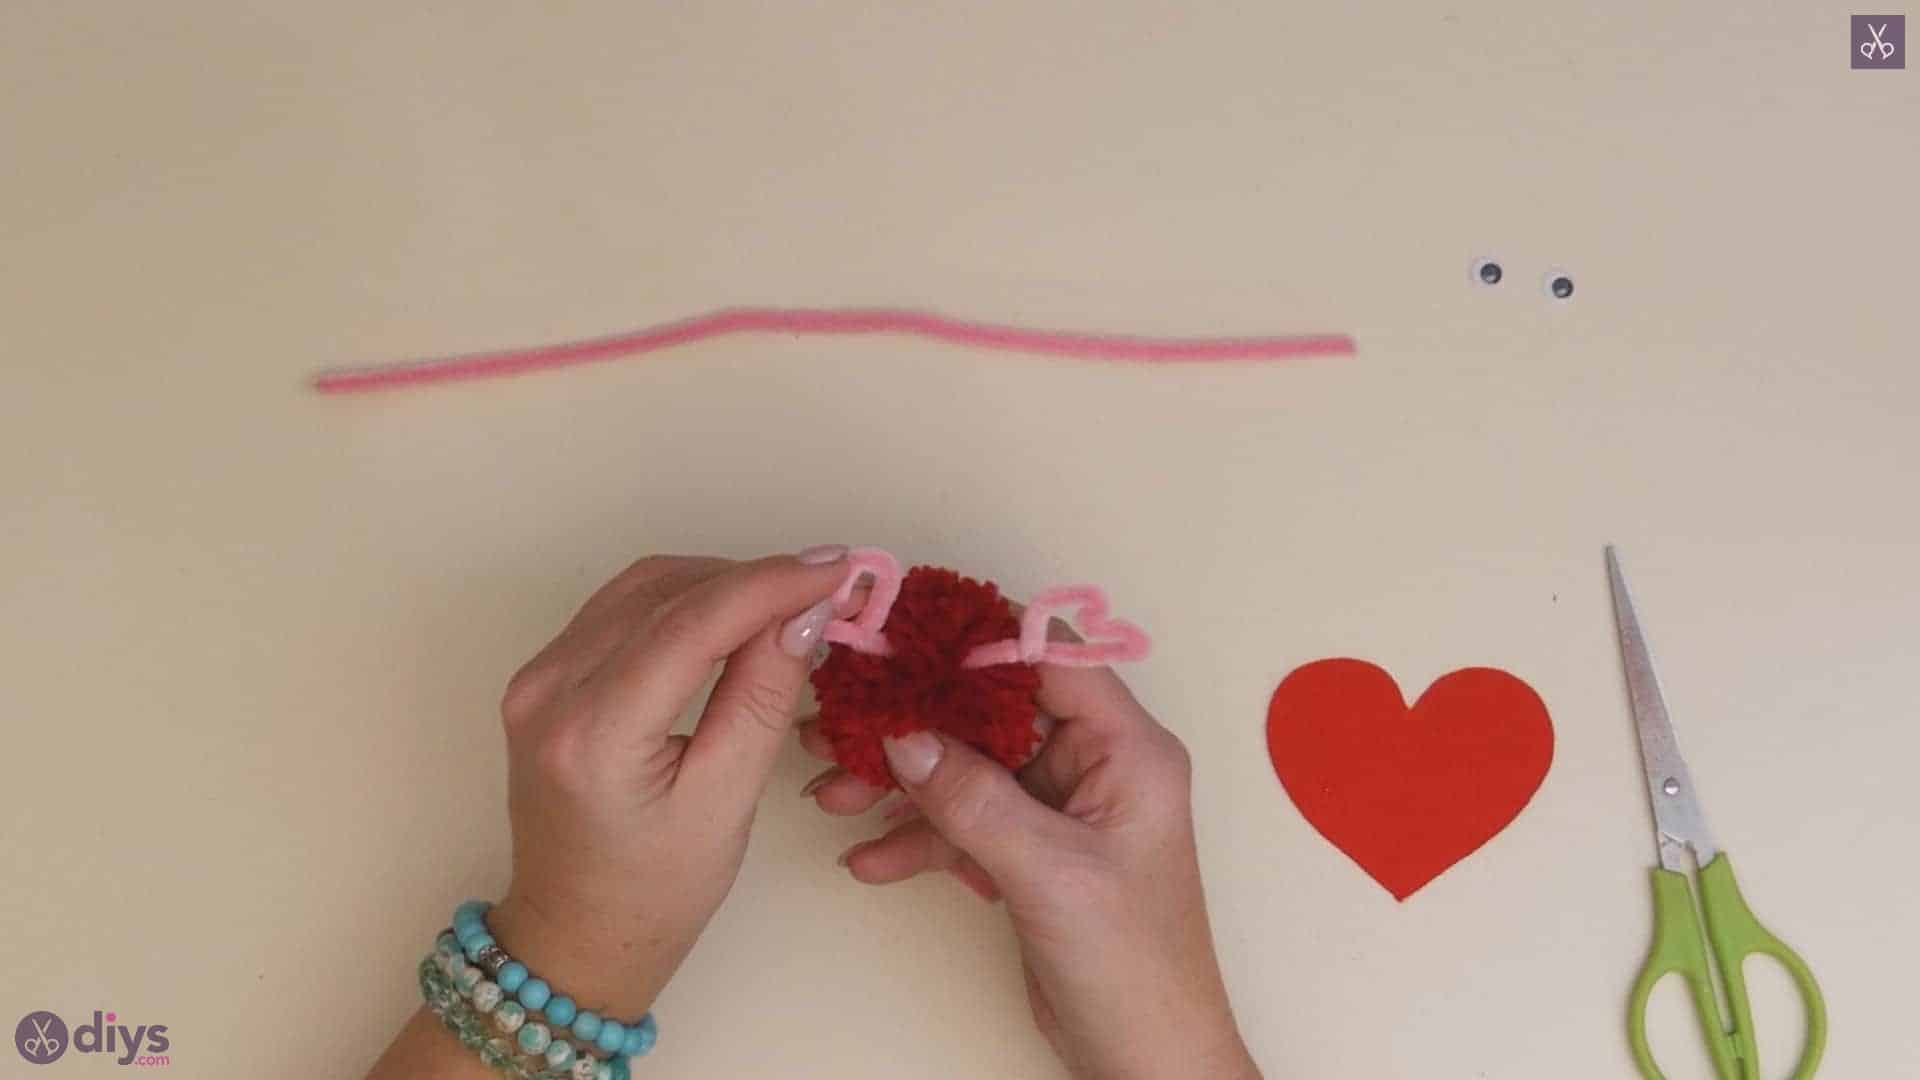
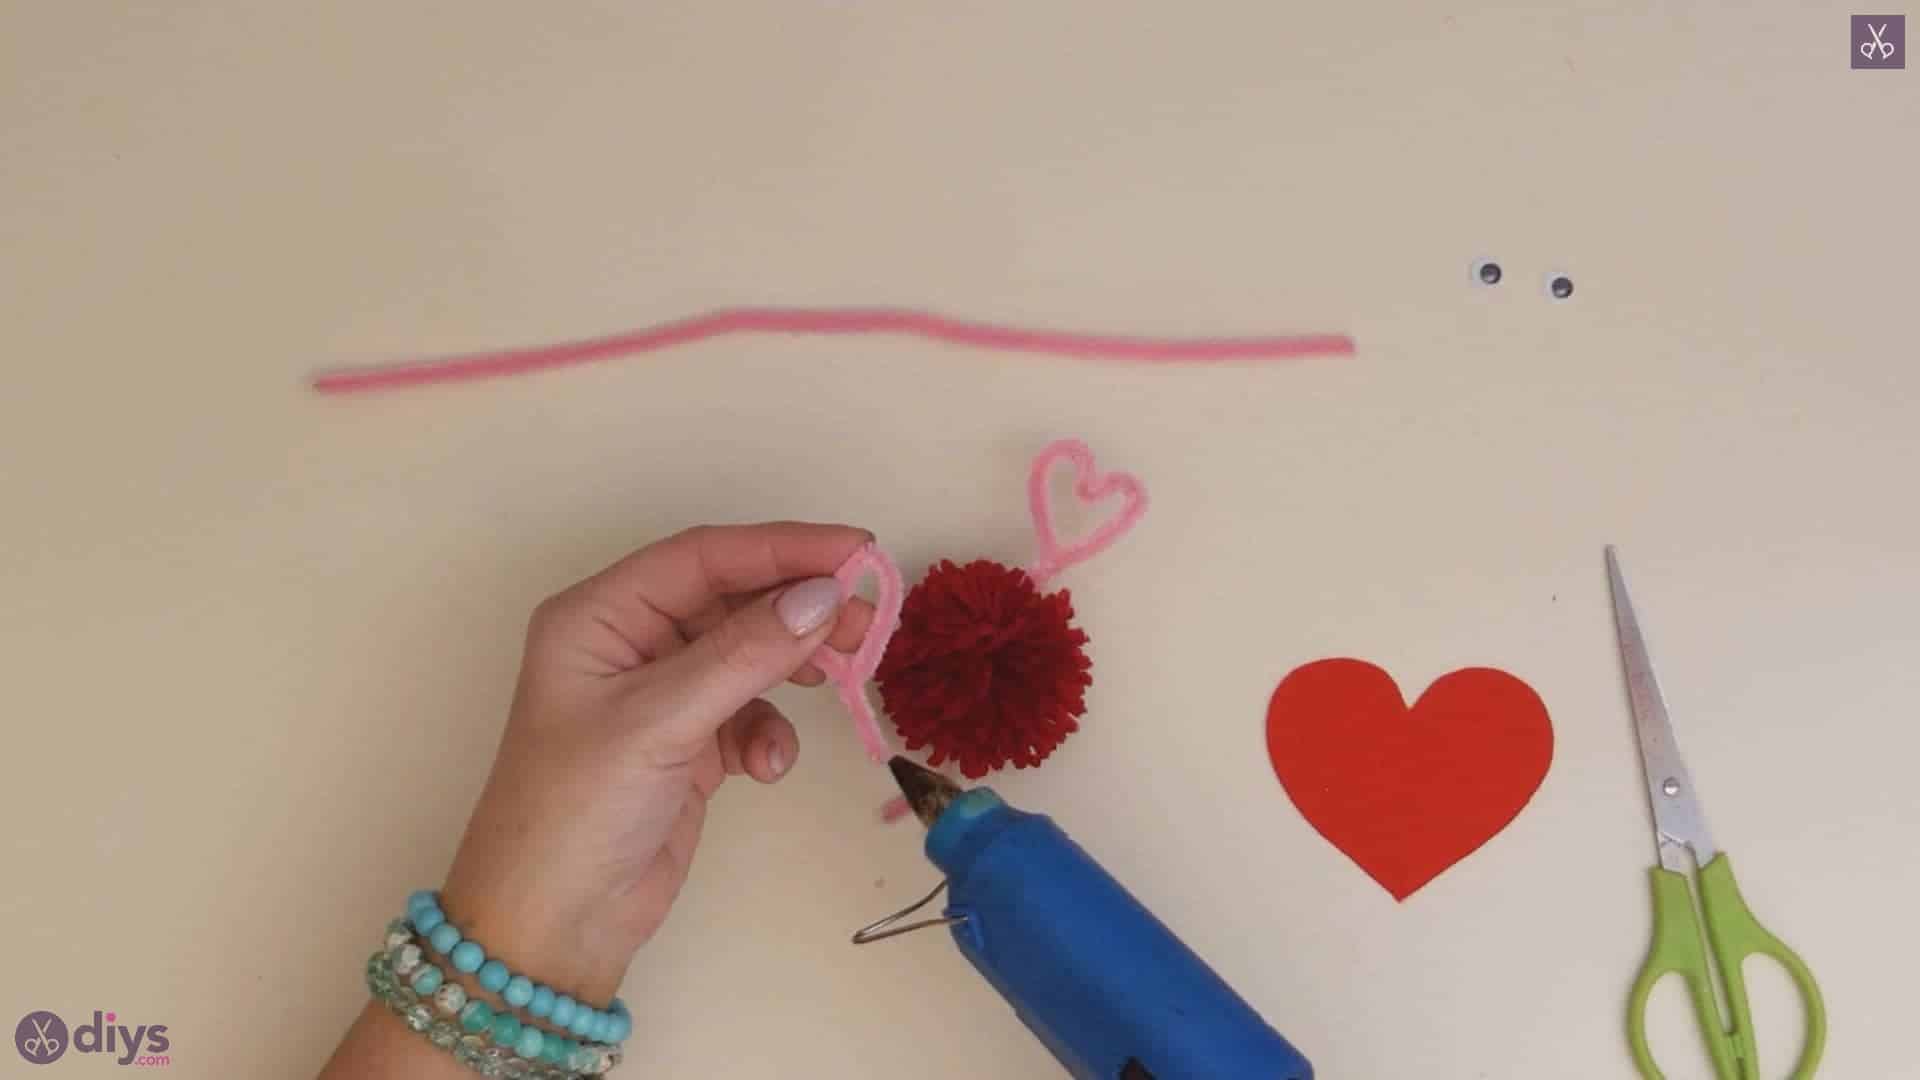
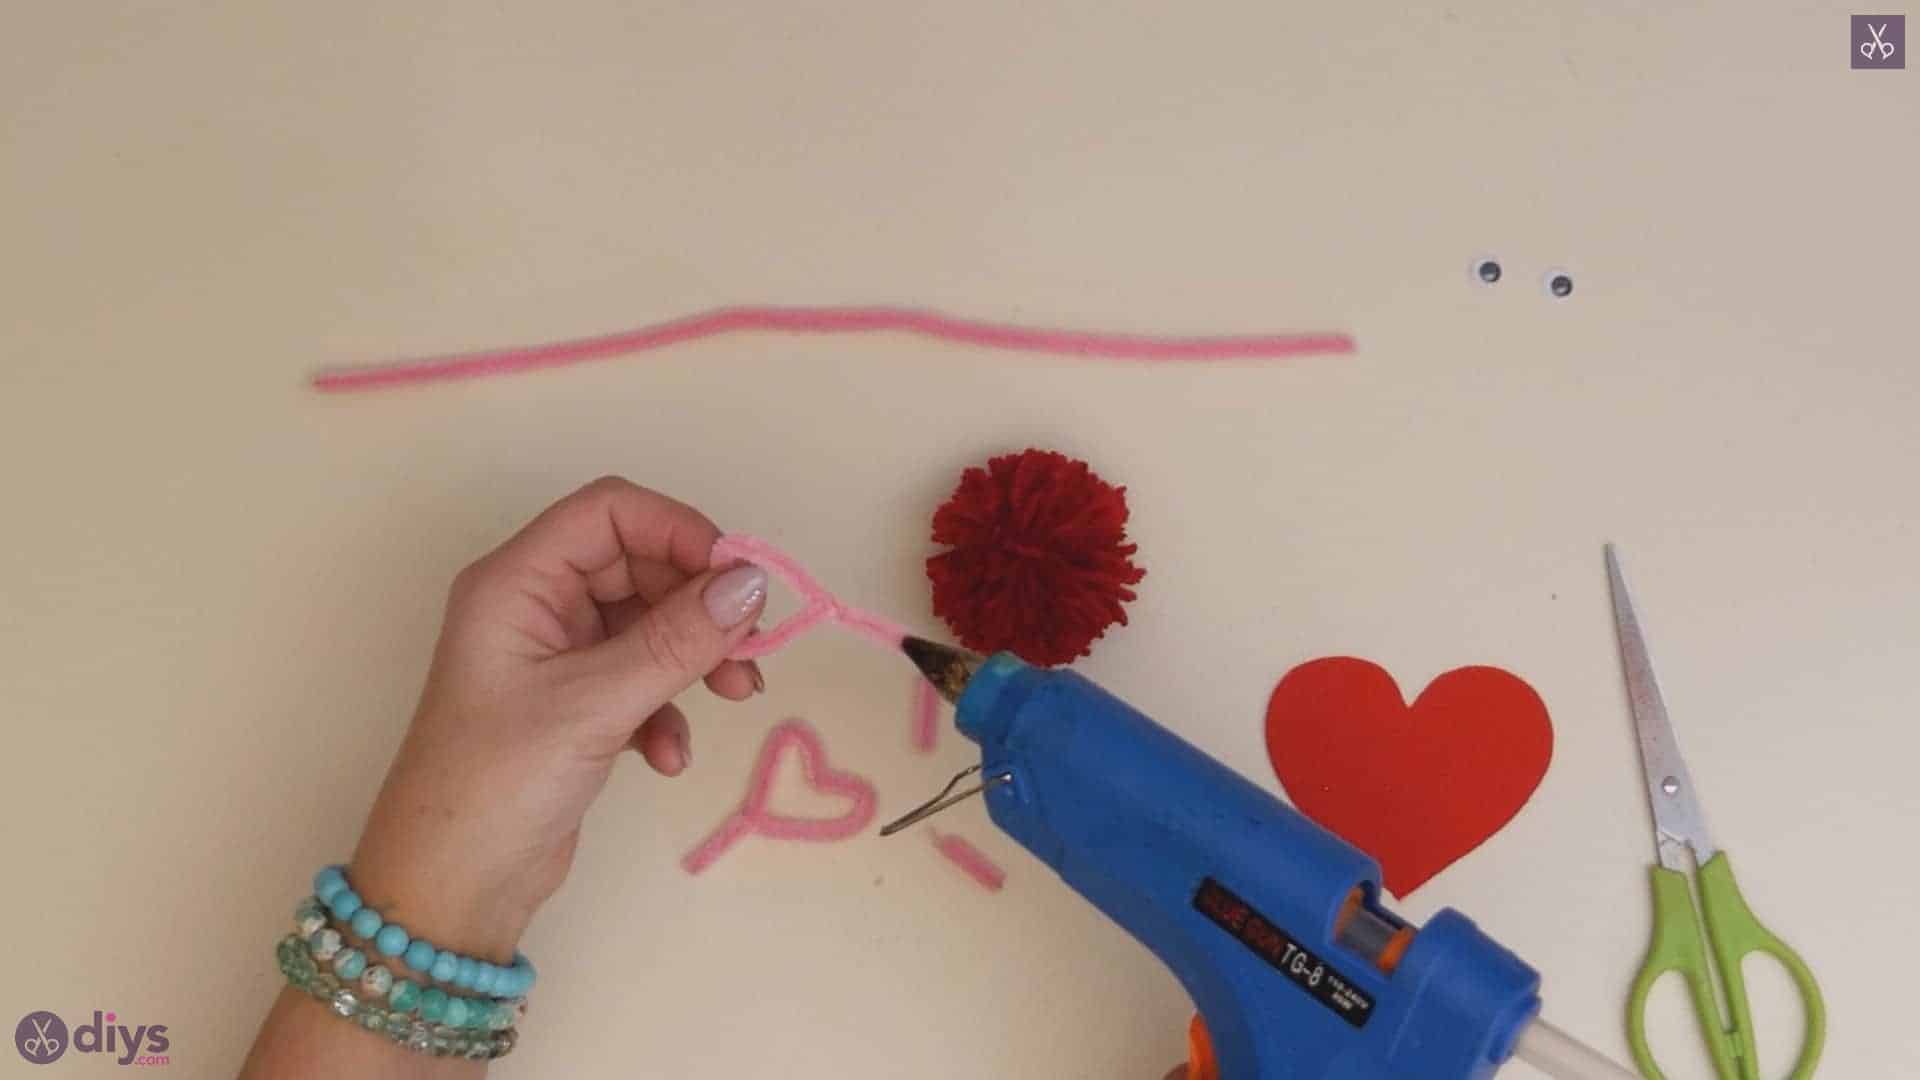
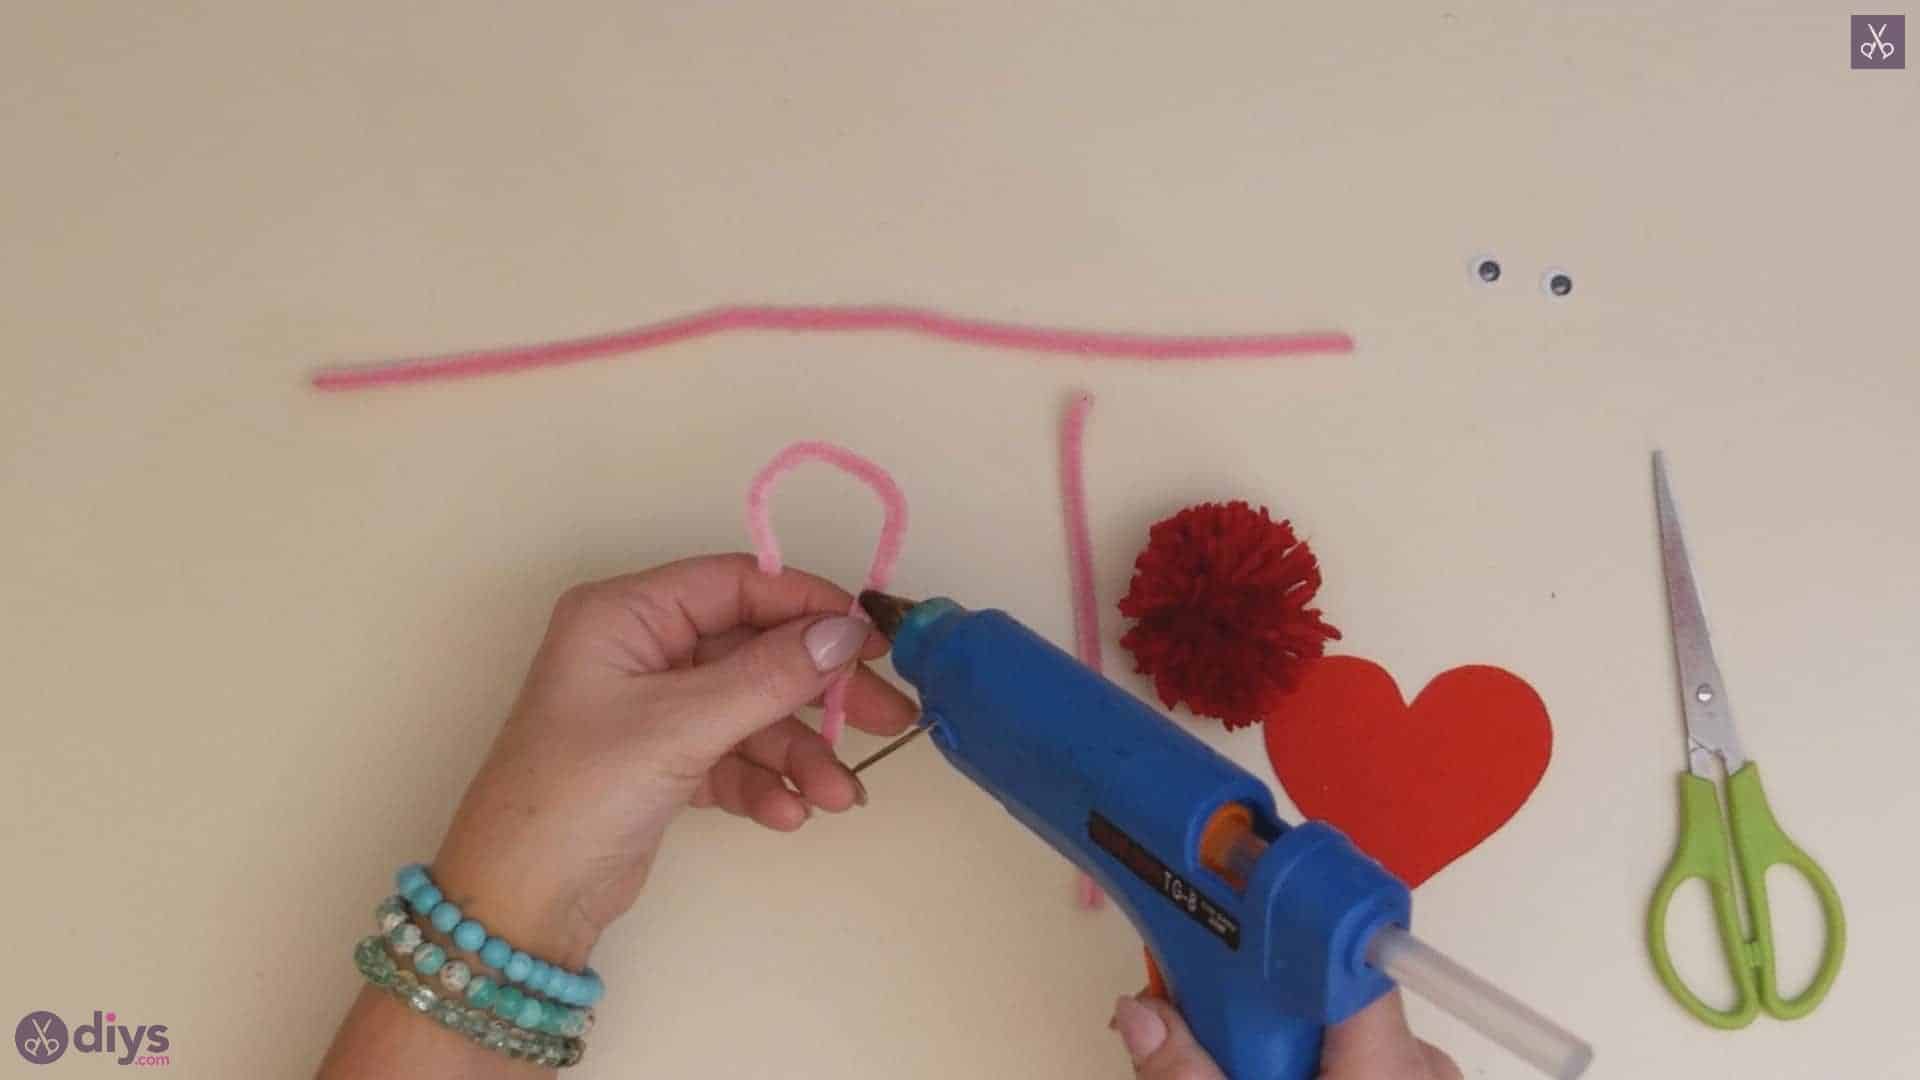
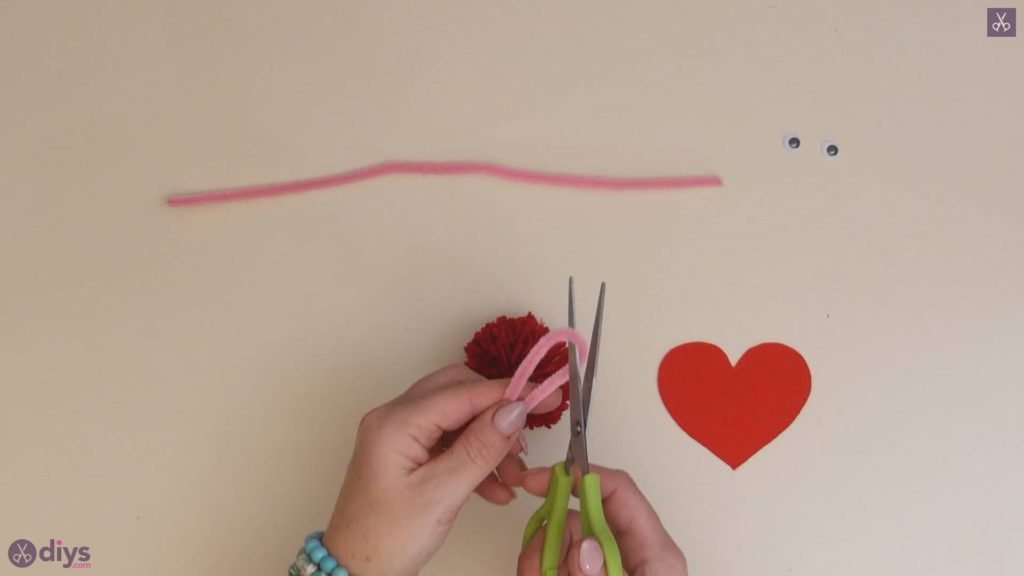
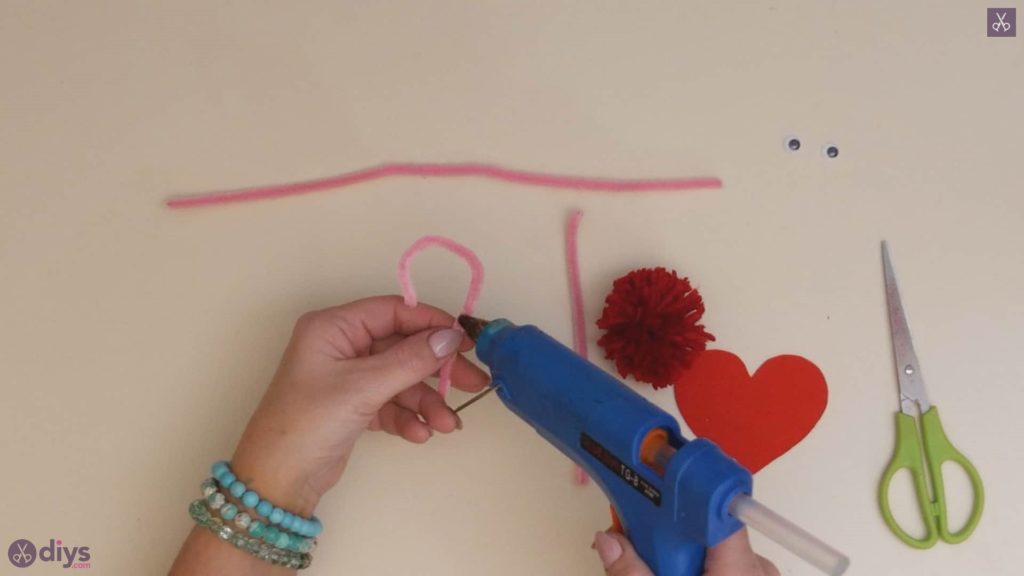
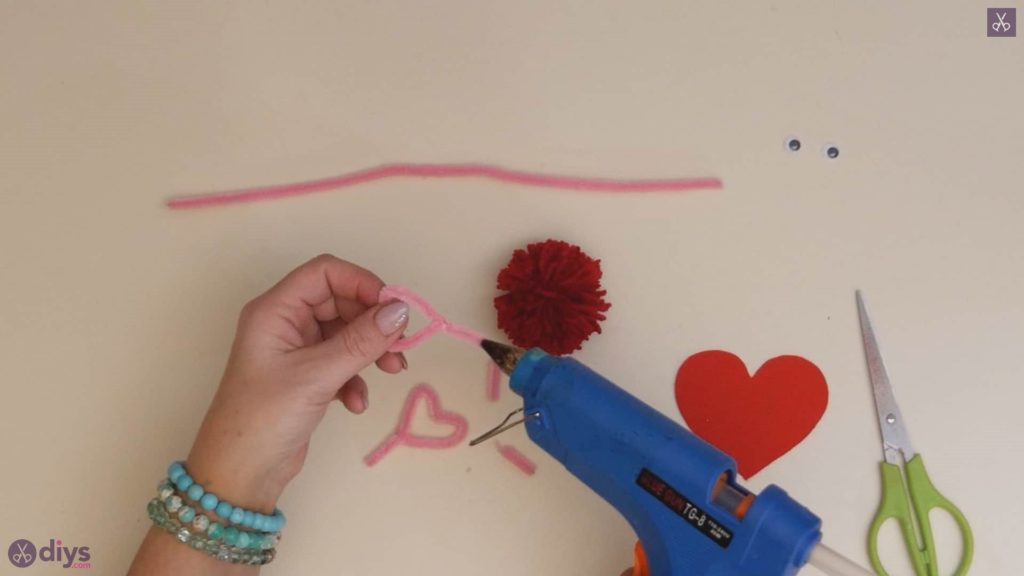
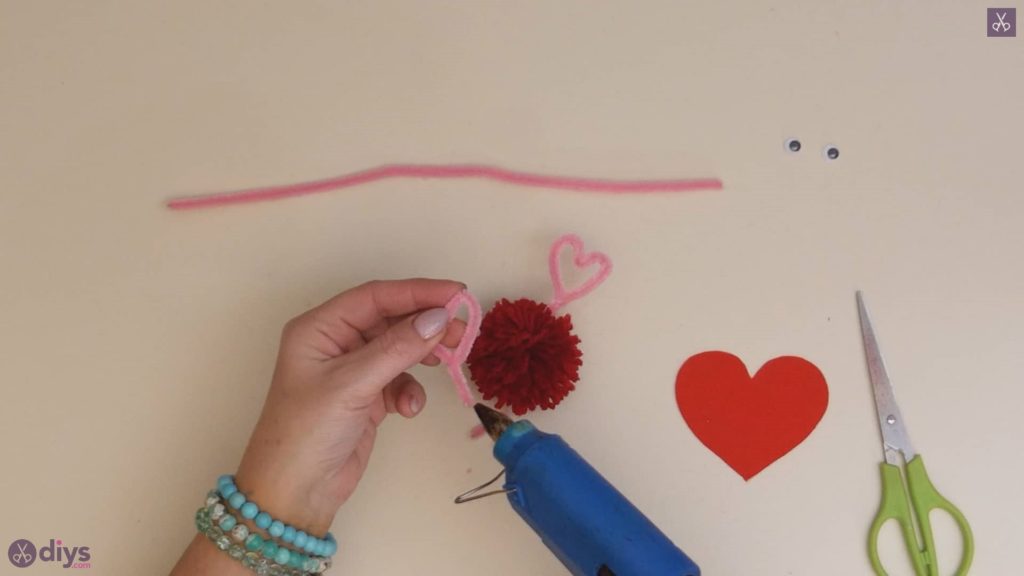
Step 4: make the heart antenna
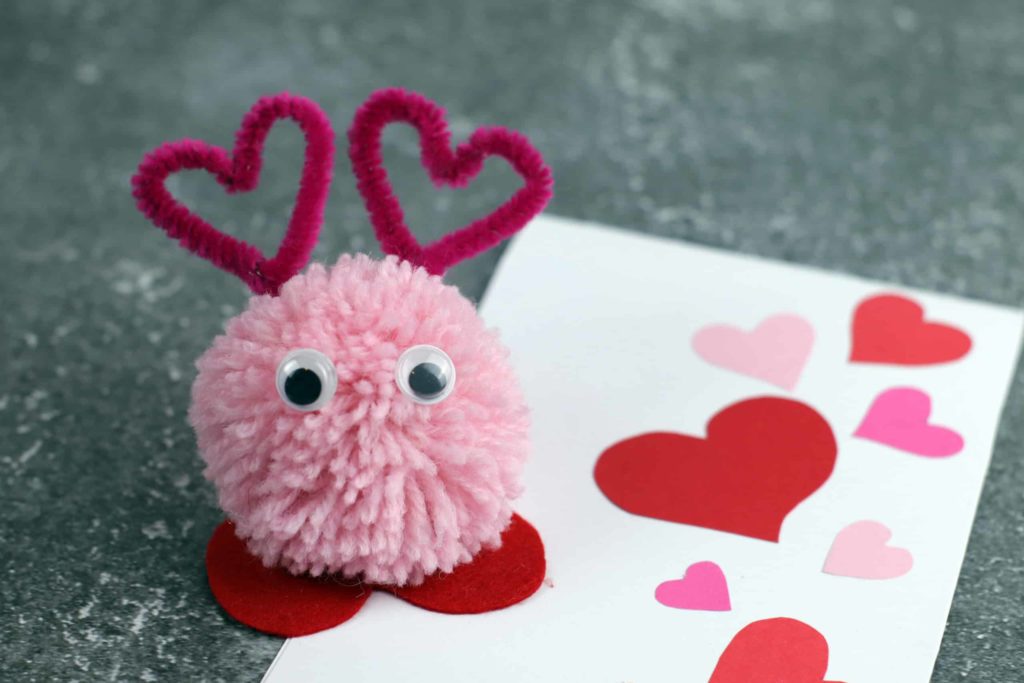
Fold your pink pipe cleaner in half and cut it at its centre. Bend one end of the first half over into a curve or circle to meet back up with the rest of the piece about half way down its length. Apply a dot of glue where you want the tip to meet and stick it down and anchor it there. Then dent the centre top of the circle you just made in order to turn it into a heart shape. Trim the straight end shorter; this is your monster’s first antenna. Repeat the entire process to make a second one. Once you’ve got both heart shaped antennae completed, apply glue to the straight tip of each and stick them into the pom pom at the spot that you want to make the top of your monster’s head.
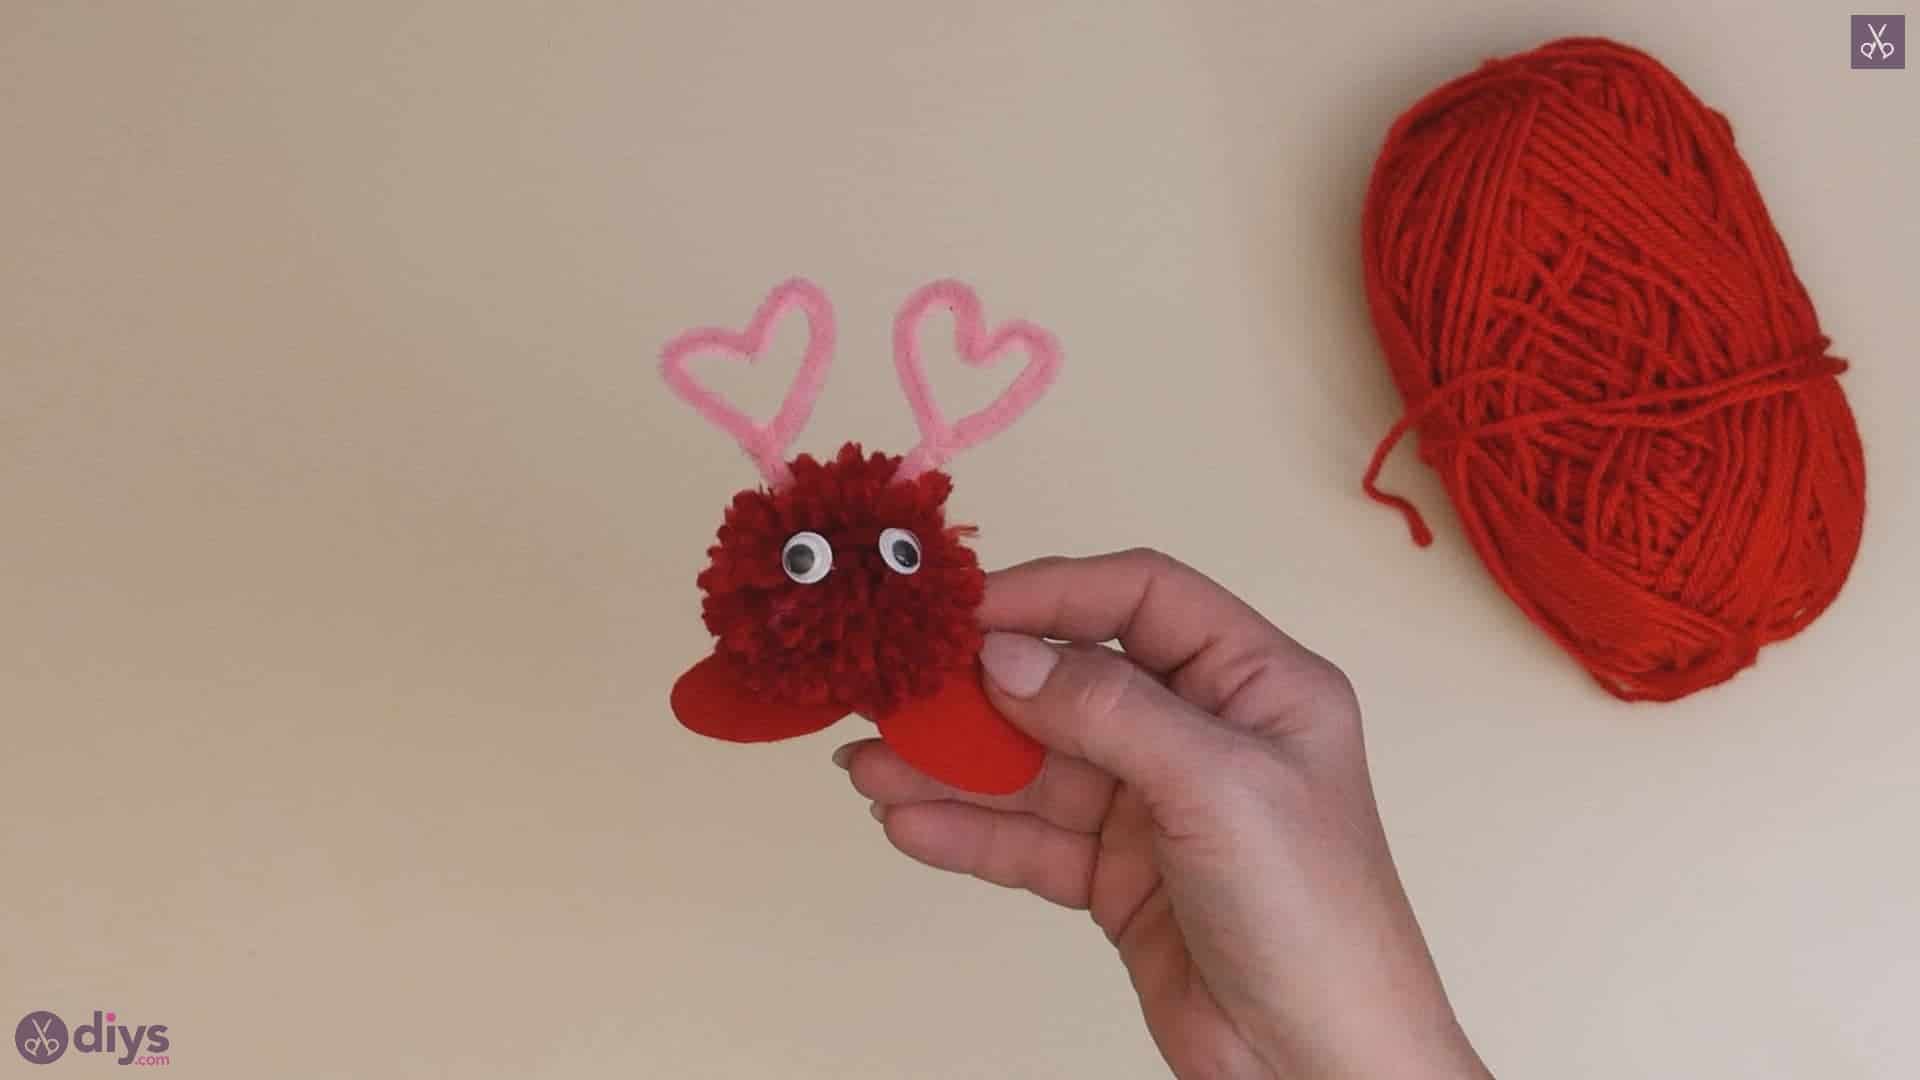
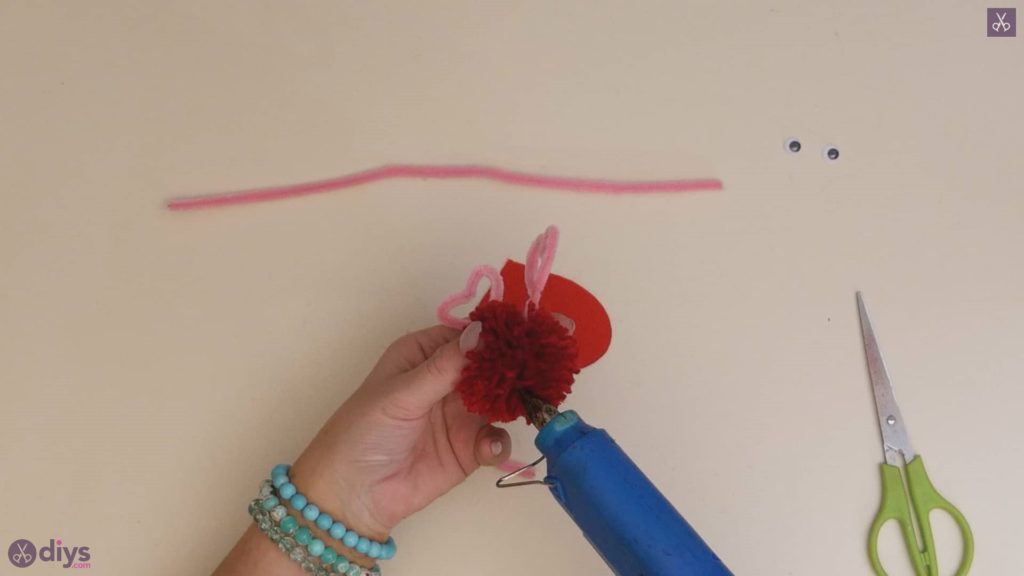
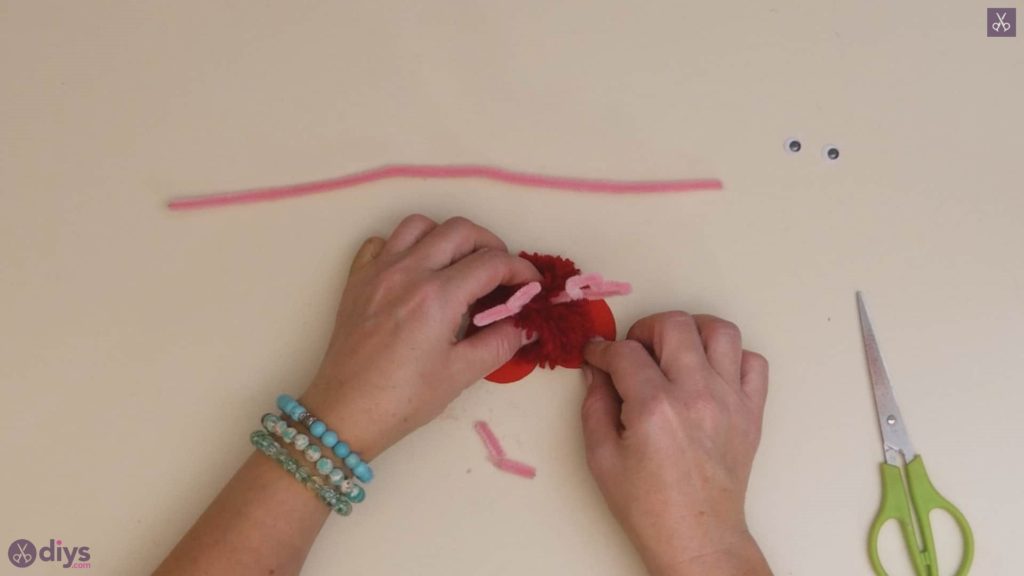
Step 5: gluing
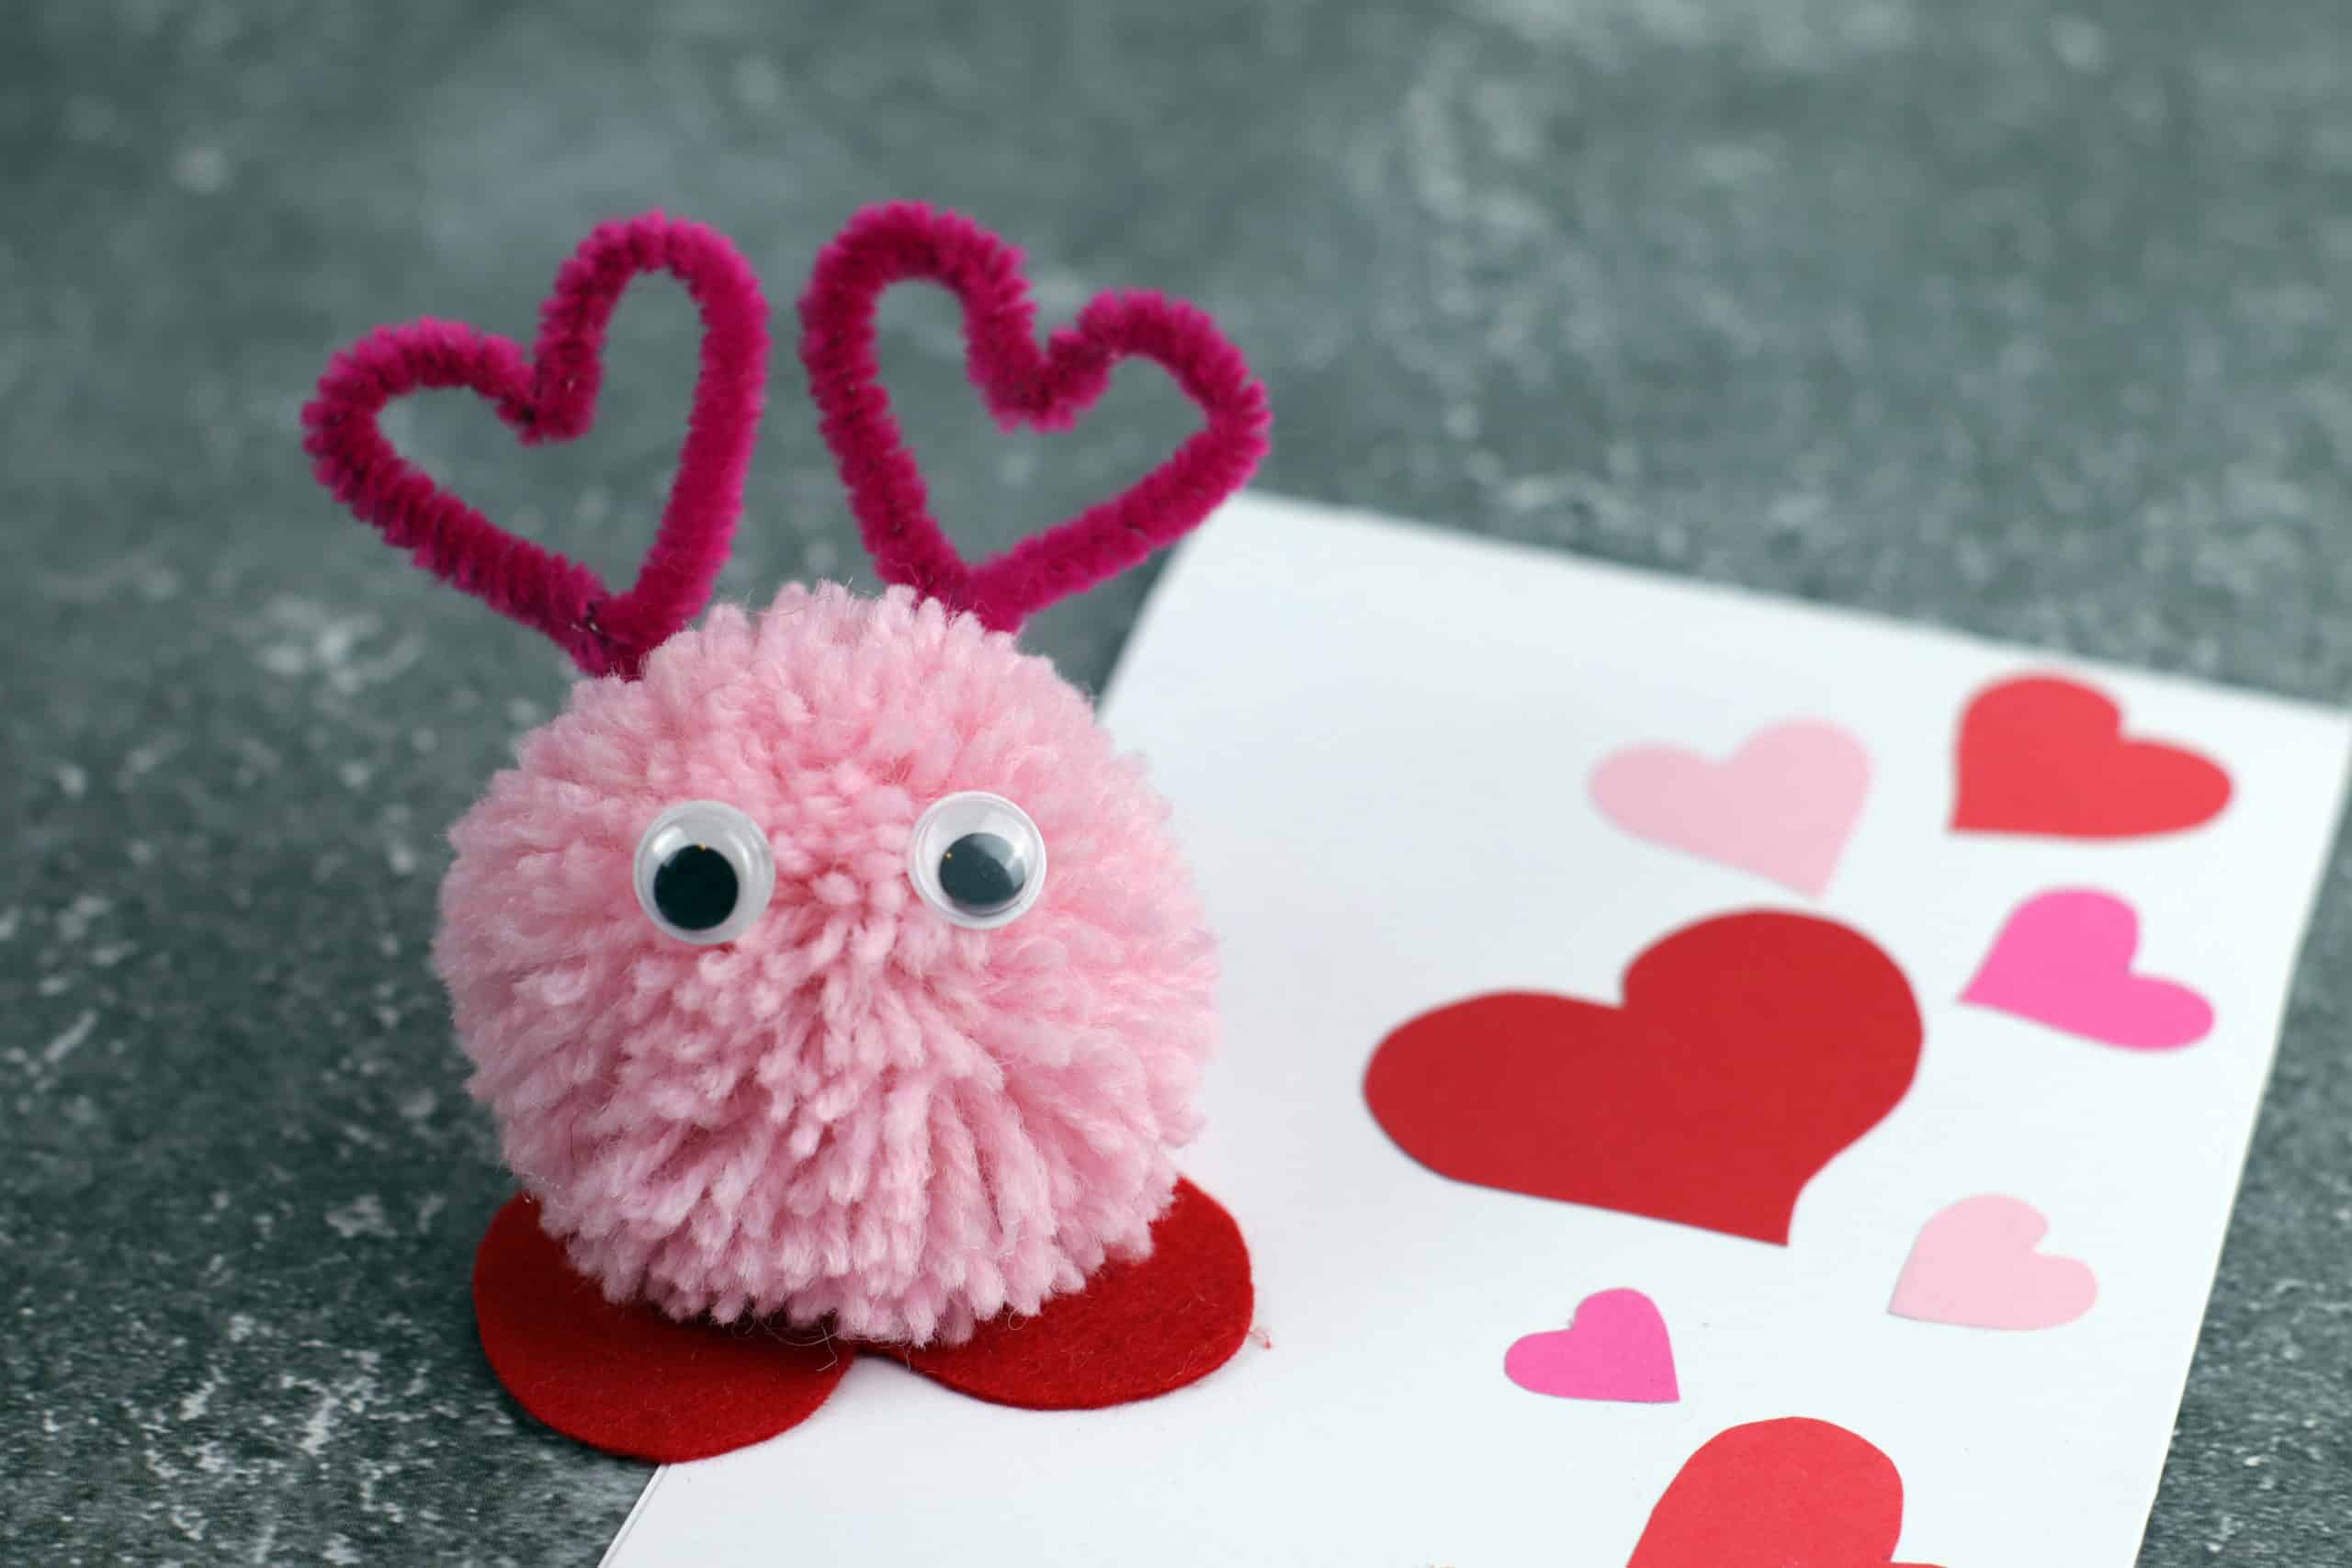
Apply hot glue to the bottom of your pom pom, opposite the heart shaped antennae that you just glued into place. Stick the pom pom down closer to the pointed end of your red felt heart, keeping in mind that the rounded shapes that usually make up the top of the heart will be the monster’s feet, so the spot where they protrude will be its front.

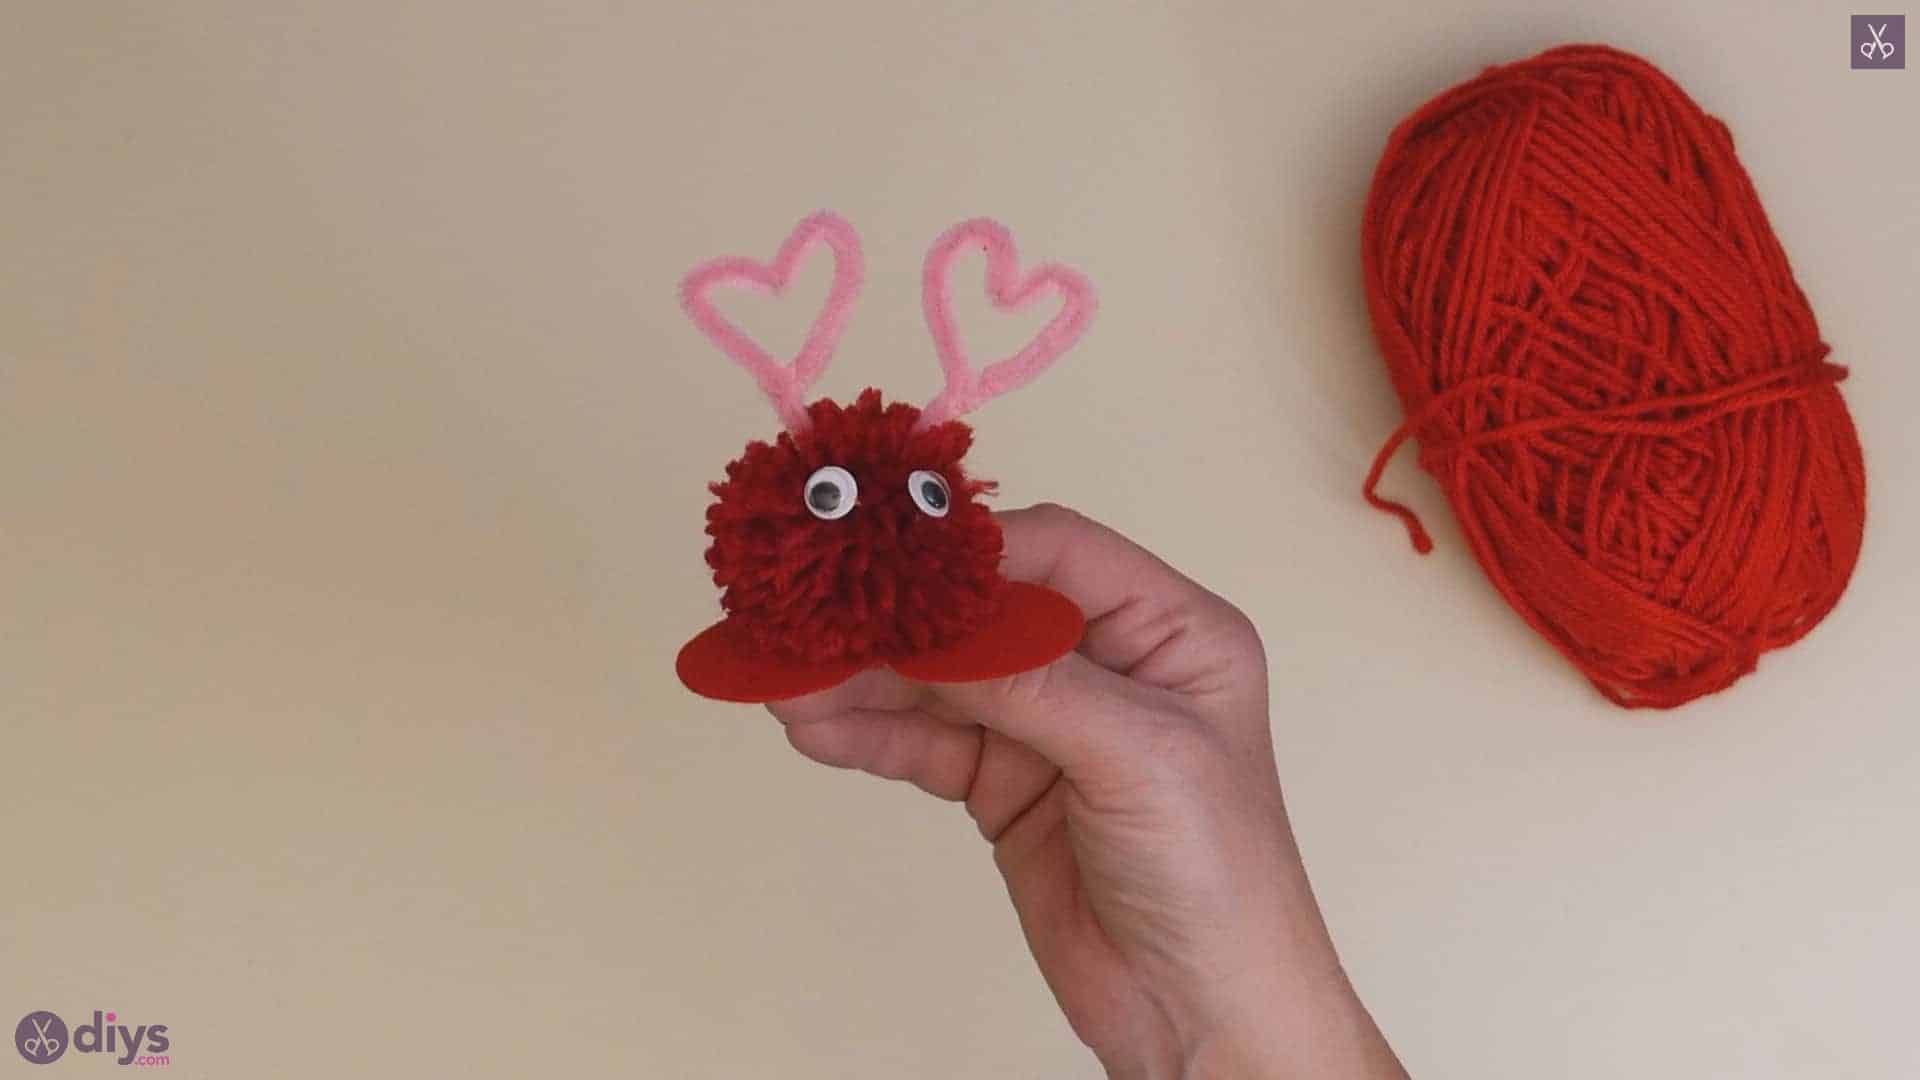
Step 6: add the eyes
Stick your googly eyes on wherever you’d like your pom pom monster’s face to be!

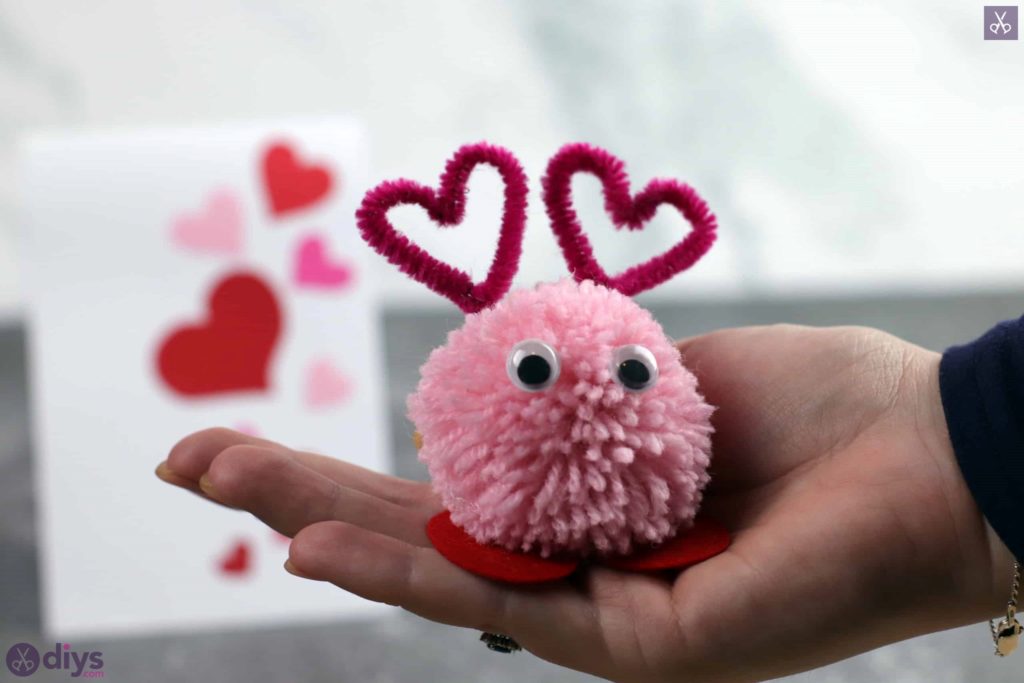
Your Valentine’s Day pom pom monster is officially finished! Just in case you’d like to try this project out for yourself, here’s a fantastic tutorial video to help you!