DIY Pom Pom Tree Art
Updated on November 19, 2025
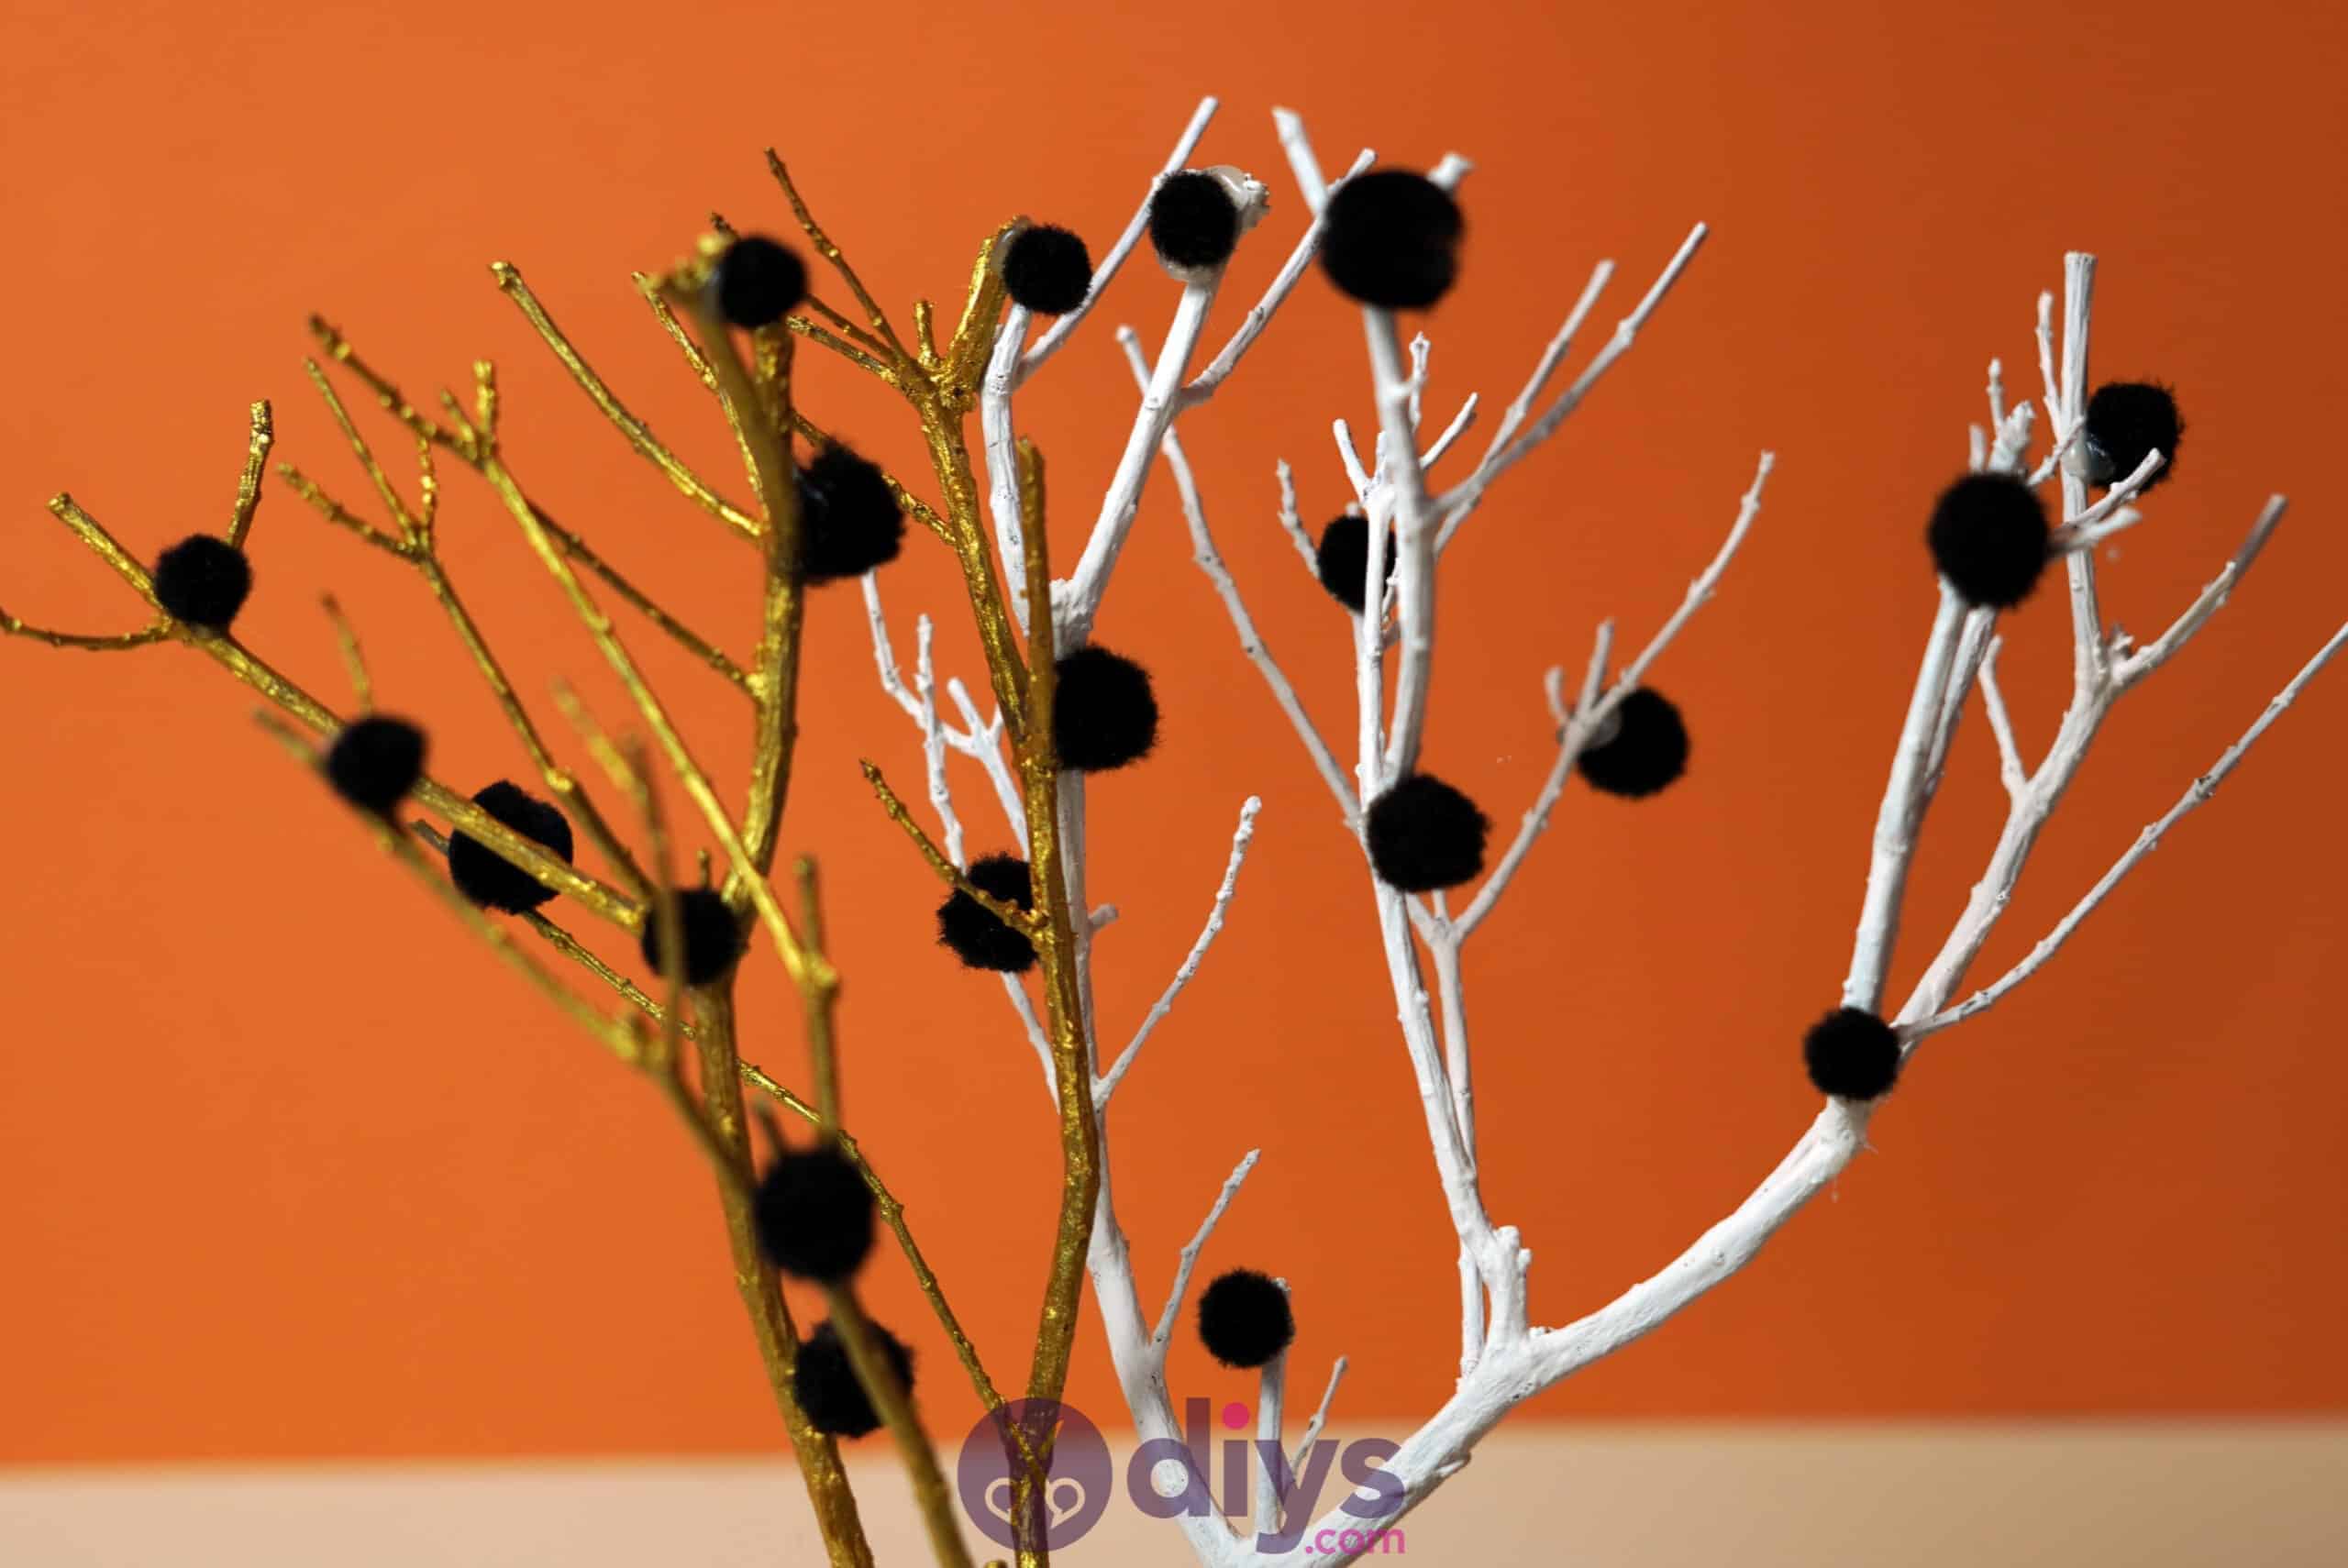


Give your space some quirky pizzazz with this DIY pom pom tree art project! All you need are some simple materials and a bit of time, then following along with our super easy step by step tutorial to make your very own!
You could make this over and over, changing the colors ot match each room if you wanted to. Check out the step by step instructions and matching photos below or, if you’re more of a visual learner, scroll all the way to the bottom of this post to find a useful video tutorial instead.

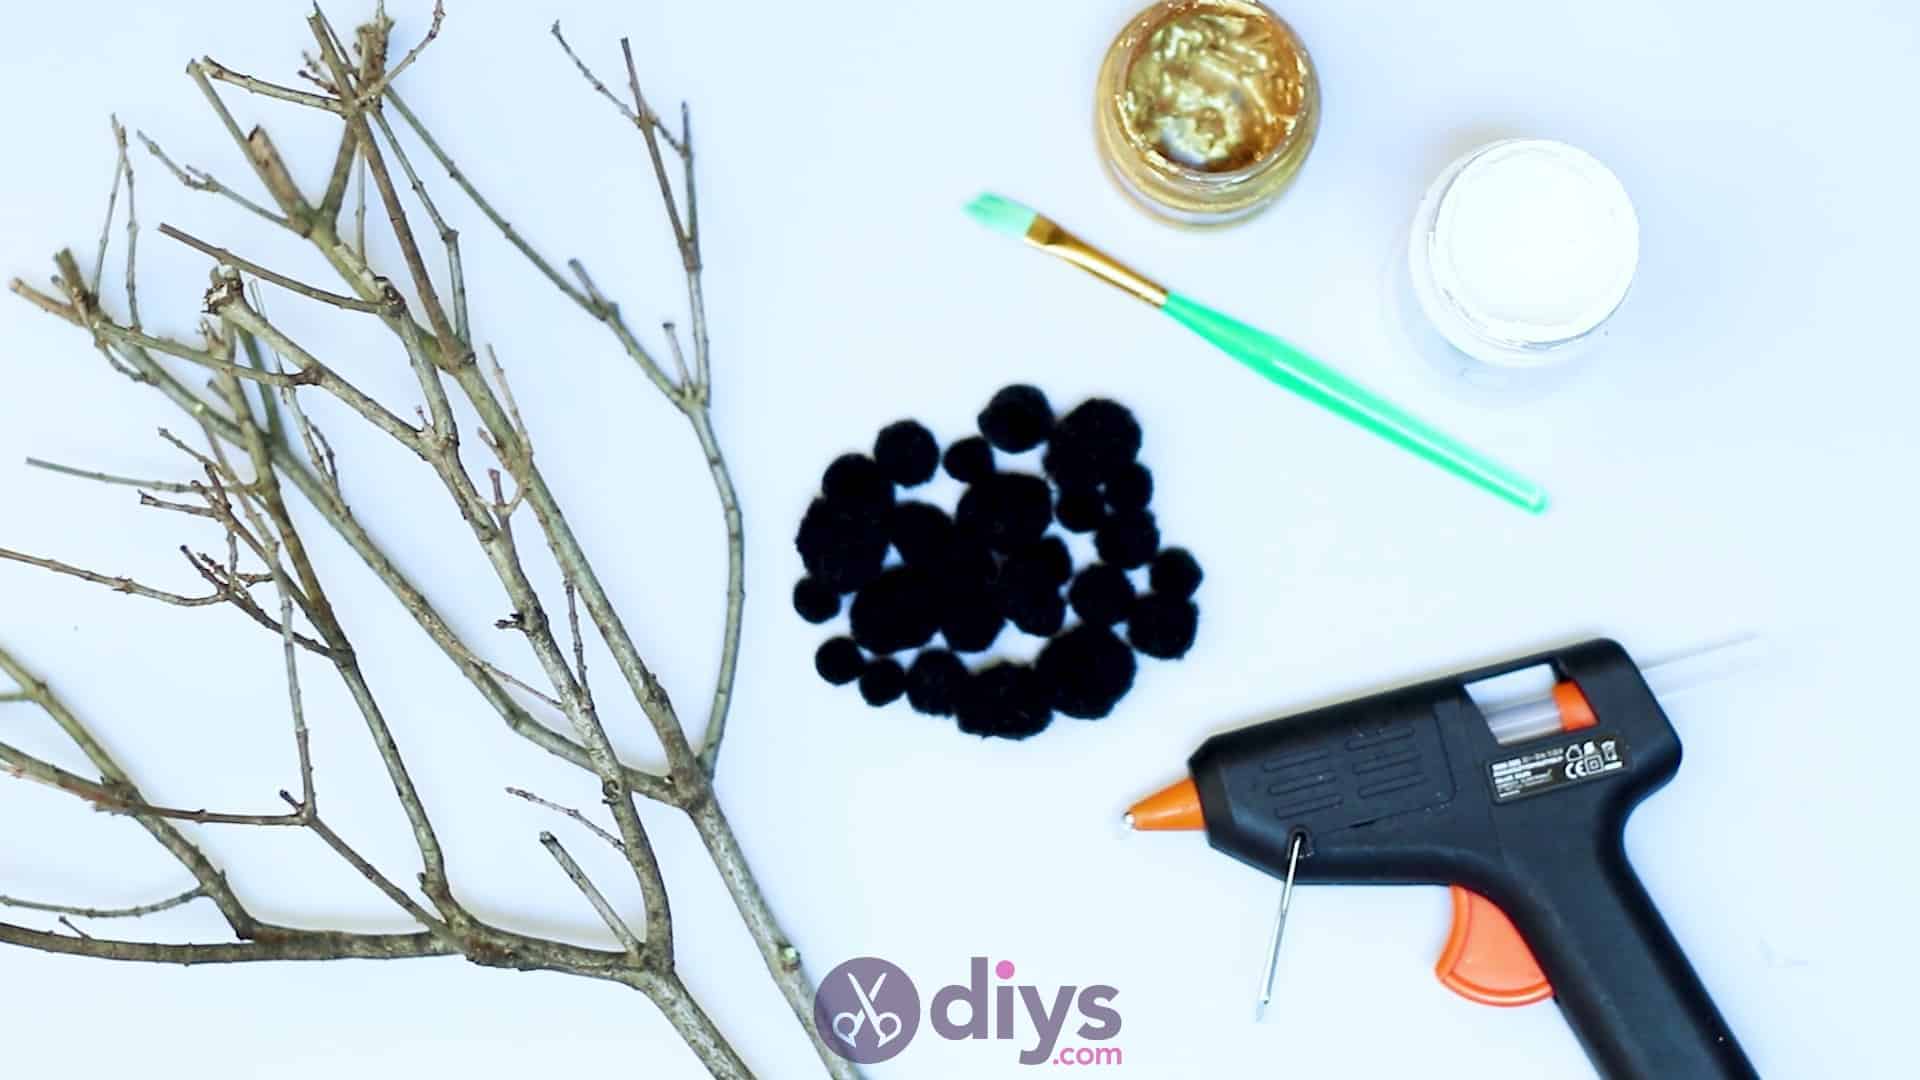
For this project, you’ll need:
- Branches (I used two)
- Acrylic paint (white, gold)
- Paint brush
- Black crafting pom poms
- Hot glue
Step 1: Gather your materials!
I always recommend putting together everything you need before you begin.

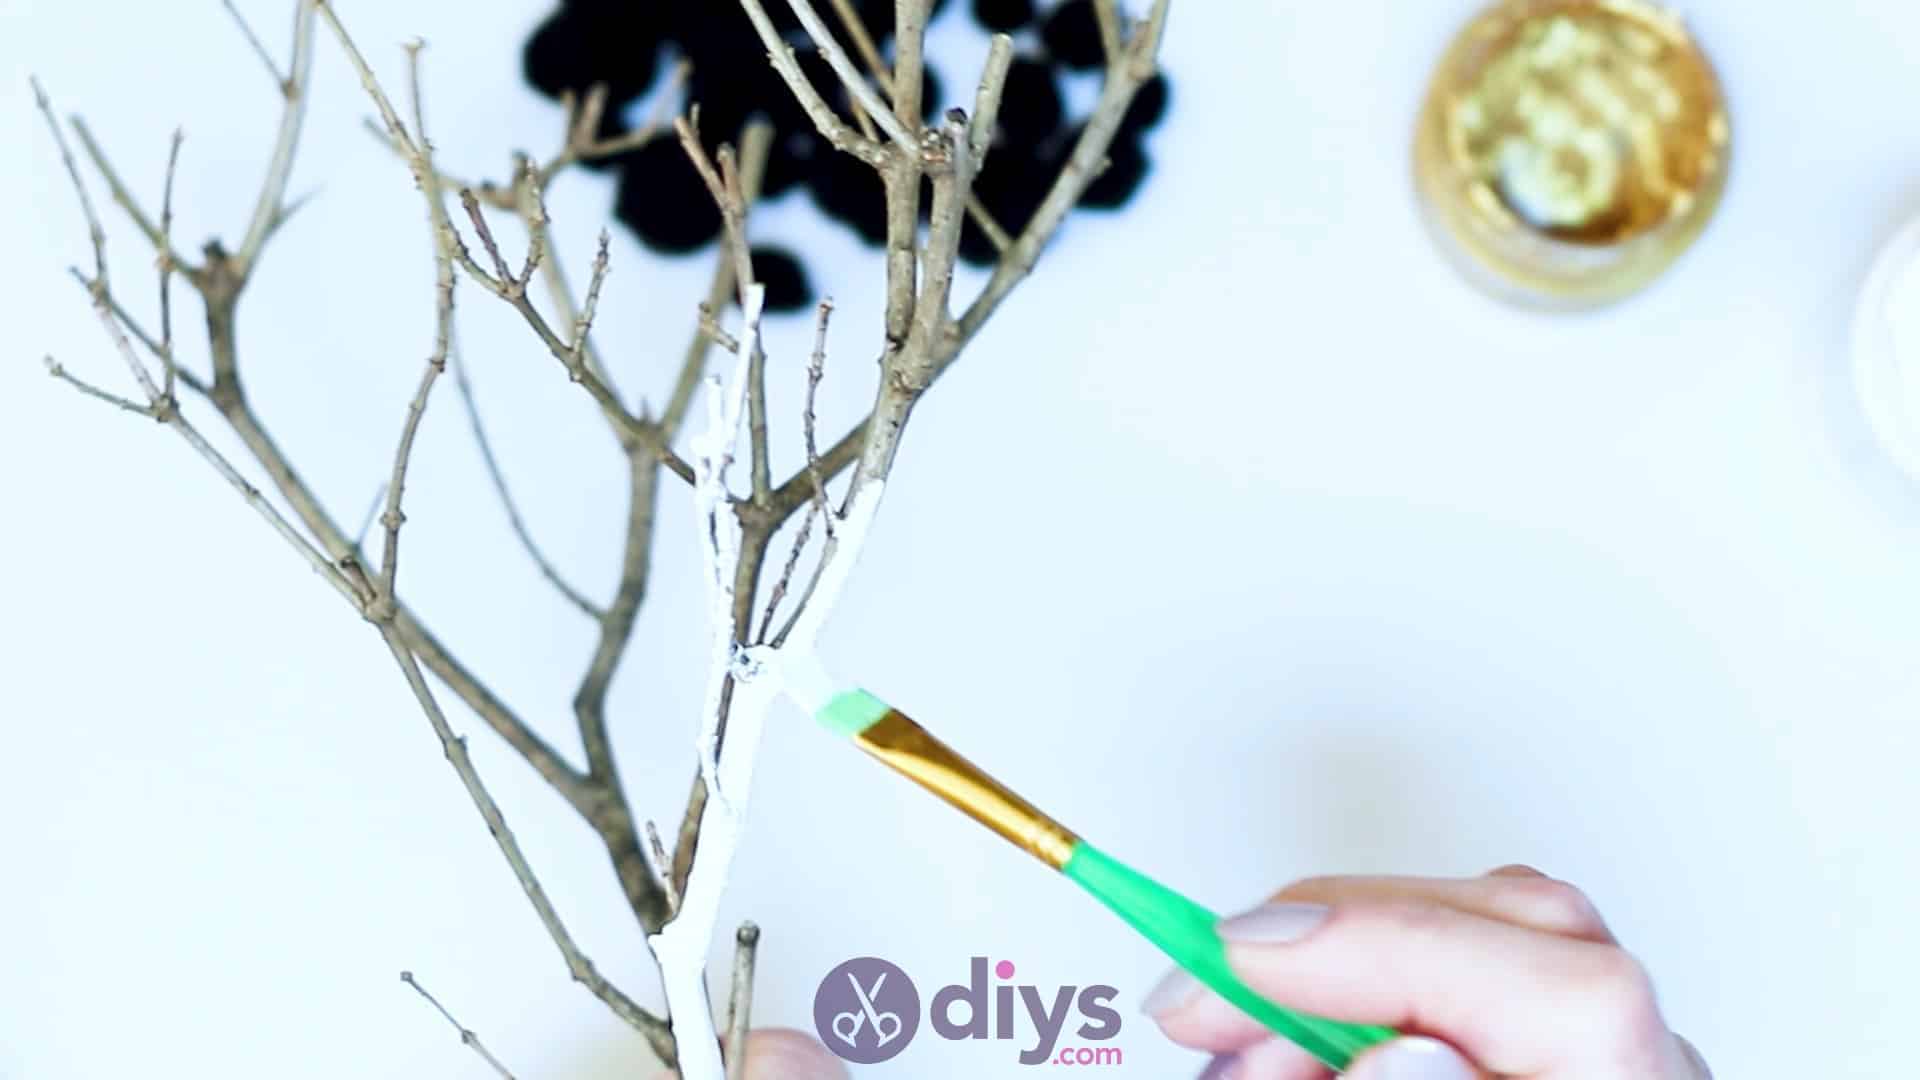
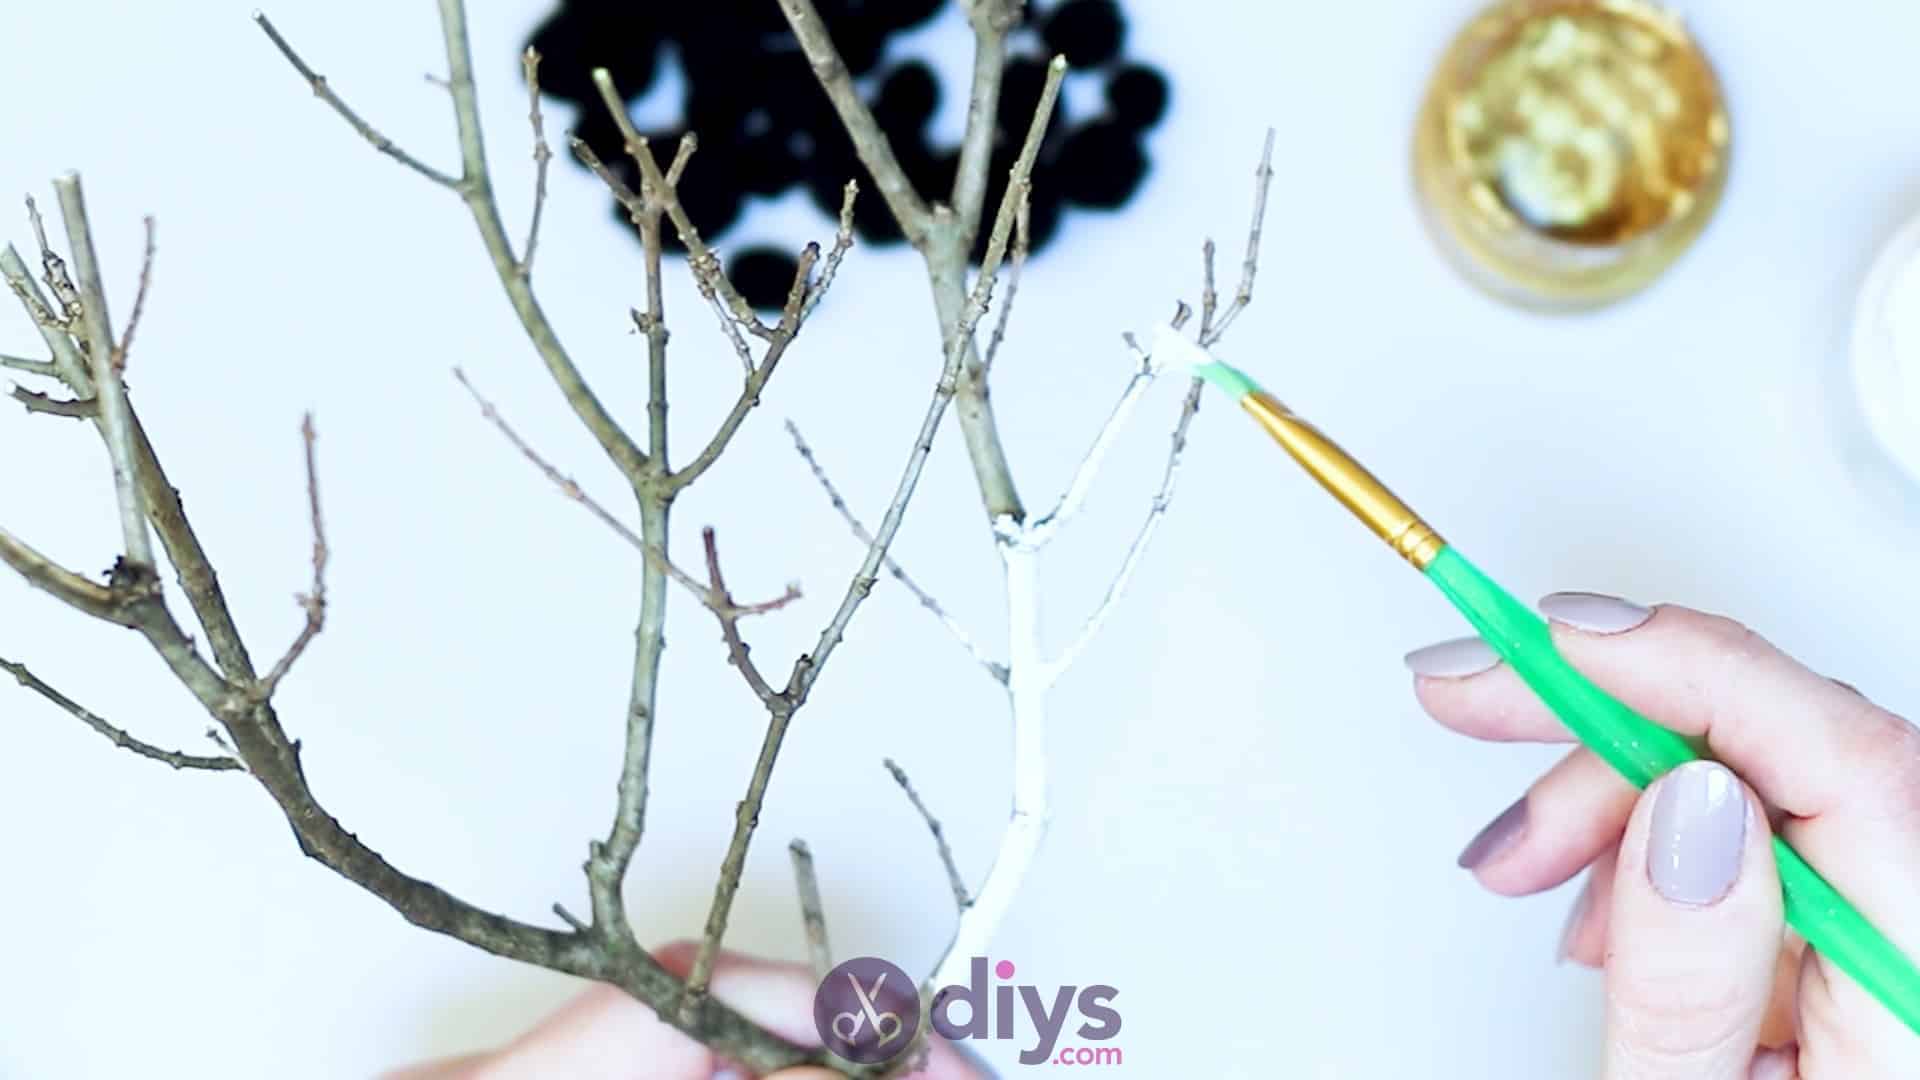
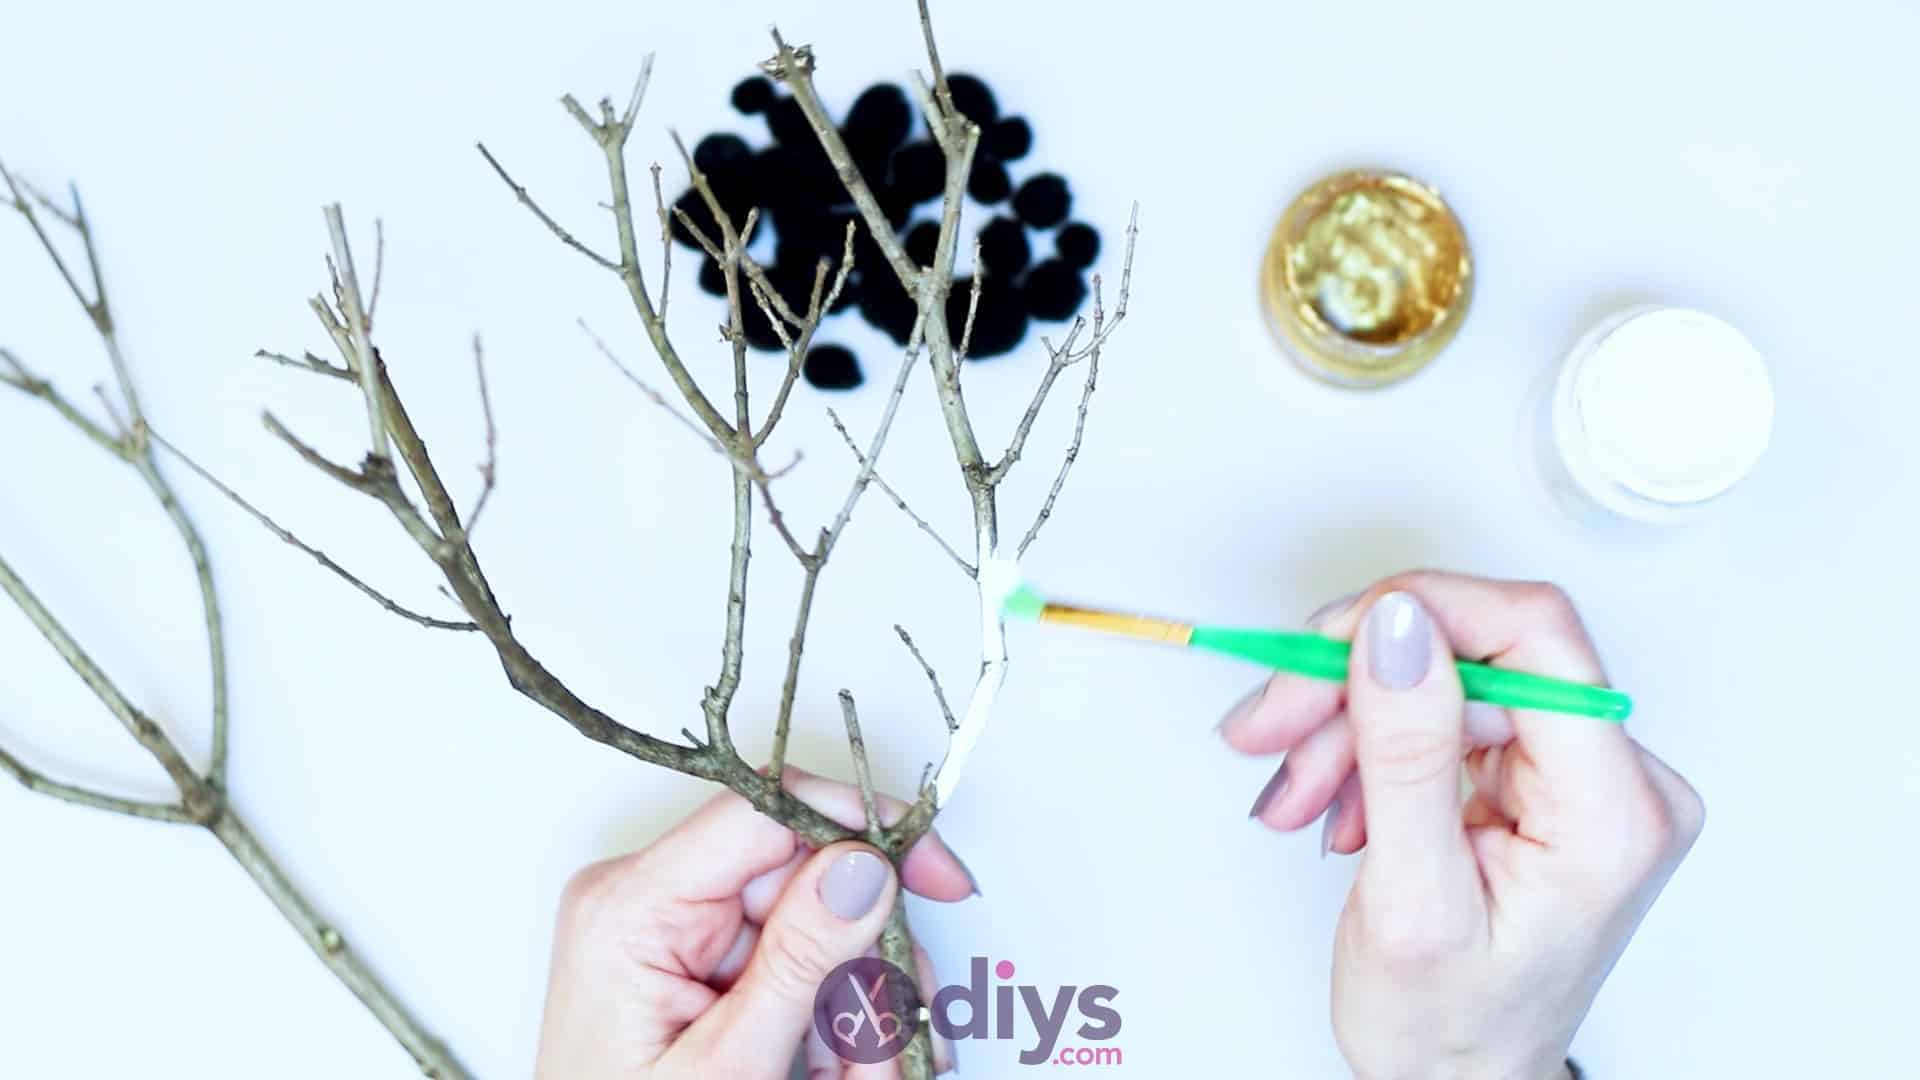
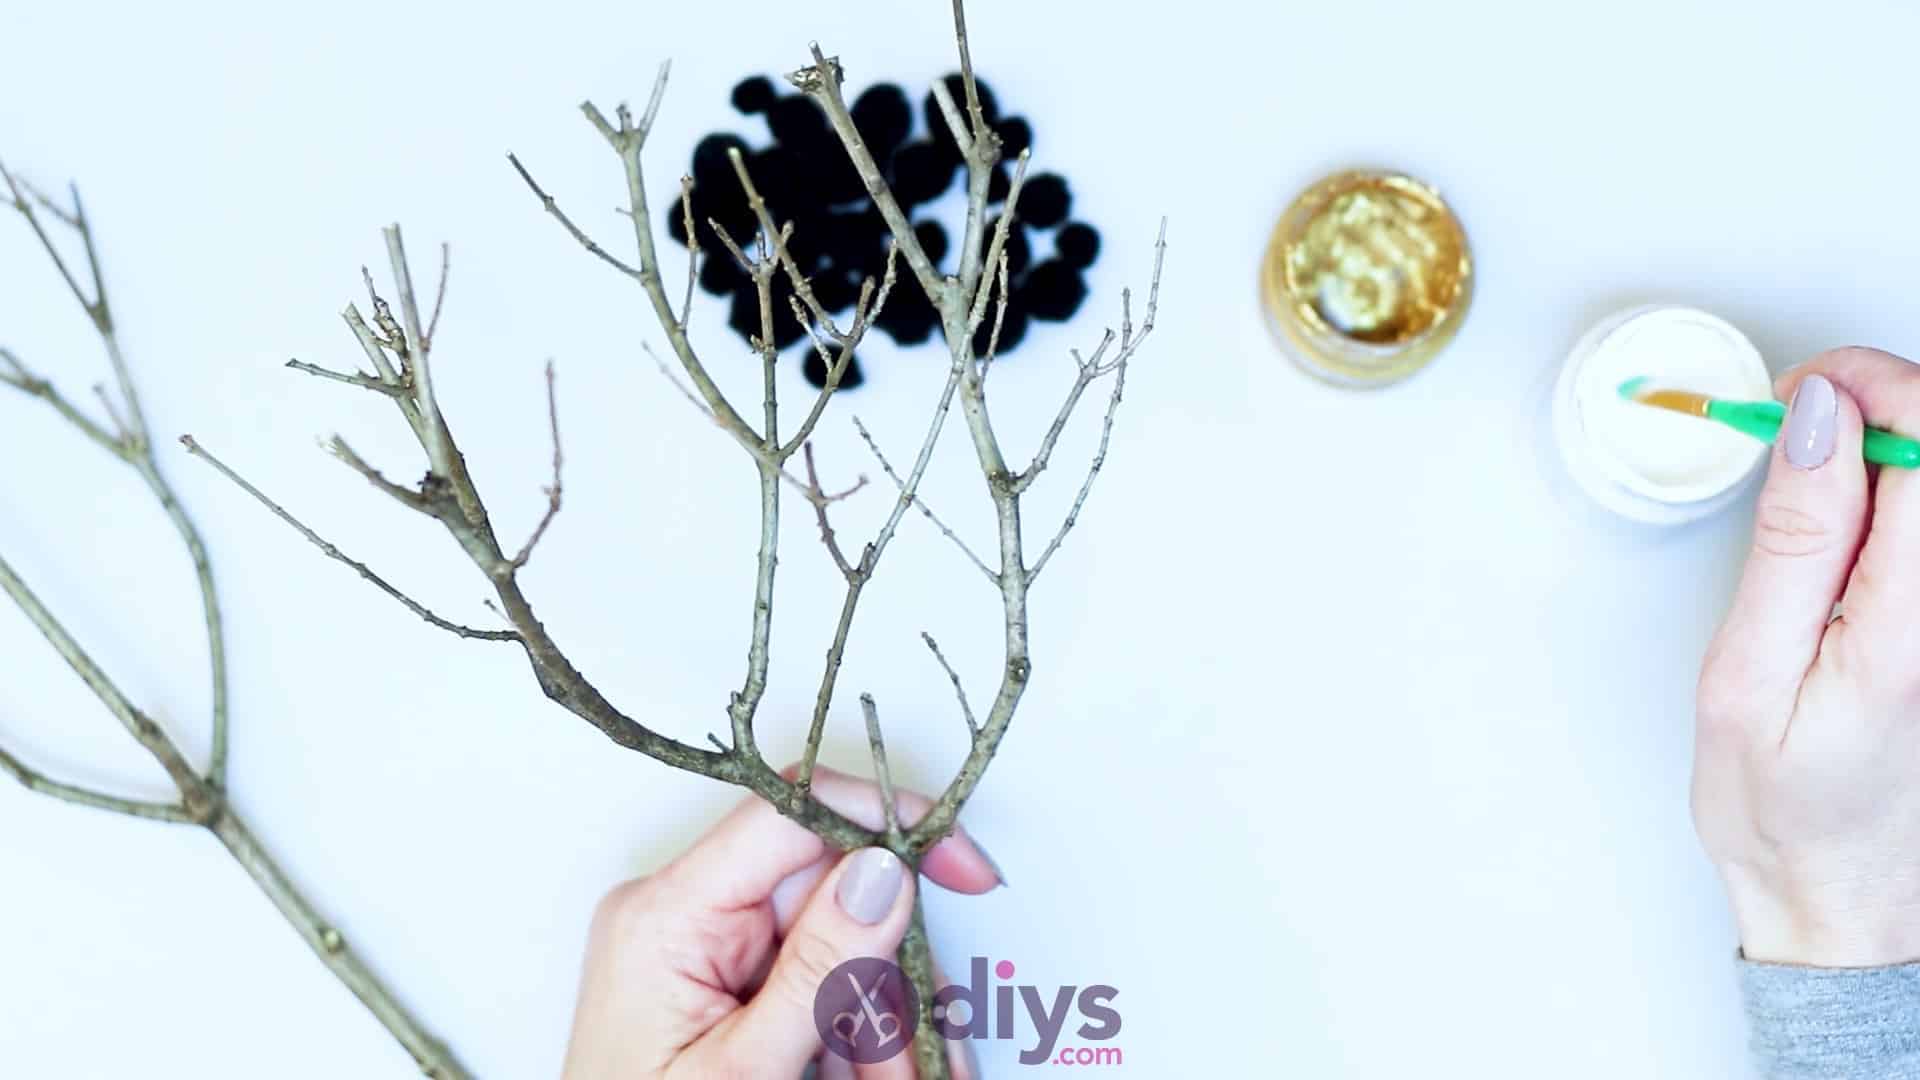
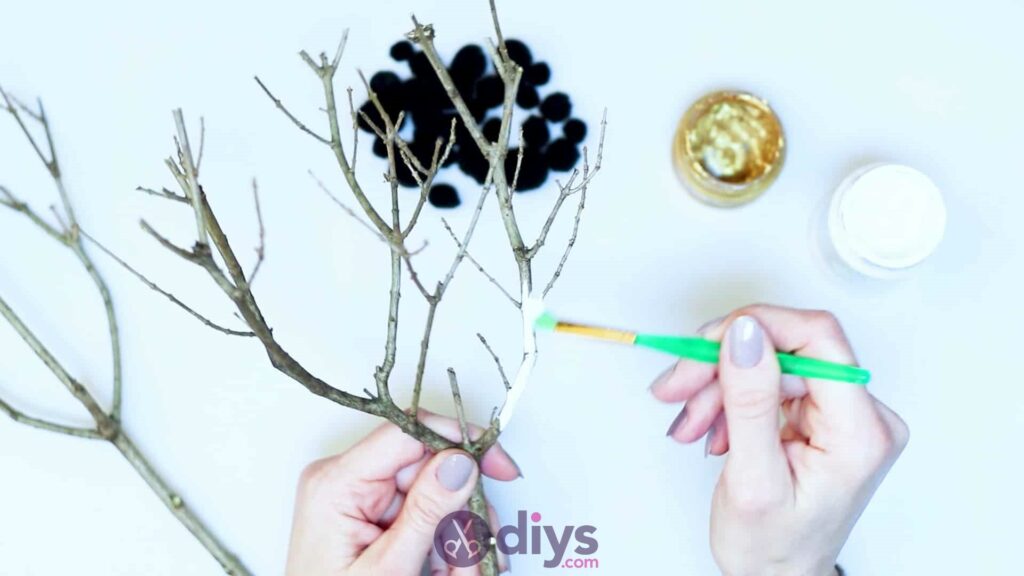
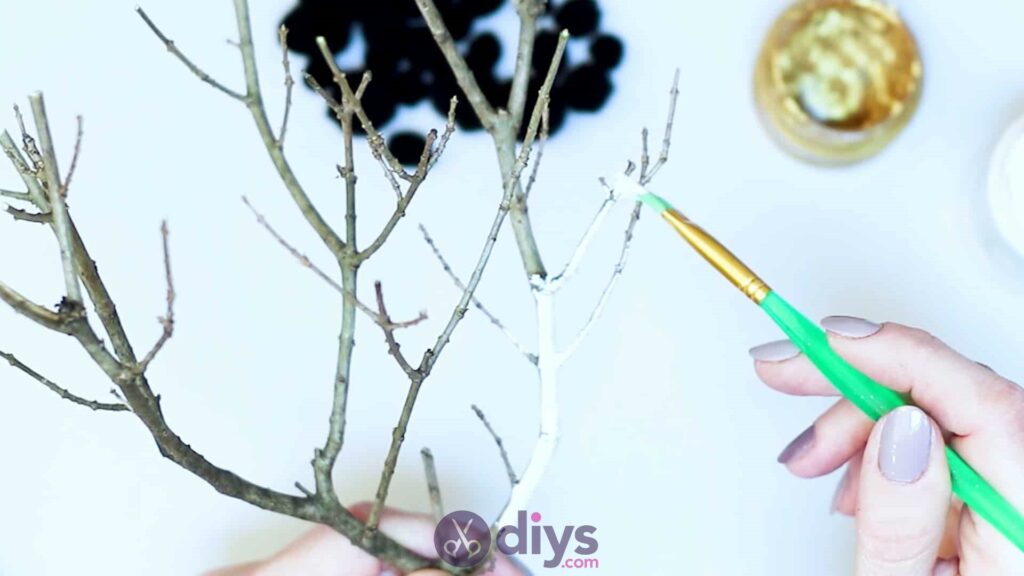
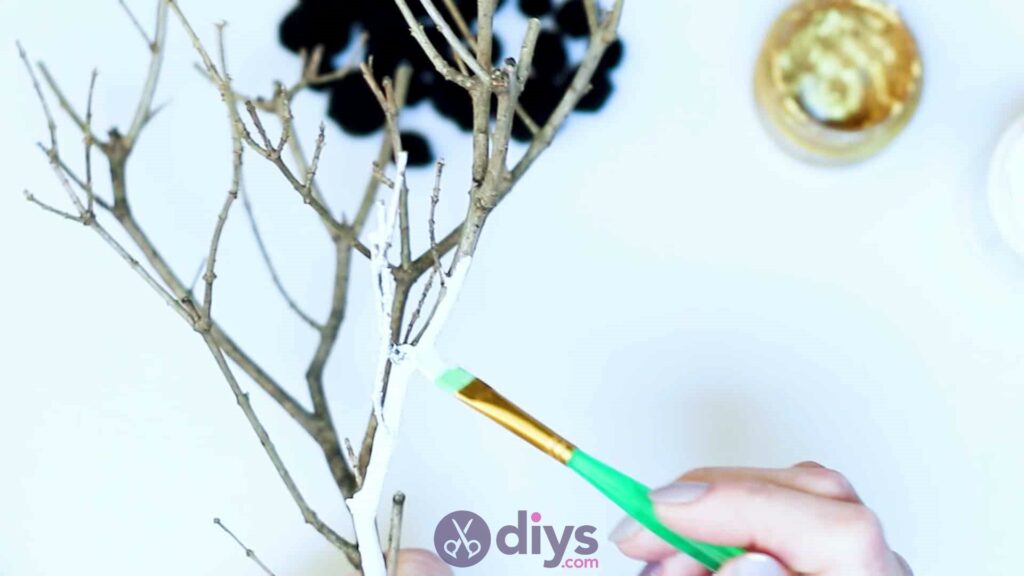
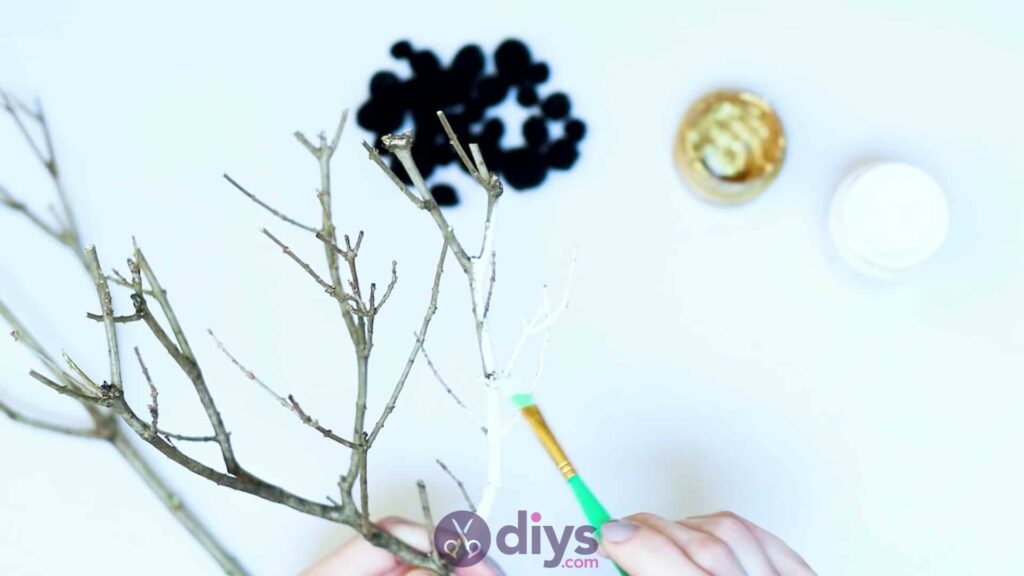
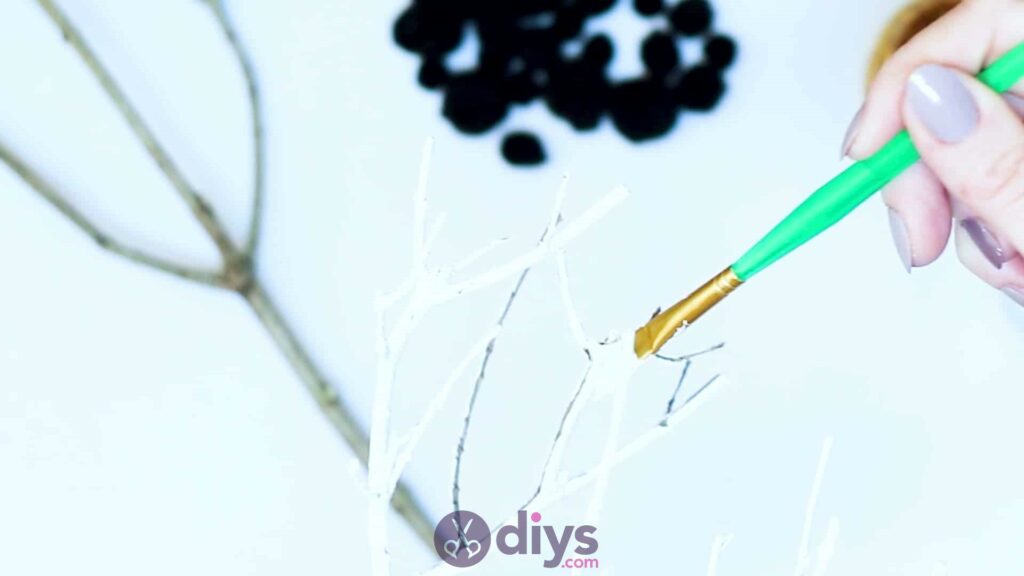
Step 2: start painting
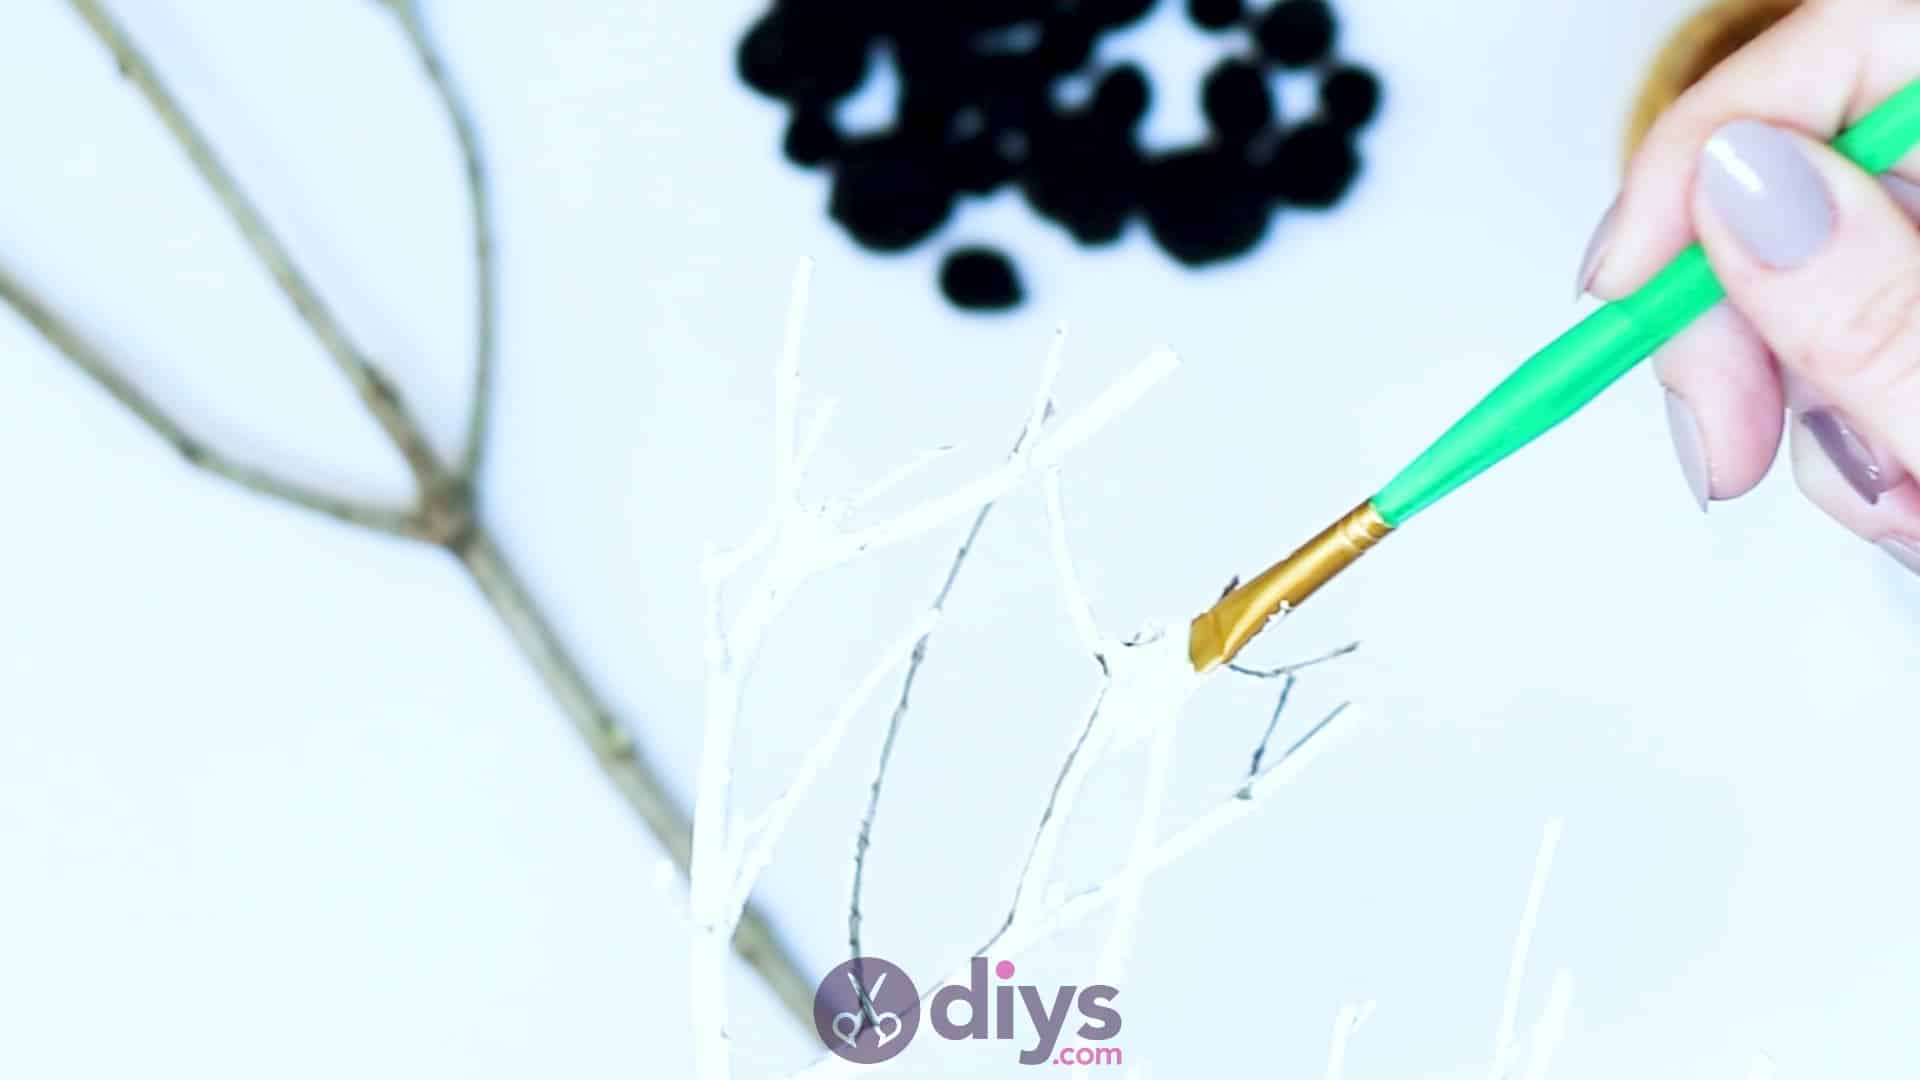
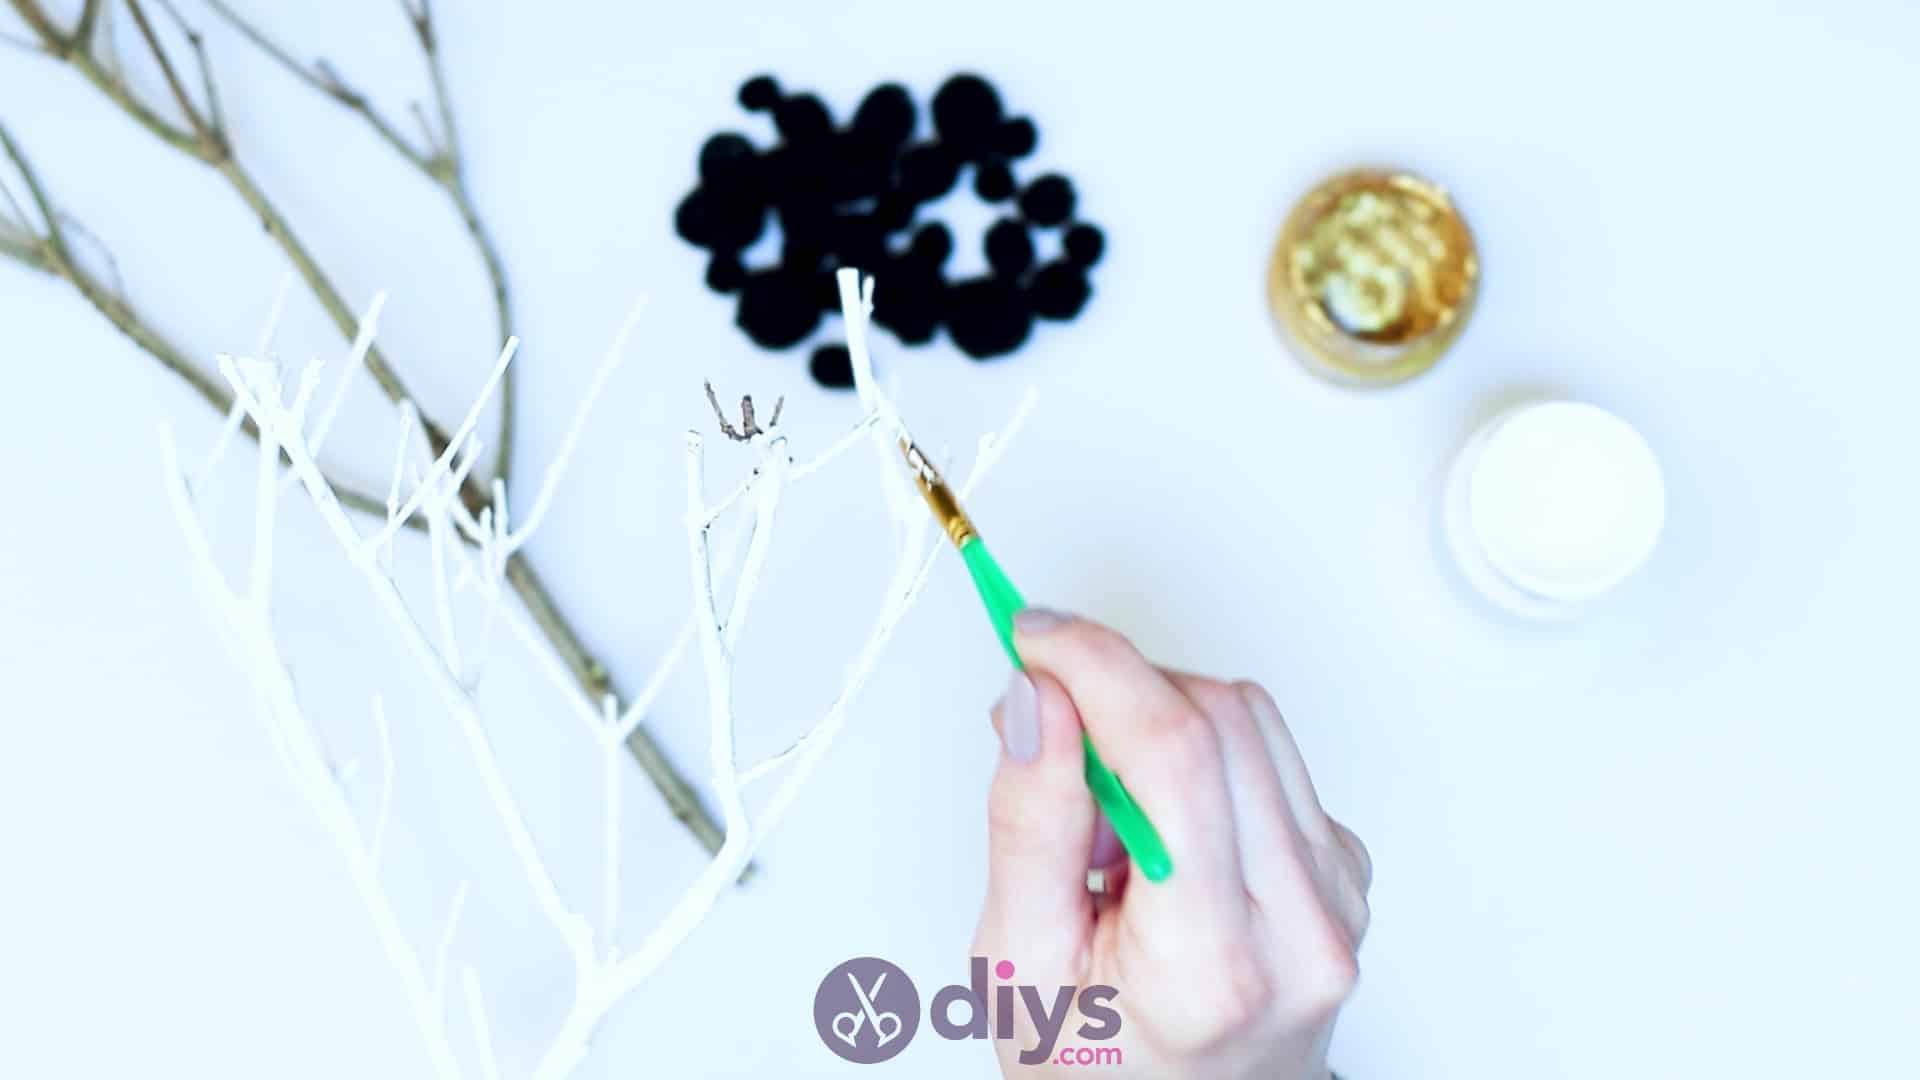
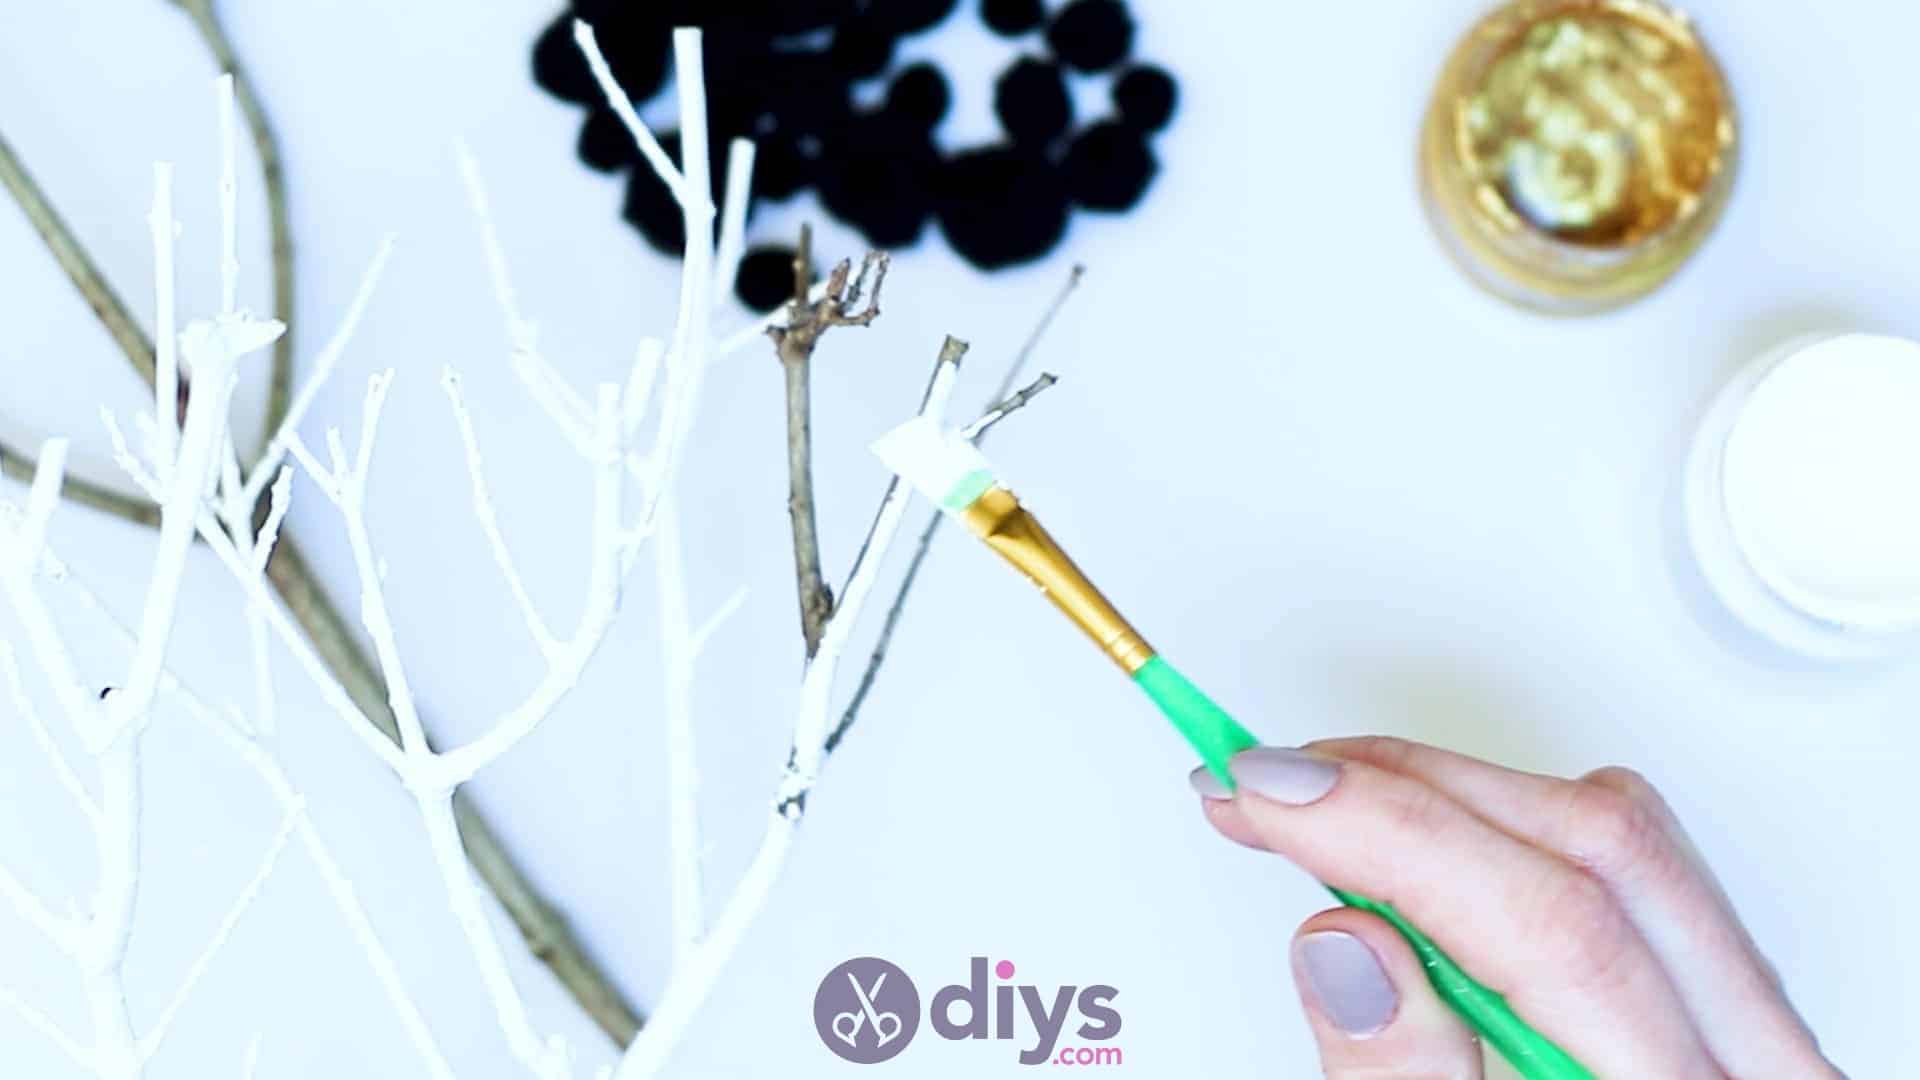
Use your paintbrush to paint your first branch white. You want to paint theentire think all the way around; on both sides and in between every little branch. Feel free to do more than one layer or paint to get a solid, opaque coverage if you need to. When you’re done, set the branch aside carefully to dry.


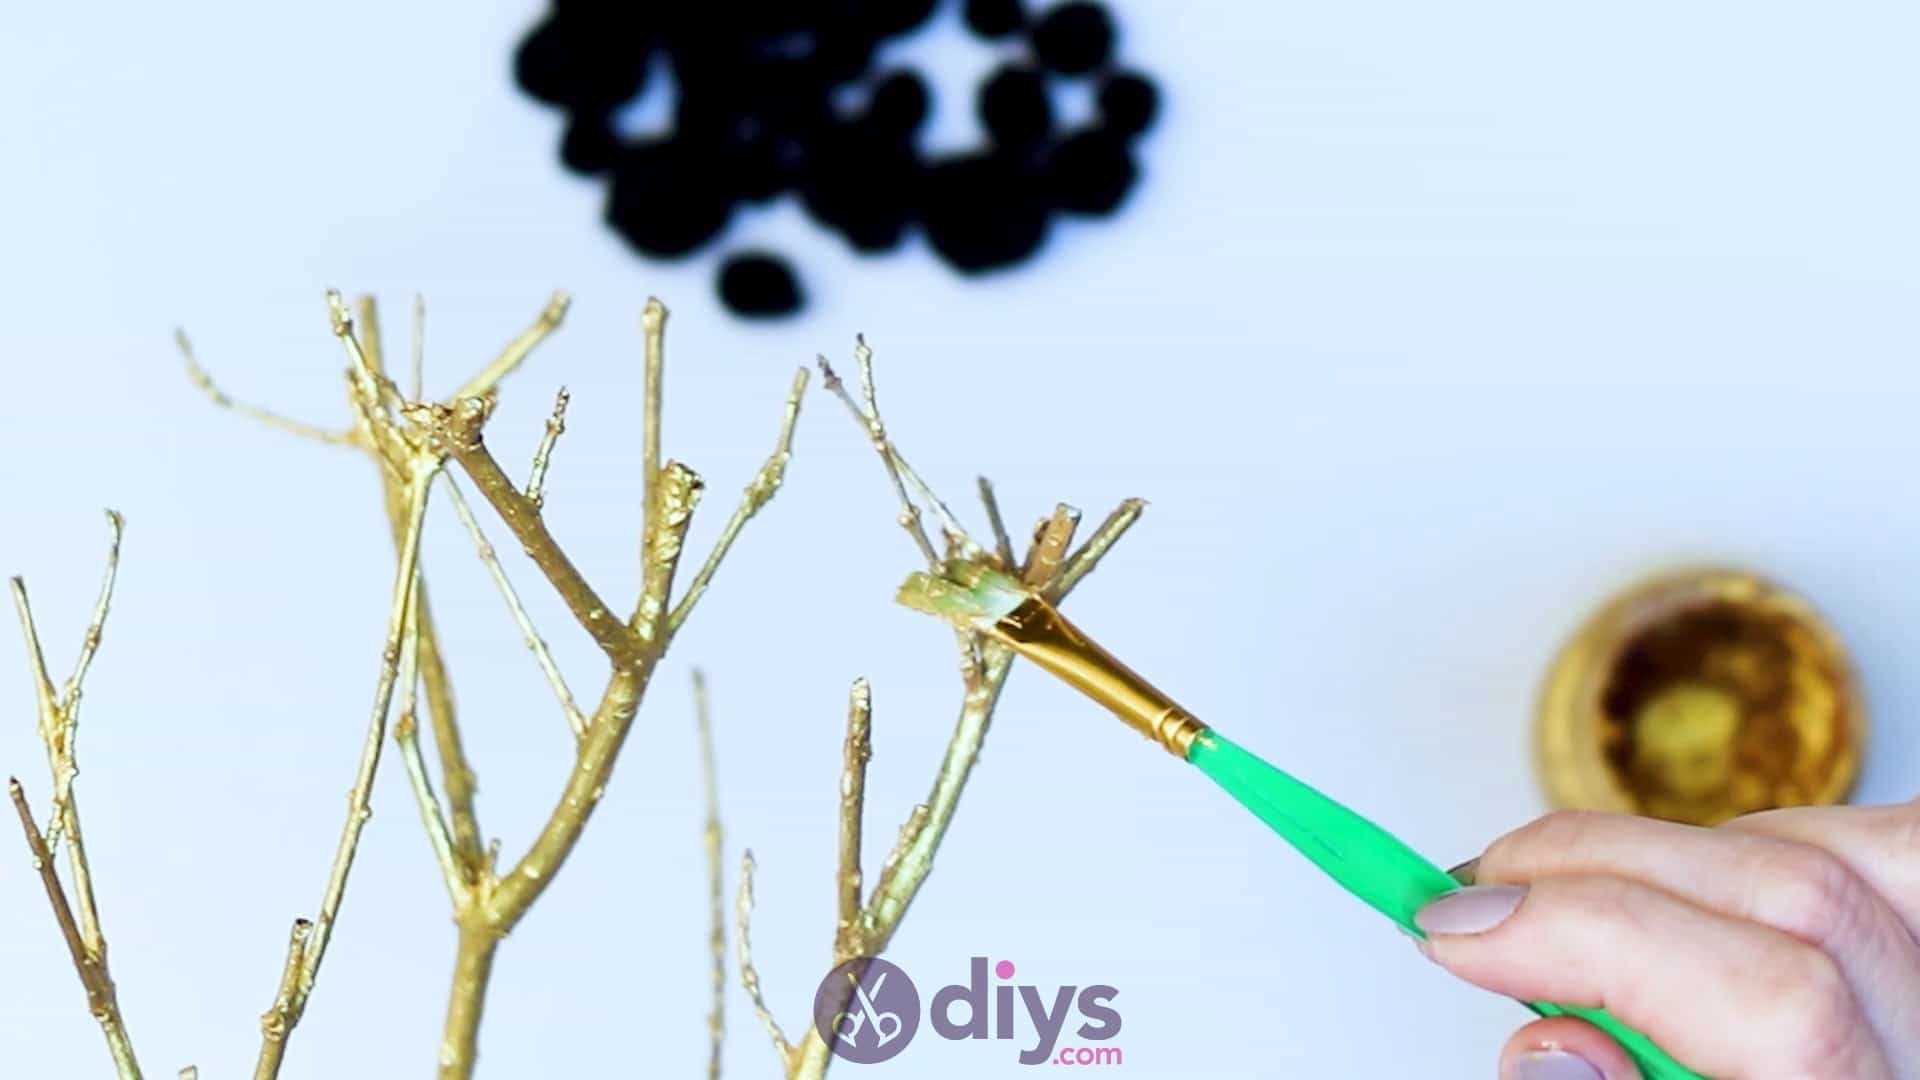
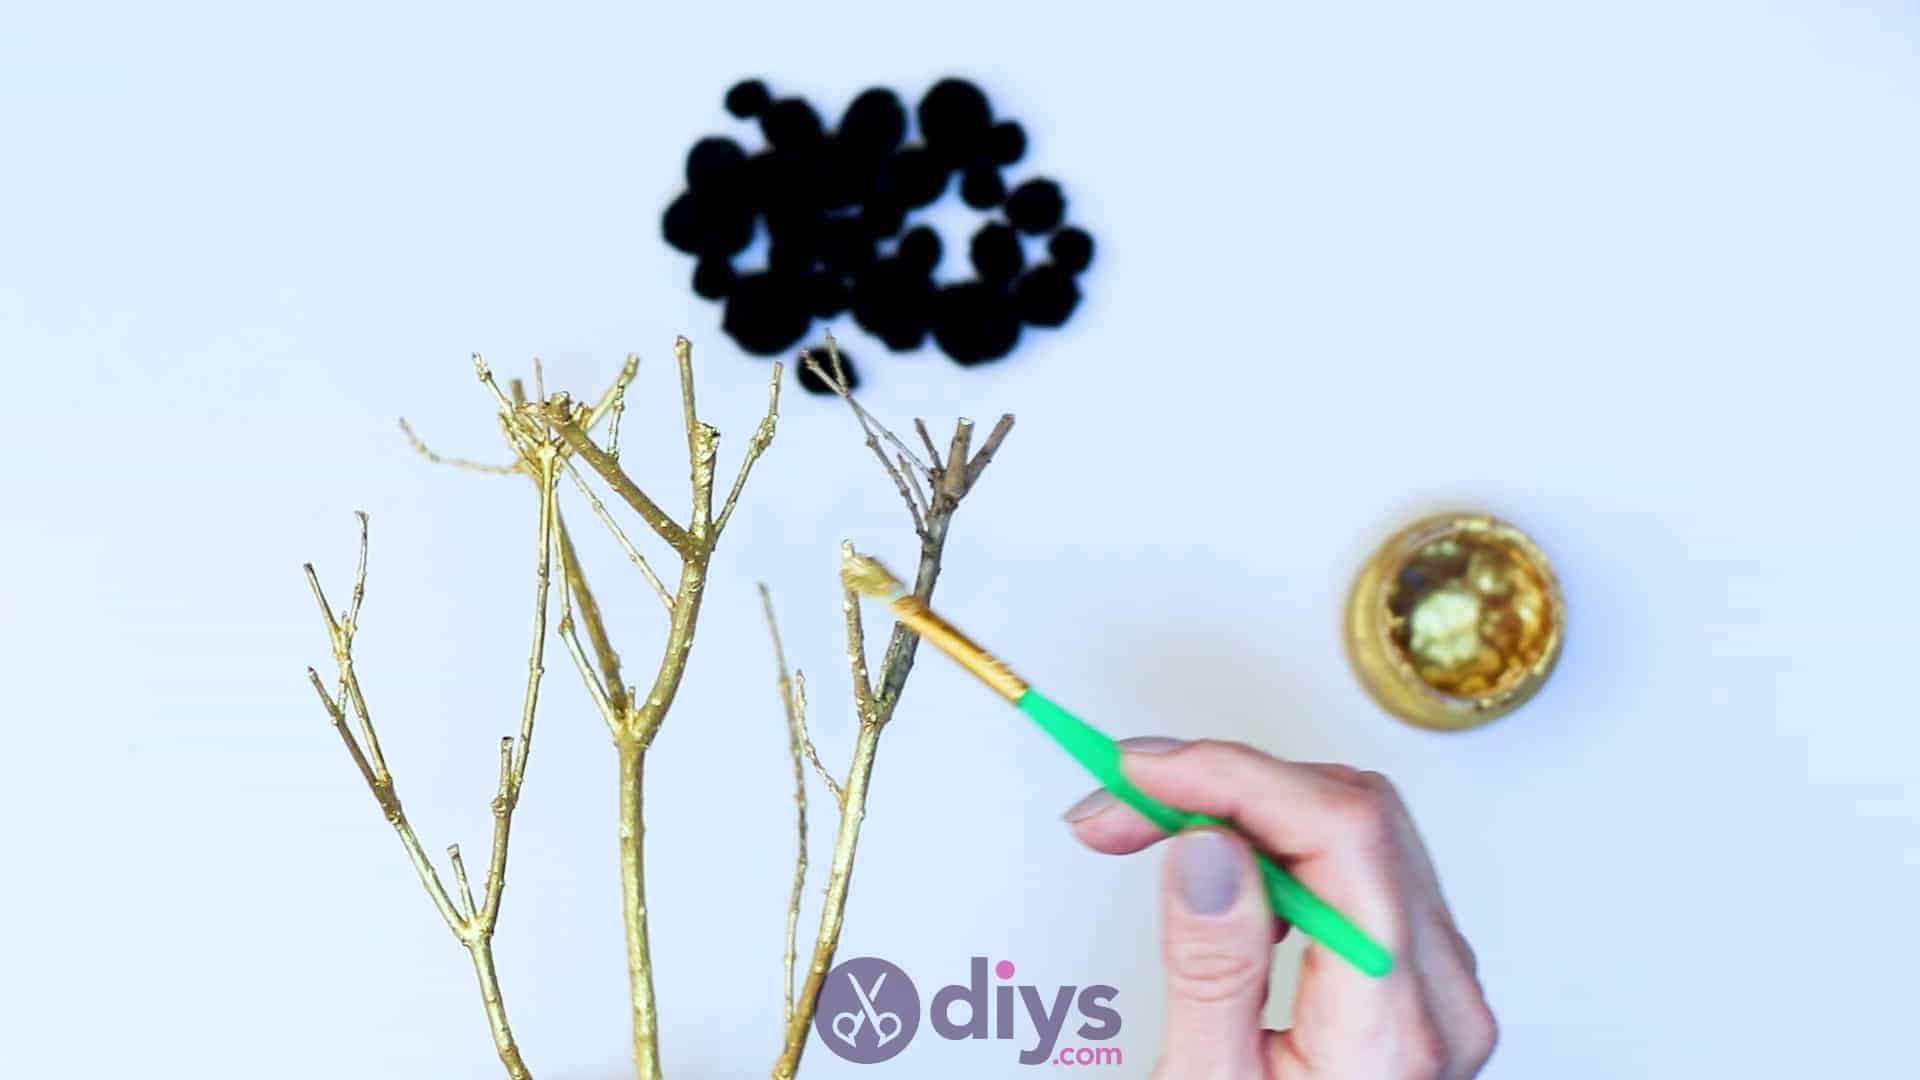
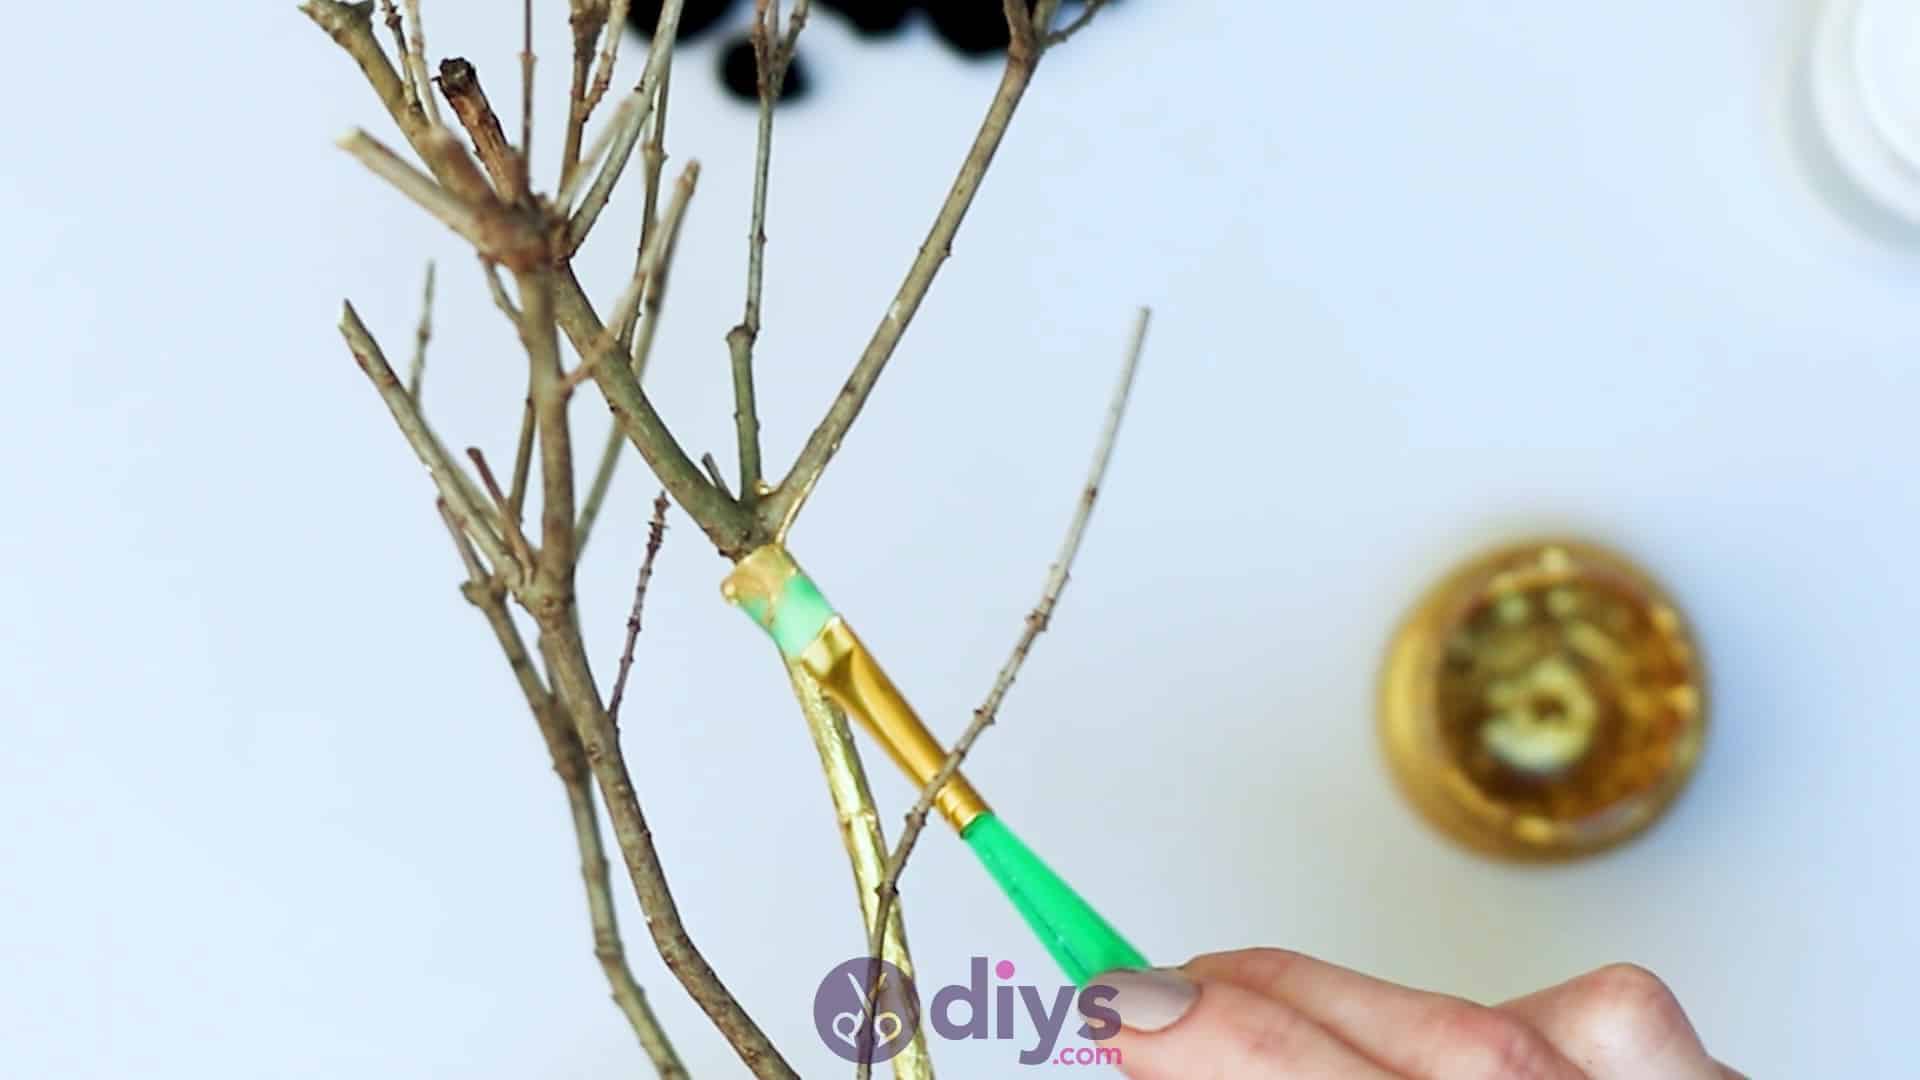
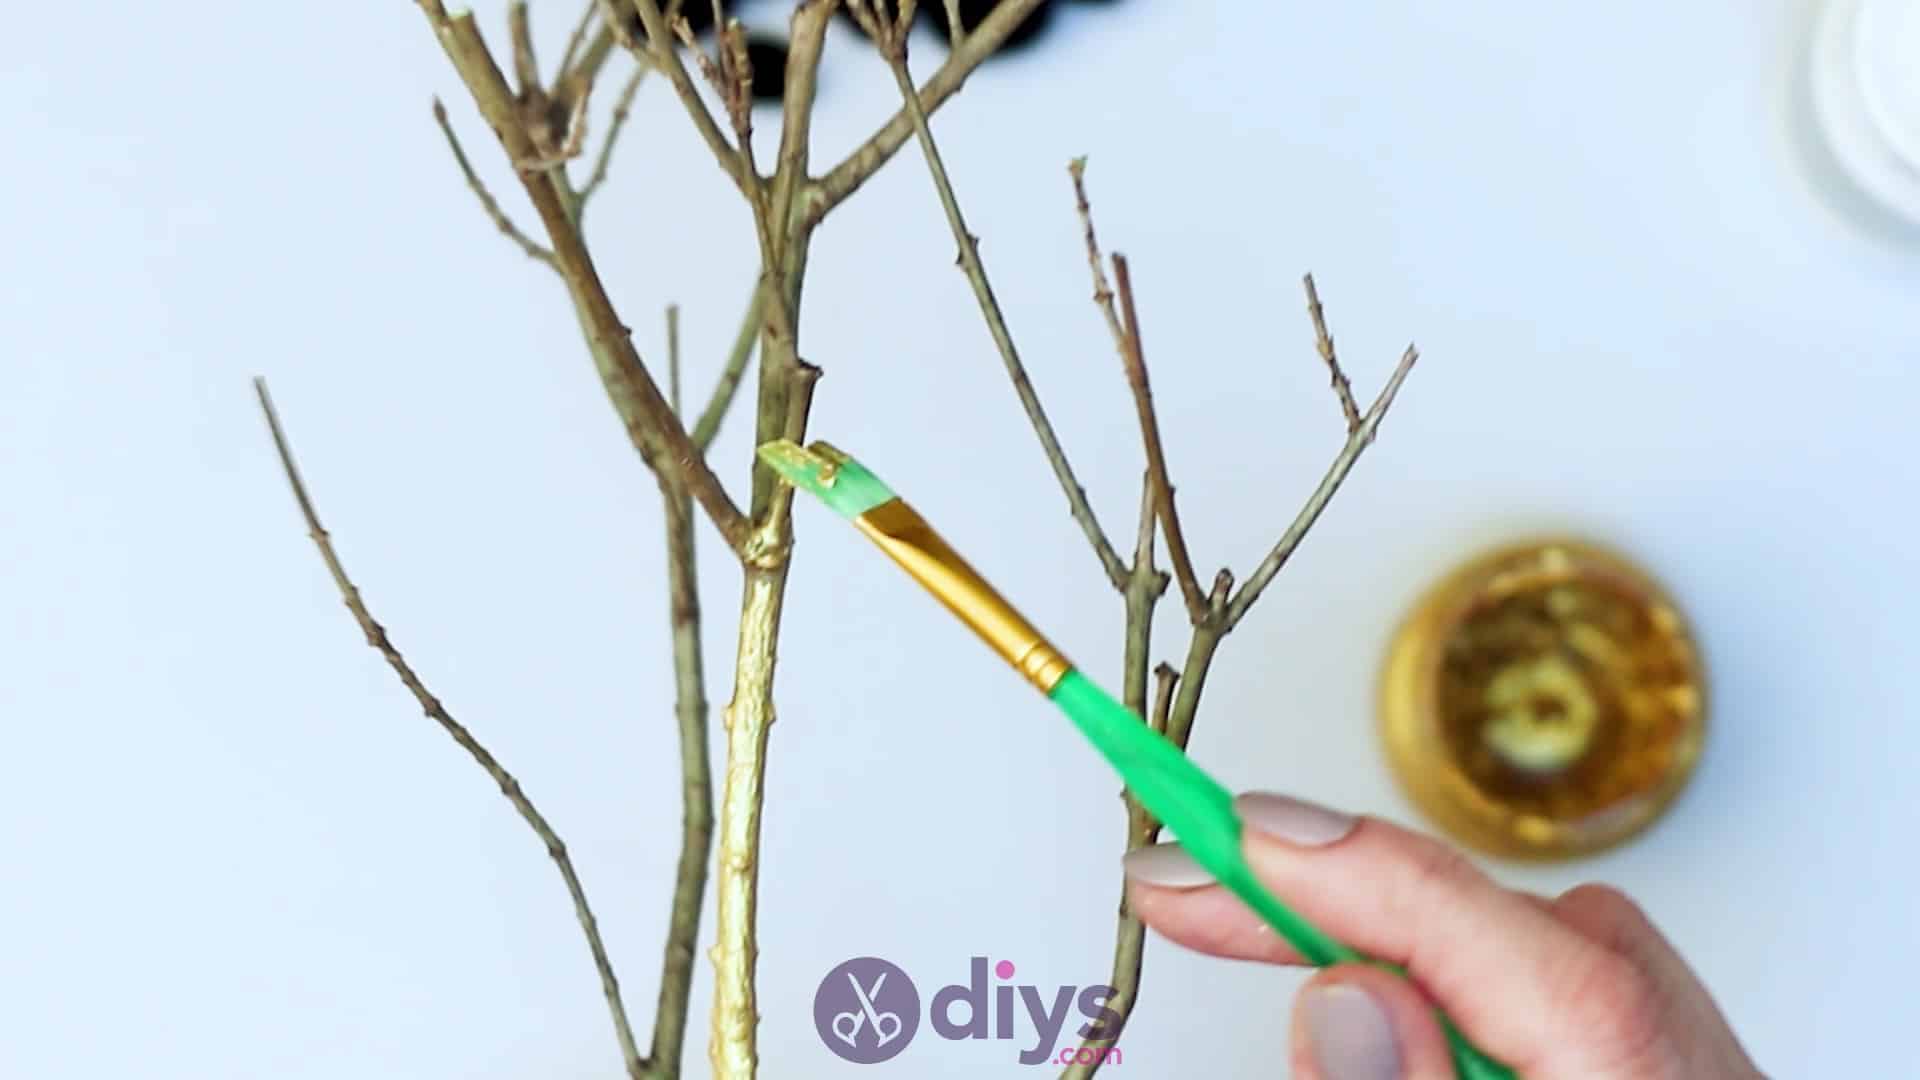
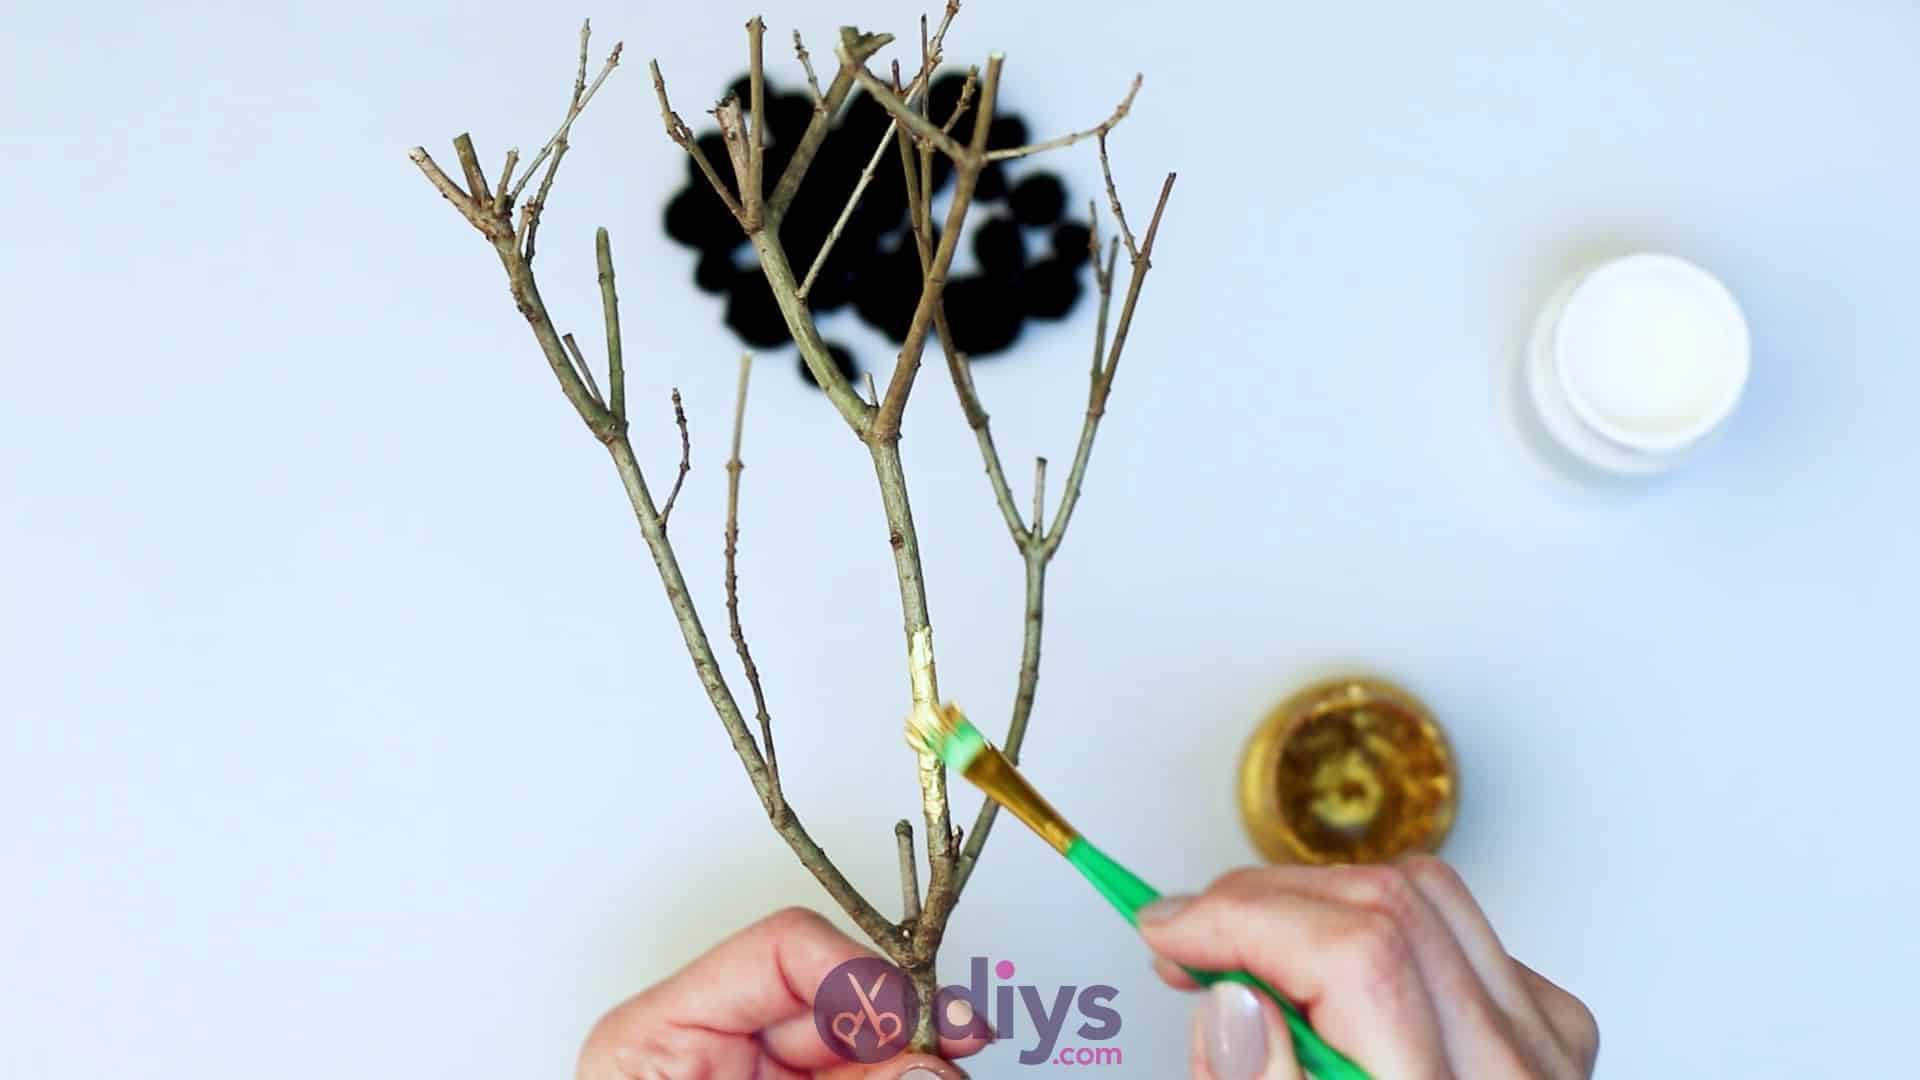
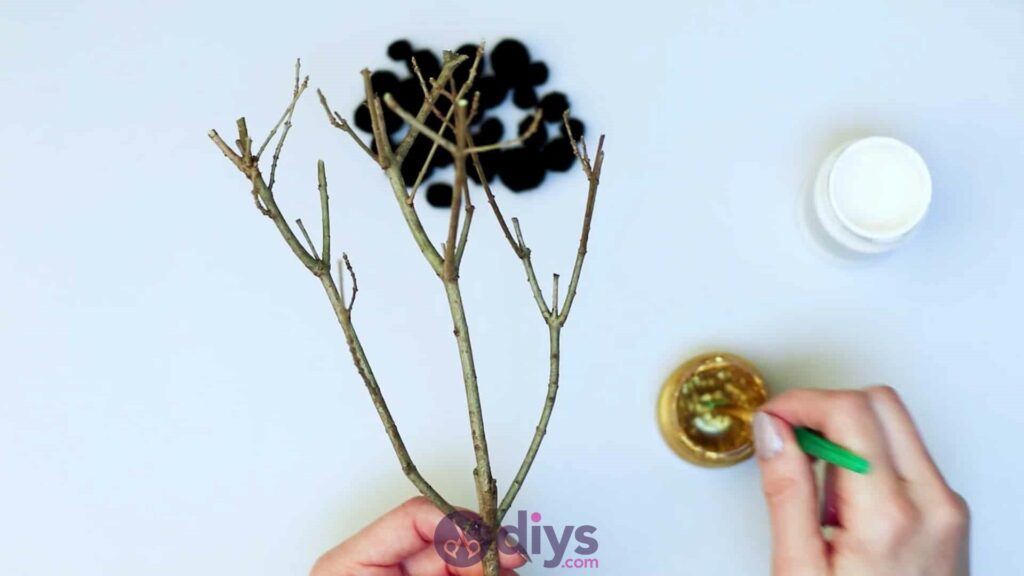
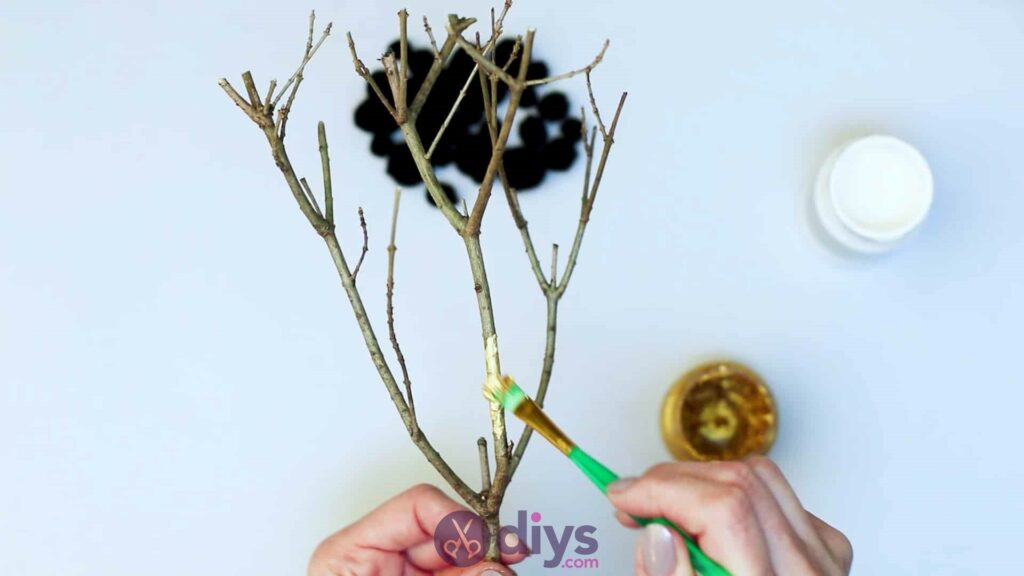
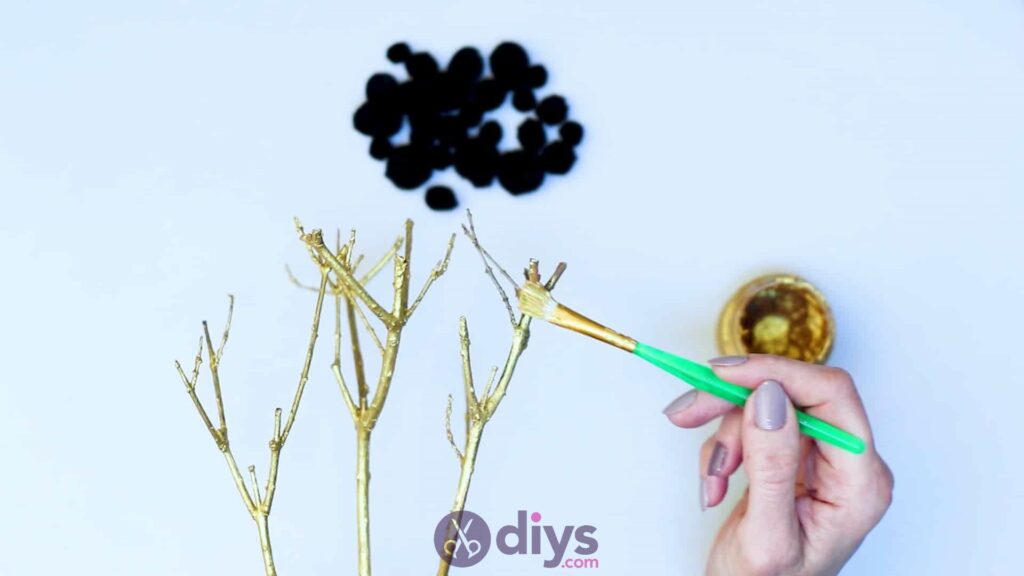
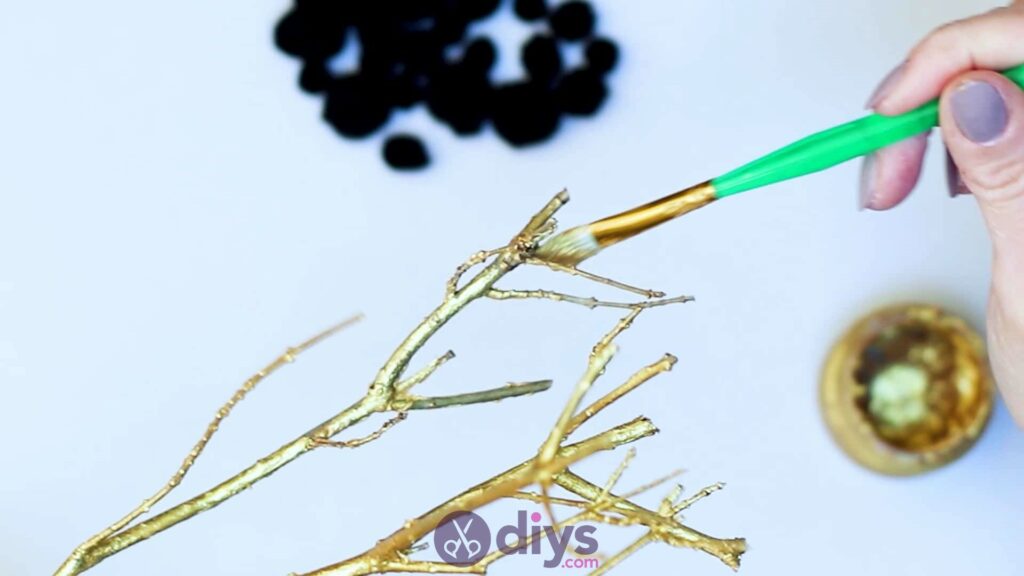
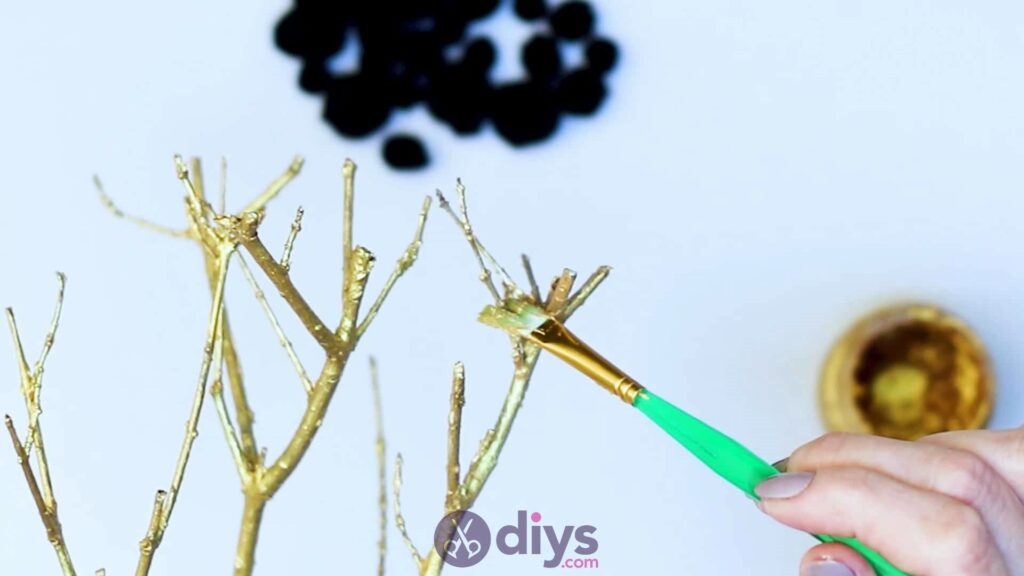
Step 3: paint second color
Clean your paintbrush (or grab a fresh one) and then use it to paint your second branch entirely gold. I used a metallic paint to get a fun, shiny finish that added a bit of glam to the project. Once again, you want to get full coverage all the way around. Set this branch aside to dry thoroughly as well.


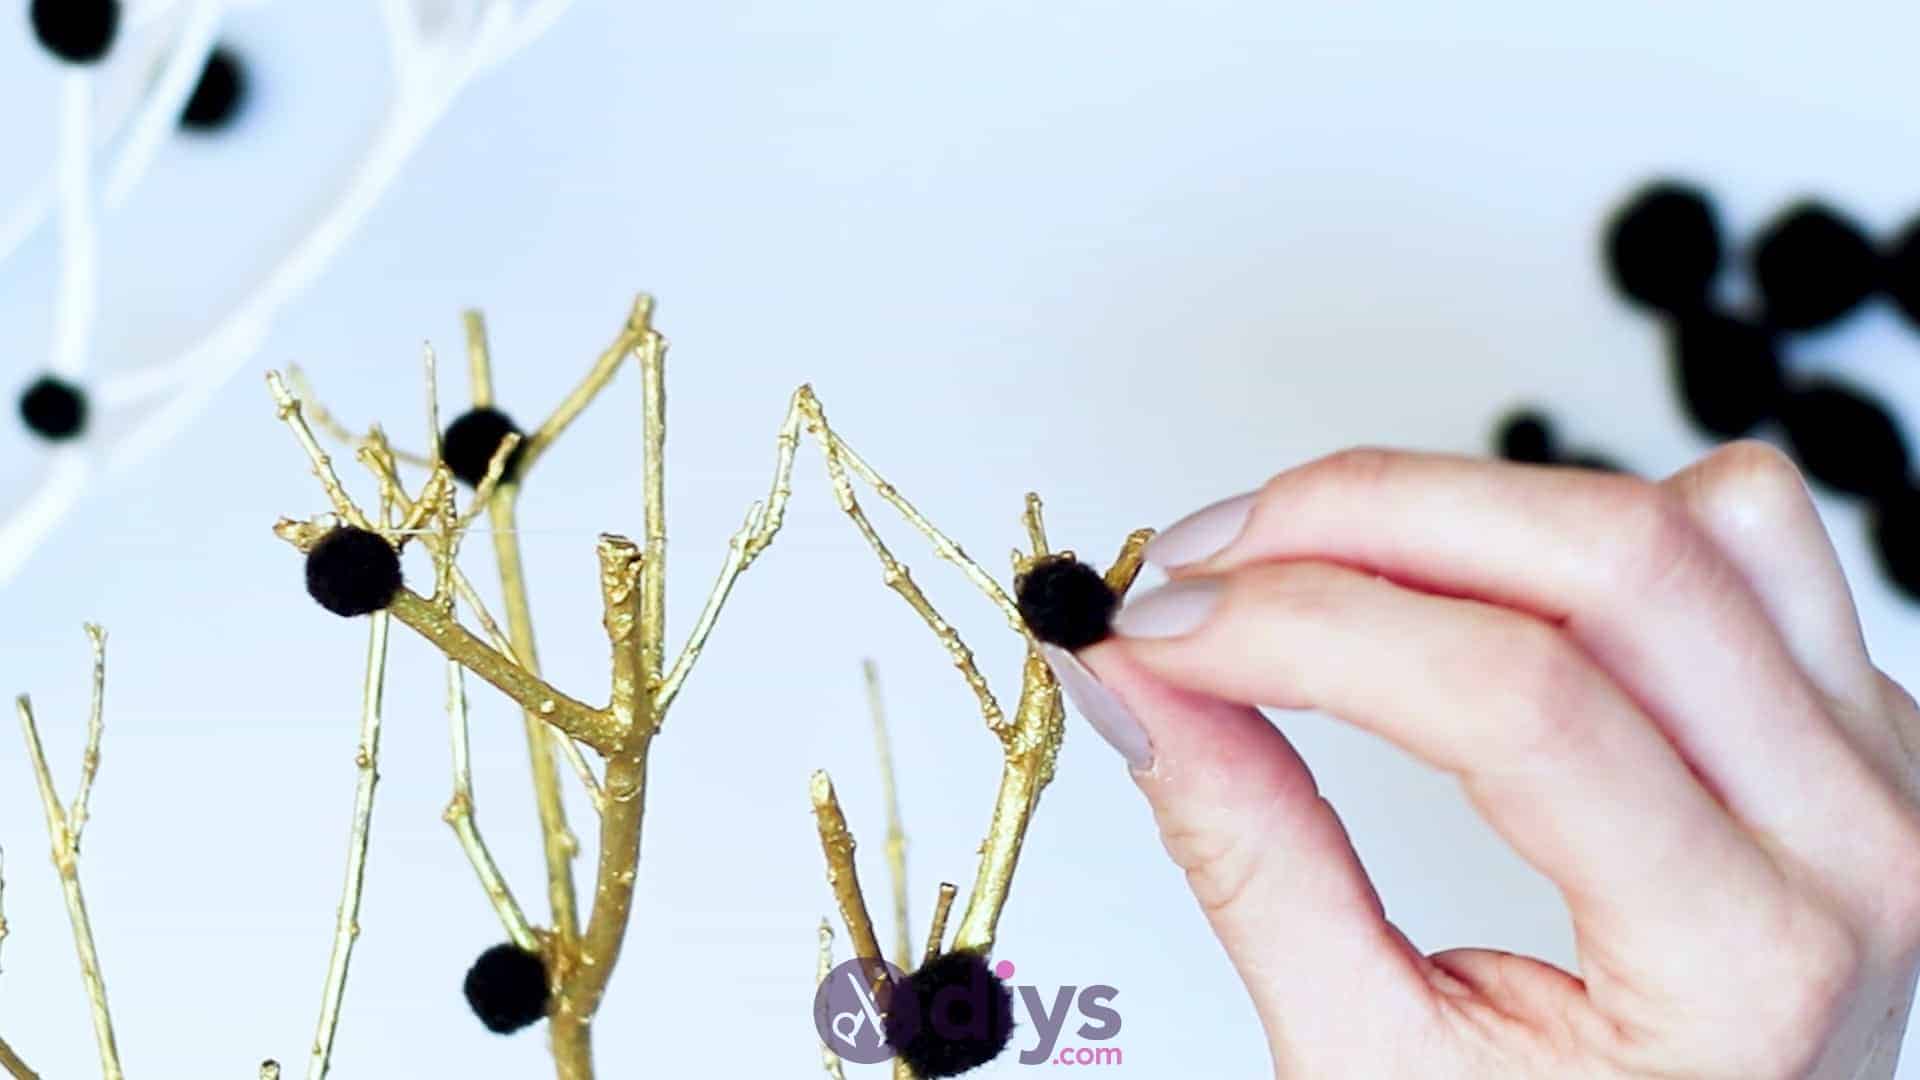
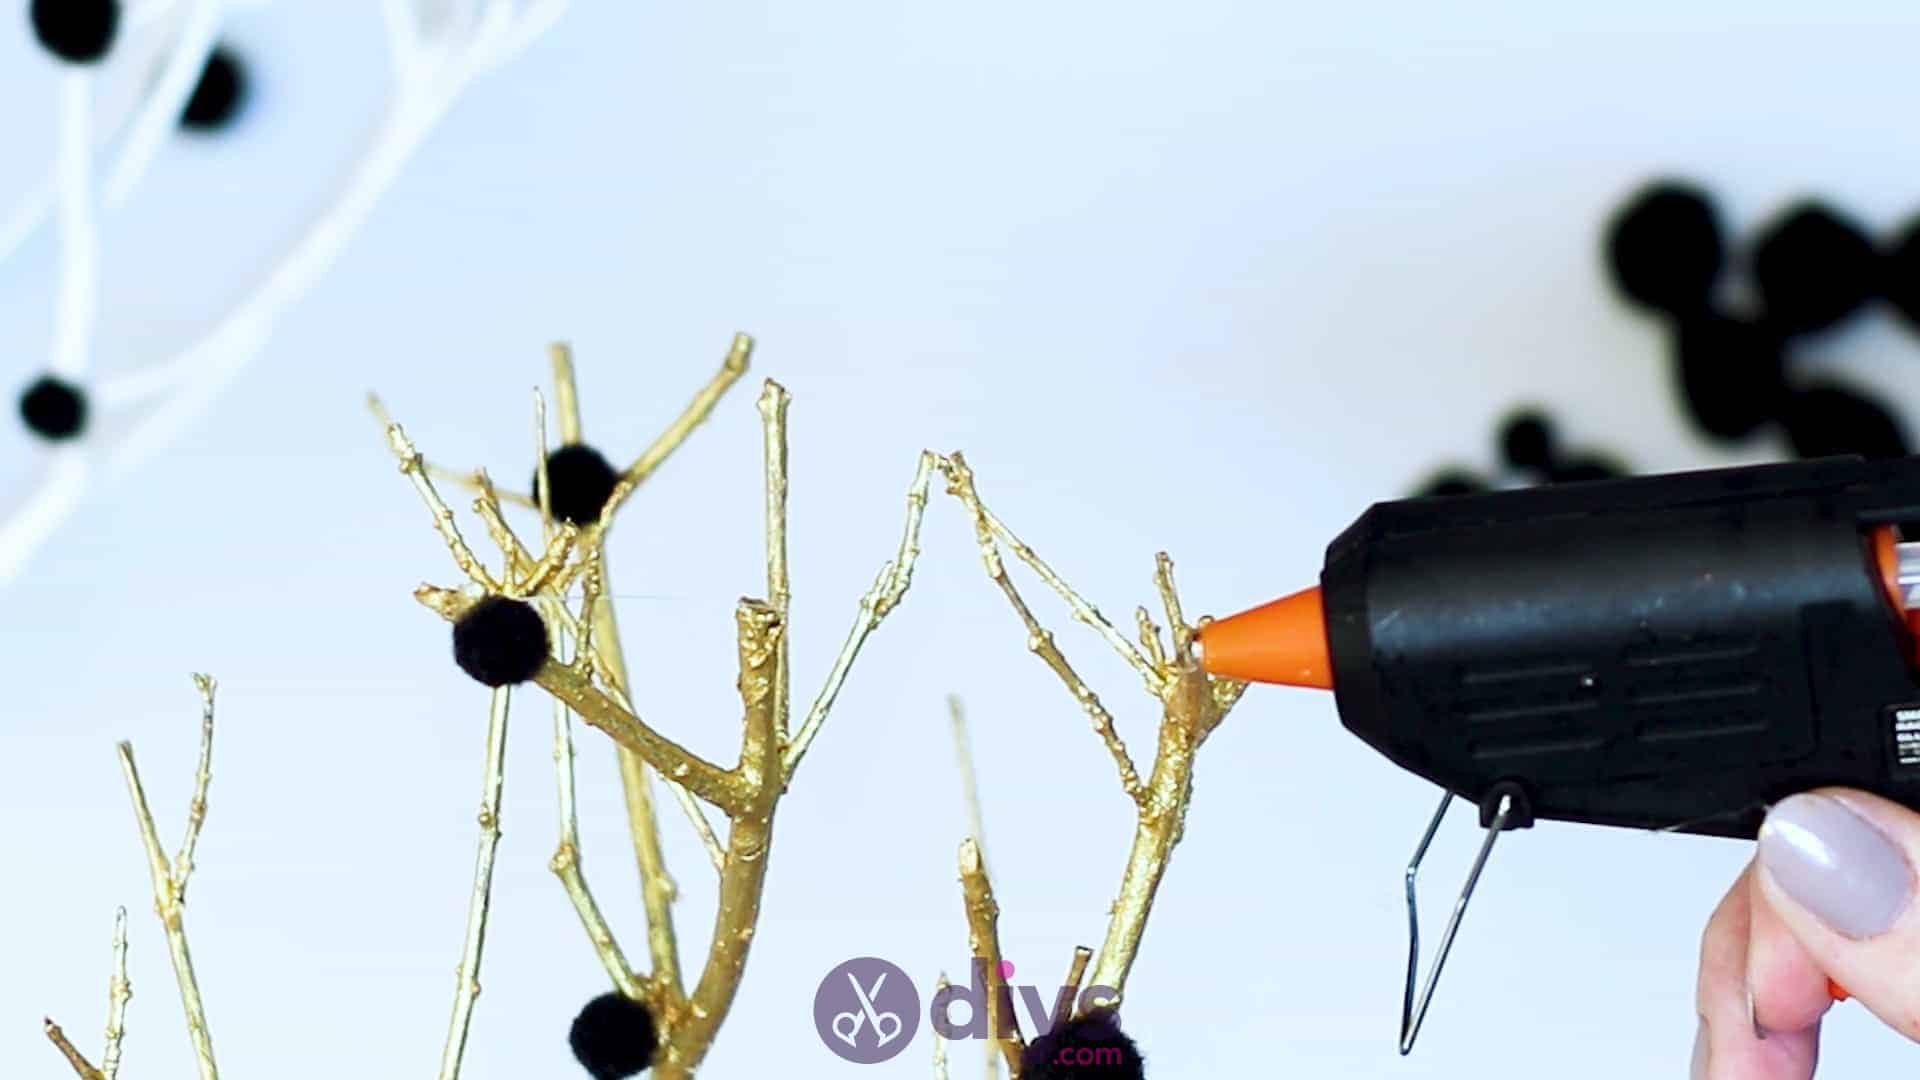
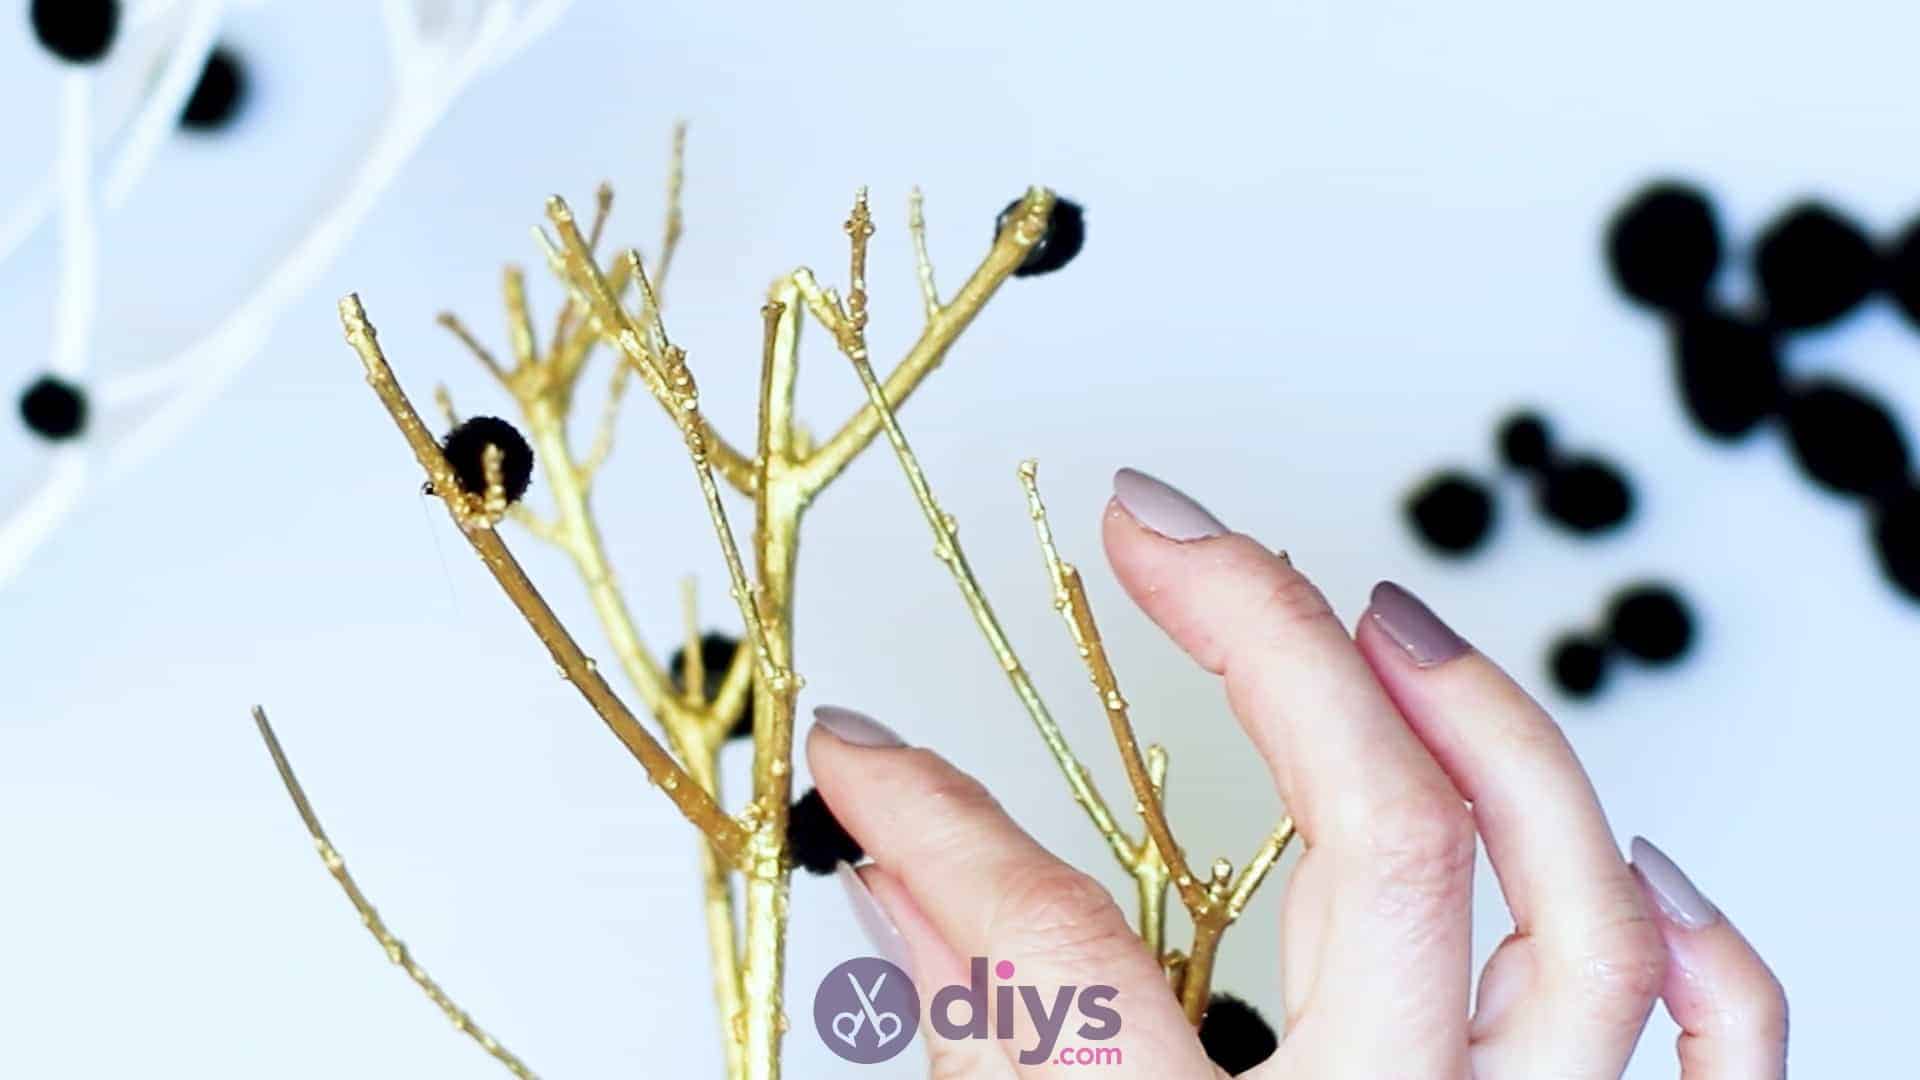
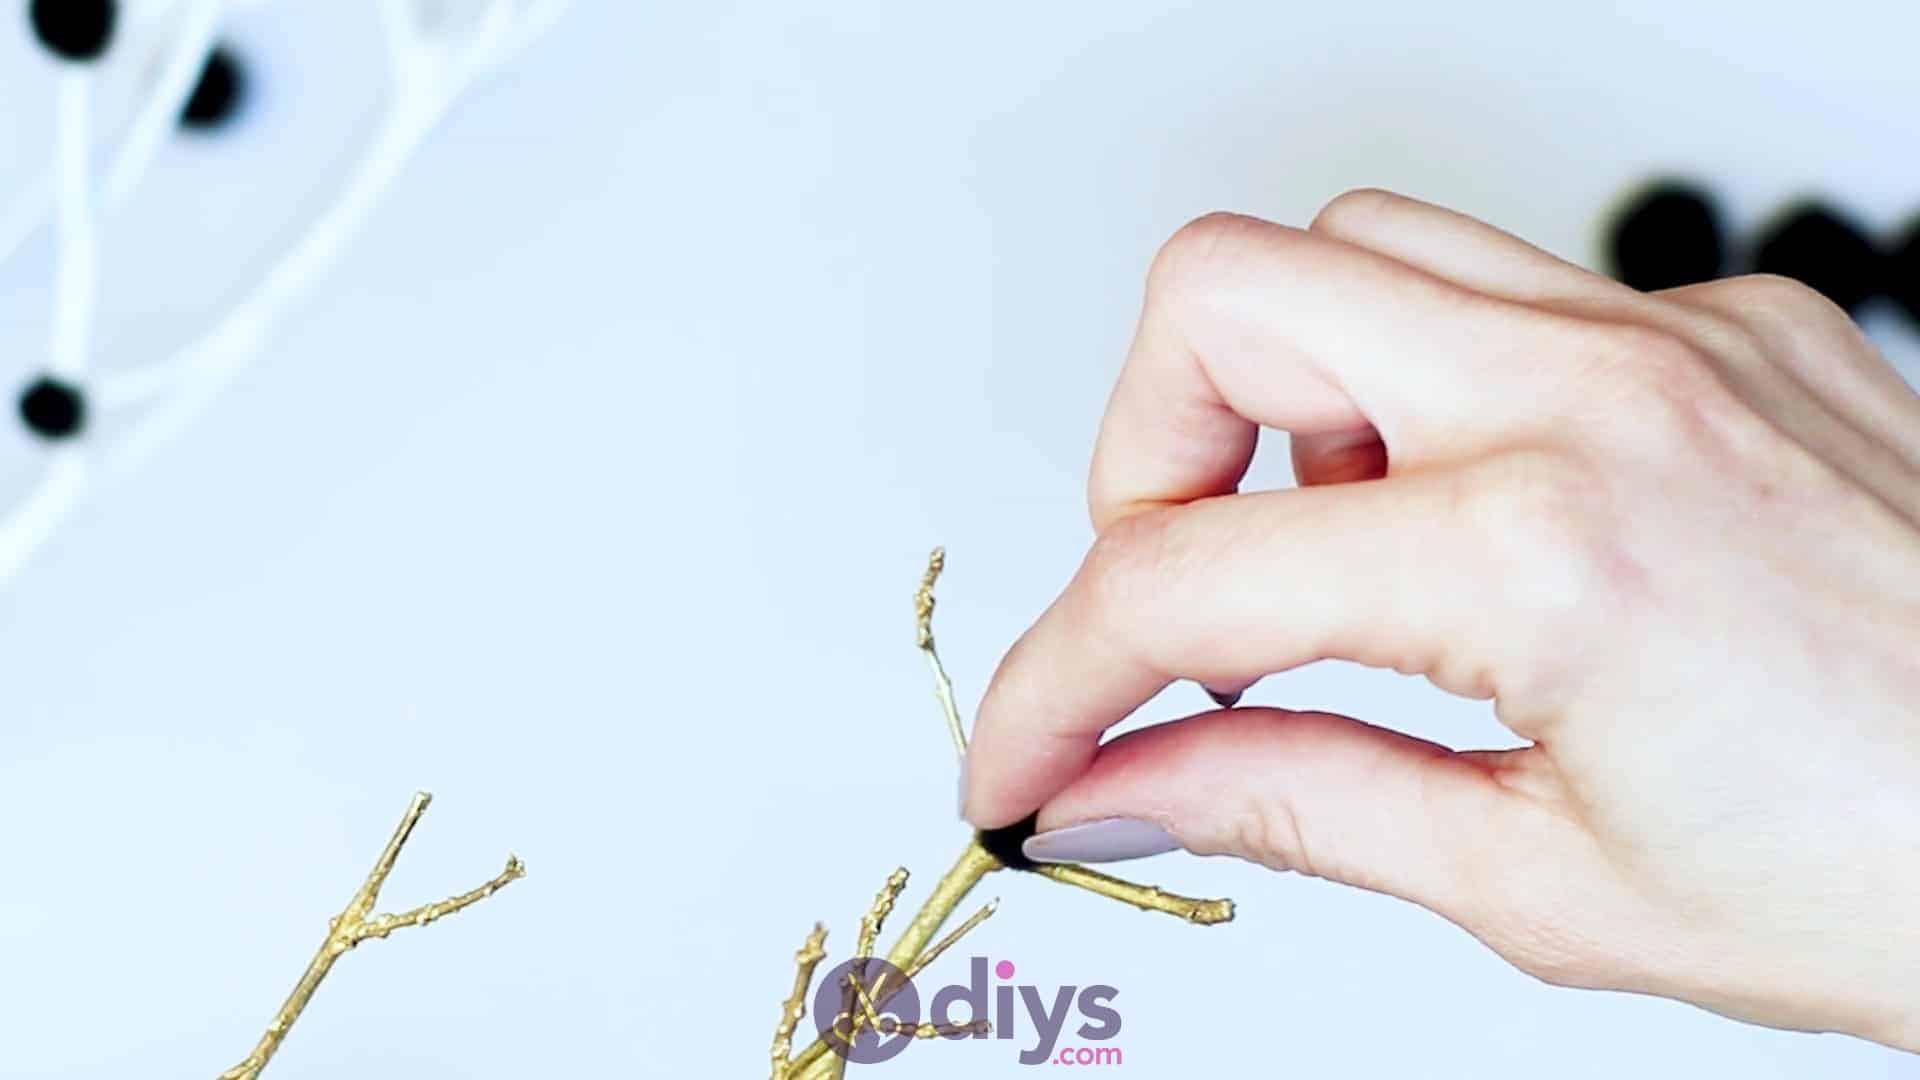
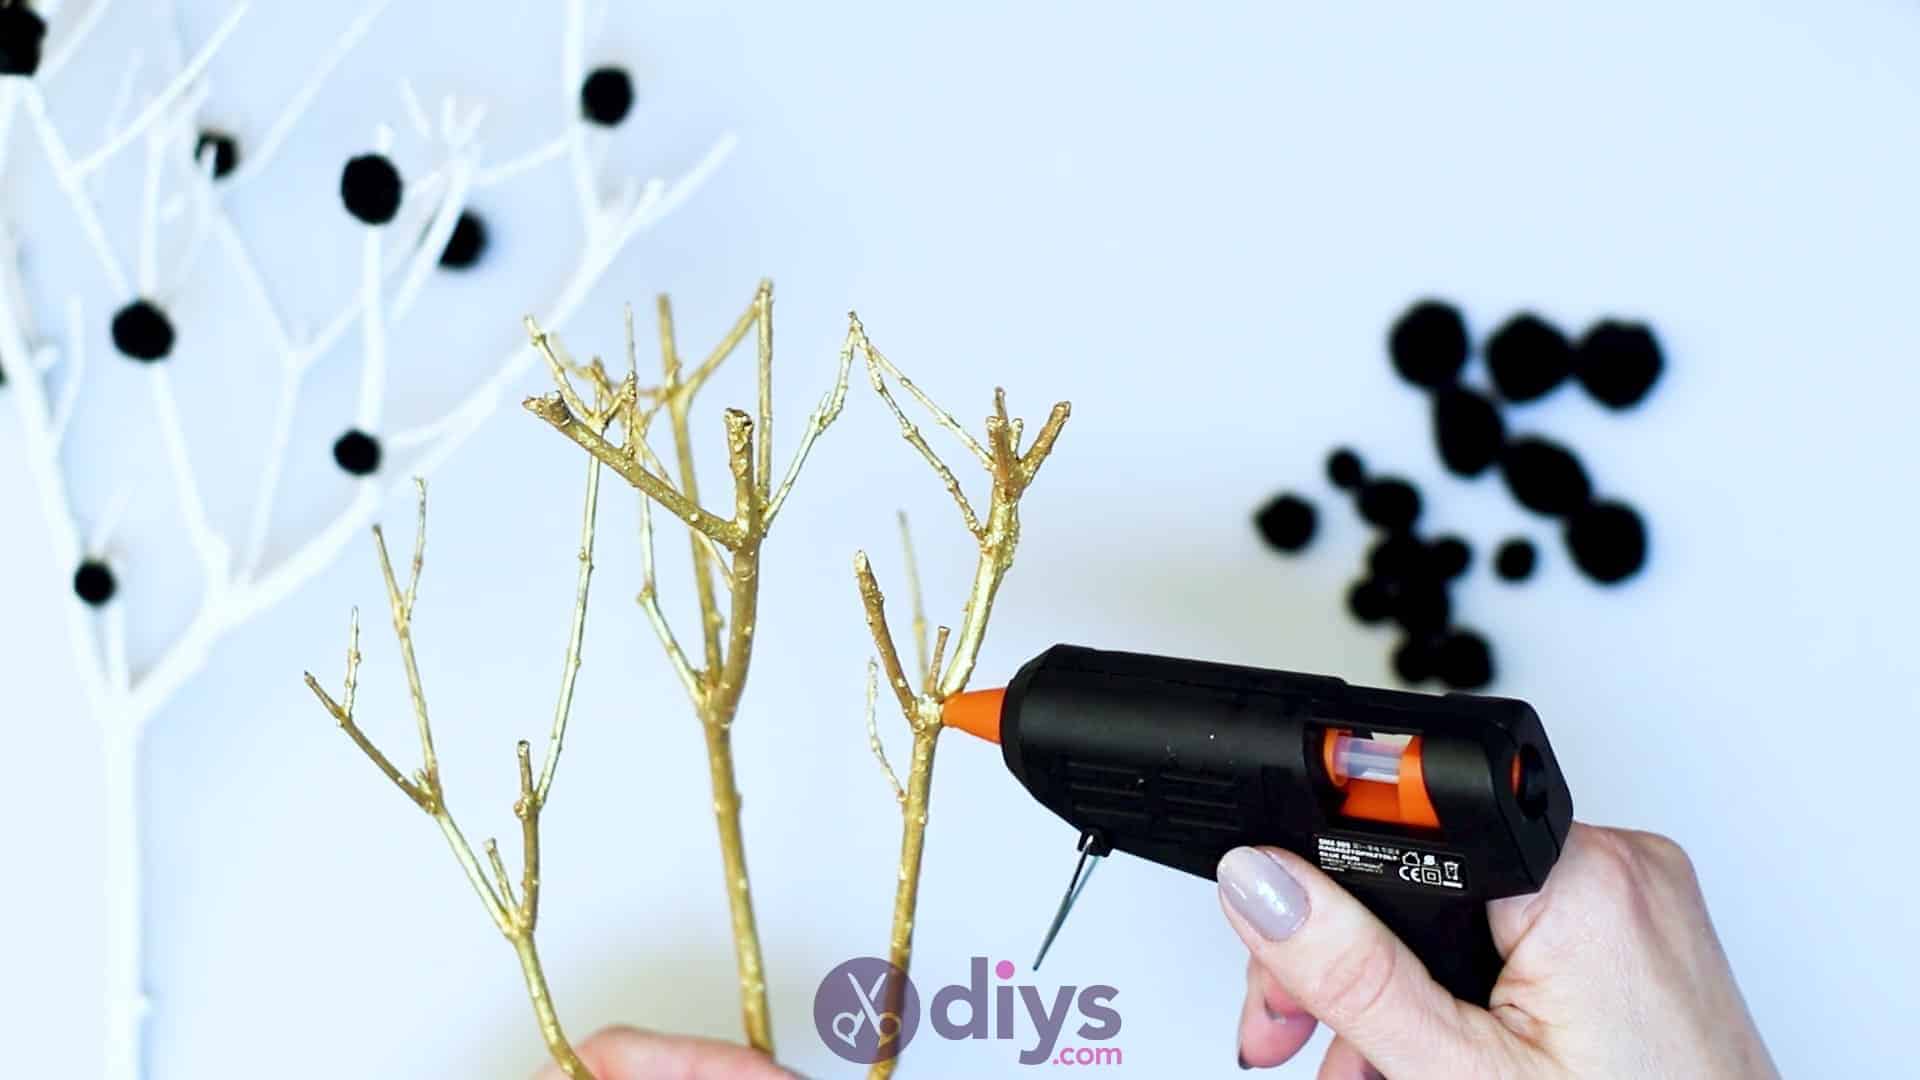
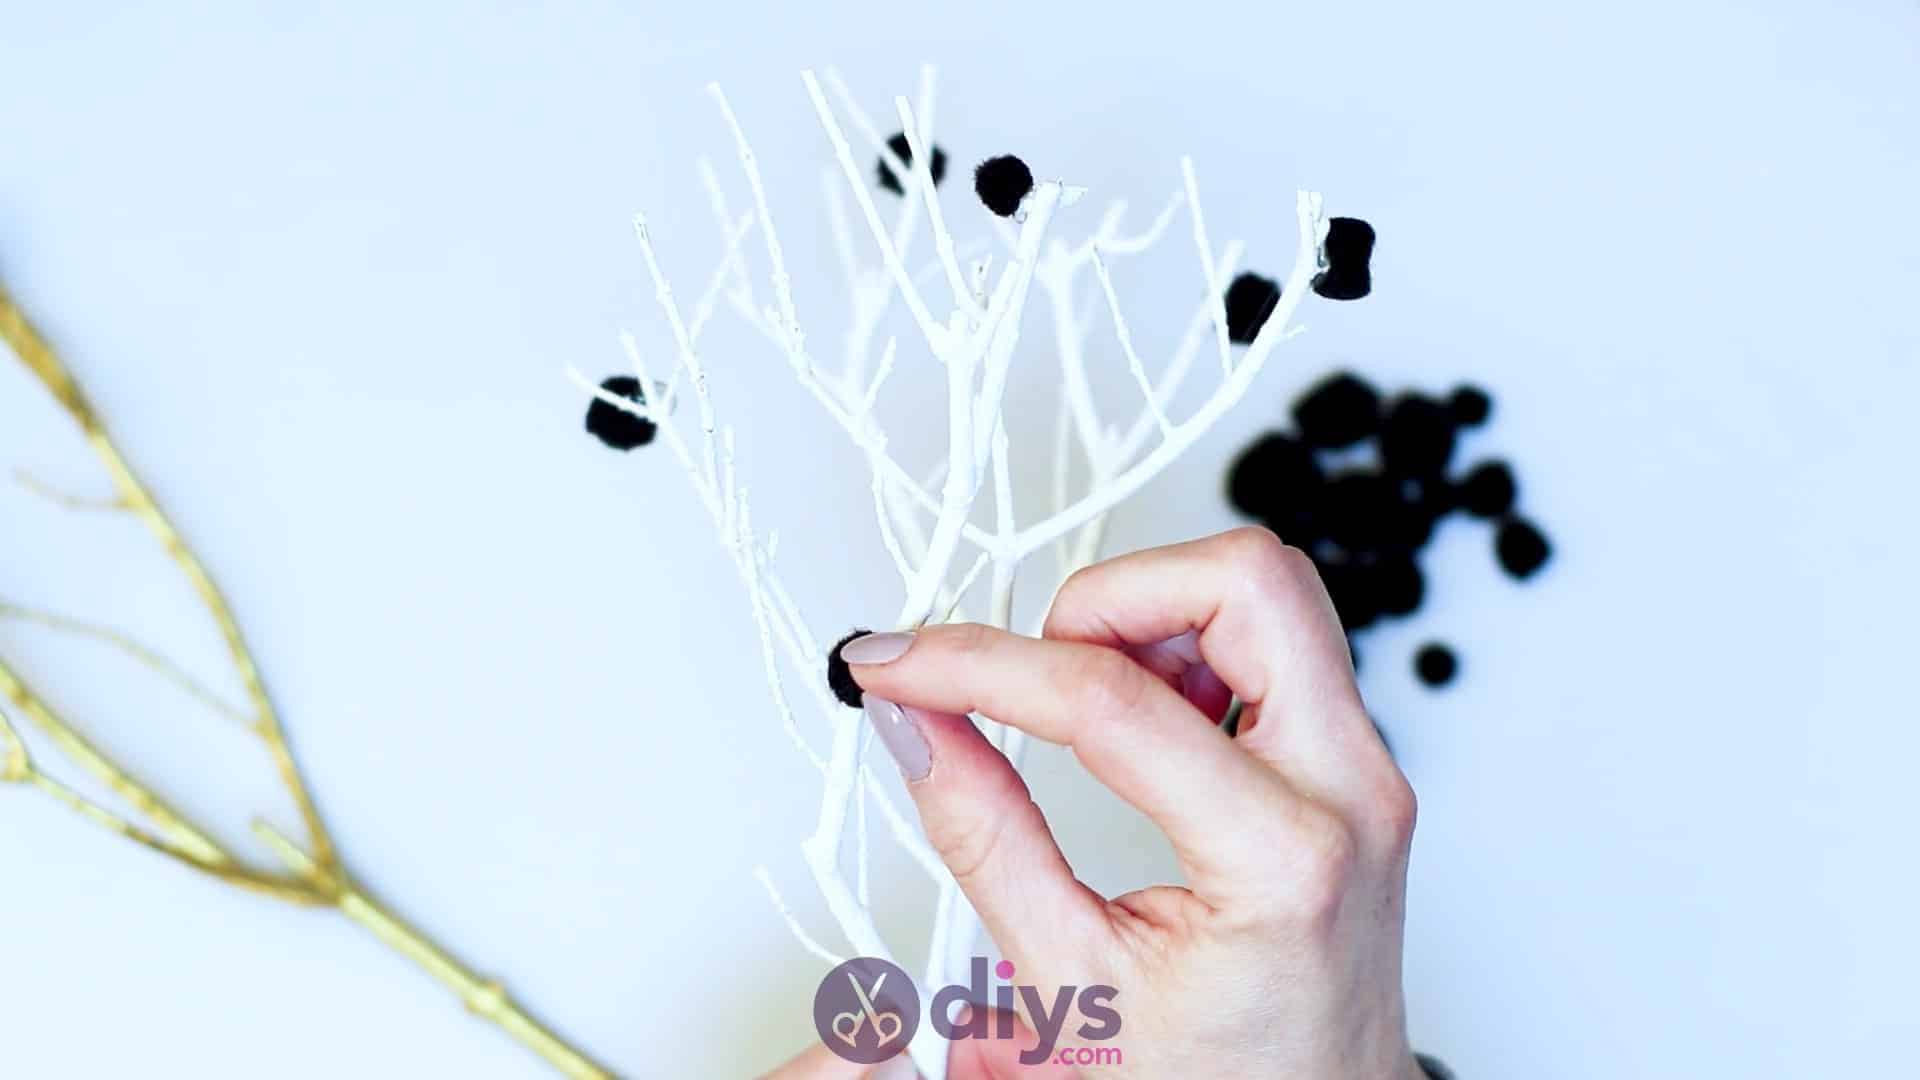
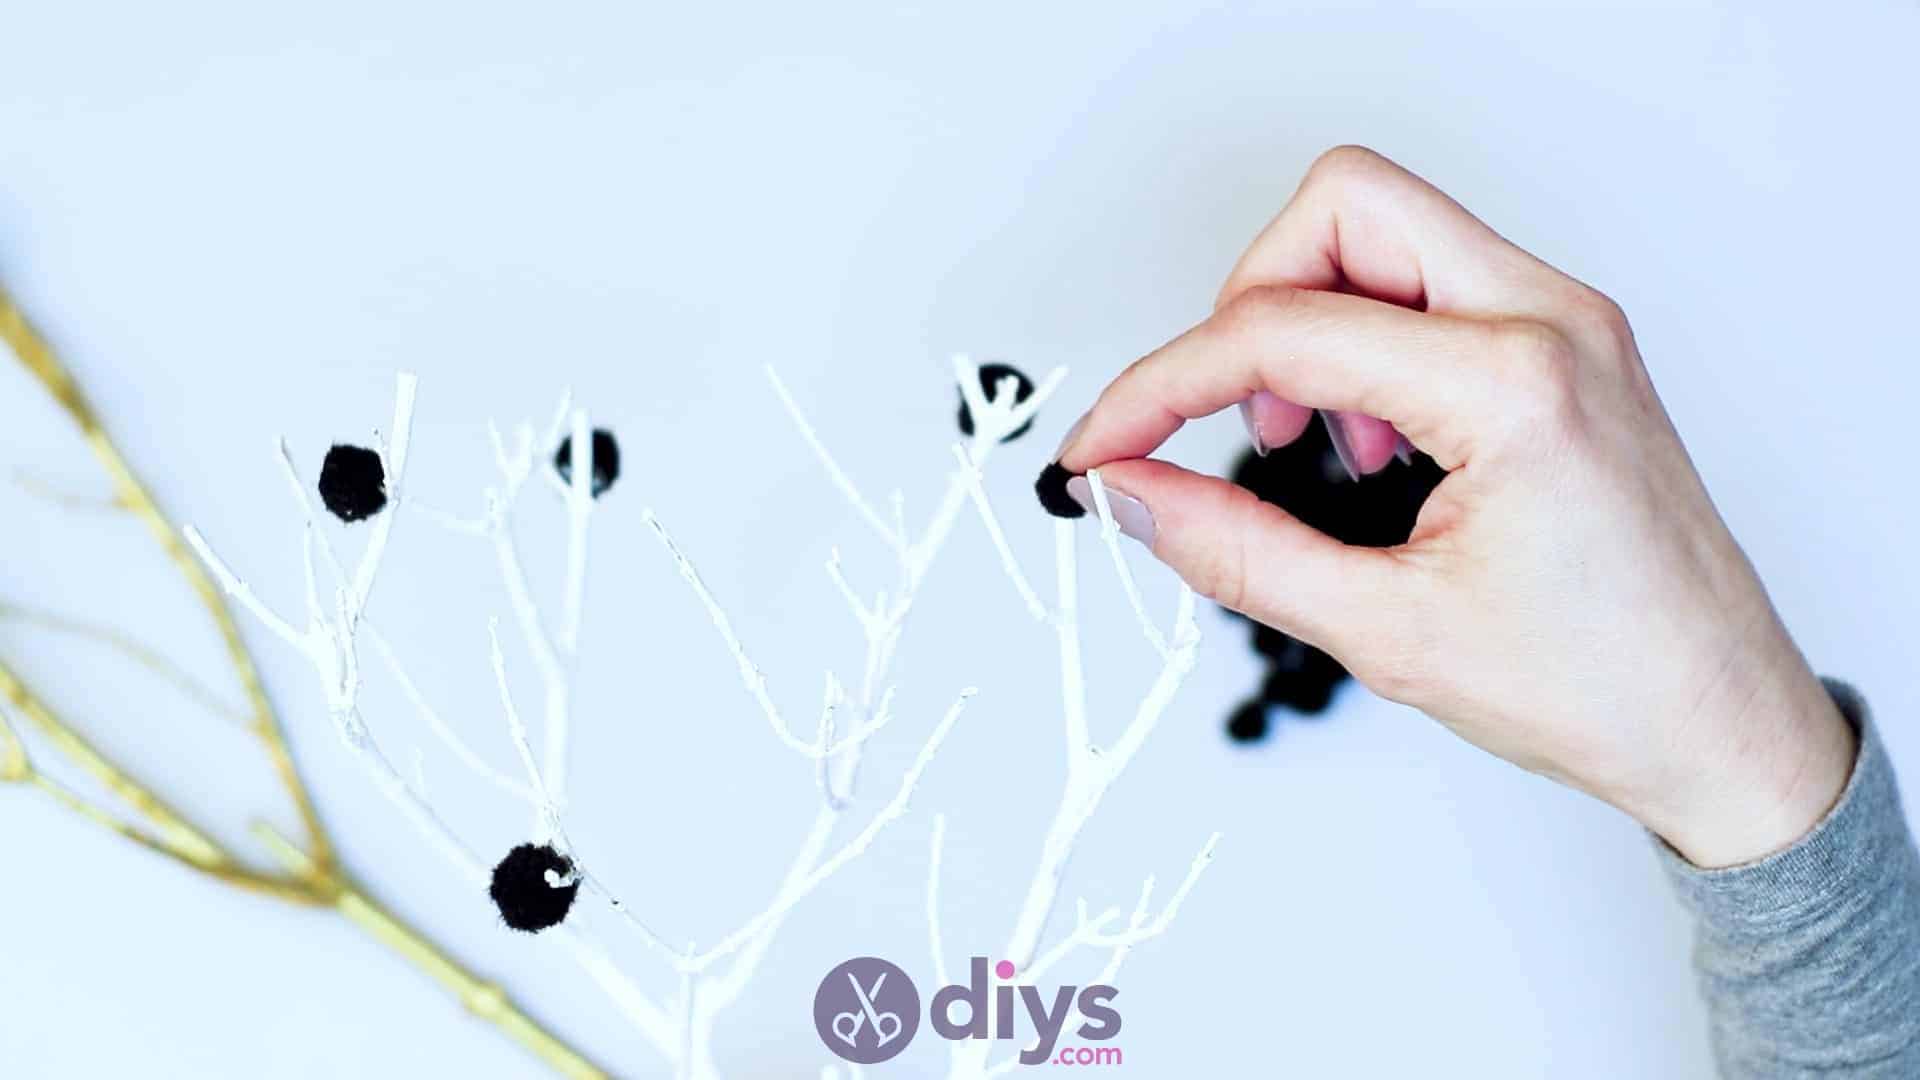
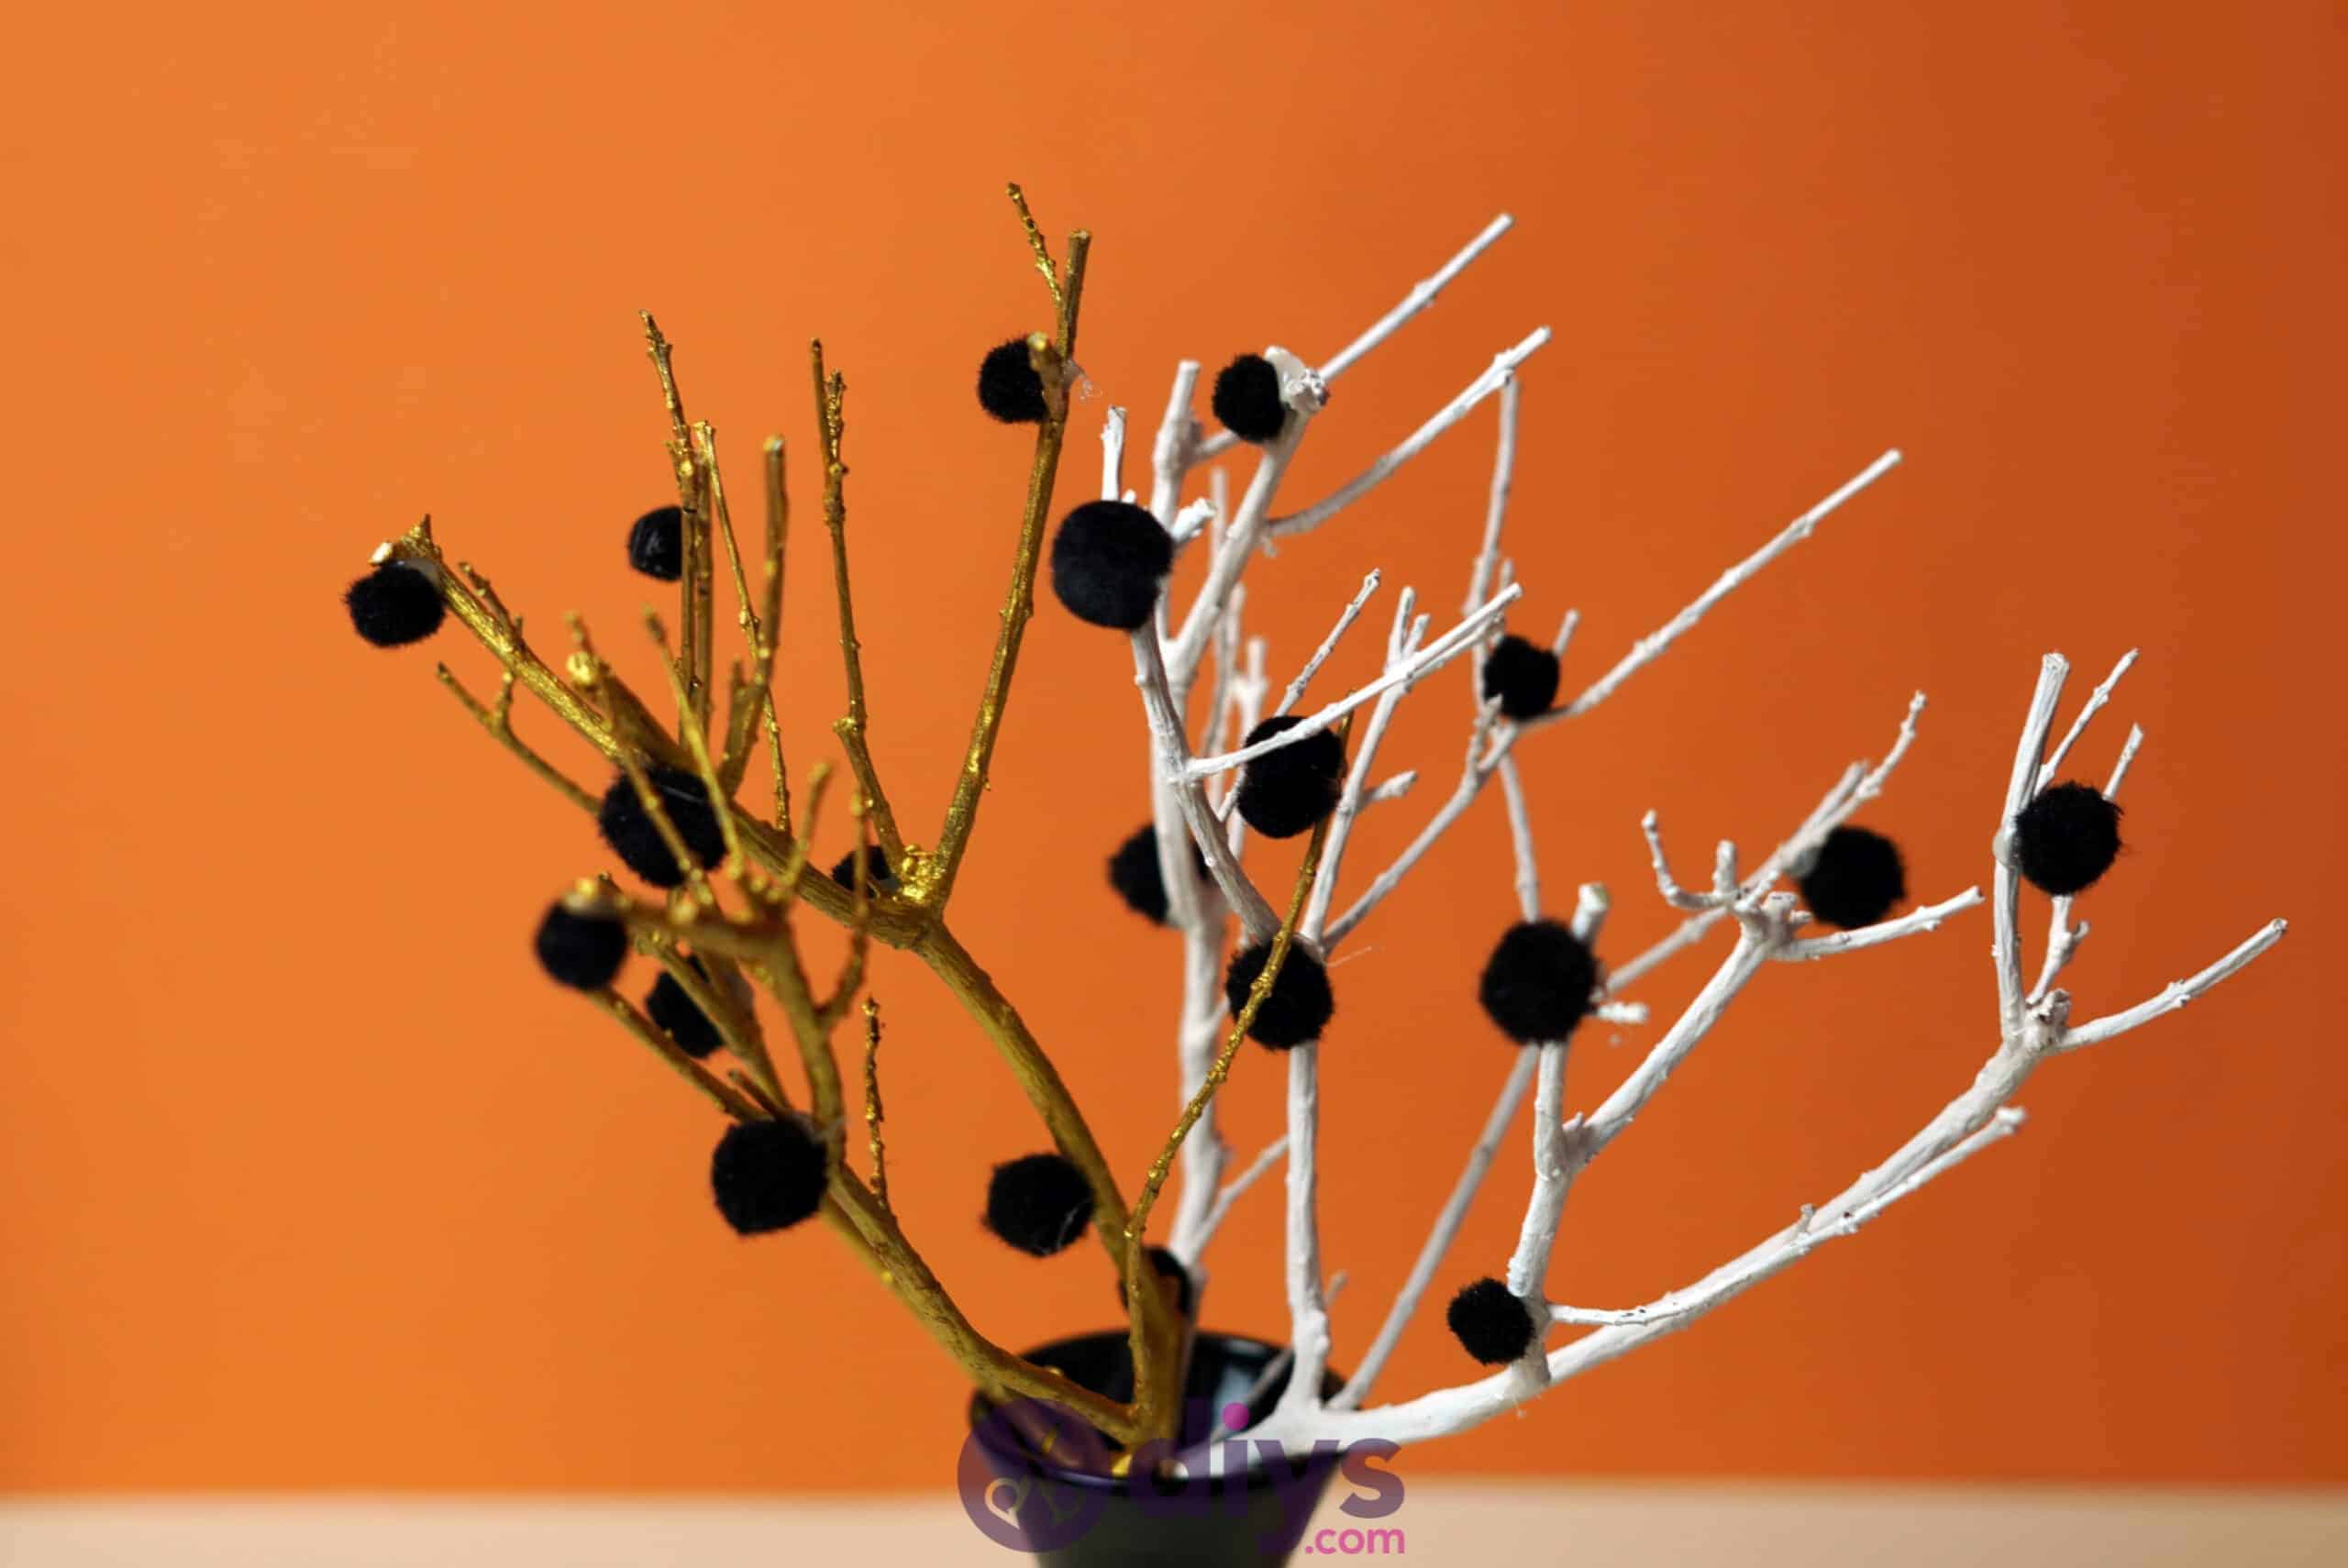
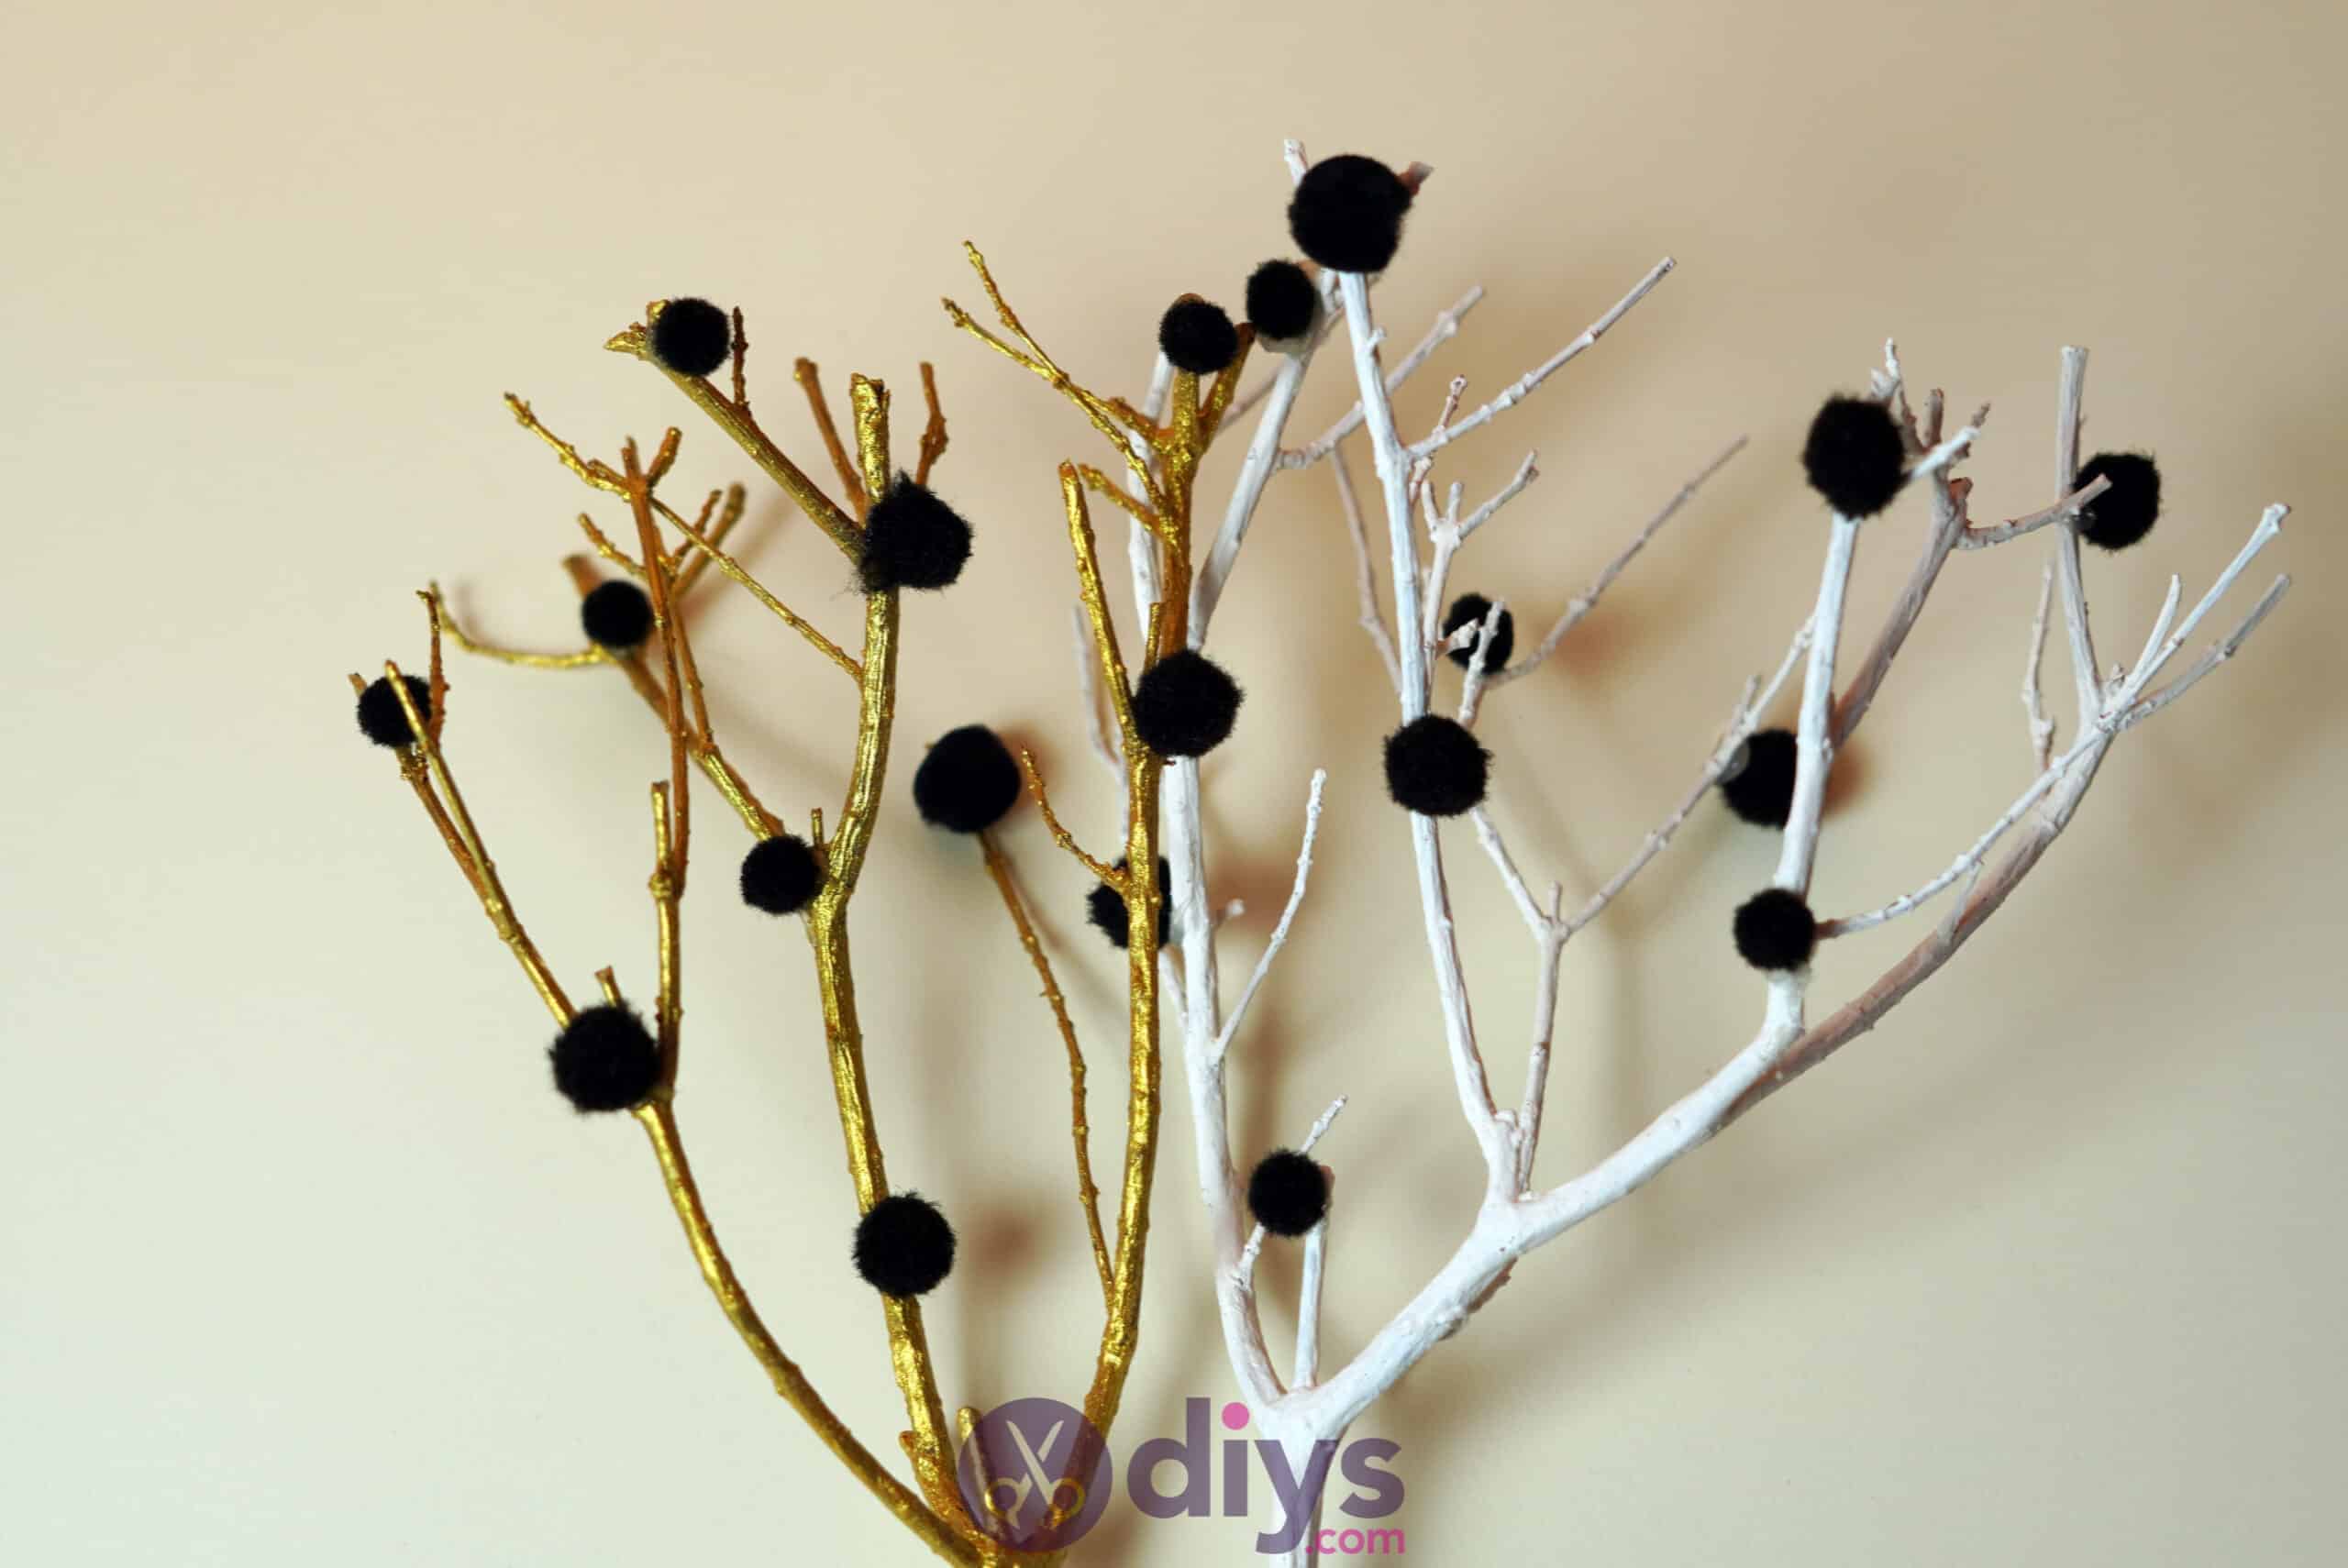
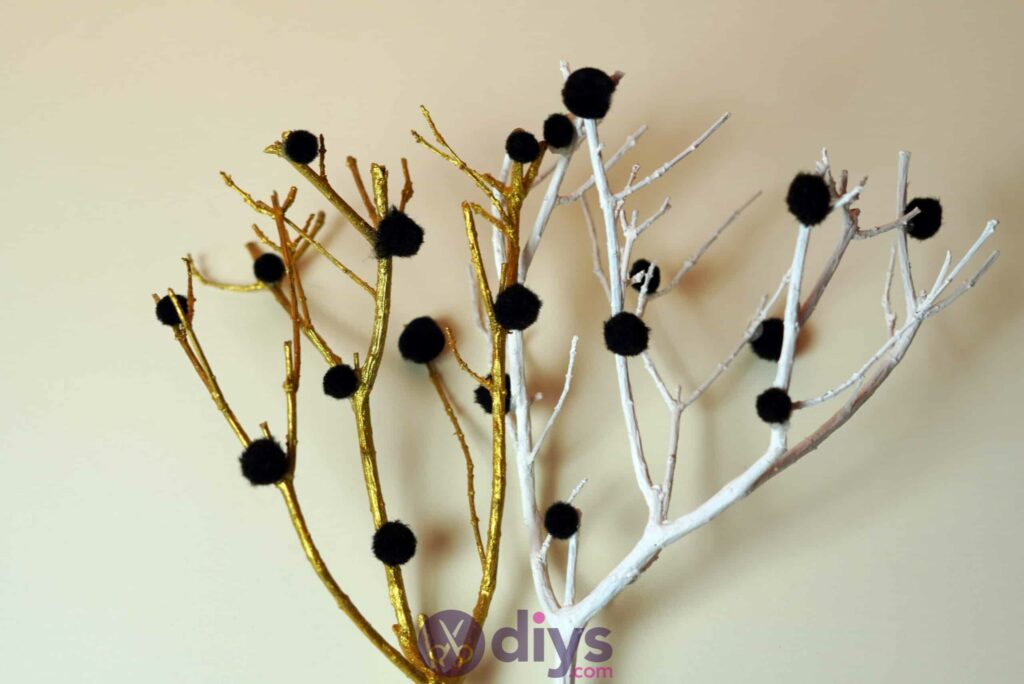
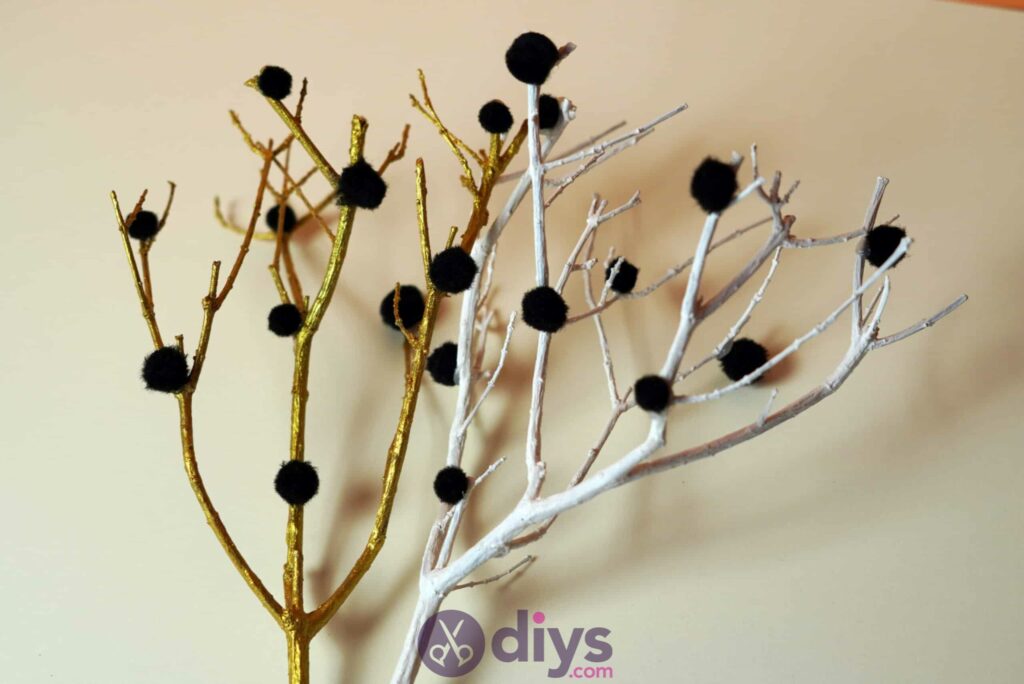
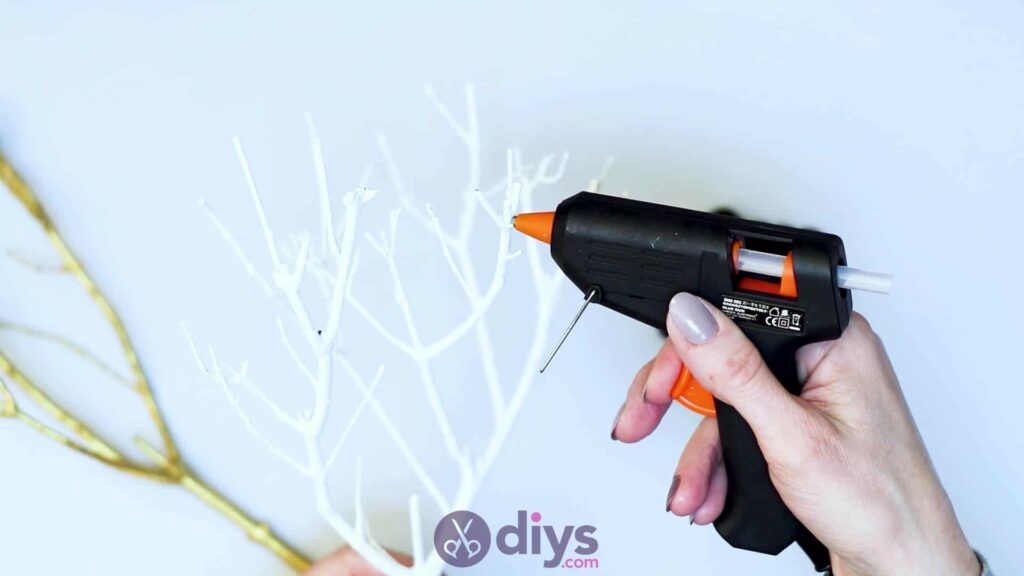
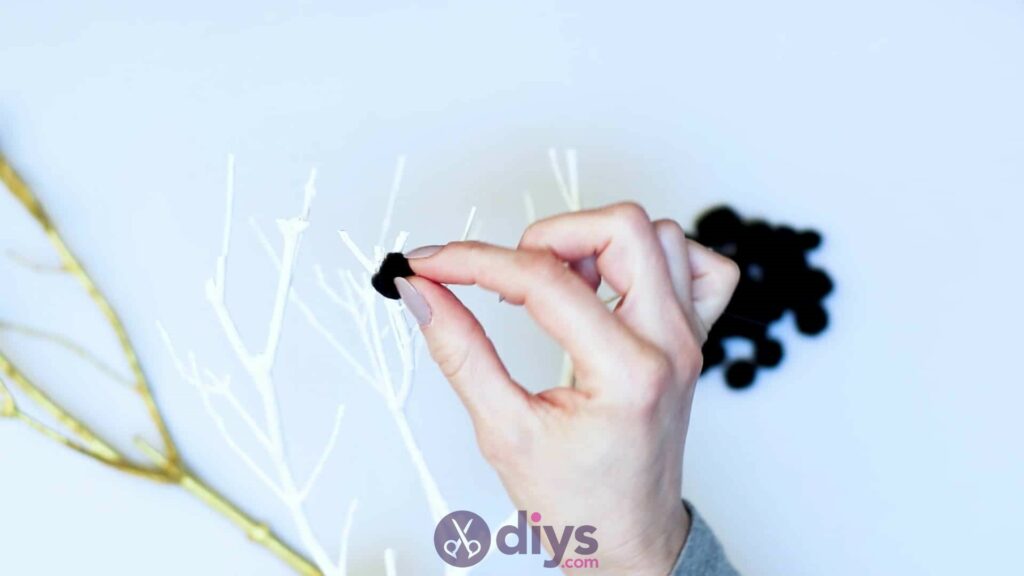
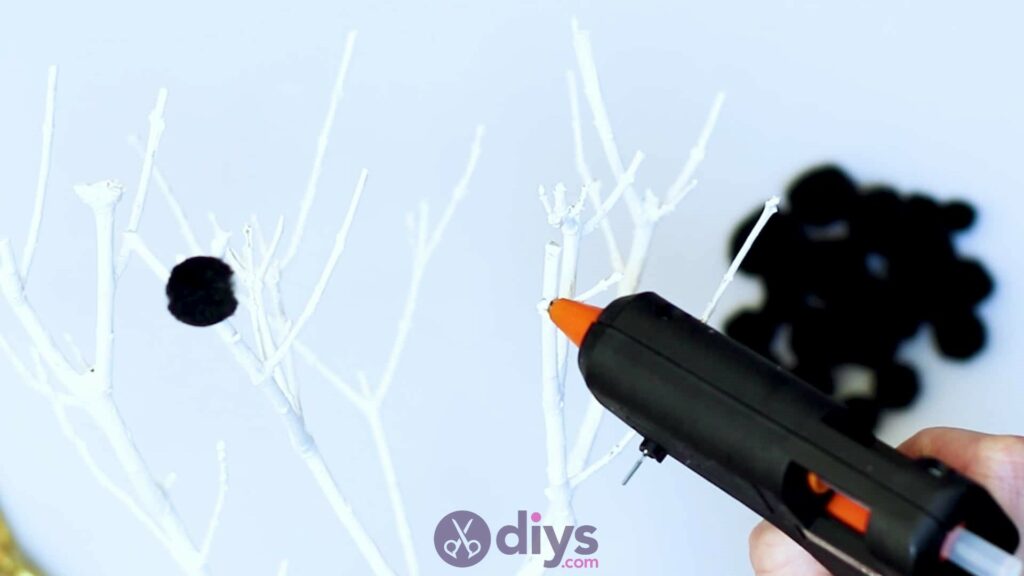
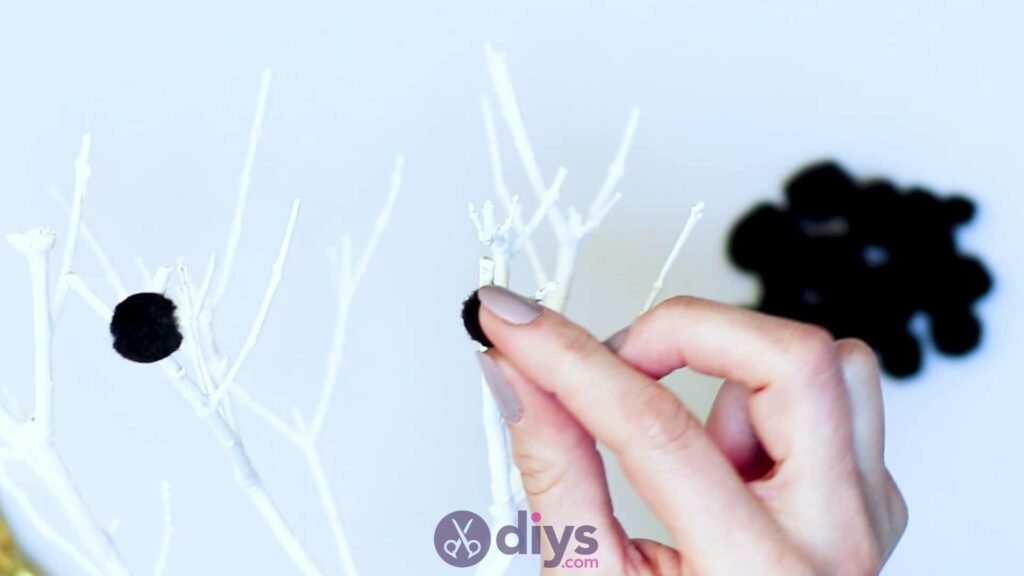
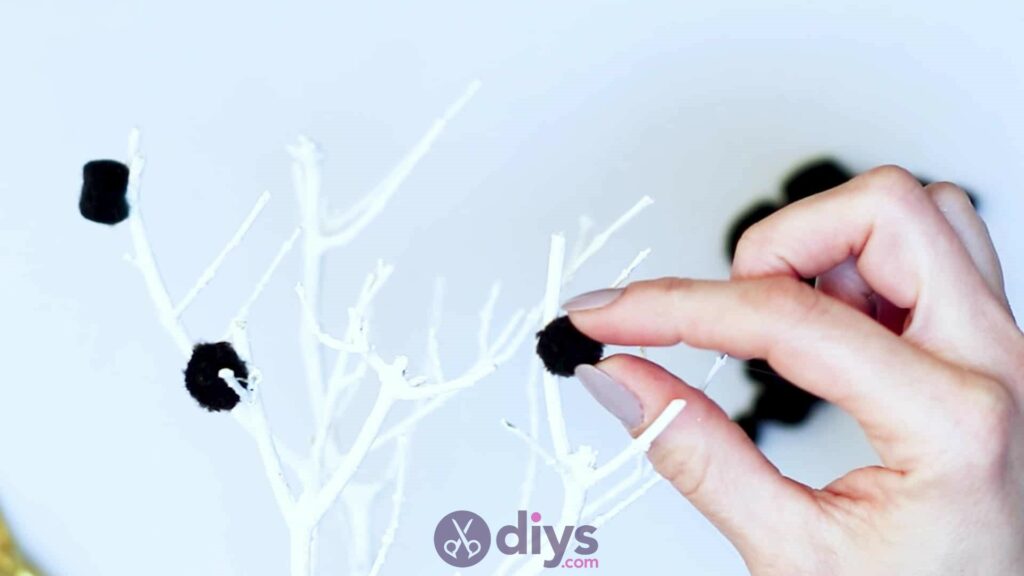
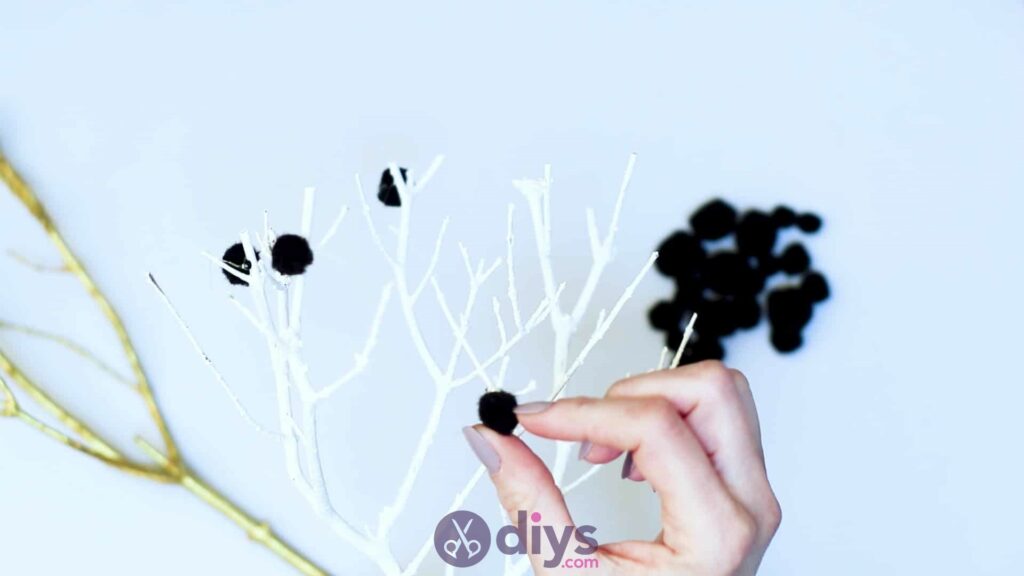
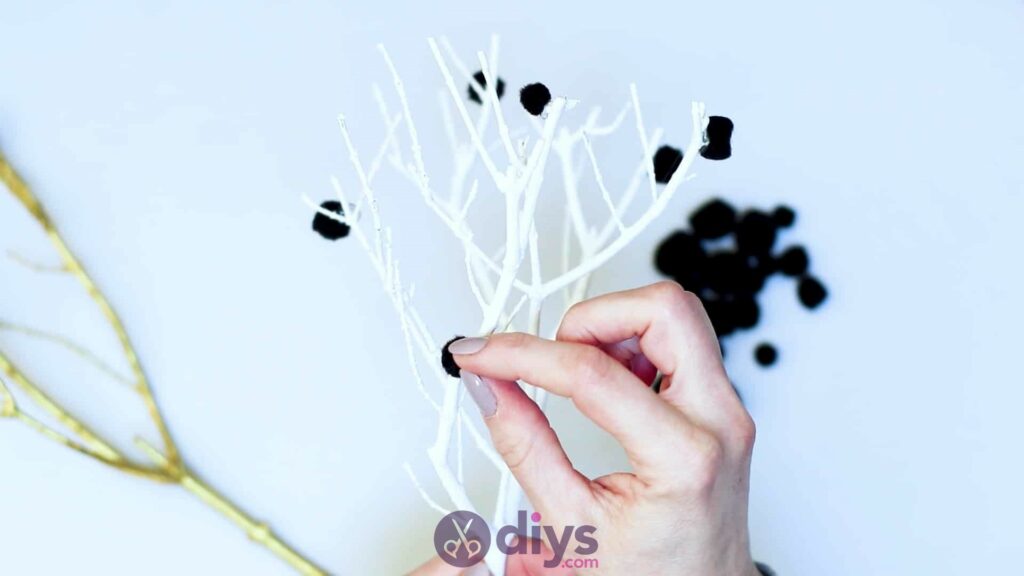
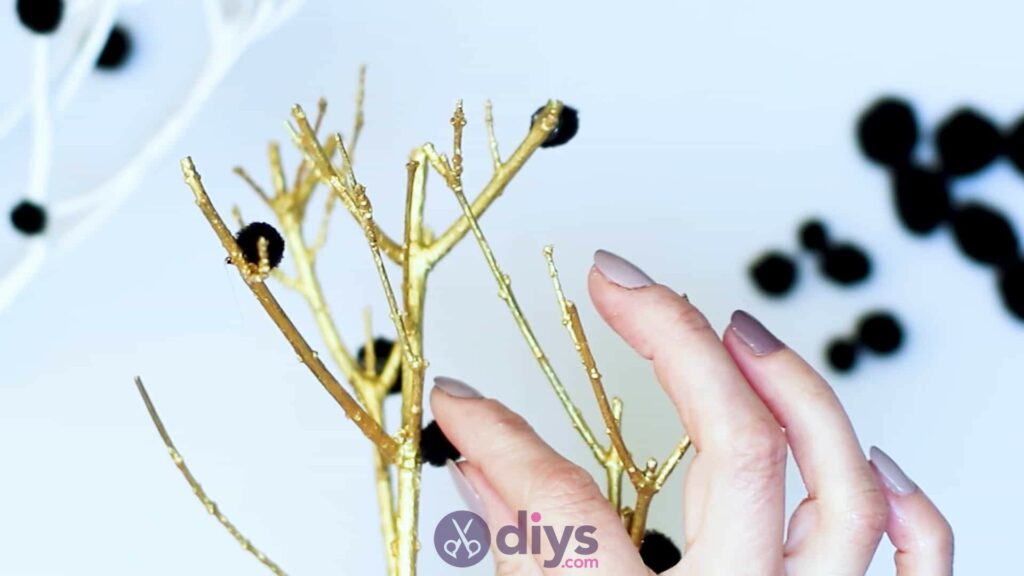
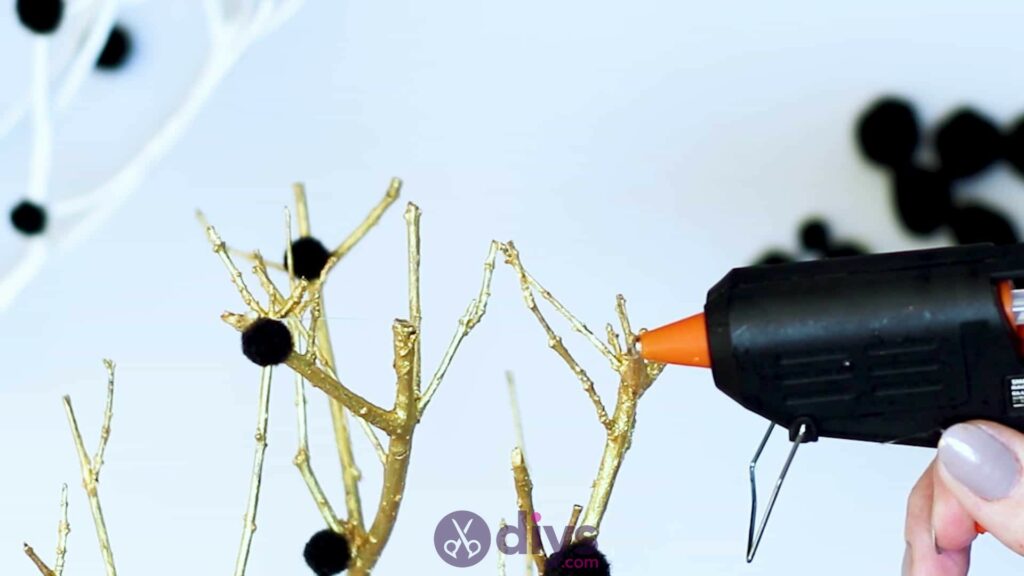
Step 4: glue pom poms
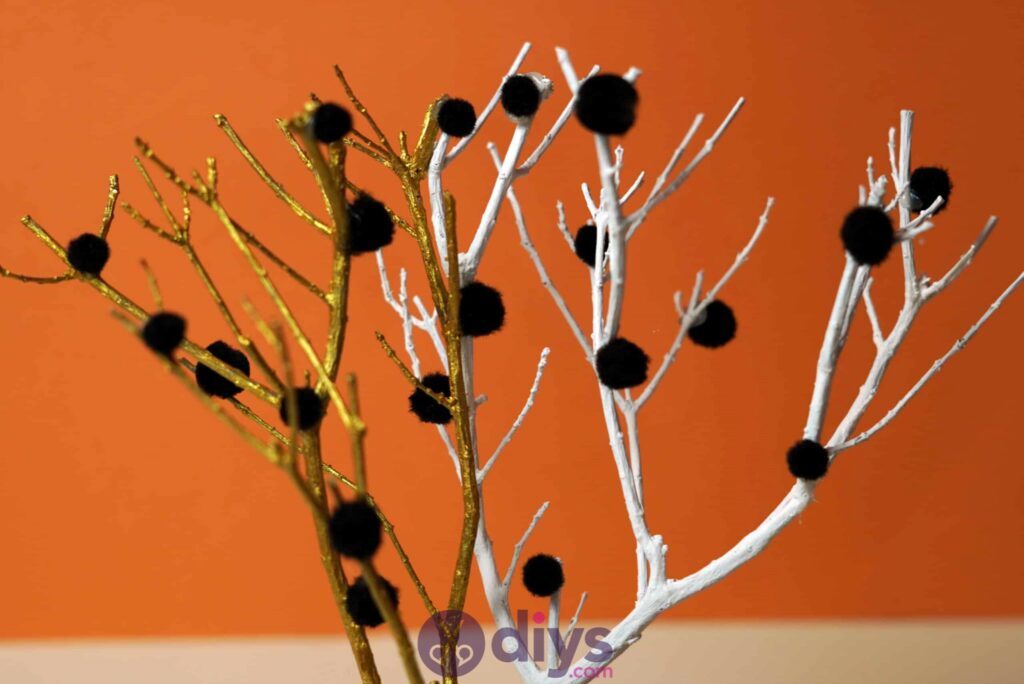
Use your hot glue gun to stick your black crafting pom poms to the twigs on your white branch. The goal here is to scatter them in a way that looks fun but natural, as though this is a tree that really does grow pom poms like a real tree might grow fruit or flowers.


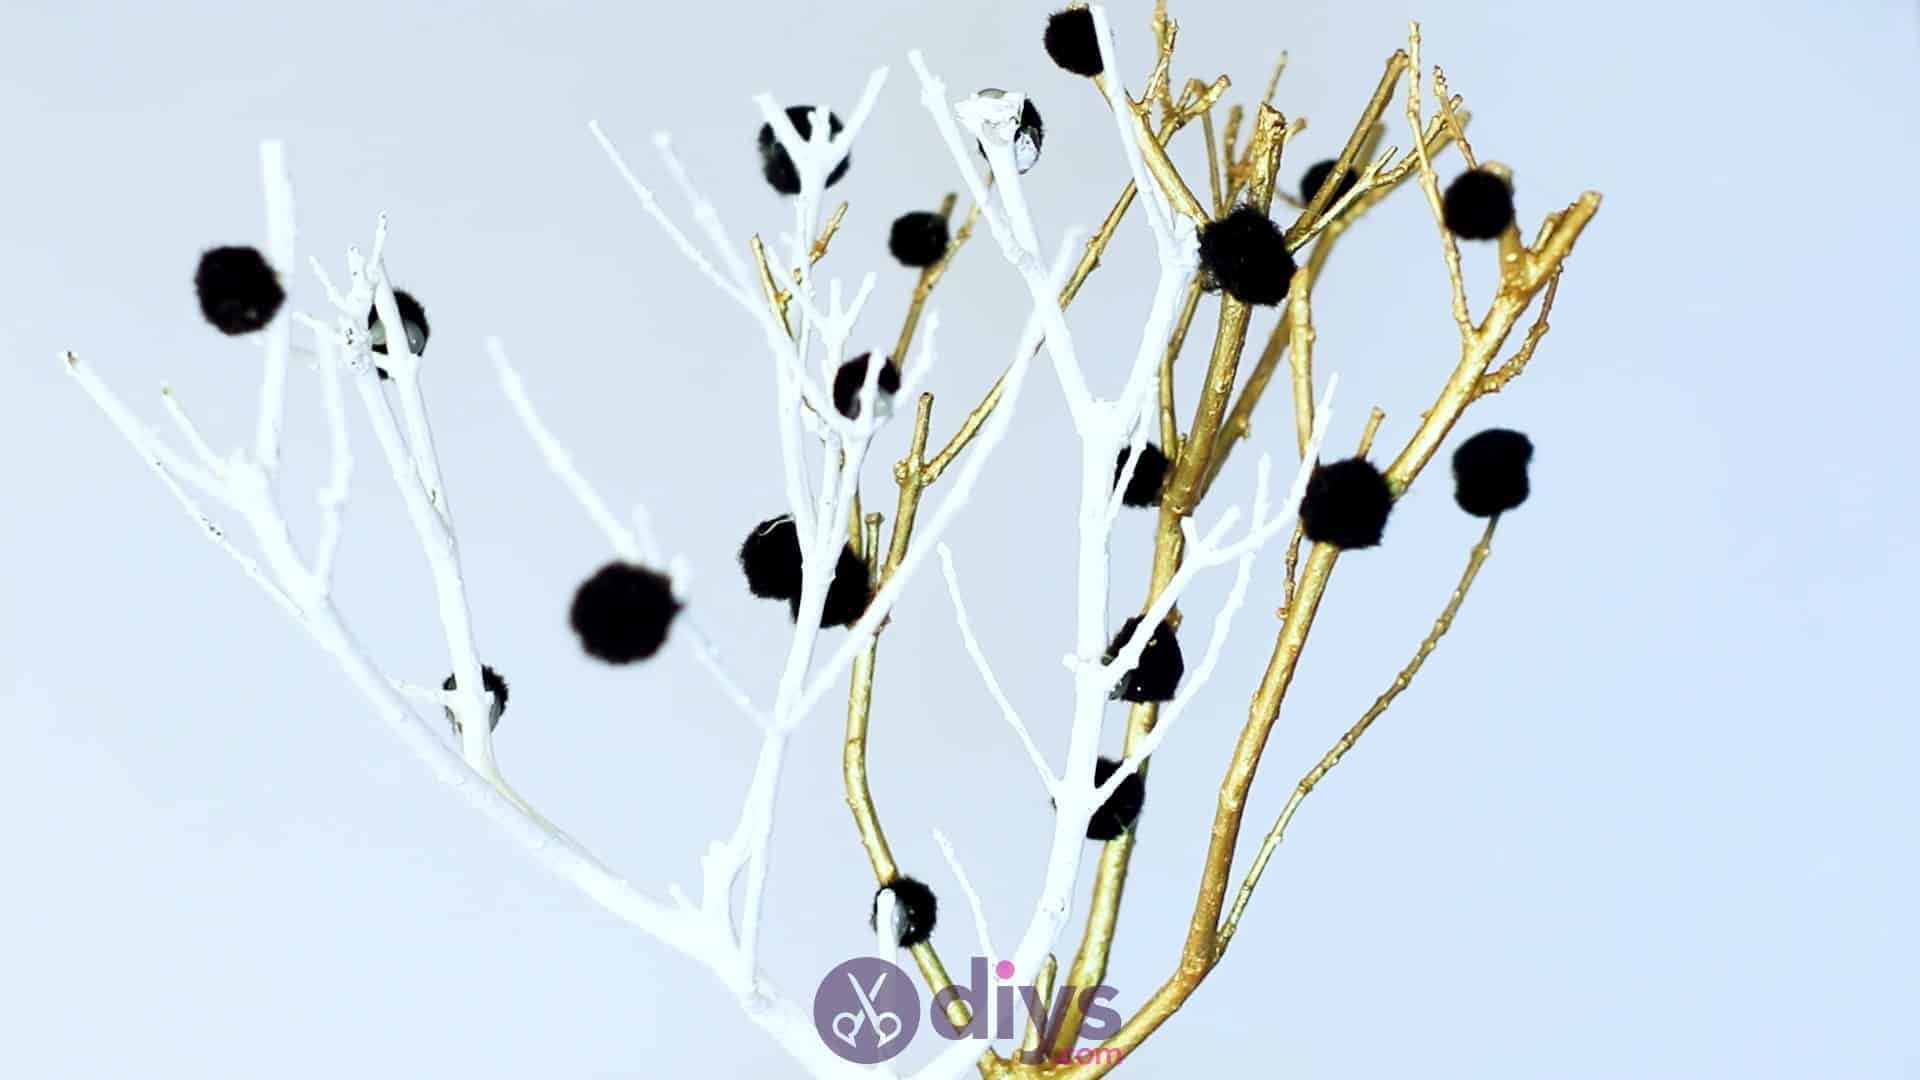
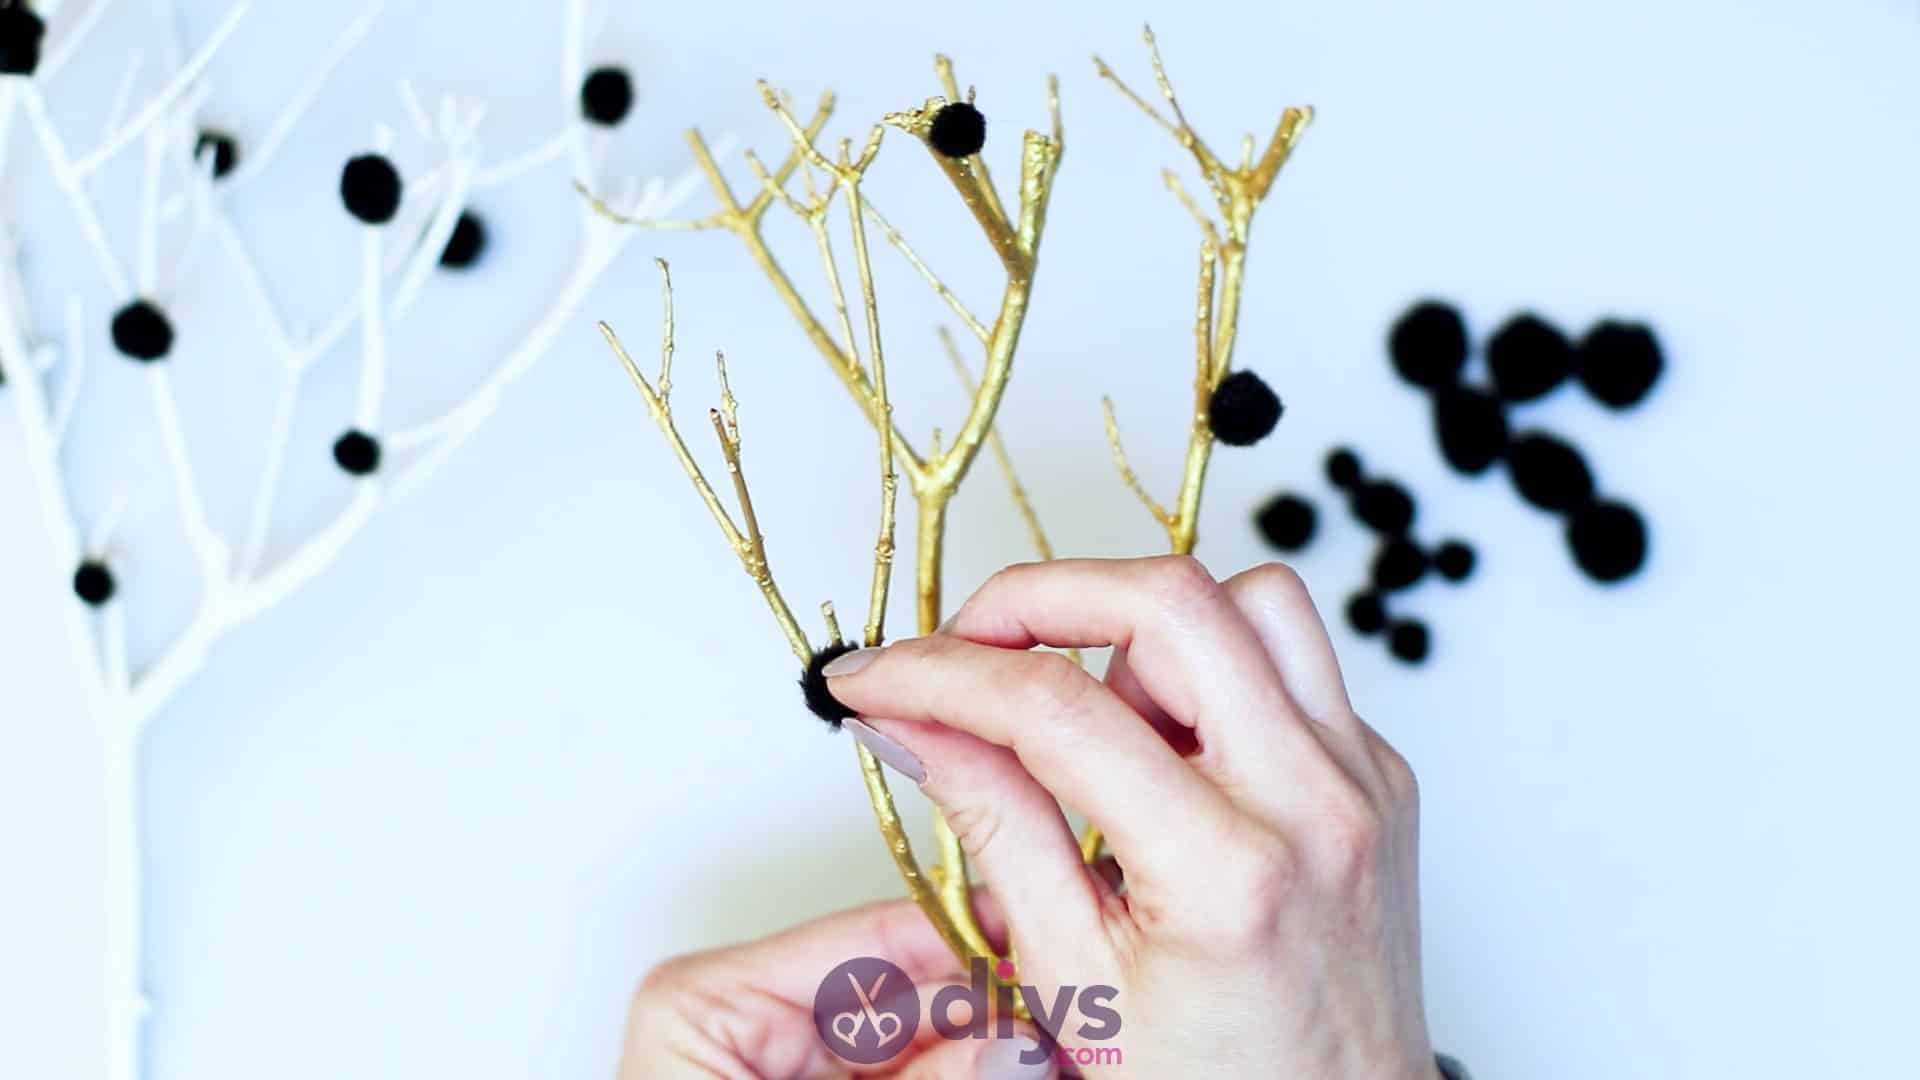
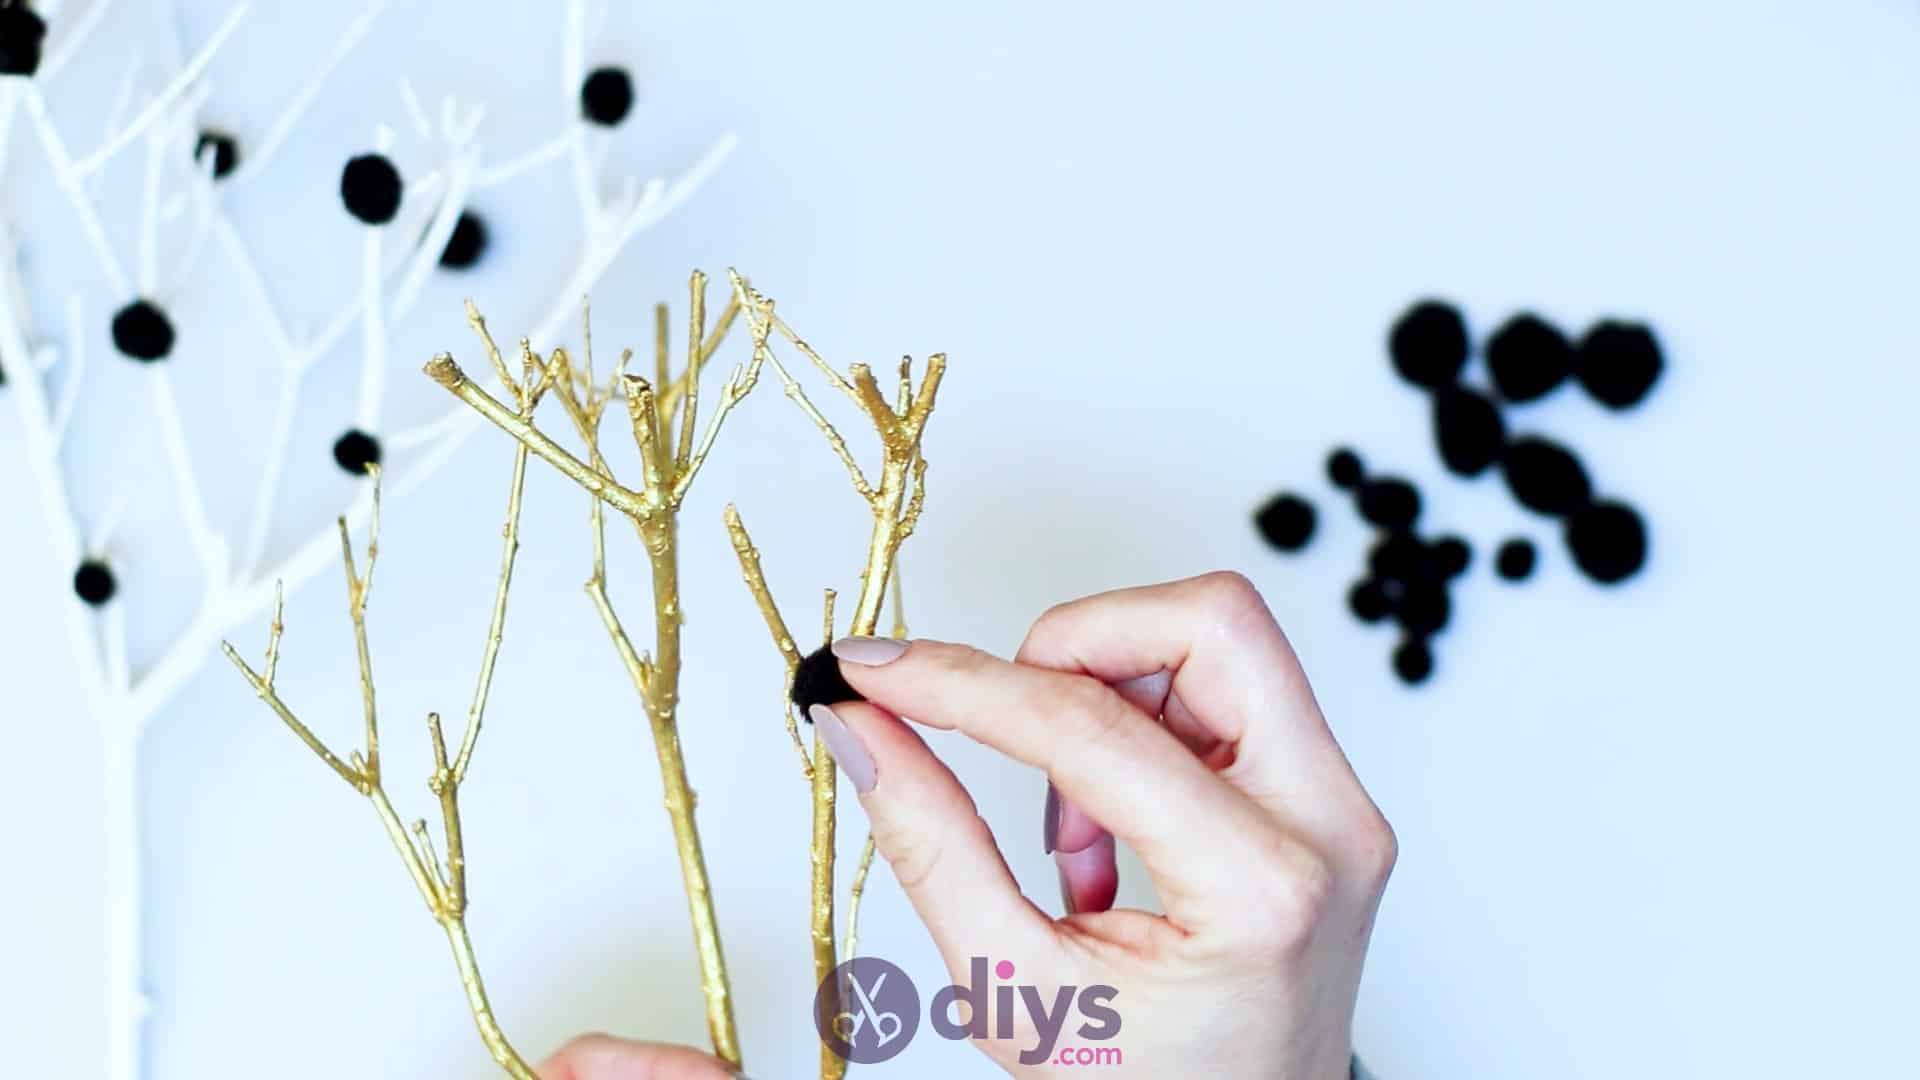
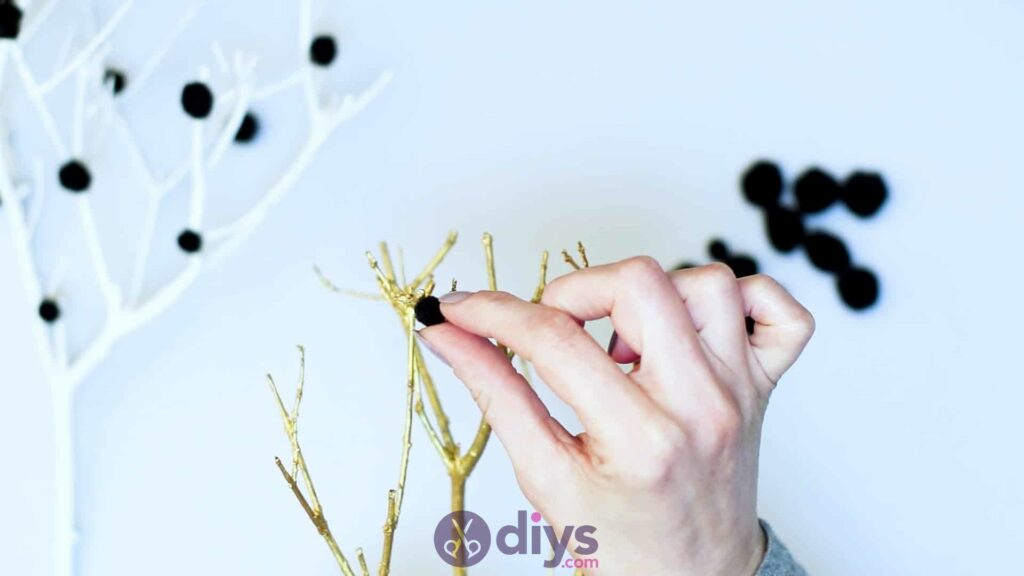
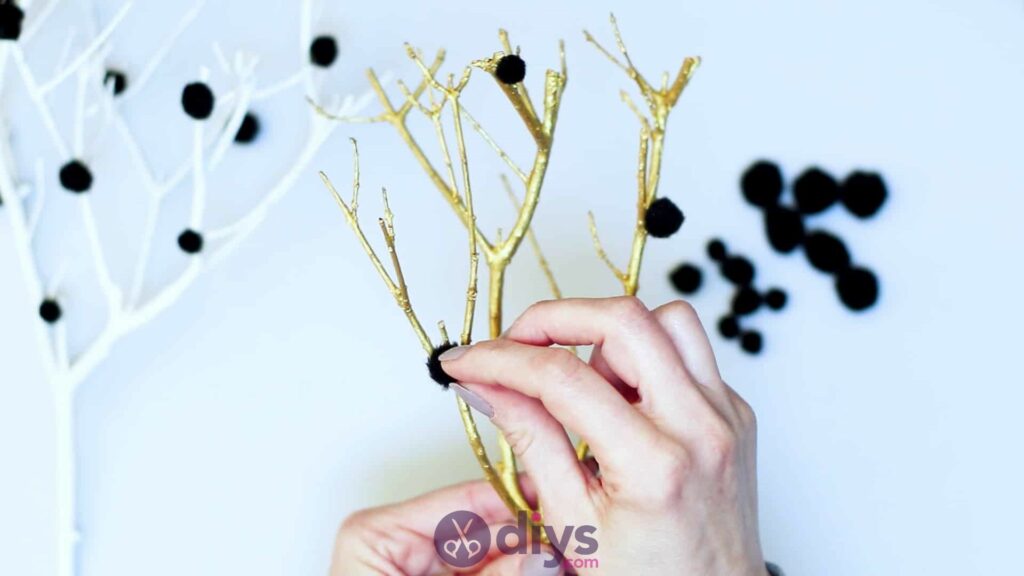
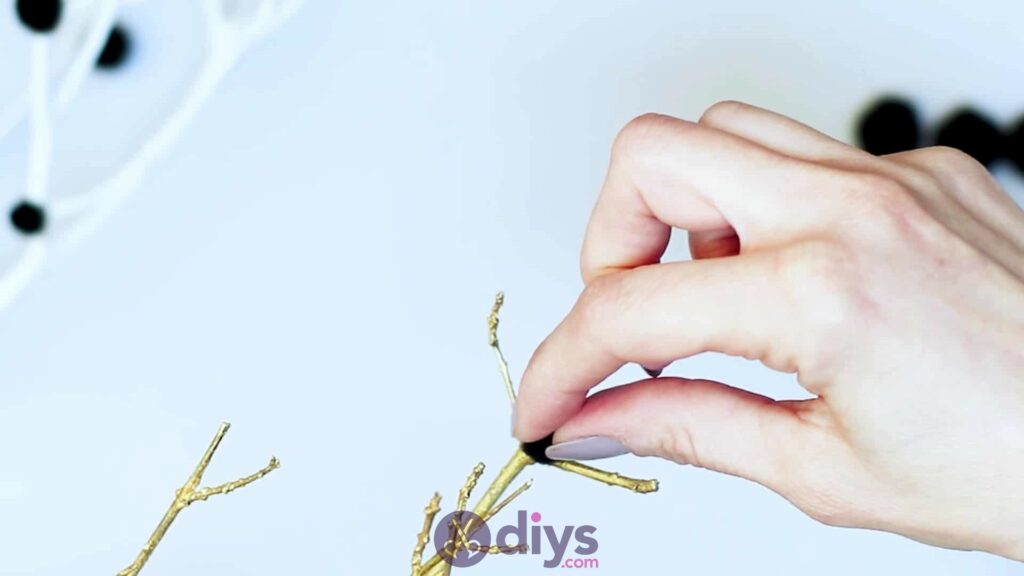
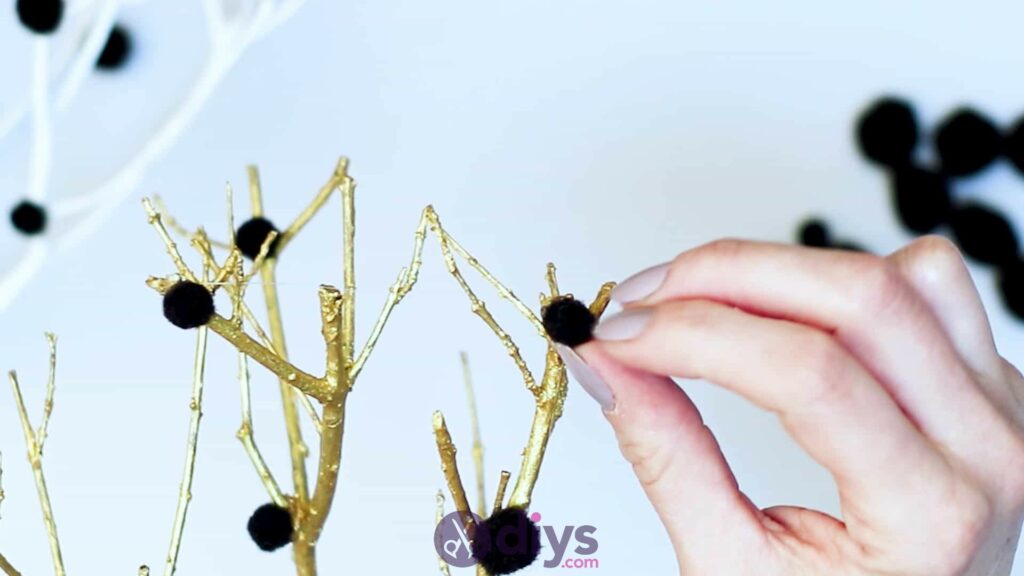
Step 5: repeat
Repeat this pom pom gluing process, but this time on the gold branch. Try and scatter them in the same way as the white branch, and to use roughly the same number so that the two branches have similar visual densities.

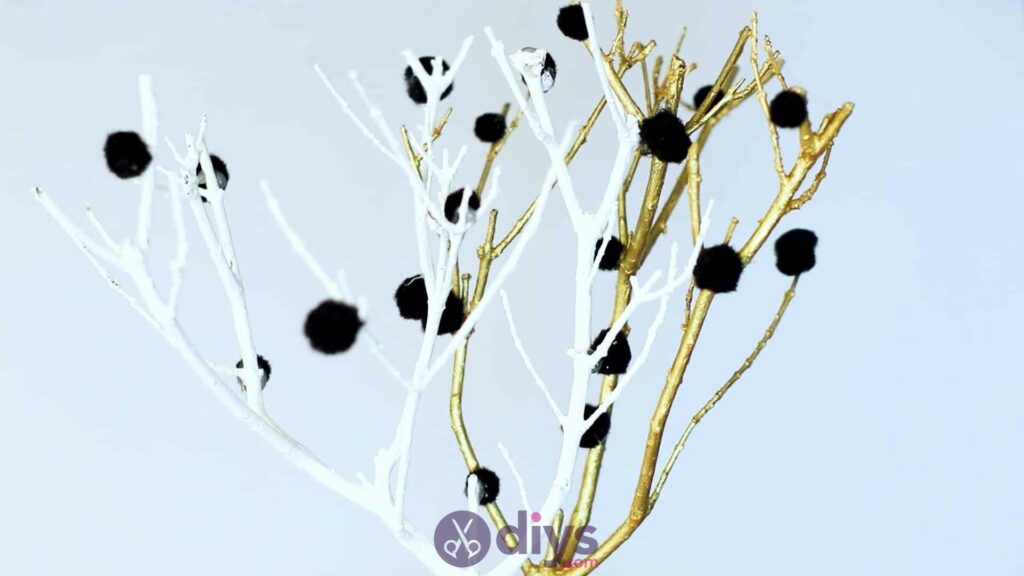
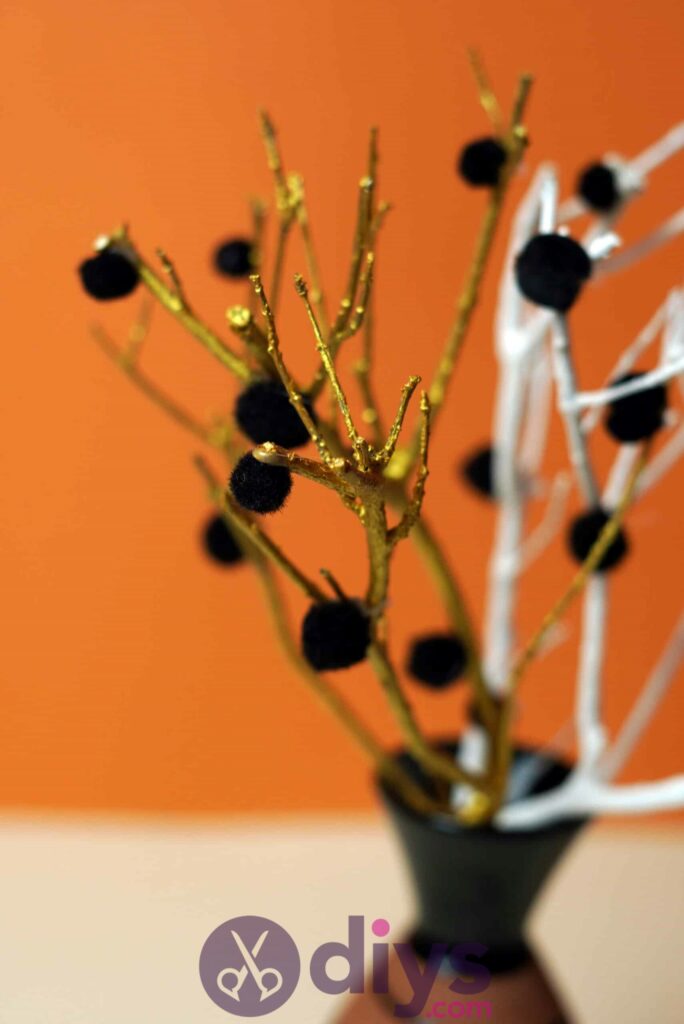
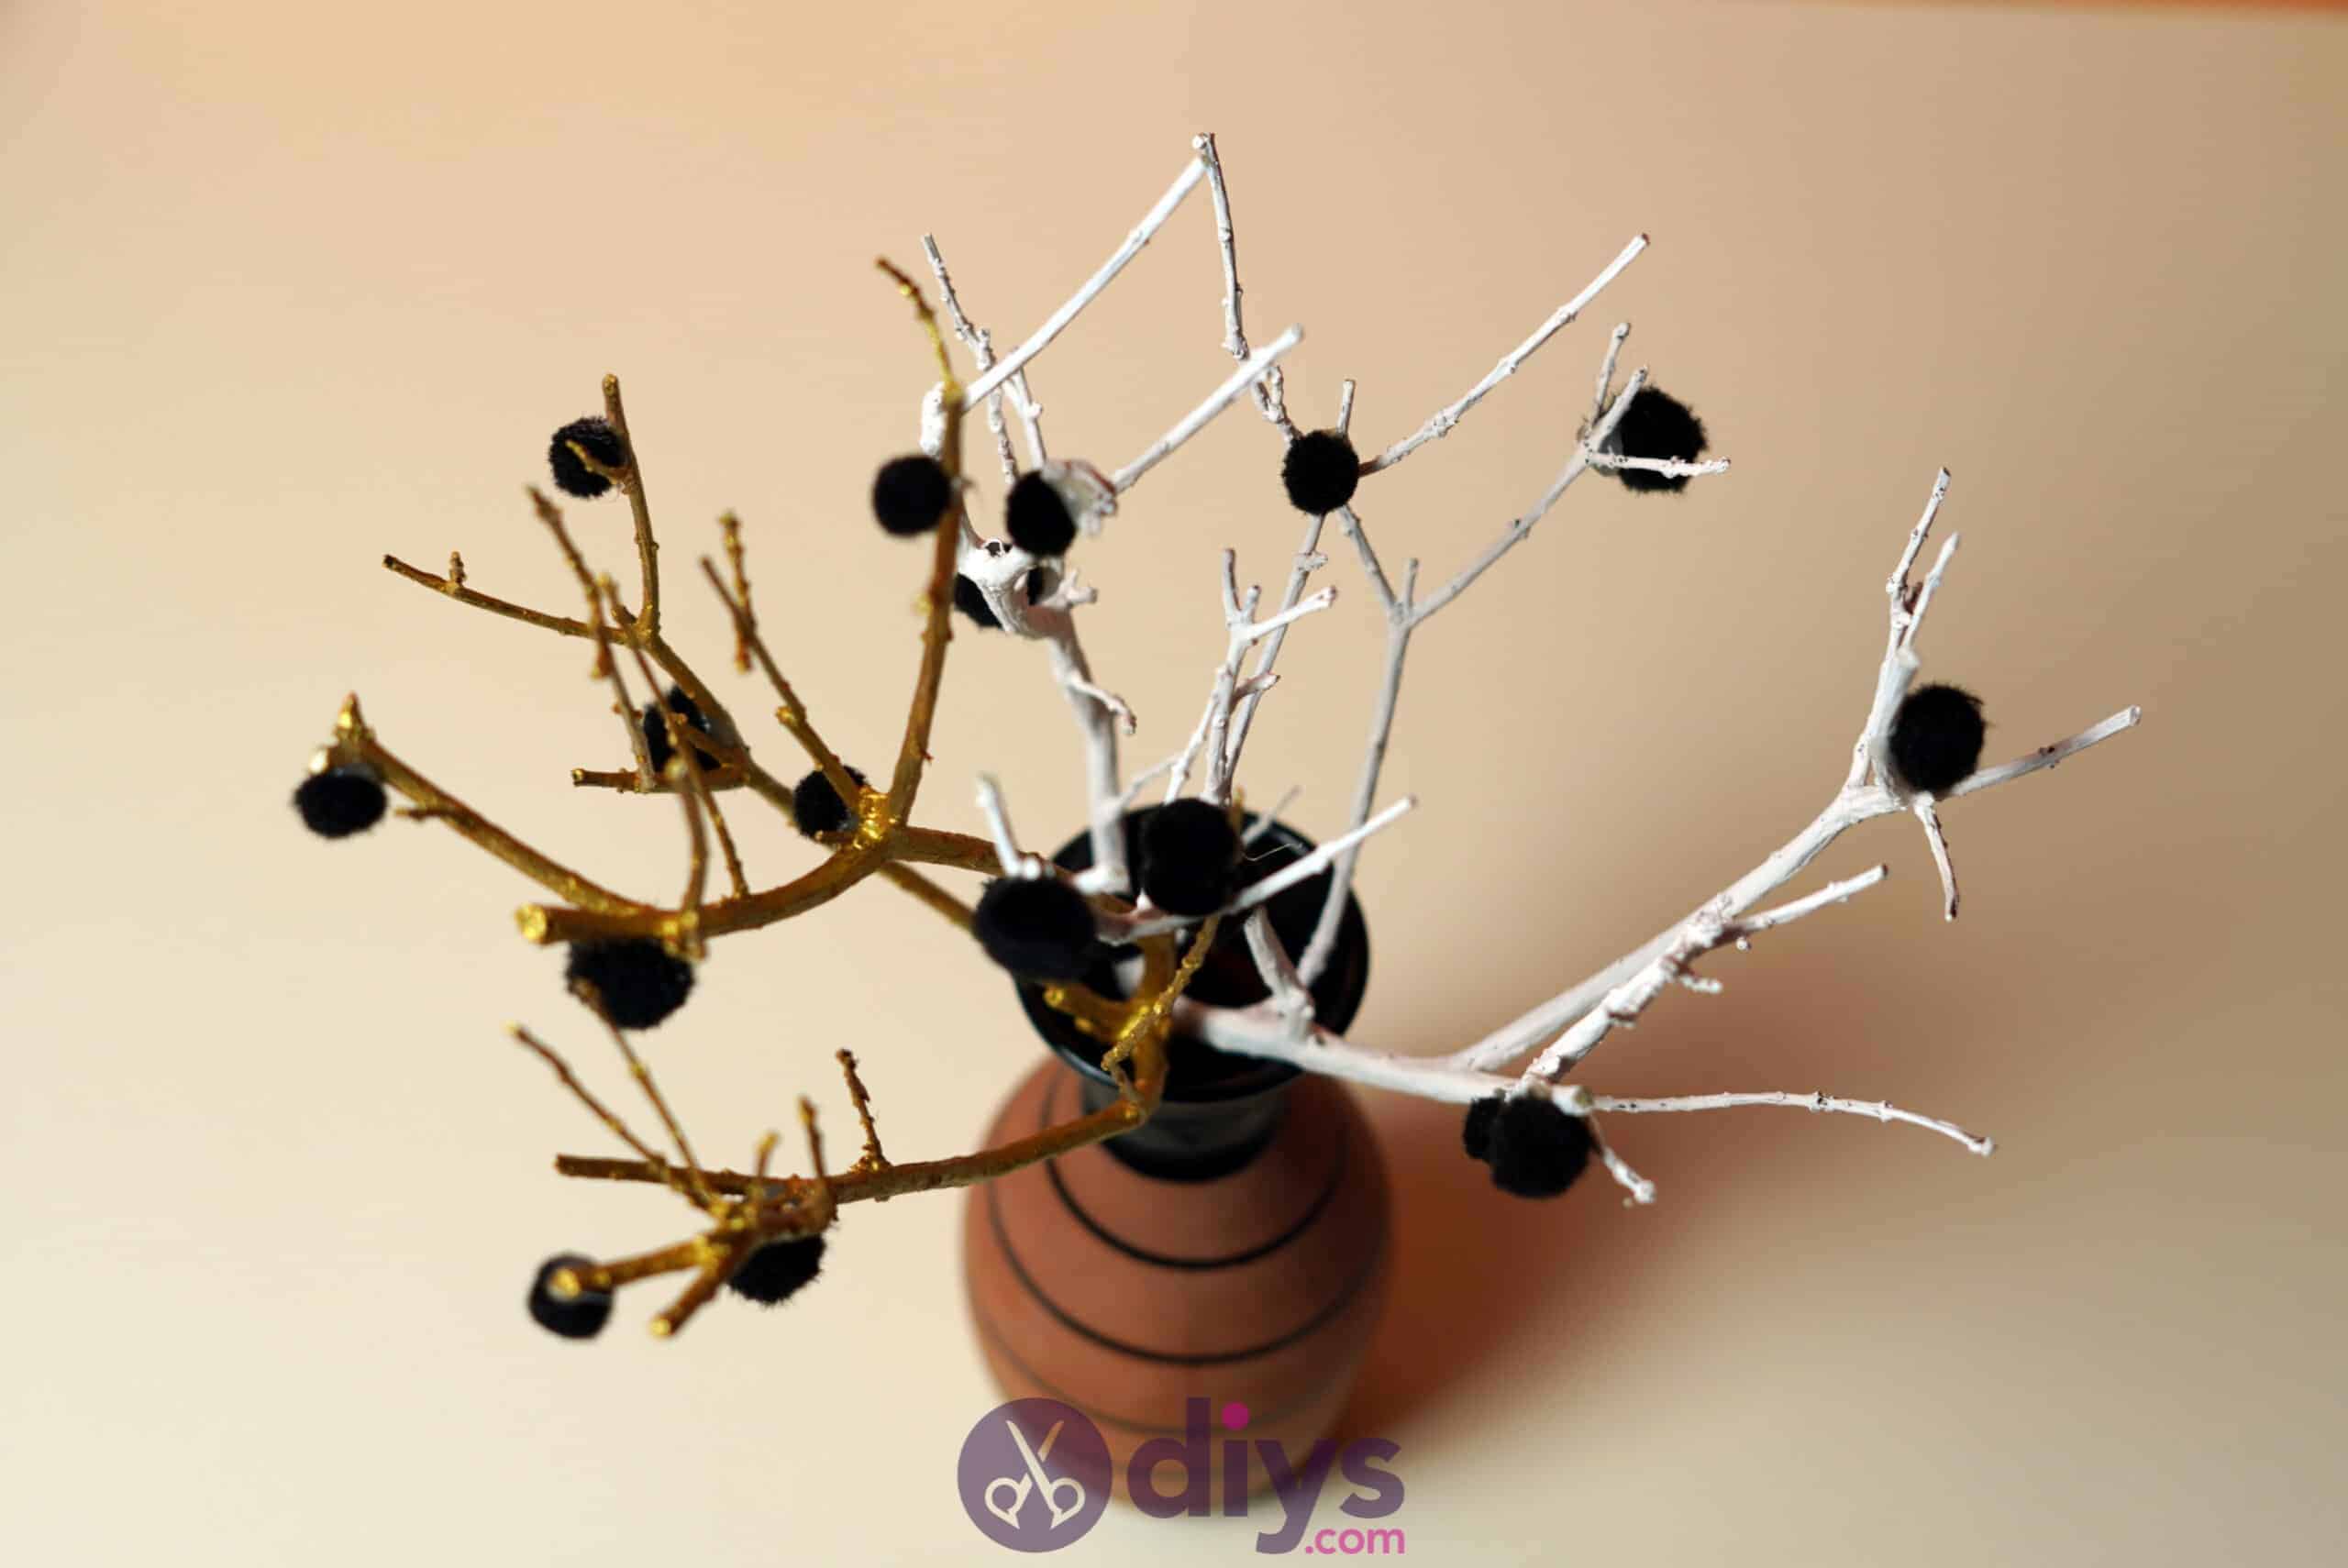
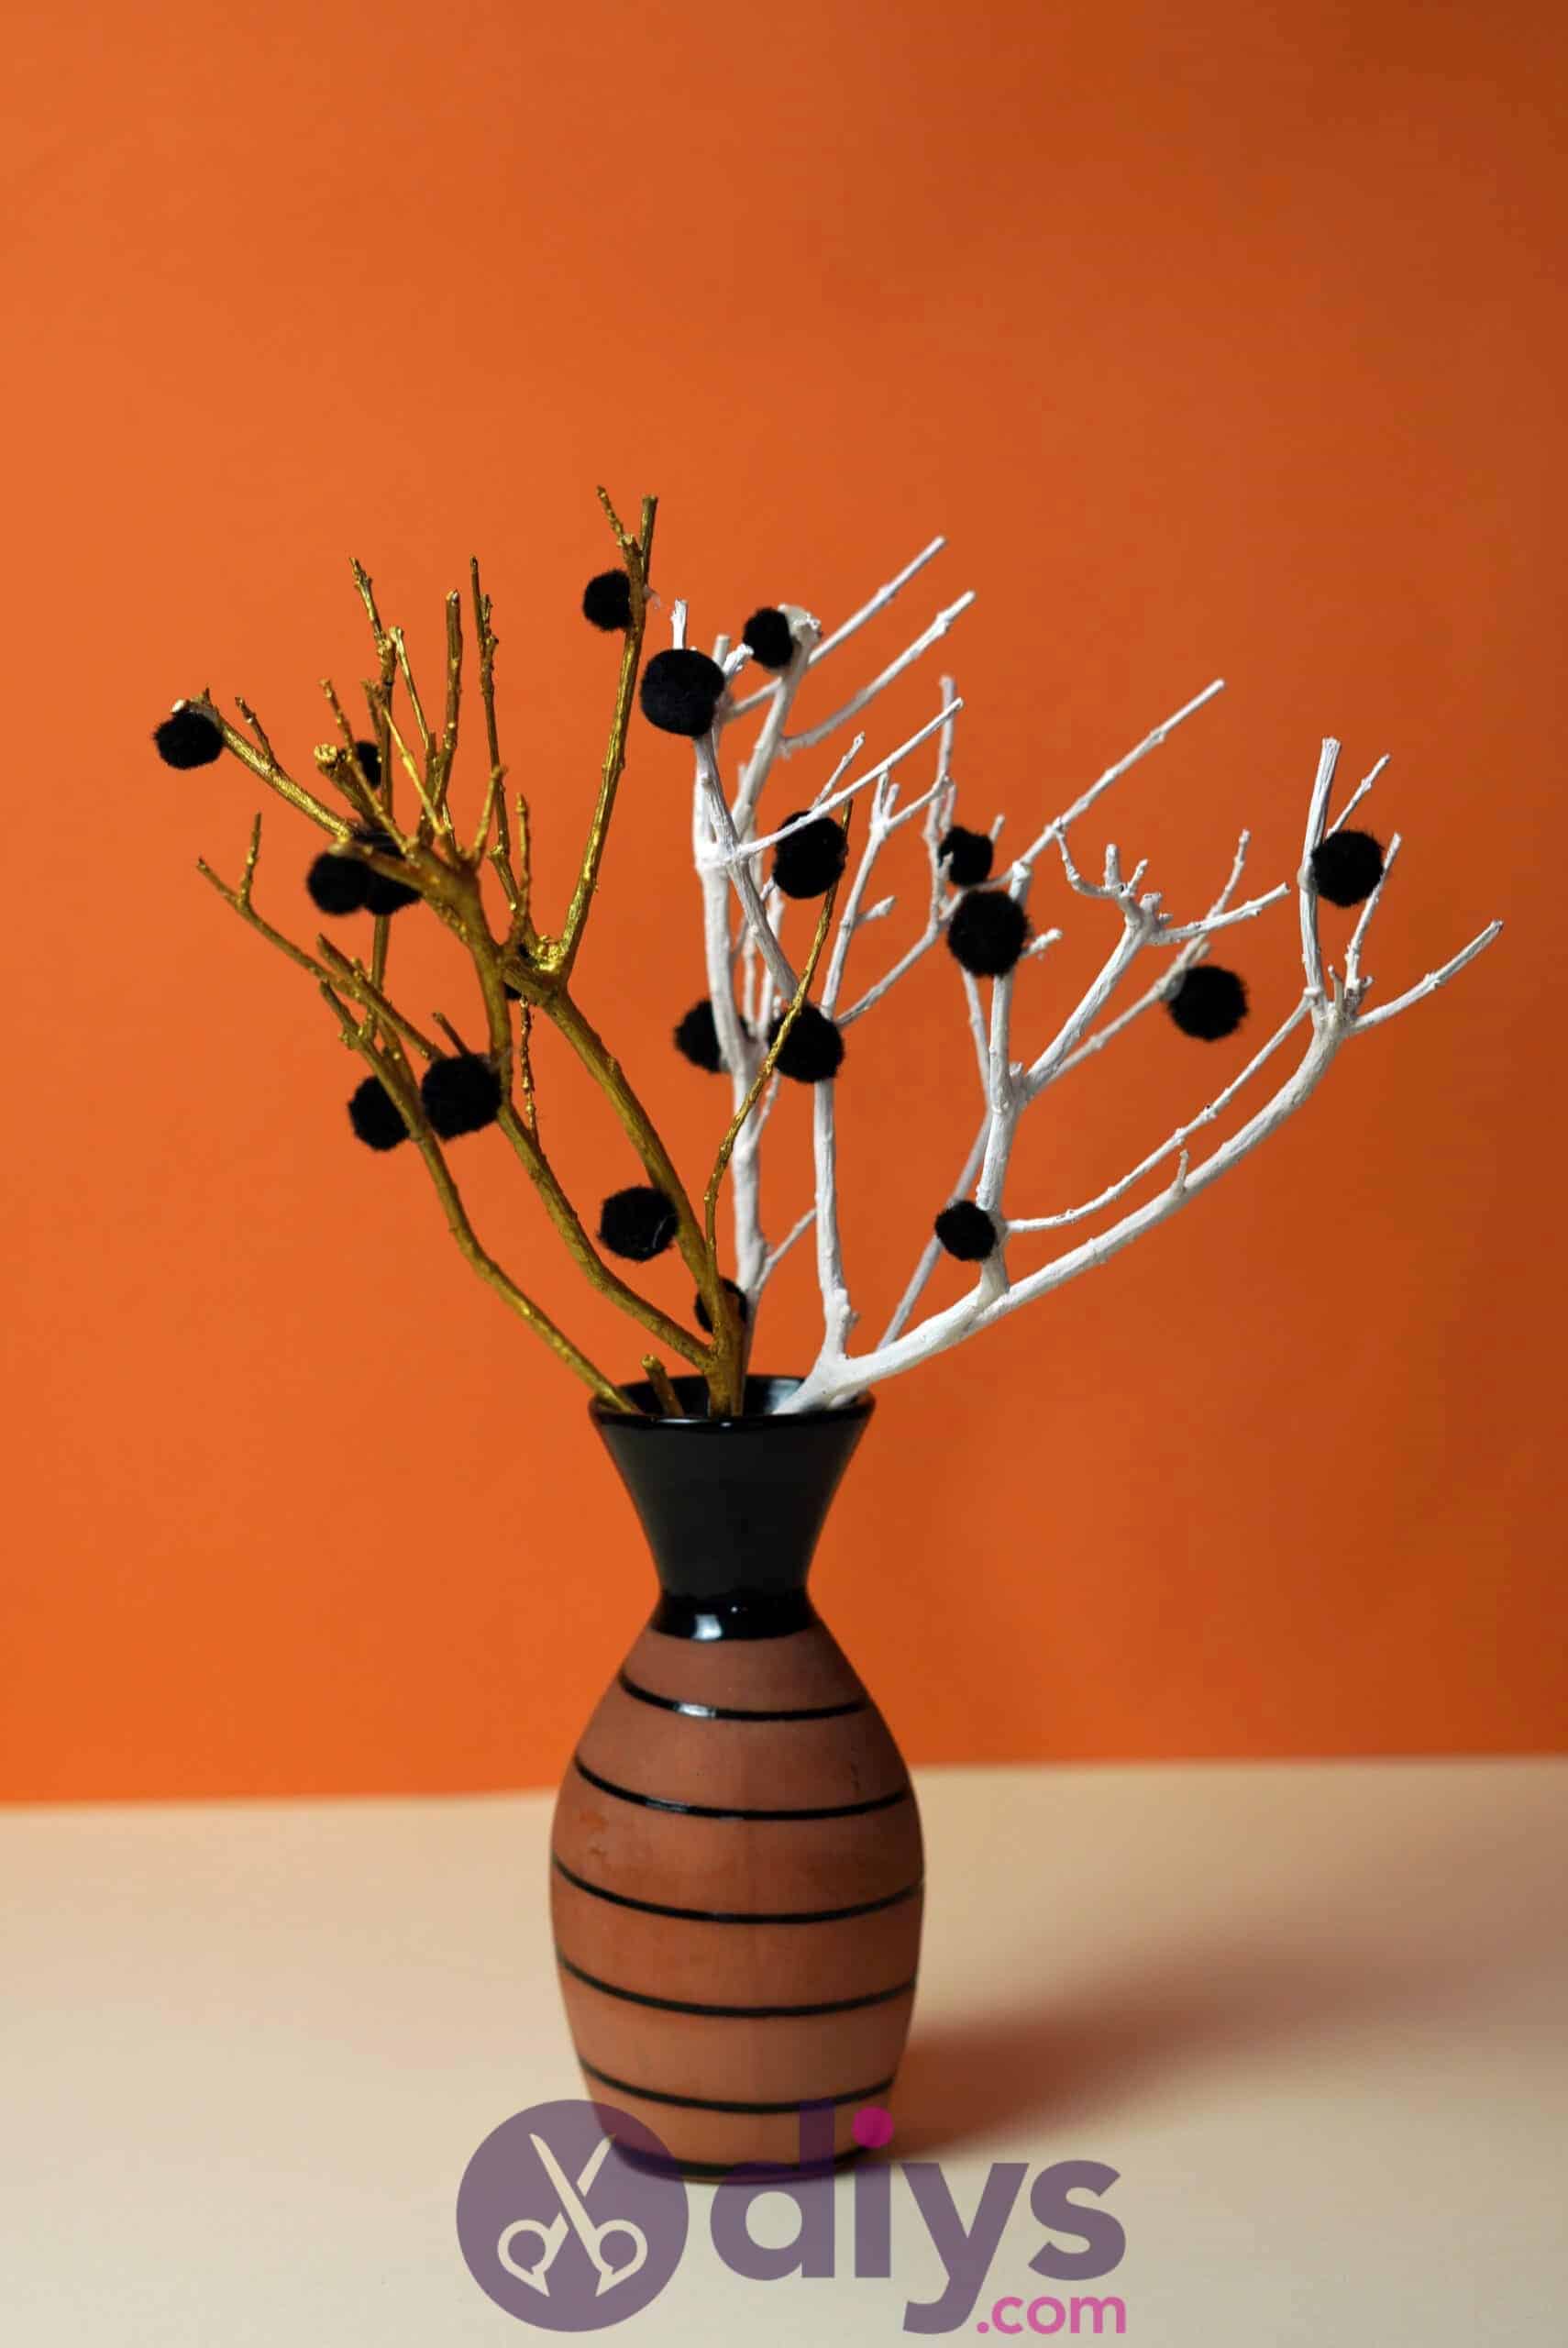
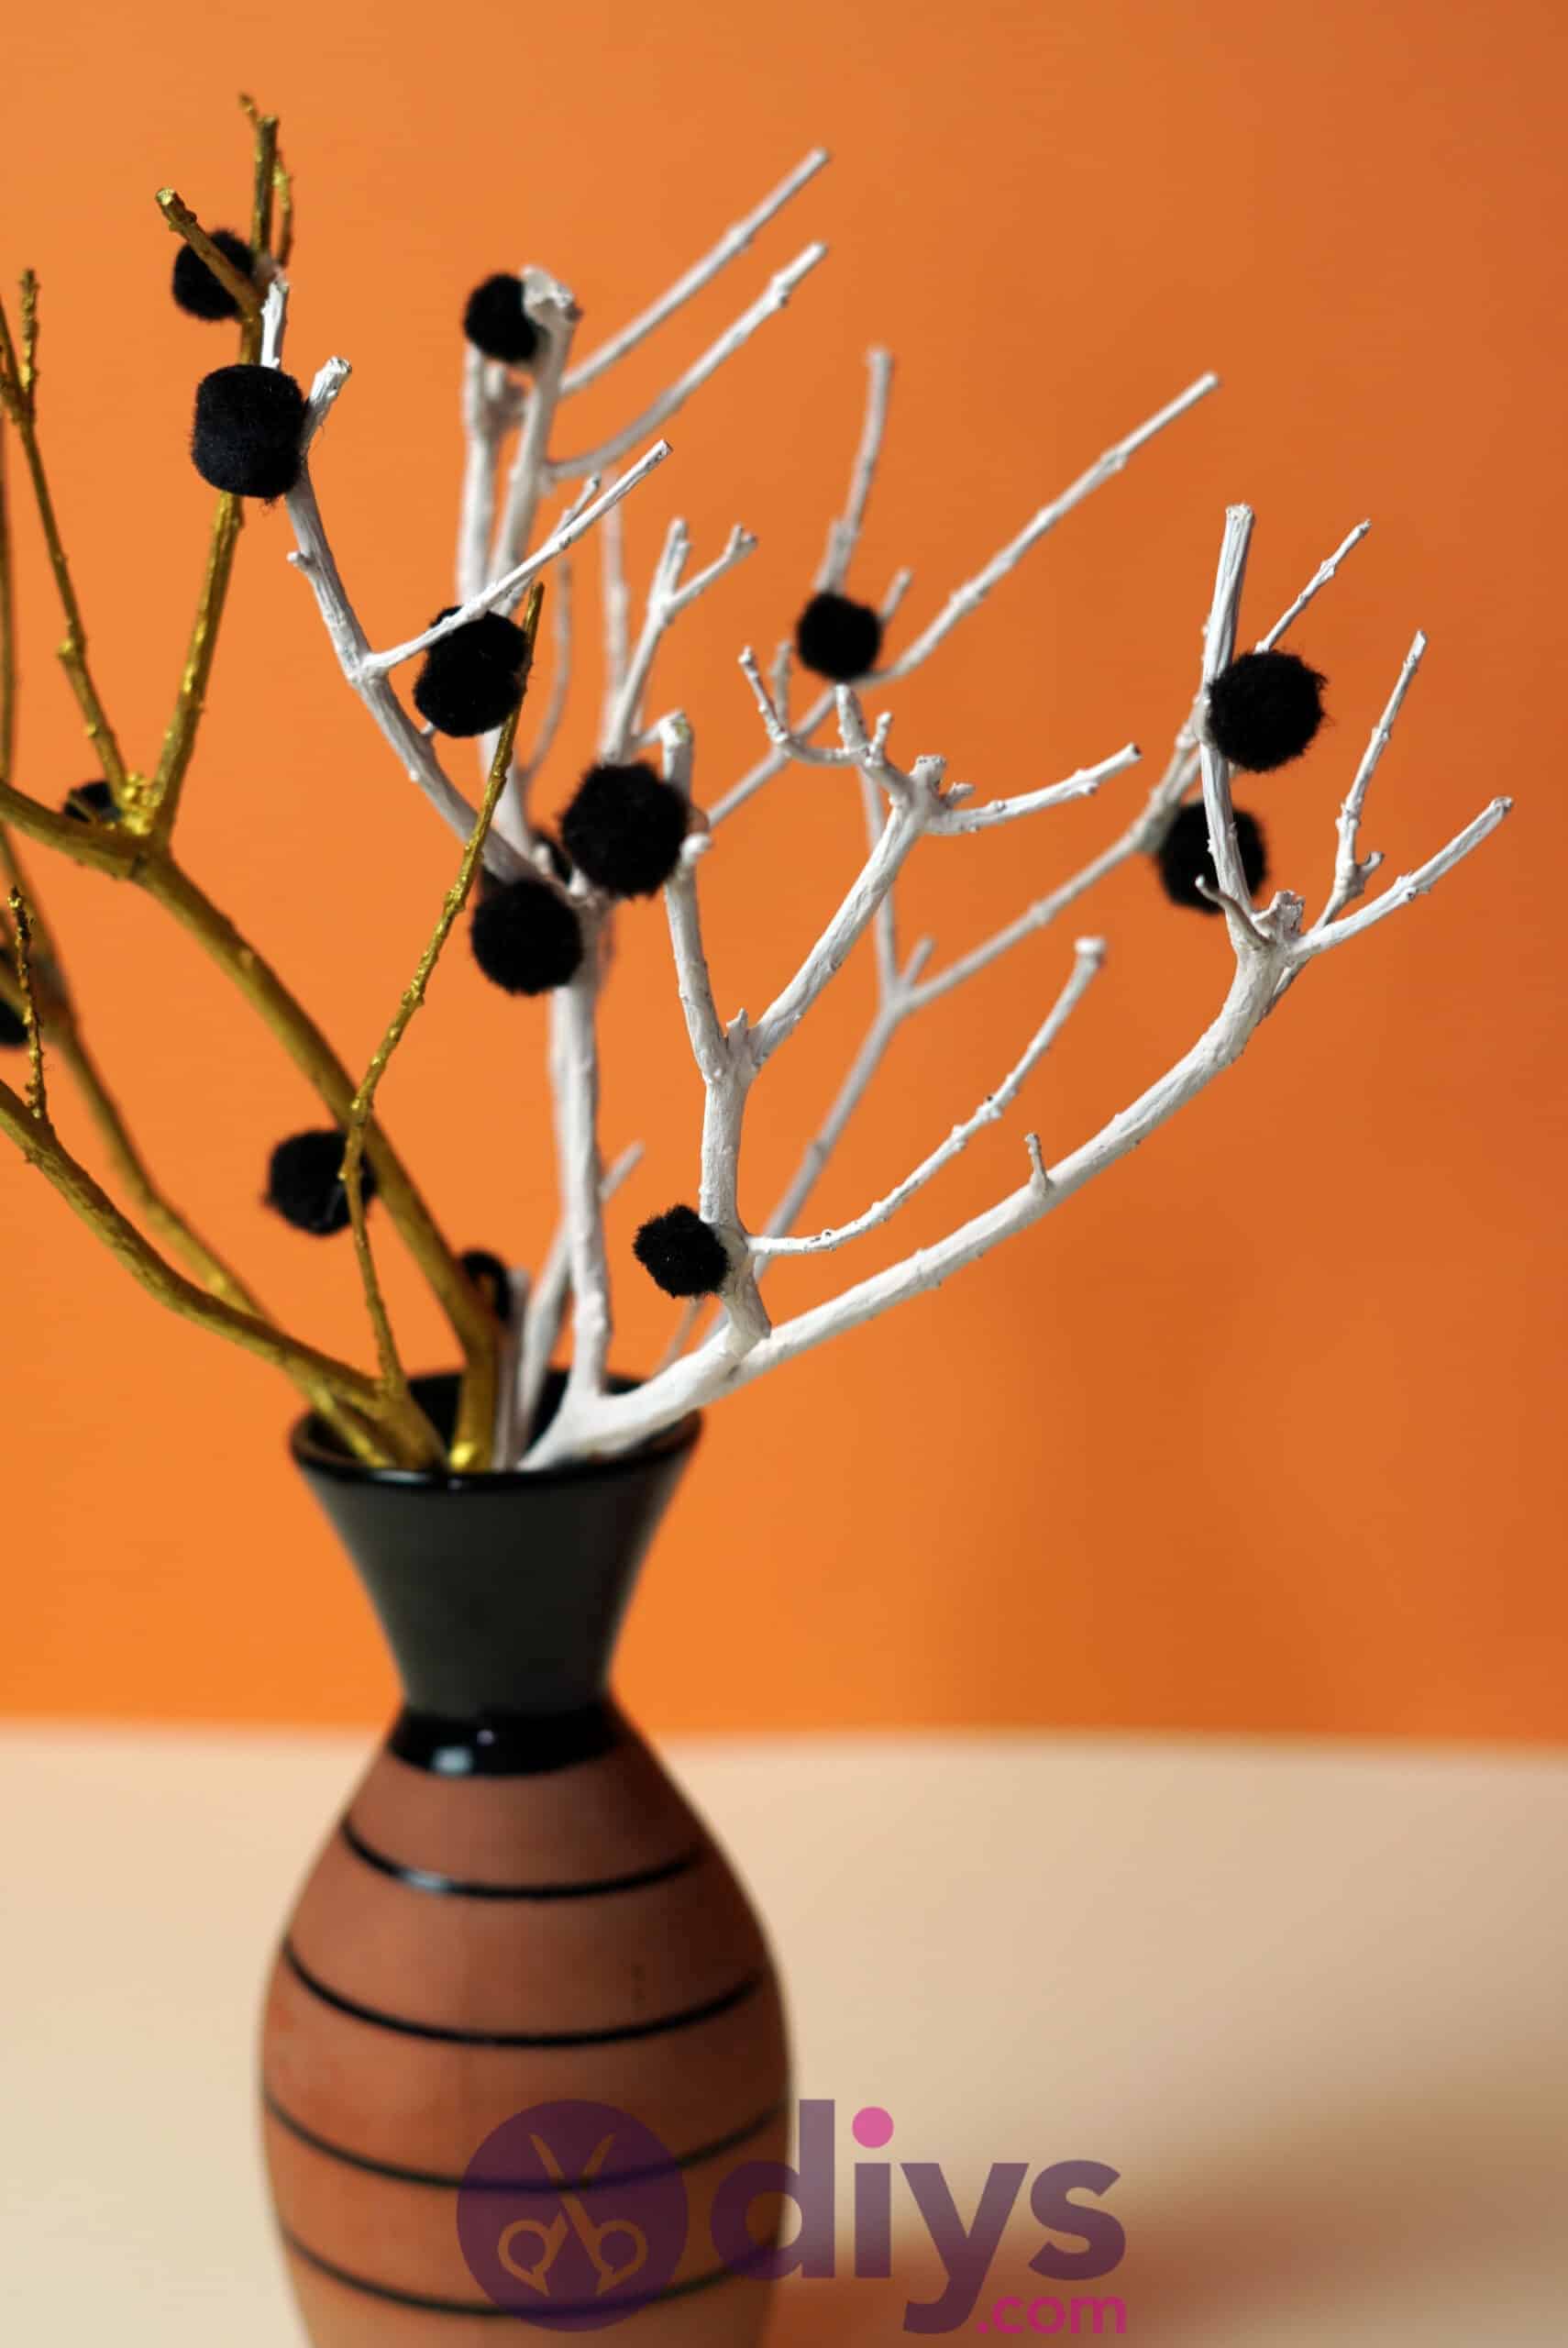
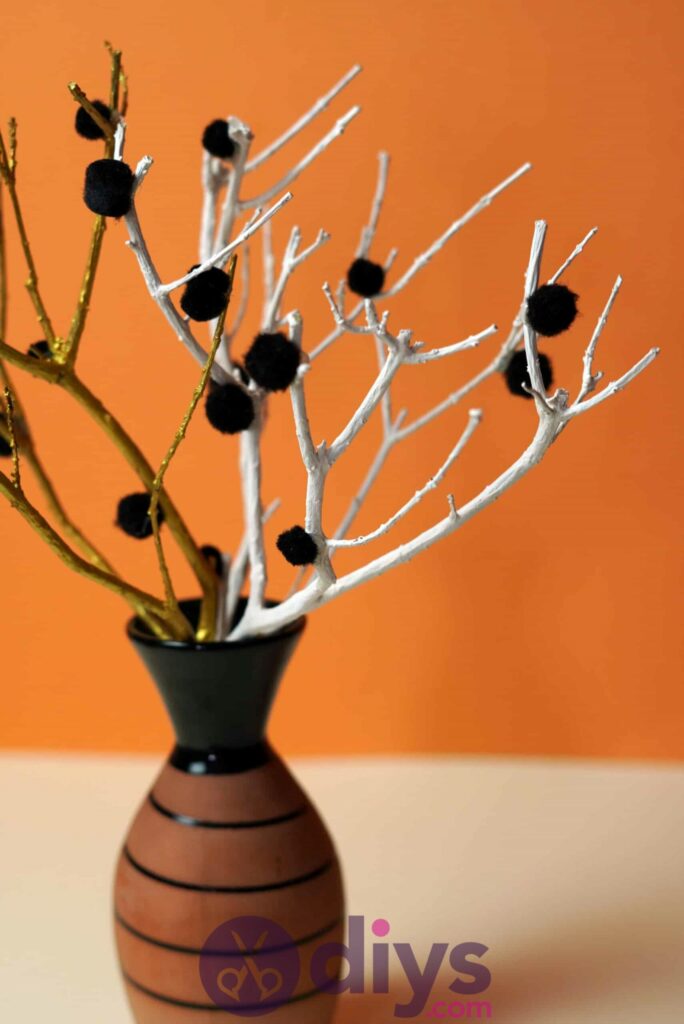
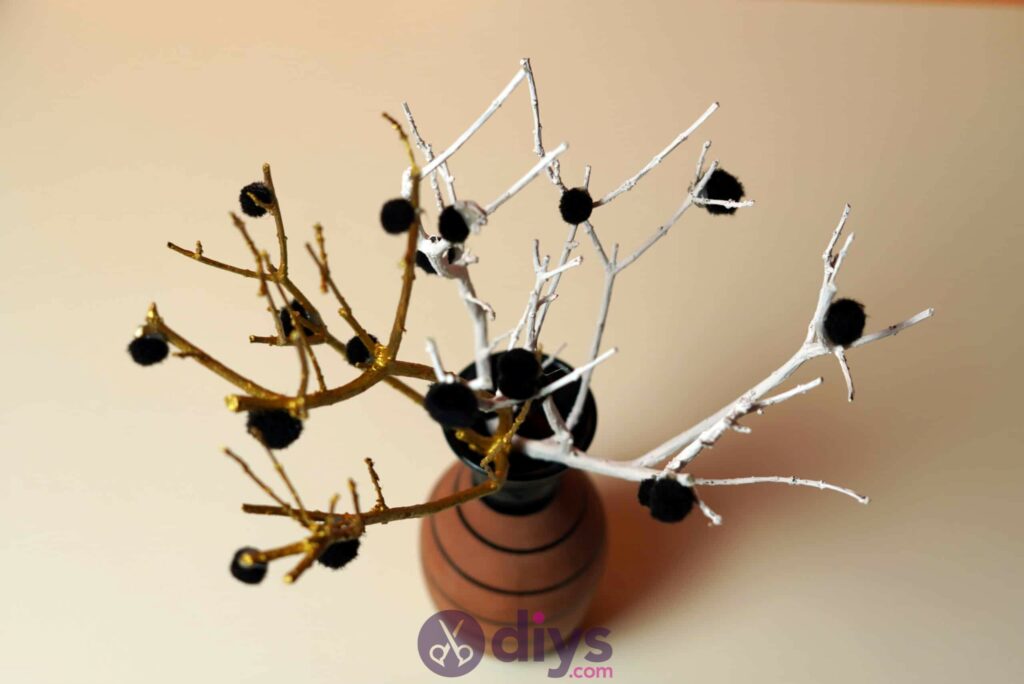
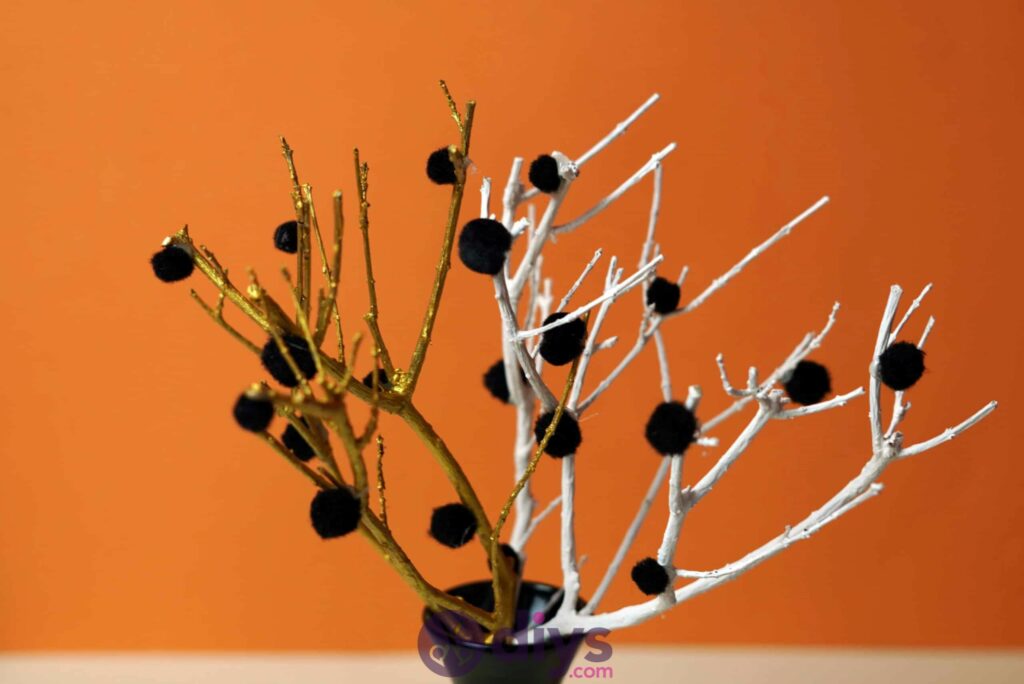
Step 6: collect and put in vase
Put your finished branches in a vase of some kind and voila! You now have a pom pom tree art piece.
That’s really all there is to it! Just like with any craft you watch a tutorial for, you’re also welcome (and, in fact, encouraged) to put your own spin on the simple details, like colour schemes and finished presentation. If you’d like to see my steps in action a little better, here’s a video tutorial!