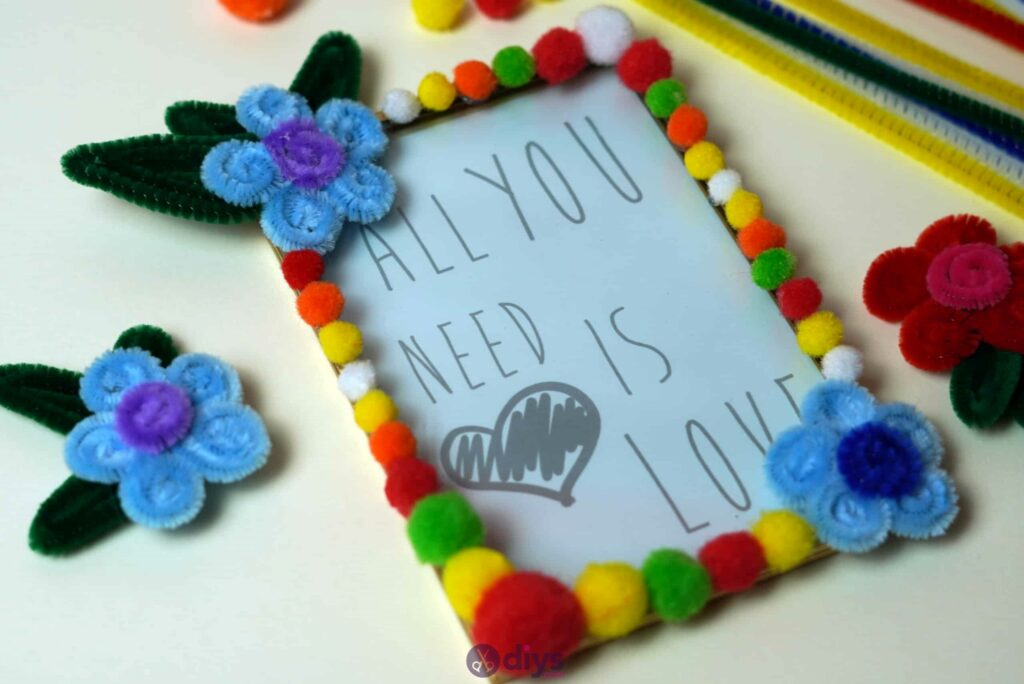
DIY Pipe Cleaner Photo Frame Decoration
Updated on November 19, 2025


Have you ever started organizing your children’s crafting supplies and gotten nostalgic about how much you used to love making things with classic kids’ DIY things when you were young? Well, you could capture that with this cute idea for a DIY pipe cleaner photo frame! Using leftover materials around your house, you can make this in any style you want. Read on to find out how!

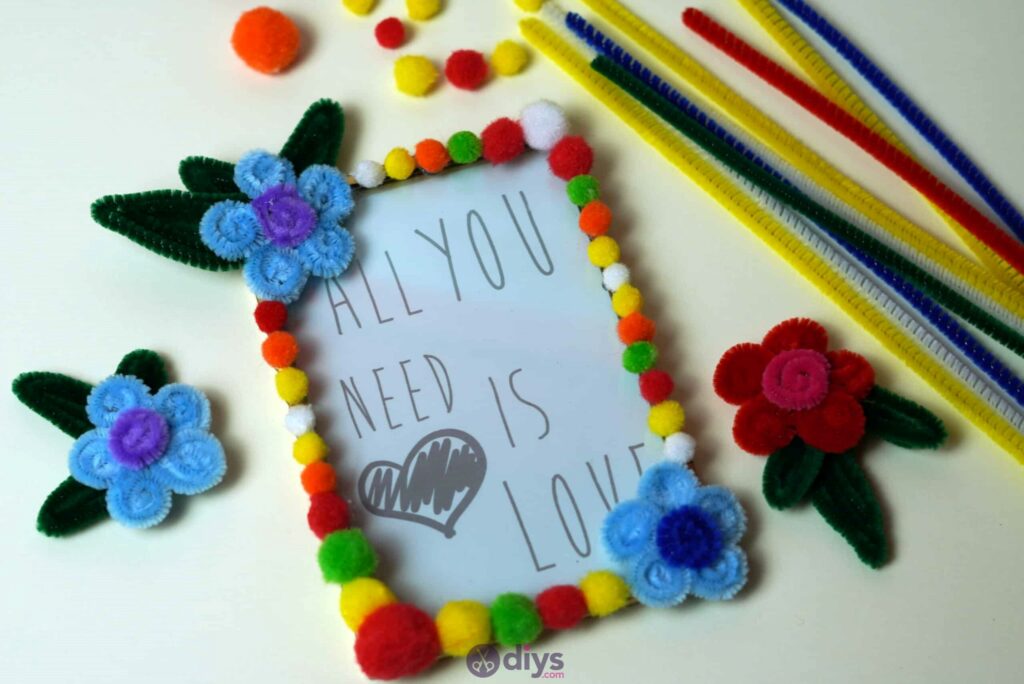
This one is rather colorful, but you could use colors and textures that better suit your home’s decor. If you’d like to try this process out, keep scrolling to find step by step written instructions complete with photos. If you’ve always been more of a video person, keep scrolling to the bottom of this post to get a full video tutorial there instead.
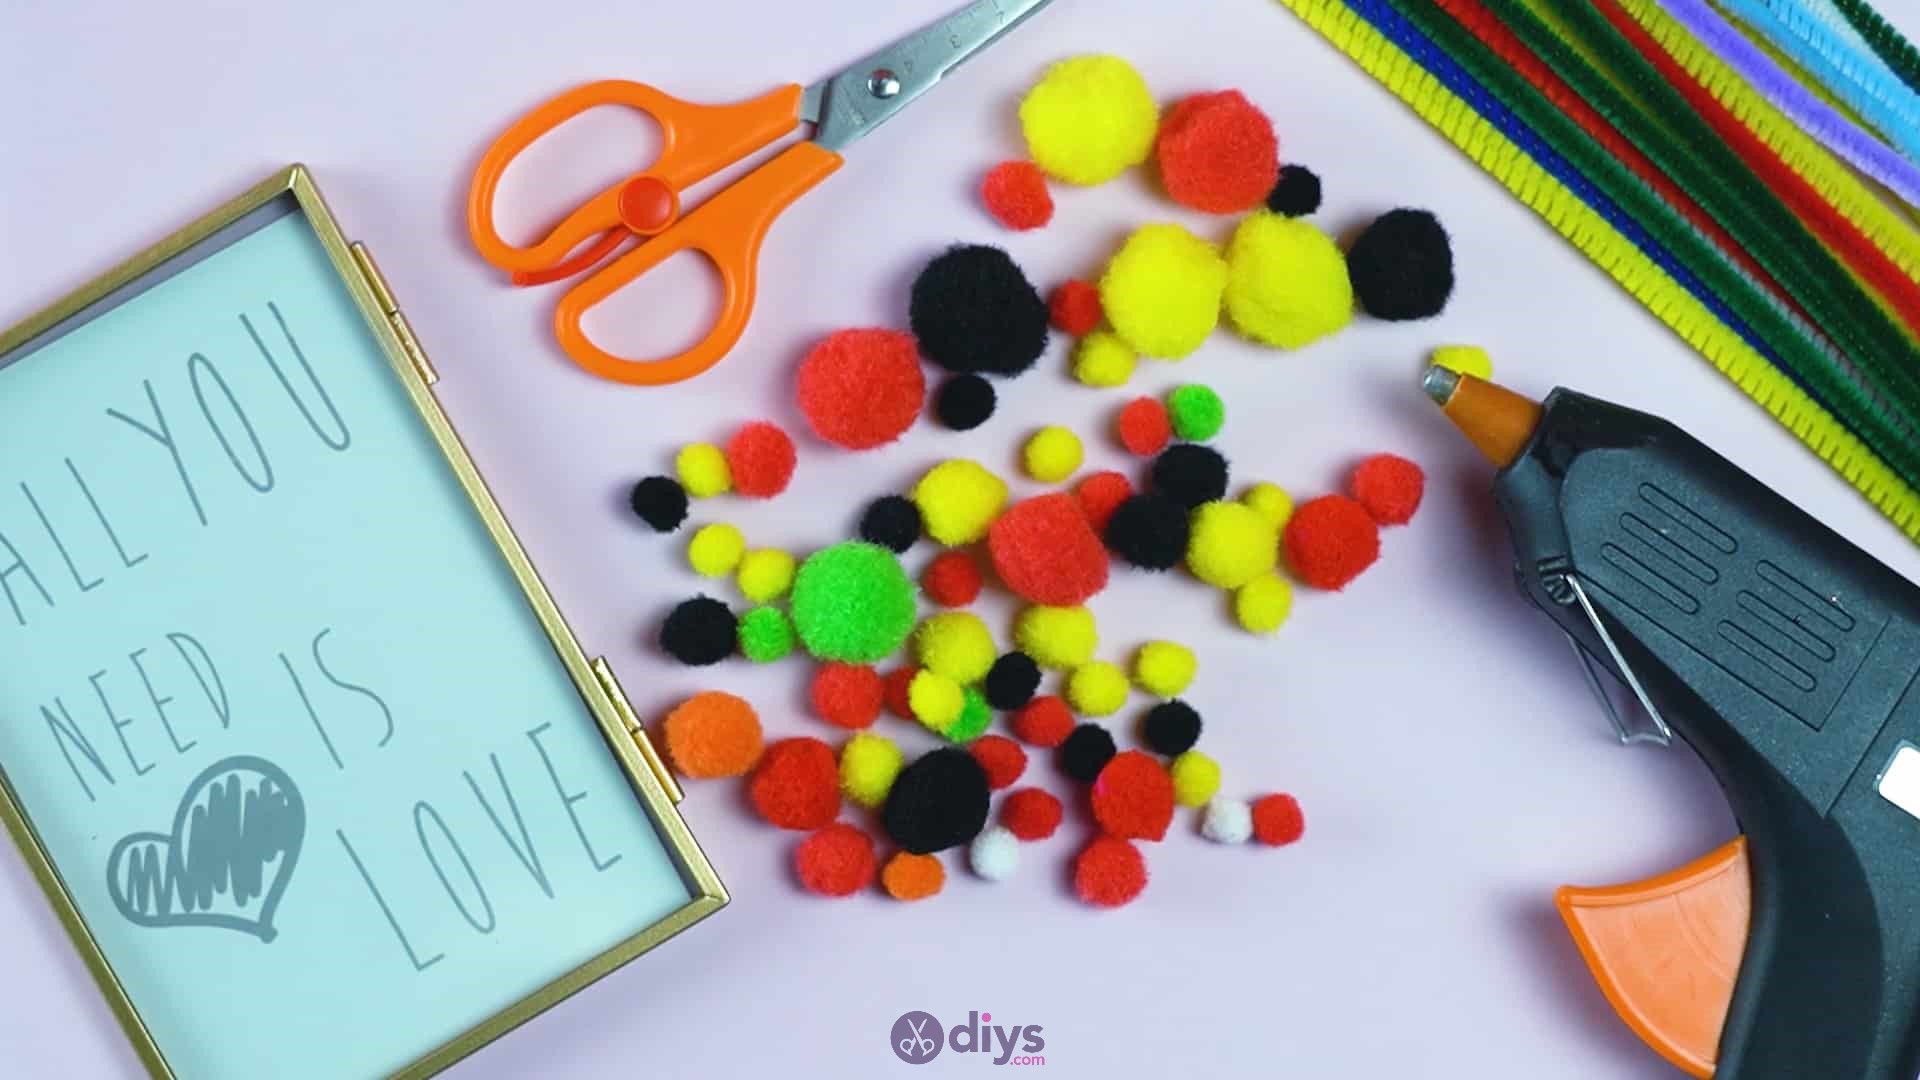
For this project, you’ll need:
- Photo frame
- Pom pom
- Pipe cleaner
- Scissors
- Hot glue
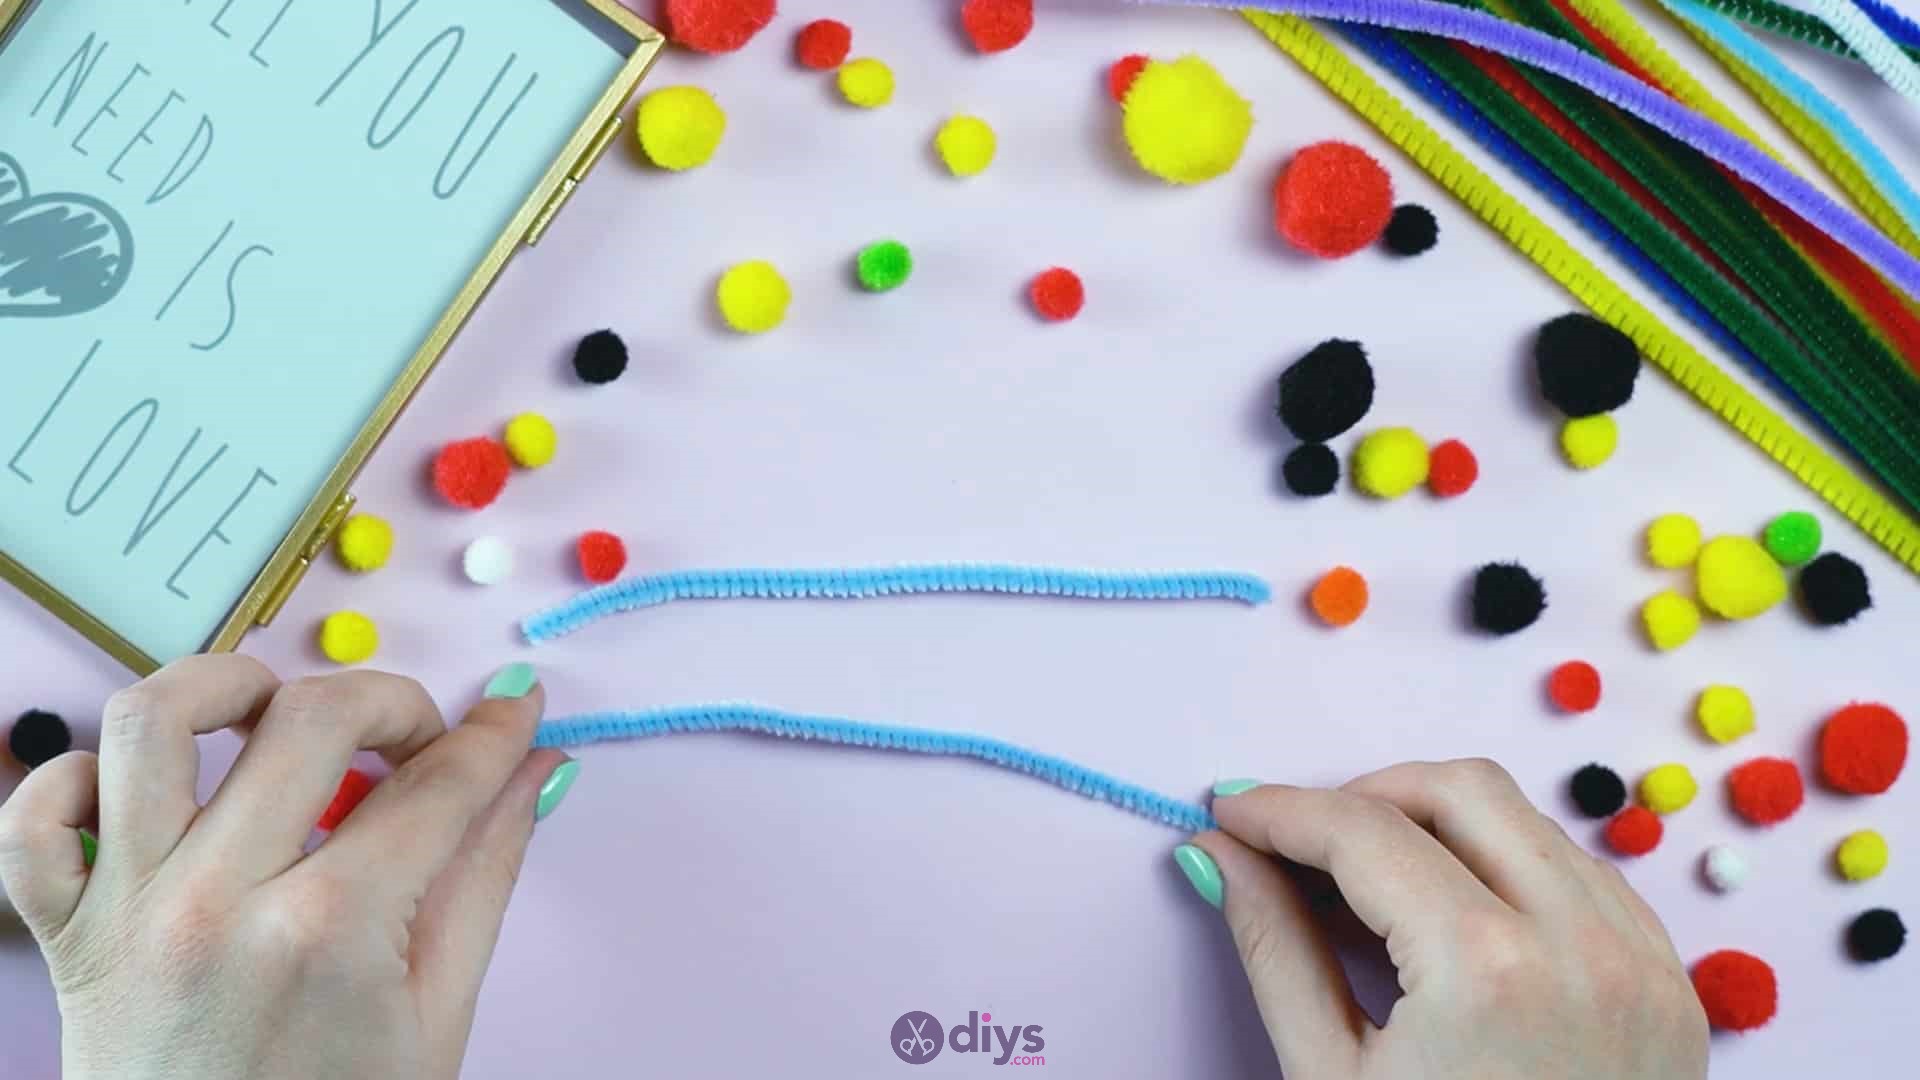
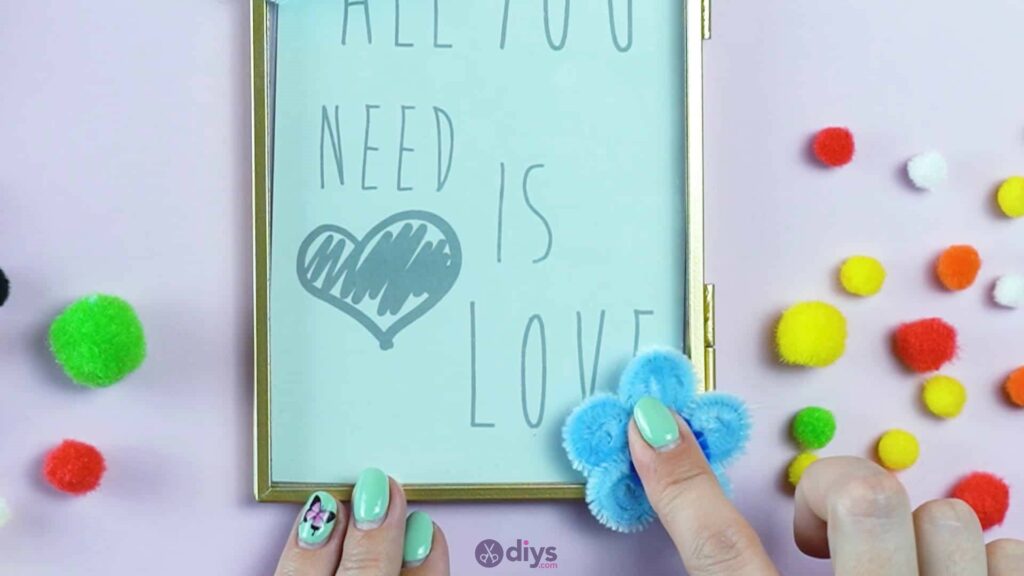
Step 1: Gather your materials!
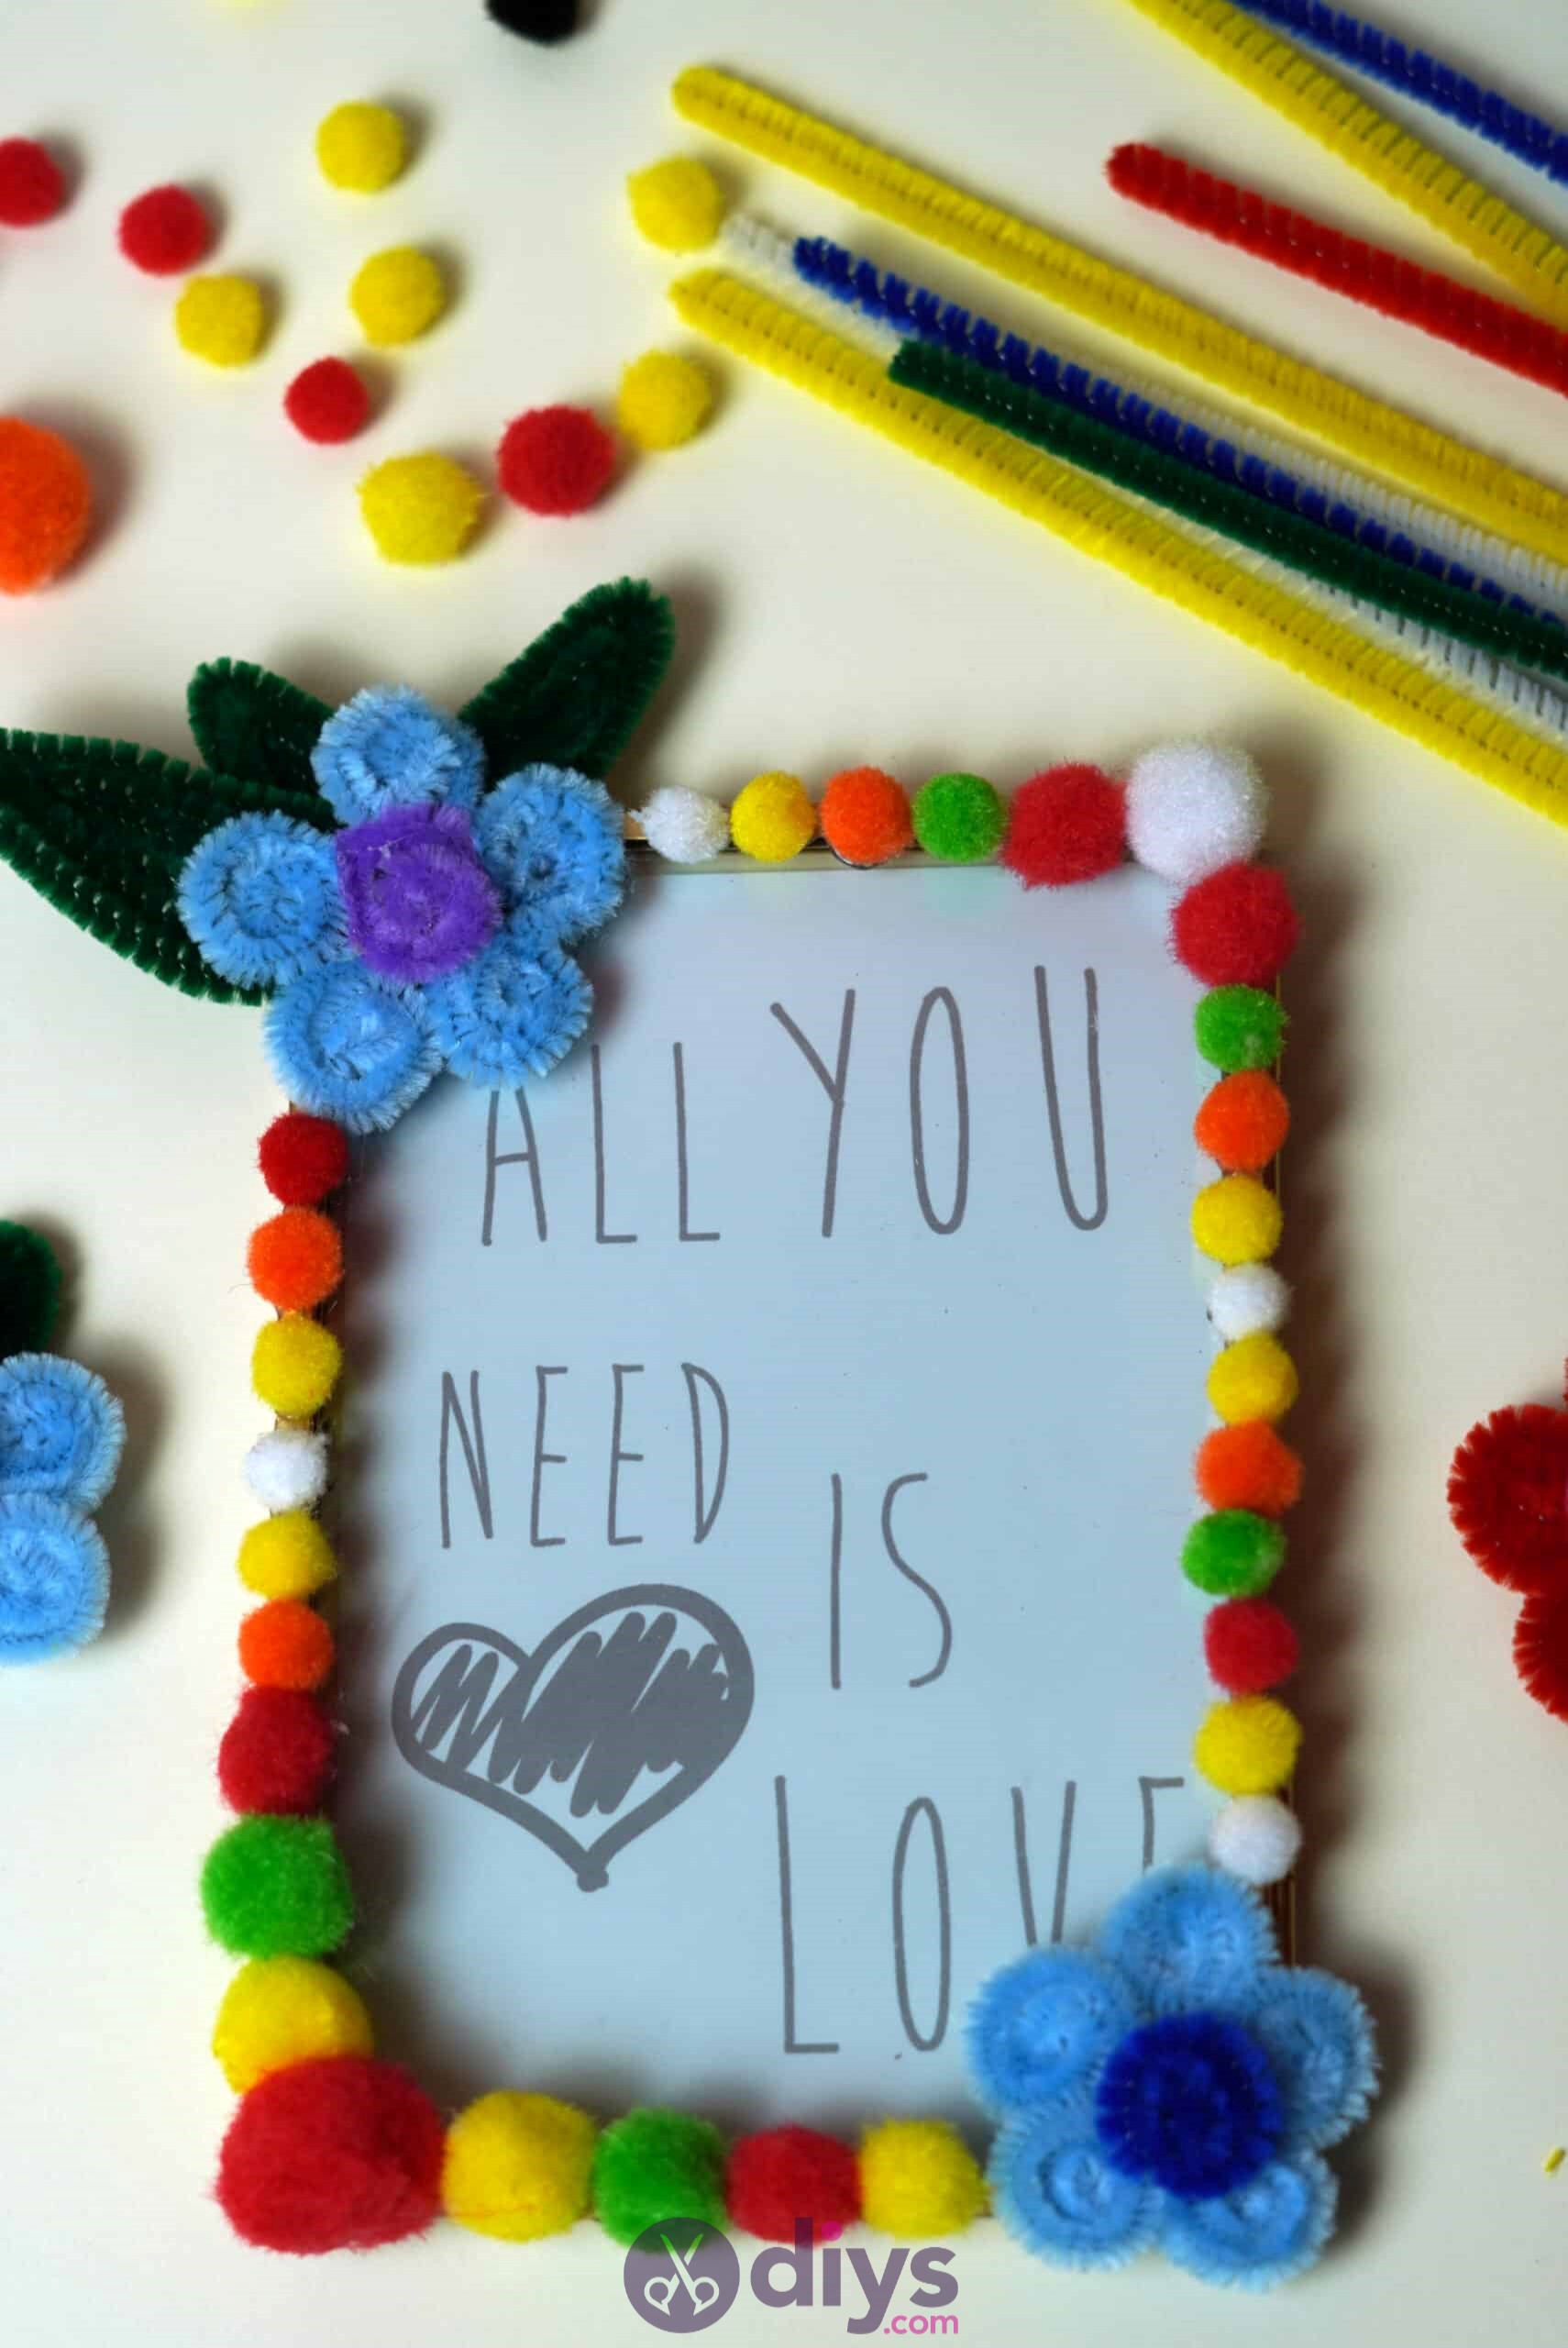
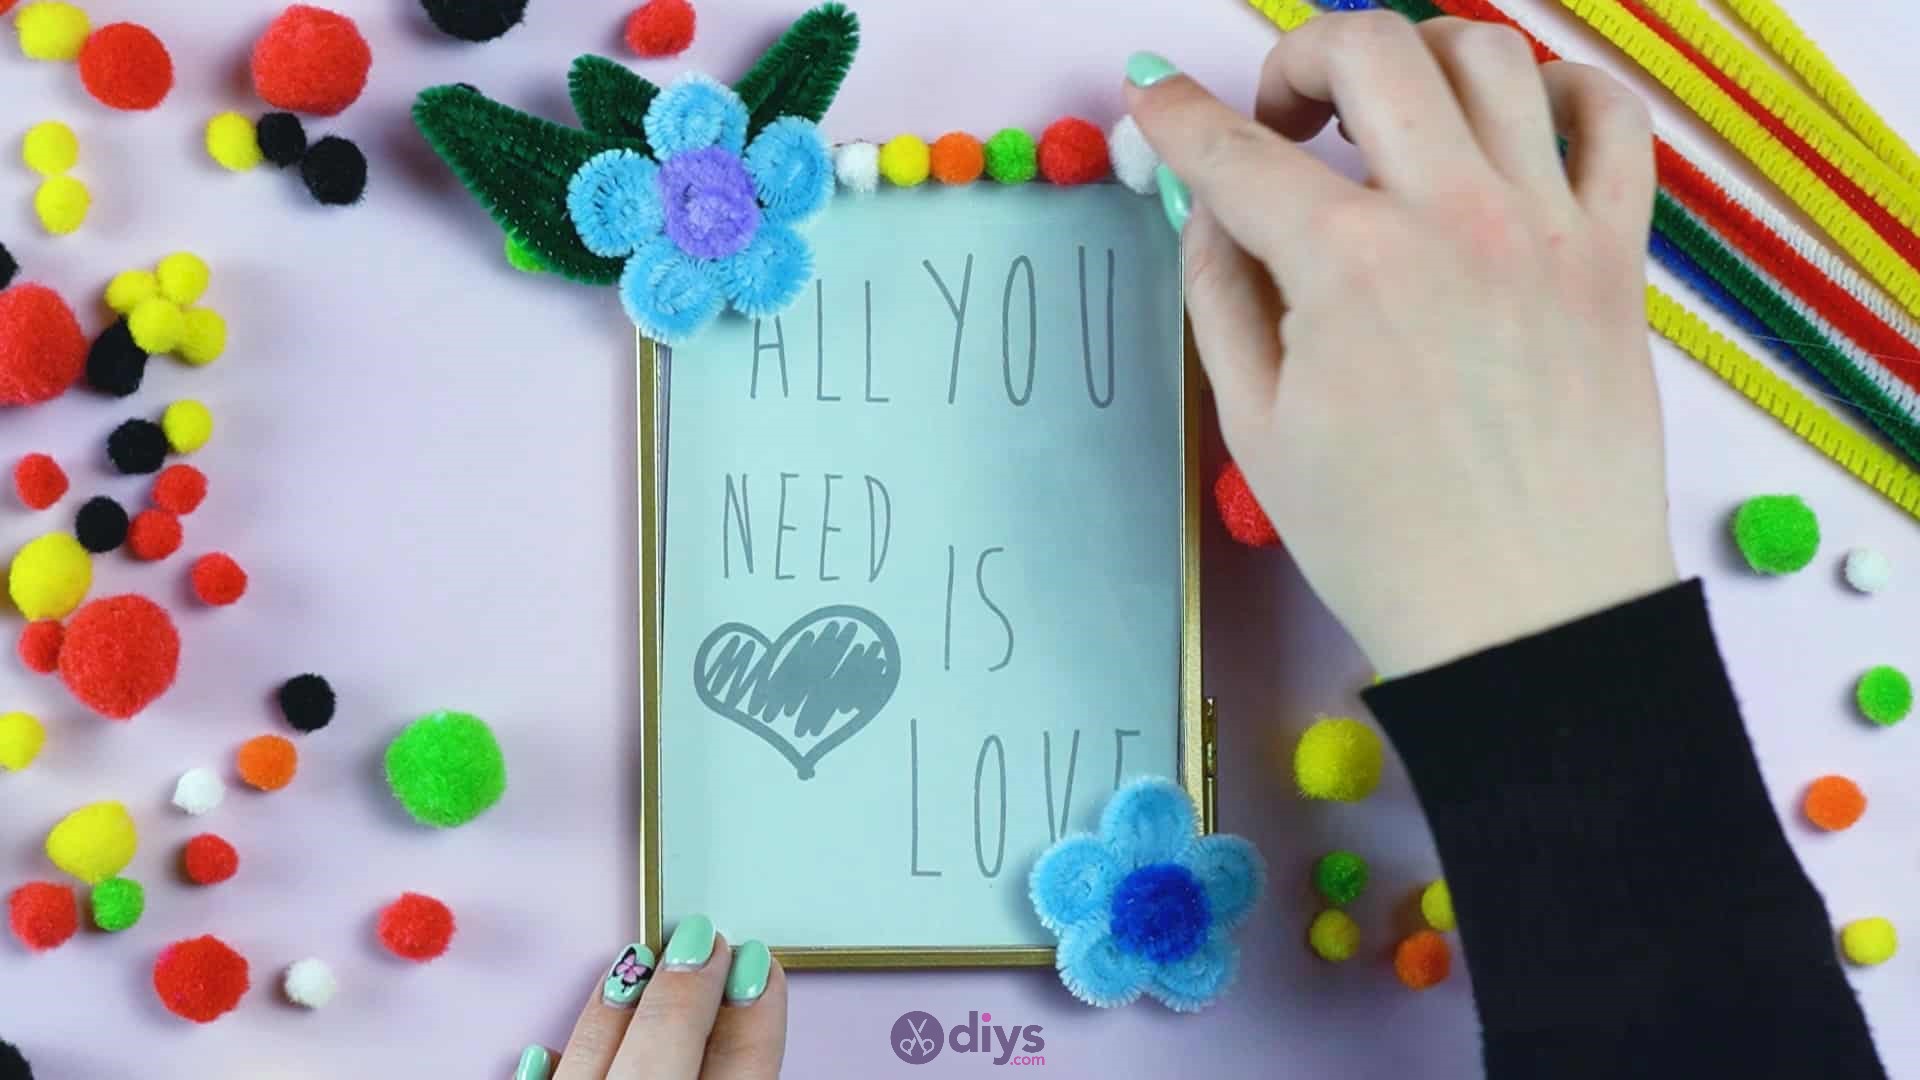
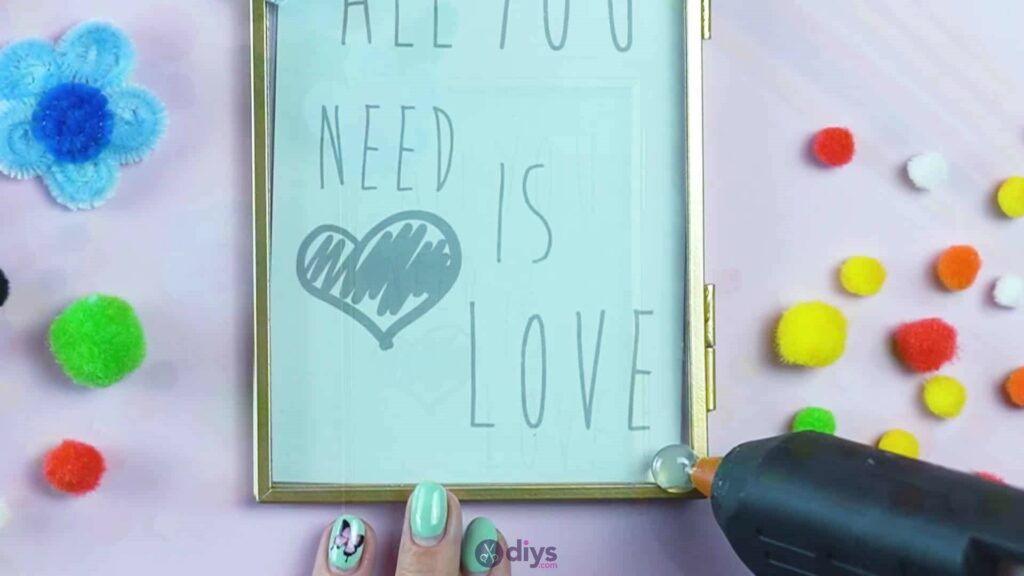
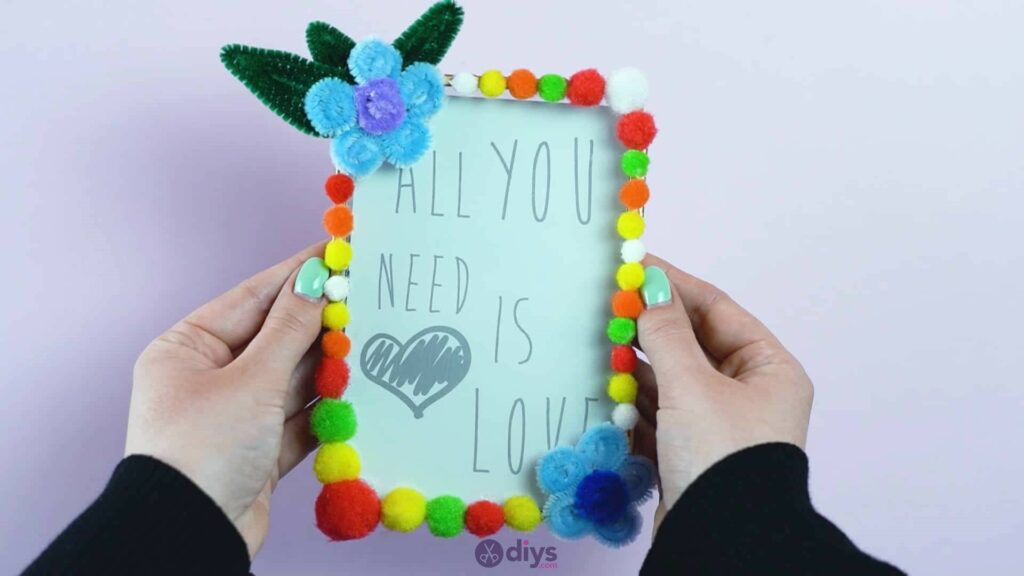
You could, of course, put a photo in your frame instead, but I’ve also been dabbling in word art lately.

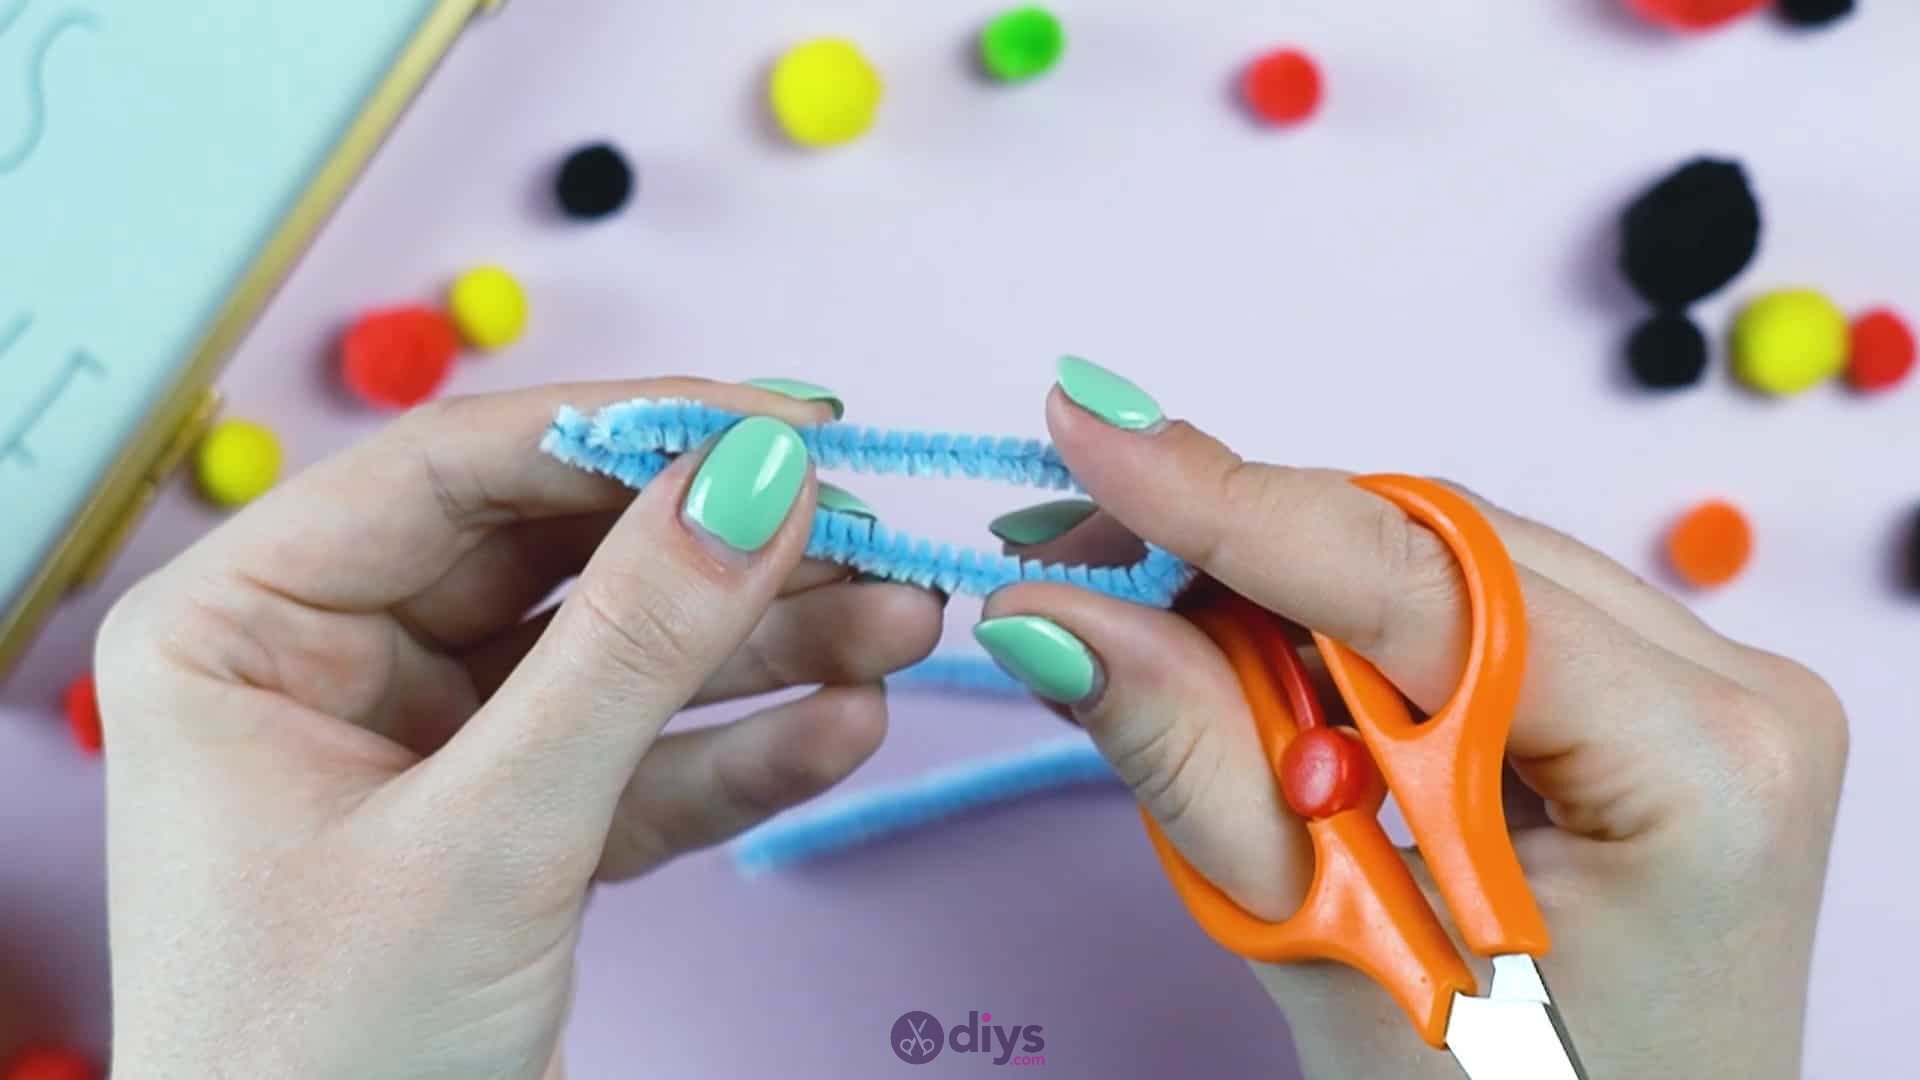
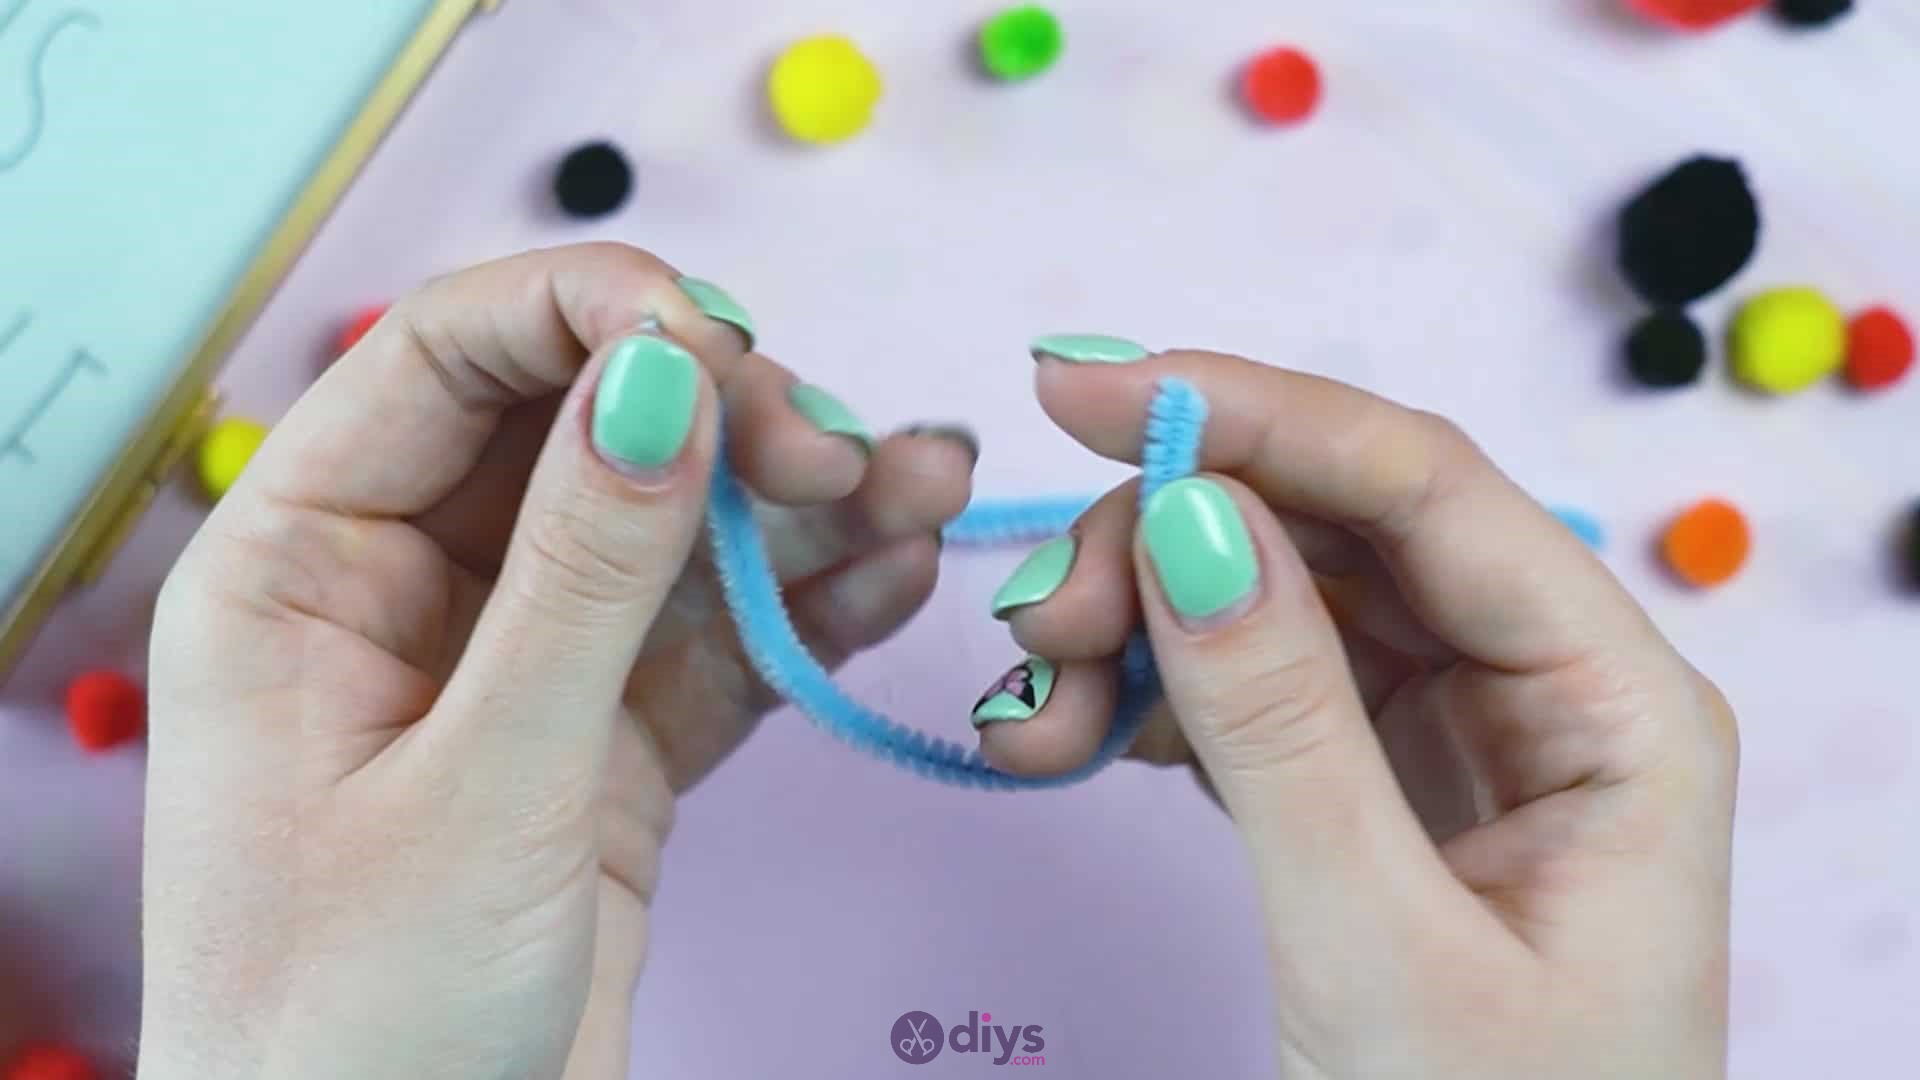
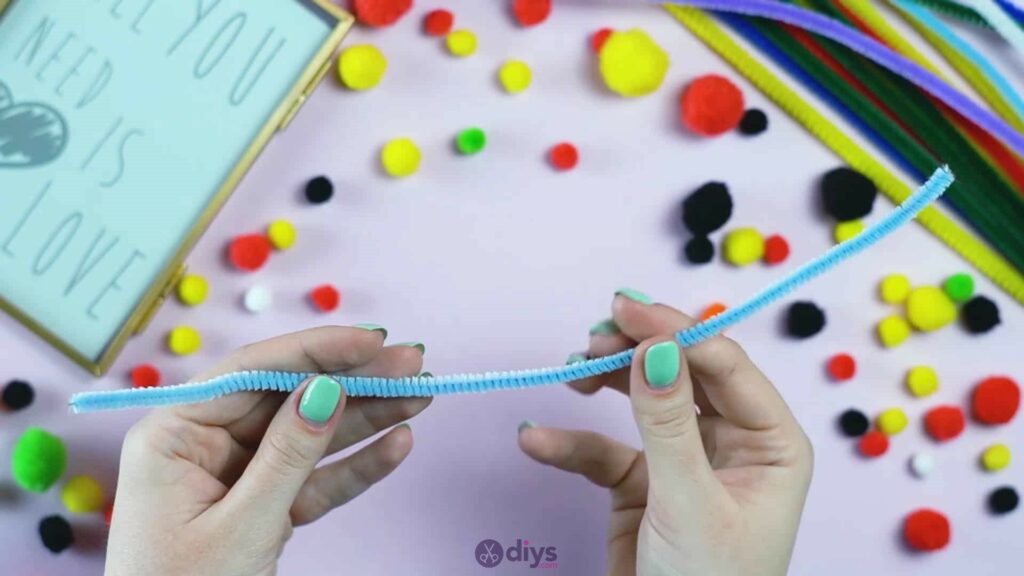
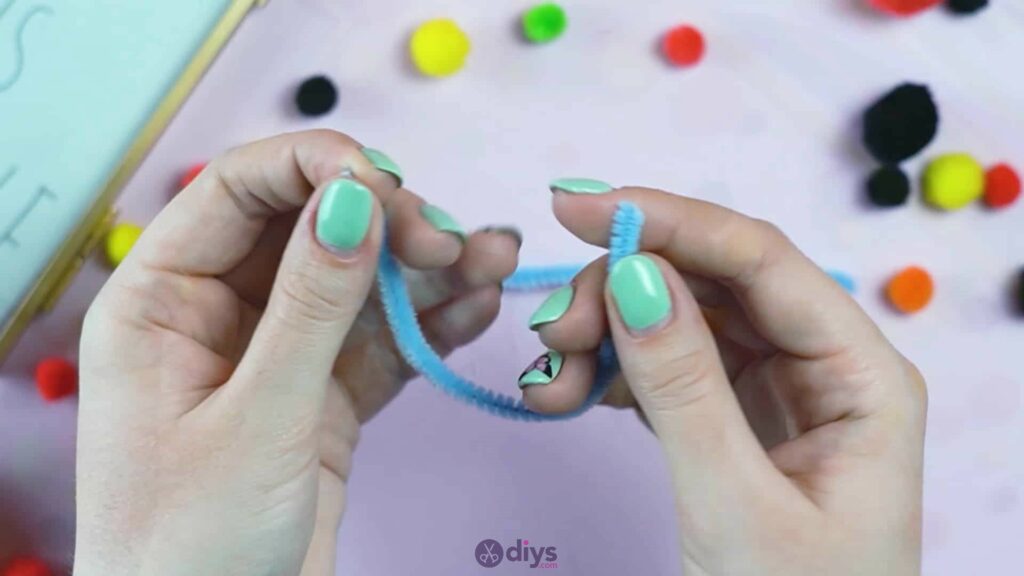
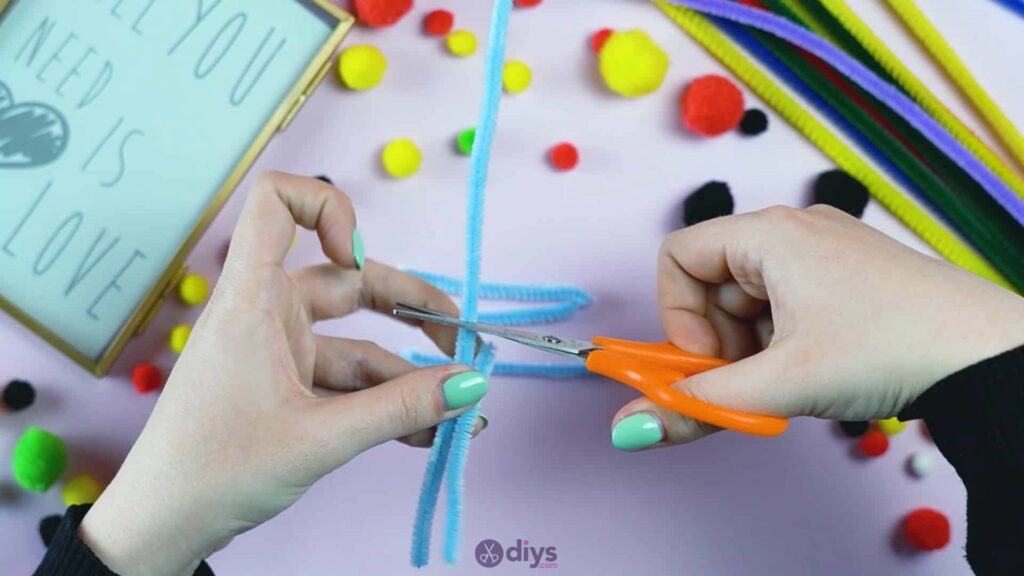
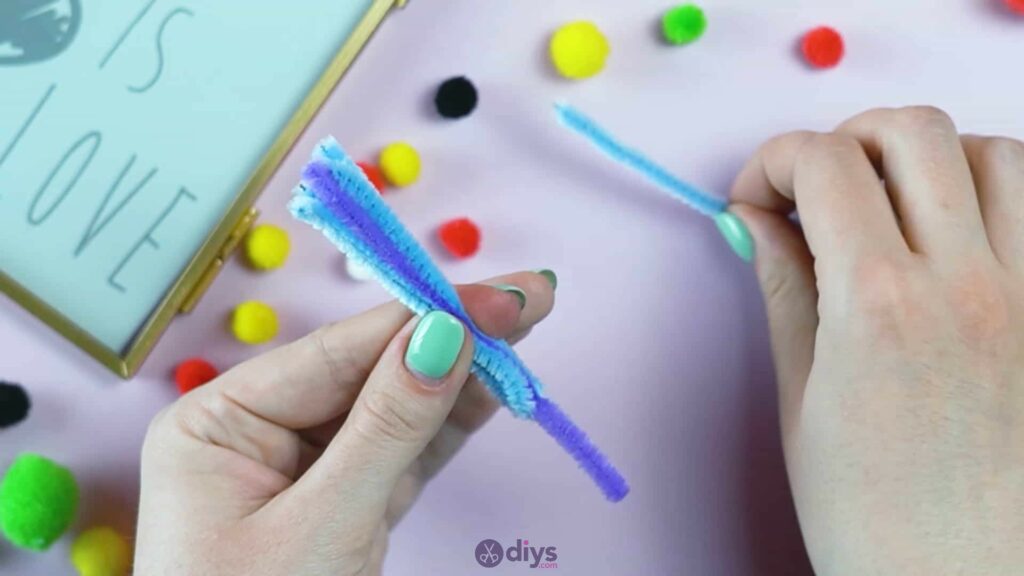
Step 2: picking petal color
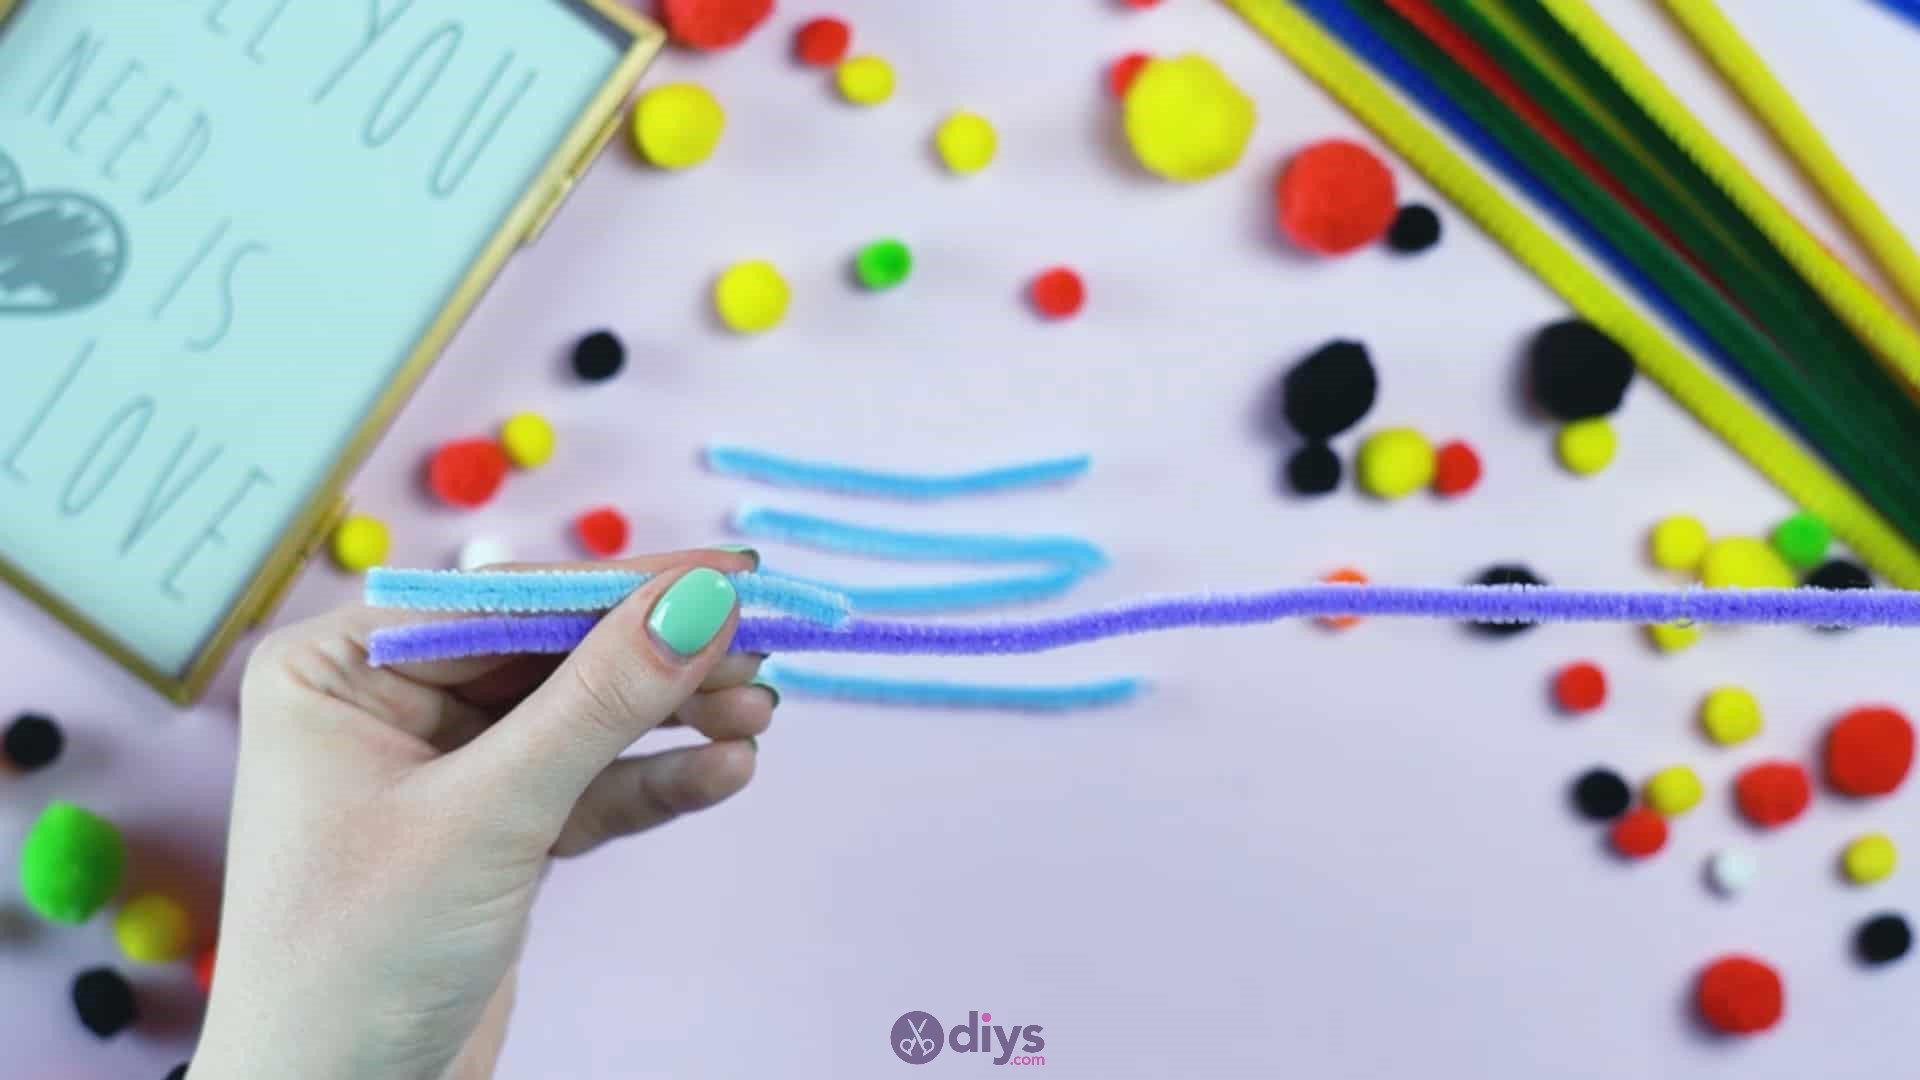
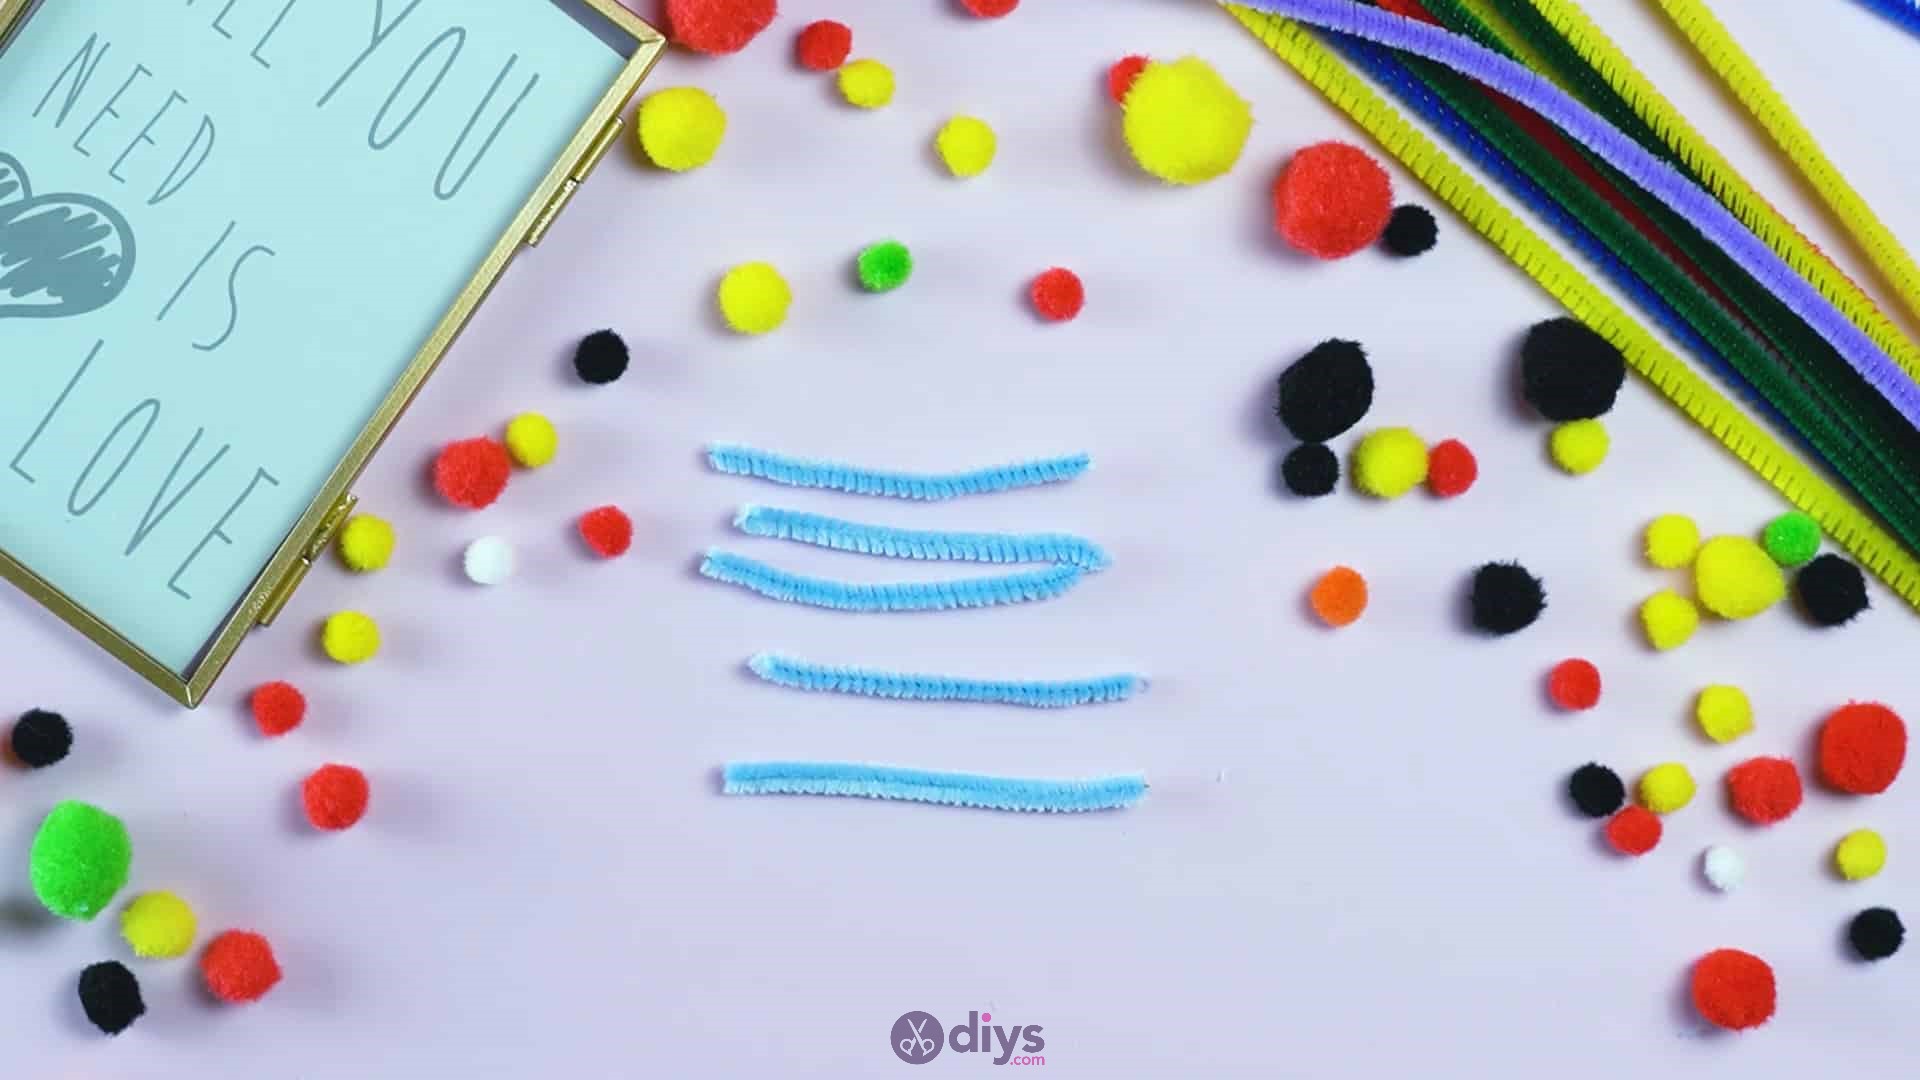
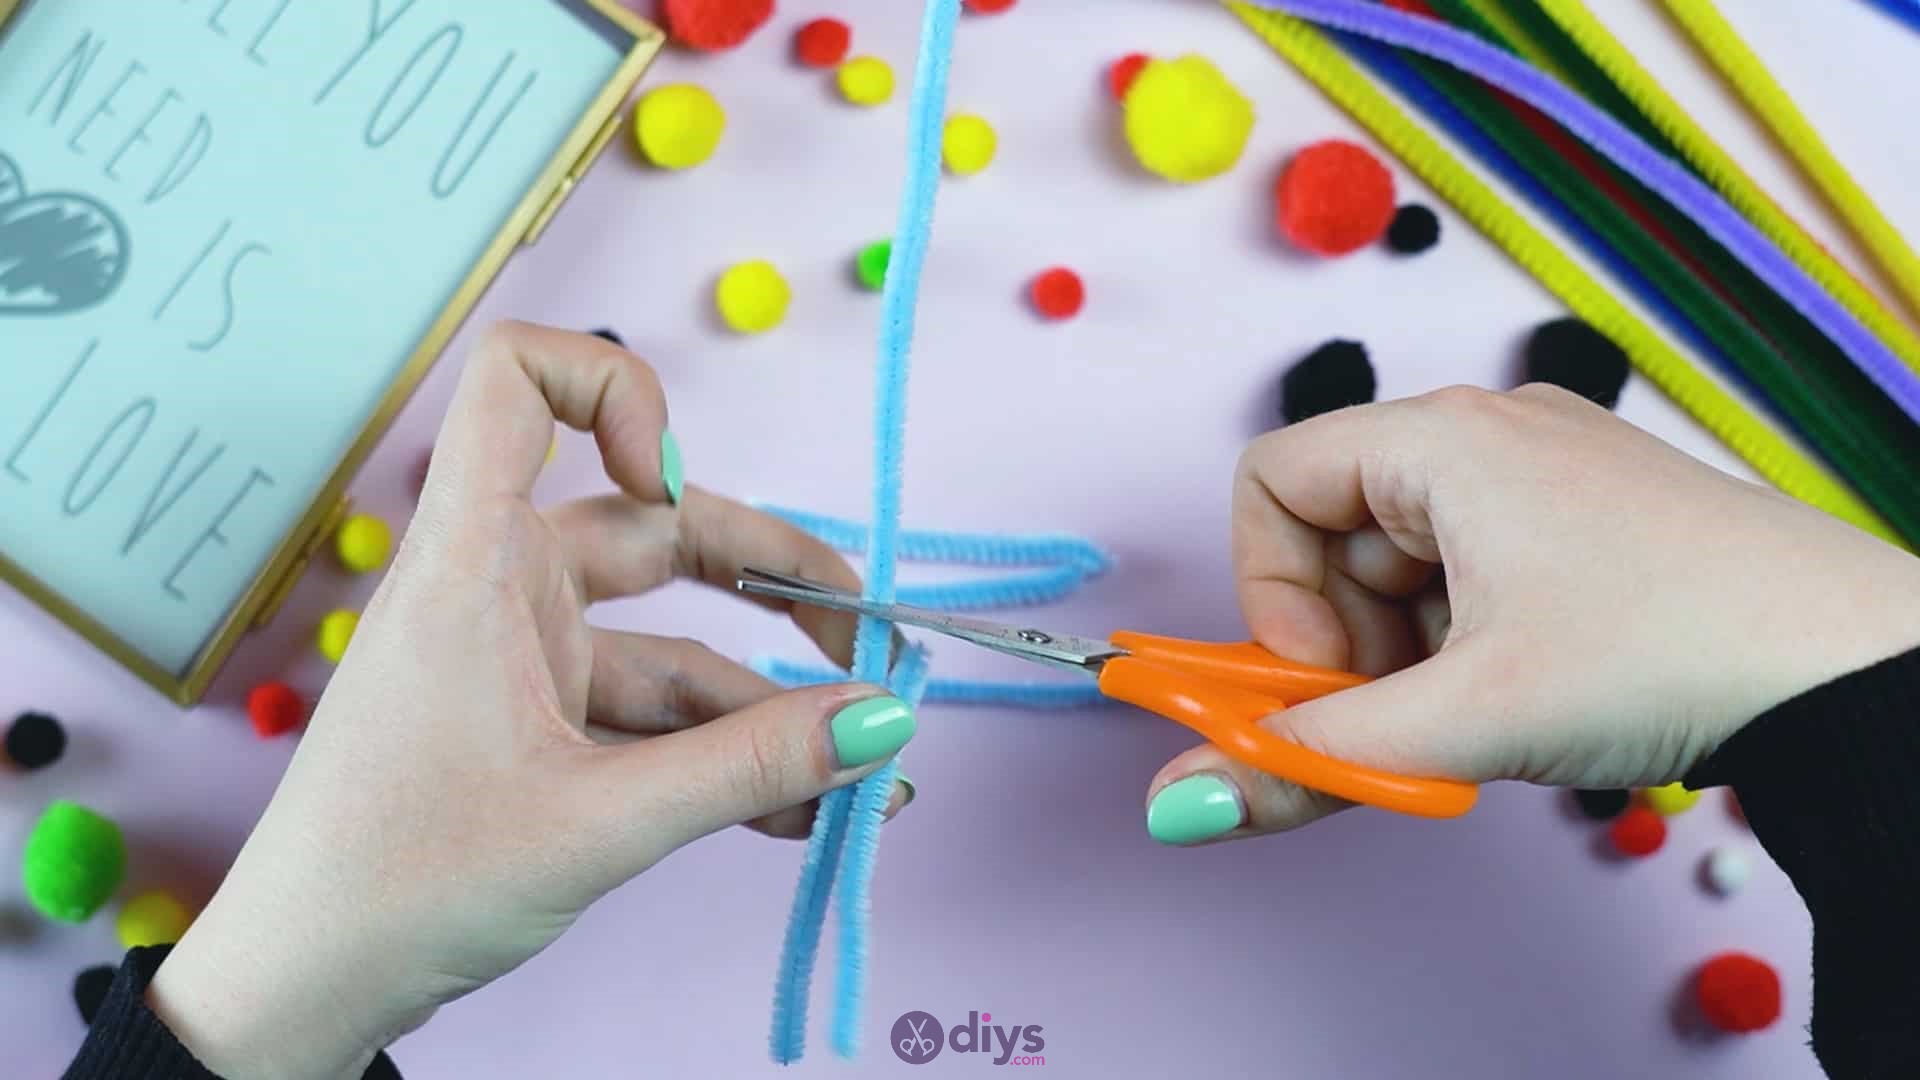
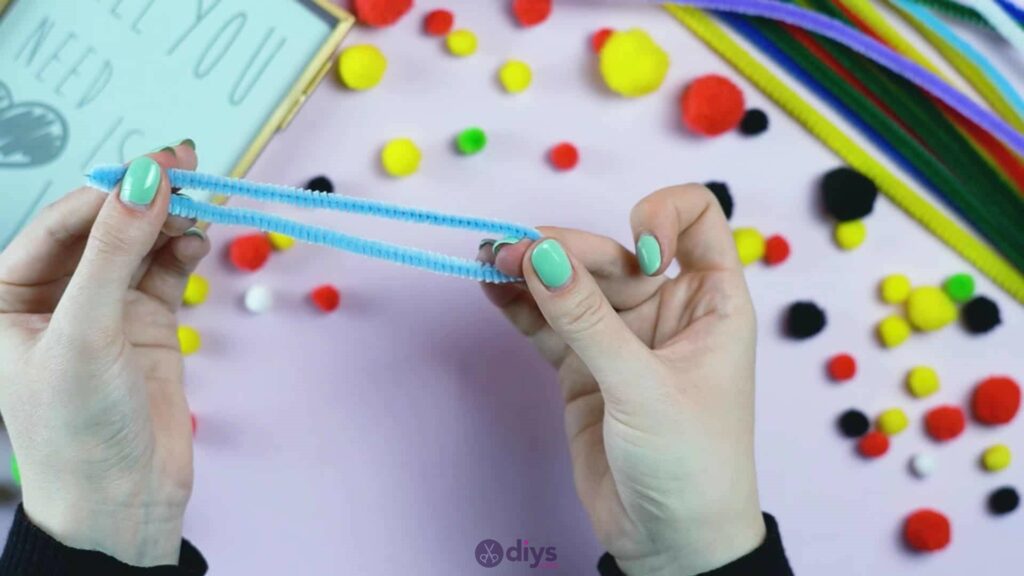
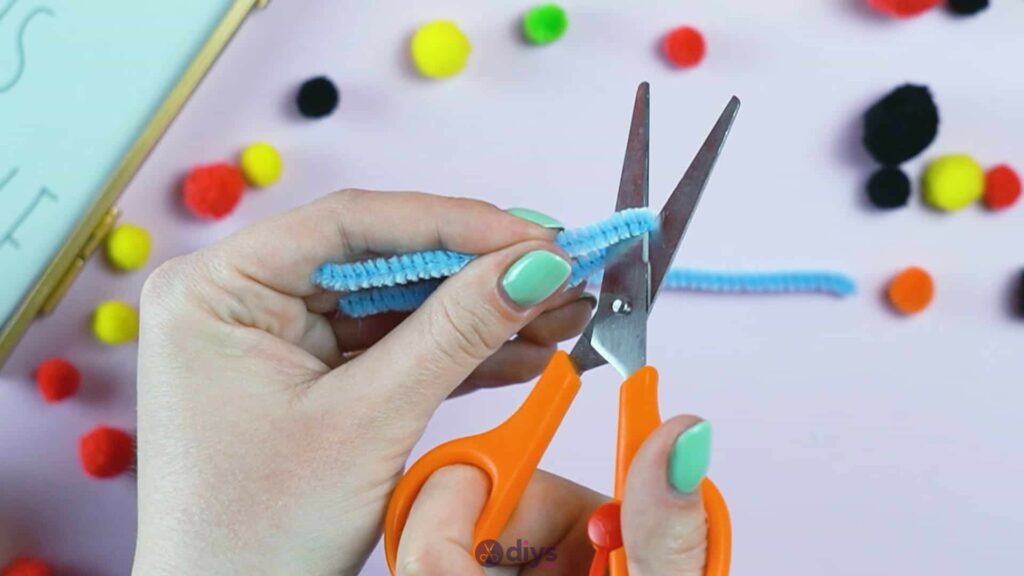
Decide what colour you’d like to make the petals of your first flower in the top left corner and pick up one pipe cleaner in that colour. Fold it in half so its ends meet evenly and a curve is formed opposite that at the halfway point. Put one side of your scissors through the loop at the curved end and cut the pipe cleaner in half right in the middle so that you now have two pieces of pipe cleaner that are the exact same length as each other; each one half the length of the original pip cleaner. Repeat this folding and cutting process with each of these two pieces so that you have four smaller pipe cleaner pieces, all the same size as each other and each one a quarter of the length of the original.


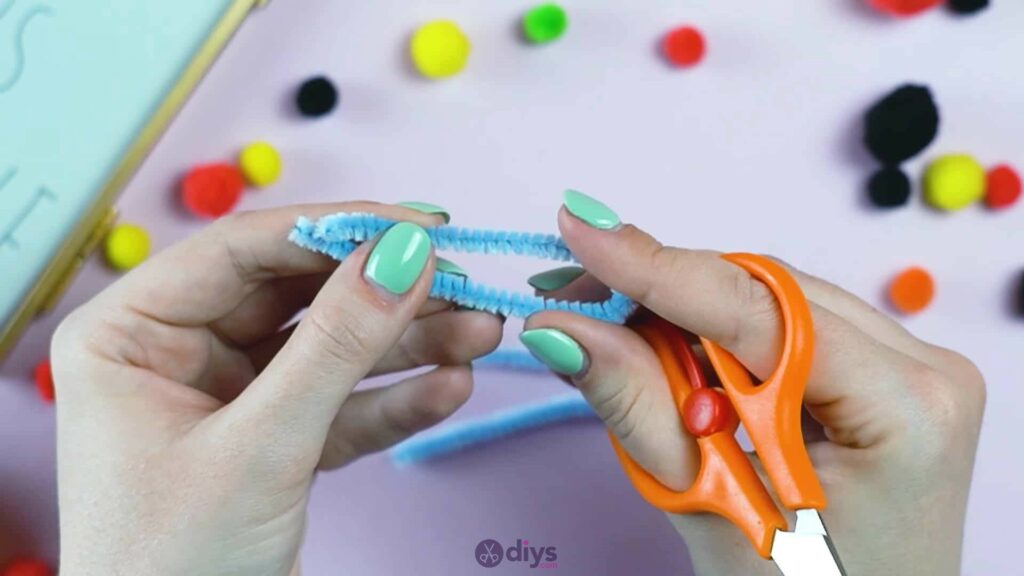
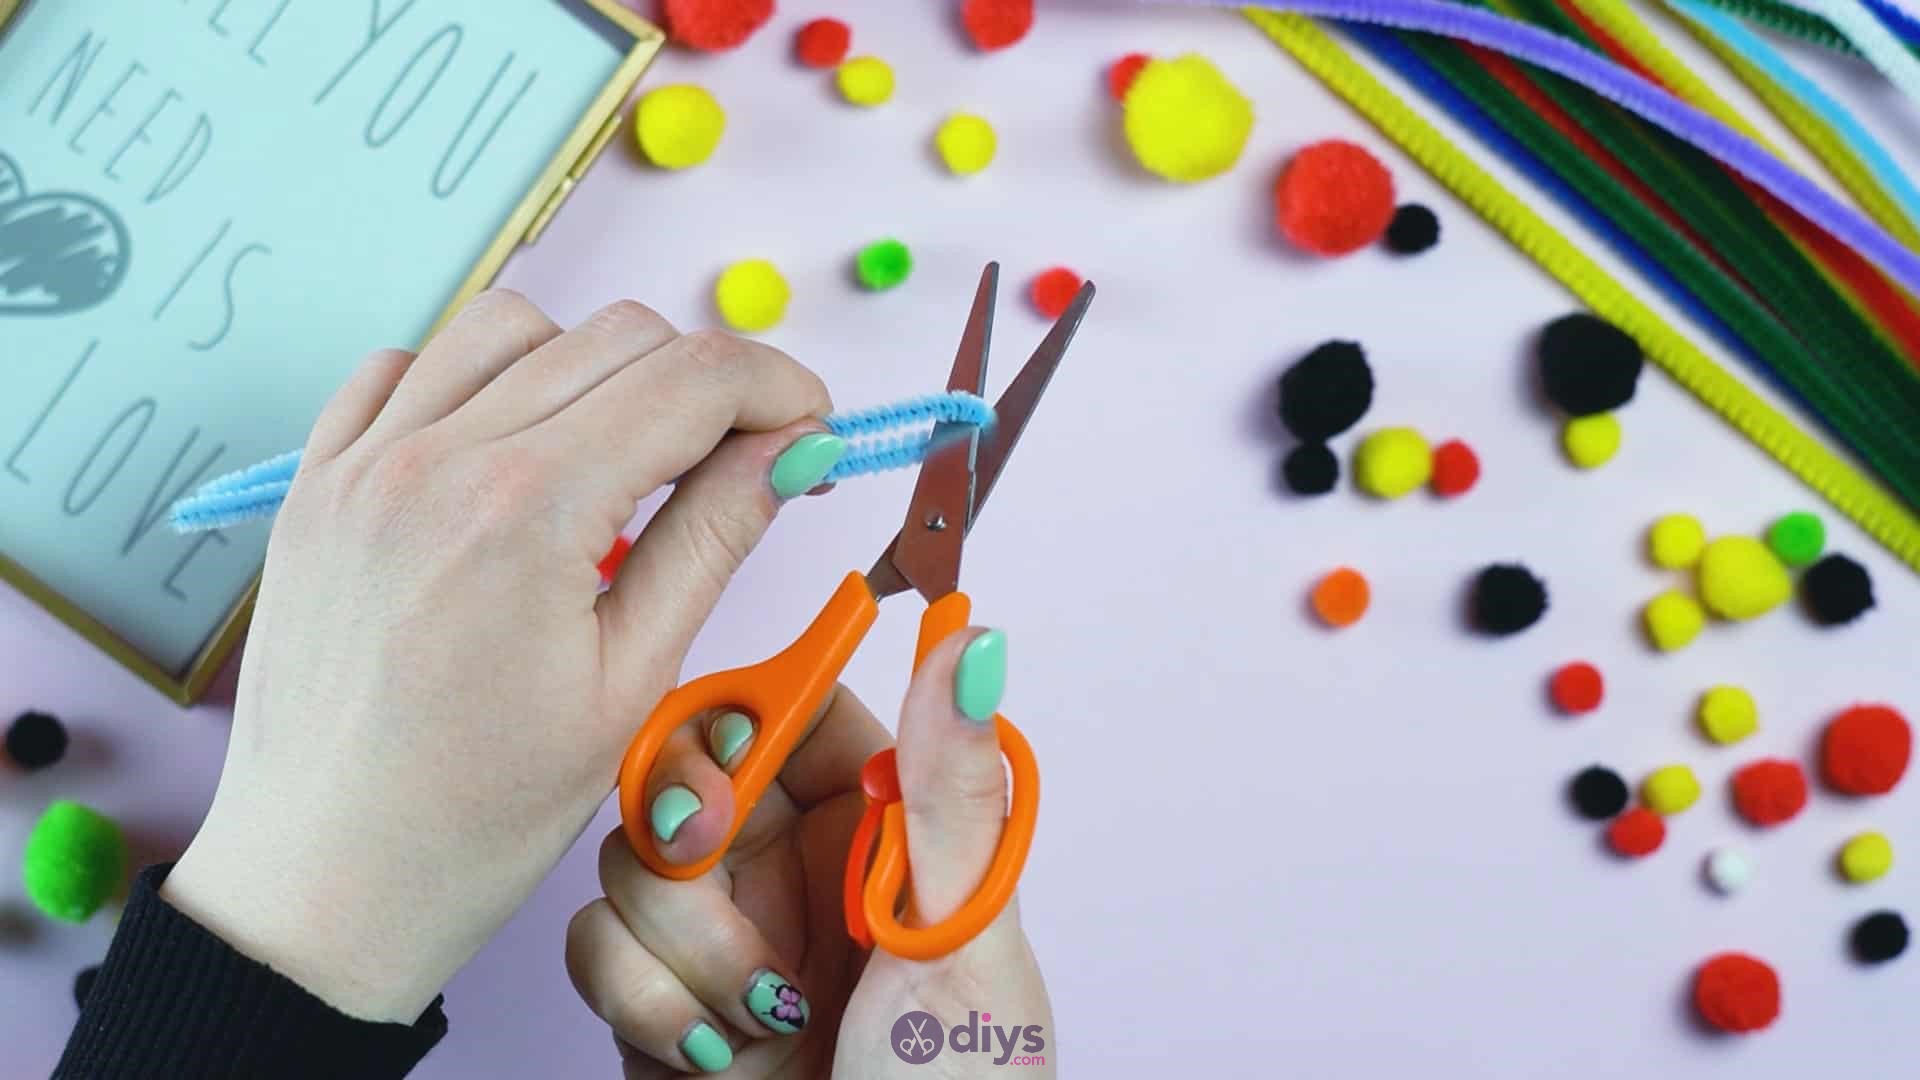
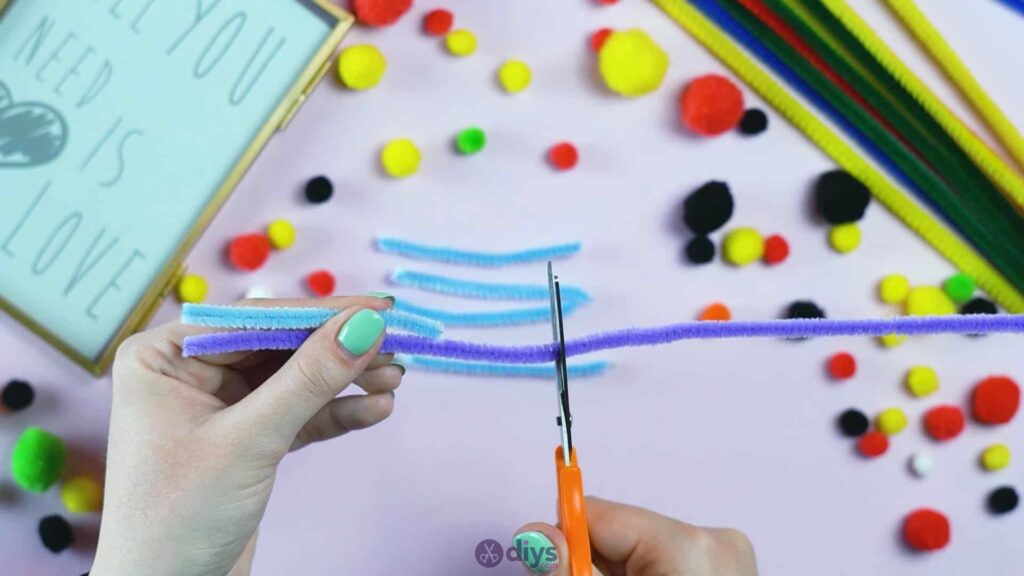
Step 3: making the petals
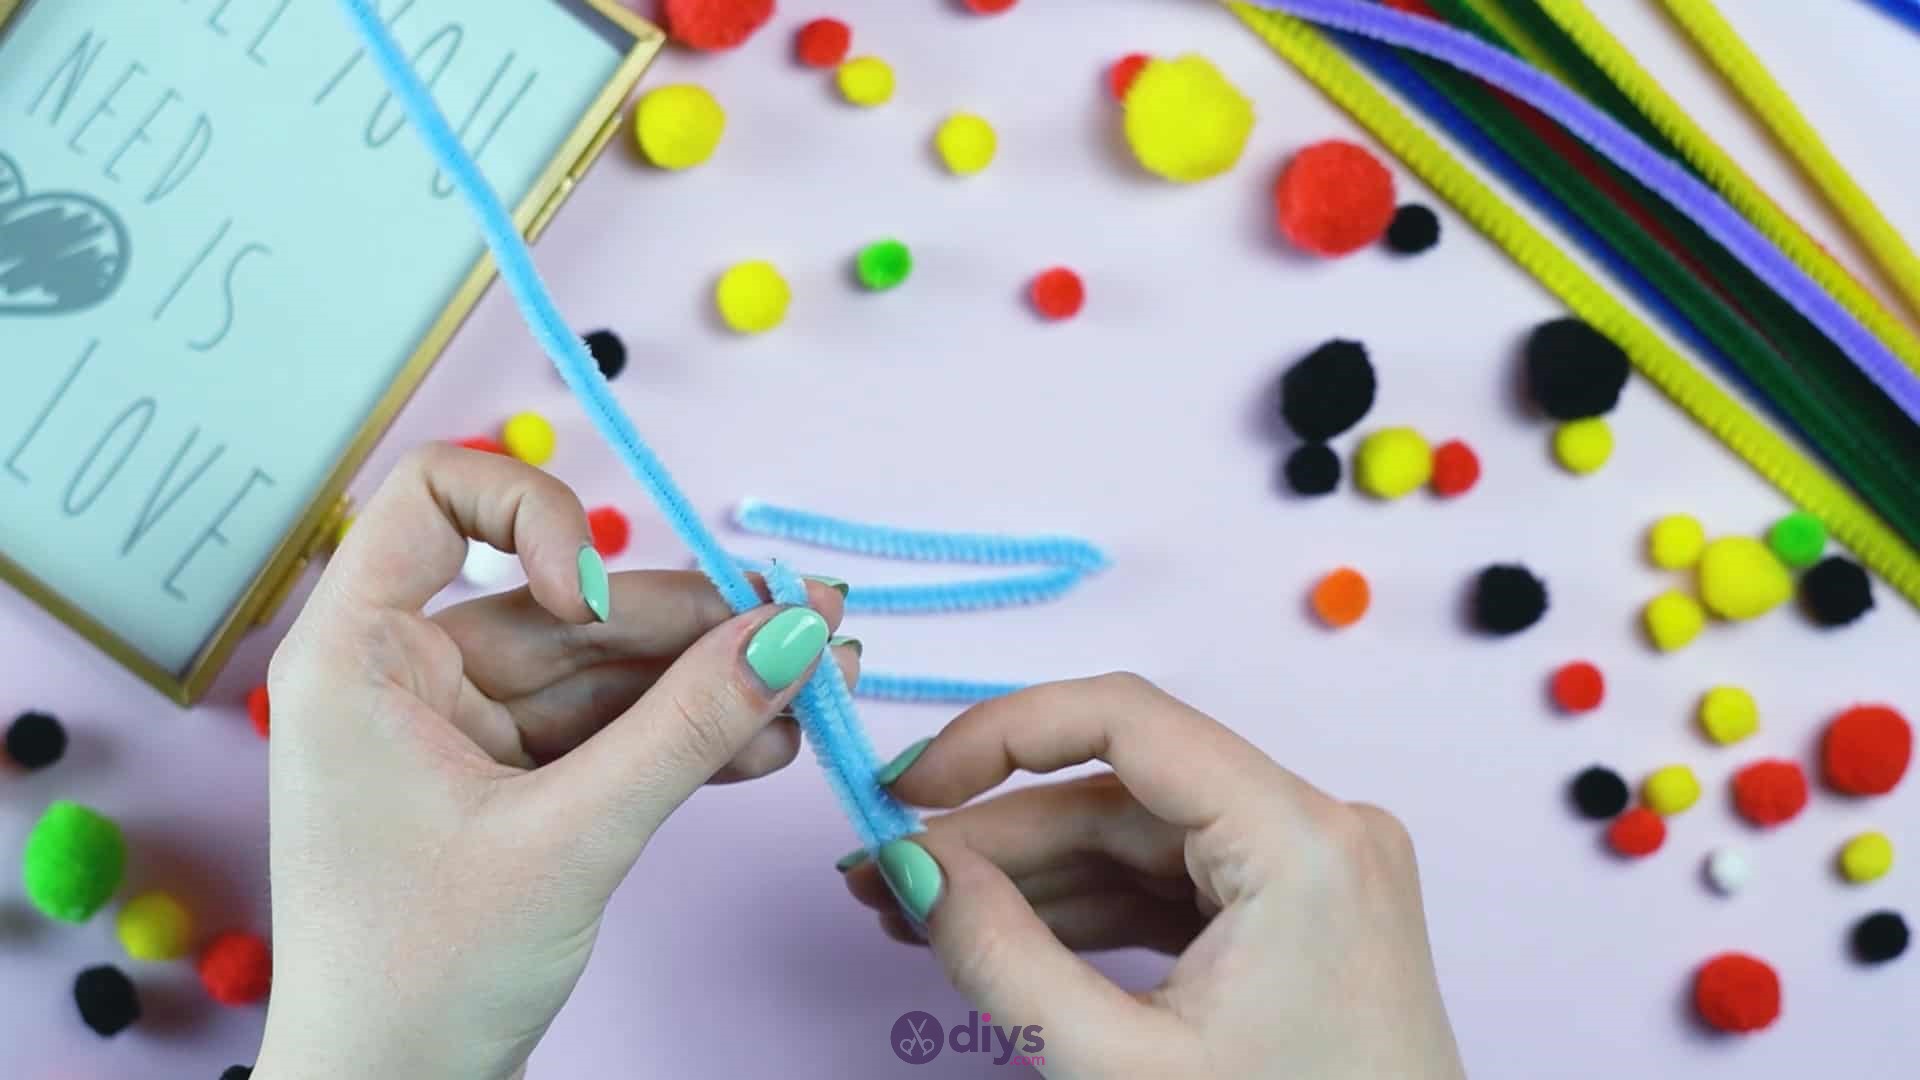
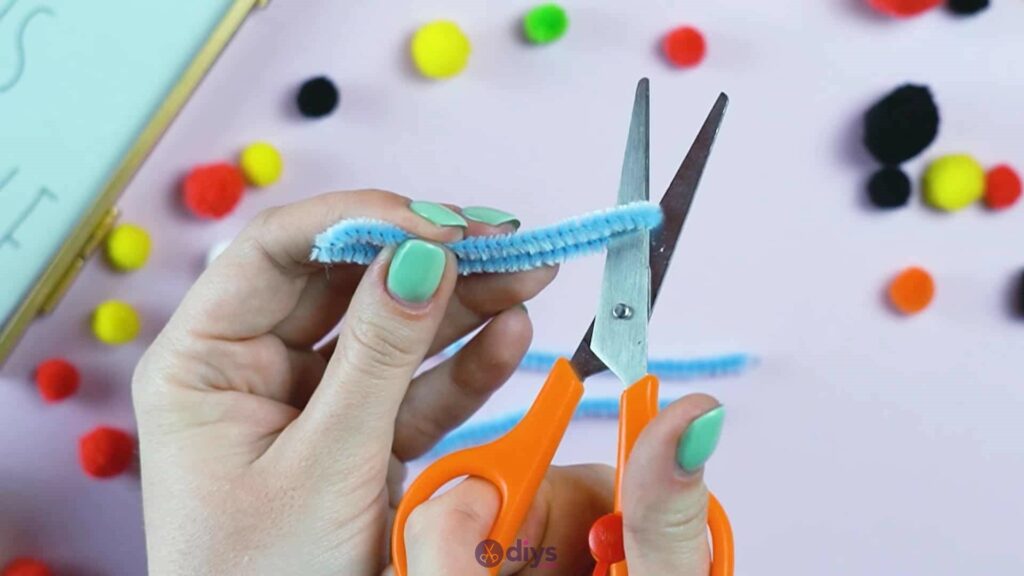
Pick up a second pipe cleaner in the same colour as your first; you’re going to cut an extra petal piece from this one to give you five petals for the flower in total. Use one of your four small pieces from your first cut pipe cleaner as a template to cut a piece from the second one that’s the exact same length as your first four. Do this by lining up one end of the small piece with one end of the longer piece, holding them against one another, placing your scissors at the top of the smaller piece where it meets the longer pipe cleaner, and cutting there. Set the rest of the pipe cleaner aside; these five pieces will be for your first flower.


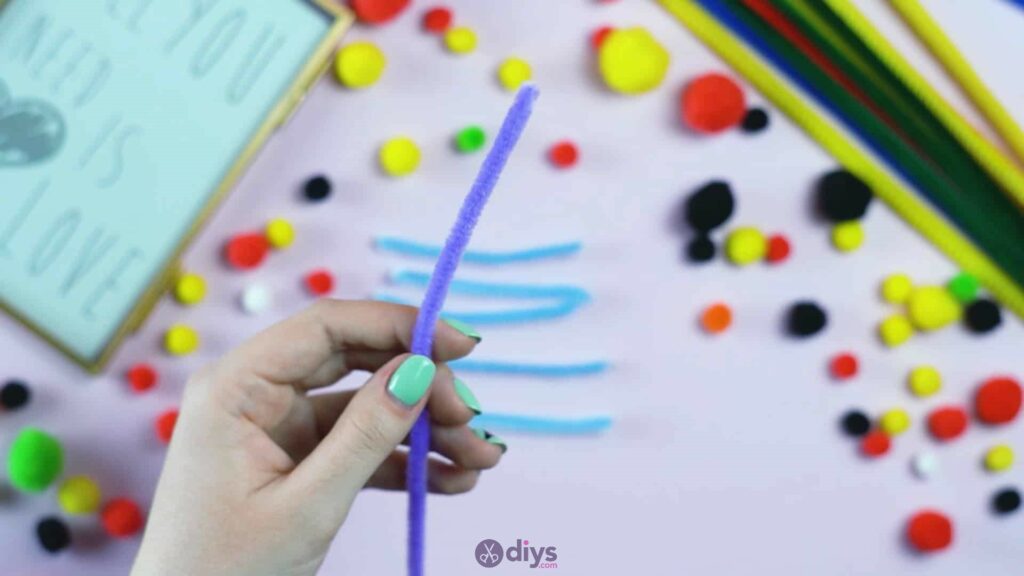
Step 4: picking flower color
Decide which colour you’d like the centre of your first flower to be and pick up a whole pipe cleaner in that colour. Repeat the process of placing one of your smaller blue piece end to end with this piece as though to measure but, this time, make your cut about half an inchabove where that piece meets your longer pipe cleaner, giving you some excess to work with. Set the rest of the piece aside.

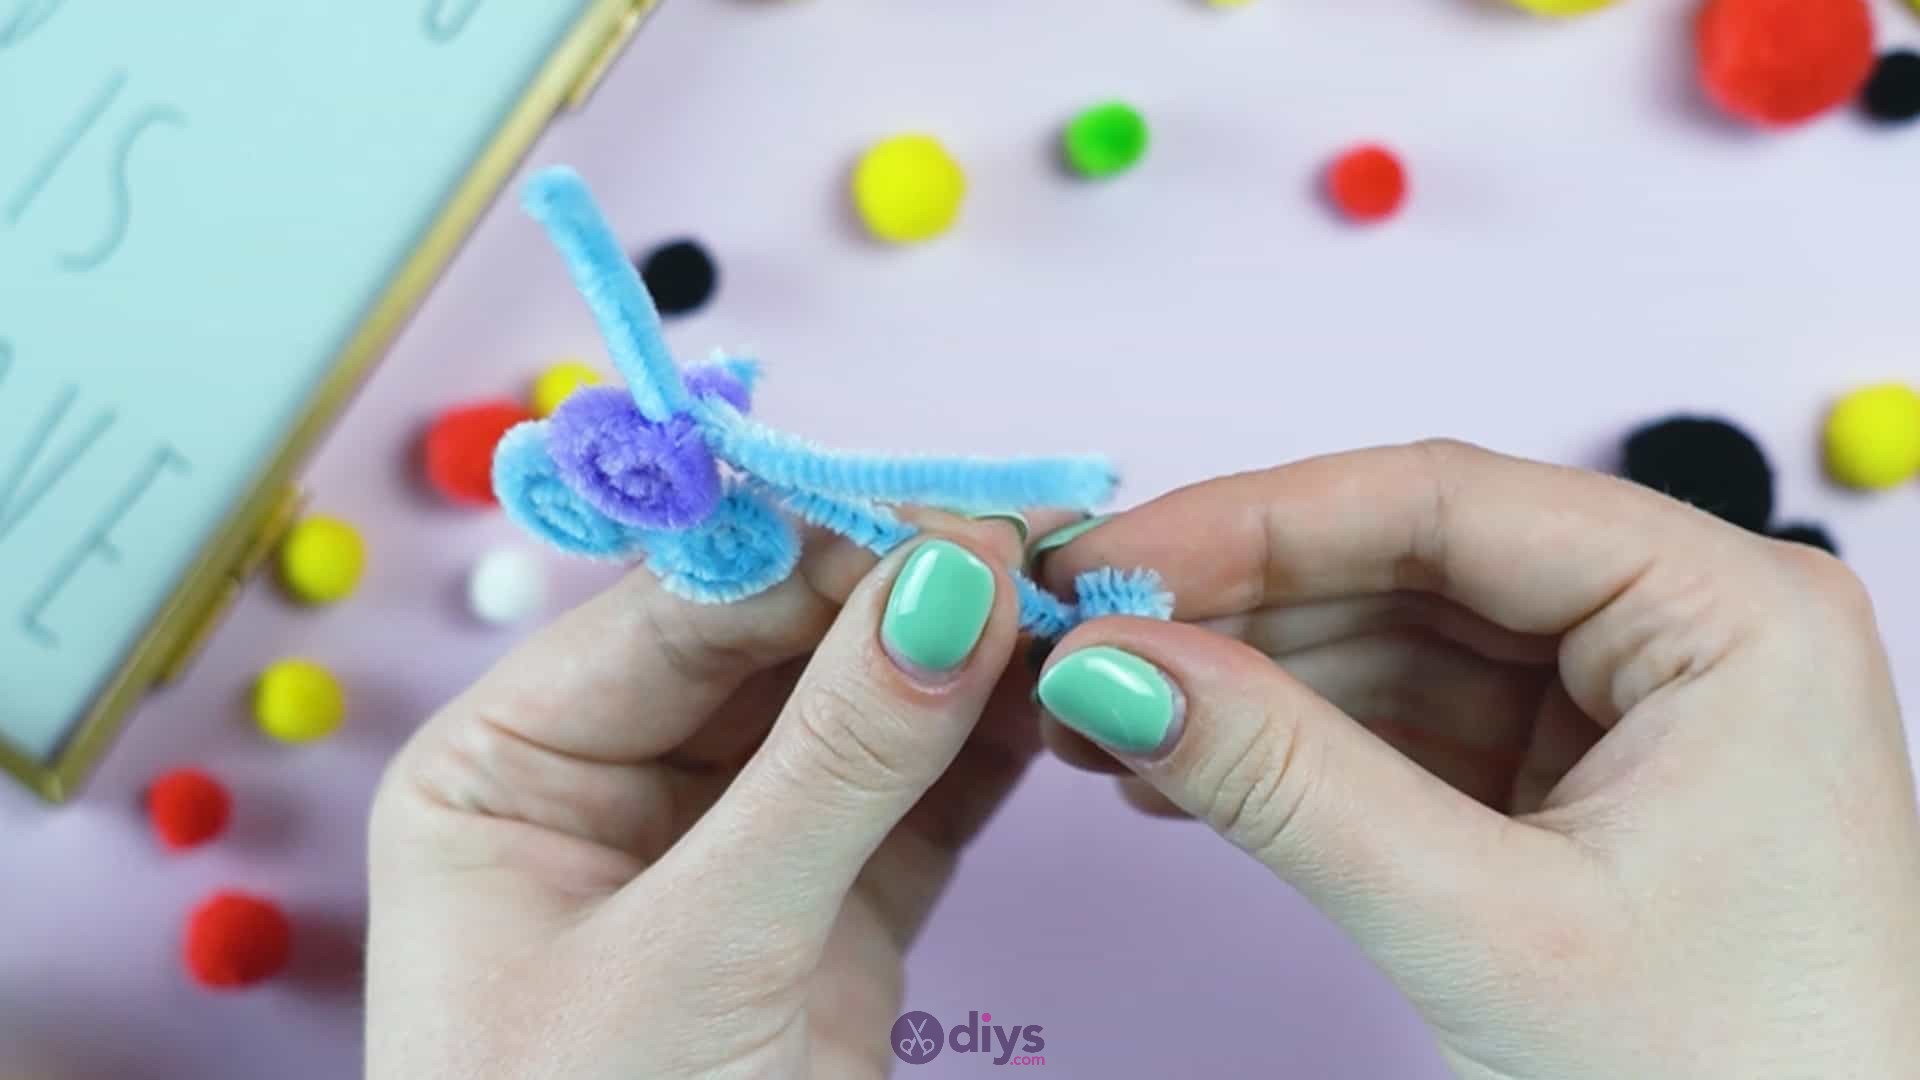
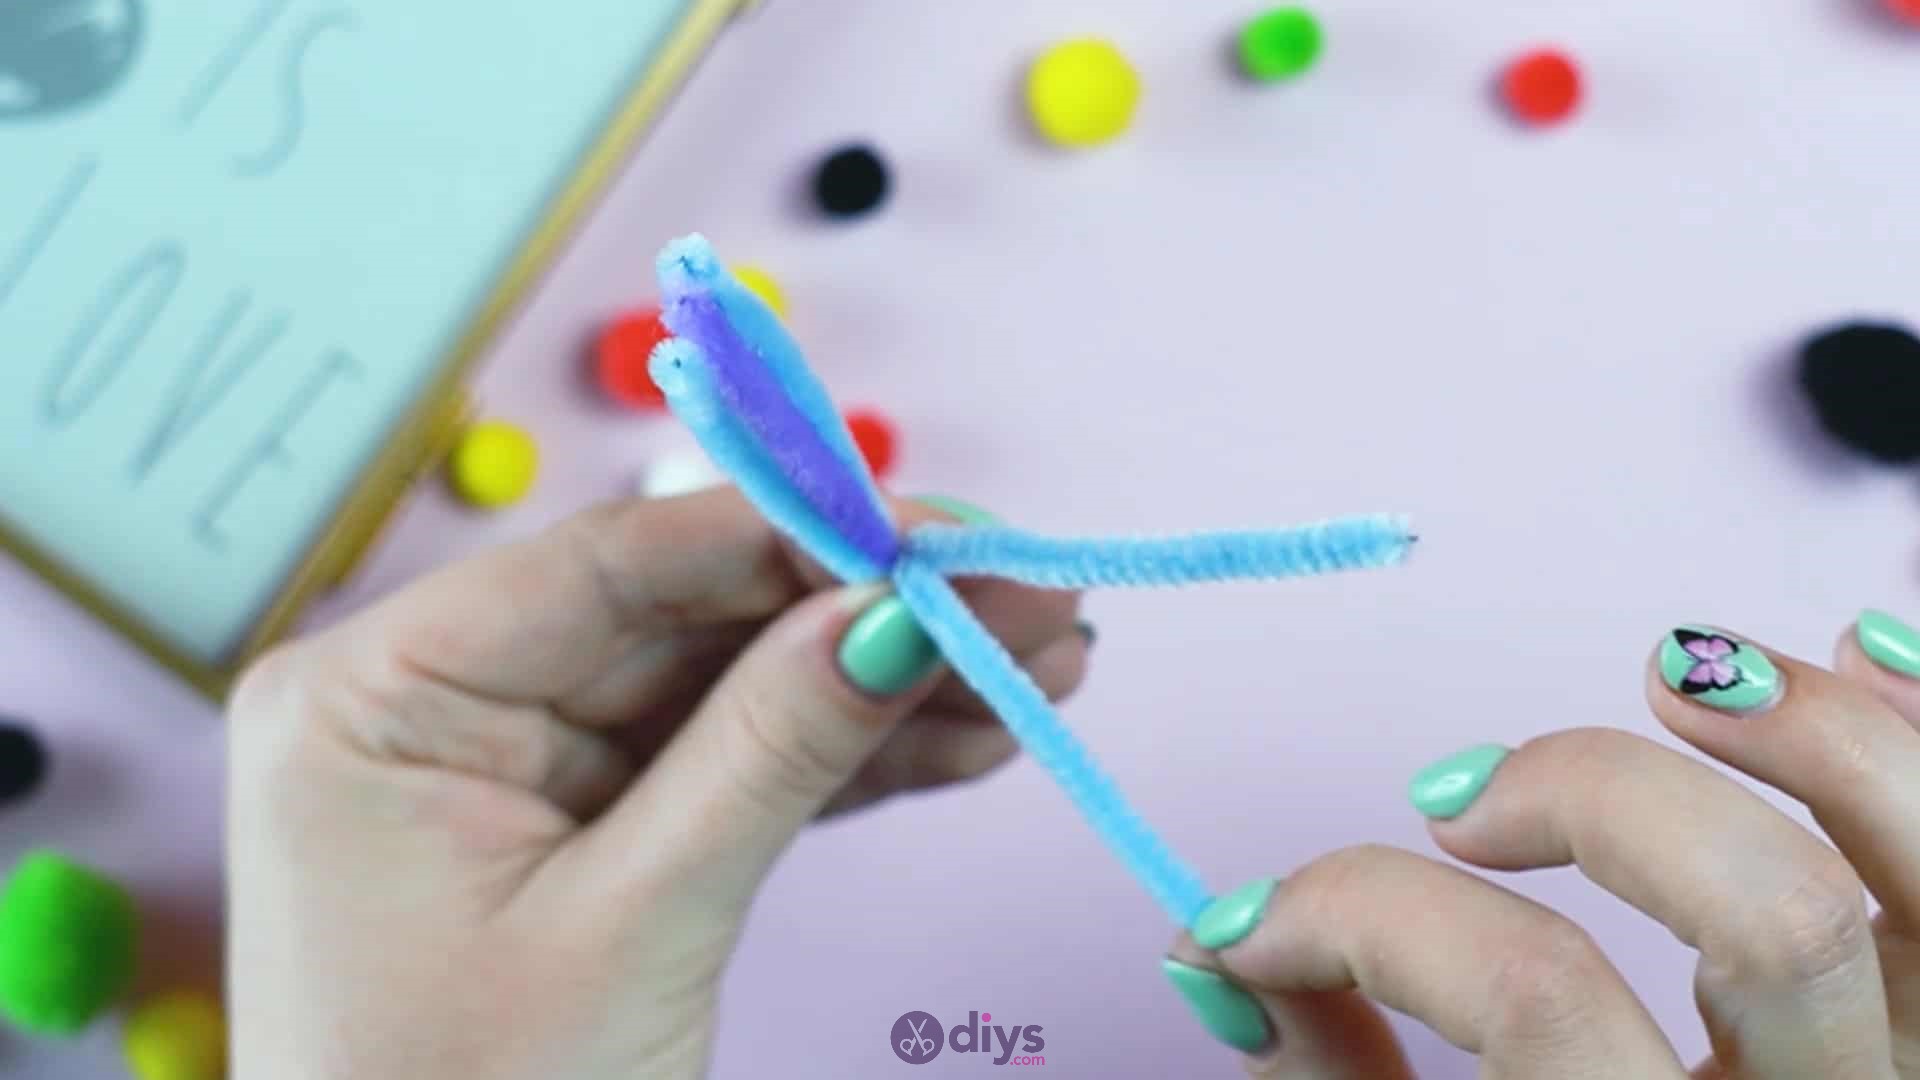
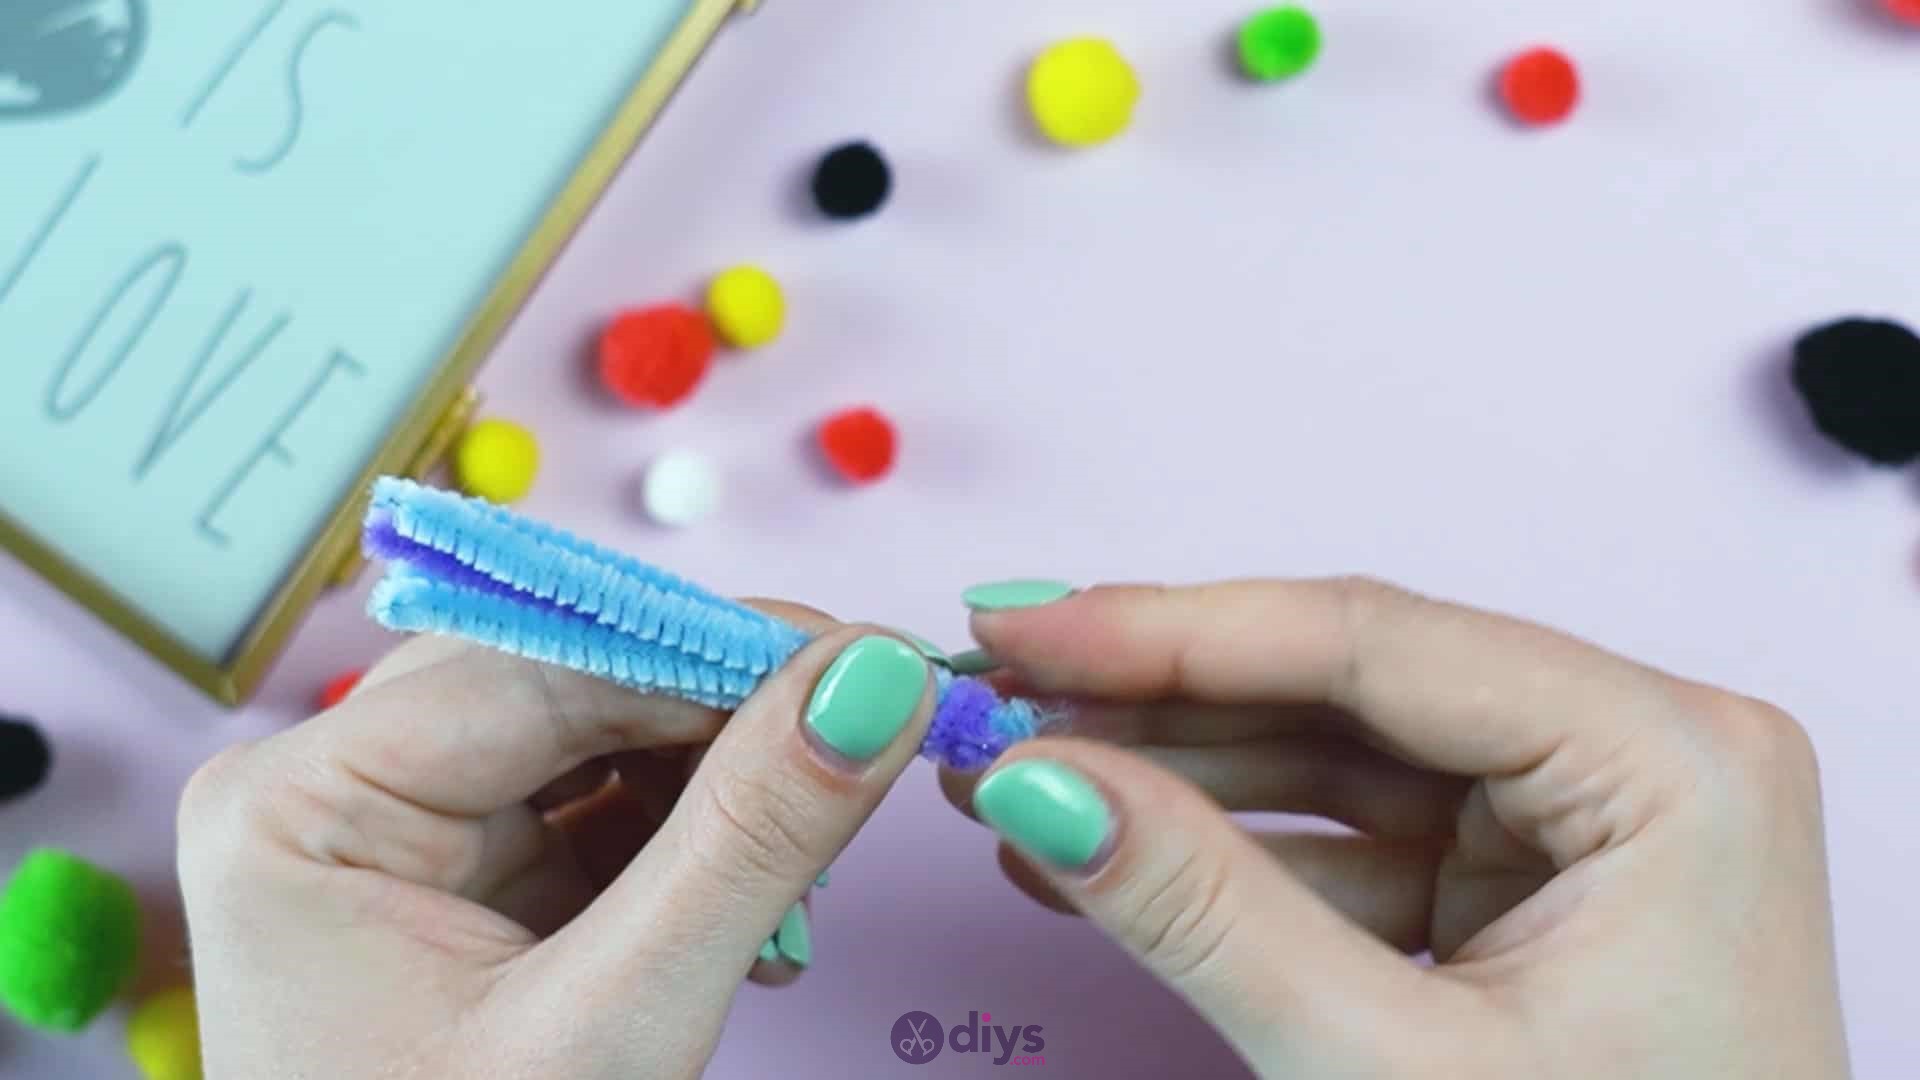
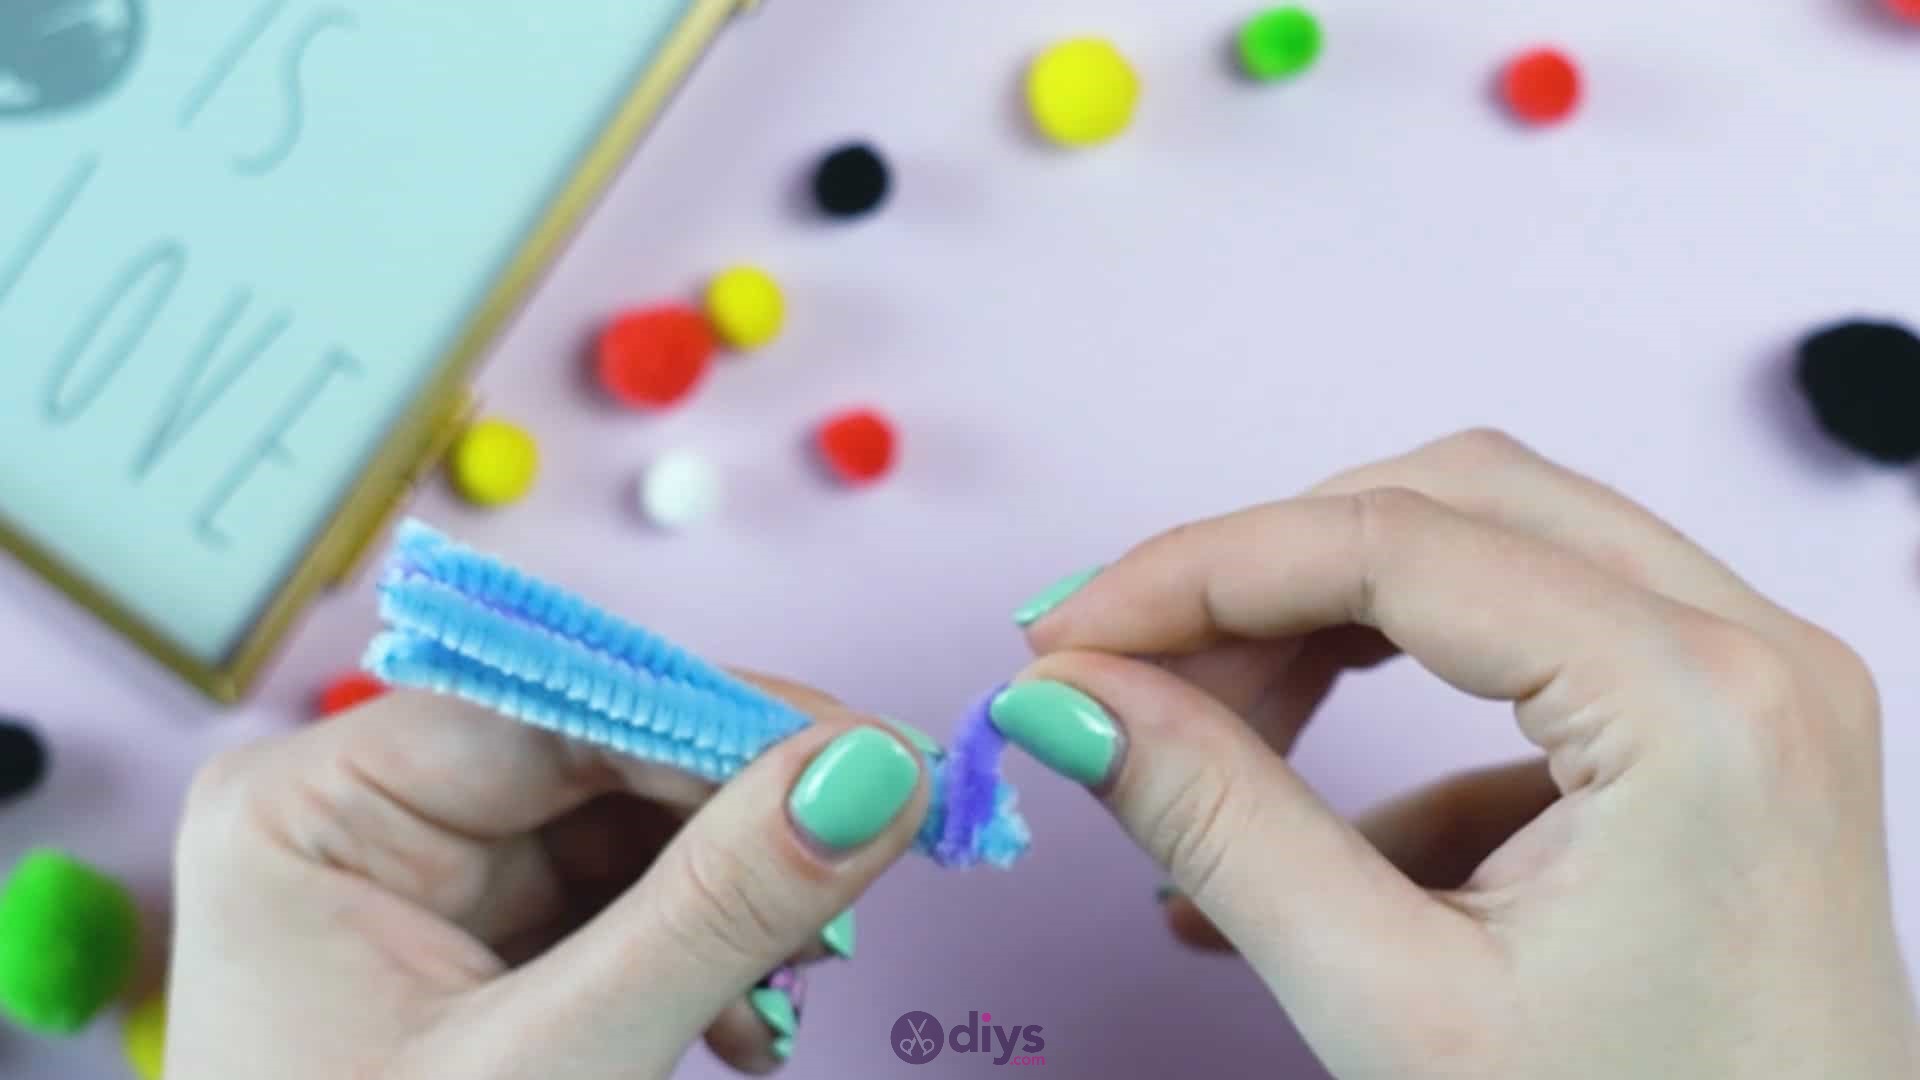
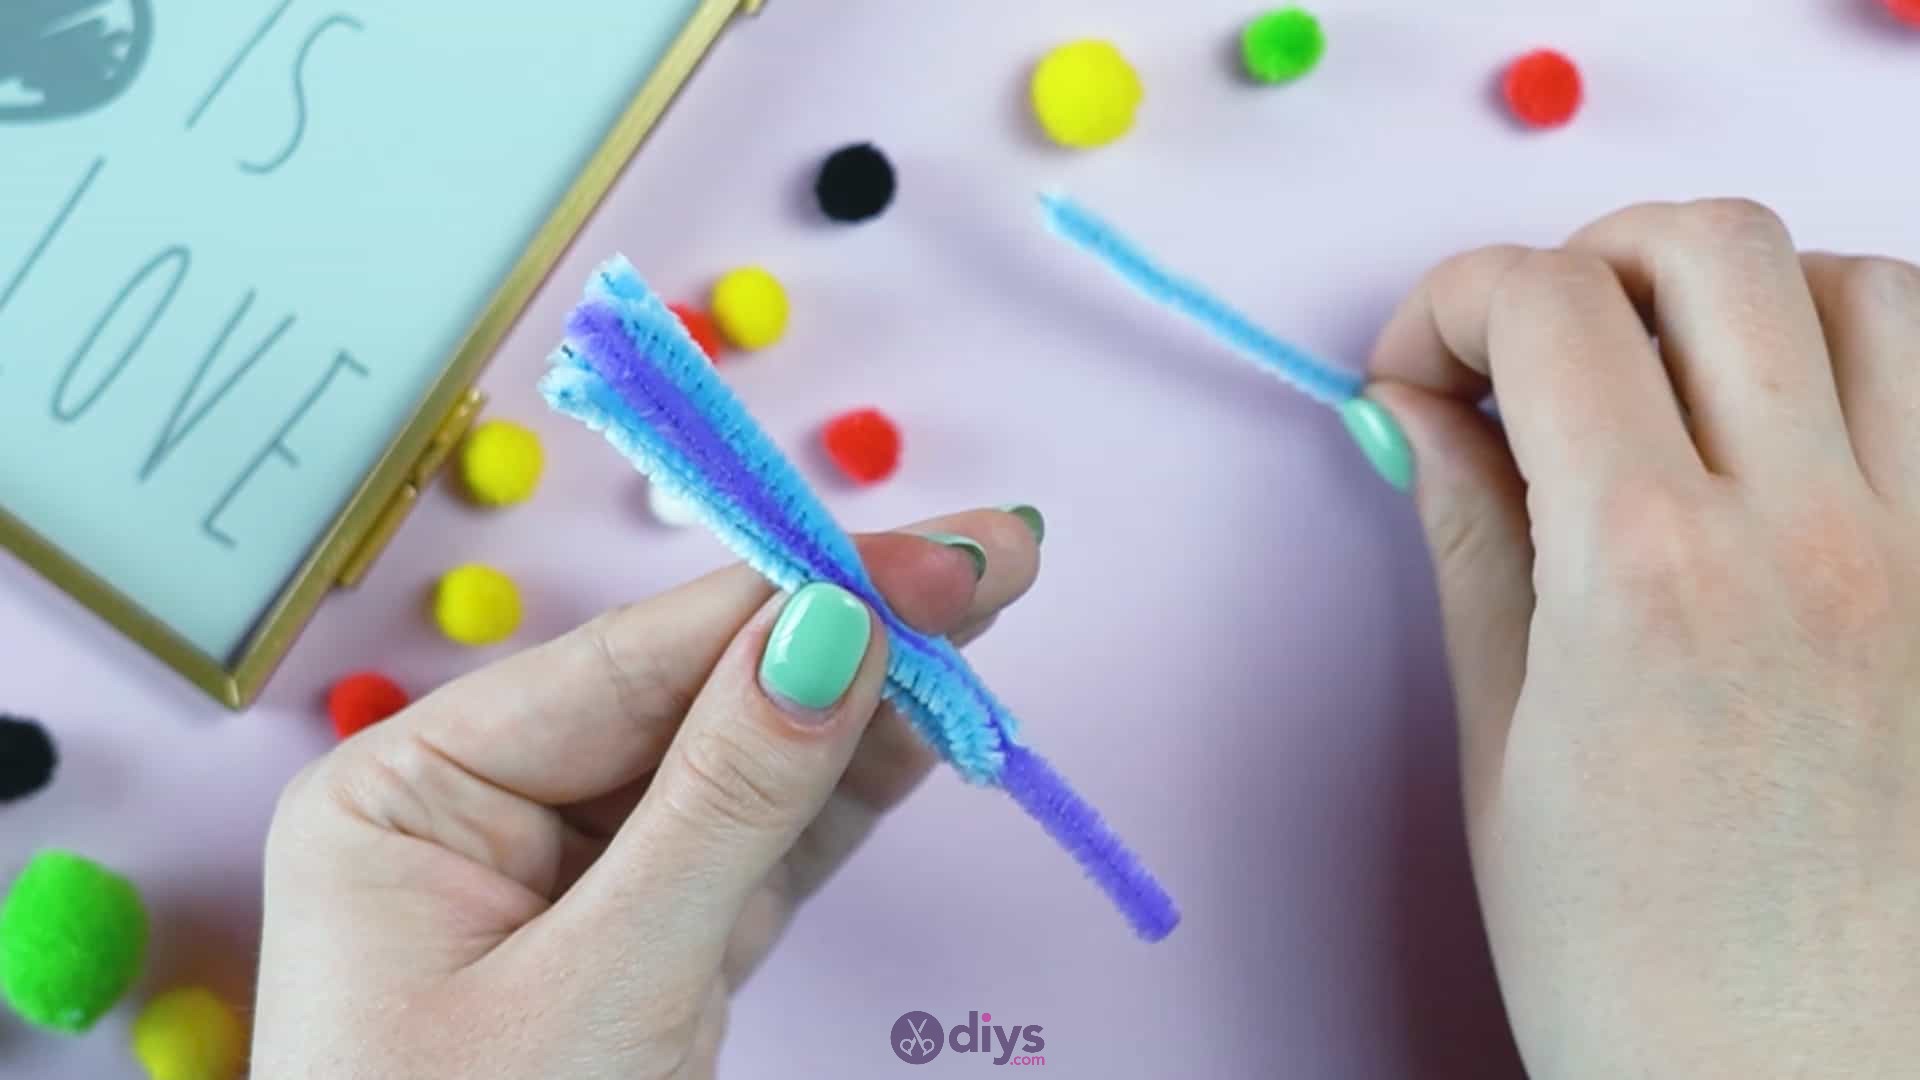
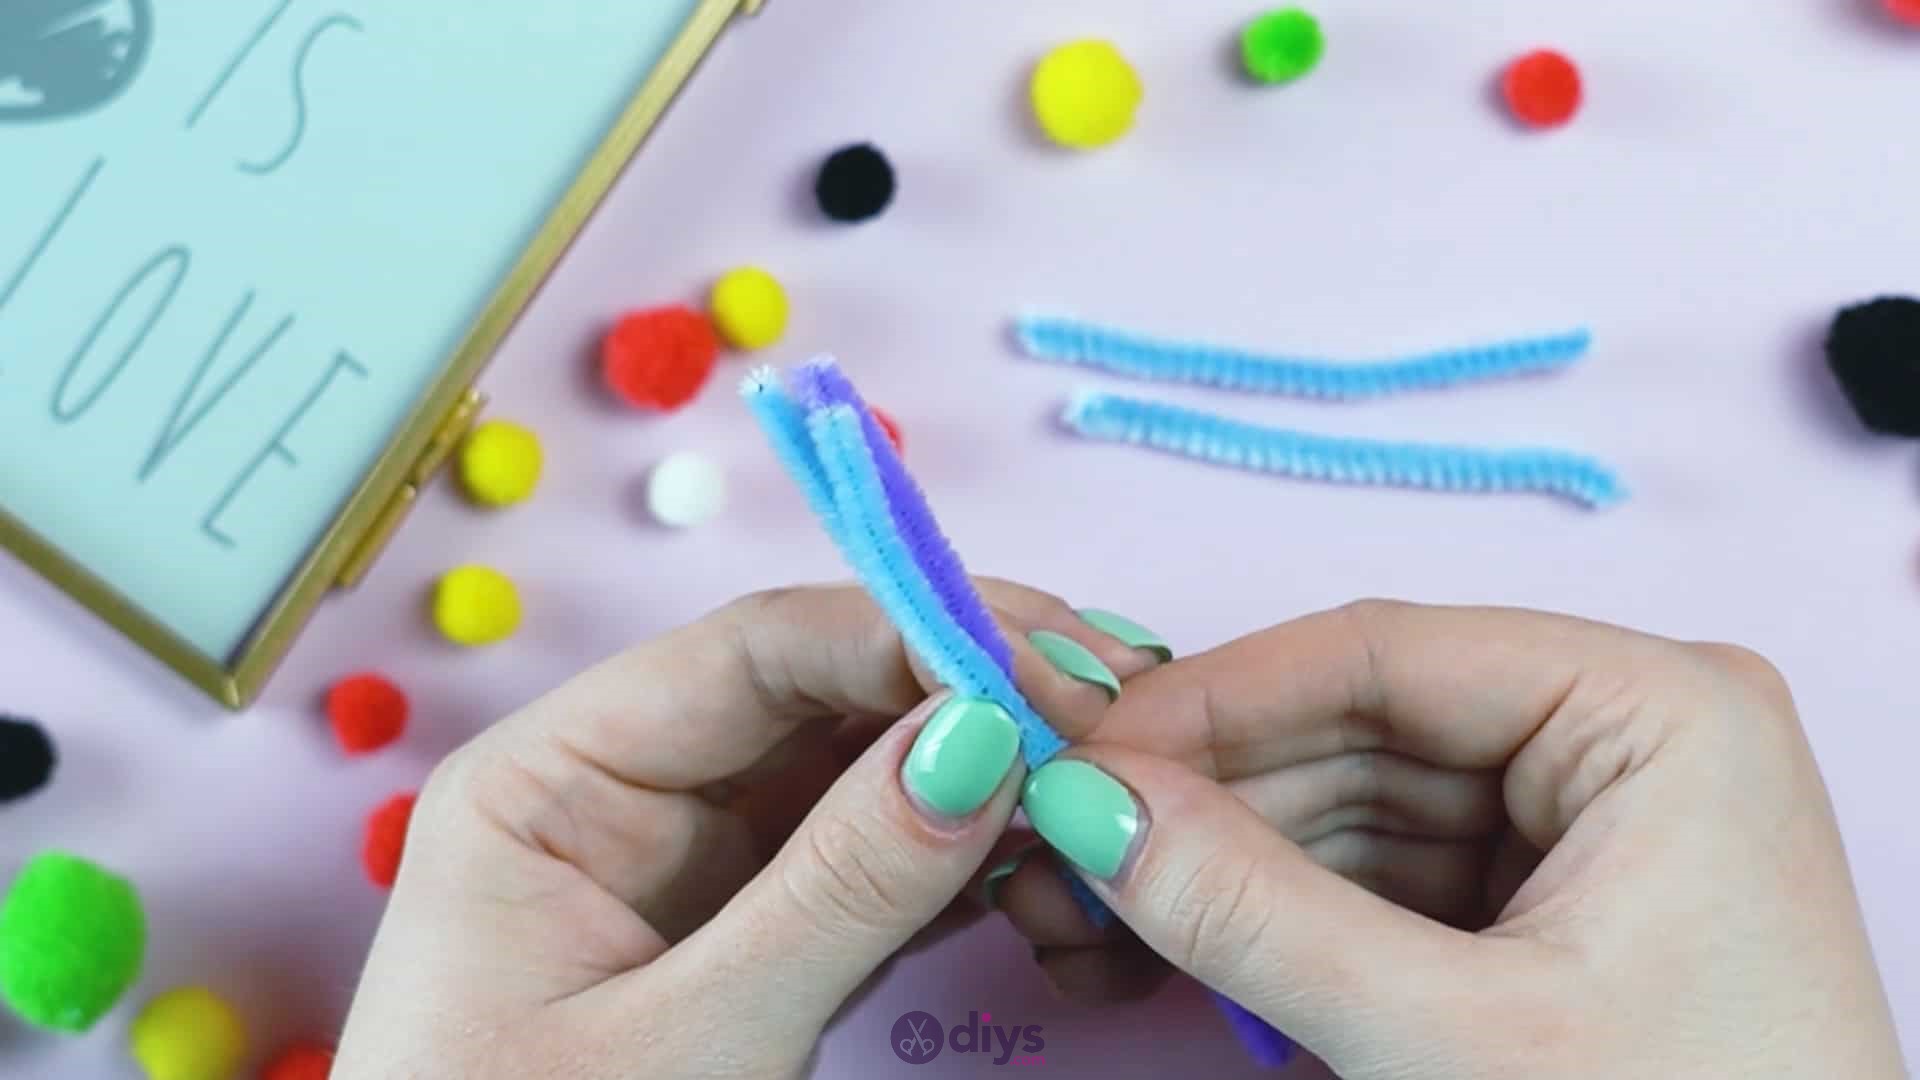
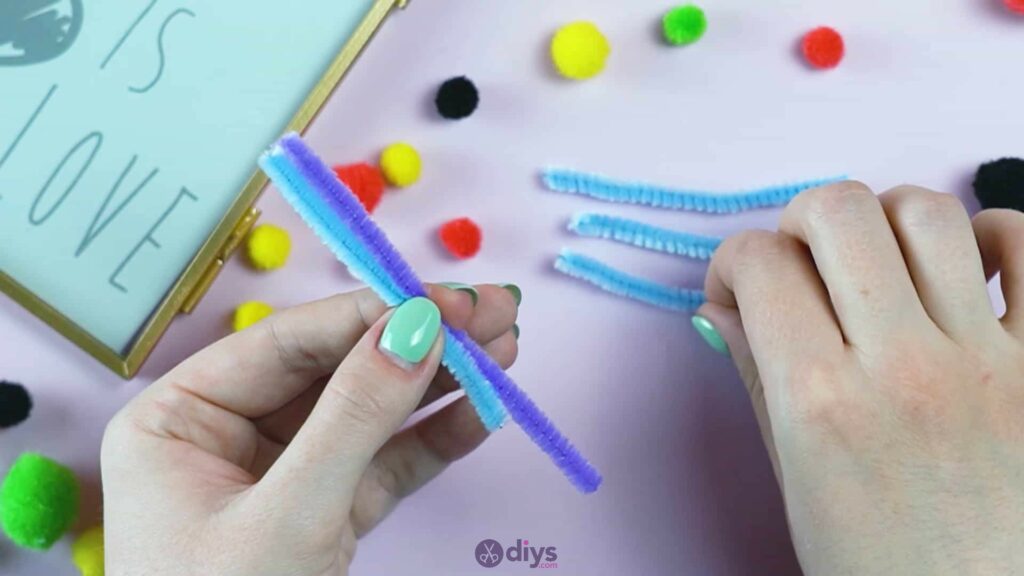
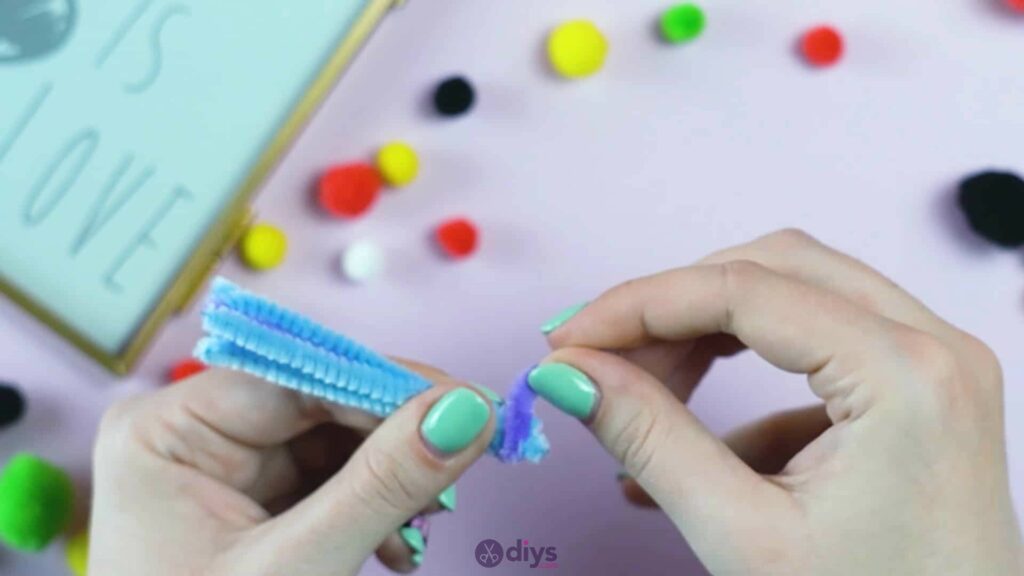
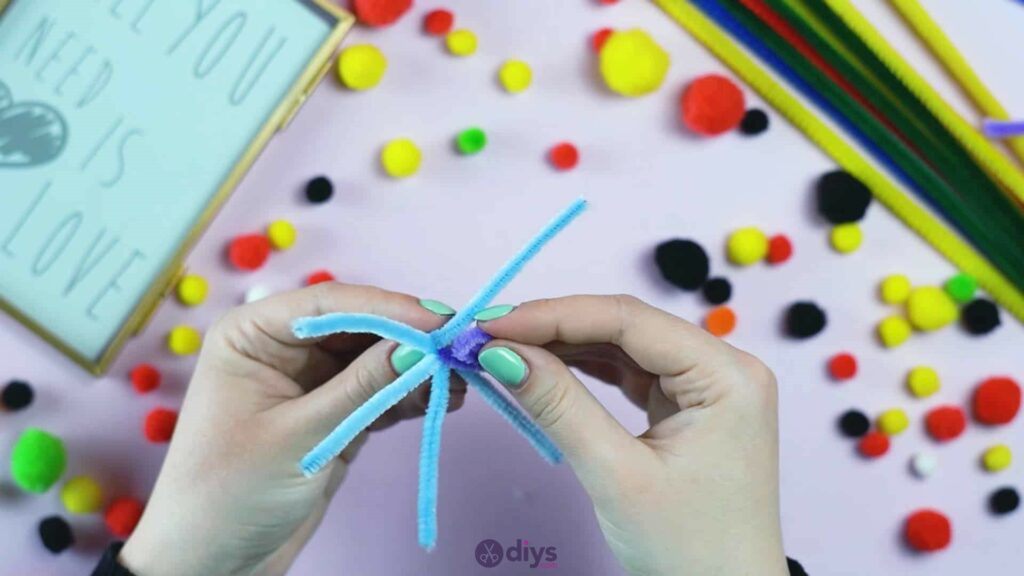
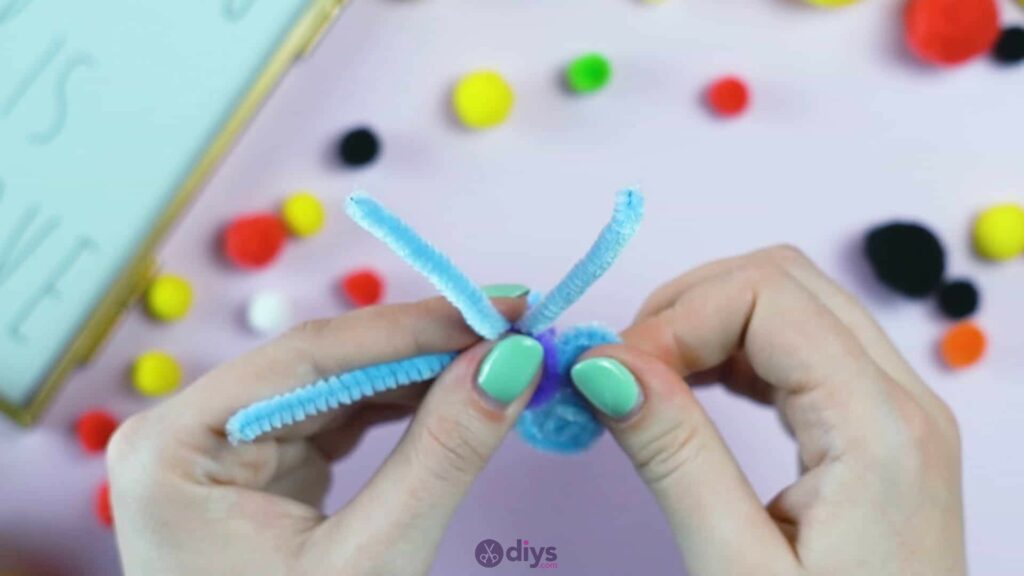
Step 5: assemble
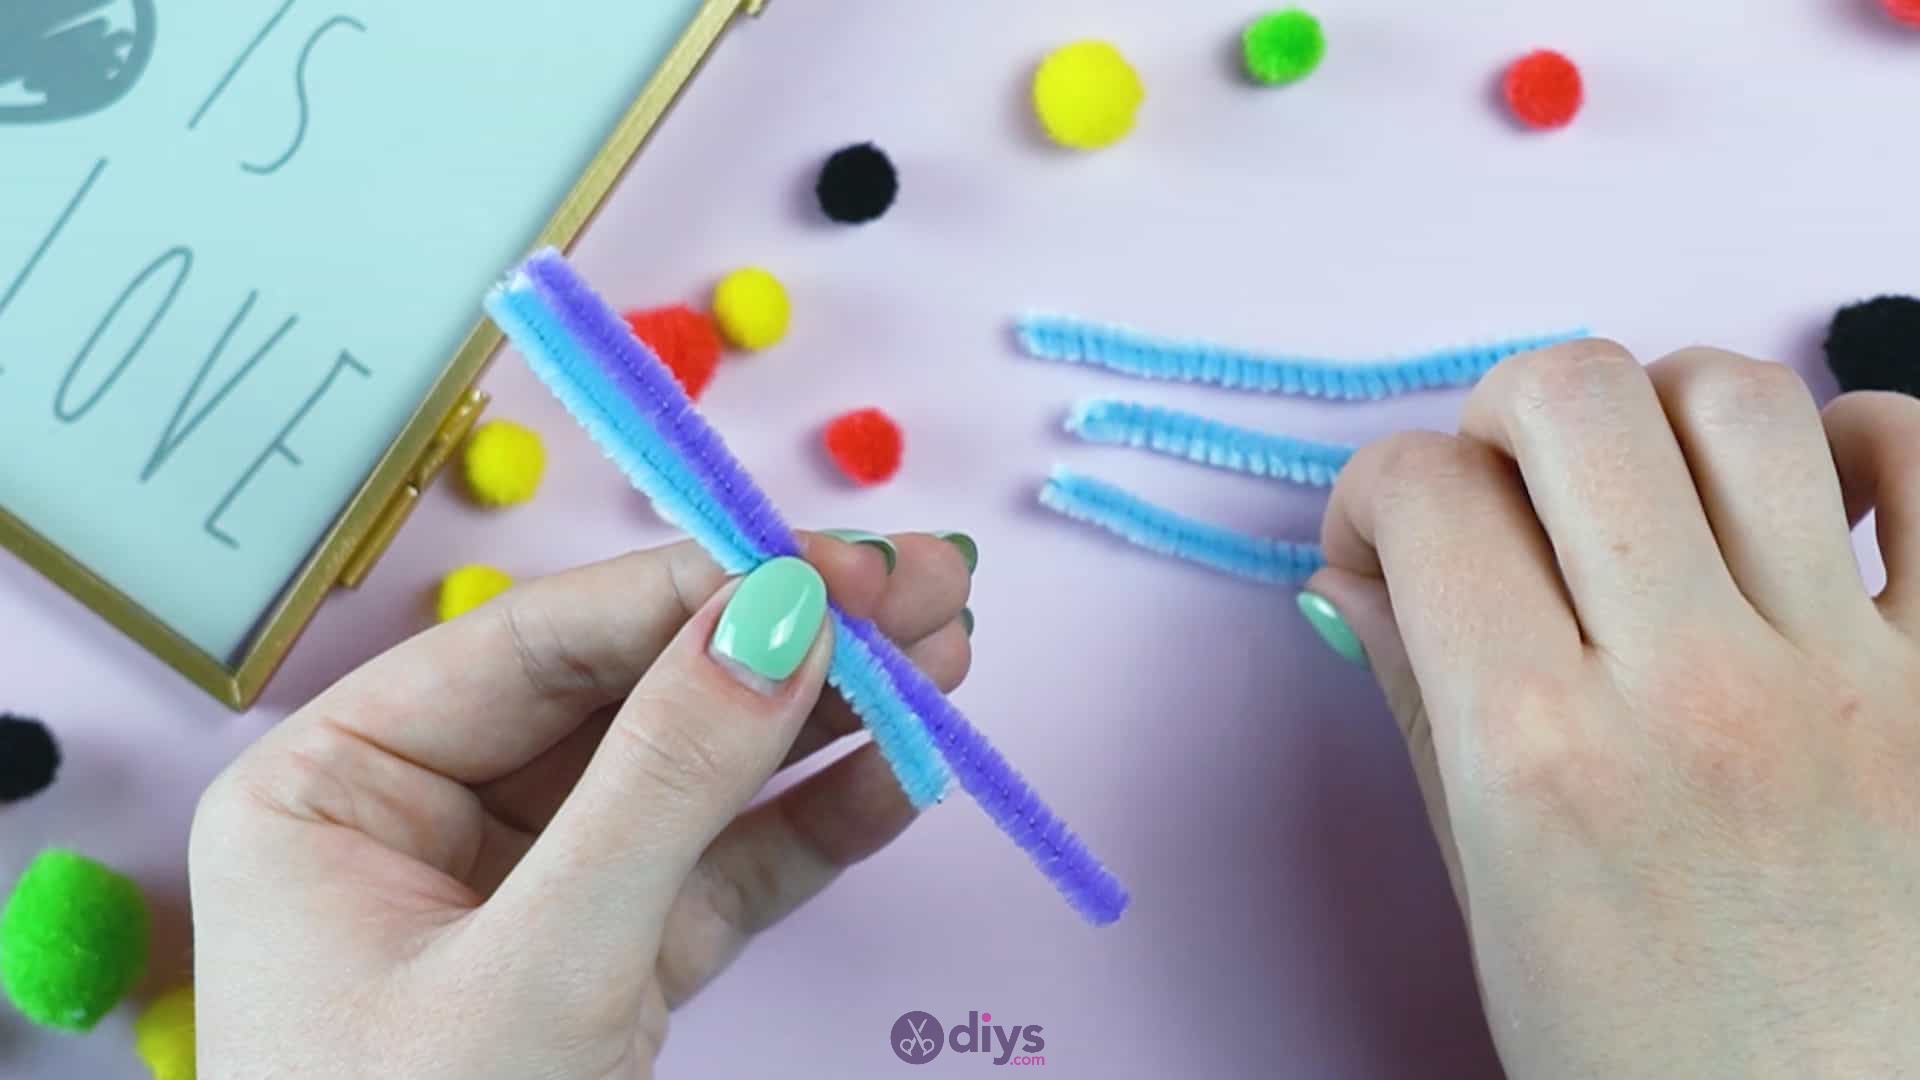
Hold your longer, contrasting pipe cleaner piece in one hand and line up a smaller piece with it in the same manner you did before. Still holding those two together, line up a second shorter piece, right next to the first one so they lay alongside each other, and hold it together with the other two as well.
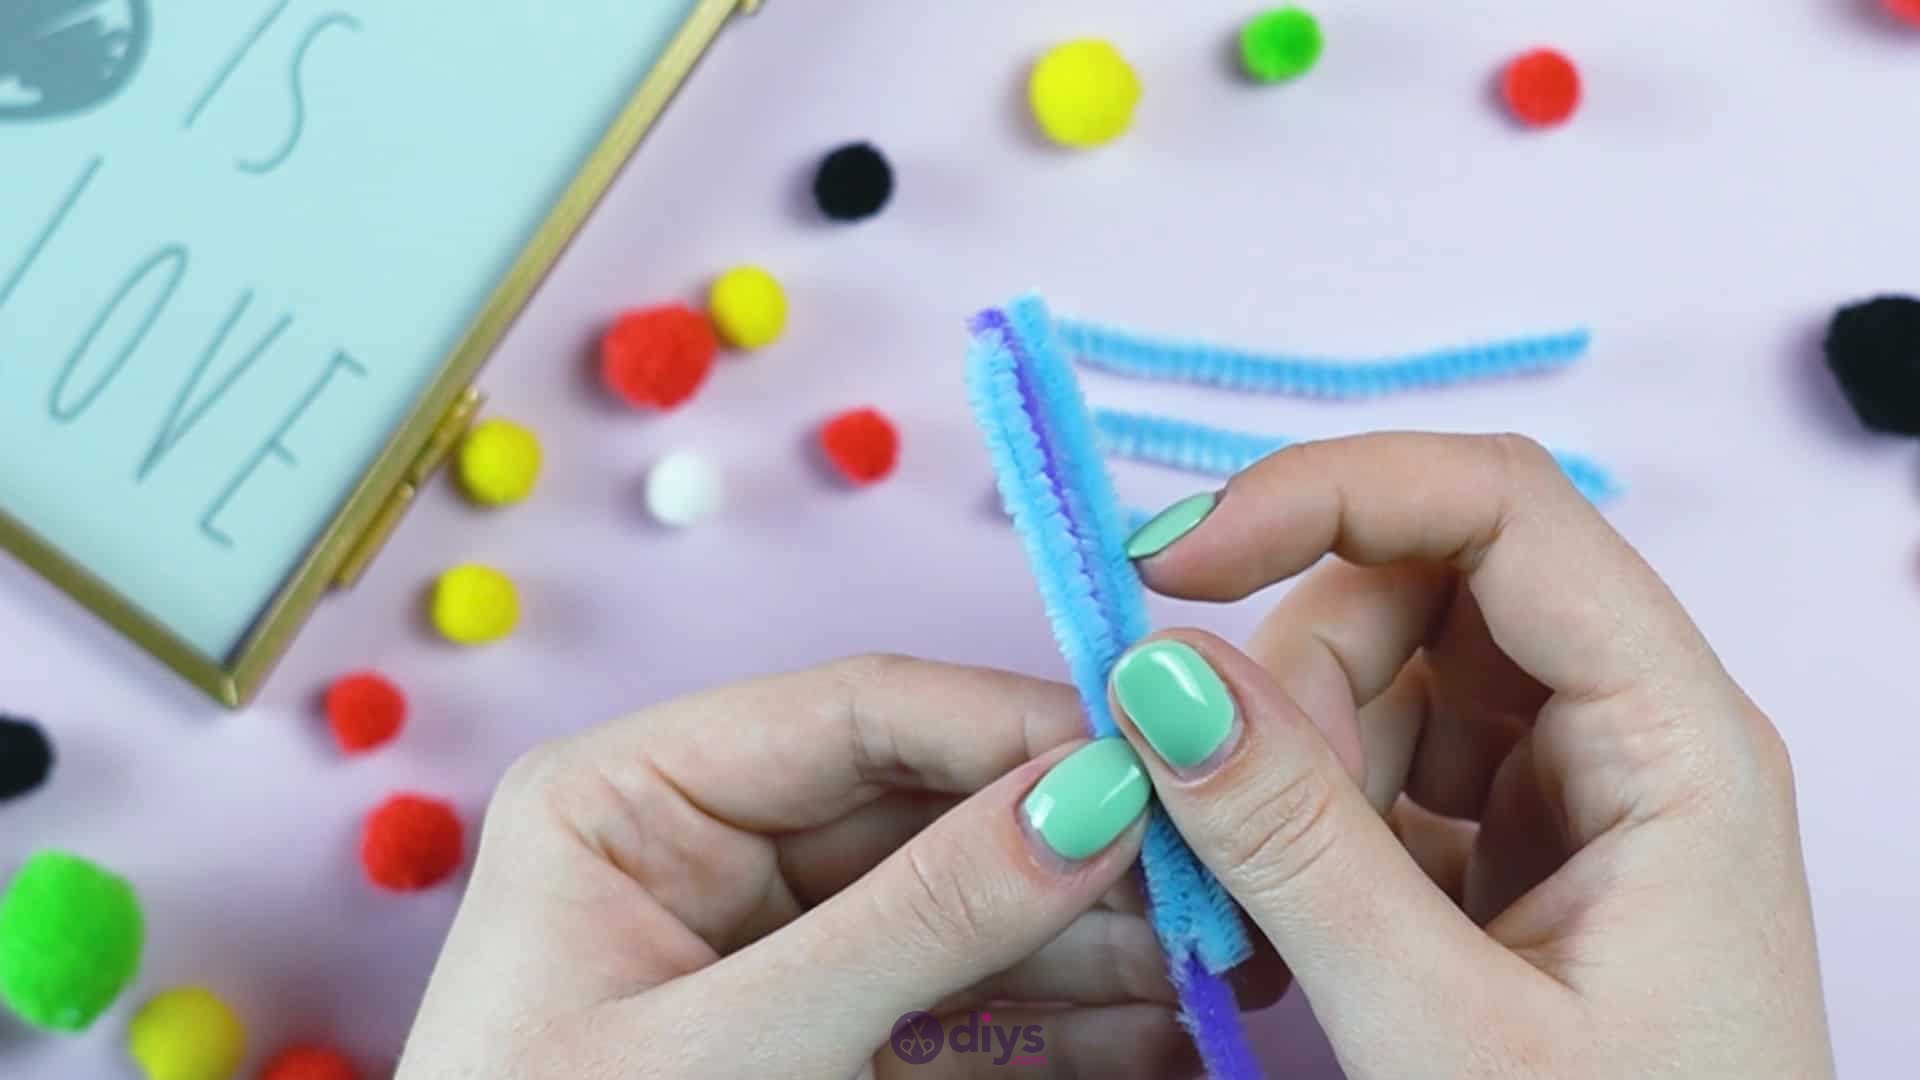
Repeat this process with all of your shorter pieces until you have a bundle but, rather than stacking the pieces haphazardly together, line each shorter piece alongside the one before it so they all layaround the longer piece, with that in the centre.
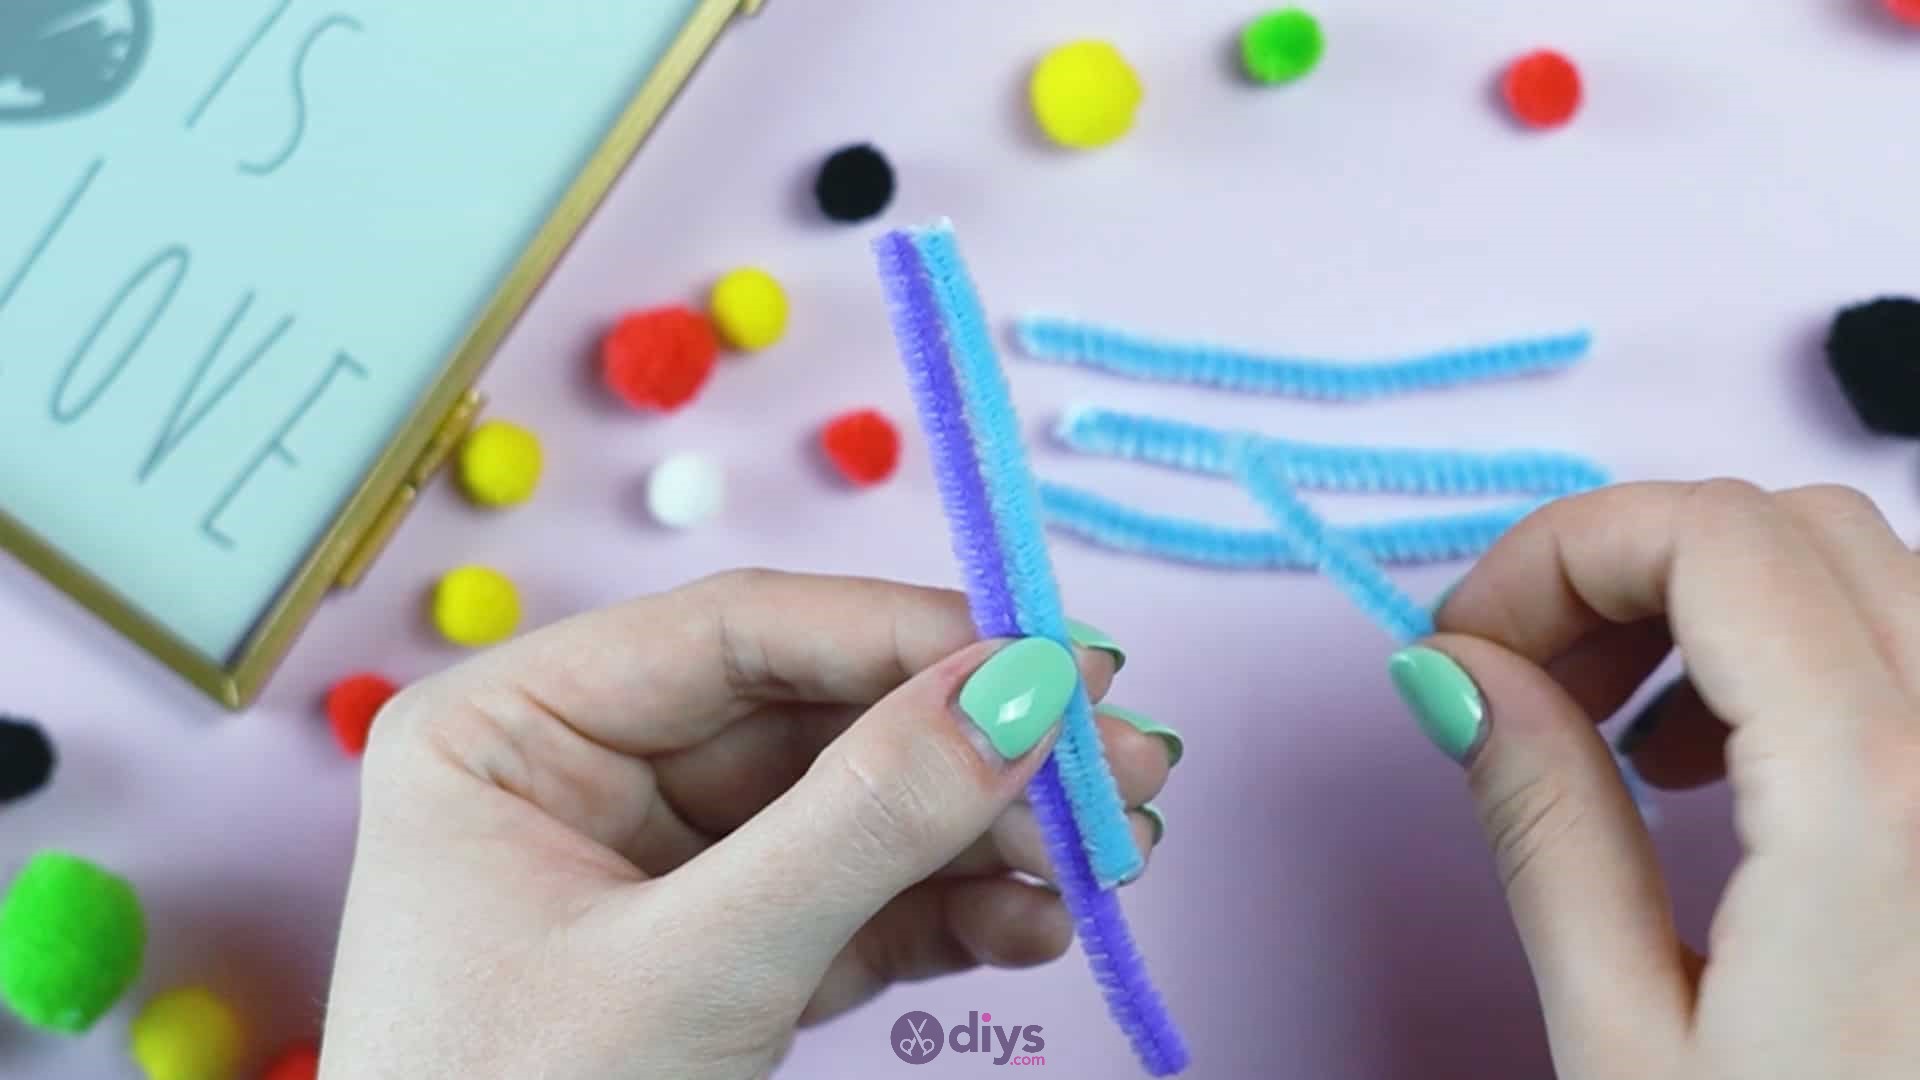
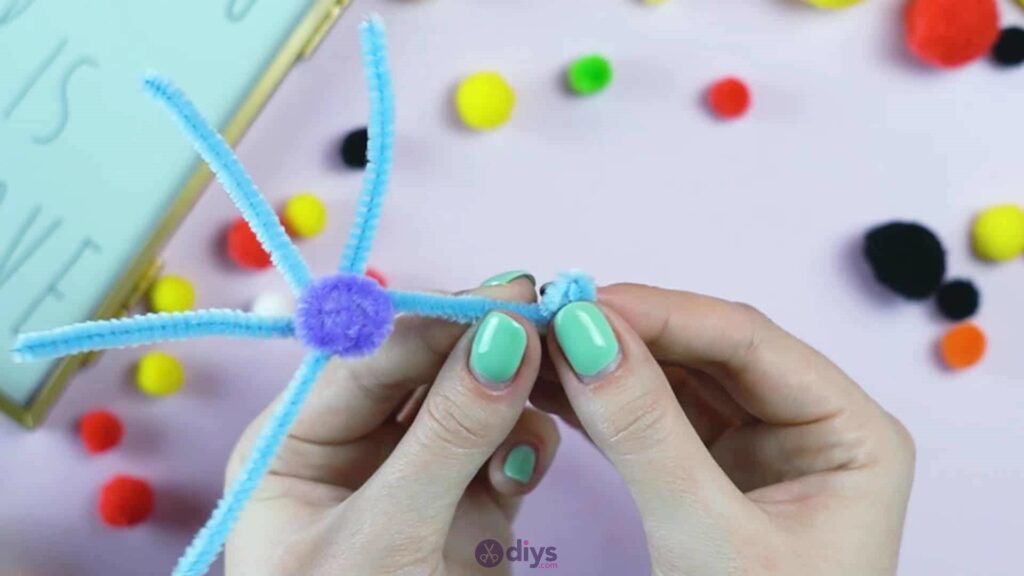
You’ll see that the end of the longer piece sticks out past the ends of the others on one side; holding your pieces in their rounded bundle arrangement in one hand, use your other hand to take this longer end and carefully bend it upwards to wrap it around the ends of the shorter pieces, fastening them all into place together.


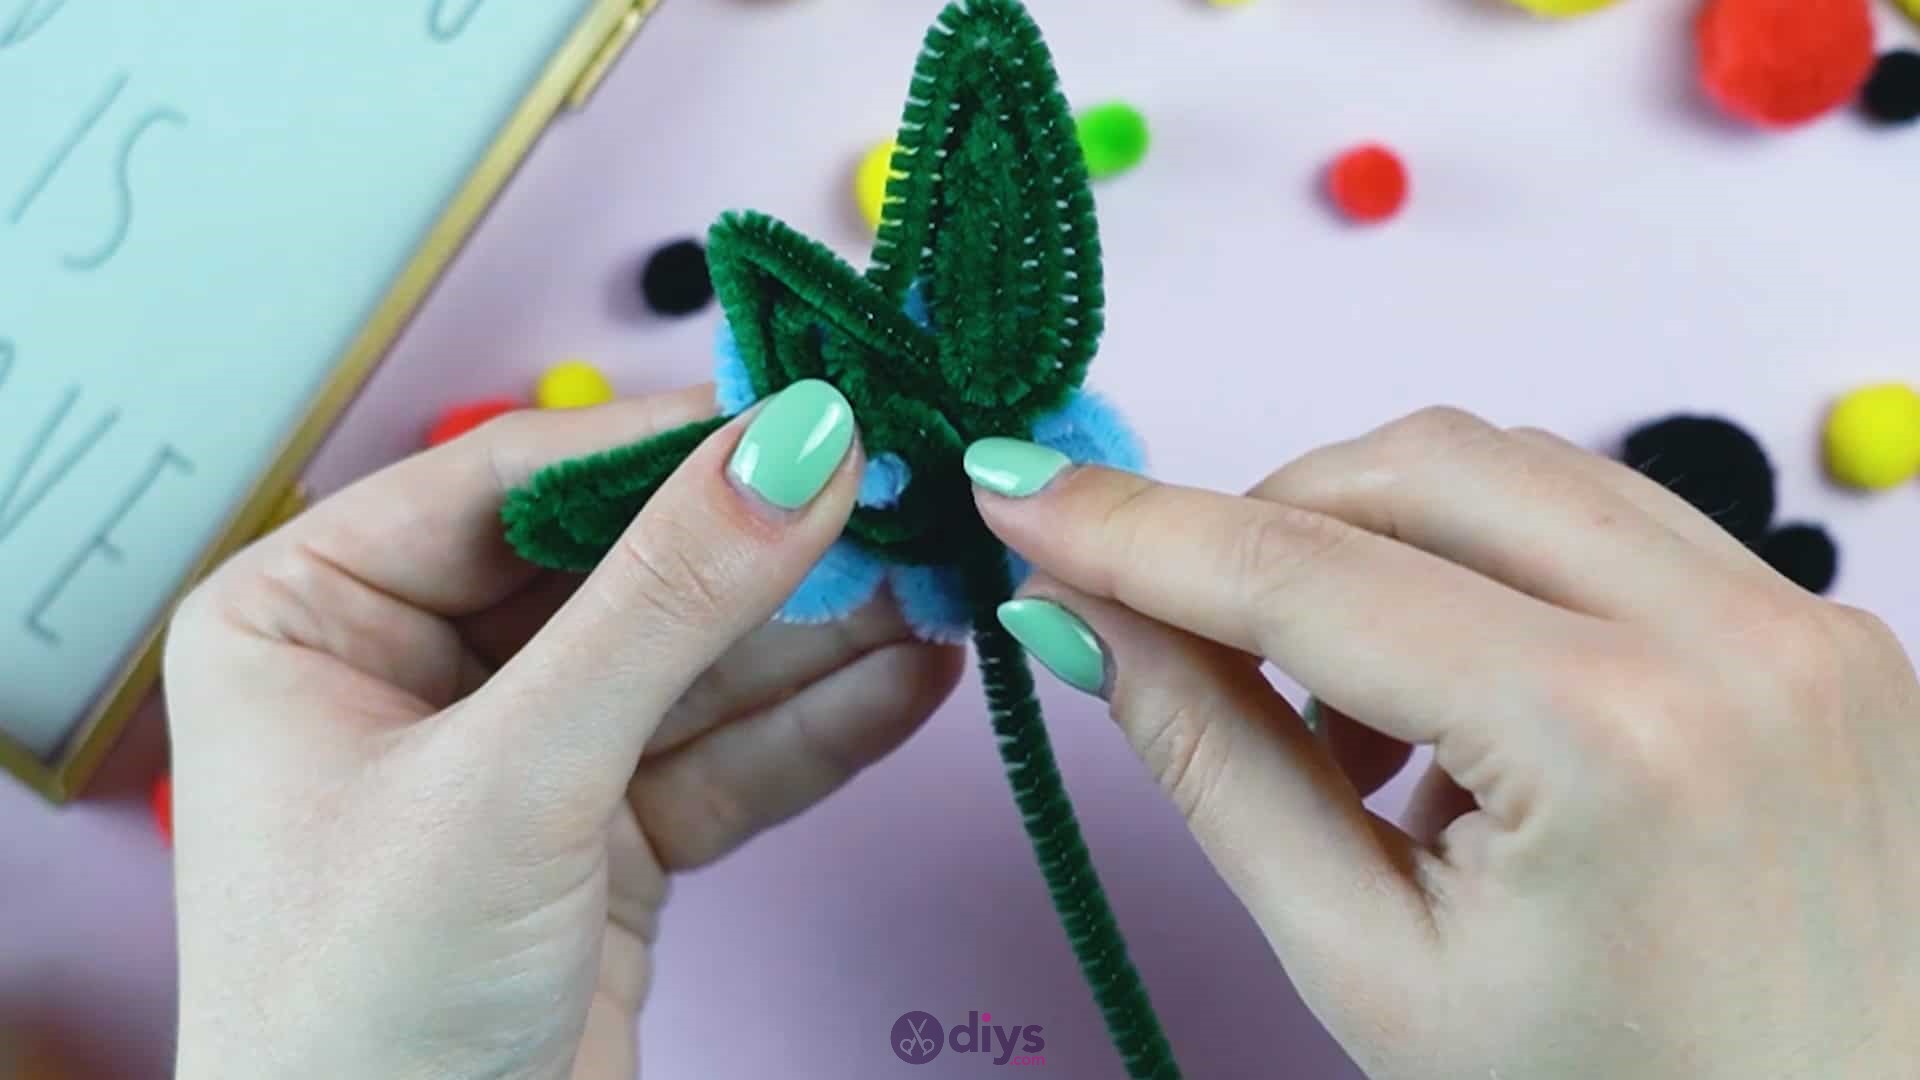
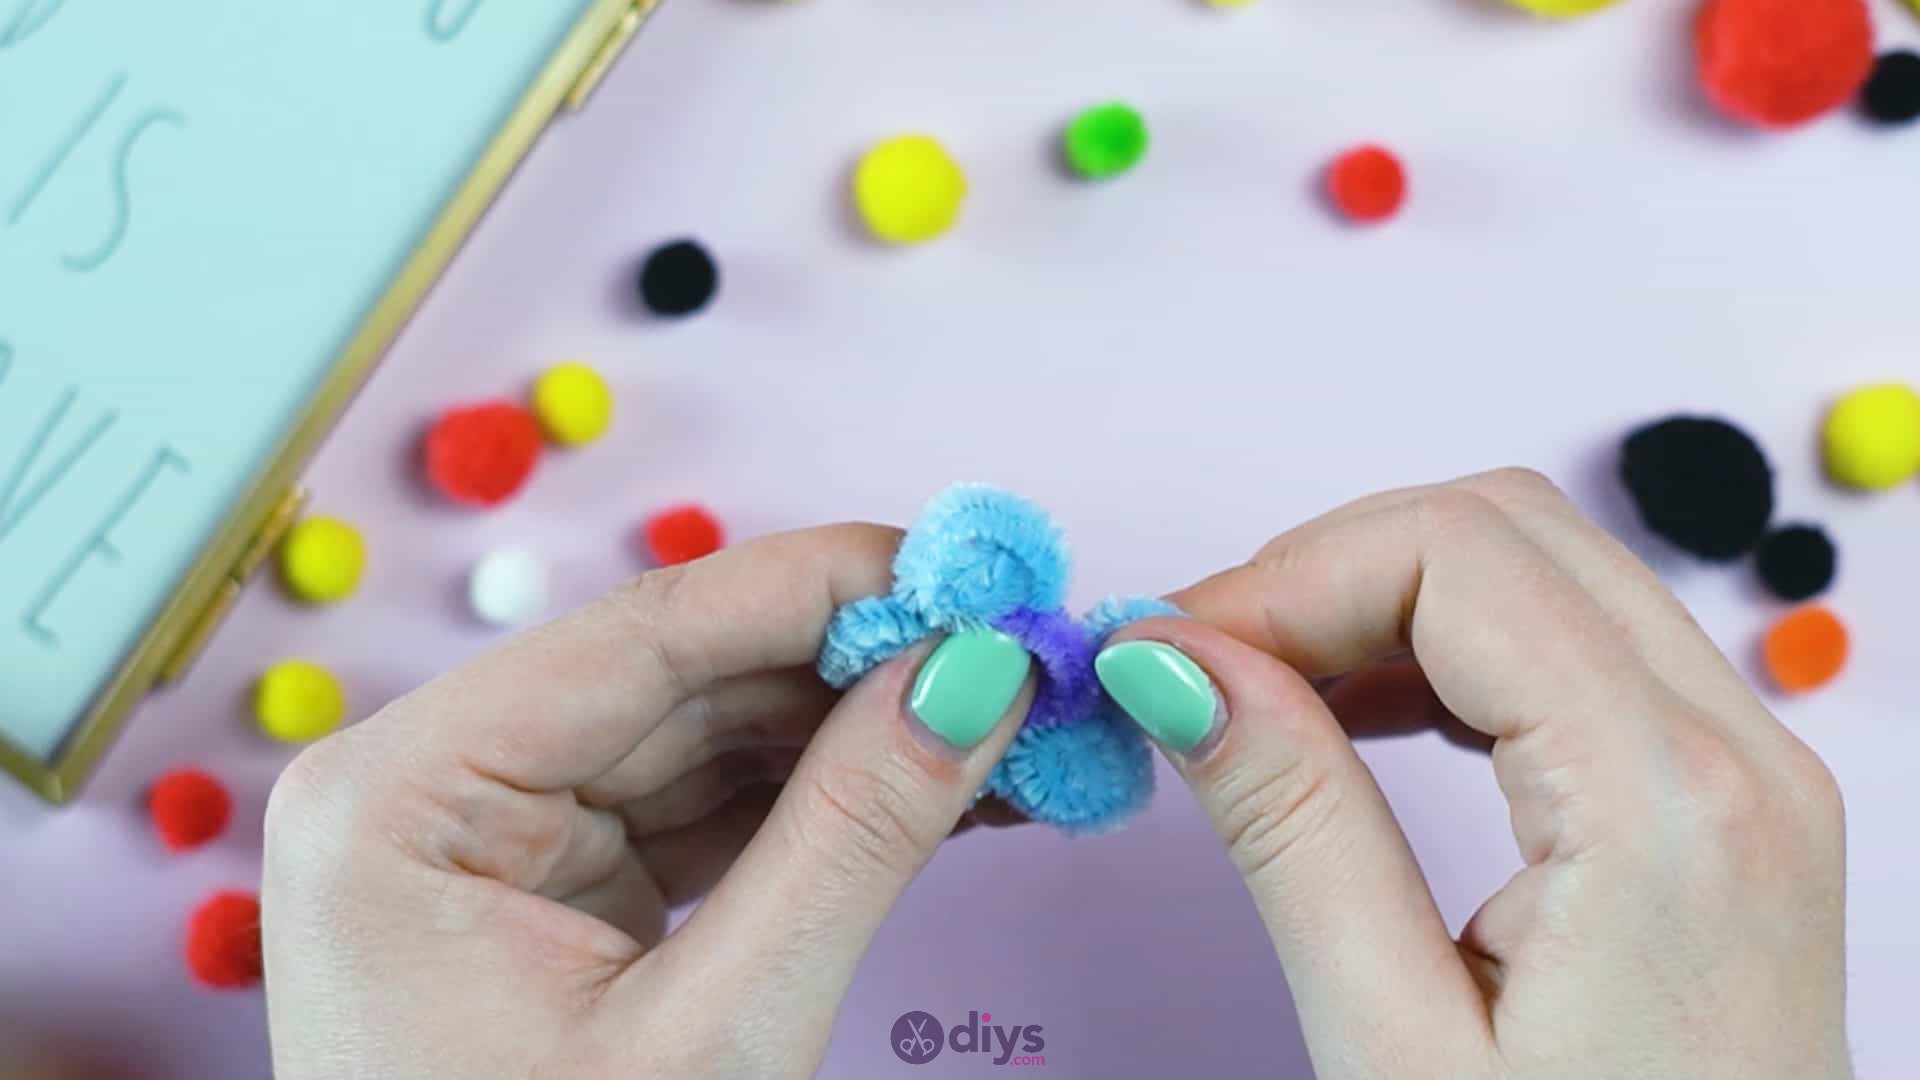
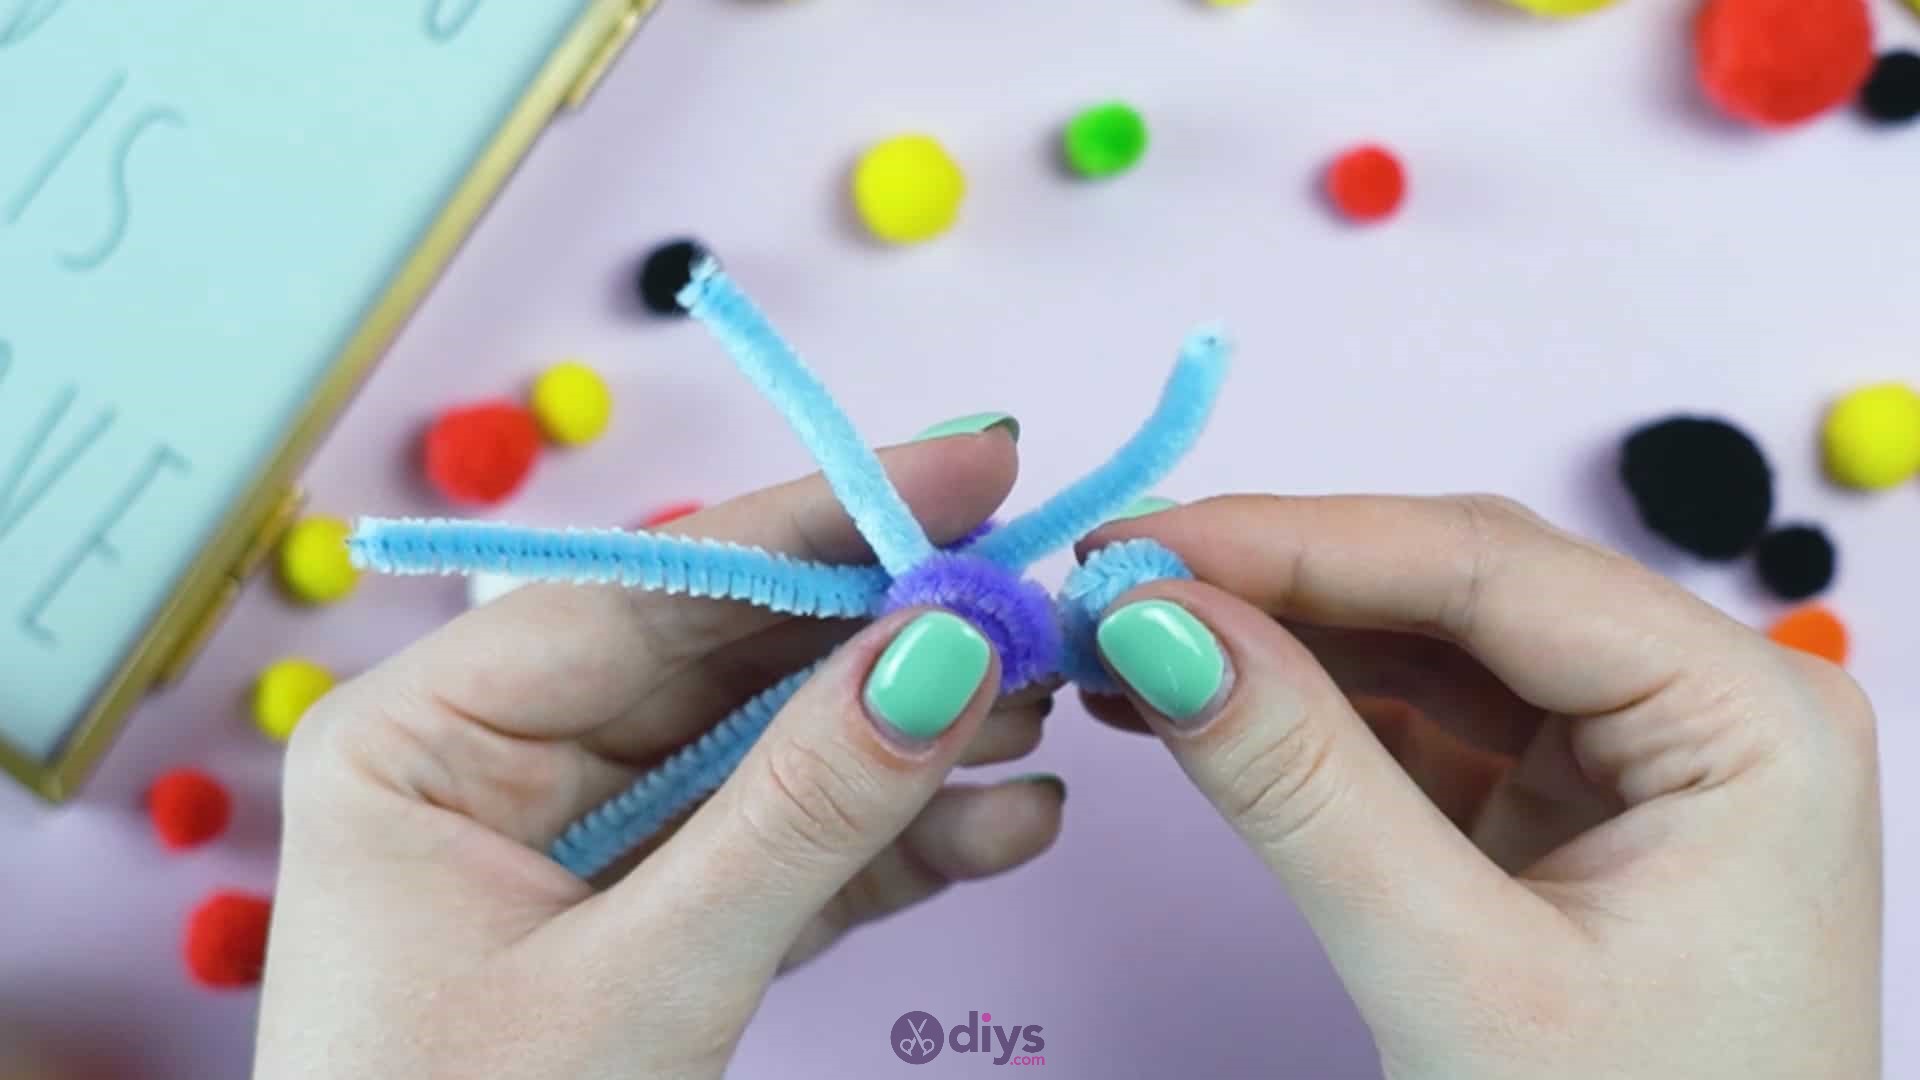
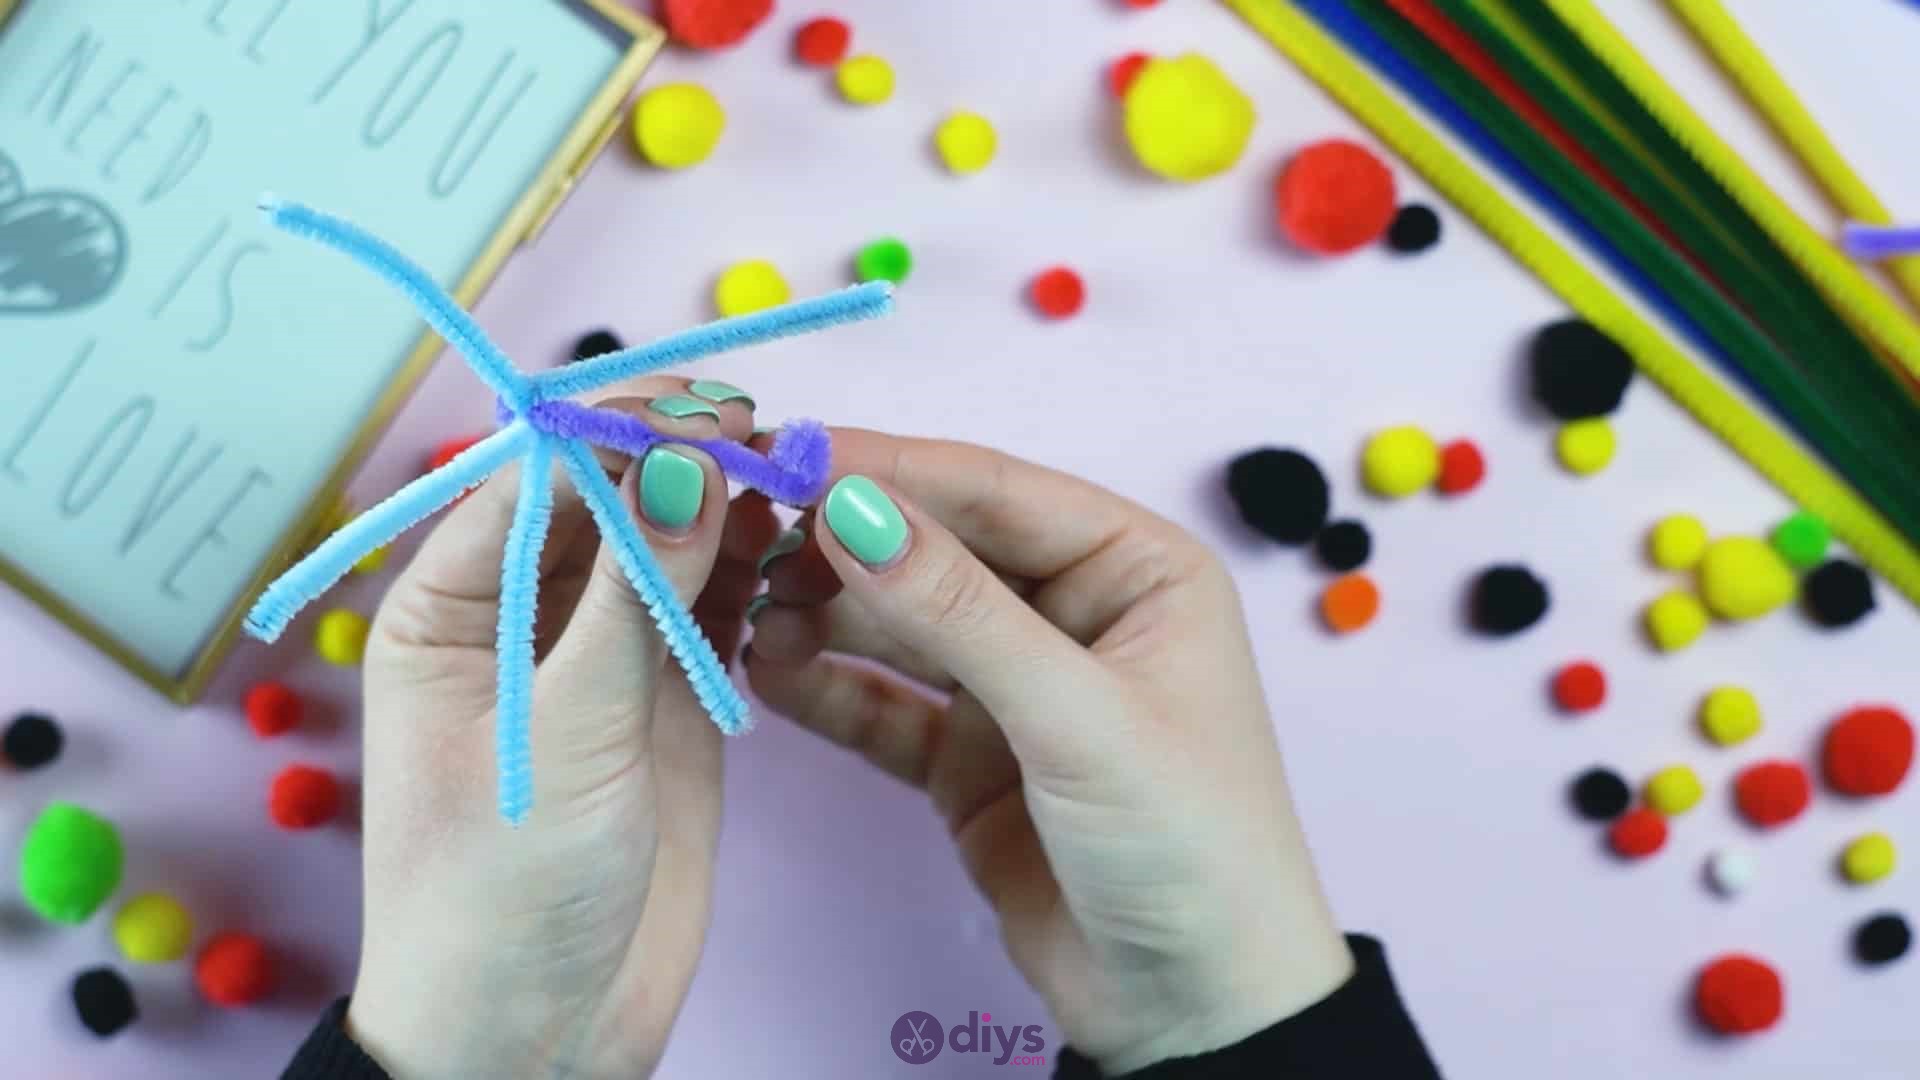
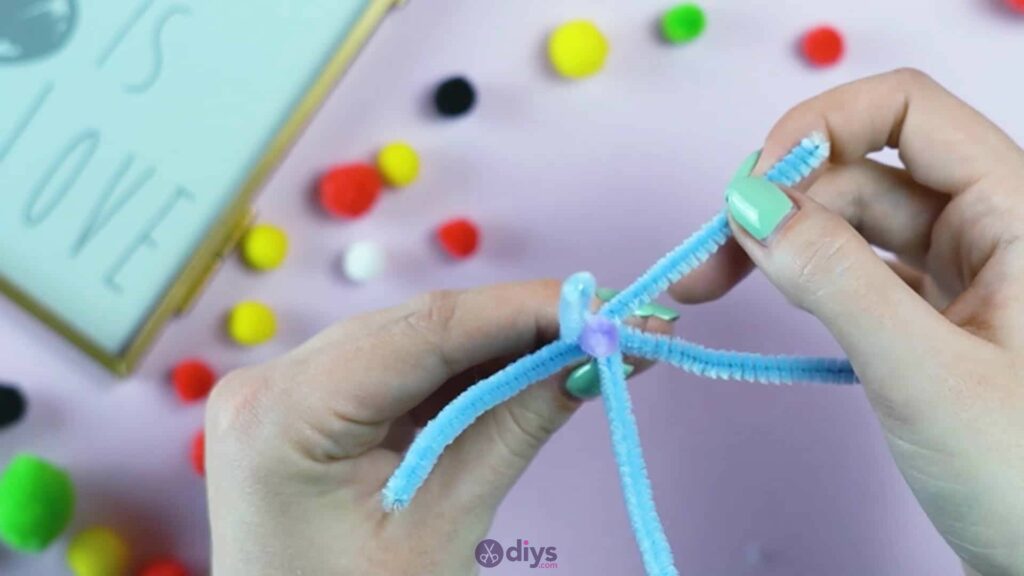
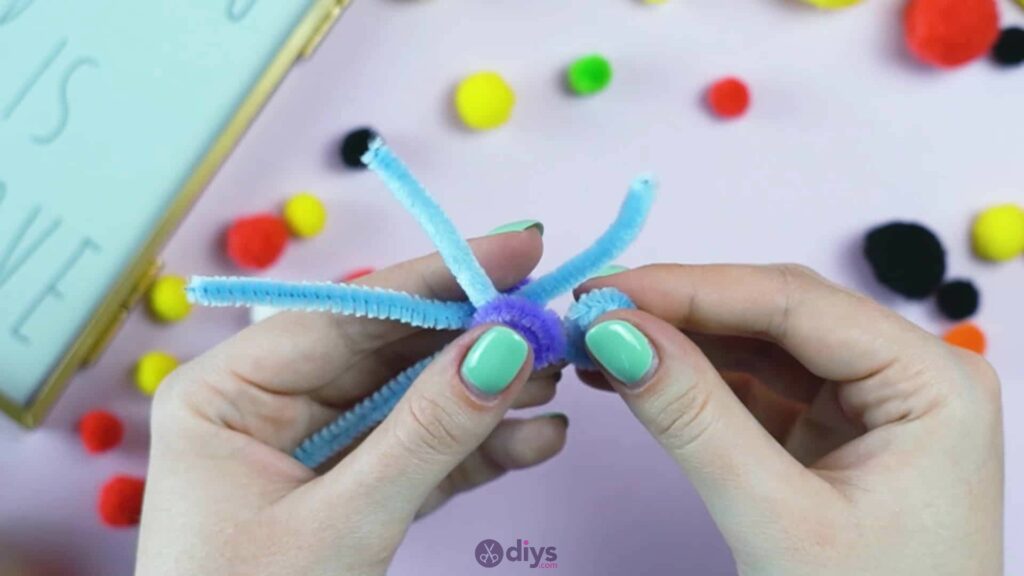
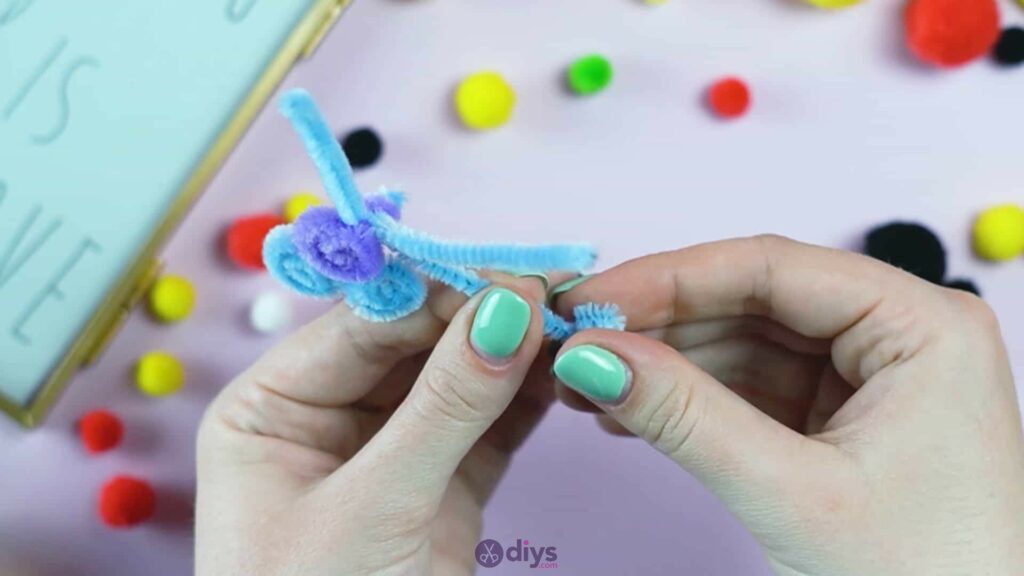
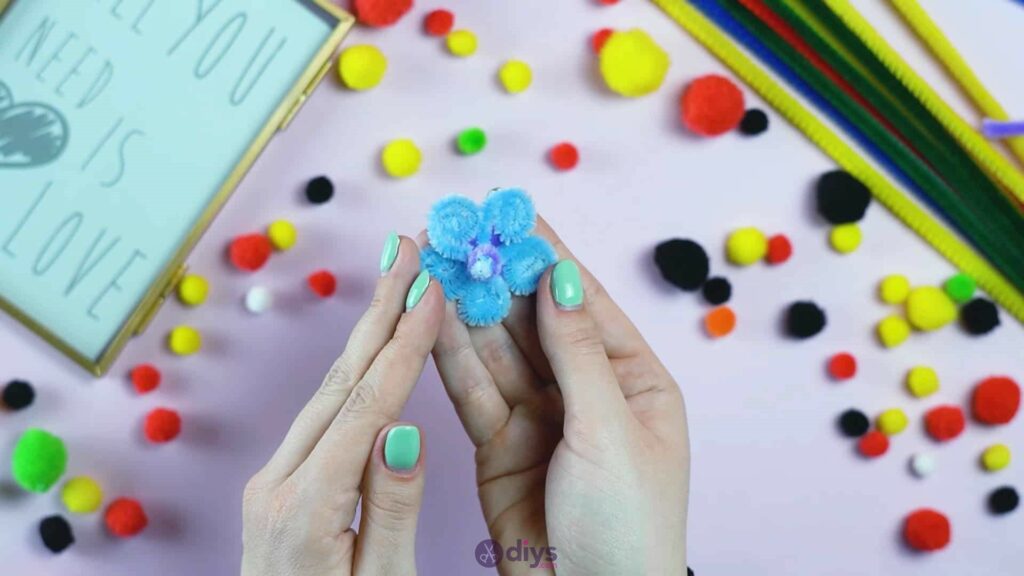
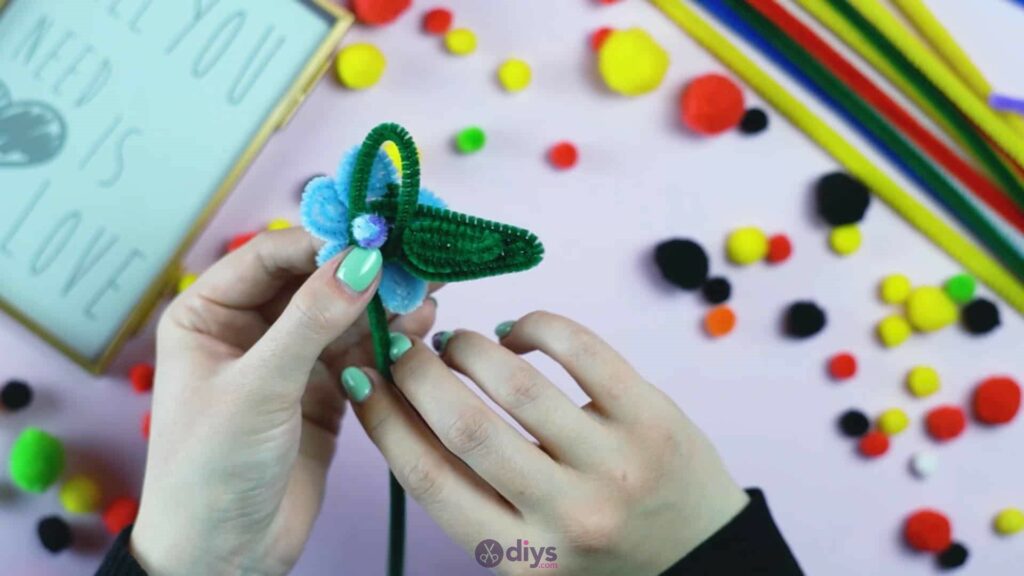
Step 6: forming the petals
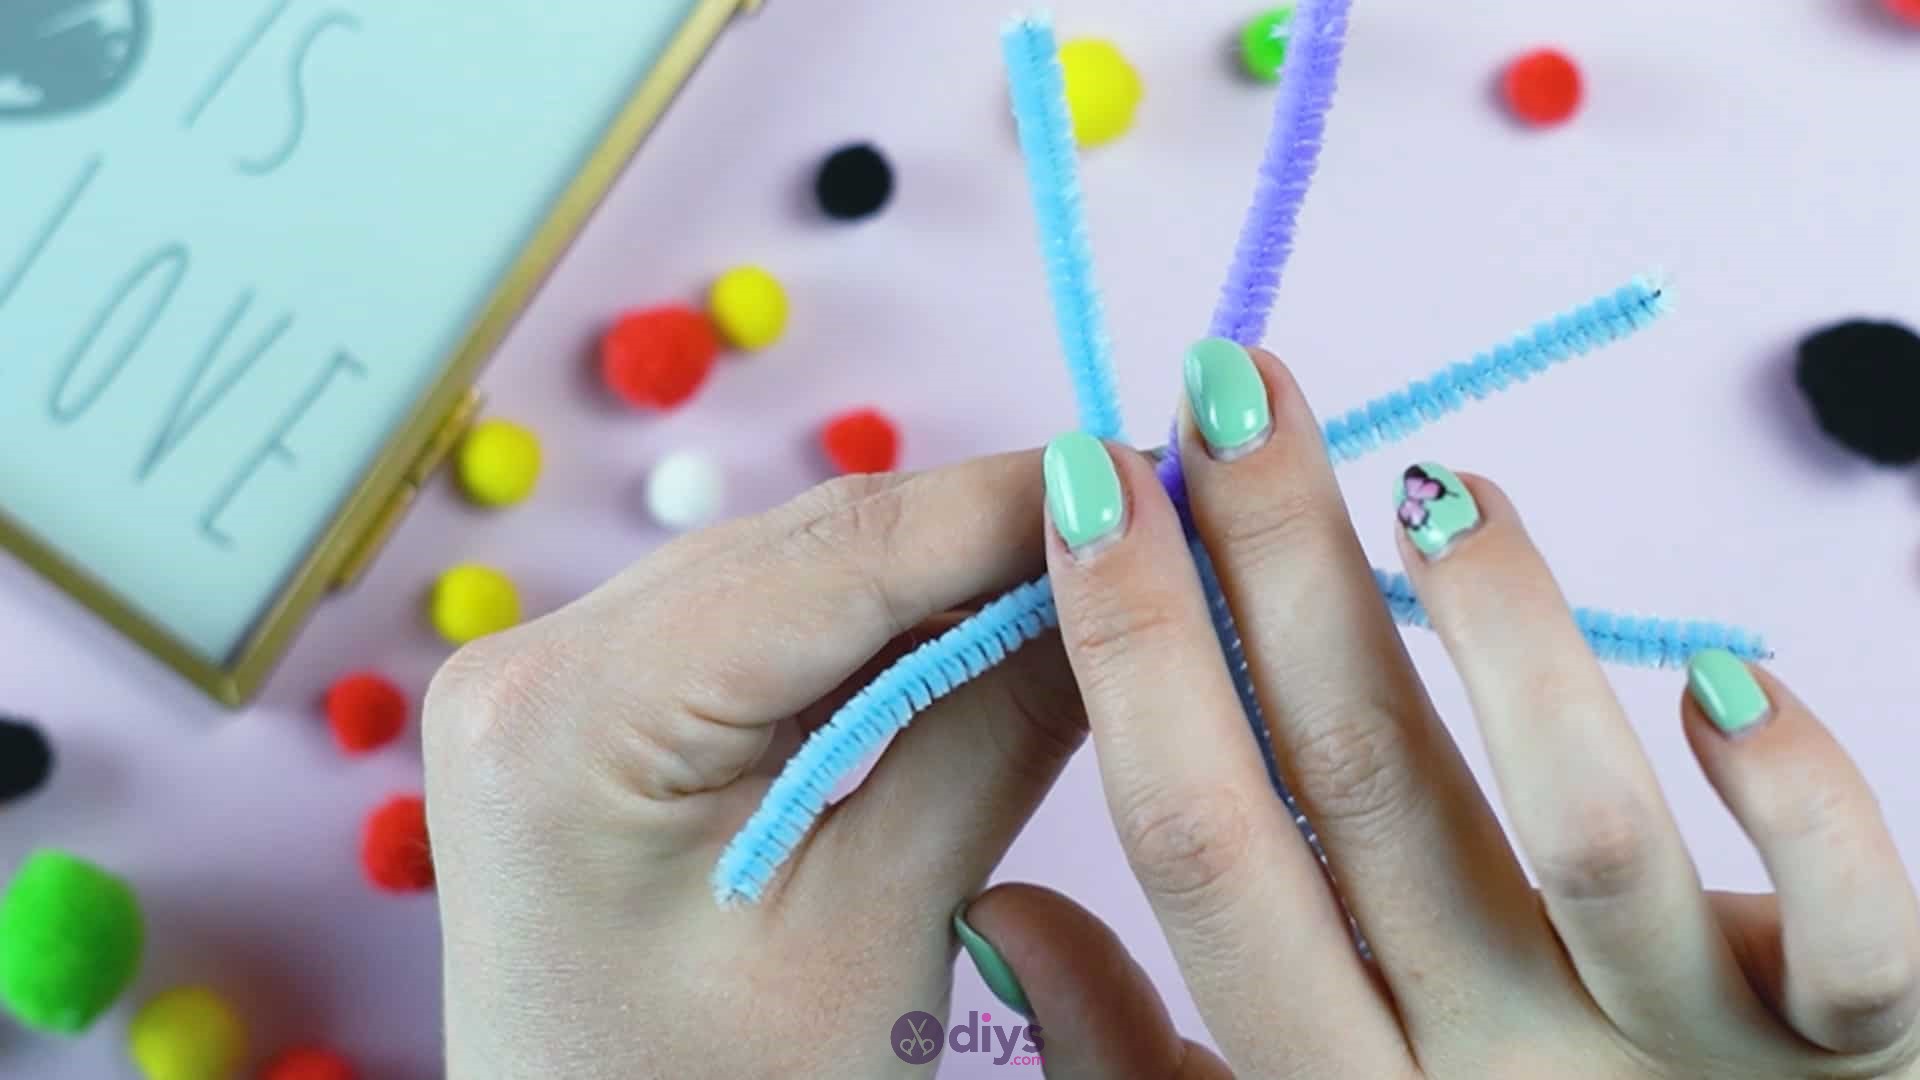
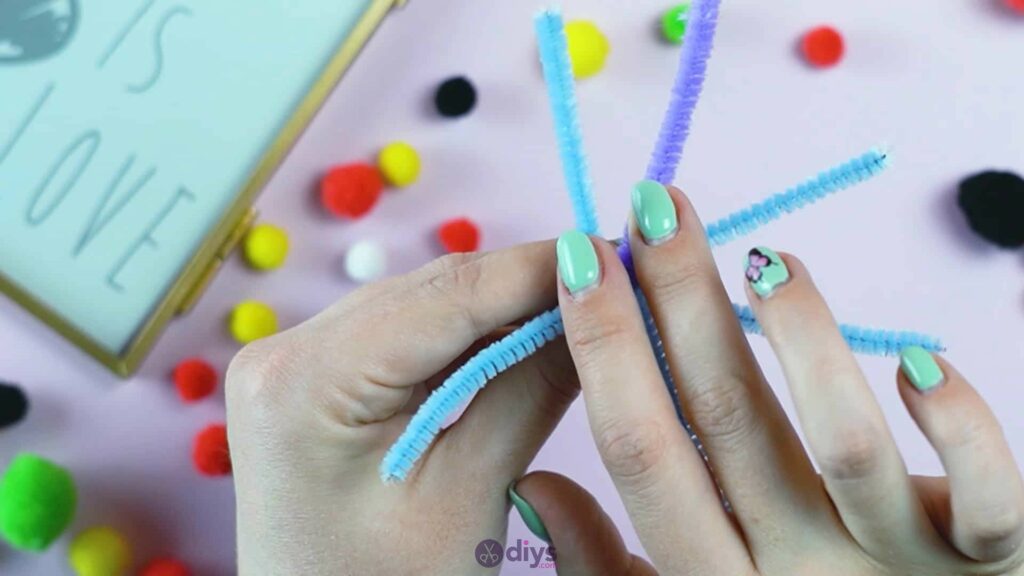
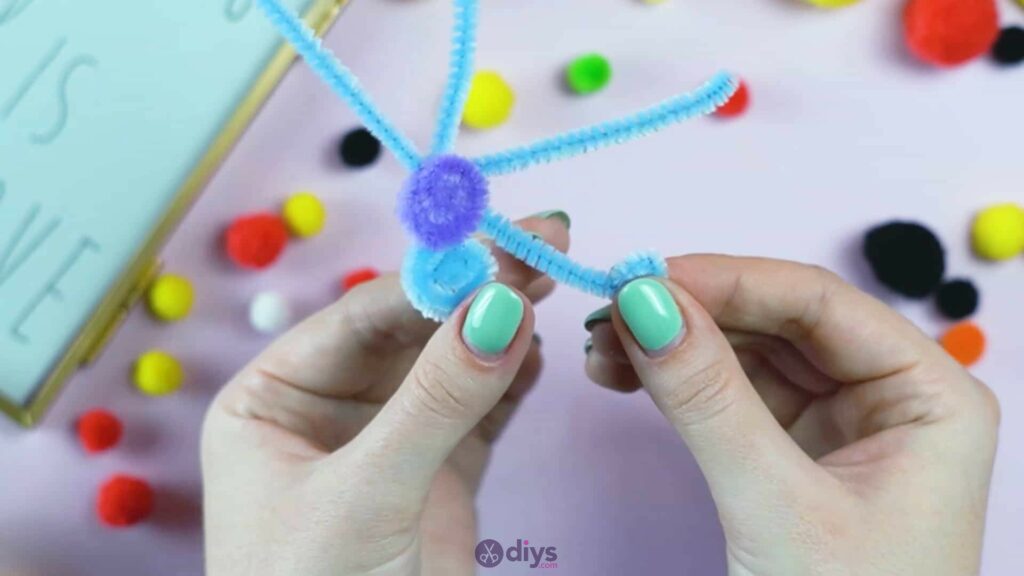
Holding your pipe cleaner bundle by its wrapped end so that its loose ends face upwards, take hold of each one of your outside pieces and bend it straight back, away from your contrasting centre piece so that they splay out all the way around. Now curve the end of the centre piece down and inwards onto itself, starting a curl.
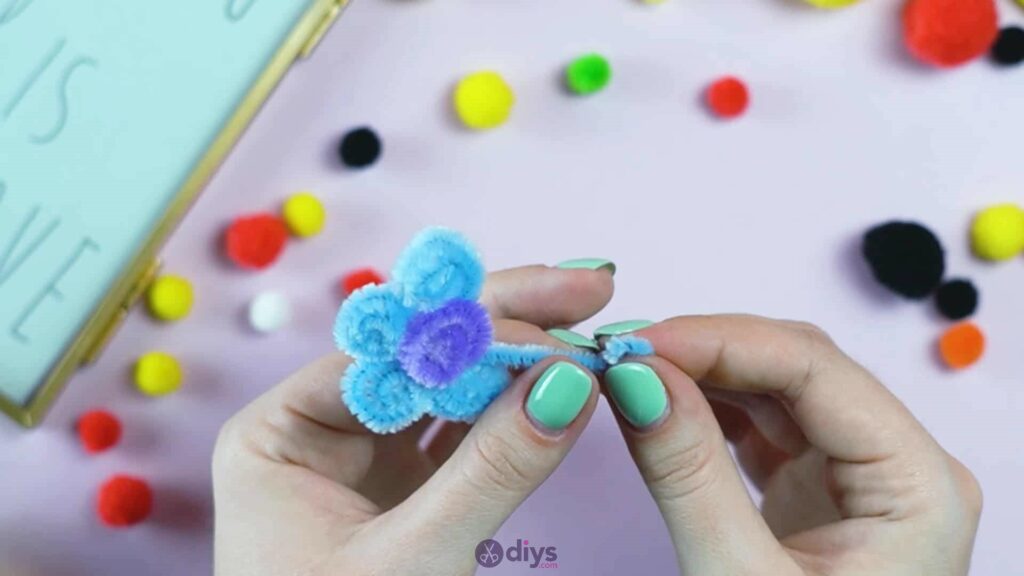
Keep rolling this curl downwards towards the centre and the base of the central piece, keeping it even and flat so that you can see the way it starts to spiral around itself. When you reach the bottom of that piece in the centre of your shape, adjust it so that the little spiral you just created sits flat in the middle.
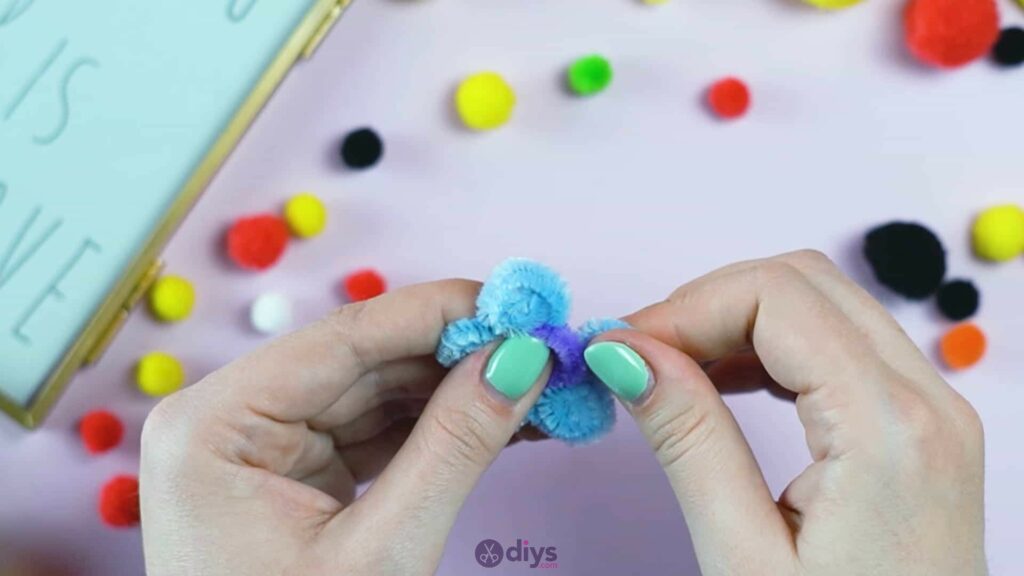
This will be the pollen if your flower. Now you’ll repeat this spiralling inwards process witheach of your remaining pieces around the outside, curling them inwards into flat spirals that sit nicely around the spiral in the centre, all lying flat next to each other around the outside at five points. These are your petals.


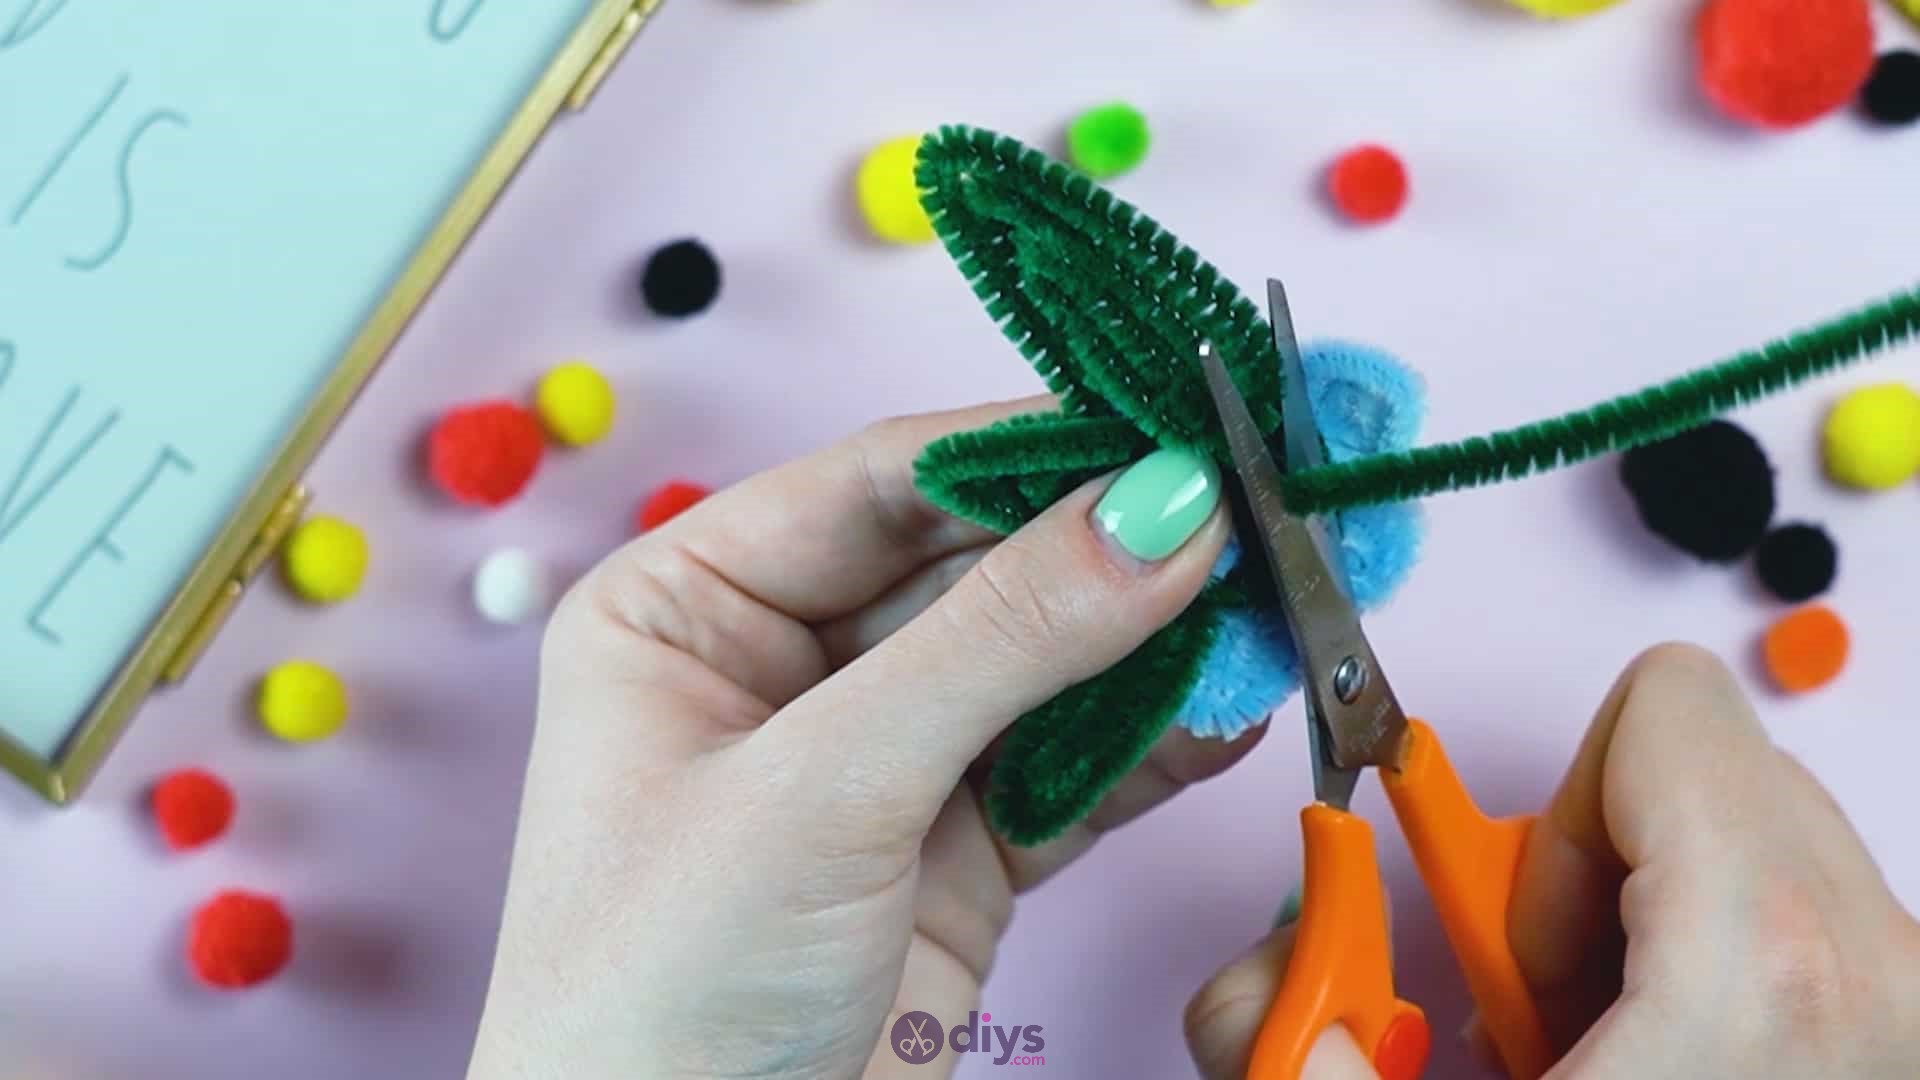
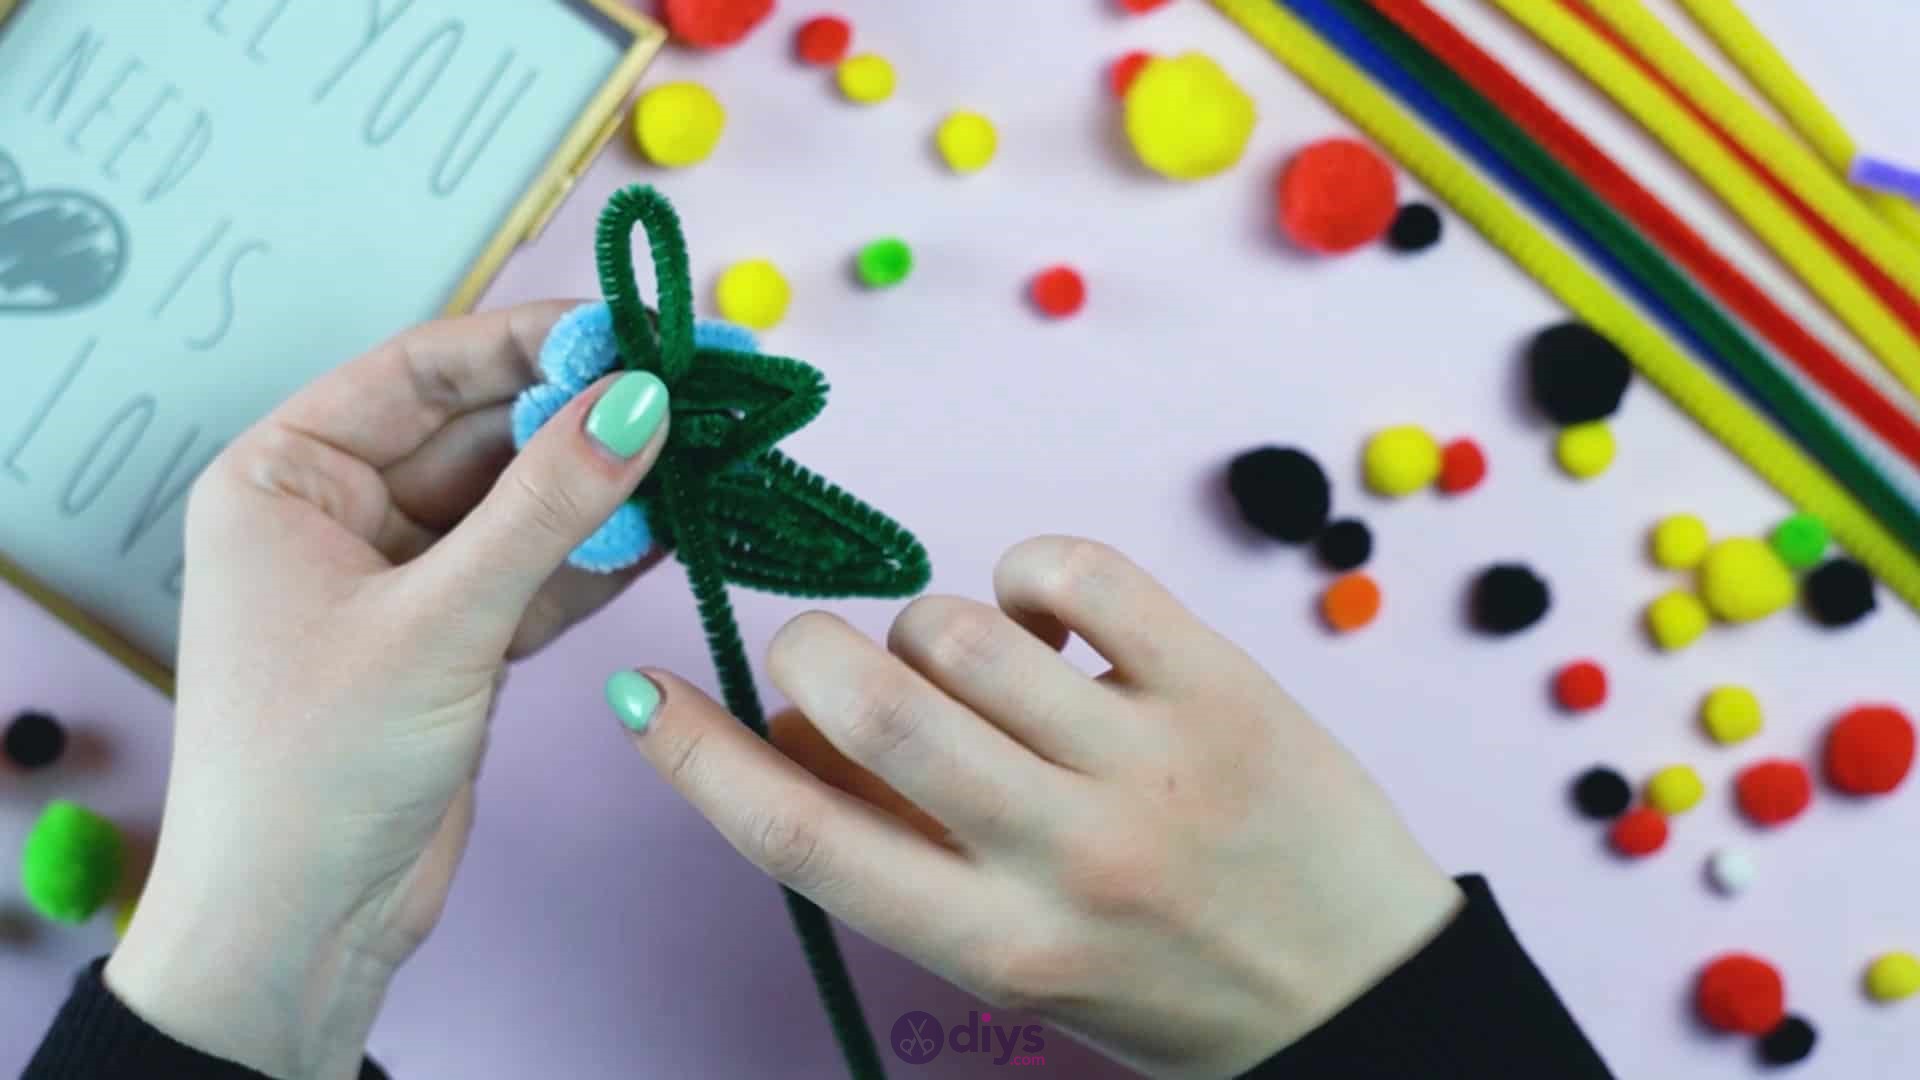
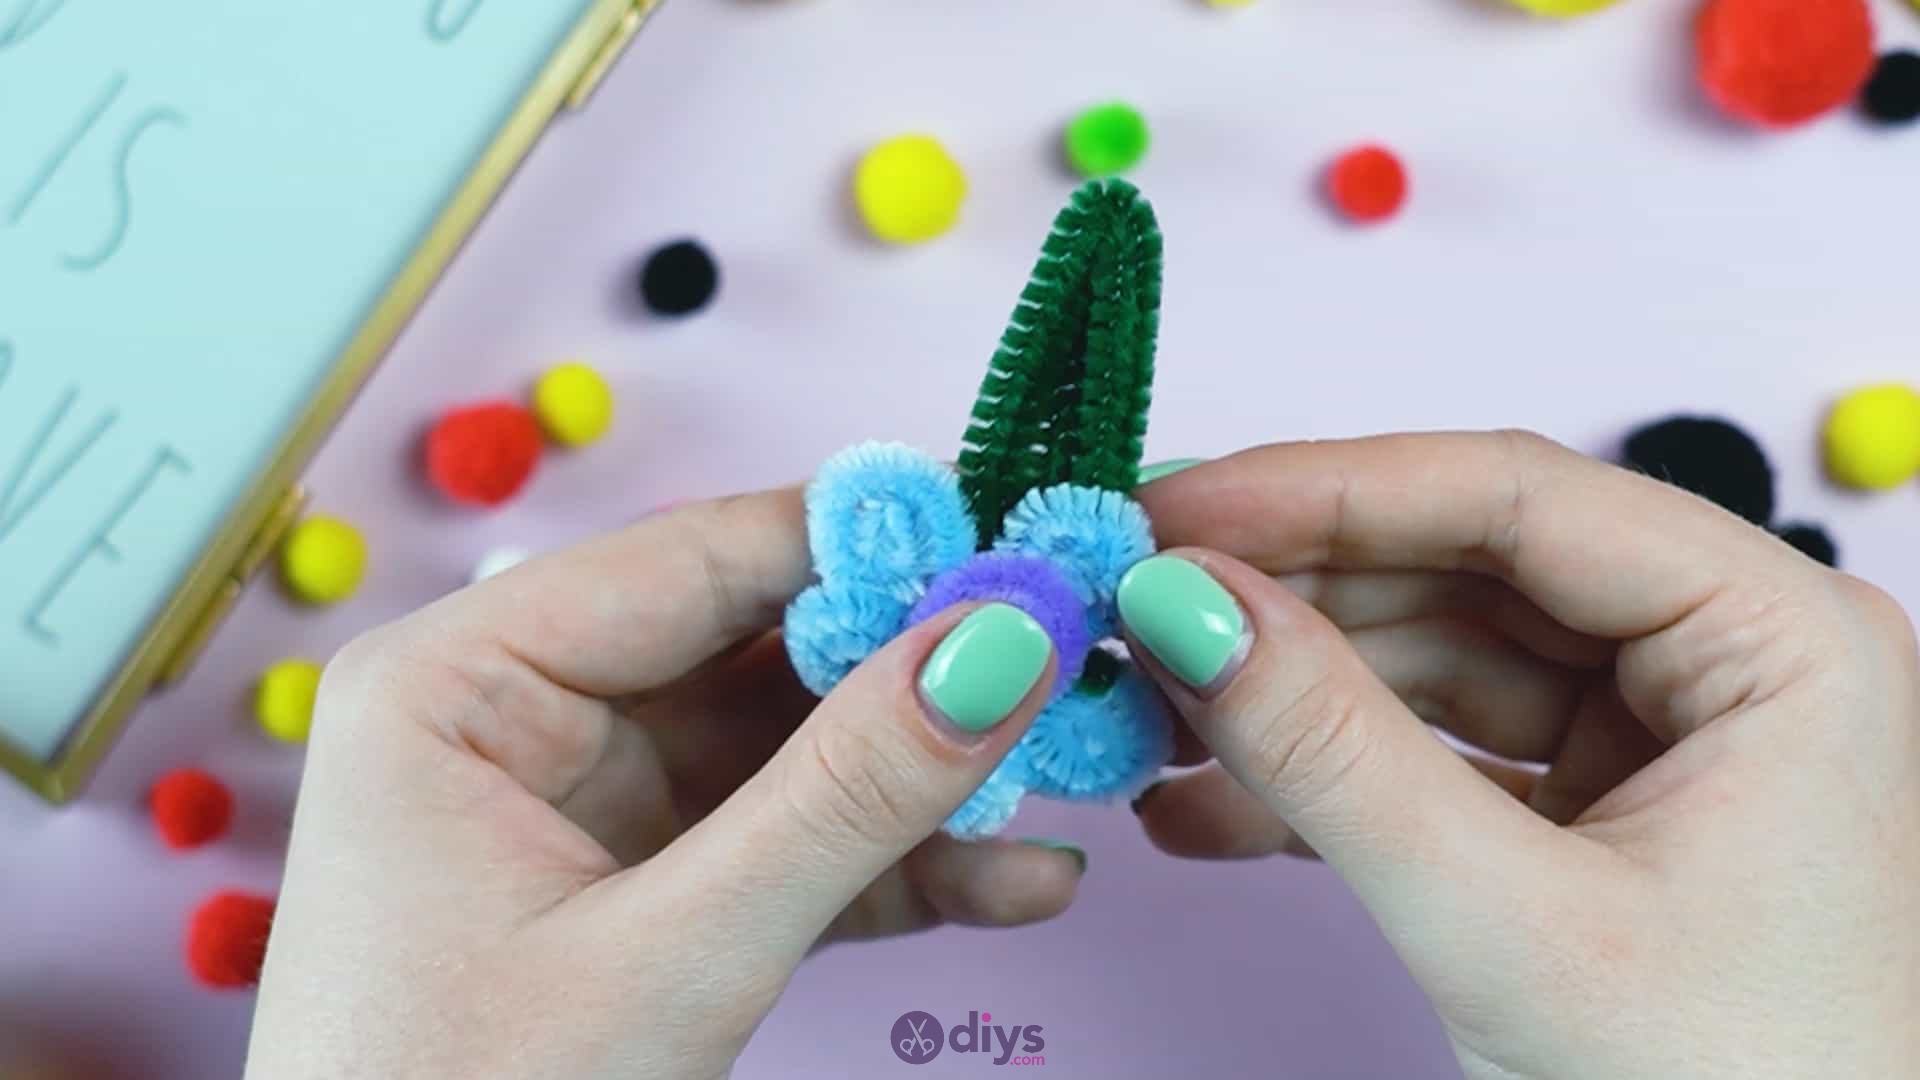
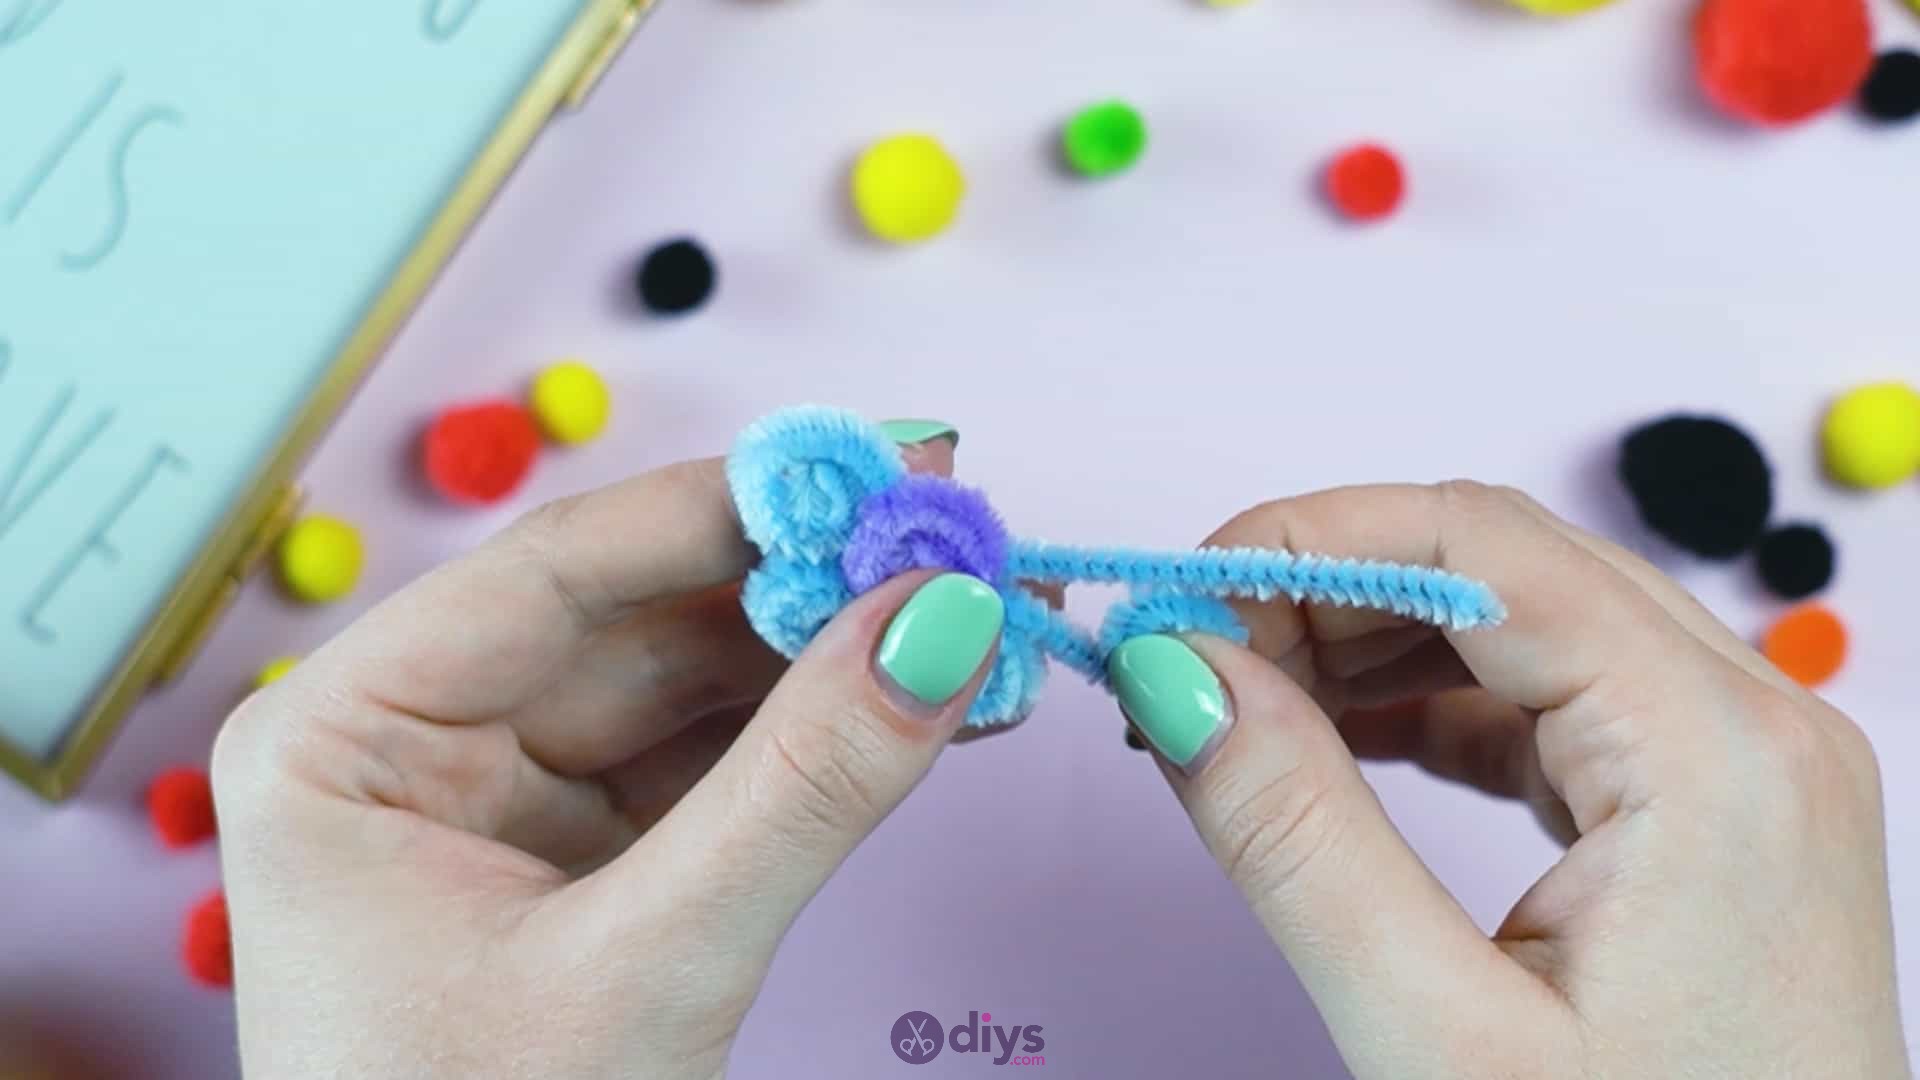
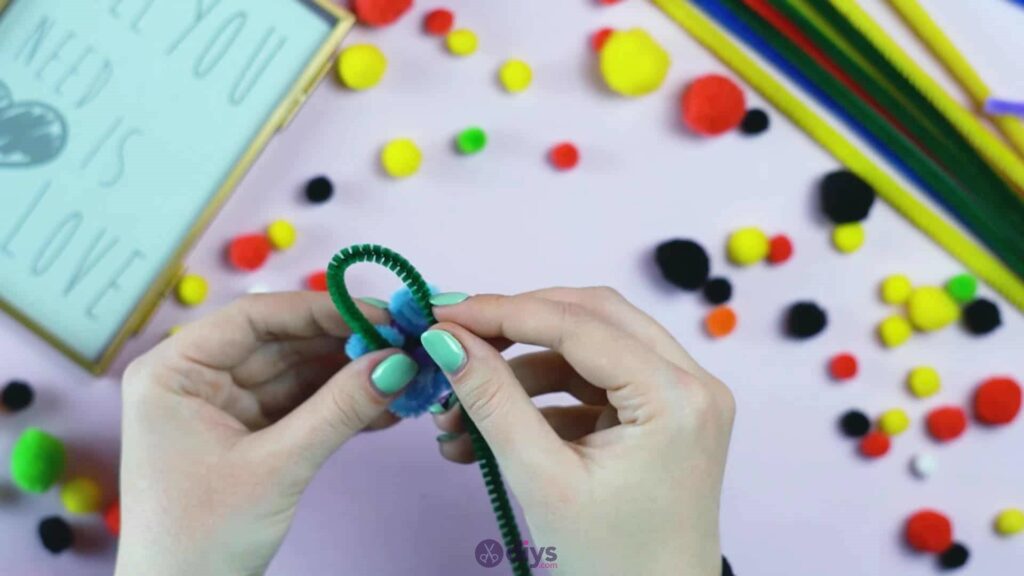
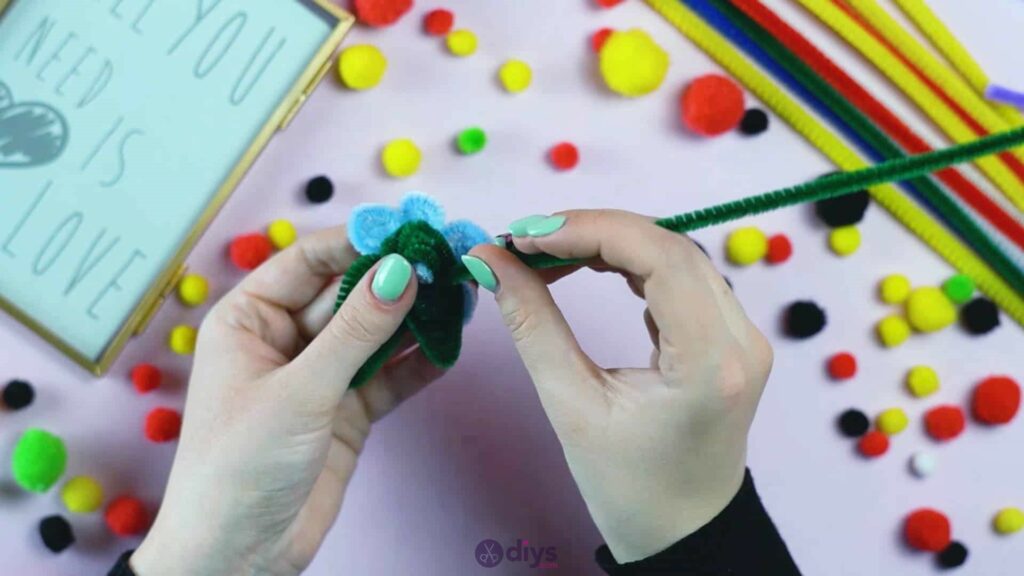
Step 7: the stem and leaves
Turn your flower over so you can see the little stem on the back where you wrapped the centre piece around the ends of the others previously. Pick up a green pipe cleaner and wrap one end around this little stem once or twice to set yourself up for making a leaf on your flower that will stick up from the back to peek out the front behind the flower.
Bend the green pipe cleaner around so it sticks out wherever you want the leaf to be and then gently bend it over sideways so it curves around and the free end comes back down to the underside of the flower. Leave enough sticking up so that your curved shape is about an inch tall.
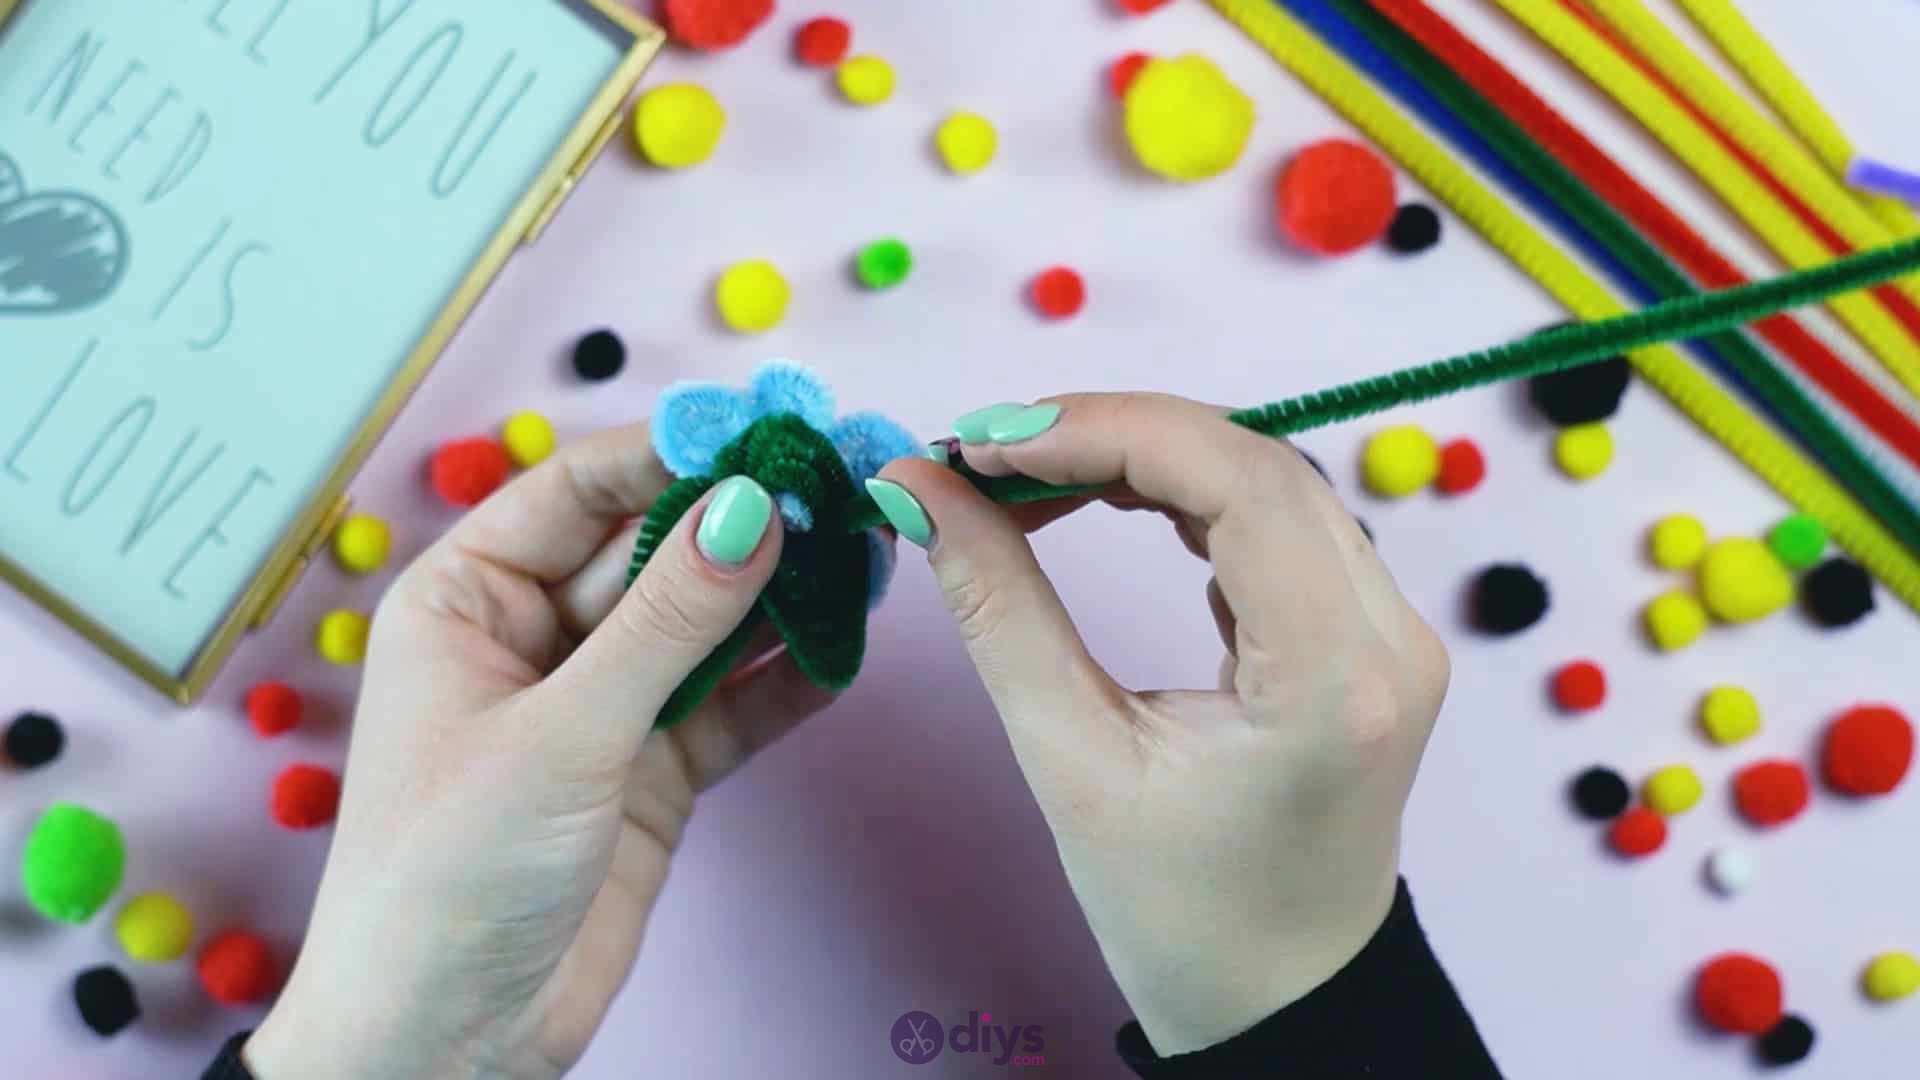
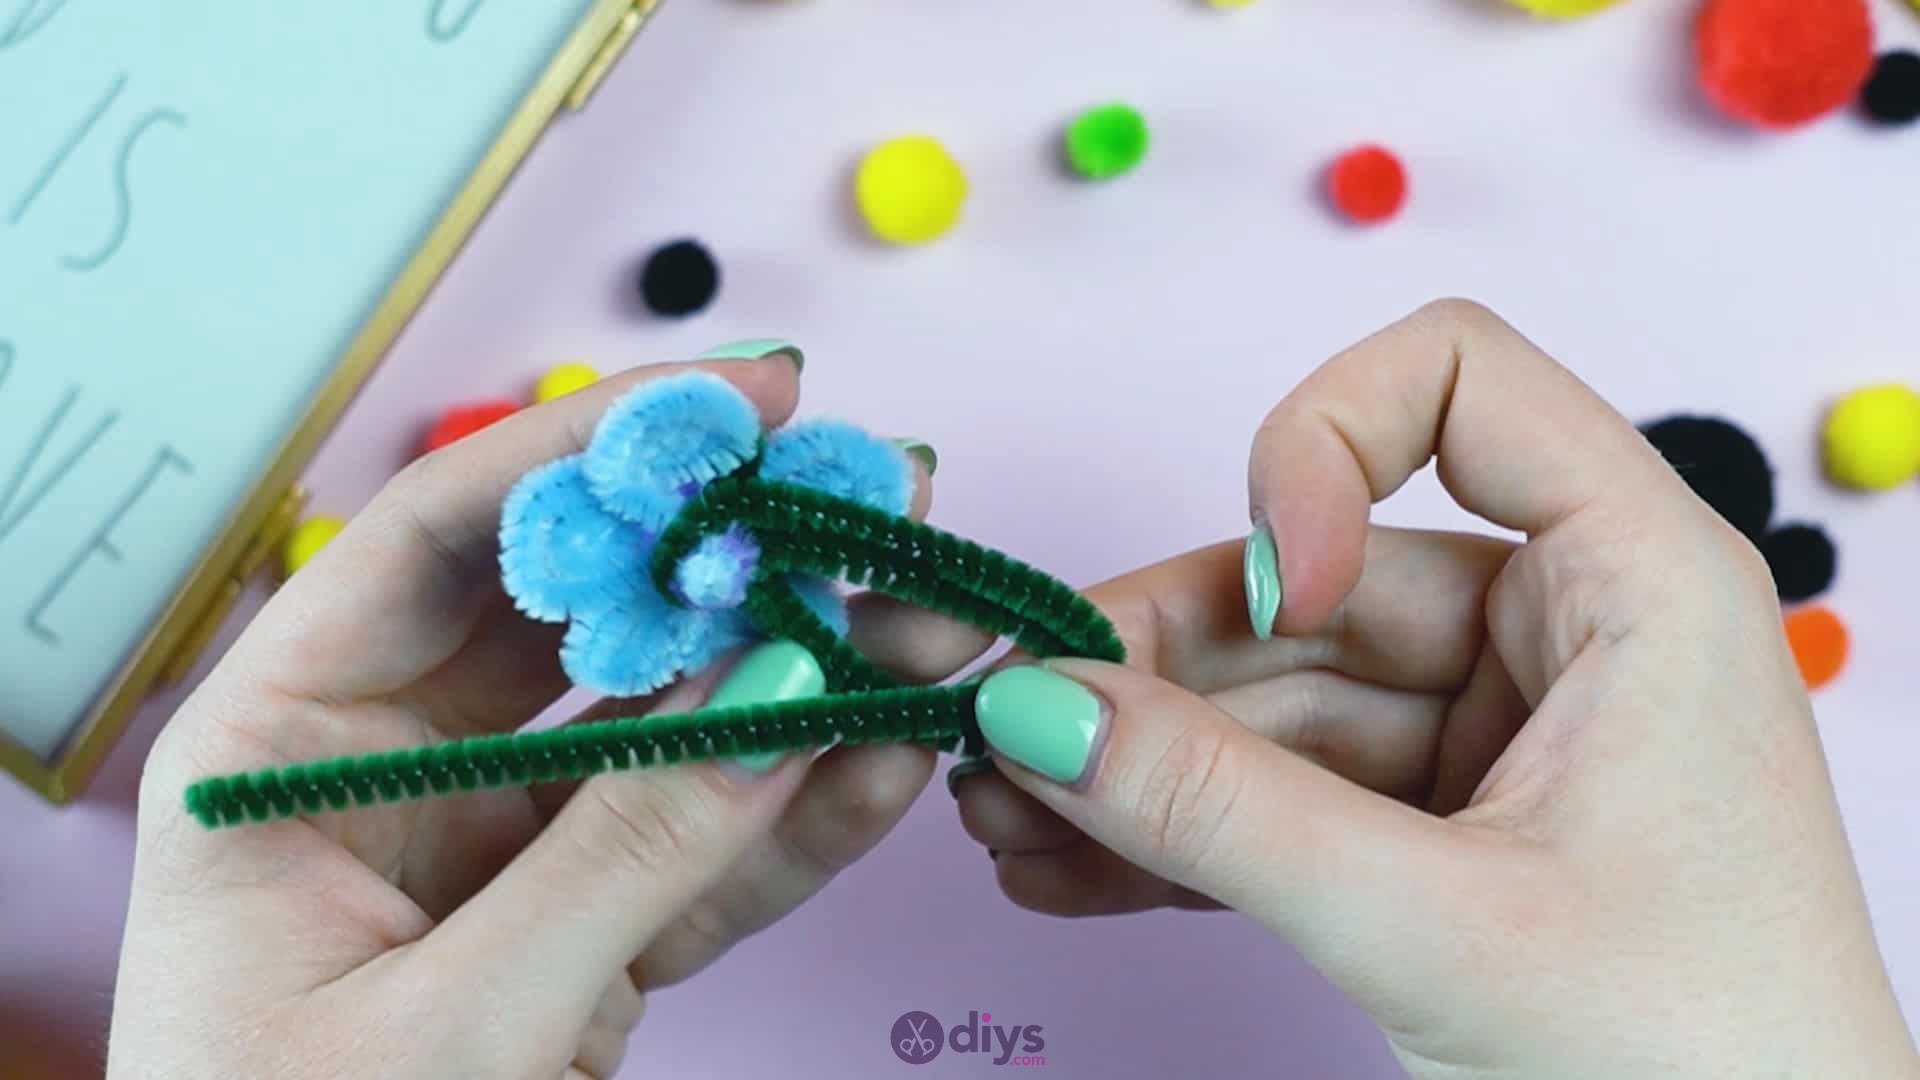
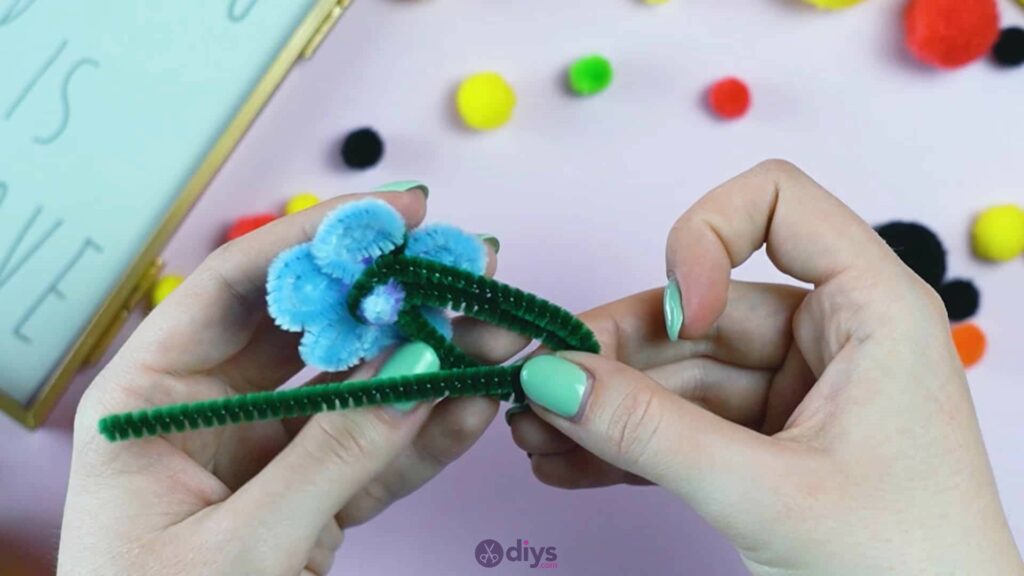
Now bend the free end of the green pipe cleaner back up and around once more so it runs from behind the flower back up towards your initial curve. Just below that curve, gently bend the pipe cleaner to the side and back down just like before, creating another layer that you’ll be able to fit inside the first one in a moment. When you get back down near the stem on the underside of the flower again, bend that pipe cleaner back up one more time until you’re just about at the second curve.
Repeat the bending process to bring the end back down and by now you’ll be just about out of pipe cleaner, so flatten your green curves together for a larger, looser version of a nested spiral, tucking the end in at the back to keep things in place. If you want, you can lightly pint the highest point in the curl to make the illusion of a slightly pointed leaf.


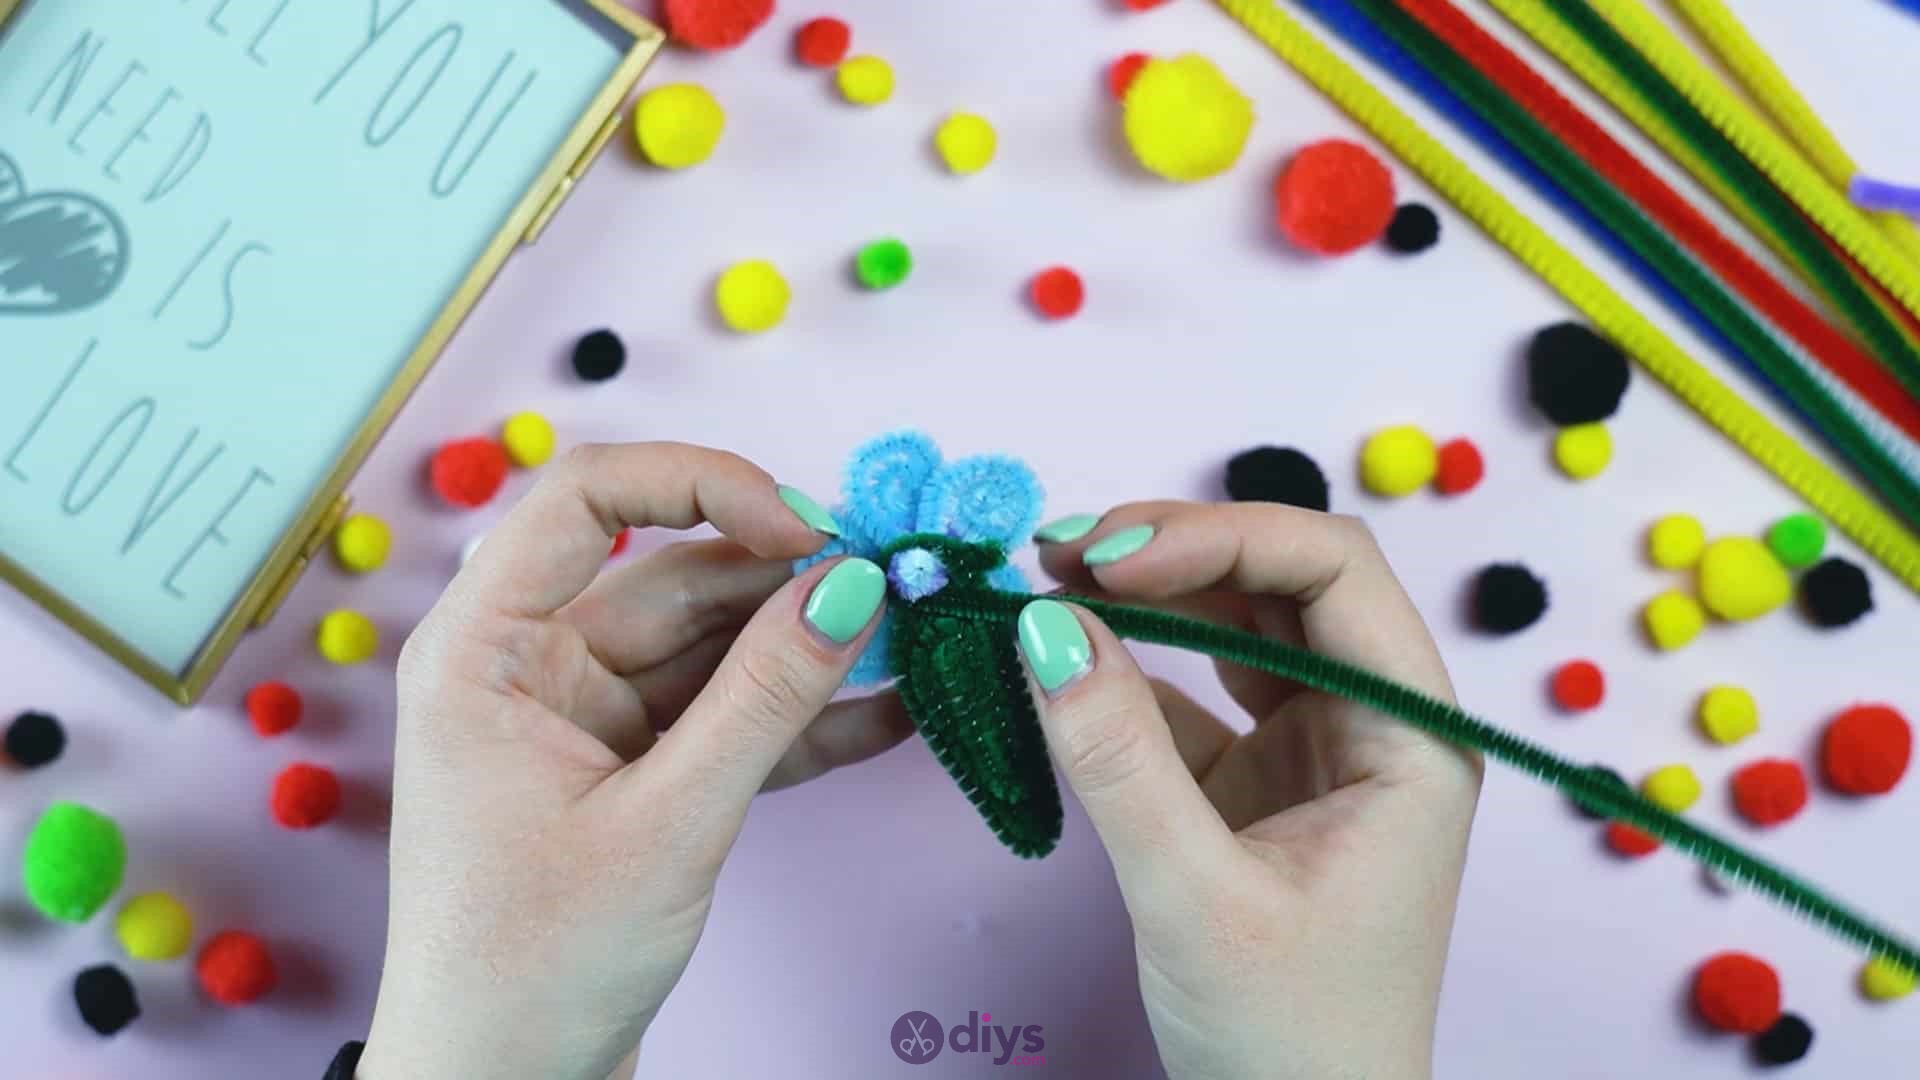
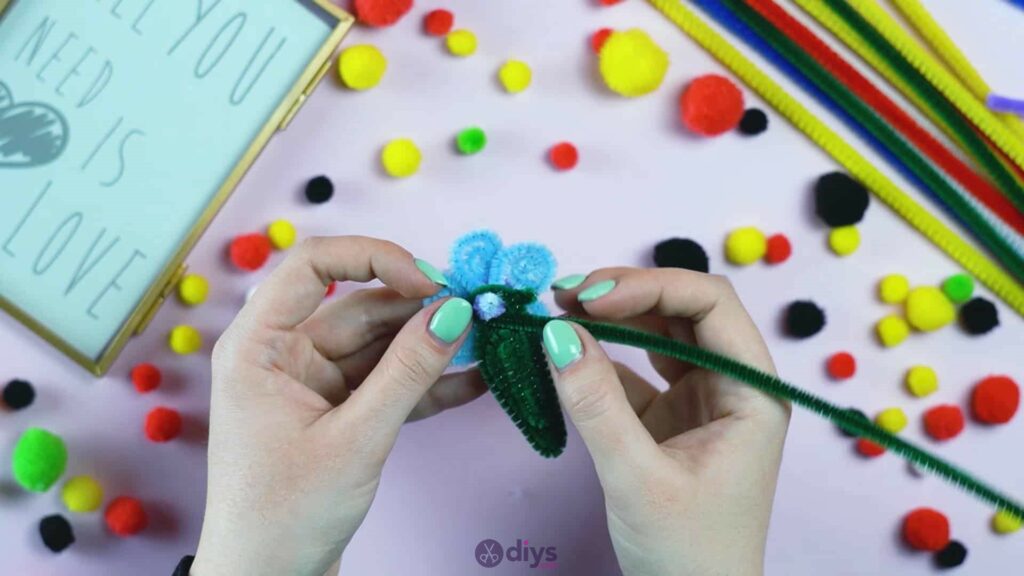
Step 8: put on repeat
Repeat this leaf process twice more with new pieces of green pipe cleaner in order to add two more leaves. Before you start your first curve on each, make sure you bend the pipe cleaner around so it sticks out in a different place, ensuring that your leaves can actually be seen and don’t all end up hidden behind one another. If you want to make smaller leaves than your first one, make your first curve shorter than an inch, fill in it with the same alternating bends process, and then cut off any excess, since you’ll find that you fill the leaf in faster when it’s smaller and you might not need the whole rest of the pipe cleaner. I added three leaves in total, but you could do more or less.


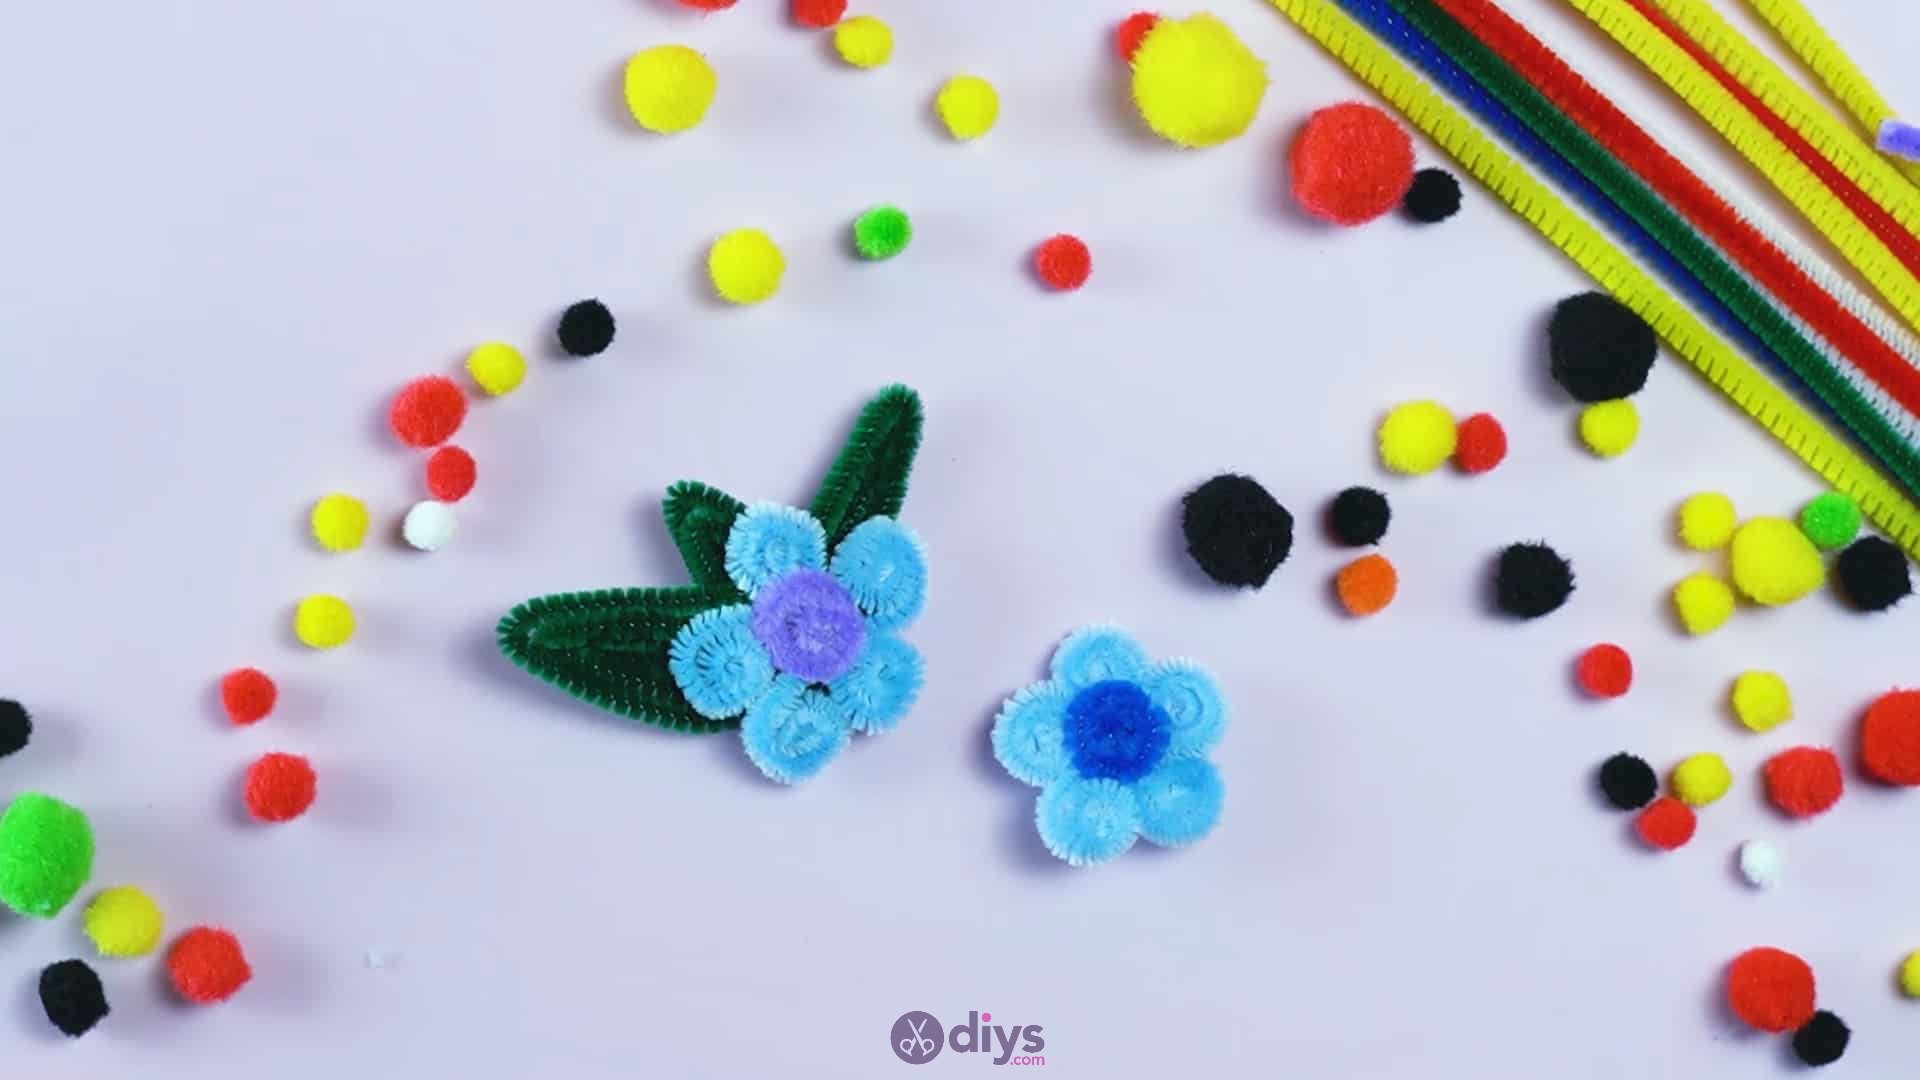
Step 9: replicate!
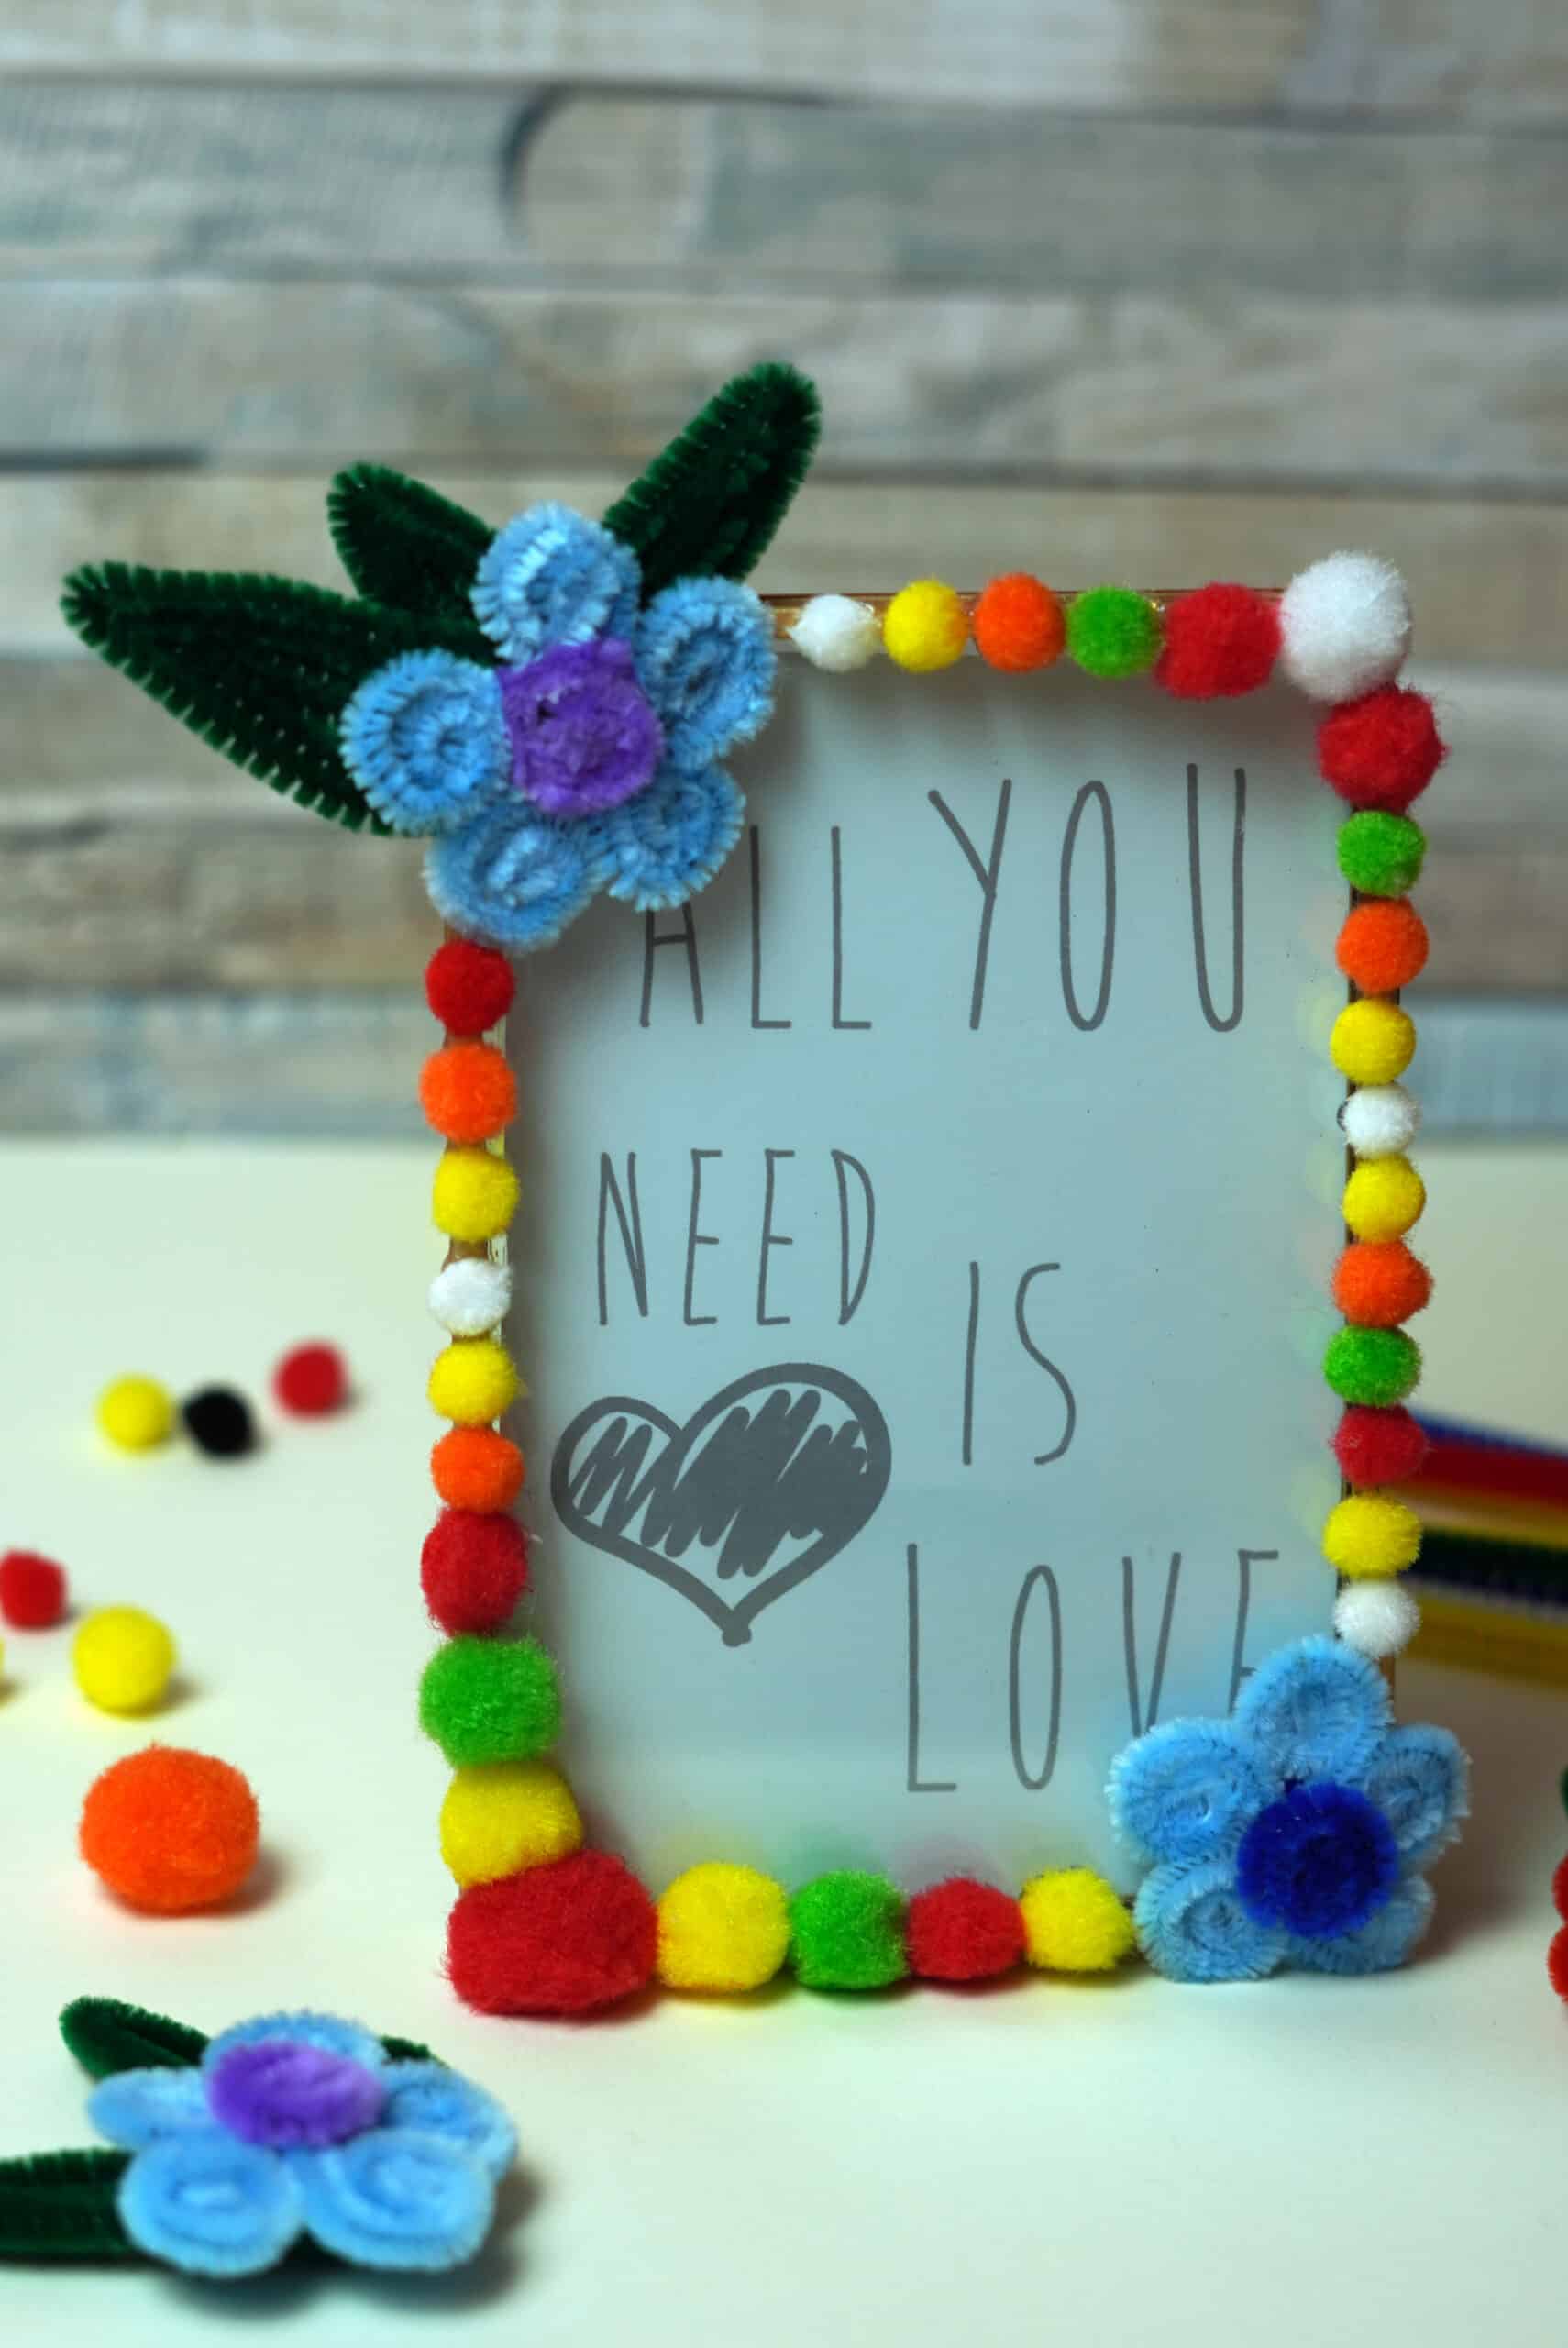
Now you’ll repeat the cutting, twisting, and spiralling steps that went into making your first flower in order to make a second one. You can choose whatever colours you please and you can add leaves if you prefer, but I left this flower just as a blossom on its own. I chose the same colour of petals as the first for my second flower, but I change the centre to be a slightly different shade of blue, just to add some subtle detail.

Step 10:
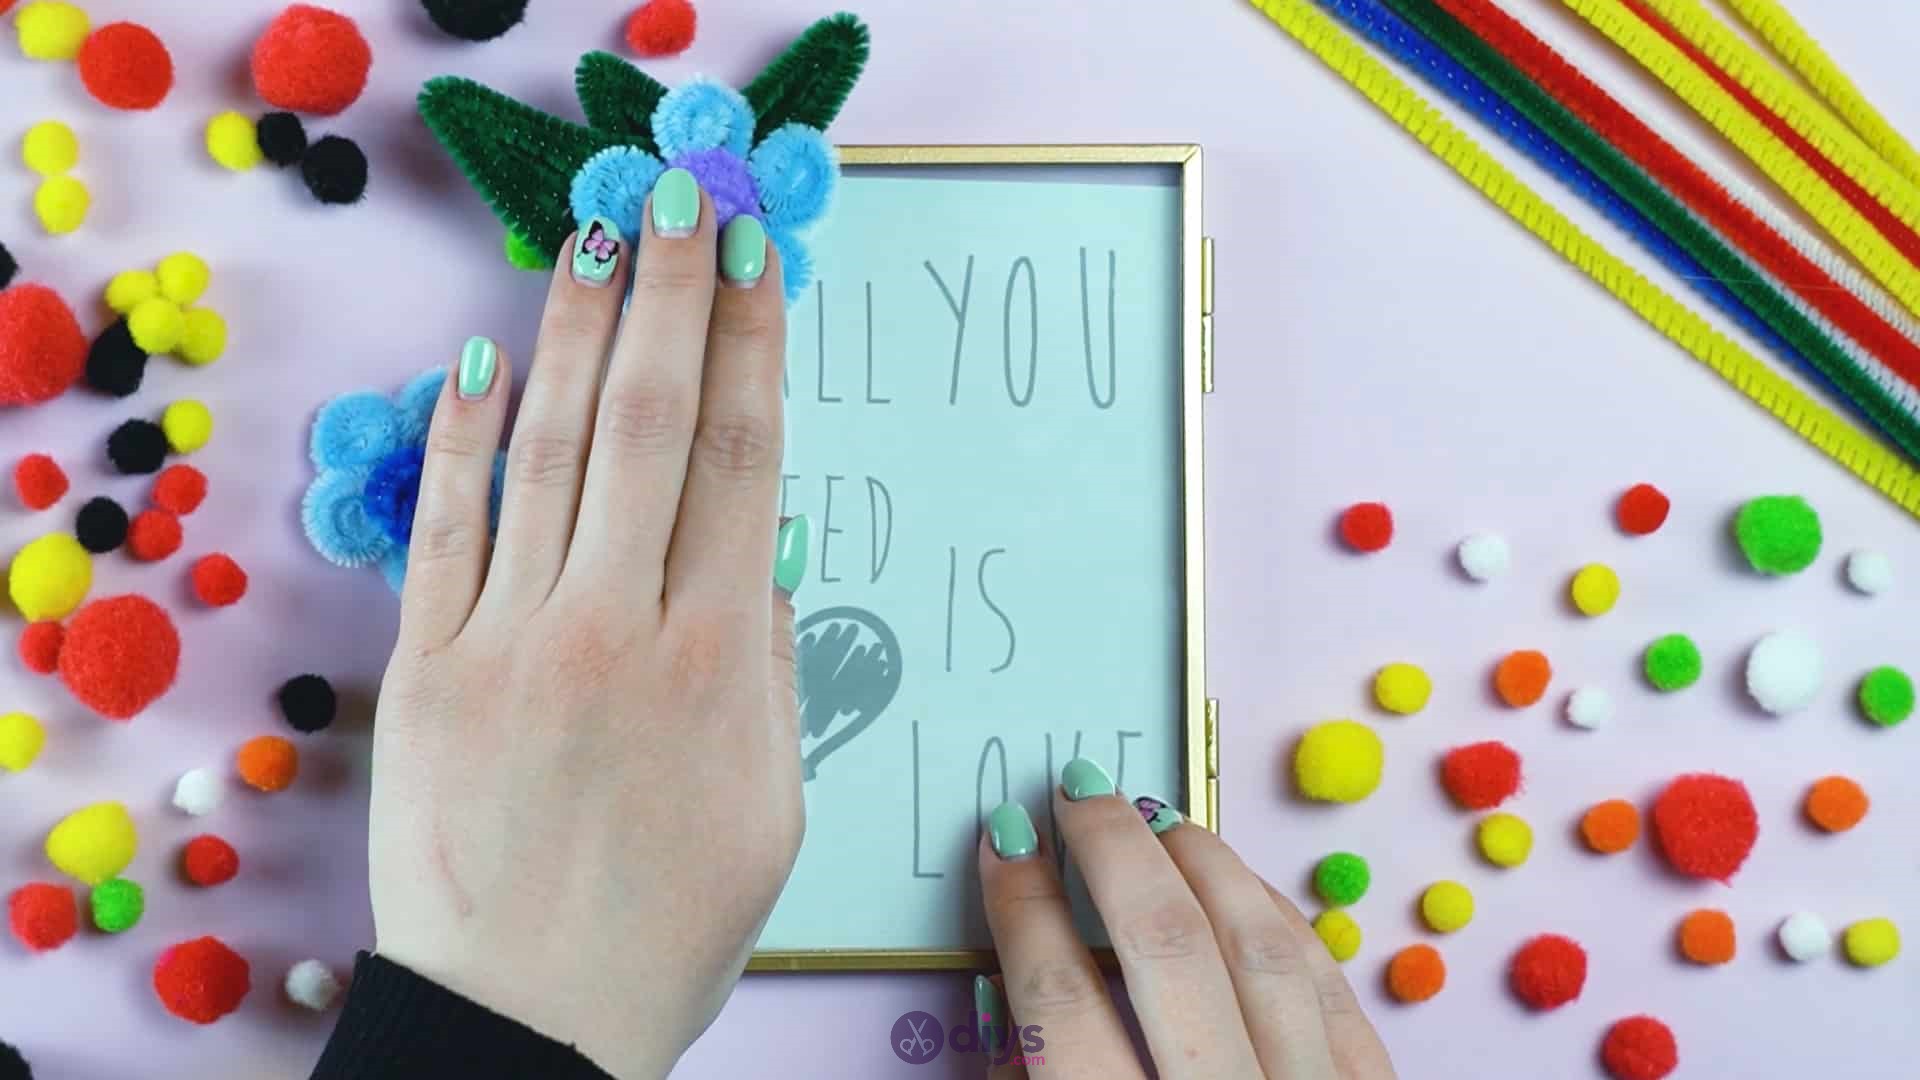
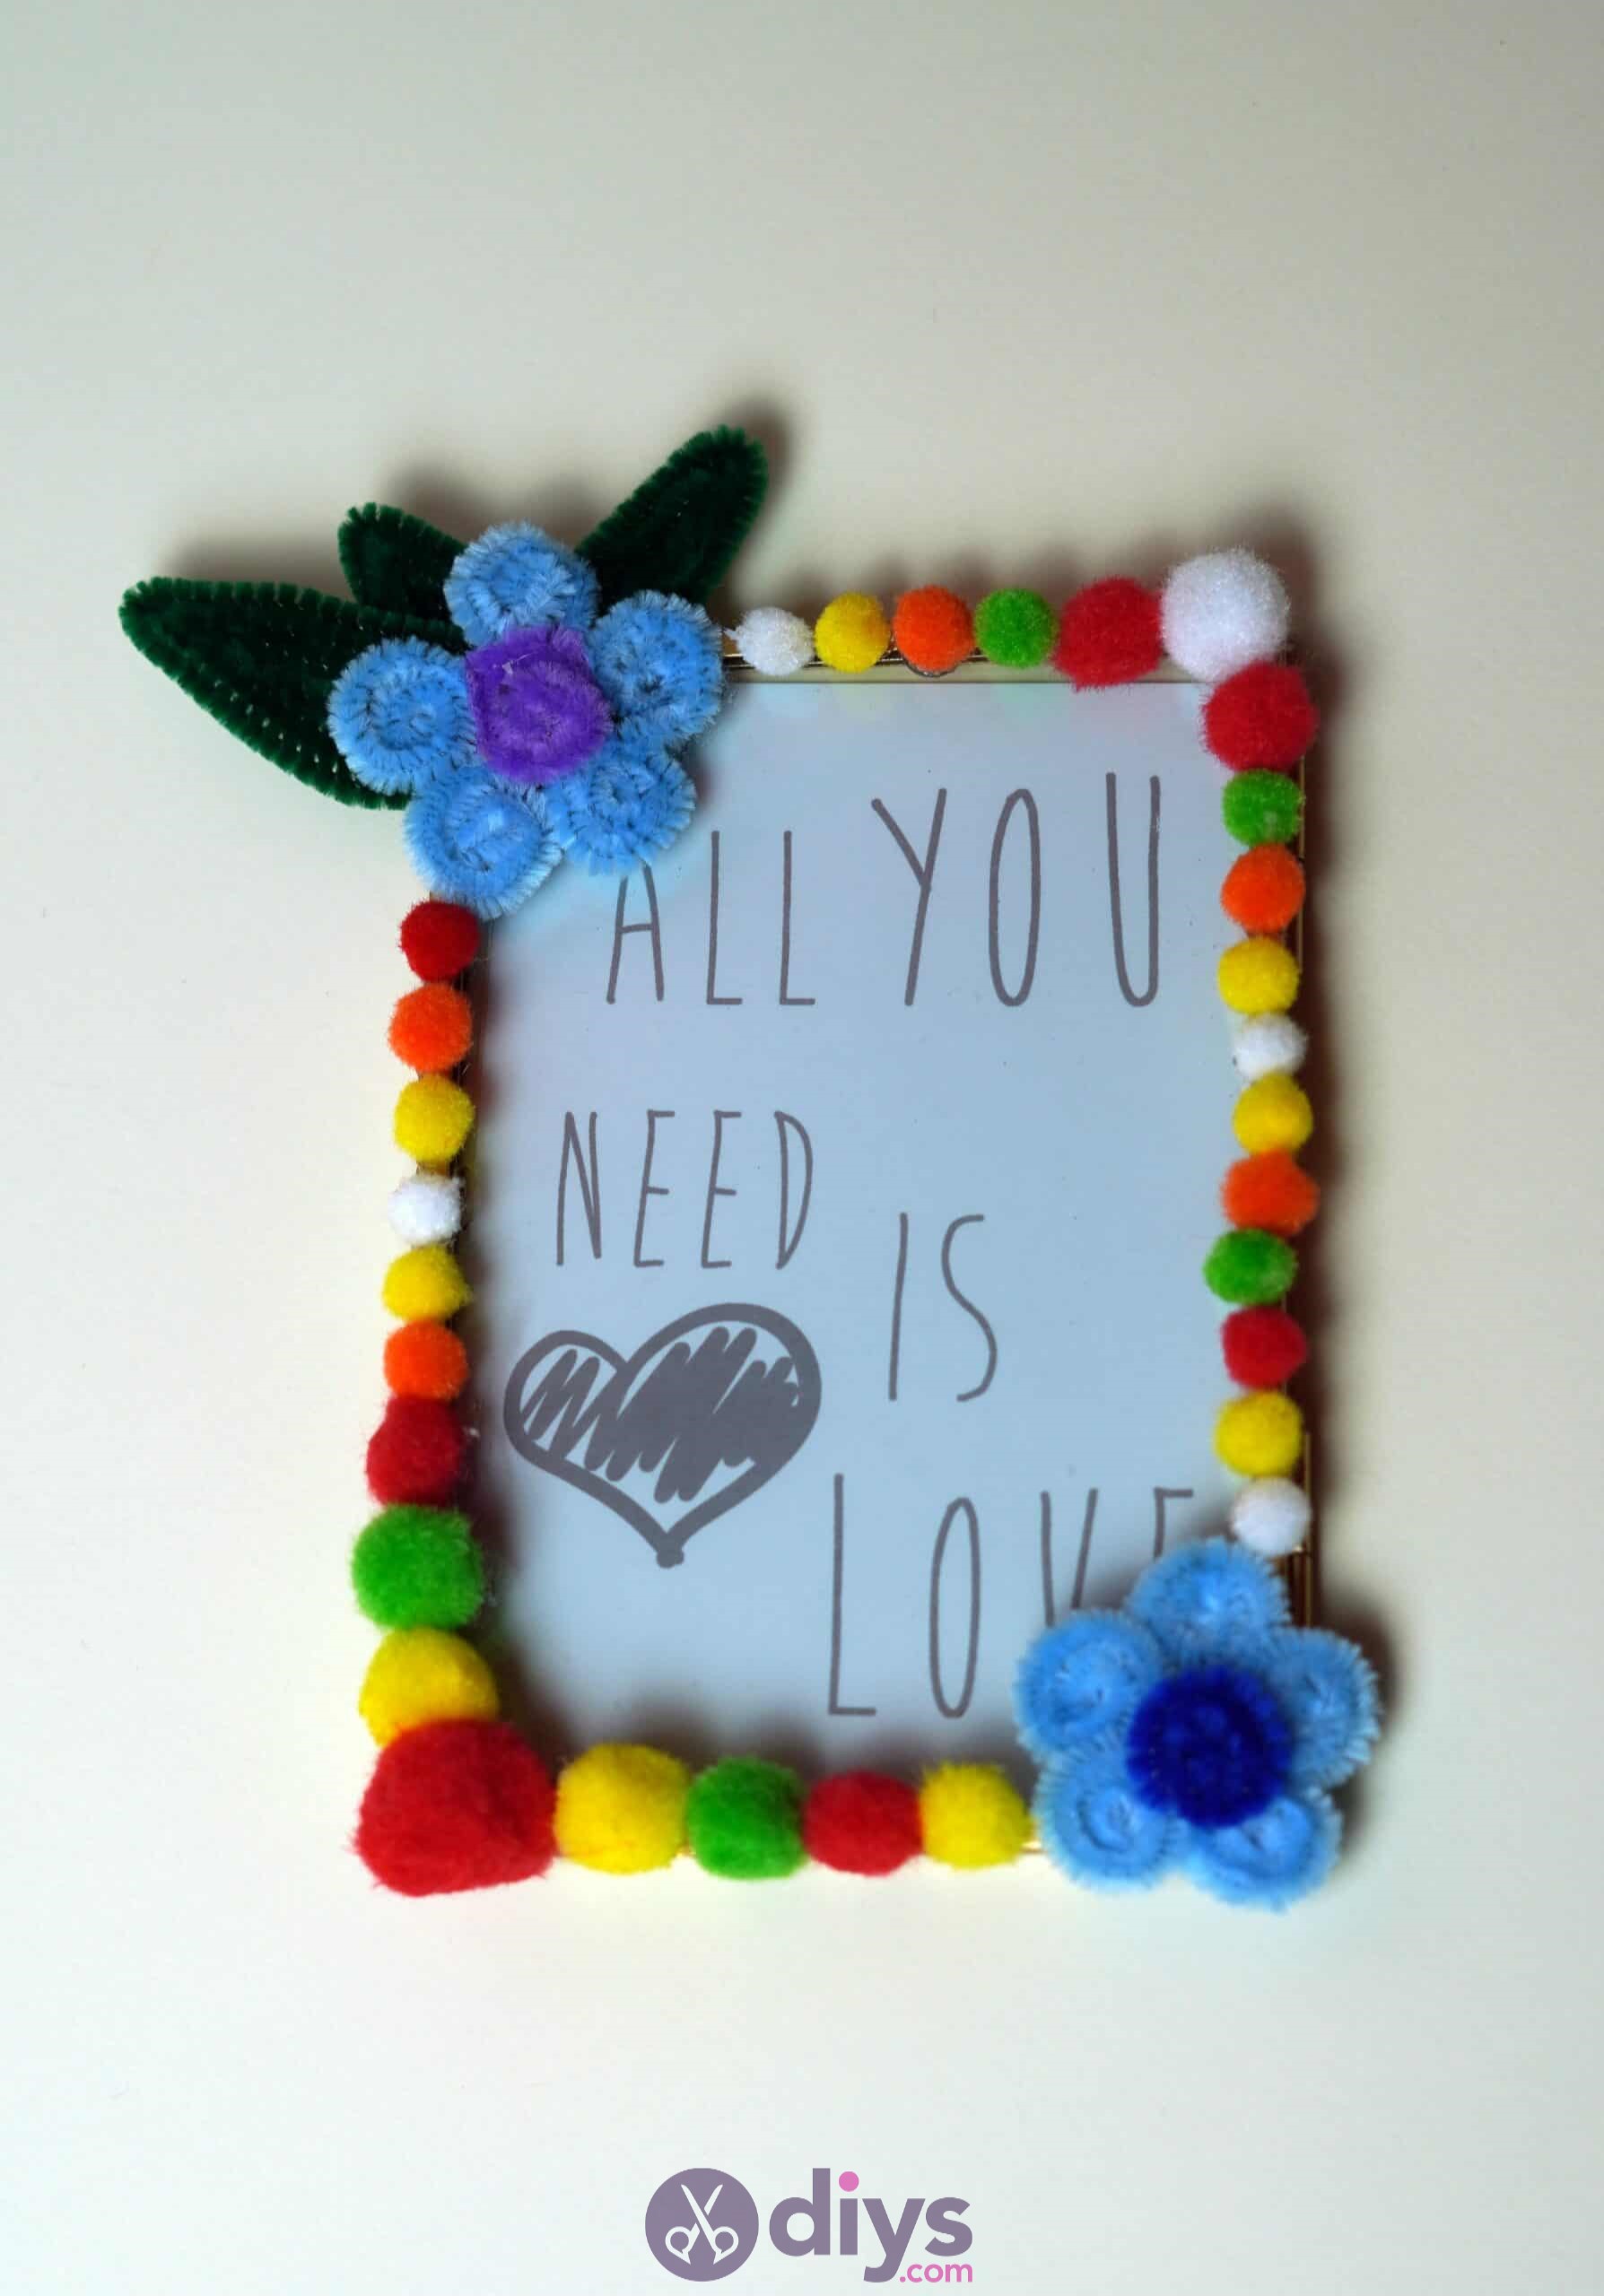
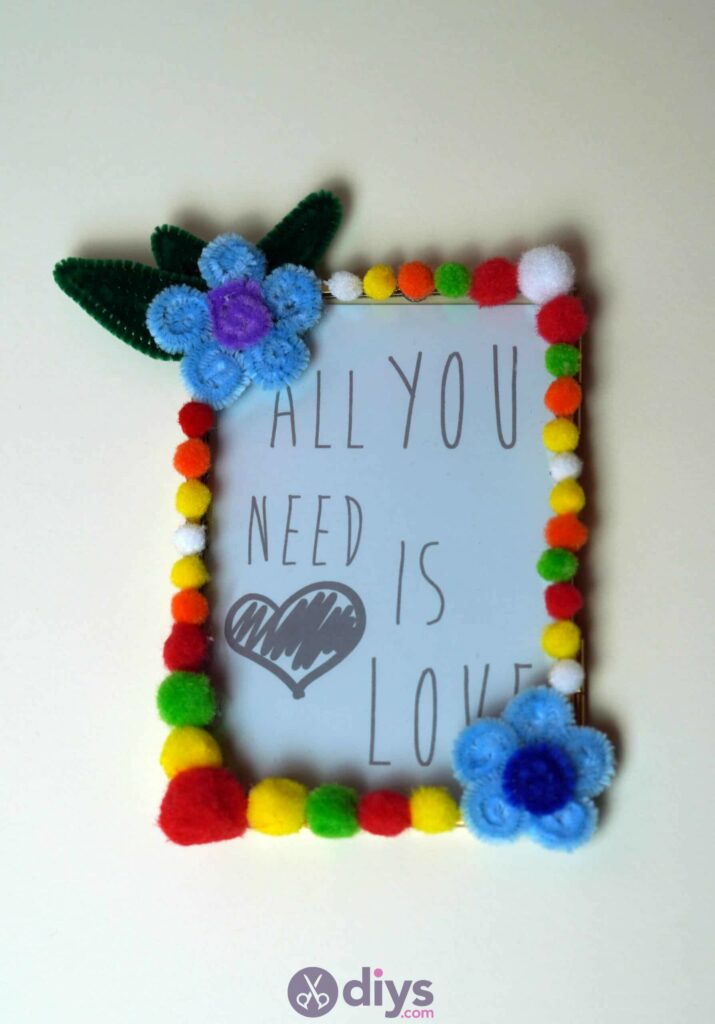
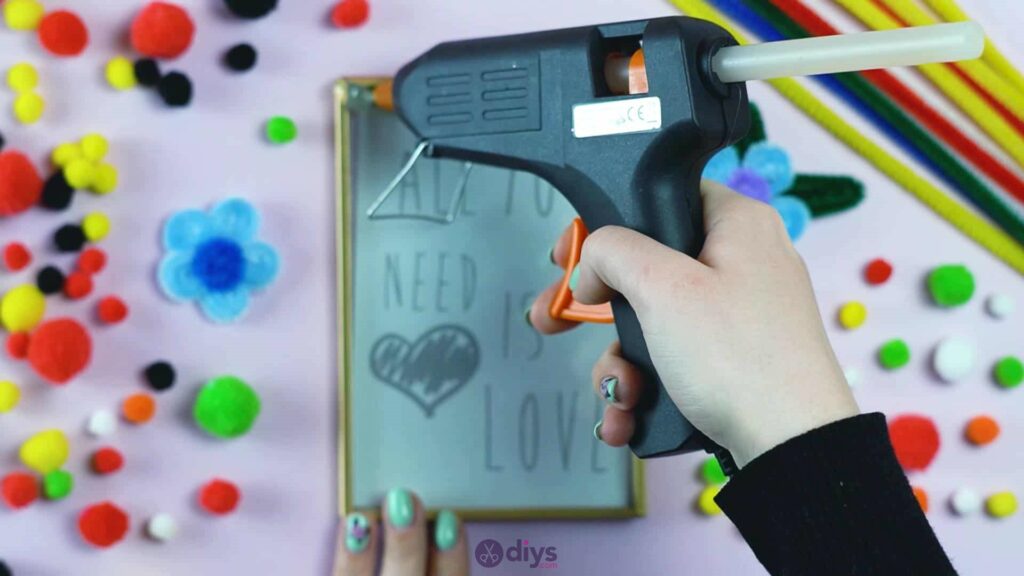
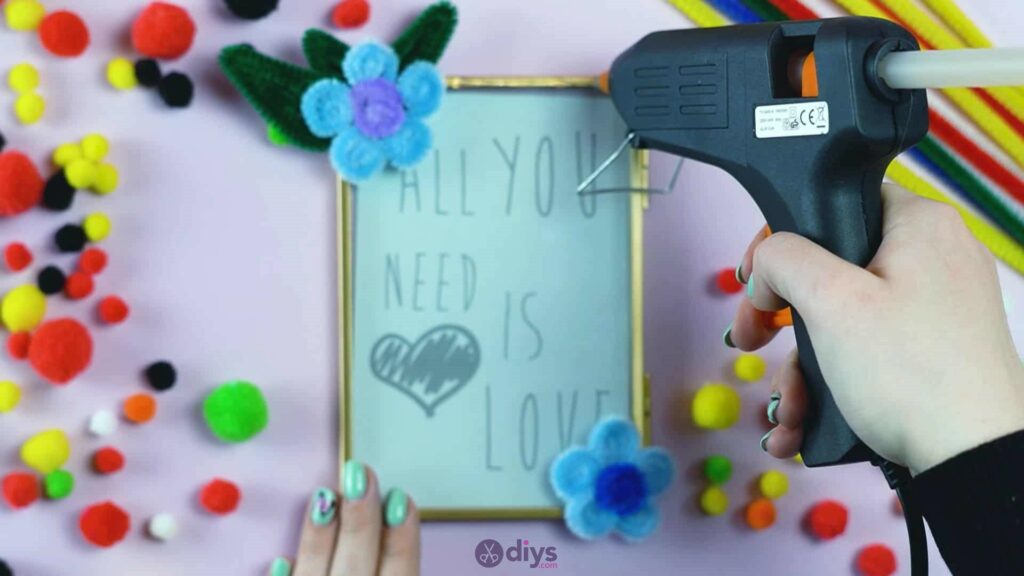
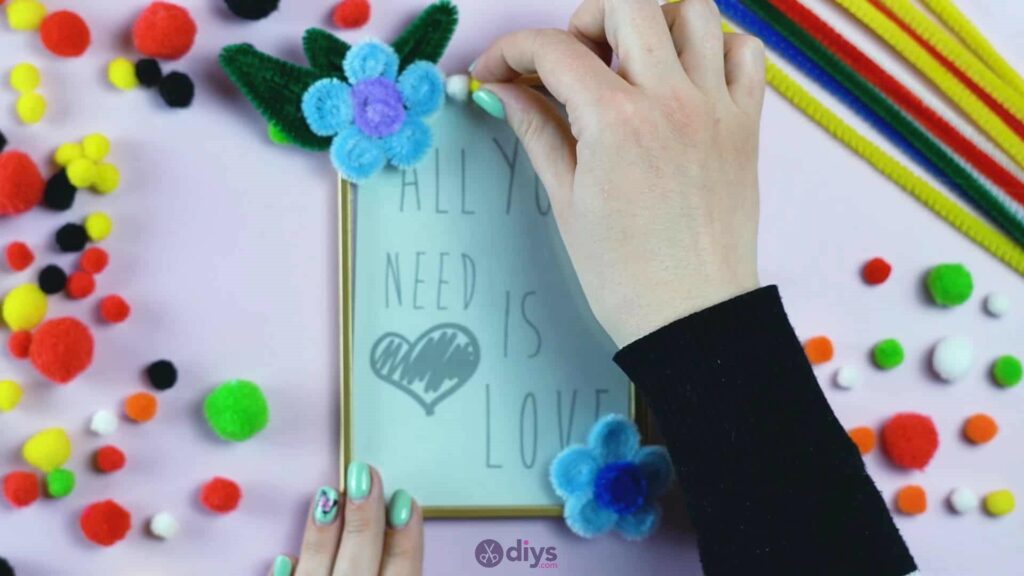
Choose which corners you’re going to glue your flowers into! I chose to put my flower with the leaves in the top lefthand corner and my other flower in the bottom righthand corner. If you’ve already got the photo or piece that you’re planning to display in the frame set inside and you can see that the overlap won’t covered any essential parts, feel free to stick things in this step to the frame rim itselfor the glass.
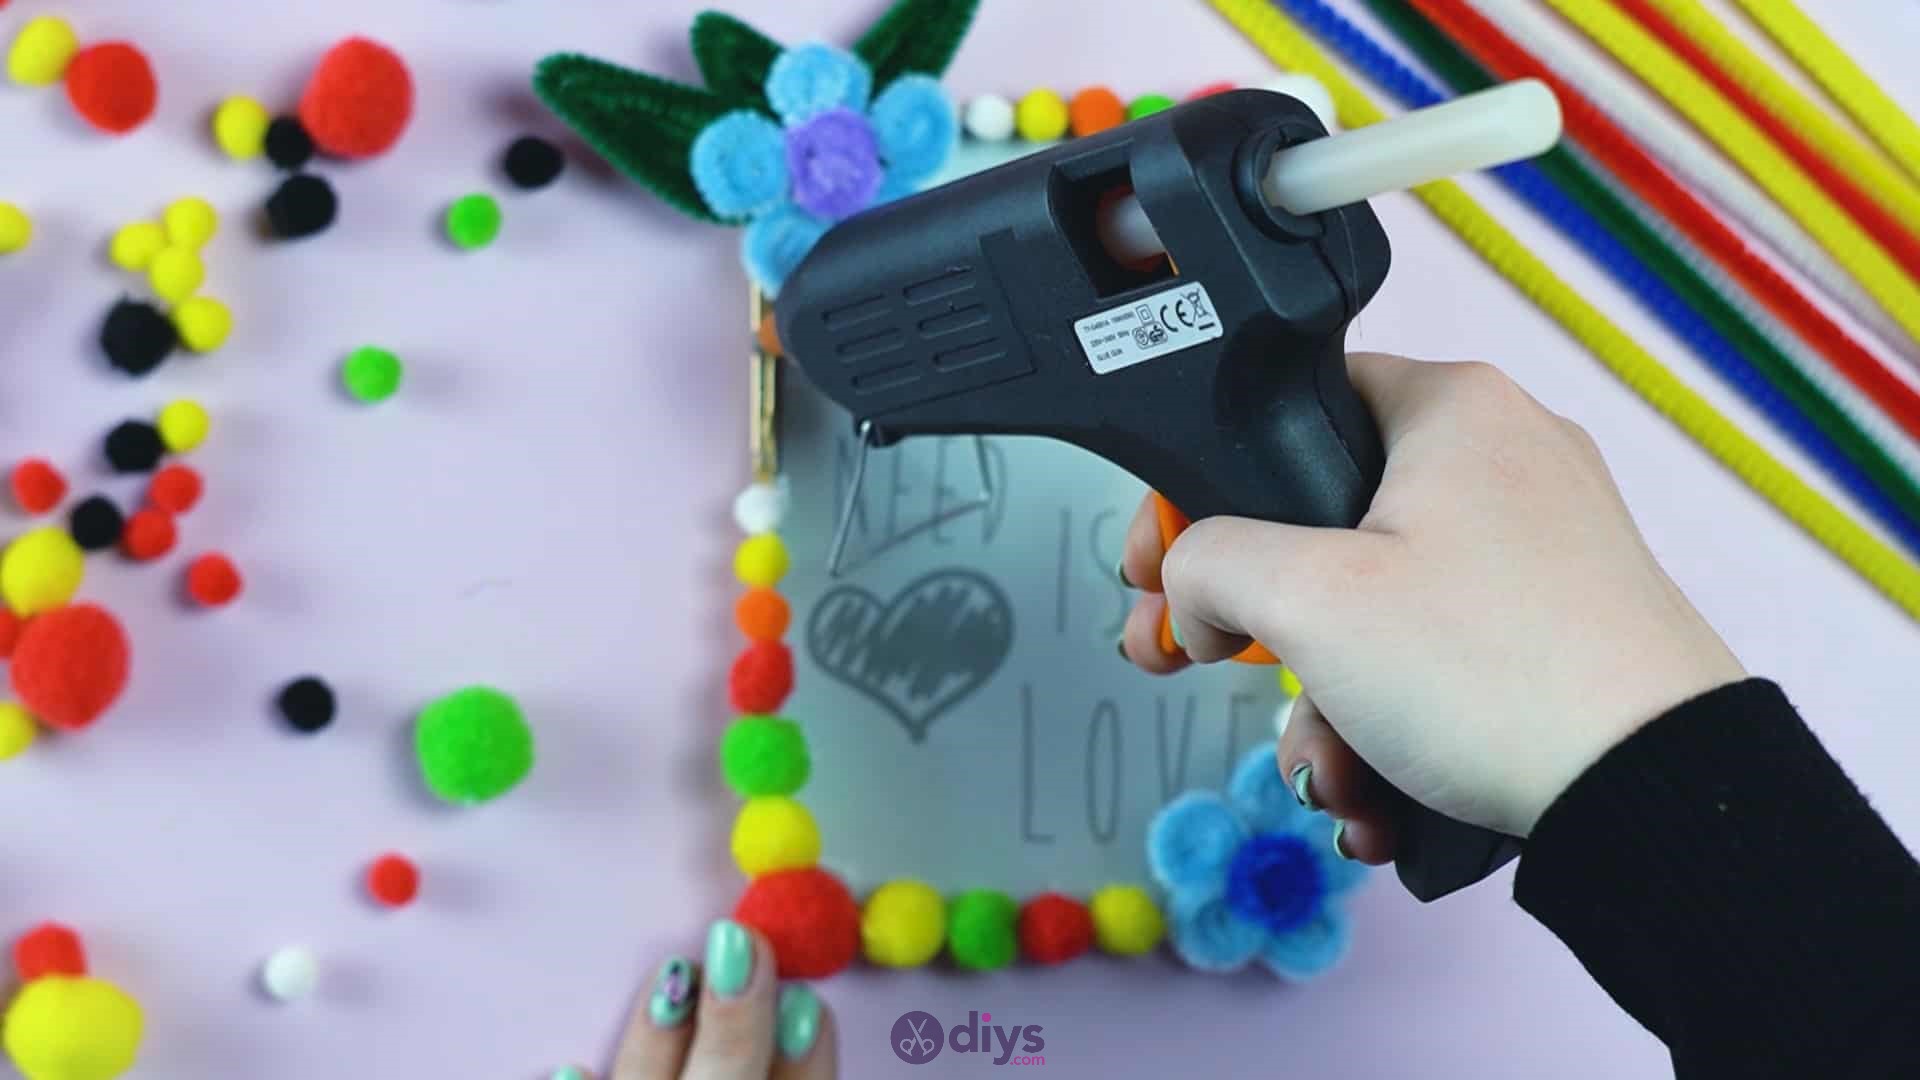
If you’re not yet sure what you want to put inside, try to cover as little of the glass as possible so there’s less change of blocking out whatever you put into it later. Apply hot glue where you want your flowers to sit and then press their backs (the sides with all the knotting, rather than the spiralled pollens you made) into the glue.

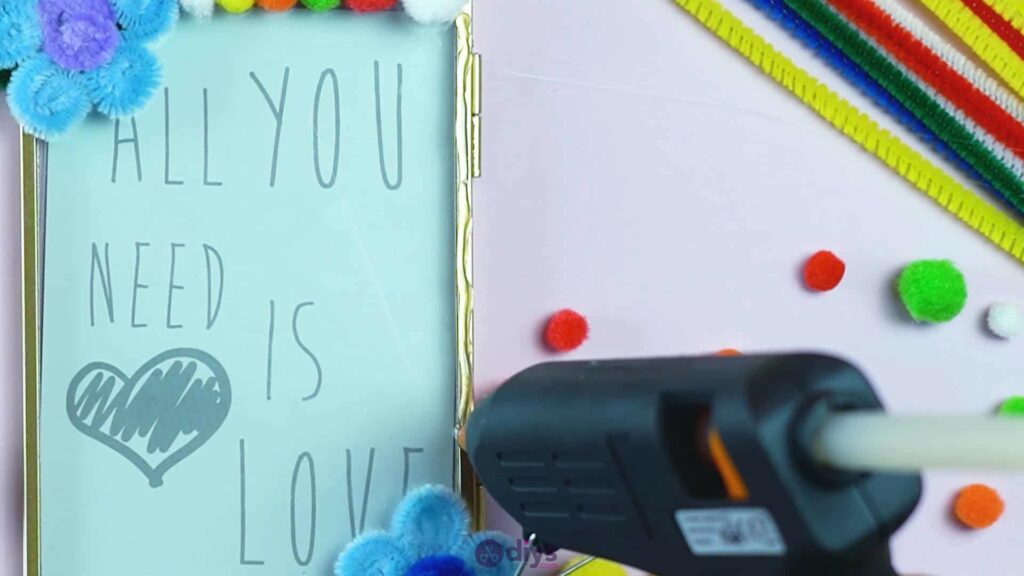
Step 11: decorating the frame
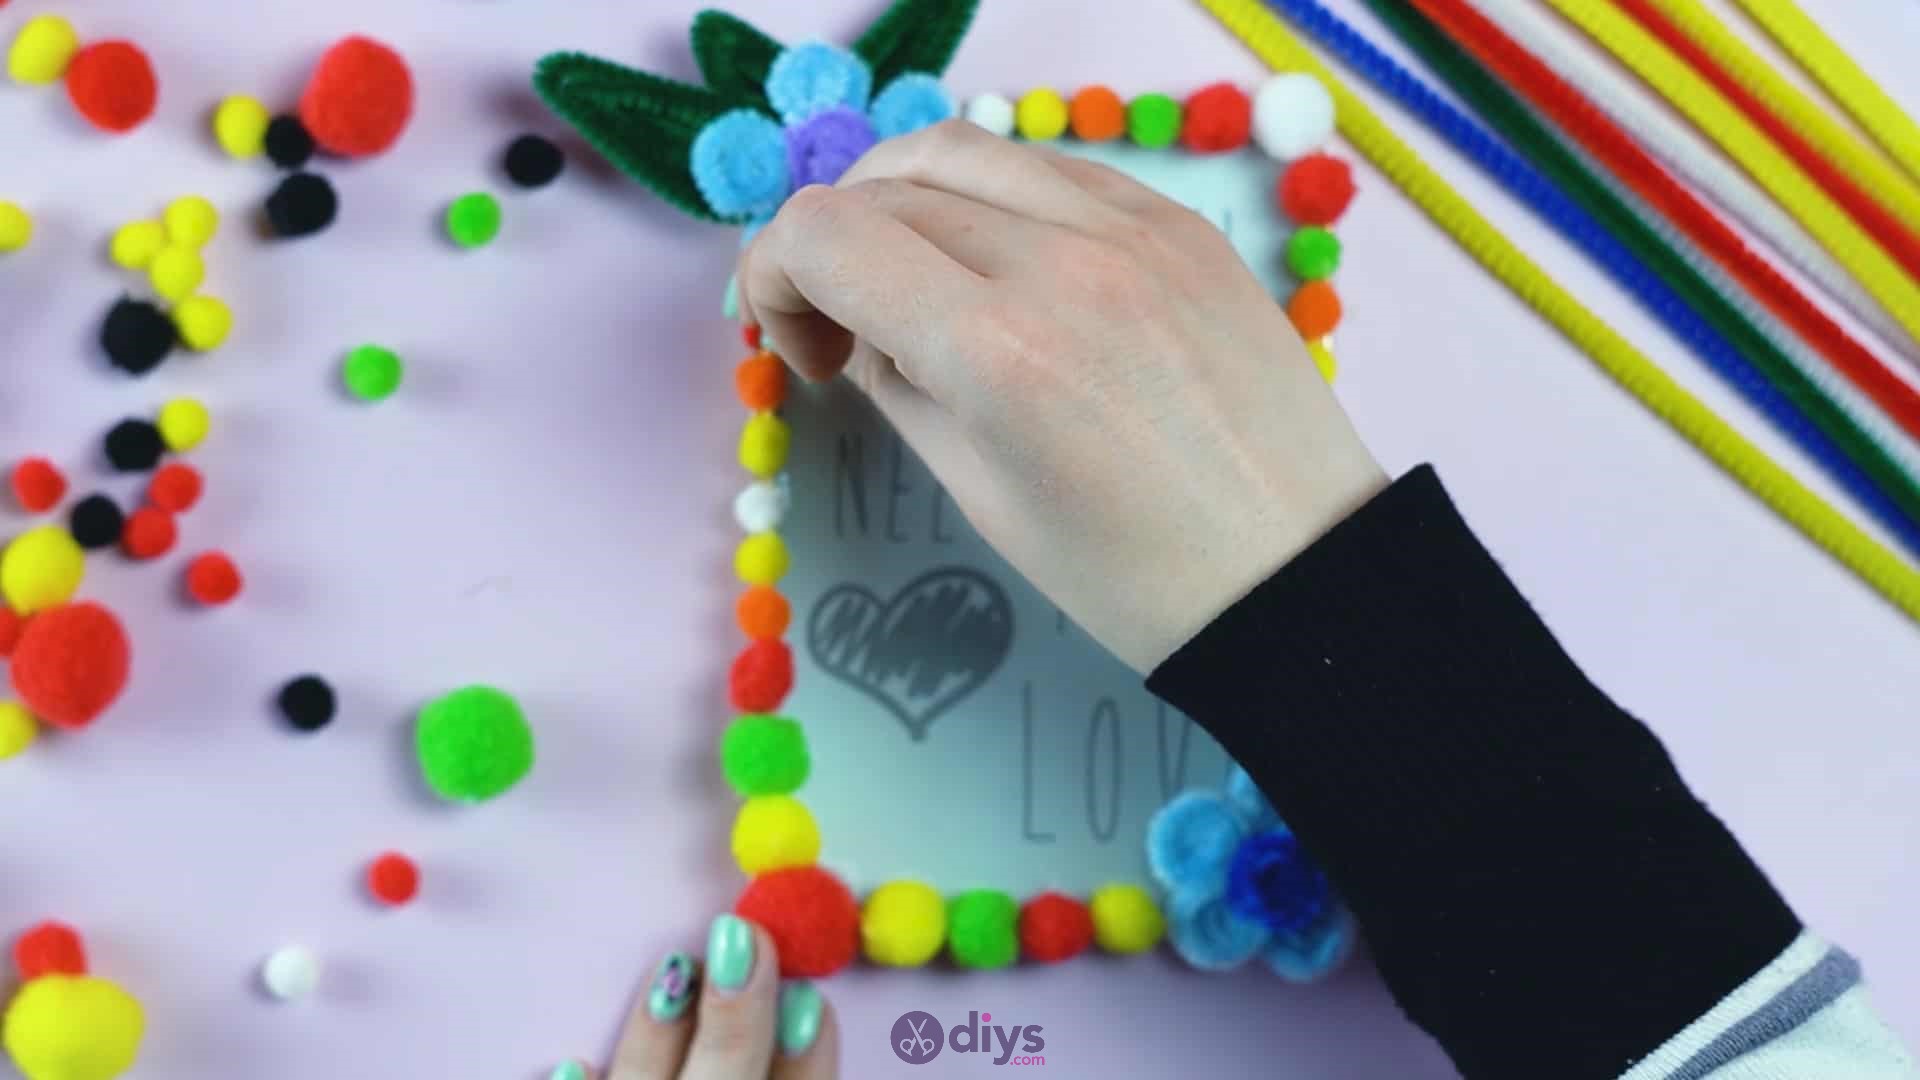
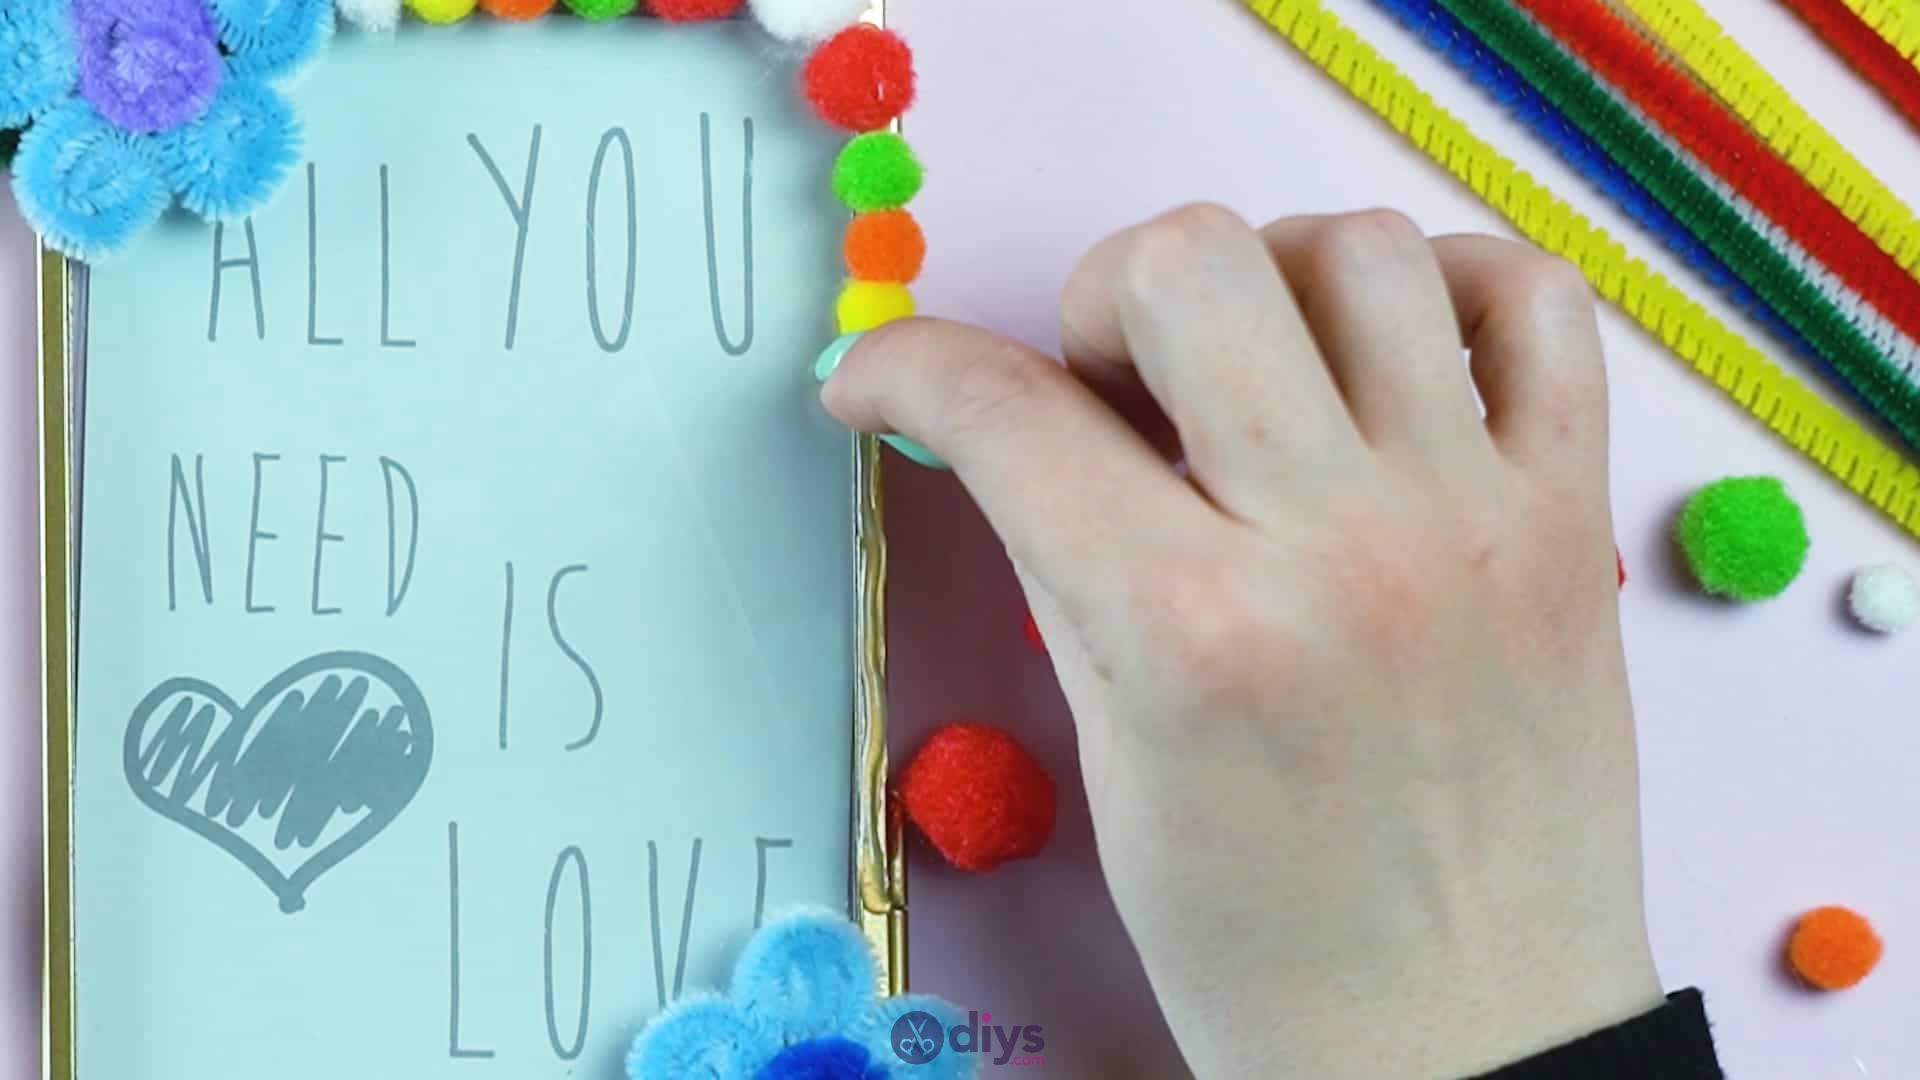
Line the entire outside border of your frame in crafting pom poms! Feel free to alternate colours, intersperse different sizes, and arrange them however you feel looks best. I placed a line of glue along the frame and then placed the pom poms however they best fit against each other.


Just in case you’d like to try this project out for yourself, here’s a fantastic tutorial video to help you!