How To Make A Pendant Necklace from Concrete
Updated on November 19, 2025


There are so many things you do with concrete but I bet you never considered making jewelry with it. We made this DIY necklace and documented it in this step by step tutorial for you to try!

Check out these step by step instructions complete with photos! If you’d rather follow along with a video tutorial instead of written words, scroll to the bottom of this post to find just what you’re looking for.

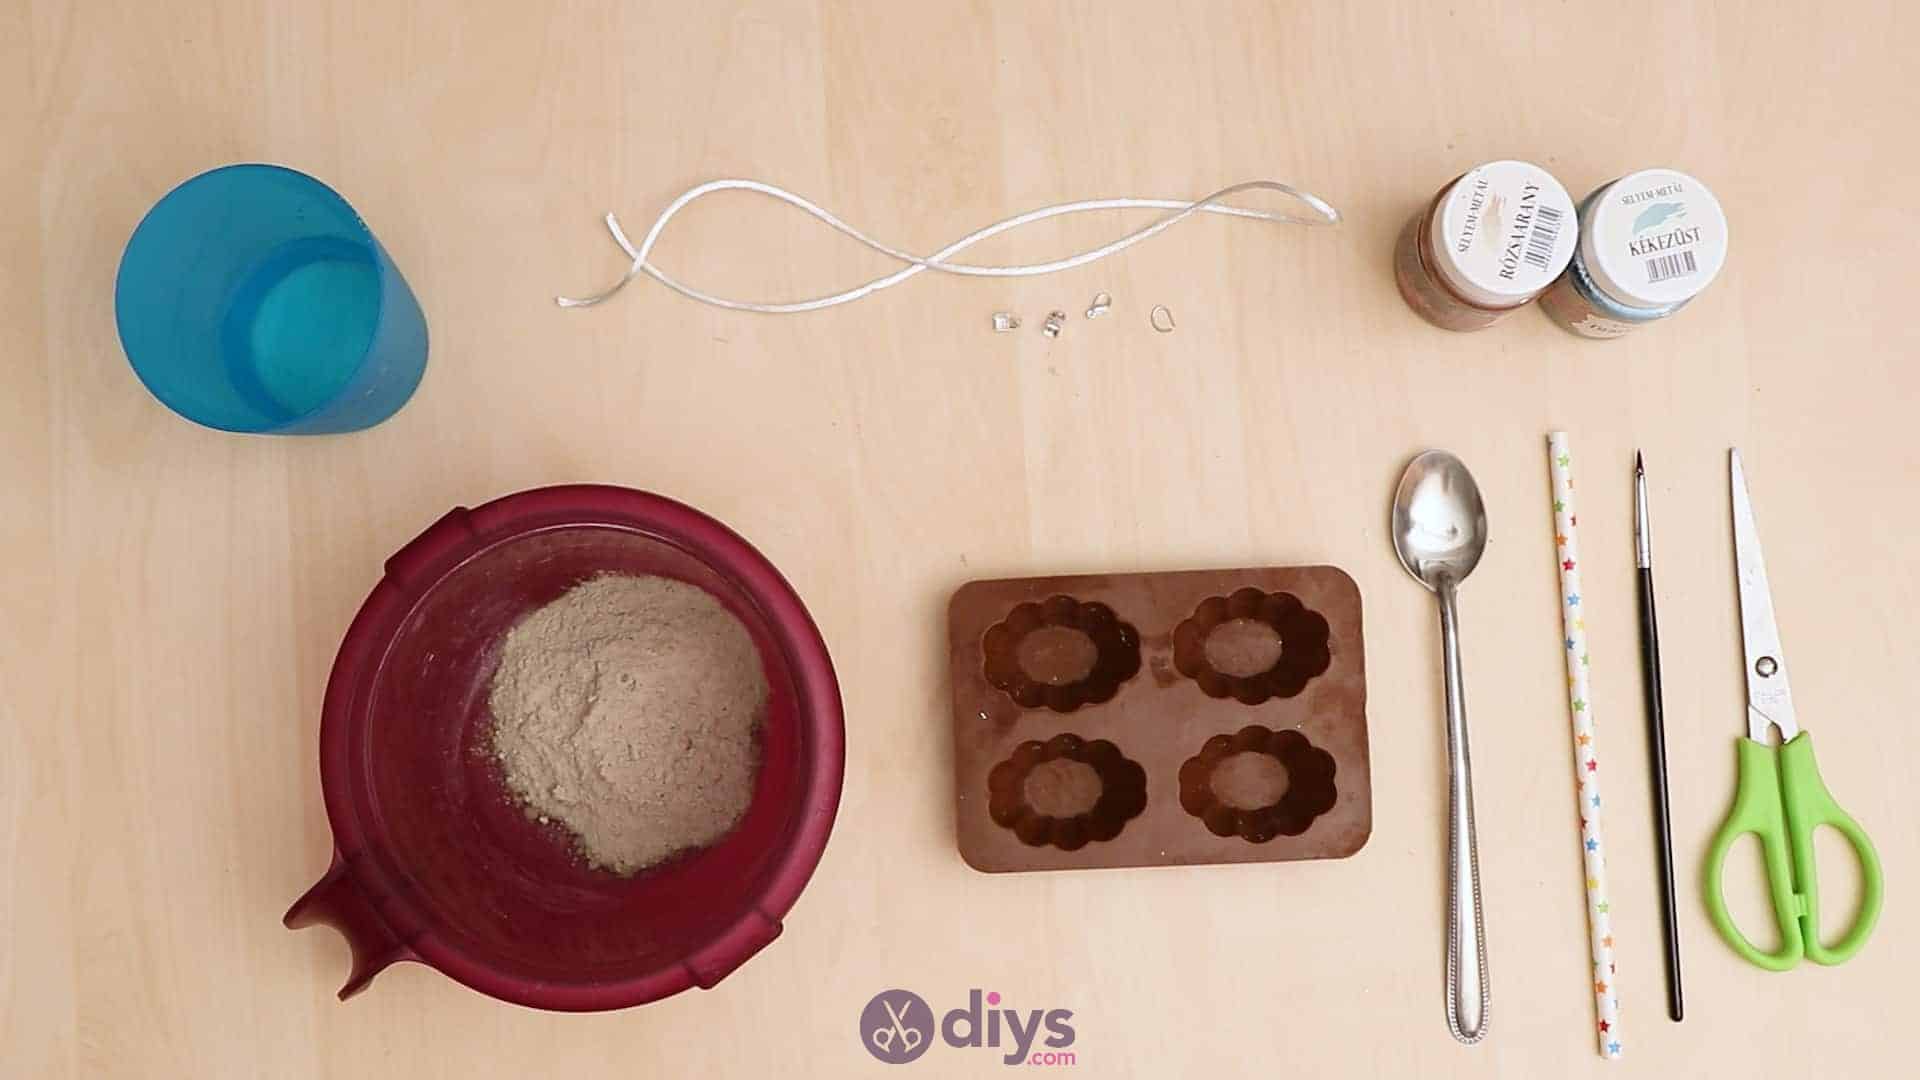
For this project, you’ll need:
- DIY fine particle cement
- Water
- A mixing bowl
- A spoon
- Scissors
- Oil
- A paintbrush
- Rose gold acrylic paint
- A straw
- A silicone form
- Satin macrame cord
- Ribbon Clasps
- A screwdriver (or something similarly hard and thin)
Step 1: Gather your materials!
When working with concrete, it’s important to get everything together before you start.

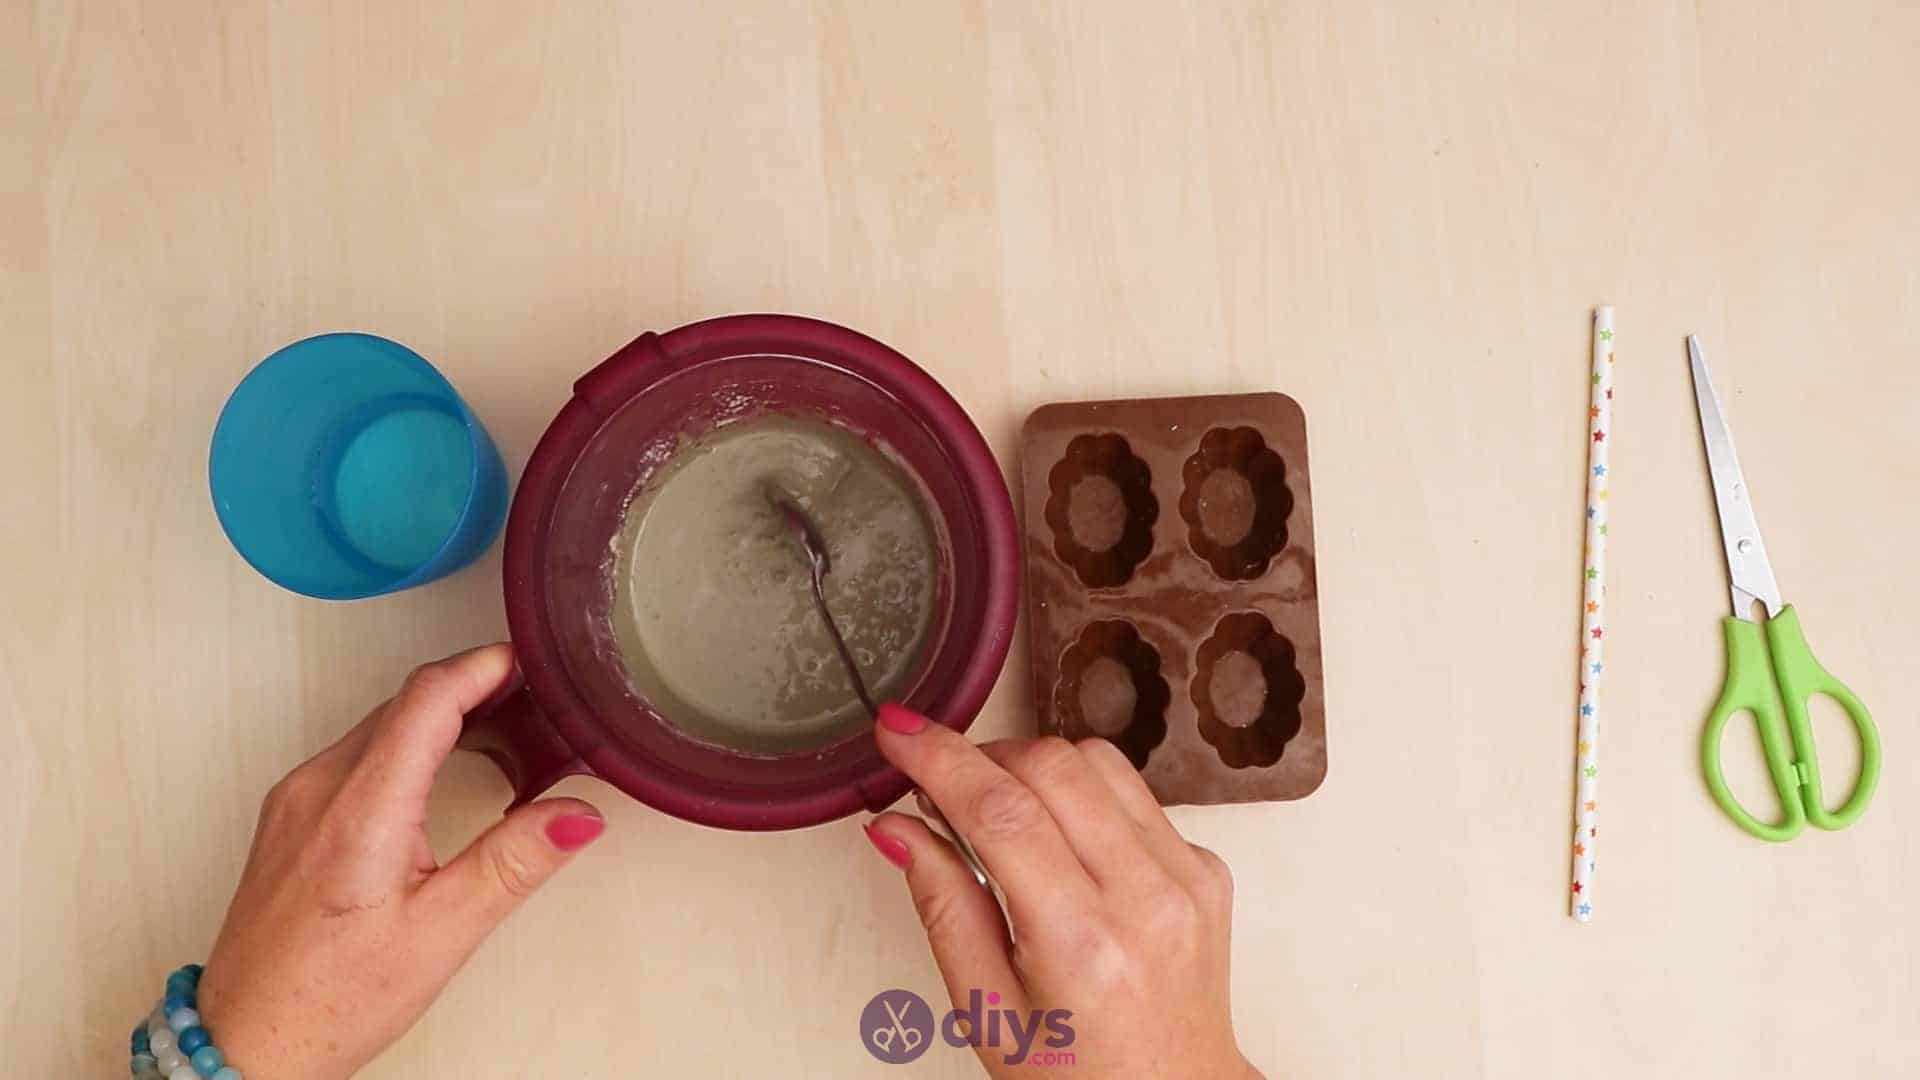
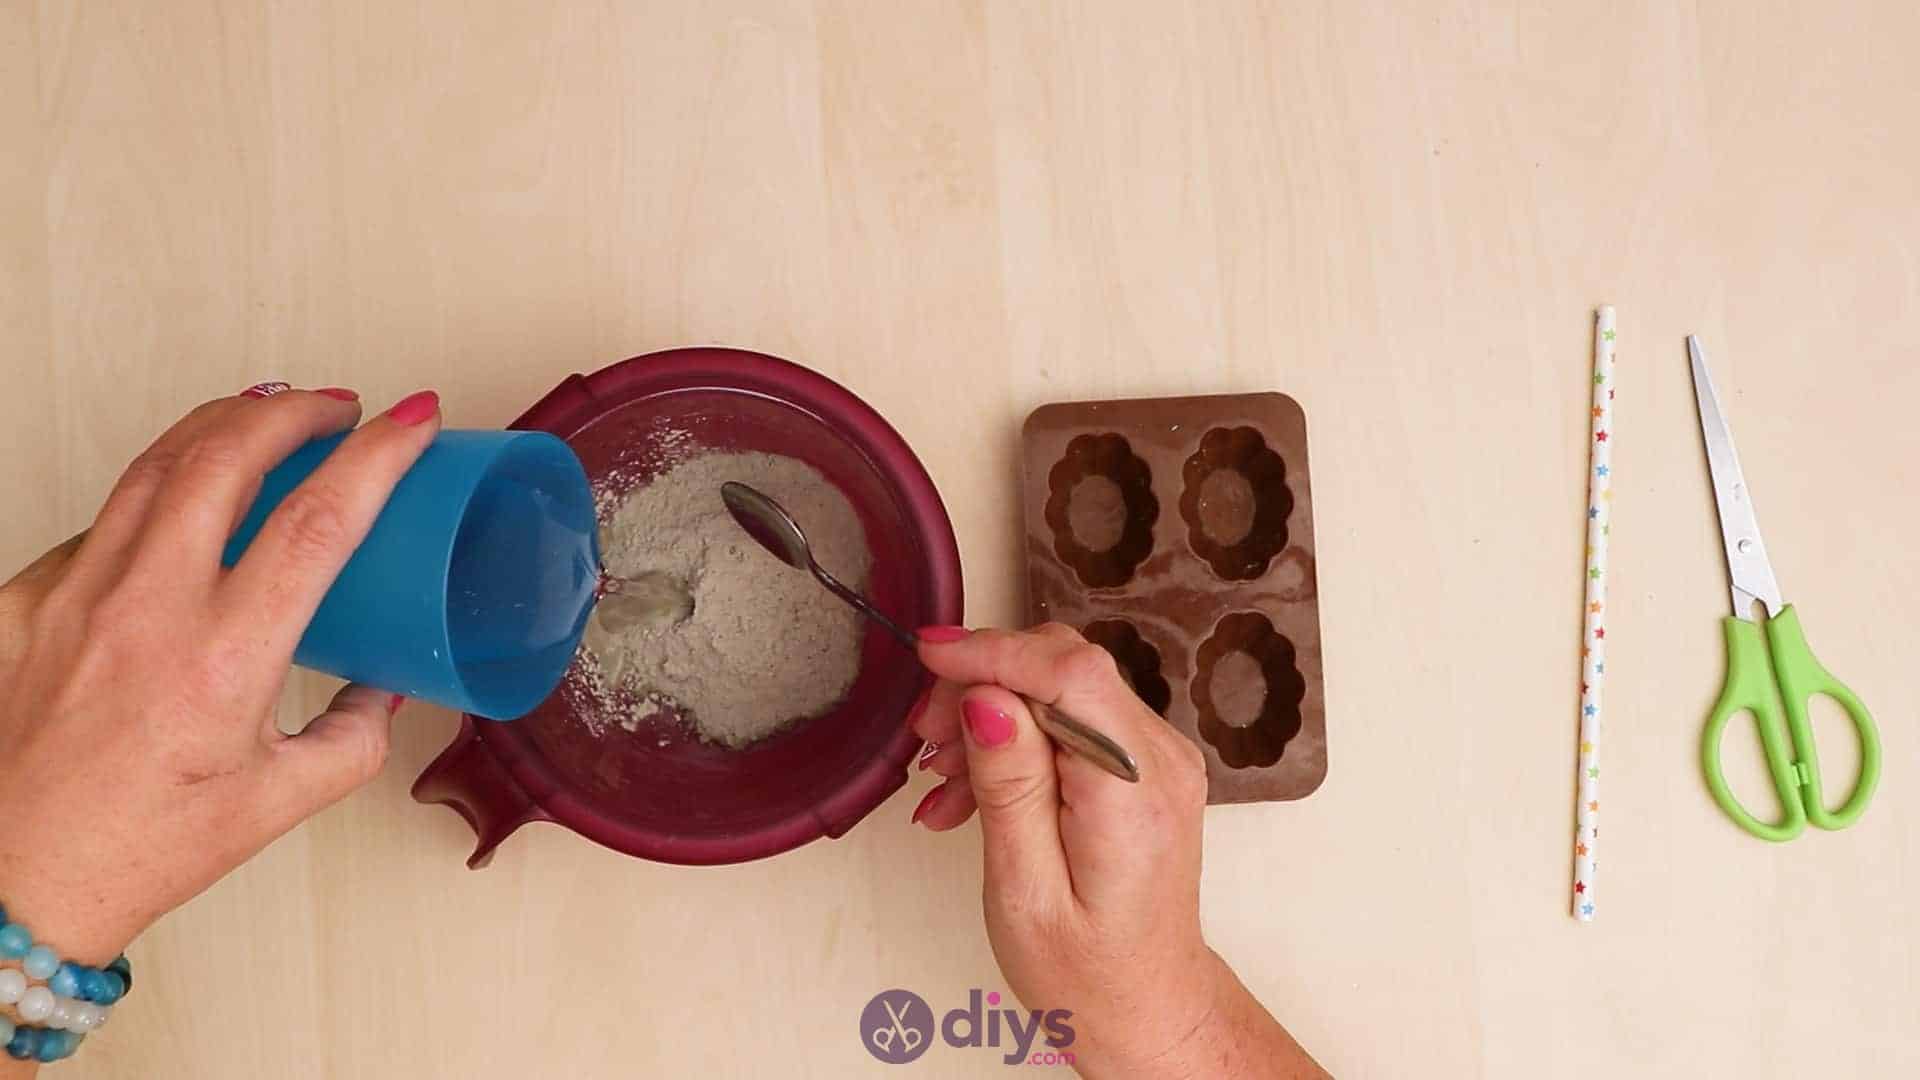
Step 2: mix the concrete
Add water to your DIY fine particle cement mix and stir it with you spoon until it’s free of clumps and has the right consistency. Follow the directions on the back of your package to get the correct ratio of water to powdered mix, since it varies from brand to brand.


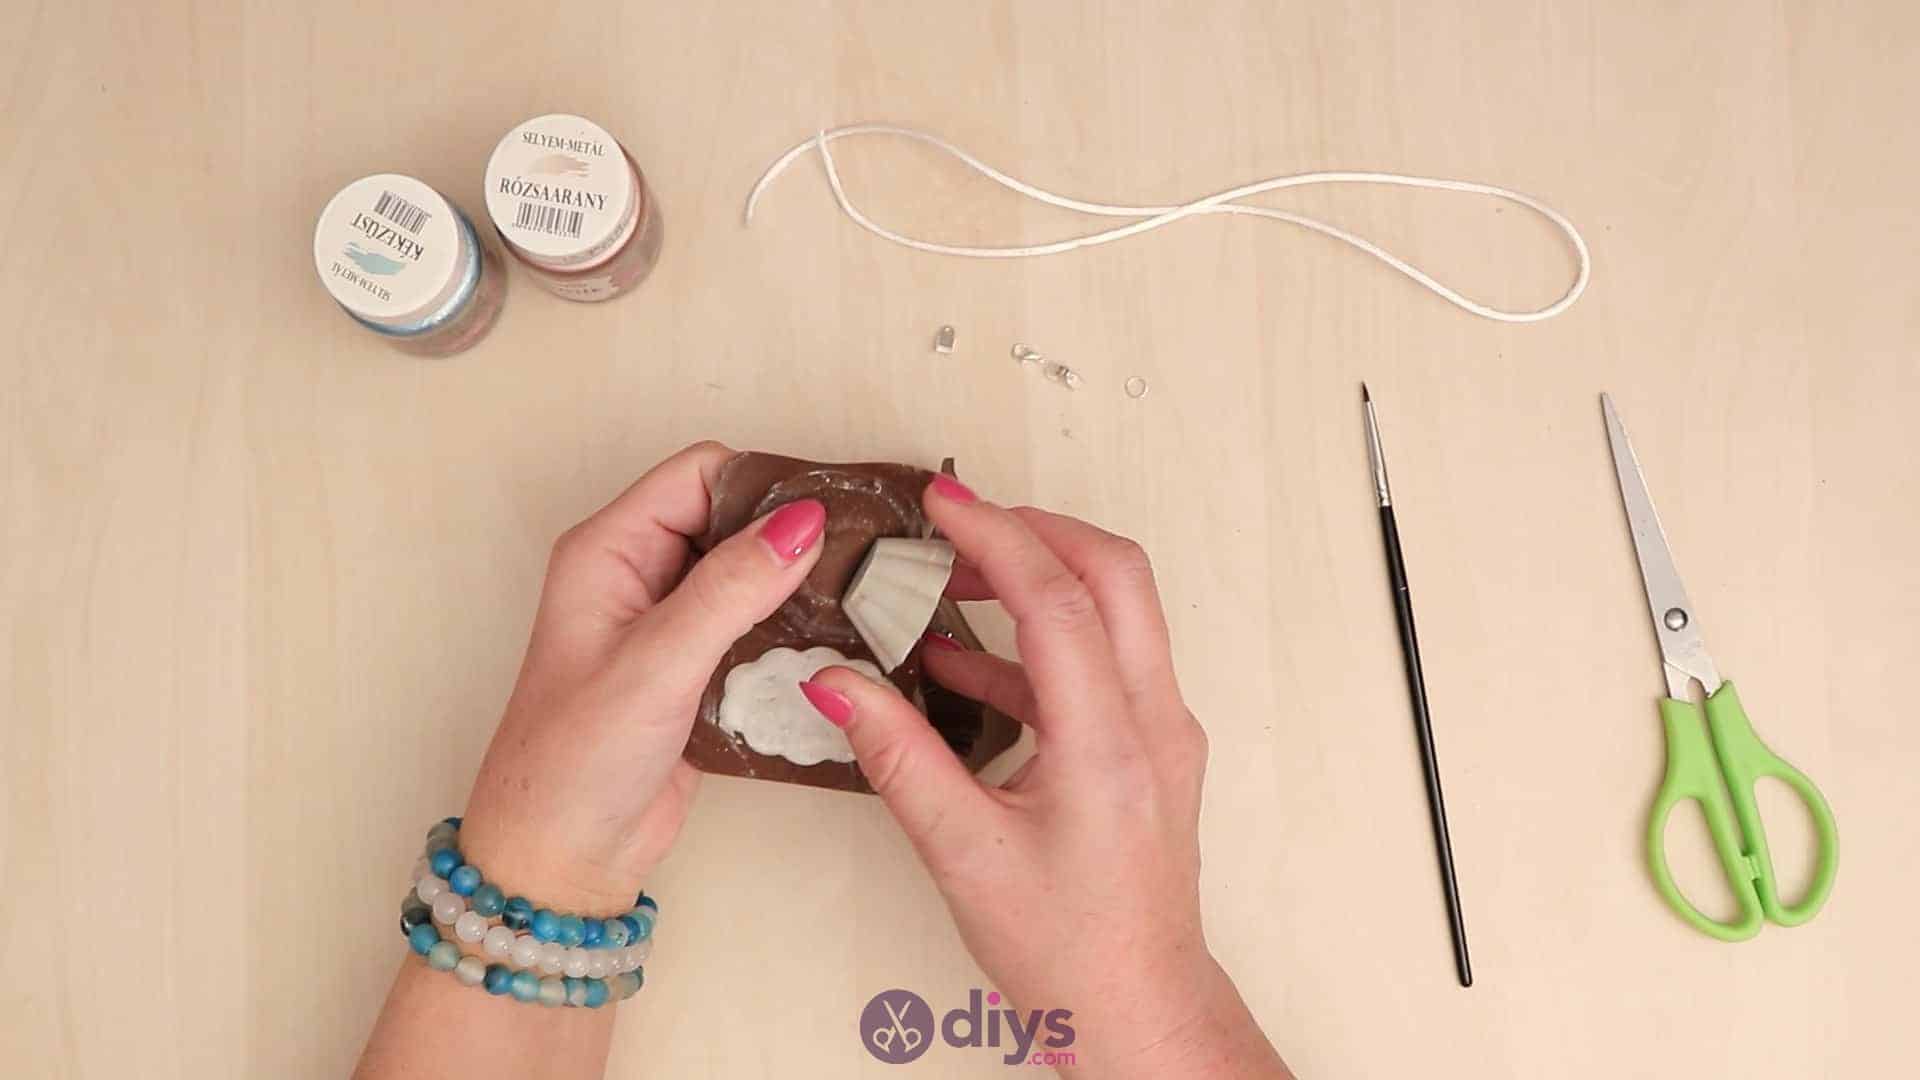
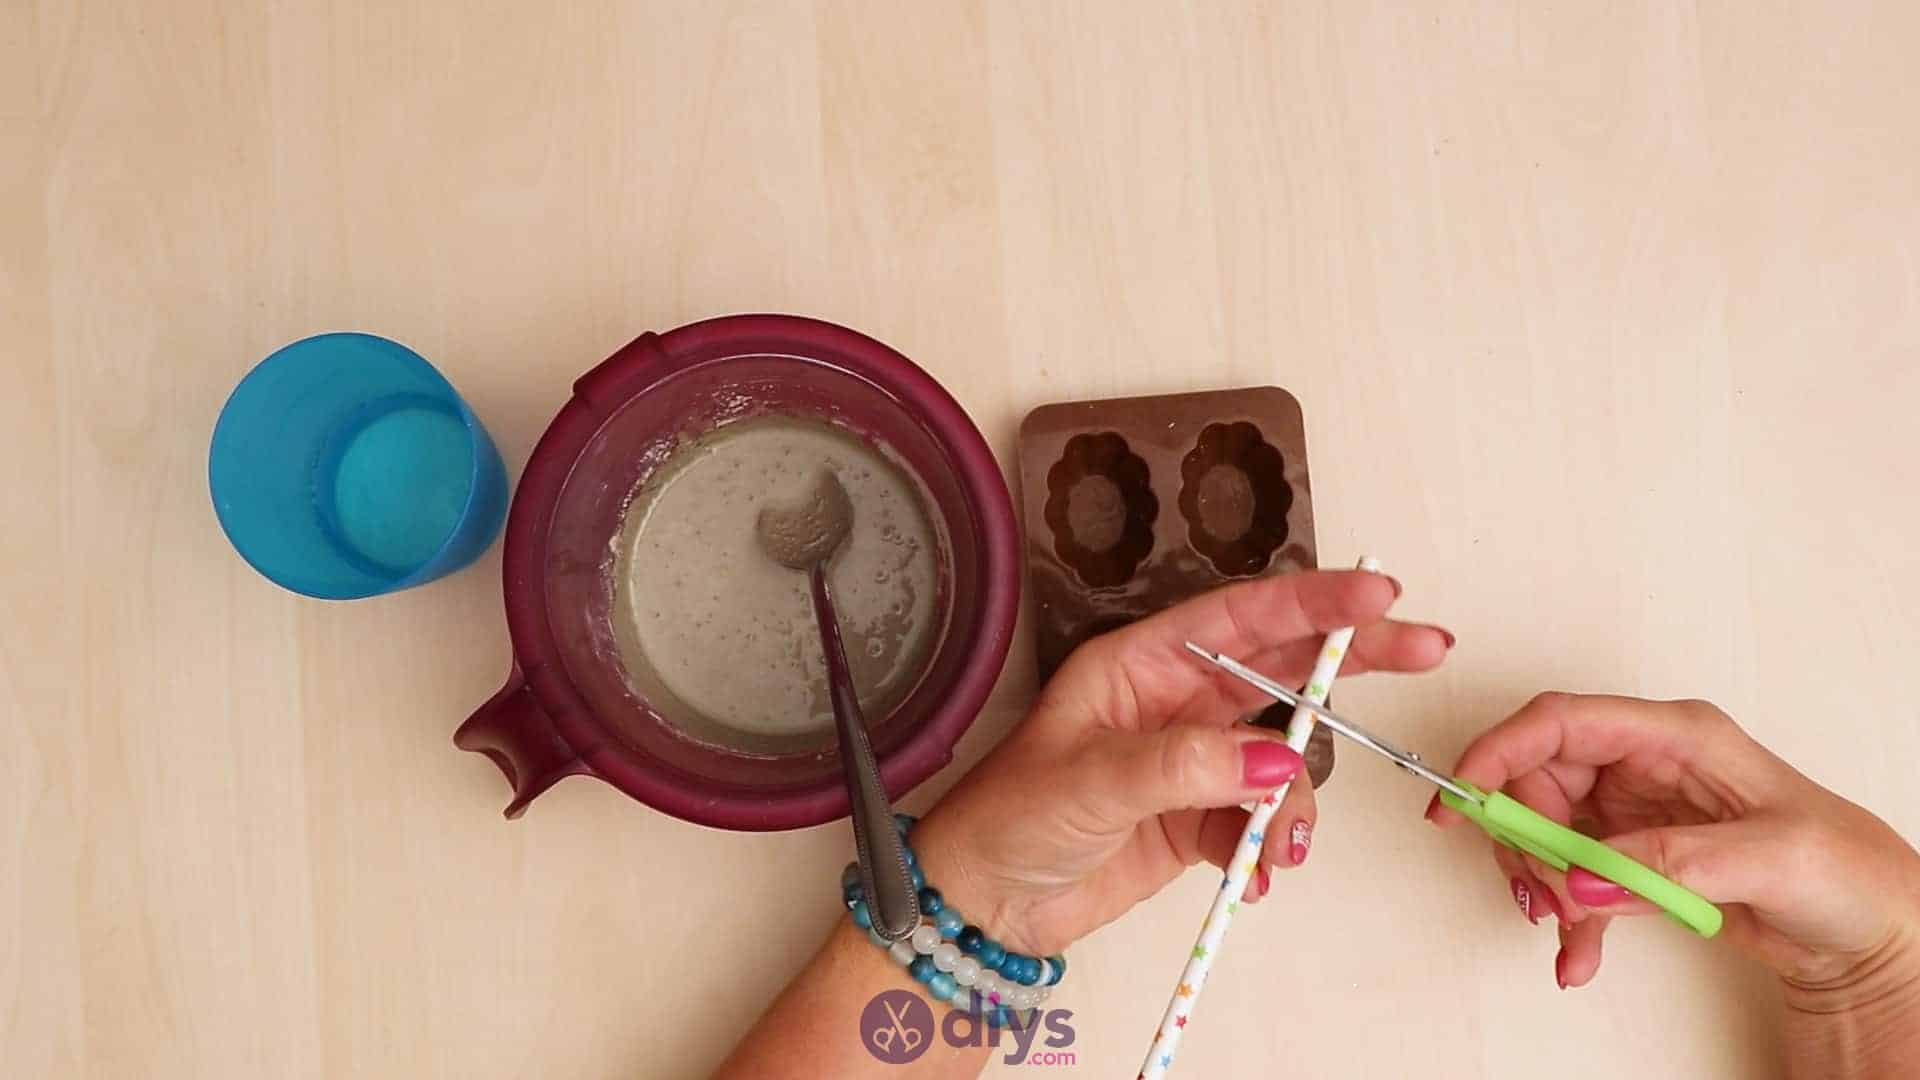
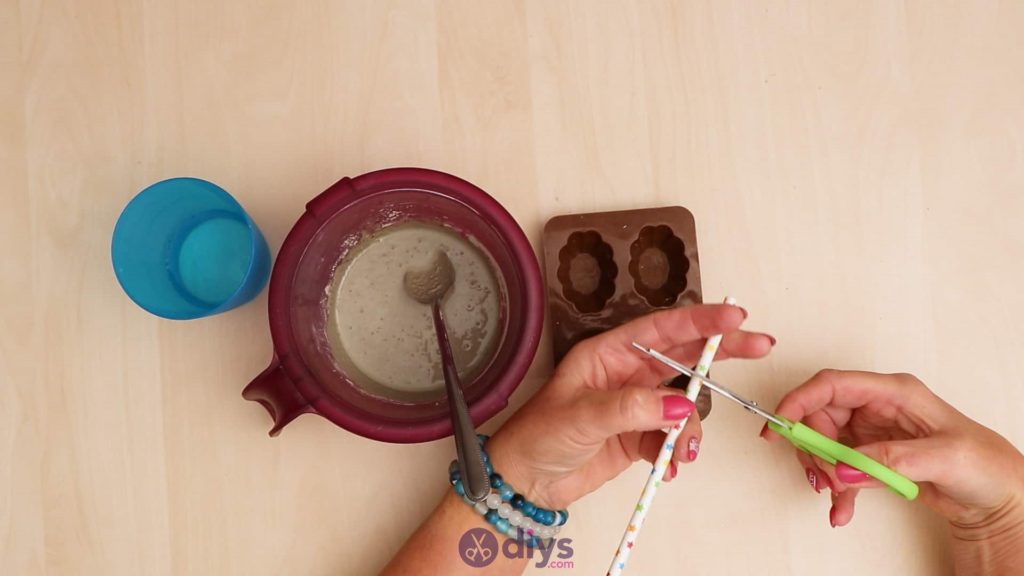
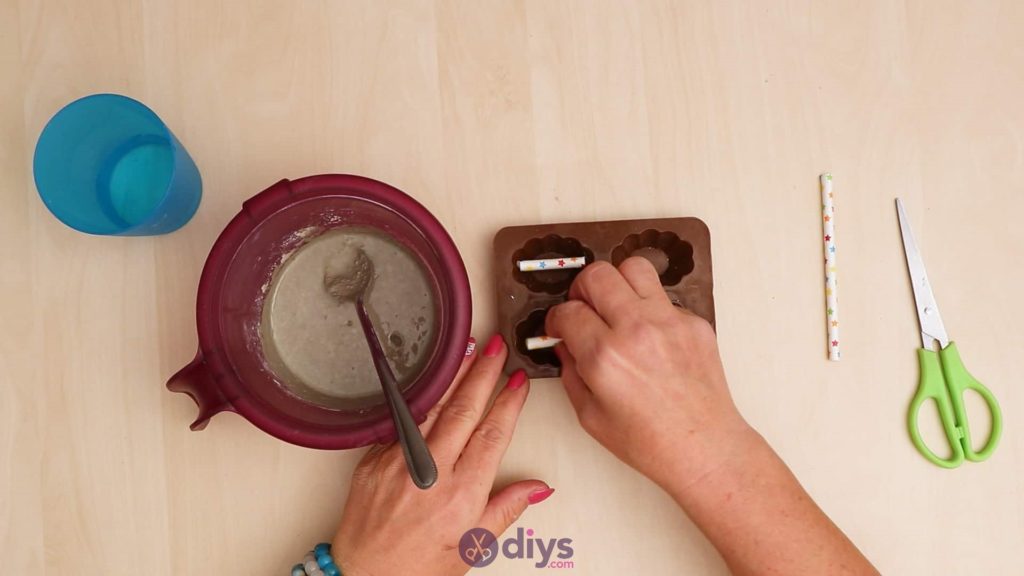
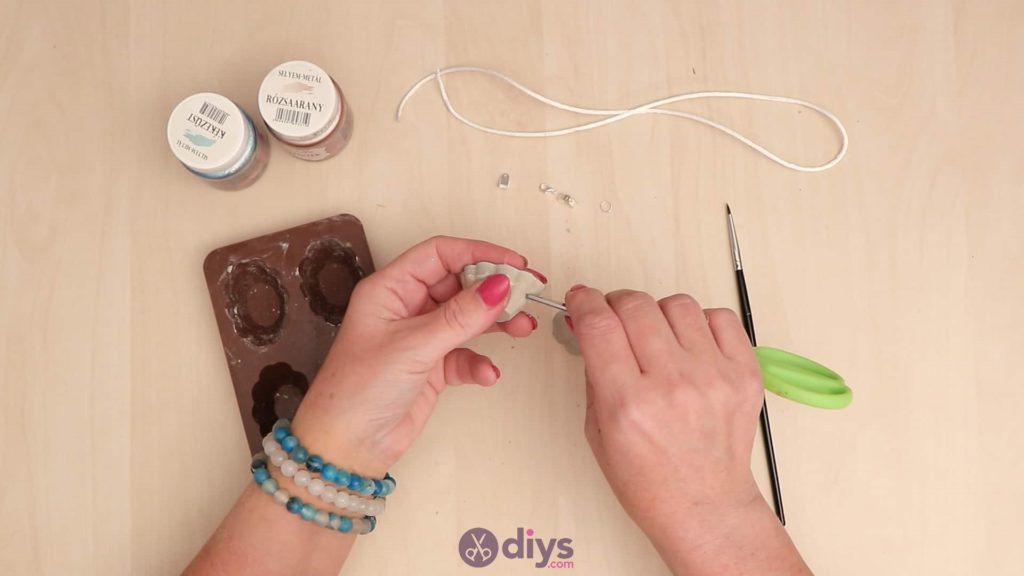
Step 3: cut the straw and place inside
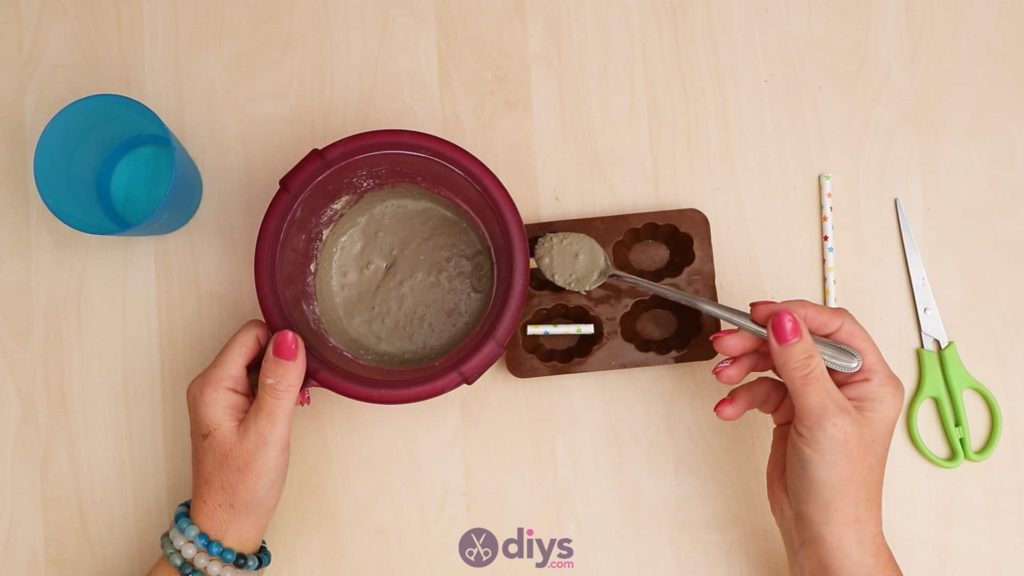
Cut two straw sections that are the same length or width as the part of the concrete shape you’re making that you’d like to be able to string your cord through in your pendant. I chose to string mine through the middle of my gem shape, so I measured the straw sections to be the same length as my mold’s widest point across the middle. Fit the straw sections into your mold where they’ll run straight across so they hold space in the middle of your finished concrete shape and make a hole in the centre for your string.
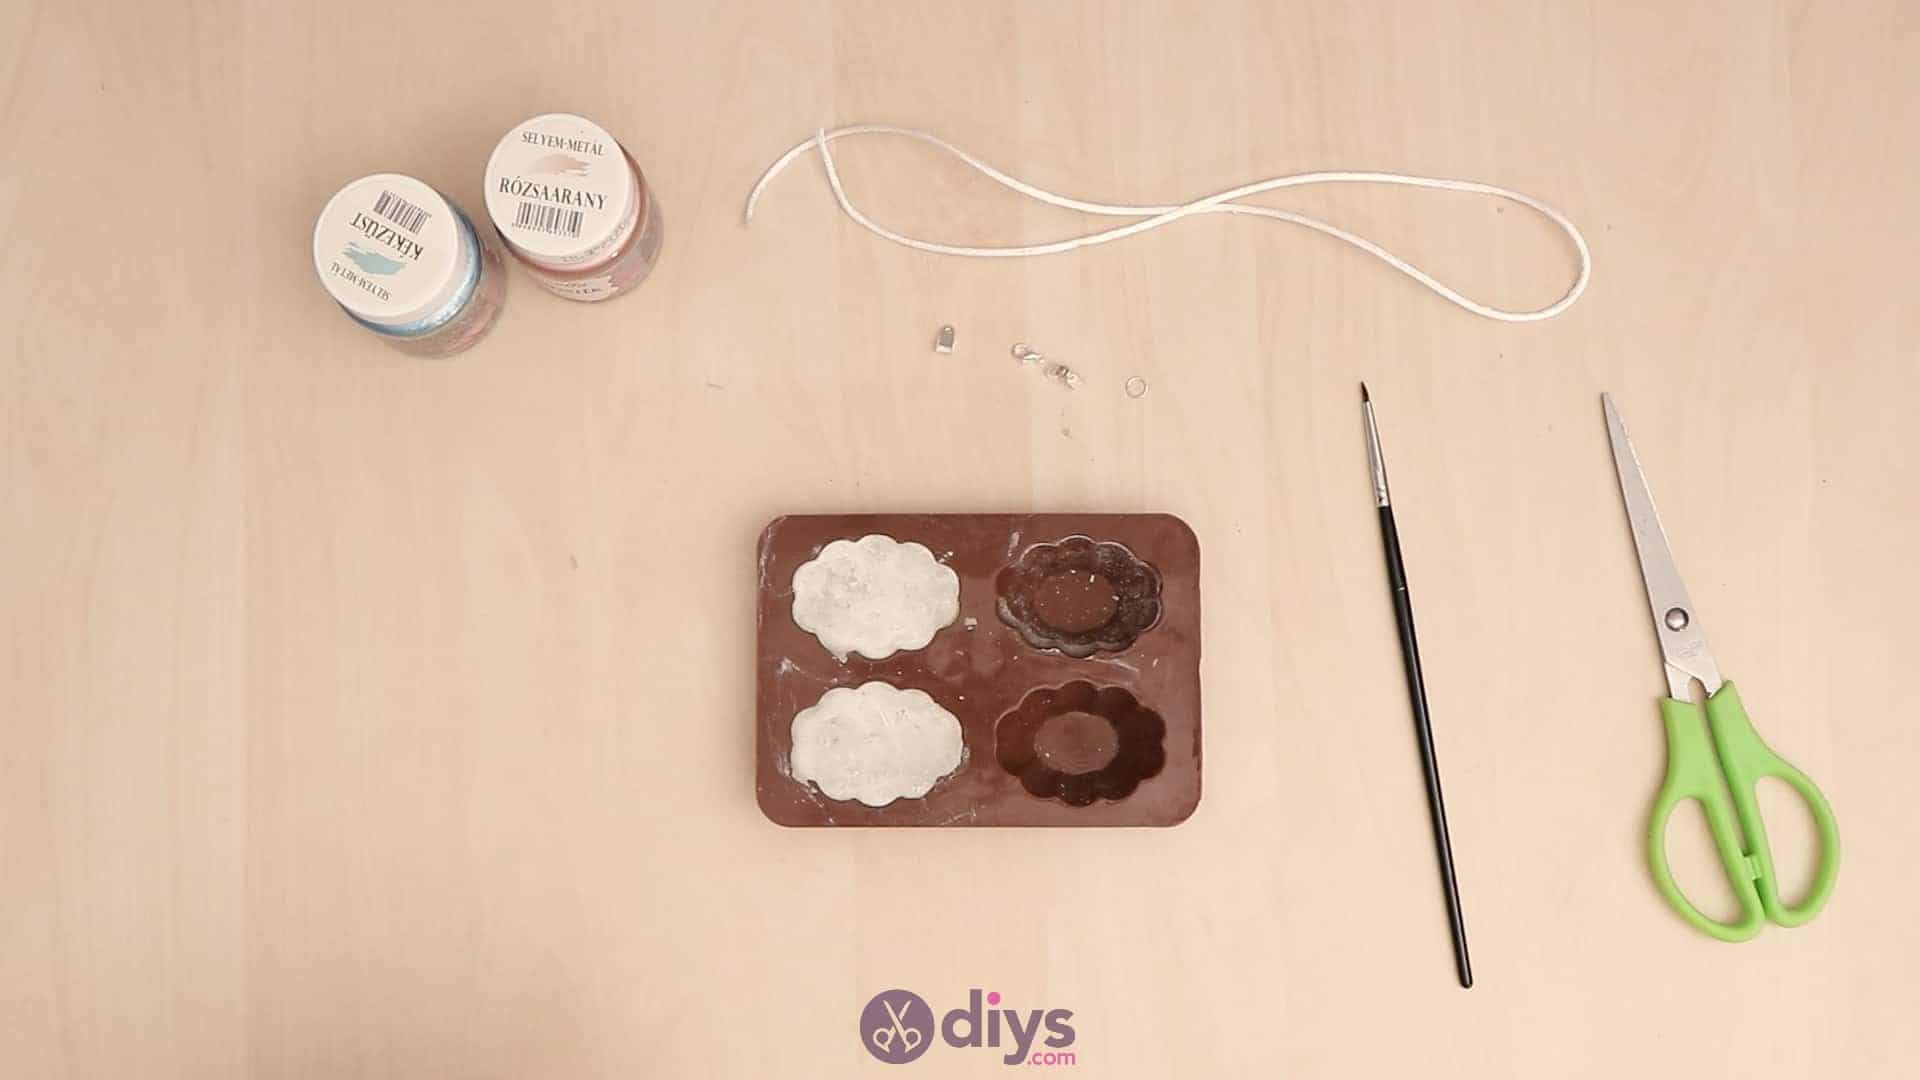
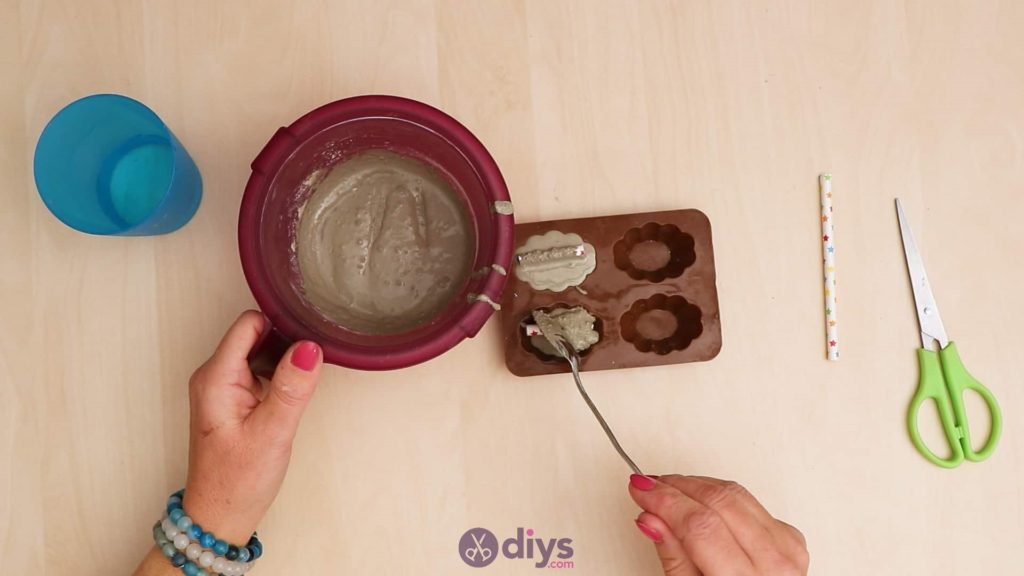
Step 4: fill the molds
Use your spoon to fill your molds! You’ll pour the wet cement mix in right over your straw sections. Fill the mold shapes almost to the top, without spilling over, and use the back of your spoon to smooth out the surface and give the finished shape a flat bottom. You can also lightly tap the bottom of the mold on the tabletop to even out the surface and get rid of any air bubbles. Once you’re done (I decided to make more than one at a time), set the mold aside to dry al the way through.
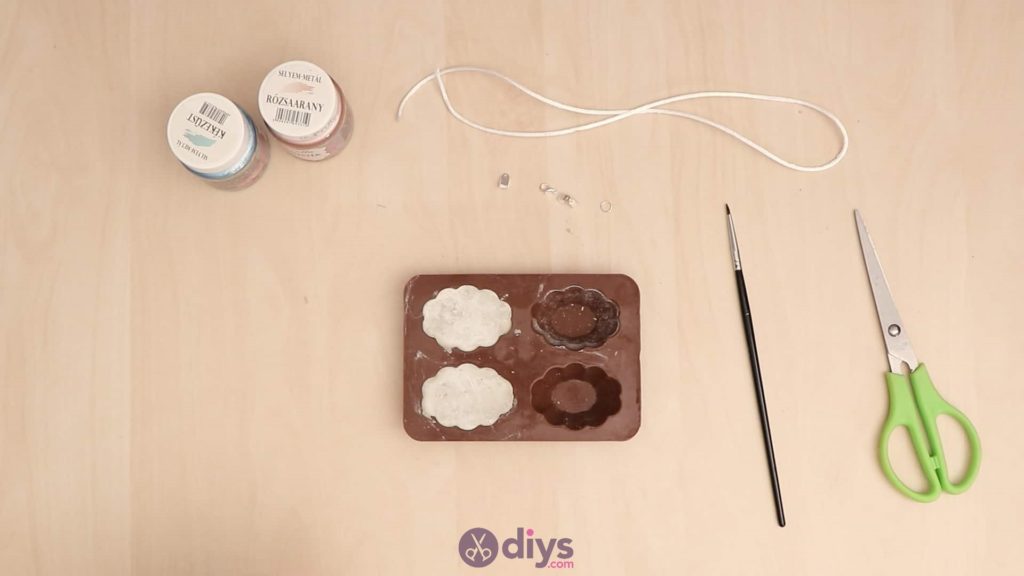
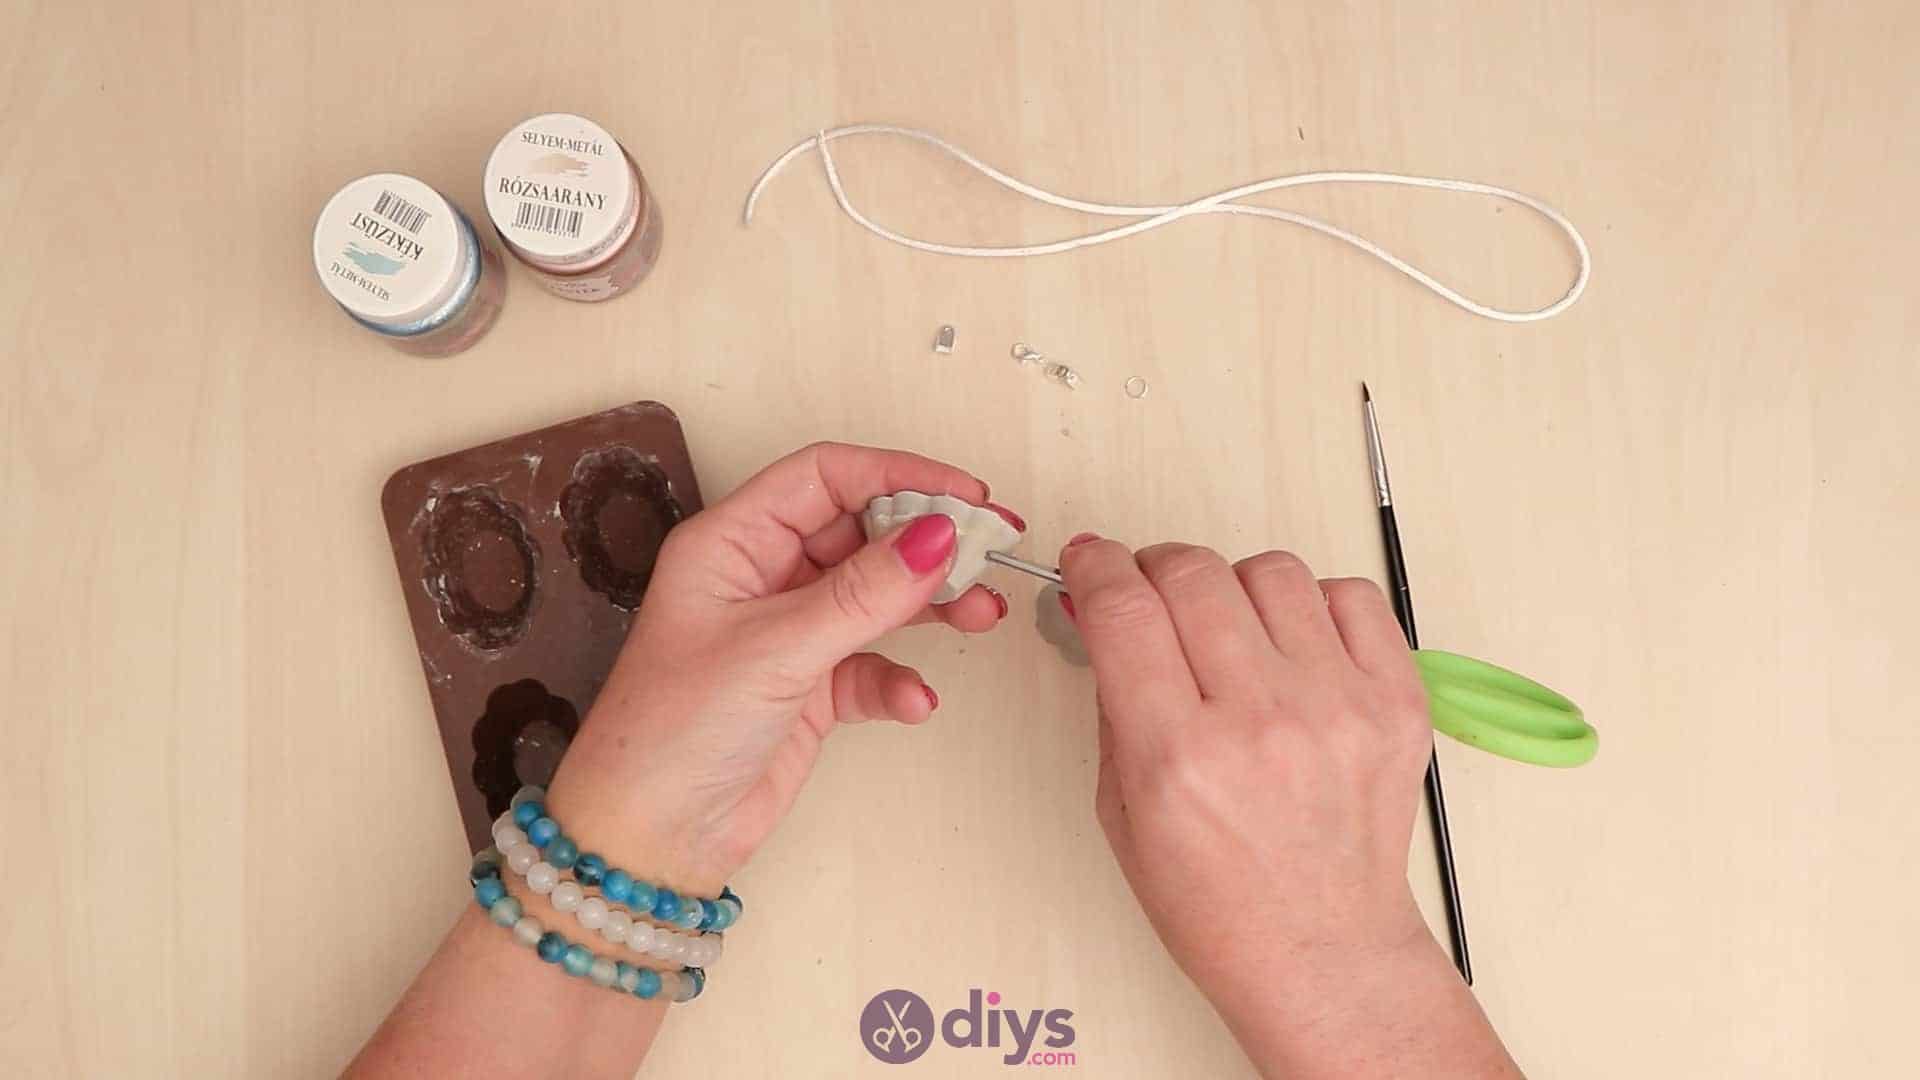
Step 5: remove from mold
Once your concrete shapes have dried thoroughly and entirely, pop them out of the mold! Use your screwdriver (or a similarly narrow and strong metal tool) to poke out any thin layer of concrete that might have covered the ends of the holes on either side resulting from the straw you placed through the middle of the concrete shape to make a hole in your pendant. Clear it out at the ends so your cord will fit through later when you string the pendant onto the necklace.
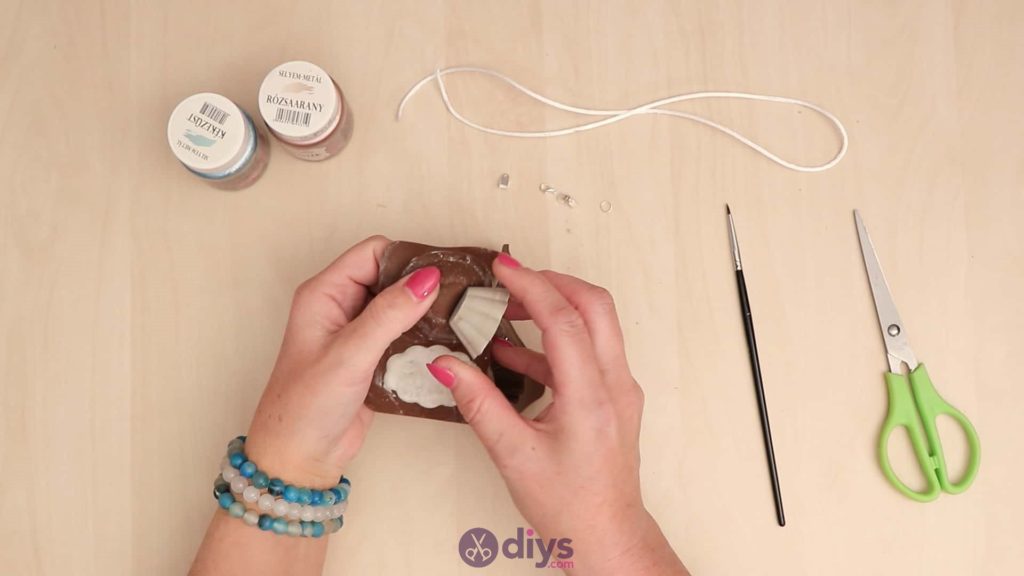

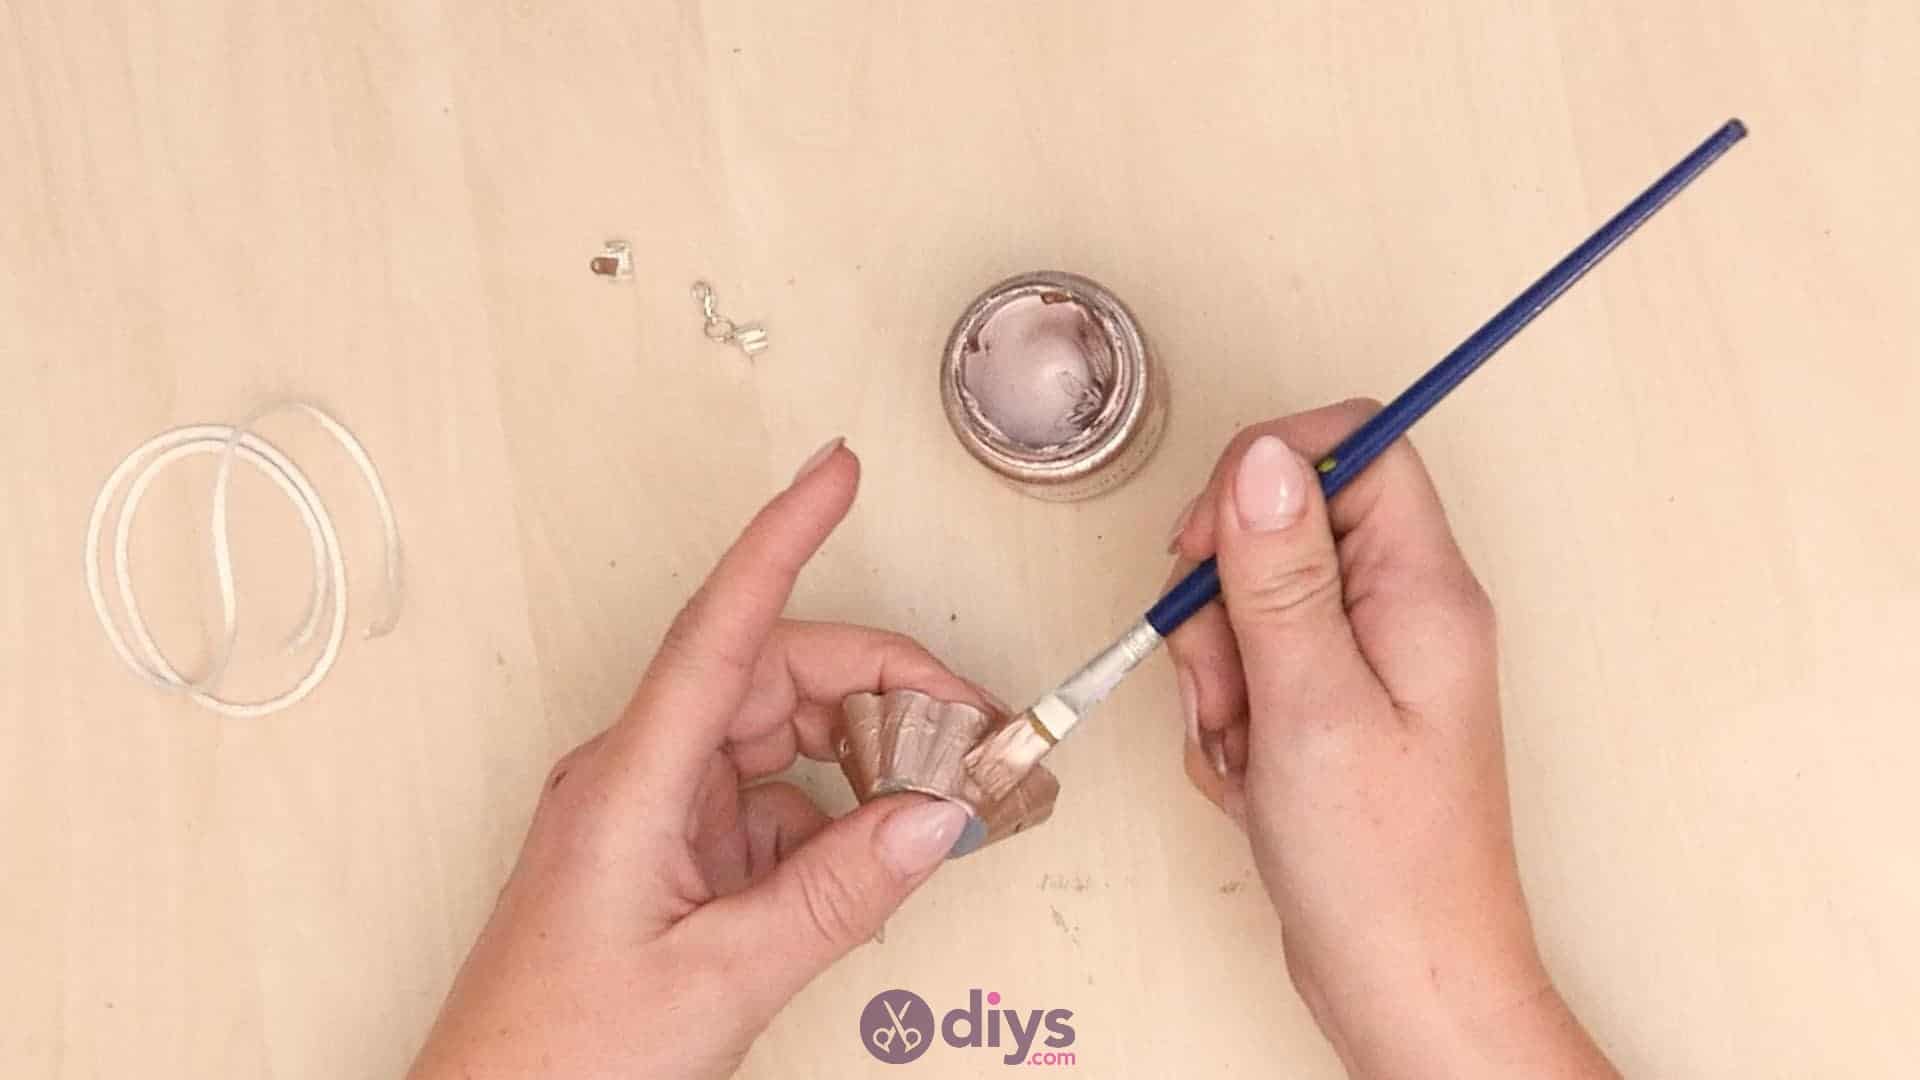
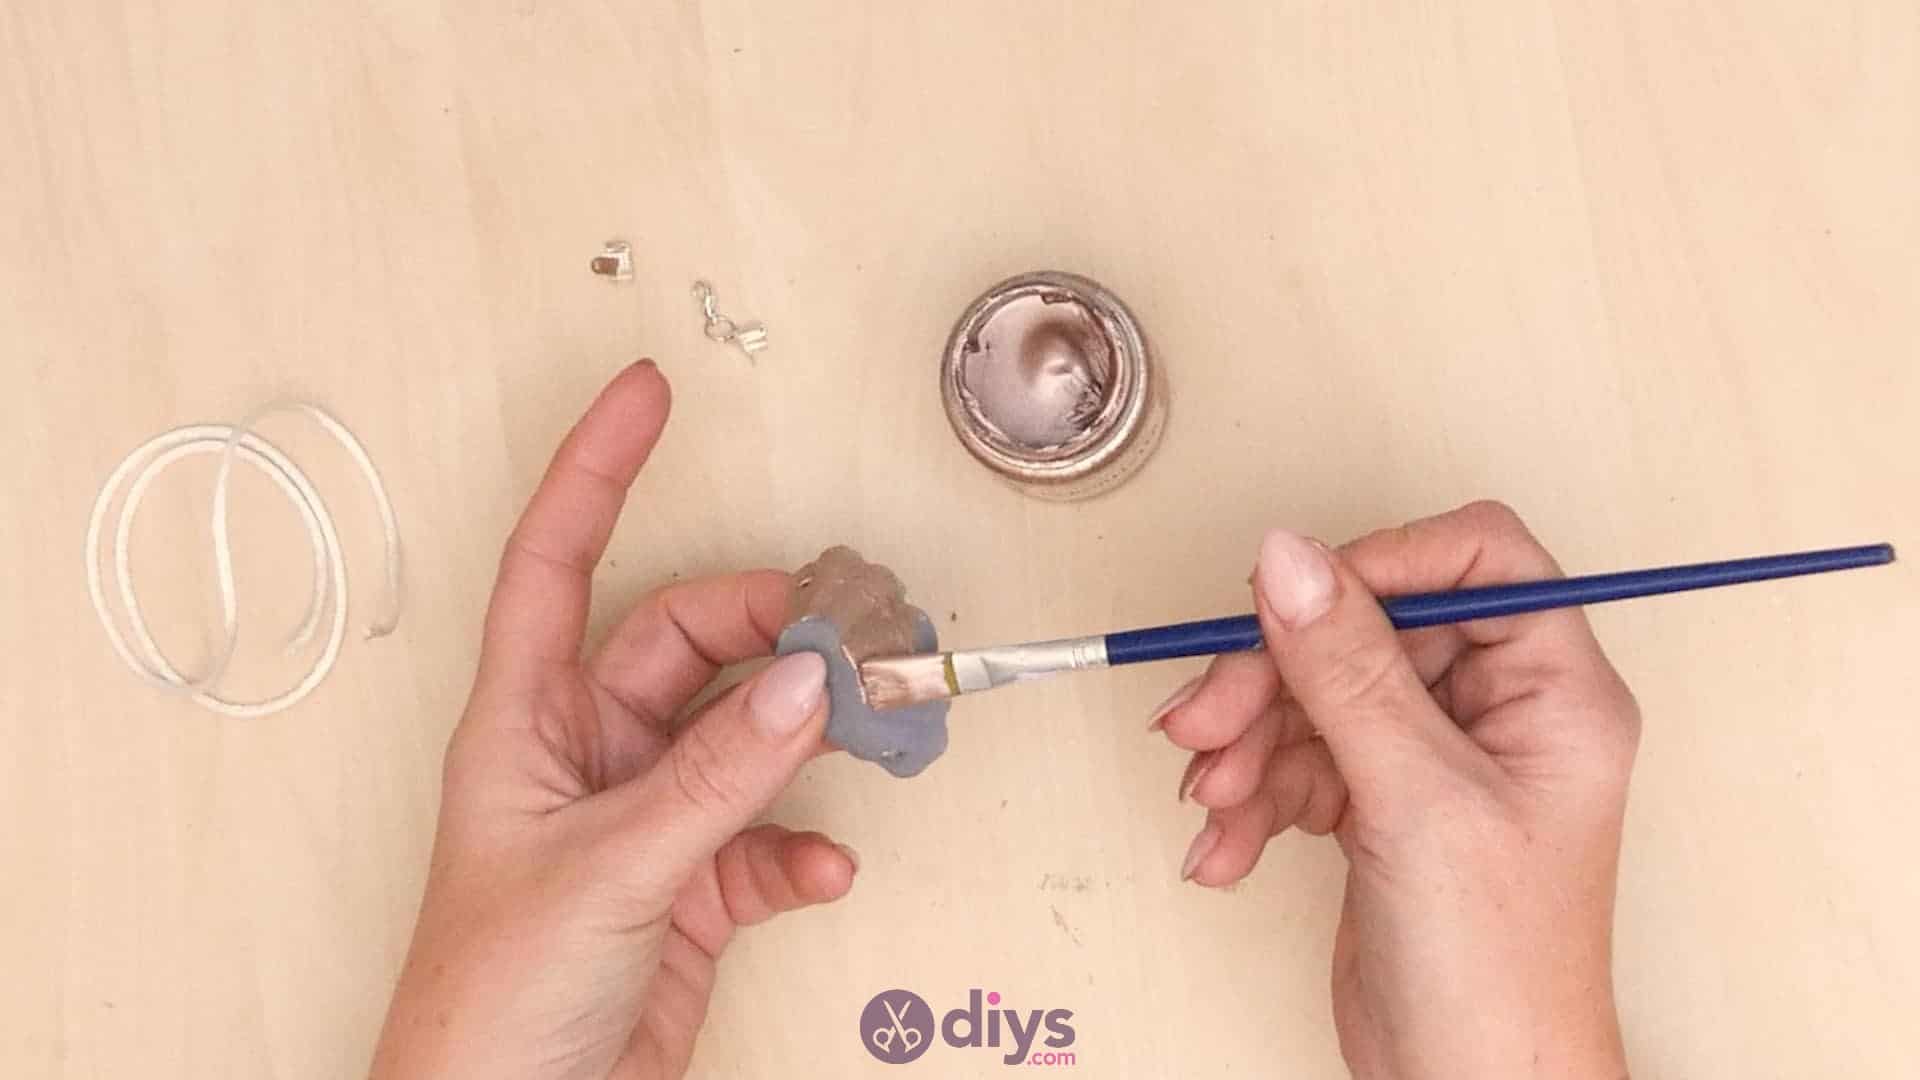
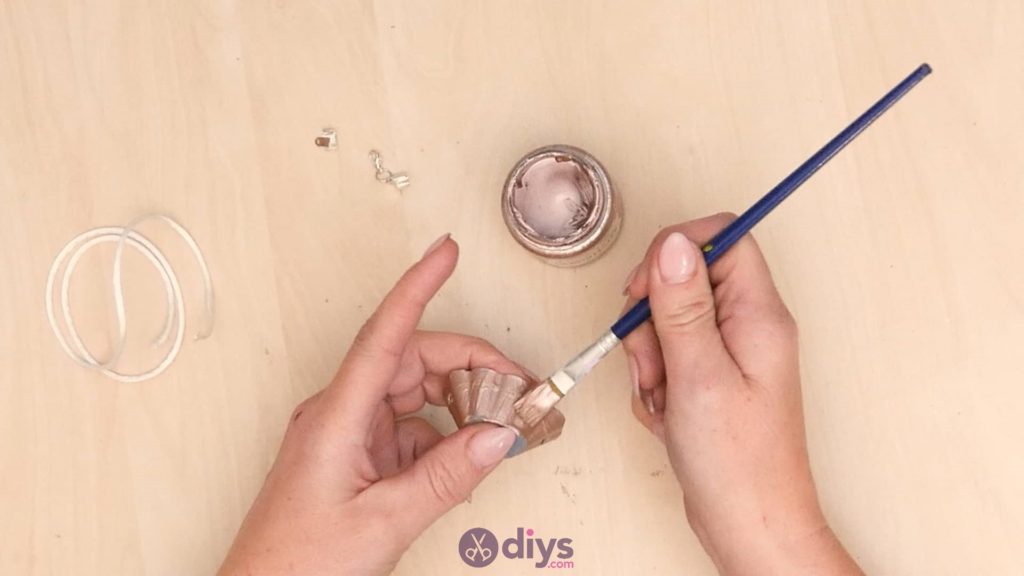
Step 6: paint
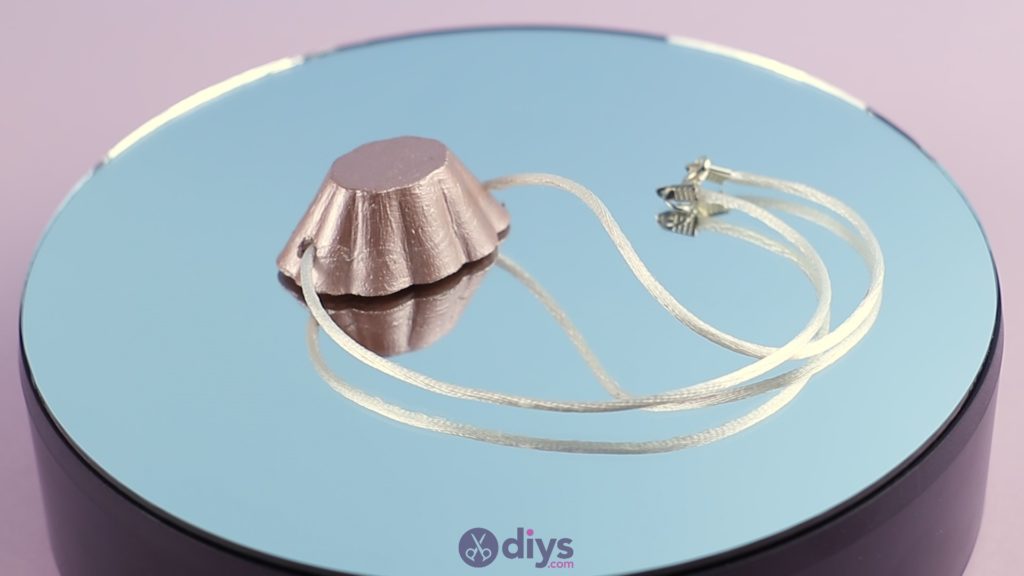
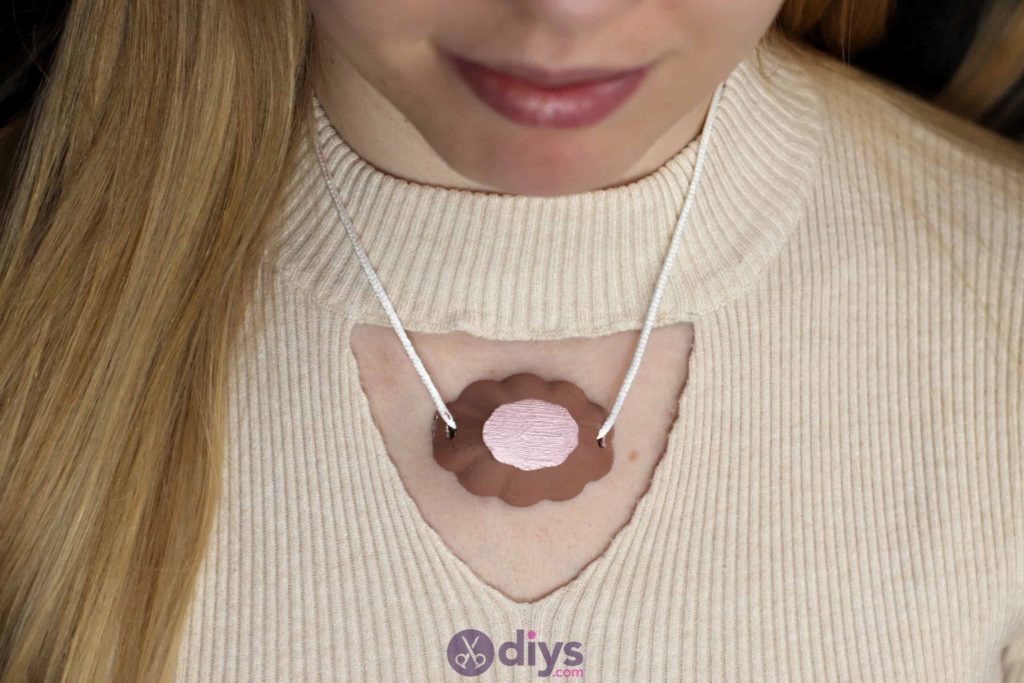
Use your paintbrush to paint the entire surface of your pendant and then set it (or them) aside to dry. I chose to paint one of my shapes metallic rose fold and one metallic blue.
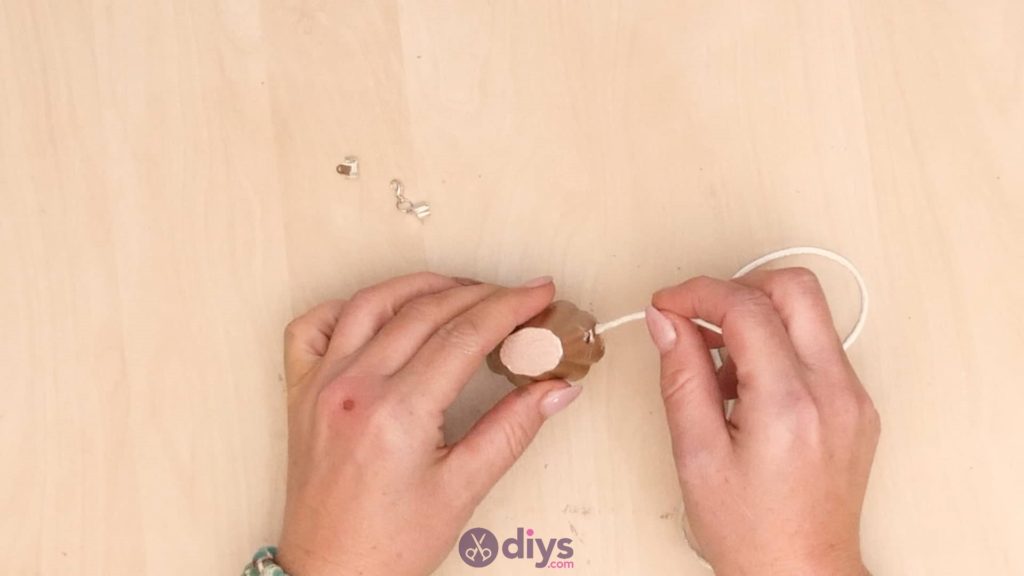
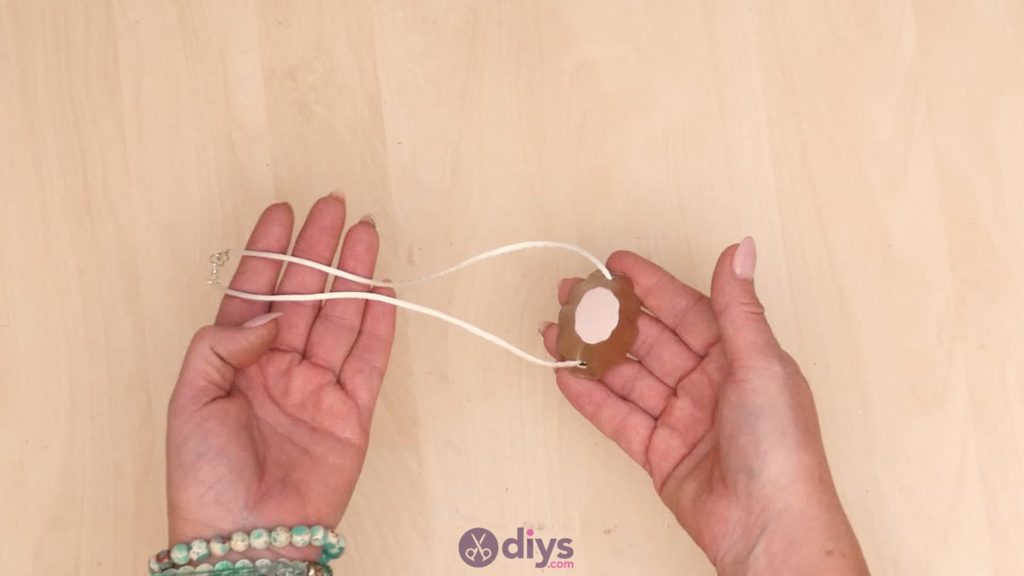
Step 7: cut cord
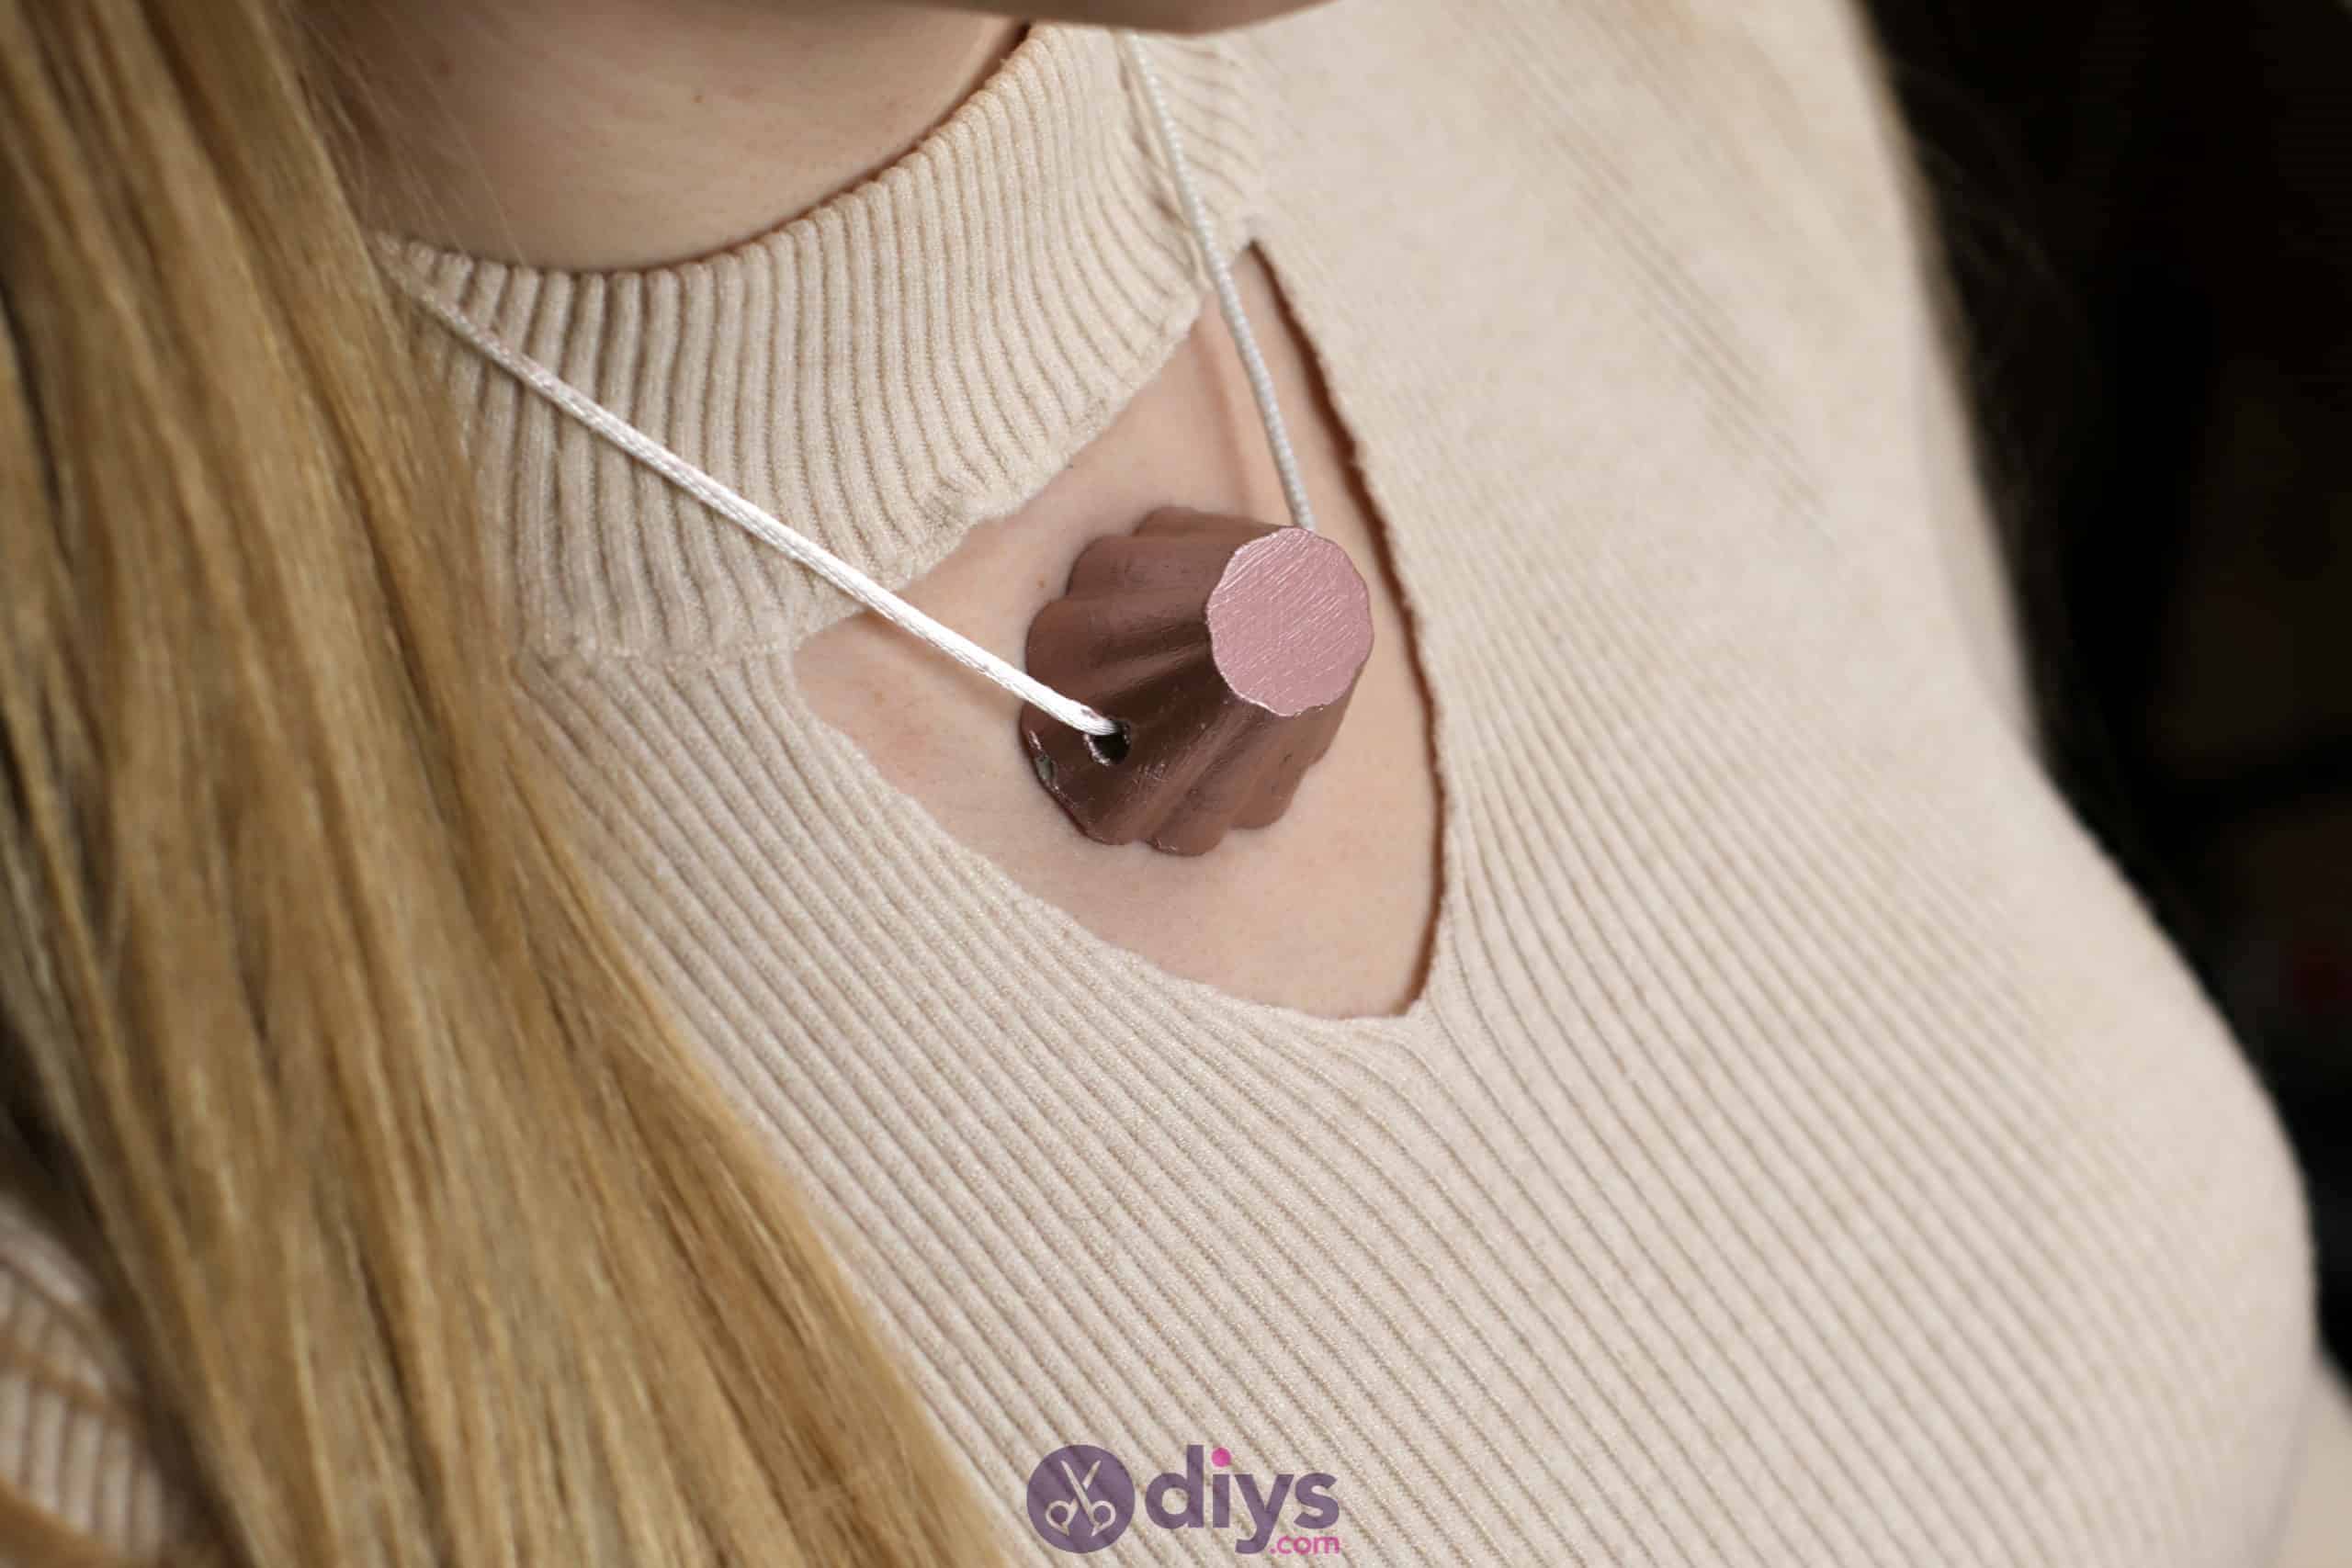
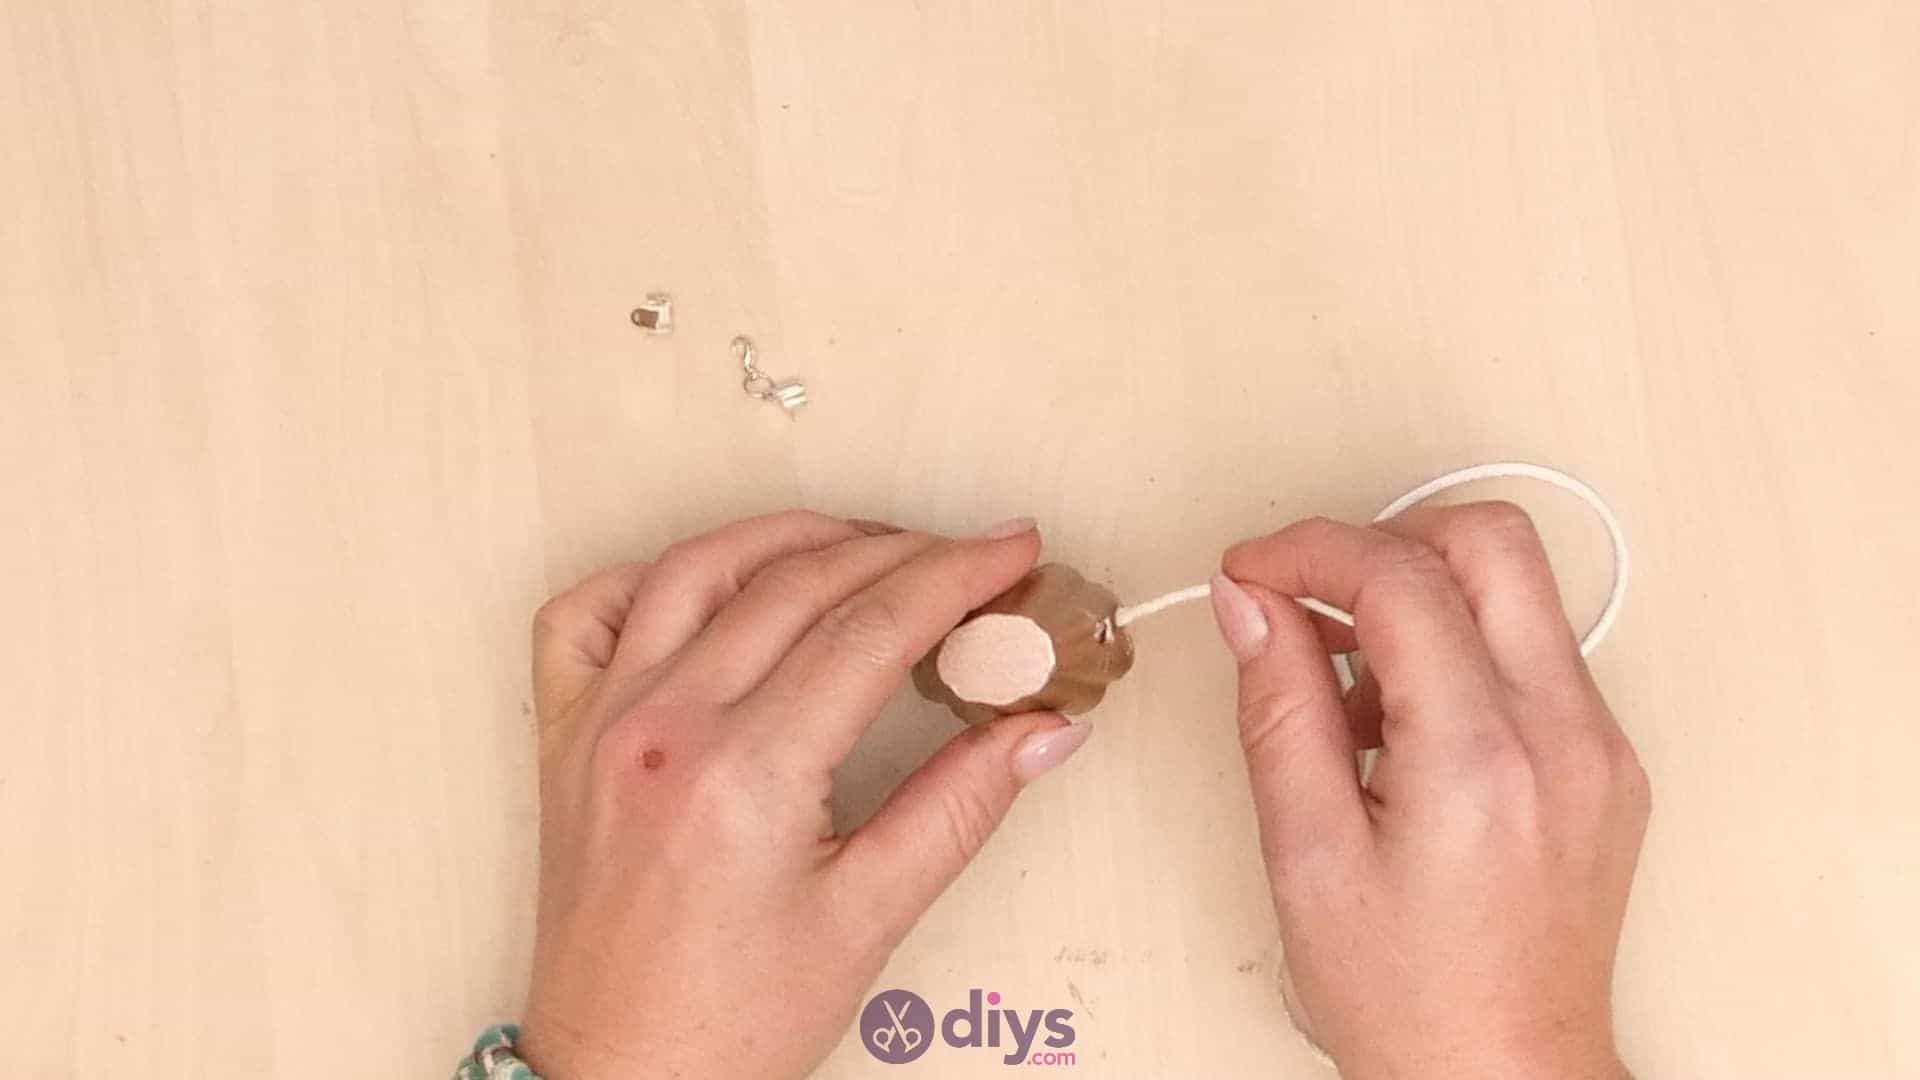
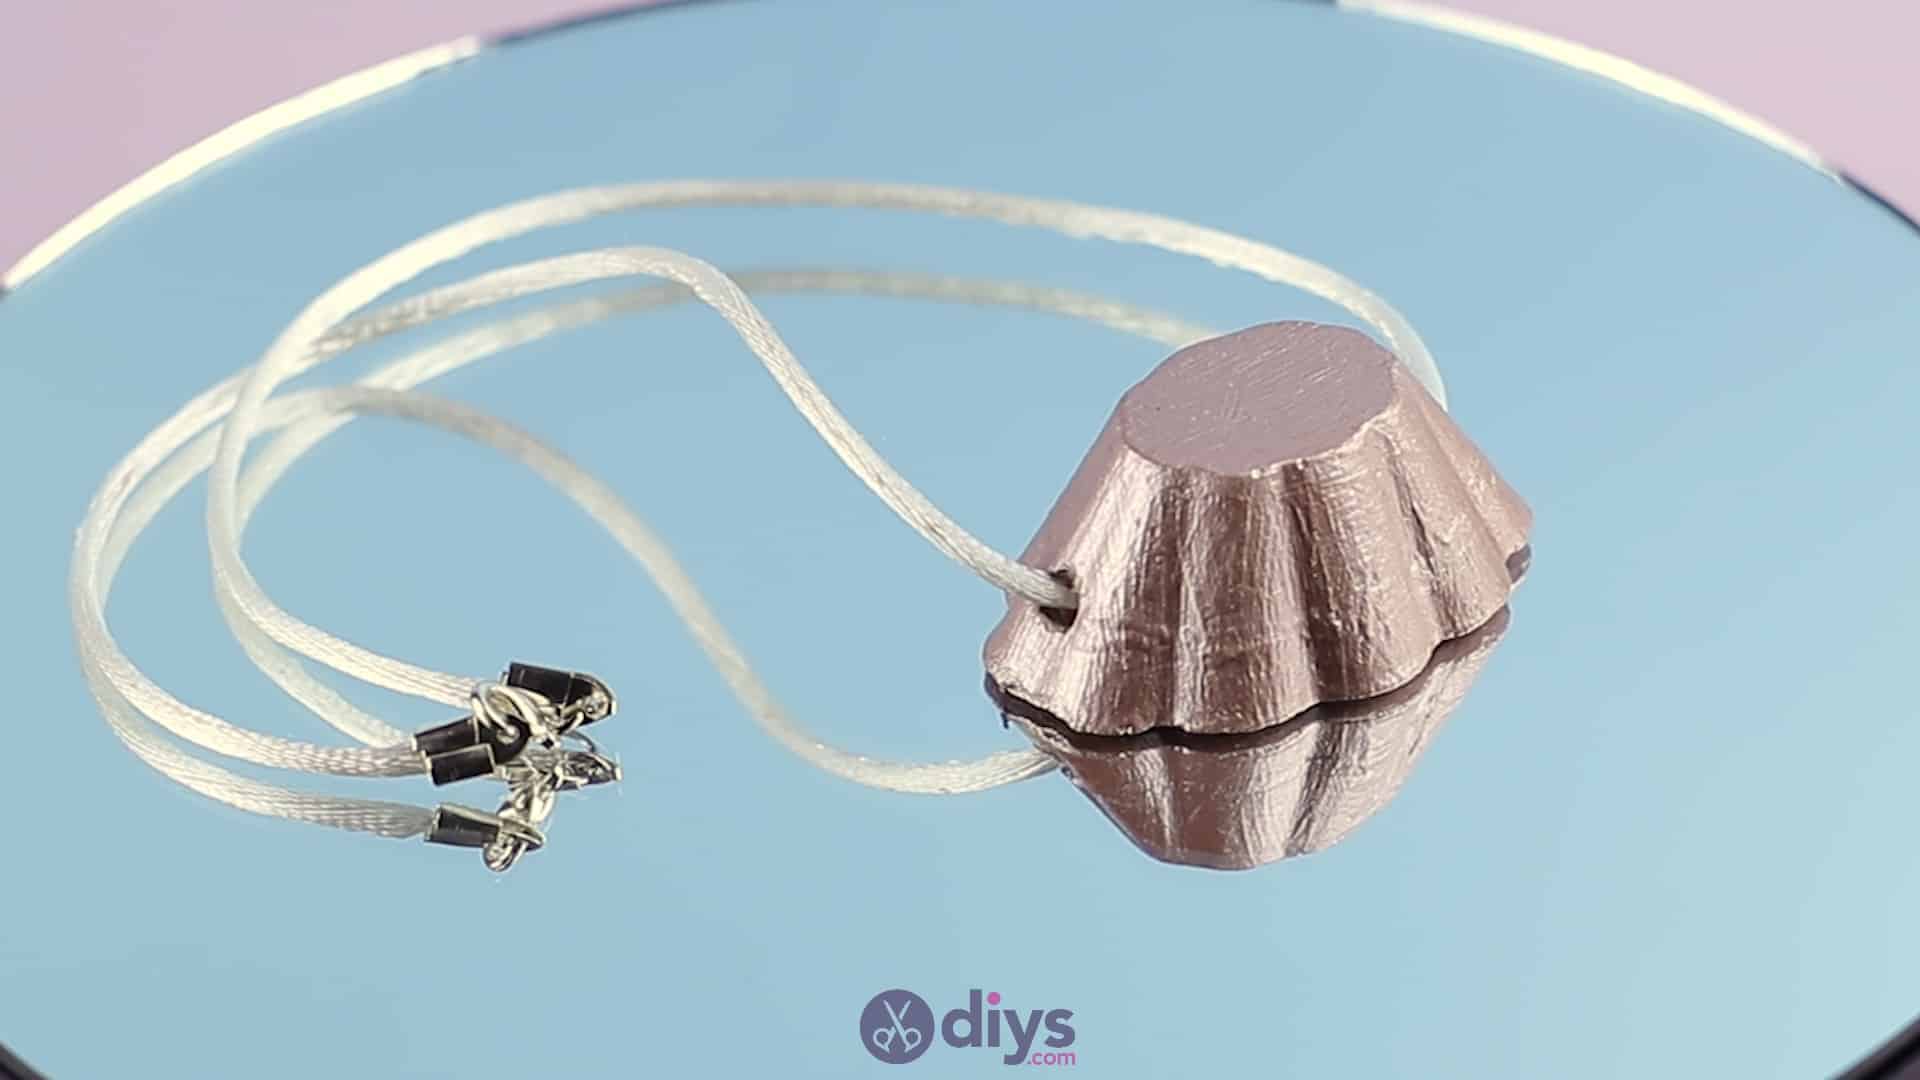
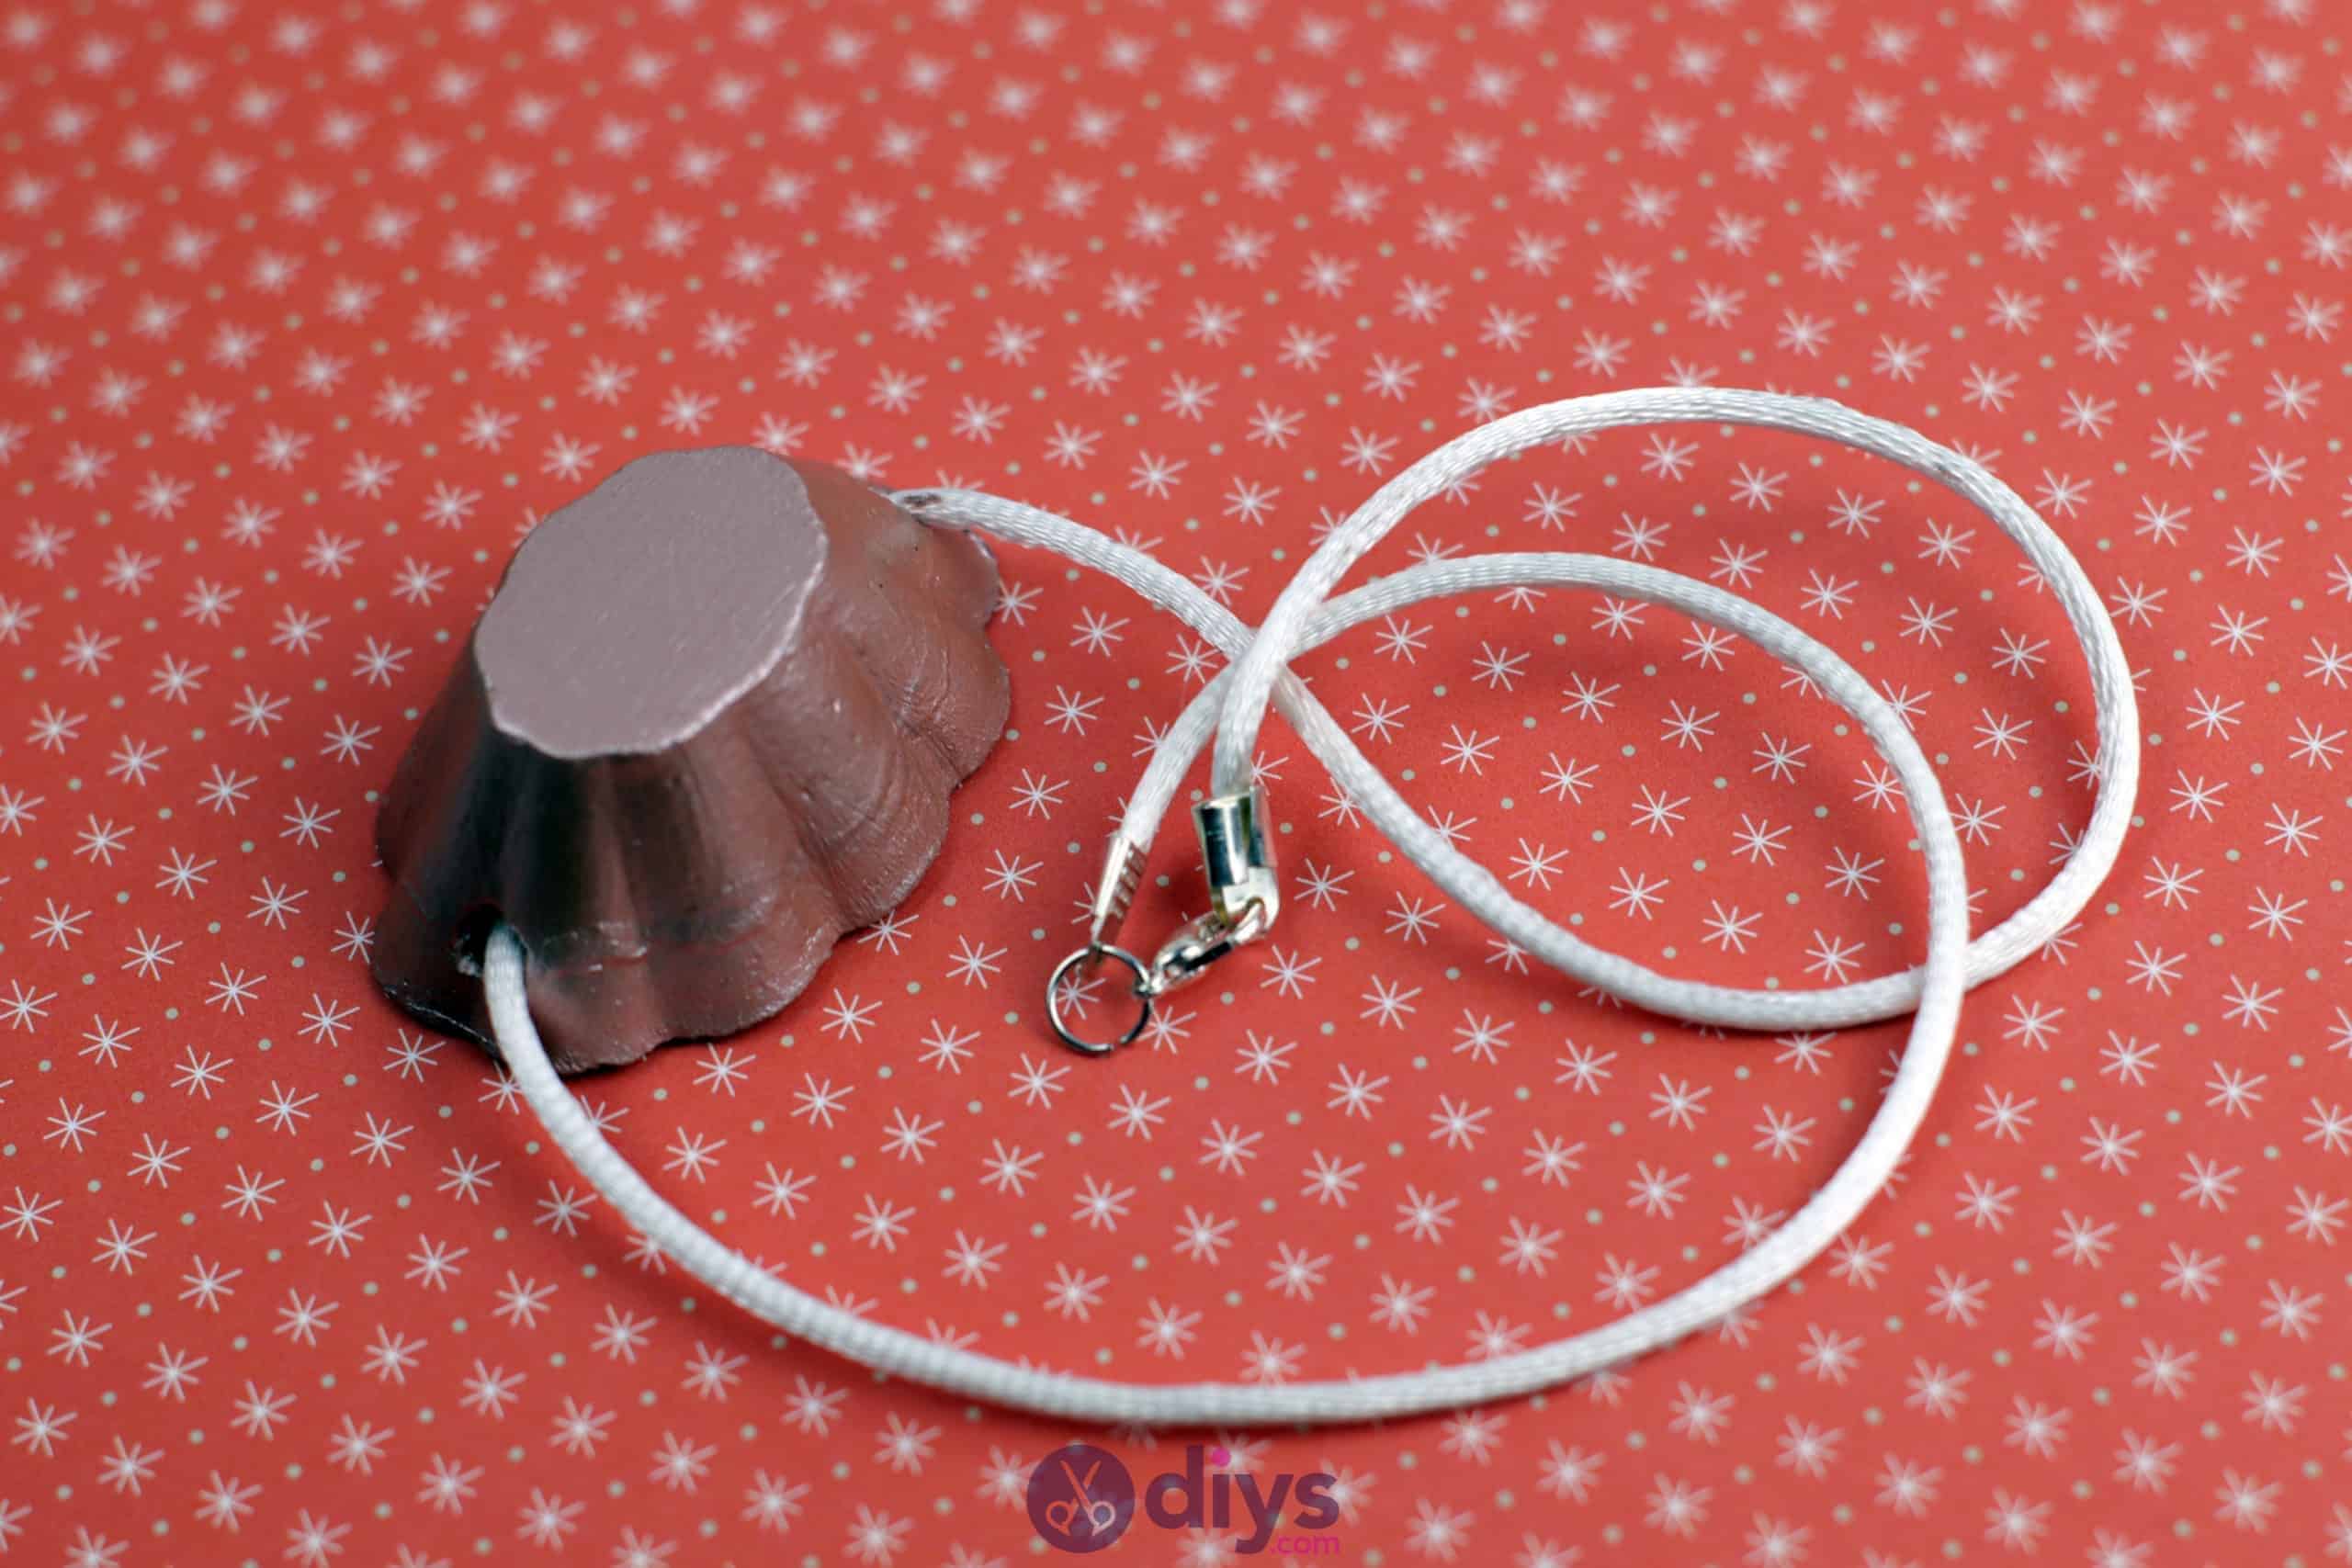
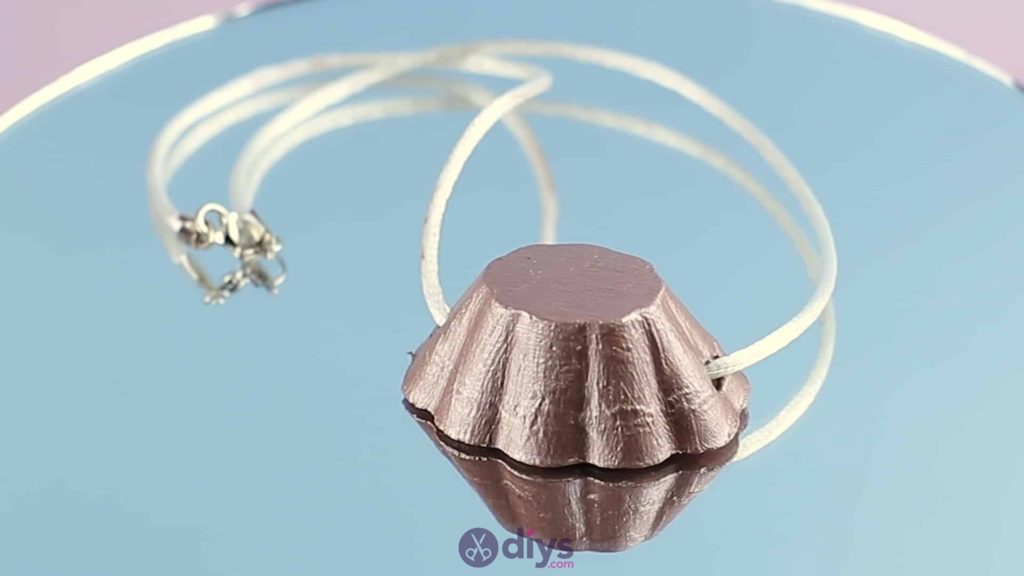
Once your paint has dried, cut a piece of cord, string, or whatever you’re using together with the pendant to make your necklace, measuring it out as long as you need to have the pendant hang as low or high as you please. I made mine long enough to rest in the middle of my chest. Once you’ve cut the string as long as you need, thread the end through the hole in one side of your pendant and out the other. Pull the string through until you’ve got an even amount on either side.
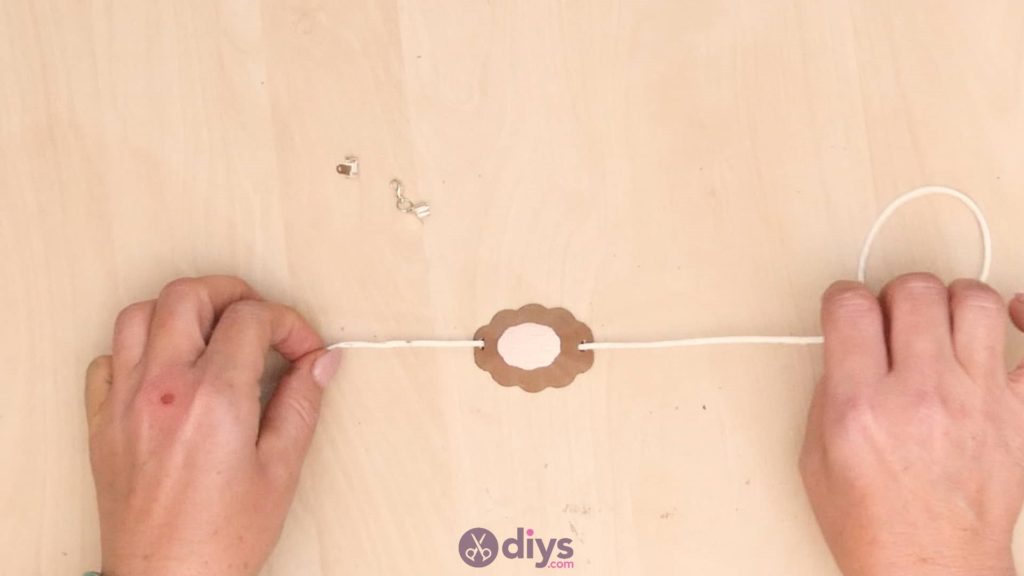
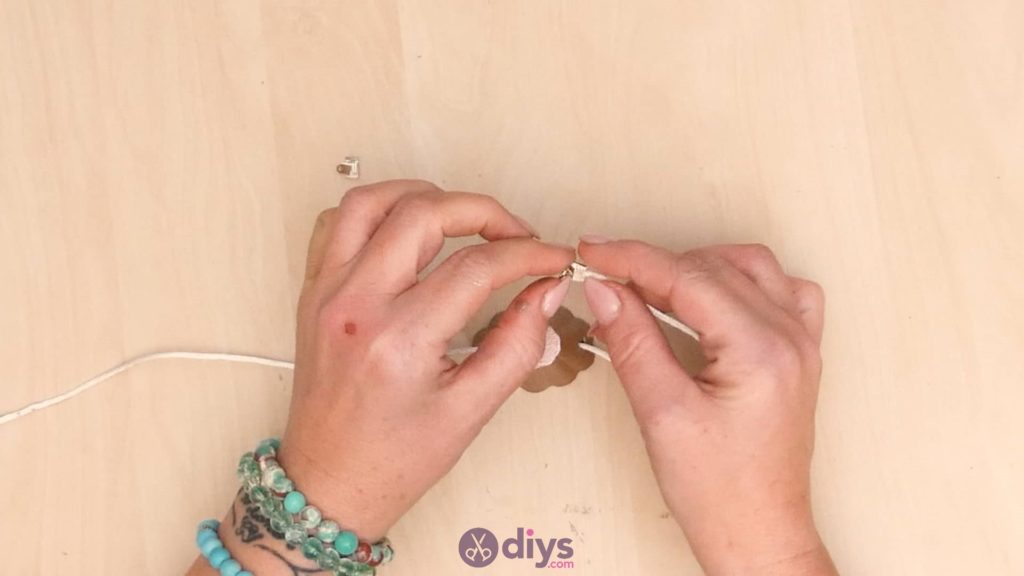
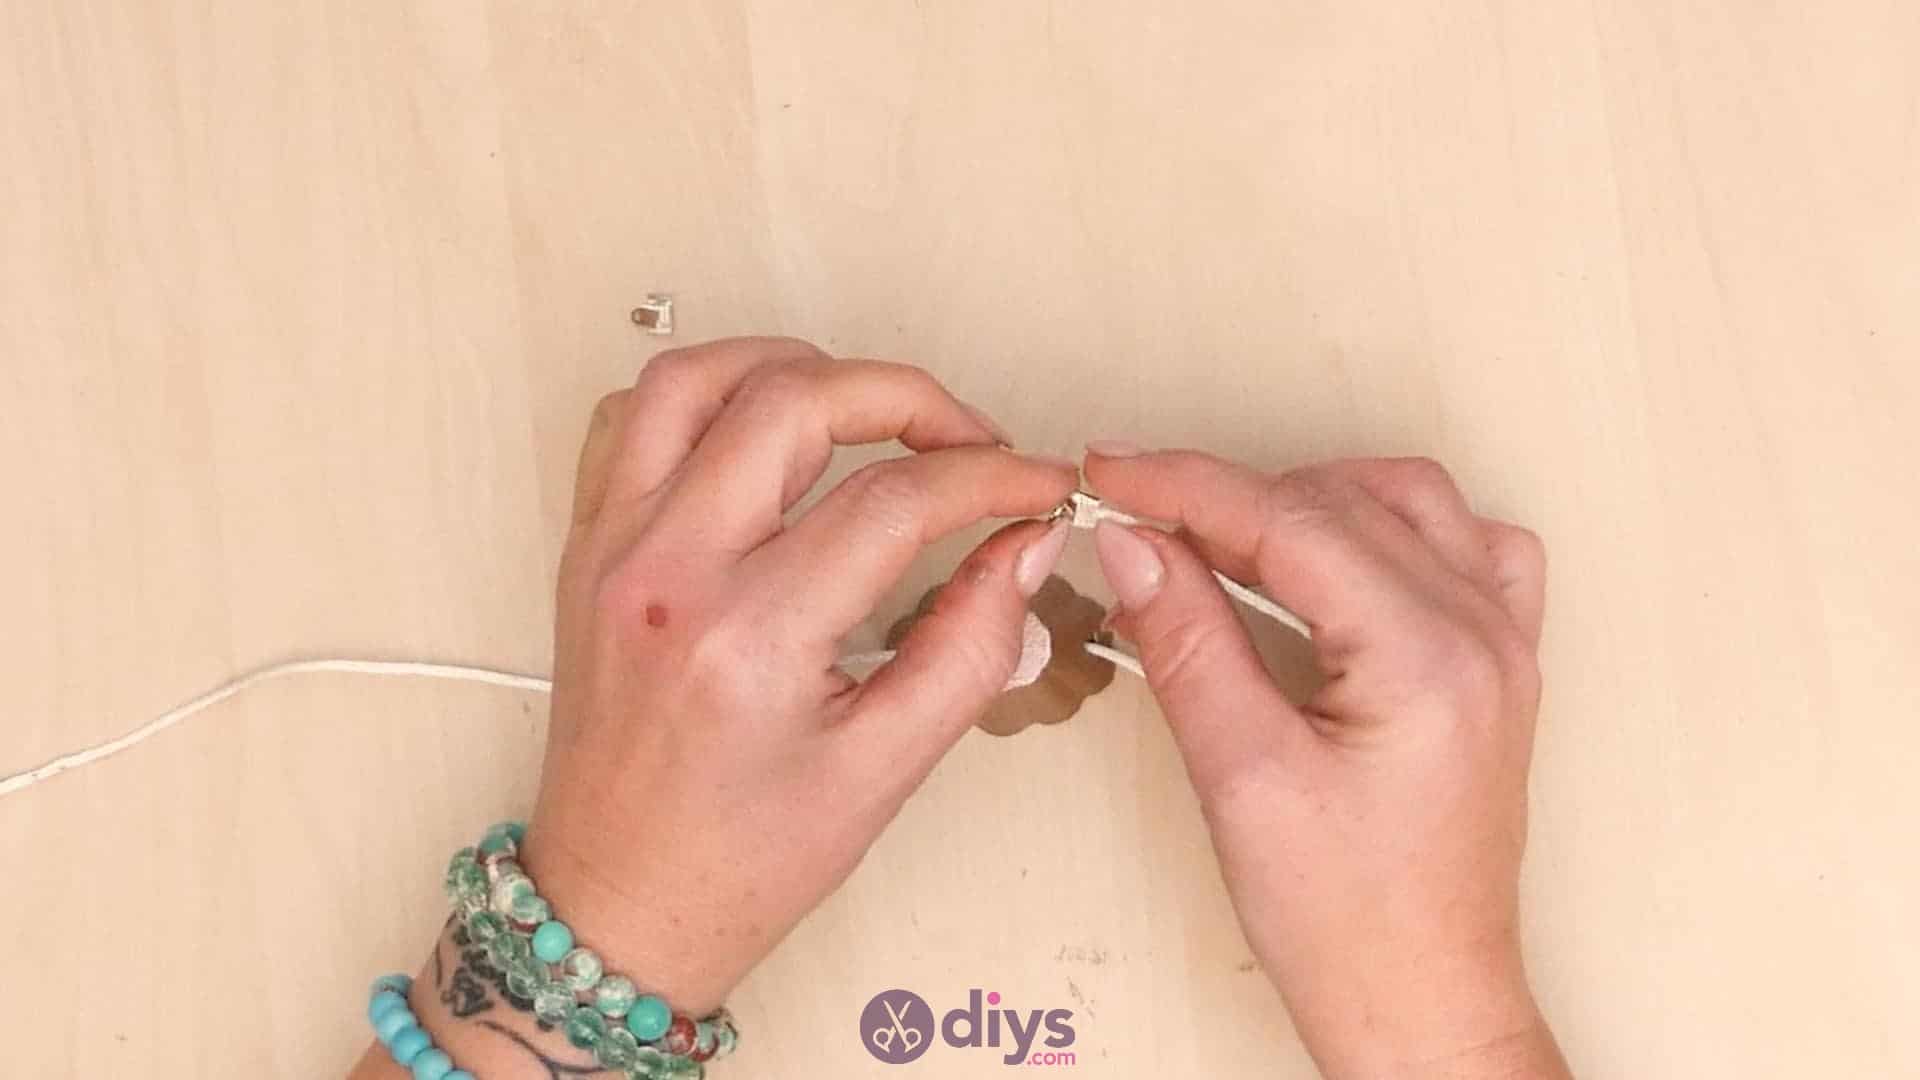
Step 8: clamp ends
On each end of your cord, place the tip in a ribbon clamp and squeeze the clamp shut (either with your fingers or pliers, depending on how hard the metal is to move). Make sure one end has a jewelry ring and the other has a clip to clamp onto it.
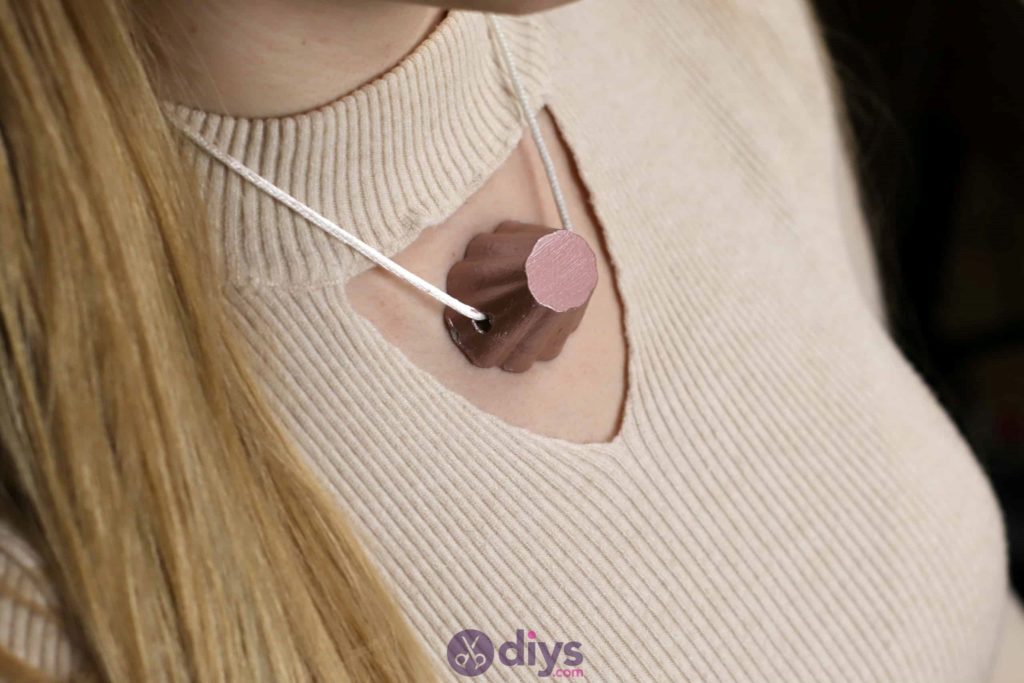
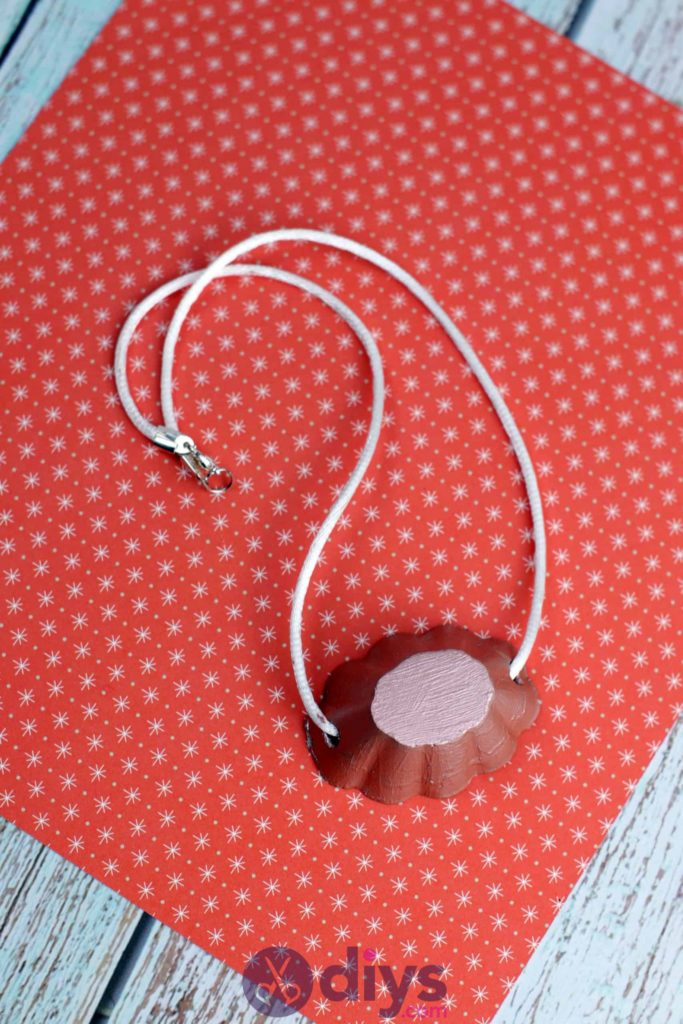
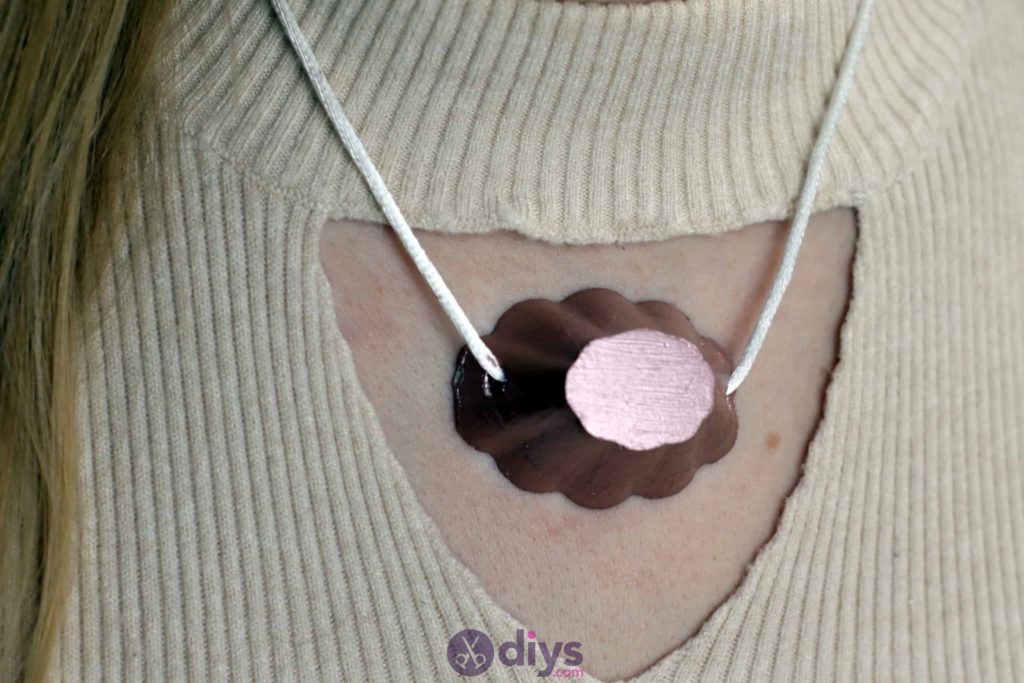
You’re all finished your necklace! Feel free to use this basic concept as a technique guide but play with different paint colours, embellishments, and cement mold shapes. Just in case you’d like to try this project out for yourself, here’s a fantastic tutorial video to help you!