DIY Paper Santa Candy Holder
Updated on November 19, 2025


Now that Christmas is fast approaching, I’m on the lookout for as many Christmas crafts as I can possibly get my hands on. Besides the fact that I adore doing themed crafts during the holidays, I also love finding cute, creative ways to get my kids working with more than just paper and glue sometimes. Given theirhuge love for candy, I’m sure it’ll come as no surprise to anyone that we had a total blast making these cute paper and glass jar Santa candy holders together! In fact, we hadsomuch fun that I decided to make another one so I could map out the process for other people to follow along with as well.
Check out these step by step instructions complete with photos! If you’d rather follow along with a video tutorial instead of written words, scroll to the bottom of this post to find just what you’re looking for.
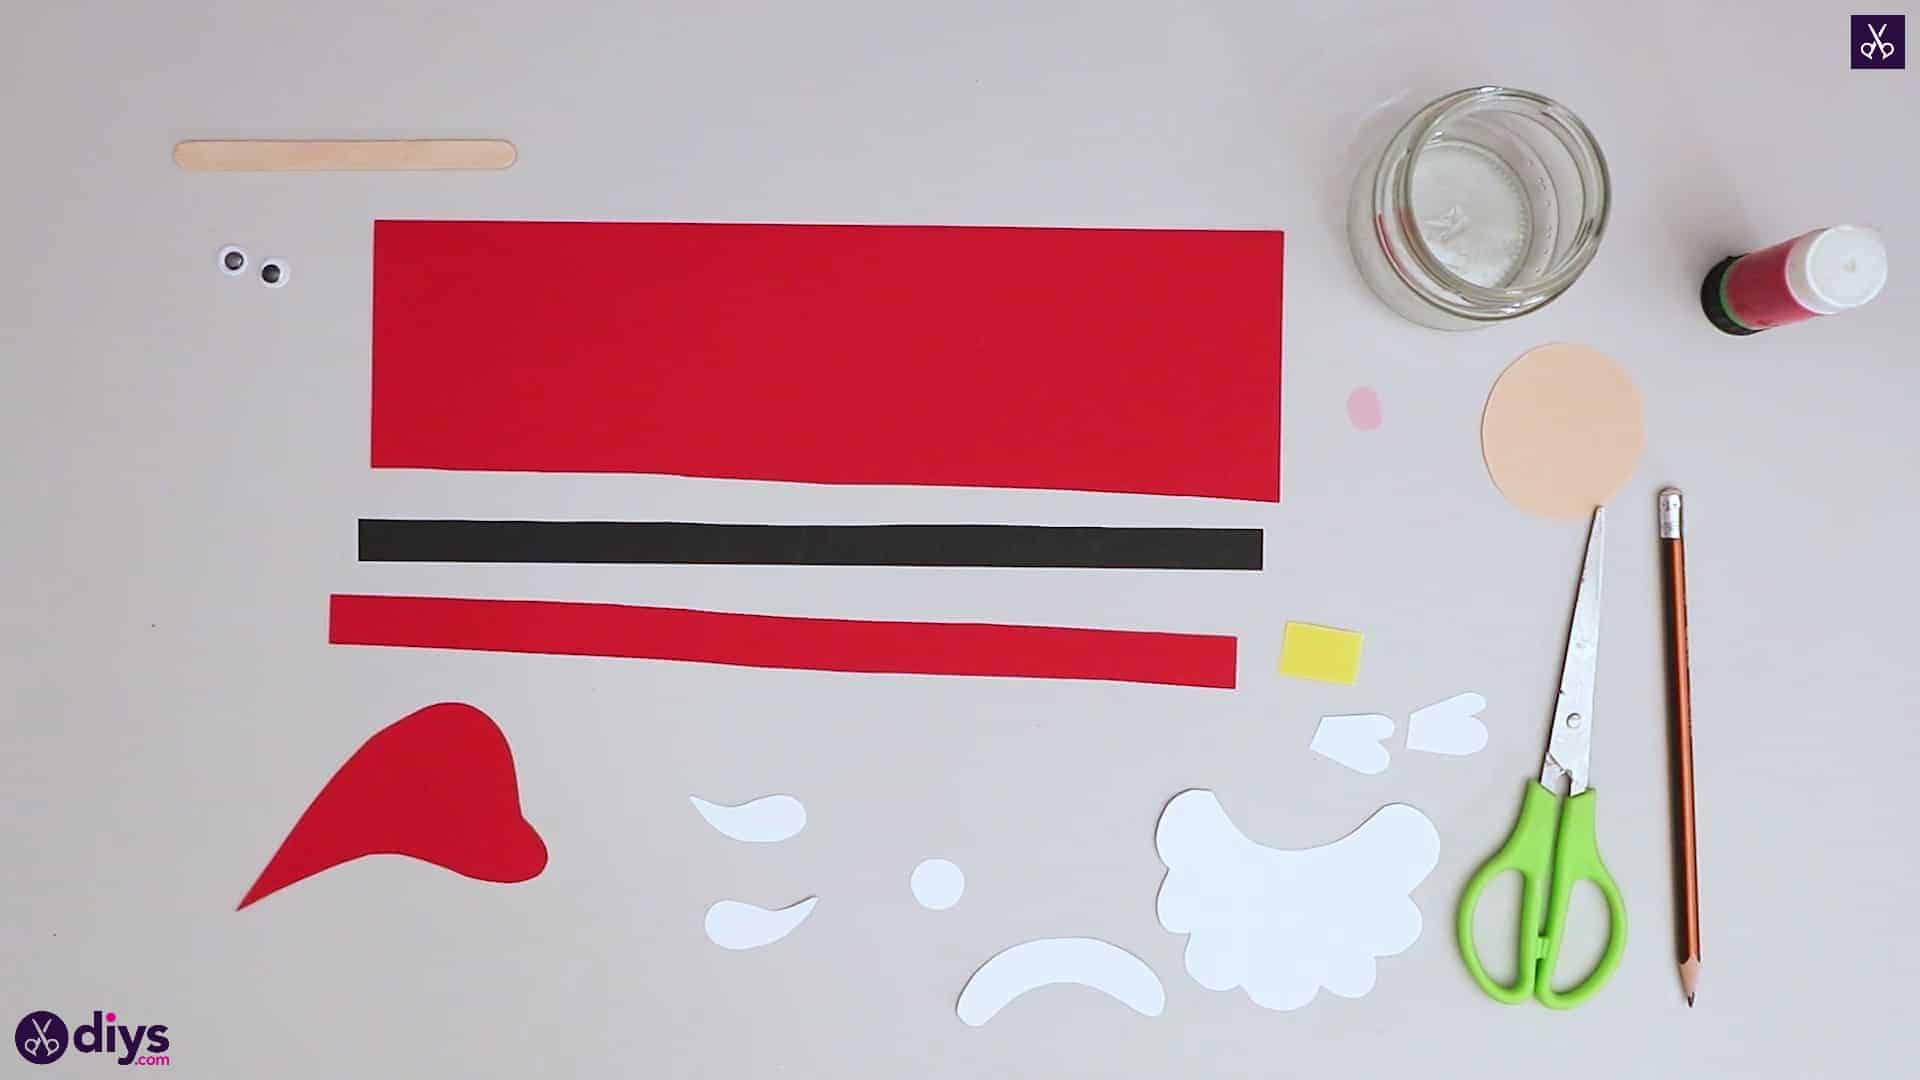
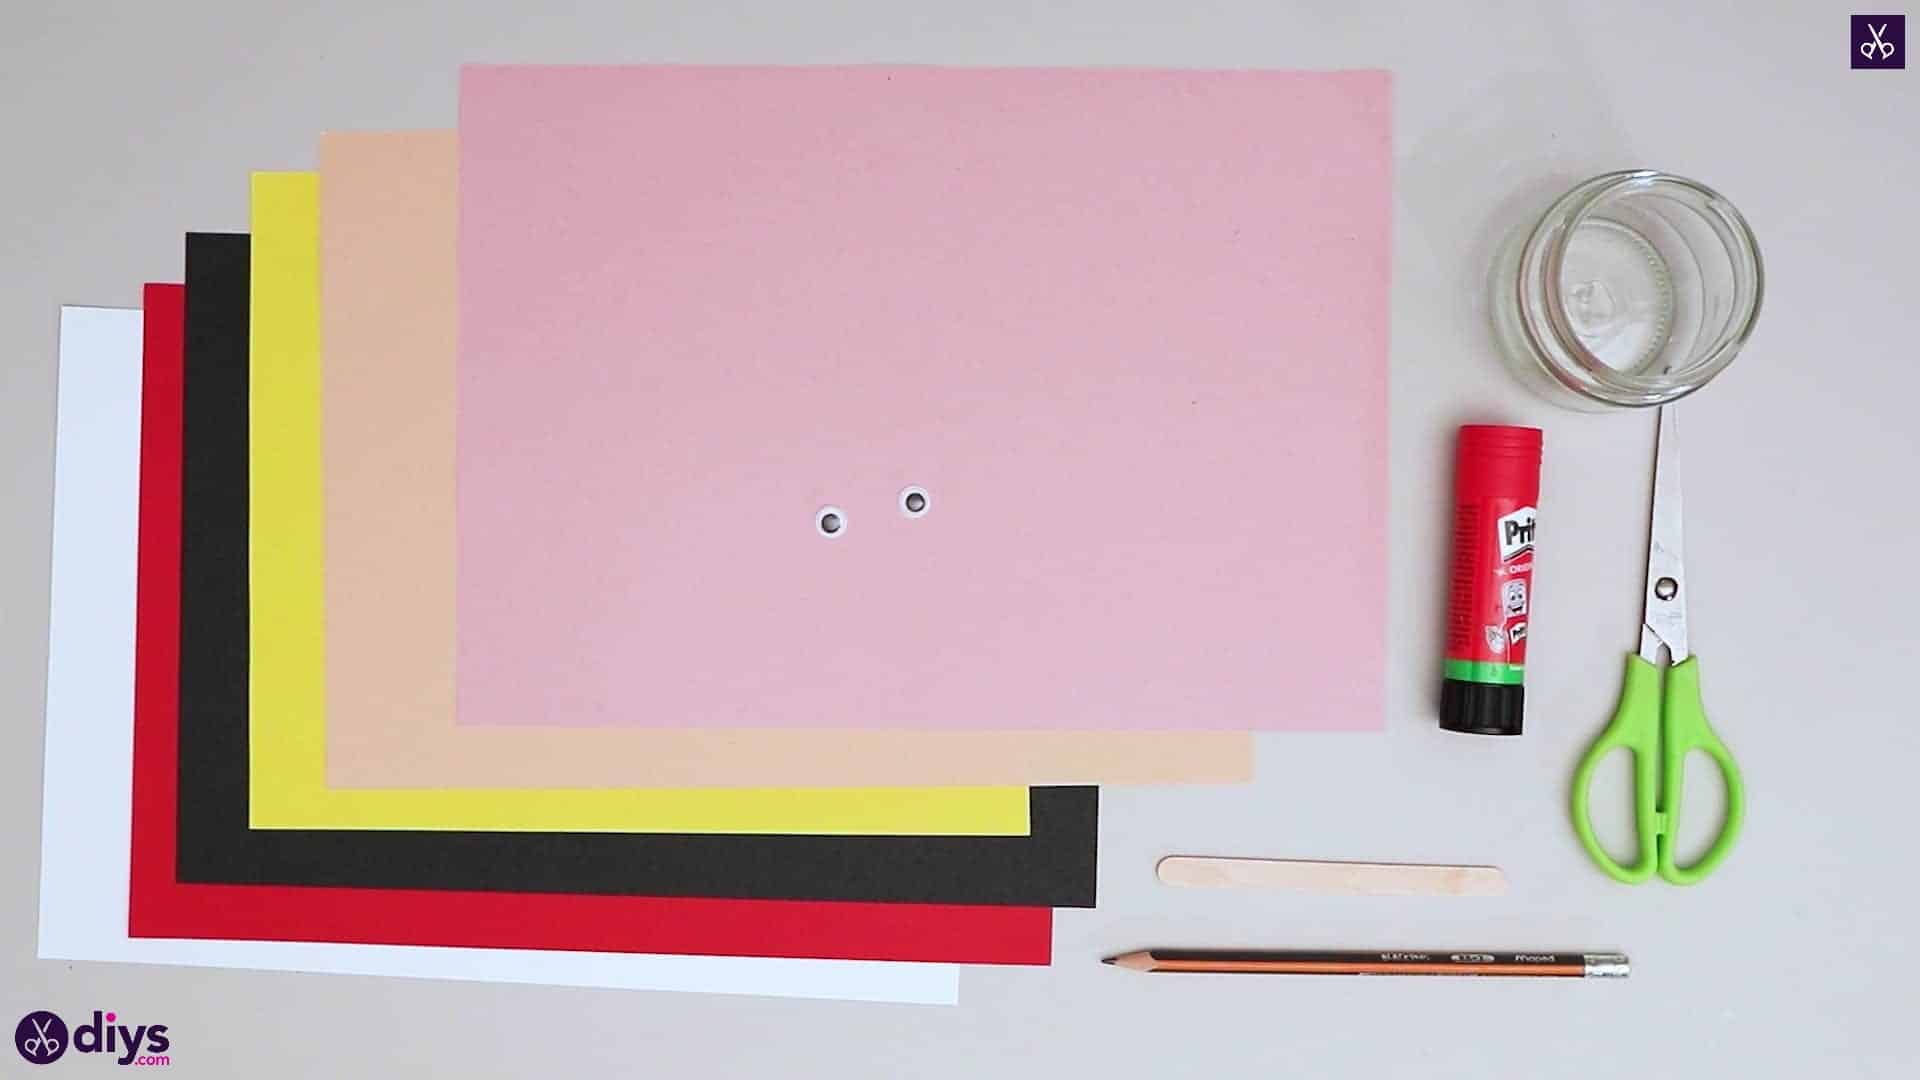
For this project, you’ll need:
- Paper (white, black, red, yellow, light and dark pink)
- Two googly eyes
- A popsicle stick
- A pencil
- Scissors
- A glue stick
- A jar
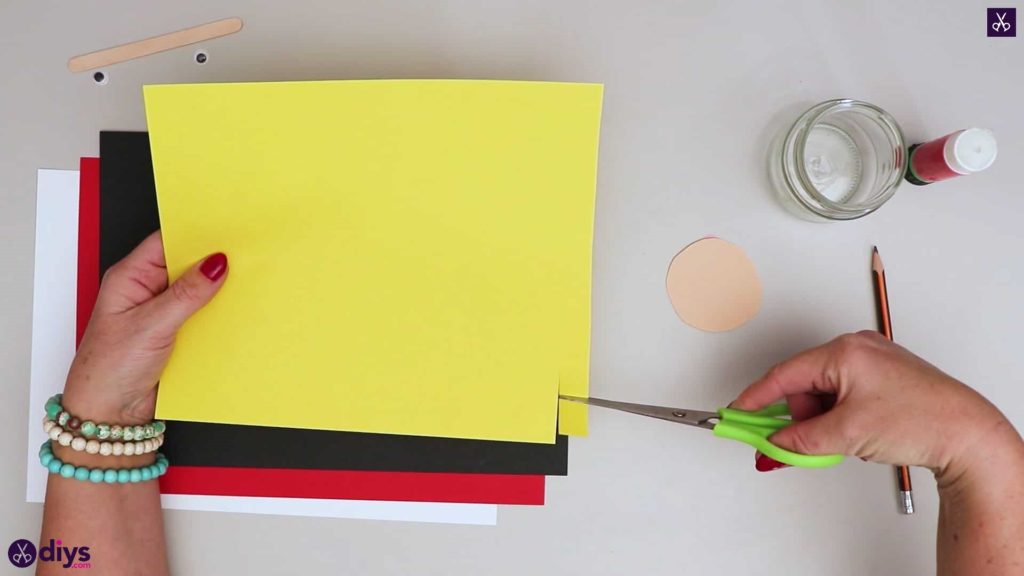
Step 1: Gather your materials!
Make sure you have all of the items from your materials list.

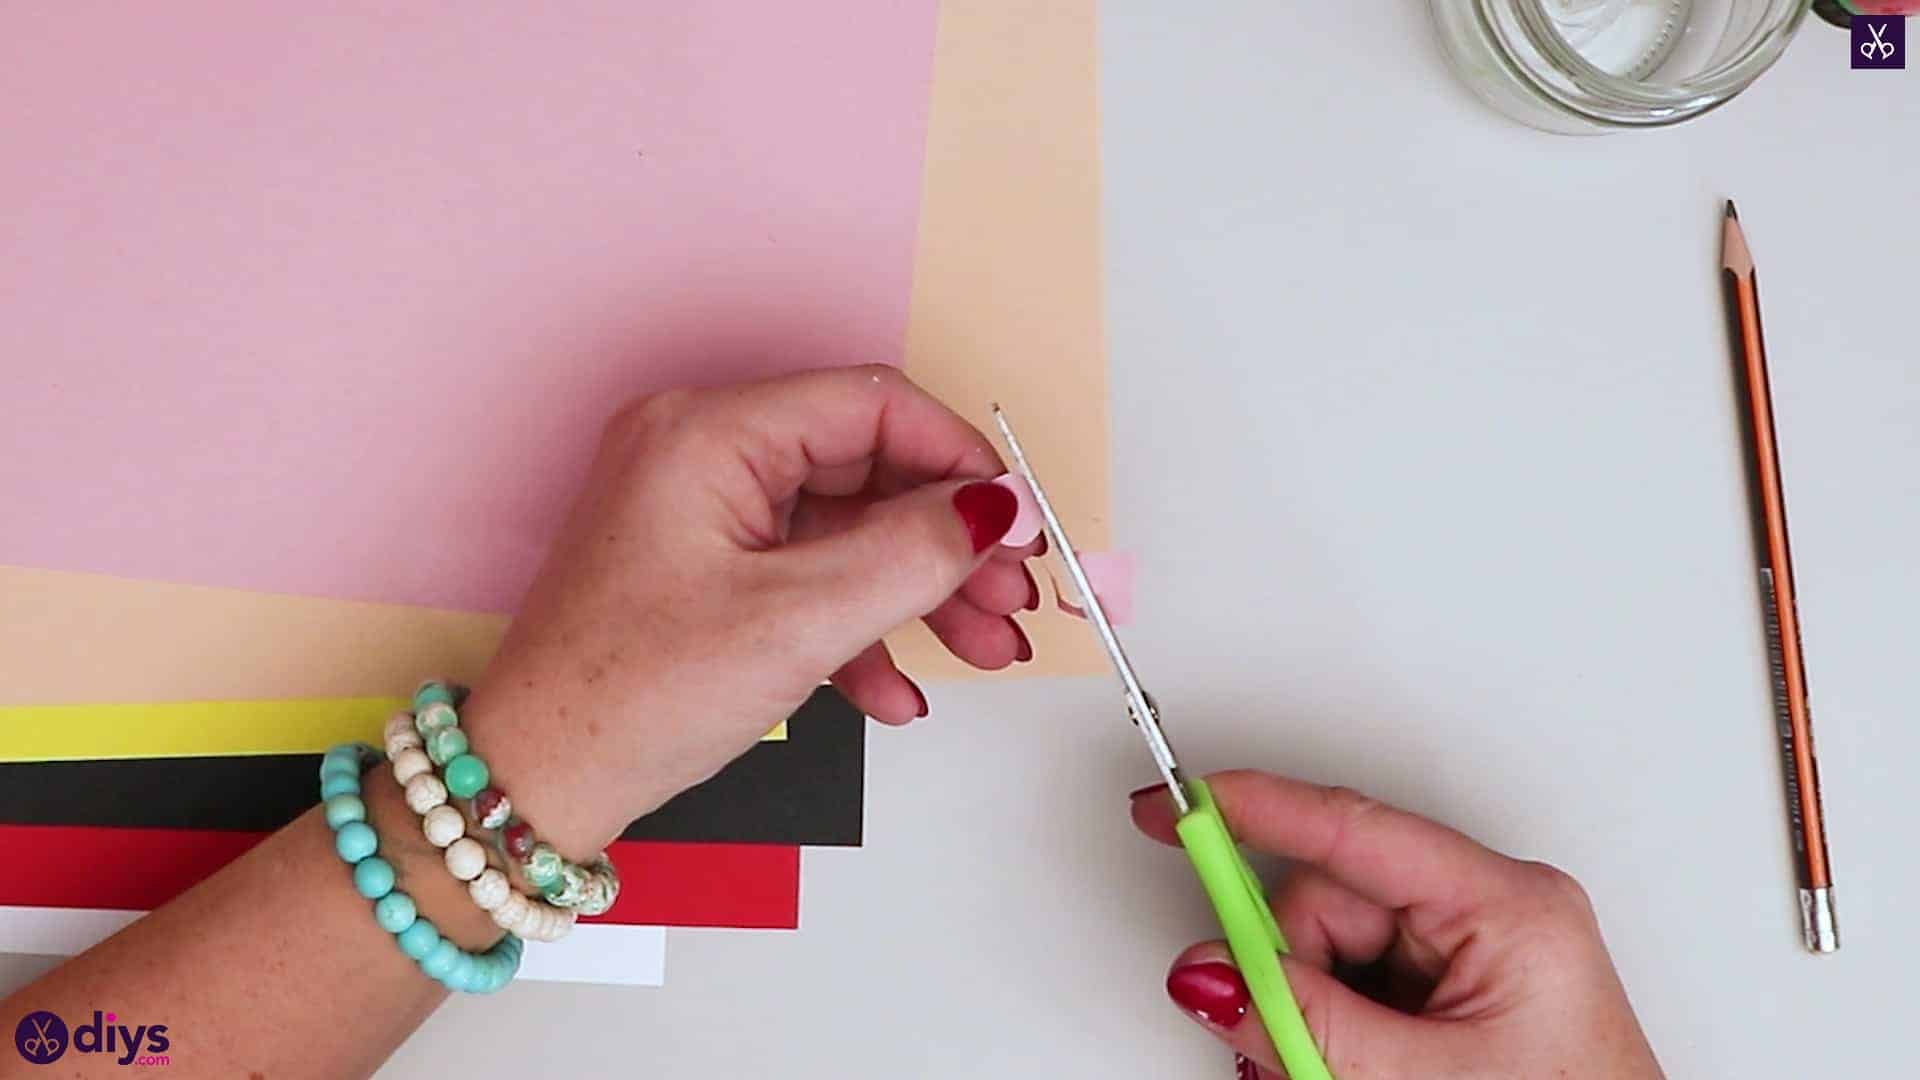
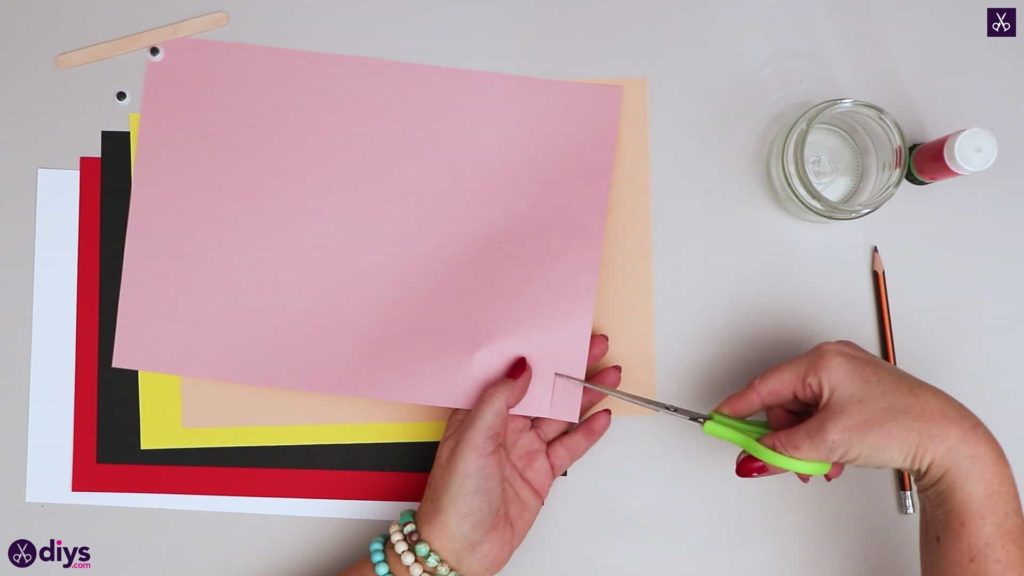
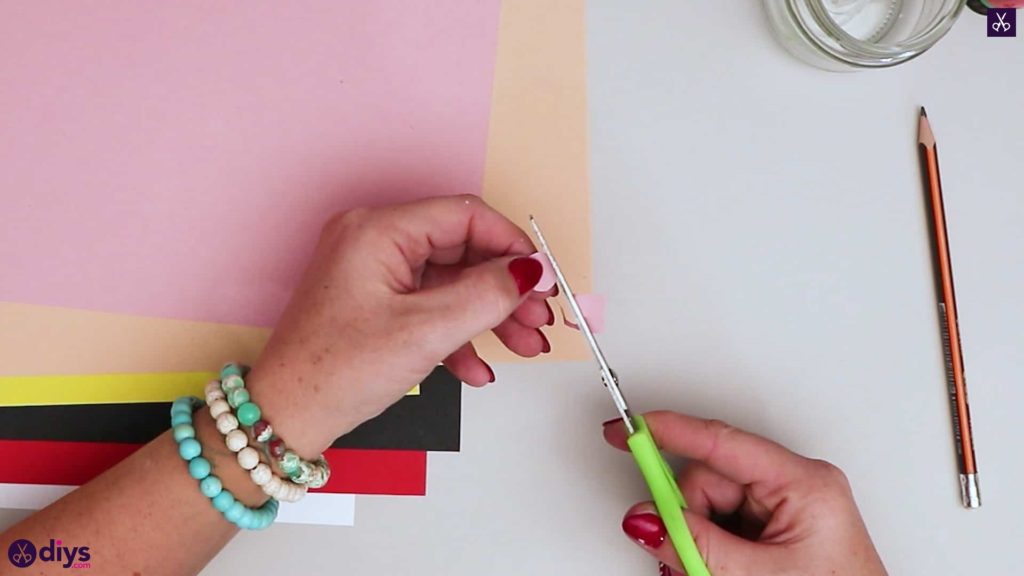
Step 2: prepare the nose
Cut a small square from the corner of your dark pink paper and then use your scissors to round the corners off until you have a little pink circle. This will be your Santa’s nose! Set it aside for later.
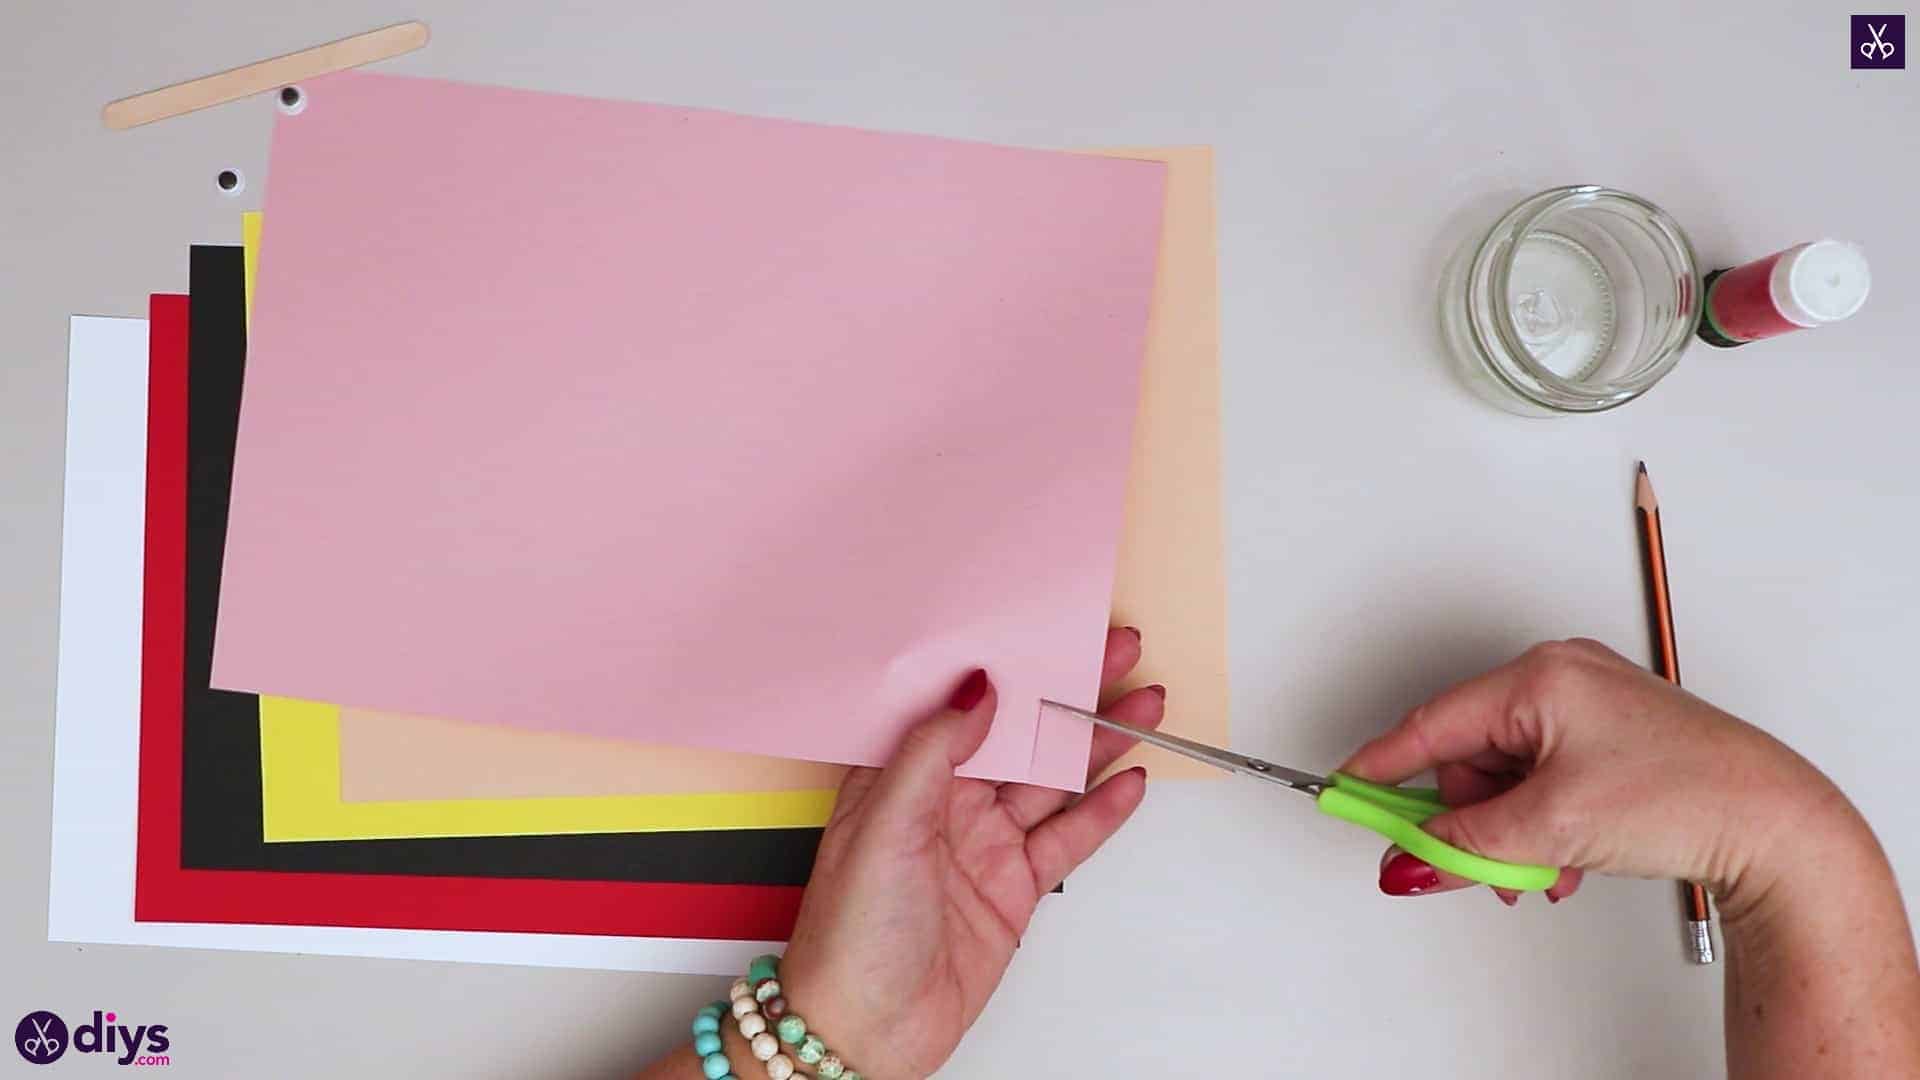
Step 3: cut the face
Cut a square about two inches by two inches from your light pink paper and round the corners off of that with your scissors just like before. This larger, lighter pink circle will be your Santa’s face!


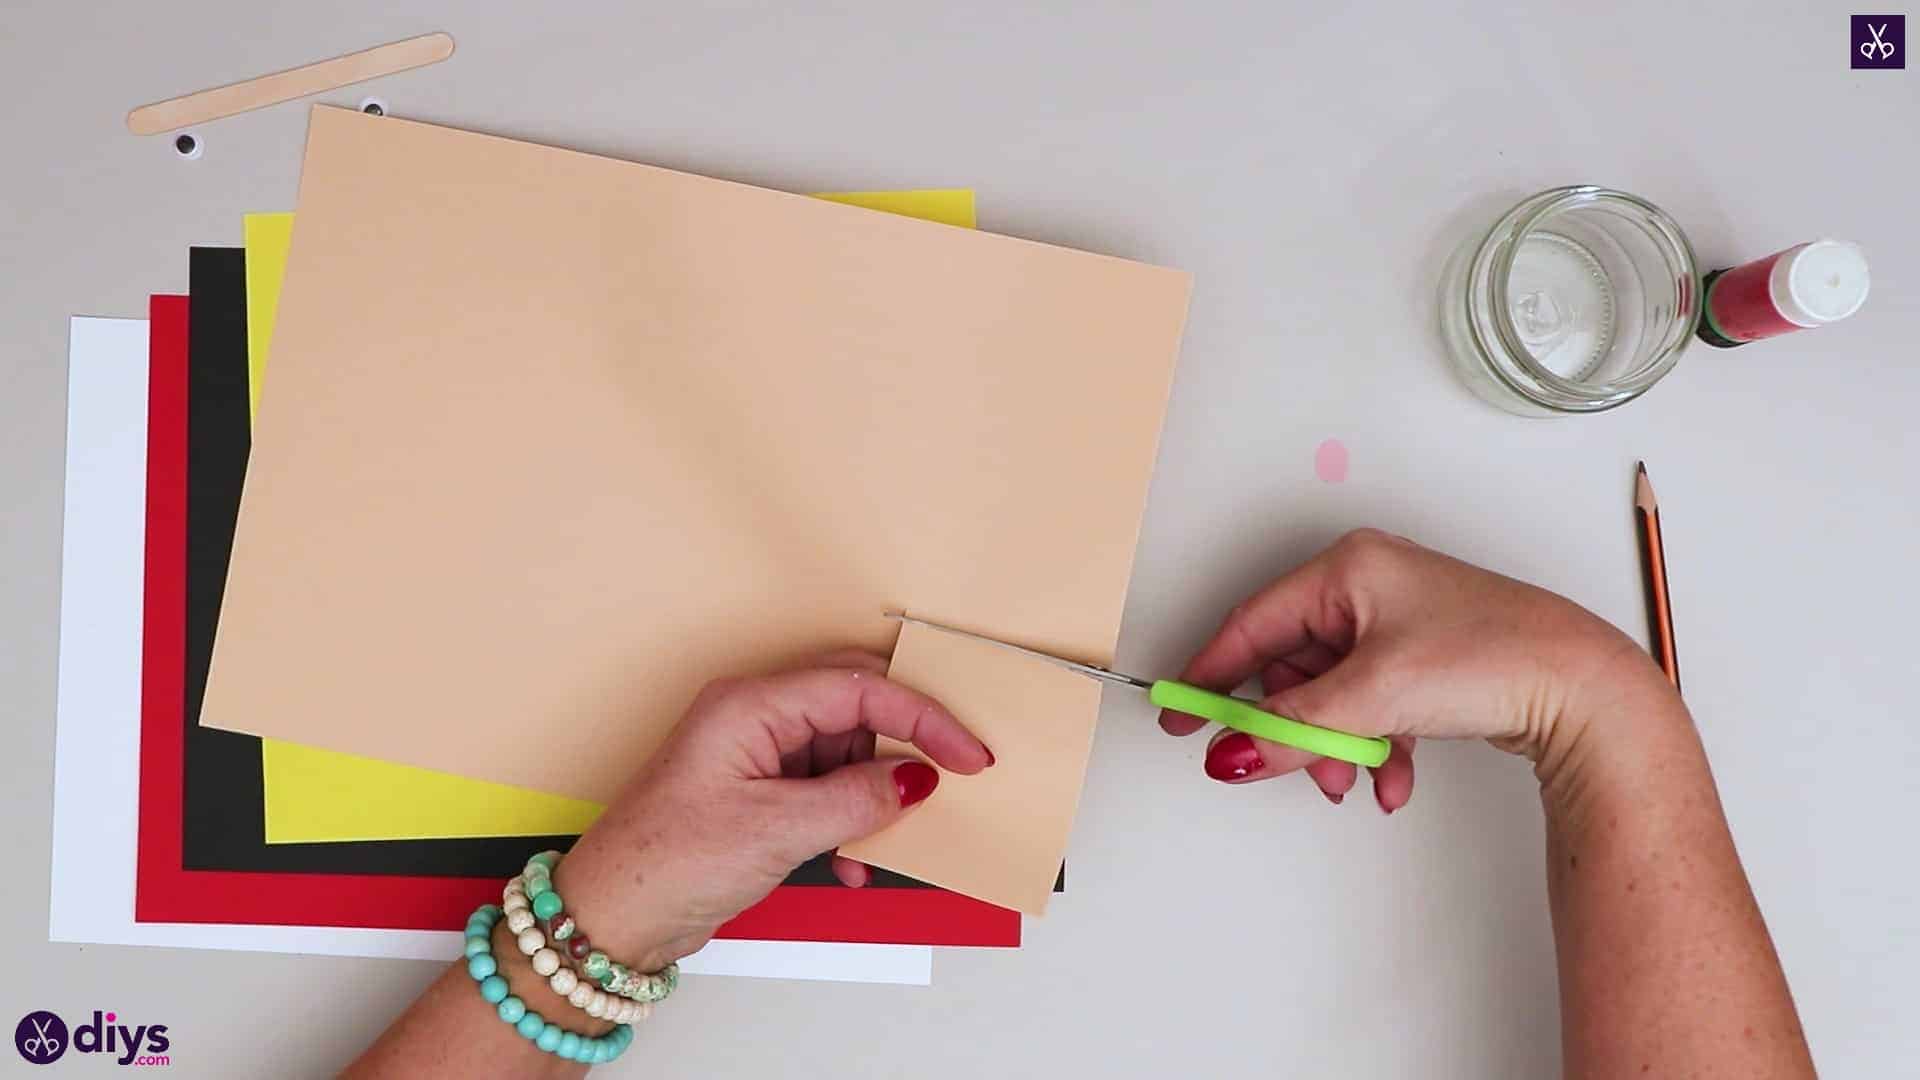
Step 4: prepare the belt buckle
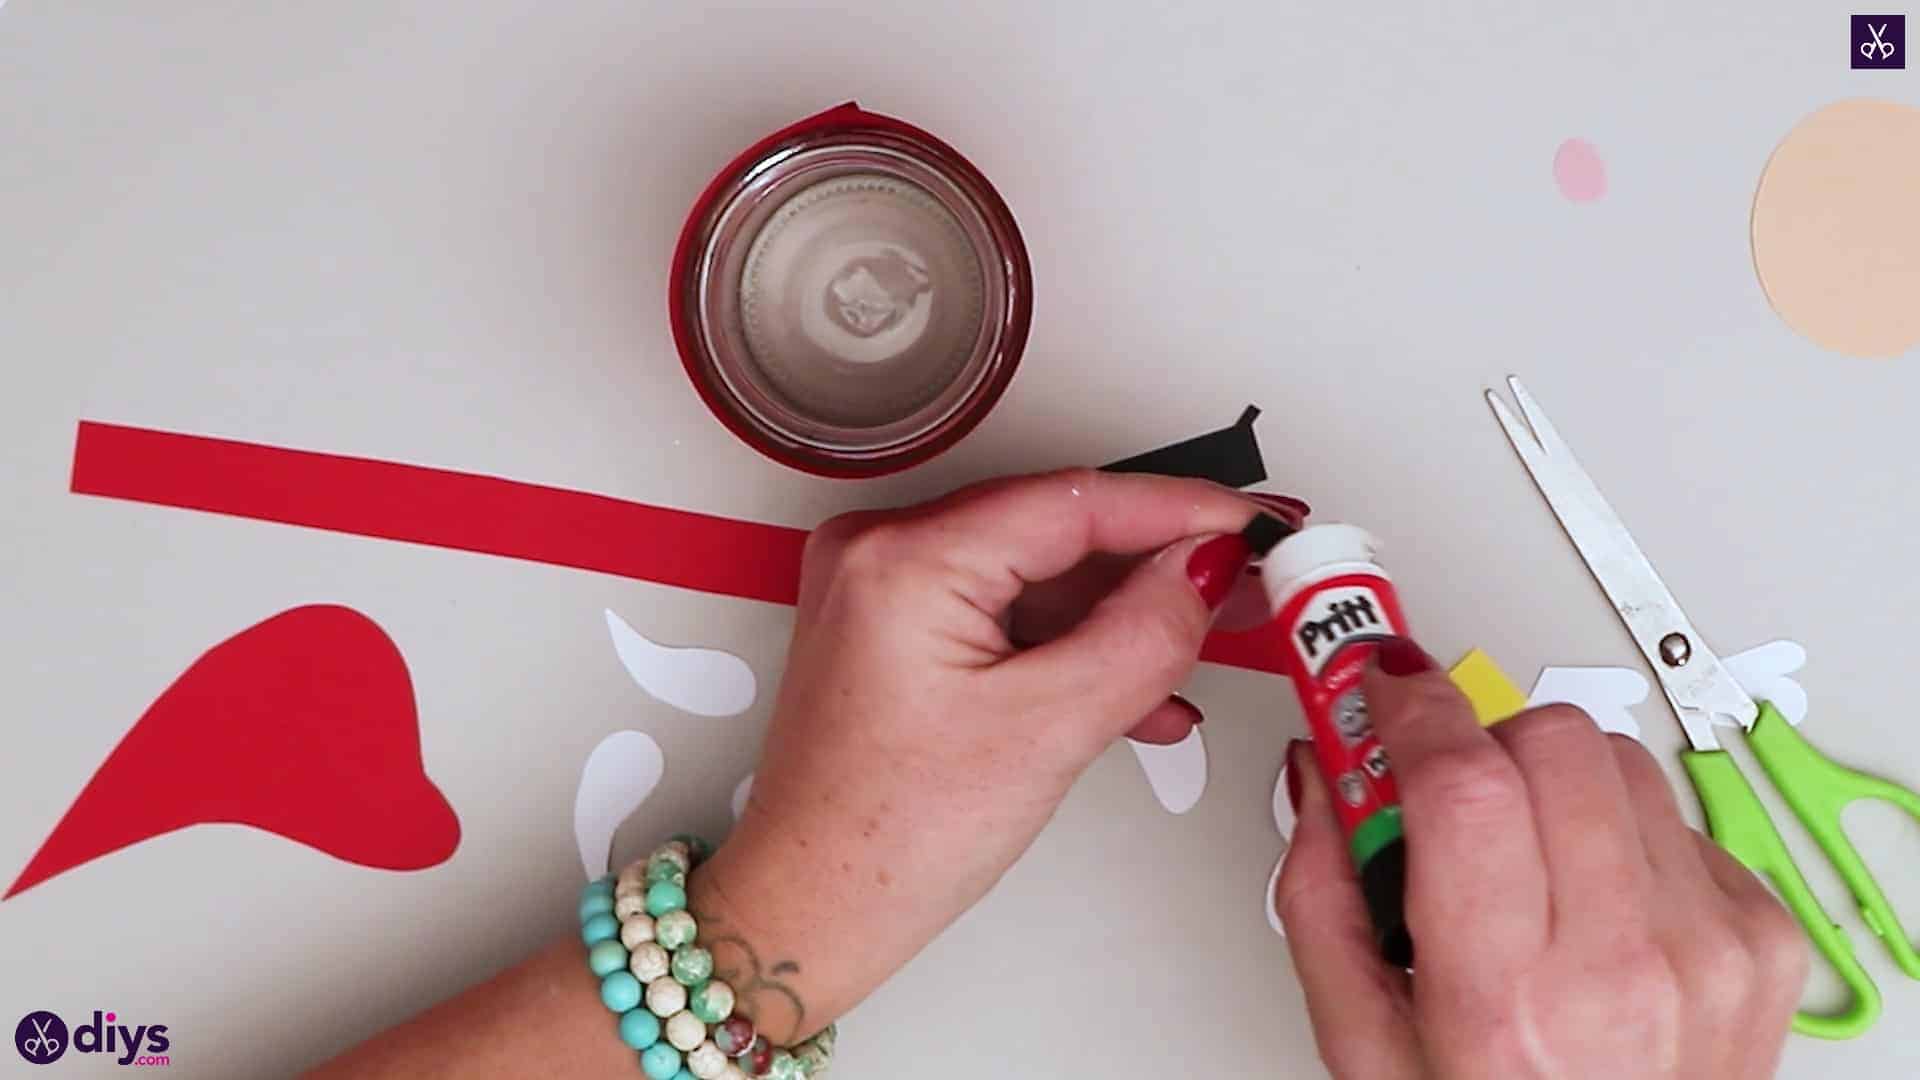
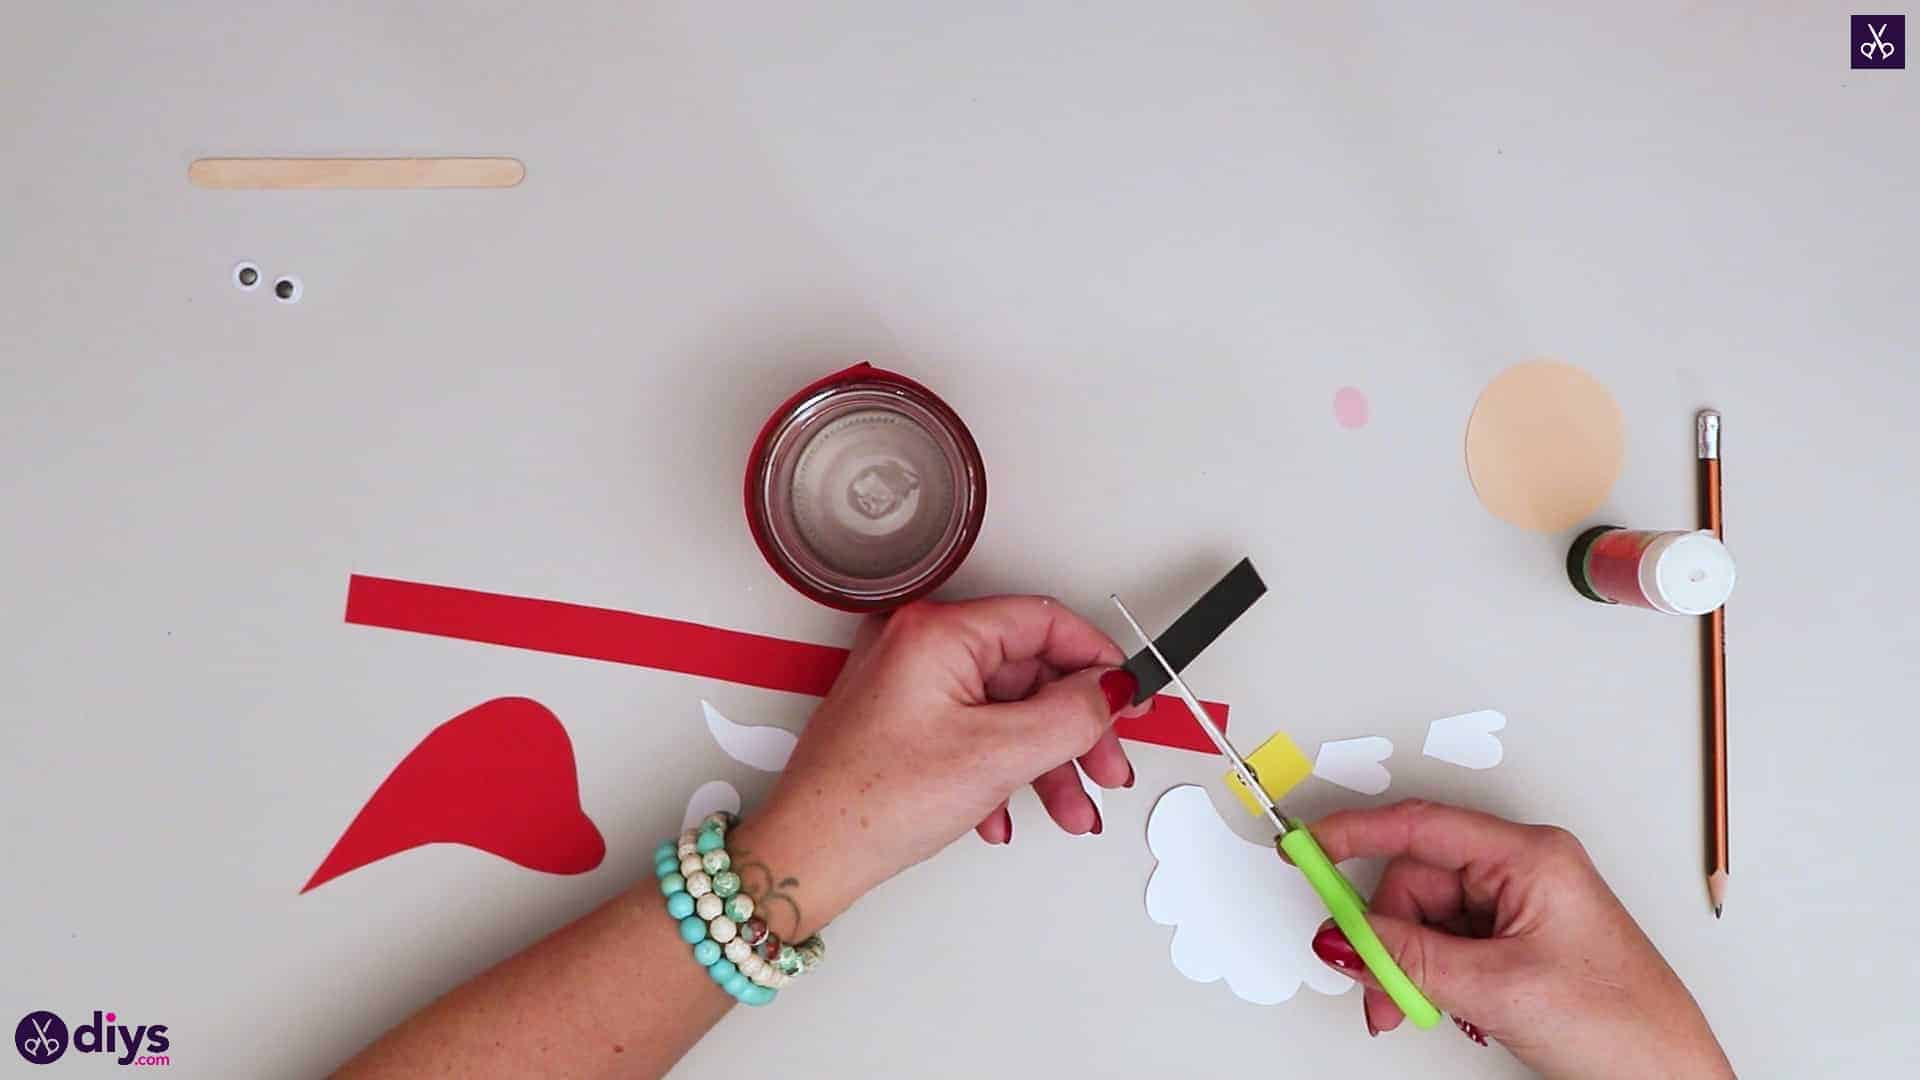
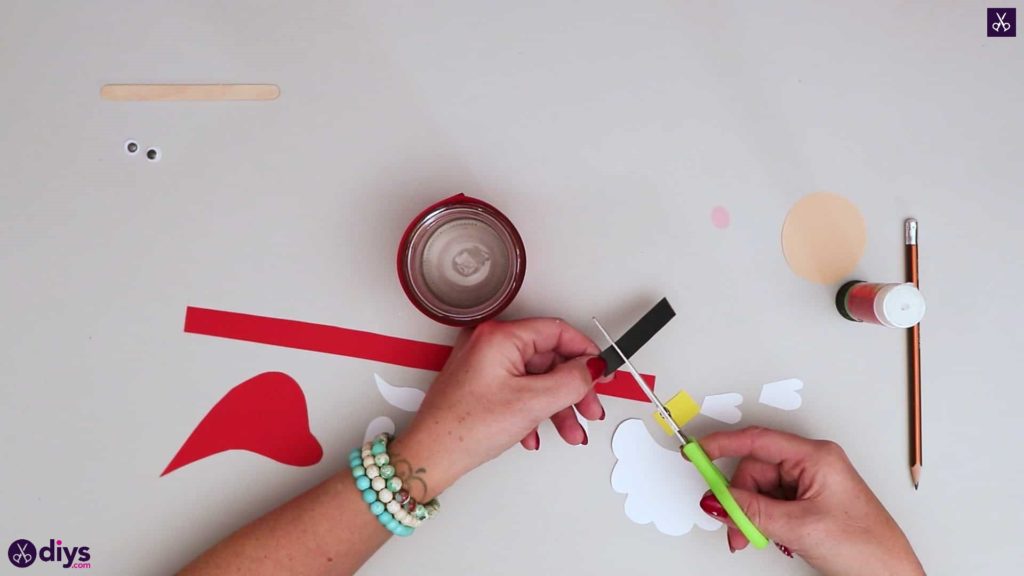
Cut a small rectangular shape from the corner of your yellow paper about half an inch long and a quarter of an inch wide. This will be your Santa’s belt buckle. Set this aside as well.
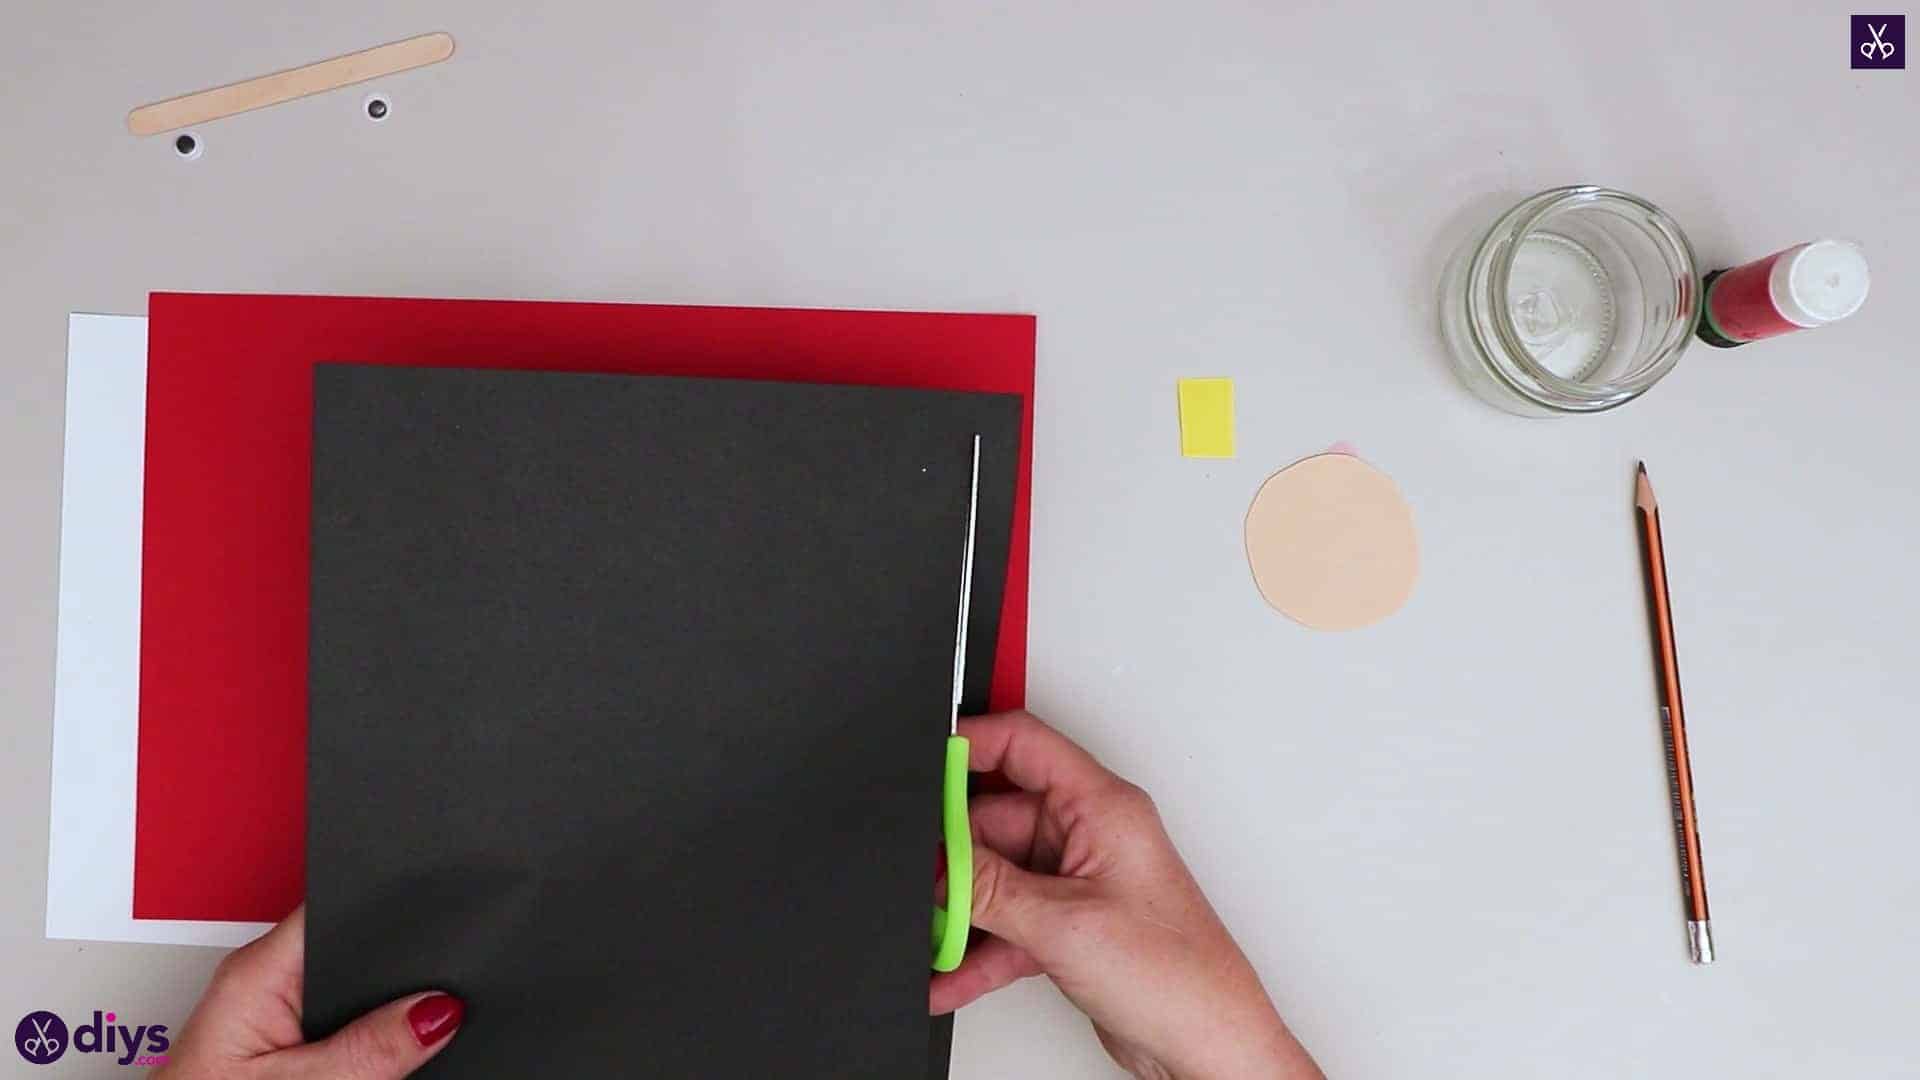
Step 5: make the belt
Cut a thin strip from the long side of your black paper. I made mine the entire length of the page and about a quarter of an inch wide. This will be your Santa’s belt.

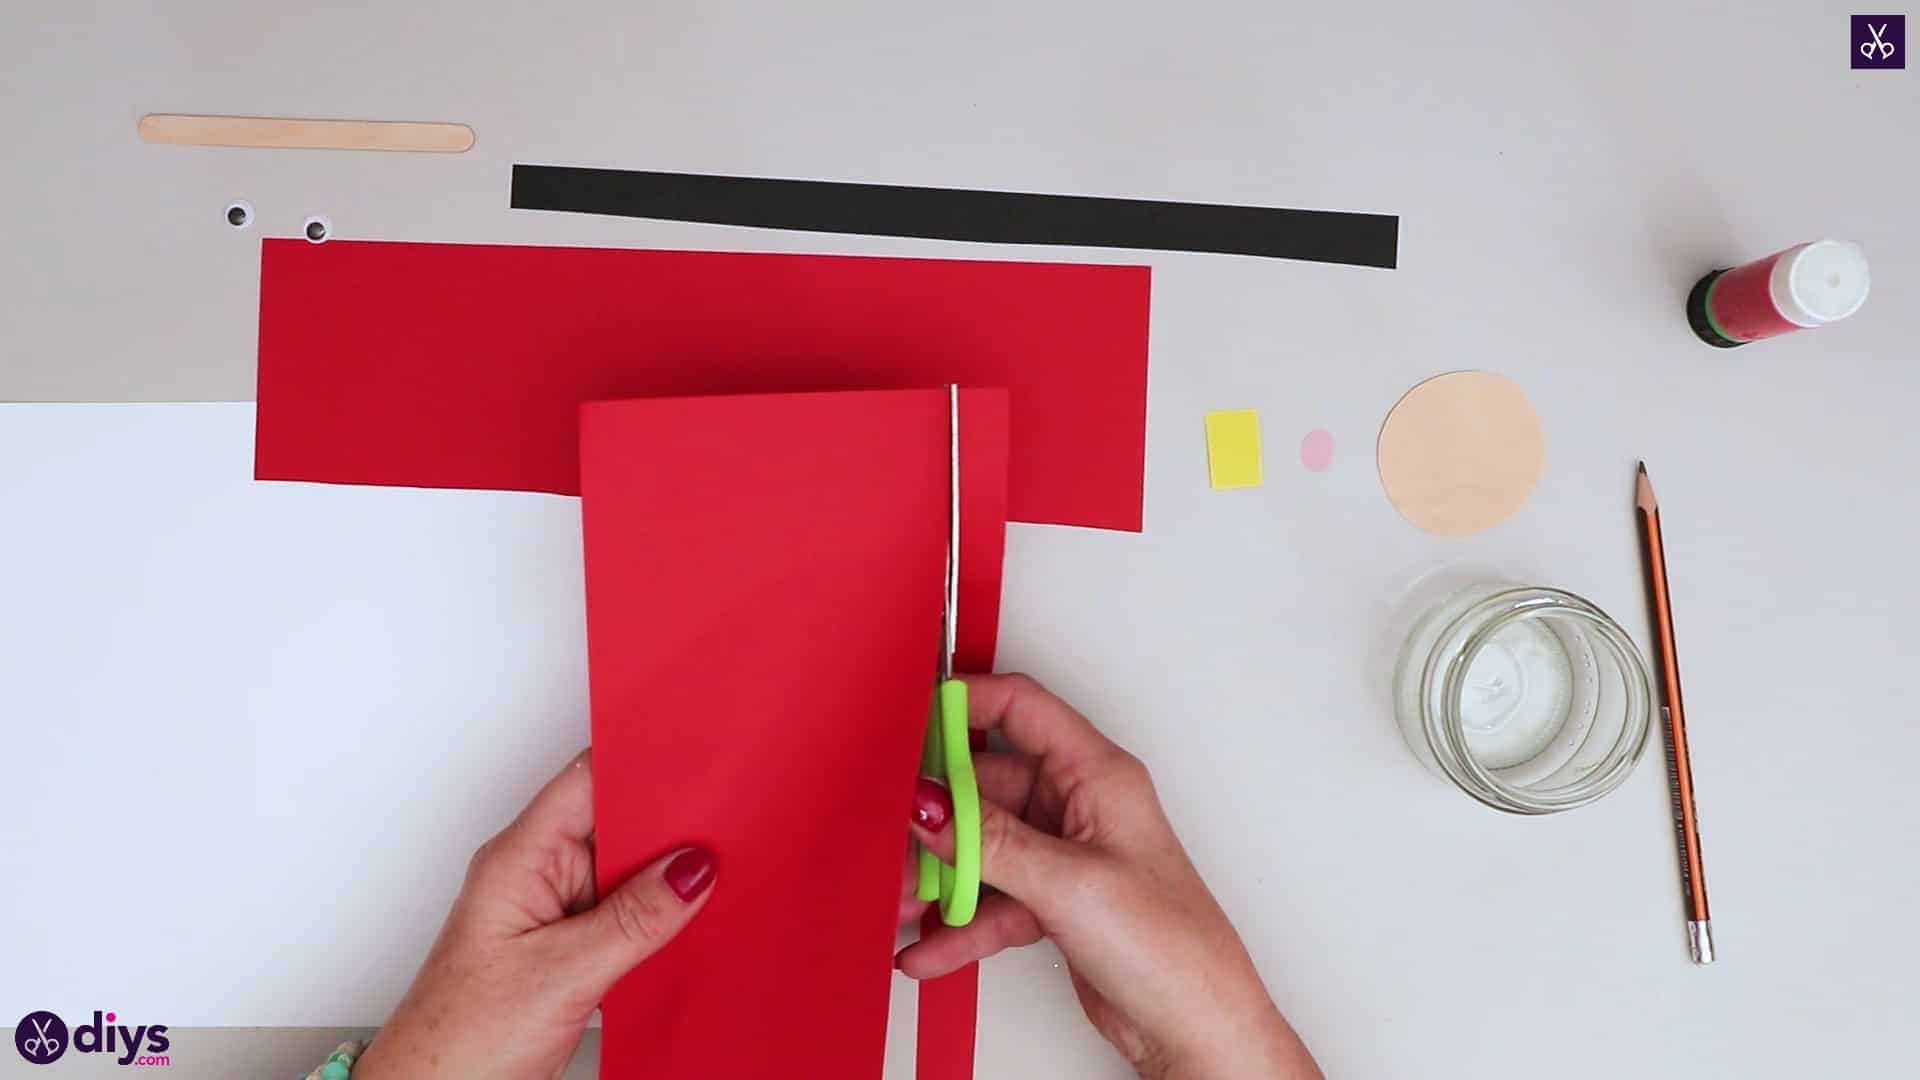
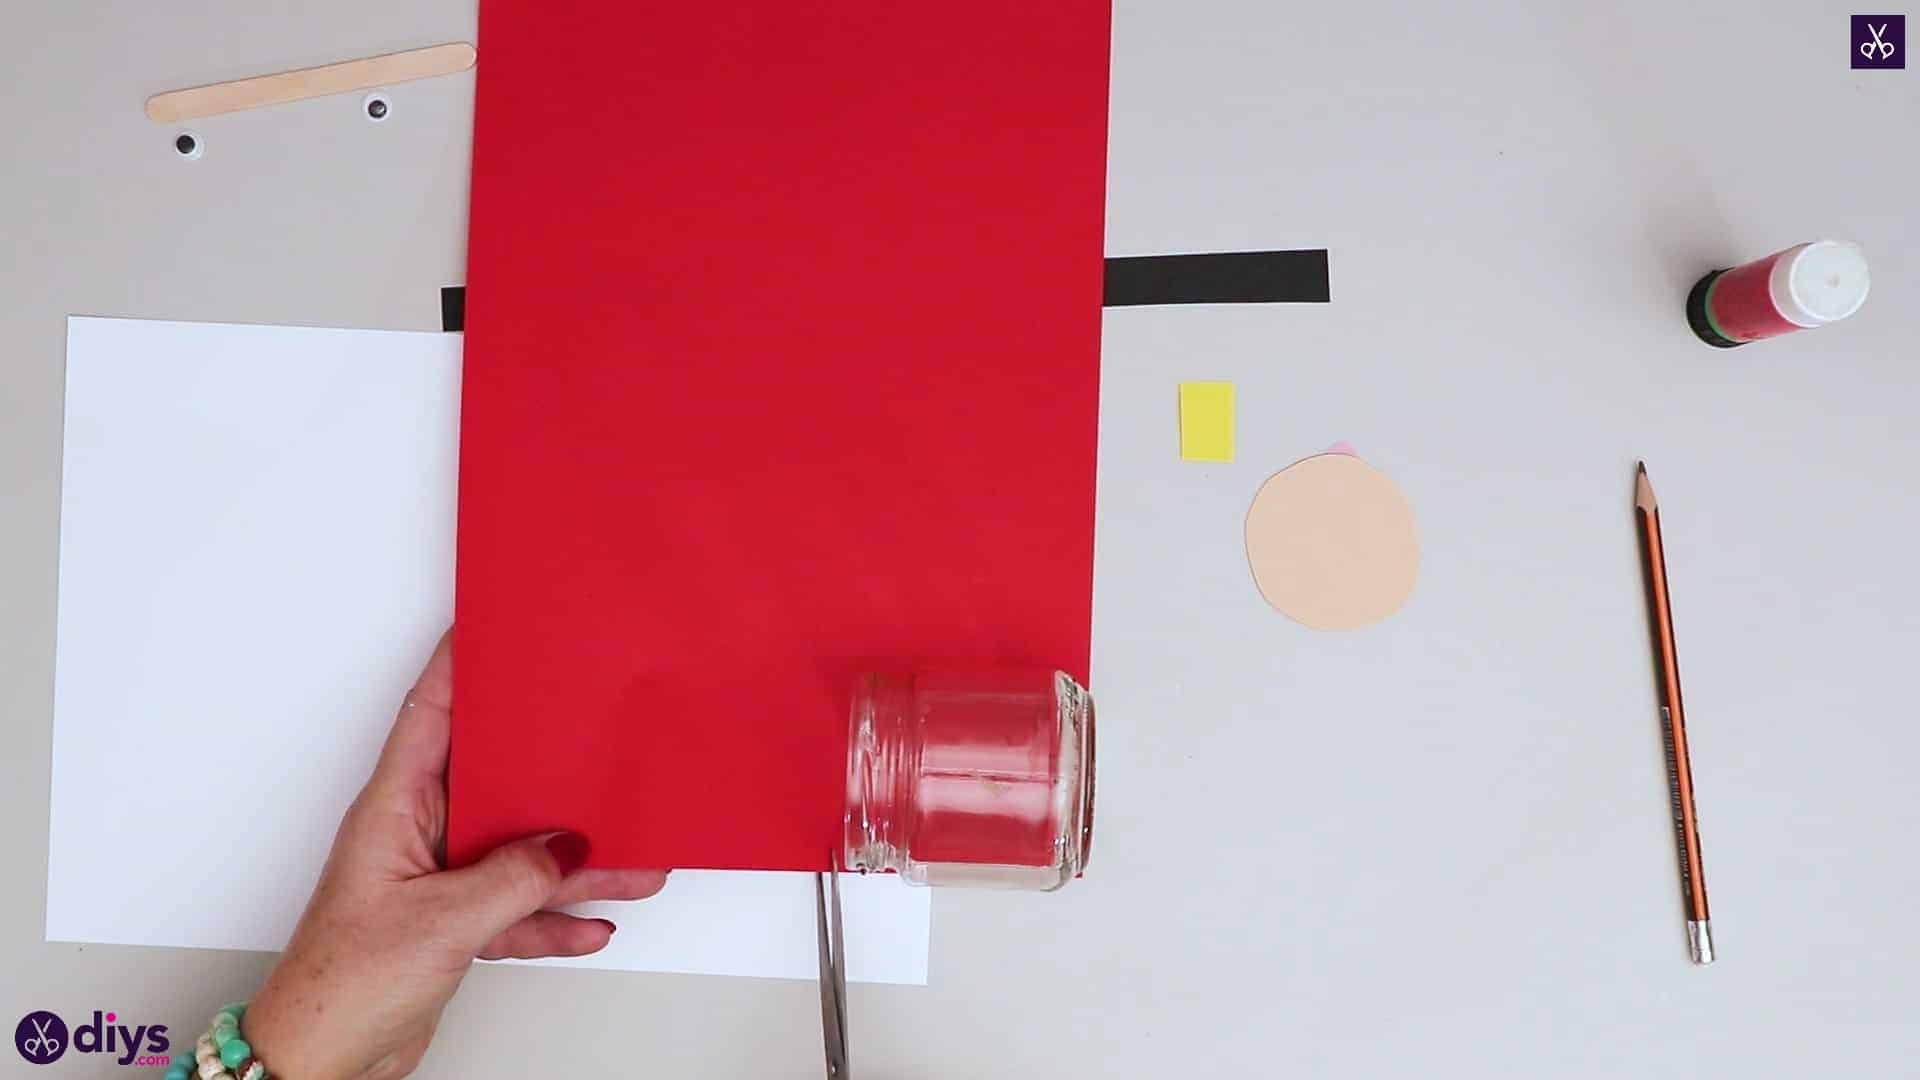
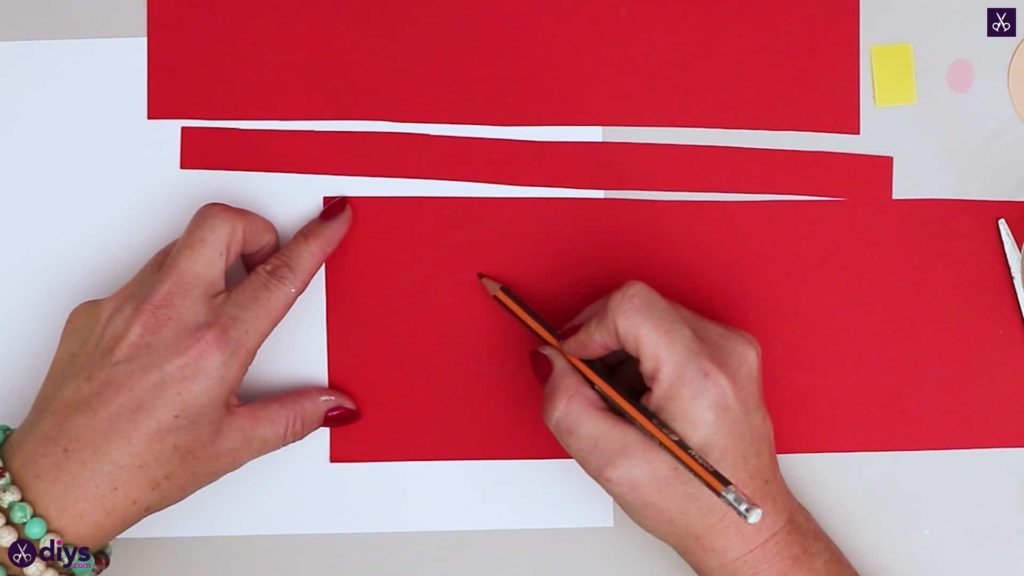
Step 6: shape the body
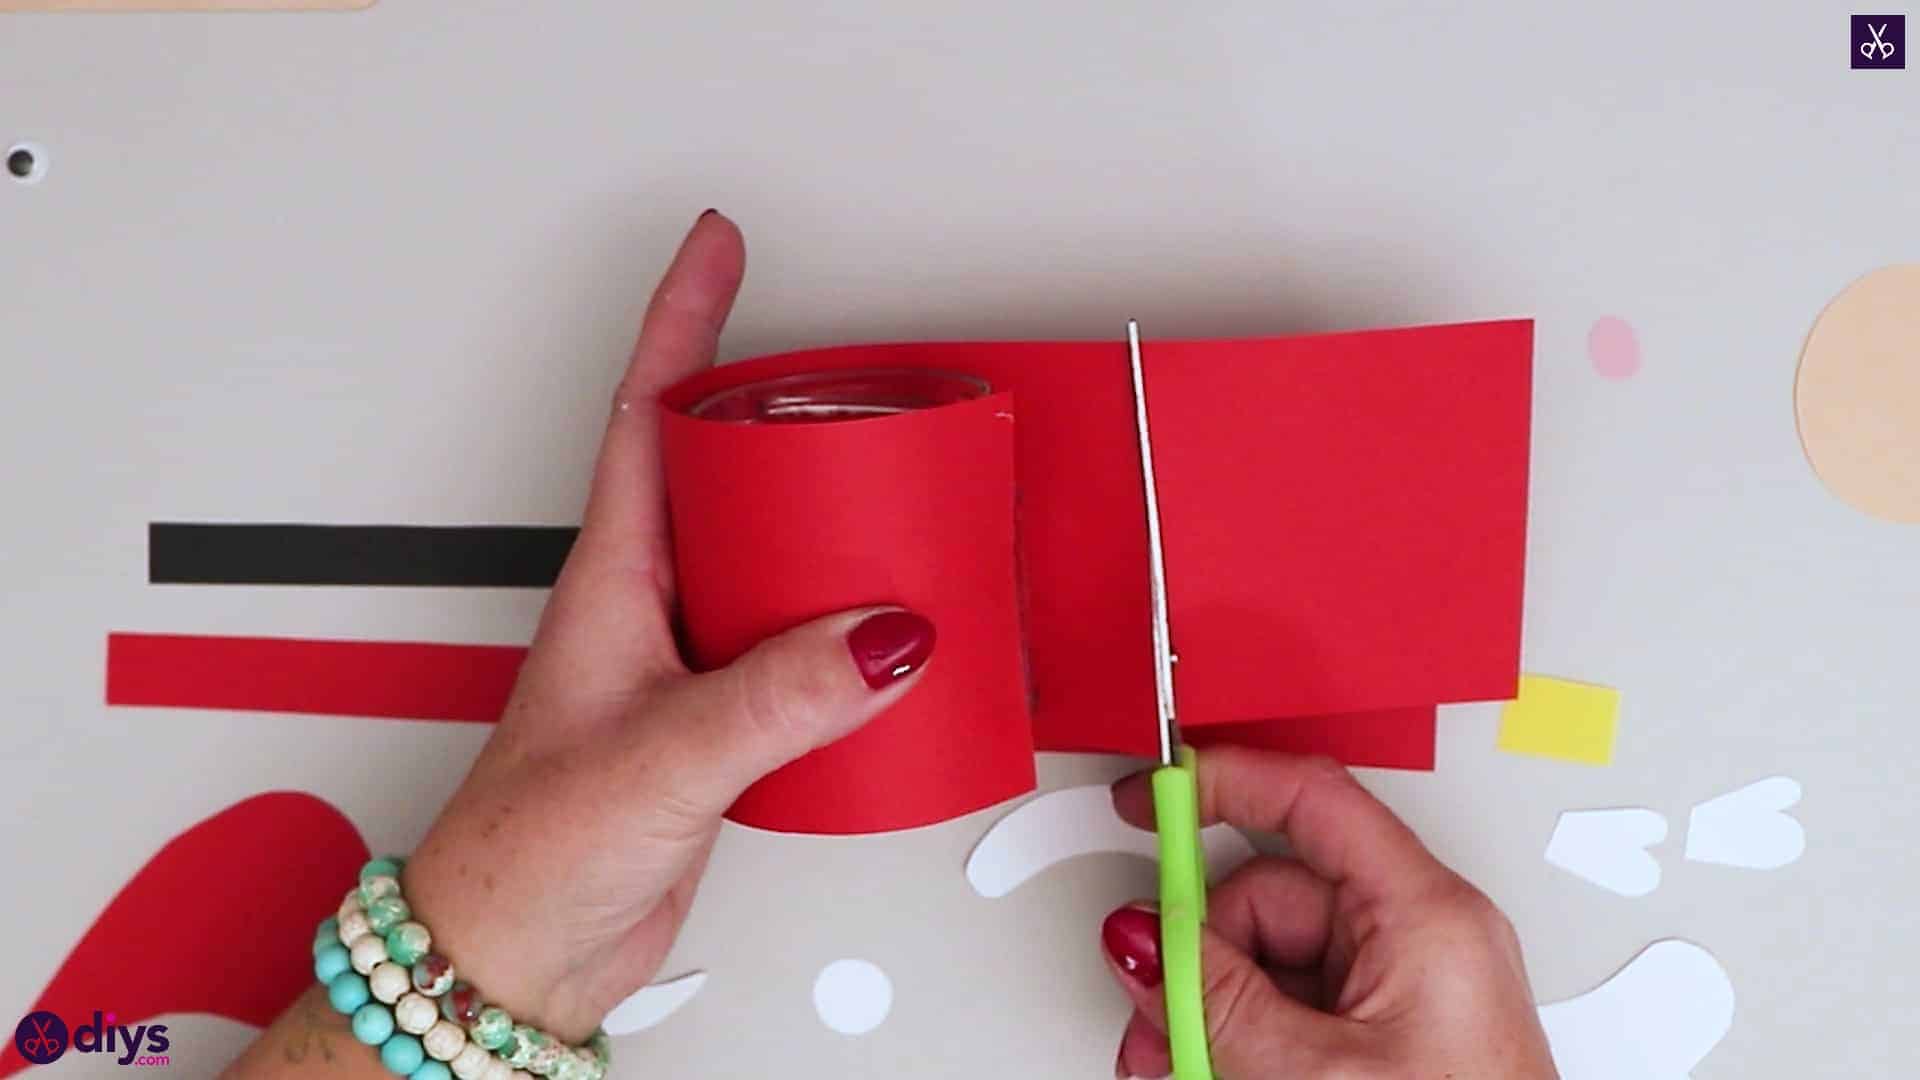
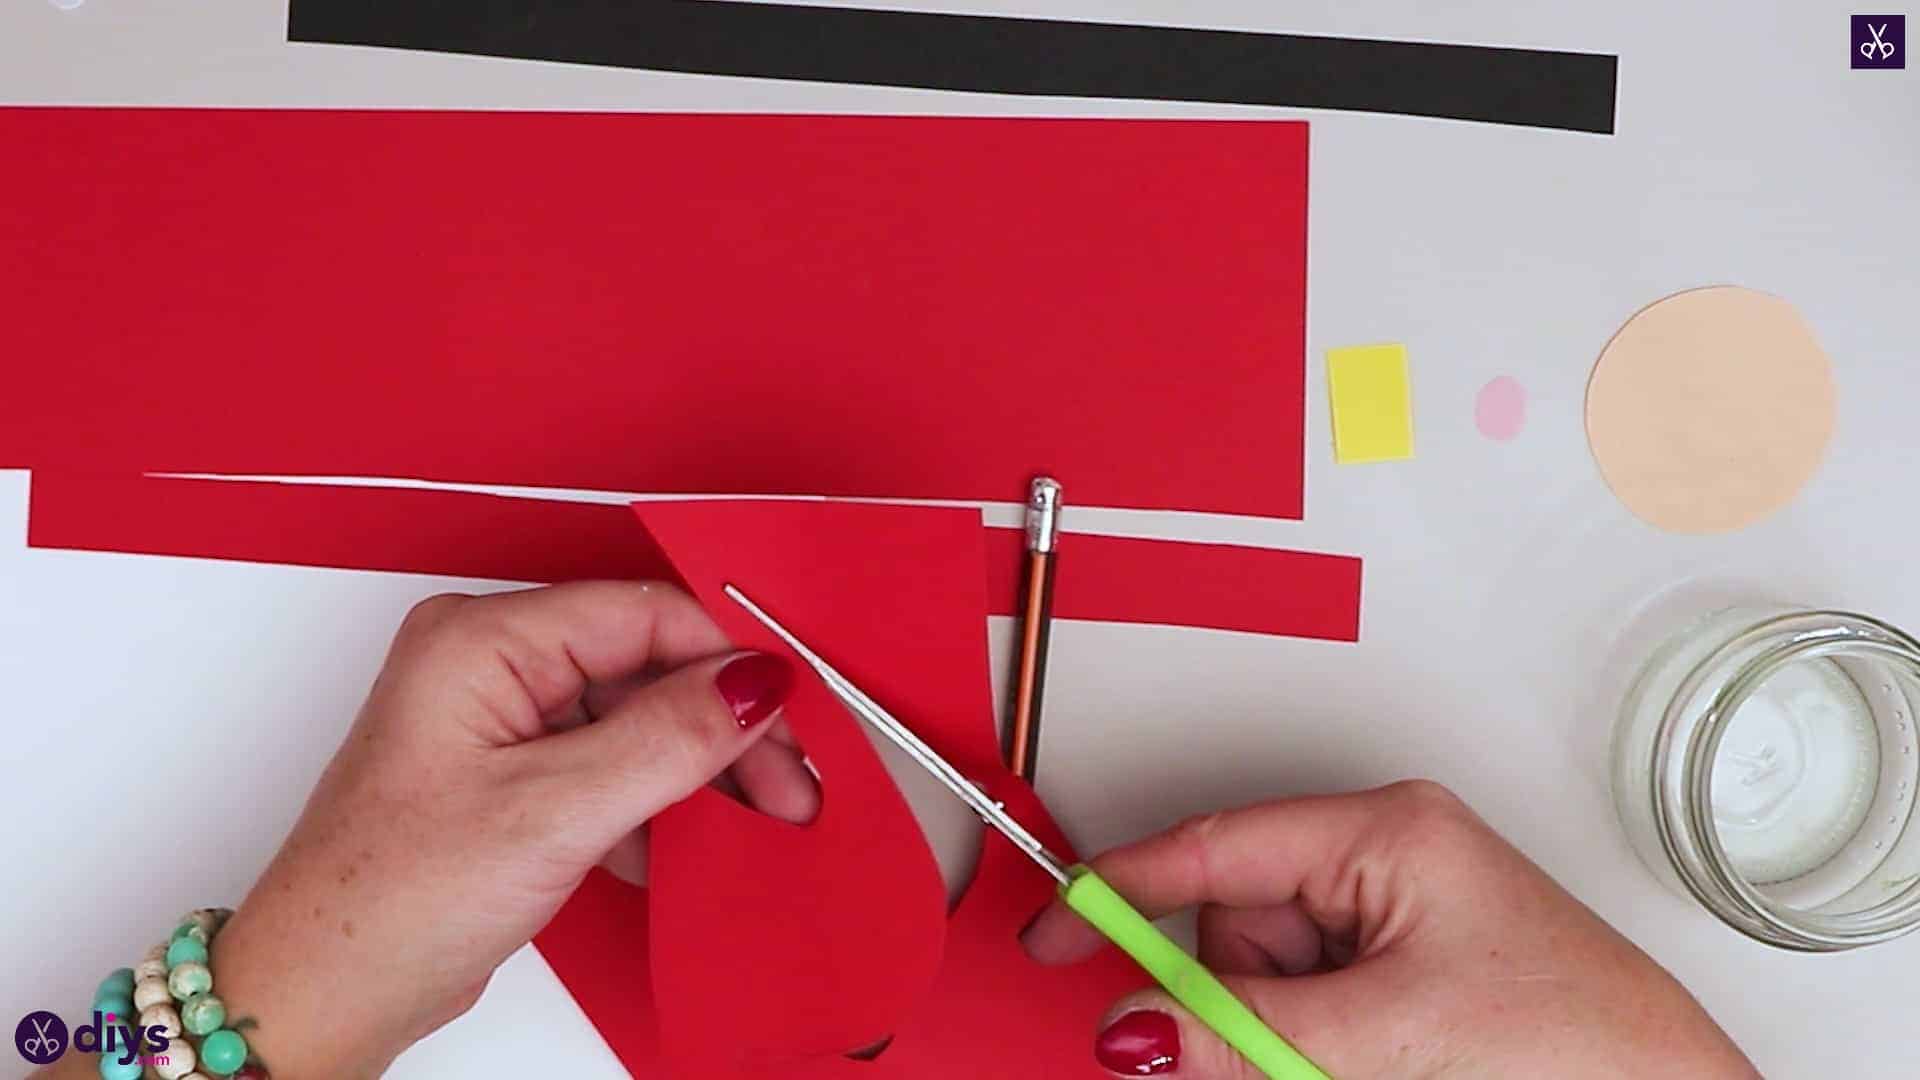
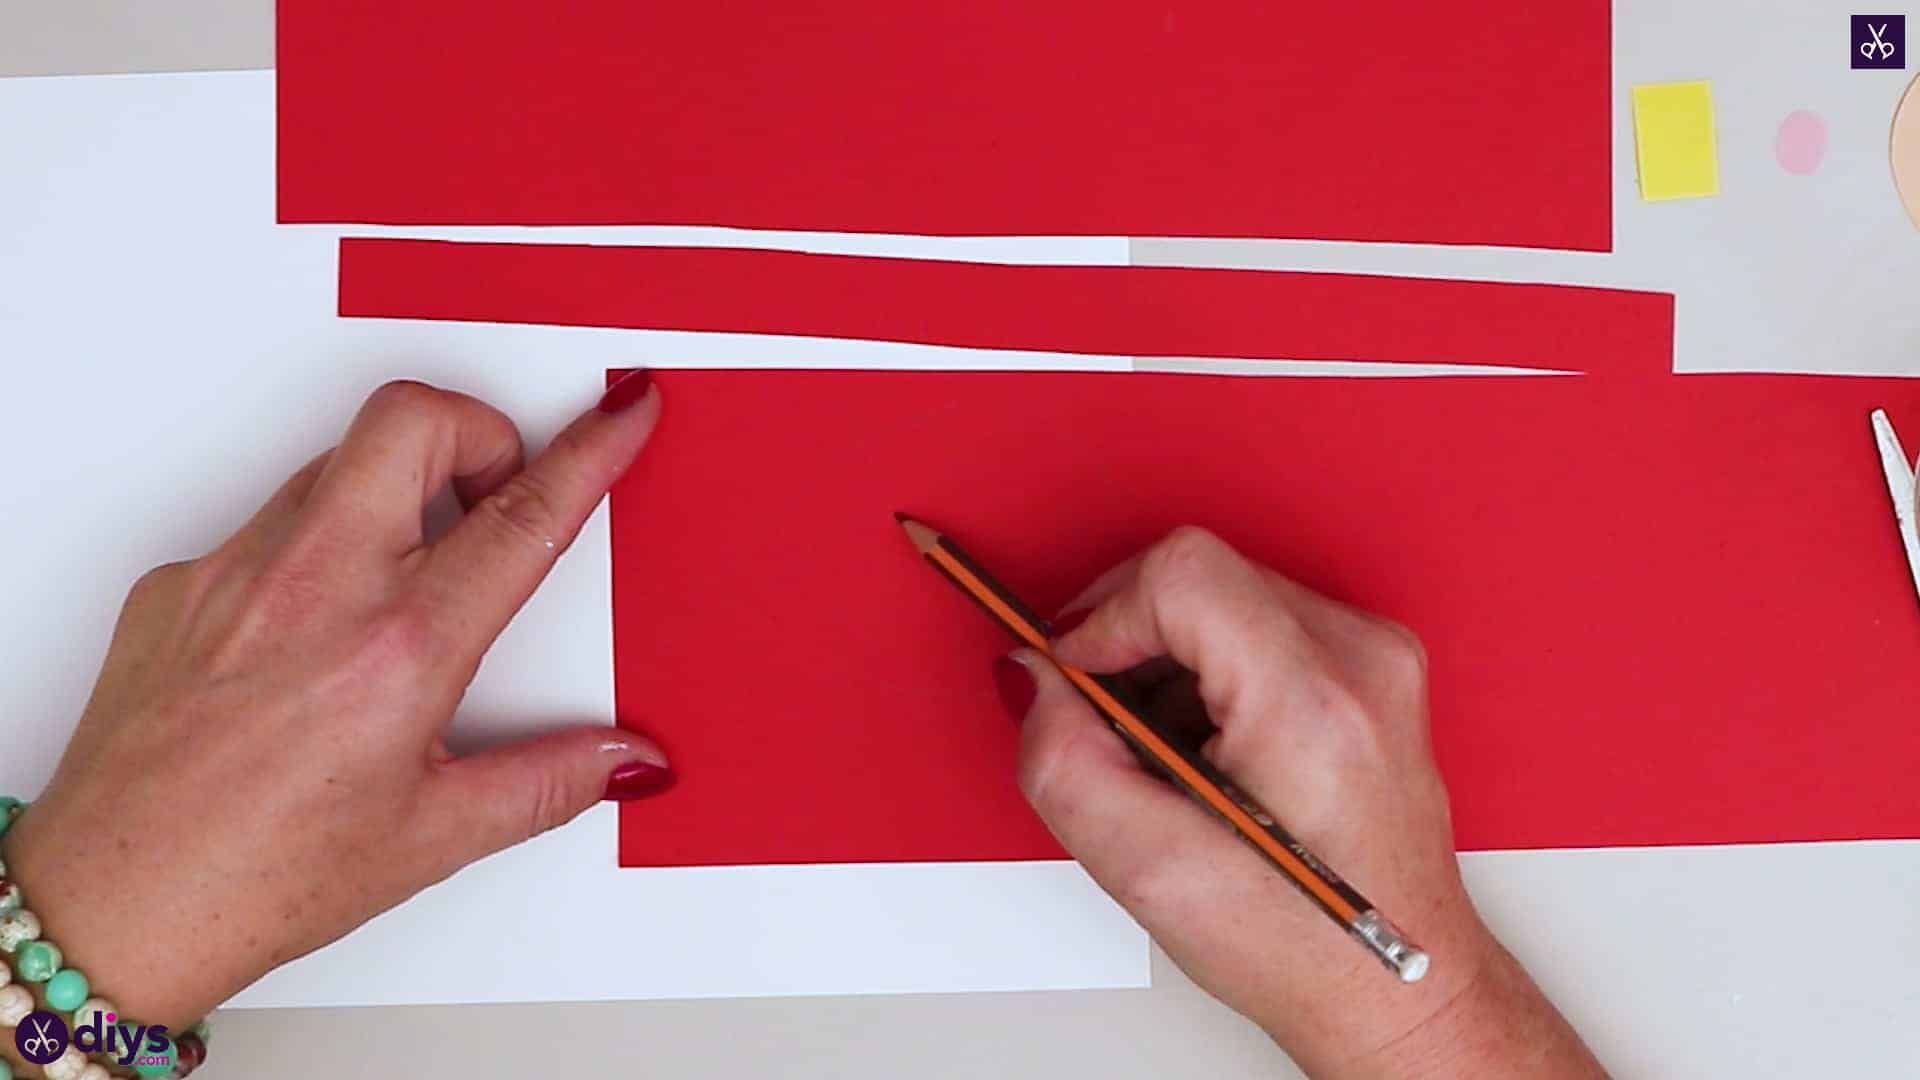
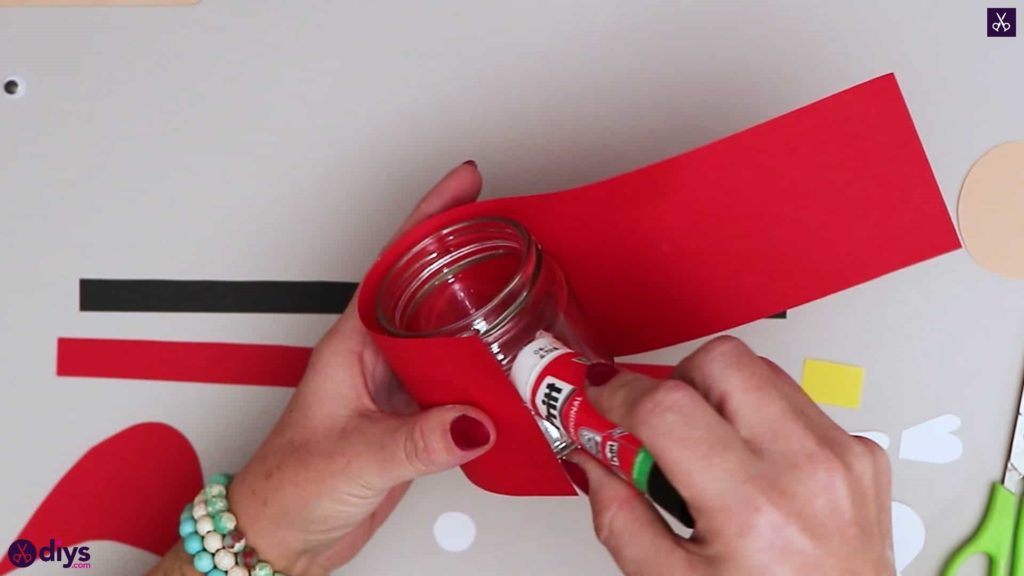
Turn your piece of red paper portrait-wise on your work surface so it lies tall. Turn your glass jar sideways to the left so its bottom sits level with the long right side of your paper, positioning it in the bottom right corner so its side (which is now facing downwards) sits flush with the bottom edge of the page. Use a pencil or your scissors to make a line or a cut where the open top edge of your jar starts, marking out the height of your jar on the paper. Cut a rectangular strip the entire length of the red paper upwards from this mark, making a piece that is as wide as your glass jar is tall.


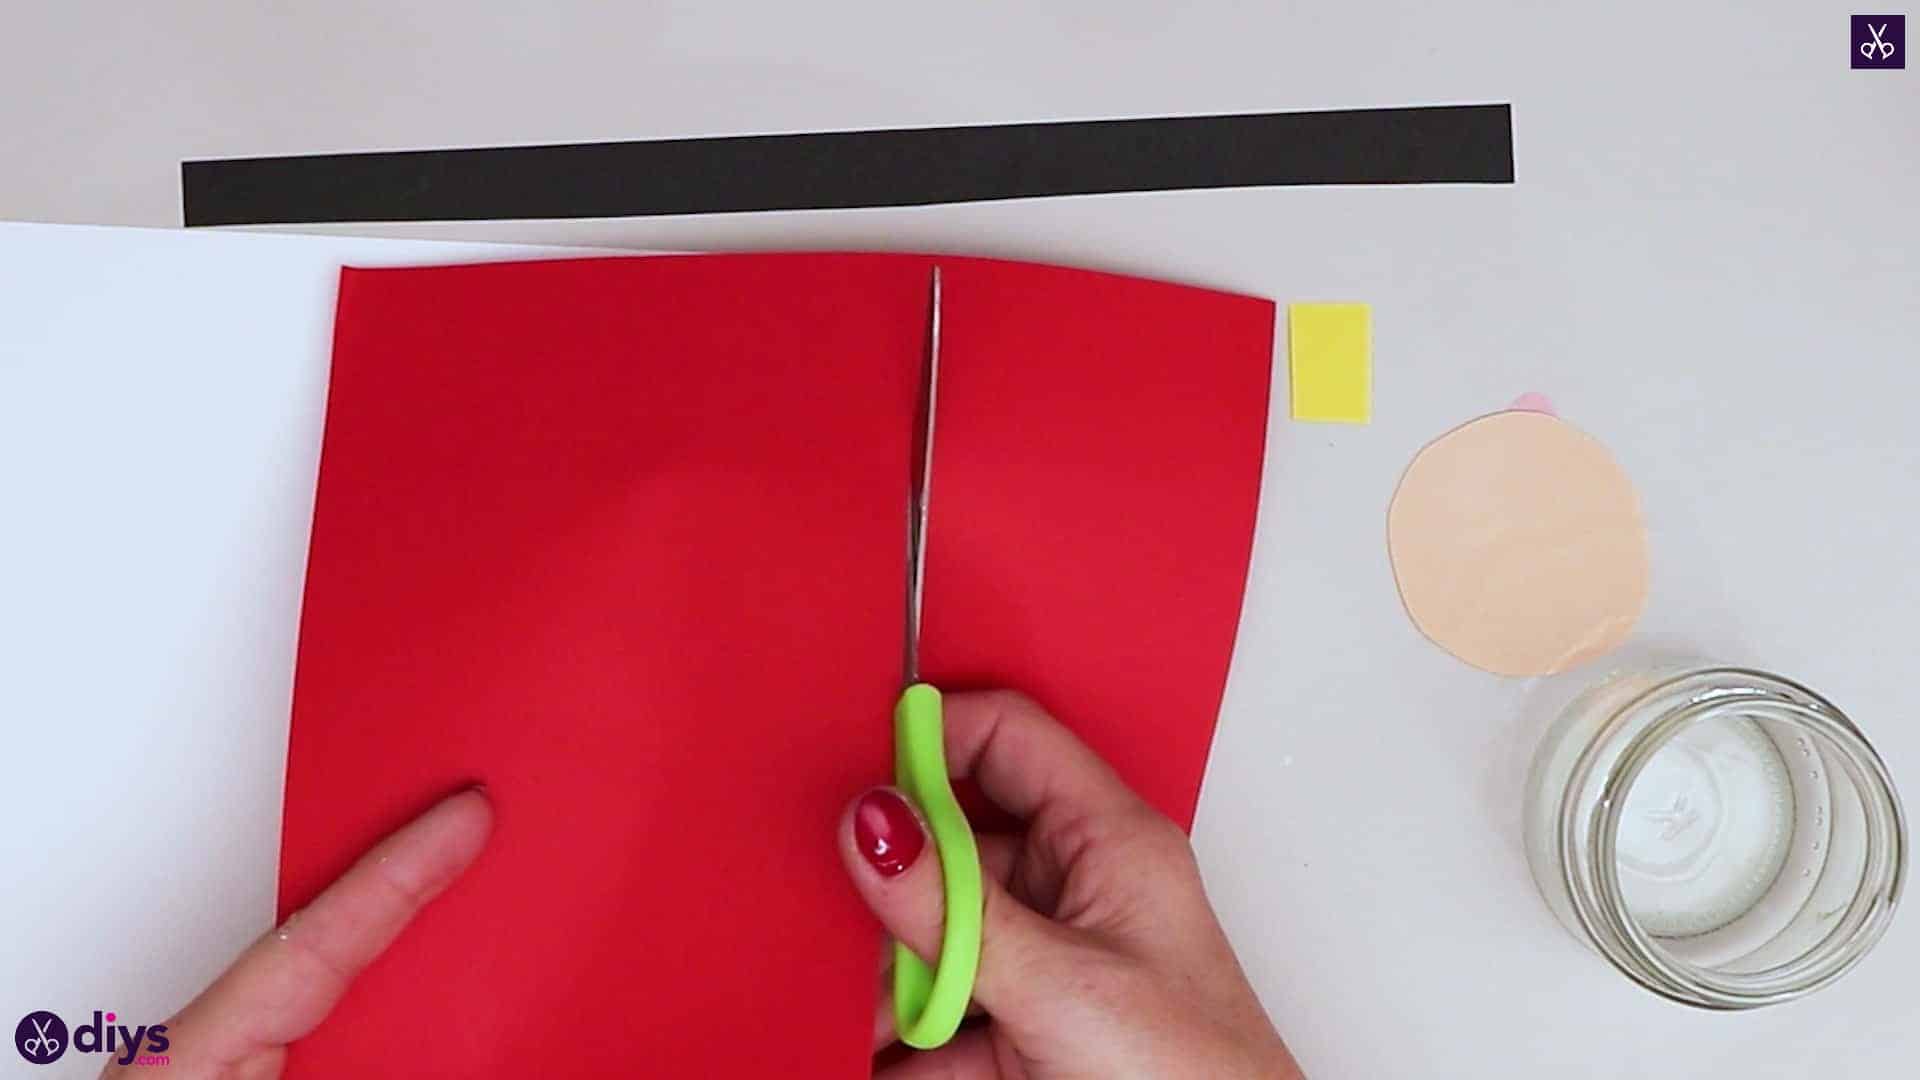
Step 7: cut a strip of red
From what’s left of your red paper after that first rectangular piece, cut another strip that is once again the entire length of the page, but this time only about a quarter of an inch wide, making a very thing rectangle.

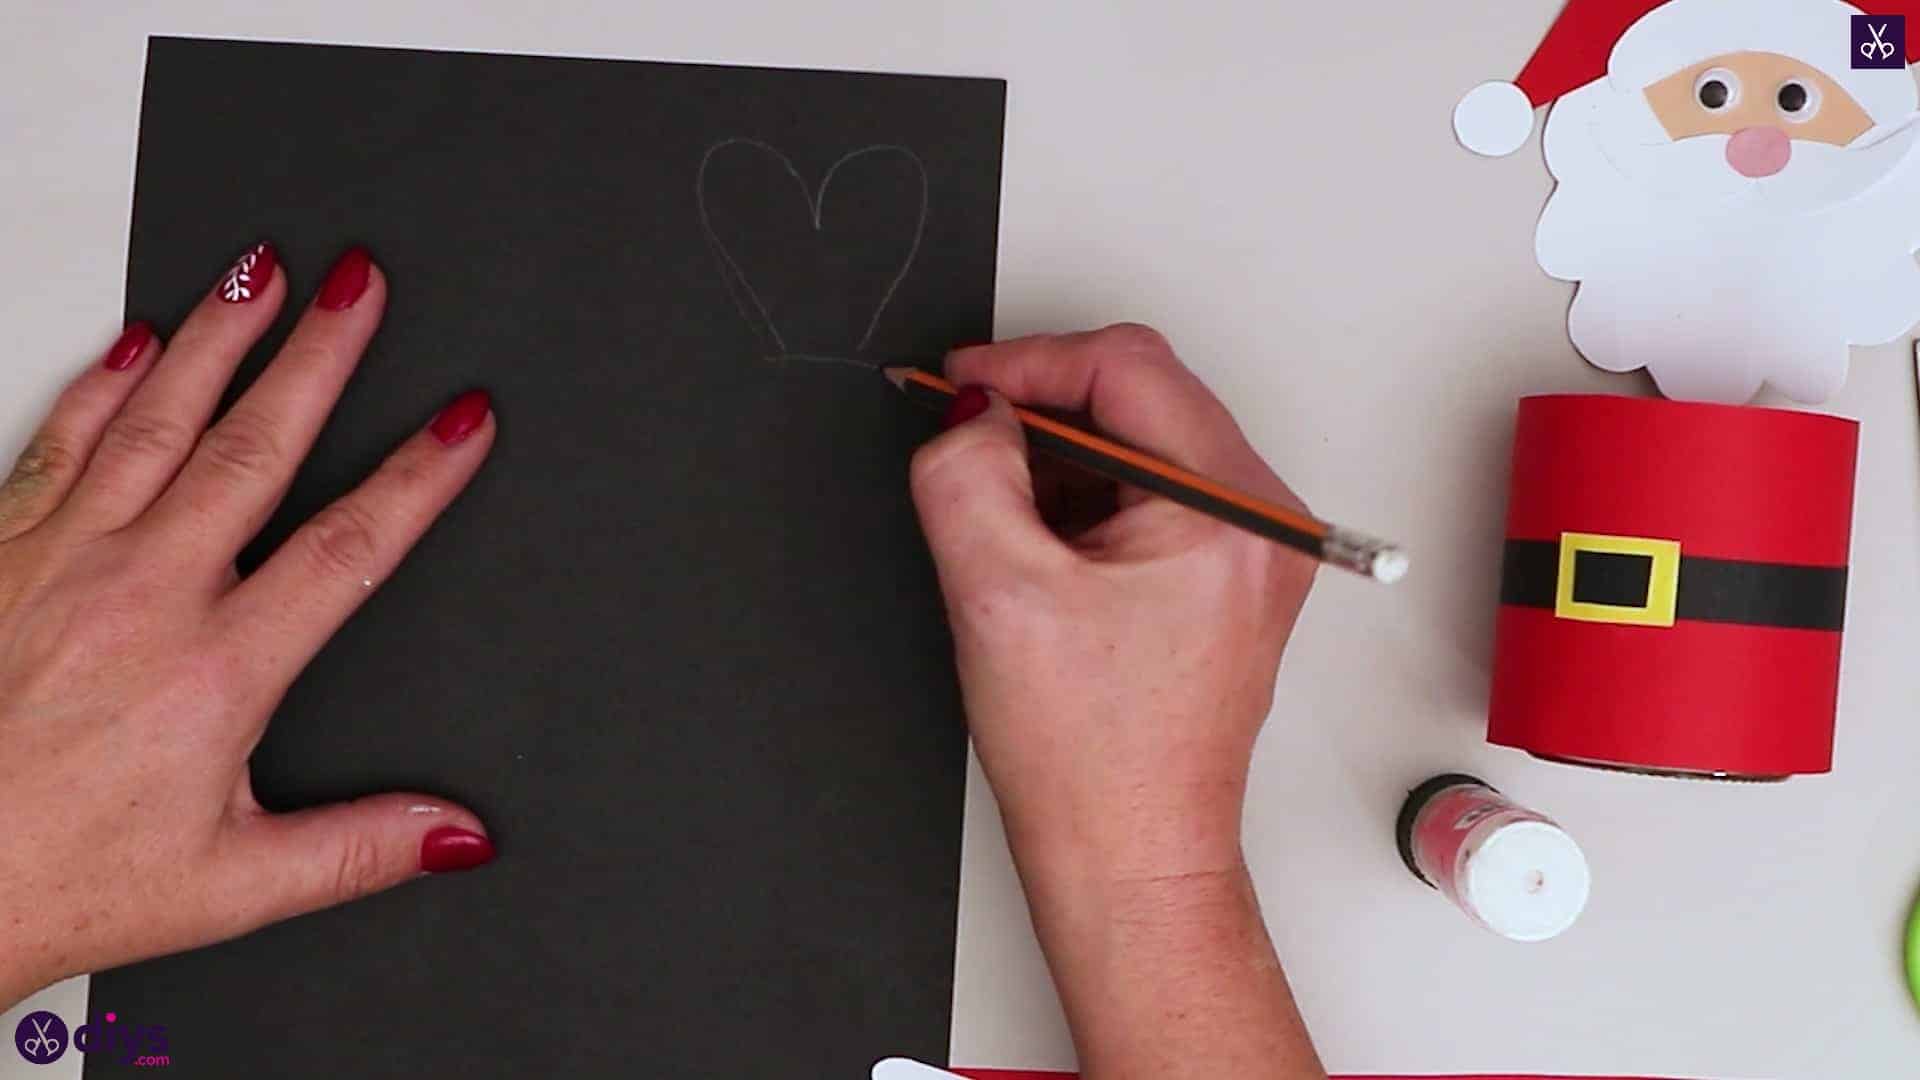
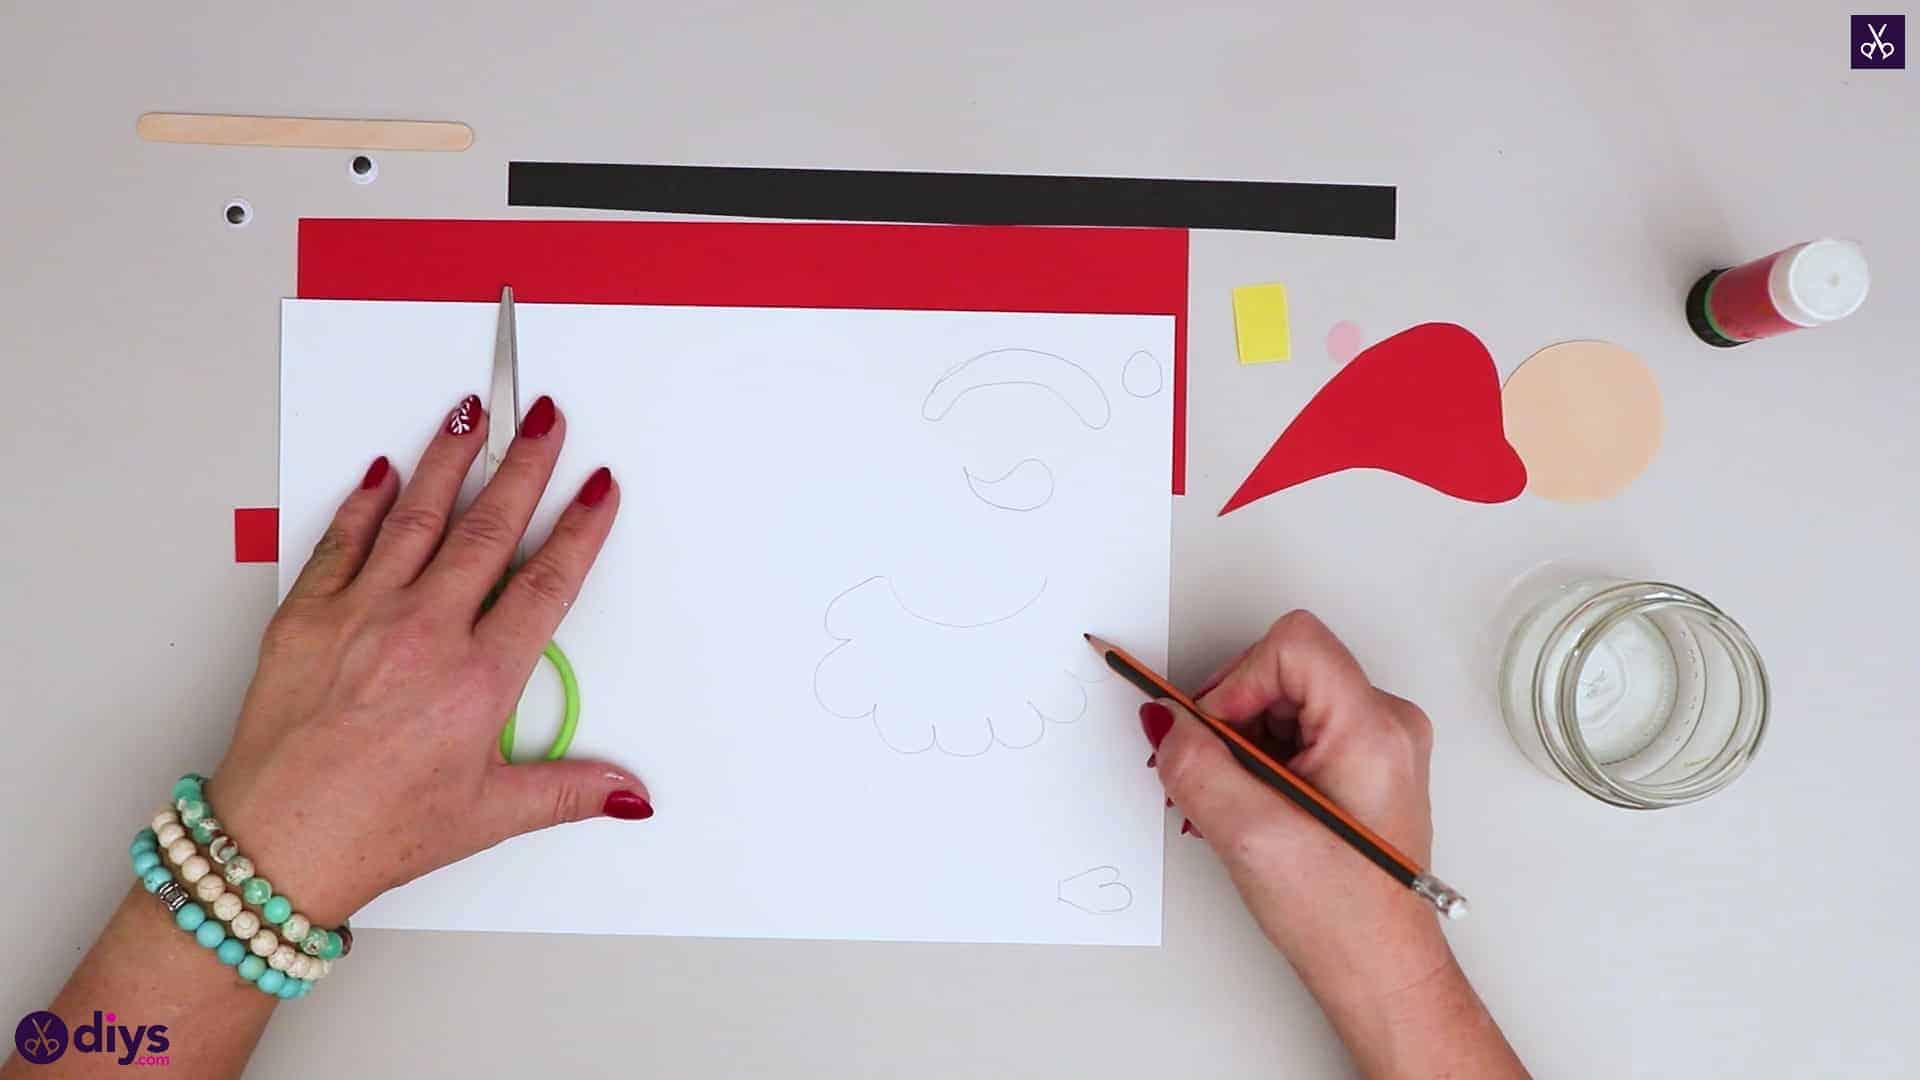
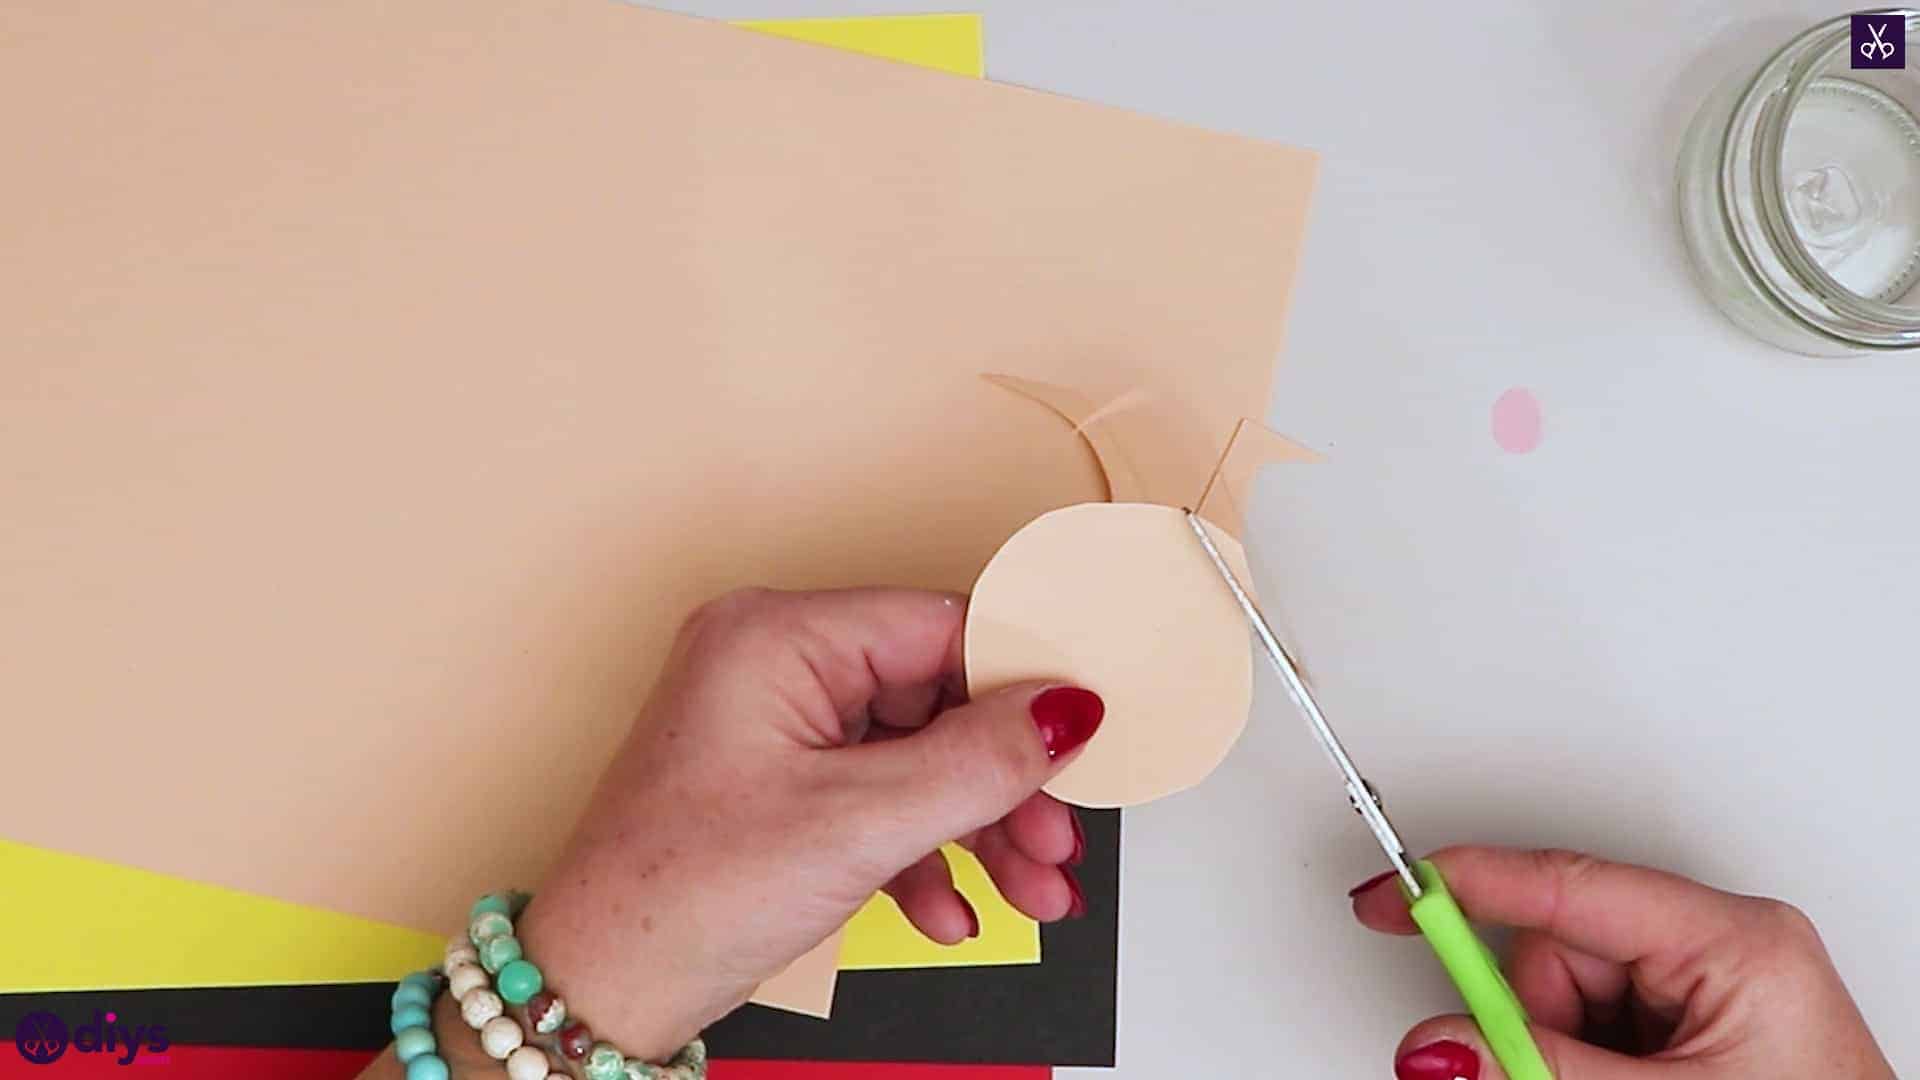
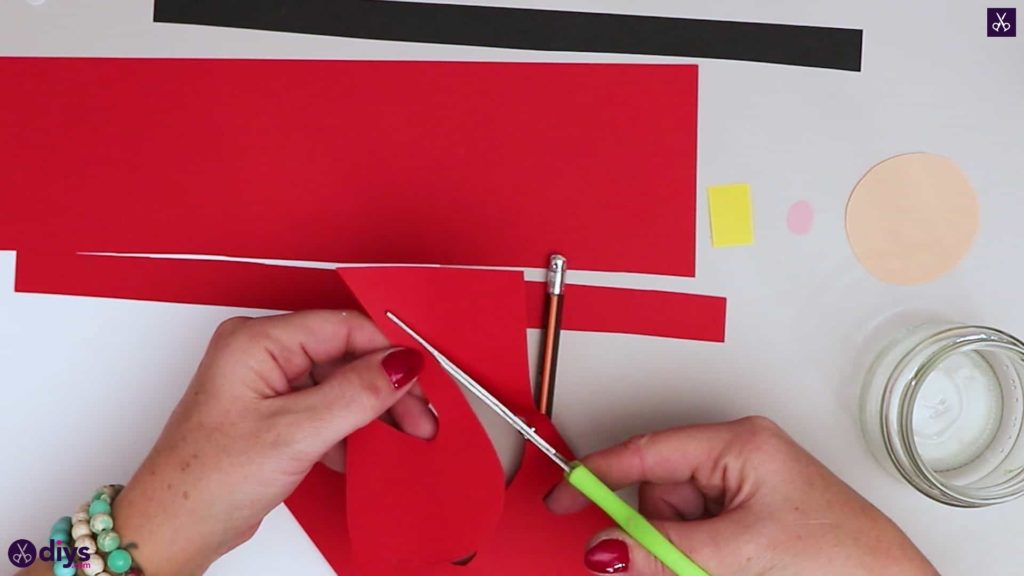
Step 8: draw and cut hat
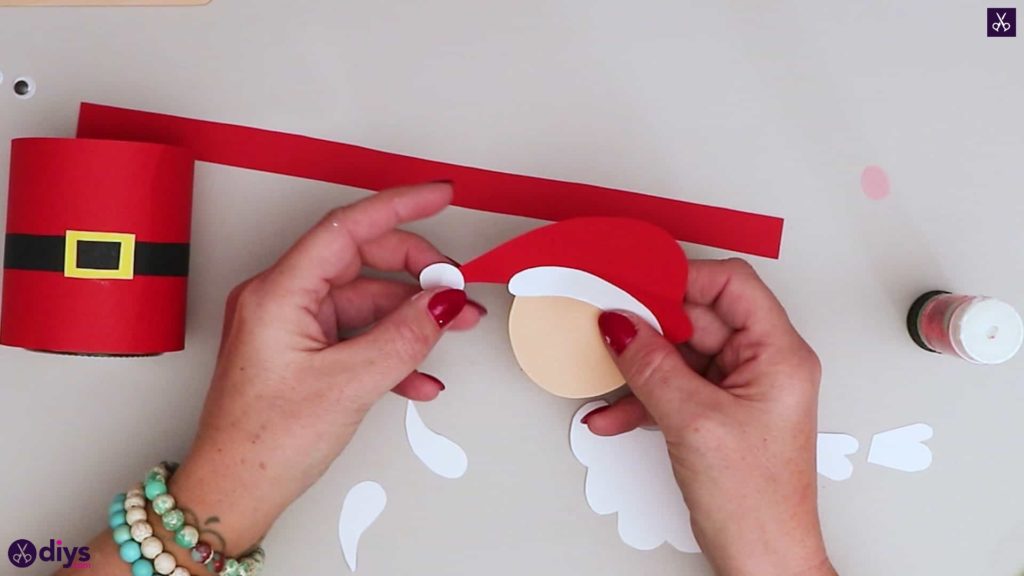
Use your pencil to draw the shape of a folded Santa hat onto the remains of your red paper and cut it out. Mine had an arching bottom edge and a tapered but curved top, as thought a classic cone-shaped Santa hat had flopped over.
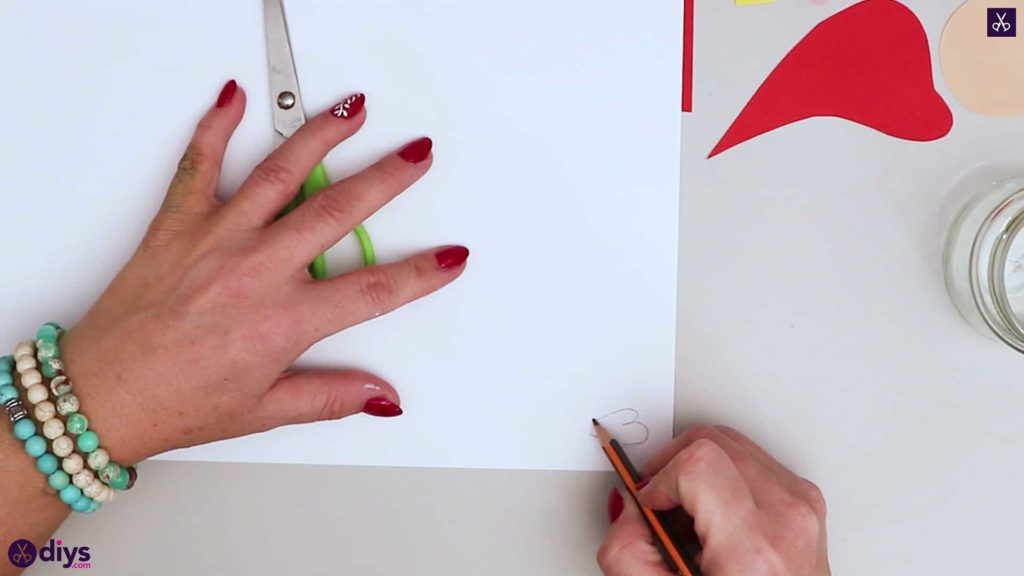
Step 9: cut your white items
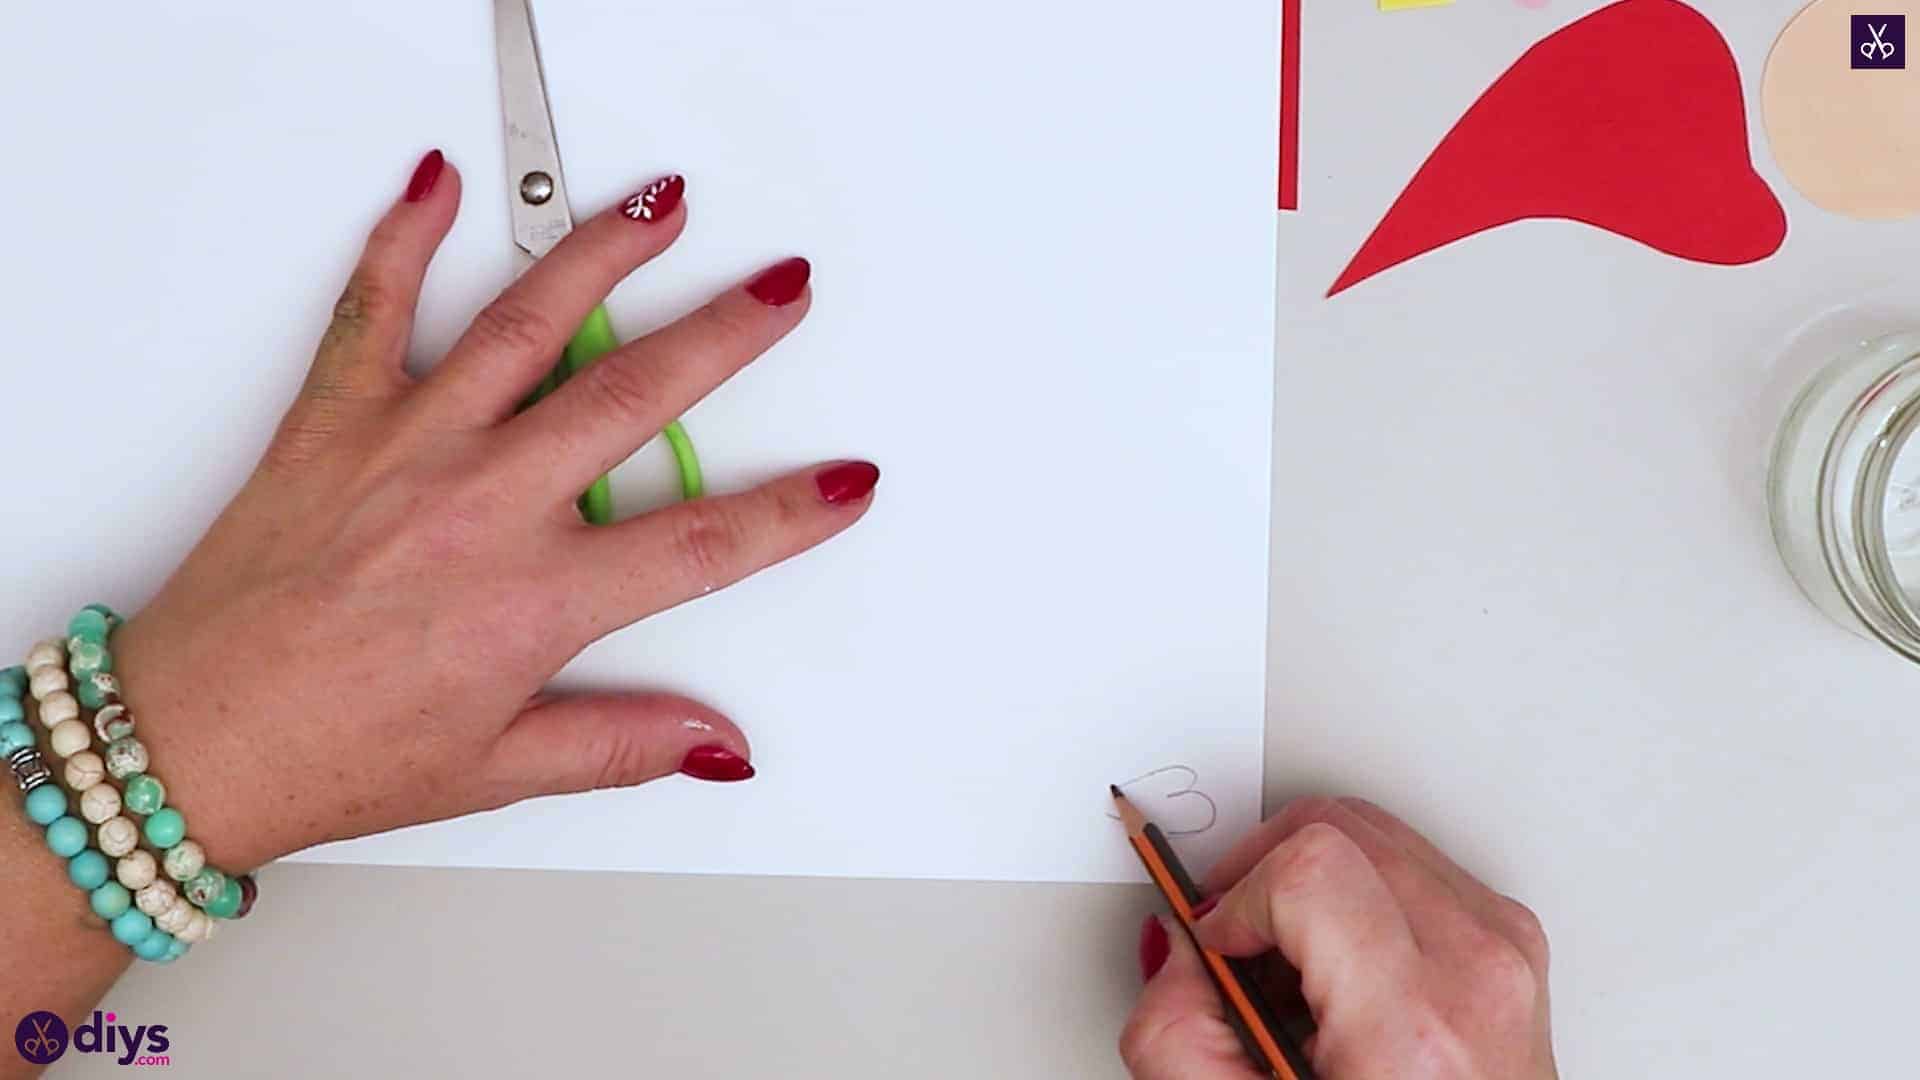
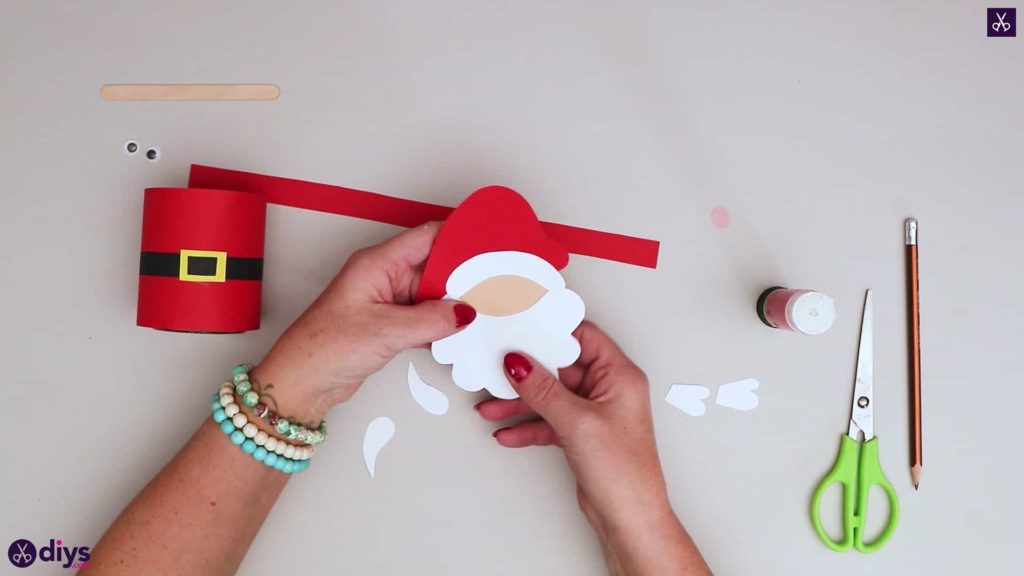
Use your pencil to sketch out the shapes of a beard, a curved fur hat lining, two bushy moustache ends, a circular pom pom, and two mittens on your white paper. Cut each of these out and set them aside with the rest of your paper pieces.


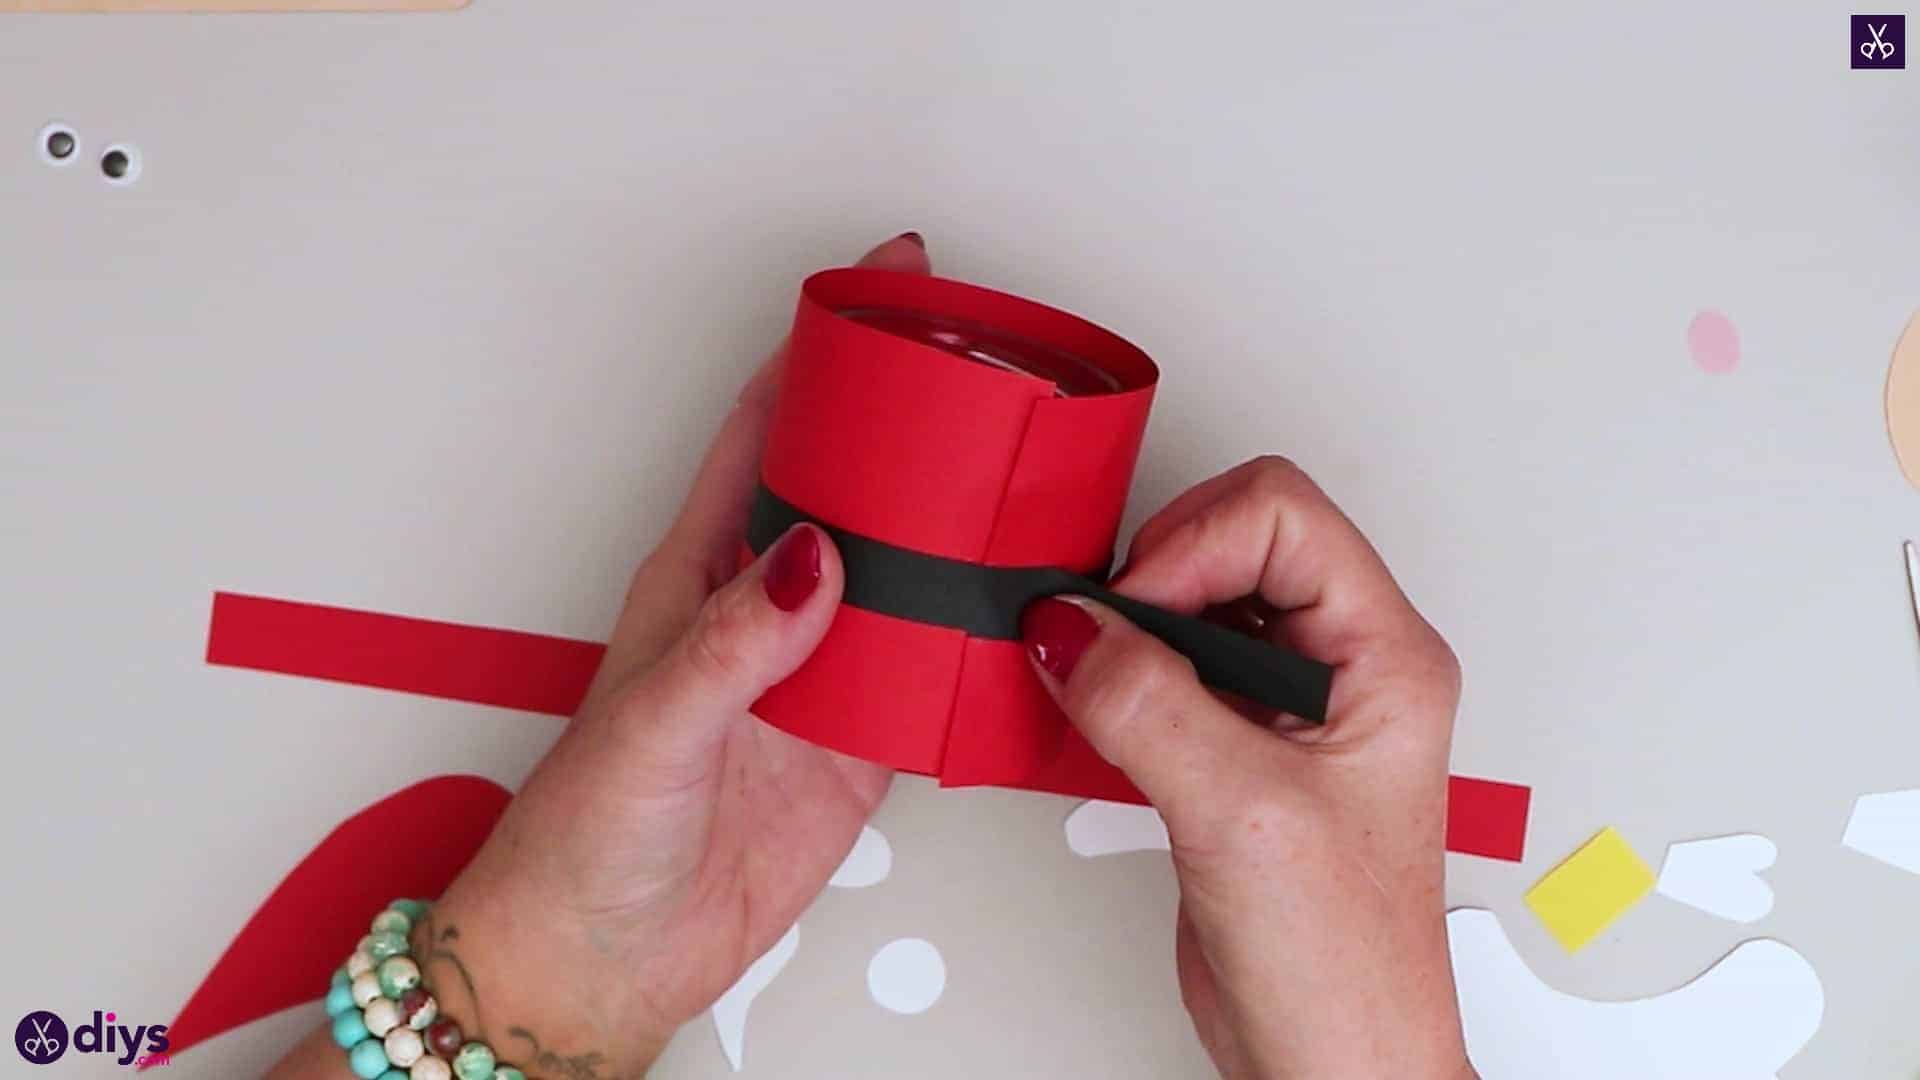
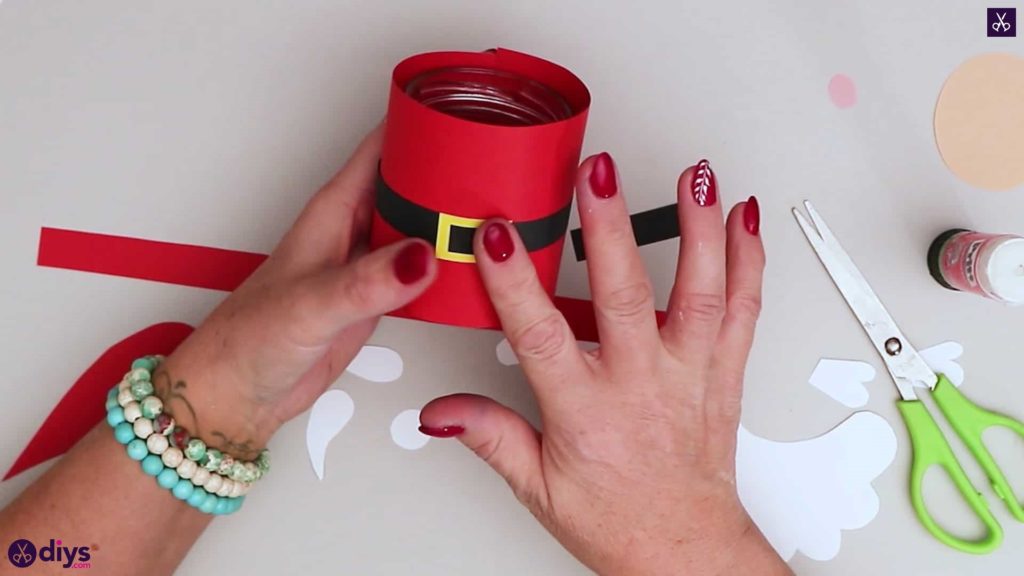
Step 10: glue red to the jar
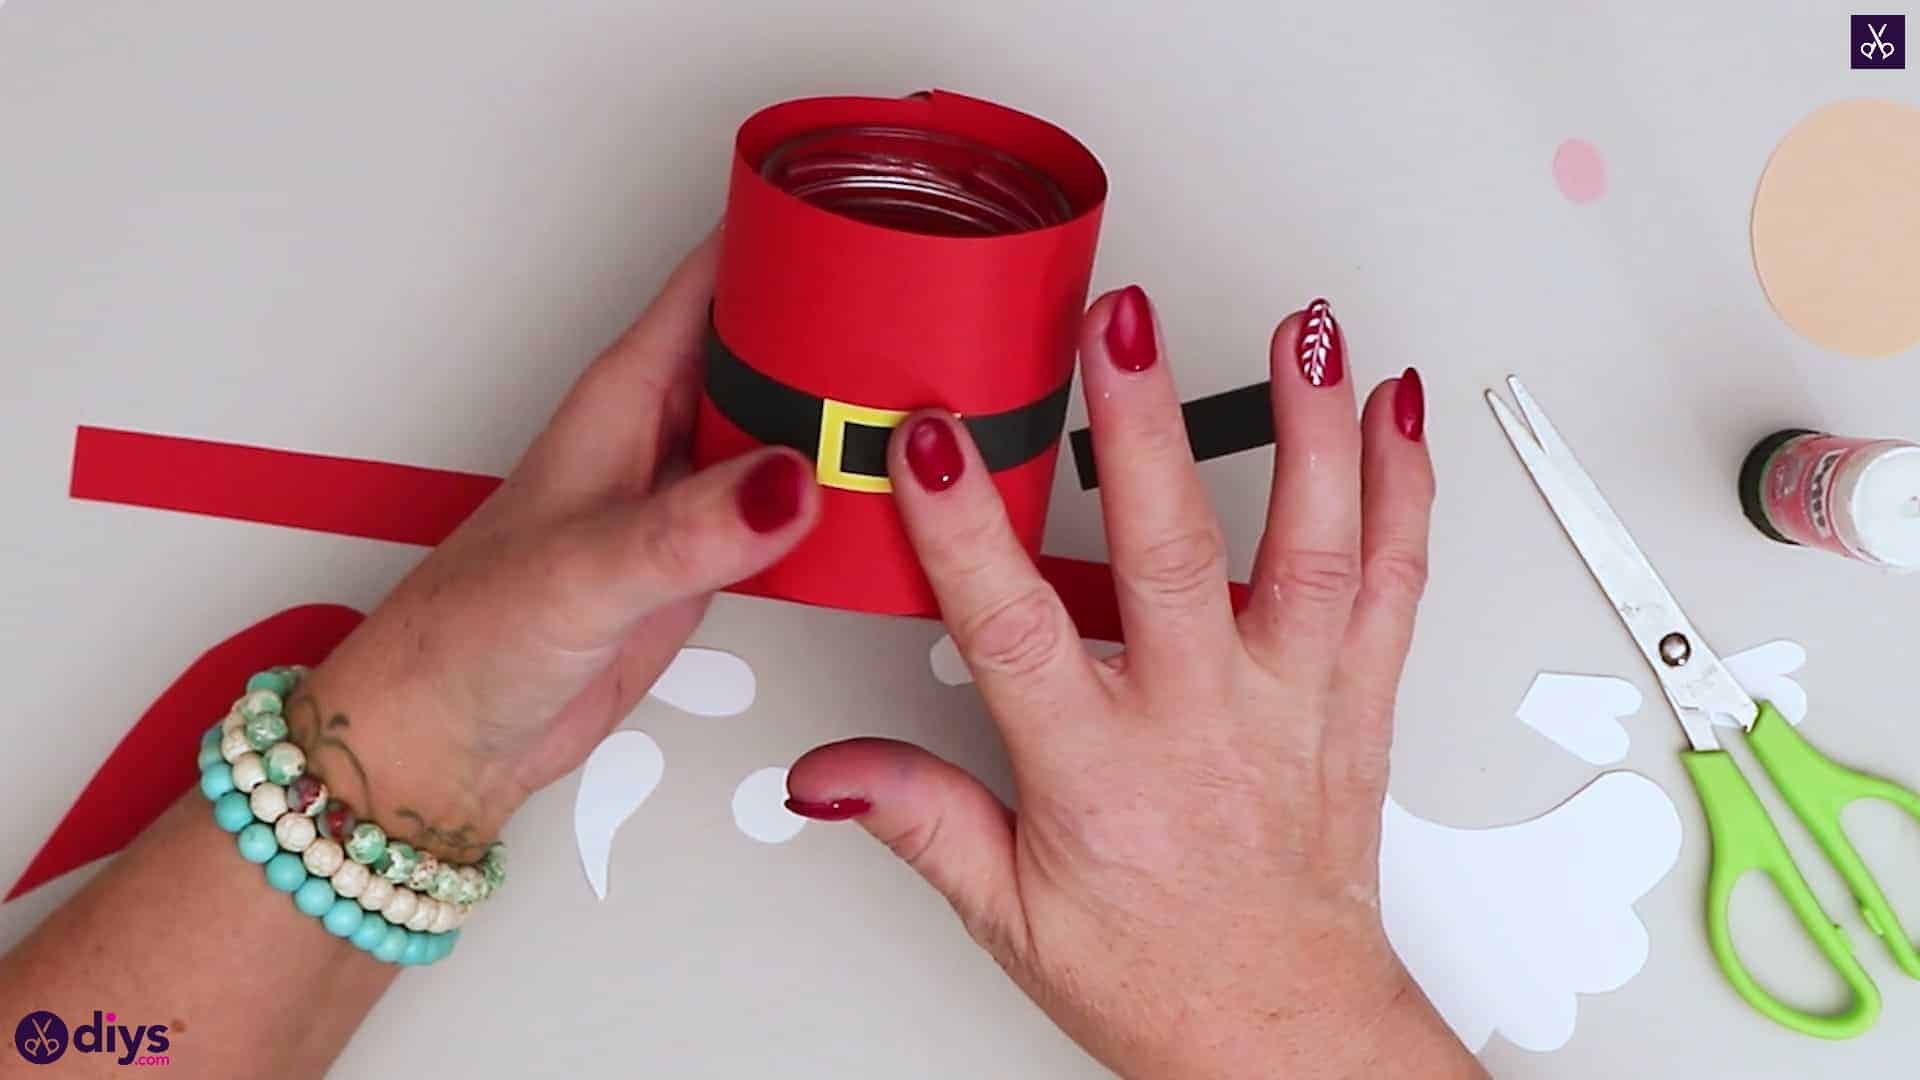
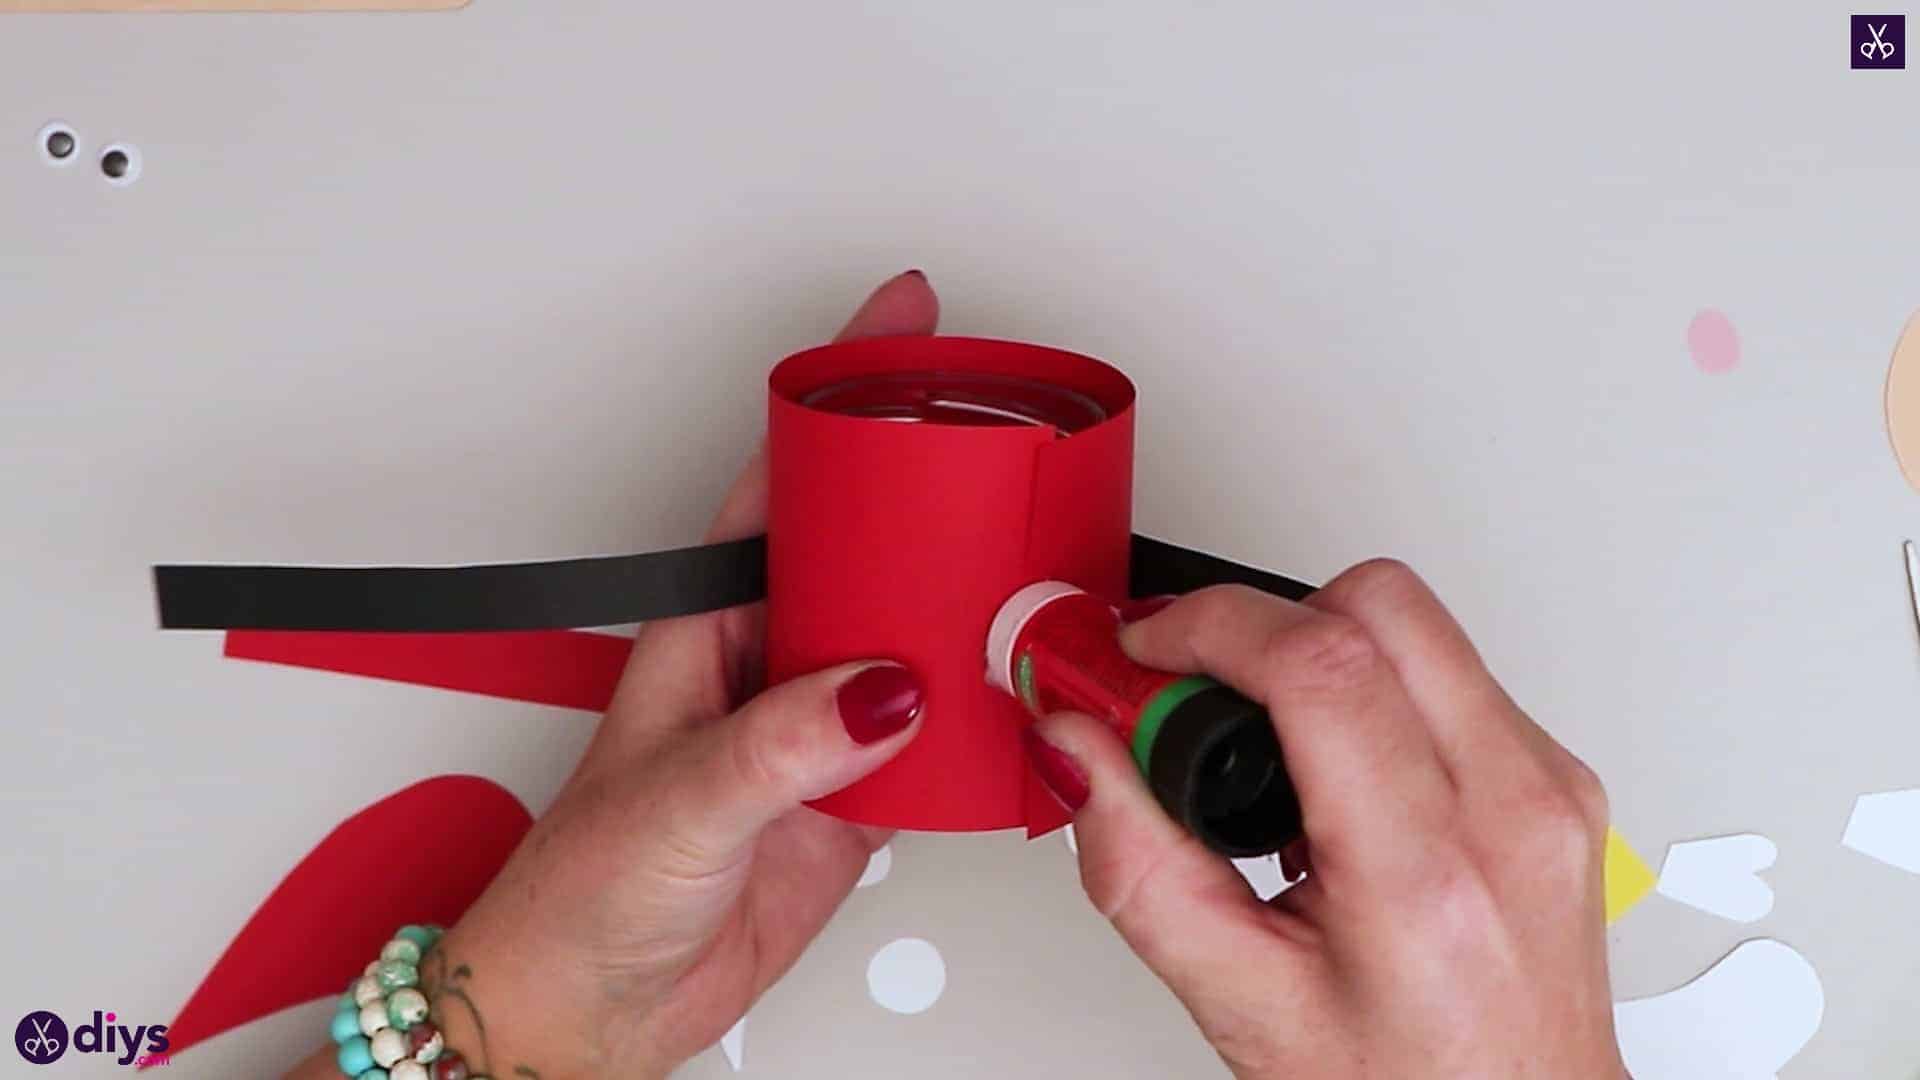
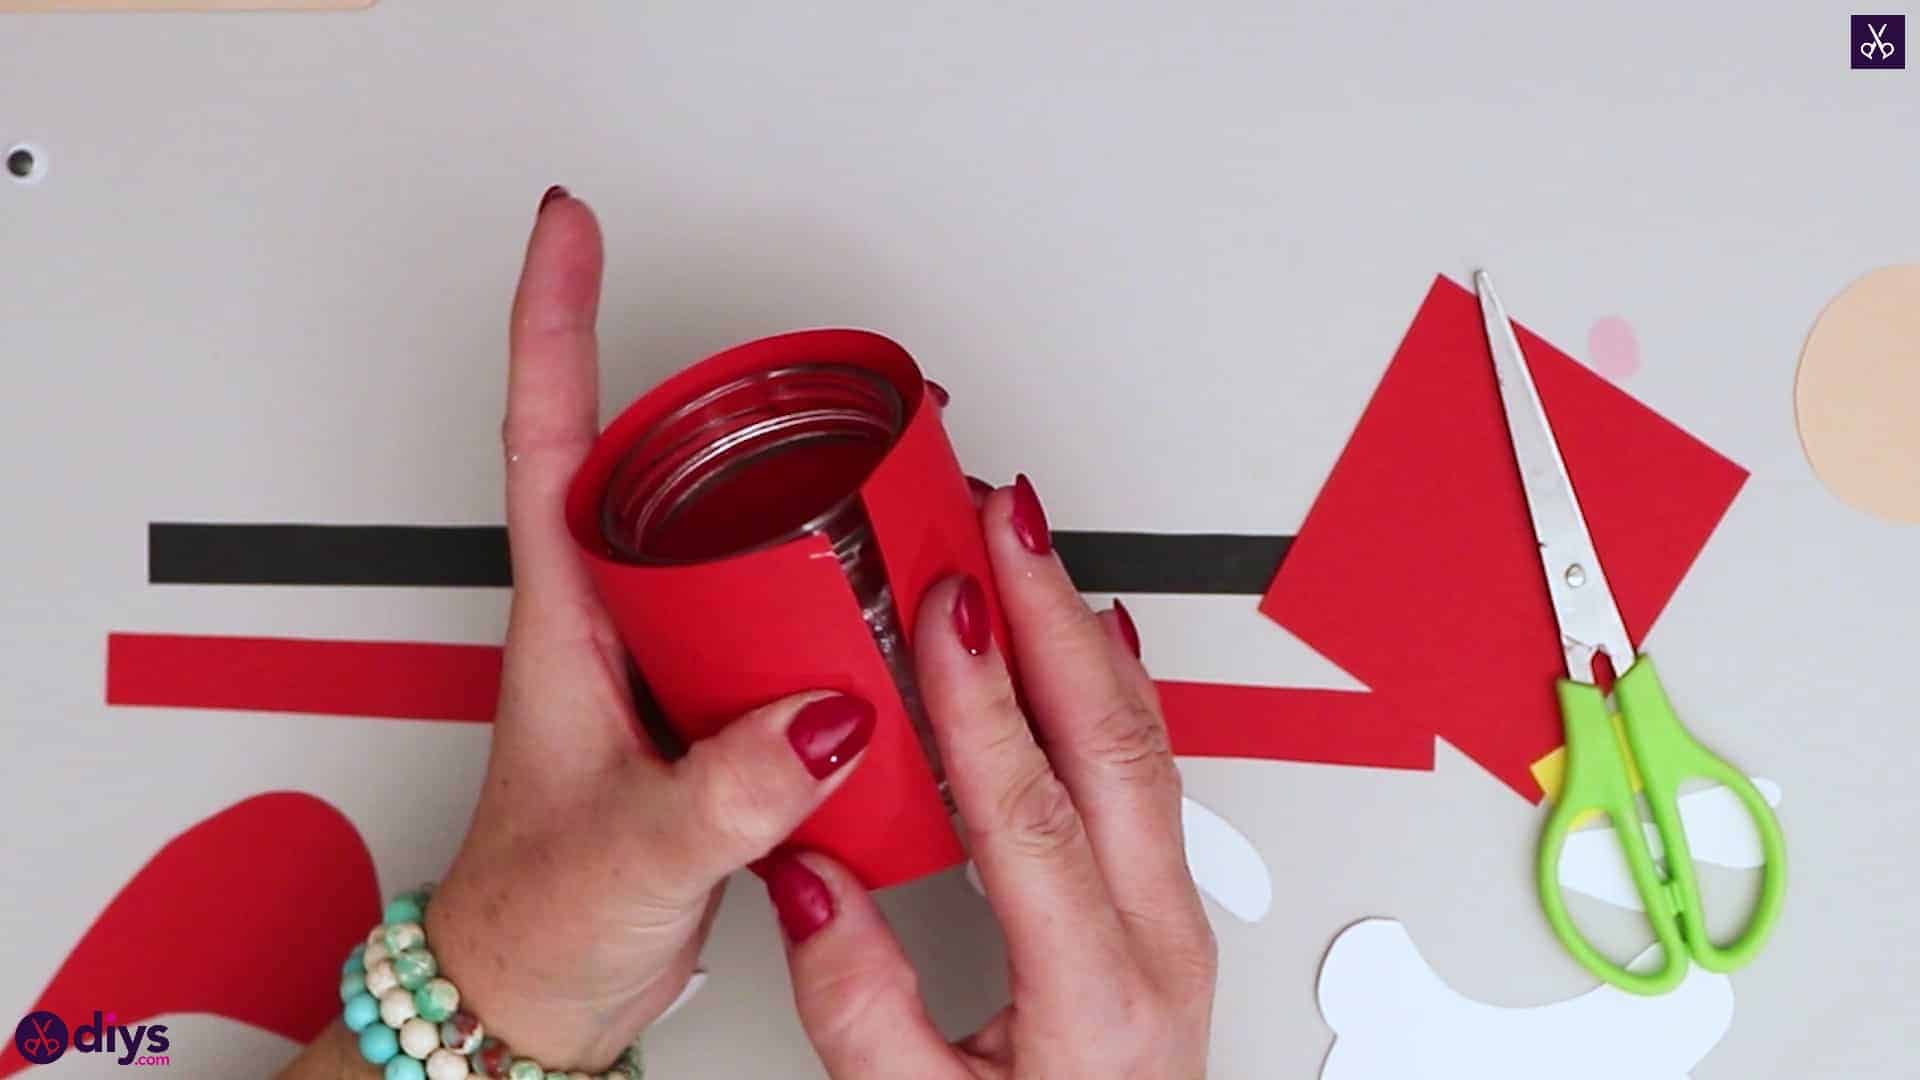
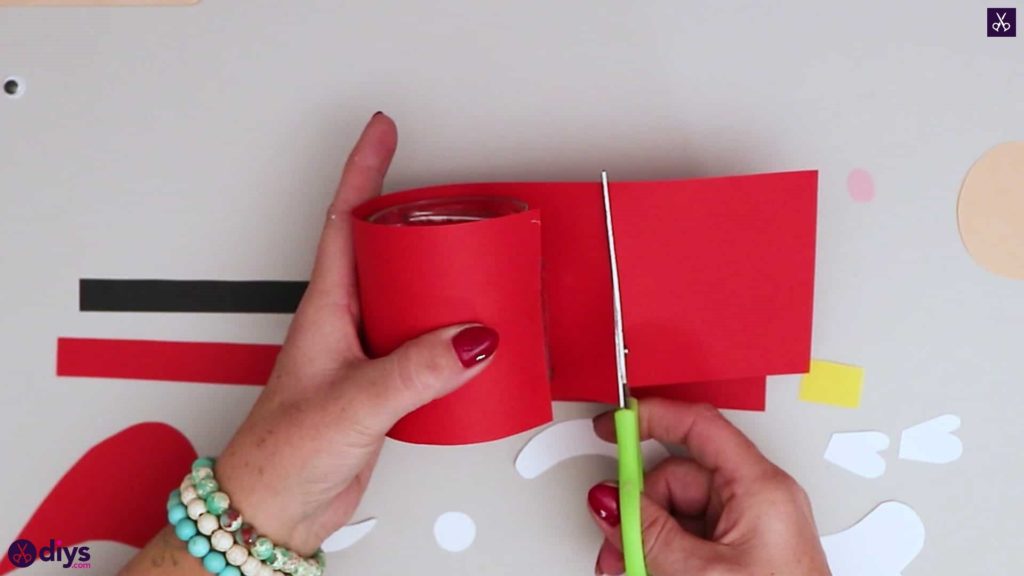
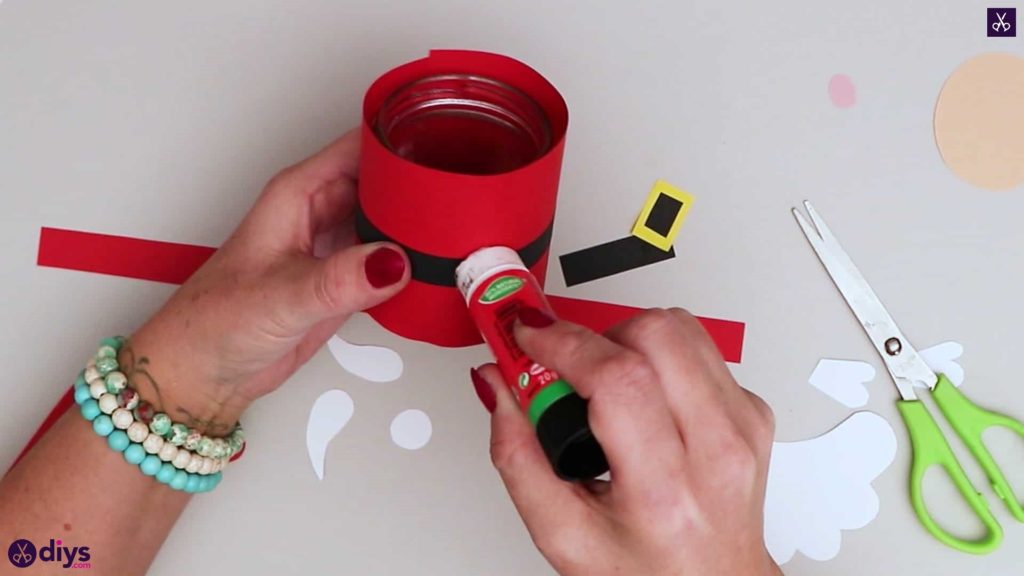
Apply glue down the length of your glass jar and stick one short end of your larger red rectangular strip there, lining up the ends with the top and bottom edges of the jar. Wrap the red strip all the way around the jar and cut the excess paper off the loose end when you get back to where you started, trimming it to meet the first end. Glue this end down too so your jar is entirely covered in red paper.

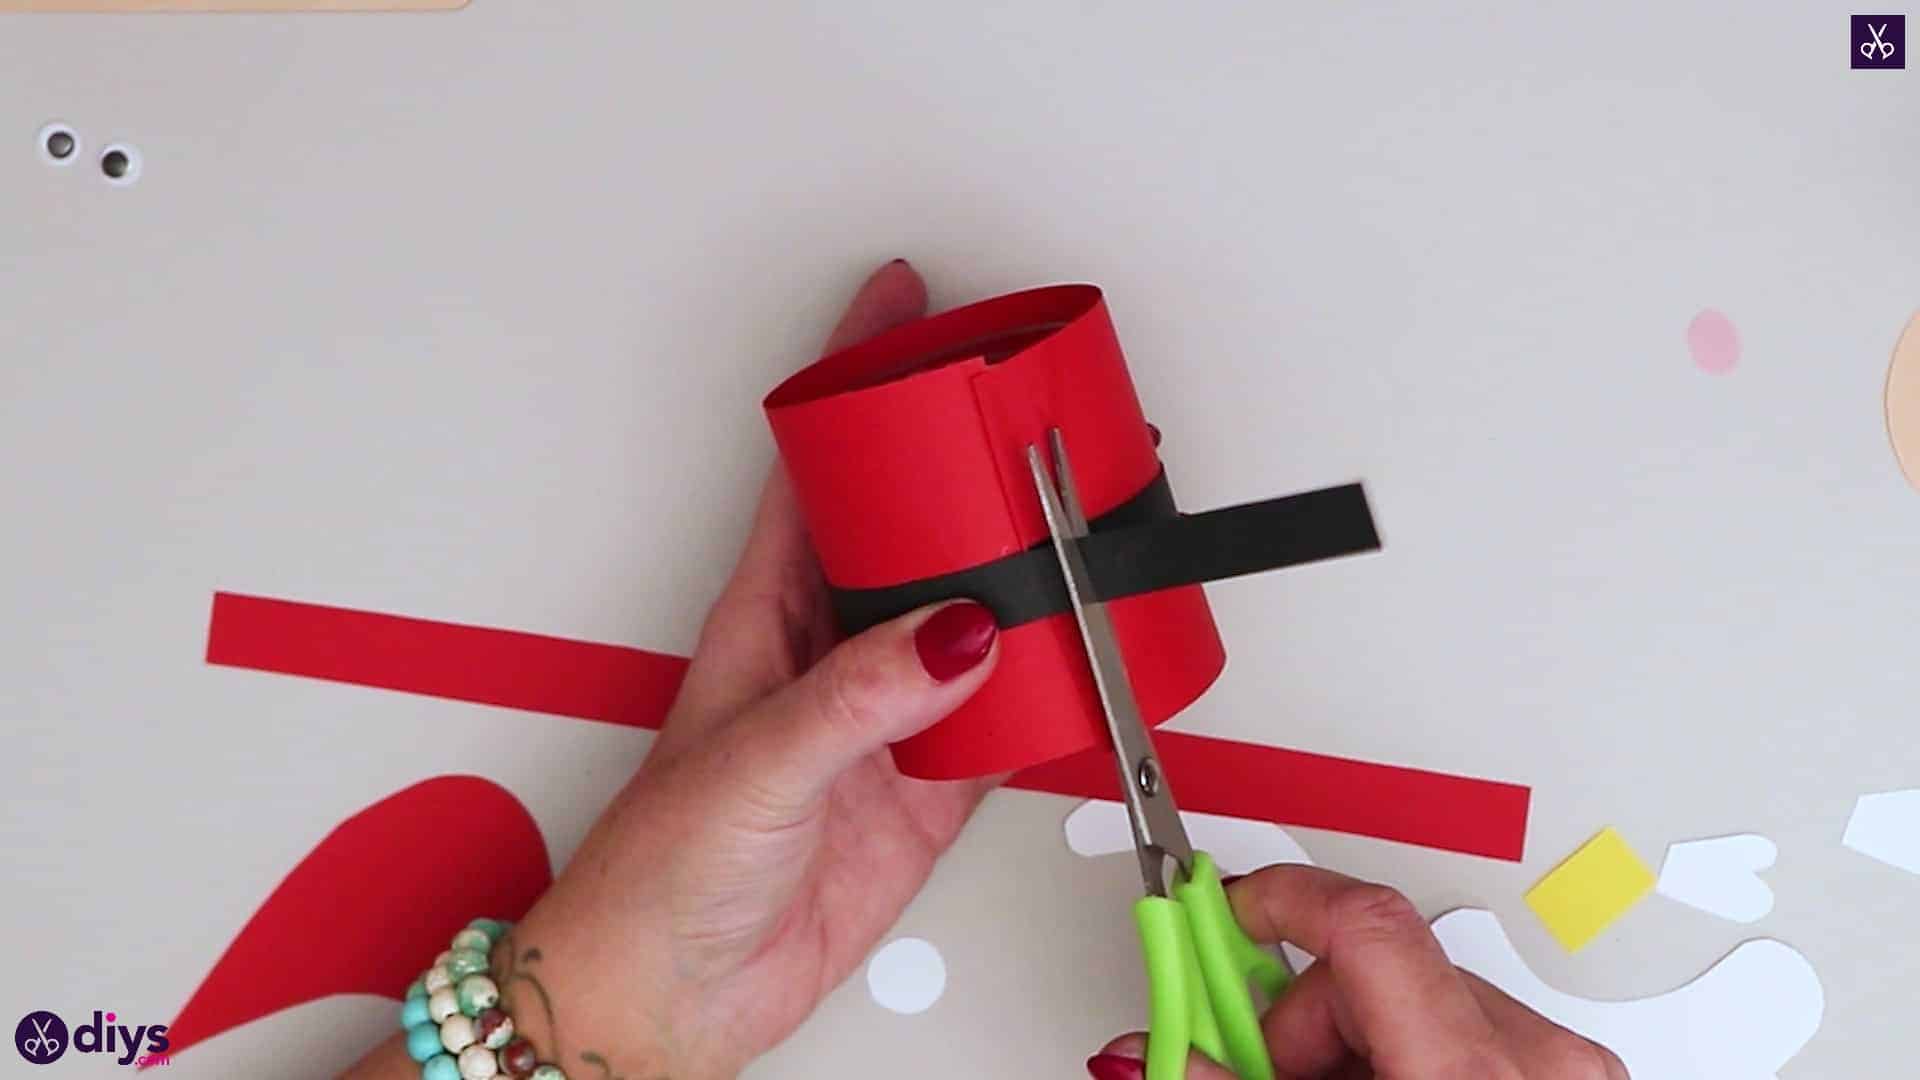
Step 11: attach belt
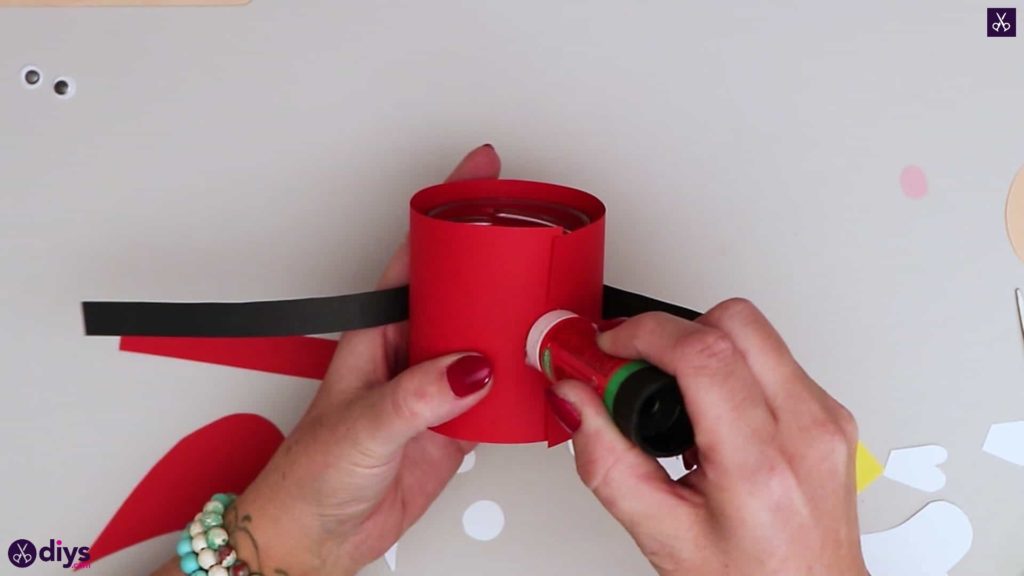
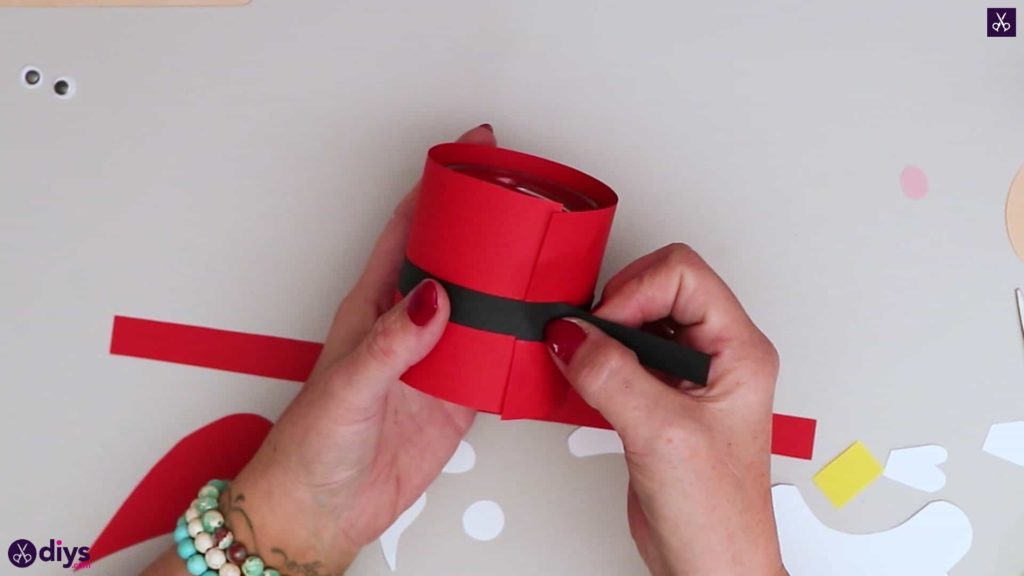
Repeat this same end gluing, wrapping, and trimming process with your black strip of paper, but this time position it so the black piece sits in the middle, halfway between the bottom and top edges of the jar the way a belt would sit around someone’s middle.

Step 12: add the buckle
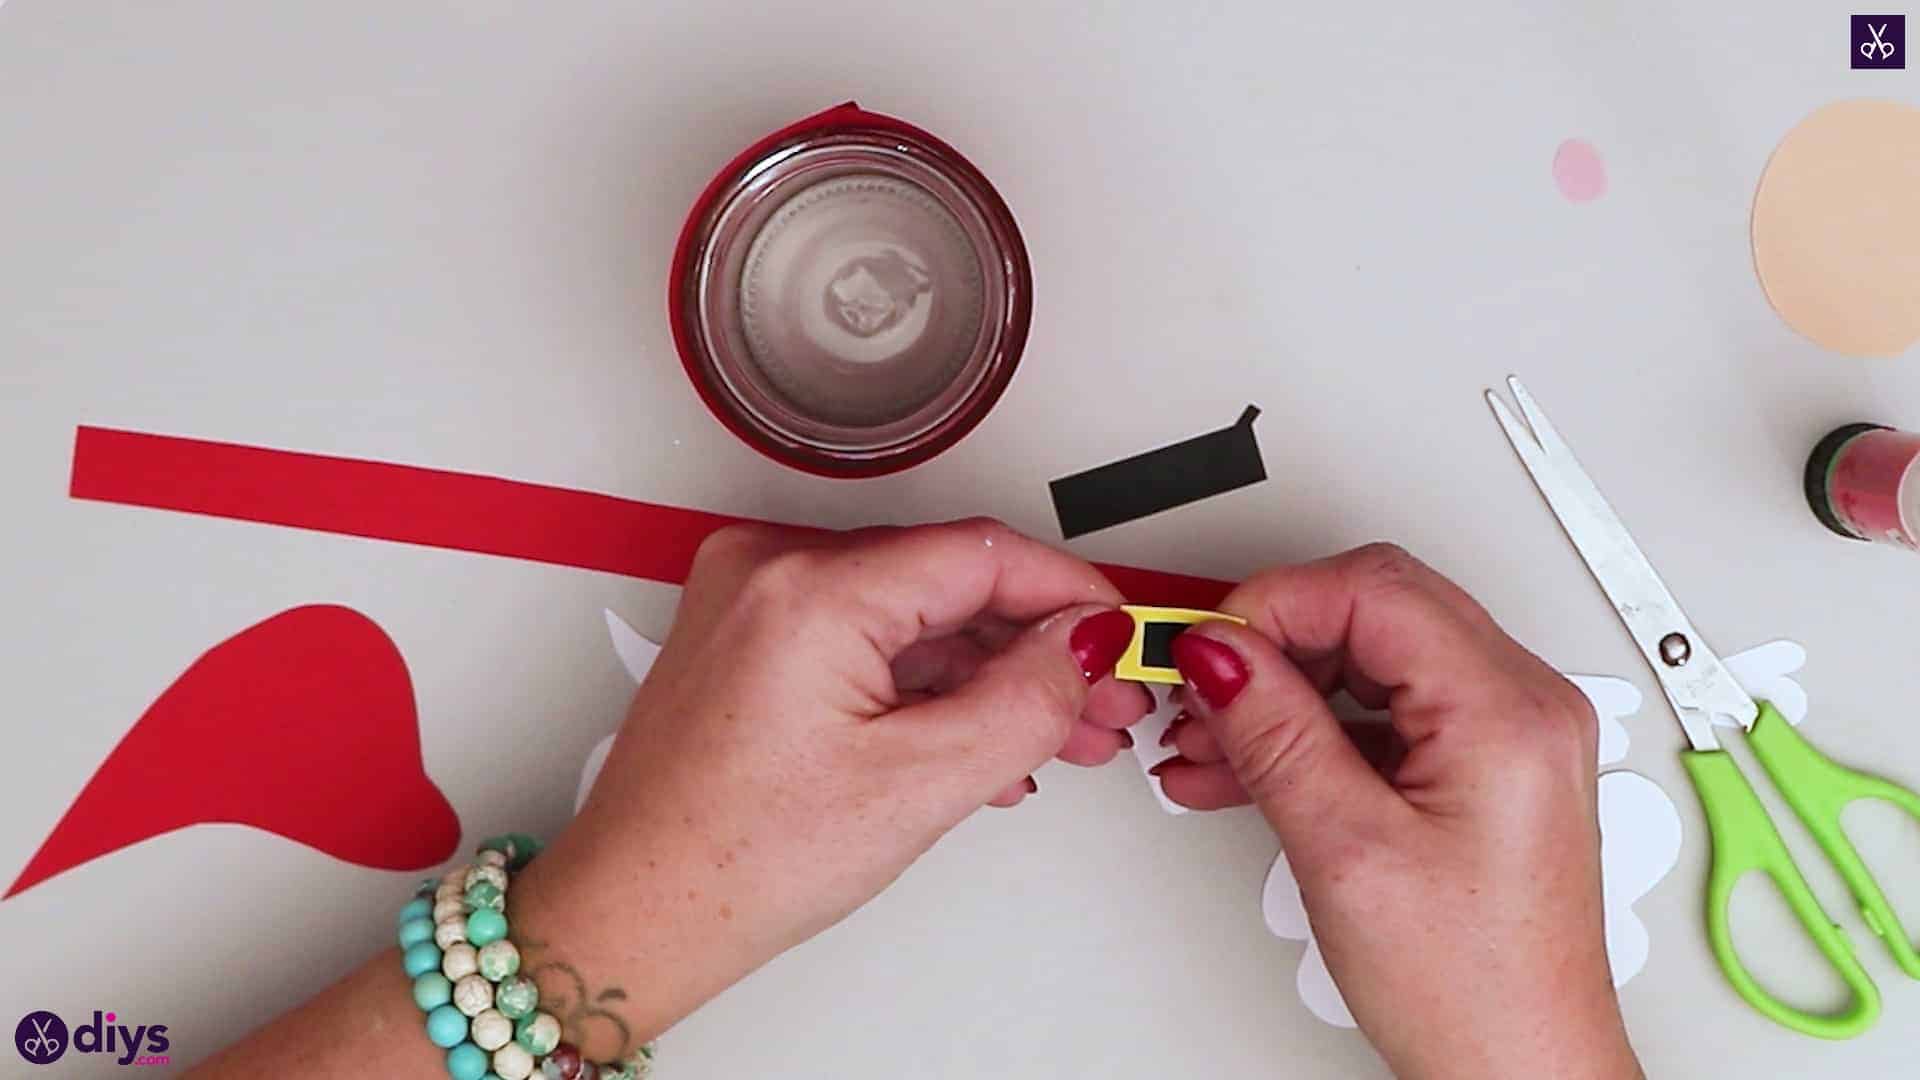
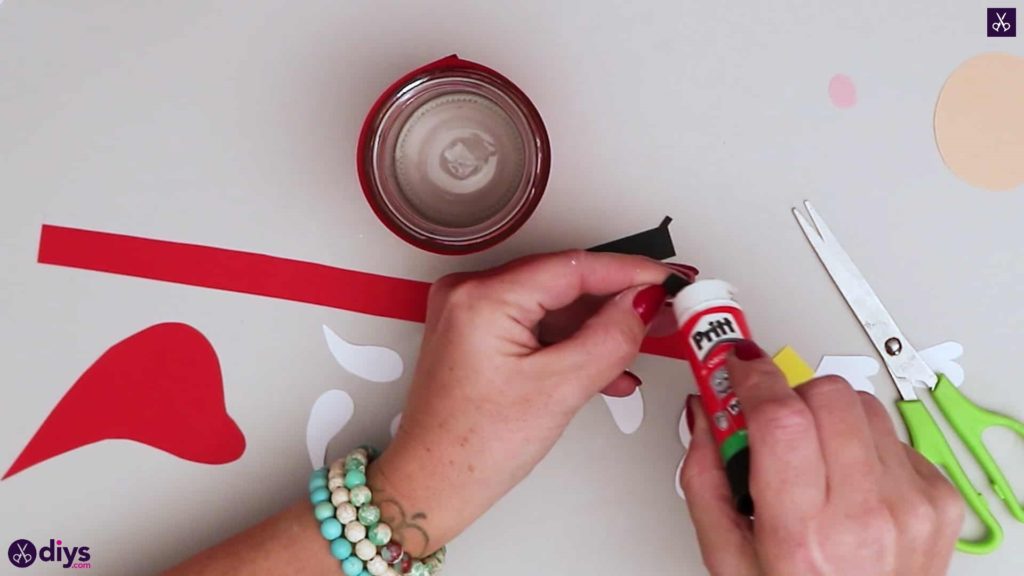
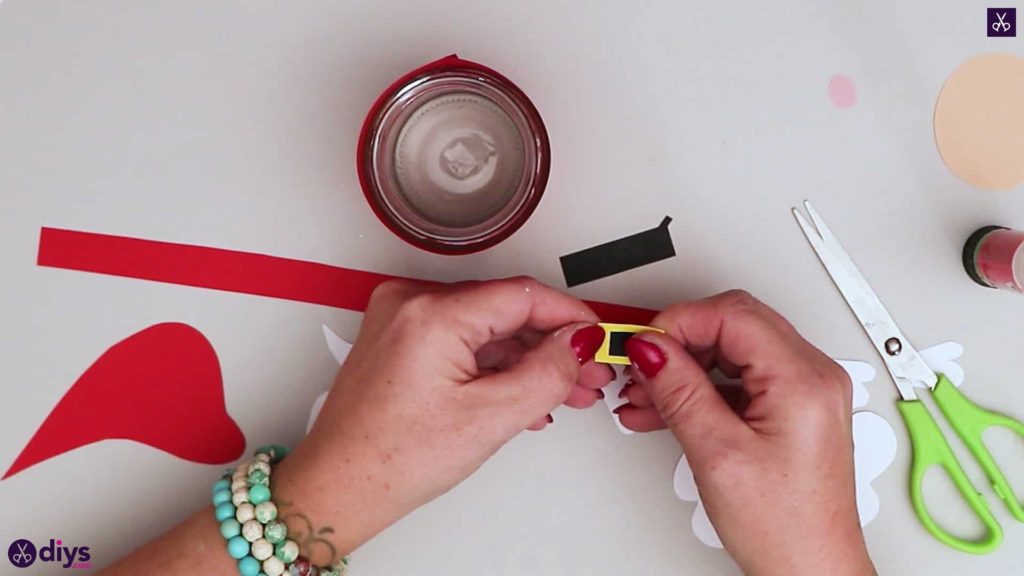
Cut a small rectangular piece from your excess black belt trimmings that is slightly smaller and shorter than the yellow belt buckle piece you cut earlier. Apply glue to the black piece and stick it to the center of the yellow piece to look like the belt is buckled. Then apply glue to the back of the yellow piece and stick it in the center of your black belt, on the opposite side of where you joined your ends on the jar (which will be the back).
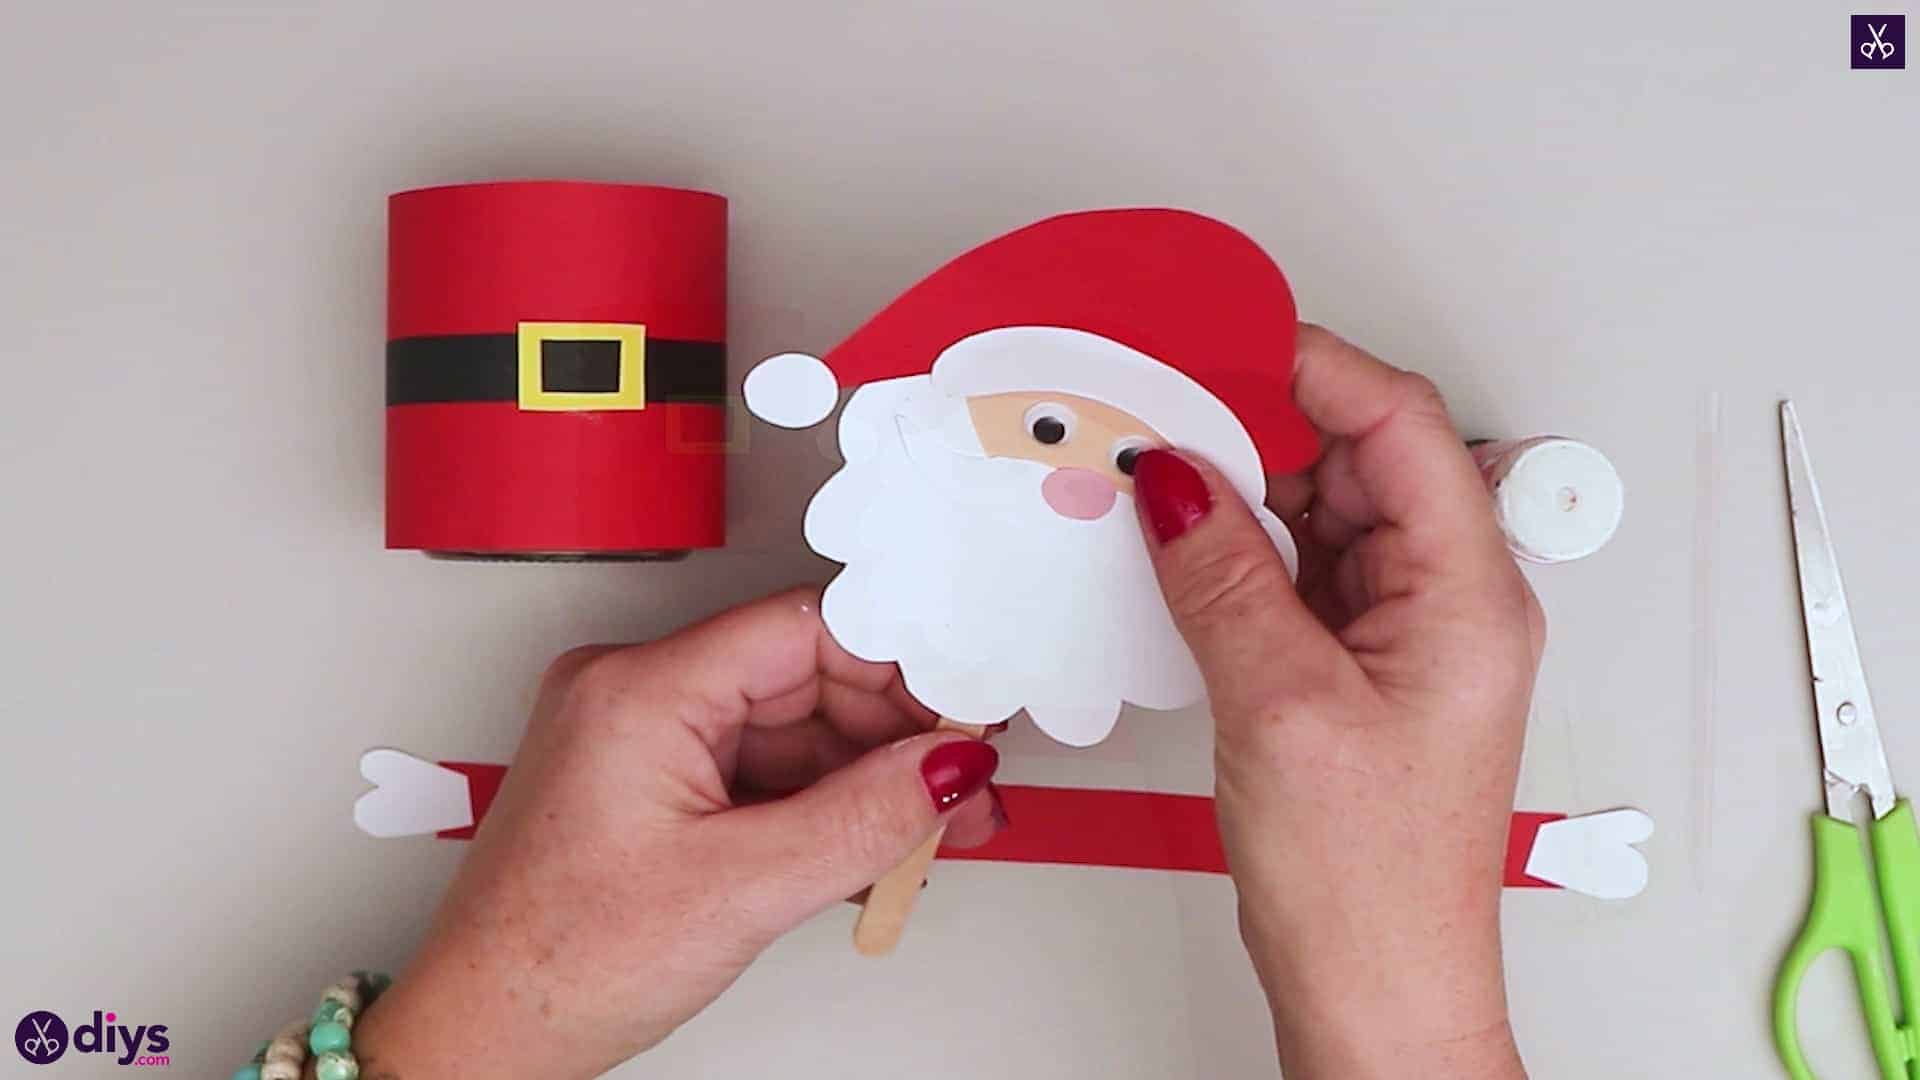
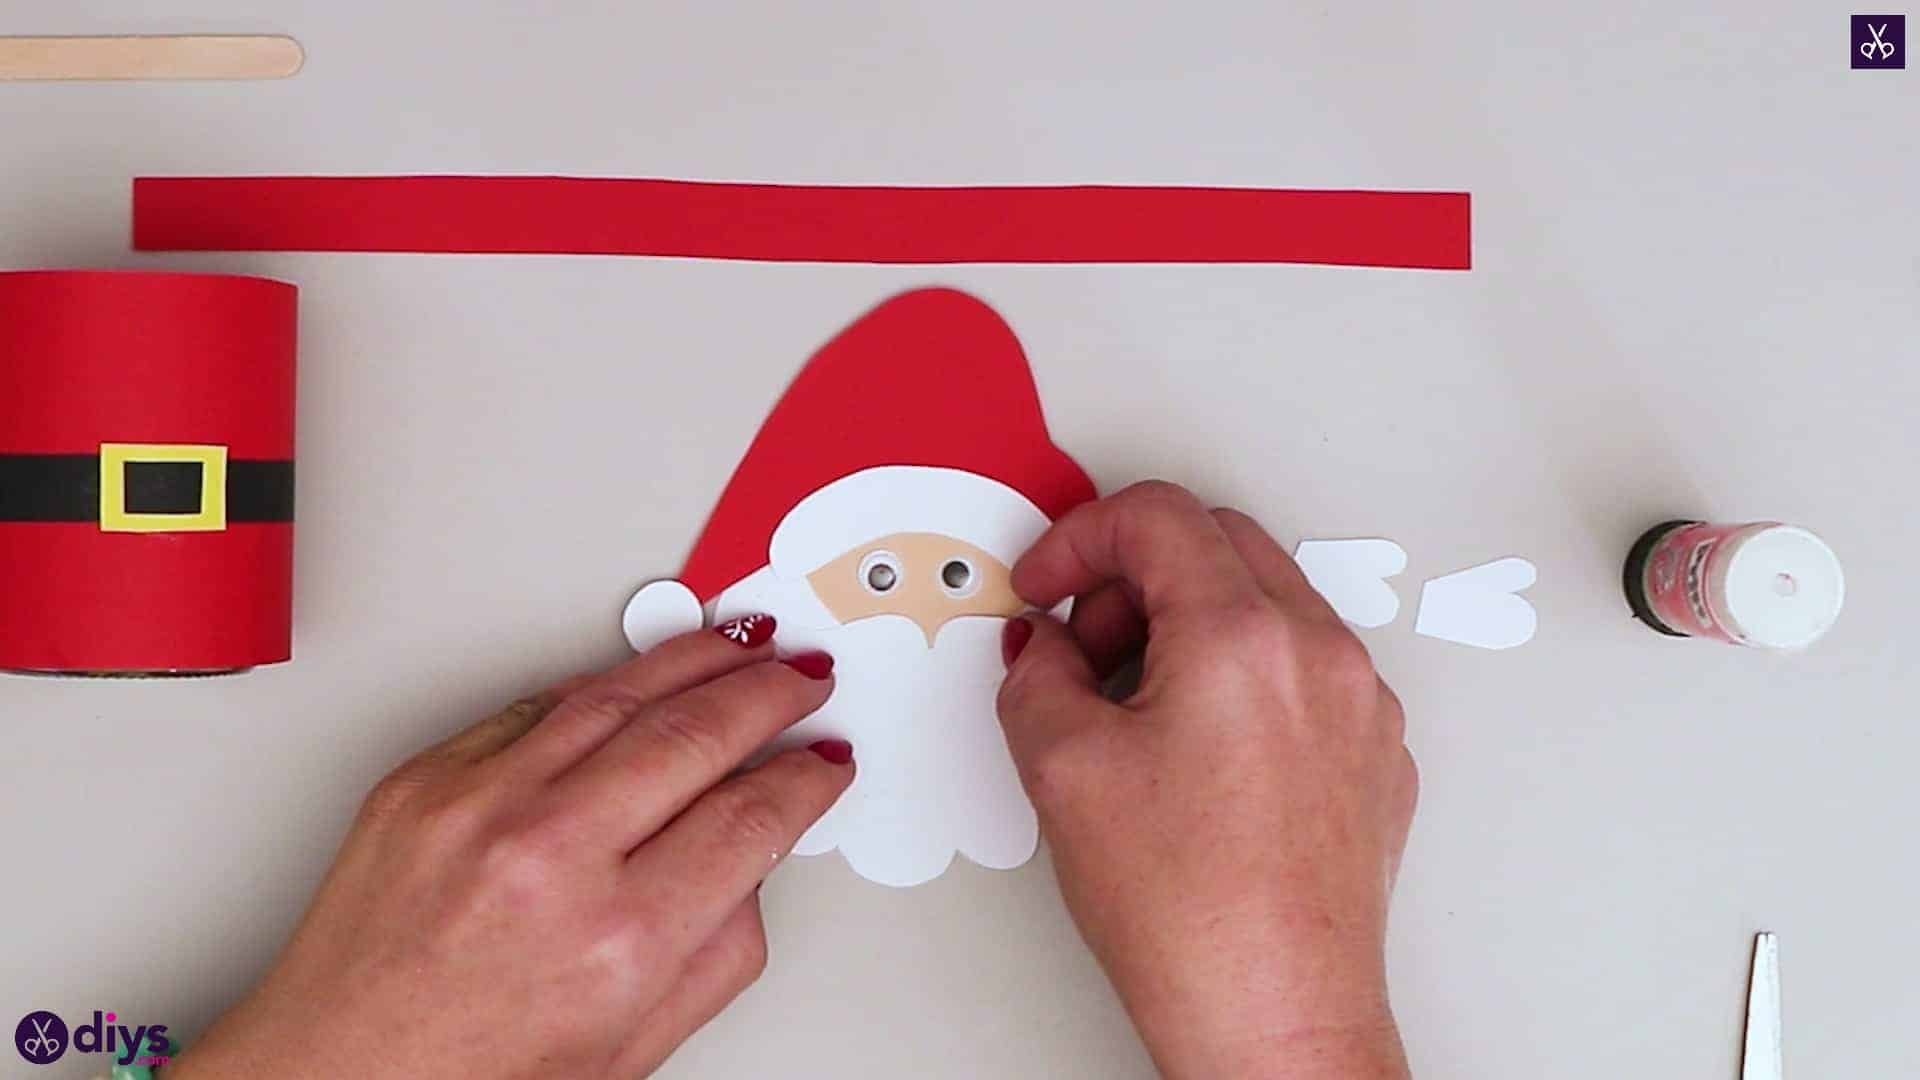
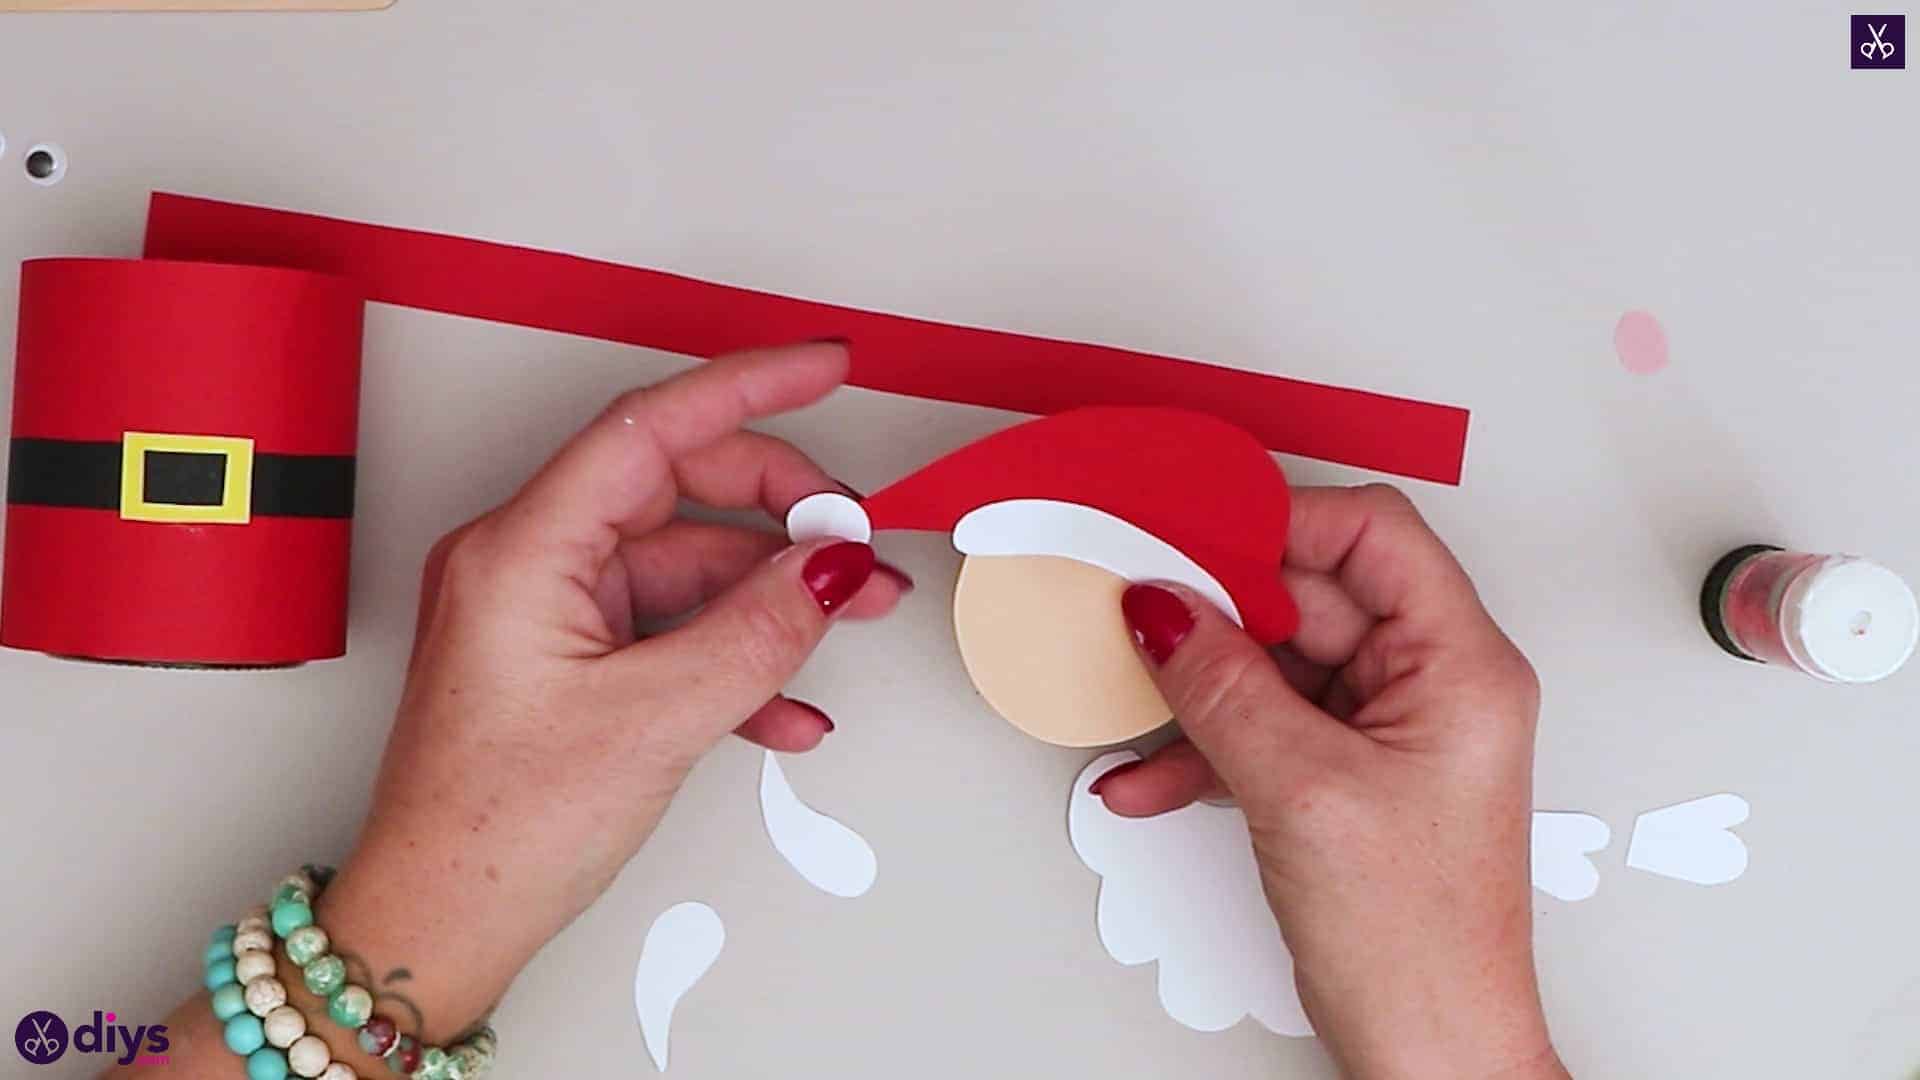
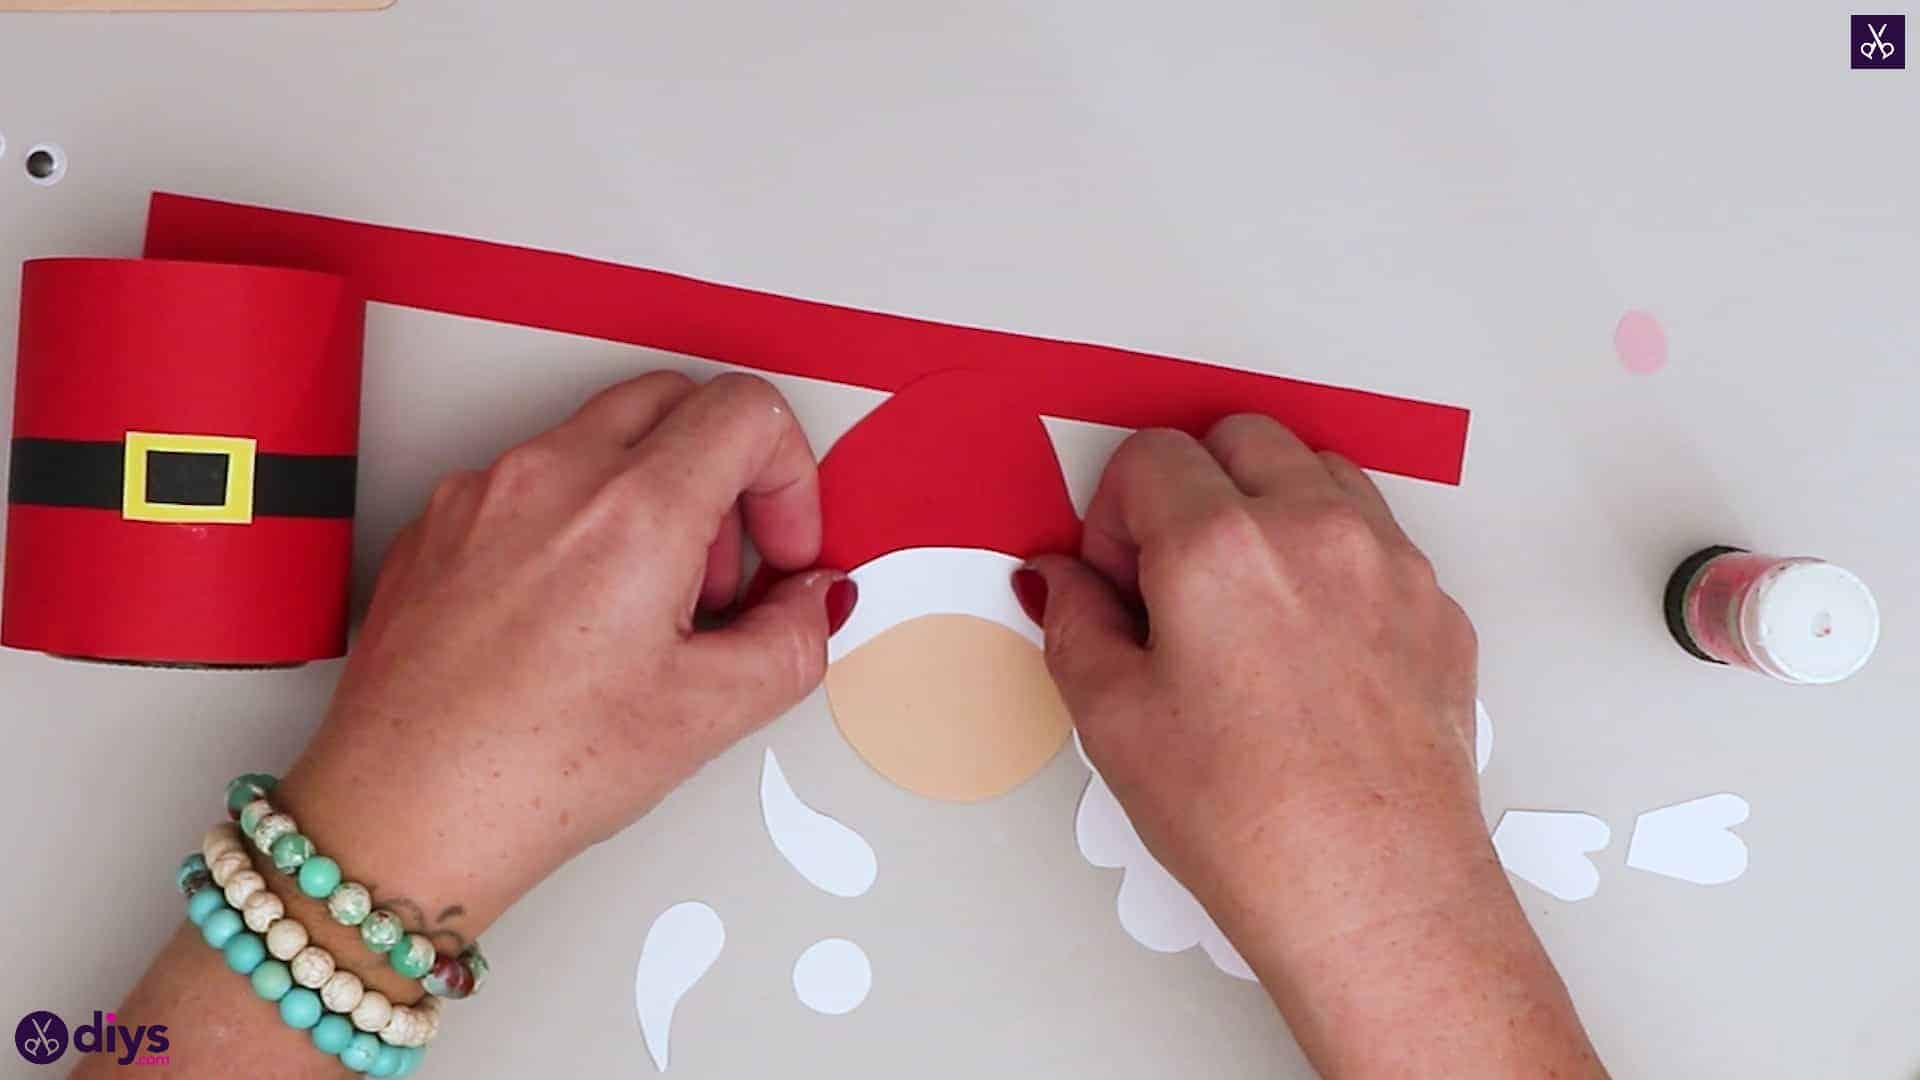
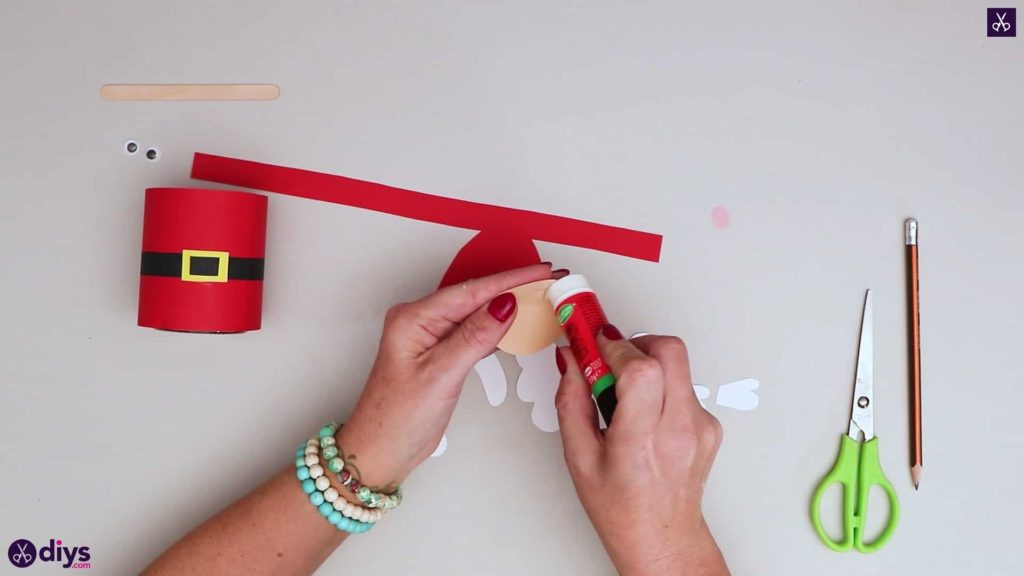
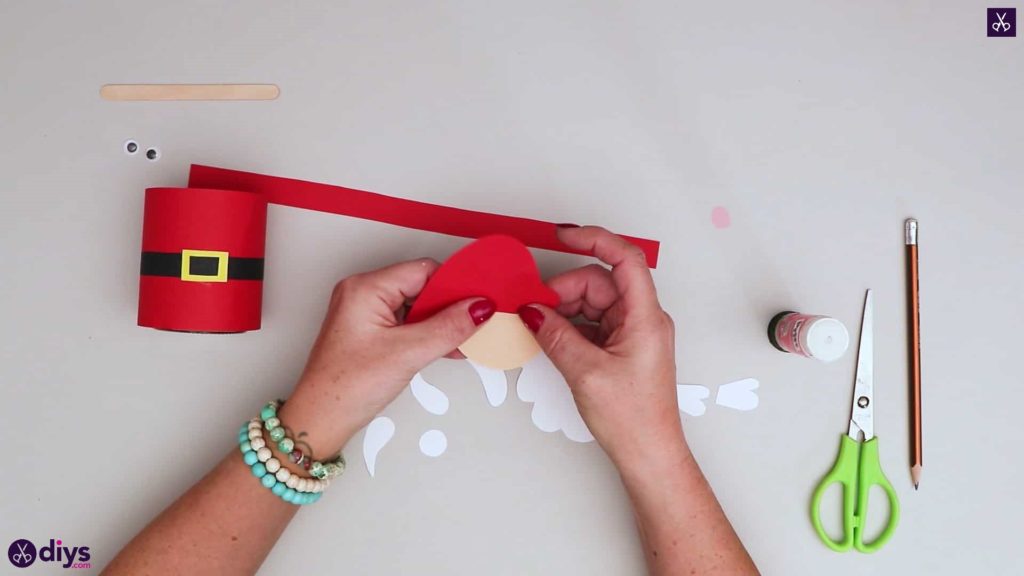
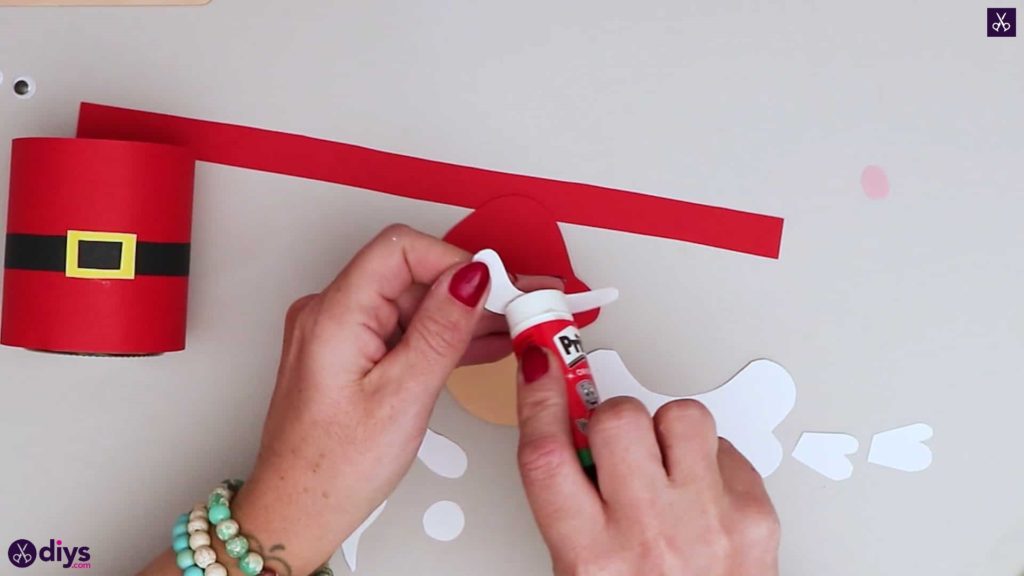
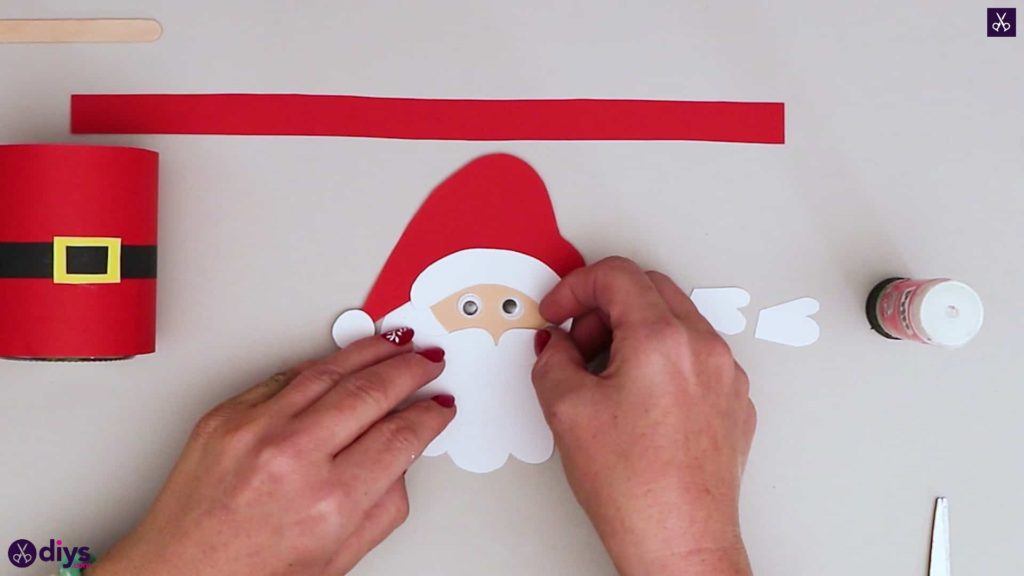
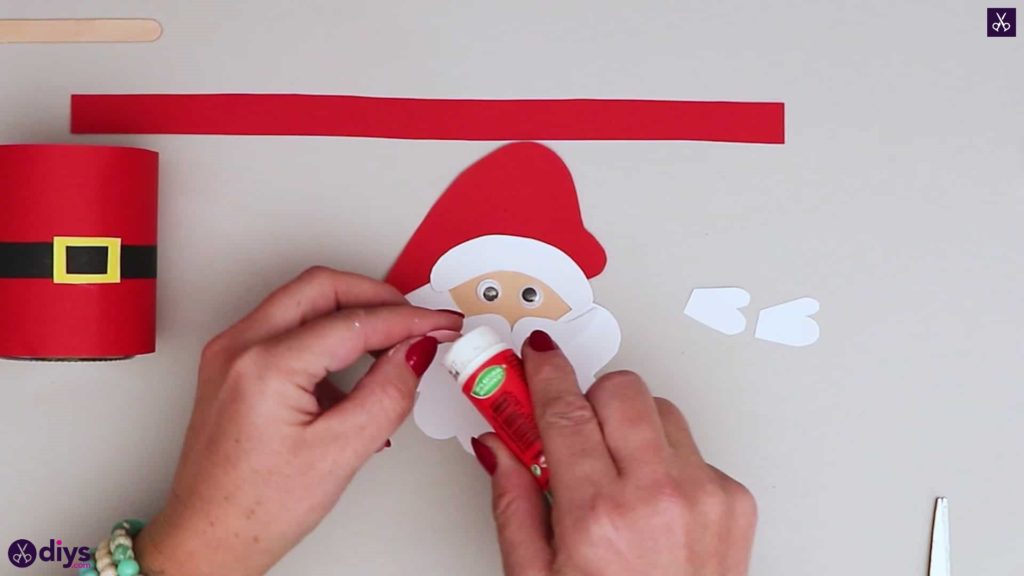
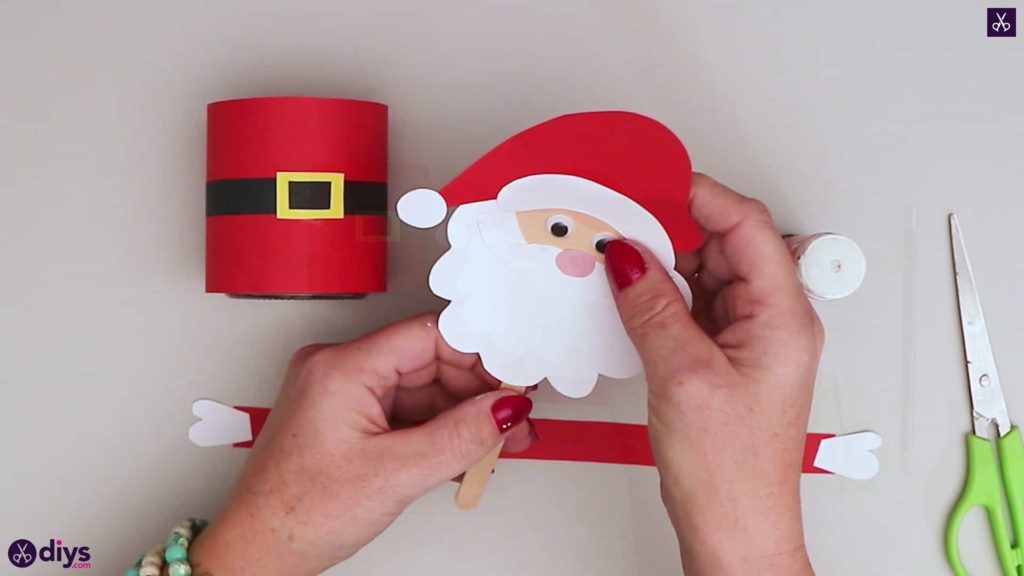
Step 13: assemble the head
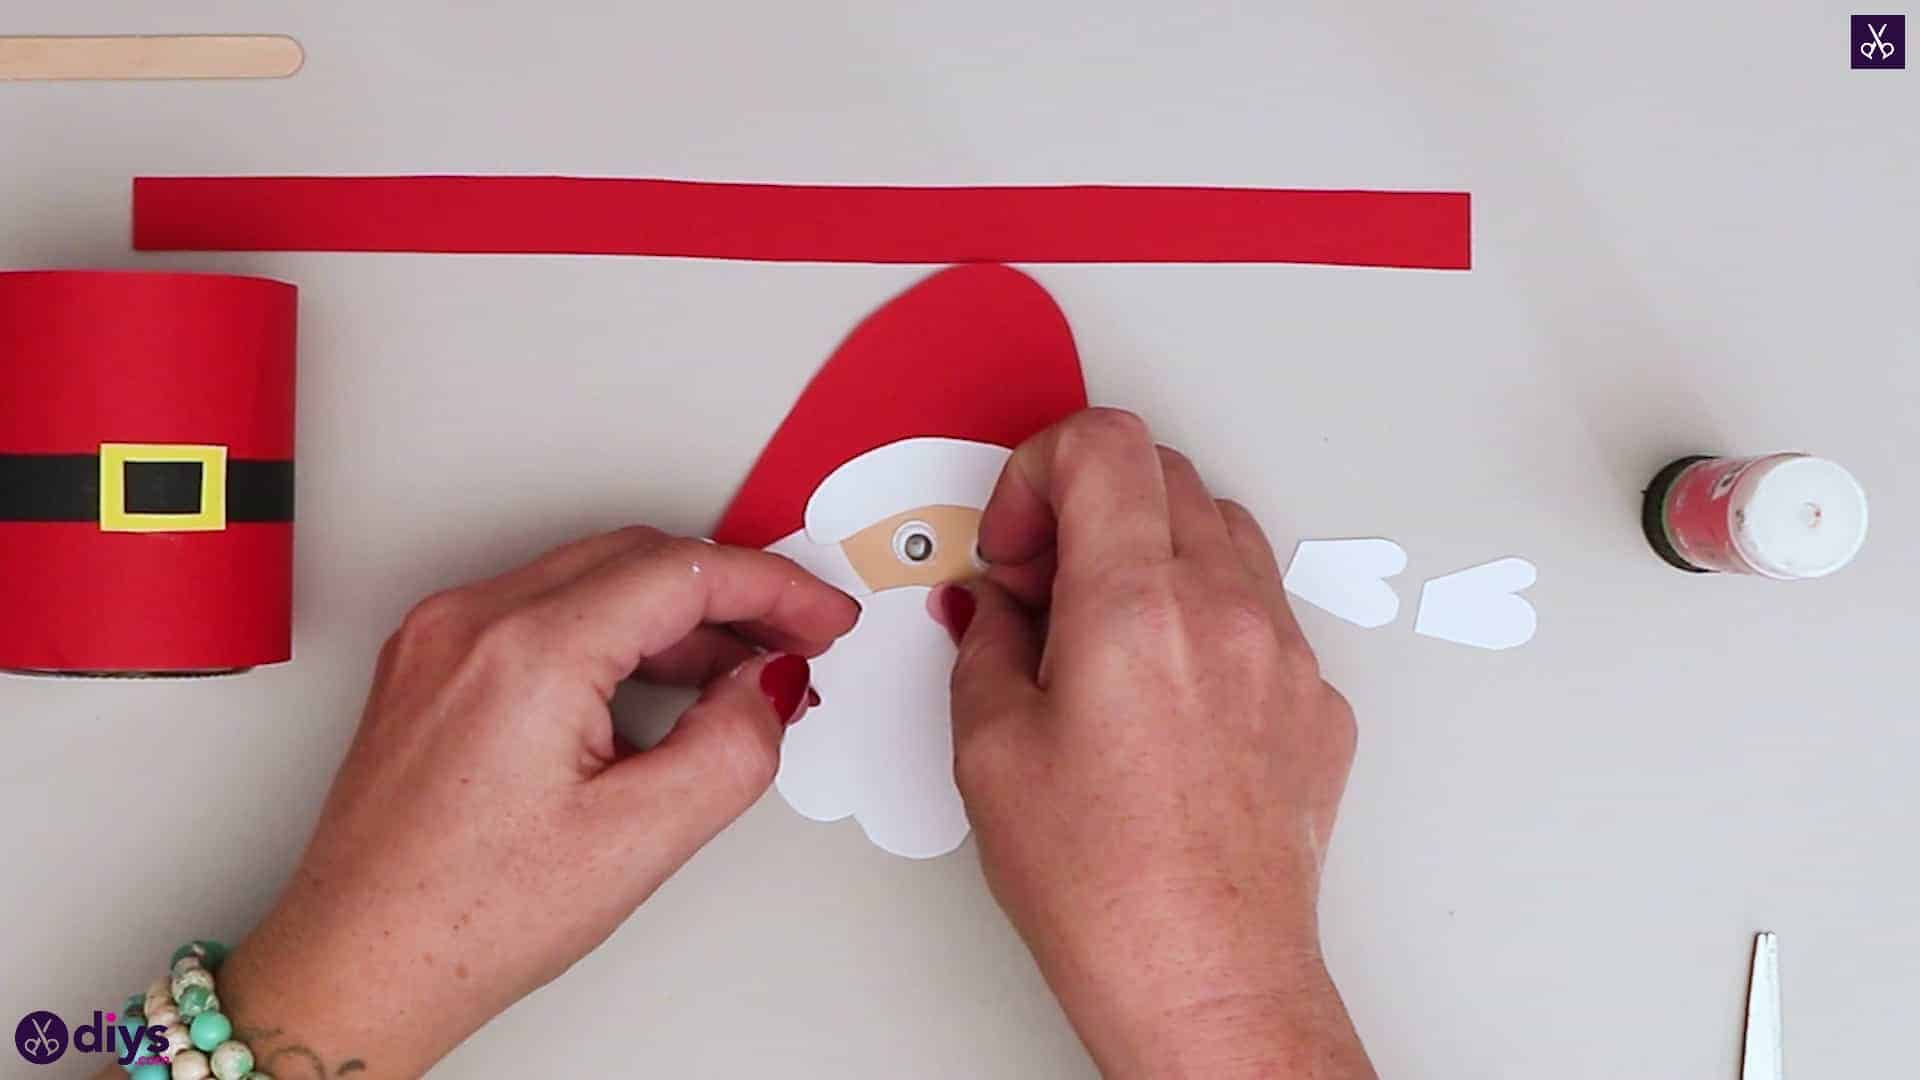
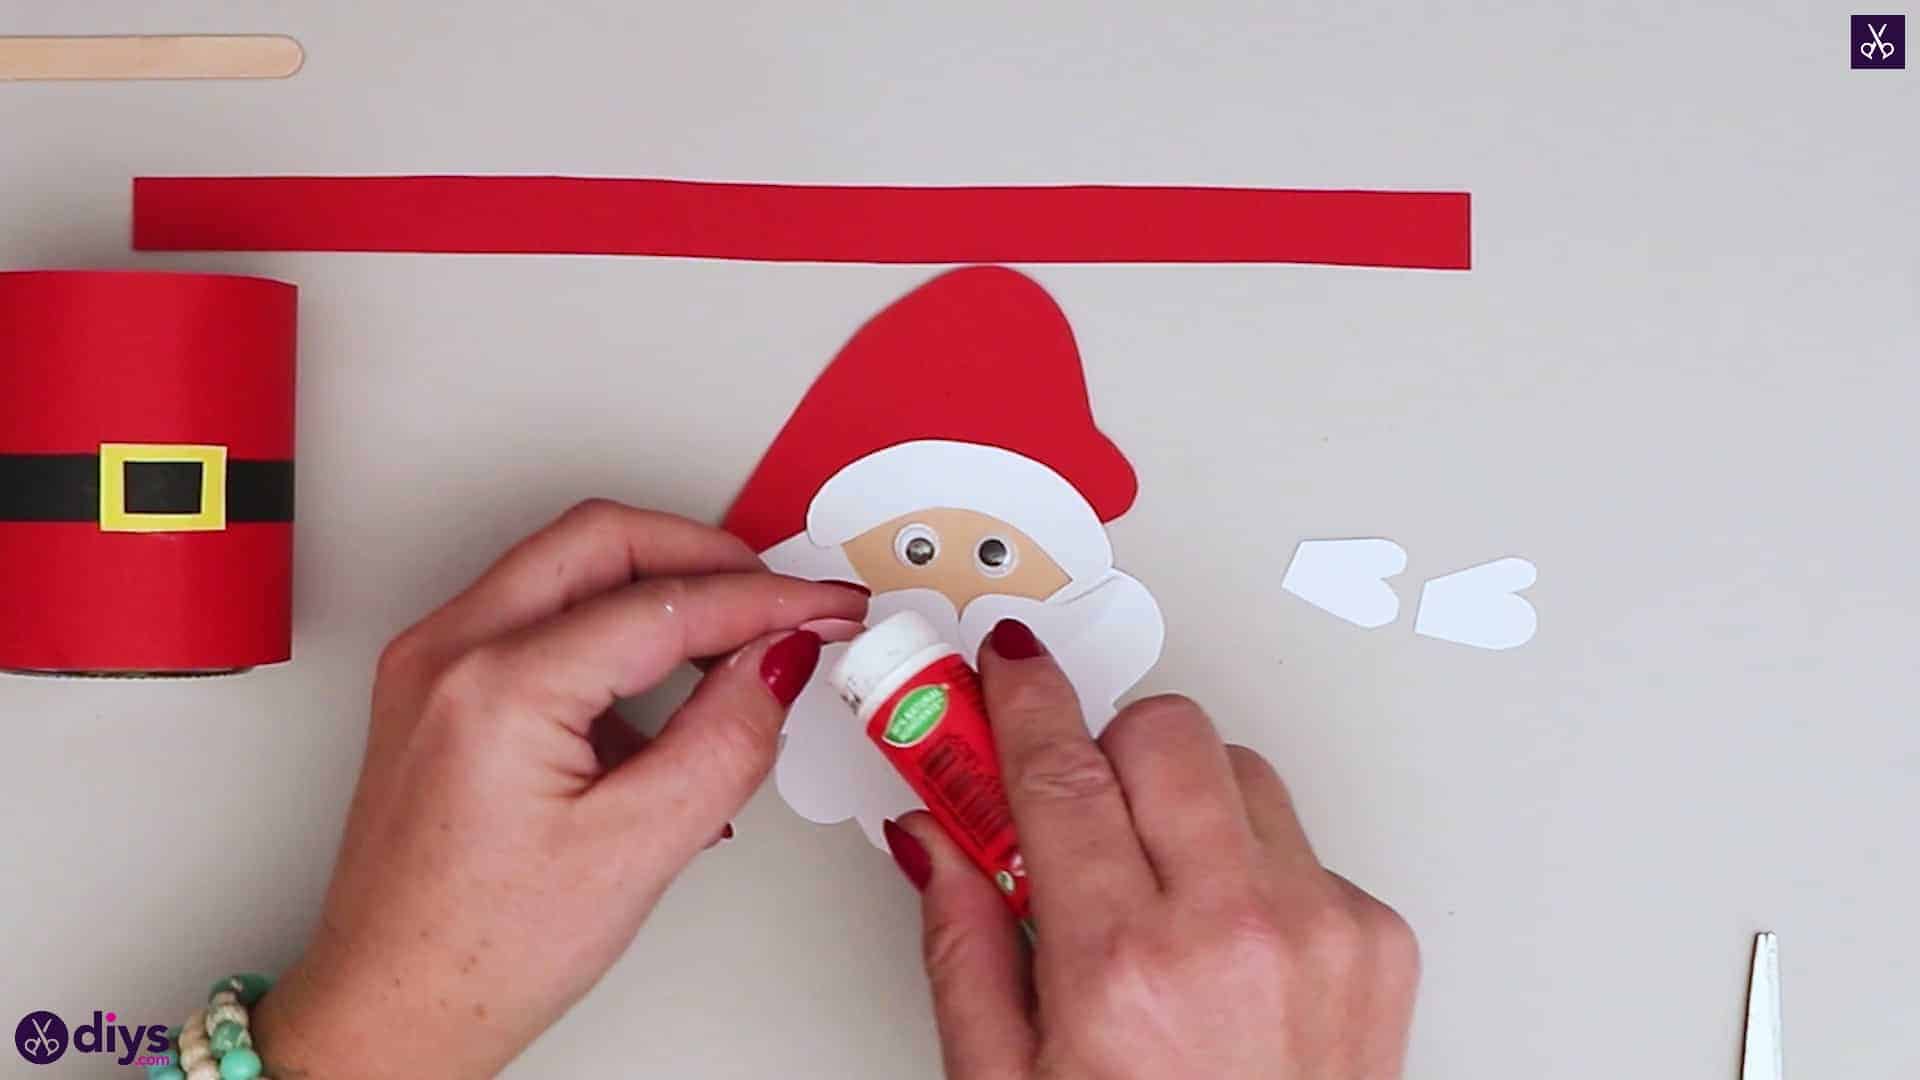
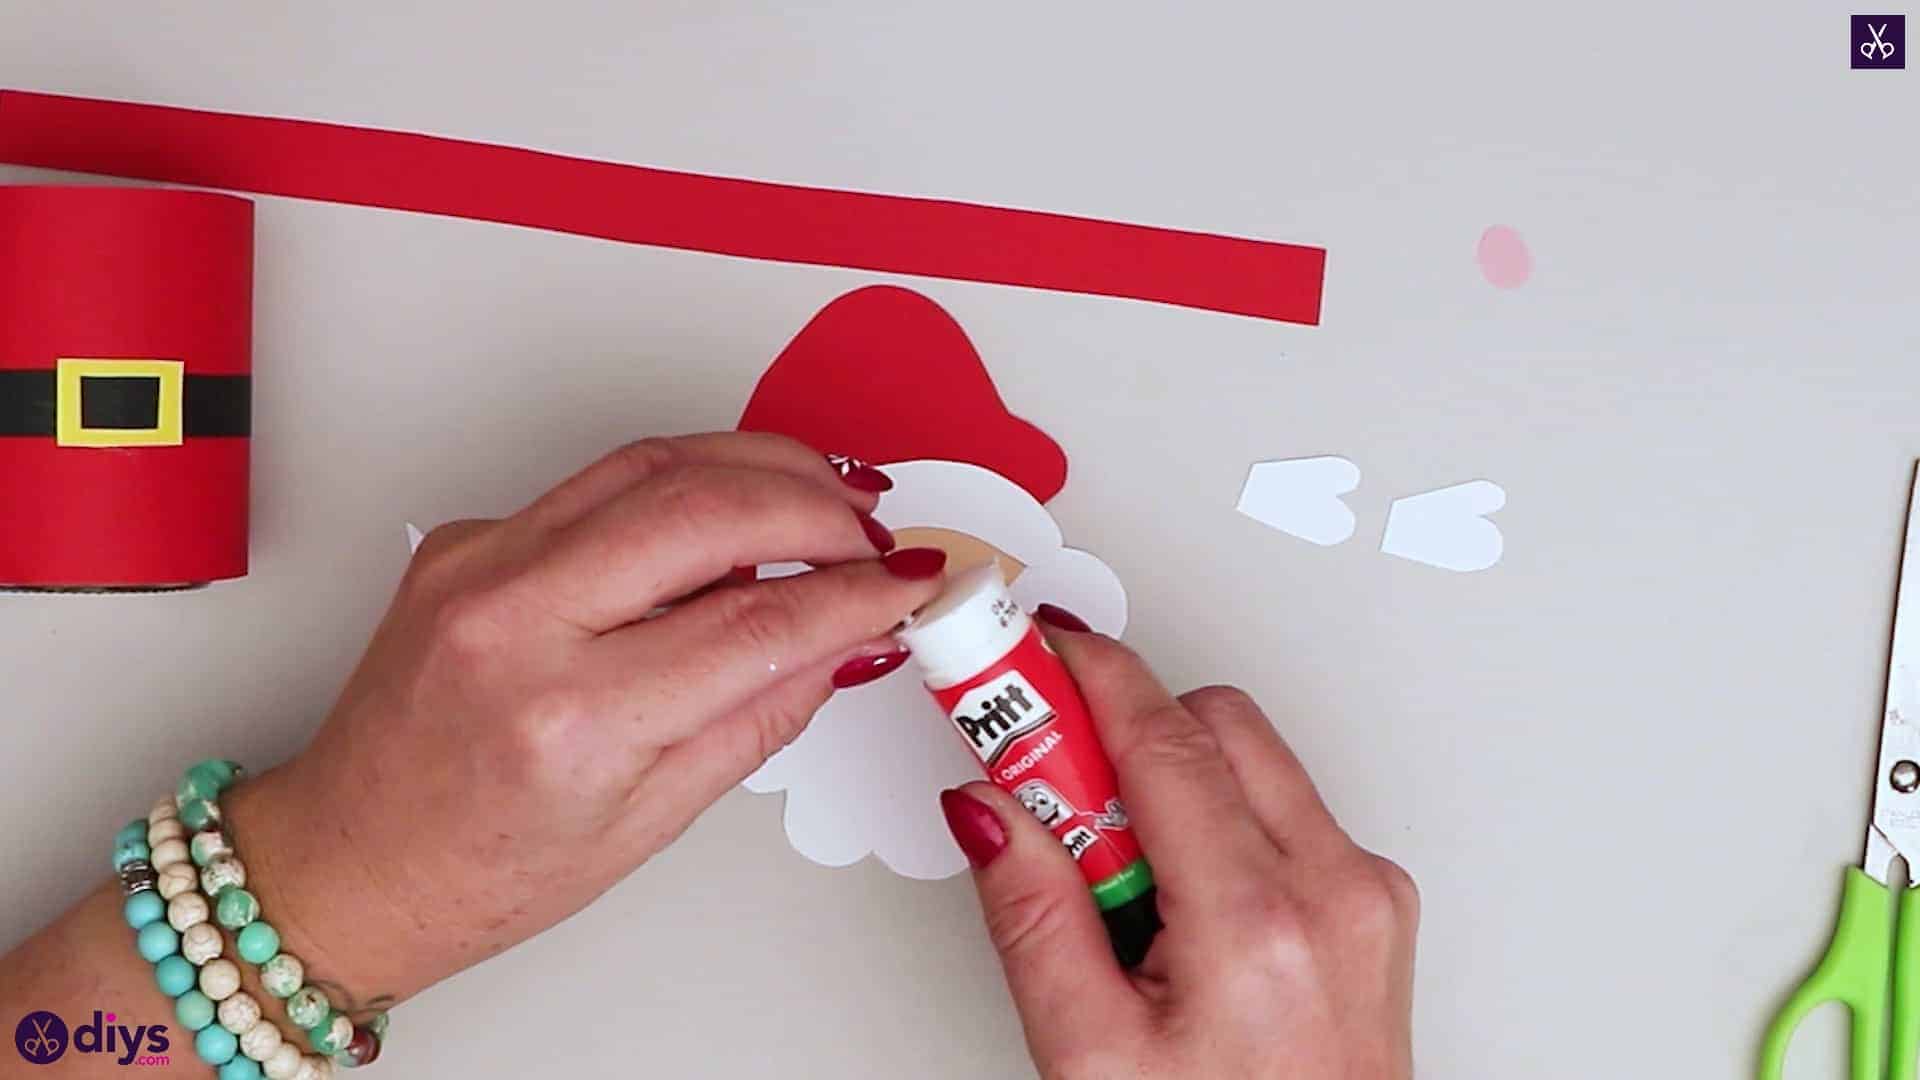
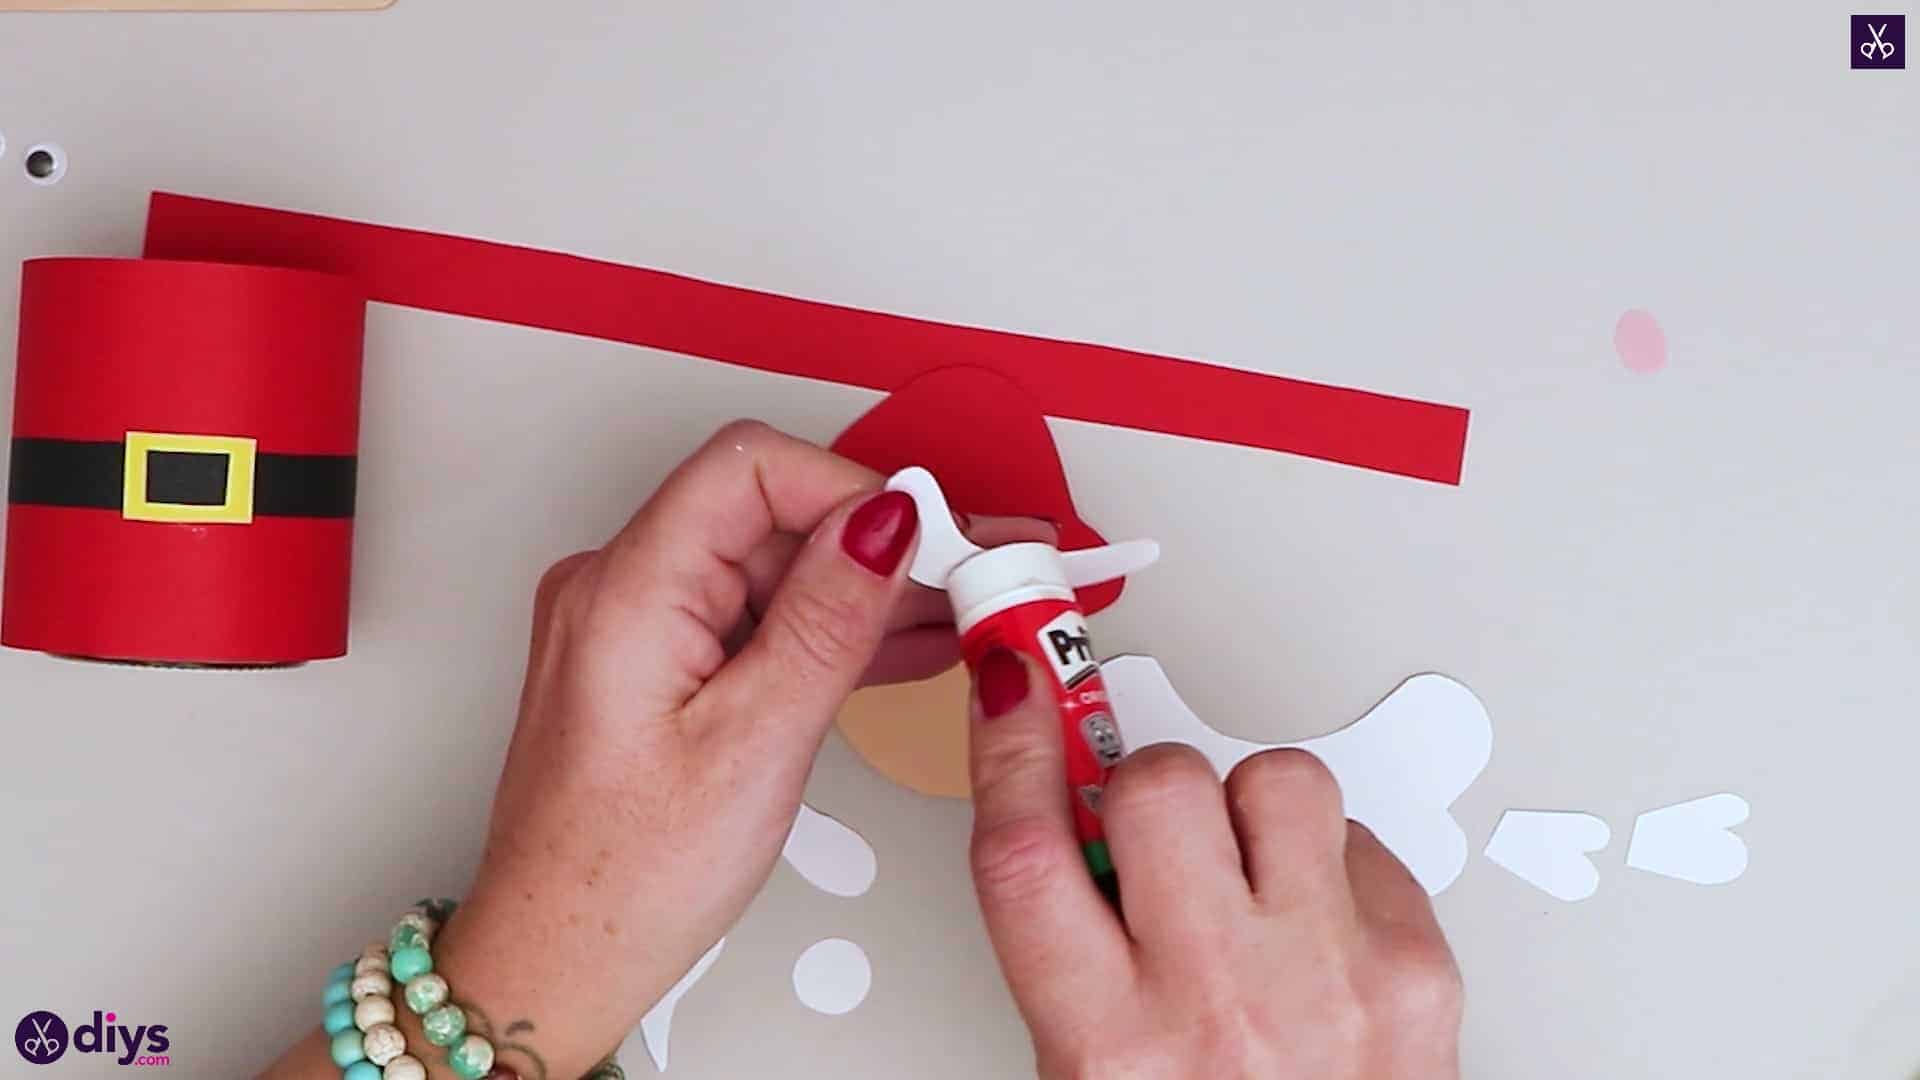
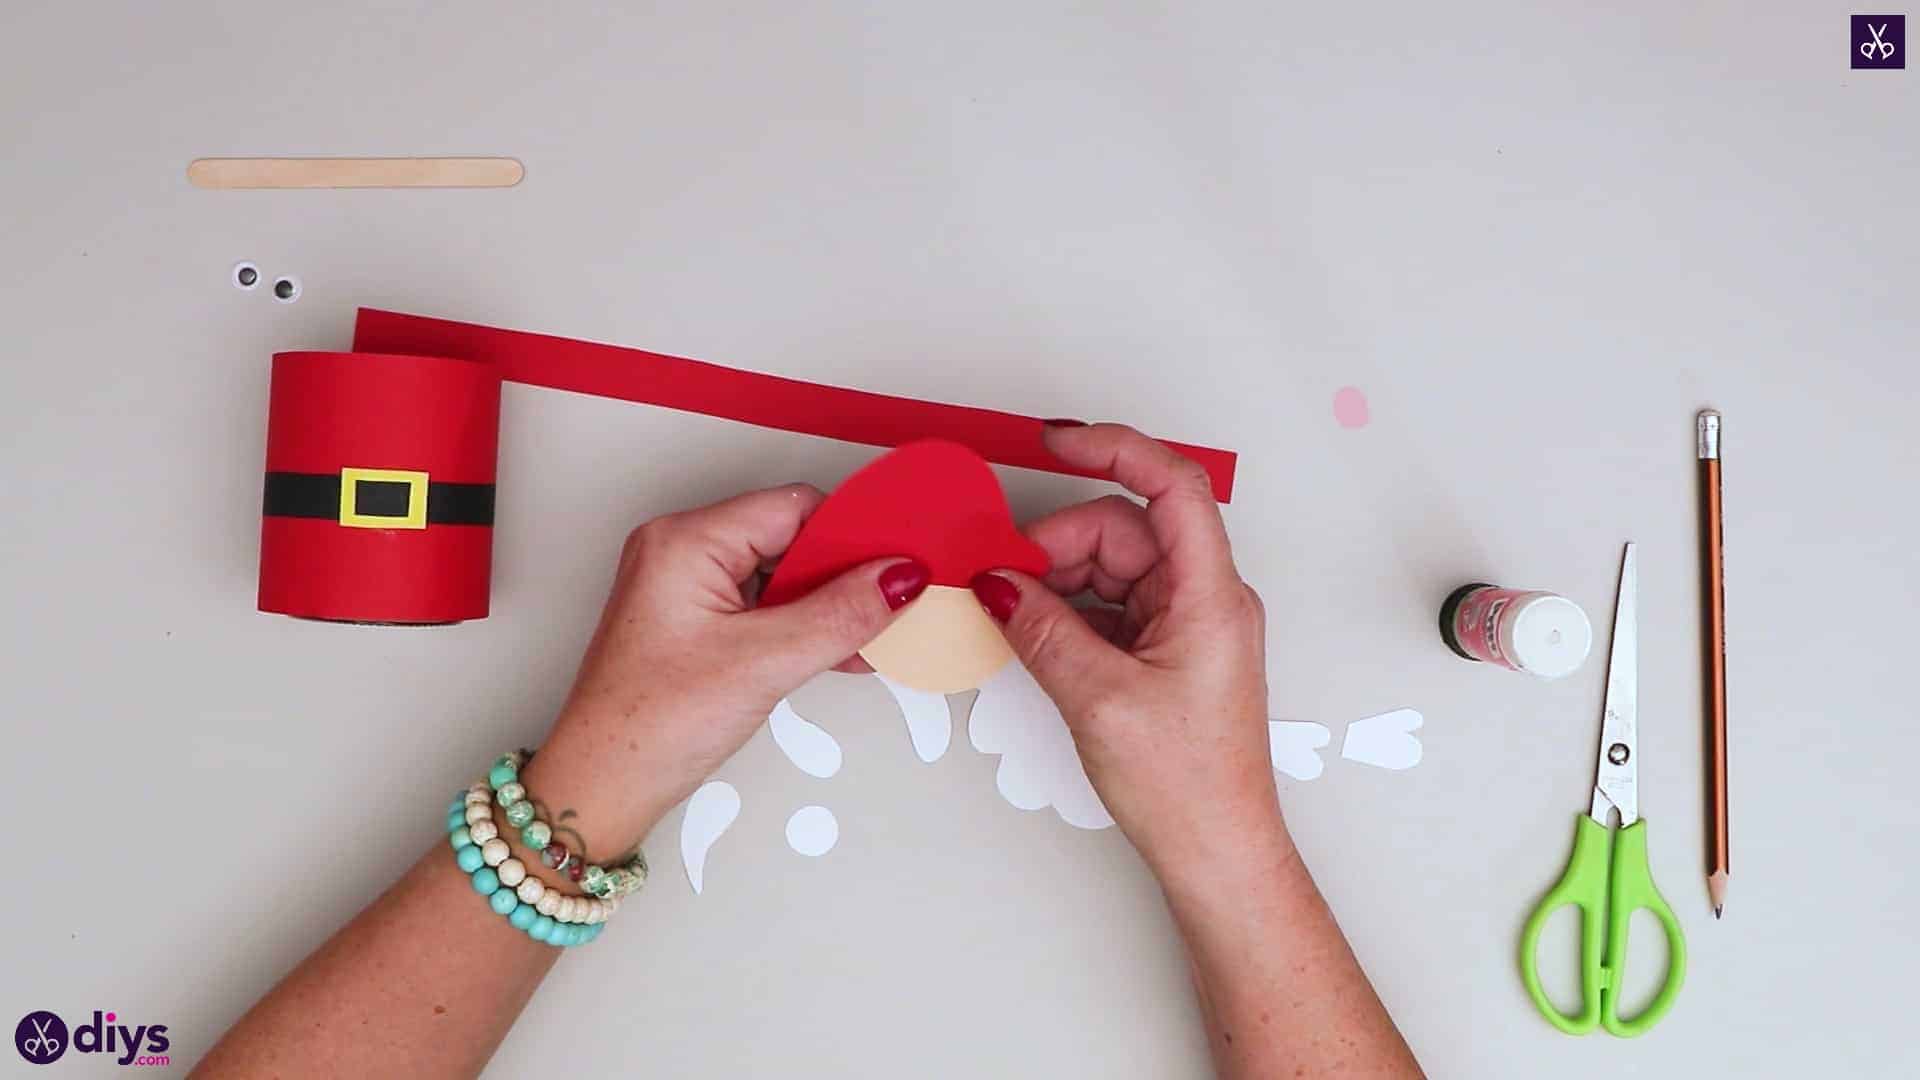
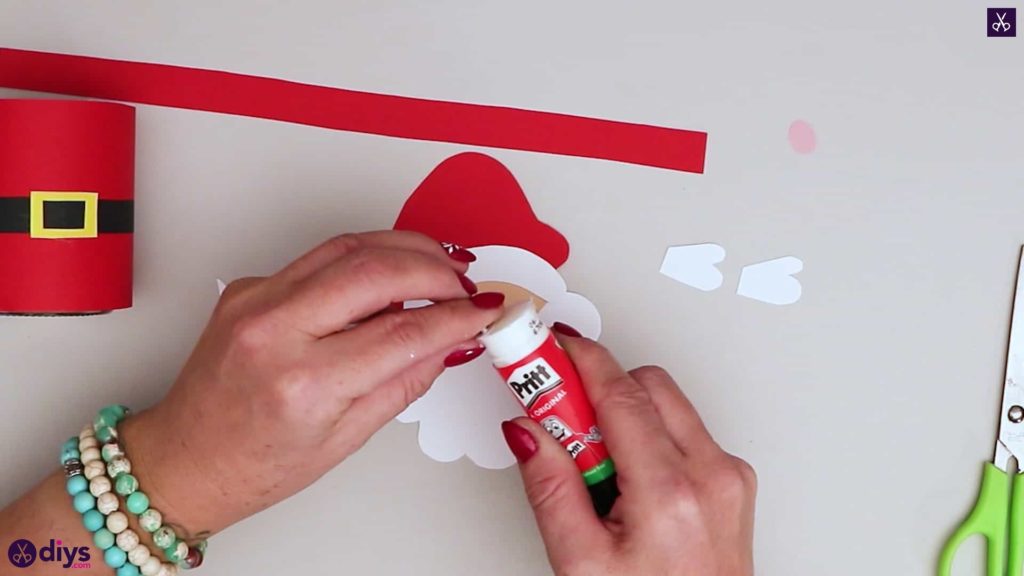
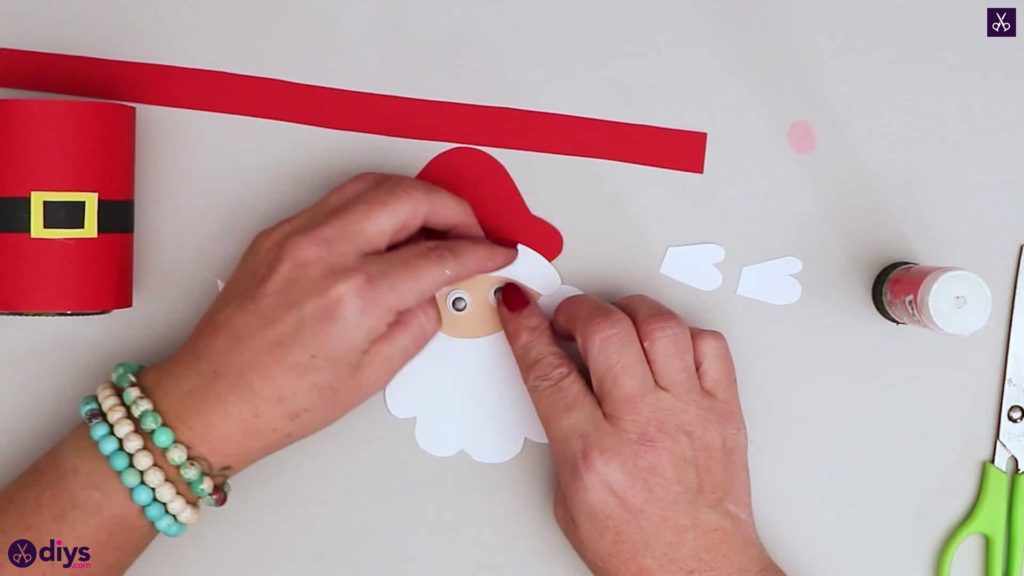
Put together your Santa’s head! Apply glue along the top edge of your larger light pink circle and stick the red hat down there so its bottom curving edge follows that of the circle at the top of the face. Then apply glue to the back of your curving white fur trim and stick it along that red curving edge to line the hat. Next, stick the little white circle to the tip of the hat’s end like a pom pom. After that, apply glue to the back of your beard along its top where it curves inward and stick it to the bottom of the face, following the shape of the circle’s edge once more. Stick your two googly eyes down above the beard but below the hat’s fur trim, leaving space for the two moustache pieces, which you’ll stick down next. Place them overlapping at the top of the beard so their thicker rounded ends face inward at the middle fo the face and their tapered ends face outward. Finally, apply glue to the back of your little circular pink nose and stick it down between the two moustache pieces, overlapping like the moustache is growing under the nose.

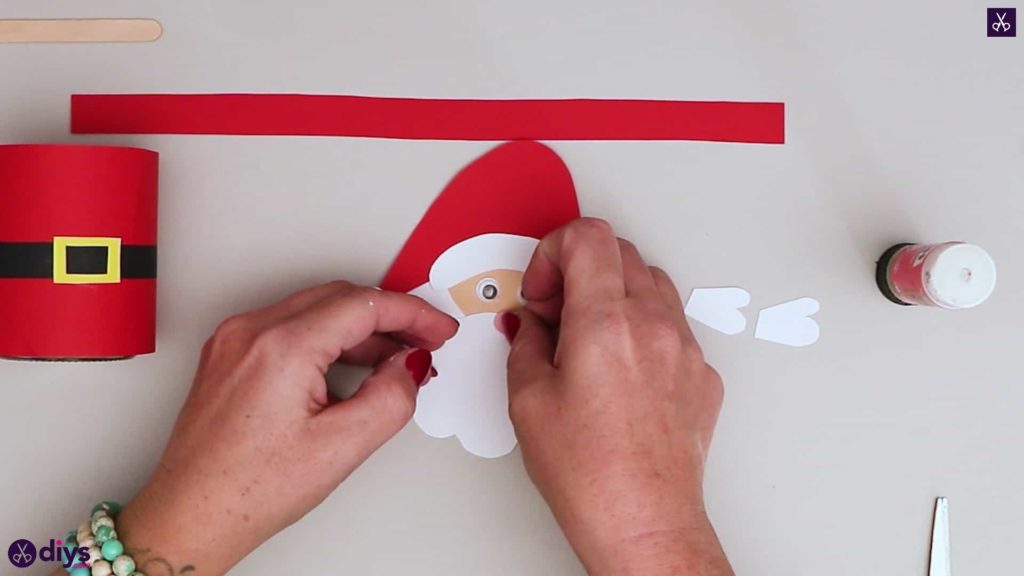
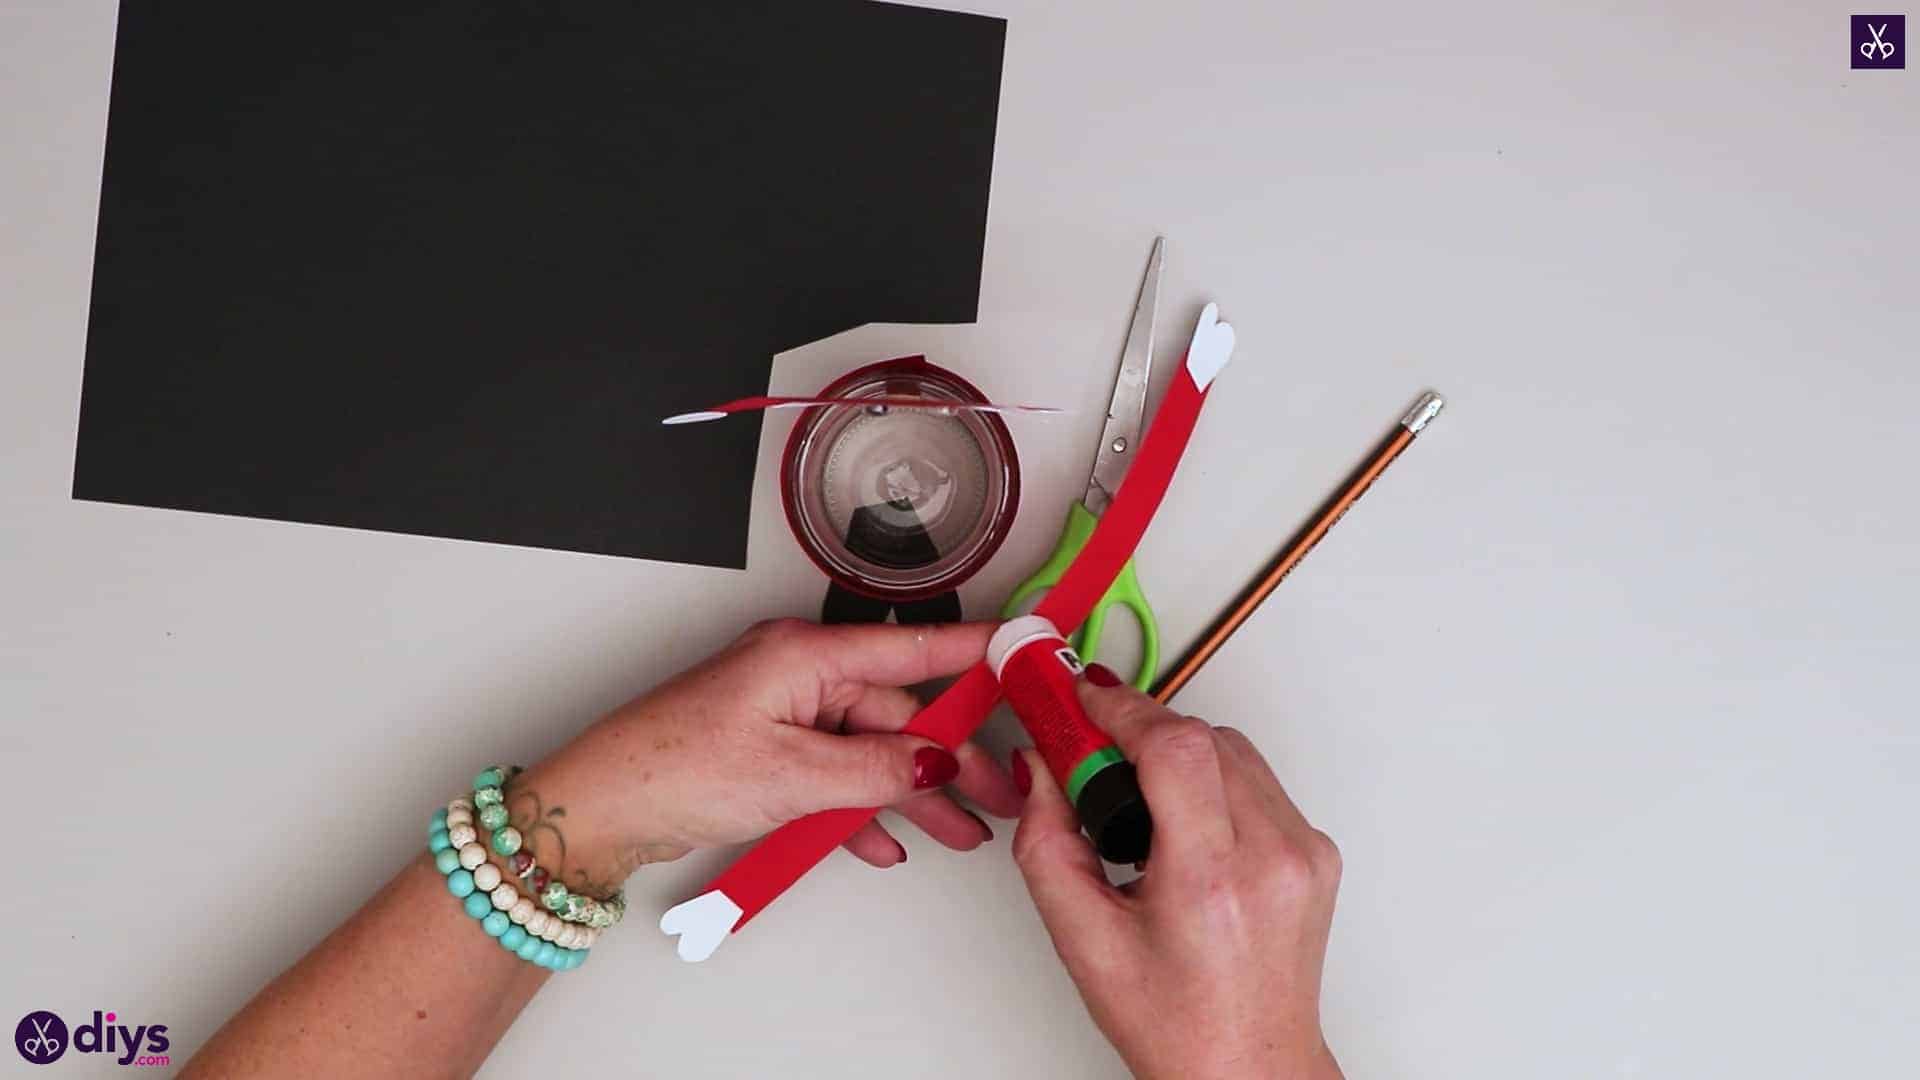
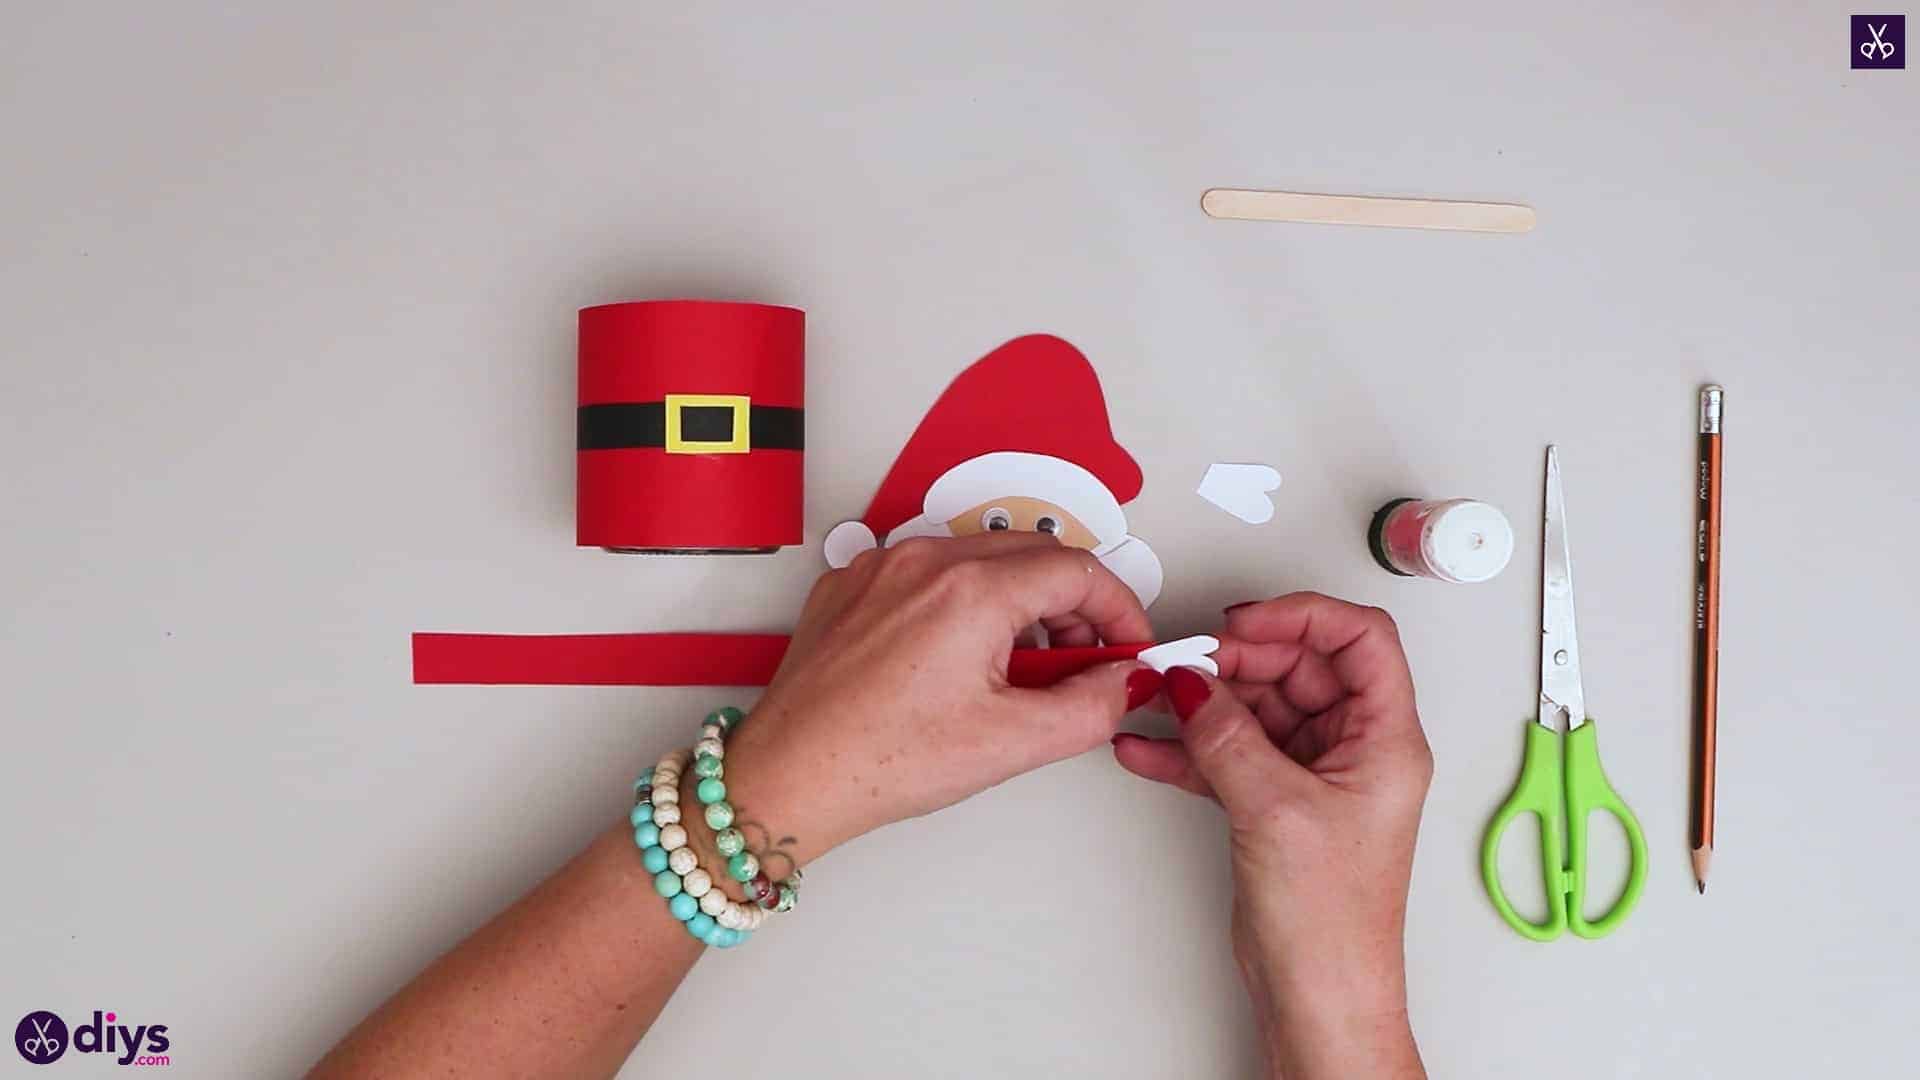
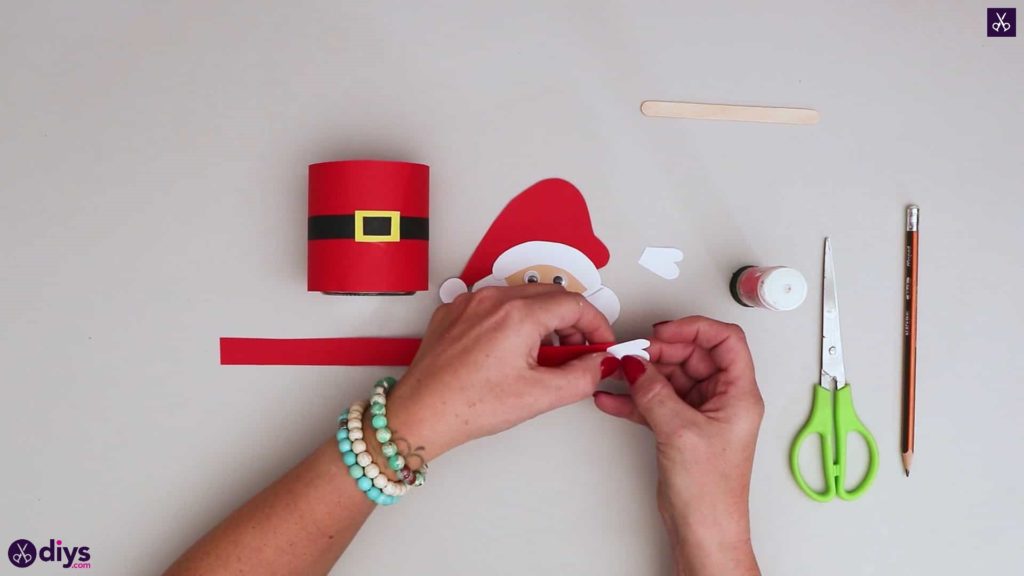
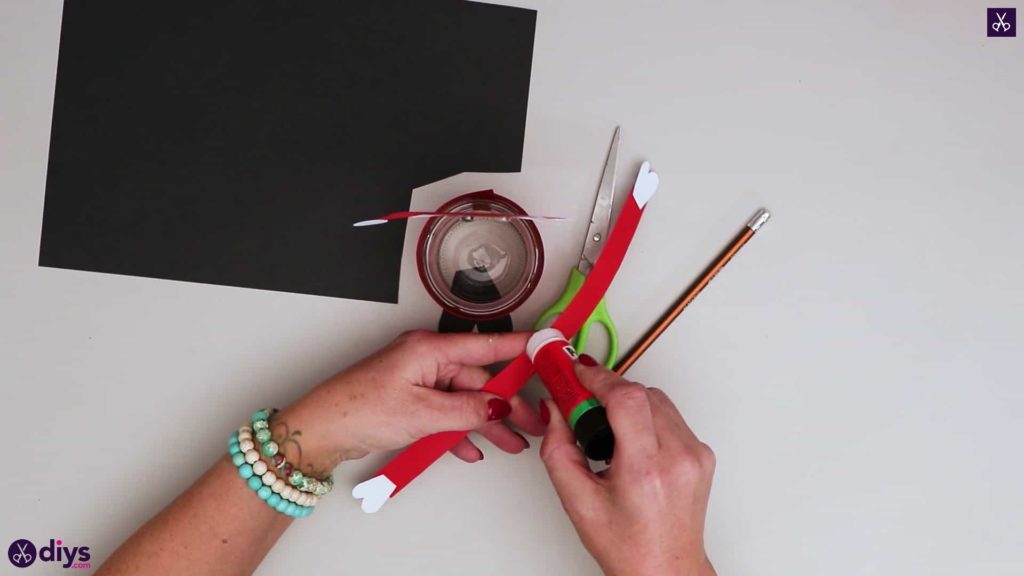
Step 14: attach the hands
Apply glue to the backs of your mitten pieces at the flat ends, along the edge, and stick them down at each end of your thinner red strip so the curved finger and thumb shapes of the mittens face outward. This will be your Santa’s arms and hands.
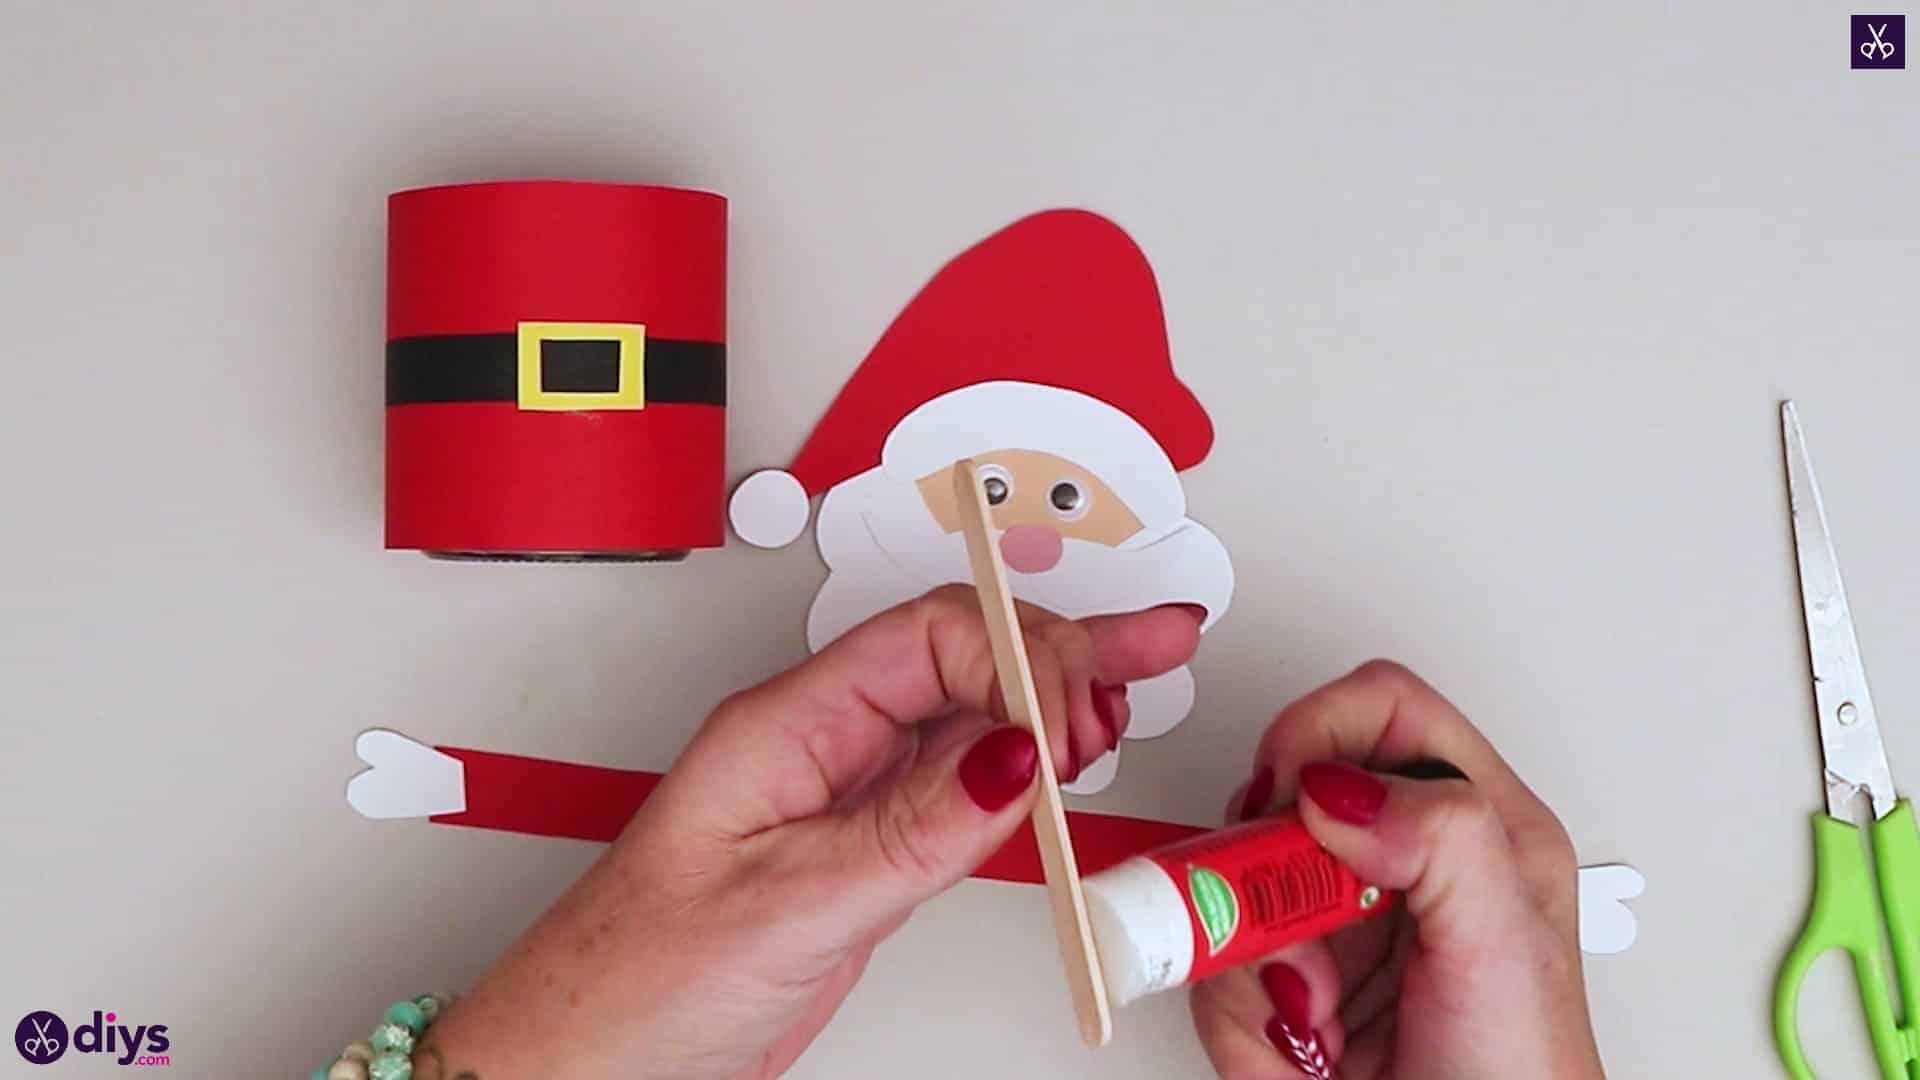
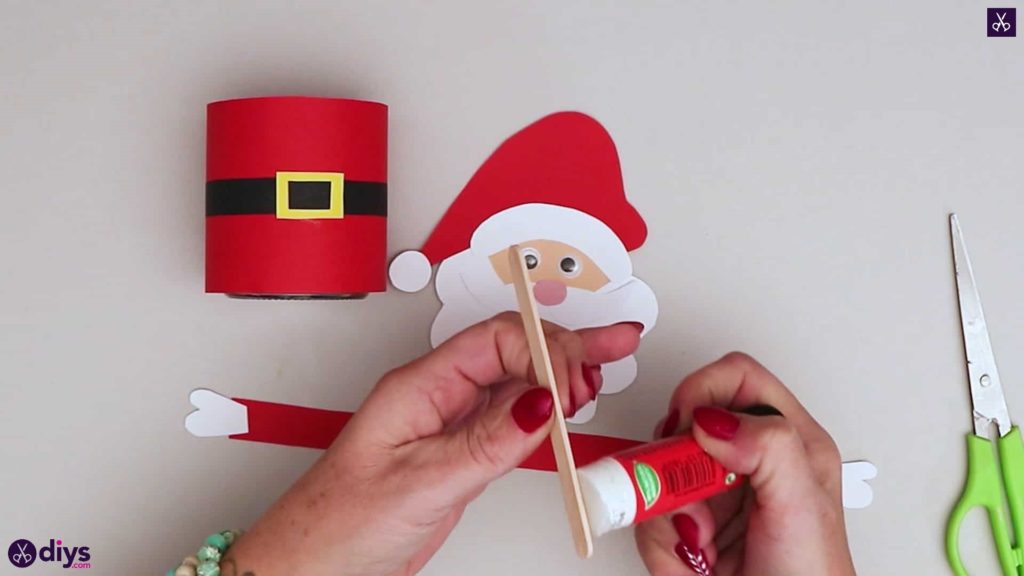
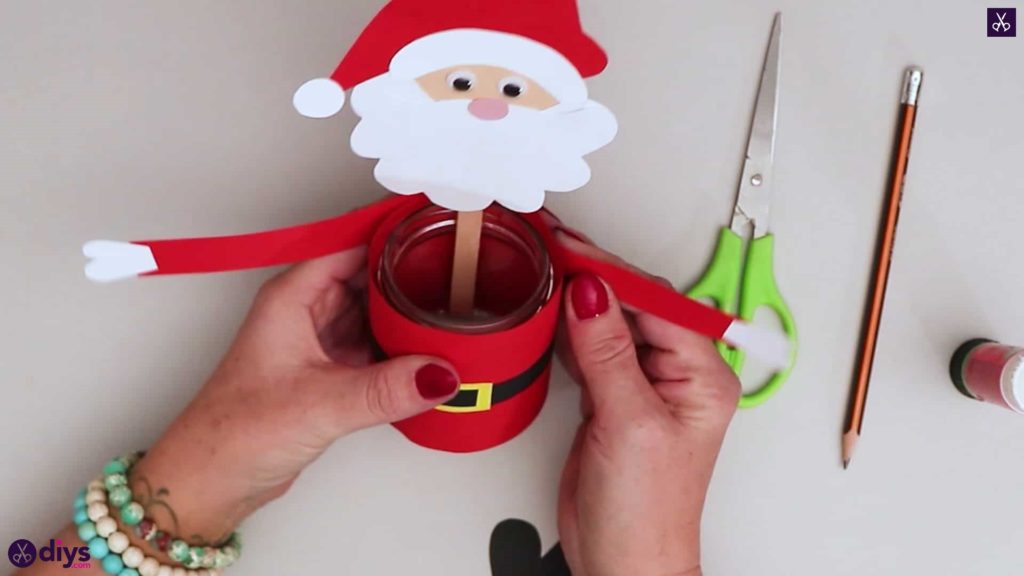
Step 15: get the stick
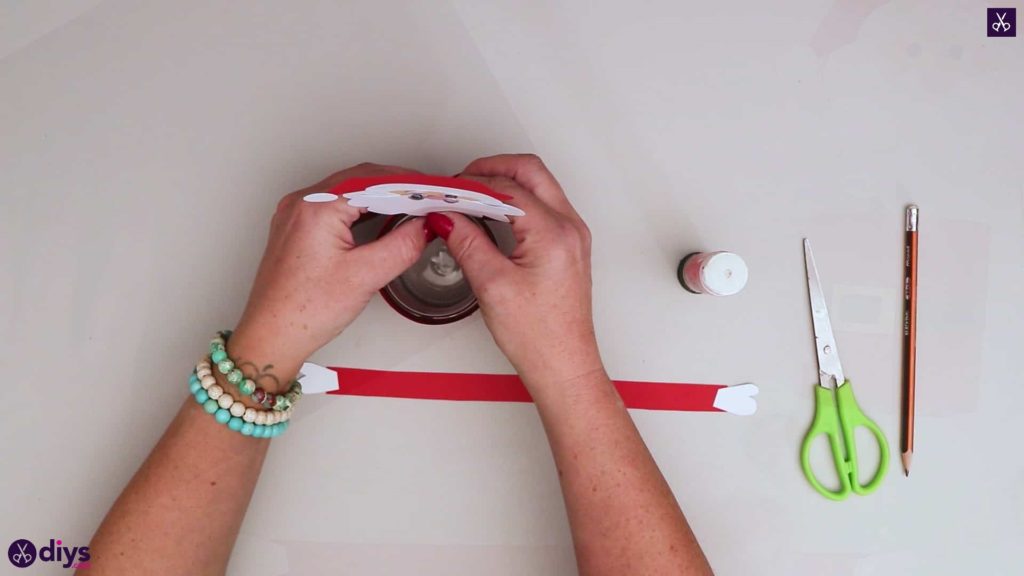
Apply glue to both ends of your popsicle stick, on the front side of one end and the back side of the other end. Stick your Santa’s head down on one end and then stick the other end, with the glue on the backside, to the inside of your glass jar, so the Santa’s head sticks up above the jar’s opening rim.
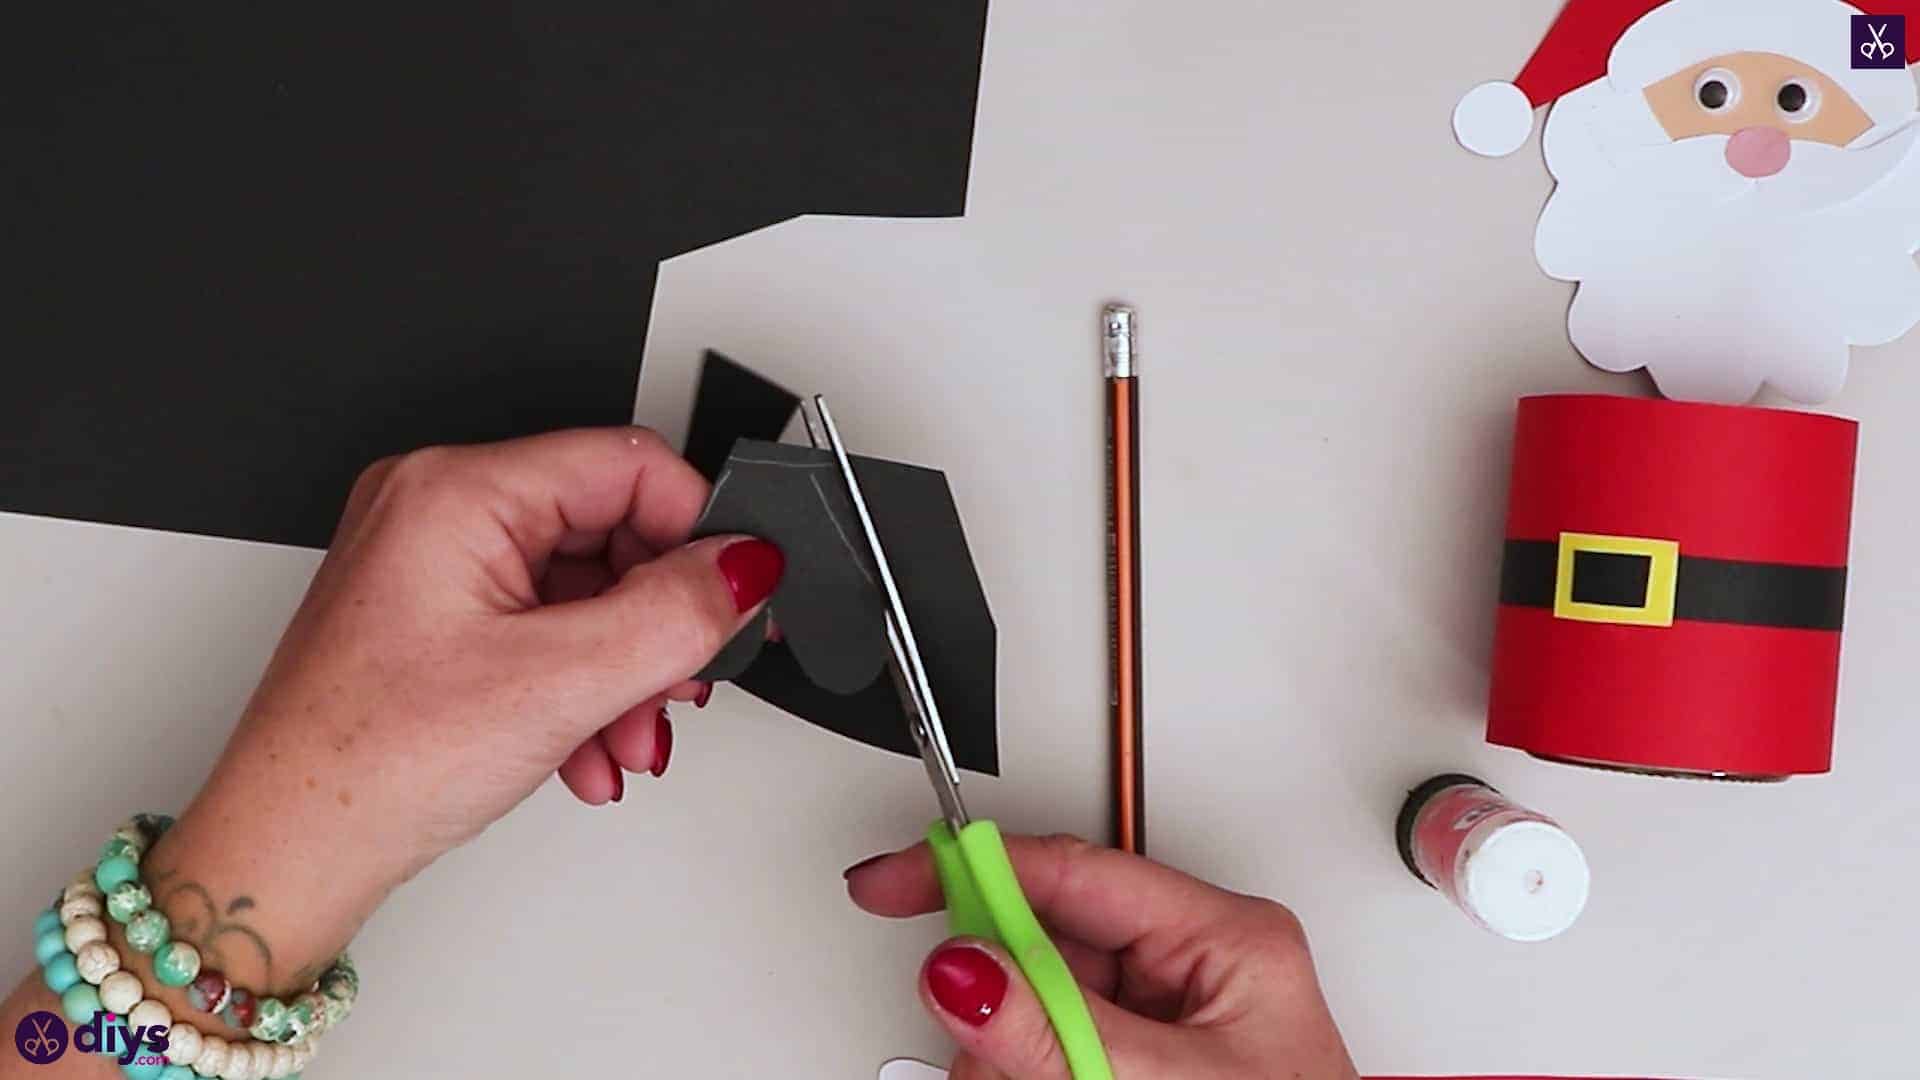
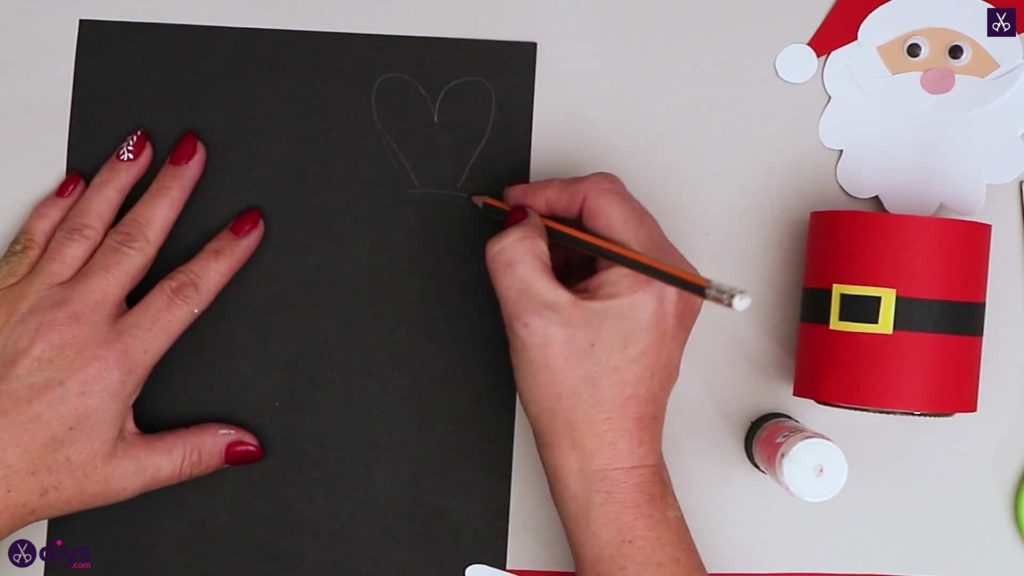
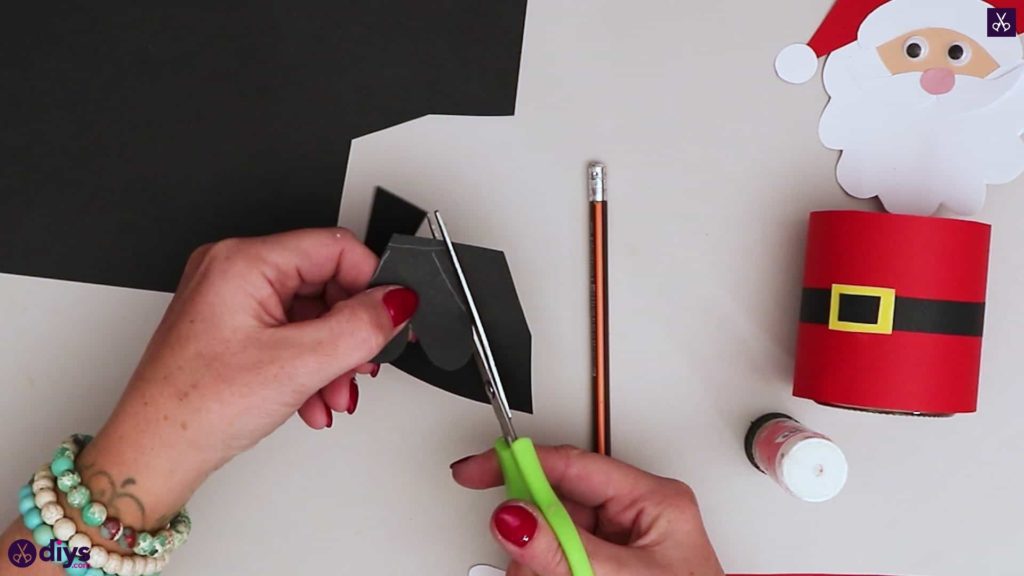
Step 16: make his boots
Use your pencil to draw a shape like a heart on your spare black paper, but with a flat edge on its tapered end rather than a pointed tip like usual. This will be your Santa’s feet! Apply glue to that flat edge and stick it to the bottom of your jaw so the two rounded pieces of the heart shape stick out past the edge, making the feet visible when you set the jar down.
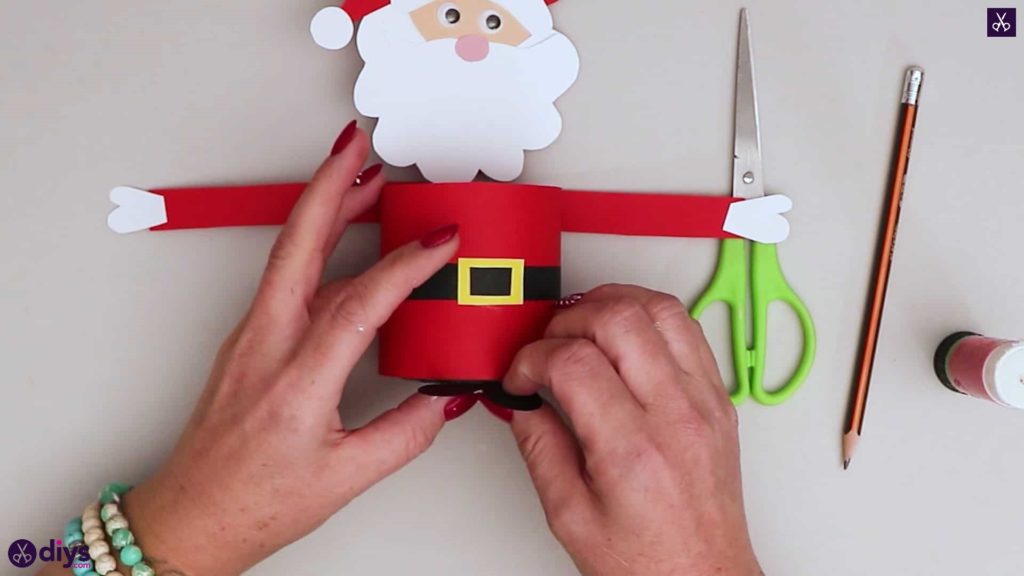
Step 17: attach the arms
Apply glue to the center of your arm piece (the one with the mittens stuck on the end) and stick that point to the back of the jar, near where your popsicle stick sits. Line it up with the top edge of the jar so it sticks around the rim with the arms (which will not be glued down) sticking out towards the front.
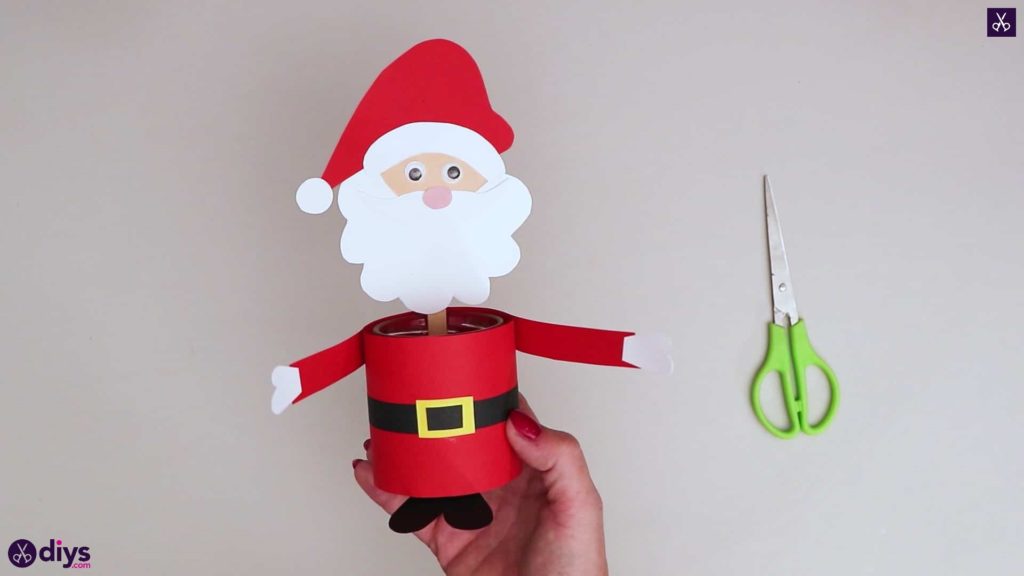
Your Santa candy jar is all finished! Just in case you’d like to try this project out for yourself, here’s a fantastic tutorial video to help you!