Paper Plate Wreath with a Candle
Updated on November 19, 2025


If I had to choose one kind of classic kids’ craft to do with my little ones all year round, I might just have to stick with paper plates! There’s just something so fun about the various types of things you can turn them into. I doubt it’ll come as any surprise to you, then, that I’ve been helping them use plates to make Christmas crafts lately. This Christmas candle wreath that we completed last week was one of my favourites, so I decided to share the process with everyone!
Check out these step by step instructions complete with photos! If you’d rather follow along with a video tutorial instead of written words, scroll to the bottom of this post to find just what you’re looking for.
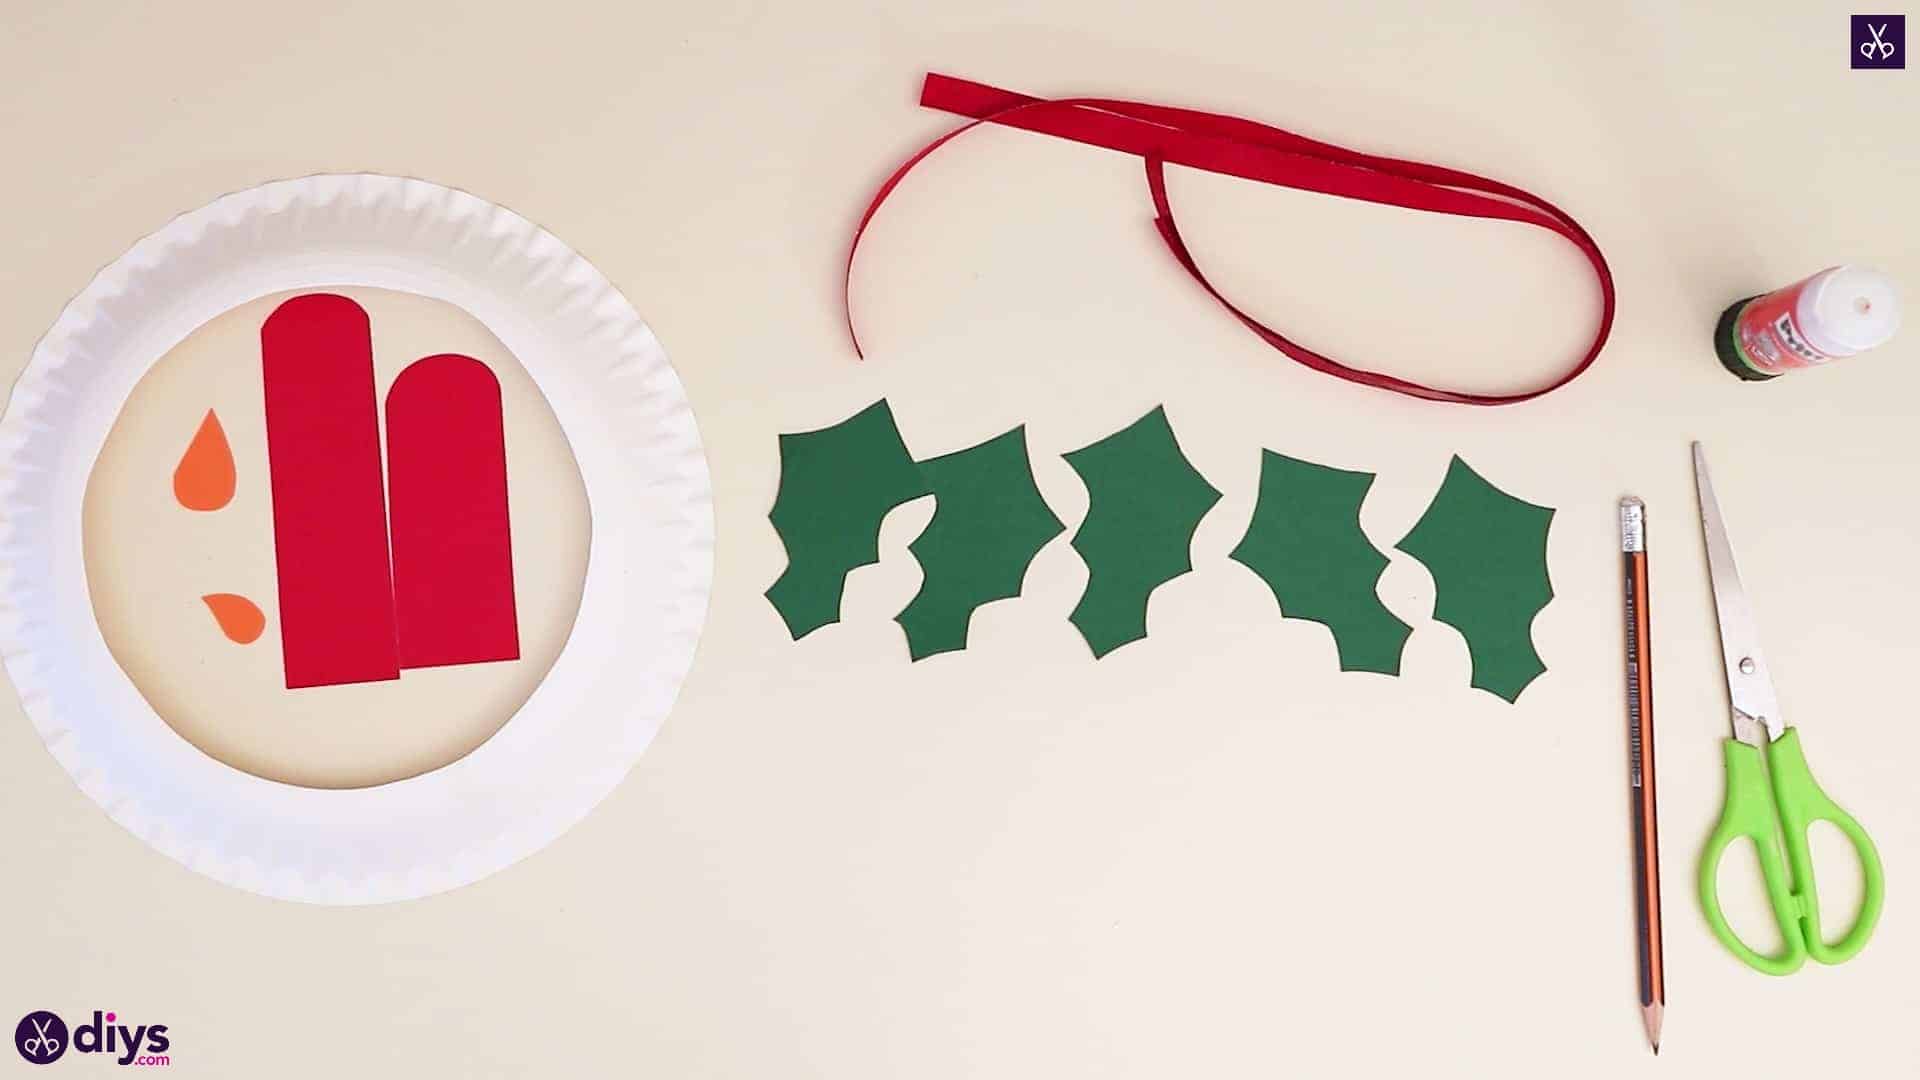
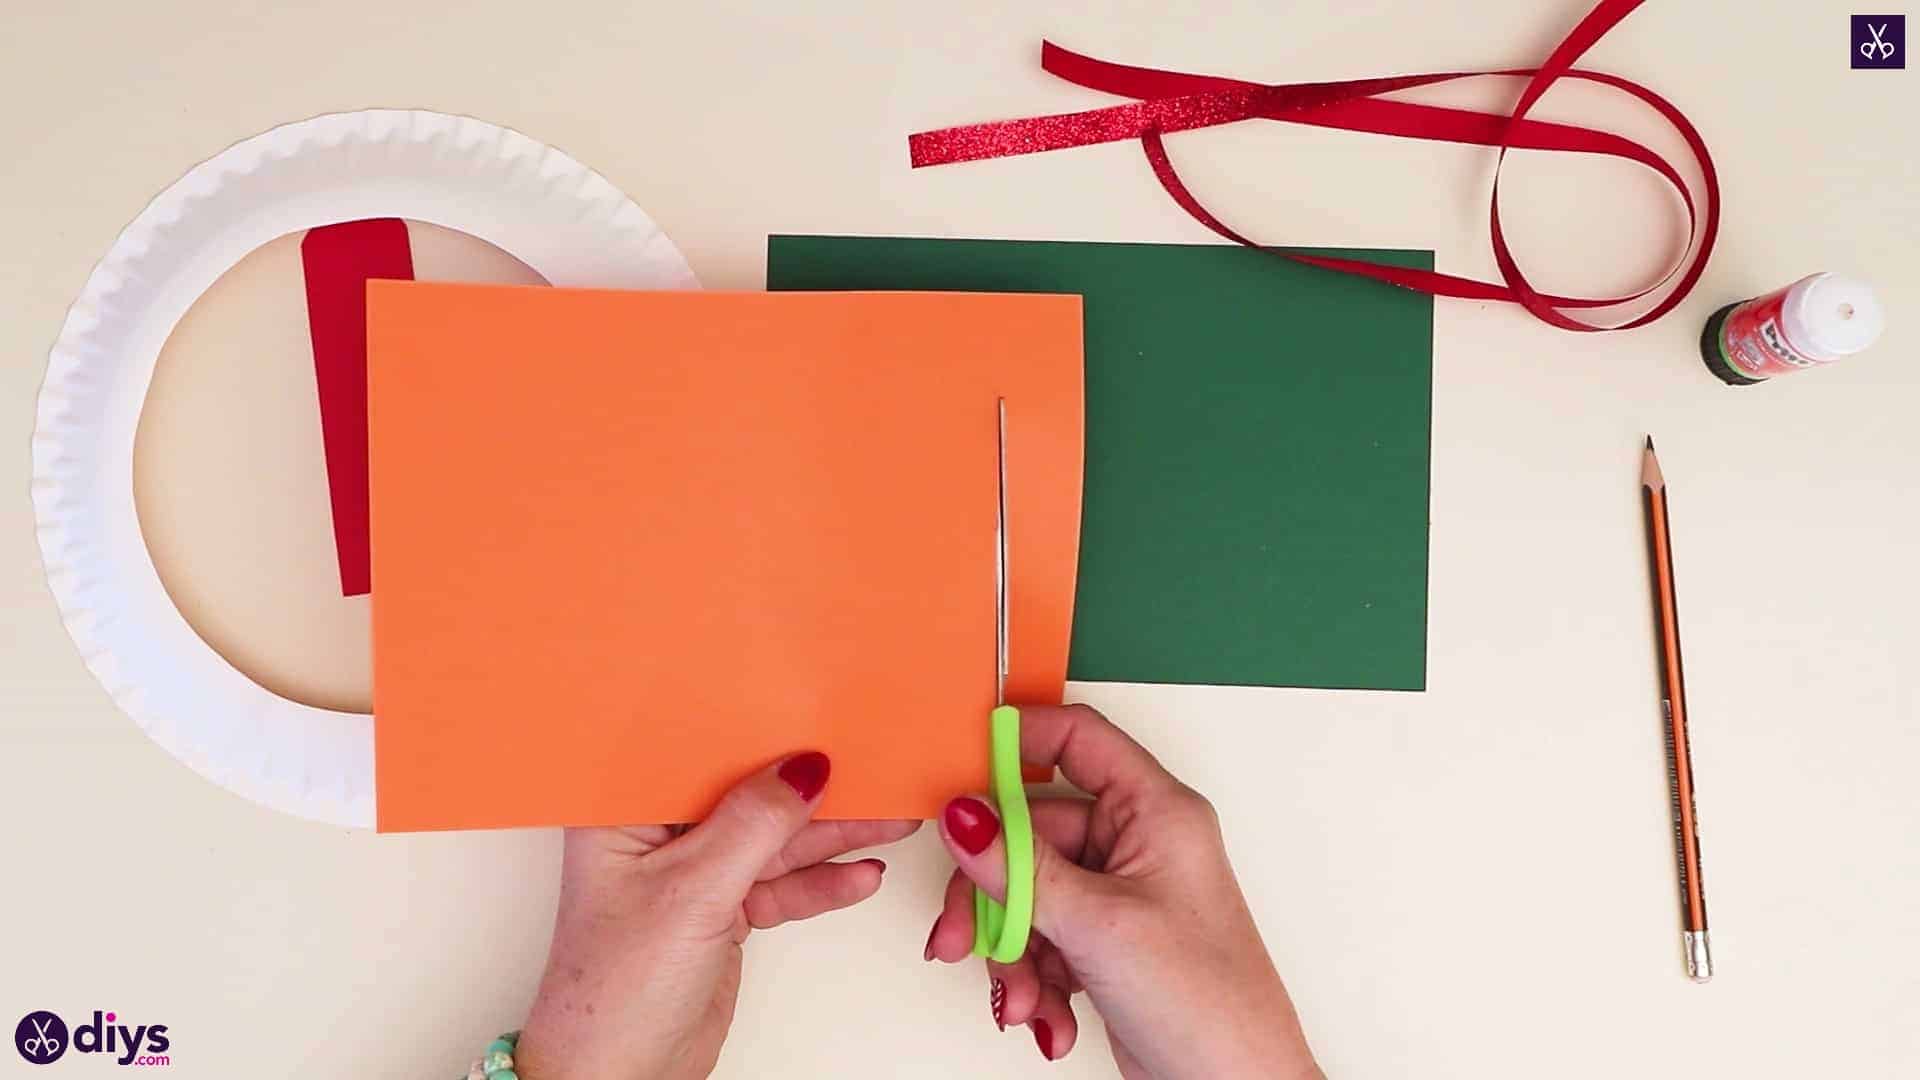
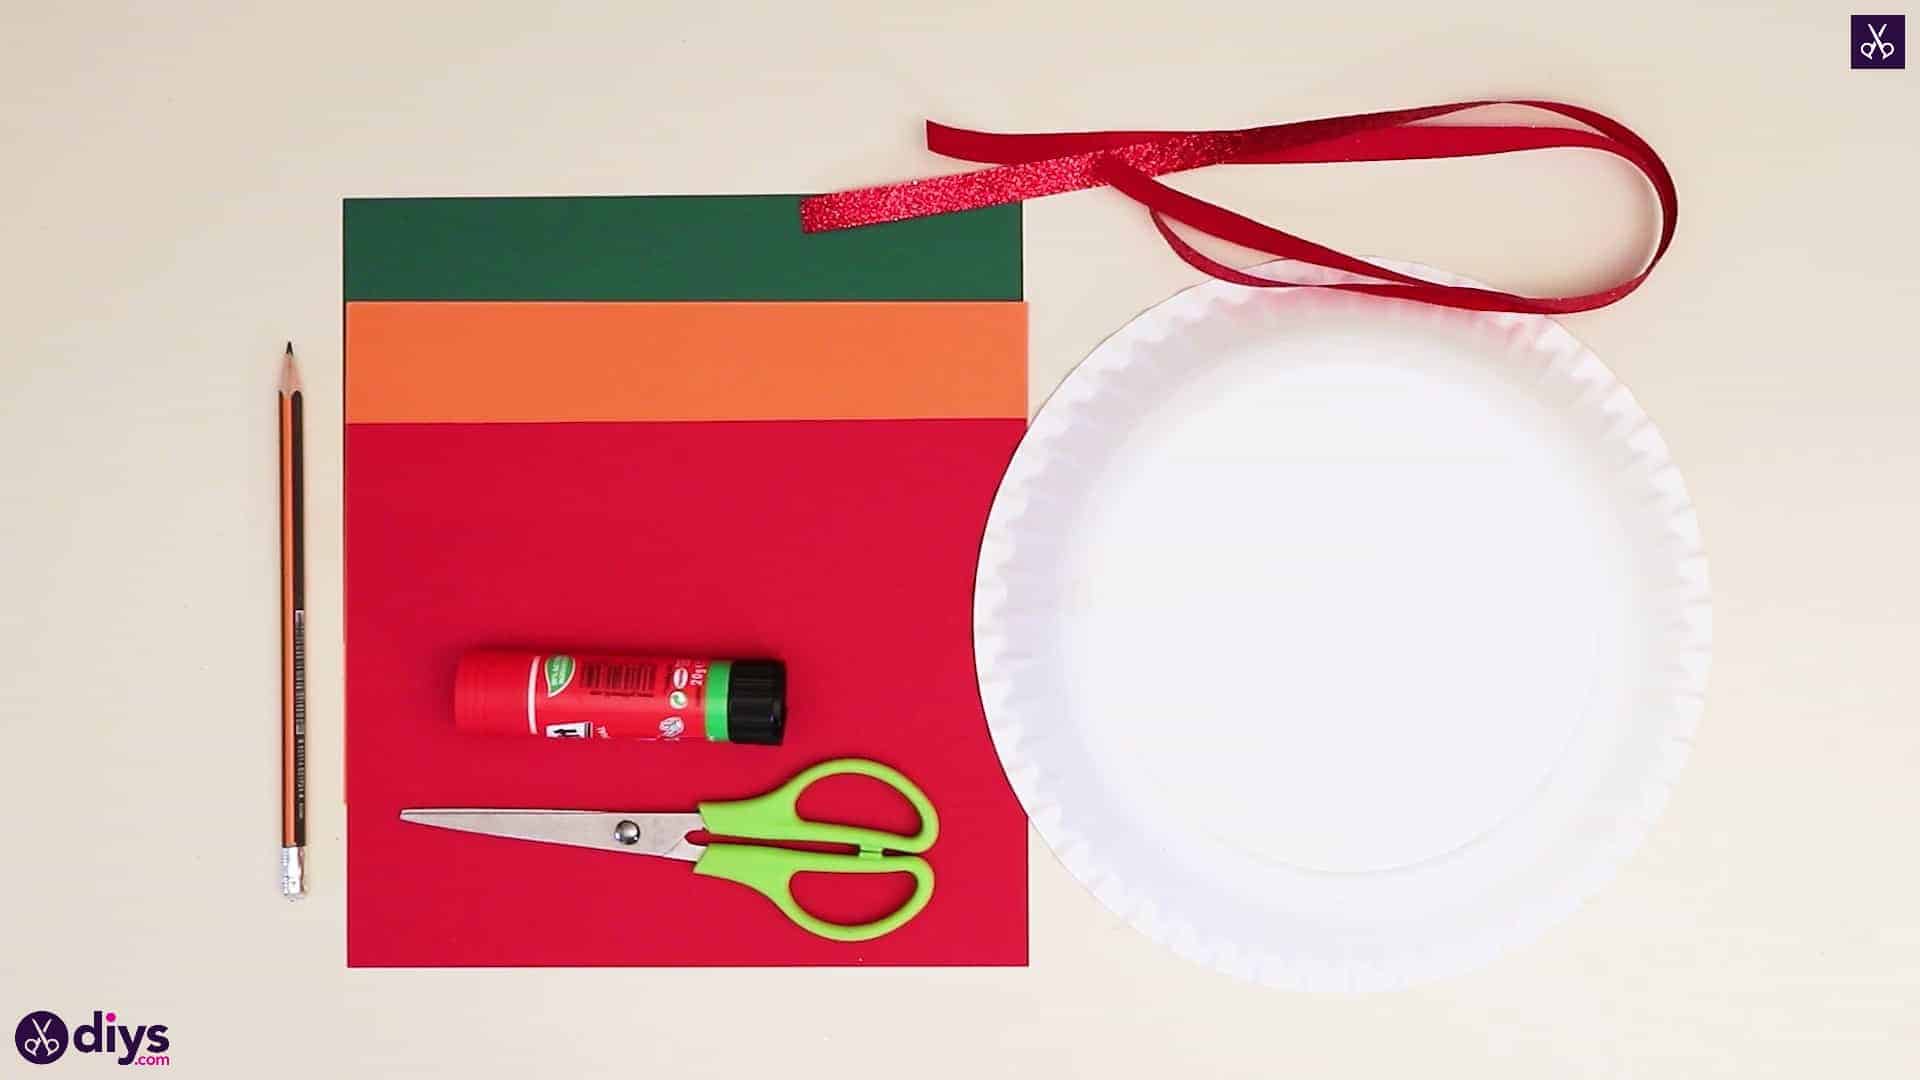
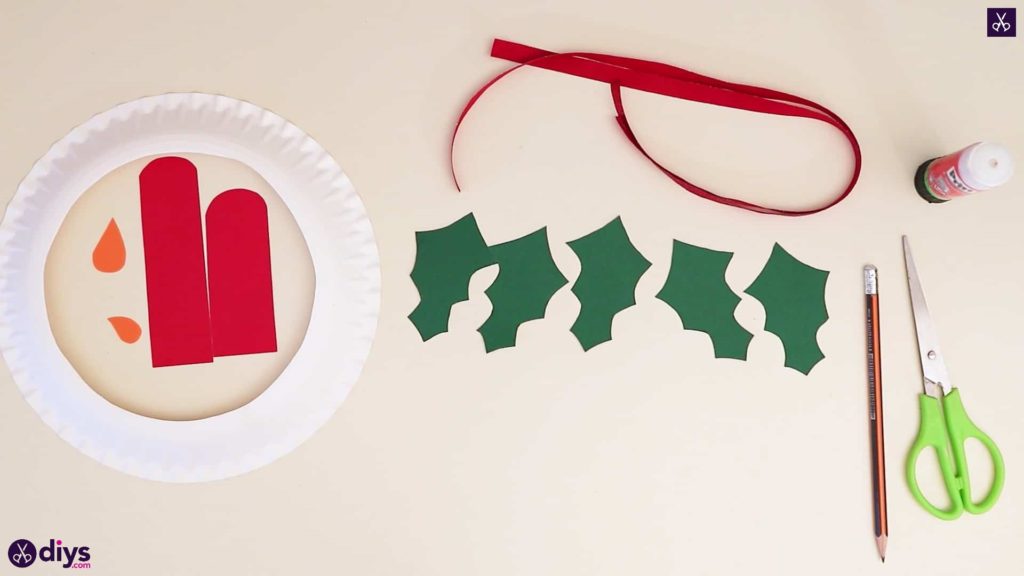
For this project, you’ll need:
- A sparkly red ribbon
- A paper plate
- Scissors
- A glue stick
- Paper (red, green, and orange)
Step 1: preparation
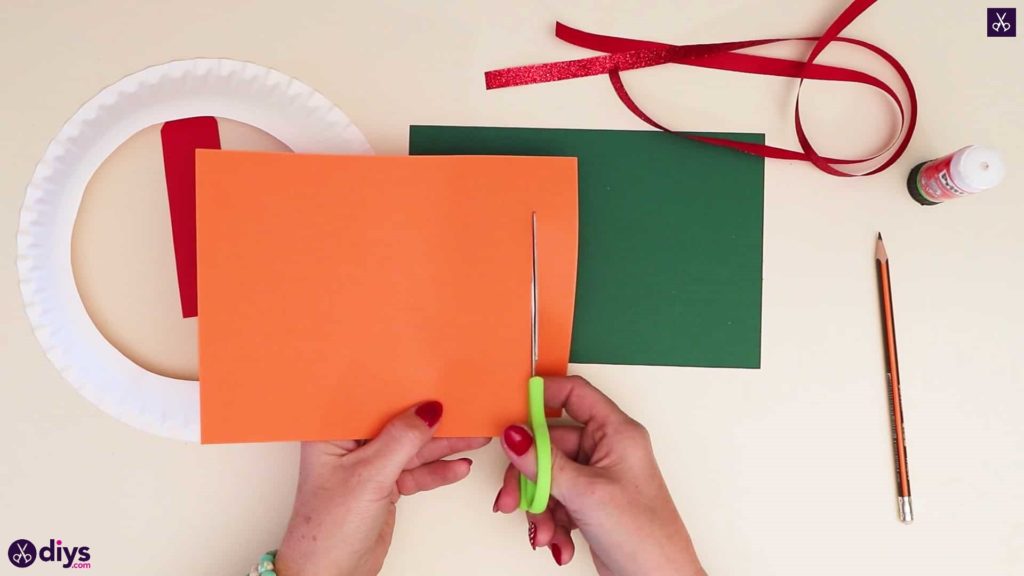
Gather your materials!

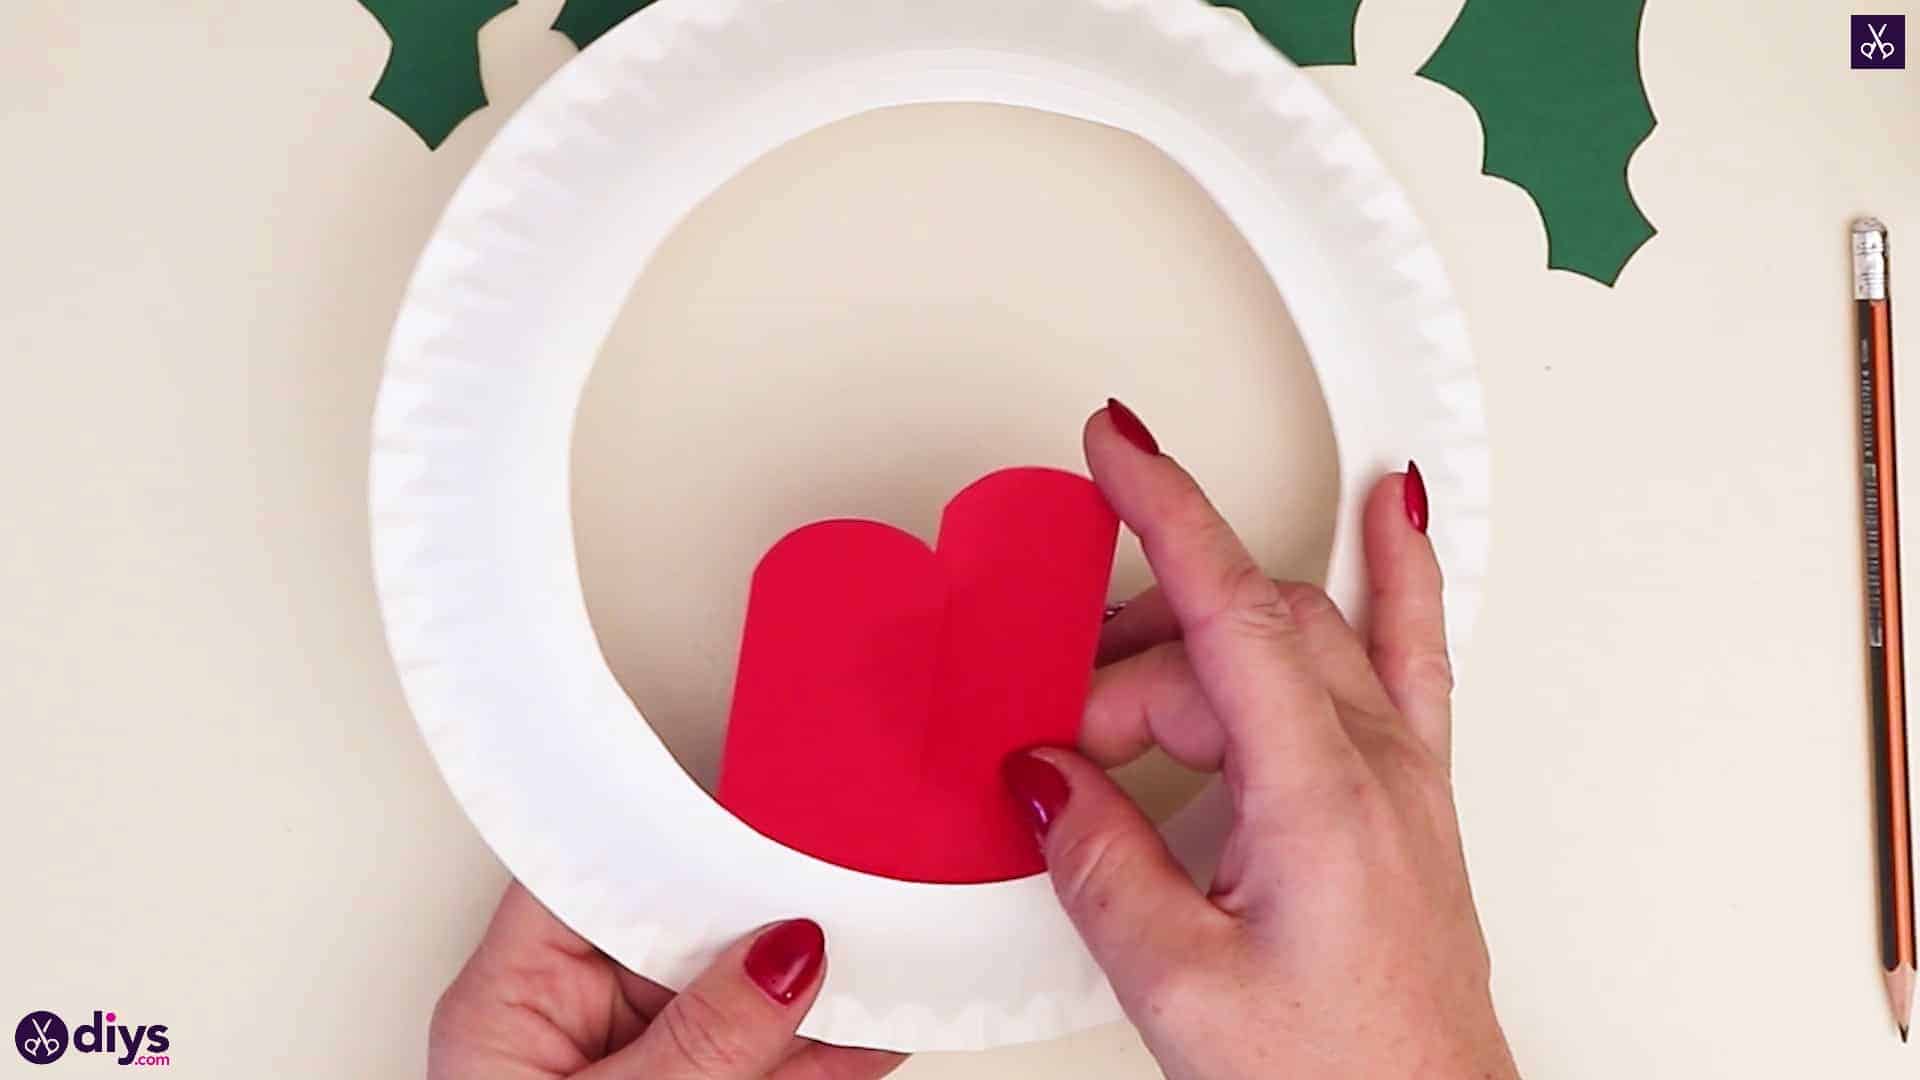
Step 2: cut your wreath
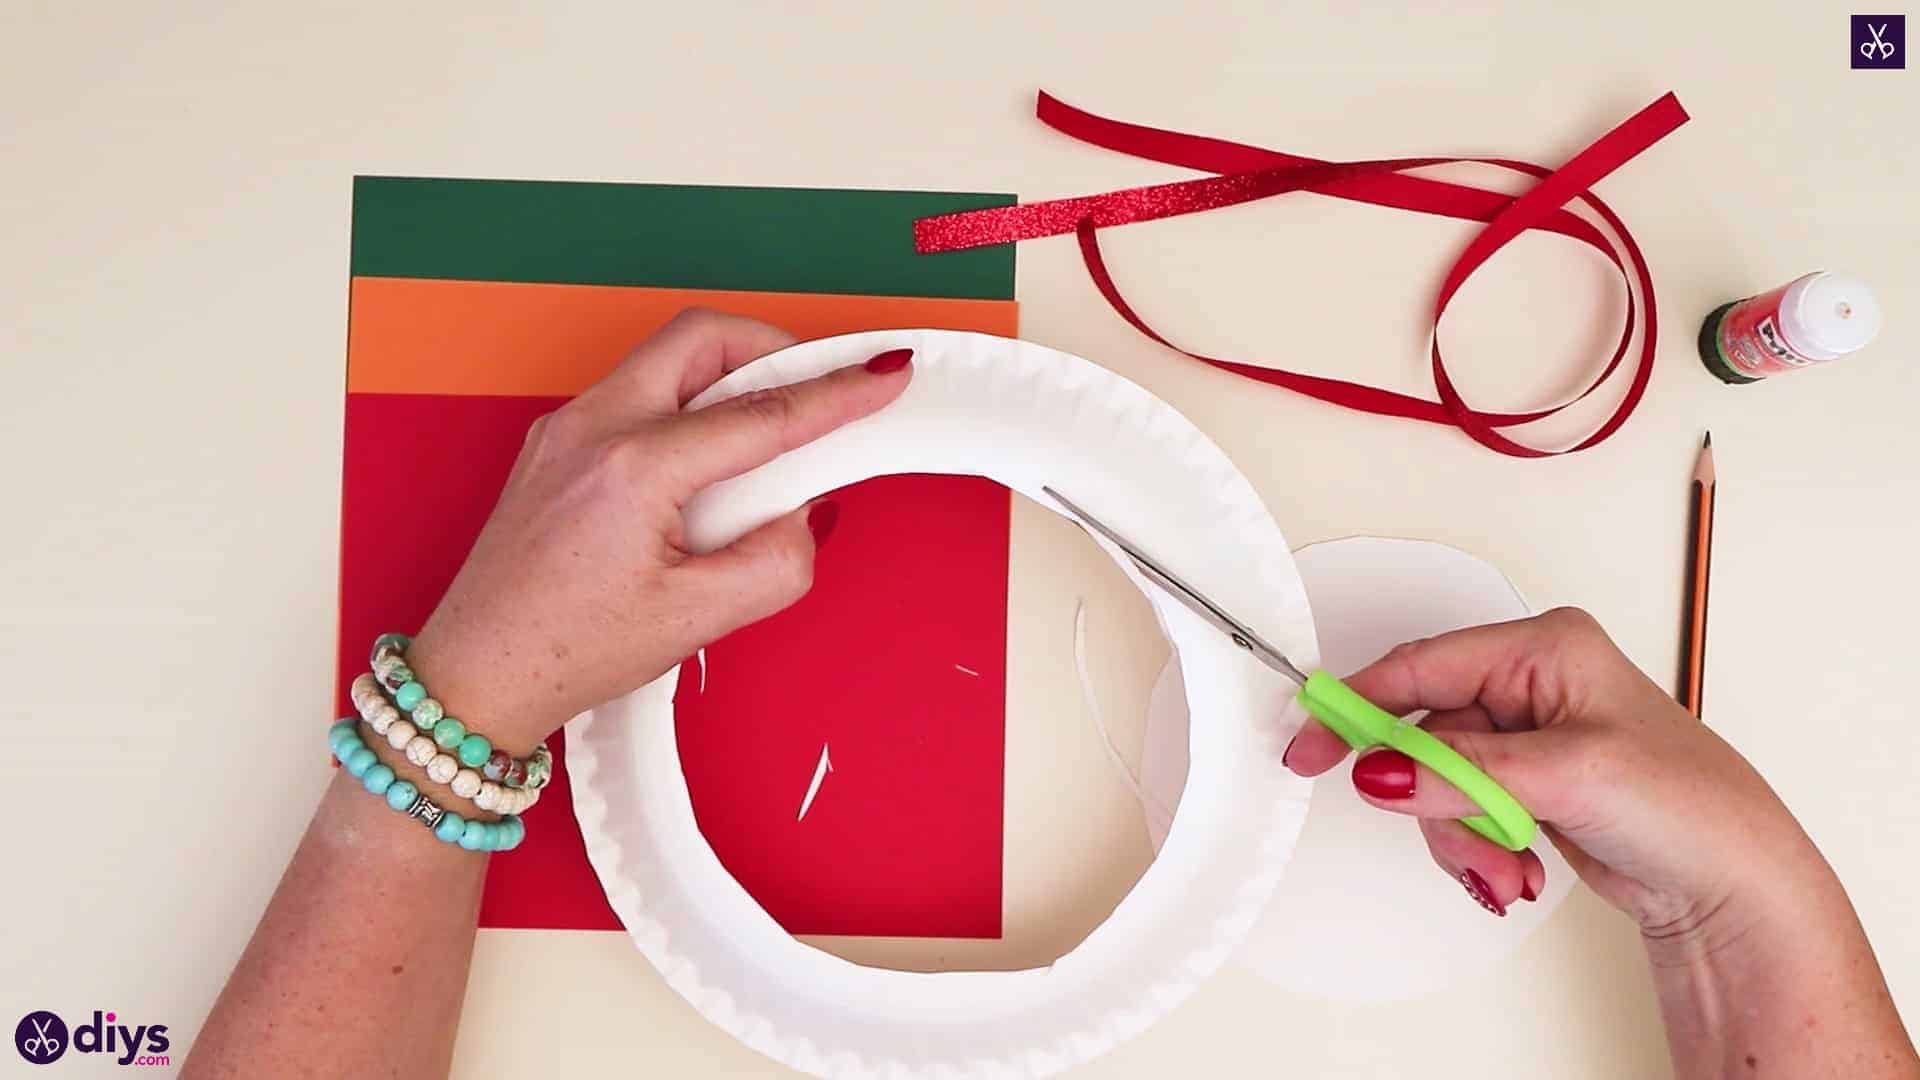
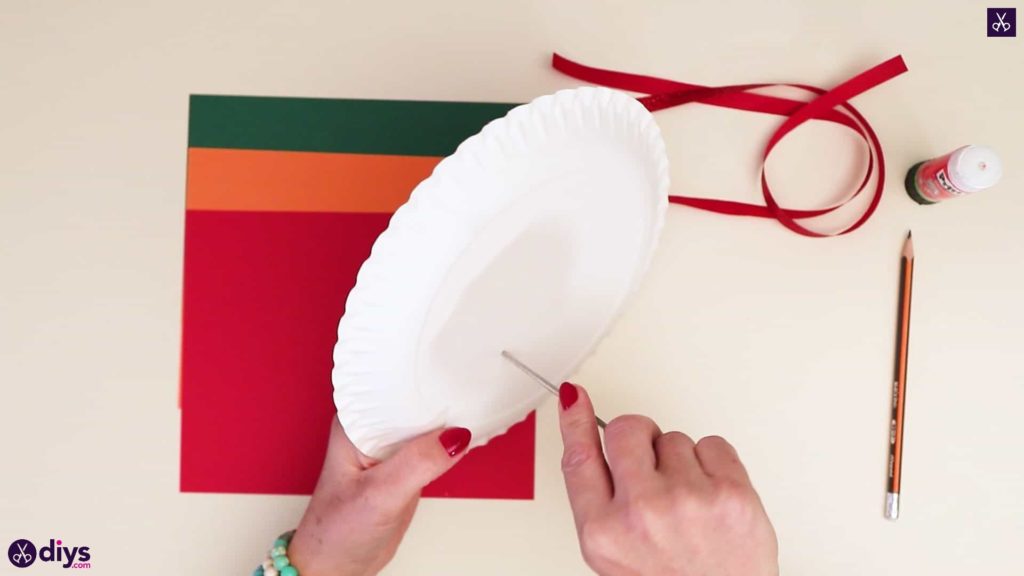
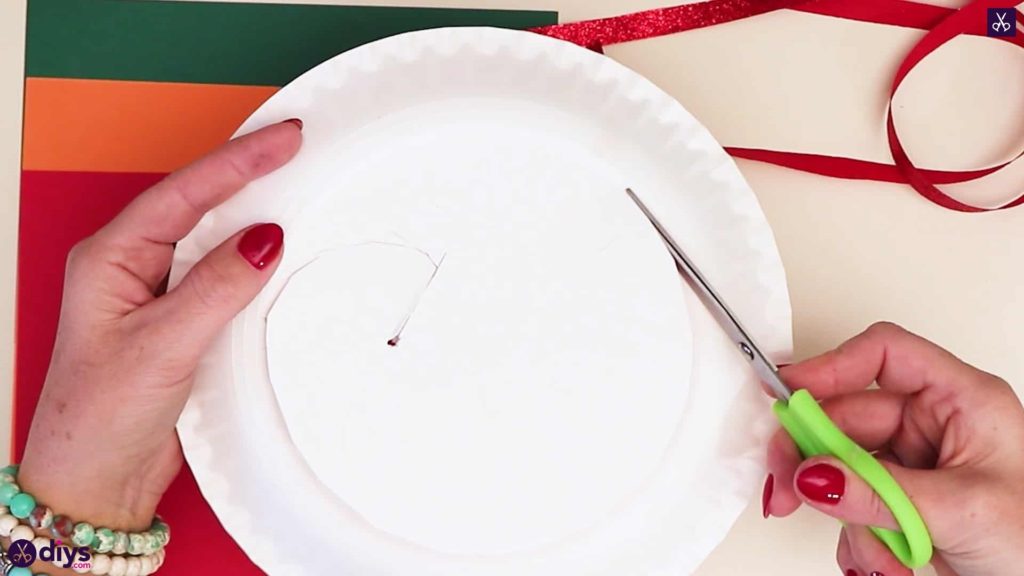
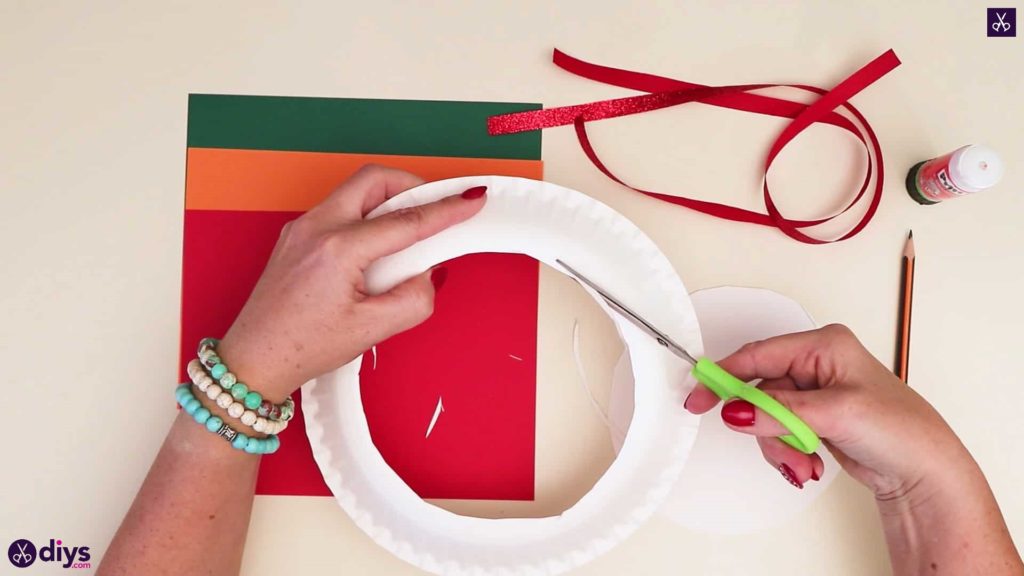
Use the tips of your scissors to carefully poke a hole in the center of your paper plate. Use this as a starting point to cut out the entire middle of the plate to give it a hollow circular center, framed by the edge of the plate where it starts to angle upwards.
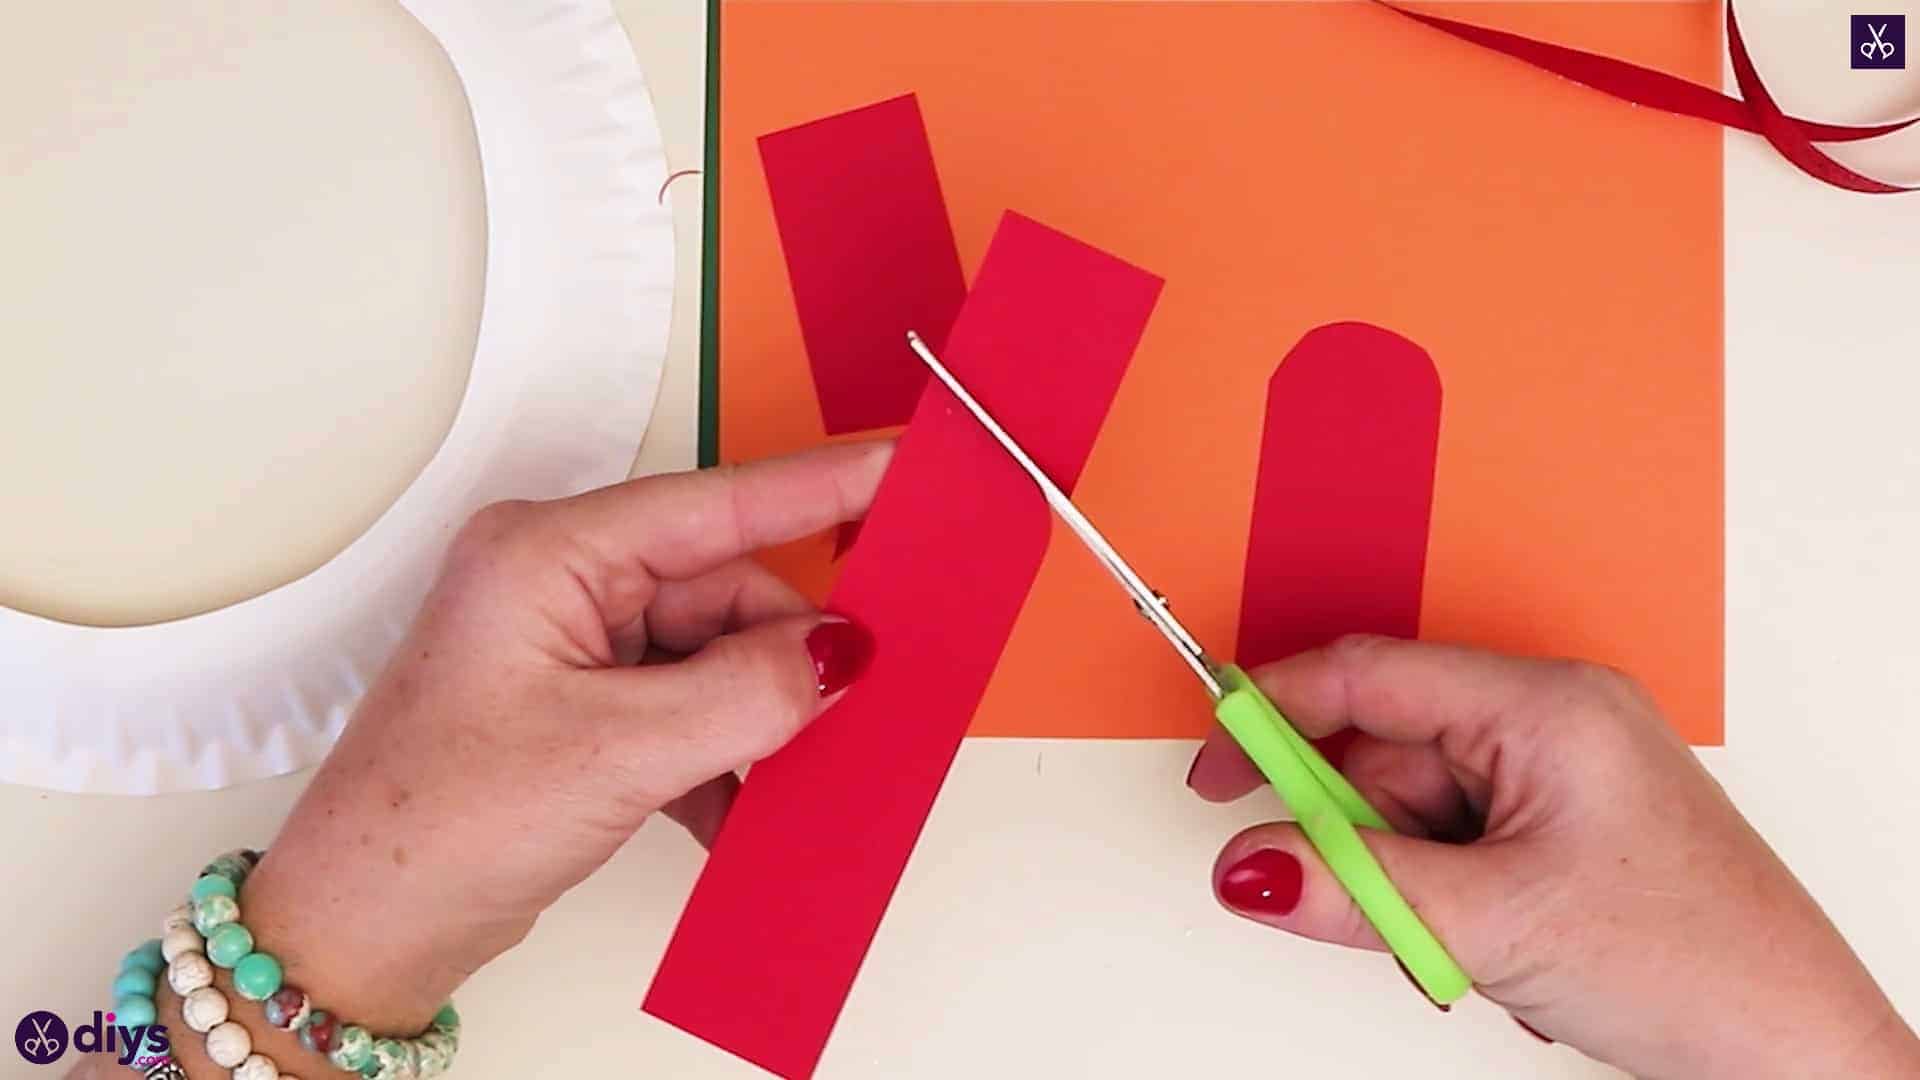
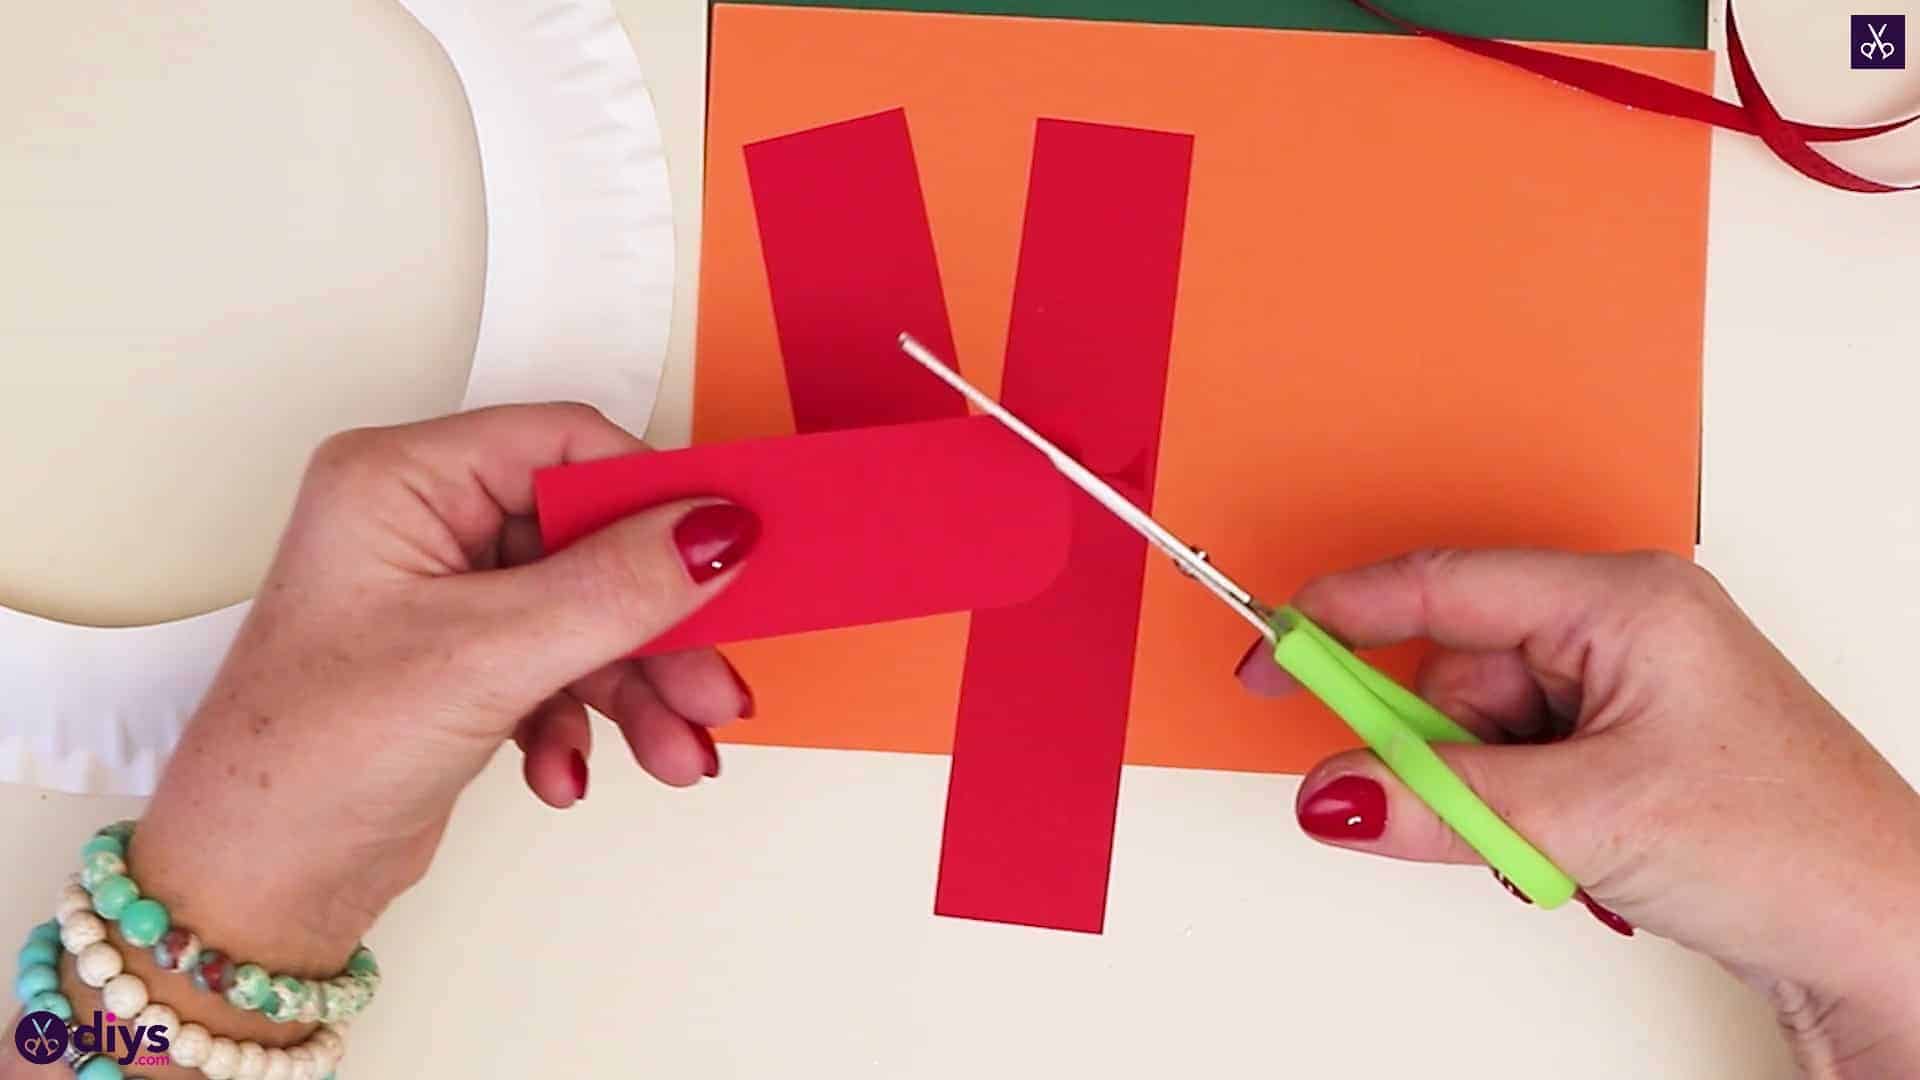
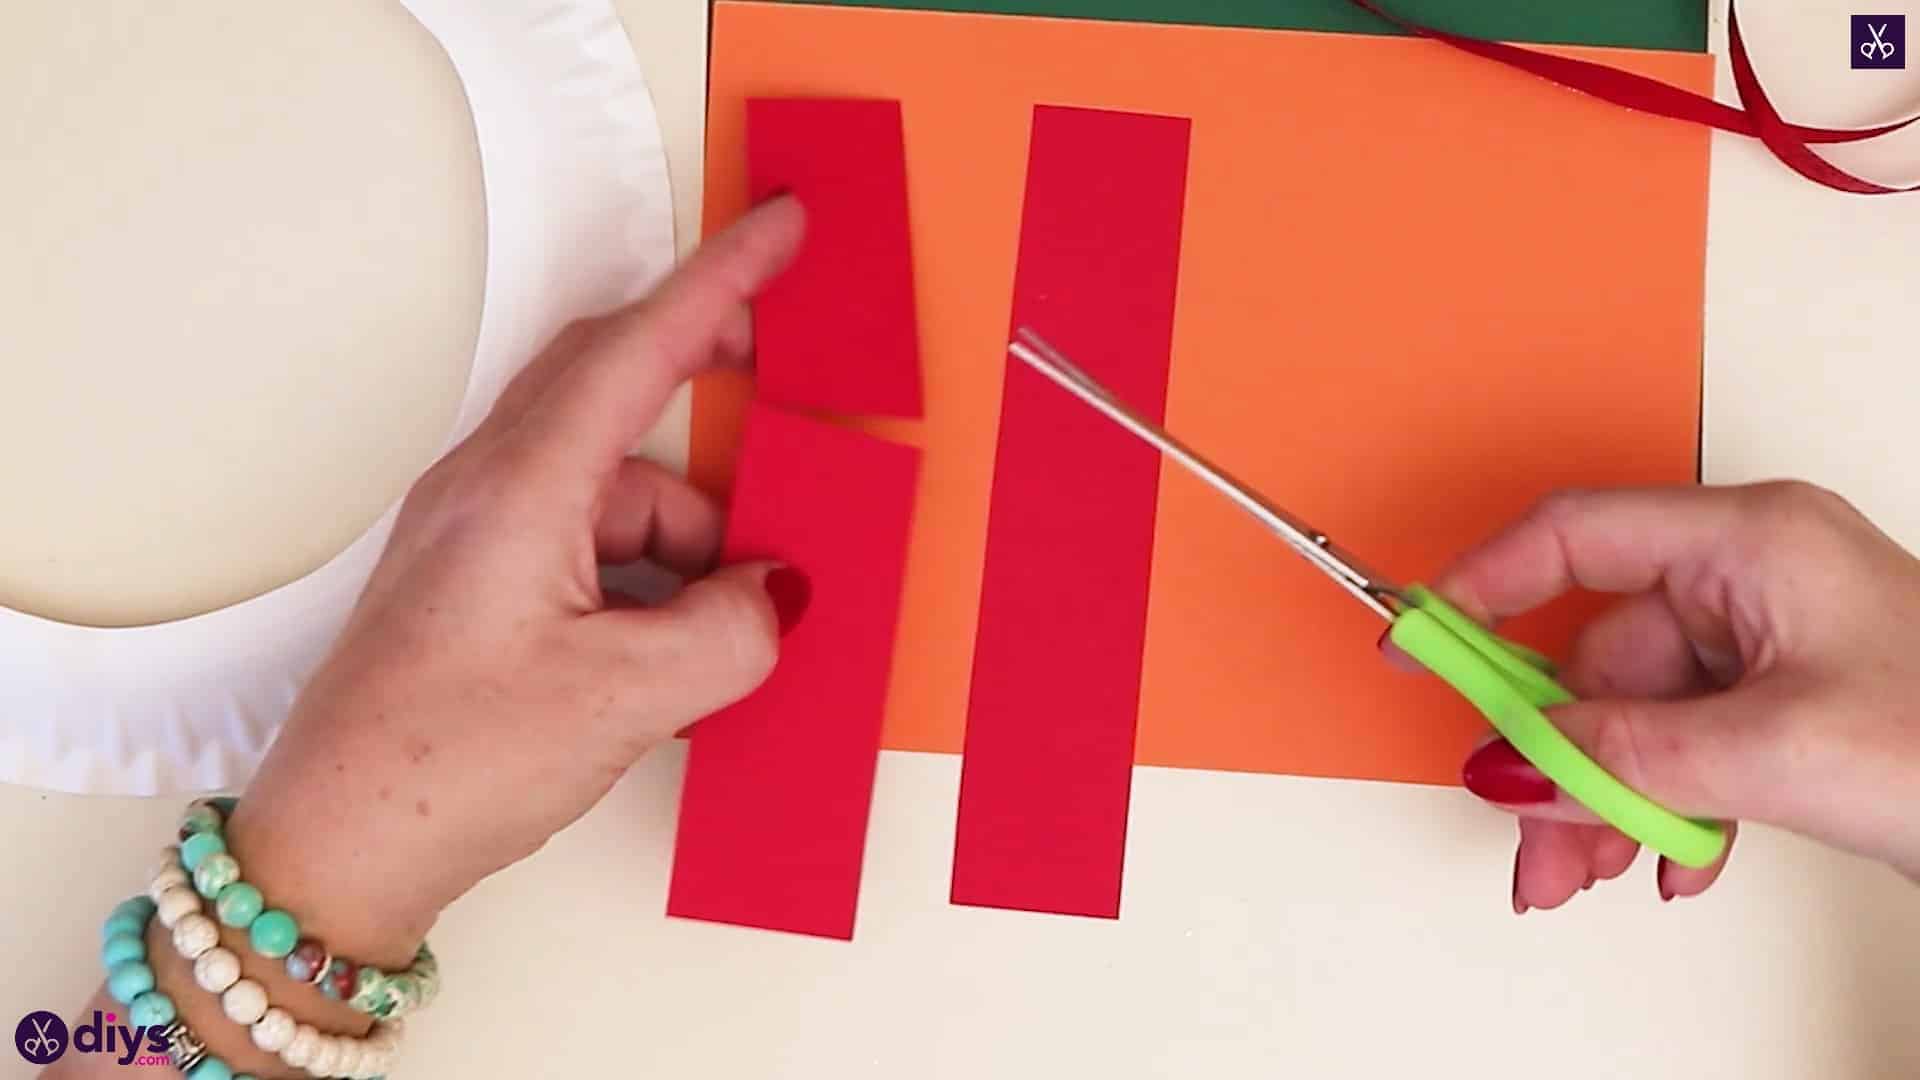
Step 3: cut and shape candles
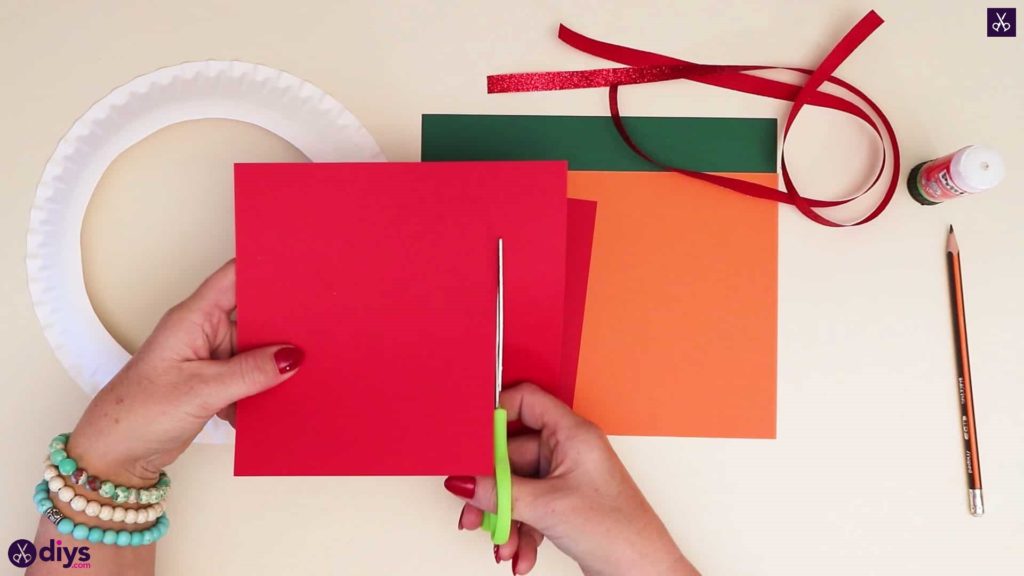
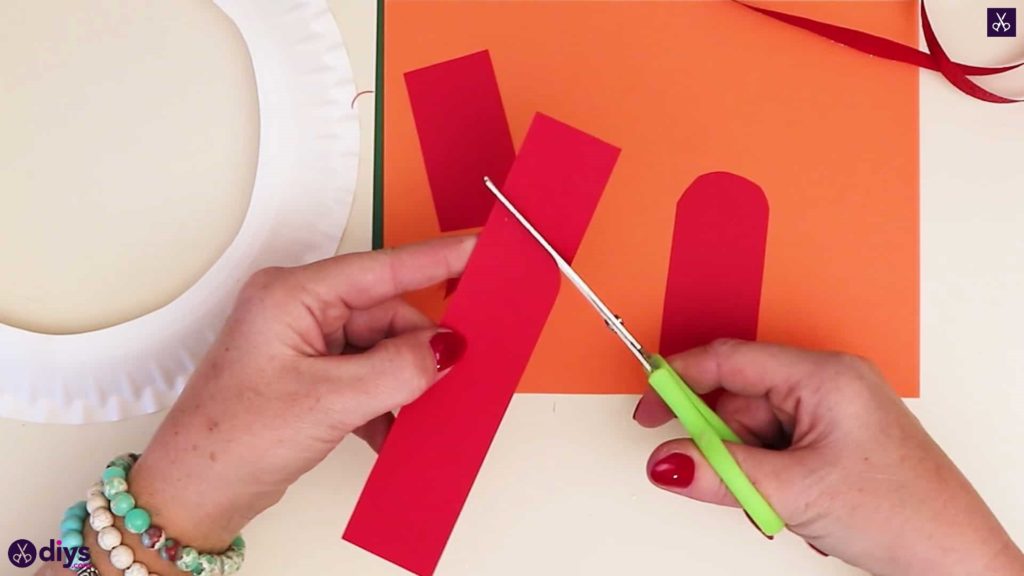
Cut two strips from the end of your red paper, holding it landscape. Make each rectangular strip about half an inch wide and the whole height of the page along its shorter edge. Leave one strip the full height and cut the other shorter, about three quarters as tall as the first. Round the corners and straight edge off the top of each strip with your scissors, giving them curved tops. These red pieces will be your candles.


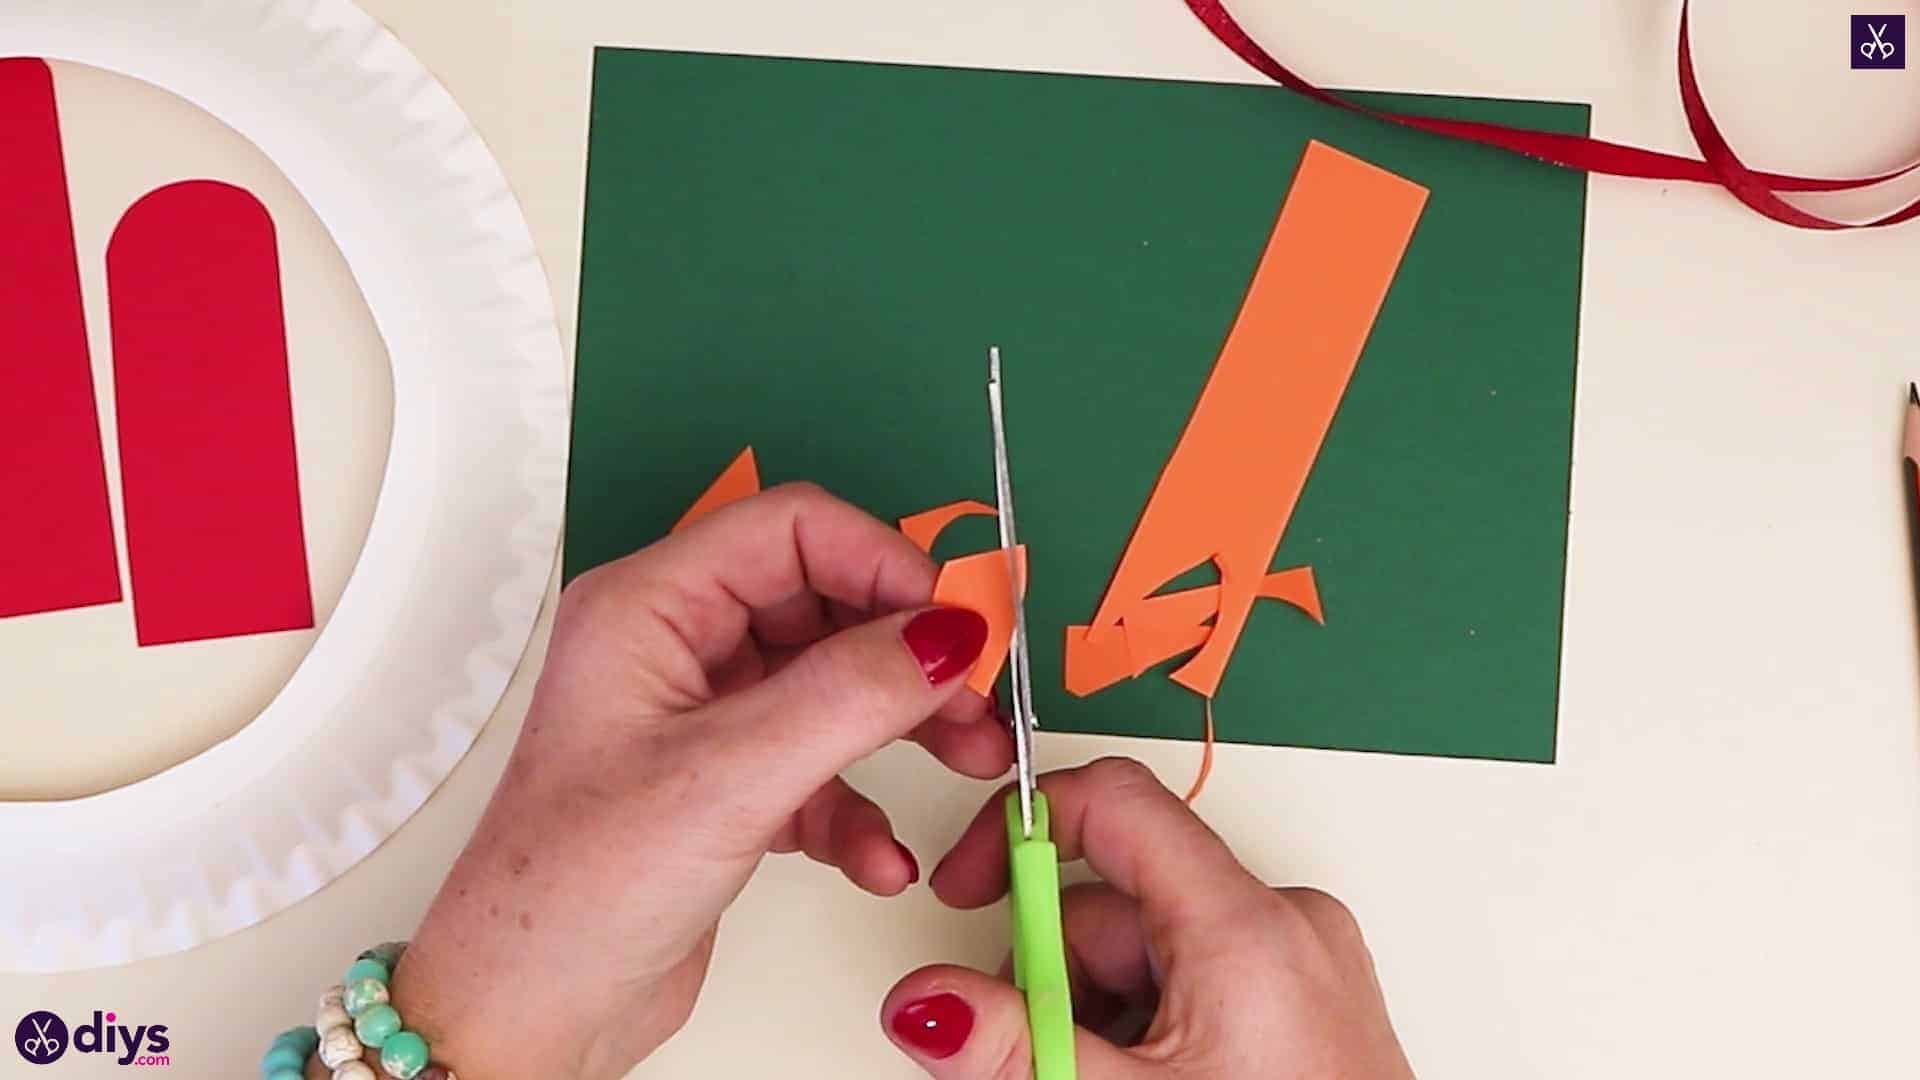
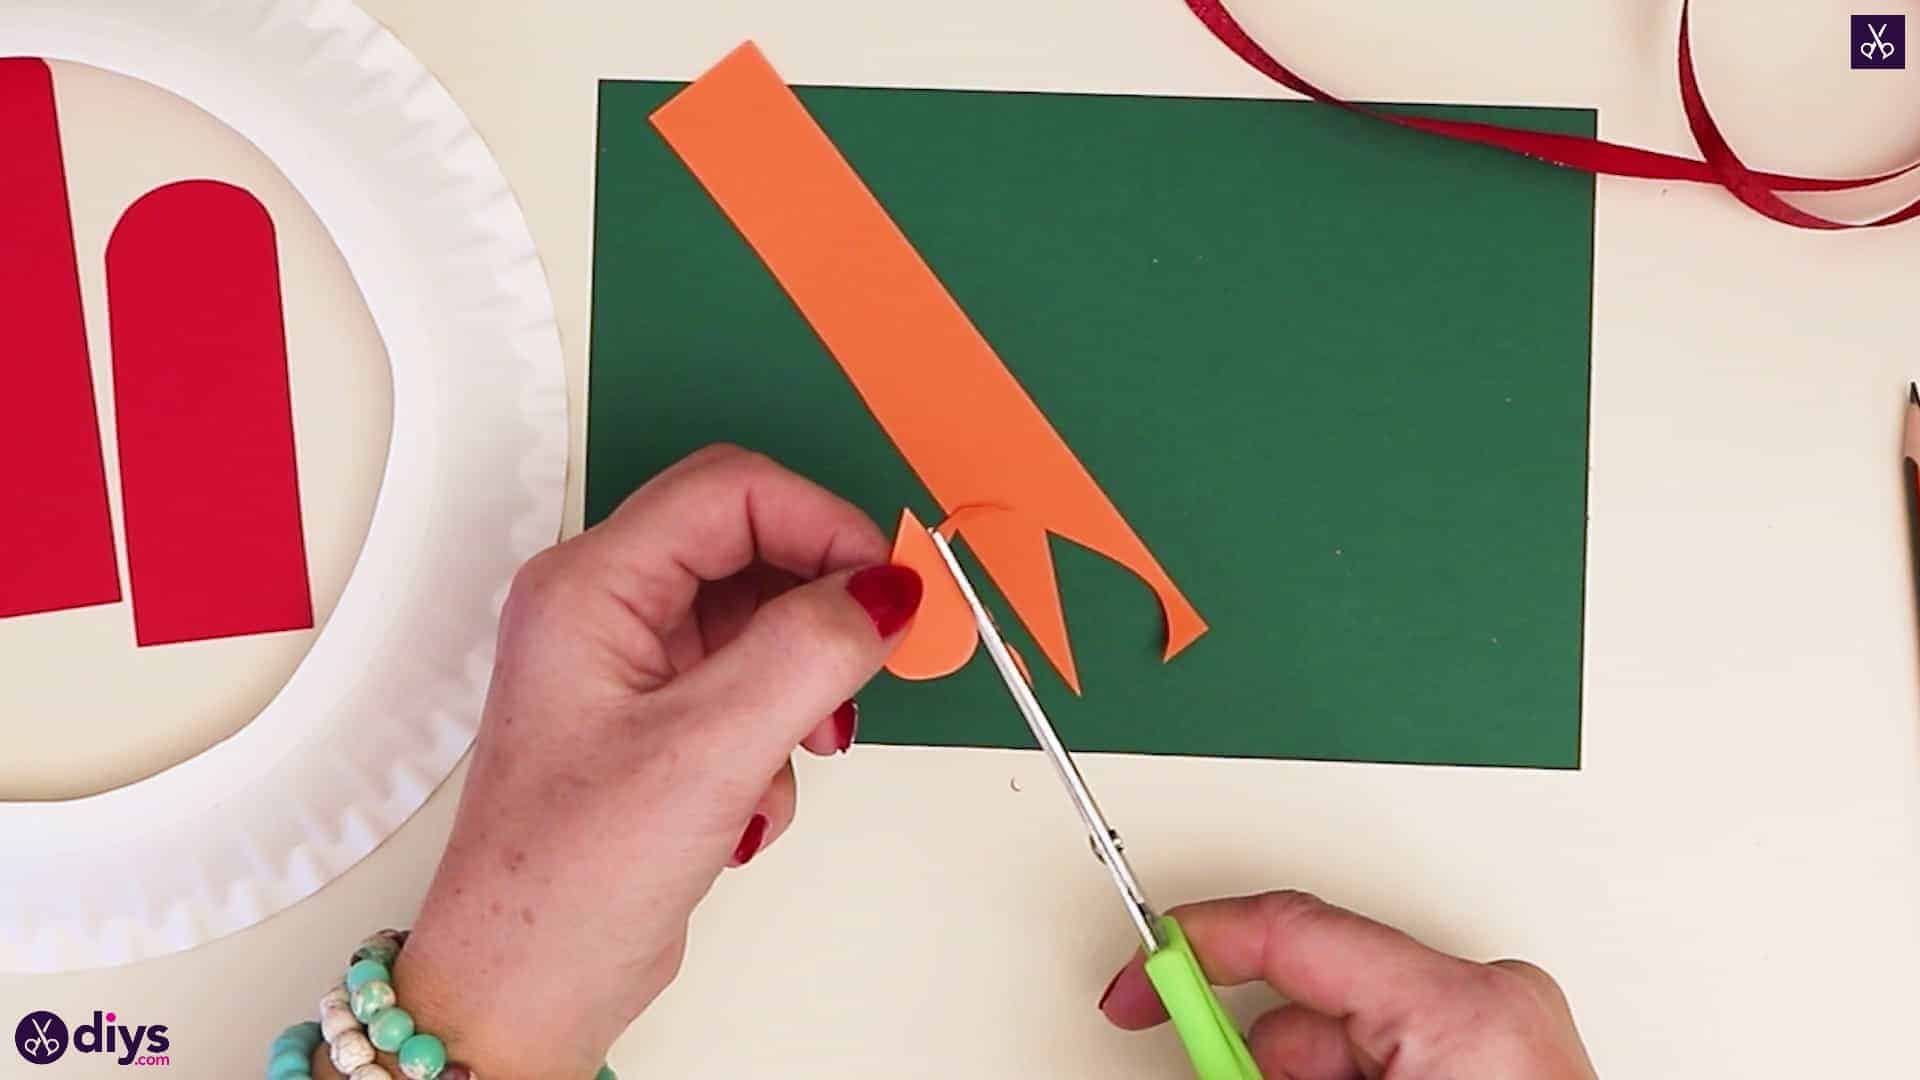
Step 4: cut and shape flames
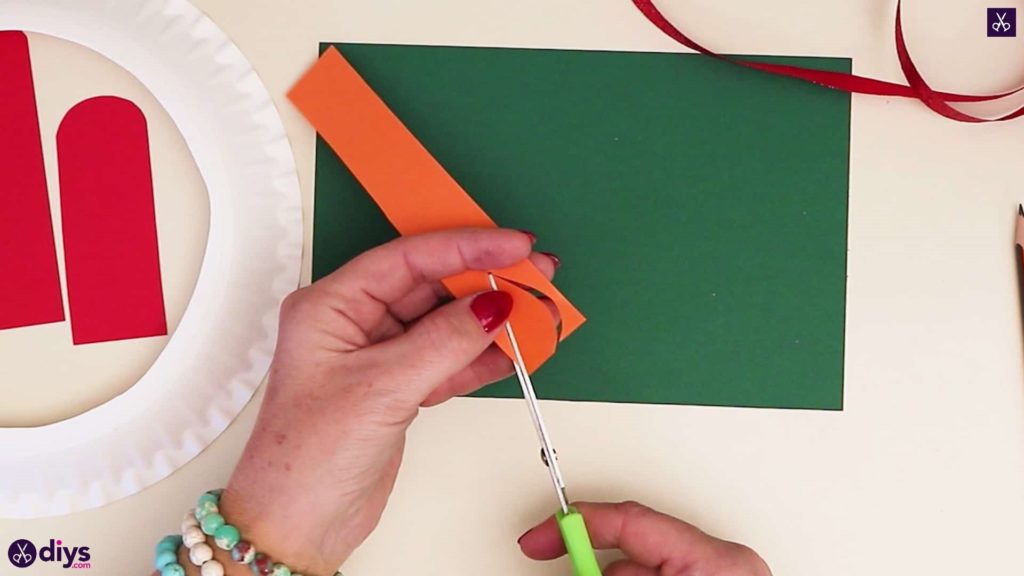
Cut a half-inch wide strip from your orange paper along its short edge. Cut this into two pieces and, from each of those pieces, cut a large raindrop shape, making the rounded base the full width of the strip and tapering the shape upwards, about an inch tall for each. These will be the flames of your candles.


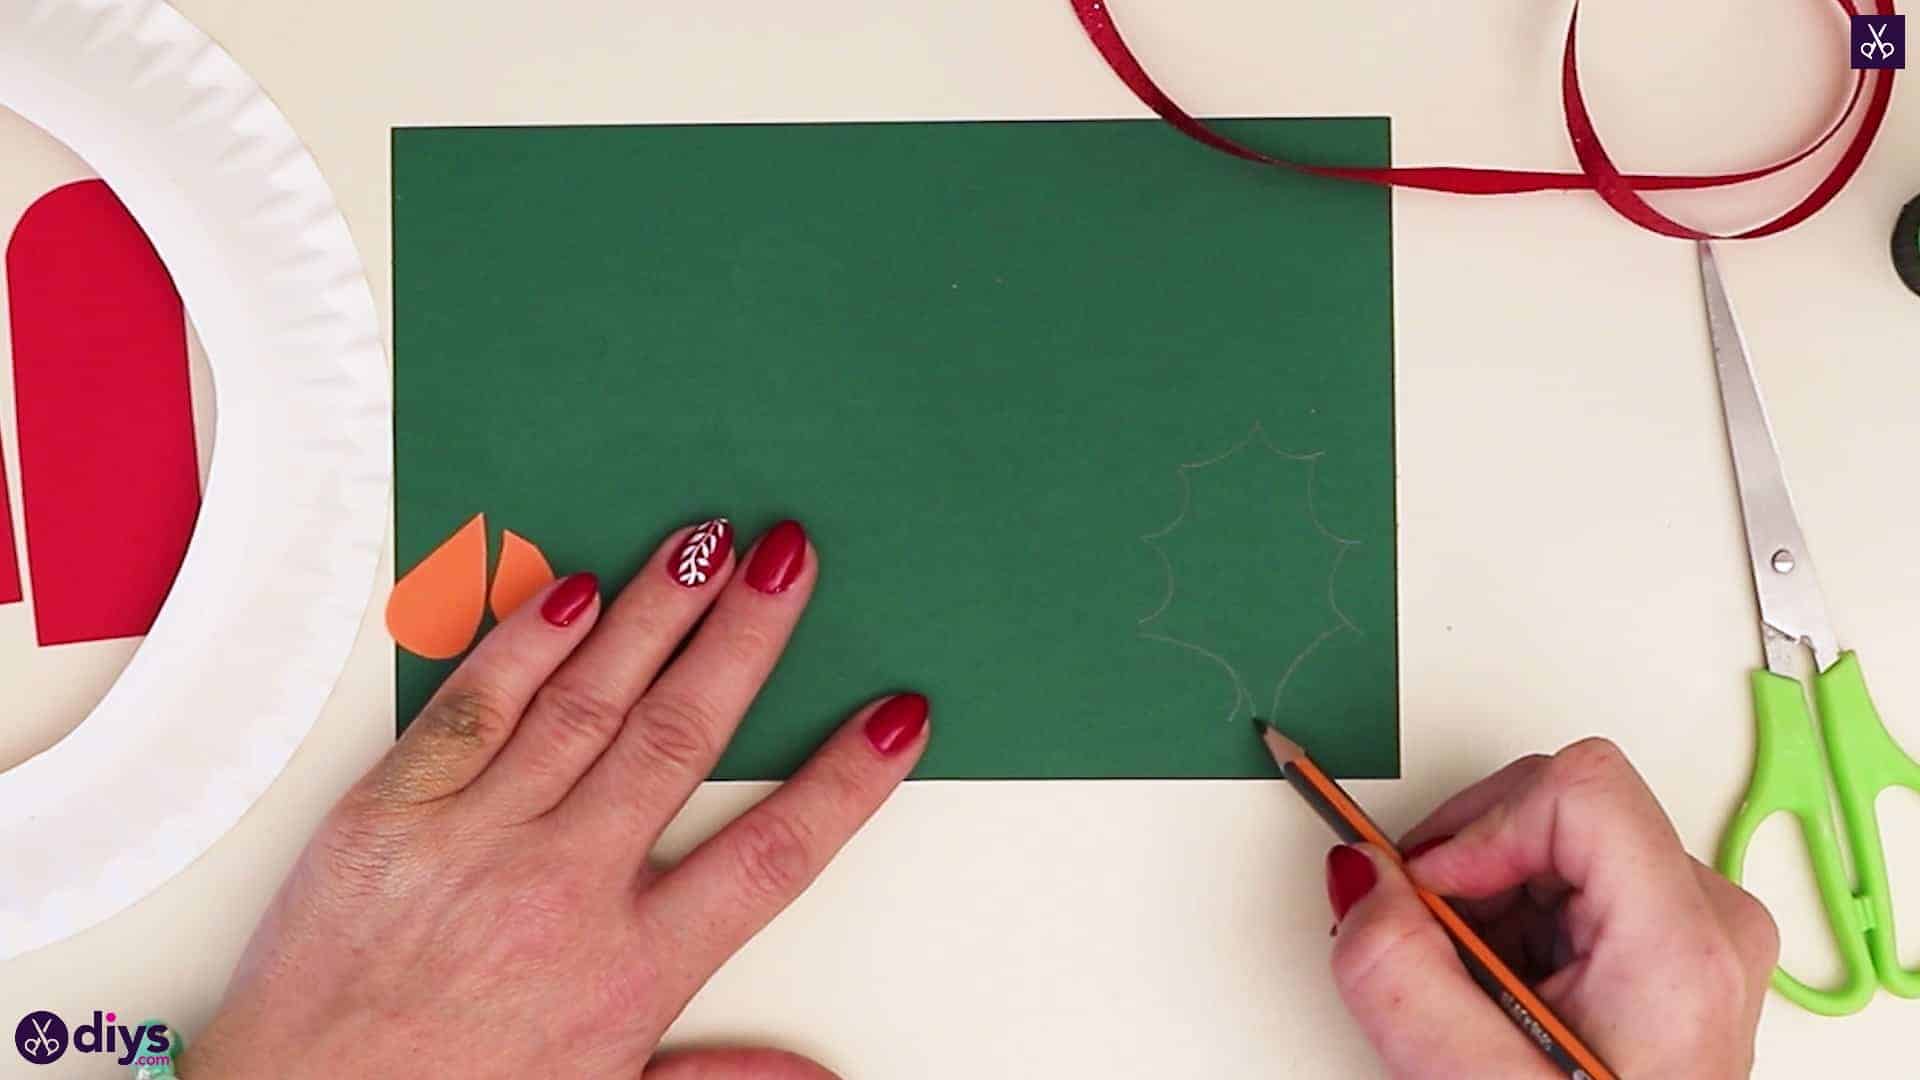
Step 5: make the hollies
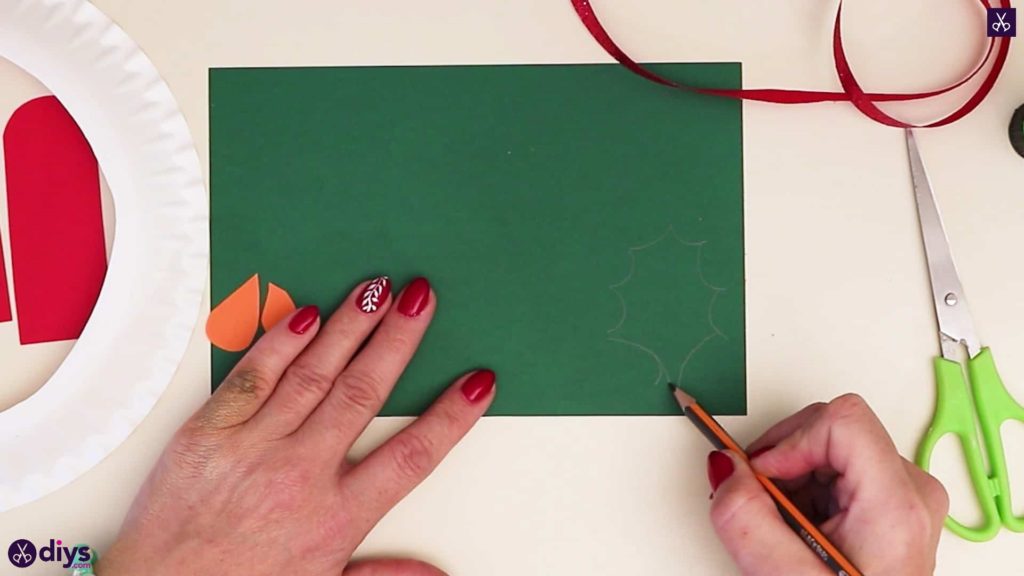
Draw five spiky holly leaf shapes on your green paper with your pencil and cut them out. Set them aside for the moment.
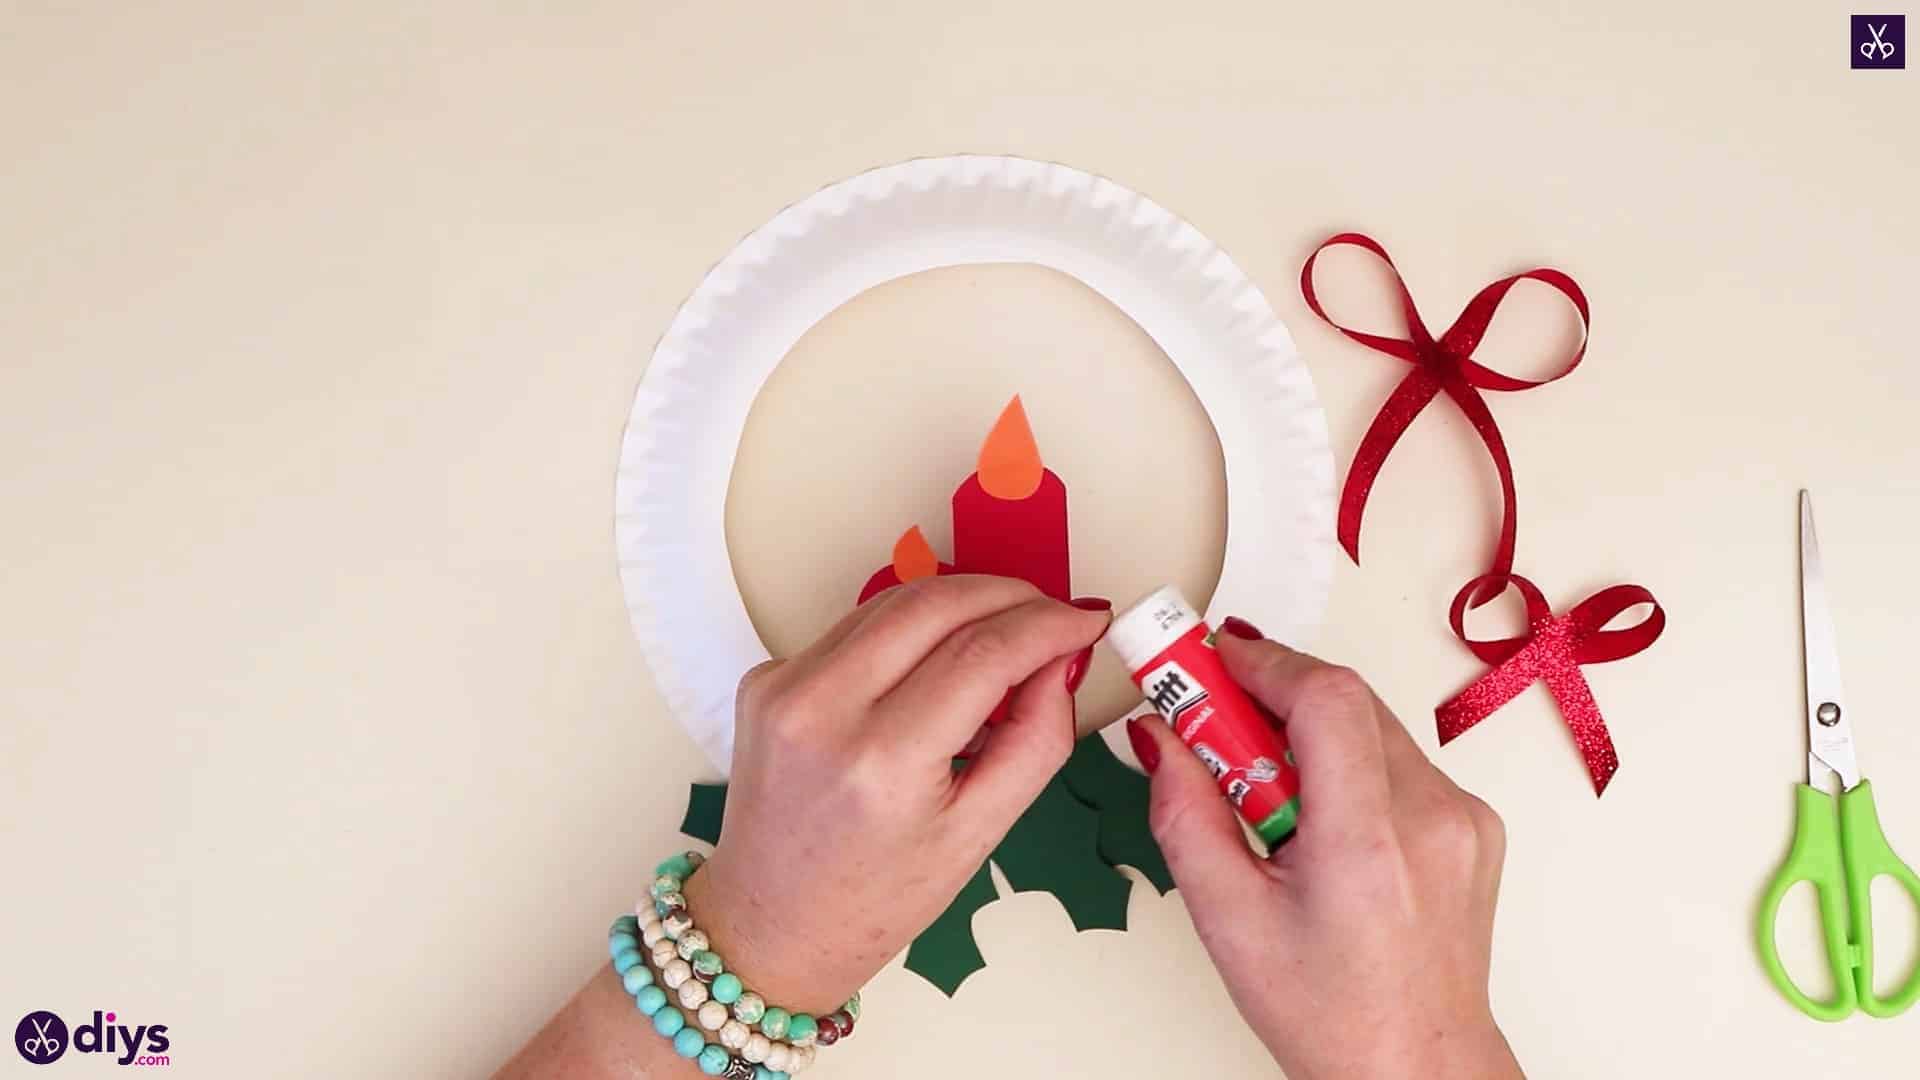
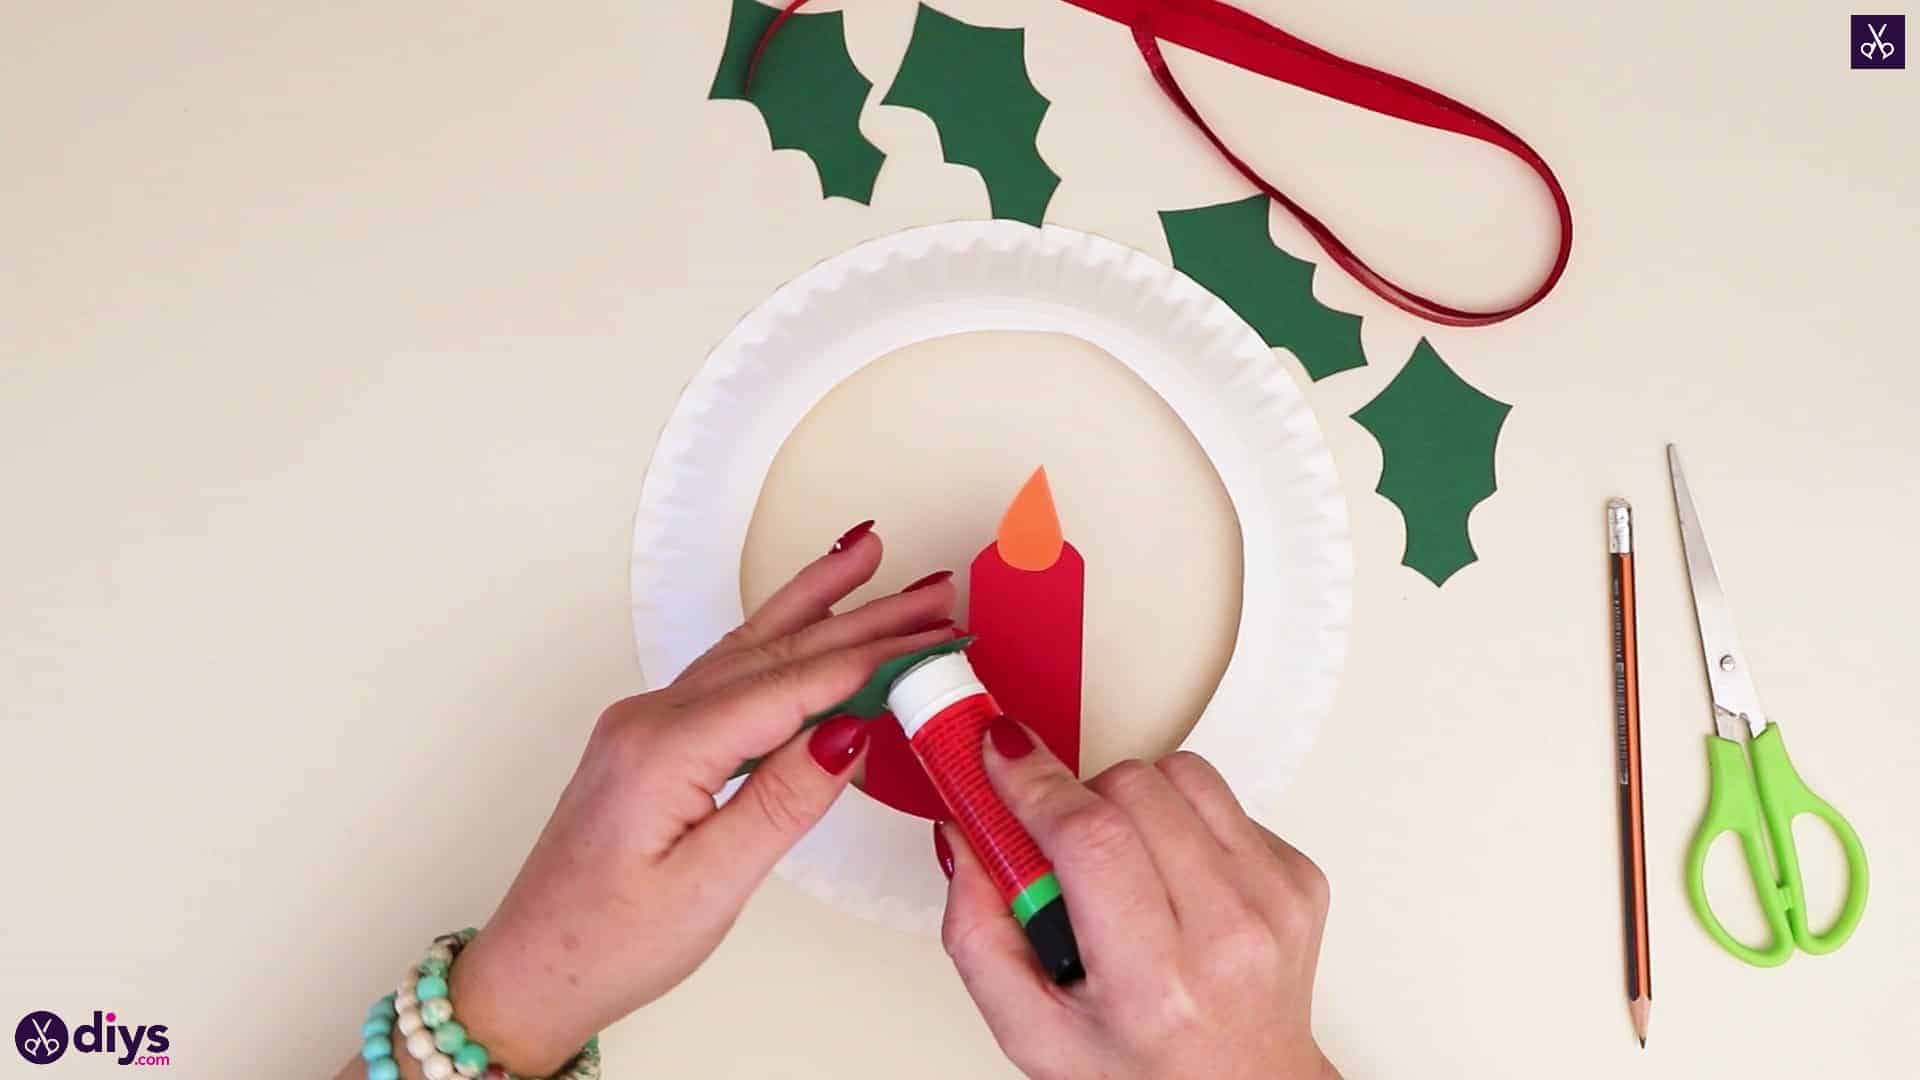
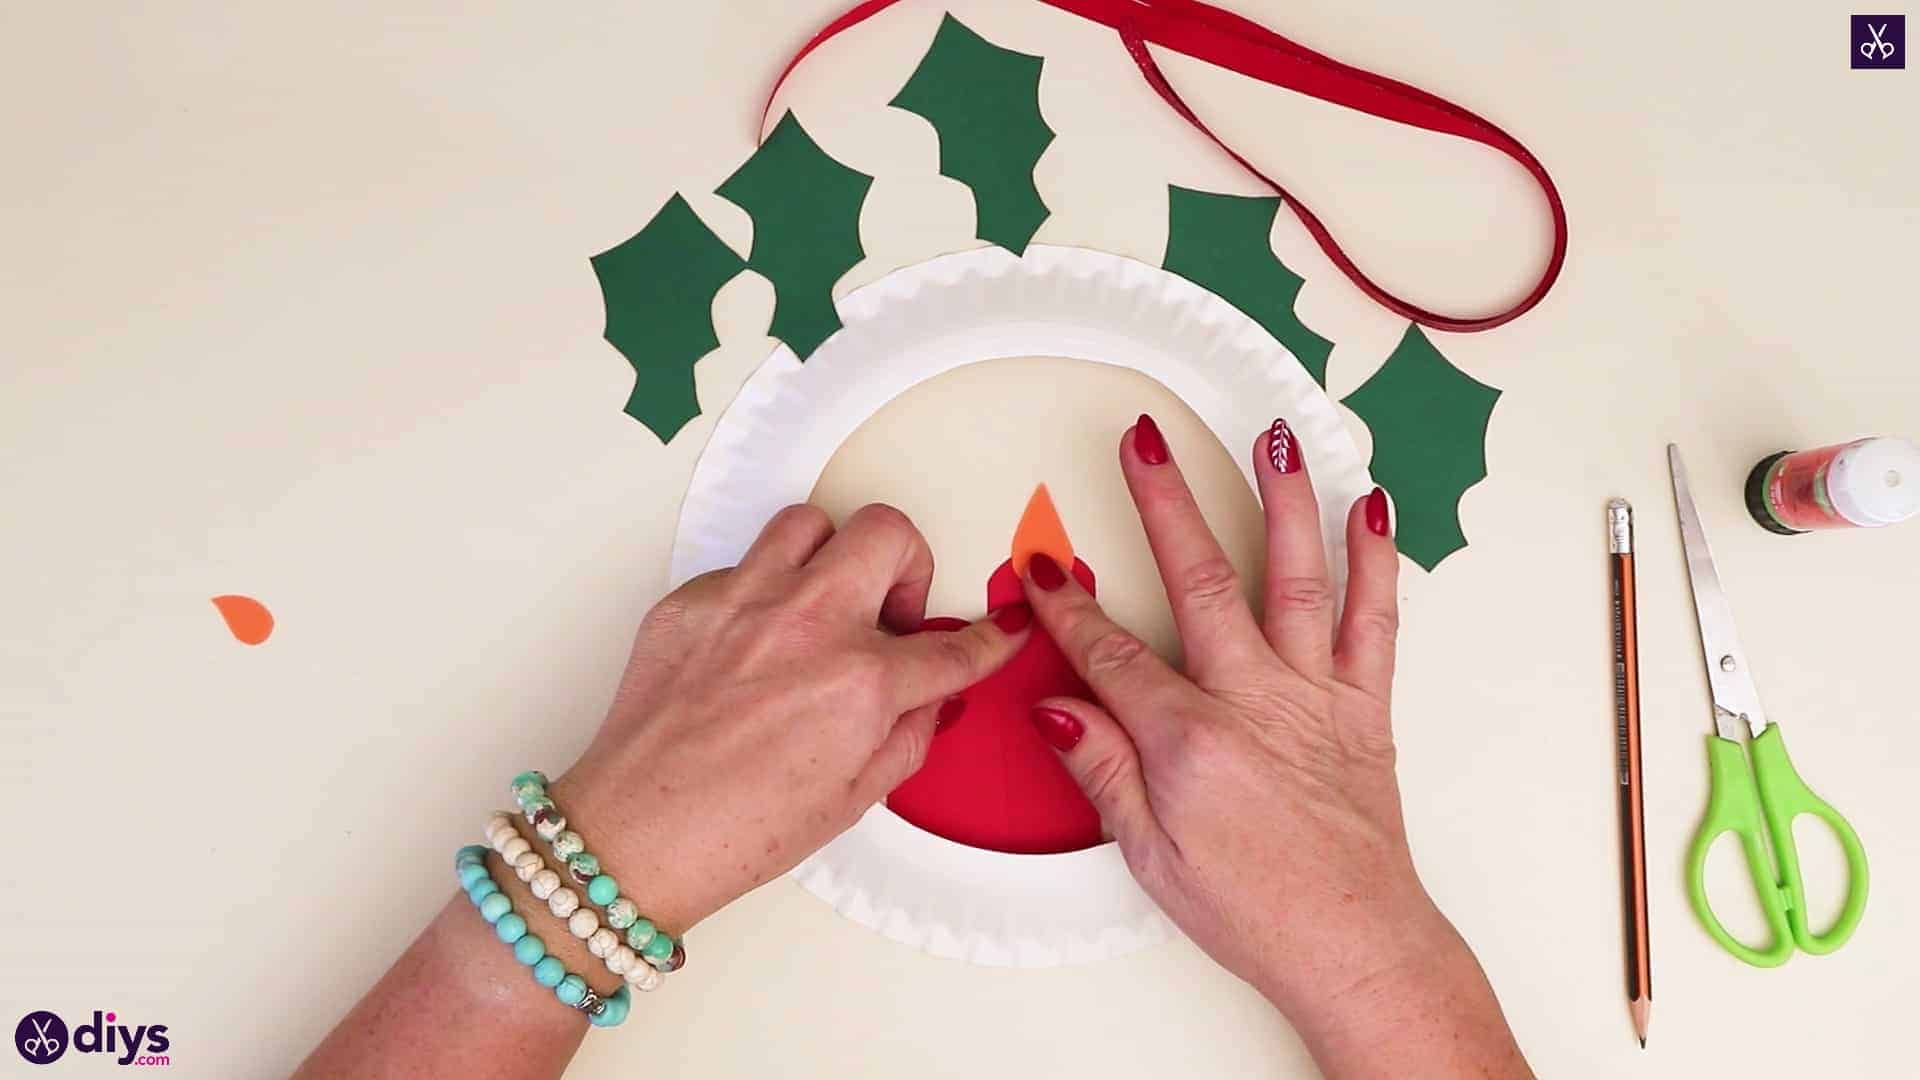
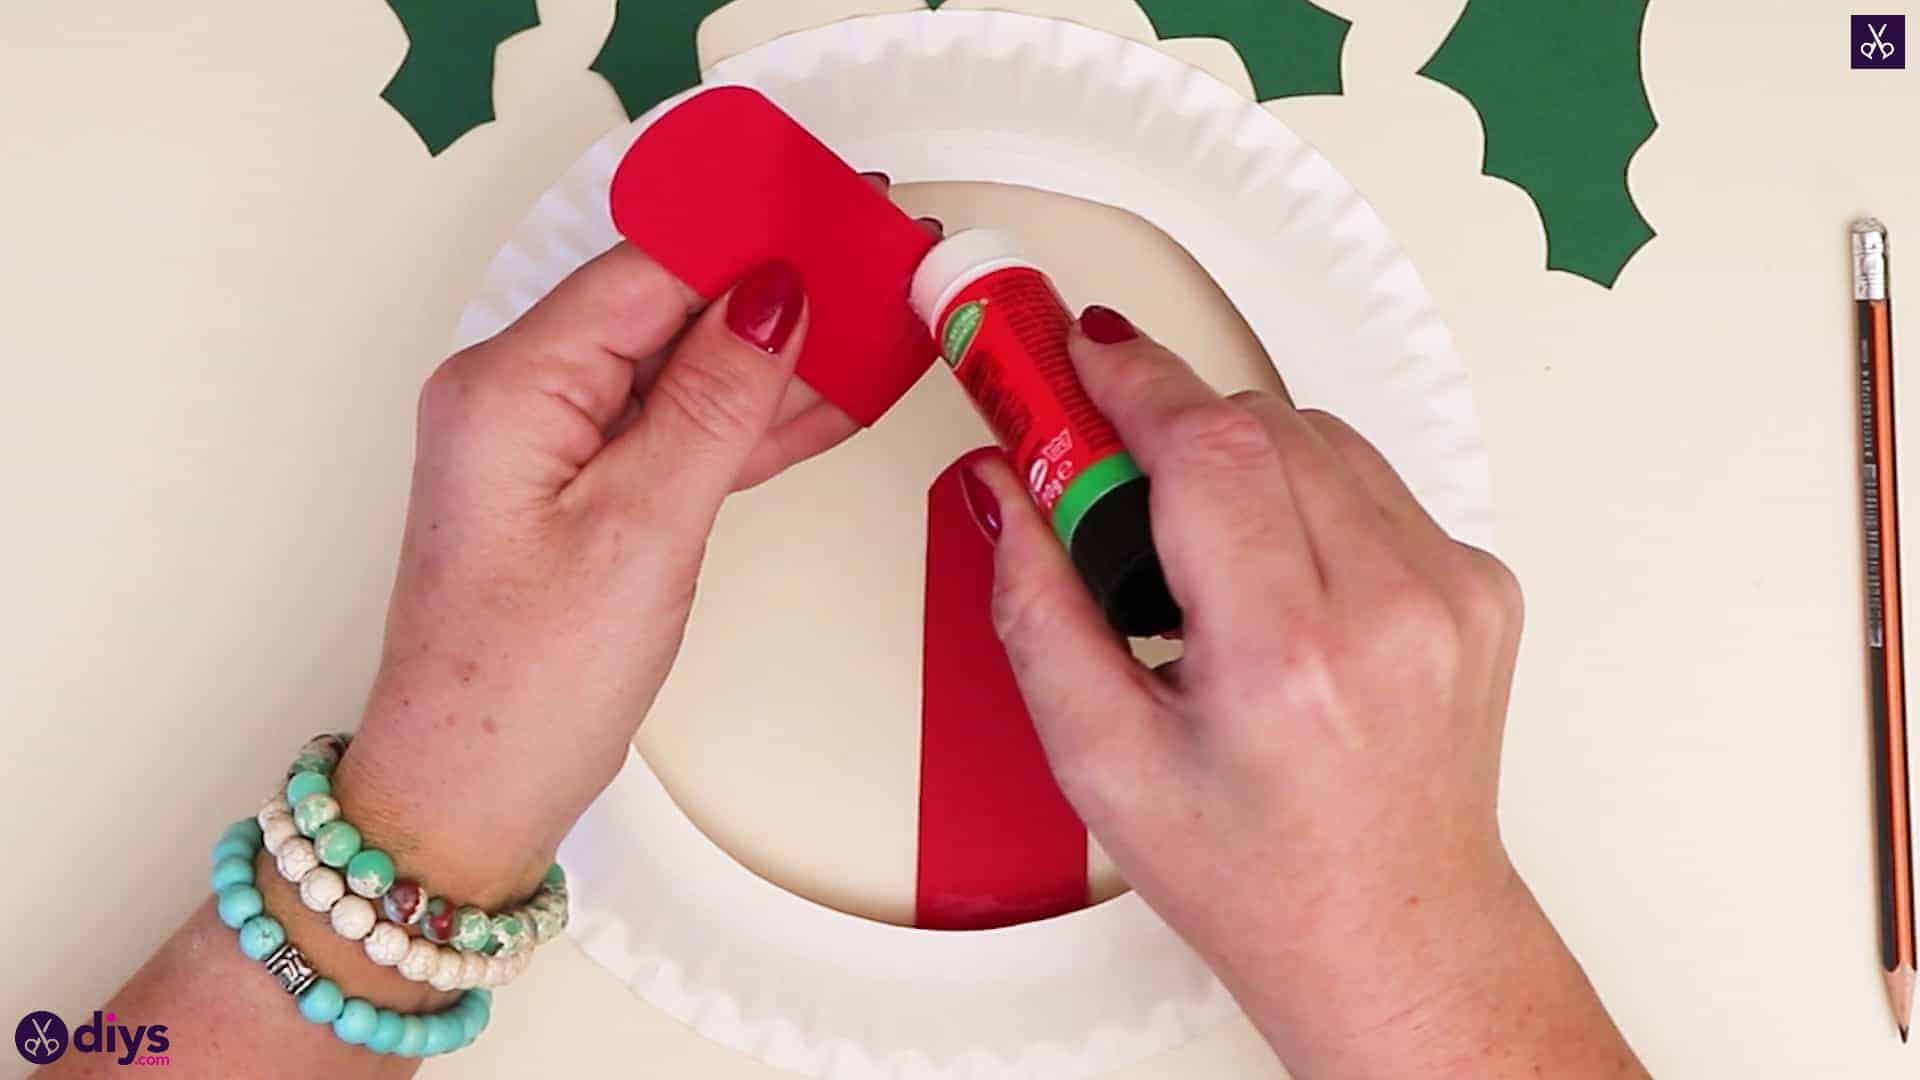
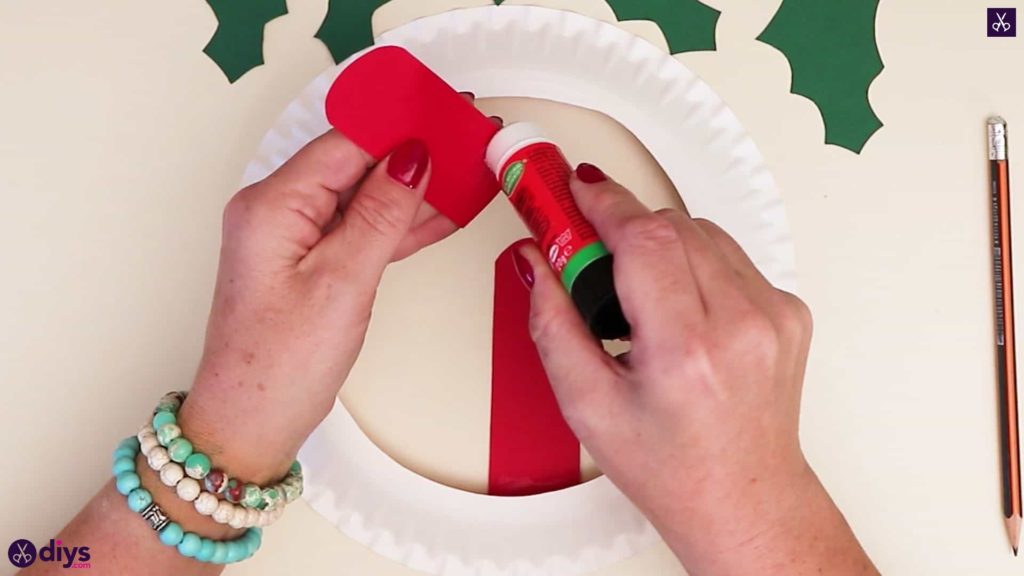
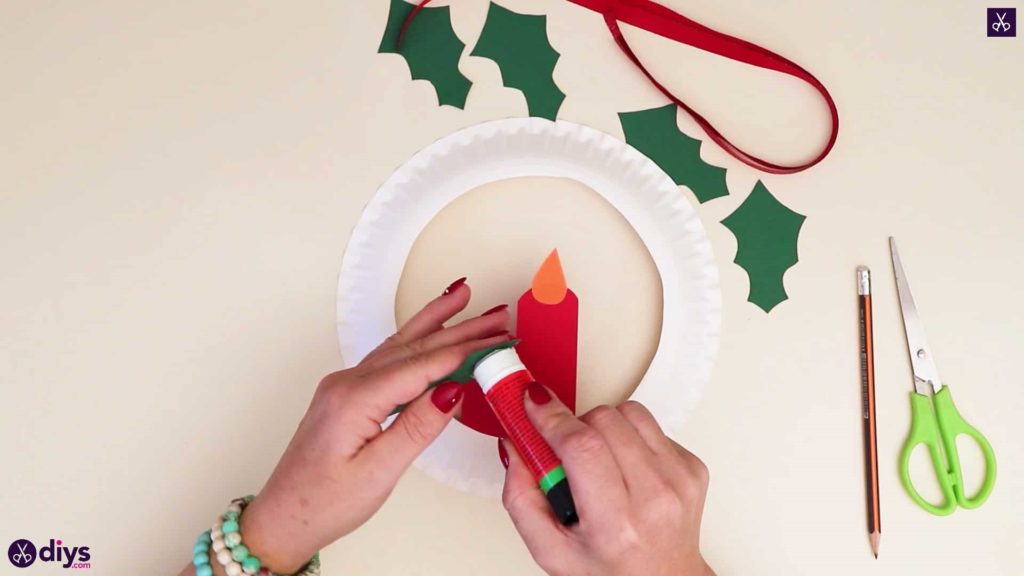
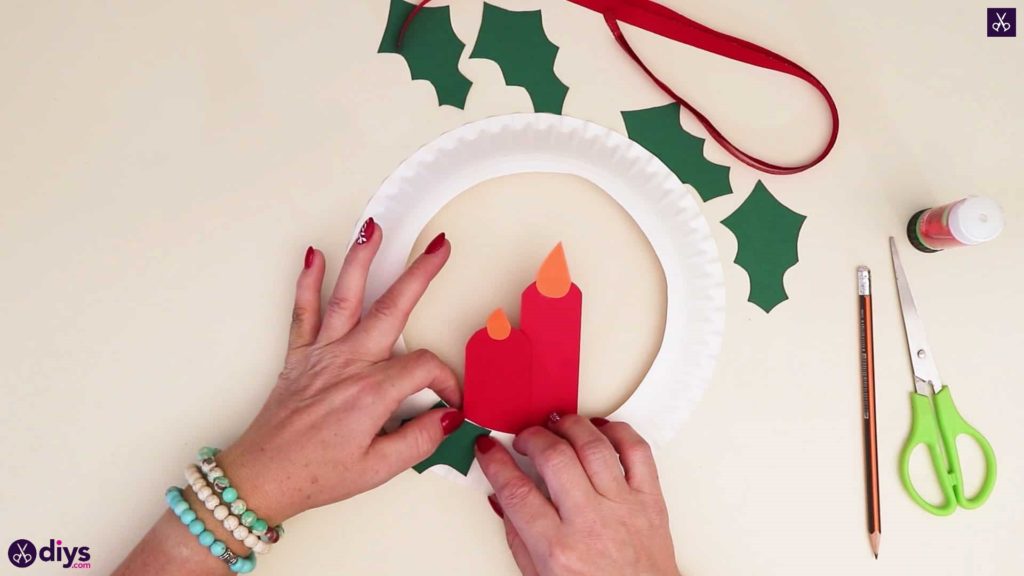
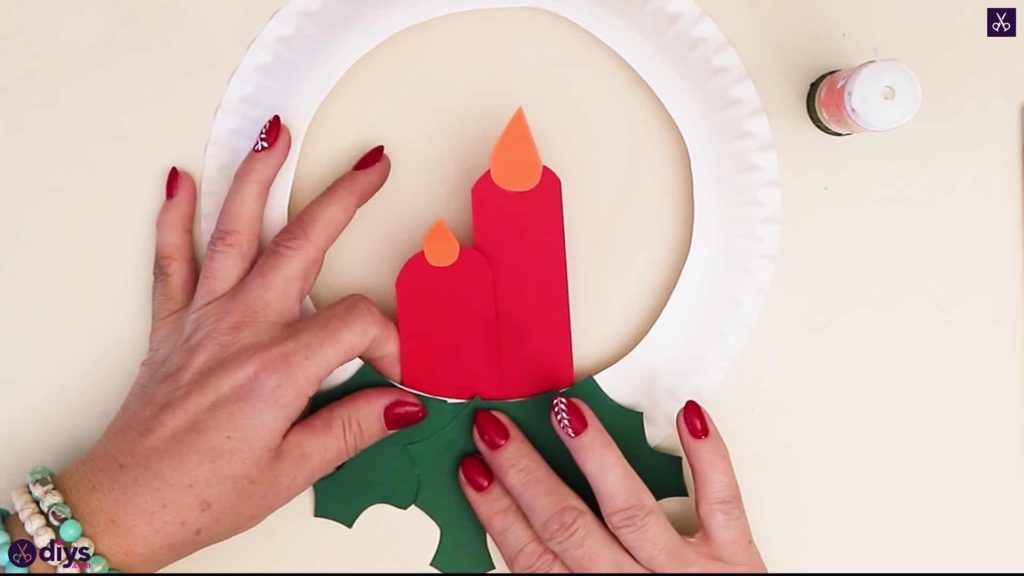
Step 6: start gluing
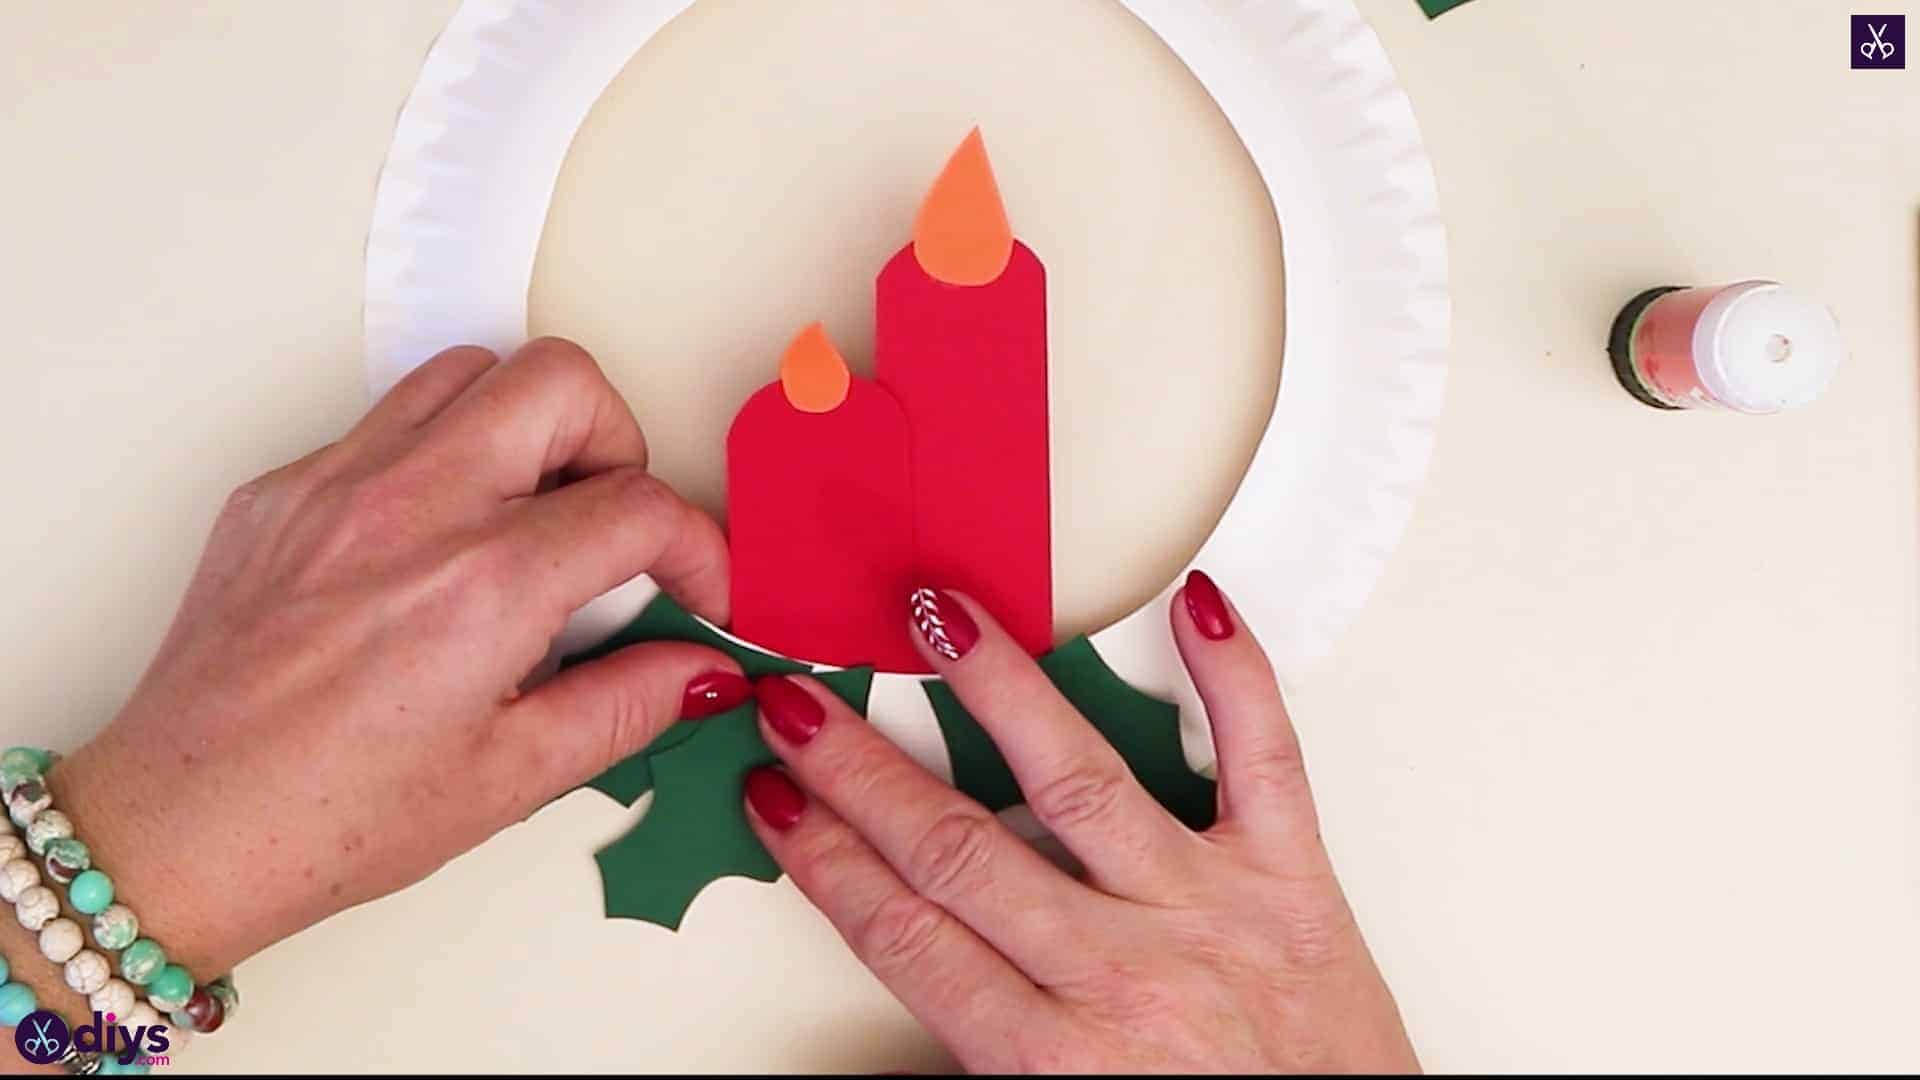
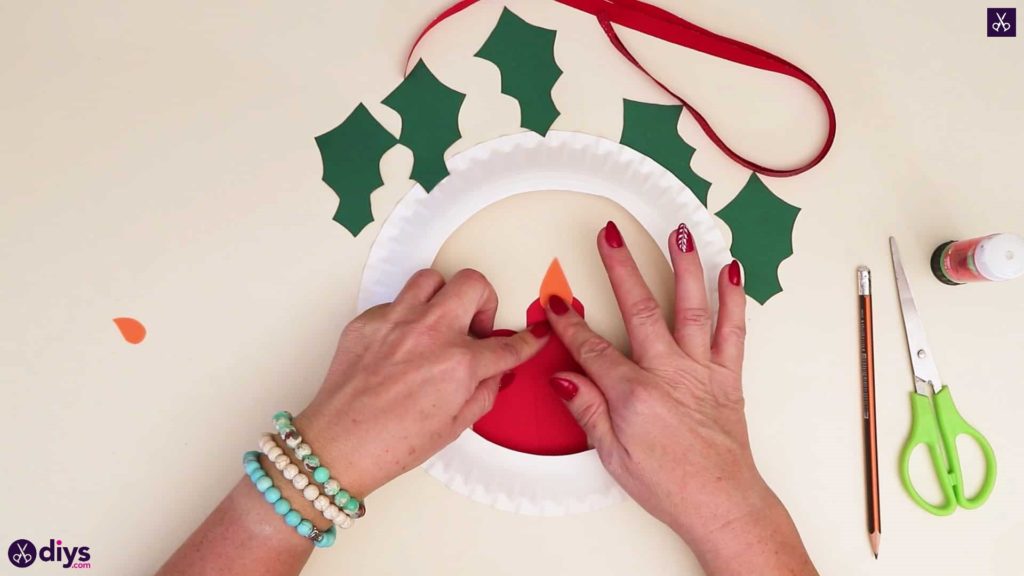
Flip your plate rim over so faces downward, as though the plate were upside down if it were still whole. Apply glue to the bottom edges of your candles and stick them underneath the plate’s rim in the bottom centre, sticking up into the hollow space within the rim. I overlapped mine slightly so they looked grouped together, one sitting a little taller than the other. Complete your candles by gluing your orange flame pieces onto the tops, with the wide rounded ends of the flames overlapping the curved tops of the candles’ ends.

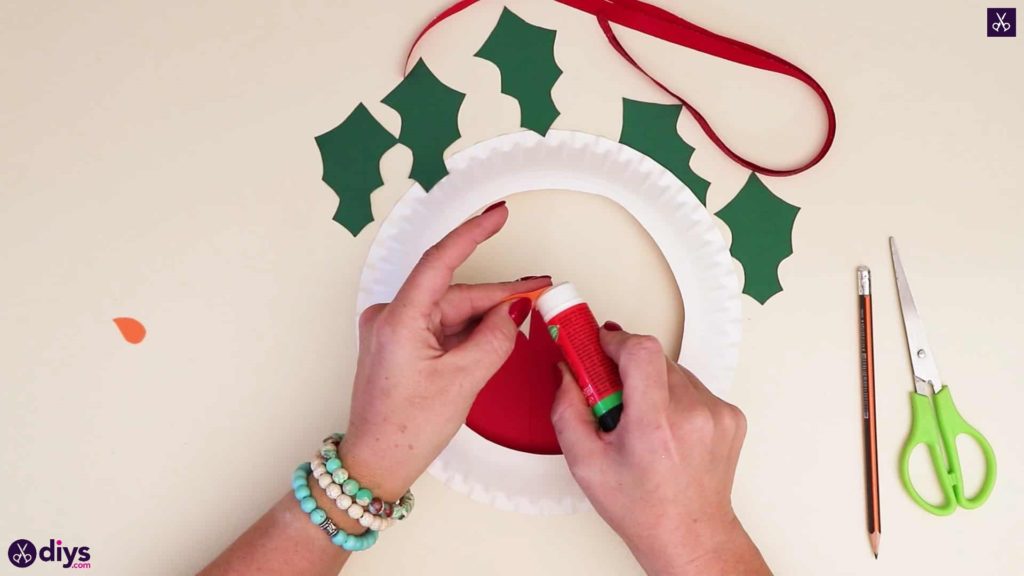

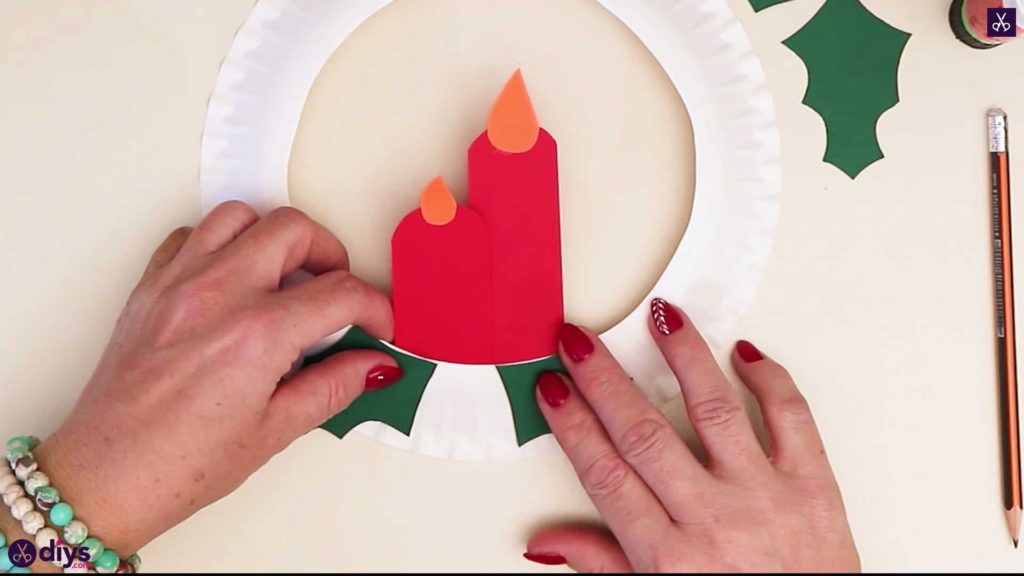
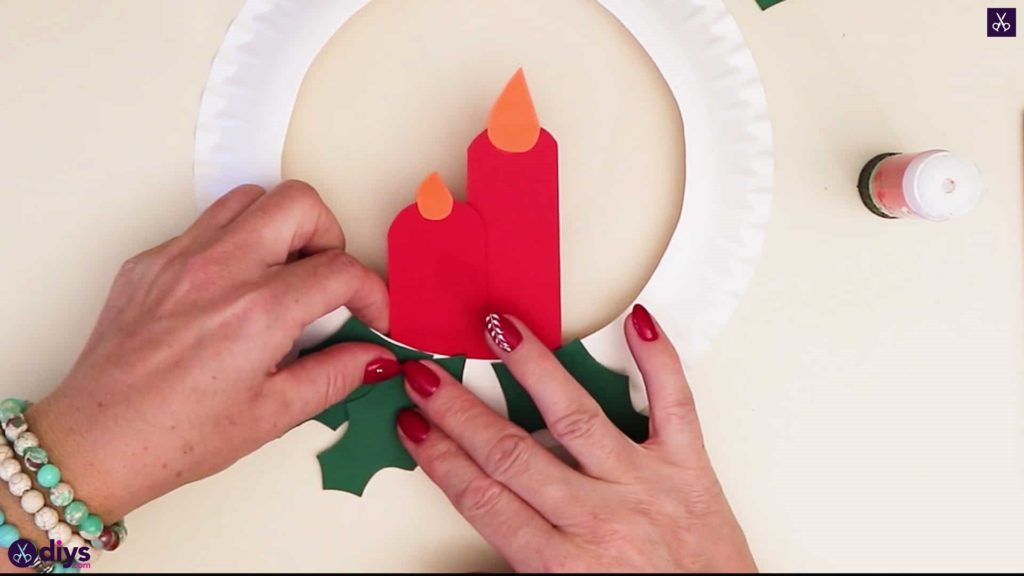
Step 7: add the hollies
Apply glue to the larger pointed end of each green holly leaf and layer them in a bundle on the outside of the plate’s edge, at the bottom center below the candles. I started with one facing diagonally left and another pointing diagonally right. I layered my next two angled slightly more downward on top of those, and my final one pointed straight down, creating a fanned shape of green leaves hanging from the plate.
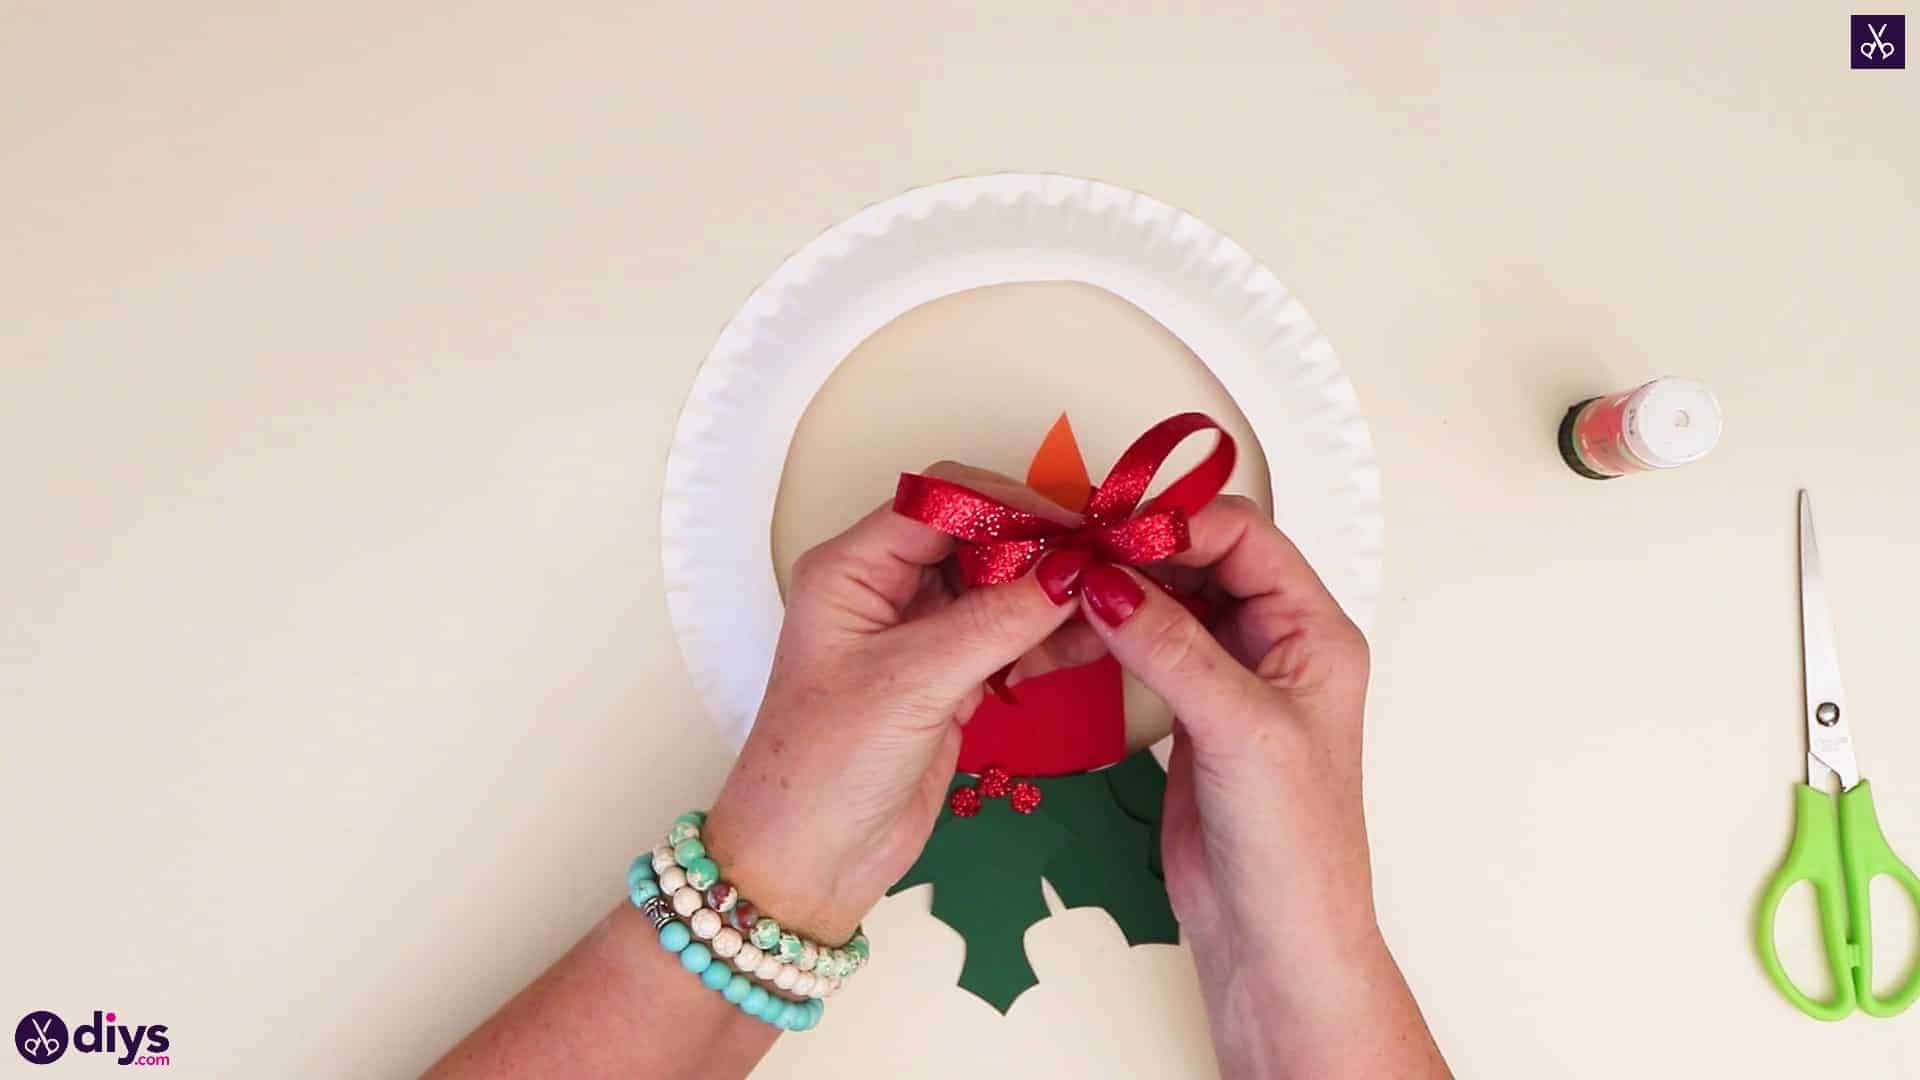
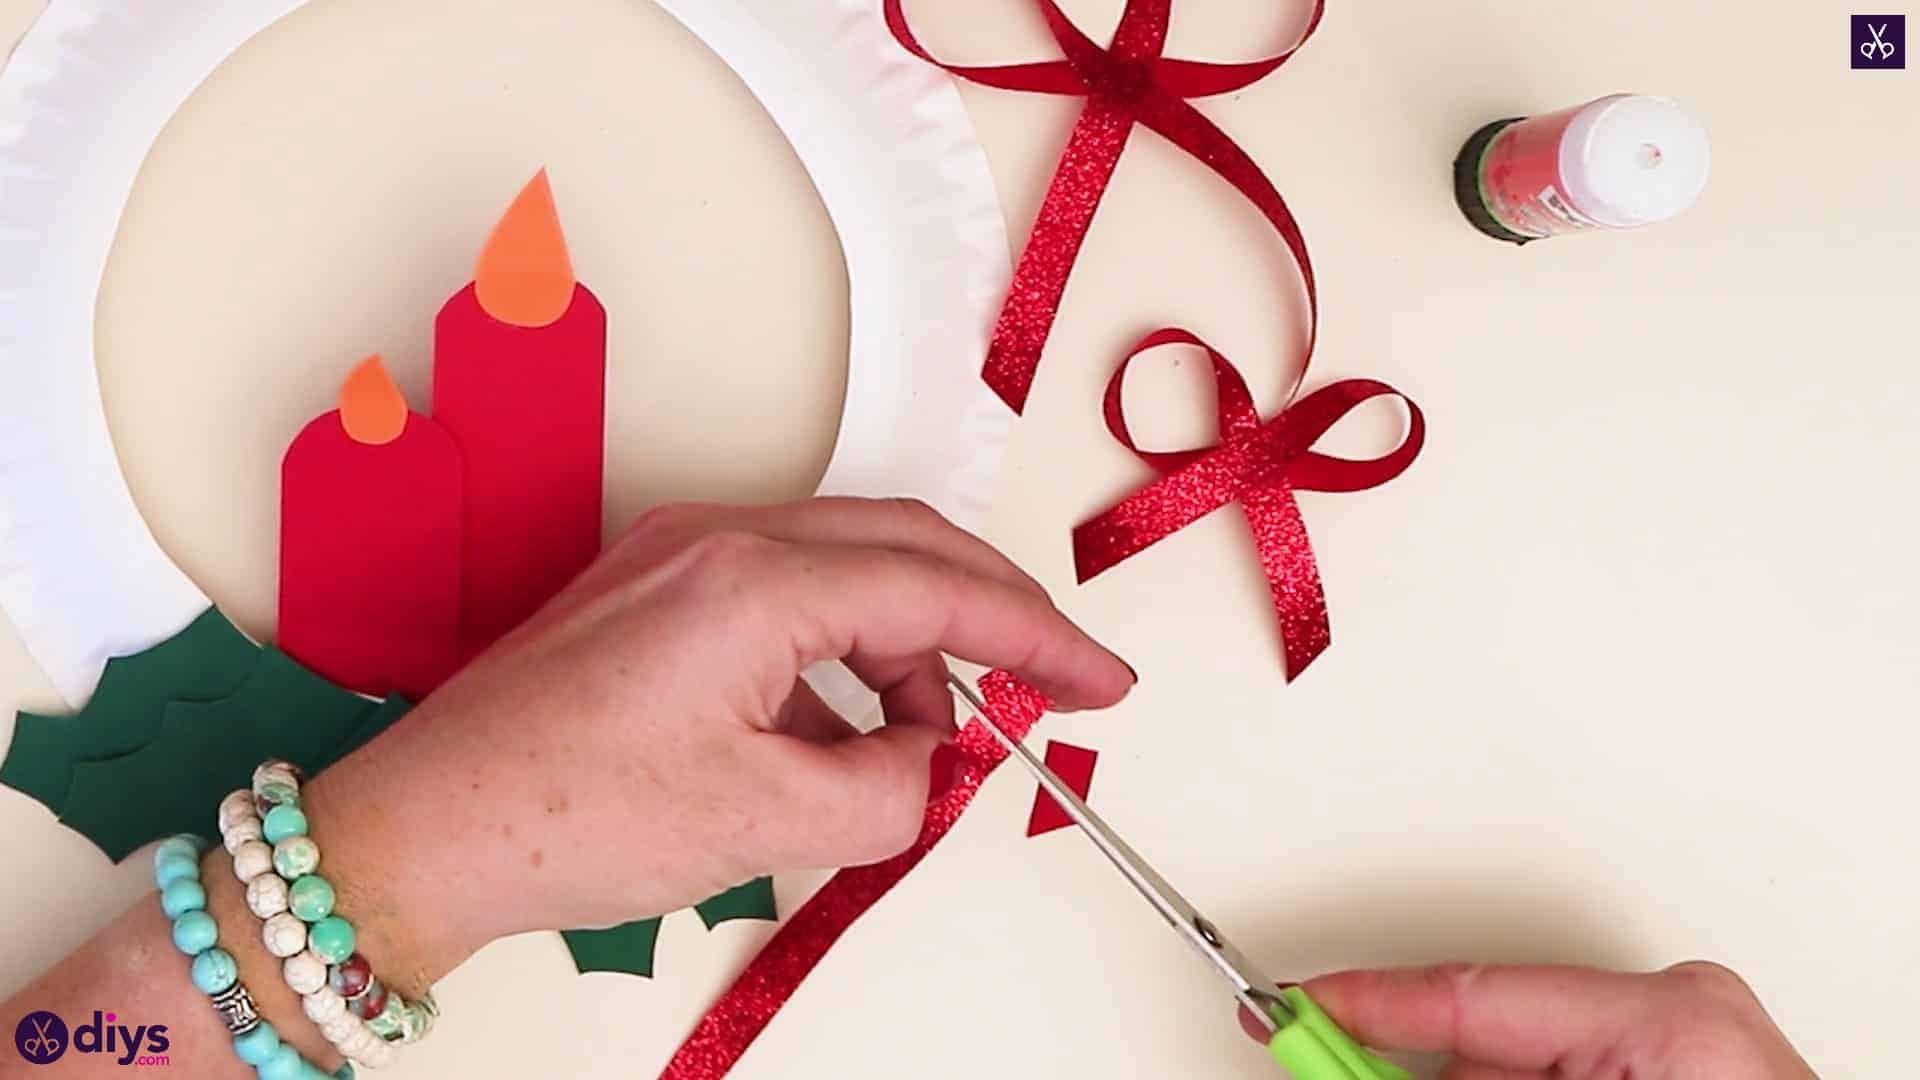
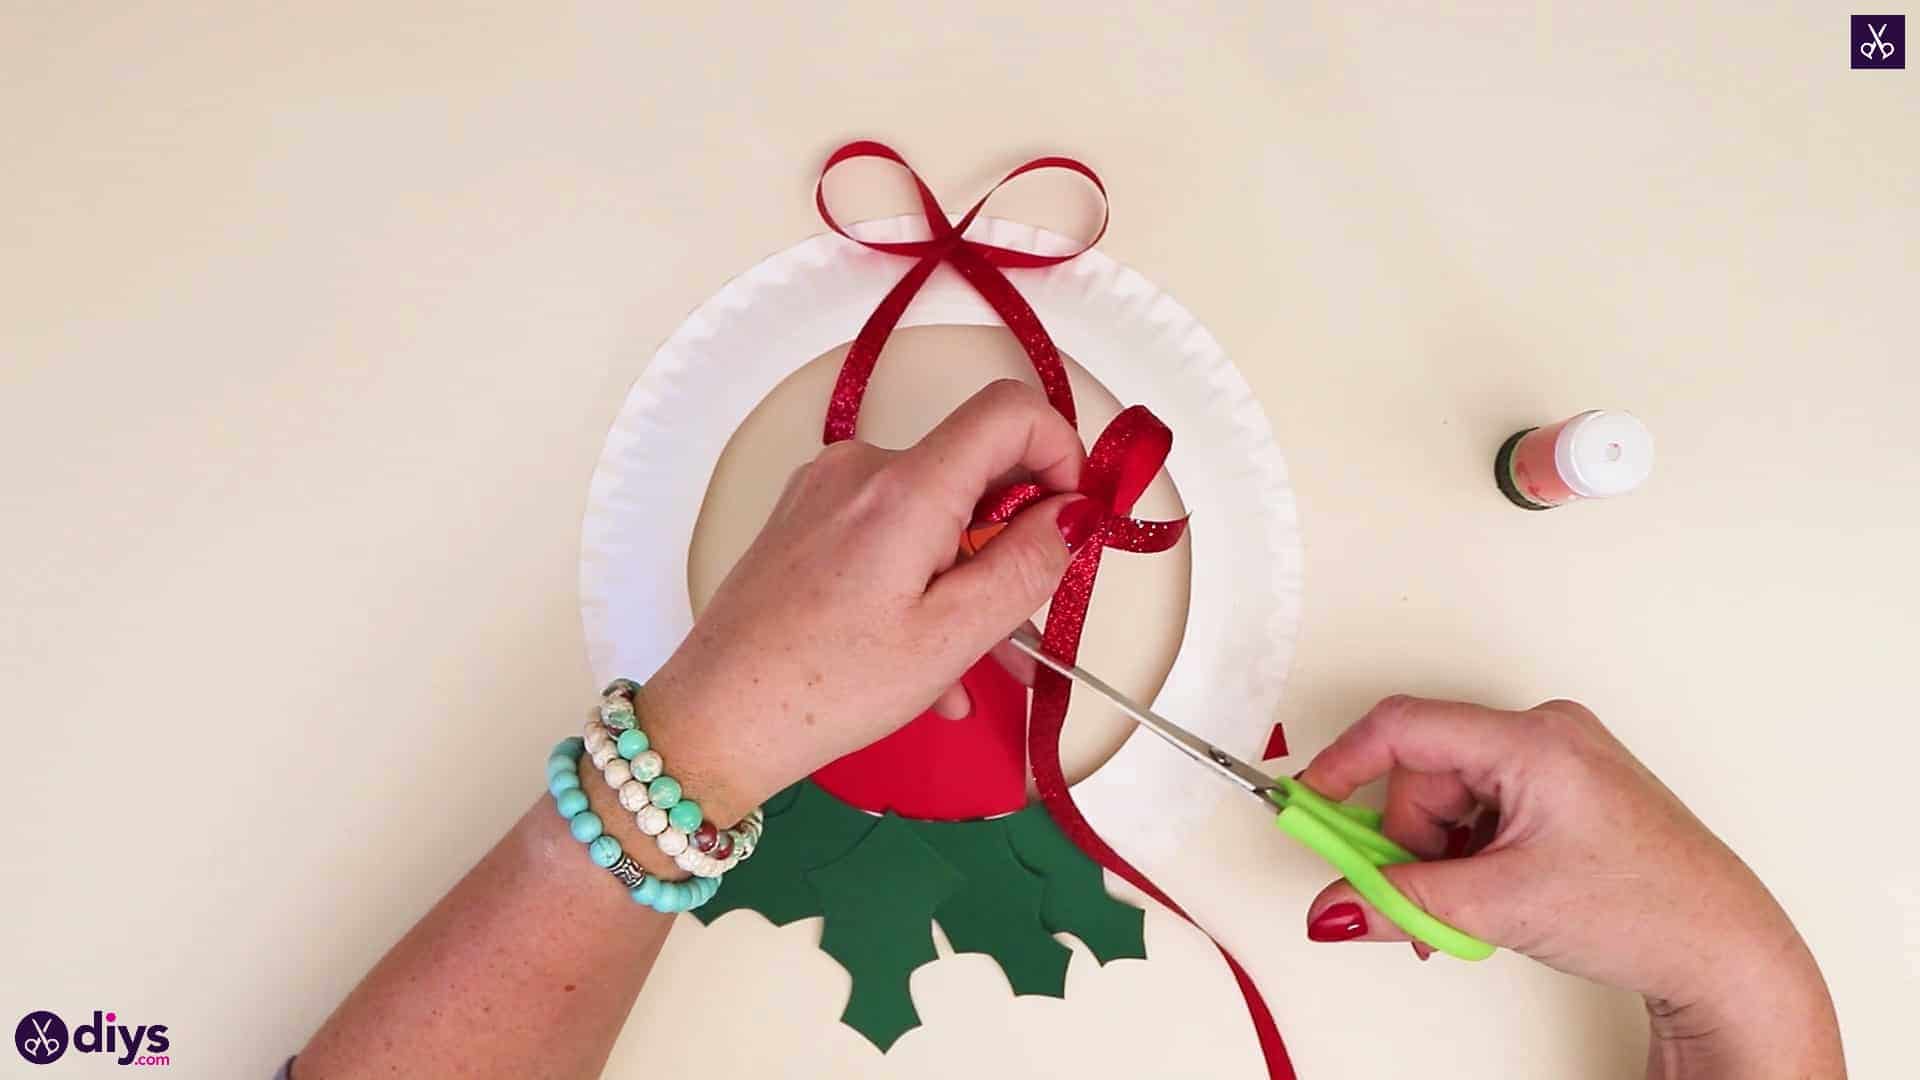
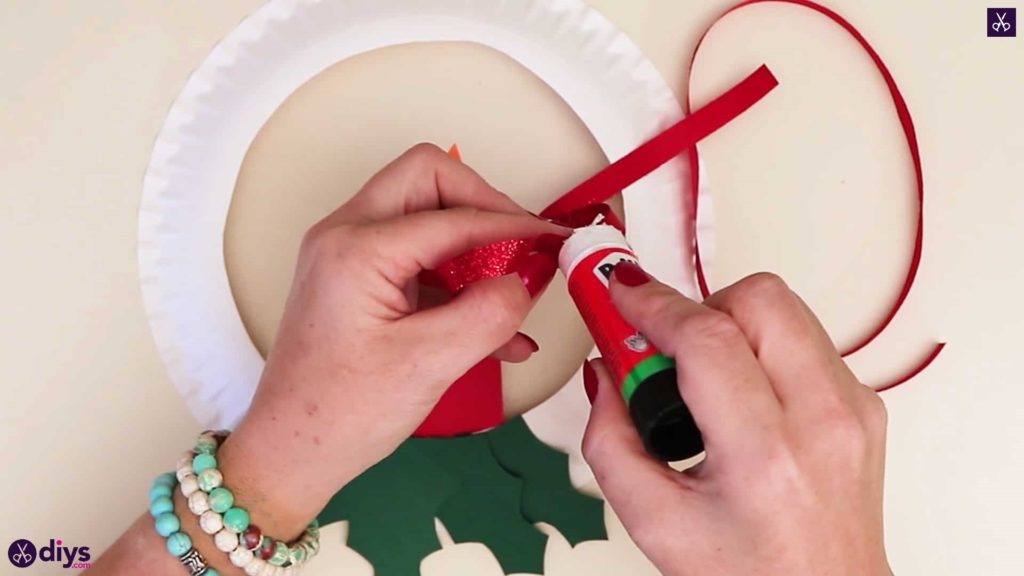
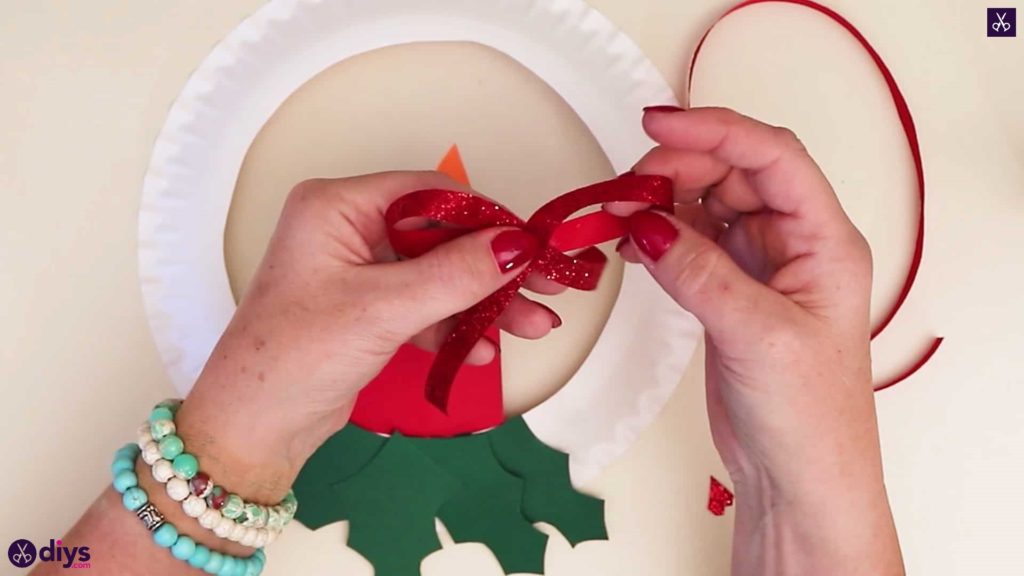
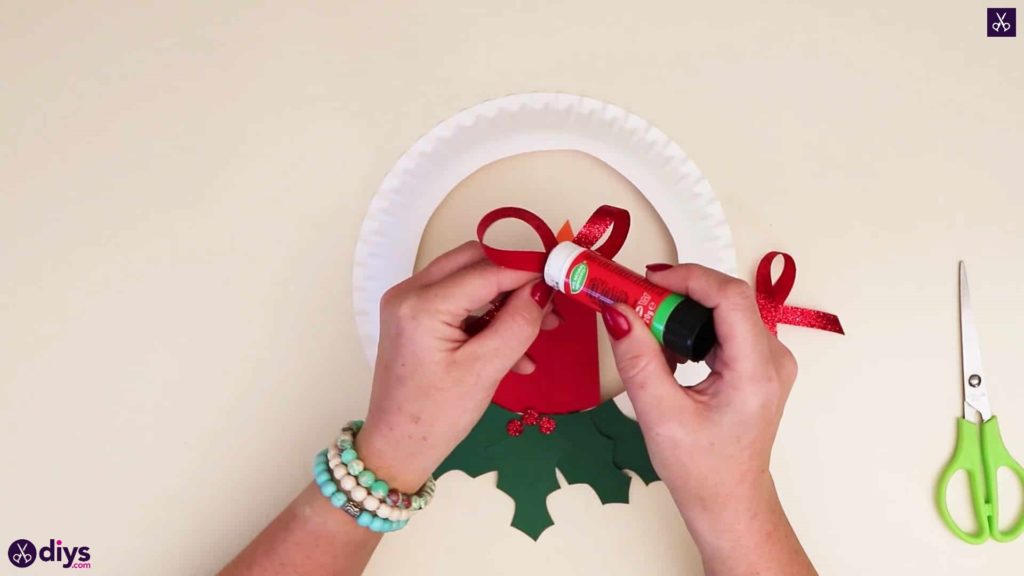
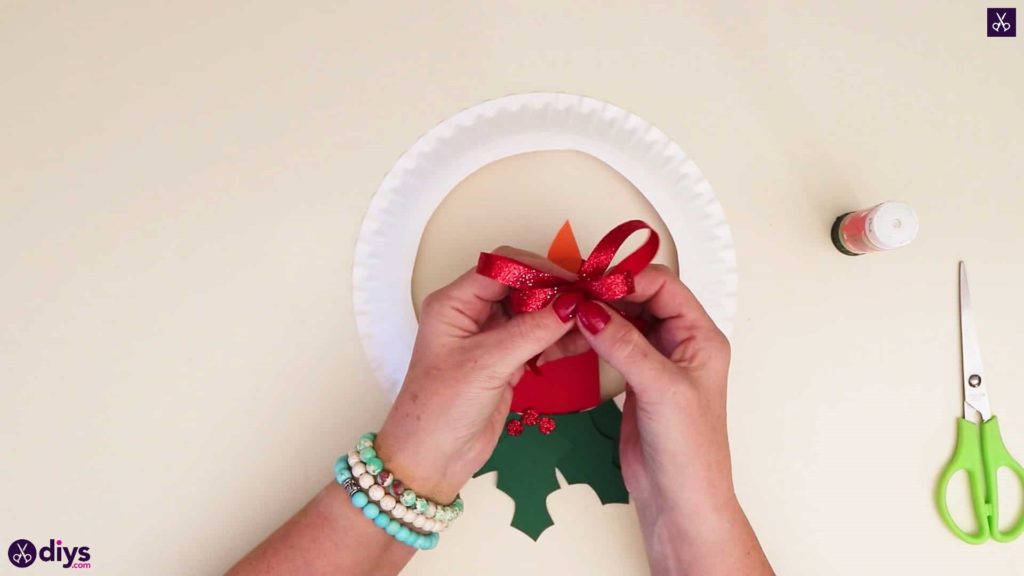
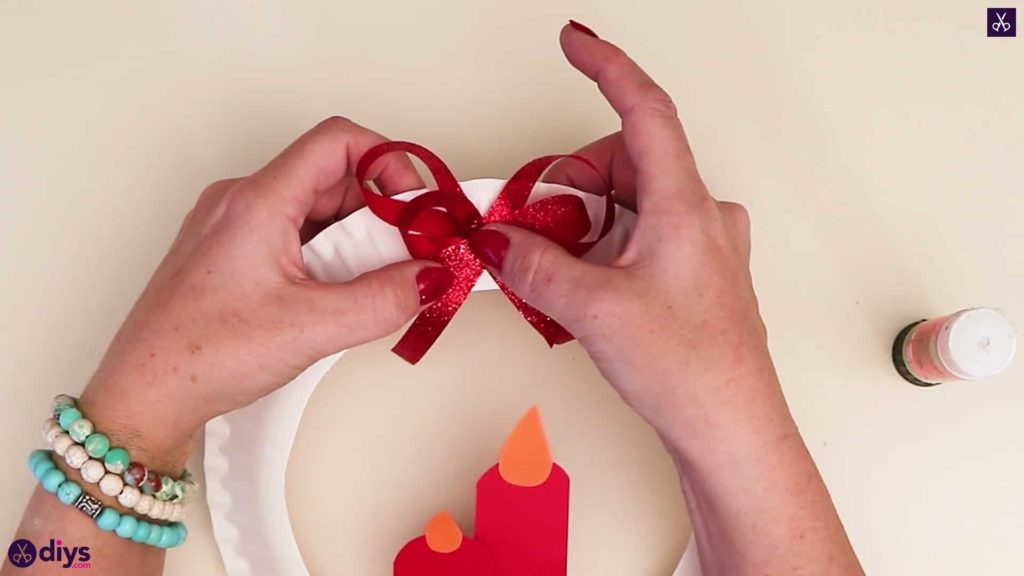
Step 8: add a bow
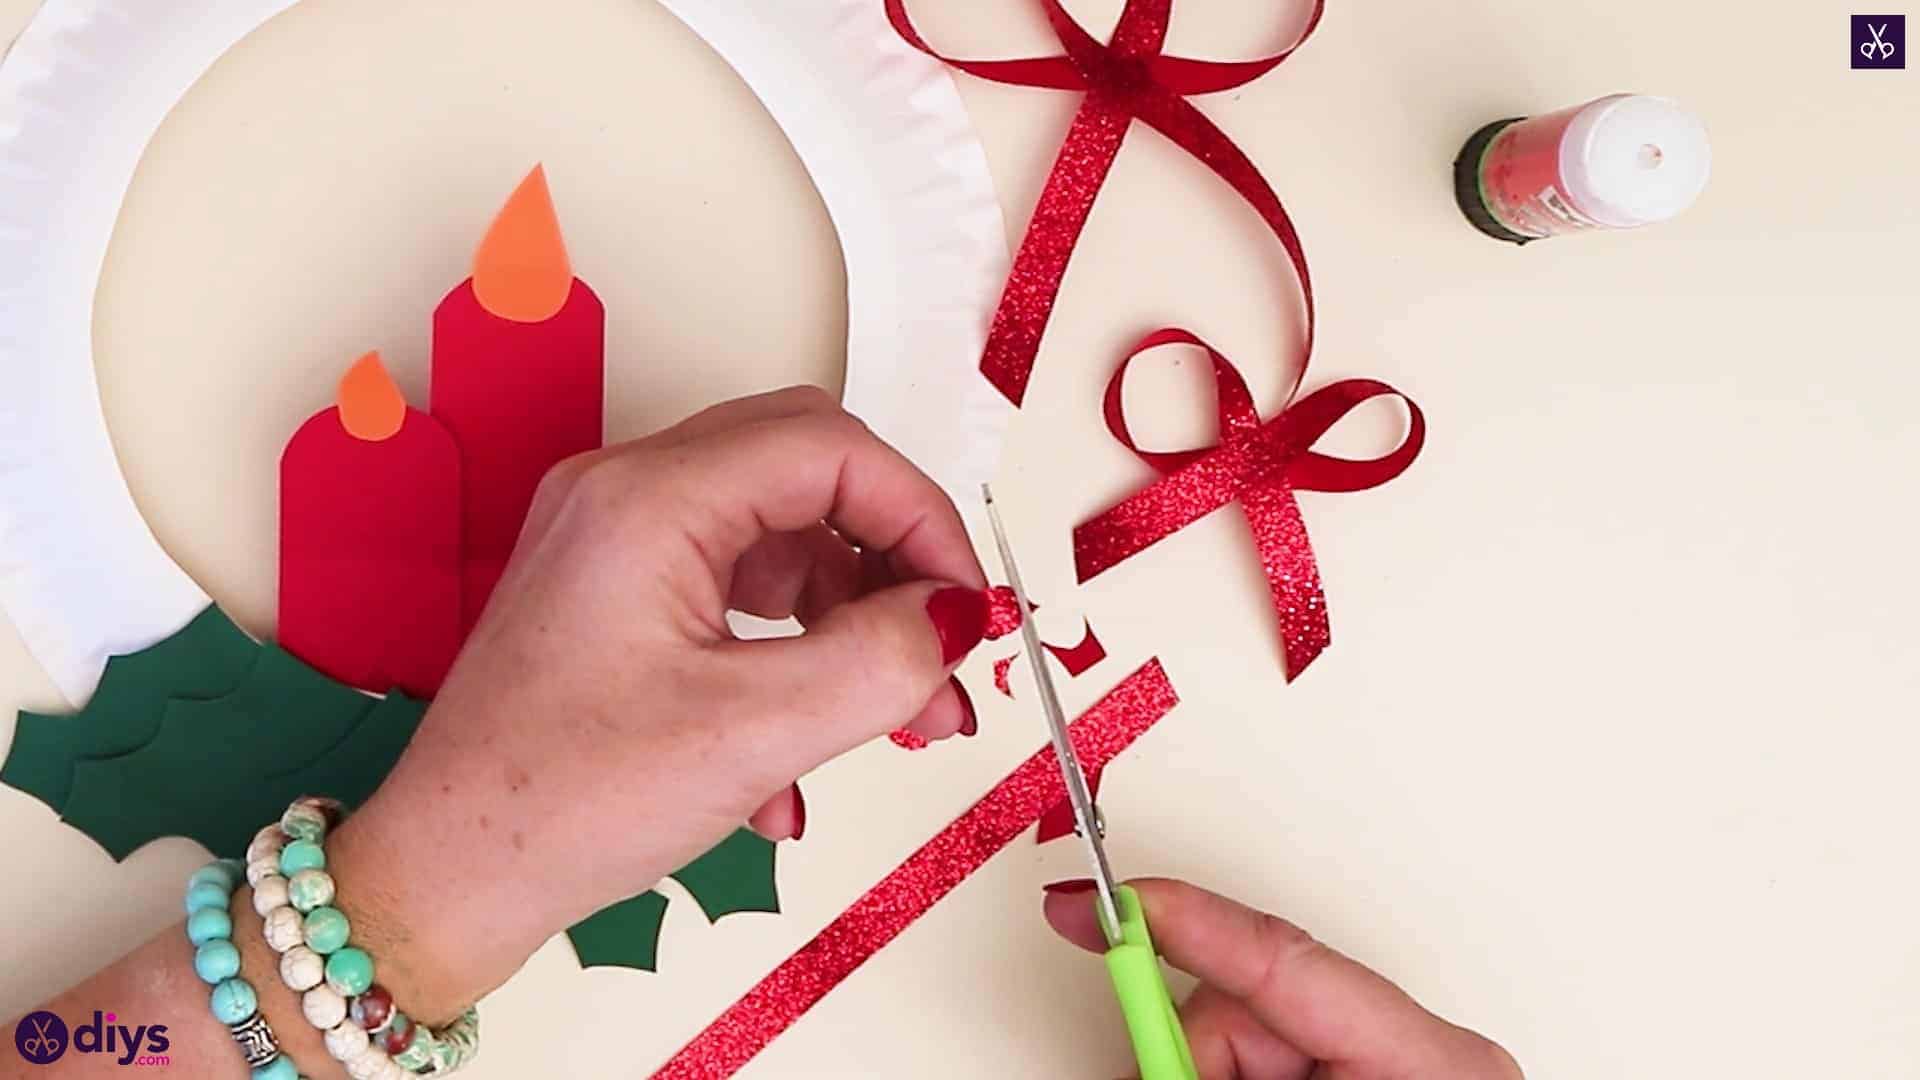
Cut a piece about four inches long from your red ribbon. Find the center of this new piece and apply glue there. Bring each side of the ribbon in towards the center, curling it inwards to make a loop and leaving some excess at the end to hang below. Stick the ribbon into the glue at the center where the pieces cross. Once you’ve done this with both sides, you’ll have the shape of a simple bow! Use another piece from the rest of your red ribbon to create a second, slightly smaller bow. Cut excess ribbons from the ends or tails if necessary.
Step 9: double up
From the scrap pieces of your red ribbon, cut three small circles. These will be your holly berries! Arrange them in the center at the base of your green leaves, where they all overlap on the edge of the paper plate wreath. I made a sort of loose triangular shape, with one berry sitting slightly higher and the other two a little lower and on either side.


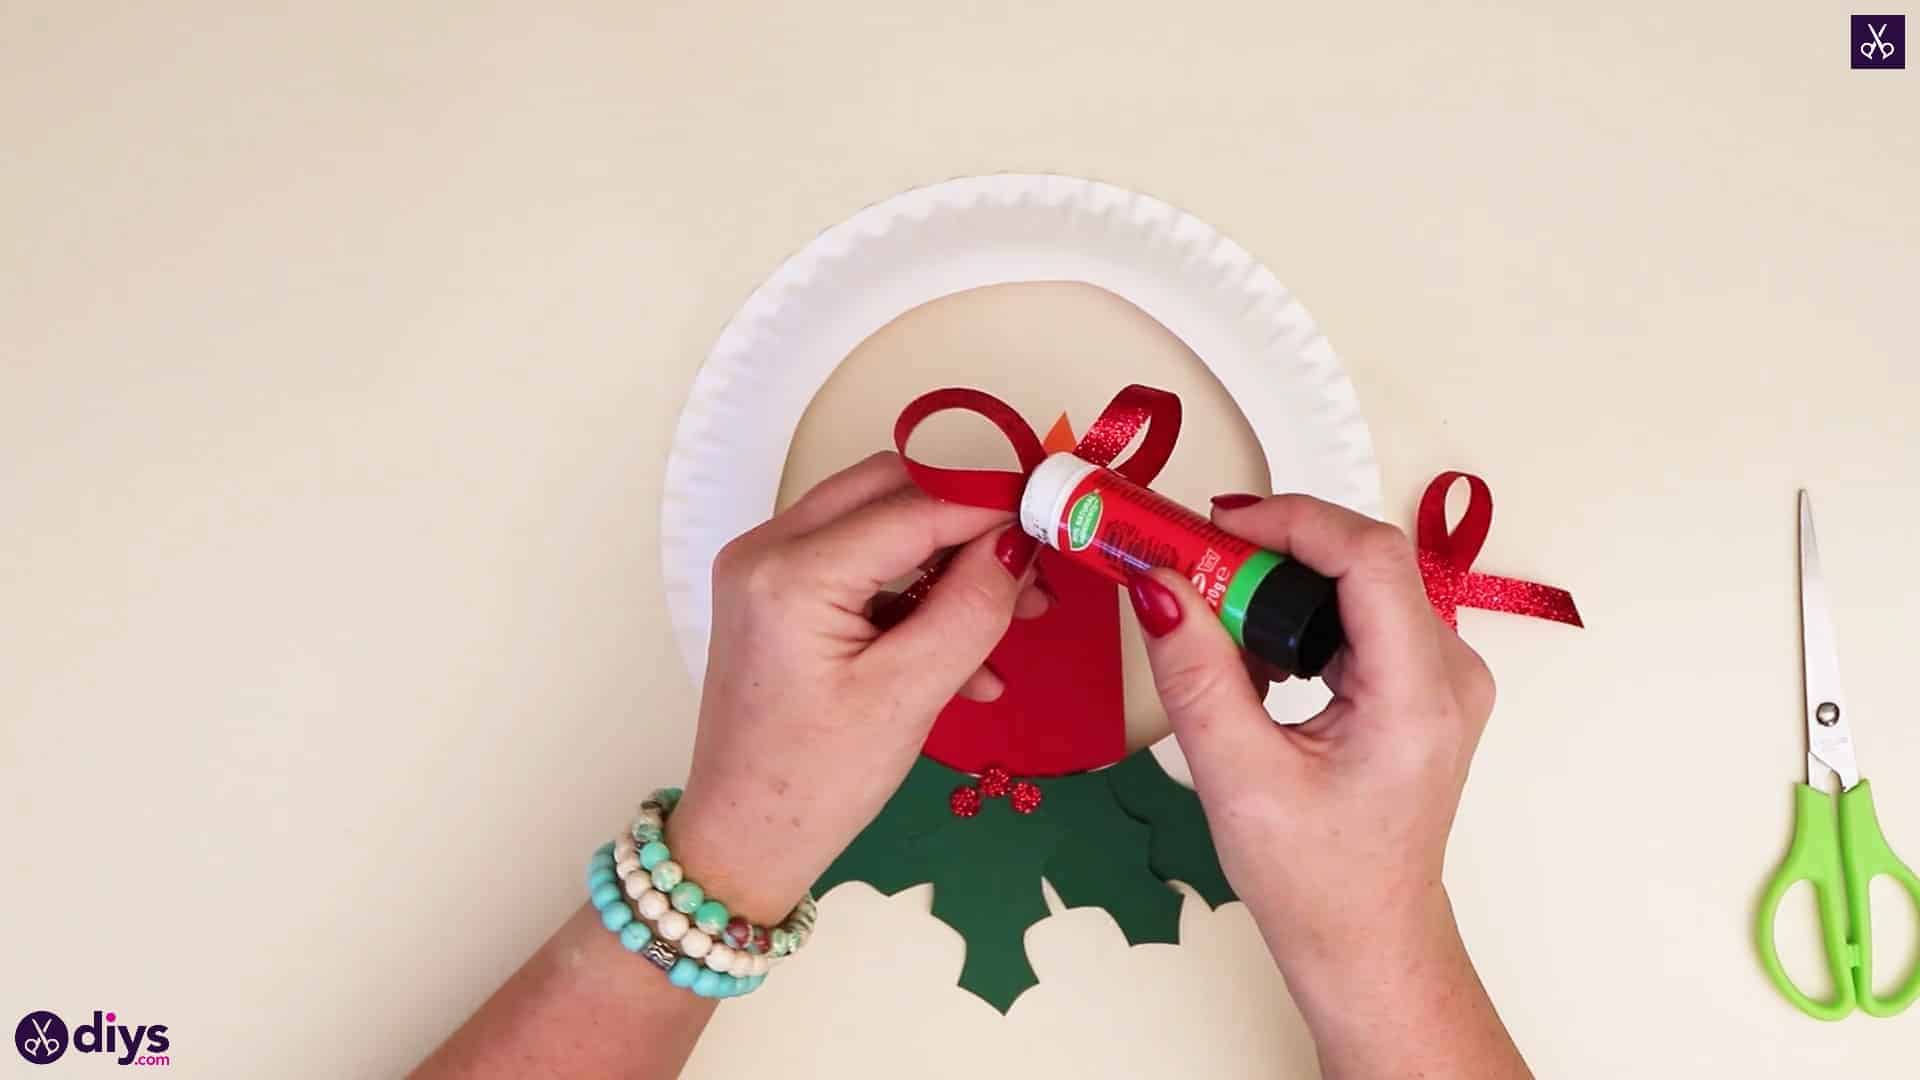
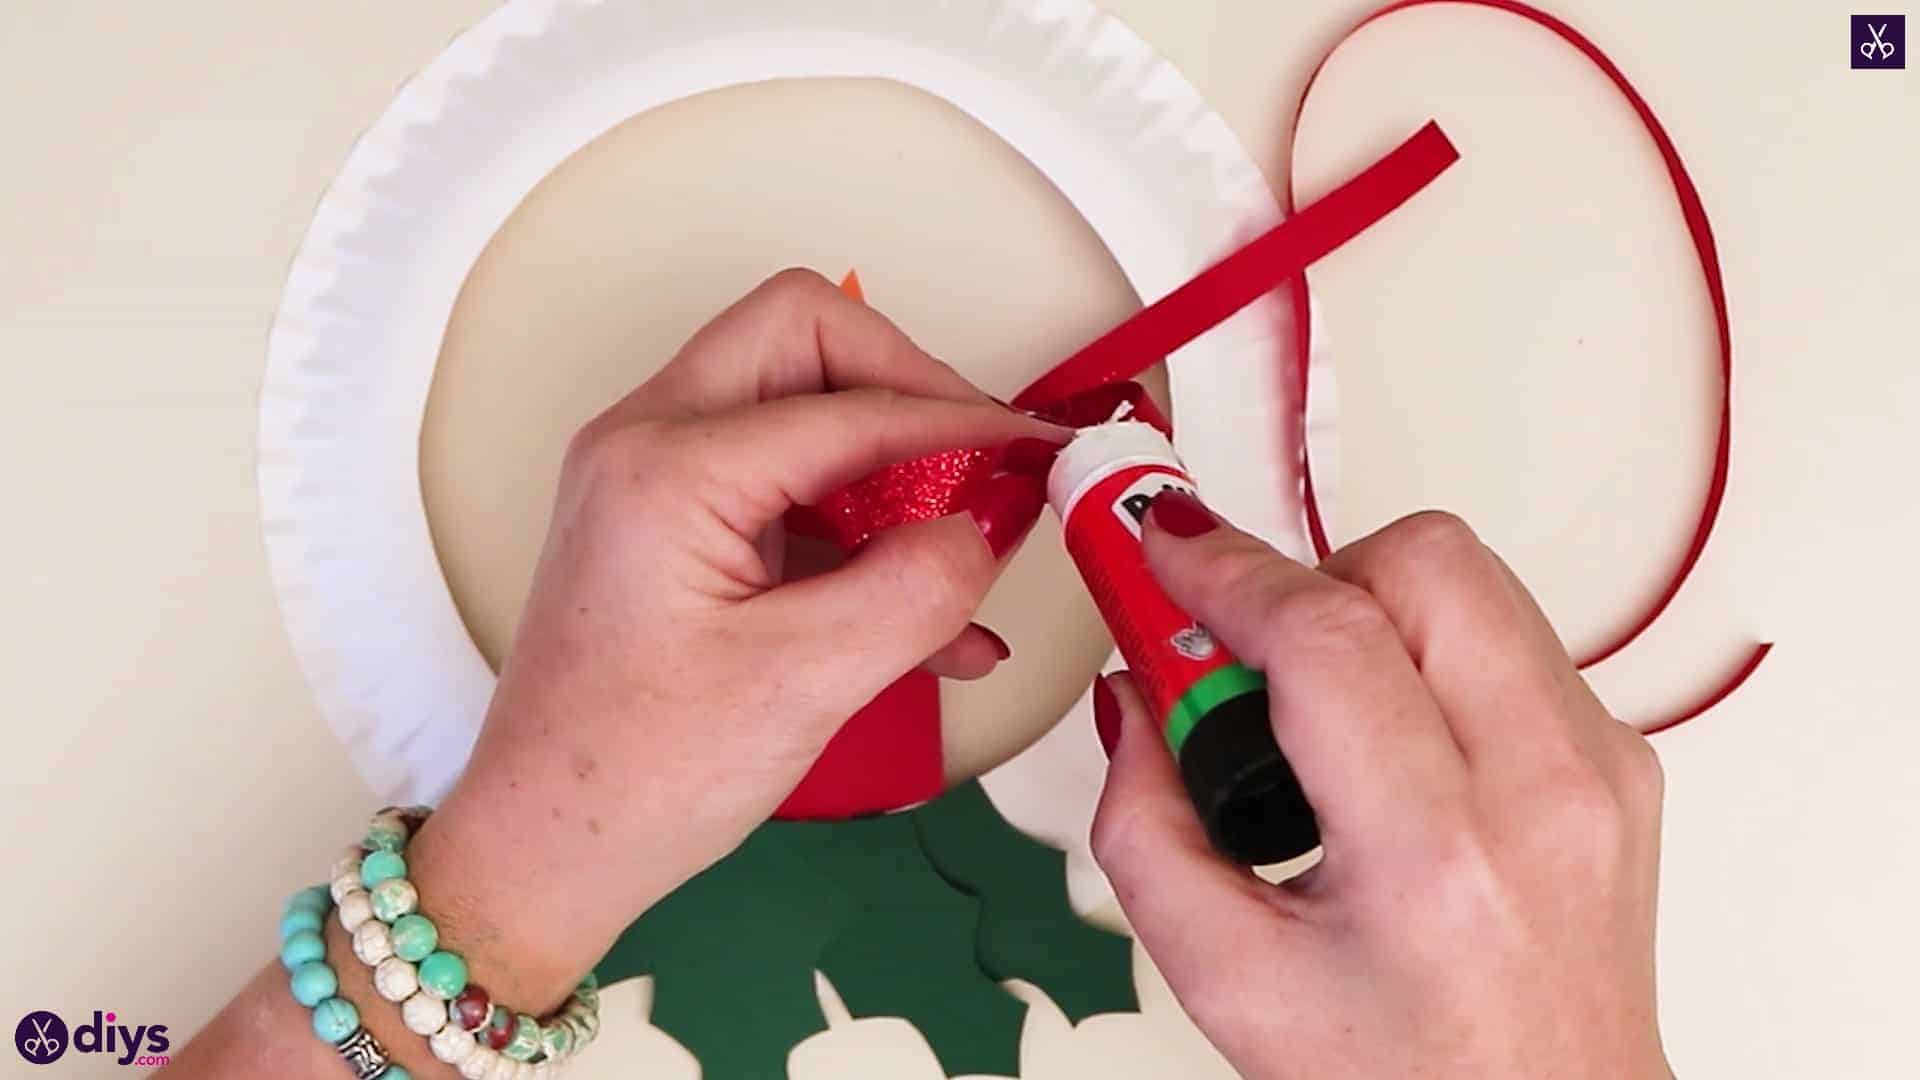
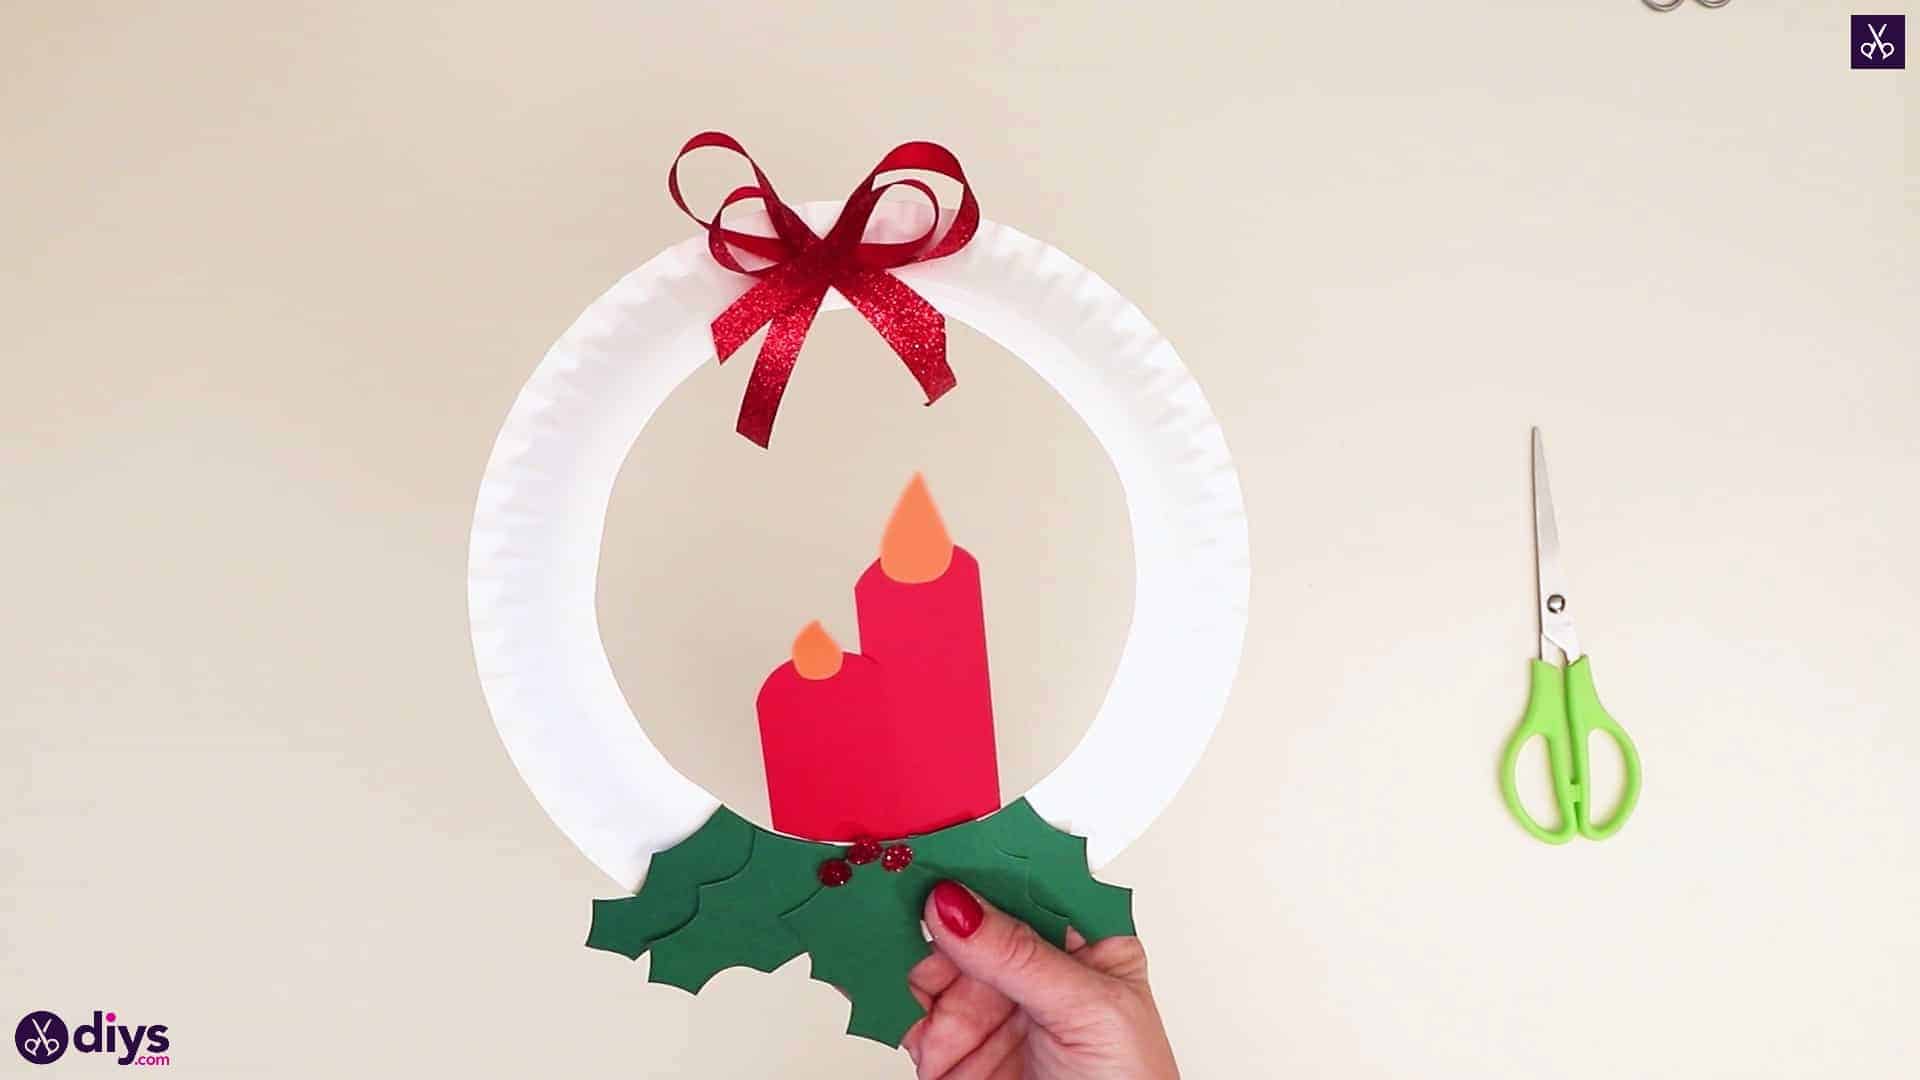
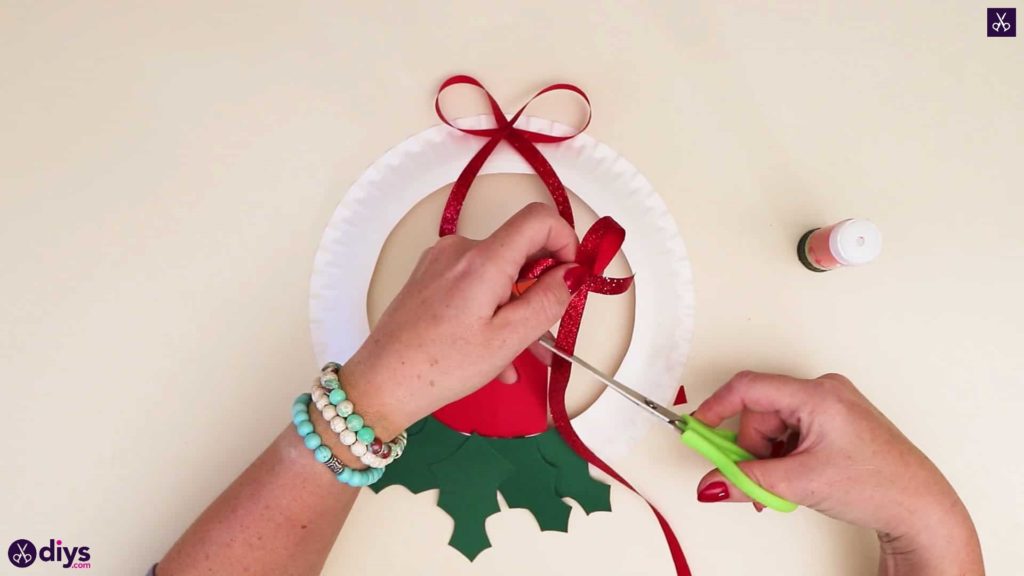
Step 10: apply the bows
Apply glue to the back pf your smaller red ribbon bow and stick it to the front of your larger bow, nestled right into the center so the two are layered. Then apply glue on the back of your larger bow and stick the whole doubled ribbon piece to the top center of your wreath, above your candles and the space they sit in at the center of the plate.

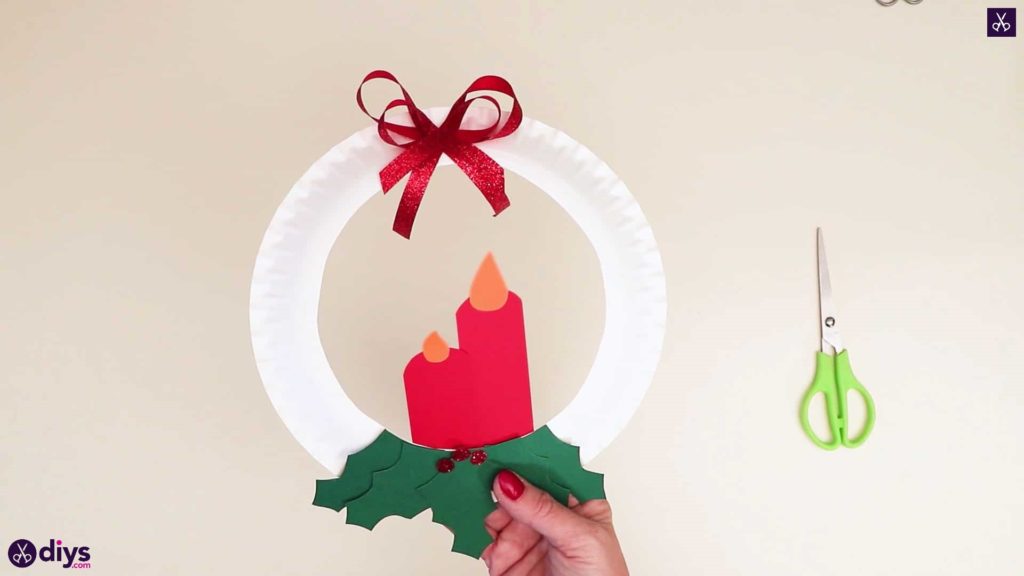
Your Christmas candle wreath is complete! Just in case you’d like to try this project out for yourself, here’s a fantastic tutorial video to help you!