DIY Paper Balloon Elephant Card
Updated on November 19, 2025


I don’t always repeat my designs, but I recently made an adorable little elephant themed birthday card using a balloon and it was so cute and so loved by the recipient that I made another one almost immediately for someone else, since it was such a huge hit. Check out how I made it!

Check out these step by step instructions complete with photos! If you’d rather follow along with a video tutorial instead of written words, scroll to the bottom of this post to find just what you’re looking for.
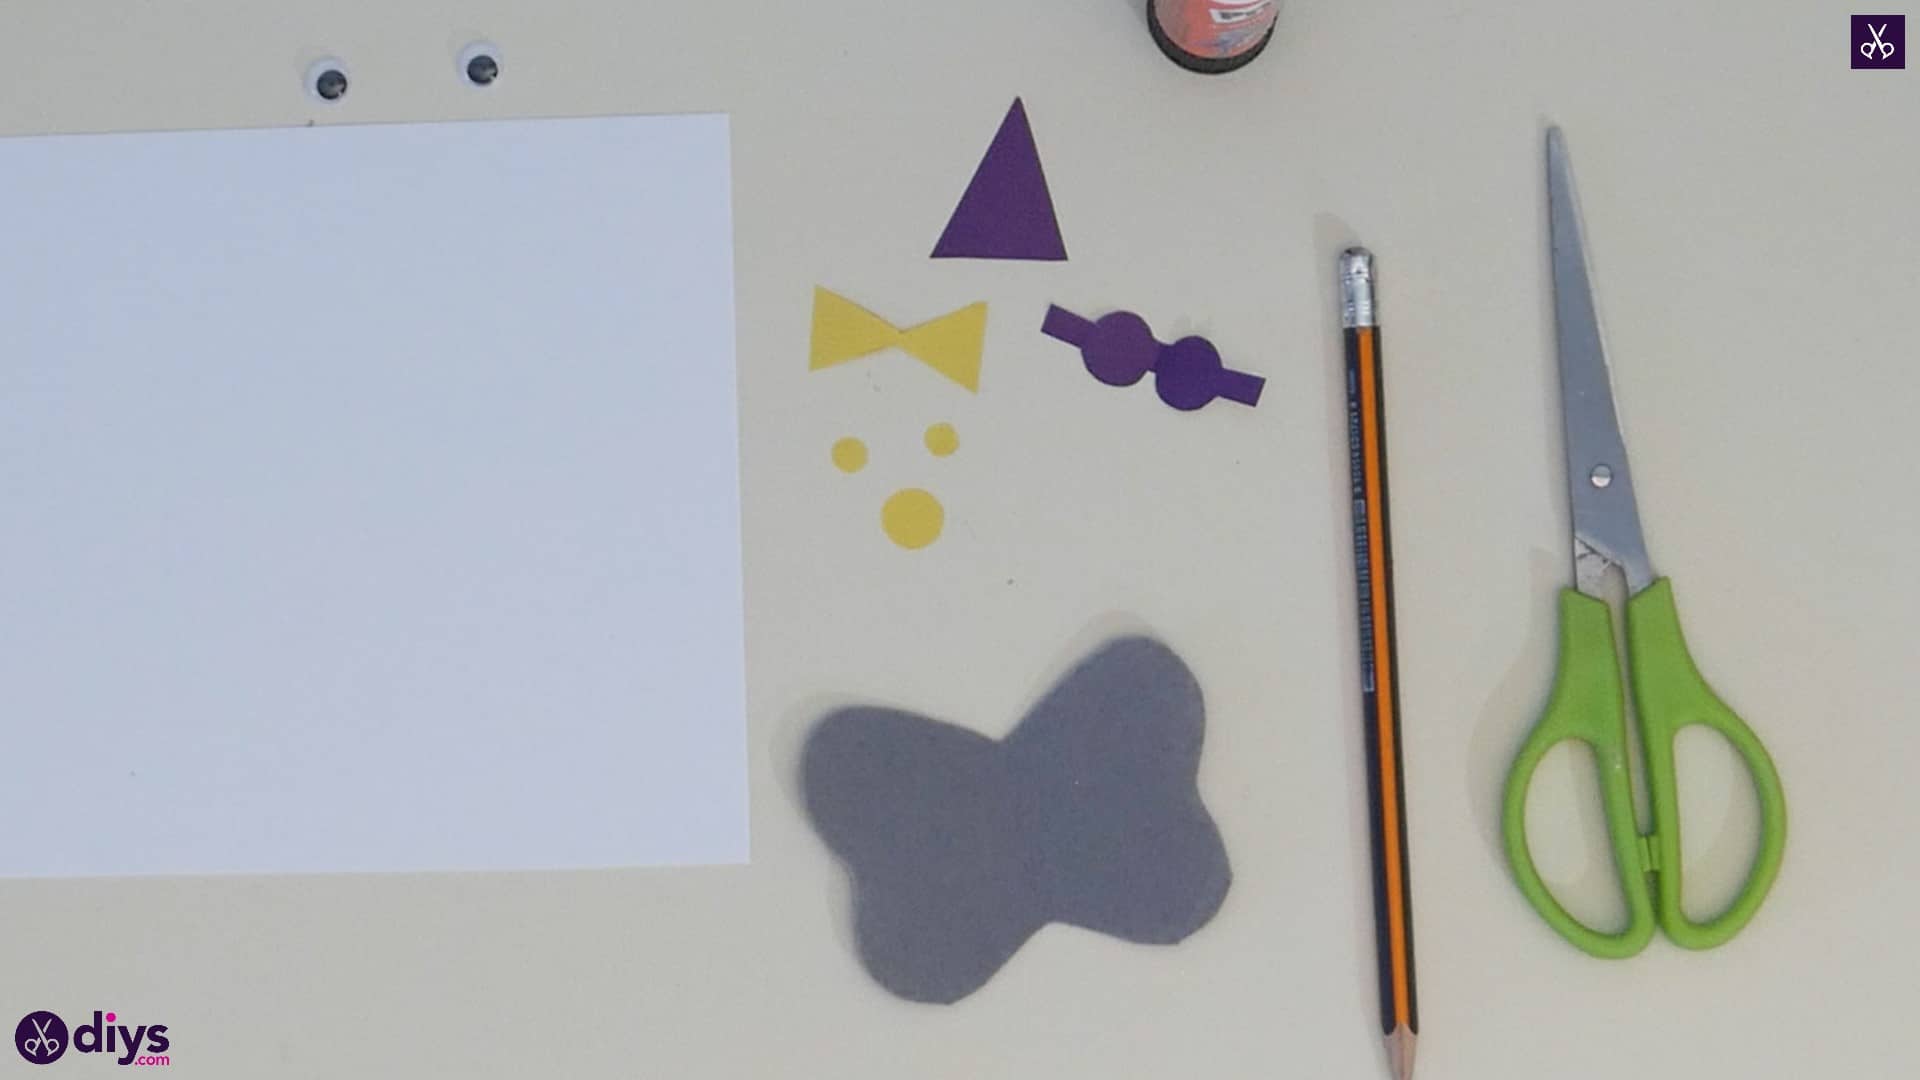
For this project, you’ll need:
- A balloon
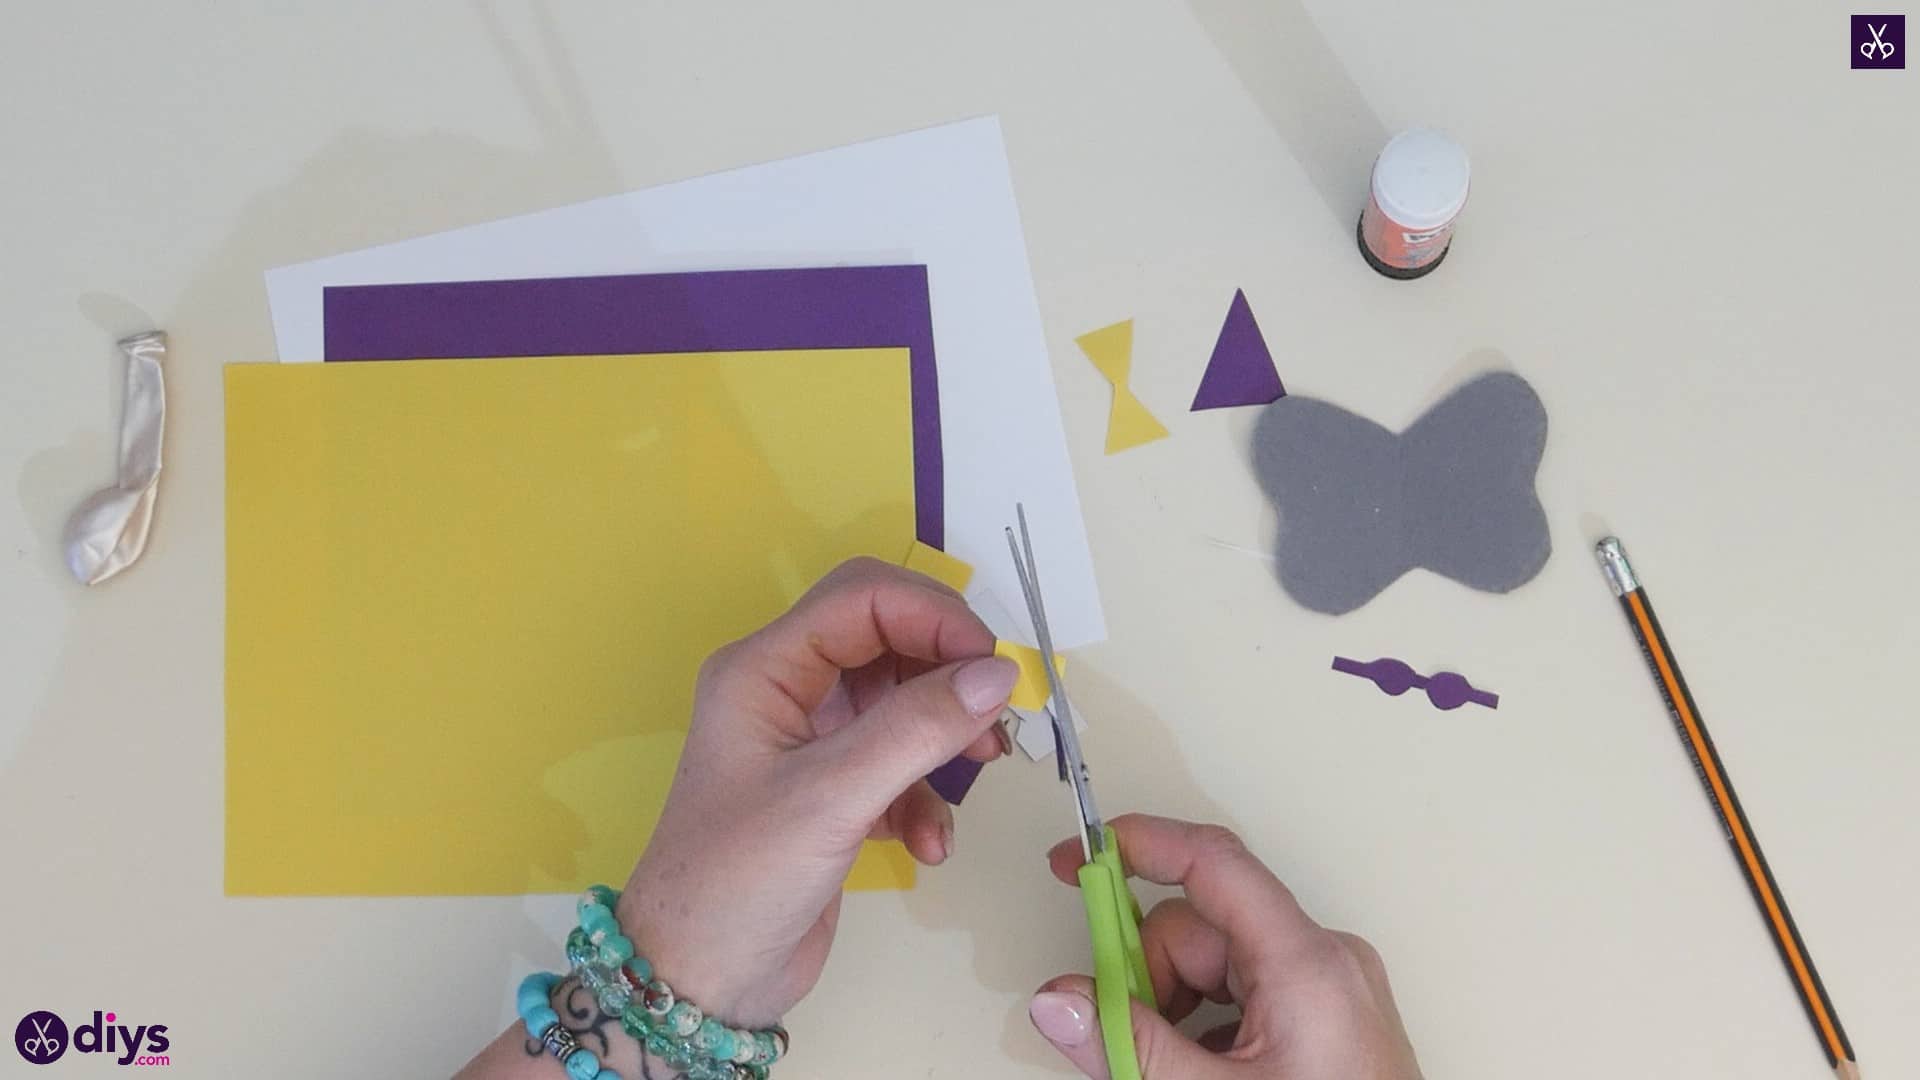
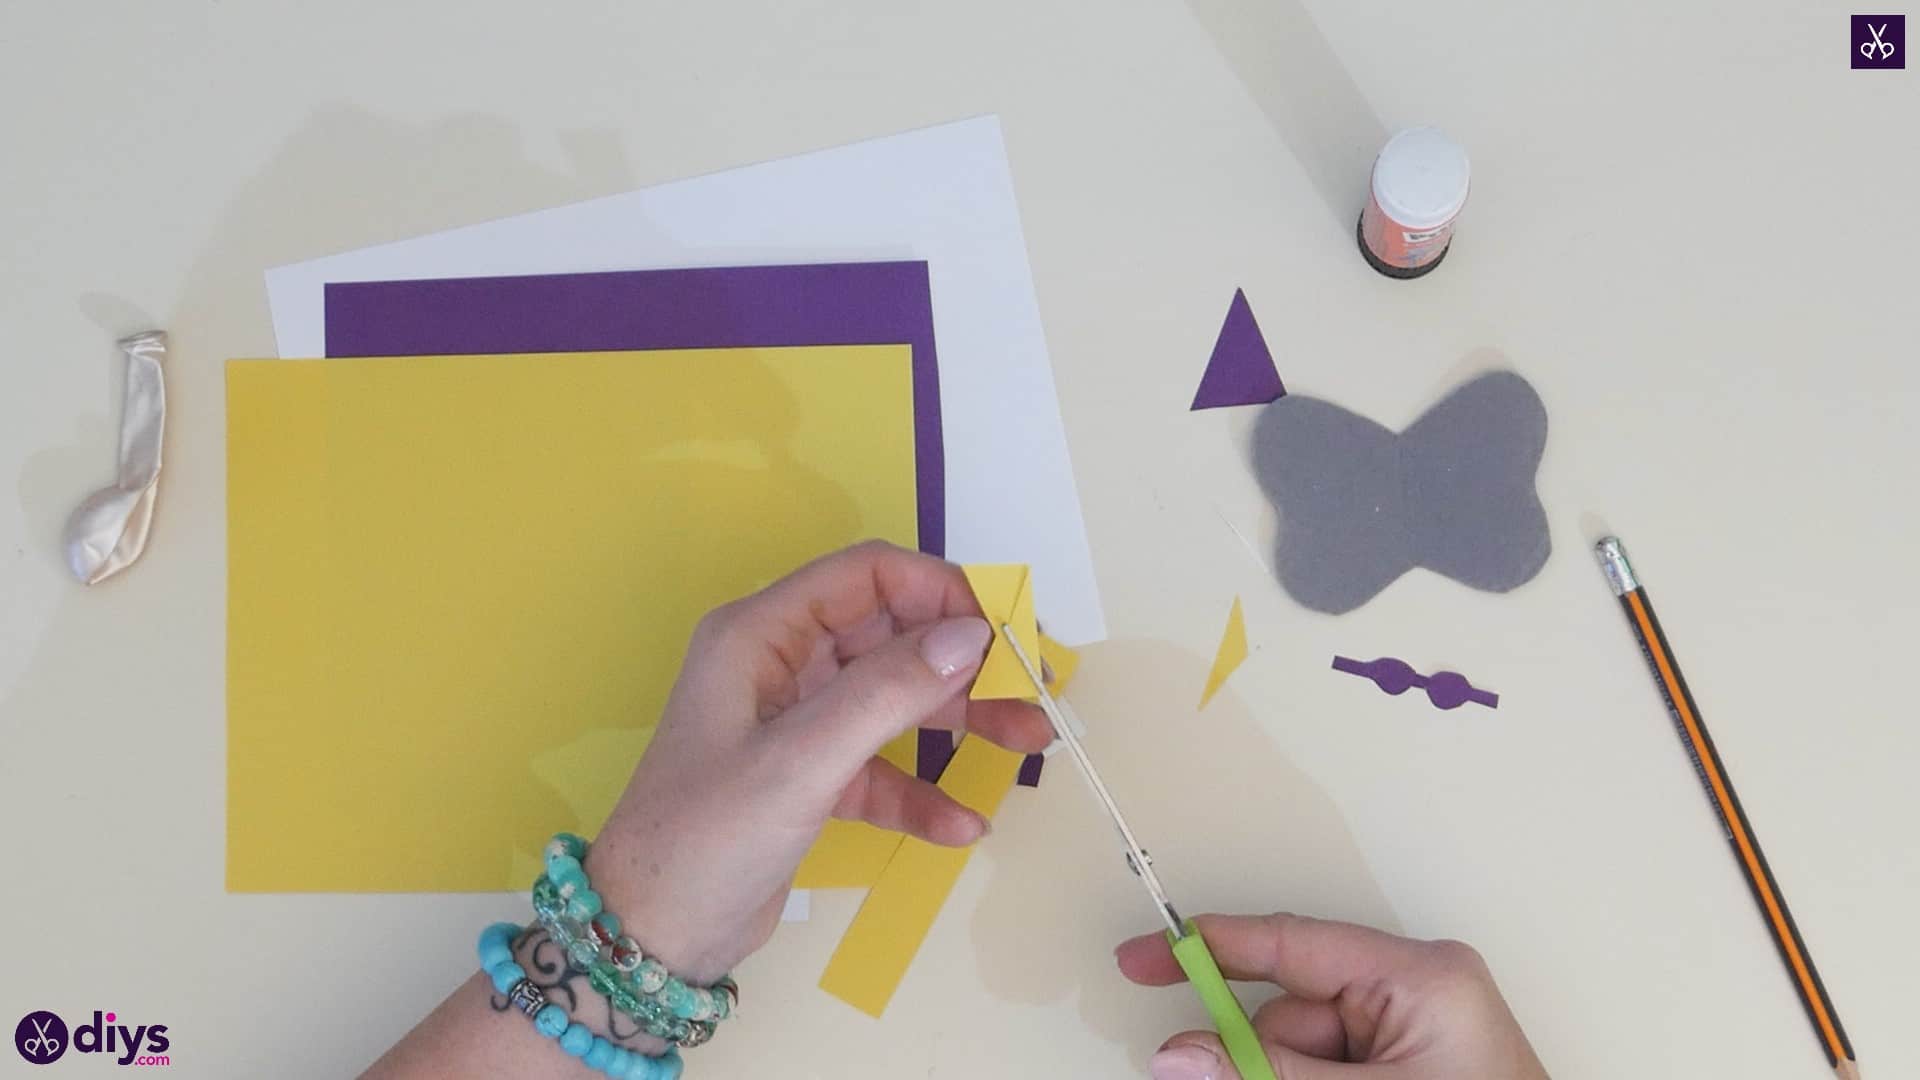
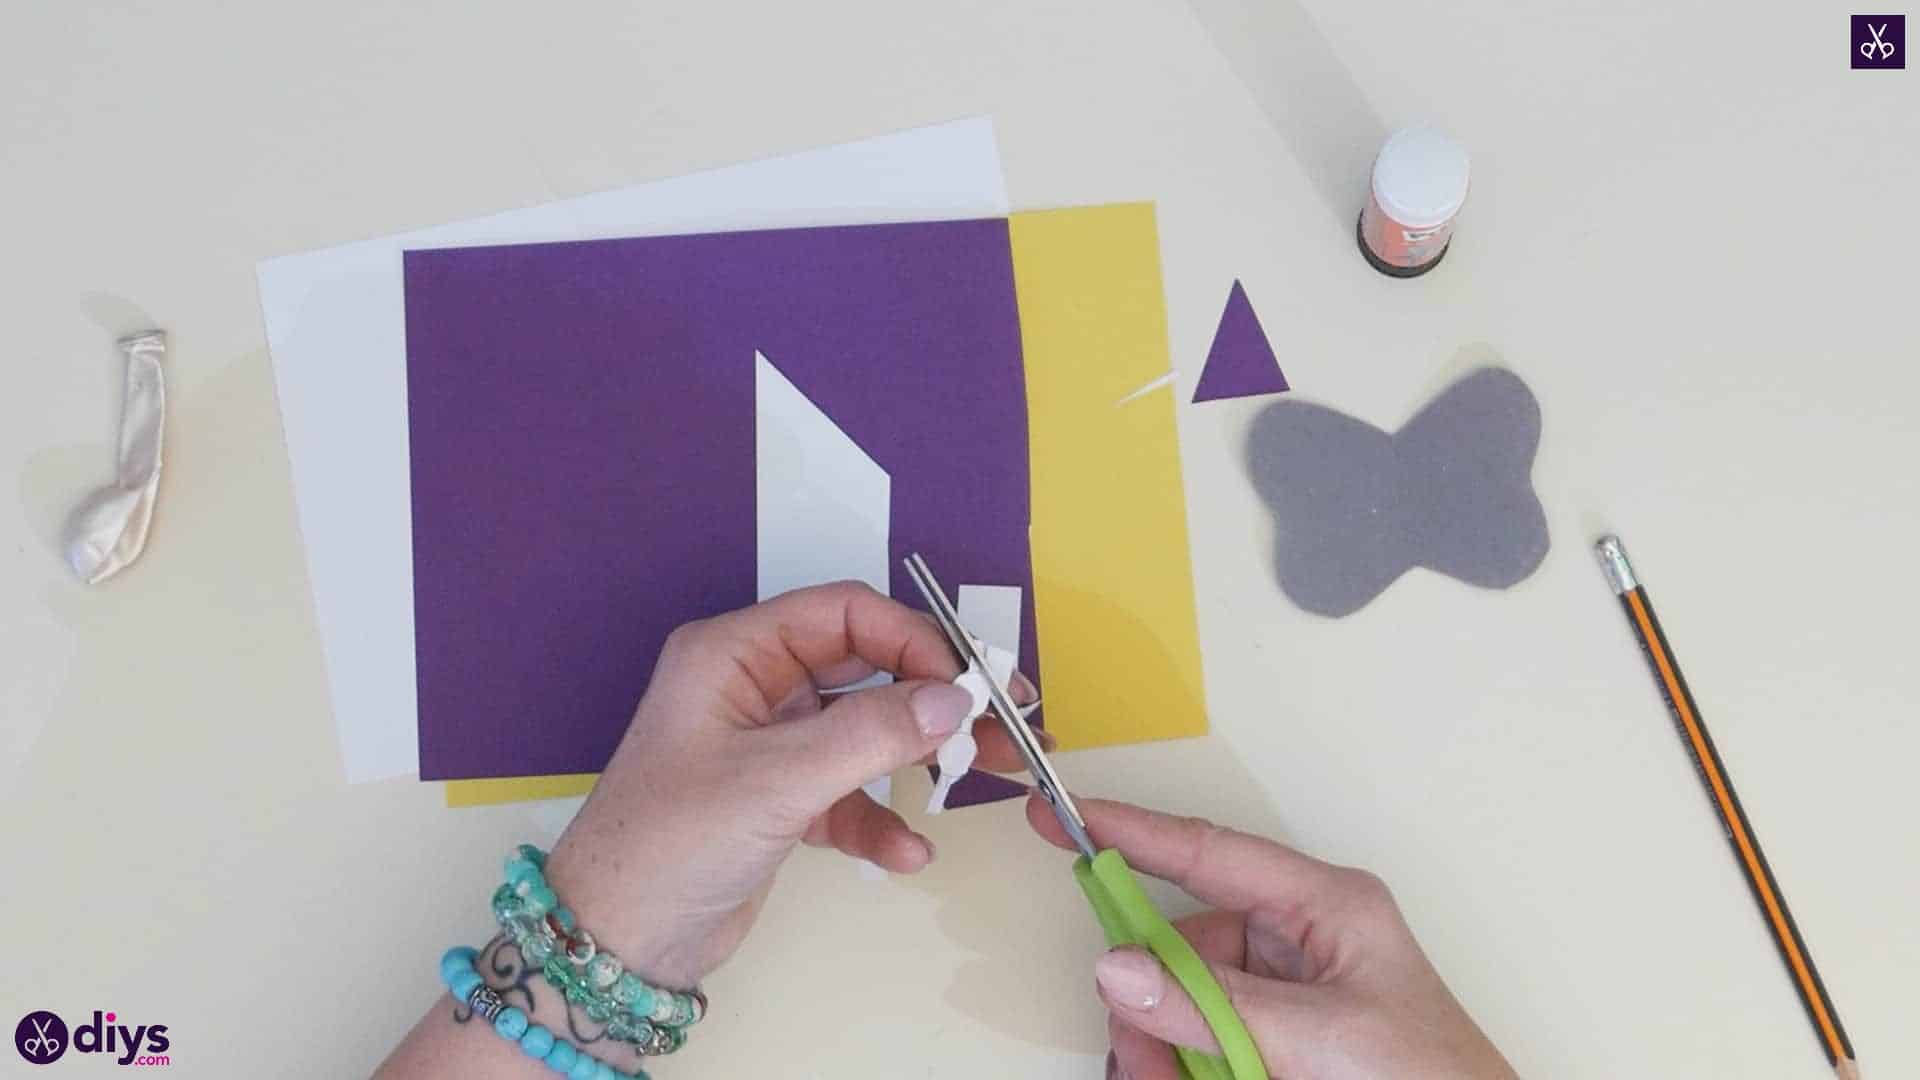
- Paper (purple and yellow)
- White cardstock
- Scissors
- Glue stick
- Grey felt
- Googly eyes
- A pencil
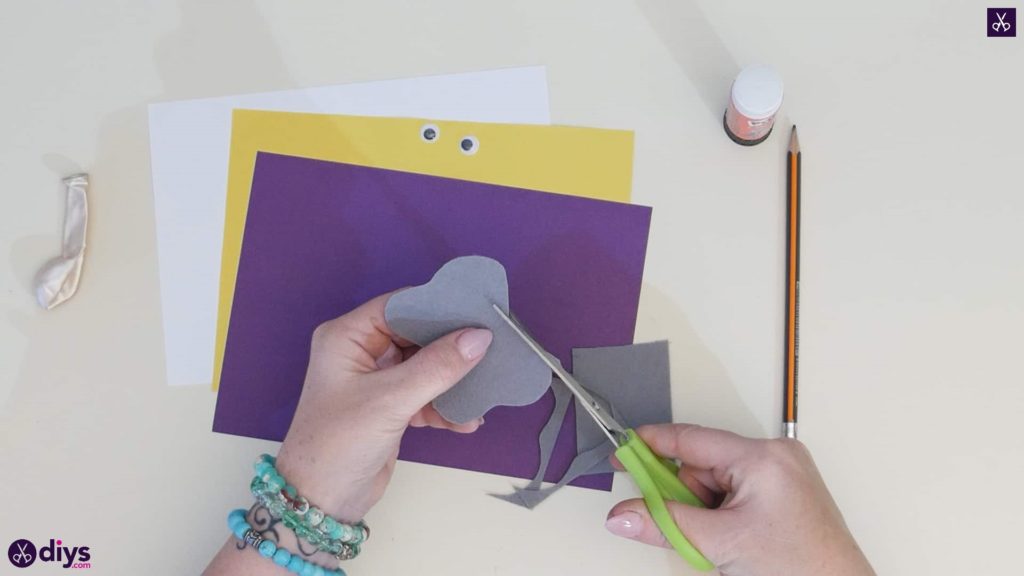
Step 1: Cut the ears
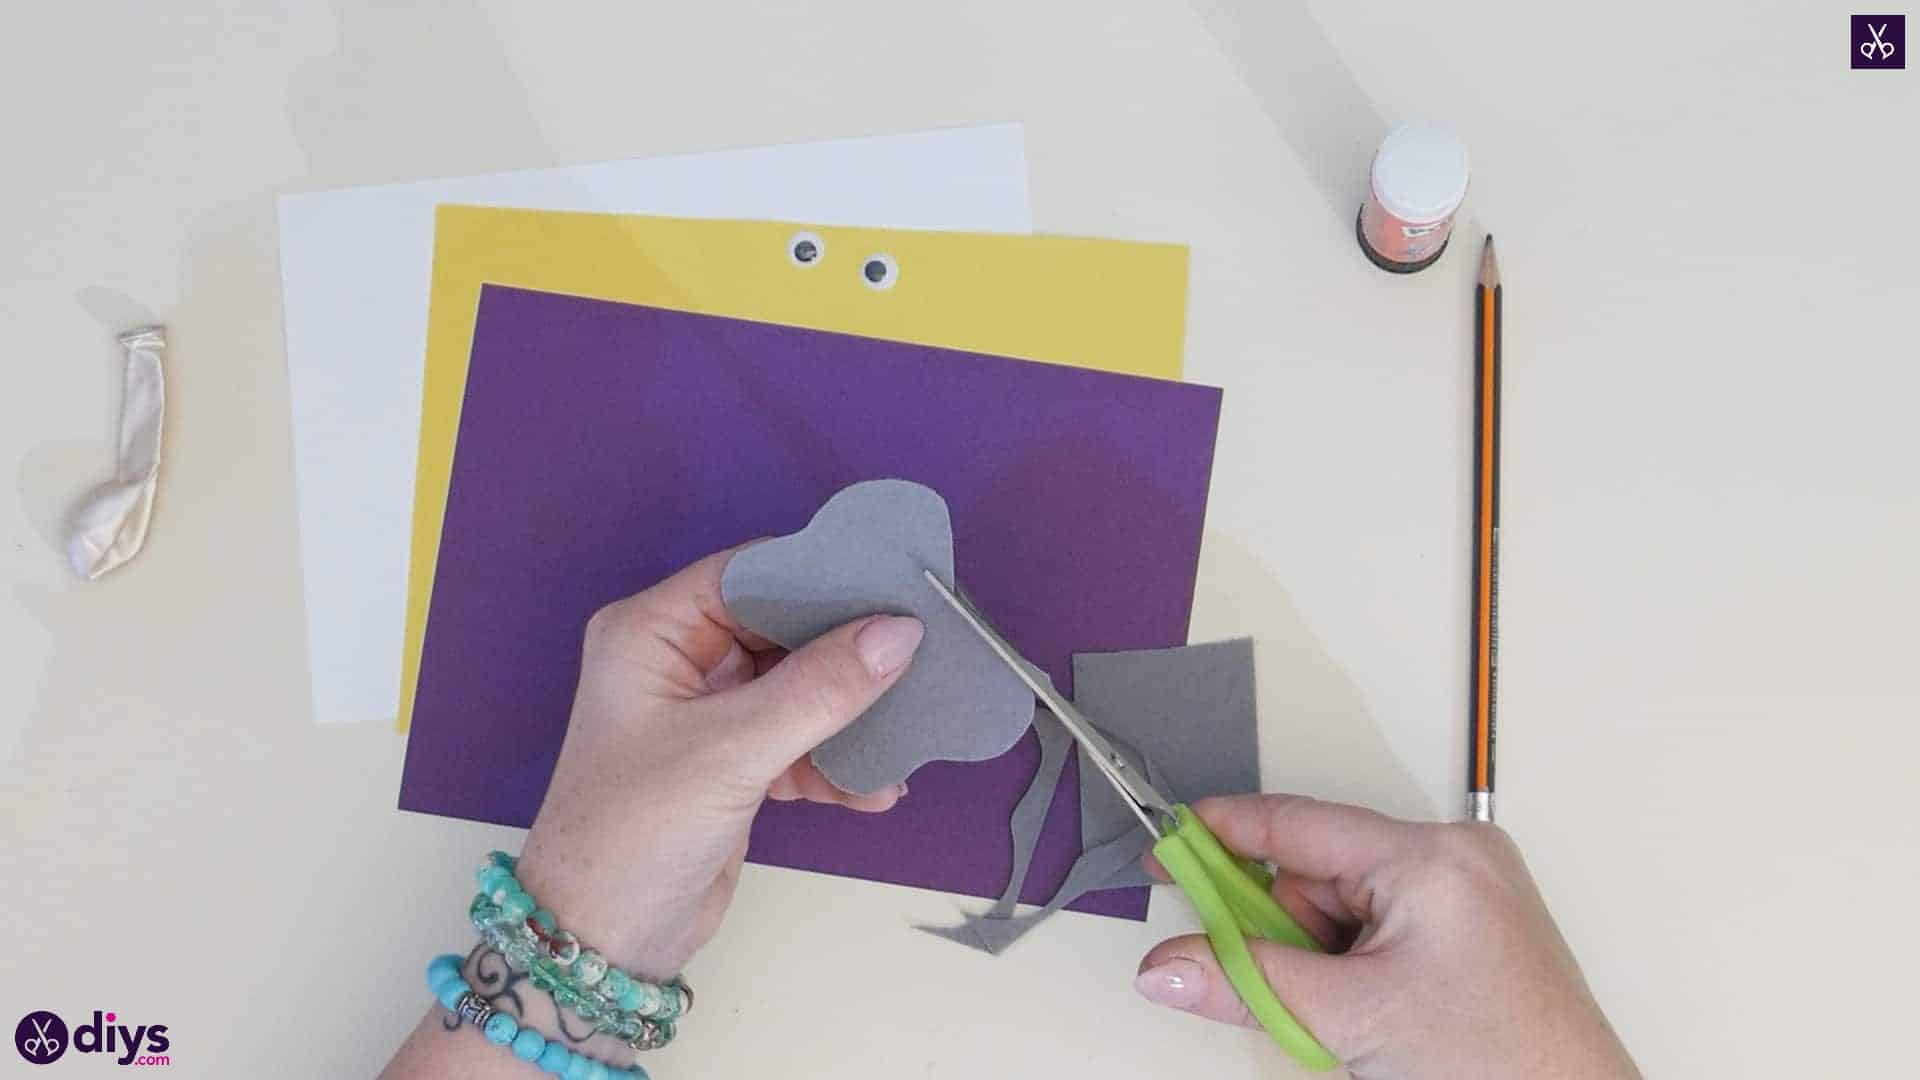
Cut out the shape of your elephant ears from your grey felt! I did this by cutting our a rectangle about four inches by two inches, folding it in half along its vertical axis so its side edges meet evenly, and then cutting a shape like a butterfly wing from the creased edge, out towards the open edges, and back towards the creased edge. You want to cut throughboth of your folded layers at once so you actually get two of the same shape, but you donot want to cut down the creased edge that’s left; leave in in tact so that the two are attached and, when you open the piece out, you have ears that are of equal shape and size but that are mirror images of each other on either side, attached in the middle like one piece. Set your ears aside for the moment.
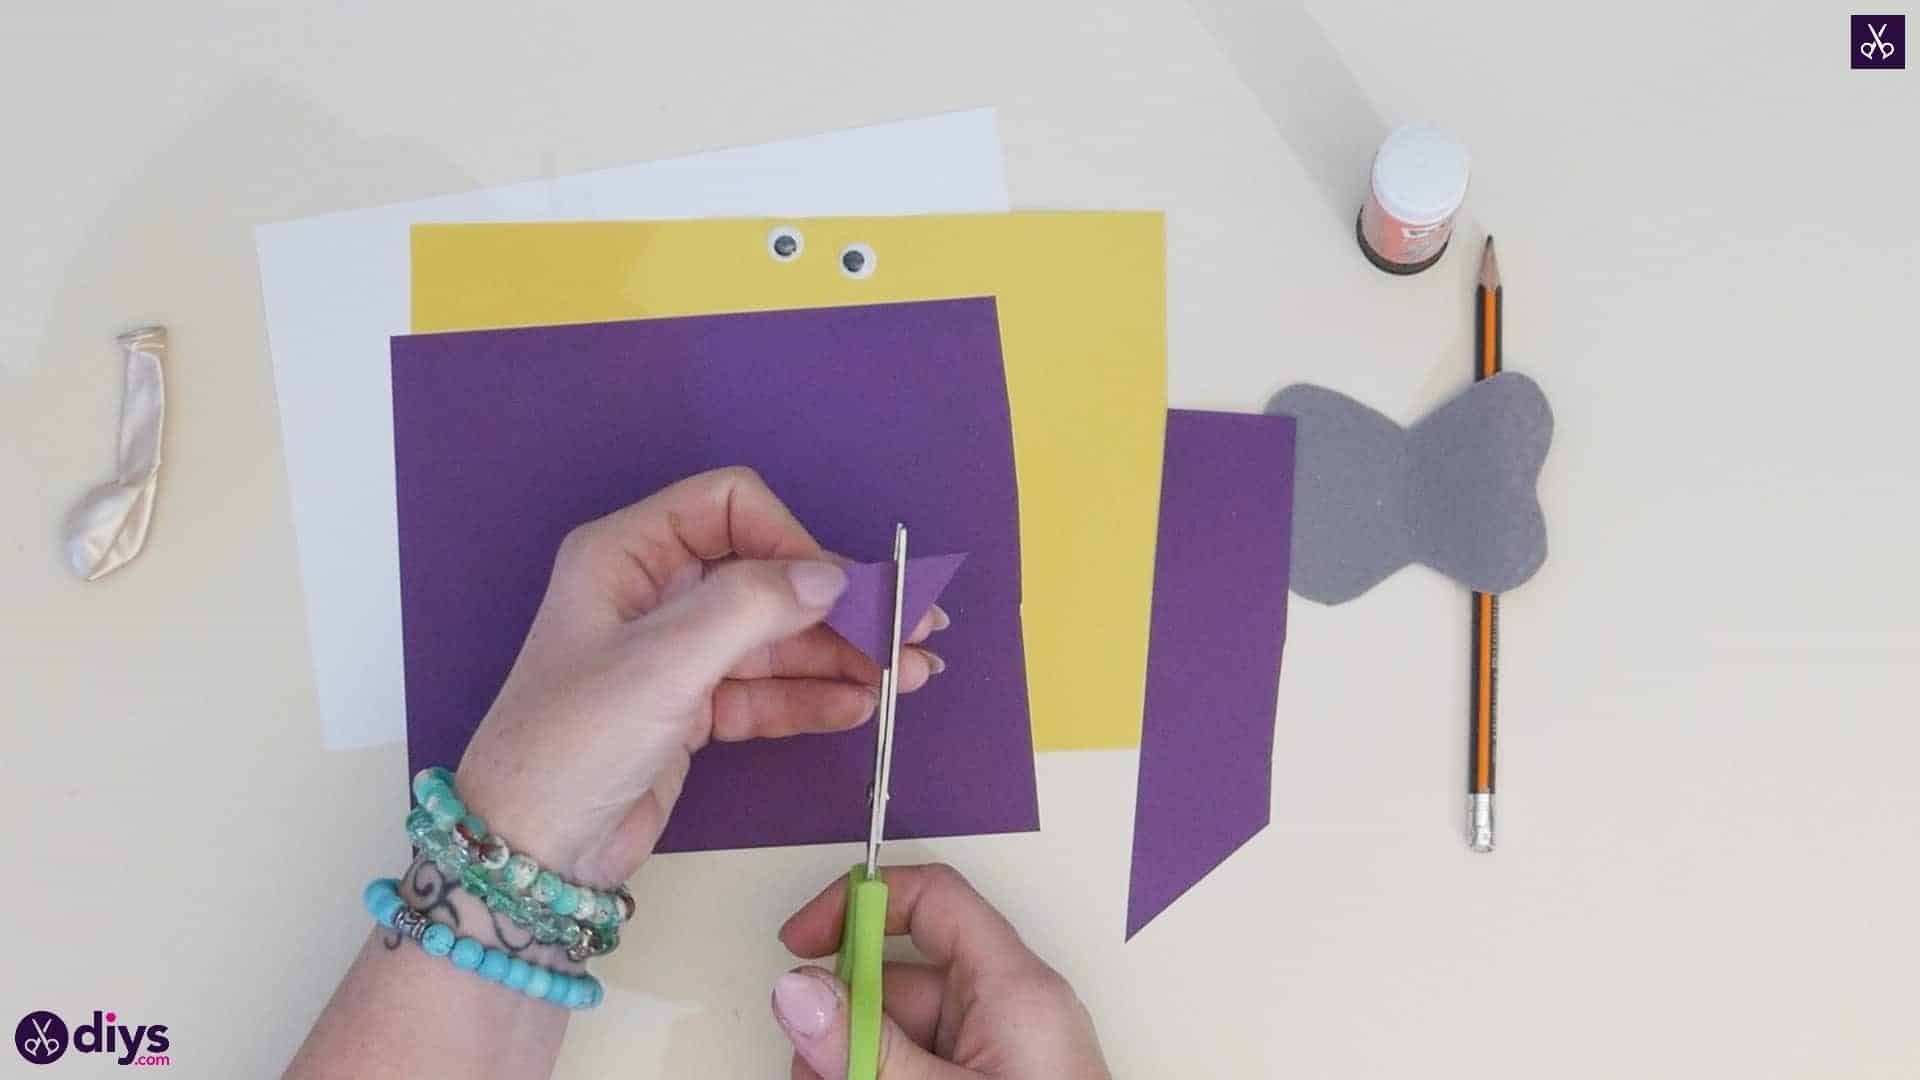
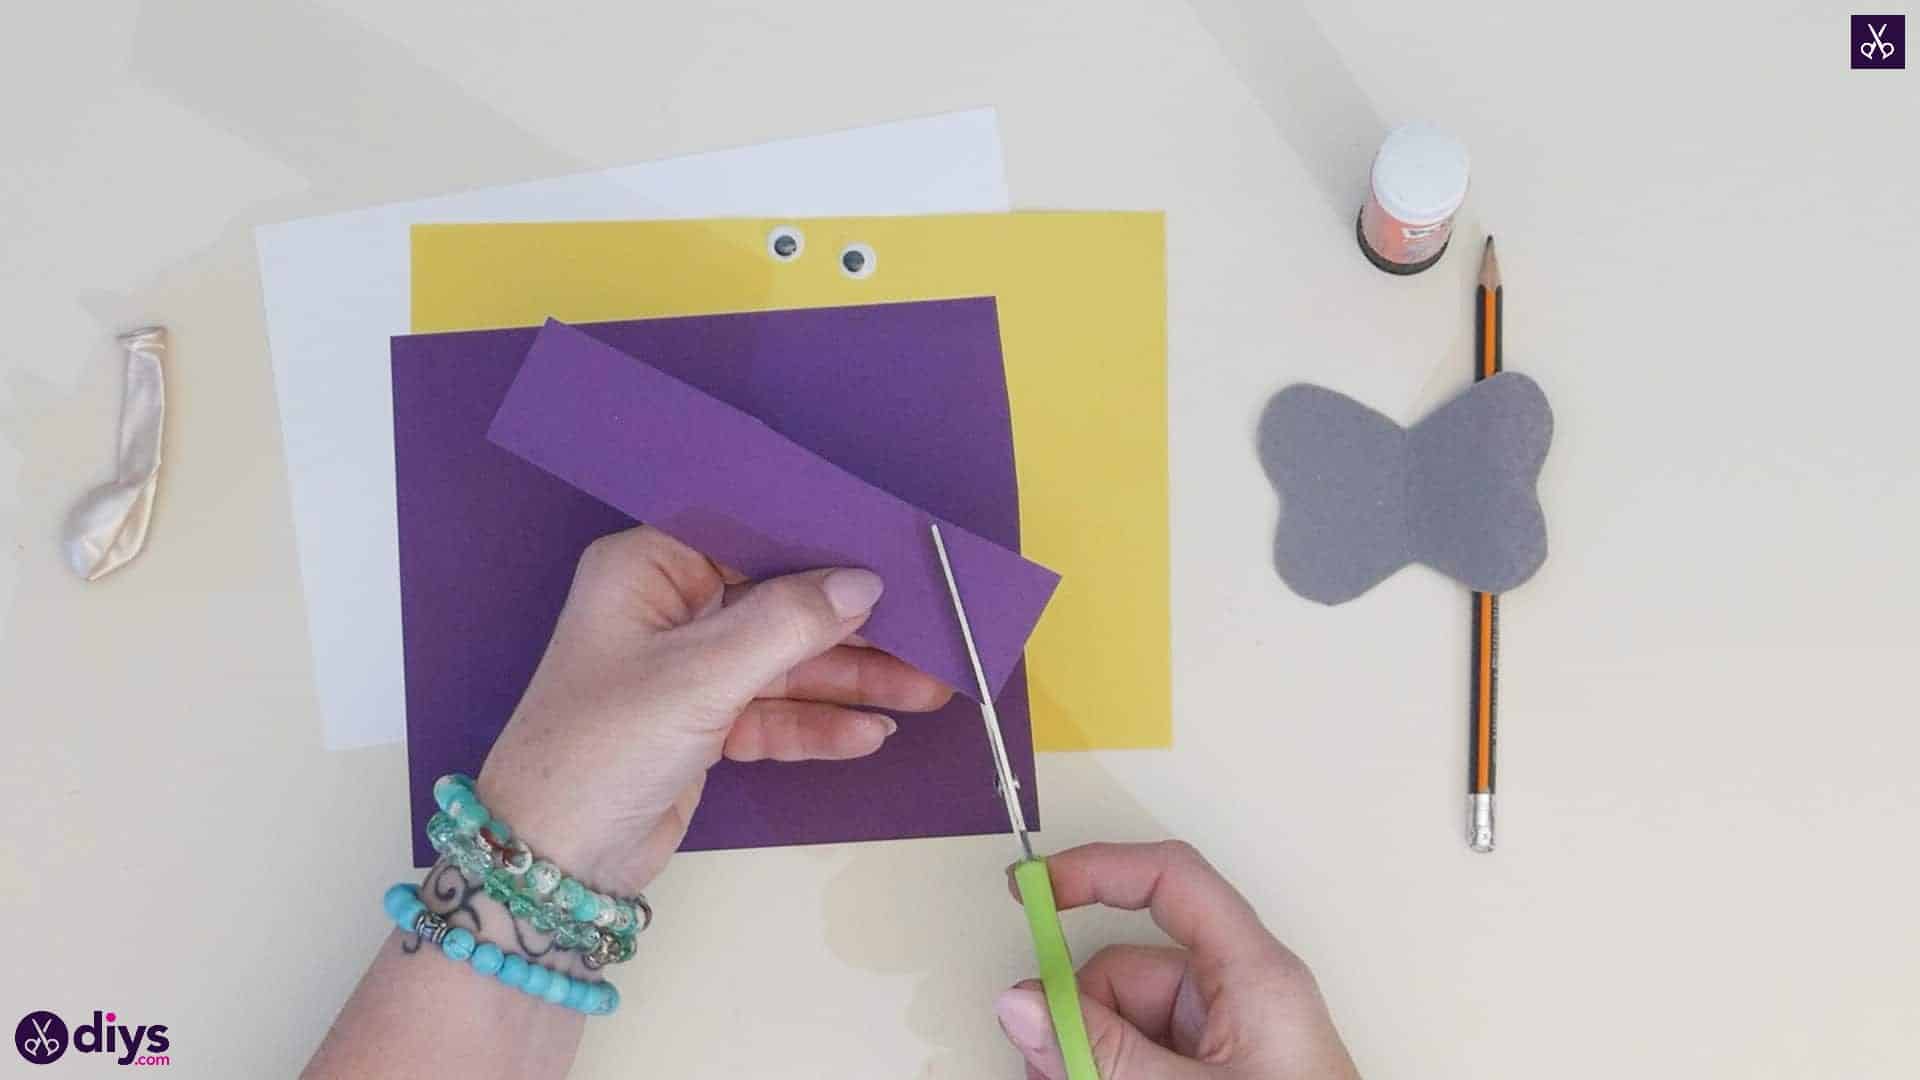
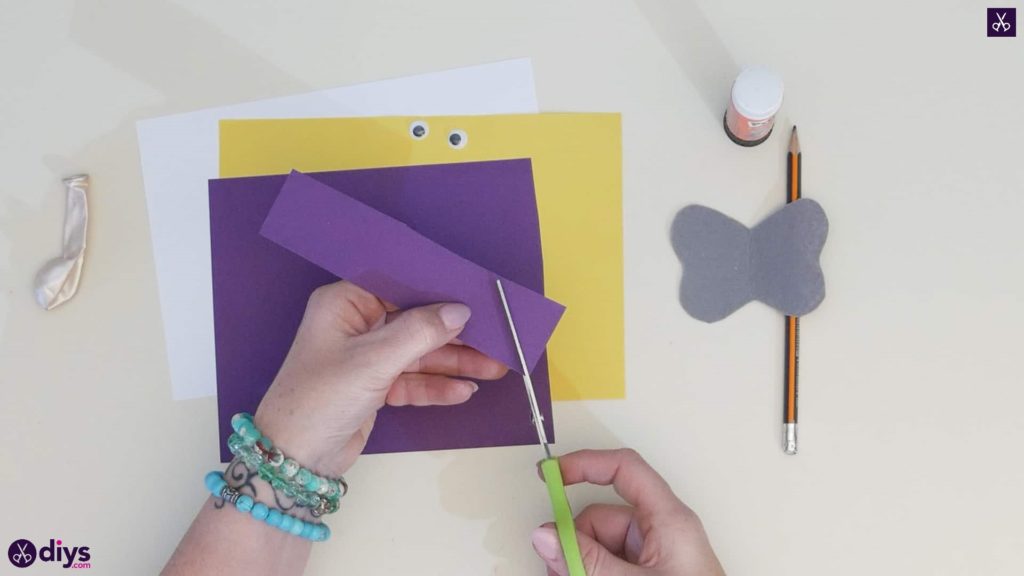
Step 2: cut a triangle
Cut a little triangle shape from your purple paper that looks a little like a birthday hat! You want the angled diagonal edges of the triangle to be even and symmetrical. I made mine about half an inch wide by half an inch tall. Set this aside for the moment as well.
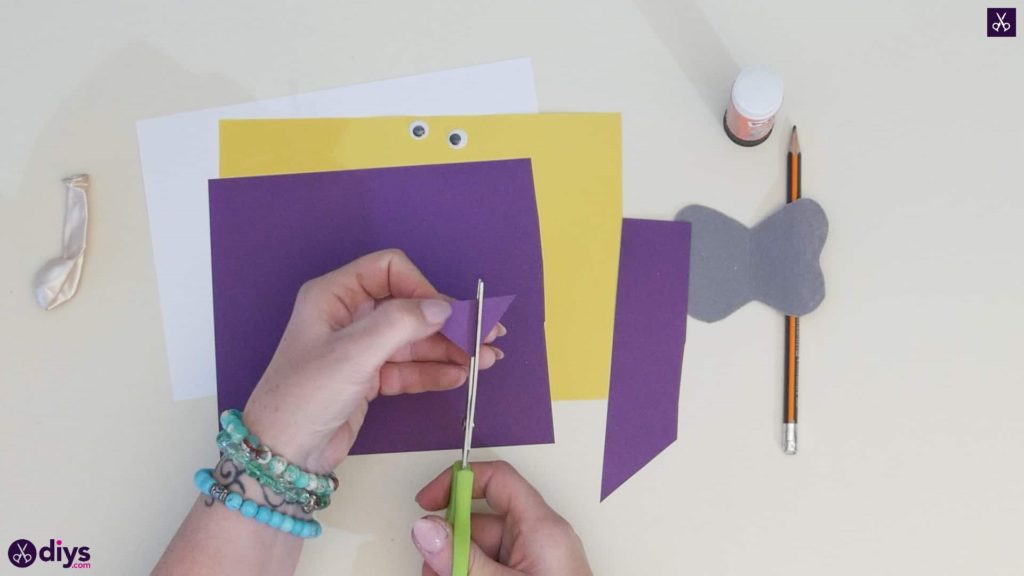
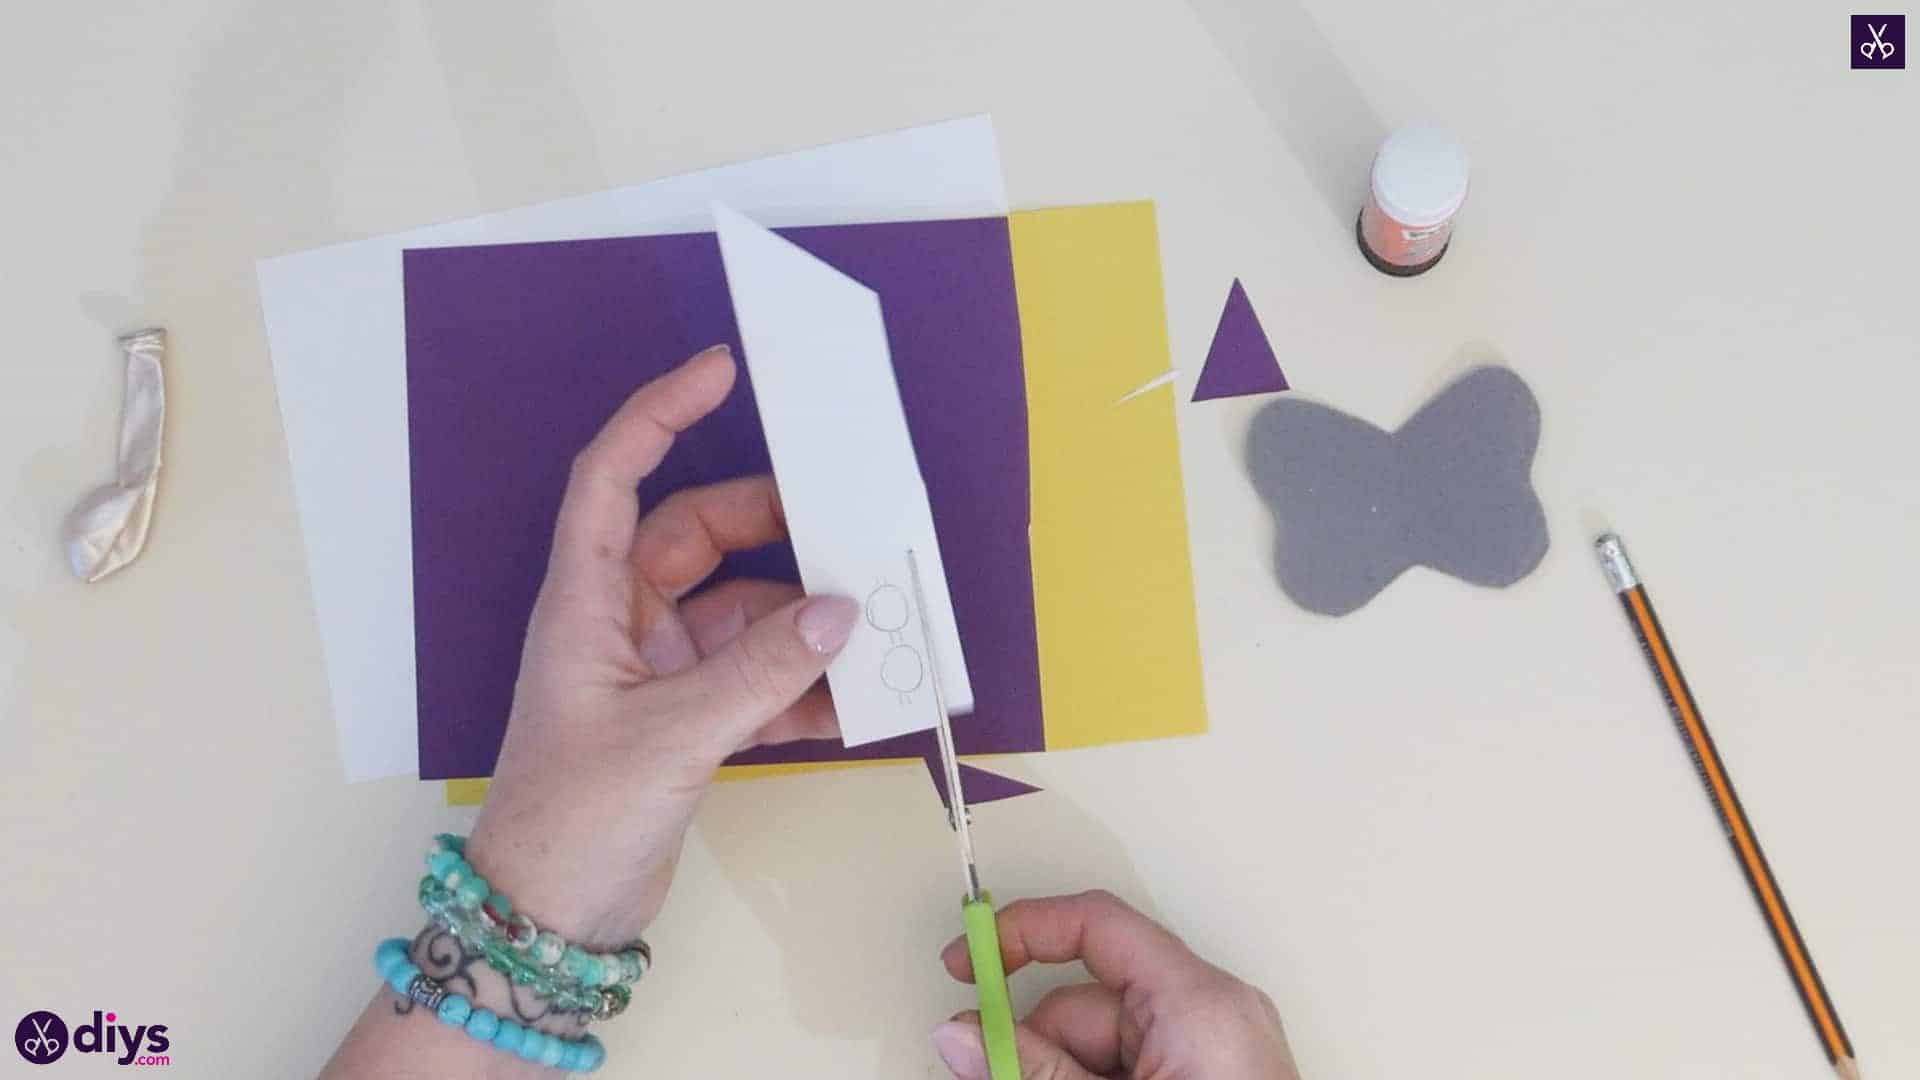
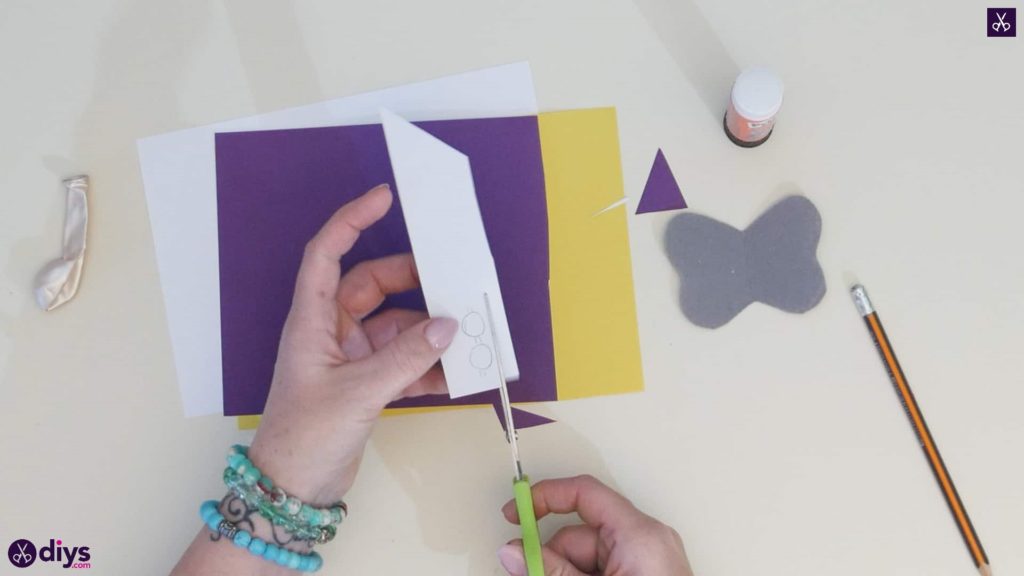
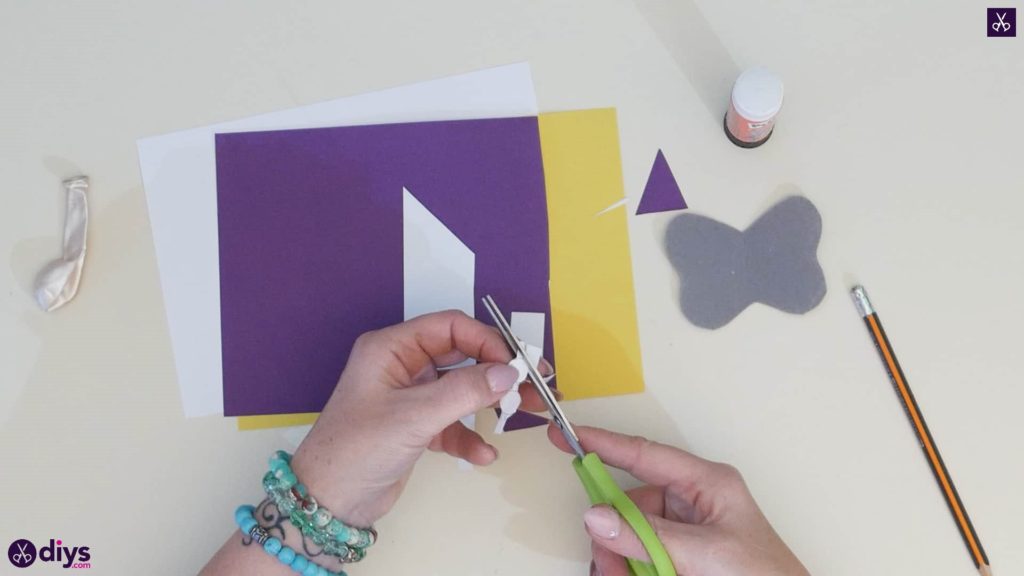
Step 3: the eyes
Now use your pencil to draw a shape like sunglasses on your purple paper, then cut it out. I made sure to make the sunglasses about half an inch wide with circles large enough that I could stick googly eyes to them later. This piece will later be the base of your elephant’s eyes and will also help anchor your balloon in place. I draw my pencil marks on the back side of the paper (that’s why you see it looking white here) and then worked with the purple side once they were cut out; this way you don’t see any pencil marks on the final product when you stick all your pieces into place. Set your glasses aside with everything else.

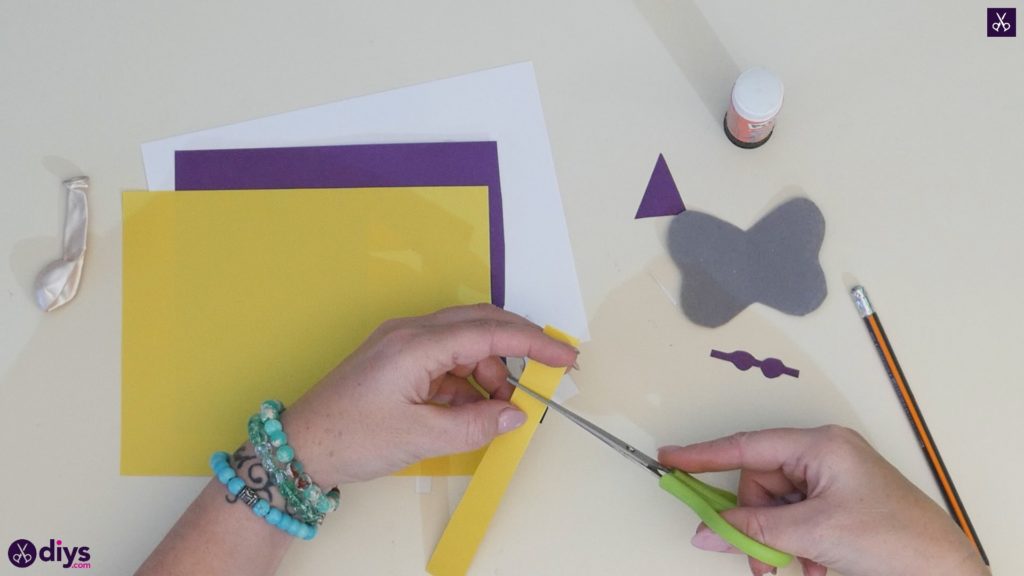
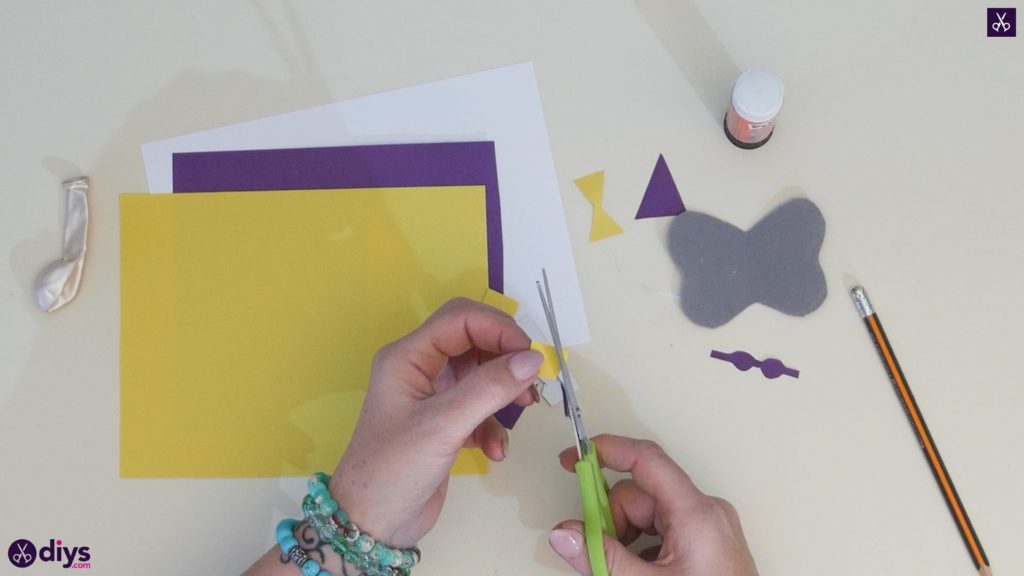
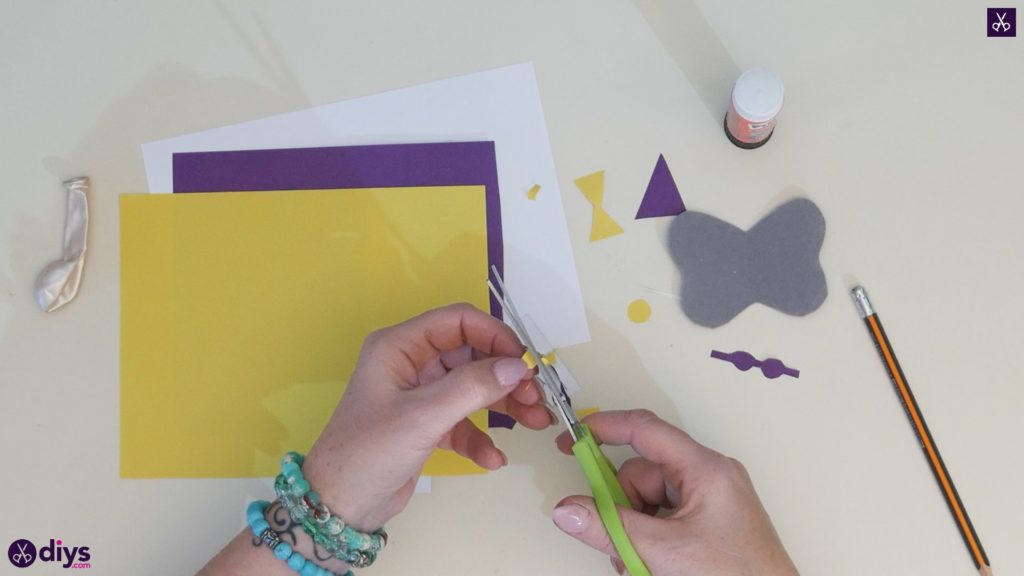
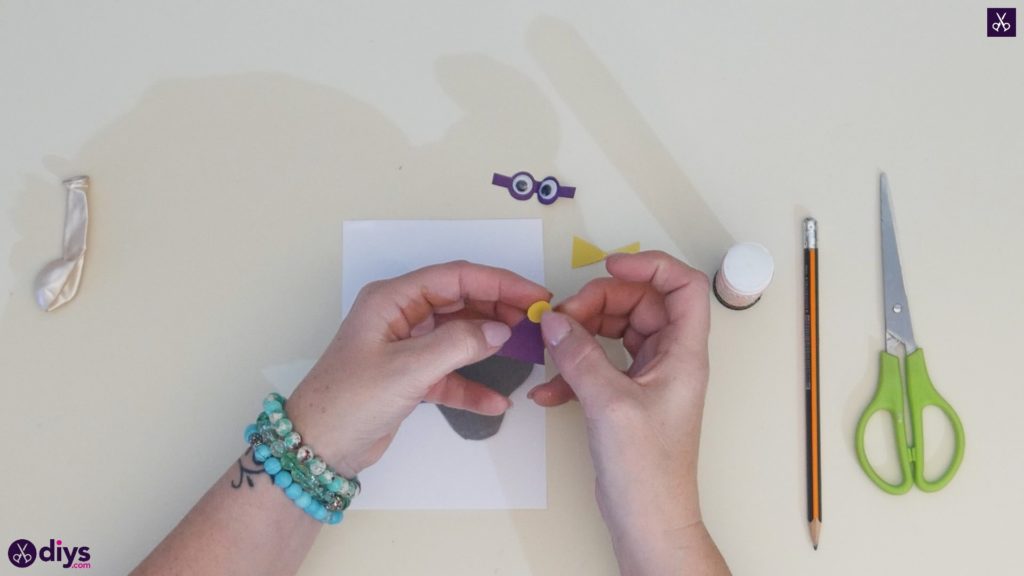
Step 4: pom poms and bow ties
Cut a bowtie and three little pom poms, one larger and two smaller, from your yellow paper! I made the bowtie by cutting a small rectangle that was the length and height I wanted and then, from each long edge, cutting a shallow triangle shape in from the corners, leaving me with a bow shape that’s cinched in the middle and grows outward on each side. I cut my larger circle “pom pom” by cutting a small square about the size I wanted and then using my scissors to round the pointed corners and straight edges off. I used the same method to make my smaller pom poms too, but I doubled this rectangle over and cut through both layer at once to get two circles, since I knew I wanted them to be the same size a each other even though I wanted them smaller than my first circle. You now have all of your different elements cut out and you’re ready to build your card and put your elephant together!

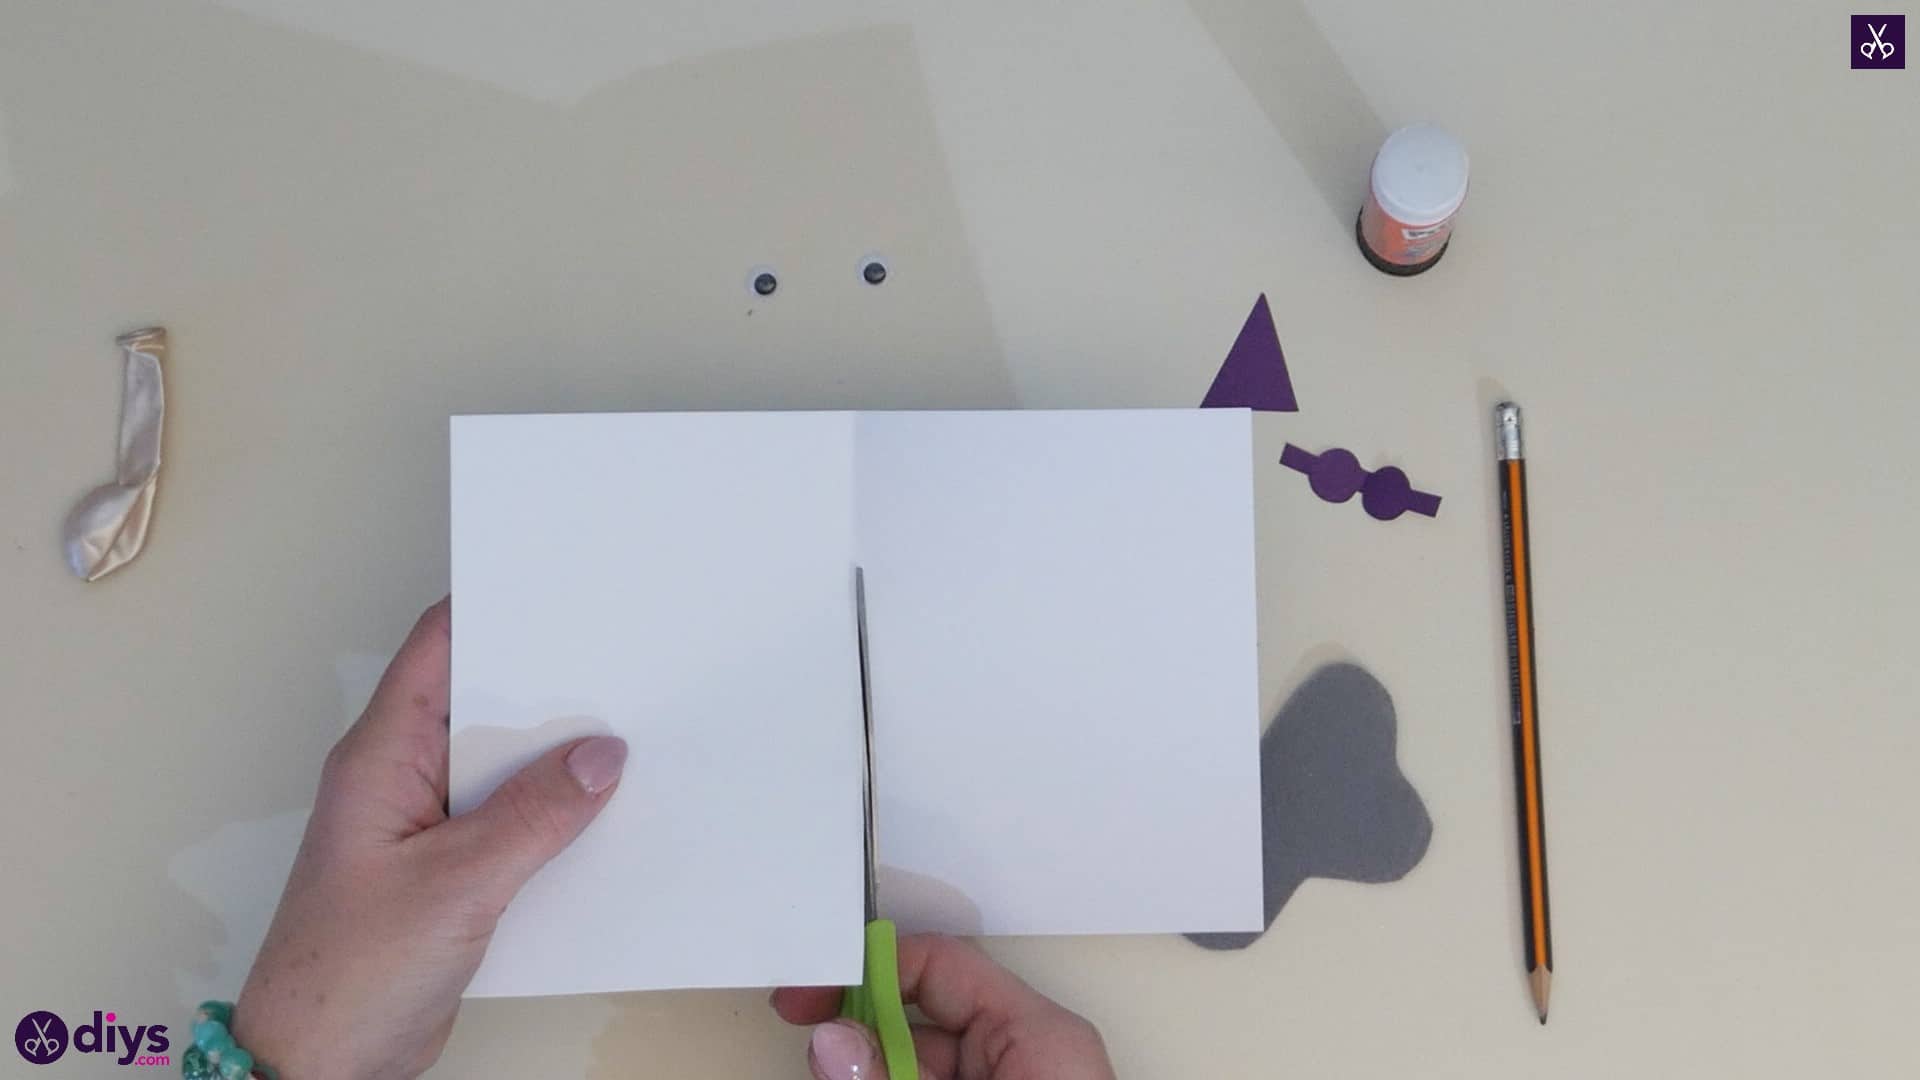
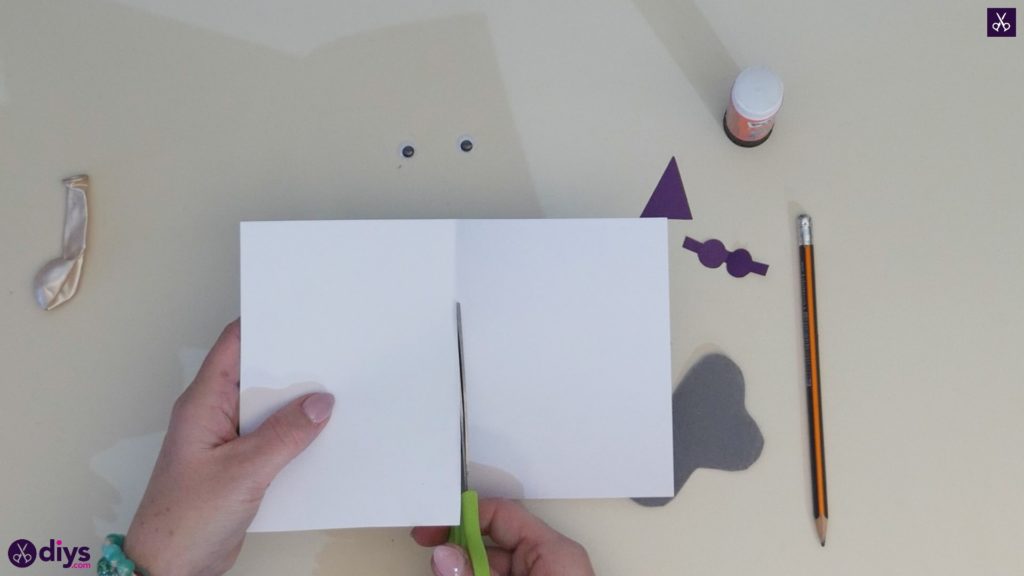
Step 5: cut your card
Cut your piece of cardstock down to the size you’d like your card to be. If you prefer the kind of card that opens to writing on the inside and has a design on the front, you might just fold the piece in half. I like to make a design on the front and simply flip the card over and write a message on the back, so I turned my piece of cardstock landscape, folded it in half from side to side to mark a crease at its centre point, and then cut along that line to make a card half the size.

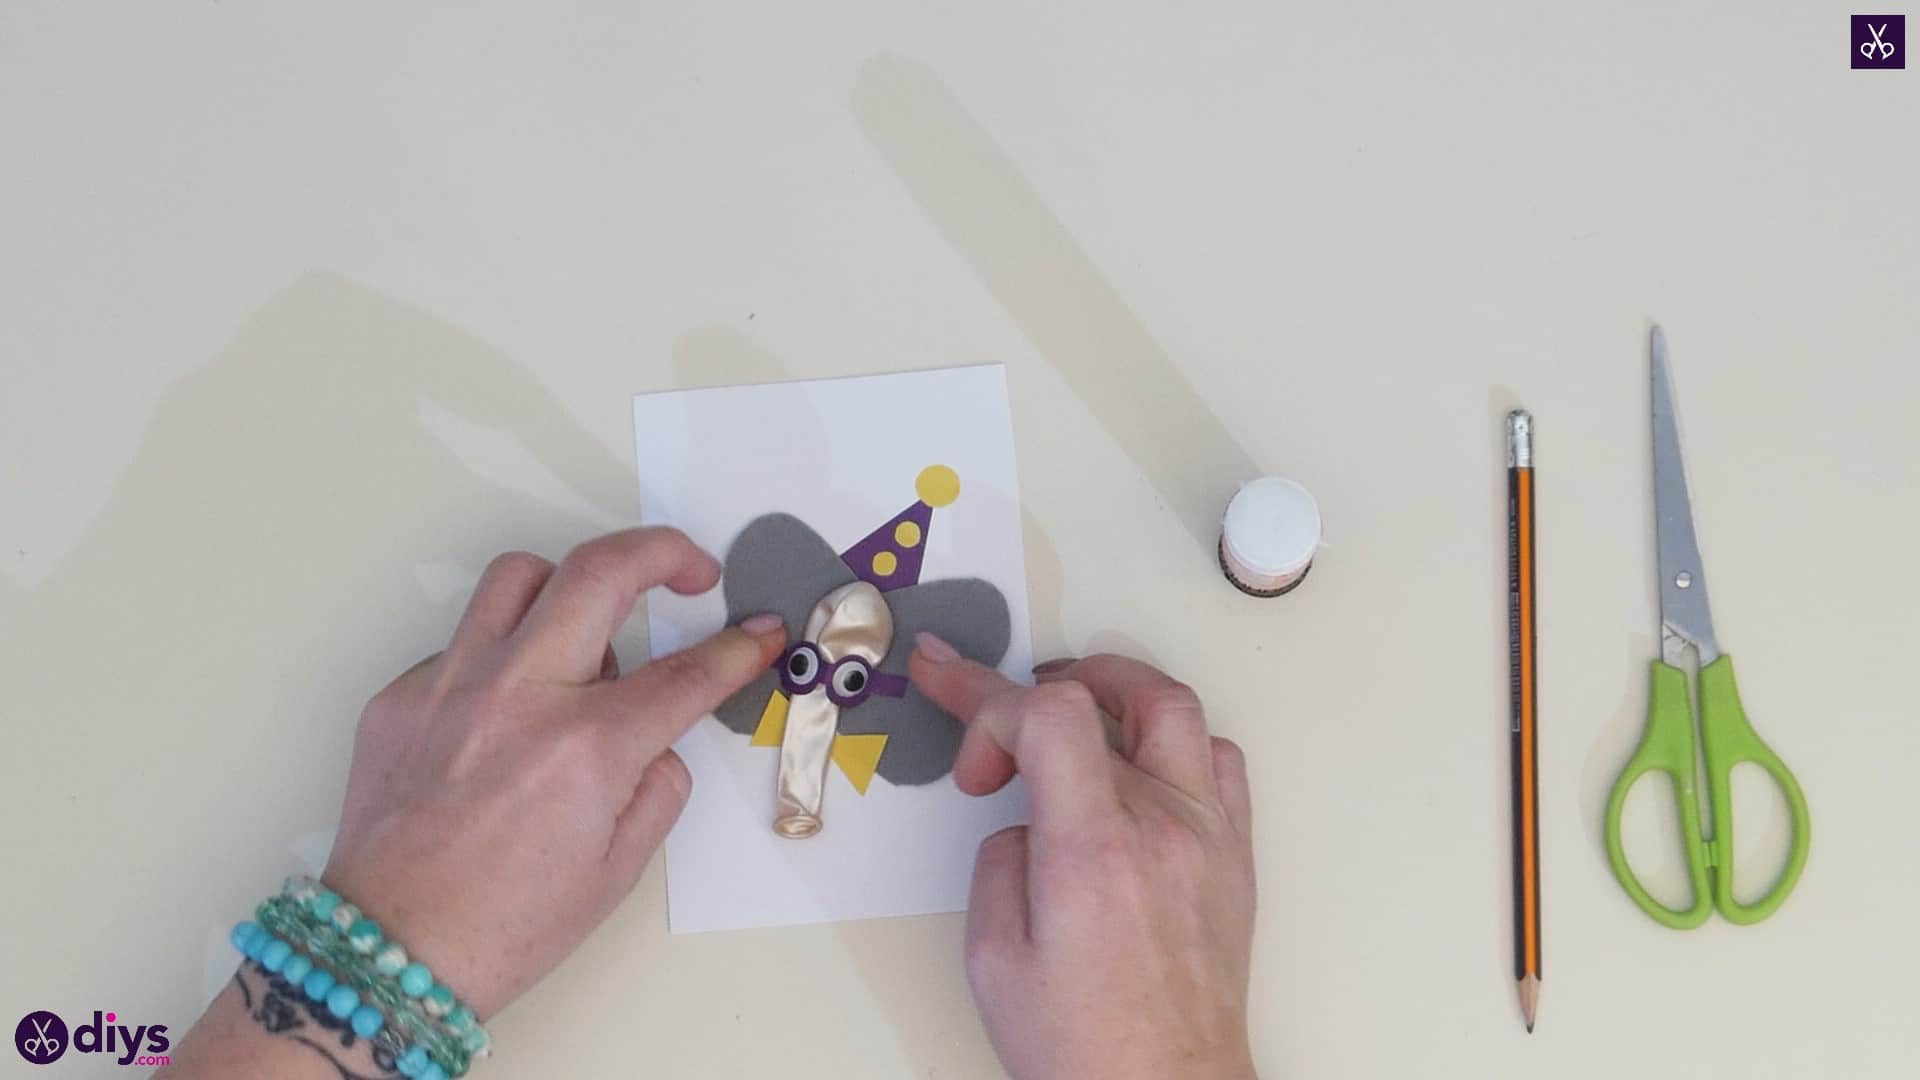
Step 6: apply eyes
Apply glue to the backs of your googly eyes and stick them into place on the rounded parts of the little sunglasses you cut out before. Then you can set this piece aside once more for just a moment.
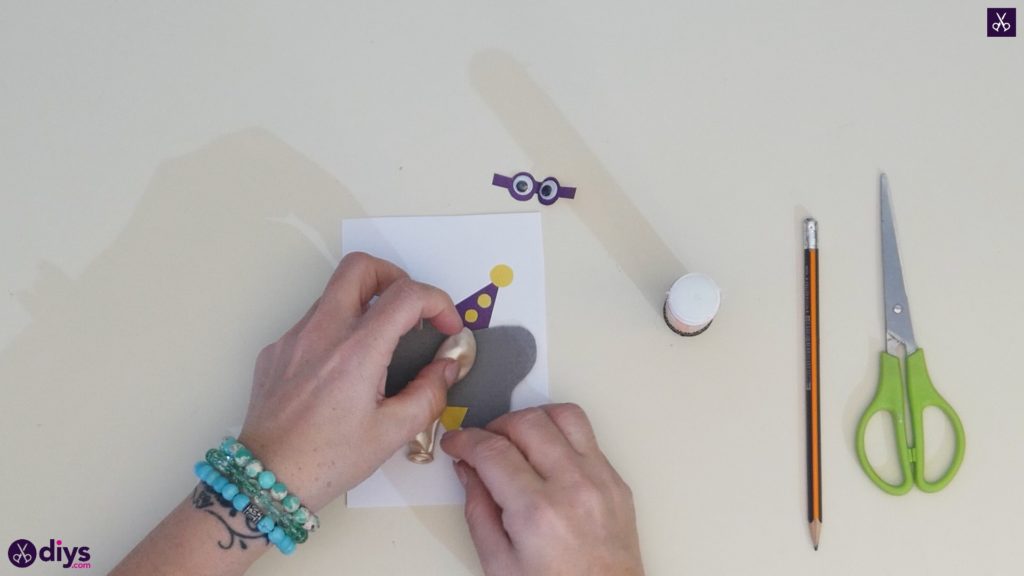
Step 7: glue ears
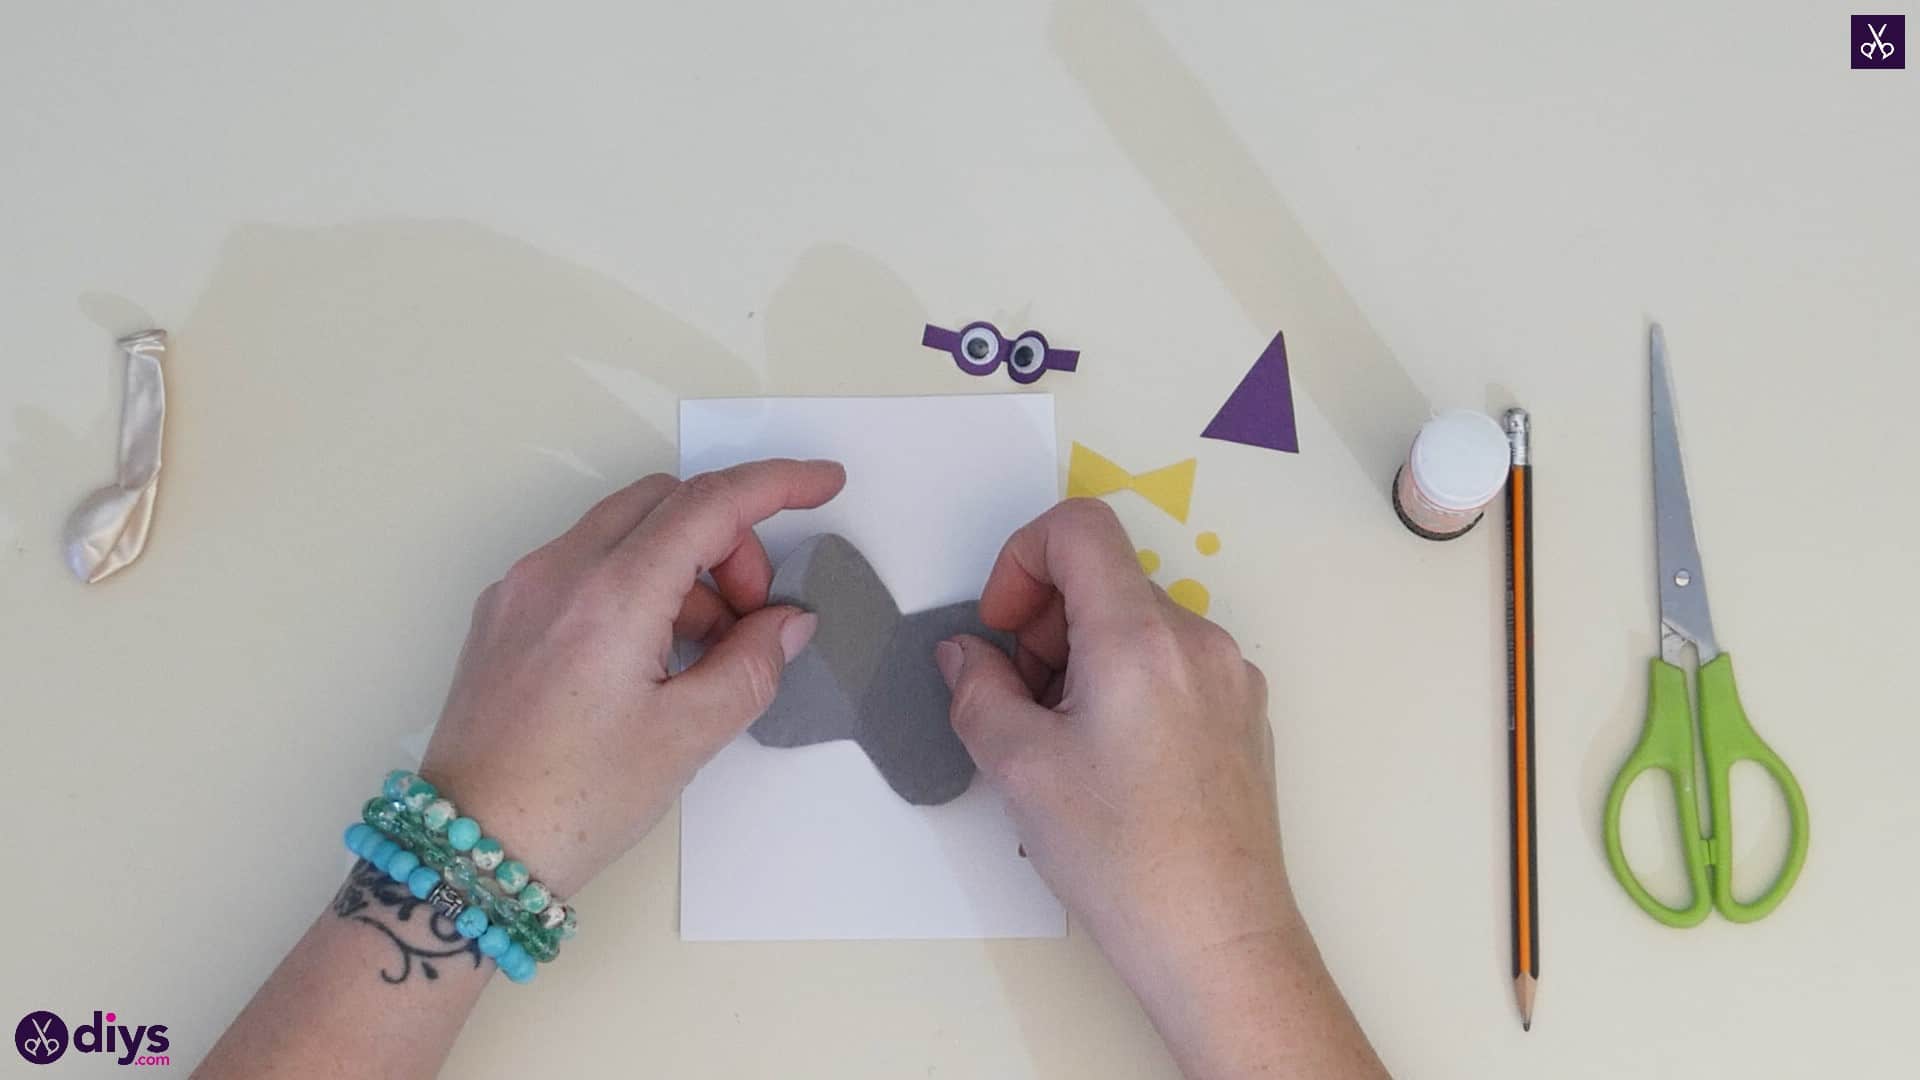
Glue down your grey felt ears on the front of your card! Instead of applying glue all over the backs of your ears, however, you’ll only apply it down the crease when you fold your ears in half. This way, the ears themselves are free to move around in a way that looks almost 3D but they’re still anchored well.

Step 8: start assembling
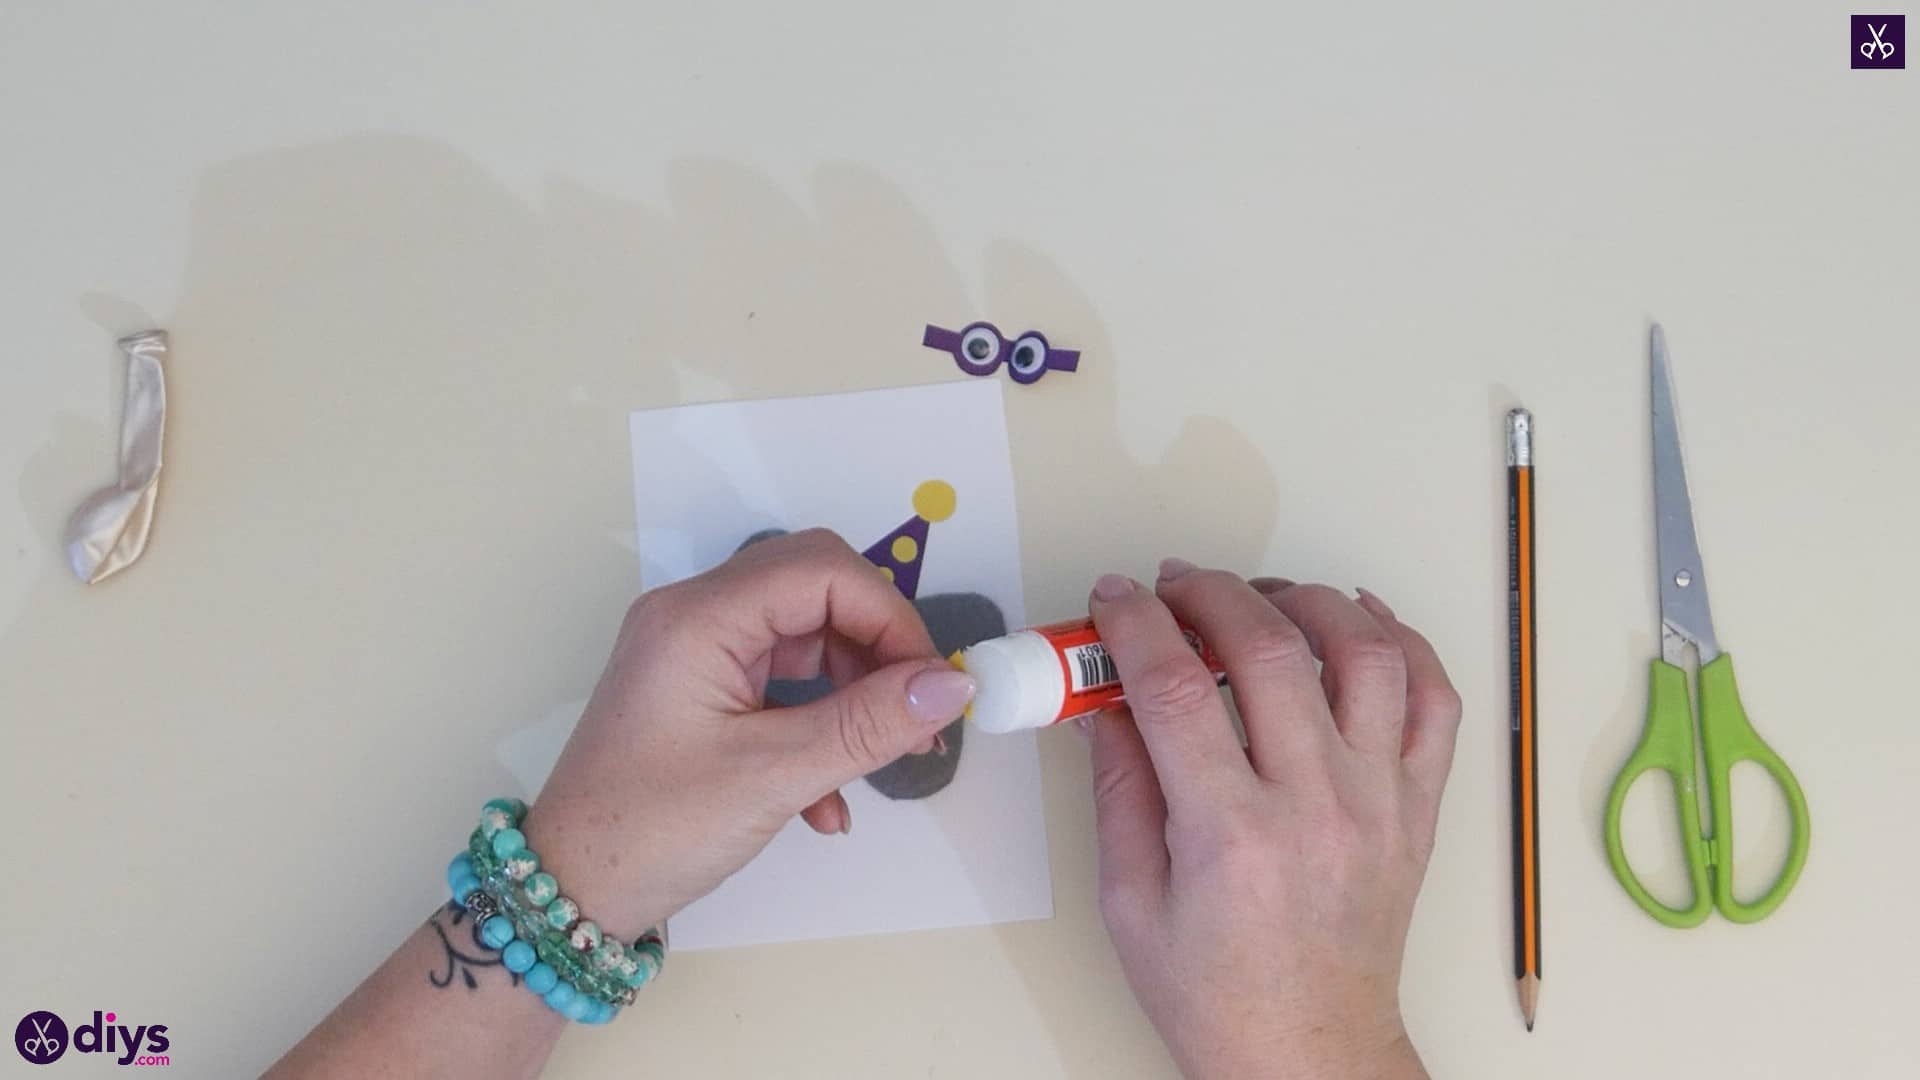
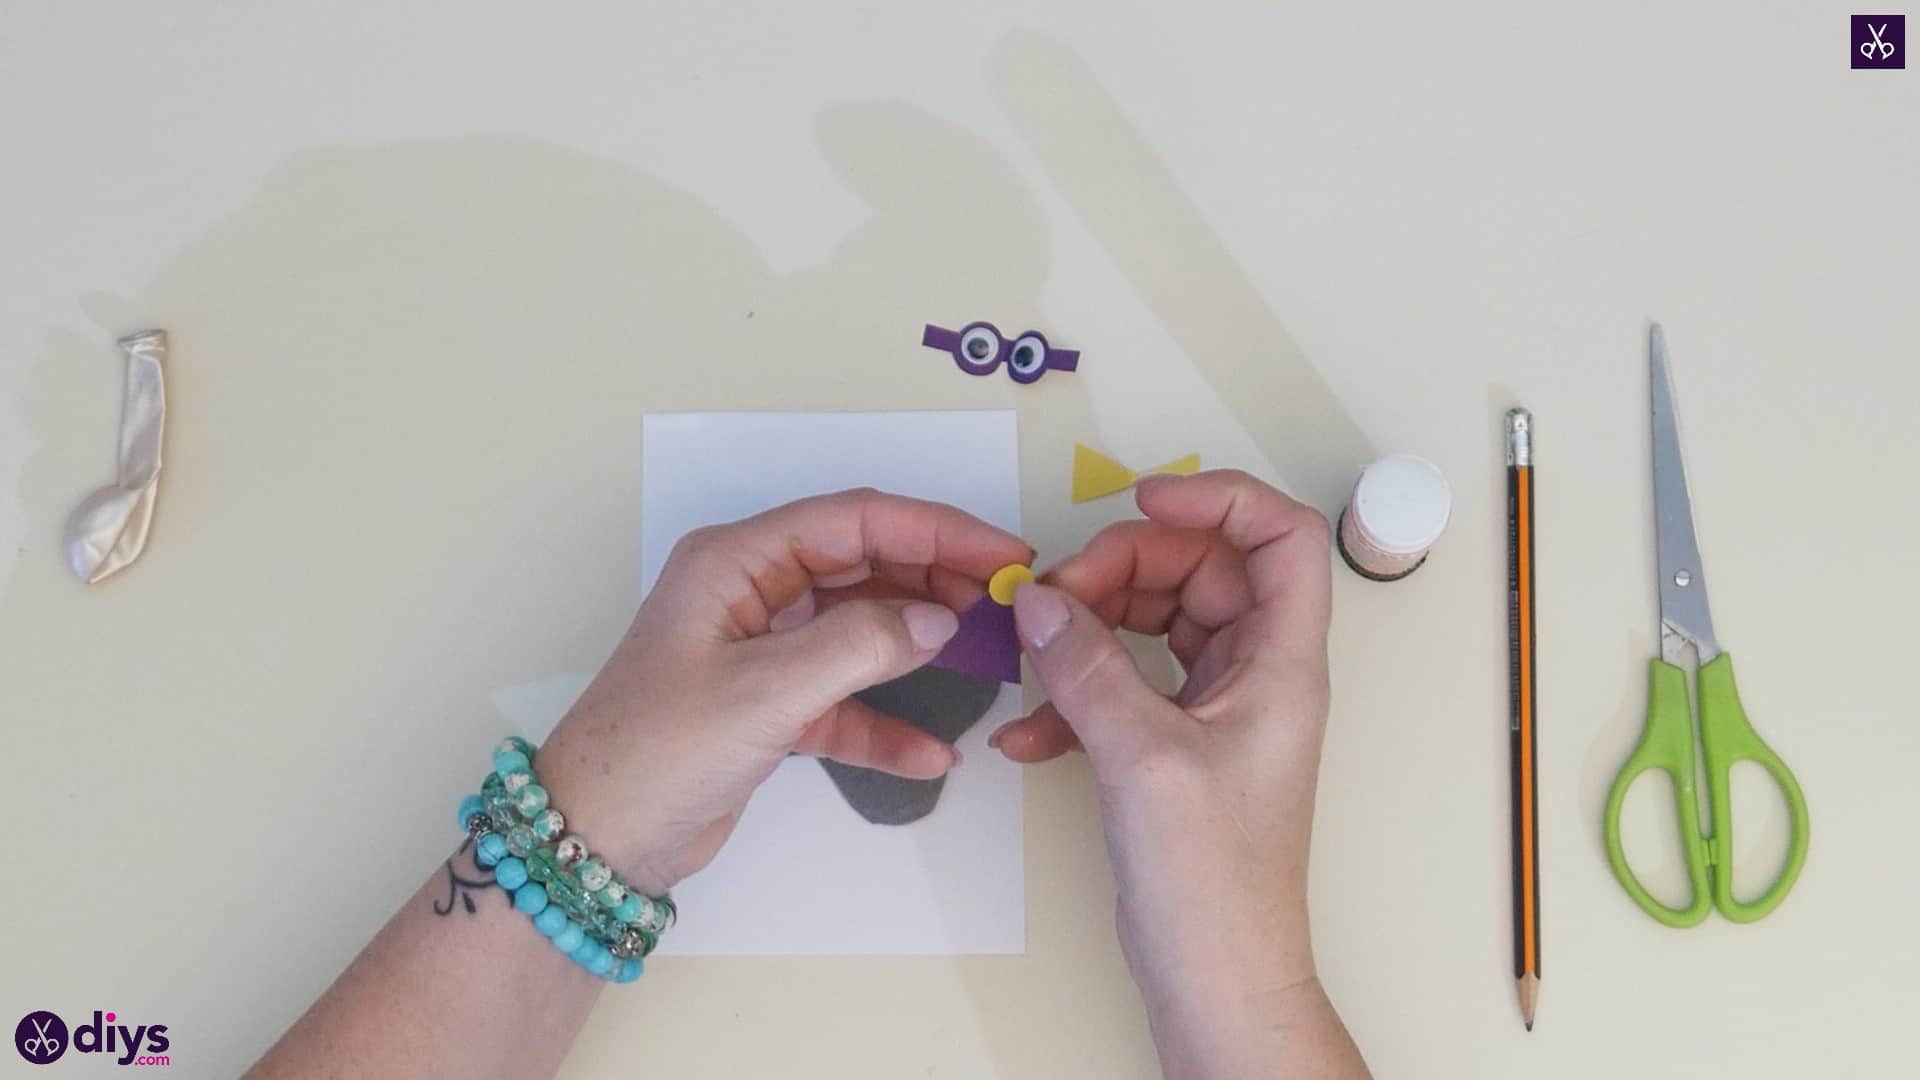
Apply glue all over the back of your purple triangle and stick it down on the white card just behind the felt ears on the white birthday card so it looks like your elephant is wearing a birthday hat. Then apply glue on the back of your larger yellow circle and stick it down right over the tip of the purple hat like a pom pom. Finally, apply glue on the backs of your smaller circles and stick them below the bigger circle in a vertical line on the hat, like a row of detail pom poms.

Step 9: add bow tie
Now apply glue on the back of your yellow bowtie piece and stick it down just below the ears, right at their base.

Step 10: add balloon
Apply glue to one side of your deflated balloon, on its top circle, and stick it down right in the middle of your ears so its flattened edge is lined up with the top edge of the dip between them. The way the circle flattens forms the elephants face, while the stem of the balloon forms its trunk!
Step 11: add glasses
Apply glue to the back of the purple sunglasses piece that you glued your googly eyes onto before and stick them down horizontally right across the balloon where the circle tapers into the balloon’s stem, or the elephant’s “trunk”.

That’s really all there is to it! Of course, you can always use the basics of this technique and project and get creative with the colours and details as you please. Flip the card over and write a message on it before you gift it! Just in case you’d like to try this project out for yourself, here’s a fantastic tutorial video to help you!