How to Make a Spun Cotton Ball Mouse
Updated on November 19, 2025


In my house, the only thing more popular than doing crafts is animals. Our kids aretotal animal lovers and they don’t even mind which kind you’re talking about, so long as they get to tell you what they like best about any living creature. They even love some animals that a lot of other people are afraid of, like mice! They were thrilled to find a little field mouse in our garden recently, so I promised to help them make a mouse themed craft this week since they were so excited about it. That’s how we found ourselves making these adorable little spun cotton ball mice!
In fact, I liked the project so much that I decided to make one more and outlined the process so other people who think it’s cute can follow along. Check out these step by step instructions complete with photos or keep scrolling to find a whole video tutorial near the end of this post if you prefer.
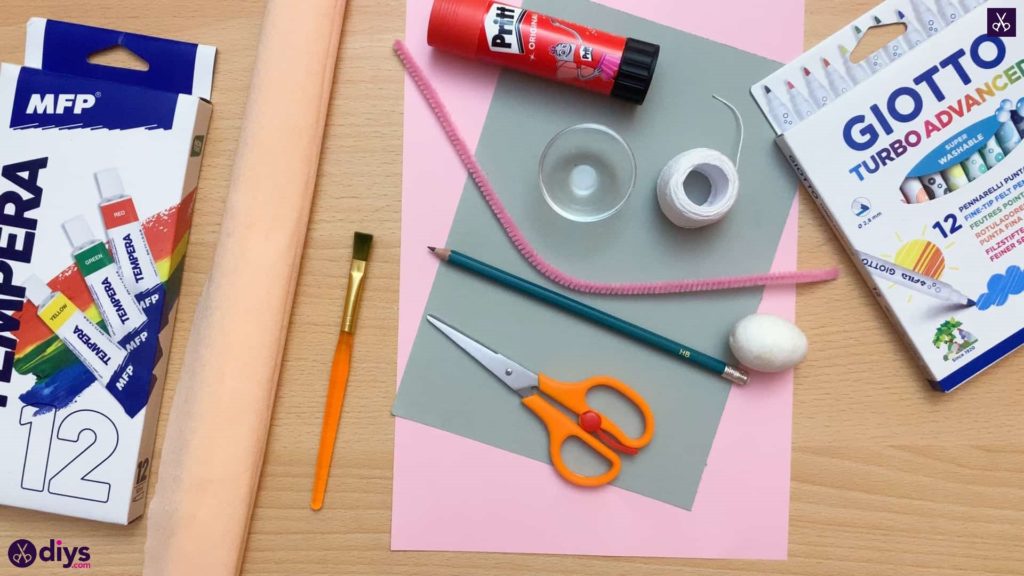
For this project, you’ll need:
- Grey paint
- Peach crepe paper
- A paint brush
- A pencil
- Scissors
- Pink pipe cleaner
- A glue stick
- White string
- A black marker
- Coloured paper (grey and pink)
- A piece of spun cotton (I bought a pre-made one from the local craft store, shaped kind of like an egg)
Step 1: prep everything
Gather all of your materials!
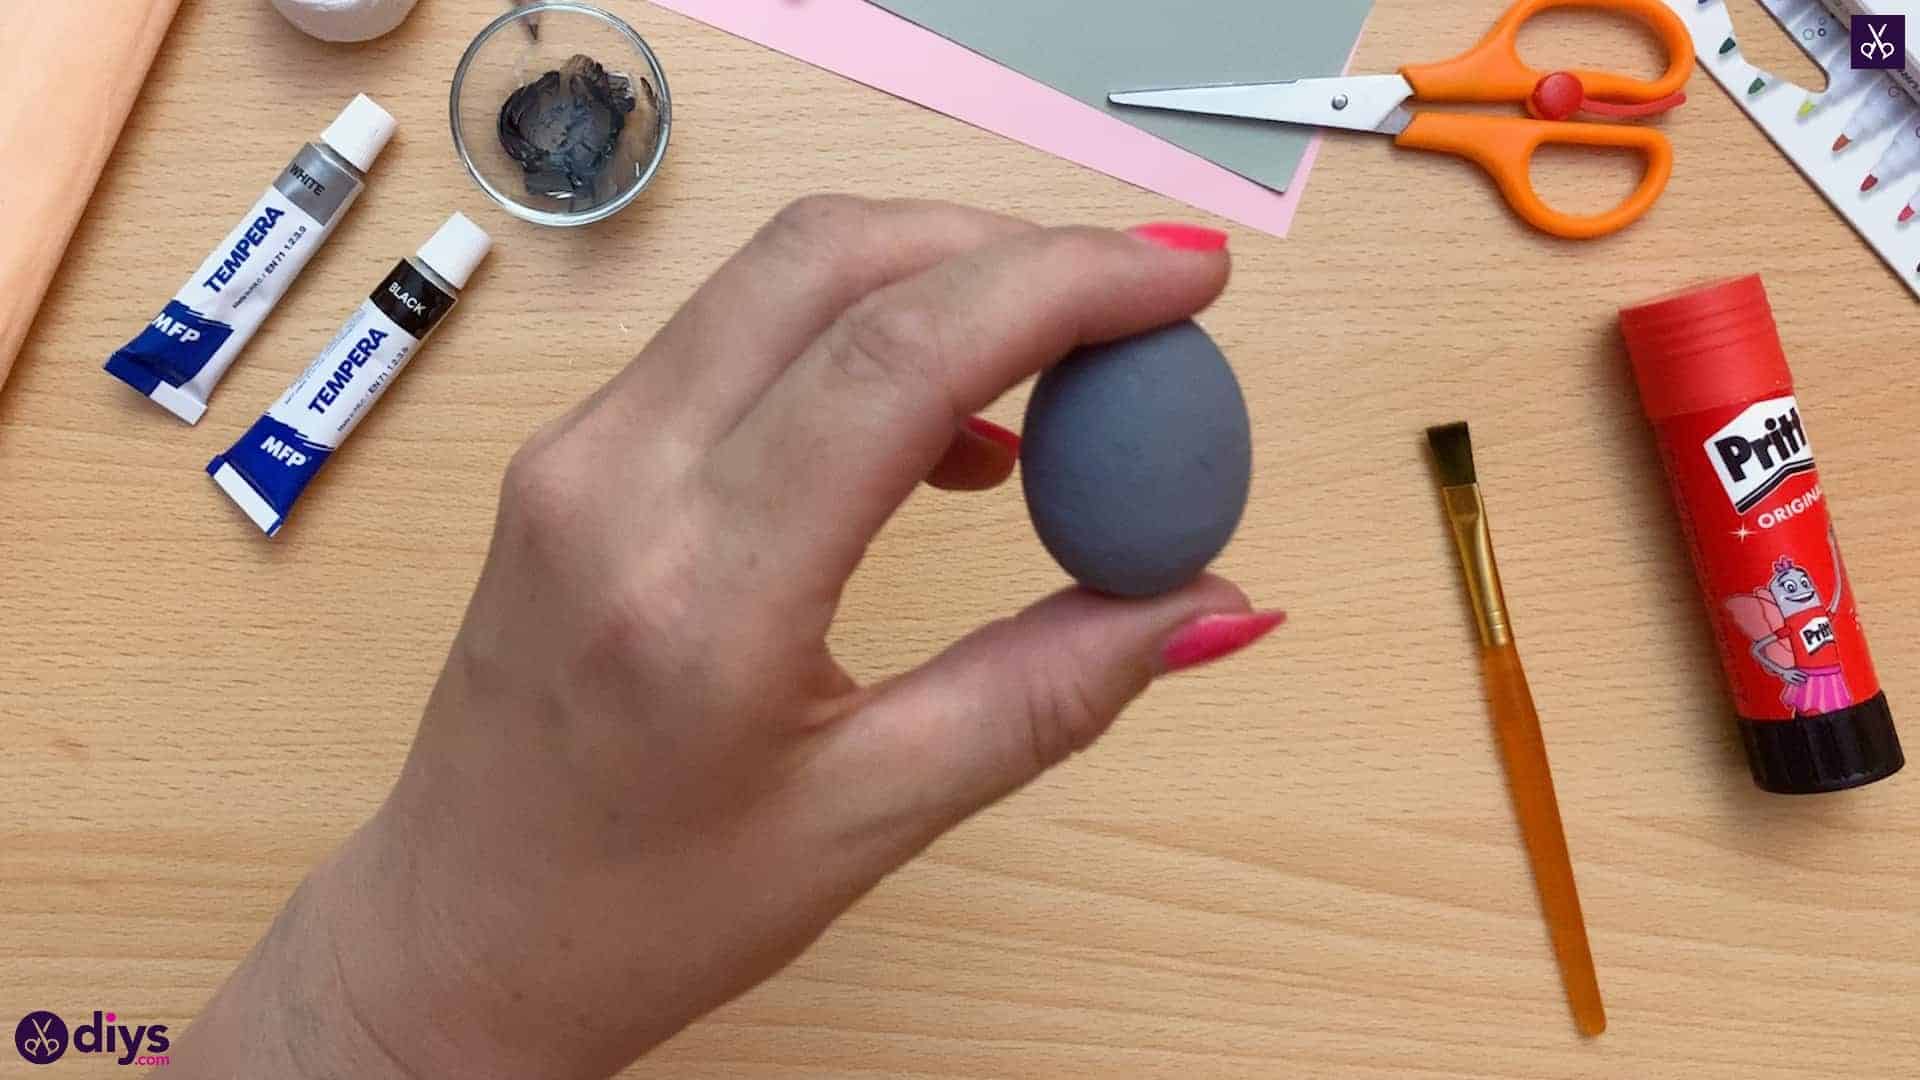
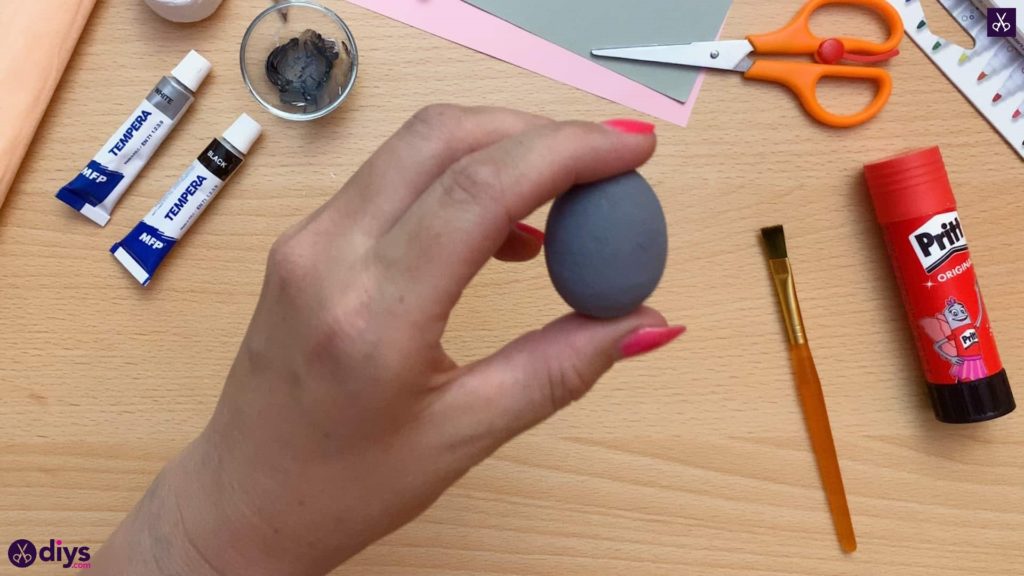
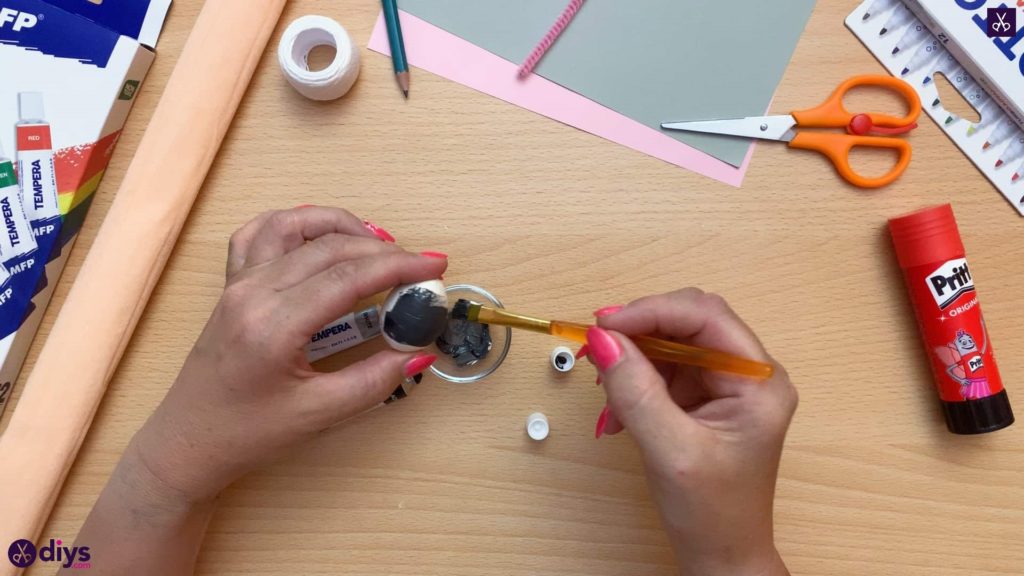
Step 2: paint the cotton
Paint your piece of spun cotton grey and then let it dry completely.
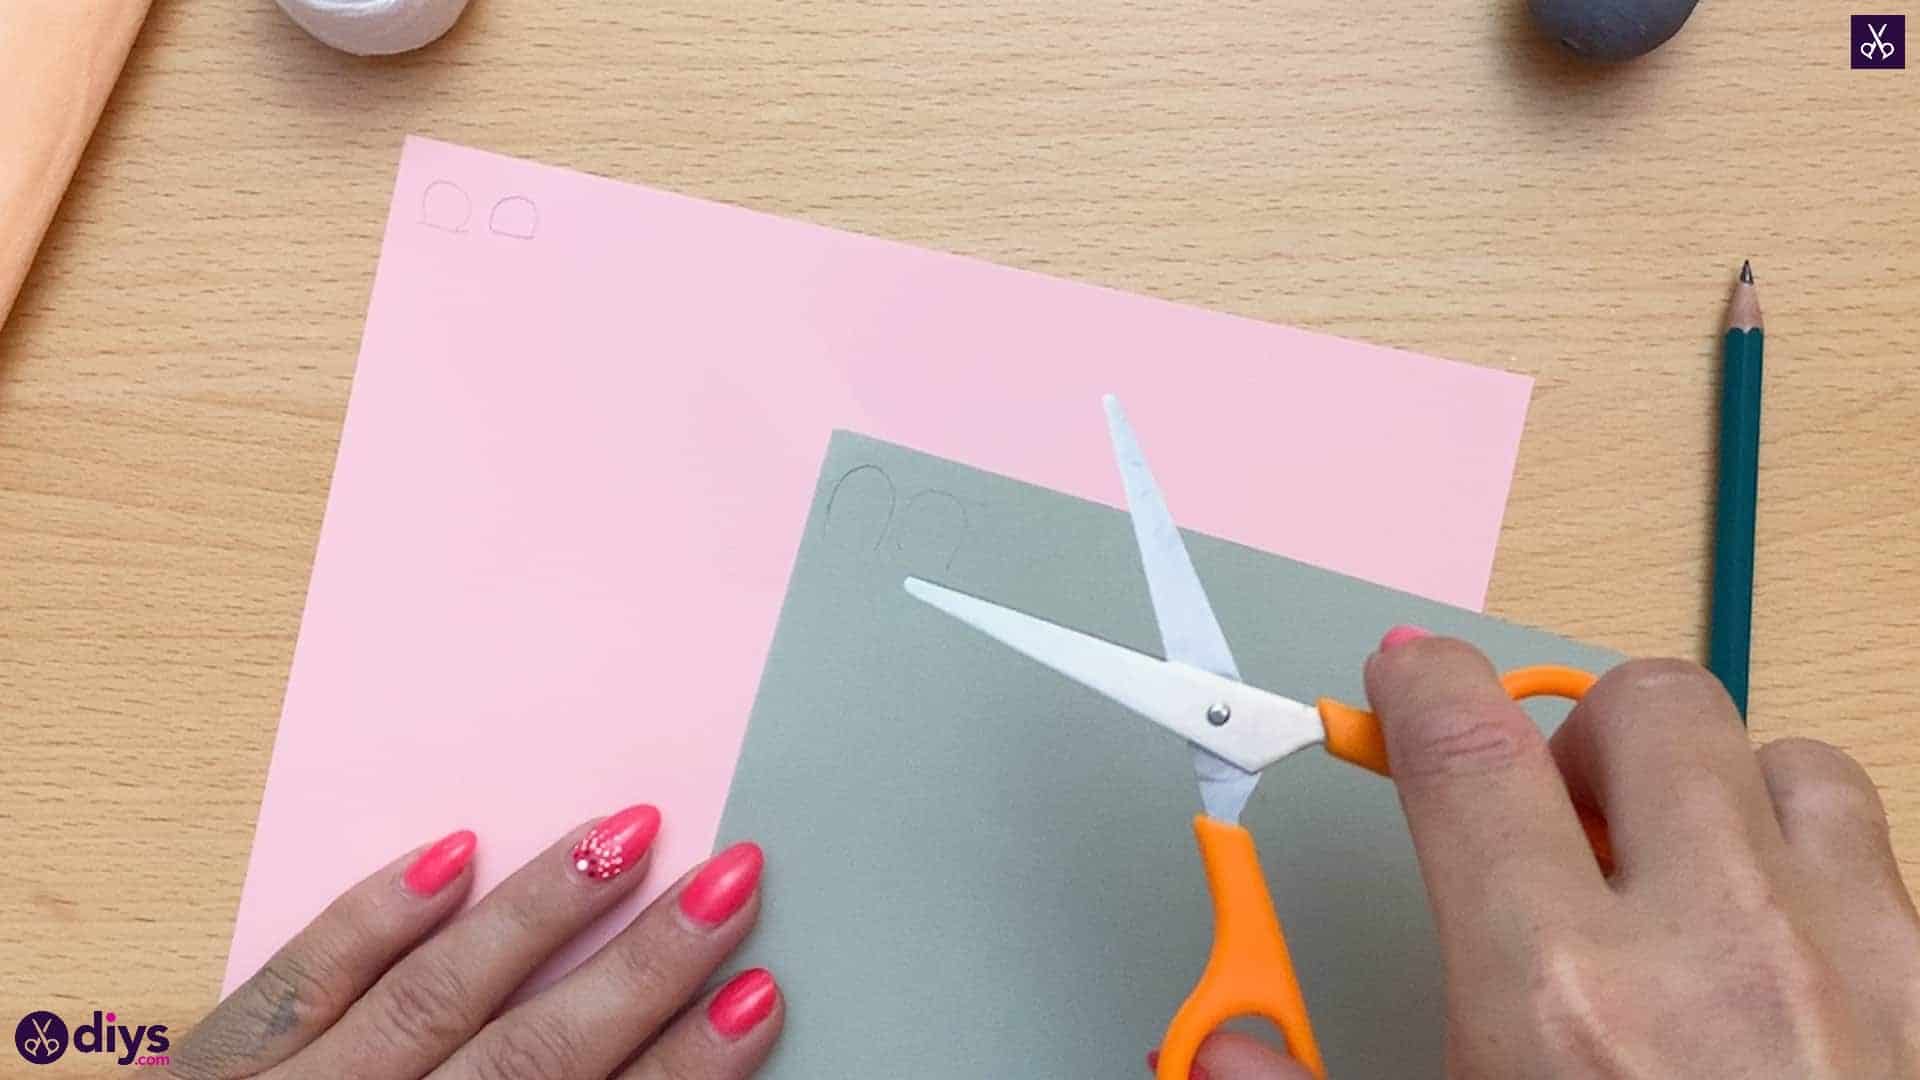
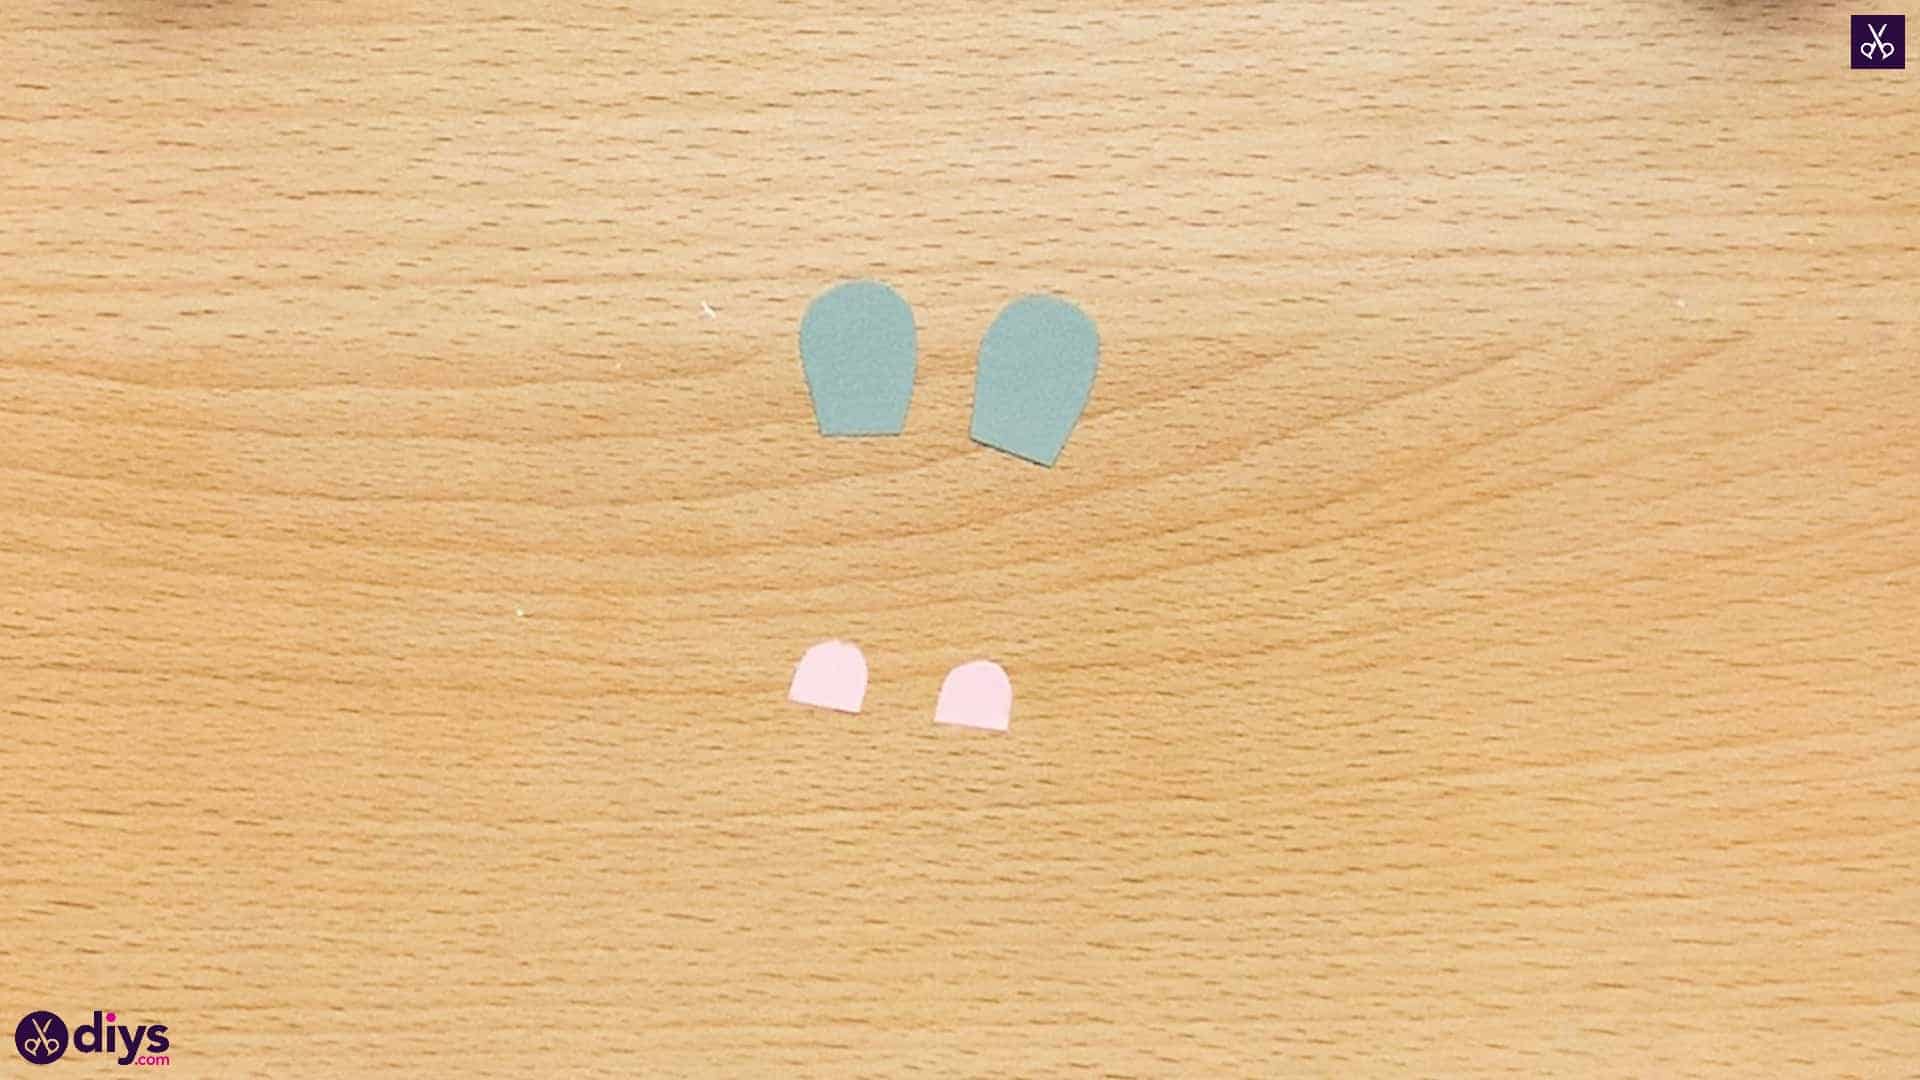
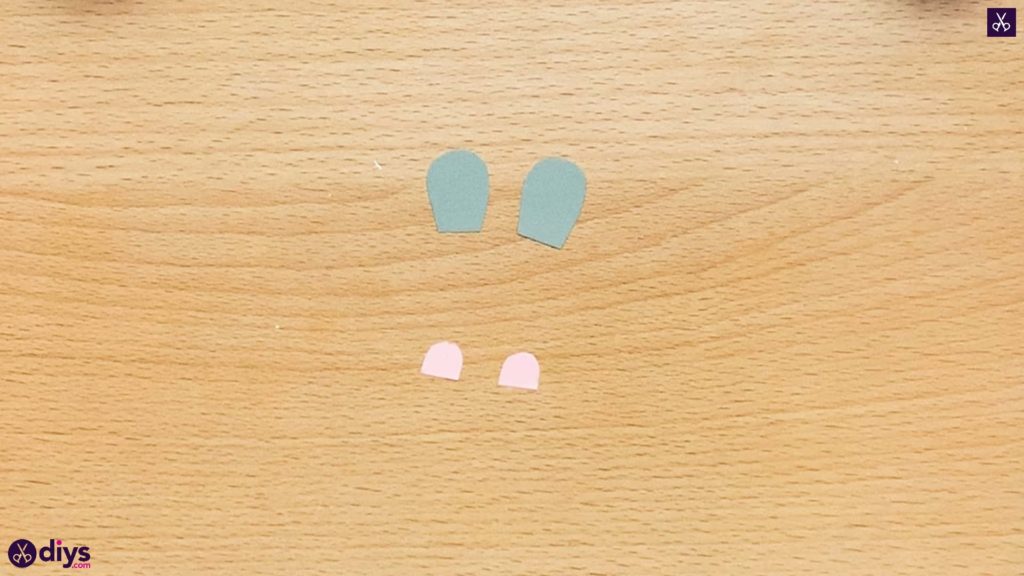
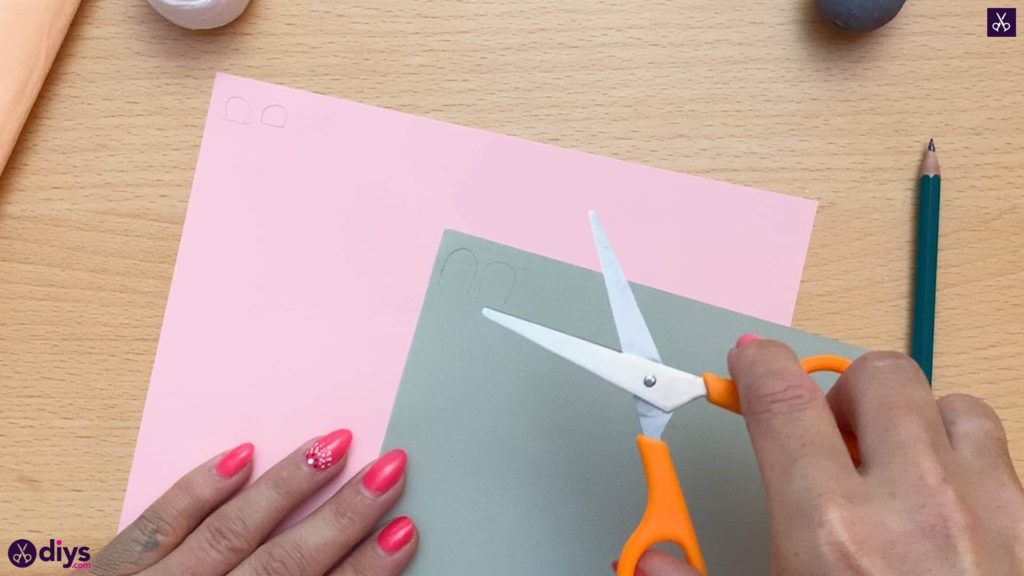
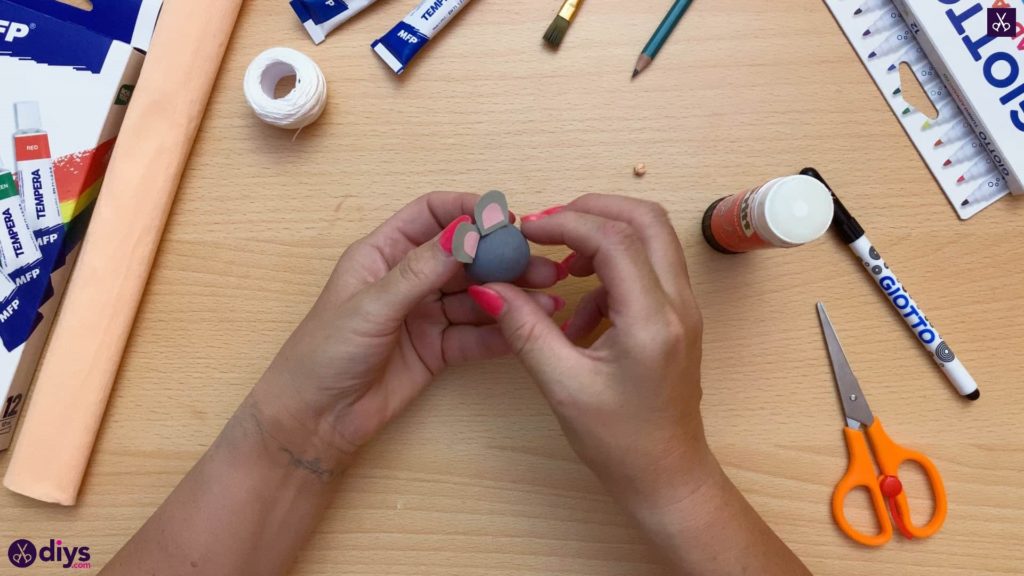
Step 3: make the ears
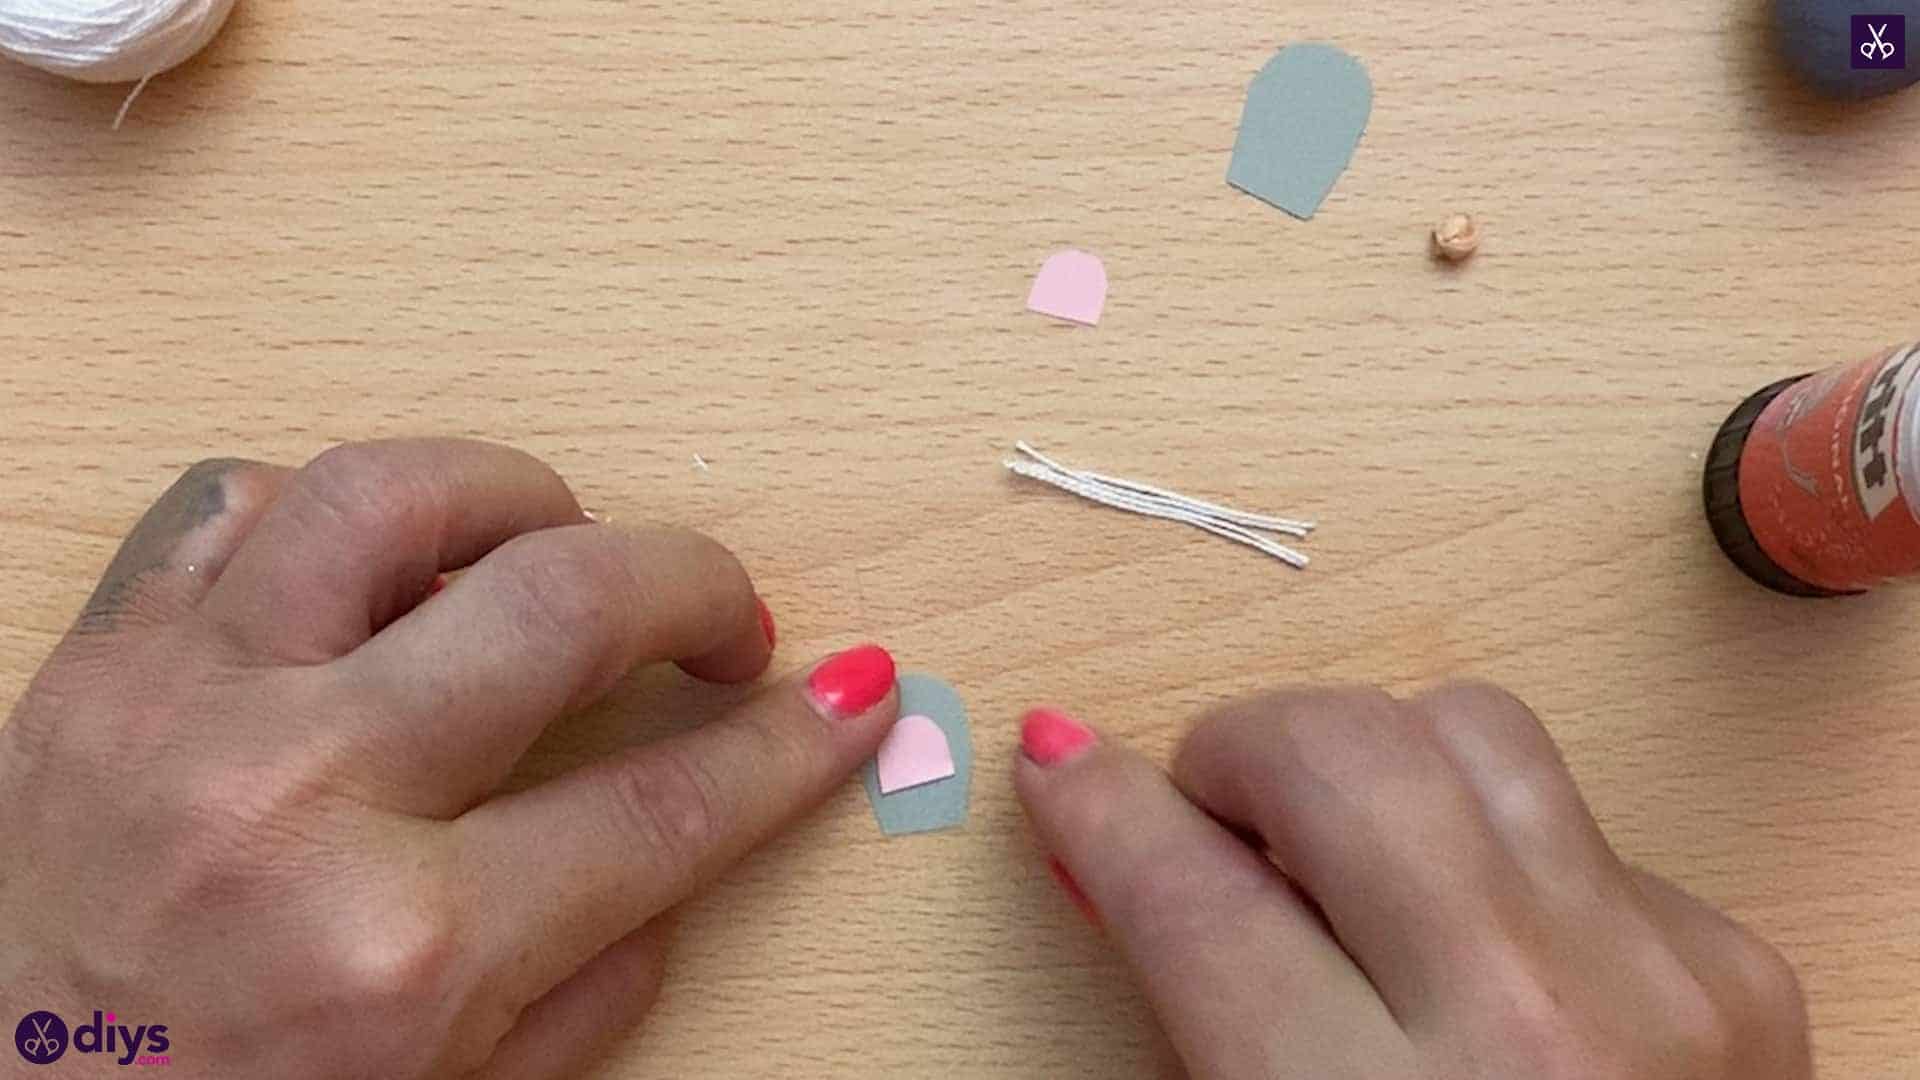
Draw a tall semi circle shape on your grey paper, almost like an oval but with a flat bottom edge. Then draw another one the same size next to it. Repeat this process on your pink paper, but this time drawing your shapes slightly smaller than the grey ones. Cut all four shapes out. These pieces will make up your mouse’s ears!
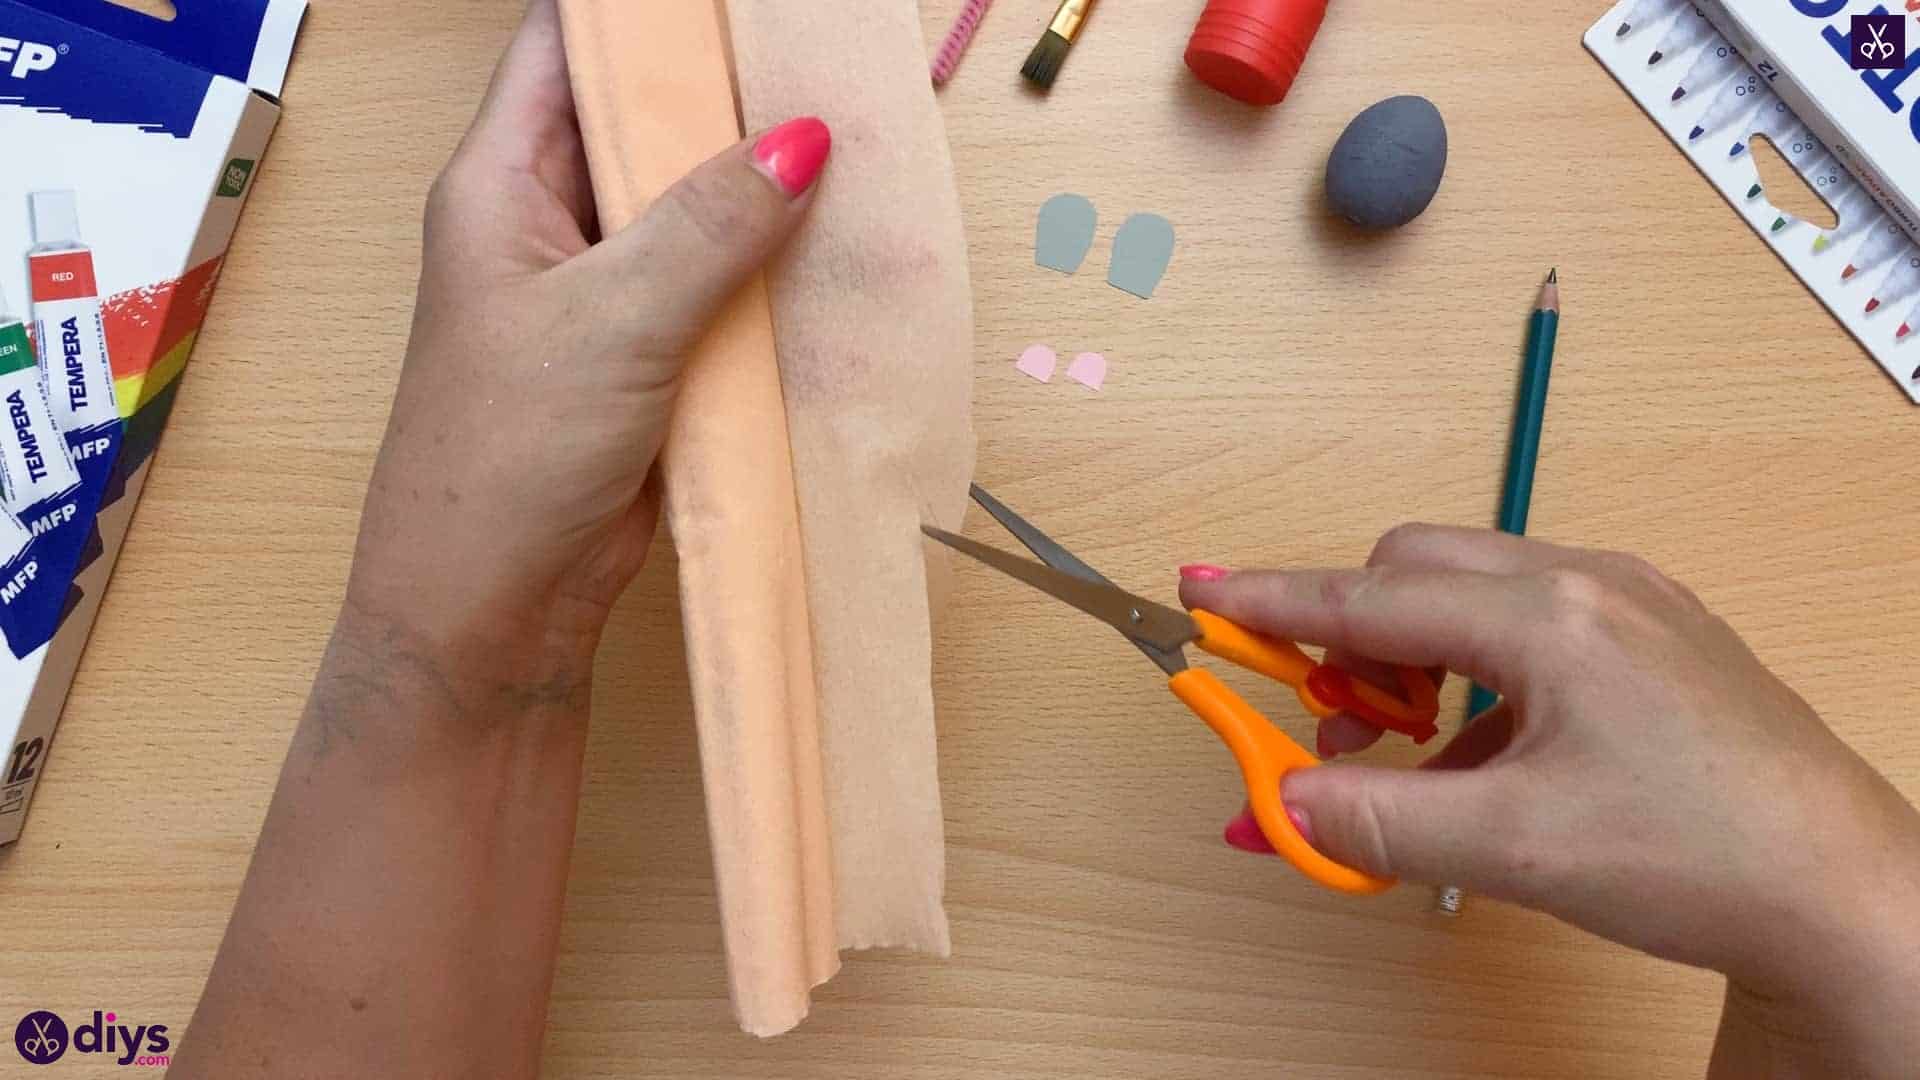
Step 4: use the crepe paper
Cut a thin strip from your peach crepe paper, scrunch it together, and roll it into a little sphere. This piece will be your mouse’s nose.

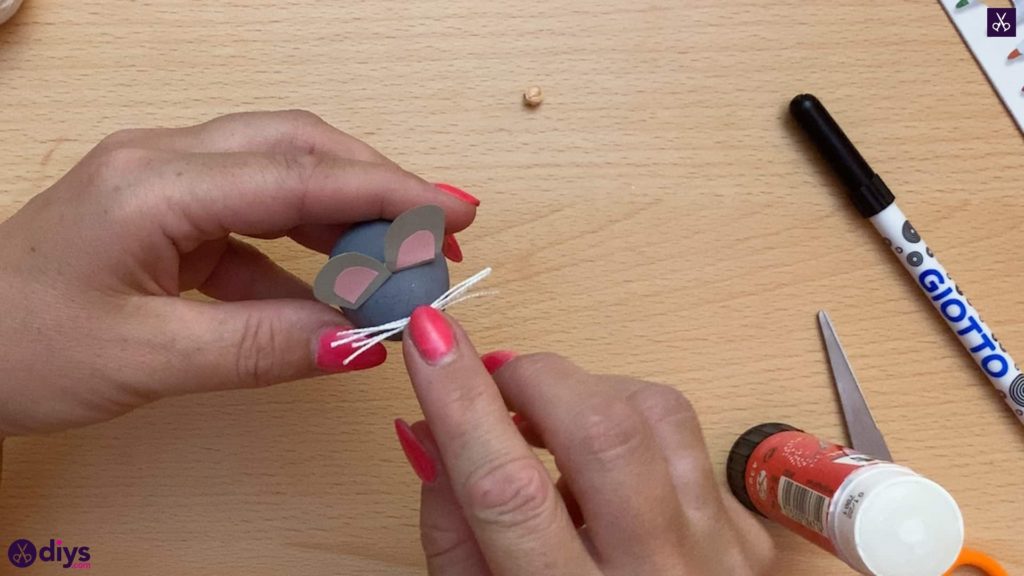
Step 5: make the whiskers
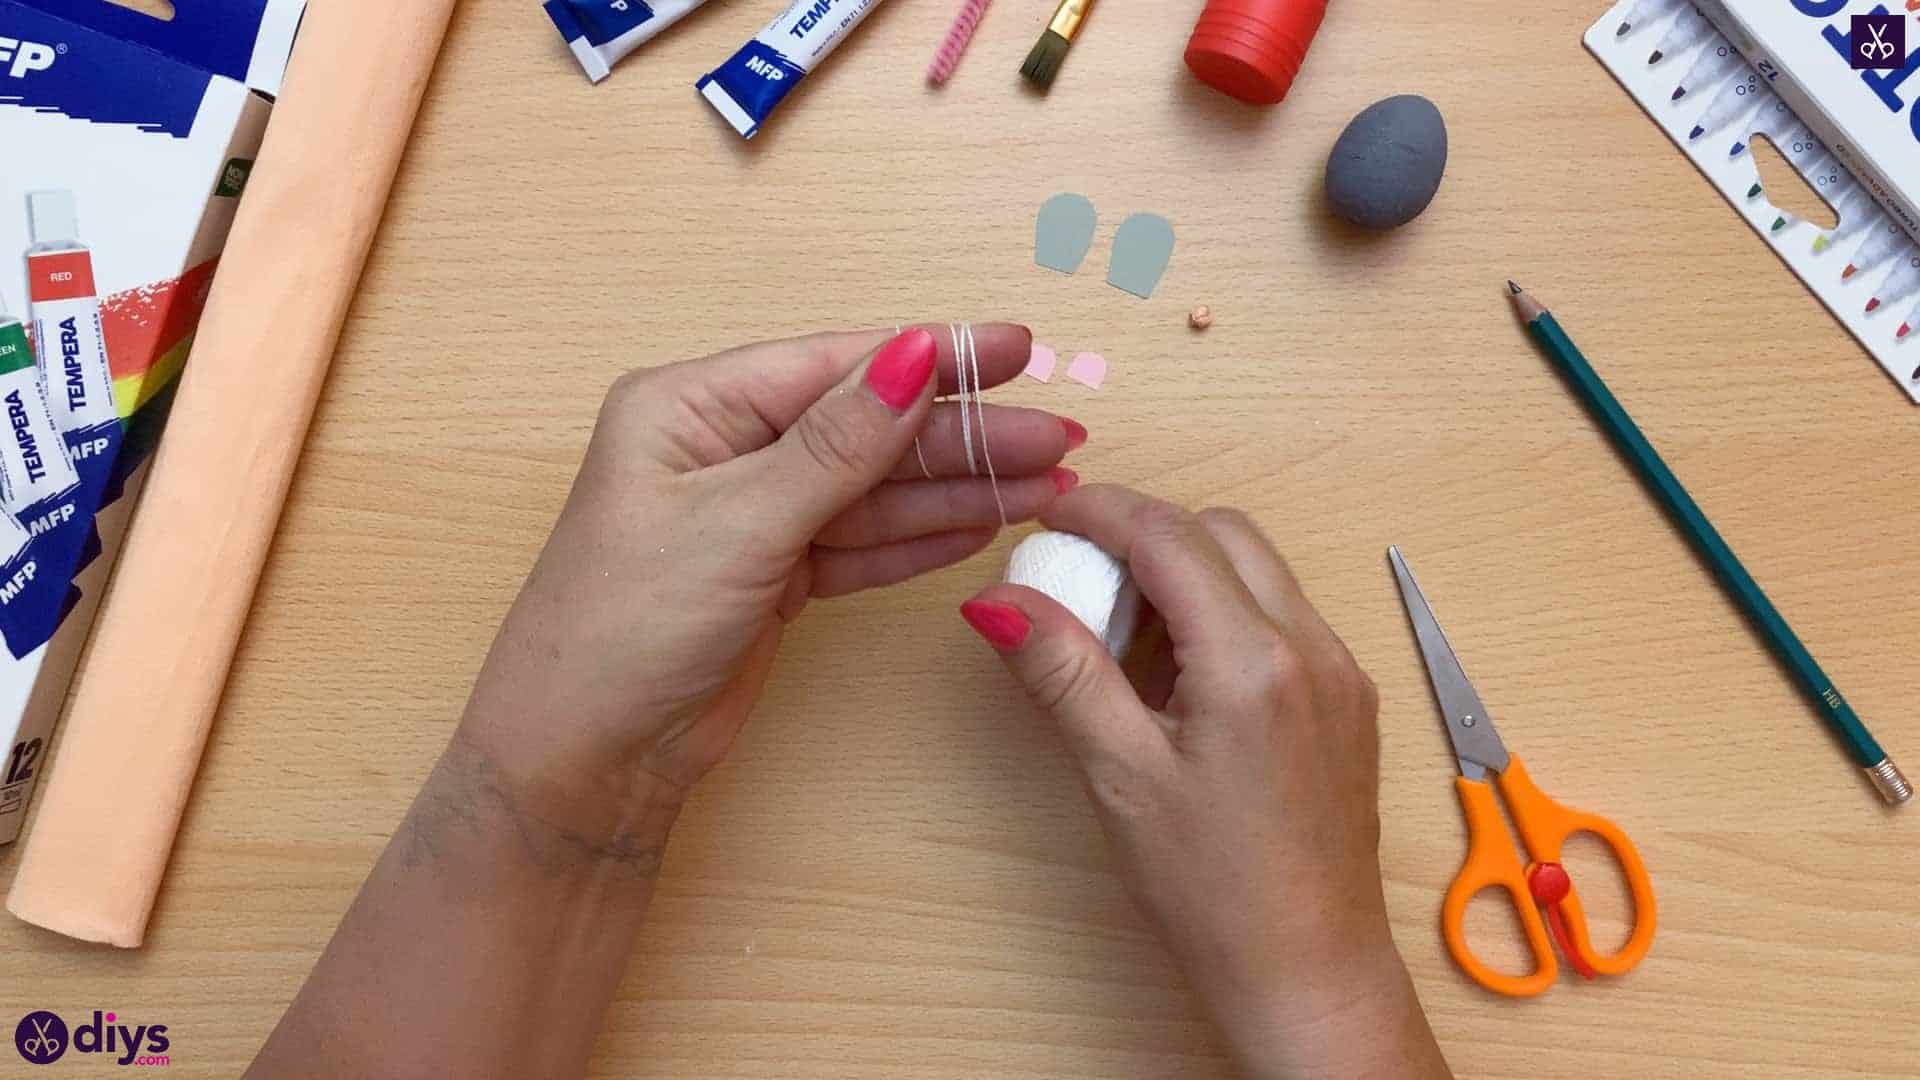
Take your white string and hold the end between your thumb and the inside of your pointer and middle finger. Wind the string three times around those two fingers held together and then cut it. Slide the loops you just created off the ends of your fingers, holding the bundle in the middle to make sure it doesn’t all unravel, and use your scissors to cut the loops at either end. Set your new bundle of little strings aside; these will be your mouse’s whiskers later.

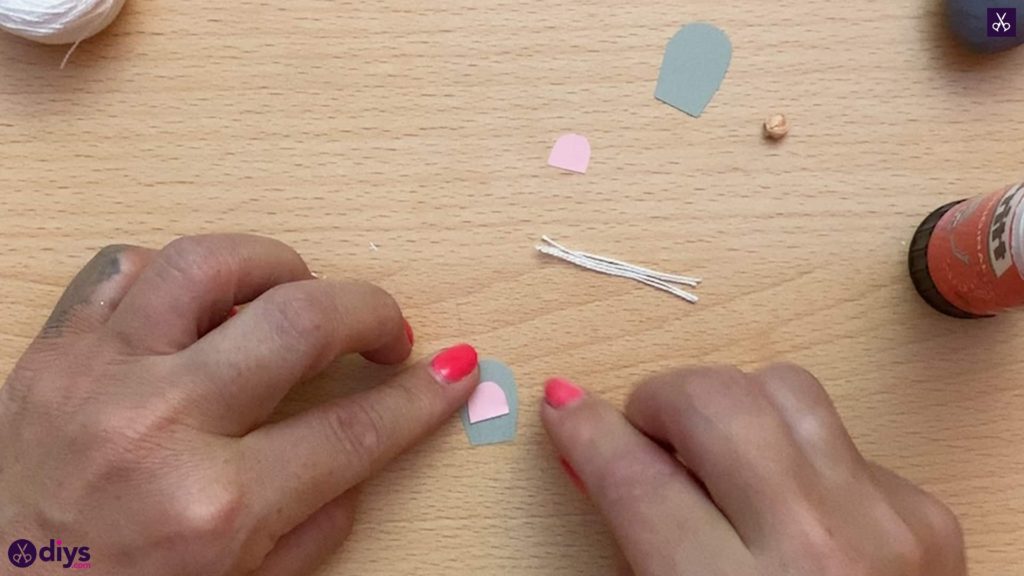
Step 6: assemble
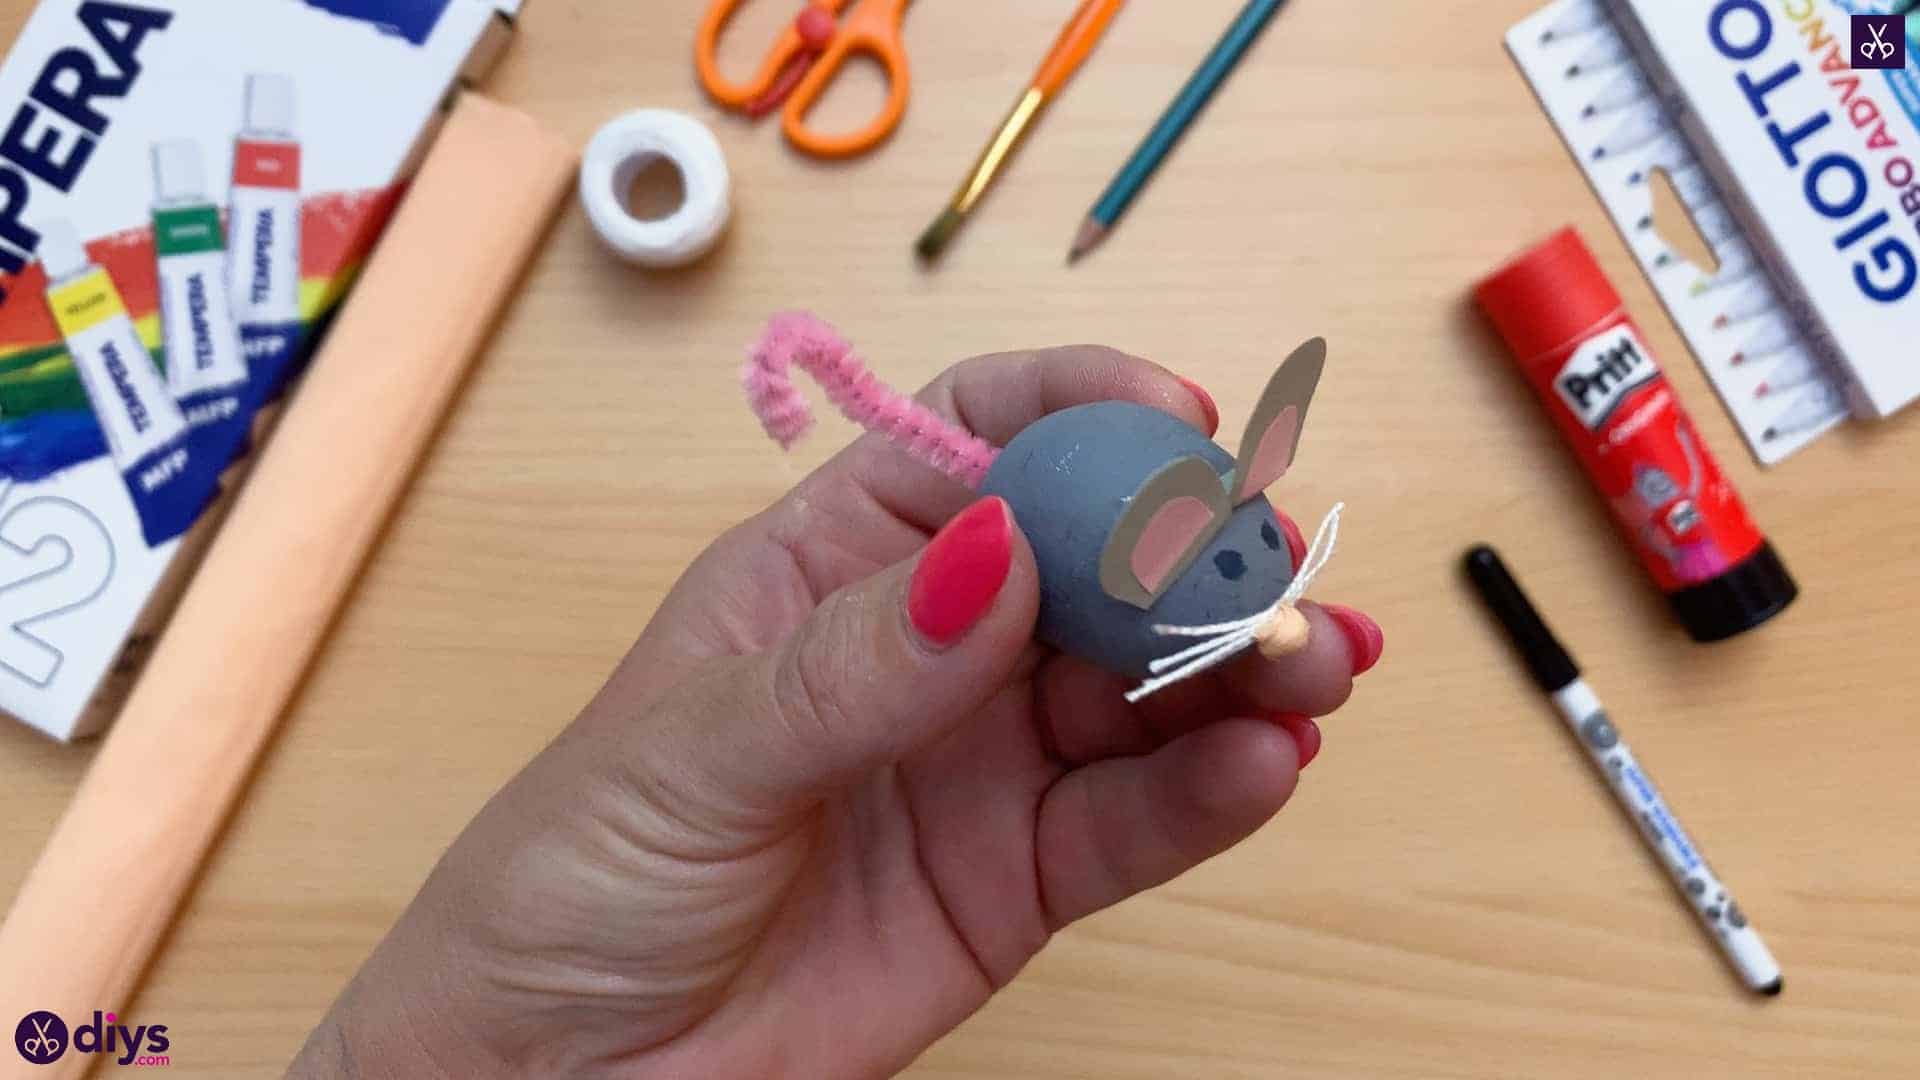
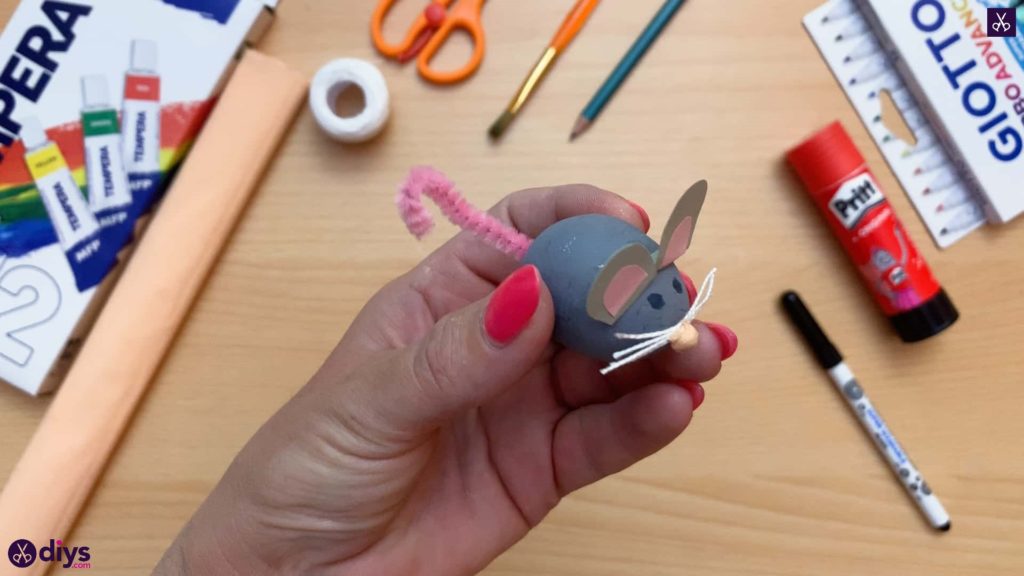
Apply glue to the backs of your little pink ear pieces and stick them into the bottom center of your bigger grey ear pieces so you can see some grey past the pink at as they’re layered. You now have two complete mouse ears.
Step 7: attach ears
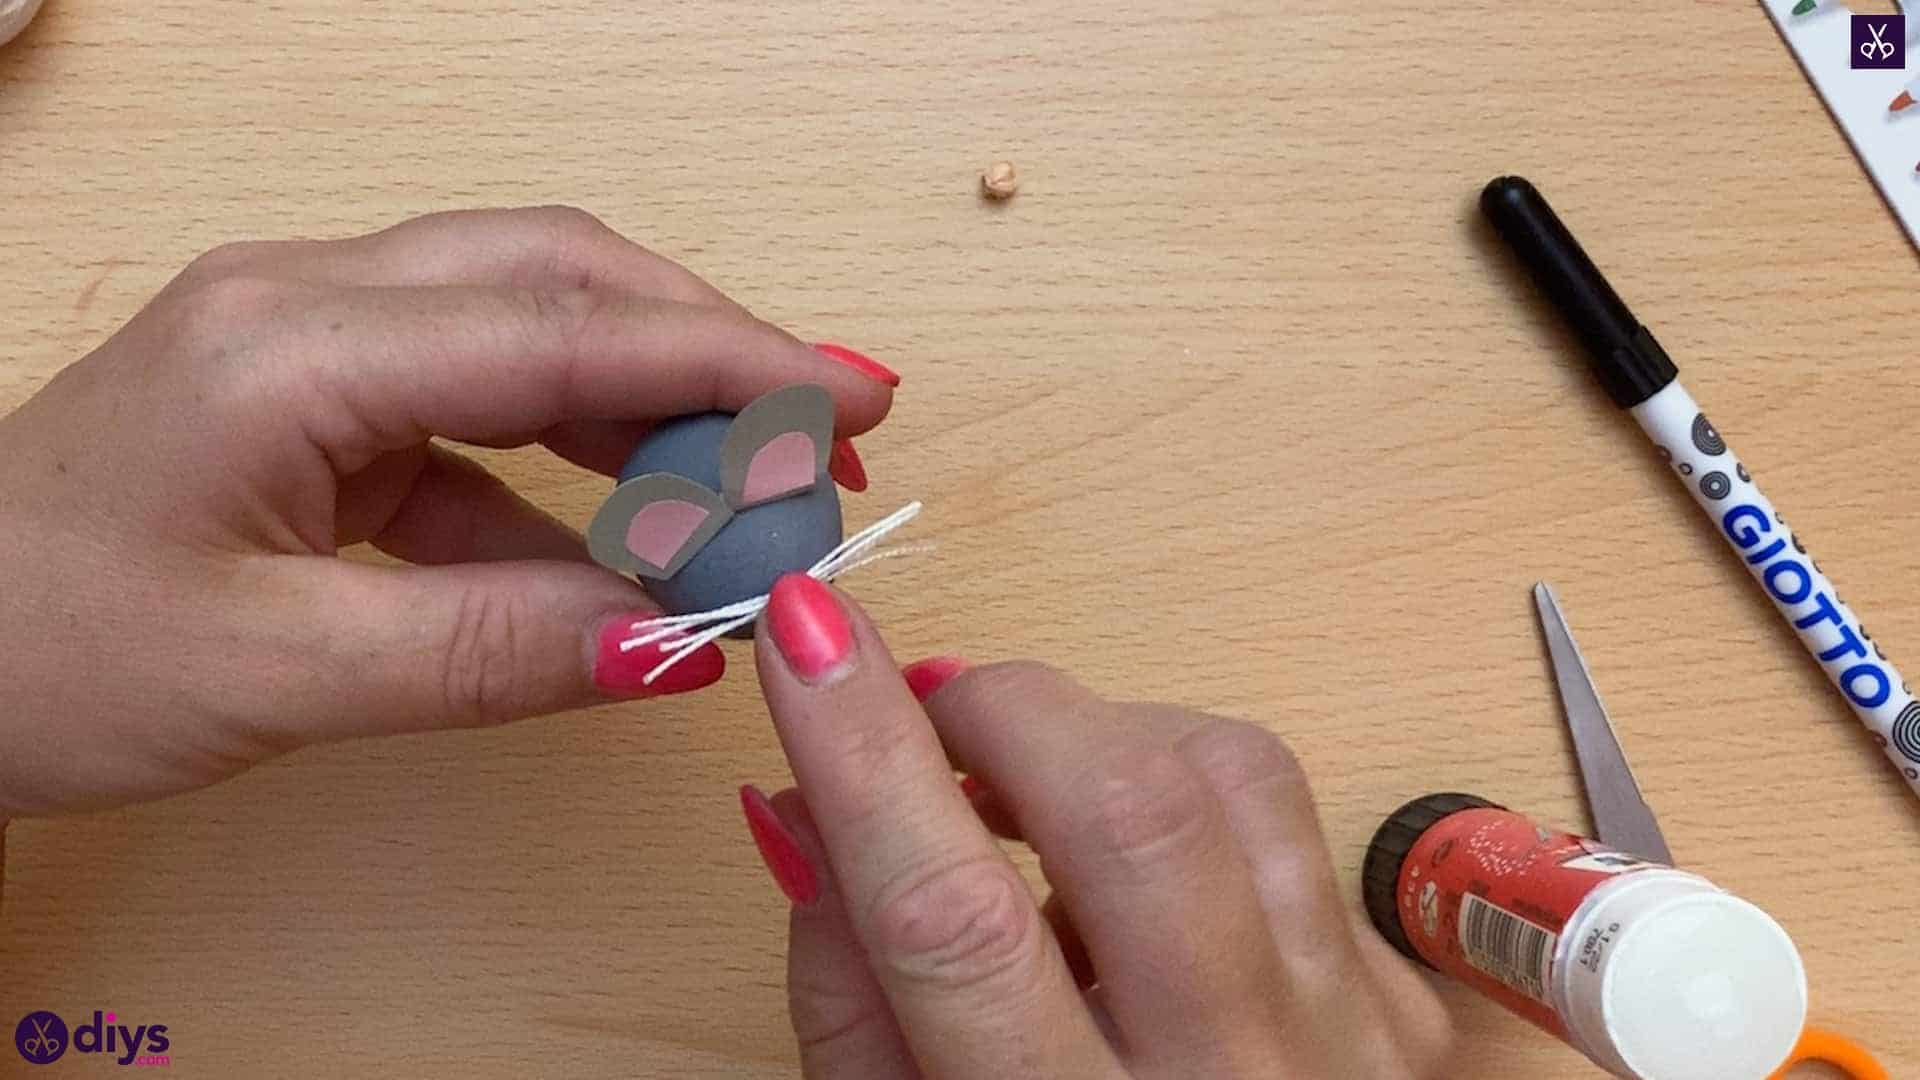
Bend the excess grey at the very bottom of your mouse’s ears, below where you stuck the pink, backwards. You’ll use these little folded bits like tabs to attach the ears. Apply some glue to each grey piece you just folded back and press the ears onto the top of the spun cotton so they stick up. We stuck them closer to the rounded end of the spun cotton ball that we wanted to be the front or the mouse’s face.
Step 8: add whiskers
Apply some glue to the center of your mouse’s face and stick the bundle of little whisker strings you cut earlier there, right in their middles. Then apply some glue to the little ball of peach crepe paper you made earlier and stick it right in the middle of the whiskers to make the mouse’s nose.
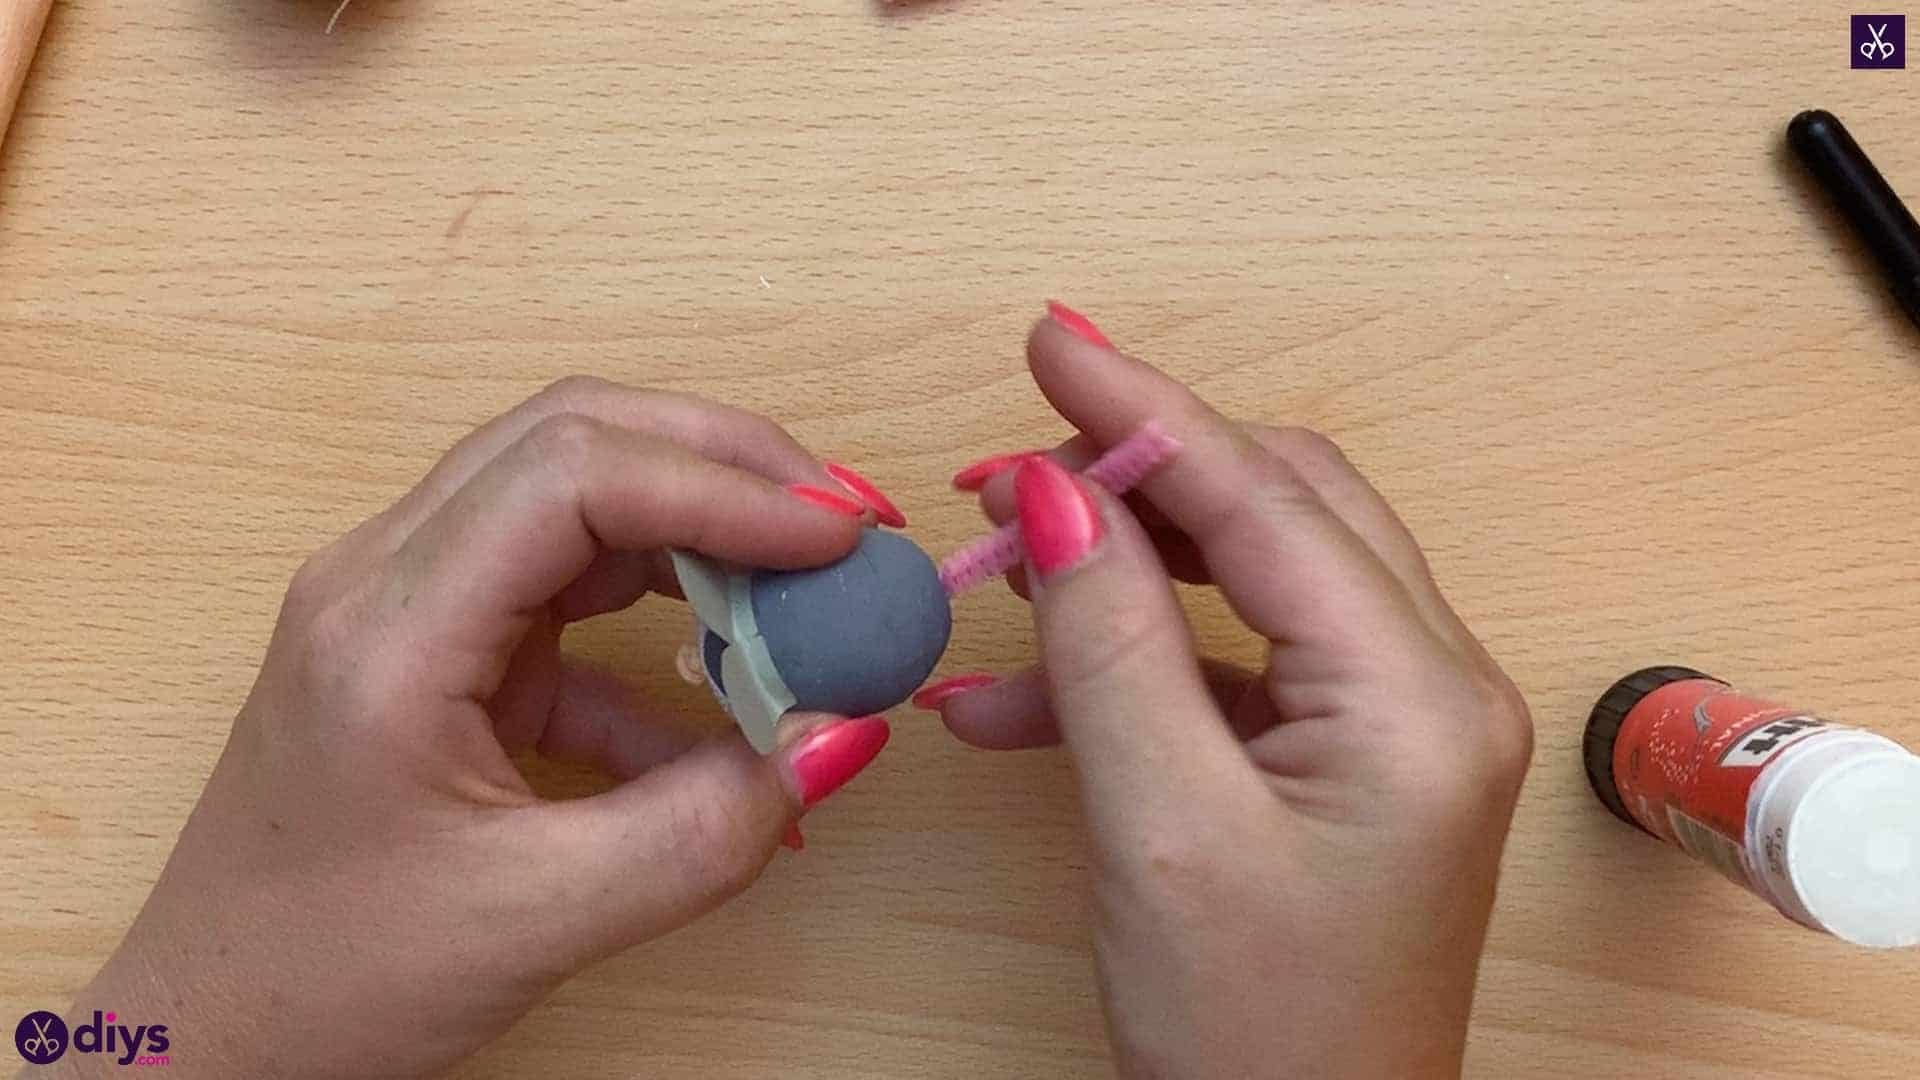
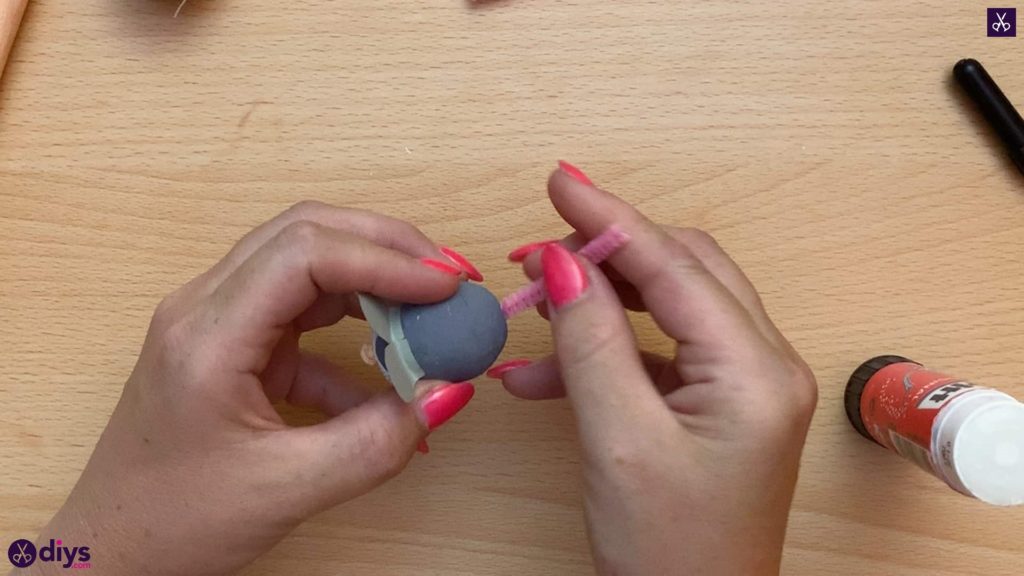
Step 9: stick in the tail
Cut a two inch long piece from your pink pipe cleaner and apply some glue on one end. Stick it to the bottom of your spun cotton ball’s back side in order to make the mouse’s tail. I curled mine up at the free end like the mouse was curious!
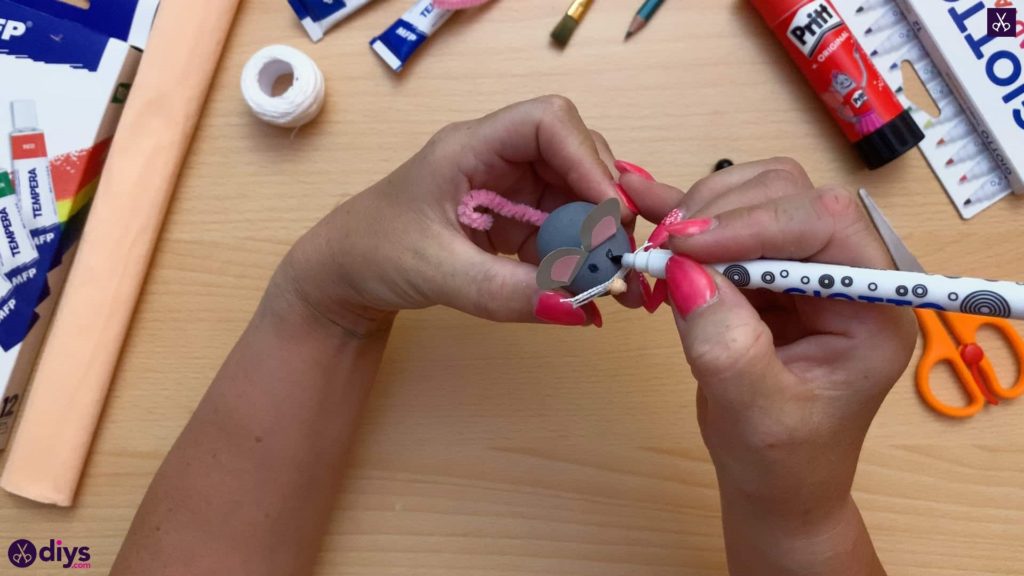
Step 10: draw eyes
Use your black marker to draw two little eyes onto the spun cotton right above the nose and whiskers.
There you have it; a complete spun cotton ball mouse! Just in case you’d like to try this project out for yourself, here’s a fantastic tutorial video to help you!