How to Make Yarn Letters
Updated on November 19, 2025
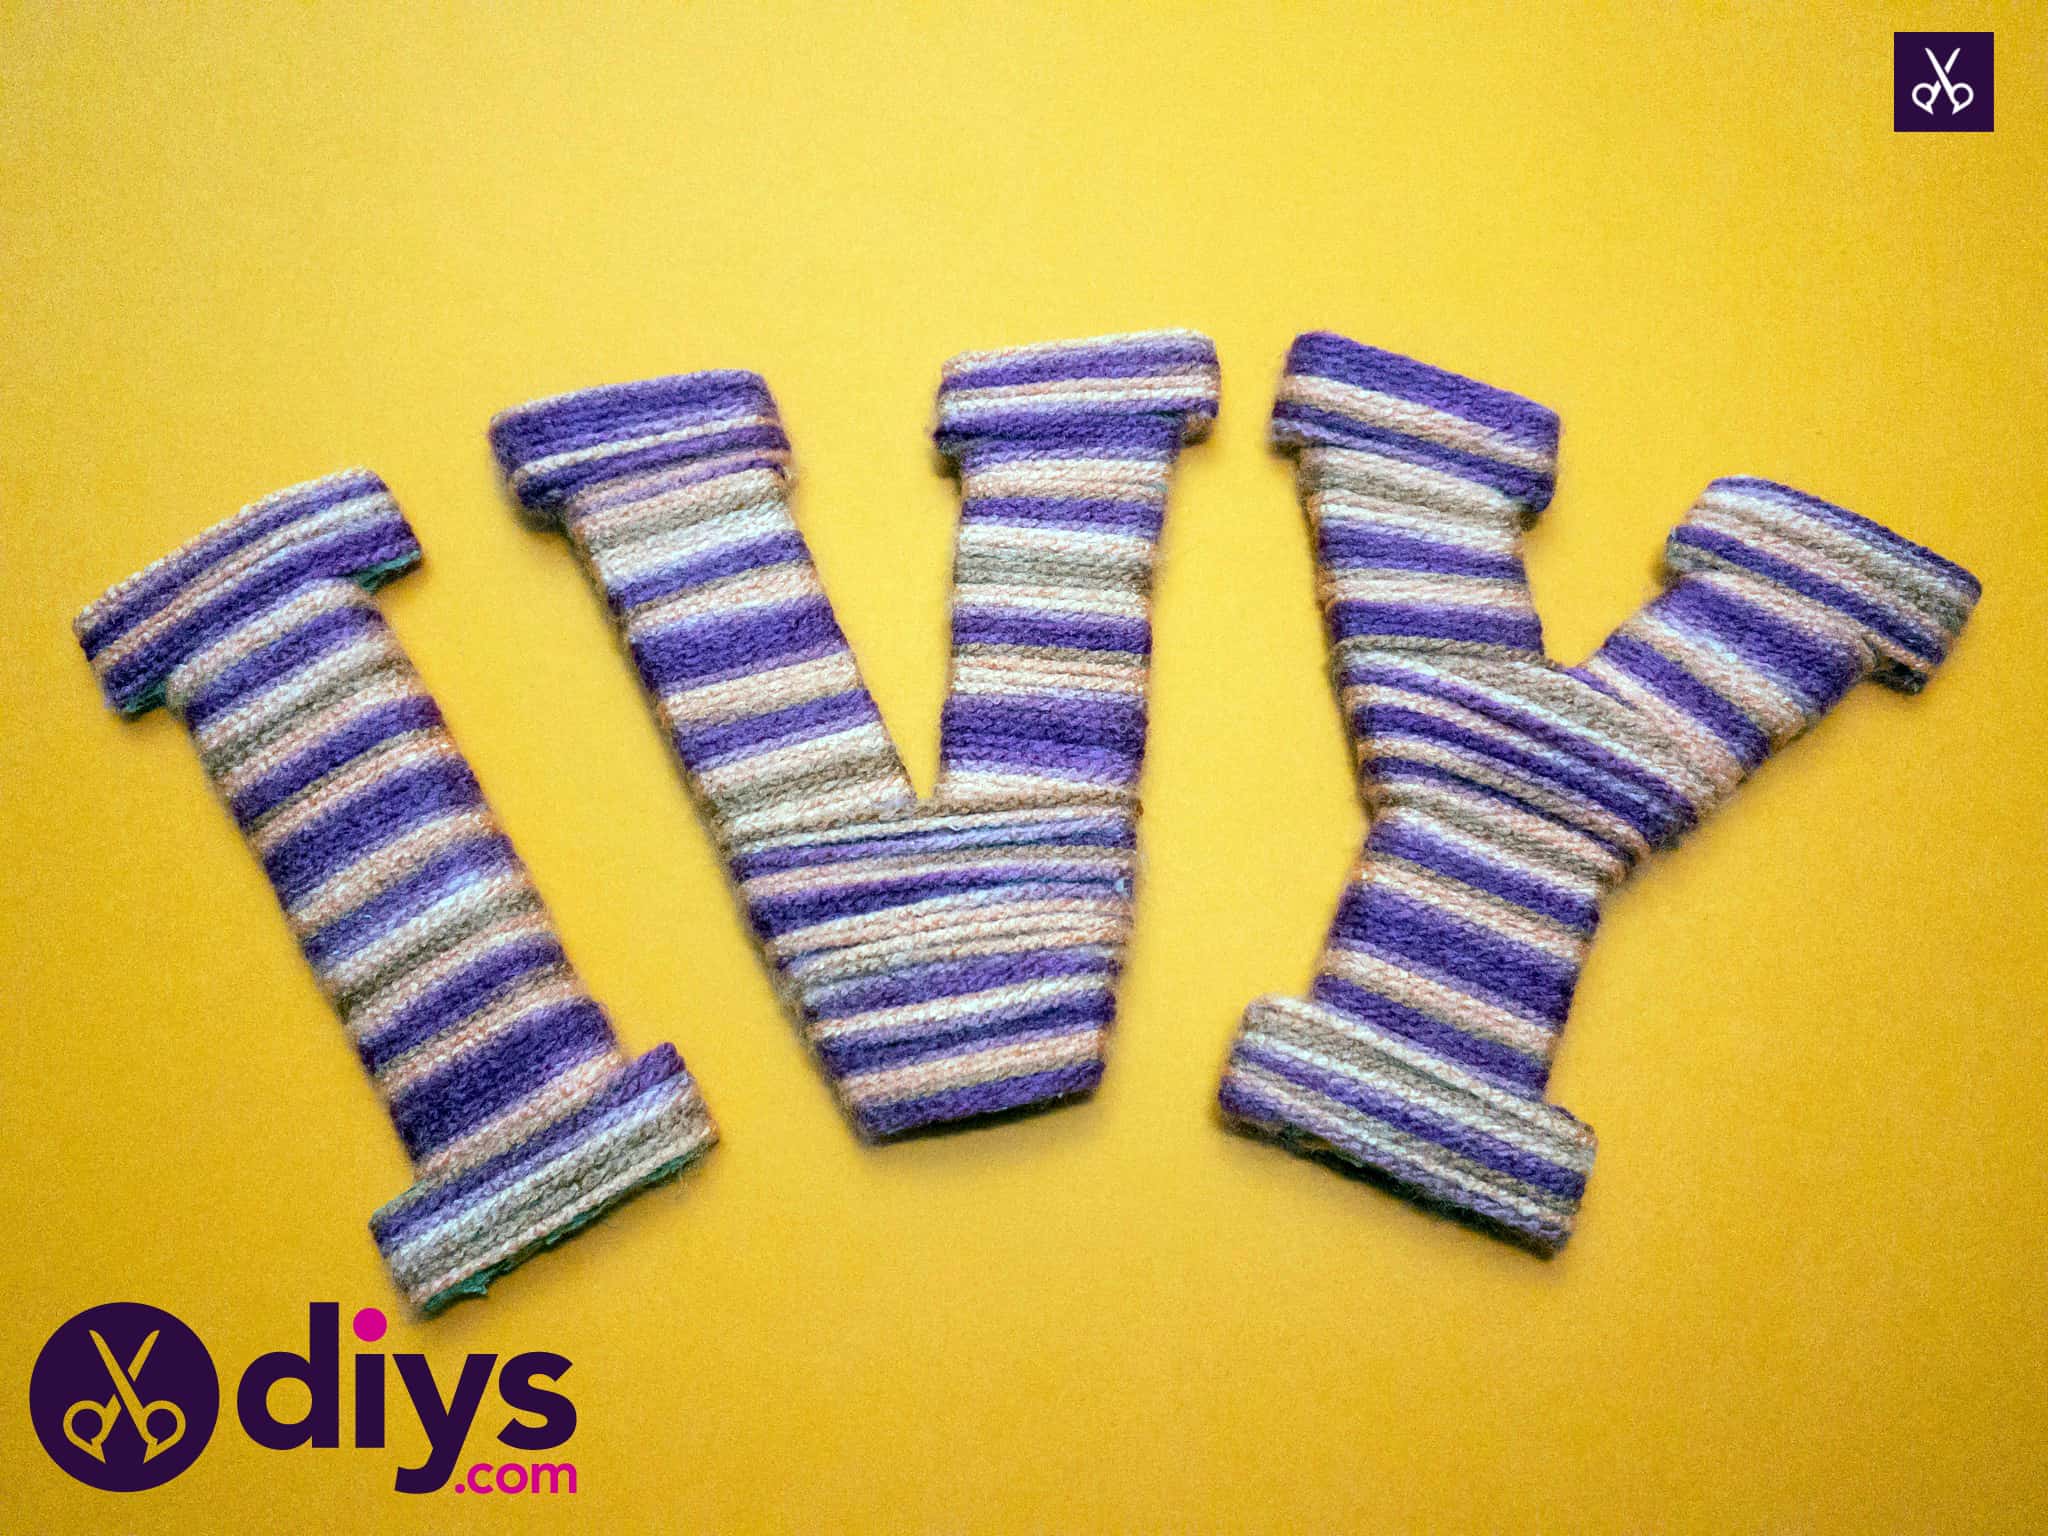


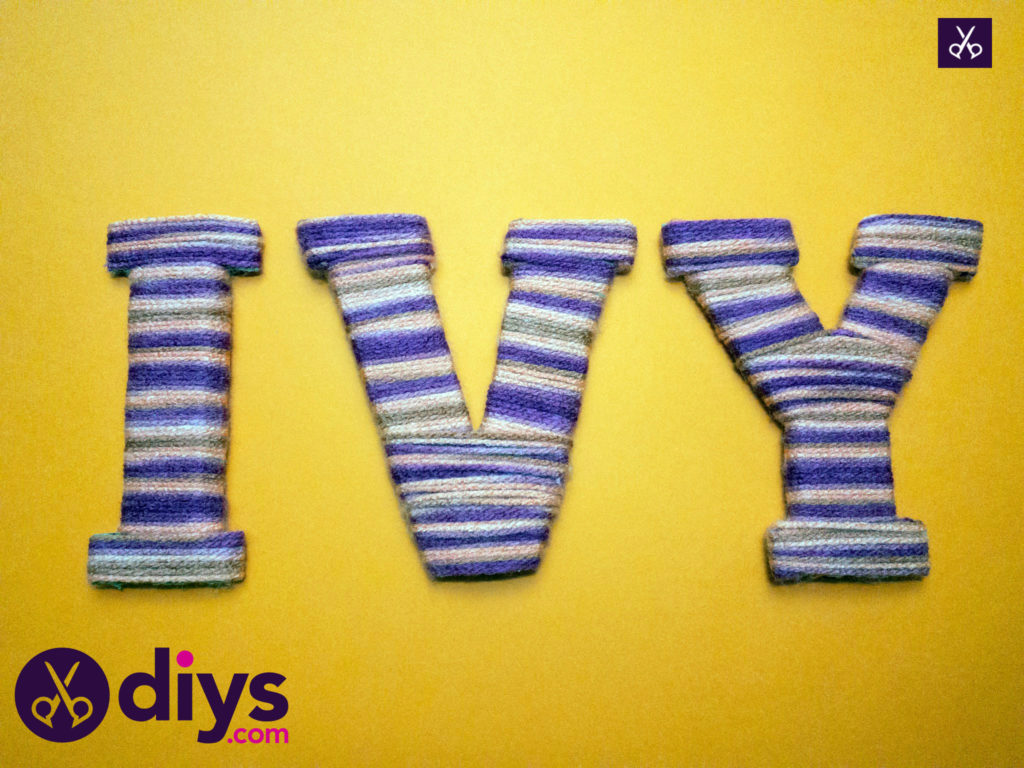
If you’re the kind of DIY enthusiast who loves making custom lettering pieces and monograms, which I totally am, then I have a feeling you’ll enjoy the process of yarn wrapping letters in order to make decorative quotes and names. I’ve seen a few tutorials out there for crafts like this before, but there just wasn’t one as small and simple as what I had in mind, so I decided to make one of my own! My eldest daughter’s name is nice and short, so those are the letters I chose to crate, covering them with variegated yarn that involved her favourite colour (she loves purple).
Whether you’re making a short name or a longer word, I think you’ll be able to handle customizing some yarn wrapped word art of your own by following the simple steps I’ve laid out here!
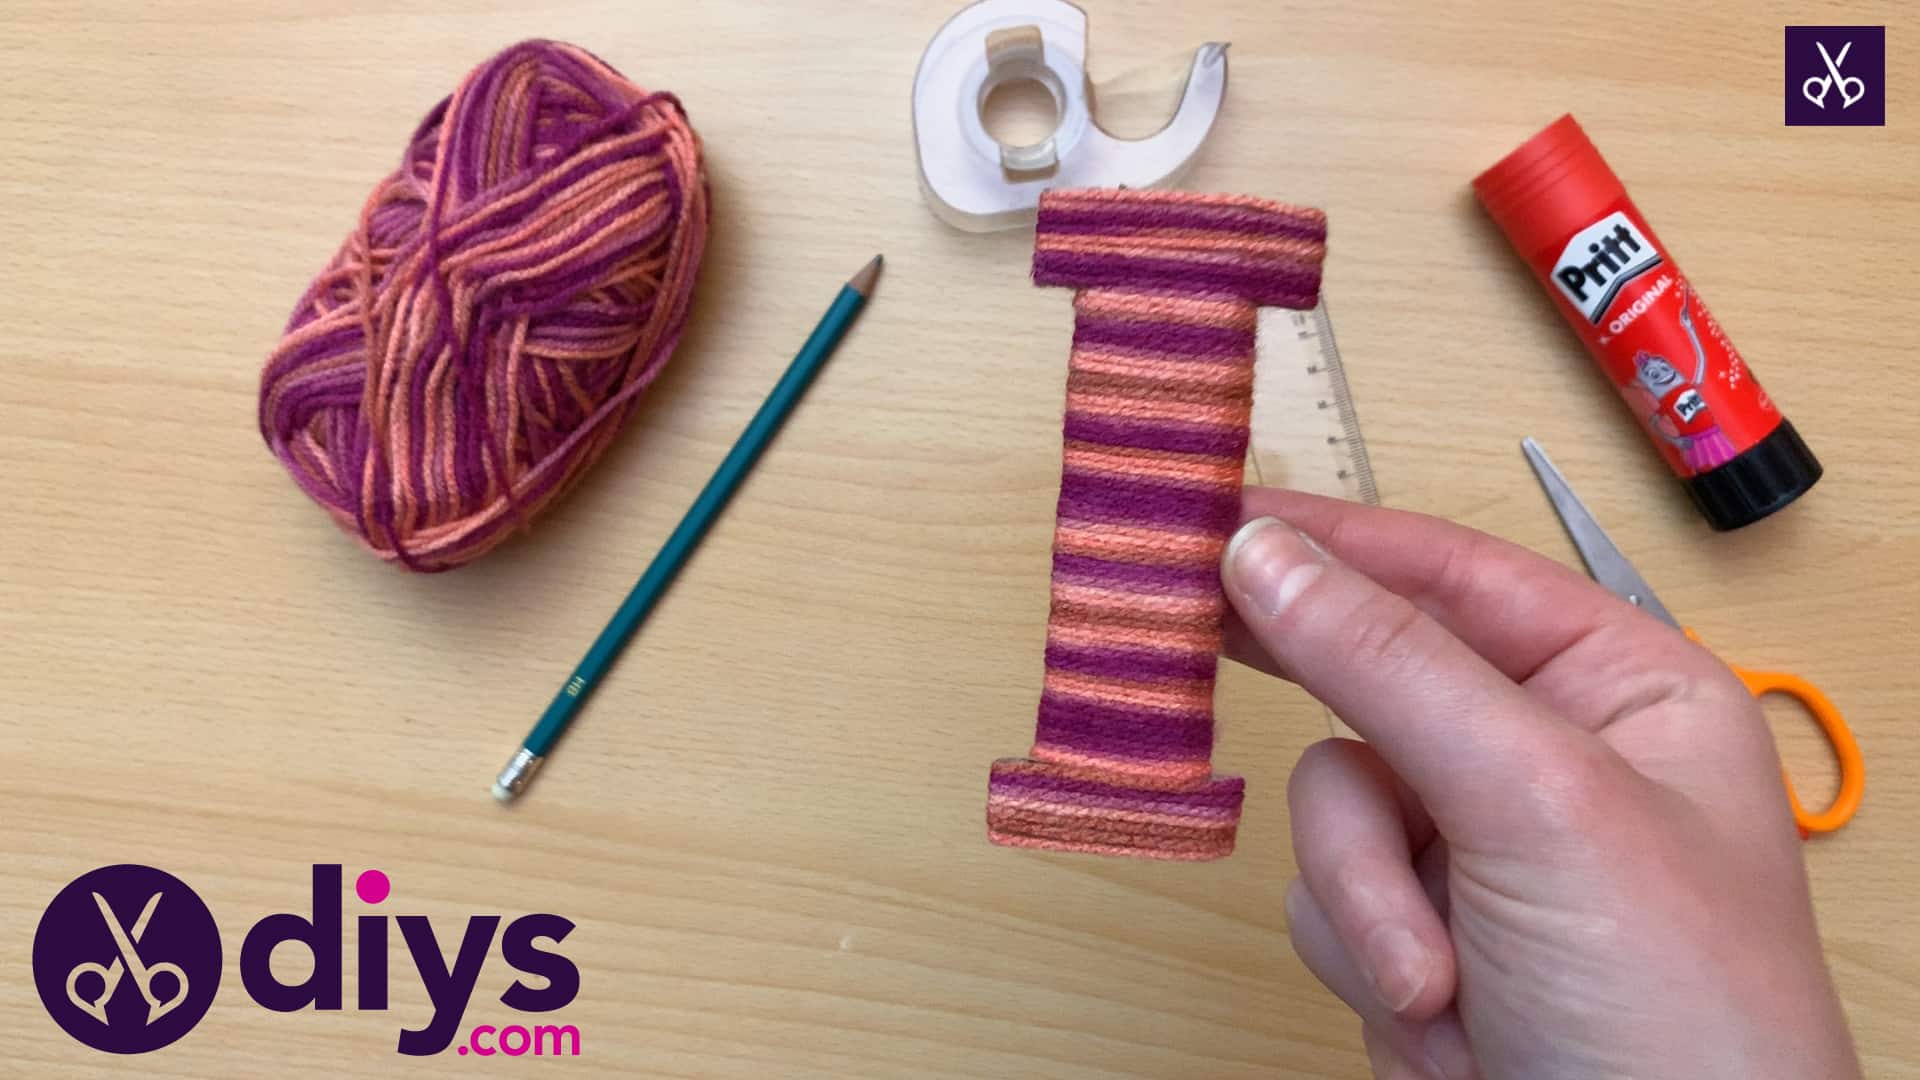
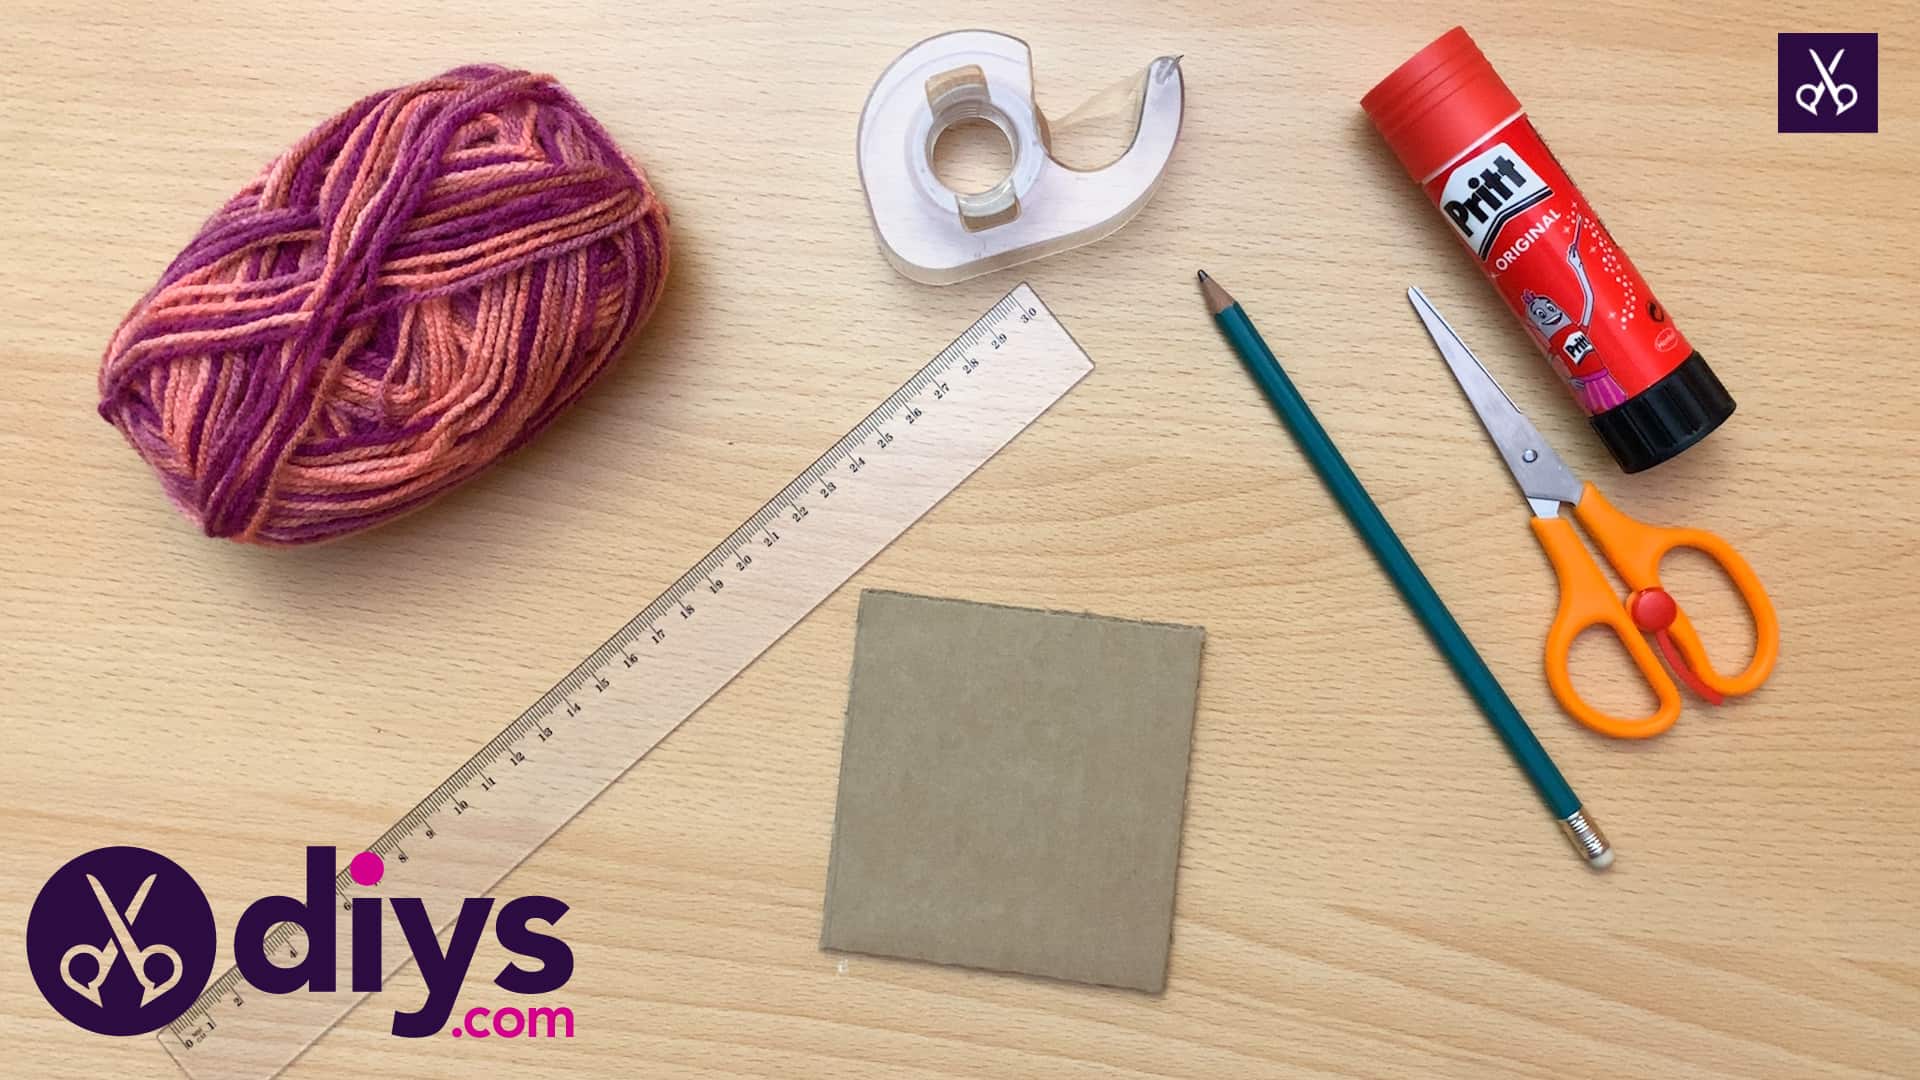
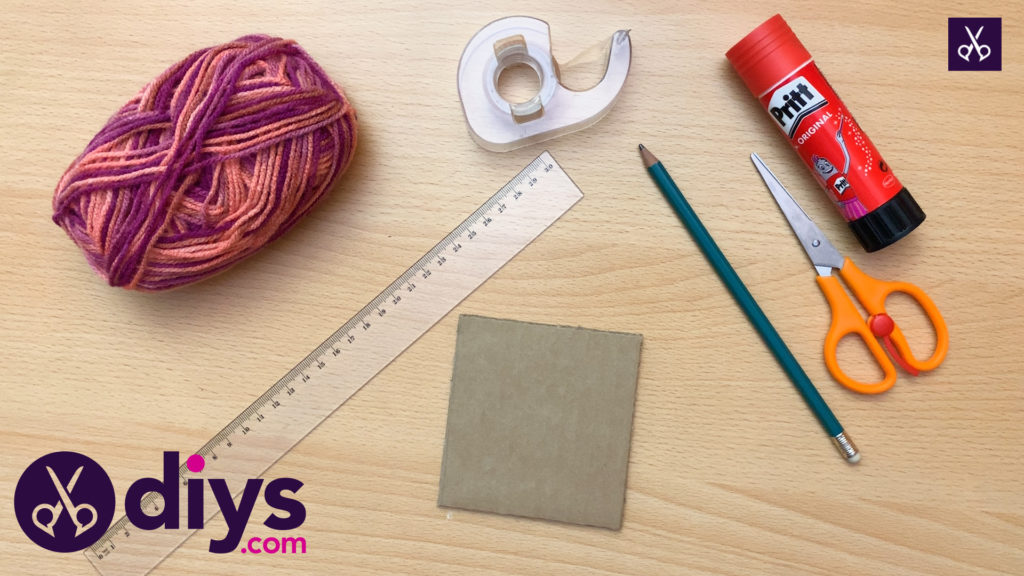
For this project, you’ll need:
- Yarn (whatever colour you please)
- Scissors
- Fork
- Cardboard
- Pen and ruler
- Glue stick

Step 1:
Gather your materials!
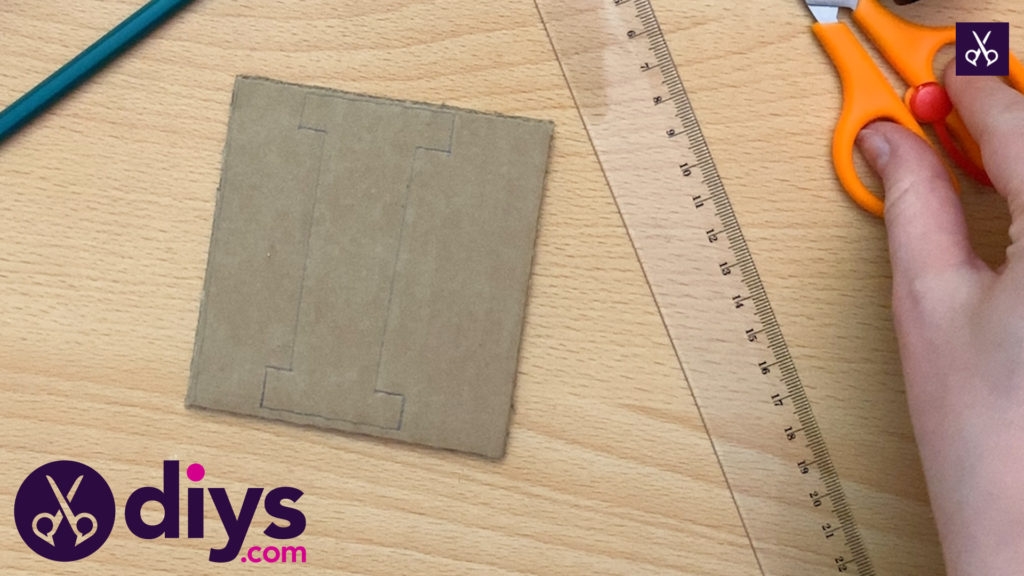
Step 2:
On your first piece of cardboard, map out your first letter. I started with an I, which I sketched out using a ruler to ensure that all of my lines were straight. I wasn’t too picky about the thicknesses and dimensions of the letter’s details, so I didn’t specifically measure out each piece, but I did use the ruler’s straight edge to make it very neat. Once your letter is drawn, cut it out!
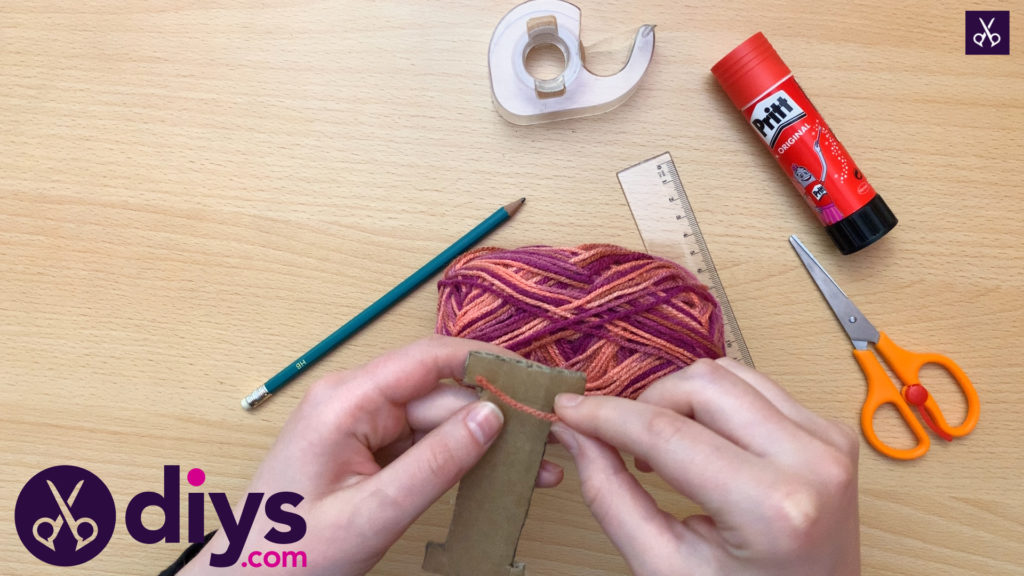
Step 3:
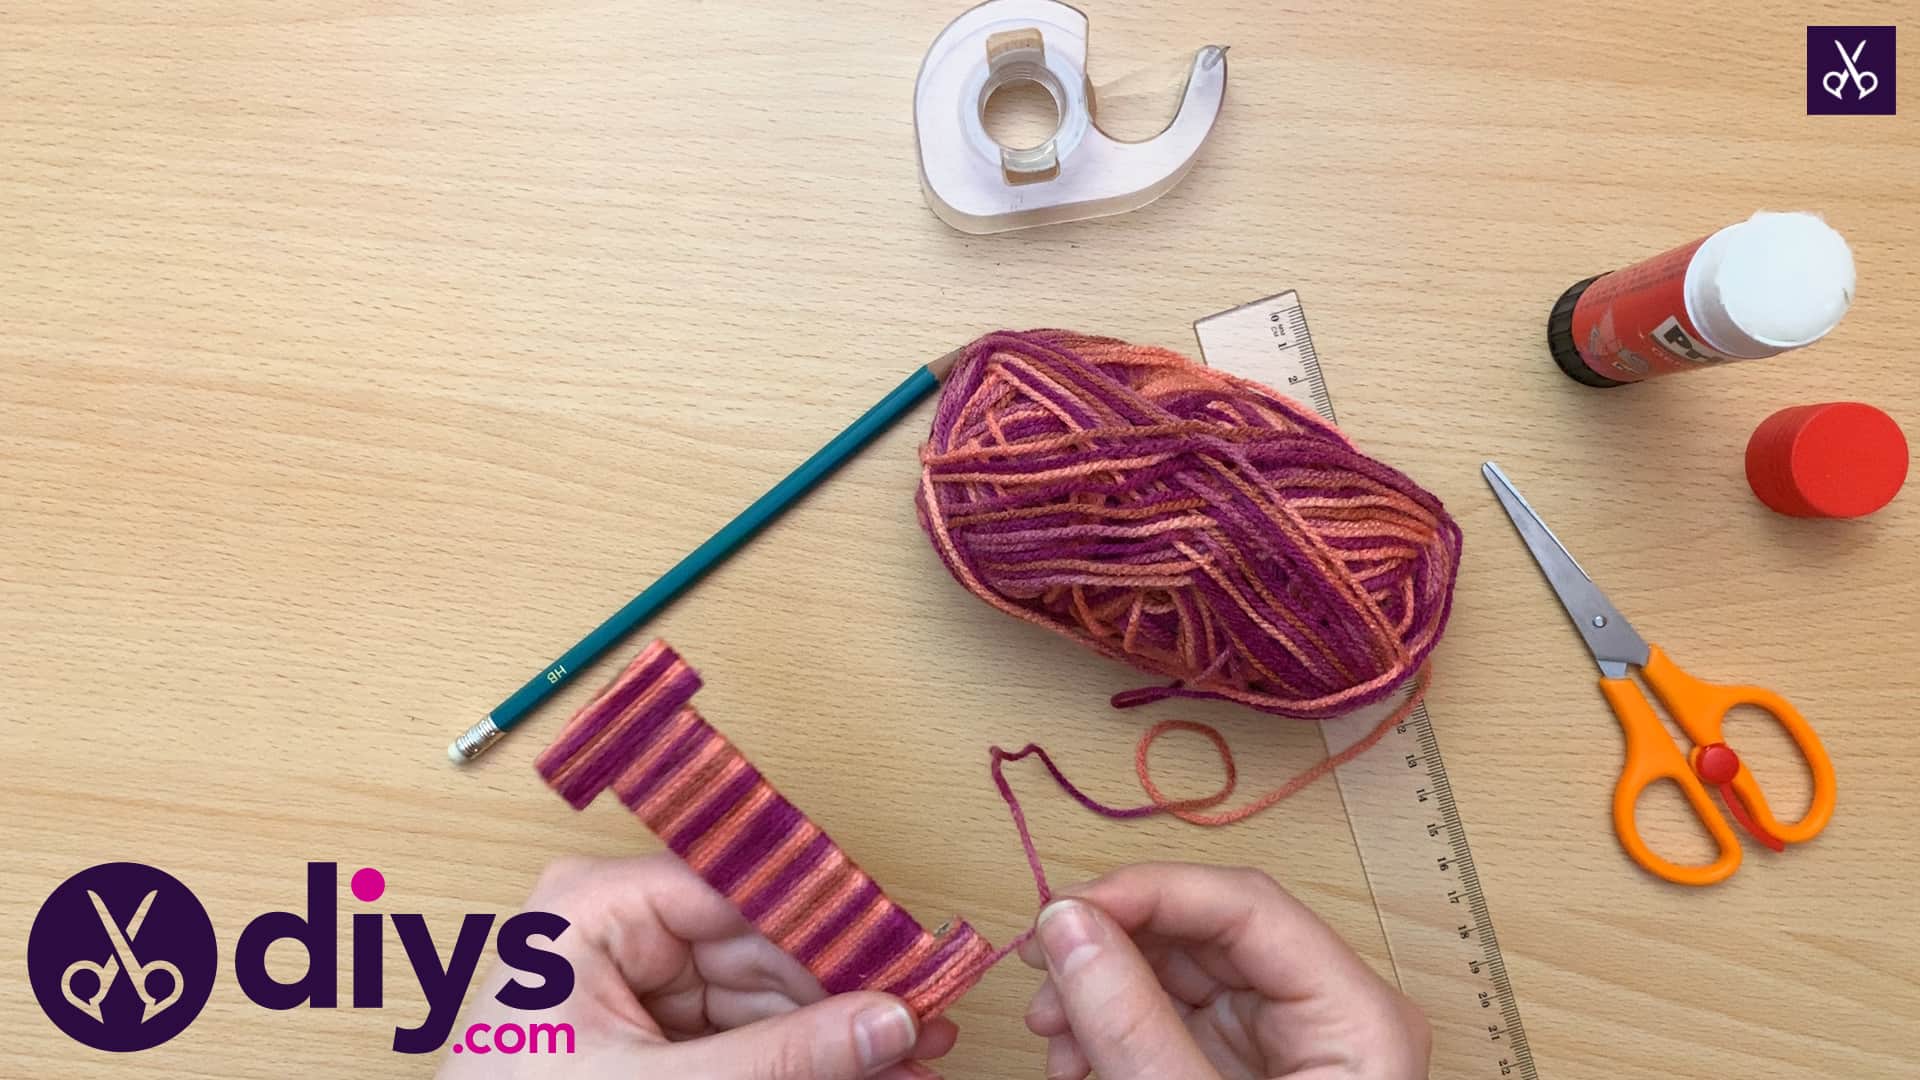
Start your yarn wrapping by pinching the end of the yarn against the top of your cardboard with your thumb. You can also apply a bit of glue near the top and press your end into that, but I still held mine there even with the glue, just to make sure it didn’t pull out and unravel my work. After a few rows around, the yarn layers will hold the end down for you, tucked underneath, so you’ll be able to carefully slip your thumb out without losing your tension. Start right near the top edge of your letter and wrap the yarn around horizontally, laying each wrap next to the one before it and working your way downward.
Step 4:
Once you’ve reached the bottom of your letter and the whole thing has been yarn wrapped, carefully scoot one of the last rows on the back of the letter our of the way and apply glue to the cardboard underneath. Cut your yarn off at a place where the end will reach that spot and press the end into the glue. Let the wrapped layer fall back over it so your end is tucked underneath. This makes it both solid and neat looking!

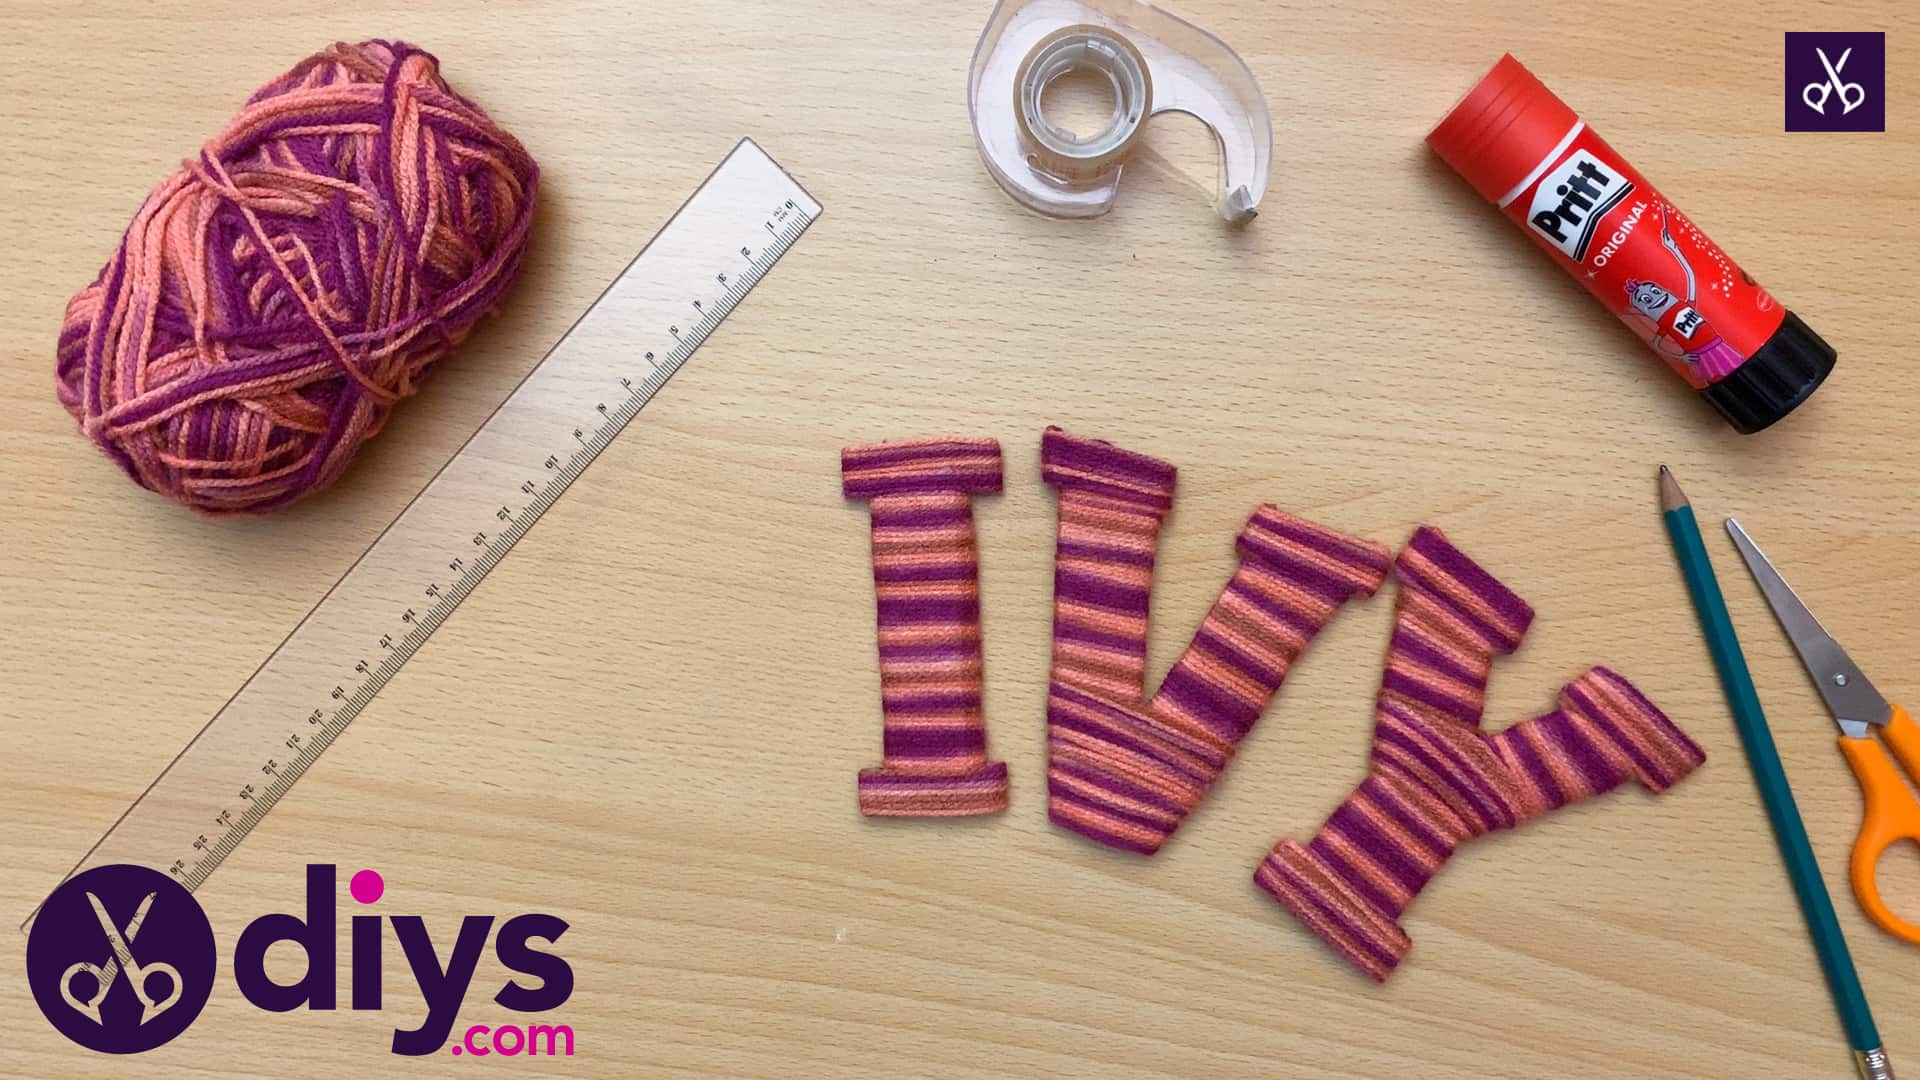
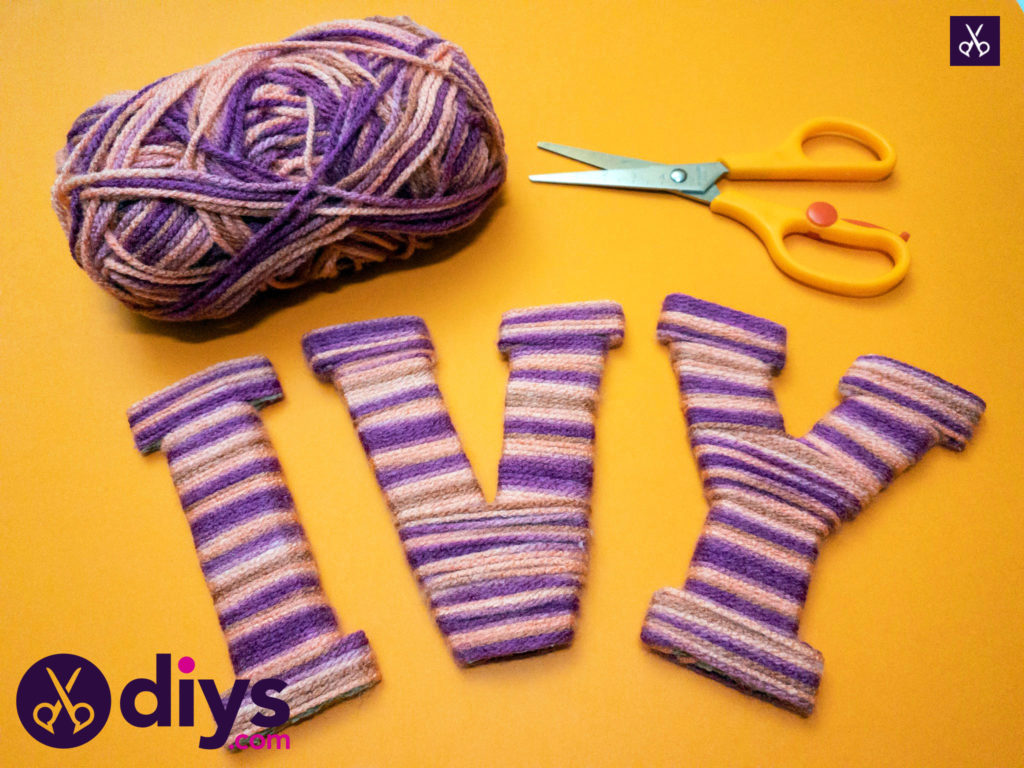
Step 5:
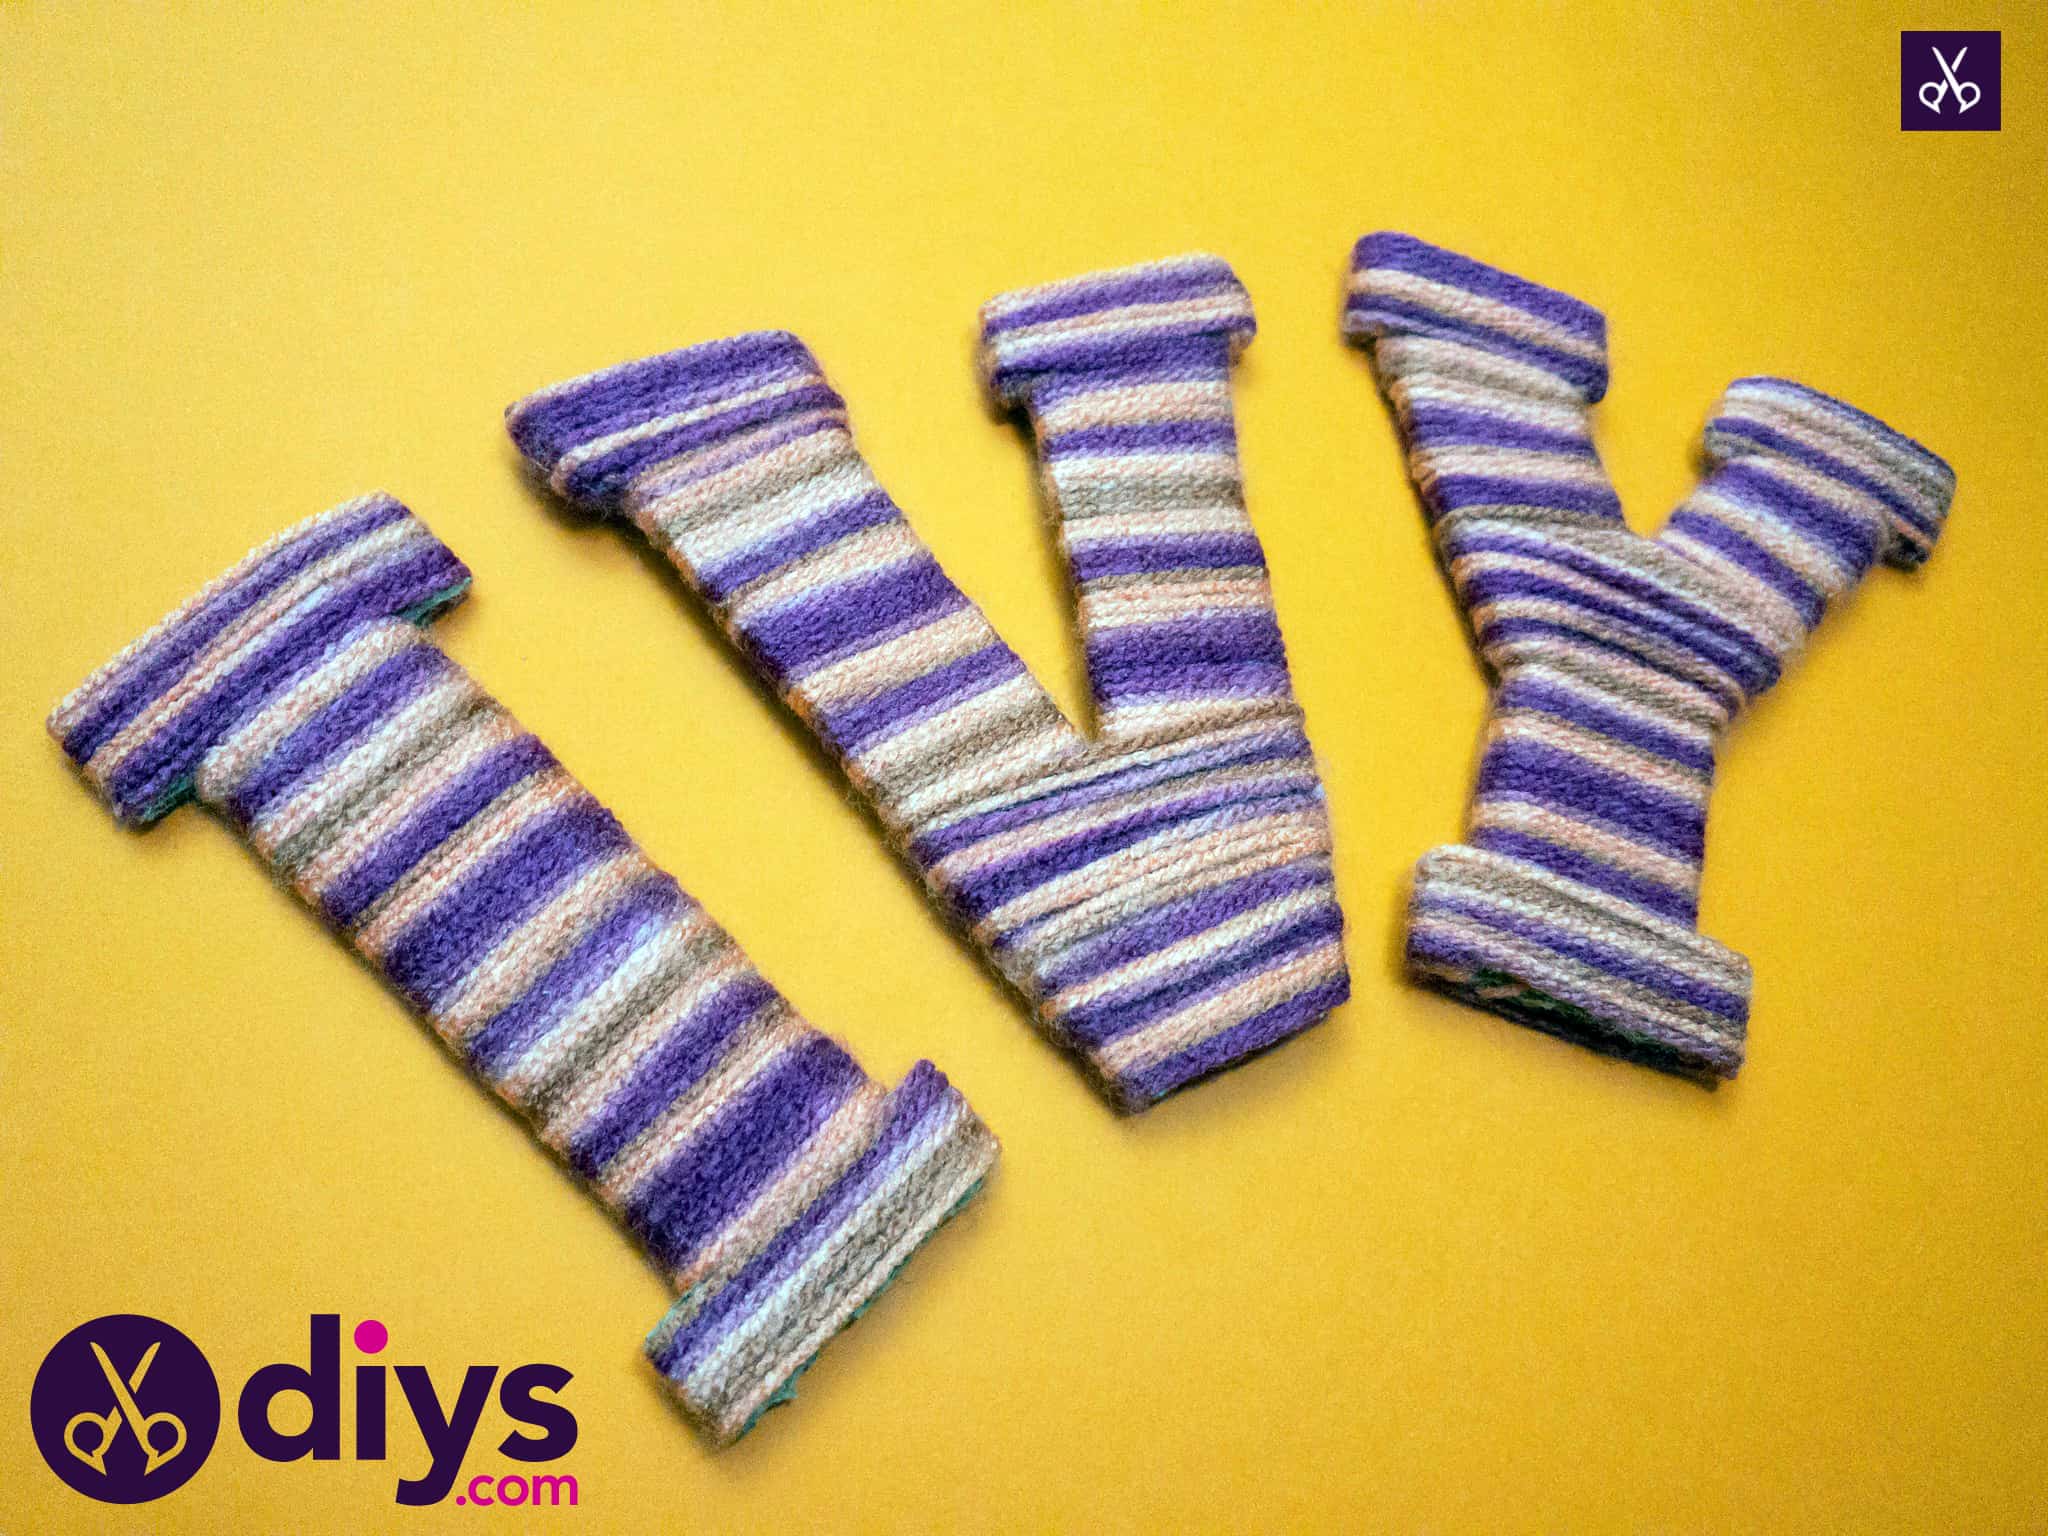
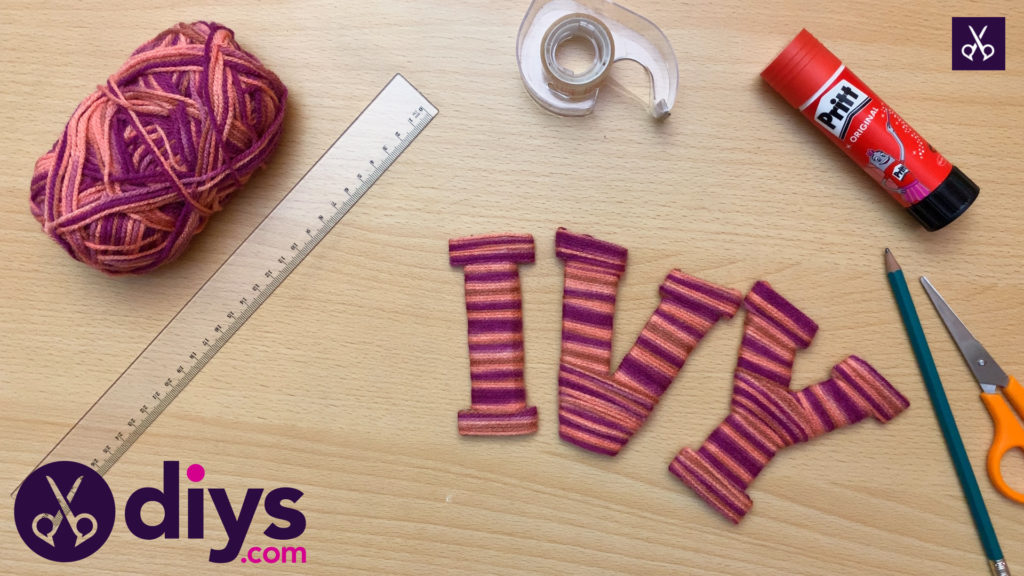
You’ve finished your first letter! Set it aside and repeat all of these steps with your other letters until you’ve completed your word or phrase. I drew the V and Y in the name Ivy in a freehand way with my ruler, just like I did with my I. For letters where you have a split and have to cover two different parts that can’t be continuous, like in the top of the V or the Y, cut and glue the end on your yarn a little early, at the base of each leg. Start with your wrapping again at the base where those two sections join and continue in once piece from there, finishing the letter off the same way we showed you earlier.

There you have it! This word art hands on my daughter’s wall not. You might feel free to use these same basic techniques but play with the size of your letters, making even more miniature versions or much bigger ones, if you’re feeling up to more of a challenge!
Just in case you’d like to try this project out as well, here’s an awesome tutorial video to give you a hand!

