DIY Cool Felt Laptop Case – 8 Steps (with Pictures)
Updated on November 19, 2025
It can be difficult to find the perfect case for your laptop, and it can be even harder to find one at an affordable price. This is why I decided to make one… and I’m sharing the tutorial with you! I have a 12-inch Macbook Pro, but you can easily customize these instructions to fit any size laptop.
So let’s get started.
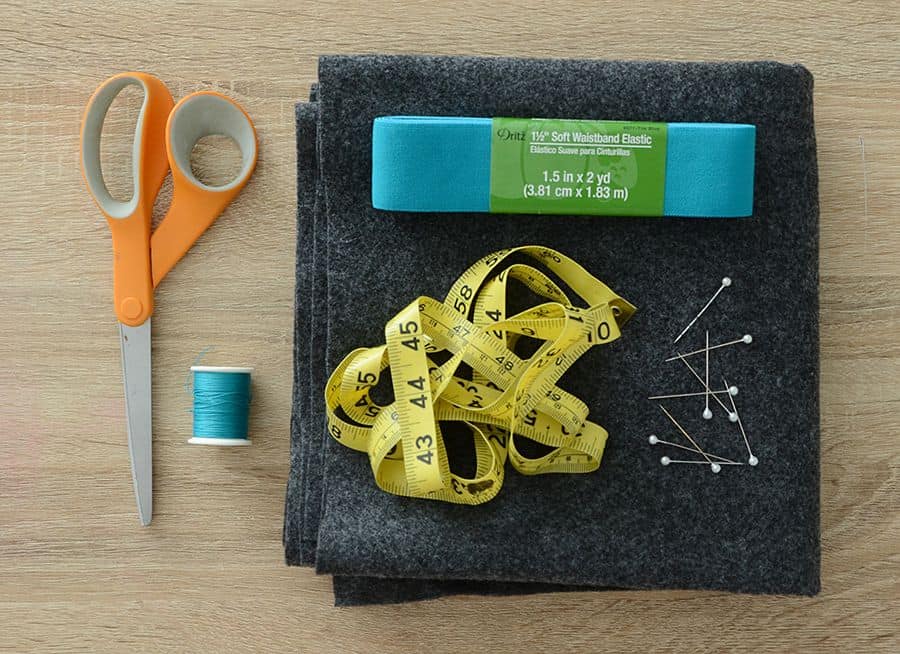
Here’s what you’ll need for your laptop sleeve:
- 1/2 yard of thick felt
- Colored waistband elastic
- Coordinating thread
- Scissors
- Pins
- Measuring tape
- Sewing machine
Step by Step instructions to craft this beautiful laptop case:
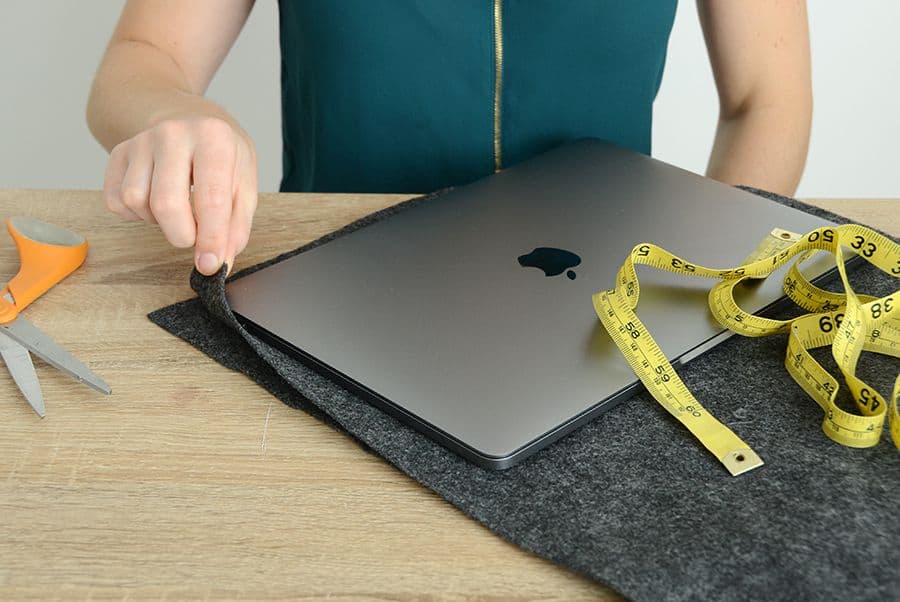
Step 1: Measurements
Begin by placing your laptop on top of the felt. You’ll need two pieces that are 14 x 30 inches. (Or for a different size laptop: measure your computer and cut the felt so it is 3 inches wider than the widest measurement and three times longer than the shorter measurement).
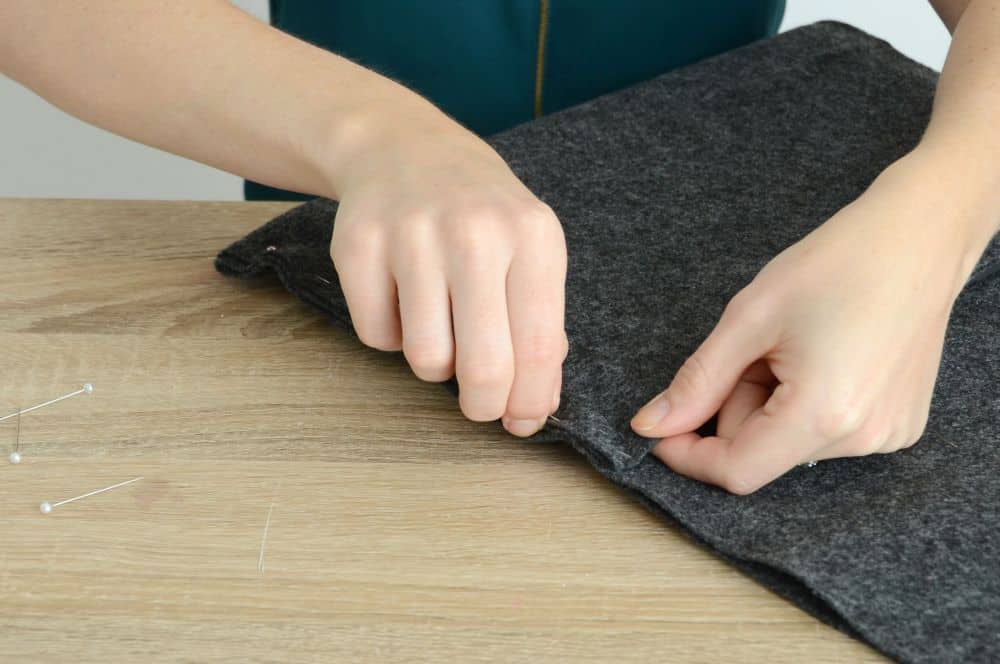
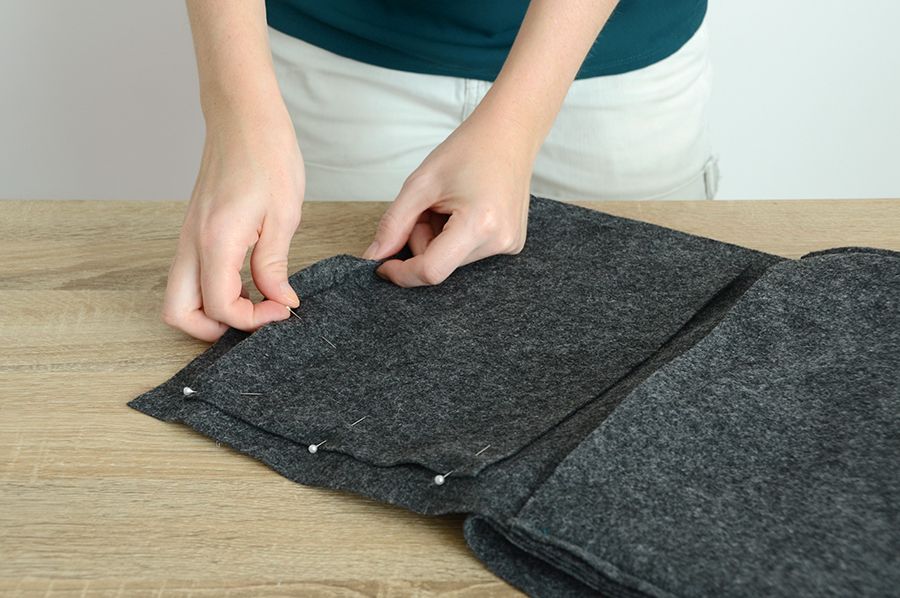
Step 2: – Folding process
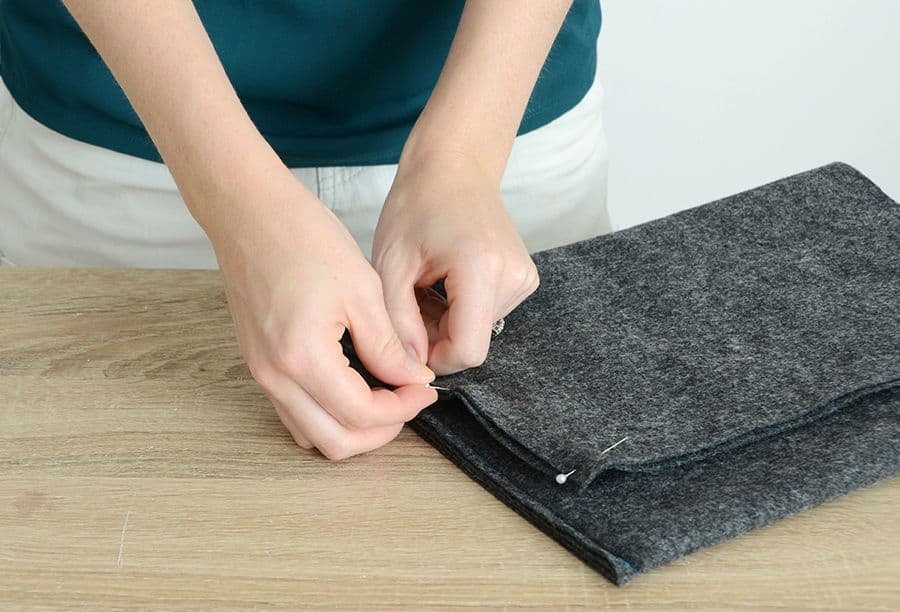
Place the two identical pieces of felt on top of one another and fold them over by about one-third so the folded piece covers your laptop perfectly. Pin each side as shown above.
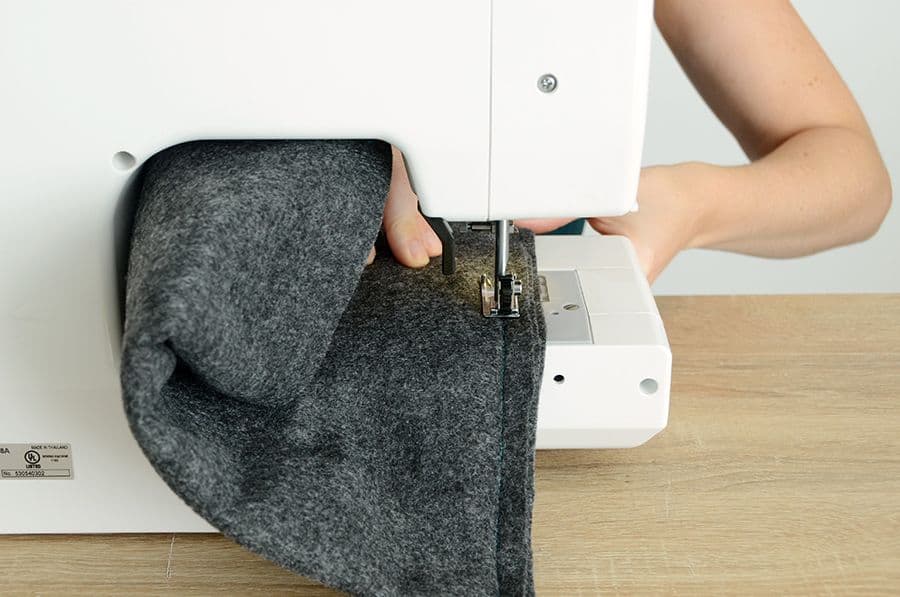
Step 3: Sewing process
Sew down the pinned edges with a 3/4 inch seam allowance, using a wider stitch so the colored thread has the maximum effect.
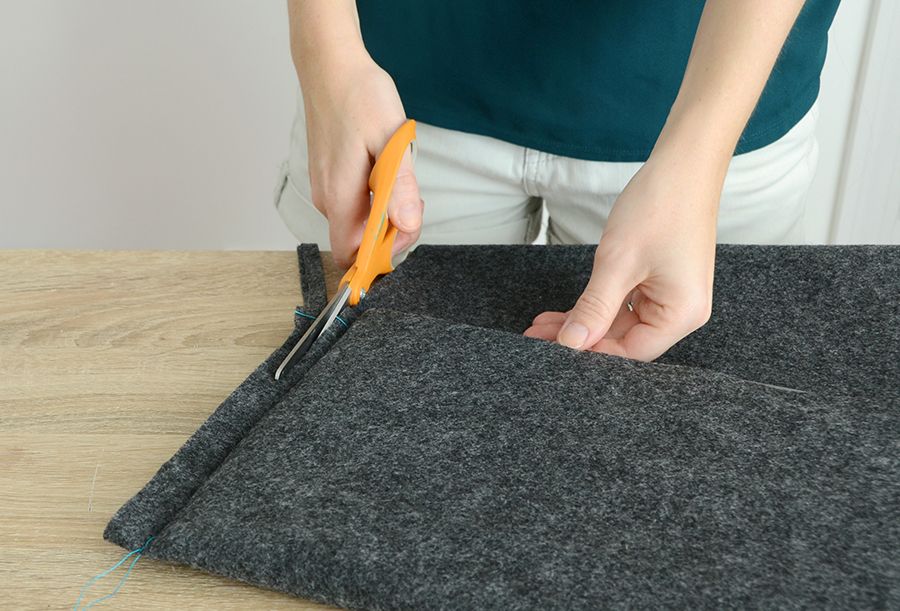
Step 4: Cutting the excess
Trim the excess, leaving 1/4 of an inch of felt. Trim any excess thread as well.
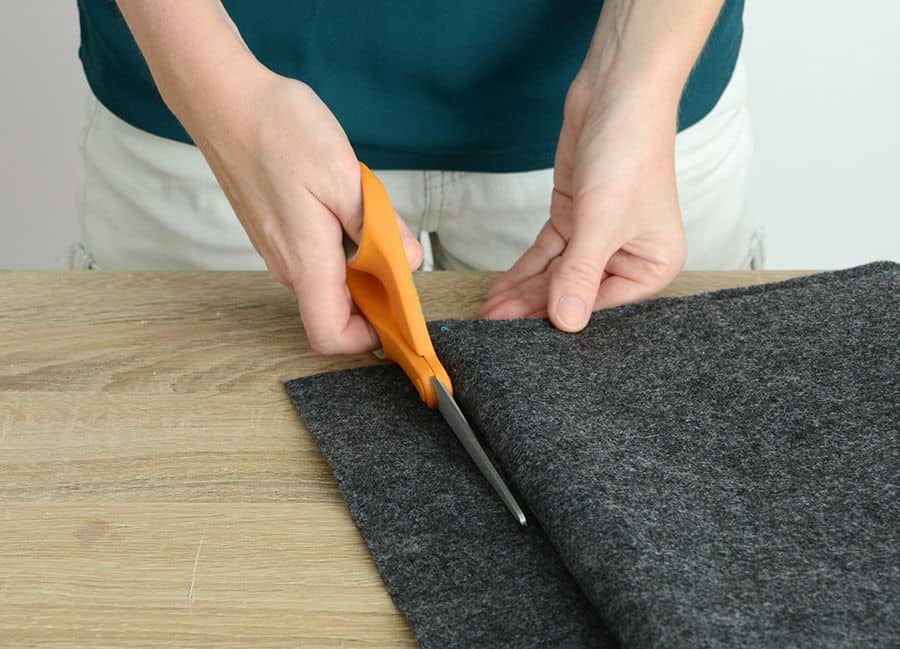
Step 5: extra flap
Fold the extra flap of felt over and trim the excess as shown above.
Step 6: Sewing technique
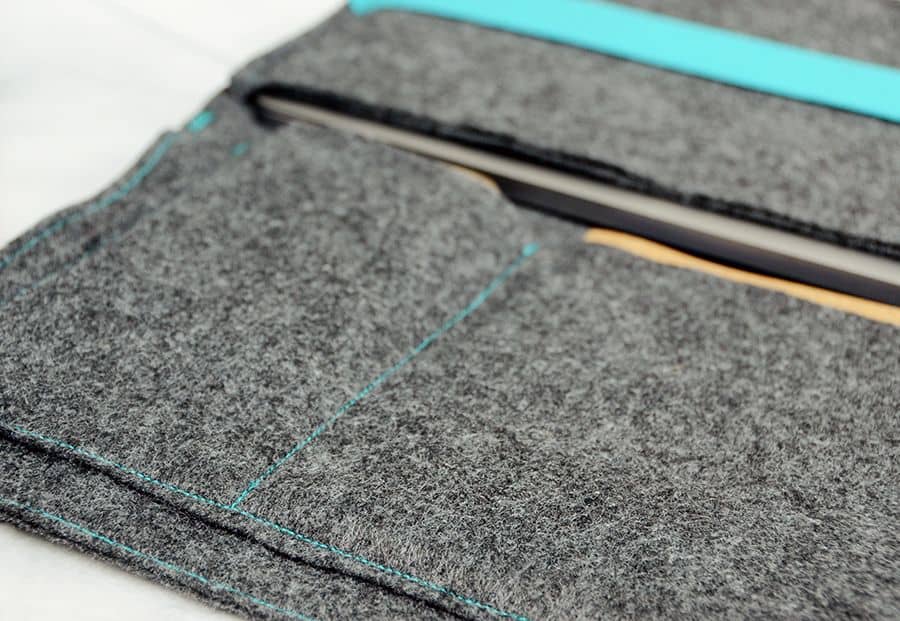
Fold the outer flap down and out of the way, and cut a 7 x 11 inch piece of felt to create the pockets. Pin it to the inner flap. Sew around the three outer edges of the pocket with a 1/8 inch seam allowance, and sew another seam vertically, 3.5 inches from one side to create a pocket for your phone (adjust the measurement if your phone is larger or smaller).
Step 7: slight angle trim
Bring the outer and inner flaps together and fold them over the laptop section as shown above, trimming at a slight angle so that the flap isn’t quite as wide as the laptop section below it. This will make it easier to slip through the elastic. Pin the edges together and sew using a 1/4 inch seam allowance.
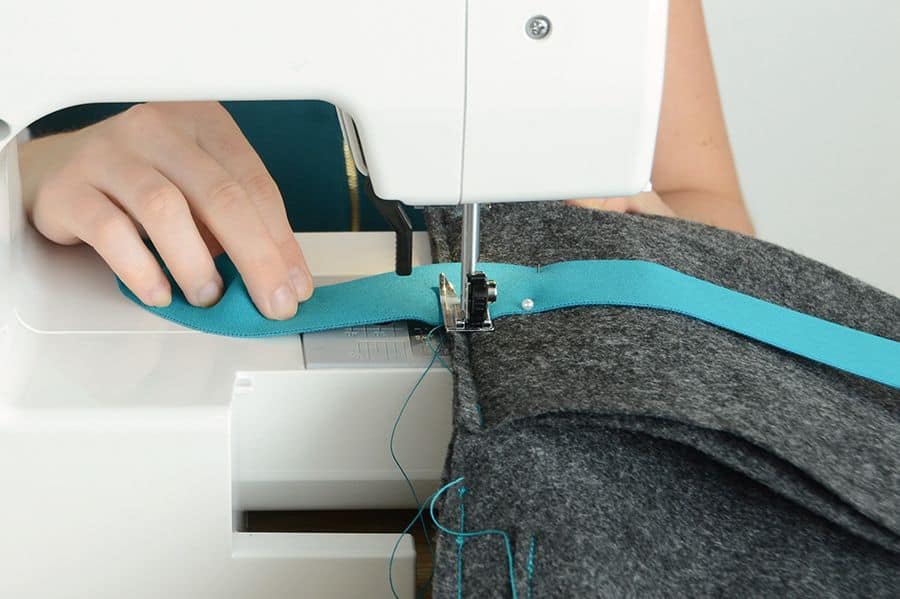
Step 8: Don’t forget the elastic
Last, attach the elastic to the top side of the laptop section. Sew along the existing side seam, pulling the elastic just a bit taut before you sew the final seam. Trim the excess, and you’re finished!
Conclusion
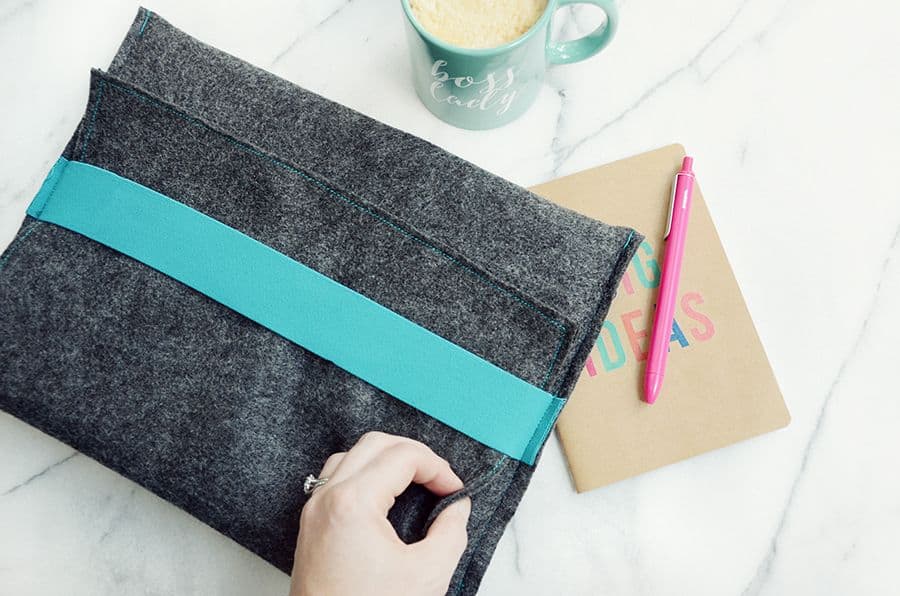
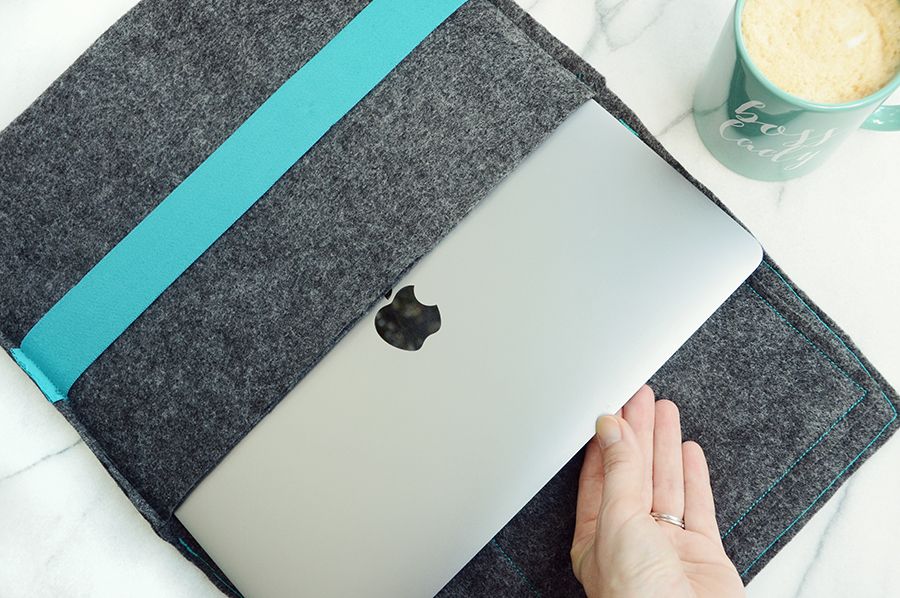
Your laptop will slide in and out perfectly, and it will be saved from all those nicks and scratches that it would otherwise get if you were carrying it around without a case.
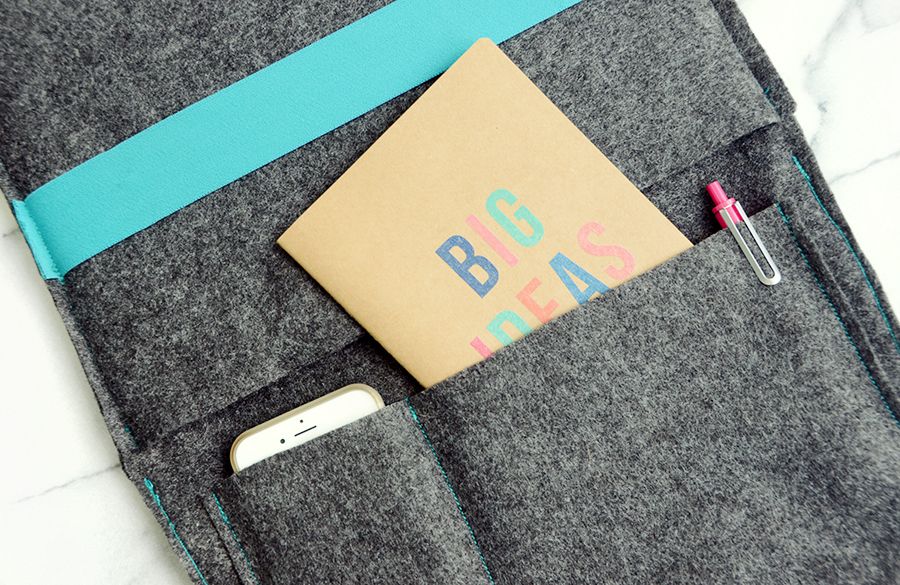
The pockets provide the perfect spot for your phone, notebook, pen and other important supplies.
The contrasting thread gives it some serious style, and you could take it a step further by choosing a few different thread colors or even a brighter felt color. Have fun with it!
