Easy 3D Paper Apple Craft for Kids
Updated on November 19, 2025


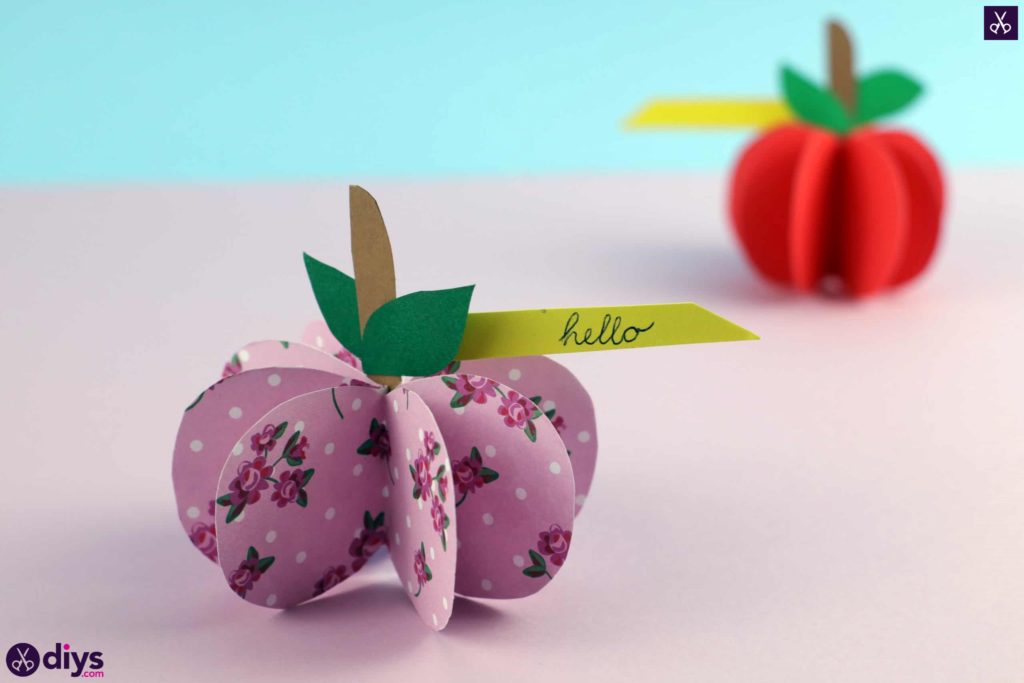
I really like paper crafts that actually involve constructing something or giving paper a solid shape in order to create something 3D. In fact, playing with these concepts is how I came up with the idea of making DIY 3D paper apples! As we move towards spring, I get more excited about creating spring-like things, so the idea of using the paper crafting skills I love so much to bring a piece of fruit to life thrilled me.
Check out these step by step instructions complete with photos! If you’d rather follow along with a video tutorial instead of written words, scroll to the bottom of this post to find just what you’re looking for.
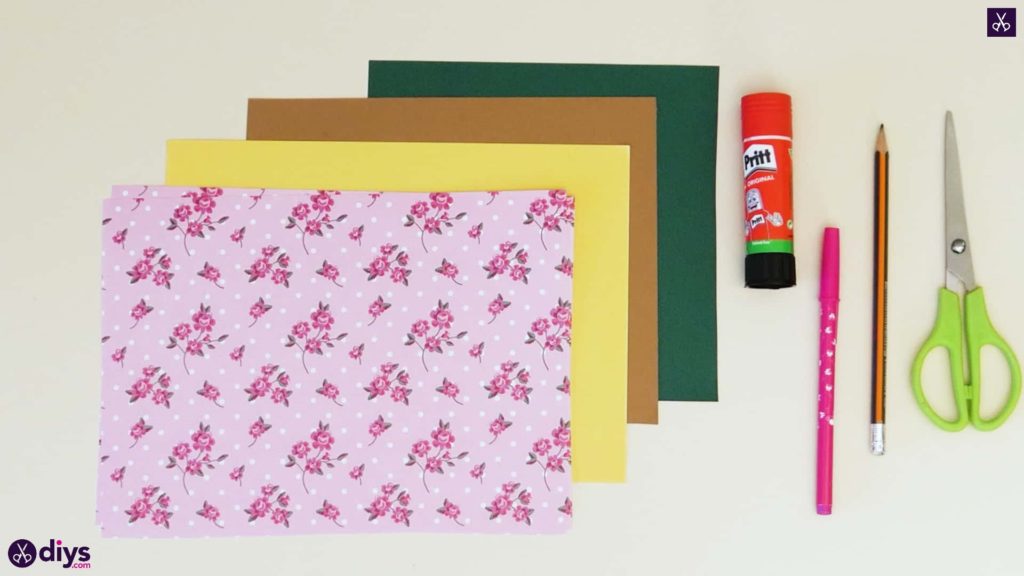
For this project, you’ll need:
- Paper (colorful or patterned, yellow, brown, and green)
- Scissors
- A glue stick
- A pencil
- A pen

Step 1: check your list of materials
Gather your materials in front of you!
Step 2: measure and cut
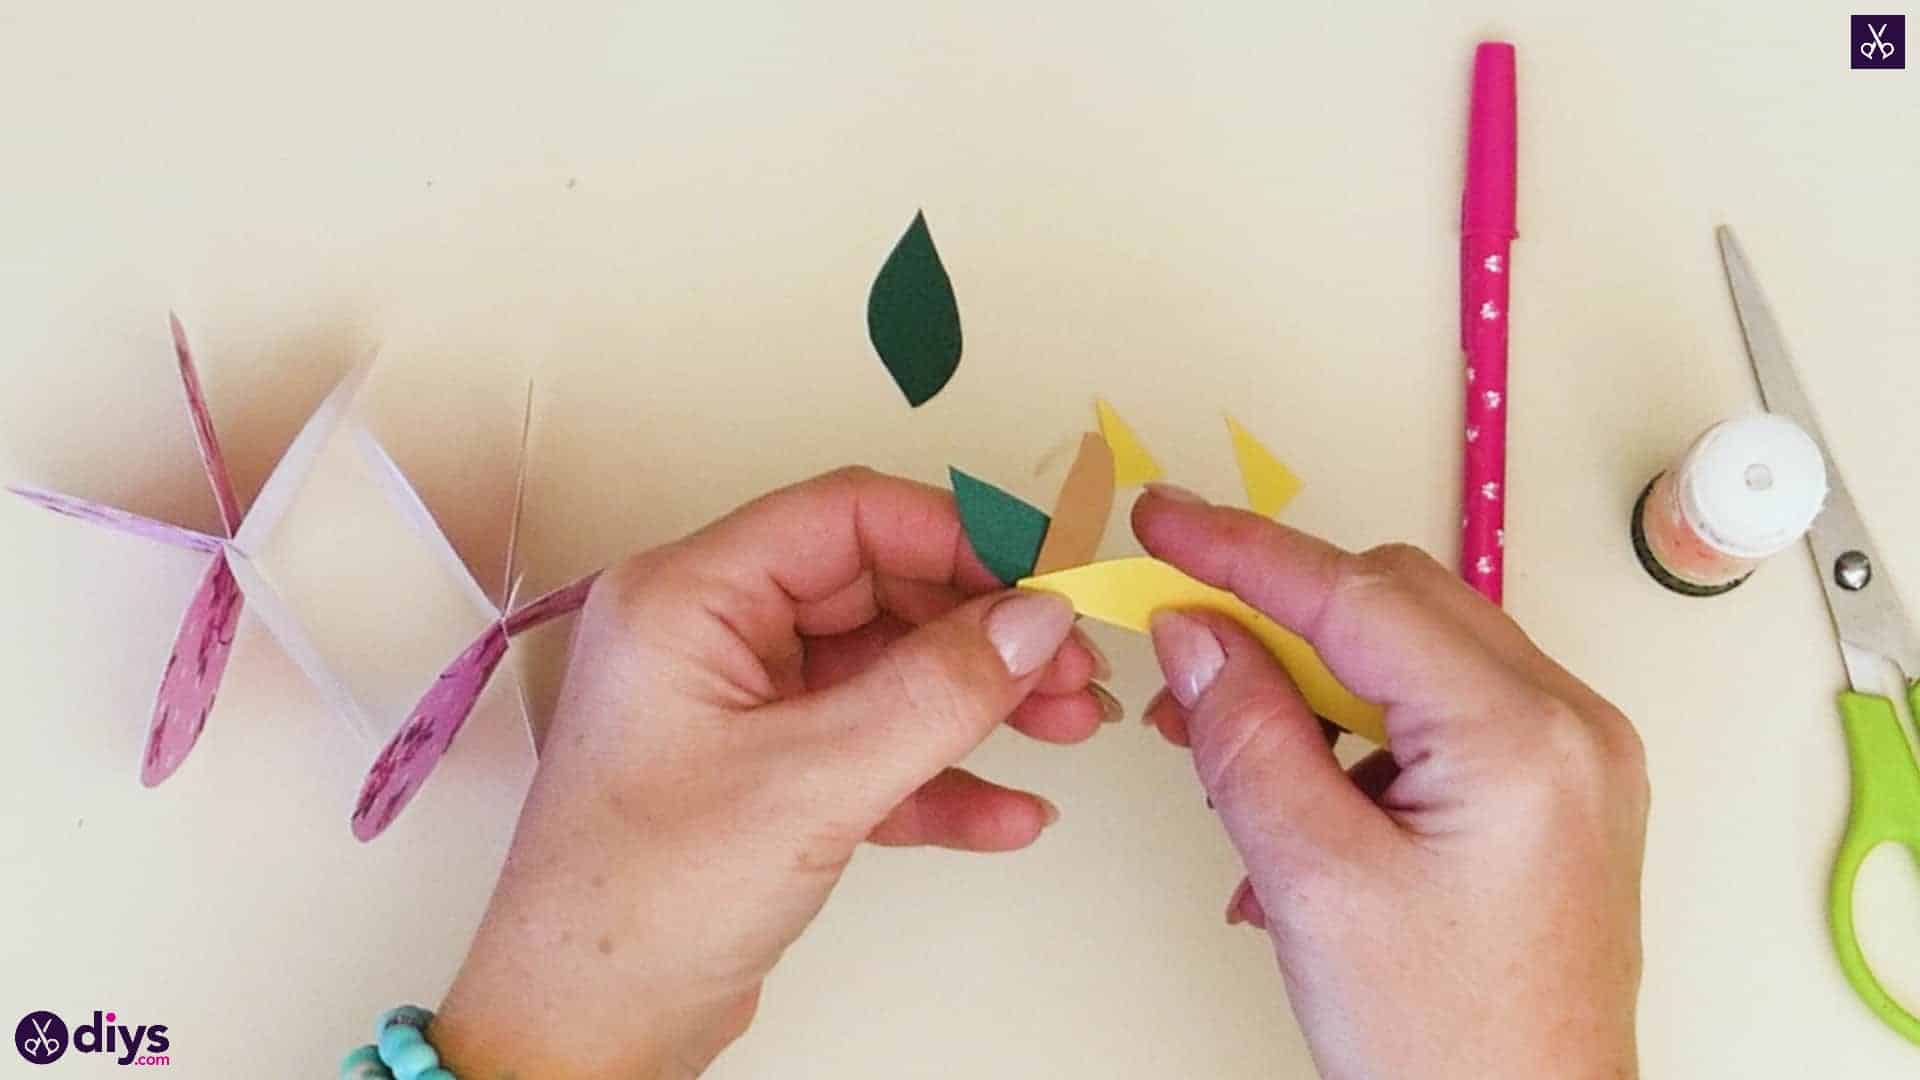
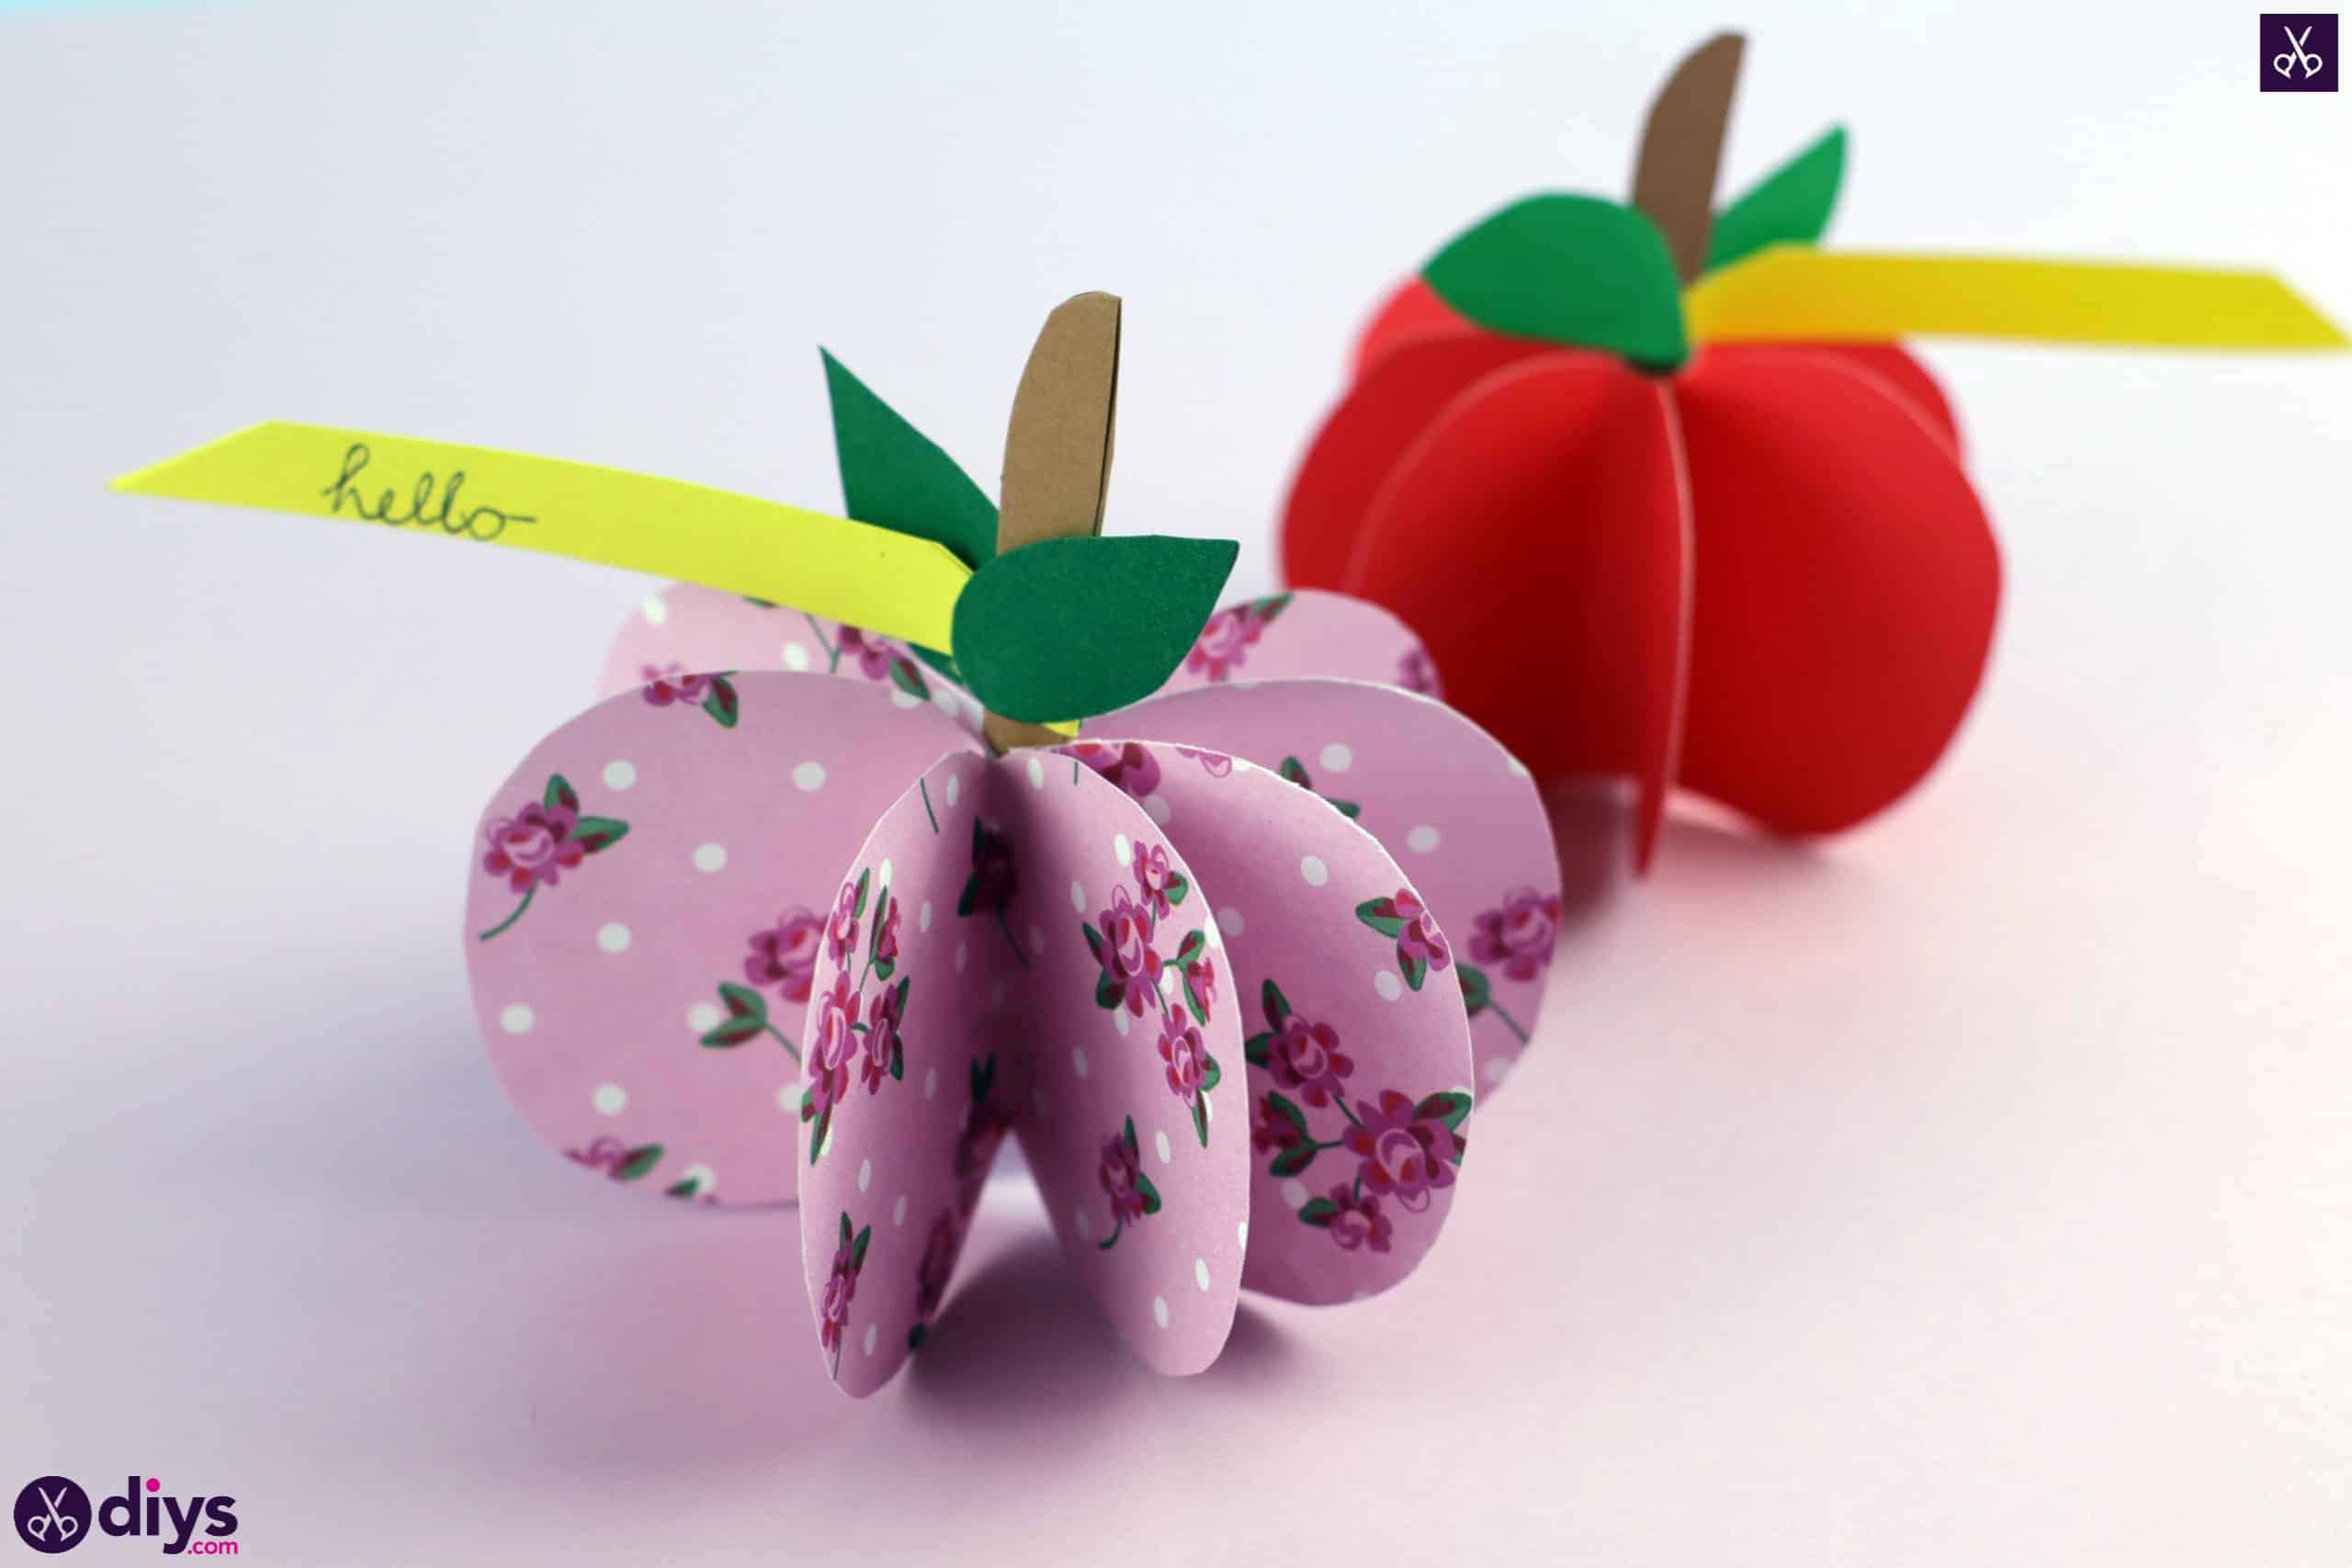
Cut out all of your pieces that you’ll later assemble! Cut a quarter inch wide and four inch long strip from your piece of yellow paper. This will later be your greeting banner. Then cut a quarter inch by two inch strip from your brown paper, fold it in half, and round off the top corners of the open side towards the creased side. This will be your apple’s stem. Next, cut two leaf shapes, with one rounded end and one tapered point end, from your green paper. Set all of these shapes aside for the moment.
Step 3: Start folding
Make the base shapes that will form your actual apple. Fold one of your patterned or coloured pages in half lengthwise, bringing the top edge and corners down to evenly meet the bottom edge and corners, making sure the colourful side is on the outside of your folds. Then fold the piece in half again but widthwise this time. Unfold the second fold you just made and cut the still-doubled piece in half. Open one of the pieces you just cut free and turn it long-ways, then fold one side in so its edge meets the fold-line in the centre and crease the piece into place. Then do the same thing on the other side. Cut the piece in half between those edges so you now have two folded pieces. Repeat this process with the other half you cut free earlier. Repeat this process with the rest of the original page and then your second page until you have a total of eight evenly sized folded pieces.
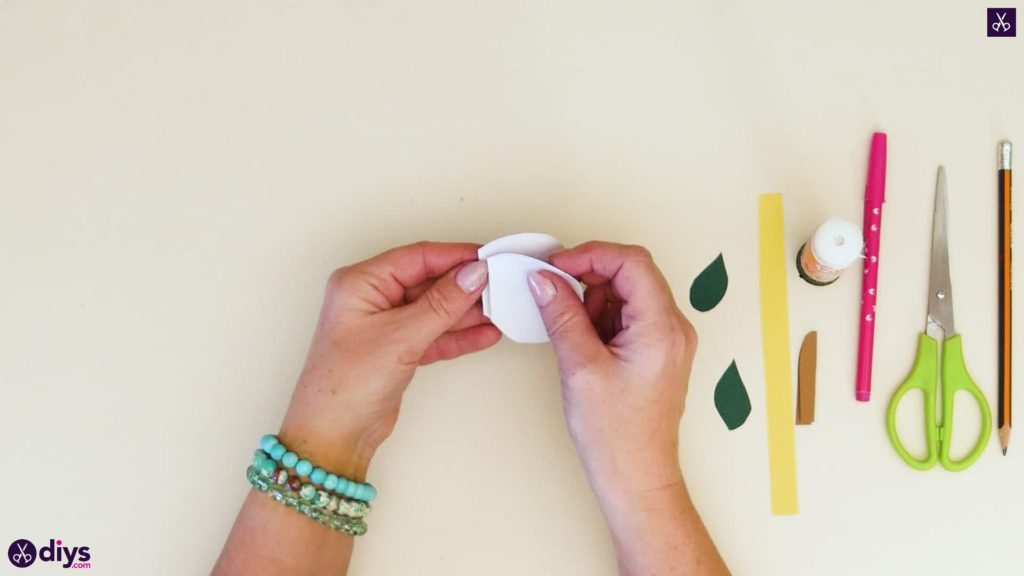
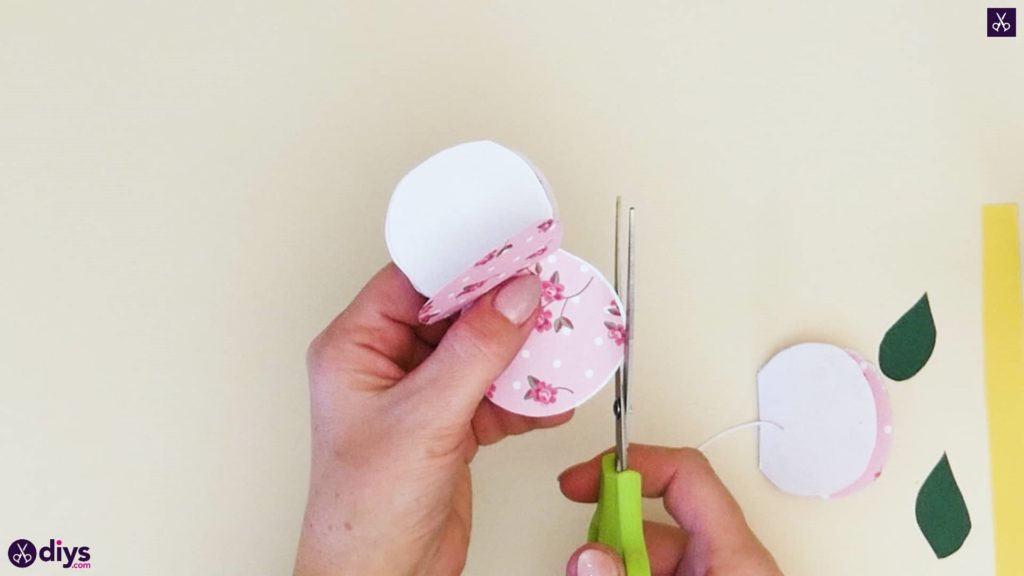
Step 4: shape your apple
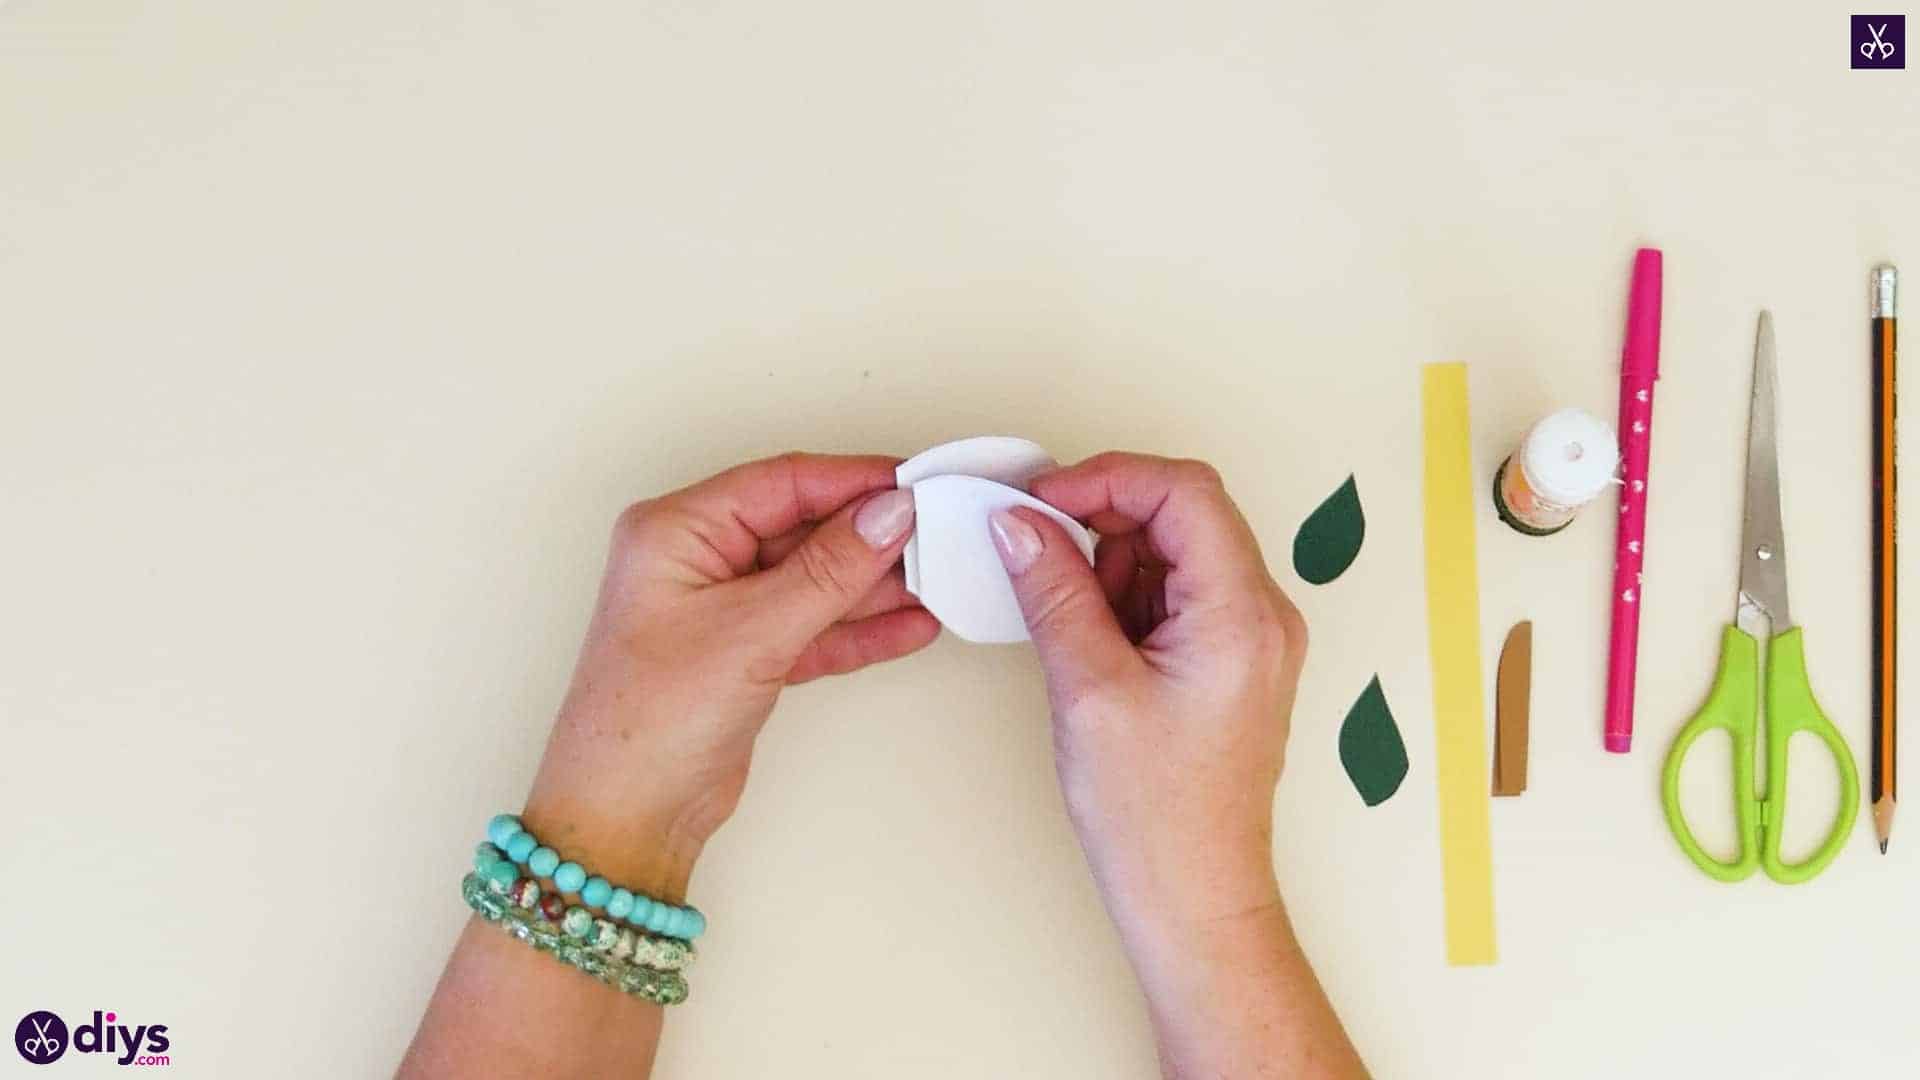
Now fold each of your eight pieces back on itself so it’s the same shape as before but now with the side youdon’t want to show in your final product facing outwards. Use your pencil to draw a nearly circular shape against each piece’s creased edge so that you end up with shapes that are almost circular except where they stay attached to that crease. Then cut each shape out, but make sure youdon’t cut through each one’s crease. Also make sure that you’re cutting throughboth sides of the folded shape. The result is that you have two near-circles that are fused on one side.
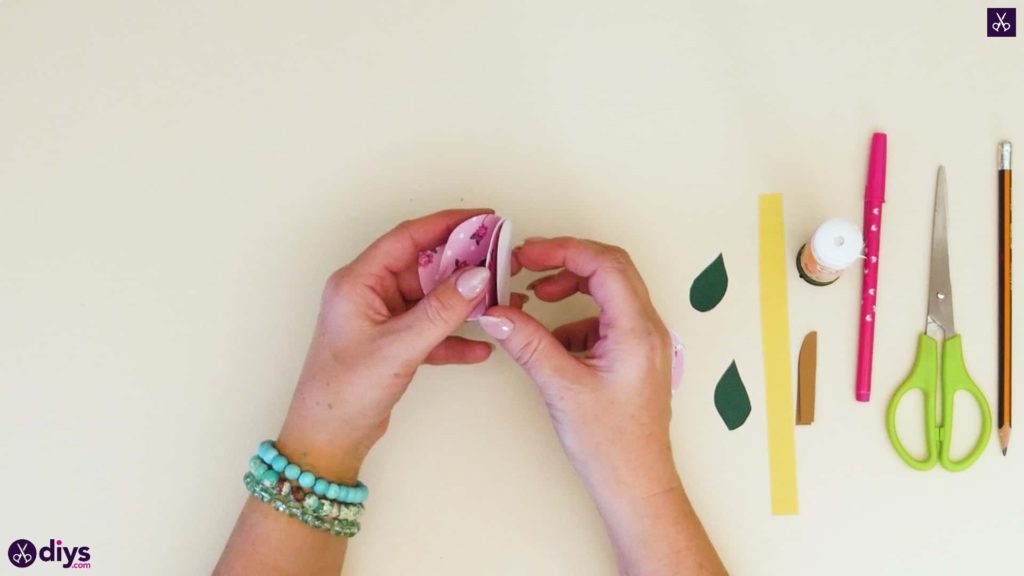
Step 5: start assembling
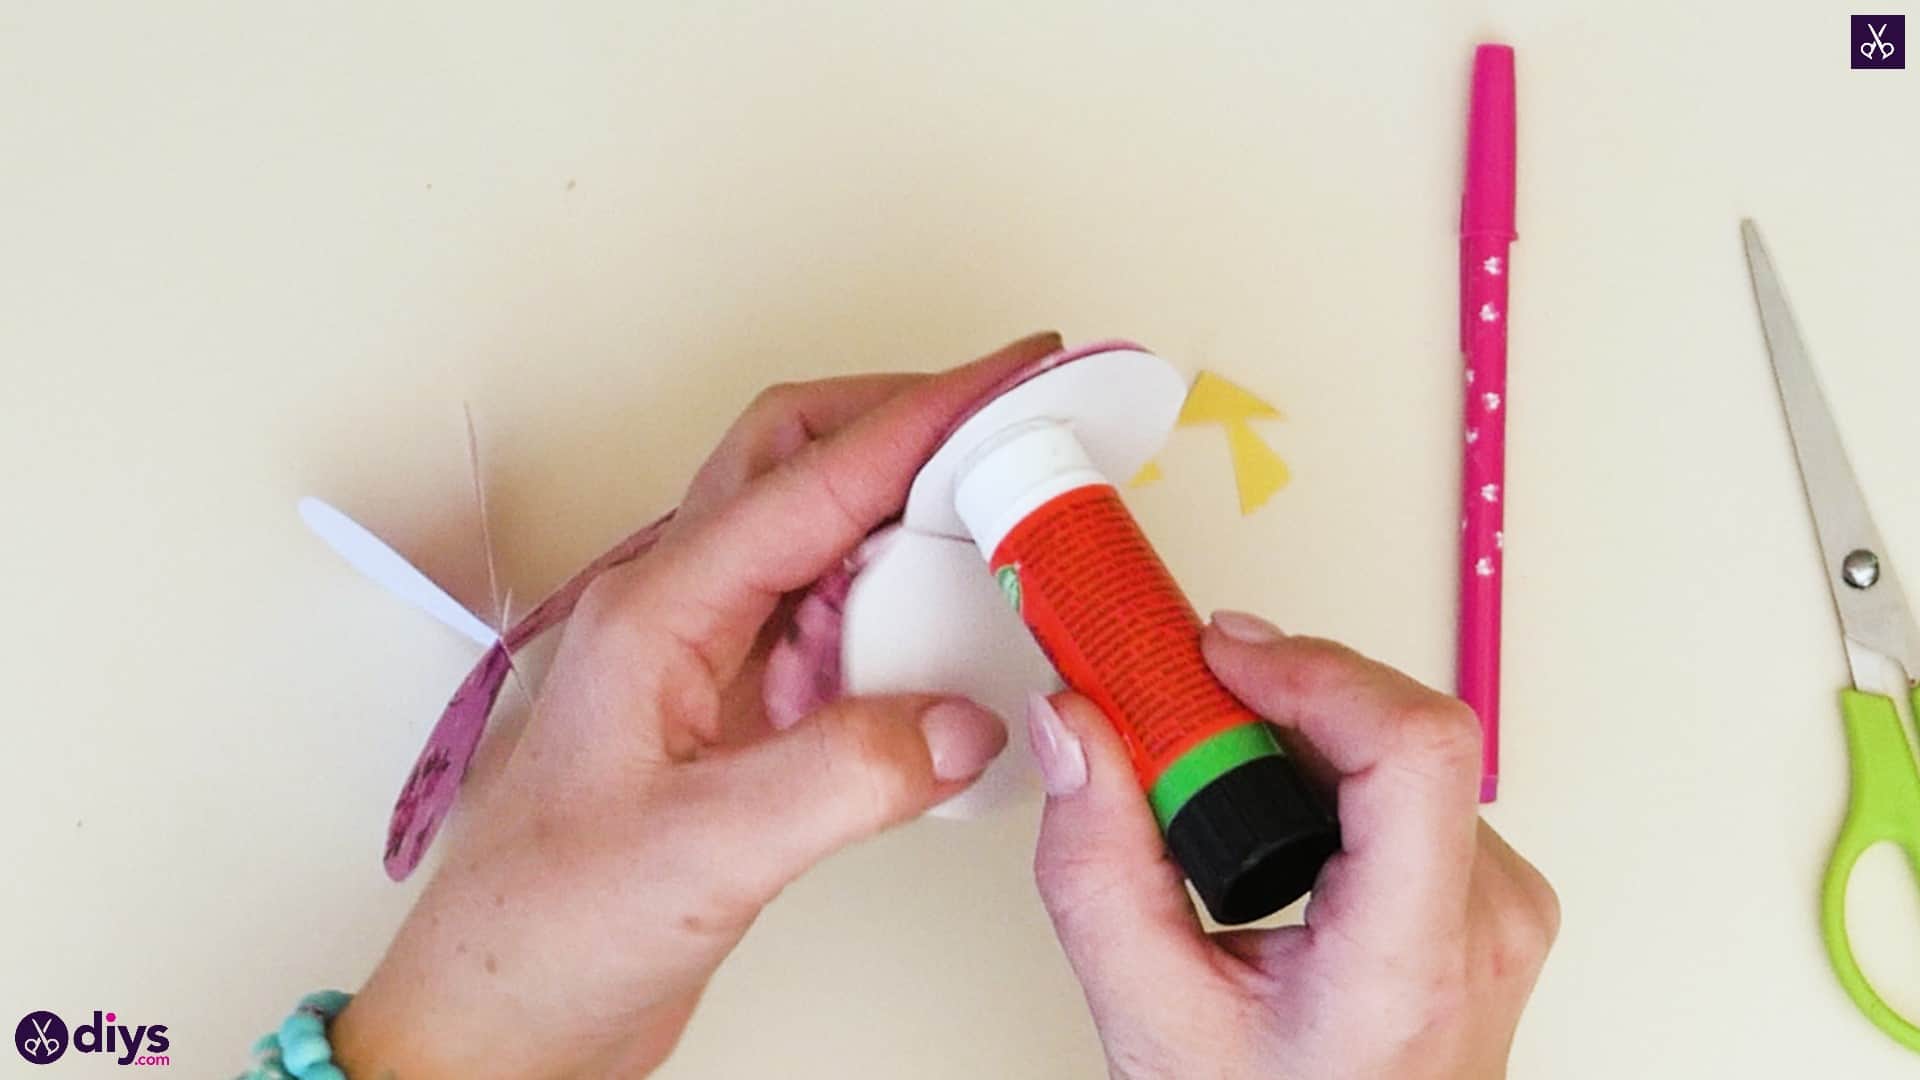
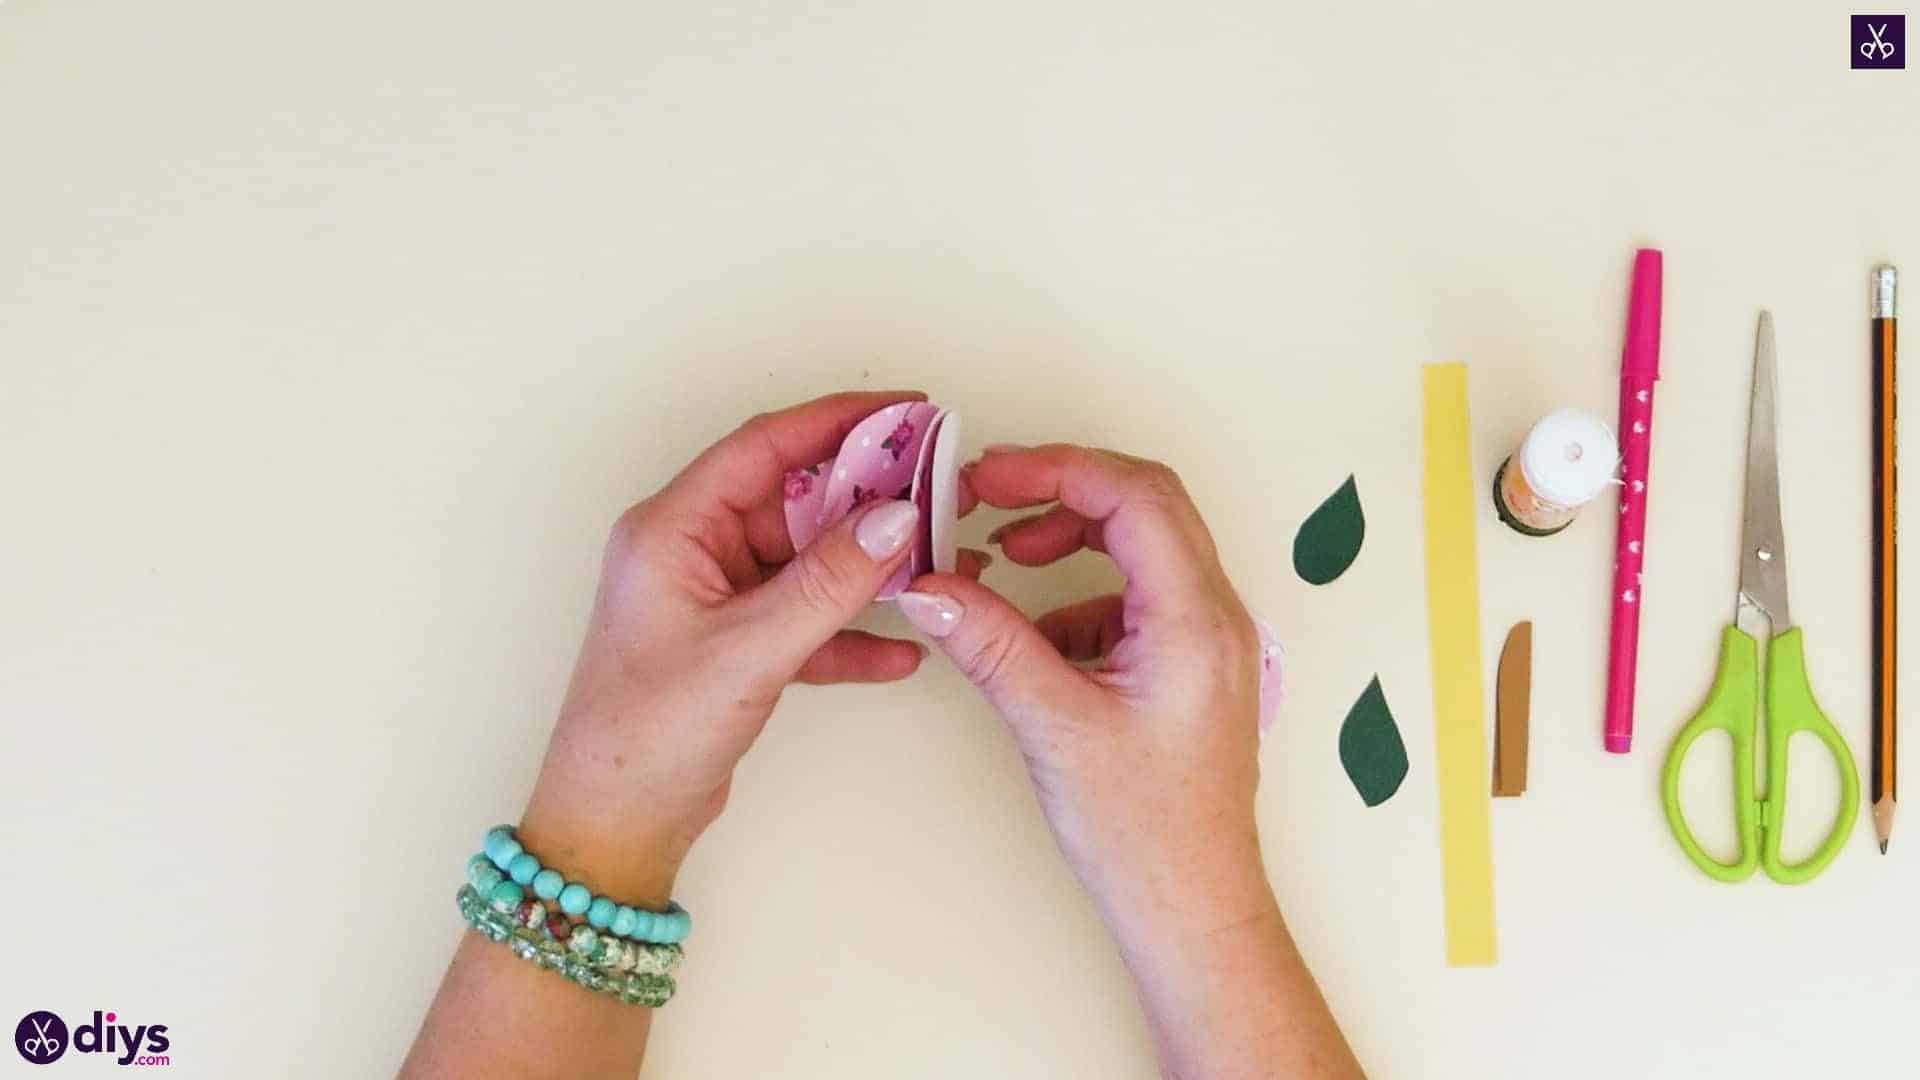
Assemble the two halves of your apple; four of your fused circle pieces on either side. Hold your first fused circle closed so its back side faces out and apply glue all over one circular side. Take the next fused circle piece and meet it evenly with its corresponding circle, gluing it into place so the crease of that second piece faces the same way and sits evenly with the crease of the first. Repeat this process until you’ve attached four folded fused circle pieces. Then do this whole process again with your other four pieces to make a second, separate four-piece half. Trim any excess edging from your joined rounded shapes if they don’t sit fully evenly against each other.
Step 6: extra pieces
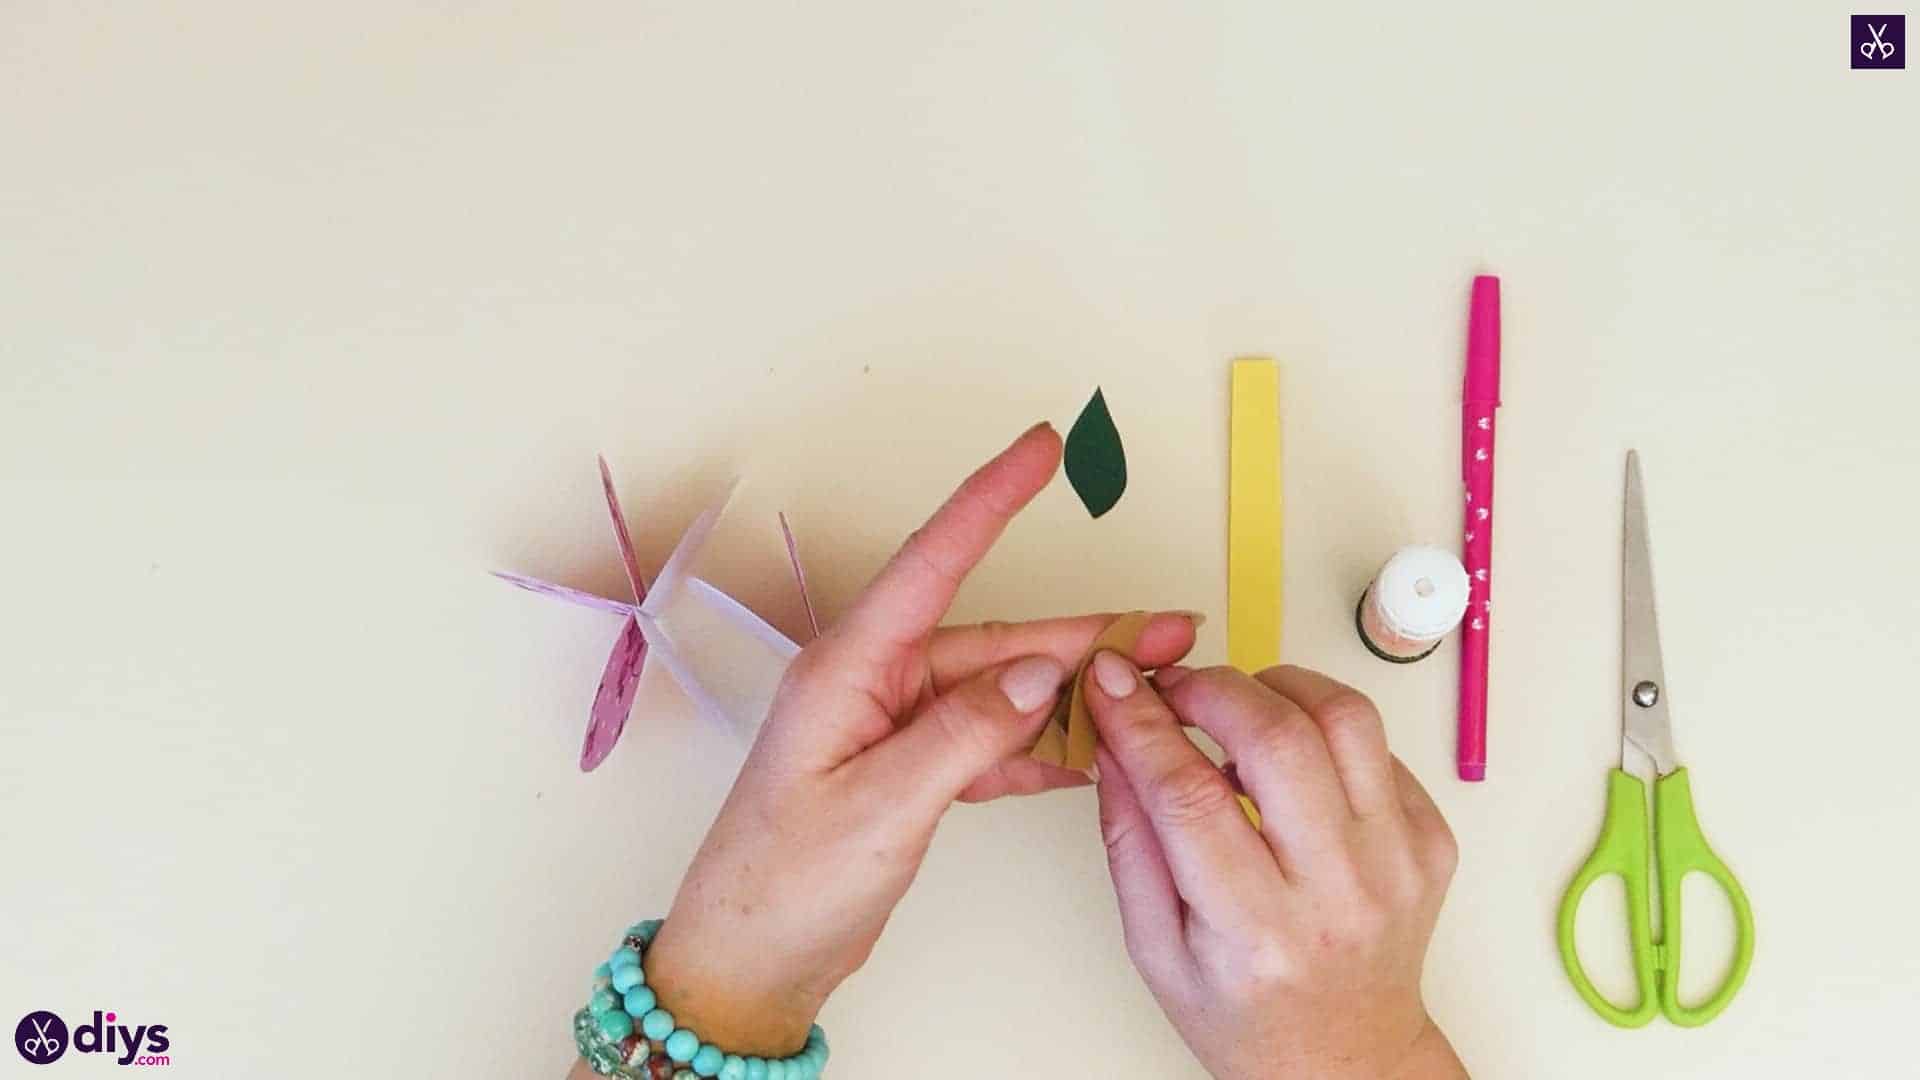
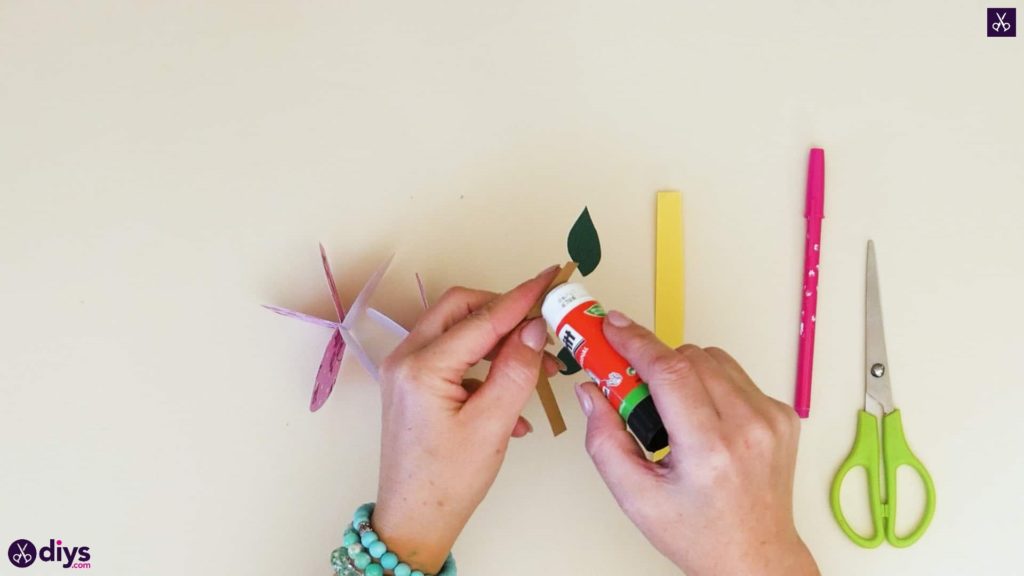
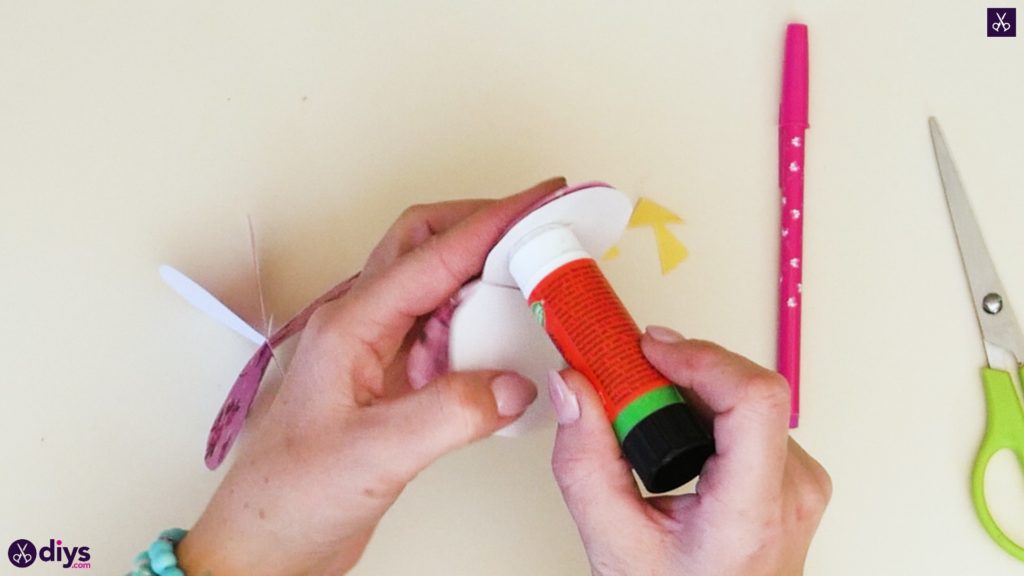
Start assembling your other pieces now. First, open up your brown stem piece, apply glue on the inside, and close it again to keep the folded shape stuck together.

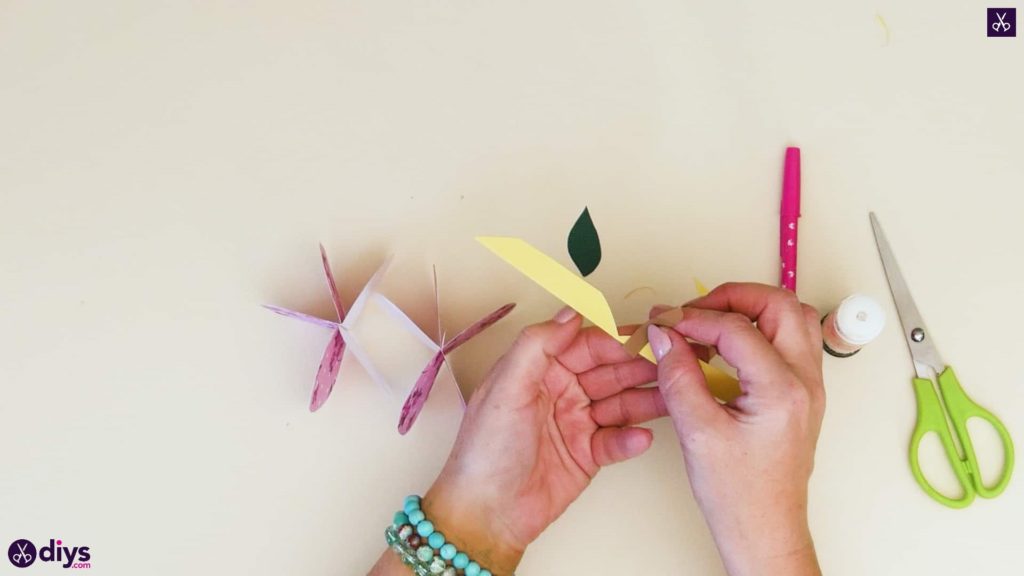
Step 7: add the banners
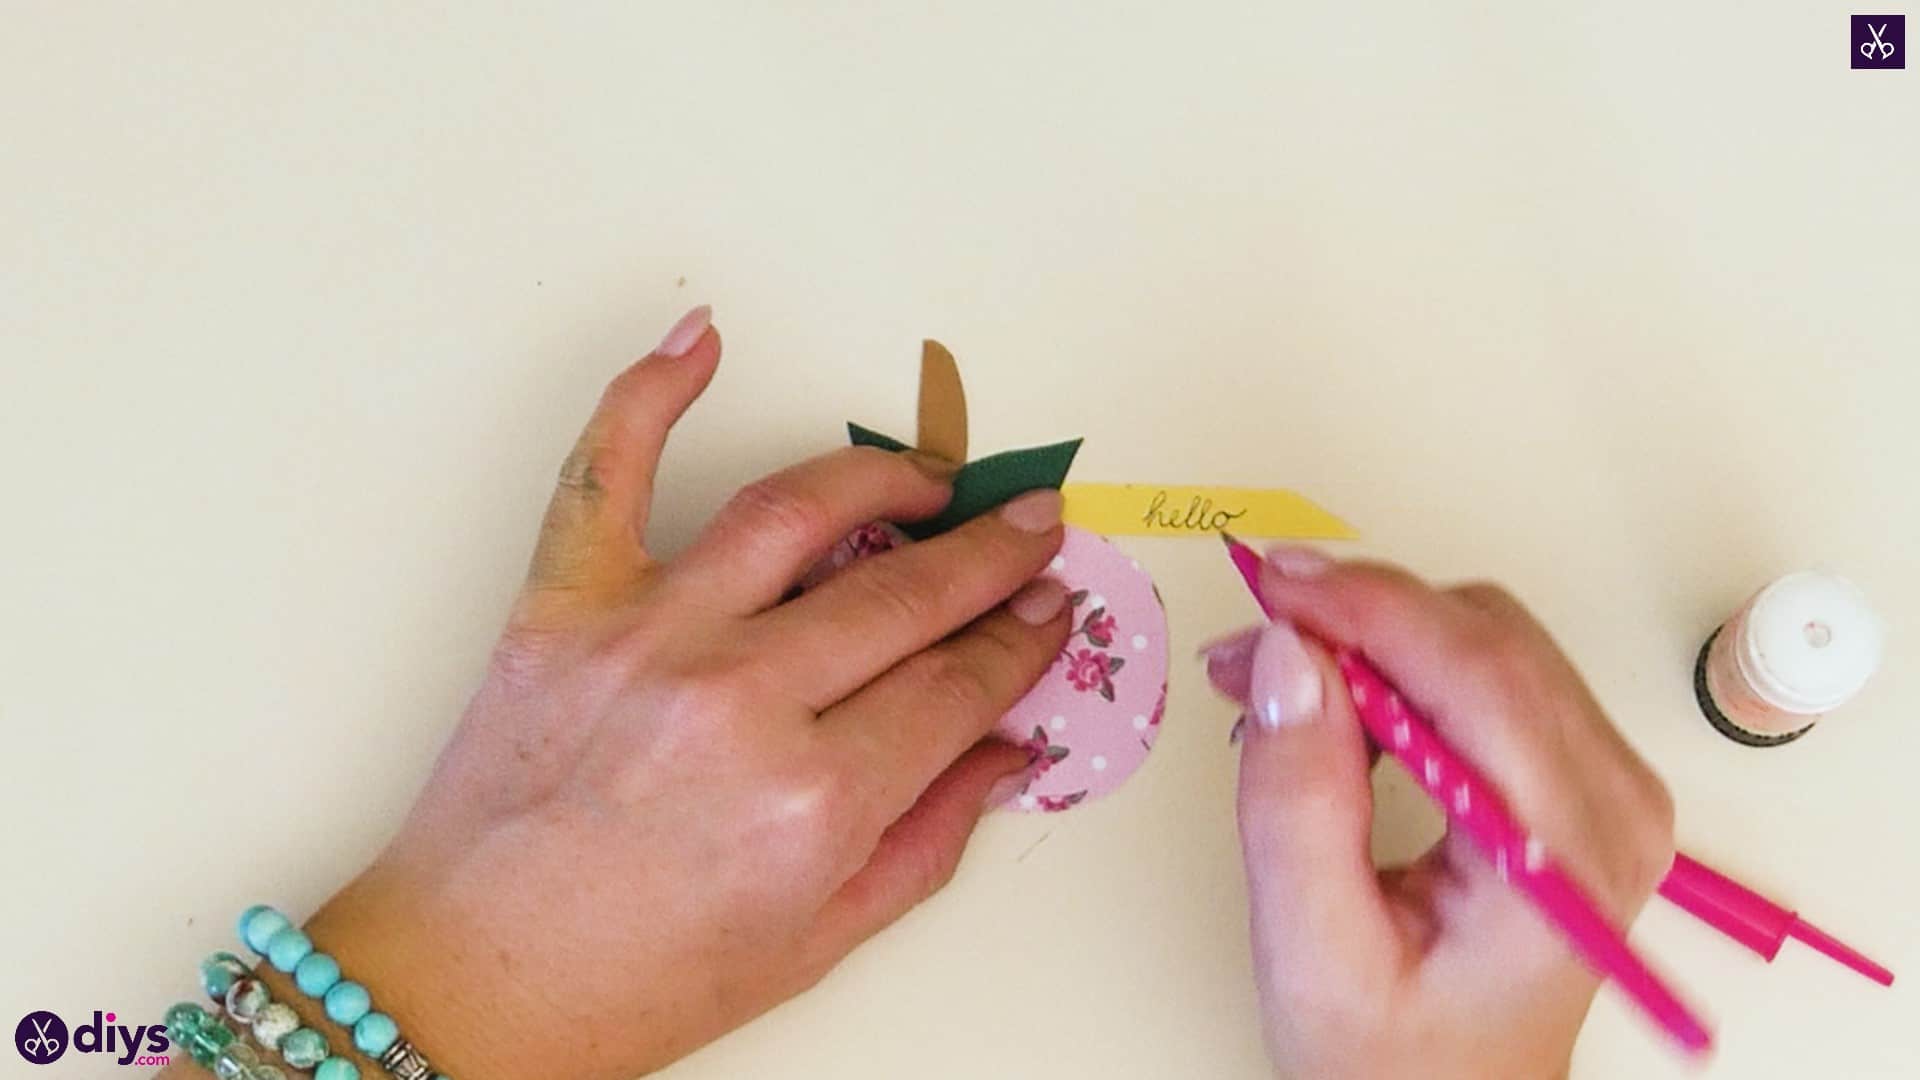
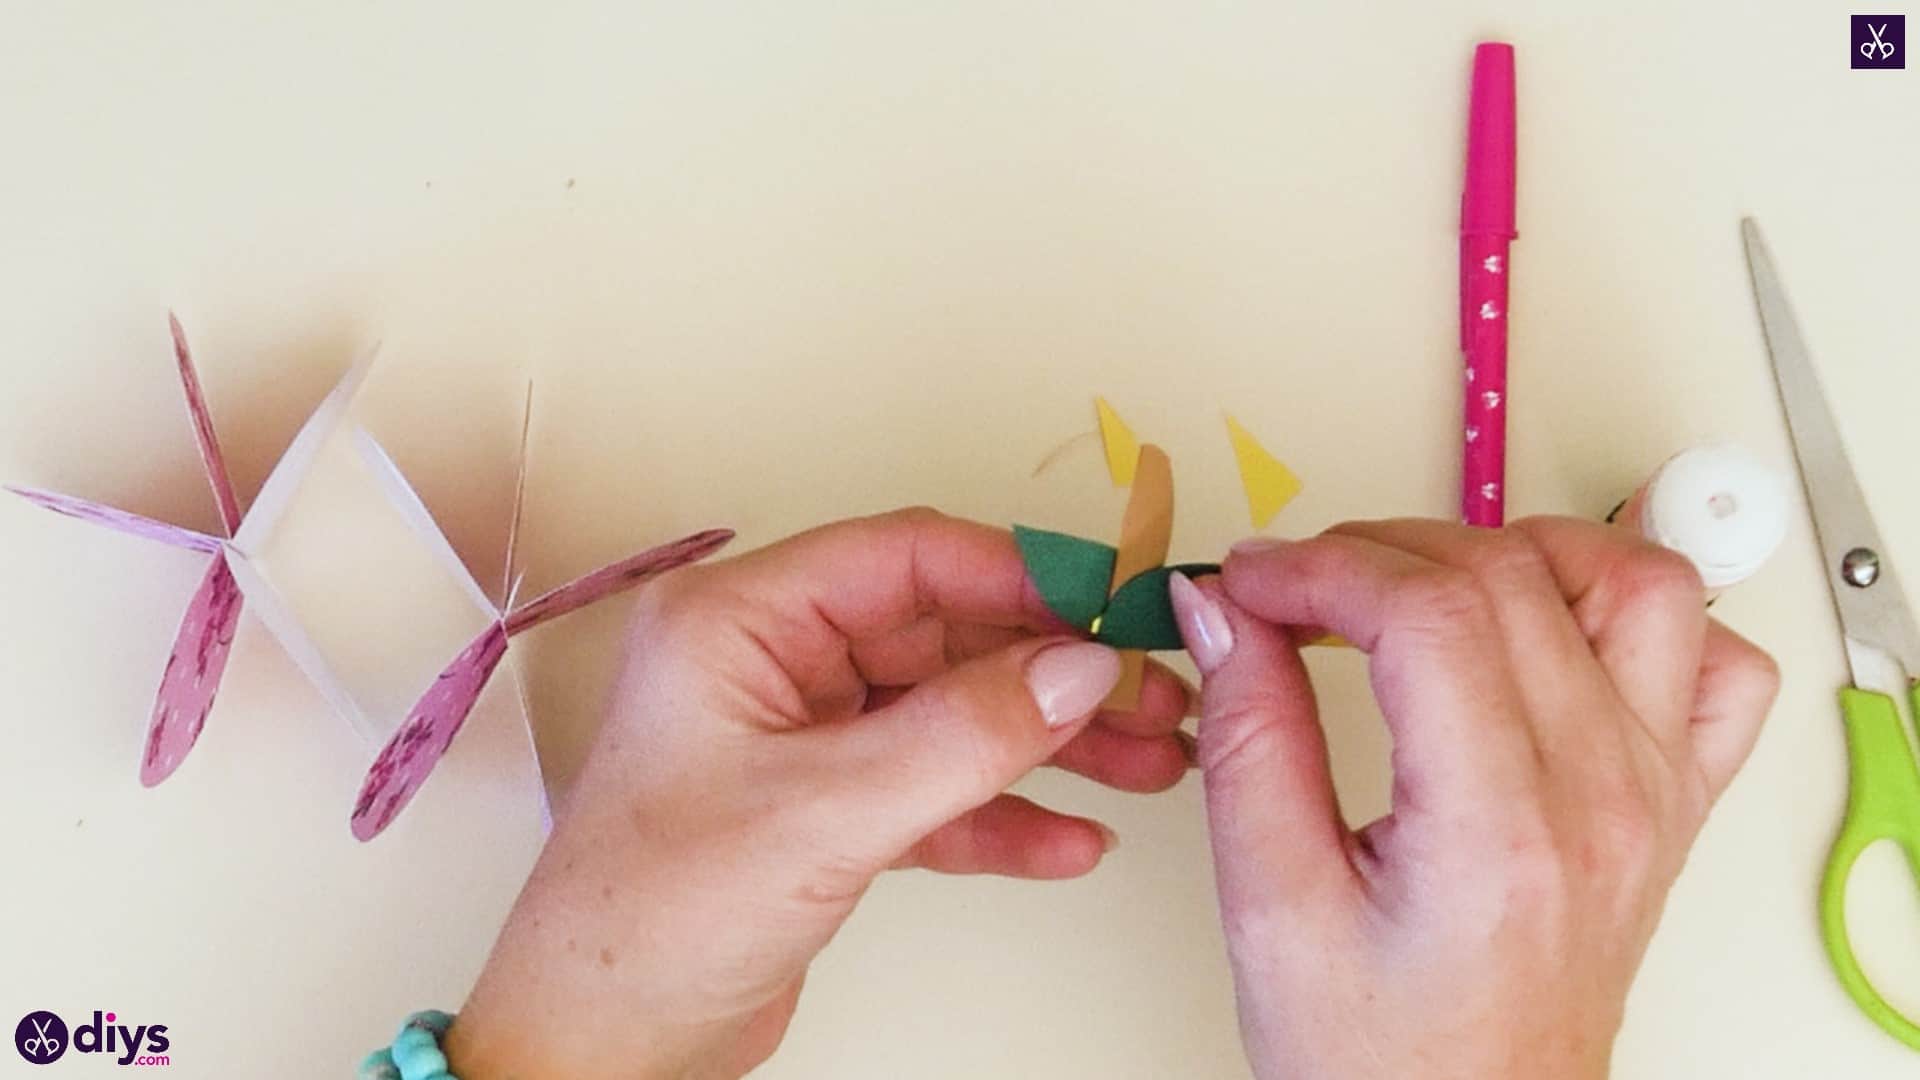
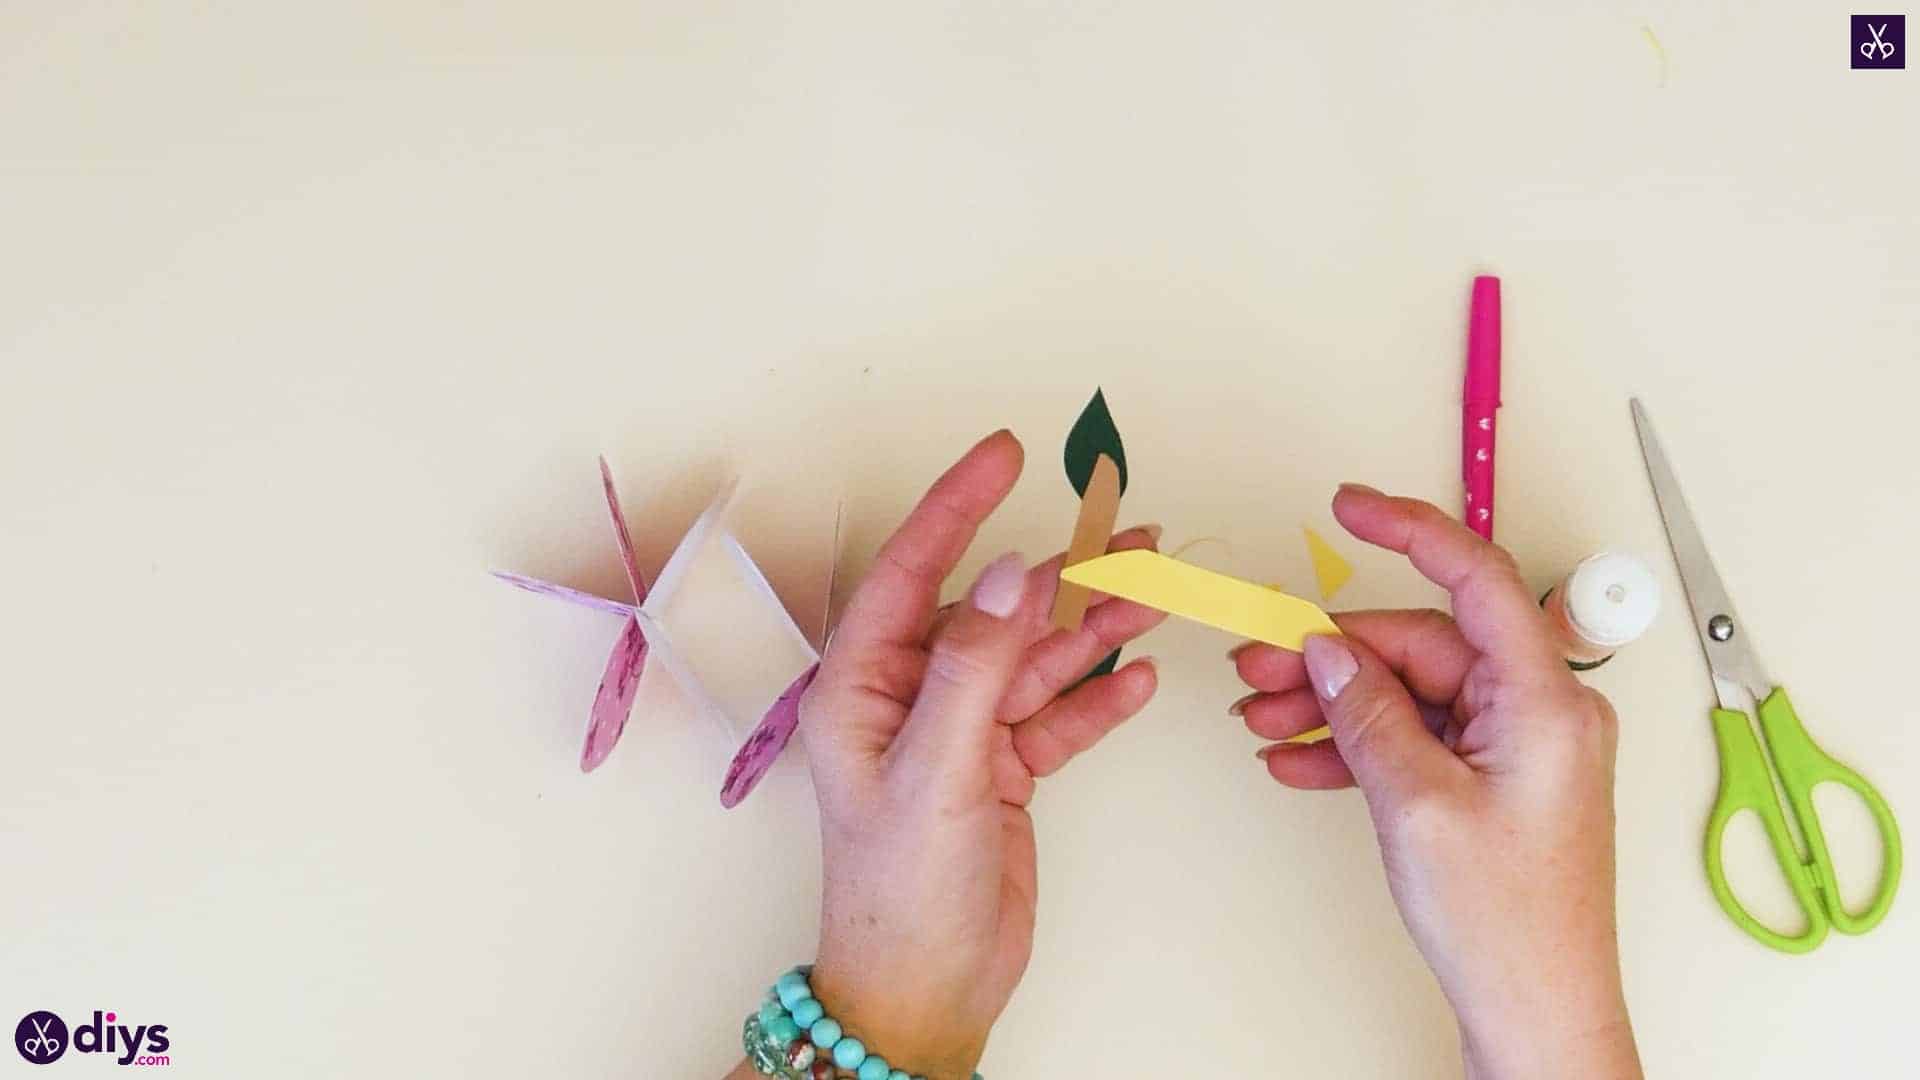
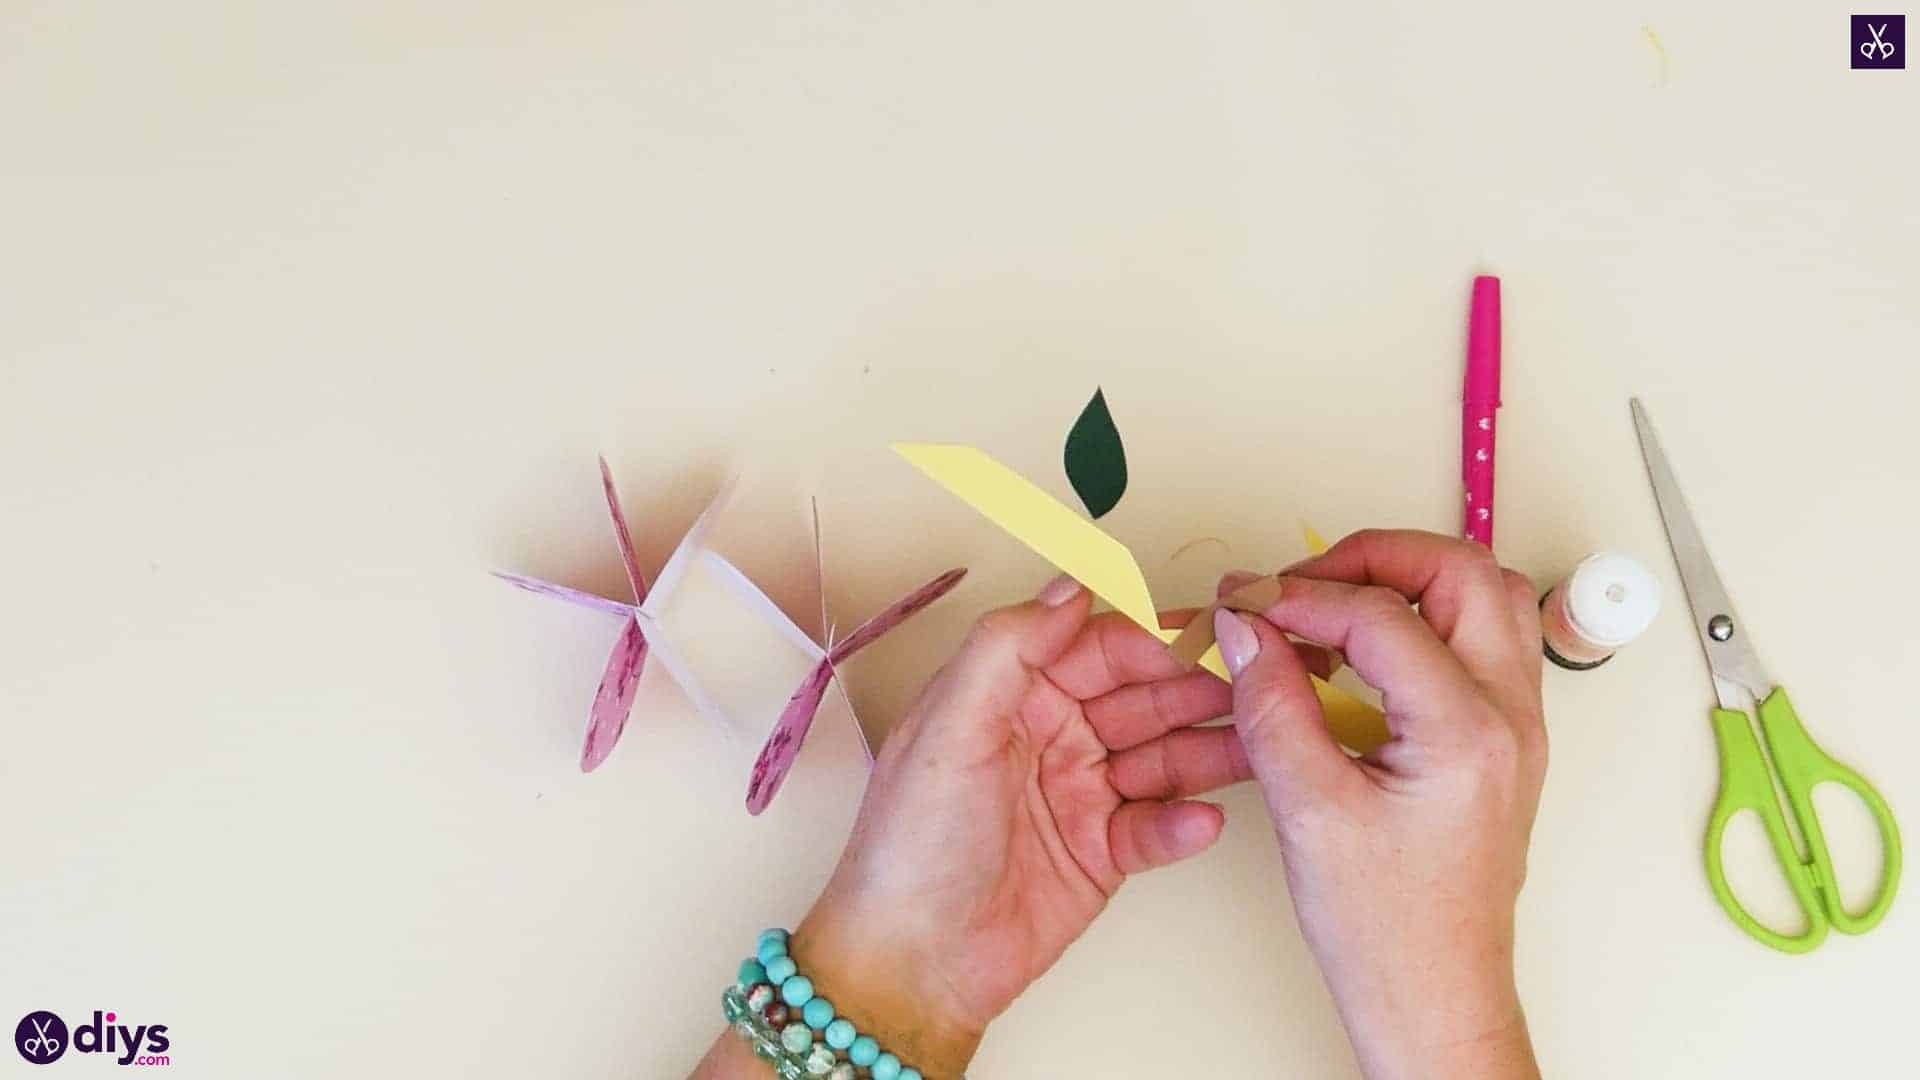
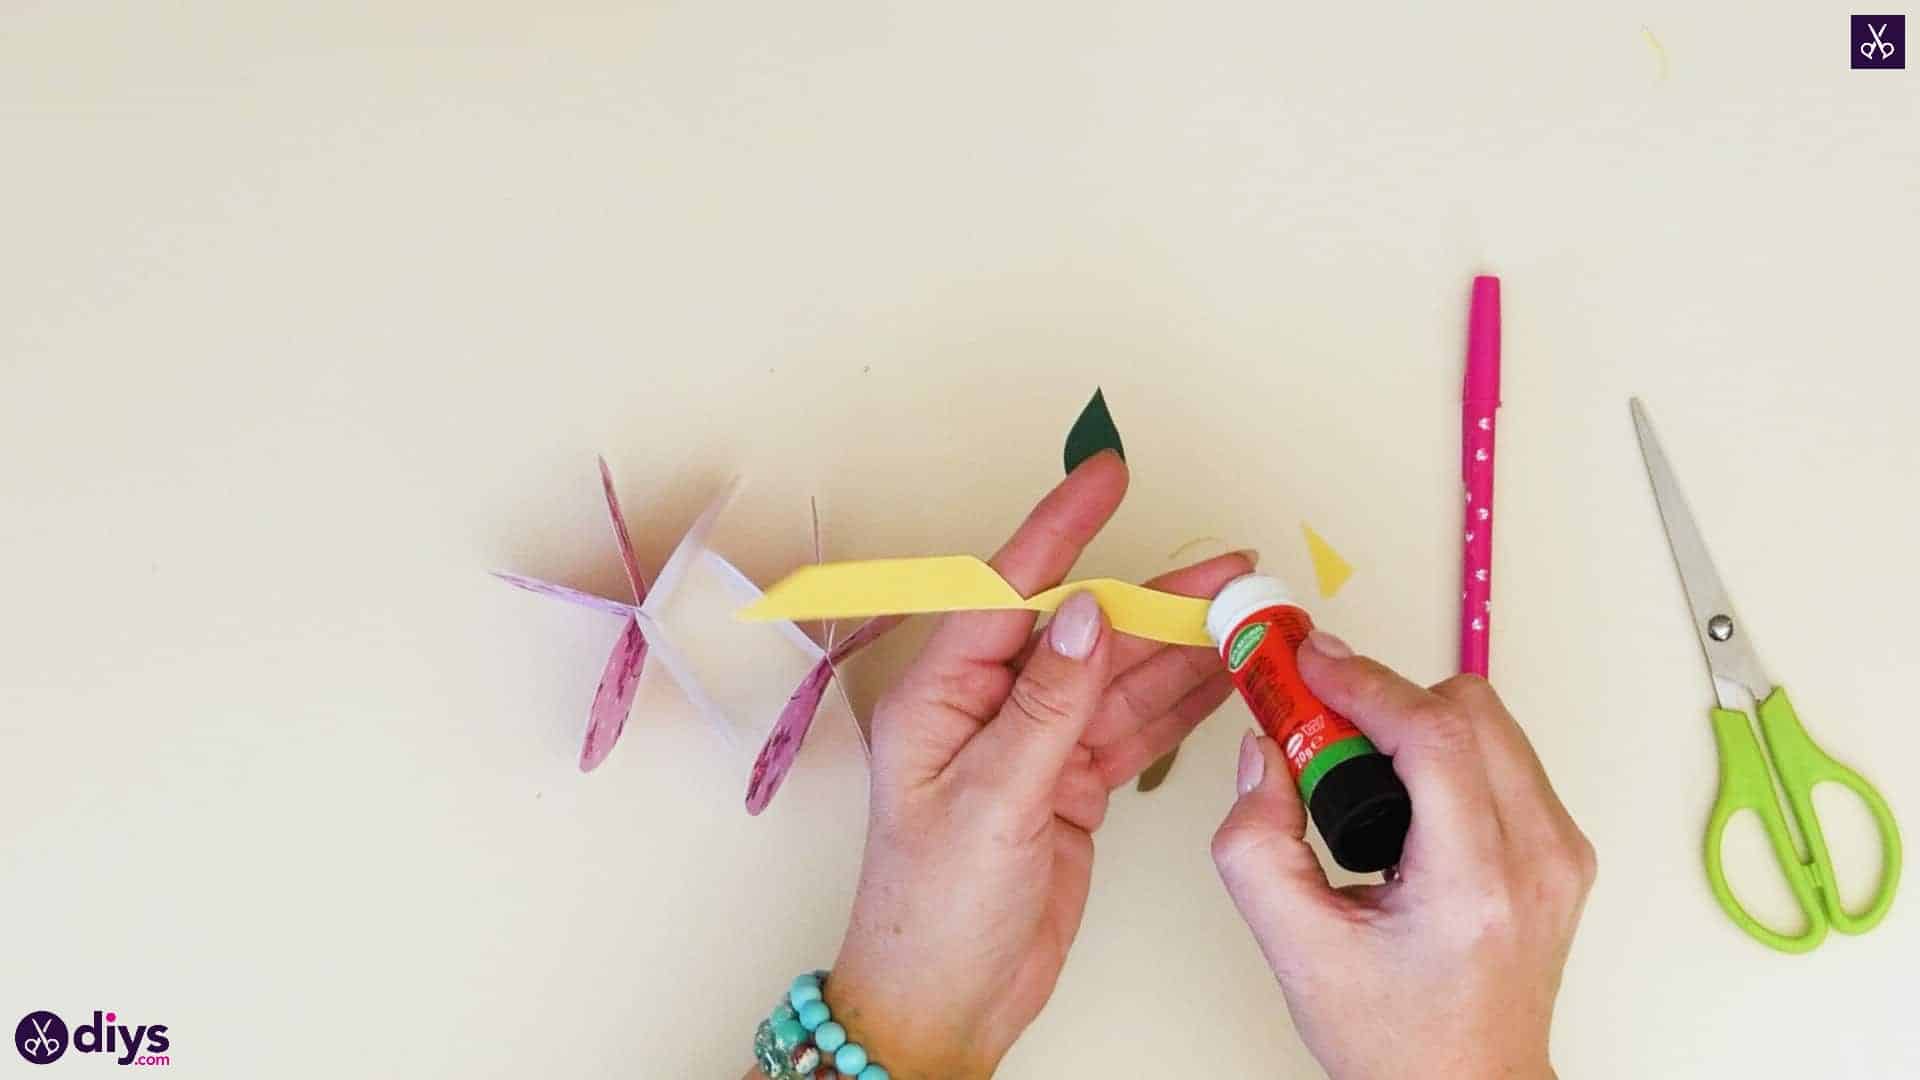
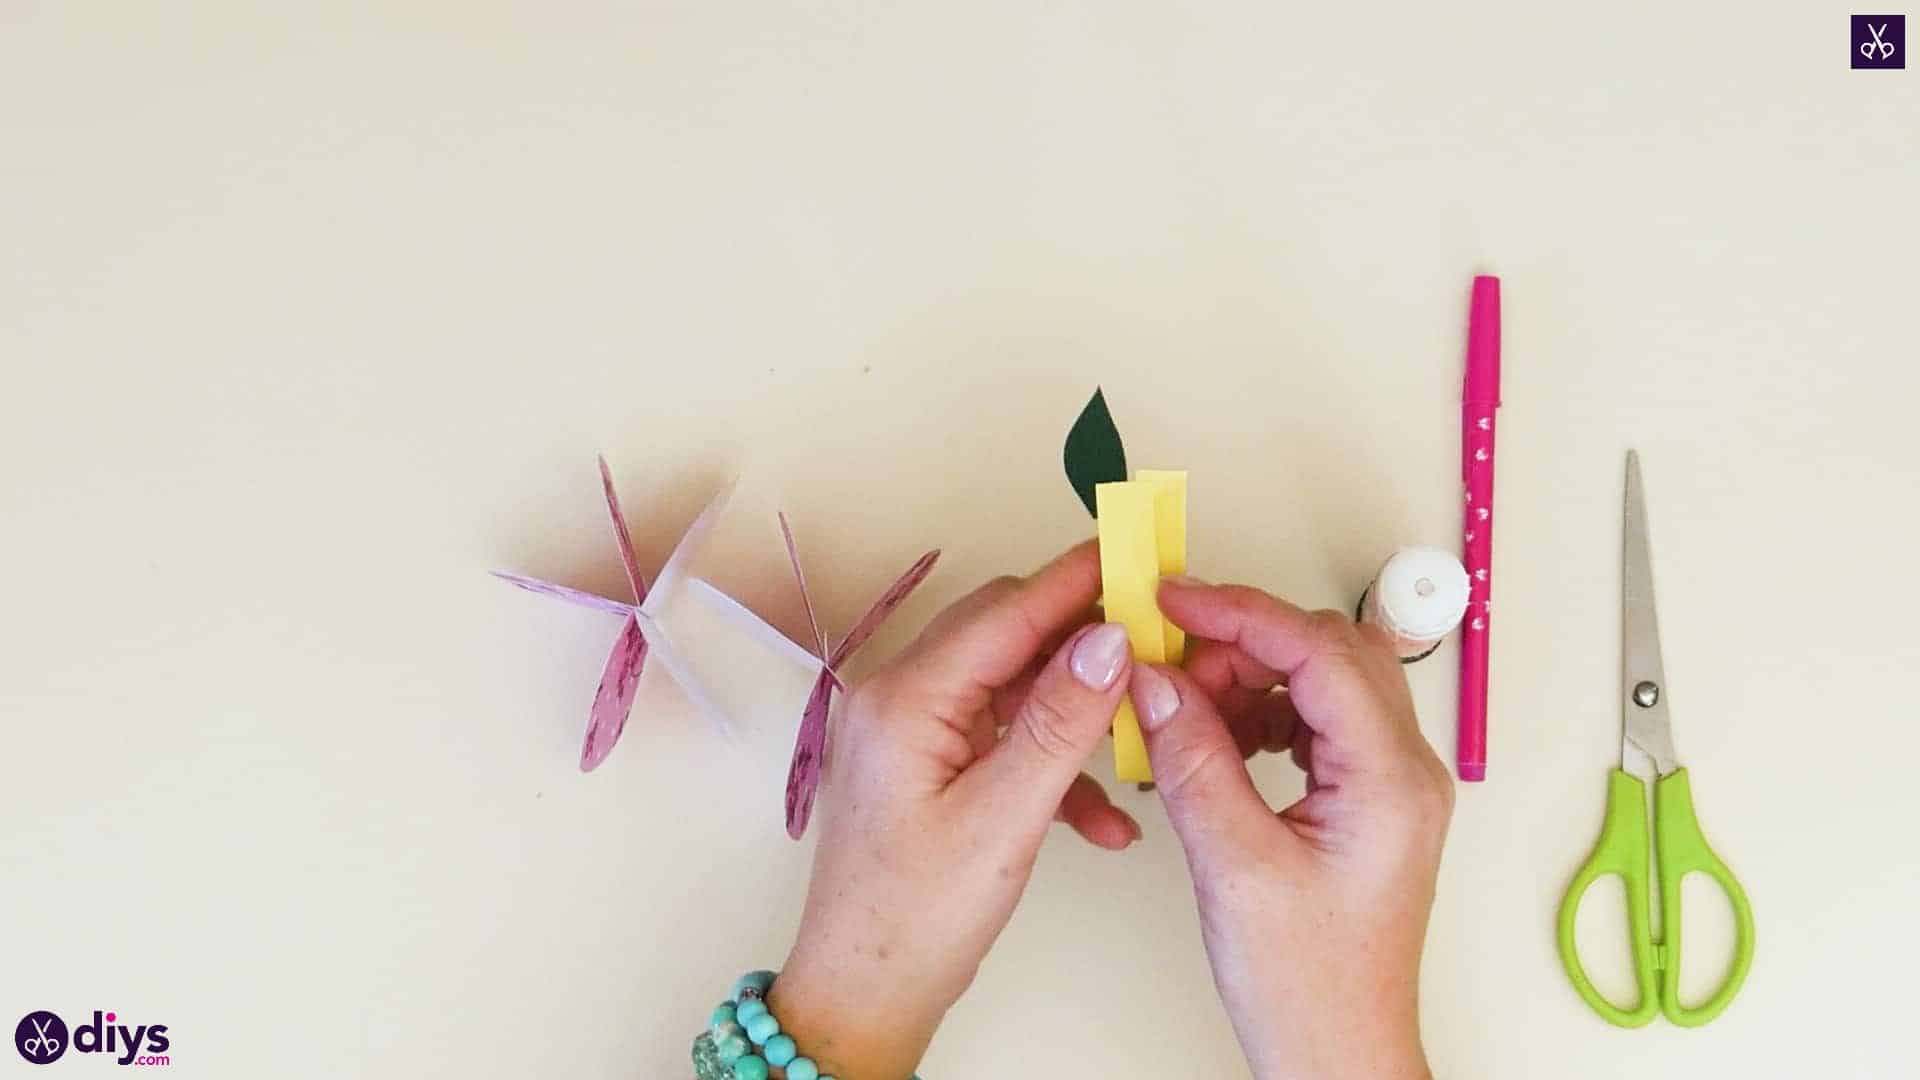
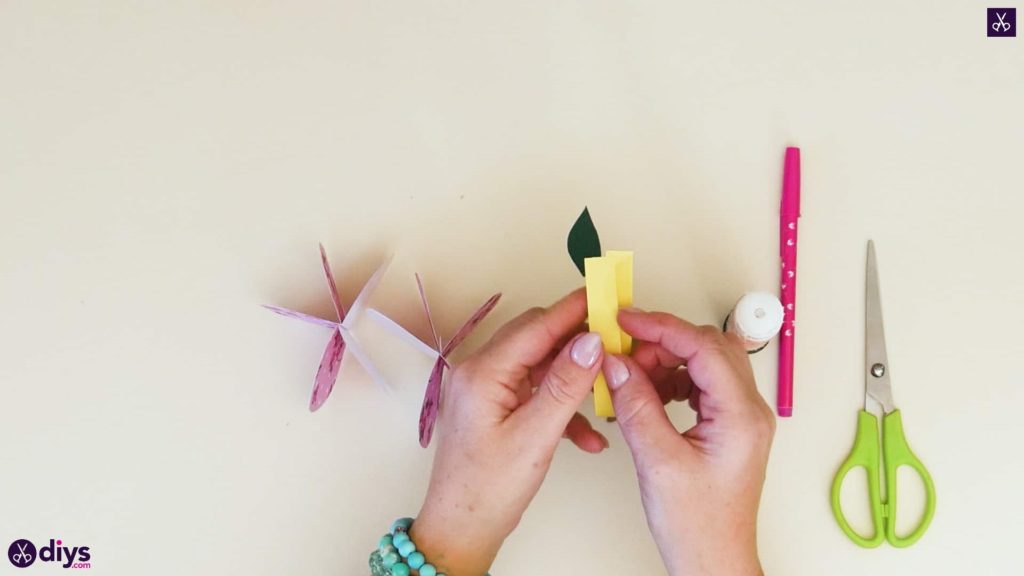
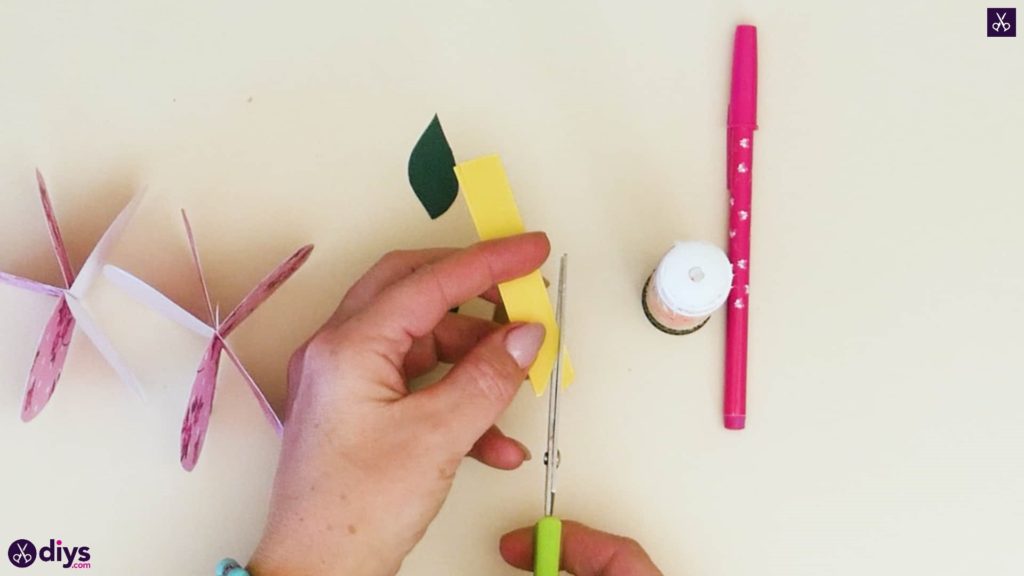
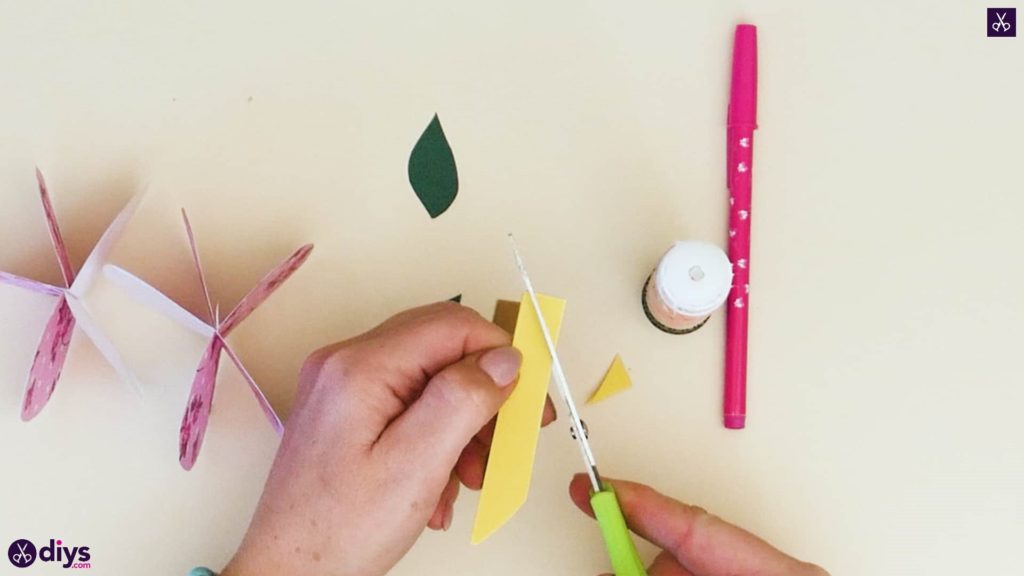
Now work with your yellow banner piece. First, turn the piece so its length runs side to side and use your scissors to round off the top corner on the side that has two free ends. Then use your scissors to round off the top corner of the end with the crease, butdon’t cut through the bottom corner because you want to keep a small piece of the creased attachment there. Open your newly shaped banner piece and slide your brown stem piece in so it rests against the place where your crease still exists, letting most of the excess stick up above the banner and a centimetre or so stick out below. Apply glue to the inside of the yellow banner and stick it closed with the brown stem piece still nestled inside.

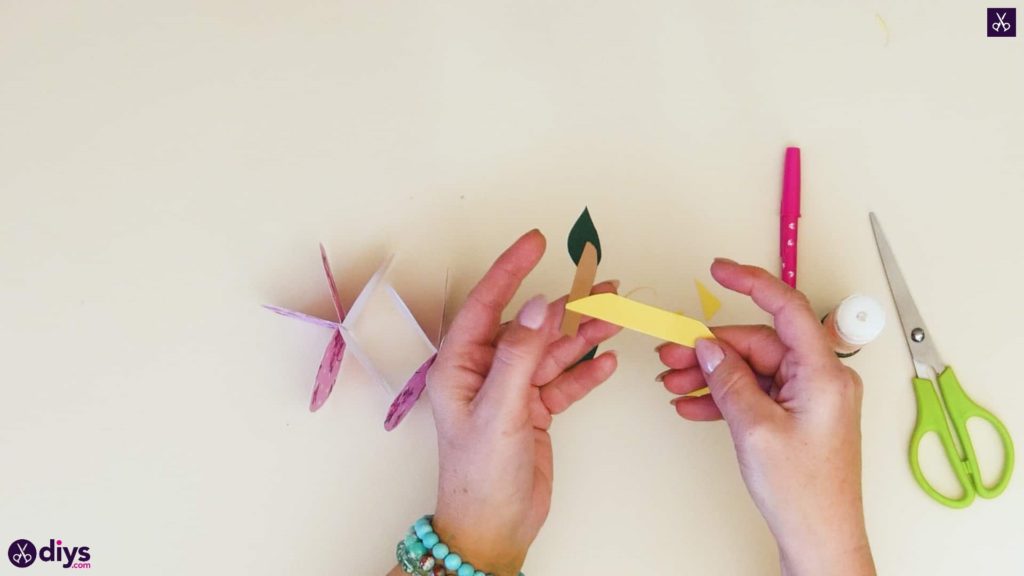
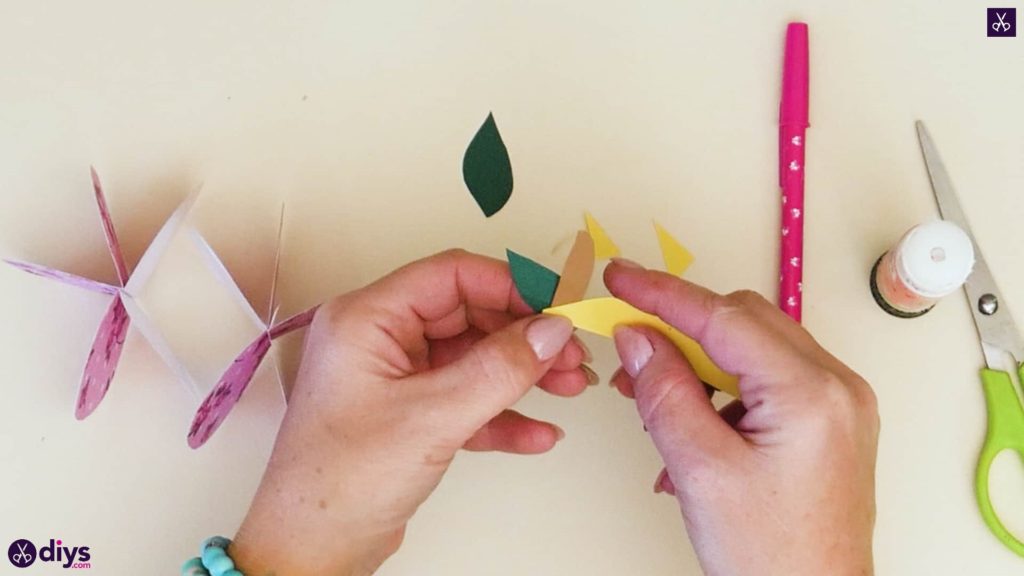
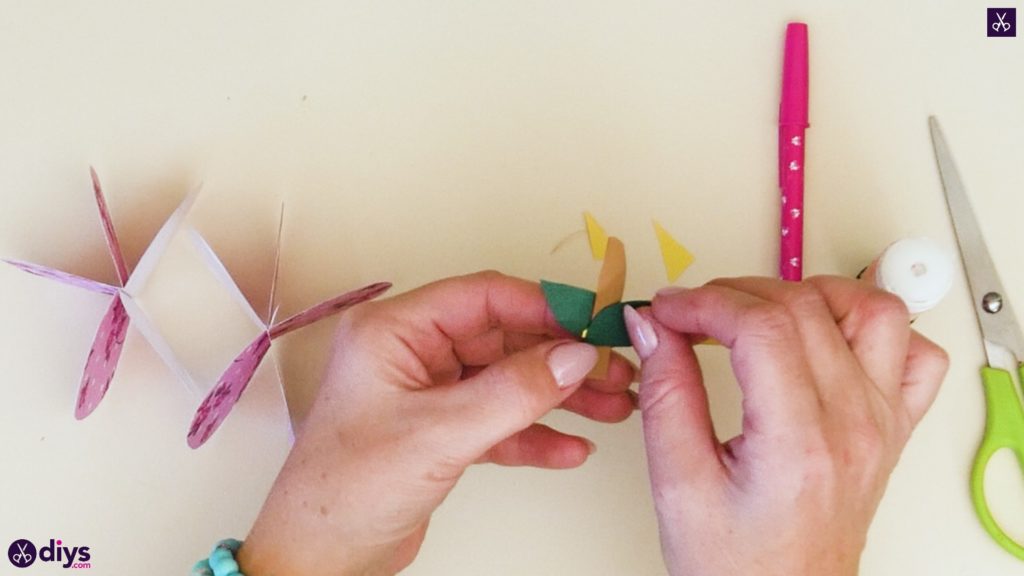
Step 8: glue
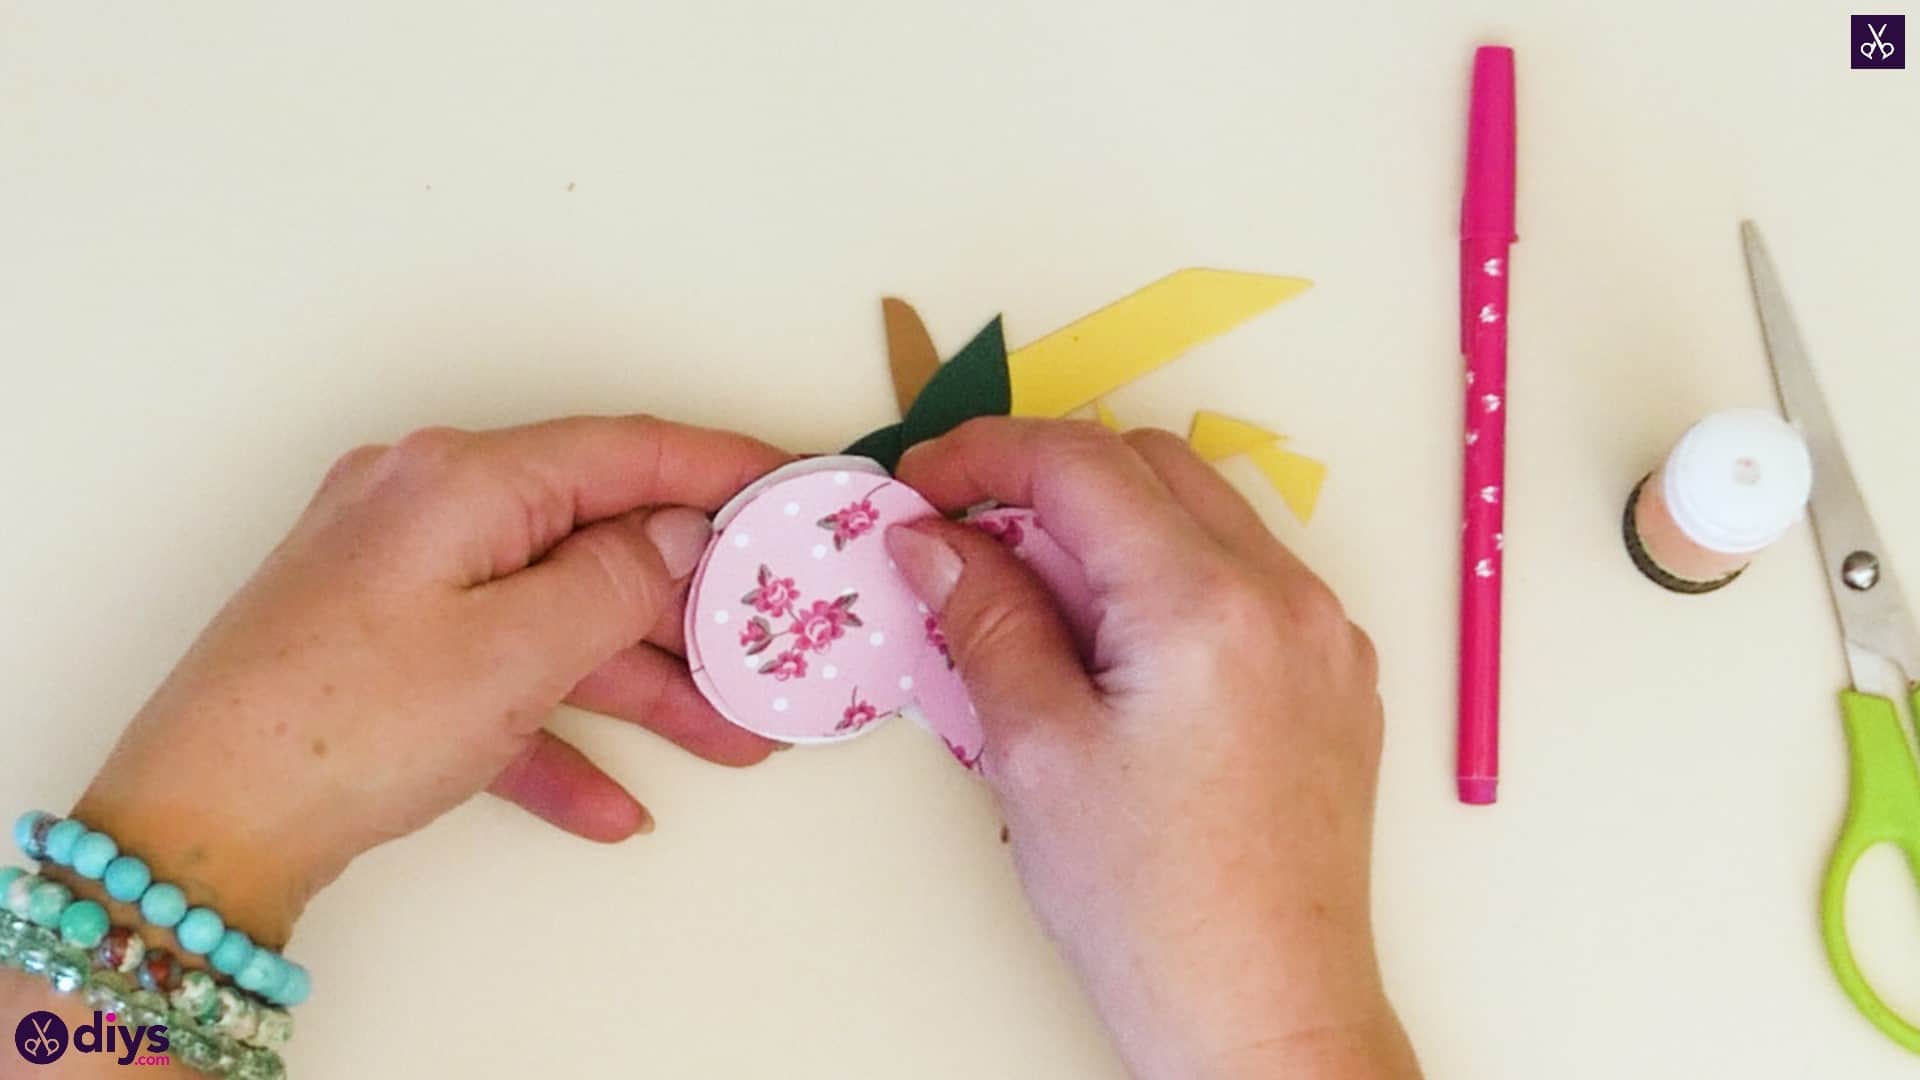
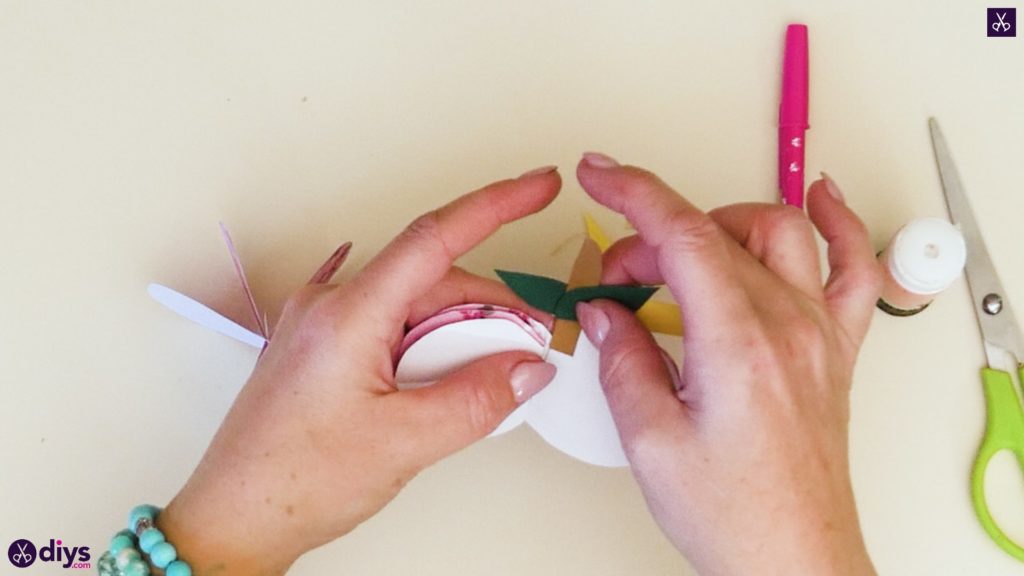
Apply glue to the rounded base of each green leaf and stick one on each side of your banner and stem piece. I stuck one leaf so it covered the place where the banner and stem overlapped, with its tip angled to the right, and then flipped the whole piece over and stuck the second leaf in the same spot, also angled to the right so the leaves face in different directions because they’re on opposite sides.

Step 9: final touches
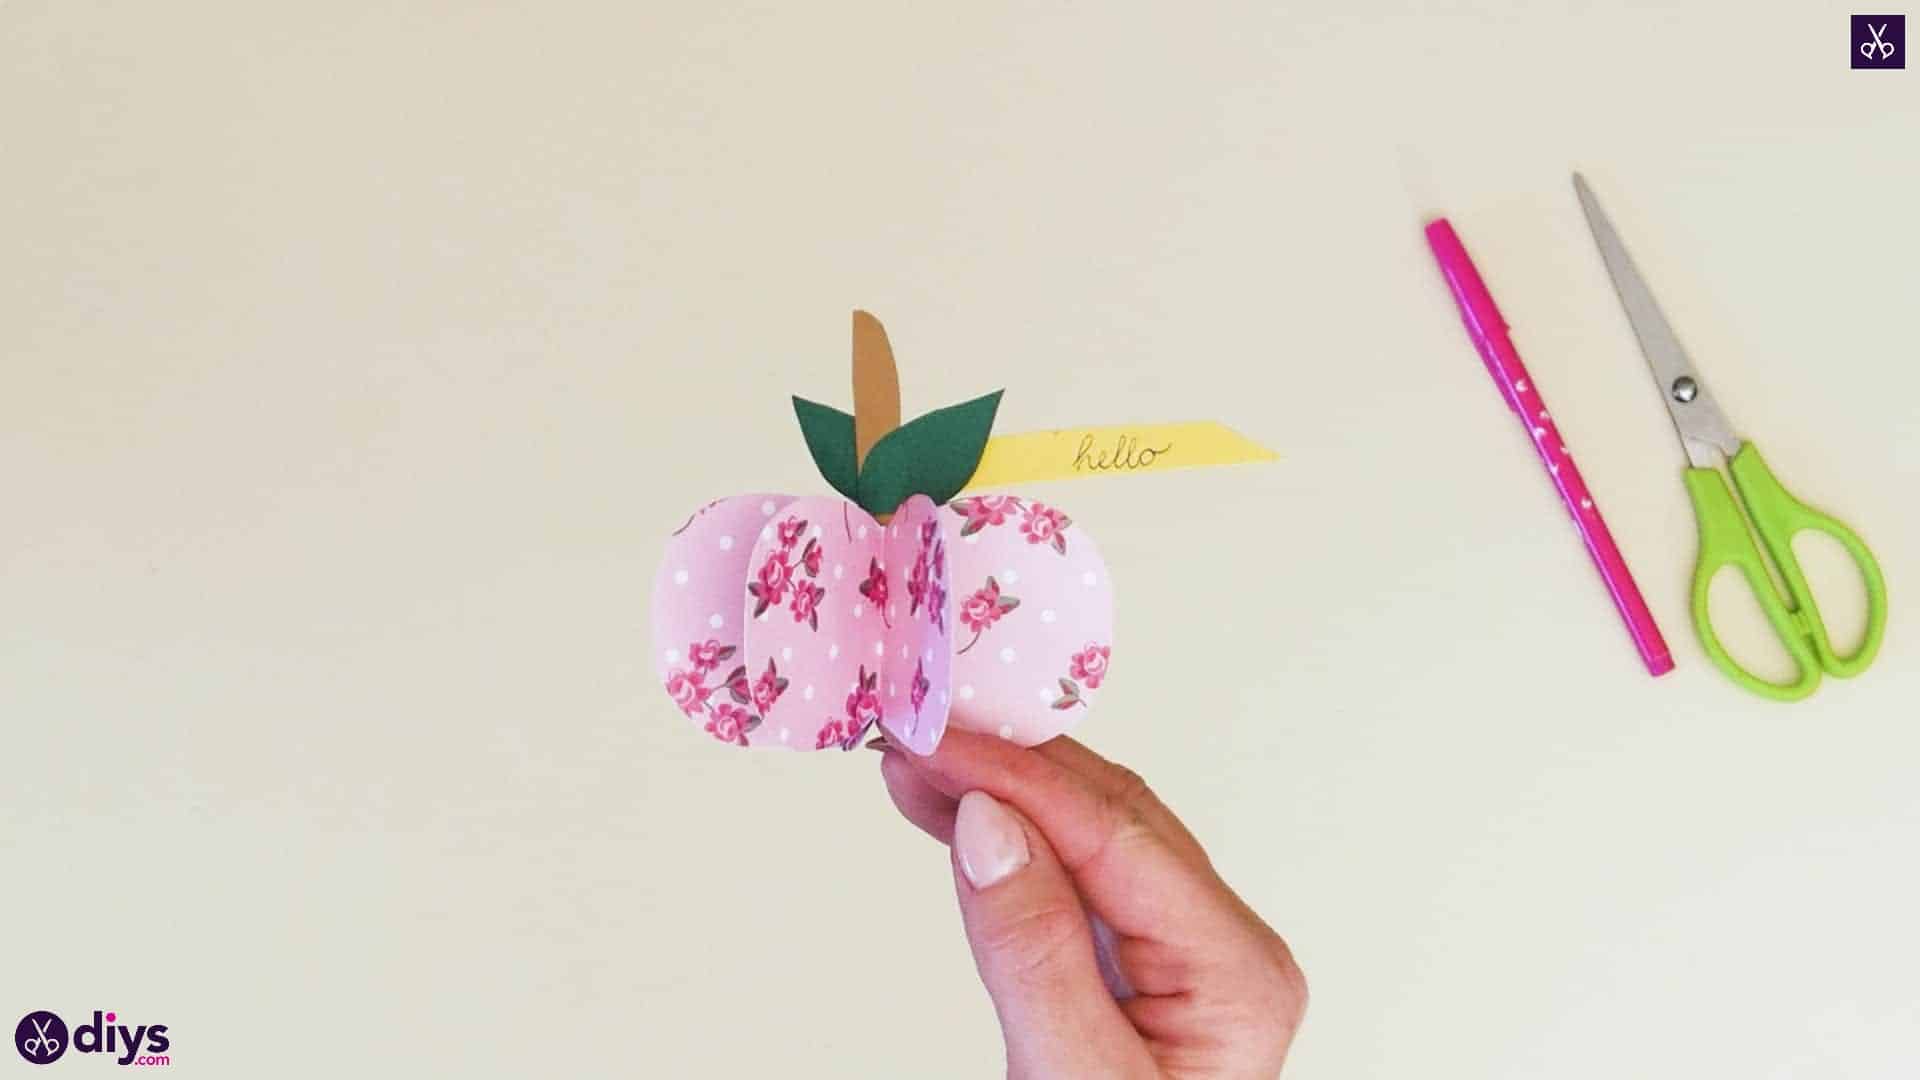
Now you’ll put your apple together. Apply glue to the back side on one of the folded and layered apple halves you made earlier. Stick the corresponding circle on the apple’s other half into place, with the crease facing the centre just like the other ones. Now, flatten all the layers so you can lay the apple piece down on the table and pick up the stem and banner with its leaves. Insert the bottom of the stem into the centre of the apple where all the creases meet. Apply glue to one of the two remaining loose circle sides and then closet the apple, bringing this side to meet with the remaining side and closing the stem there in the centre.

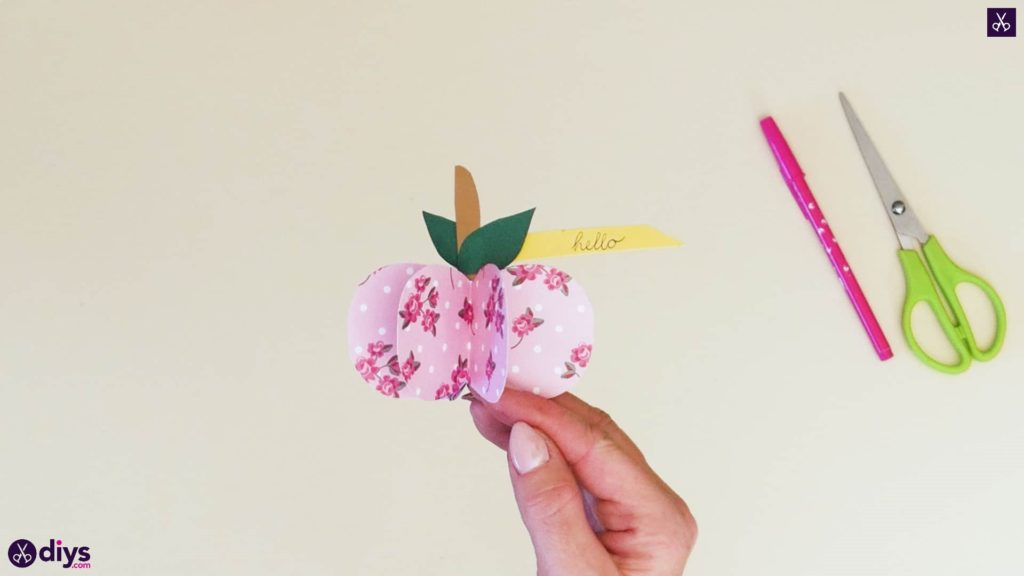
Step 10: write your message
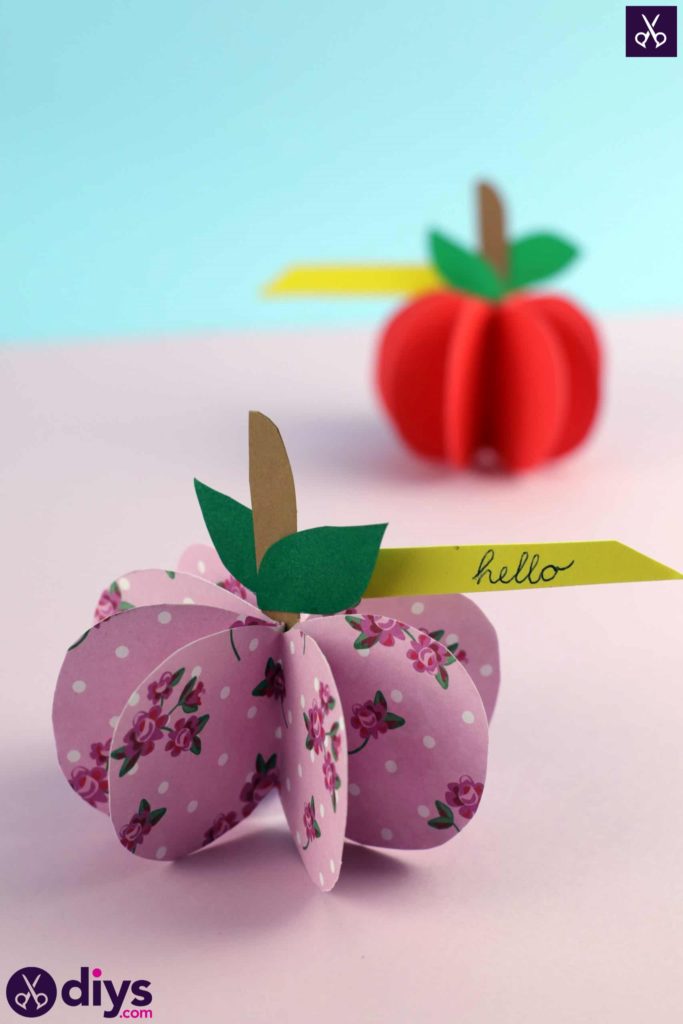
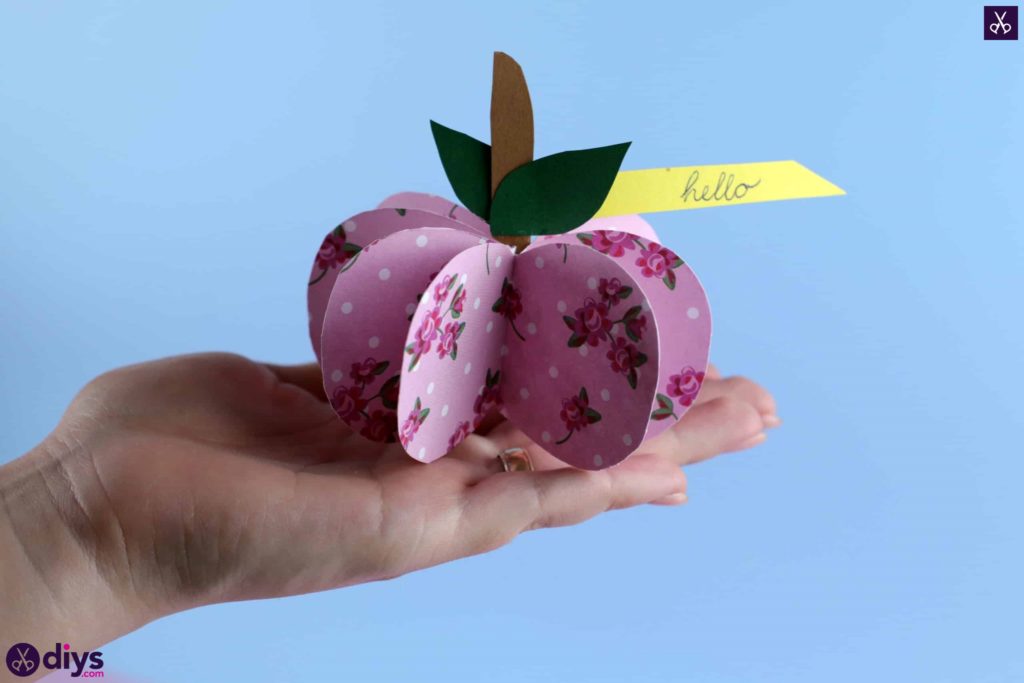
Flatten your closed apple against the table again so that your banner lays flat against the table too. Use your pen to write a message on it! I stuck to a simple “hello”. Fix and adjust the layers of your apple so it stands up on its own and voila!

Just in case you’d like to try this project out for yourself, here’s a fantastic tutorial video to help you!