DIY Wooden Slice Wall Art
Updated on November 19, 2025


Several DIY projects can help you beautify your walls. A bare wall can look dull and require a bit of art to spice it up. This wooden slice wall art is the perfect creative project to glam up your space on a budget. Wood is especially great for infusing the beauty of nature into your room. You can purchase wood slices at the crafts store, furniture companies.
If you are really into the project, you can find a dead tree or a small tree stump and neatly cut a slice off it. Wooden slice wall art pieces are a lot of fun to make. This is an excellent project for camping trips, family time during a vacation, or a fun day at the beach with friends. The best part is that anyone can join in, and all you need are a few supplies that are easy to find! Find out how to make the perfect wooden slice wall art here.
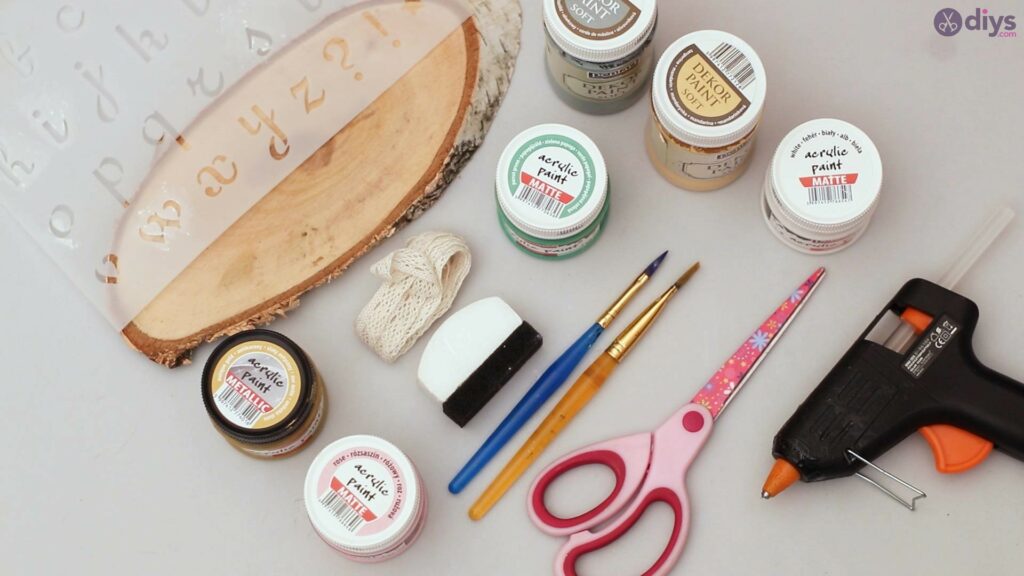
Materials you’ll need for Wooden Slice Wall Art:
- Wooden slice
- Lace ribbon
- Glue gun
- Paintbrush
- Gold paint
- 2 shades of green paint
- Light rose paint
- Peach color paint
- White acrylic paint
- Alphabet stencil
Step by step tutorial to craft the wooden slice sign:
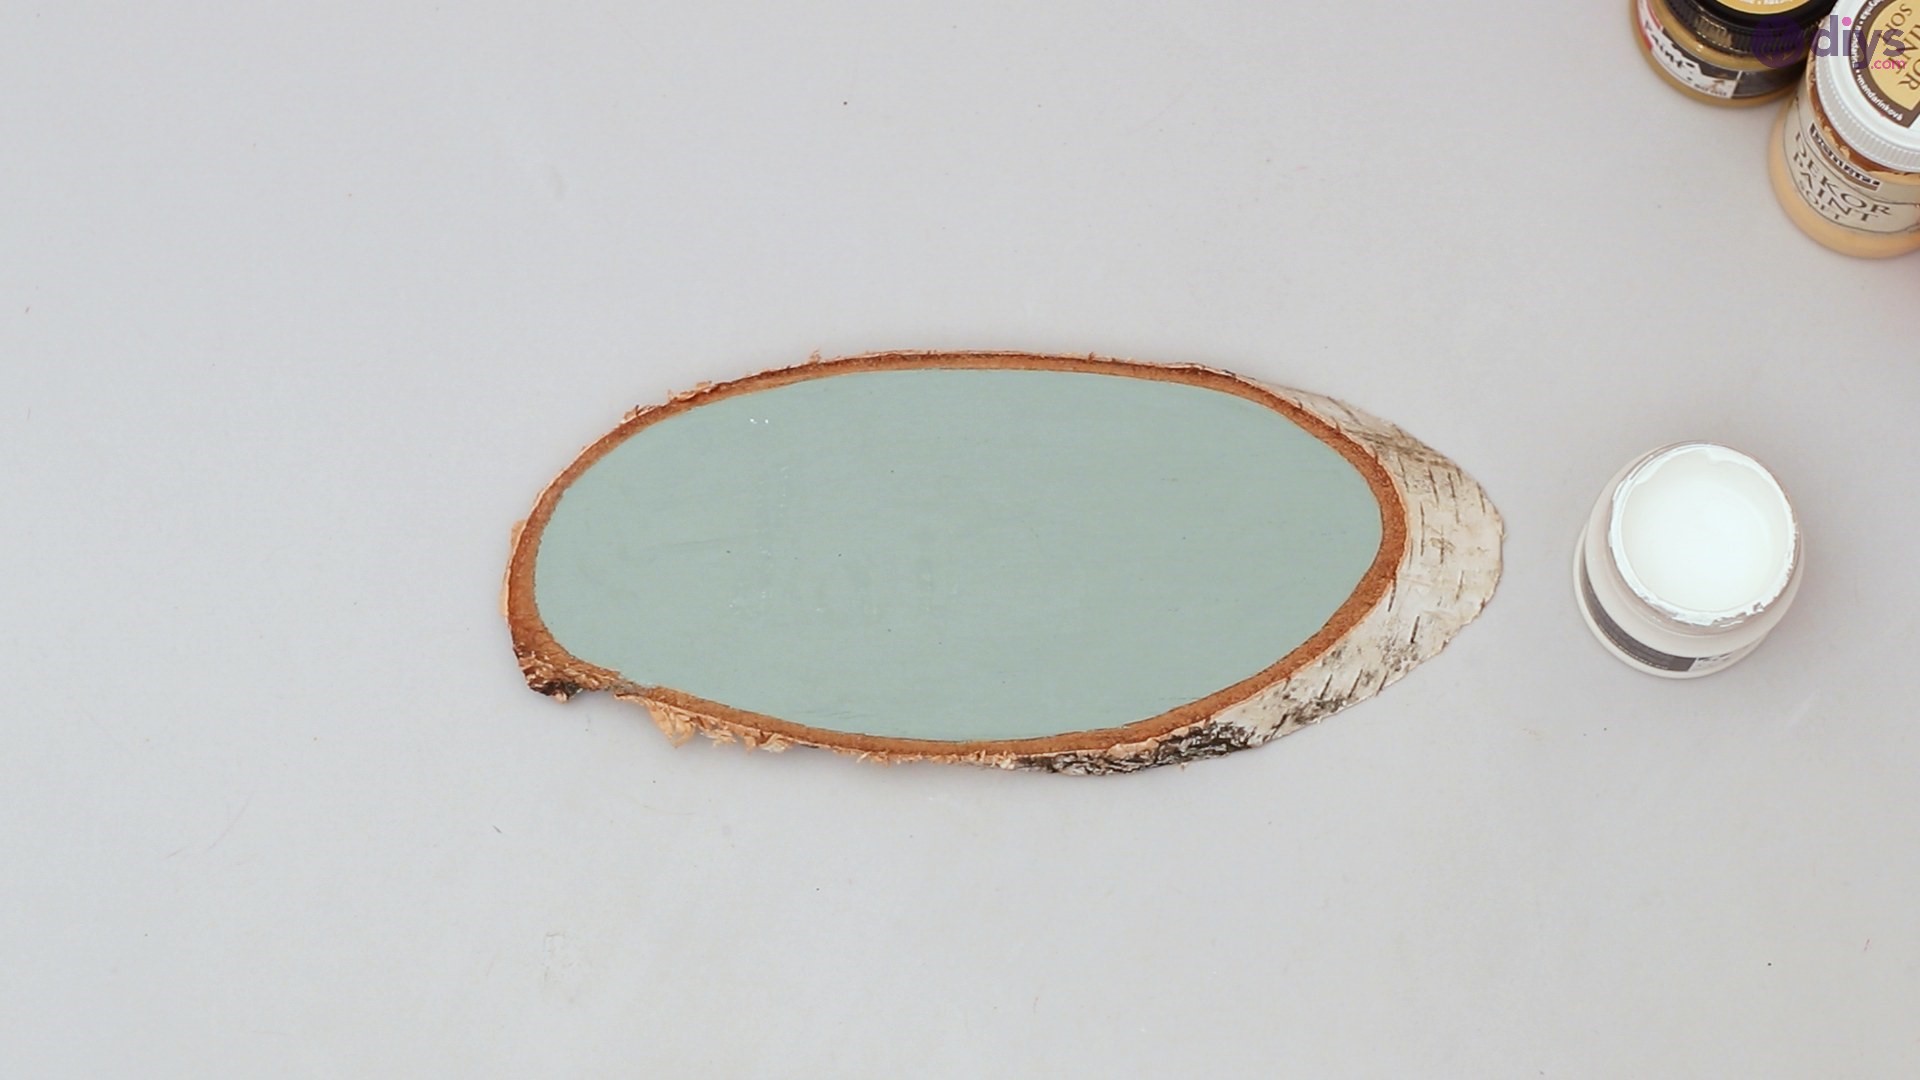
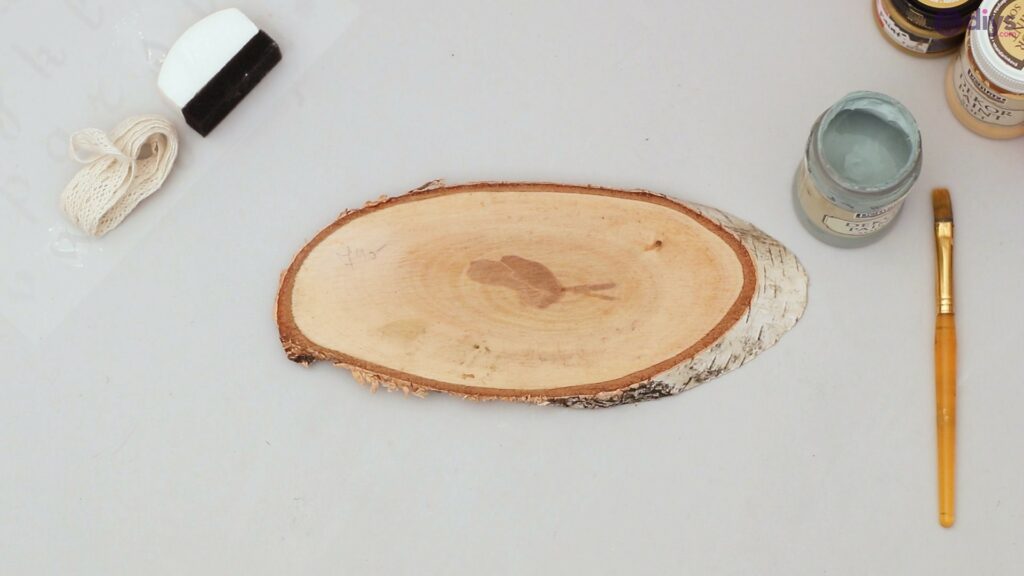
Step 1: Paint your wooden slice
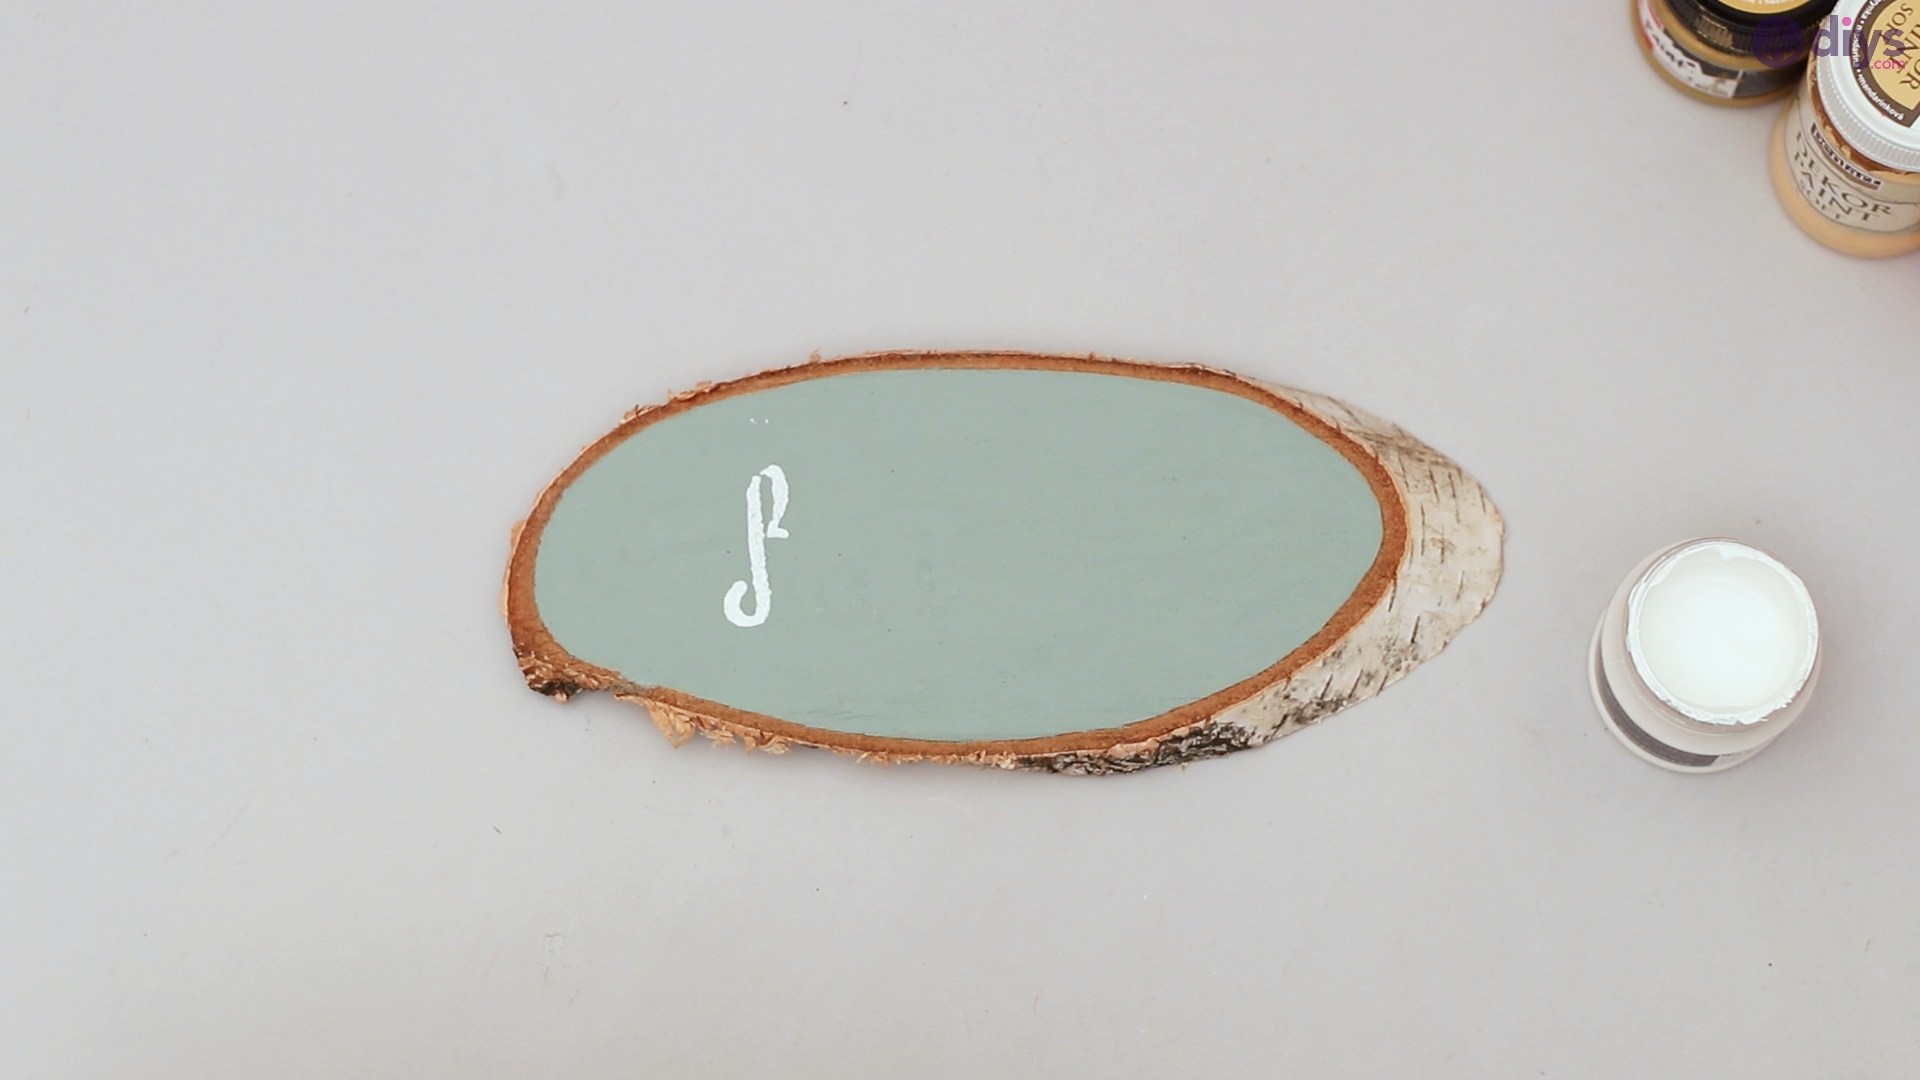
For this step, you will need your paintbrush and a lighter shade of green acrylic paint. Begin by laying your wooden slice flat on your workspace, with the side you will like to paint face up.
Take your paintbrush and begin painting the wooden slice.
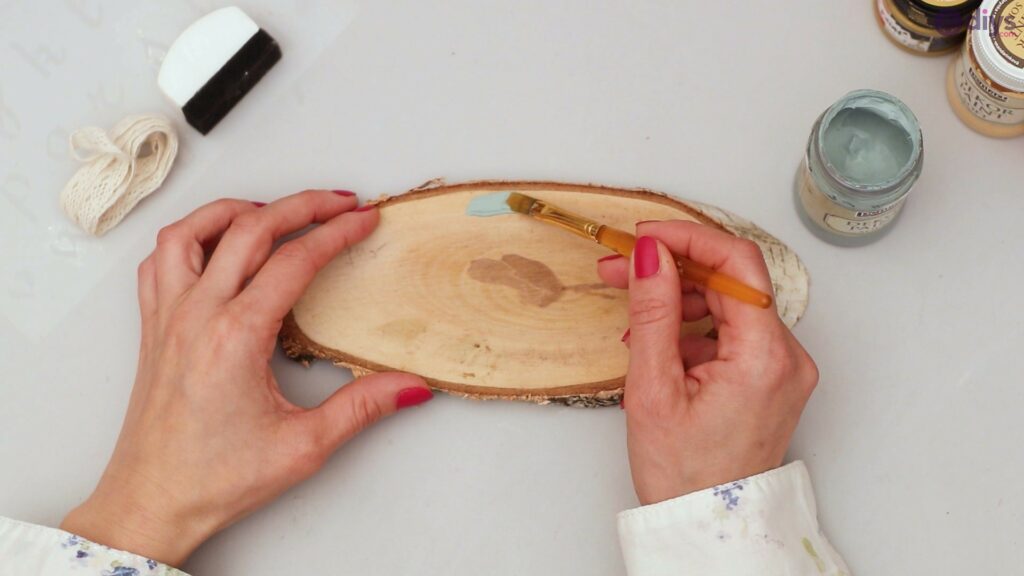
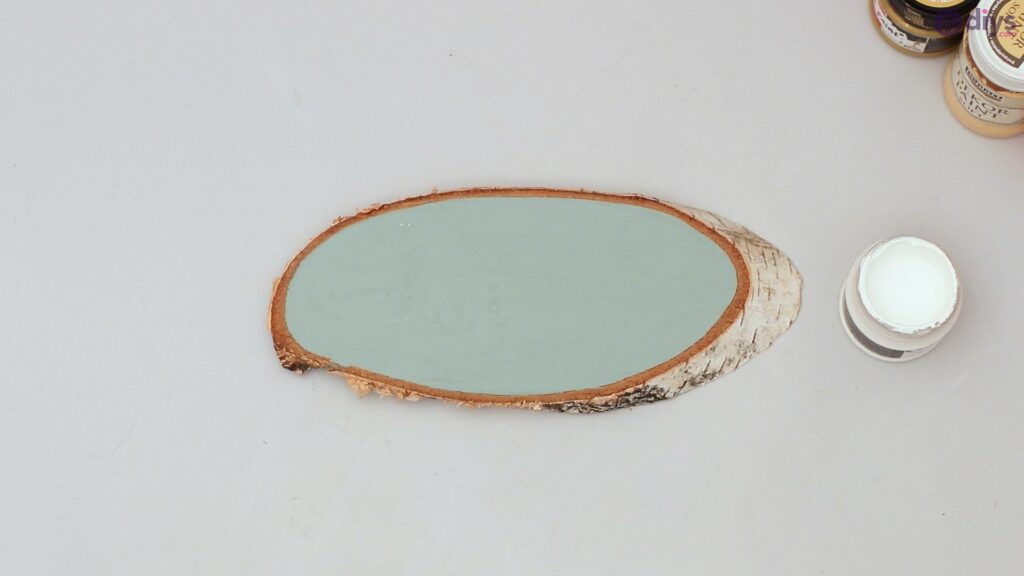
Be careful not to paint over the borders of the wood slice. The border will frame the area painted with the green paint nicely.
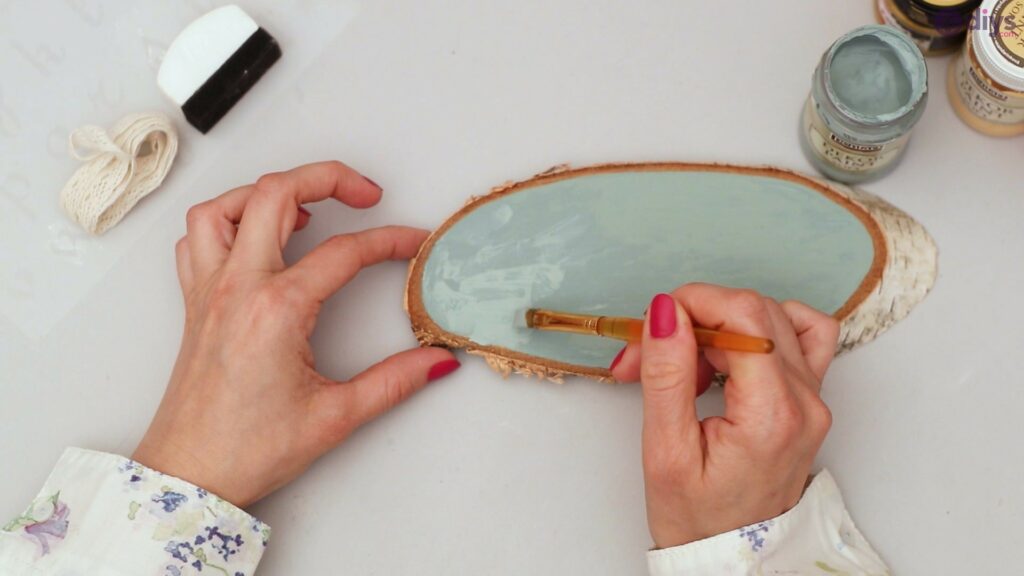
Once you are done painting, carefully set the wooden slice down to dry.
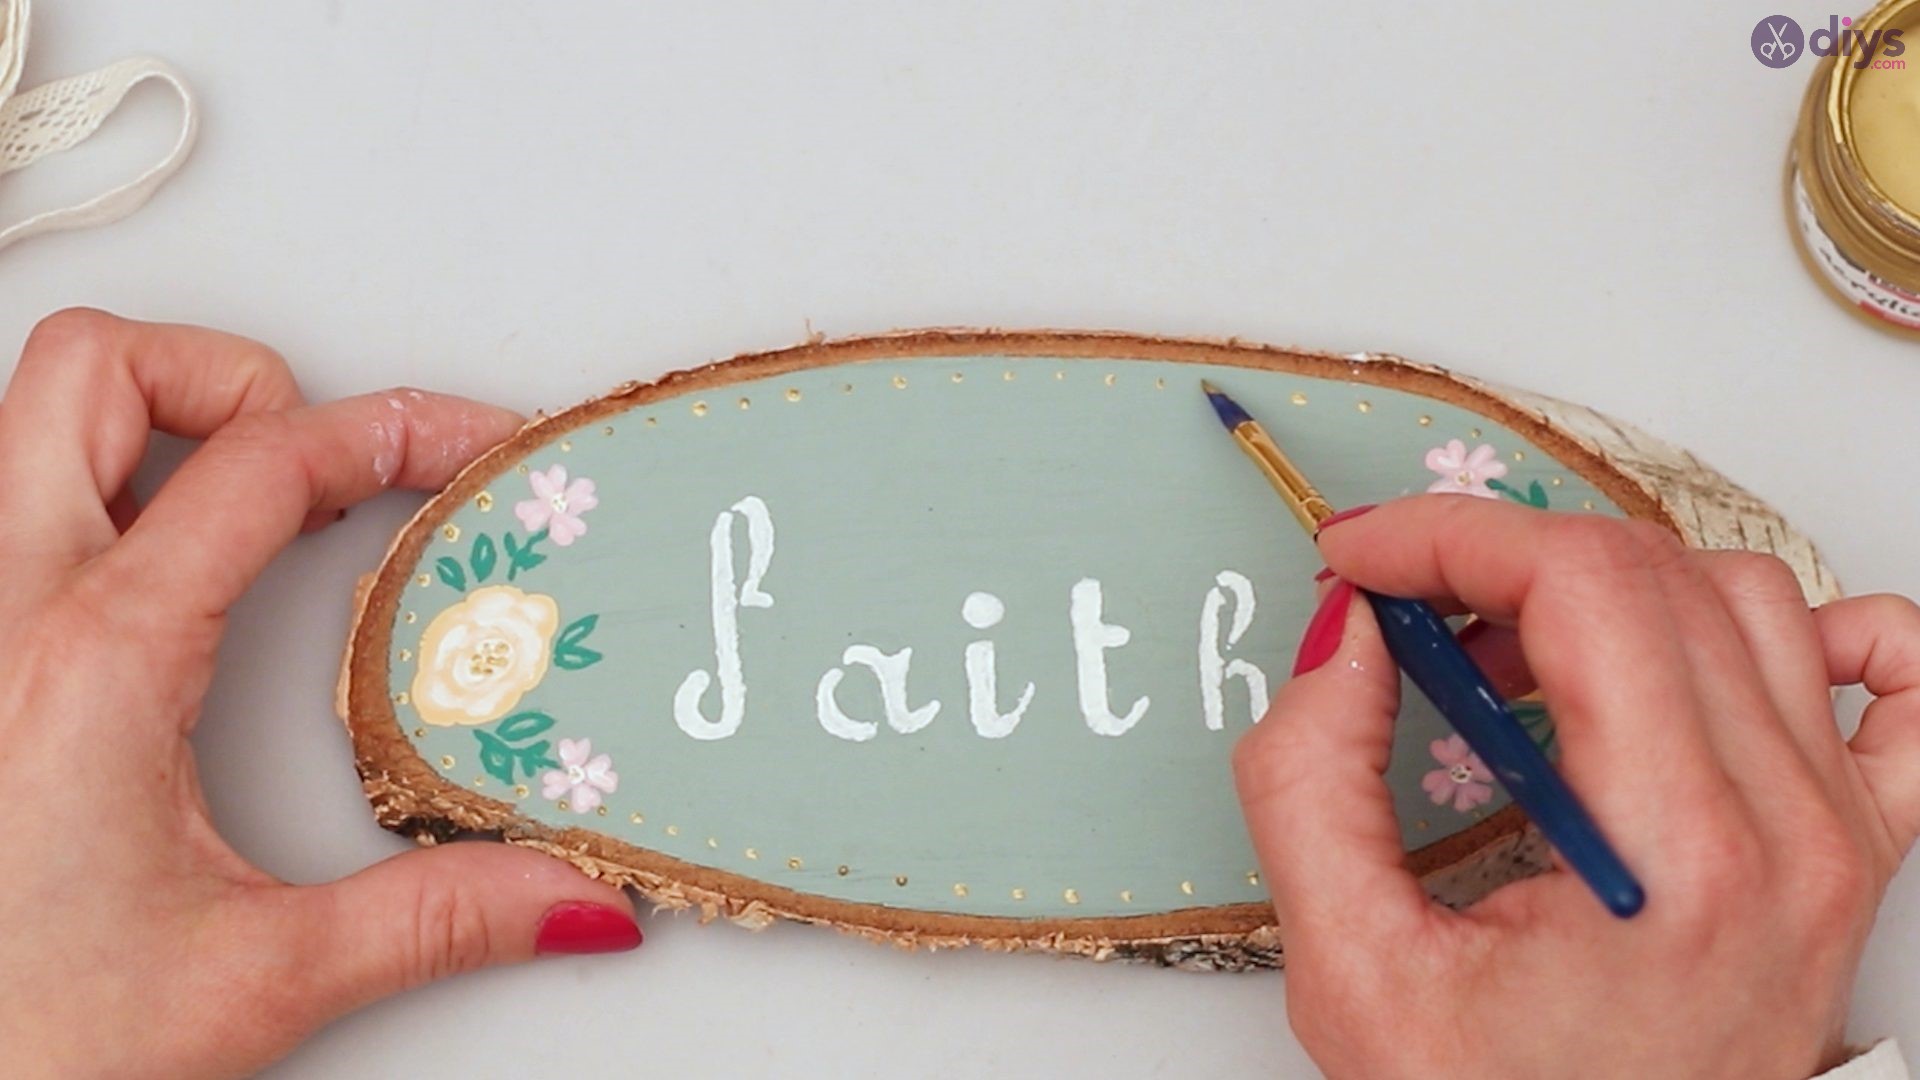
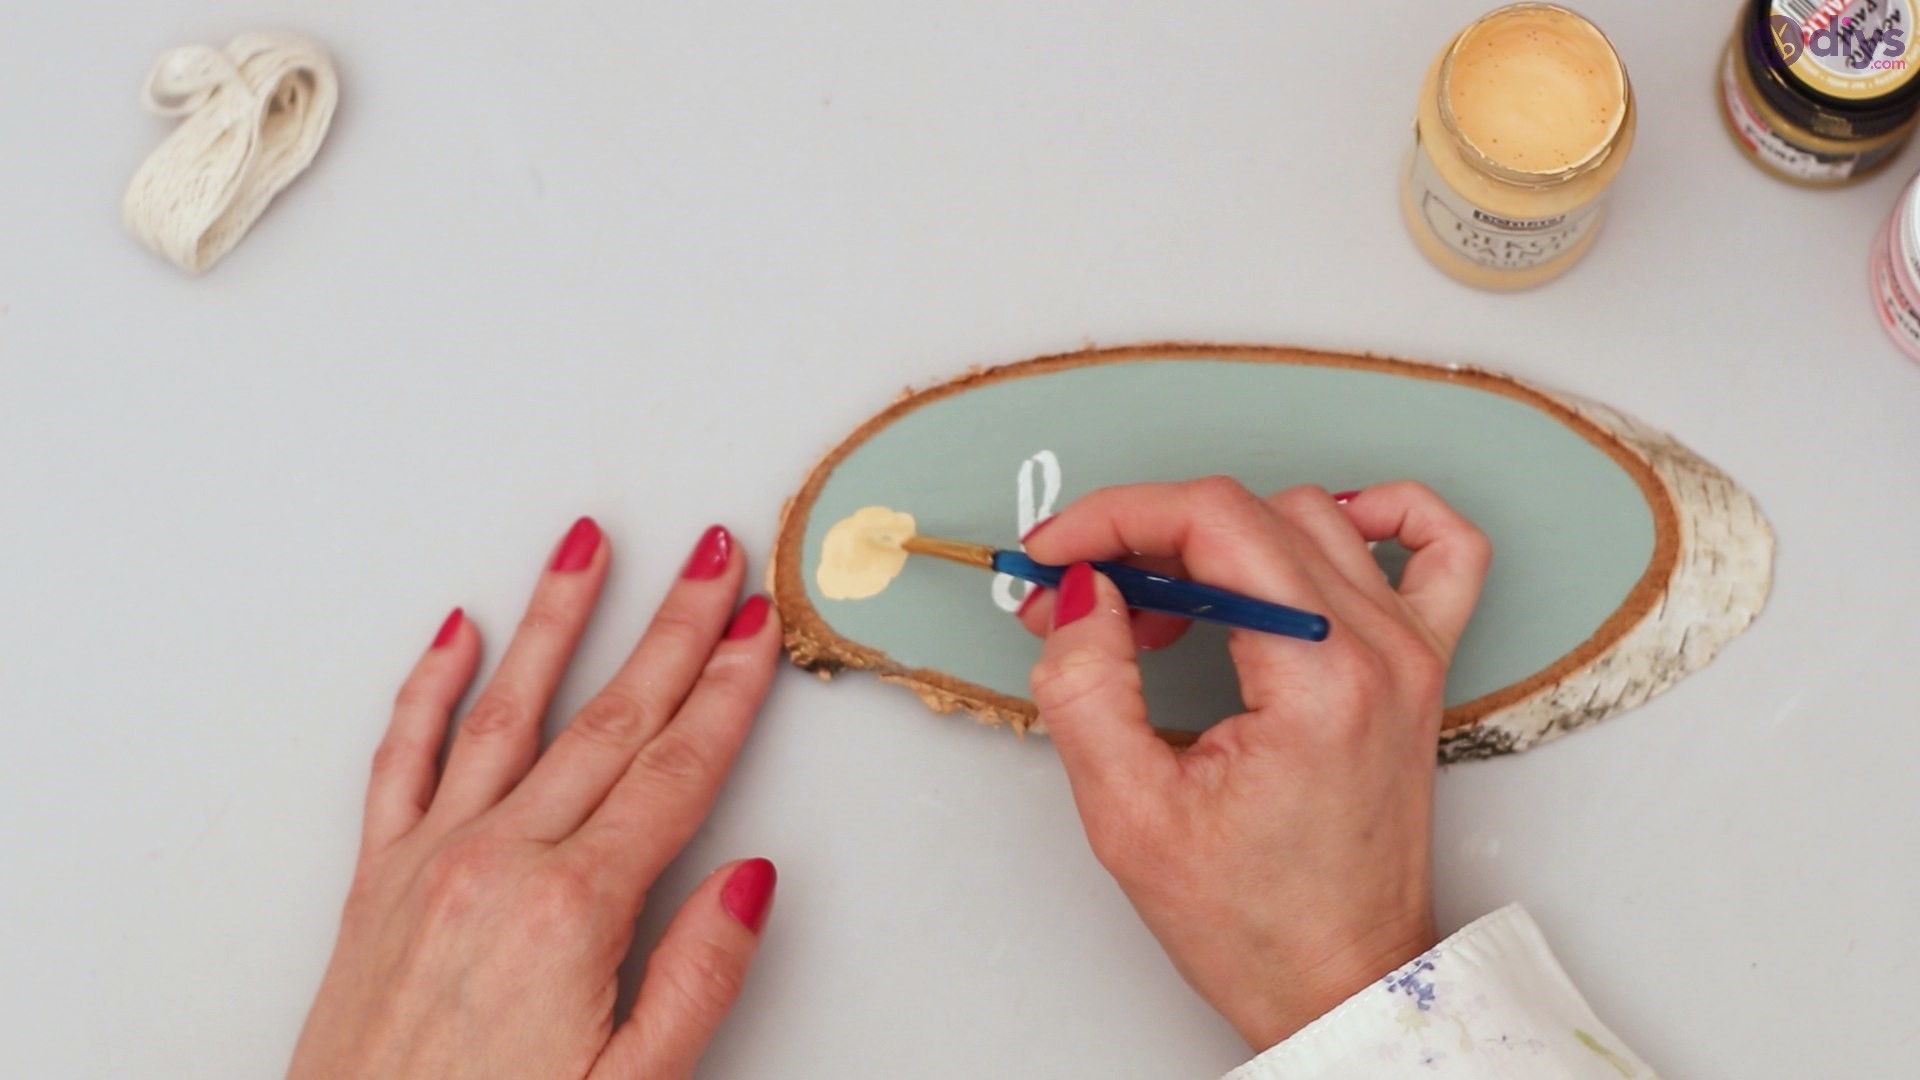
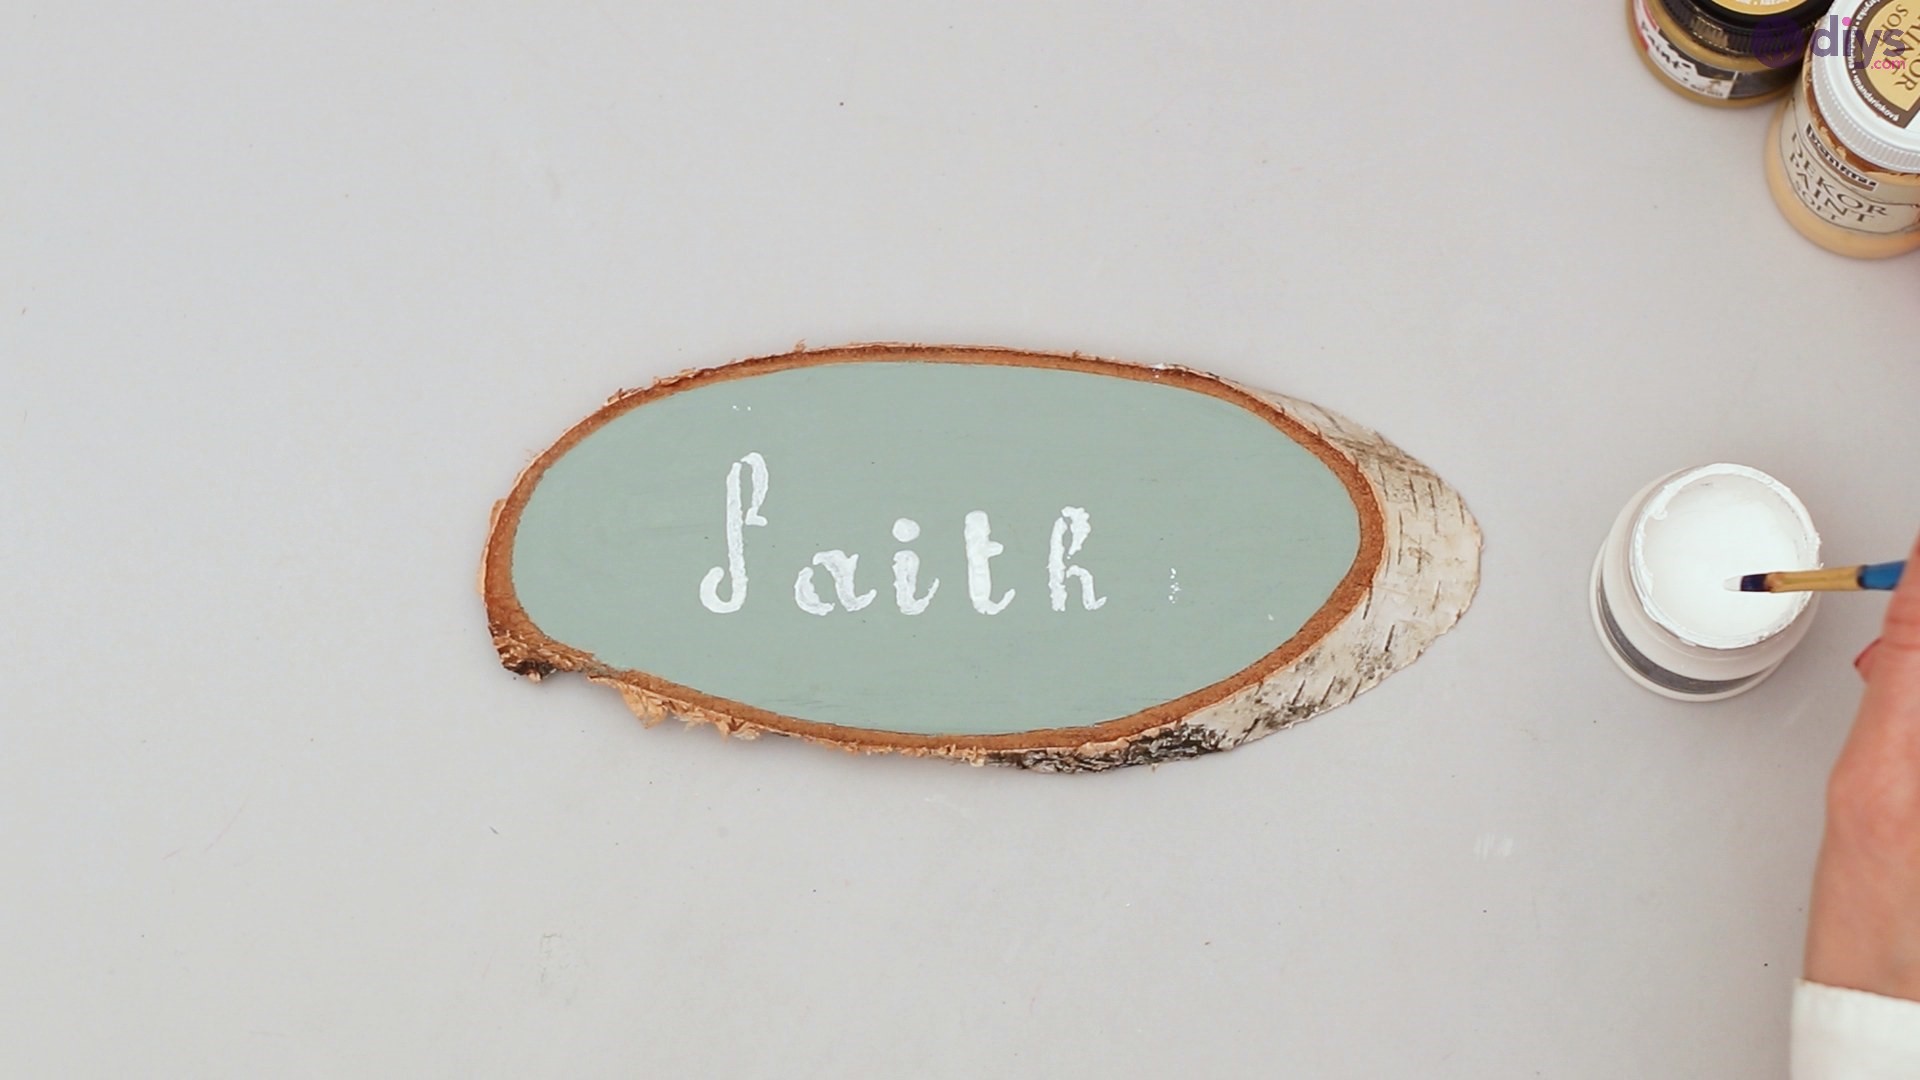
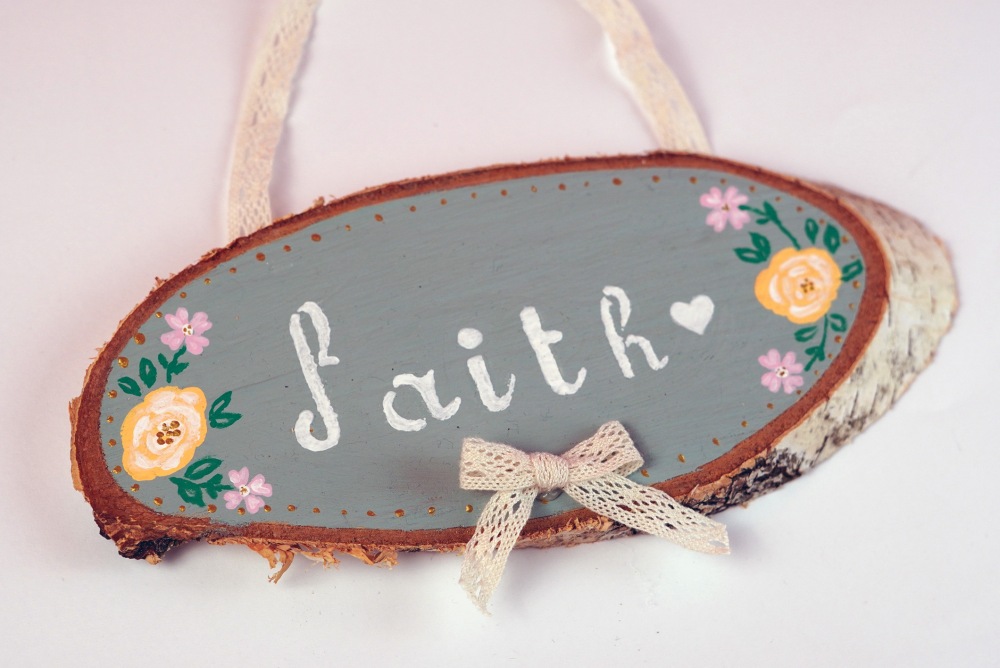
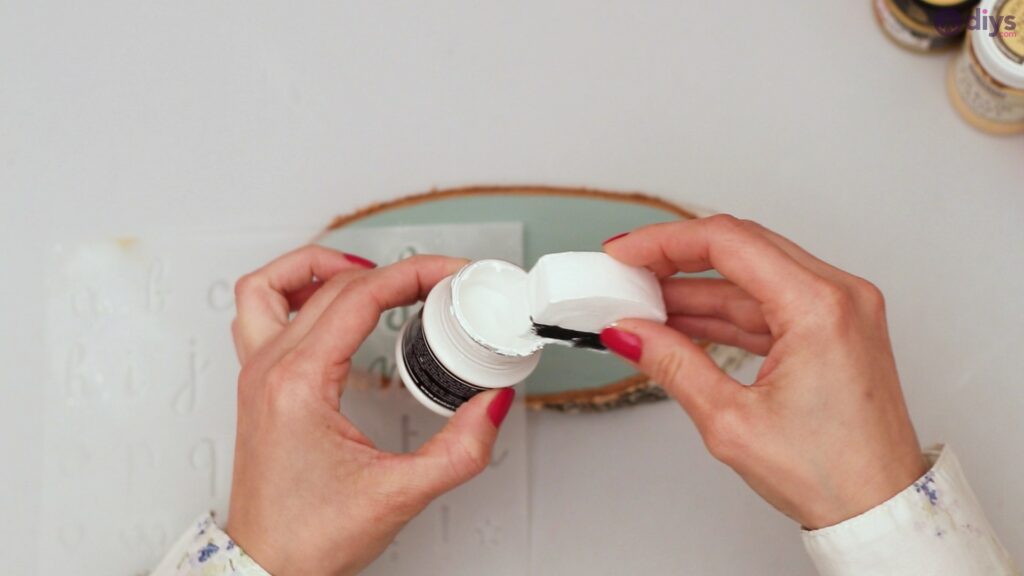
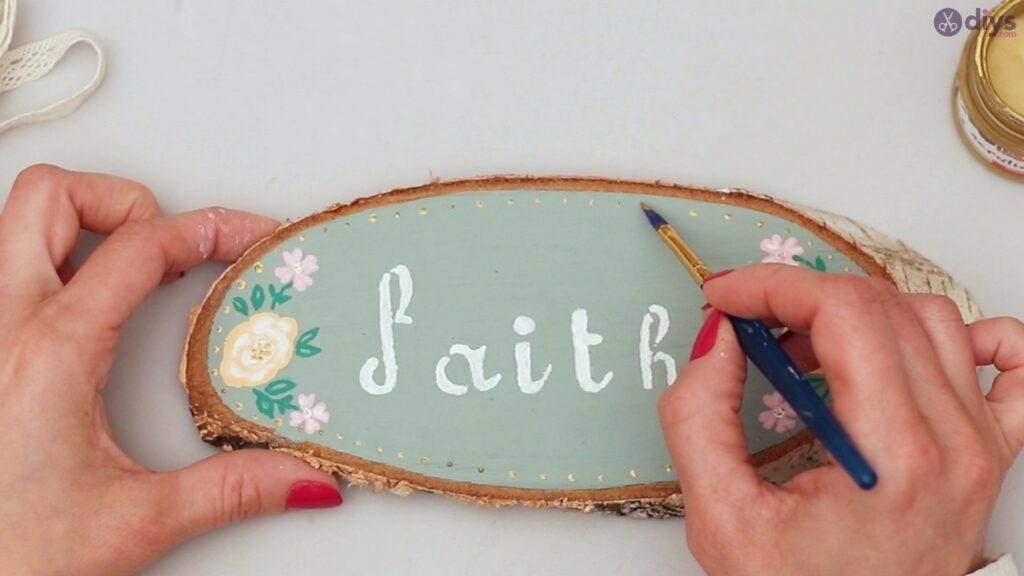
Step 2: Write your preferred message on the painted portion
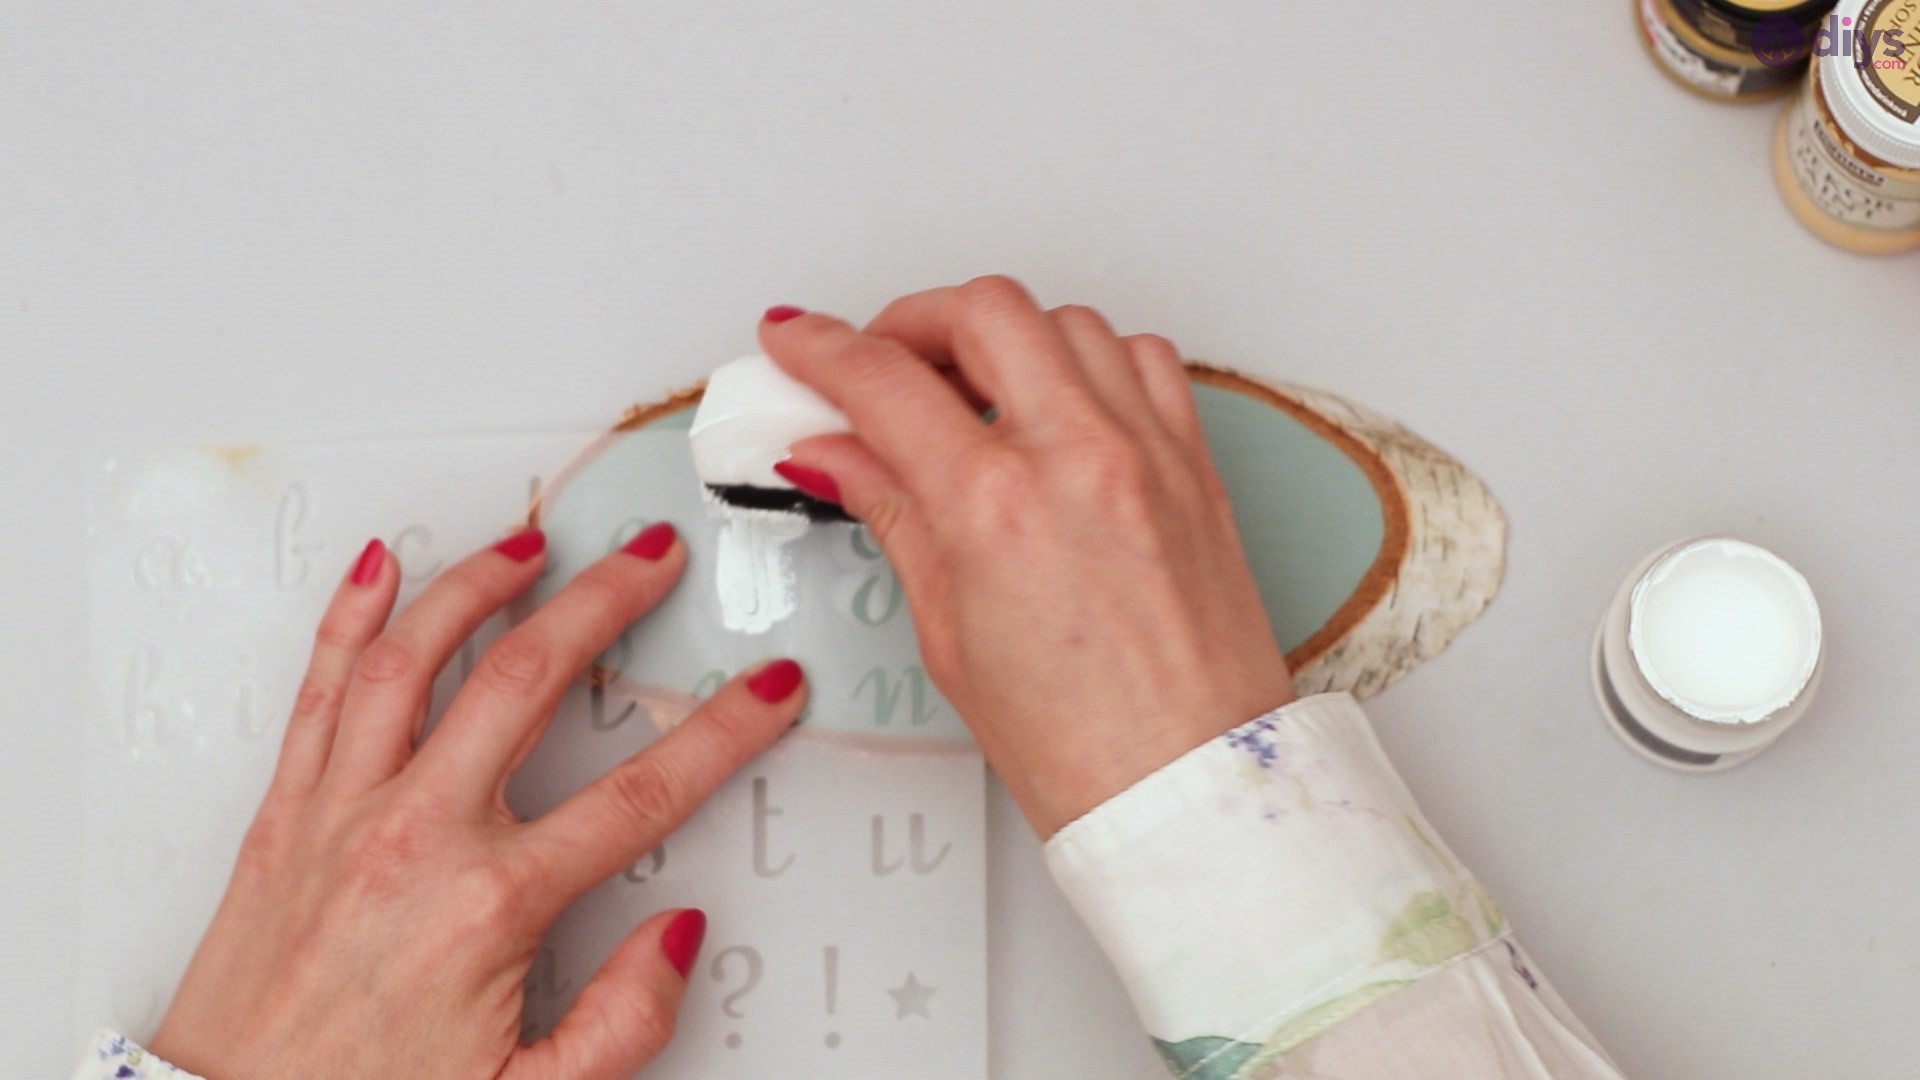
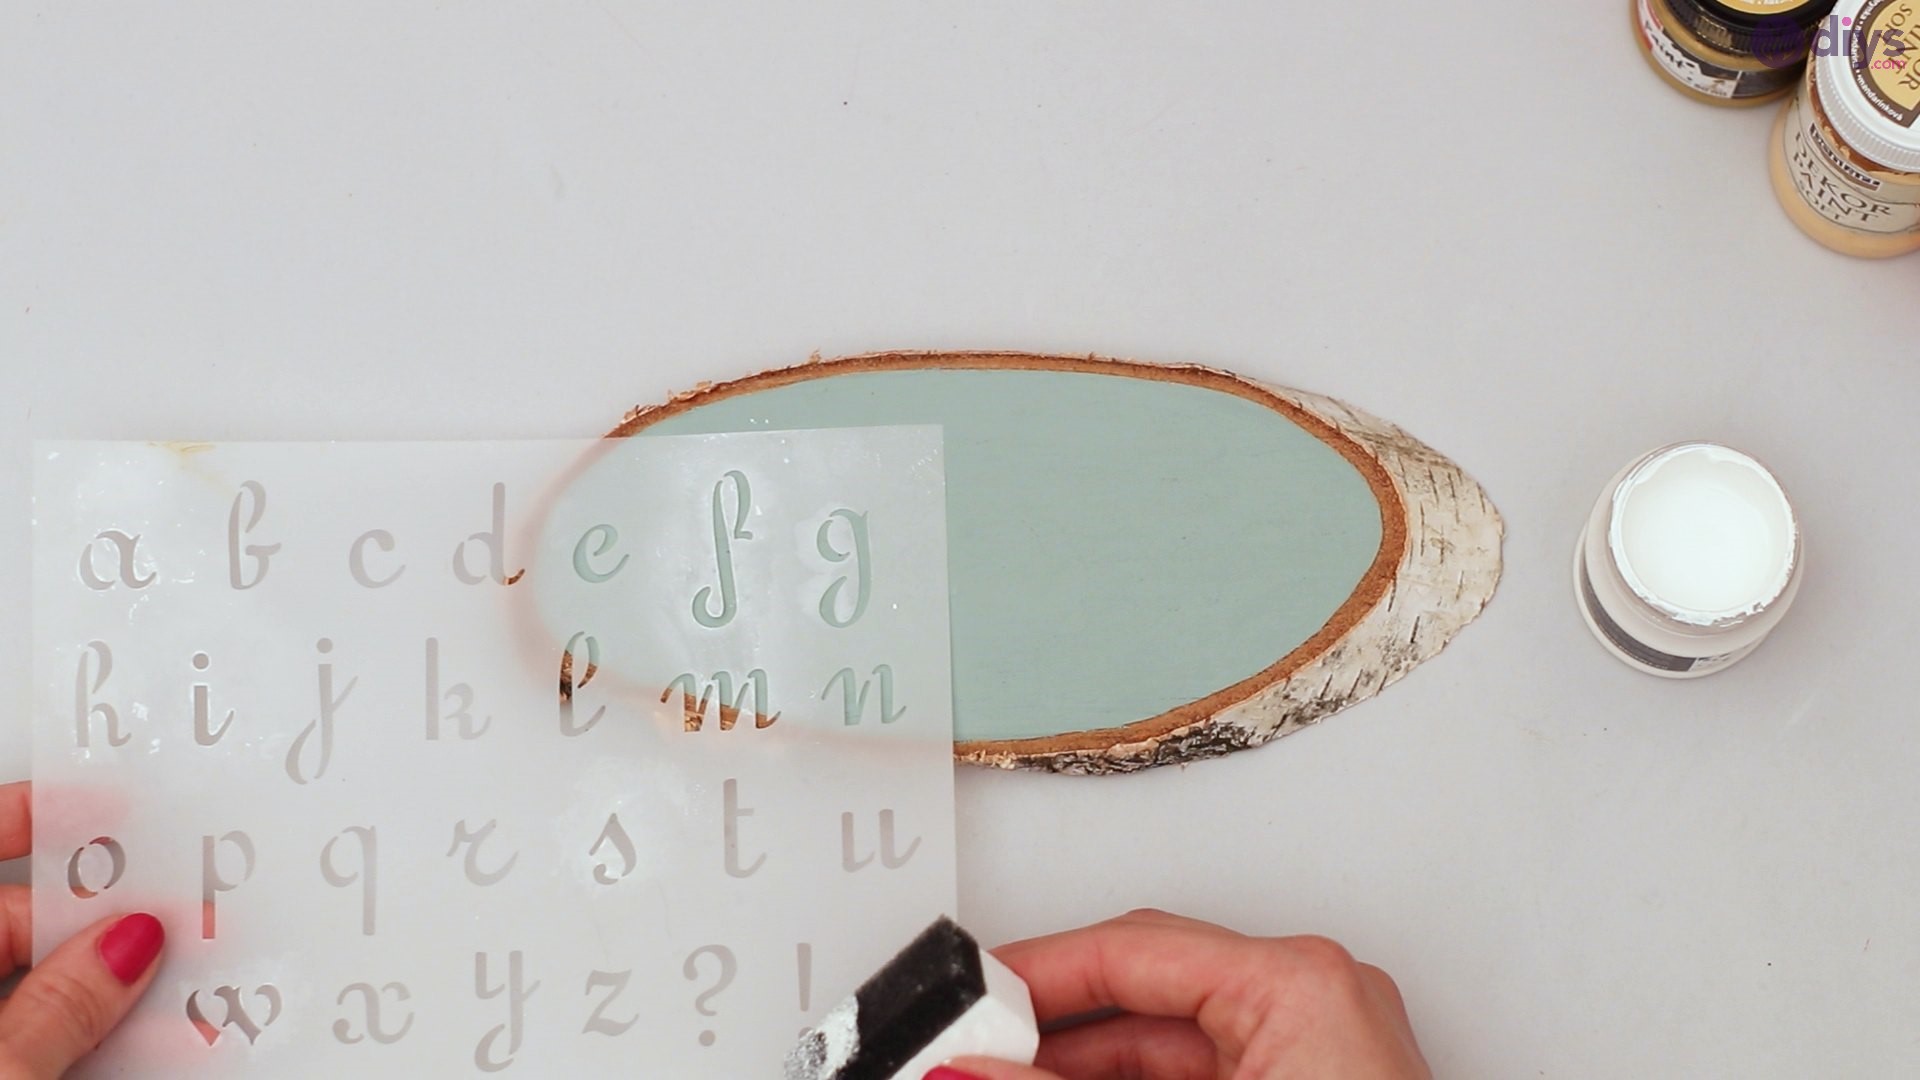
Think of something meaningful to you. It could be a word or a phrase. Once you decide what it is, grab your alphabet stencil and place it on the painted portion of your wooden slice.

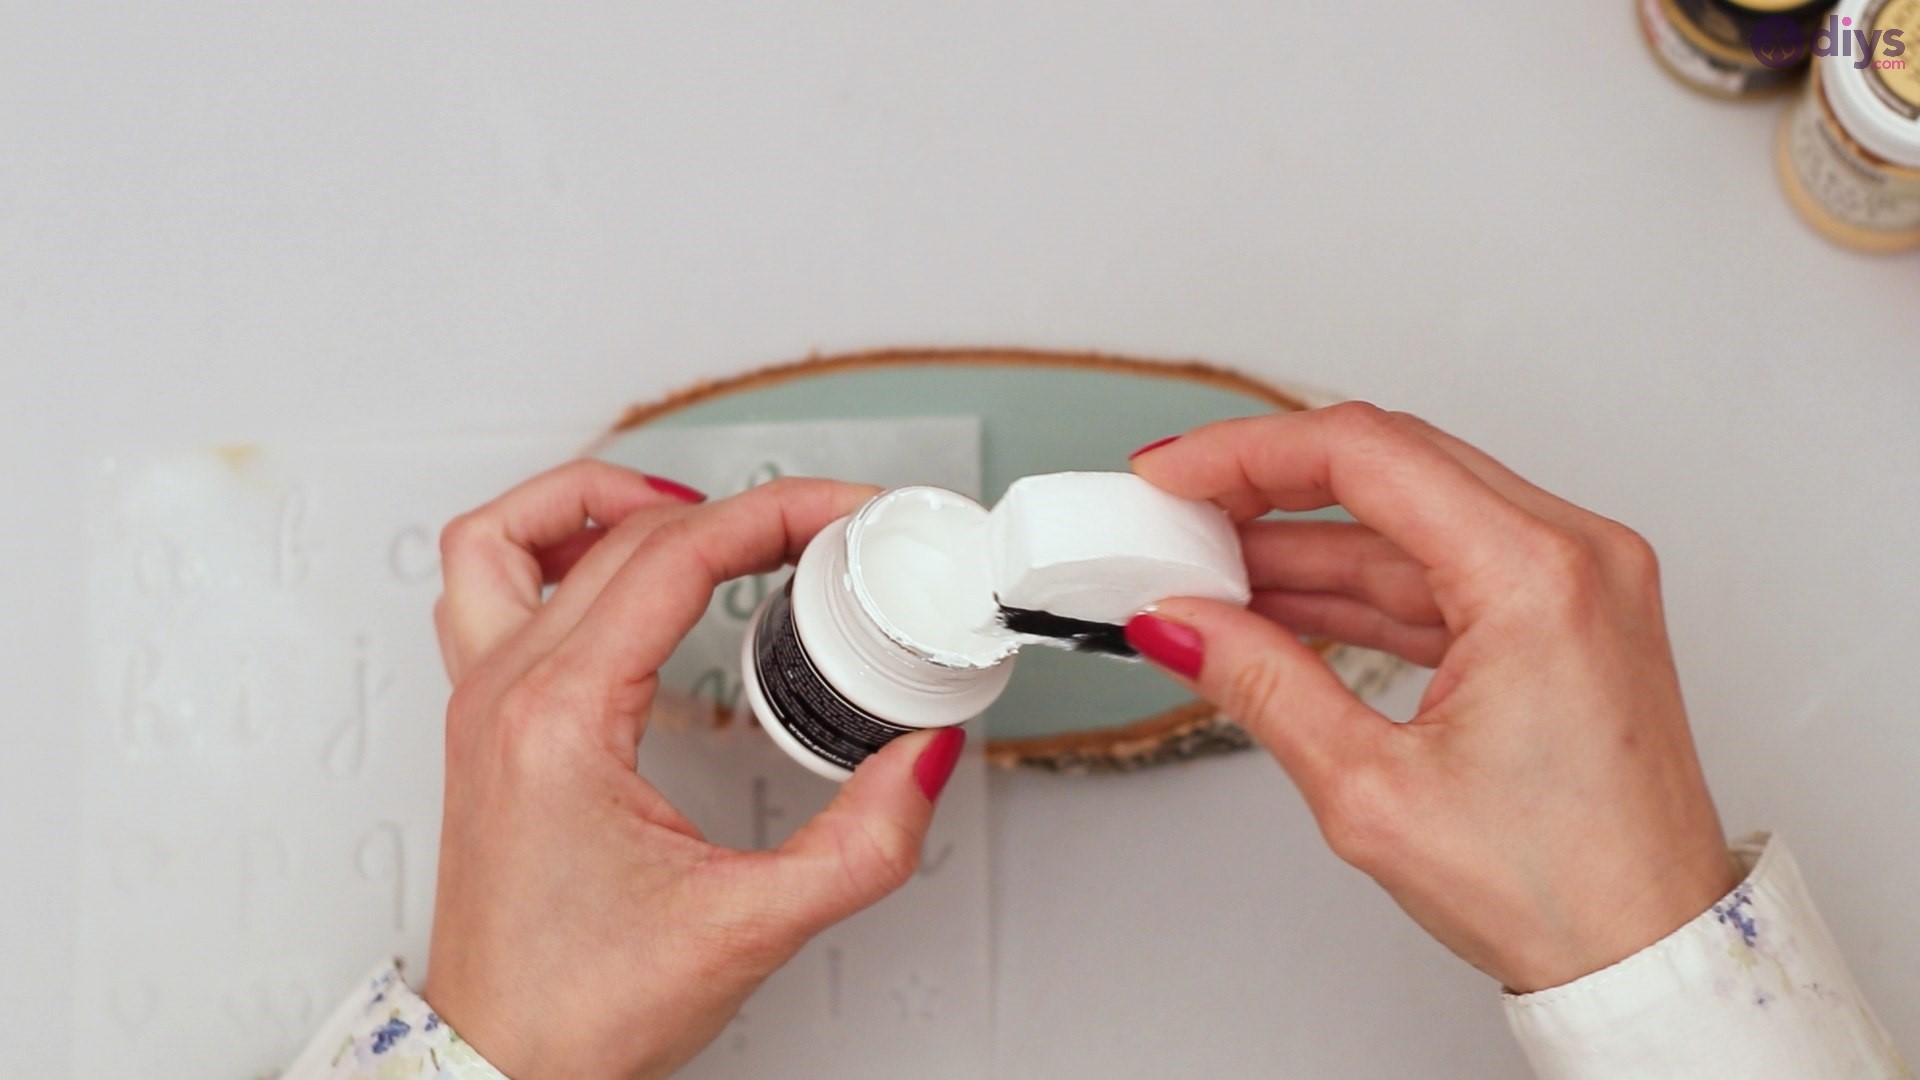
Take your white acrylic paint and begin painting over the letters that form your chosen message.
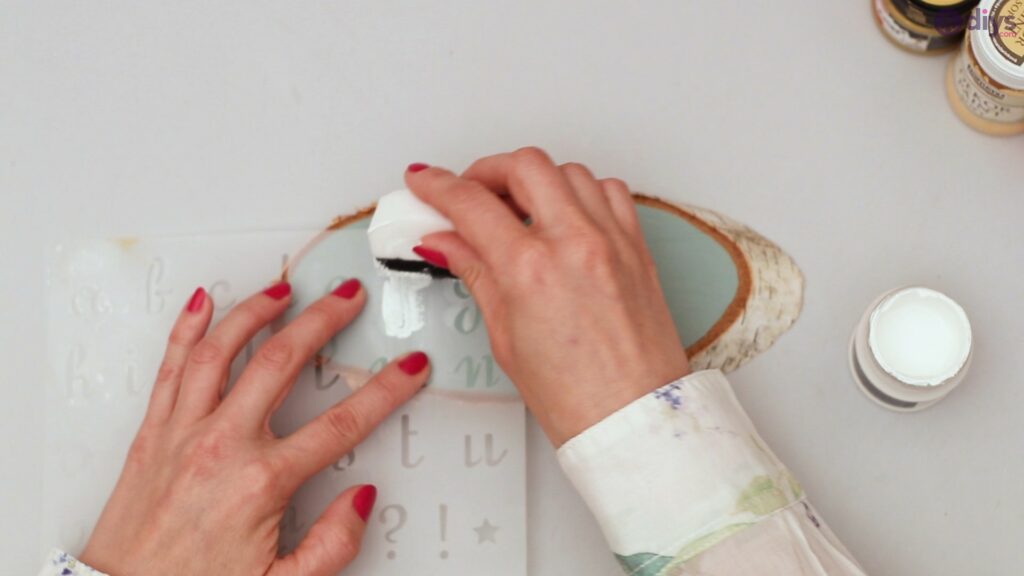
Once you are done with the first, move on to the next letter.

Repeat the process until you have spelled out the word you want. Remove to do this slowly and carefully, so the letters are spelled out neatly.

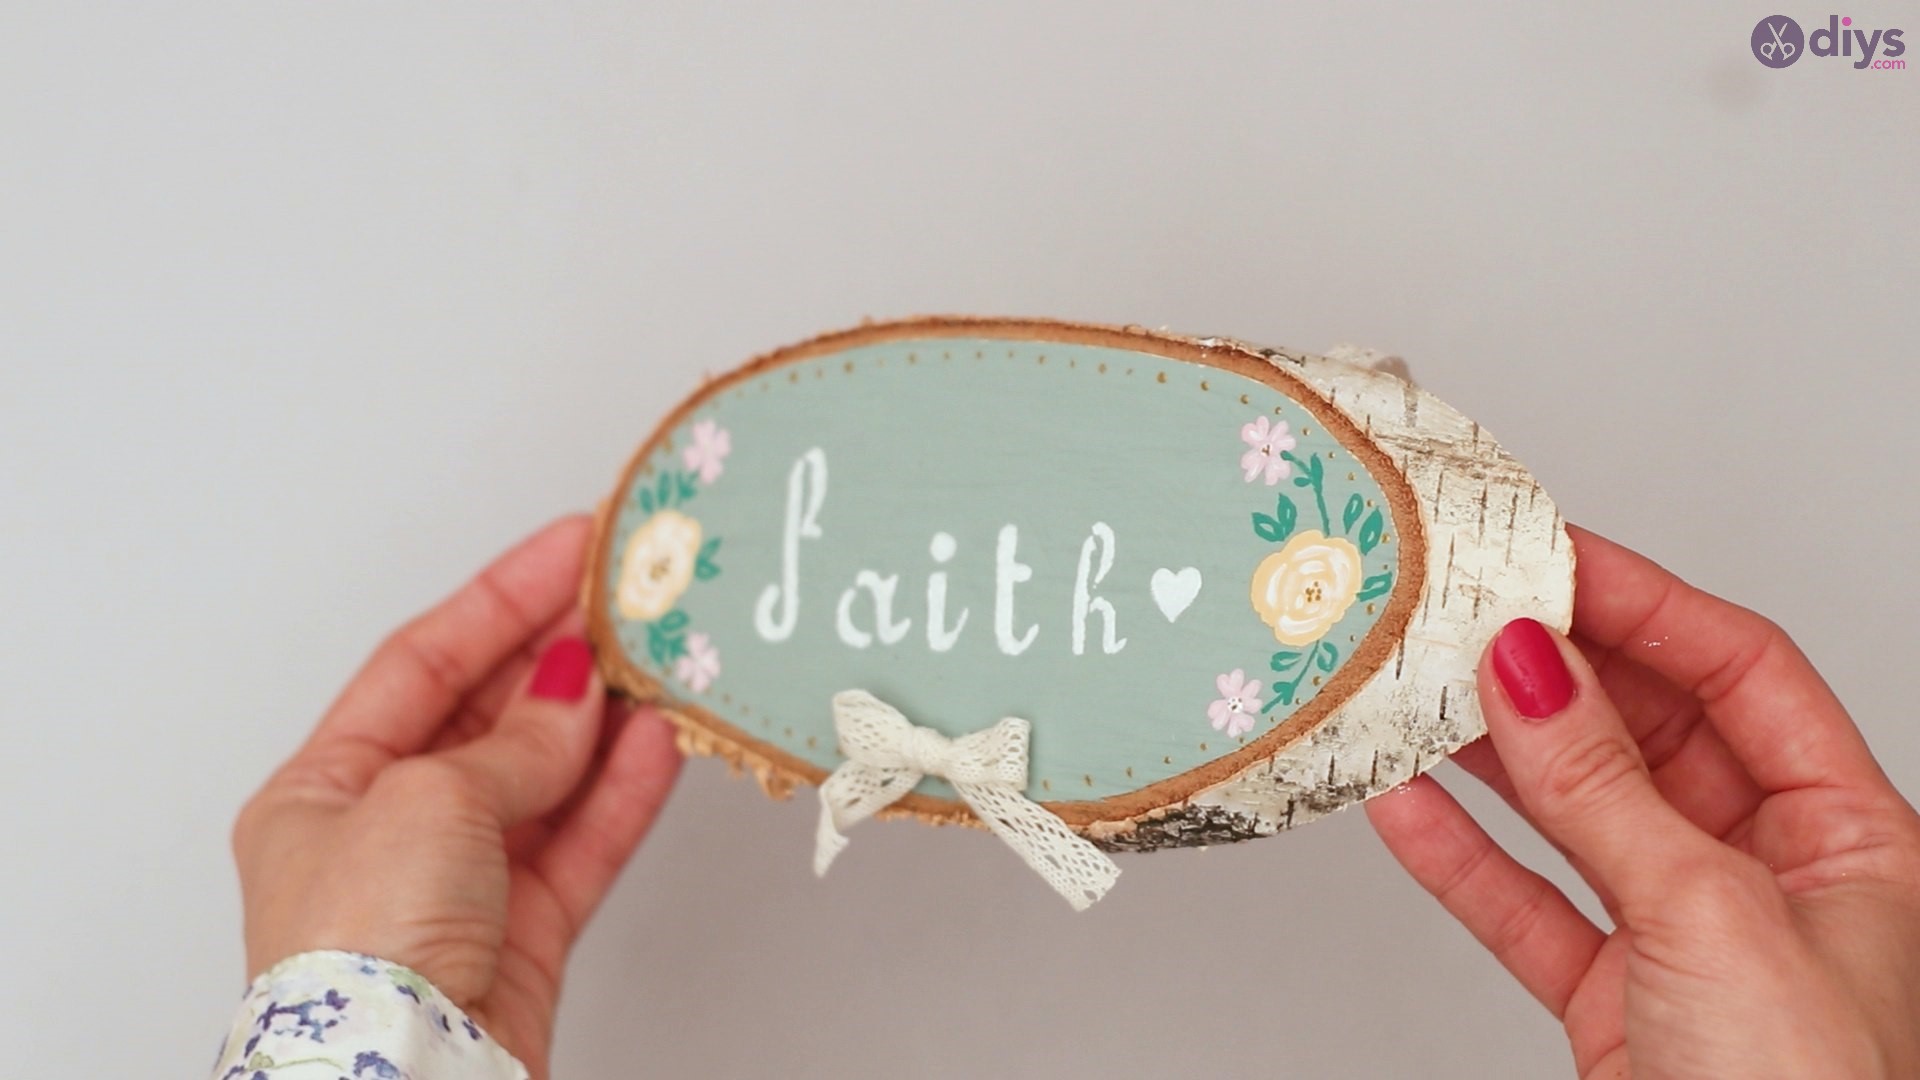
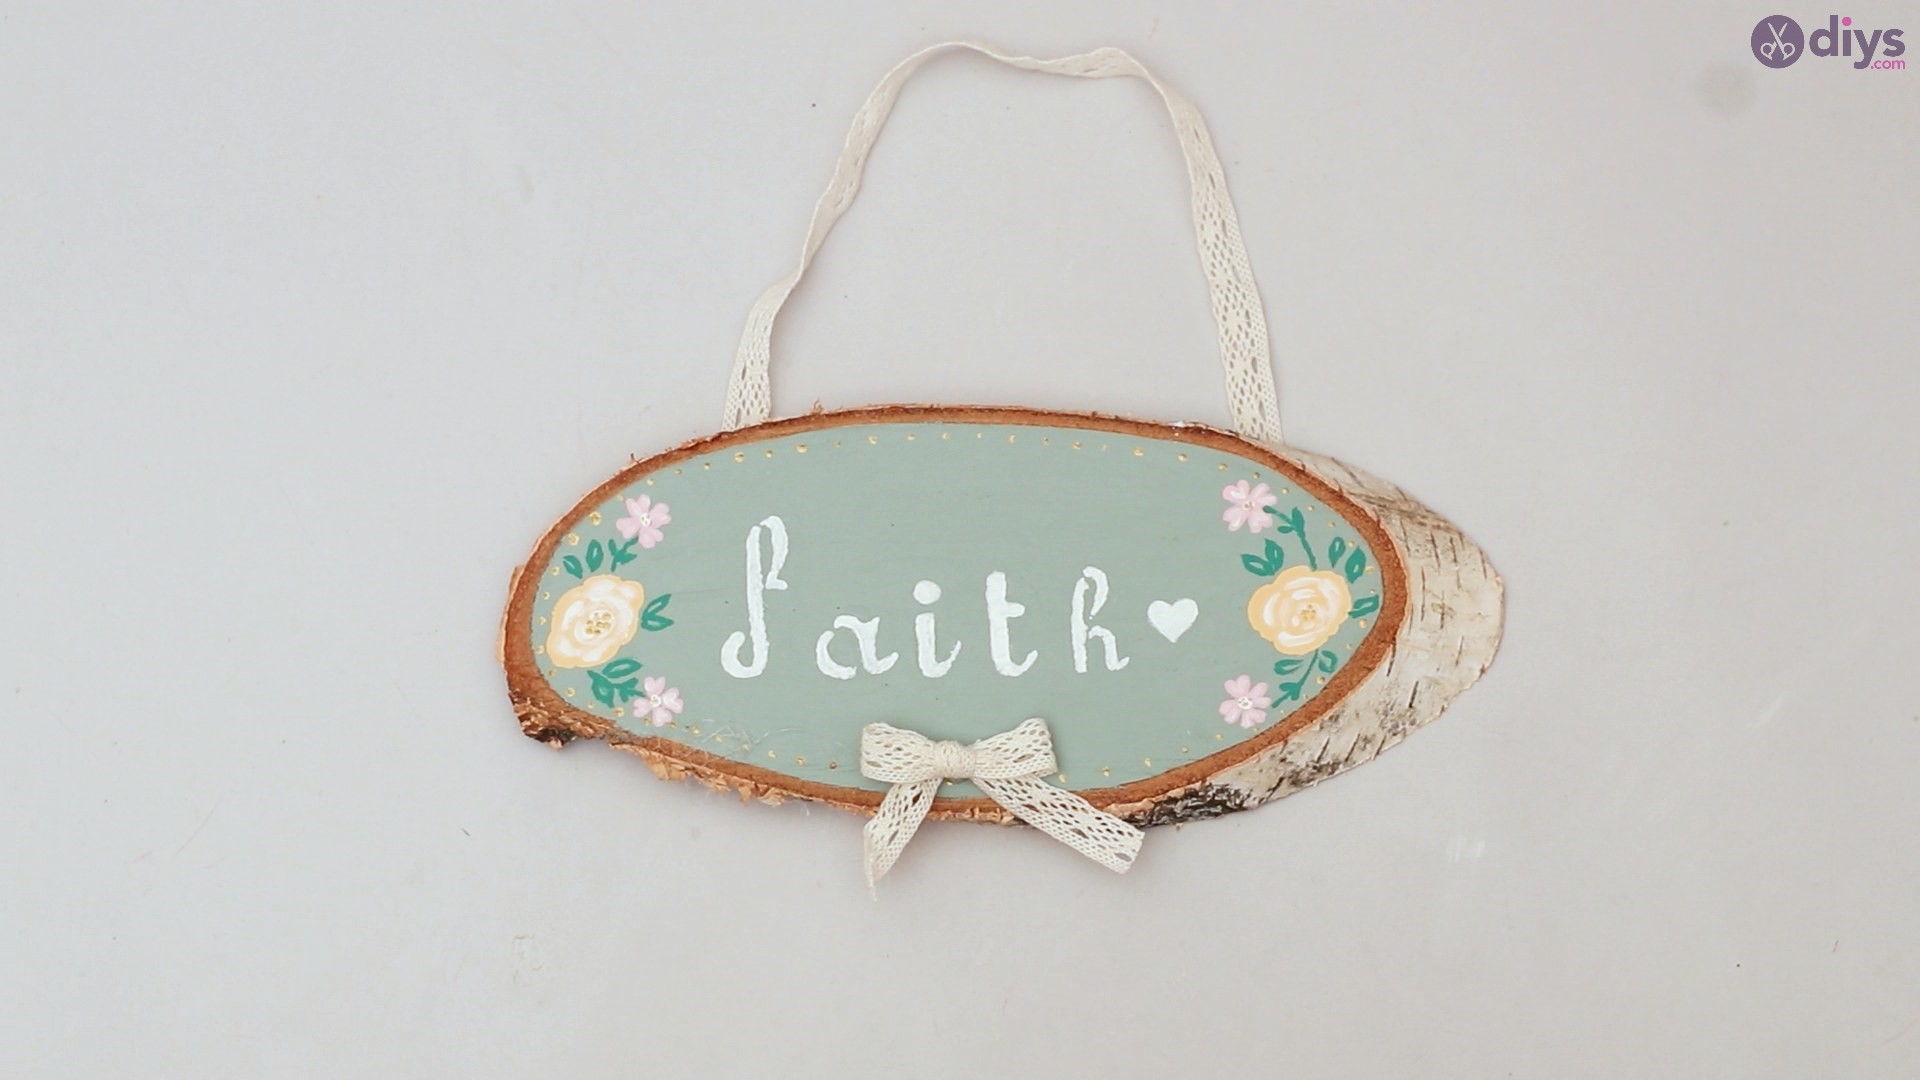
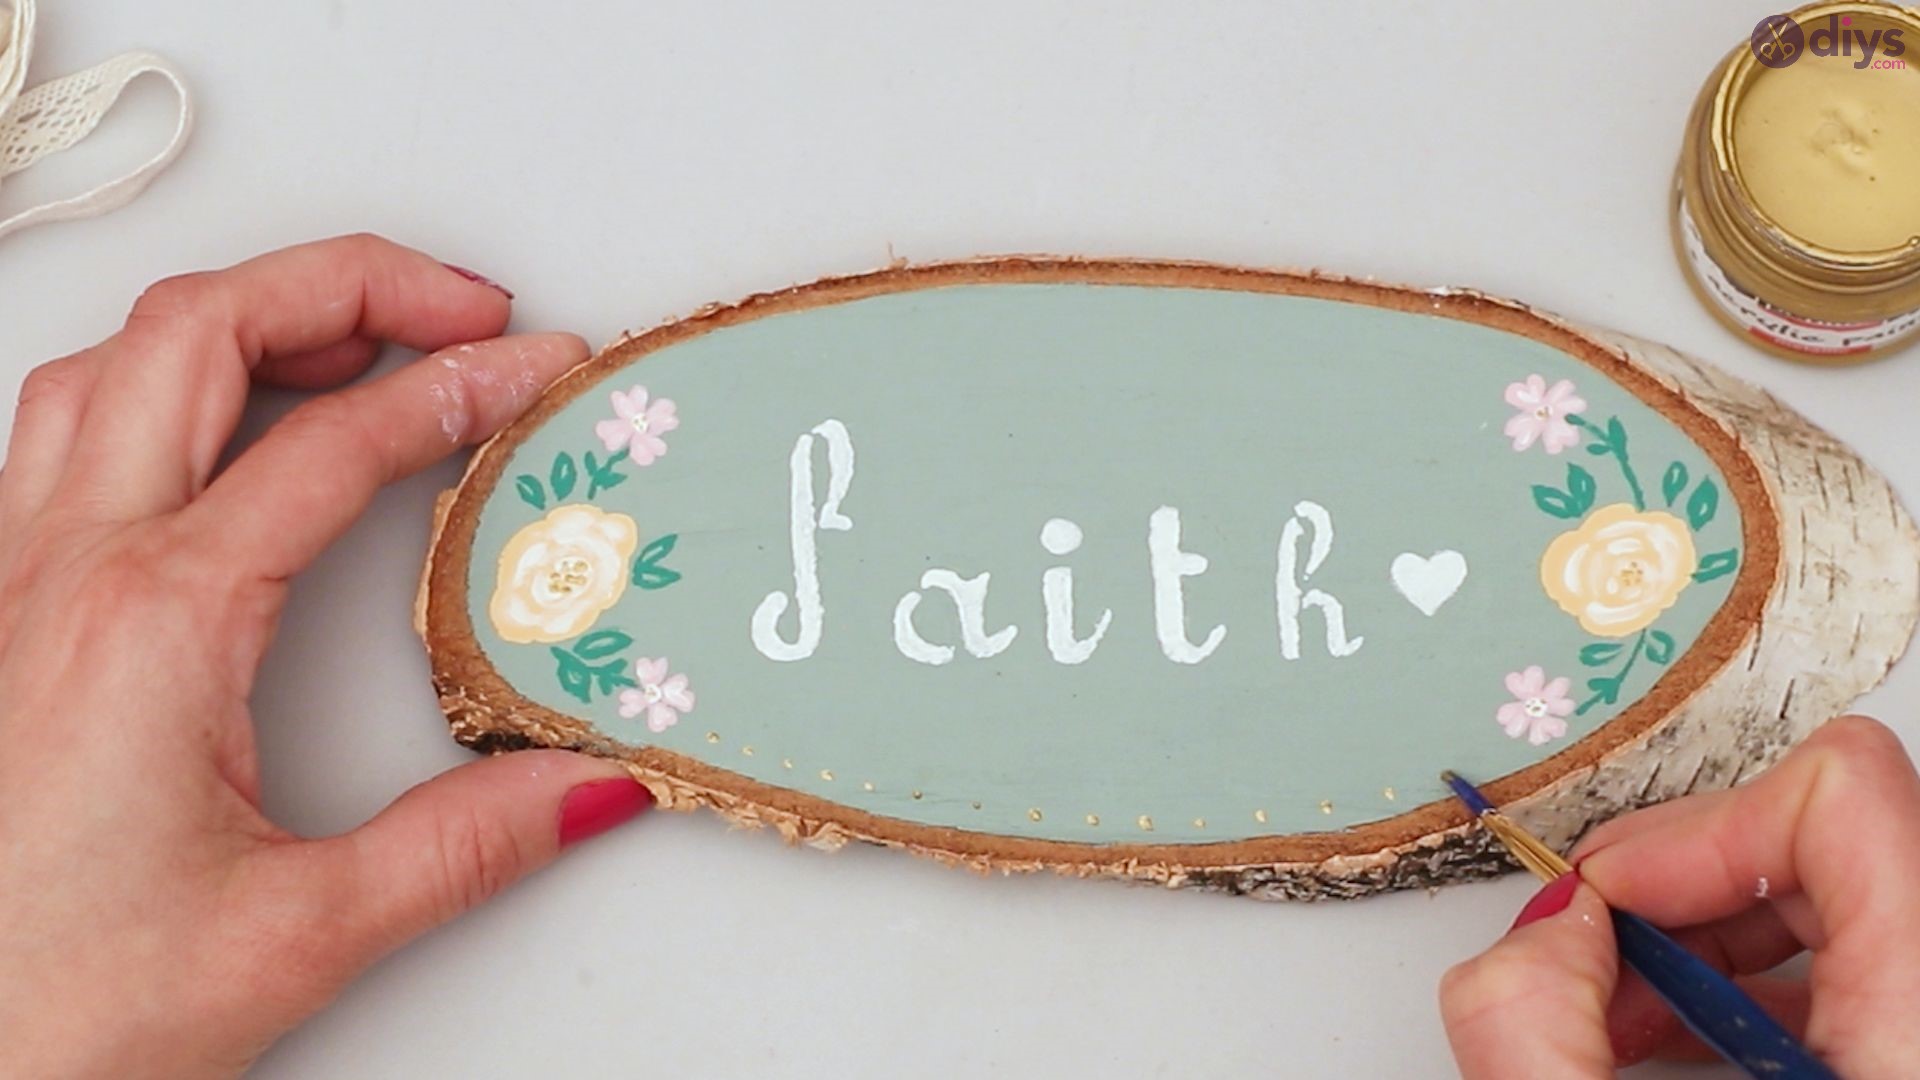
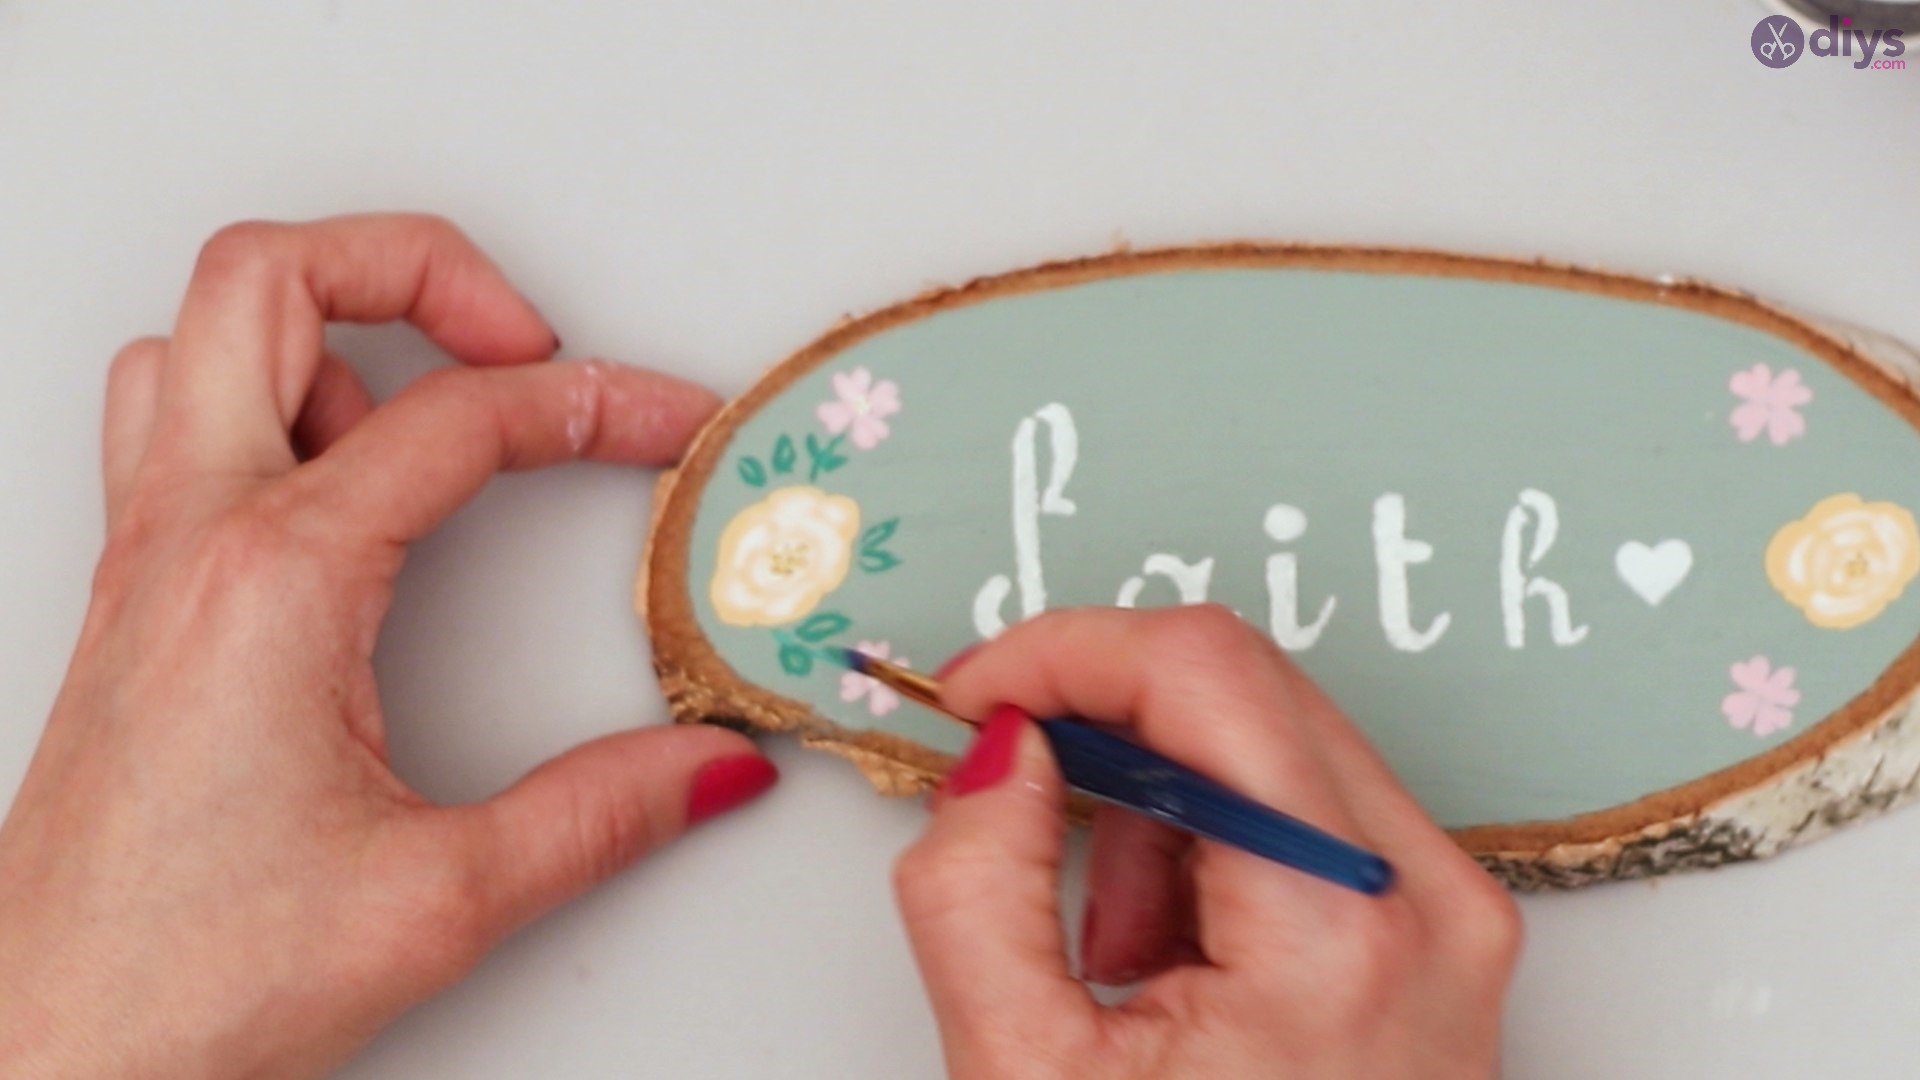
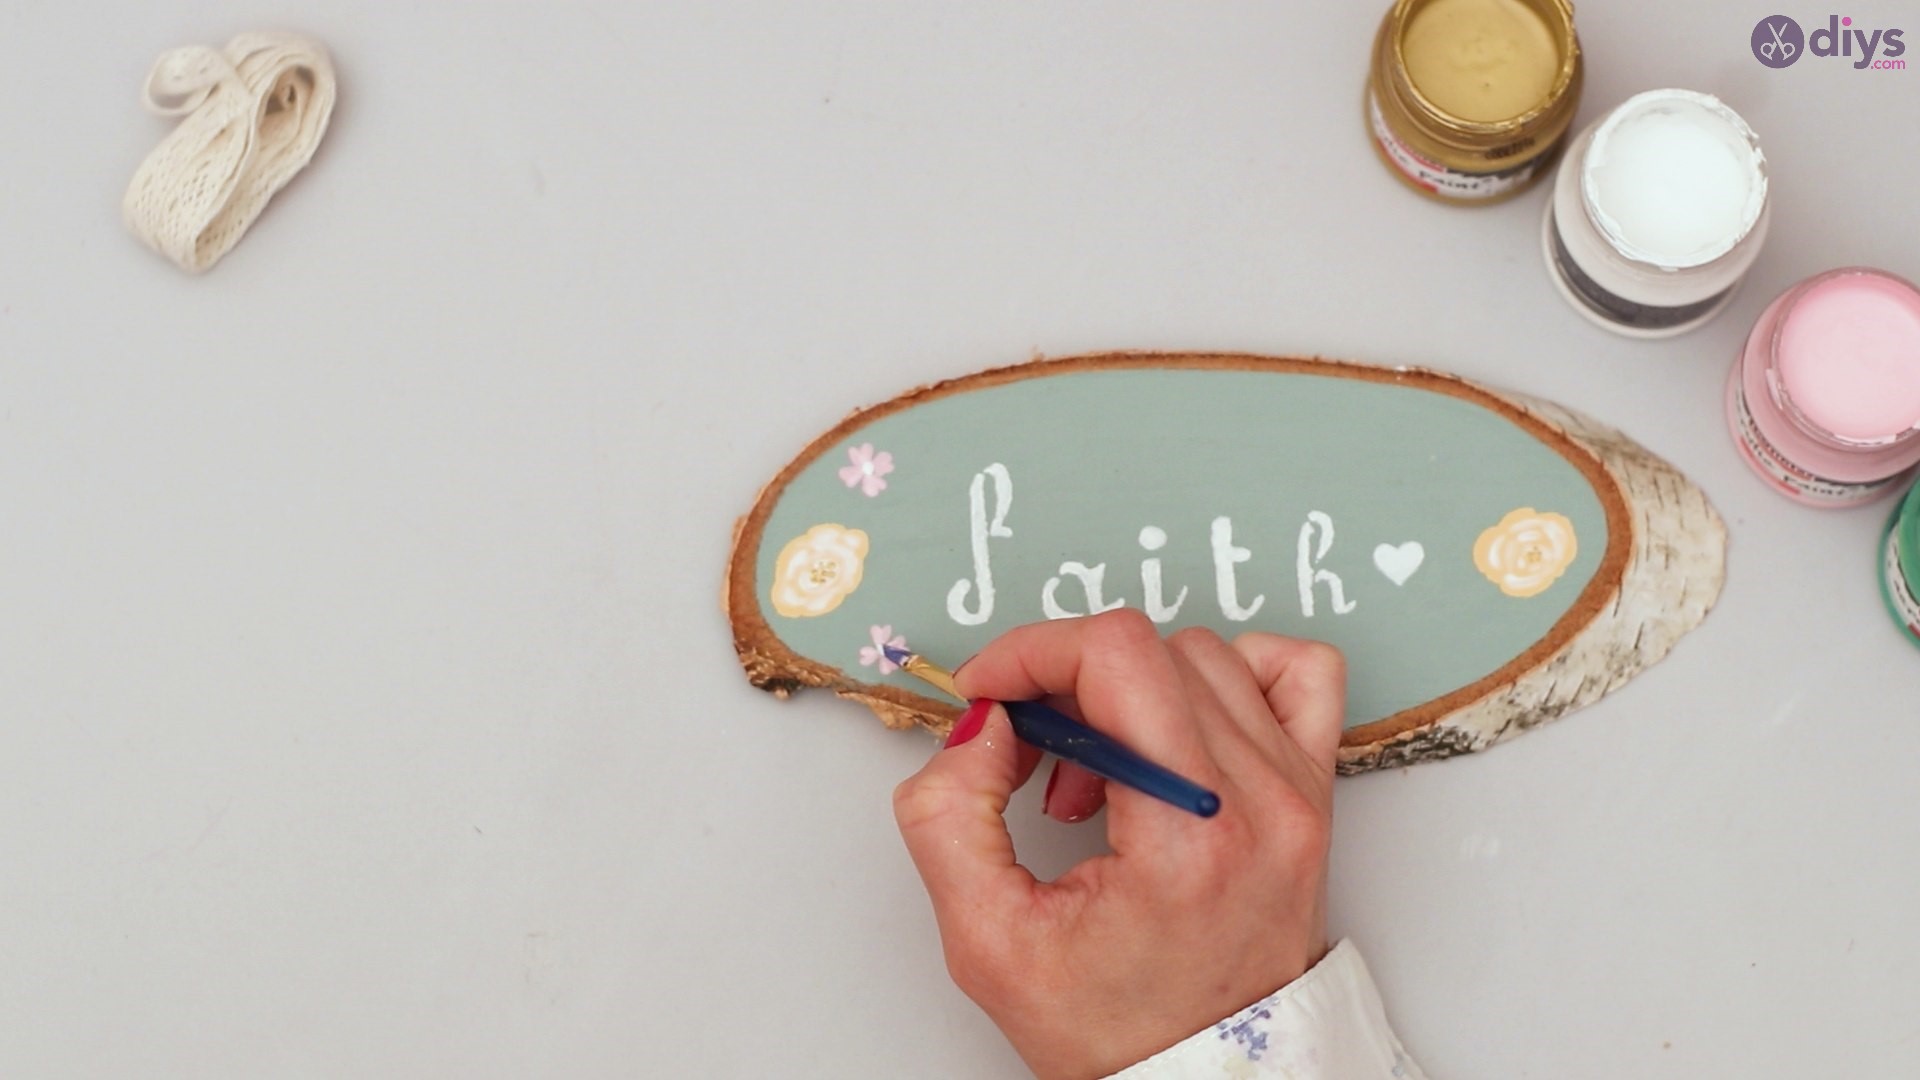
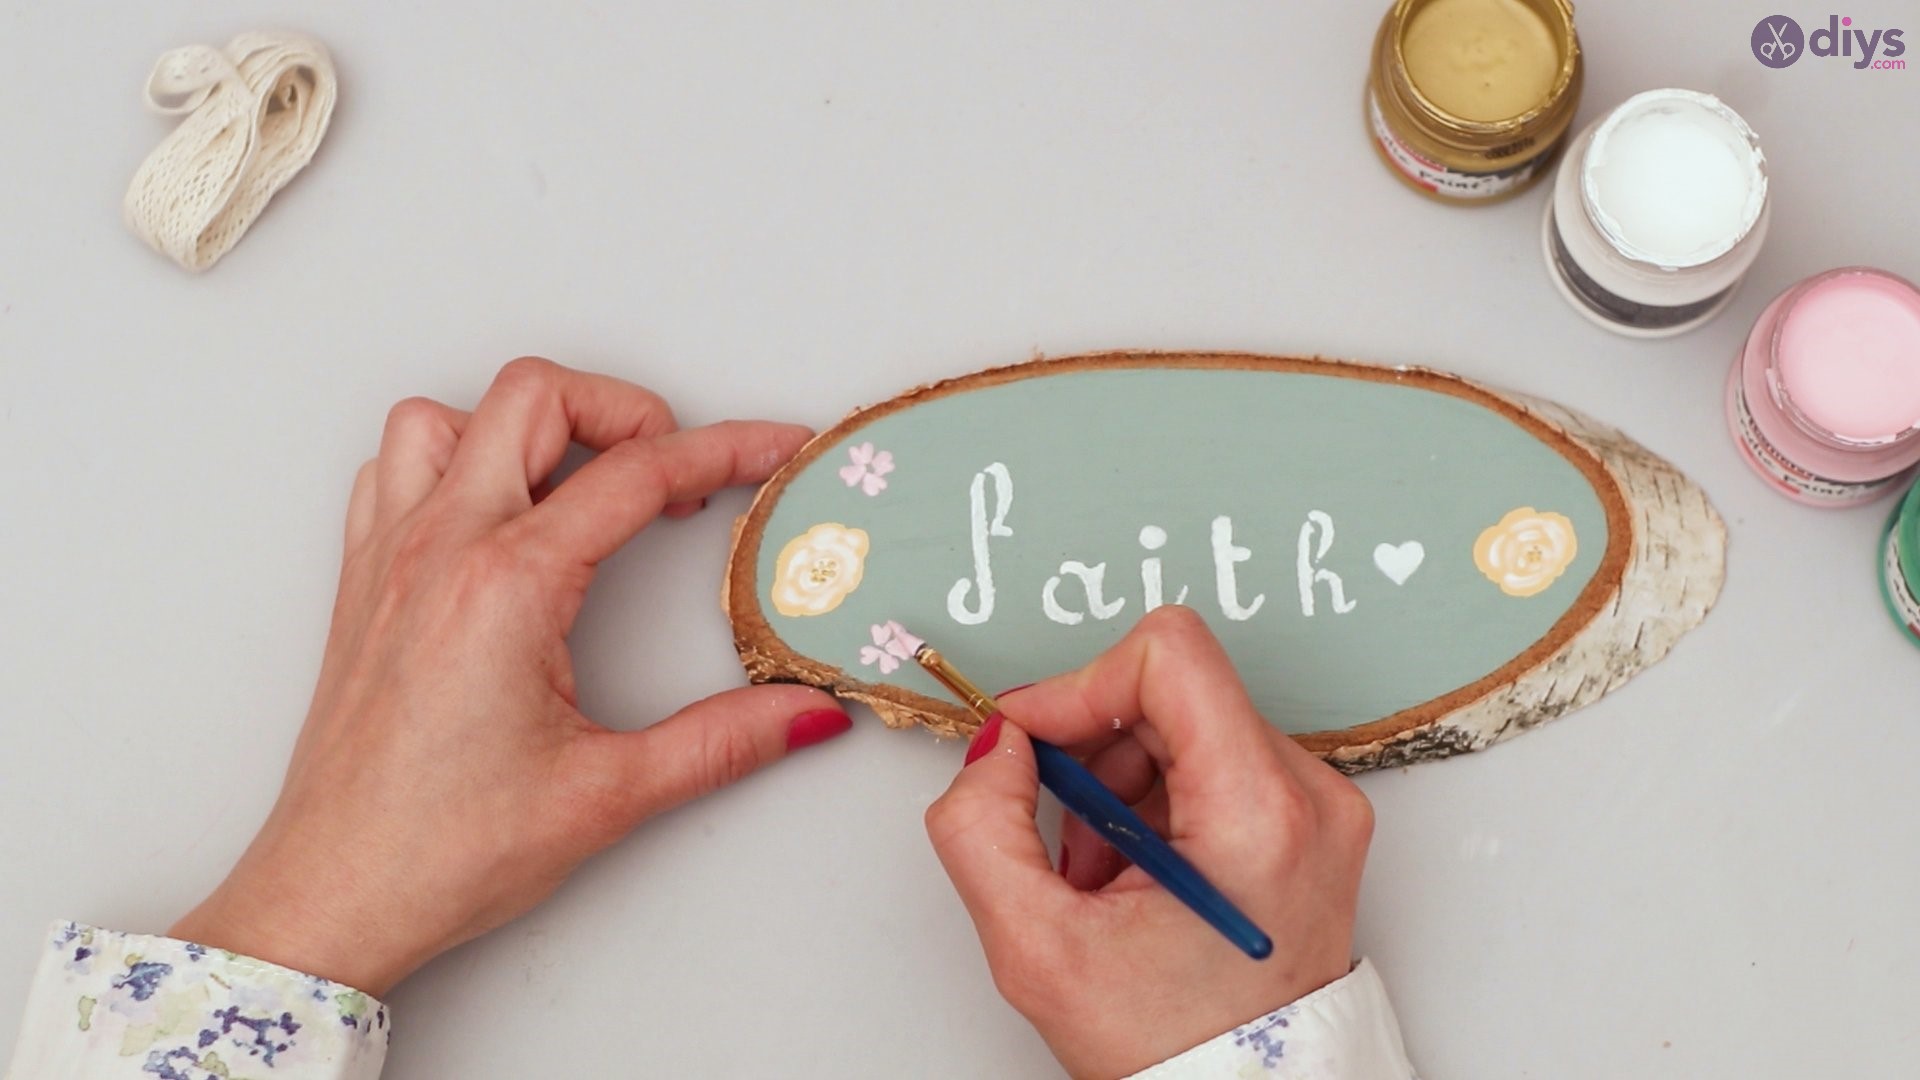
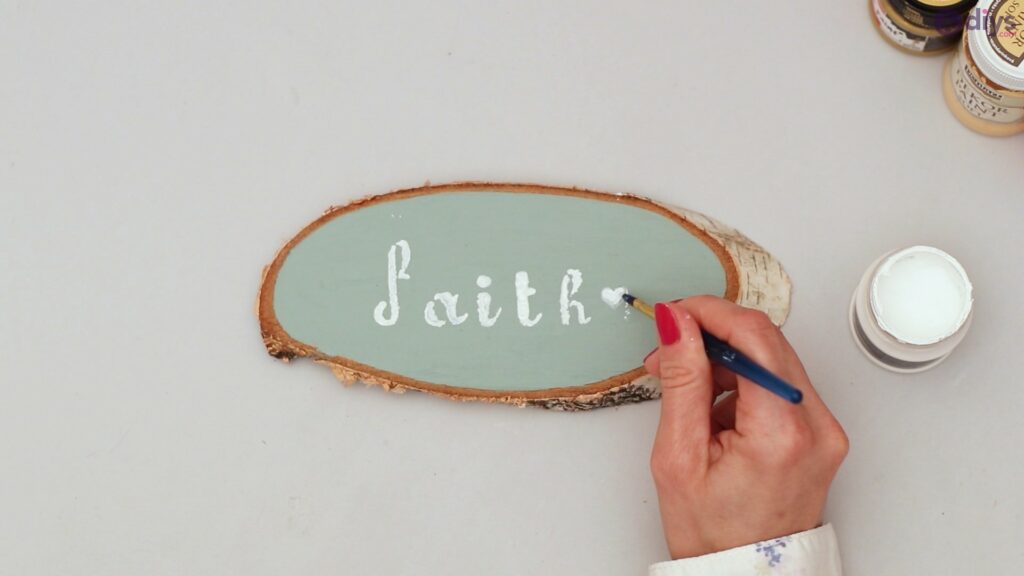
Step 3: Decorating the wooden slice
To decorate your wooden slice, you need your paintbrush, white paint, gold paint, pink paint, and the darker shade of your green color. Using your paintbrush, draw a small heart at the end of your message with the white paint.
Next, take the gold paint and draw a flower at the opposite side of the heart
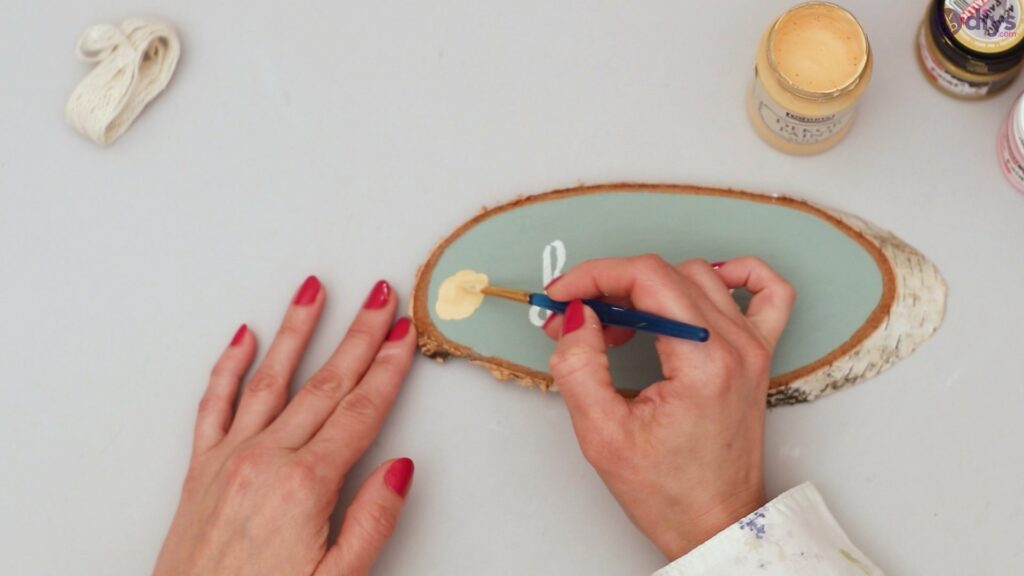
Do the same thing for the side where you have painted the heart.
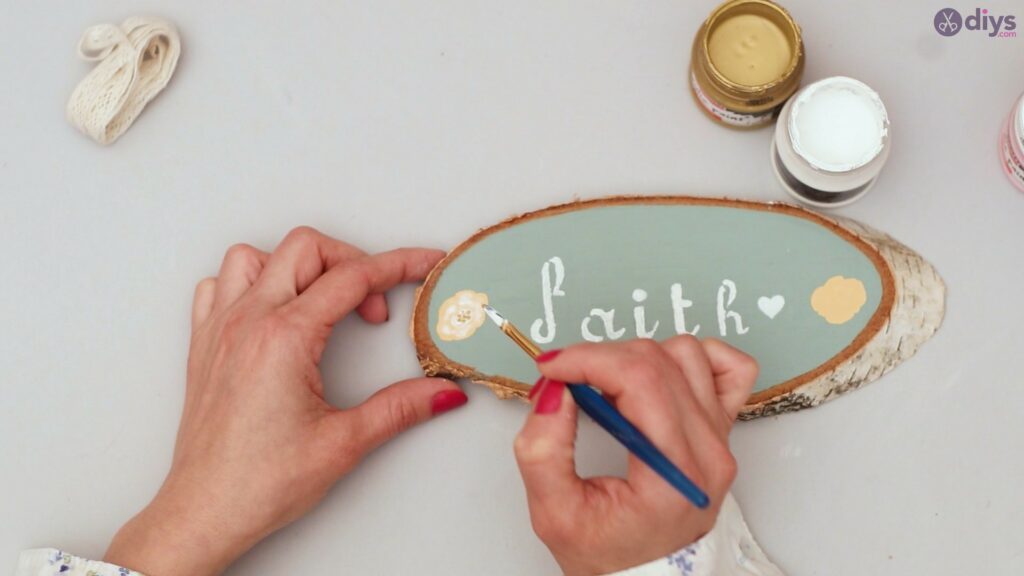
Paint some more flowers on the wood slice using your pink paint.
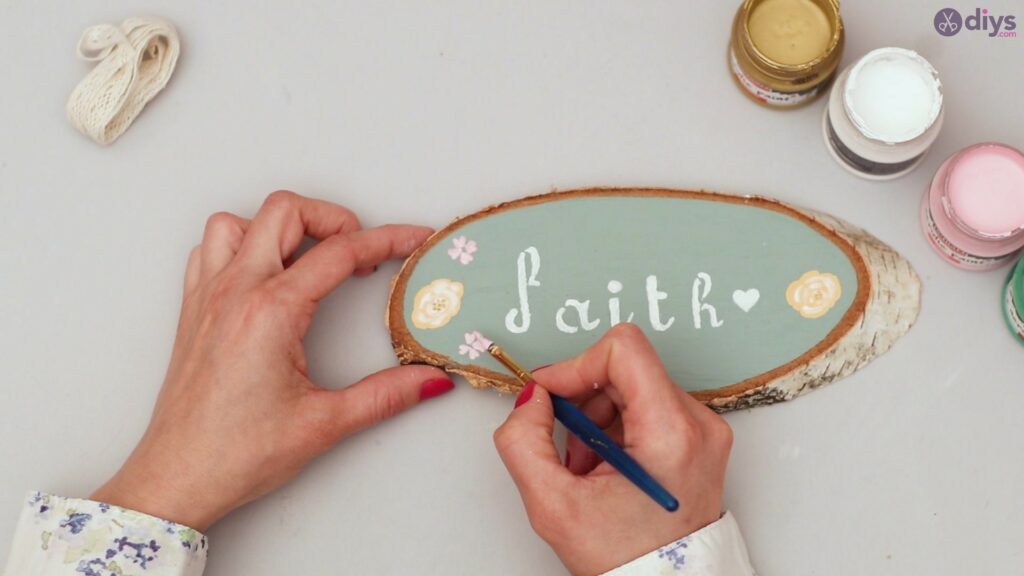
You can paint on as many flowers as you like in whatever colors you choose.

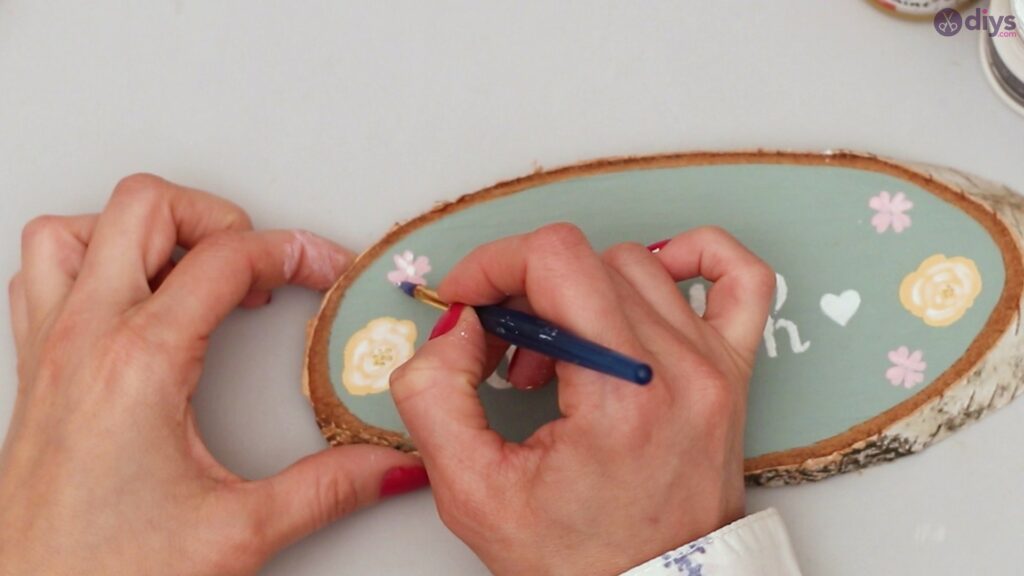
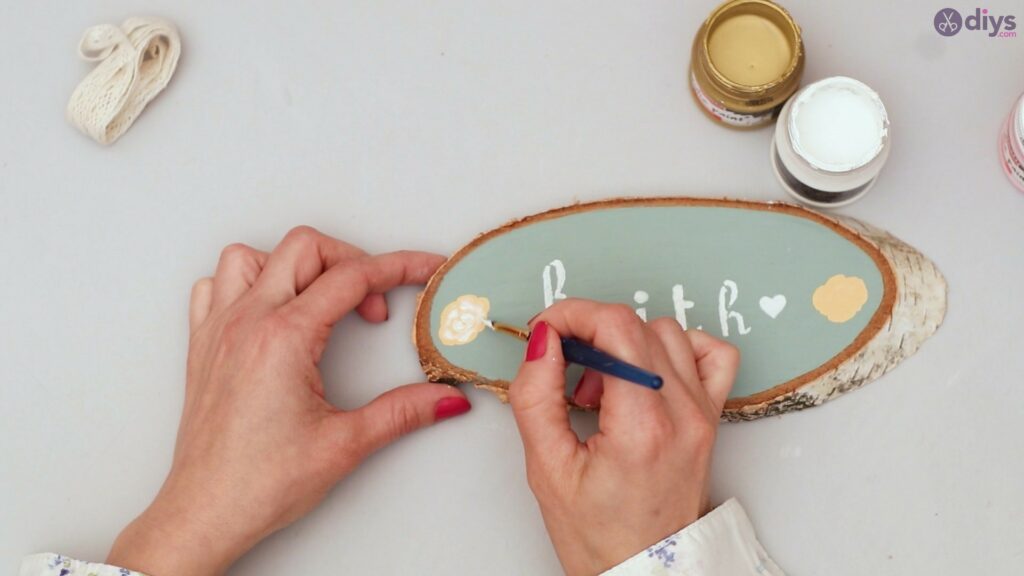
Using the darker shade of green, paint some leaves on the petals you have already drawn.
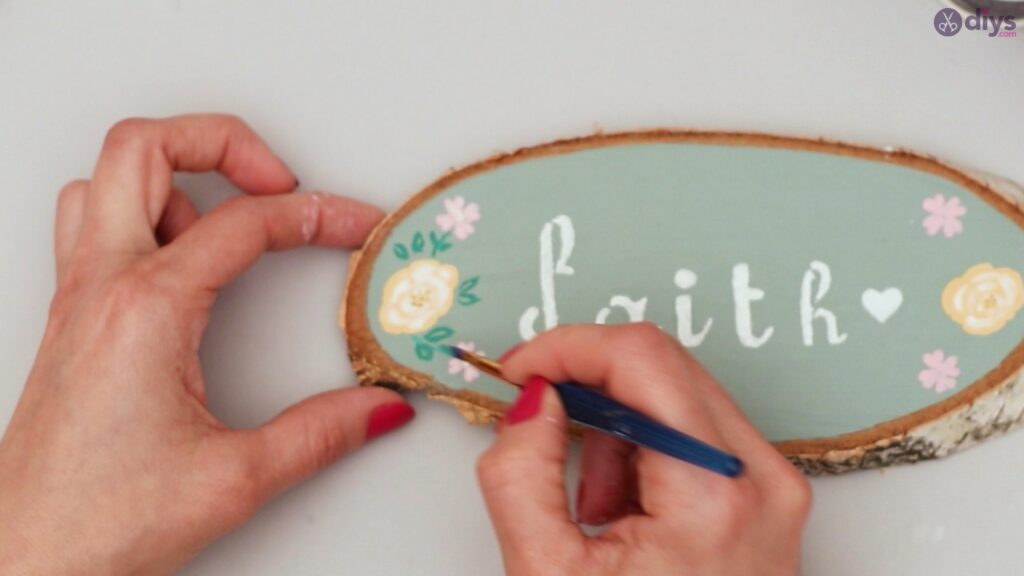

If you are feeling creative, you can paint many other fun things. Some different designs you can try out include butterflies, clouds, shapes, unicorns, puppies, and so many other unique patterns.

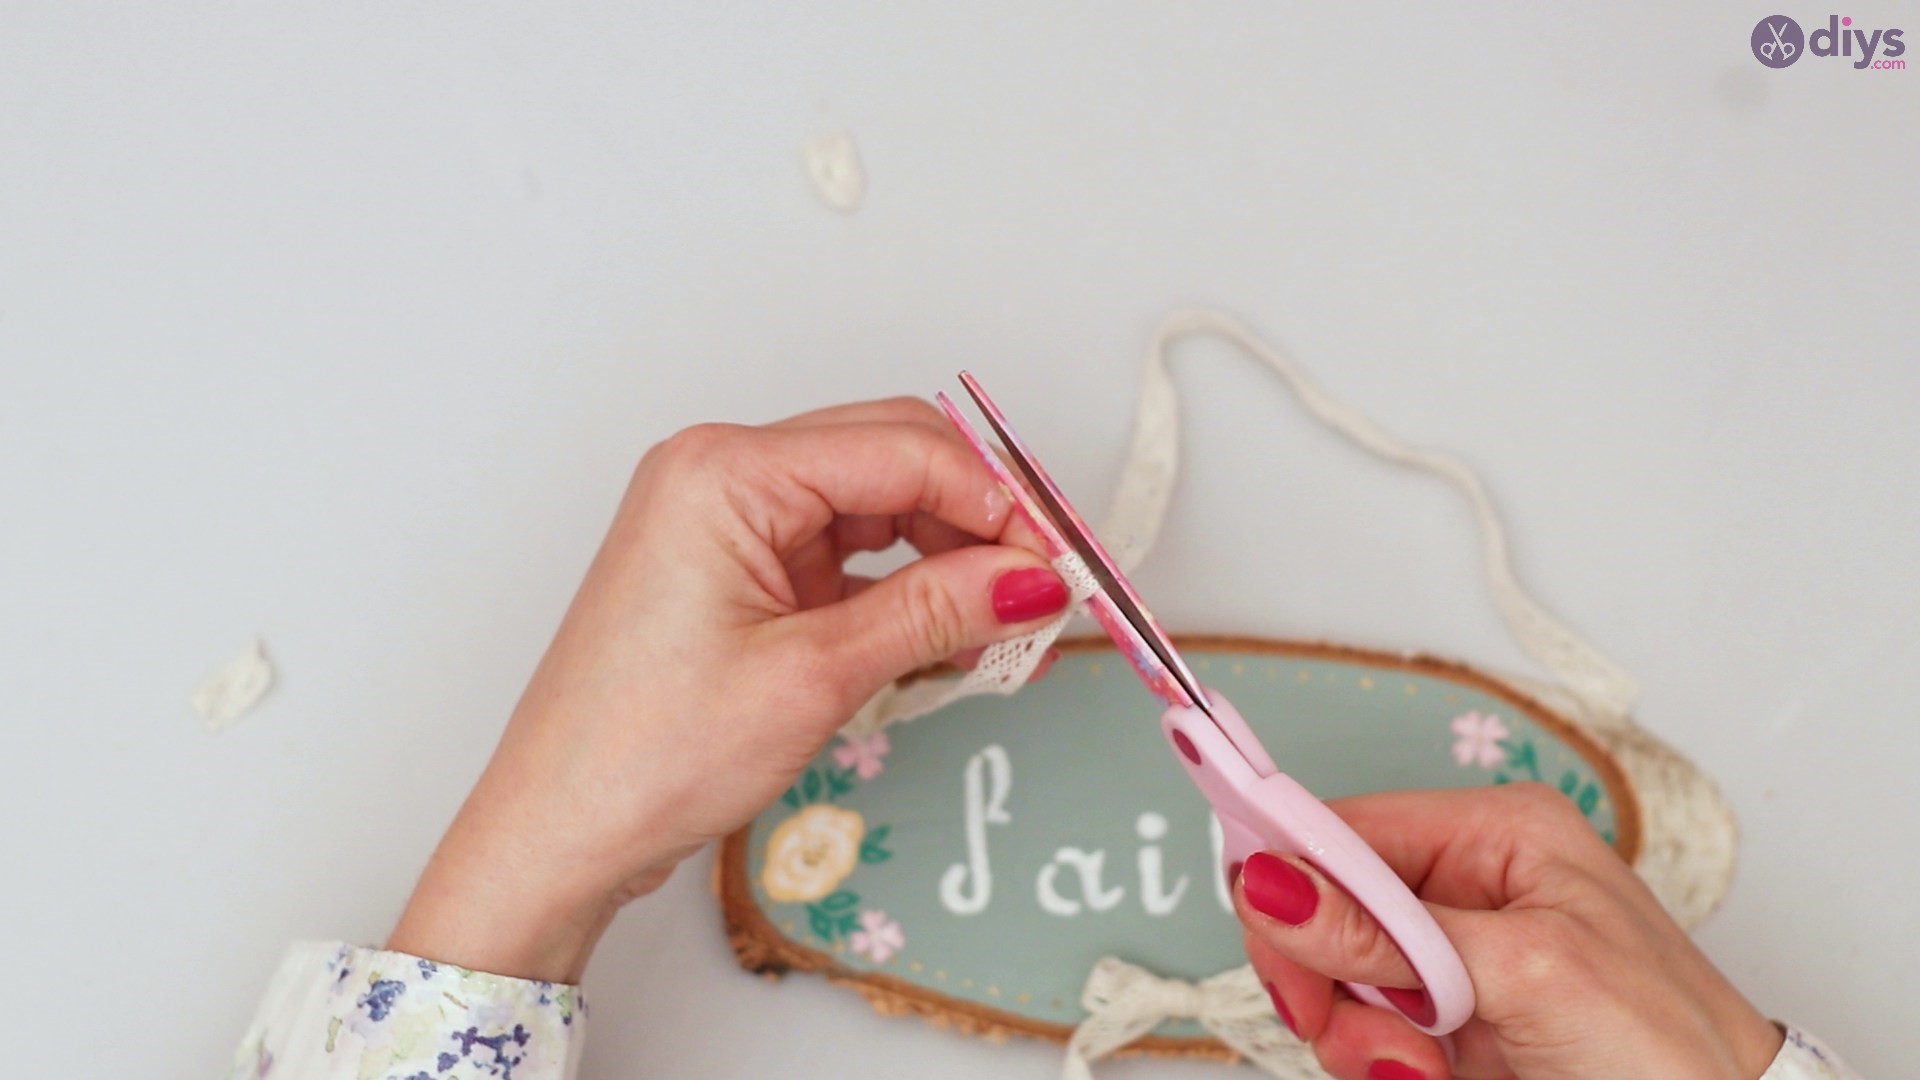
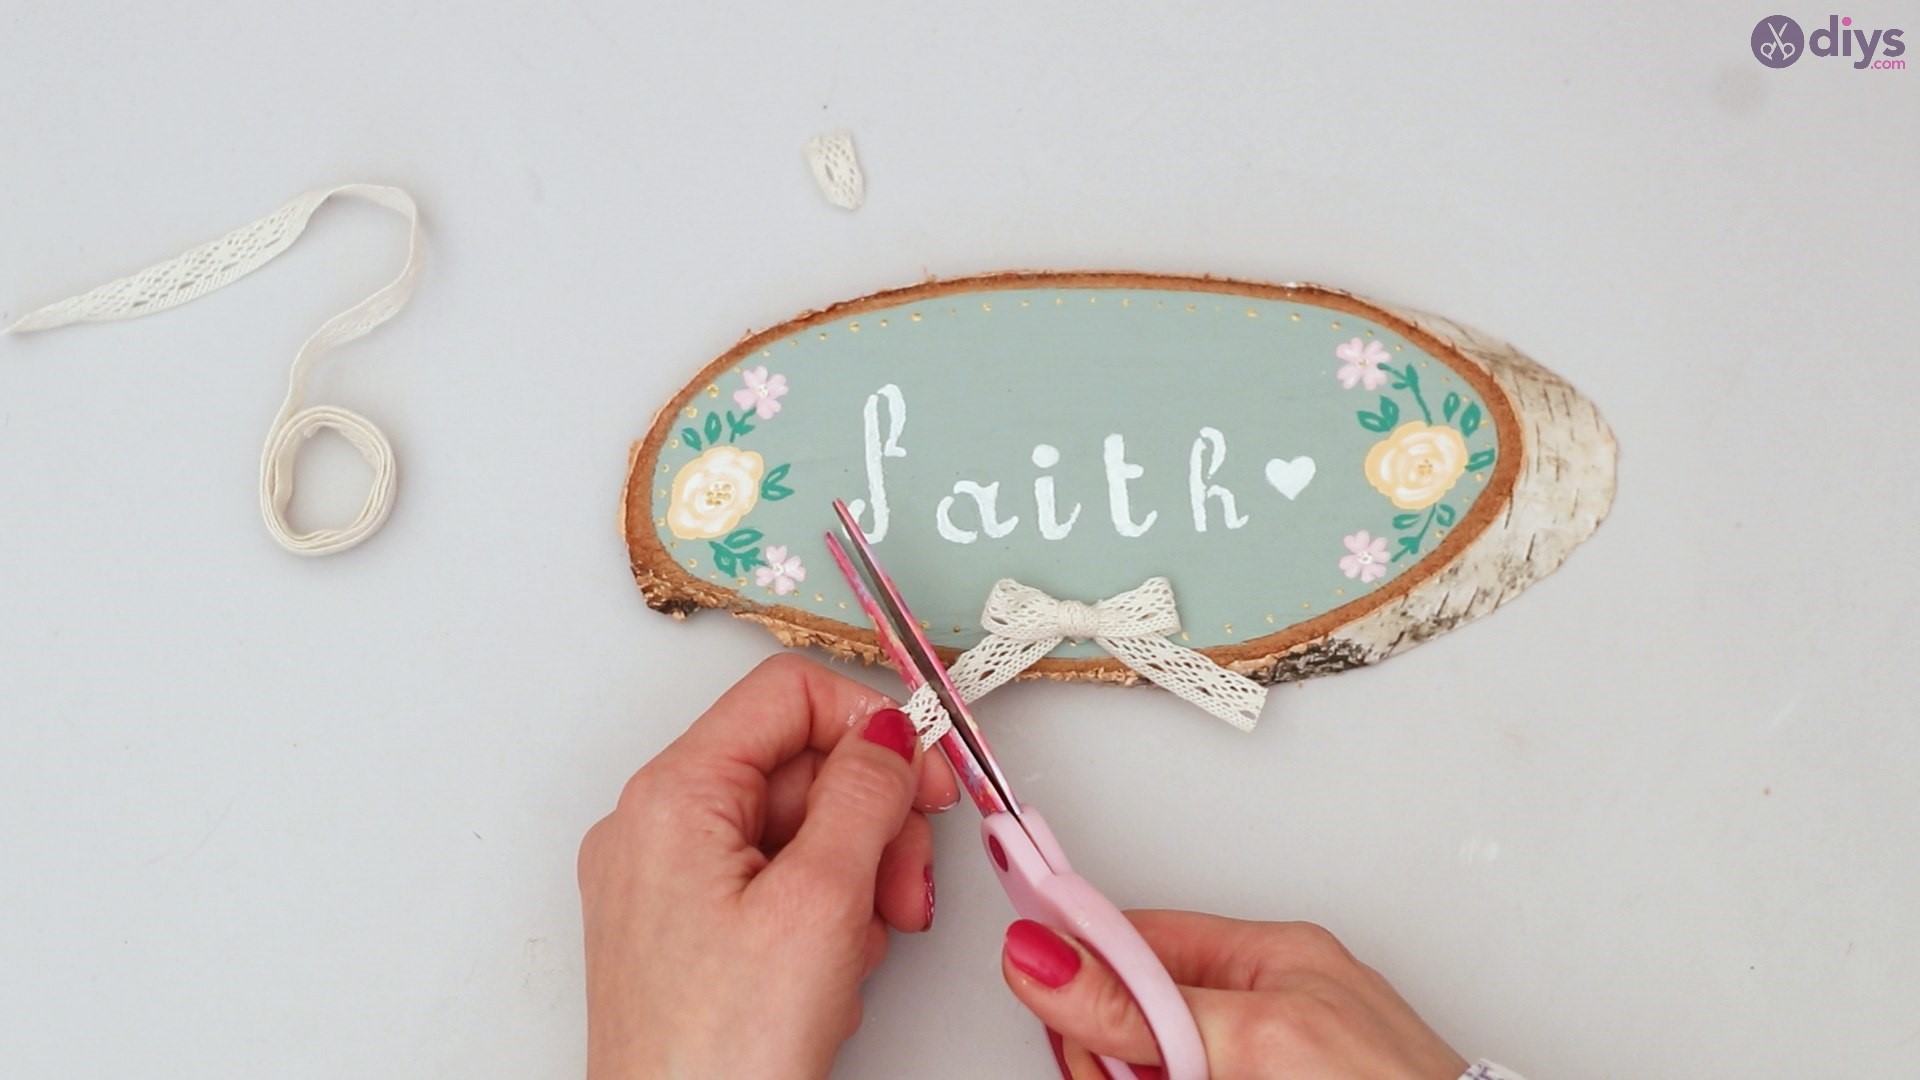
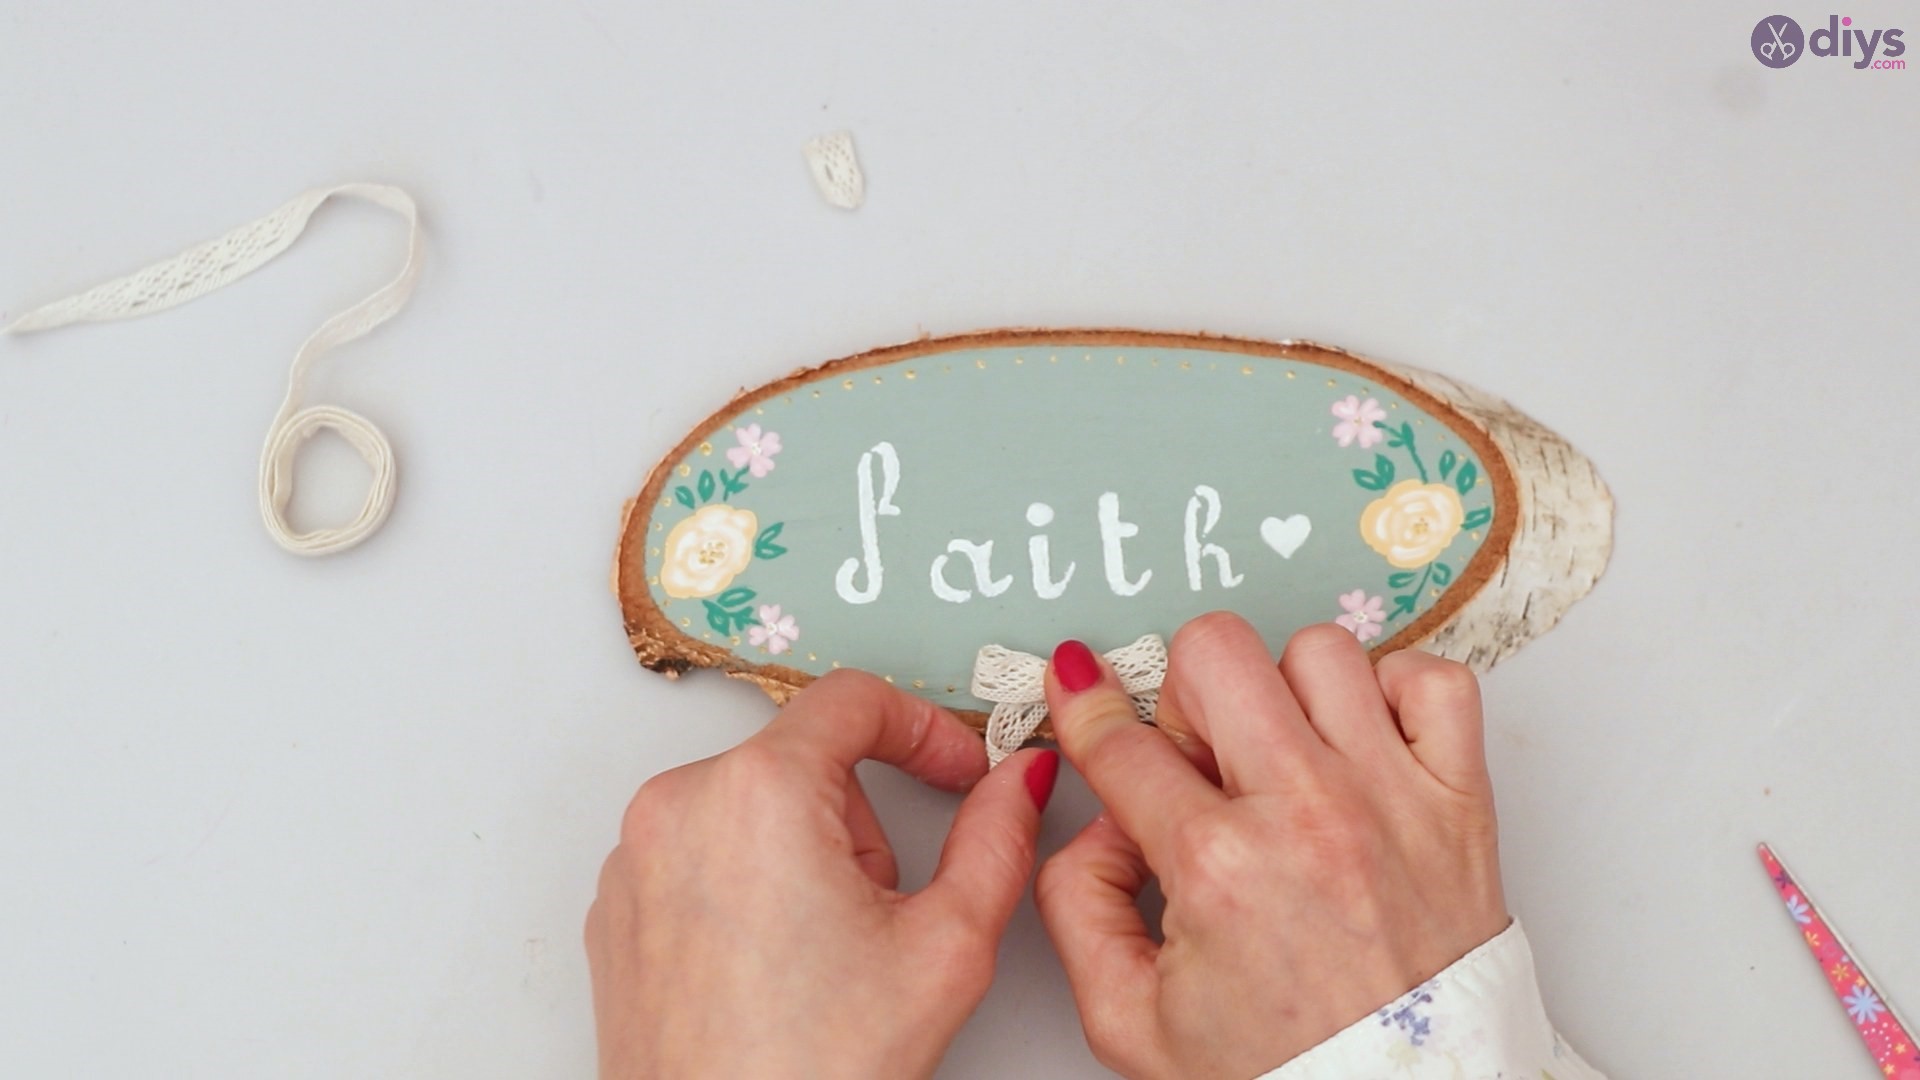
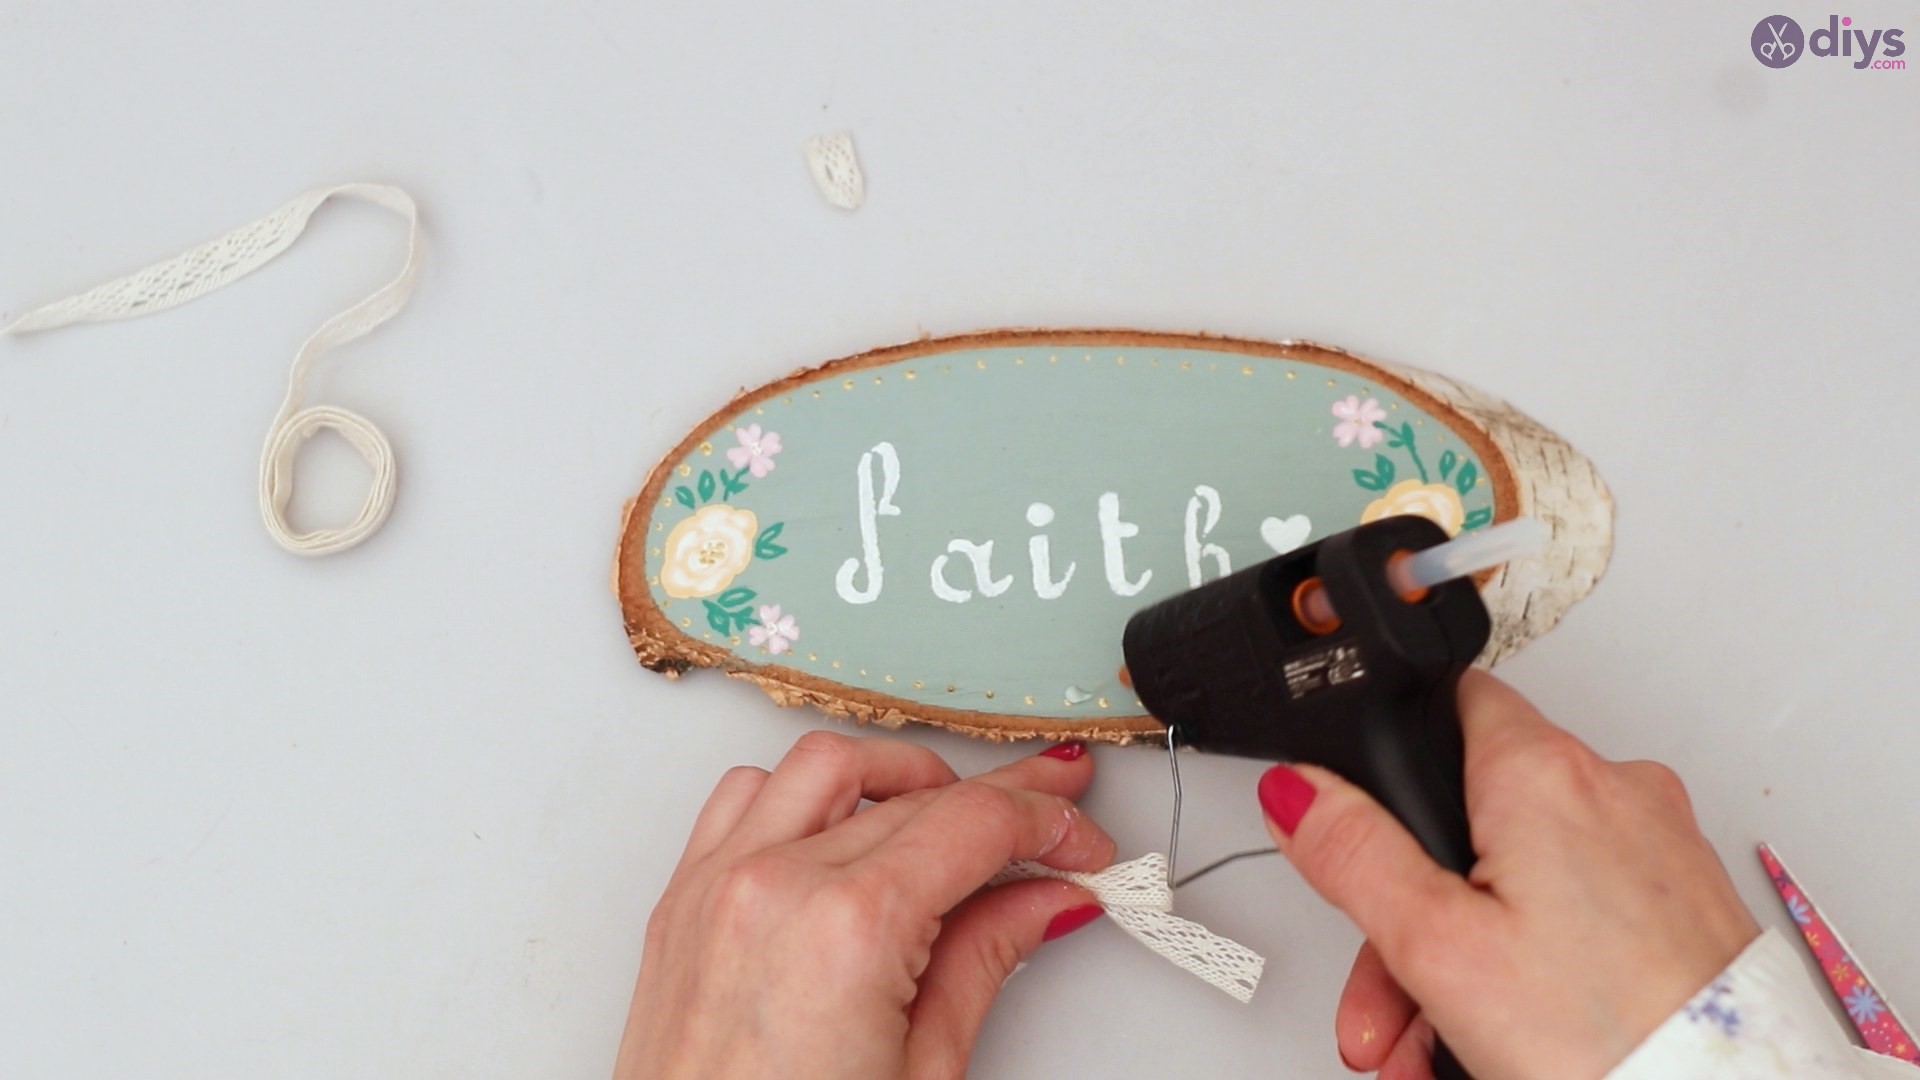
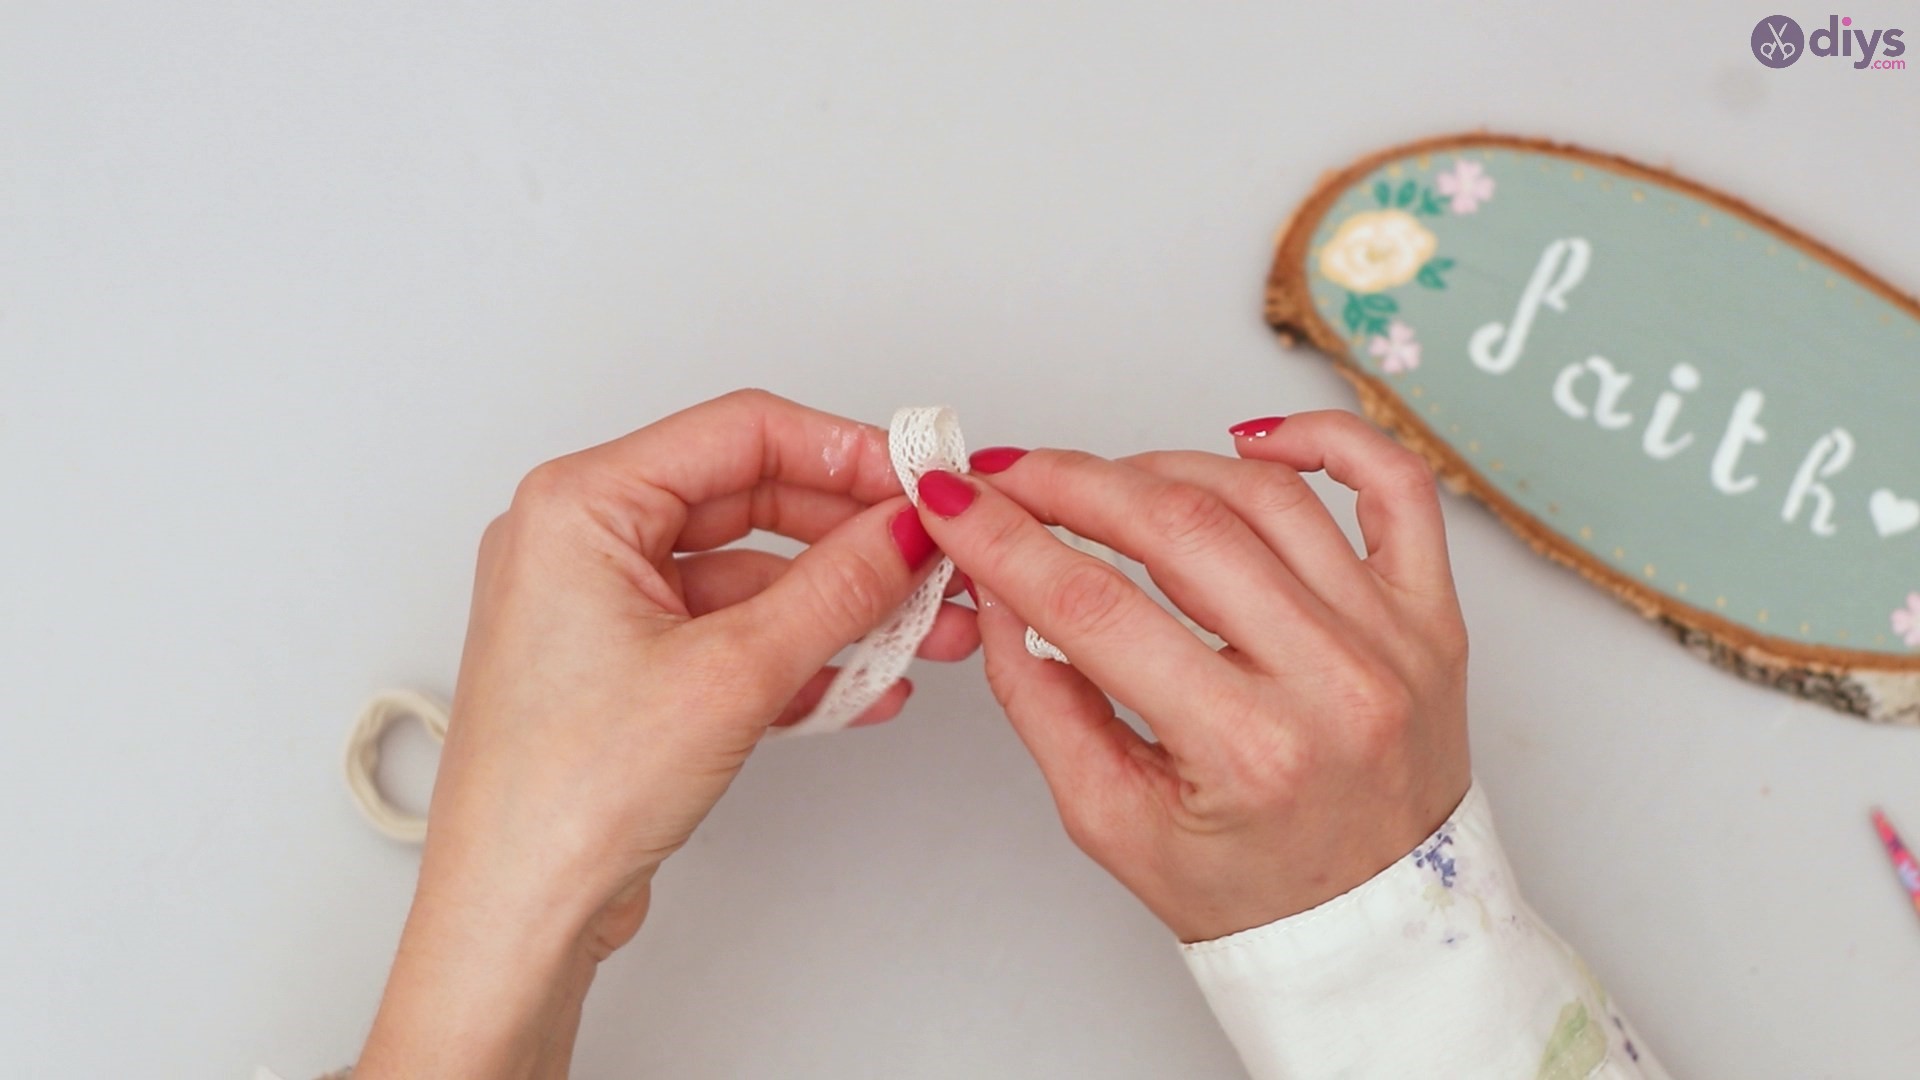
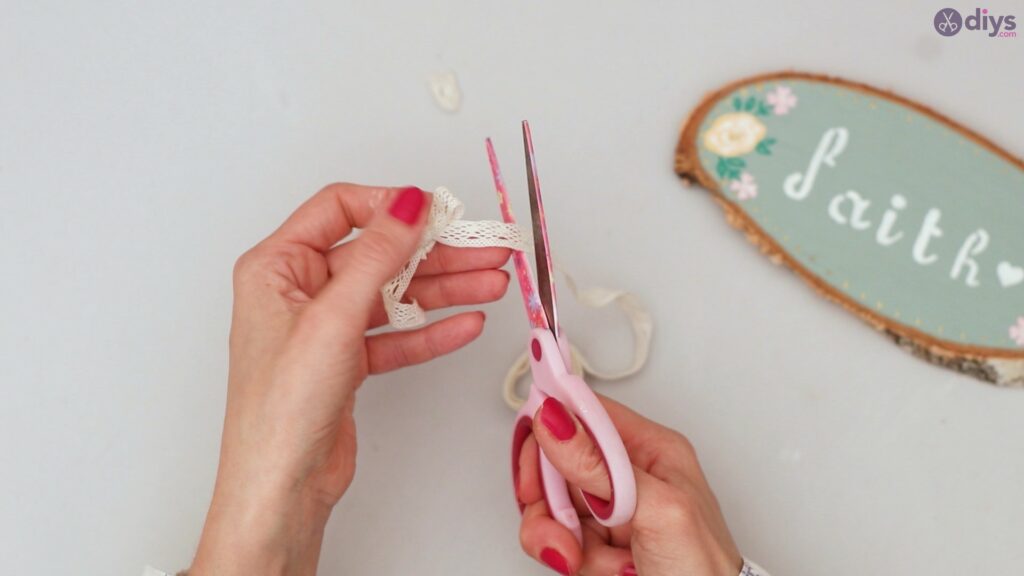
Step 4: Making a bow
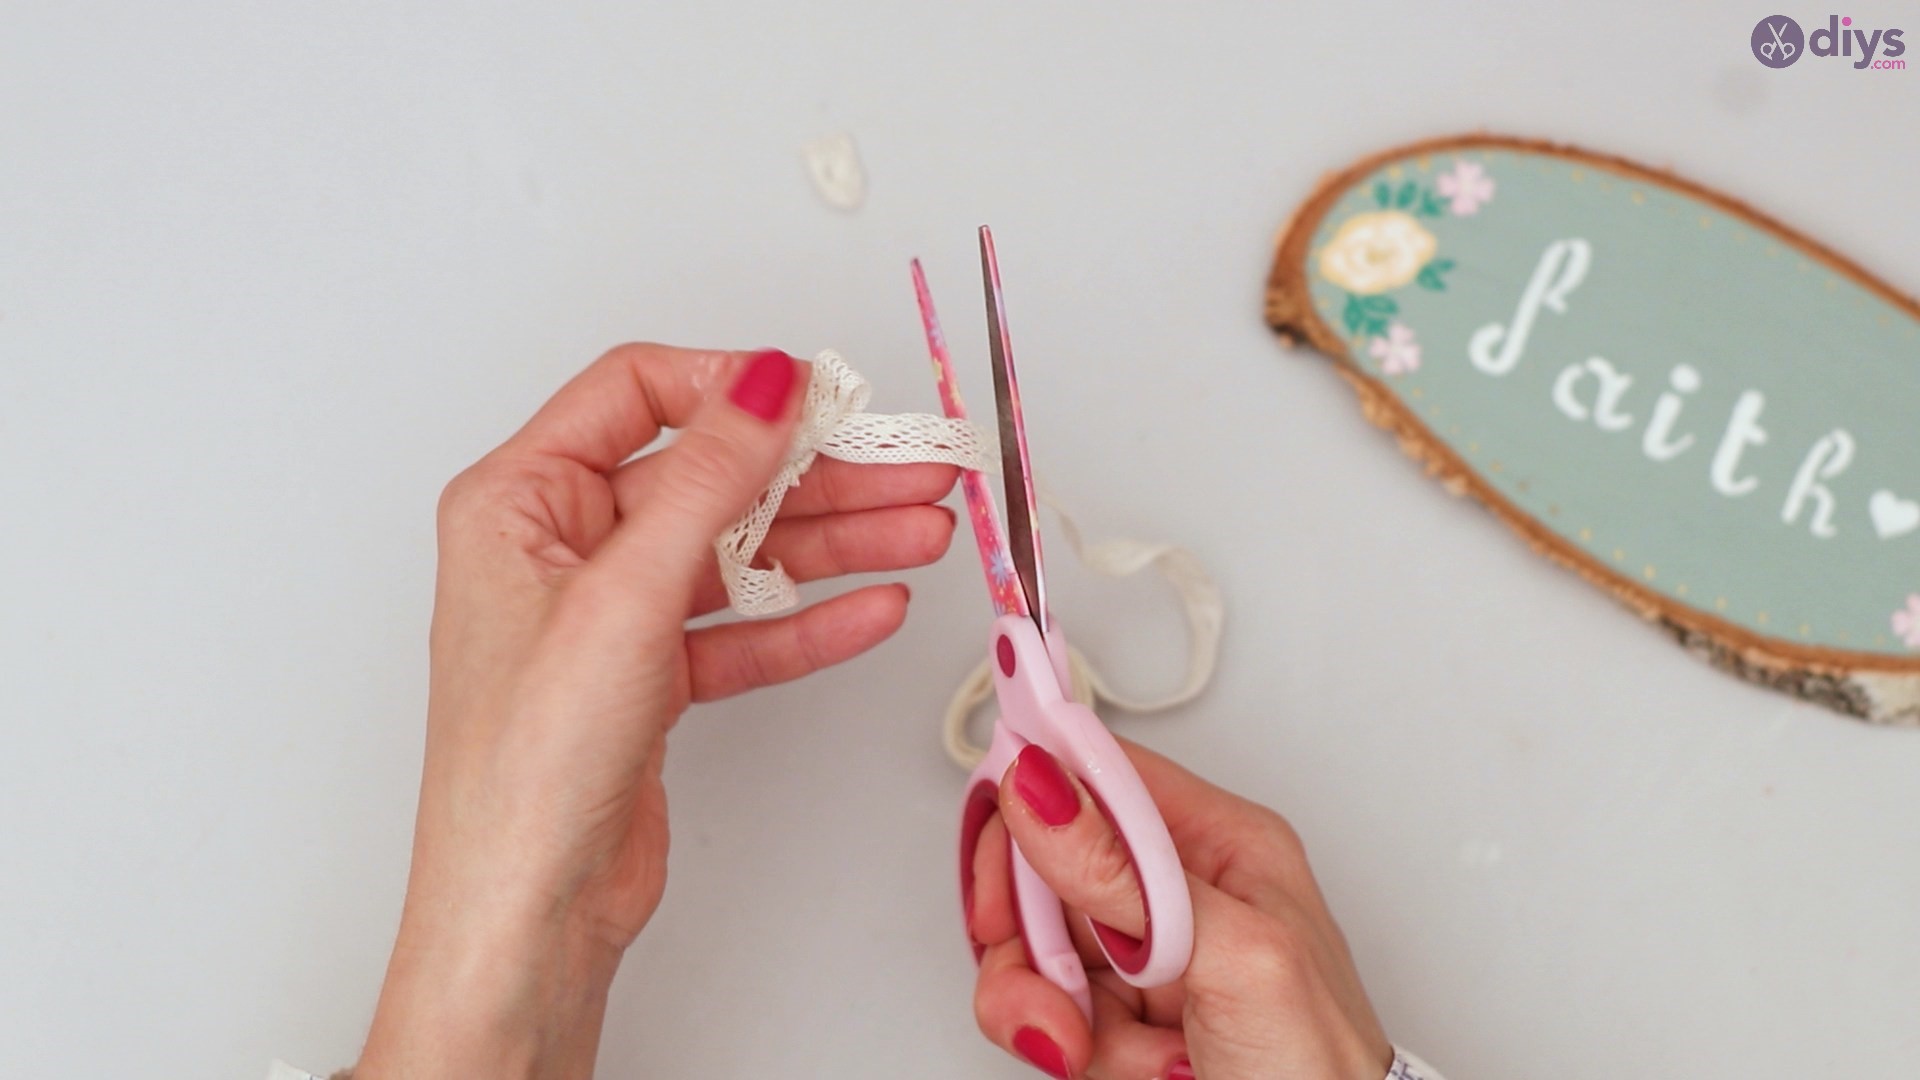
Grab a piece of the lace ribbon and cut it to your desired length for a small bow.
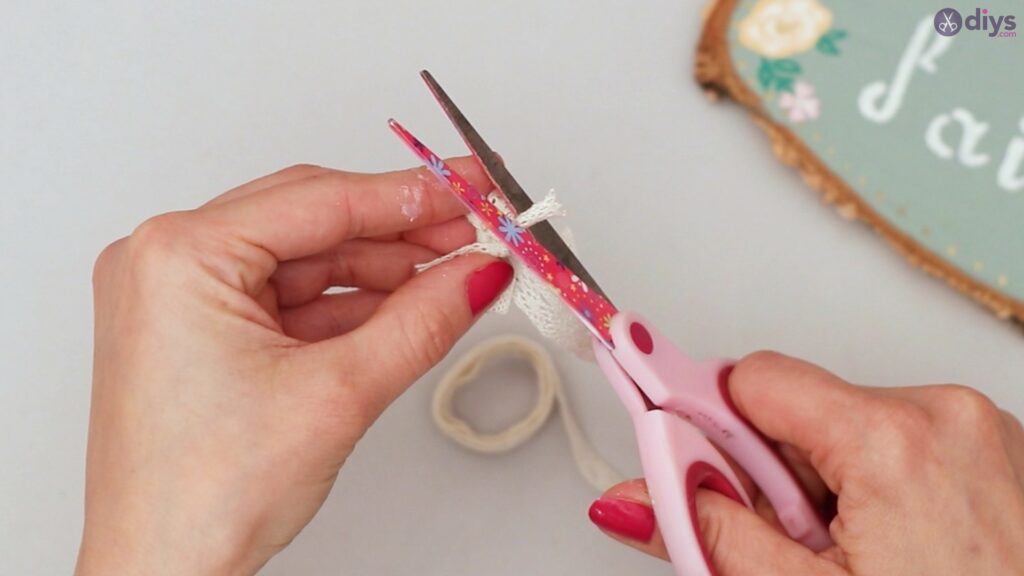
Fold the ribbon to form a small bow.
Place the bow at the center of the base of the slice.
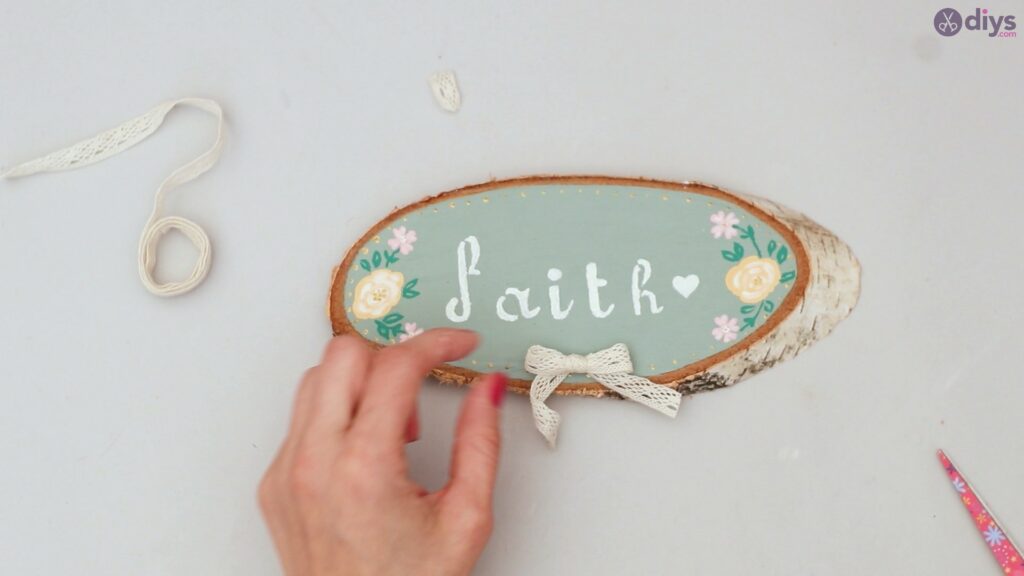
Apply a dot of glue to the slice where you would like the bow to be placed, just beneath the message on your slice.
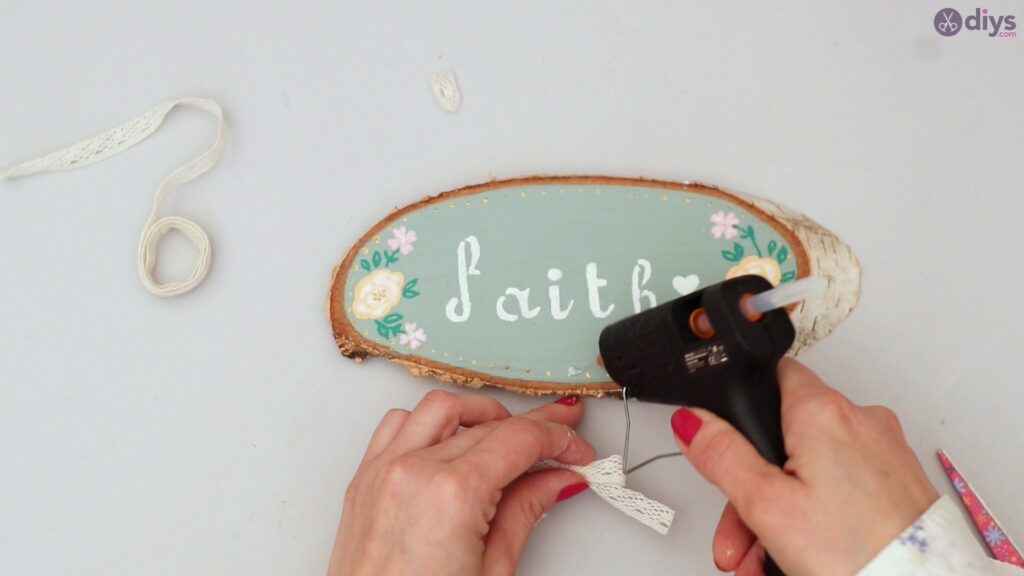
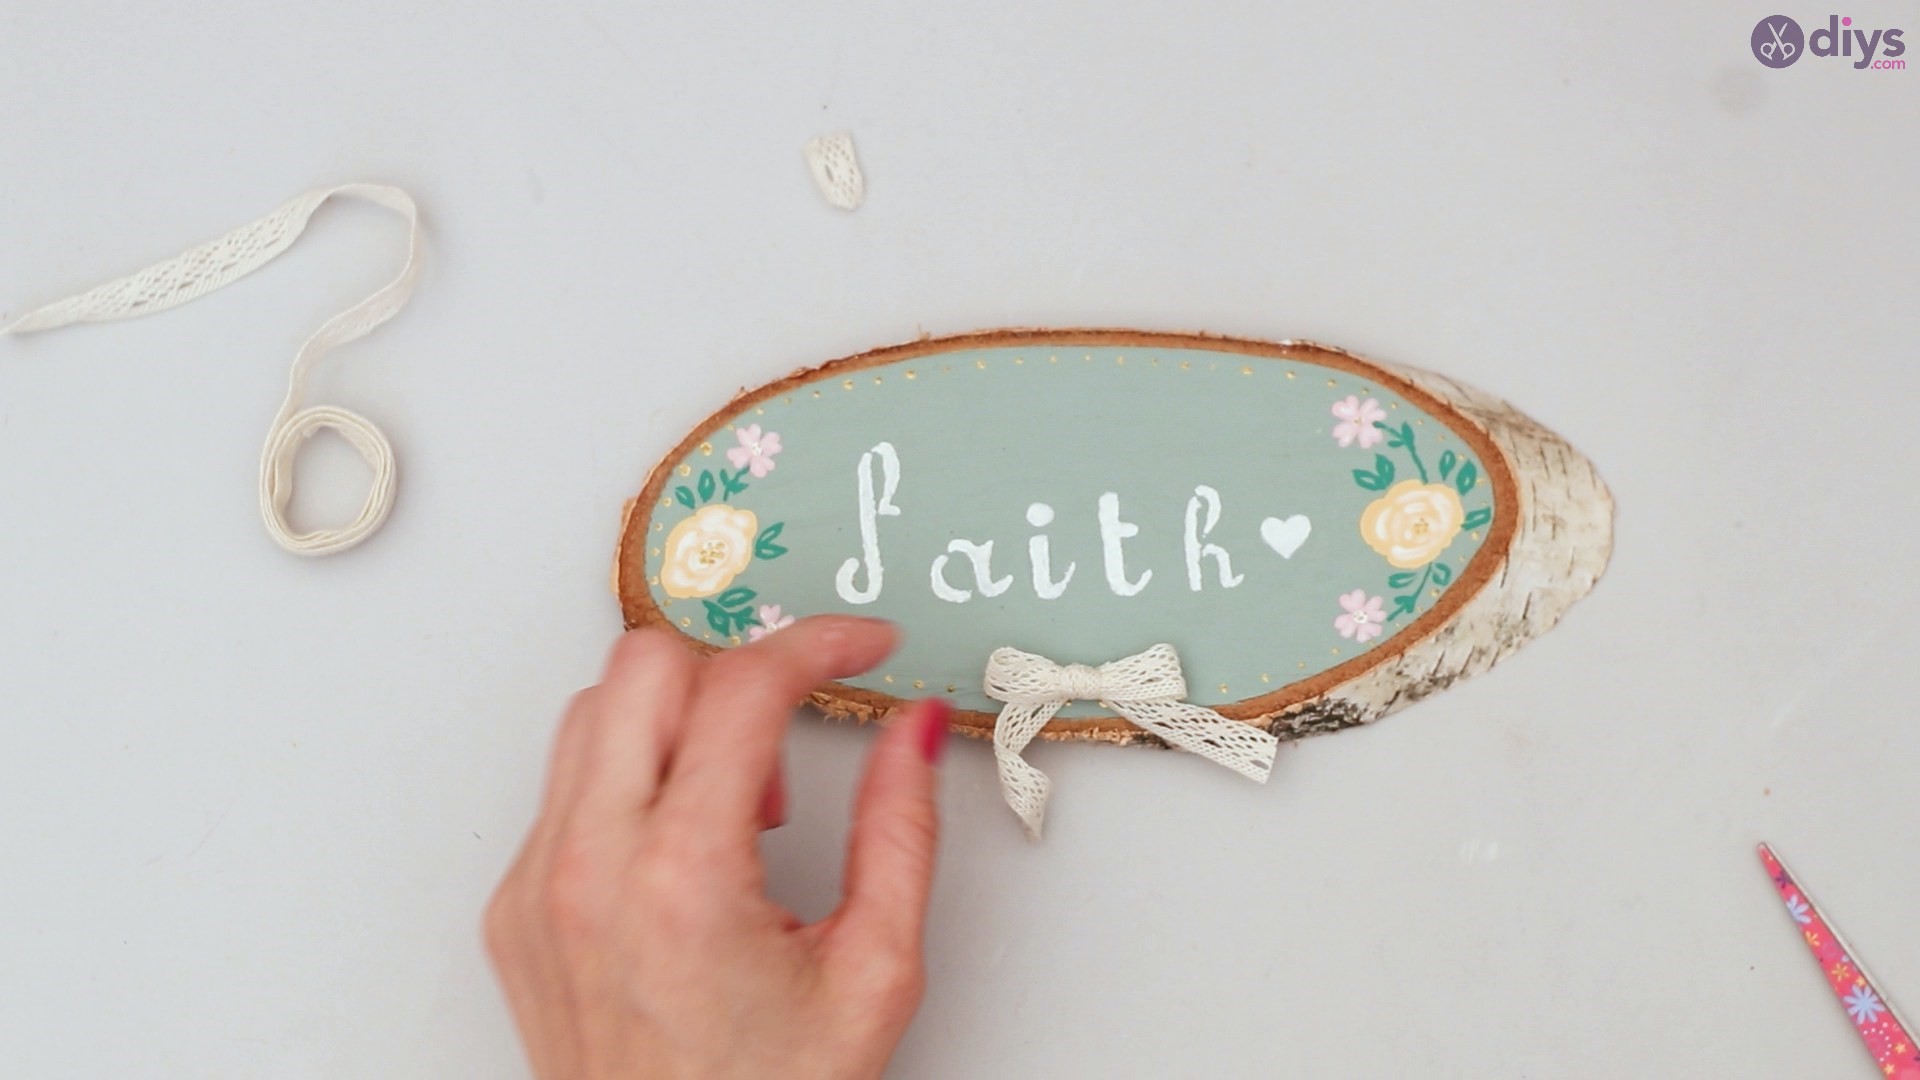
Secure the bow firmly to the slice using your glue gun.
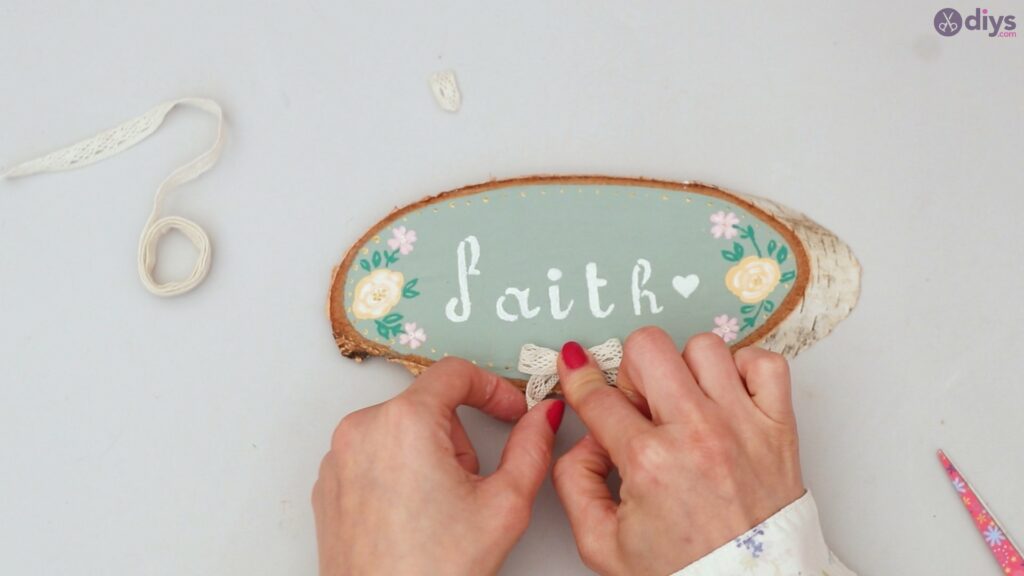
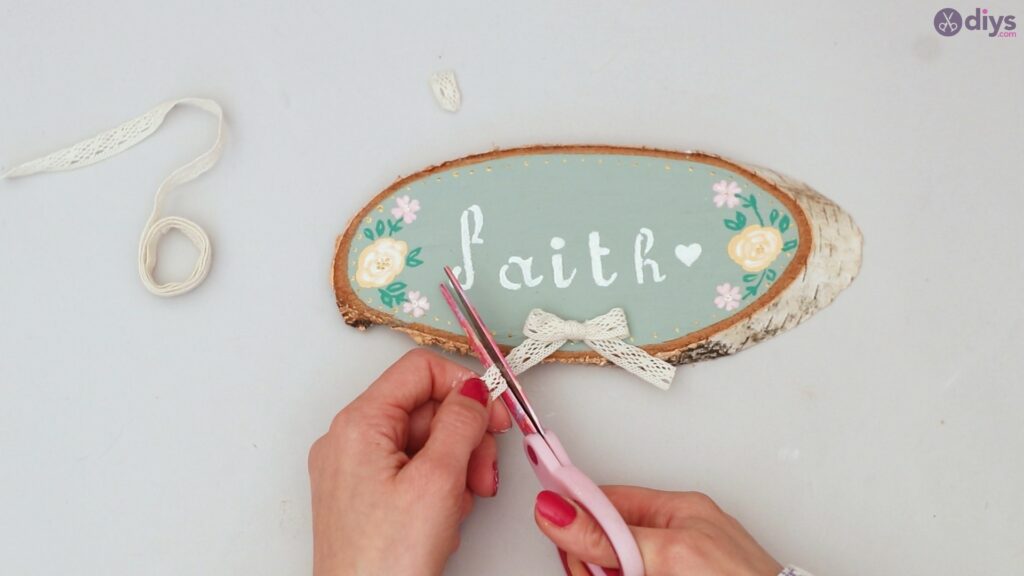
Trim off any excess ribbon, and your bow is now perfect.
Step 5: Making a strap
Take your silk ribbon and measure your preferred length for the strap. Remember, the longer the strap, the closer your wooden slice is to the ground.
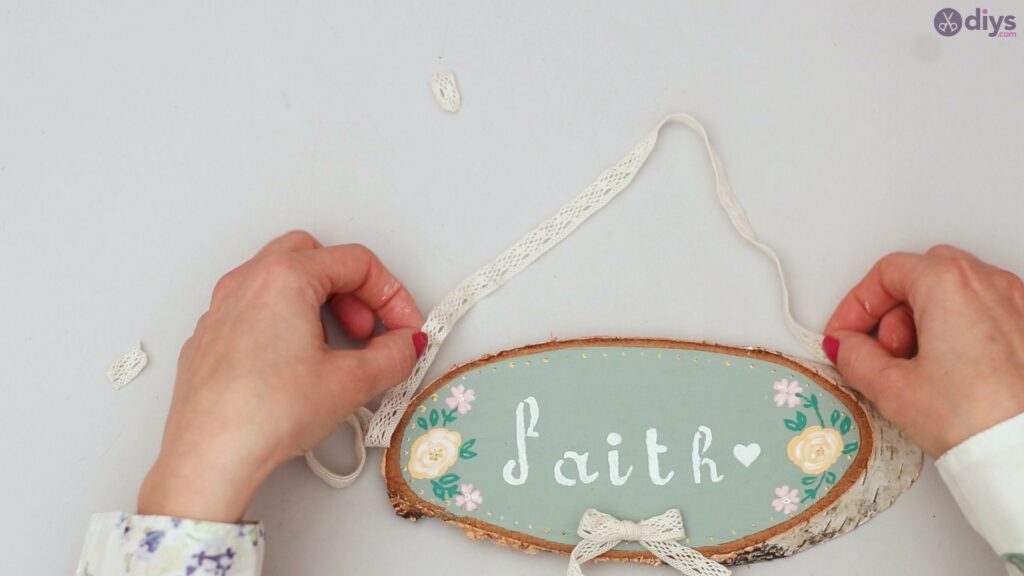
Cut your desired length with your scissors.

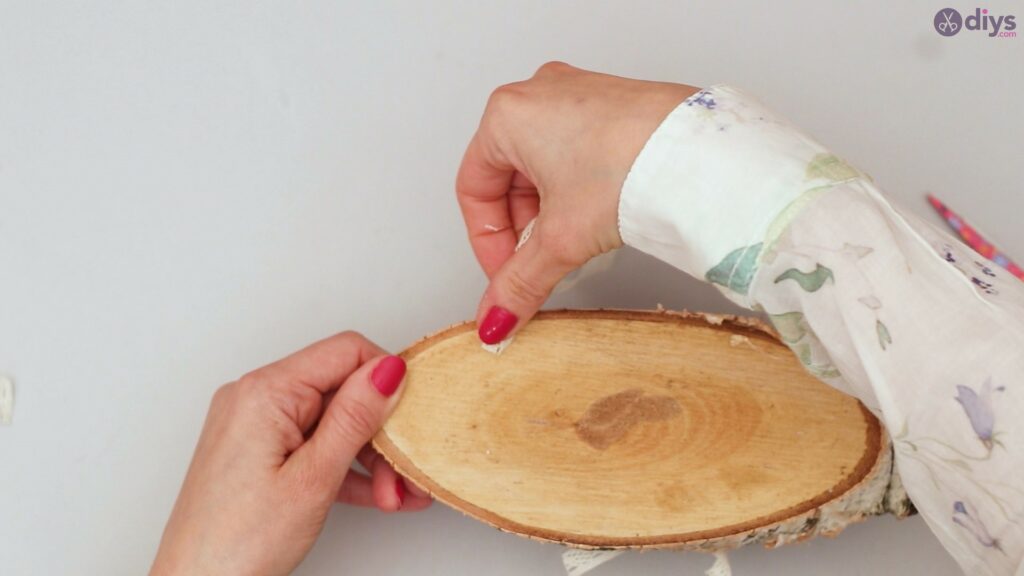
Apply some glue to both spots where you will be placing the silk ribbon at the back of your wooden slice.
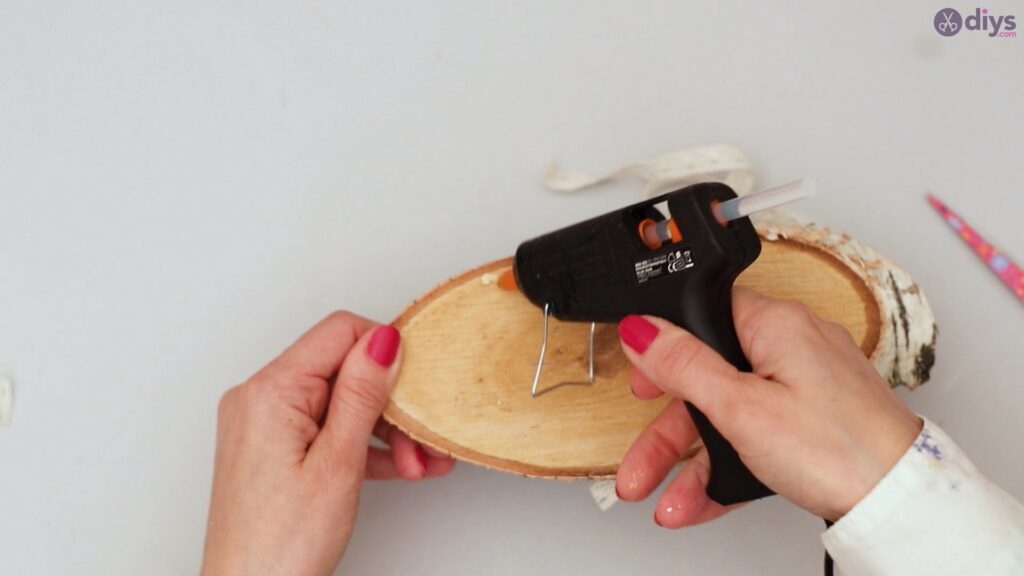
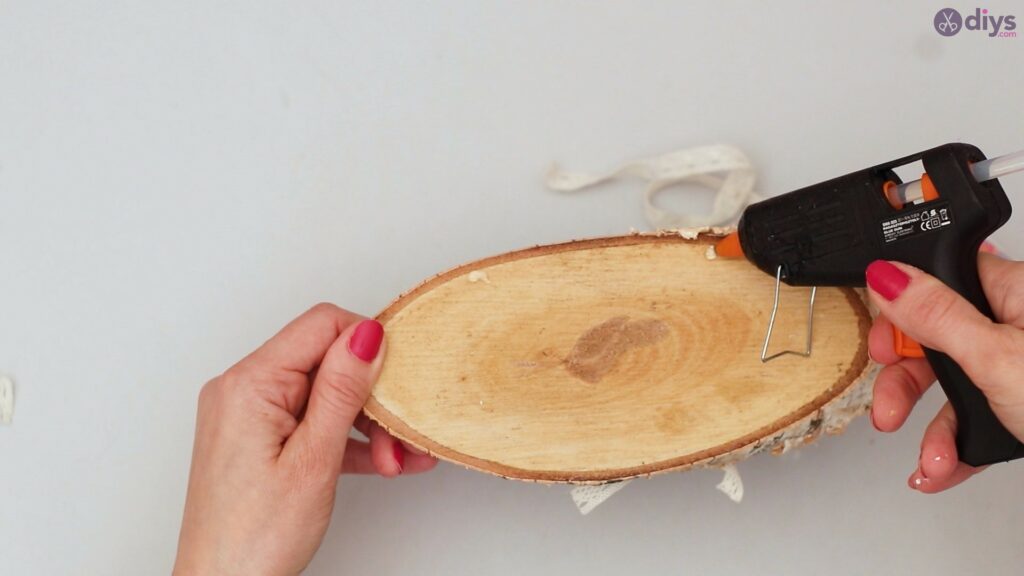
Secure the silk ribbon by pressing it firmly behind the wooden slice.
Make sure you secure both sides so the slice doesn’t lose and fall.
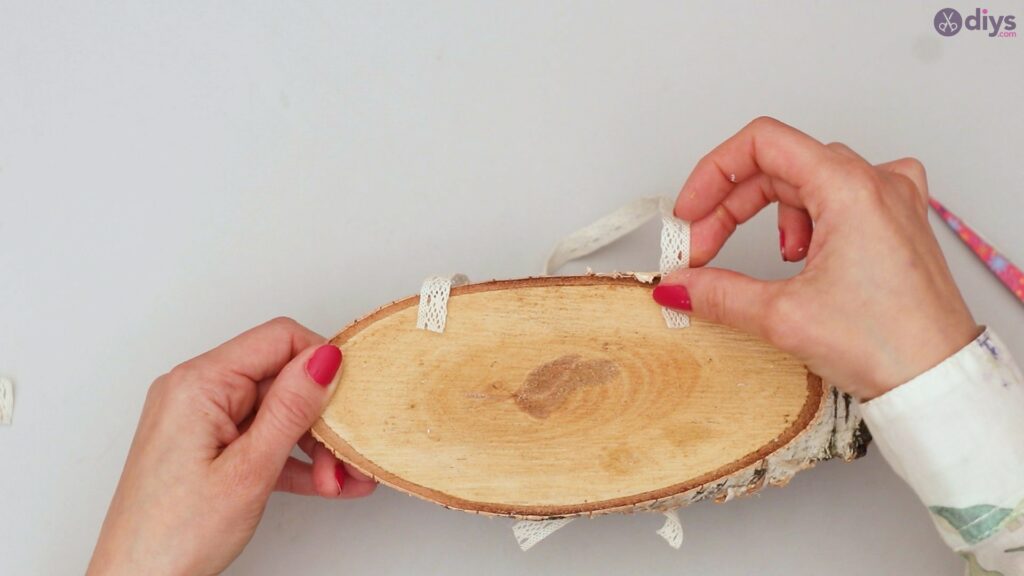
Lay out your wood slice and admire it.
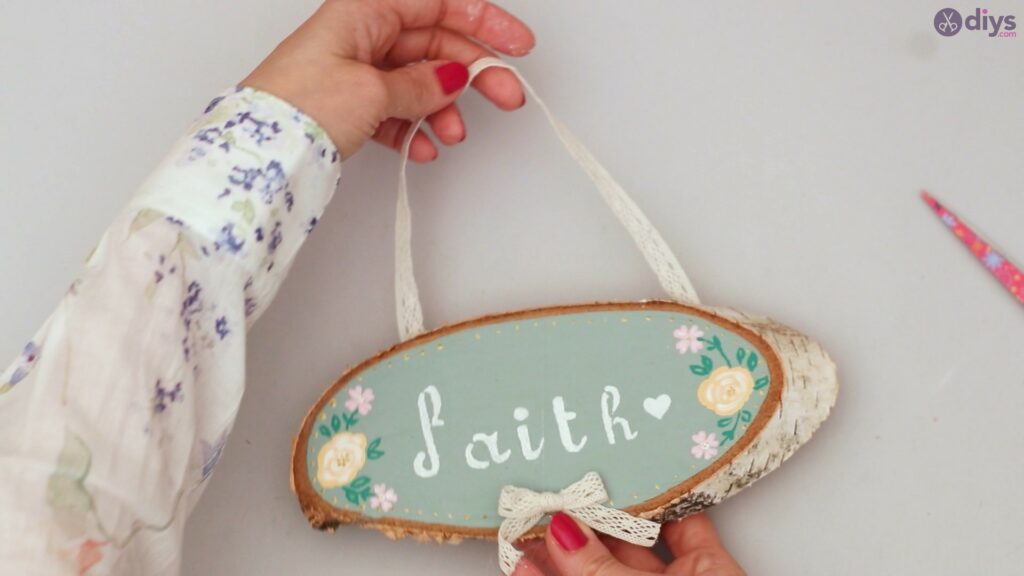
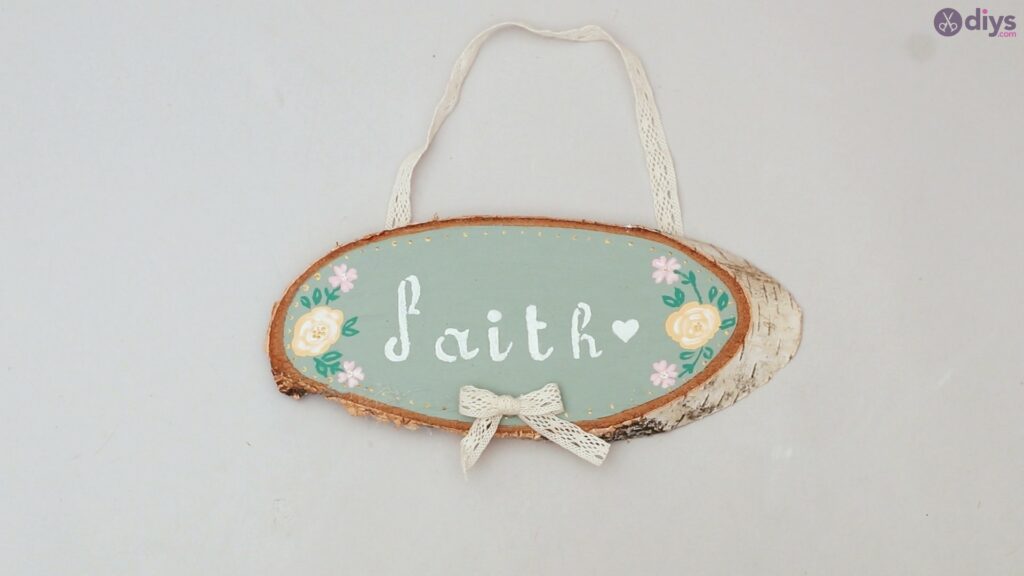

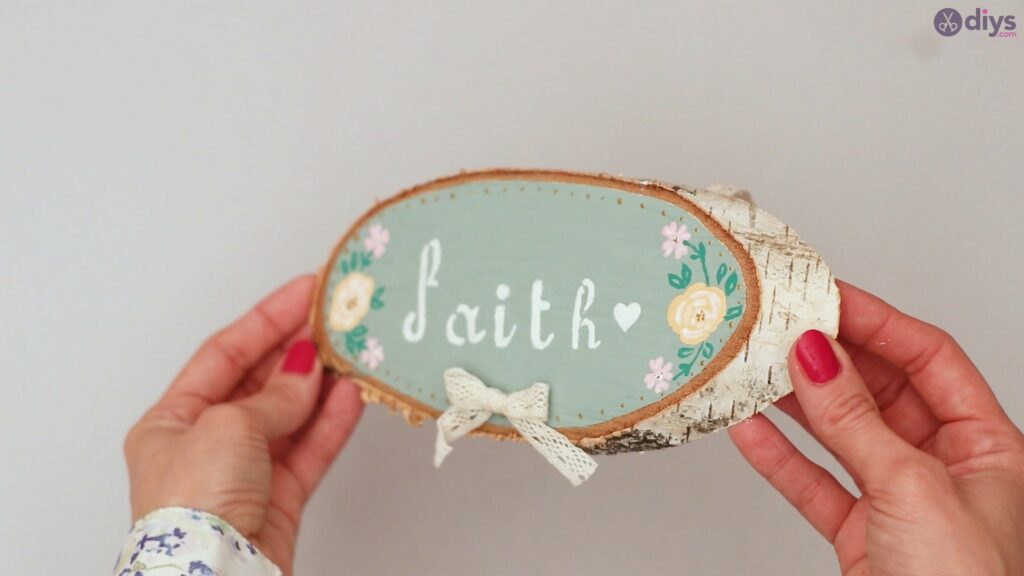
Now you have a beautiful wooden slice, congratulations! This unique DIY project can serve as a thoughtful gift for both family and friends.
The best part is that you can write whatever message you feel like on the wood slice. Using stencils, various options are available, including names, birthdays, pet names, short quotes, and so much more.
This project is children friendly as the steps are very easy for them to follow, and they can have so much fun while creating something so beautiful and thoughtful.
Spice up your boring wall today with this fantastic and quick wood slice project.