DIY Wine Cork Pencil Holder
Updated on November 19, 2025


A super fun and easy DIY project to try out, this amazing wine cork pencil holder is perfect for students, business professionals or anyone who likes to paint or draw that can never have too many holders for storing brushes and pencils.
This adorable wine cork pencil holder is so simple to make but has so much personality. This is a great alternative to simply purchasing a pencil holder because it is handmade and carefully crafted with love. Best yet, you probably have most if not all of these materials laying around your house, so this project will not cost you much money at all. This is especially nifty for anyone looking to find a present on a budget.
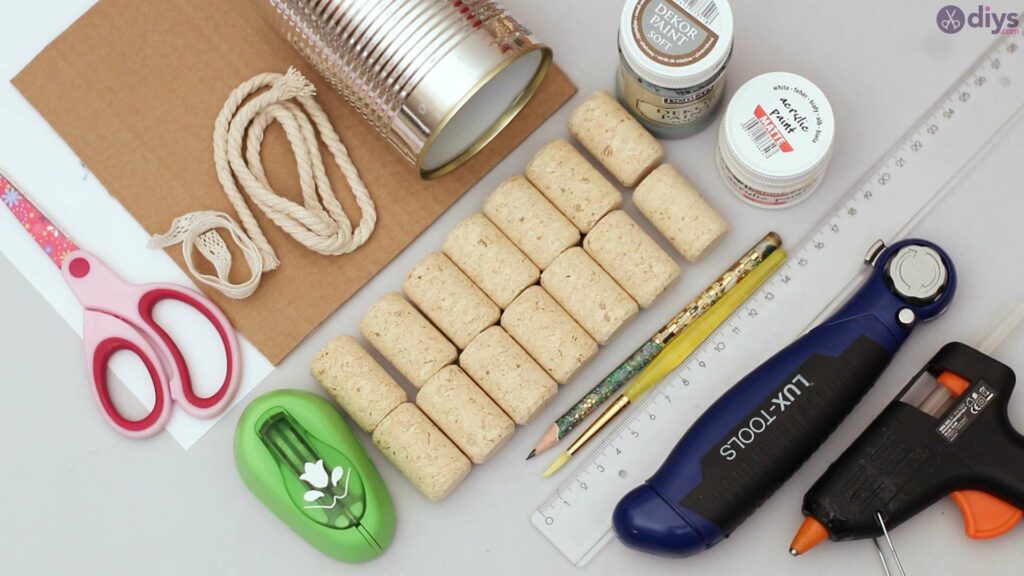
Materials you’ll need for Wine Cork Pencil Holder:
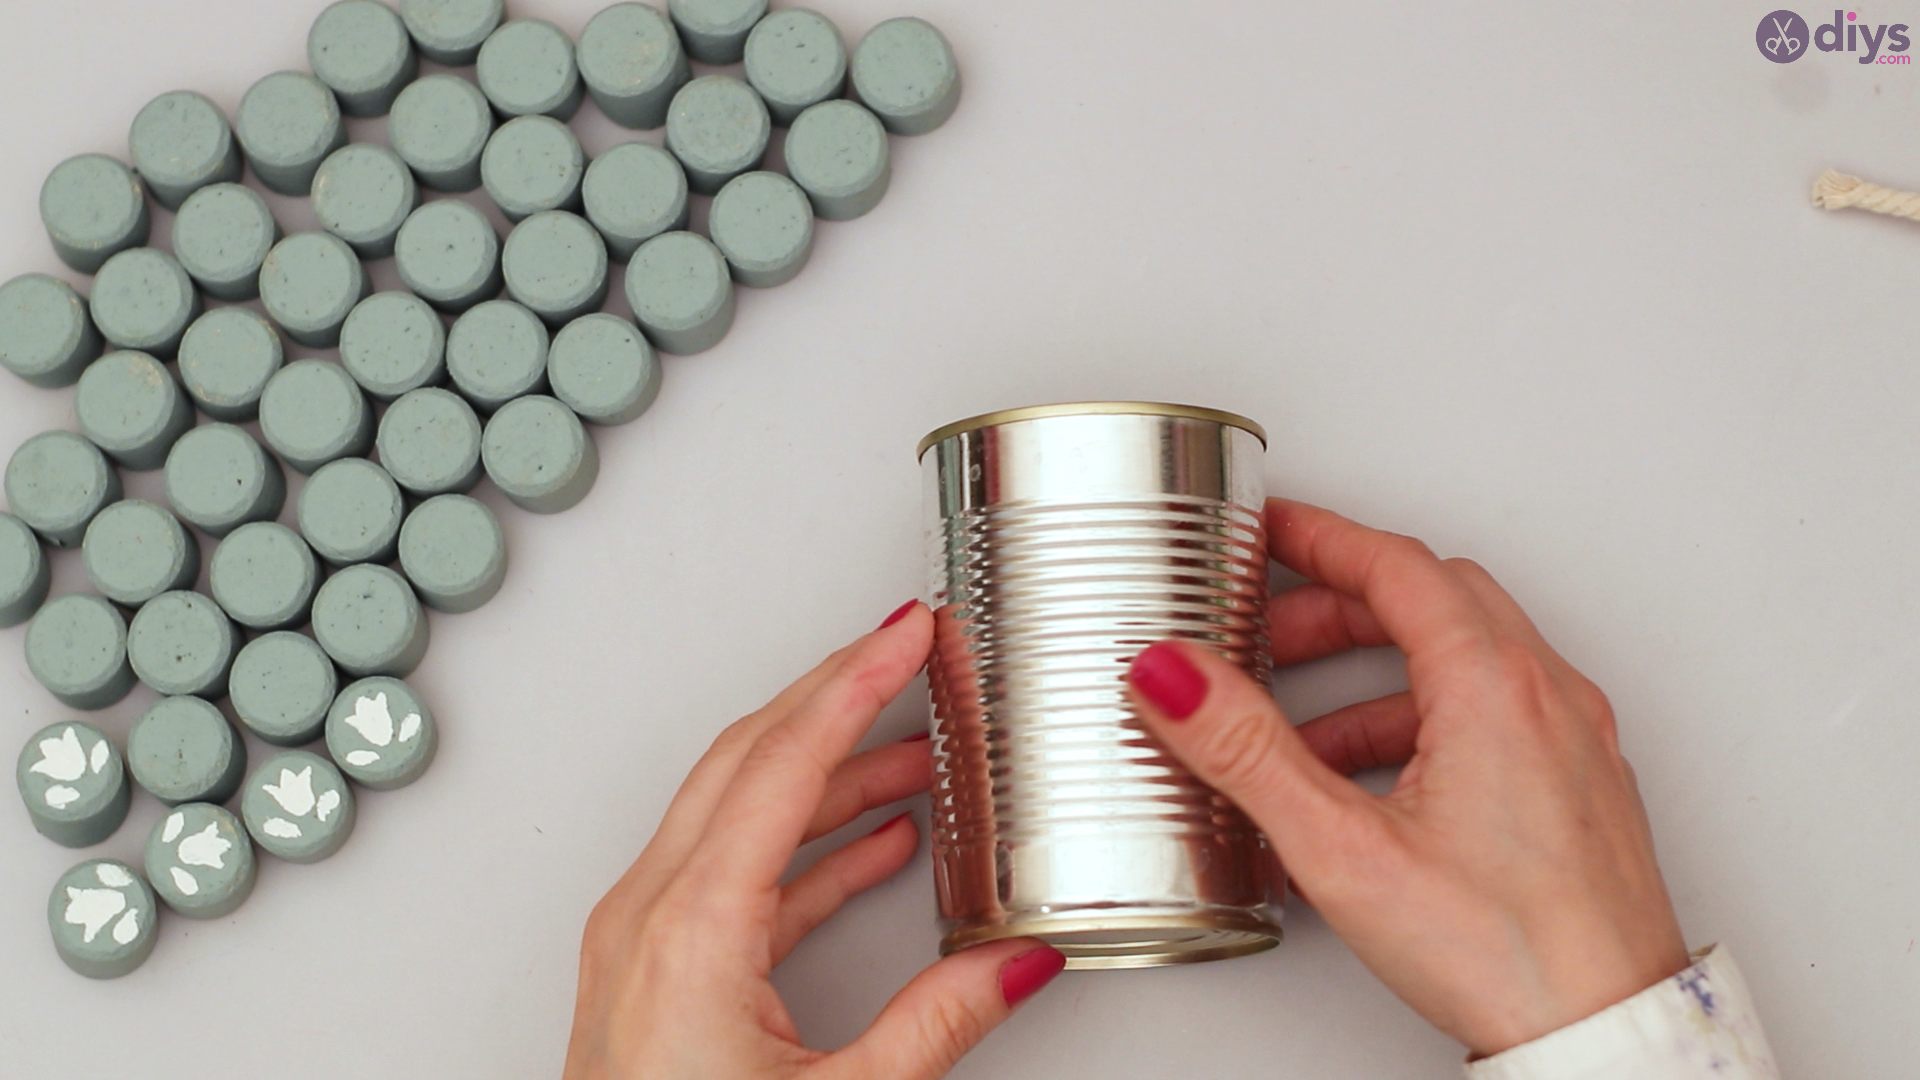
- Tin
- wine cork
- cream and green acrylic paint
- scissors
- rope
- lace ribbon
- paper
- cardboard
- flower hole punch
- paint brush
- pencil
- arm saw
- glue gun
- ruler
How to make the Wine Cork Pencil Holder:
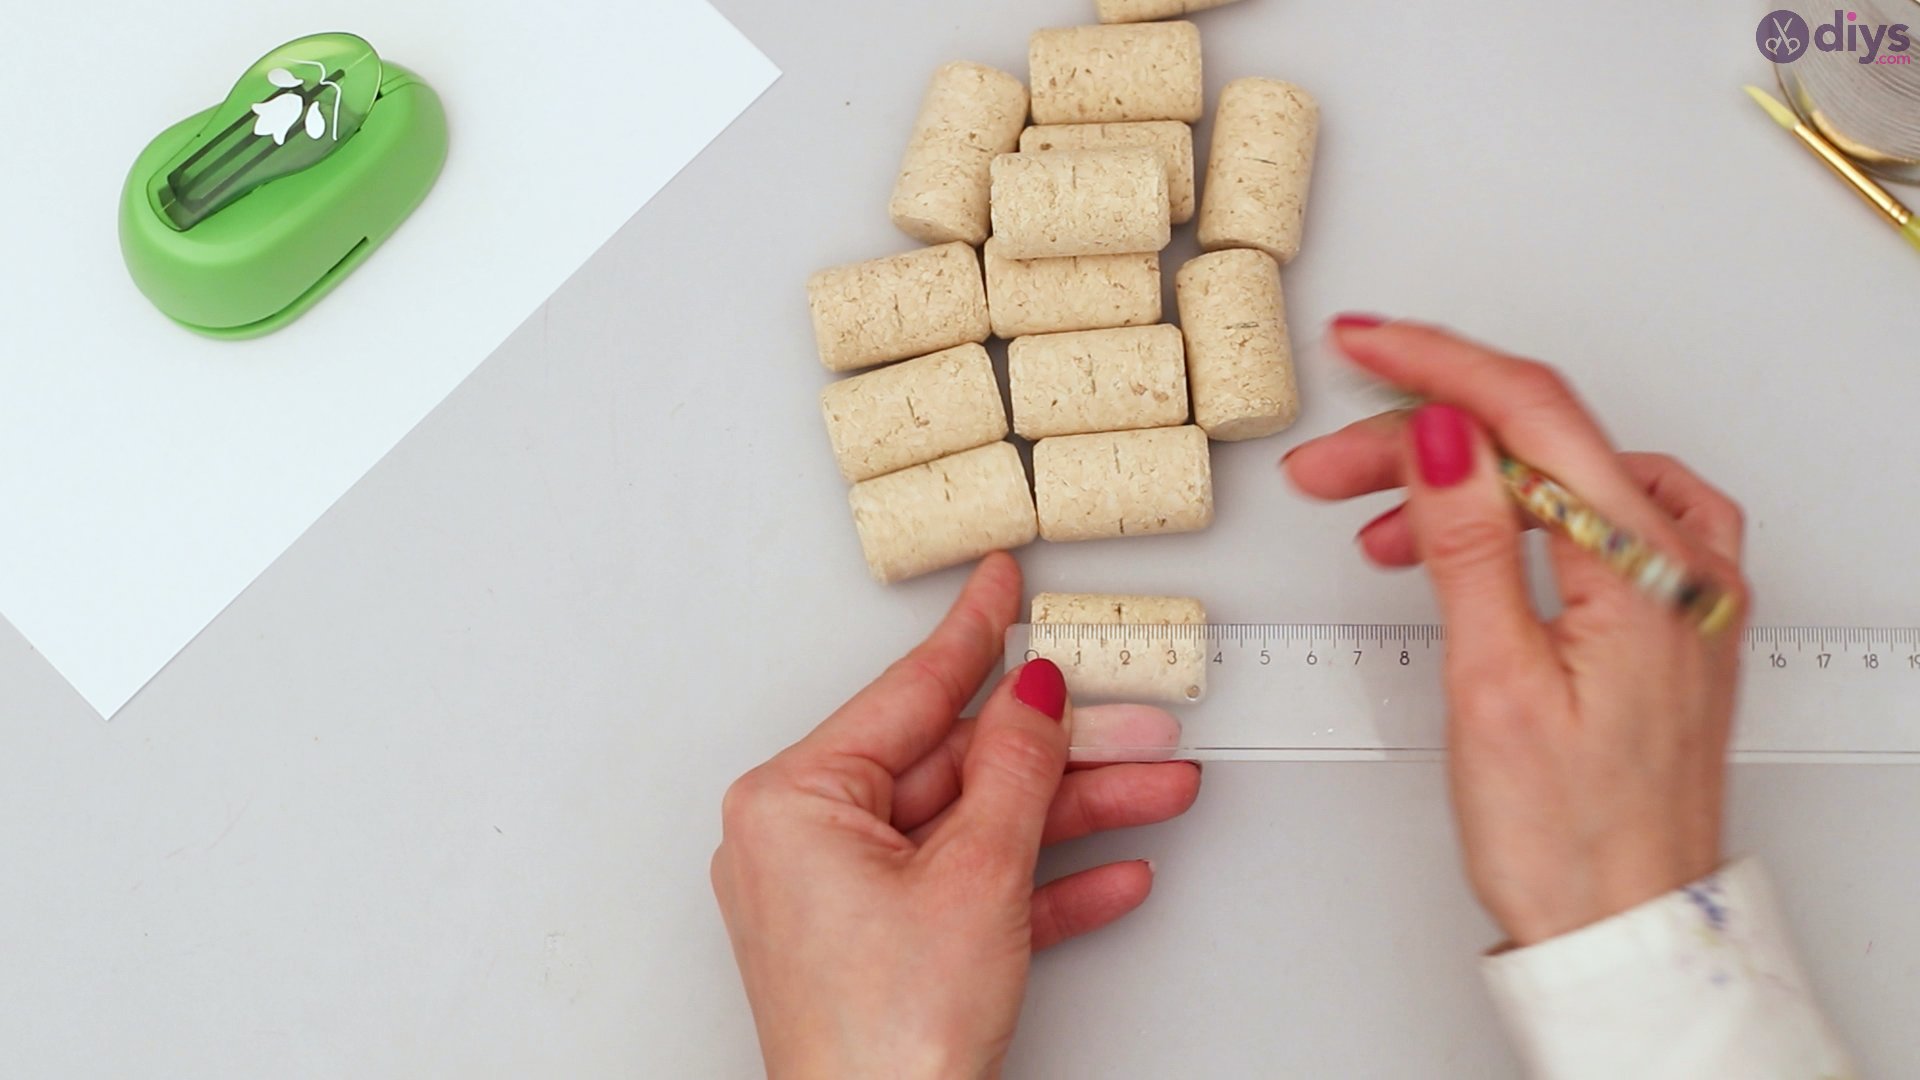
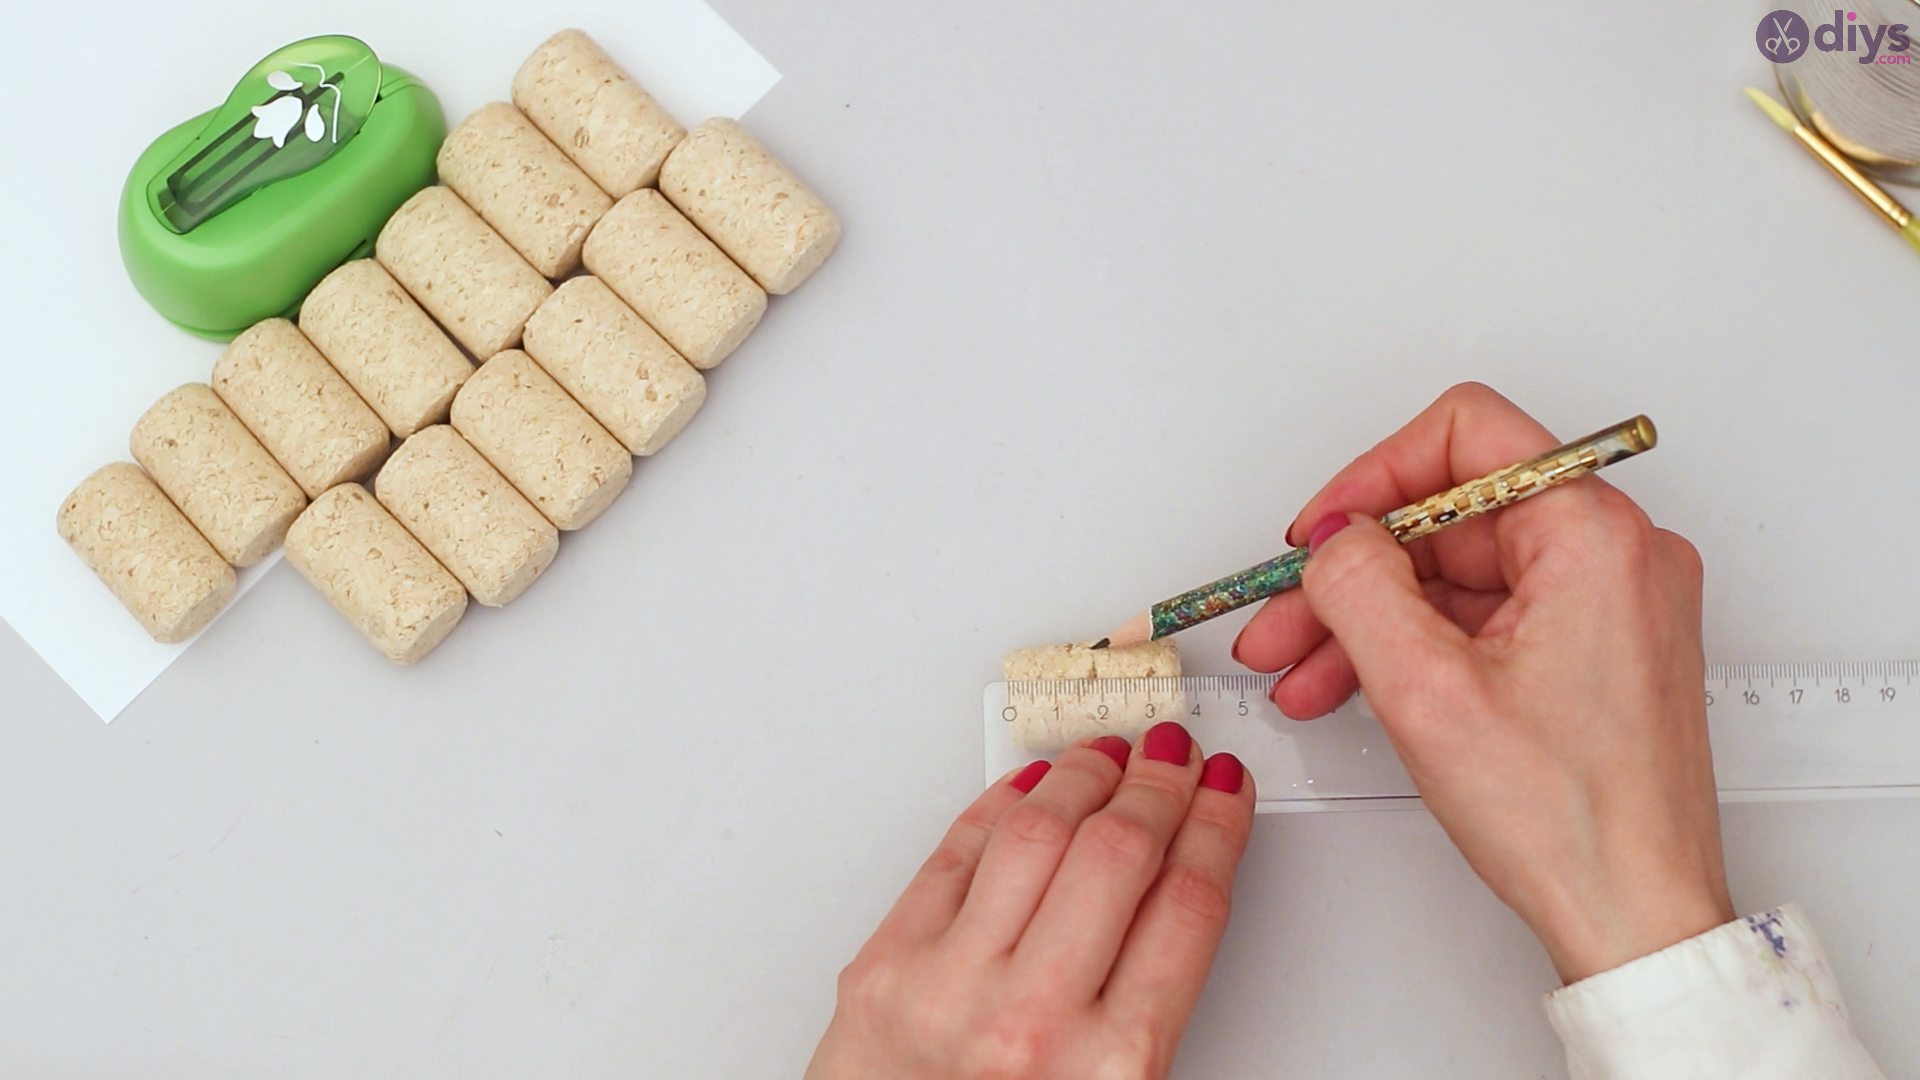
Step 1: Prepping the Corks
To prep your corks, all you really need is the ruler and a pencil. You are going to want to make sure you measure your cork at the precis length so you can cut it right in the middle of the cork. The last thing you want is a pencil holder full of mismatching cork lengths, so precision is important here.

As you’re measuring the corks, make a little pencil mark right at the center point so you know where exactly to cut when you’re ready.

Step 2: Cutting the Corks
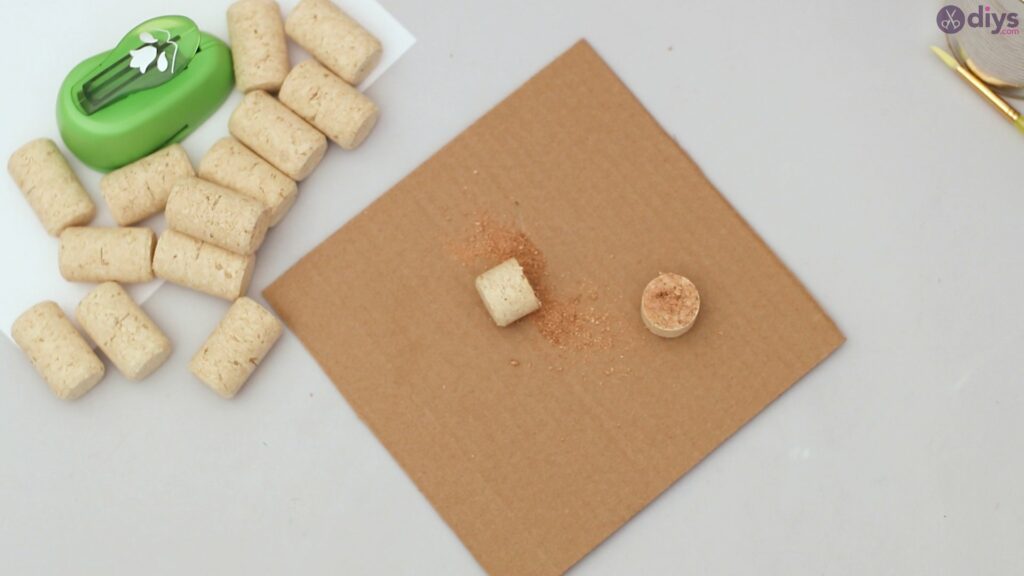
Now that all of your corks are measured and marked, you can start to cut. Using your very sharp knife, cut the cork perfectly in half so you have two perfectly measured sides.
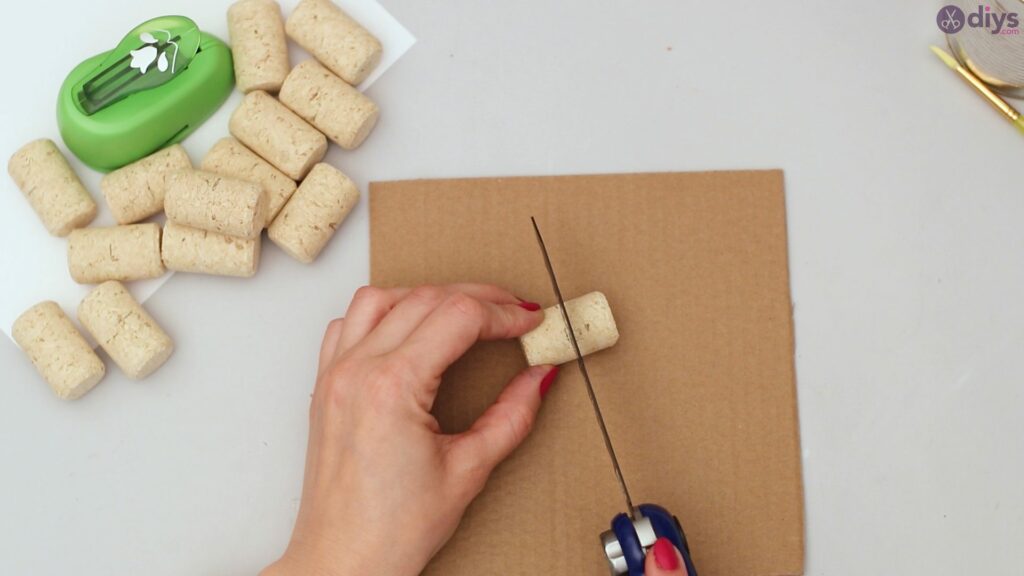
It’s ok if your cork has some cork residue or dust come off of it. That won’t matter once you have it glued on to your actual pencil holder.
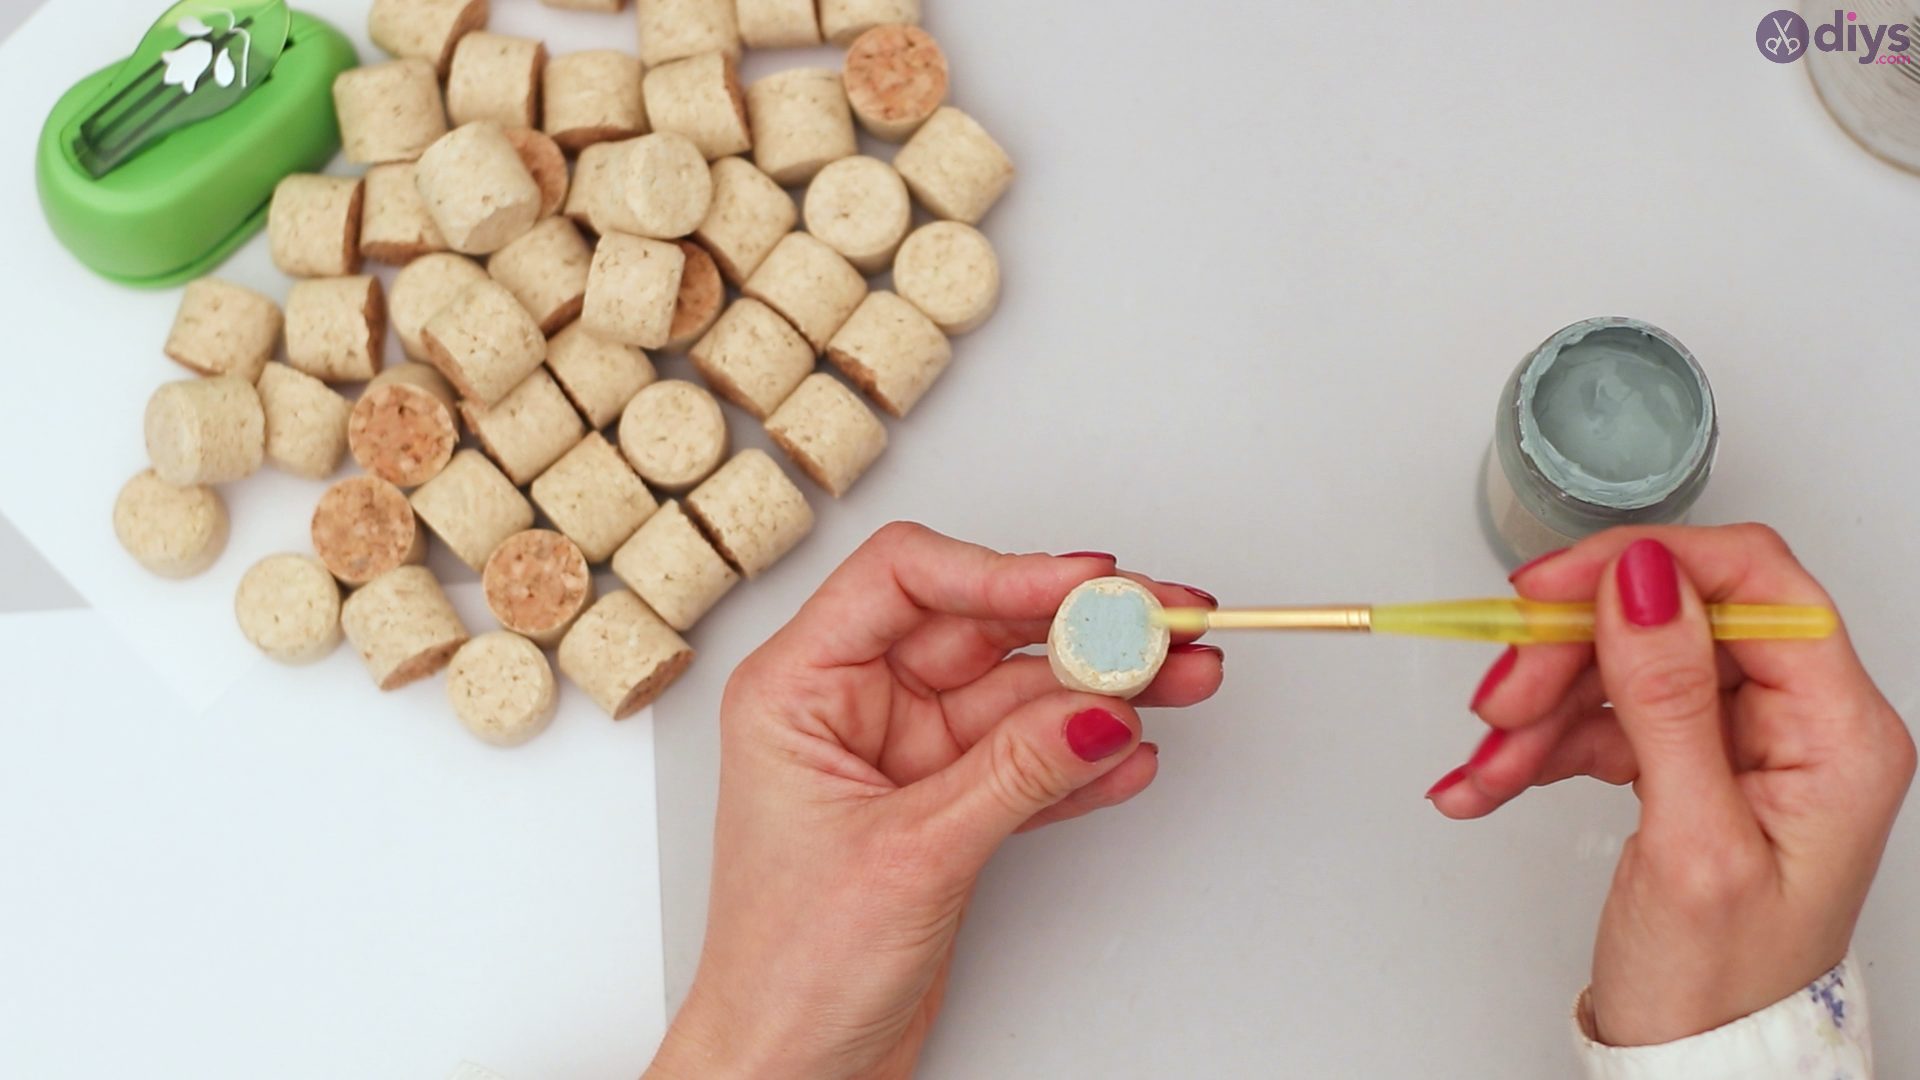
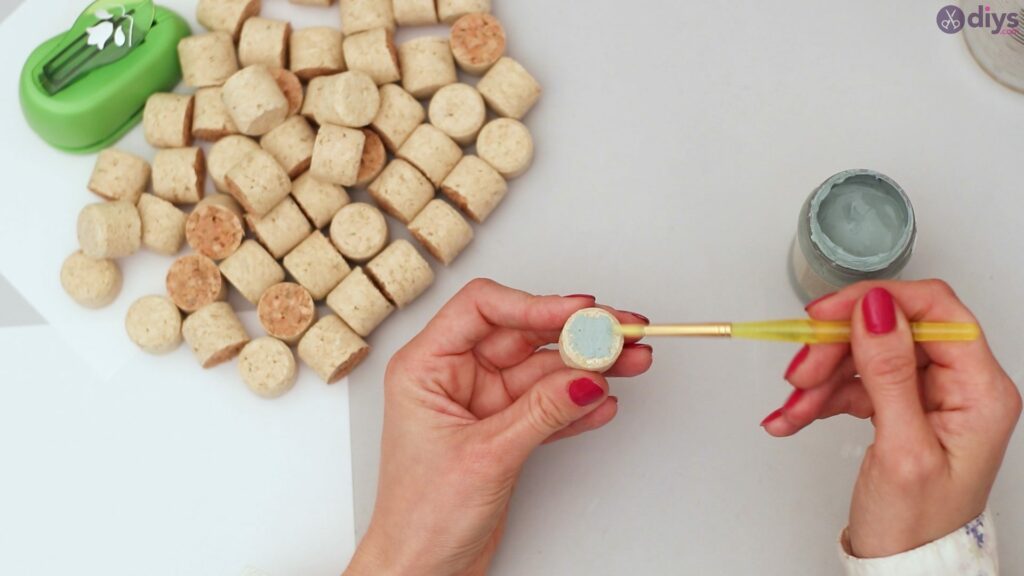
Step 3: Painting
Now that all your corks are perfectly halved, it’s time to paint! Using your crème colored acrylic paint, paint each cork half very carefully, making sure you get all sides and crevices. You also want to make sure you are letting areas of your cork dry before handling it wet to prevent any fingerprints getting into the paint.

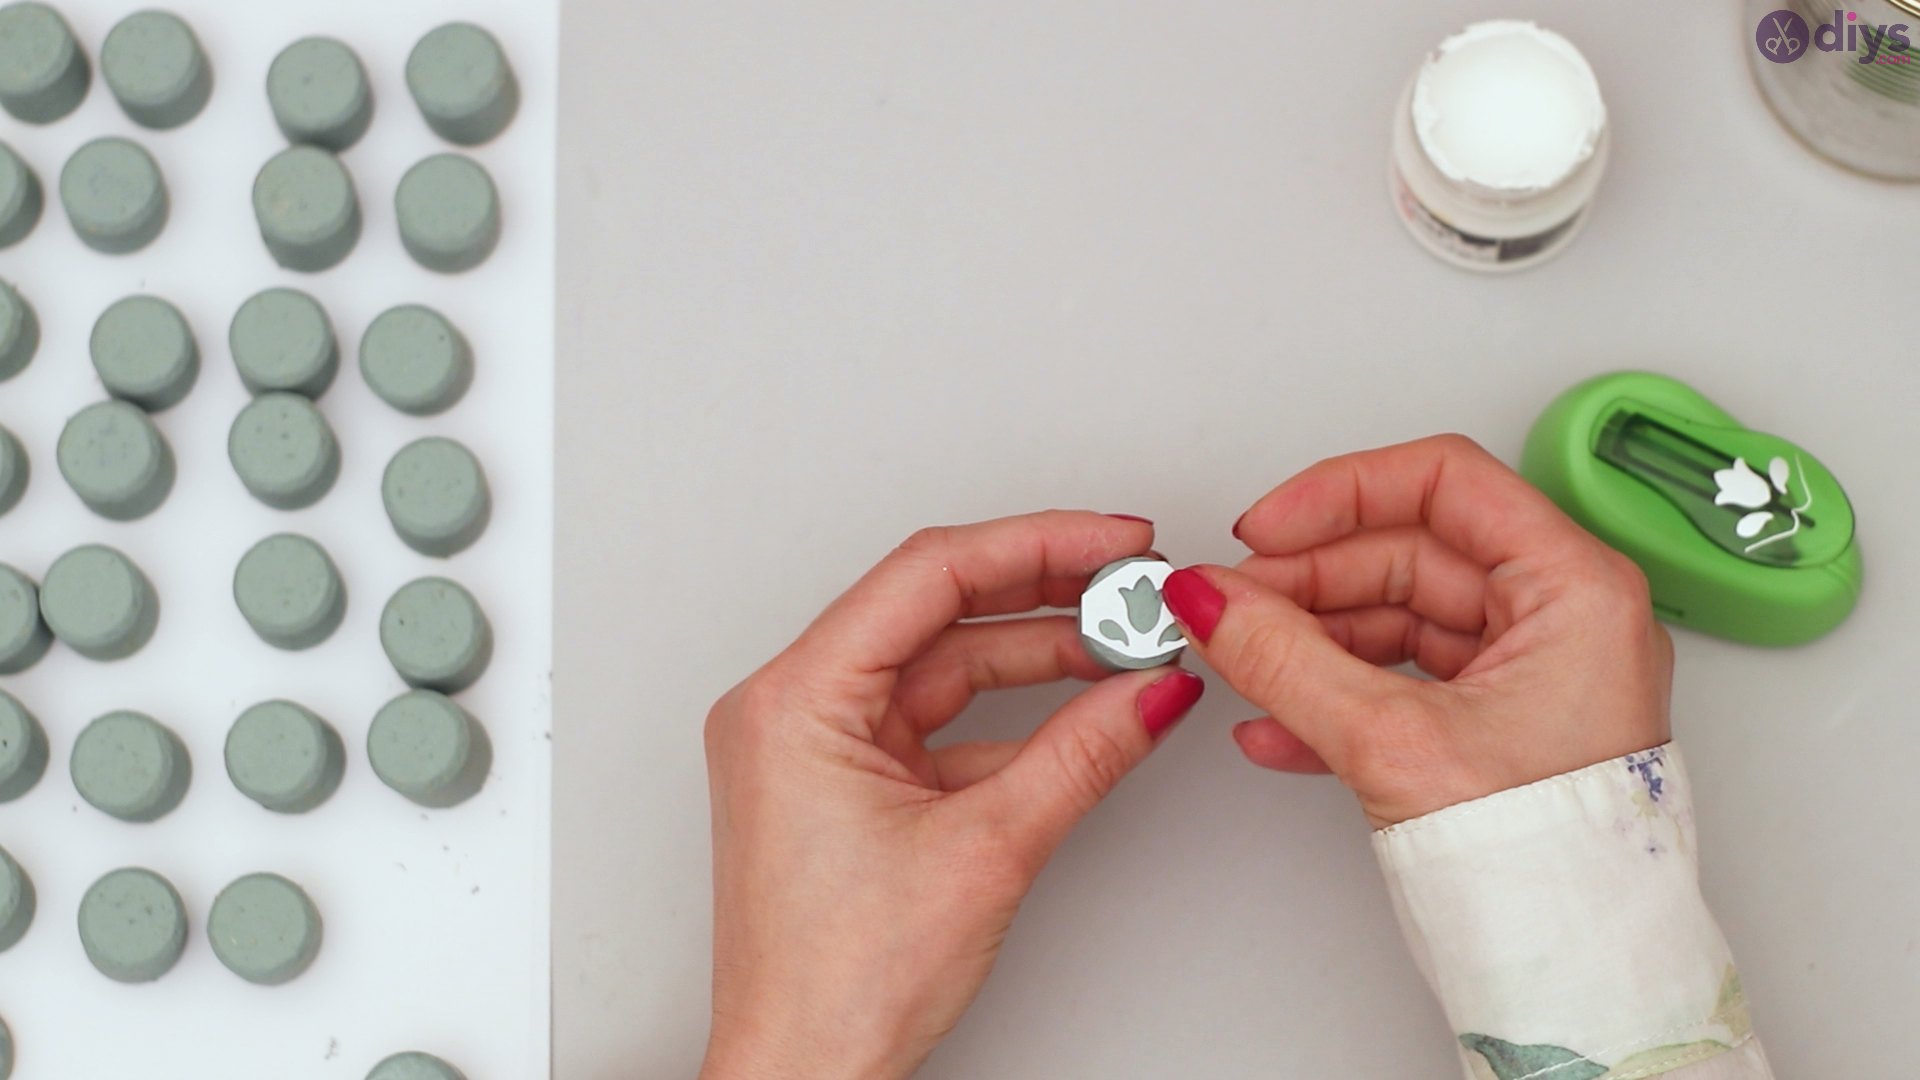
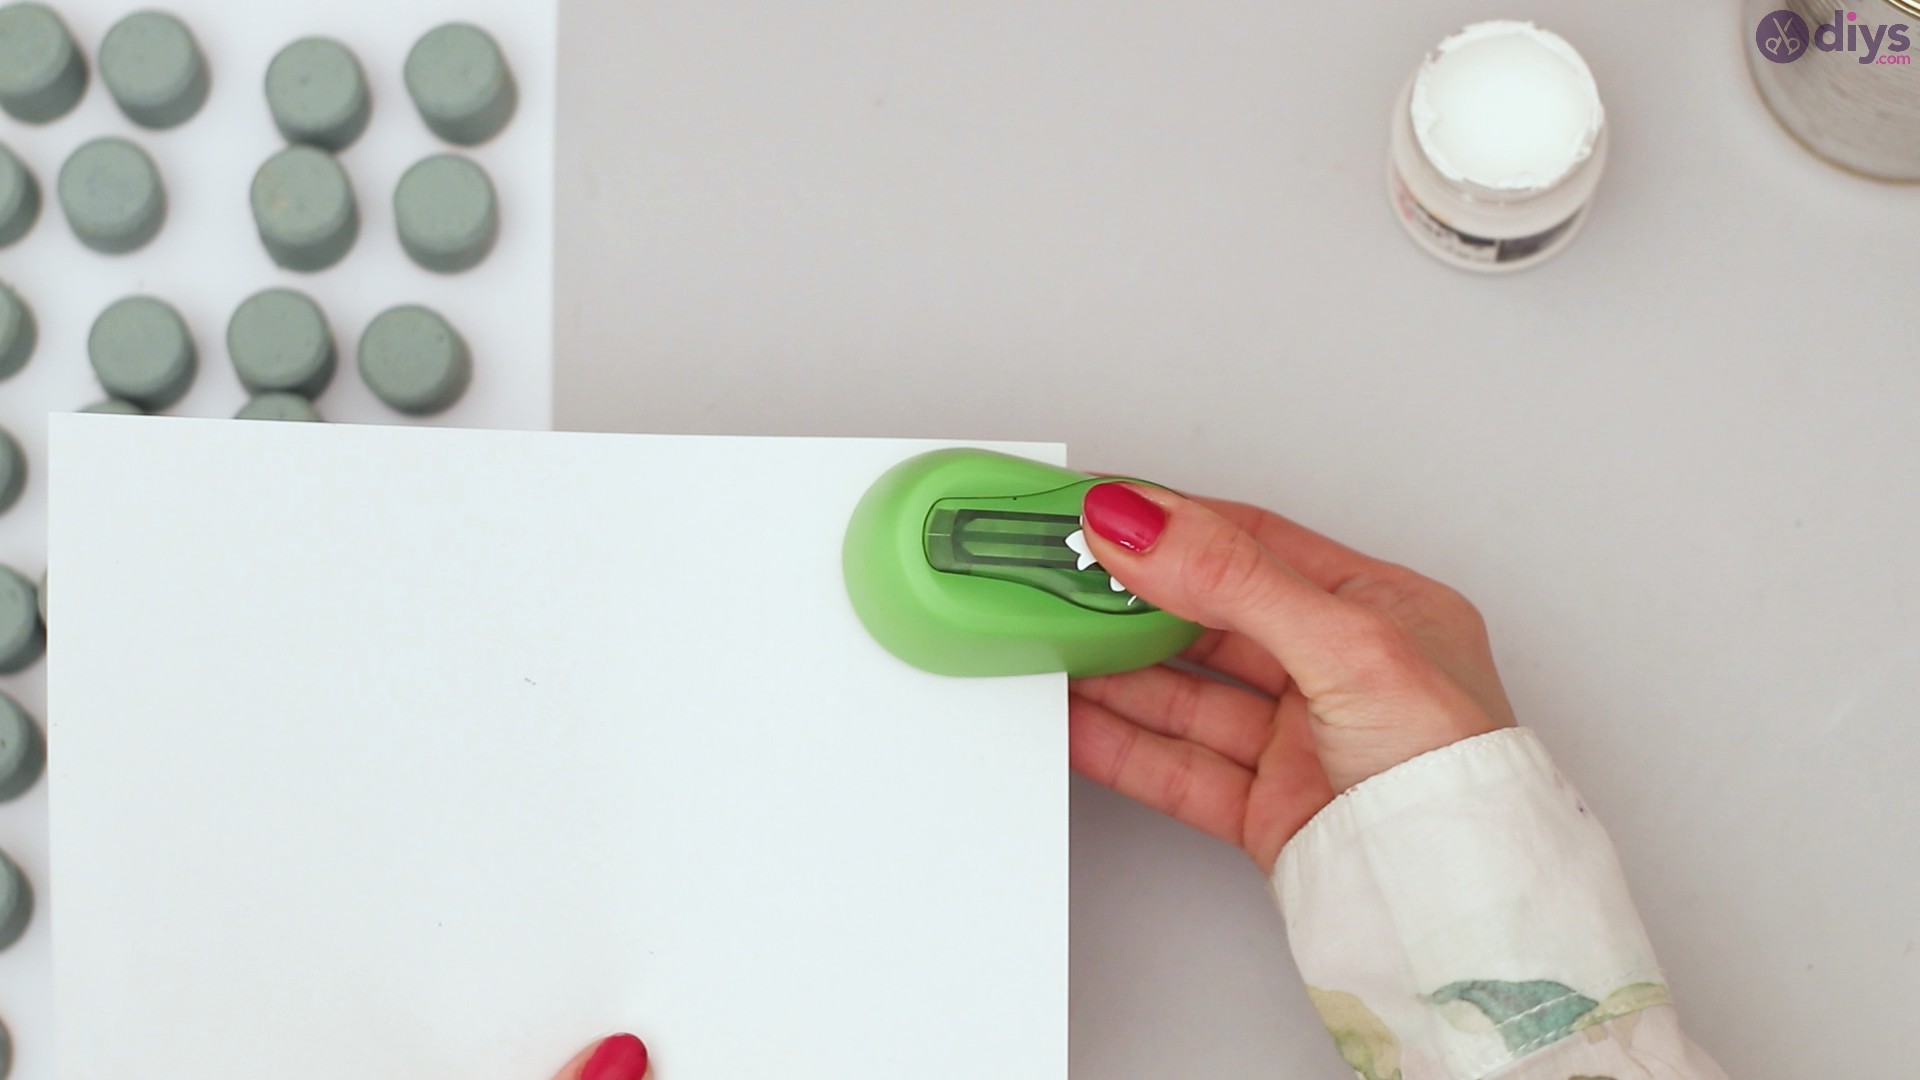
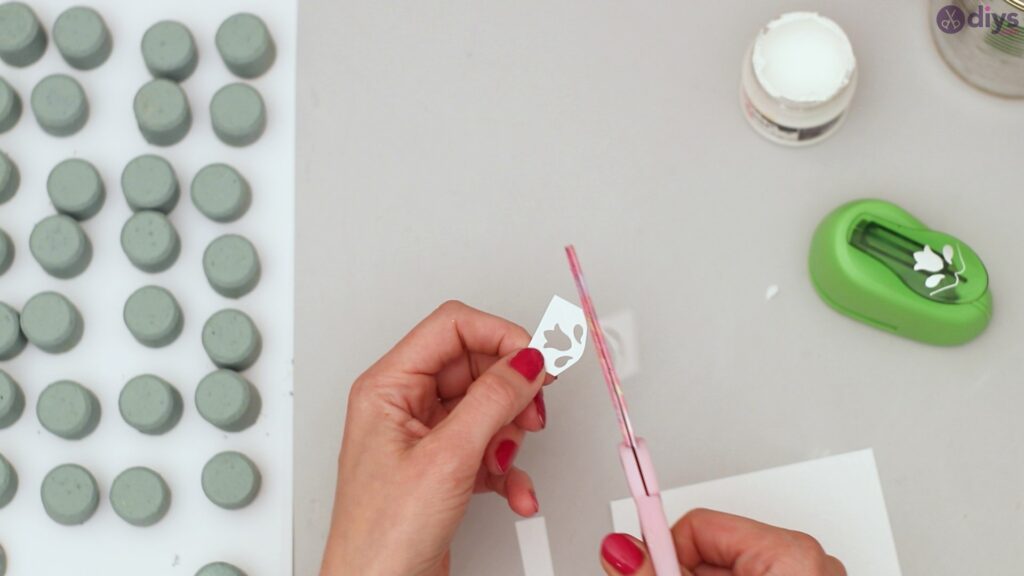
Step 4: Using the Flower Hole Punch
Once all your cork halves are perfectly painted, you can start to work on the embellishments. Using your flower hole punch, cut out a flower stencil in order to use it on your cork halves. This stencil will be painted in later on each of the cork heads in order to showcase a gorgeous, delicate little flower design on all of your corks.

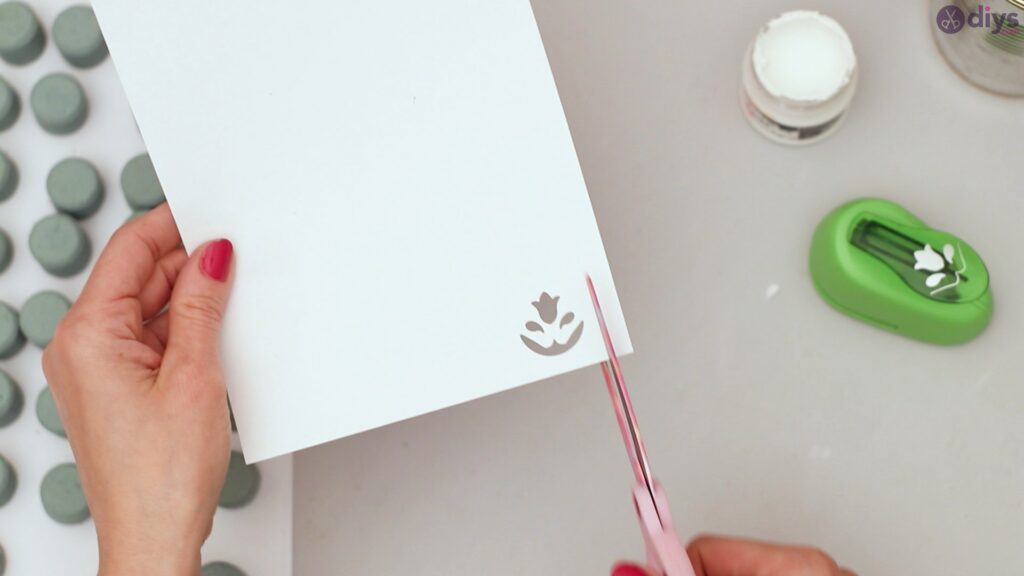
Cut your flower stencil out the smallest possible so you get a good contact from the stencil to the cork half. This will also make it easier to paint in later.

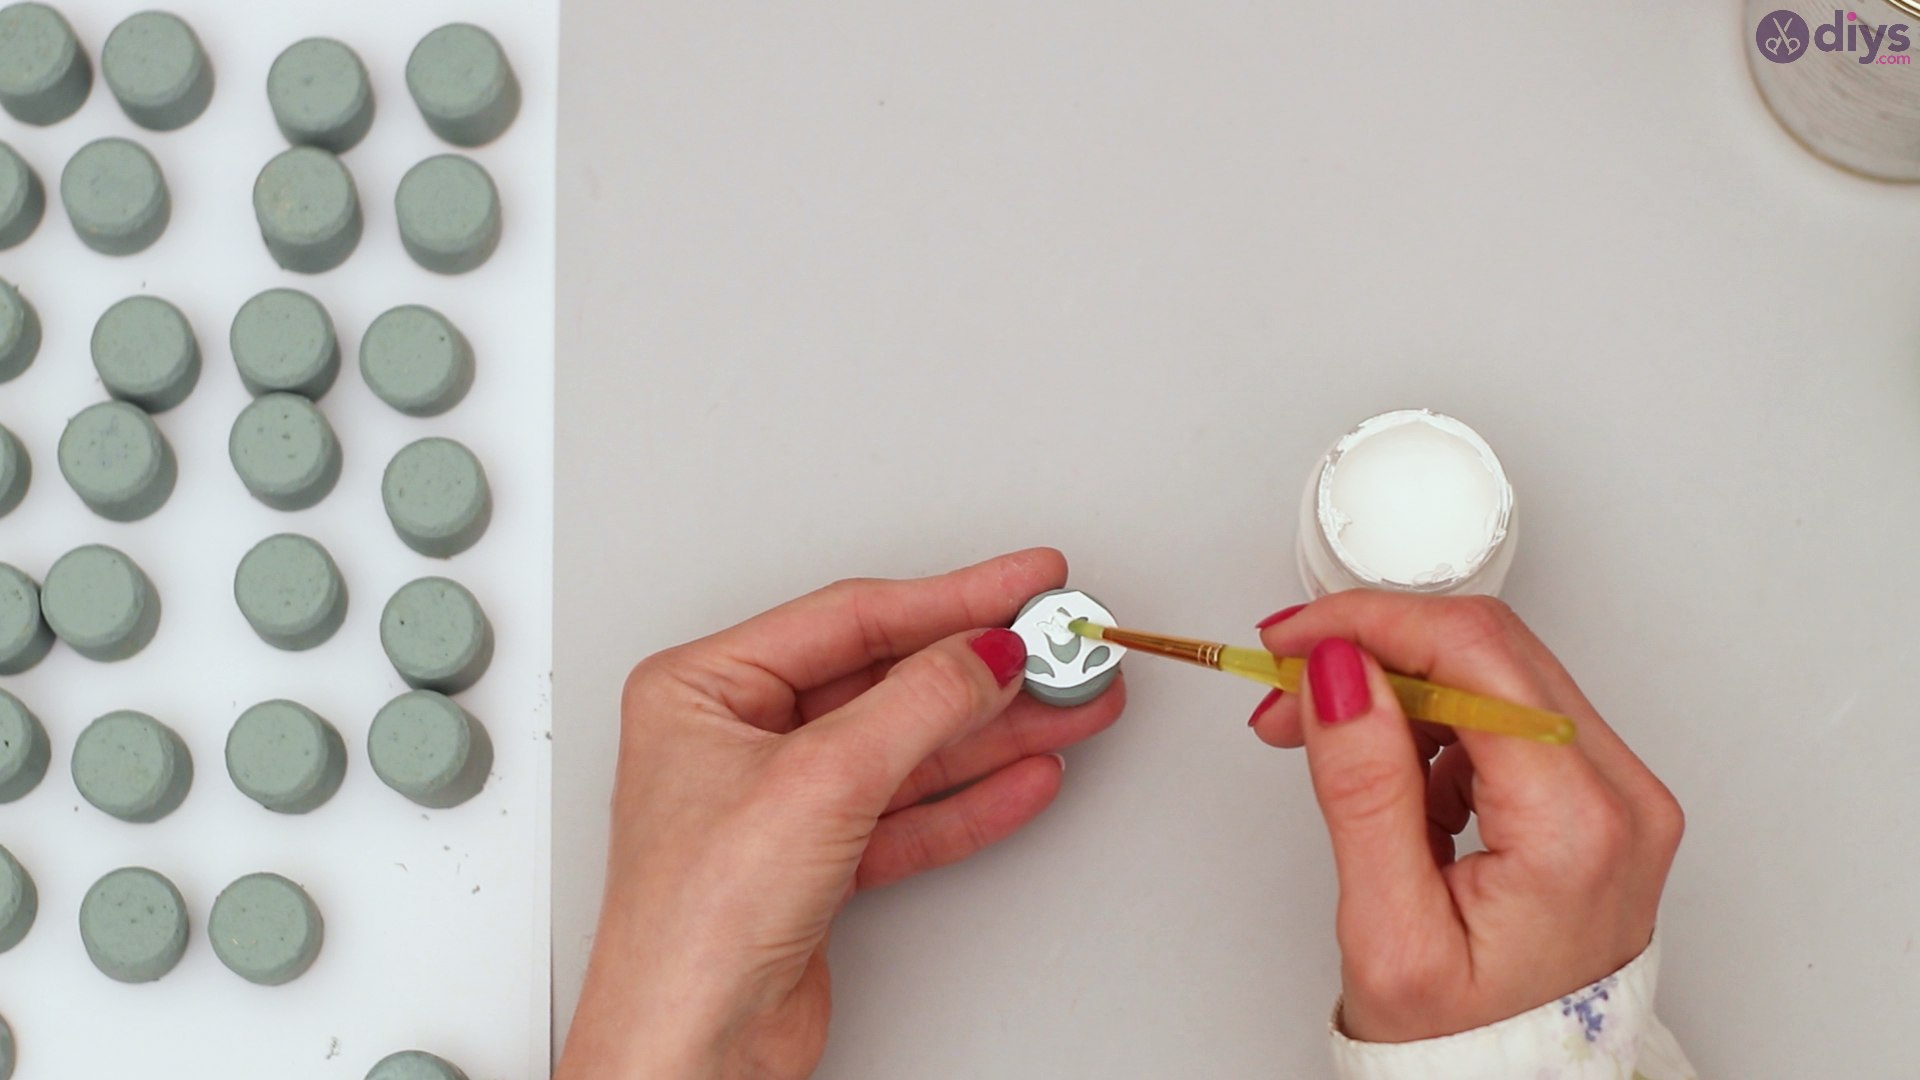
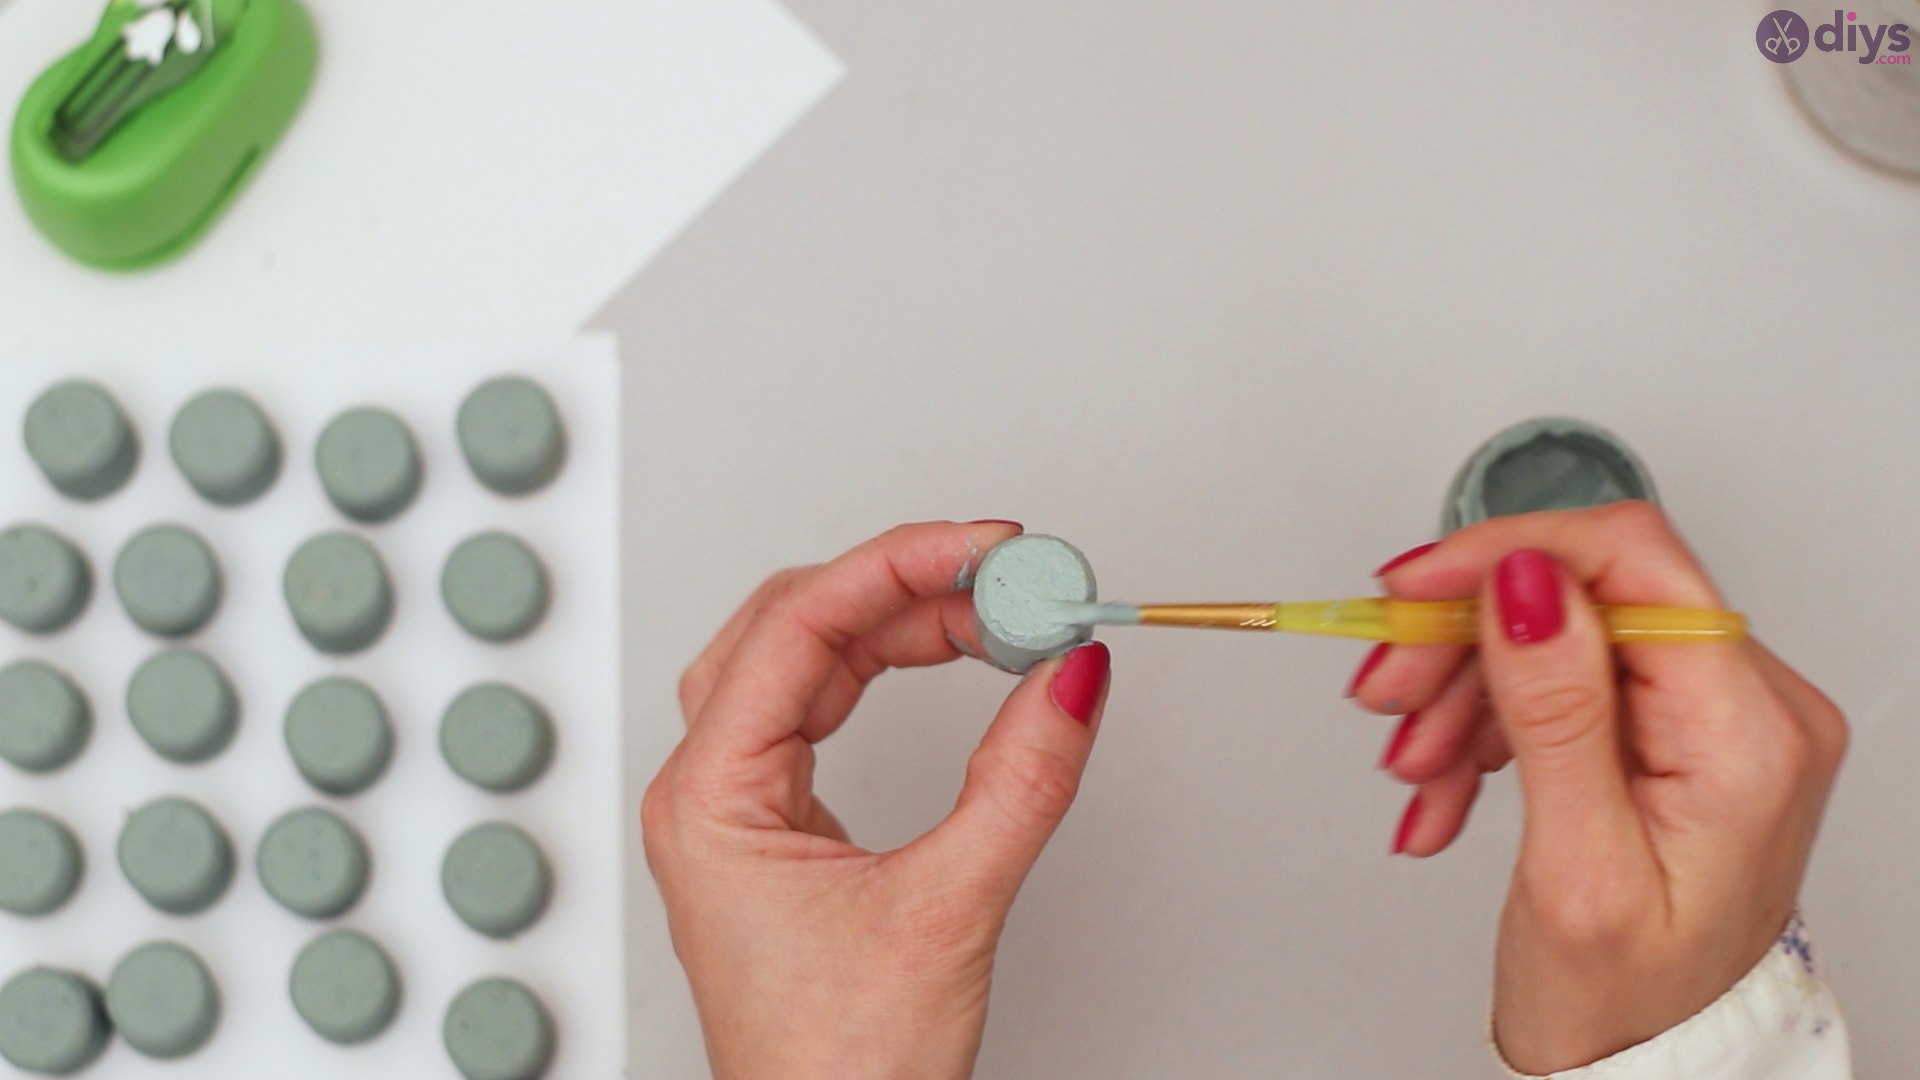
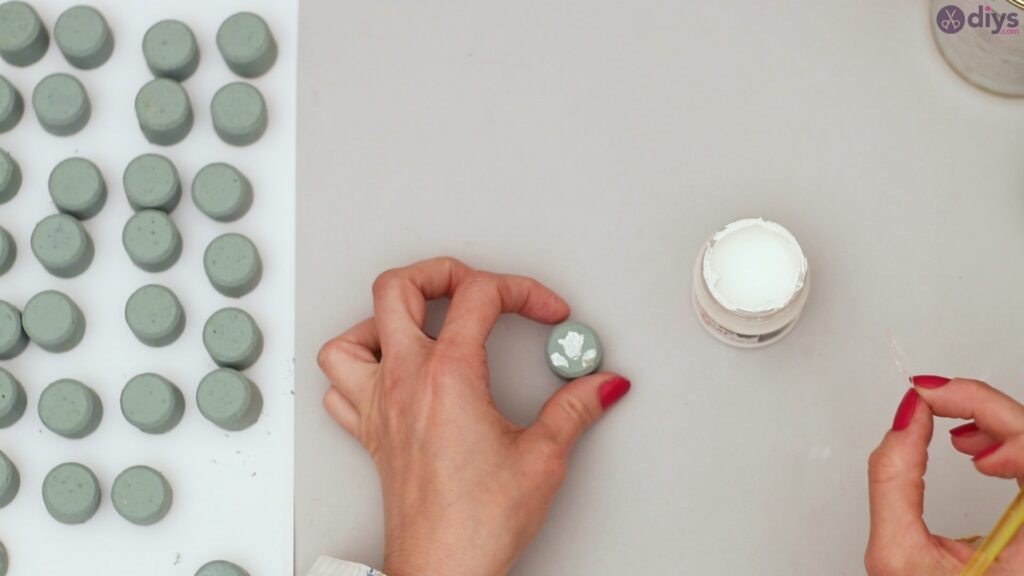
Step 5: Painting the Stencil
Securing your stencil in place with your fingers, carefully paint in the stencil with your crème acrylic paint. Be careful about getting any paint under the stencil as this will ruin your design. Pressing down on your stencil tightly should help secure a seal and prevent any extra paint from sliding under the stencil.

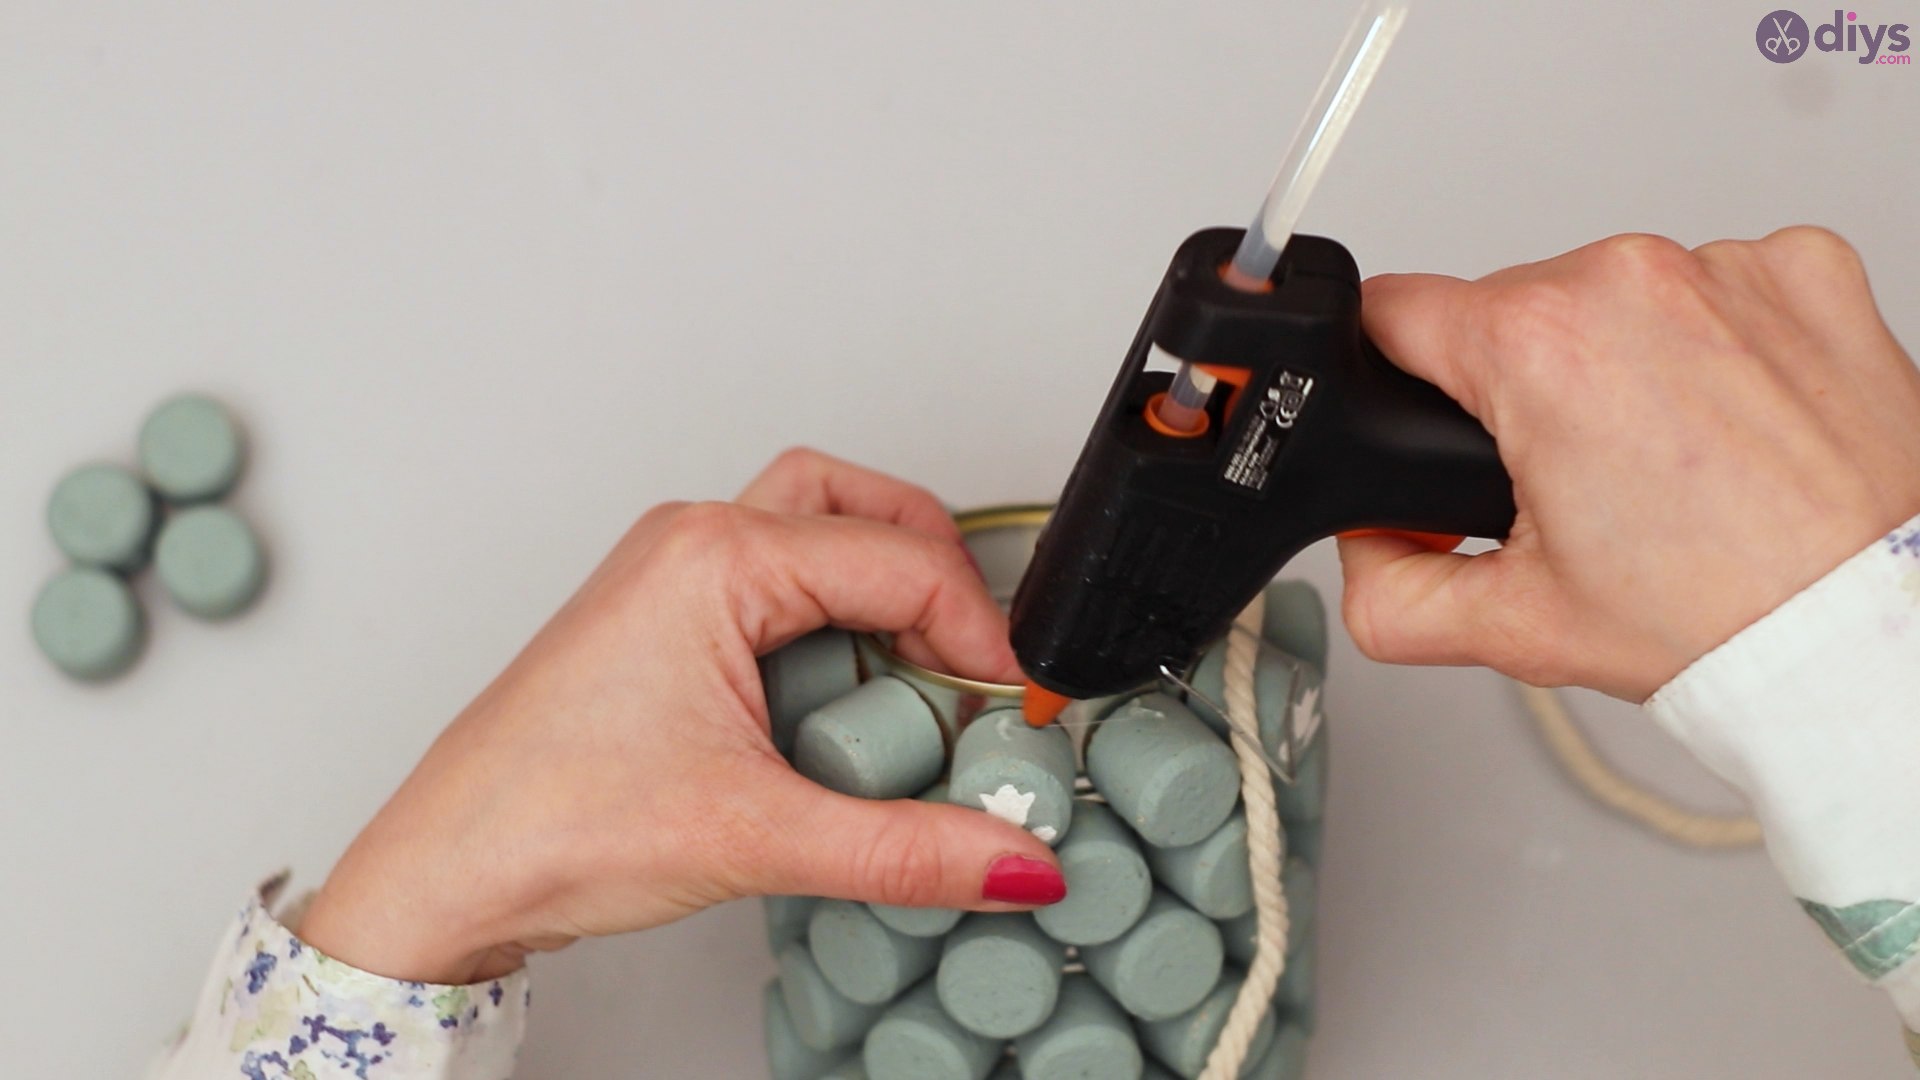
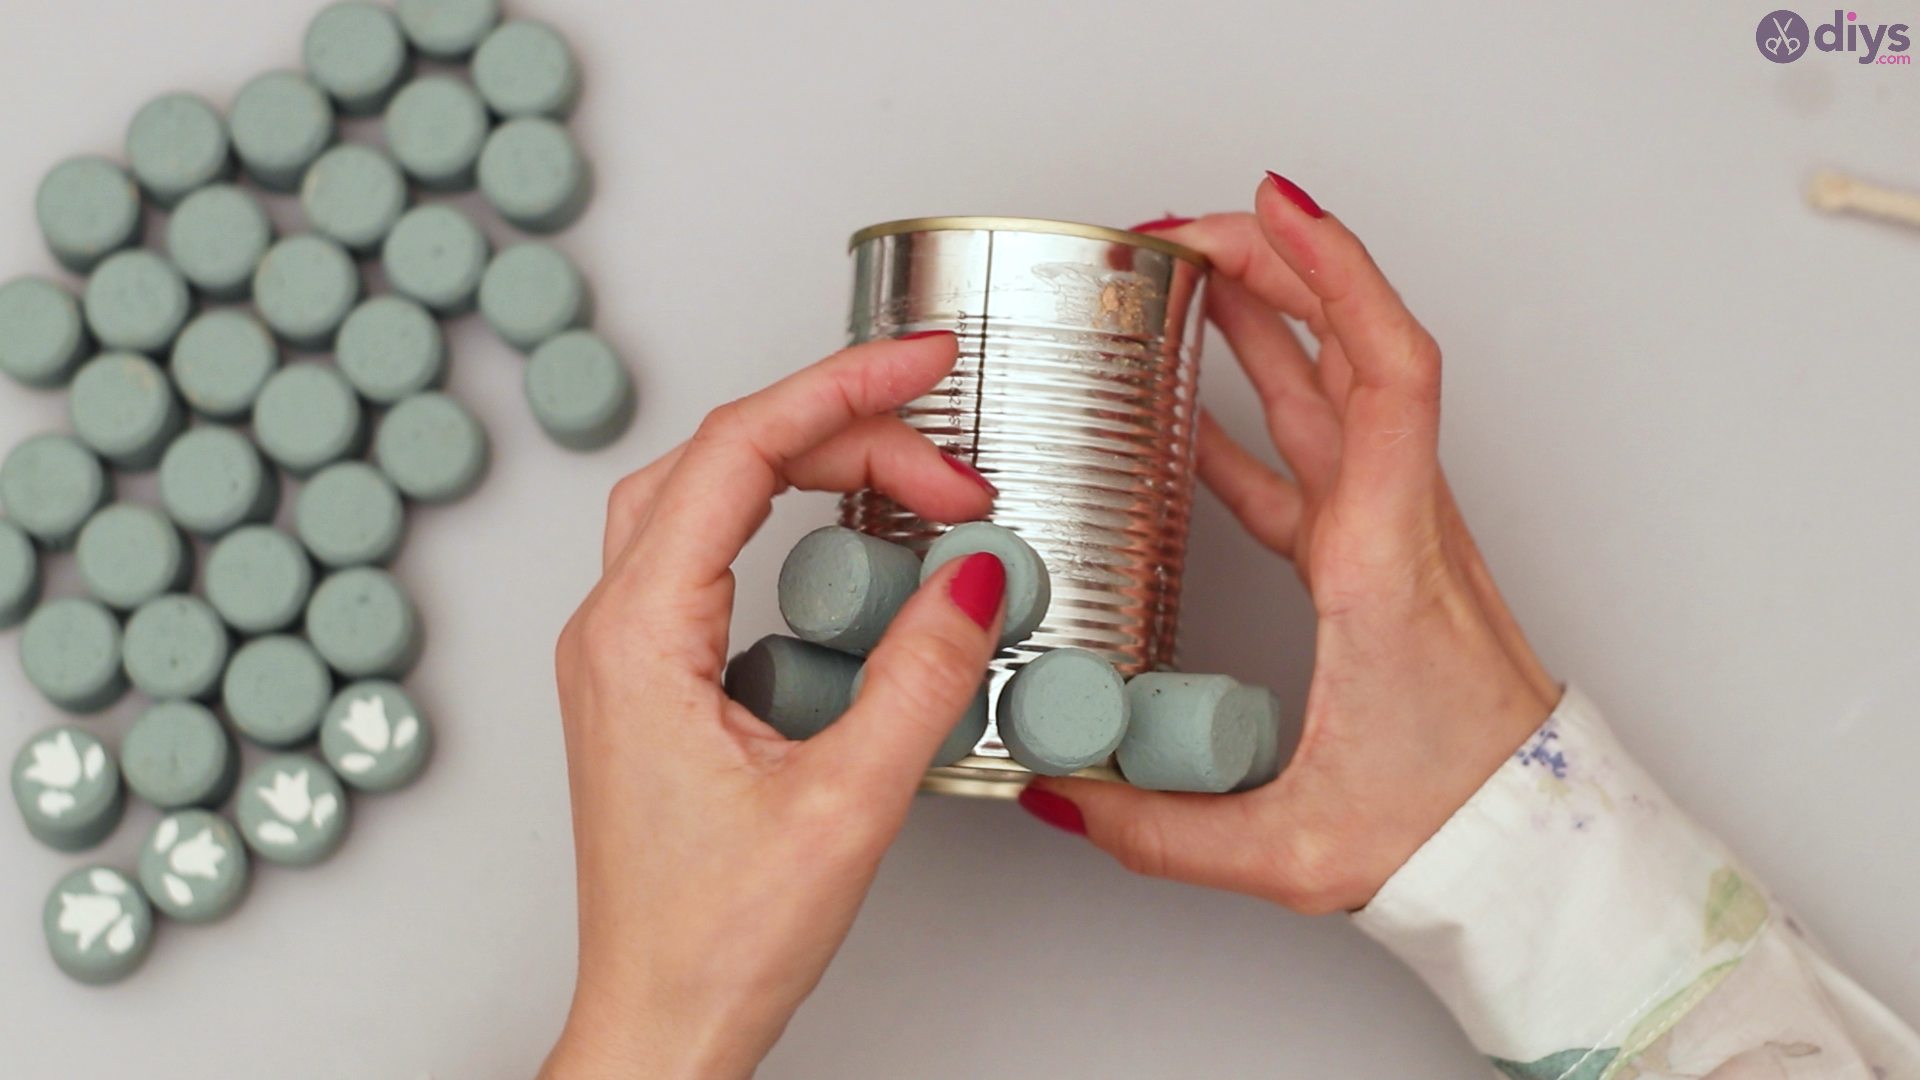
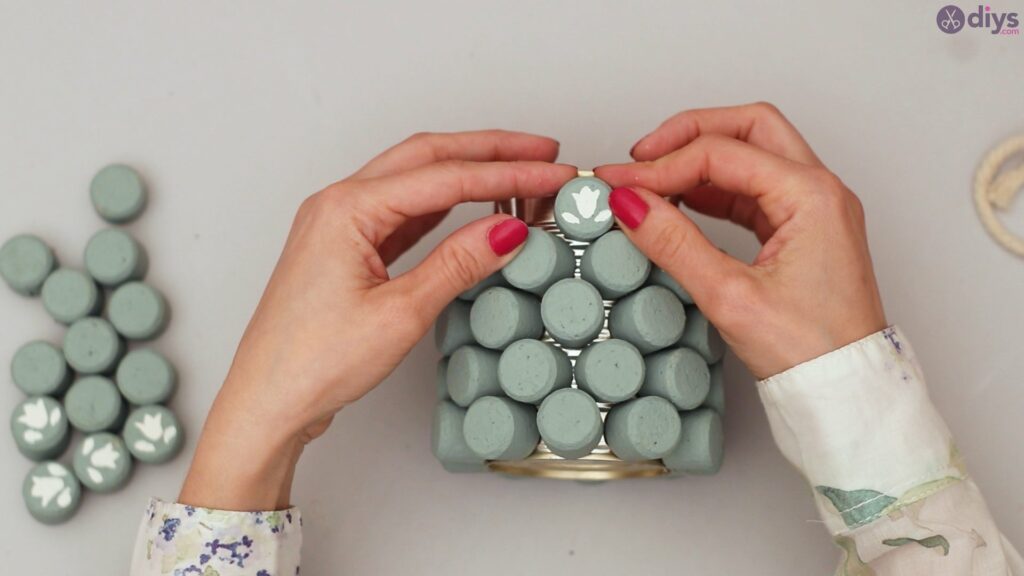
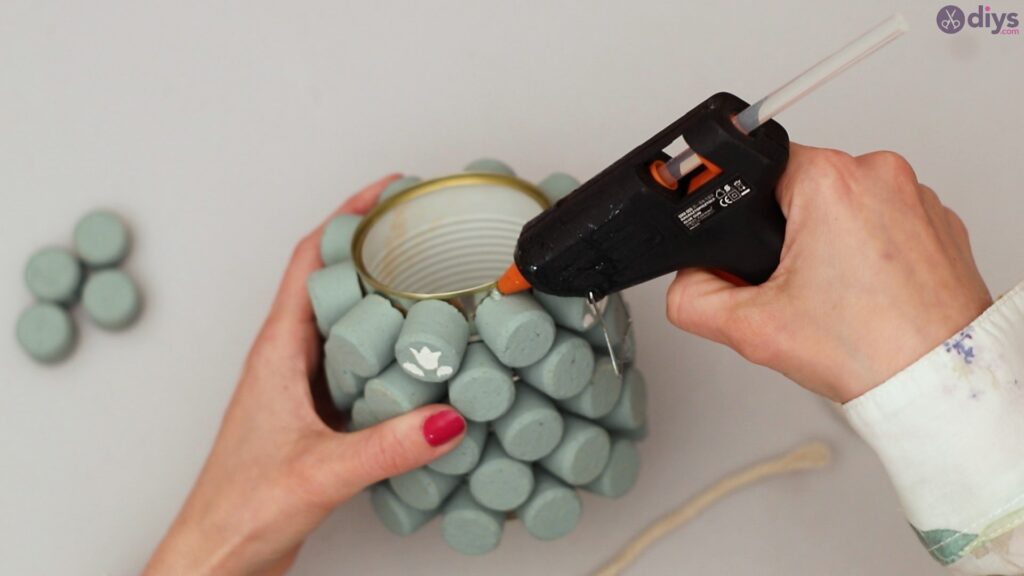
Step 6: Gluing On Your Corks
Now that all of your corks are painted and some have the flower design on it, you are ready to start gluing your corks to your can. Start by gluing from the bottom up so you can see how the design is turning out as you go.

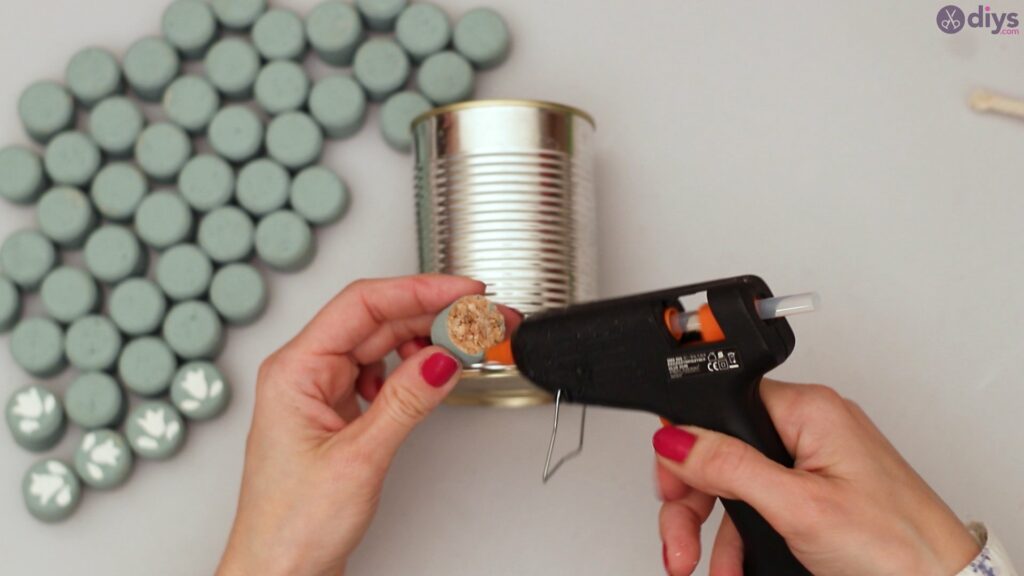
You only need a small dab of hot glue in order for your cork to stick, so you don’t have to use much at all. If you use too much hot glue, the glue will seep out from the sides and it will be difficult to remove later on.
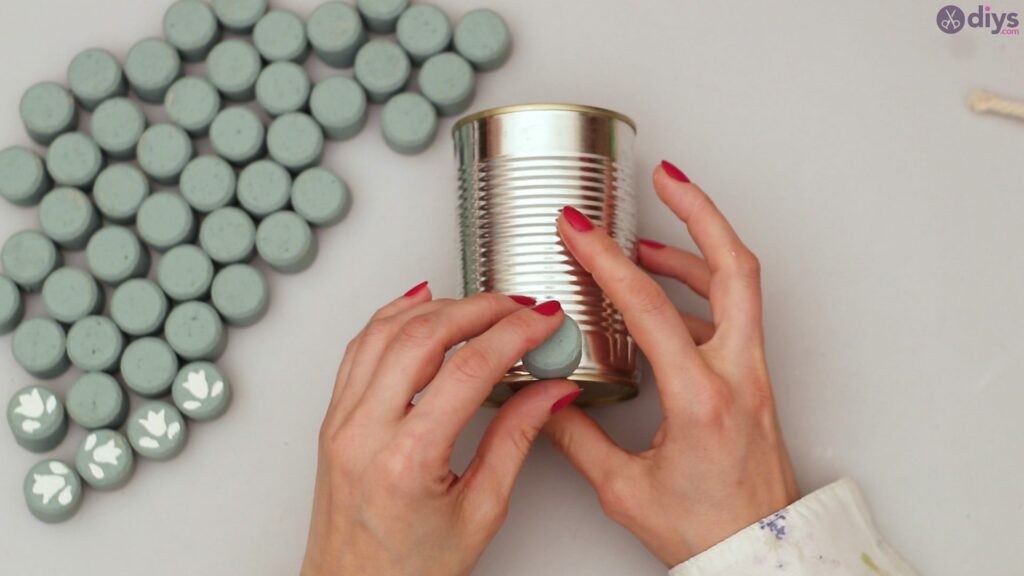
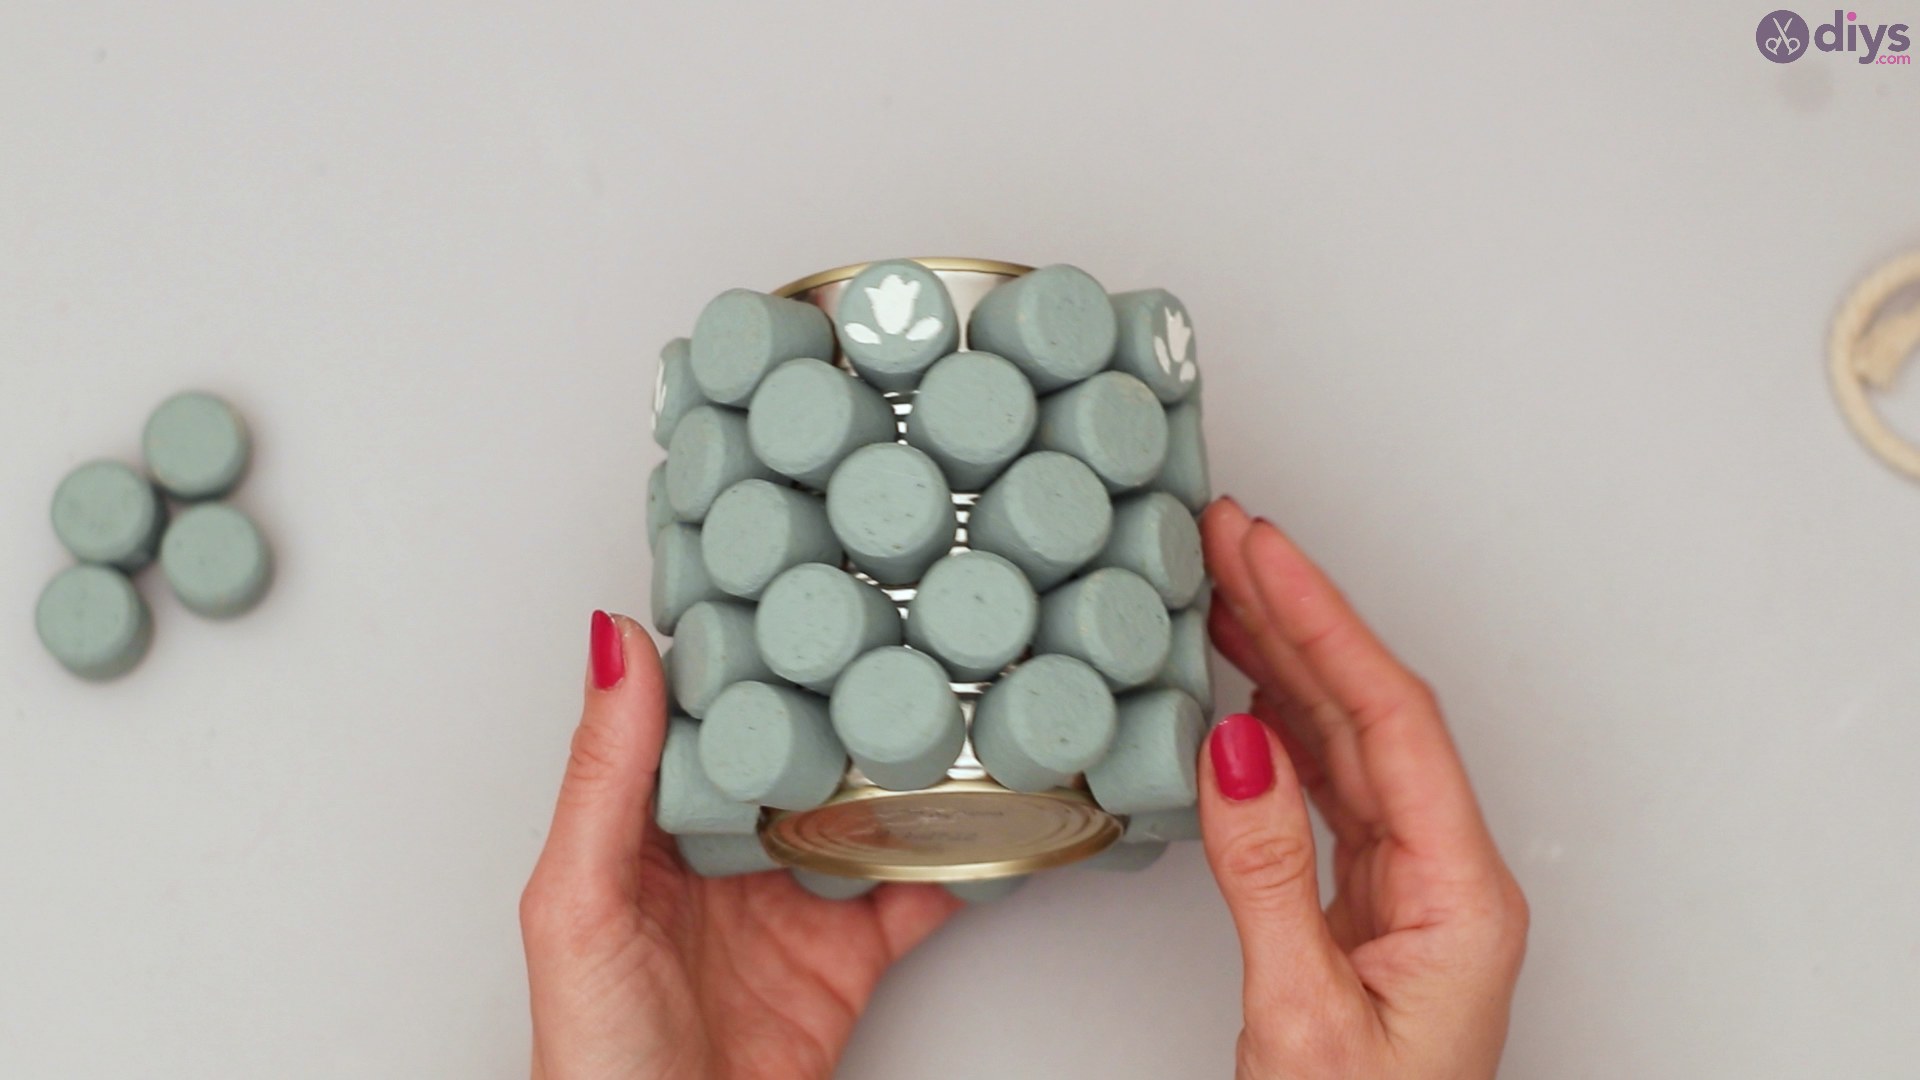
Once you get your bottom row done, you can start on the second row, and you continue this process until you get to the top.

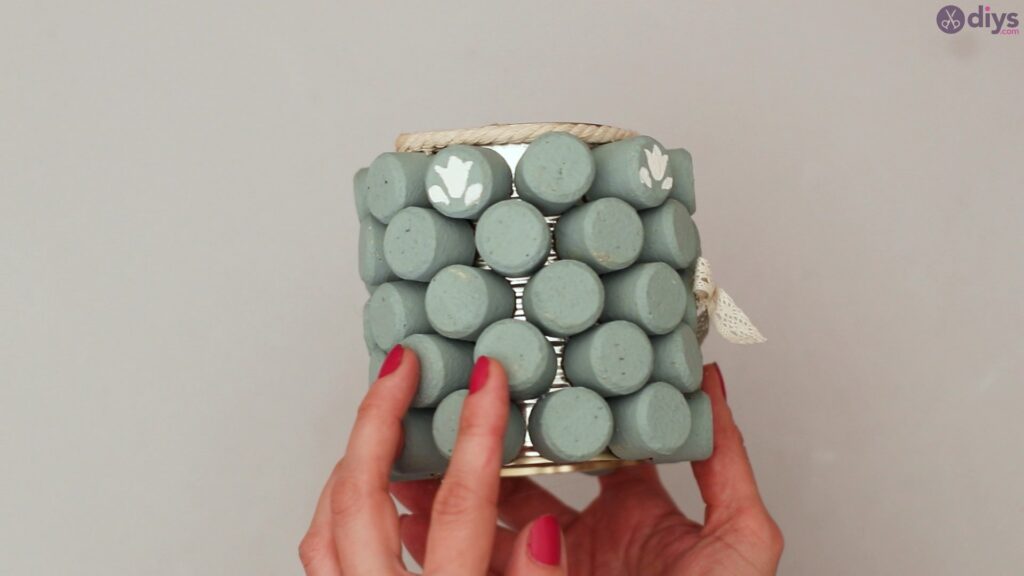
The top row of the can is reserved for your flower design corks, so place one cork with the flower design next to a regular painted cork, and so on.
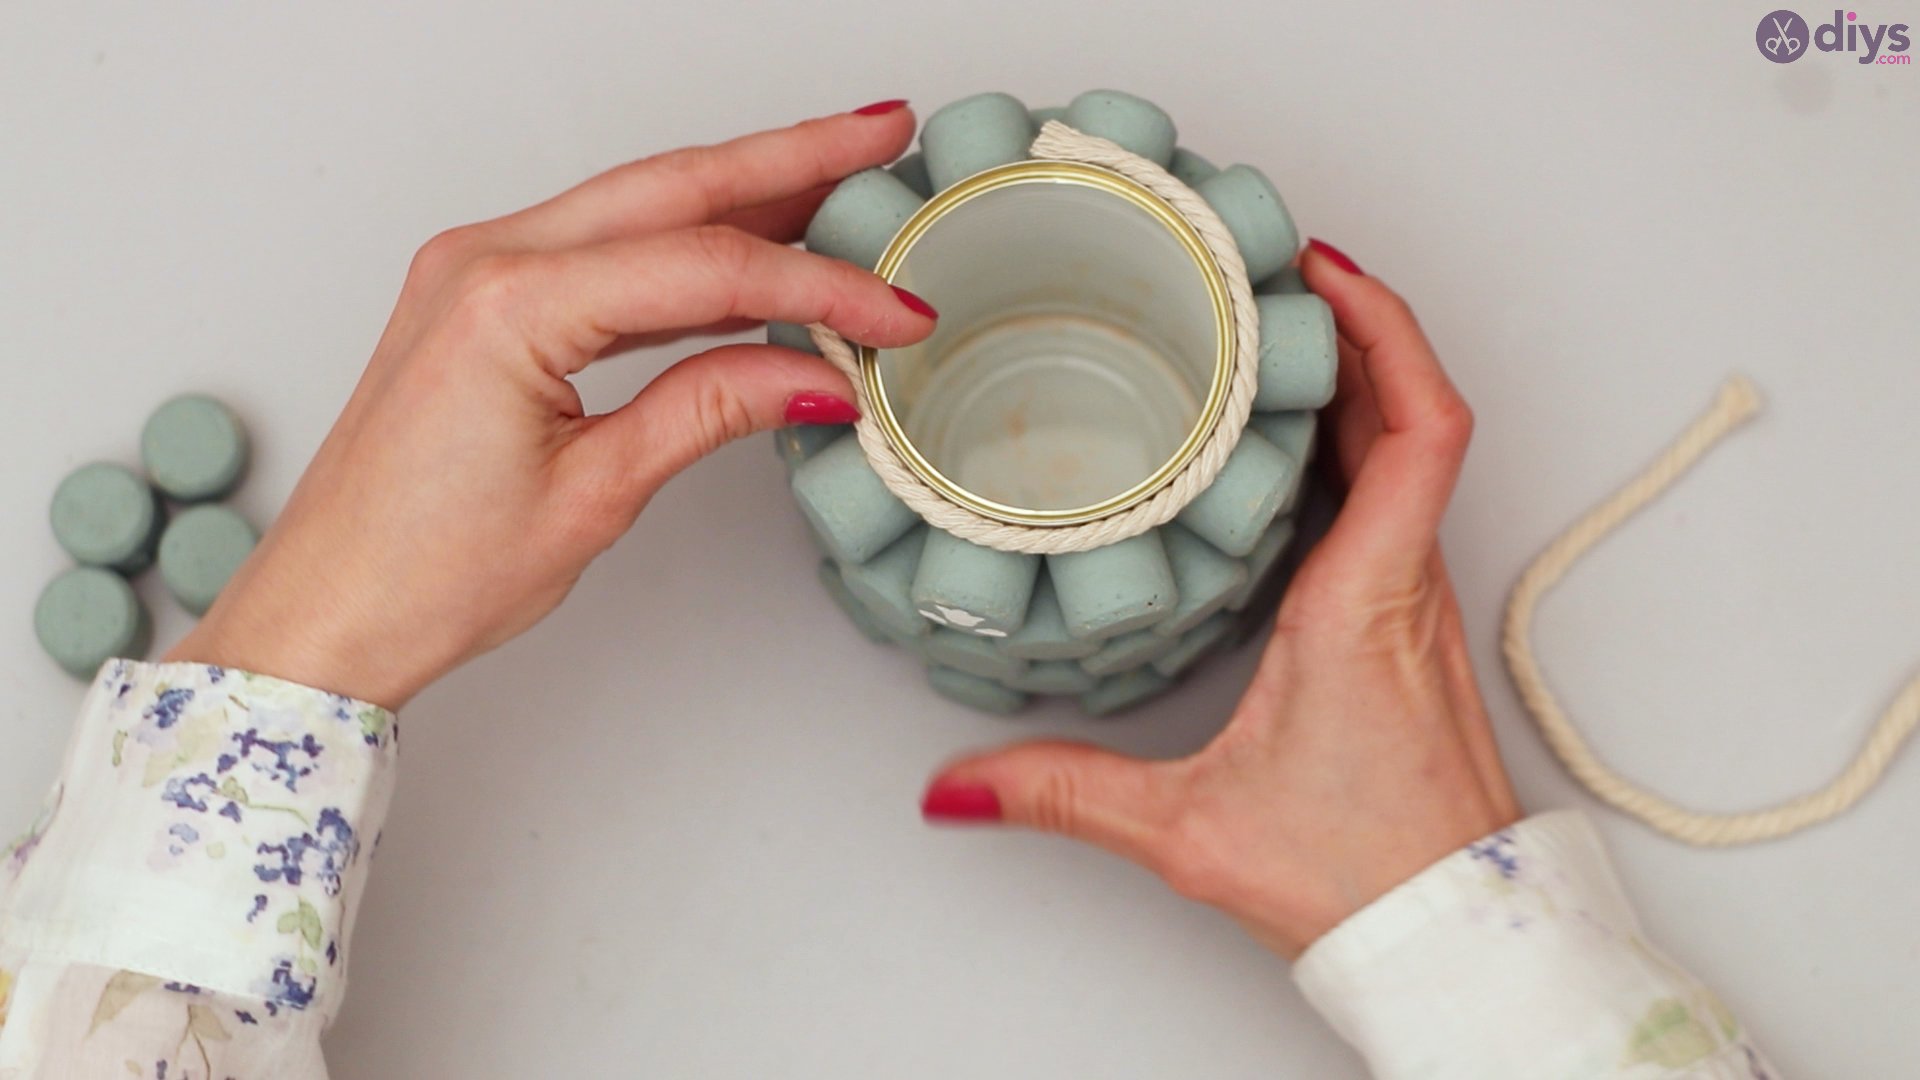
Your can should look like this by the end of your gluing process.

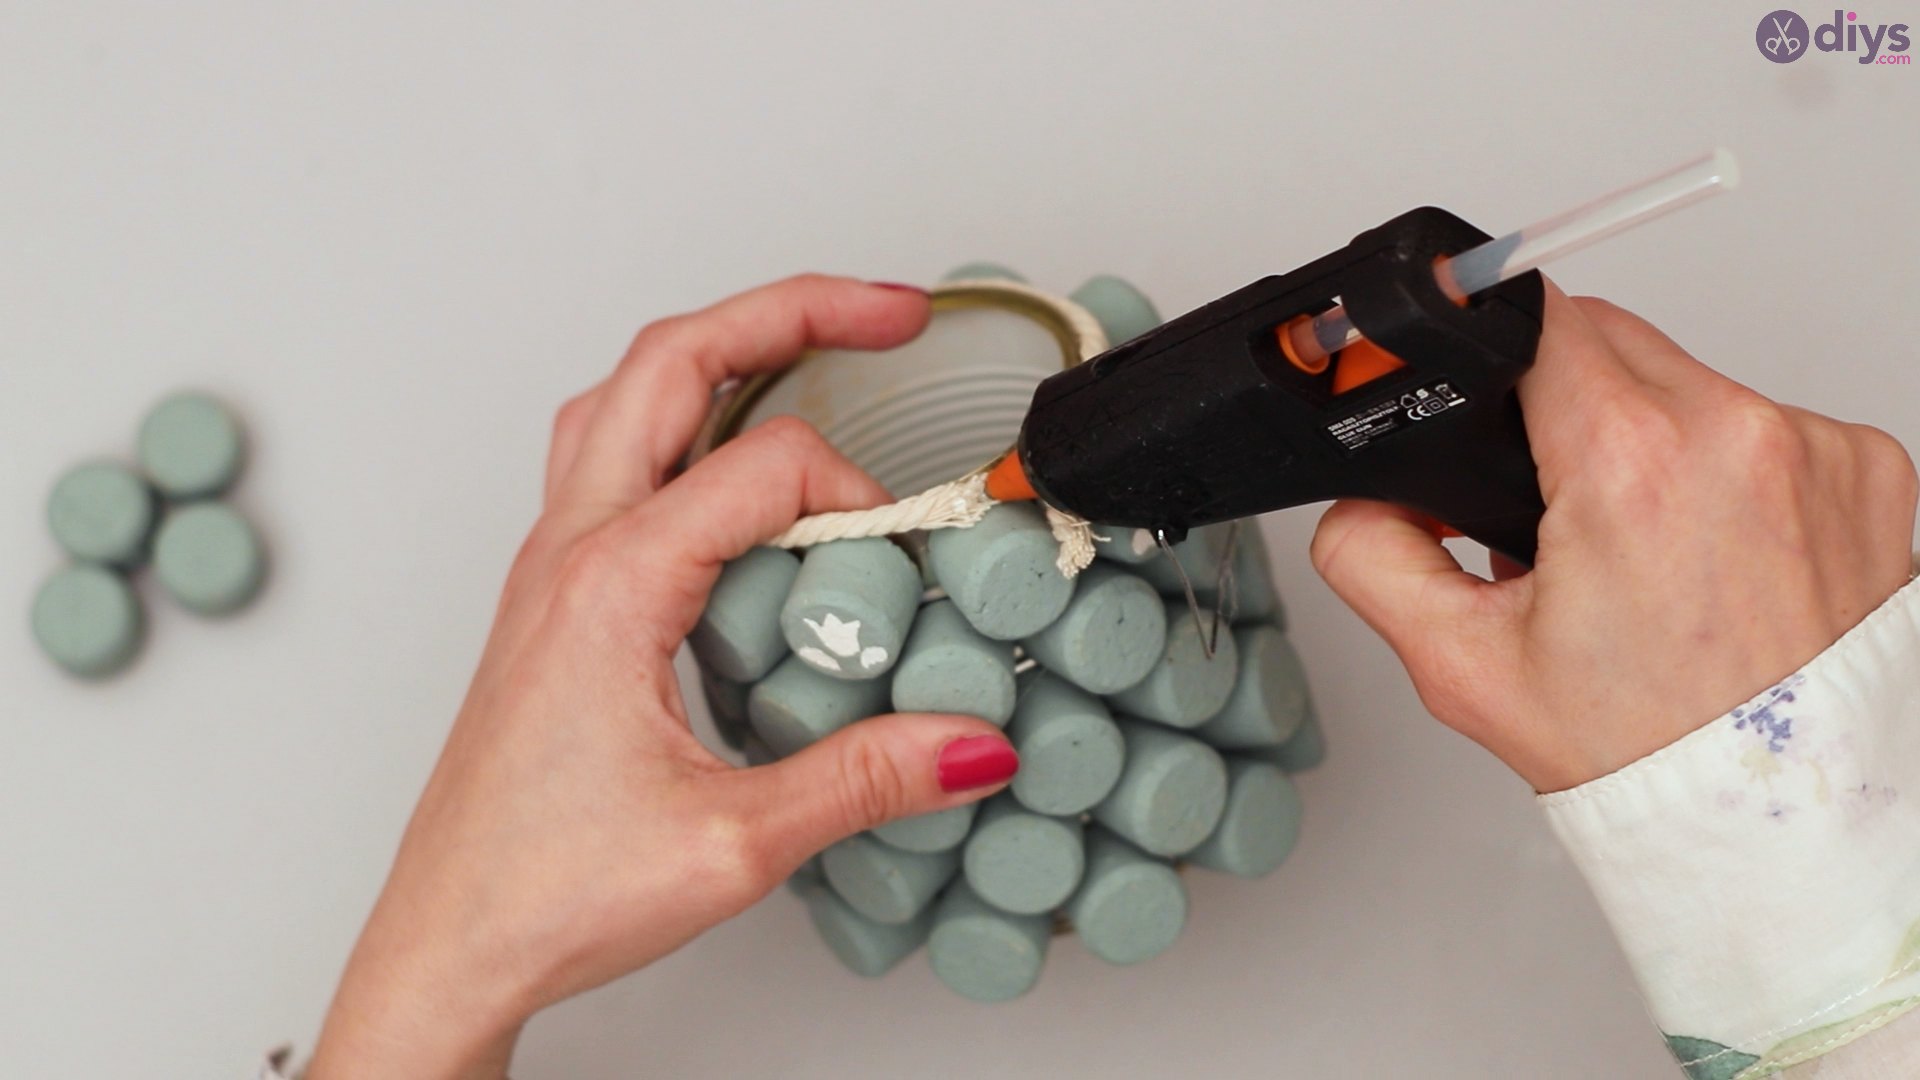
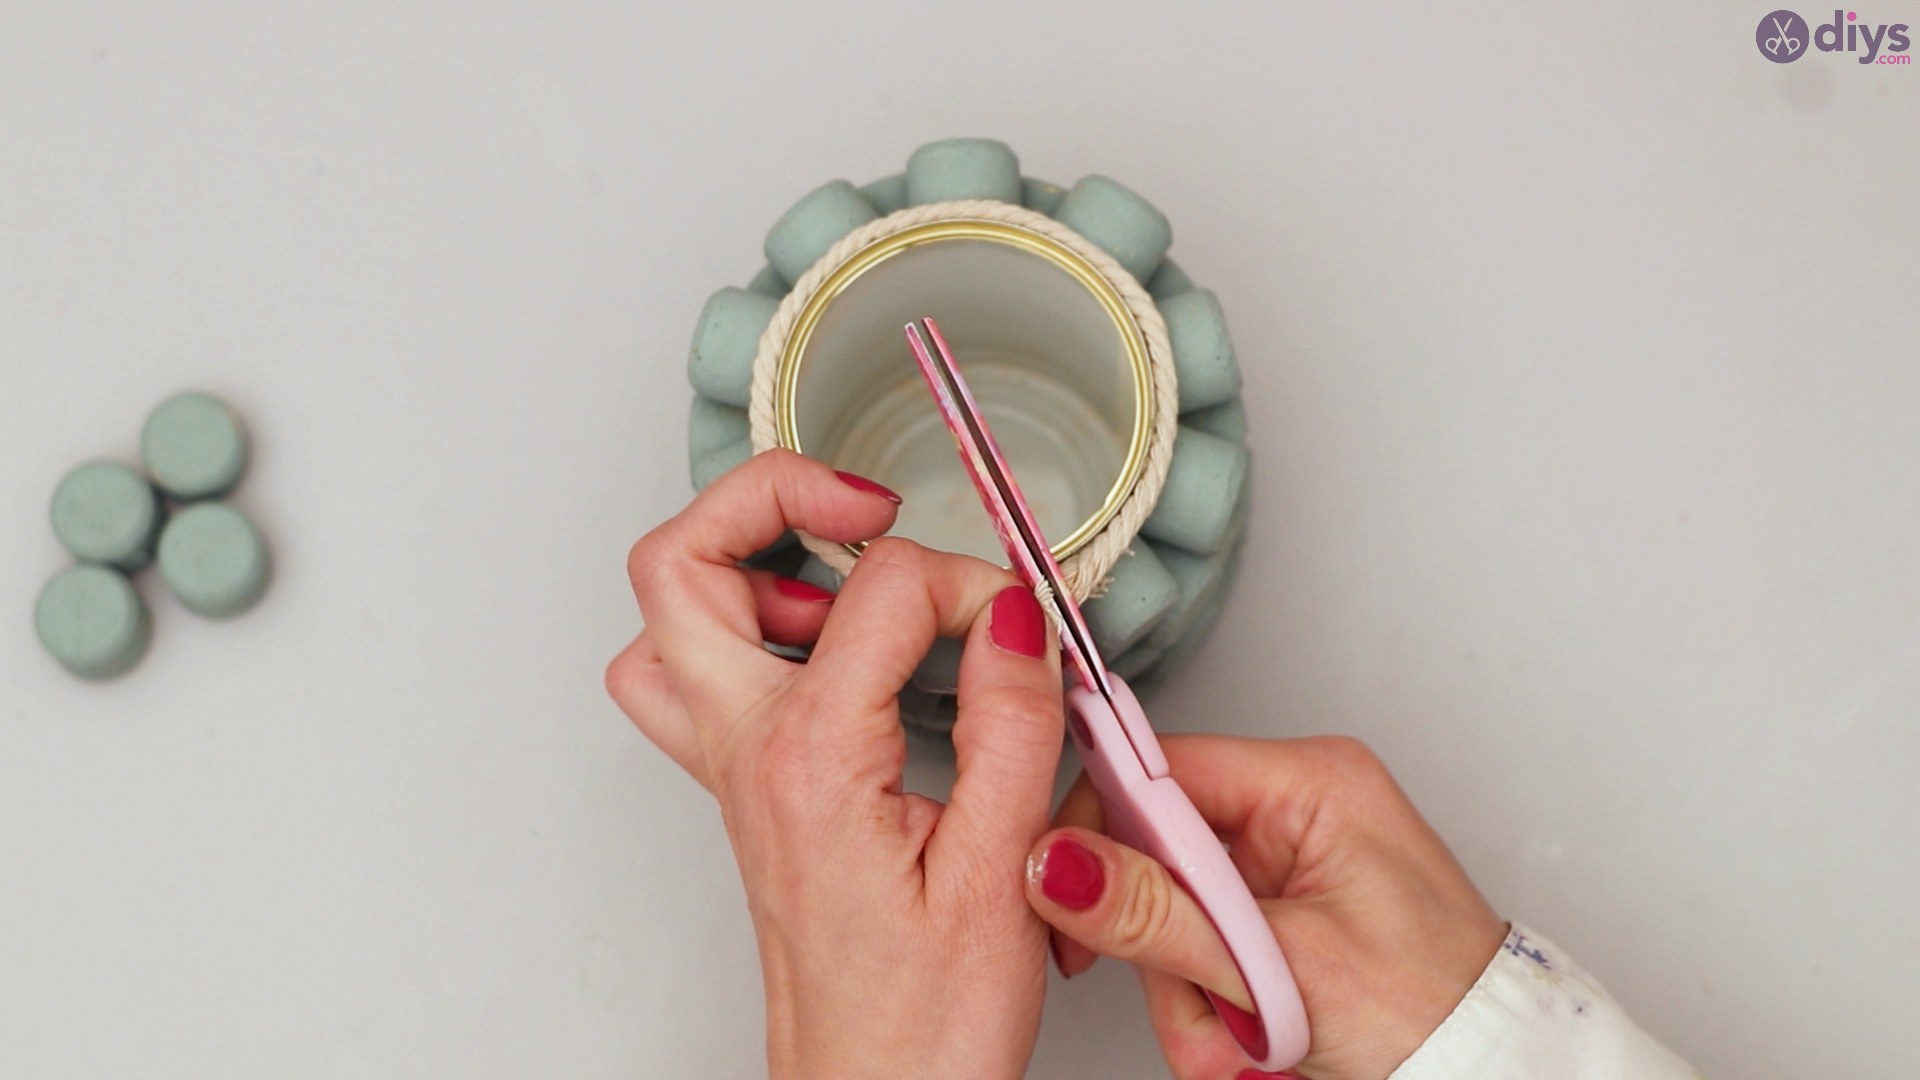
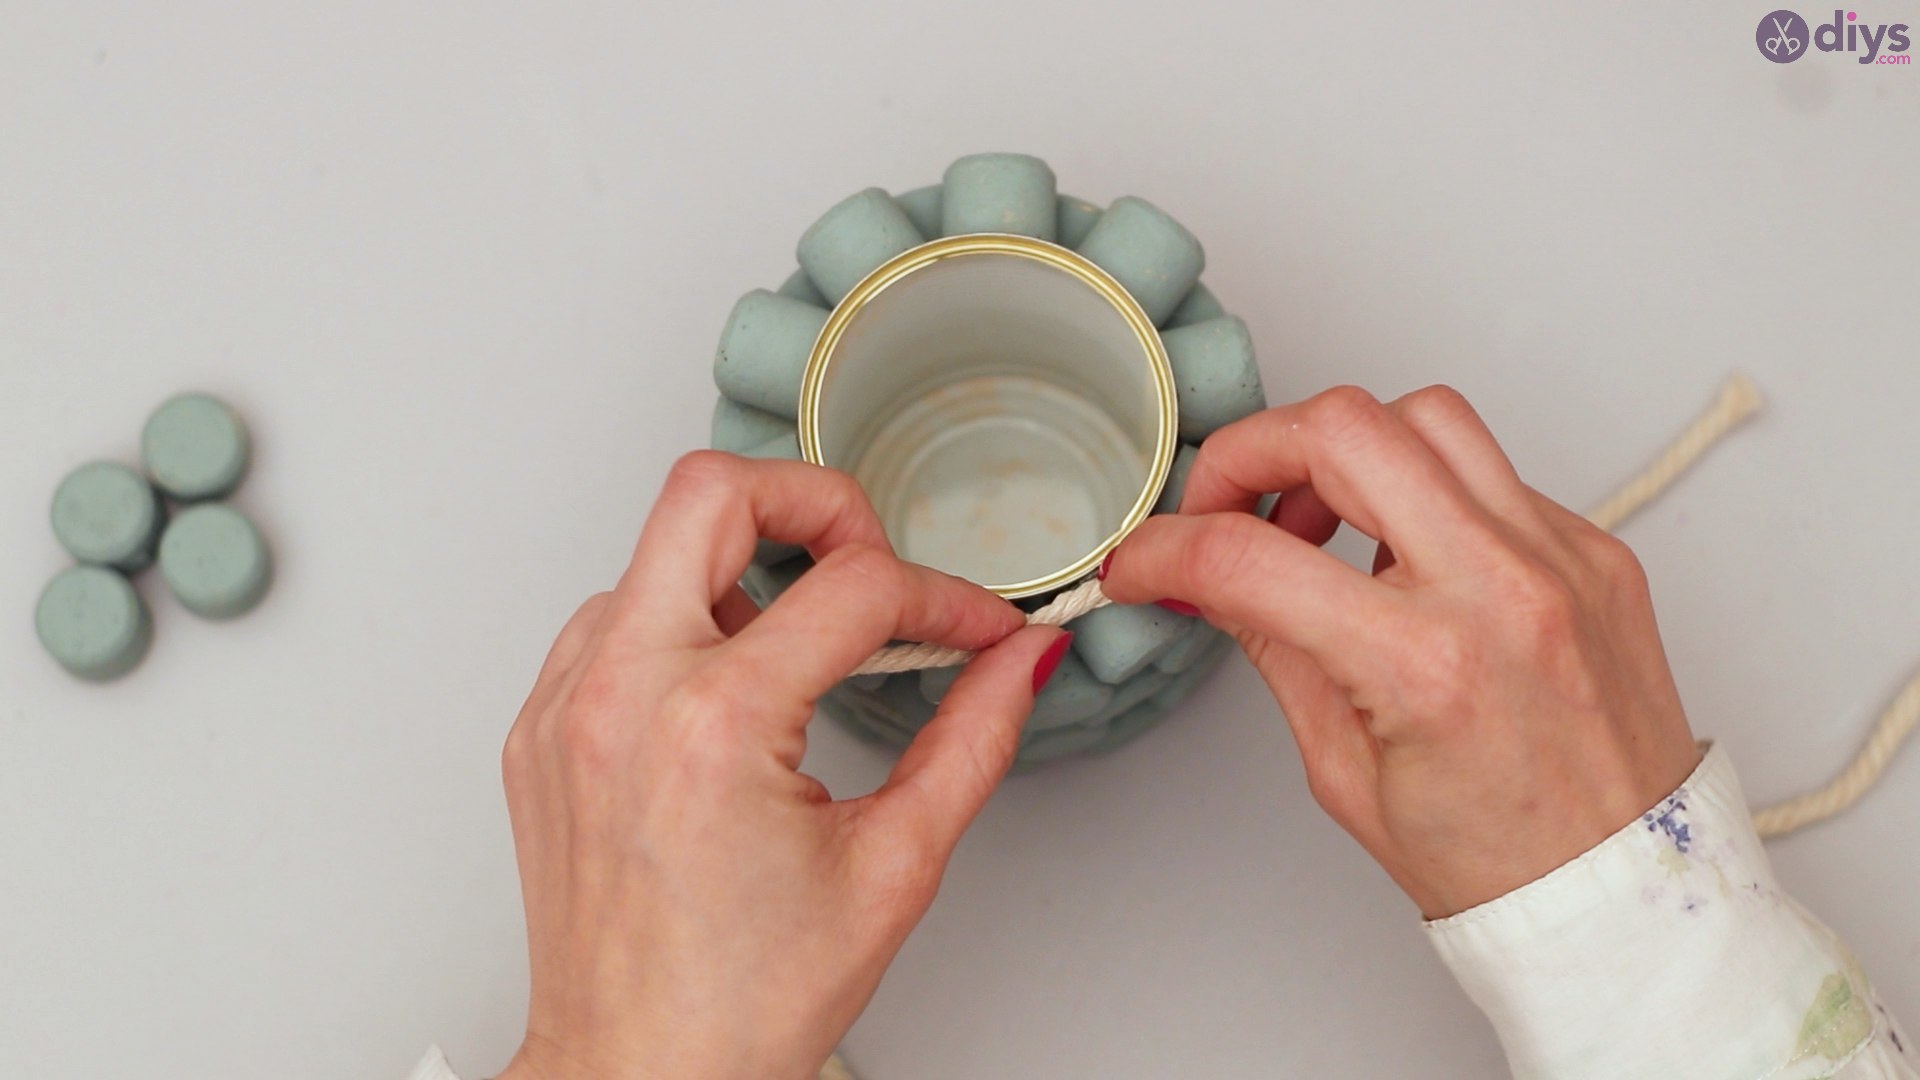
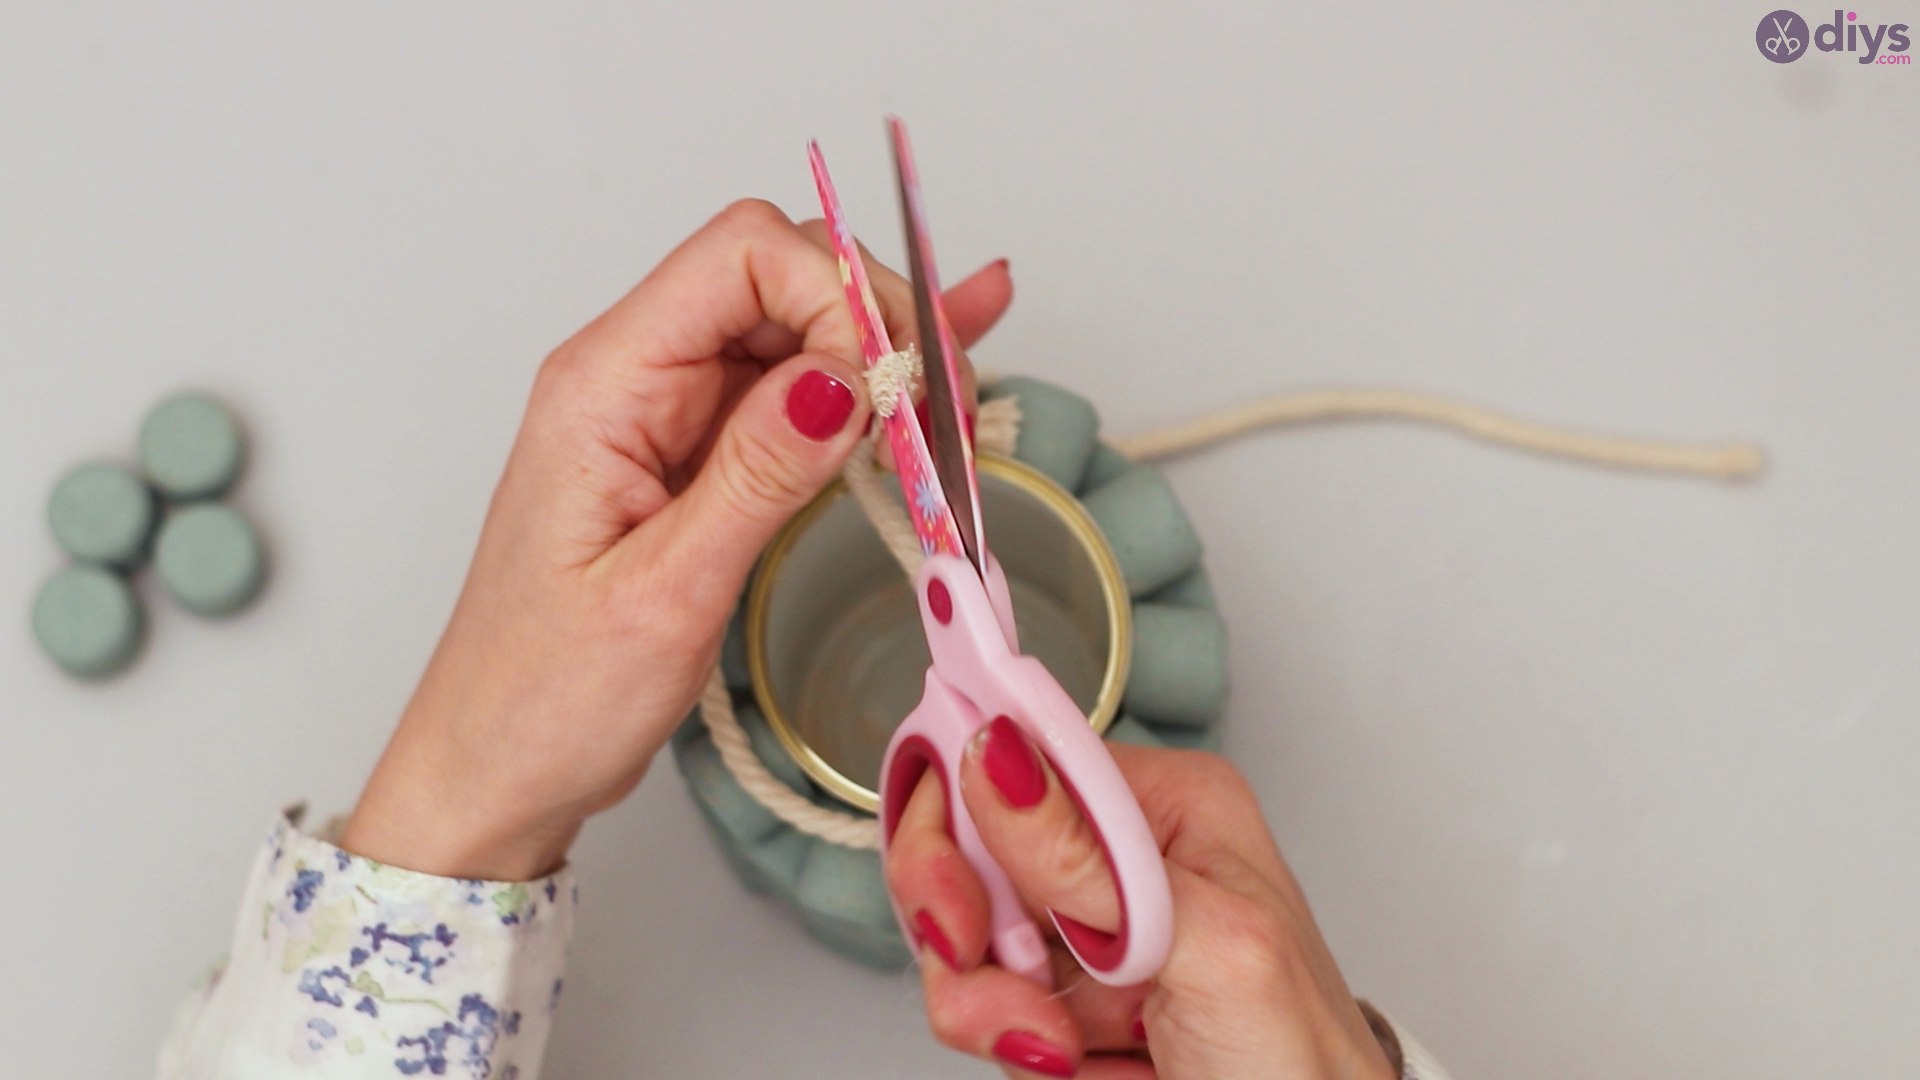
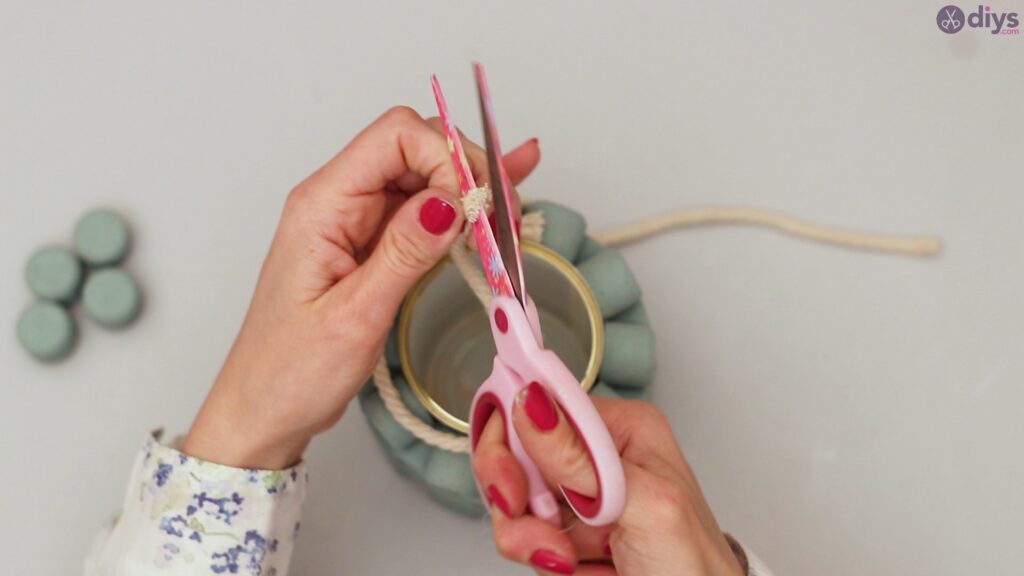
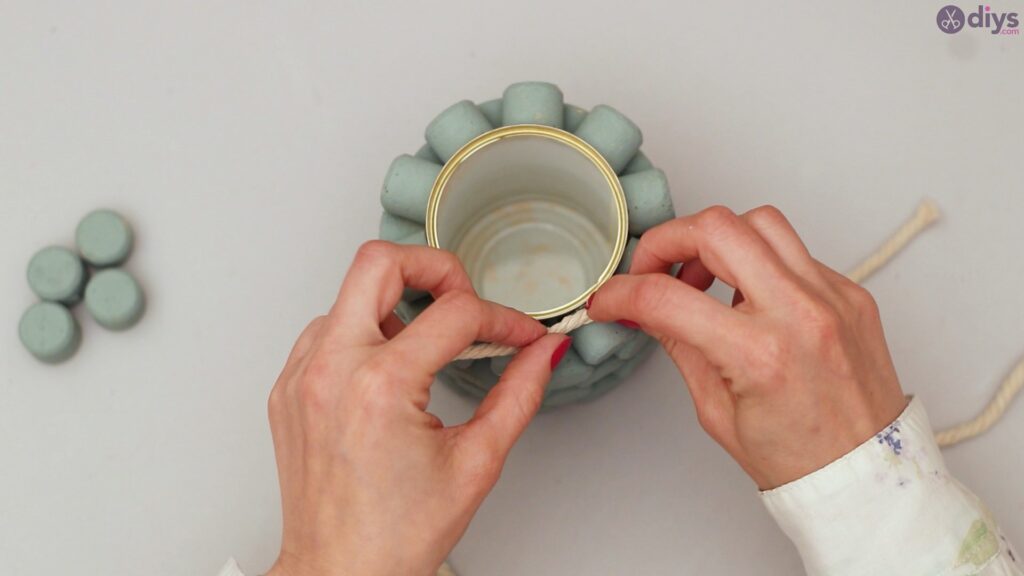
Step 7: Gluing on the Decorative Cord
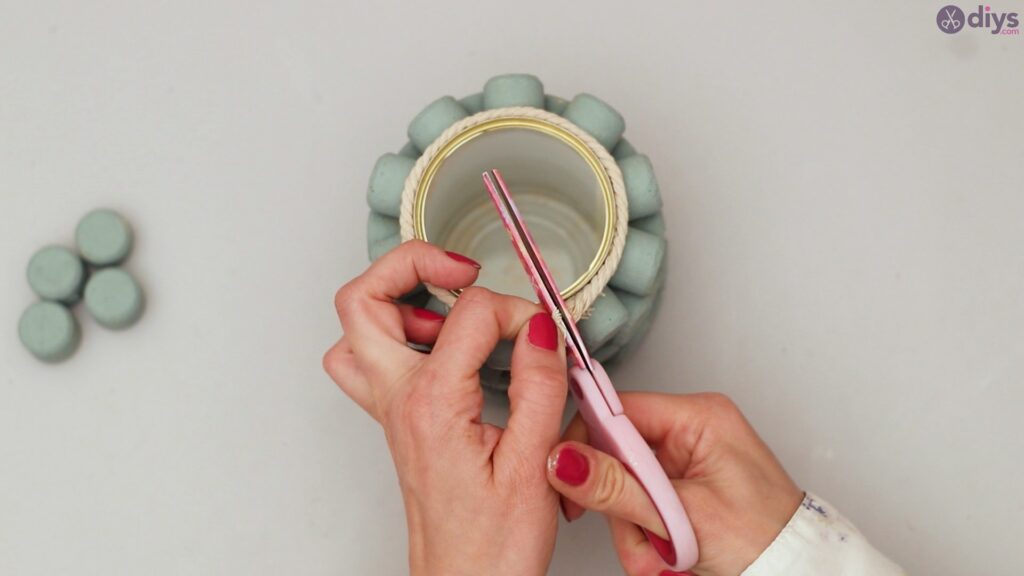
Once all your corks are glued on, you can measure, cut and glue your decorative cord to add some texture to the top of the can. This will bring in an extra level of artistry and help make your whole pencil holder project pop.
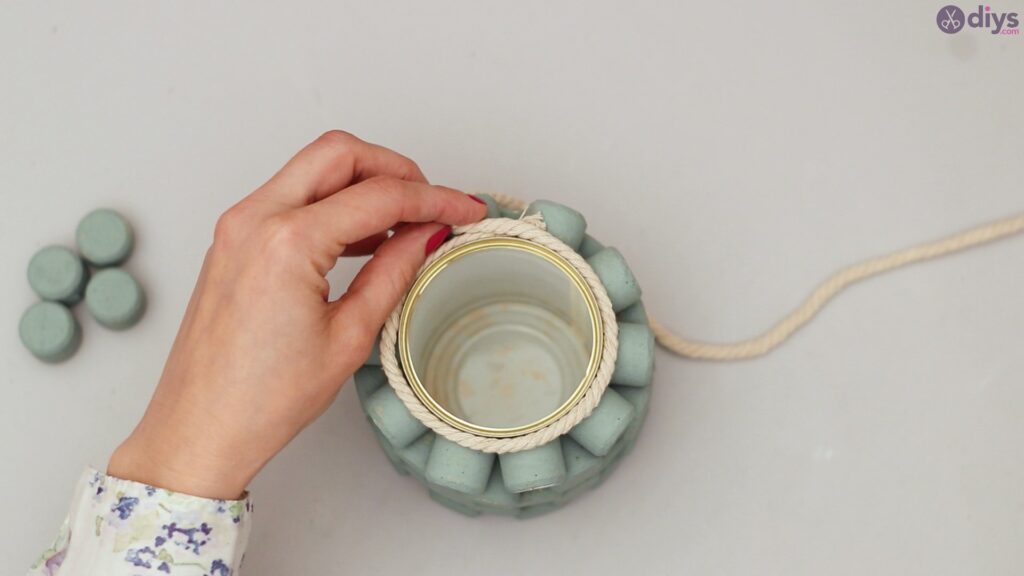
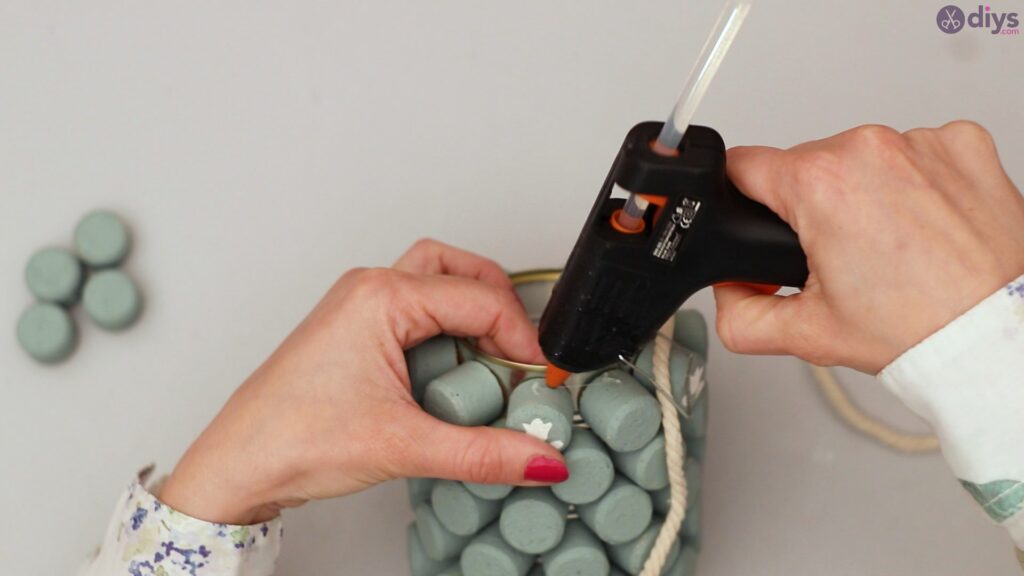
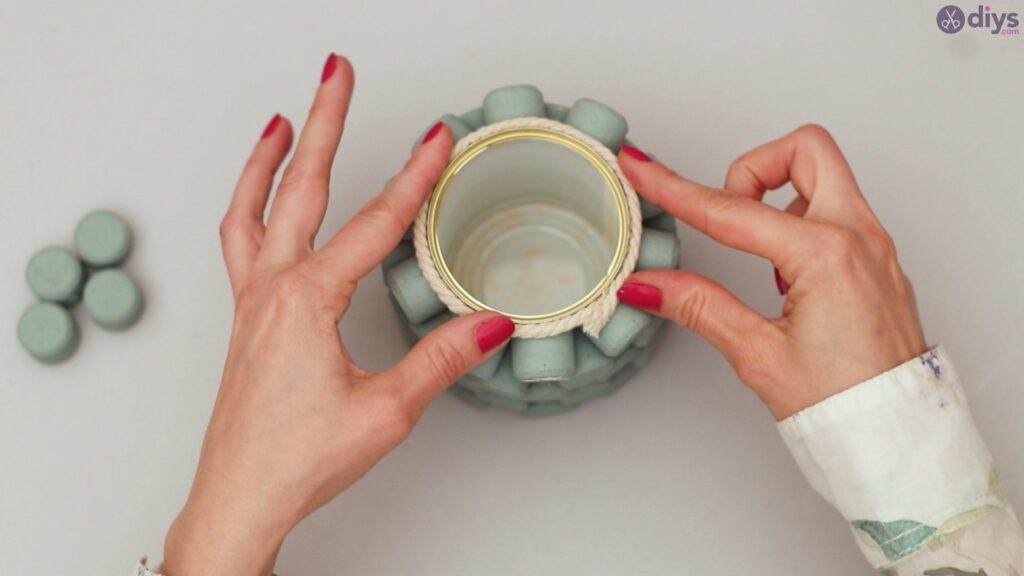
Also using hot glue, glue your perfectly measured cord on to the top of the can so you have an even cord all the way around.


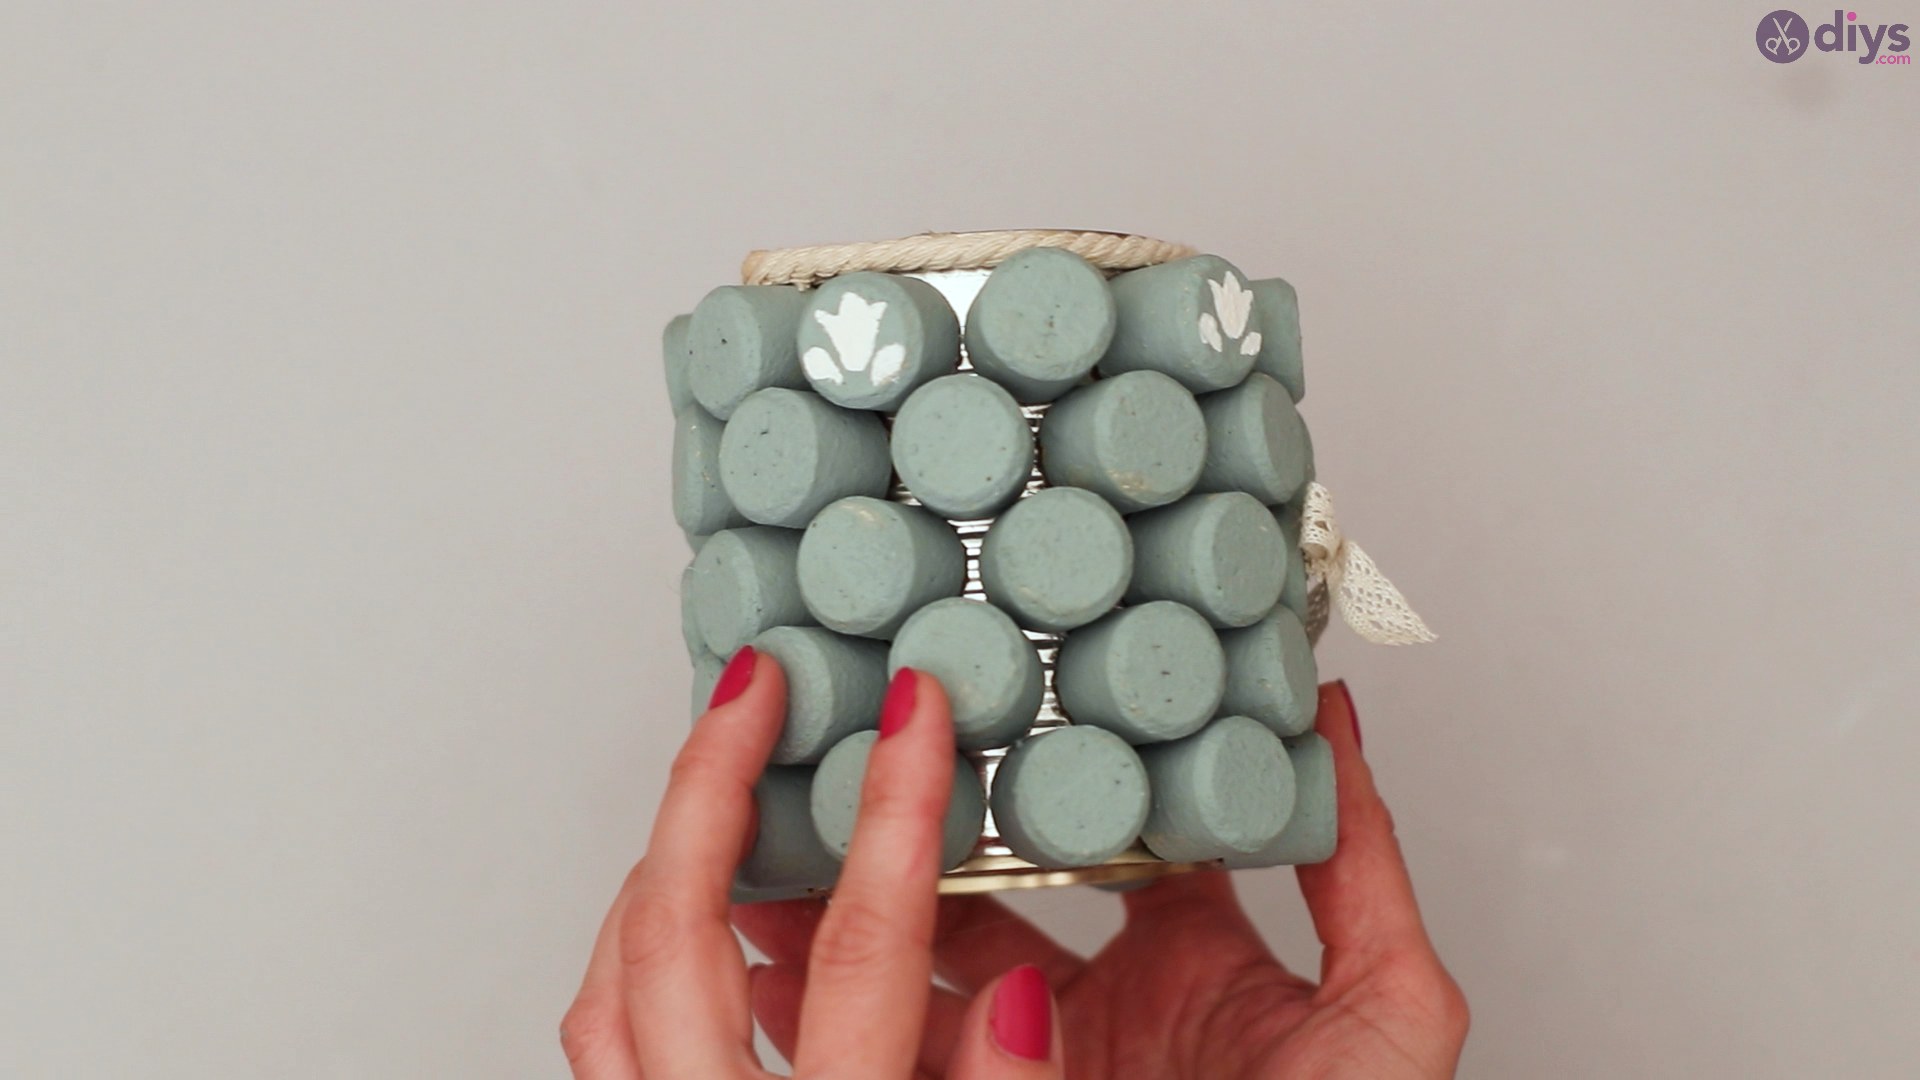
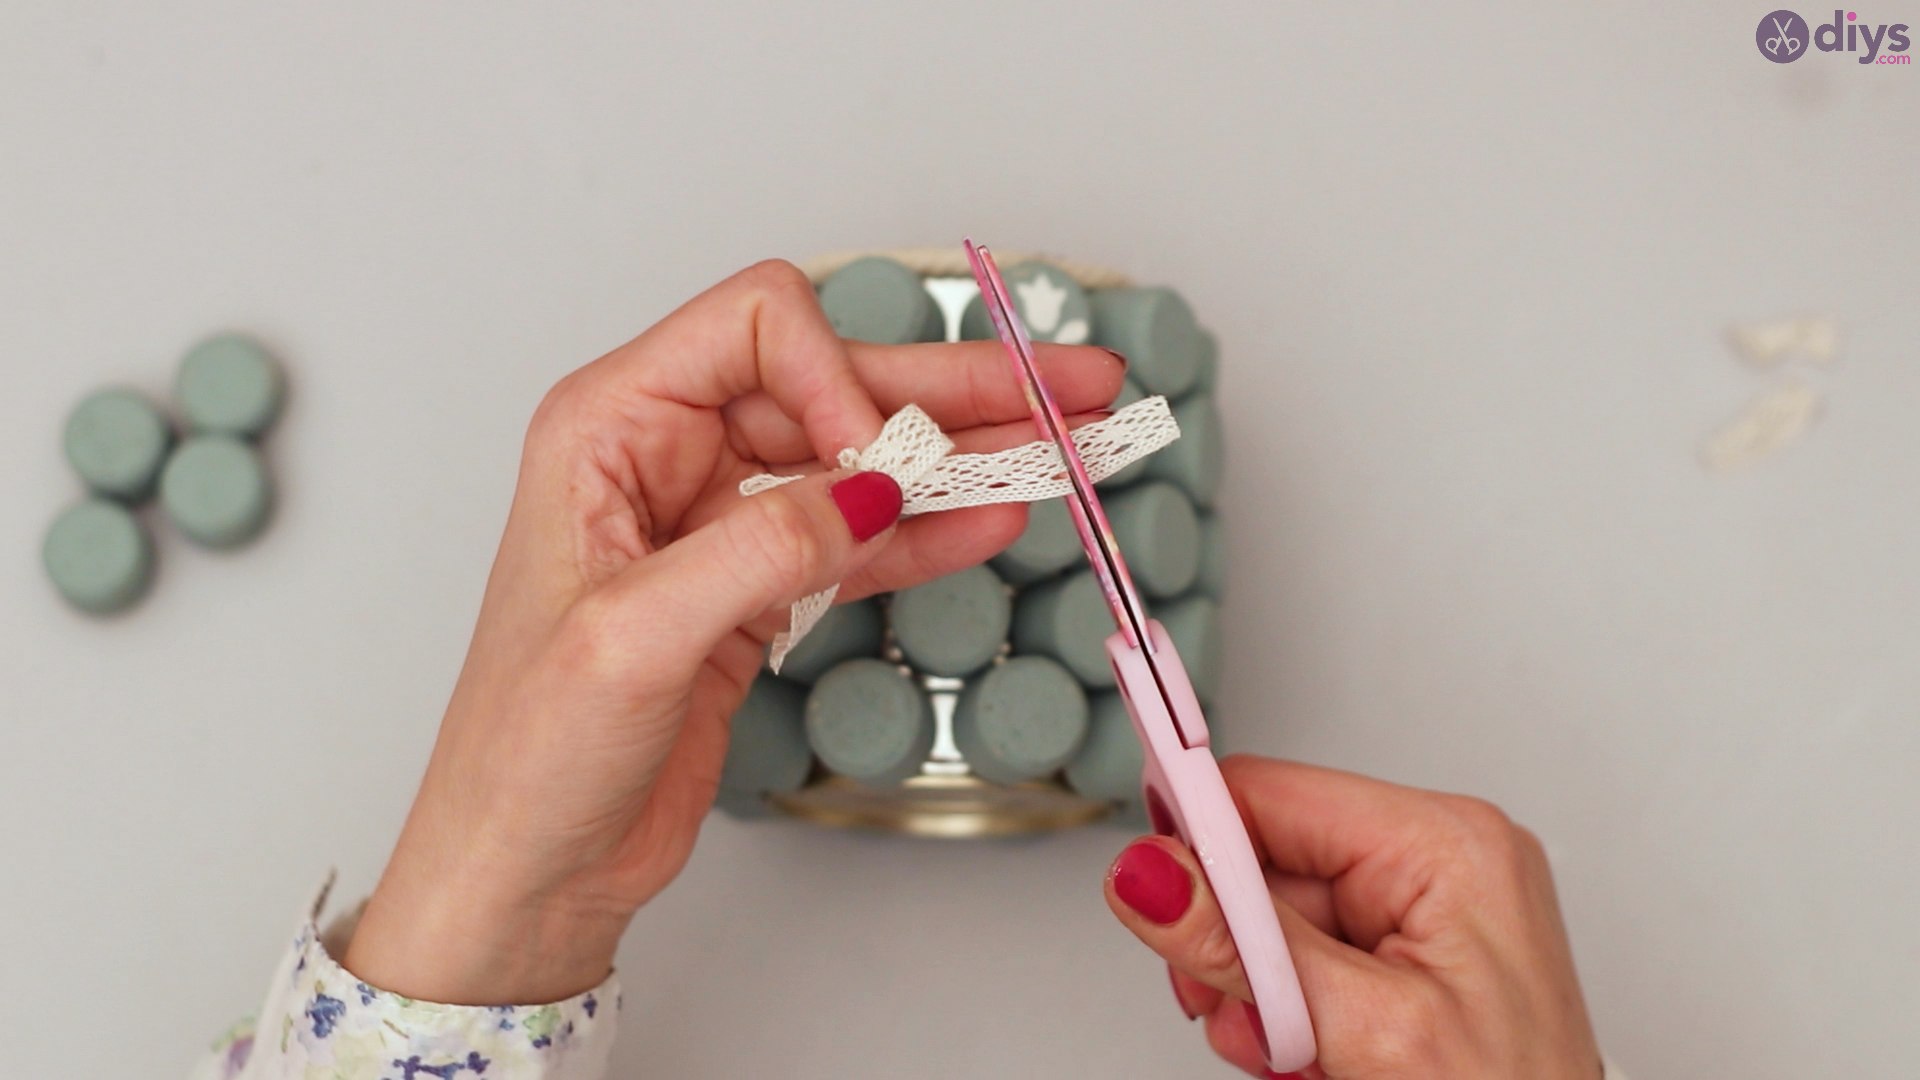
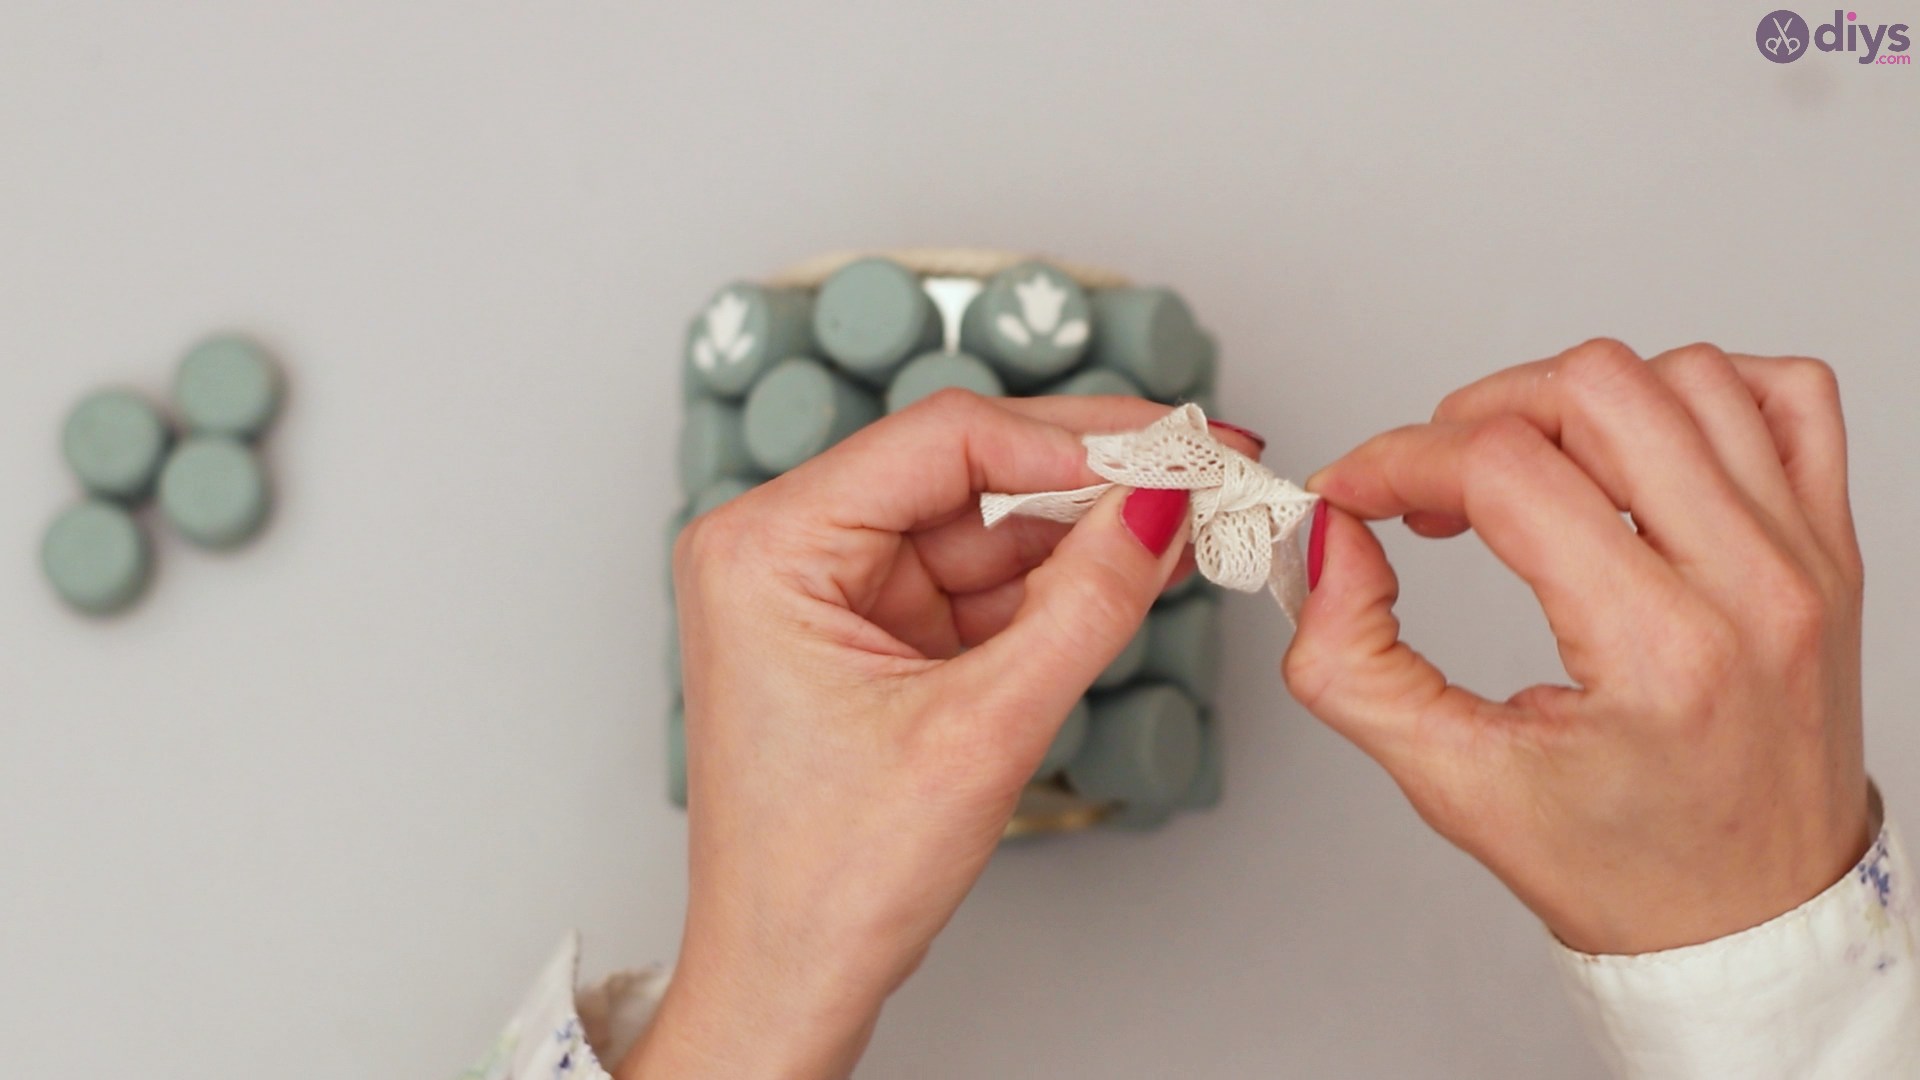
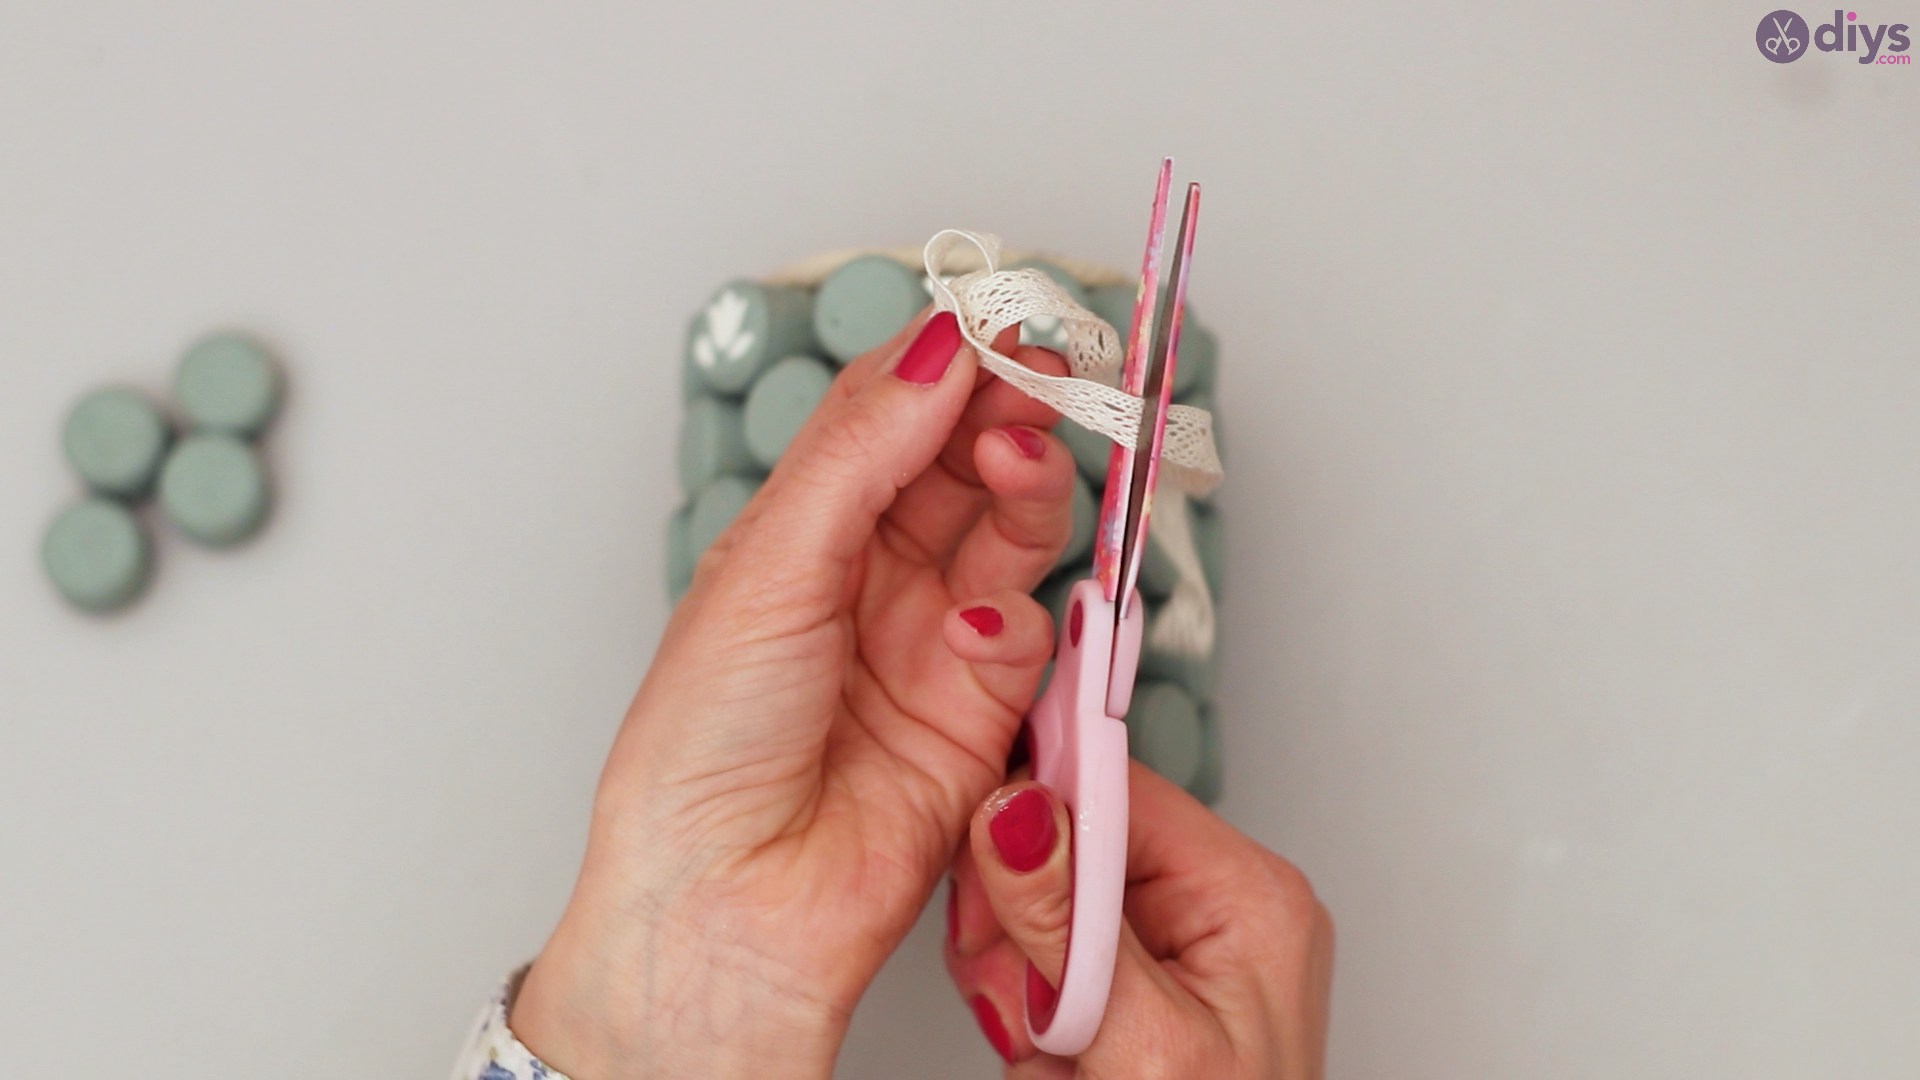
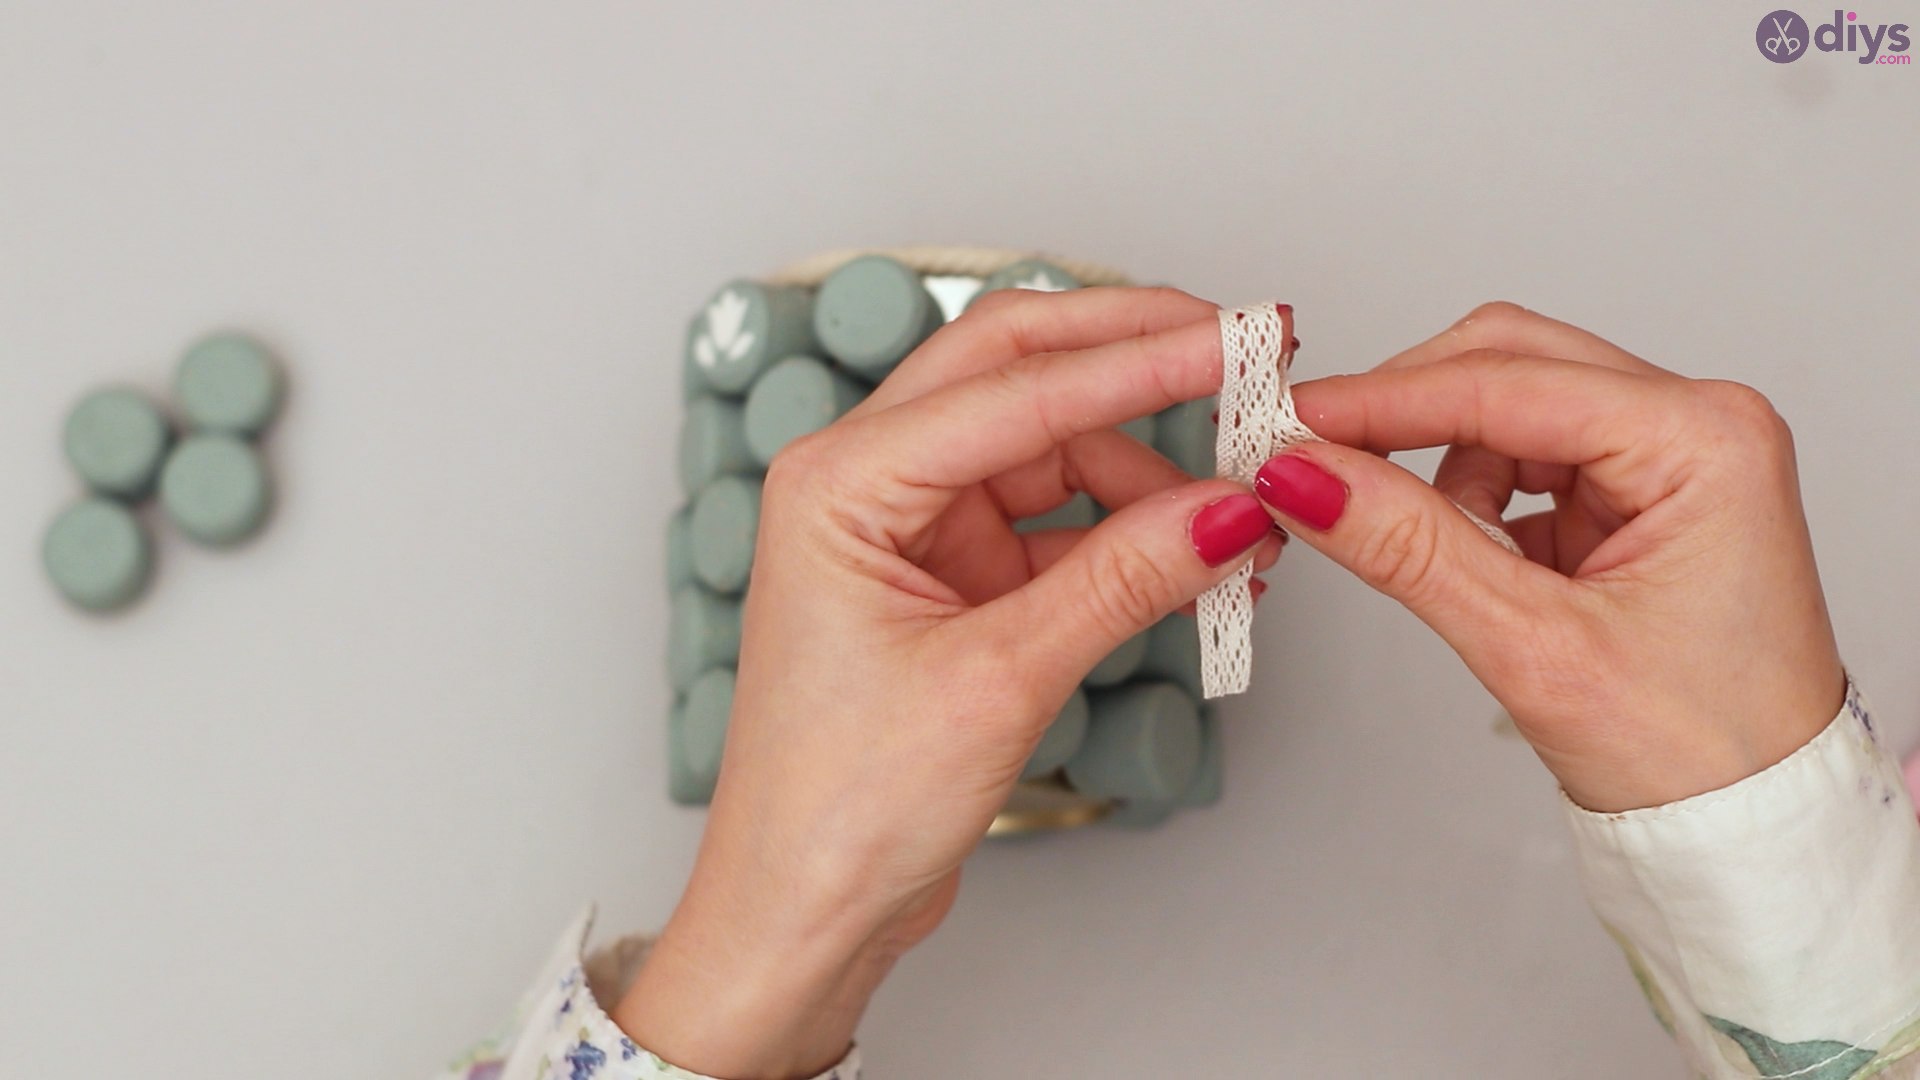
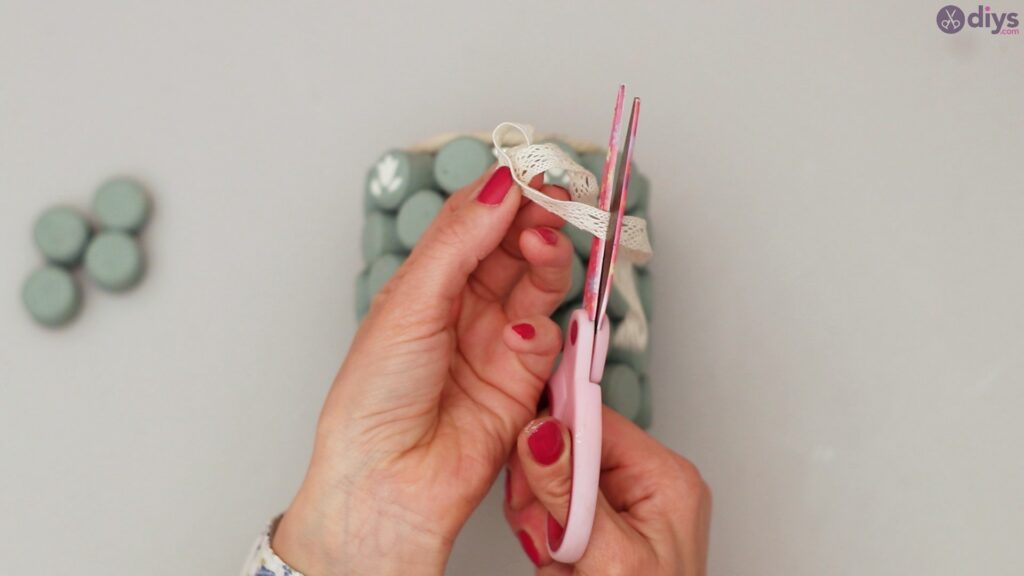
Step 8: Adding the Decorative Ribbon
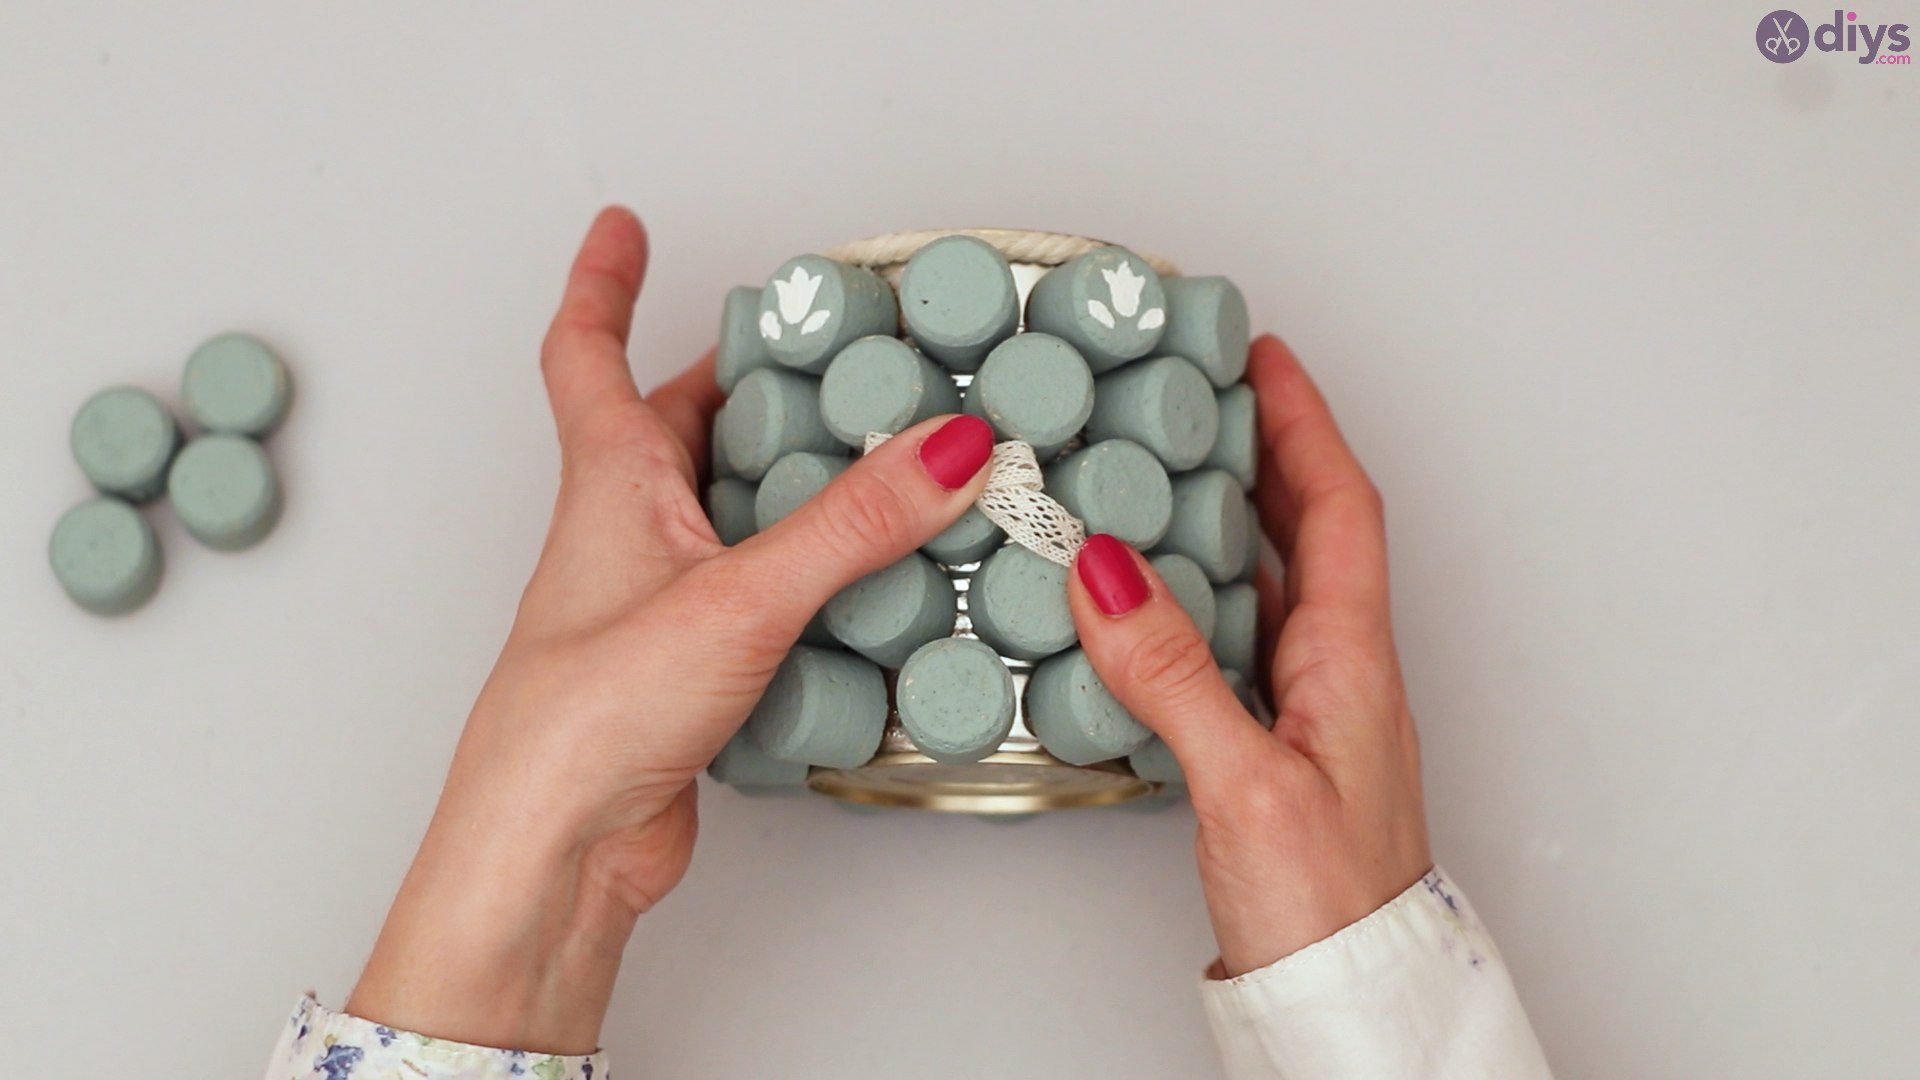
After your cord is glued on, you can add your decorative ribbon to add even more embellishments.
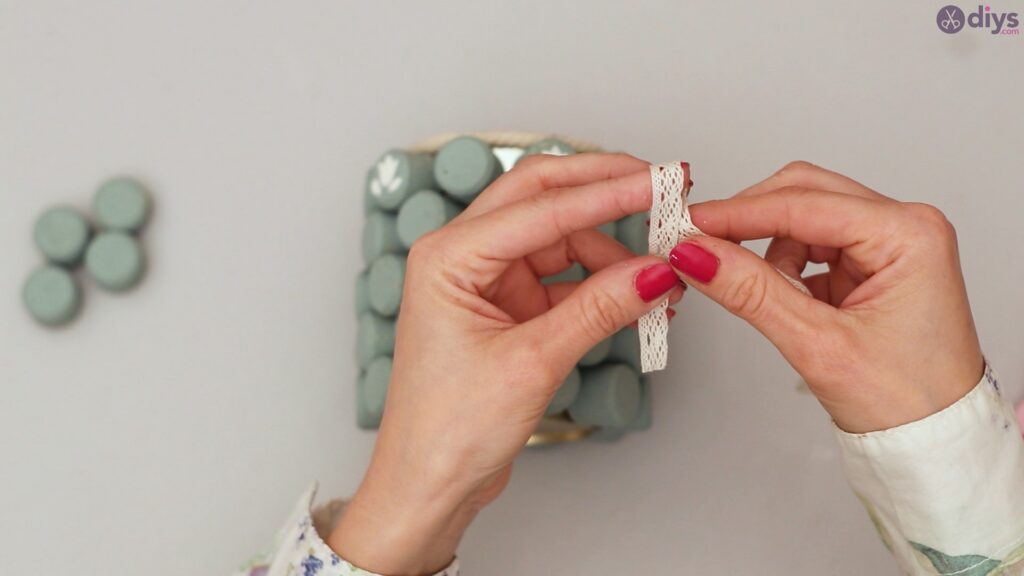
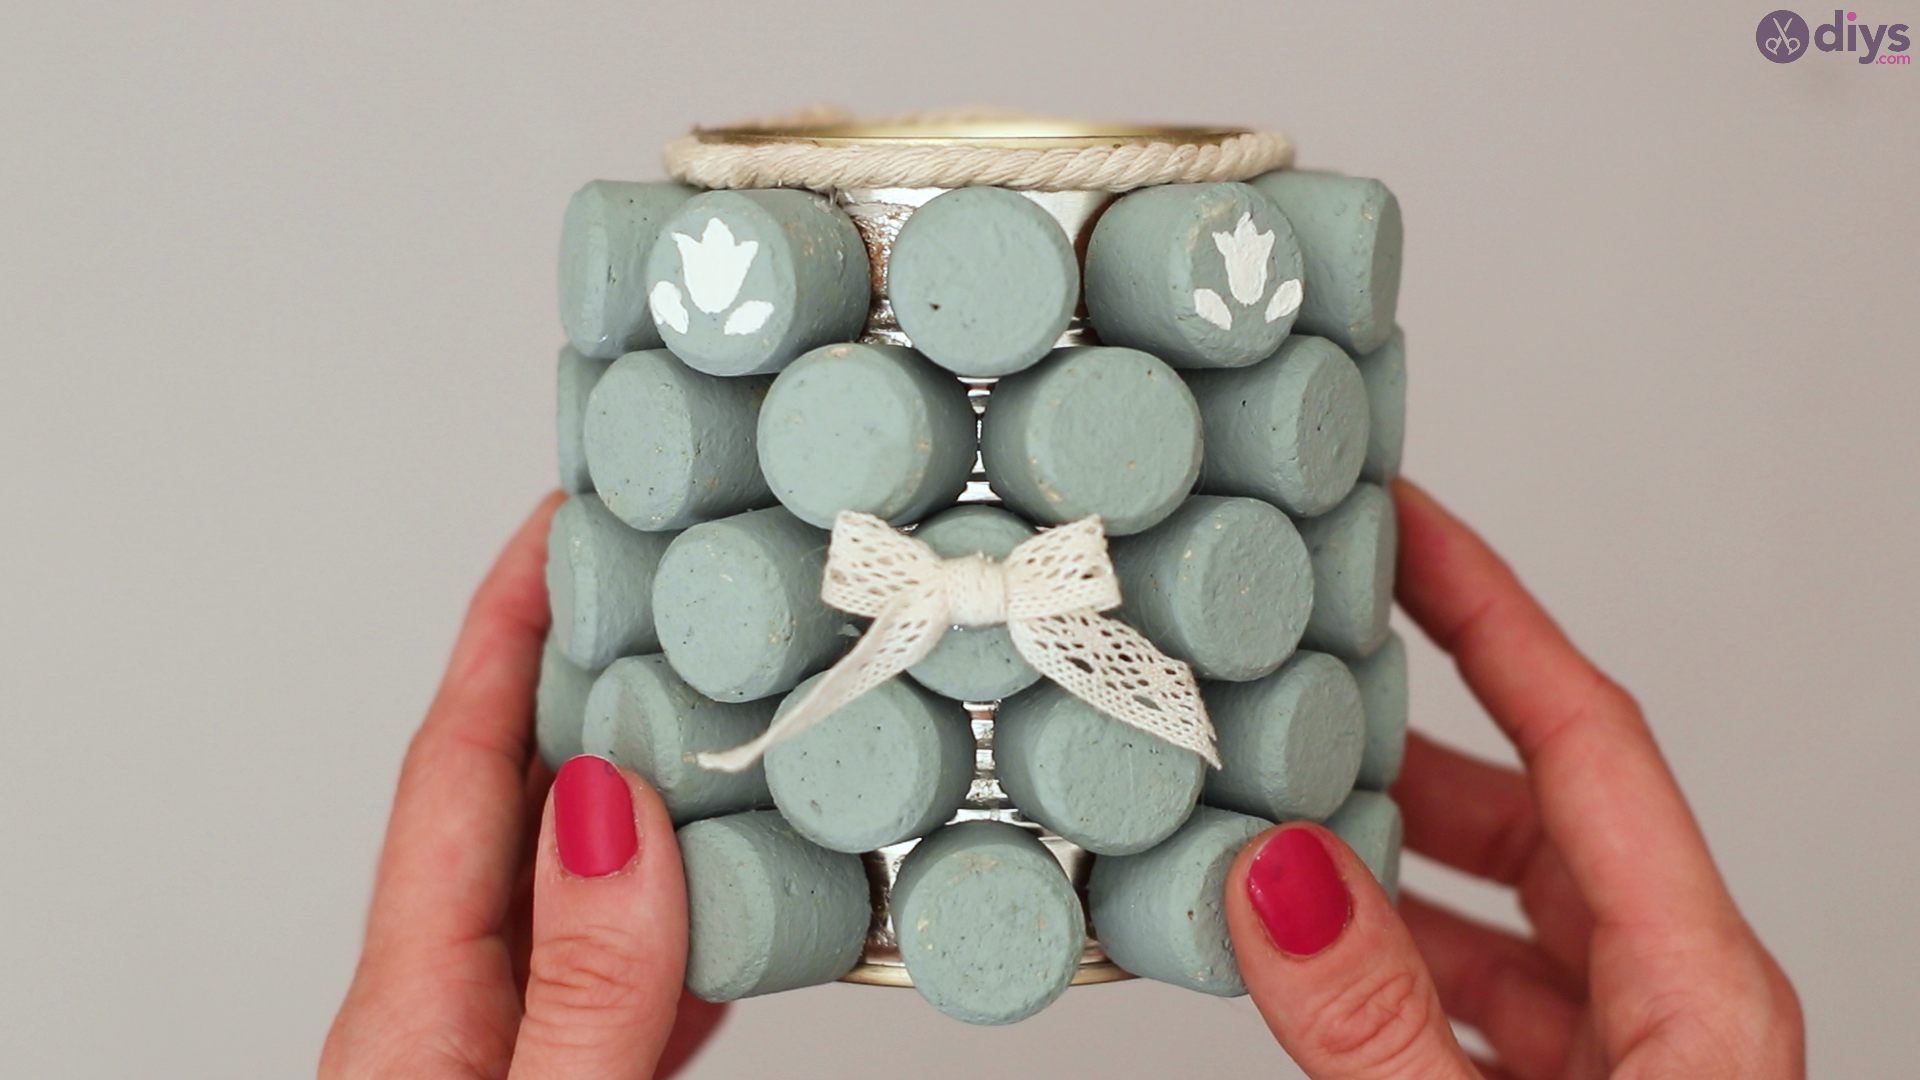
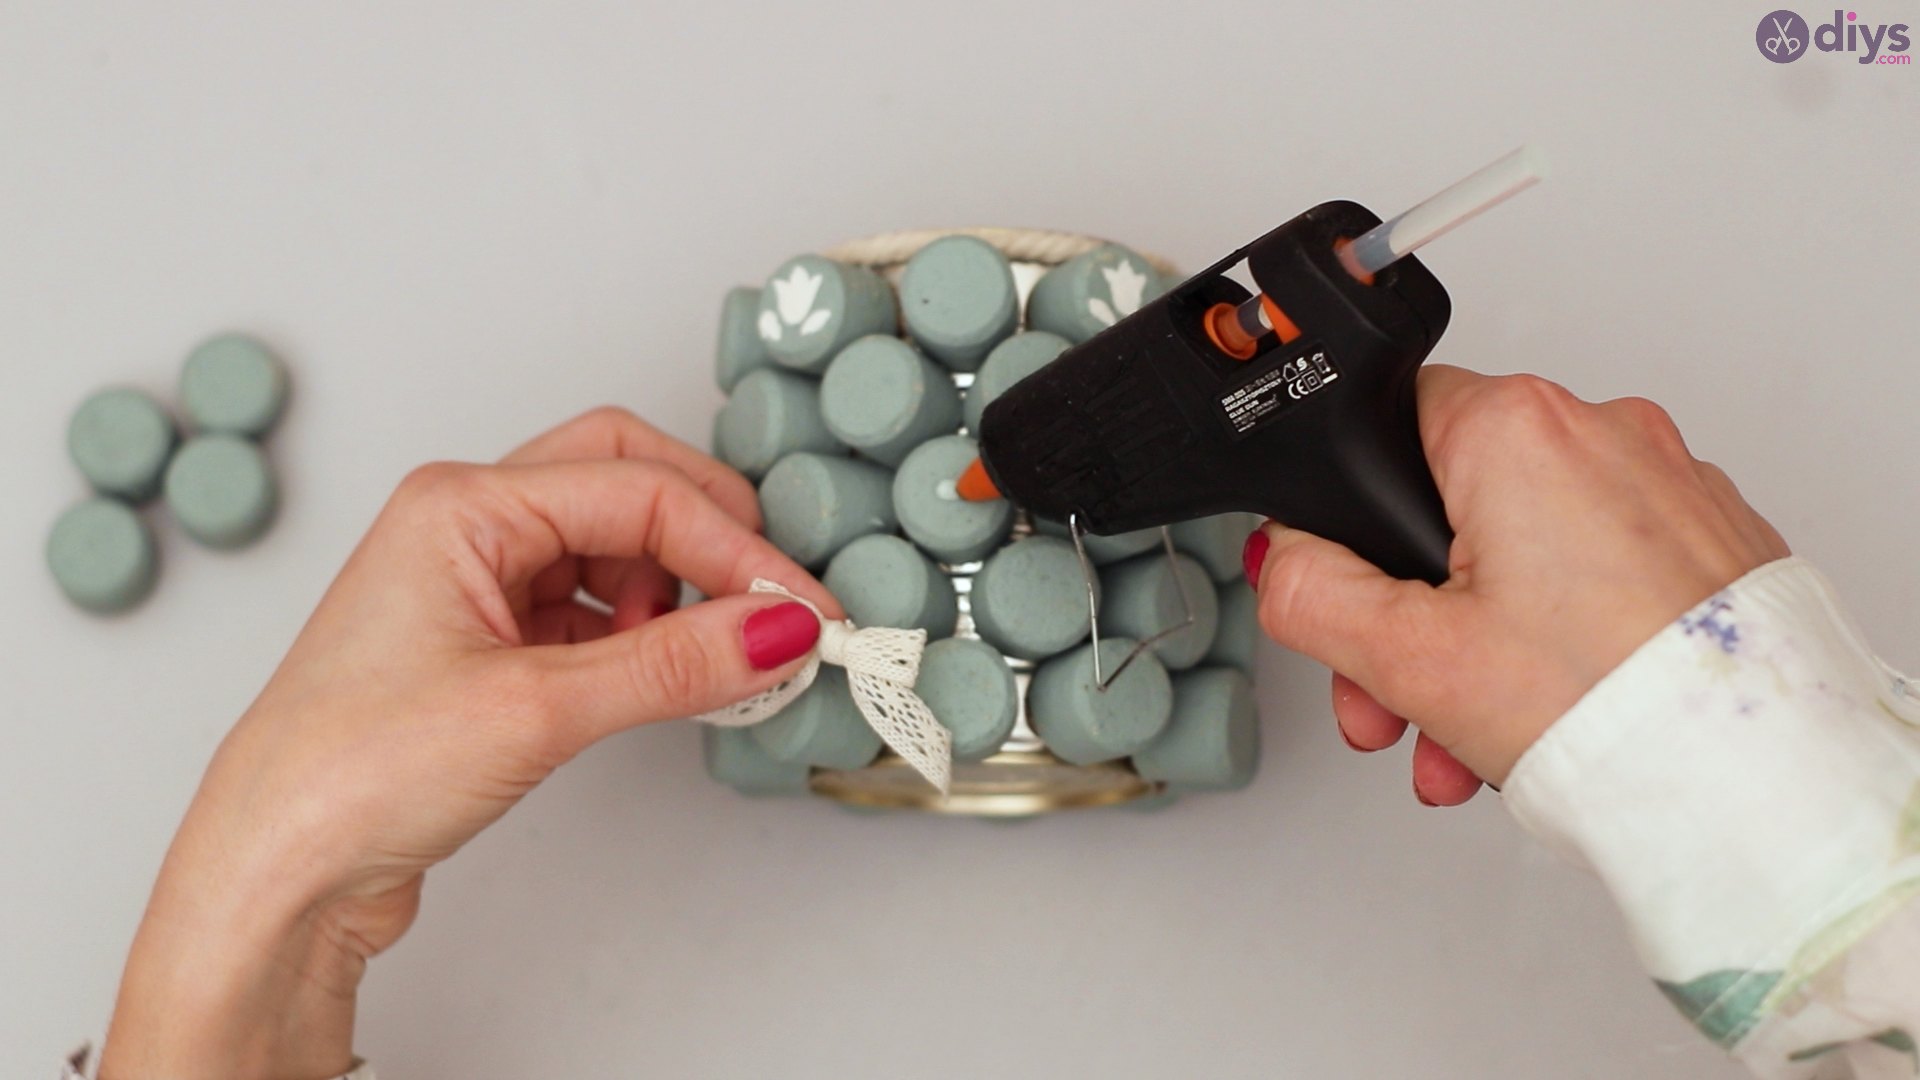
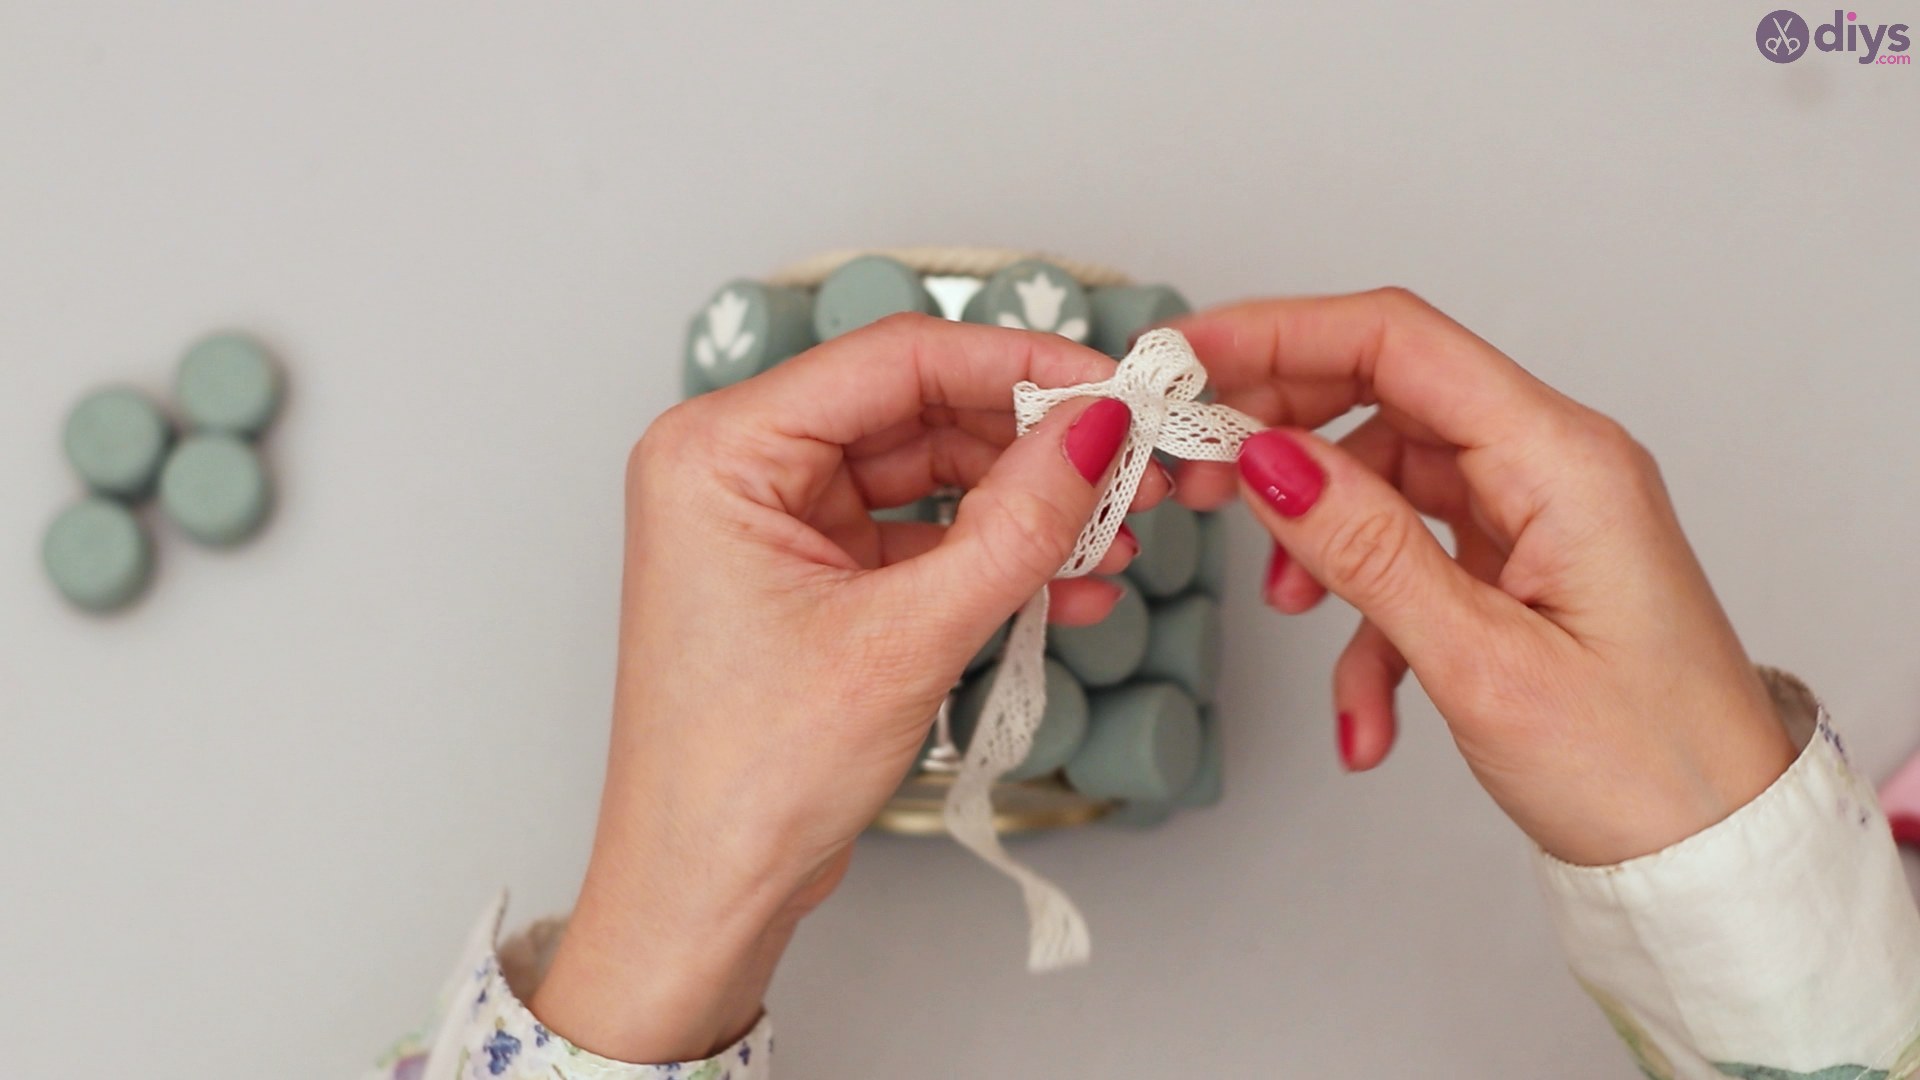
All you really need to do here is tie a delicate small bow, find the center of your cork pencil holder can, and glue it firmly on with a little dab of hot glue.


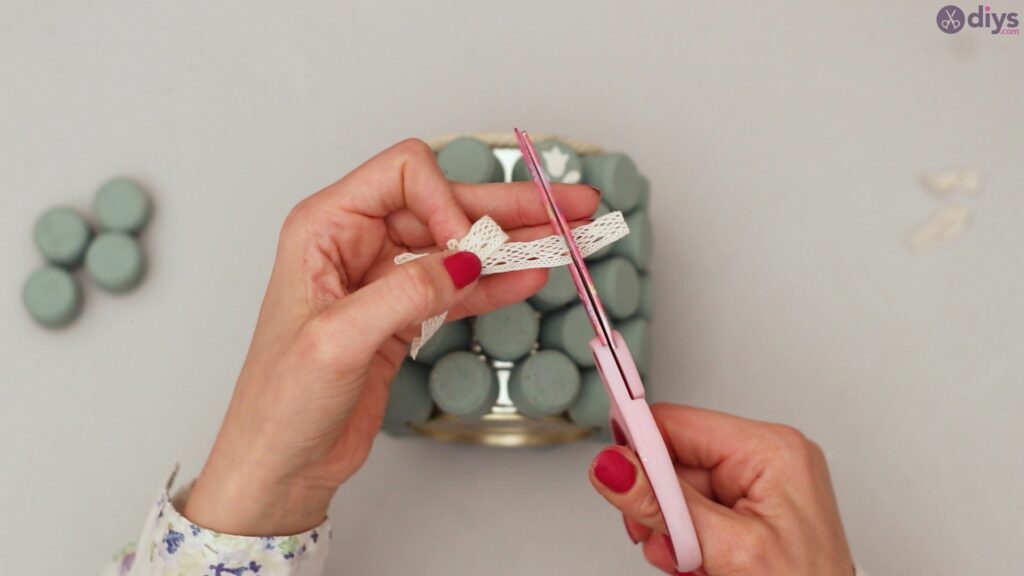
When gluing on your bow, make sure to use a small dab of hot glue to prevent any excess glue from getting onto your painted cork.

Press the small bow firmly in place, but also be careful to not burn your fingers in the process. They don’t call it hot glue for nothing!
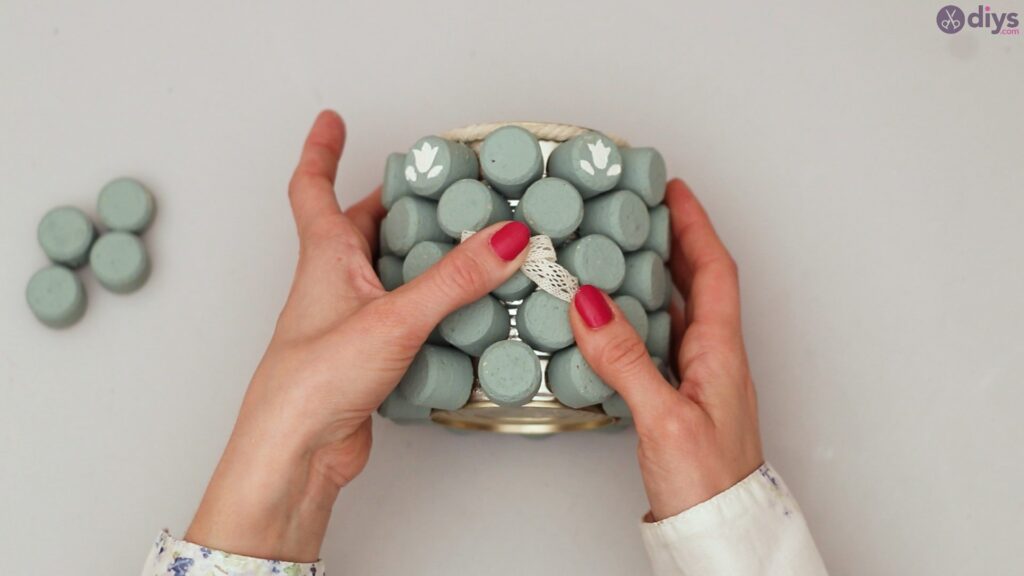
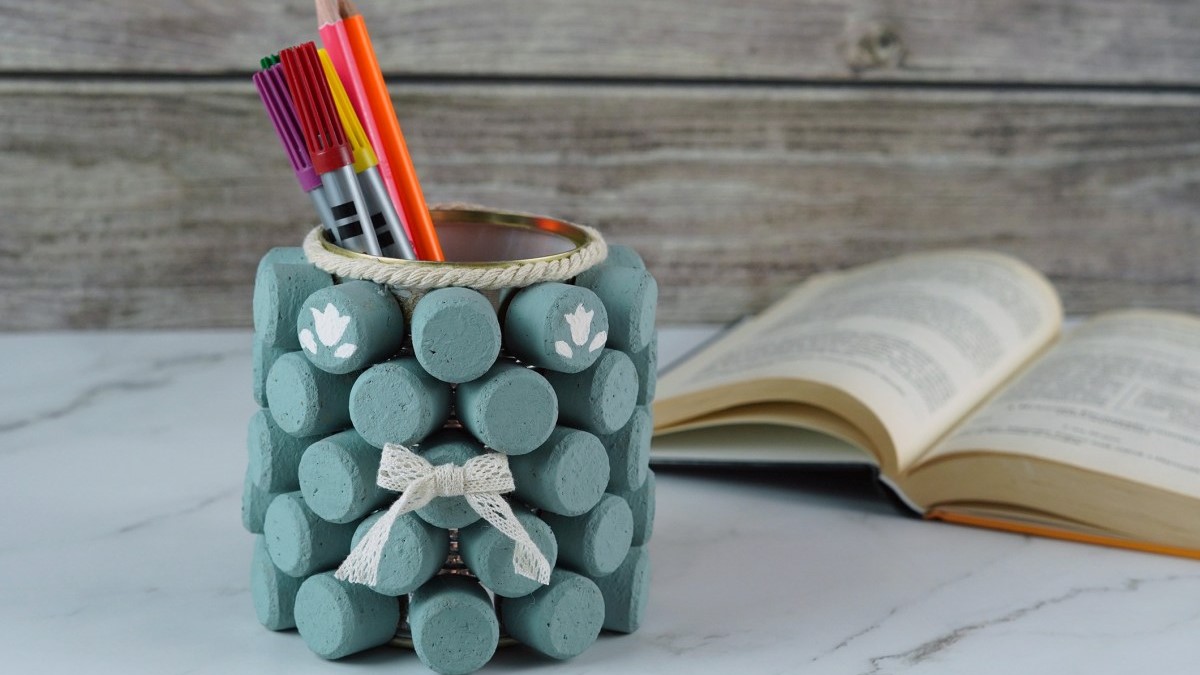
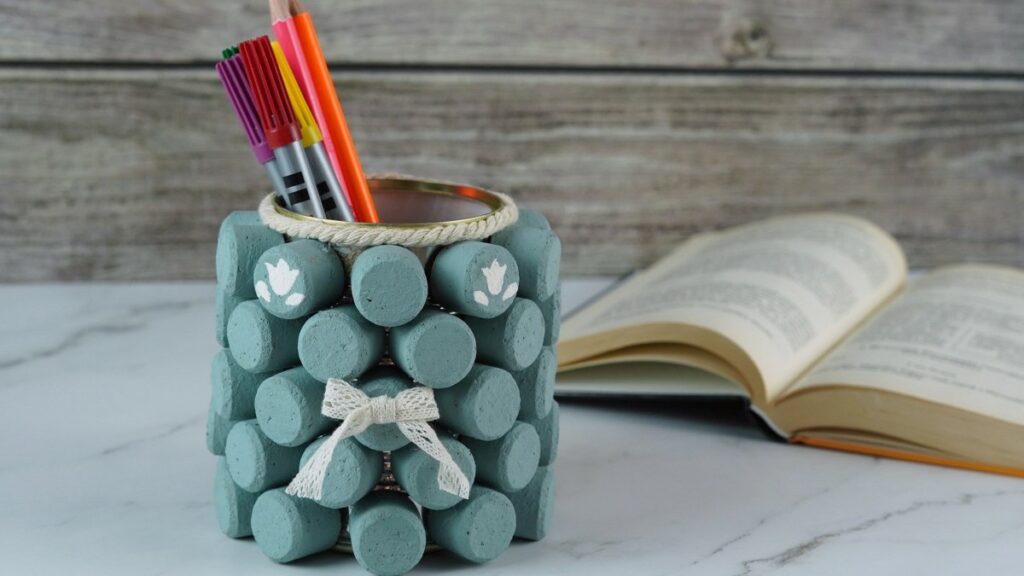
Your final product should look exactly like this.

And you’re done! See how easy and fun that was? You can easily give this wine cork pencil holder as a gift to pretty much anyone on your list since it’s always nifty to have extra storage areas around the house. This wine cork pencil holder can hold so much more than just pencils, after all. Anyone can use this for small tools, paintbrushes, office supplies, etc. It’s a very cute and easy gift to give to someone, or you can just keep it for yourself since it’s easy to make and adorable to look at. Either way, this pencil holder is special because it is made from the heart and took time to get done.