DIY Toilet Paper Roll Wall Decor
Updated on November 19, 2025


Sometimes, the most brilliant craft ideas come from the most unlikely places. In fact, a number of ingenious designs have been born from trash. Often, we look at trash pileup and wasted products, and the designer inside us wonders why there’s so much waste and what we could do with it. That’s how the idea of toilet paper roll wall décor was born, at least in my case. In the bathroom, you and your family likely go through a fair amount of toilet paper, and often, you find empty rolls or look in the trash can and see piles of empty rolls.
Why not make a cute wall art project out of it with a few simple supplies you probably already have lying around? It accomplishes multiple goals – clearing out the trash, putting something wasted to good use, creating something pretty on a budget, and giving yourself a fun project to do. Take a look at how simple it really is. And take note – this works just as well with paper towel tubes!
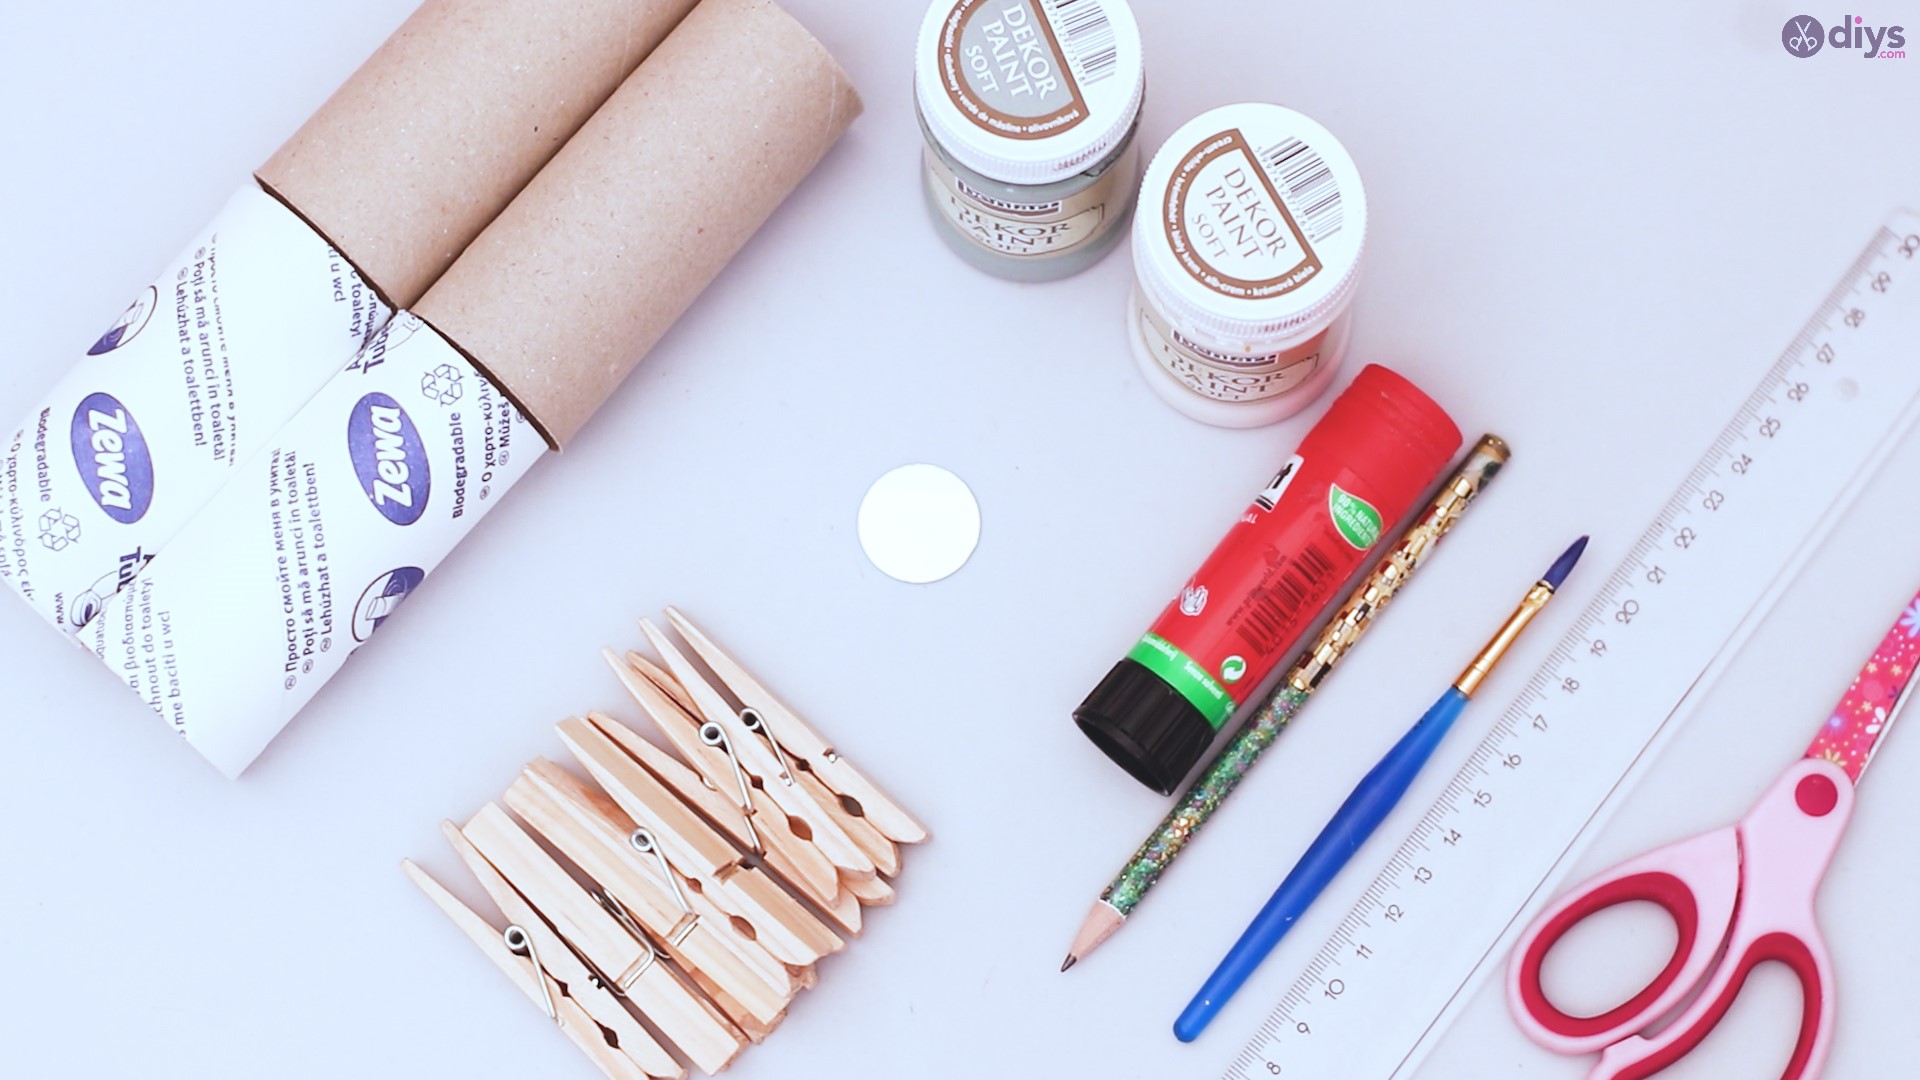
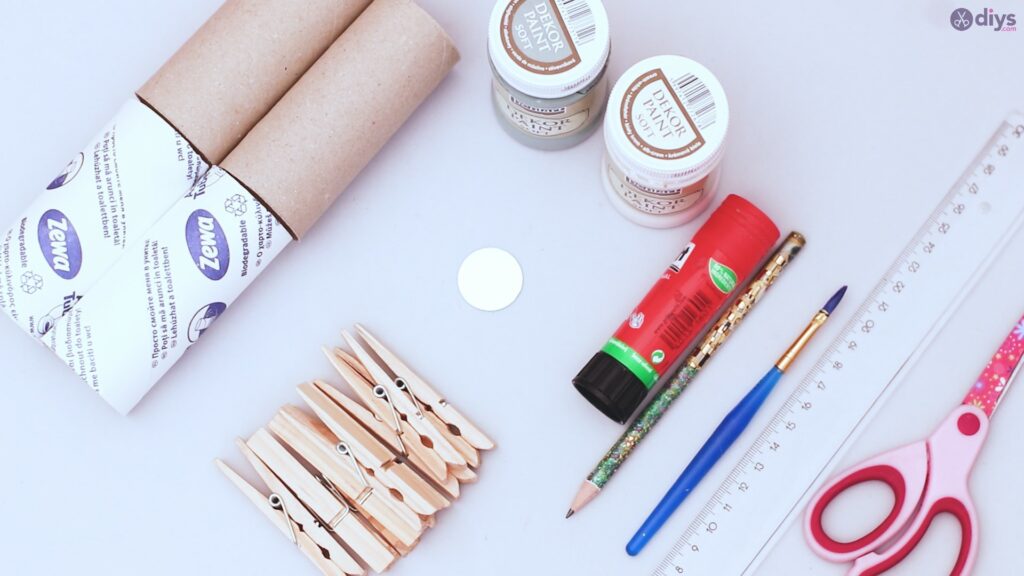
Materials you’ll need for the project:
- toilet paper towel rolls
- wood clamps/clothespins
- scissors
- ruler
- pencil
- paint brush
- glue stick
- creme and green acrylic paint (or pick your colors)
- small round mosaic mirror
Step by step guide crafting the toilet paper wall art:
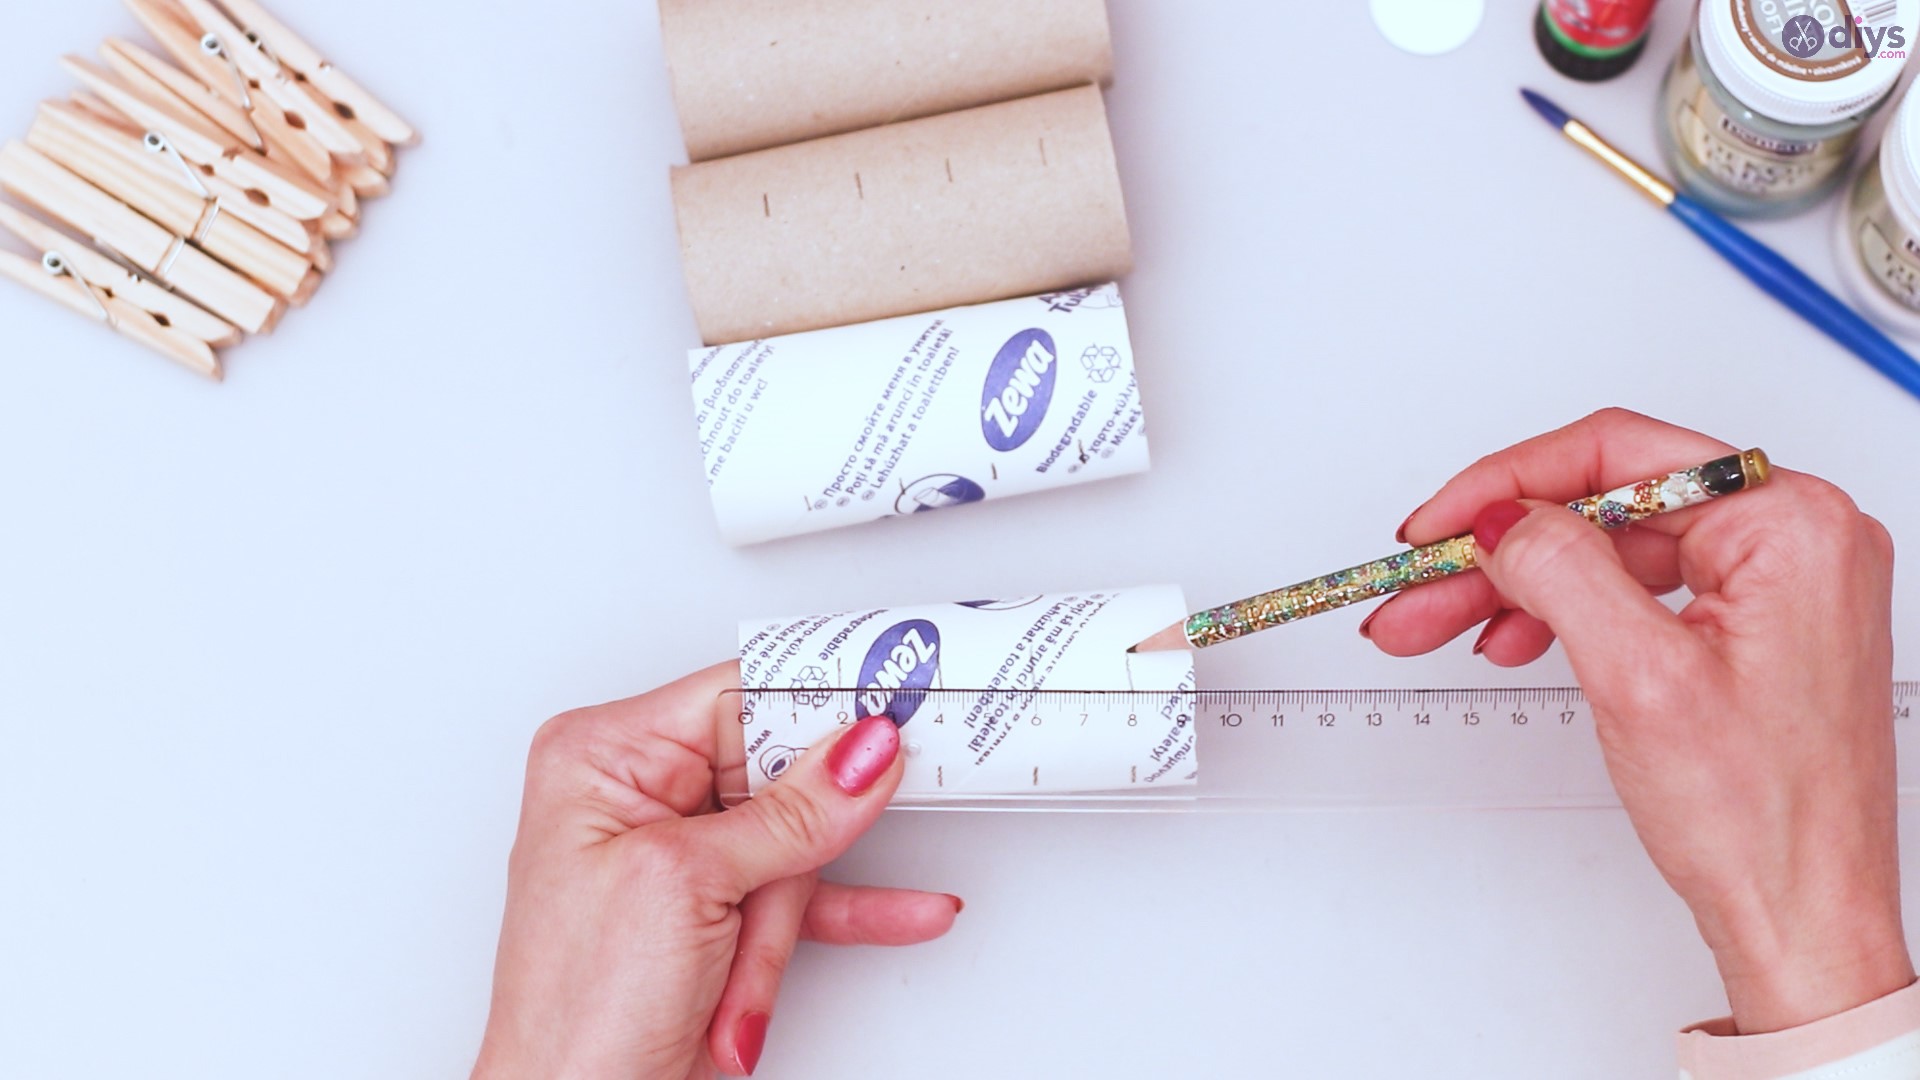
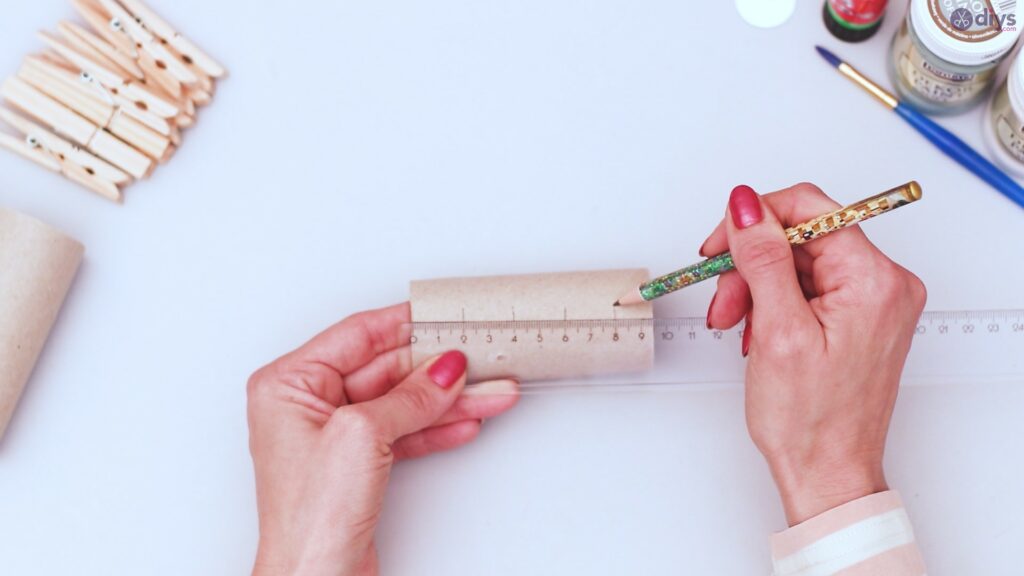
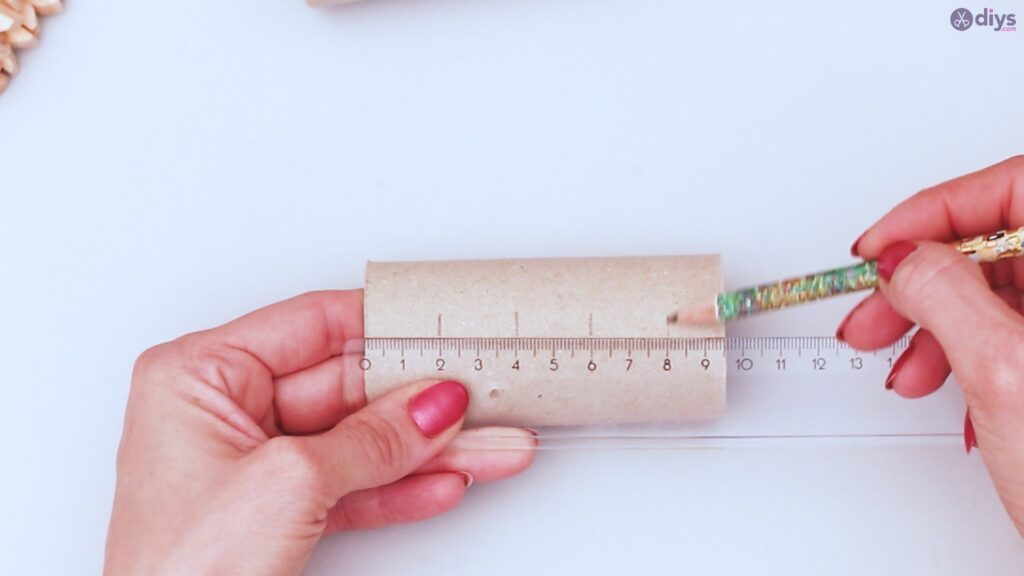
Step 1: All in Good Measure
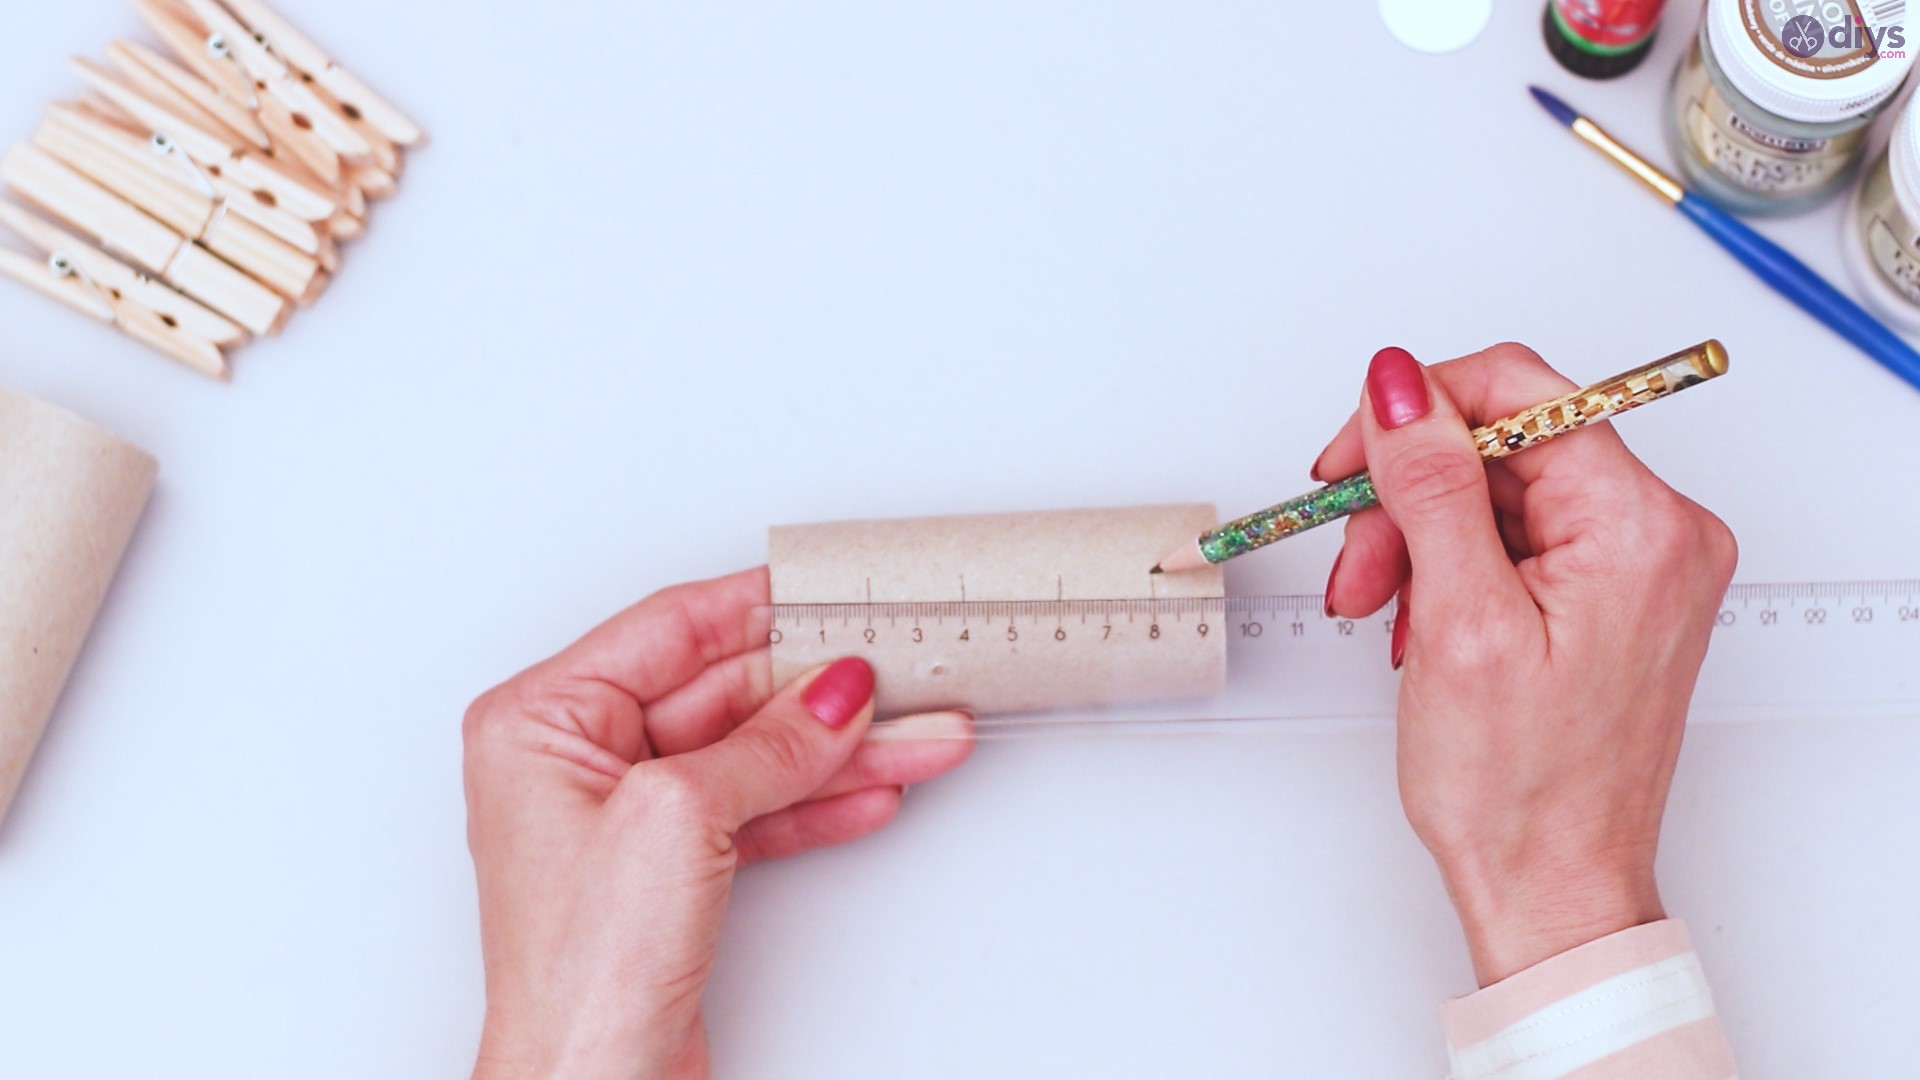
Take your ruler and your pencil, and grab your first tube. The average toilet paper tube measures not quite 10 centimeters, so a great rule here is to measure out 4 2-centimeter segments. Mark these with your pencil on the tube.

Repeat this on at least 4 tubes, if you’re using toilet paper tubes. With paper towels, you’ll need 16 segments, so you won’t use as many tubes.
If you have bent or broken tubes, take the best 16 segments until you have all good ones. These are otherwise trash, so be as picky as you like!

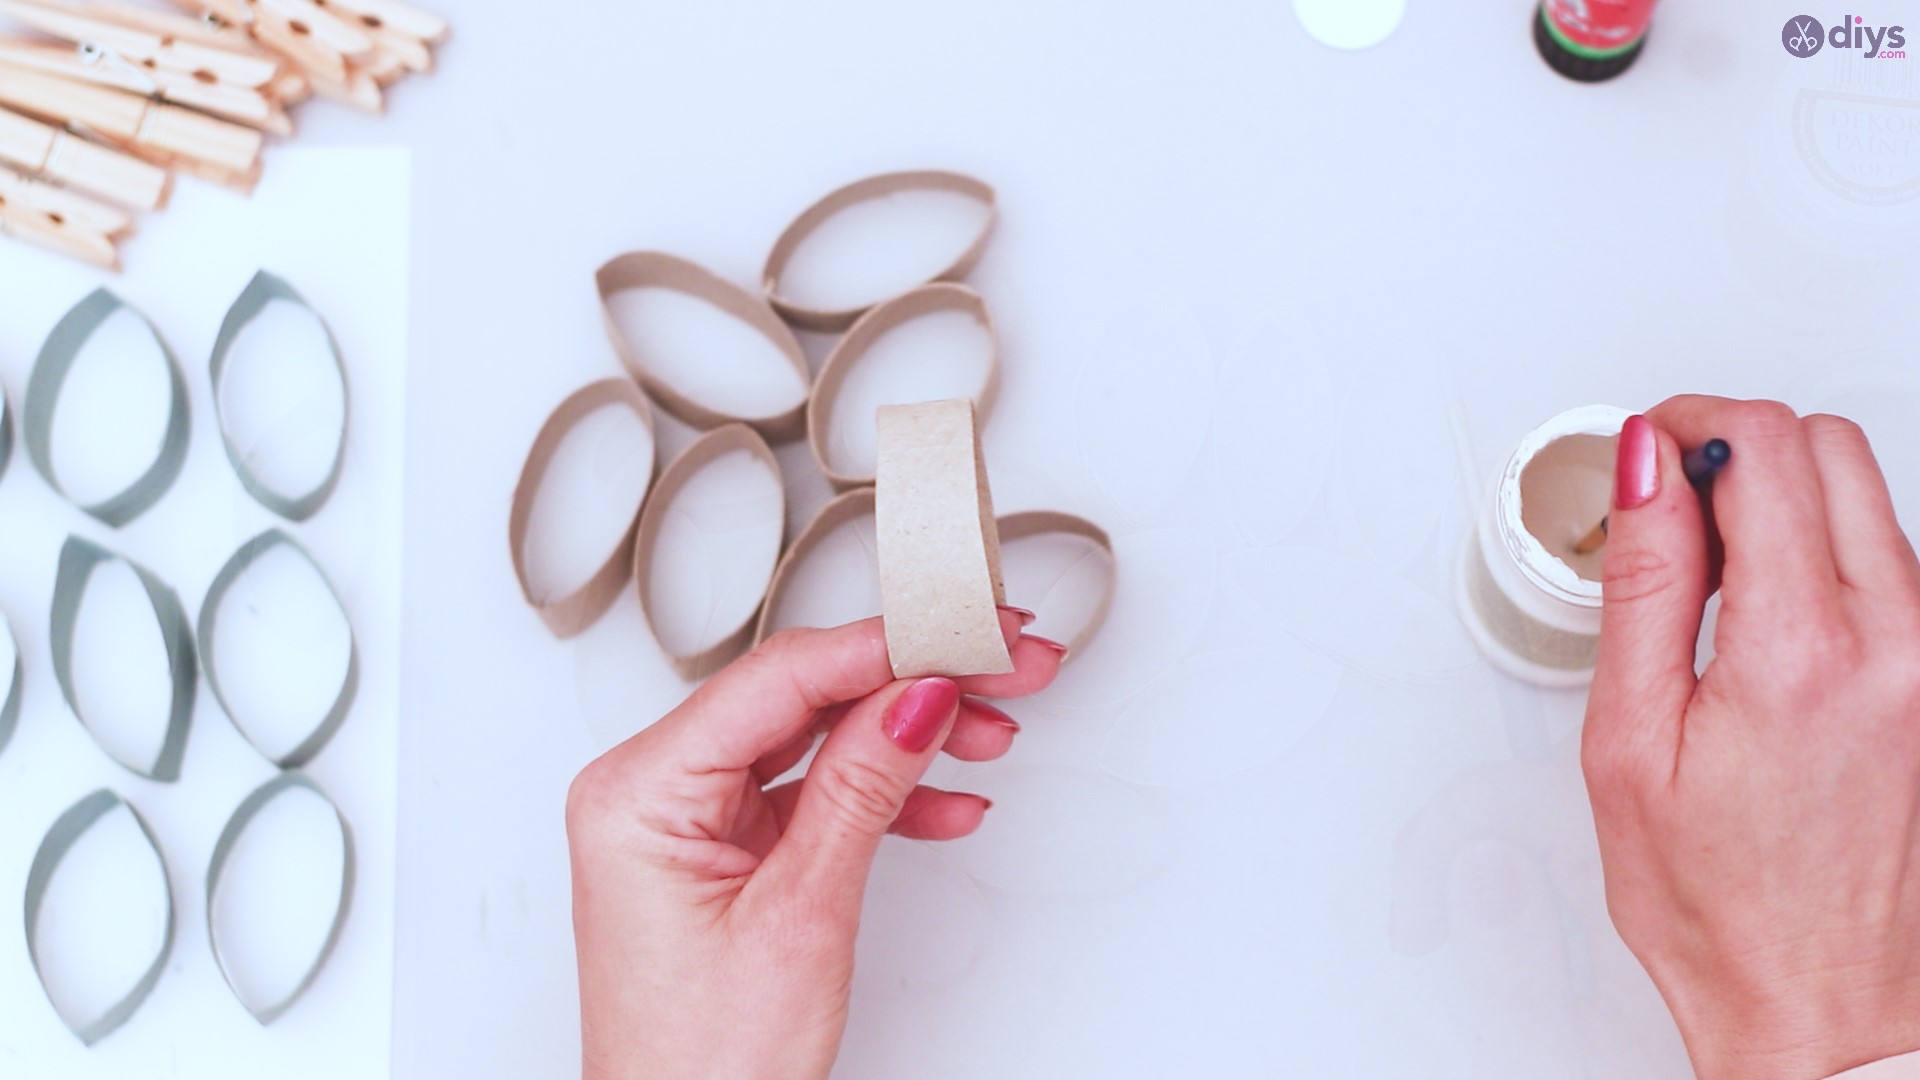
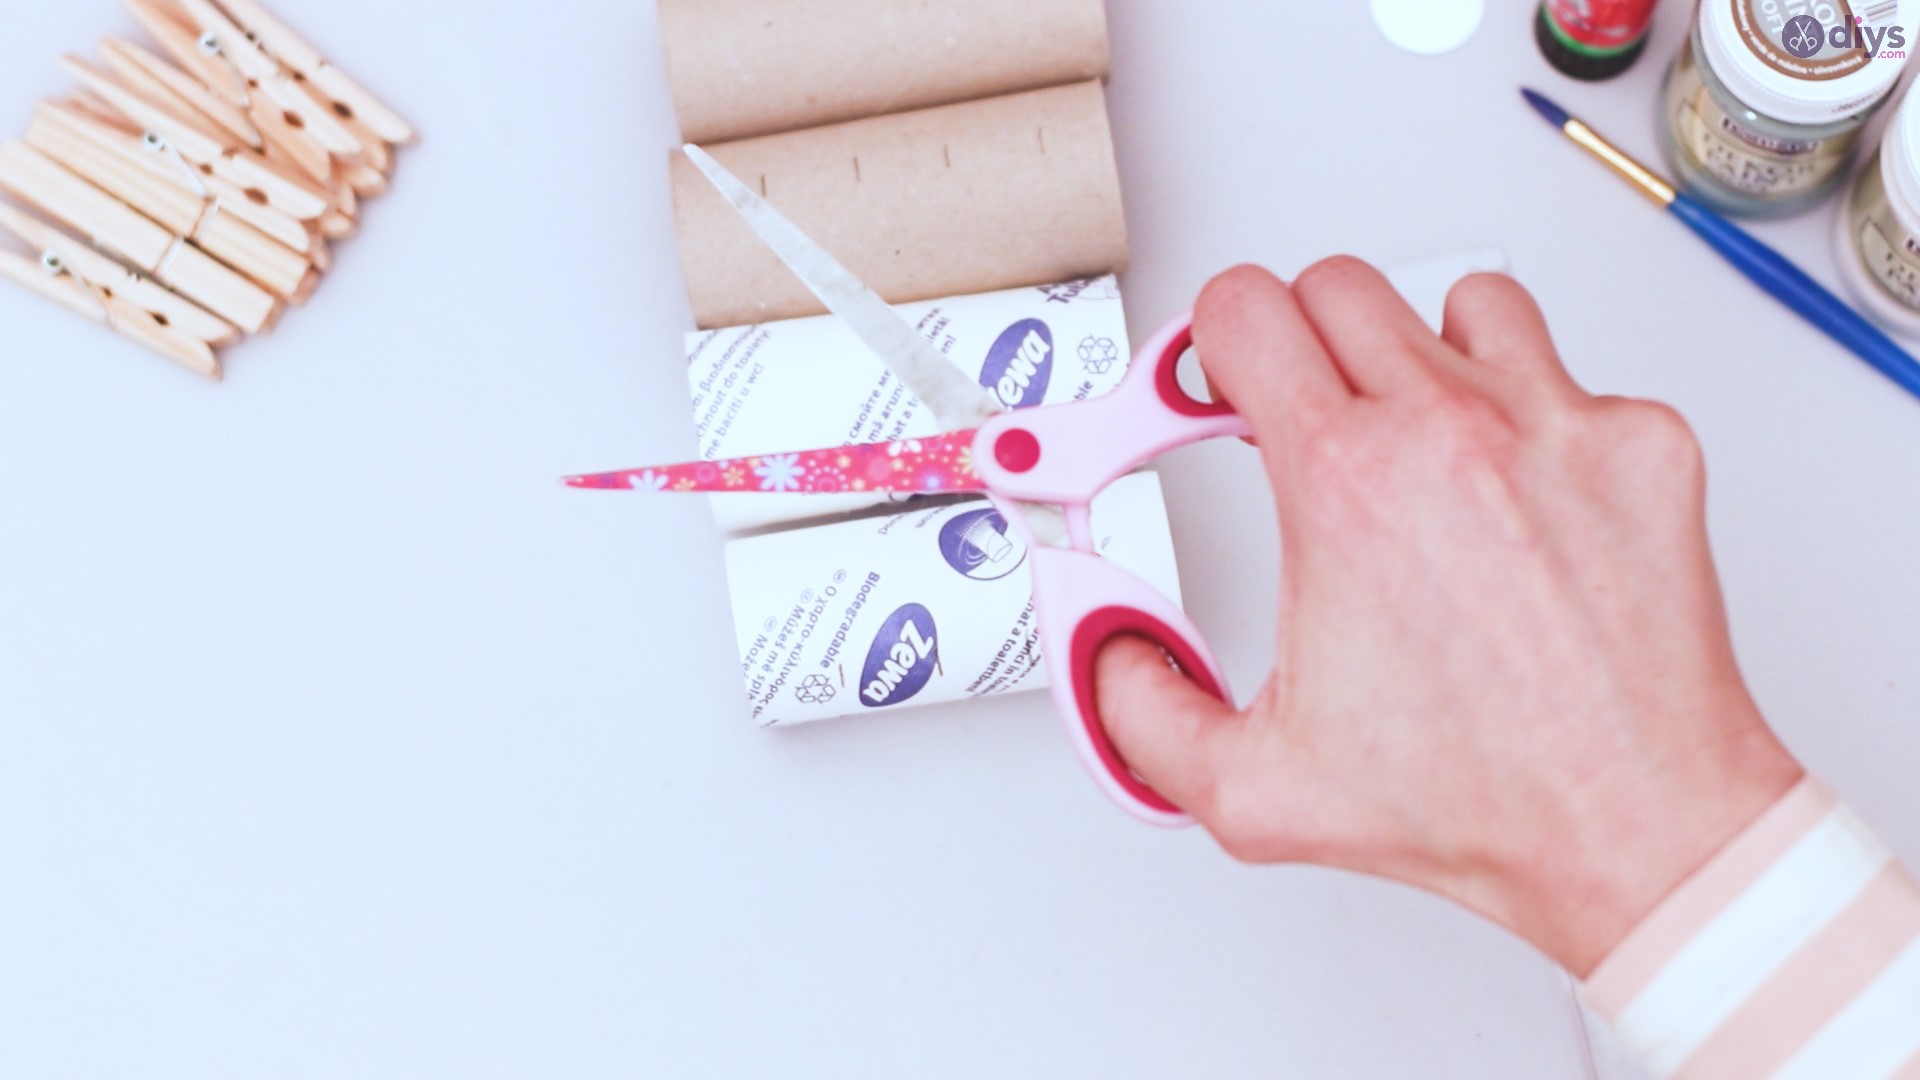
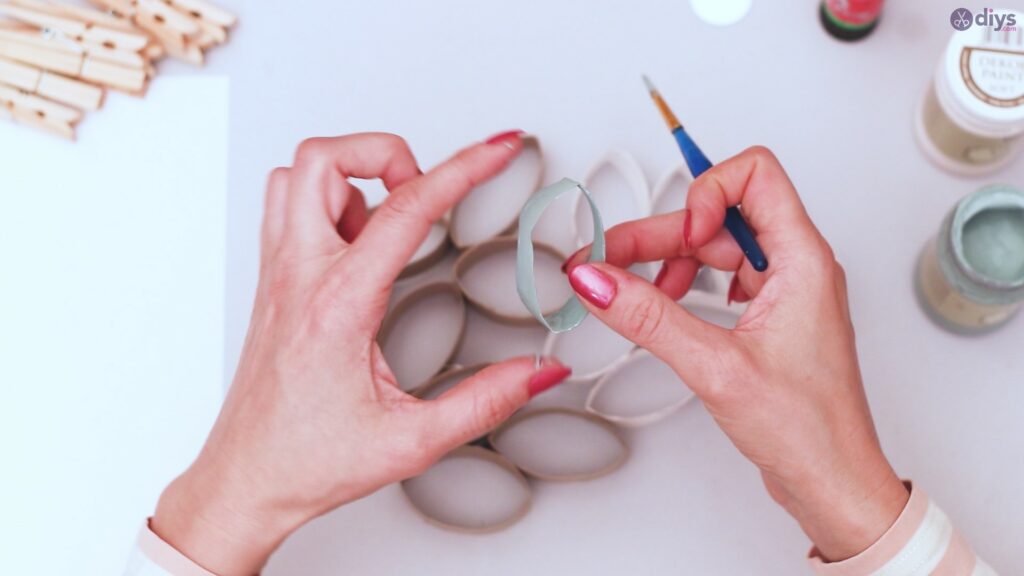
Step 2: Snip, Snip Here
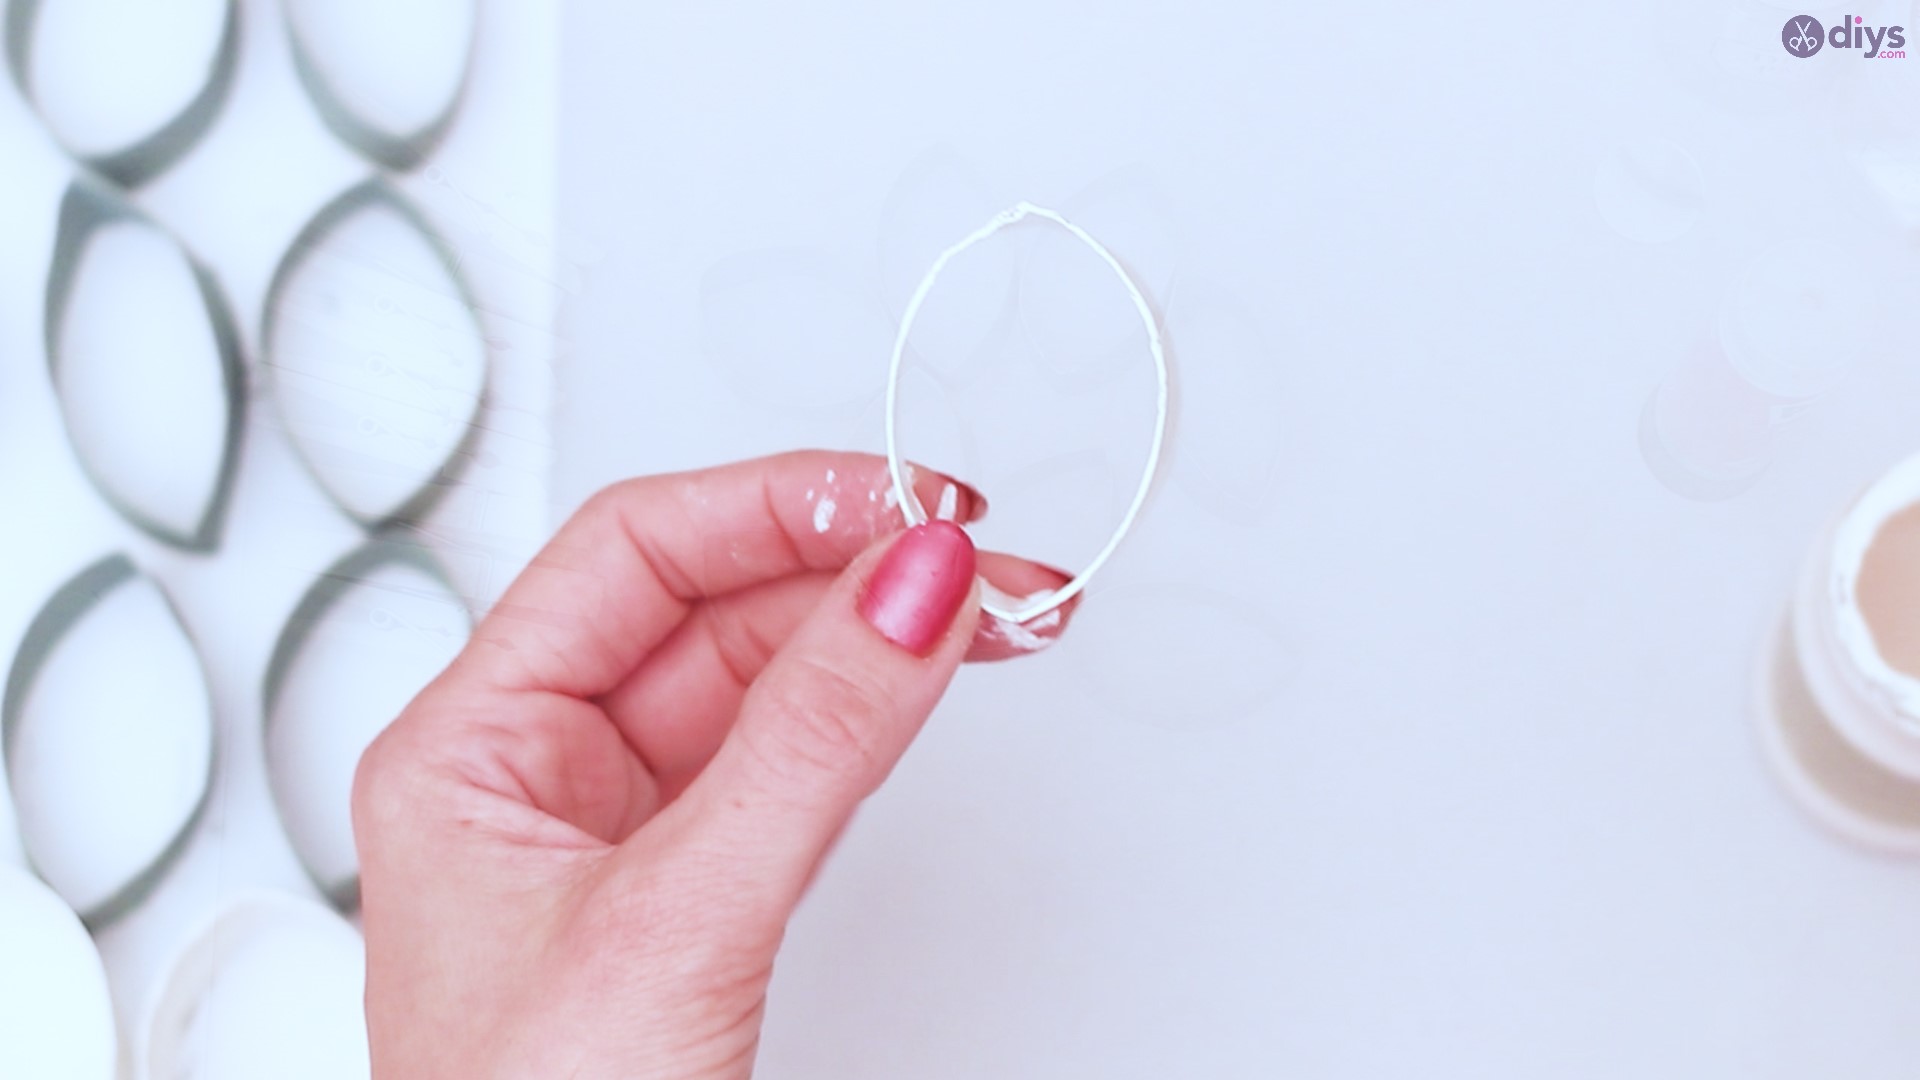
Once you have your tubes measured out, grab your scissors. The best way to make sure your segments are nice and even is to press the tubes flat and cut straight across. Don’t worry, this won’t mess up your design. In fact, that fold will come in handy eventually.
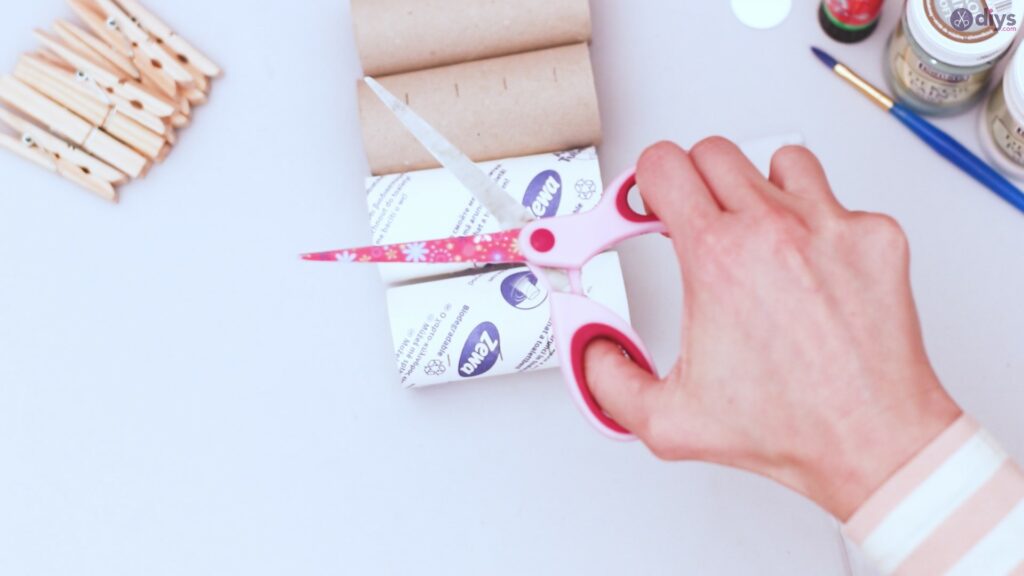
Cut all of your segments and check them to make sure they meet your approval. You will need to assure you don’t have any remaining paper hanging.
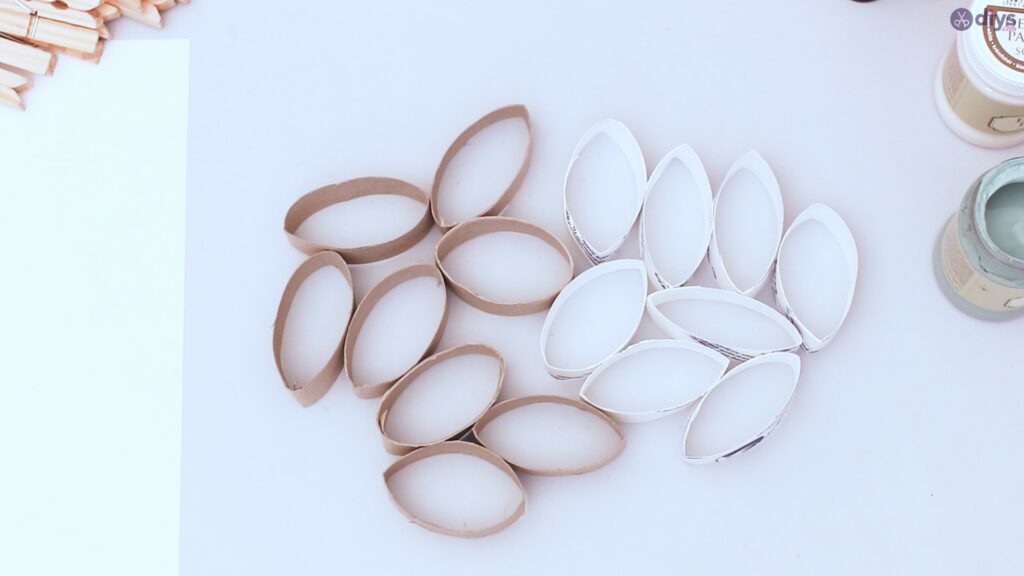
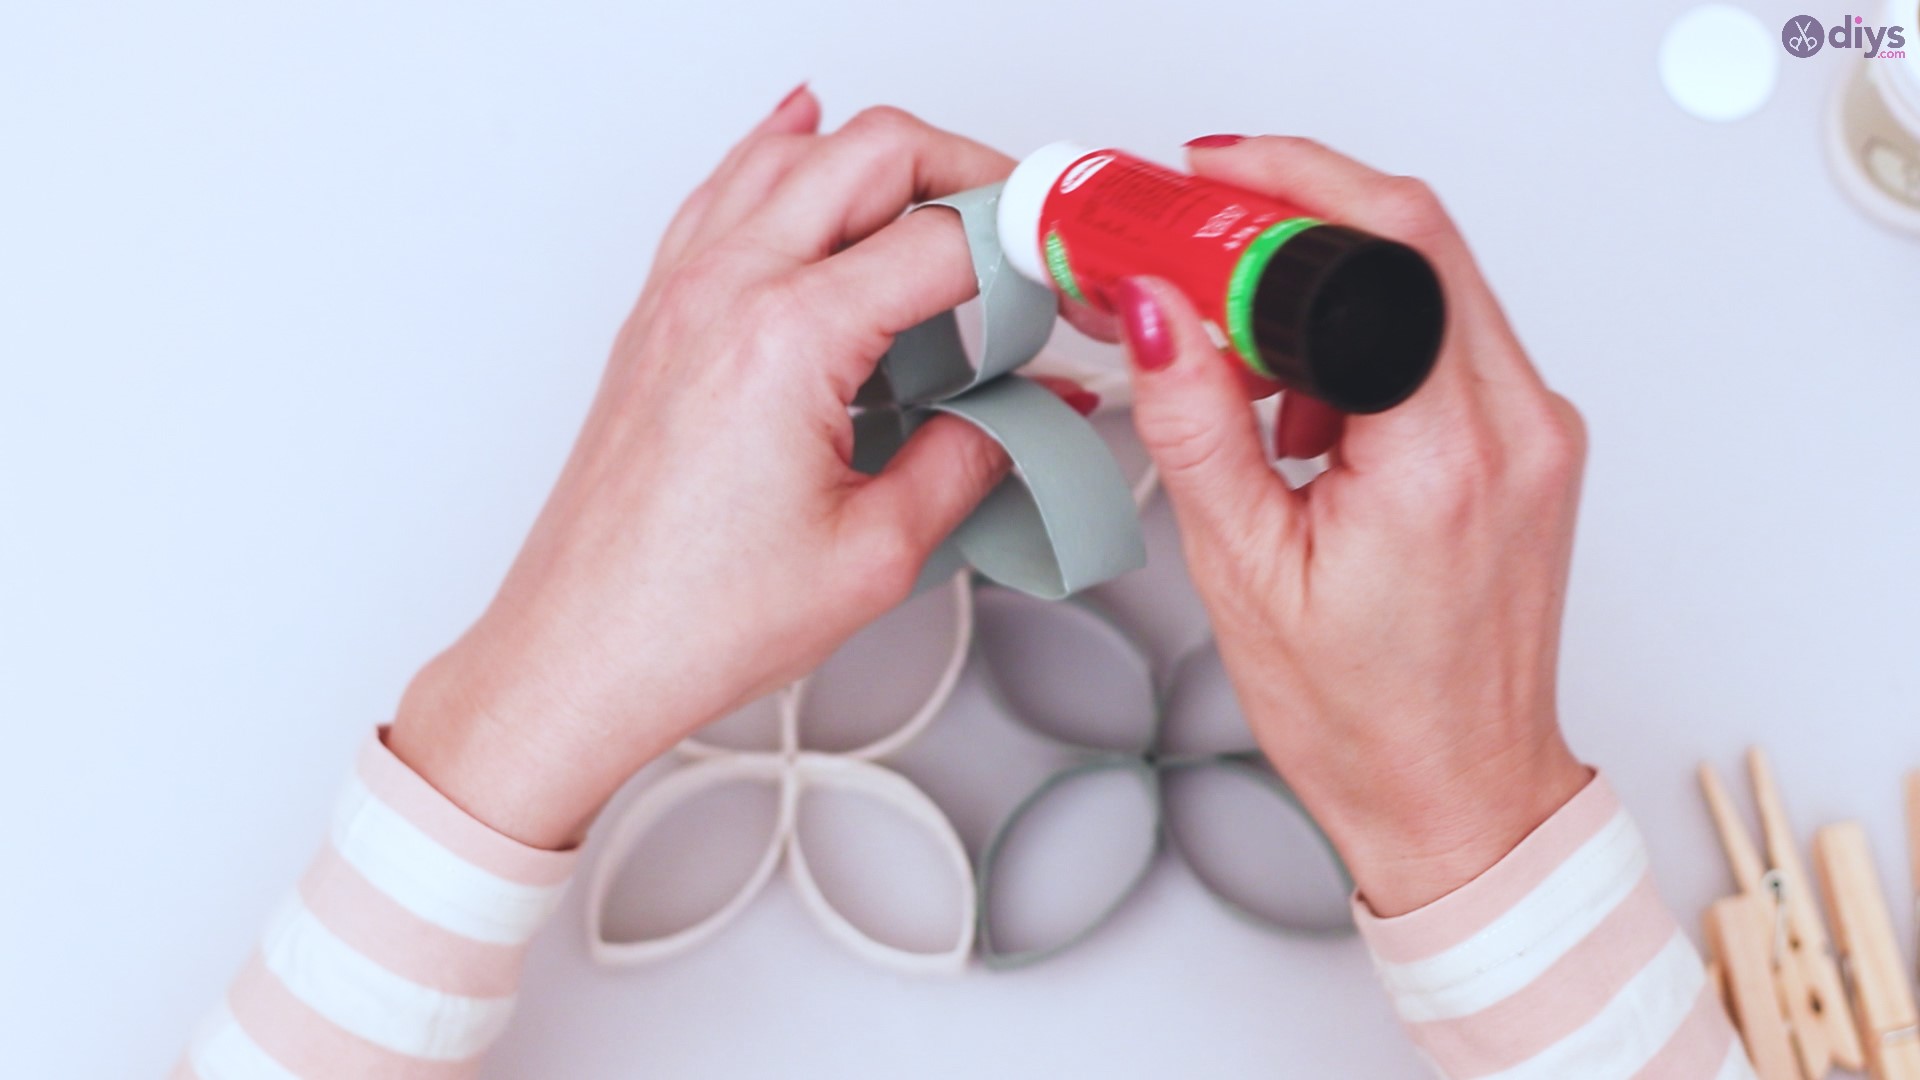
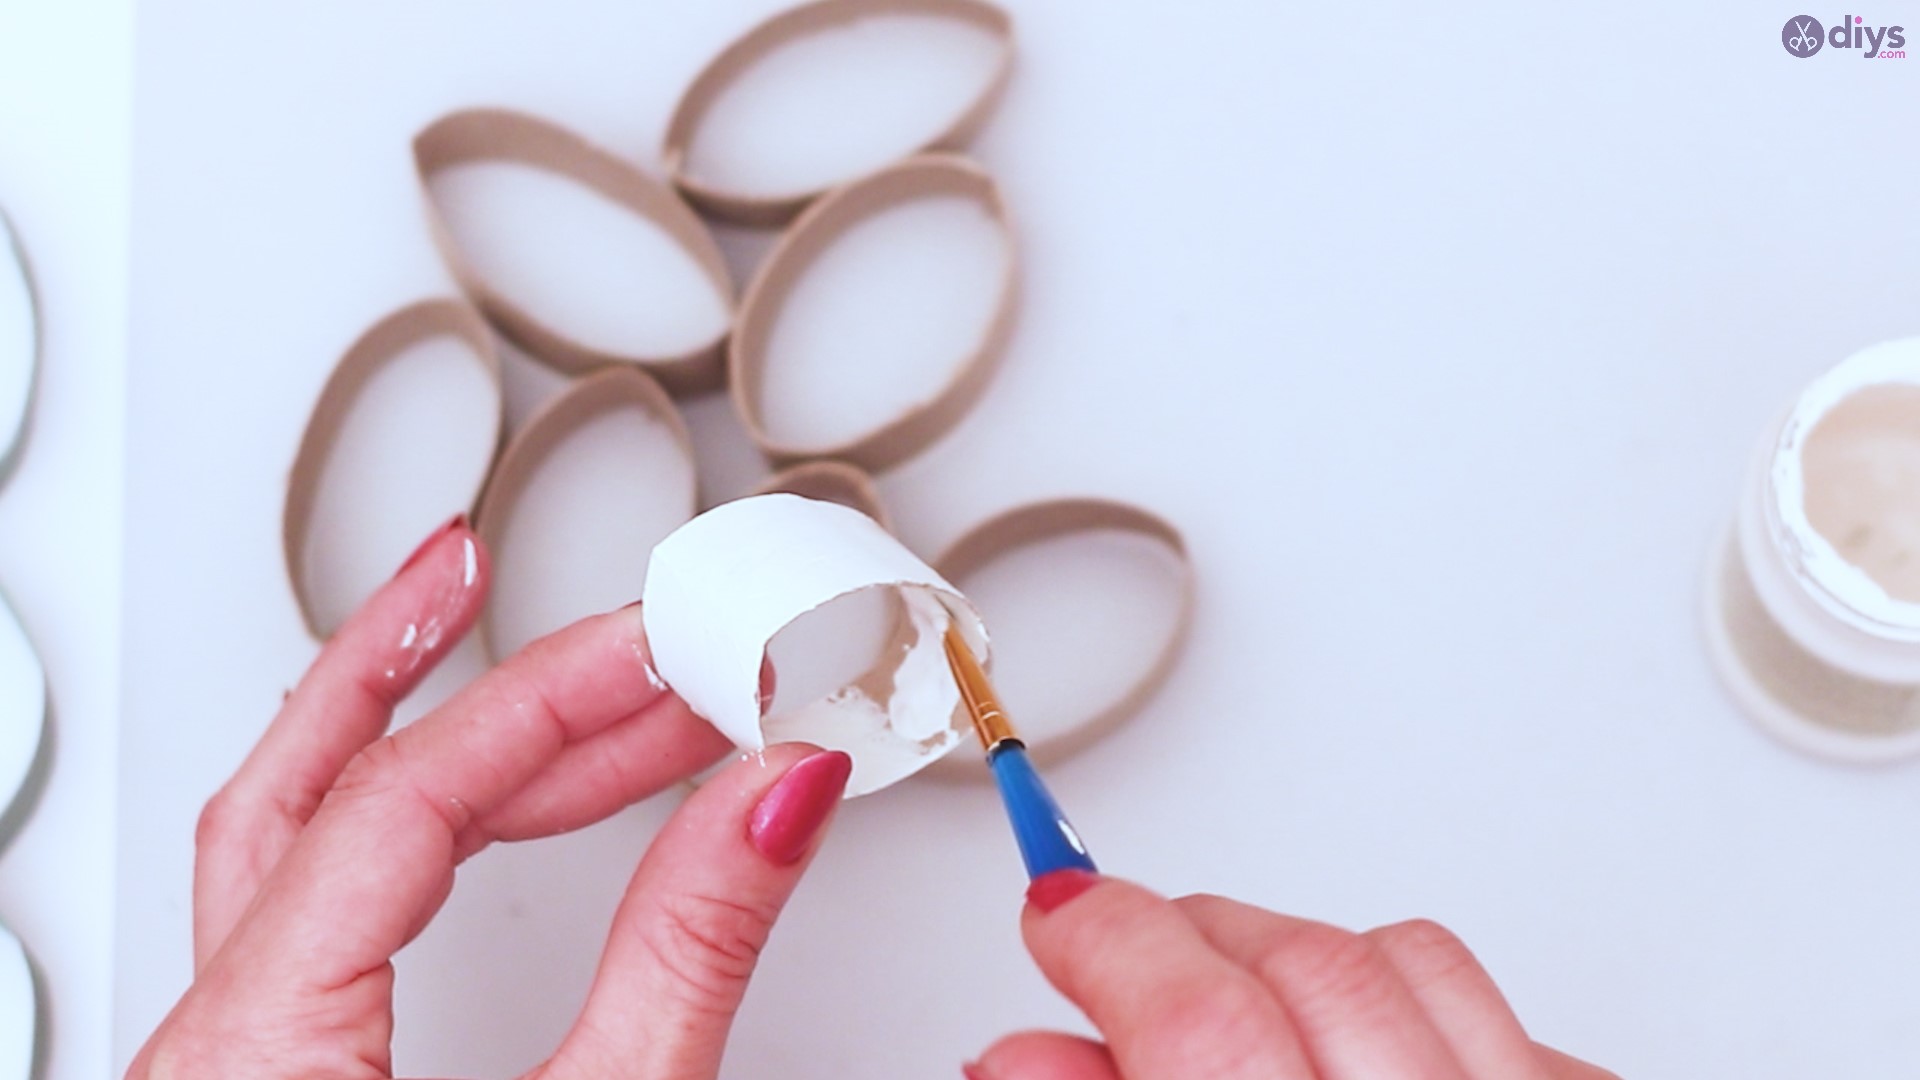
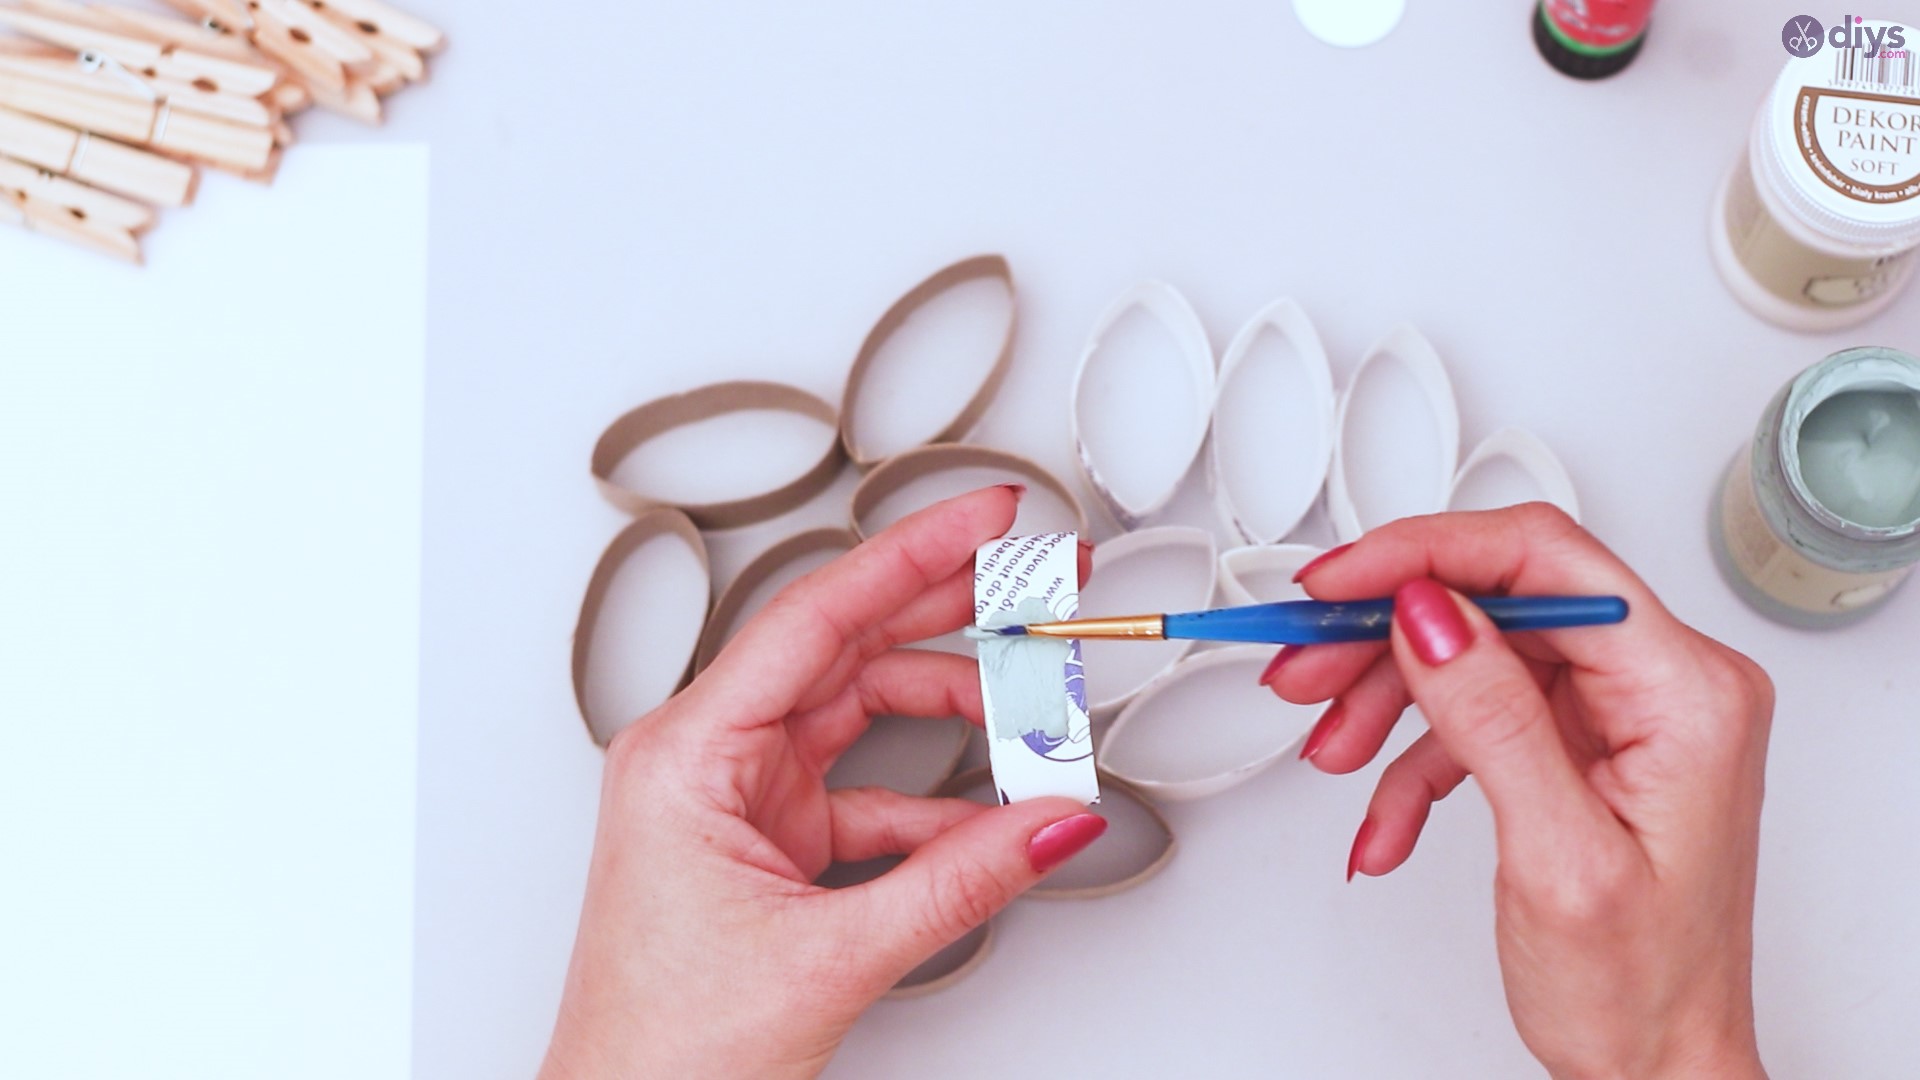
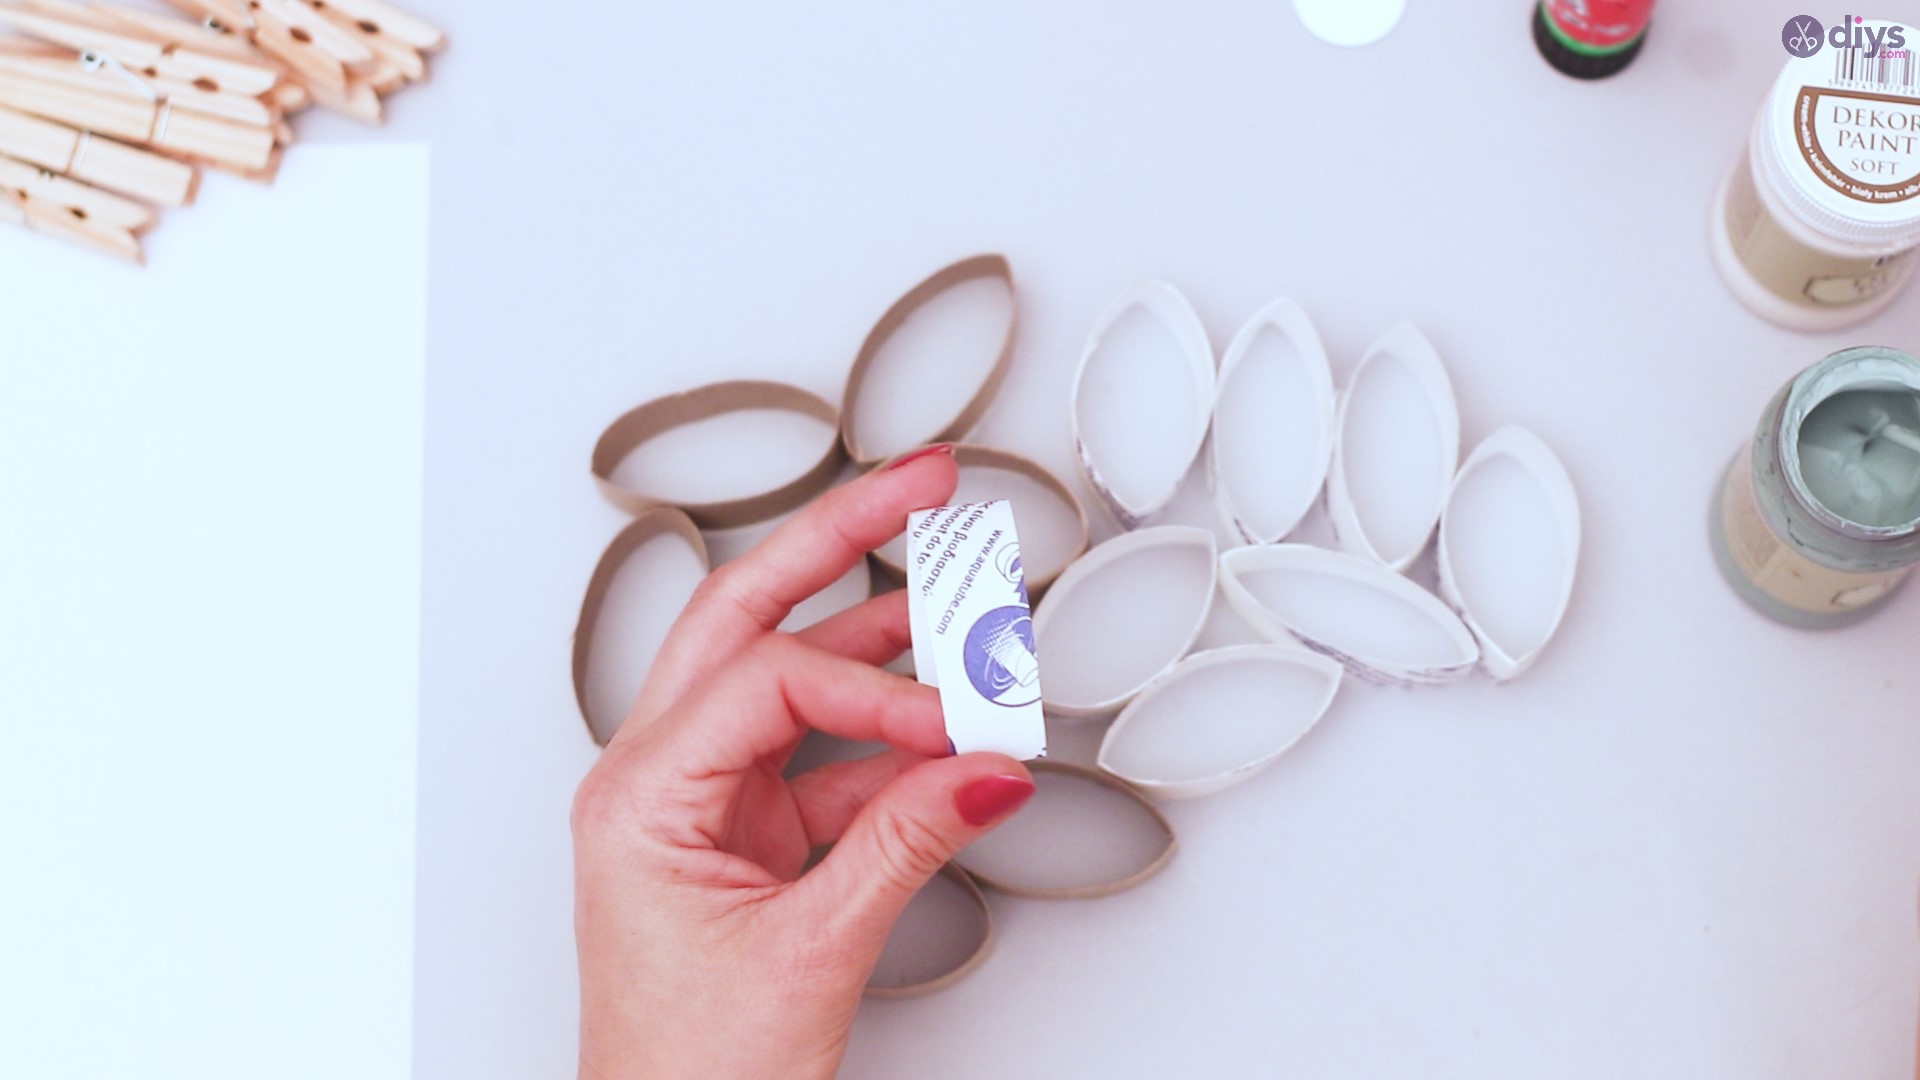
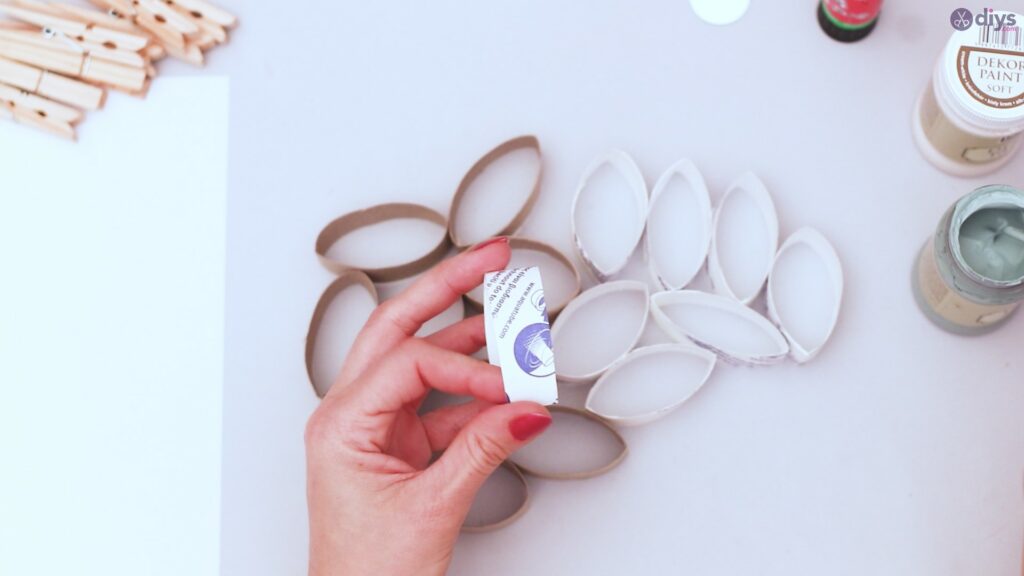
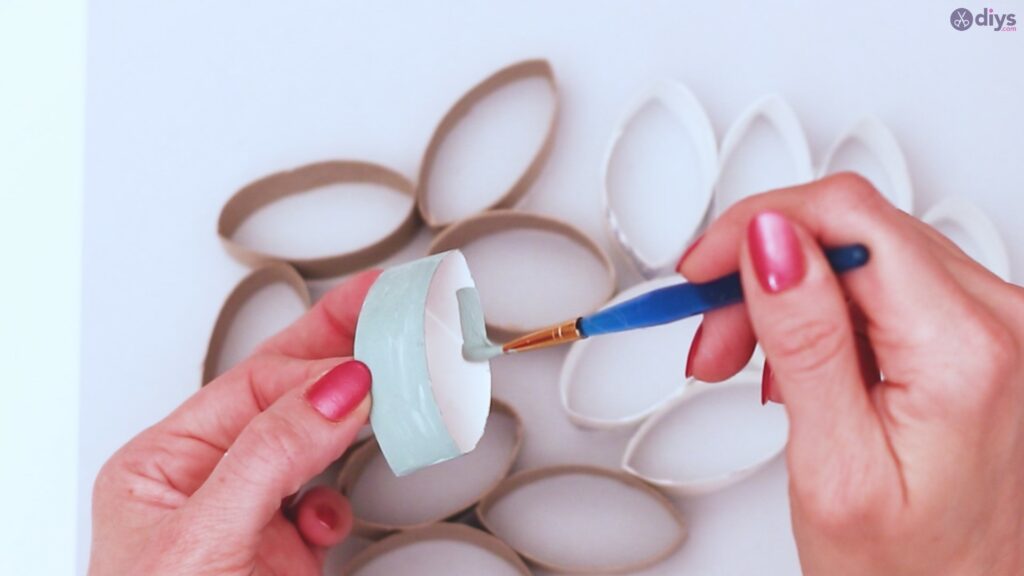
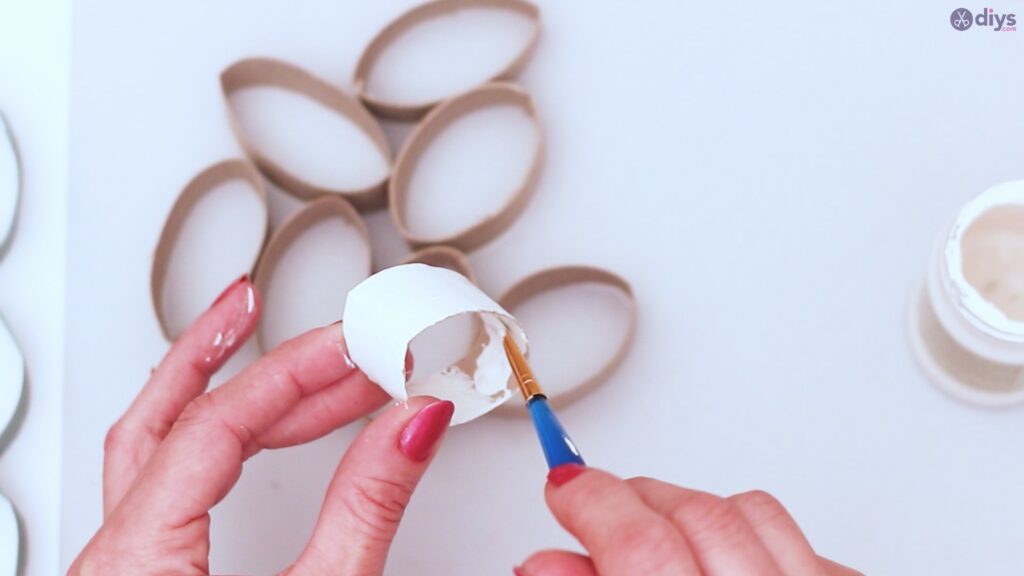
Step 3: The Messy Part – Paint
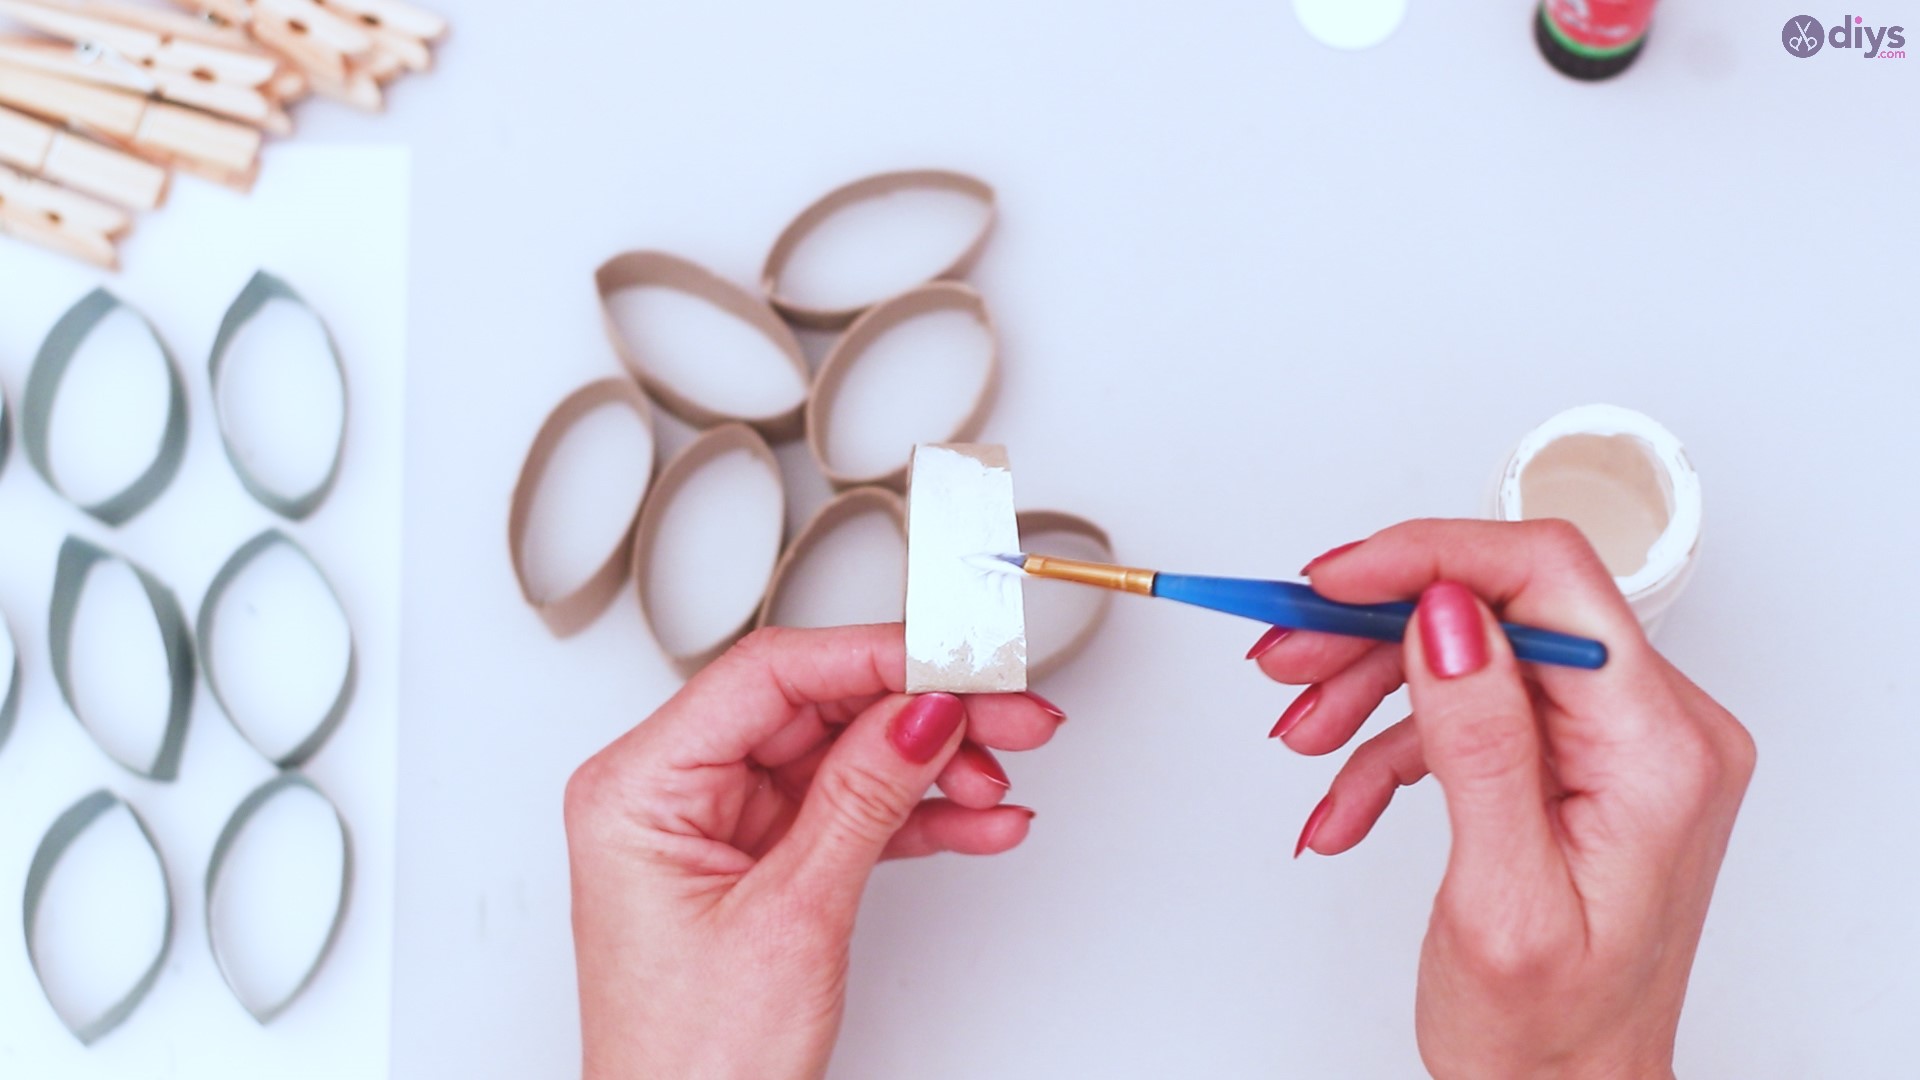
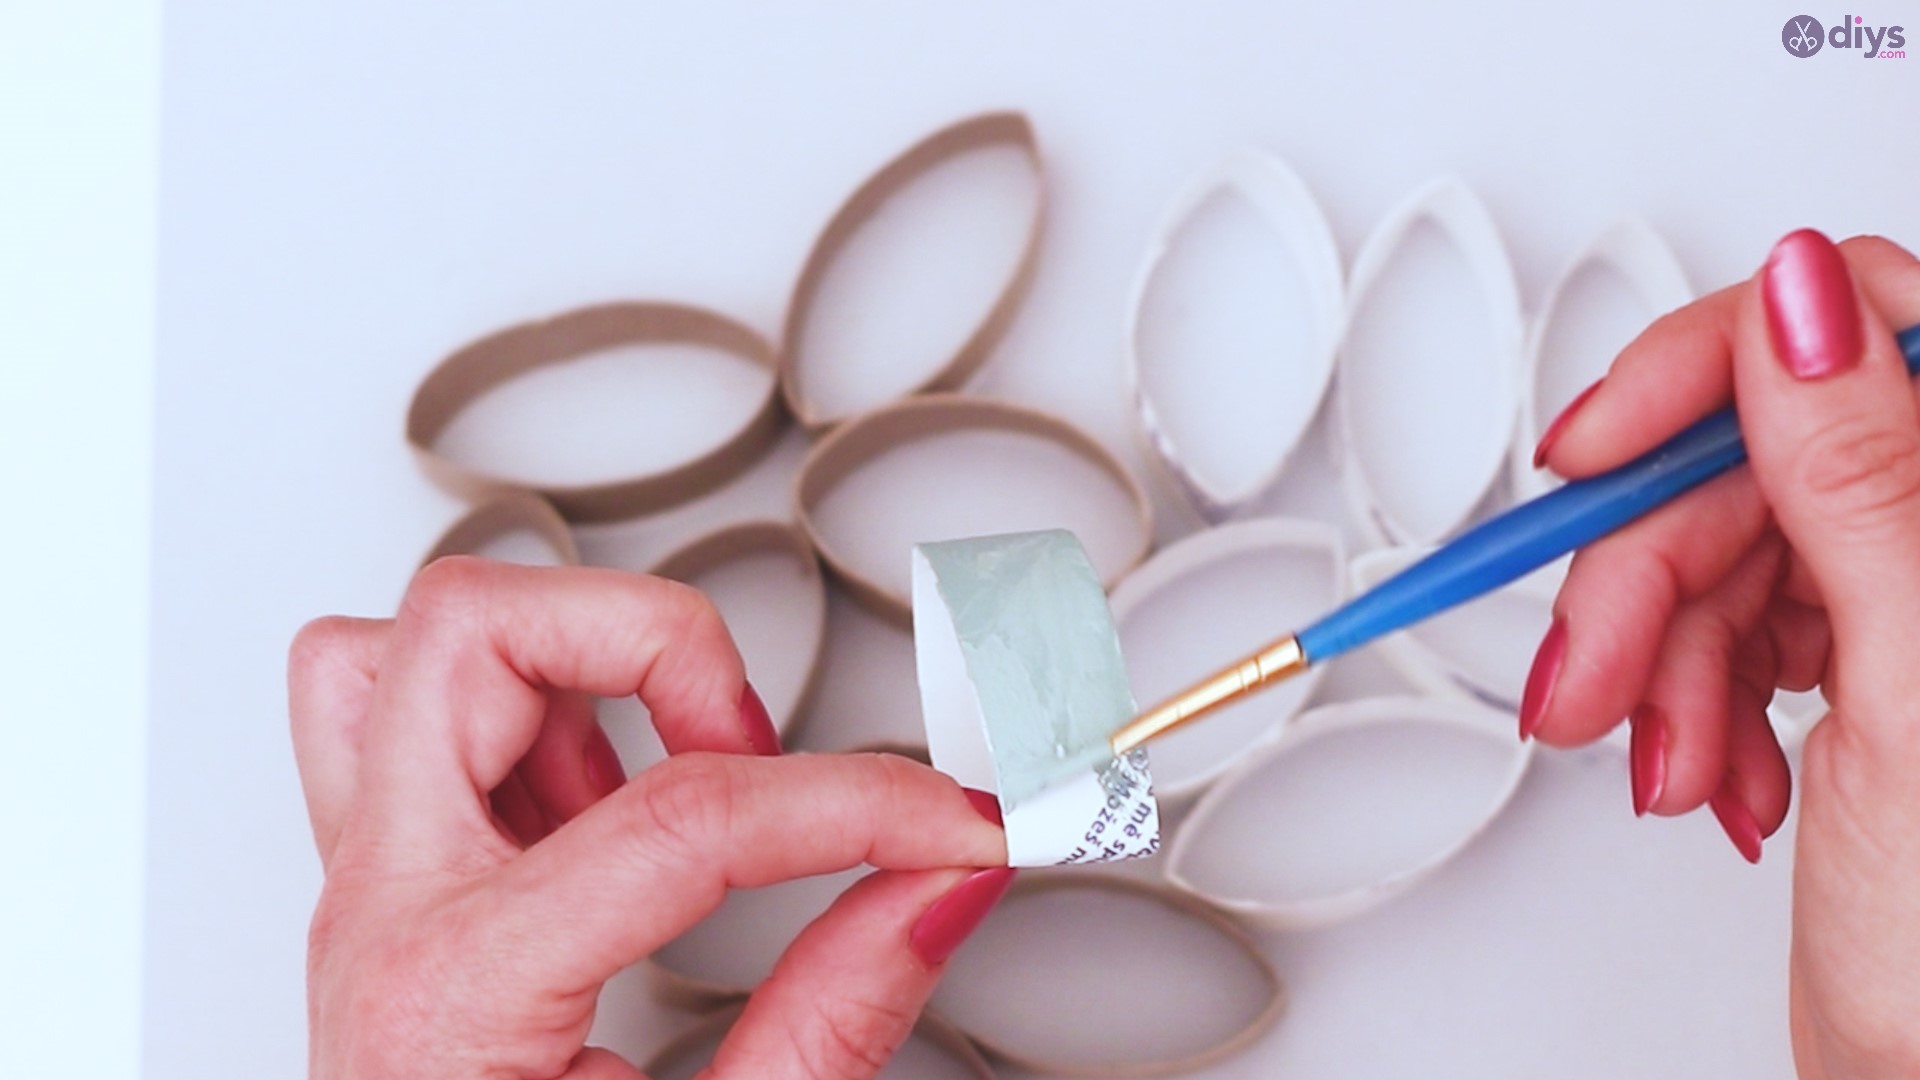
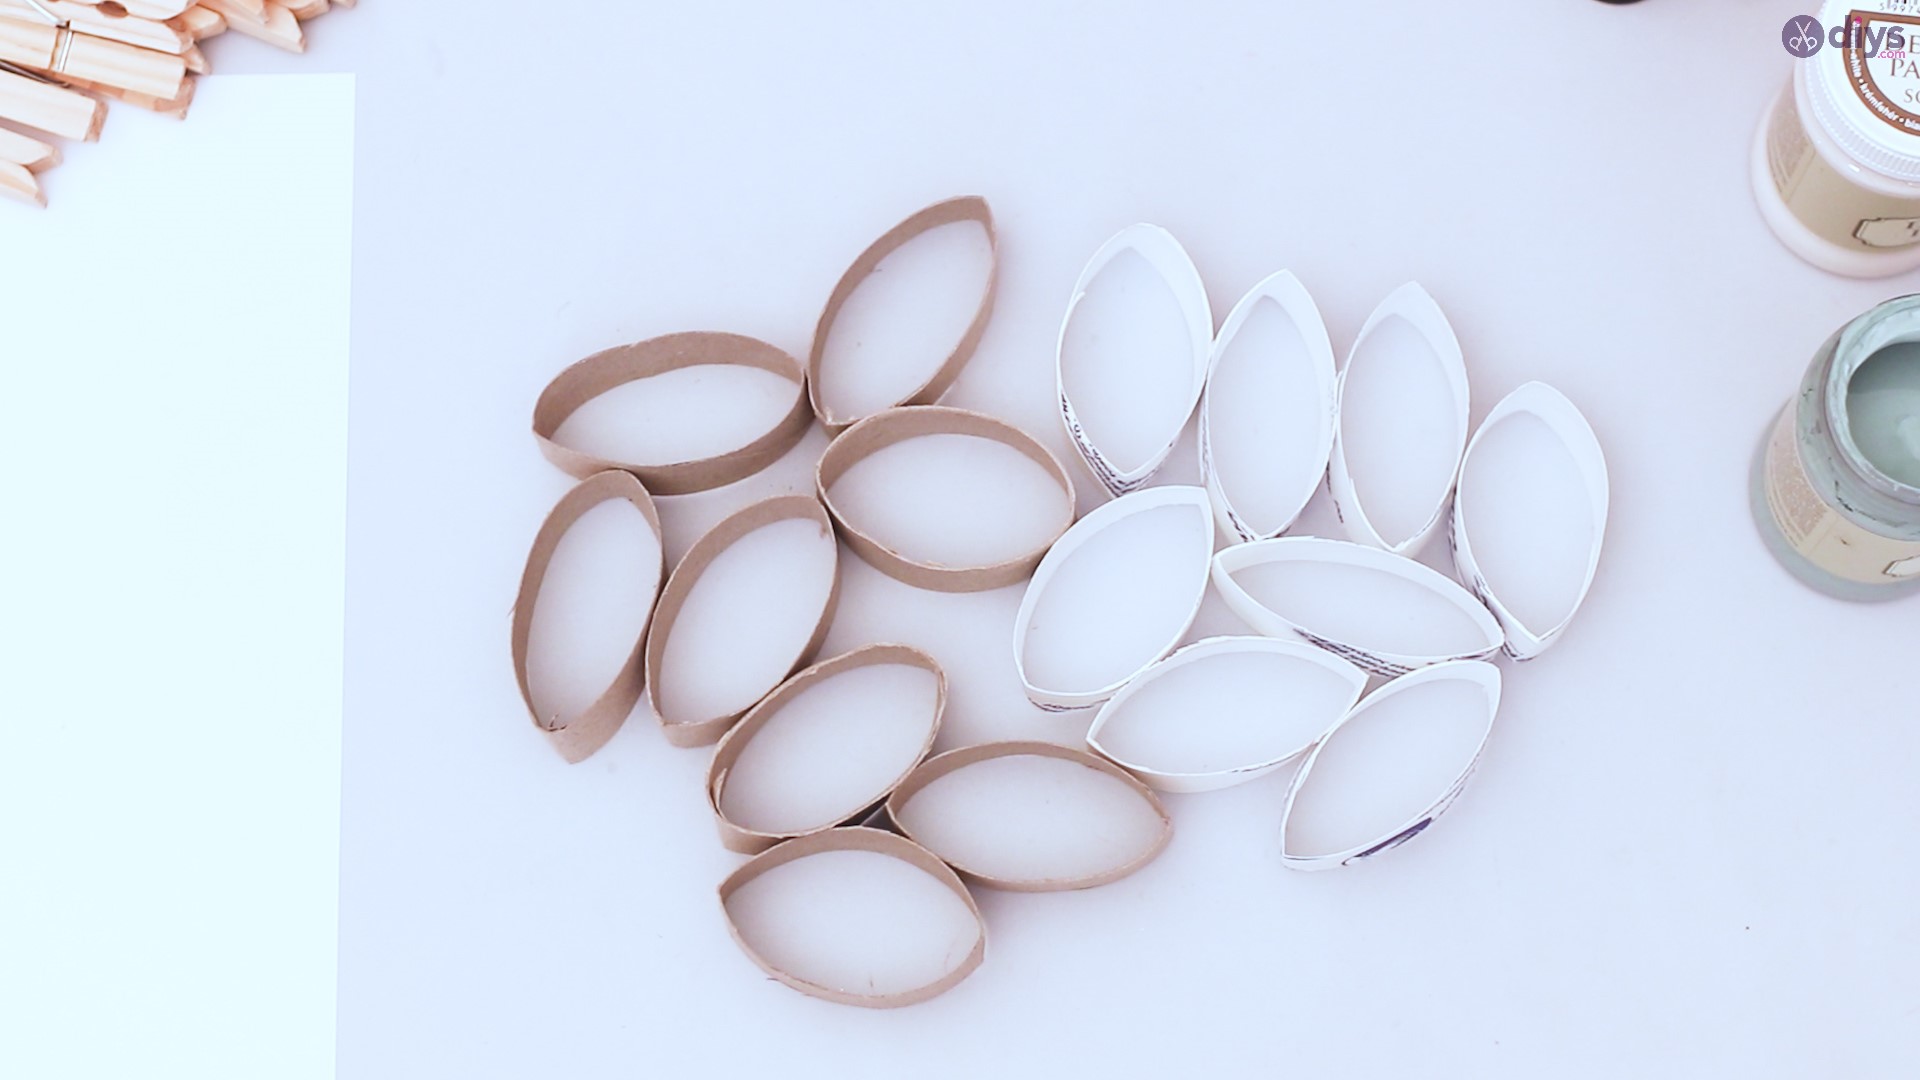
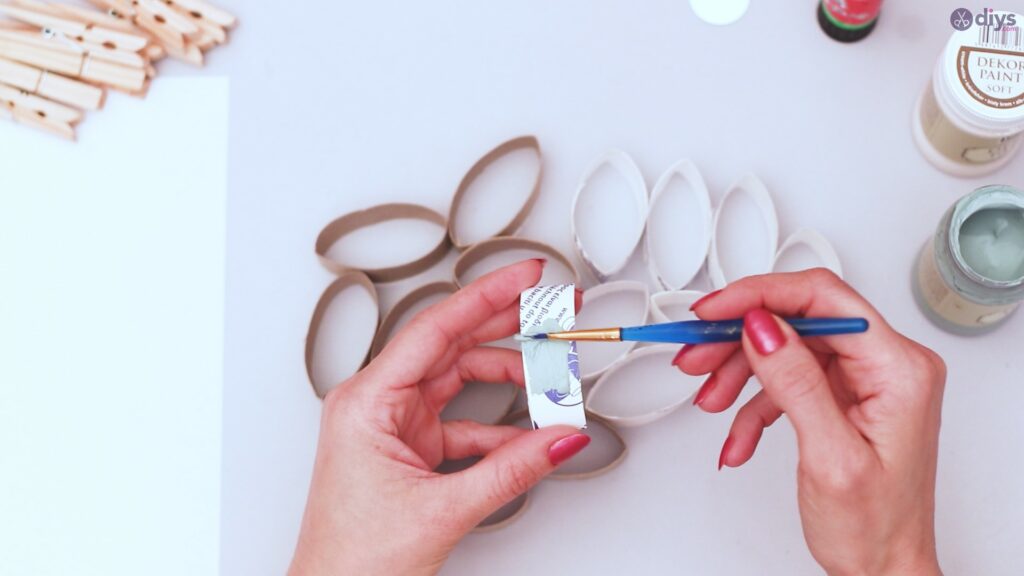
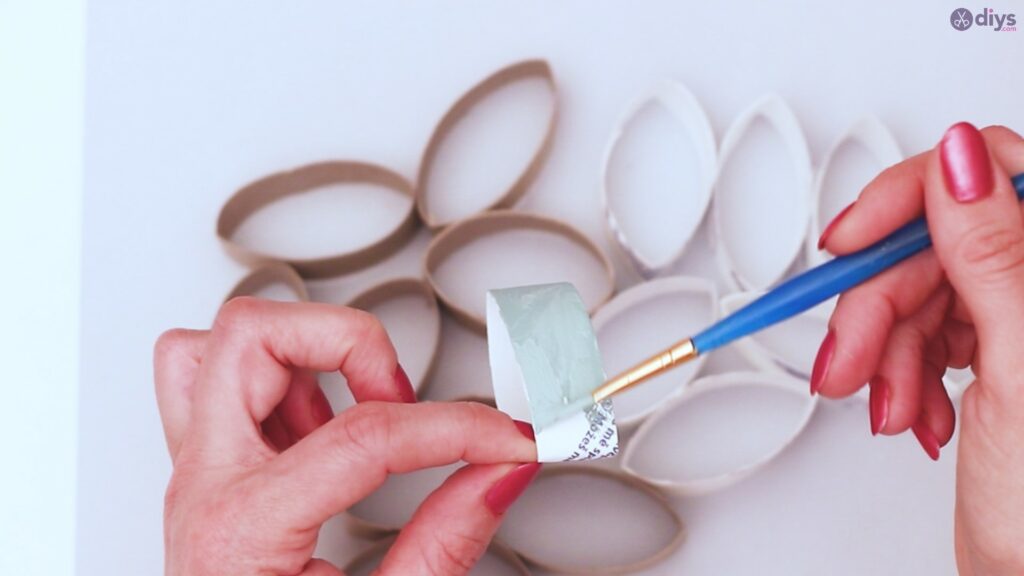
Divide your tube segments in half, and set half of them aside. Now, grab either the crème or green (or one of the two colors you’ve chosen for this particular project) acrylic paint and your paint brush. Coat the outside and inside of your tube segments with the paint.
Make sure they are well covered. They should dry pretty quickly, so touch ups from having to handle them while wet shouldn’t be a big deal. But you want the color solid inside and out.

Clean the paint brush, or use another, as you’d like, and repeat the process with the other half of the tube segments, using the other color you’ve chosen. Again, make sure they are coated solid inside and out.


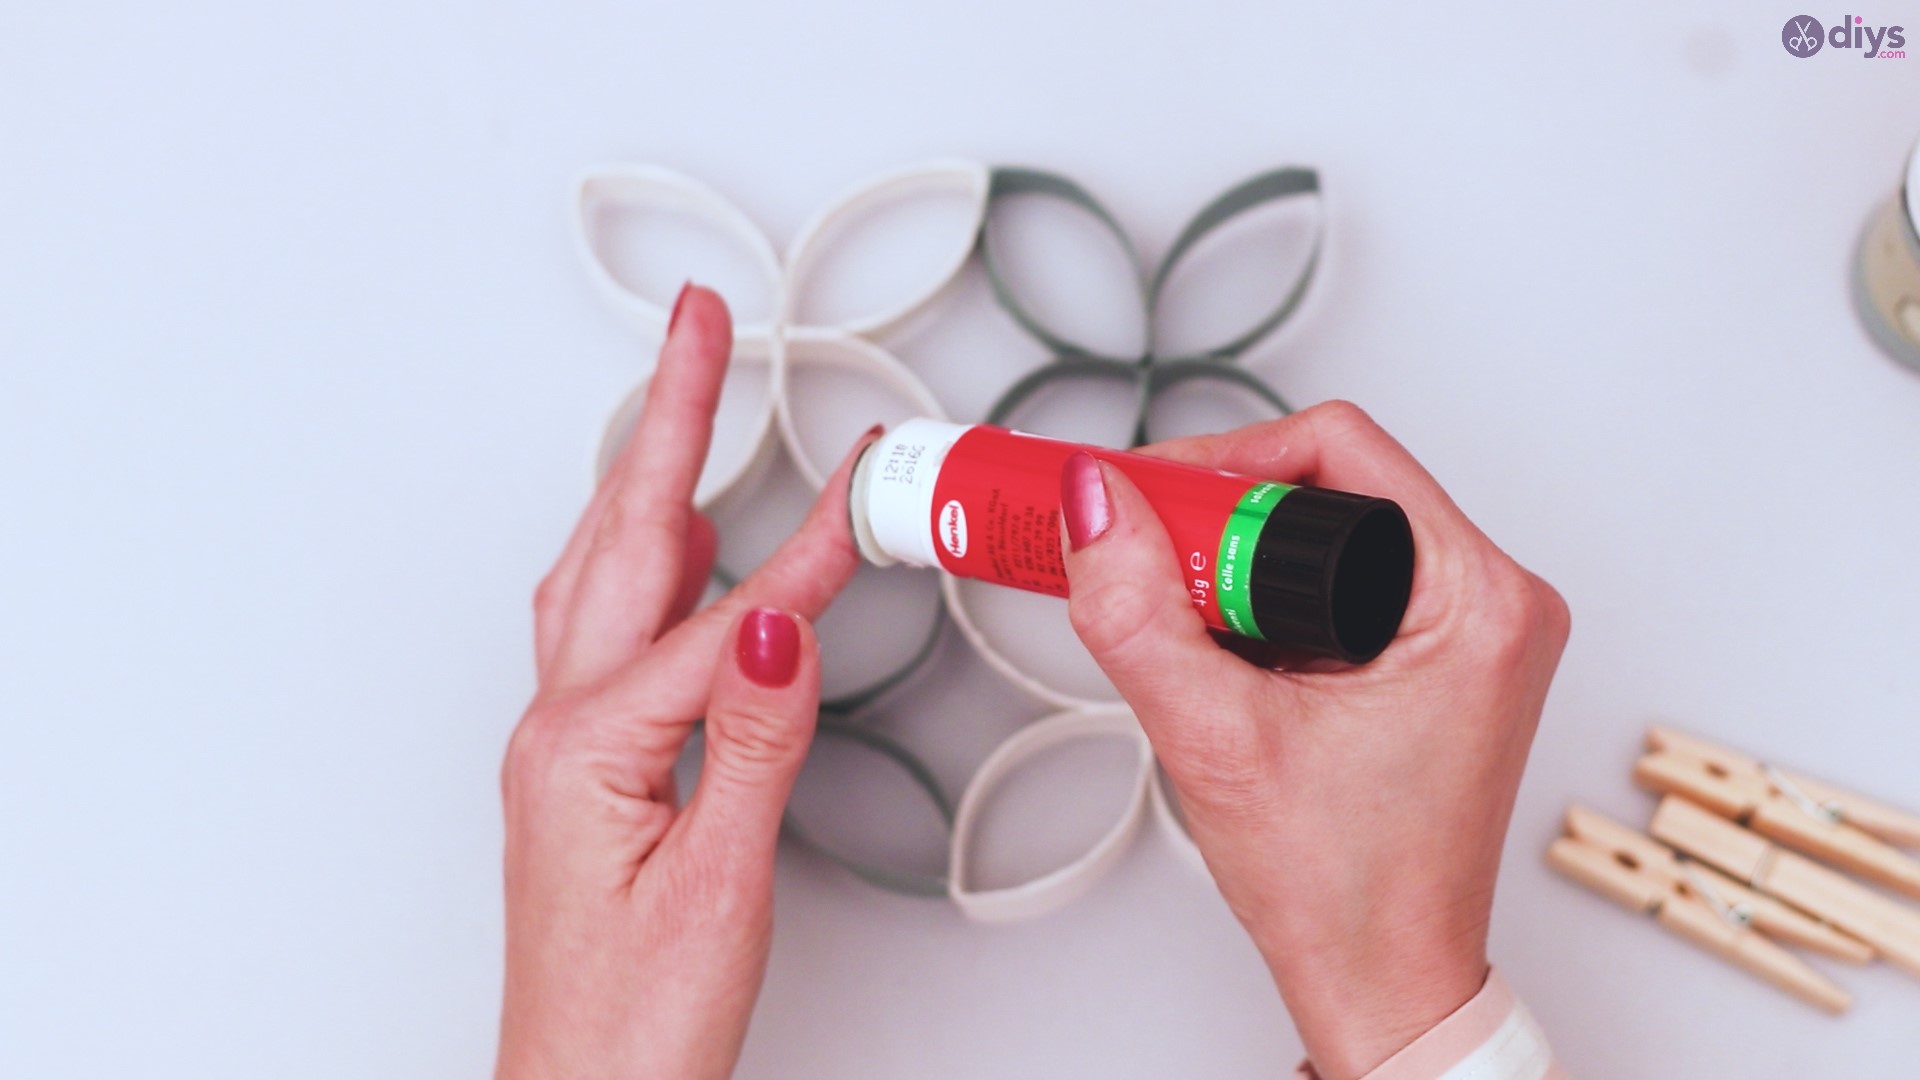
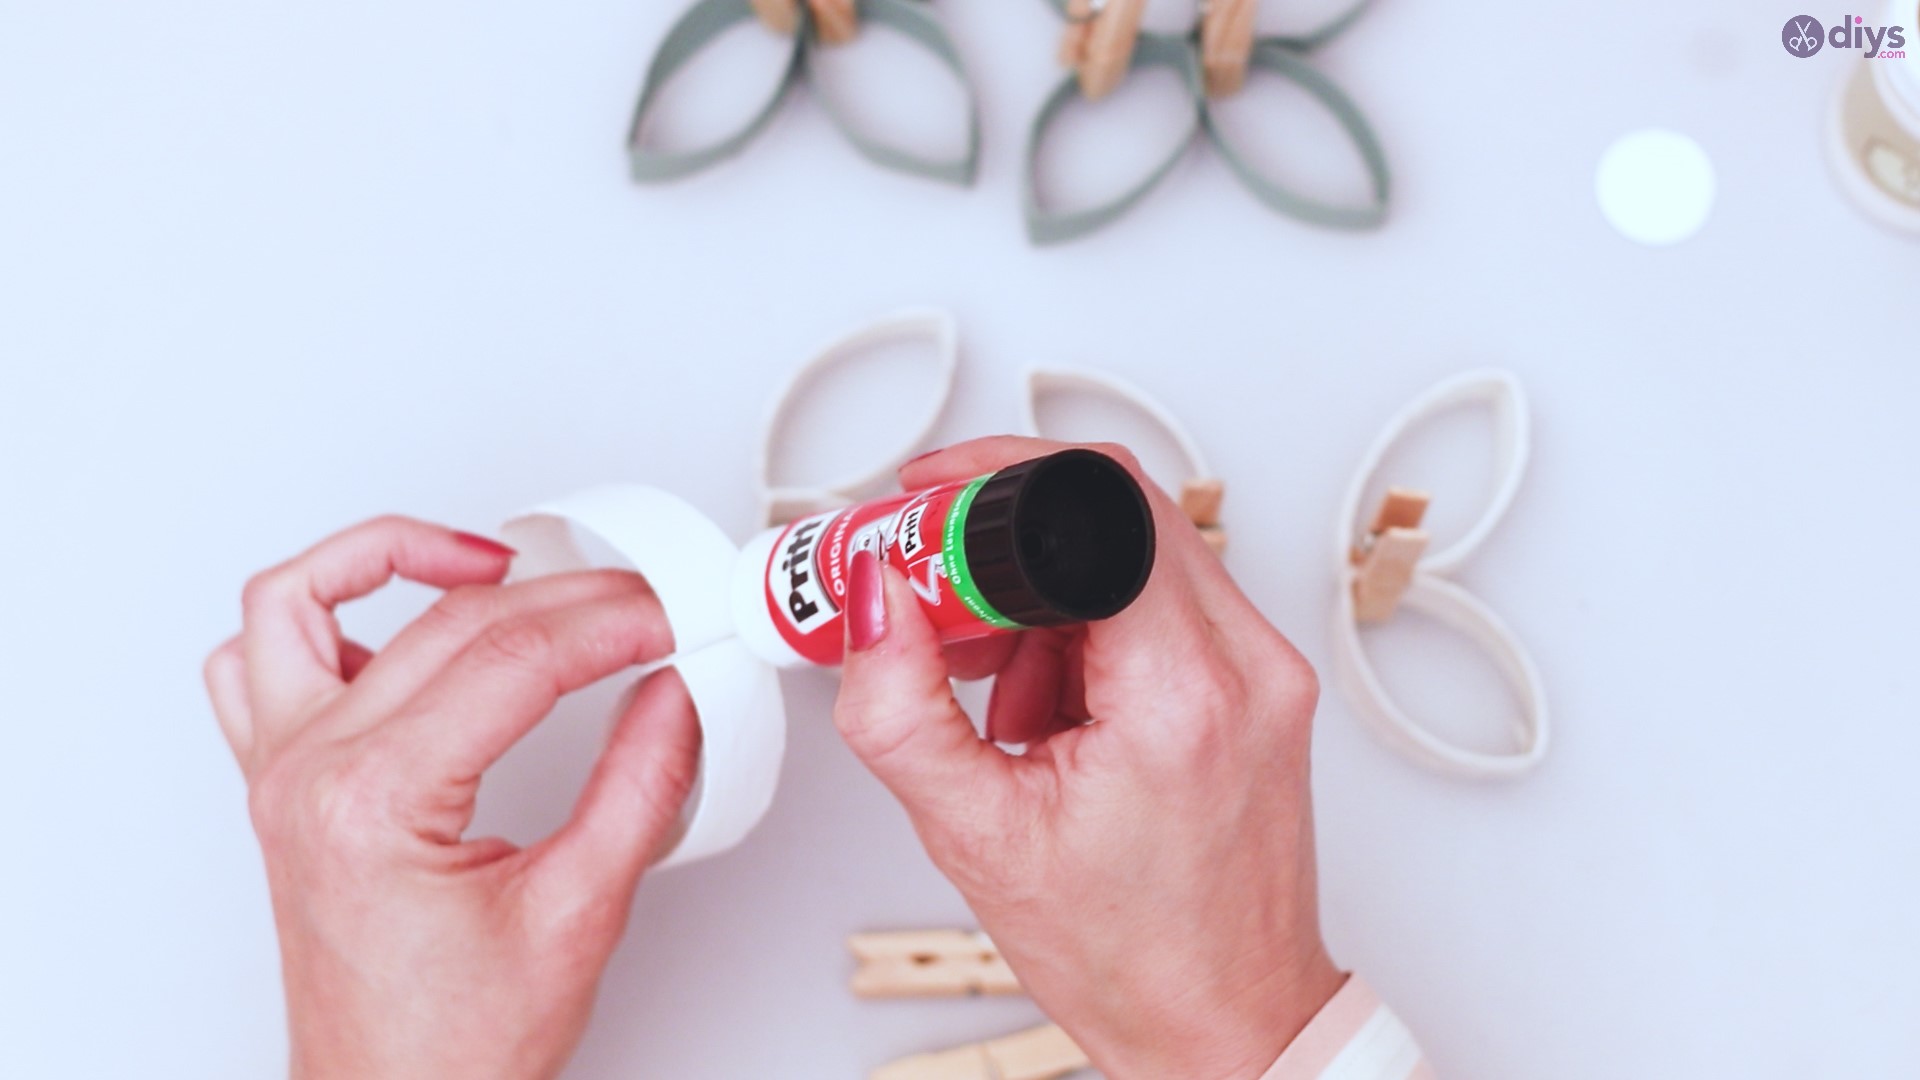
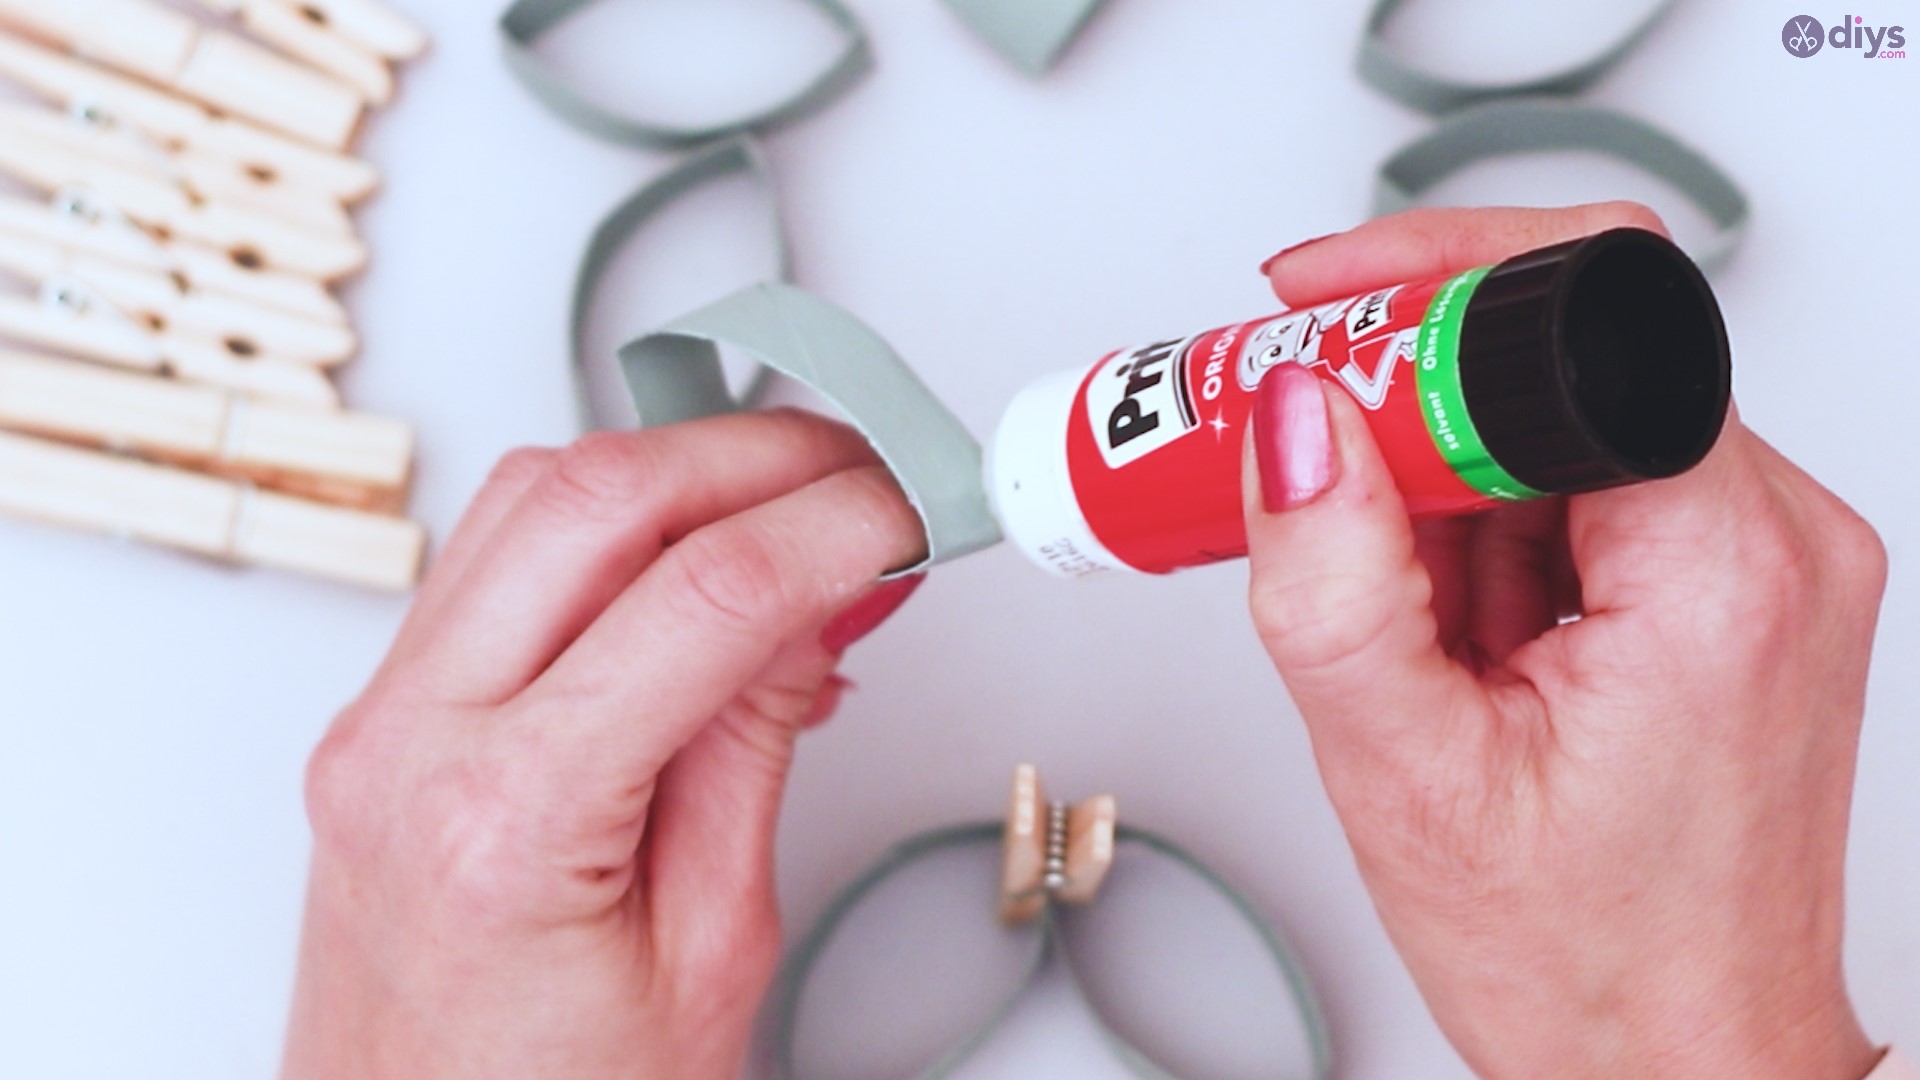
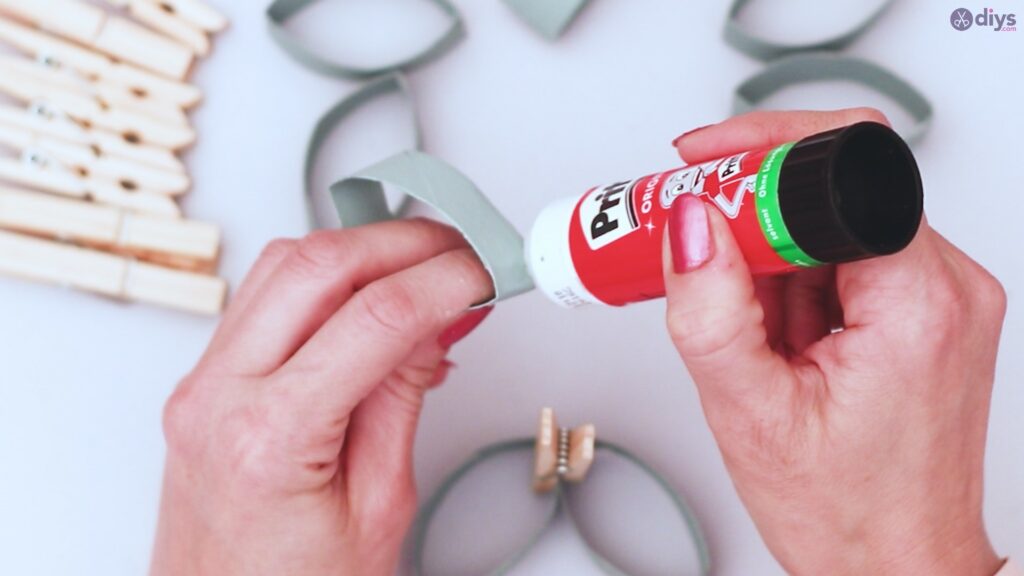
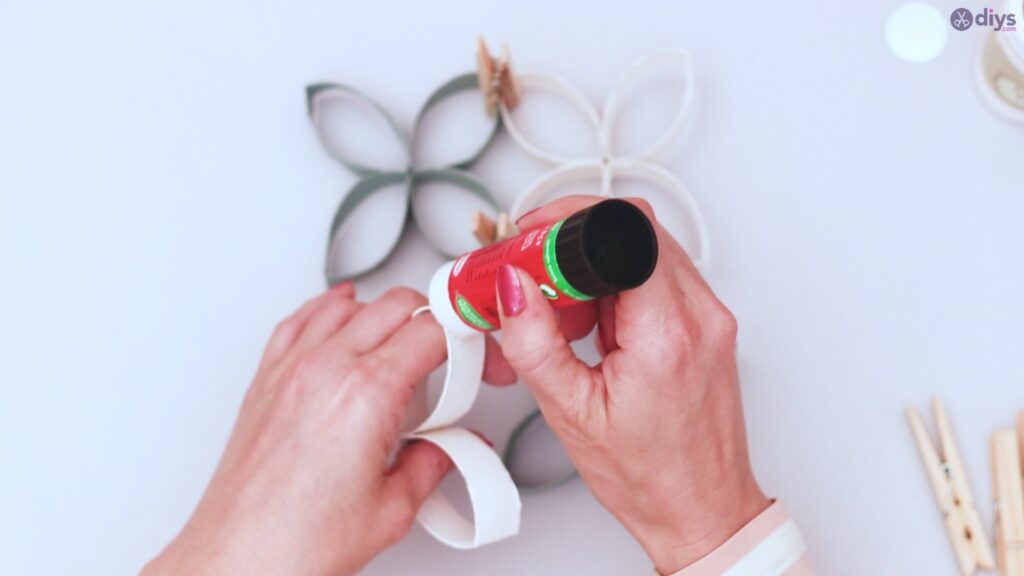
Step 4: Gooey Gluing
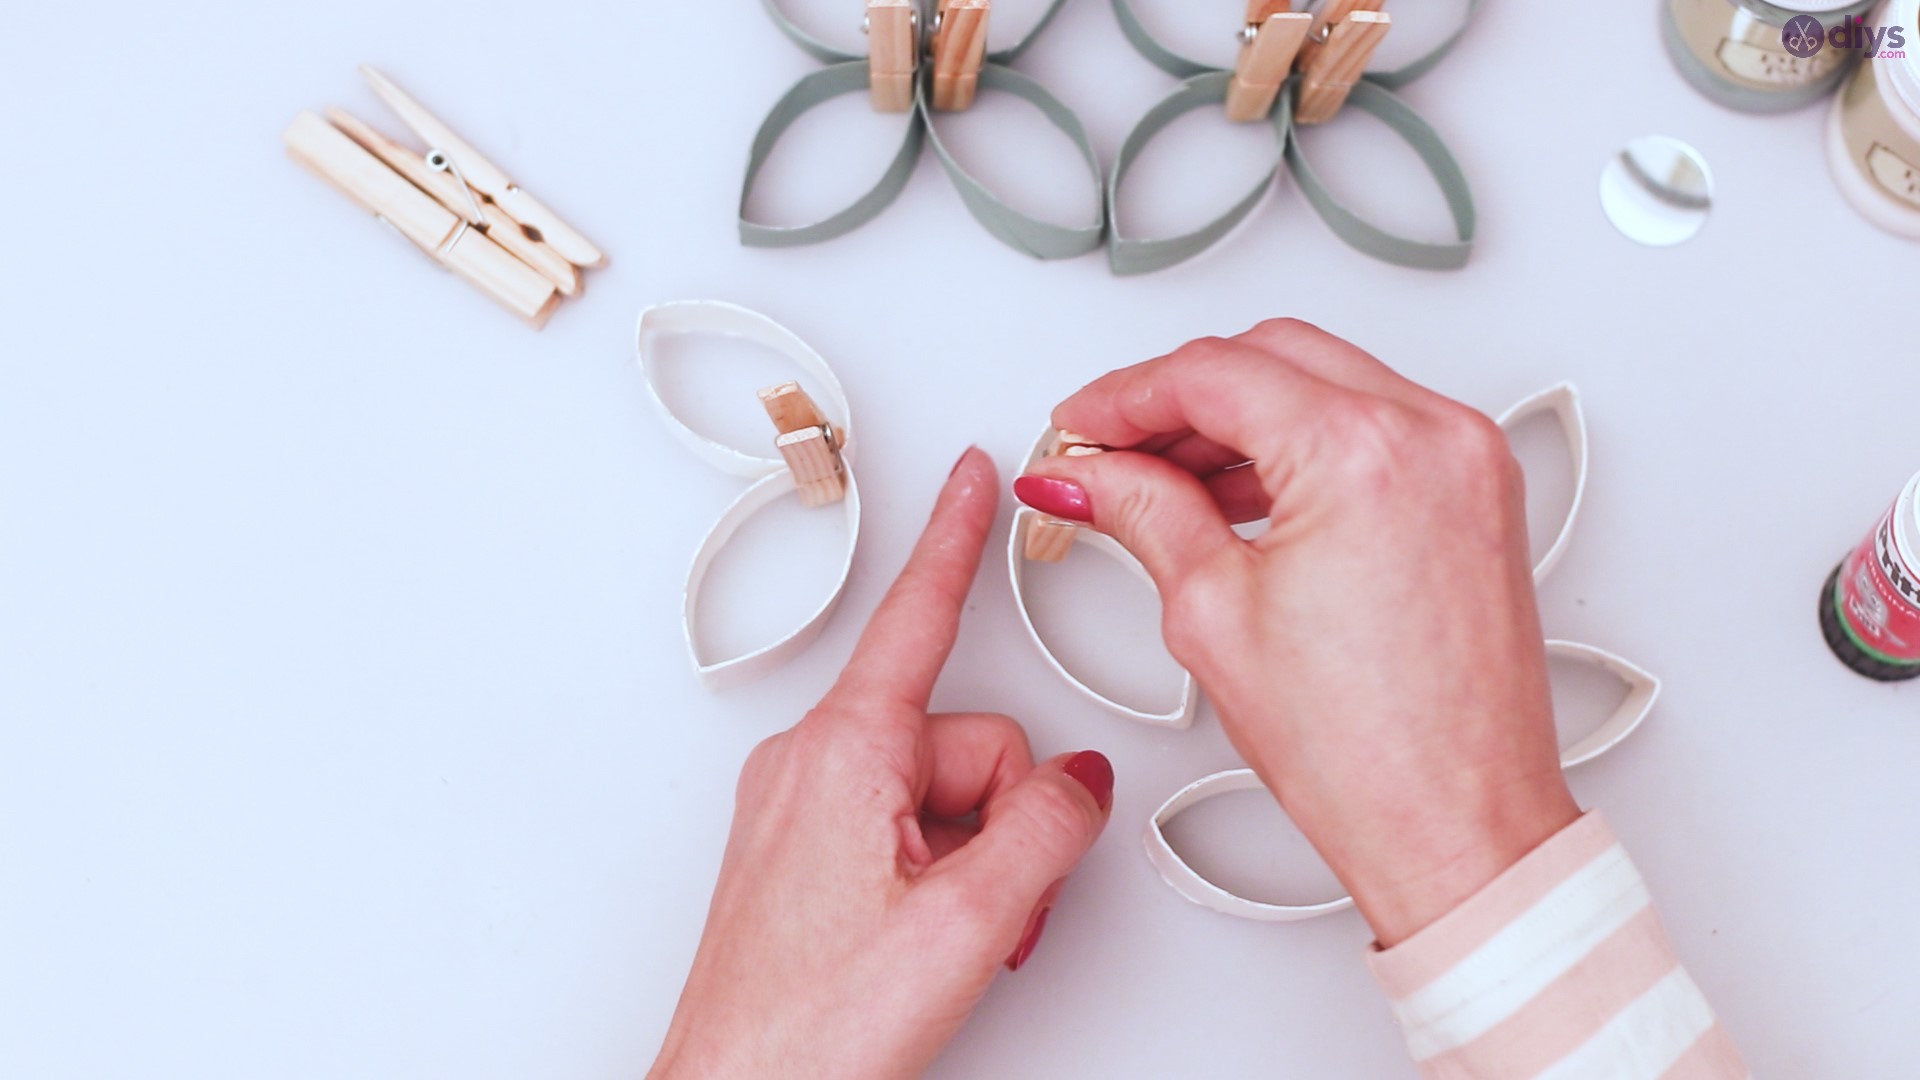
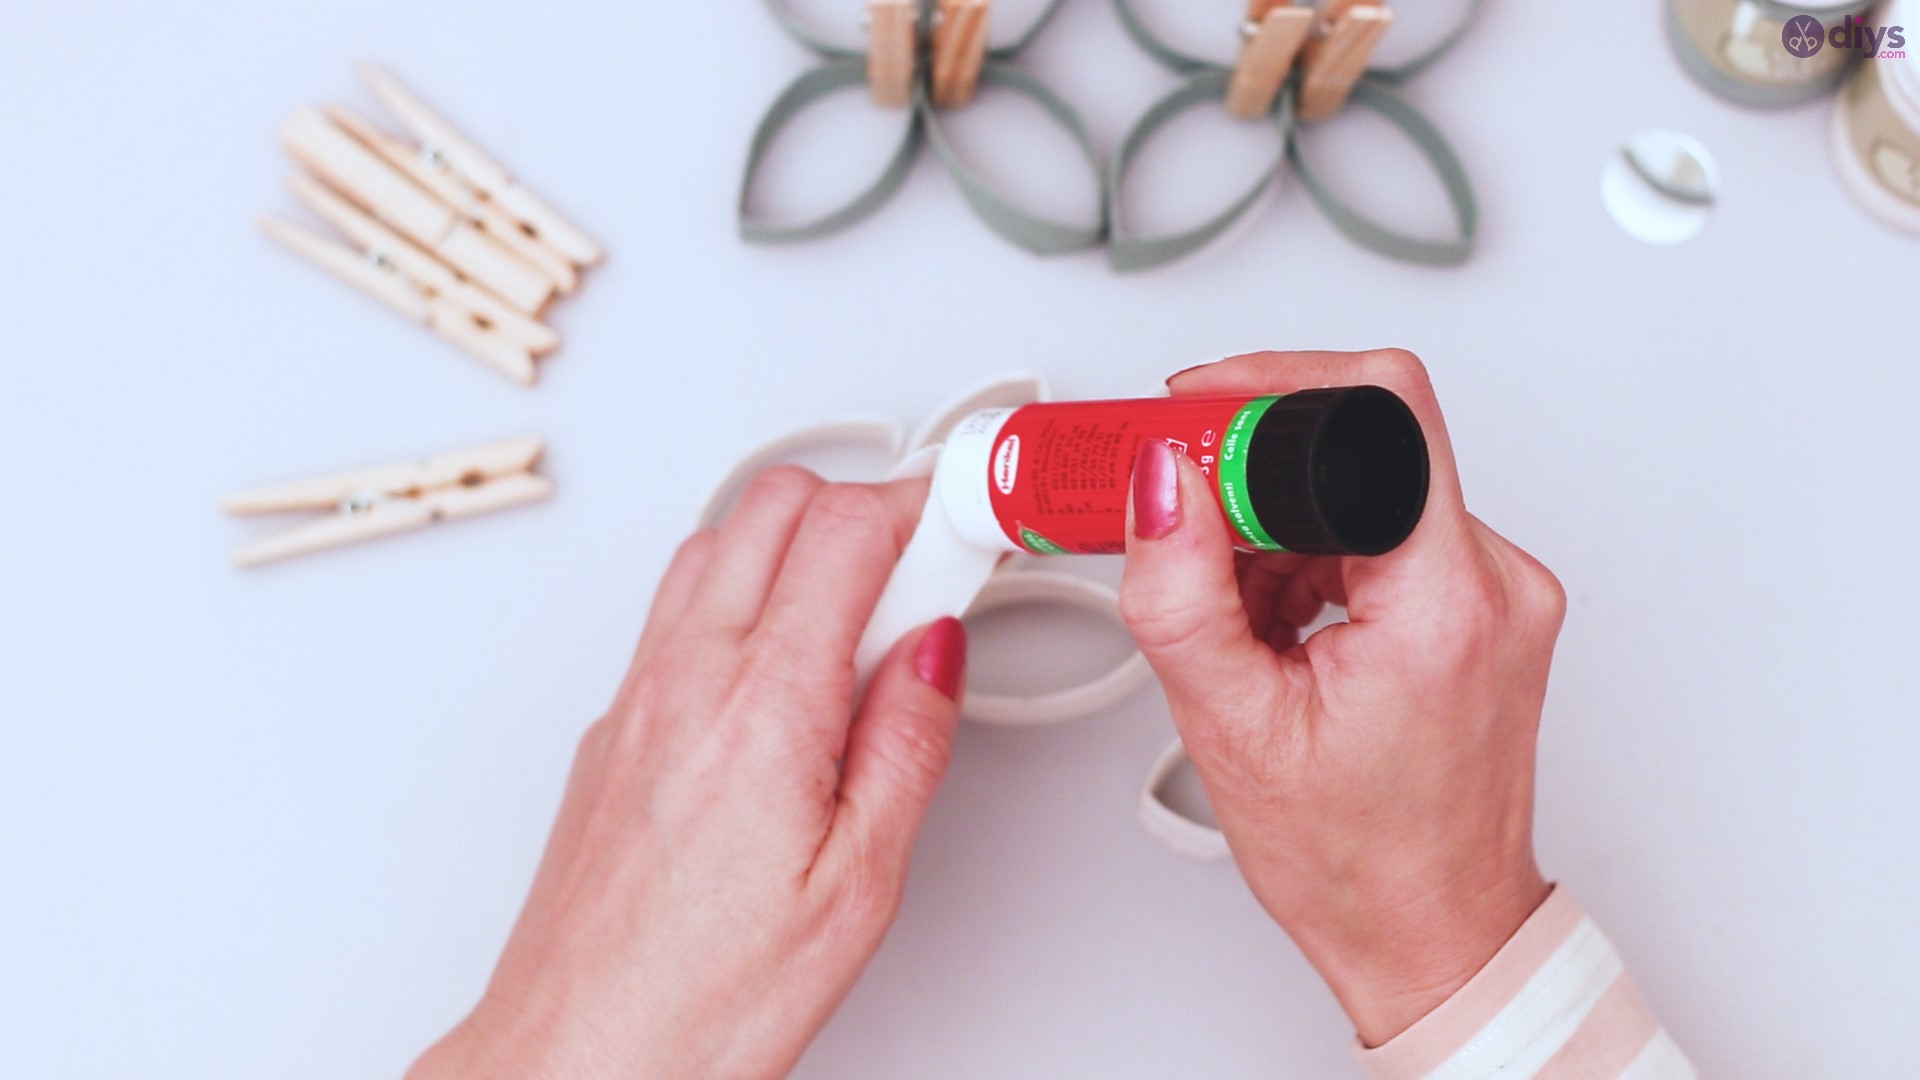
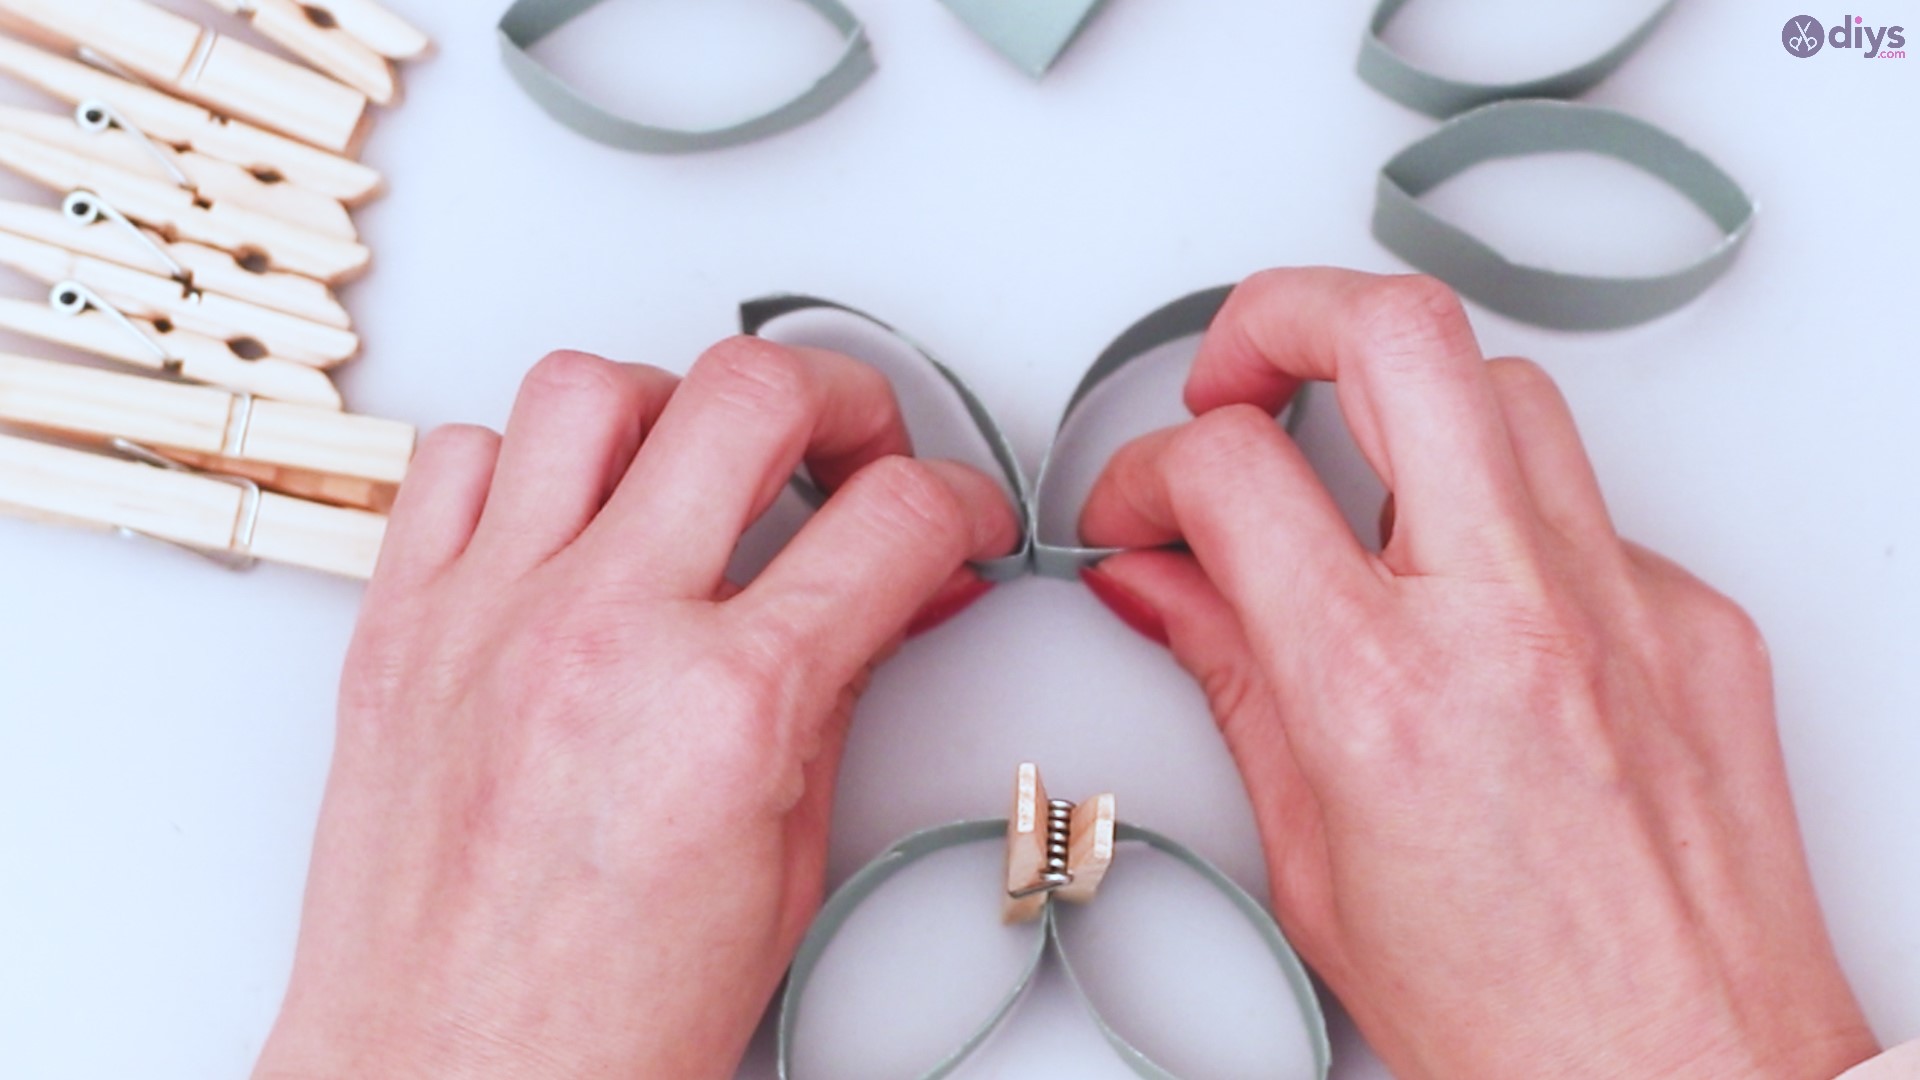
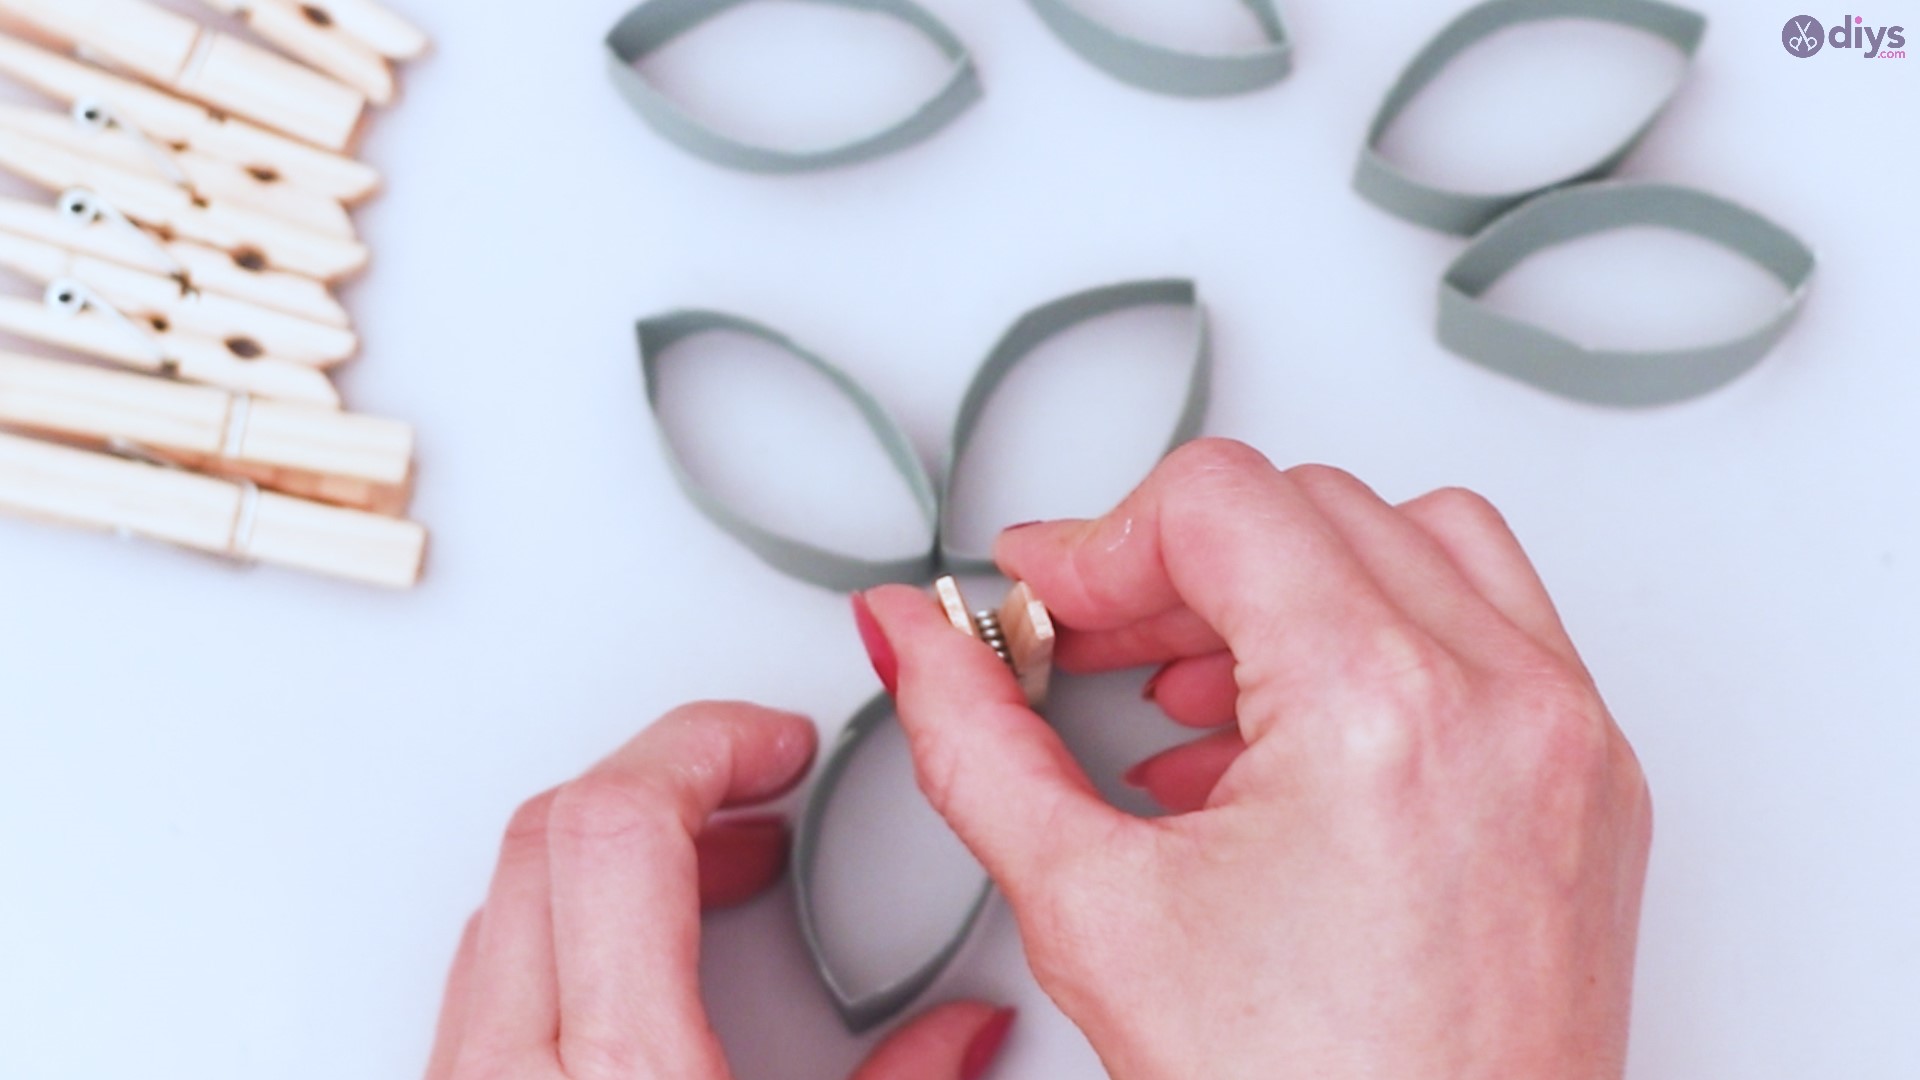
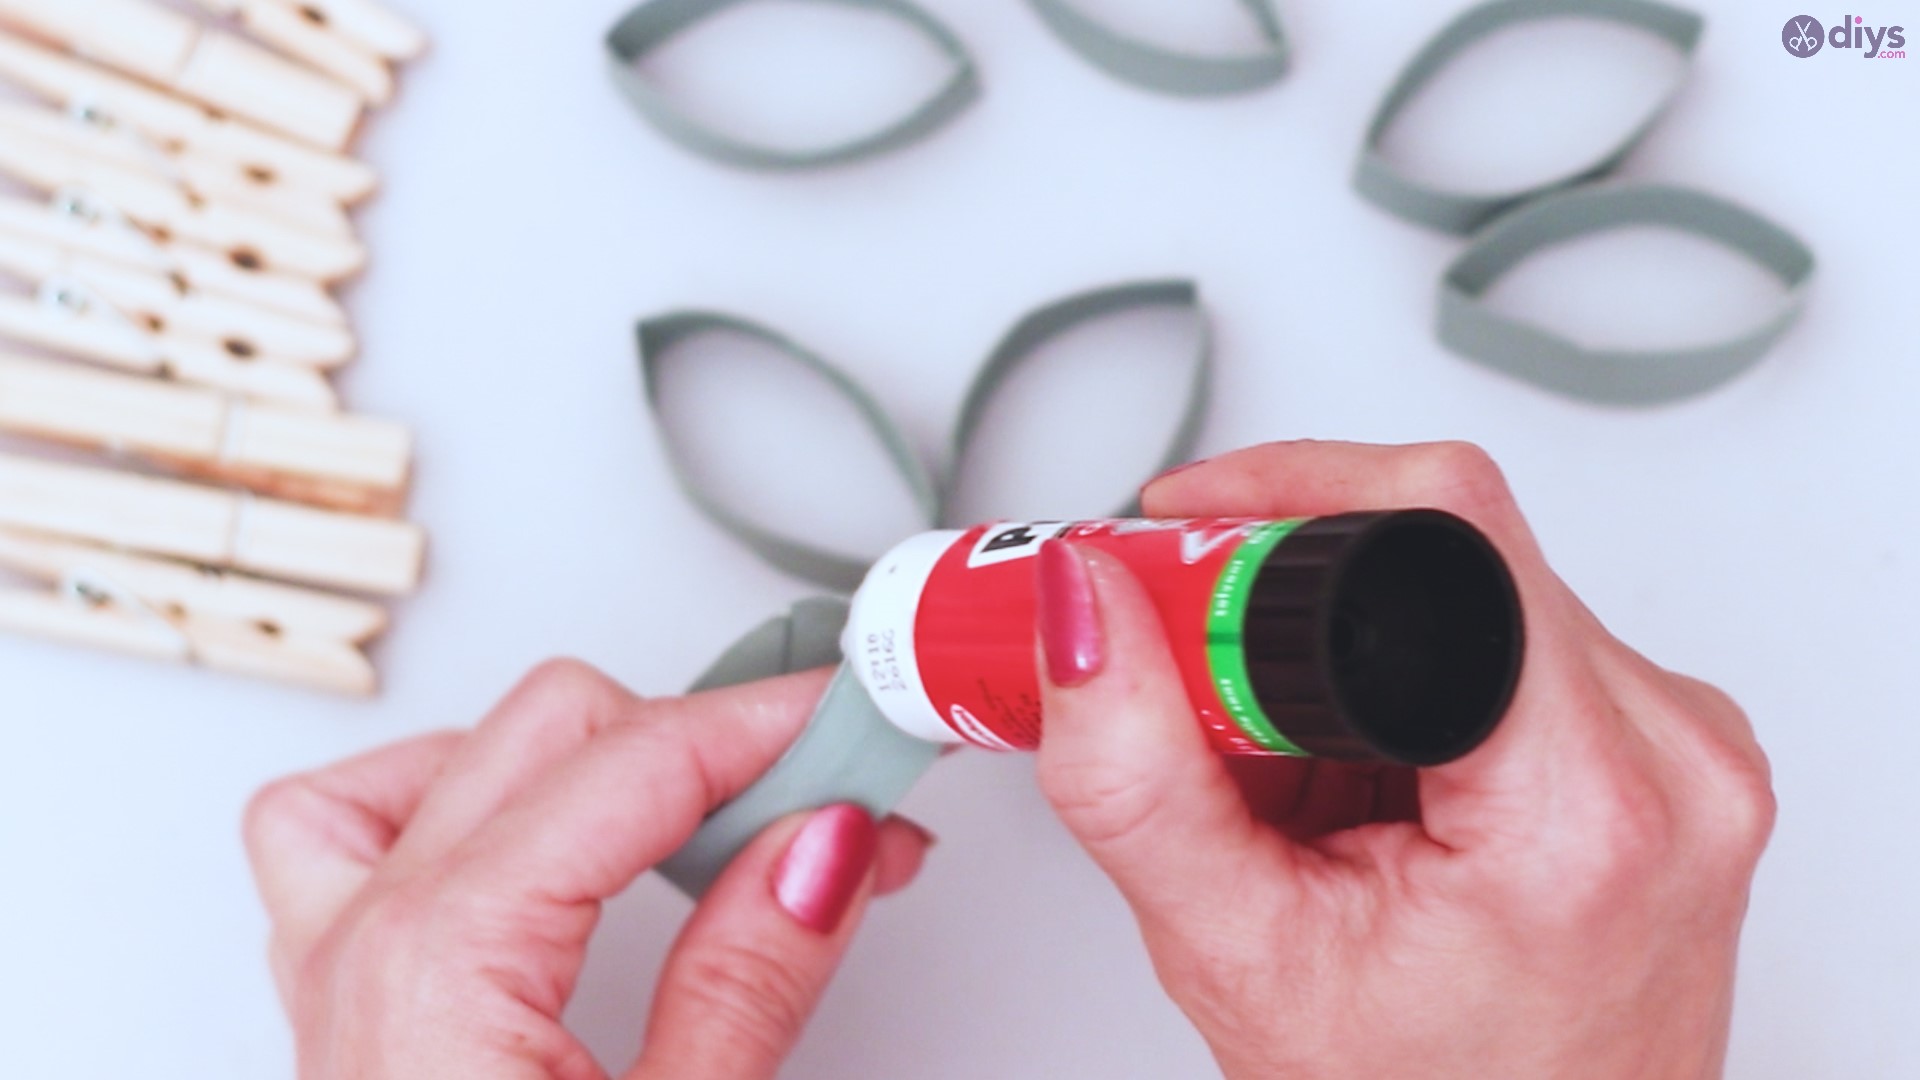
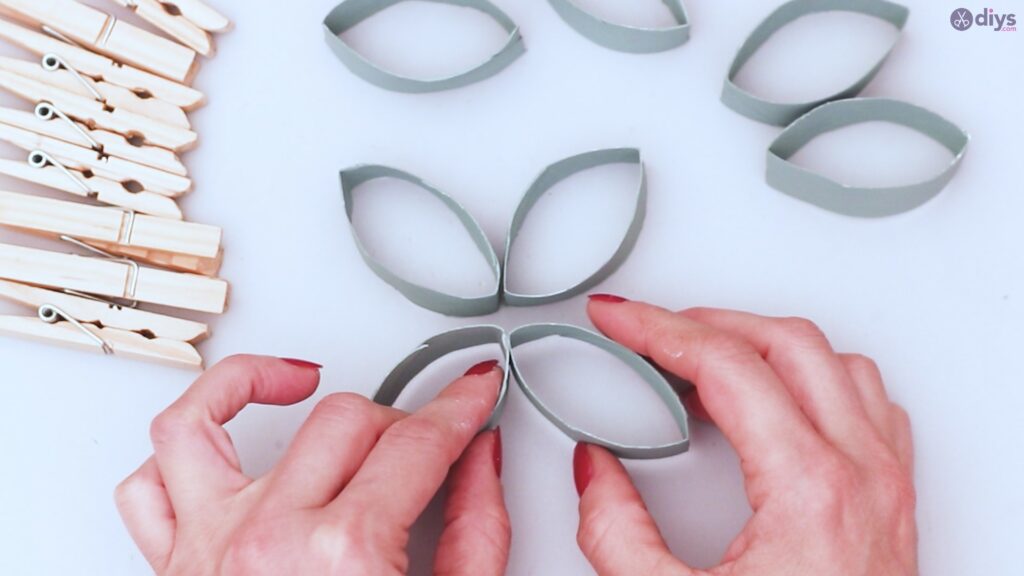
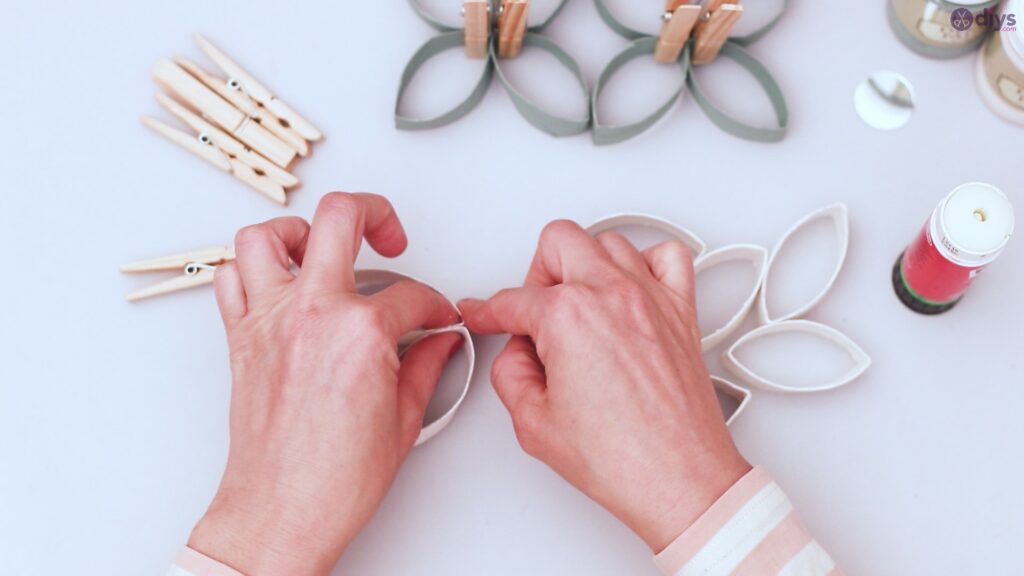
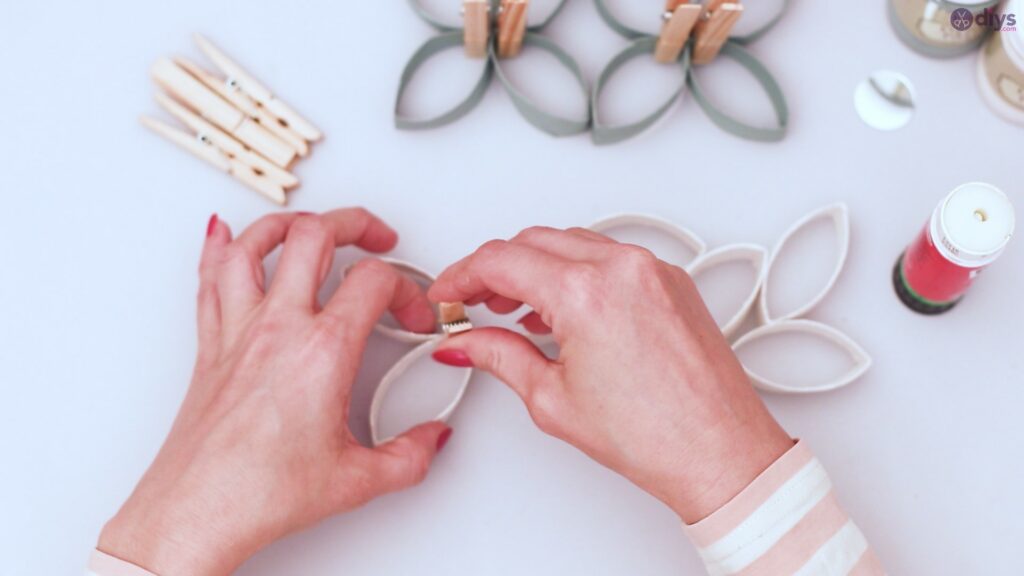
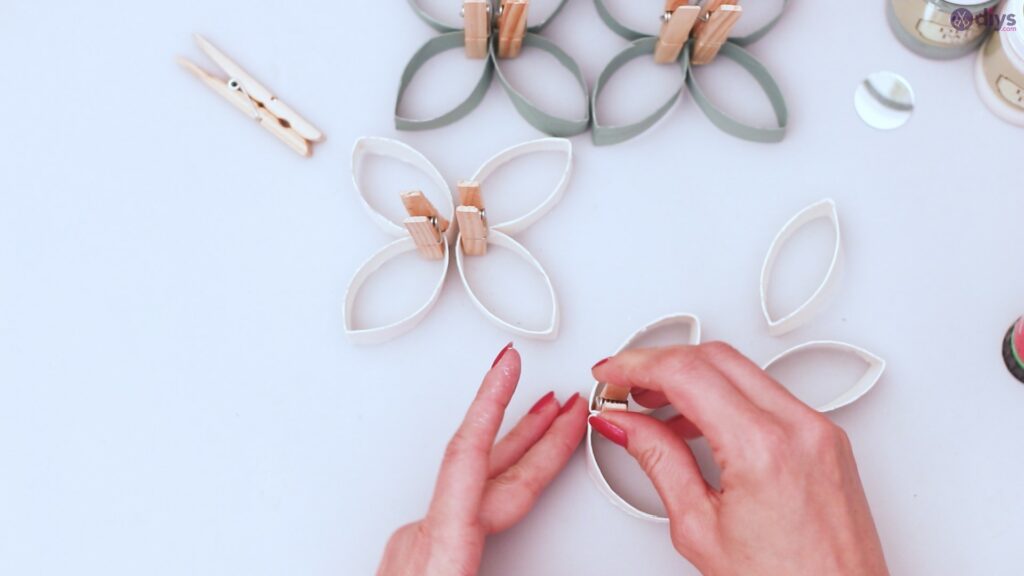
Once everything is dry, take two of the segments that are the same color. Remember those folds earlier? We’re going to use those to turn the segments into the shape of leaves. On one side of one of those segments, towards the point of one end, place glue from the glue stick.
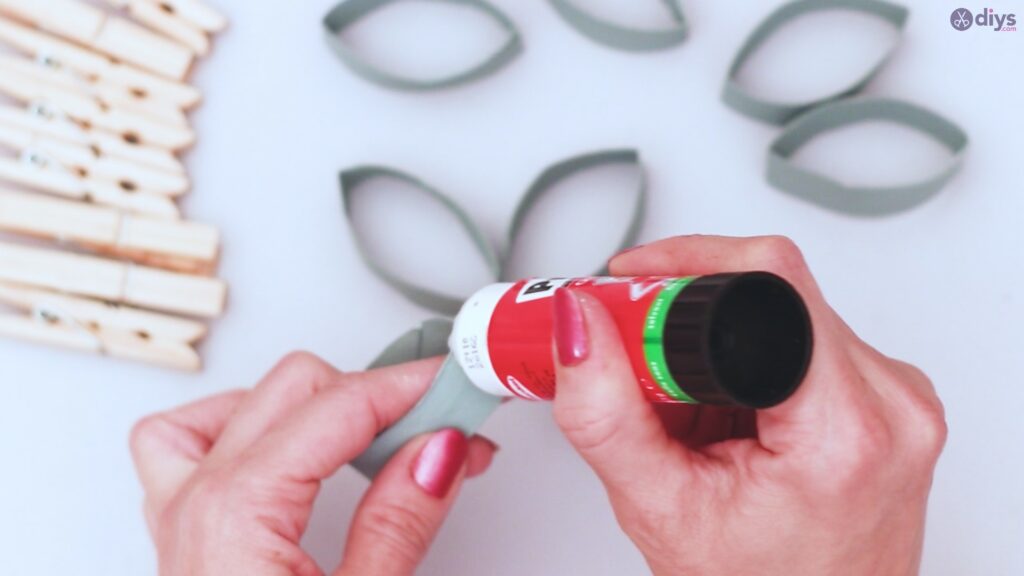
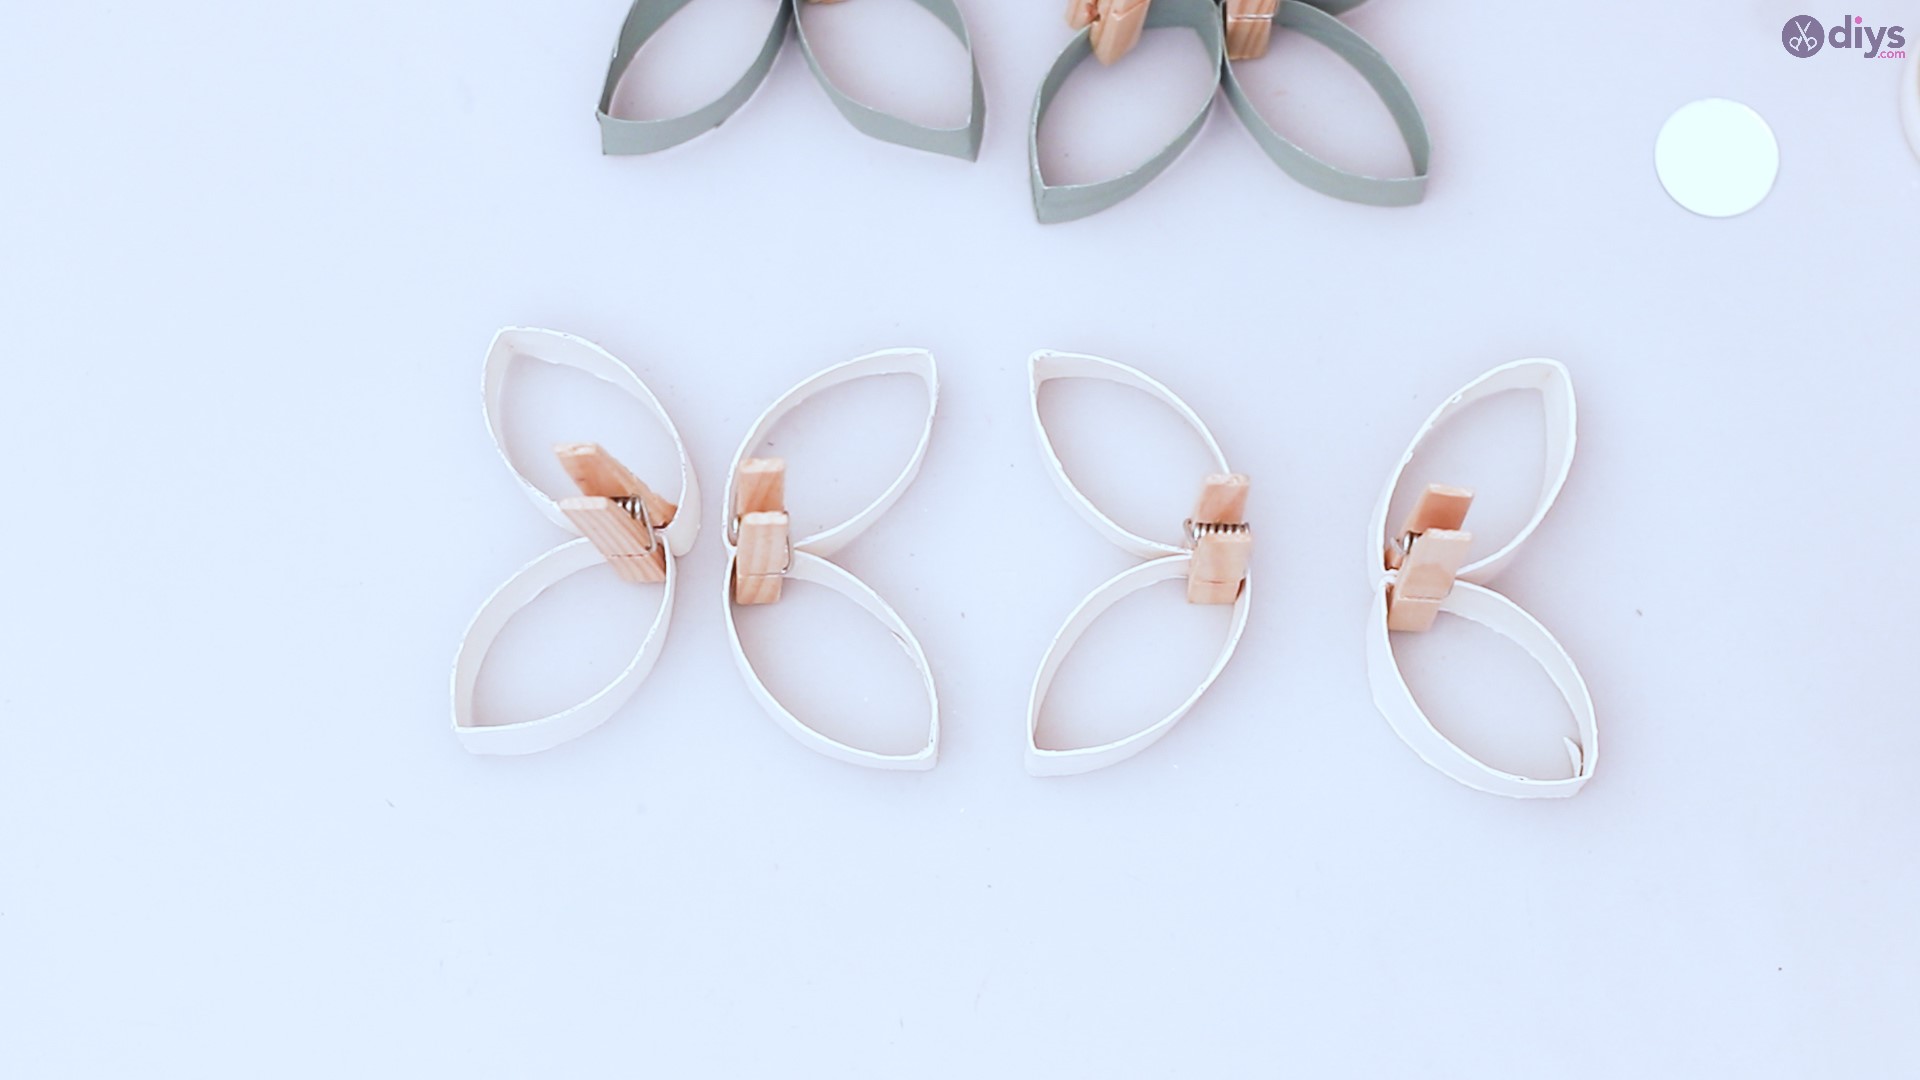
Press it to the other segment, so that they look like leaves at the bottom of a flower drawing.

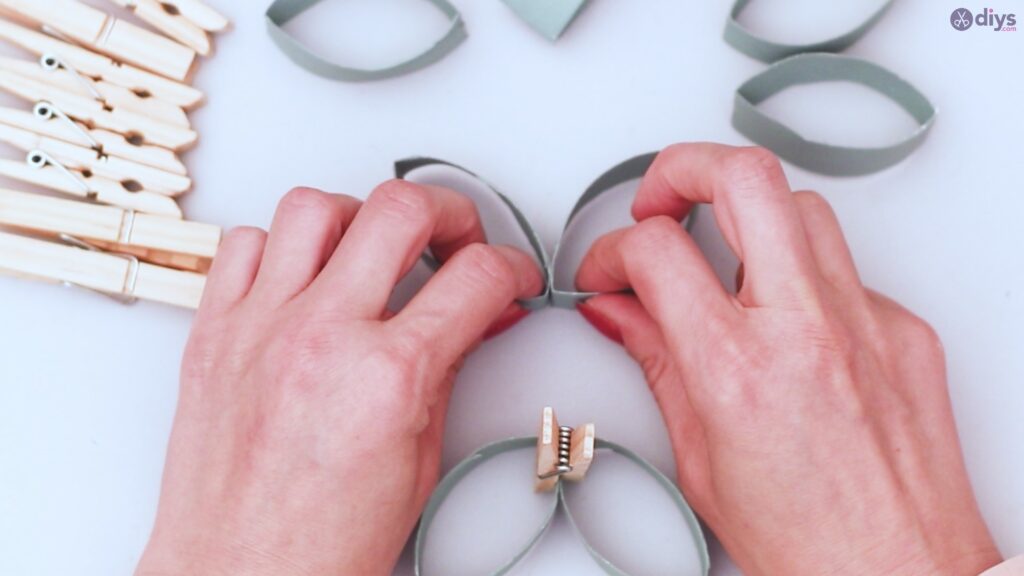
Use a wood clamp or clothespin to hold these together while they dry. This could take some time, so do it as you go to get things rolling.
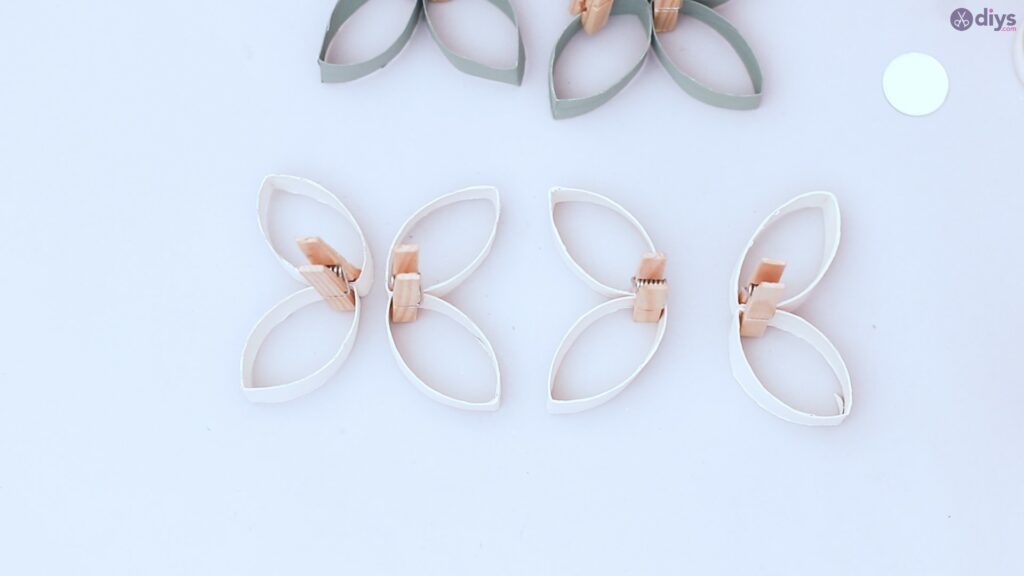
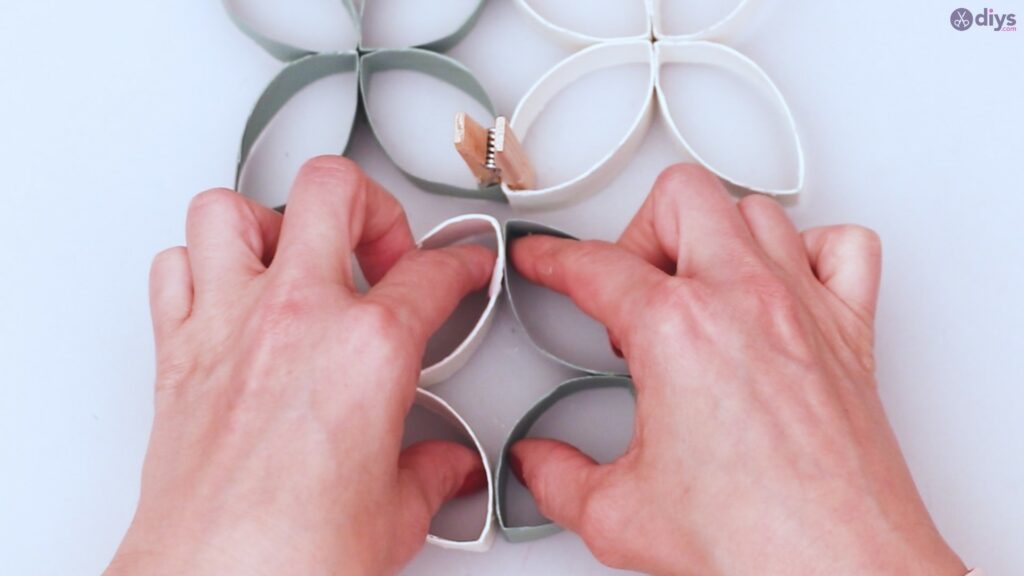
Repeat this process in pairs for all 8 of the same color segments.

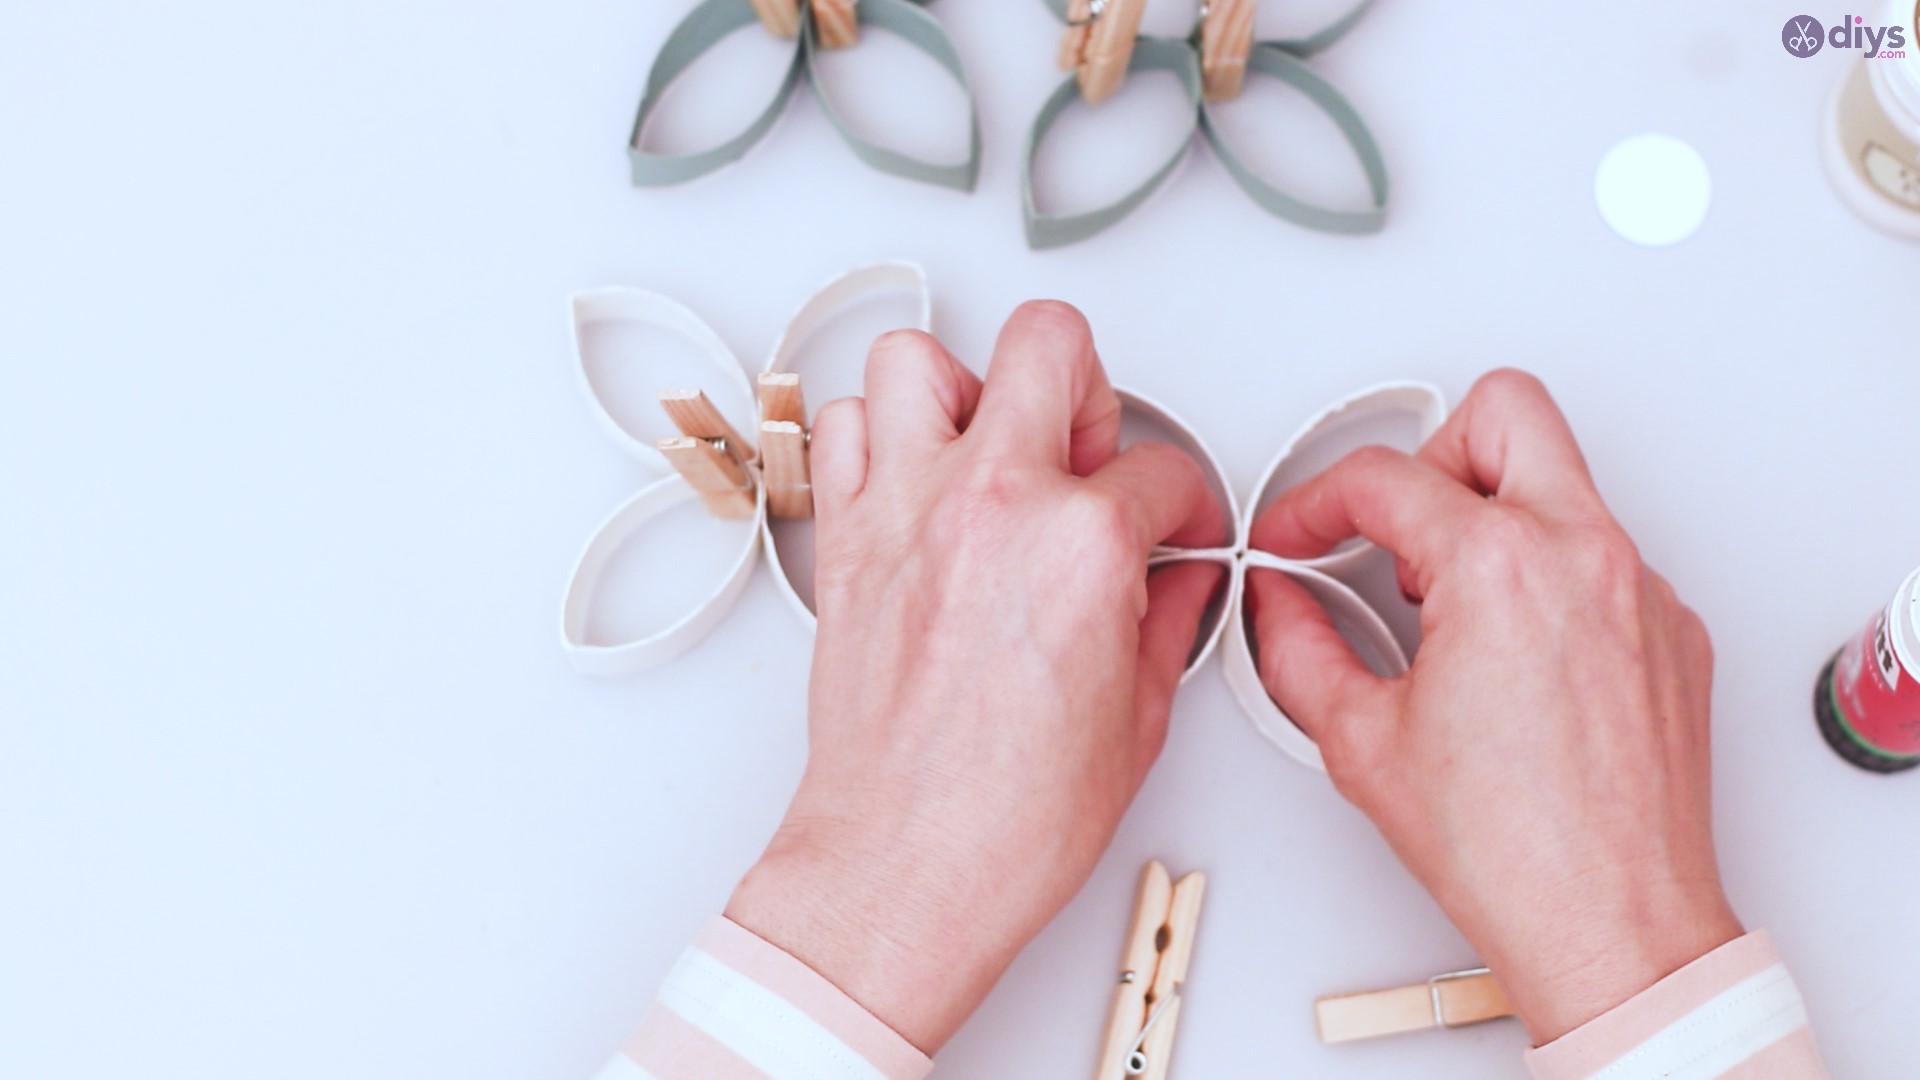
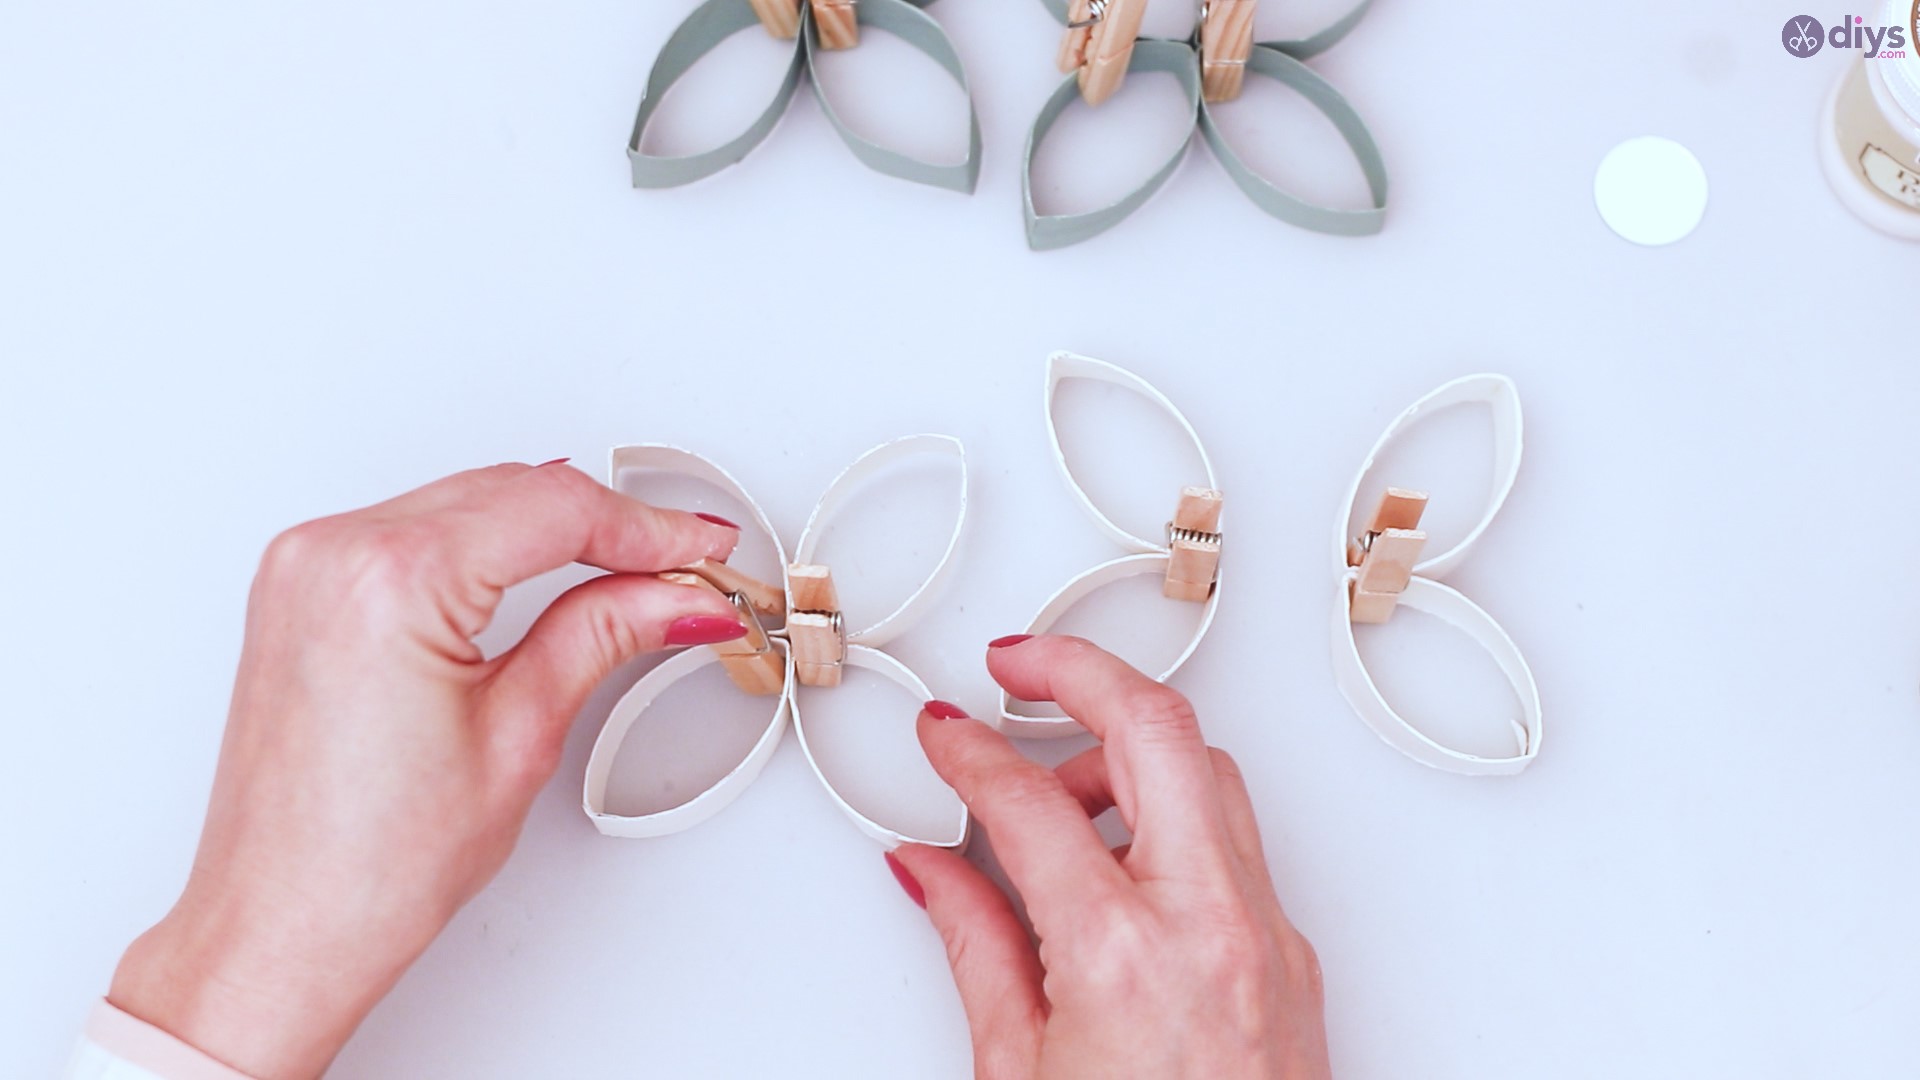
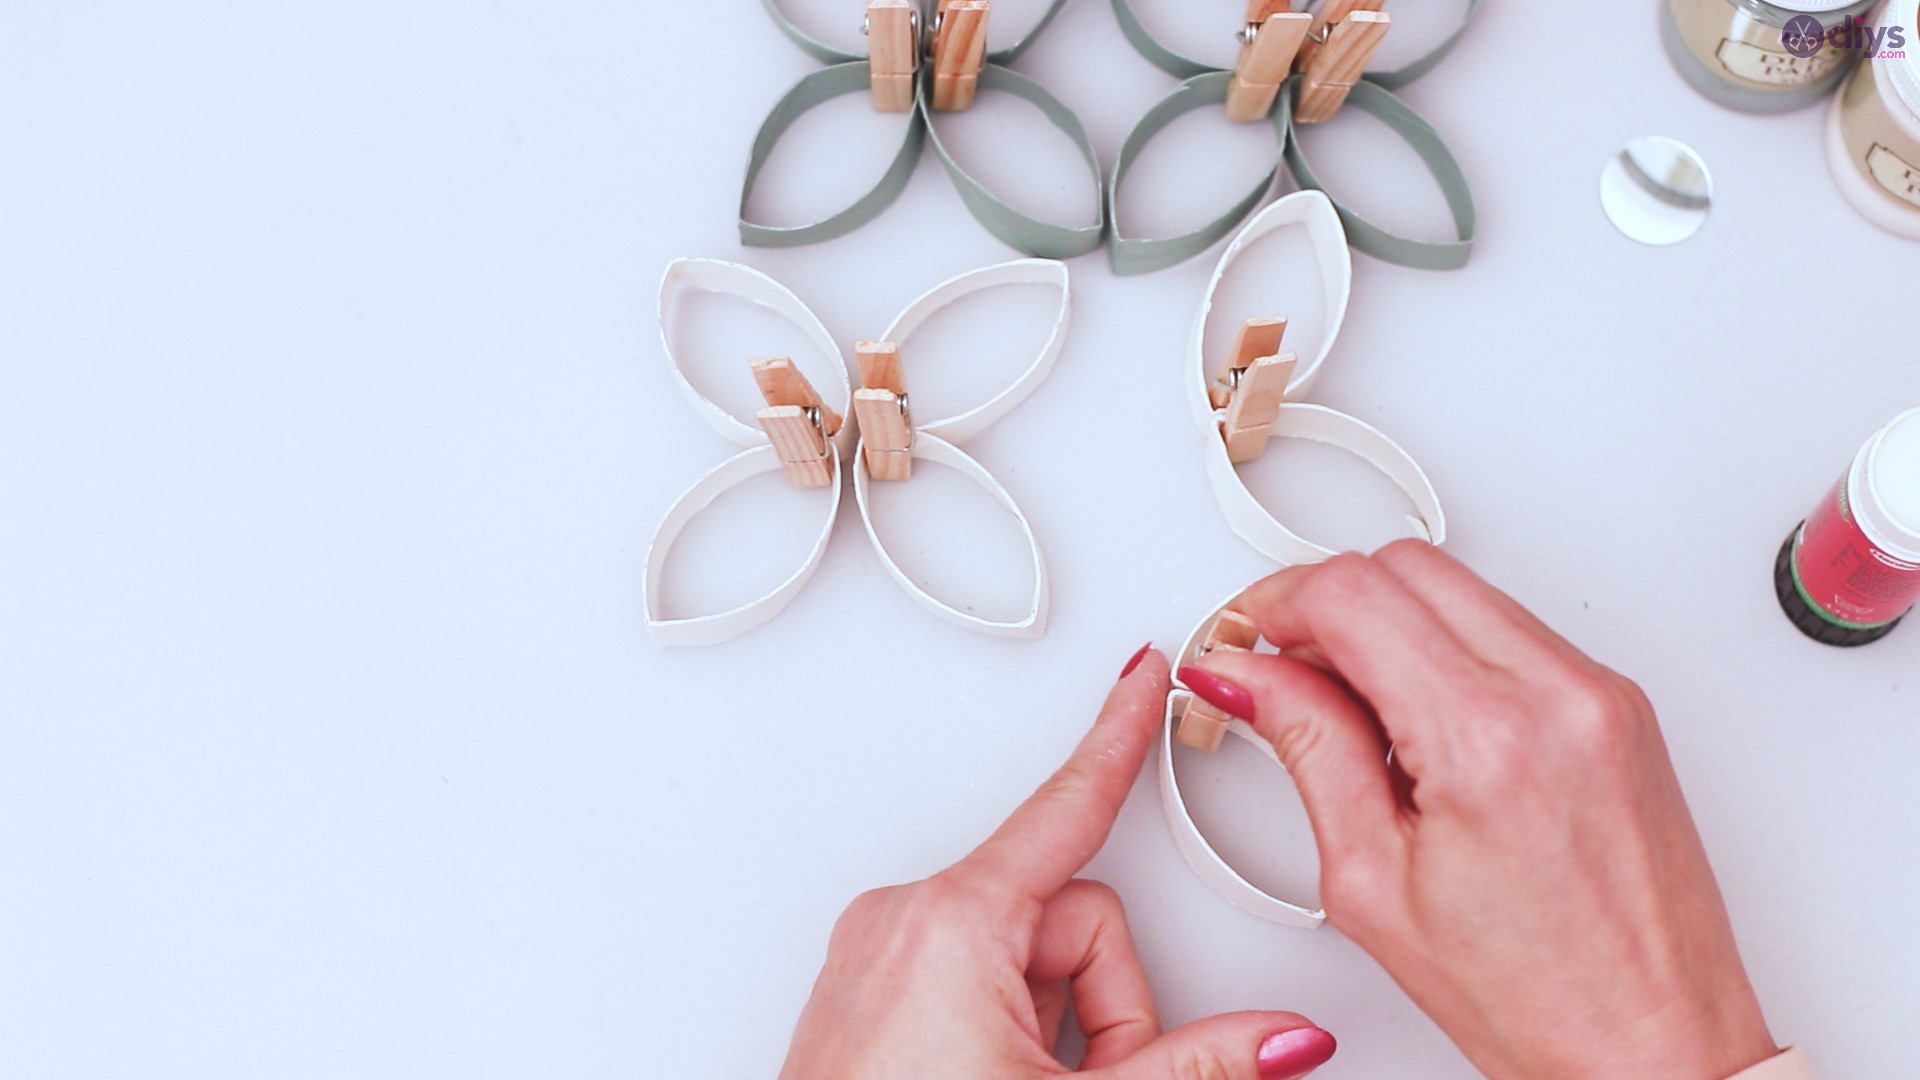
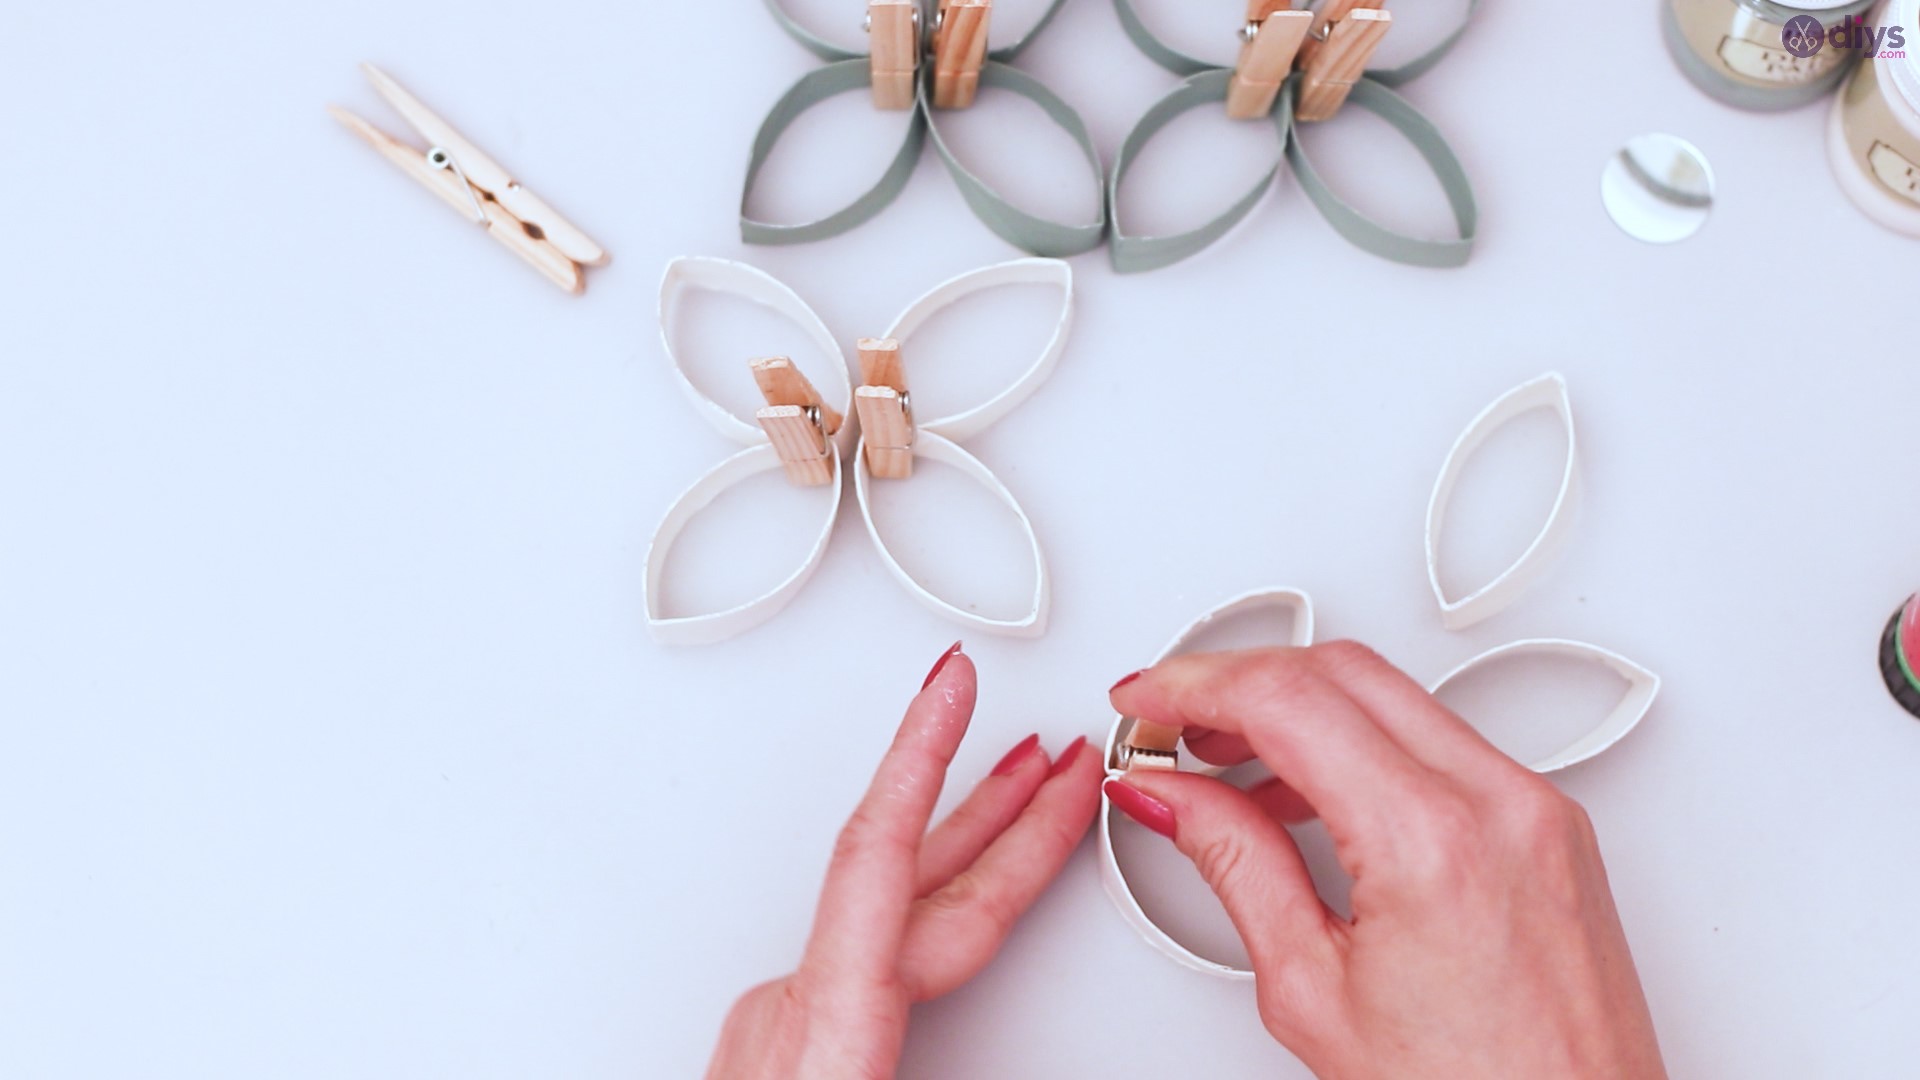
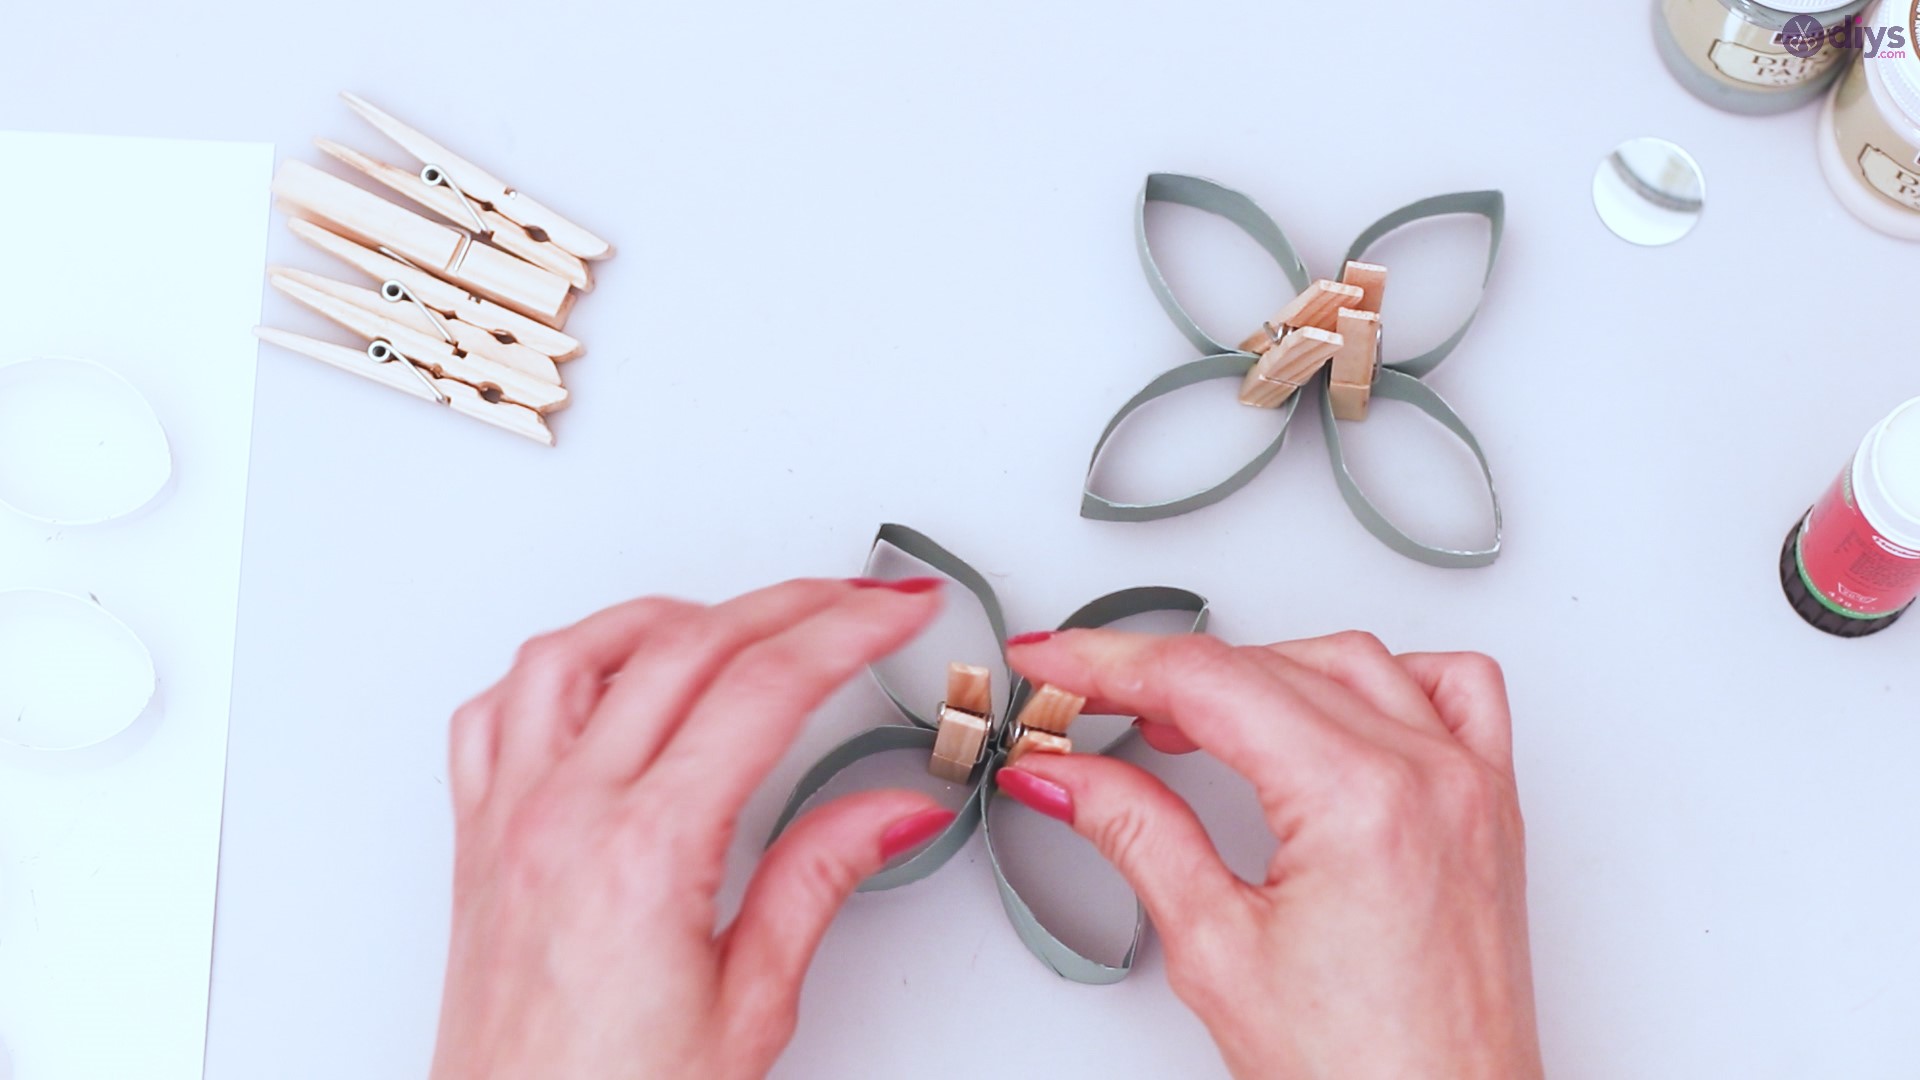
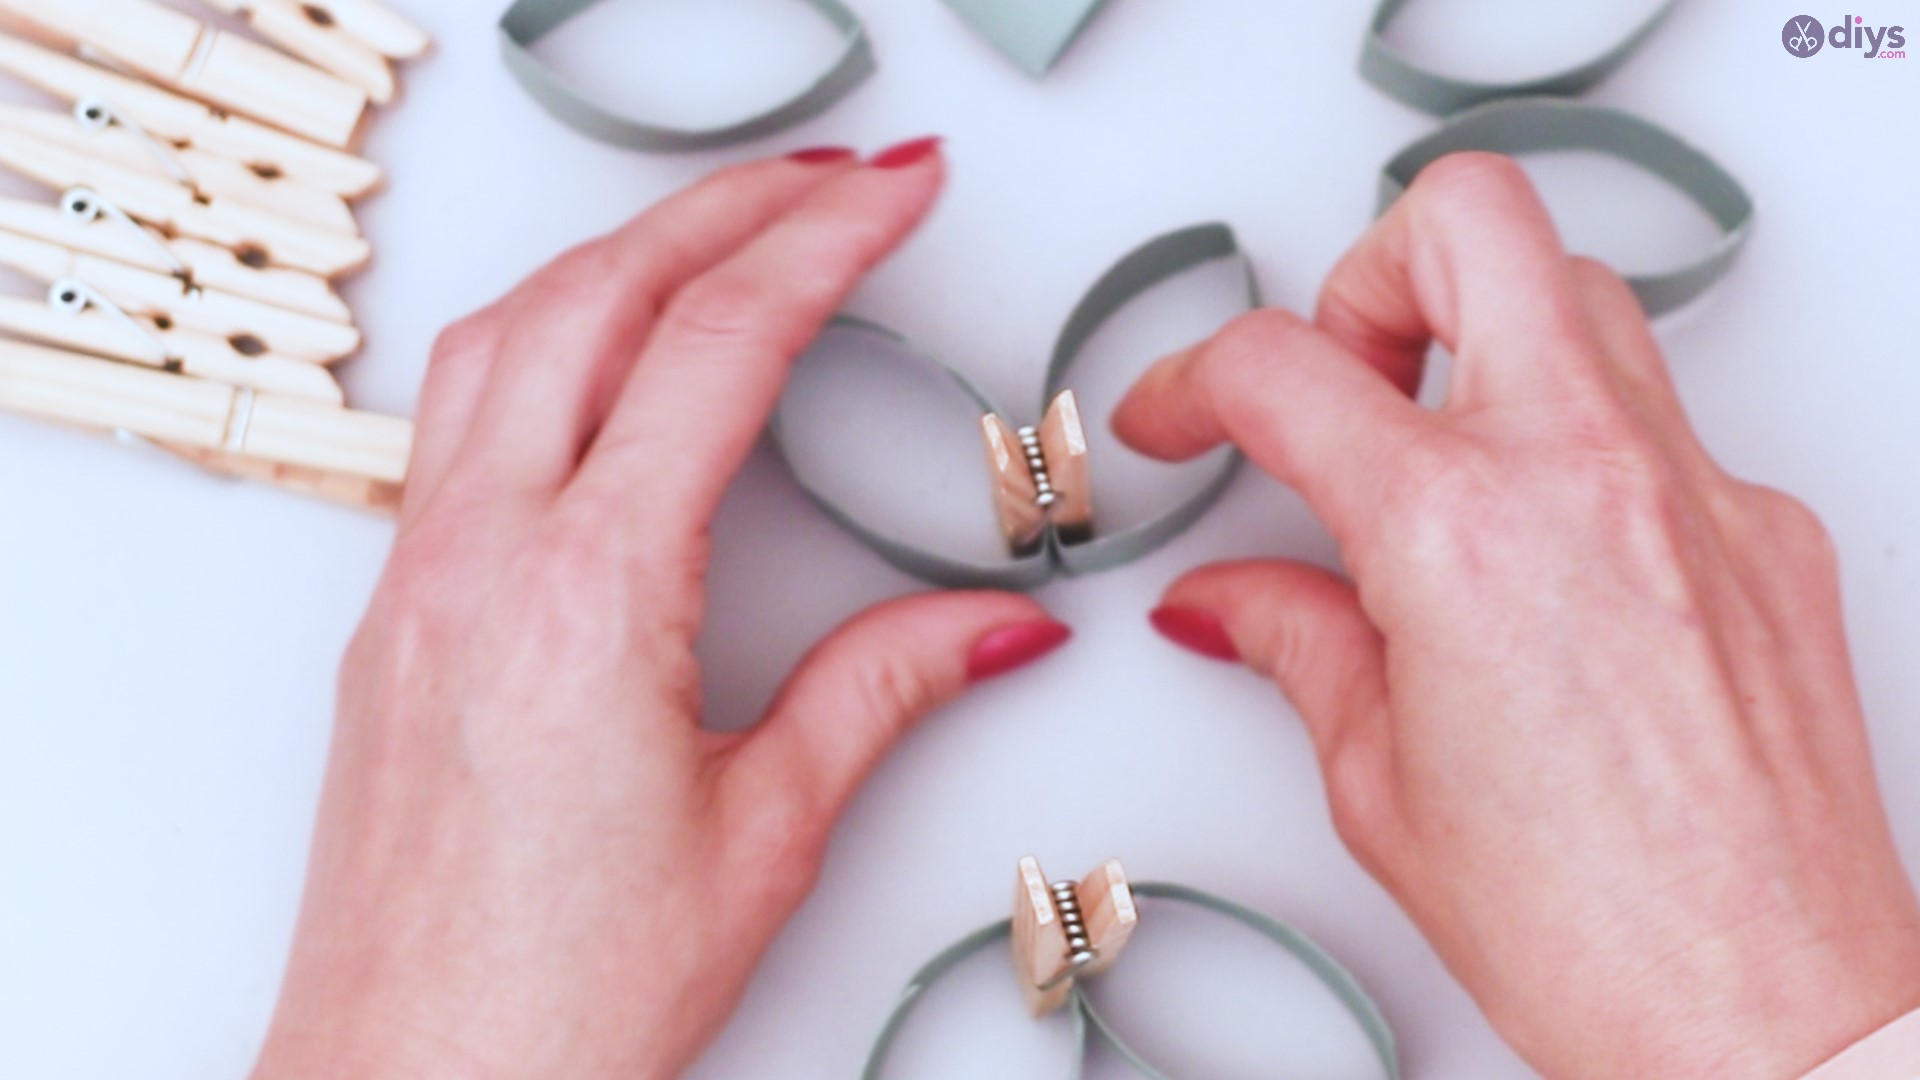
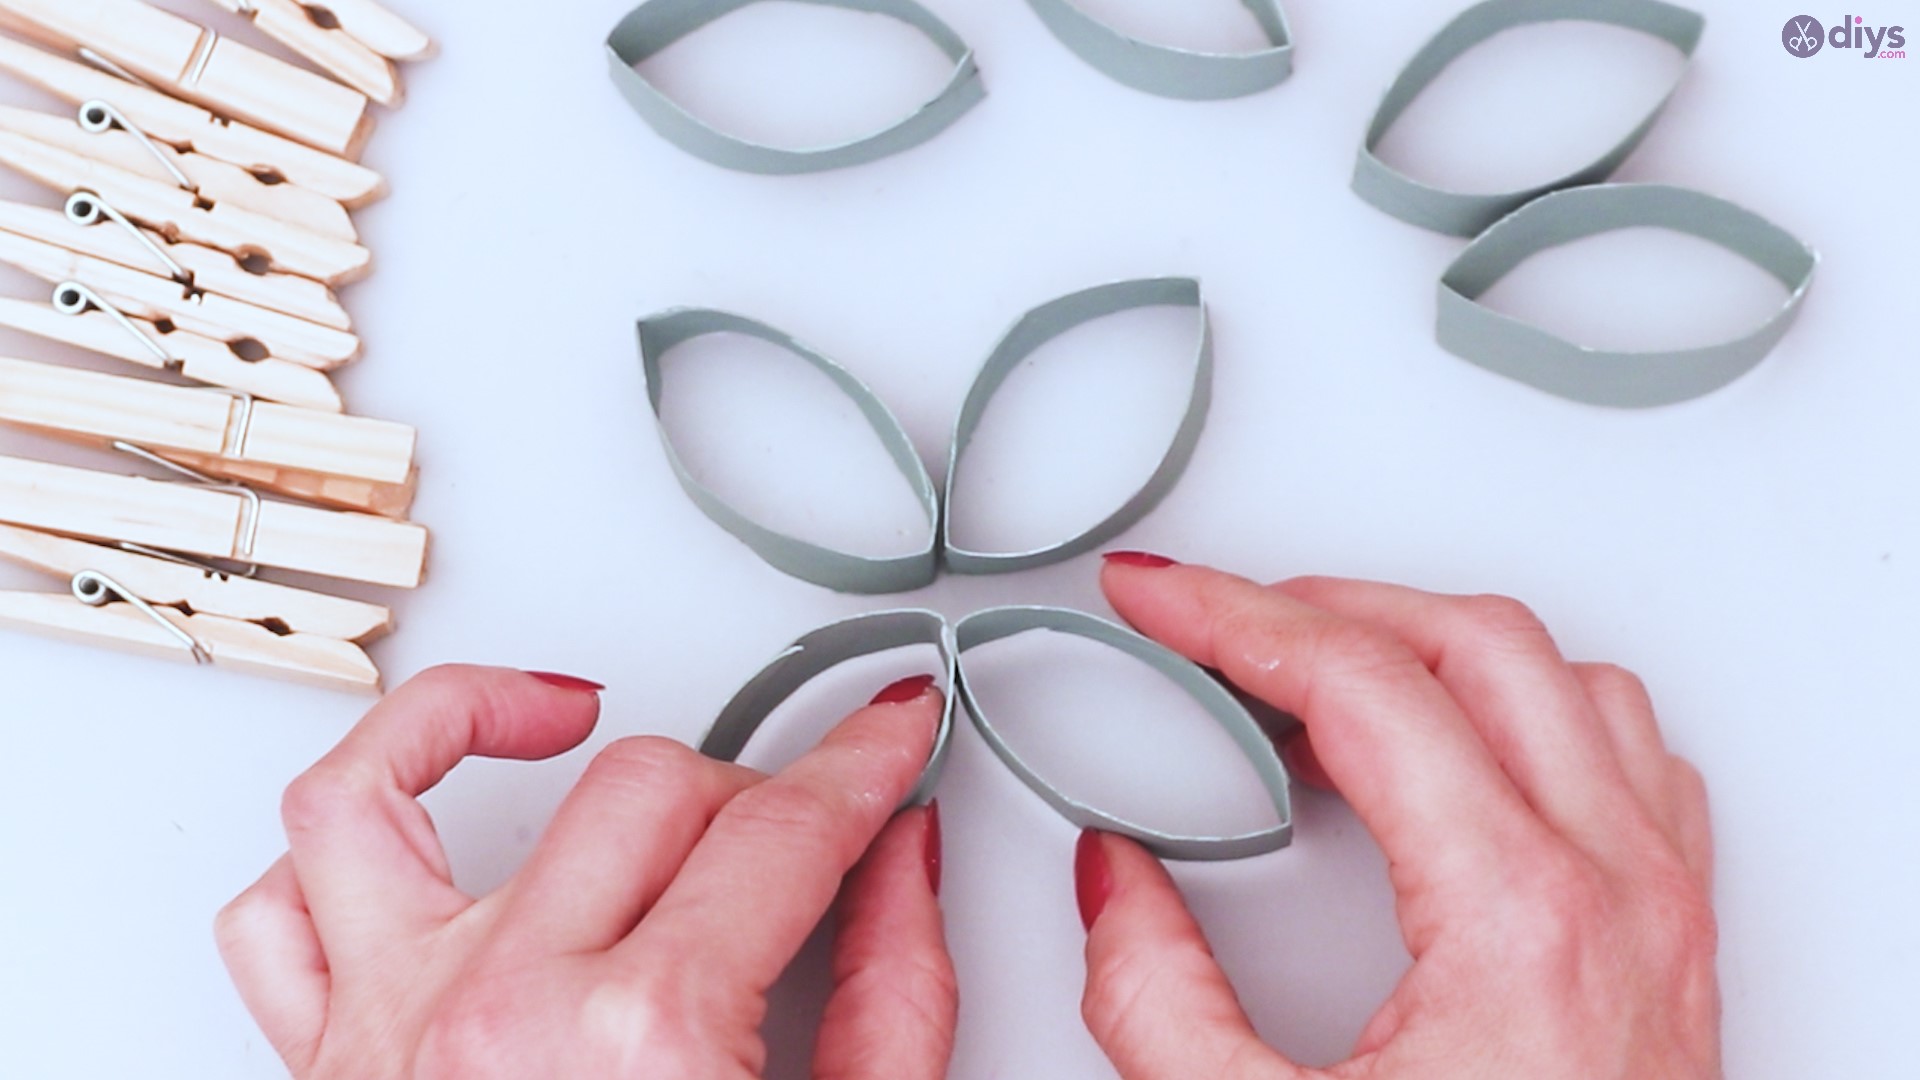
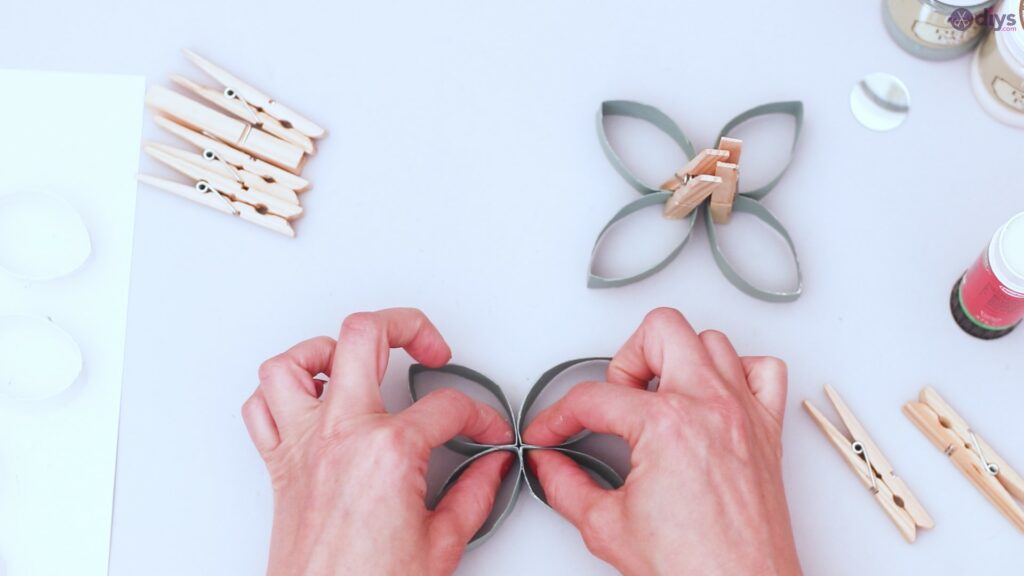
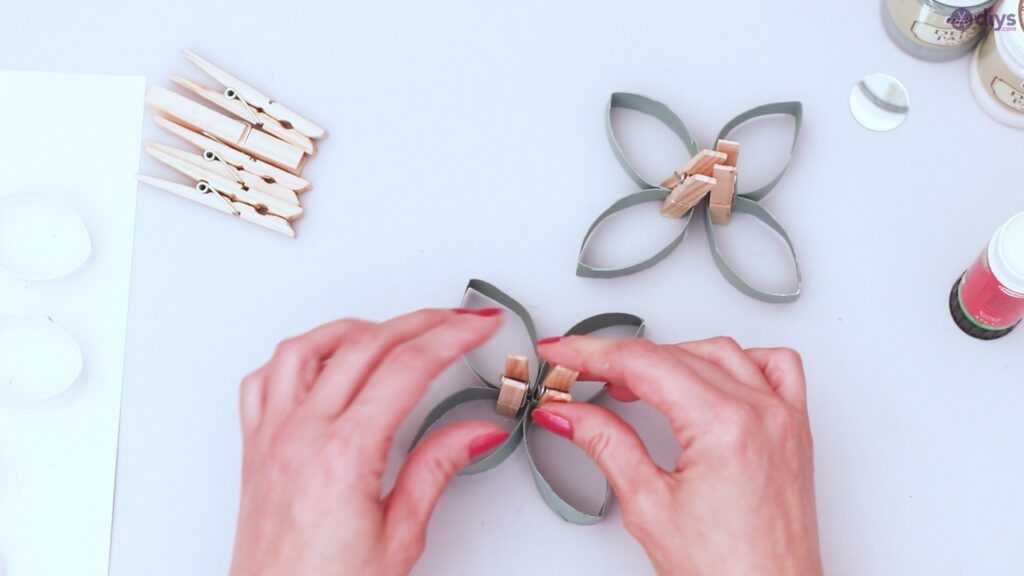
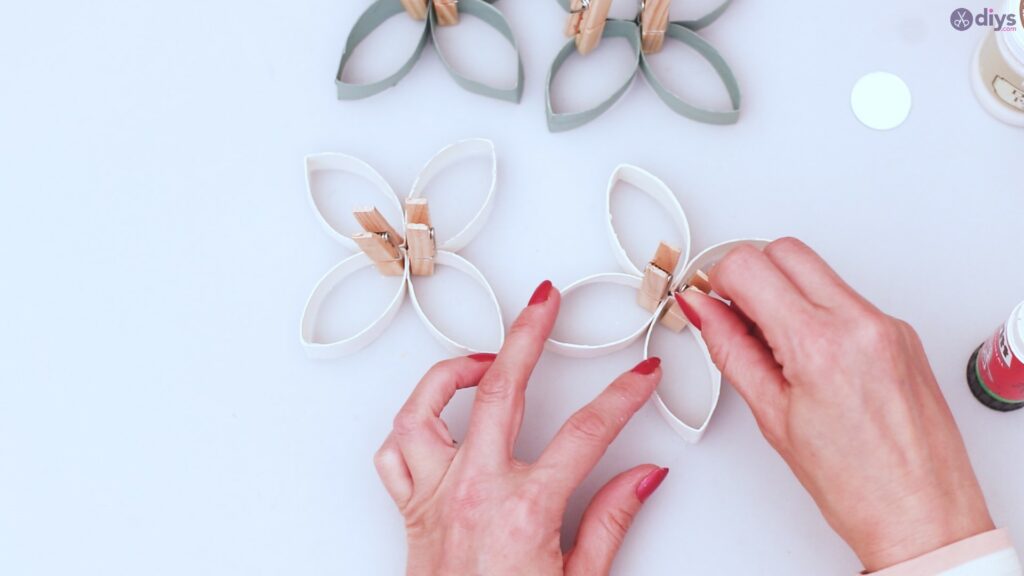
When this is complete, take a set of 2 leaves, line the bottom with the glue stick, and place against the bottom of another set of 2 leaves. This will create a floral shape.
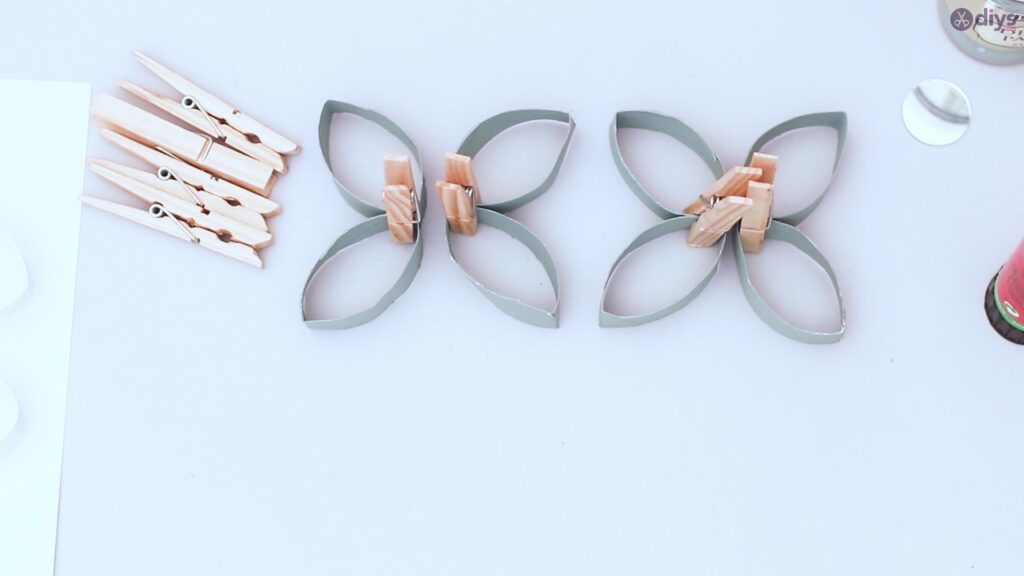

Again, use your wood clamps or clothespins to hold these in place to dry. Now, you’ll have 2 flowers made out of your 8 tube segments.

Repeat the entire process for the 8 segments of tube in the other color, until you have 4 flowers, 2 of each color, clamped together.


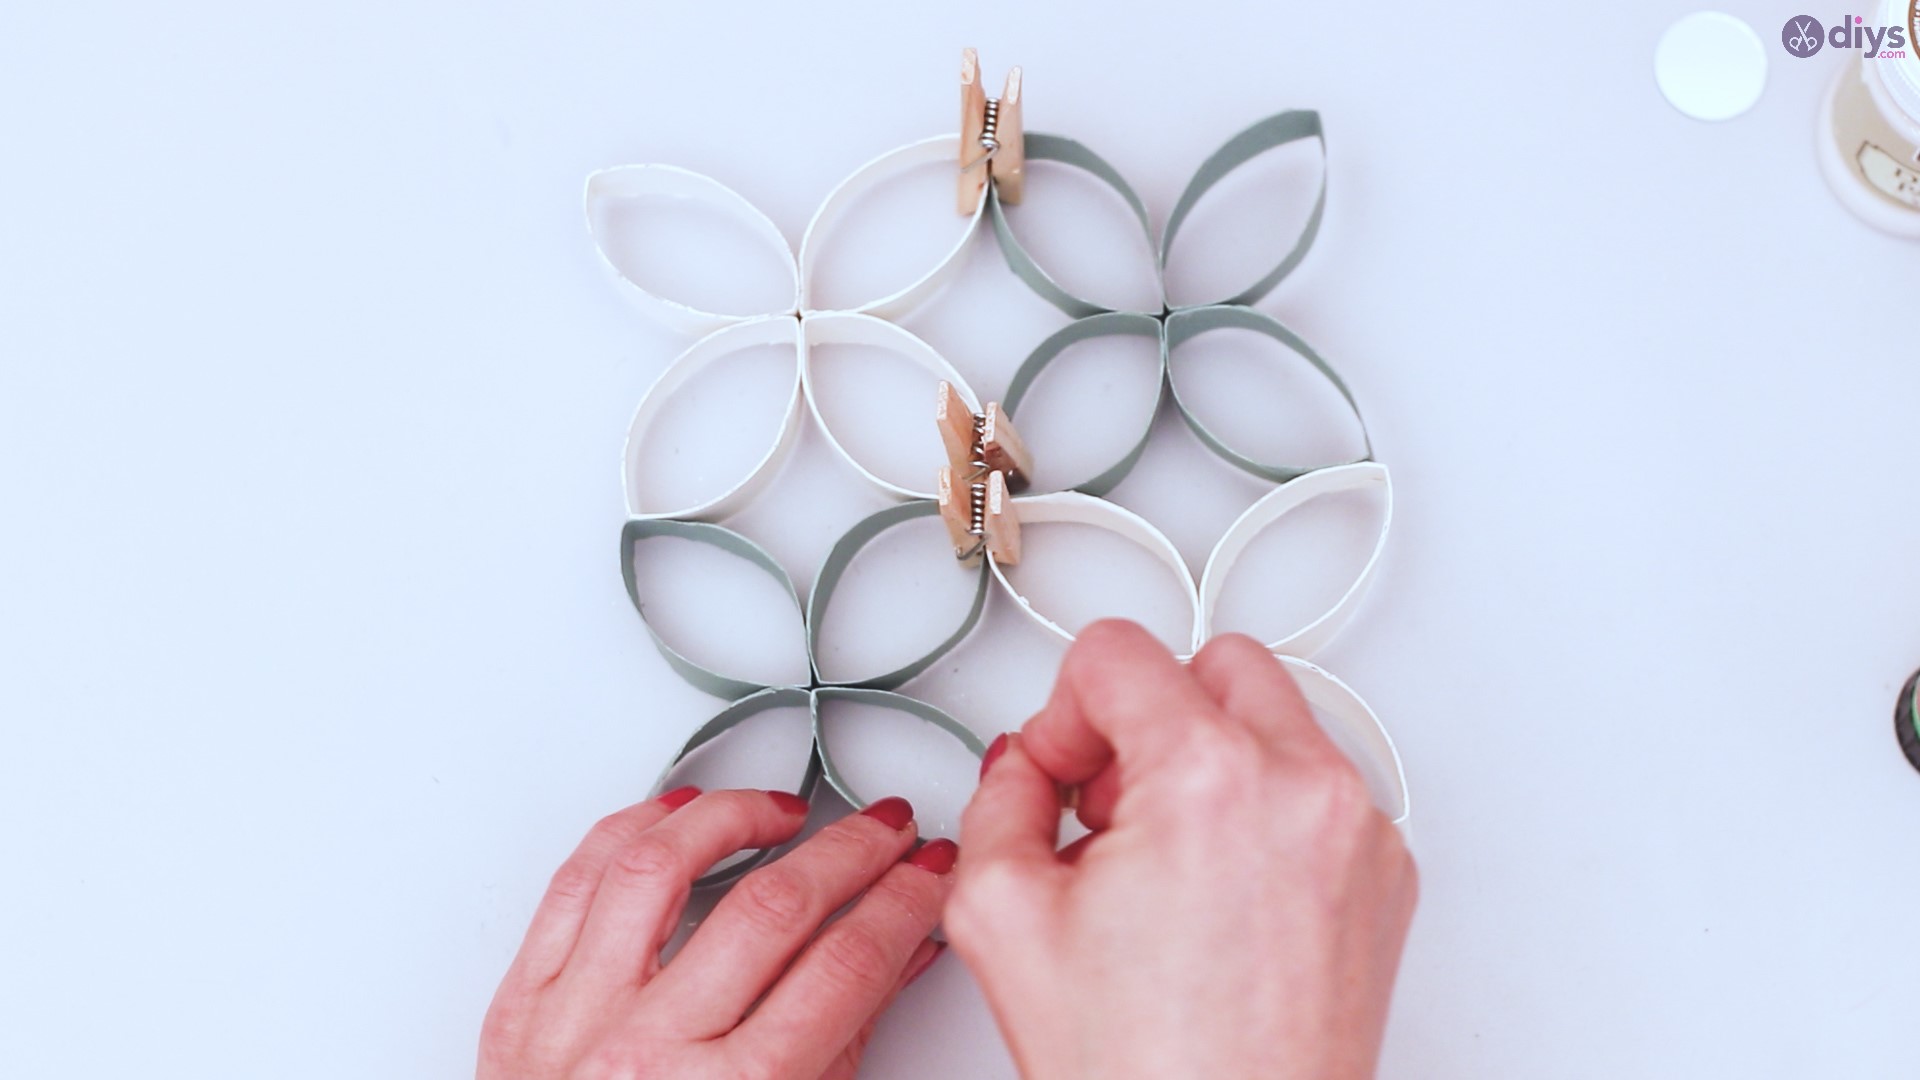
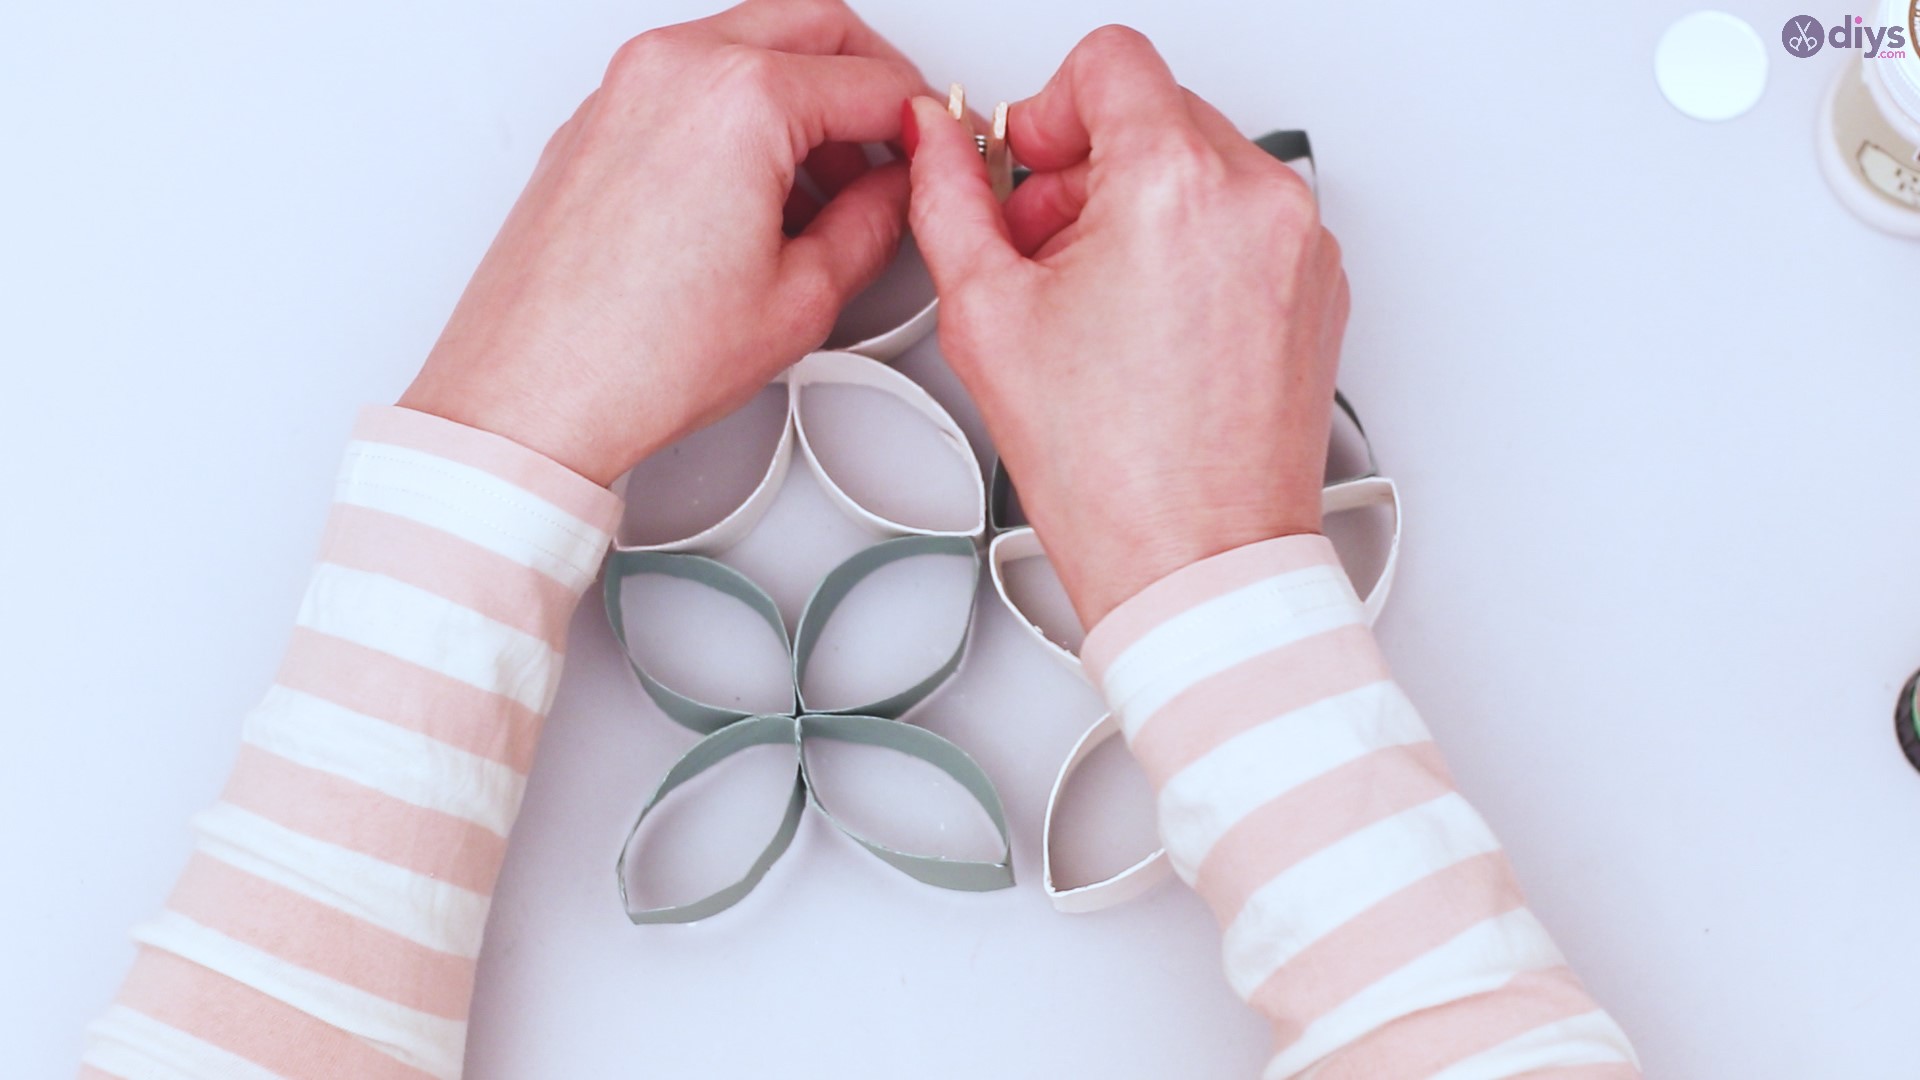
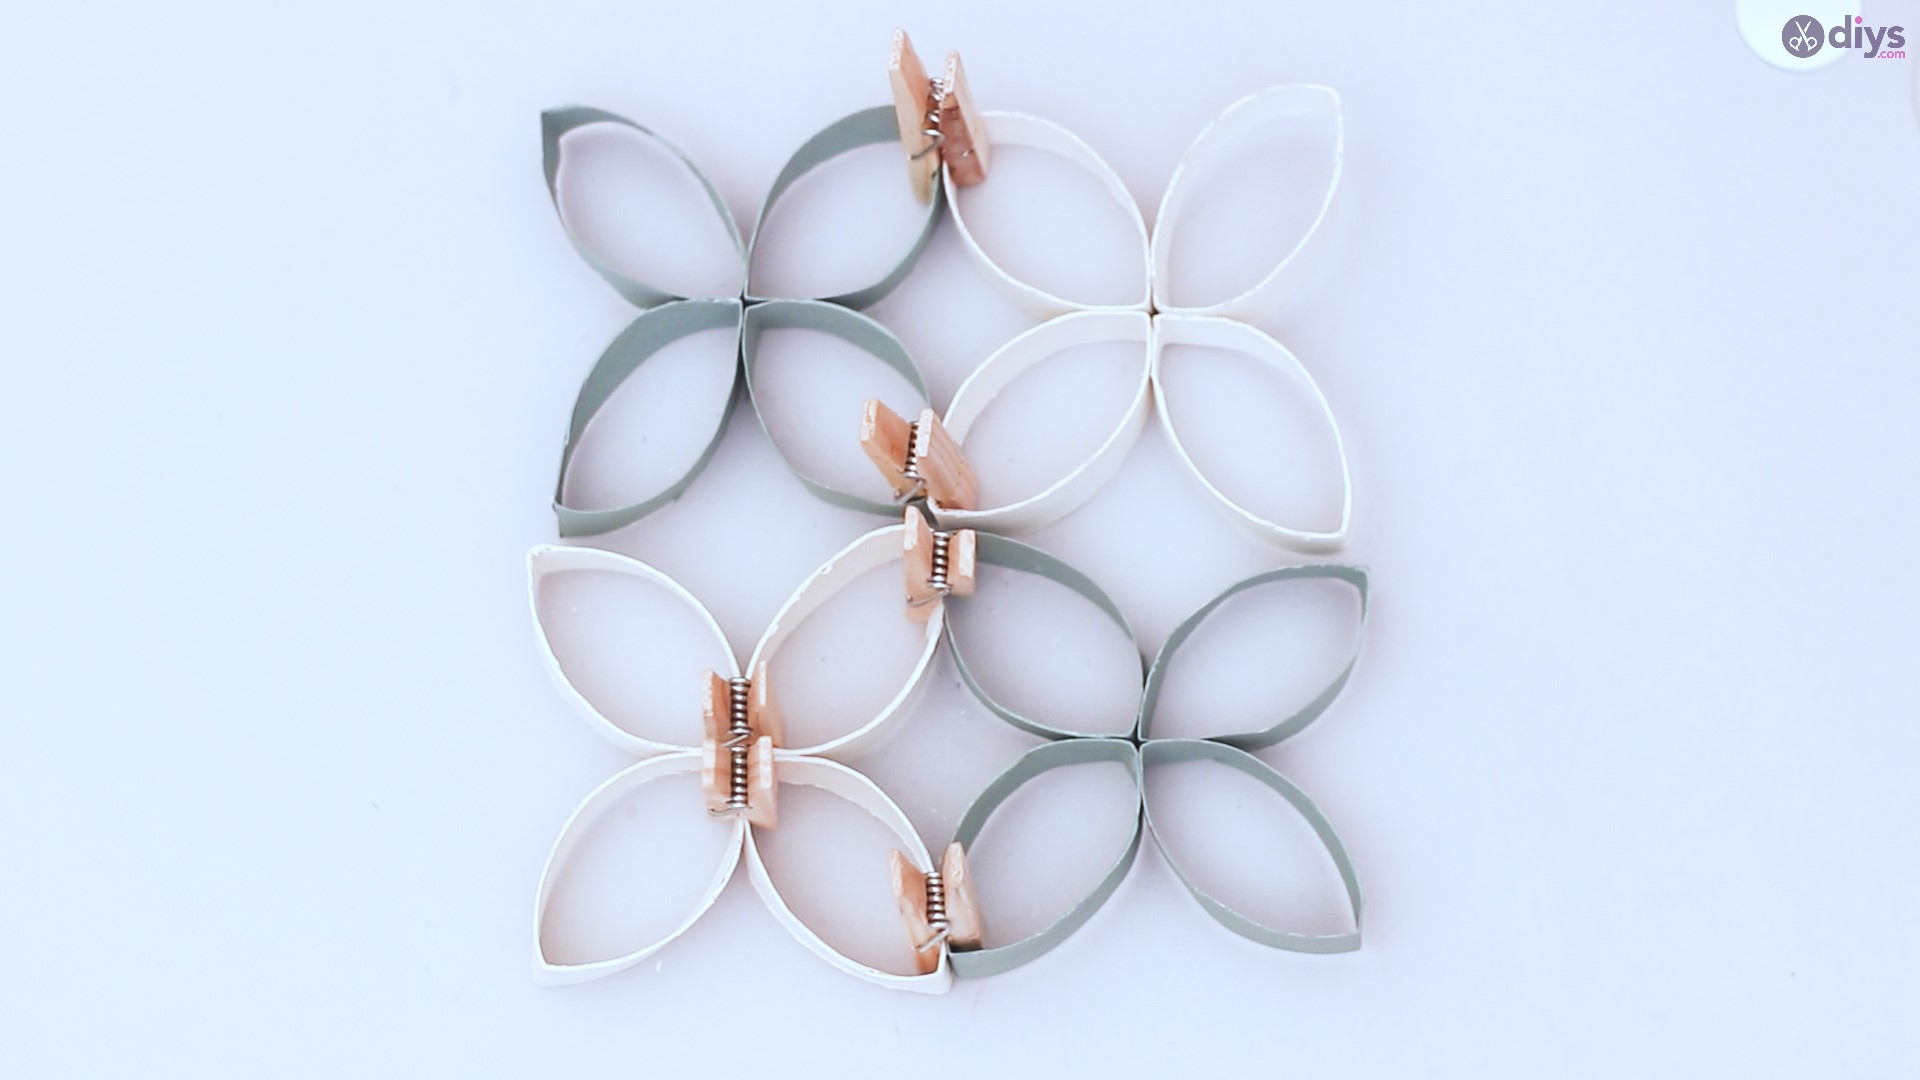
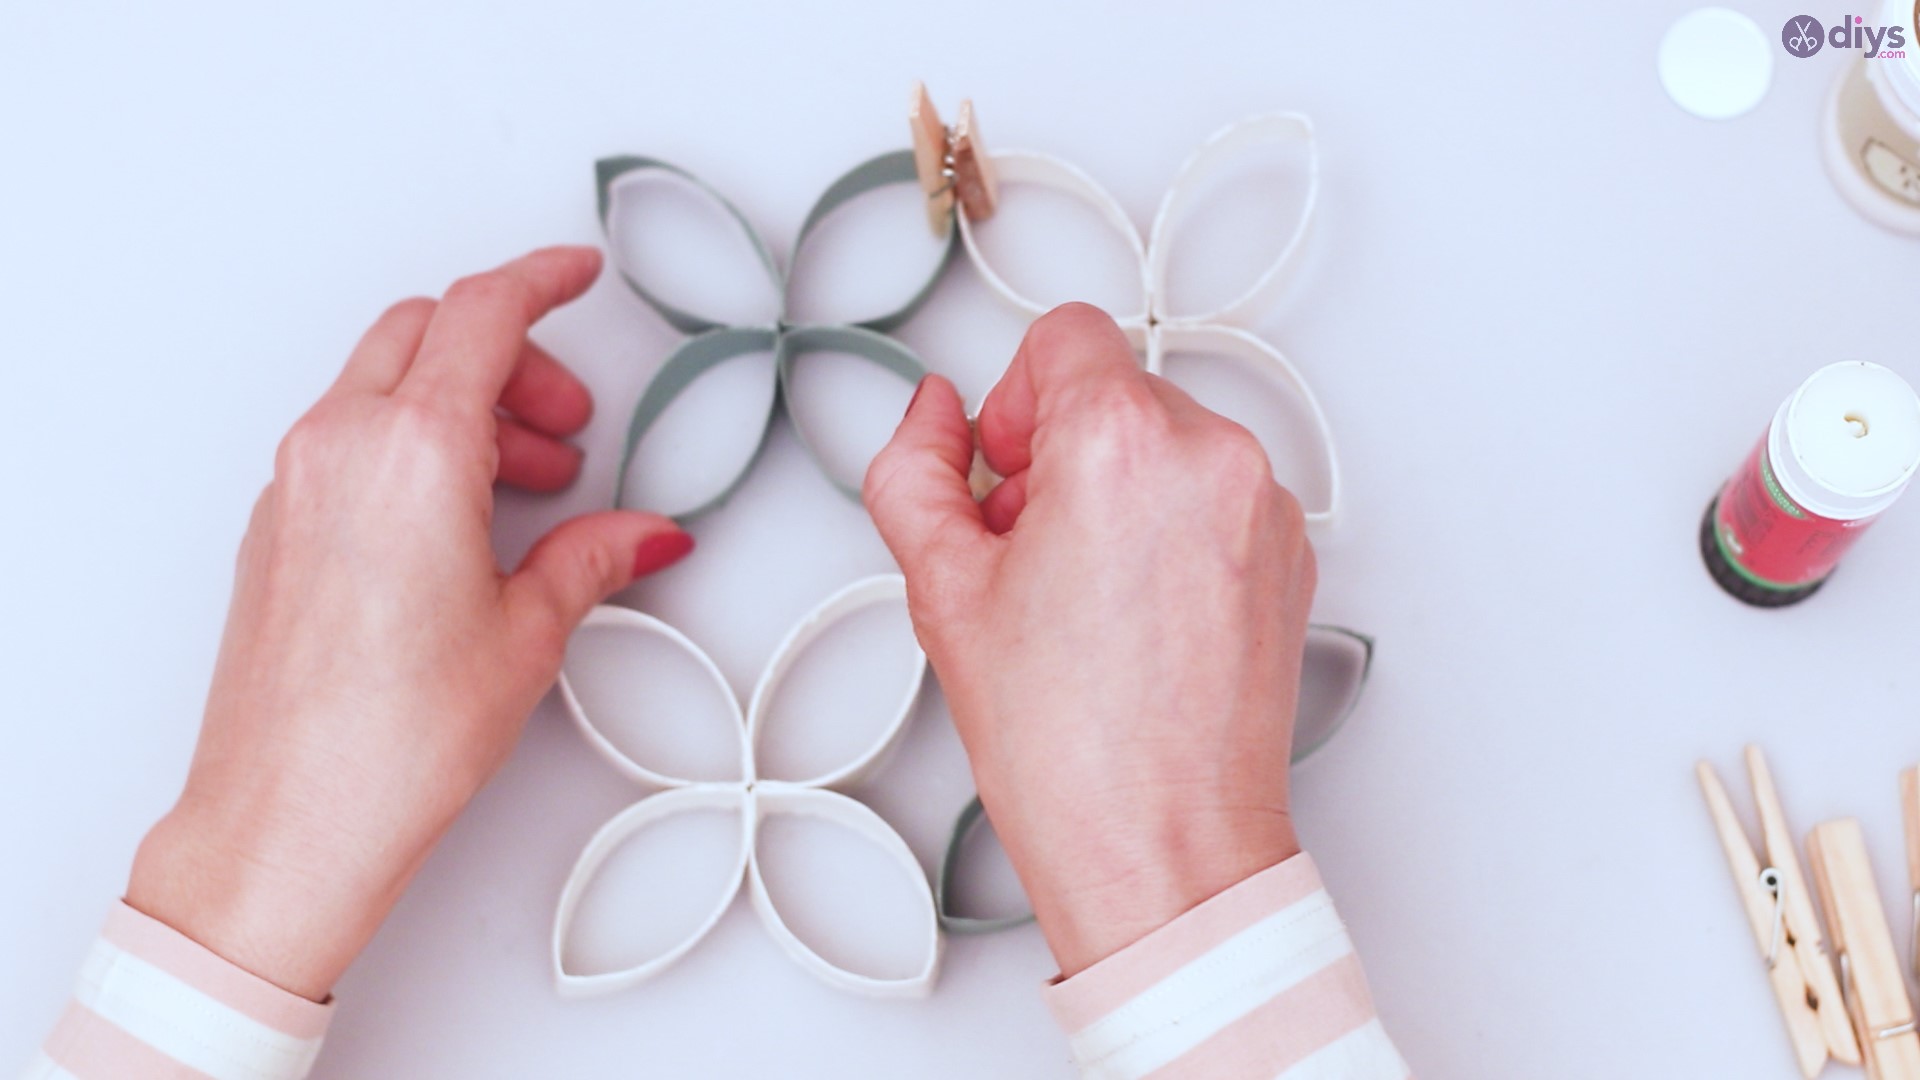
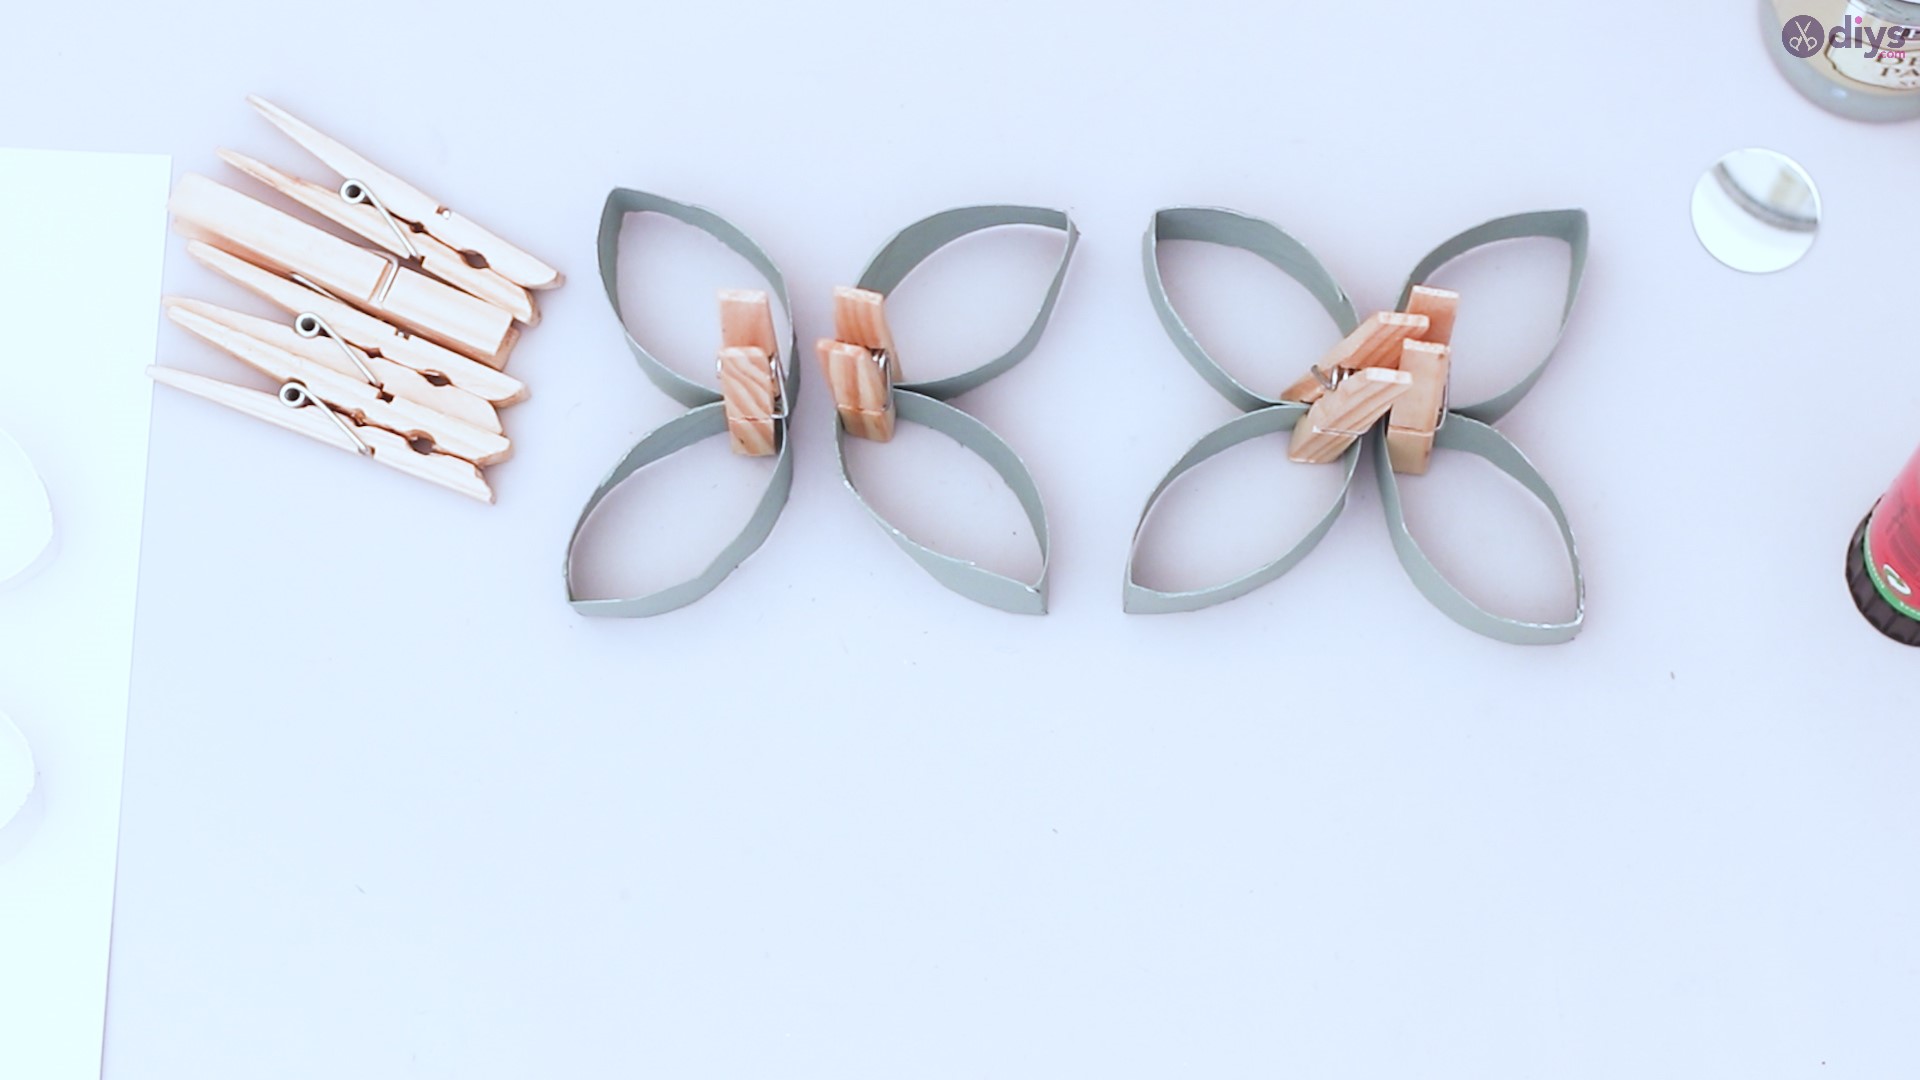
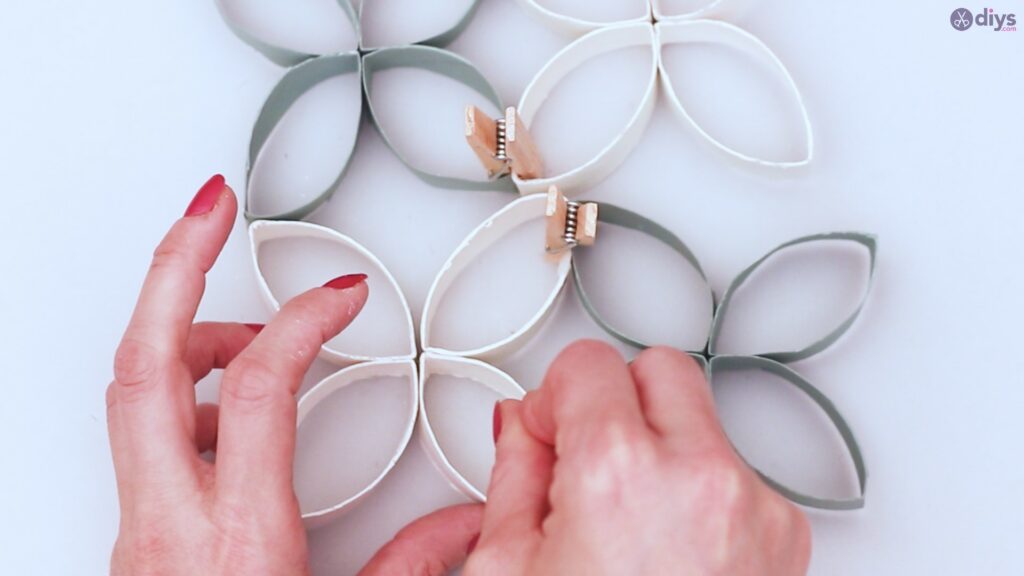
Step 5: Putting in All Together
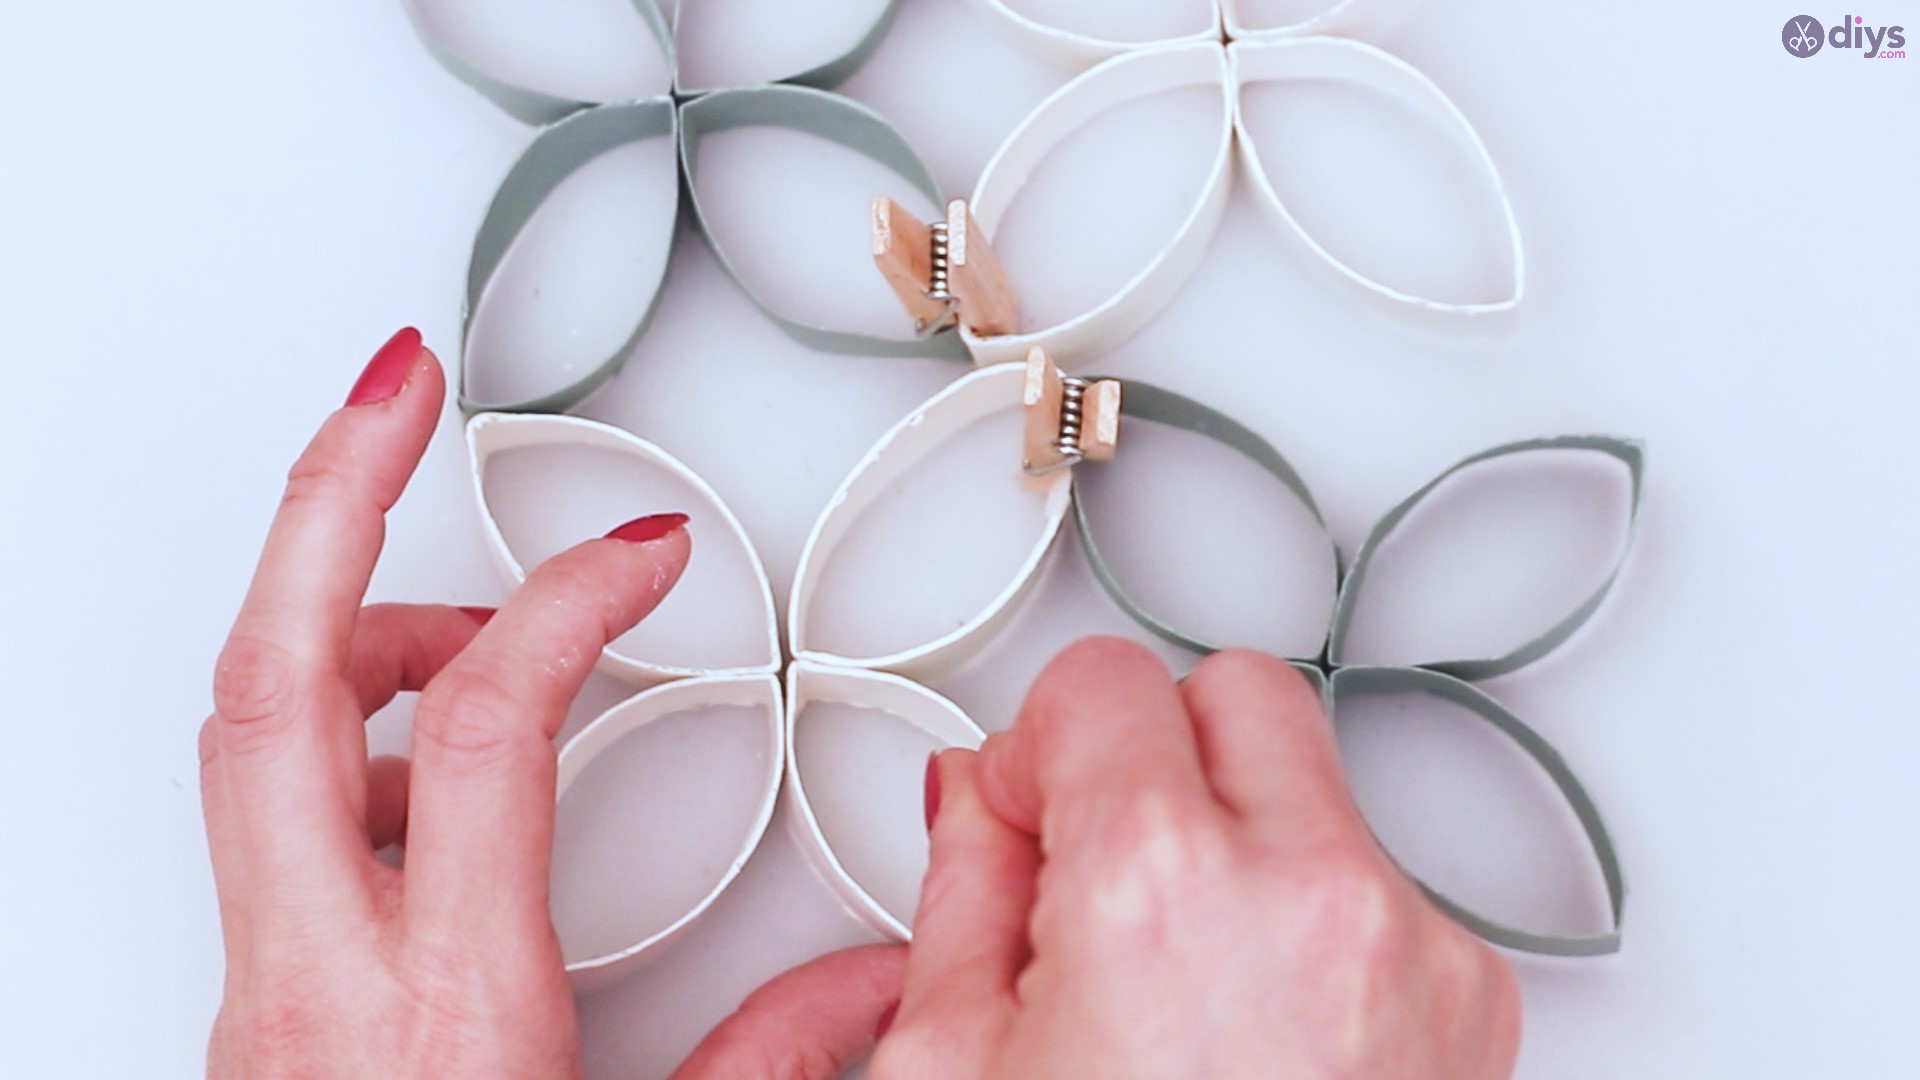
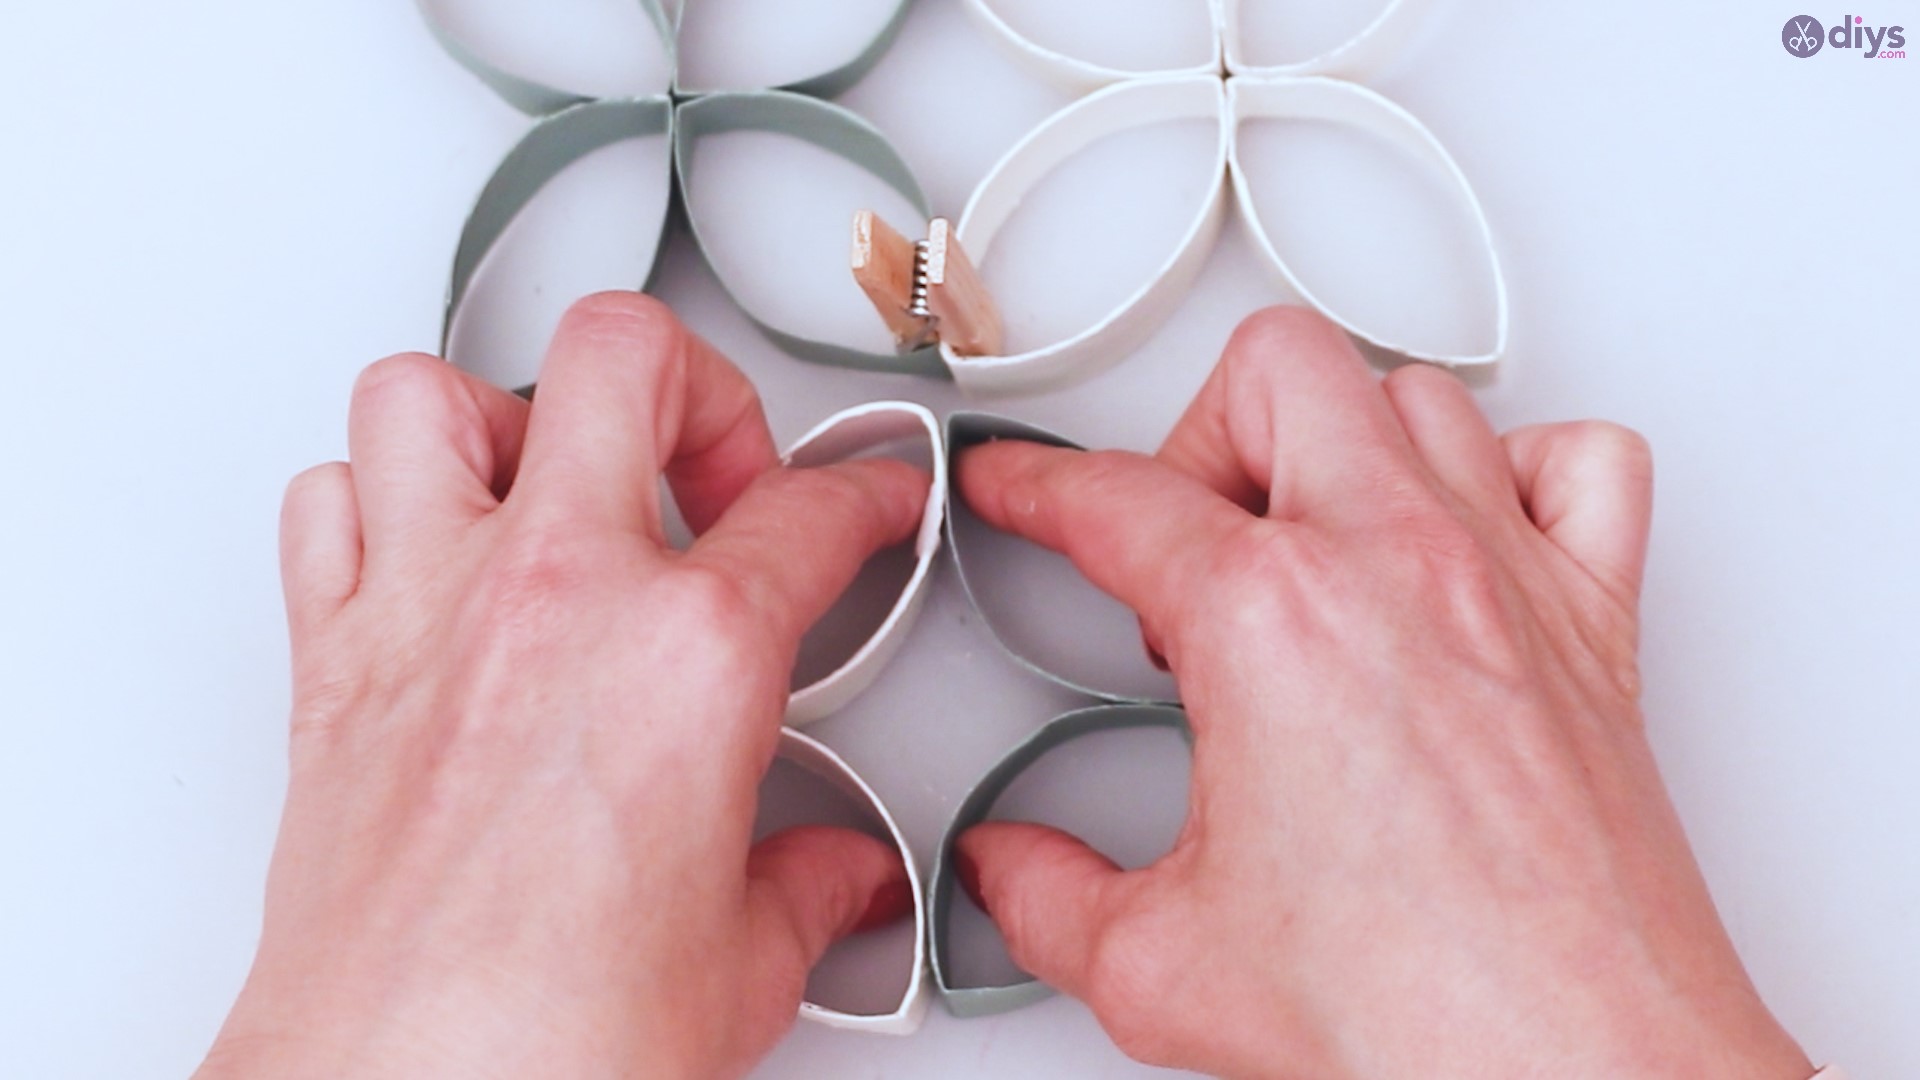
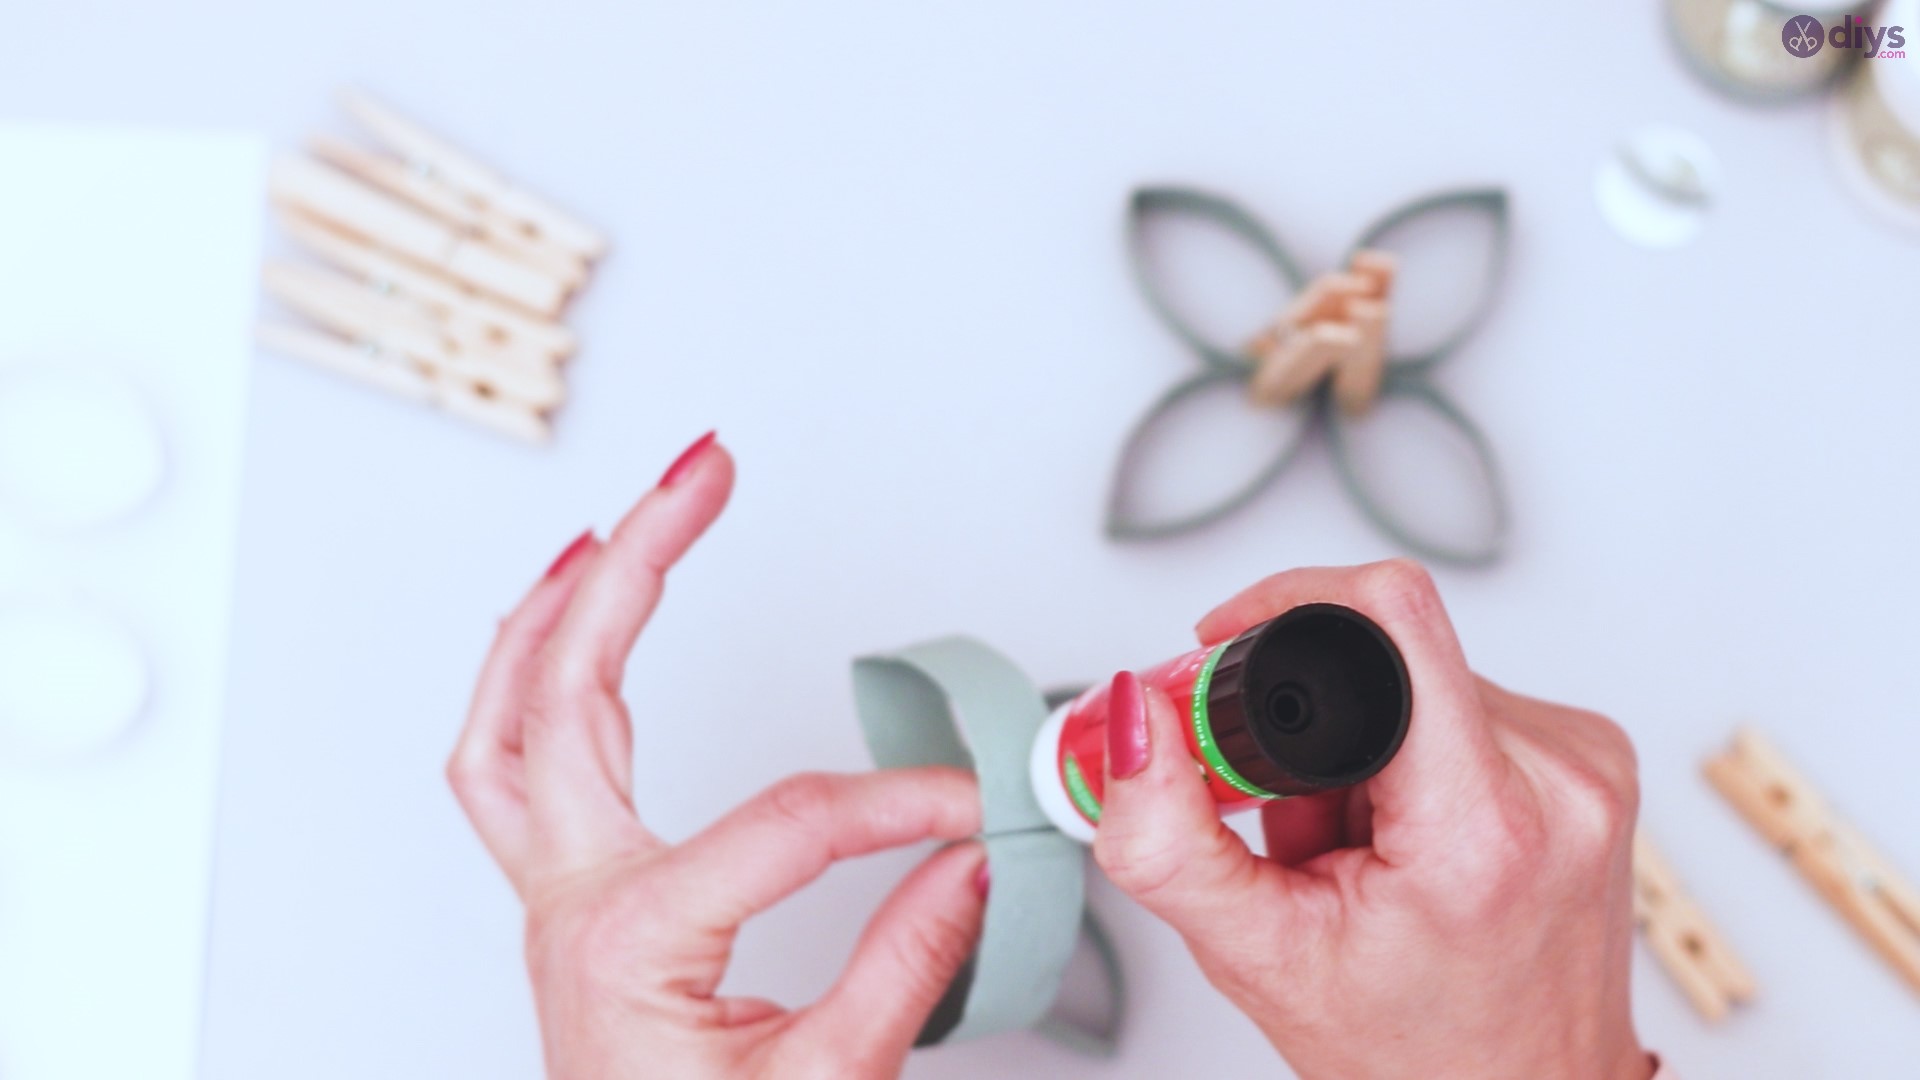
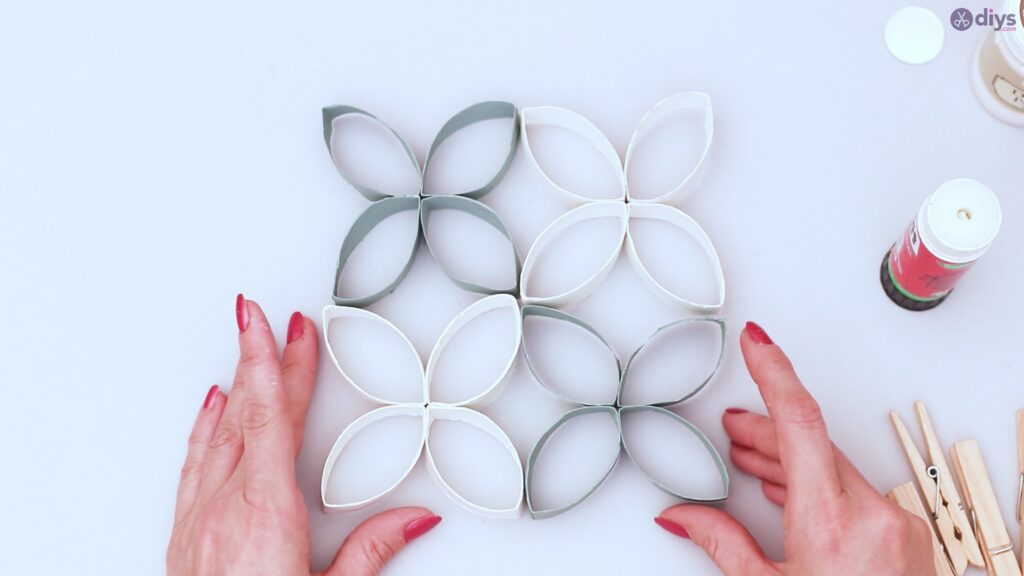
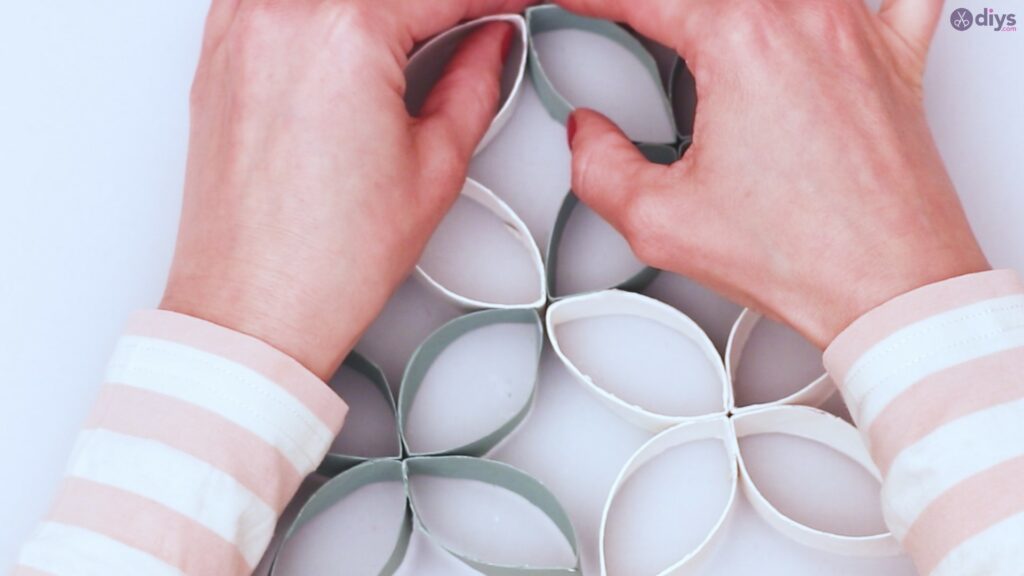
When everything has dried so that you can work with it and not worry it will come apart, line the 4 flowers you made up so that the colors are diagonal from each other, or opposite.

On the top left flower, use your glue stick to line the bottom and right sides. Press to the adjacent flowers.

Lock them together with wood clamps or clothespins until they dry.
With these locked together, do the same with the bottom right flower, lining the left and top and then pressing to the adjacent flowers and adding your clamps.
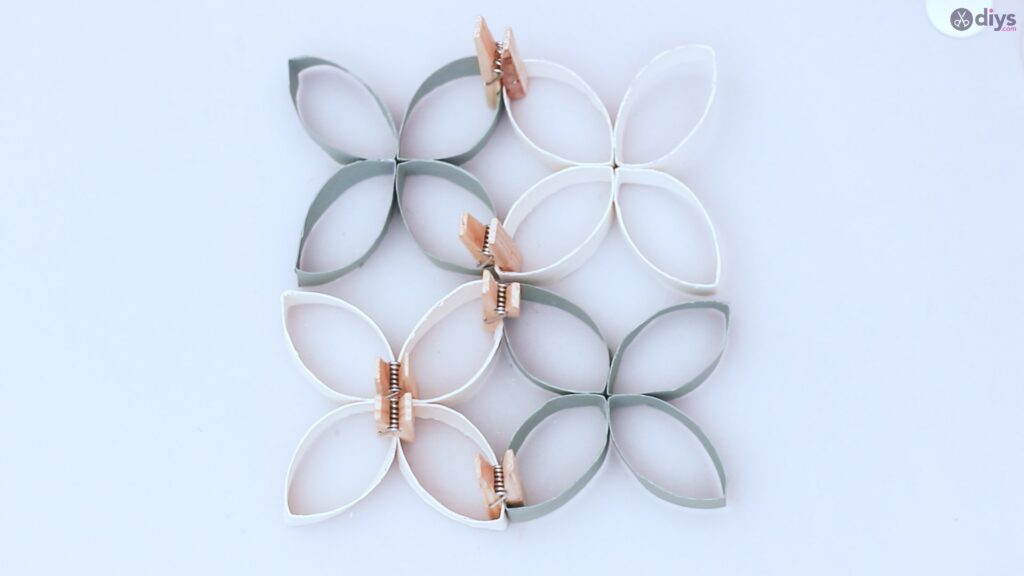


Leave them all to dry completely.

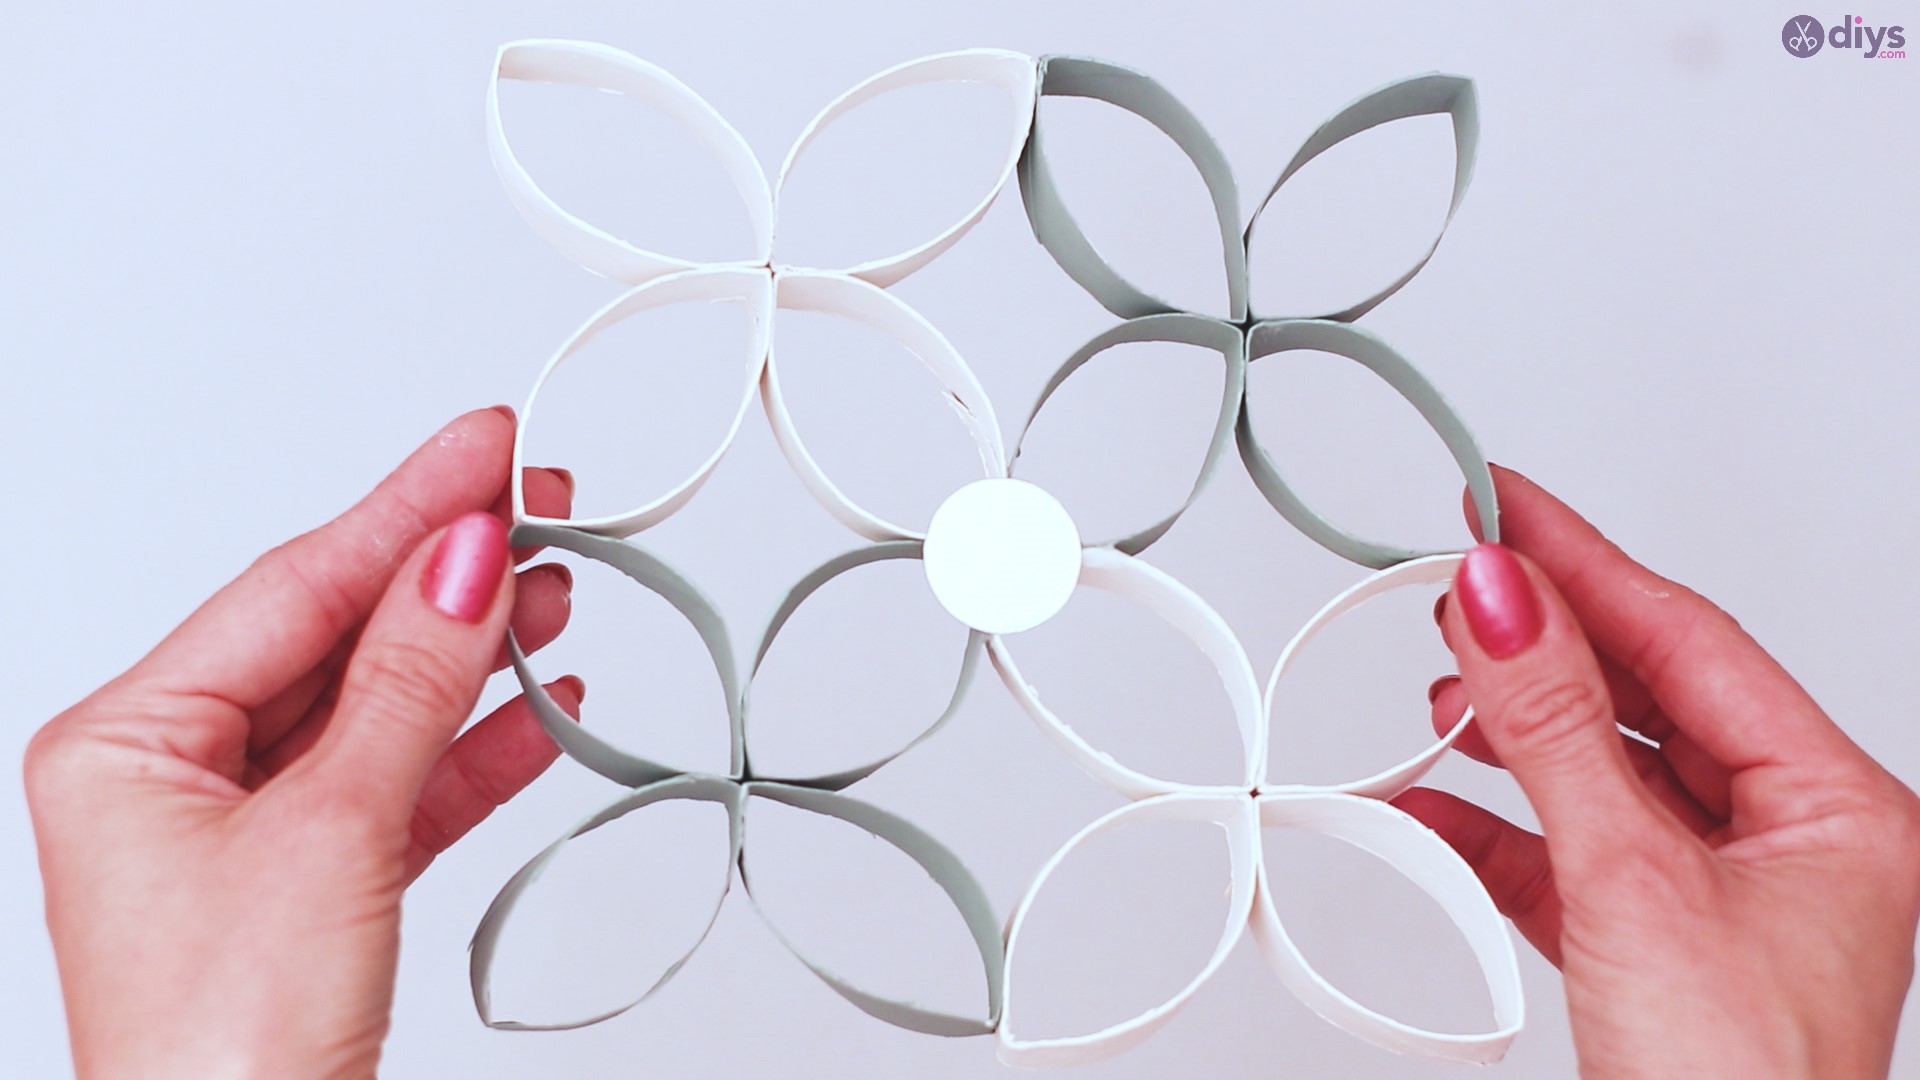
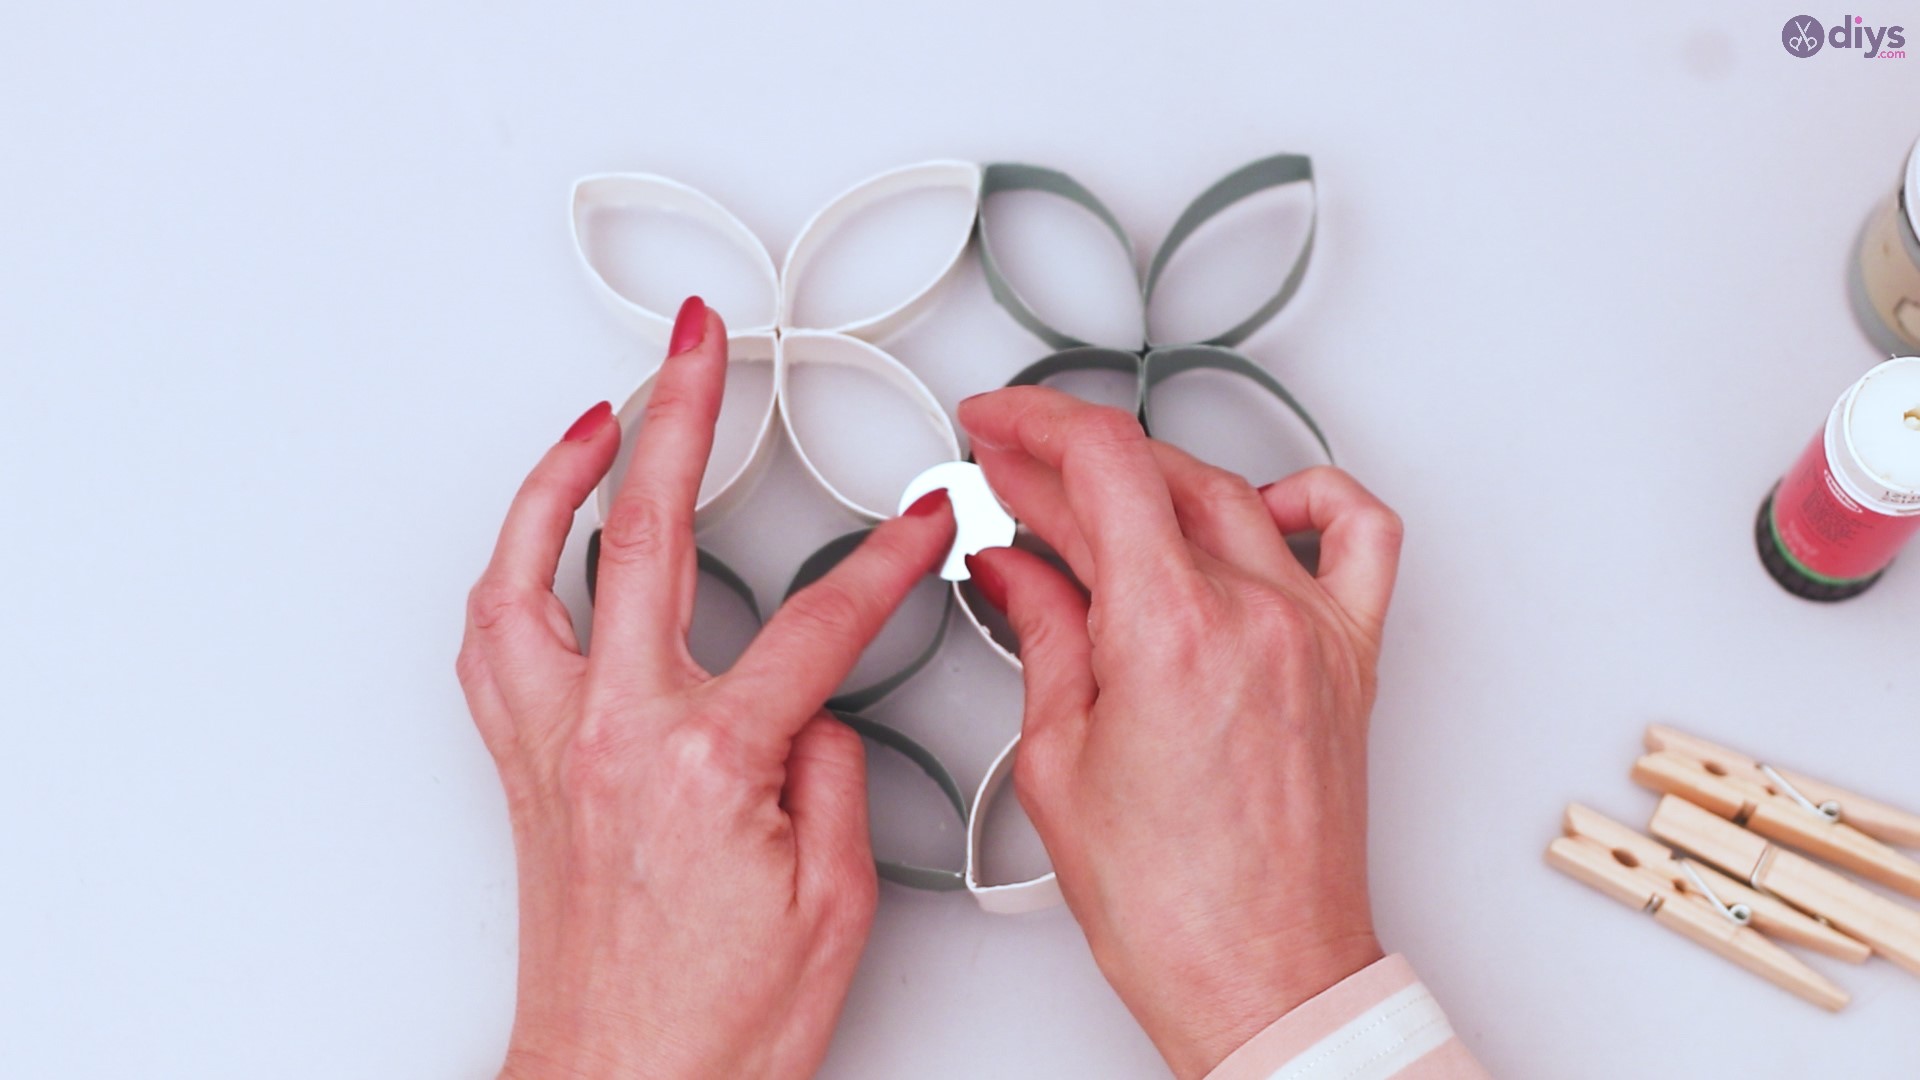
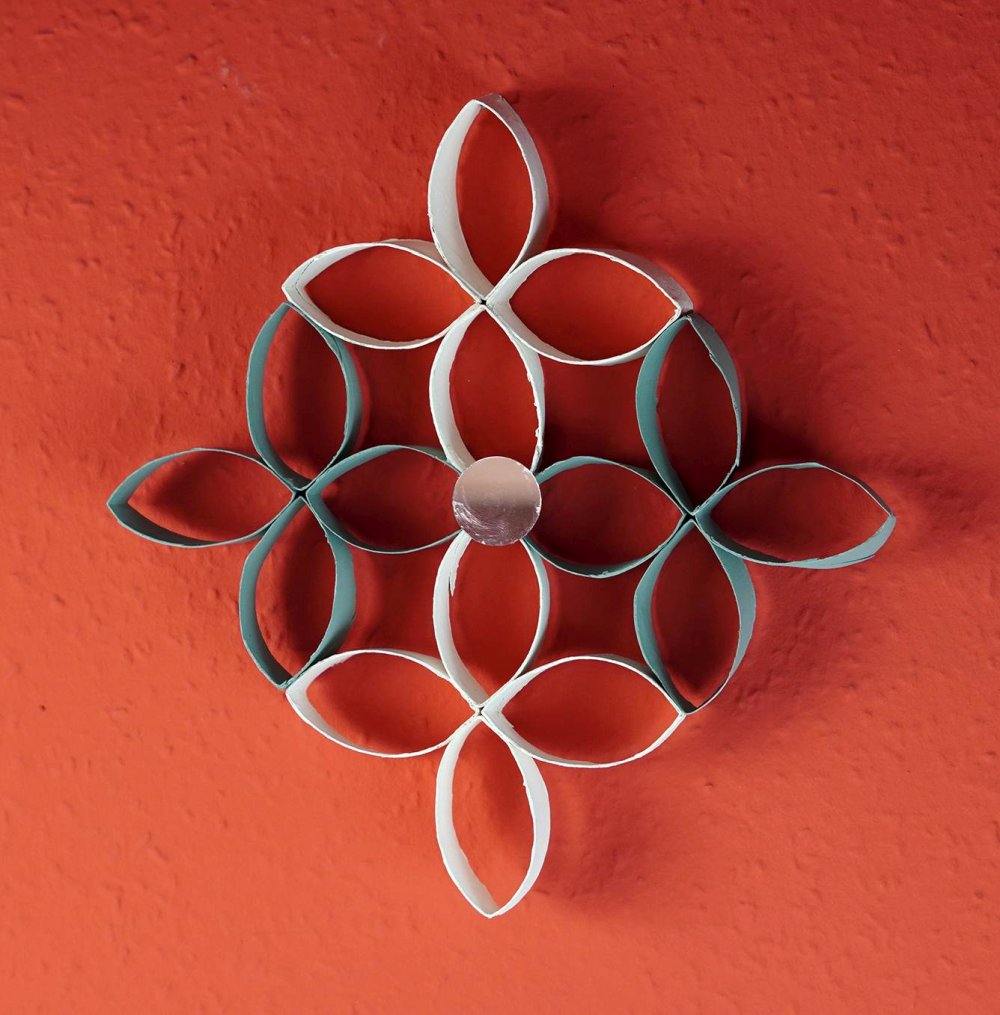
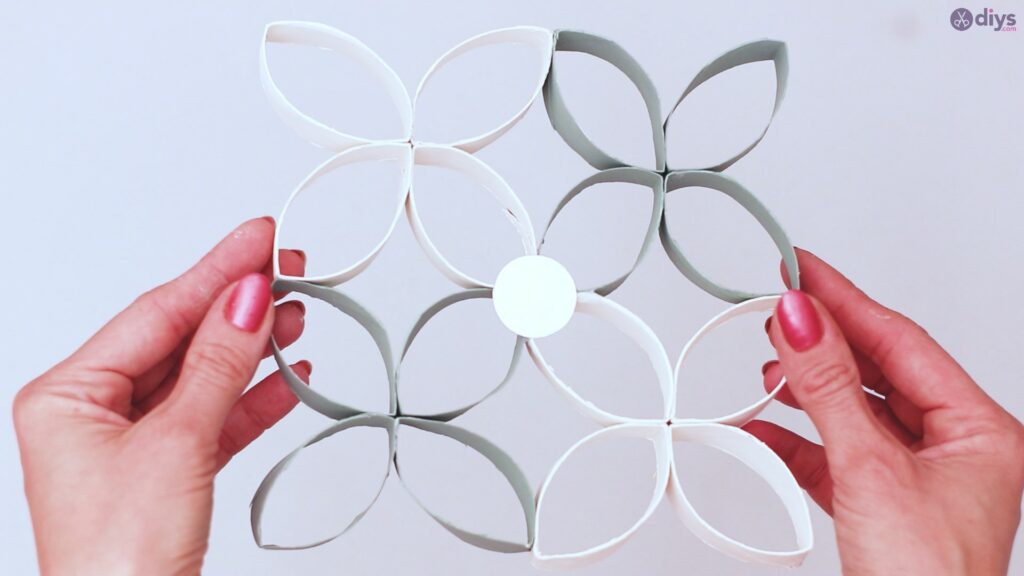
Step 6: The Final Touch
Once everything is dry, and you’ve removed all the clamps, grab your mosaic mirror. Apply the glue stick to the back, and carefully attach to the center of your floral design. Your result is a very lightweight piece of wall décor that can look adorable for almost no cost anywhere in your home.


When you take the time to think it through, and you let the creative juices spark, you can find ideas anywhere in the home. It’s true that one man’s trash is another man’s treasure, simply by putting a different perspective on it. Take the time to seek out uses for abandoned trash and items in your home, and see what beauty you can create!