DIY Tin Can Mood Lamp
Updated on November 19, 2025


Set a magical and ethereal tone at your next major event or backyard gathering with some unique lighting. Or brighten up a little girl’s bedroom with twinkle lights. But don’t rush out and buy them, instead make it! This DIY tin can mood lamp can be customized to suit any setting so check it out and give it a try.

As usual, I just couldn’t help documenting the process of making the lamps because I love sharing my creative projects so much. Check out these step by step instructions complete with photos! If you’d rather follow along with a video tutorial instead of written words, scroll to the bottom of this post to find just what you’re looking for.
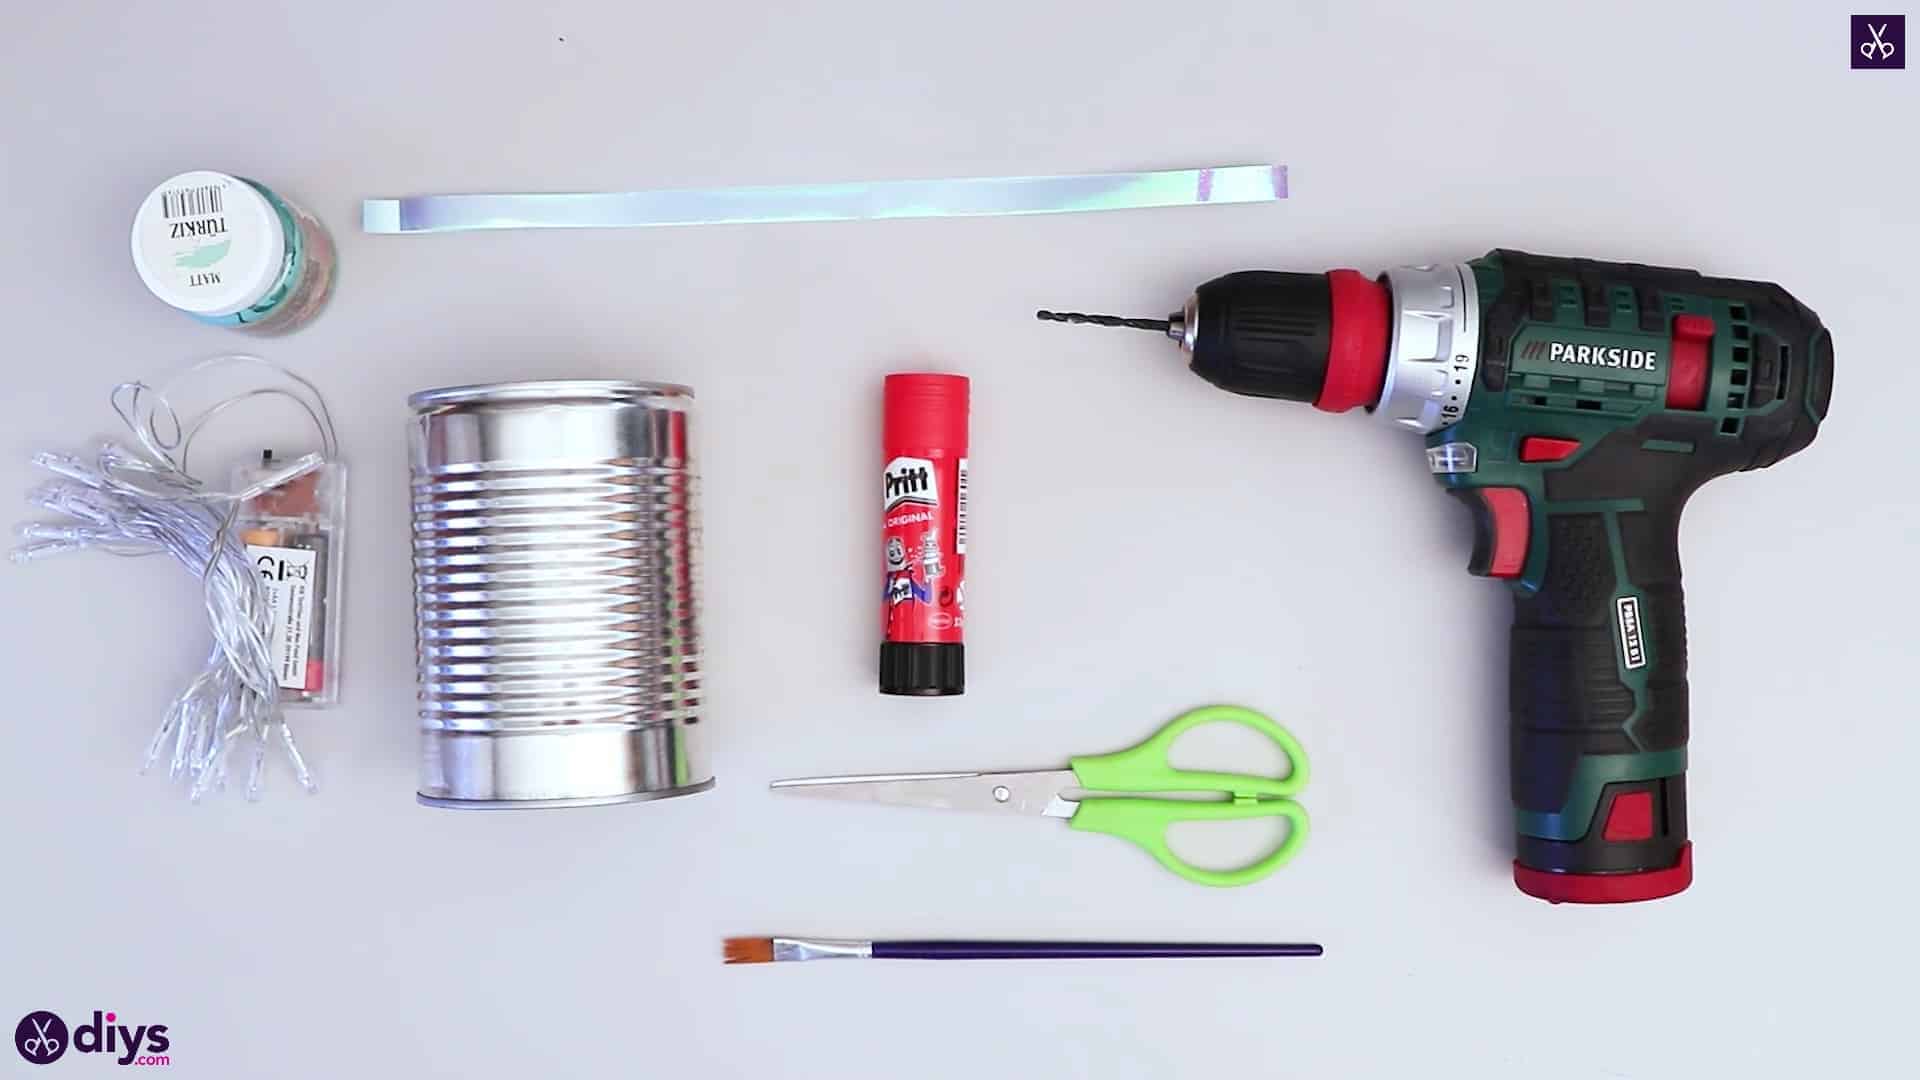
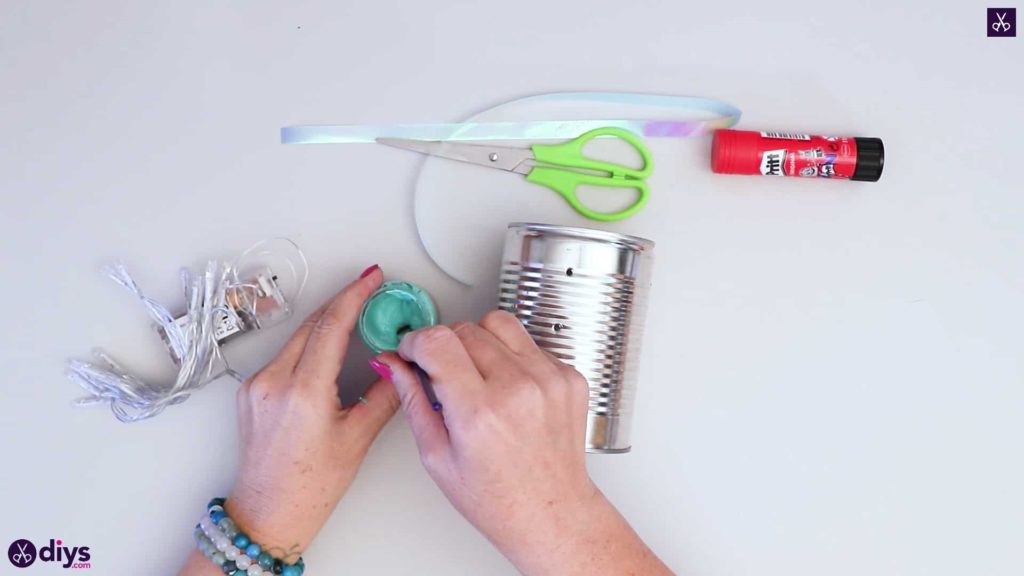
For this project, you’ll need:
- A tin can
- Blue paint
- A paintbrush
- Scissors
- A glue stick
- Blue ribbon
- String lights (battery powered is preferable)
- A drill
Step 1: check your list
Gather your materials!

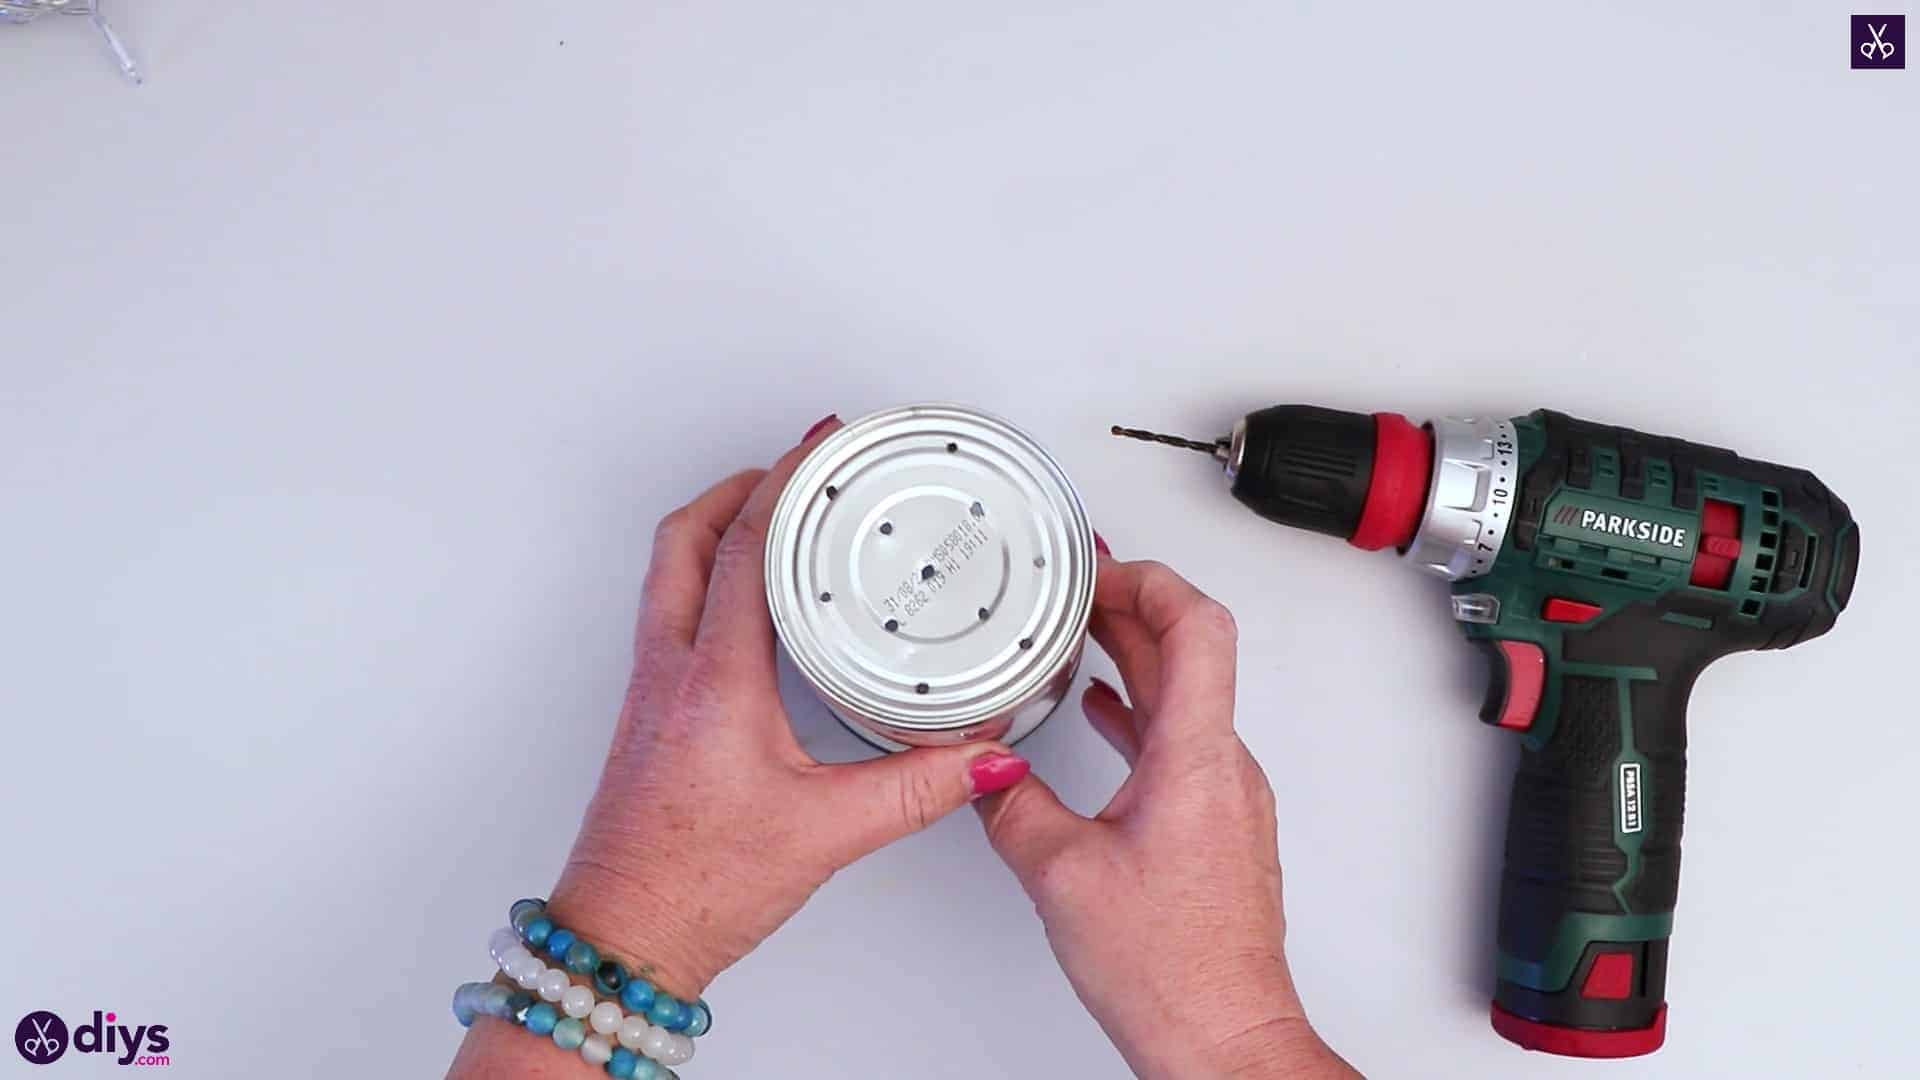
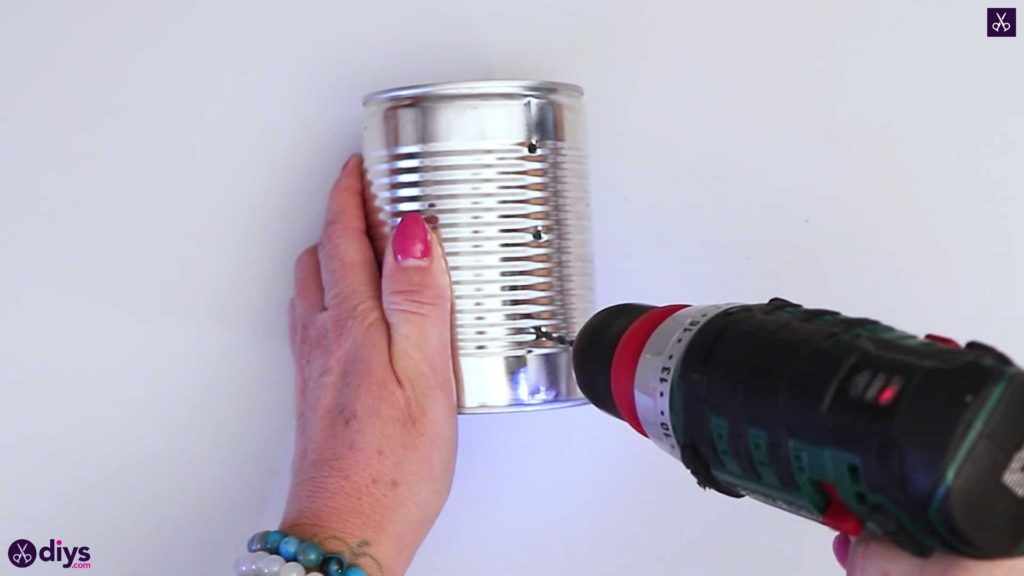
Step 2: poke holes
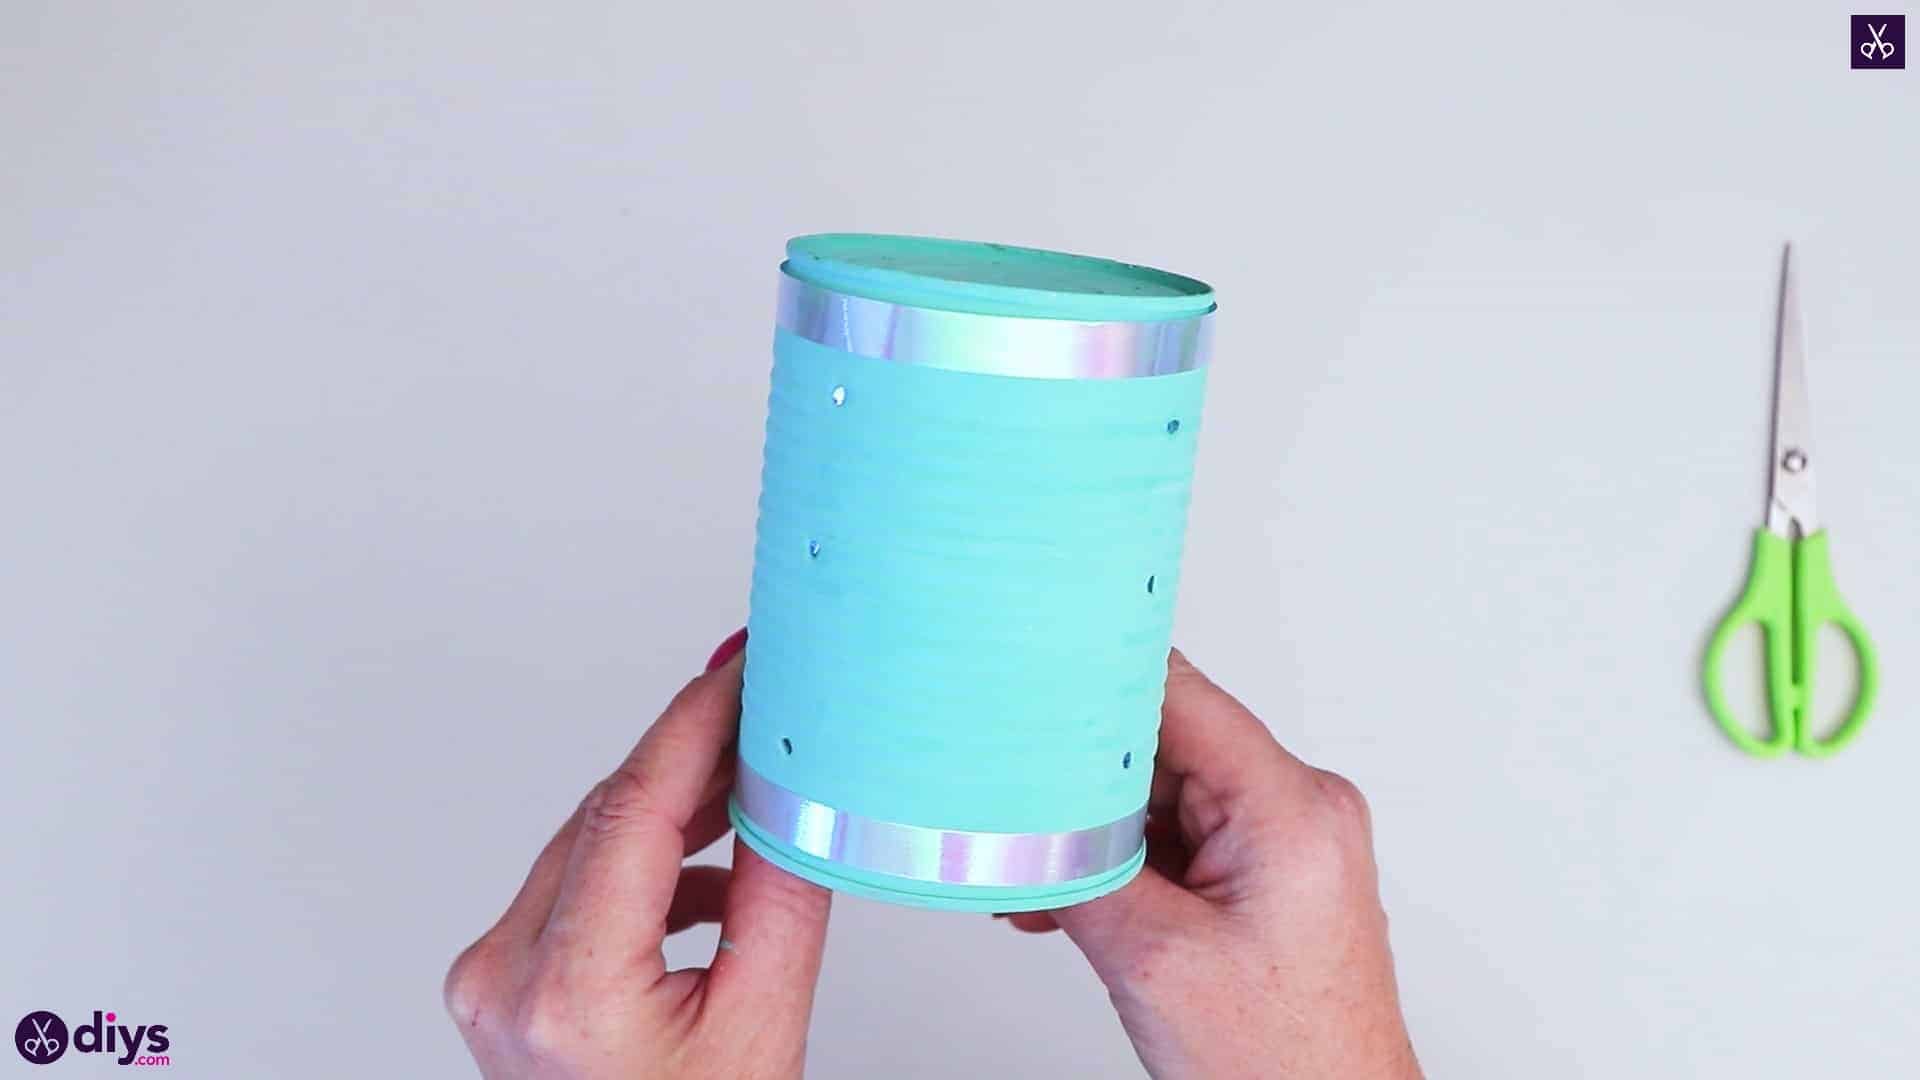
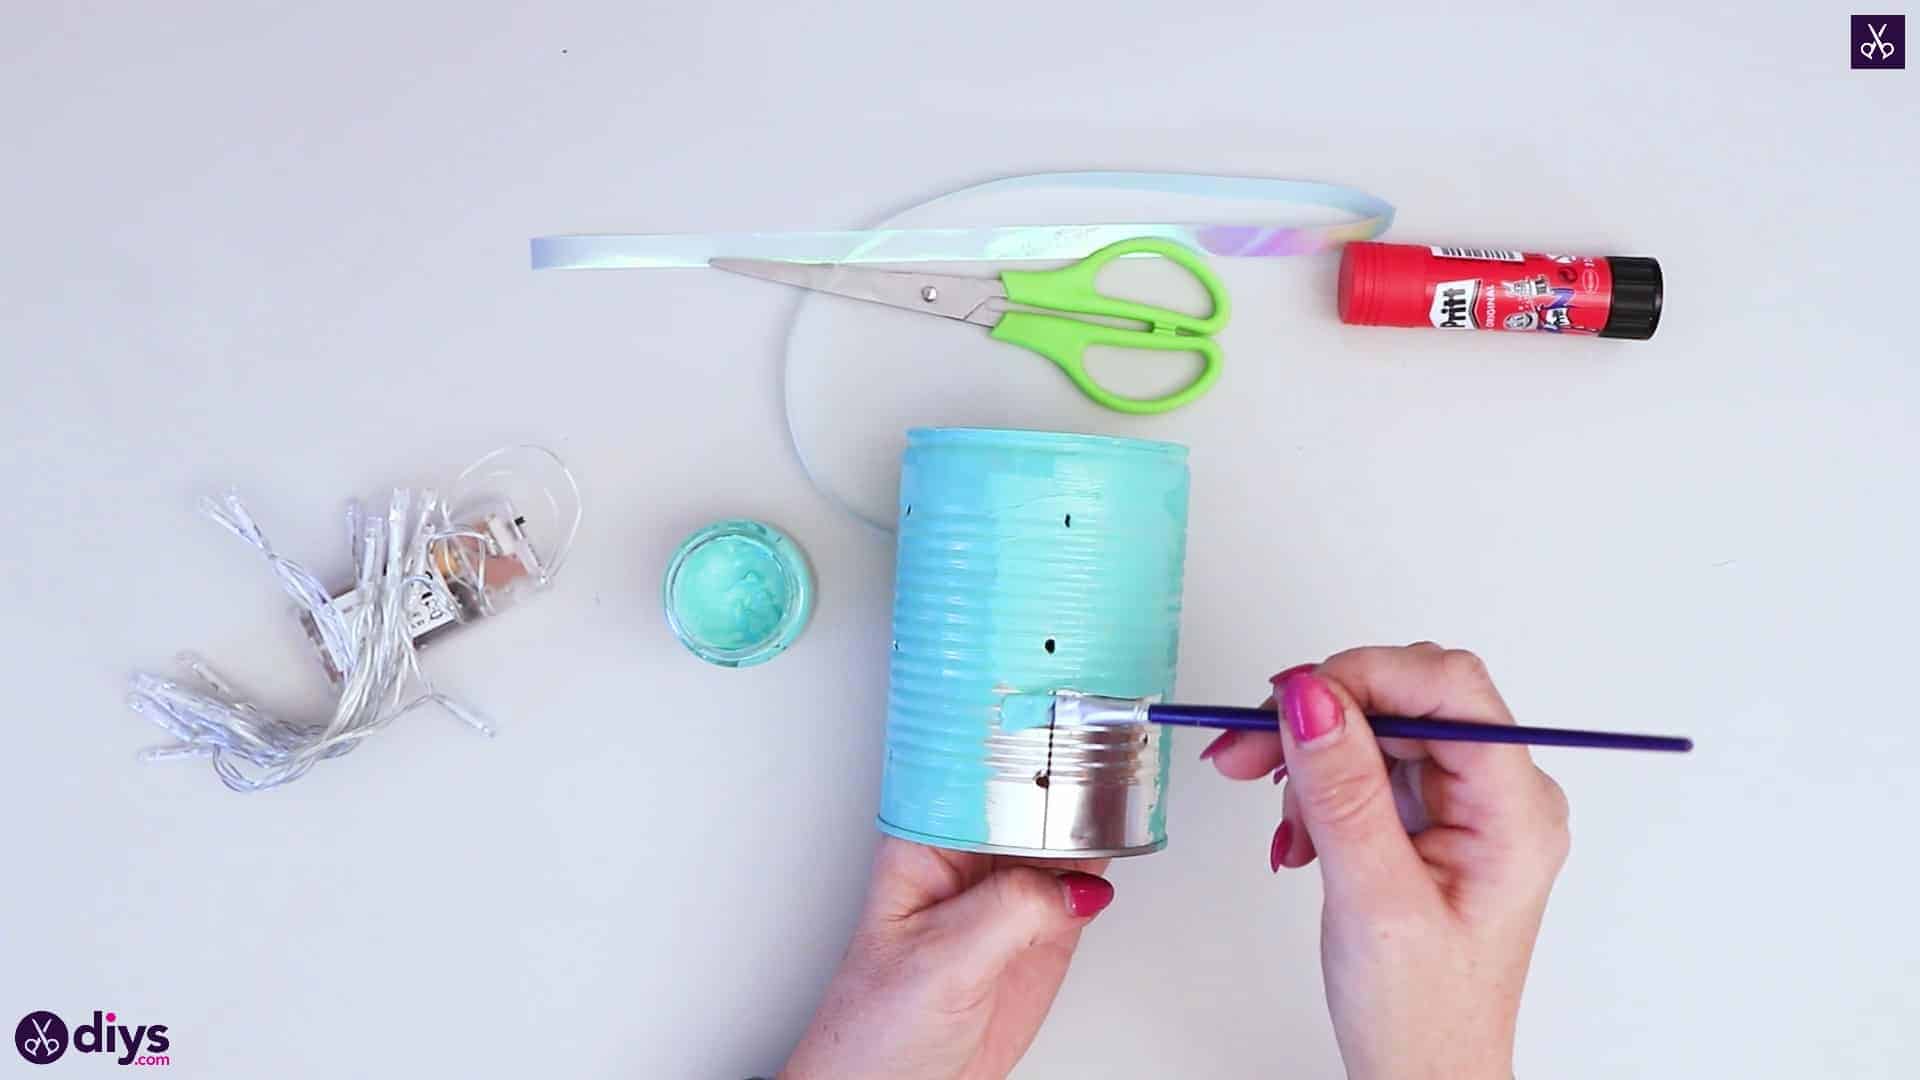
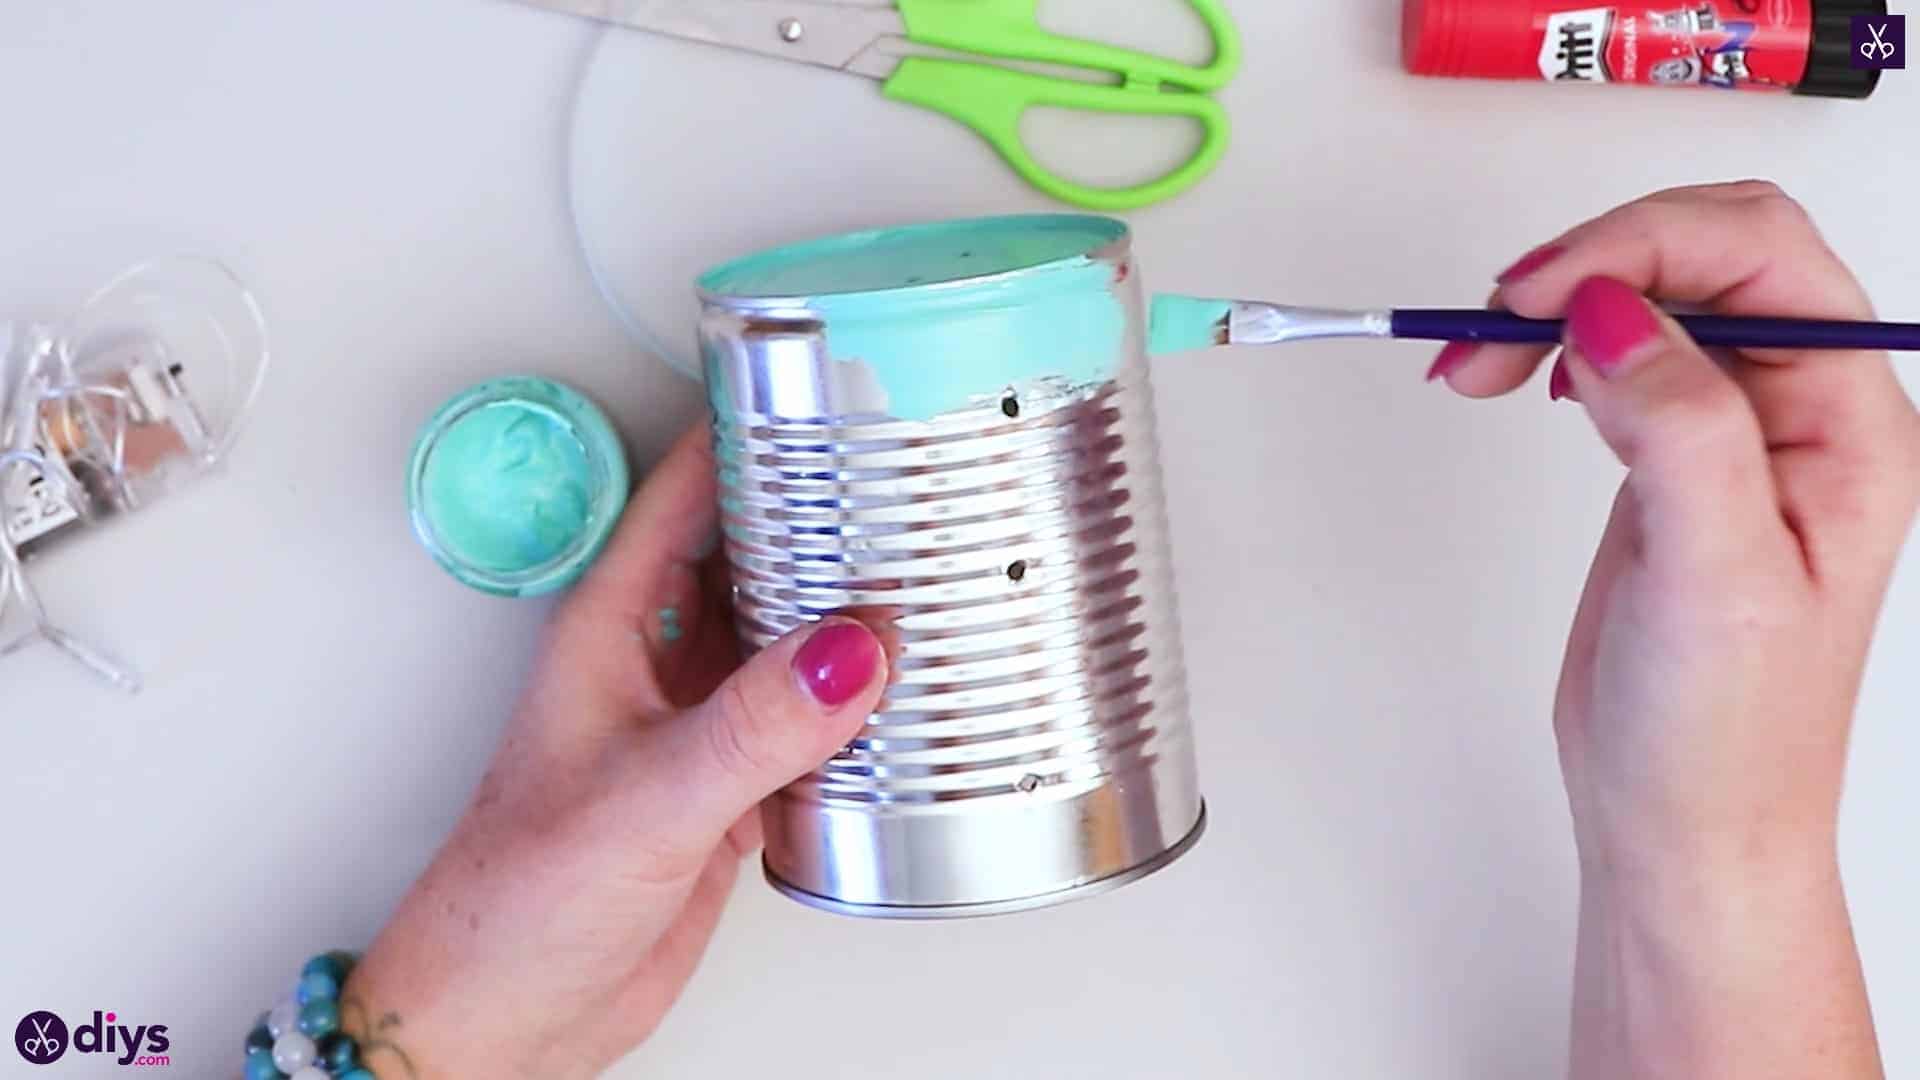
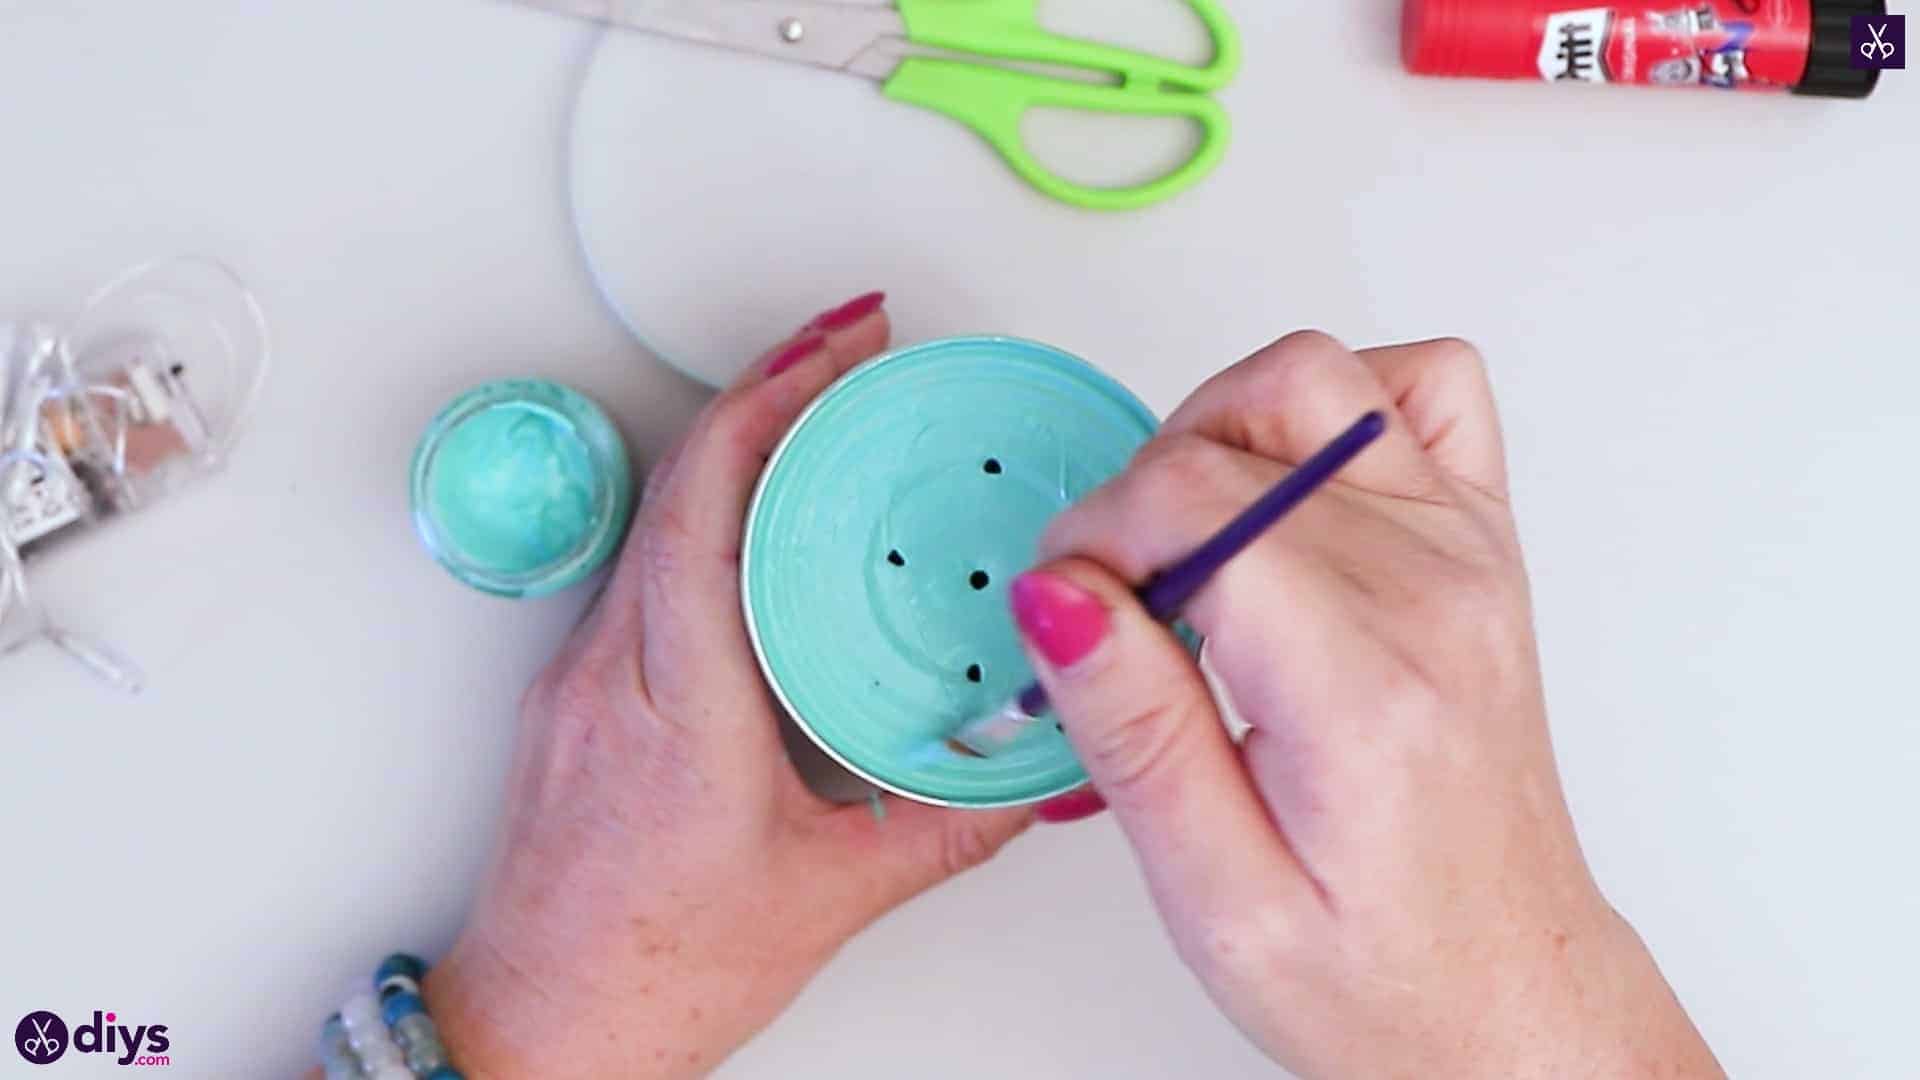
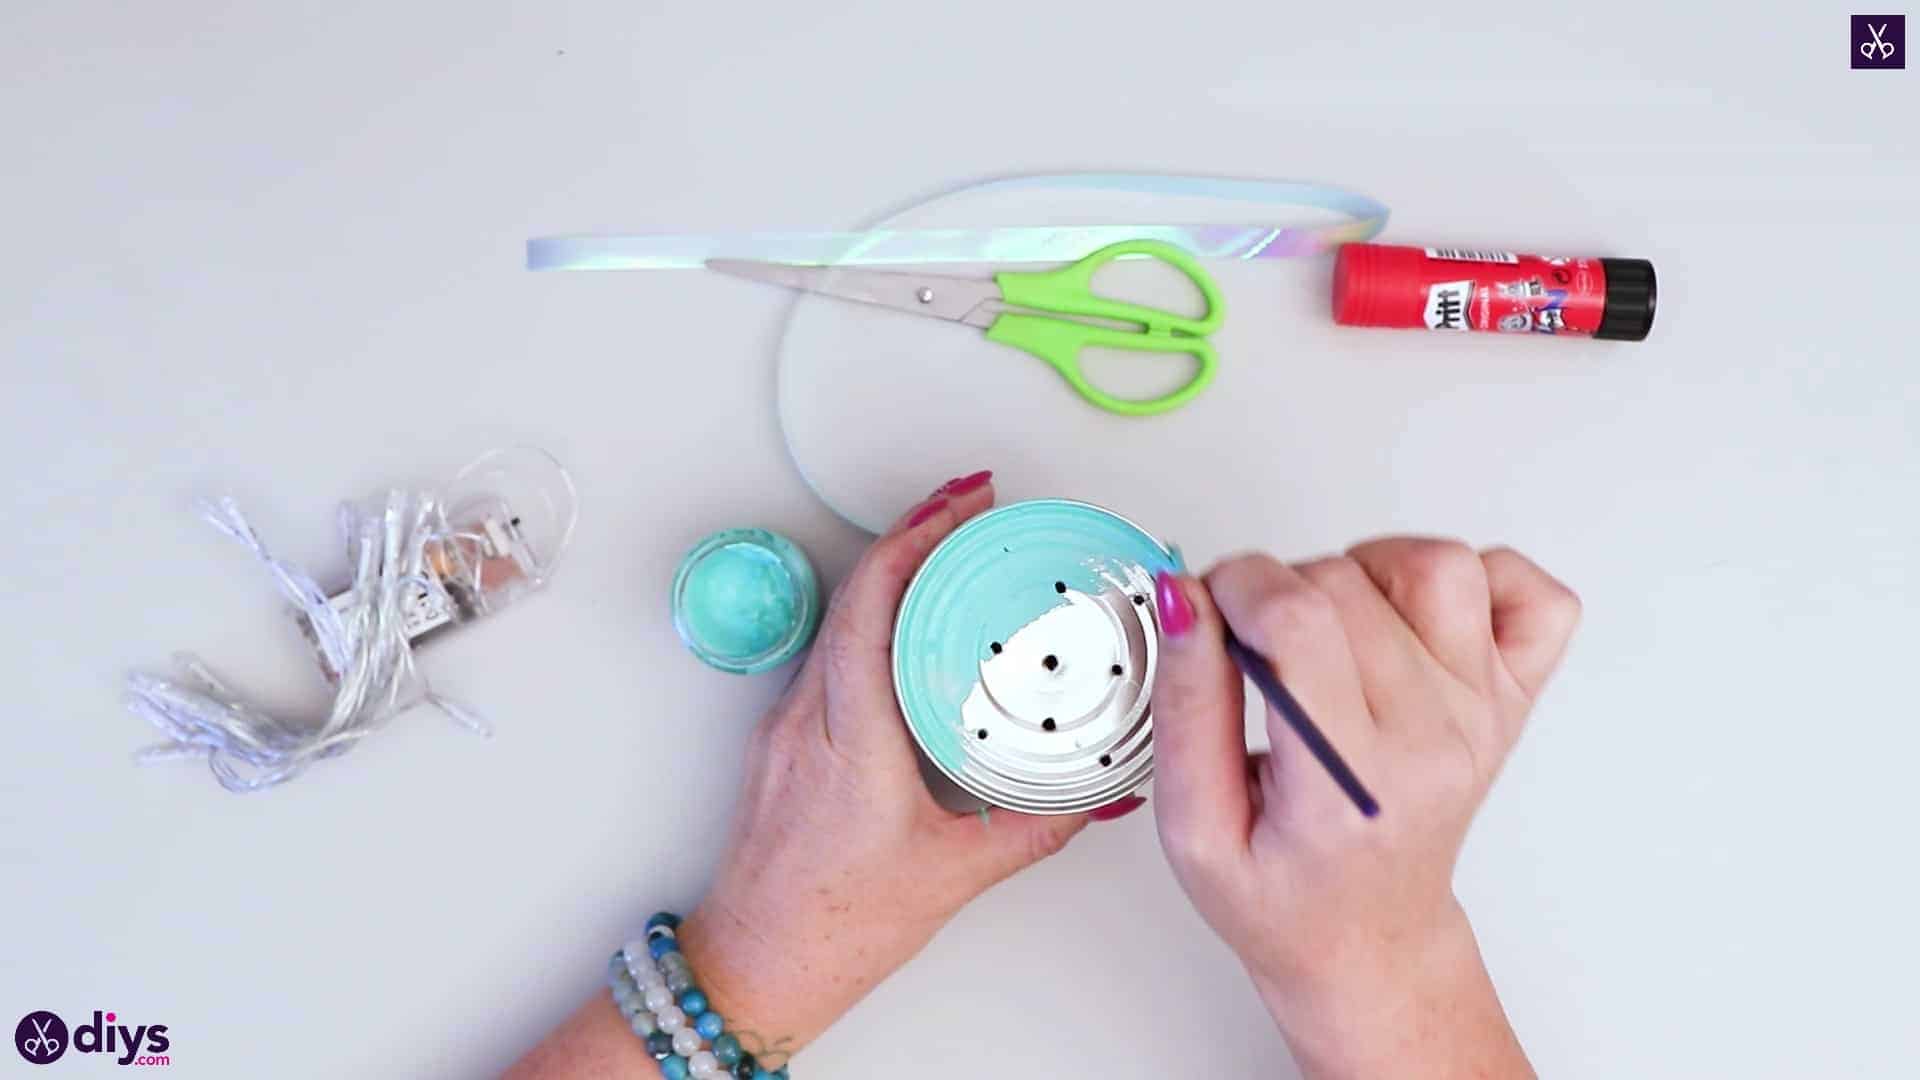
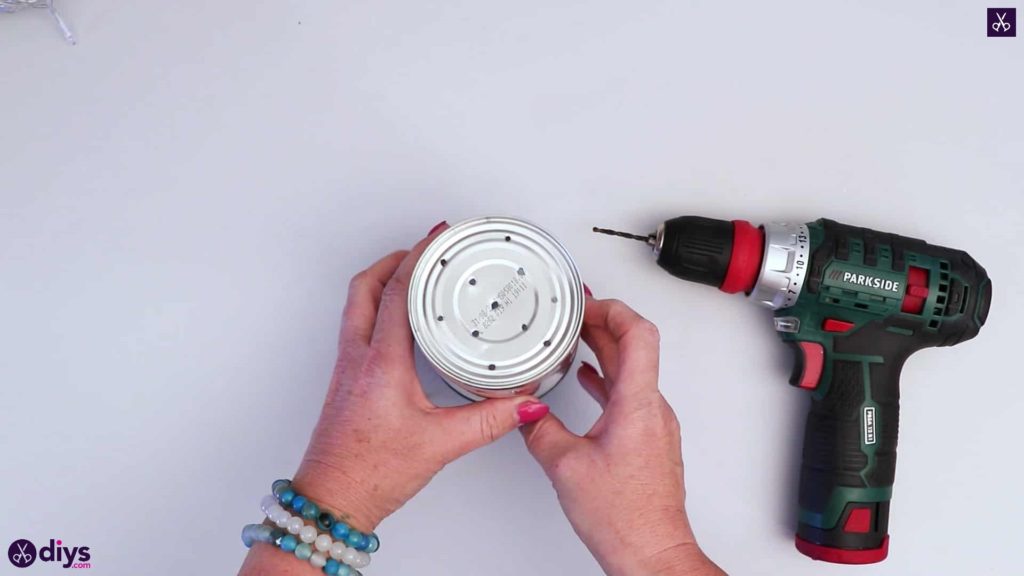
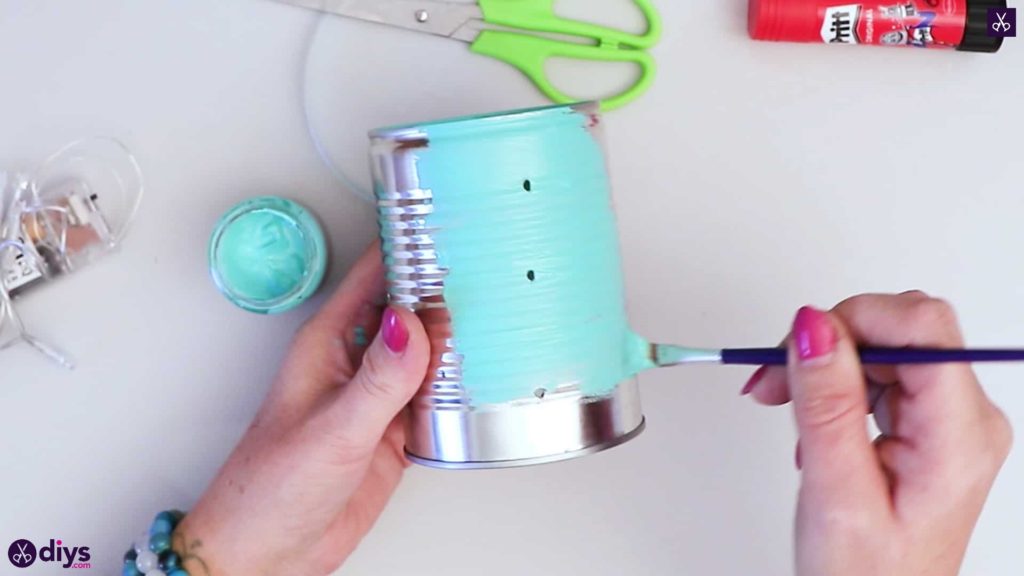
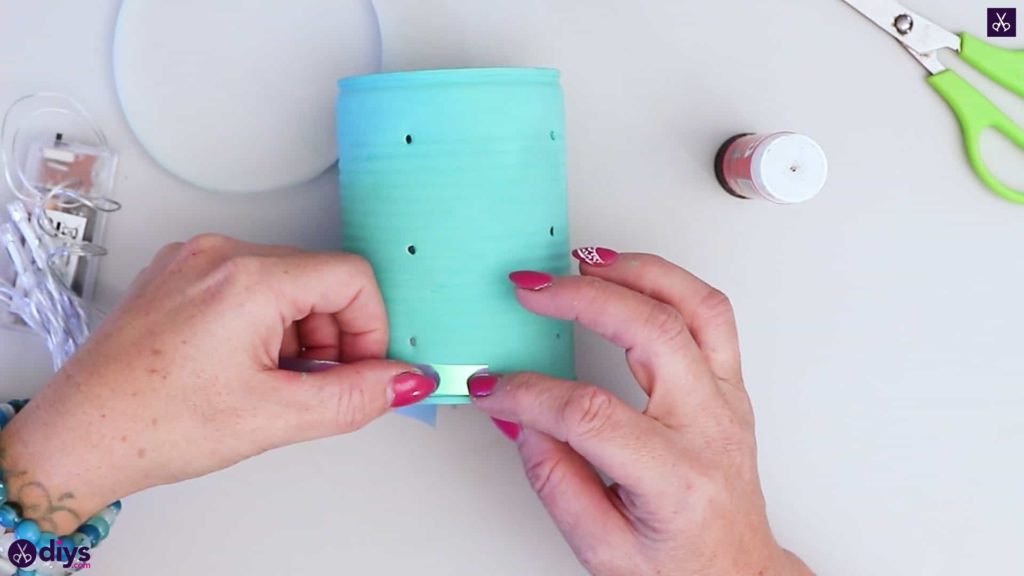
Even though I made this project with my kids, I did this first step entirely myself as it’s not very chid-friendly. Their time to shine came later! Use your drill to create holes all over the sides and top (which used to be the bottom; you’ll work with your can upside down) of the tin can. I decided to keep the holes in thee sides in a neat line but to scatter the ones across the top.
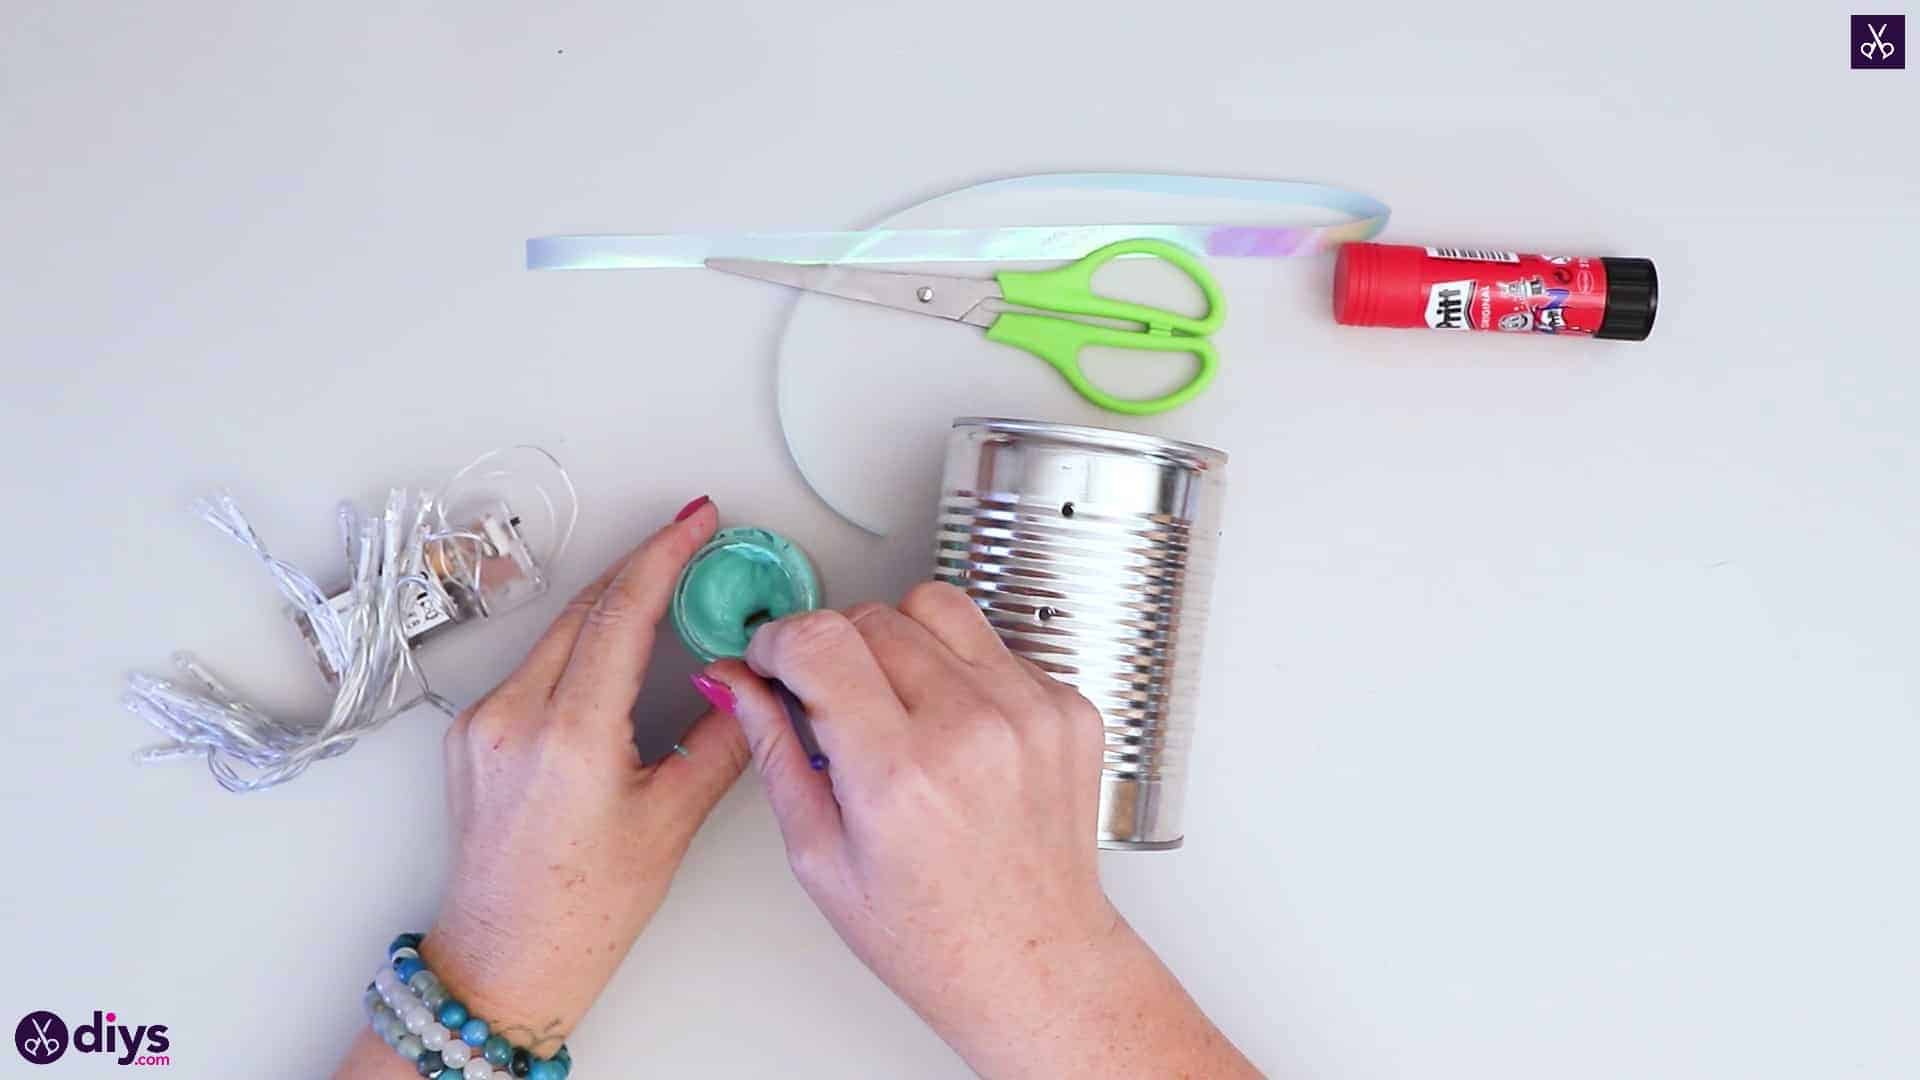
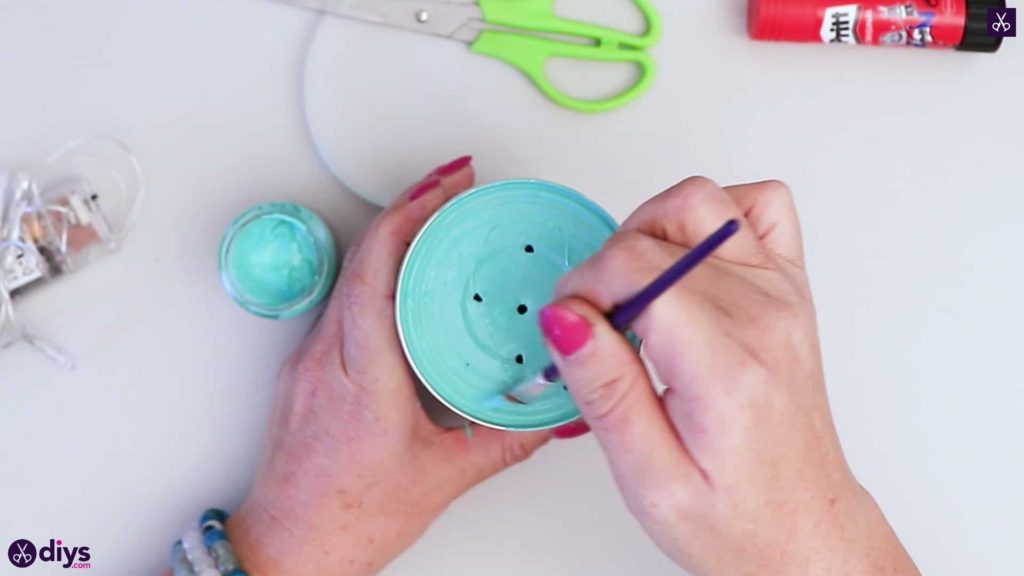
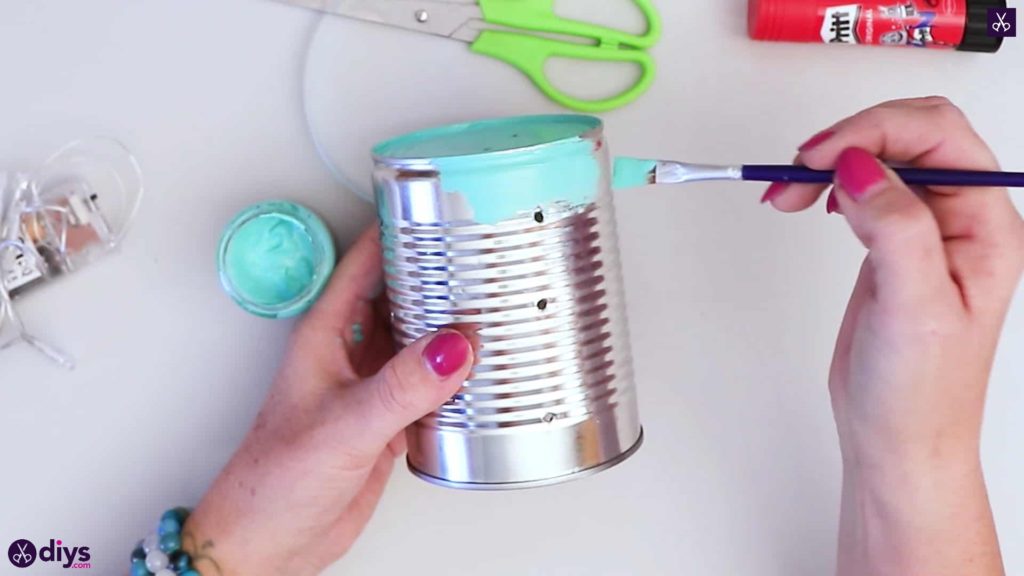
Step 3: paint
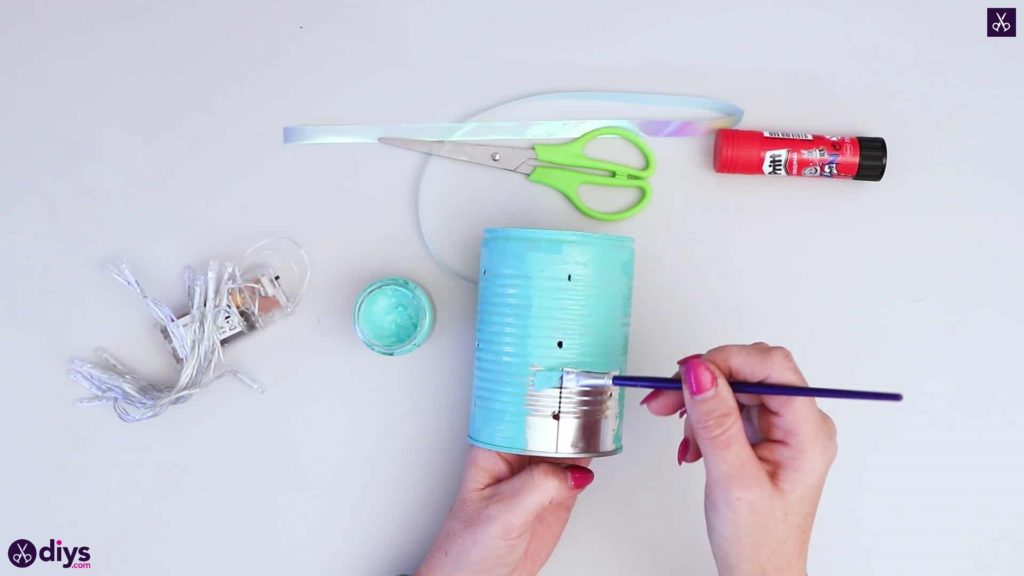
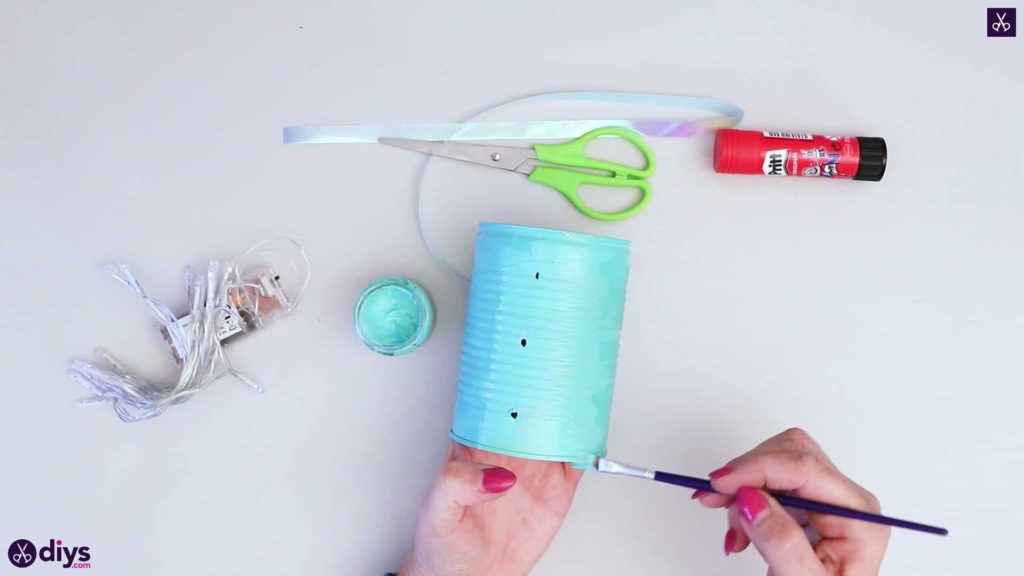
Here’s where the kids started making their own! Use your paintbrush to paint your can entirely, in whatever colour you please. I chose a nice pastel colour and painted it solidly, but feel free to get creative. You’ll paint the sidesand the top. Set your can aside to dry.

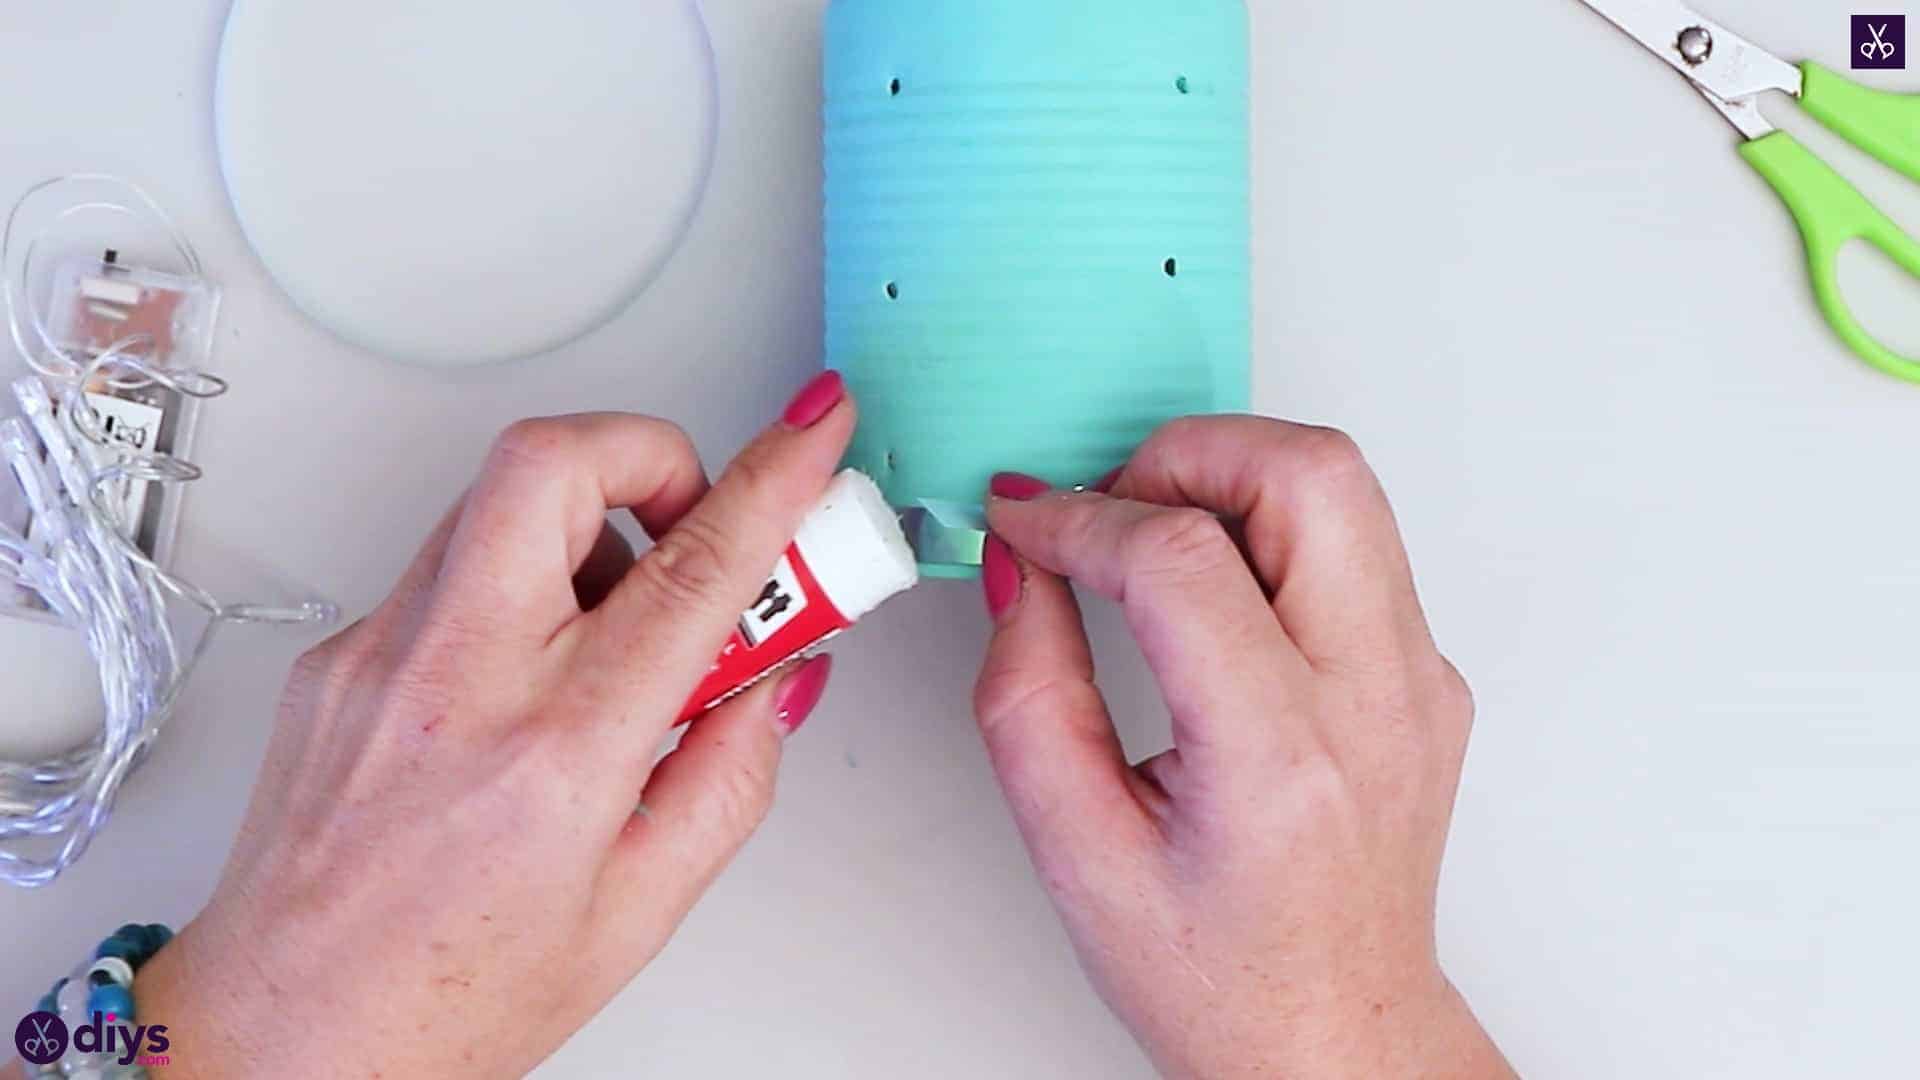
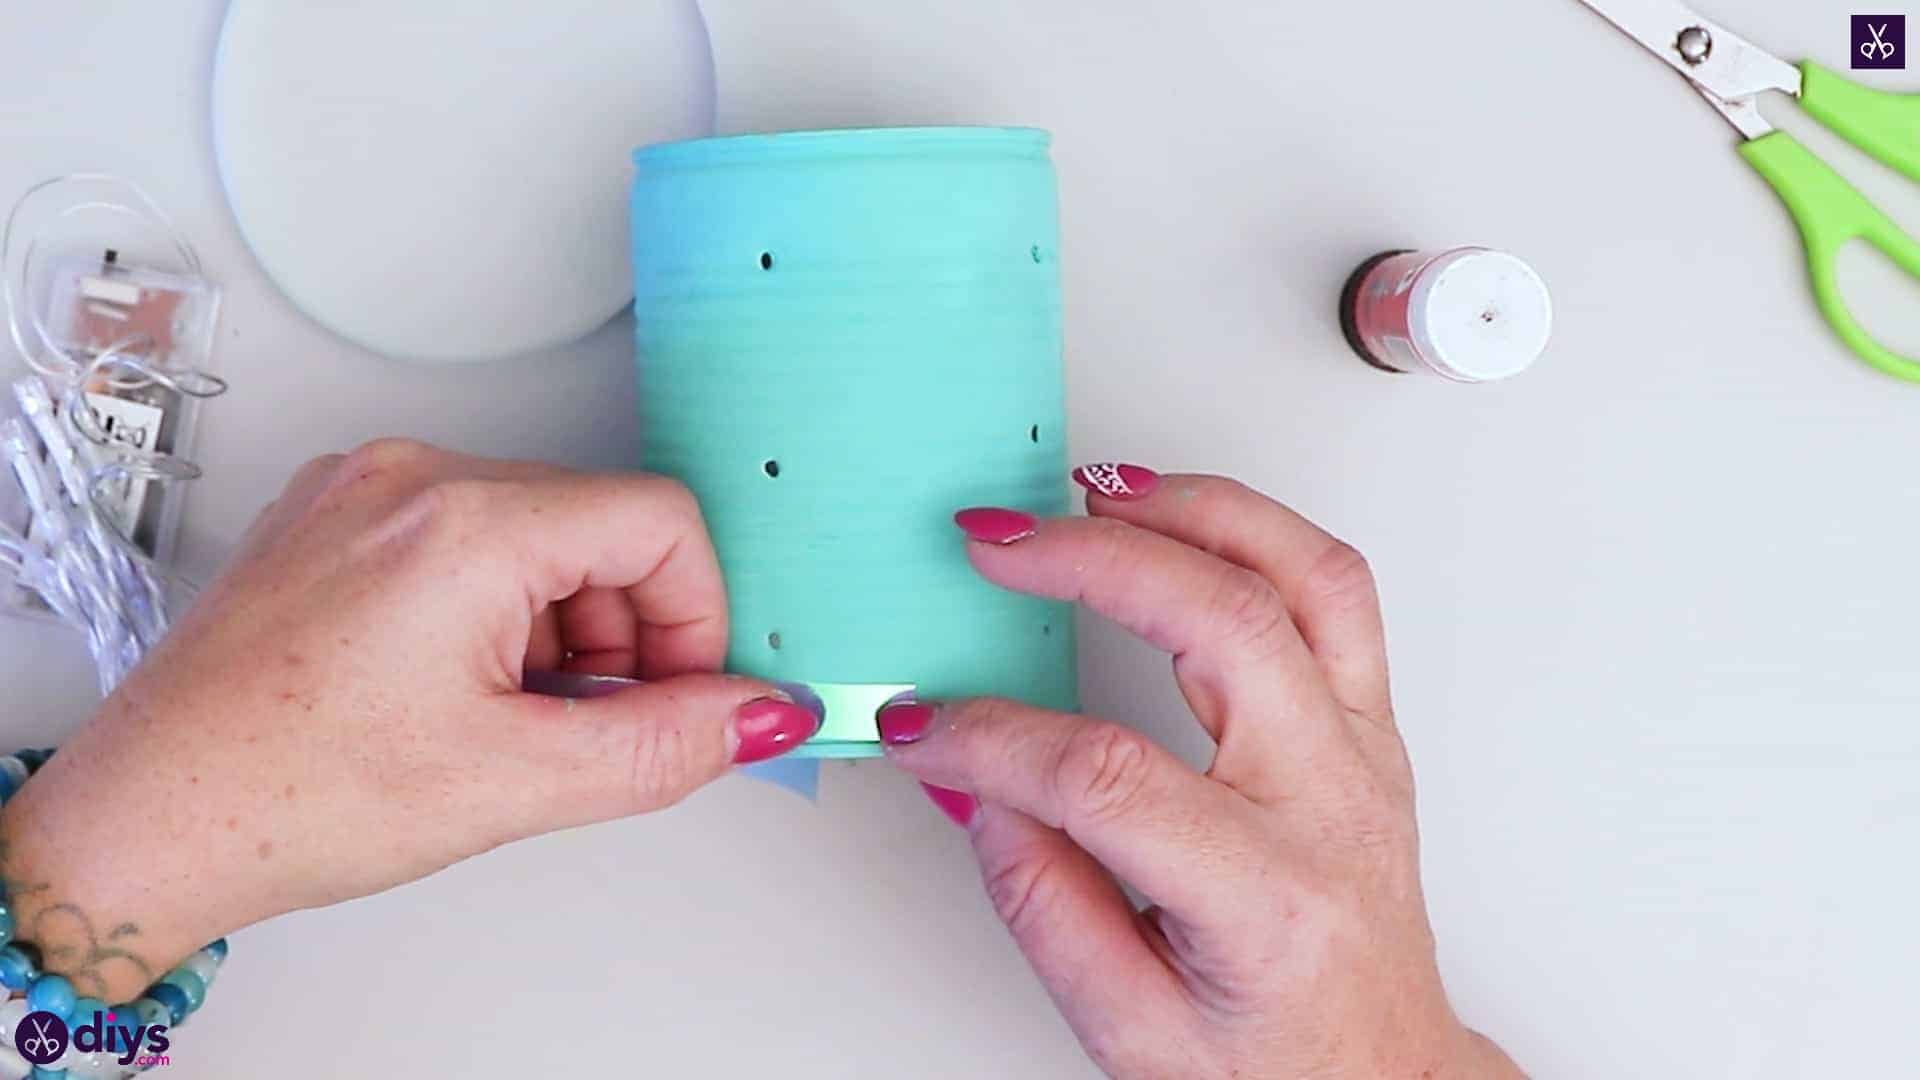
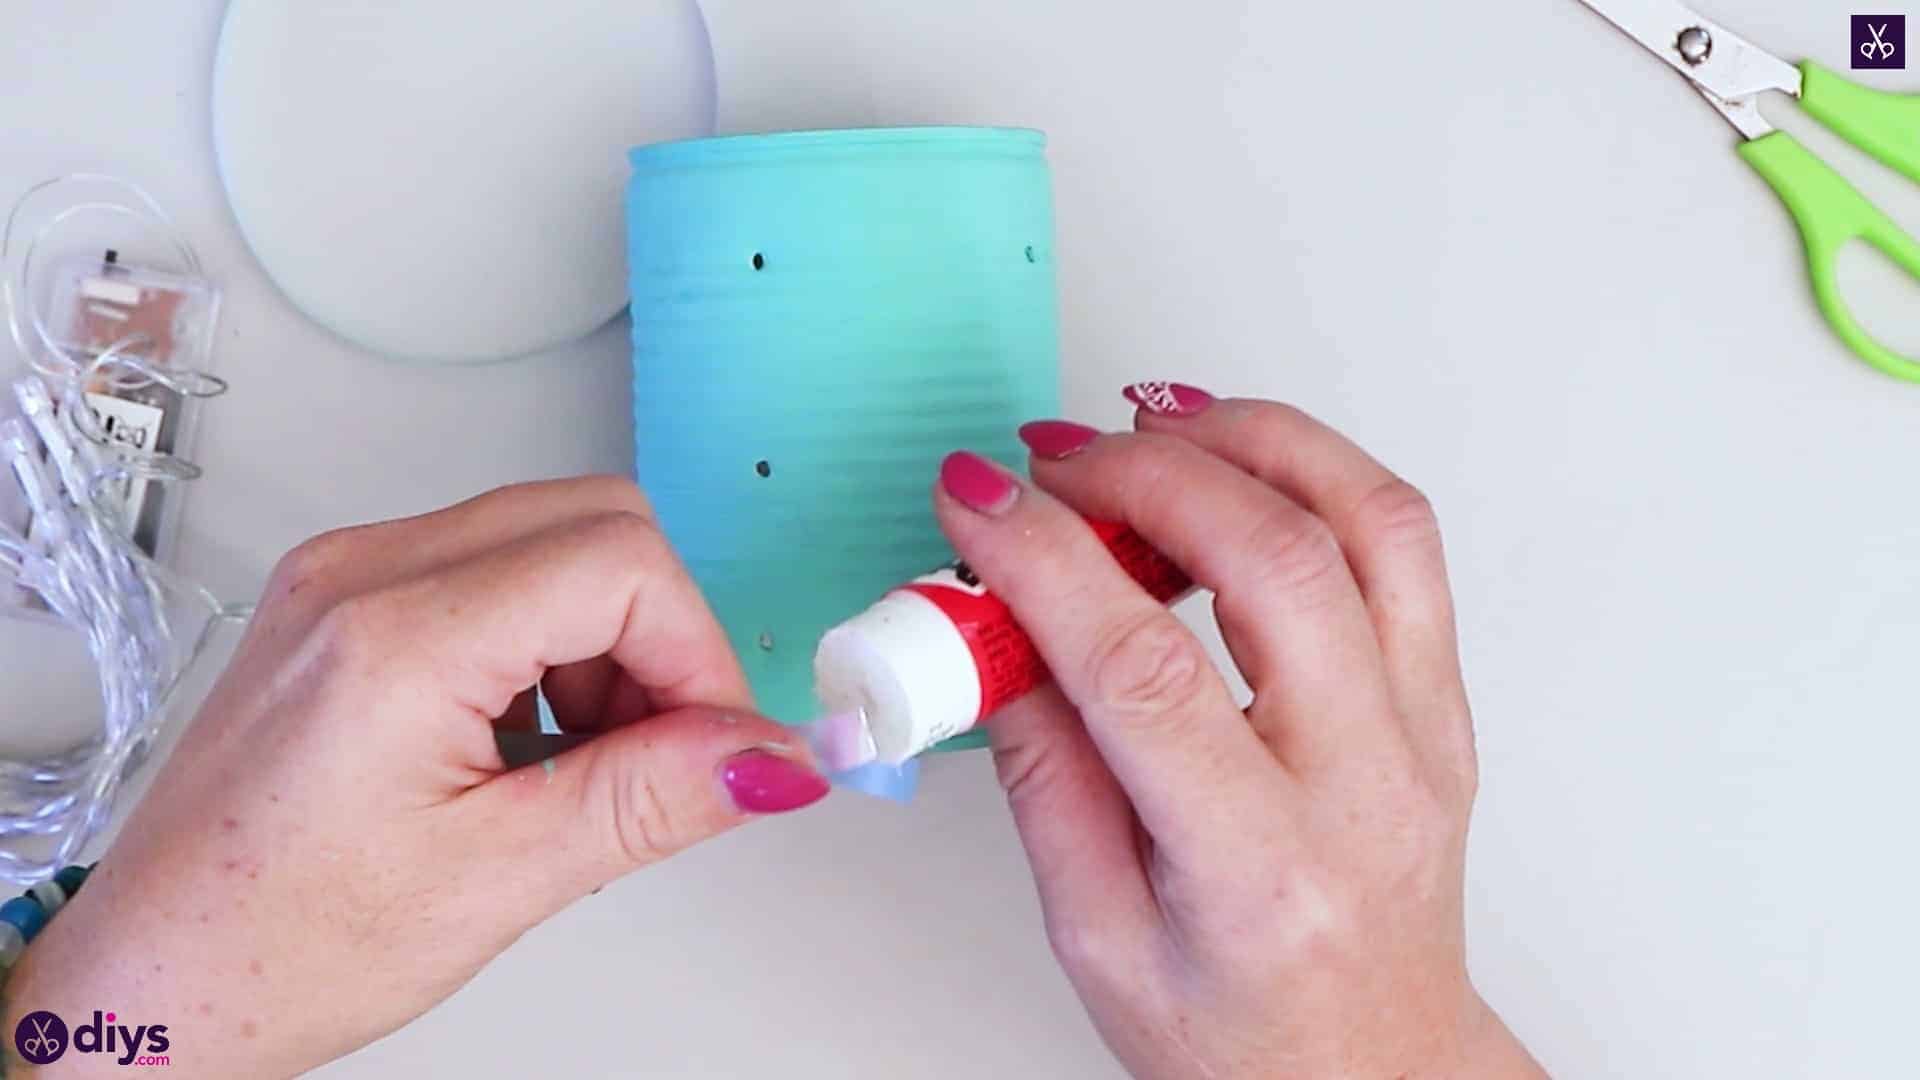
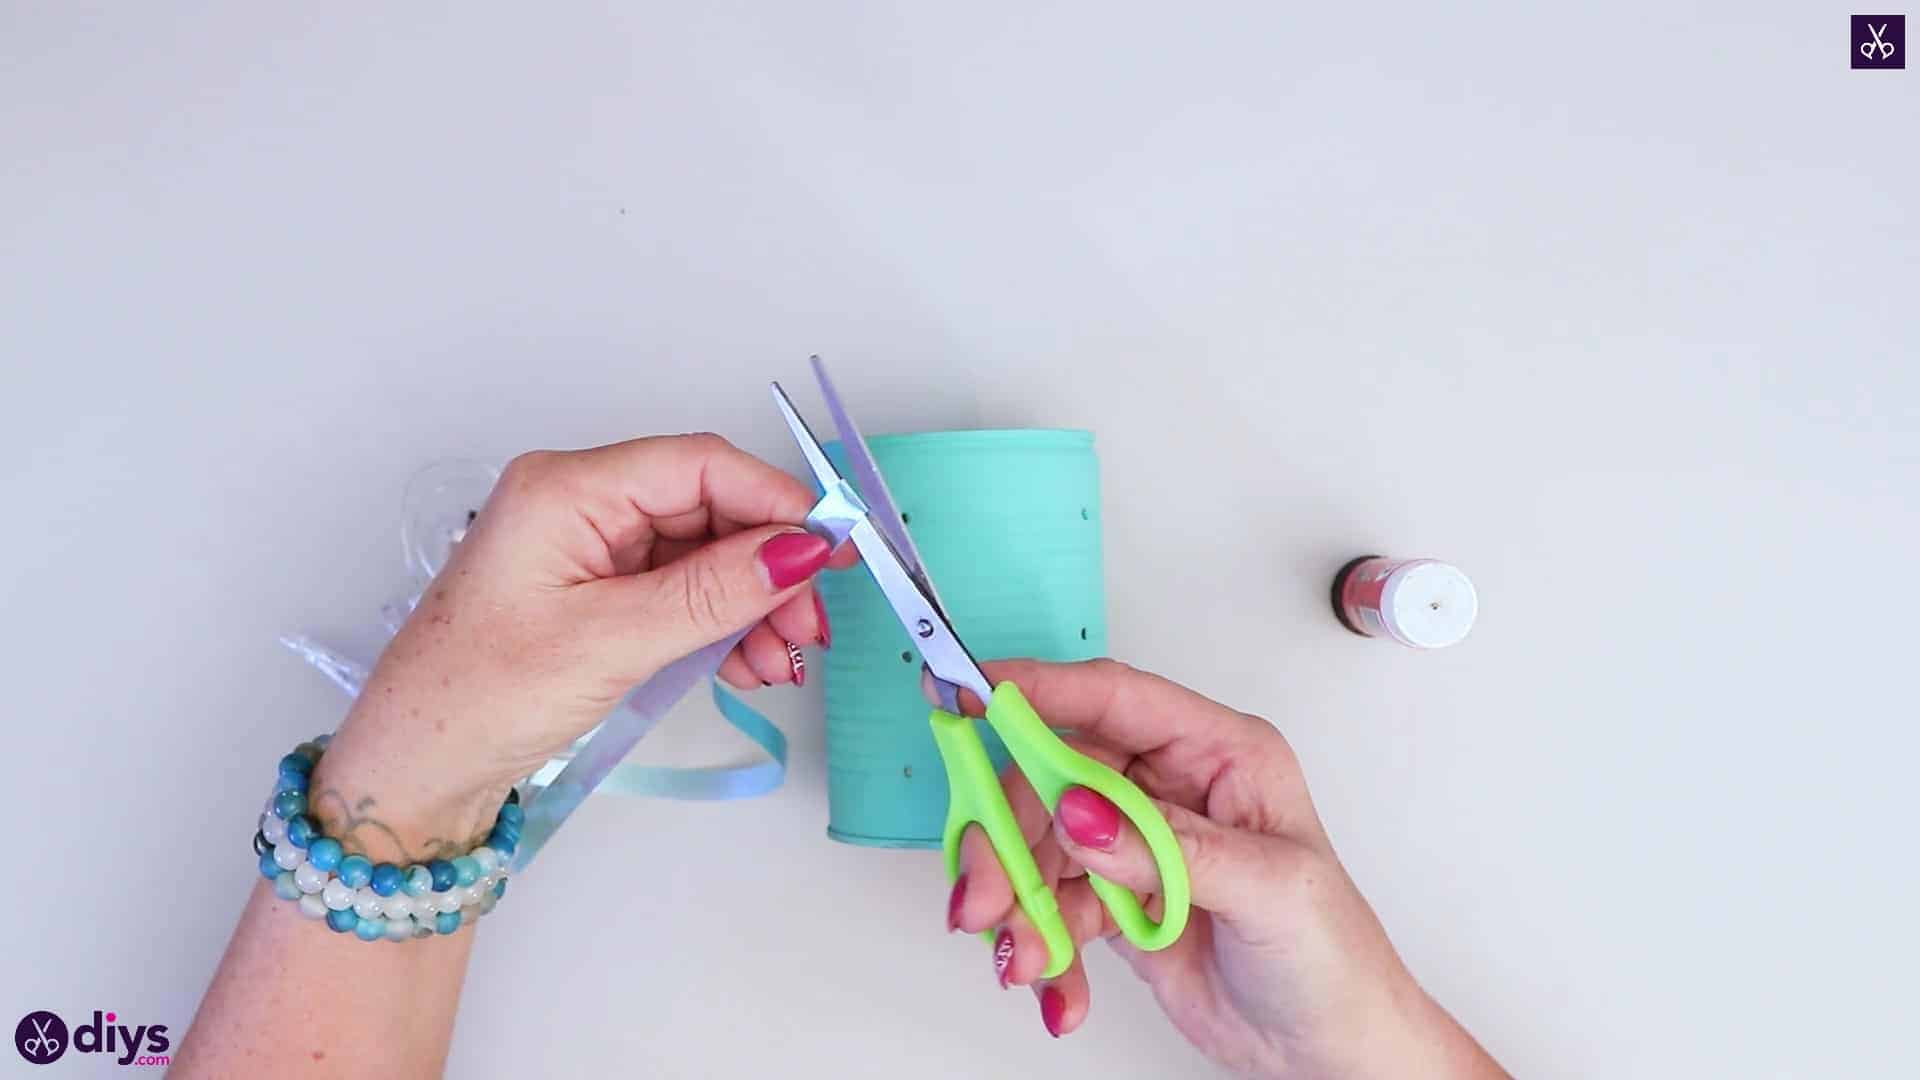
Step 4: add the ribbon
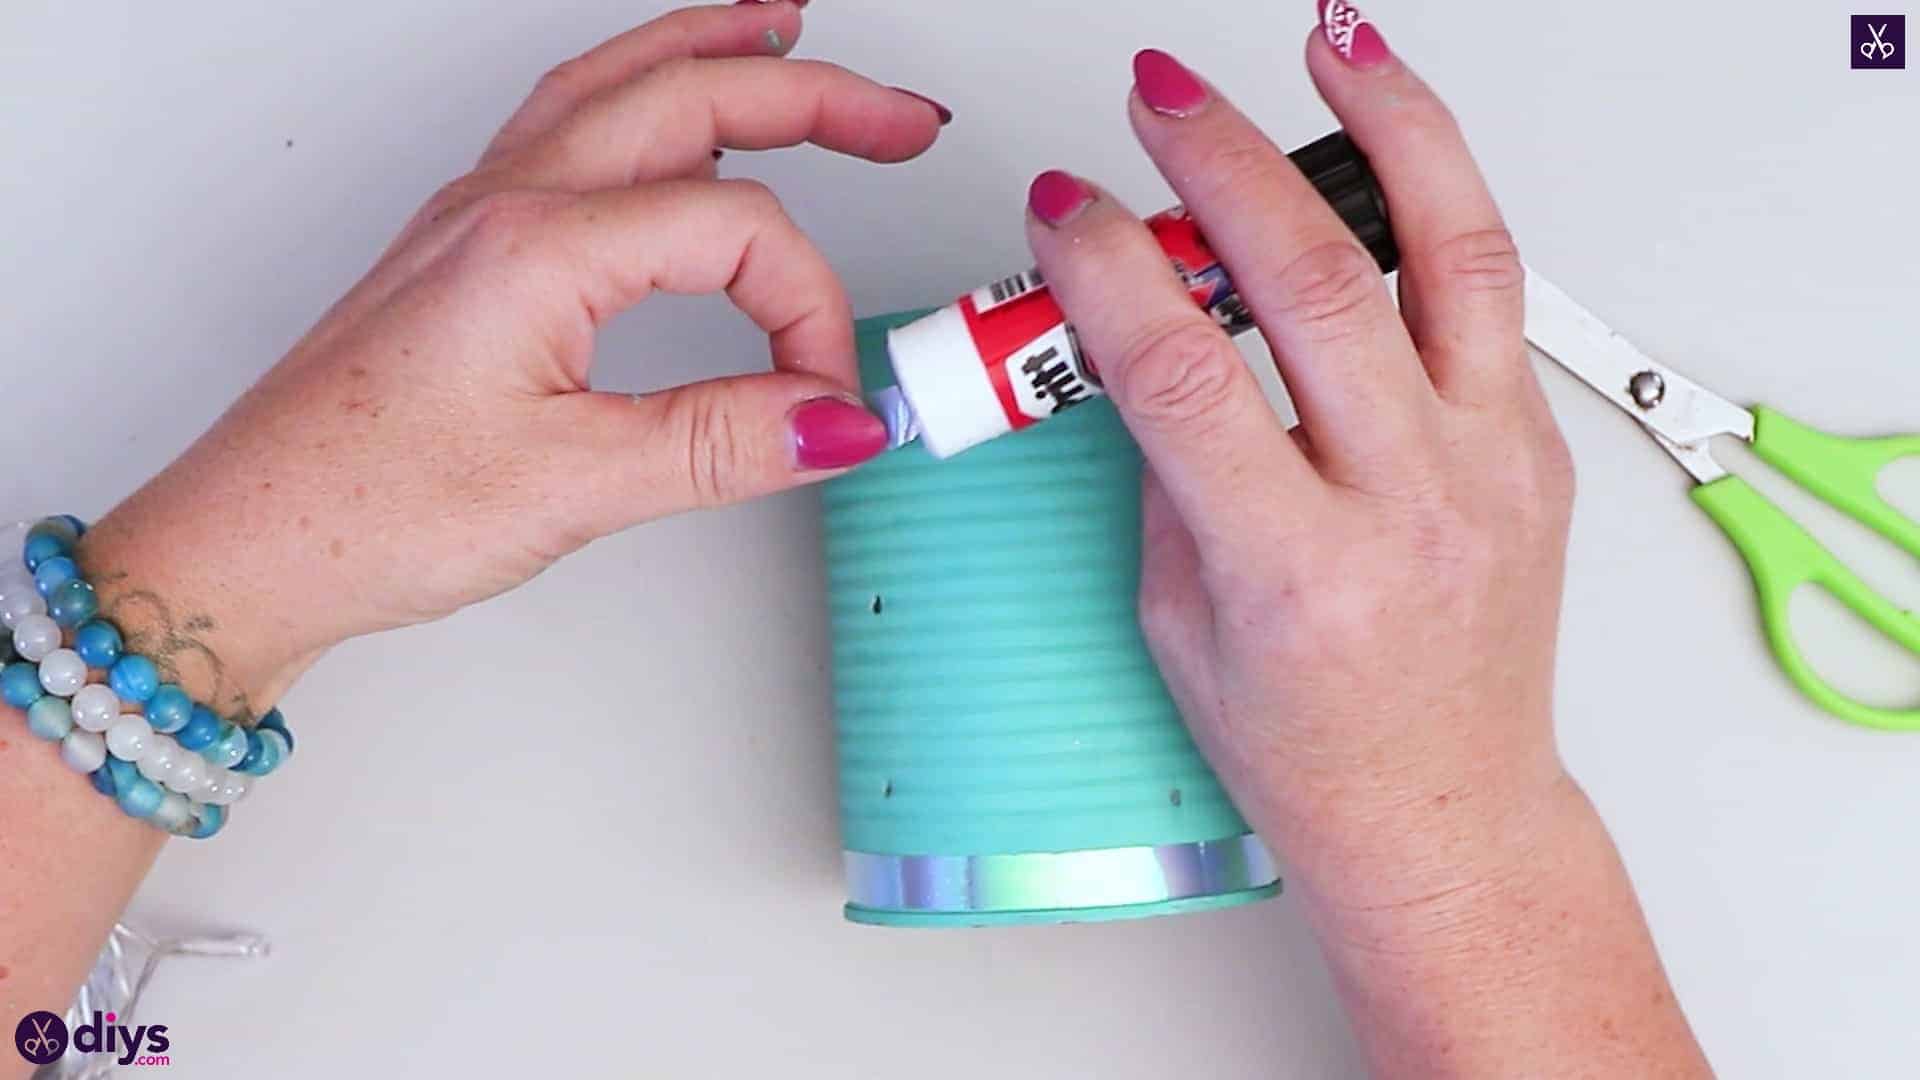
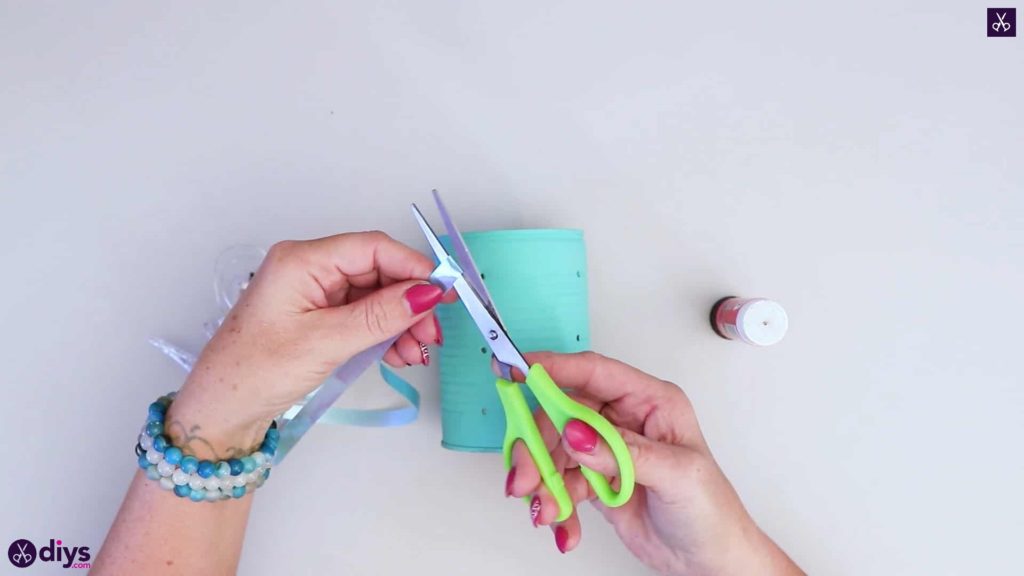
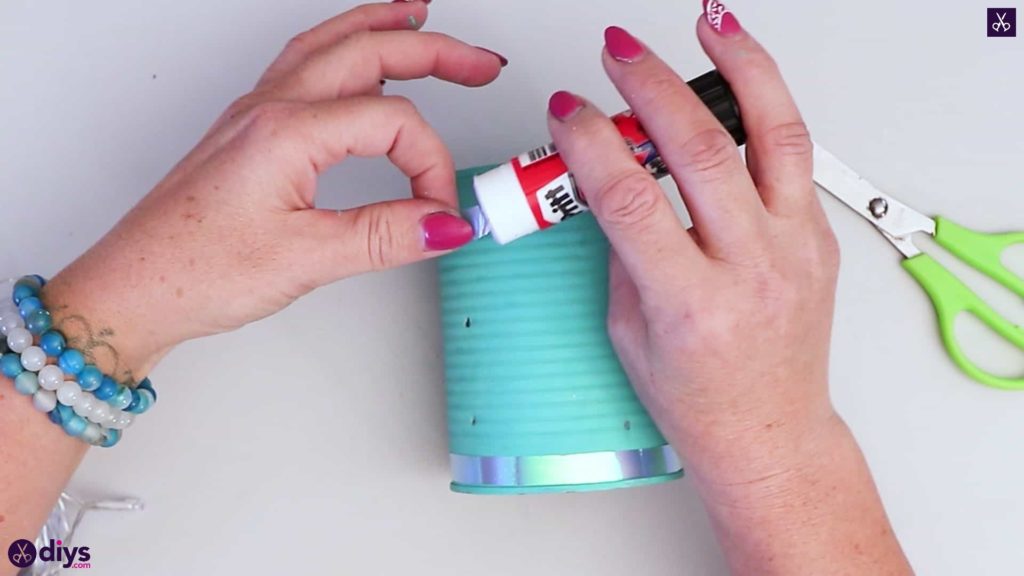
Once the paint has dried, cut two strips of blue ribbon long enough to wrap all the way around the can once each. Apply glue to one end of the first ribbon and stick it down around the bottom of the can so the ribbon lines up along its edge horizontally. Wrap the ribbon all the way around the can, keeping it flush with the edge, until you meet back up with your end. Cut the excess if necessary, apply glue to the end, and stick it down overlapping with the first one. Repeat this process with the second ribbon, but this time all long the top edge, so you have a pretty ribbon lining each end of the tin can lamp.


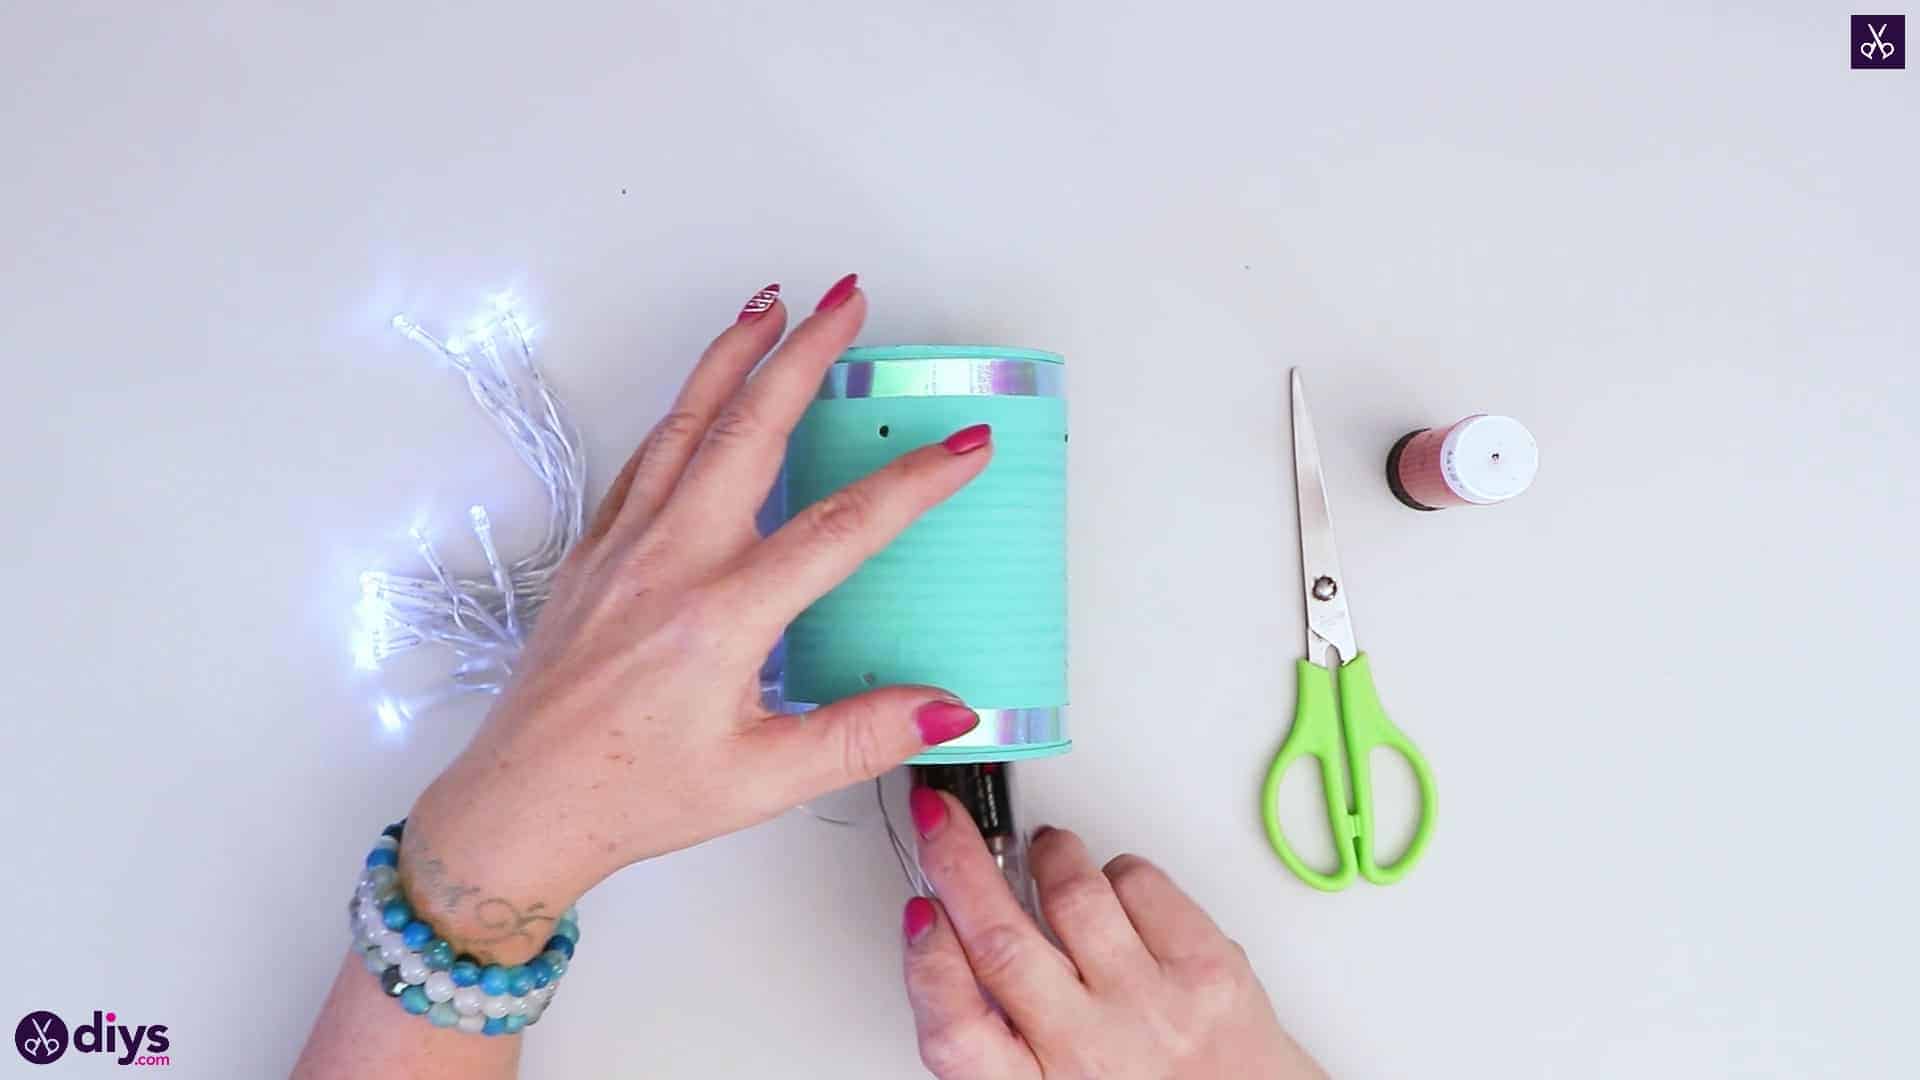
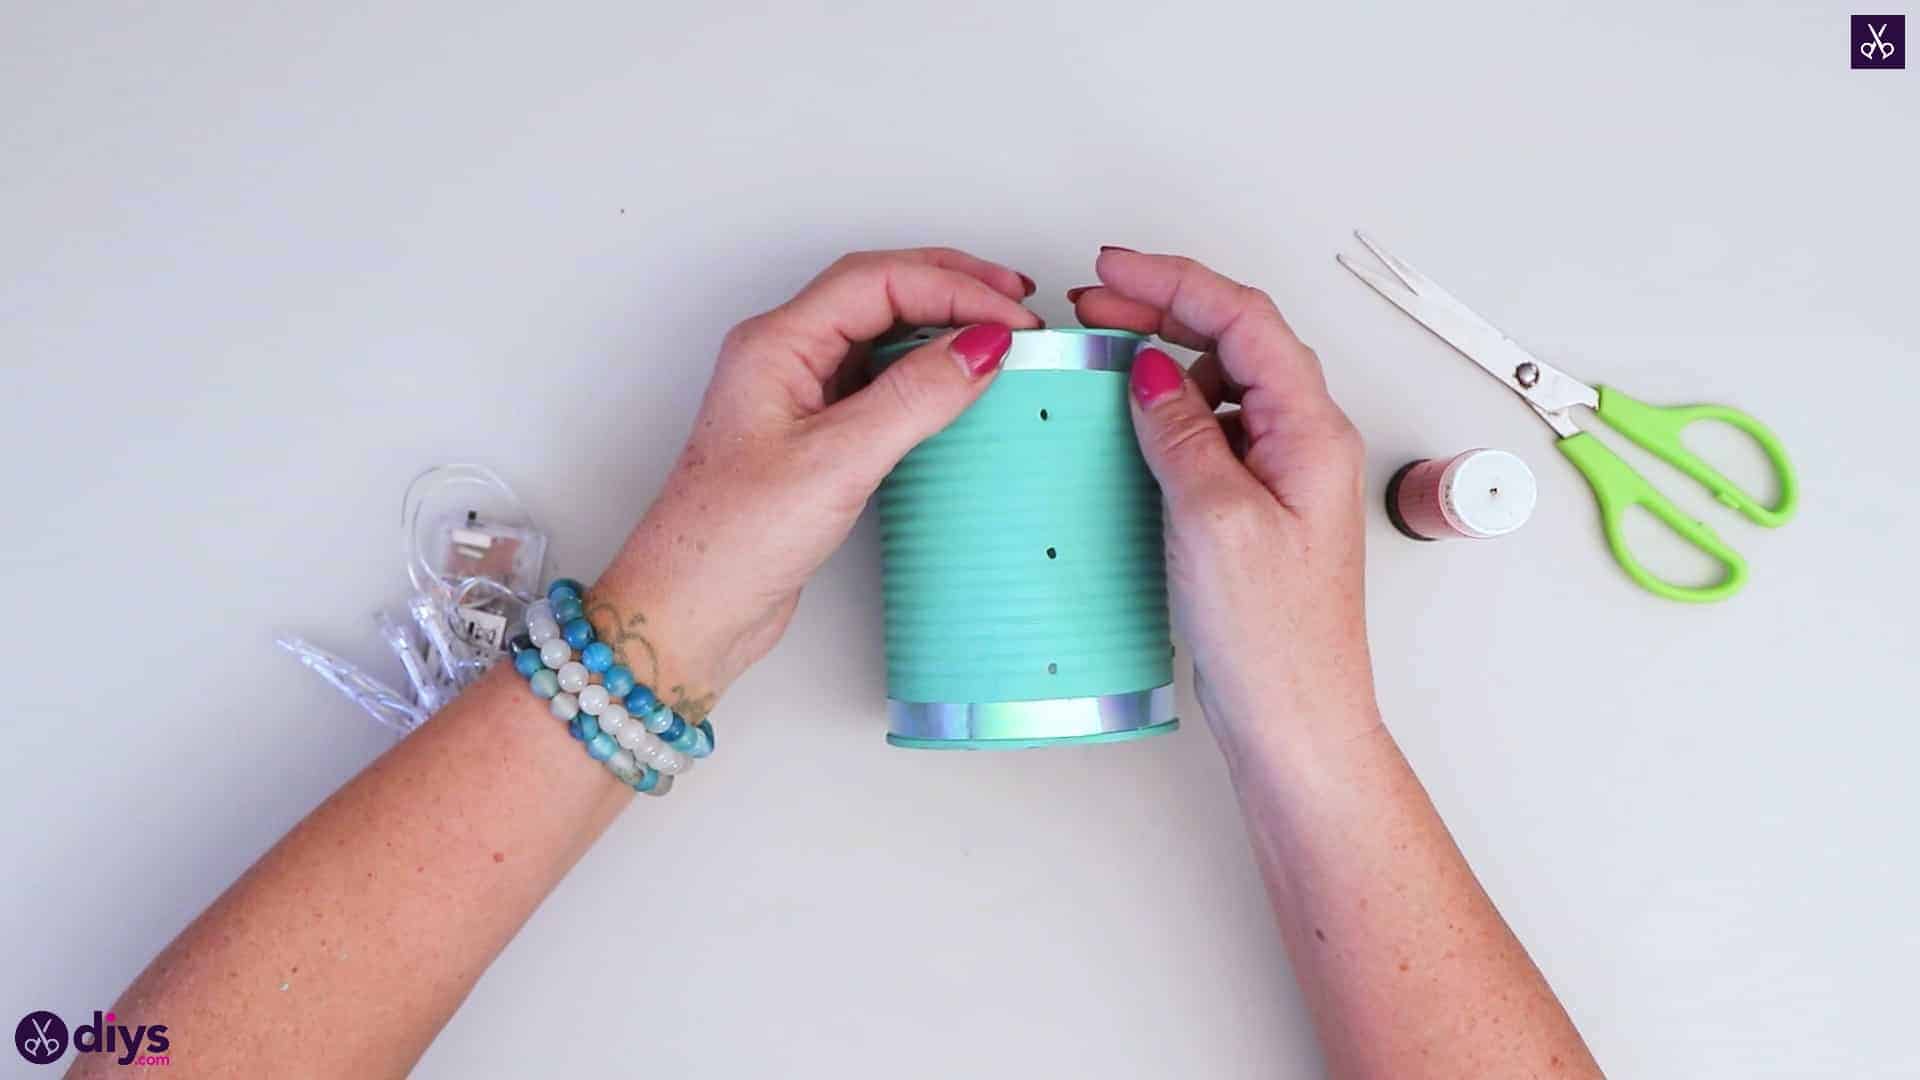
Step 5: add lights
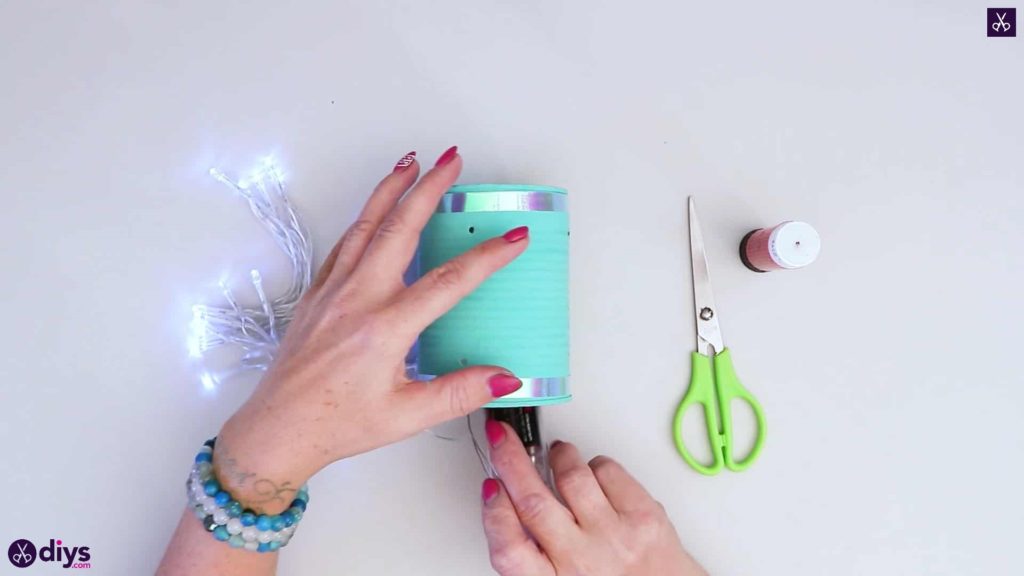
Insert the bundle of lights and the battery pack inside the opening in the bottom of the can and flip the switch to turn it on. Set the can down wherever you think a mood lamp suits the space best!

That’s really all there is to it! This idea with technically also work with lights that have to be plugged in rather than using a battery pack, but your can won’t sit flat on the surface you choose because the cord will have to pass under its edge. Just in case you’d like to try this project out for yourself, here’s a fantastic tutorial video to help you!