DIY Pastel Christmas Table Top Centrepiece
Updated on November 19, 2025


Have you ever seen a Christmas display that’s done in shadesother than the traditional green and red colours you’re used to and just fallen in love with it? I did that recently when I saw a Christmas decor scheme that was all white and pastel pink and I’ve been obsessing over it ever since. I didn’t find many pieces in stores, however, so I decided to make a pastel Christmas centrepiece of my own! Just in case you love that idea just as much as I do, I kept track of my steps for people to follow along with.
Check out these step by step instructions complete with photos! If you’d rather follow along with a video tutorial instead of written words, scroll to the bottom of this post to find just what you’re looking for.
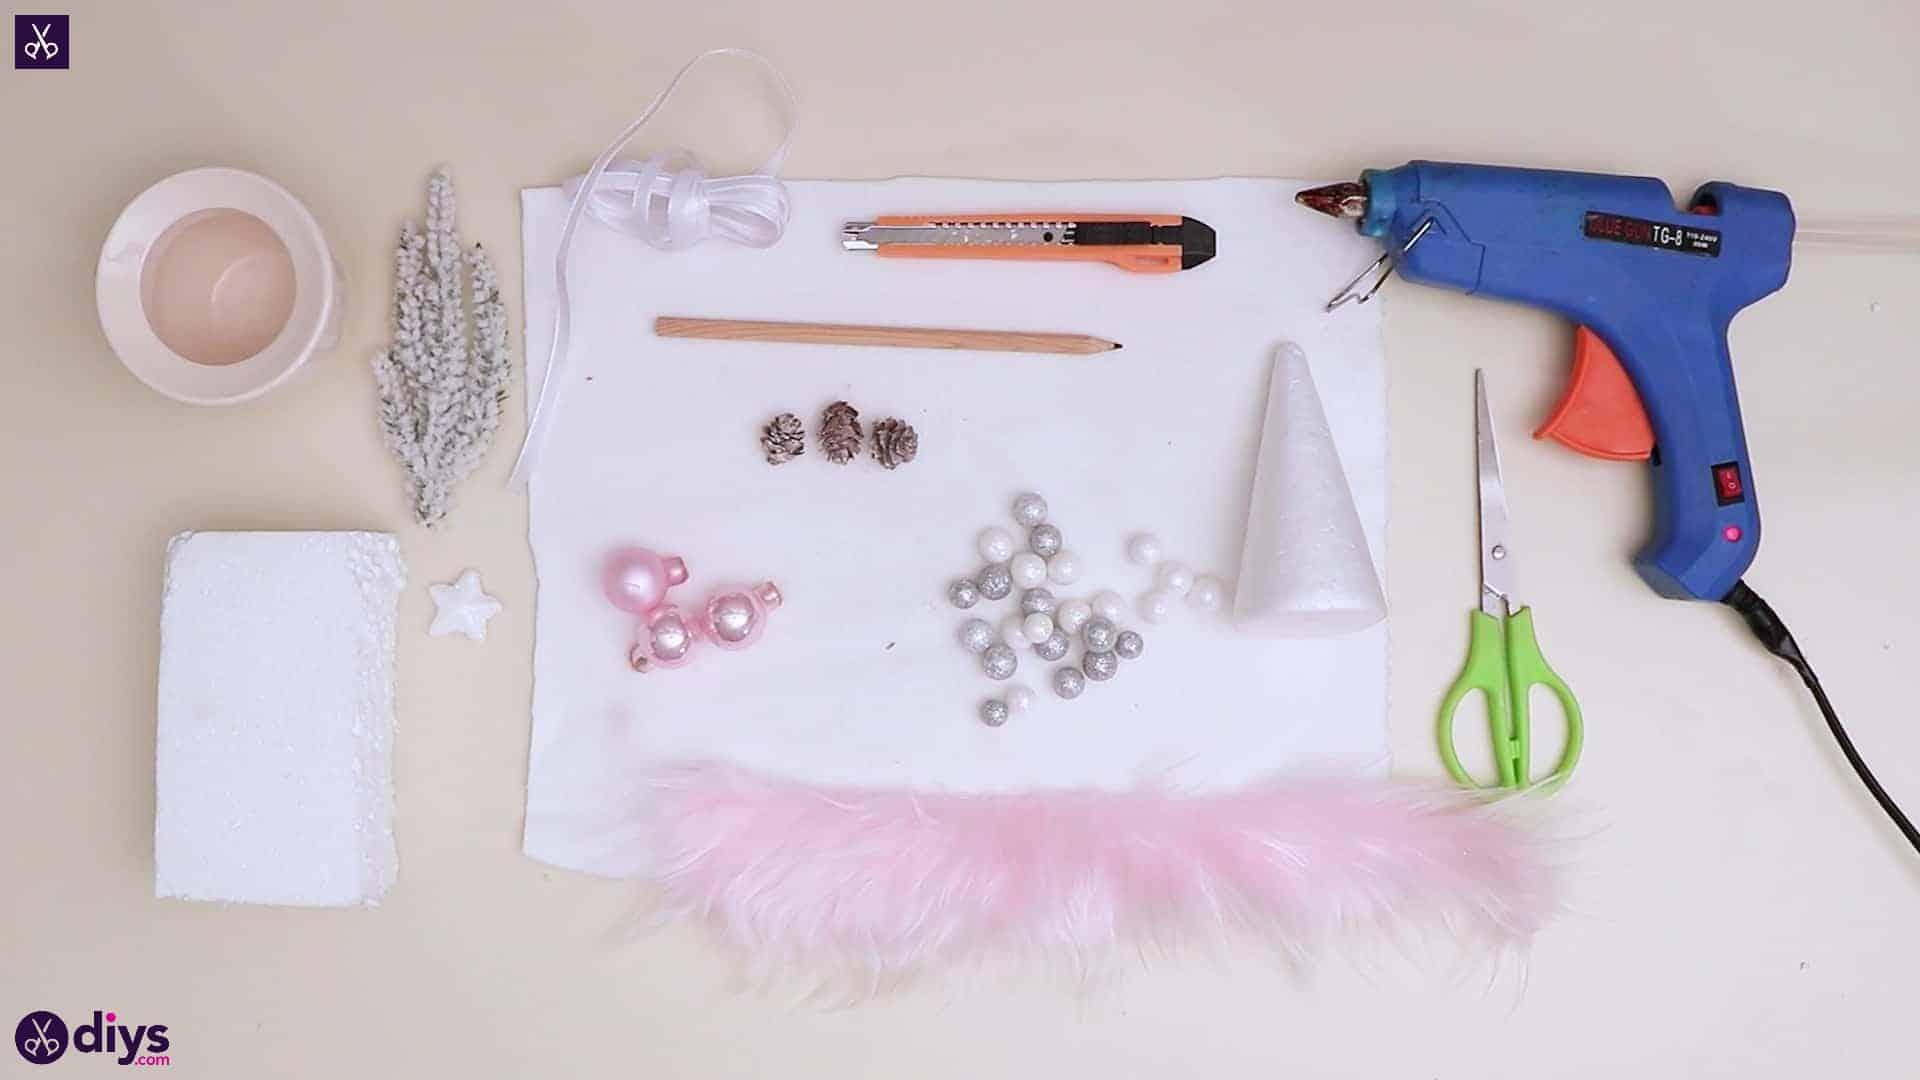
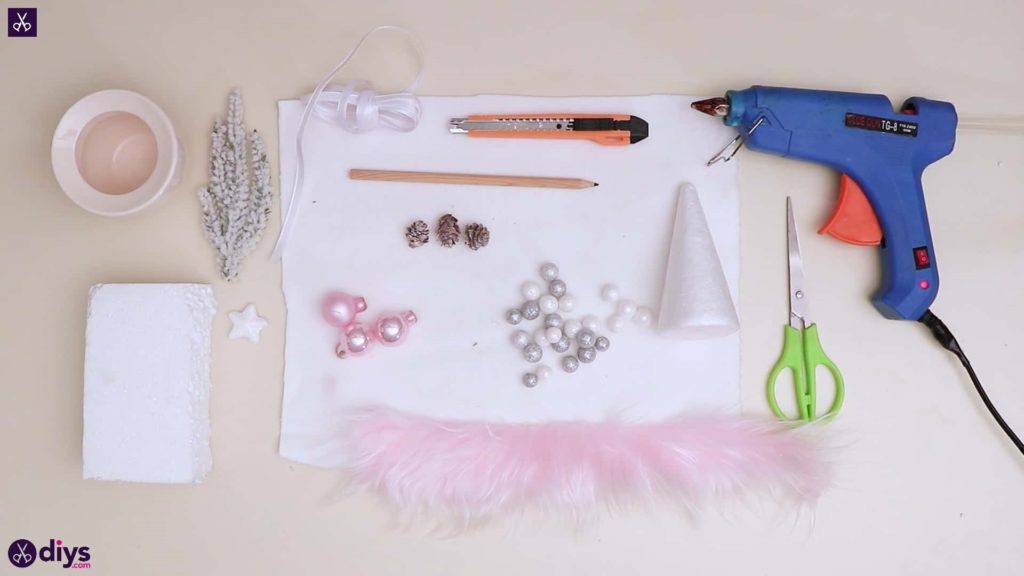
For this project, you’ll need:
- A miniature pot (white)
- A white ribbon
- Two pencils (one for drawing and one for the craft)
- Hot glue
- Scissors
- Miniature faux pinecones
- Styrofoam
- A styrofoam cone
- A folding utility knife
- Pink fur trim
- White fabric
- A star bead or trinket
- Styrofoam balls (white and silver)
- A white pine branch
- Pink pearl beads
Step 1: be prepared
Gather your materials!
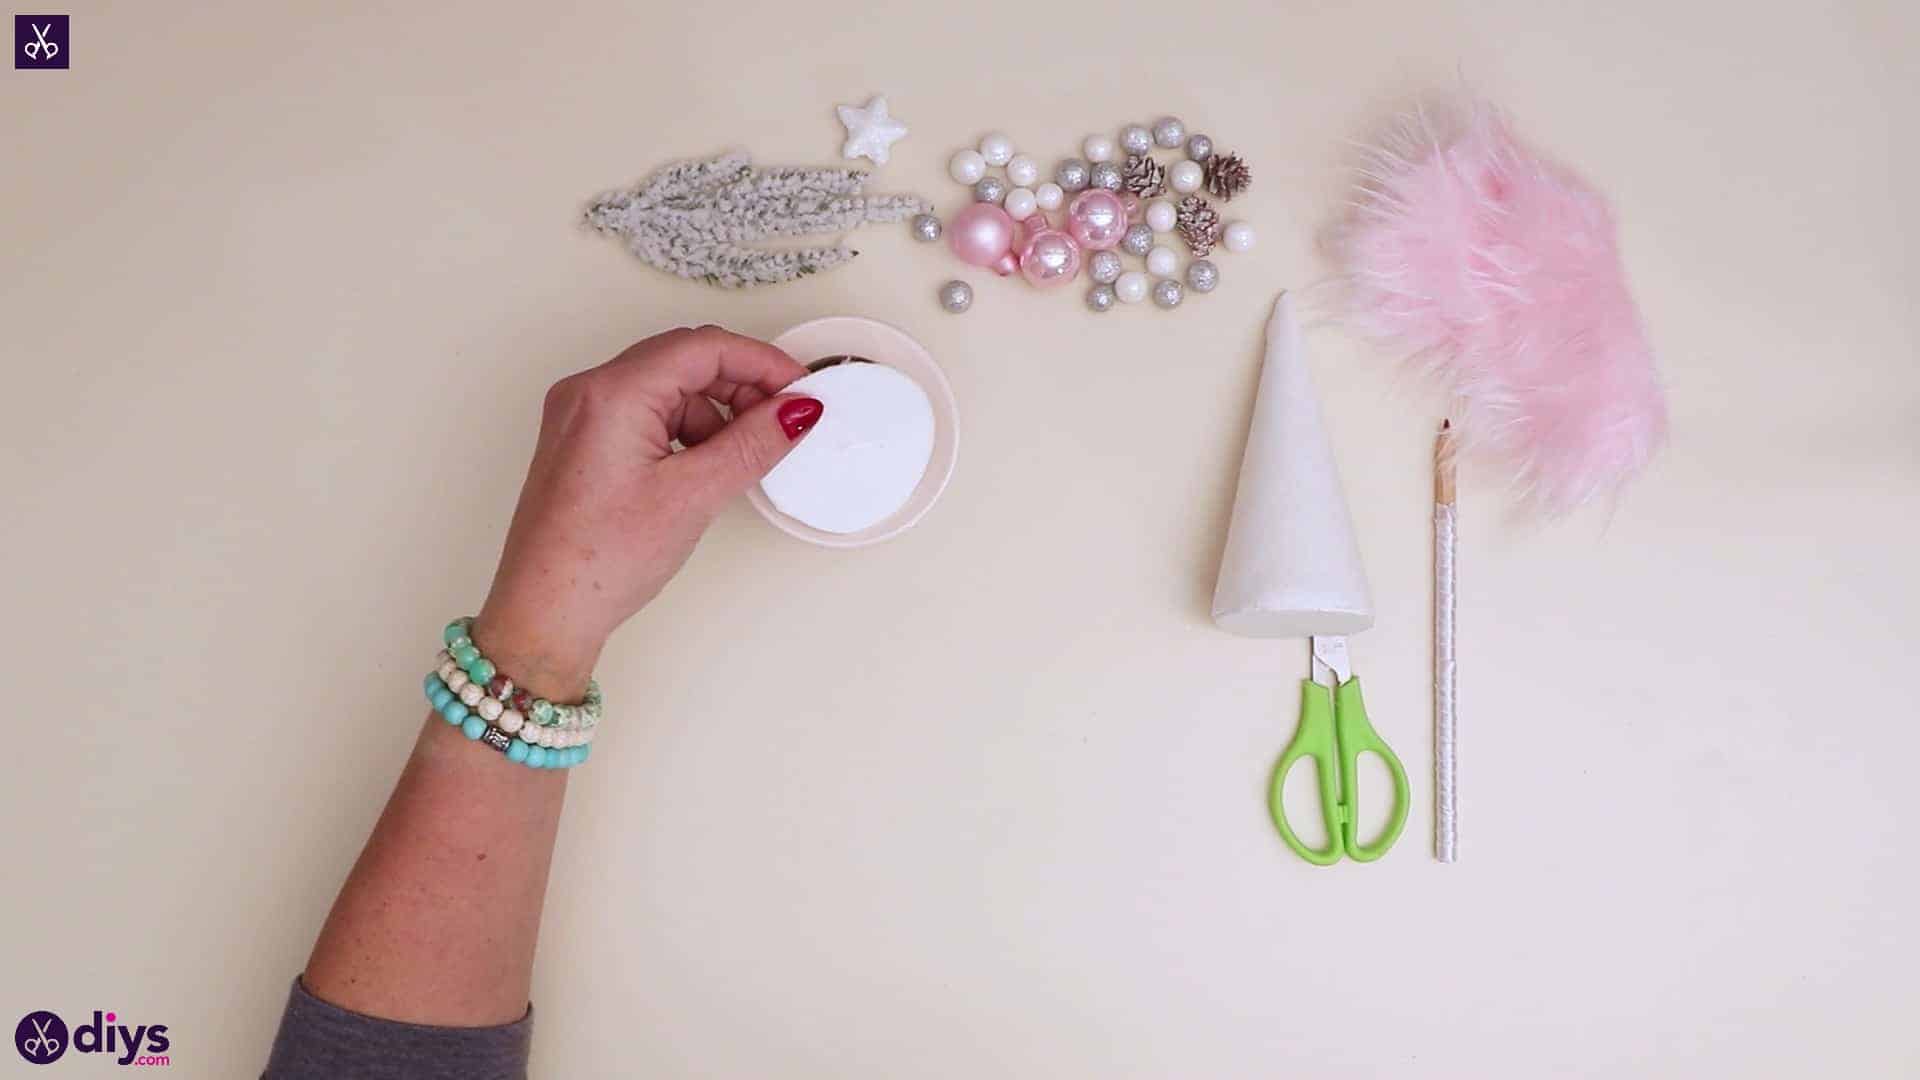
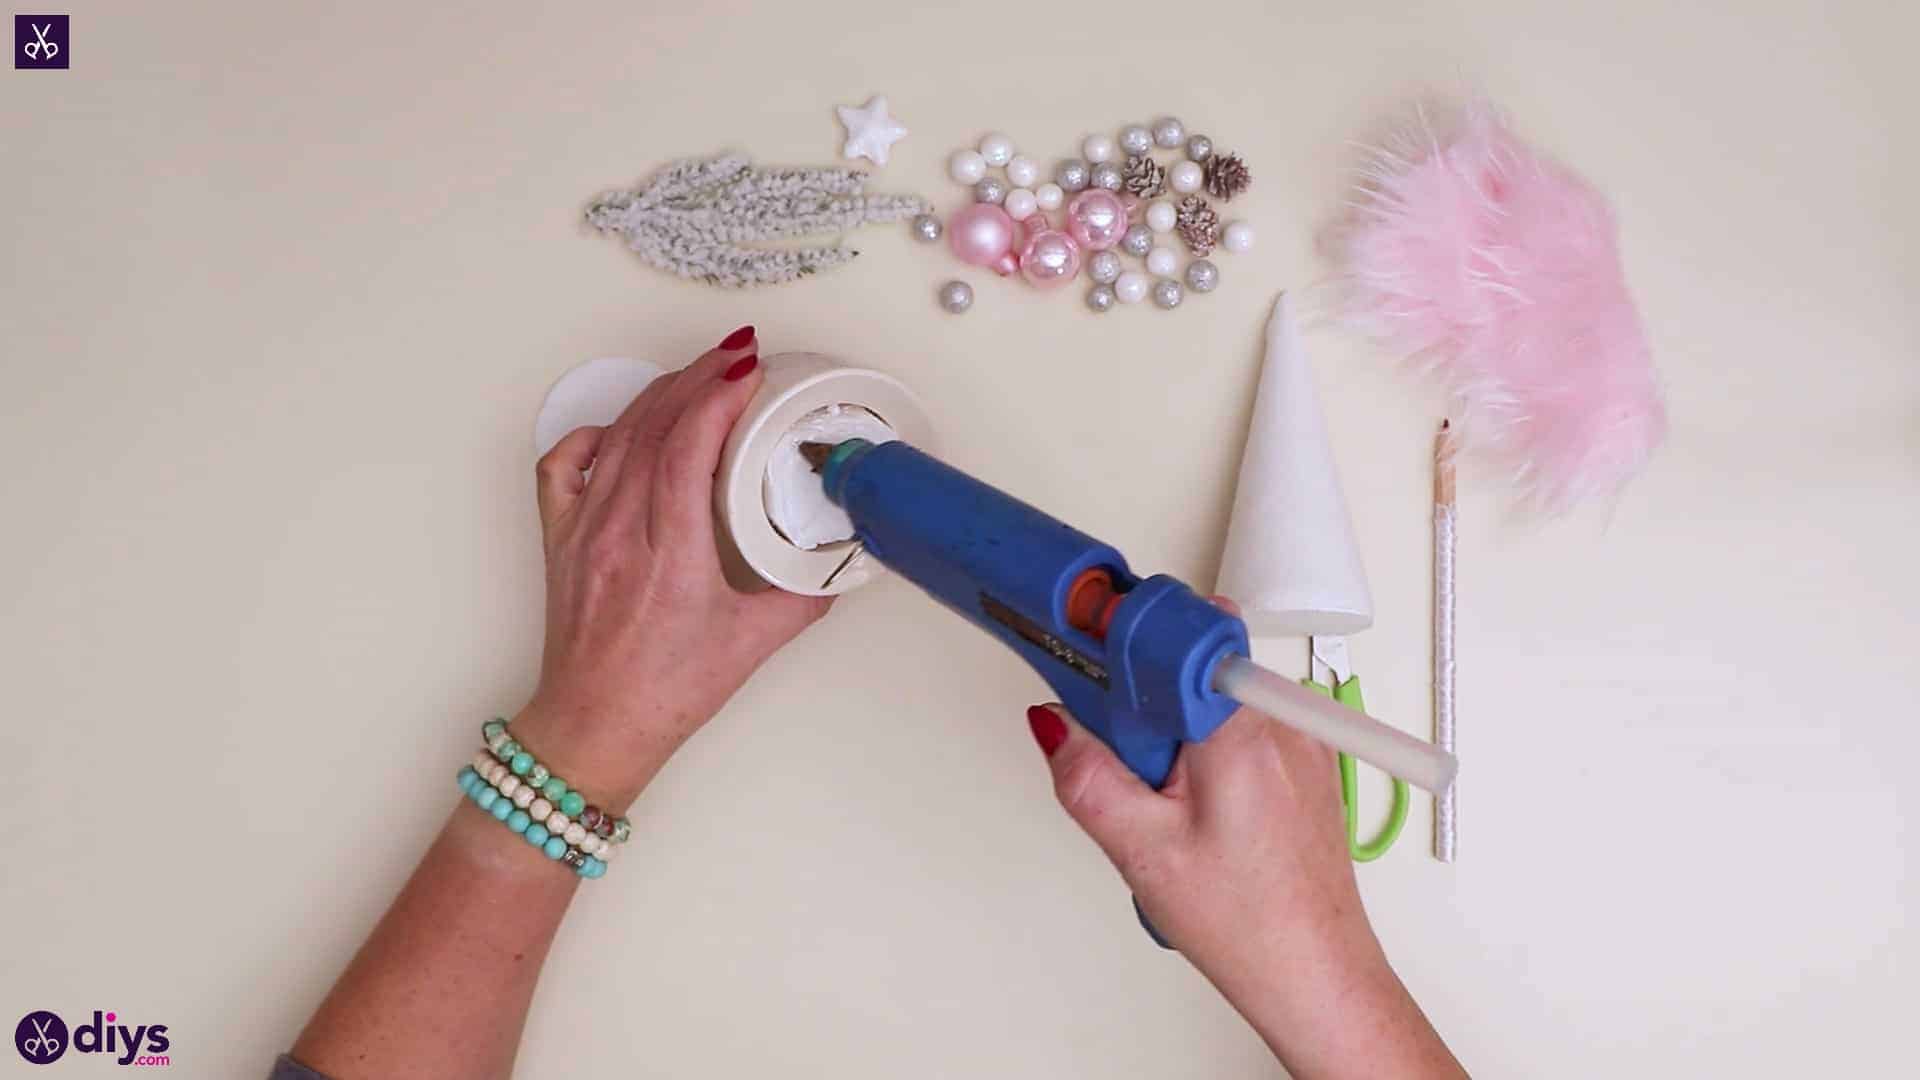
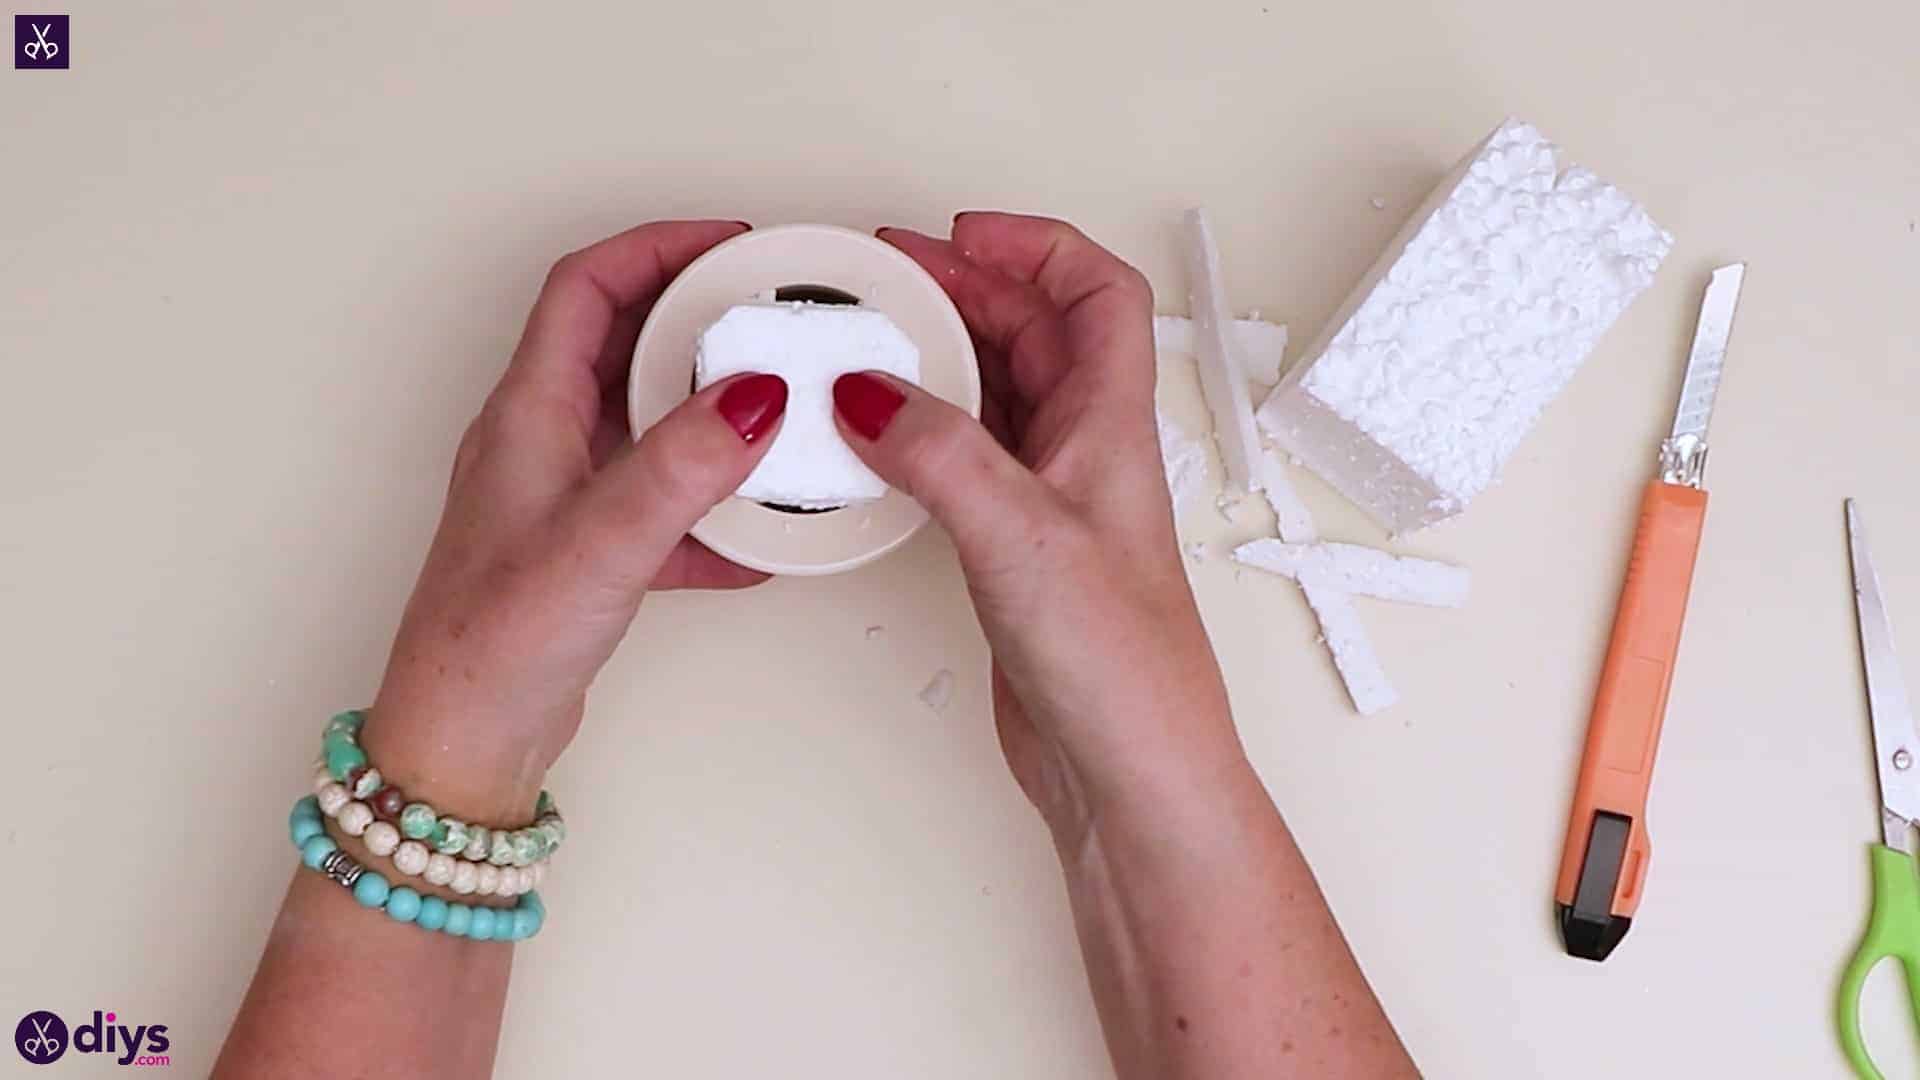
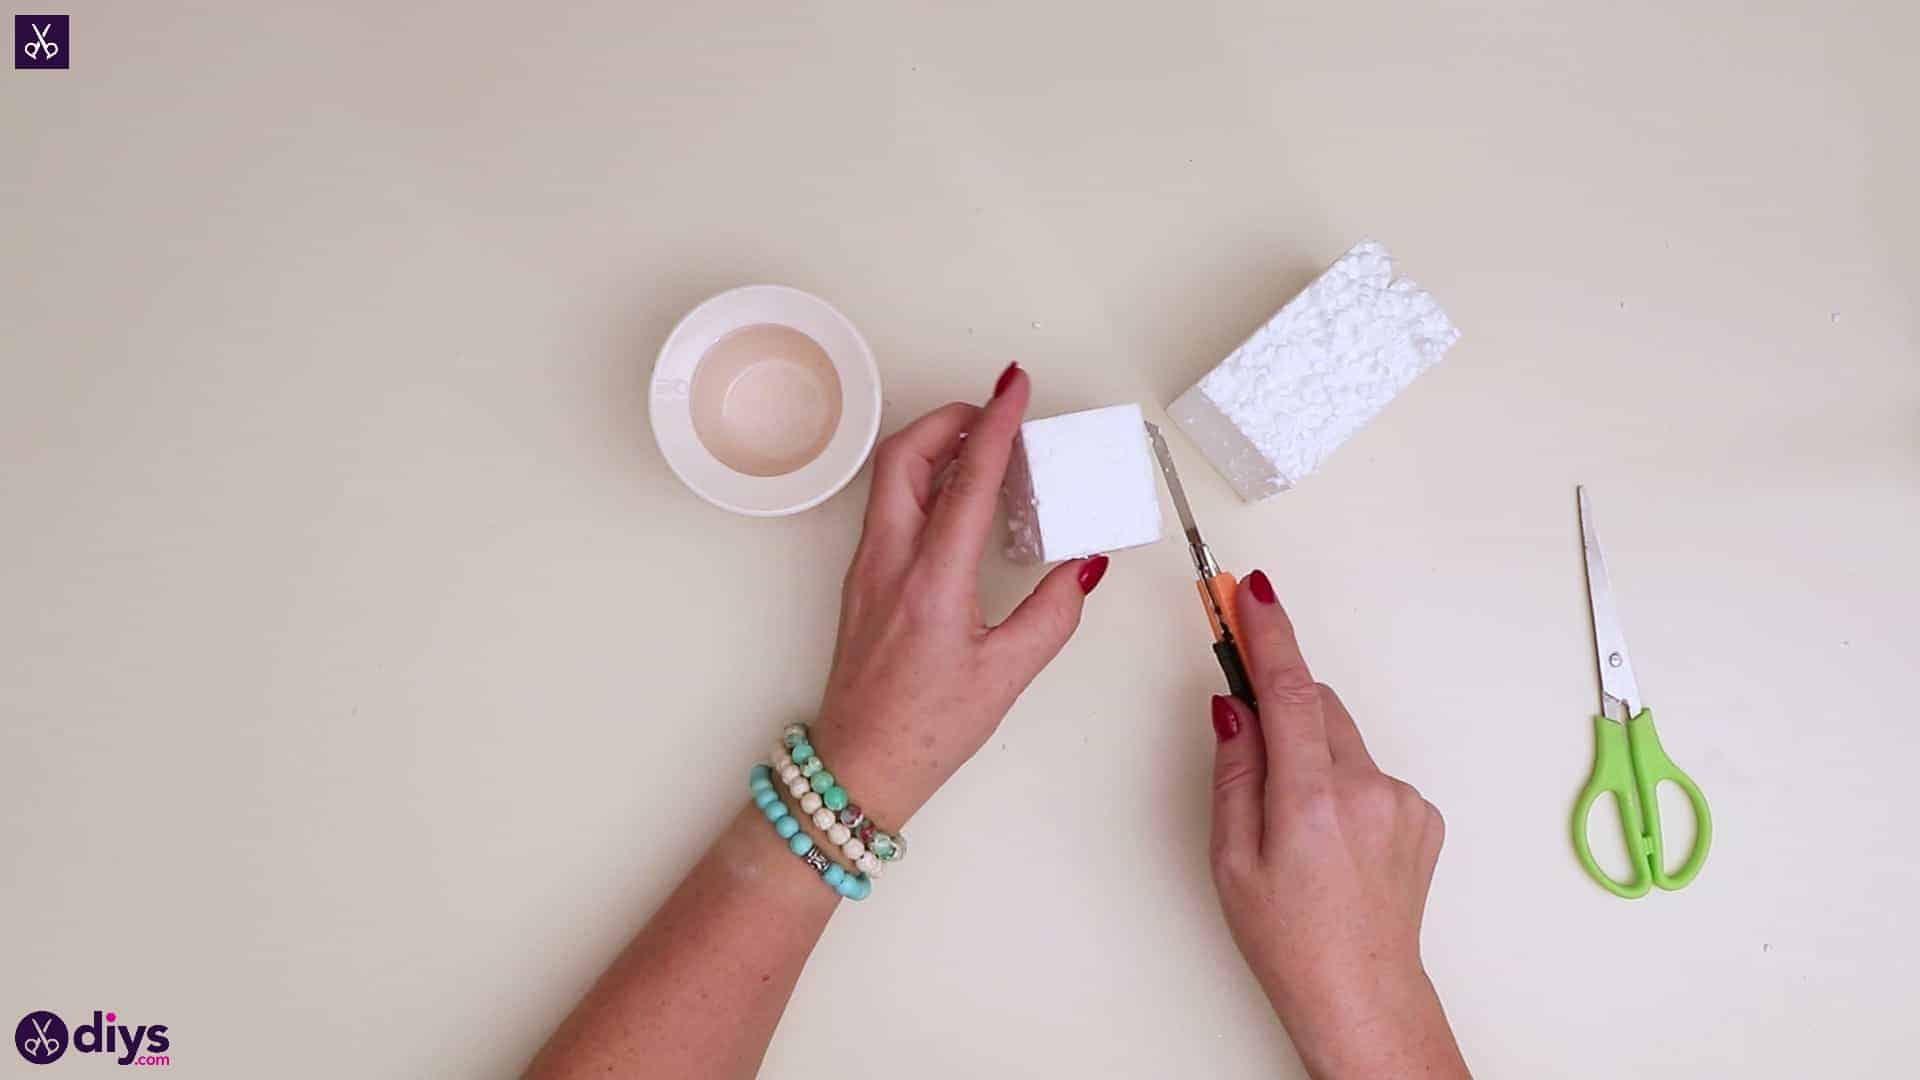
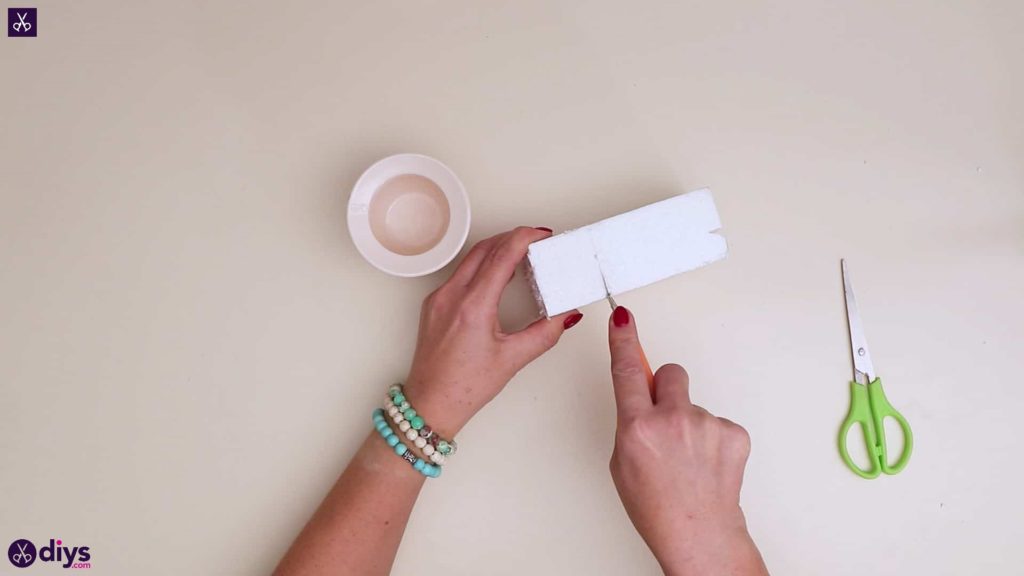
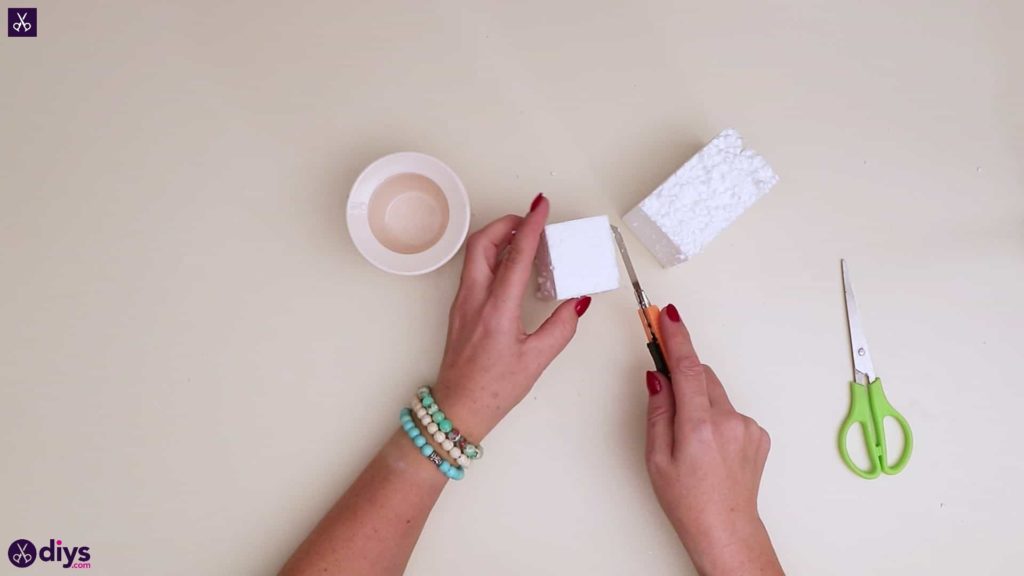
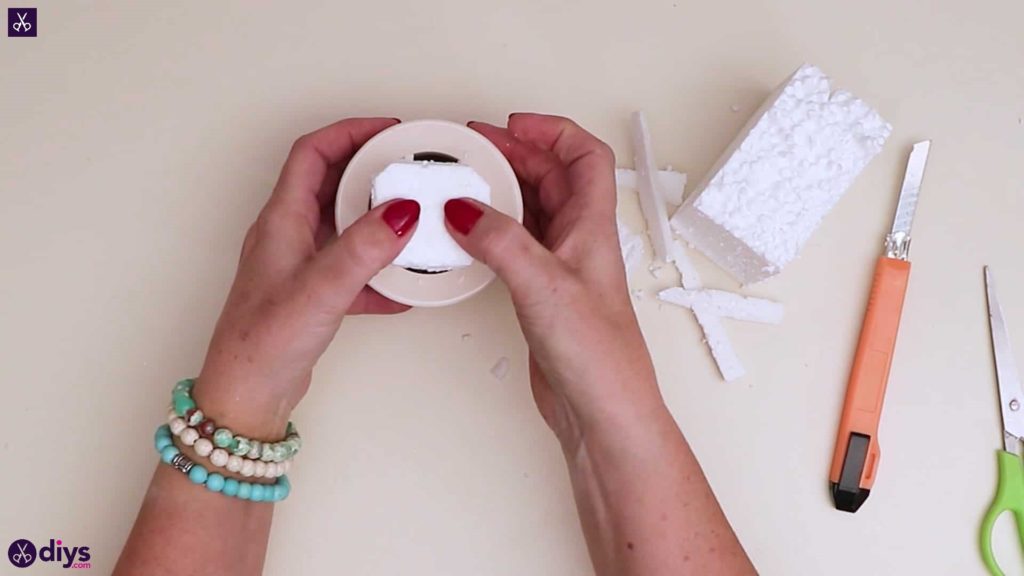
Step 2: cut the Styrofoam
Cut a piece from your Styrofoam block that’s about the diameter of your mini planting pot using your folding knife. Then round off the corners and edge to make a cylinder that will fit in the pot better. You might have to shorten the piece if it’s too tall and sticks out beyond the brim. Set this aside for a moment once you’ve got the right fit.

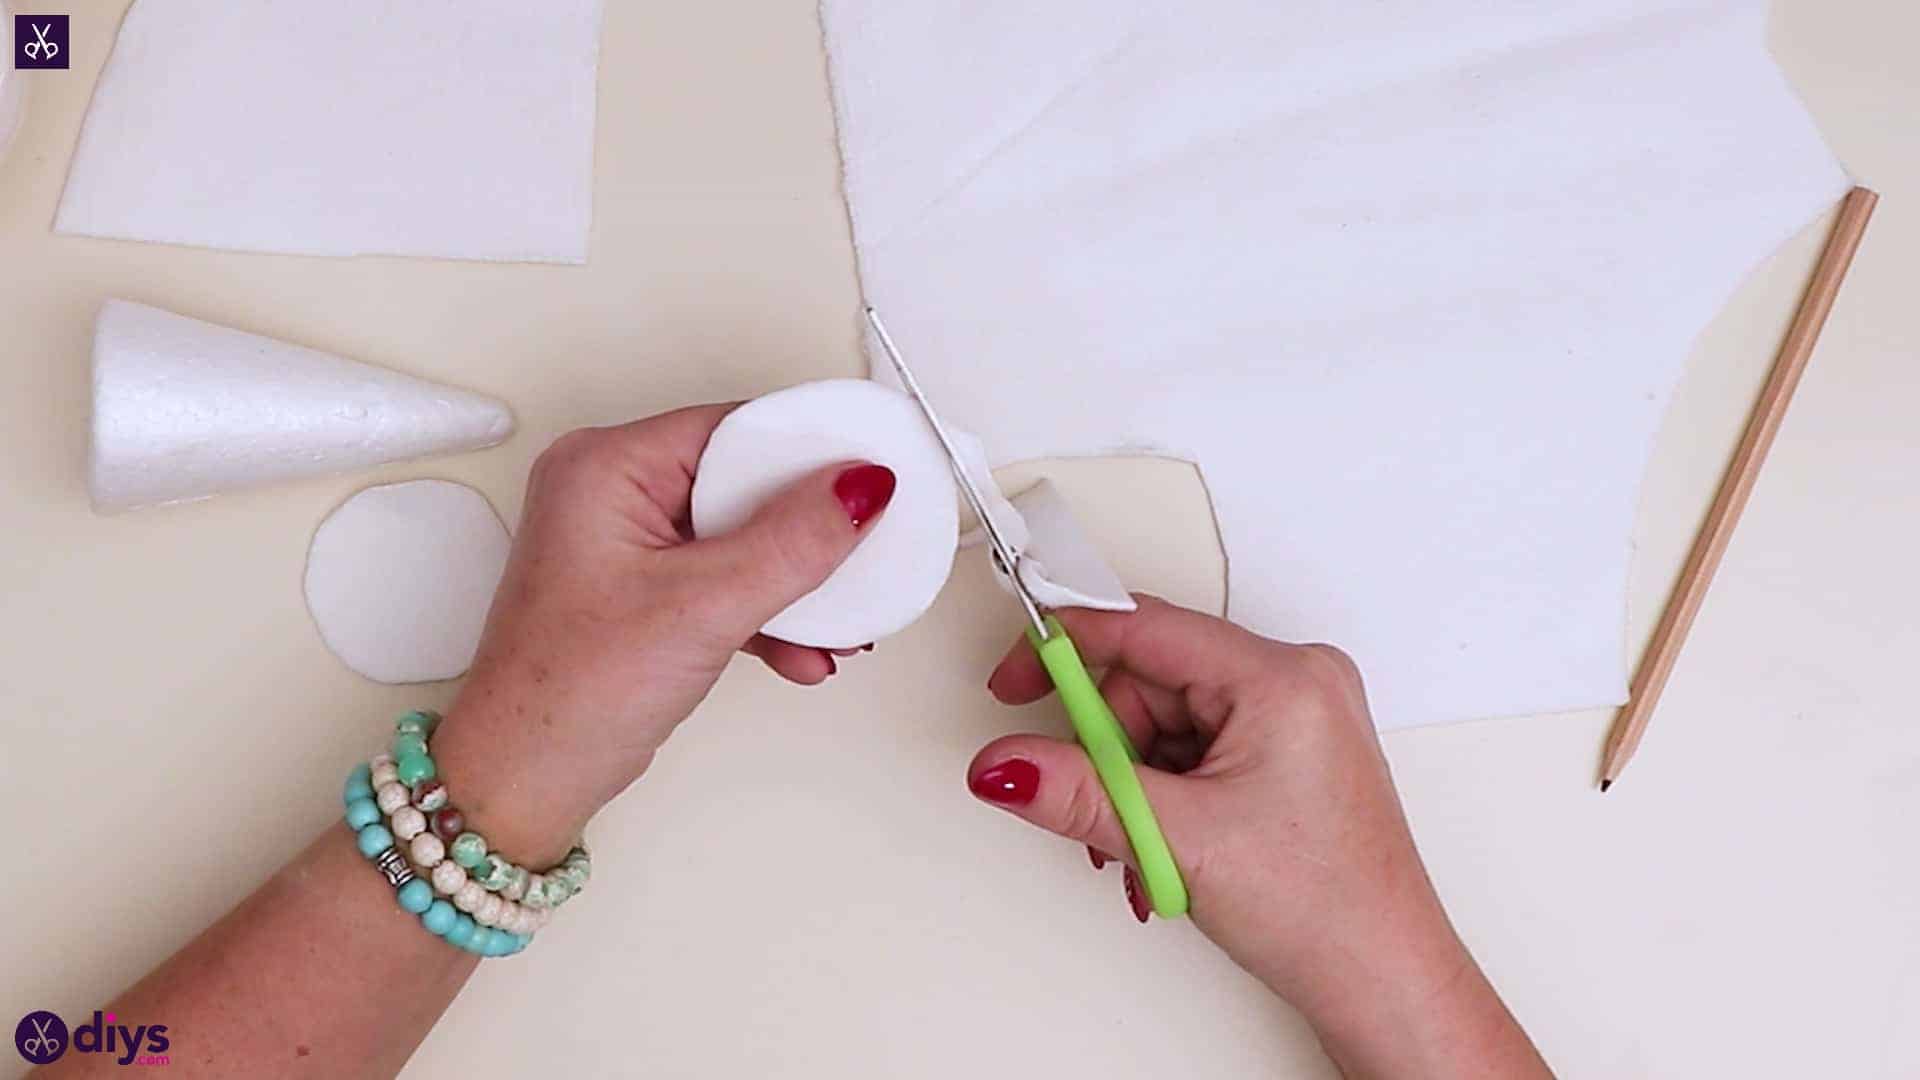
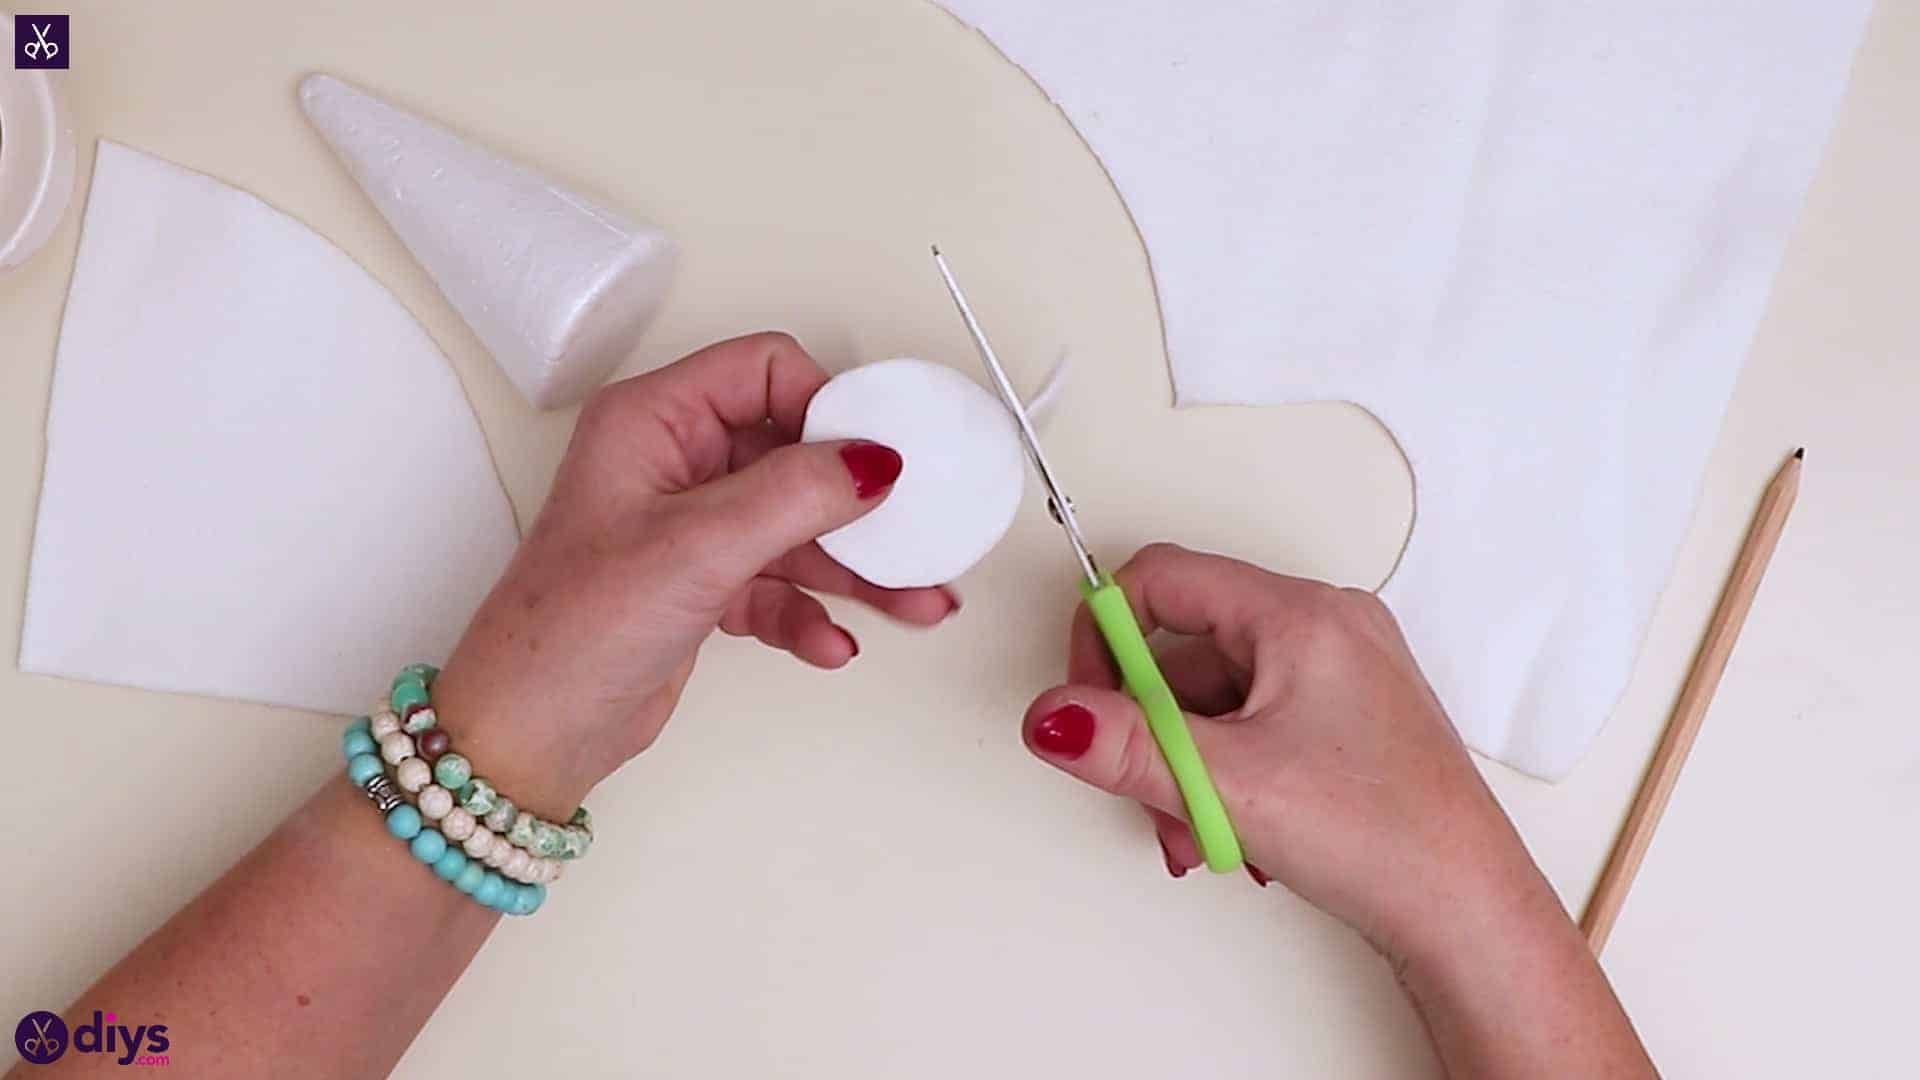
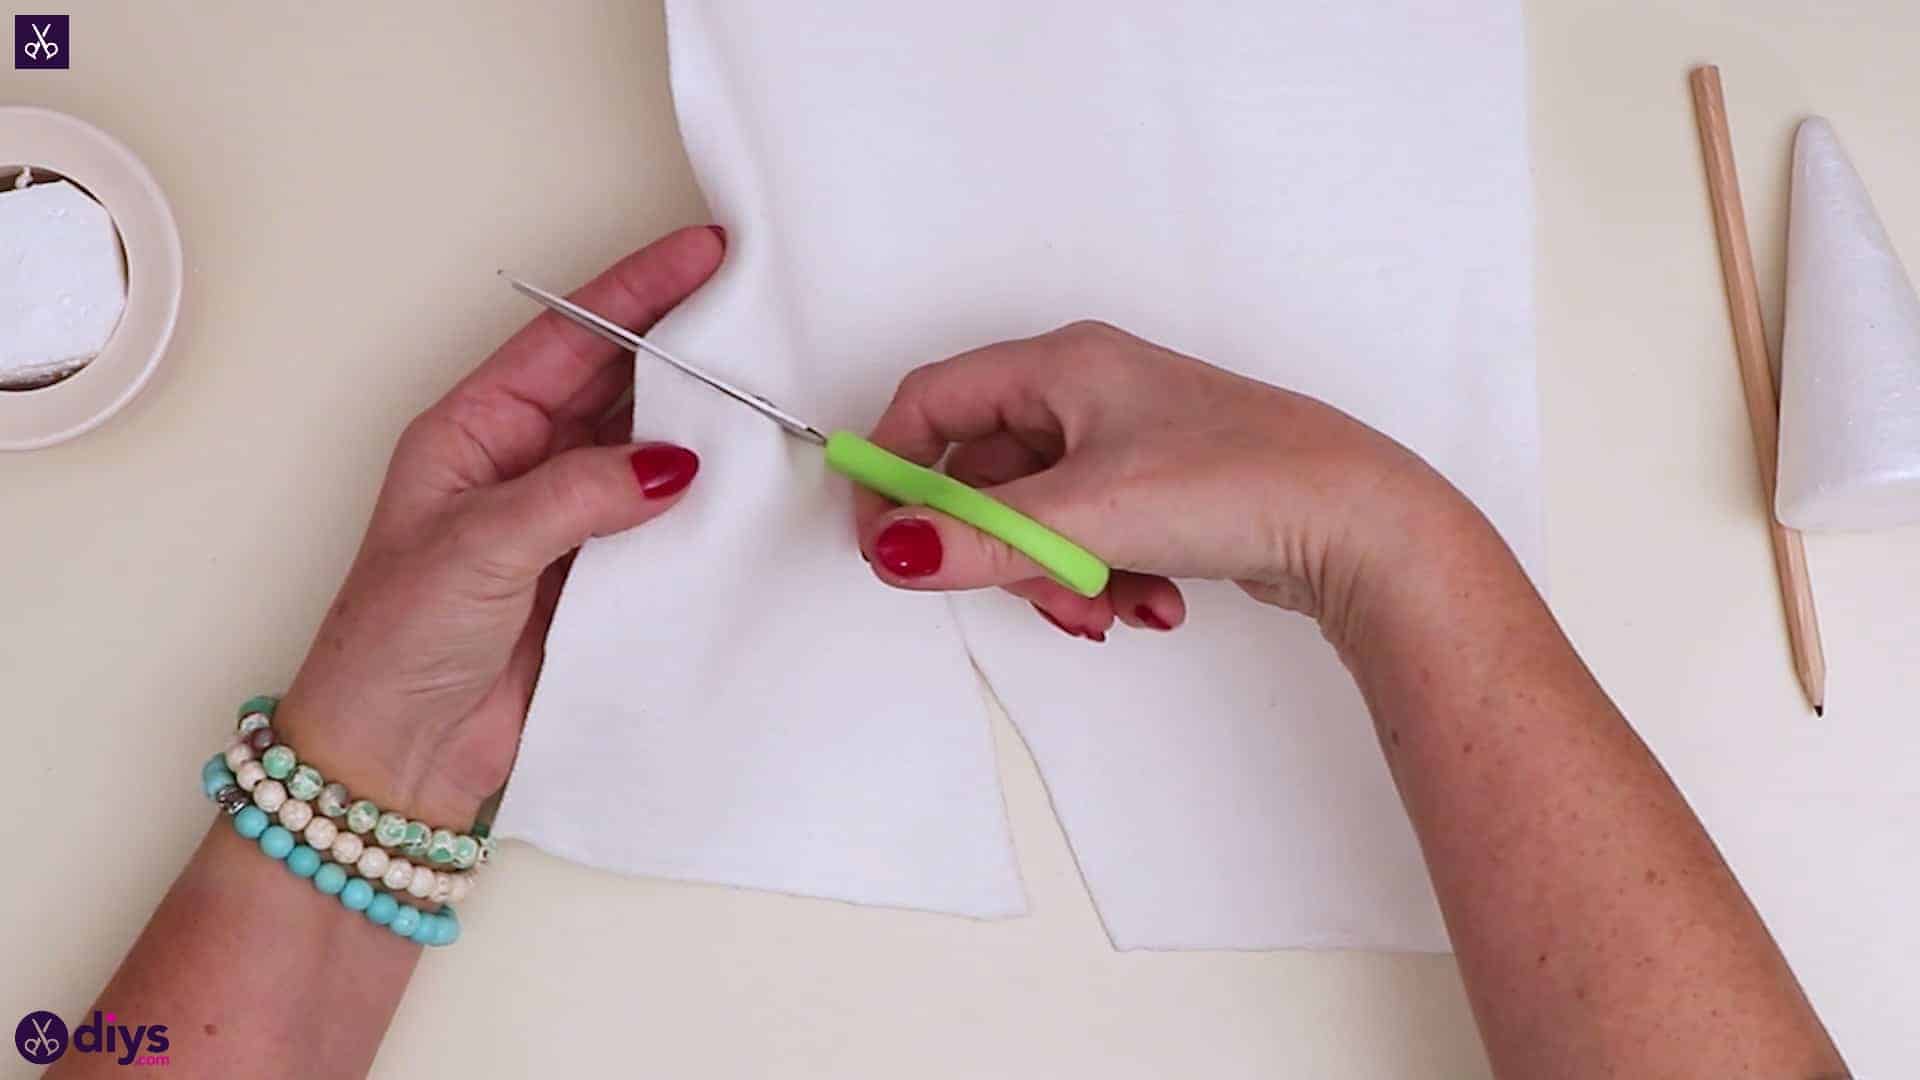
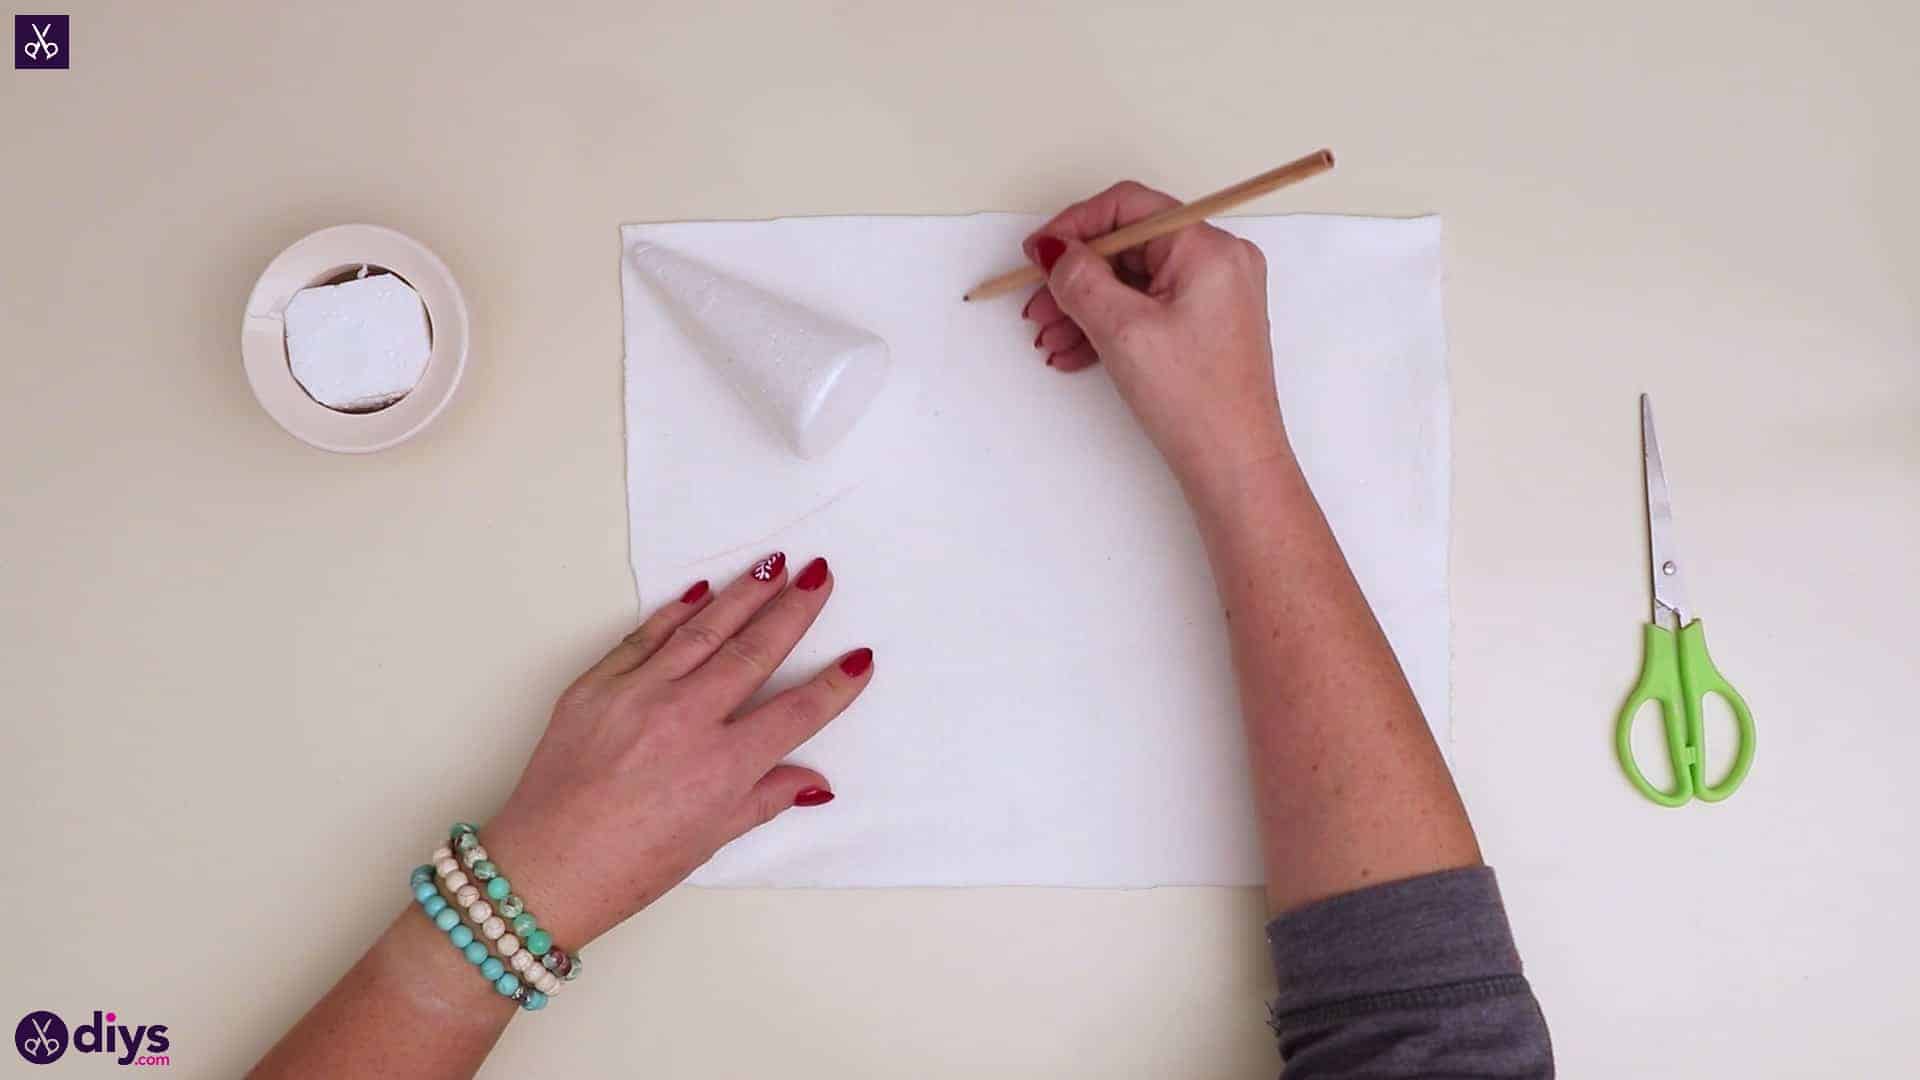
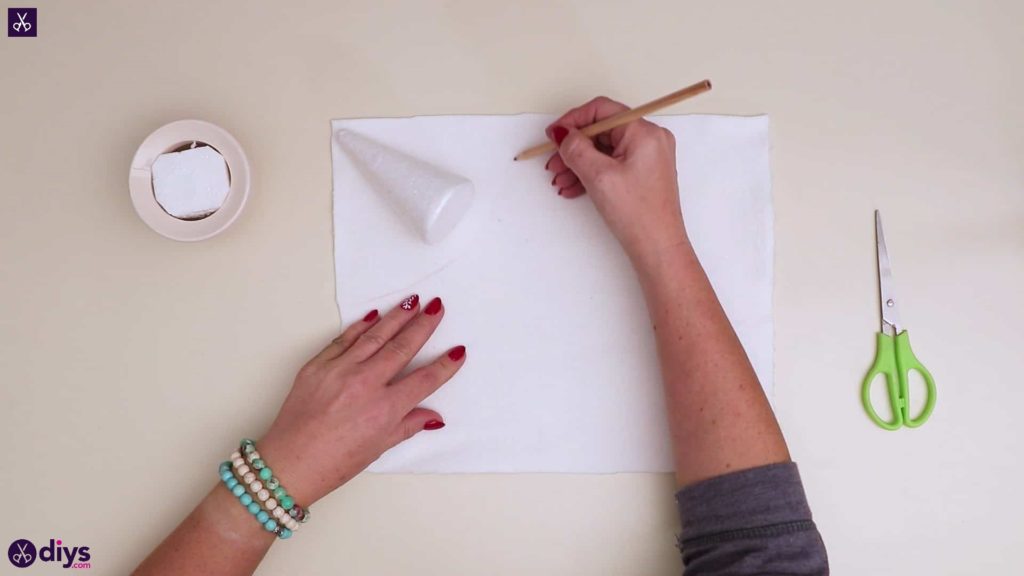
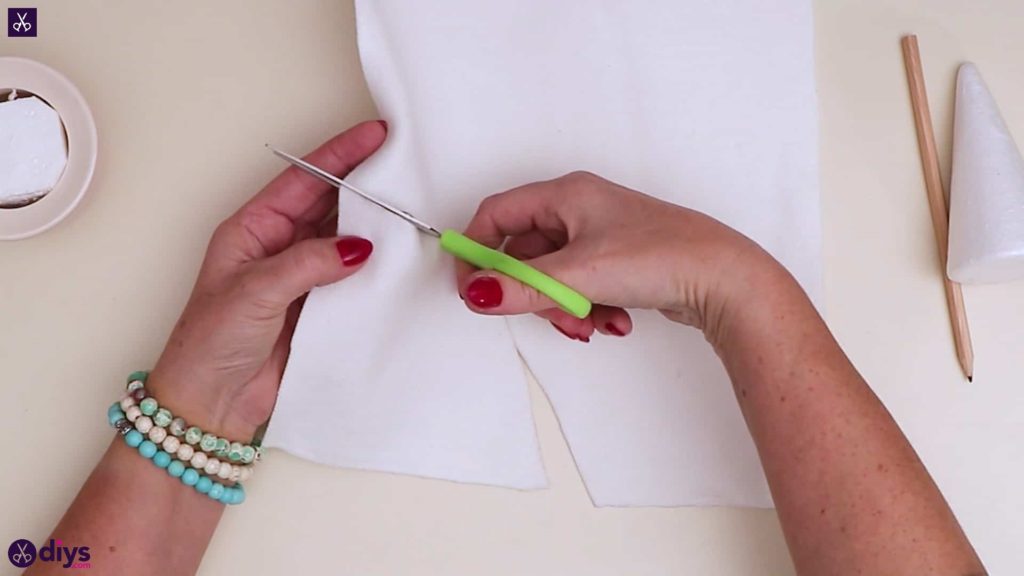
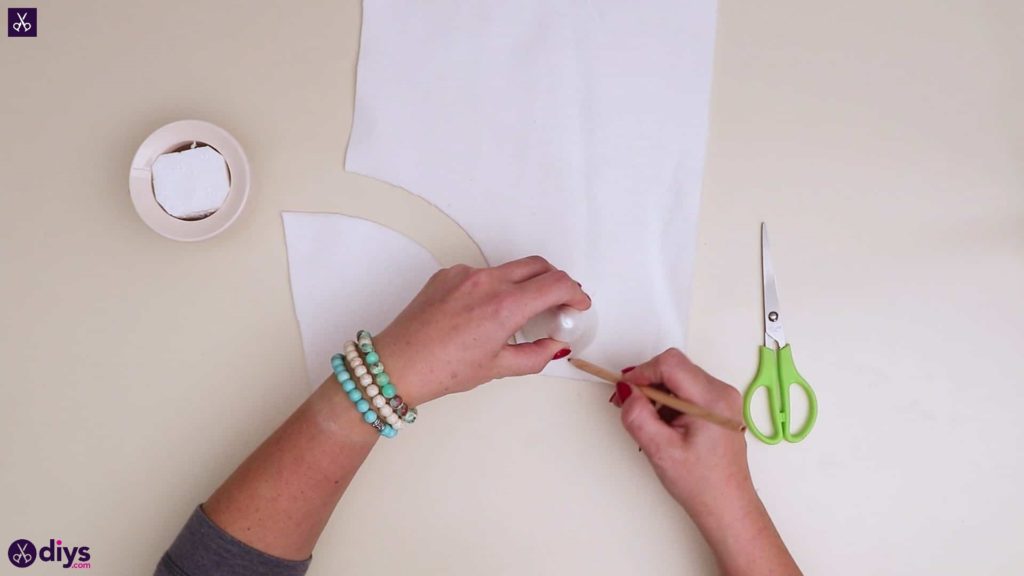
Step 3: cut a cone
Lay your white scrap of fabric flat and place the tip of your foam cone in the top right corner, angling it downward diagonally. Trace and arc just past the edge of your cone’s wider circular base with your pencil, starting from the left edge and ending at the top edge, curving past the bottom of the cone. Cut this piece out along its curved line and set it aside. Next, place your cone on its base on the fabric and trace around the bottom to draw a circle the same size. Cut this out and set it aside as well.


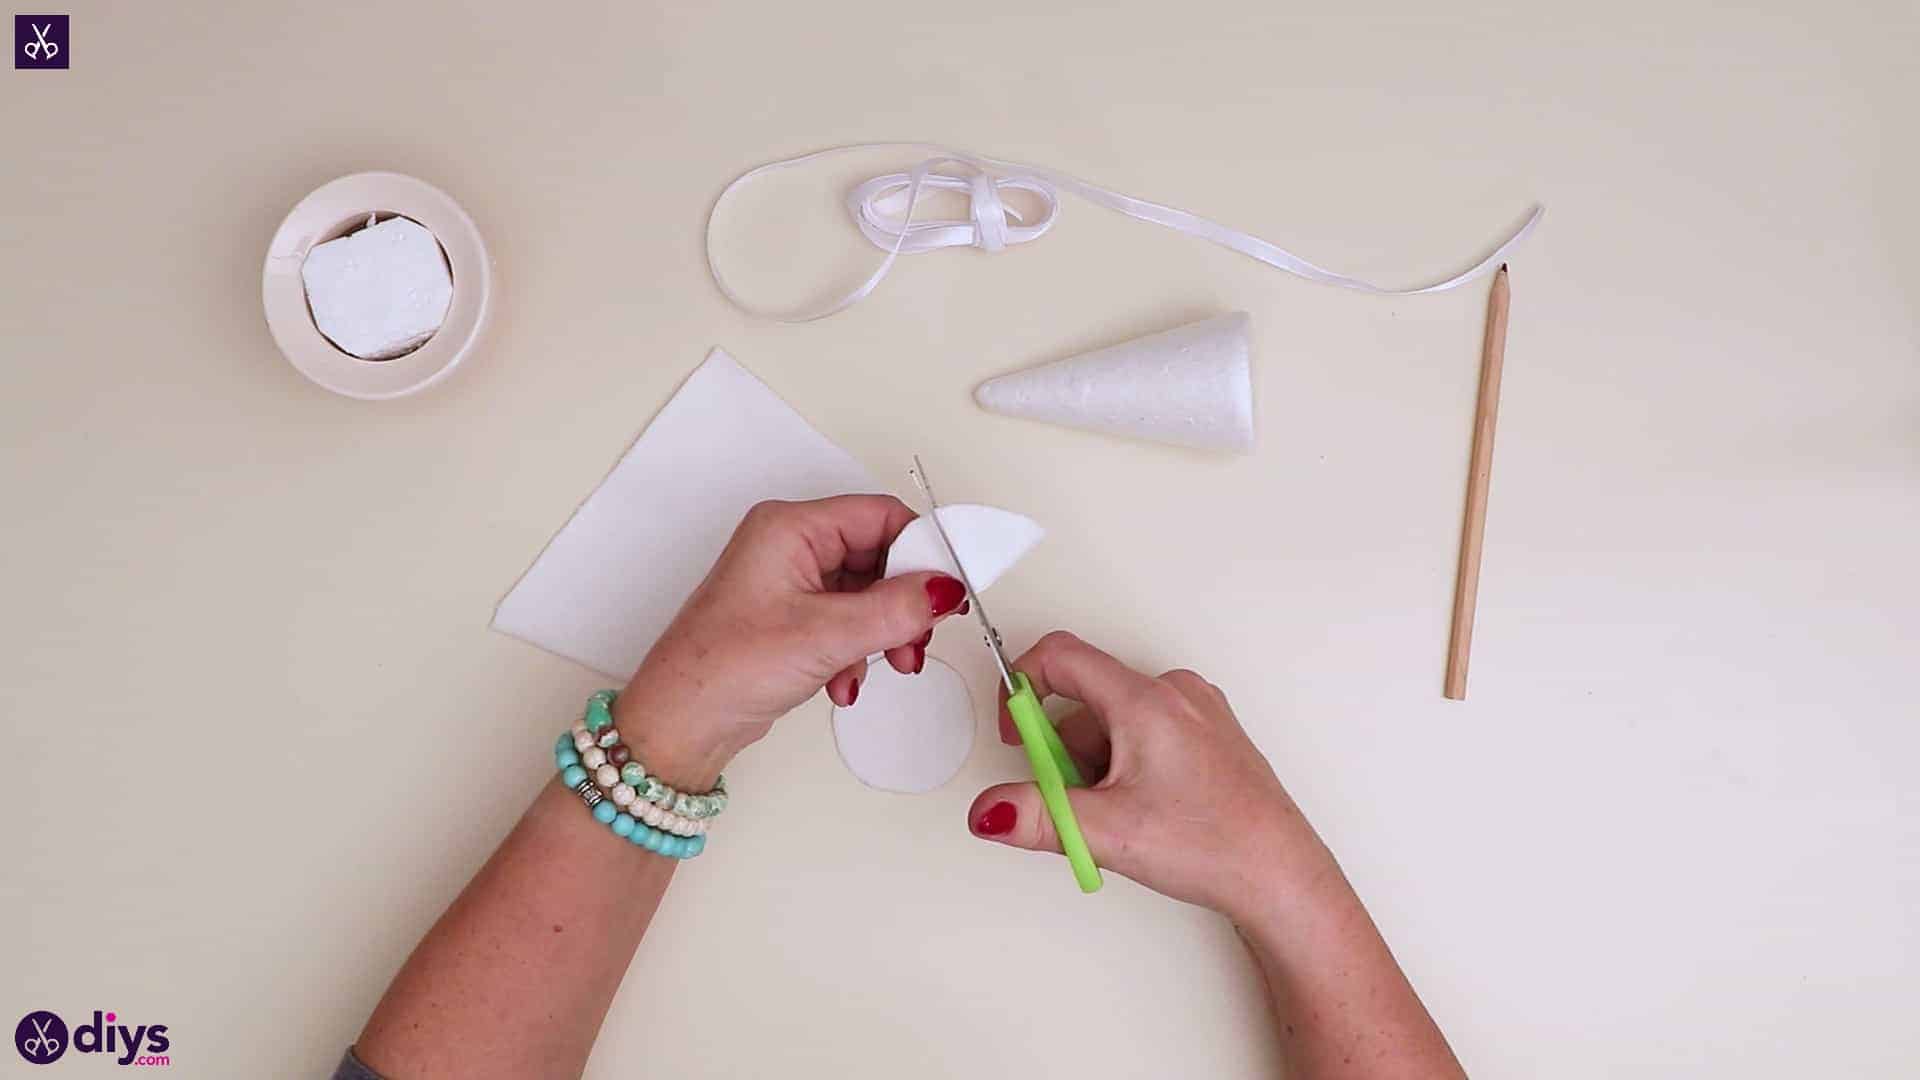
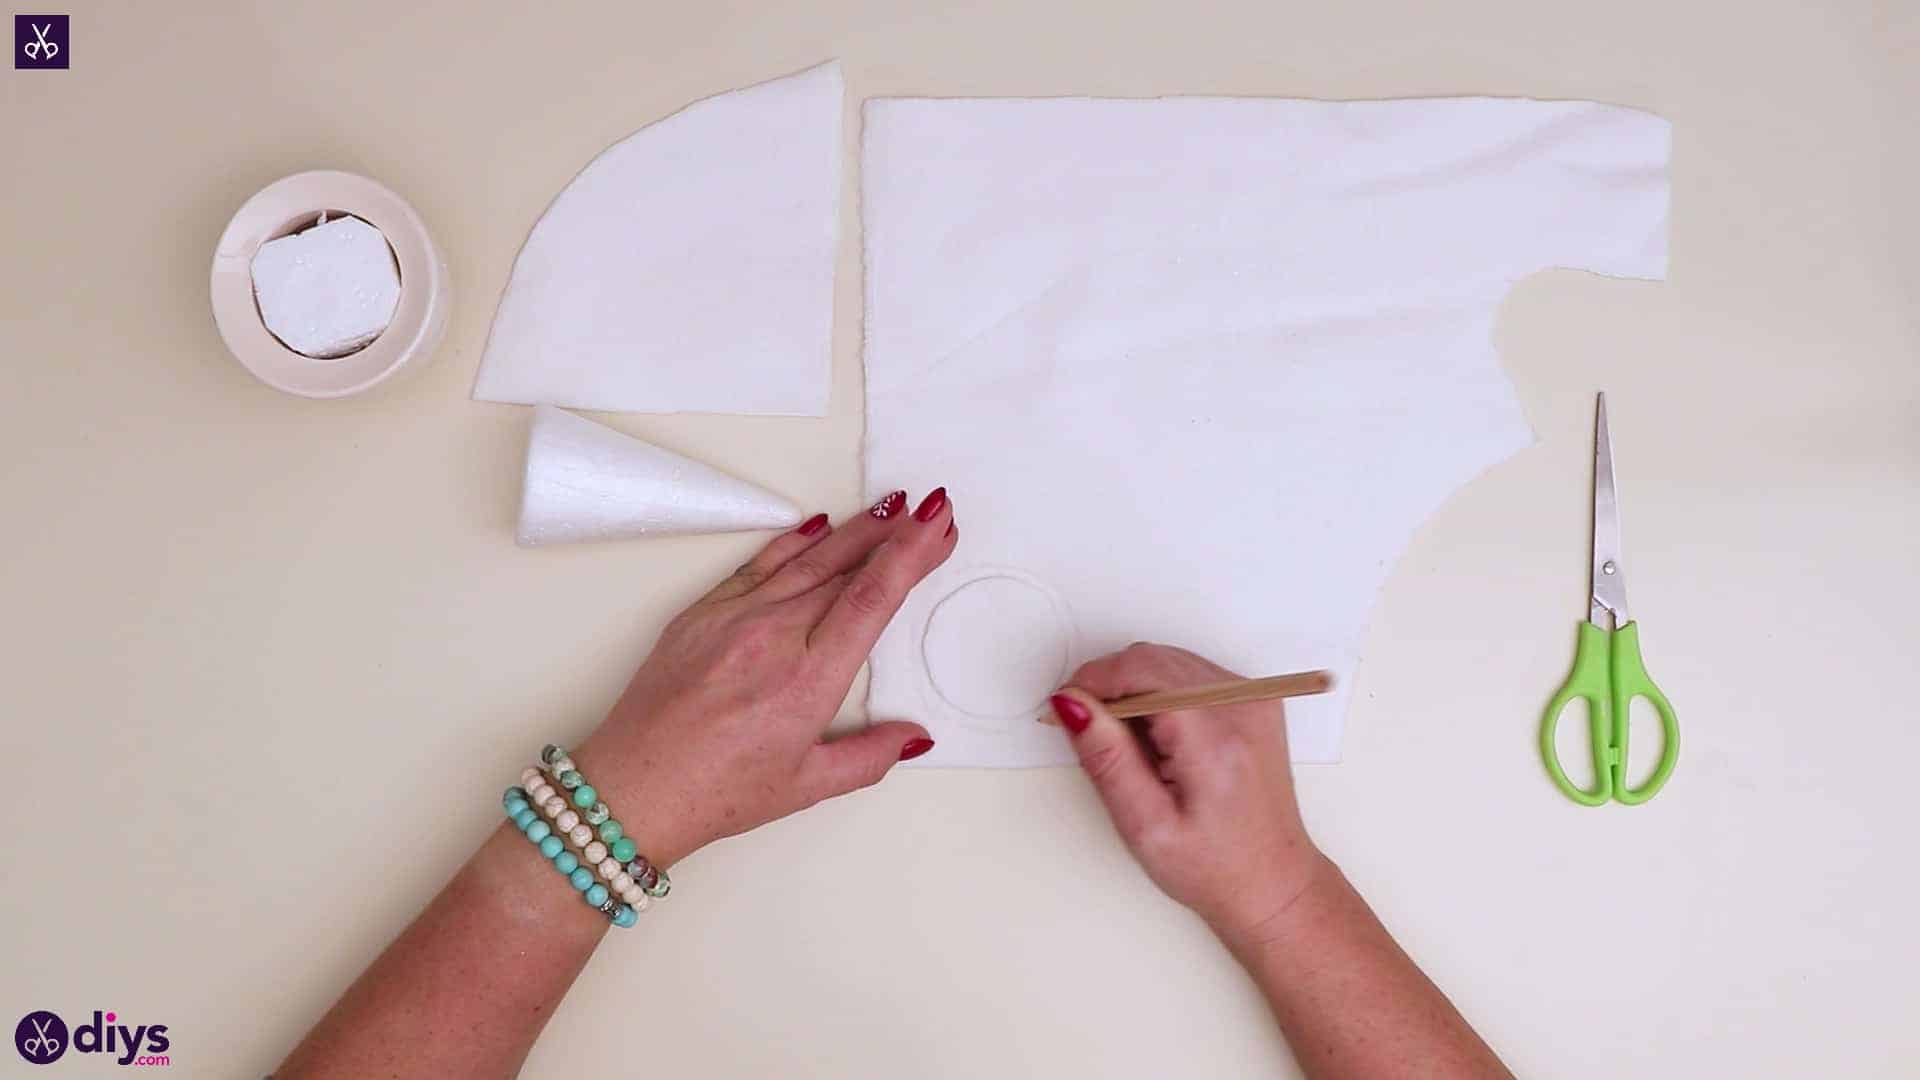
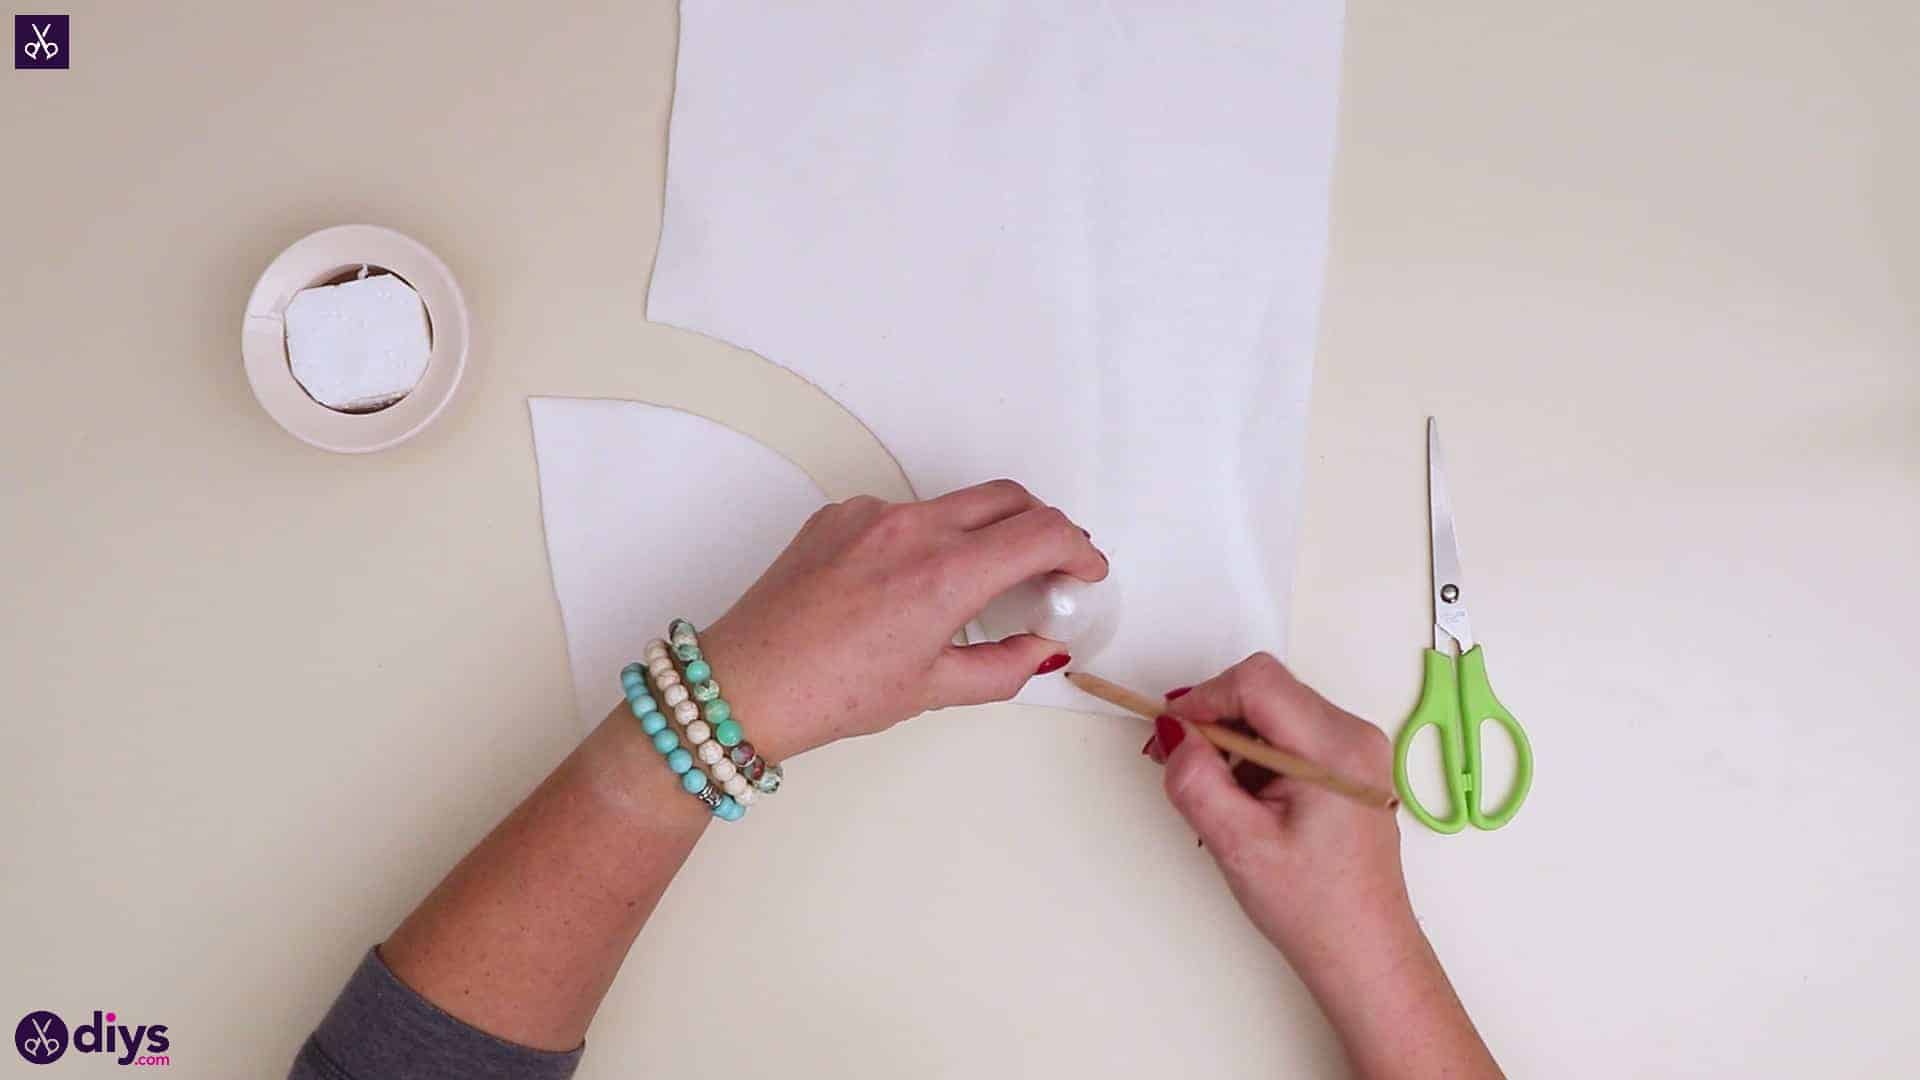
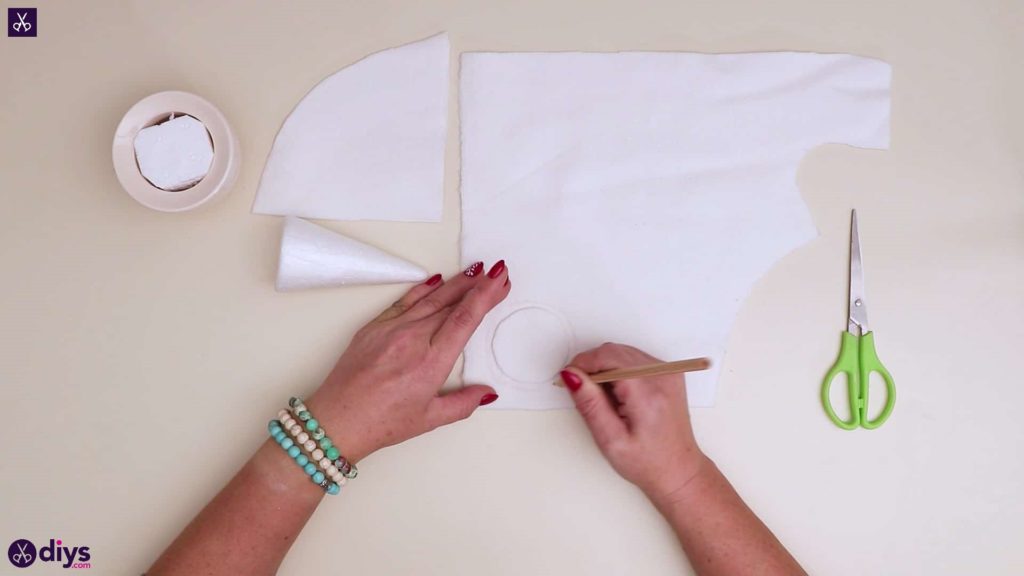
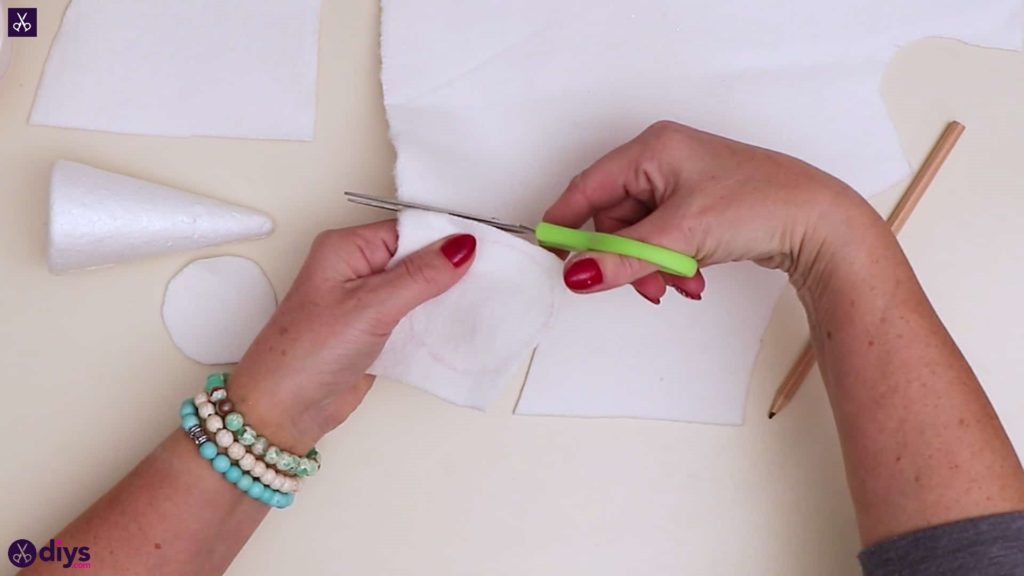
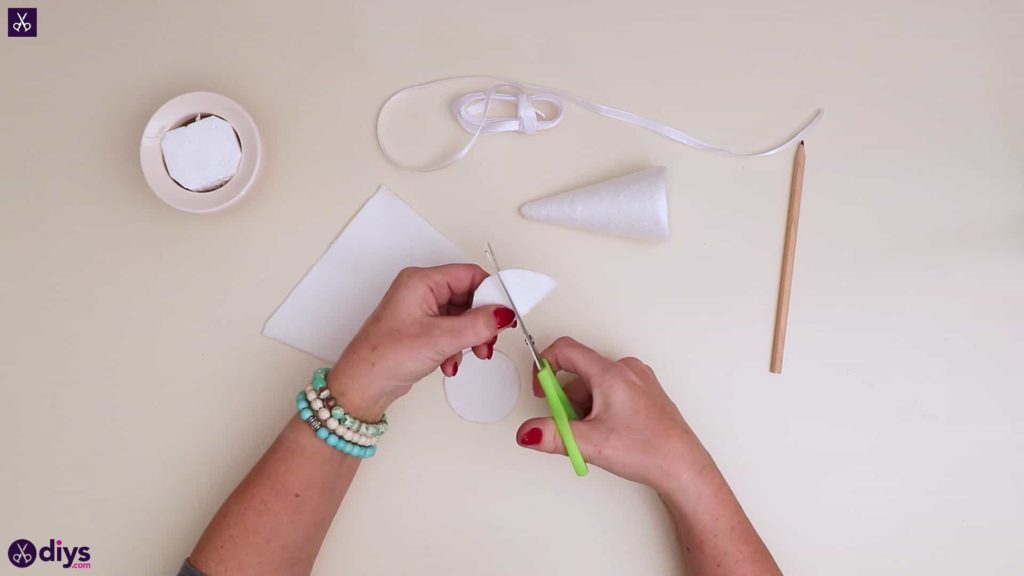
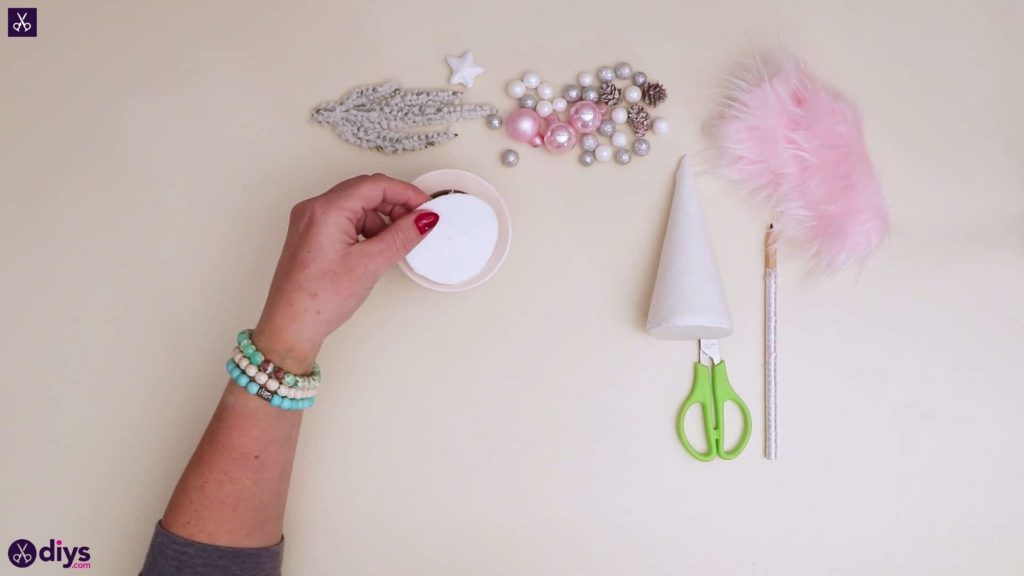
Step 4: cut circles
Place your circle on the fabric and trace around it but with a slight margin, drawing a circle that’s slightly bigger than the first. Cut this out too. Fold each of your circles in half and cut a little X in the middle of the crease on each to make a hole in the center without actually cutting any piece of the circle out. Keep your cuts small.

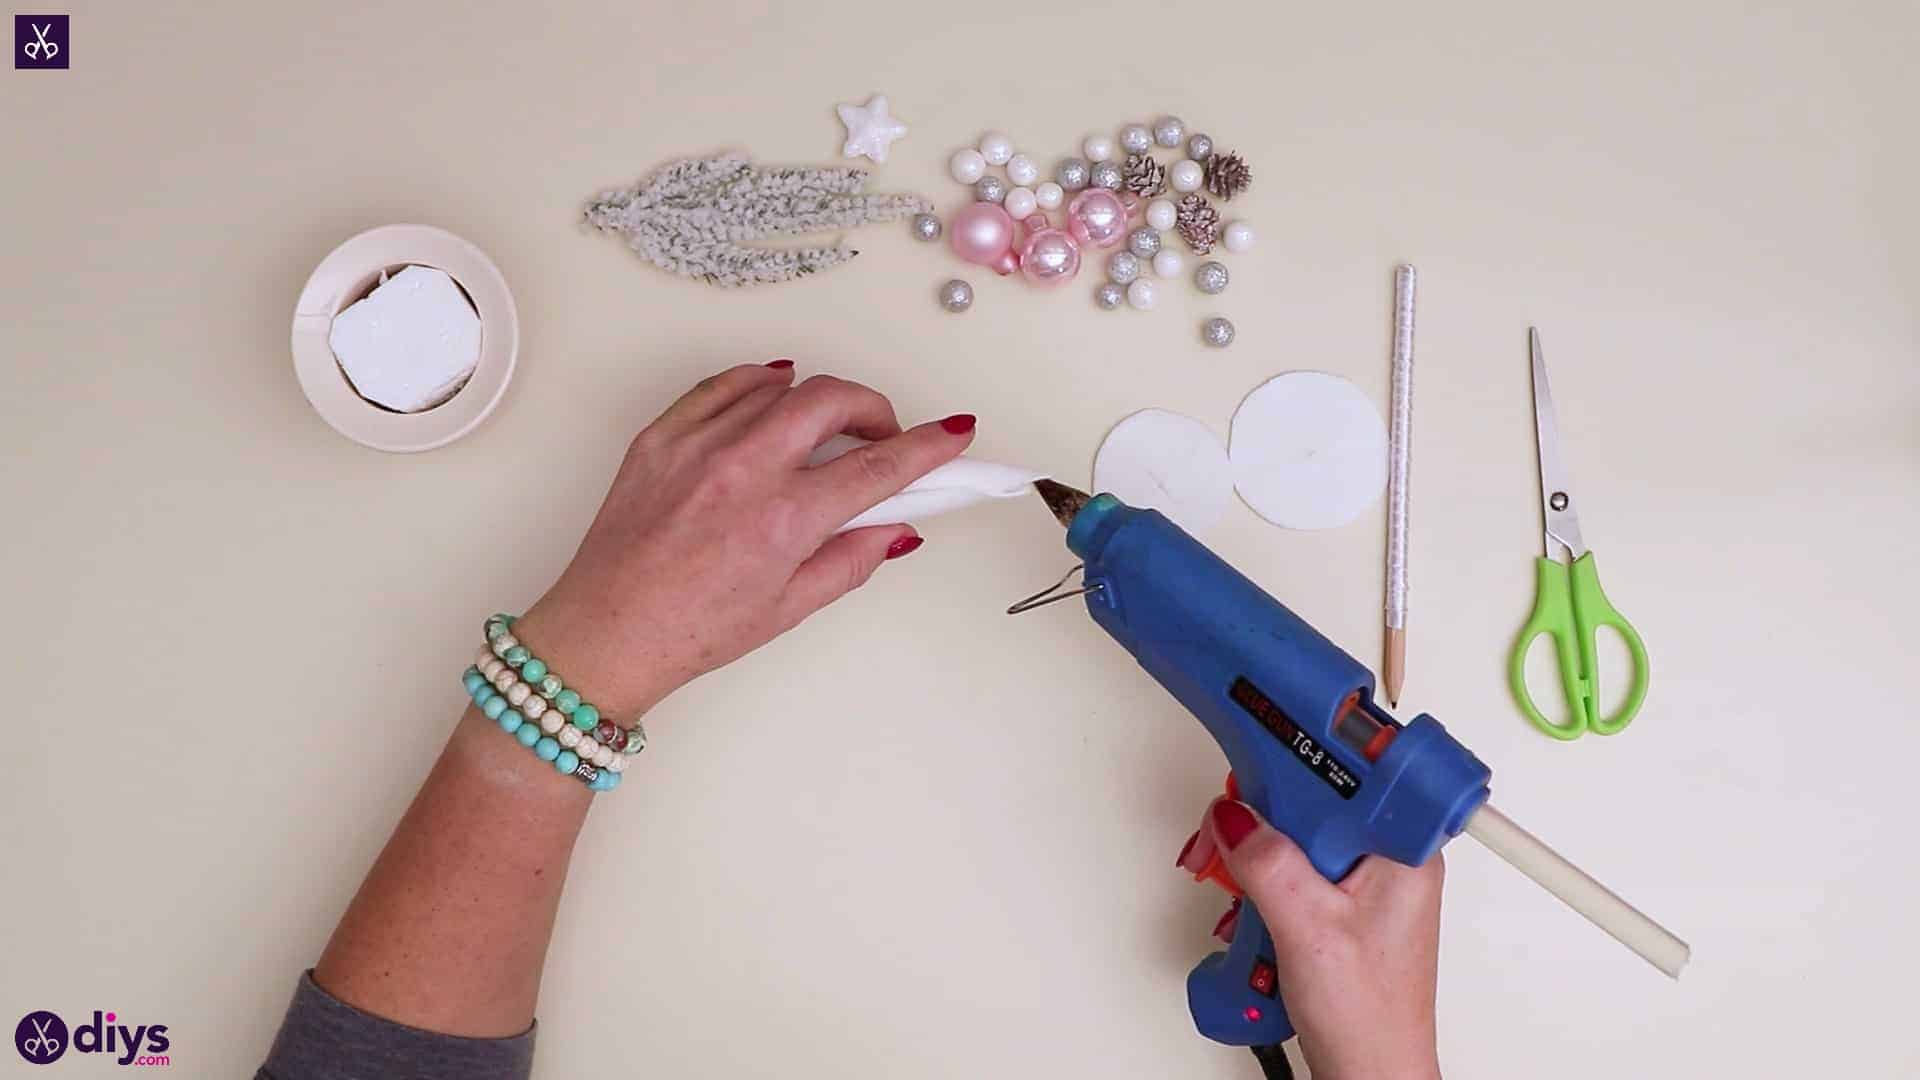
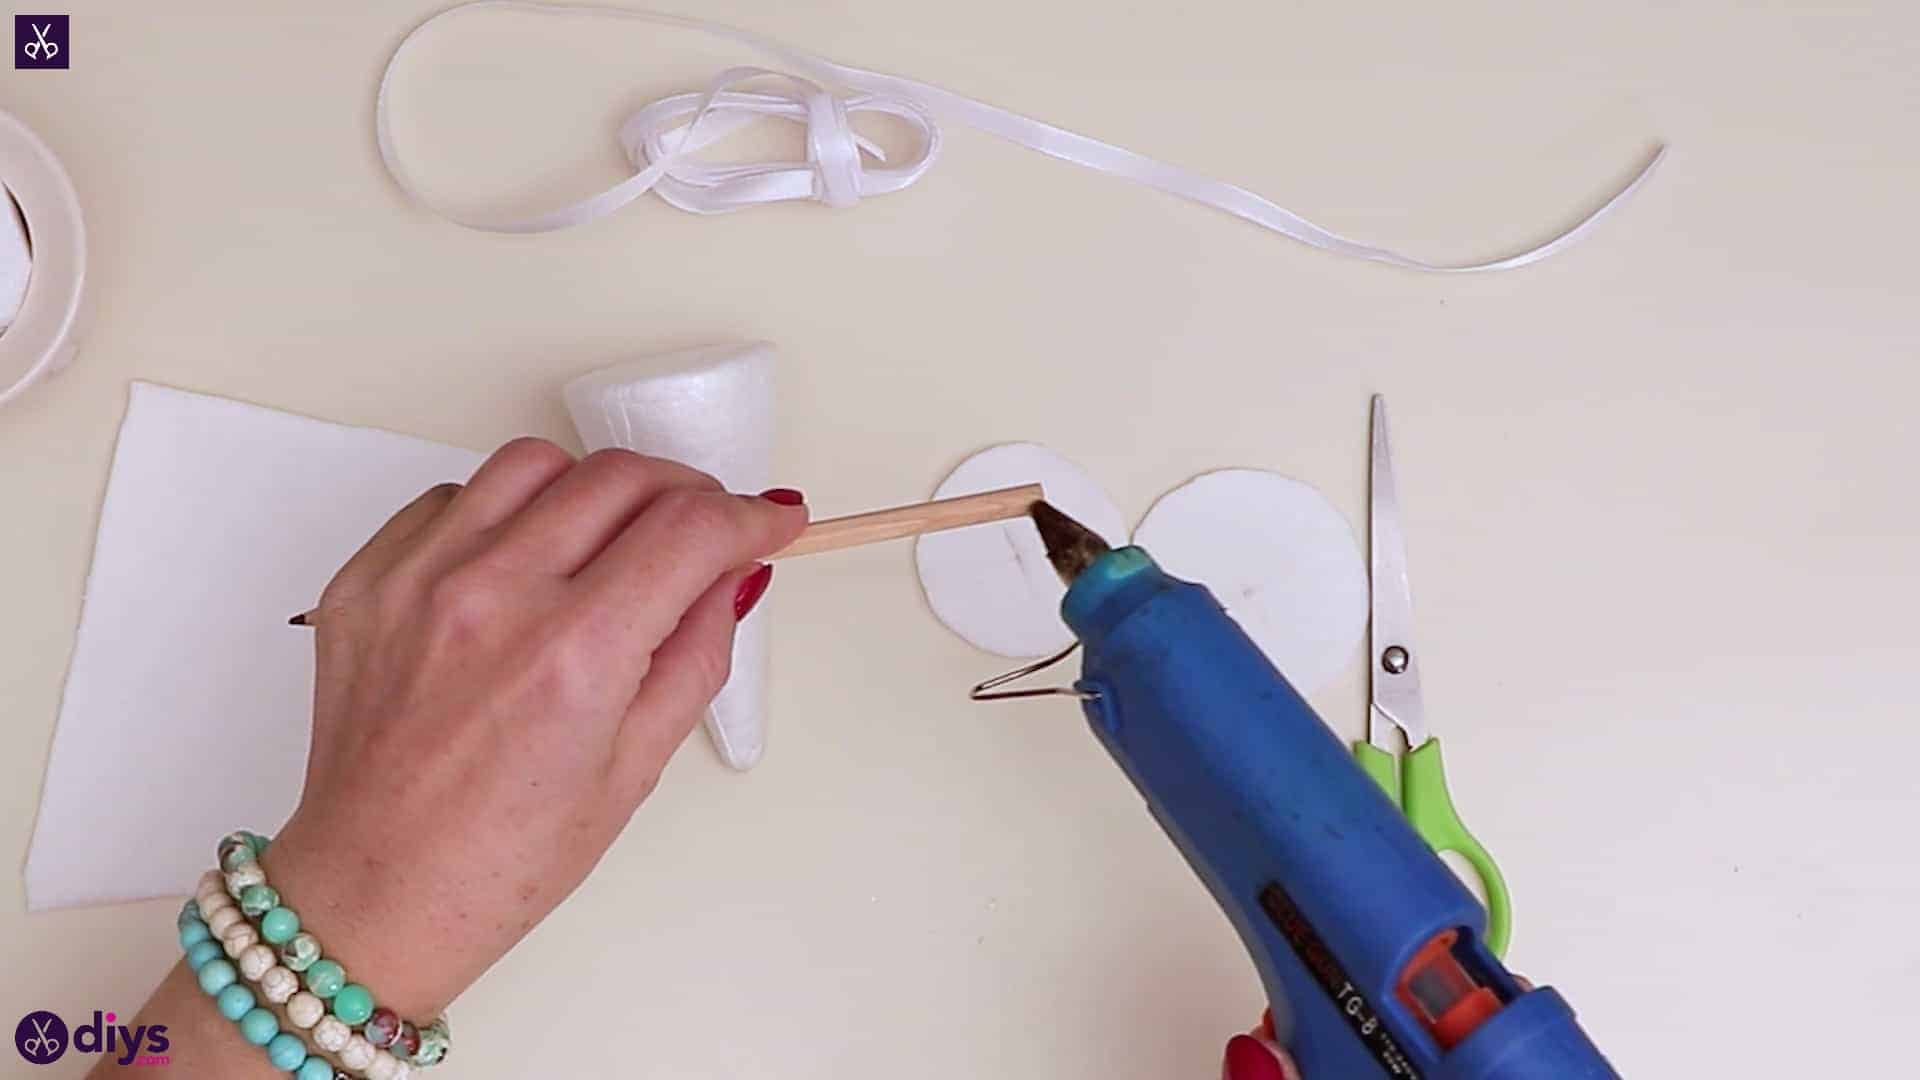
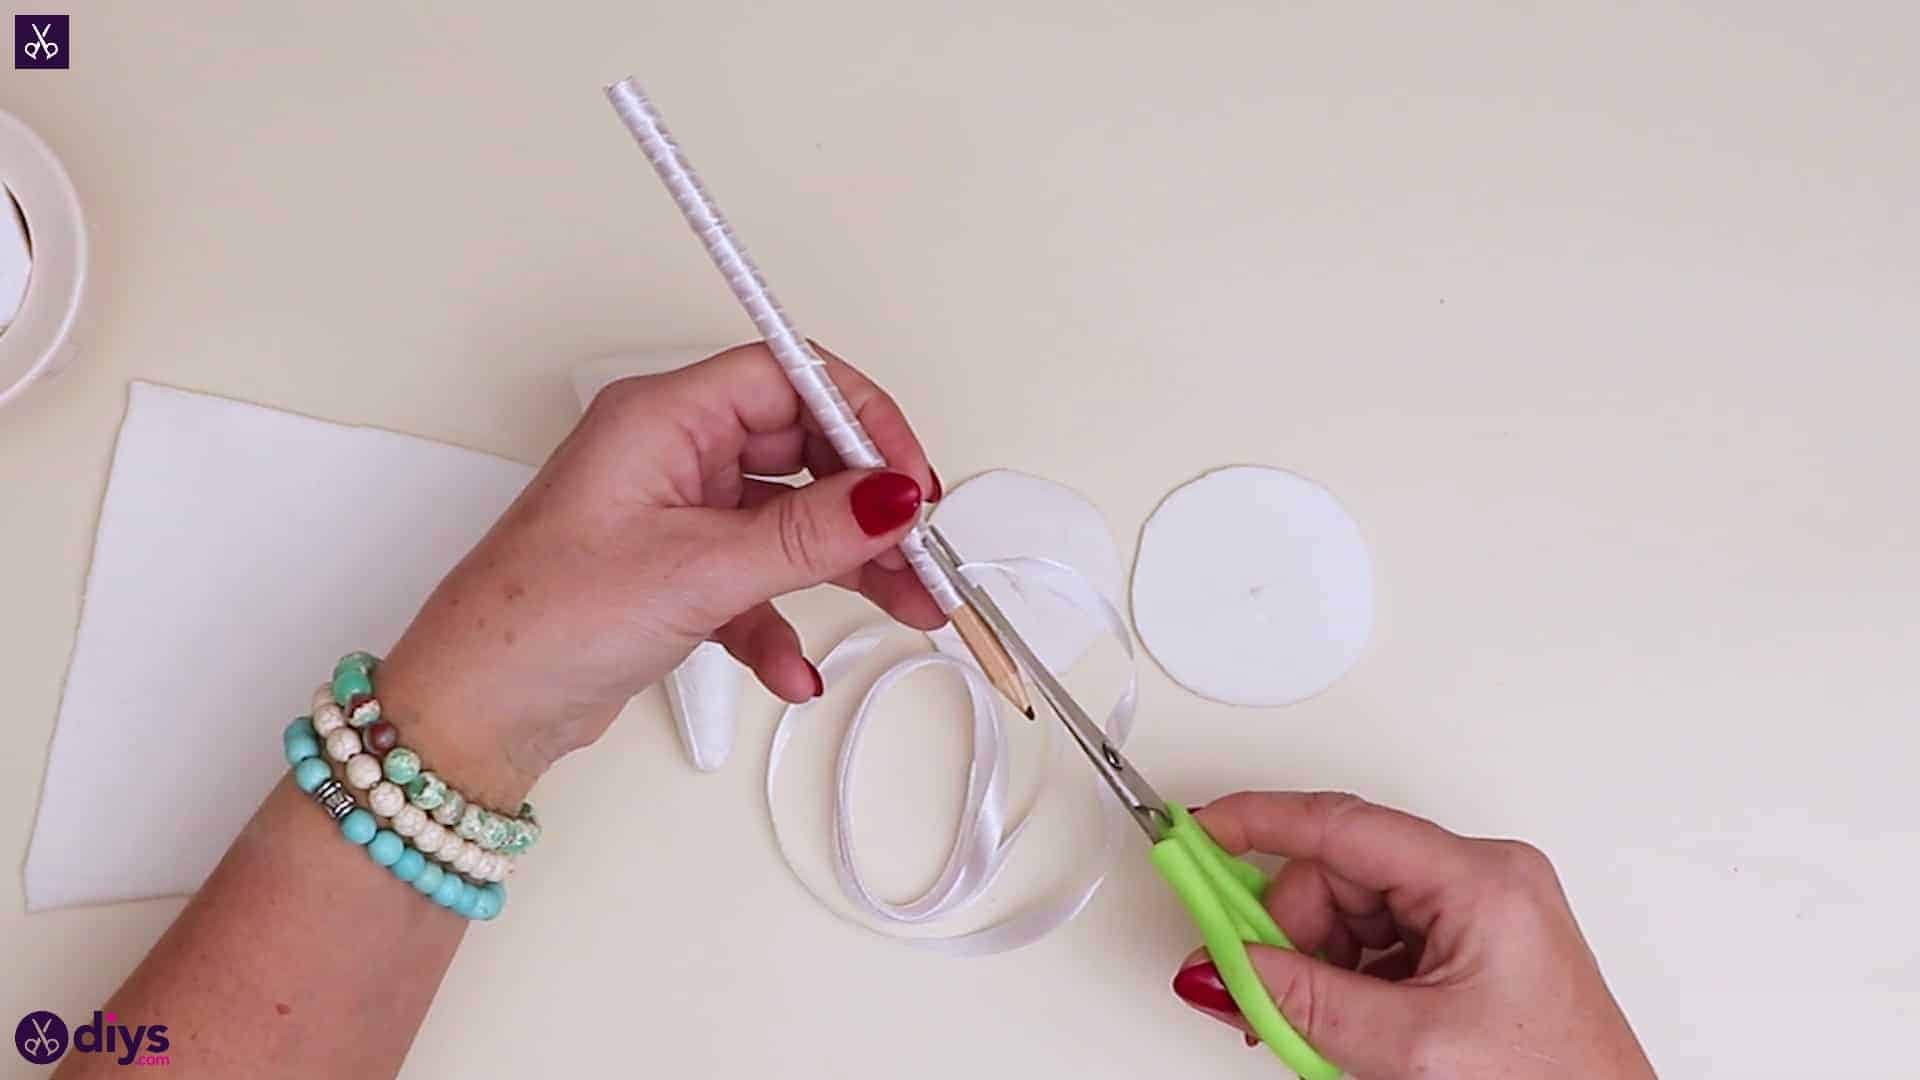
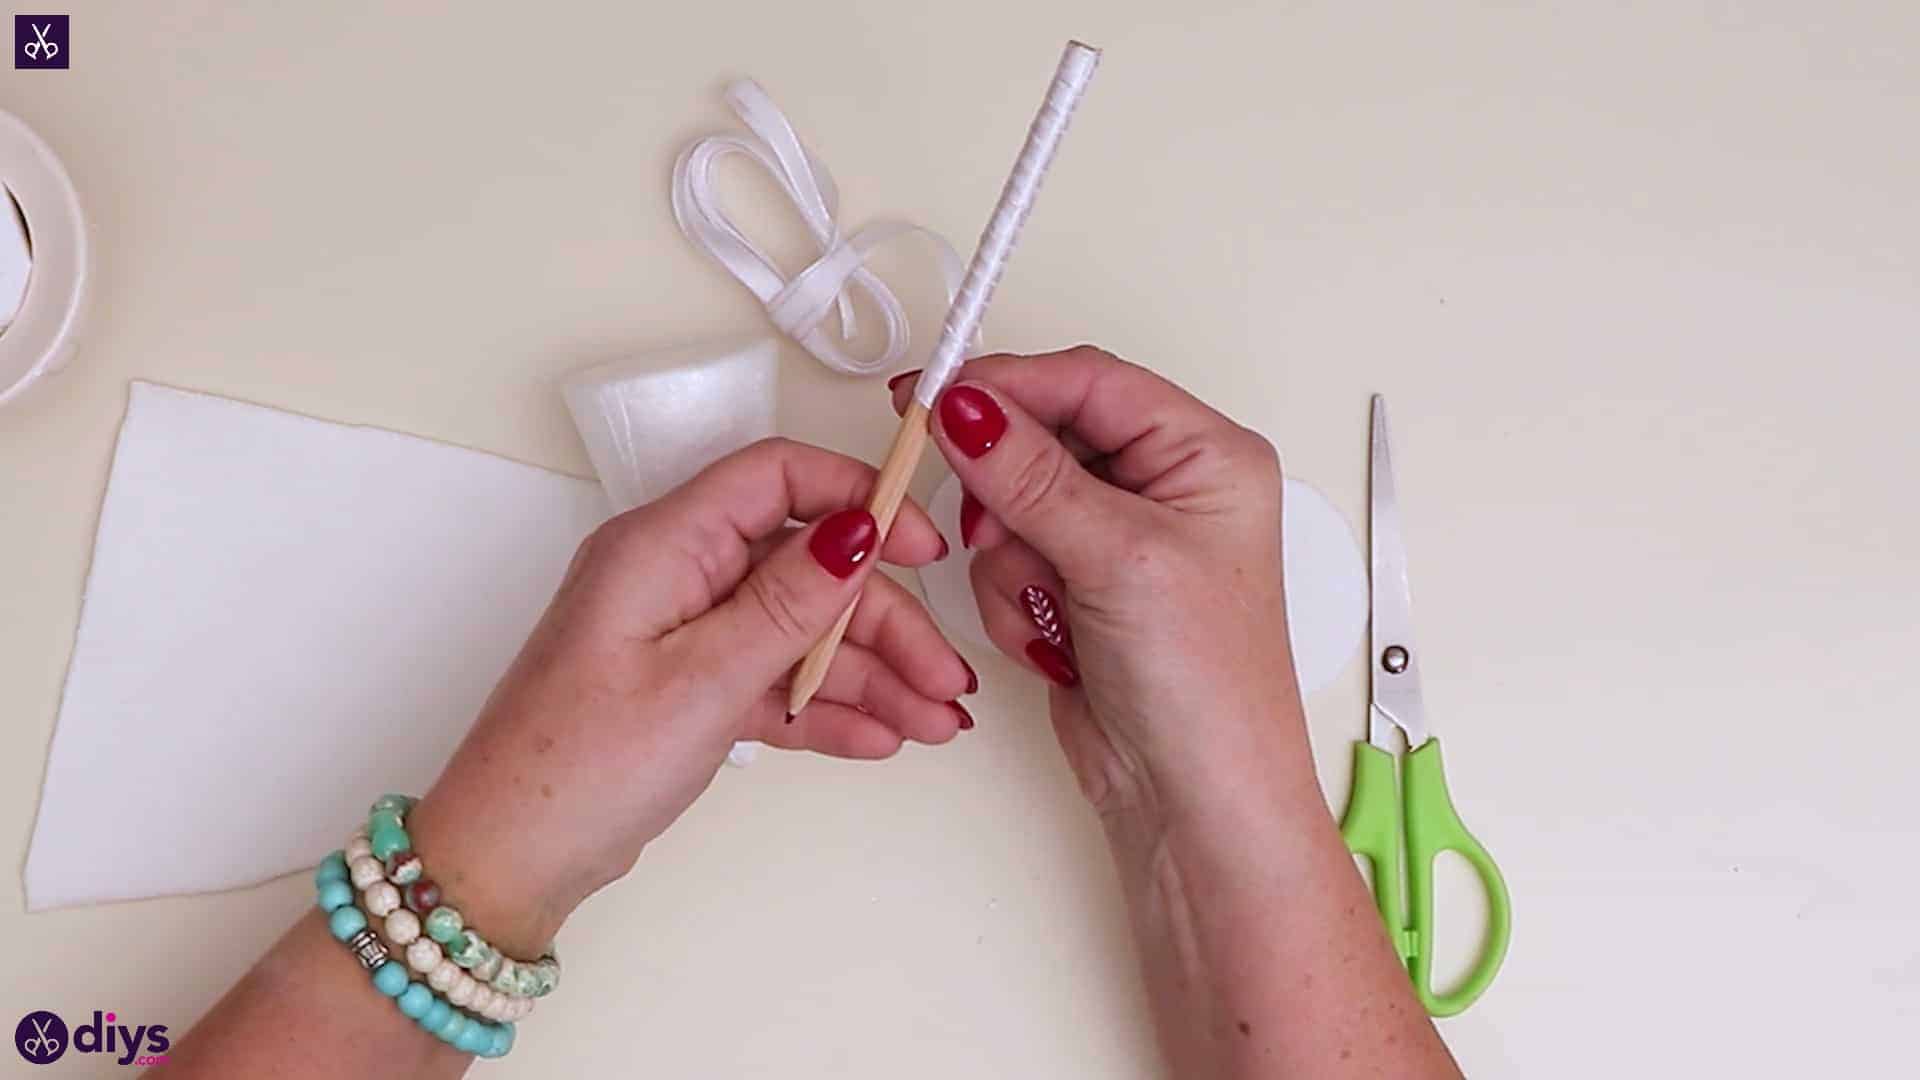
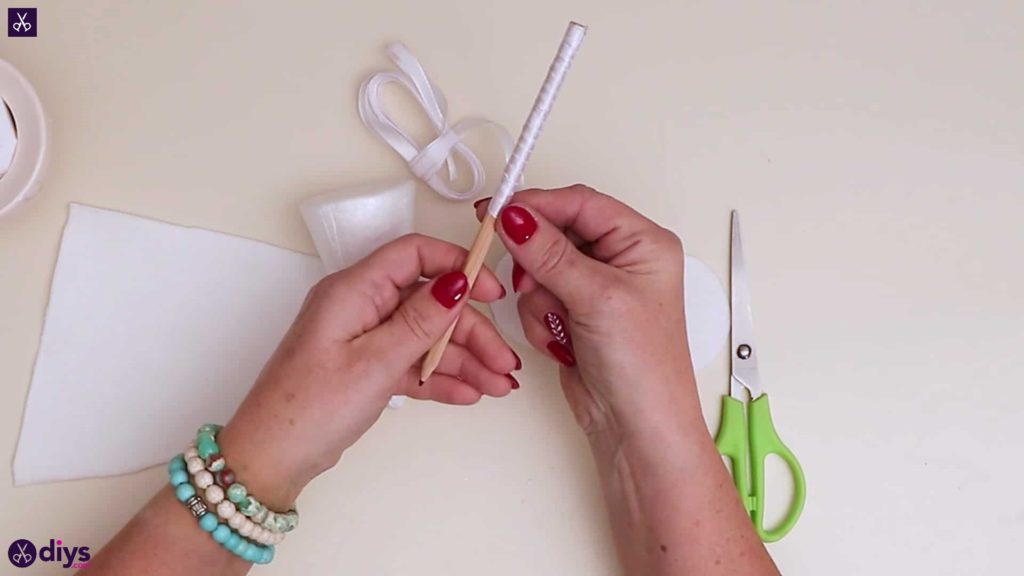
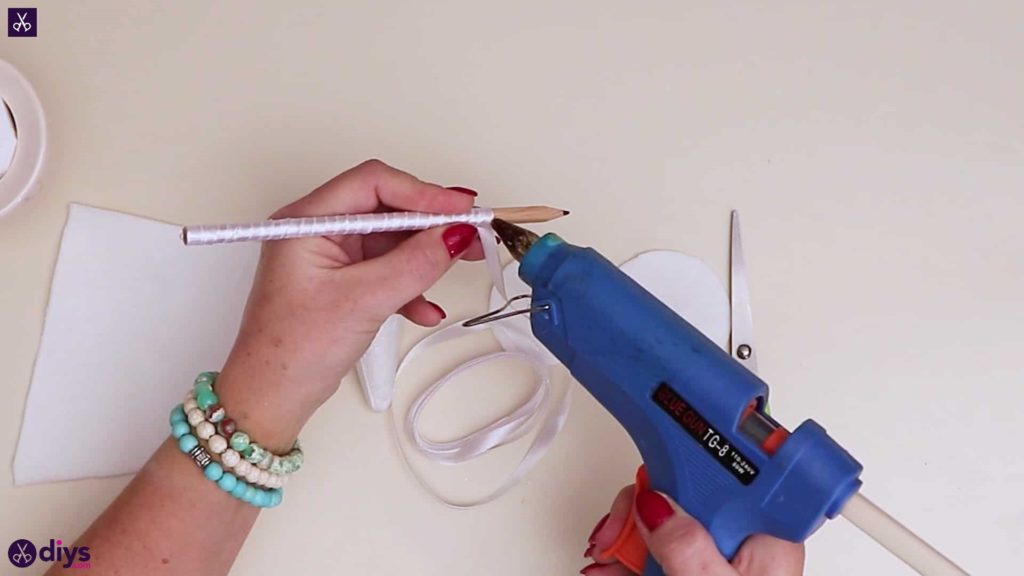
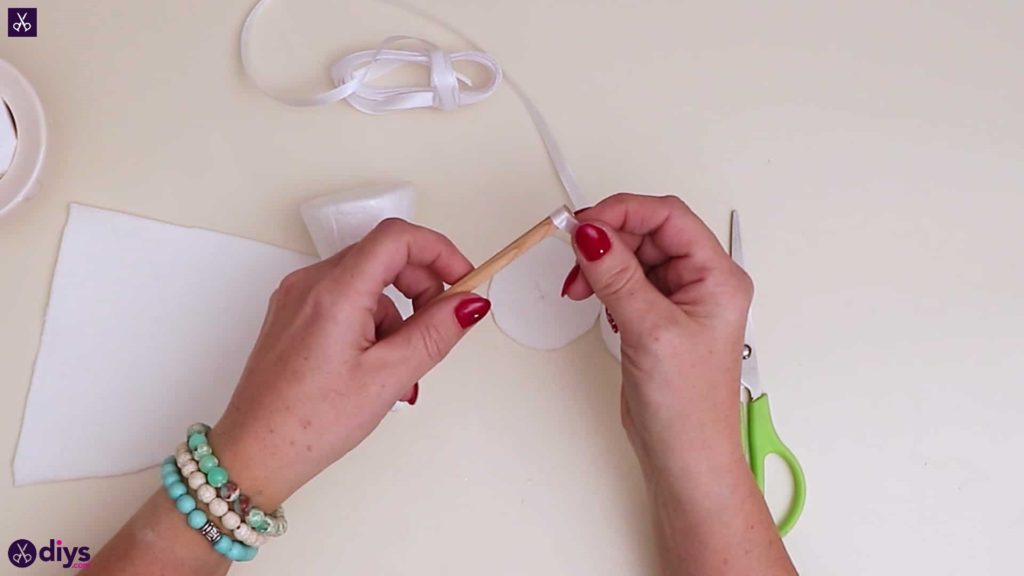
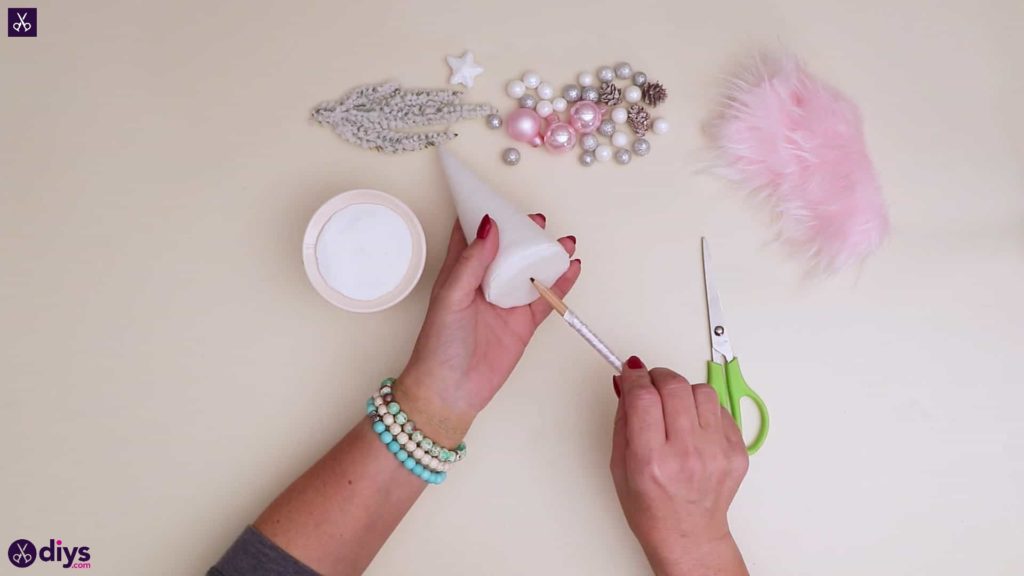
Step 5: wind the ribbon
Apply hot glue to the end of a pencil and stick the end of your white ribbon down there horizontally. Start winding the ribbon tightly around the pencil, moving upwards slightly as you go to spiral wrap the pencil’s surface. Wrap until about half an inch from the end, then apply glue, stick the ribbon down to anchor it, and trim the excess off.

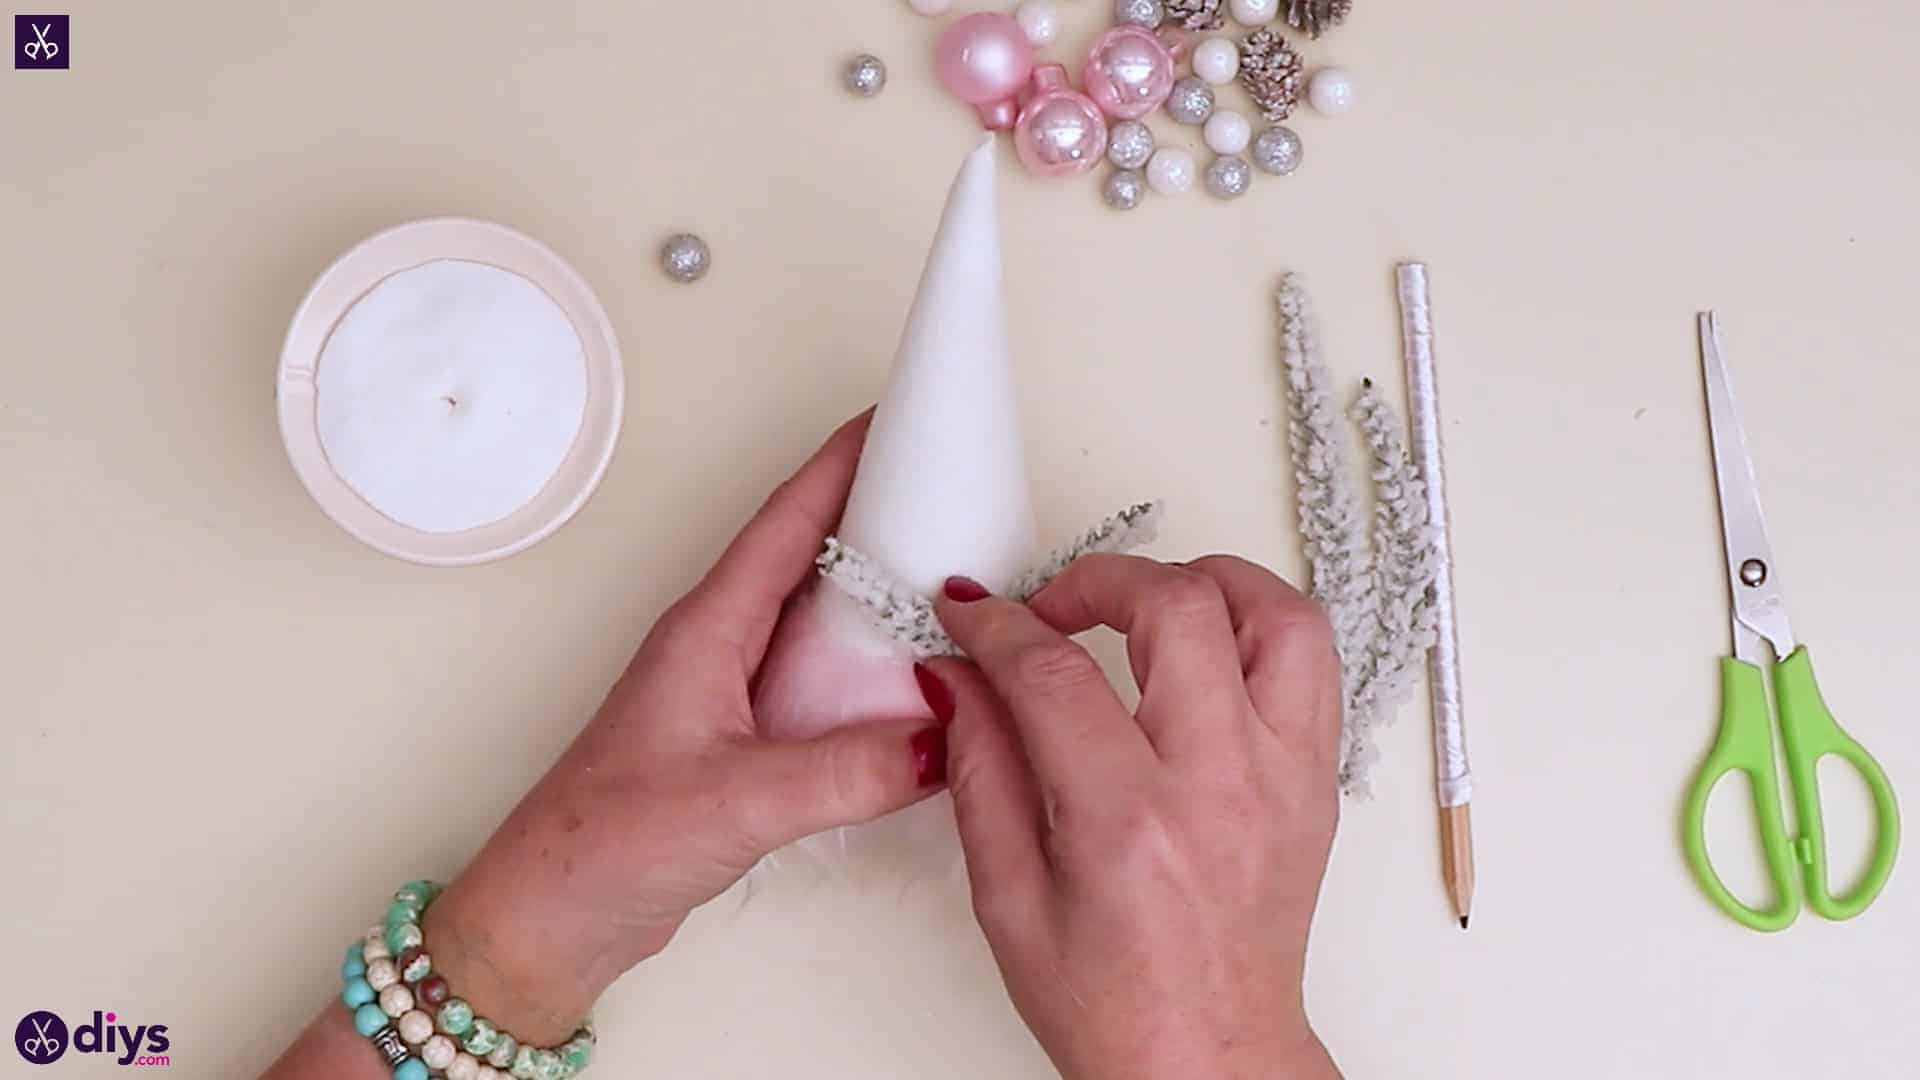
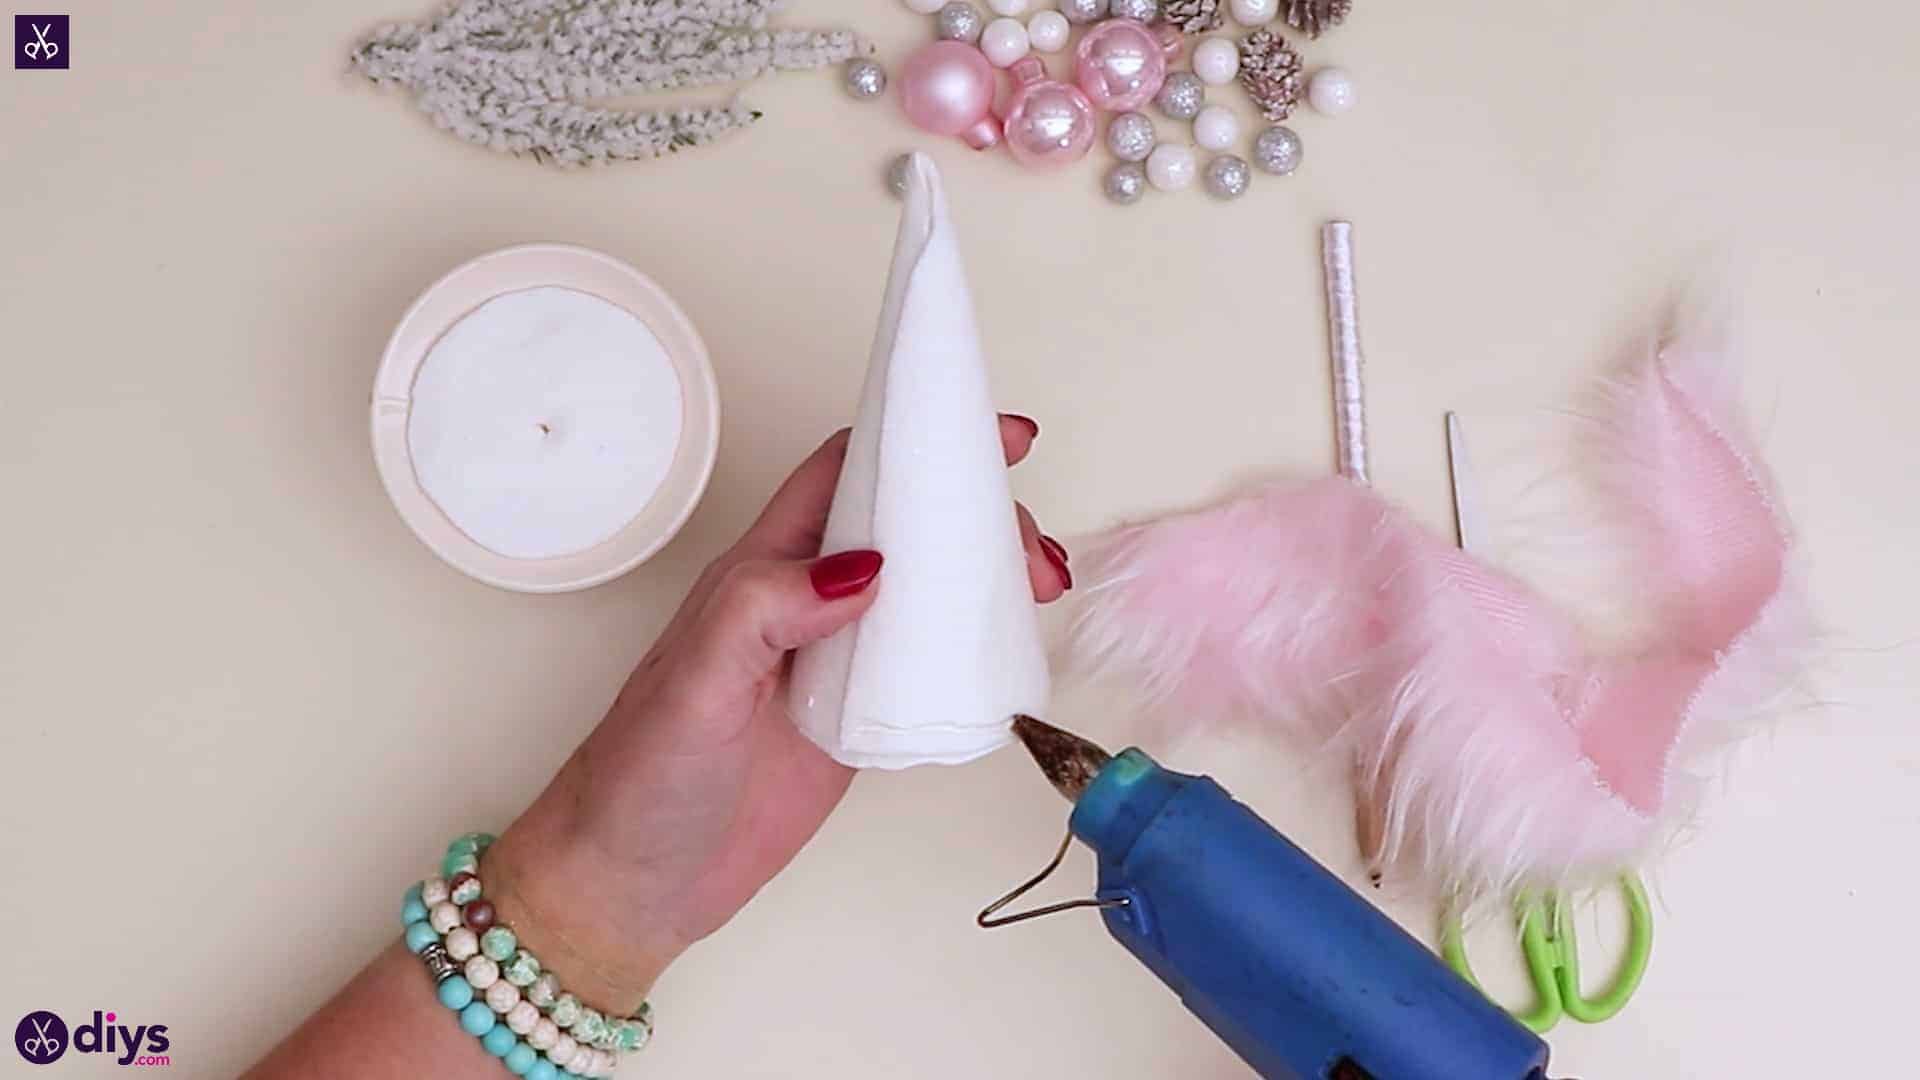
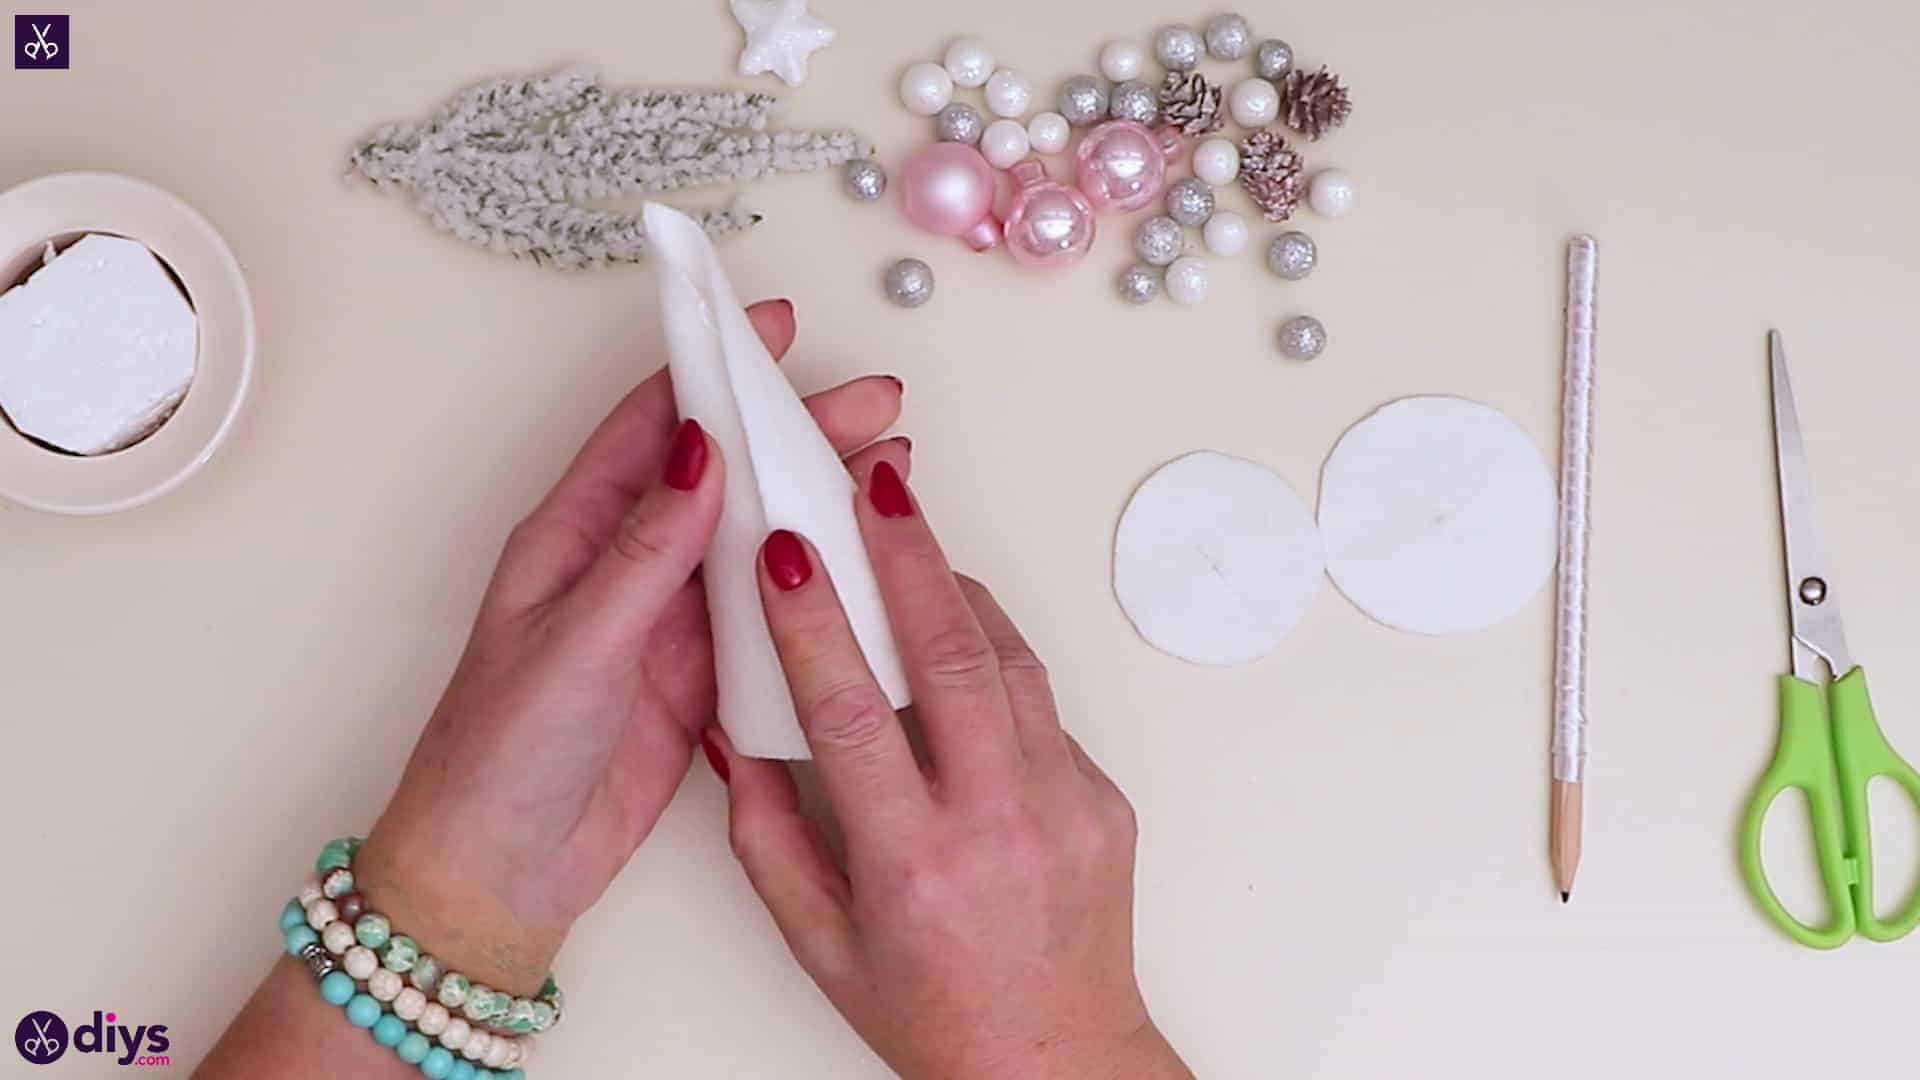
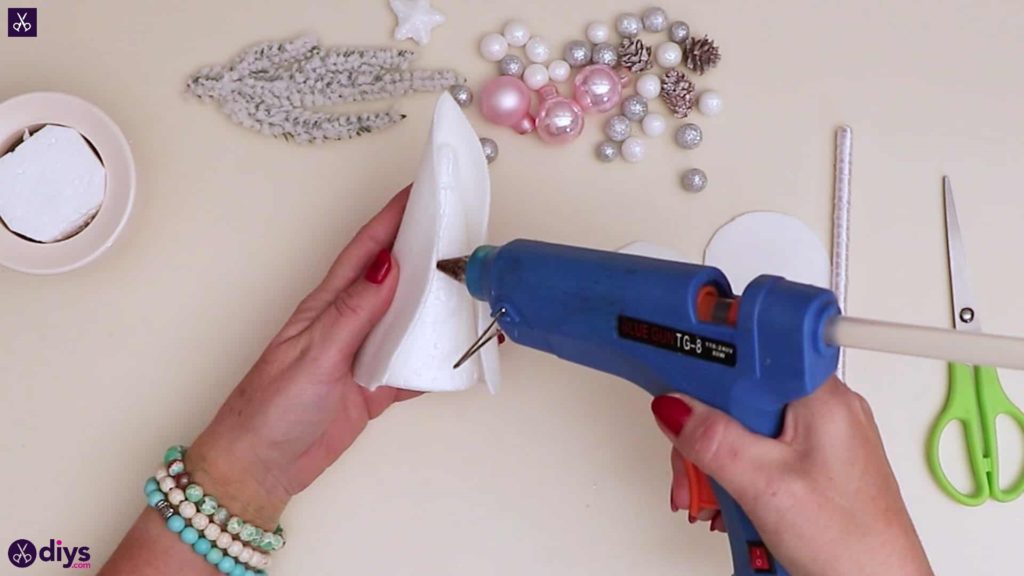
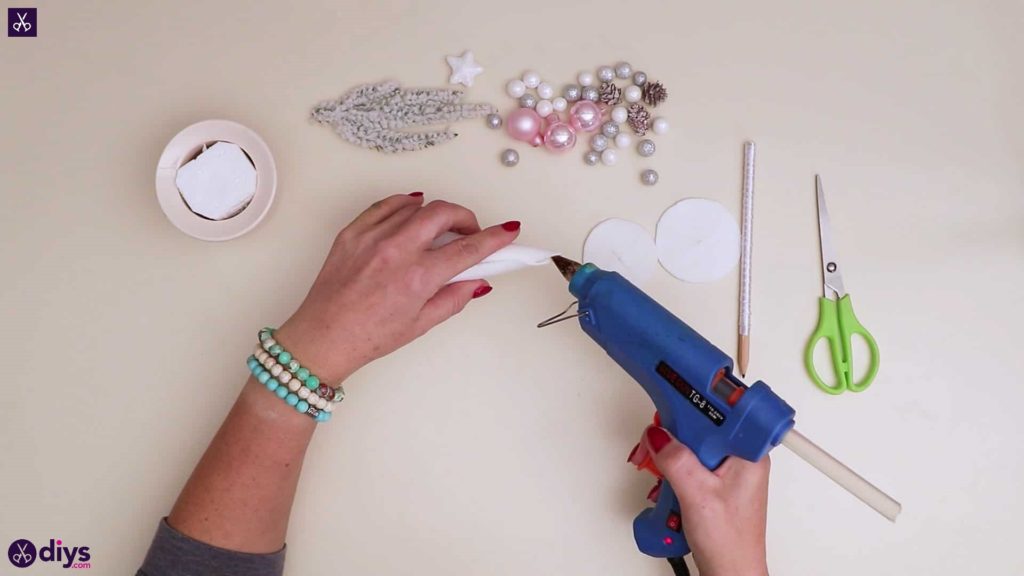
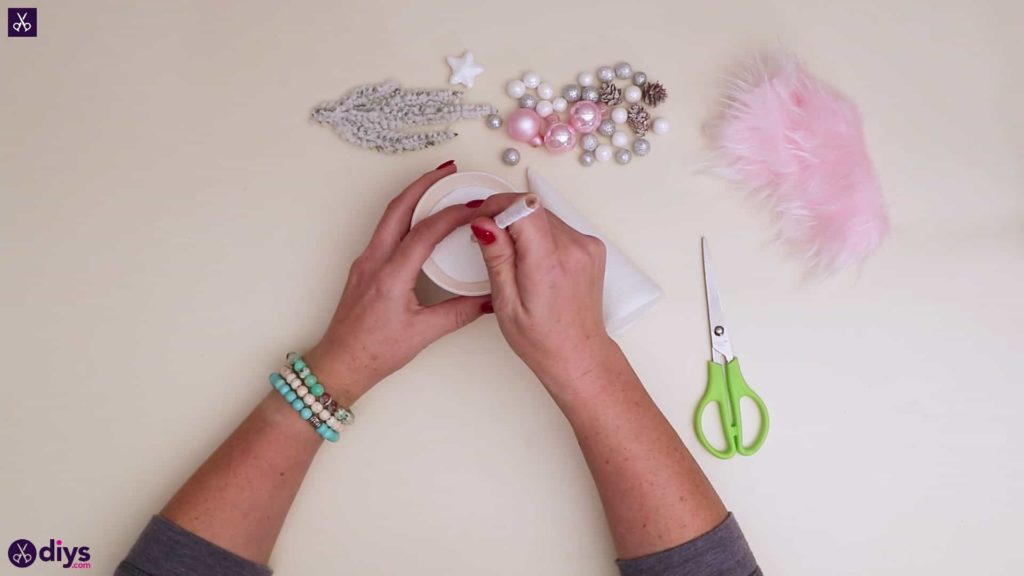
Step 6: cover the cone
Wrap your arced piece of white fabric around the outside of your Styrofoam cone so it curves in the same shape. Use hot glue to stick the first edge down the full length of the cone, wrap it tightly around until the edges meet, and then glue the second edge down. Glue the tip shut if you need to as well. Trim around the bottom of the cone if there’s excess past the base’s edge. Then apply glue to the bottom of the cone and stick your smaller fabric circle down there.


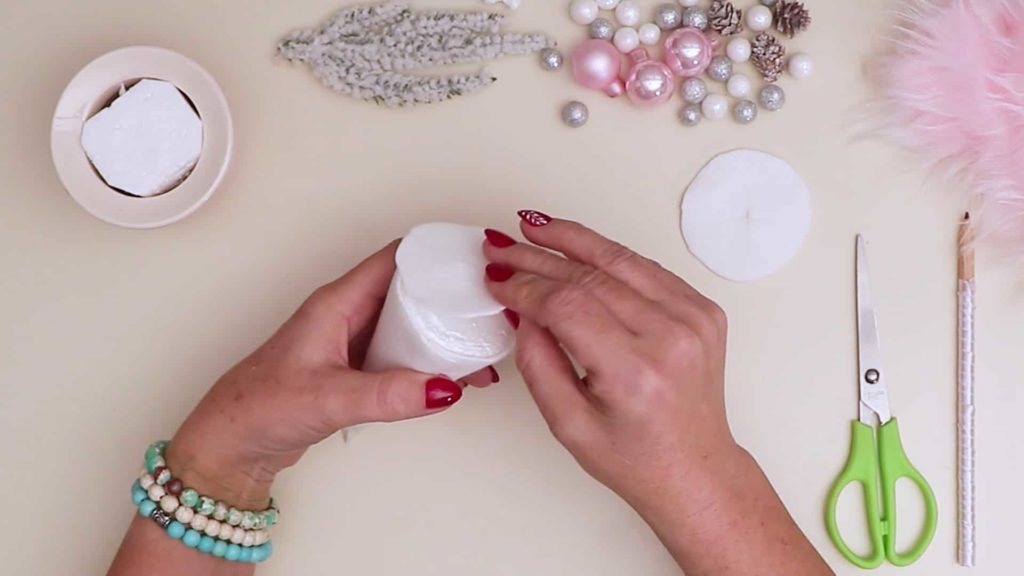
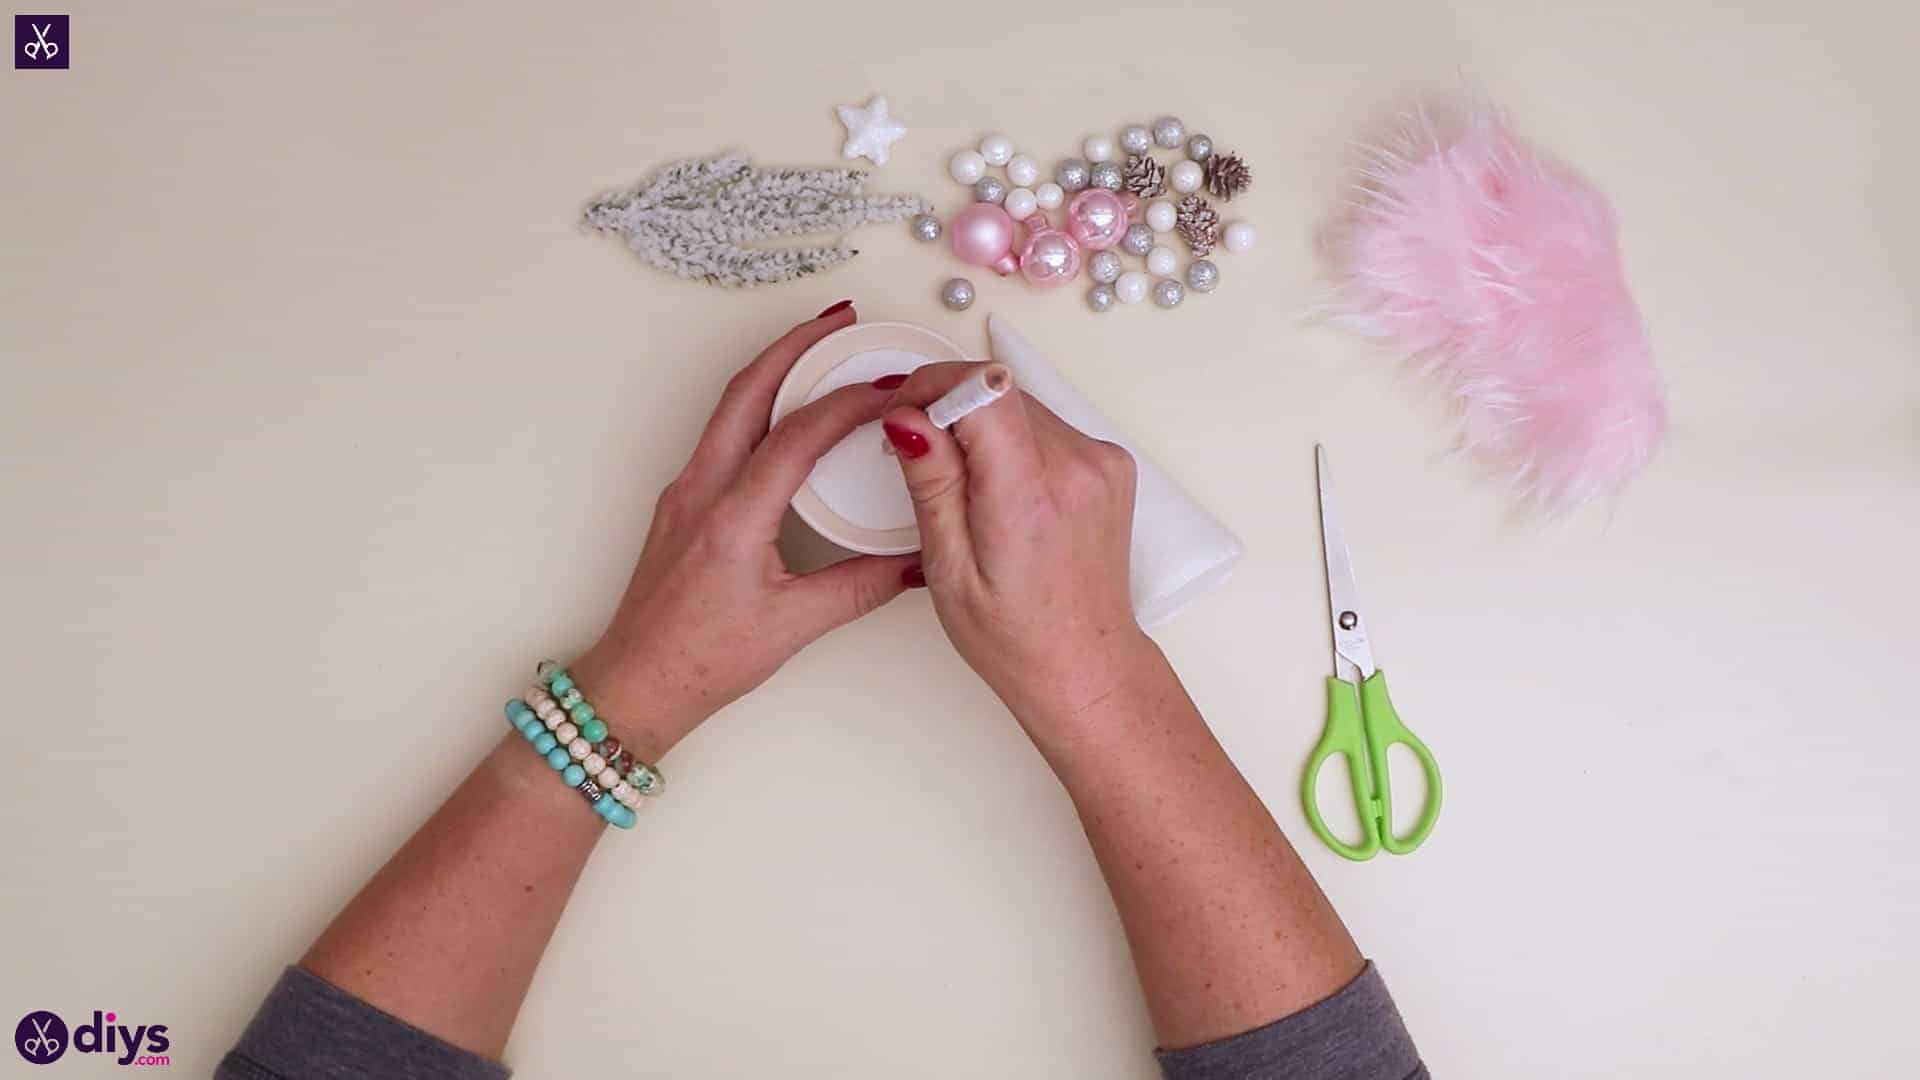
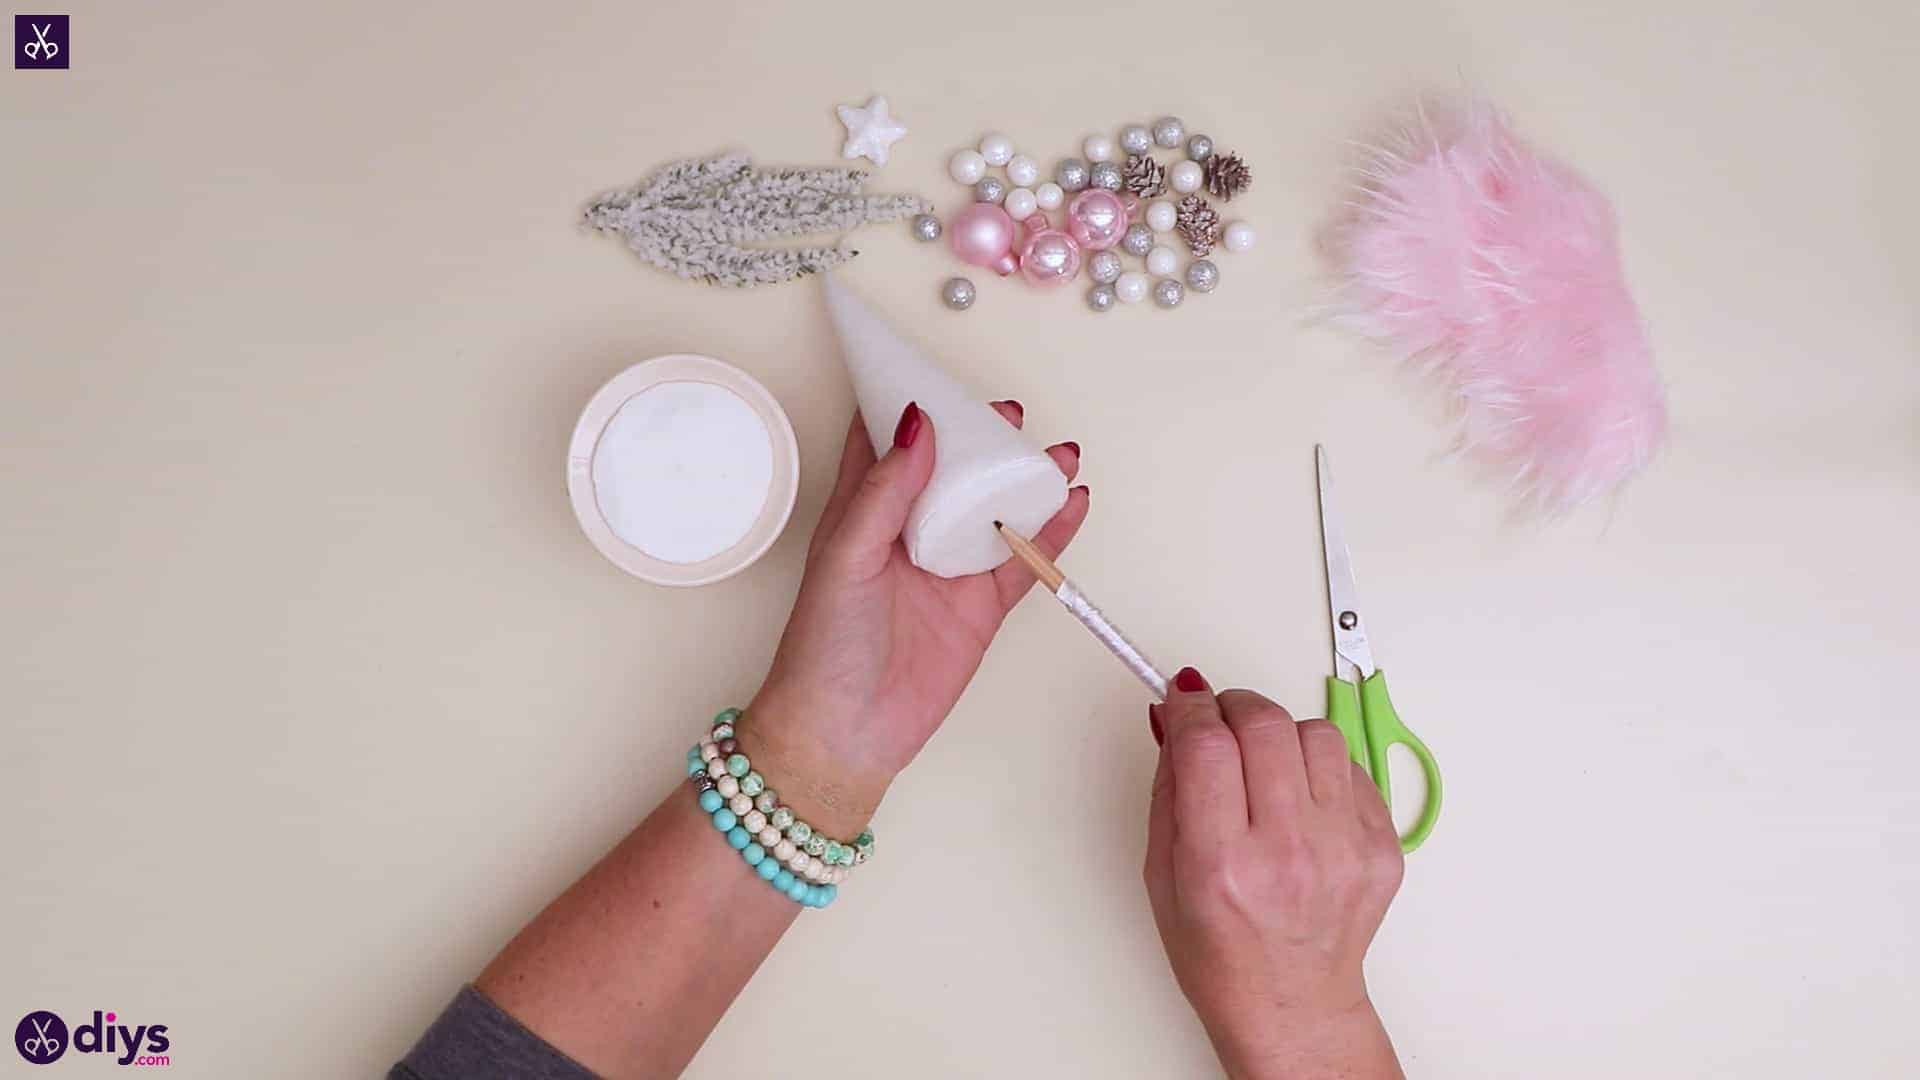
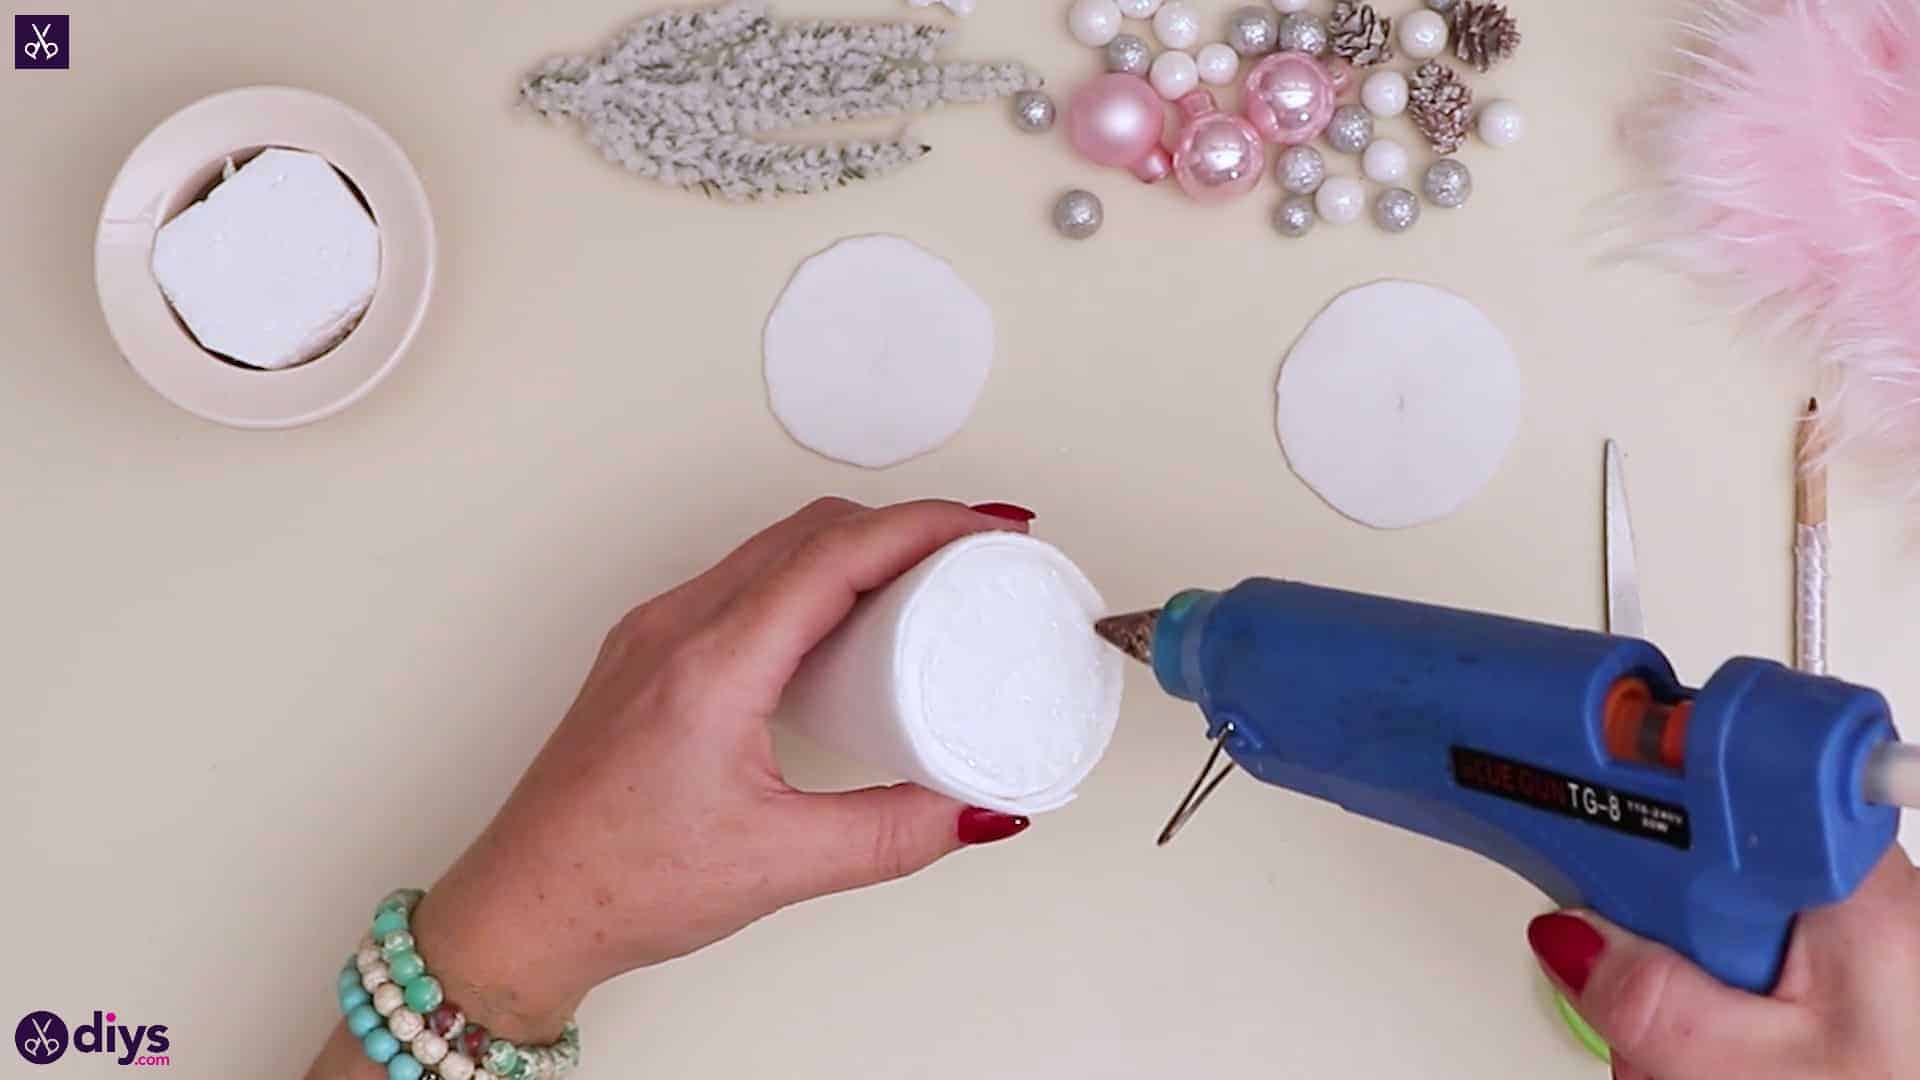
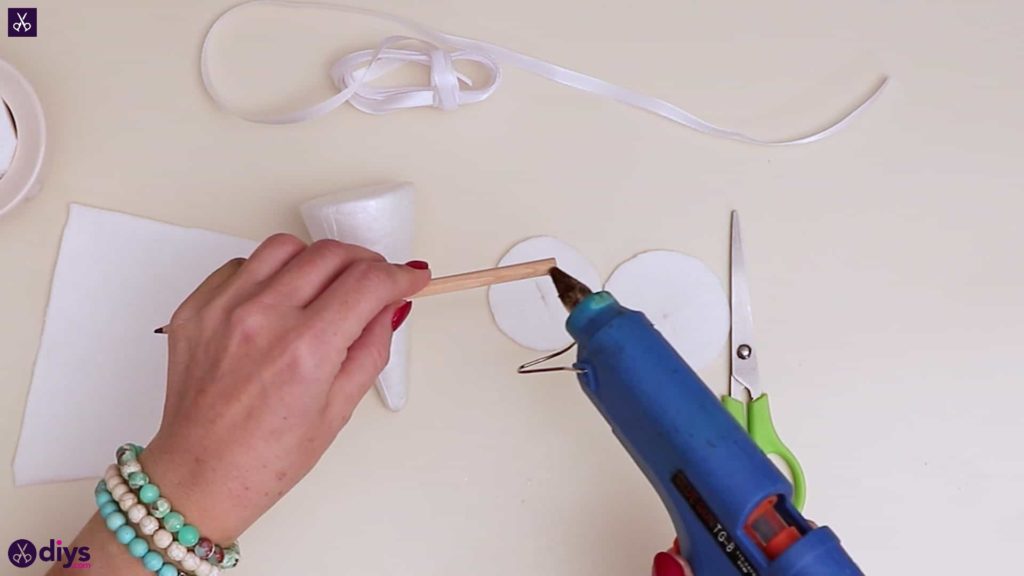
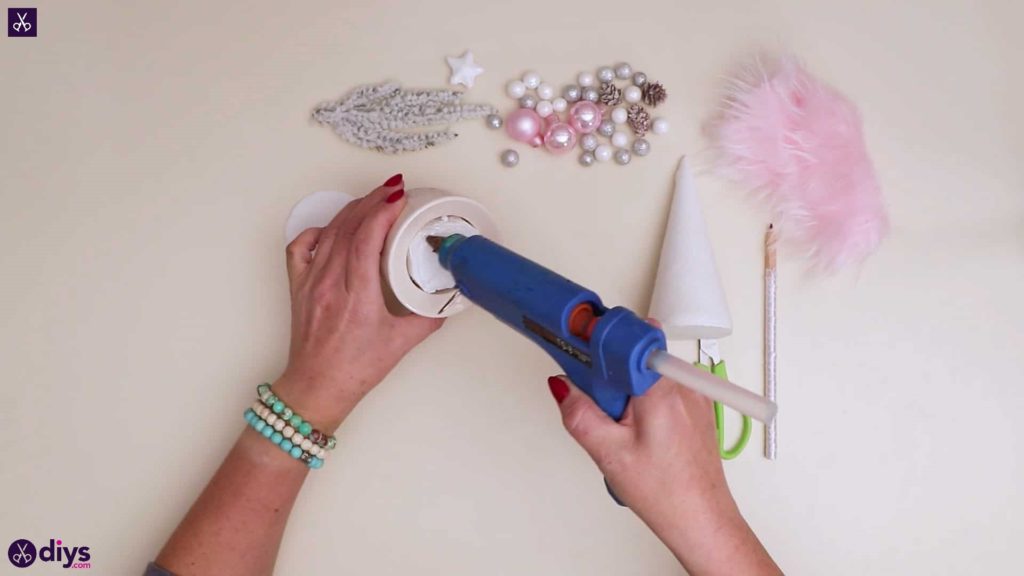
Step 7: prep with holes
Apply glue to the top surface of the foam in your mini planter and stick your other fabric circle down there. Next, drive the point of your pencil through the hole in the fabric on the bottom of your cone up into the foam. Pull it out and do the same through the hole in the fabric on your planter, making a hole in that foam too. Pull it out and set the planter and pencil aside for now.
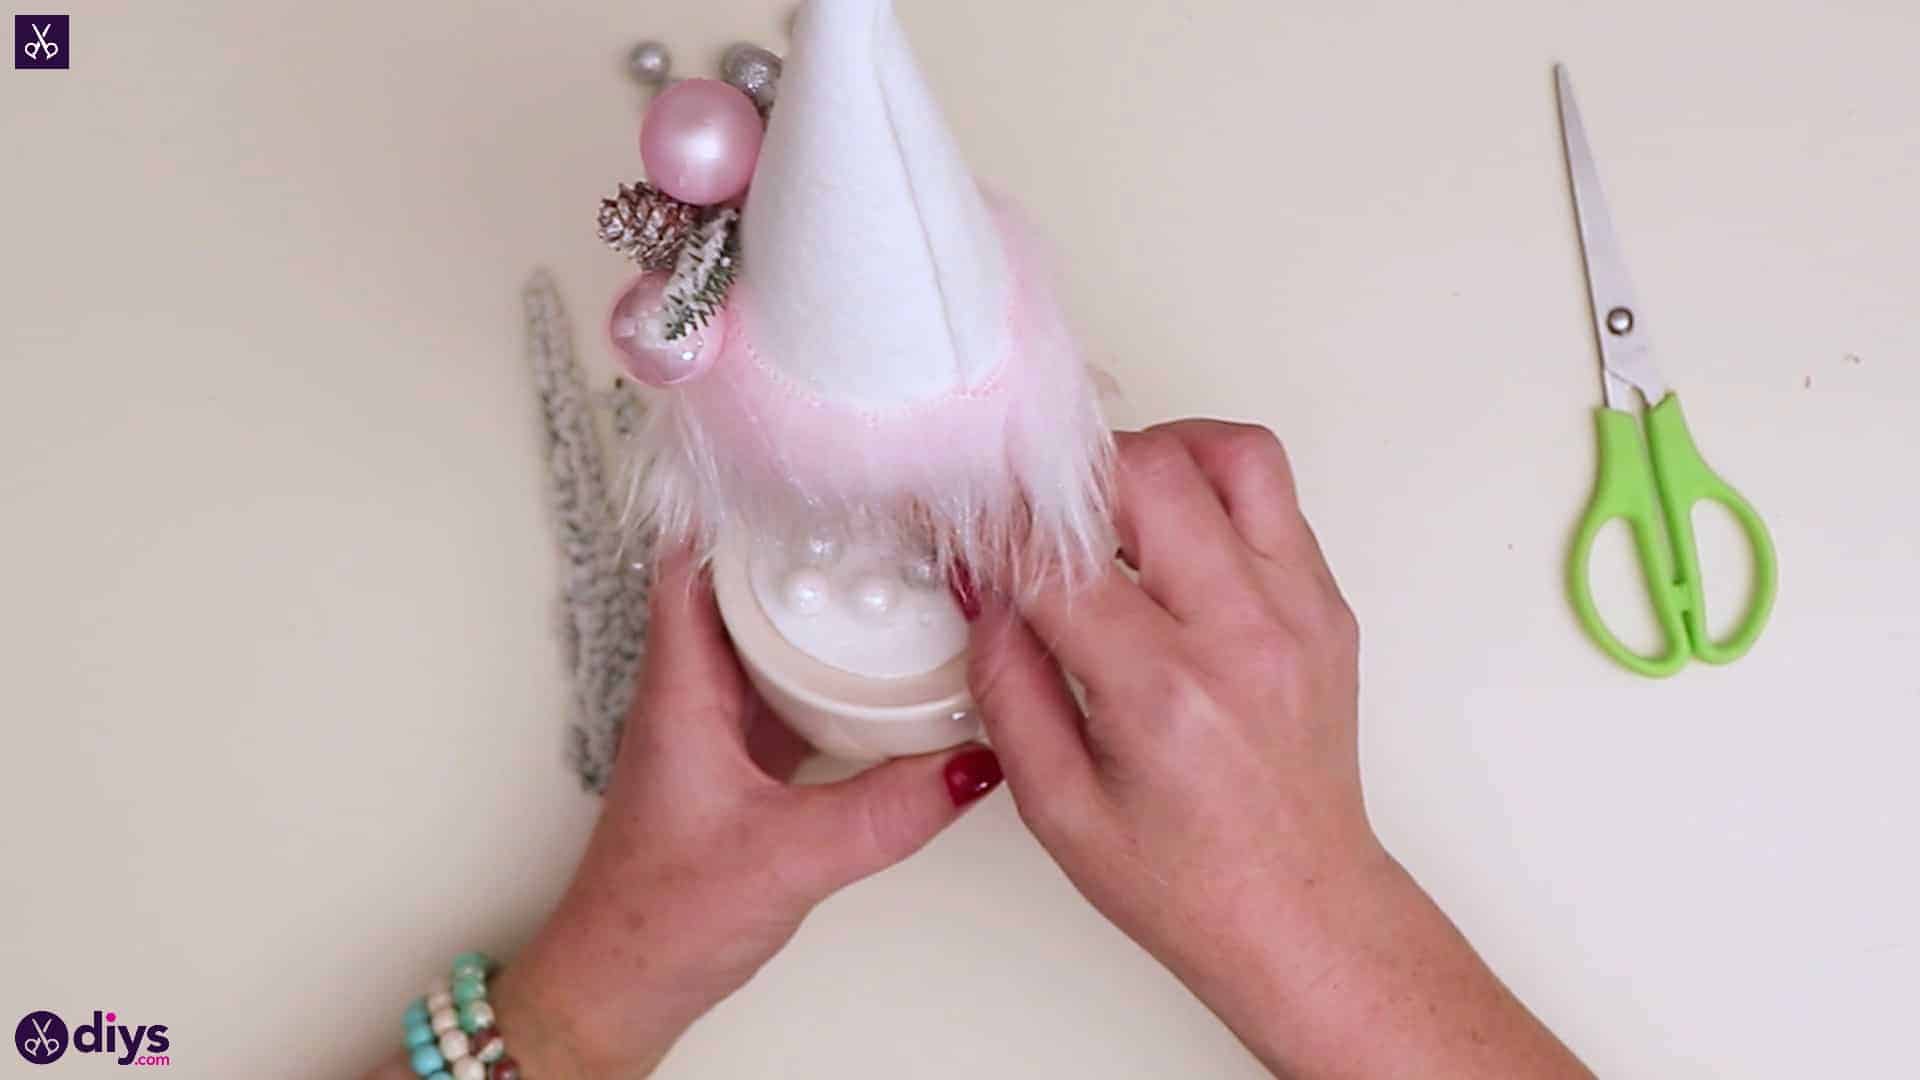
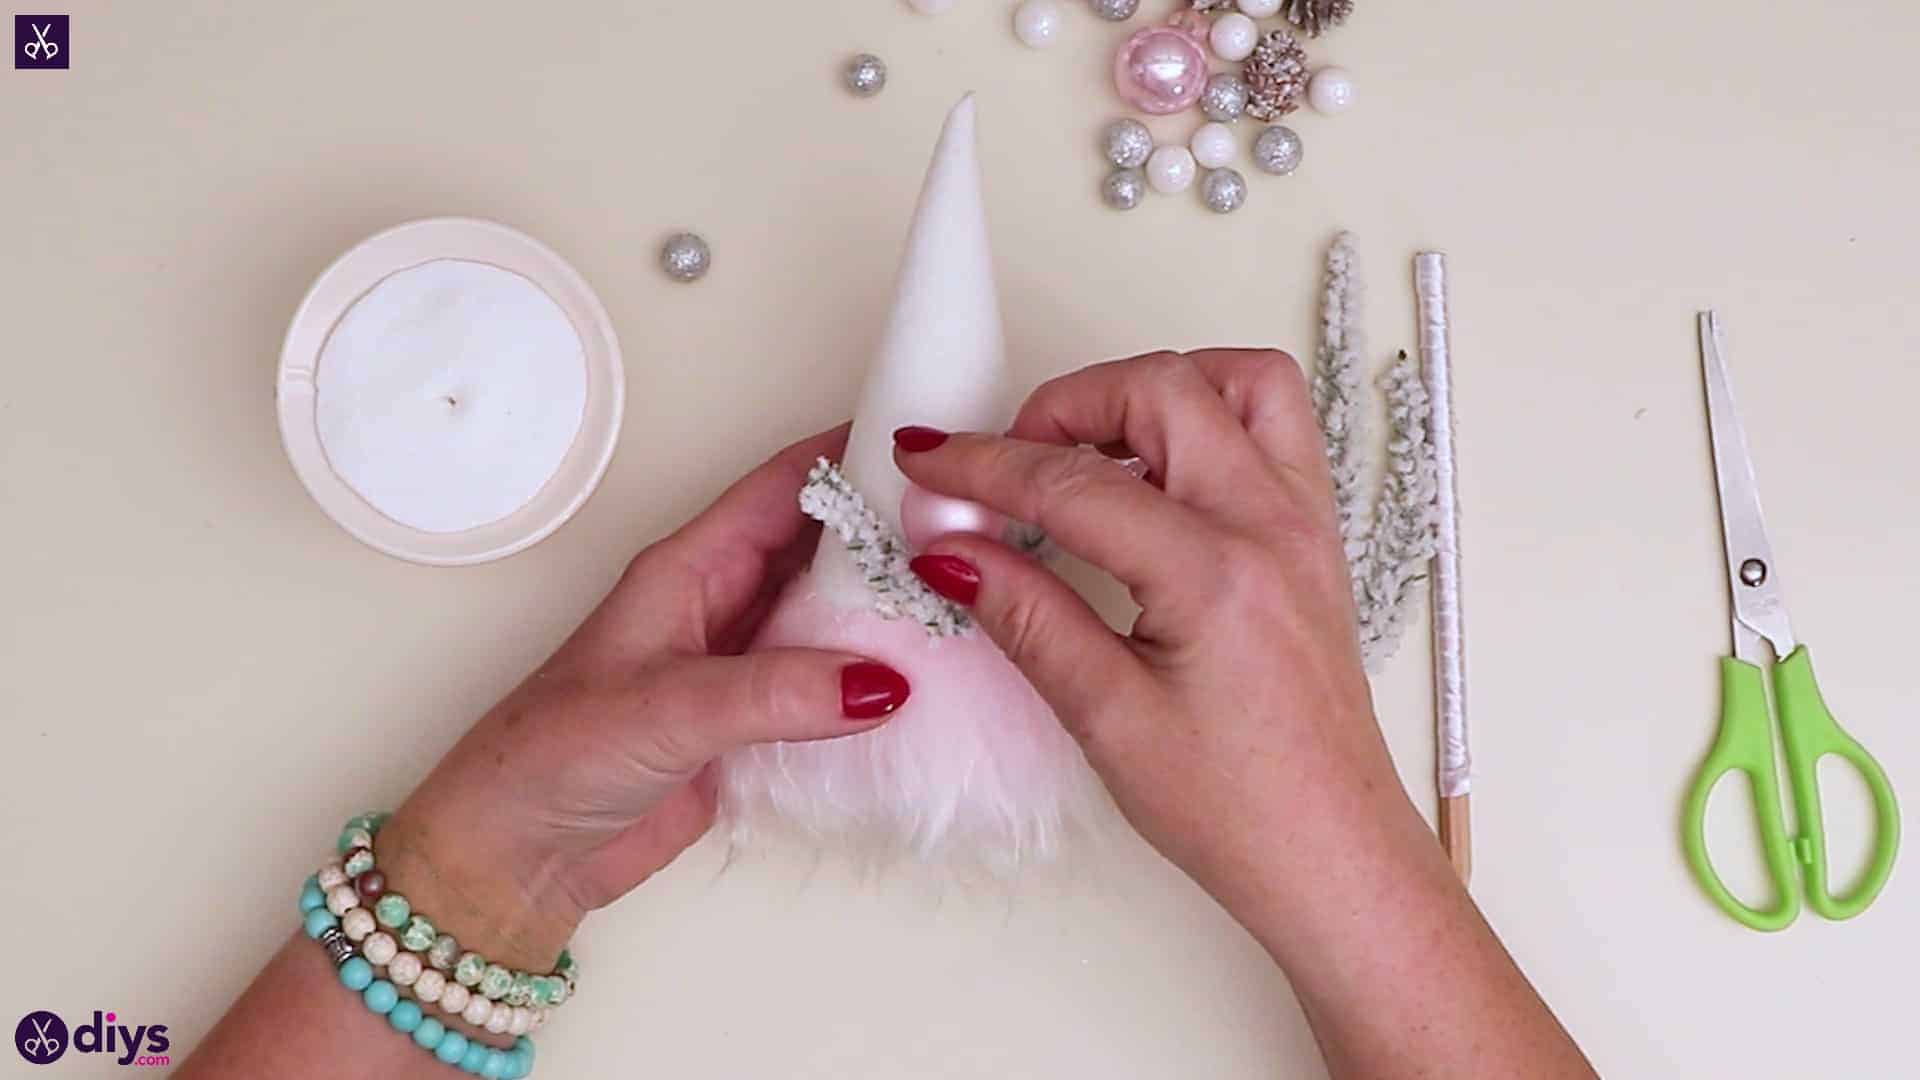
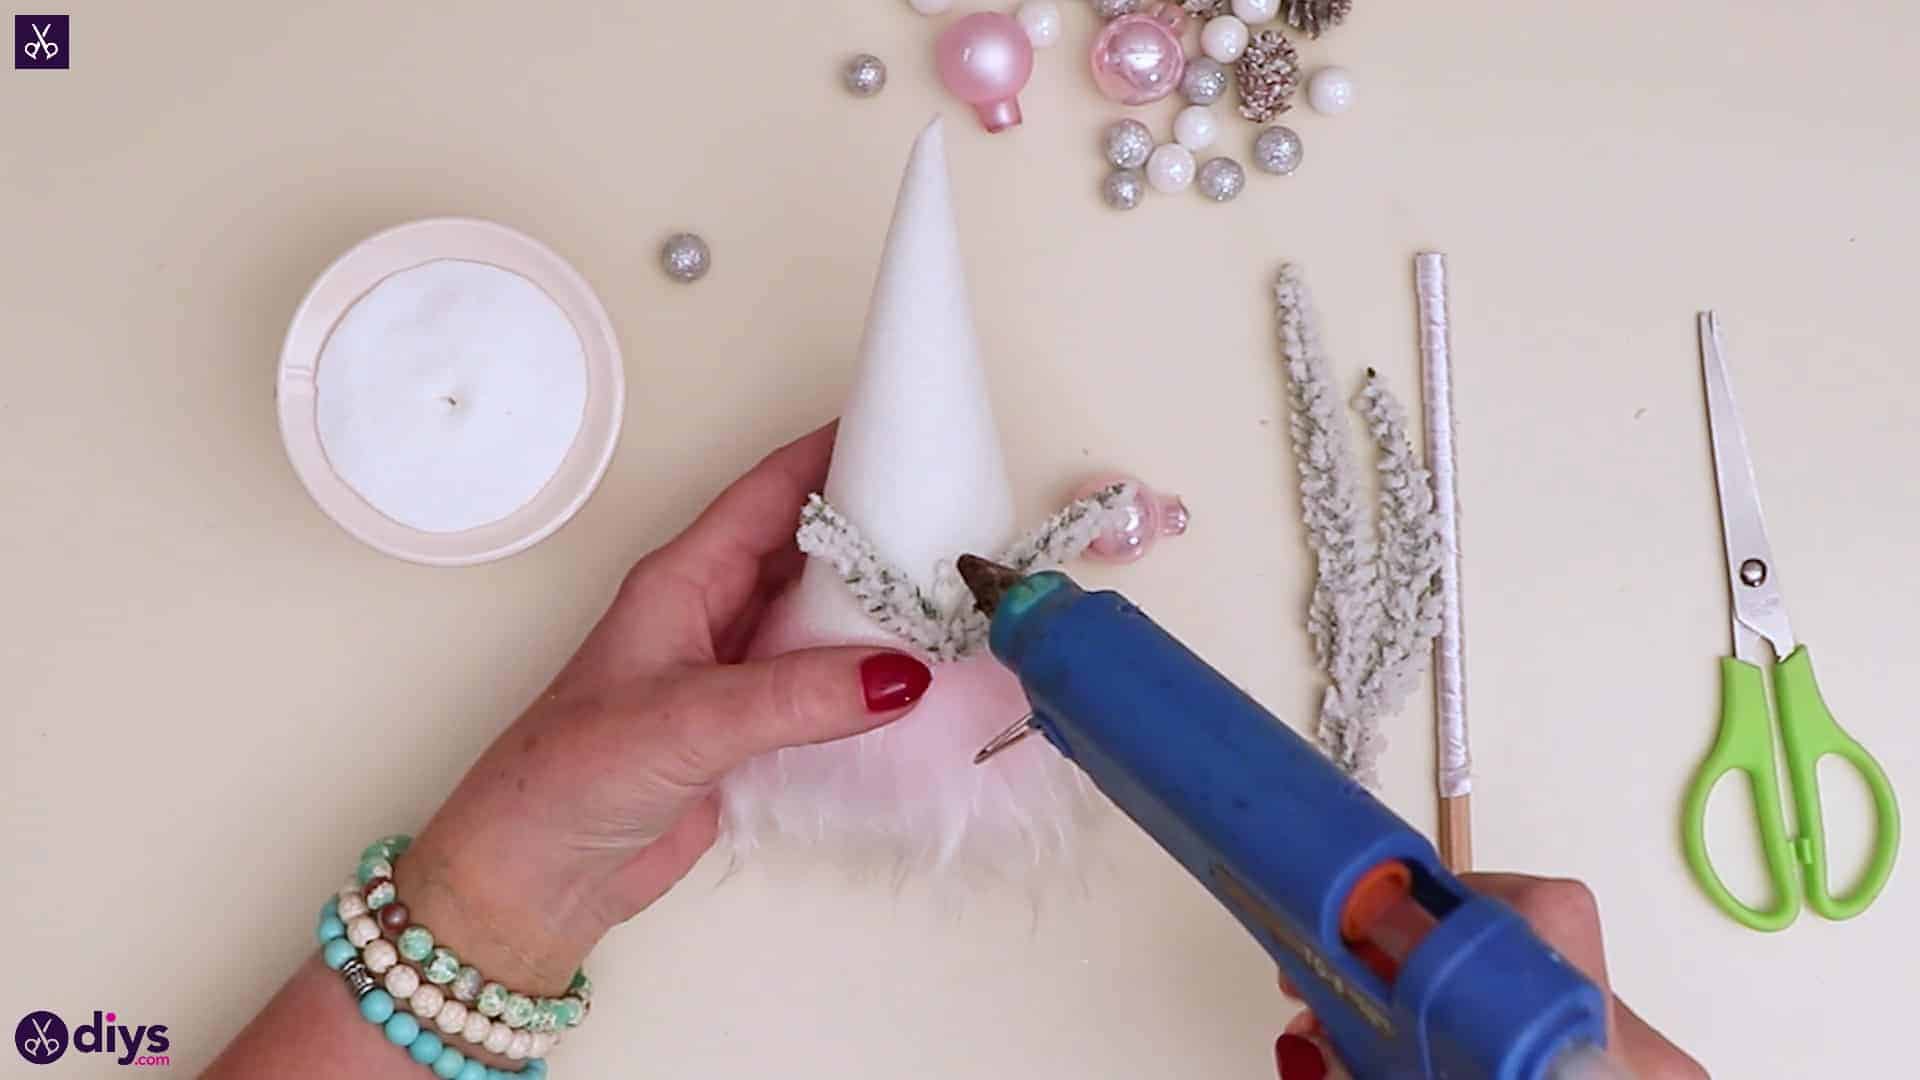
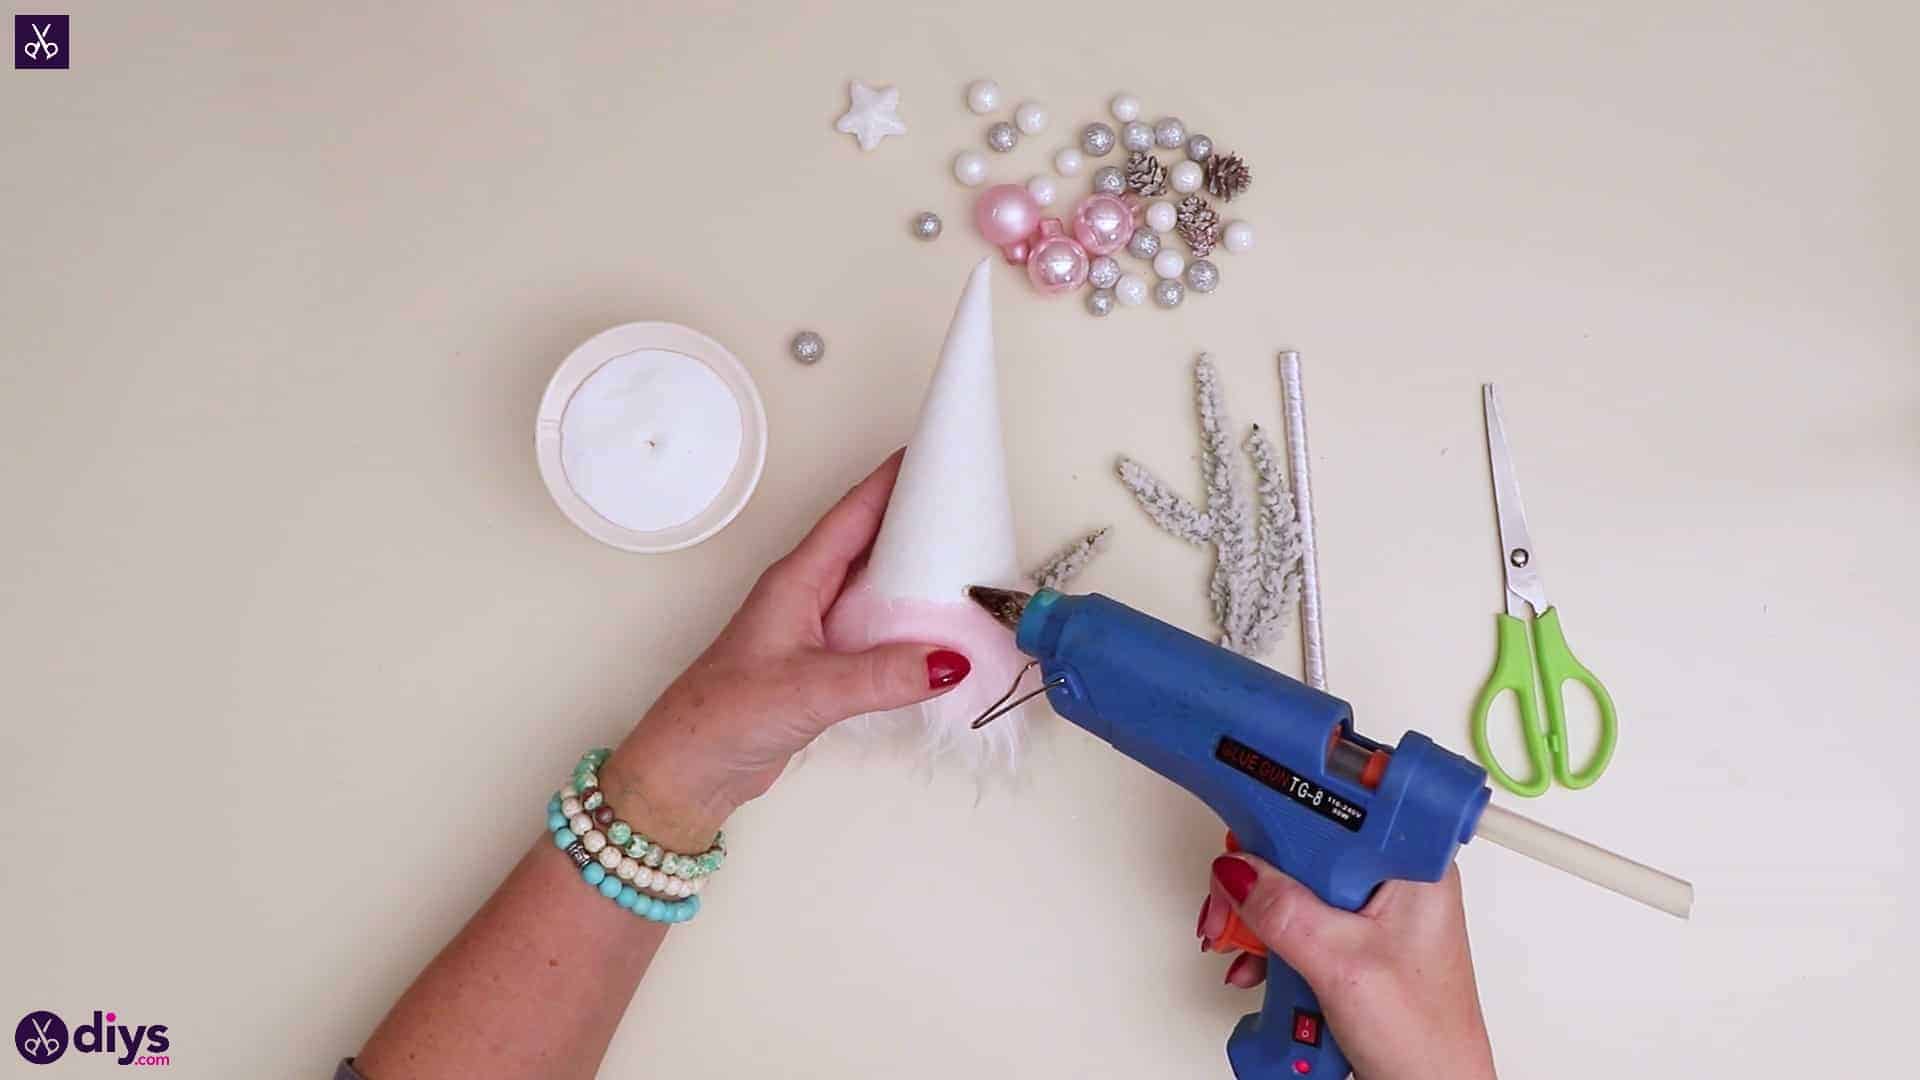
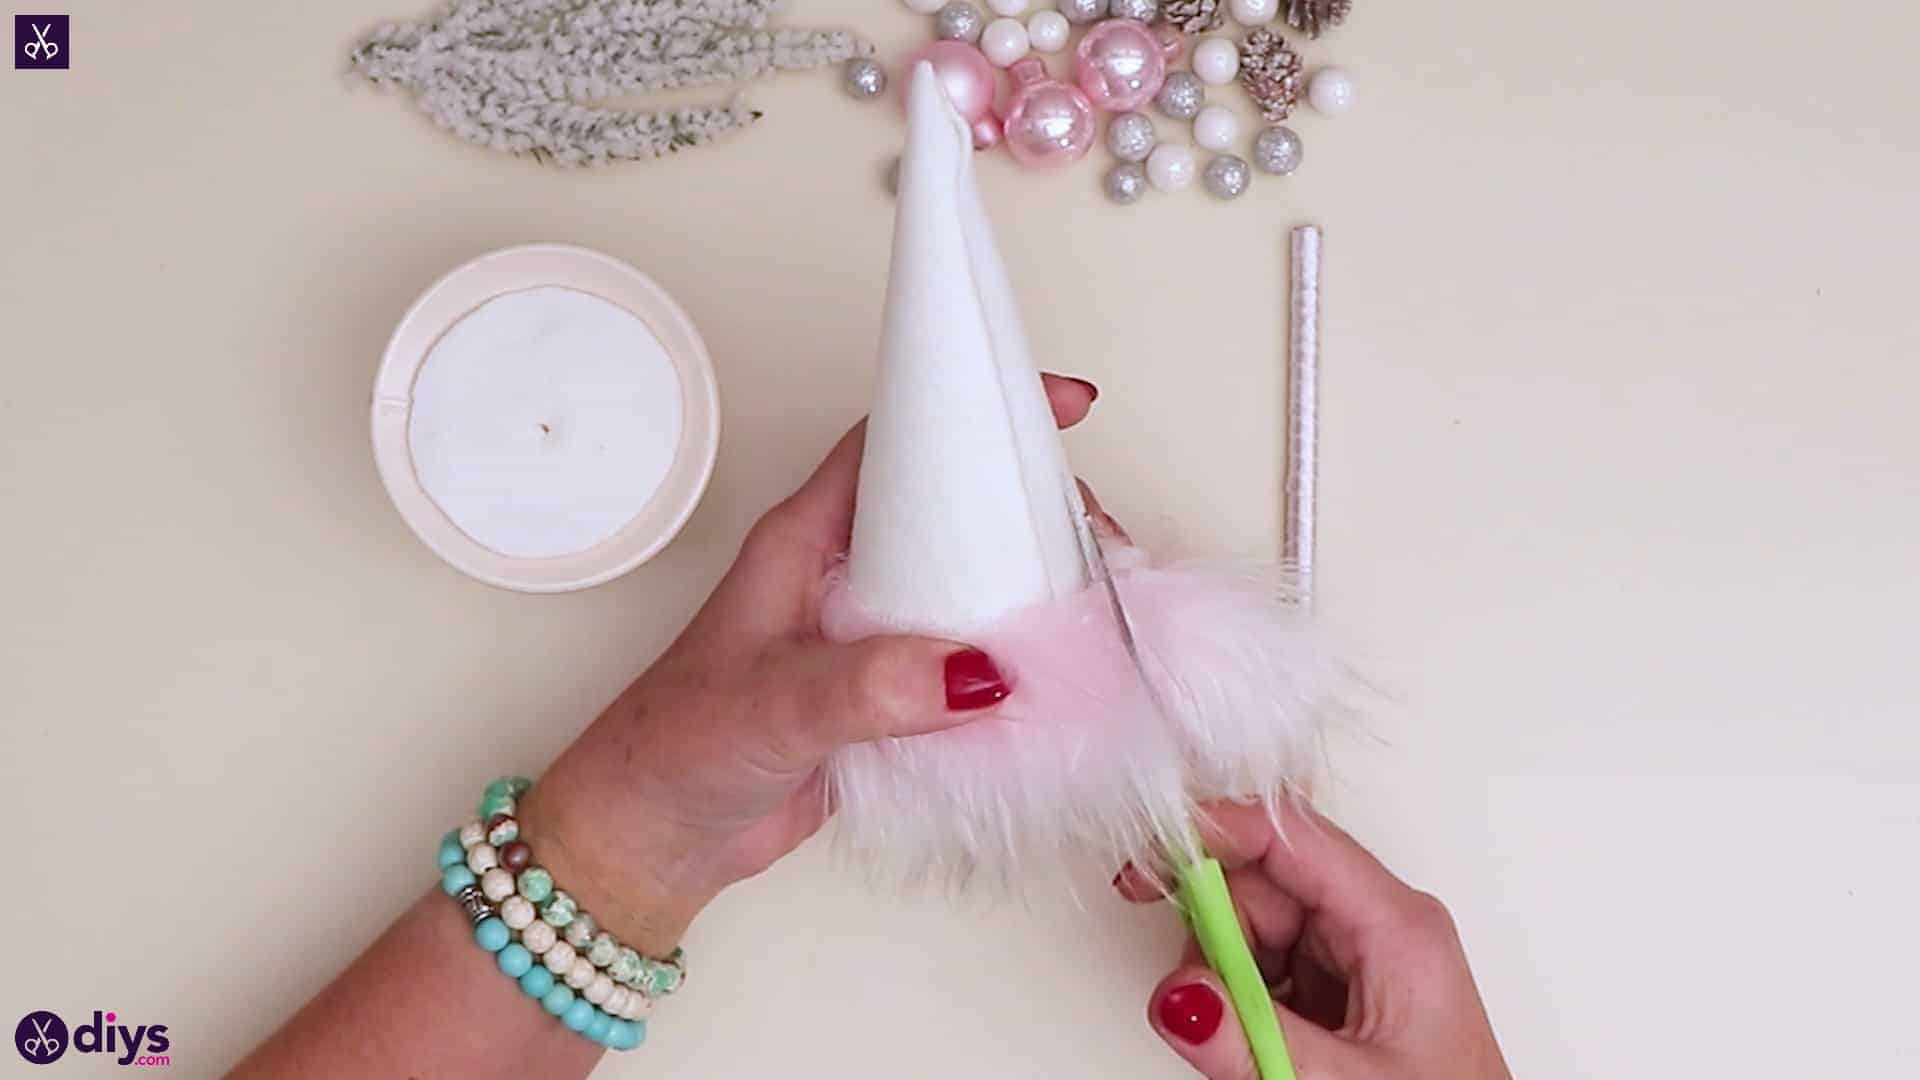
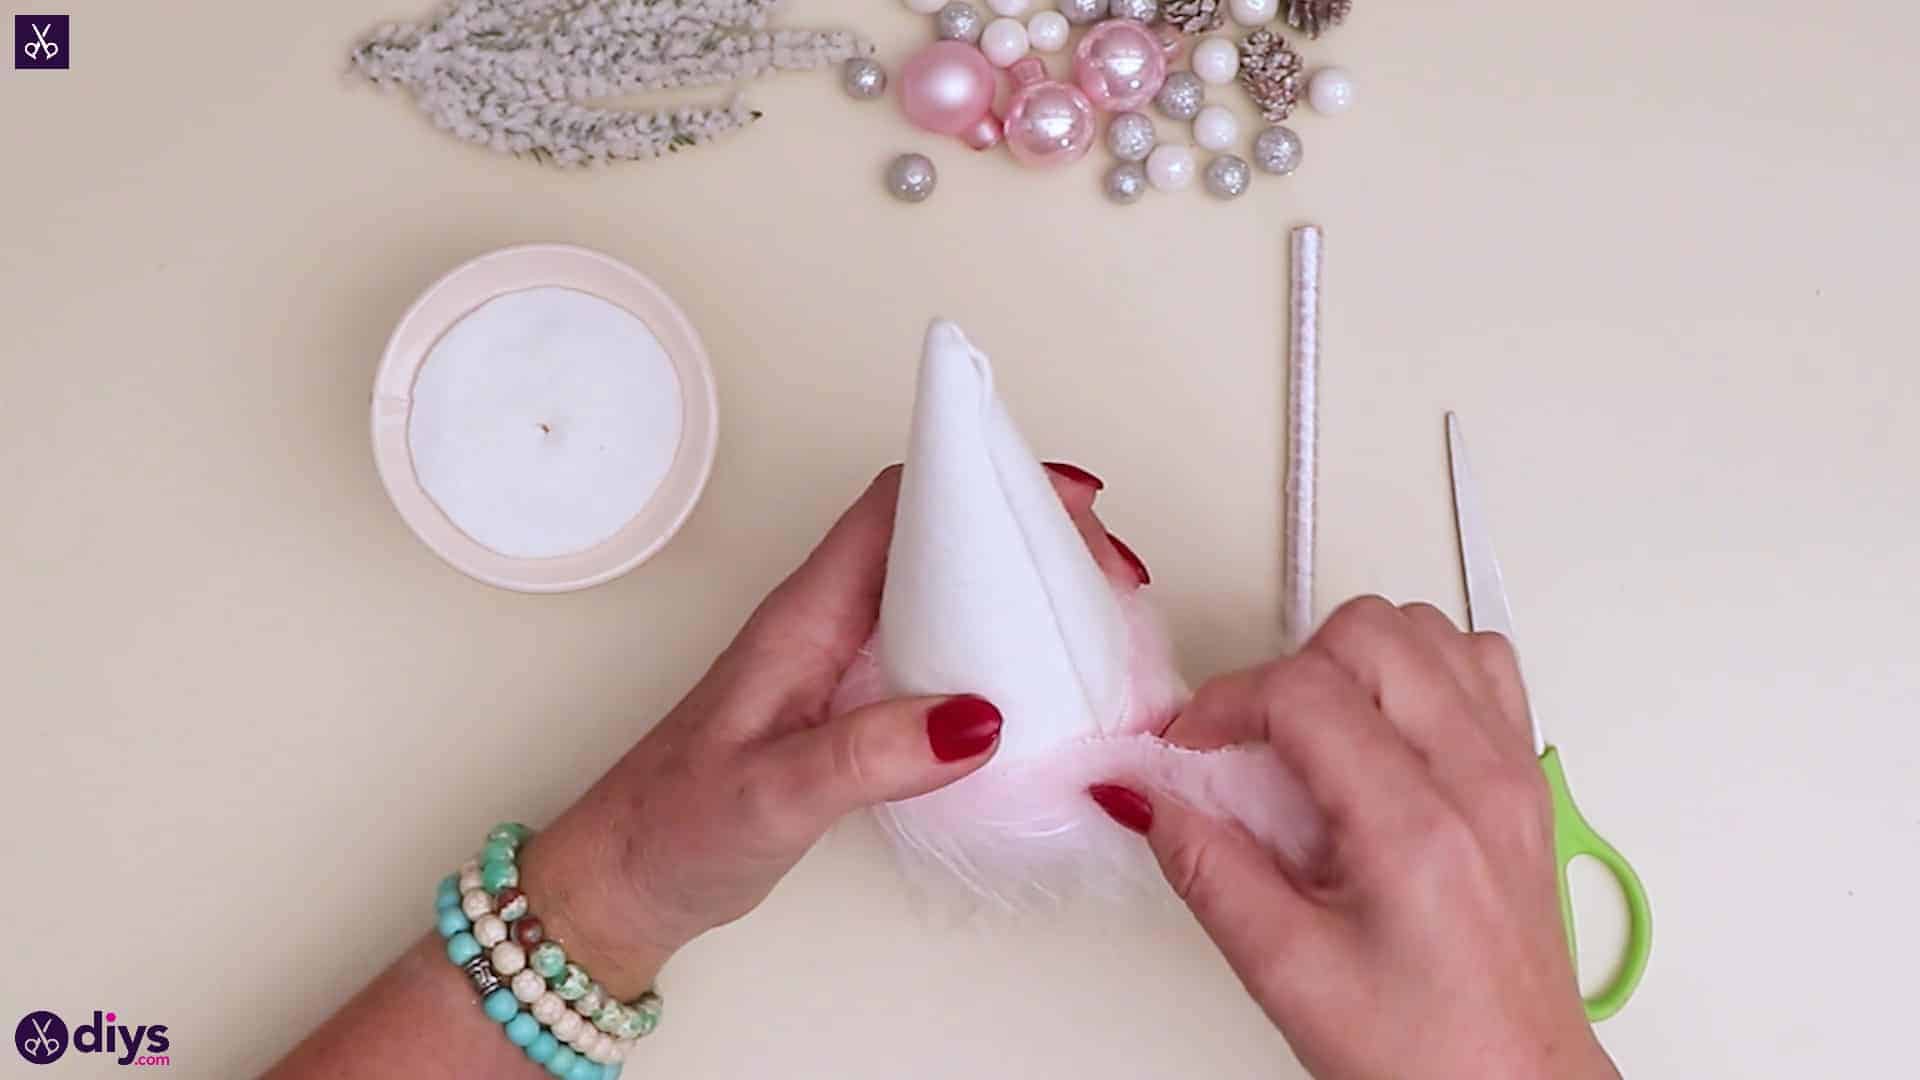
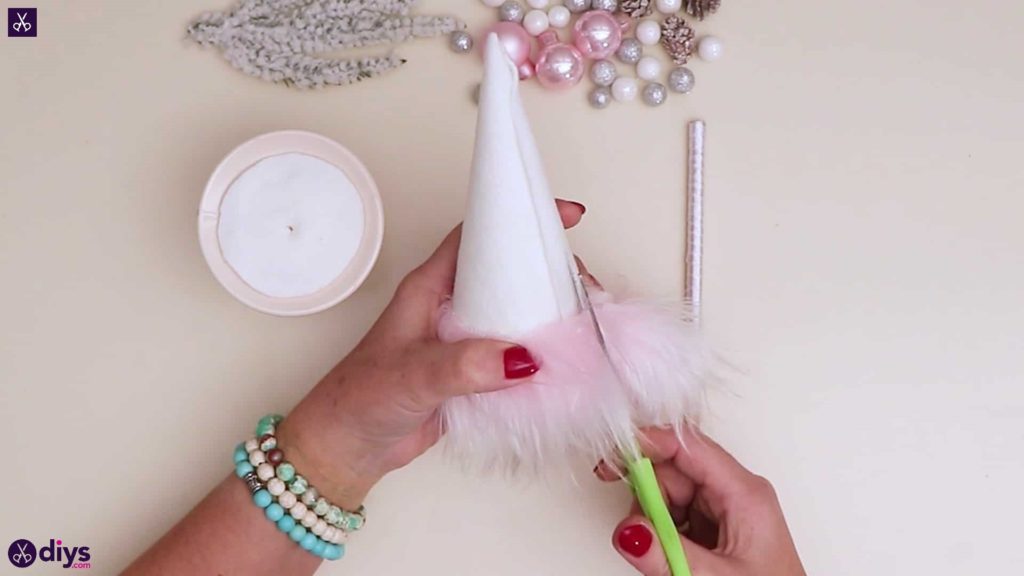
Step 8: fringe
Apply glue along the bottom edge of your cone’s base and stick your pink fur trim into place there, all the way around. When you meet back up with the first end on the other side, trim the excess and stick your second end into place with the first.


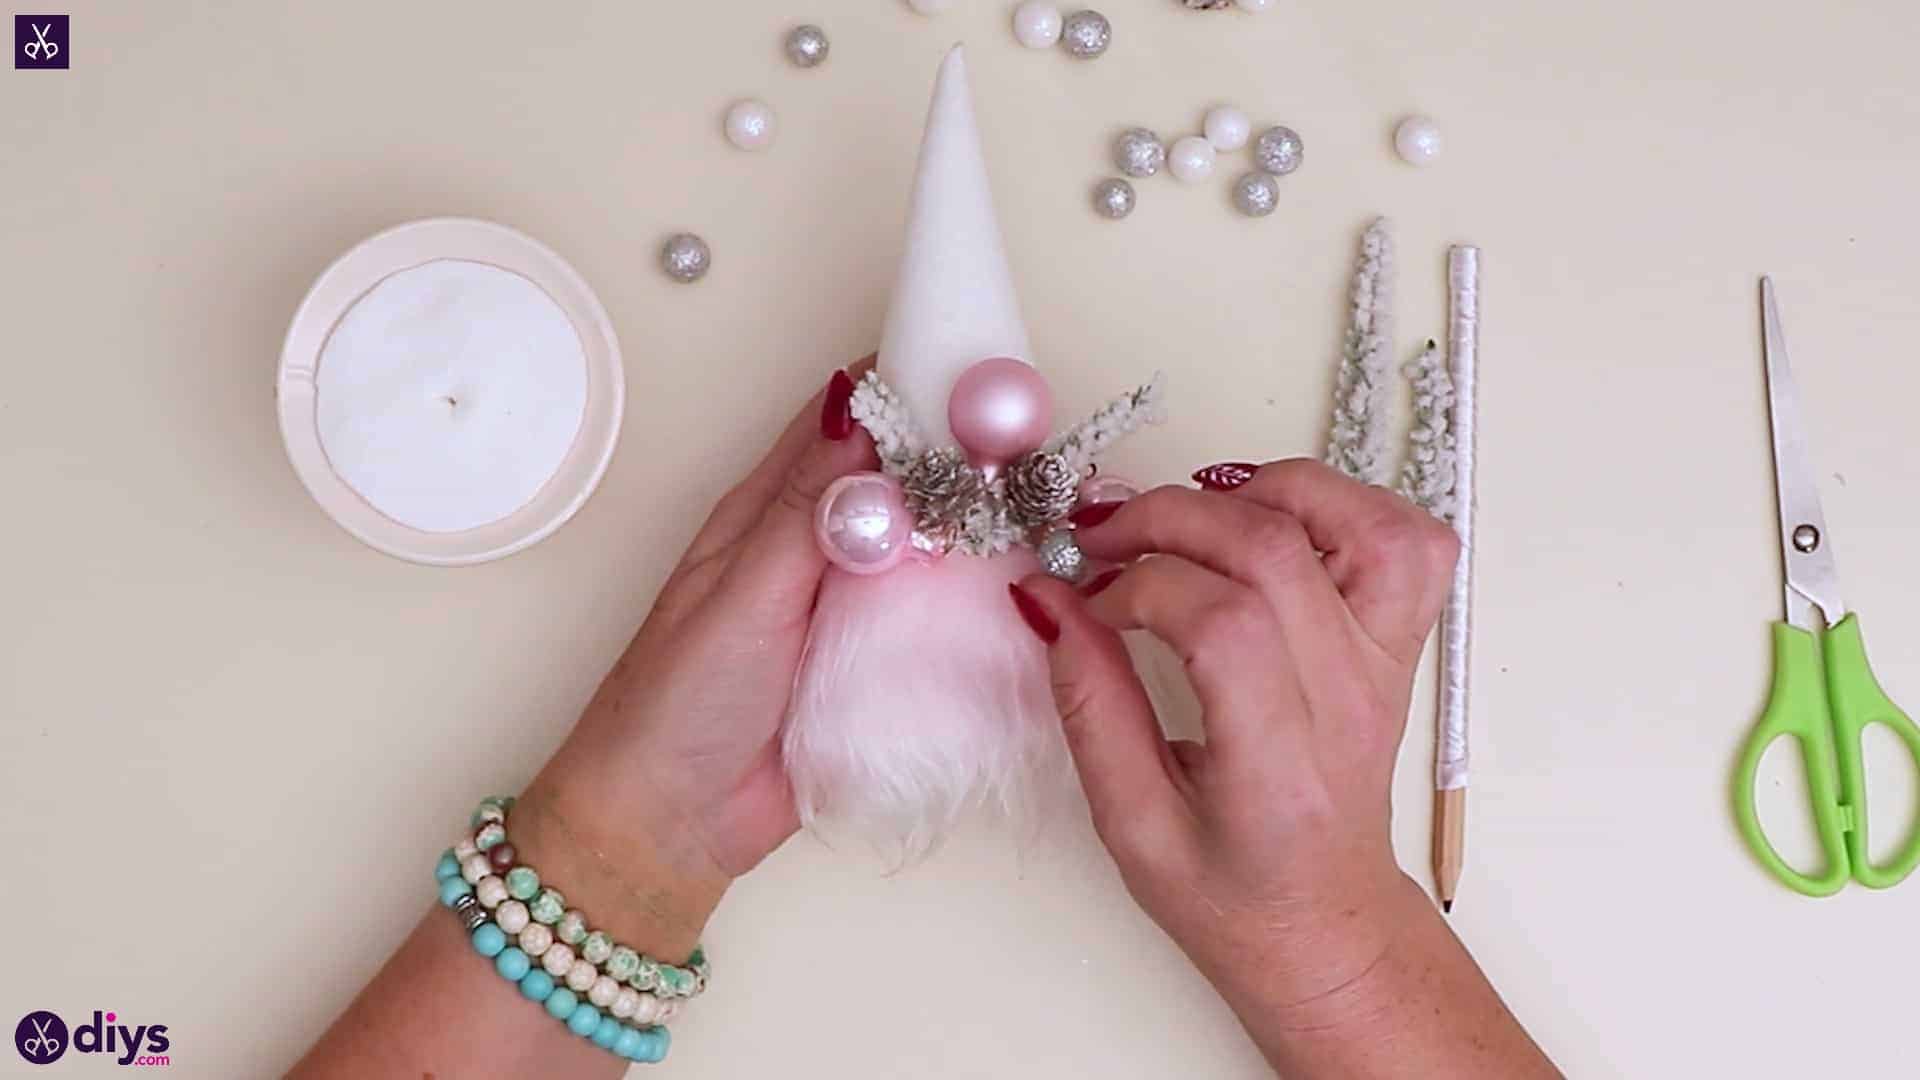
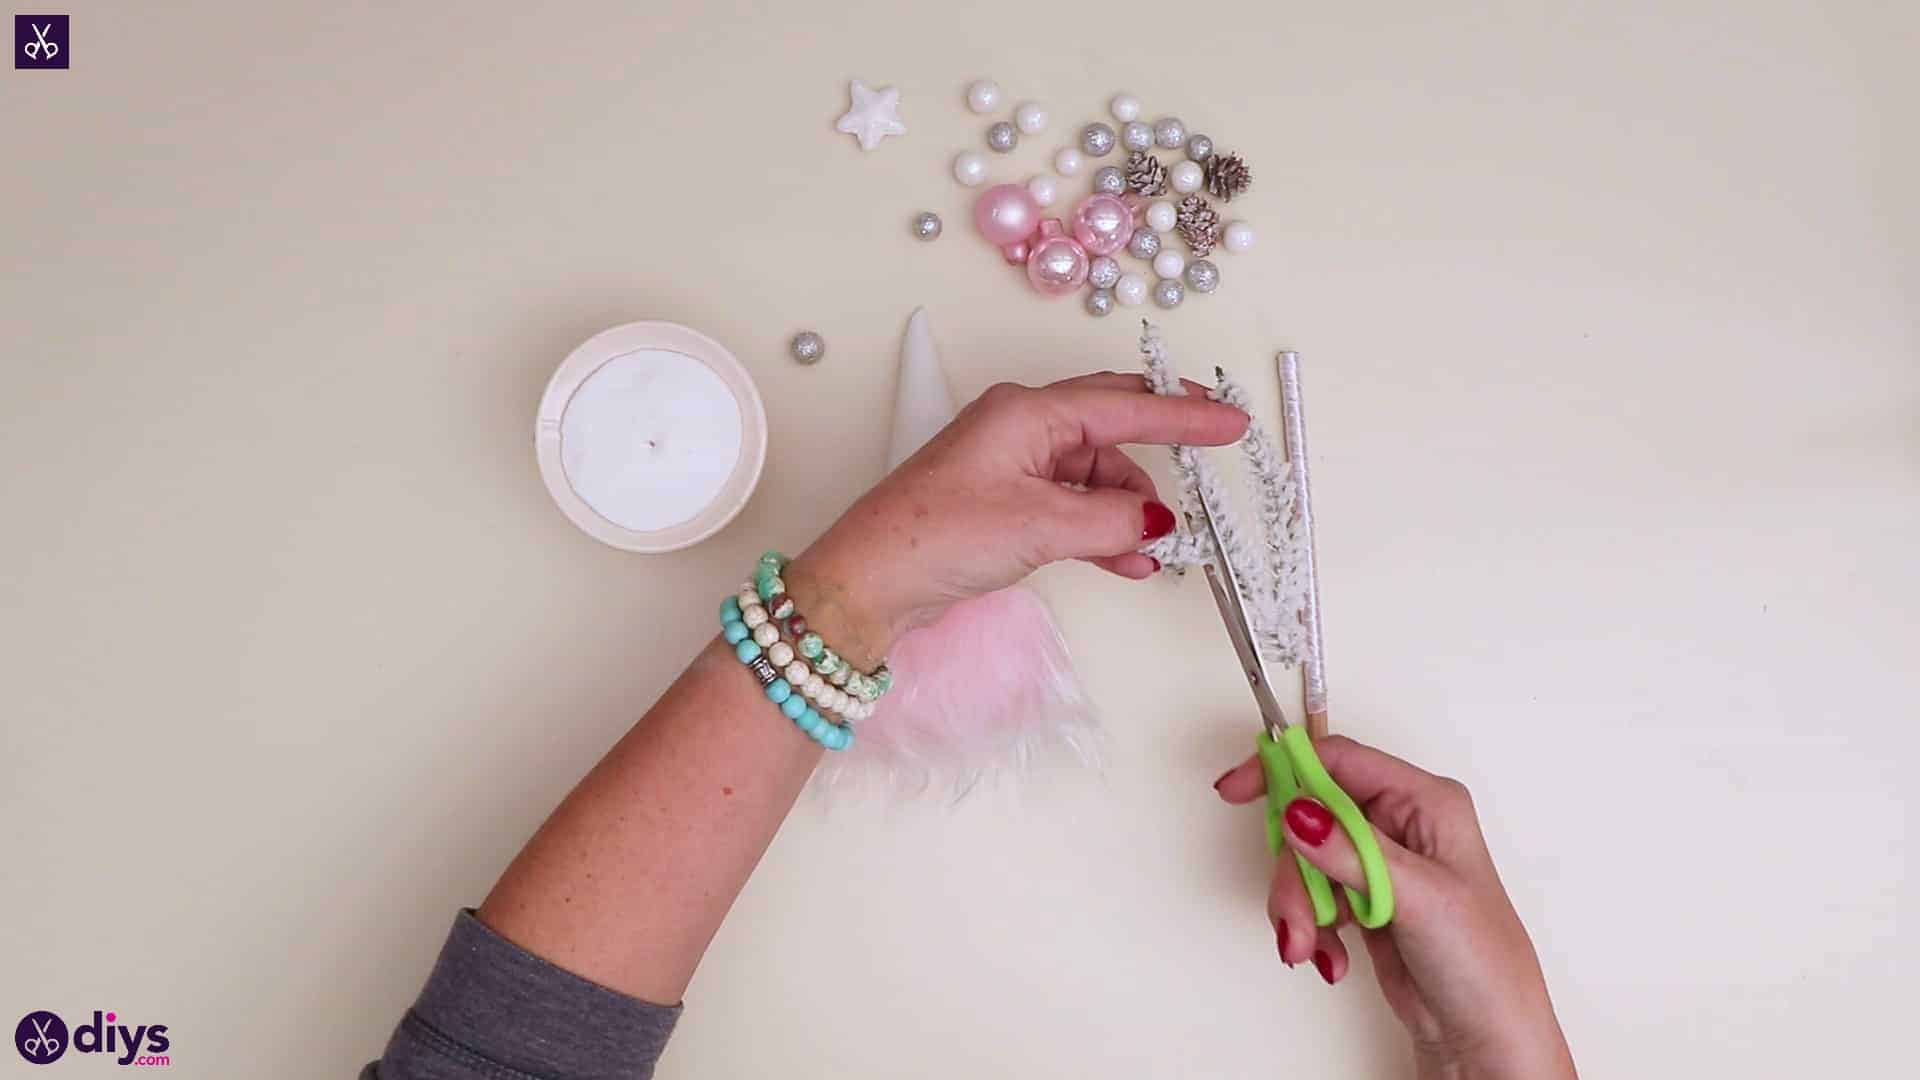
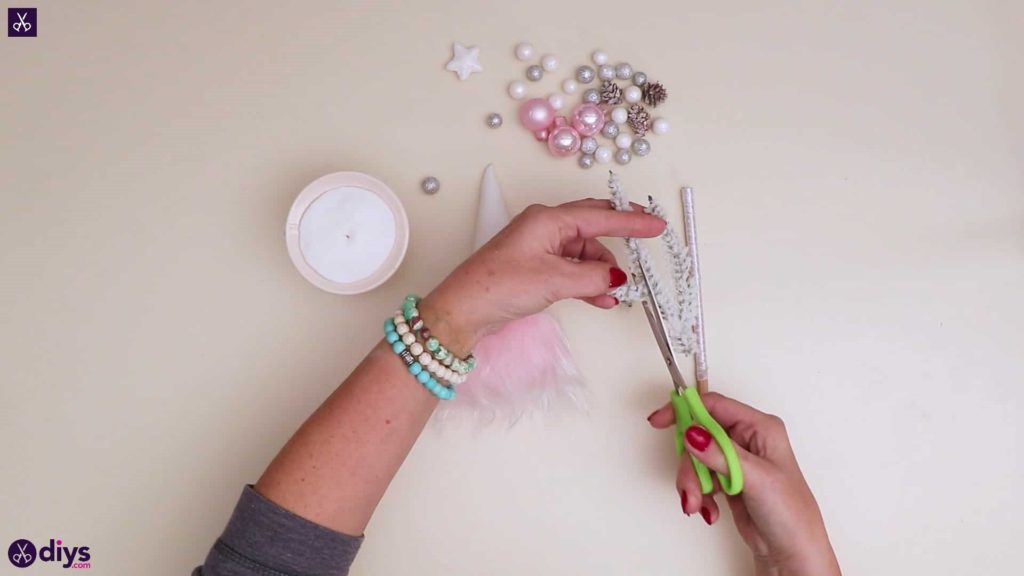
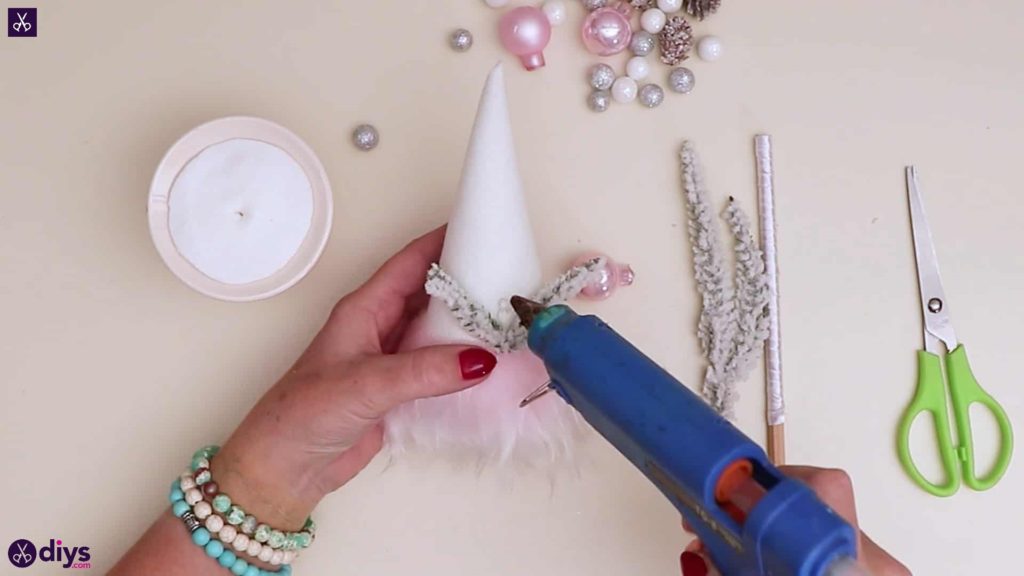
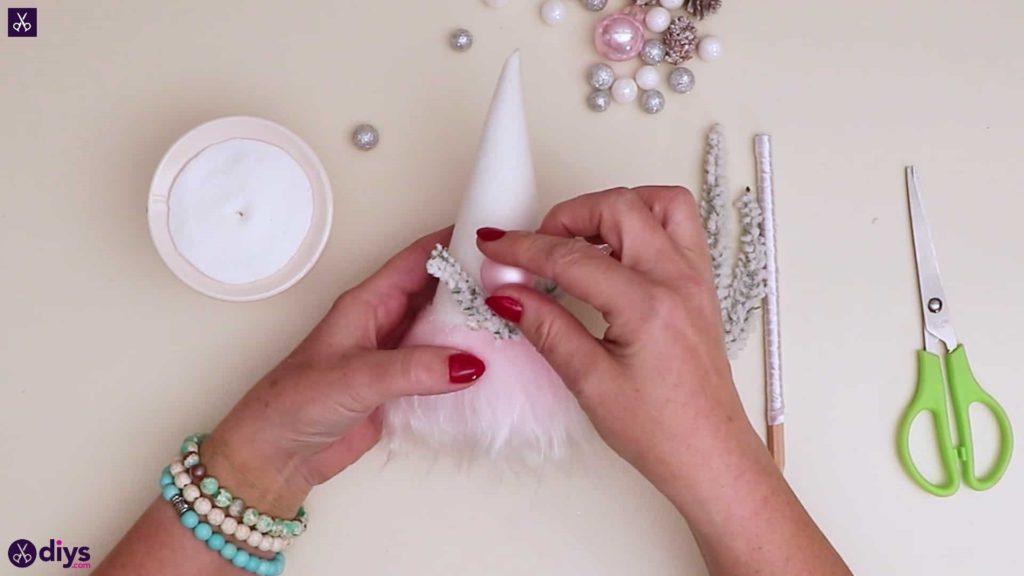
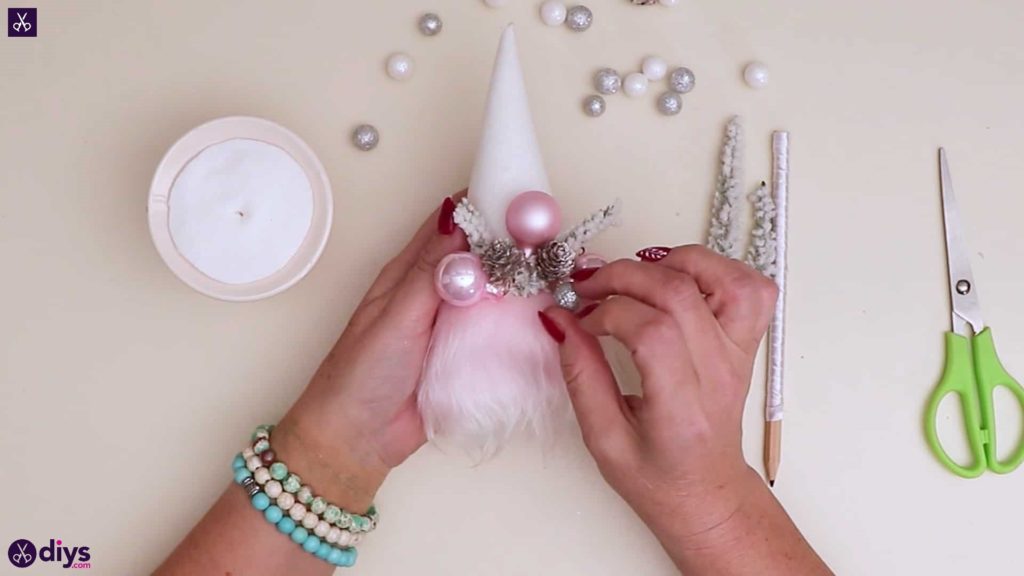
Step 9: decorate
Cut pieces from your faux pine branches and stick them into place on diagonal angles on the edge of your fur trim, on the opposite side to all your seams. Cover the base of your branch pieces with your miniature pine cones, some pink pearl beads, and some white and silver foam balls. Add as much or as little embellishment in whatever arrangement you please really!


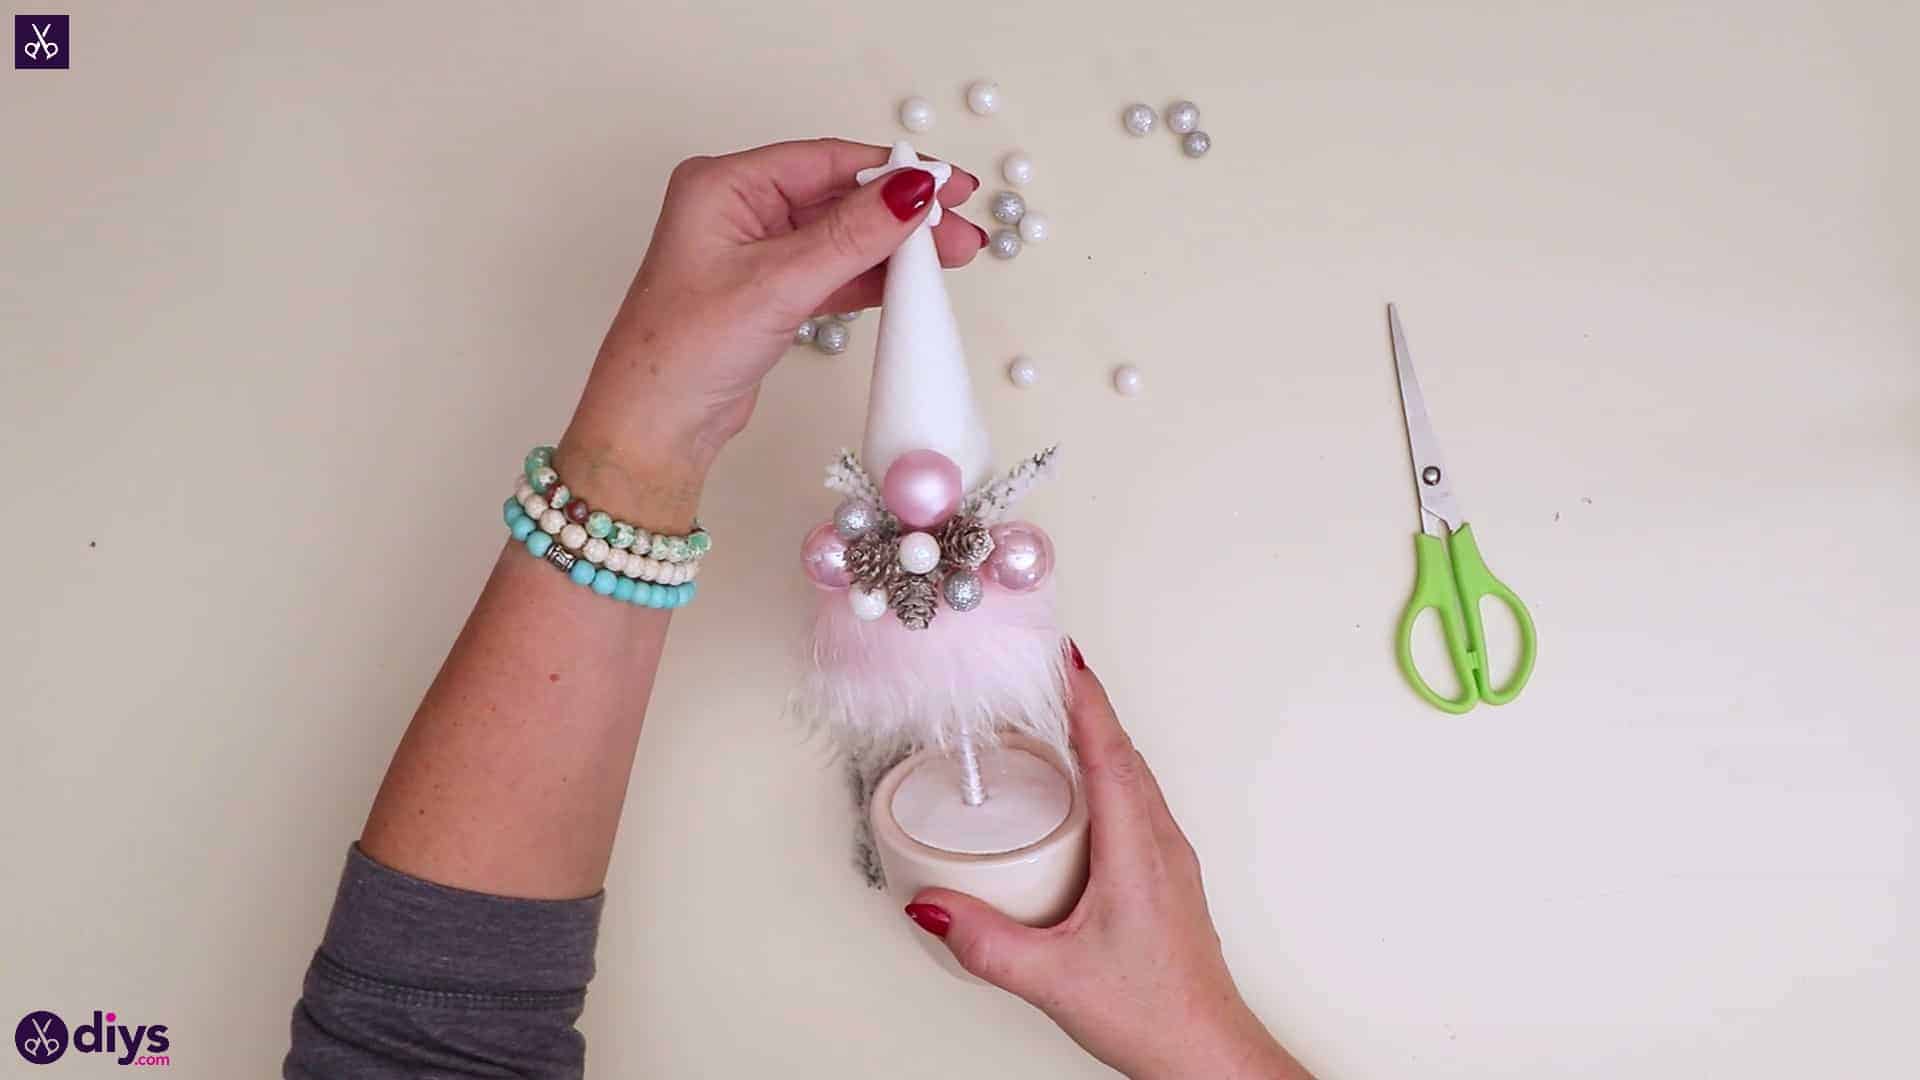
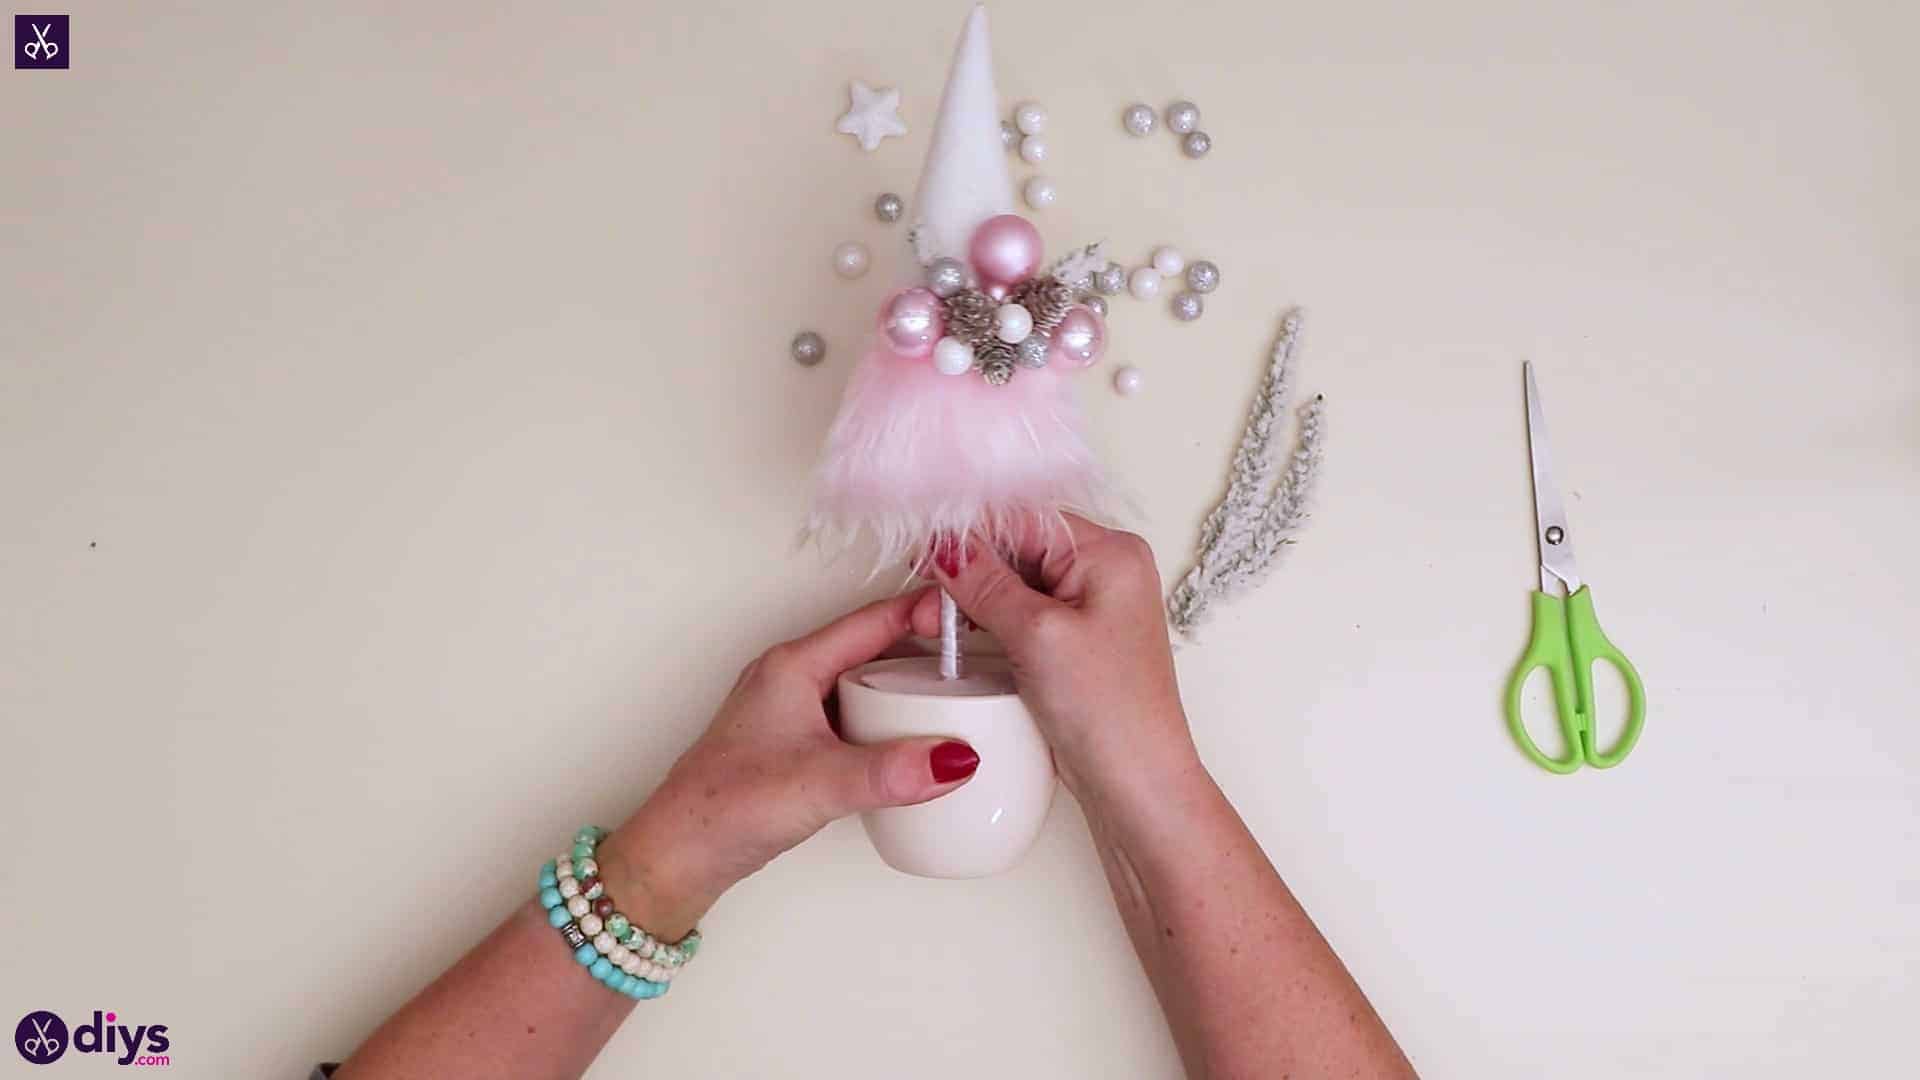
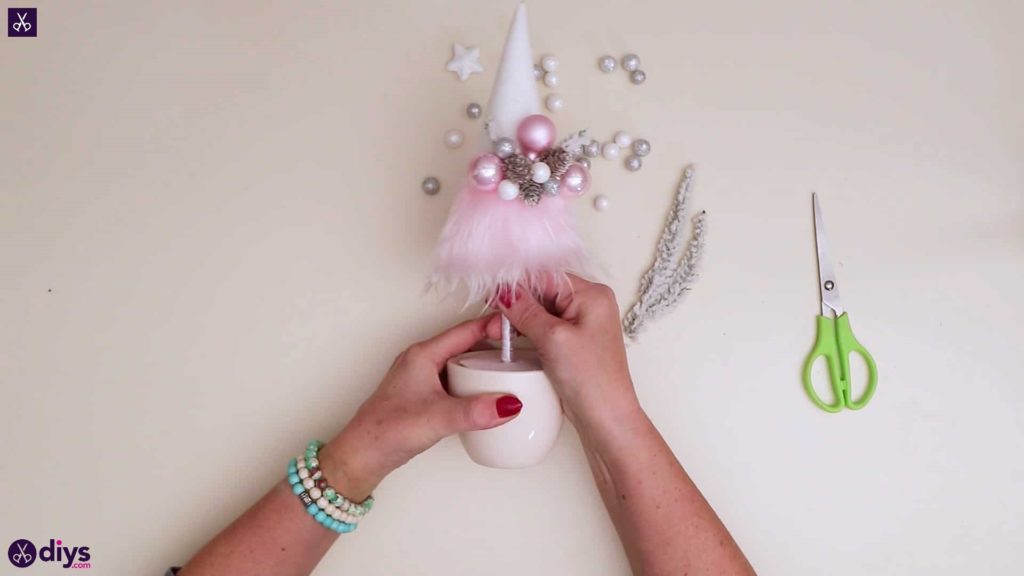
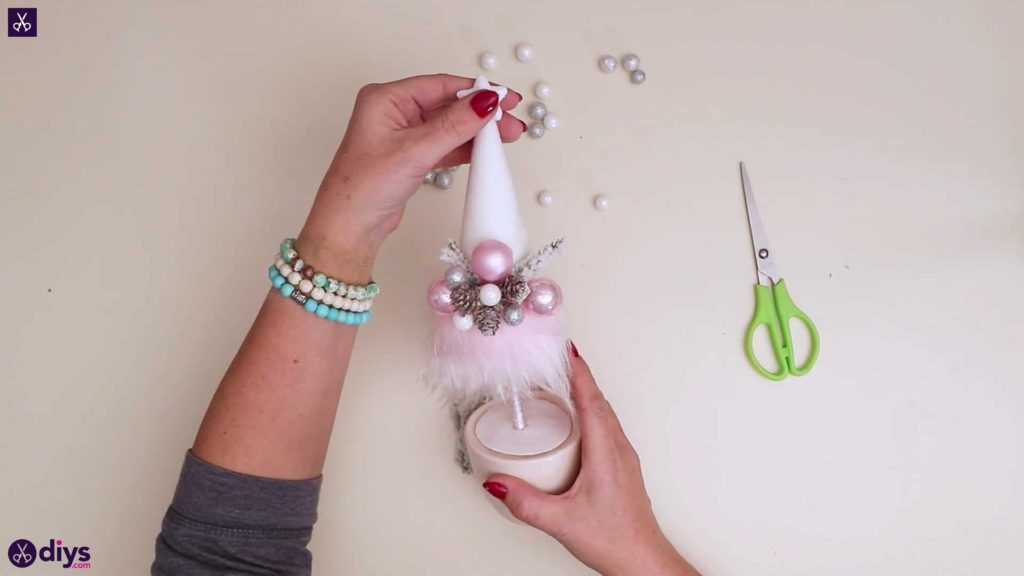
Step 10: push it in place
Push the blunt end of the pencil into the base of the cone through the hole in your fabric, and then push the sharpened end of your pencil through the hole in the fabric on your pot and down into the foam there, so the whole thing stands up. Apply some glue to the to tip of your cone and stick your star bead down there, just like the top of a Christmas tree.


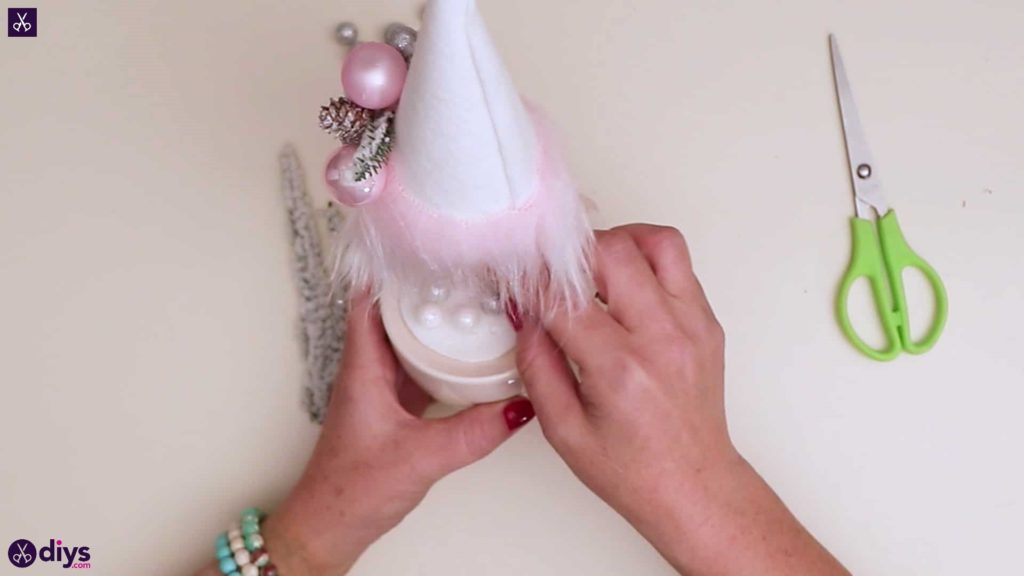
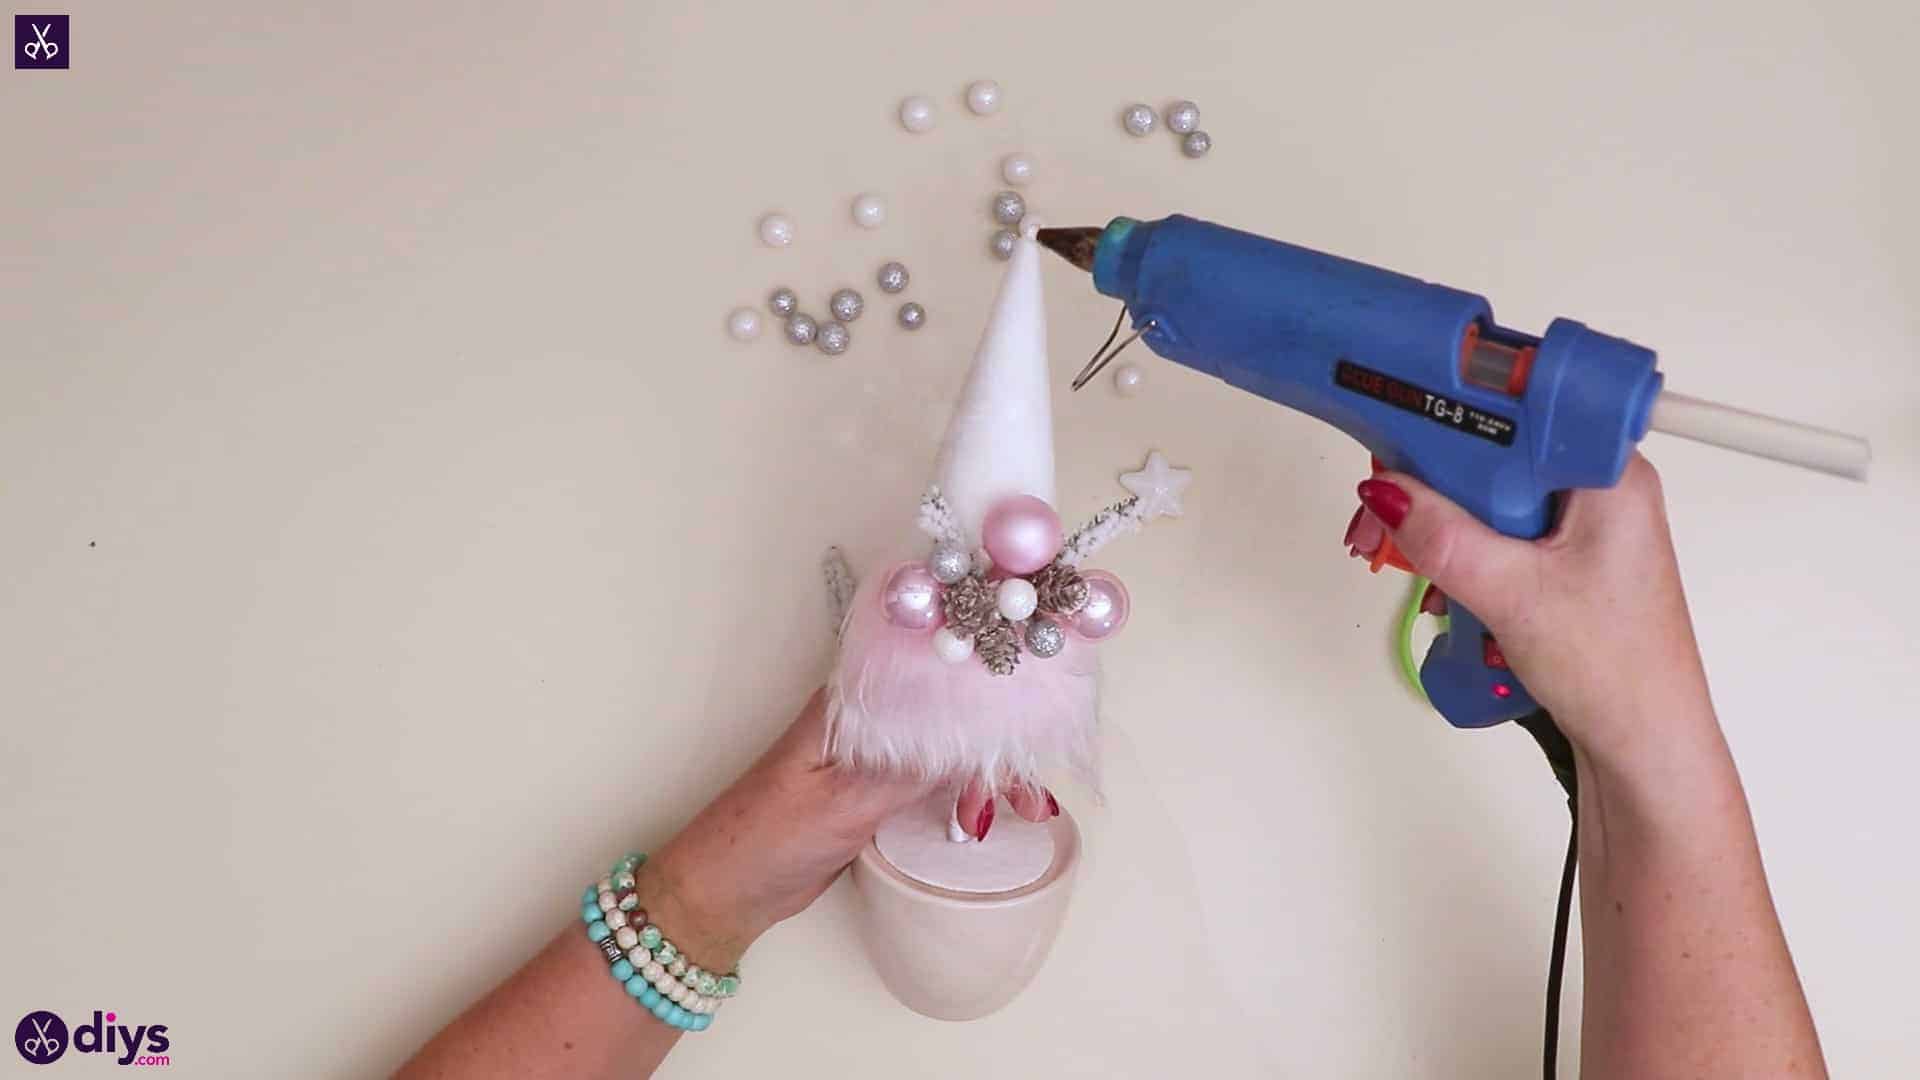
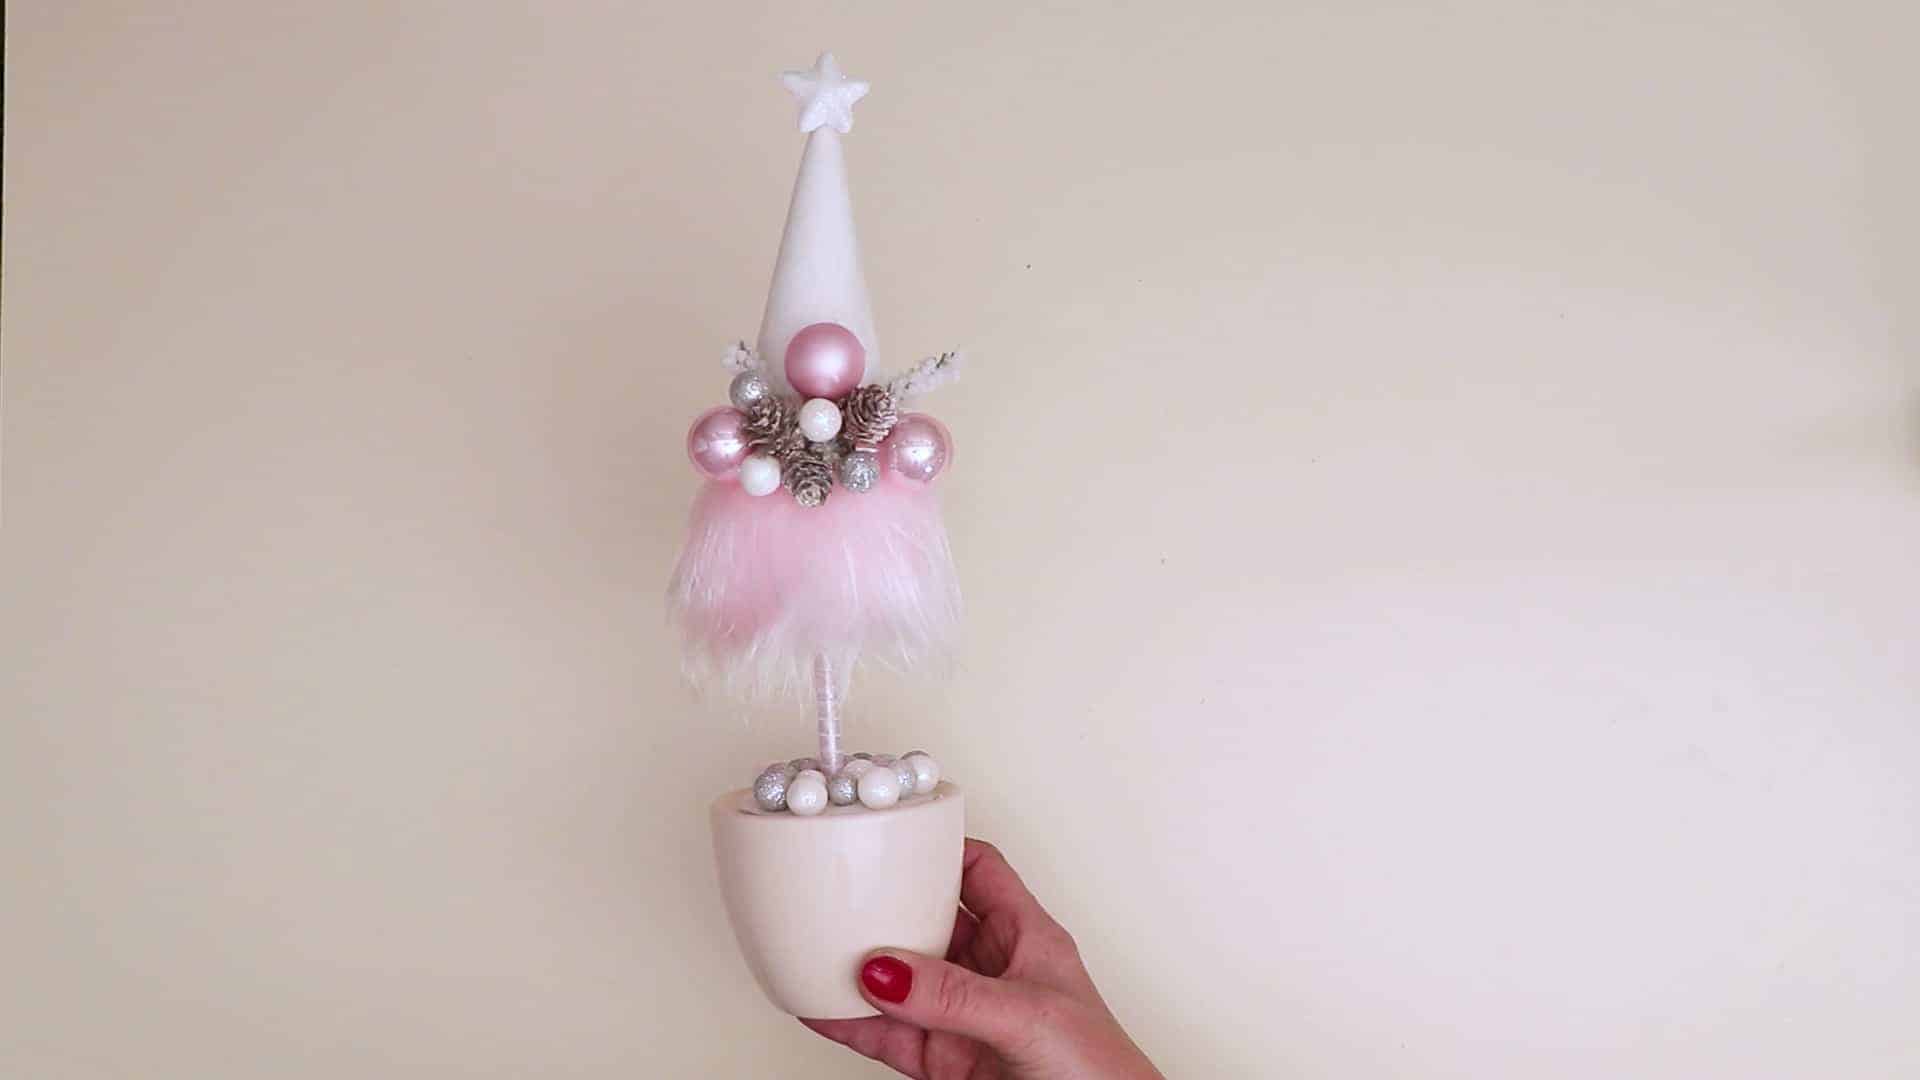
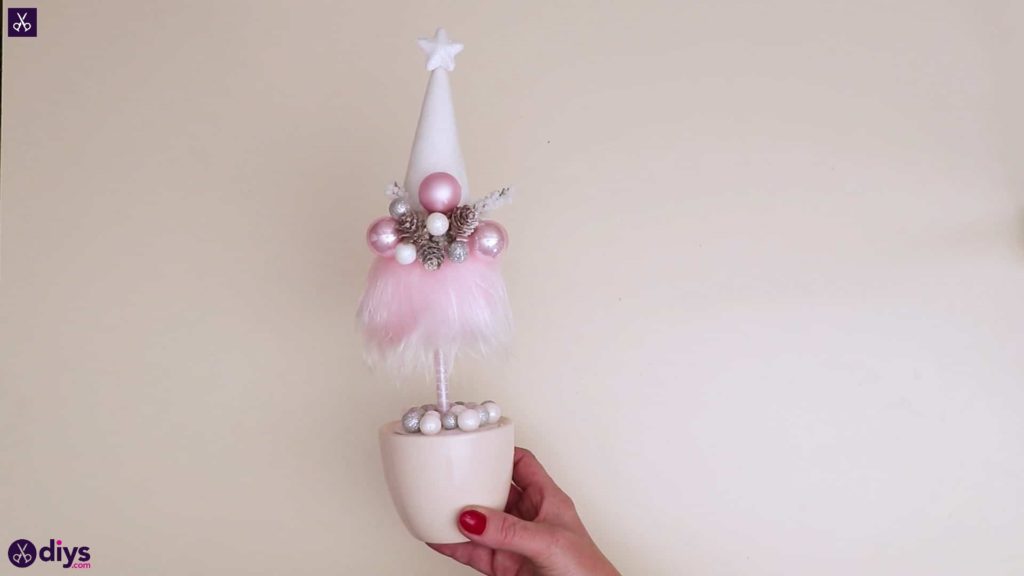
Step 11: voila!
Apply dots of glue around the base of your pencil in your pot, on the white fabric, and place white and silver balls and pink pearls there, scattering them however you please.
You’re all finished this centrepiece the moment you love the way it looks! Feel free to embellish it more if you’d like. Just in case you’d like to try this project out for yourself, here’s a fantastic tutorial video to help you!