DIY Hanging Jute Leaf
Updated on June 23, 2021


This DIY hanging jute leaf is the perfect thing to try your hand at rope art. Make a bunch for keychains, put some together for wall art, or even make some cool bookmarks from them. Check out just how we put this one together right here!
Check out these step by step instructions complete with photos! If you’d rather follow along with a video tutorial instead of written words, scroll to the bottom of this post to find just what you’re looking for.
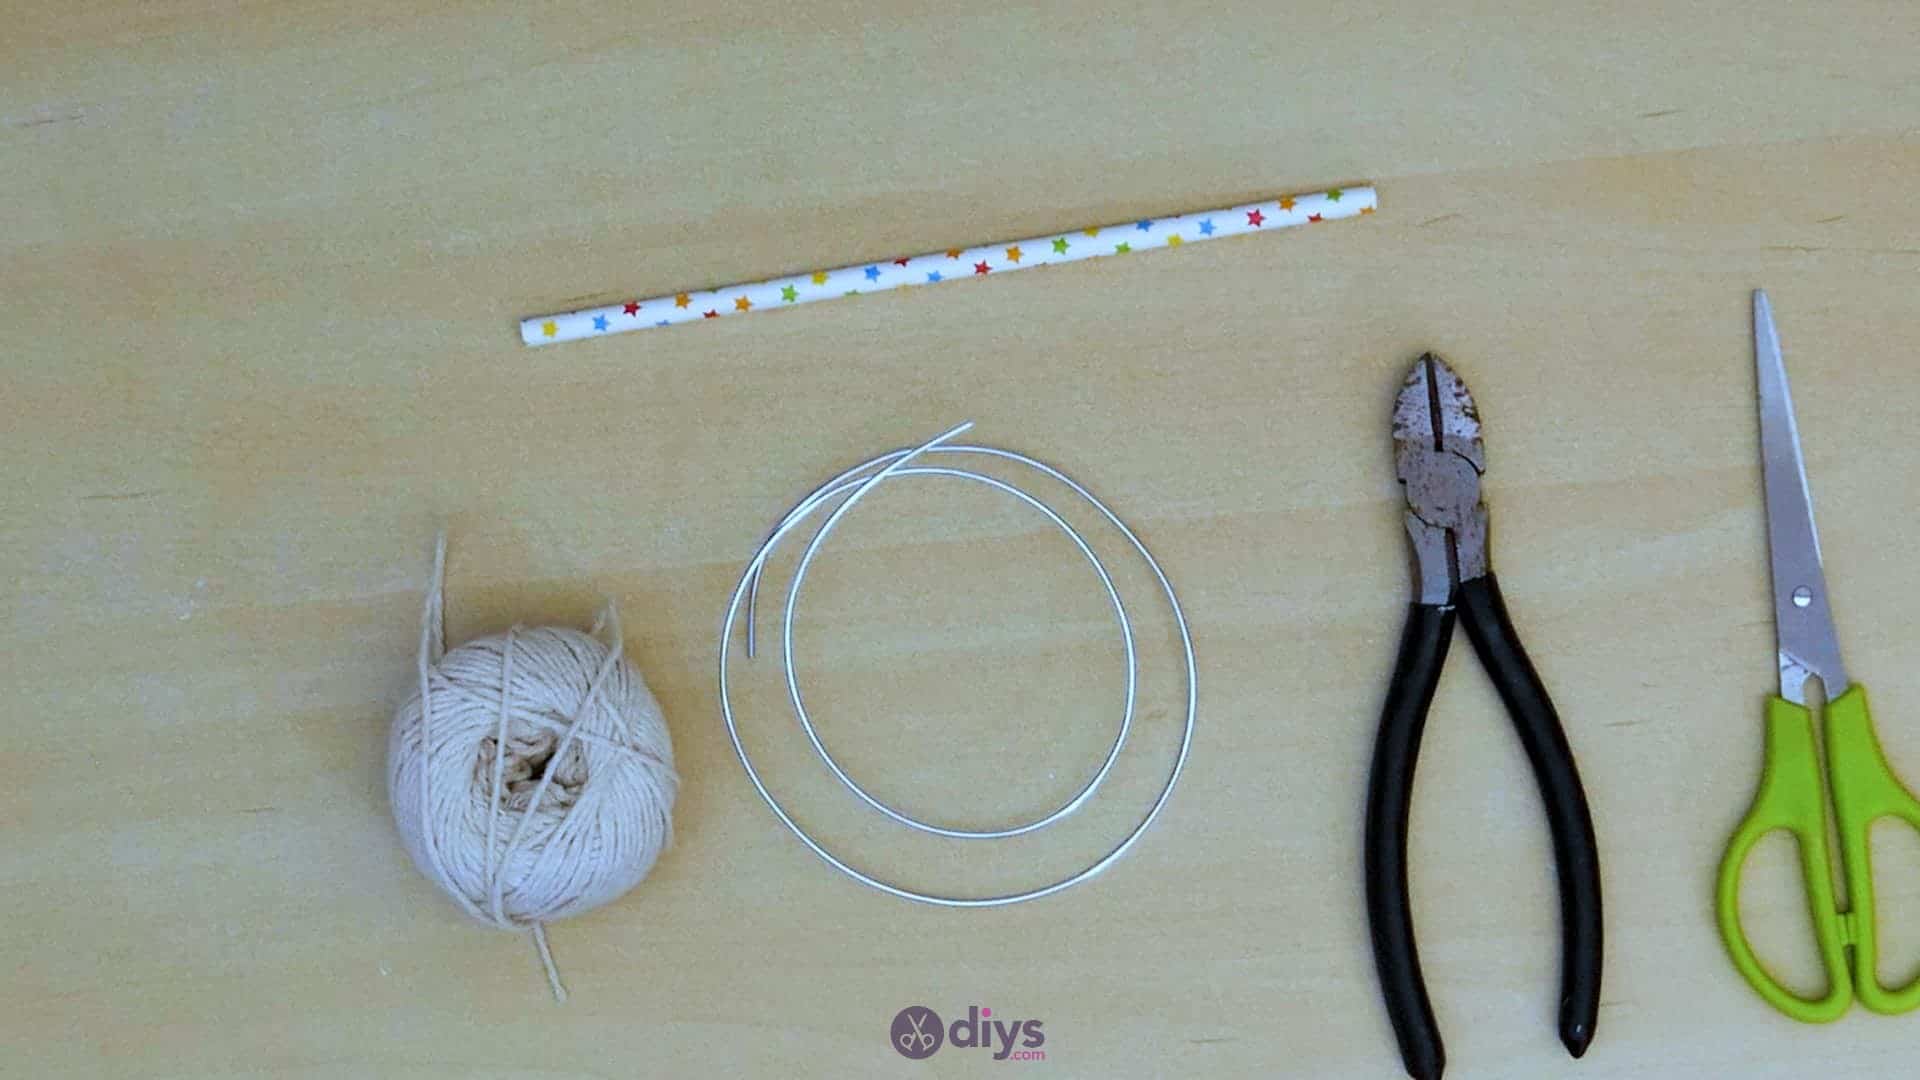
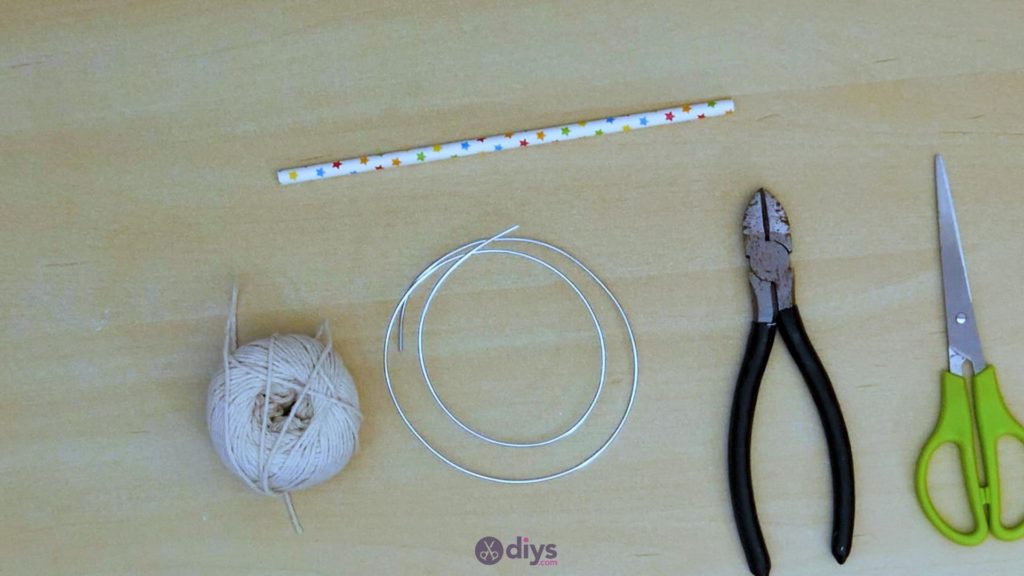
For this project, you’ll need:
- Crafting wire
- Jute twine
- A straw
- Scissors
- Wire cutters
Step 1: Gather your materials!
Check your list and get all your items together.
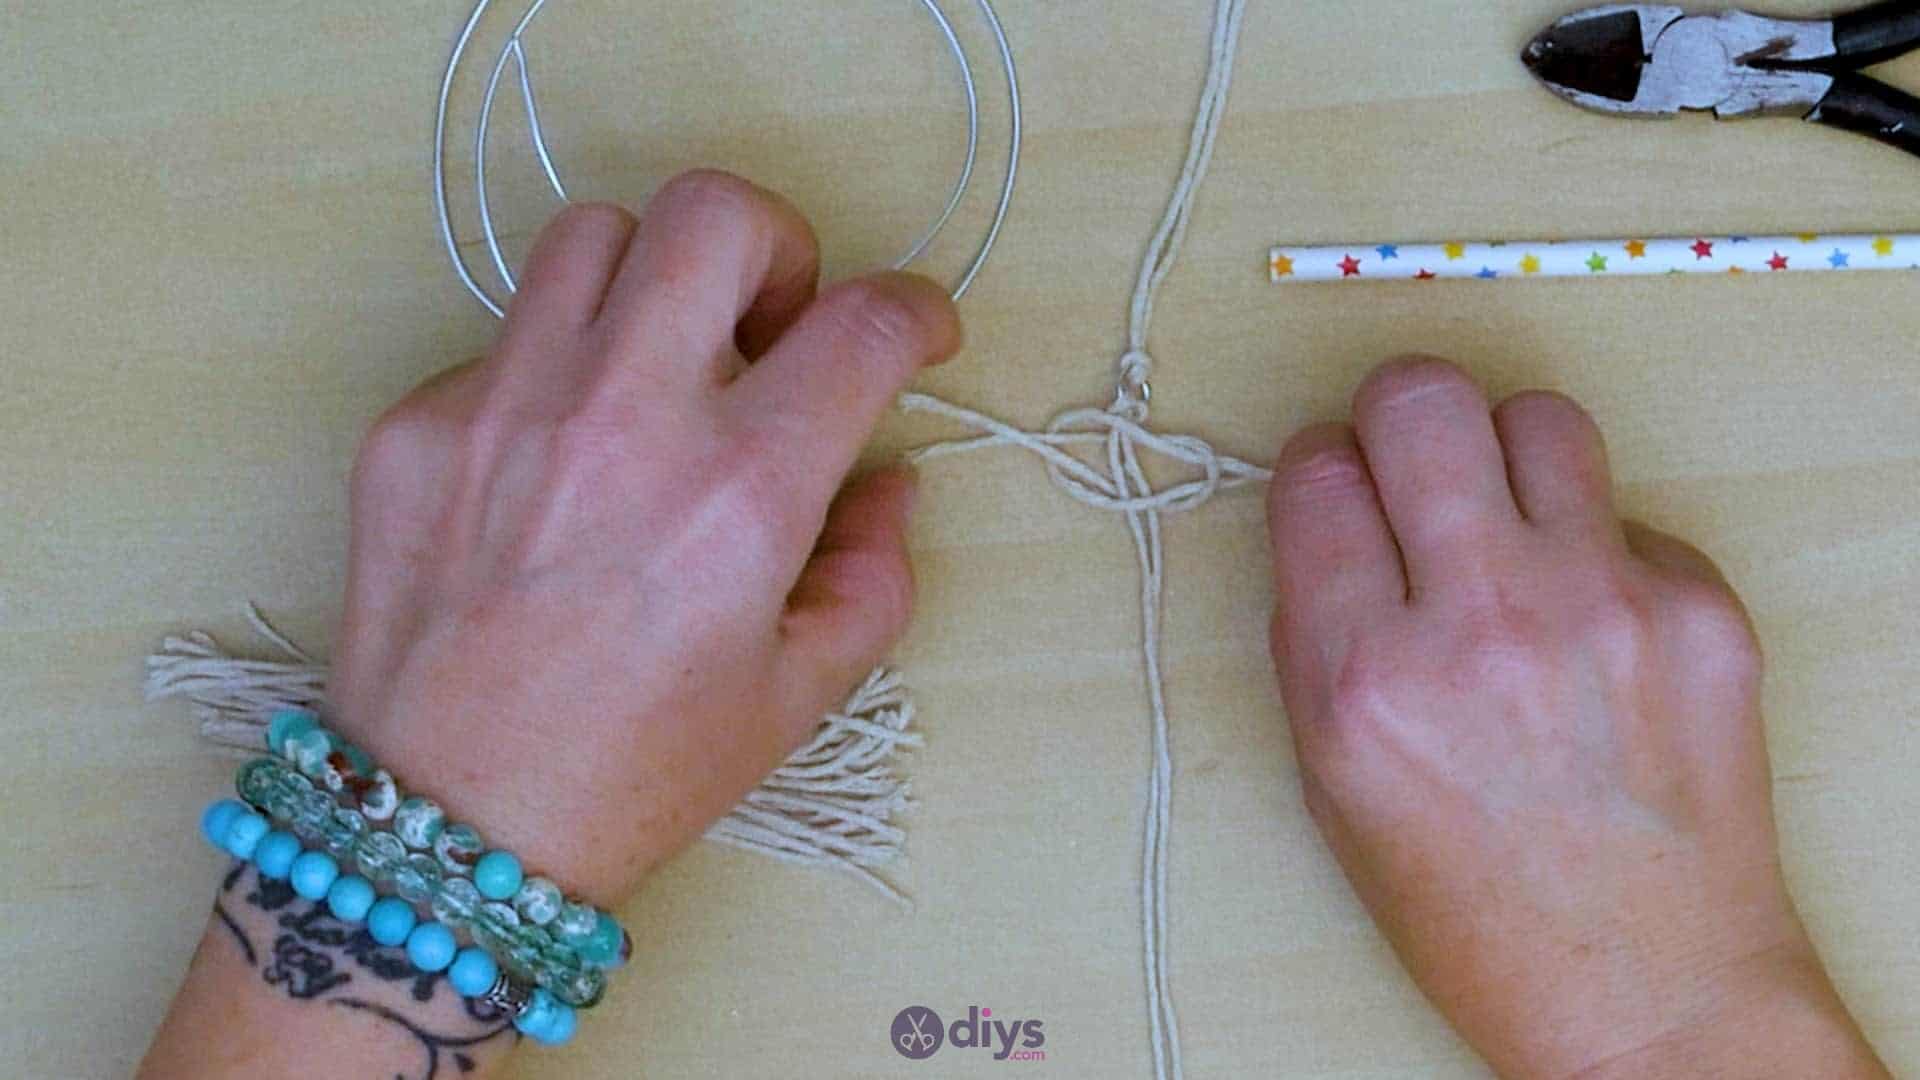
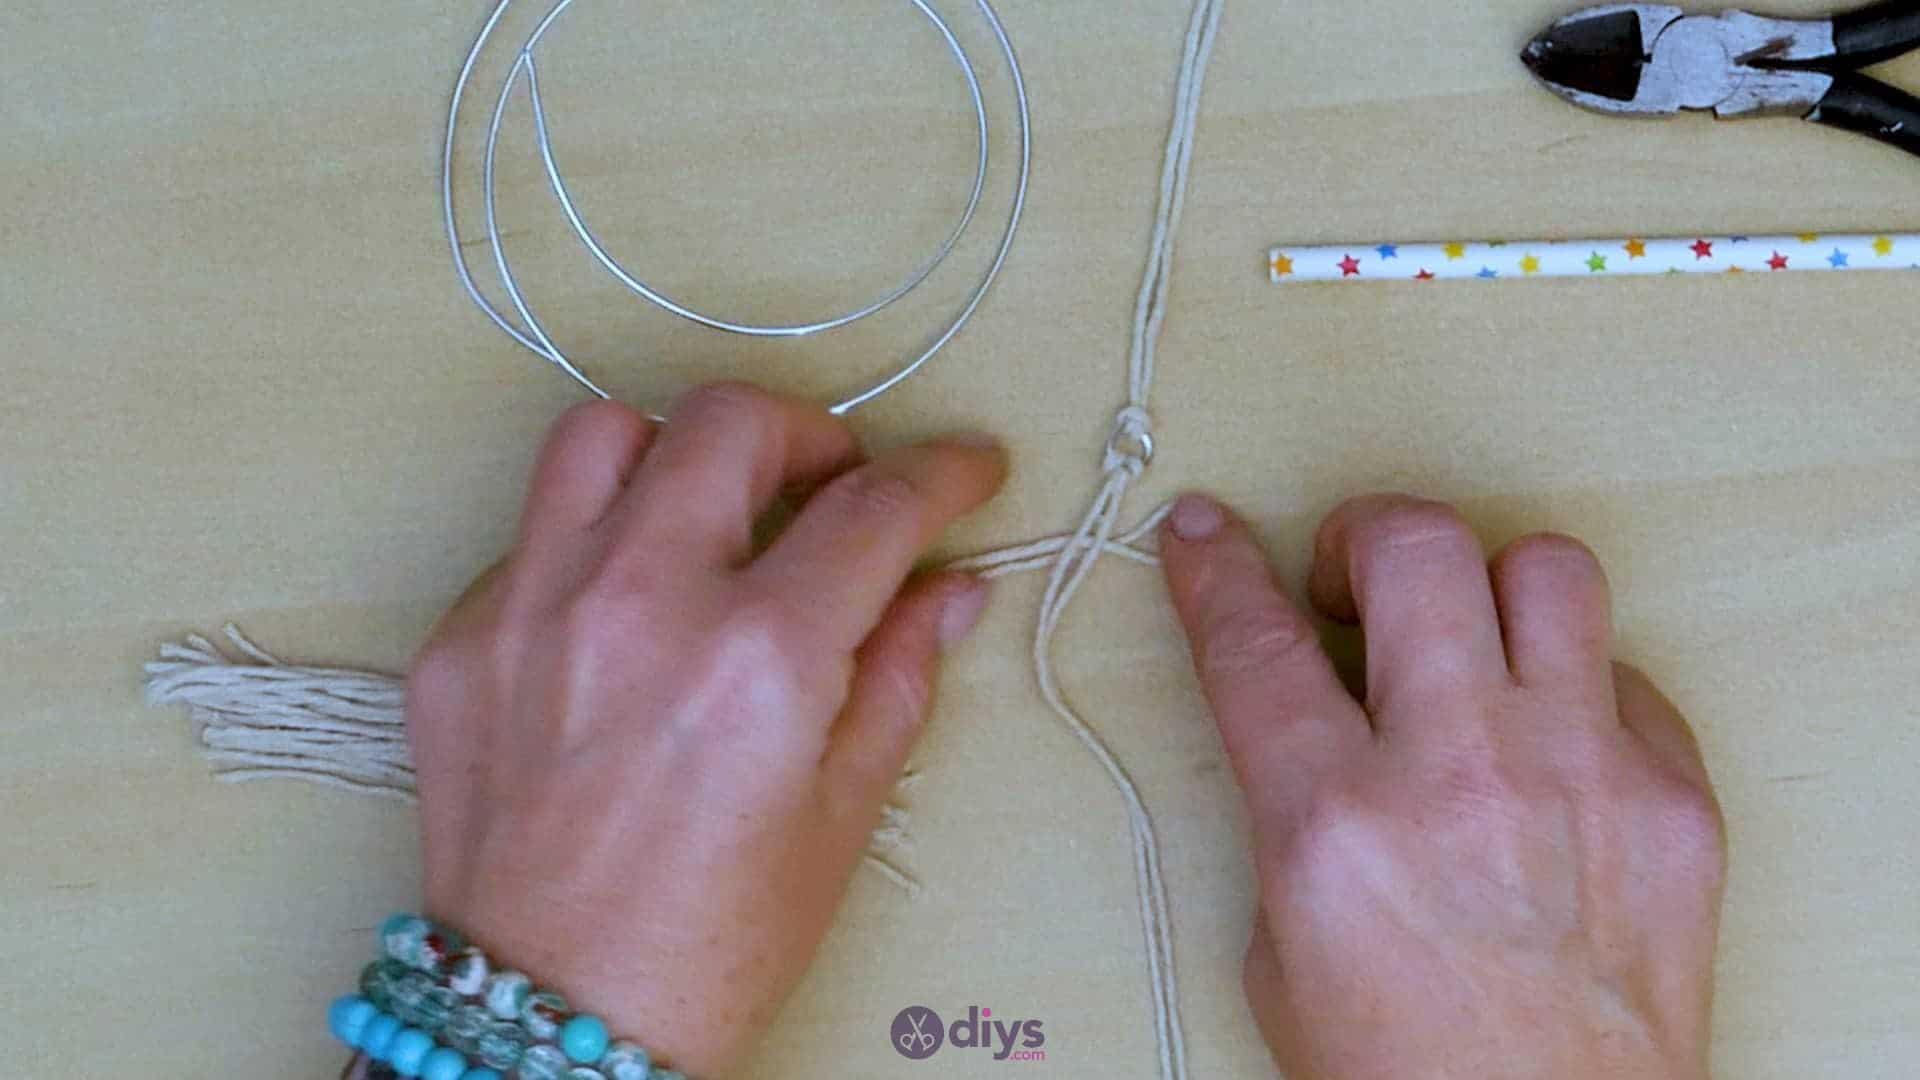
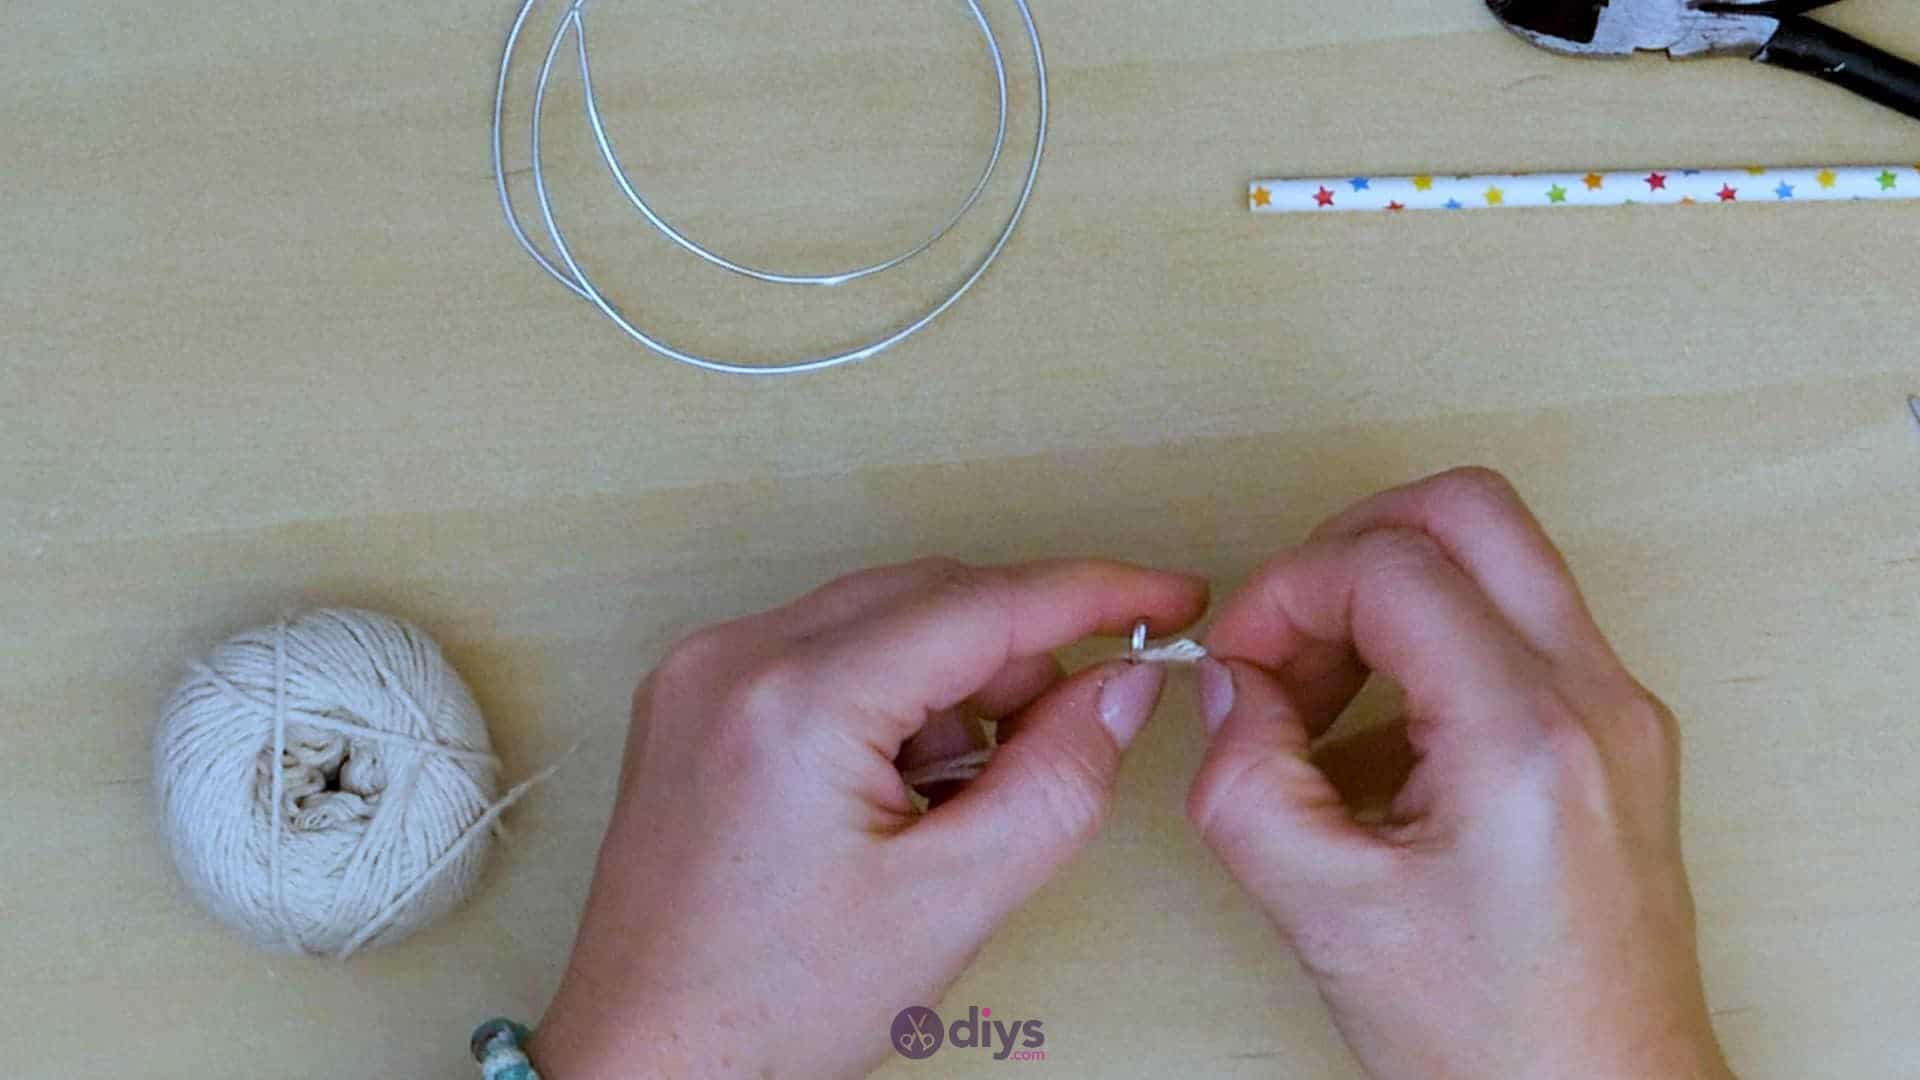
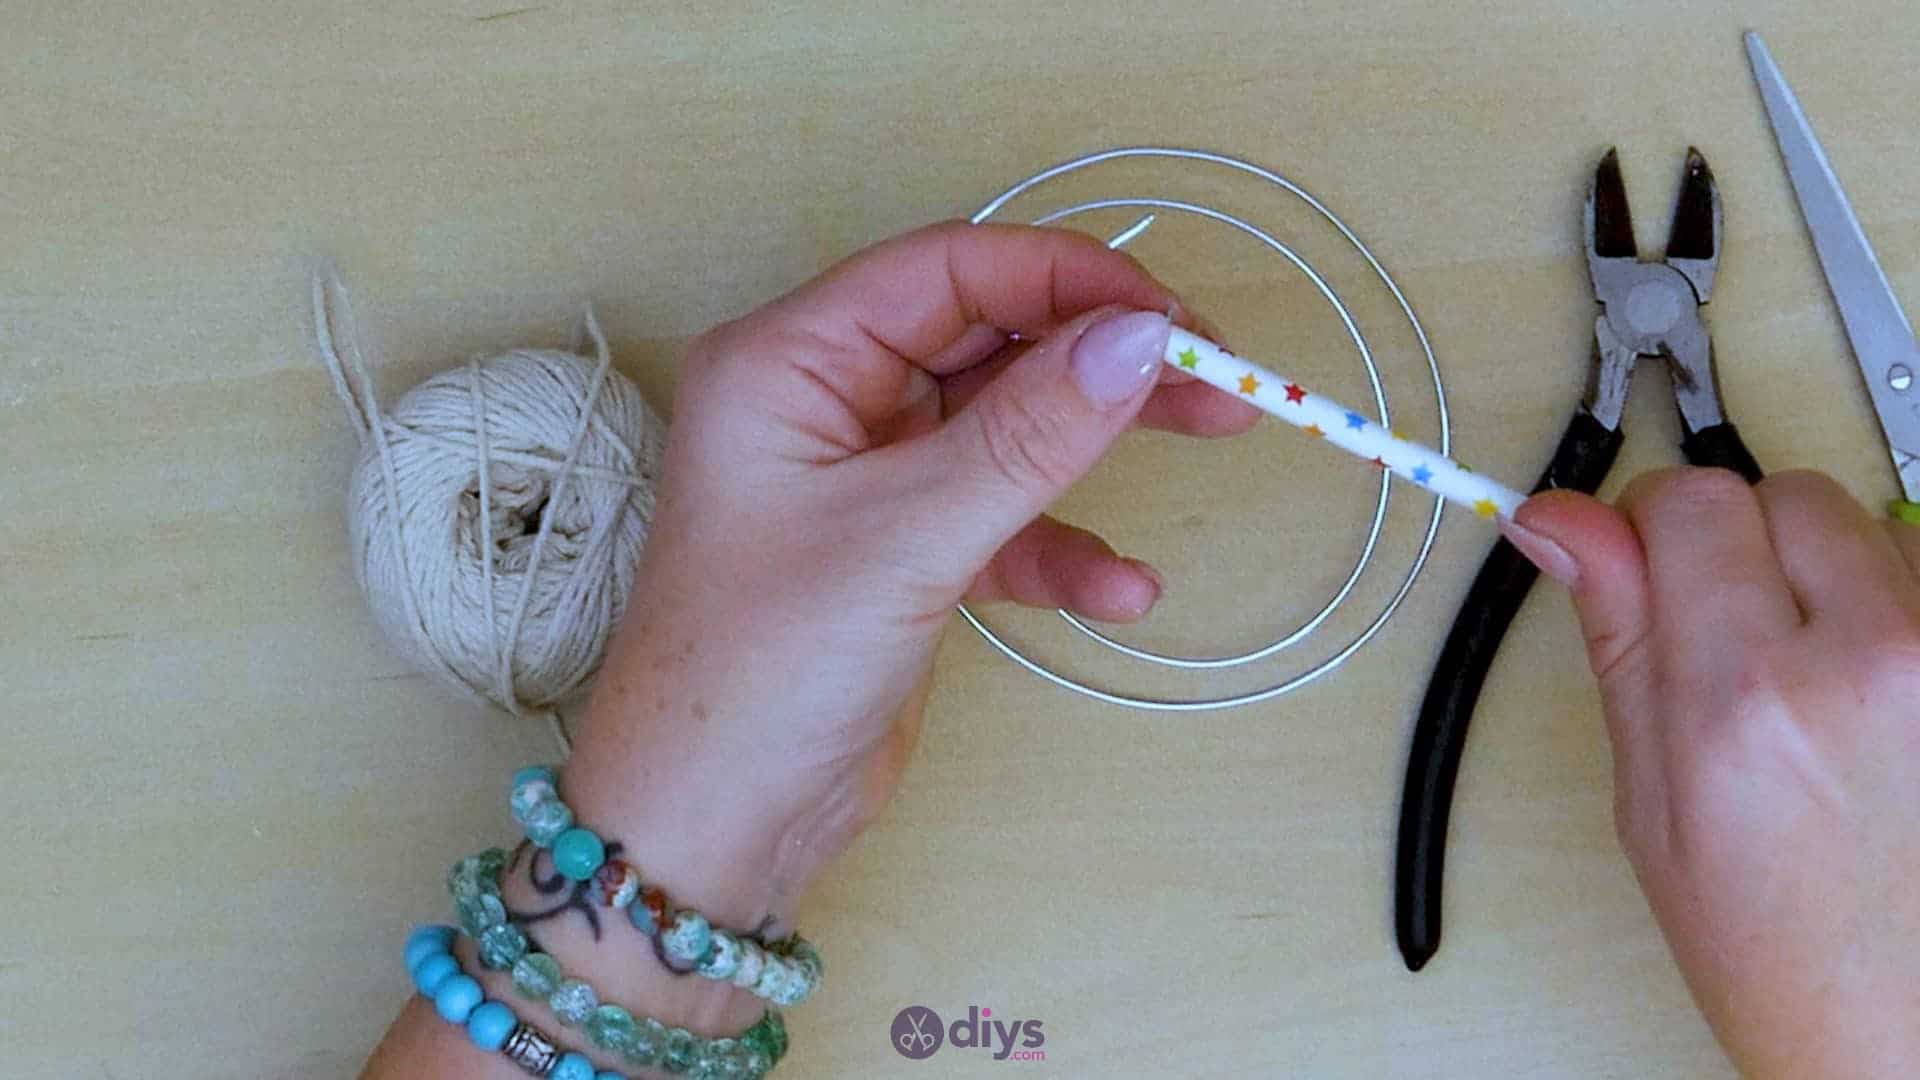
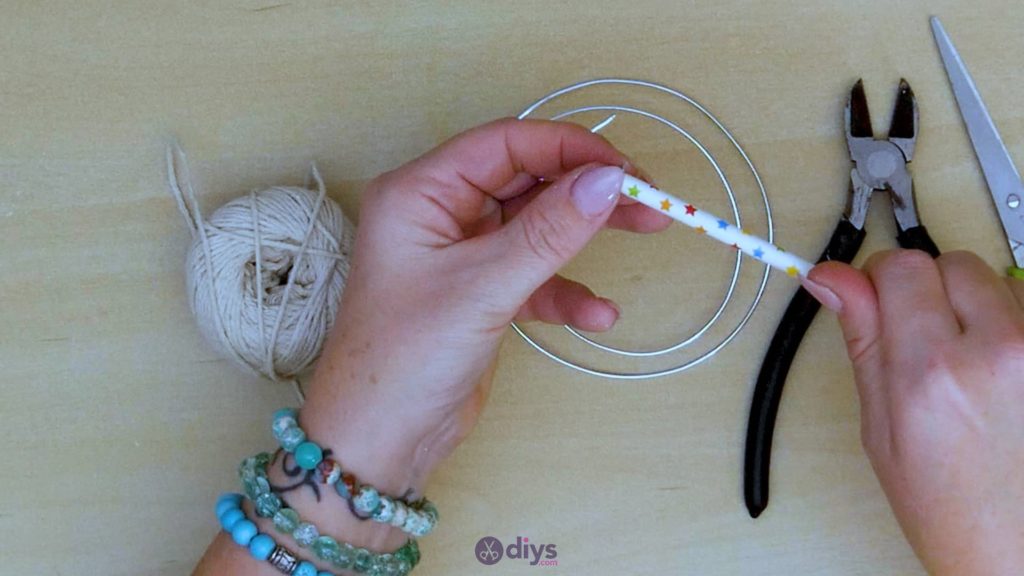
Step 2: start with a template
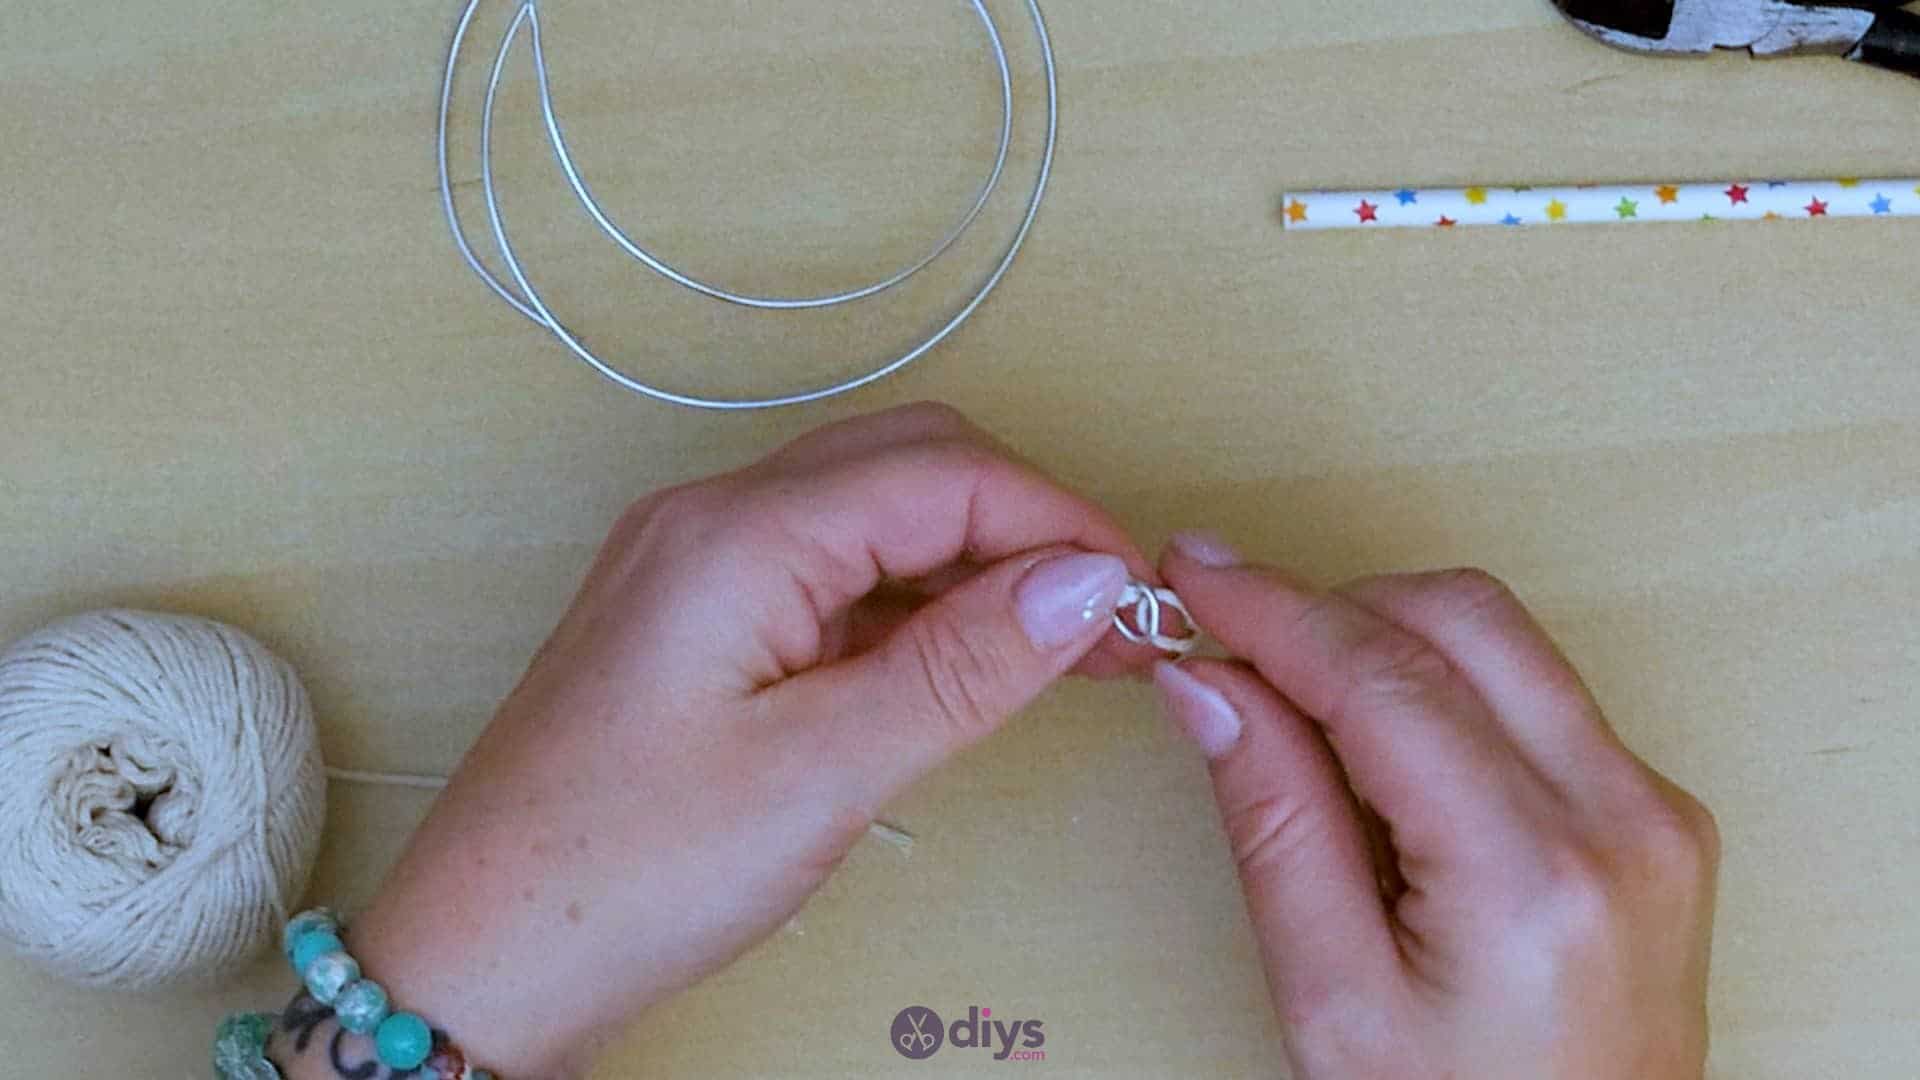
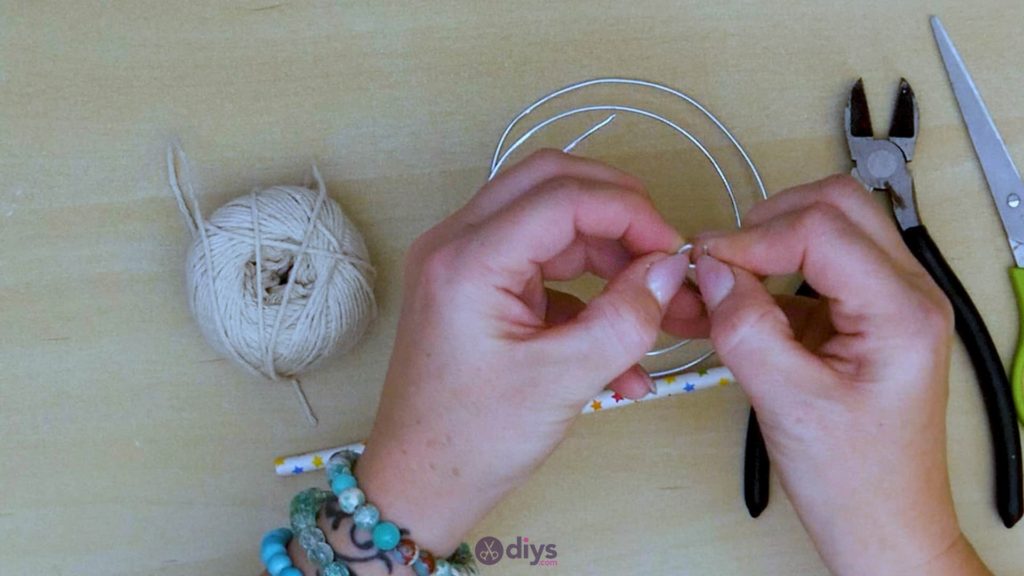
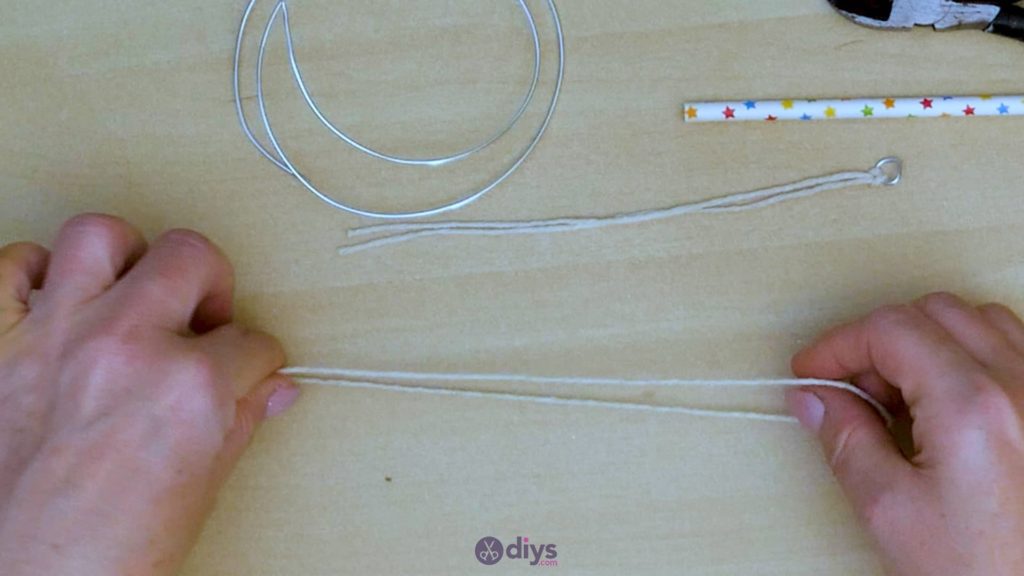
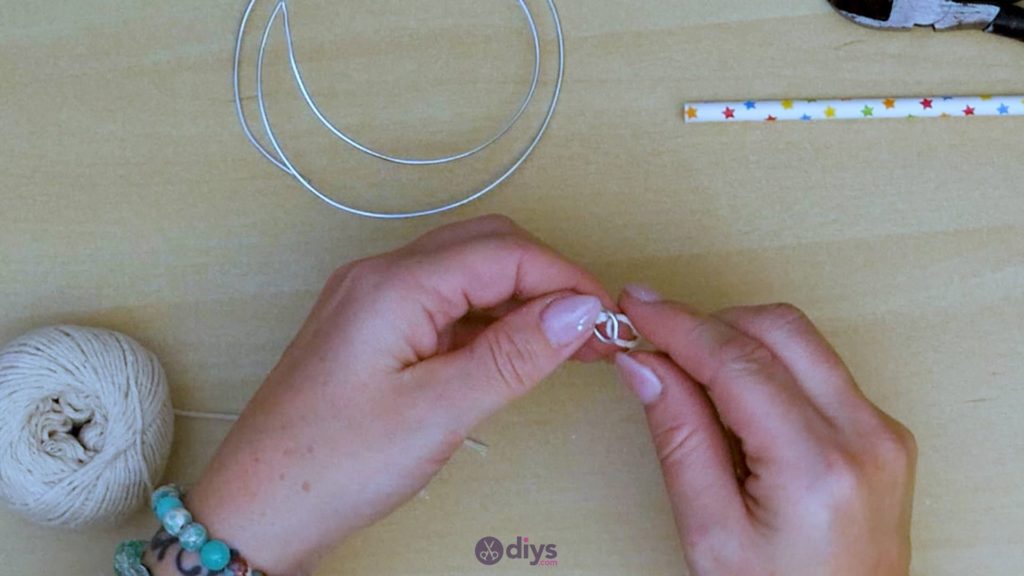
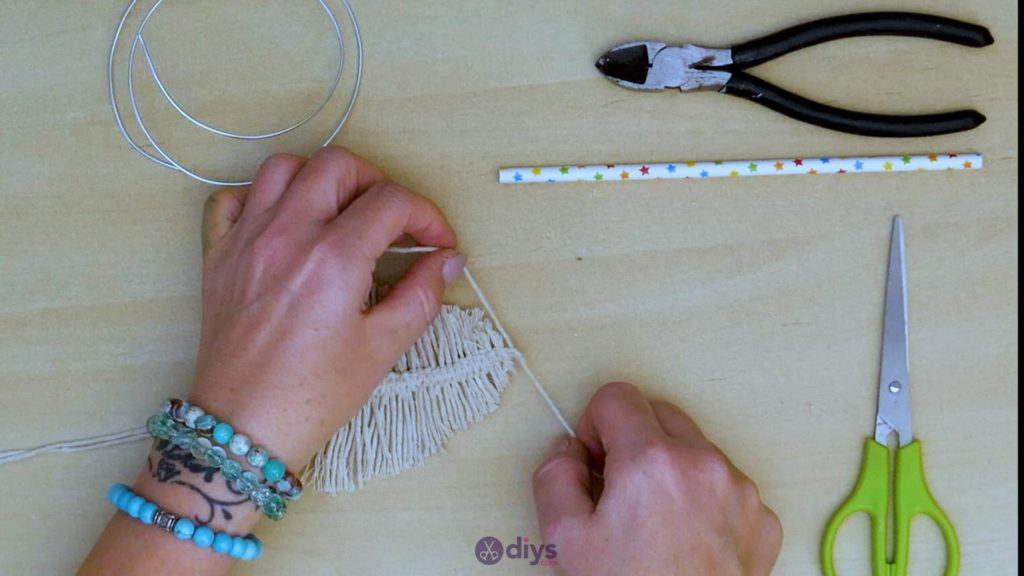
Use your straw as a template for making a jewelry link style wire ring that will hold your leaf to its hanging string and give it a little bit of movement. Hold the end of your wire against the side of the straw and wrap its length around the straw’s circumference until you meet back up with your end. Use your wire cutters to trim the excess and then use your fingers to mold the ring’s shape into a proper circle that you’re happy with. Pinch the ring entirely closed when you’re done.

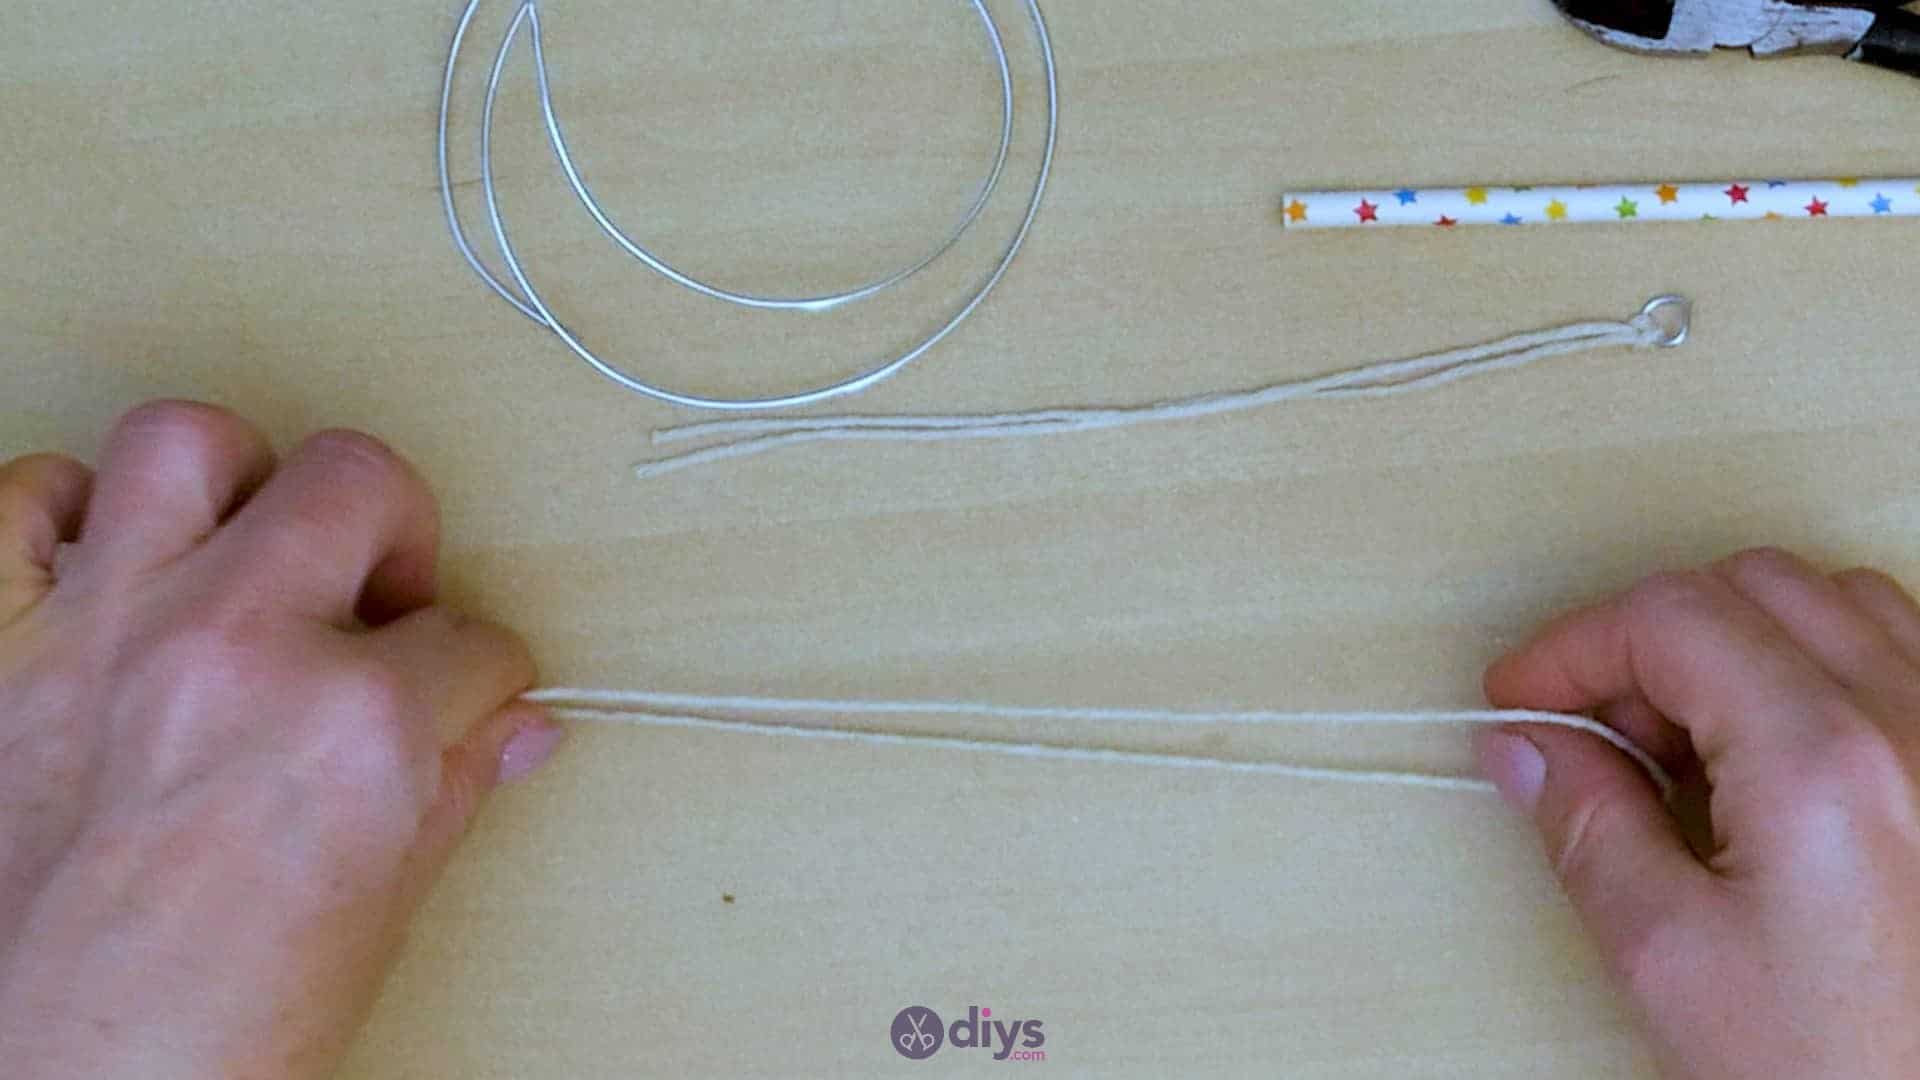
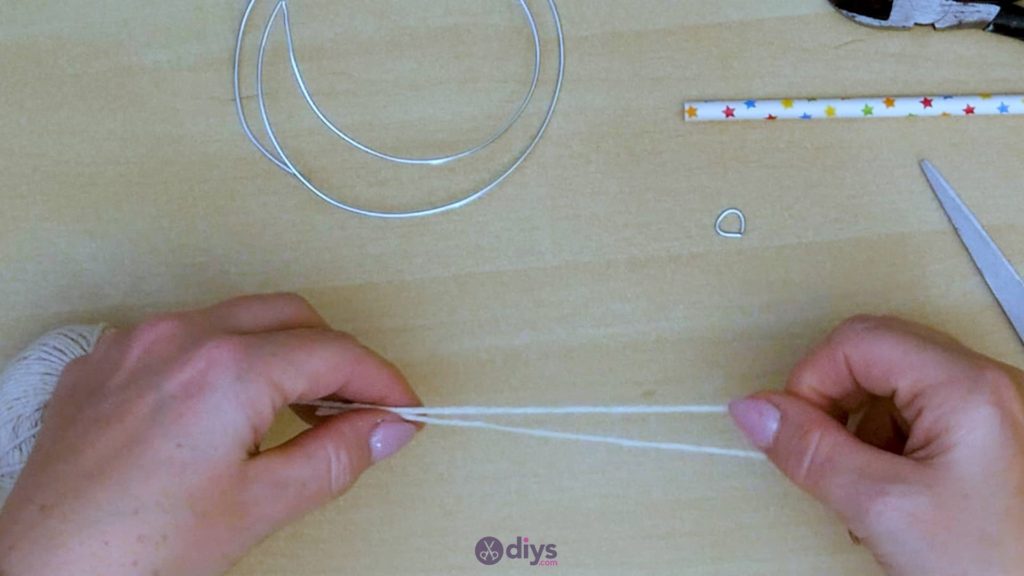
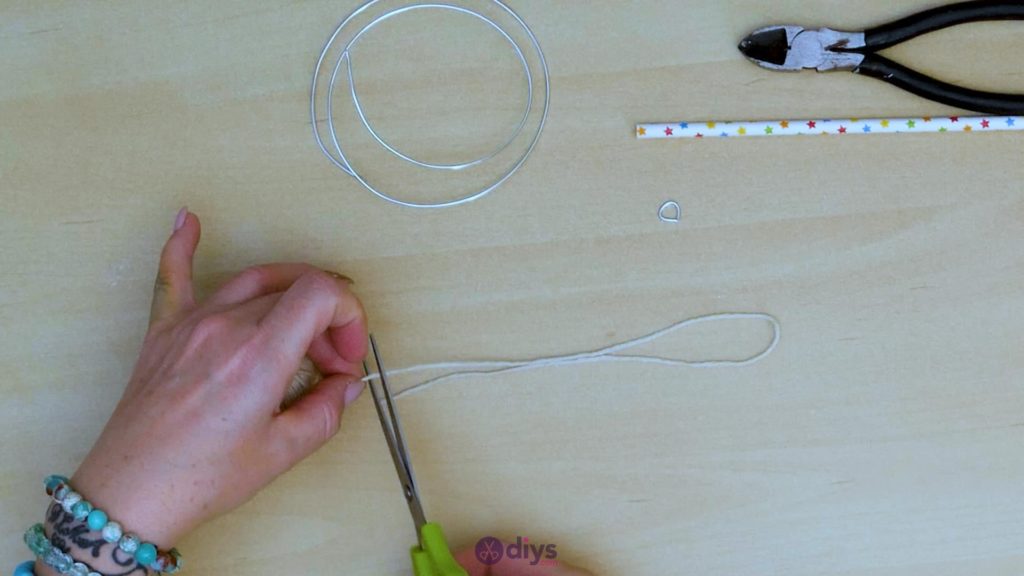
Step 3:
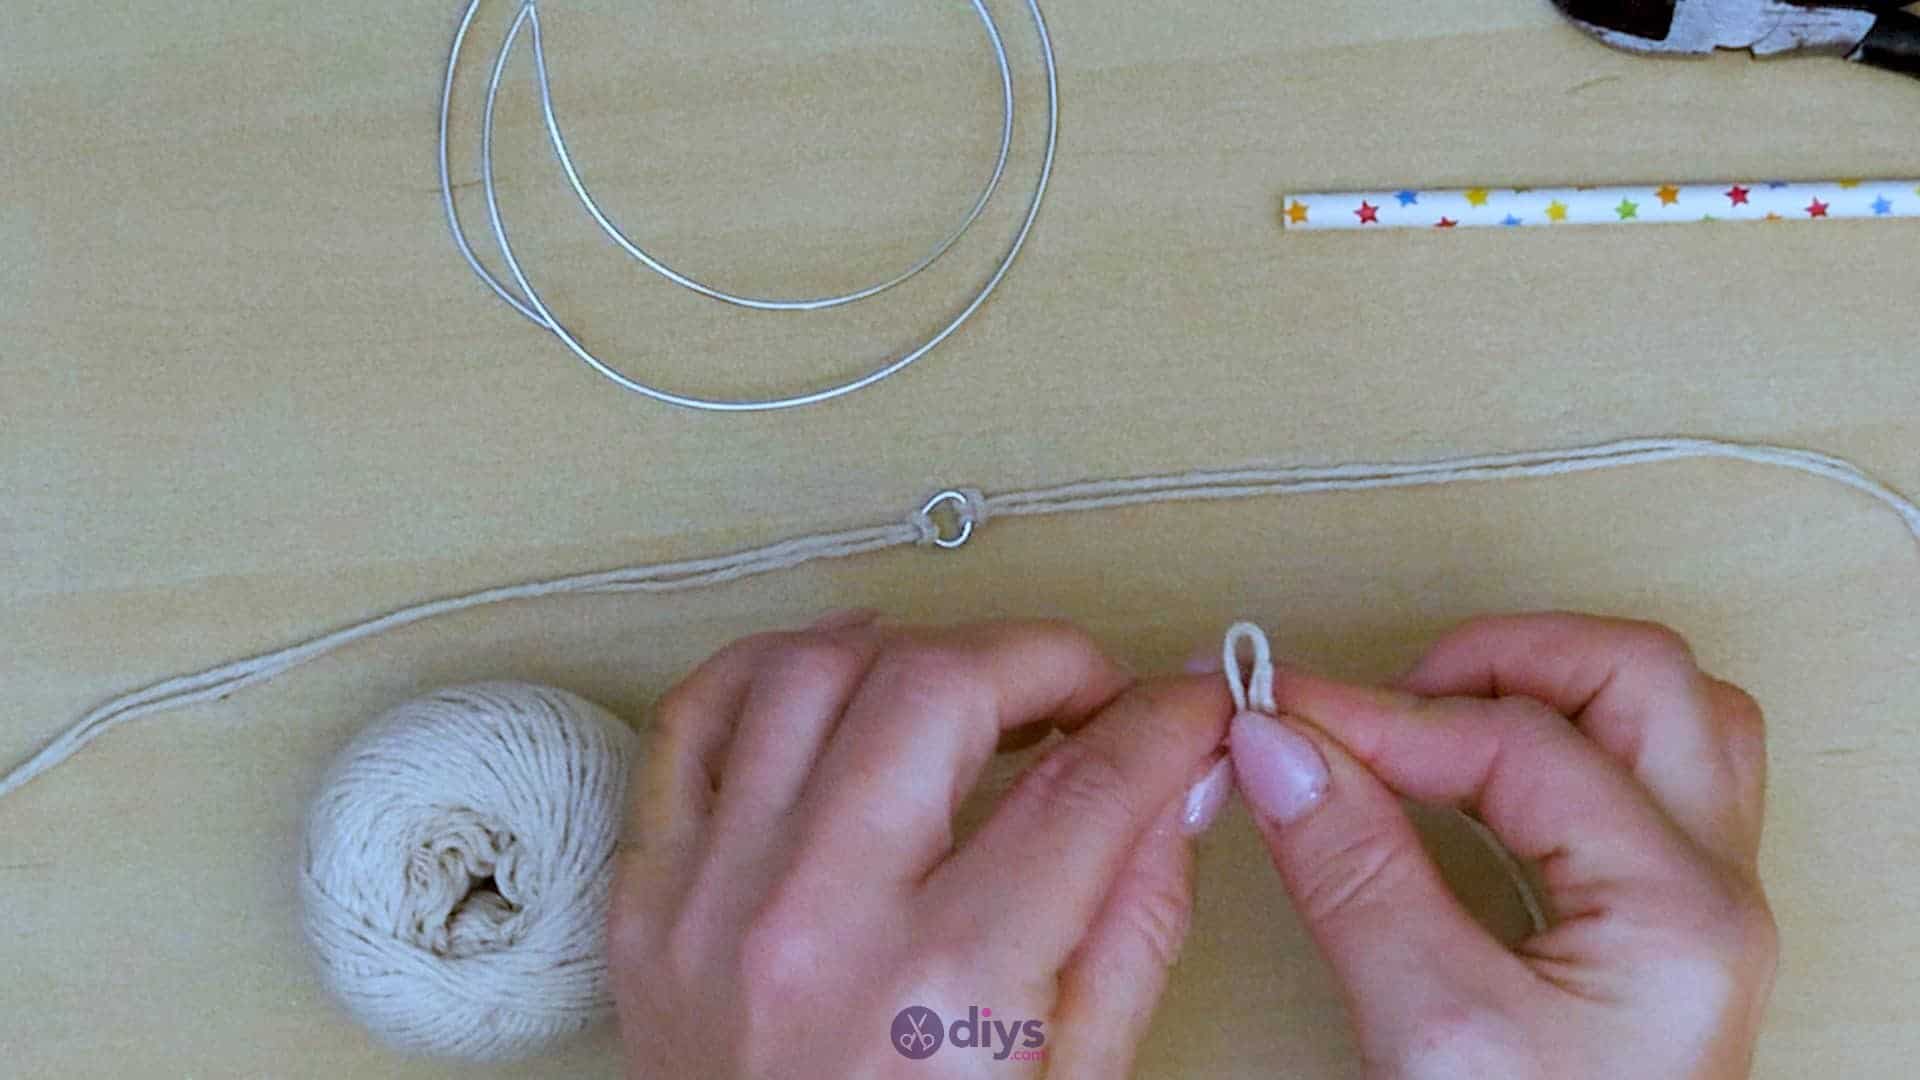
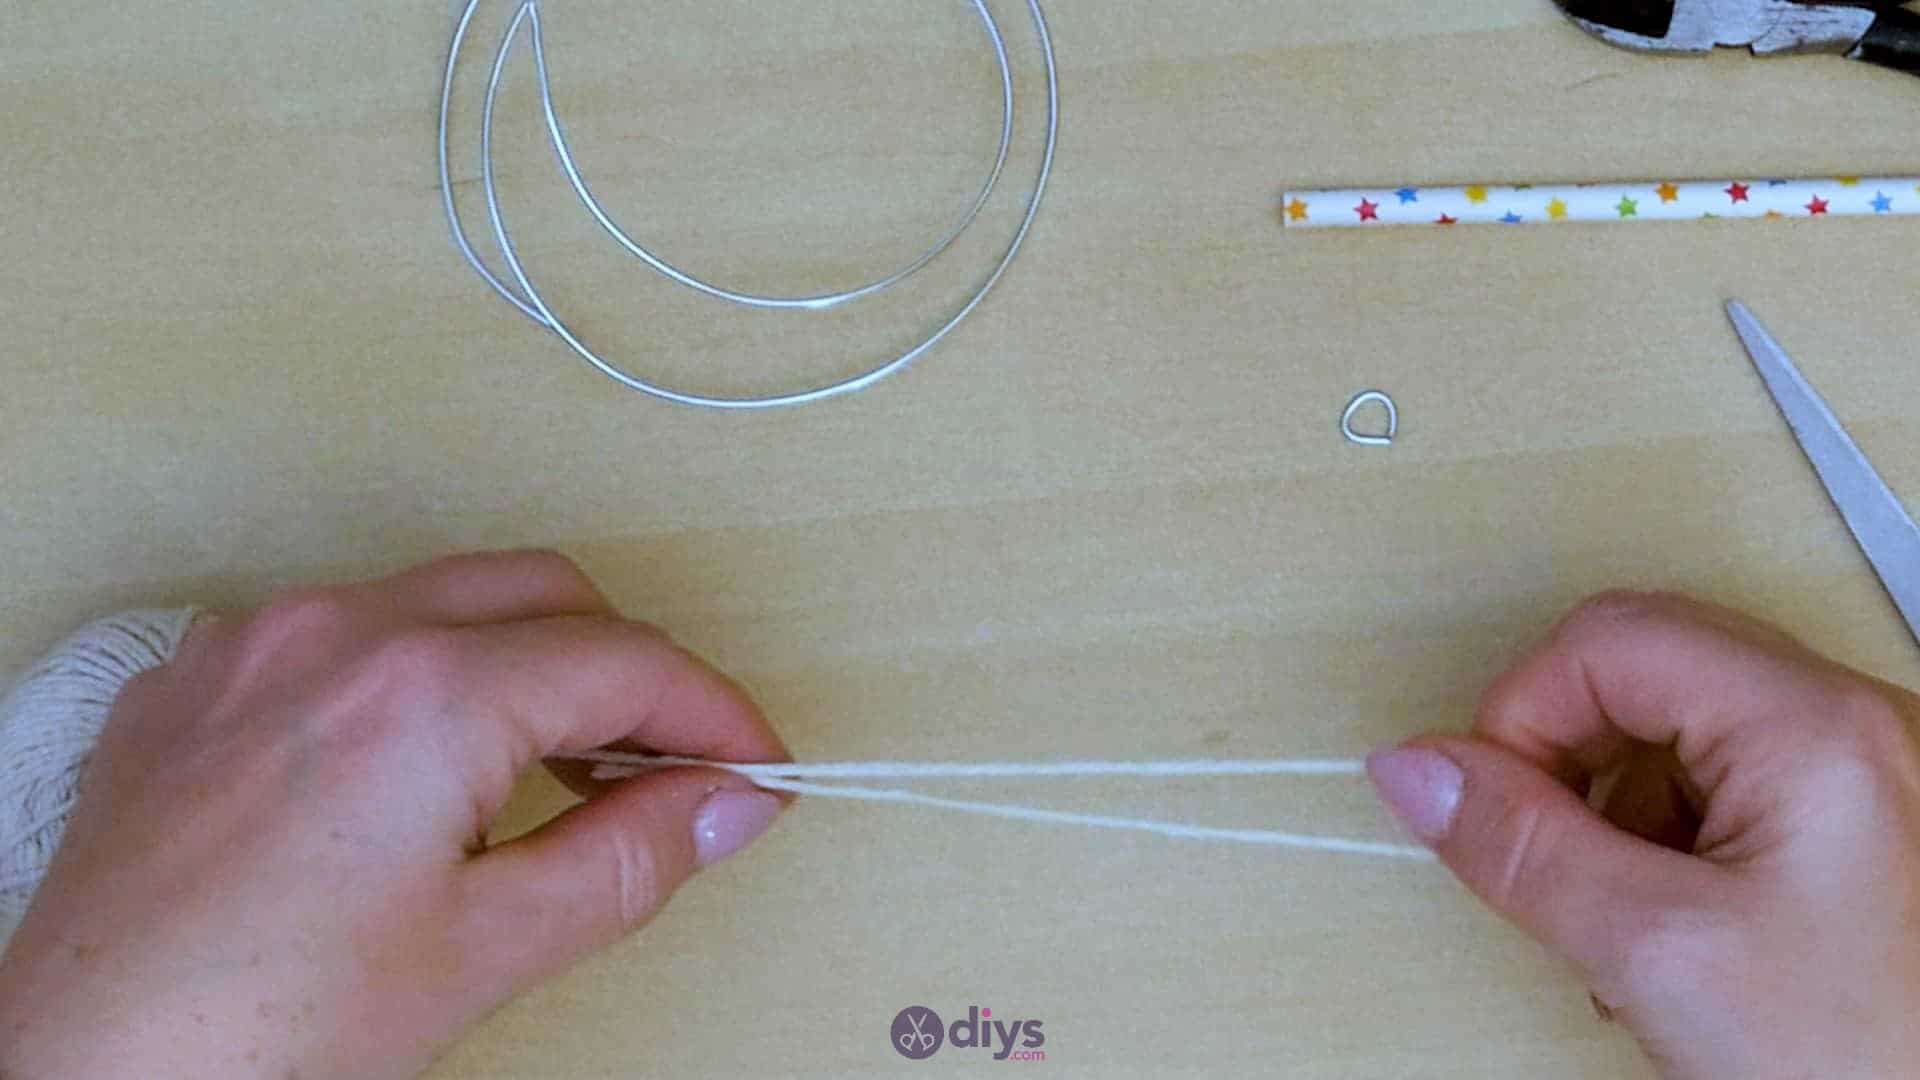
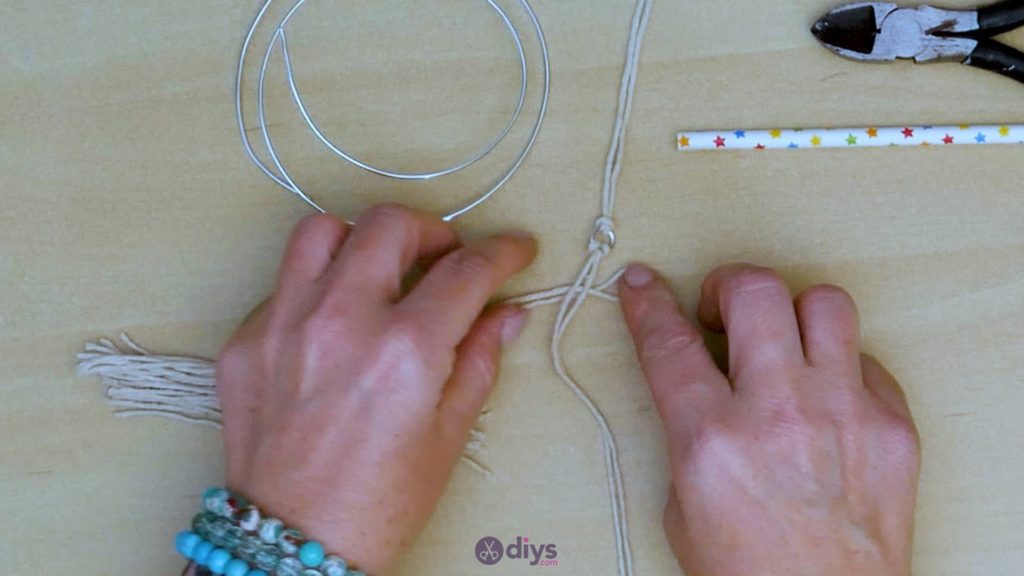
Cut a piece of jute string that’s about eight inches long and fold it in half end to end so that you have a doubled over piece four inches long with two tips sitting evenly at one end and a loop at the original string’s halfway point at the other end. Put this loop through the middle of the wire ring you just finished, bring the ends of the piece upwards to meet them loop, and pass them through, tightening the new slip knot you’ve just made down against the wire ring.


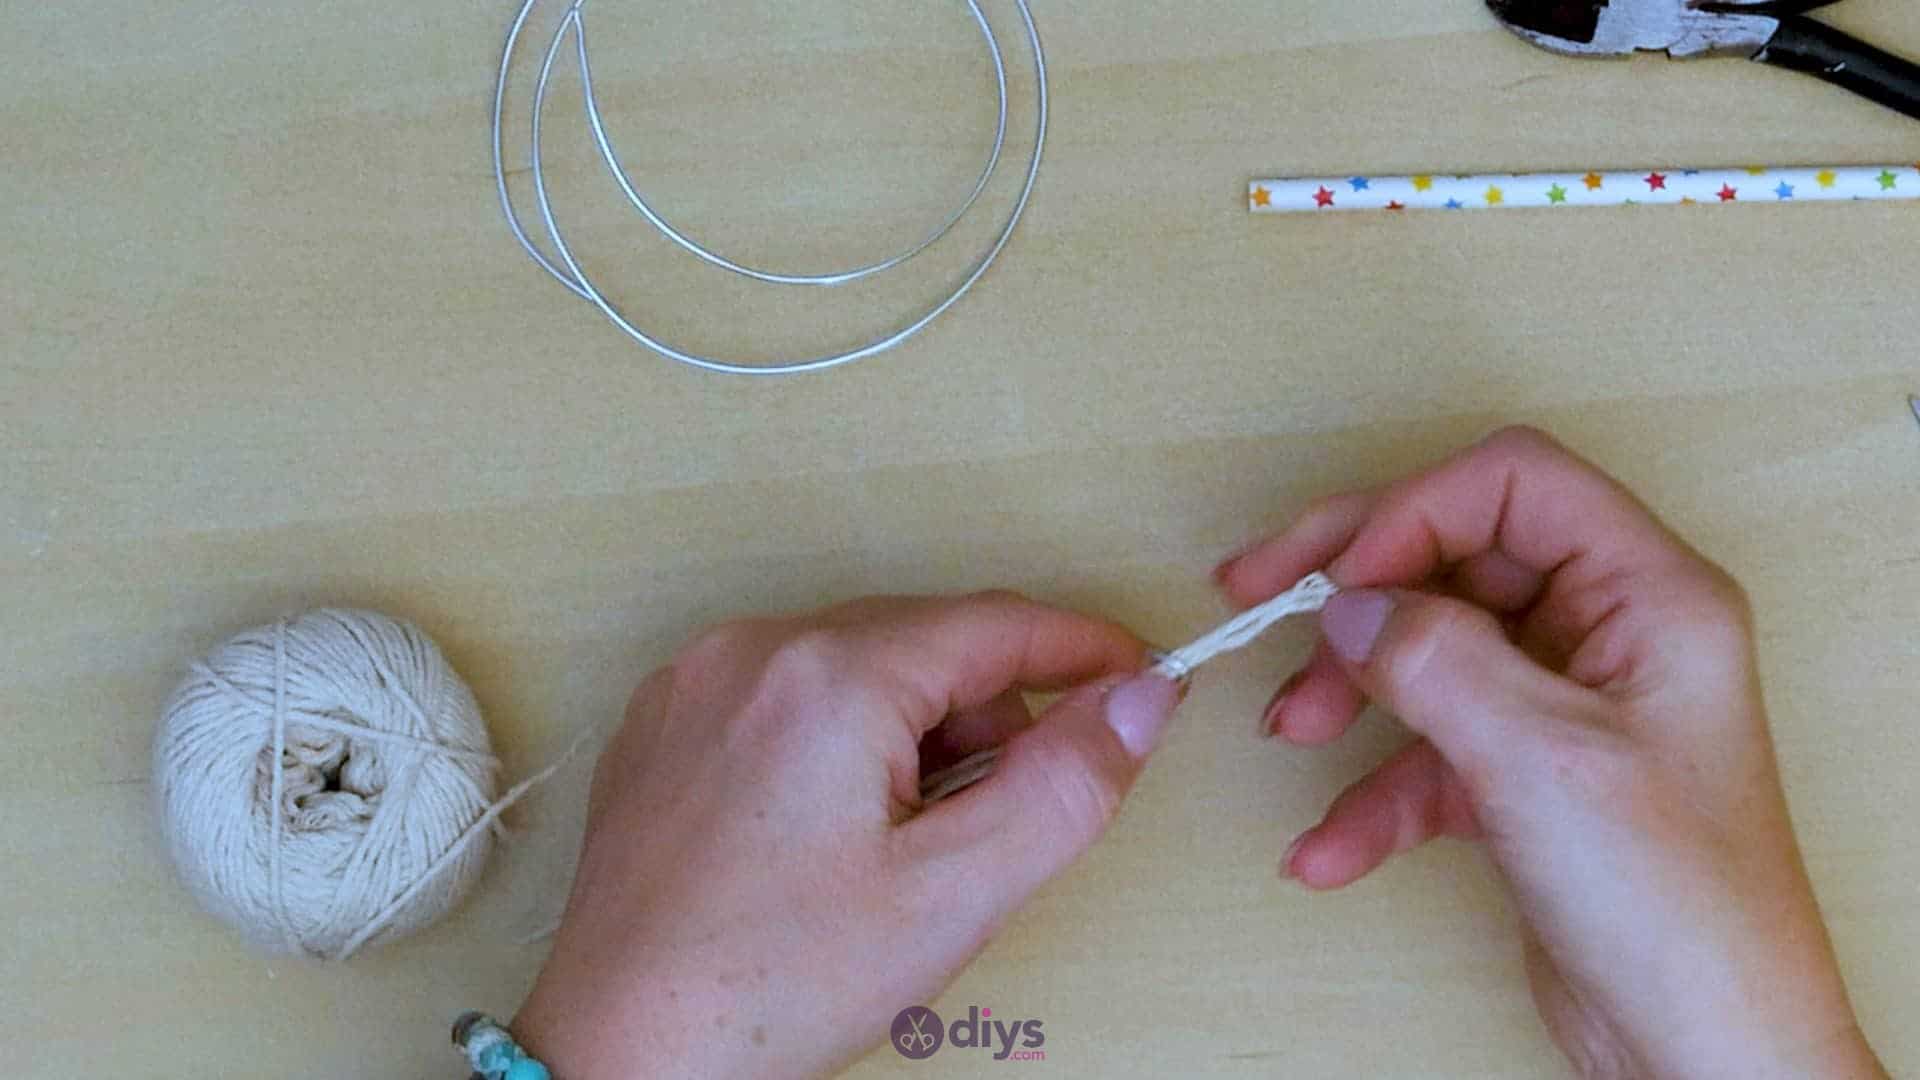
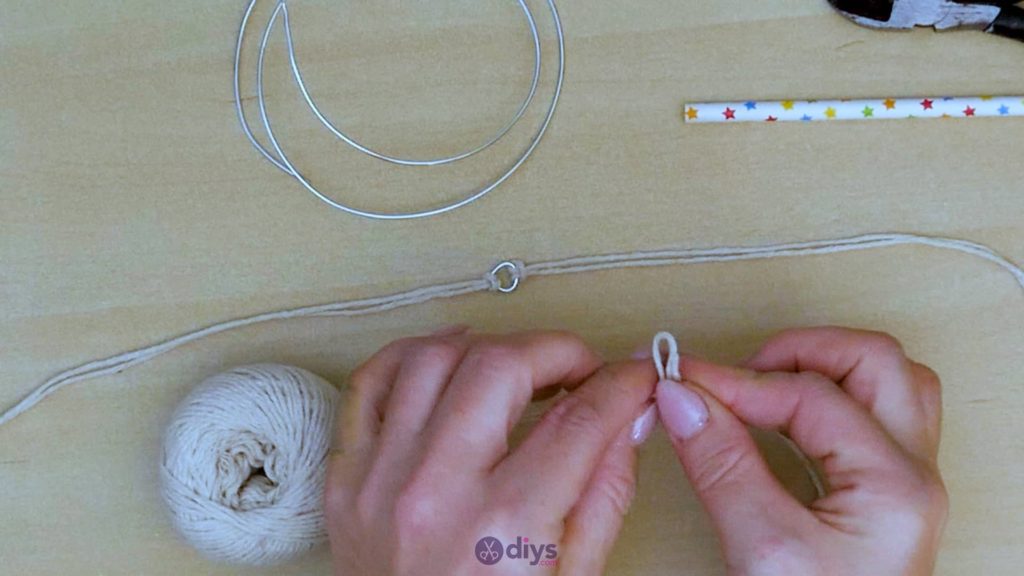
Step 4: cut your string
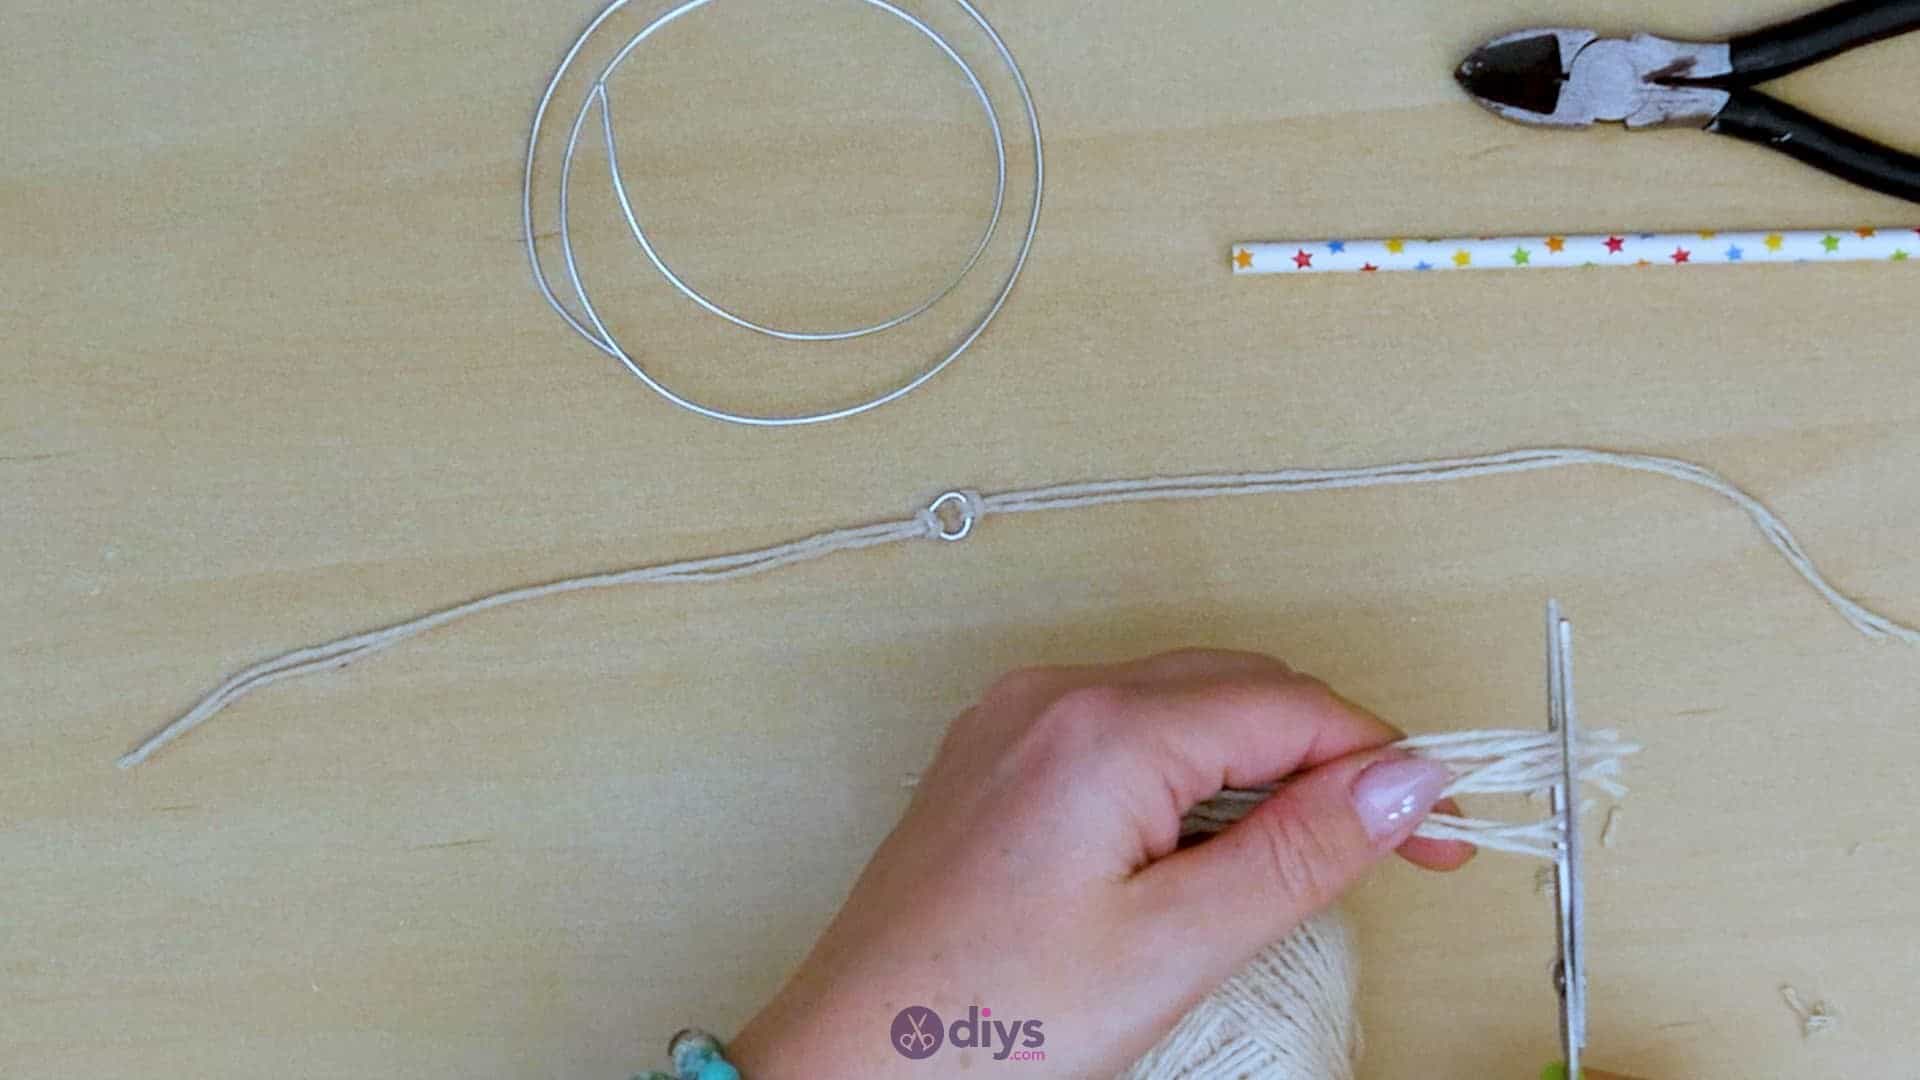
Cut another eight inch piece of jute string and fold it in half the same as before. Repeat the process of looping the folded end of this string through and around the wire ring just like before. This will be the central piece that you tie other short lengths of jute string around to make your leaf, like the spine down the middle of an actual leaf.

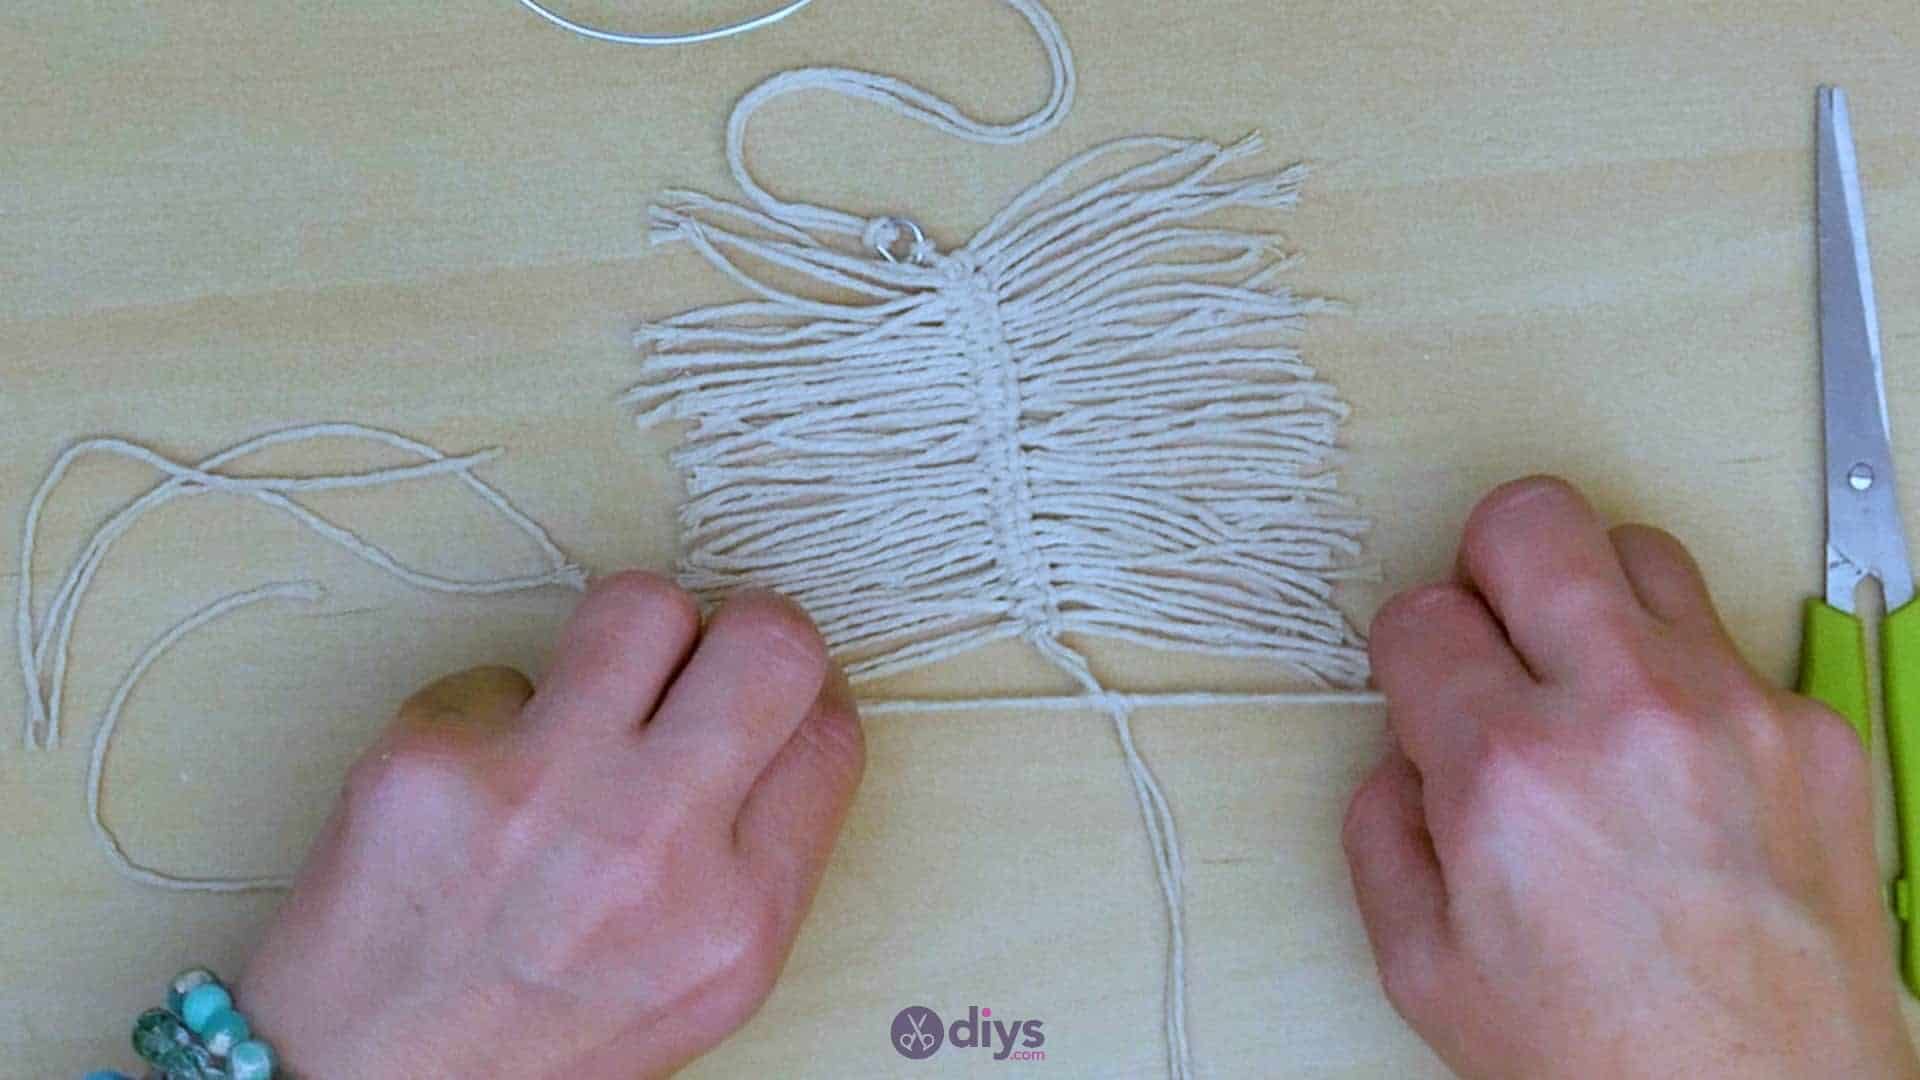
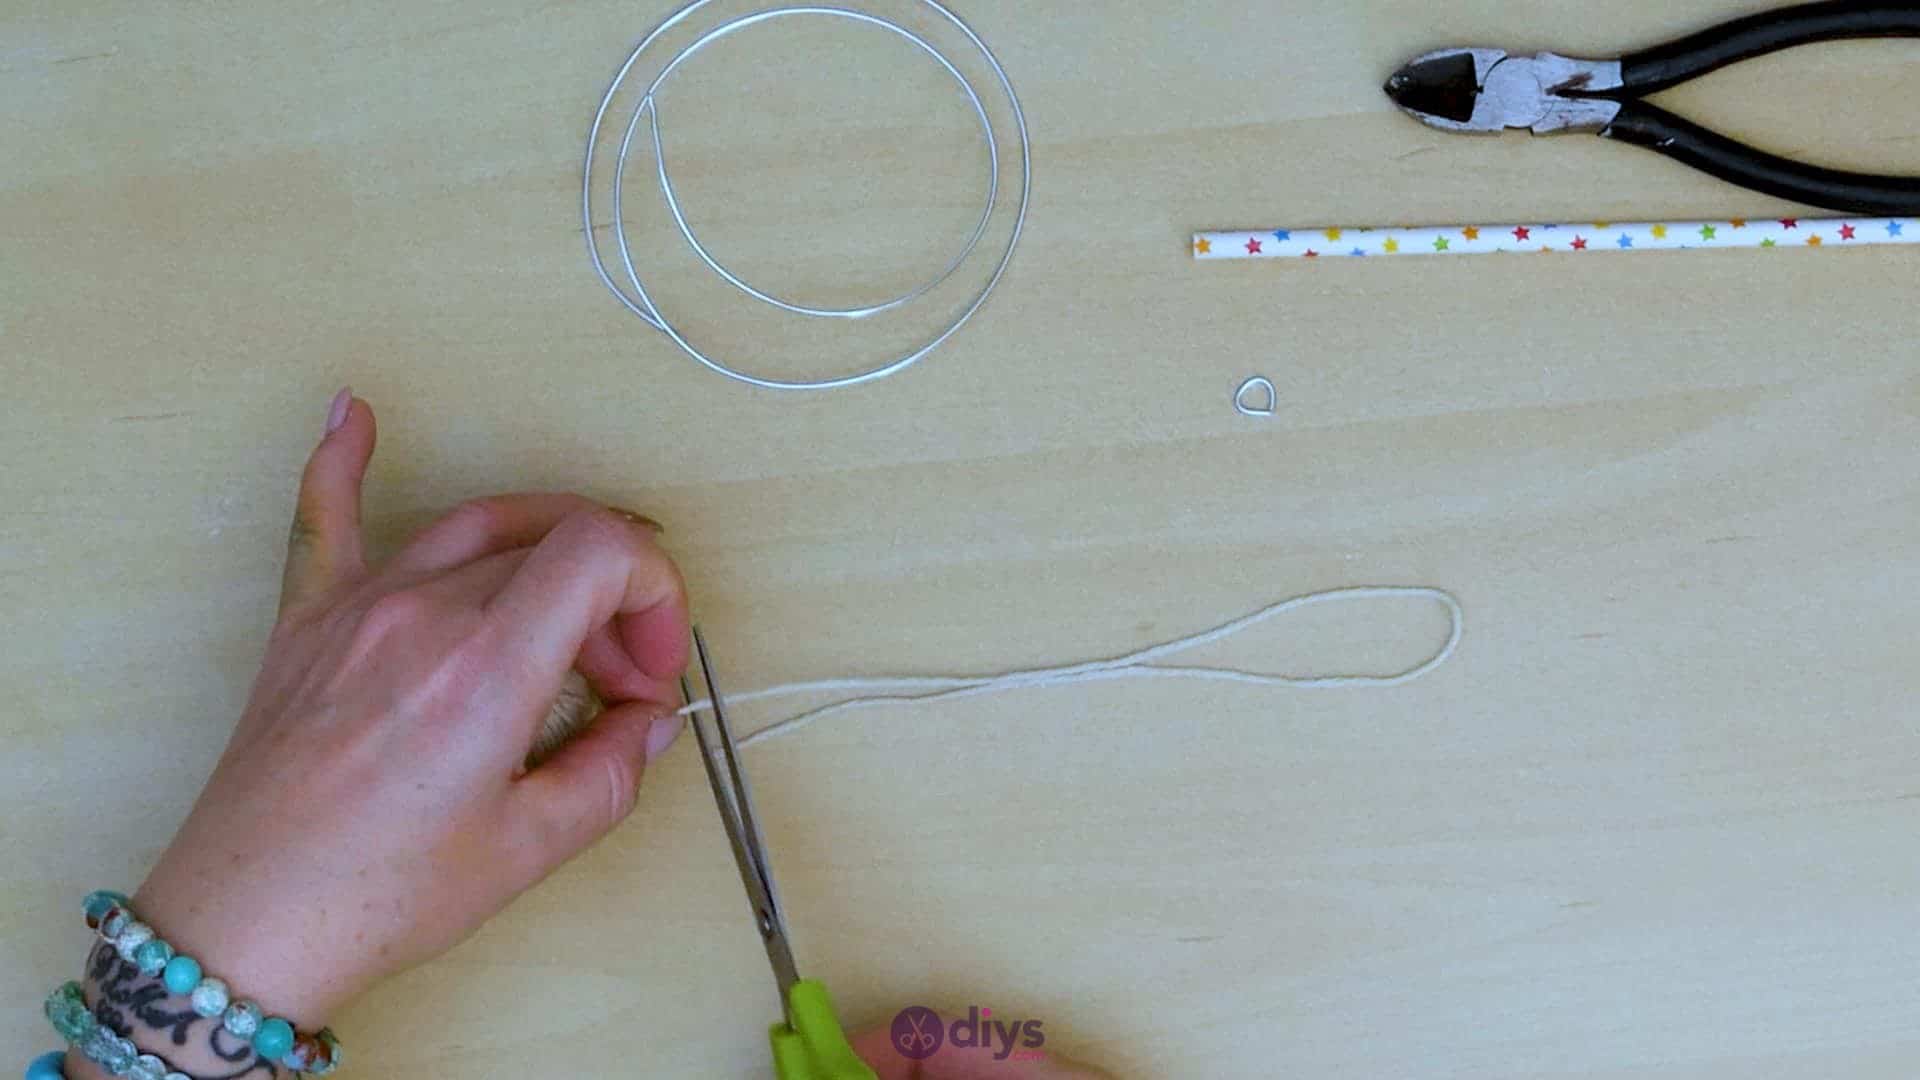
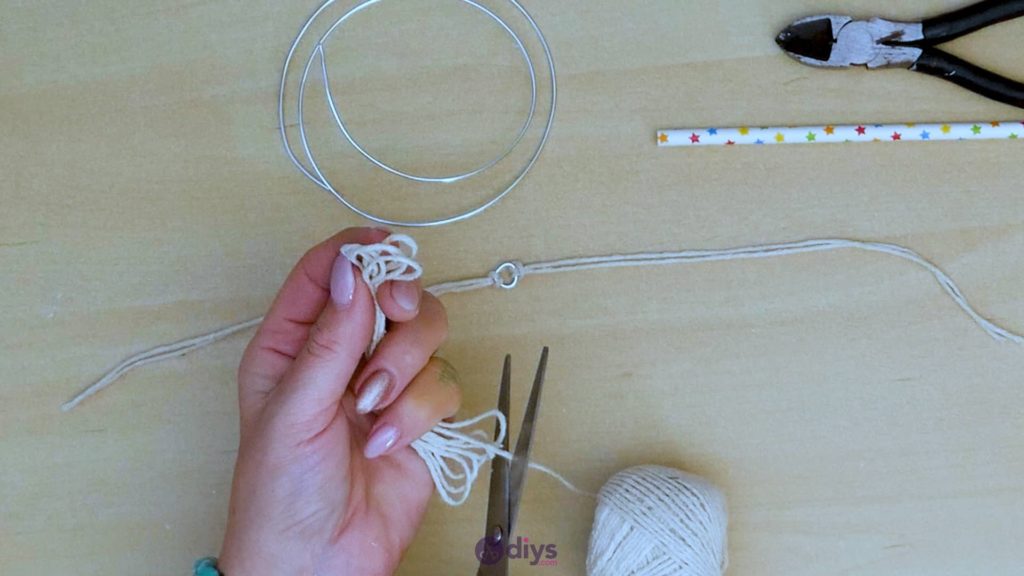
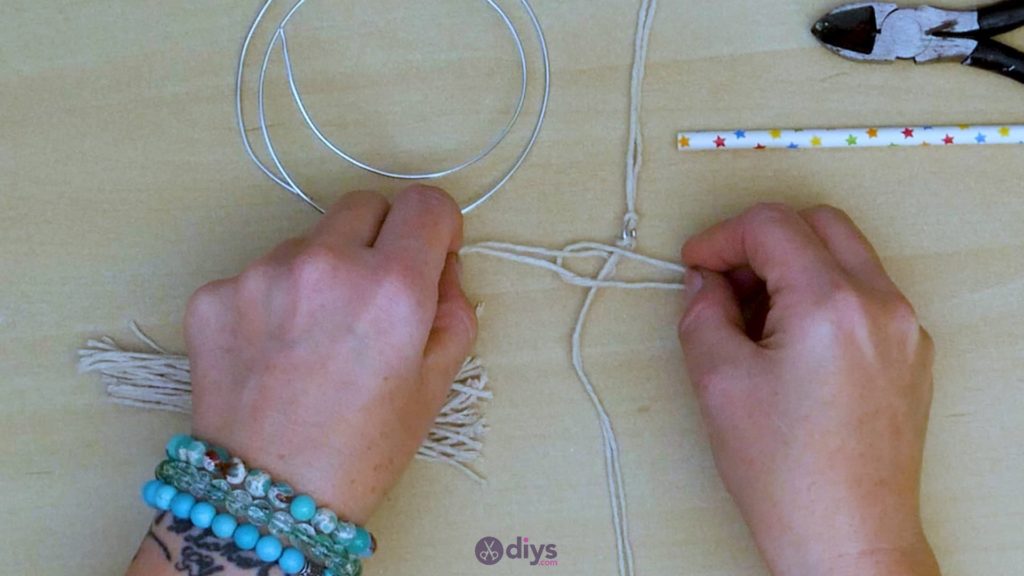
Step 5: making the spine
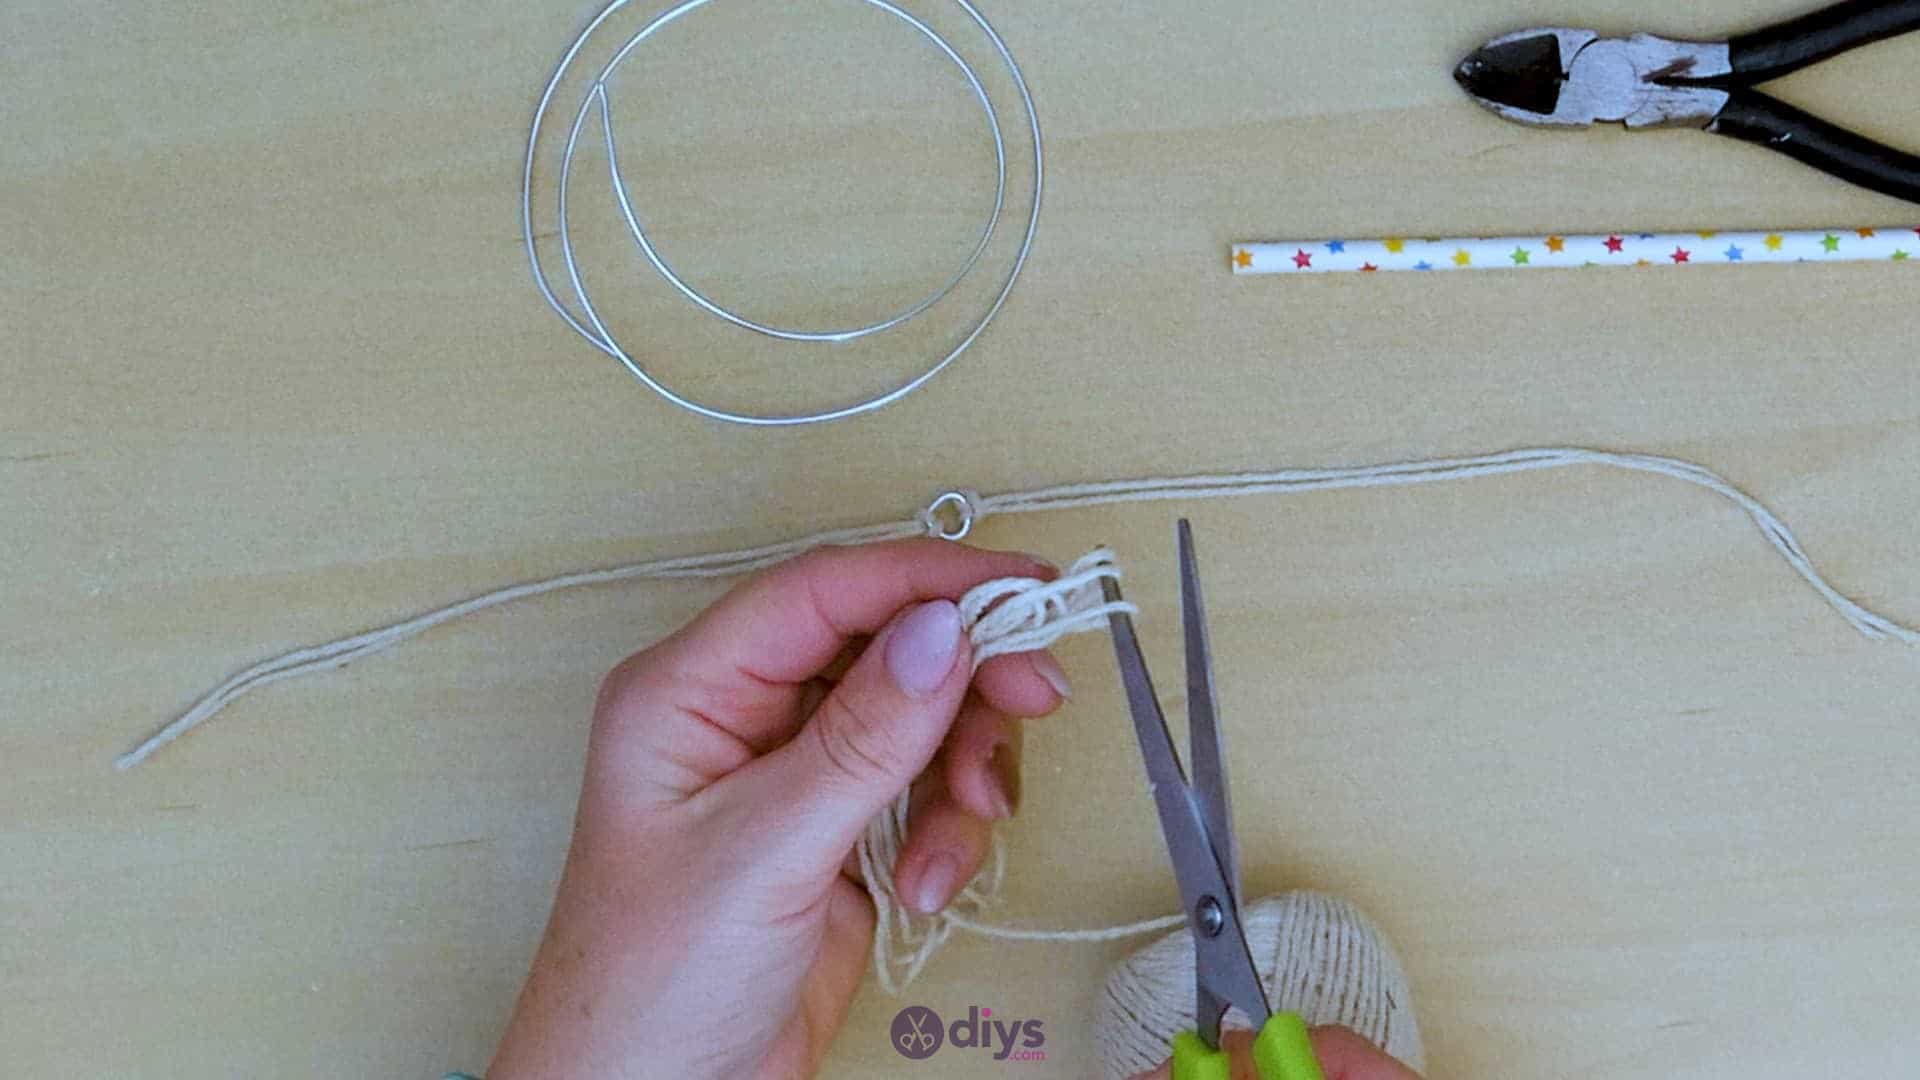
Make a bundle of short strings for knotting your leaf’s shape in a way that looks fringed! Measure out a length of string that’s four inches long and, instead of cutting it free from the rest of your ball, fold it over until it meets a spot on the string below it that’s four inches from that loop where you turned it back on itself. Pinch the end in place there and turn the piece again once more to gather another length of four inches into the bundle. Keep this process up until you have a decent handful of pieces, then cut your final end free at the four inch point as well. Keep your bundle held tight in your hand so it doesn’t unravel and use your scissors to cut through all the looped pieces at each end, creating a handful of individual strings with loose ends on each side instead. Then use your scissors to trim the ends on each side to be even.


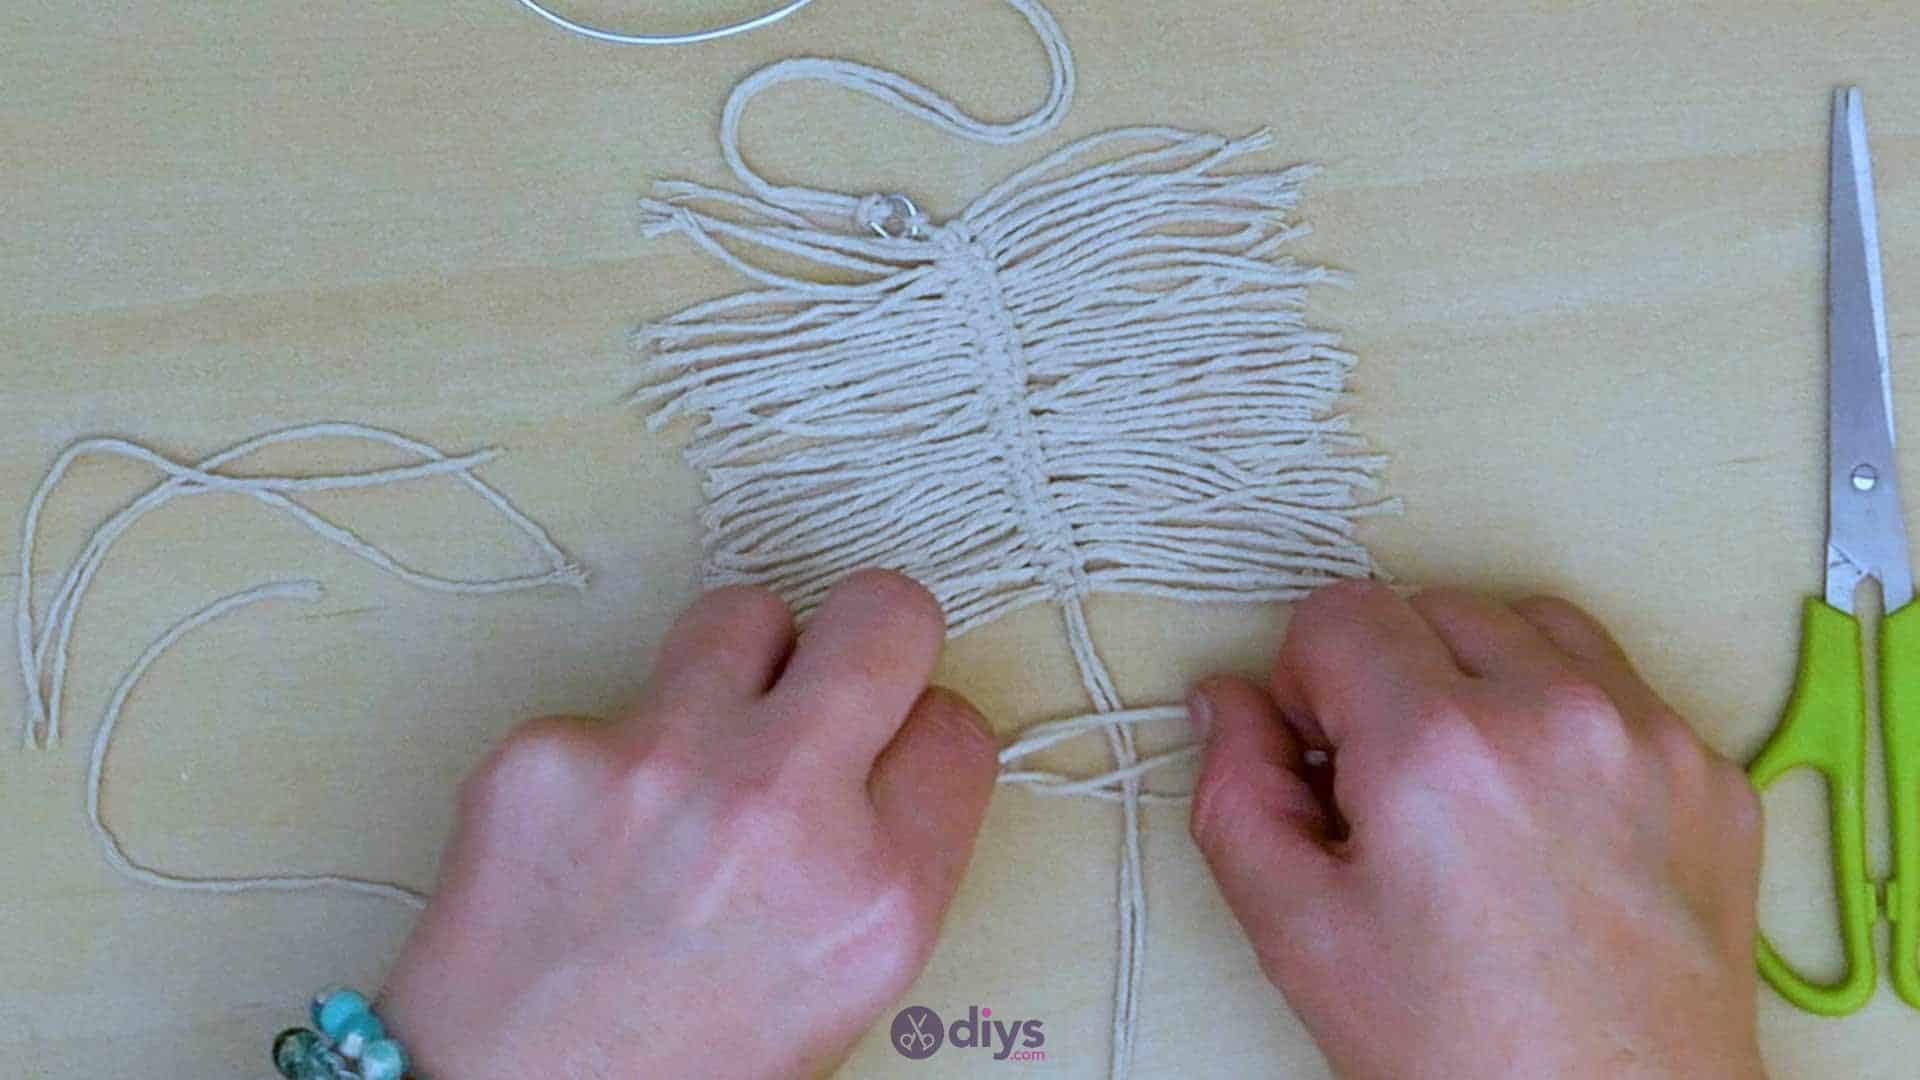
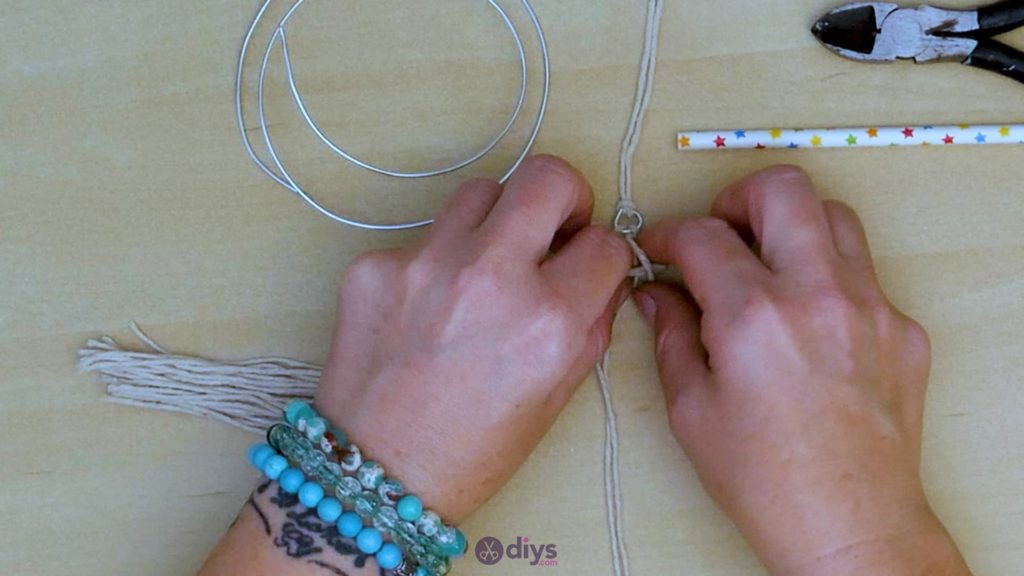
Step 6: starting the leaf ends
Now it’s time to loop your little pieces on each side of the base string stemming from the wire ring in order to make the fringed sides of your leaf shape. Lay your ring piece so that the base string sits straight and vertically on the tabletop. Take one of your small fringe pieces, fold it in half like you did with the larger ones before, and slide its looped end from left to right underneath the base string, so its looped end sticks out the other side to the right by a few centimetres and its free tips lay horizontally to the left of the base string. Take another fringe piece, fold it in half as well, and then pass its looped end underneath the two free ends of the first small fringe piece you just laid down underneath the base piece, holding this piece horizontally as well but facing the opposite direction with its tips towards the right. Pull the first piece’s tips through the second piece’s looped end a little then set the second piece down, pass its tips through the first piece’s loop on the right side of the base string, and pull them through a little. You’ll se that your base string passesbetween the middle sections of the two looped fringe pieces. This is a good time to lightly slide the interlocked piece to the top of the base string, just below where it knots onto the wire ring. Now, gently pull the tips of each fringe piece to each side that they face, left and right, so the looped ends of each slide together and tighten around the base sting in the centre, knotting around it.

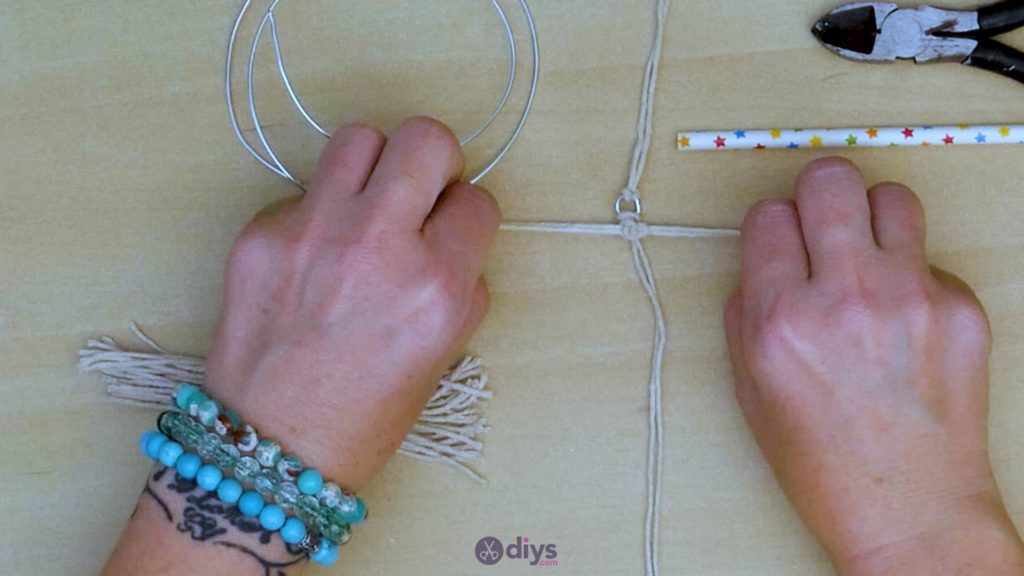
Step 7: repeat
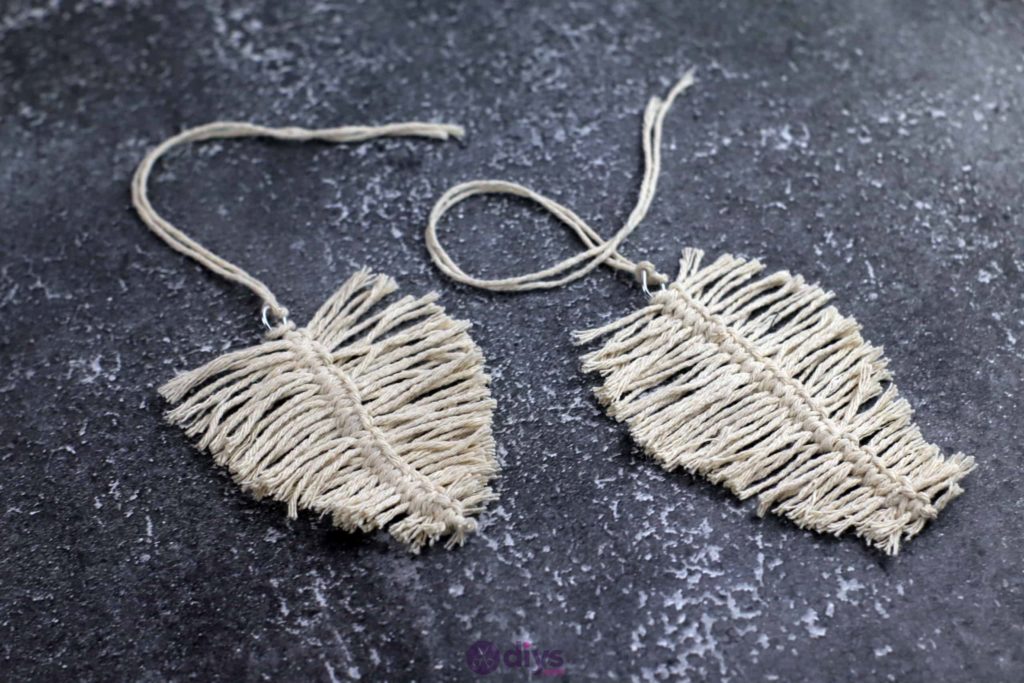
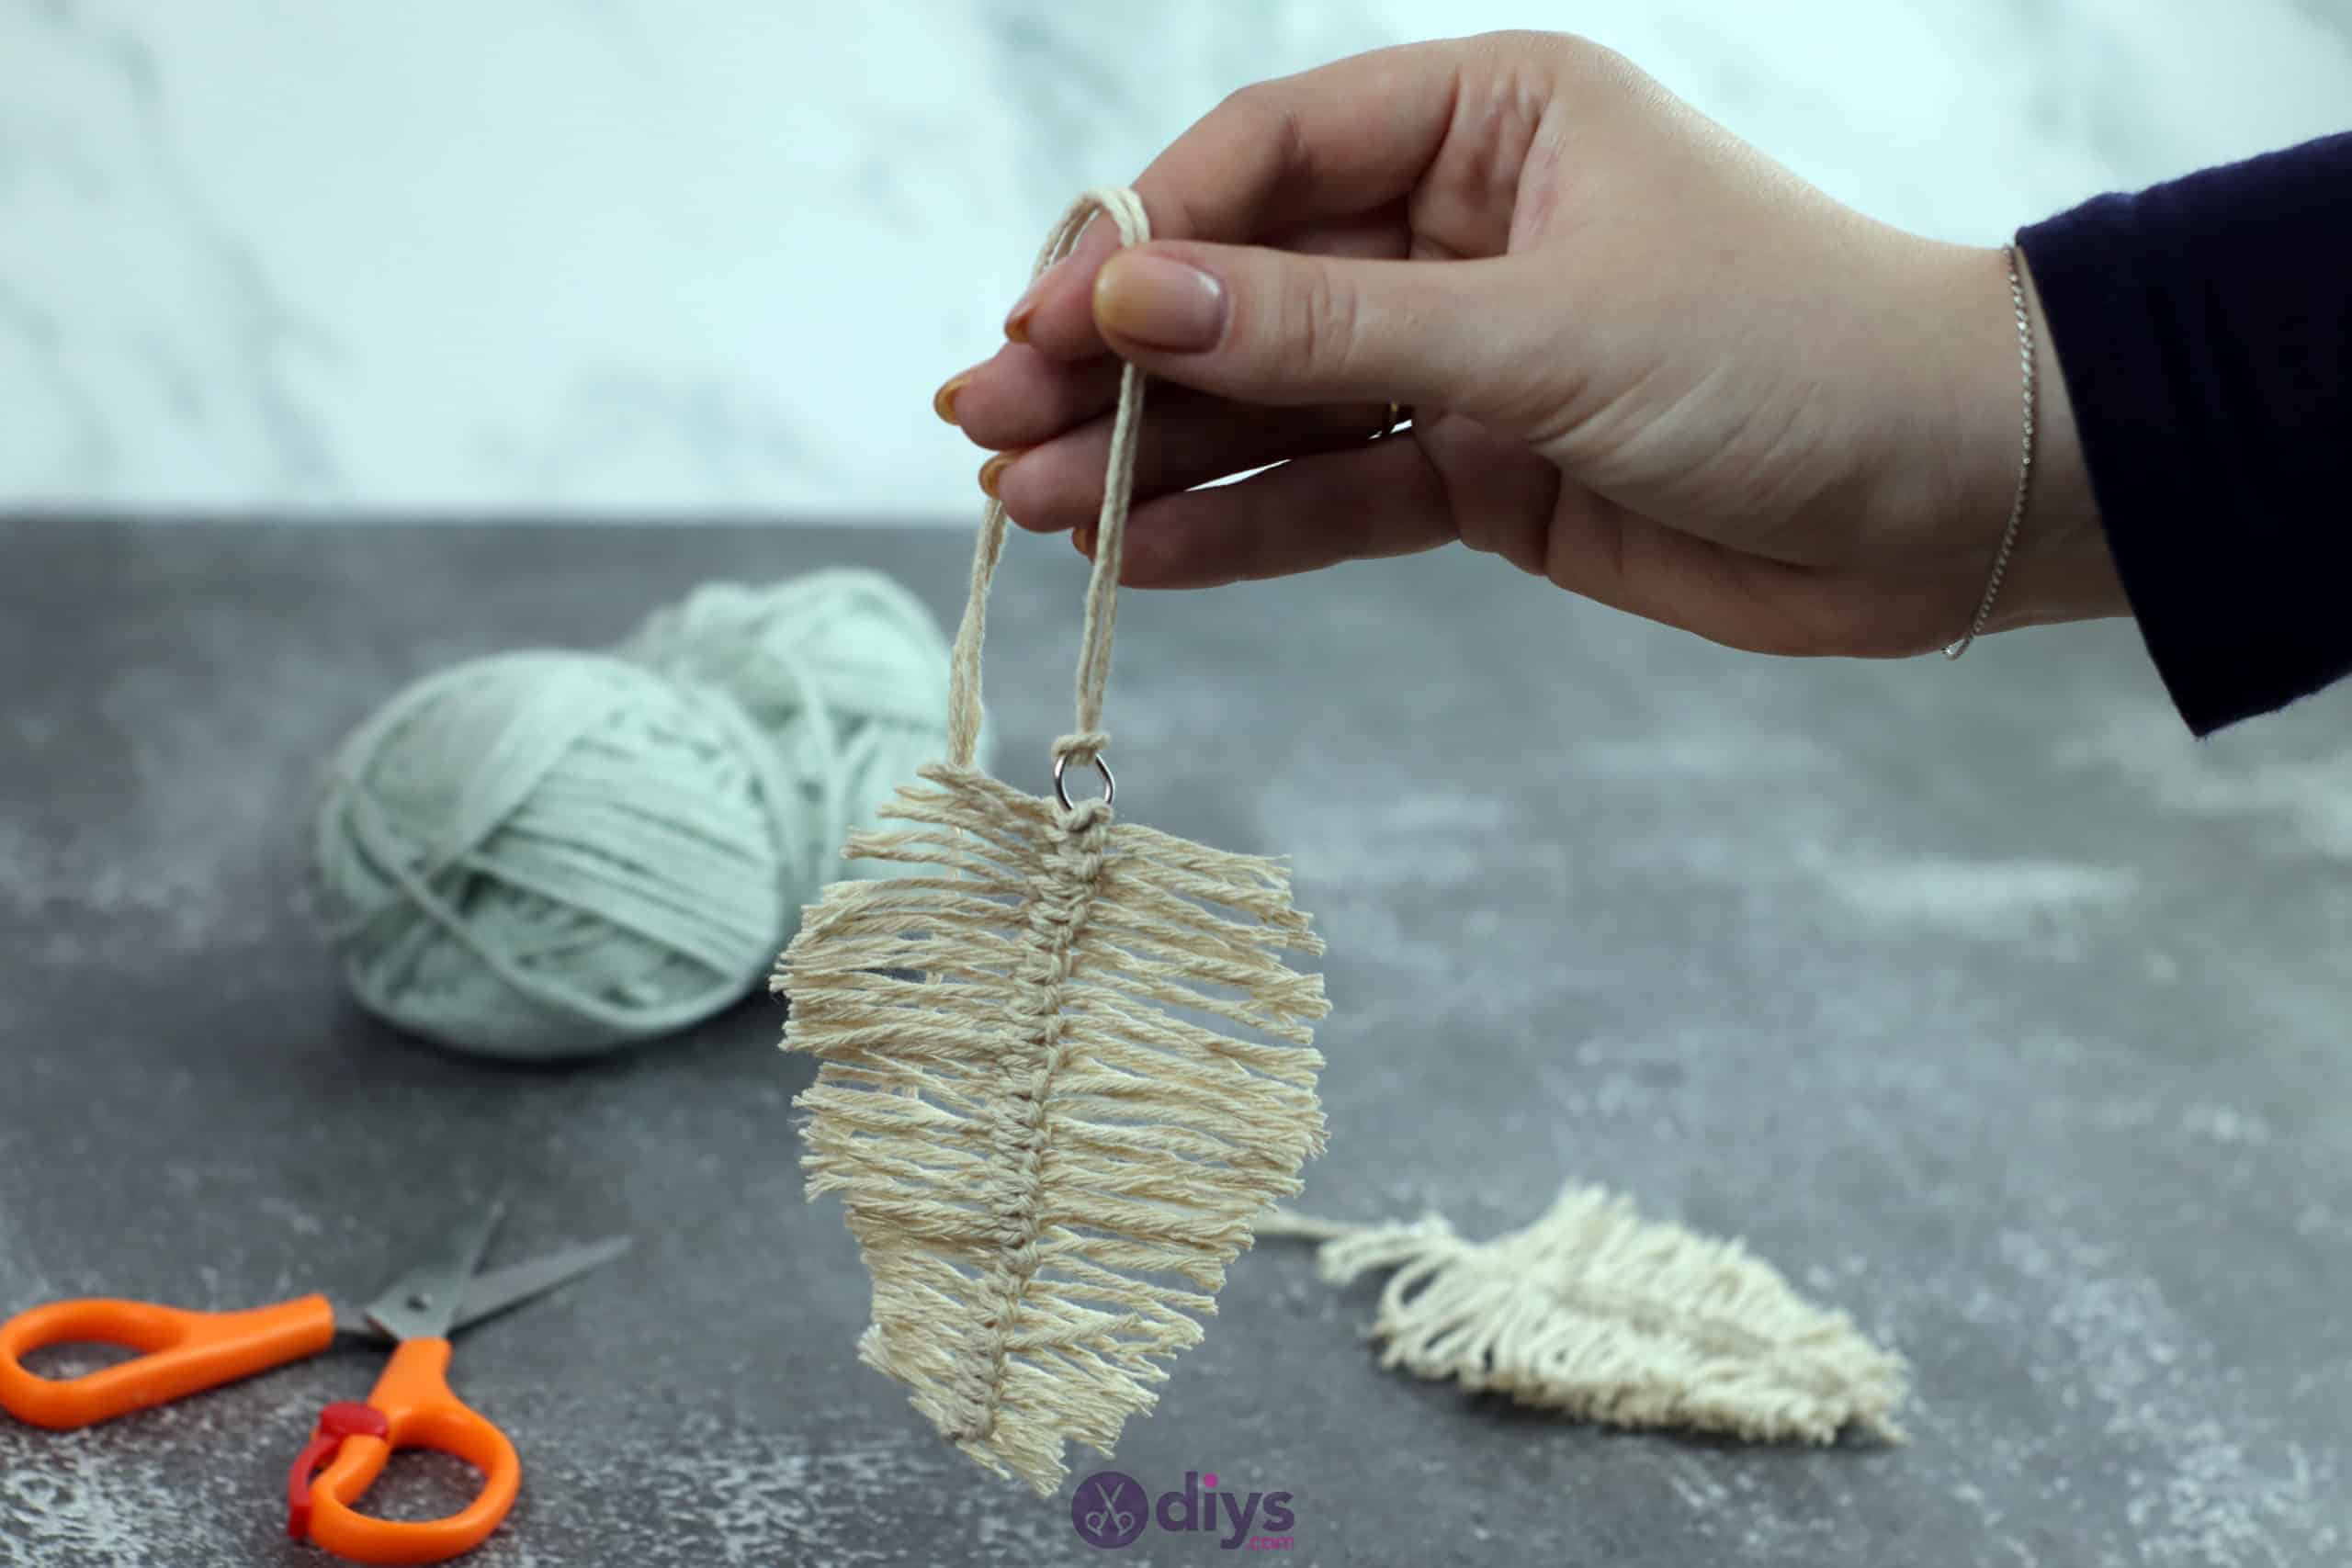
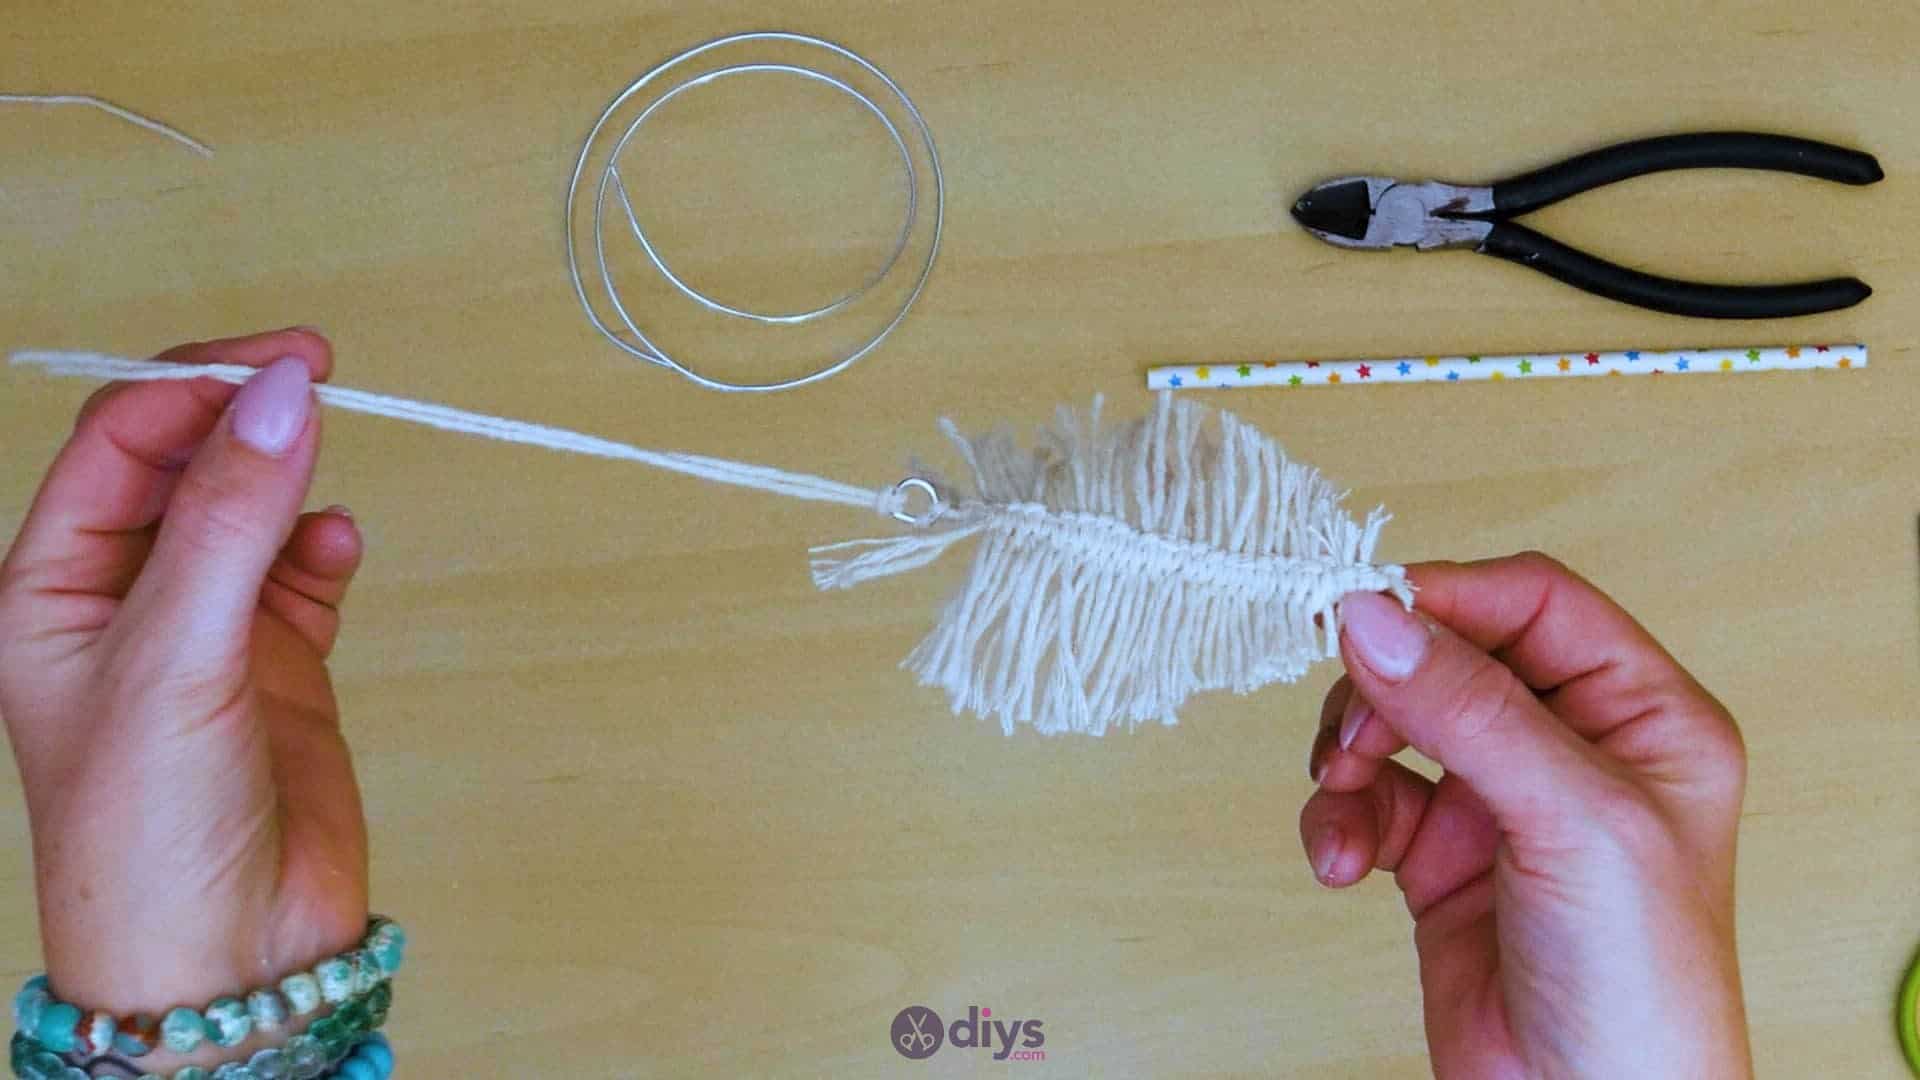
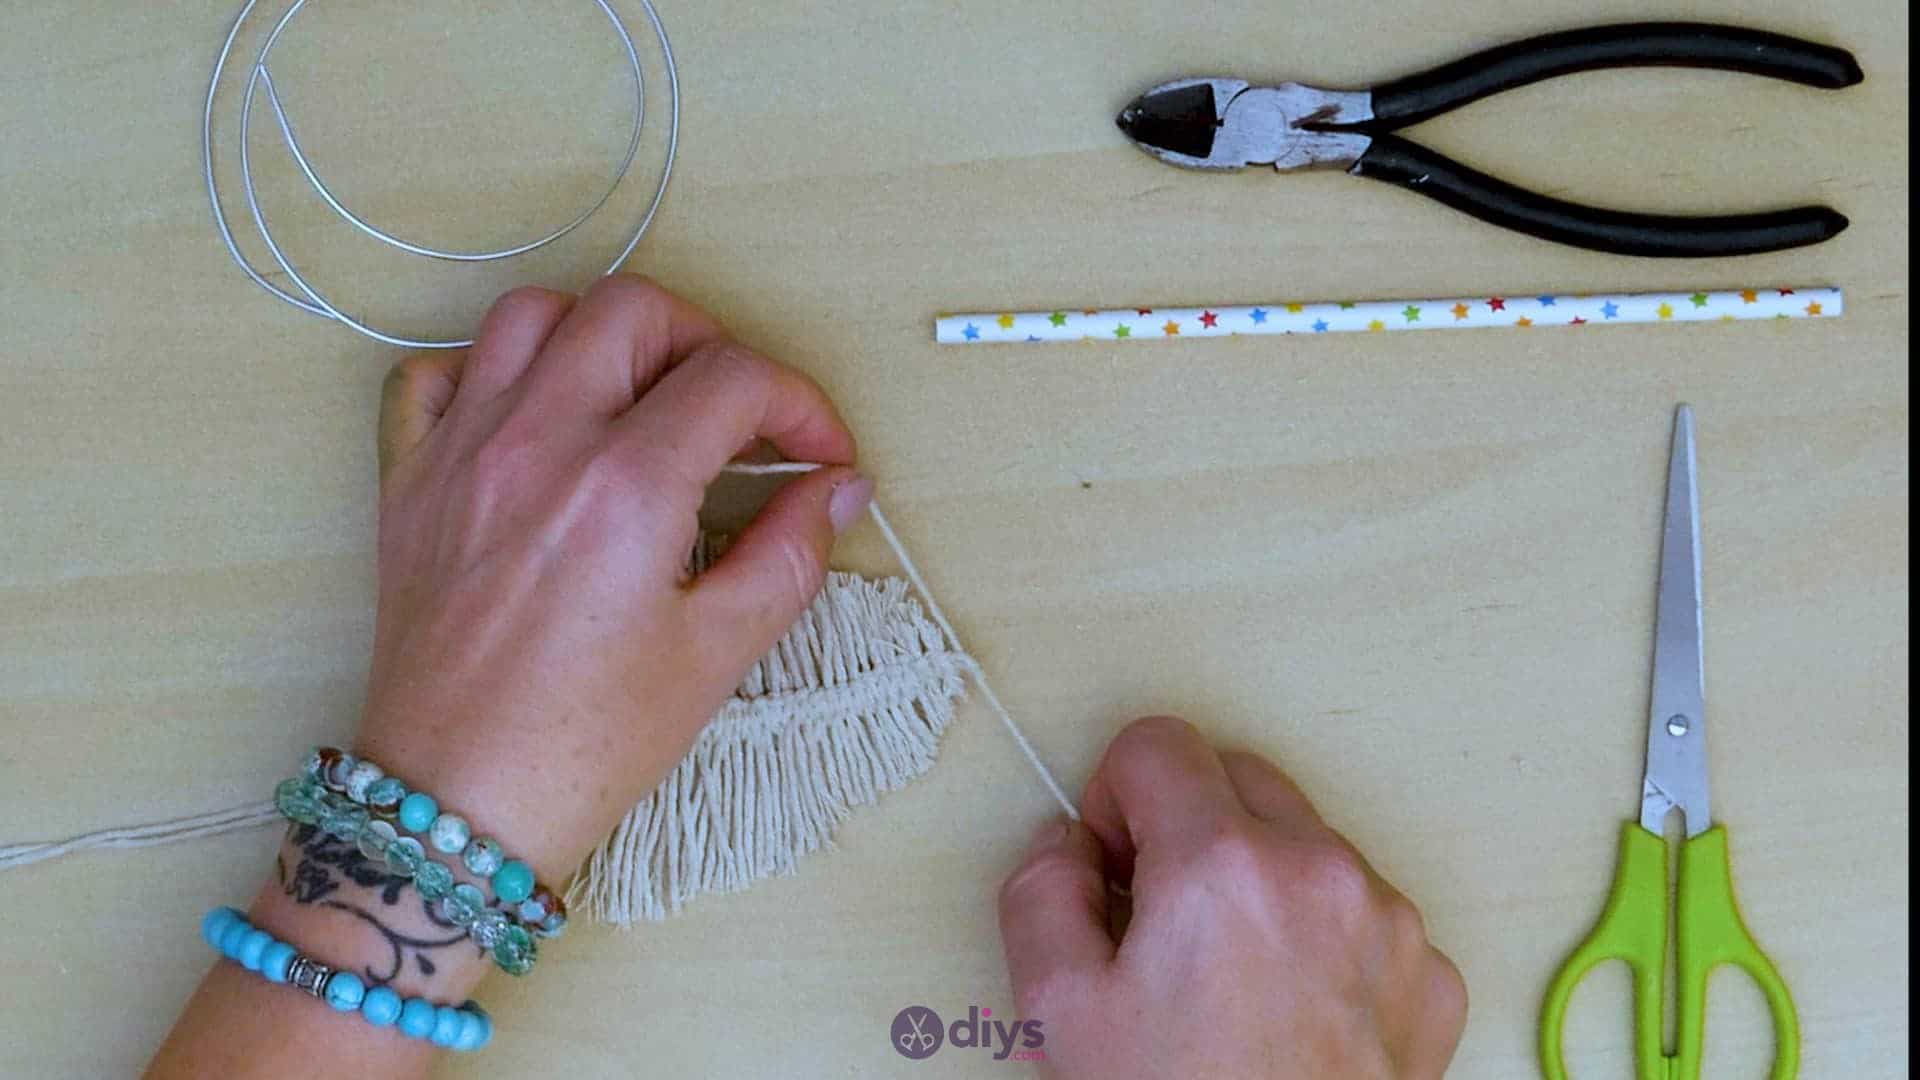
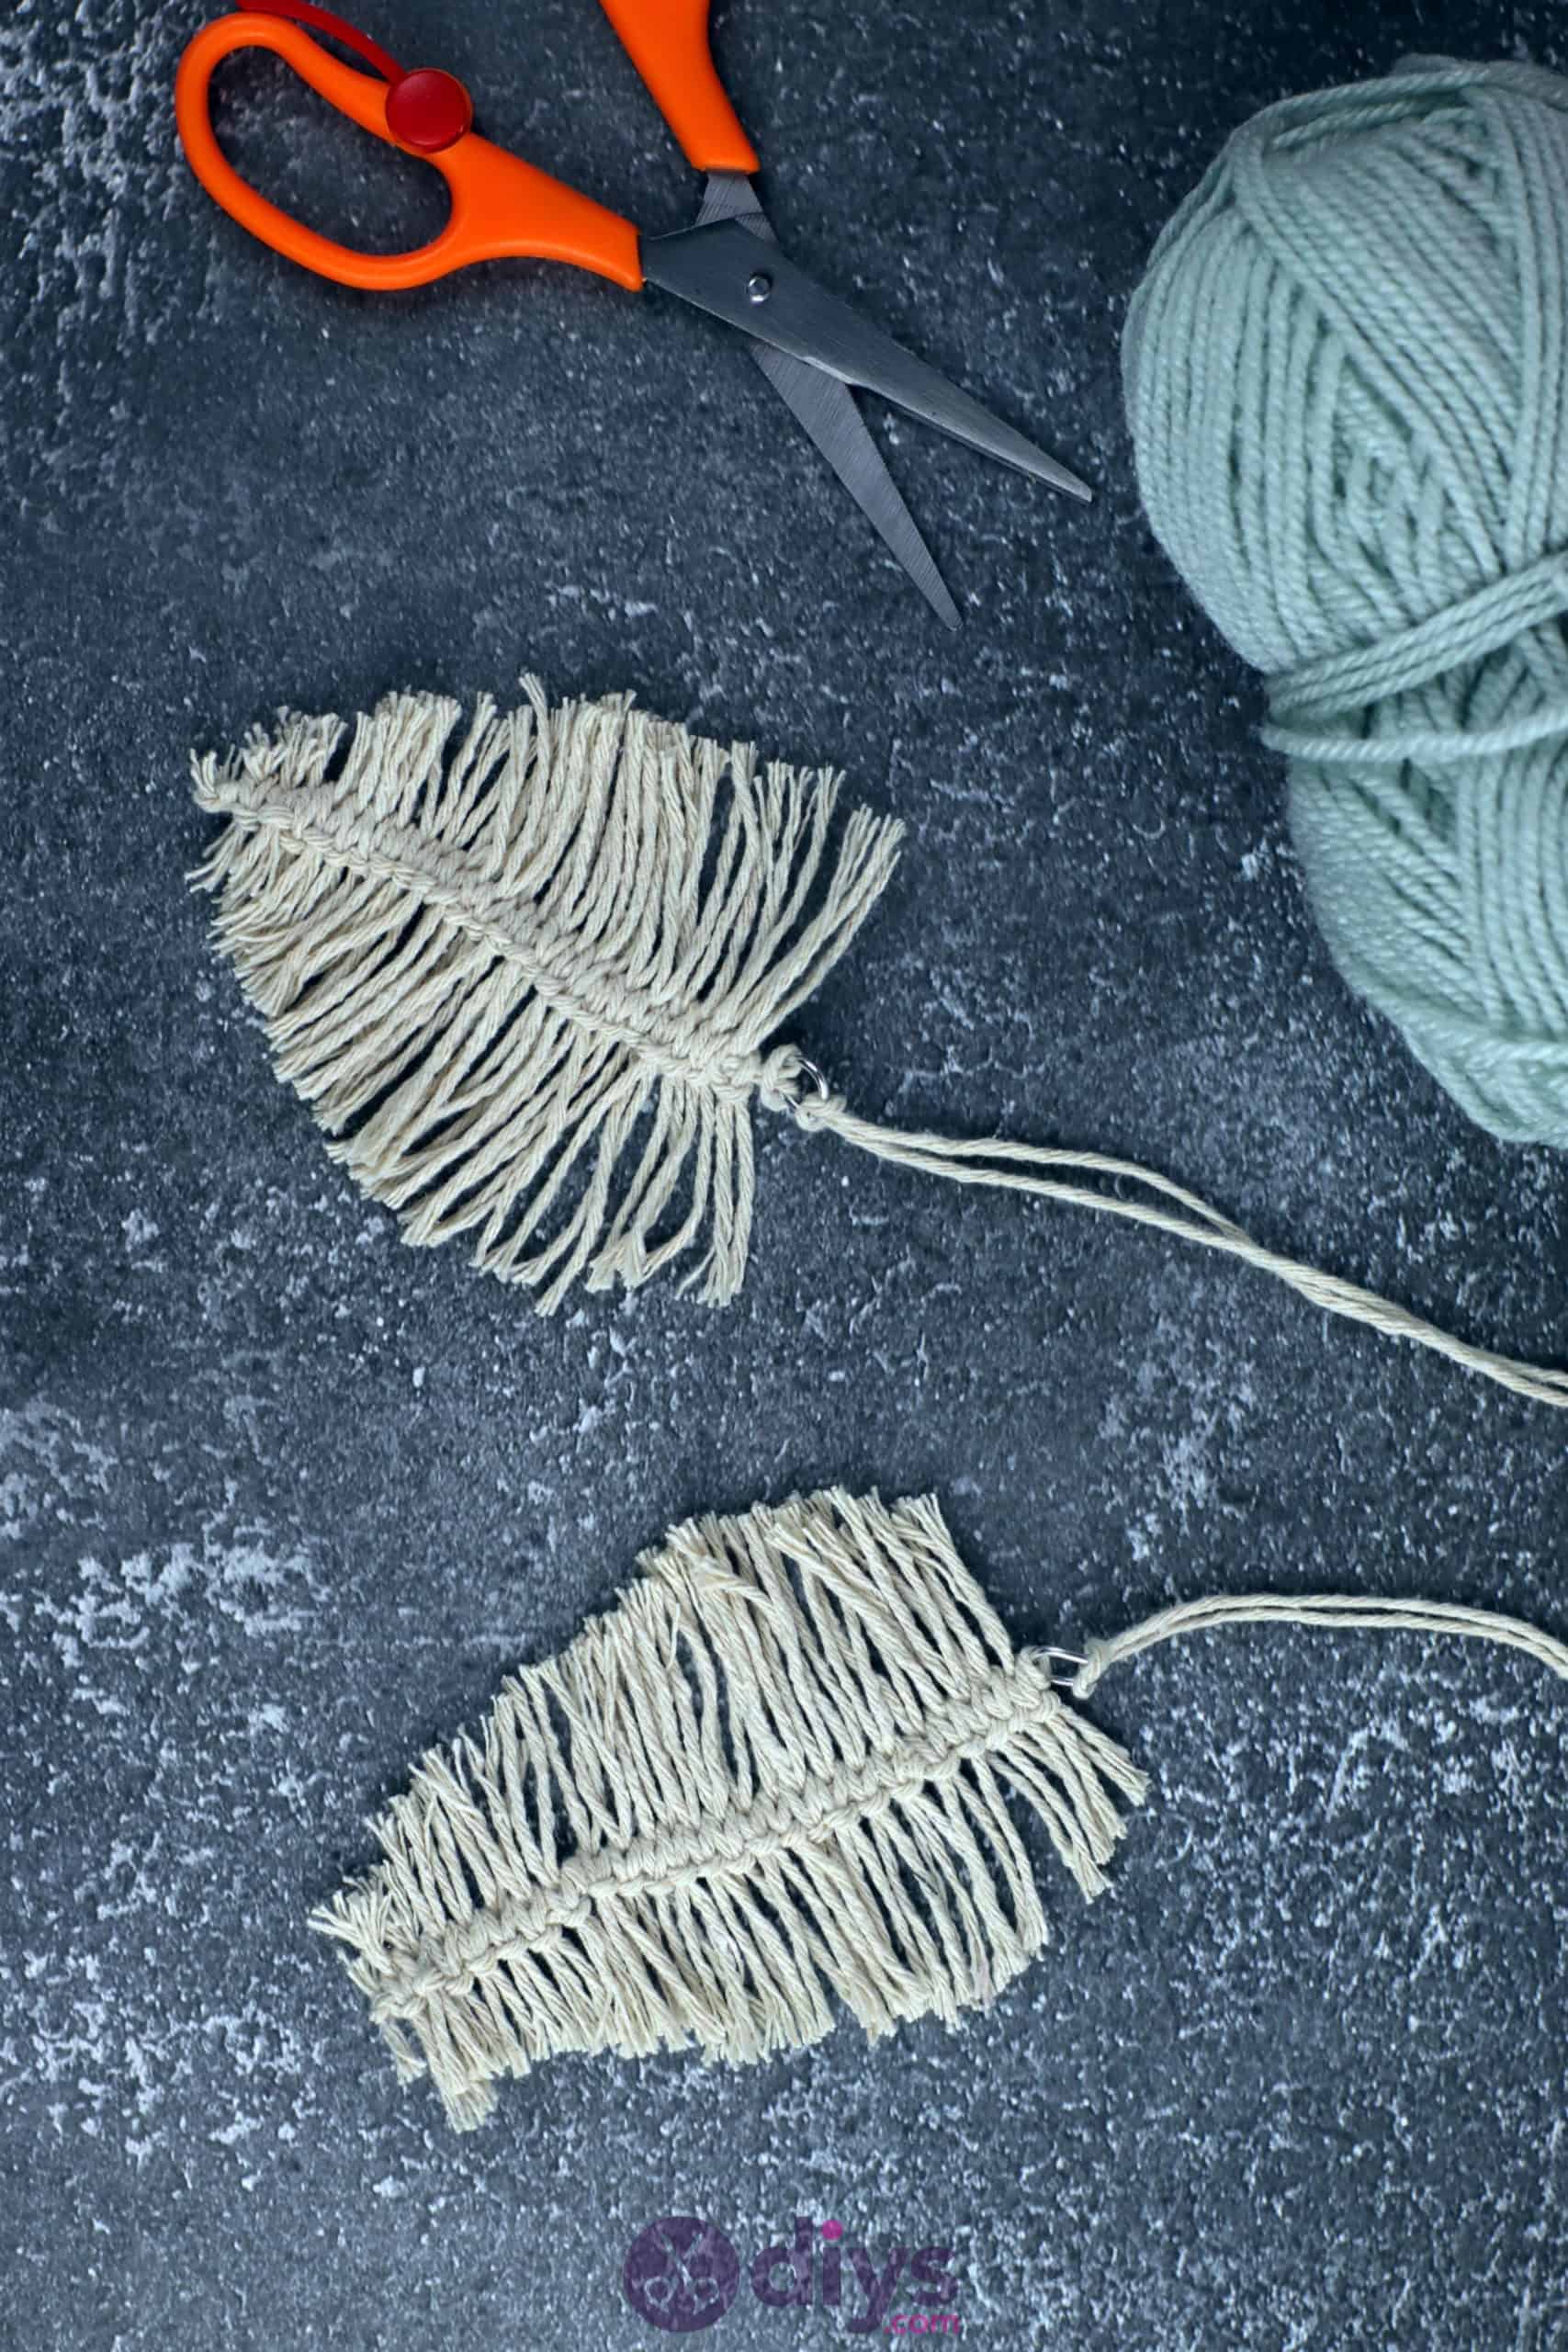
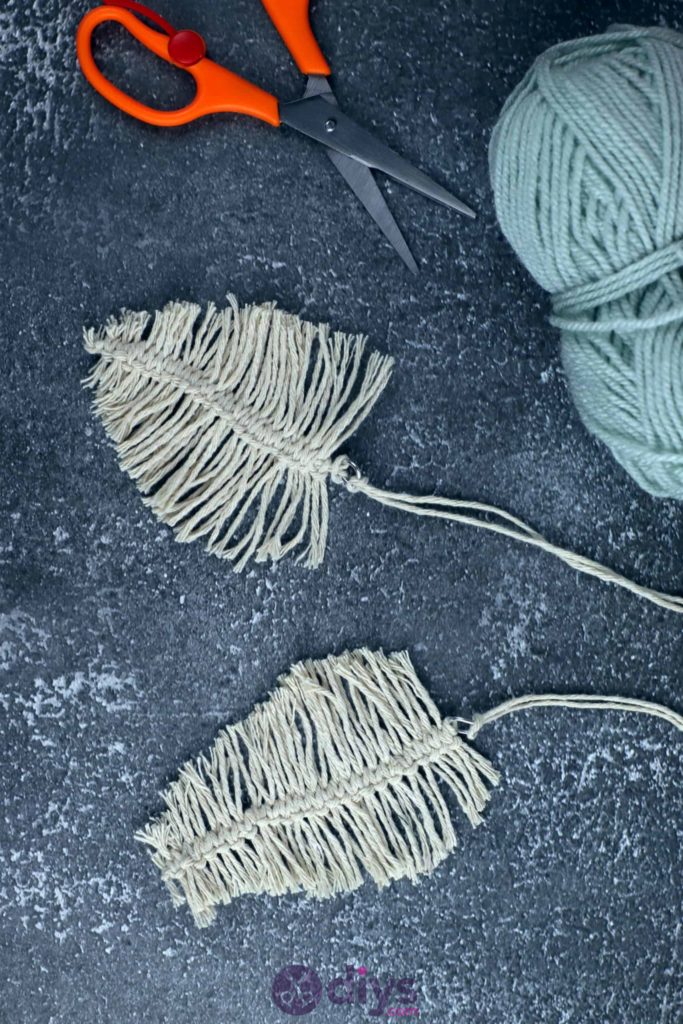
Continue this same looping and knotting process all the way down the length of the base string! You can make your leaf as long or short as you please, but I continued for about four inches. Once you’re satisfied with the length of your leaf, take the two ends of the base string and knot them together to hold all of the knotted fringe pieces in place down its length.
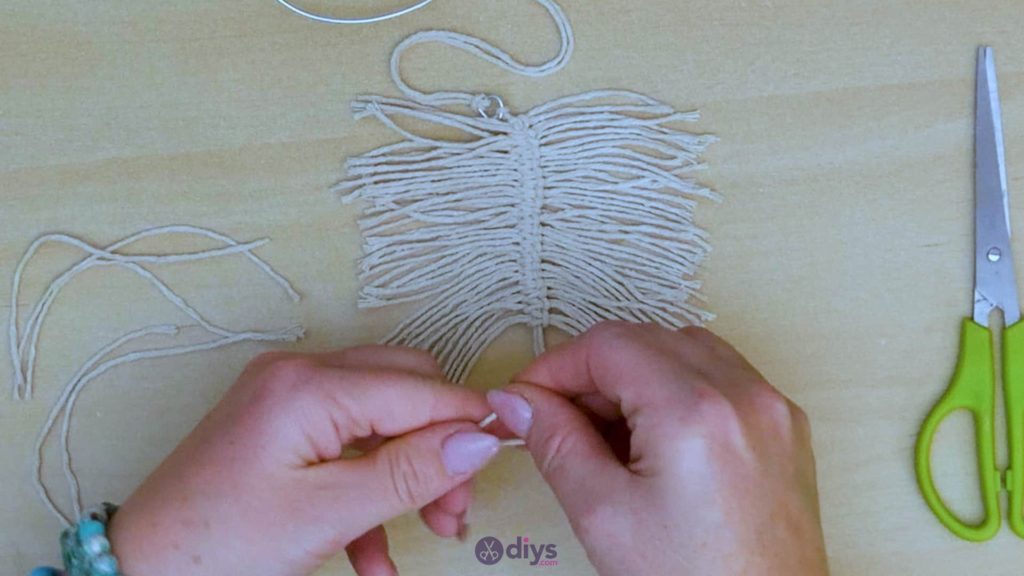


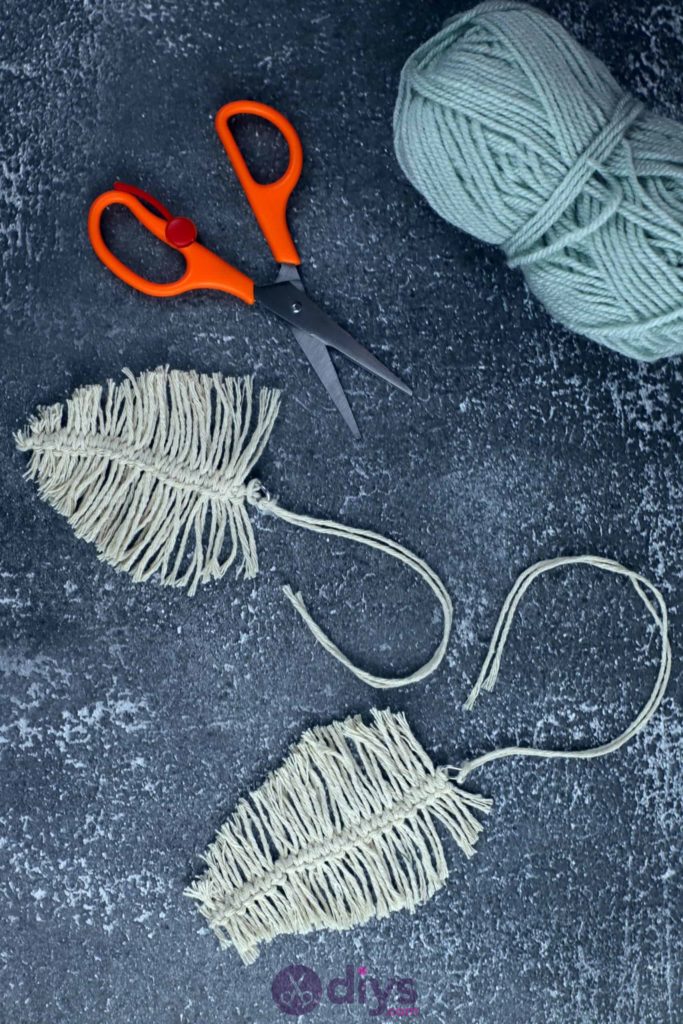
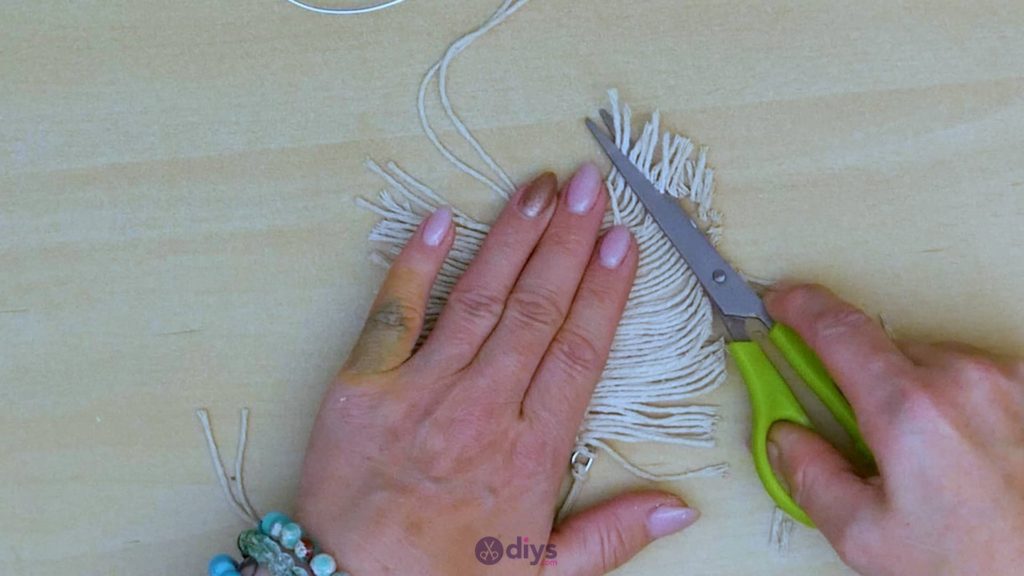
Step 8: trim
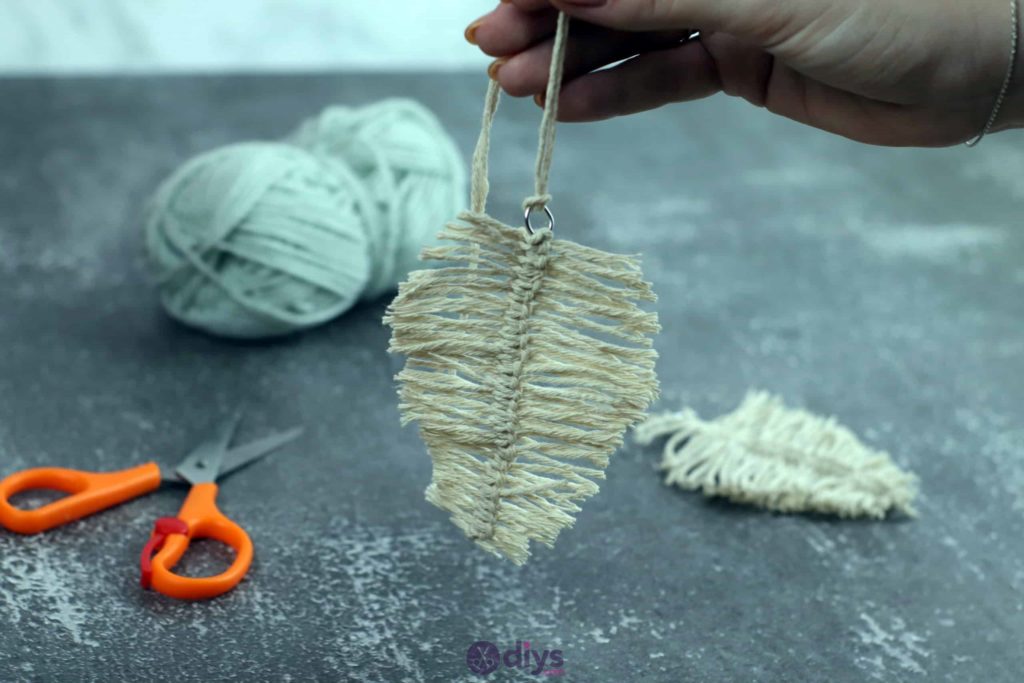
Use your scissors to trim the ends of the fringe pieces on an angle to give your leaf a tapered shape, just like the real thing. You want it to be wider towards the top, where your wire ring is, and more narrow towards the bottom where you knotted your base string in place, just like a leaf’s pointed tip.
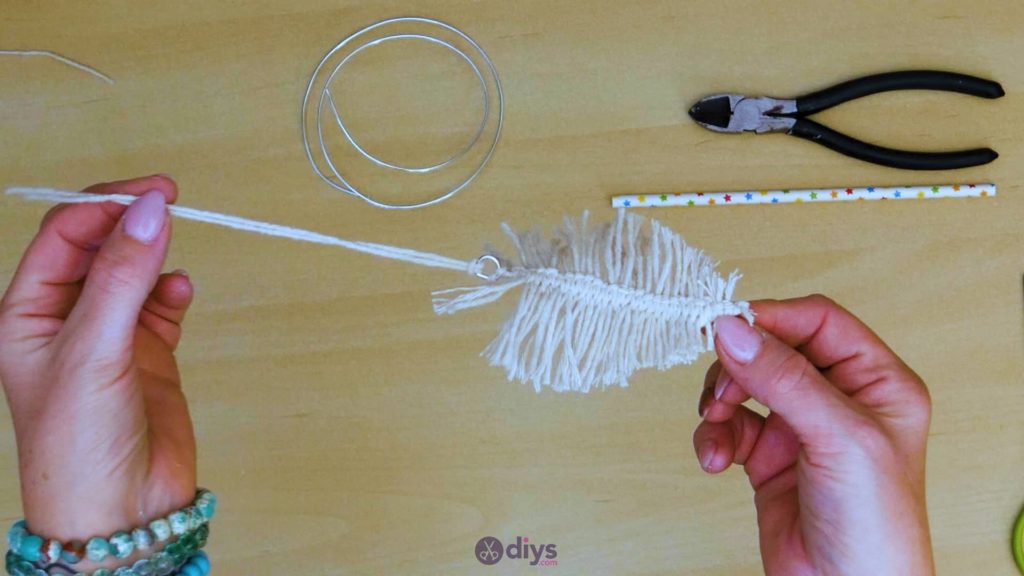
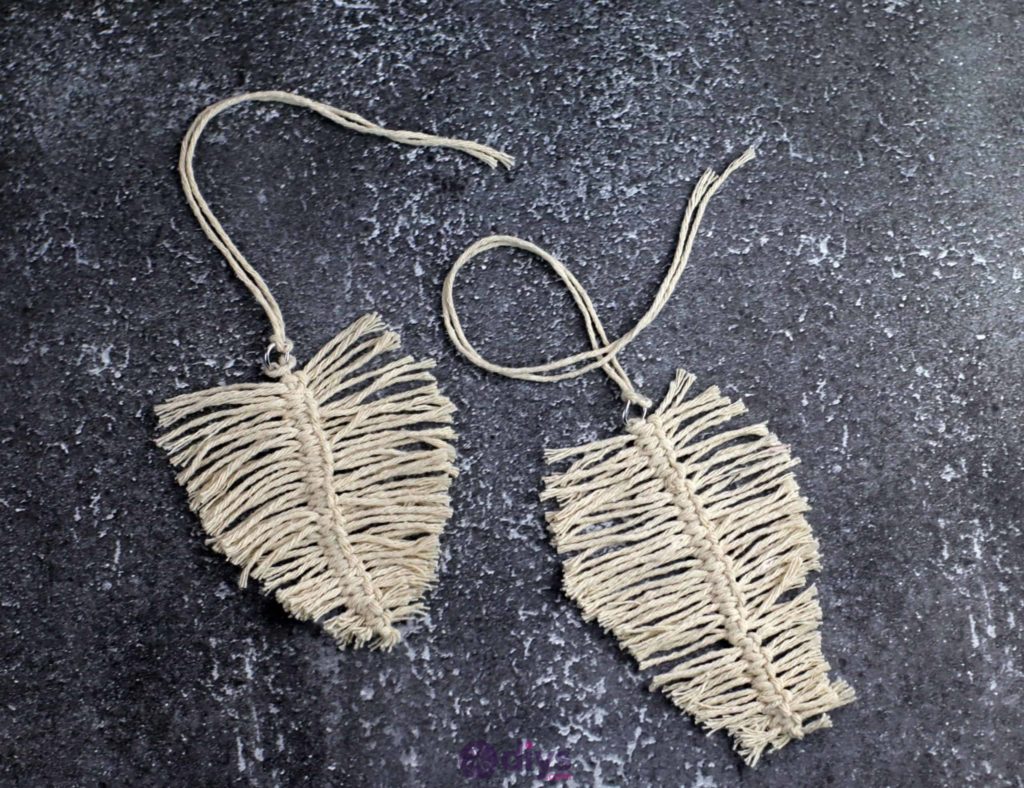

Your leaf is finished! I made several of these to hang in the window, but my kids decided to use colourful yarn for theirs to make much more brightly coloured leaves using this same technique and those turned out wonderfully as well, so feel free to play with the idea! Just in case you’d like to try this project out for yourself, here’s a fantastic tutorial video to help you!