DIY Concrete Teddy Bear
Updated on November 19, 2025


I’m not even sure I could tell you specifically what I love most about using DIY fine particle concrete in crafting, but I’ve been completely obsessed with it lately! I’ve been practicing using moulds and all kinds of different techniques lately to turn concrete into various types of neat projects, but I’ve only just come across the concept of “concrete dipping” or coating something in a layer of concrete to turn it into a statue or piece that looks like a concrete project. It’s a really neat way to make texture and detail to stand out with a sort of industrial chic style to it. I decided to give it a shot, so I stopped by the dollar store to pick up something little and simple to experiment with and that’s when I came across a series of miniature teddy bears that were very cute indeed. They became my first foray into concrete dipping and I was more than pleased with the first one, so I decided to transform them all!

Naturally, I just had to document the process of at least one of my bears for sharing. Check out these step by step instructions complete with photos! If you’d rather follow along with a video tutorial instead of written words, scroll to the bottom of this post to find just what you’re looking for.
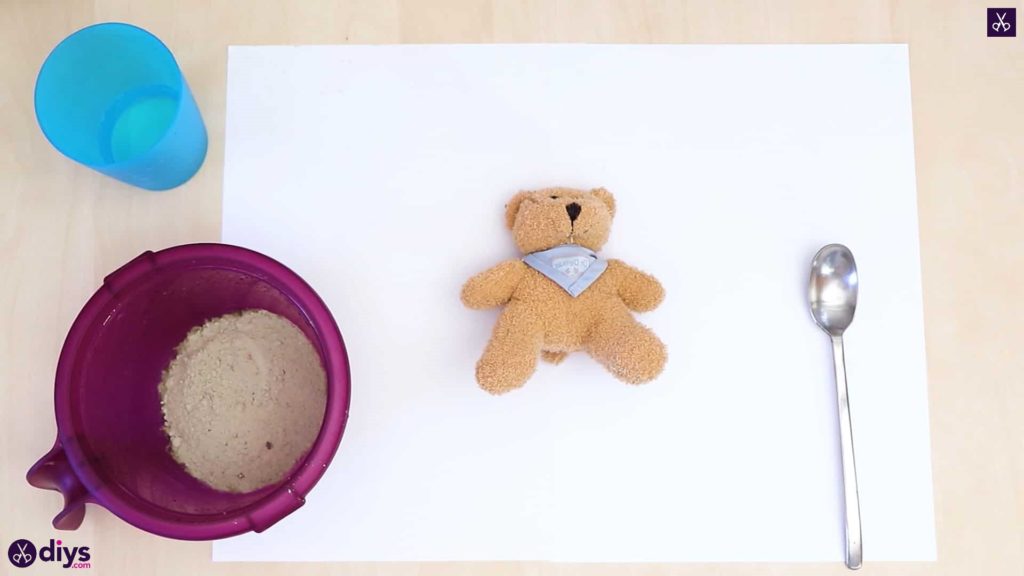
For this project, you’ll need:
- A small teddy bear
- DIY fine particle cement
- Water
- A spoon
- A piece of scrap paper
Step 1:
Gather your materials!
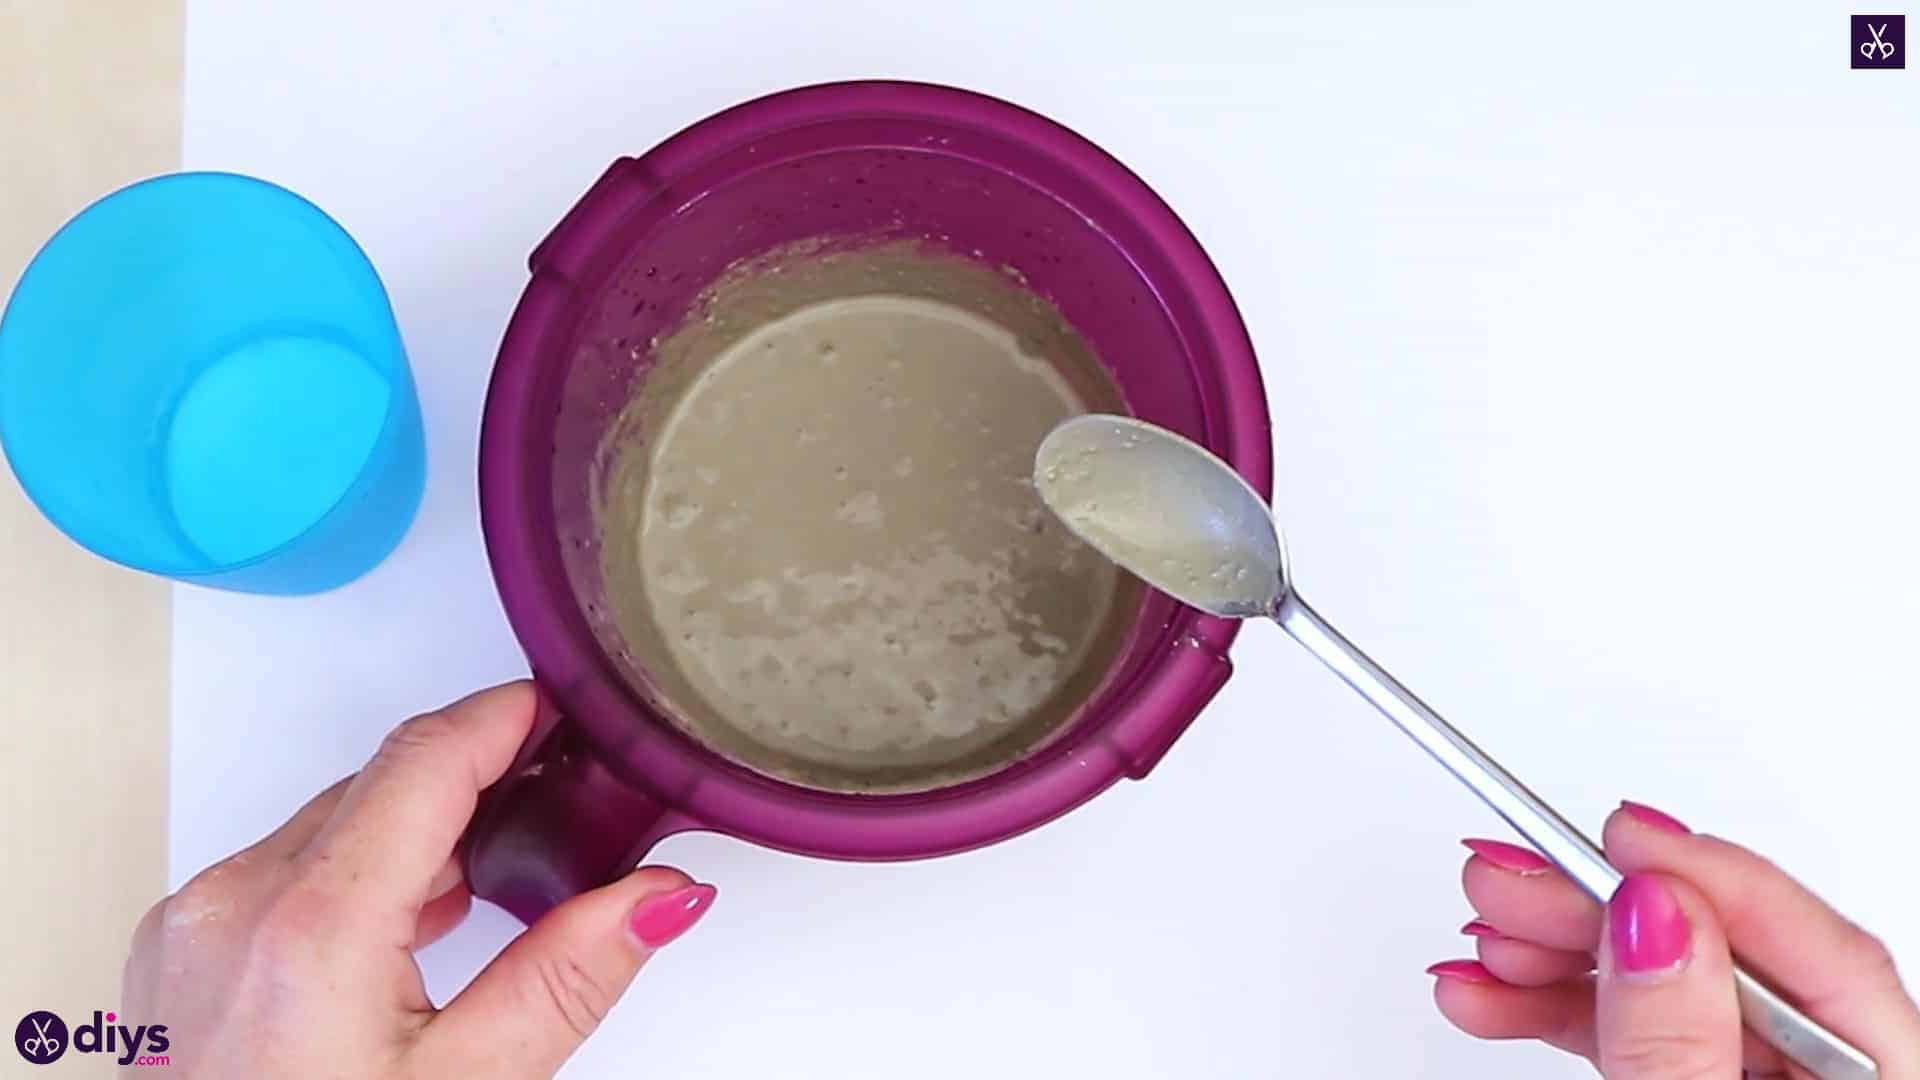
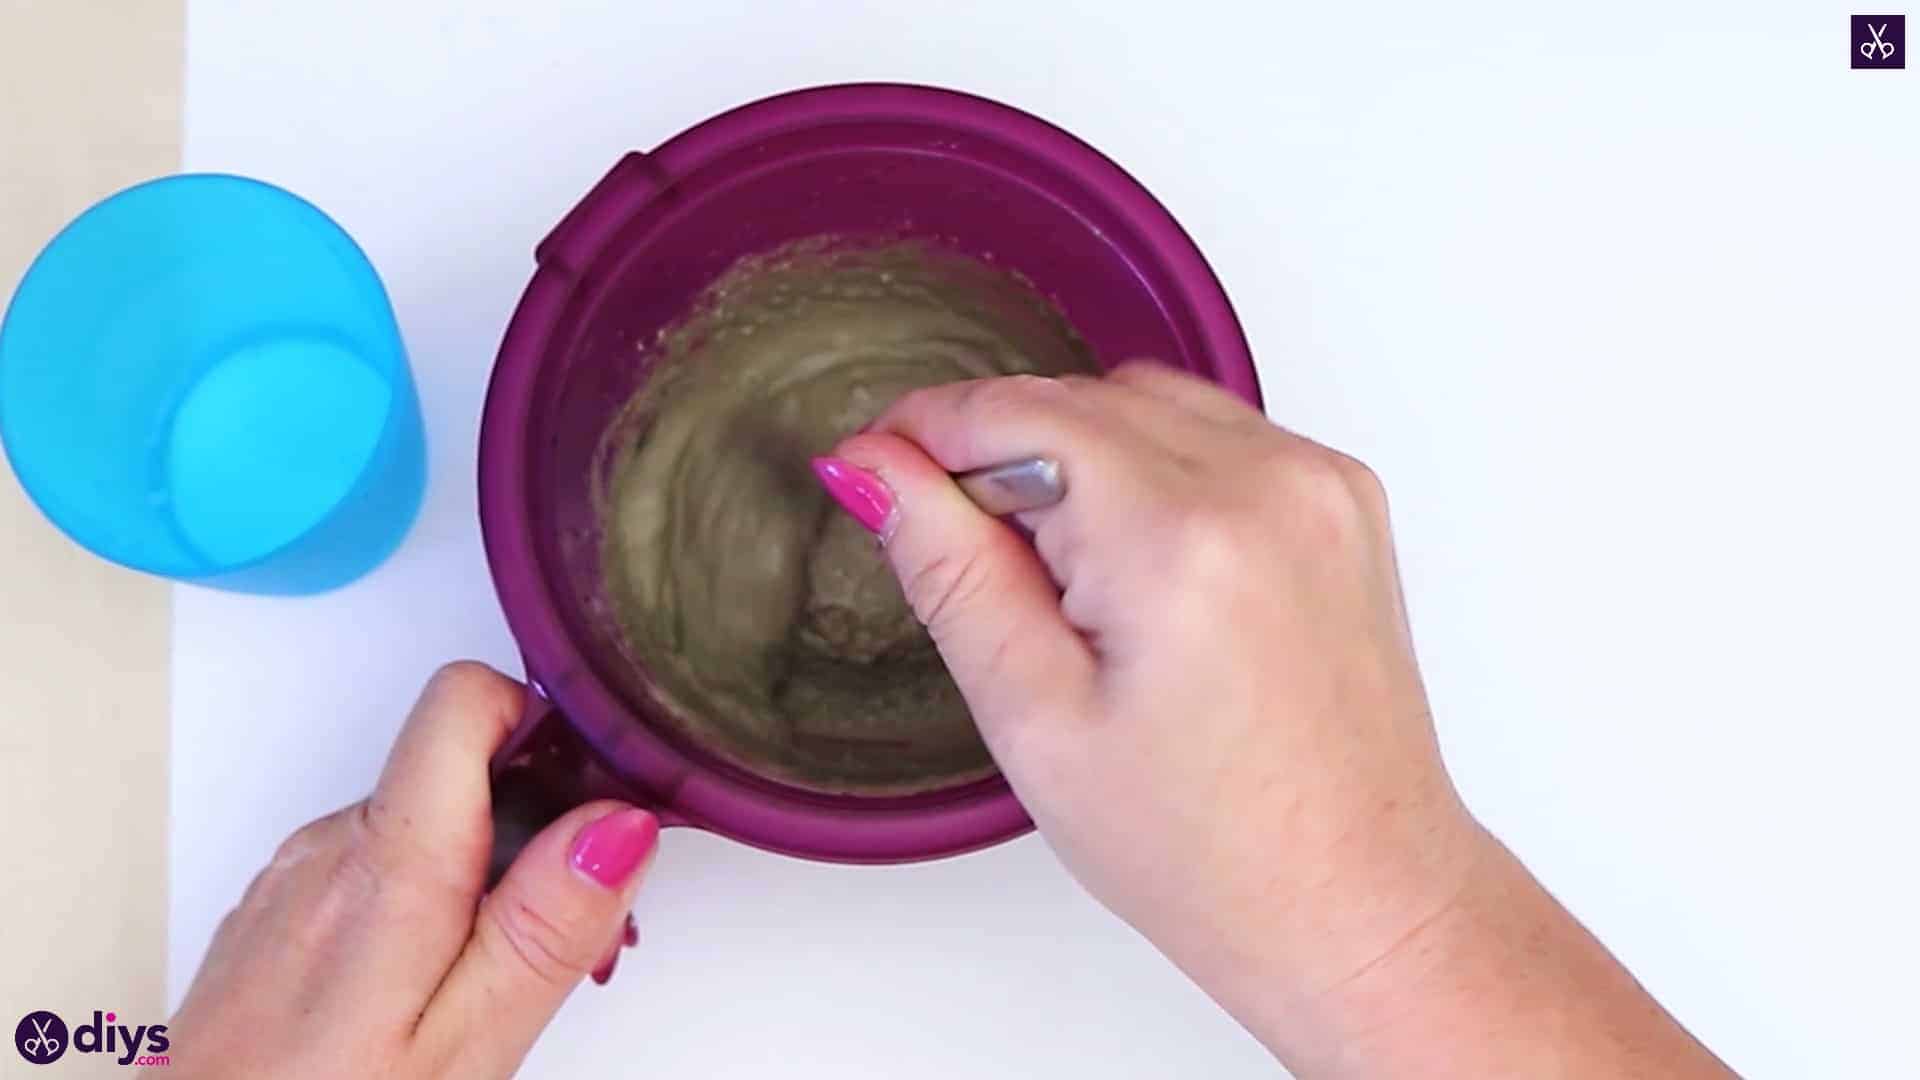
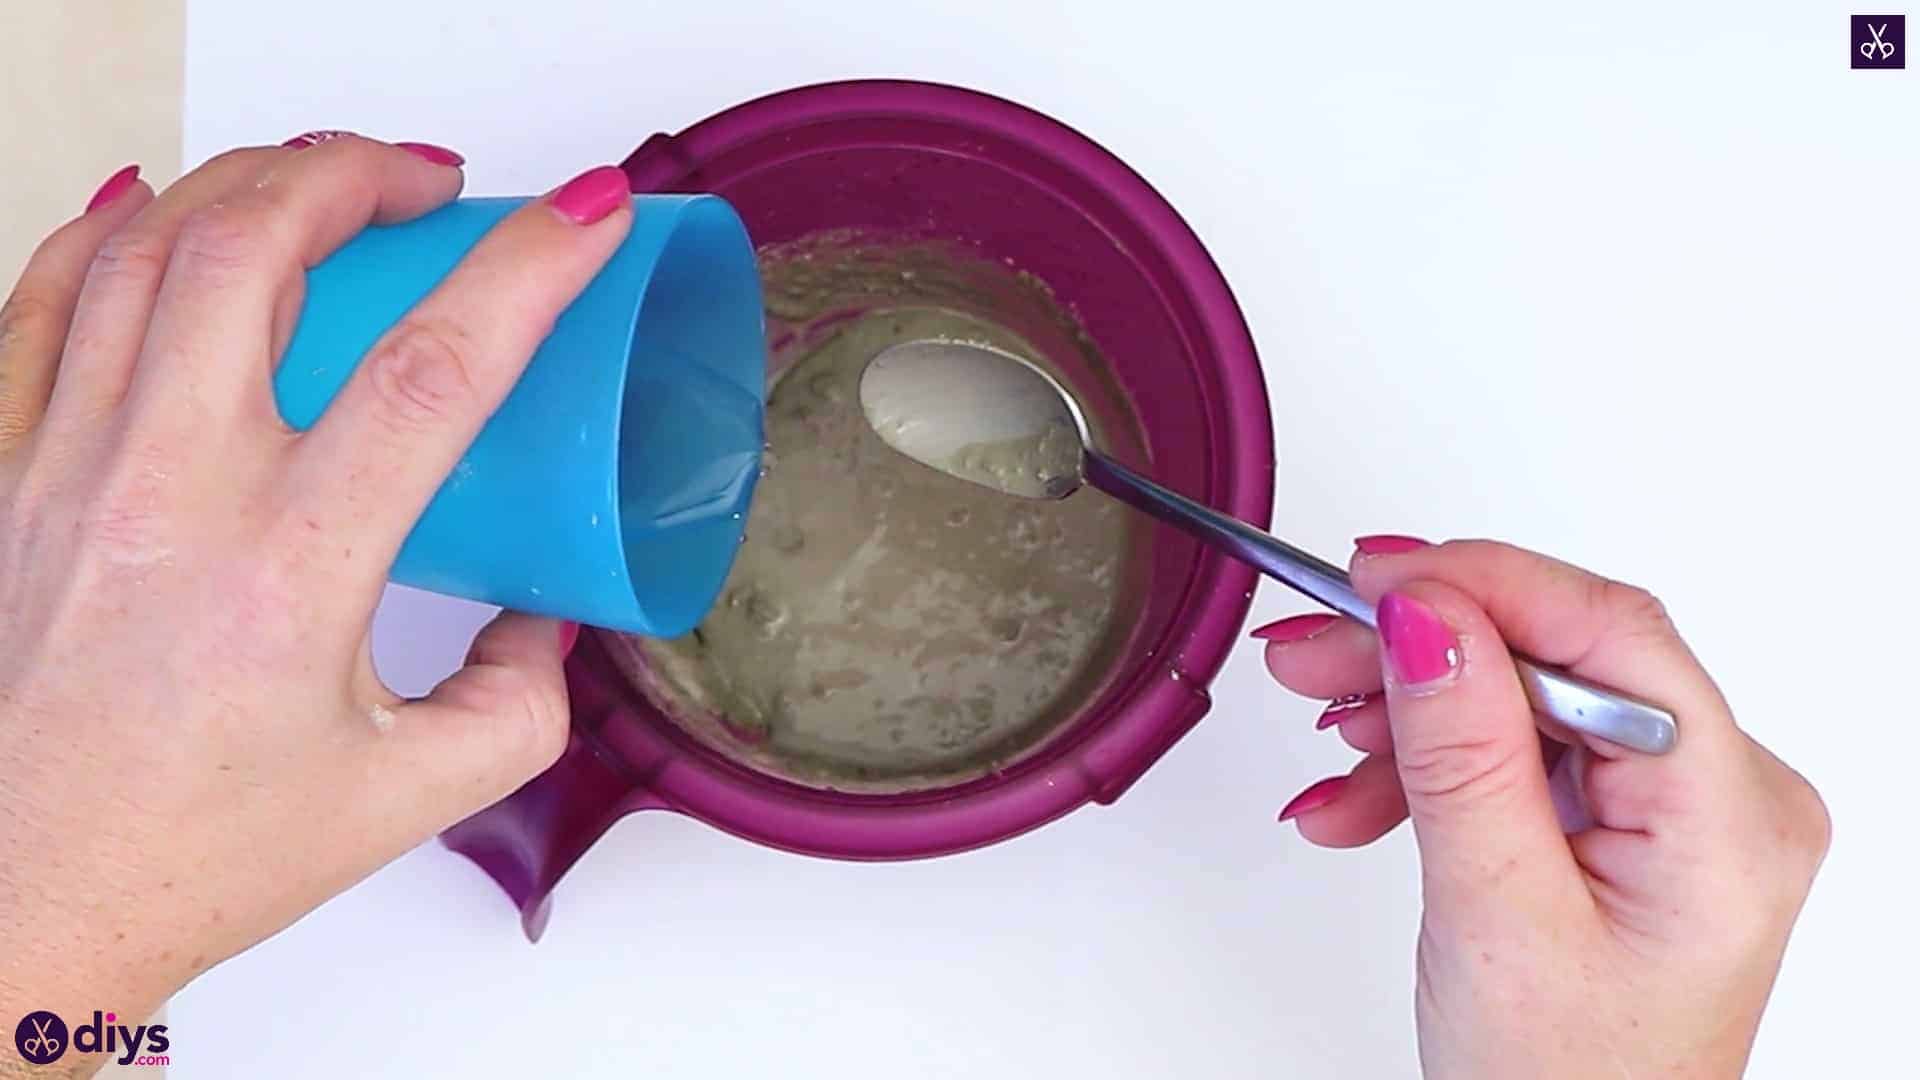
Step 2:
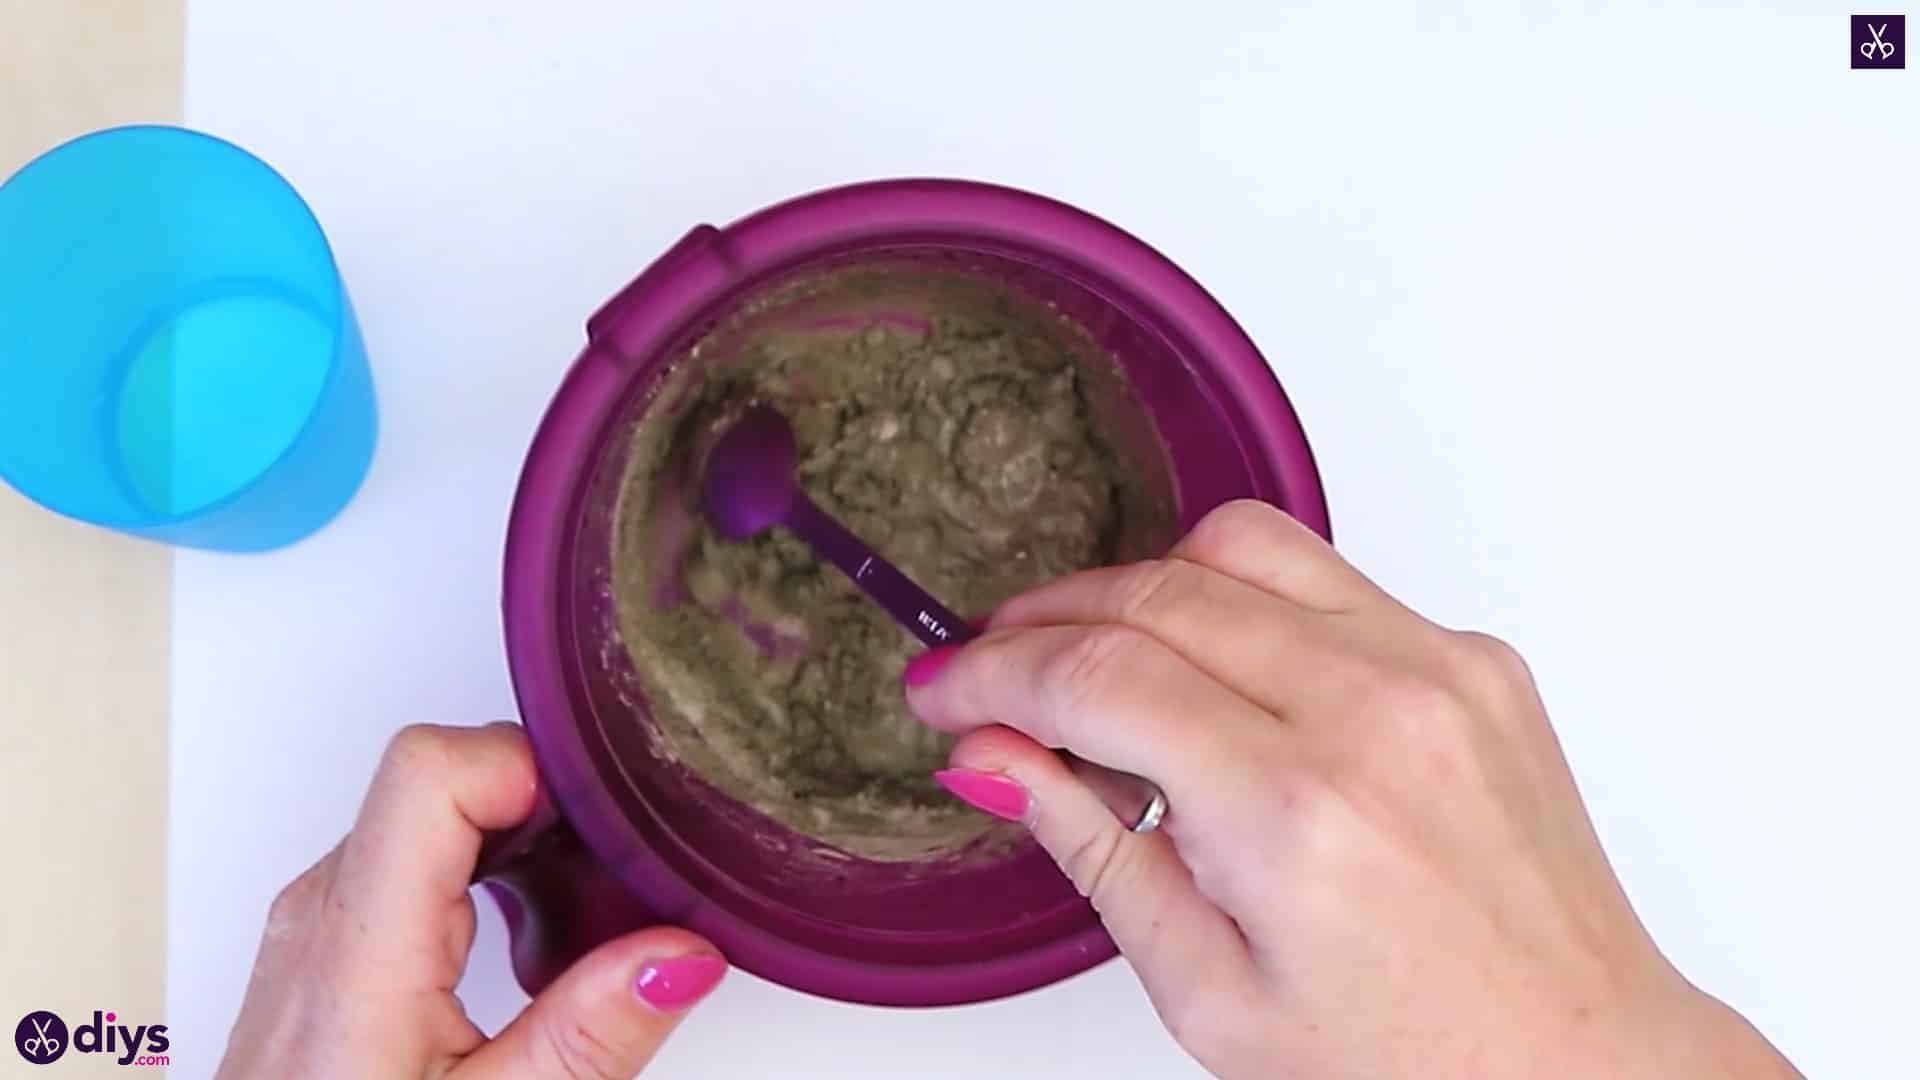
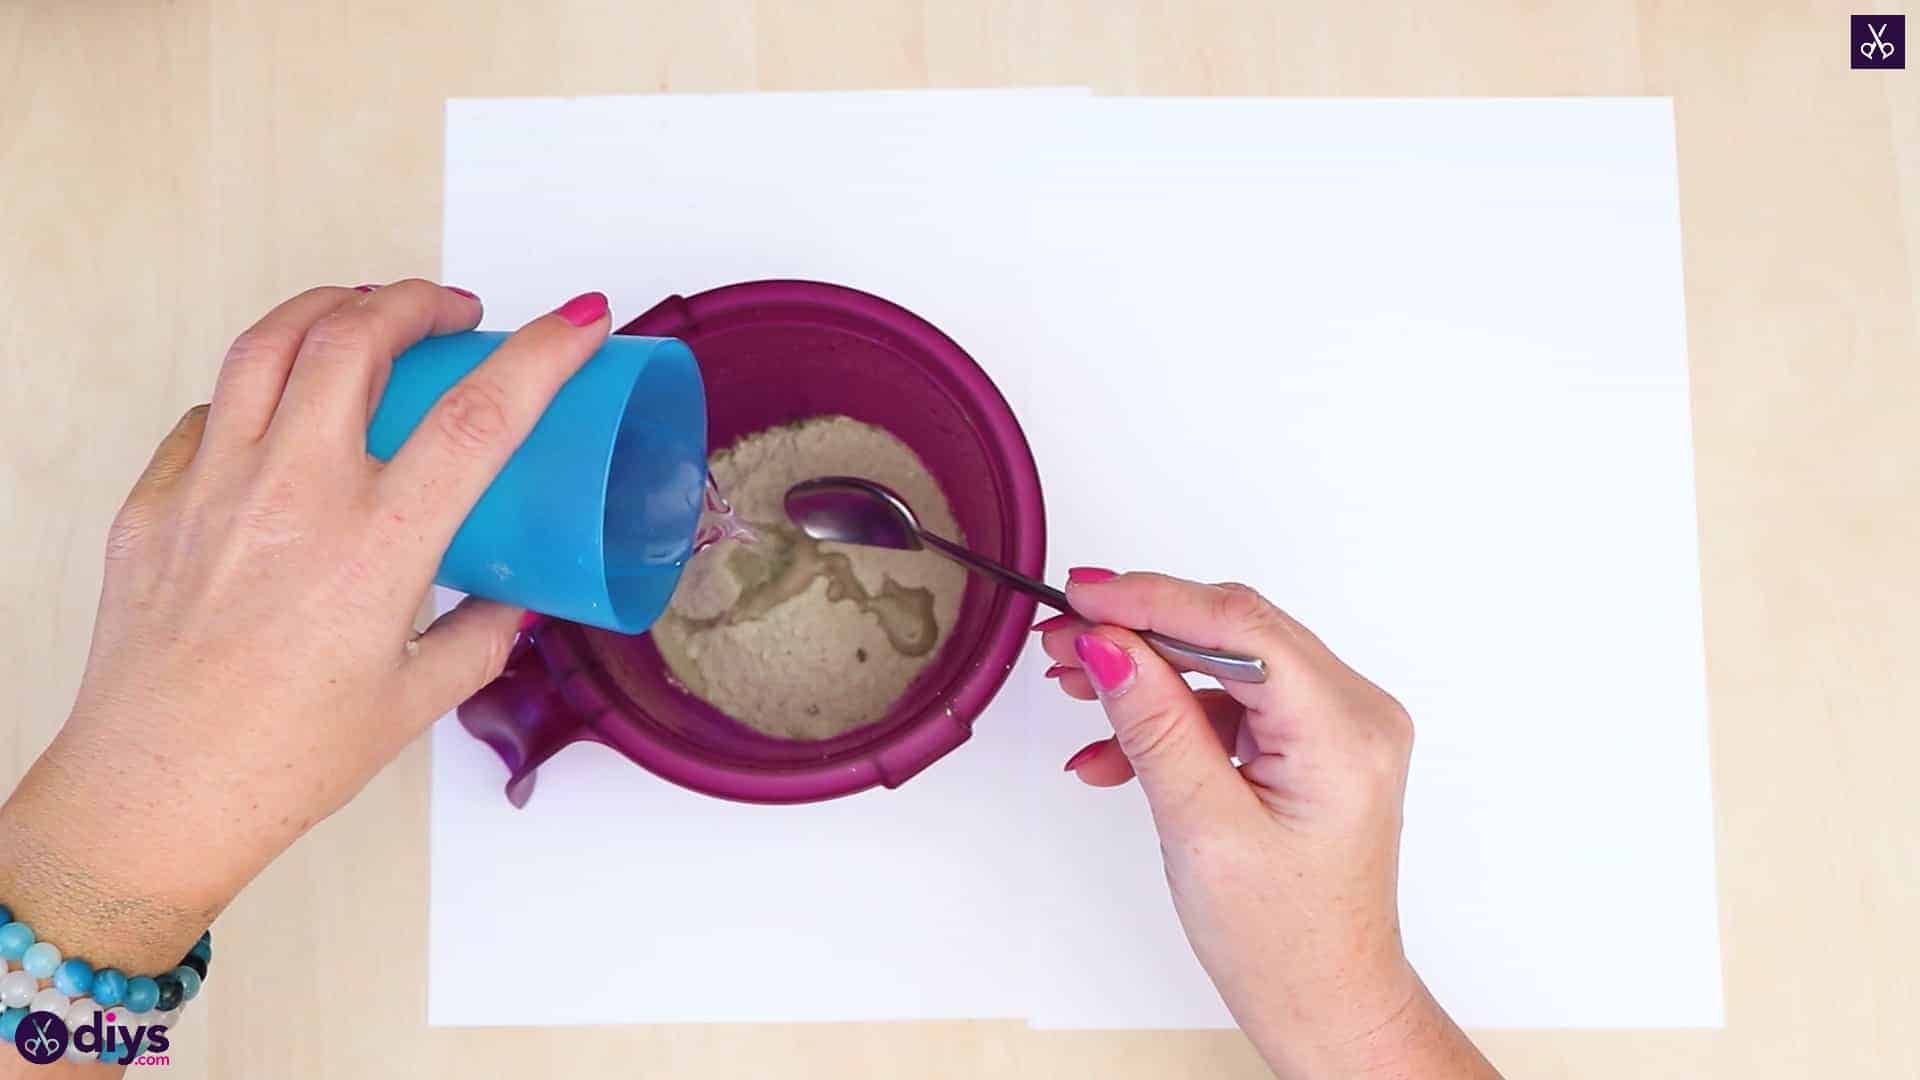
Lay your paper down on your tabletop so you have a covered work surface in case of spills and don’t do any damage with accidental dried cement. In a bowl you don’t mind using for craft supplies, use your spoon to mix water into your DIY fine particle cement mix. Follow the directions on the package carefully in order to get the right ratio of water to mix for the correct consistency, since it can vary from brand to brand.


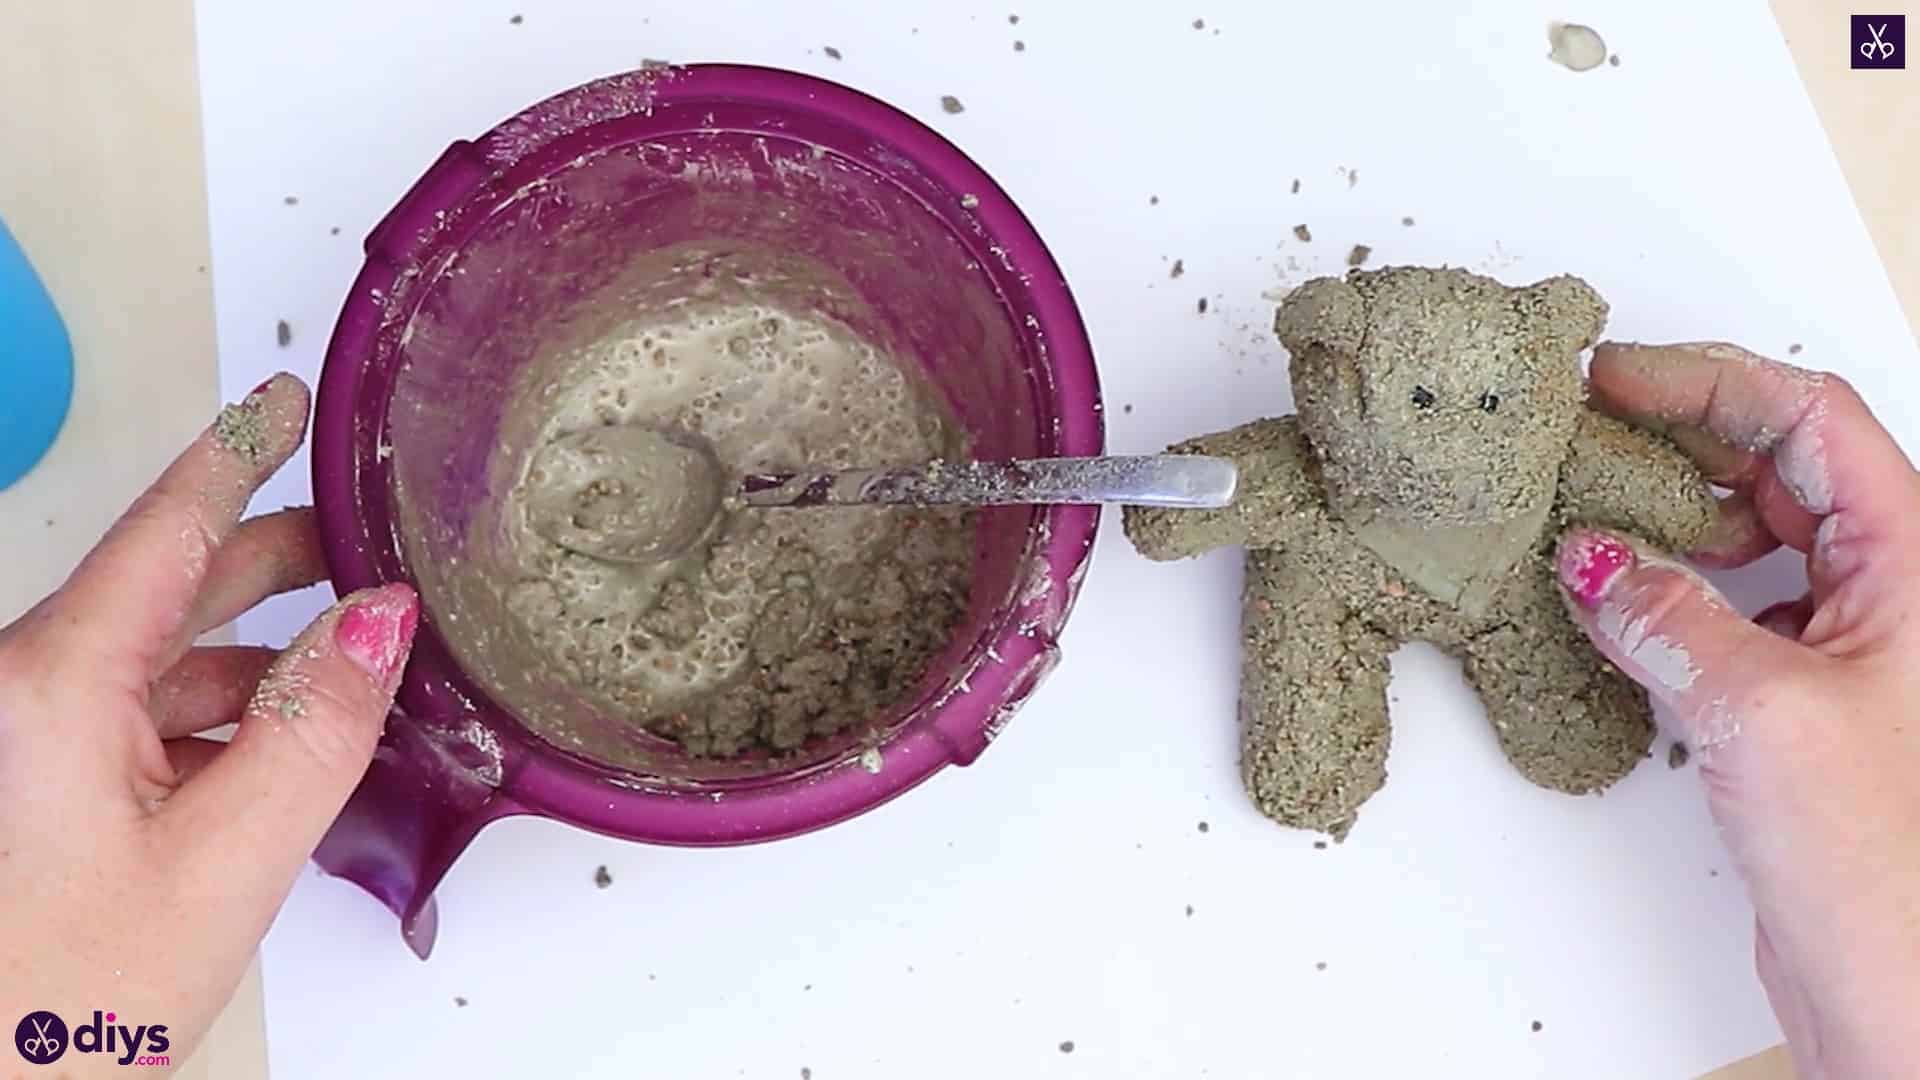
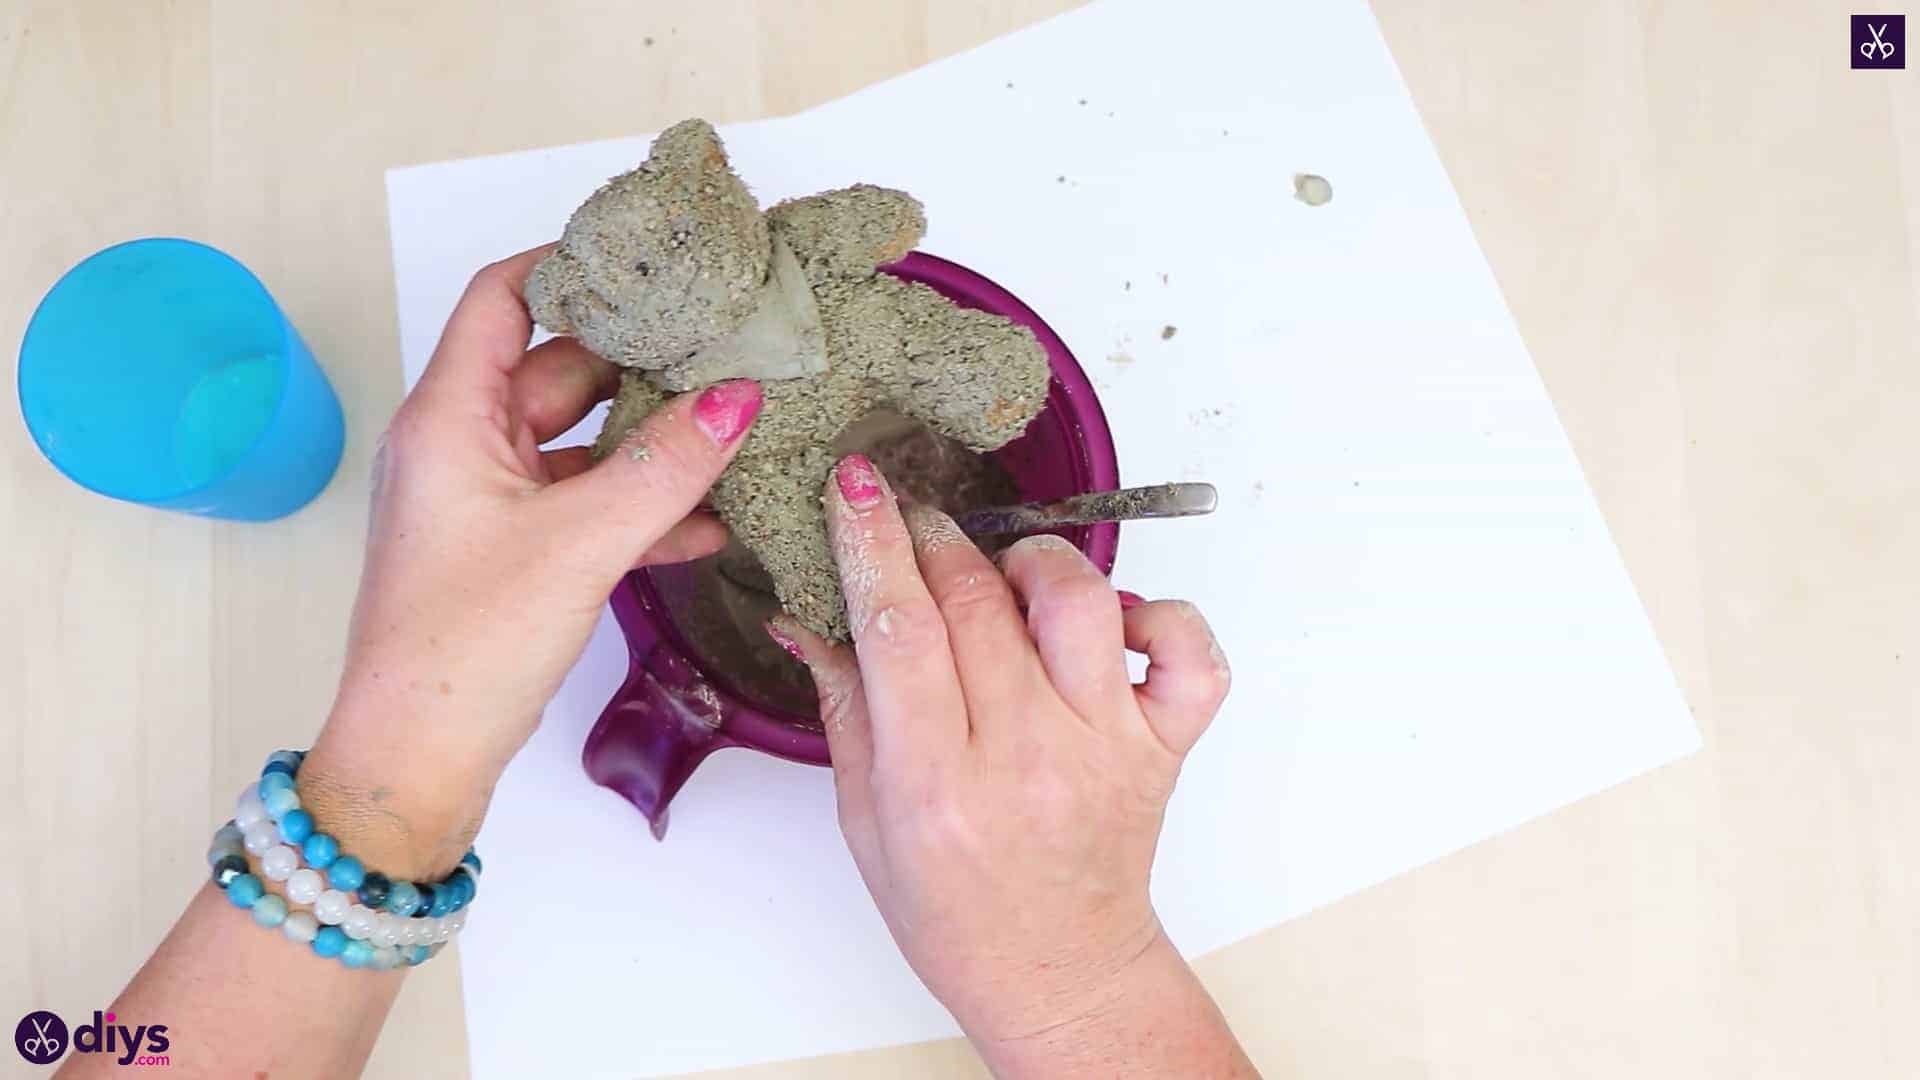
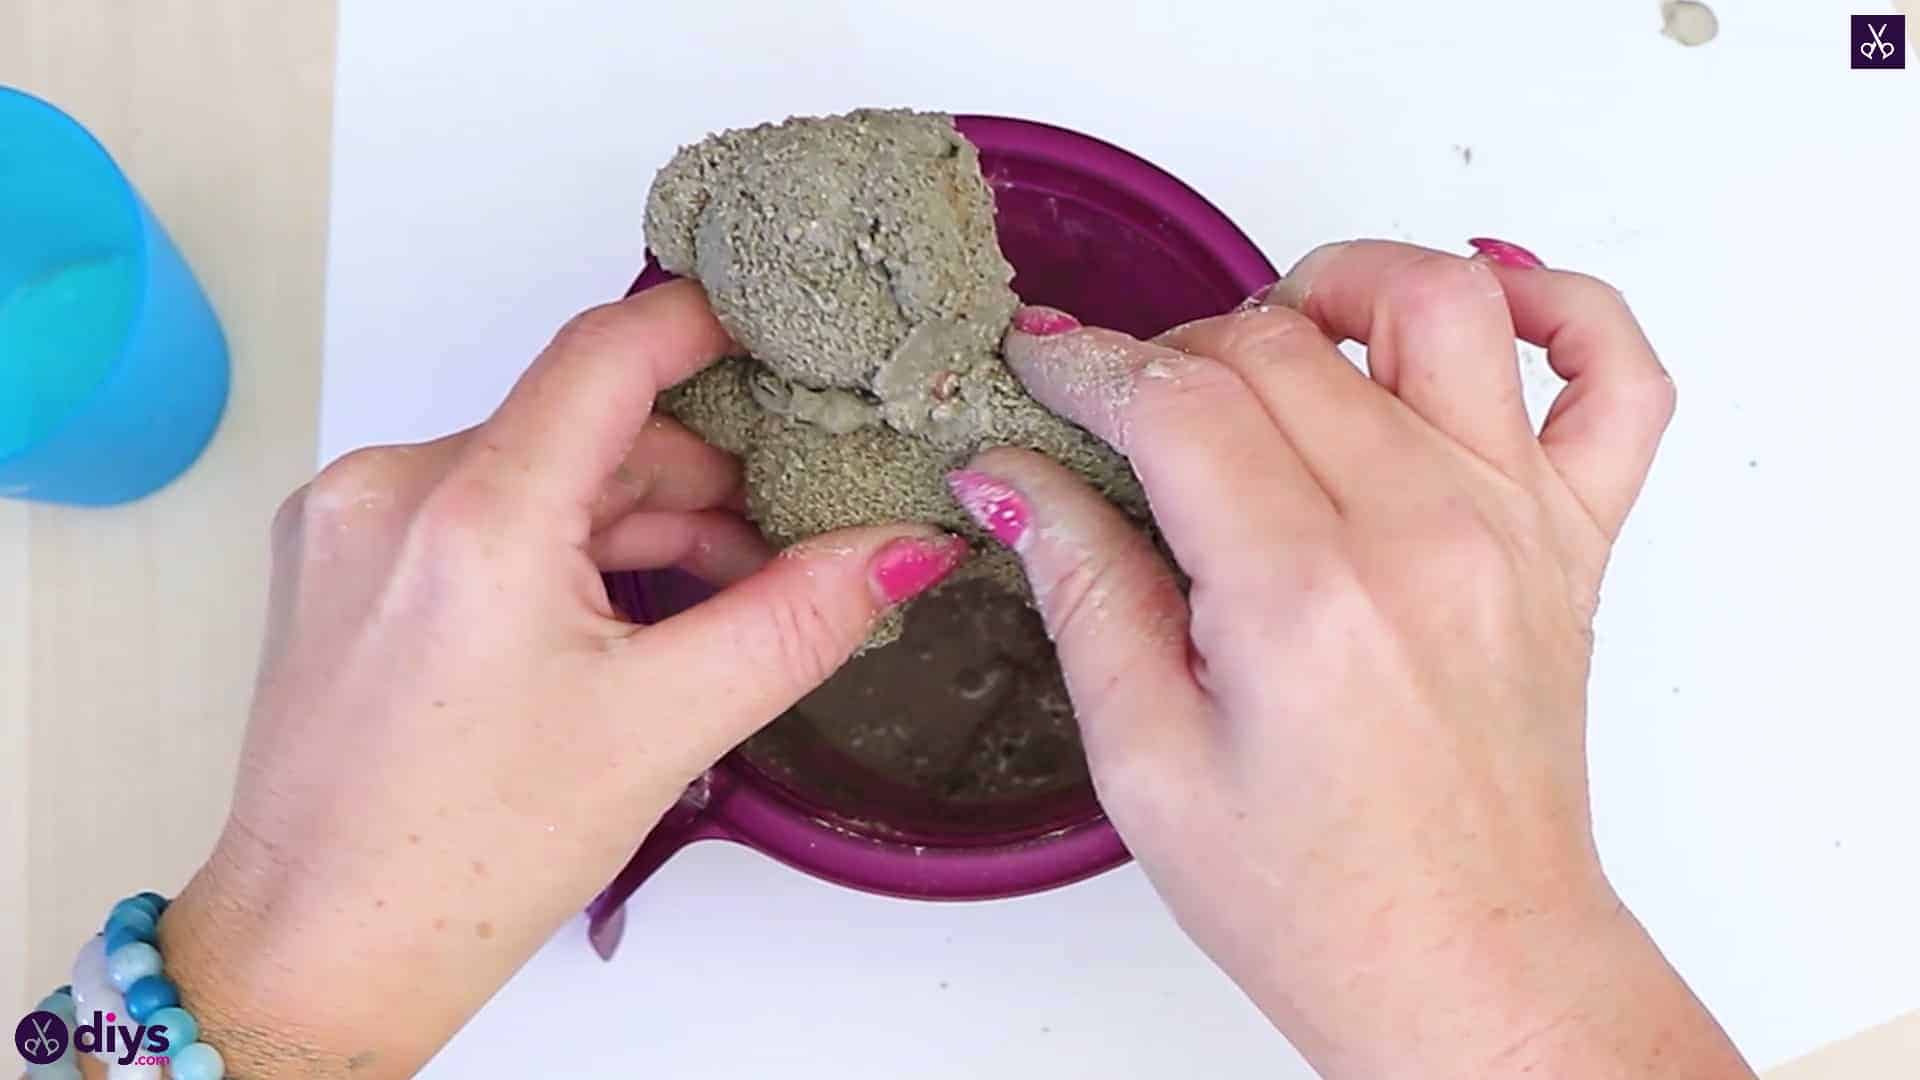
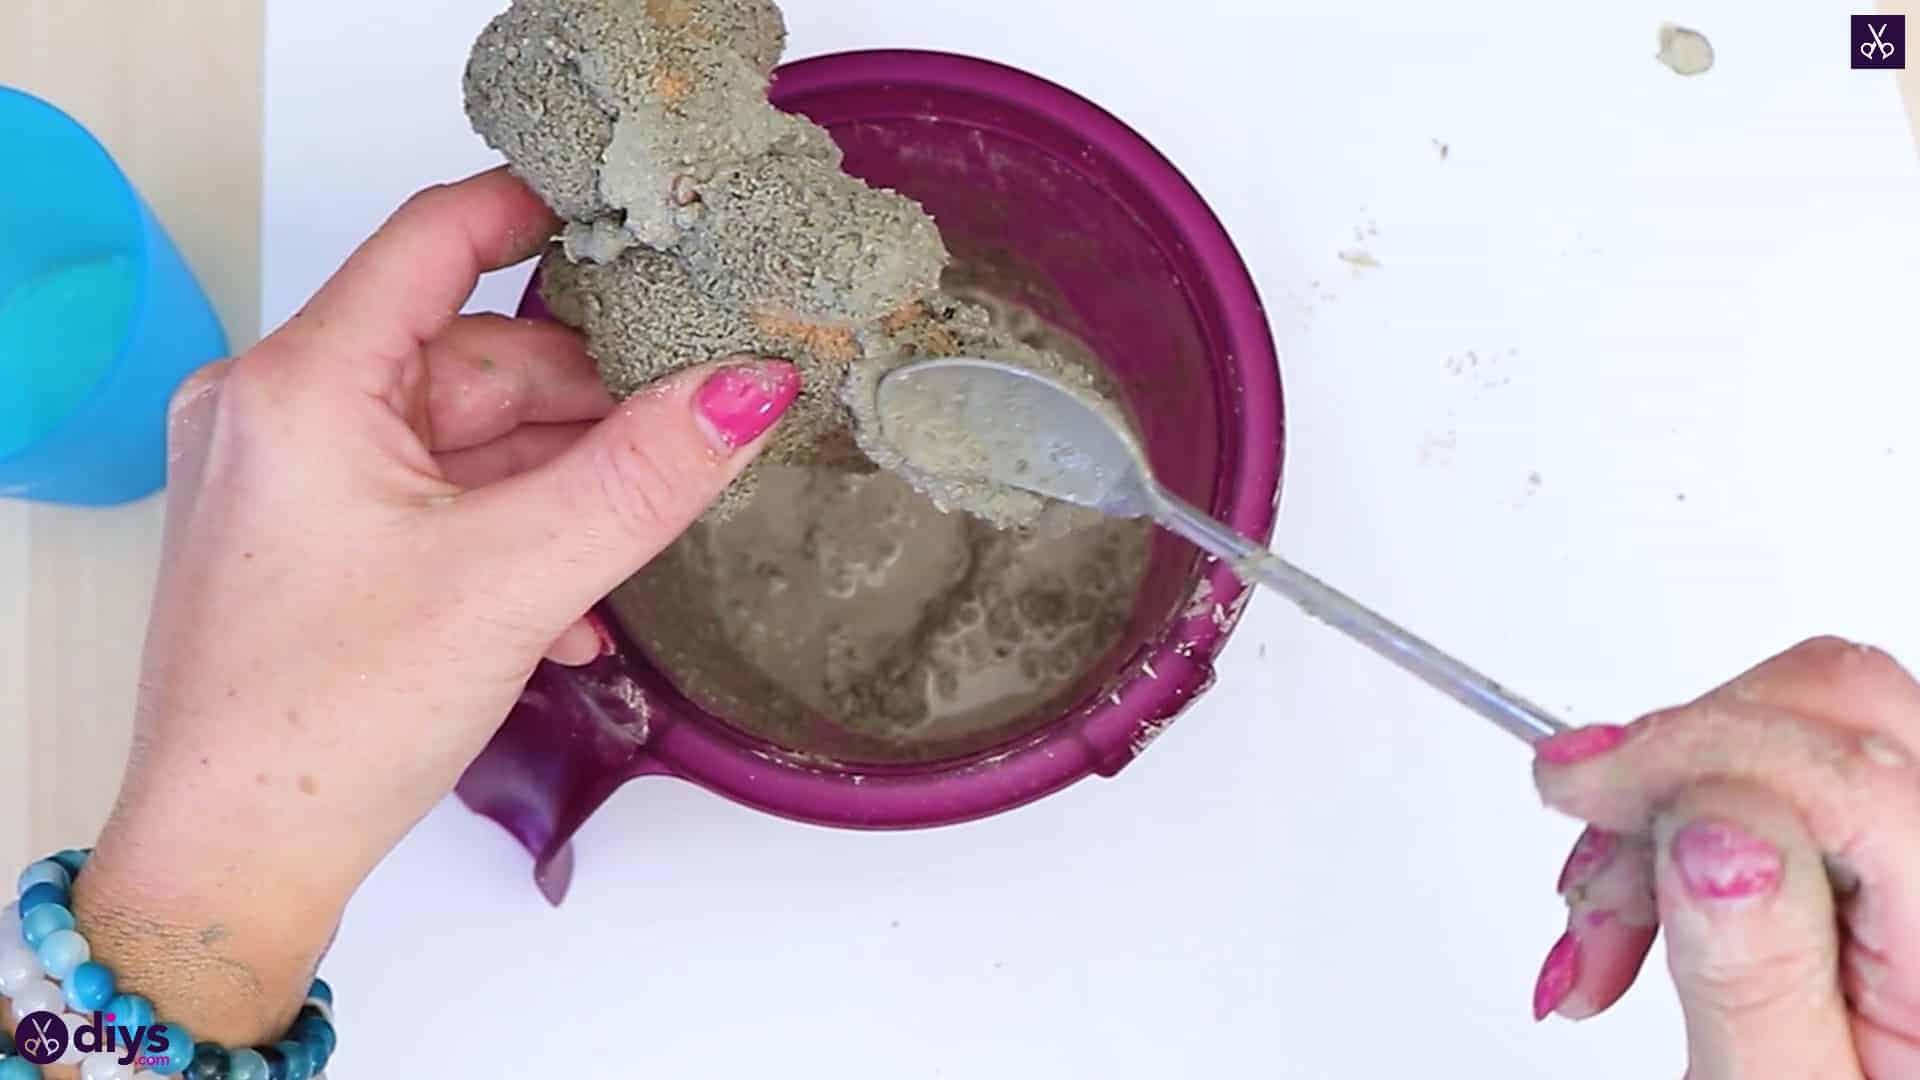
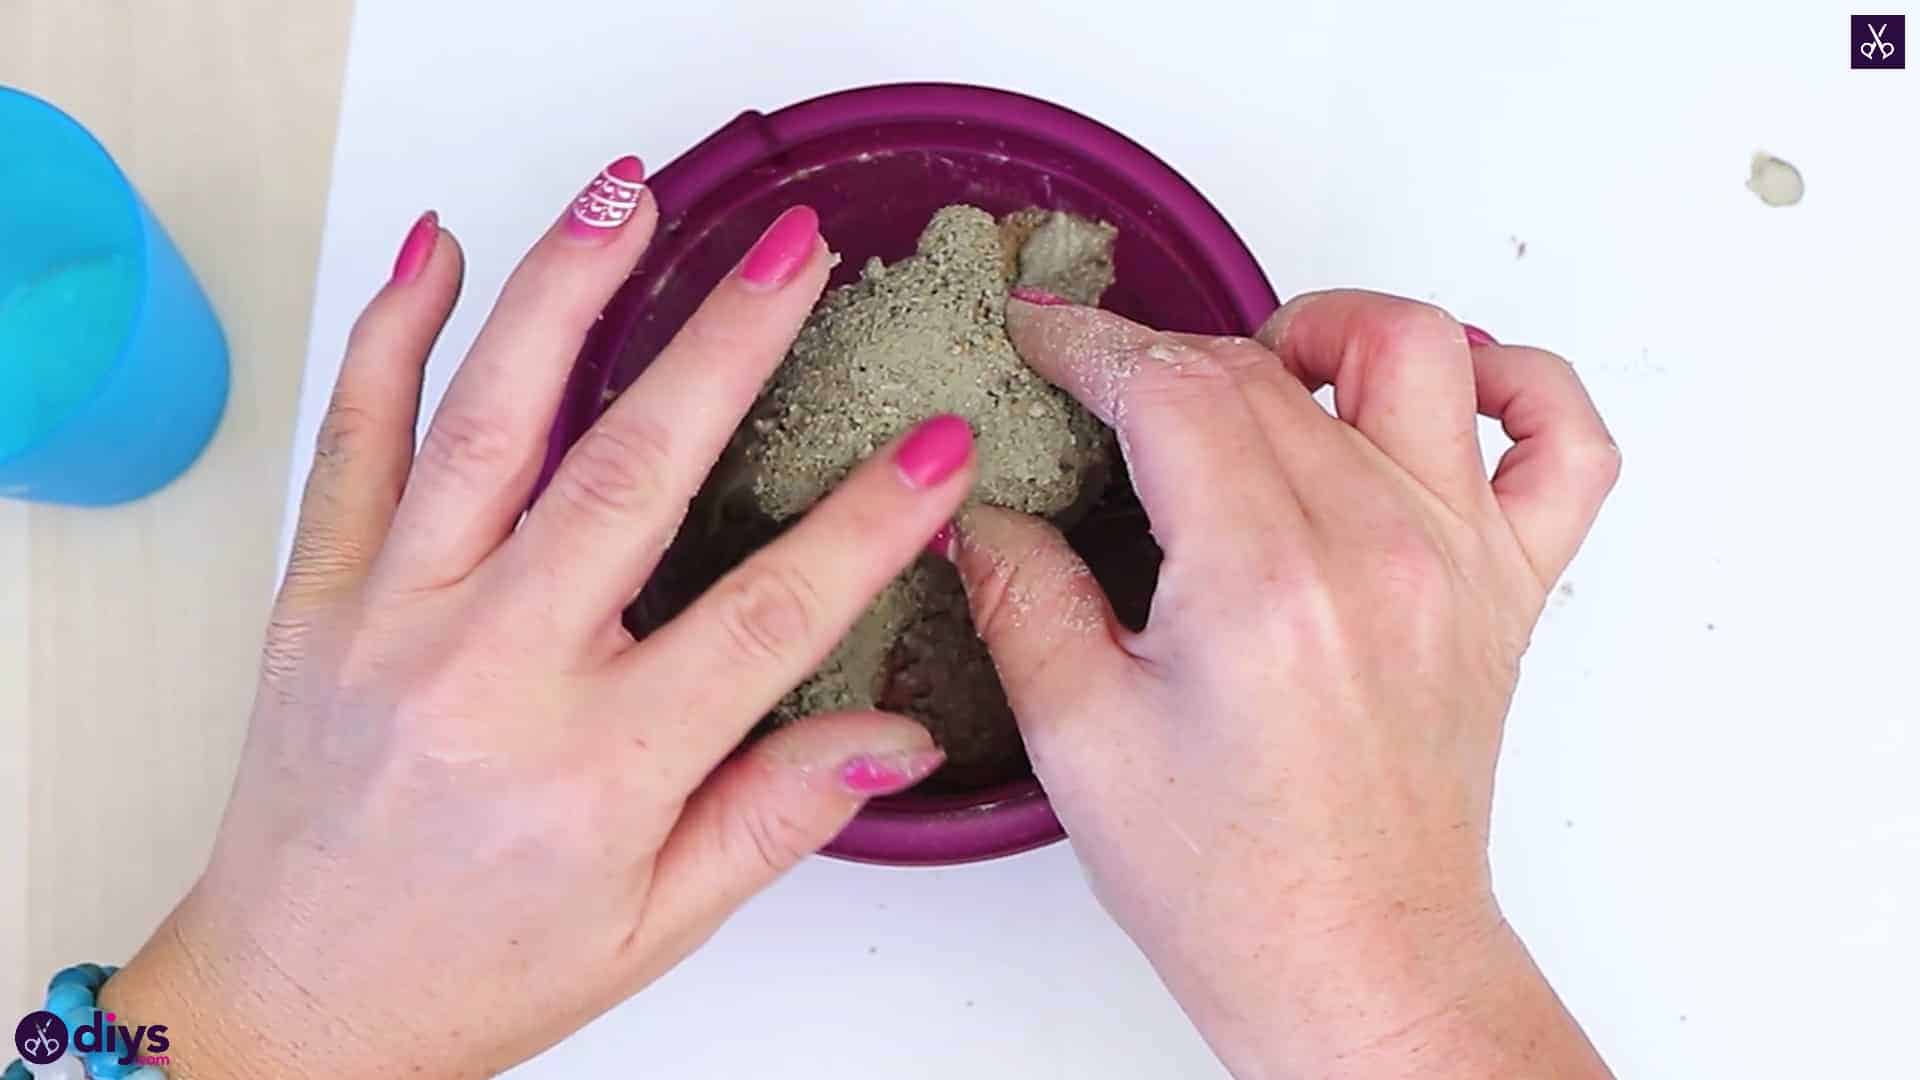
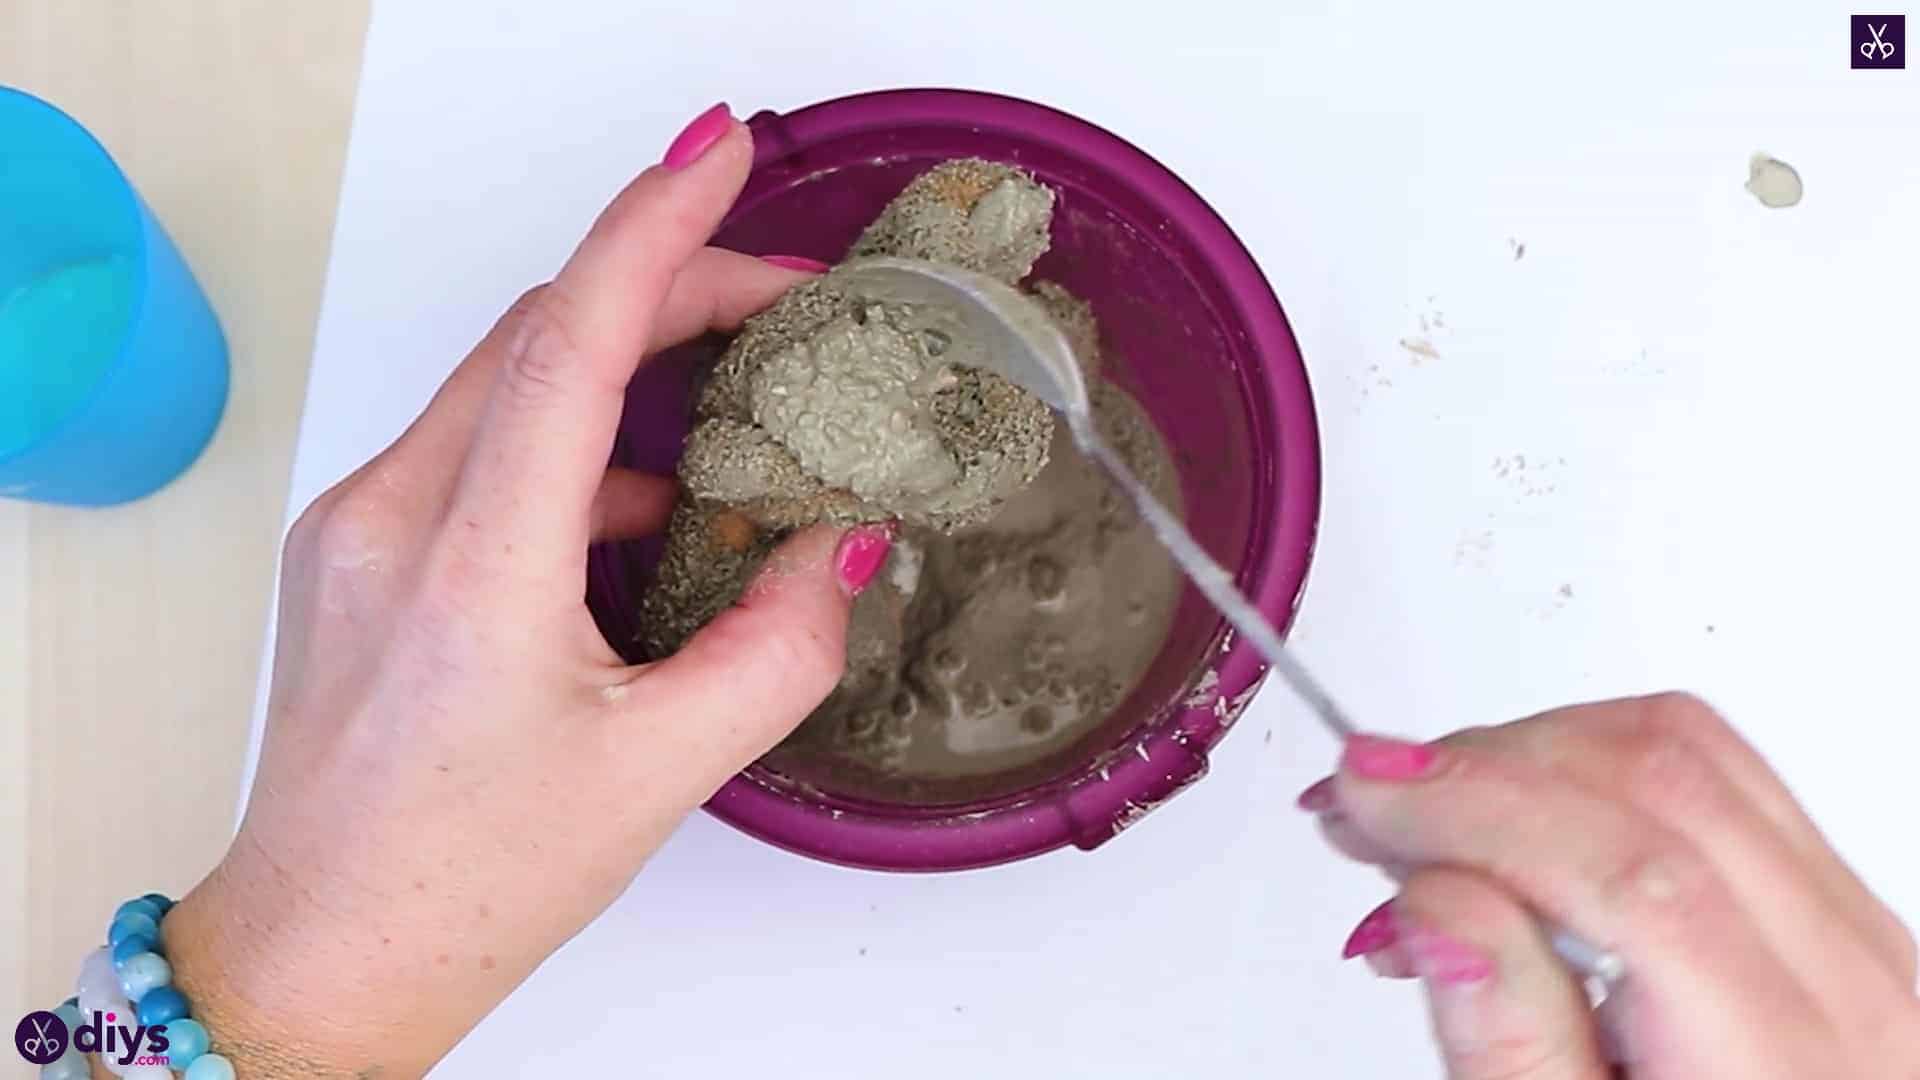
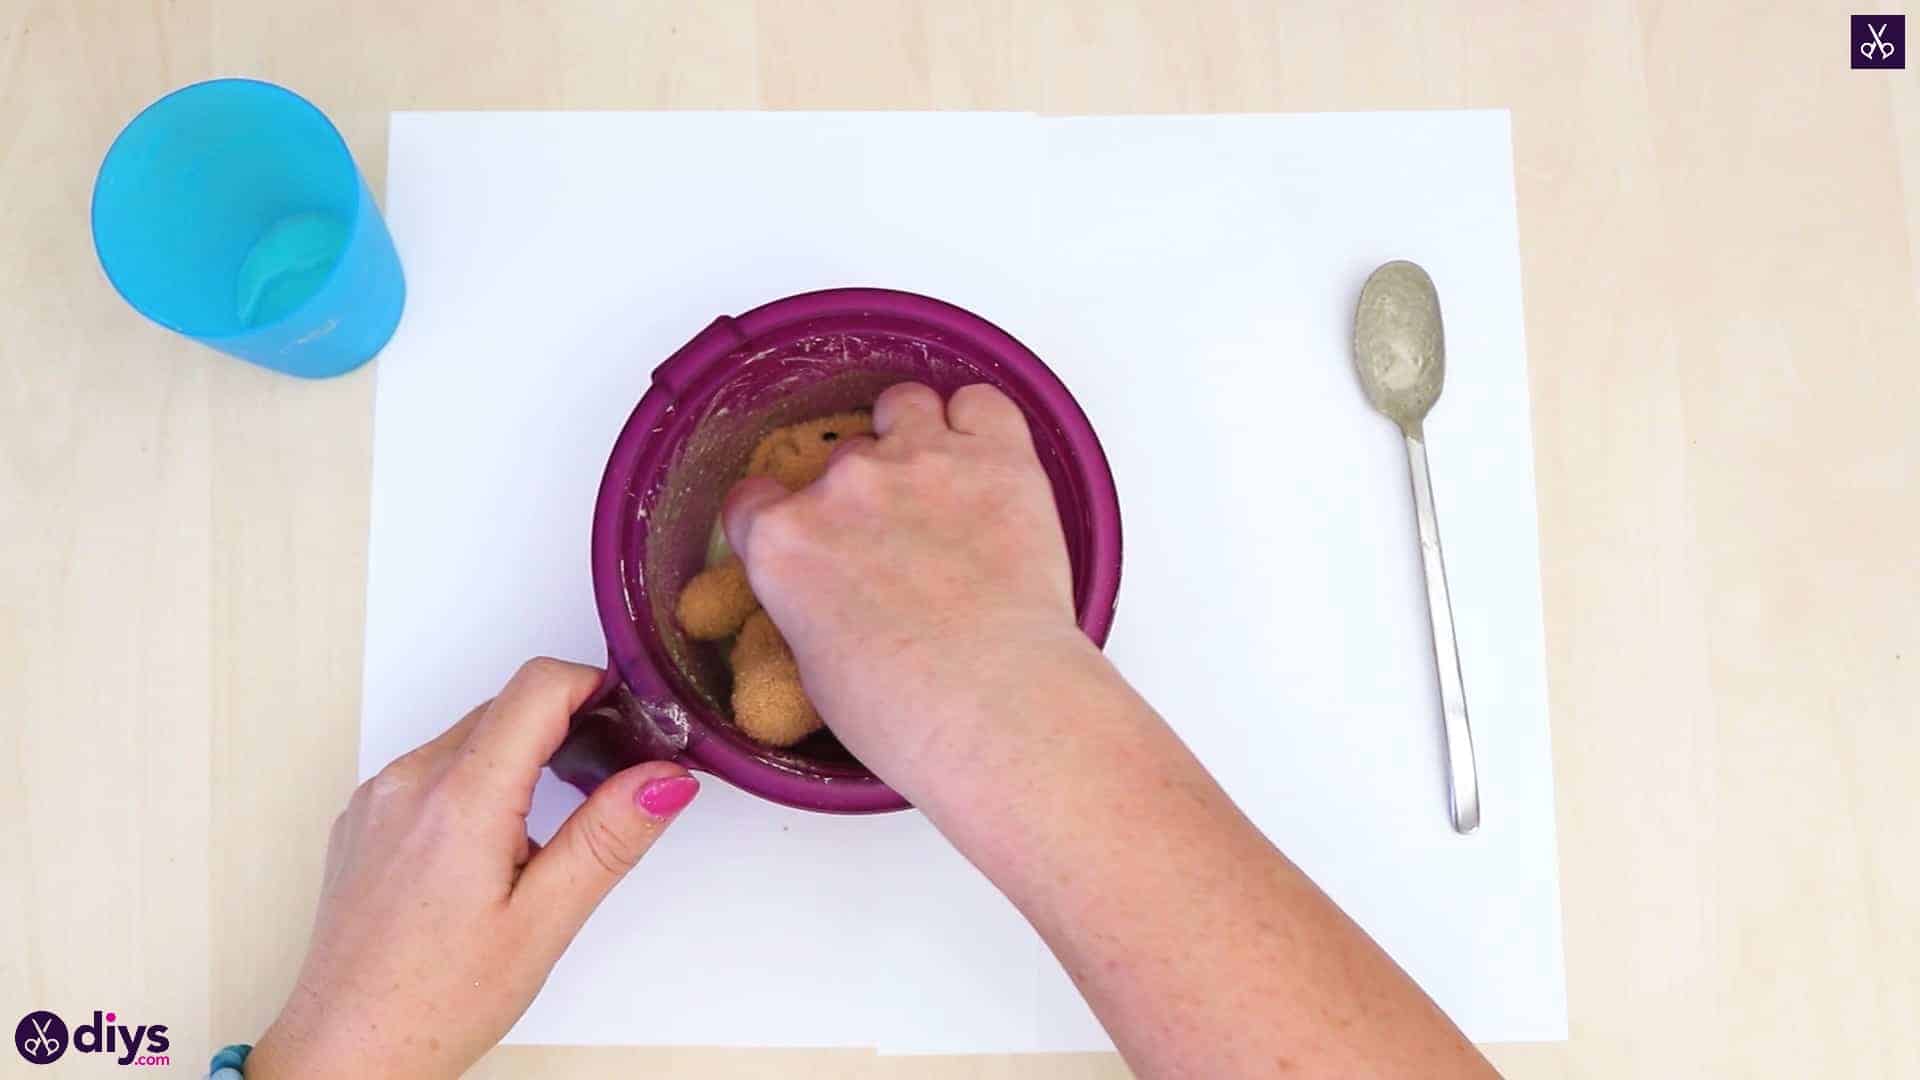
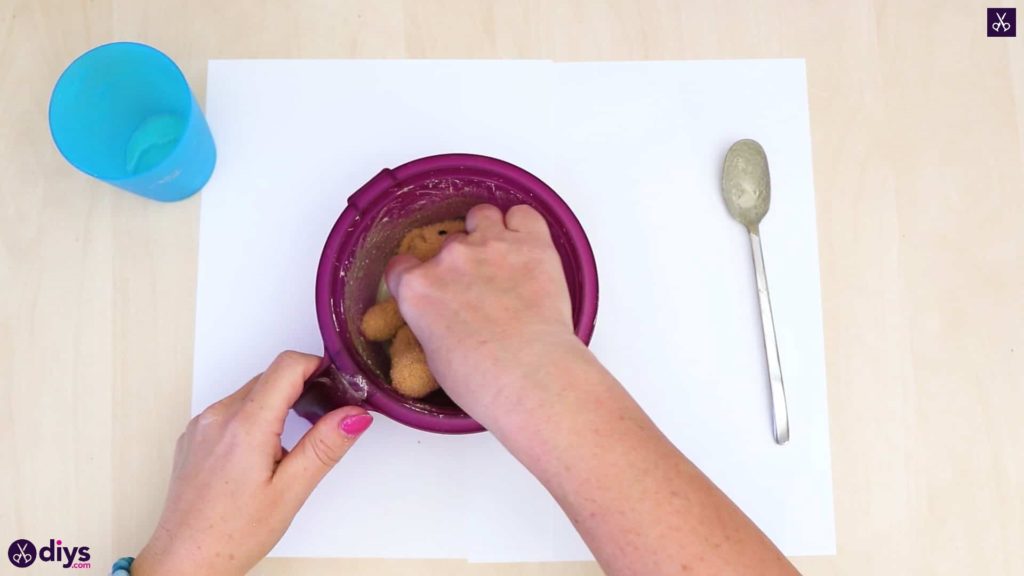
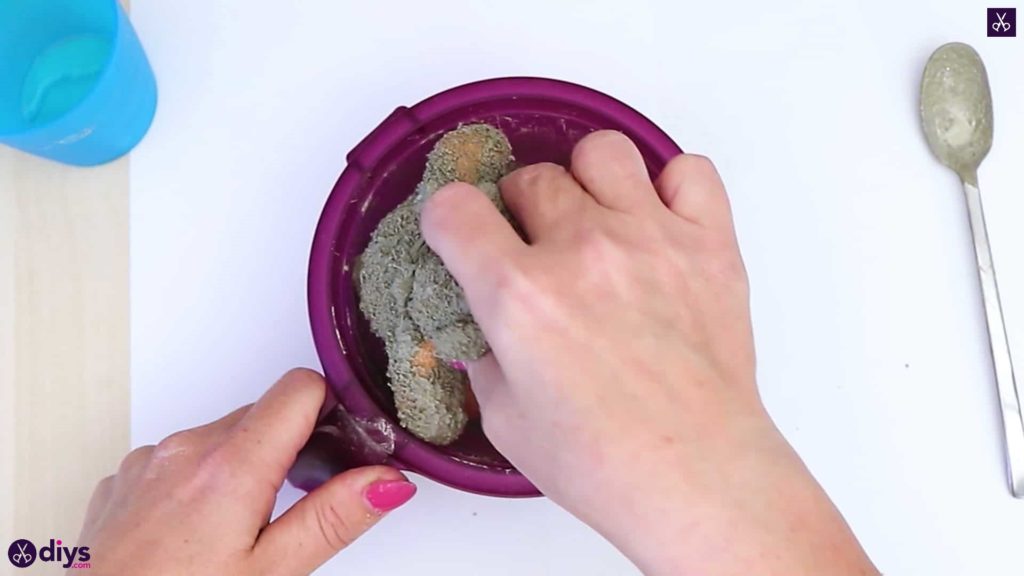
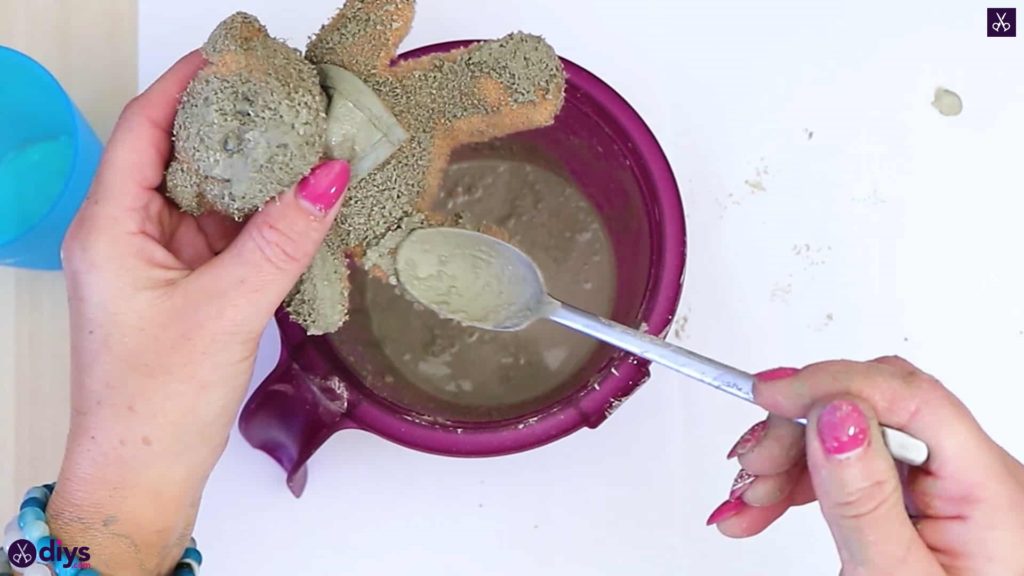
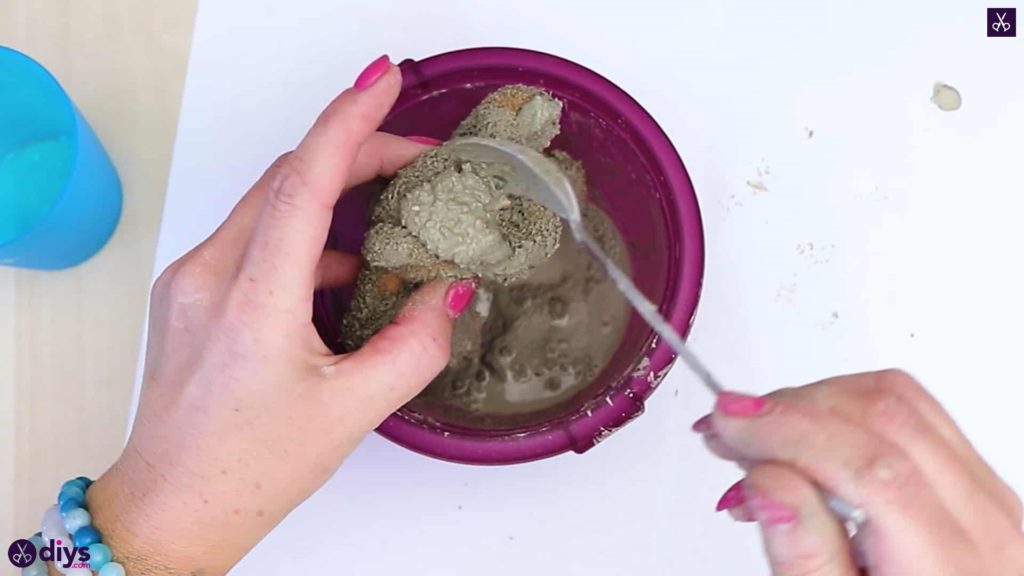
Step 3:
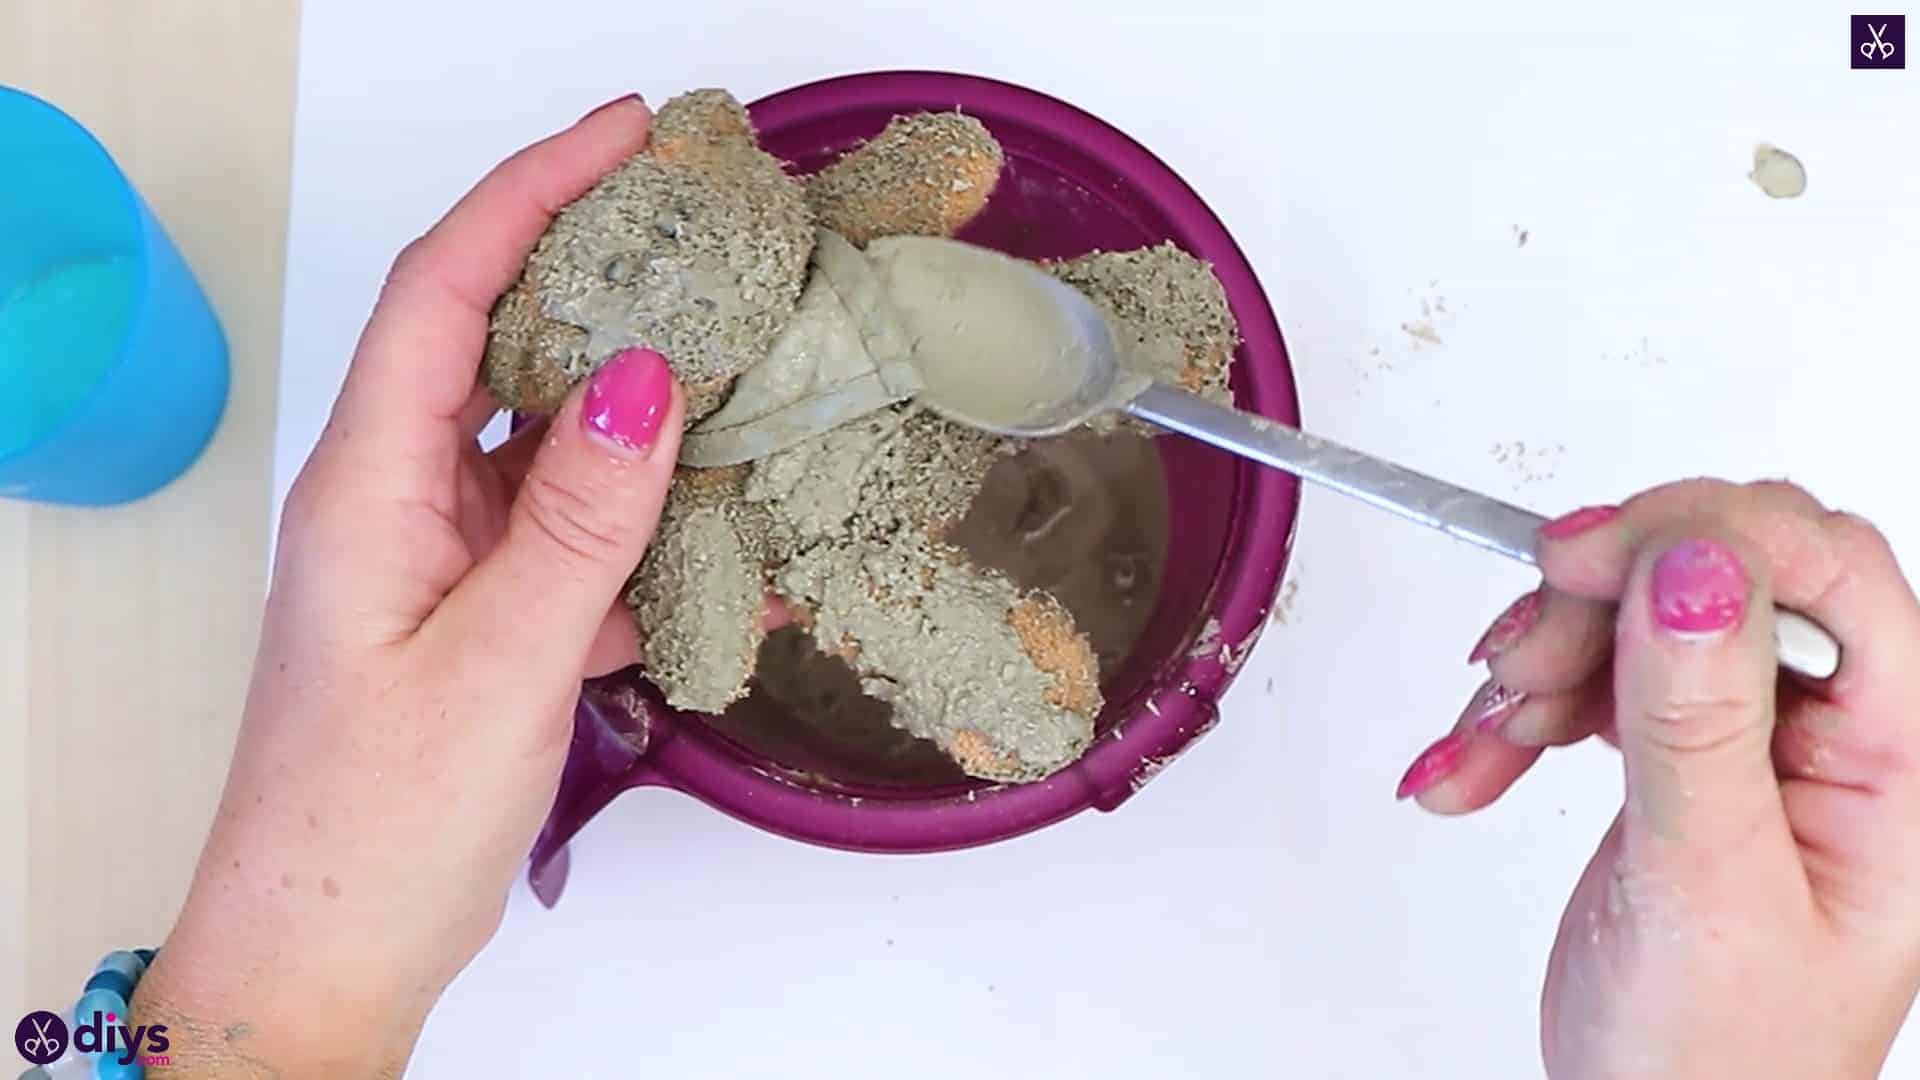
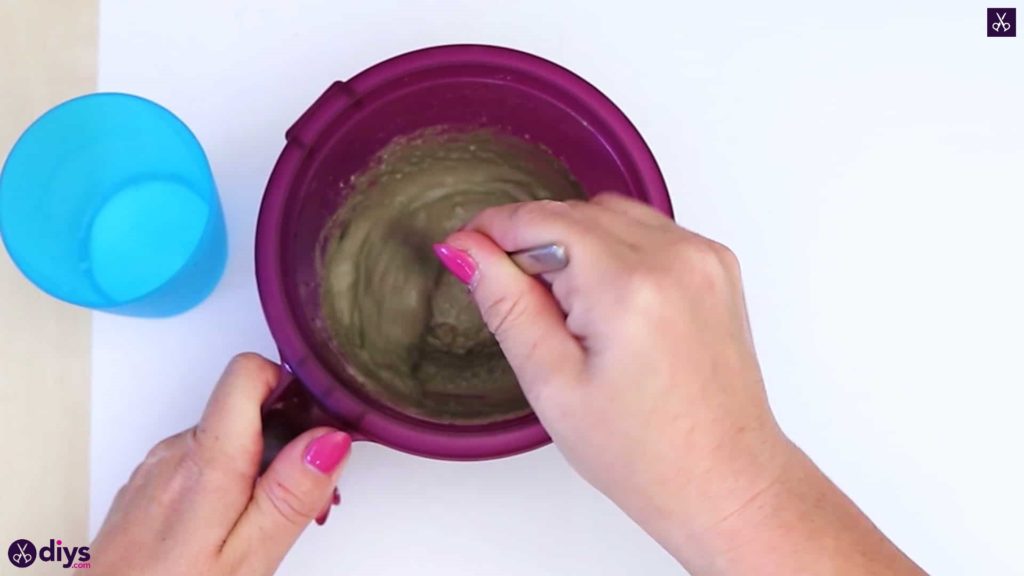
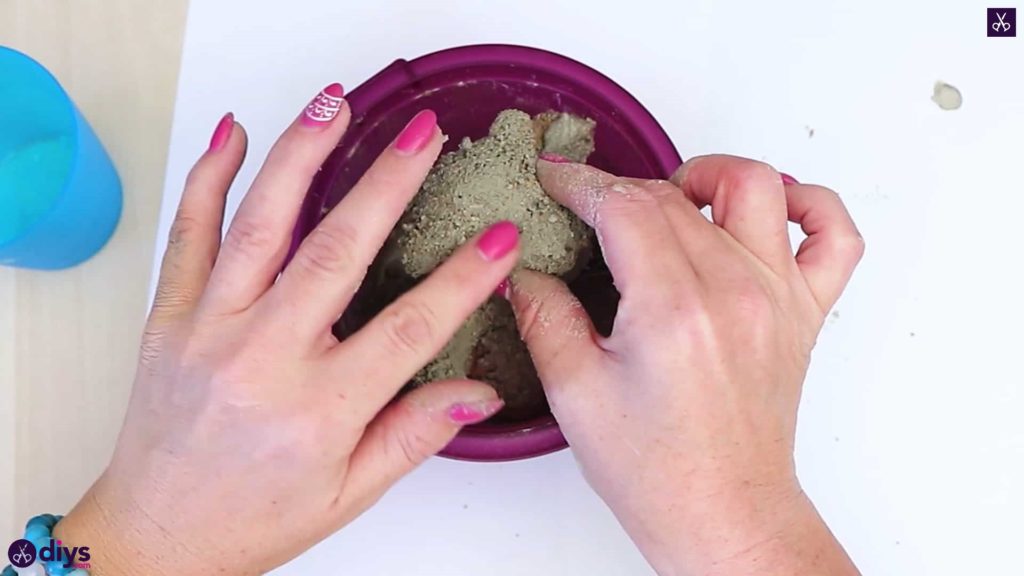
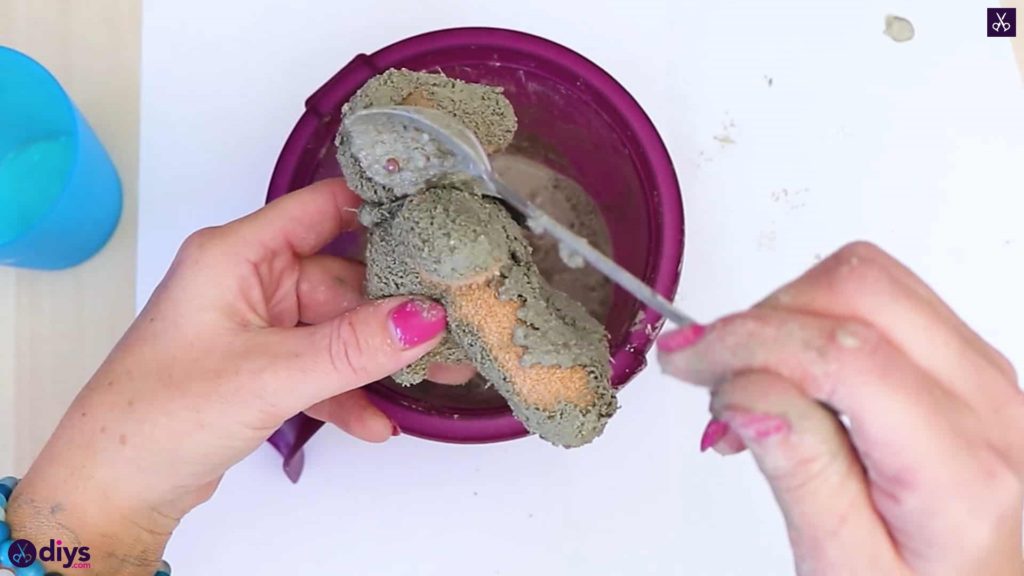
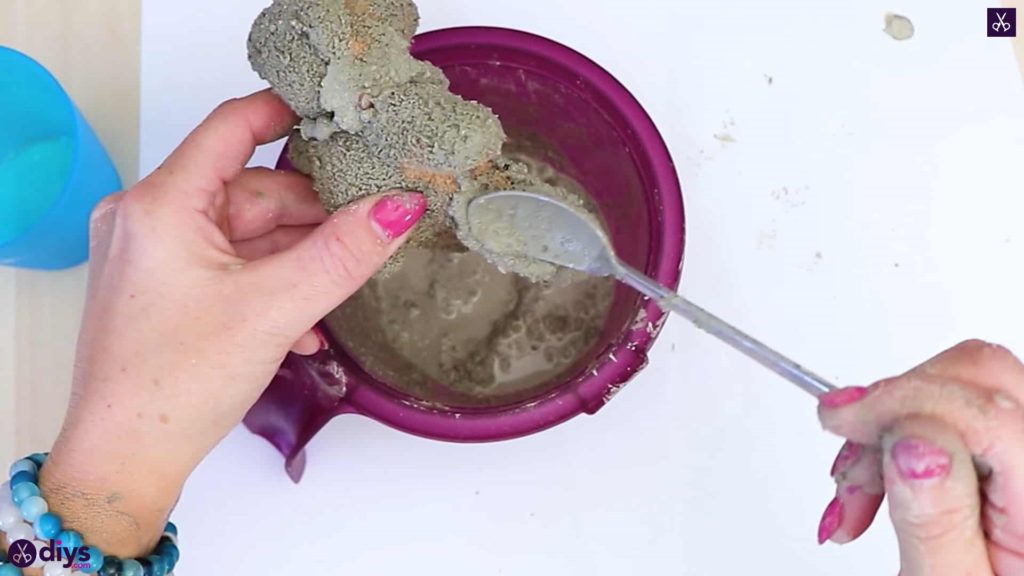
Cover the entire surface of your bear in concrete! I started by dipping my bear into my mixing bowl once my concrete reached the right consistency, turning it and dipping it again to get full coverage all the way around. The goal is to get into all of the nooks and crannies of whatever you’re coating, so feel free to use your spoon to concentrate on certain parts and get better coverage.


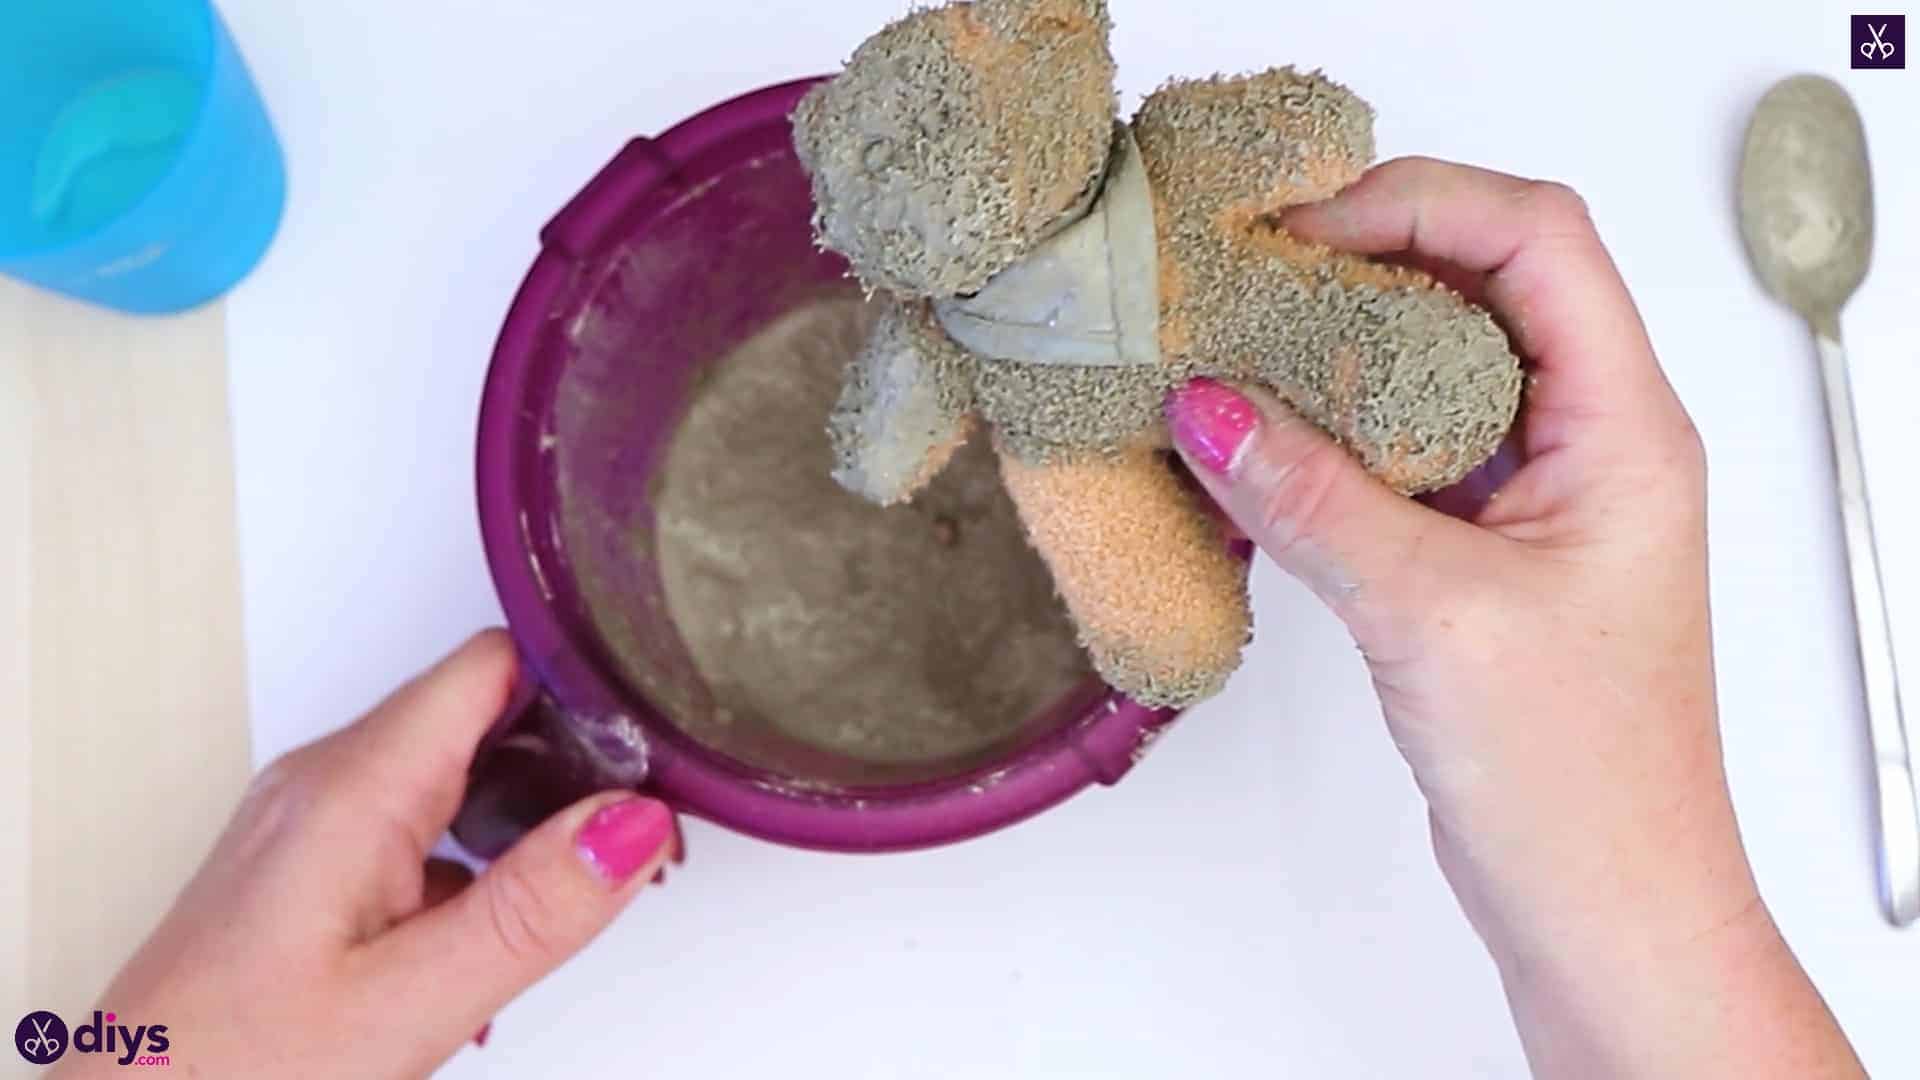
Step 4:
Once your bear is completely covered, with an even coating of concrete that doesn’t show any of the original colour but covers every detail and texture well, set it aside to dry. I set mine on the paper I’d worked on to minimize mess and I made sure to set it on its bottom the way that I intended to display is so that if the texture or look of the concrete changed while it dried because of contact with the surface (ex. flattening the bear’s hairs), that wouldn’t show later. Once your bear is thoroughly dried all across the outside and through the middle, it’s ready for display!

That truly is all it takes to make this simple project. Feel free to get creative and use this same basic technique to concrete coat other things of your choosing. Just in case you’d like to try this project out for yourself, here’s a fantastic tutorial video to help you!
I want to make a large one for a tombstone for someone. For there grandson 6 weeks old that passed away but I want to know that it’s gonna last in the rain and snow and look more real. Any ideals??